17 Black and White Kitchen Ideas on a Budget
My kitchen used to be a beige box I avoided cooking in — cream tiles, oak cabinets, and zero personality. Then I spotted a photo of a black and white kitchen and realised contrast is the cheapest kind of drama. These Black and White kitchen ideas all cost under a weekend and a small budget, because paint, peel-and-stick, and thrift finds do the heavy lifting. I redid my own kitchen for about $180, one corner at a time, and it finally feels like a room instead of a corridor. Here’s exactly how to get the look without ripping out a single cabinet.
Paint & Colour
1. Paint the Lower Cabinets Black and Keep Uppers White
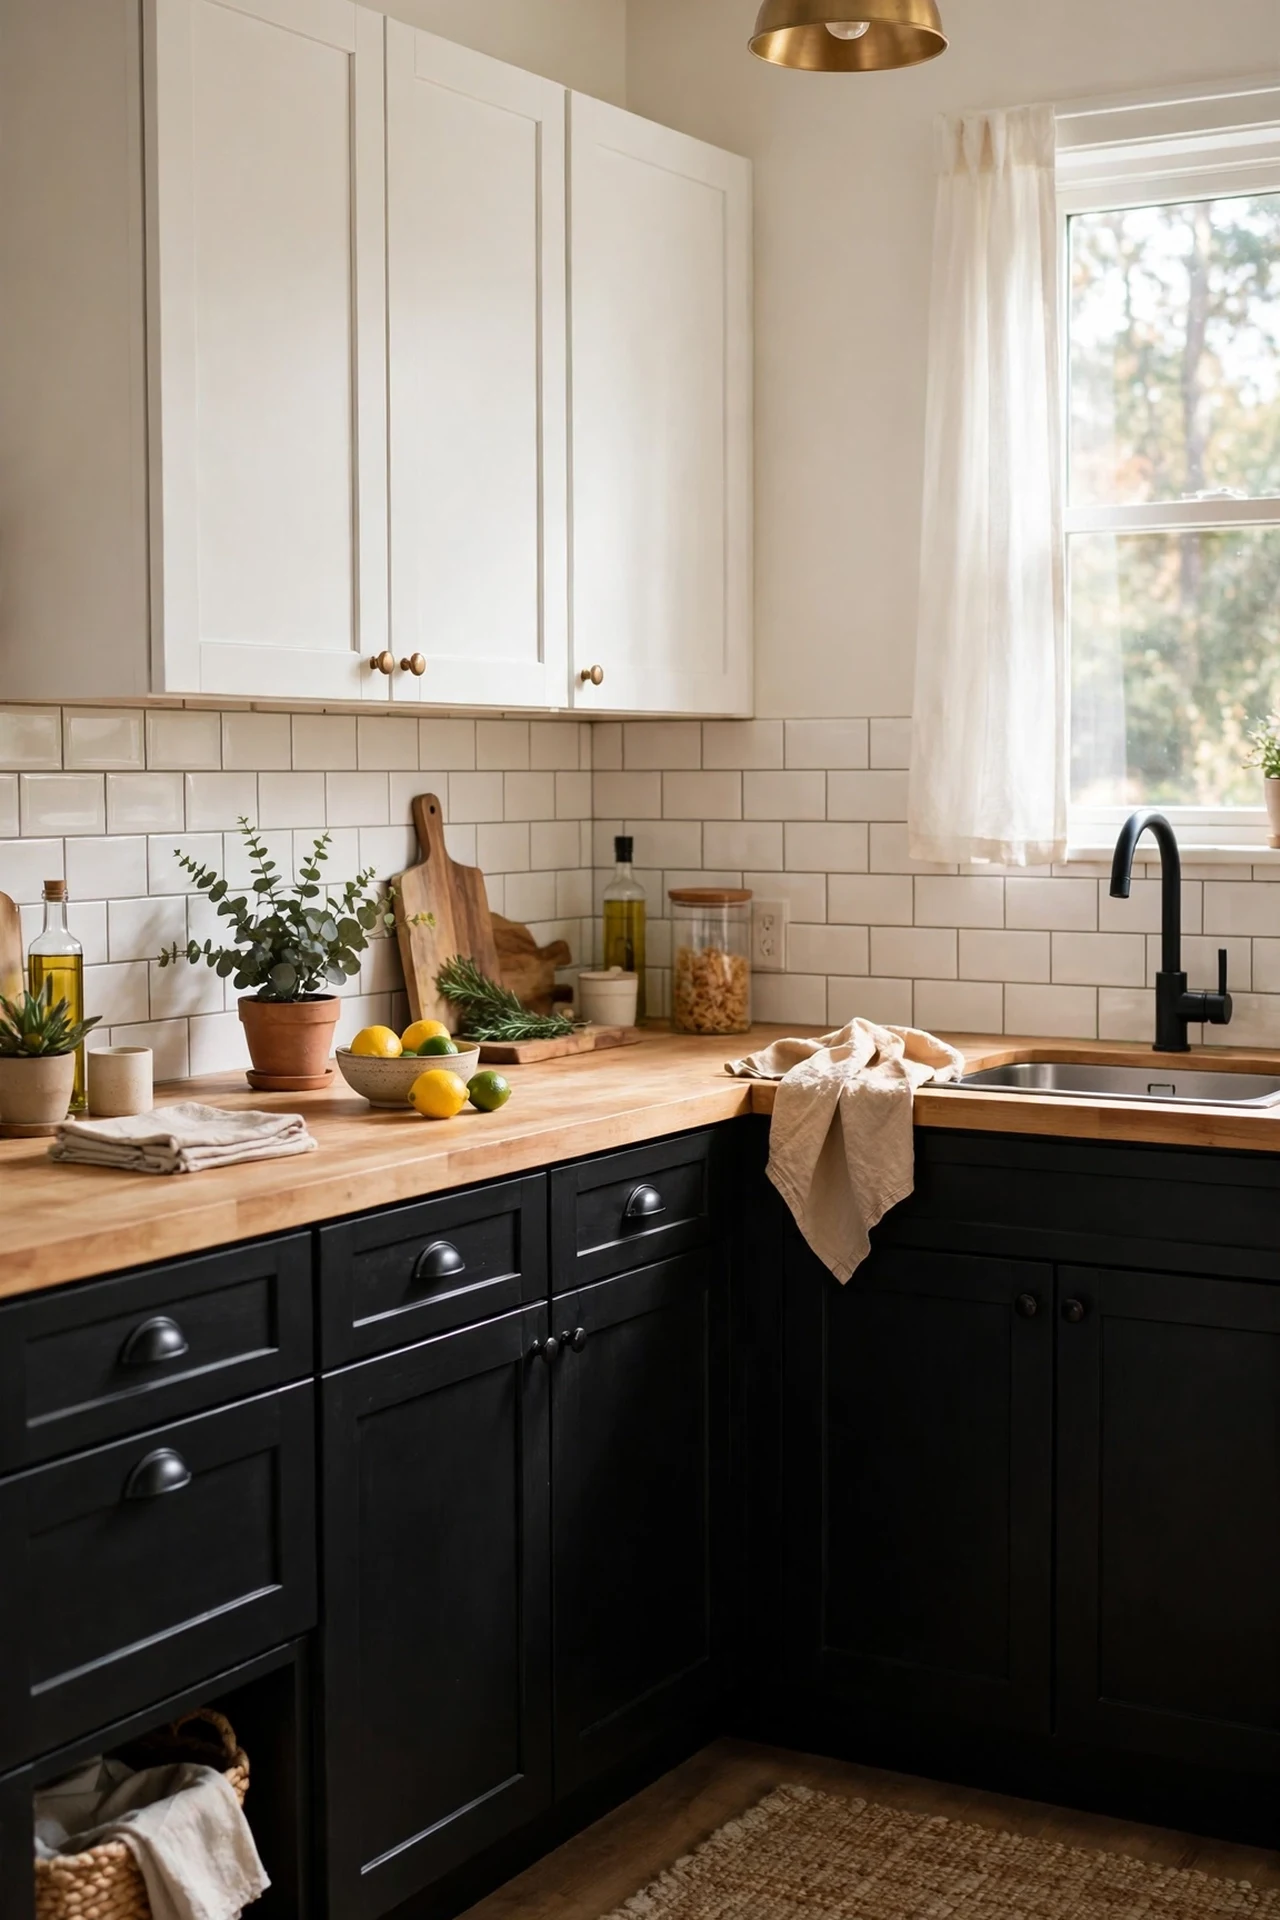
Two-tone cabinets are the single biggest black and white kitchen win for the money. Sand the lower cabinet doors lightly with 120-grit paper, wipe them down with a degreaser, then roll on a bonding primer before two coats of a hard-wearing satin paint in near-black like charcoal or soft black. Leave the uppers white to keep the room bright and avoid that closed-in feeling. I tried this in my rental years ago and the trick I wish I’d known: label every door and hinge with painter’s tape as you remove them, because guessing which door fits where afterwards is miserable. The mistake to avoid is skipping the degreaser — kitchen grease will make paint peel within months.
Cost: ~$45 | Time: 1 weekend
2. White Subway Tile Backsplash with Dark Charcoal Grout
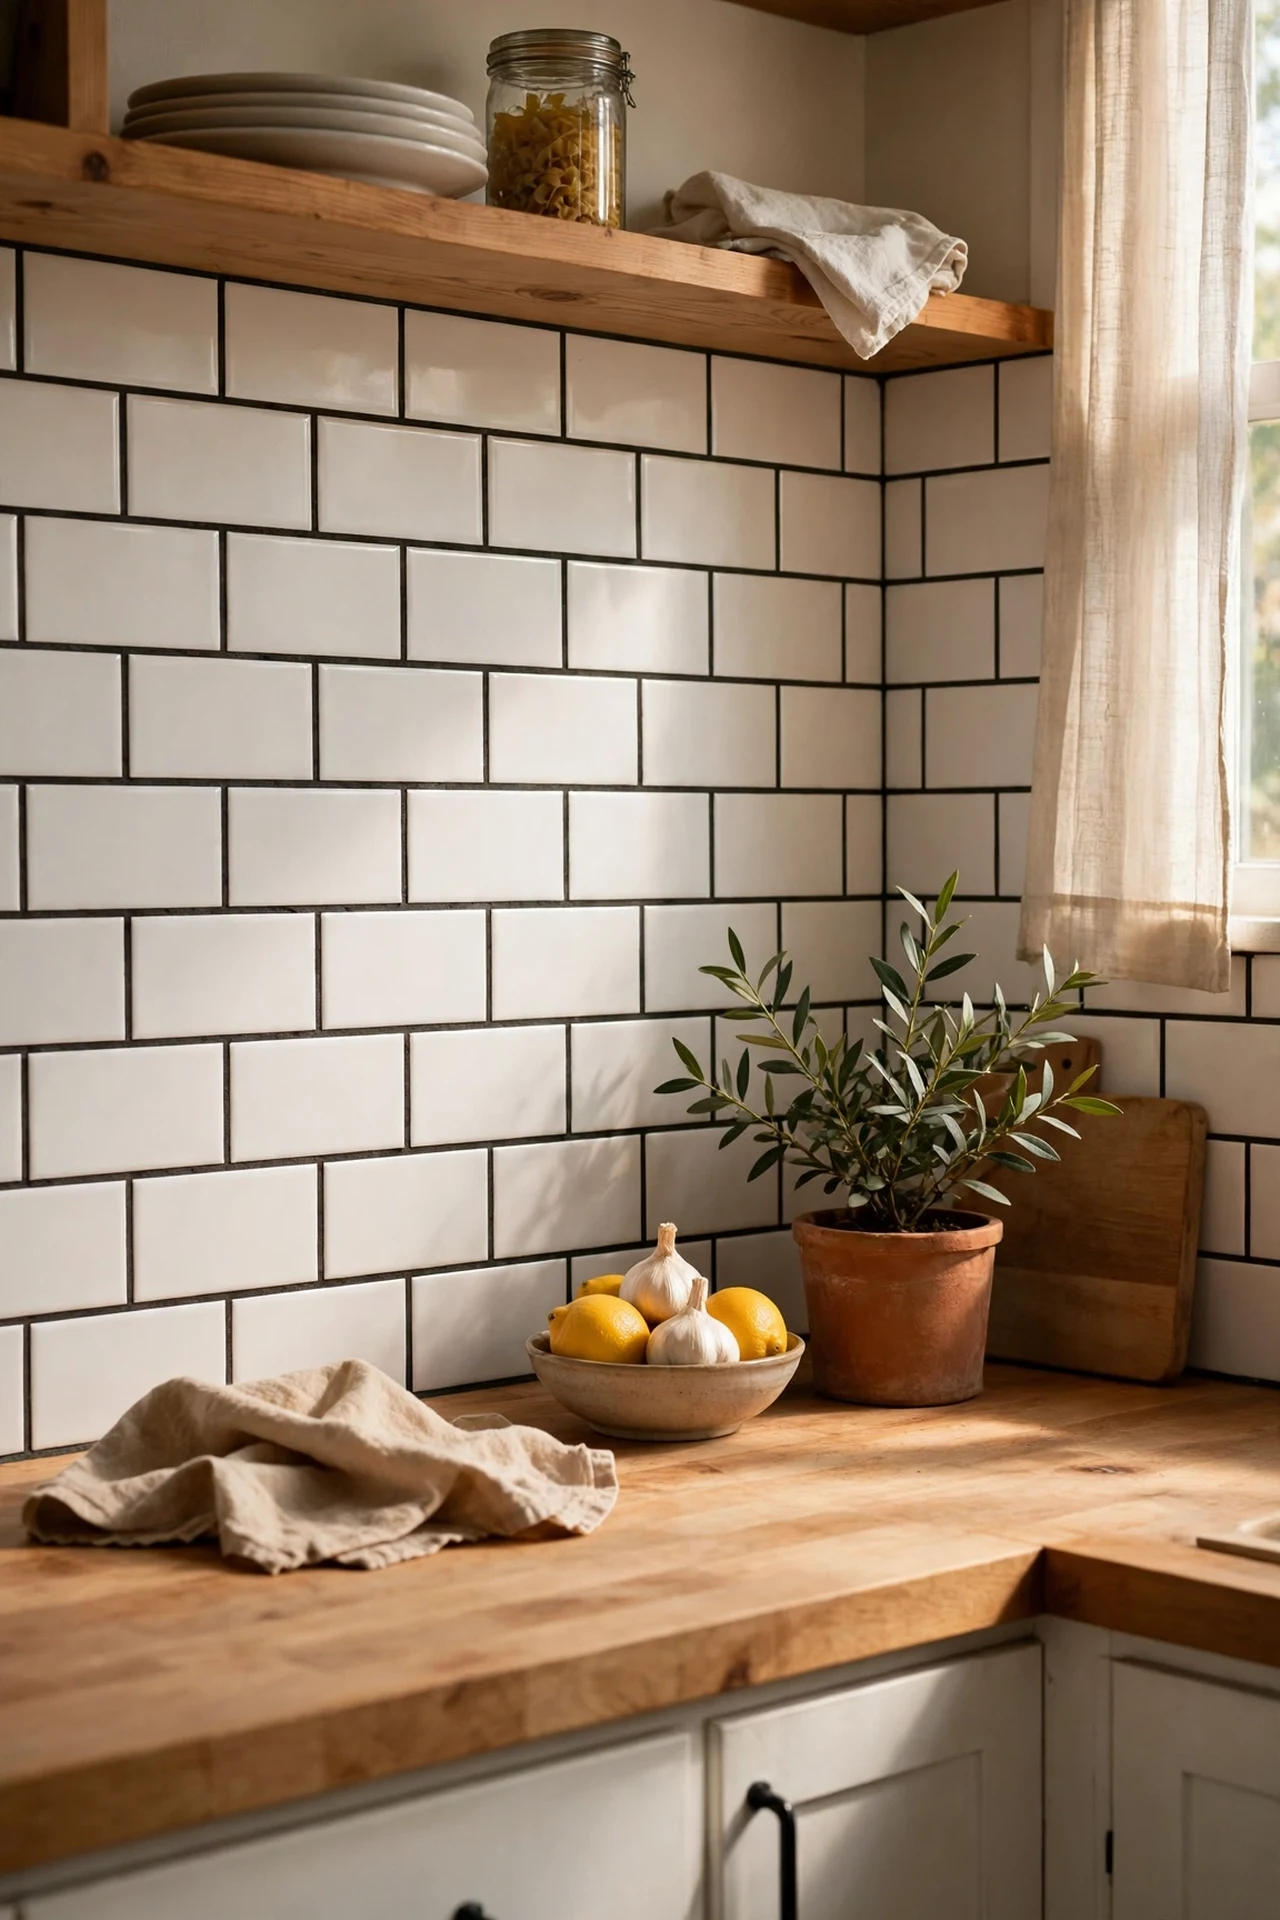
Classic white subway tiles get a graphic punch when you swap bright white grout for charcoal or dark grey — the tiles suddenly look twice as expensive. Use self-adhesive subway tile sheets if you can’t face real grouting; they peel, stick, and press flat in an afternoon. Measure your wall, cut sheets with a utility knife, and work from the centre outward so the pattern stays even. I tried this behind my stove and the mistake to avoid is rushing the edges — crooked end tiles ruin the whole grid effect. Seal the grout lines with a grout pen afterwards for wipe-clean durability. This pairing instantly reads as a high-end black and white kitchen upgrade.
Cost: ~$30 | Time: 3 hours
3. Checkerboard Peel-and-Stick Floor Tiles
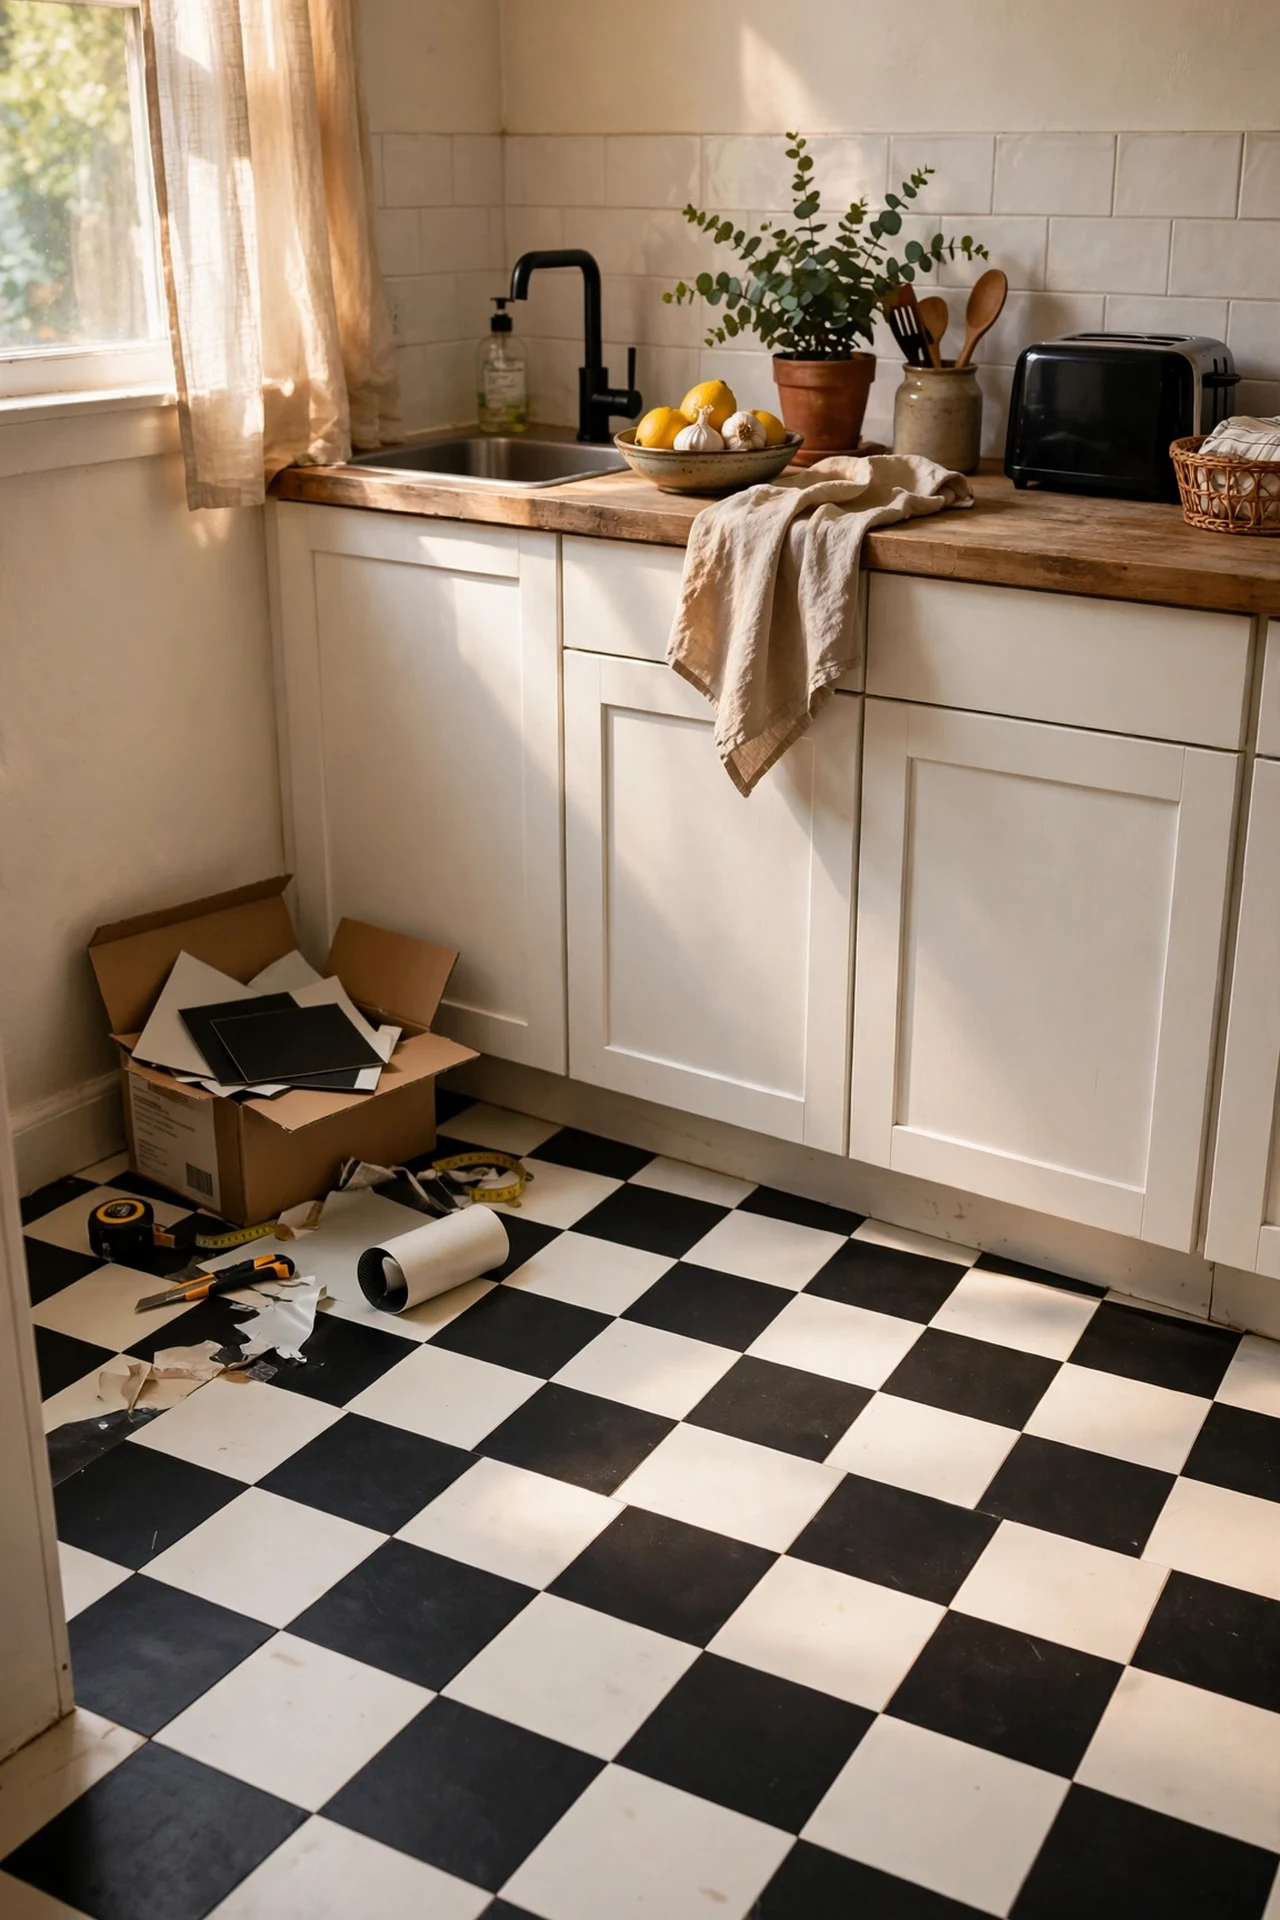
Nothing says black and white kitchen quite like a checkerboard floor, and the peel-and-stick version costs a fraction of real tile. Clean the existing floor until it squeaks, then lay the tiles from the centre of the room outward in an alternating pattern — most brands include spacers or grid lines to keep you straight. Press each tile firmly and roll over the finished floor with a rolling pin wrapped in a towel to lock the adhesive. I tried this in my laundry corner first as a test and it held up for two years of wet shoes, so the kitchen got the same treatment. The mistake to avoid is laying tiles over a dirty or damp floor — the adhesive will lift at the corners within weeks.
Cost: ~$60 | Time: 4 hours
4. Black Chalkboard Accent Wall for Lists and Menus
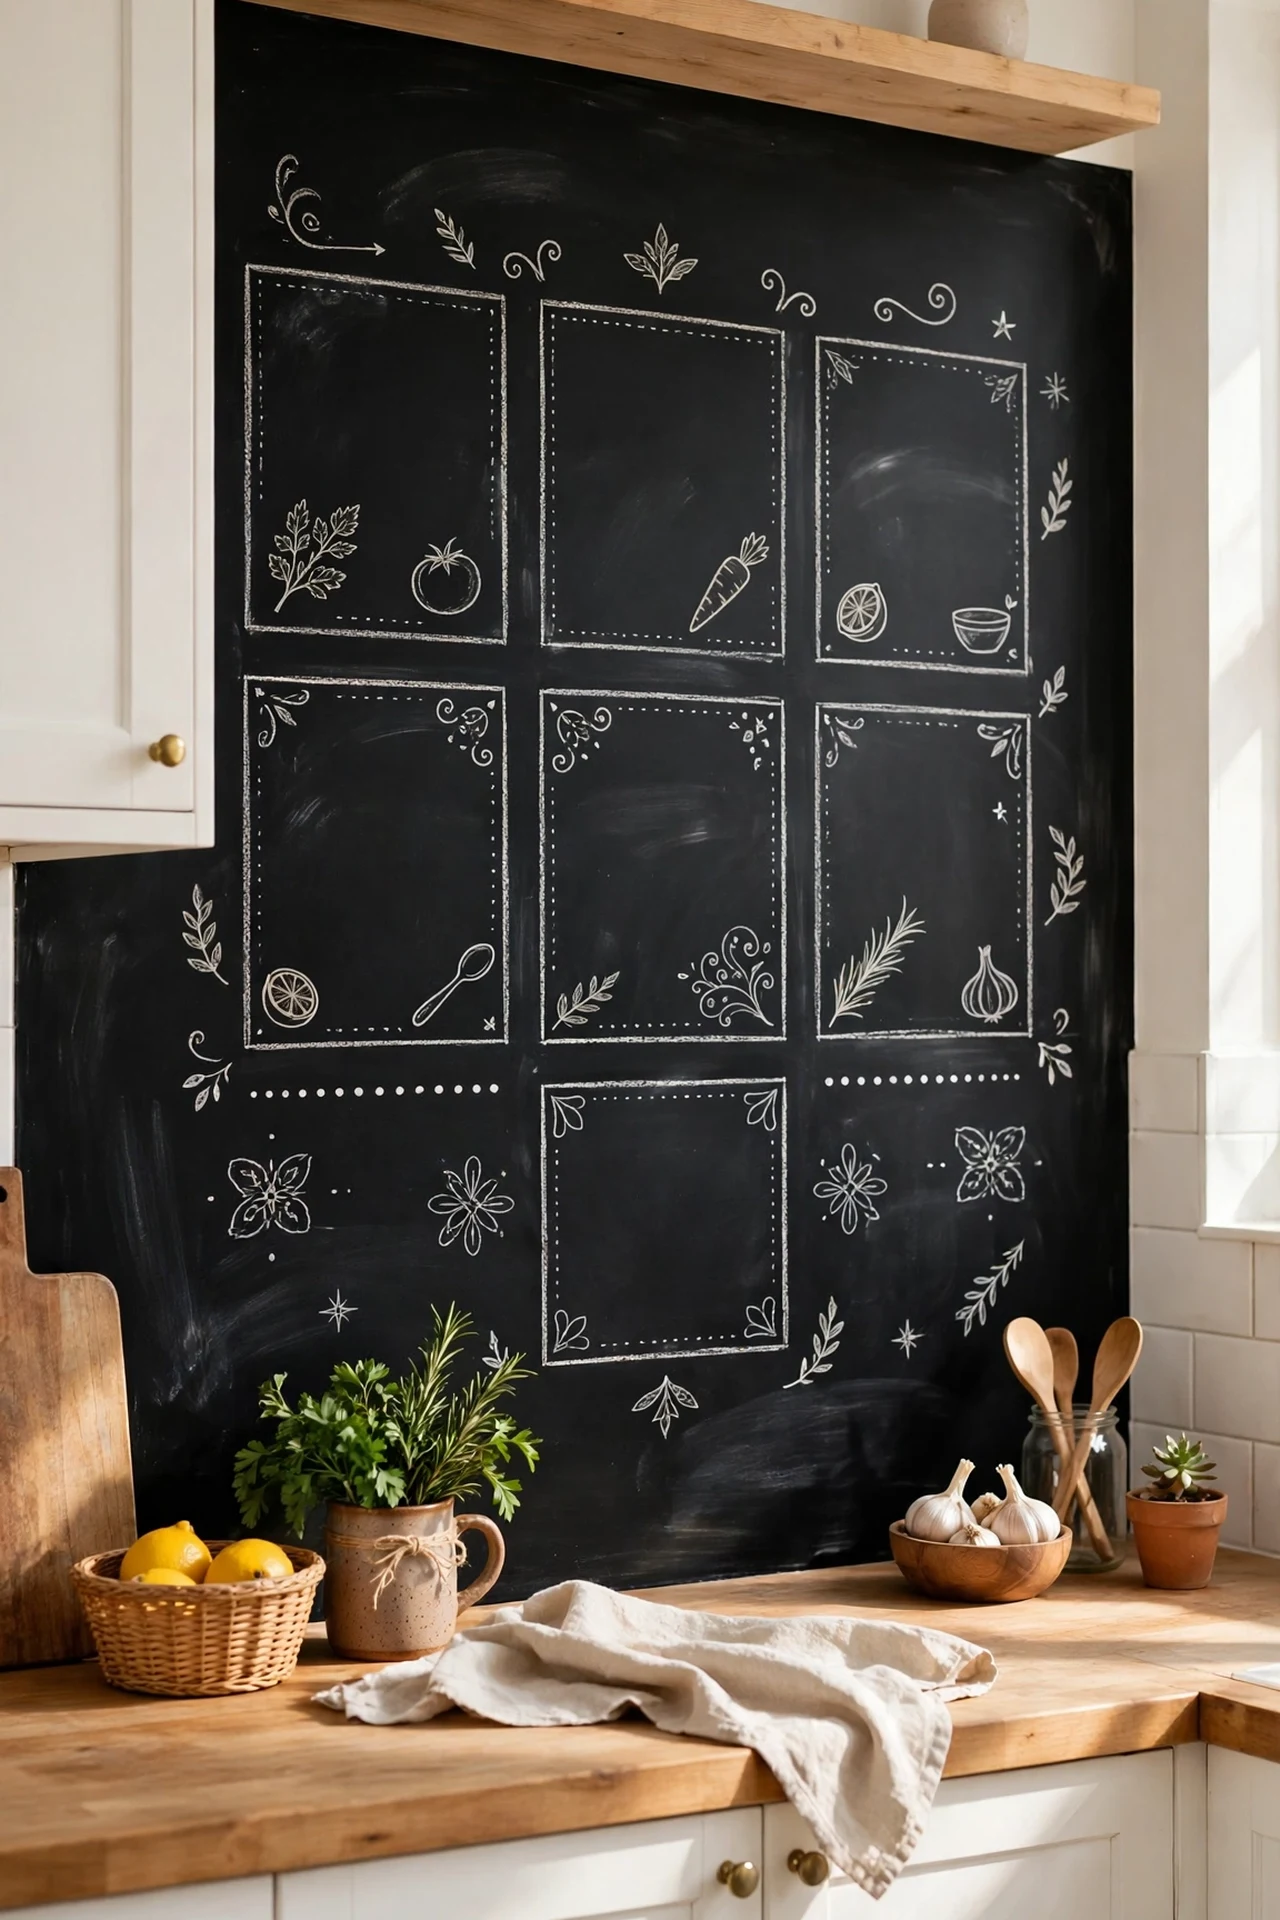
A wall or even a single cabinet door painted with chalkboard paint adds handwriting charm for almost nothing. Roll on two coats of chalkboard paint, let it cure for three full days, then rub a stick of chalk all over it and wipe it off — that priming step stops your first words ghosting forever. Mount a small wooden ledge at the bottom to hold chalk and a felt eraser. I tried this on the side of my fridge cabinet and now it holds our weekly meal plan, which genuinely cut our grocery waste. The mistake to avoid is writing on it before the paint cures — the chalk bakes in and you’ll never fully erase it.
Cost: ~$12 | Time: 2 hours
Pro tip: Before you buy anything, snap a photo of your kitchen and use a free app to desaturate it to black and white — you’ll instantly see whether your contrast balance works or if one tone is swallowing the other.
5. Crisp White Walls with Black Door and Window Trim
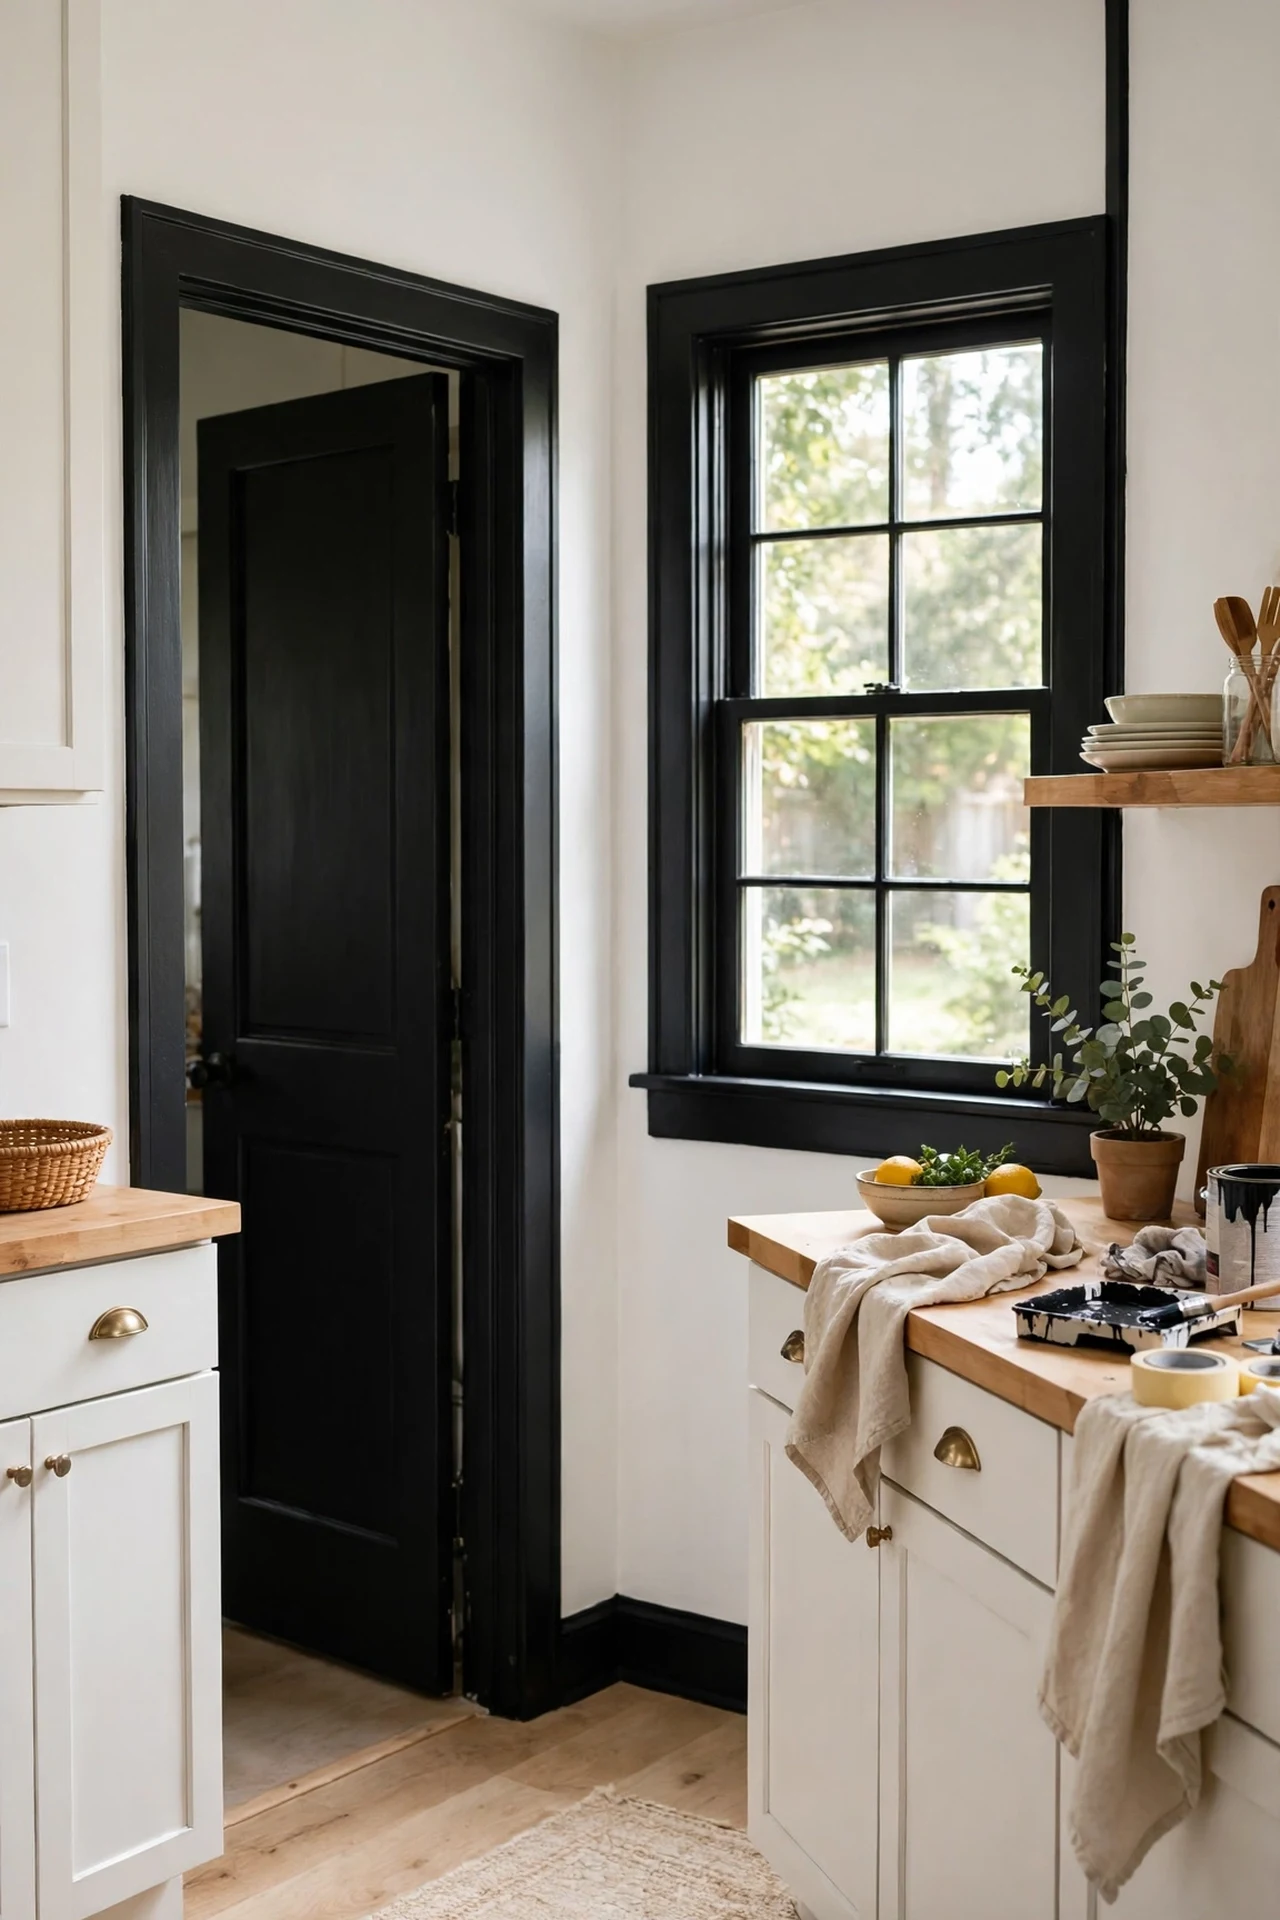
If painting all your cabinets feels like too much, flip it: paint the walls a warm-tinted white and outline the room with black trim. Tape off the door frames, window casings, and skirting boards, then brush on two coats of black satin enamel — it dries hard and wipes clean. The black lines frame every view like a photograph and make even tired walls look intentional. I tried this in my hallway first and loved it so much the kitchen got the same treatment the following weekend — I logged the whole thing in our (see also: budget-kitchen-decor-ideas) roundup for more low-cost swaps. The mistake to avoid is using matte paint on trim — it shows every fingerprint and scuff, and you’ll be touching it up monthly.
Cost: ~$25 | Time: 1 afternoon
Textiles & Soft Touches
6. Striped Black and White Runner Rug
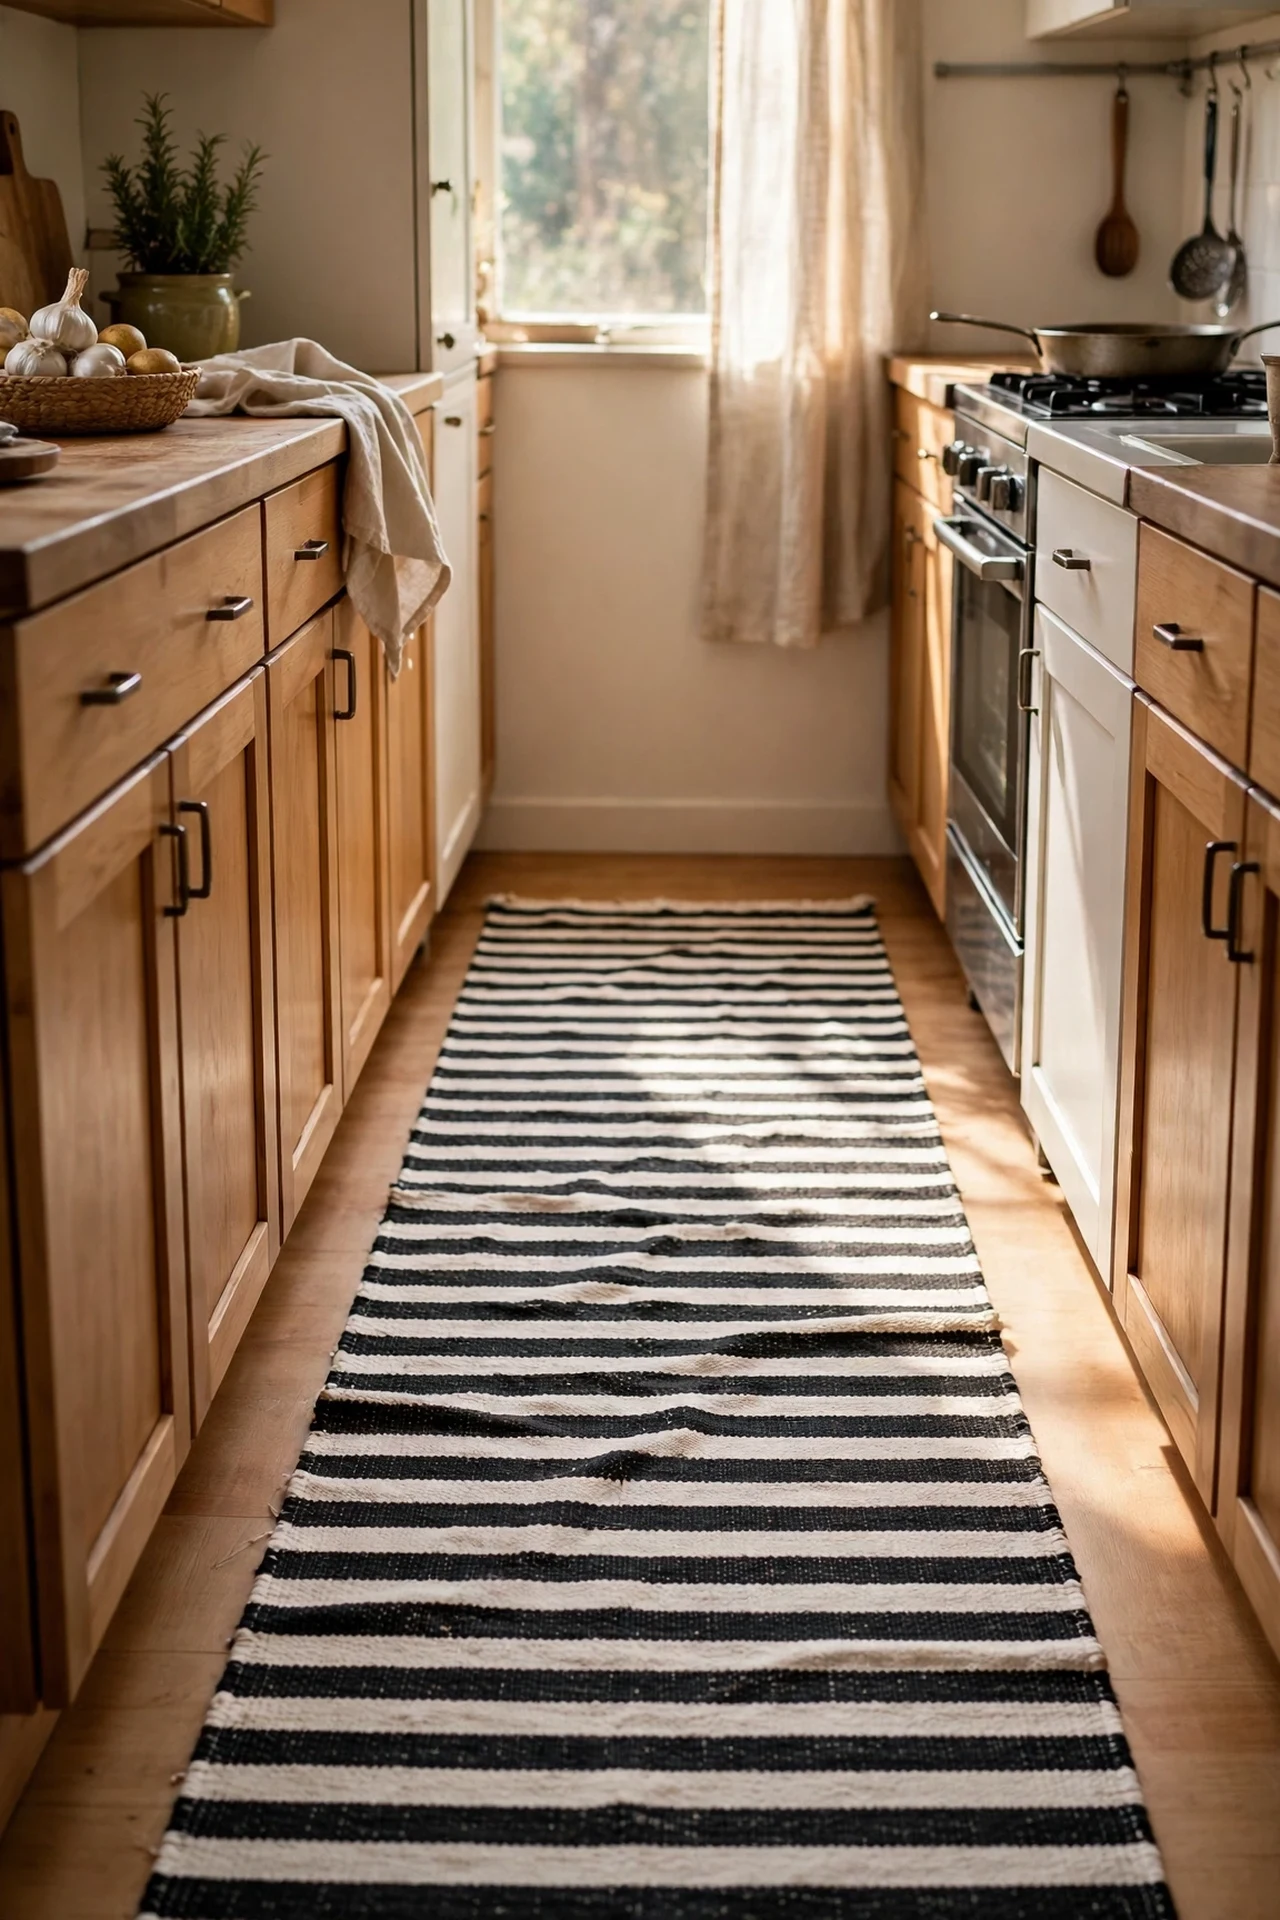
A striped runner along the galley or in front of the sink warms up cold tile and pulls the whole scheme together. Choose a low-pile, washable rug so crumbs and spills don’t become a crisis — cotton or flat-weave blends hose down easily. Measure the space first so the rug runs nearly the full length without curling under cabinet doors. I tried a bargain rug that was too short and it looked like a postage stamp; sizing up fixed it instantly. The mistake to avoid is a high-pile rug here — it traps crumbs, slides around, and trips the bin when you kick it across the kitchen.
Cost: ~$35 | Time: 10 minutes
7. Black Roman Shade Over the Sink Window
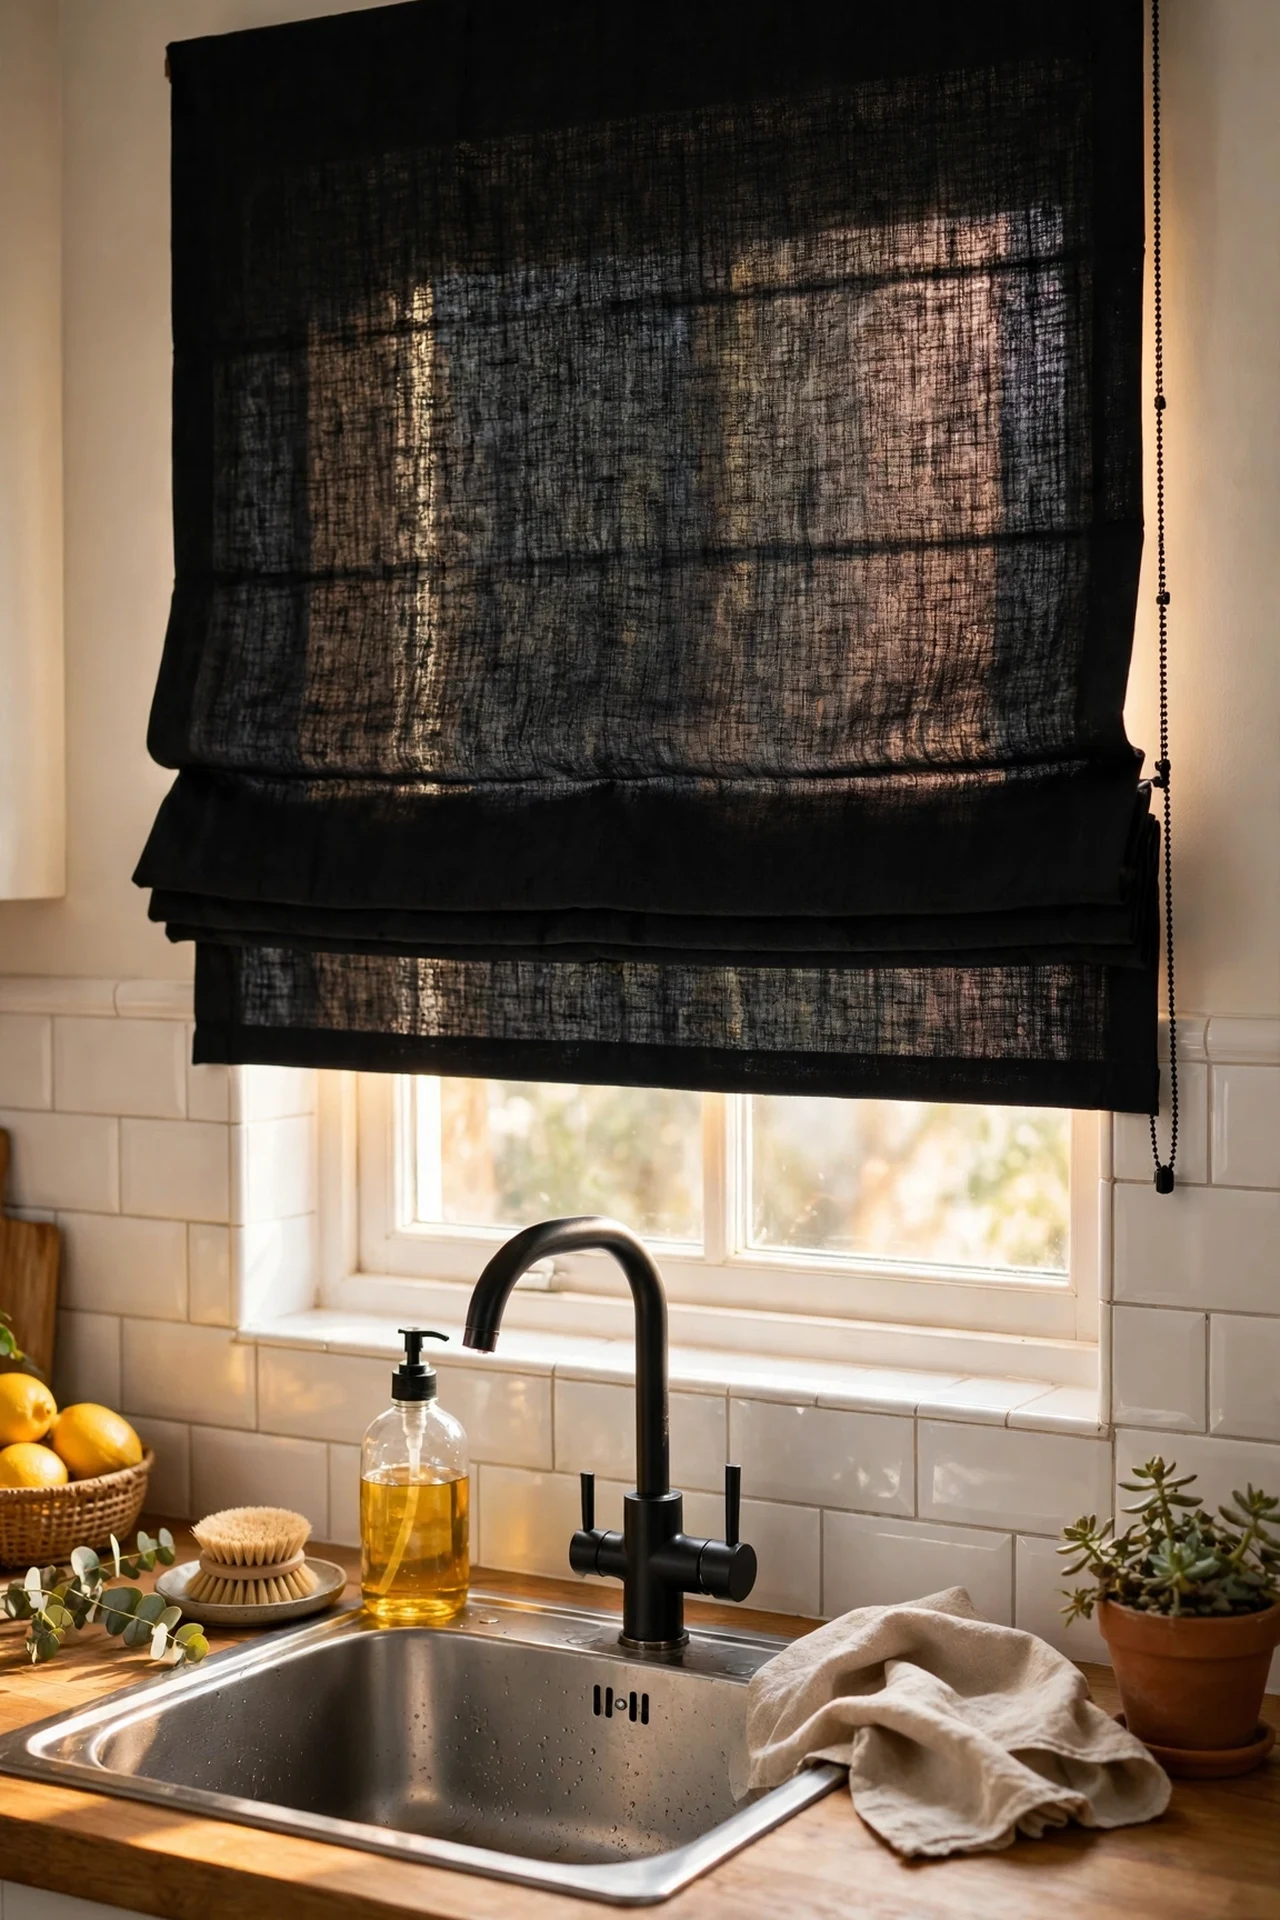
The window over the sink is the natural focal point, so dress it in black. A simple roman shade in black cotton or linen costs little and frames the view like art. Measure inside the window recess, order a shade slightly narrower than the opening, and hang it with the included brackets — most install with two screws and a spirit level. I tried a blackout-lined shade because the evening sun used to blind me while washing up, and it doubles as glare control. The mistake to avoid is hanging it too low — mount it a few inches above the recess so the window looks taller and the shade doesn’t sit in splash range.
Cost: ~$28 | Time: 30 minutes
8. Black and White Café Curtains
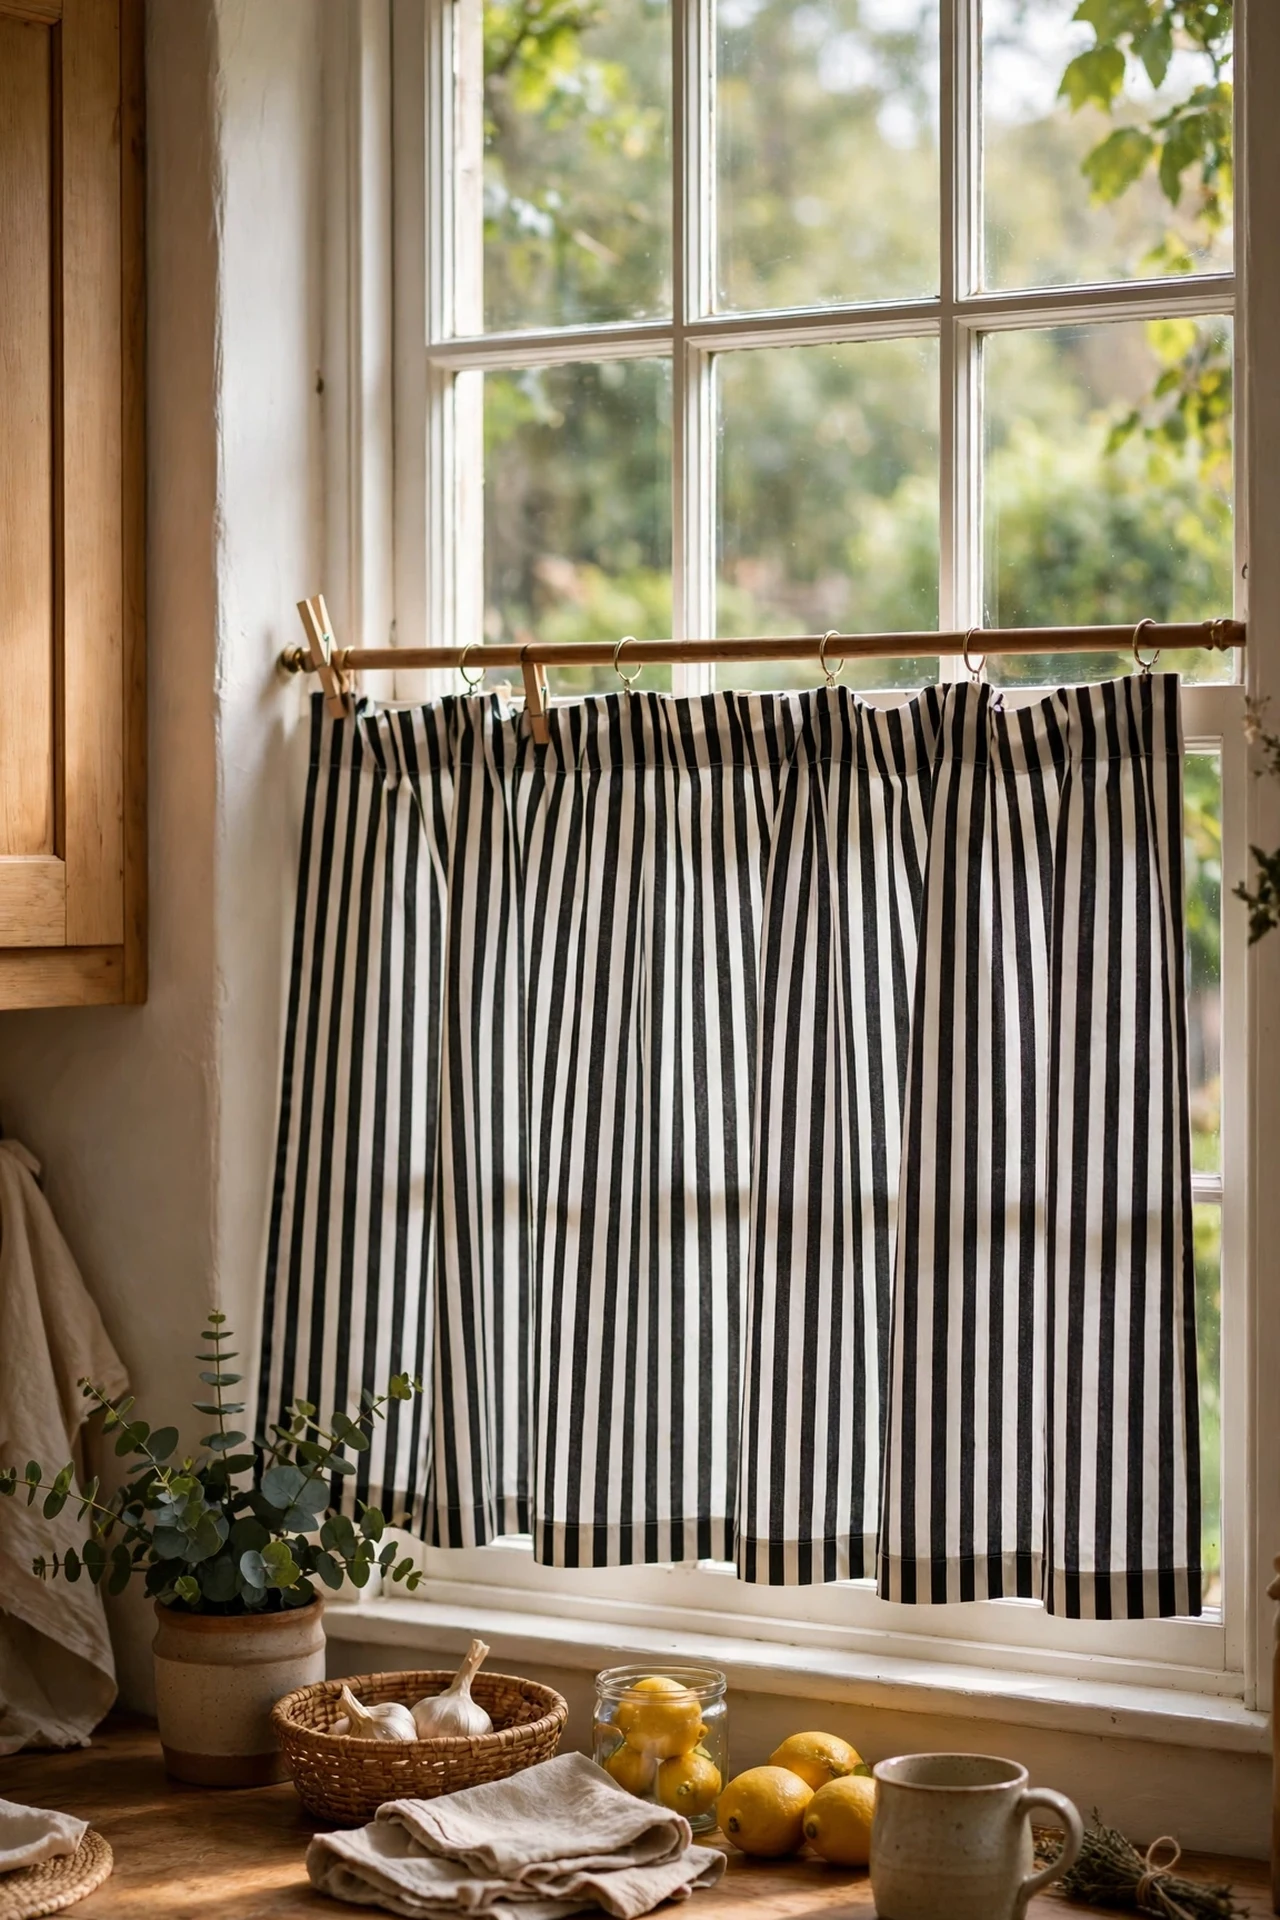
Café curtains cover just the lower half of the window, giving you privacy without stealing daylight — perfect for kitchens that face the street. Hem two panels of gingham or striped fabric, thread them onto a tension rod, and adjust the gather until it looks relaxed rather than stiff. No sewing machine? Use iron-on hem tape; it takes ten minutes and holds through washing. I tried gingham first and it read a bit picnic-y, so I swapped to a thin black stripe that felt smarter against the white walls. The mistake to avoid is fabric that’s too heavy — thick curtains block the light you actually want in a working kitchen.
Cost: ~$20 | Time: 1 hour
9. Patterned Black and White Seat Cushions
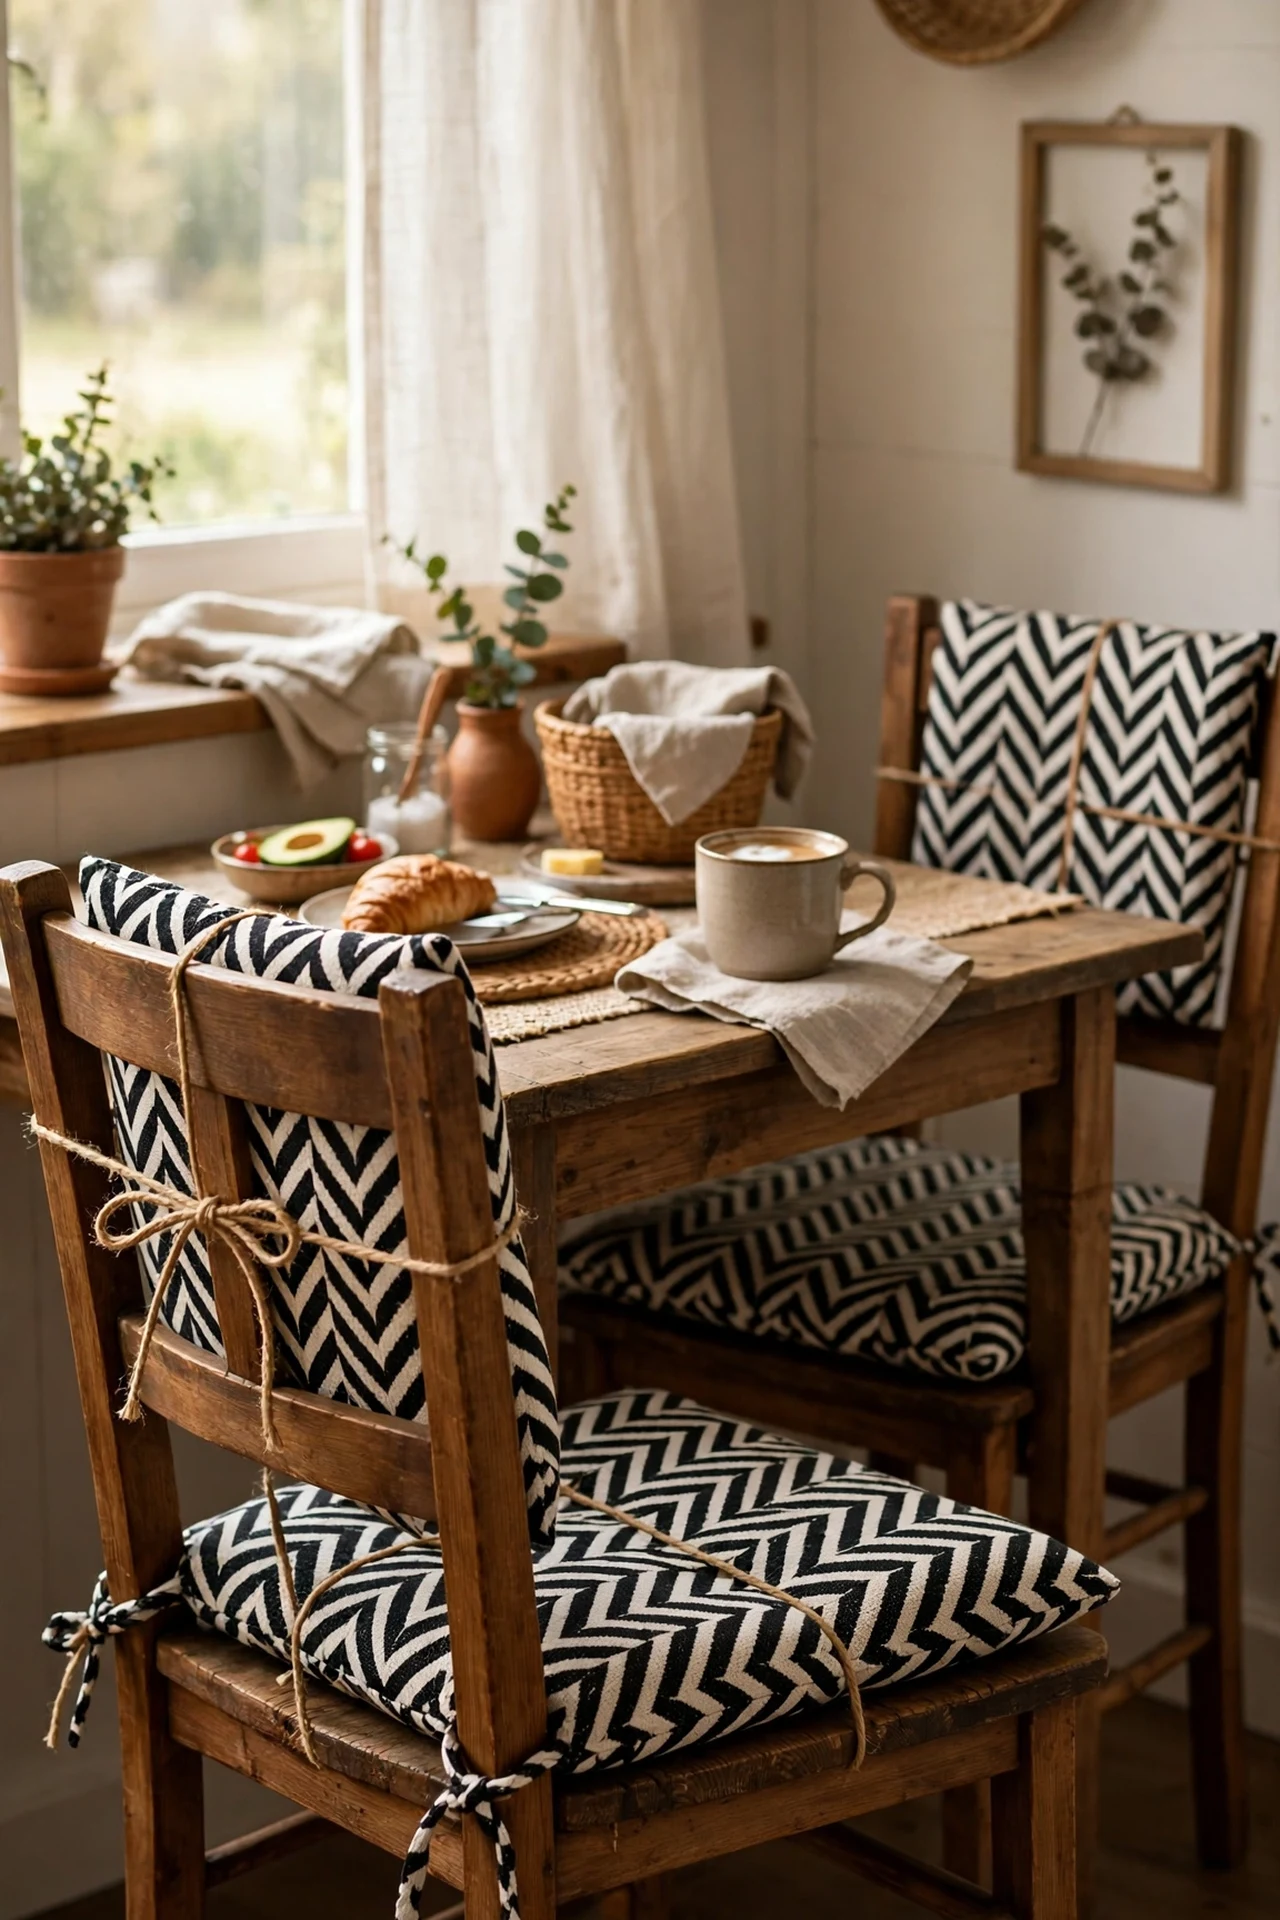
If your kitchen has a breakfast nook or stools, cushions are the fastest way to echo the scheme. Pick wipeable covers in bold patterns — stripes, spots, or a simple graphic print — and tie or velcro them to wooden chairs. Mix two patterns at most so it looks collected rather than chaotic. I tried four different prints once and the nook looked like a fabric shop exploded; two is the sweet spot. The mistake to avoid is pale cushions on everyday chairs — they stain within a week, so keep the white as piping or a small motif and let black do the heavy lifting on the seating.
Cost: ~$30 | Time: 15 minutes
Save this one to your kitchen board — you’ll want it when you repaint.
Hardware & Details
10. Spray-Painted Matte Black Cabinet Handles
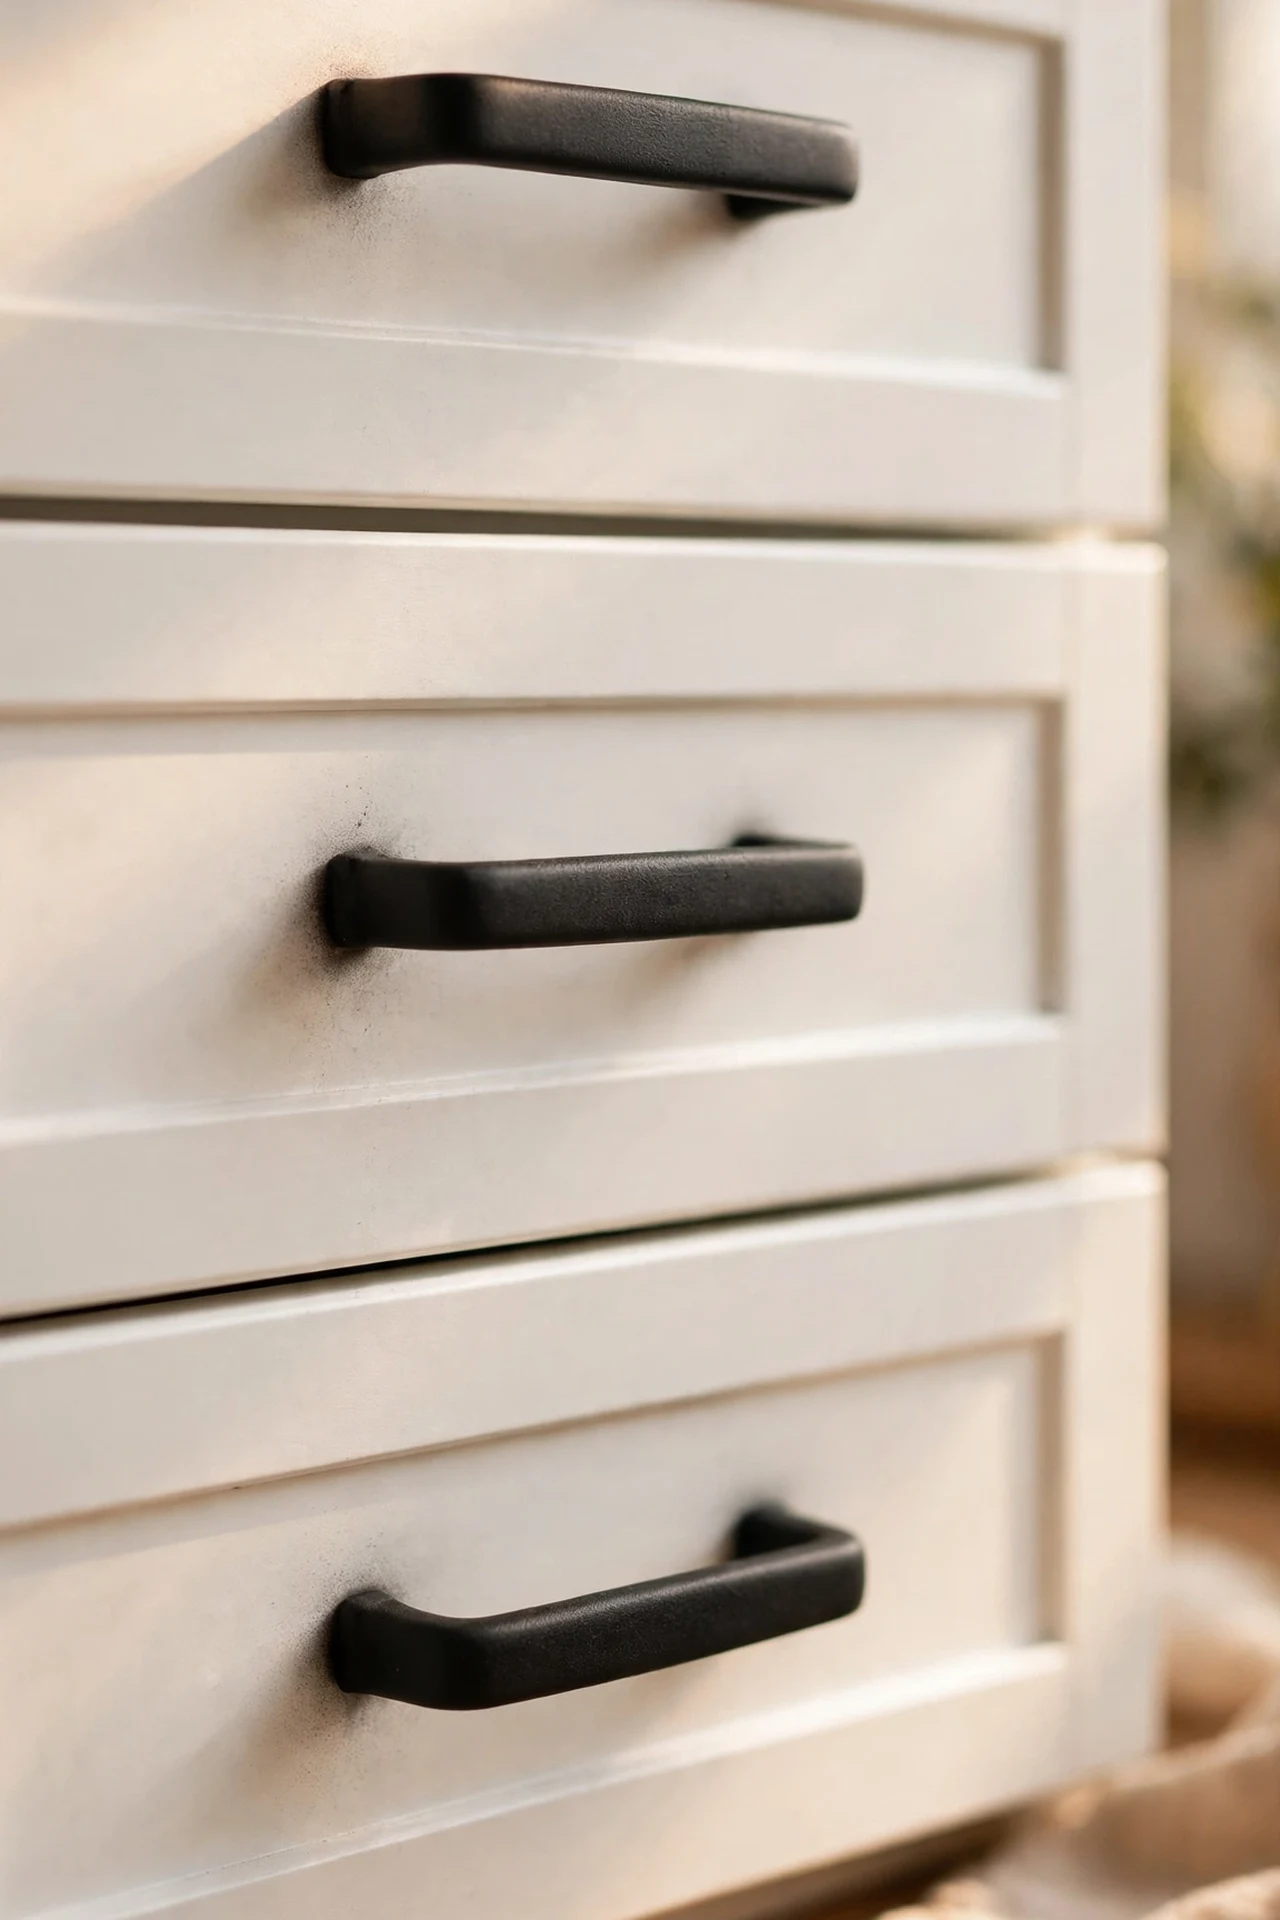
New handles can cost hundreds, but a can of matte black spray paint costs less than a takeaway. Unscrew every handle and knob, clean off the grease with sugar soap, then lay them on cardboard and spray light, even coats — three thin passes beat one gloopy one. Let them cure overnight before reattaching. I tried this on brassy 90s handles and they looked like designer hardware; two years on they still haven’t chipped. The mistake to avoid is painting them while attached — the overspray will mist your cabinet doors and you’ll spend longer cleaning up than the whole job took.
Cost: ~$8 | Time: 2 hours
11. Budget Black Faucet Swap
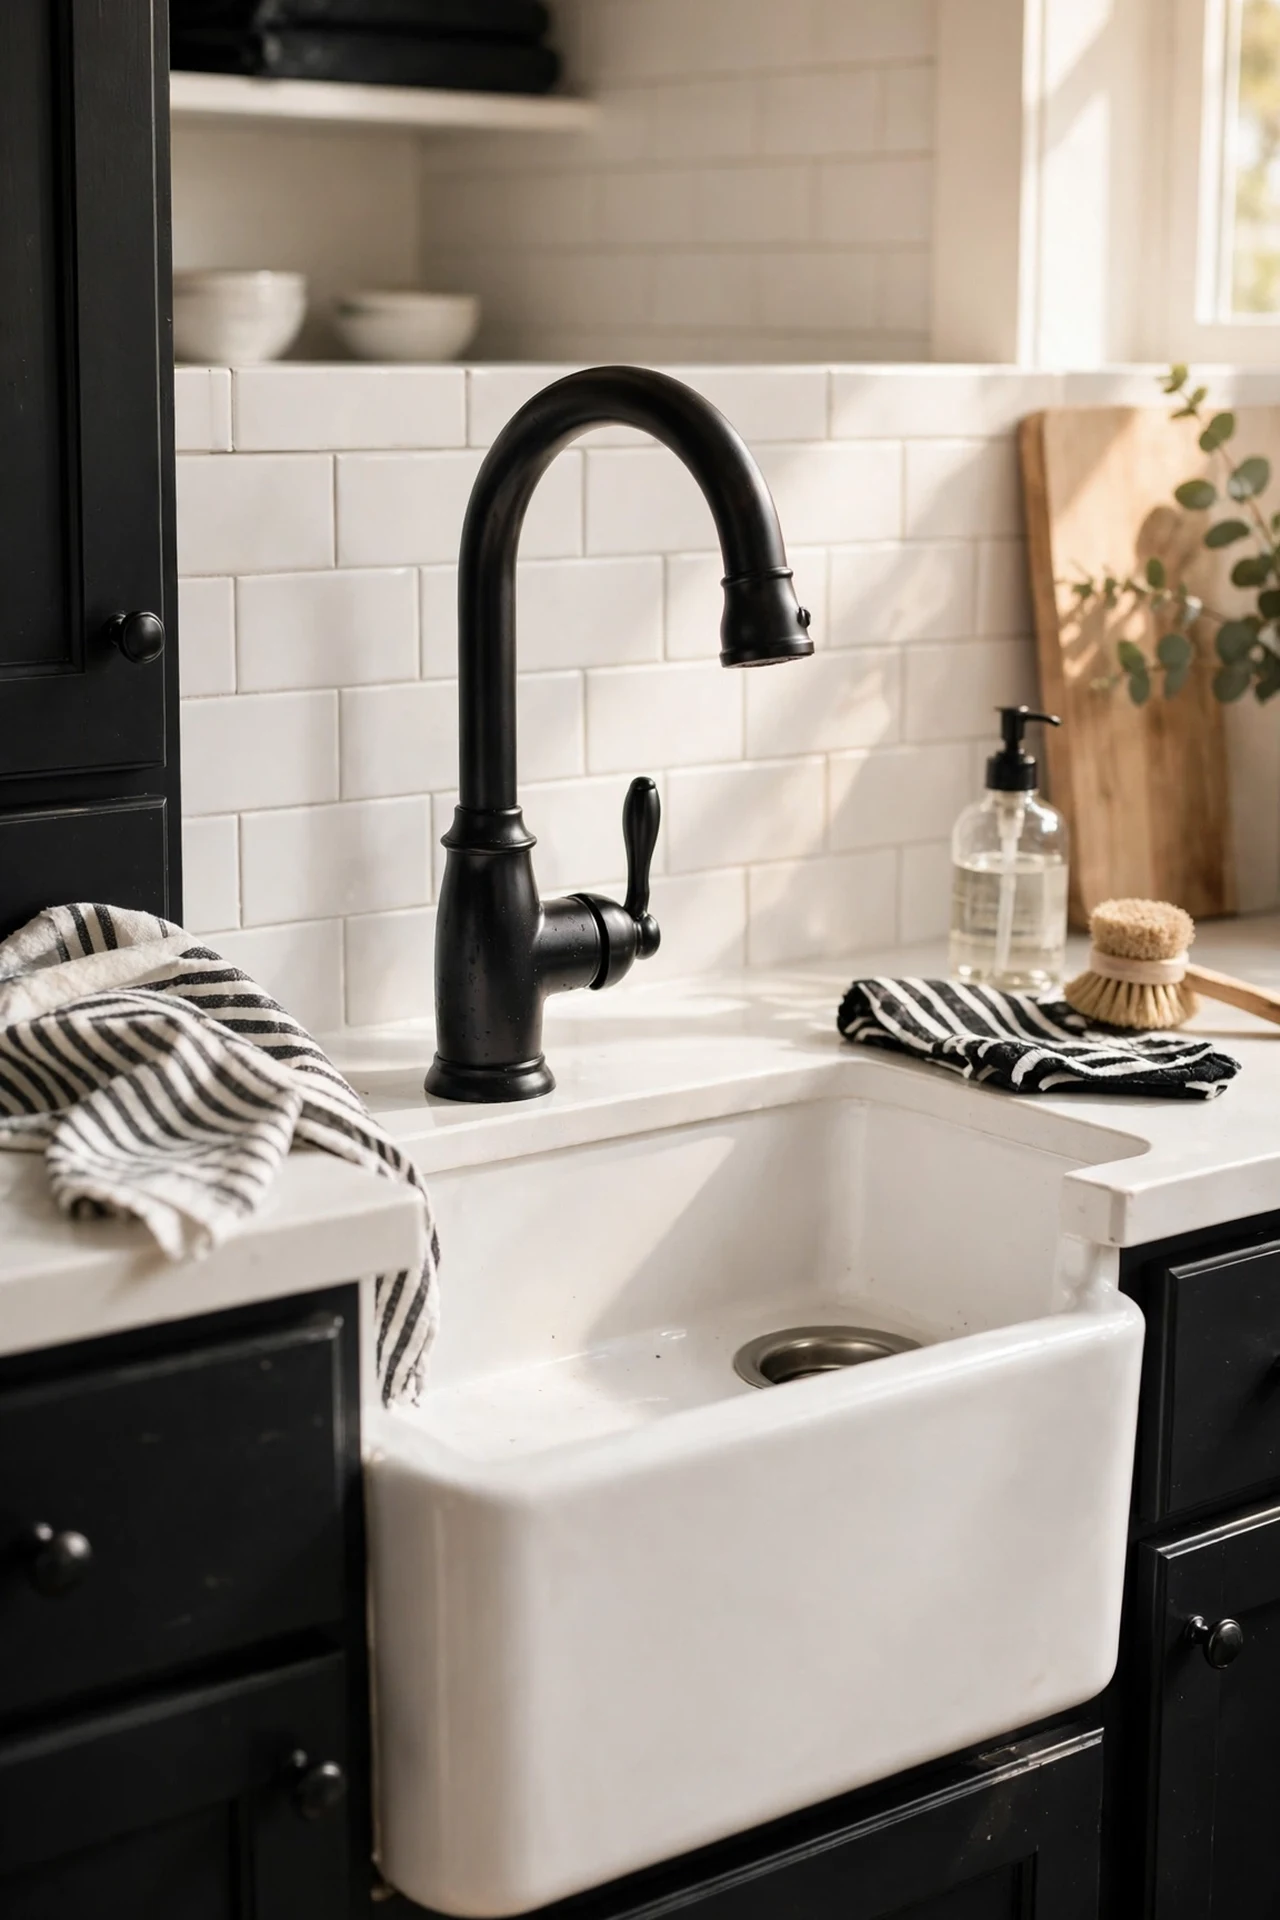
A black faucet is jewellery for the sink, and budget brands sell decent ones for the price of a dinner out. Turn off the water valves under the sink, disconnect the old tap with a basin wrench, and fit the new one following the diagram — most are designed for DIYers with two flexible hoses. Wrap the threads with PTFE tape to stop drips. I tried doing this without the basin wrench first and spent an hour wrestling in the dark; the ten-quid wrench made it a twenty-minute job. The mistake to avoid is overtightening the plastic nuts — they crack, and then you’re buying a second faucet.
Cost: ~$45 | Time: 1 hour
12. Black Floating Shelves on White Walls
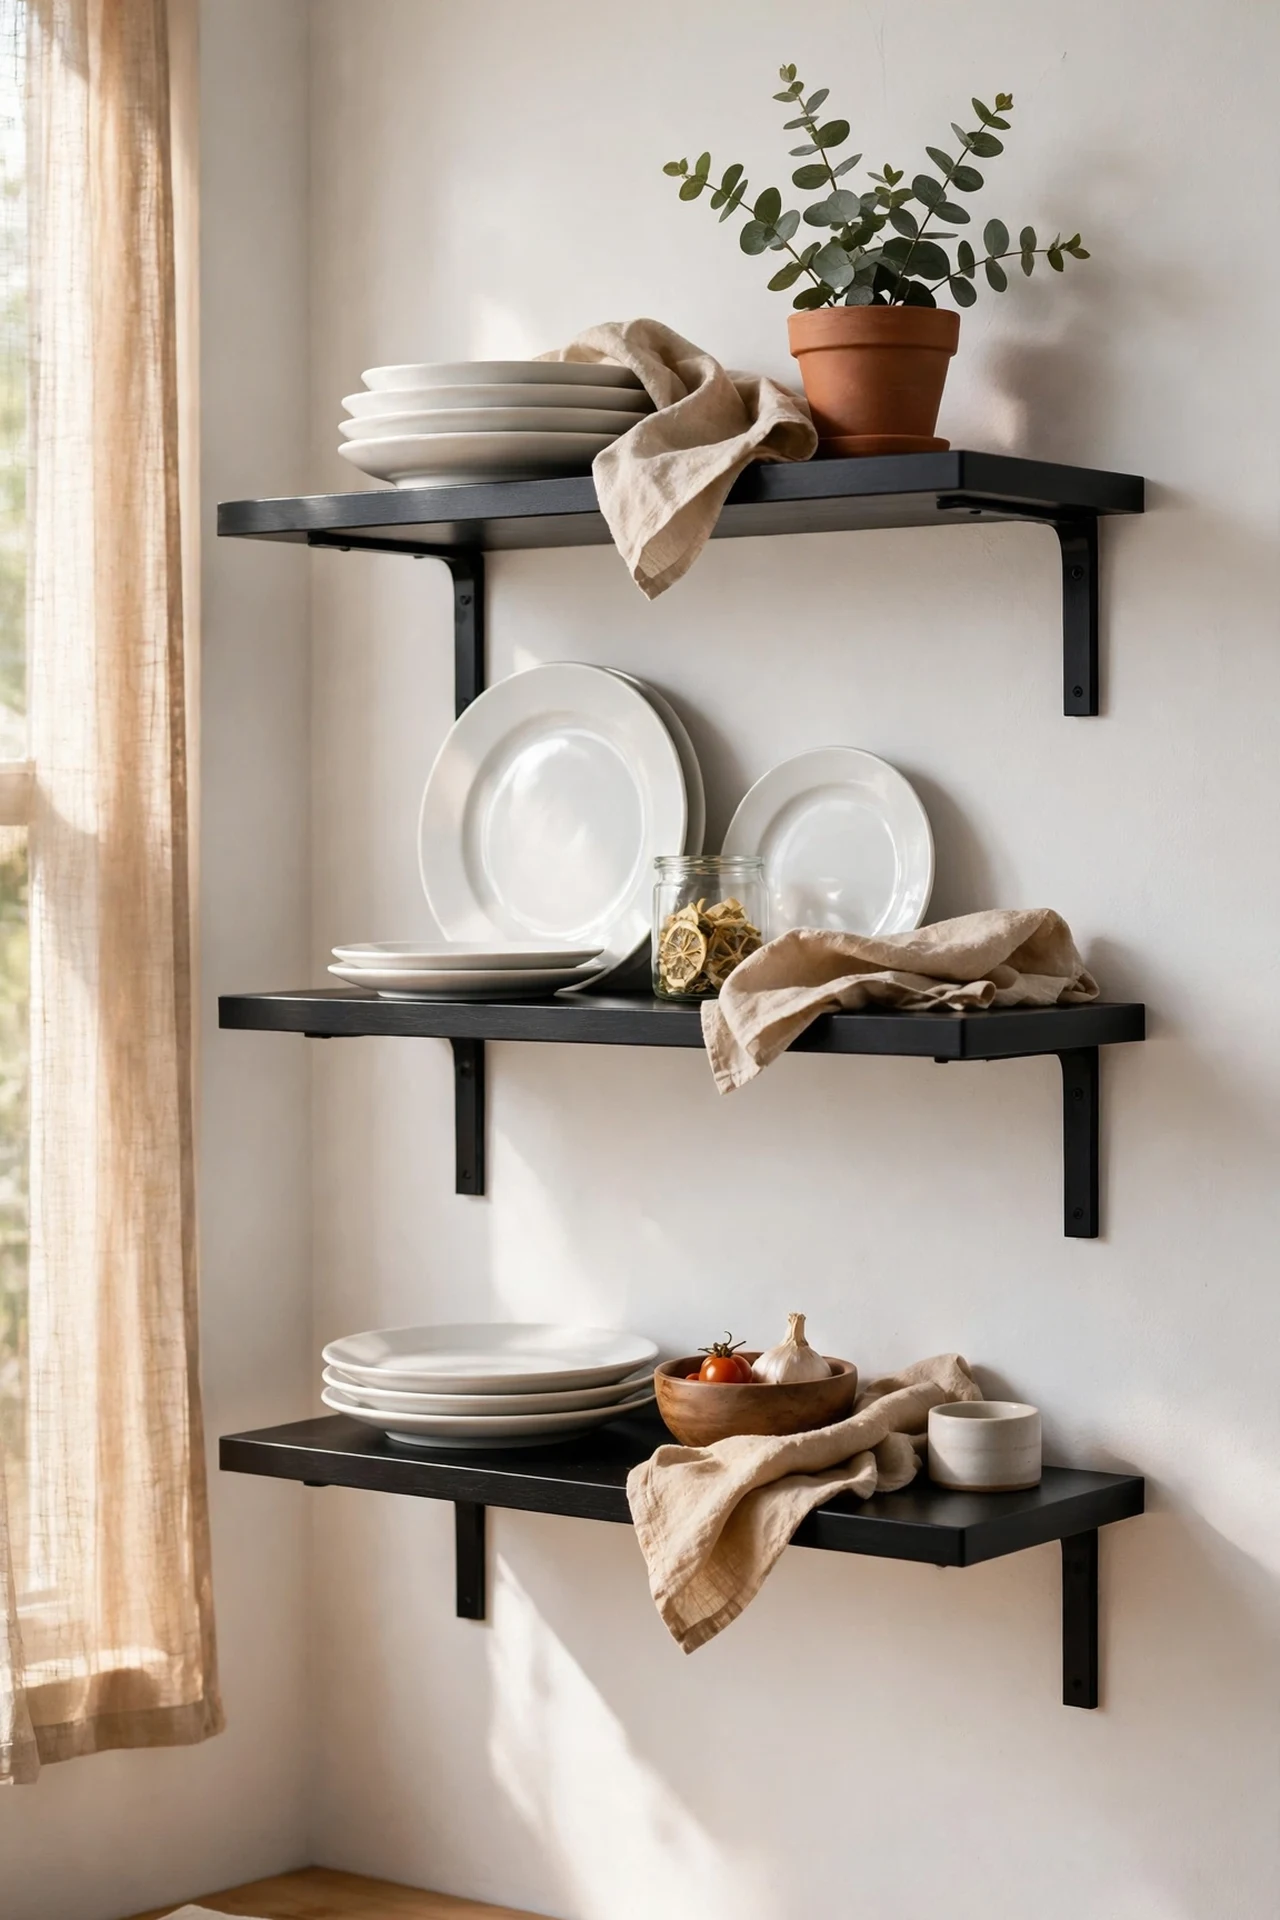
Two black floating shelves on a white wall give you display space and instant contrast. Fix heavy-duty brackets into studs or use proper plasterboard anchors — shelves loaded with plates need real support. Stain cheap pine boards with black wood stain or paint them satin black, then slide them onto the brackets. Style them with white plates and a couple of black mugs for the full effect. I tried anchors rated for light pictures first and woke to a shelf on the floor; proper fixings have held two years of daily use. The mistake to avoid is skipping the spirit level — even a slight slope is obvious when plates start sliding (more (see also: small-kitchen-organization-ideas) if you need storage help).
Cost: ~$40 | Time: 2 hours
13. Thrifted Black-and-White Art Prints
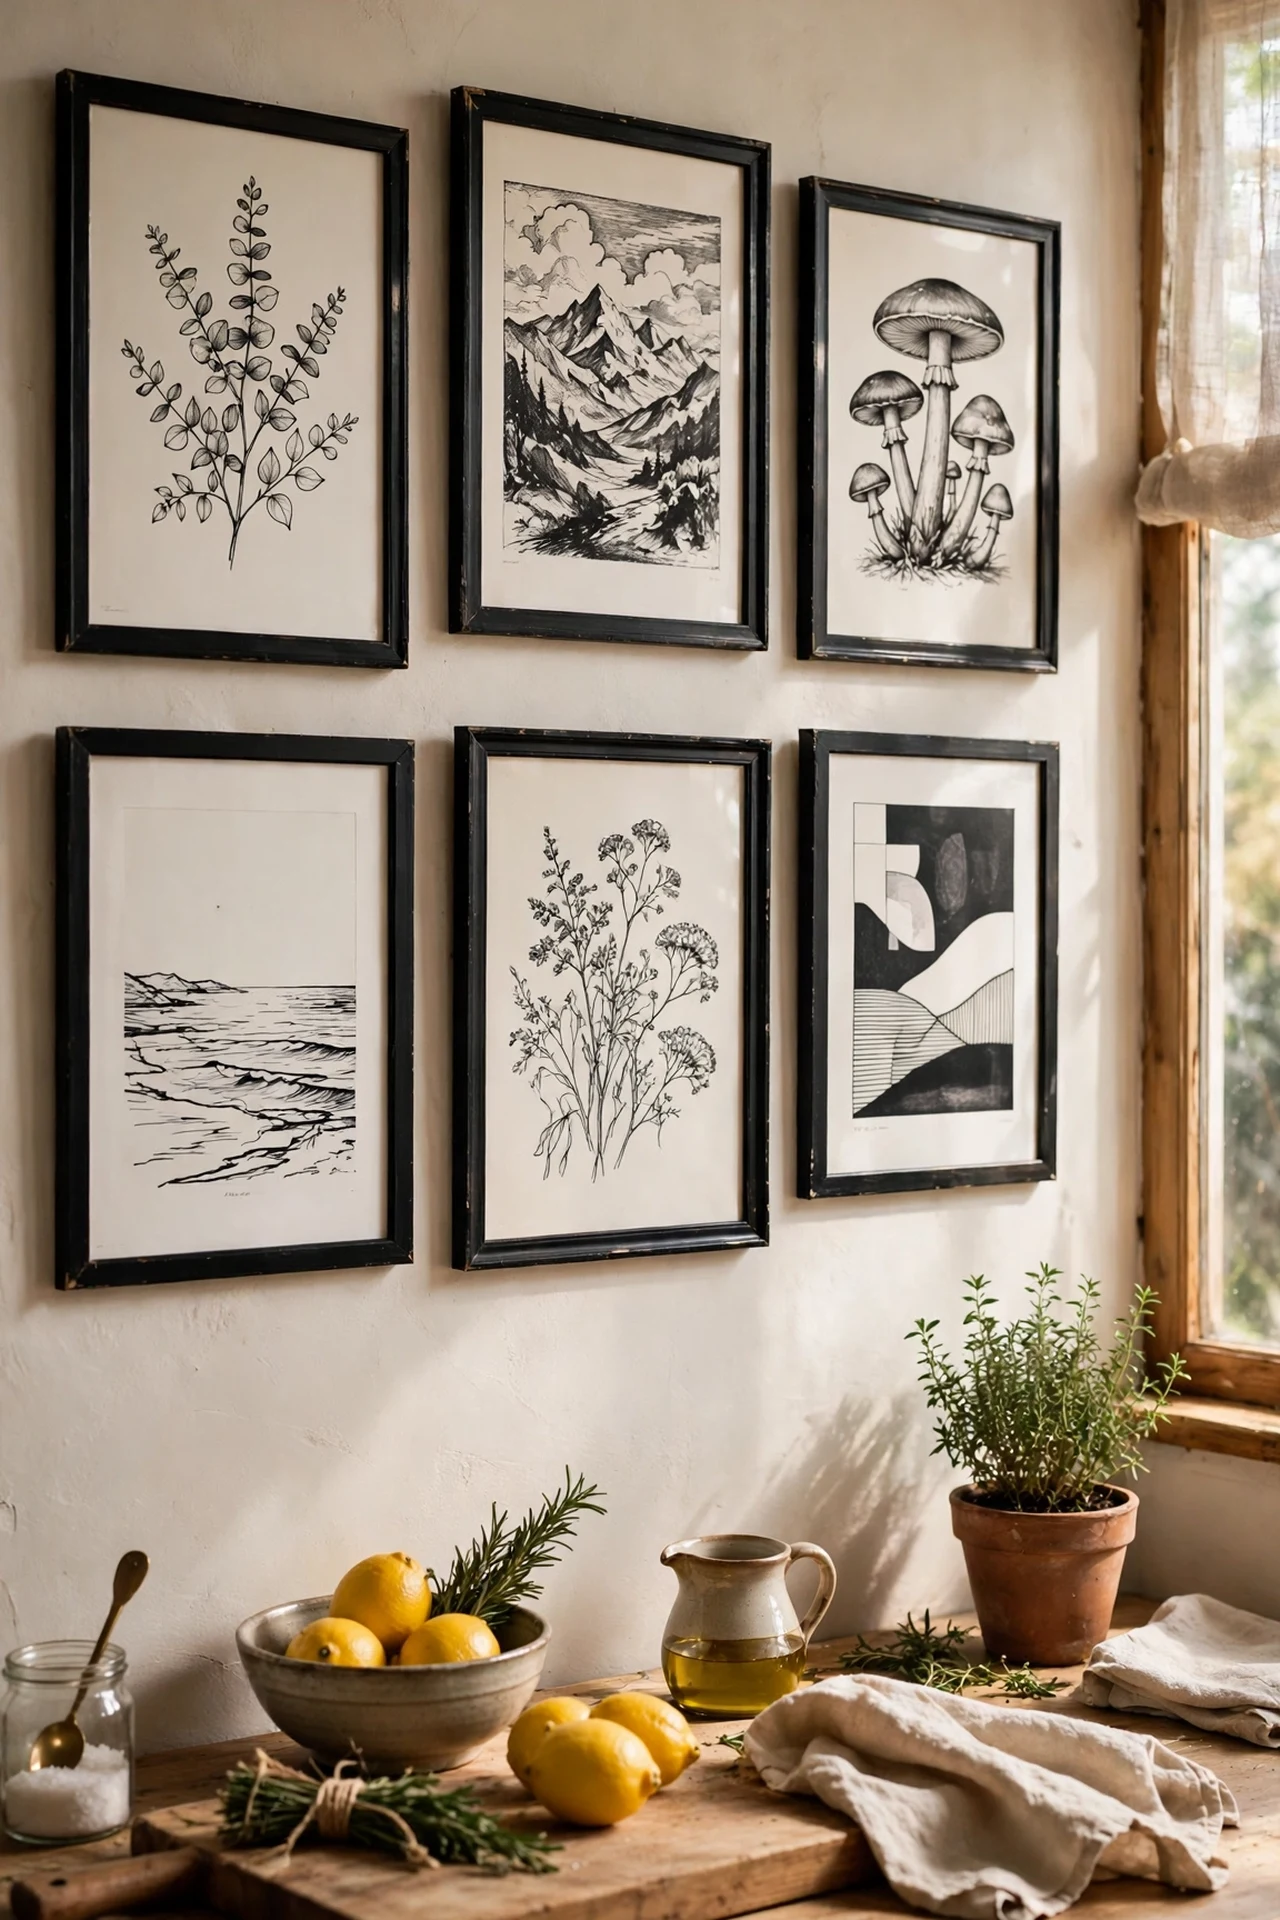
Kitchen walls don’t need to stay bare — charity shops are full of black frames and graphic prints for pennies. Hunt for bold typography, botanical line drawings, or vintage food adverts, then hang them in a loose grid above the worktop. Spray-paint mismatched frames the same matte black so they read as a set. I tried a row of three herb prints in different wood frames and it looked scrappy; one coat of black paint unified them completely. The mistake to avoid is hanging art where steam hits it — keep prints away from the hob and kettle or the glass will fog and the paper will warp.
Cost: ~$15 | Time: 1 hour
Styling & Light
14. White Open Shelves Styled with Black Dishware
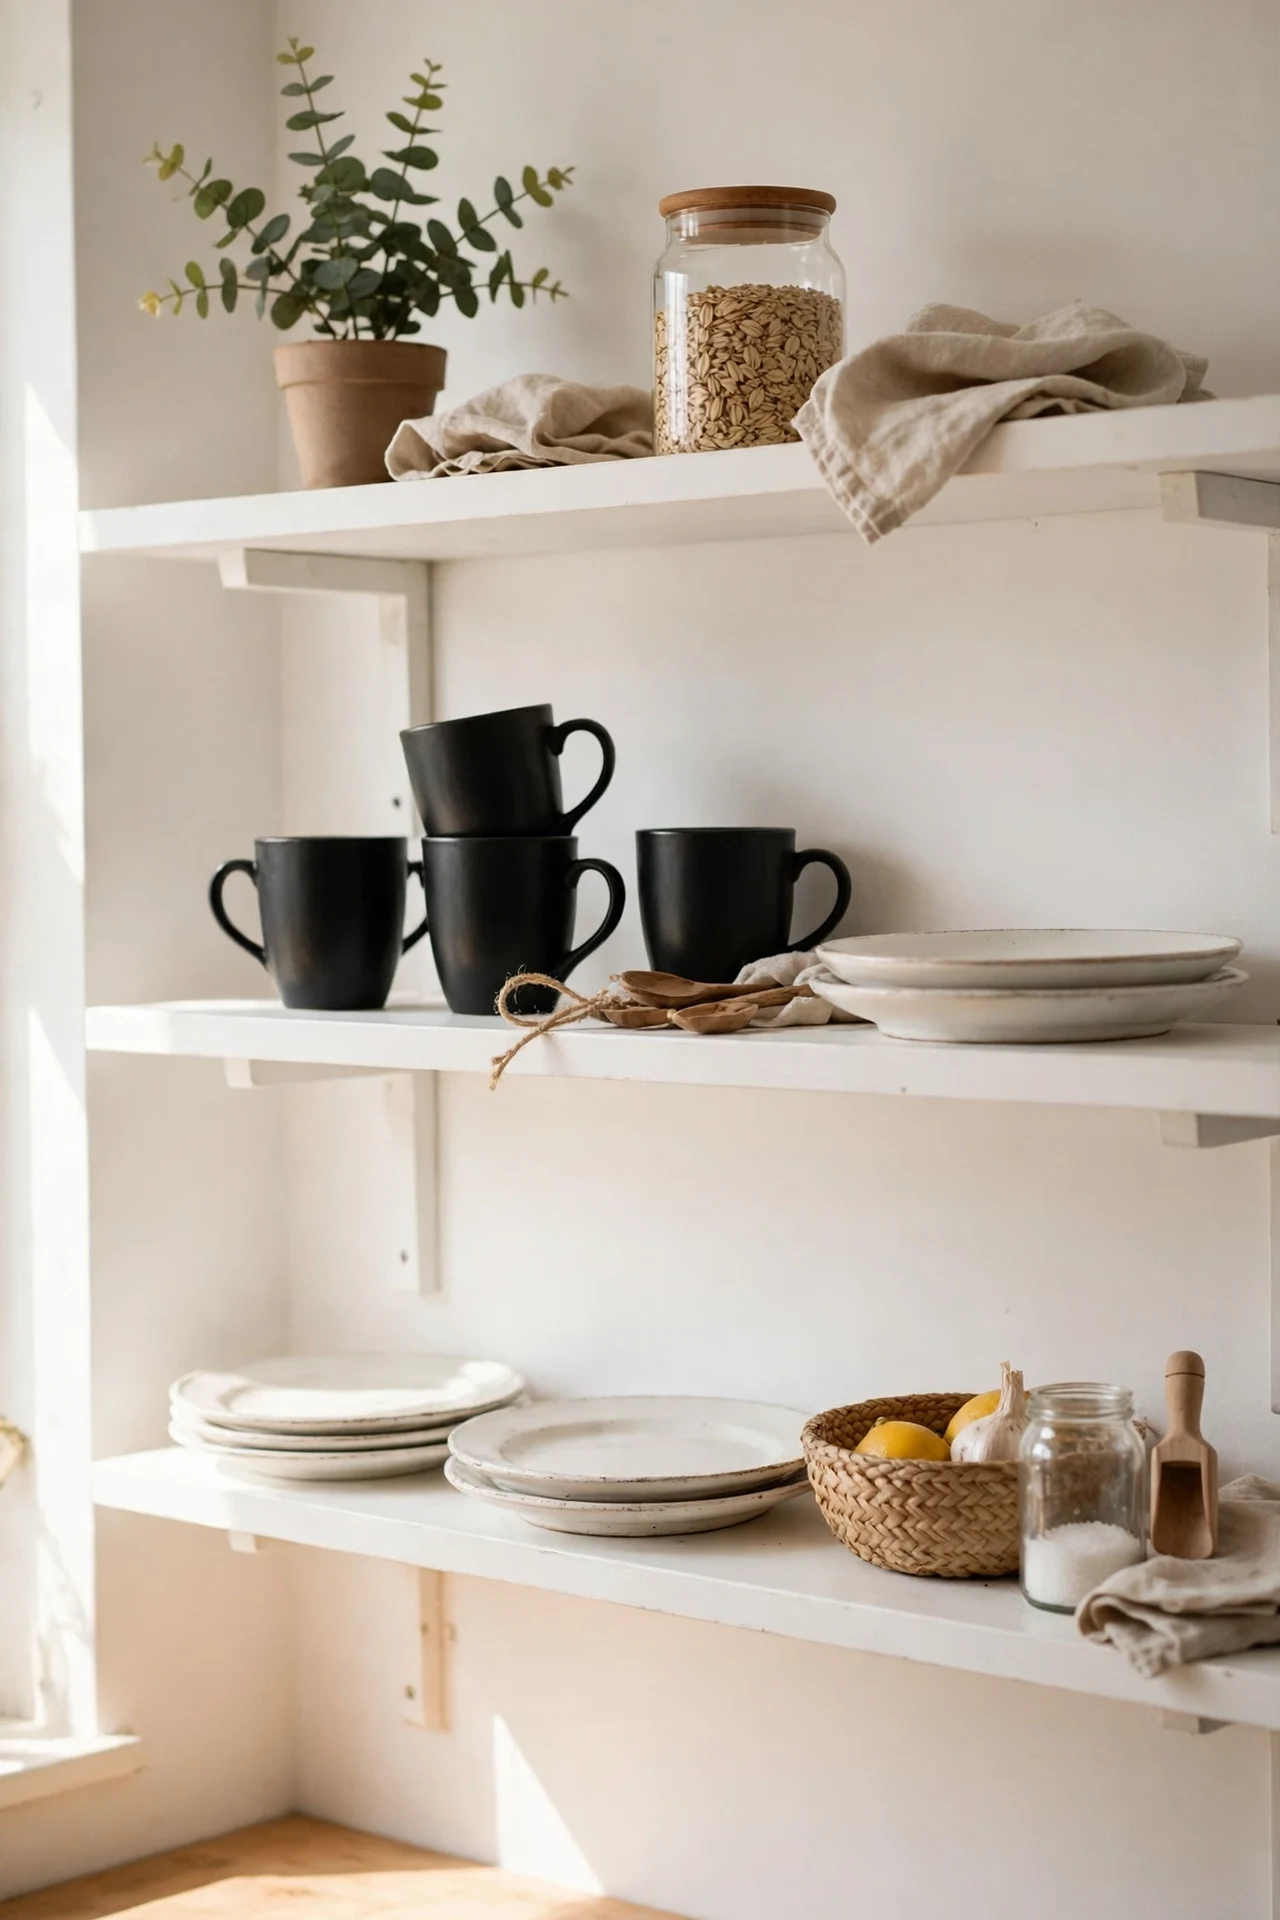
If you already have open shelving, the cheapest refresh is editing what sits on it. Group white plates and bowls together, then punctuate with black mugs, a black teapot, or dark glass jars — the alternating rhythm is what makes it look designed. Leave breathing room between groups so it doesn’t read as clutter. I tried cramming every mug I owned onto one shelf and it looked like a jumble sale; taking half away made the rest look expensive. The mistake to avoid is displaying chipped or stained pieces — on open shelves every flaw shows, so keep only the pieces you’d happily serve guests from.
Cost: ~$0 | Time: 30 minutes
15. Black Pendant Lights Over the Island
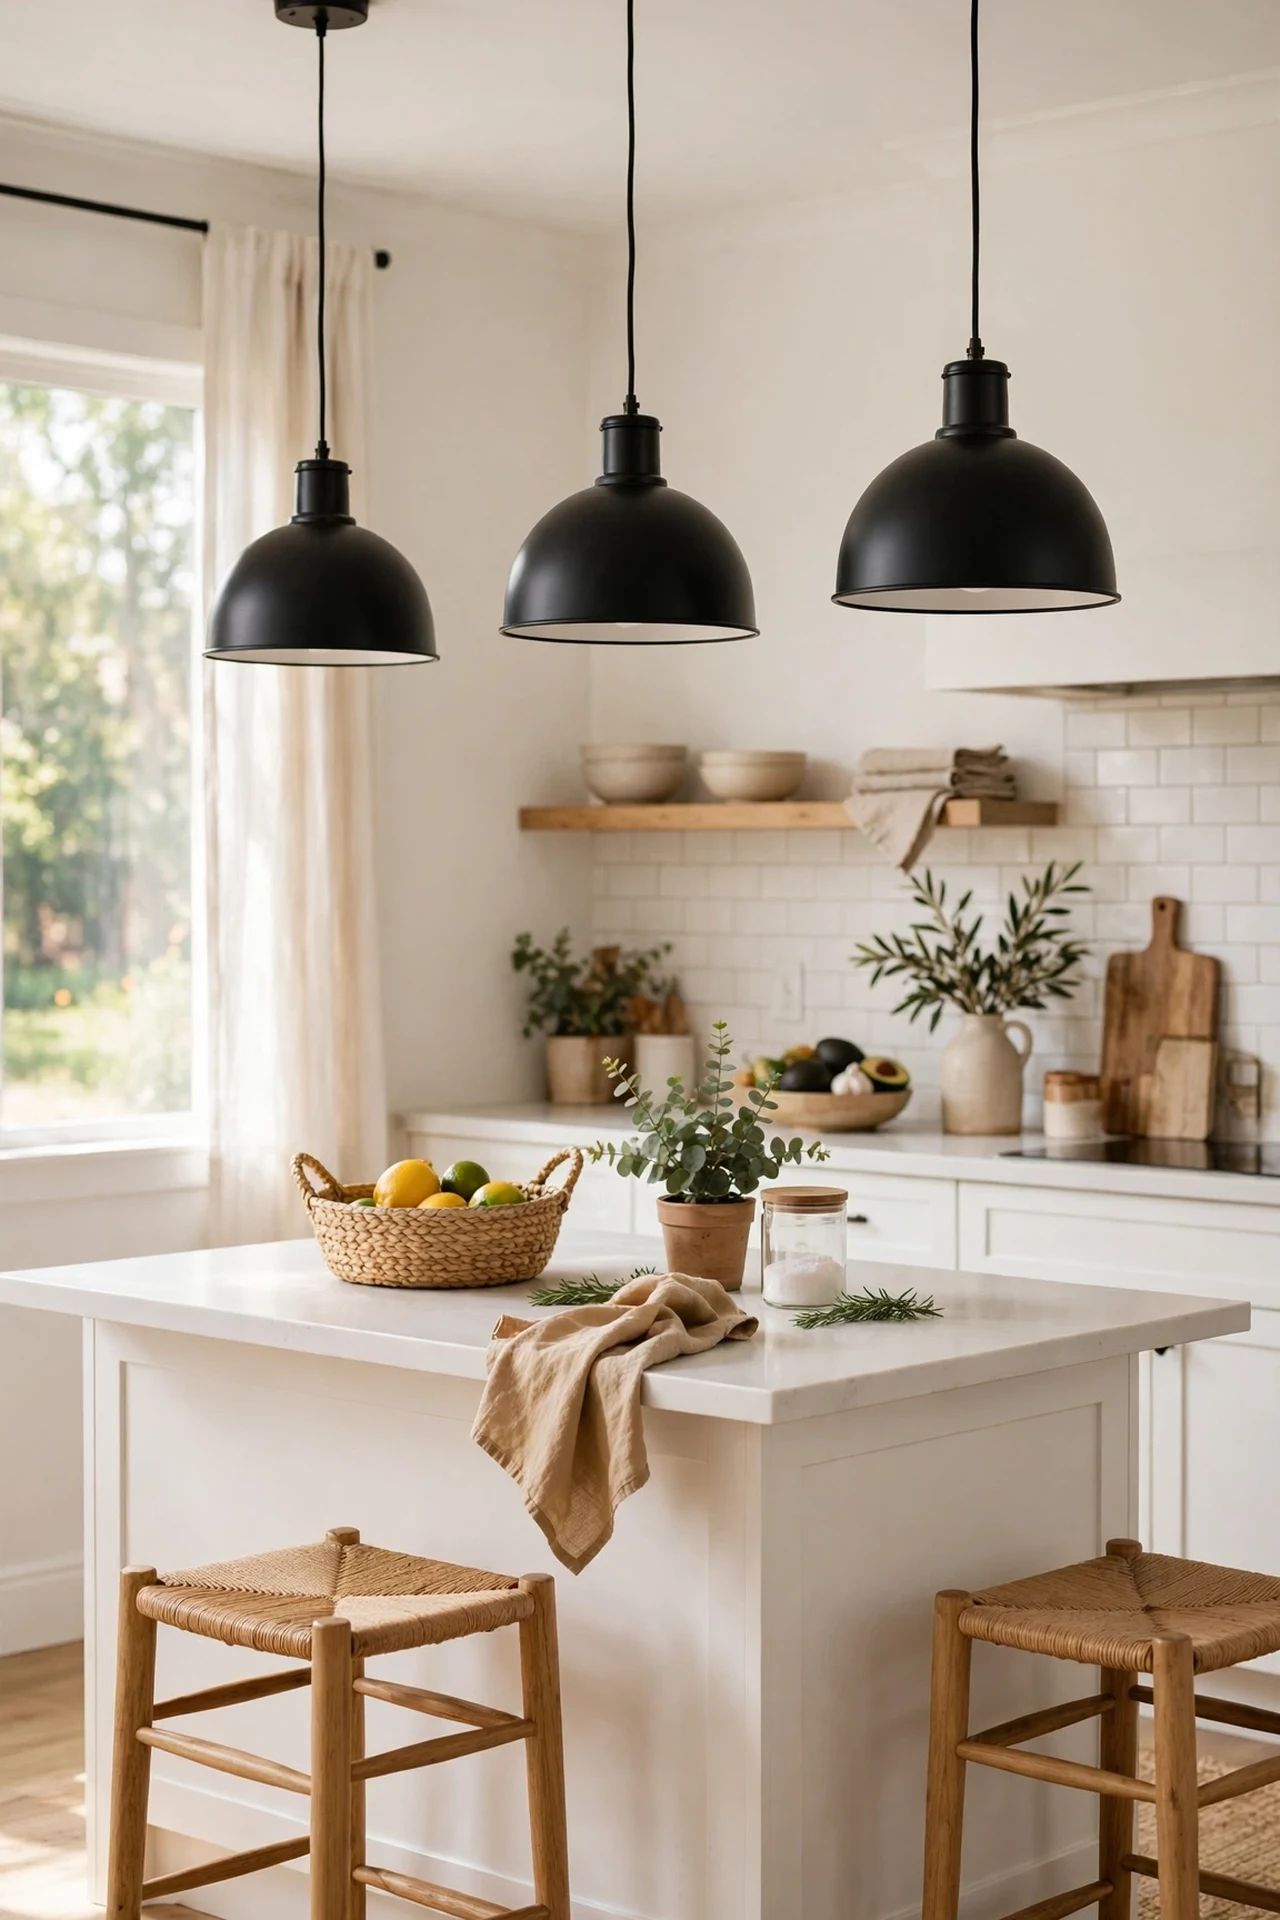
Lighting is where black makes the boldest statement, and budget pendant shades are everywhere now. Swap tired flush fittings for two or three black dome or cone pendants, hung at the same height — about 75cm above the worktop is the sweet spot. Turn off the power at the breaker, match wire for wire, and always test before you touch. I tried hanging mine at different heights for a ‘designer’ look and it just looked like a mistake; level and even wins. The mistake to avoid is choosing shades with no diffuser if you sit under them — bare bulbs at eye level are blinding over breakfast.
Cost: ~$50 | Time: 2 hours
16. Magnetic Black Knife Strip on a White Wall
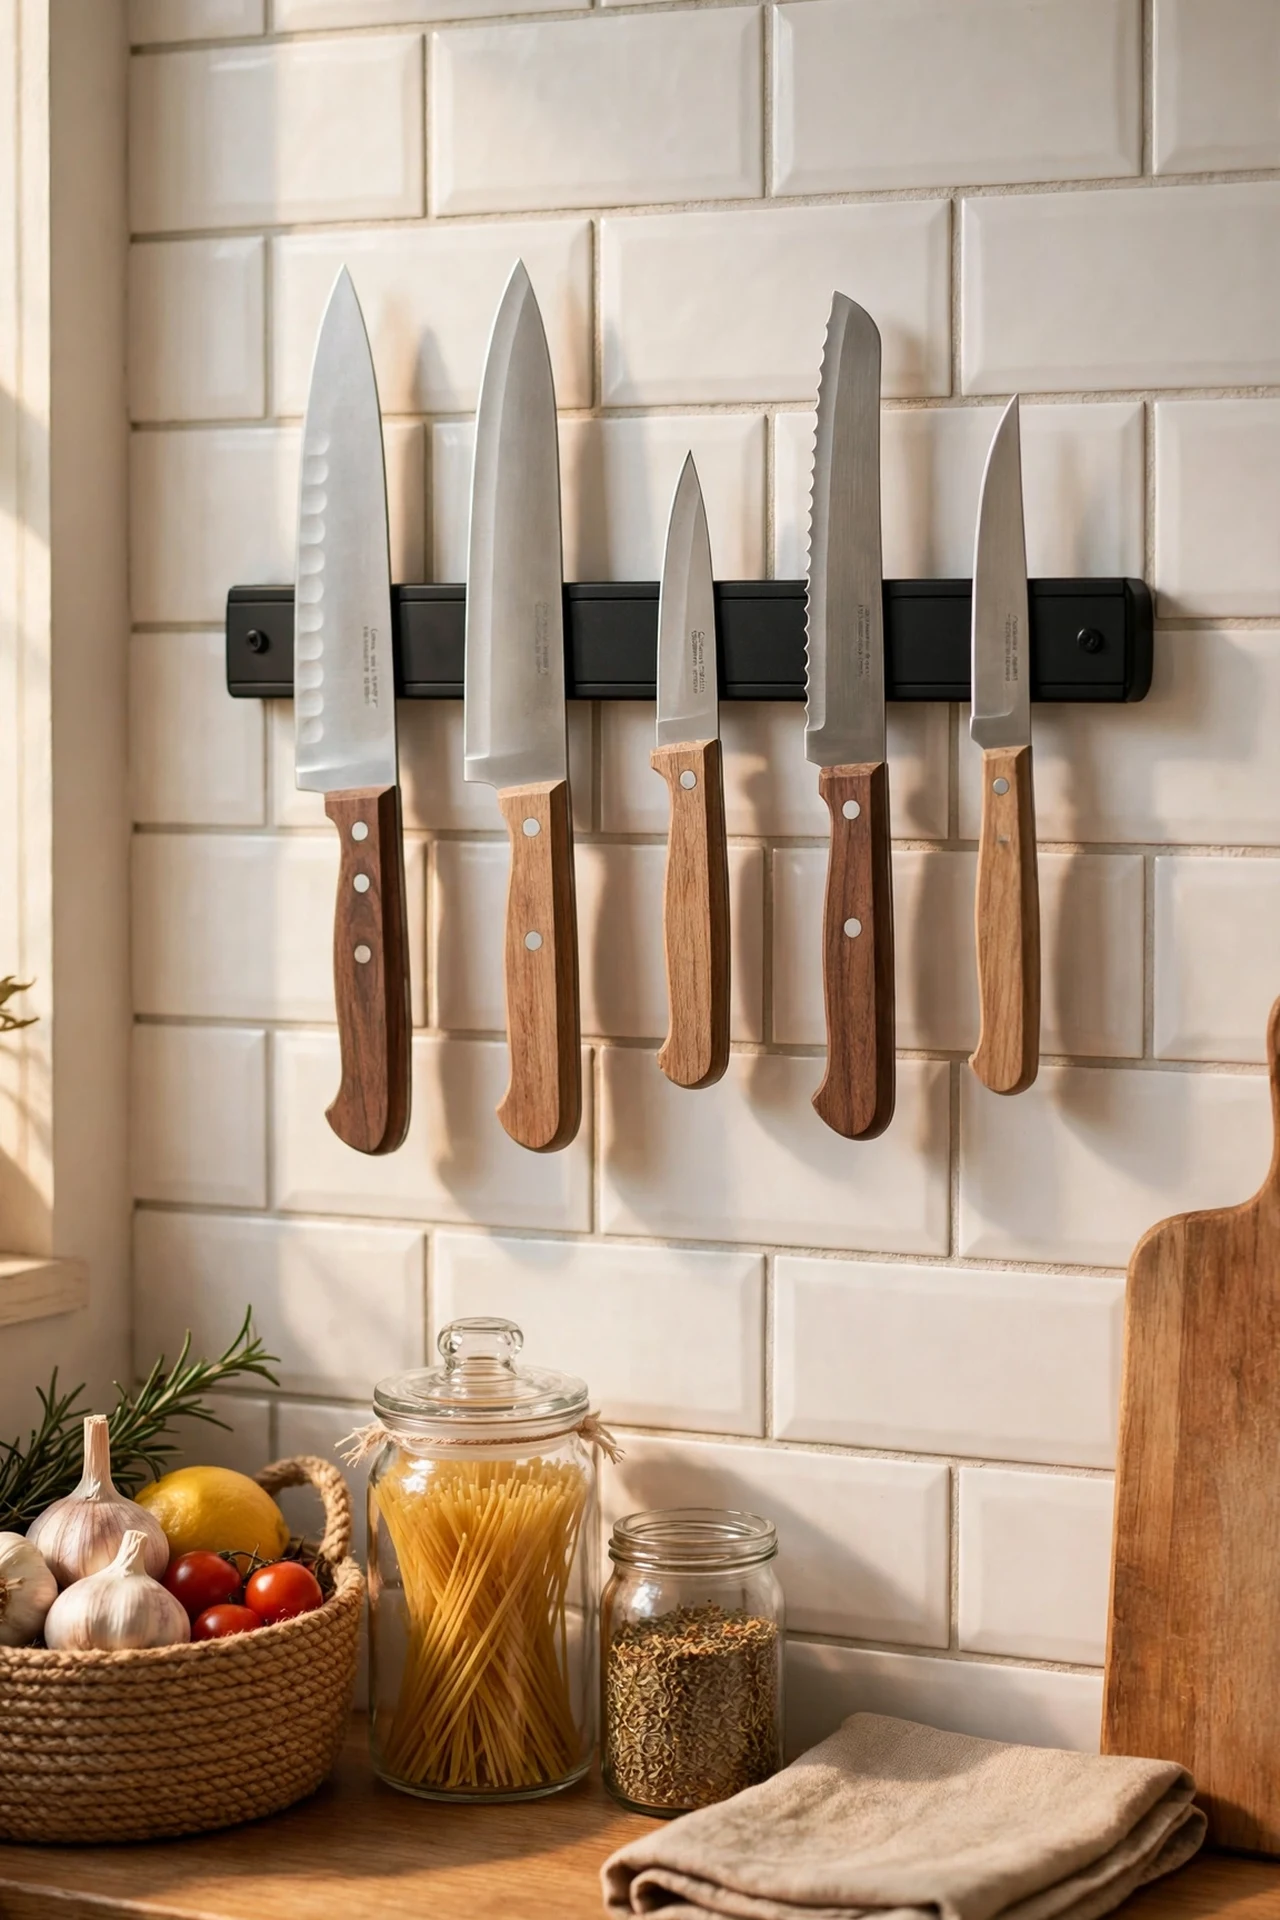
A magnetic knife strip in black clears the worktop and looks sharp against white tiles. Fix it to the wall with the supplied screws — into a stud or with solid anchors — at a height where the longest knife clears the worktop below. Wipe knives dry before sticking them up so moisture doesn’t dull the blades. I tried one stuck to the side of the fridge first, but the curved door meant knives slid; a flat wall is far safer. The mistake to avoid is mounting it above the hob or where kids reach — heat warps handles and little hands grab shiny things (see our (see also: kitchen-makeover-on-a-budget) guide for more safe swaps).
Cost: ~$18 | Time: 30 minutes
17. Black-and-White Table Styling for Everyday
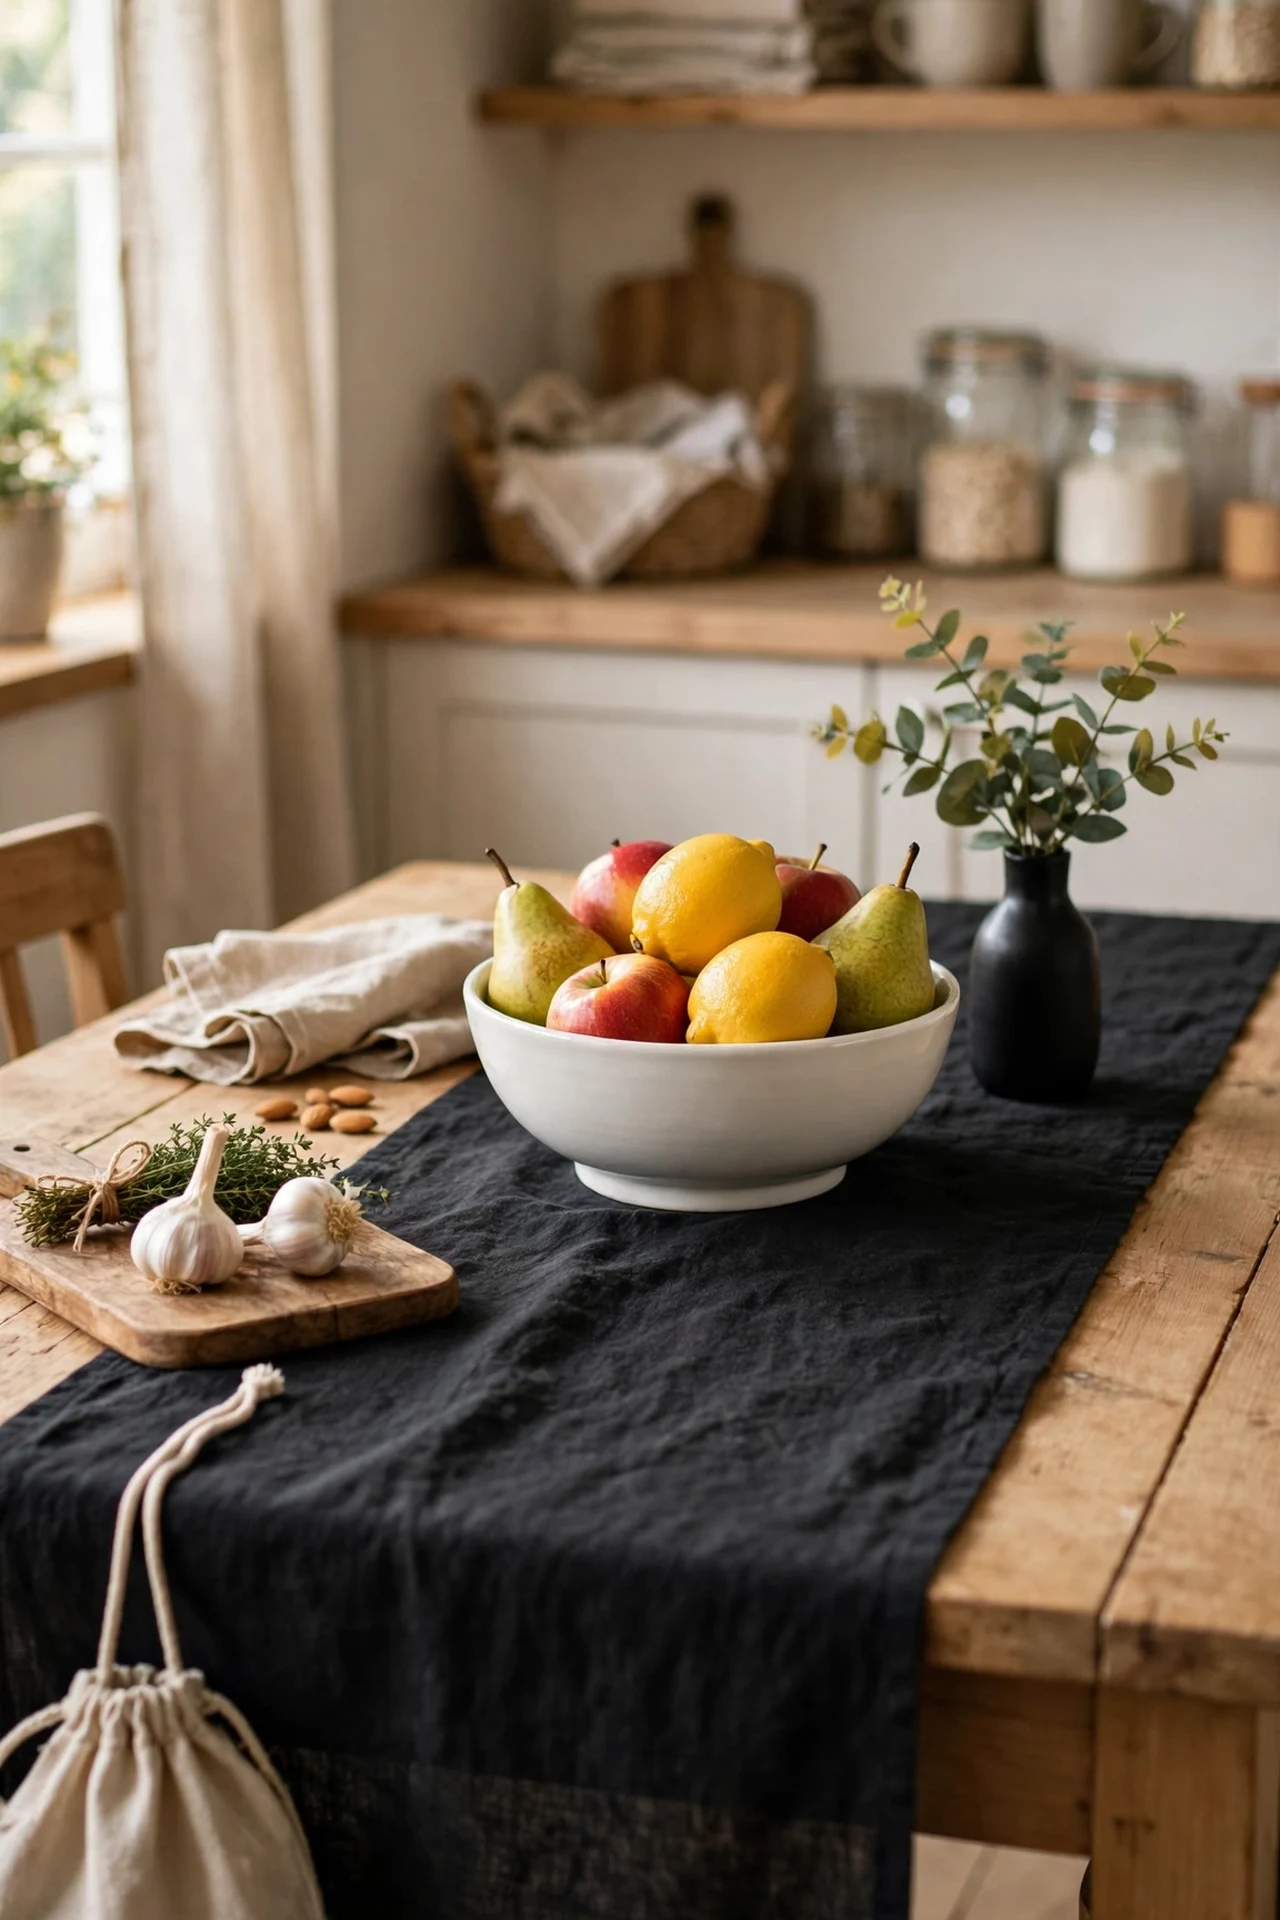
The kitchen table is the room’s centre stage, so give it a simple two-tone moment. Lay a black runner down the middle of a light table, add a white bowl of fruit, and finish with a small black vase holding eucalyptus or dried stems. Keep it low so conversation flows across it. I tried a tall flower arrangement once and spent every meal peering around it; low and simple gets used, tall gets moved. The mistake to avoid is a fussy centrepiece that blocks the table’s actual job — if you have to clear it every mealtime, it won’t survive the week.
Cost: ~$25 | Time: 20 minutes
Black and white is forgiving — even one or two of these ideas will make your kitchen feel sharper and more pulled together. Start with the cheapest swap, live with it for a week, and let the contrast do the rest.
