23 Navy Blue Kitchen Ideas That Feel Fresh
Two years ago I stood in my kitchen at midnight, scrolling through navy blue kitchen ideas on my phone, and had a small crisis. I loved the colour — deep, calm, a little bit brave — but every photo looked like a mansion renovation. I rent a boxy flat with a kitchen the size of a parking space, and I was not about to rip out cabinets. So I started small: one navy roller blind, then a painted island. Within a month, strangers on my doorstep asked who my interior designer was. Navy blue works because it behaves like a neutral with personality — it grounds white walls, warms up wood, and somehow makes cheap kitchens look considered. Below are 23 ways to get the look, most for the price of a takeaway weekend, none of them requiring a contractor.
1. Navy Lower Cabinets, White Upper Walls
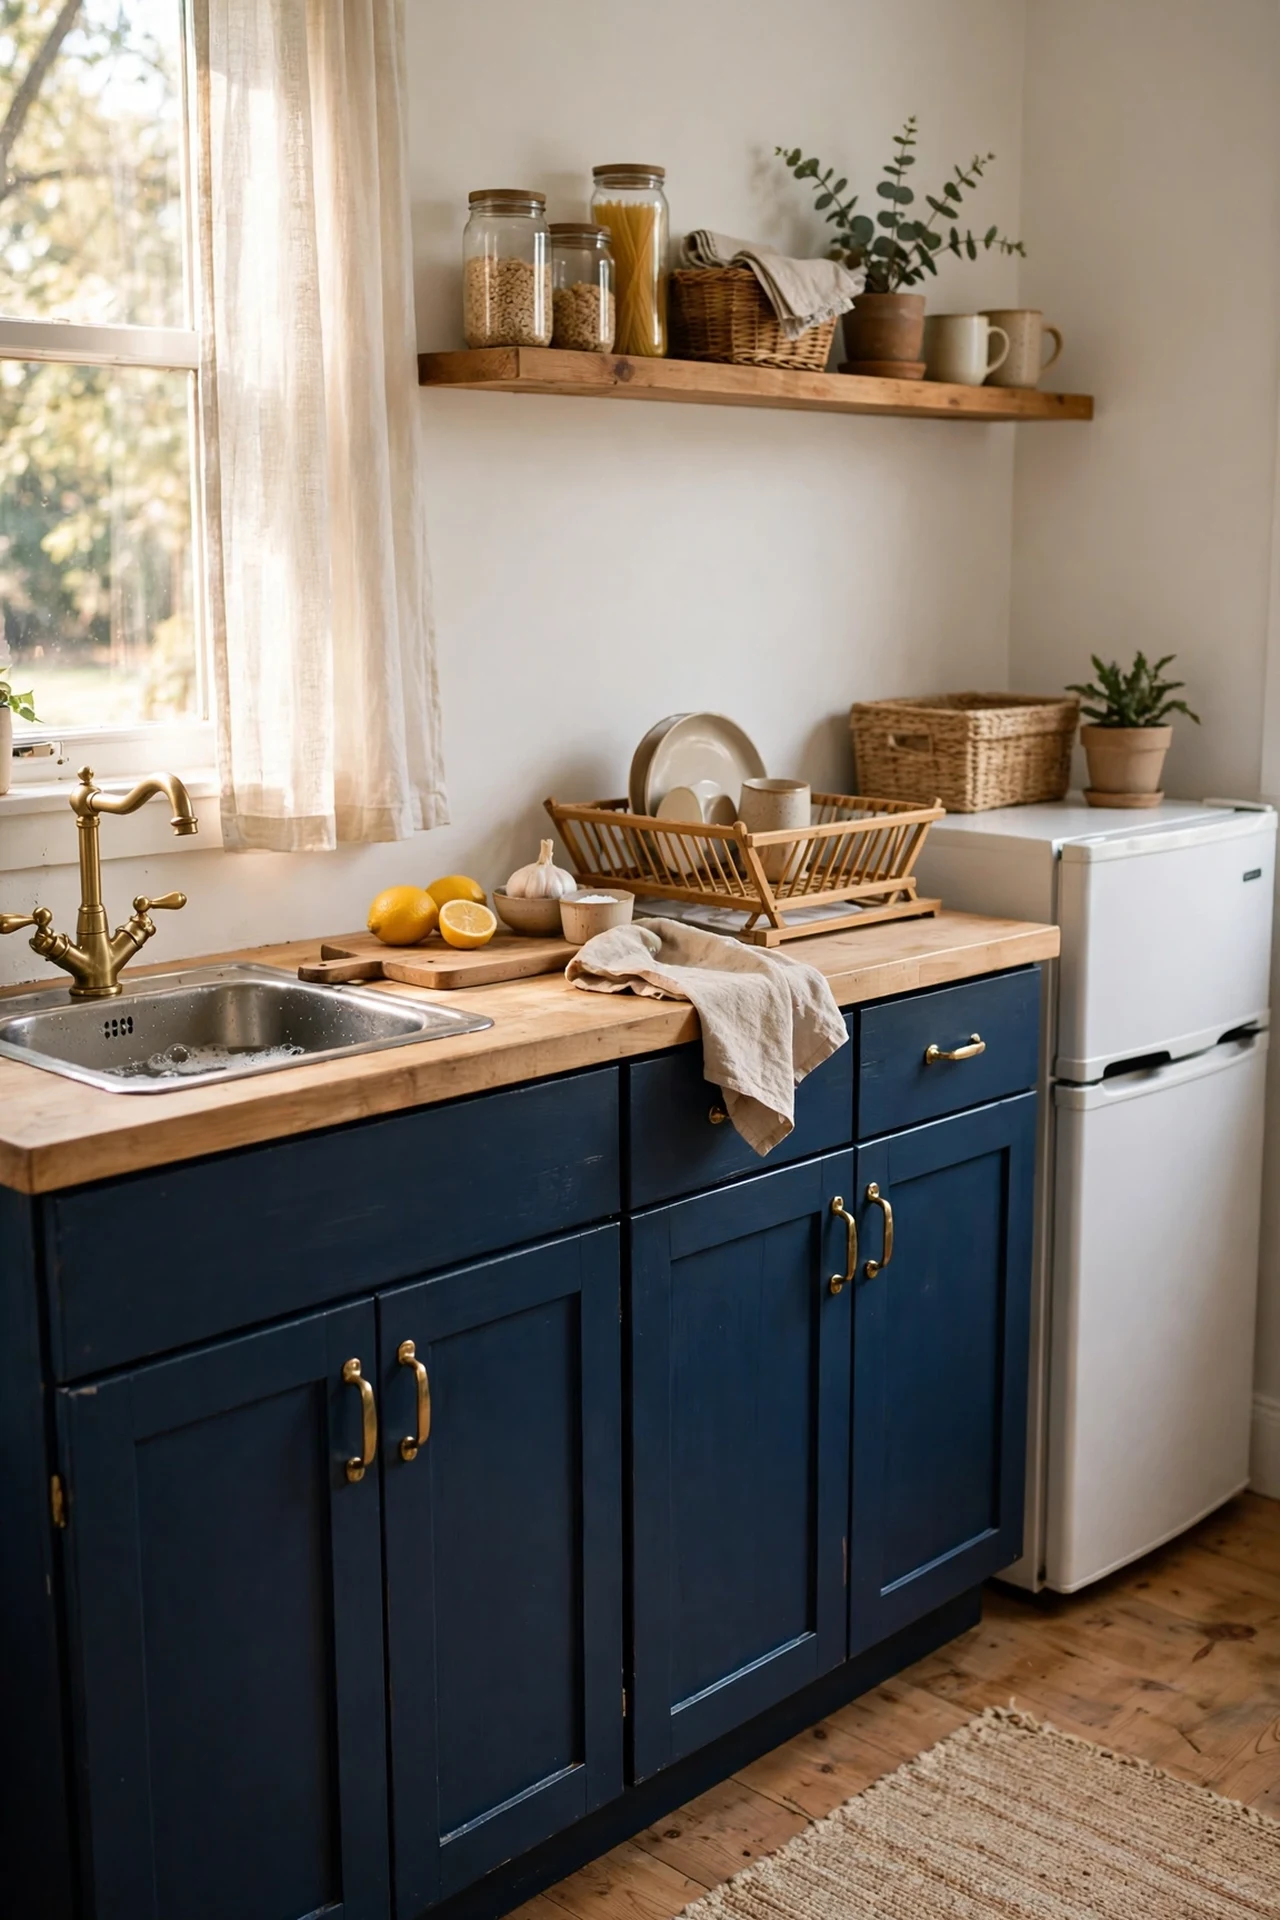
This is the classic two-tone move and it earns its reputation. Painting just the lower cabinets in a deep navy grounds the whole room, while white uppers keep everything feeling open and bright. I tried this in my own kitchen with a roller, a decent brush for the edges, and two coats of a scuff-resistant satin. The steps are simple: remove the doors and hardware, clean with a degreaser (kitchens are grimier than you think), lightly sand, prime, then paint with a brush in the direction of the grain. The mistake to avoid is painting in humid weather — I did it with the windows shut in October and the doors stayed tacky for two days. Let them cure a full week before you rehang them or you’ll get fingerprints in the finish.
Cost: ~$45 | Time: one weekend
2. A Navy Blue Kitchen Island as the Room’s Anchor
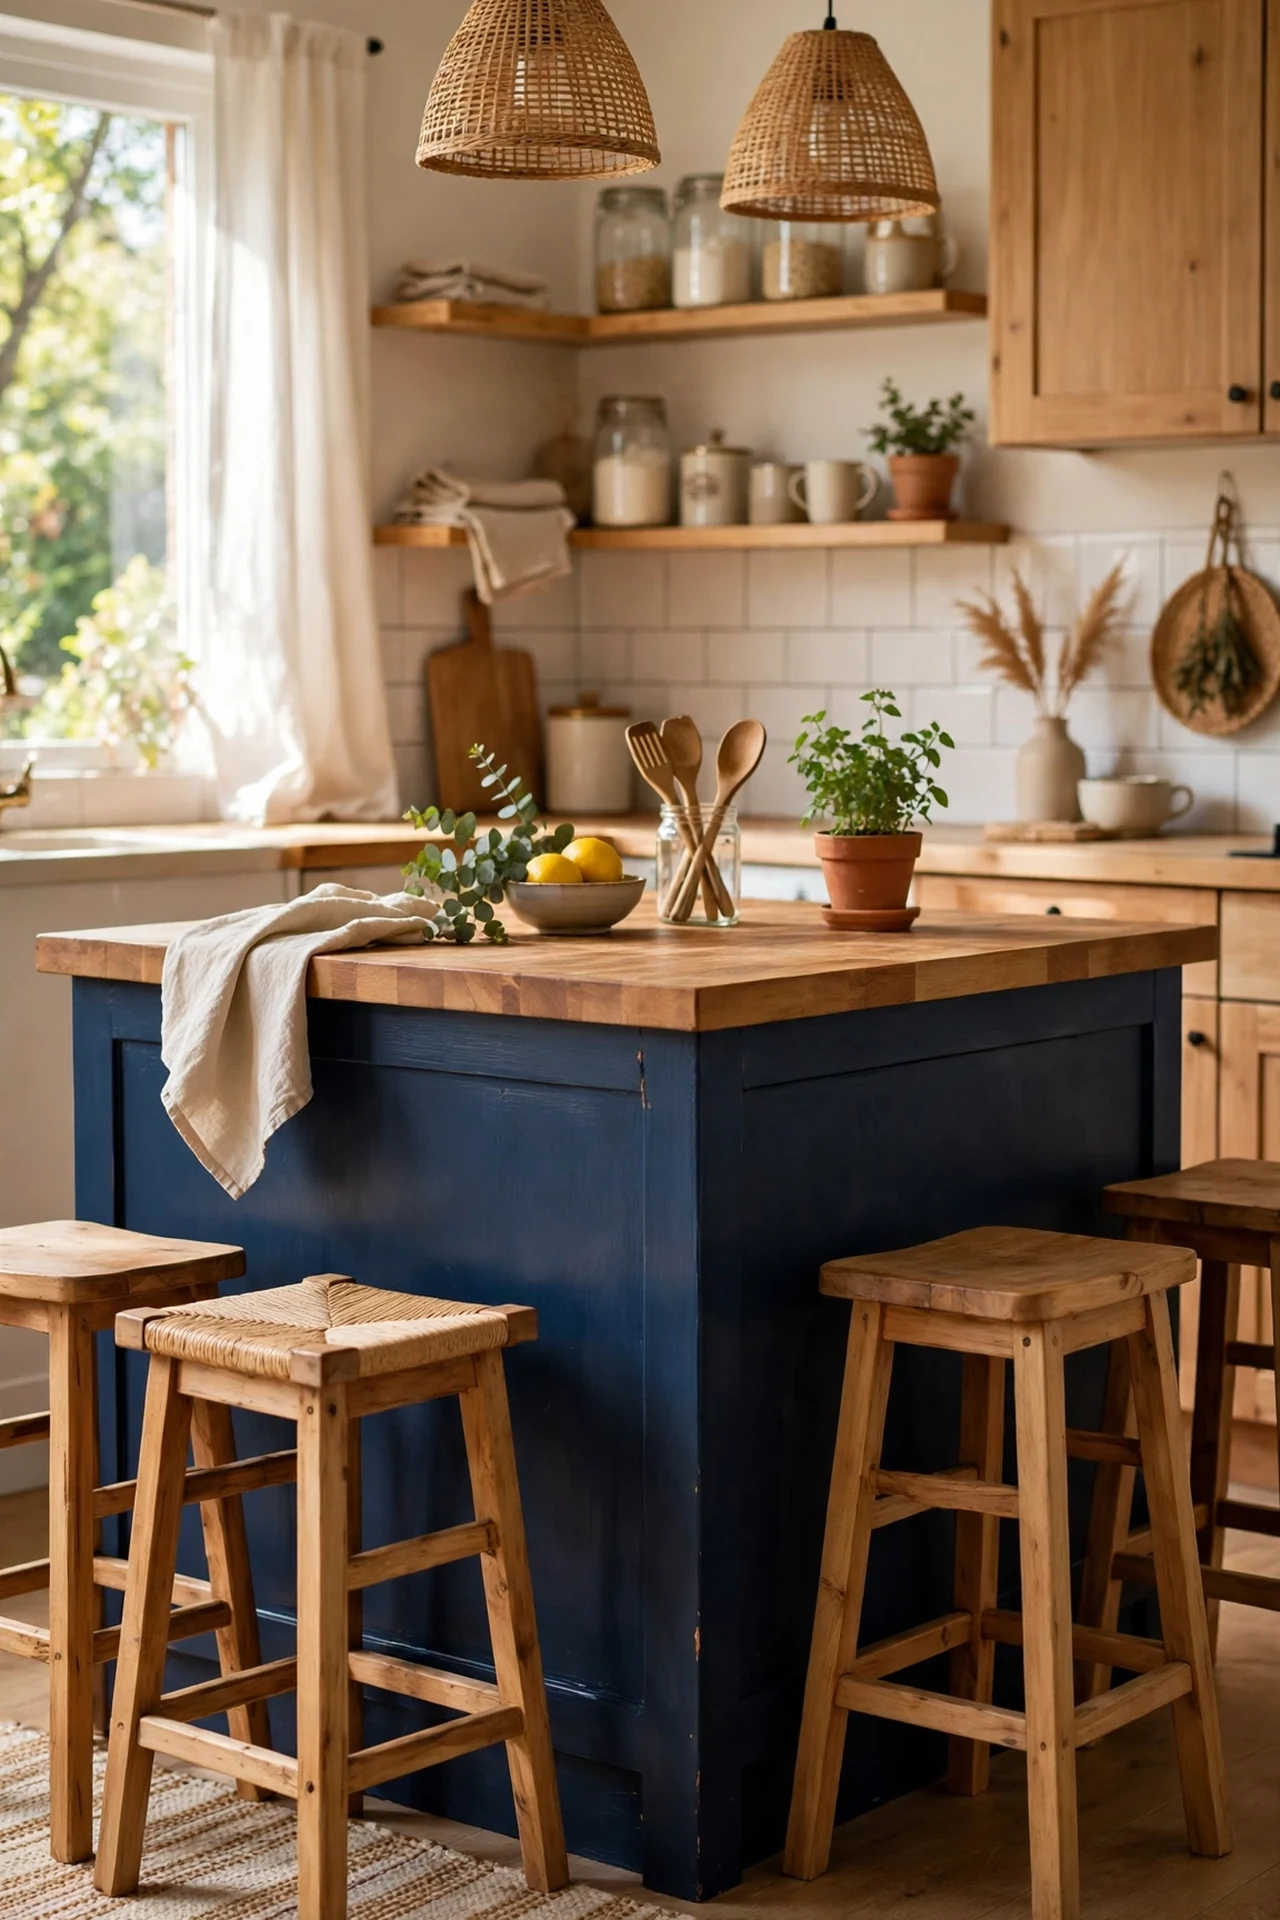
If your island is a tired hand-me-down, navy paint is the cheapest glow-up it will ever get. Mine was a scuffed oak thing from a charity shop; two coats of navy turned it into the piece guests gravitate to. Start by emptying it completely (yes, even that drawer of random batteries), sanding the rough spots, and wiping it down. Use a bonding primer if the surface is glossy — skip this and the paint will chip by Christmas. Roll the large panels and brush the corners, and give it three thin coats rather than two thick ones. I learned the hard way that thick coats drip on the legs. Once it was done, my island looked bought, not rescued, and the whole kitchen suddenly had a centre.
Cost: ~$30 | Time: 2 days with drying time
3. Navy Subway Tile Backsplash With Crisp Grout
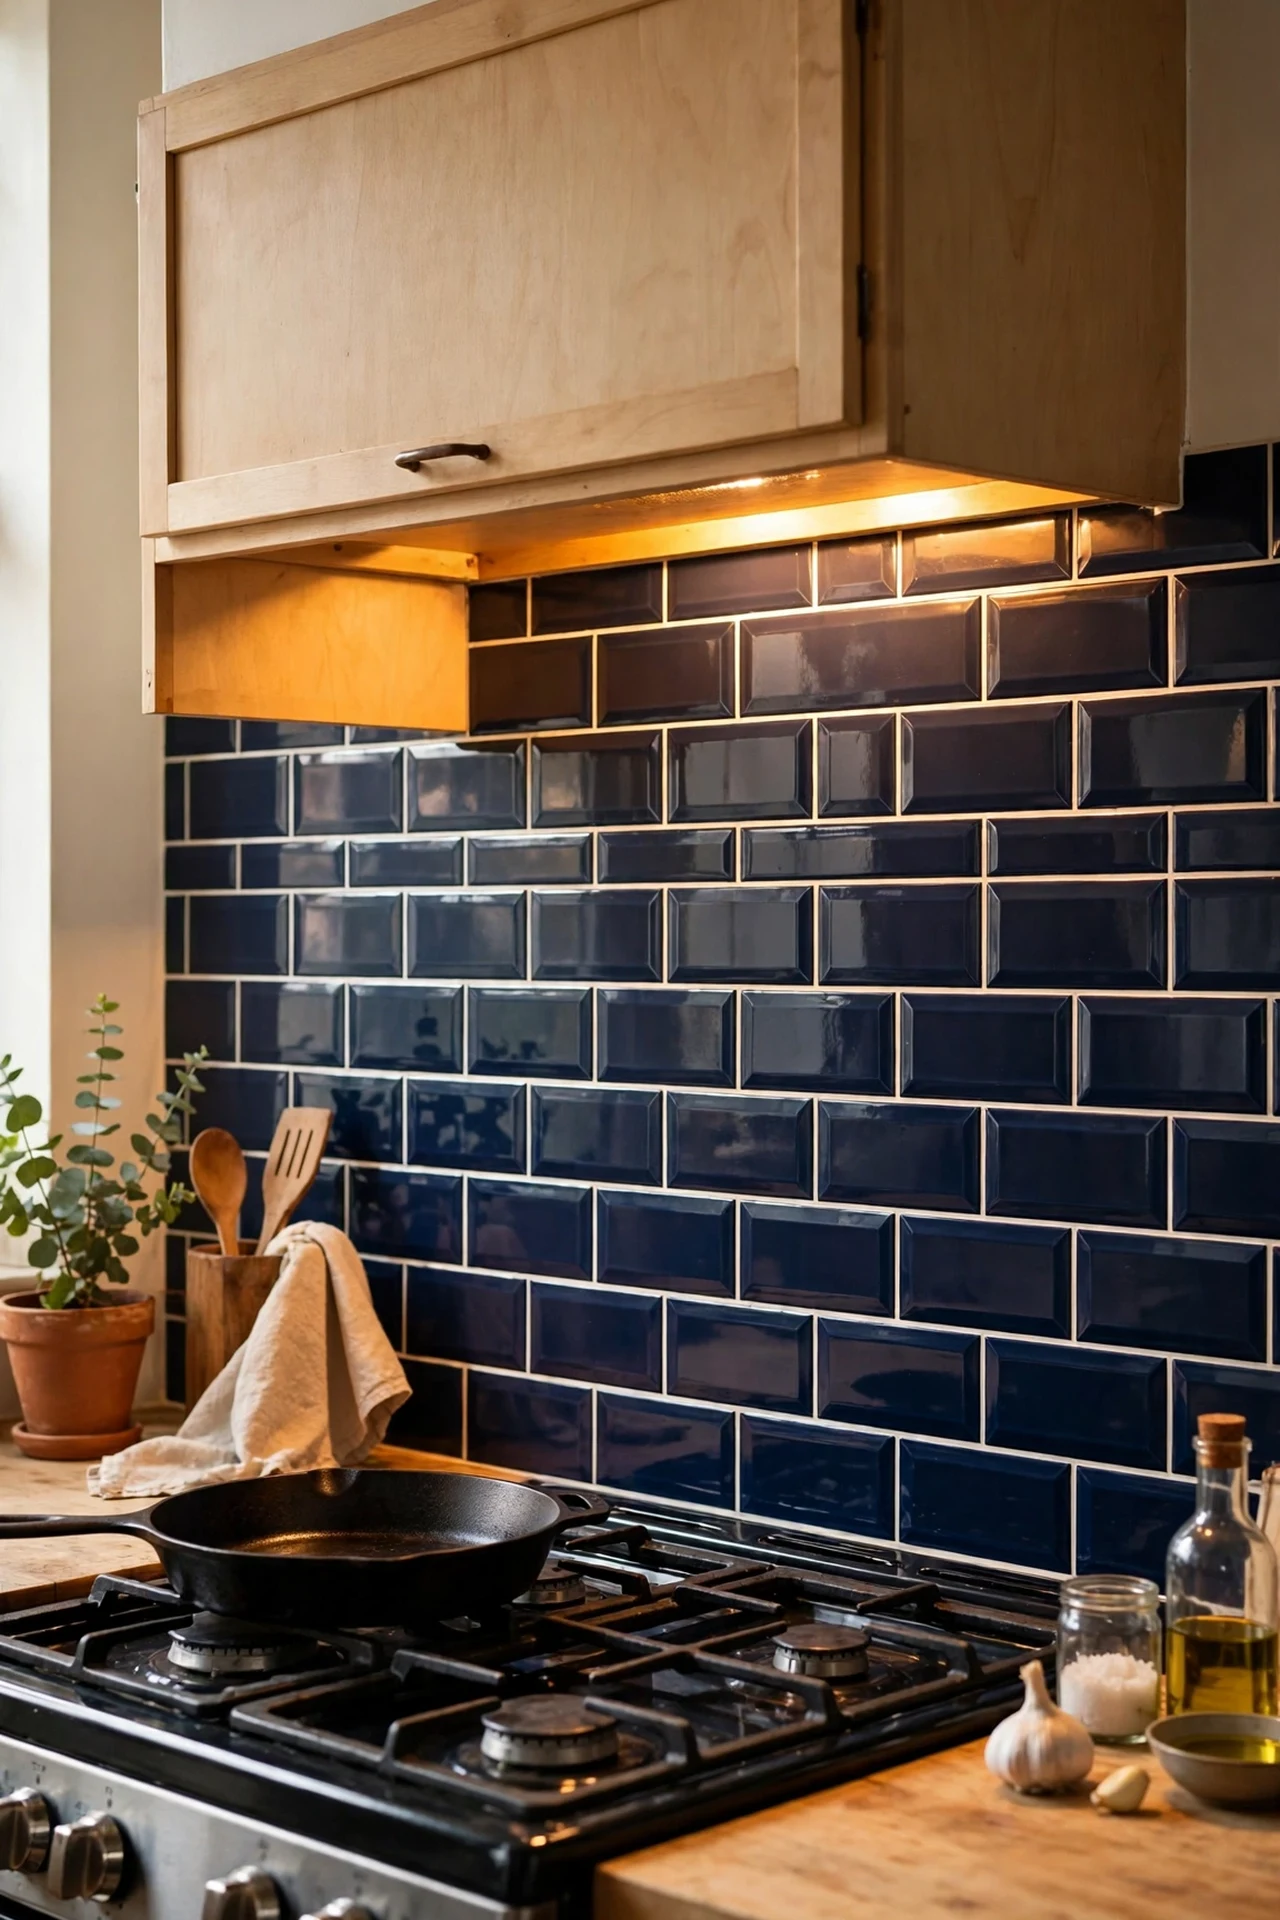
Glossy navy subway tiles catch the light like a lake at dusk, and they cost less than you’d expect if you shop the budget tile aisles. I laid mine myself over a weekend in a classic running-bond pattern. The process: mark a level line, spread thinset in small sections, press each tile with a tiny wiggle, and slot in spacers. The mistake to avoid is rushing the grout — I grouted too early on my first row and shifted two tiles. Wait until the thinset is fully set. White or light-grey grout keeps the navy crisp; dark grout makes it moody. Either way, the reflection off the gloss makes a small kitchen feel twice as deep.
Cost: ~$60 | Time: one weekend
4. Navy Open Shelves Against White Walls
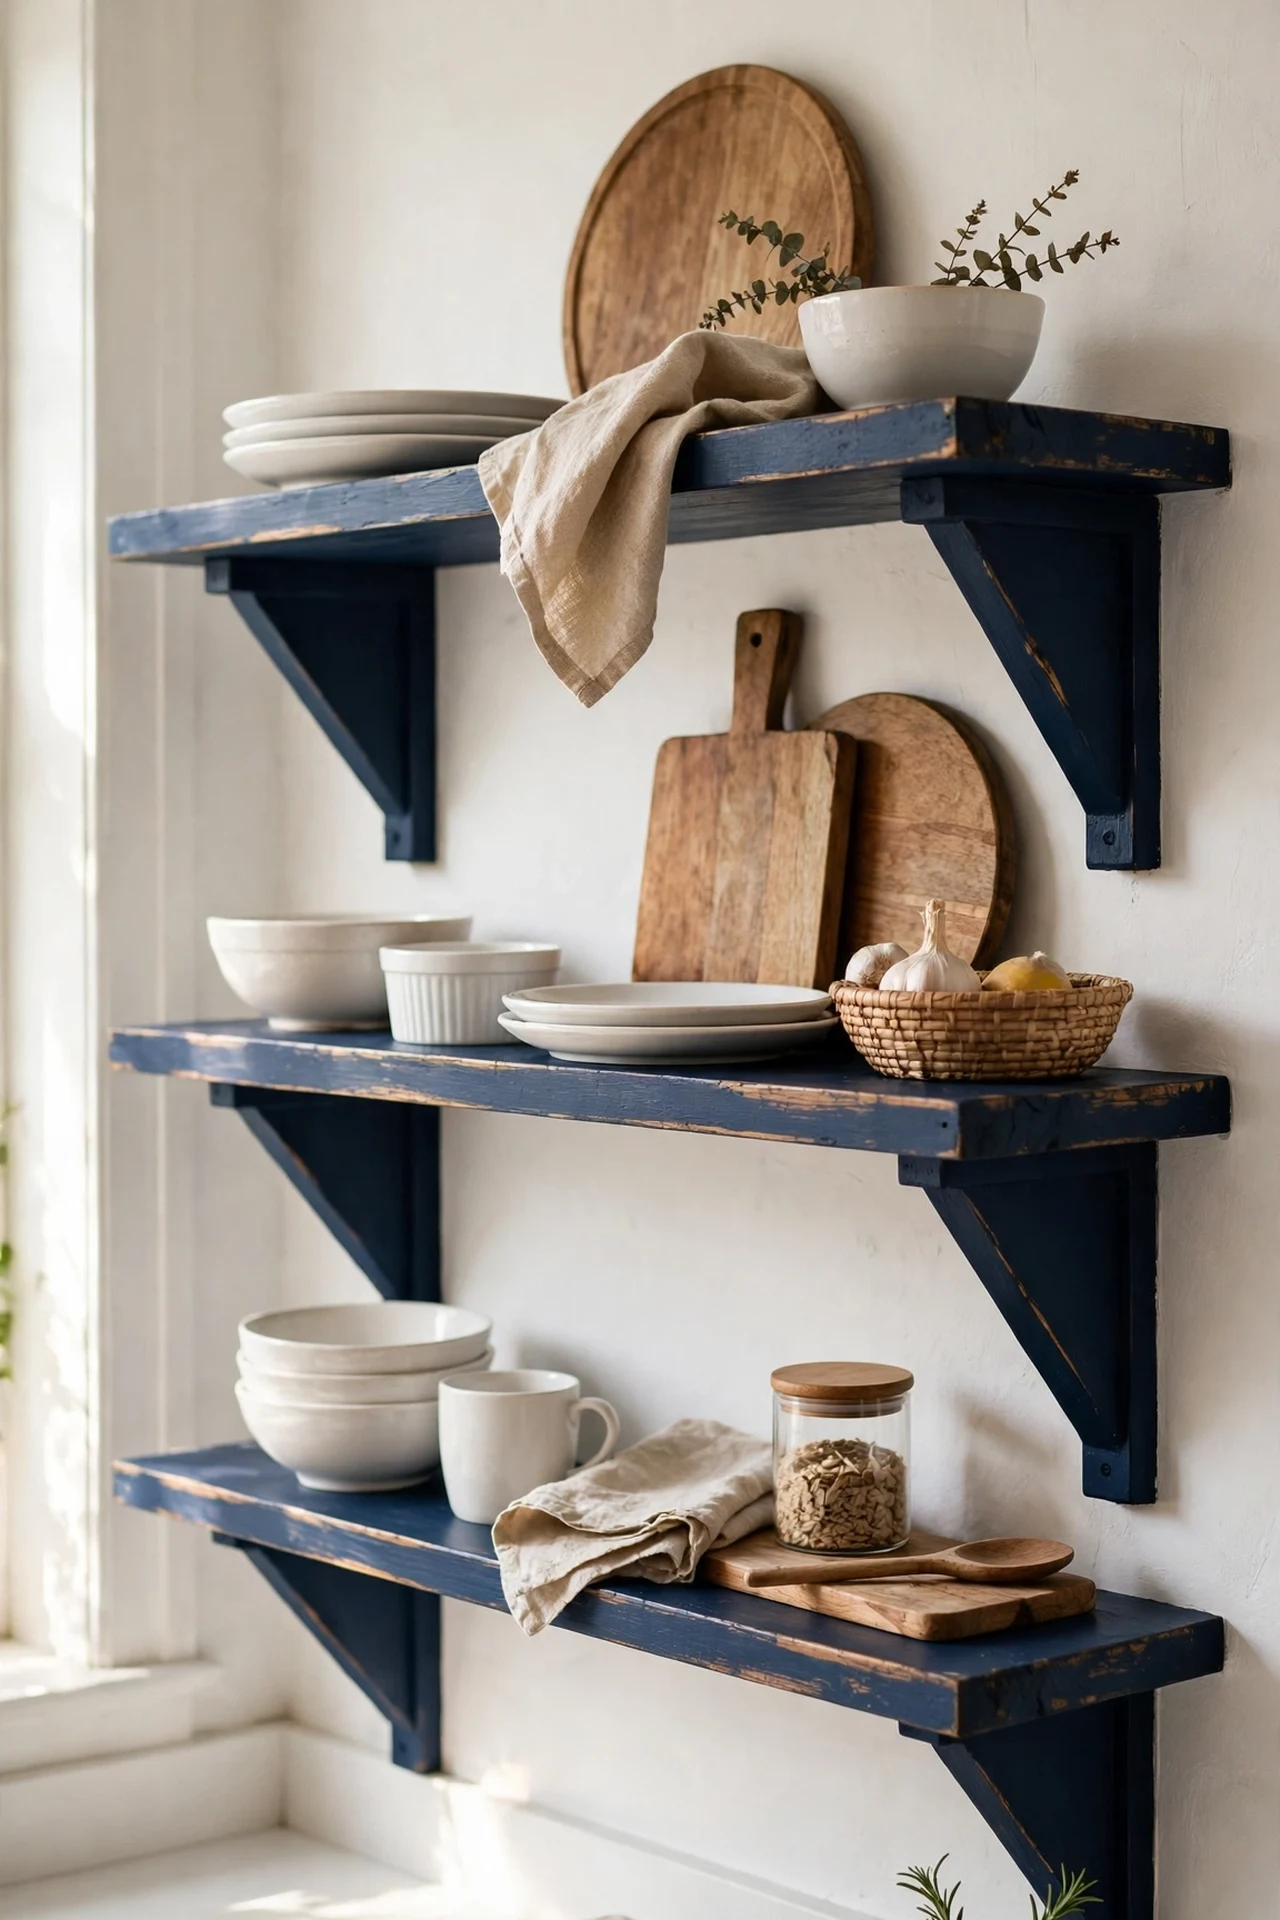
Swapping upper cabinet doors for navy open shelves is a renter-friendly trick with a designer payoff. I painted three pine planks in navy and mounted them on black brackets where my clunky wall cabinets used to be. First, check your studs with a detector — shelves full of plates need real anchors, not just plasterboard plugs. Sand the planks, prime, paint two coats, and let them cure hard before loading them. The personal touch I love: styling the shelves with white dishes and wooden boards so the navy becomes the backdrop, not the clutter. My shelves made my cheap white plates look expensive, which tells you everything about how navy behaves as a stage colour.
Cost: ~$35 | Time: an afternoon
5. A Painted Navy Range Hood Statement
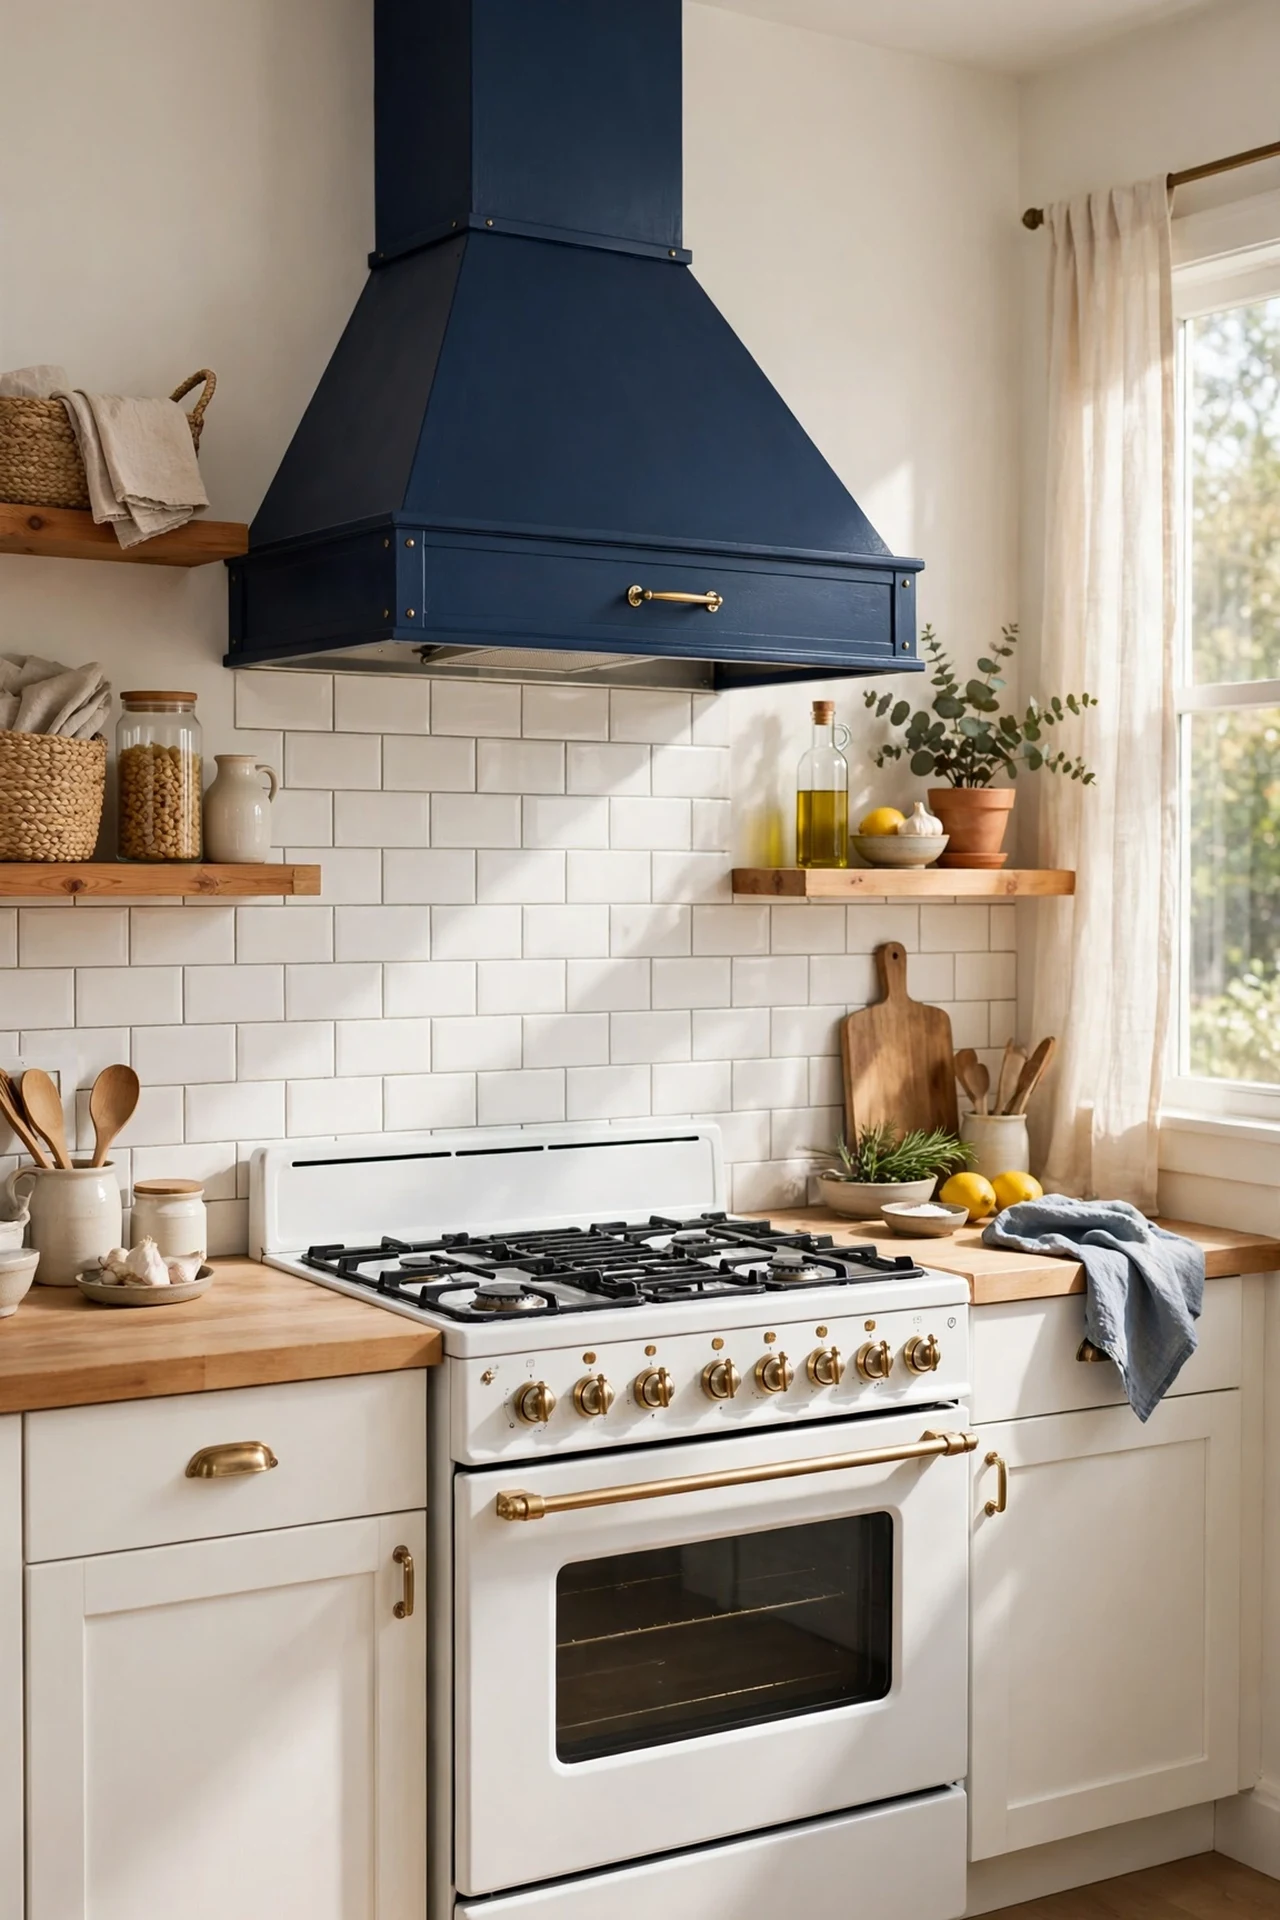
A range hood is usually an eyesore you apologise for, but painted navy it becomes the fireplace of the kitchen. Mine was a plain stainless box, so I used a metal primer and a heat-tolerant paint in a deep blue-black shade. The key steps: degrease thoroughly (cooking grease is the enemy of adhesion), mask the stovetop and counters with newspaper, and spray or roll thin coats. The mistake to avoid is using standard wall paint — the heat and steam will make it bubble within months. Use a paint rated for high-moisture areas. I tried the cheap route first and repainted within the year; the heat-rated tin cost twice as much and has lasted four.
Cost: ~$40 | Time: half a day plus drying
6. Navy Accent Wall Behind the Cooktop
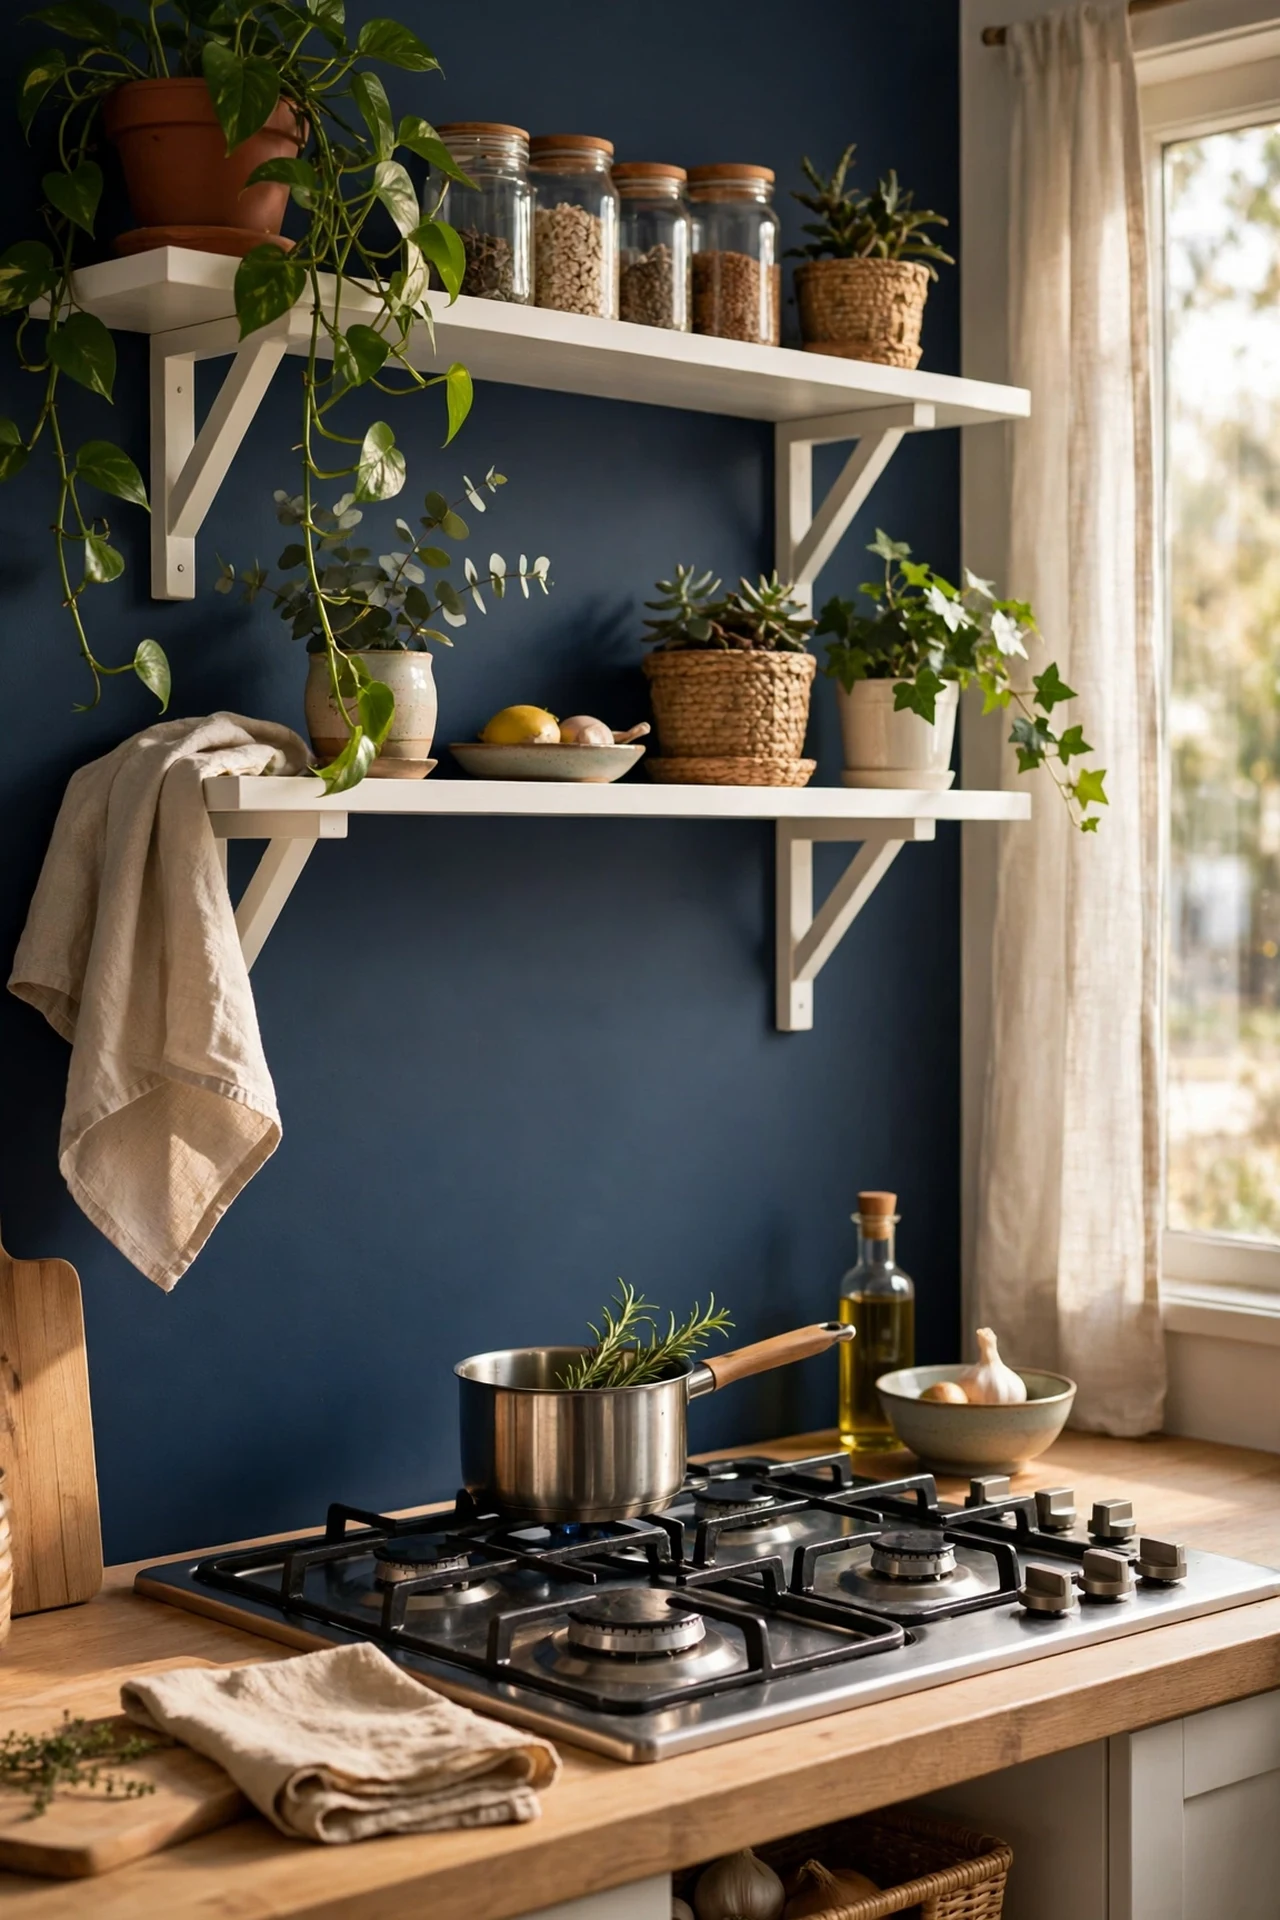
One wall, one tin of paint, one afternoon — the navy accent wall behind the stove is the highest impact per pound of anything on this list. My kitchen had a sad blank stretch of wall behind the cooker, so I painted it in a velvety matte navy and suddenly the stove looked like it was staged for a photo shoot. Prep matters: sugar-soap the wall, cut in carefully around the worktop with a steady hand or good tape, and roll in a W pattern for even coverage. I made the mistake of painting right up to the ceiling without a clean edge, and it looked scruffy until I added a slim white picture ledge along the top to finish the line. It also hides cooking splatters better than white ever could.
Cost: ~$25 | Time: one afternoon
7. Navy Blue Bar Stools With Wooden Legs
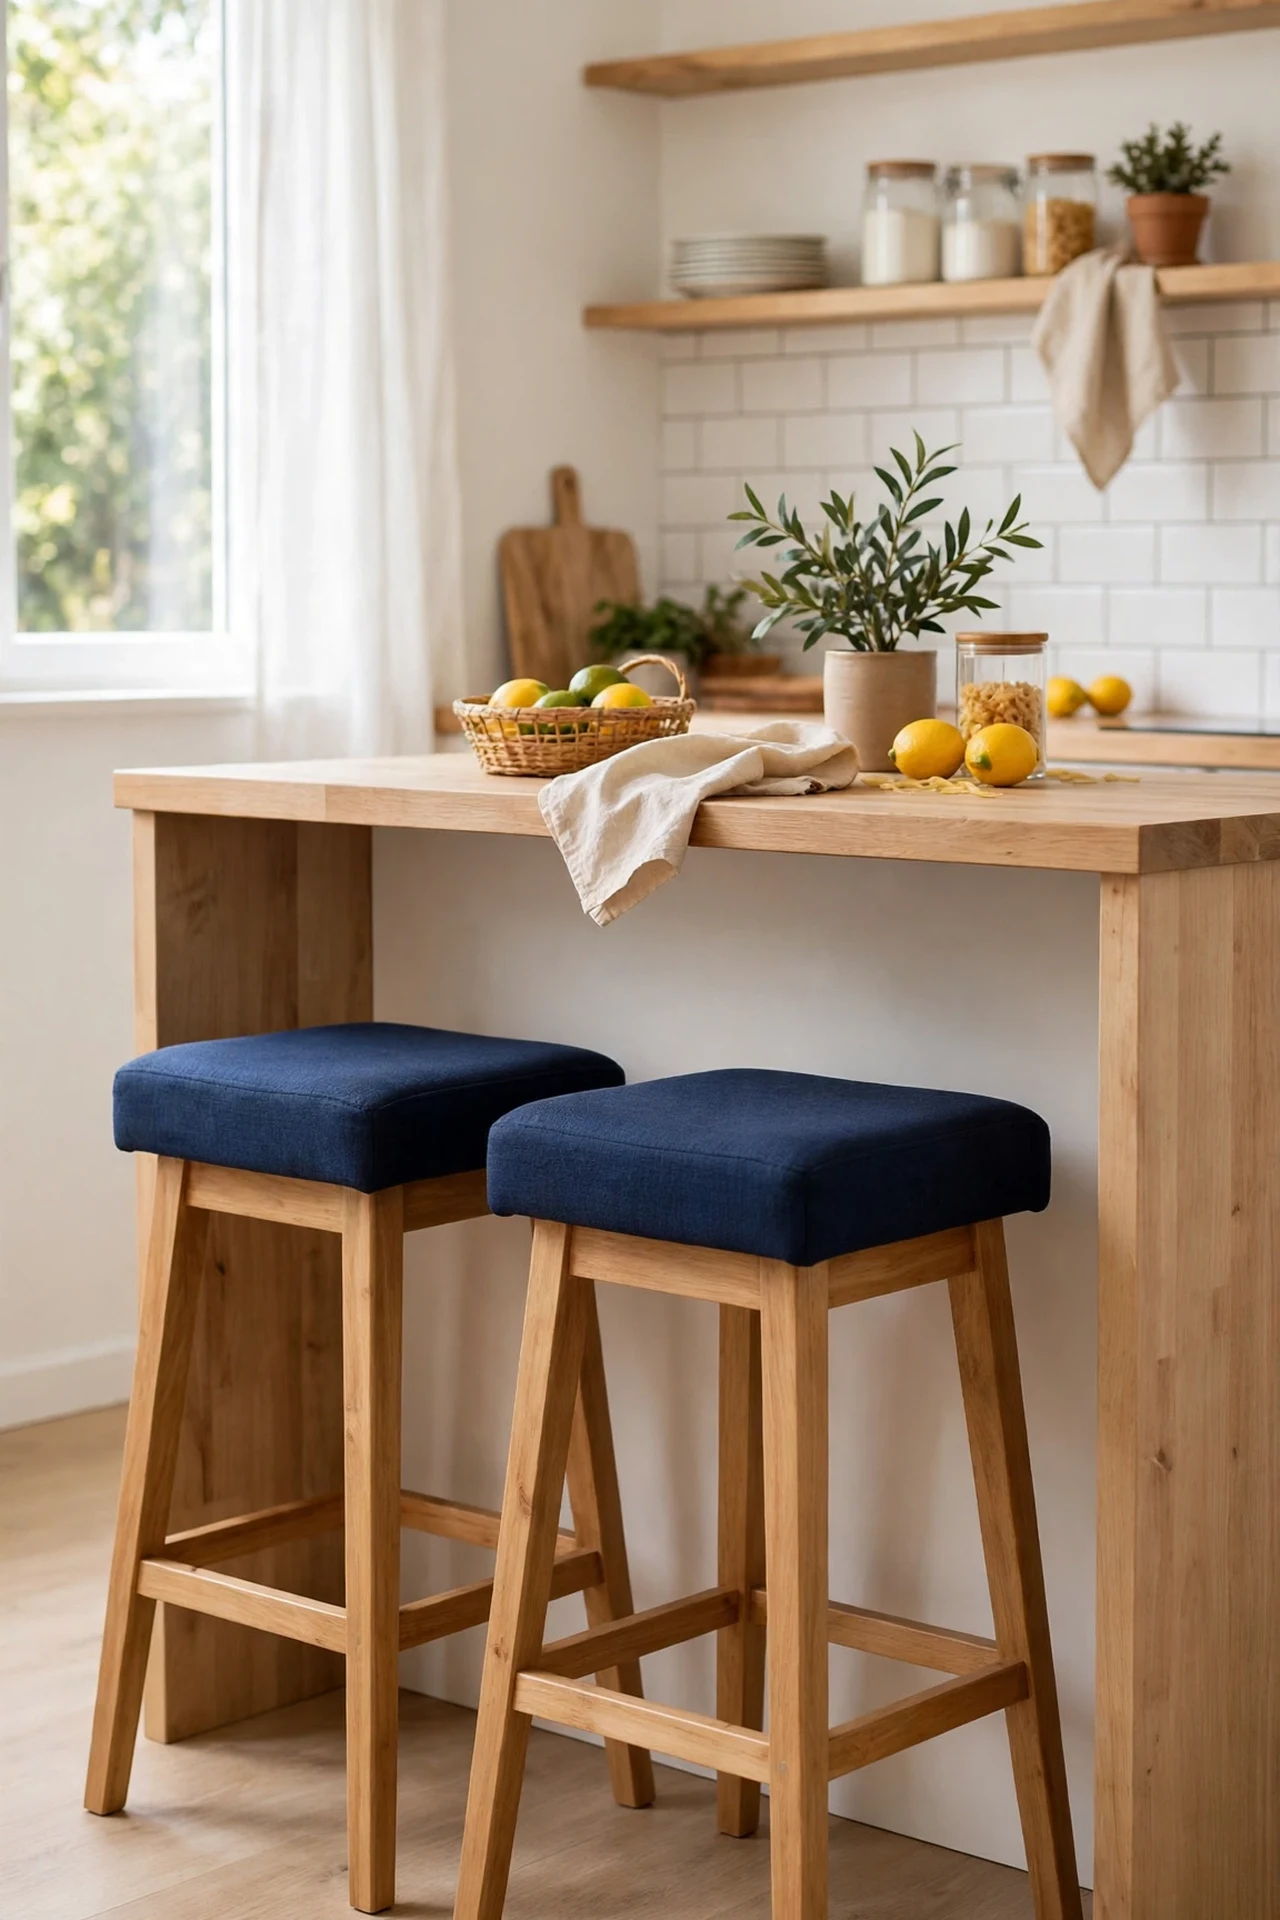
If your breakfast bar seating is a mismatch of chairs, a pair of navy bar stools with warm wooden legs will pull the whole zone together. I bought the cheapest beech stools I could find and sprayed the seats in a navy enamel. Sanding between coats is the step everyone skips — two light sandings with fine paper between three thin coats is what gives you that factory-smooth finish. The mistake to avoid is spraying outdoors on a breezy day; I ended up with dust stuck in the paint and had to start over. A calm garage afternoon beats a windy garden. Paired with the wooden legs left bare, the navy looks expensive and very much on purpose.
Cost: ~$50 for a pair | Time: one day
8. Navy-Painted Window Frames for Instant Depth
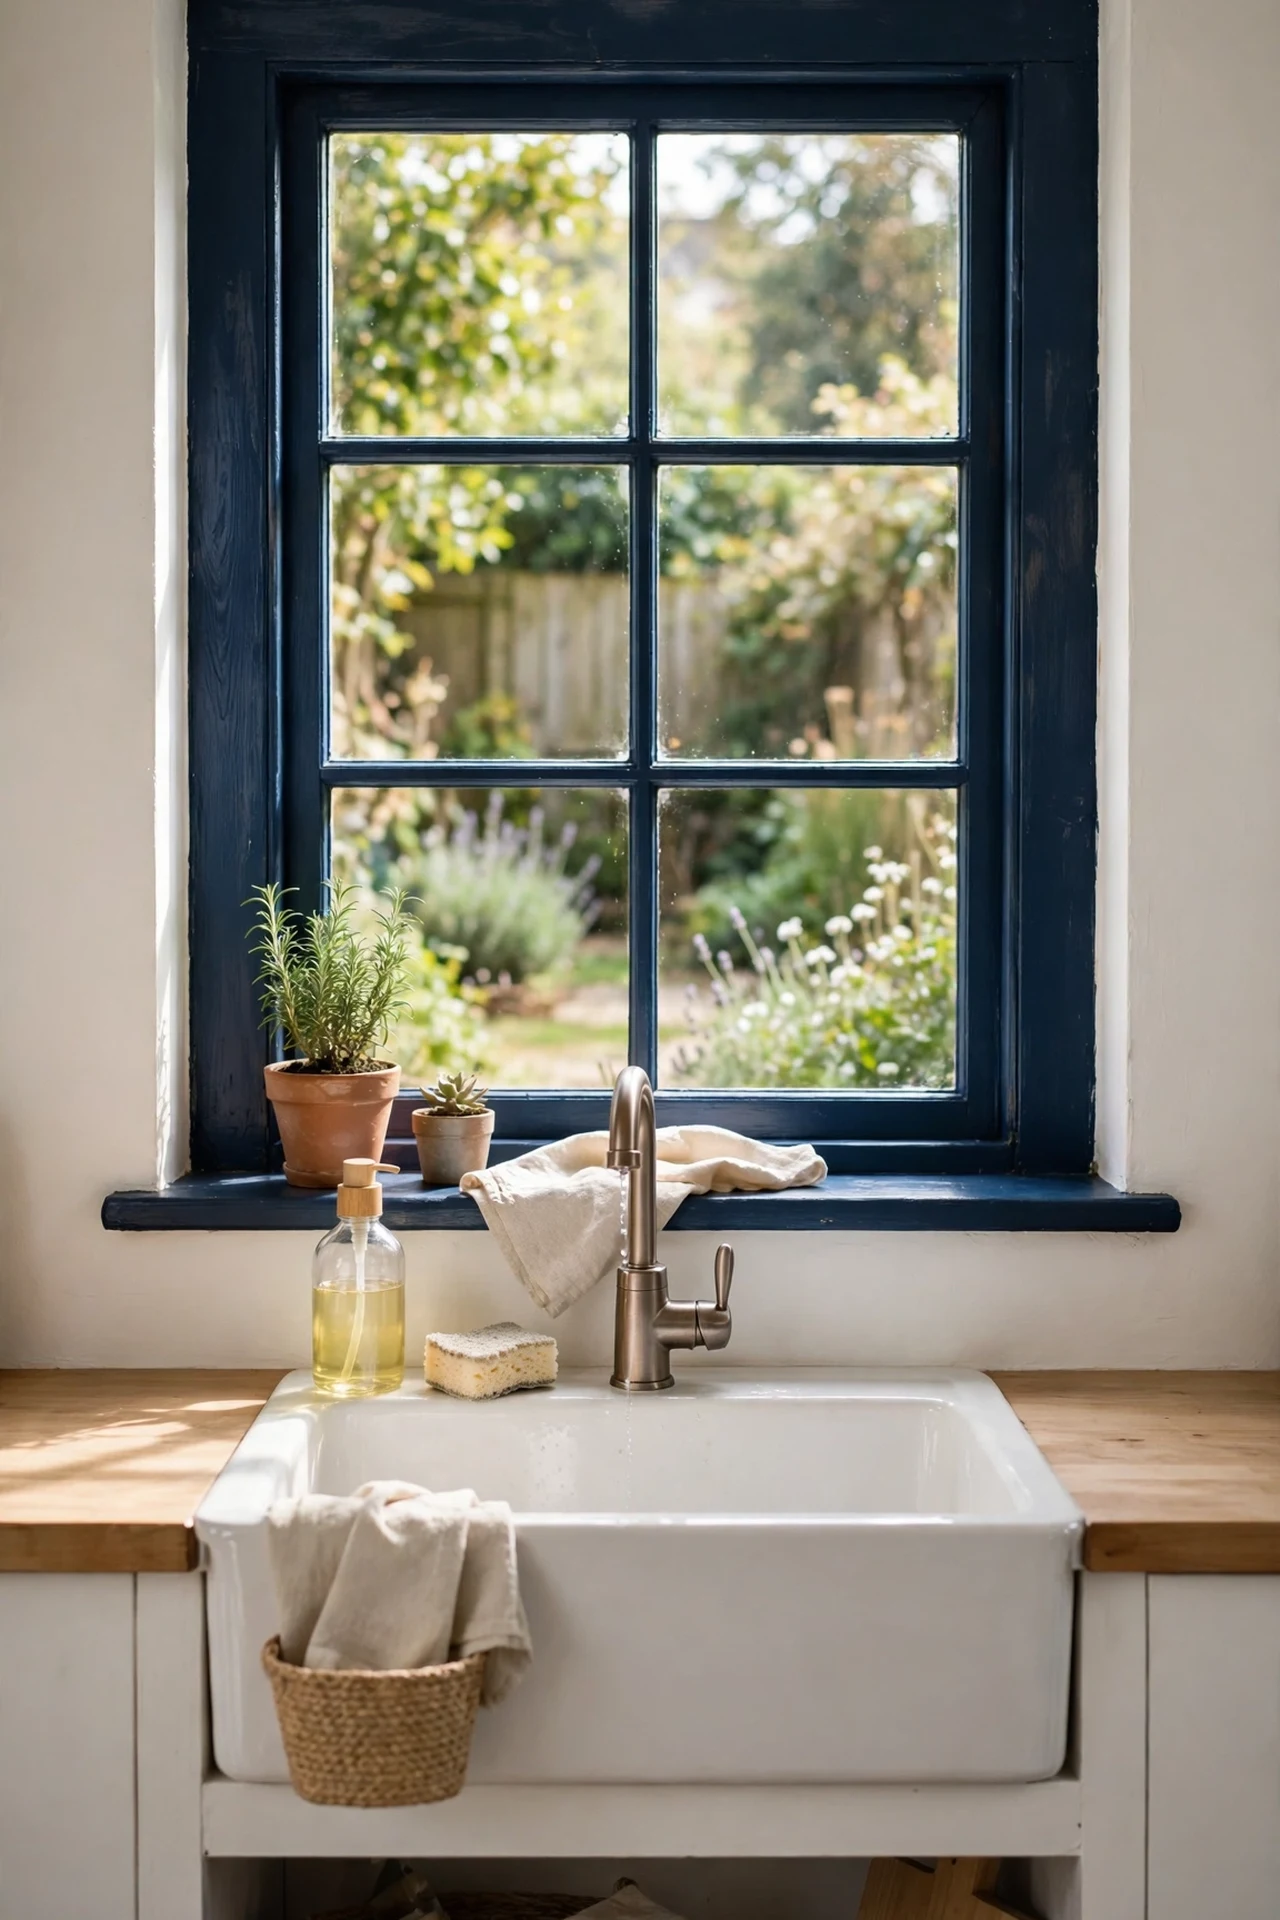
Window frames are the detail nobody thinks to paint, which is exactly why painting them navy makes such an impression. My kitchen window was standard-issue white UPVC — not paintable — so I painted the wooden inner reveal and the sill instead, and it framed the garden like a photograph. Steps: sand the existing paint, wipe down, use a primer if the wood is bare, and apply two coats of satin navy with a small sash brush for control. The personal touch that sold it: I painted the inside of the reveal the same navy so the colour wraps around you as you stand at the sink. The mistake to avoid is painting the seal closed — crack the paint line at the opener after each coat so it doesn’t stick shut.
Cost: ~$15 | Time: 3 hours
9. A Bold Navy Pantry Door
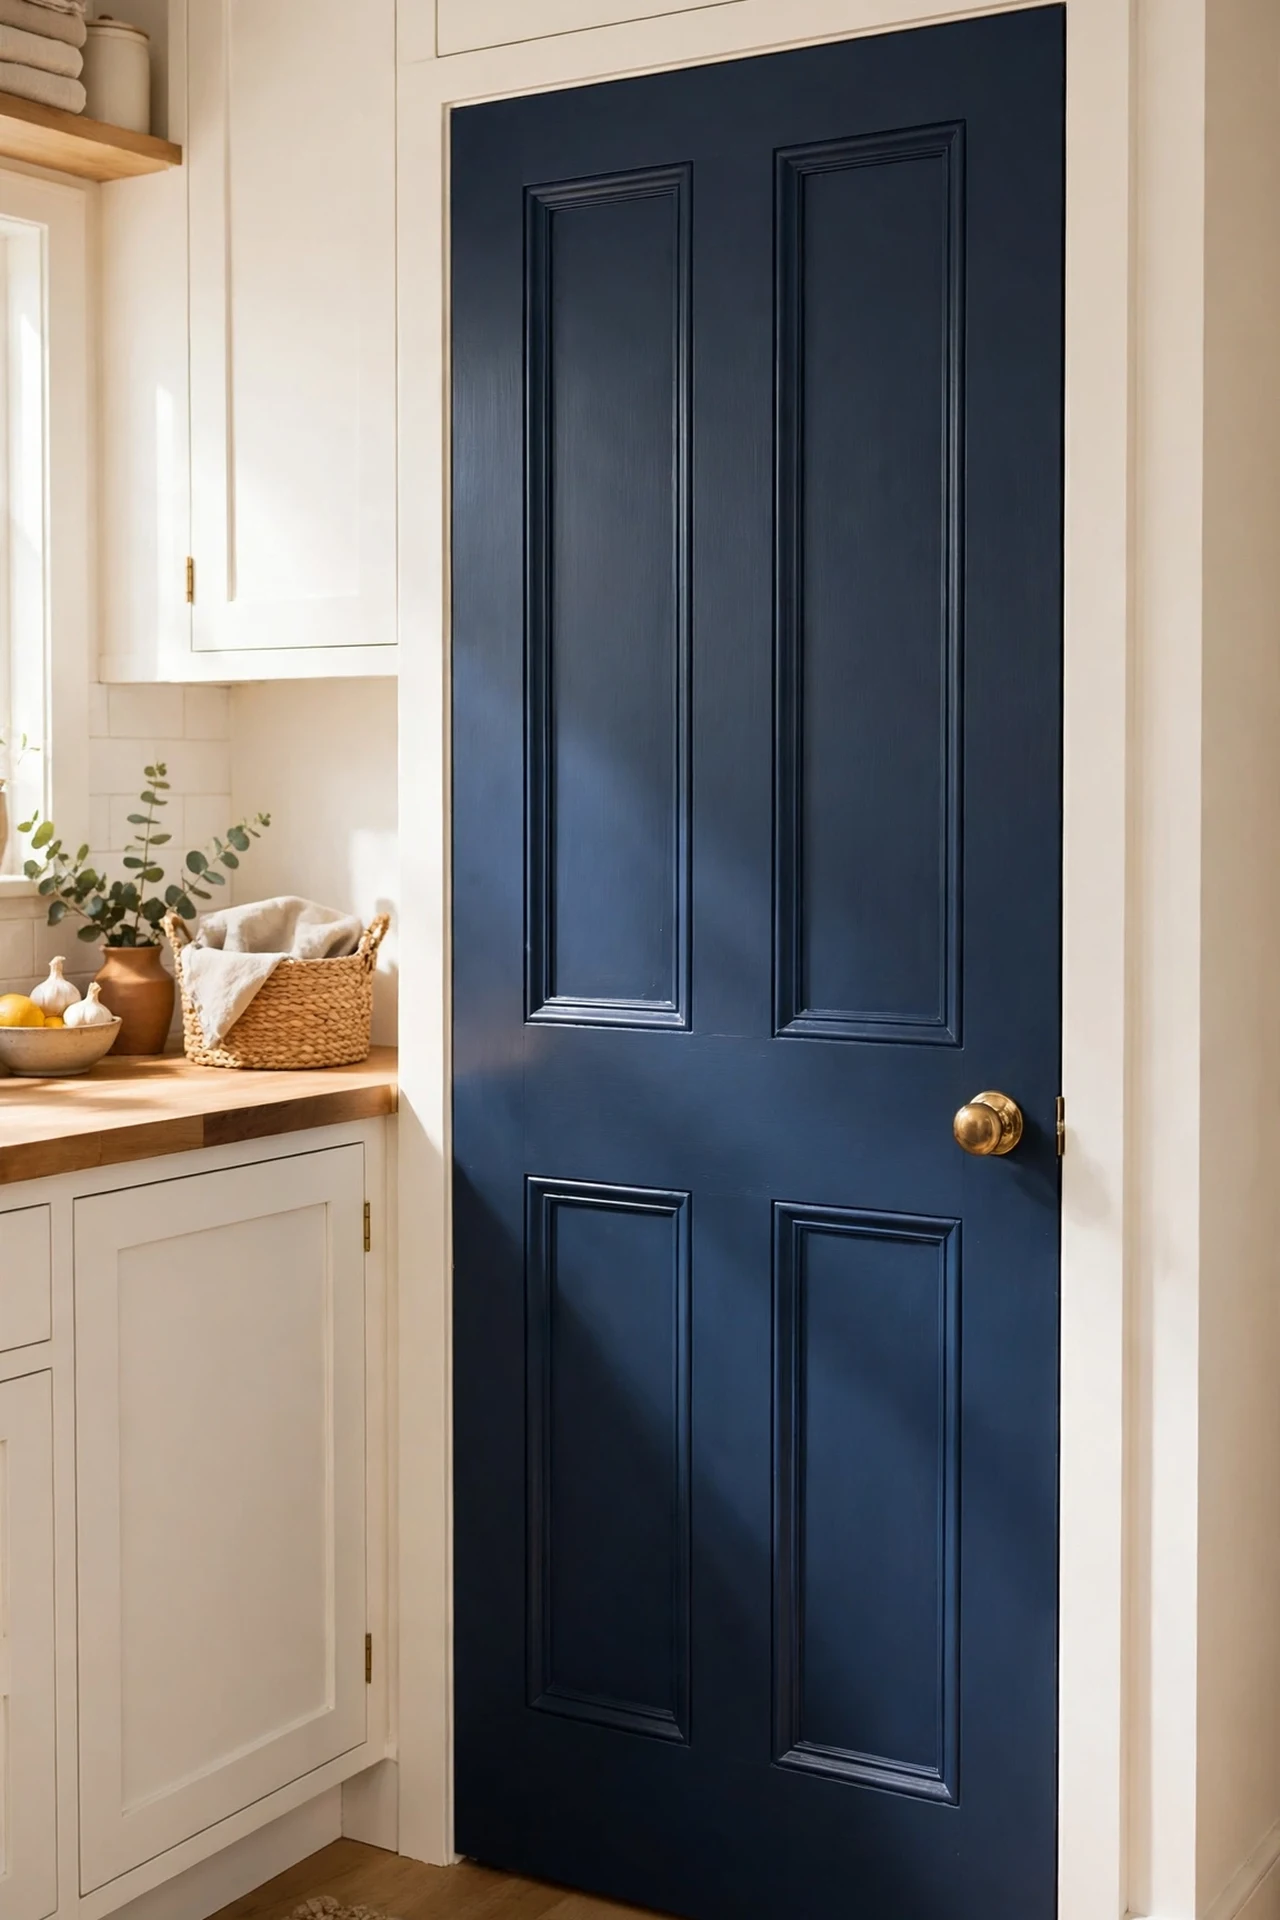
Your pantry door is probably the most-seen, least-loved door in the house — painting it navy turns it into a deliberate feature. Mine was a flat hollow-core door with zero personality, so I added thin trim strips in a simple rectangle pattern first, then painted the whole thing navy. Measure and mitre the trim, glue and pin it, fill the nail holes, then paint. The trick I learned: paint the trim and door together in the same finish so the moulding reads as carved rather than stuck-on. The mistake to avoid is skipping the filler step — every pin hole will show through dark paint like a freckle. I filled mine twice, sanded smooth, and the result looks like a door from a much fancier house.
Cost: ~$20 | Time: one day
10. A Navy Runner Rug Down the Galley
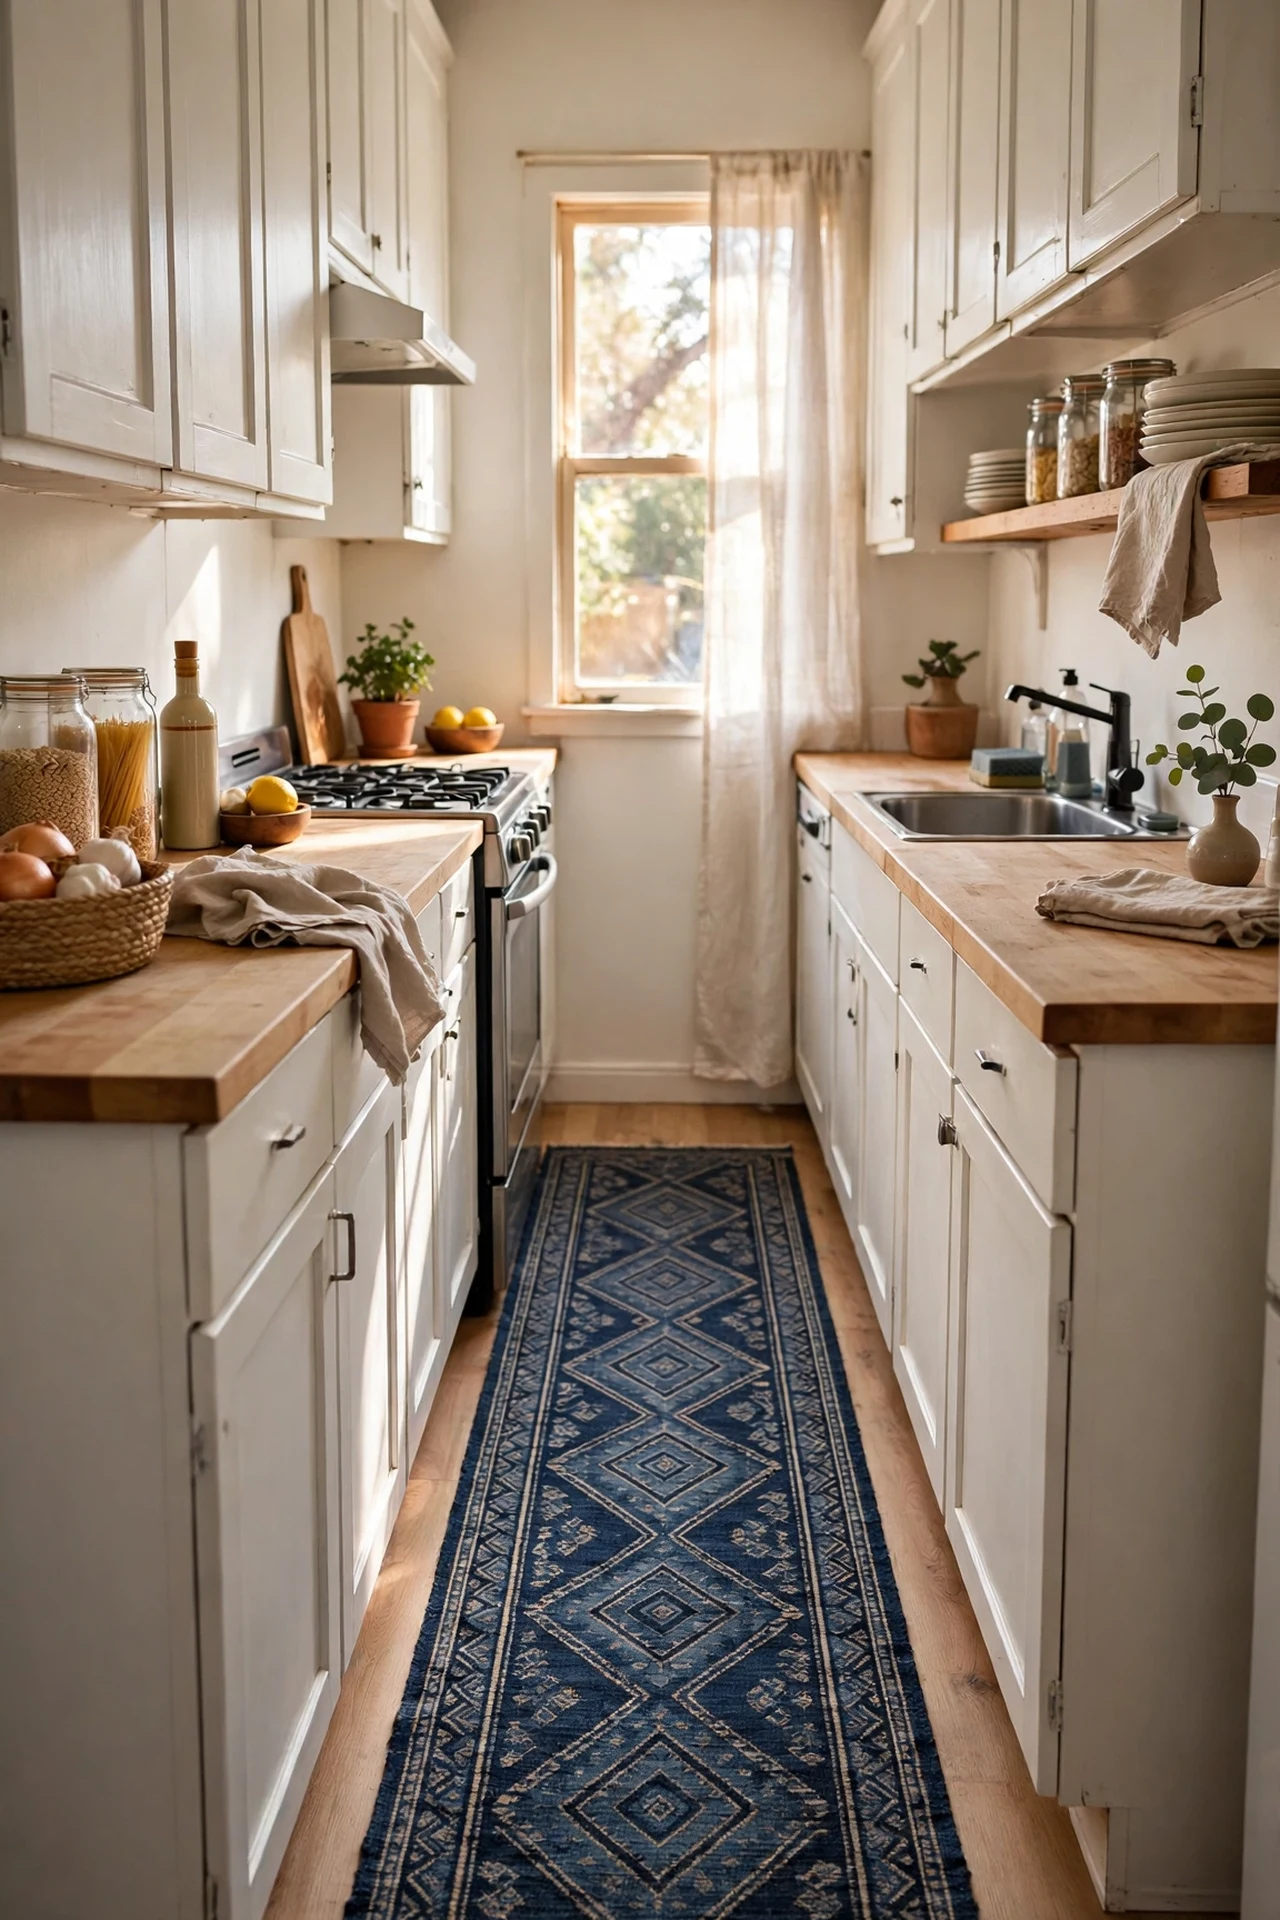
No paint, no tools, no permission needed: a navy runner rug is the fastest way to test whether the colour suits your kitchen. My galley was all grey lino and steel, and a patterned navy runner instantly made it feel intentional. Measure the gap between your cabinets and leave six inches clear on each side so the rug doesn’t catch the dishwasher door. Choose a low-pile, washable rug — kitchen floors get flour, oil, and mystery crumbs — and lay a grippy underlay beneath it. I tried skipping the underlay and the rug migrated to the hallway within a week. Save this one to your kitchen board — you’ll want it when you repaint, because the runner you buy now should match the cabinets you’ll paint later.
Cost: ~$35 | Time: 10 minutes
11. Navy Hardware Swap on Existing Cabinets
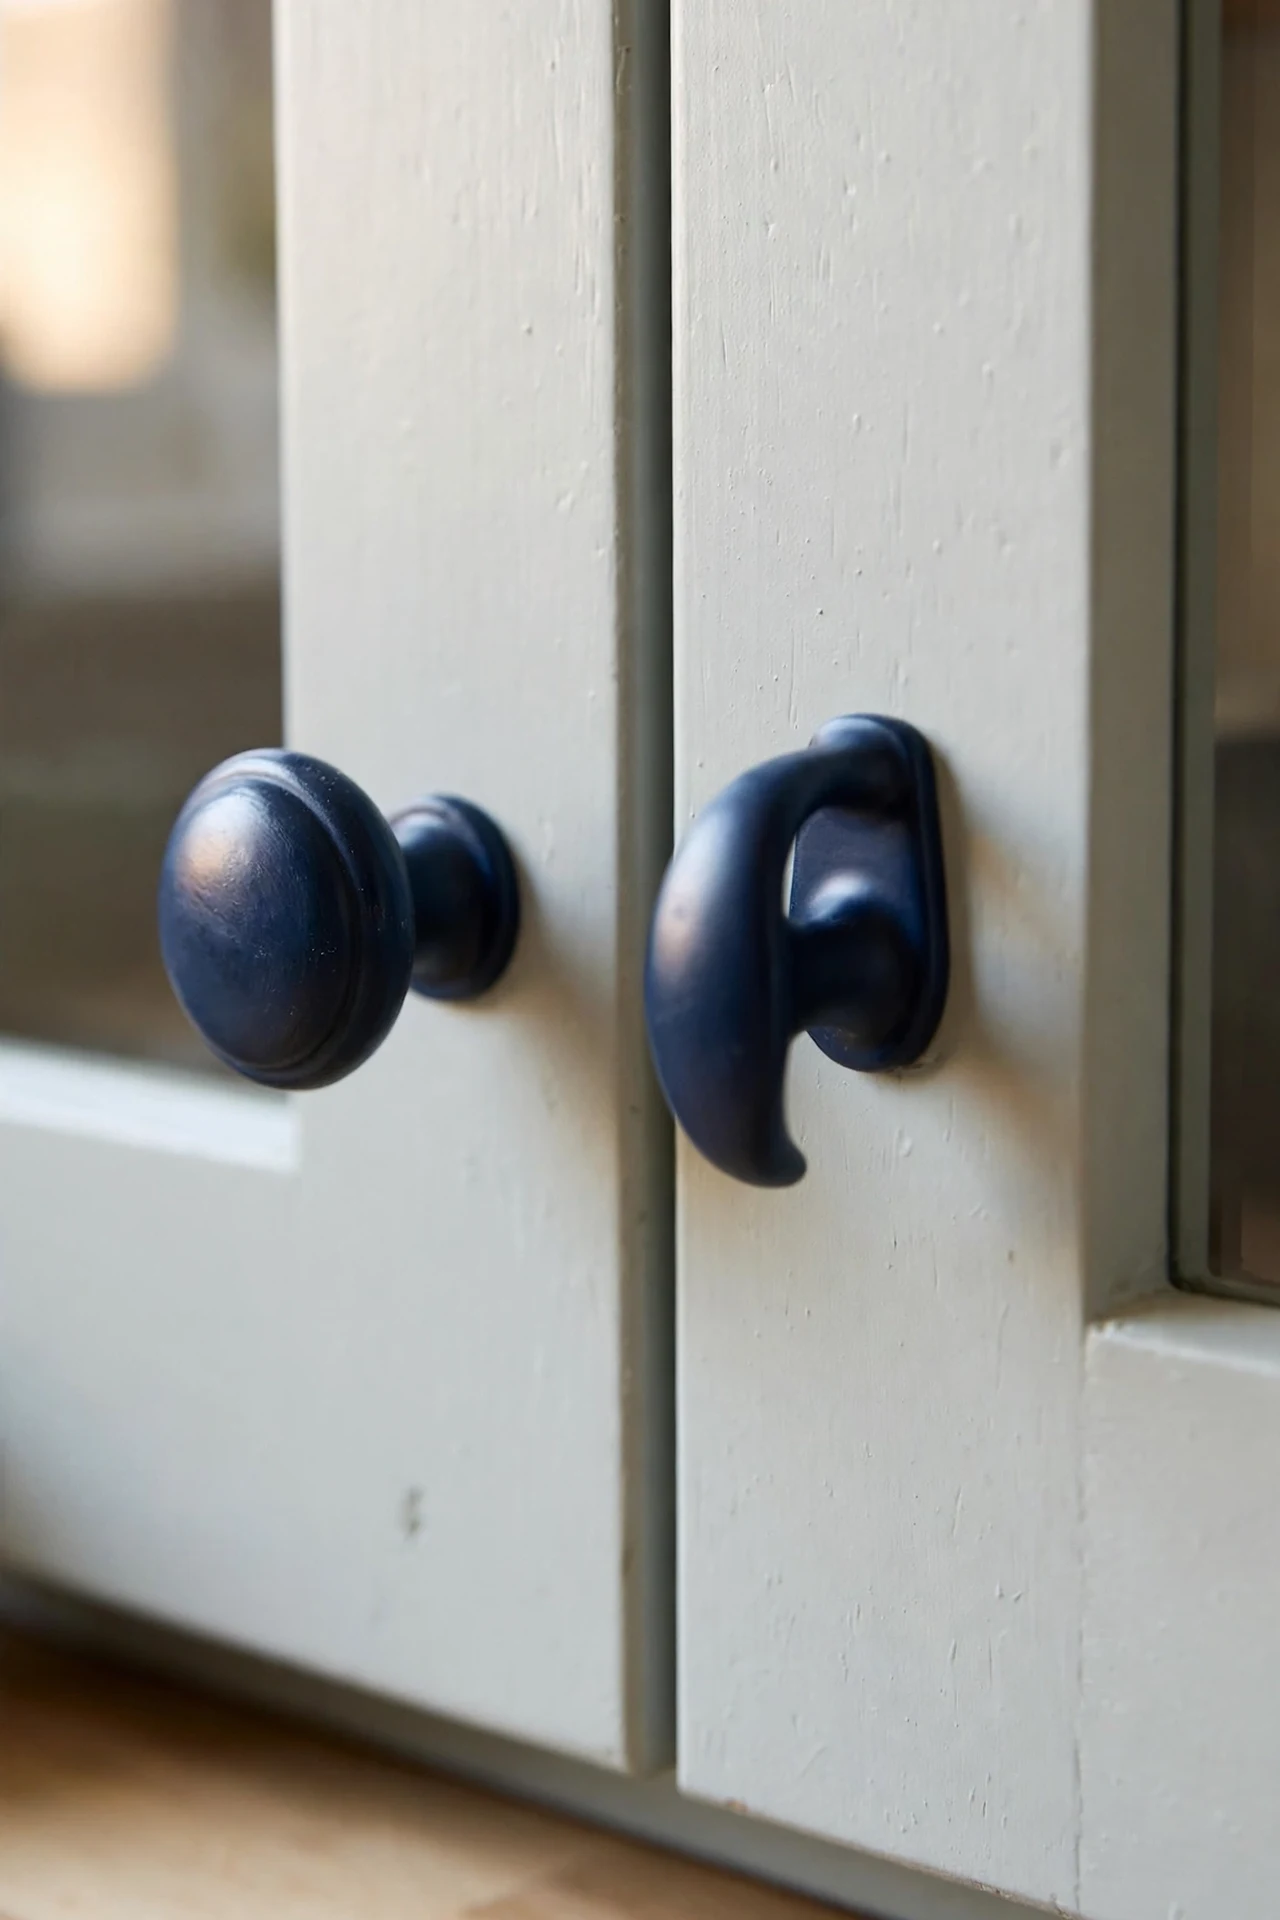
Before you commit to painting anything, try swapping your cabinet handles for navy ones — or painting your existing handles navy. I took my dated brass knobs, gave them a spray with navy enamel in a matte finish, and the cabinets looked like a different kitchen. The steps: unscrew everything, clean the hardware in hot soapy water, dry completely, then spray thin coats on a cardboard tray, flipping once dry. The mistake to avoid is reattaching them before they’re fully cured — I chipped three handles with my fingernail on day one. Wait the full cure time on the tin. Pair navy hardware with white or pale grey cabinets and you get the two-tone look without touching a single door.
Cost: ~$12 | Time: 2 hours plus curing
12. A Navy-Wrapped Kitchen Island Base
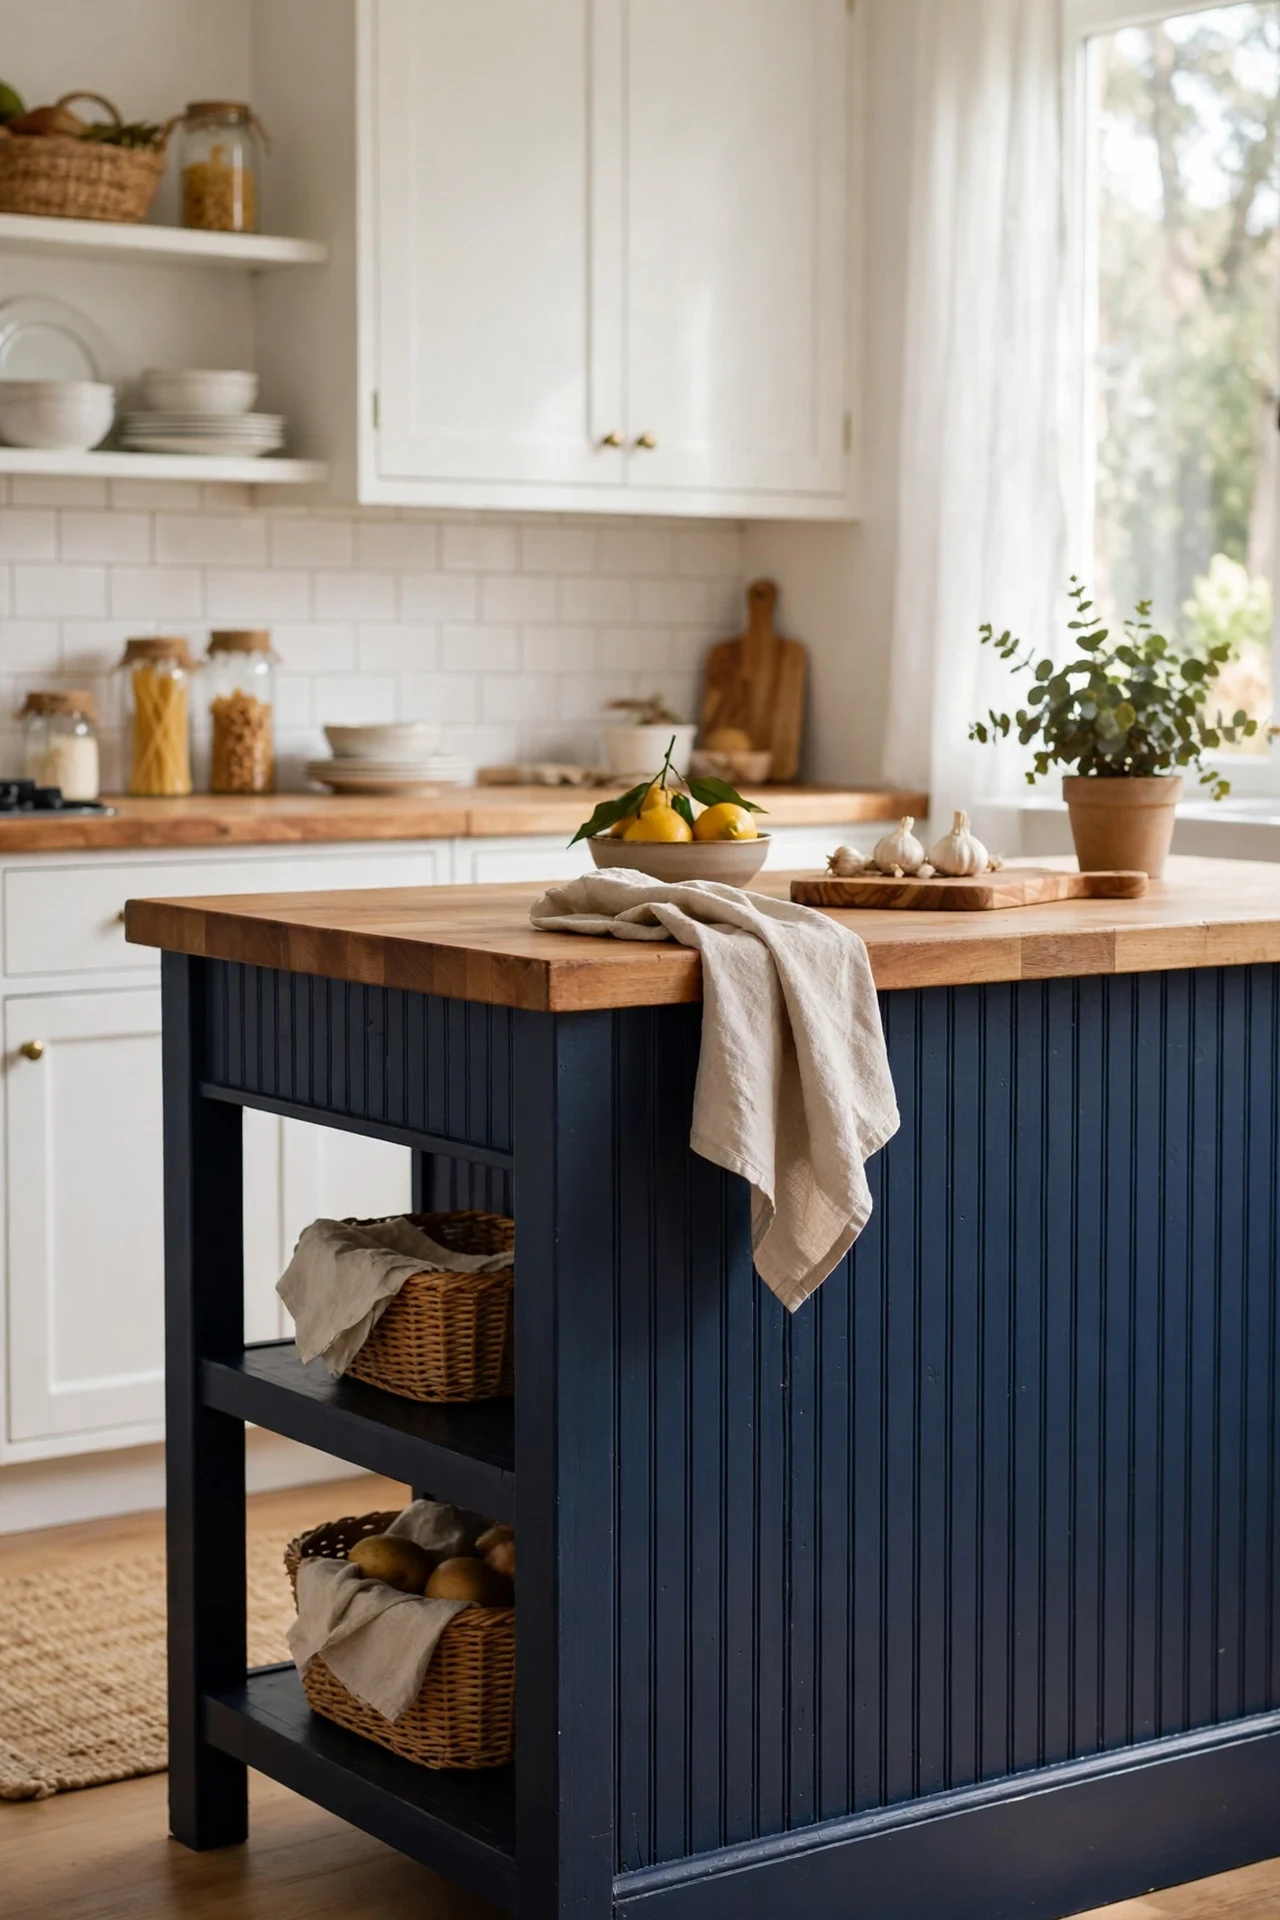
If your island is built-in and can’t be painted on a whim, wrap its base in navy beadboard or peel-and-stick panels instead. I faced my plain drywall island base with paintable beadboard sheets, painted them navy, and finished the top edge with a slim wood trim. Measure each side, cut the sheets with a fine-tooth saw, glue and pin them in place, caulk the seams, then paint. The personal touch: I left the worktop its original butcher block, and the navy-to-wood contrast gets more compliments than anything else in the room. The mistake to avoid is using panels that aren’t rated for kitchen moisture near the sink end — mine warped slightly on the wettest corner, so leave a bead of caulk along the bottom edge.
Cost: ~$55 | Time: one weekend
13. Navy Dishware Styling on Open Shelving
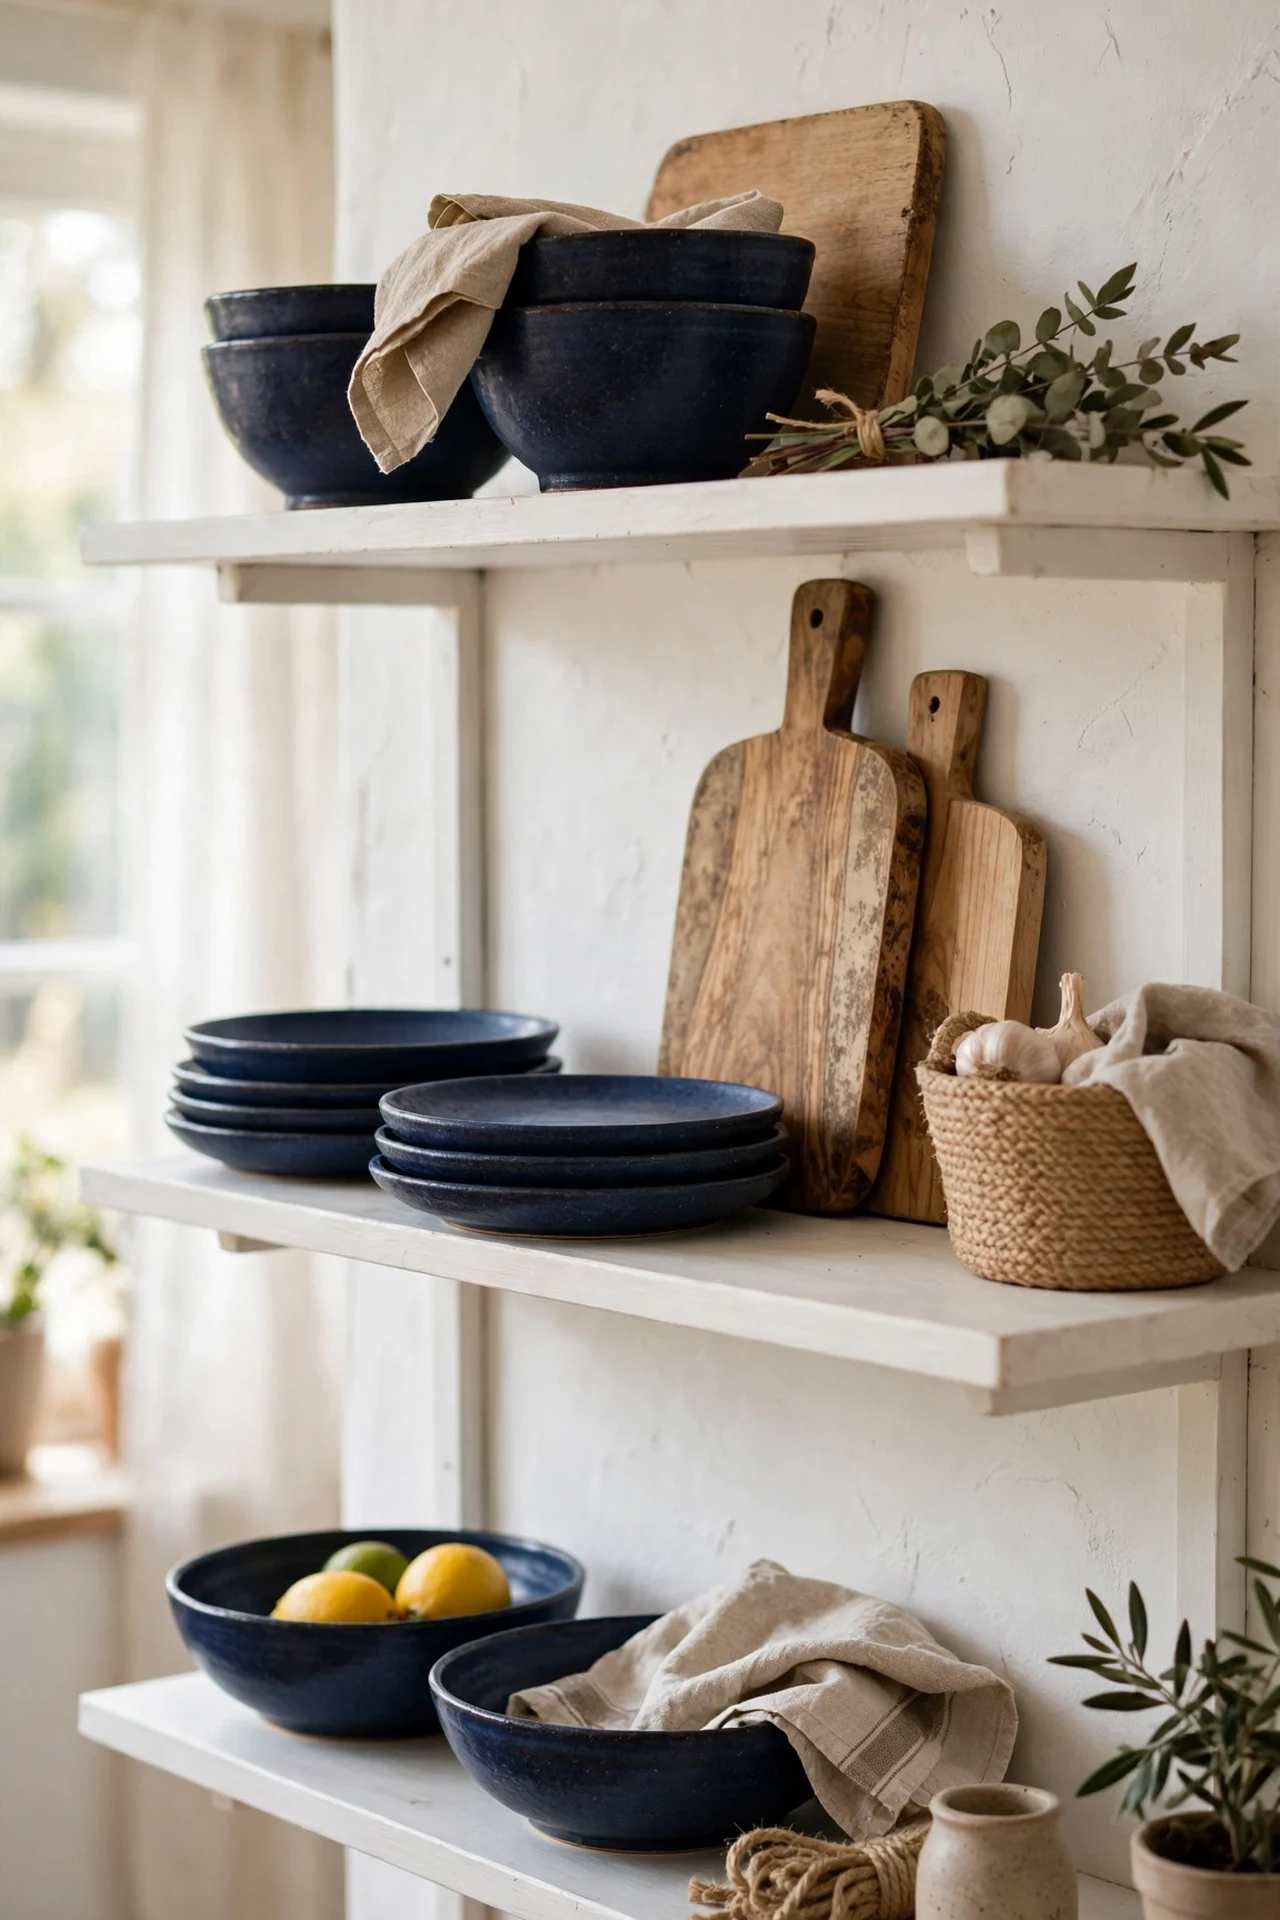
Here’s a secret: you don’t need to paint anything navy to get a navy kitchen — you can style it. I bought a stack of navy stoneware bowls and plates from a discount homeware shop and arranged them on my white shelves, and the whole wall read as navy at a glance. Group the navy pieces in odd numbers, mix in white pieces so it doesn’t look like a uniform set, and add a wooden board or two for warmth. The steps are honestly just: buy the dishes, wash them, and play with the arrangement until it feels balanced. I tried lining everything up in perfect rows and it looked like a shop; casual stacking with a little asymmetry looks like a home. When I got bored a year later, I swapped in terracotta and the kitchen changed personality for forty pounds.
Cost: ~$40 | Time: an hour
14. A Navy Roman Shade Over the Sink
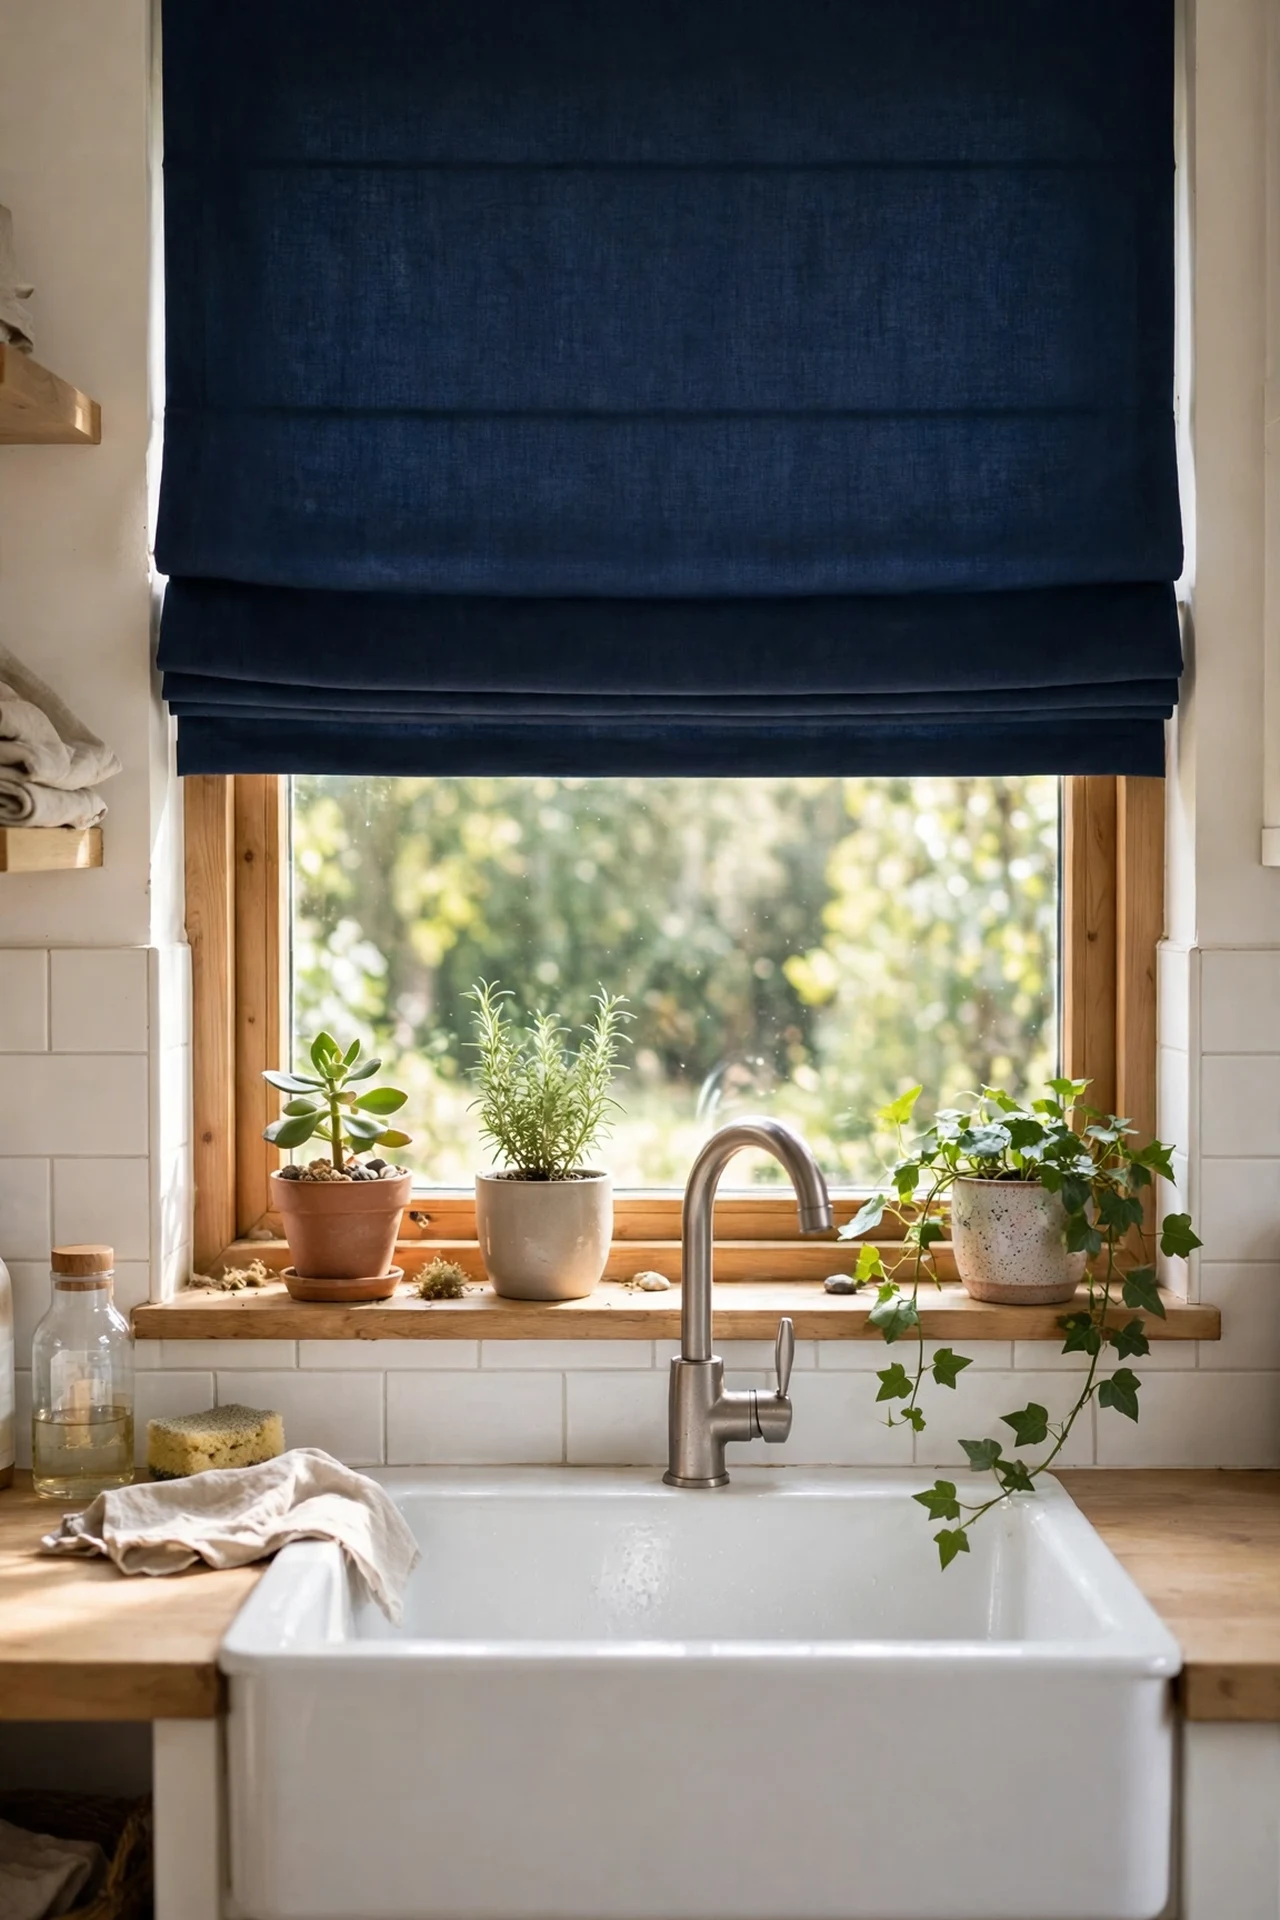
The window over the sink is where you stand twice a day, so it deserves the prettiest treatment in the room. I made a simple navy roman shade from a fat quarter of cotton and a cheap blind kit — total cost less than a delivered pizza. Measure inside the window recess, cut the fabric with seam allowance, follow the kit’s cord instructions slowly, and mount the brackets level. The mistake to avoid is choosing a fabric with a busy pattern in a small window; solid navy with a subtle weave texture is calmer and makes the garden outside look greener. I tried a patterned one first and the window became visual noise. The flat navy folds look tailored and neat, and the colour draws your eye straight to the light.
Cost: ~$28 | Time: one evening
15. Navy Herringbone Tile Floor Inlay
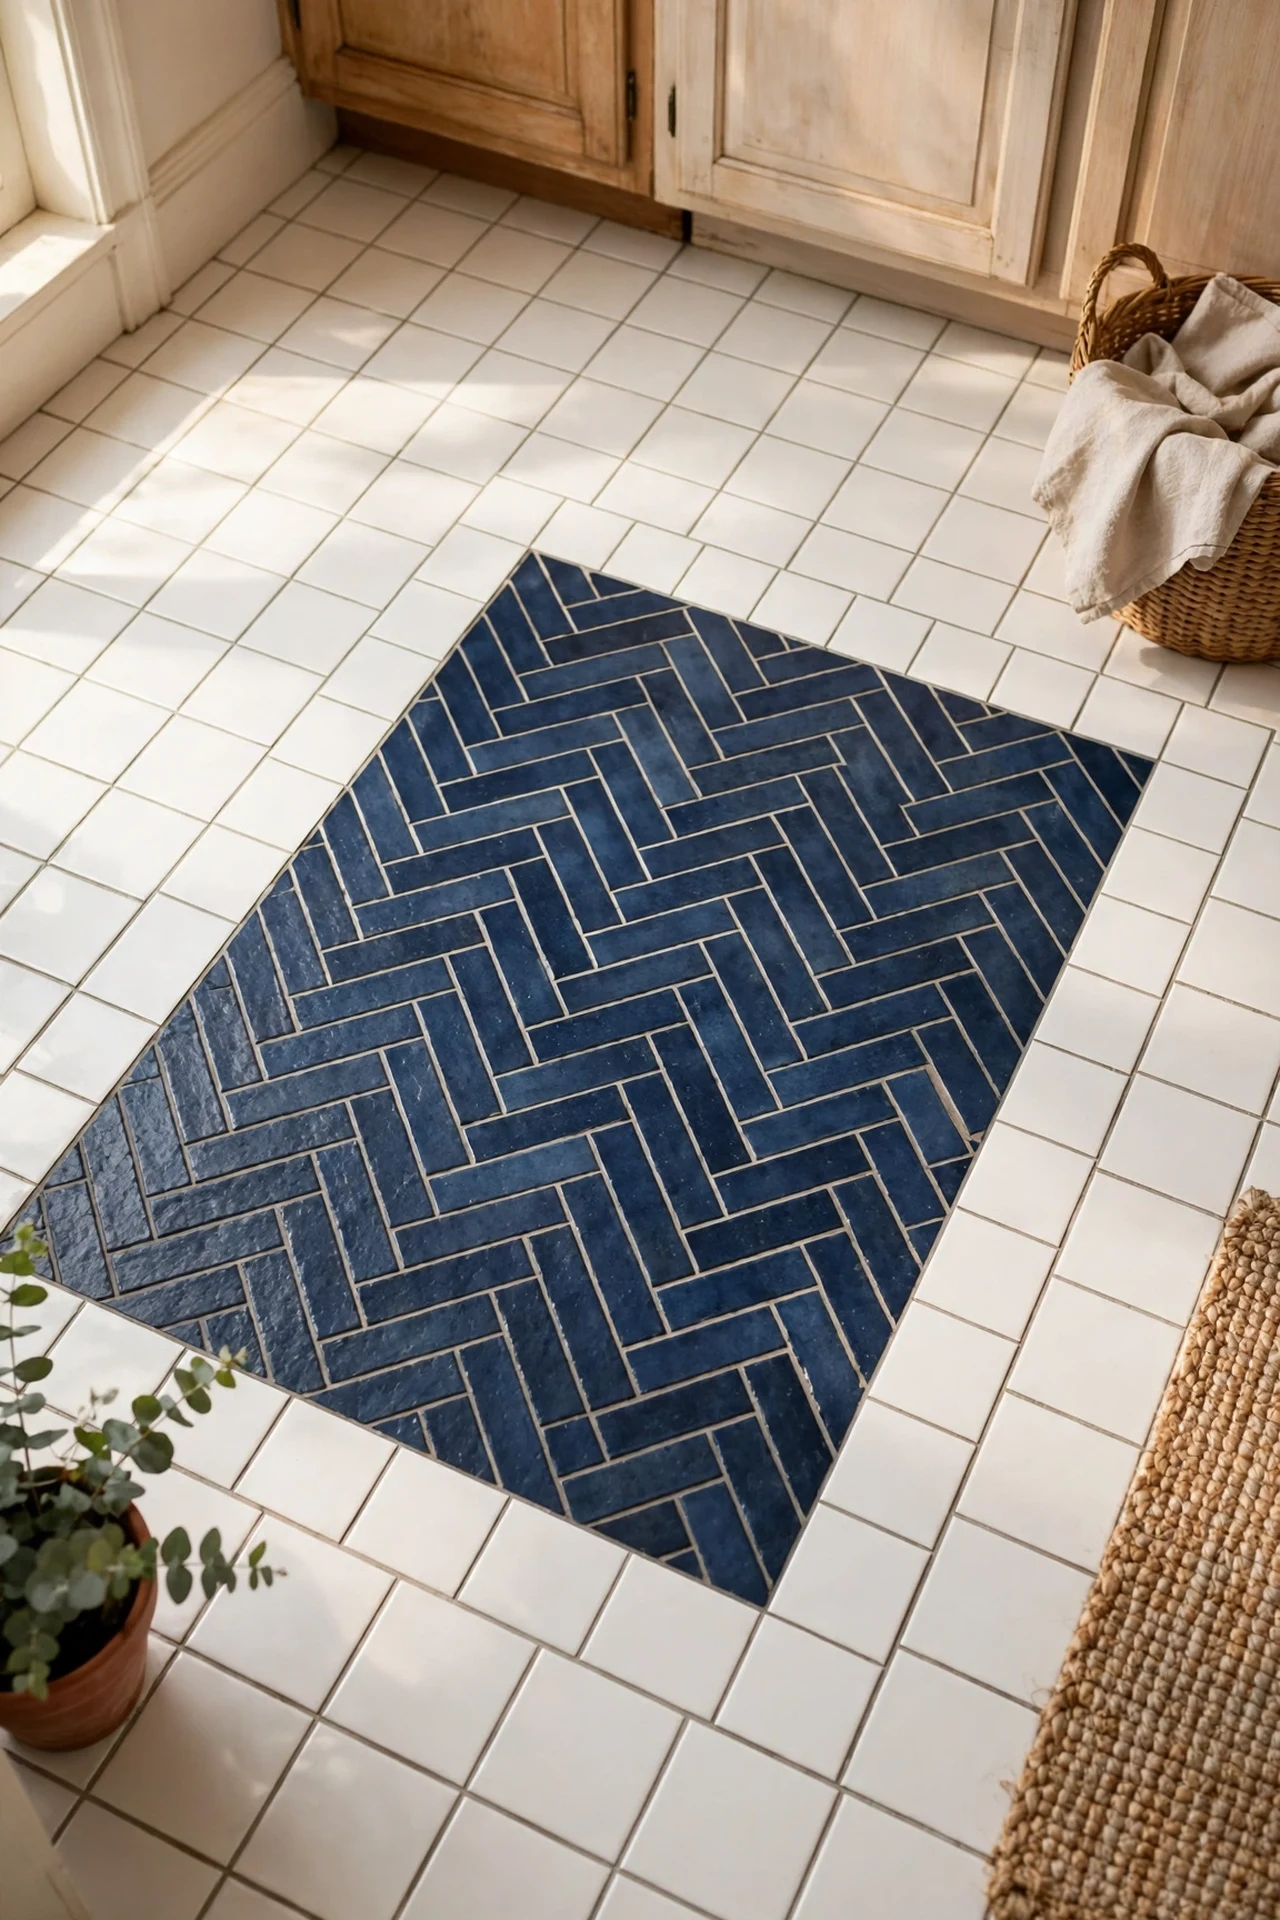
This one is for the brave, but the payoff is enormous: a navy herringbone inlay set into a pale floor becomes the jewellery of the kitchen. I didn’t retile my whole floor — I laid a herringbone panel of navy porcelain tiles inside a border of plain white tiles in front of the island. Mark out the rectangle with chalk lines, lay the border first, then fill the centre in a herringbone pattern, keeping your cuts tight. The steps sound fiddly but the pattern repeats quickly once you find the rhythm. The mistake to avoid is cheap thinset that doesn’t support porcelain; spend the extra few pounds on a polymer-modified mix. My tiler friend called it the most expensive-looking cheap job he’d ever seen.
Cost: ~$80 | Time: one weekend
16. A Navy Chalkboard Wall for Menus and Notes
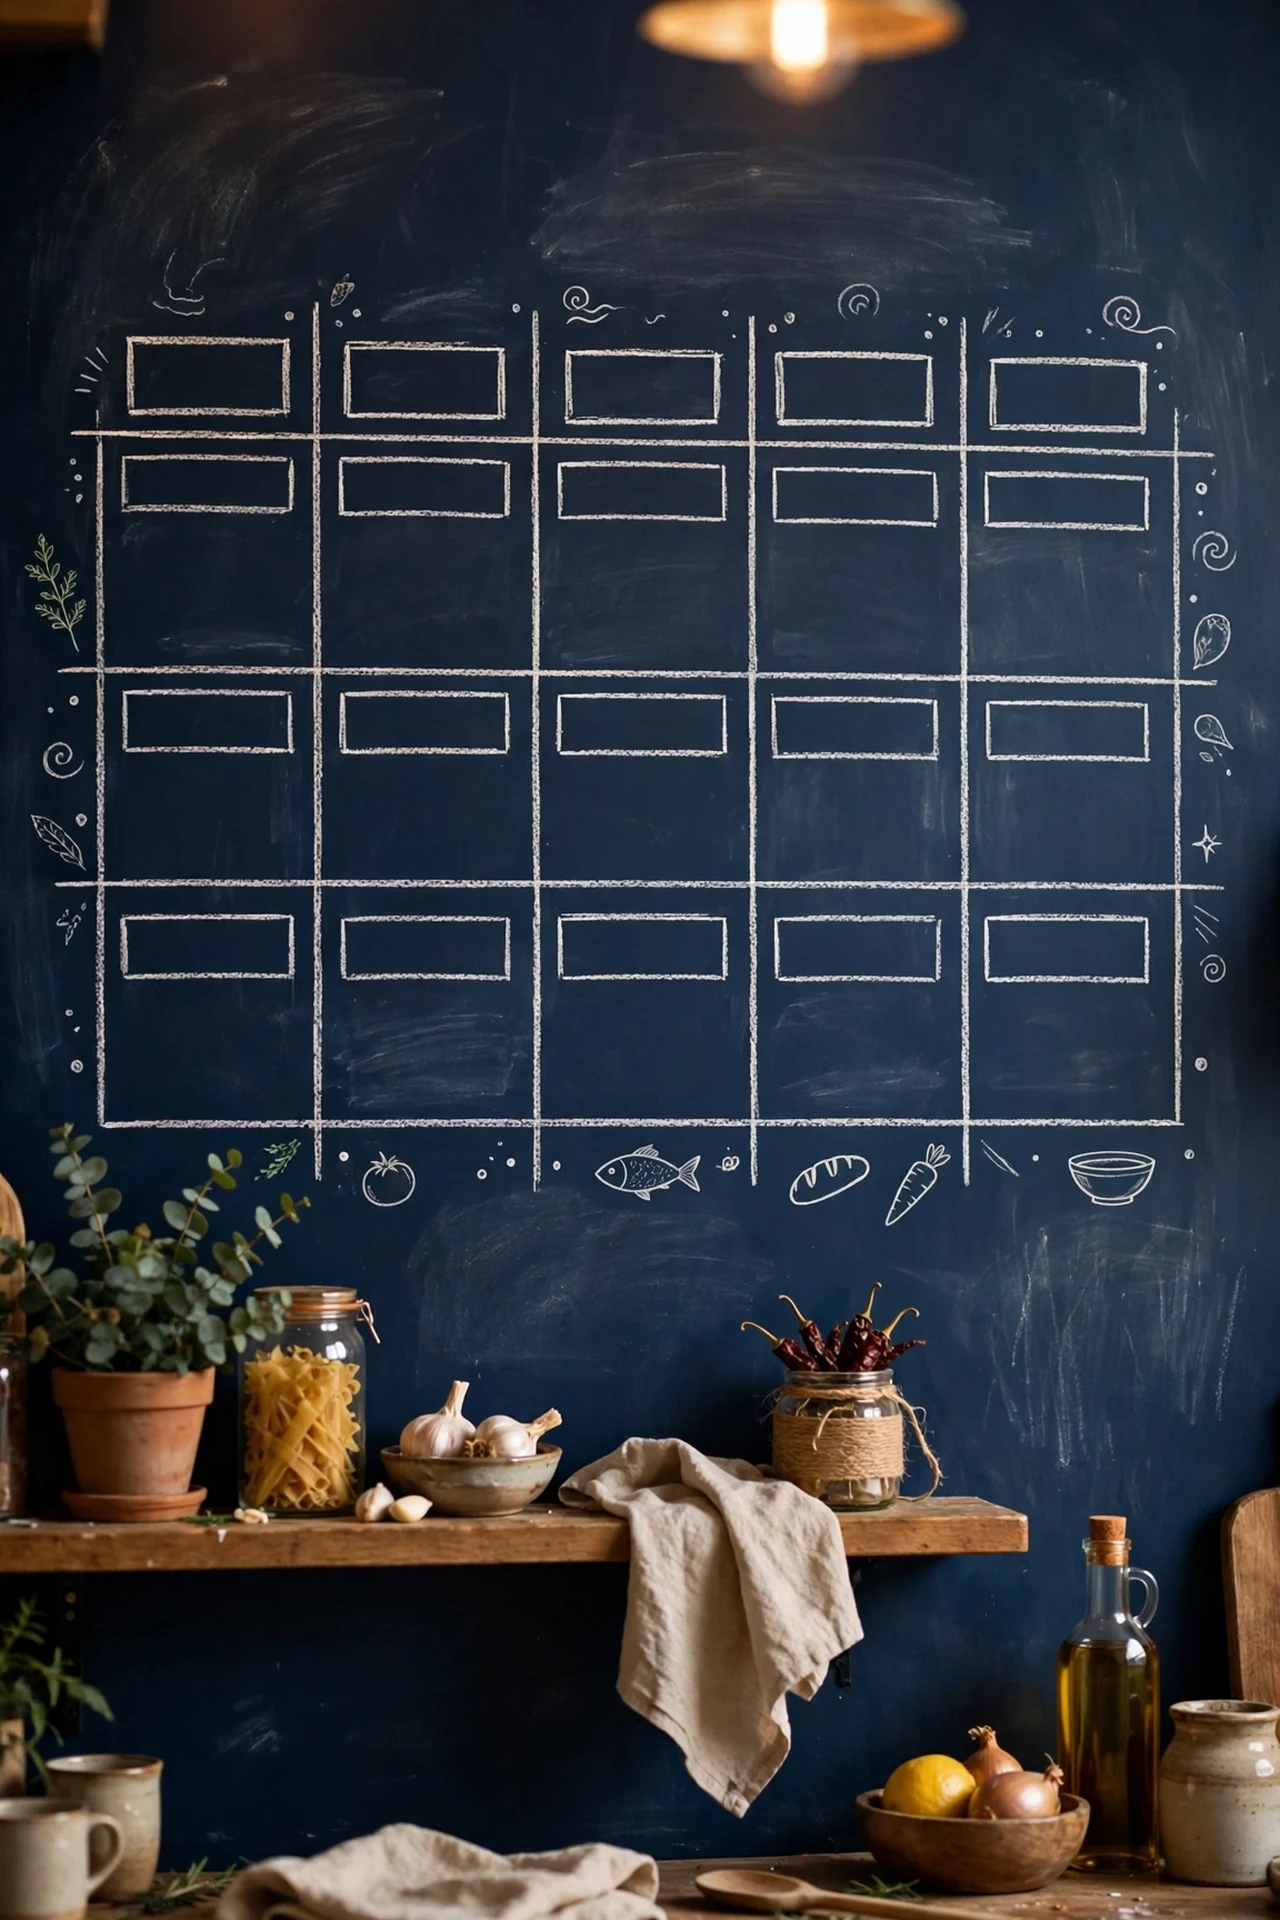
Paint one section of wall in navy chalkboard paint and you get a family message board that doubles as decor. I painted the inside of my pantry alcove — it’s the wall everyone passes — and we use it for the week’s meal plan and the shopping list. The process: apply two coats of magnetic primer first if you want to stick notes up too, then two coats of the chalkboard paint, and let it cure the full recommended time before writing. The mistake to avoid is writing on it too early; I scrawled on mine after two days and the chalk left permanent ghosts. Season the wall by rubbing chalk sideways over the whole surface and wiping it off before first use. White chalk on deep navy looks sharp and the weekly menu becomes a design feature.
Cost: ~$30 | Time: half a day plus curing
17. Navy Small Appliances as Colour Pops
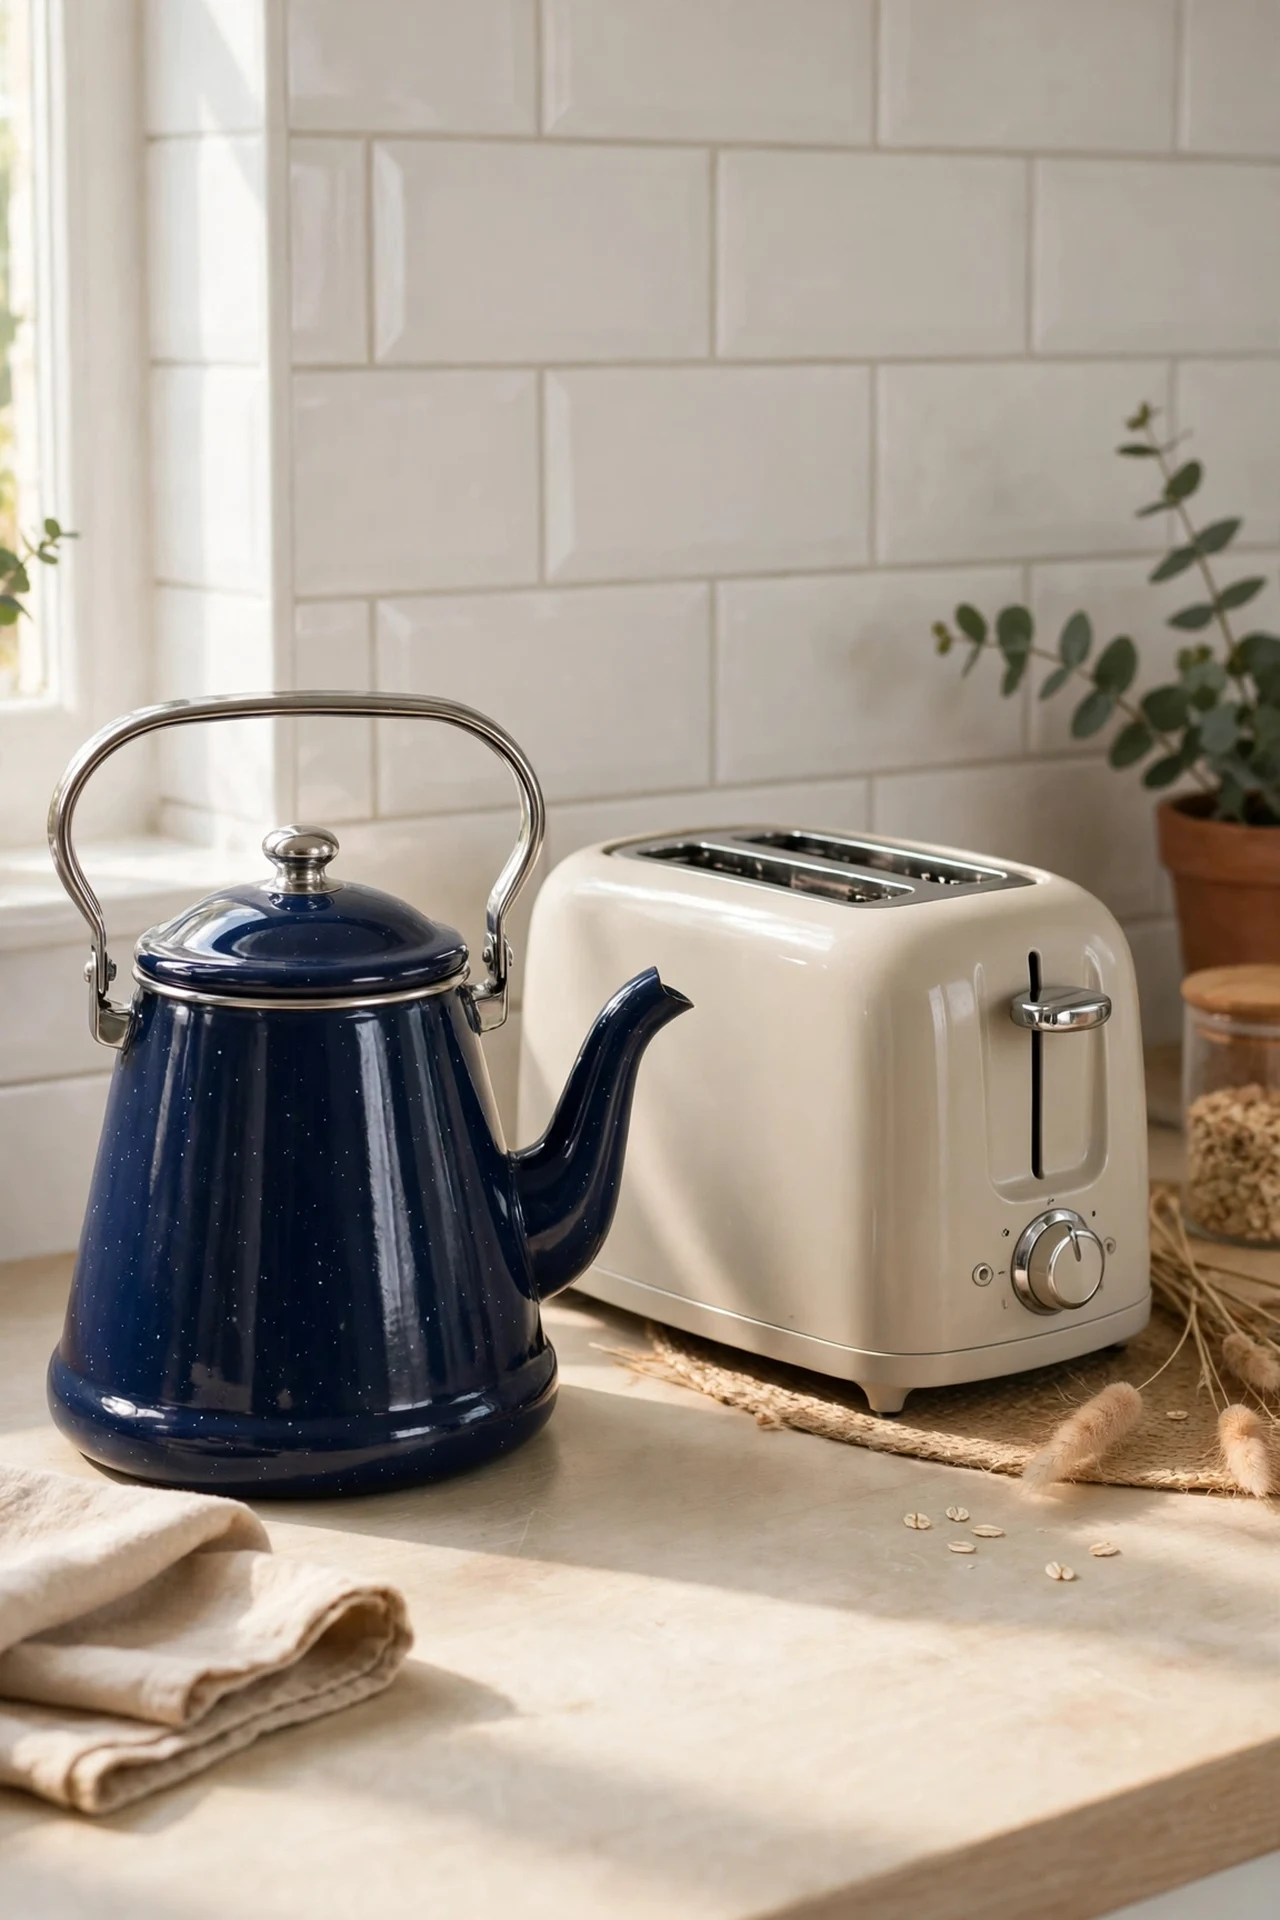
A navy kettle, toaster, or stand mixer on a pale worktop is like a good accessory on a plain outfit — small, but it pulls everything together. I replaced my dented silver kettle with a navy enamel one and suddenly the worktop had a colour story. If new appliances aren’t in the budget, spray-paint your existing toaster or kettle body in a heat-safe navy enamel — mask the elements, the cord, and any vents carefully first. The mistake to avoid is painting near heat sources without checking the paint’s heat rating; standard spray paint on a kettle base can discolour. My painted toaster has lasted two years with heat-rated paint. Group two or three navy pieces together rather than scattering them, and the colour reads as deliberate.
Cost: ~$25 | Time: 1 hour
18. Navy Grout on a White Backsplash
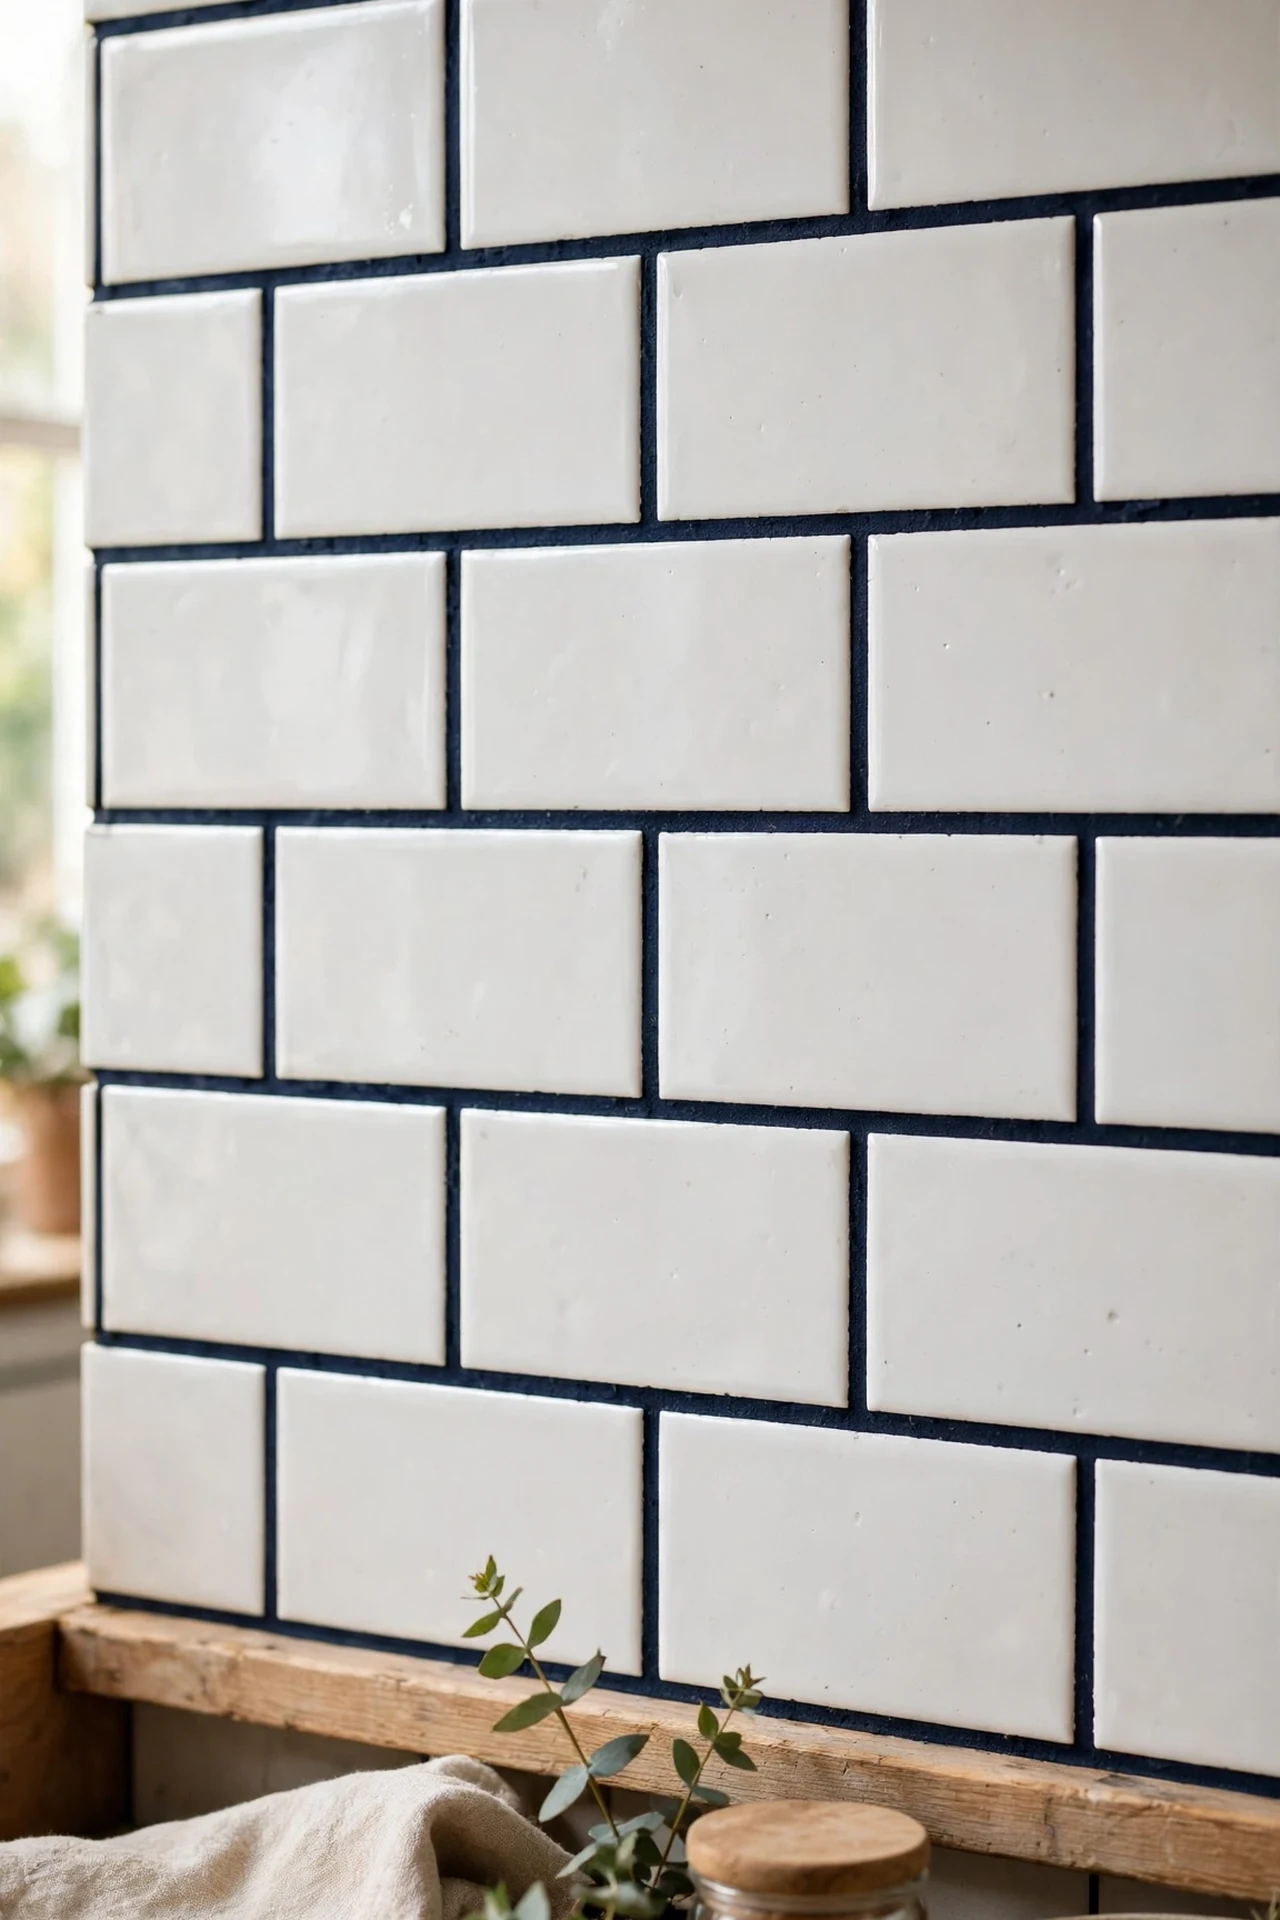
If you already have a white tile backsplash, navy grout will flip it from plain to graphic overnight. I regrouted my tired white subway tiles with a deep blue-grey grout and the whole wall went from rental-beige to editorial. Rake out the old grout with a grout saw to about two-thirds depth, vacuum the dust, then press the new grout in with a float at a diagonal angle. Wipe with a damp sponge before it hazes. The mistake to avoid is grouting in direct sunlight or with the heating blasting — it dries too fast and cracks. I worked in the evening with the kitchen cool and got clean lines. Pair this with (see also: budget-kitchen-decor-ideas) for more small-spend tricks that punch above their price.
Cost: ~$18 | Time: one evening
19. Navy Bench Seating at the Kitchen Table
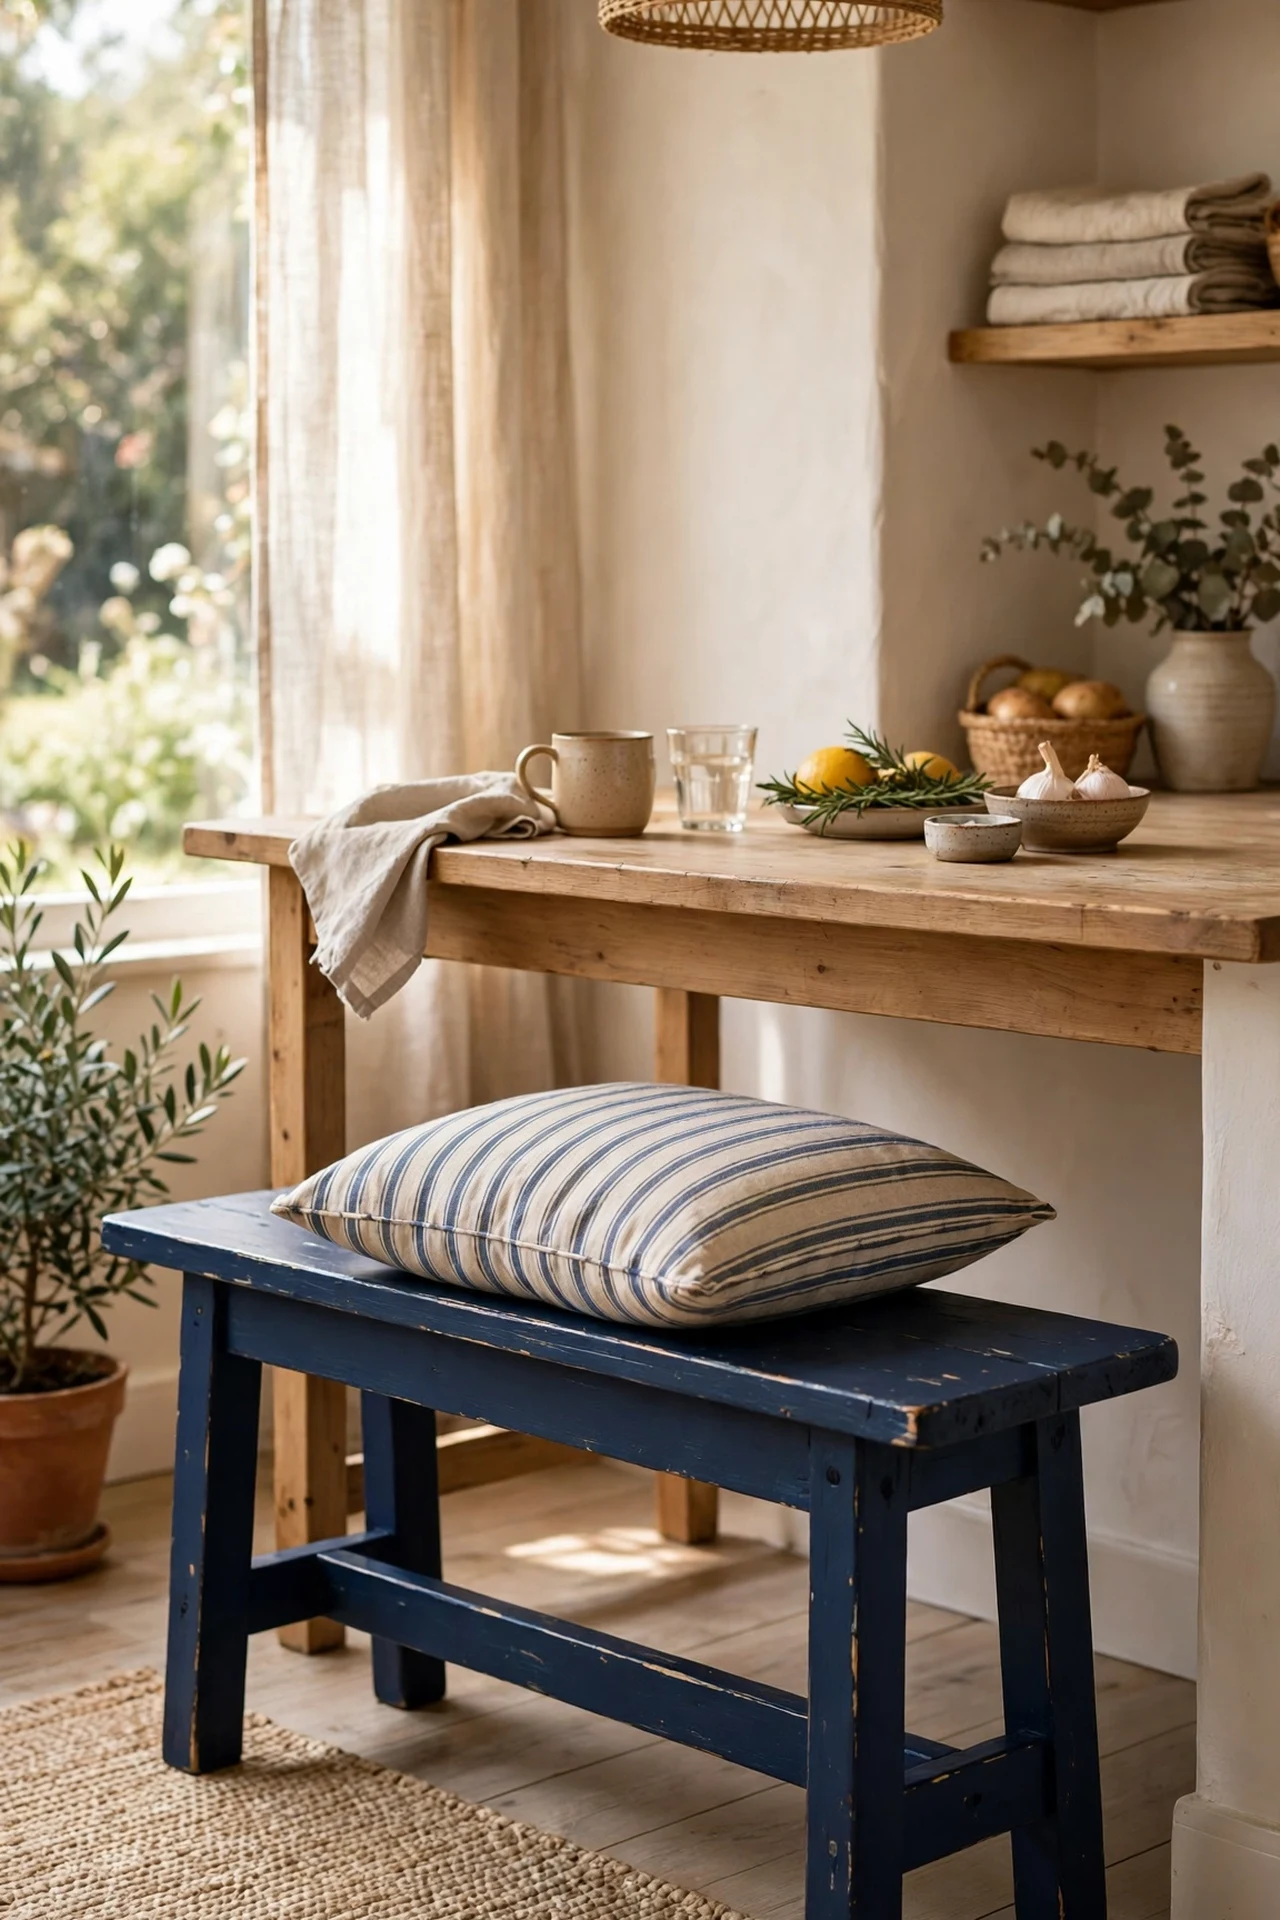
A simple wooden bench painted navy and tucked under the kitchen table saves space and adds a block of colour at seating height. I built mine from two lengths of pine and four sturdy legs — nothing fancy — then painted it in a hard-wearing navy eggshell. Sand everything smooth first, because bottoms notice splinters even if eyes don’t. Use pocket-hole screws or simple brackets for the joinery, and add felt pads to the feet so it slides on the floor. The personal touch I added: a striped cushion in cream and navy that ties the bench to the rest of the room. My kids drag that bench everywhere, and the eggshell finish has survived three years of it with only a touch-up or two.
Cost: ~$45 | Time: one day
20. Navy Pendant Light Shades Over the Island
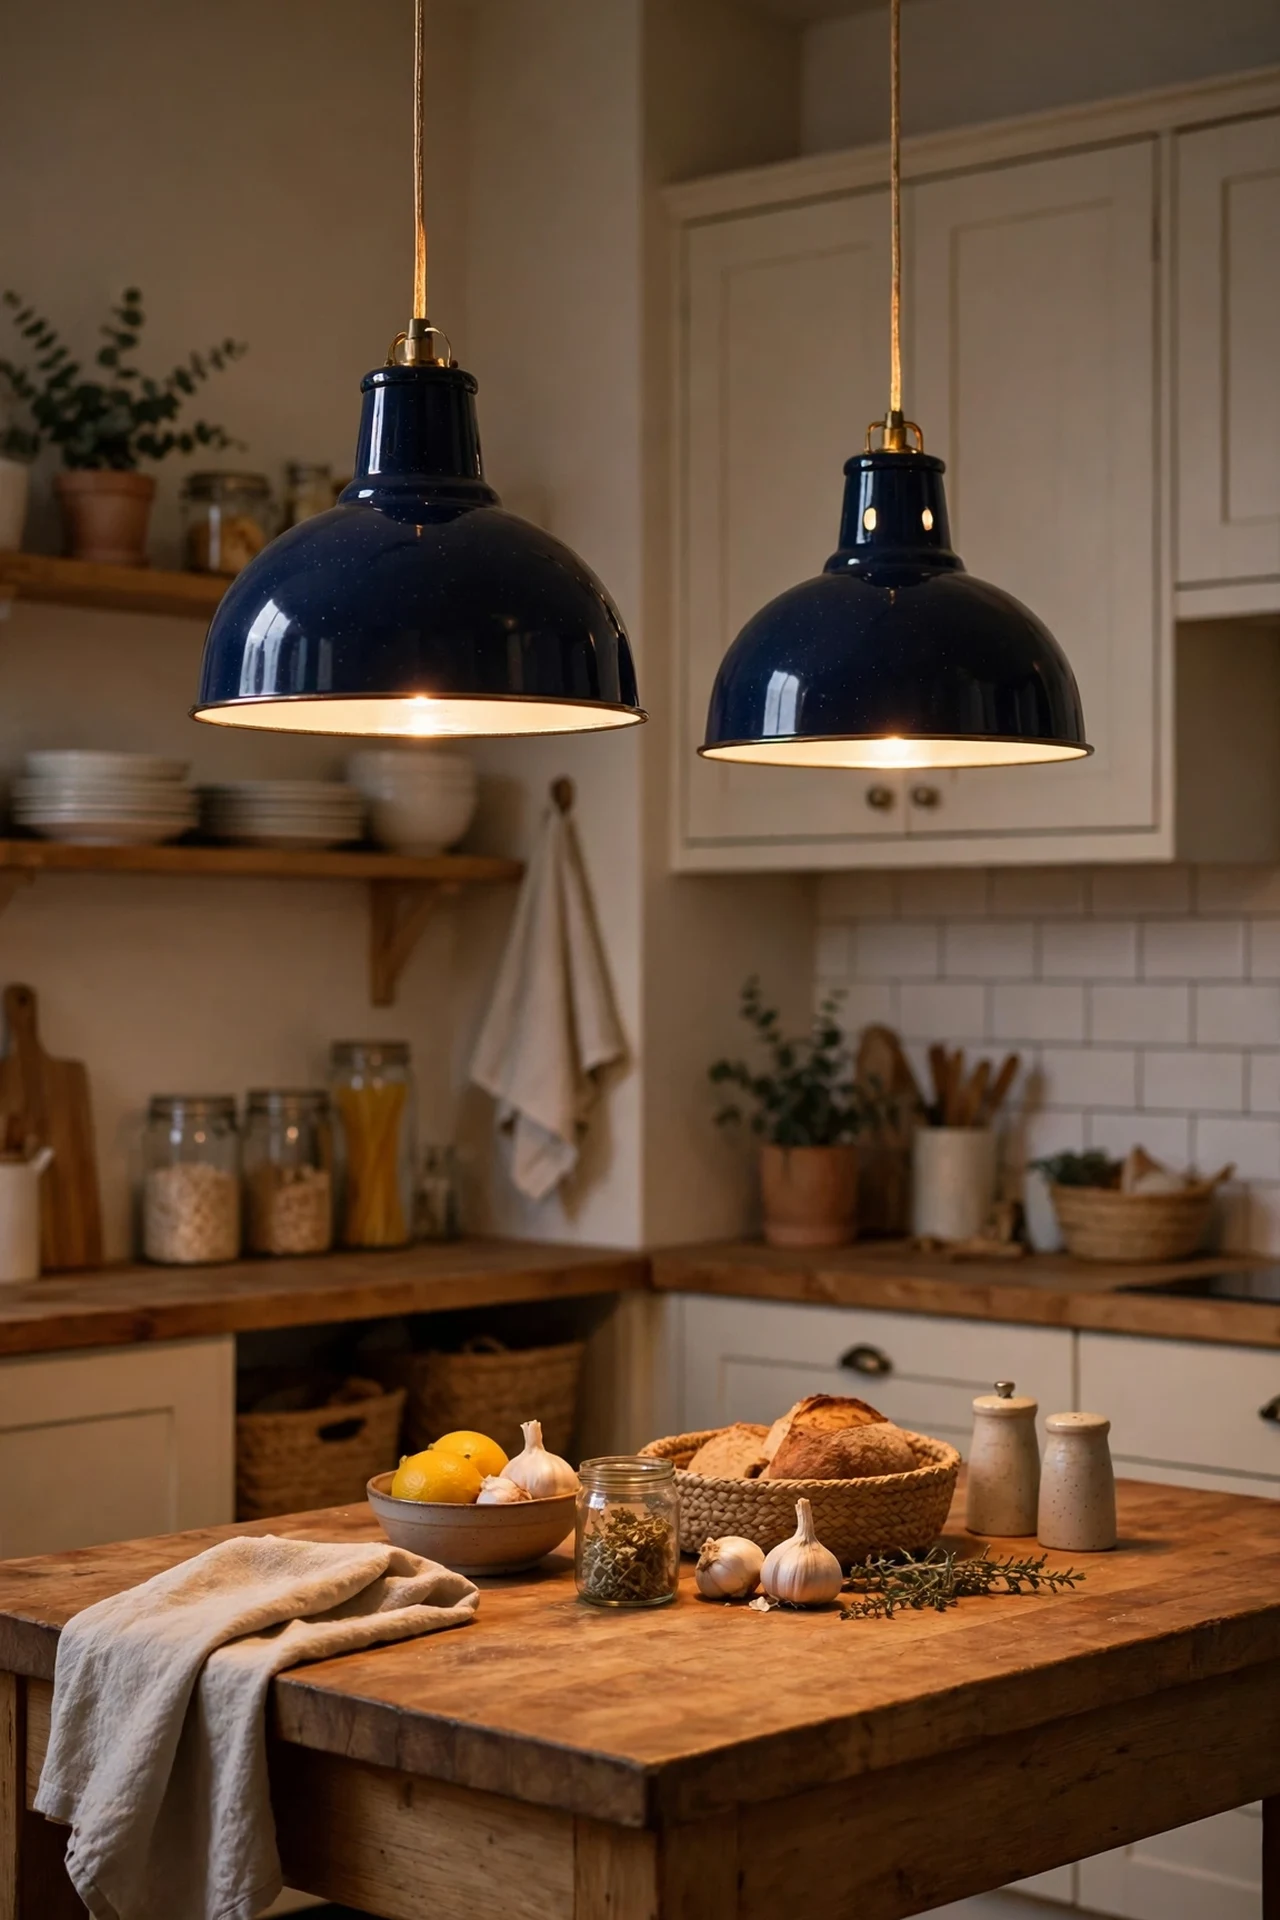
Swapping your pendant shades for navy ones changes the lighting mood of the whole kitchen after dark. I replaced two tired chrome pendants with navy enamel shades and the island became the warmest spot in the flat every evening. Turn off the breaker first — non-negotiable — then it’s just unscrewing the old shades and fitting the new ones to the existing pendants. Choose shades with a white interior so the light bounces down cleanly instead of being swallowed by the dark colour. The mistake to avoid is navy shades with navy interiors, which I bought first by accident; they turned my bright kitchen into a cave at 6pm. Enamel shades from lighting discounters cost a fraction of the designer versions.
Cost: ~$60 for two | Time: 30 minutes
21. Peel-and-Stick Navy Wallpaper Breakfast Nook
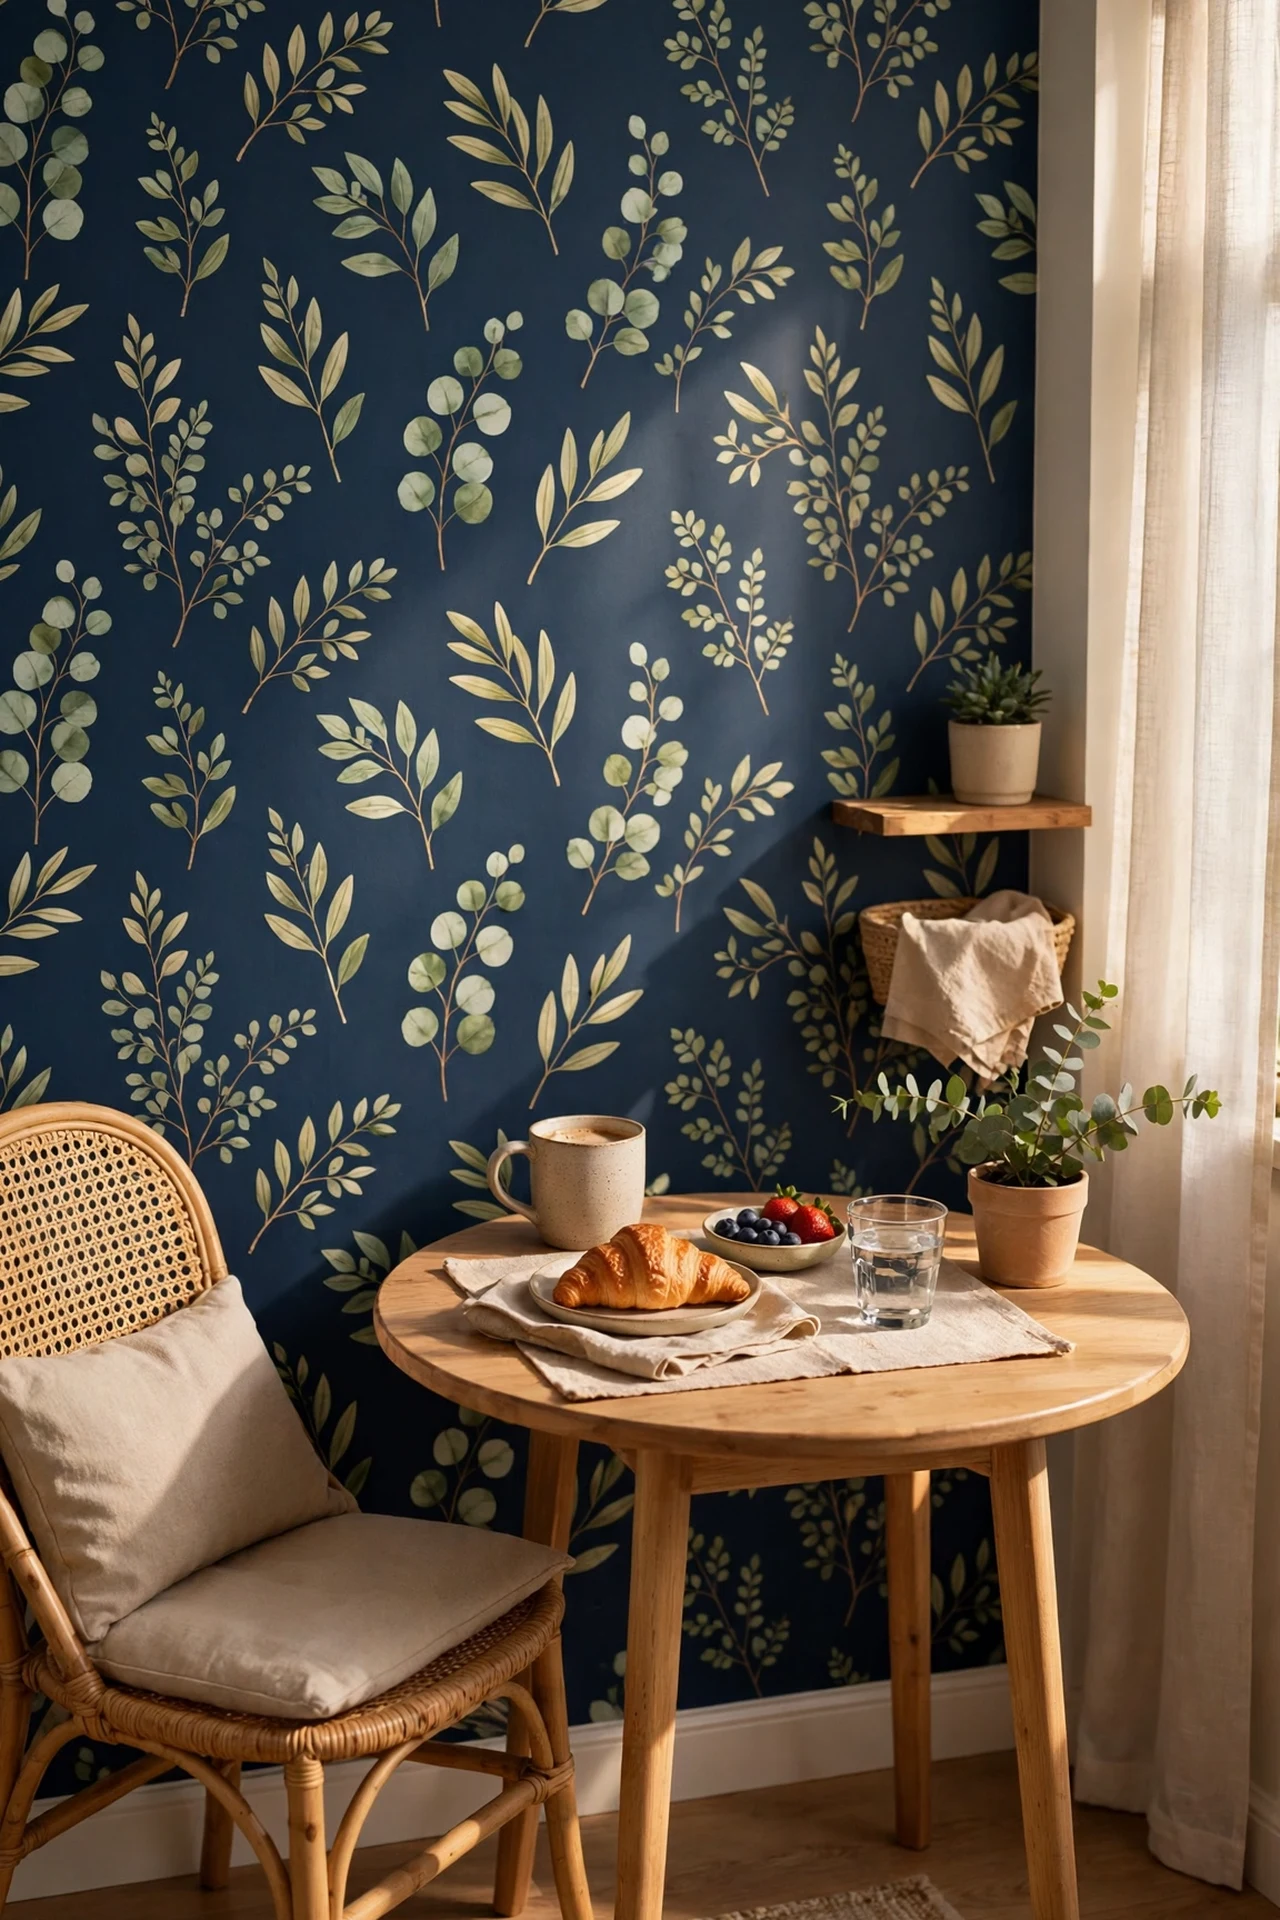
A breakfast nook is the perfect place for a bold pattern because it’s contained — one wall of peel-and-stick navy wallpaper makes the nook feel like a separate little room. I papered the alcove behind my kitchen table in a navy botanical print and the corner went from forgotten to favourite. Clean the wall, mark a plumb line, peel the backing slowly, and smooth with a plastic smoother as you go. The mistake to avoid is pulling the sheet too hard to reposition it — peel-and-stick stretches, and stretched panels never line up again. I wasted one panel learning that. Renters, this is your move: it peels off clean when you leave, and landlords never need to know.
Cost: ~$45 | Time: 2 hours
22. Navy Baseboards and Door Trim
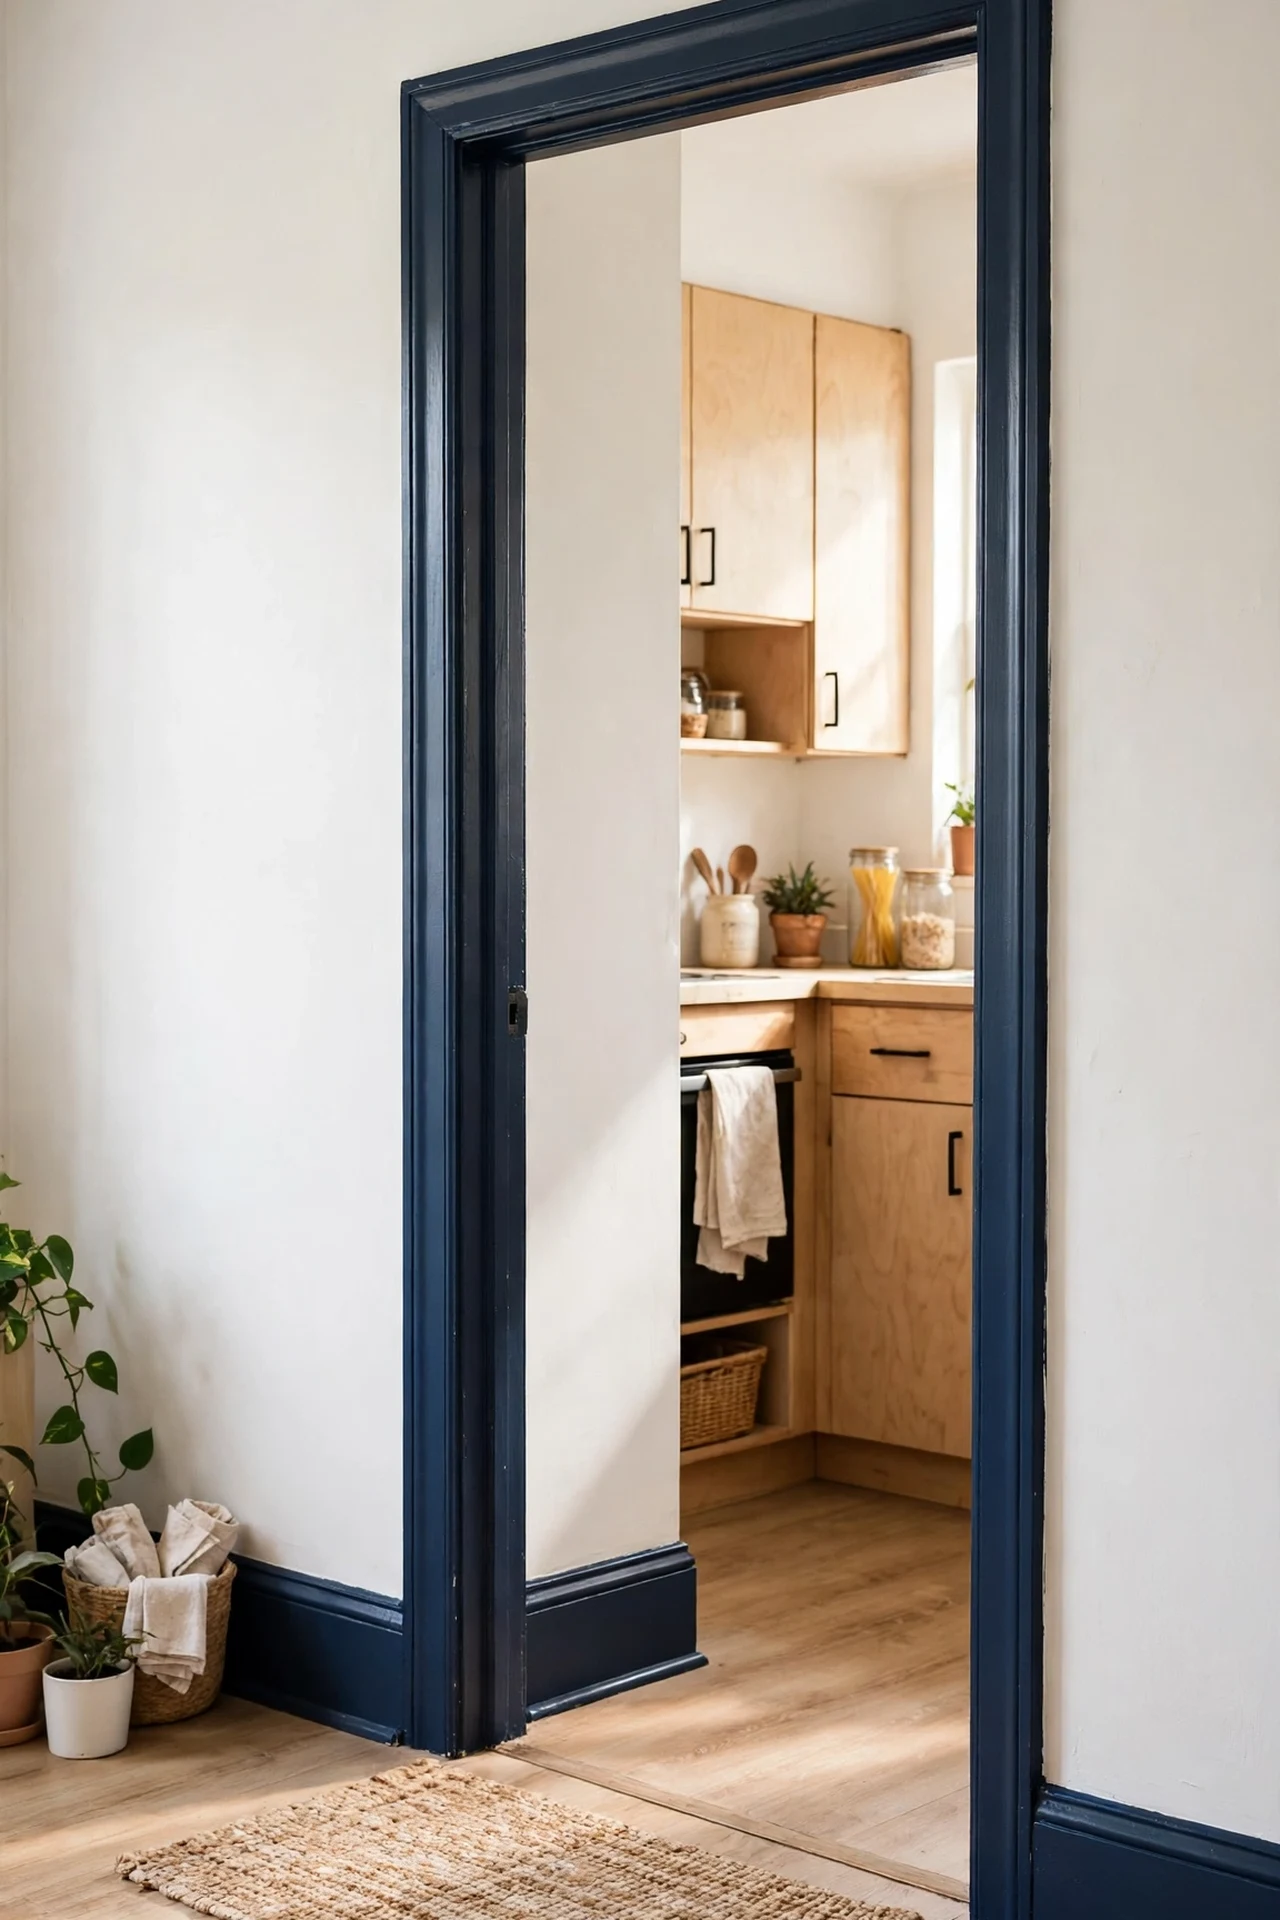
Painting your baseboards and door trim navy while leaving the walls white is a quietly radical move that reads as very high-end. I did it in my hallway-kitchen threshold and visitors assume the whole flat was professionally designed. The steps: mask the floor and wall with tape, caulk any gaps between trim and wall, then brush two coats of navy in a satin or semi-gloss finish. The mistake to avoid is using a flat or matte paint on trim — it scuffs within weeks in a kitchen. Satin wipes clean. I tried this nervously in one doorway first, loved it, and did the whole kitchen in a weekend. It frames the room like a picture frame, and white walls above keep it from feeling heavy.
Cost: ~$20 | Time: one day
23. A Navy Ceiling in a Small Galley Kitchen
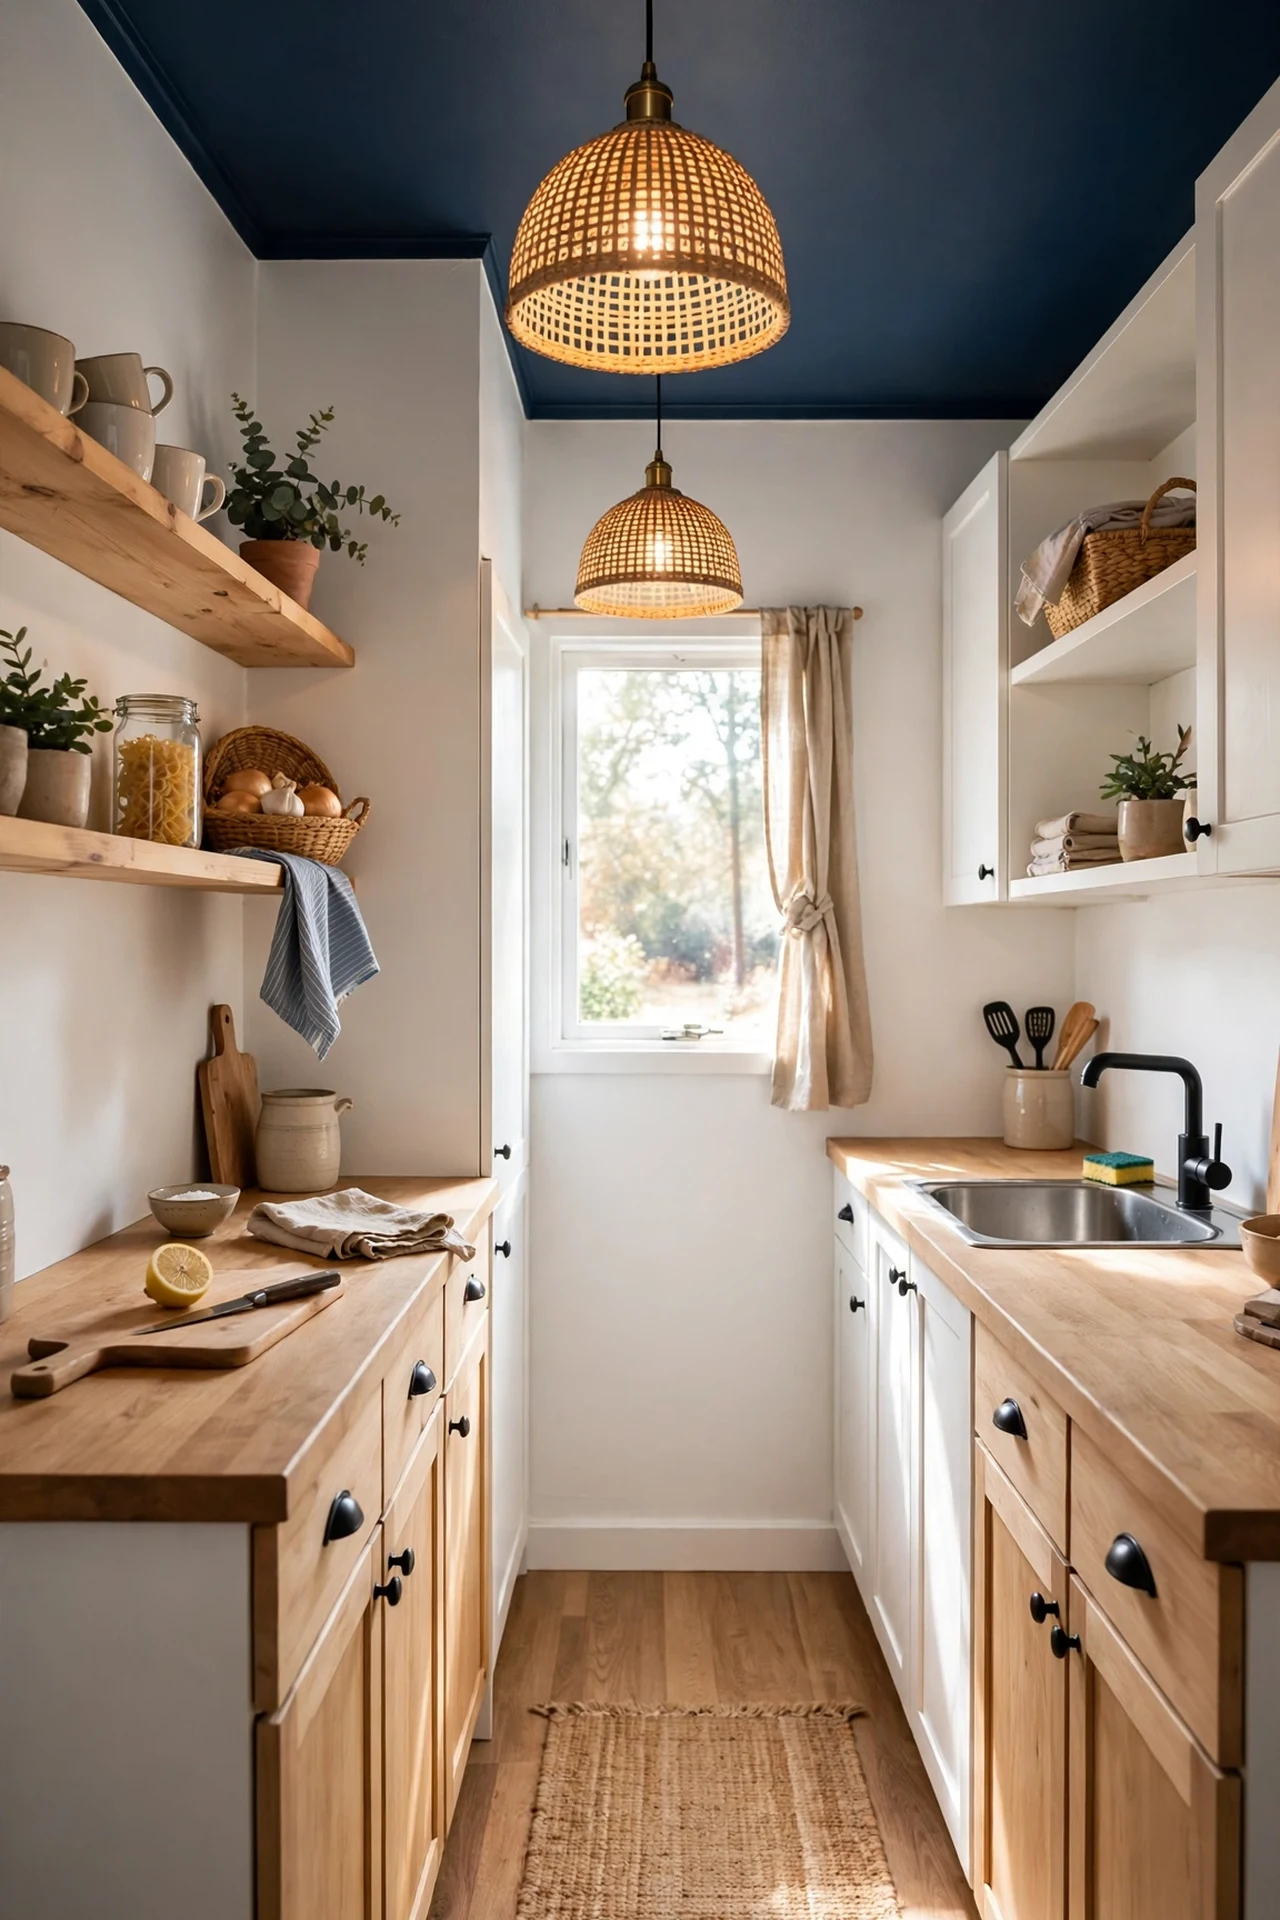
This sounds mad, but a navy ceiling in a small galley kitchen makes the room feel taller — the dark overhead blurs where the walls end, like looking up at the night sky. I painted mine after years of staring at a yellowed white ceiling, and the galley instantly felt calmer and more finished. Cover everything below with dust sheets, cut in around the coving with a steady hand, and roll the ceiling in sections so the wet edges blend. Use a flat or matte navy so the finish doesn’t show roller marks. The mistake to avoid is painting the ceiling navy while the walls are also dark — it needs white or pale walls to work. With white walls and one navy ceiling, my little galley finally feels designed, not just assembled. For more ideas that make tight spaces work harder, see (see also: small-kitchen-organization-ideas).
Cost: ~$28 | Time: one afternoon
Quick Answers
Q: Will navy blue make my small kitchen feel smaller?
A: Not if you balance it. Navy on lower cabinets, an island, or one accent wall with pale walls around it actually adds depth. The trick is keeping at least half the room light — white uppers, pale worktops, or plenty of natural light do the job.
Q: What paint finish works best for navy kitchen cabinets?
A: Satin or semi-gloss in a cabinet-grade enamel. Flat and matte show every fingerprint and scuff in a kitchen, while satin wipes clean and gives navy that rich, even depth.
Q: What colours go with a navy kitchen?
A: Warm whites, brass or gold hardware, natural wood, and one warm accent like terracotta or caramel leather. Cool greys can make navy feel cold, so lean warm with your pairings.
Navy blue has carried my kitchen from a rented box to the room I’m proudest of, and not one of these ideas cost more than a modest grocery shop. Pick the one that makes you smile and start this weekend.
