19 Charcoal Gray Kitchen Ideas With Vintage Charm
The first time I painted anything charcoal gray, it was a battered old dresser I found on the kerb, and my husband walked in mid-coat and said it looked like a coffin. He ate his words by dinner. That deep, smoky colour has a strange power in a kitchen — it hides the scuffs, makes cheap white goods look deliberate, and sits beautifully next to all the warm vintage bits we love.
Charcoal gray kitchen ideas work so well on a budget because the colour itself does the heavy lifting. You don’t need new cabinets or fancy worktops; a tin of paint, some brass handles from the charity shop, and a bit of patience will get you most of the way there. These are 19 charcoal gray kitchen ideas with vintage charm that I would happily do again in my own kitchen, each one tested against a real budget and a real mess of a room.
1. Charcoal Gray Lower Cabinets With Brass Pulls
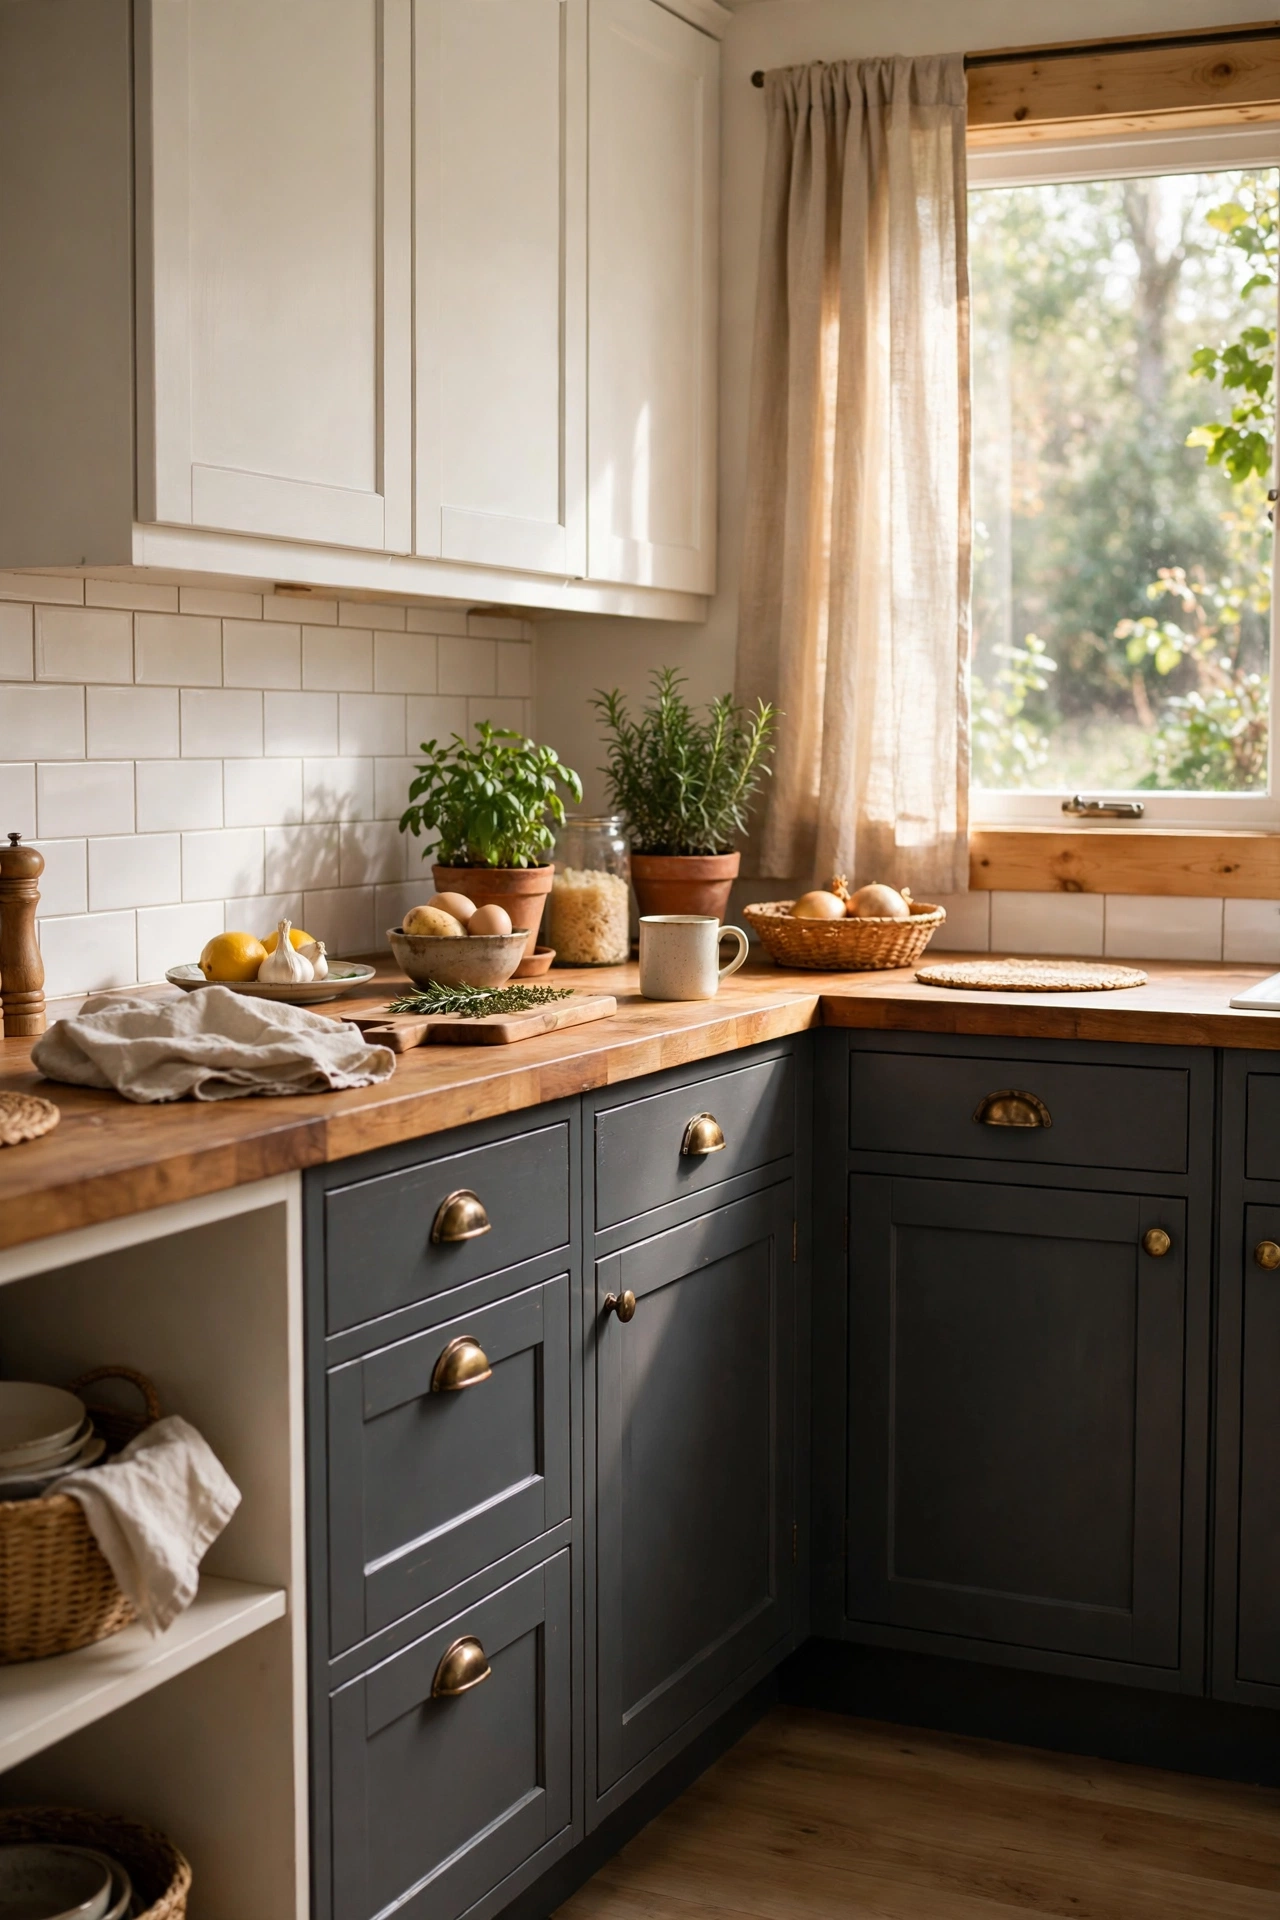
Painting just the lower cabinets charcoal gray while leaving the uppers white is the single biggest-impact trick in this whole list. The dark base grounds the room and makes the vintage brass pulls glow against it like jewellery. Clean the doors with sugar soap, give them a light sand, then apply two coats of cabinet paint with a small foam roller for a smooth finish. I tried this and the one mistake to avoid is skipping the primer on laminate doors — the paint slid right off mine until I redid it properly. Swap in brass cup pulls or knobs once the paint has cured for 48 hours.
Cost: ~$45 | Time: 1 weekend
2. Vintage-Style Gray Runner Rug
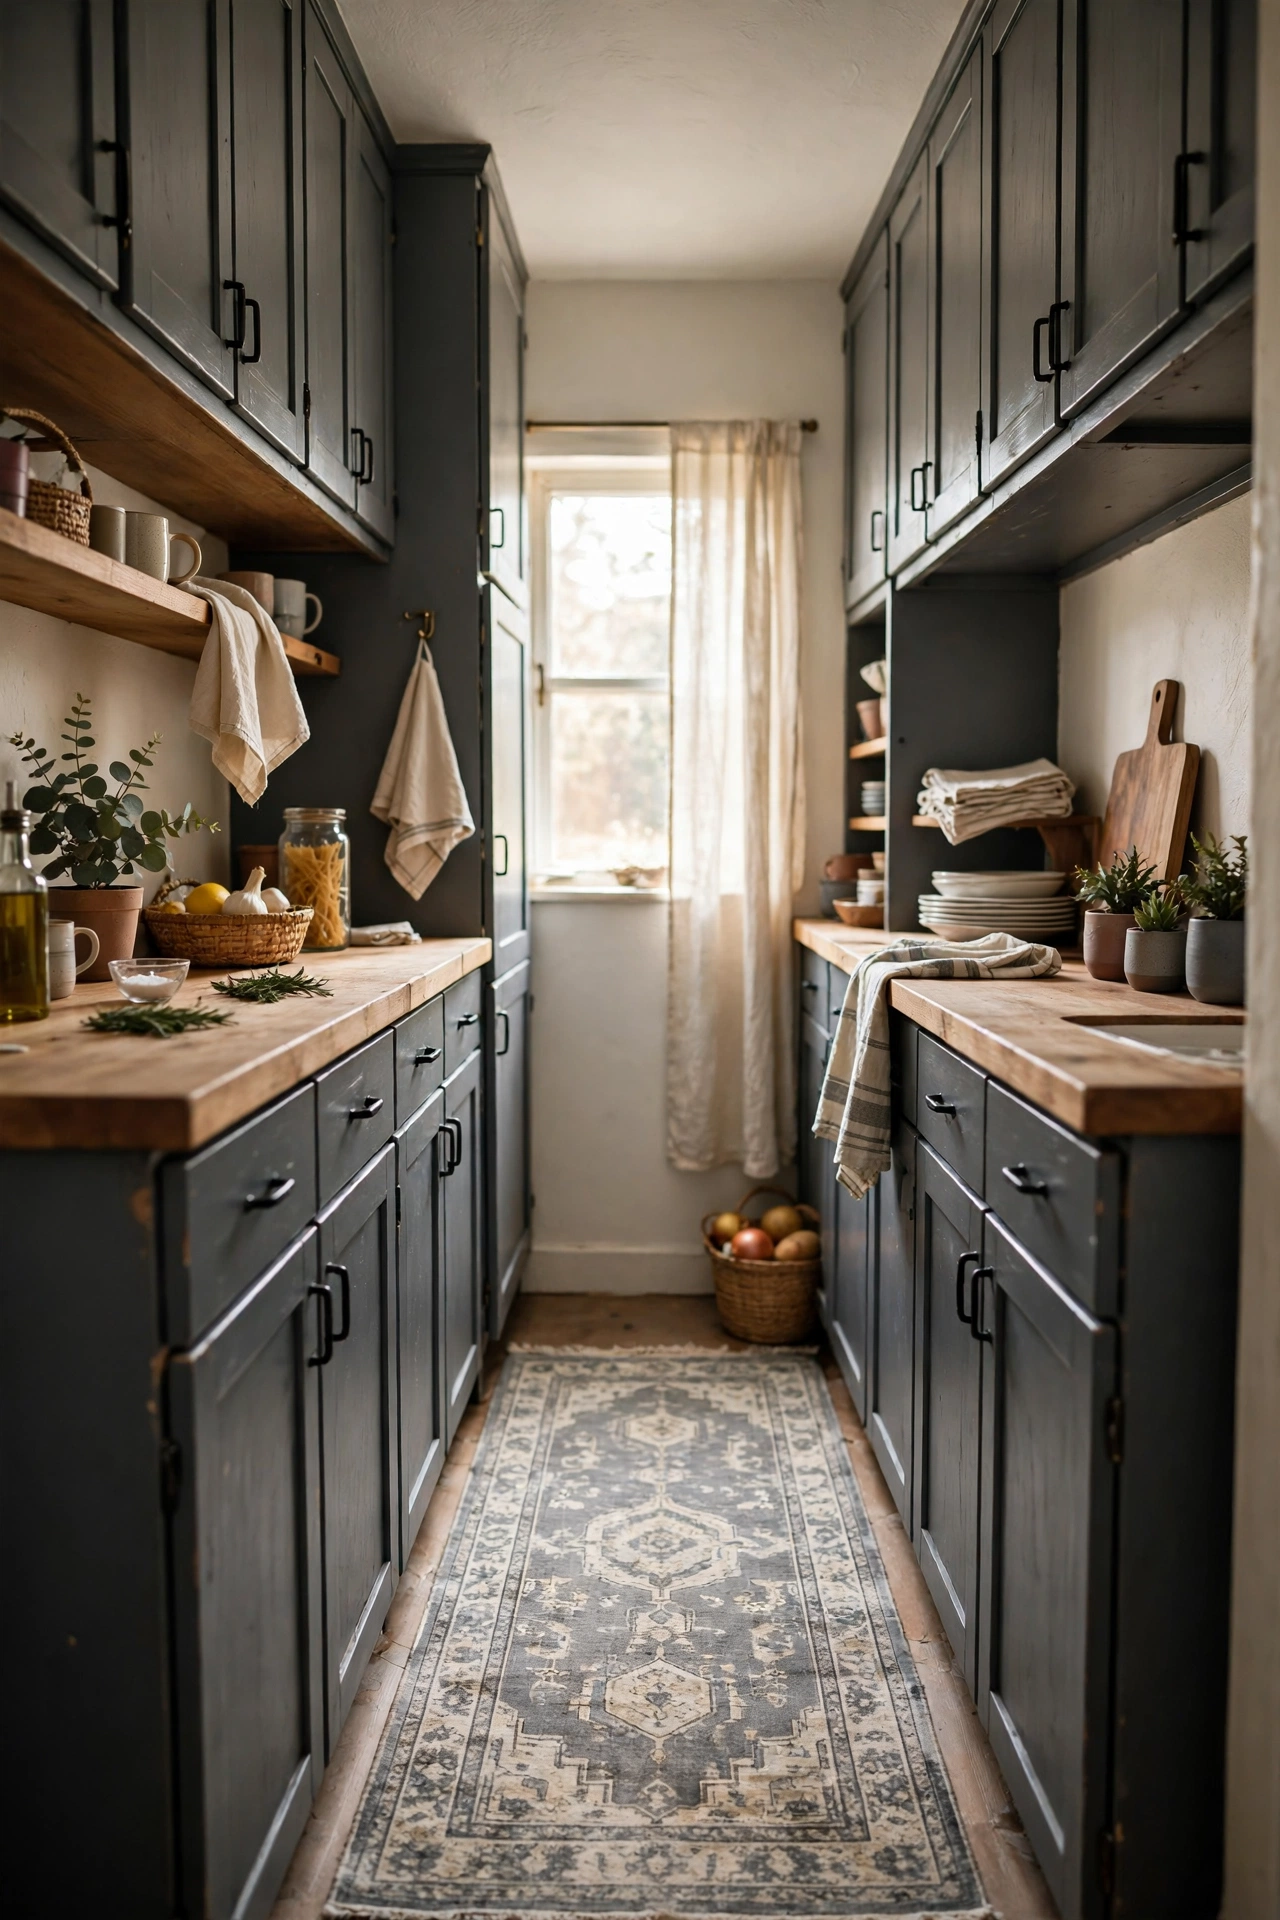
A long runner in faded grays and creams softens a charcoal kitchen instantly and stops the room feeling like a showroom. Look for washable vintage-style rugs — they’re everywhere now and you can bung them straight in the machine after a spaghetti night. Measure your walkway first, then choose a runner that leaves a few inches of floor showing on each side. I tried this and the one mistake to avoid is buying a rug with a dark backing that bleeds colour onto light tiles; check the label for colourfastness. A rug pad underneath stops it creeping across the floor.
Cost: ~$30 | Time: 15 minutes
3. Butcher Block Countertops Beside Charcoal Gray Units
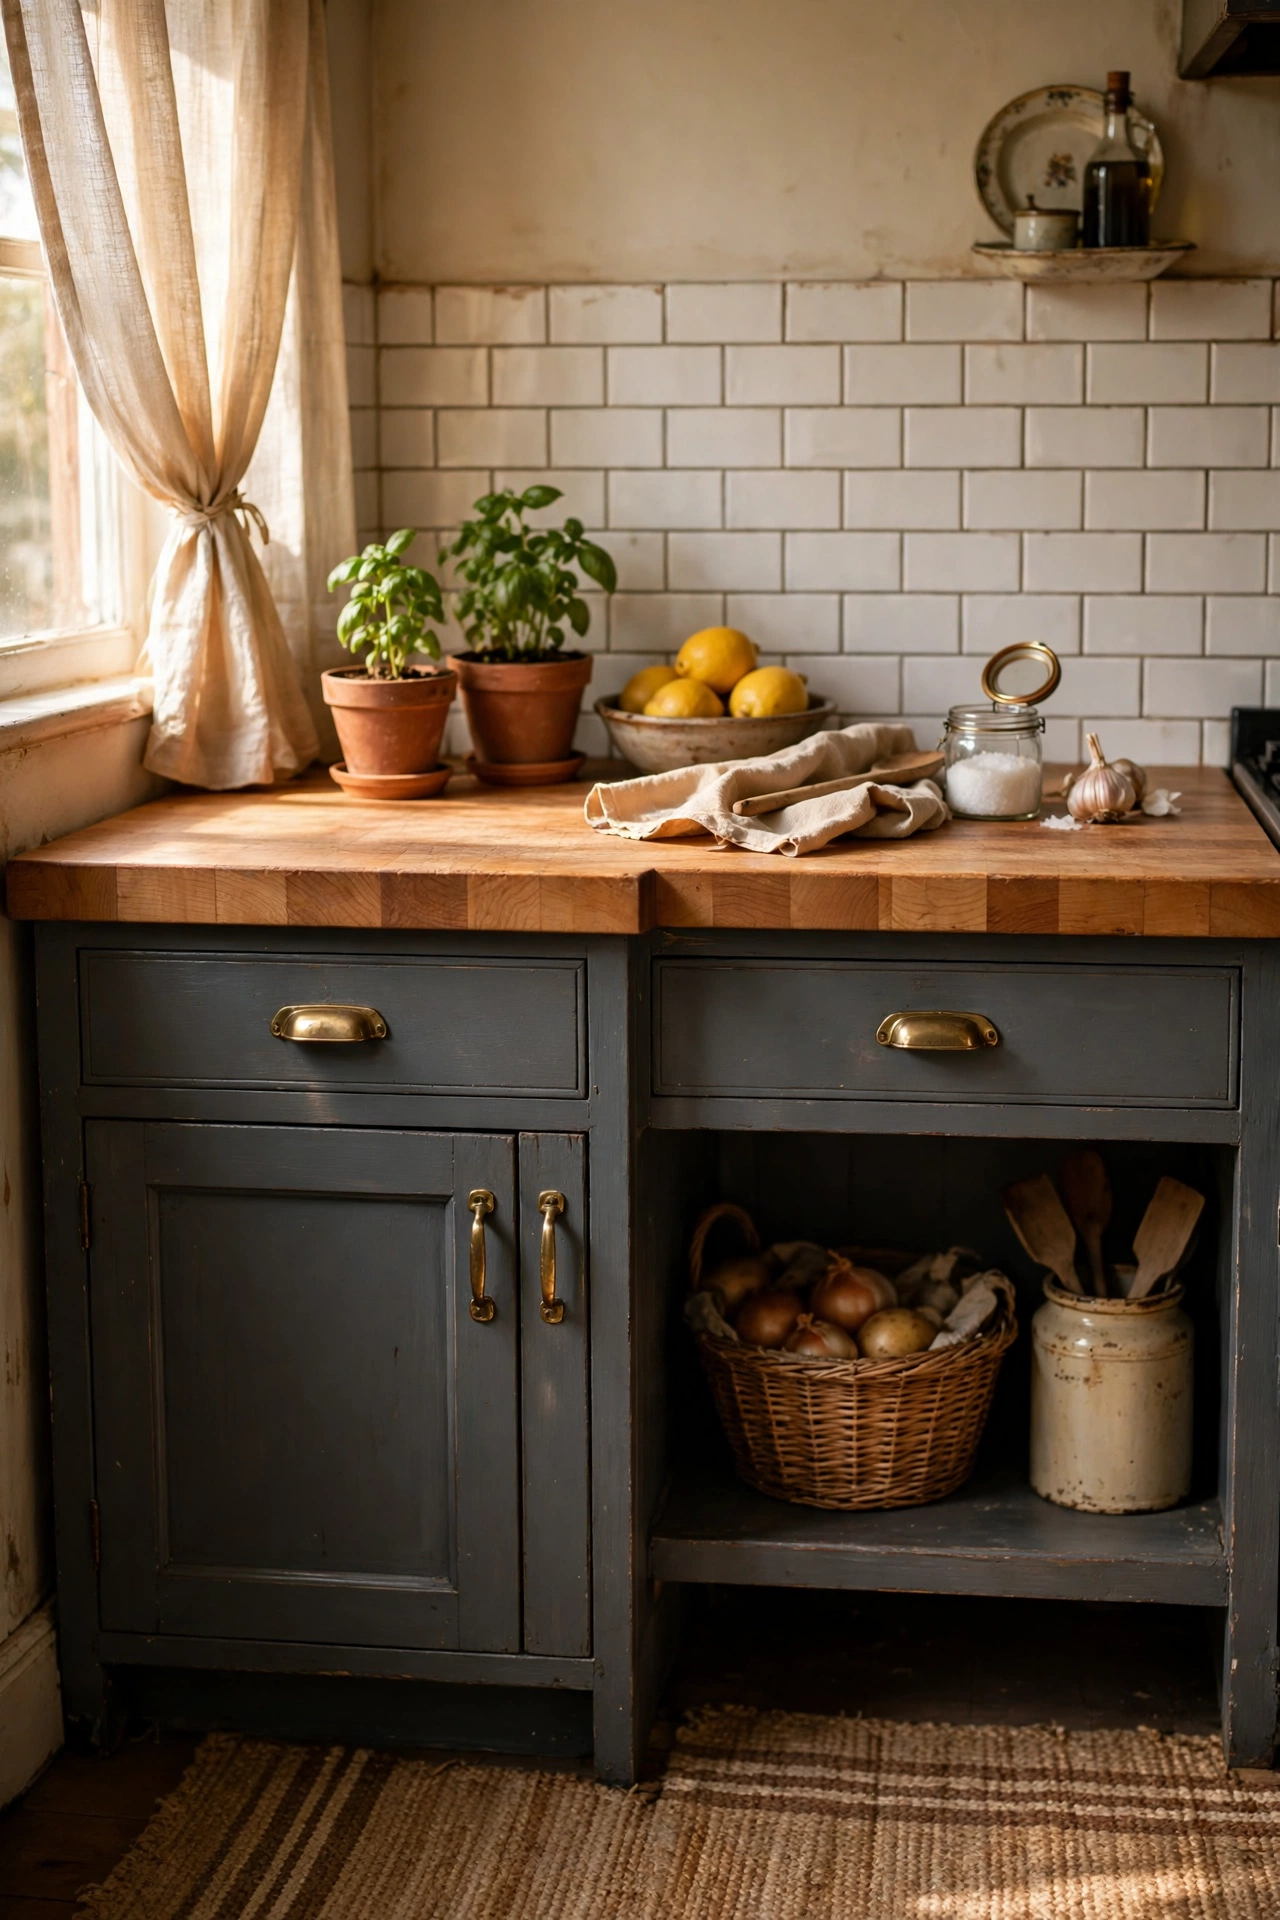
Warm wood against charcoal gray is the pairing that makes this whole look work — the gray feels modern, the wood feels like grandma’s kitchen, and together they just click. You don’t need real butcher block; the thick oak-effect worktop offcuts from a kitchen supplier do the same job. Sand the edges smooth, seal with food-safe oil, and rest it on your existing units or a secondhand base. I tried this and the one mistake to avoid is oiling too heavily — it goes sticky and attracts dust; thin coats, wiped back, are the way.
Cost: ~$60 | Time: 2 hours
4. Open Shelving With Reclaimed Wood Brackets
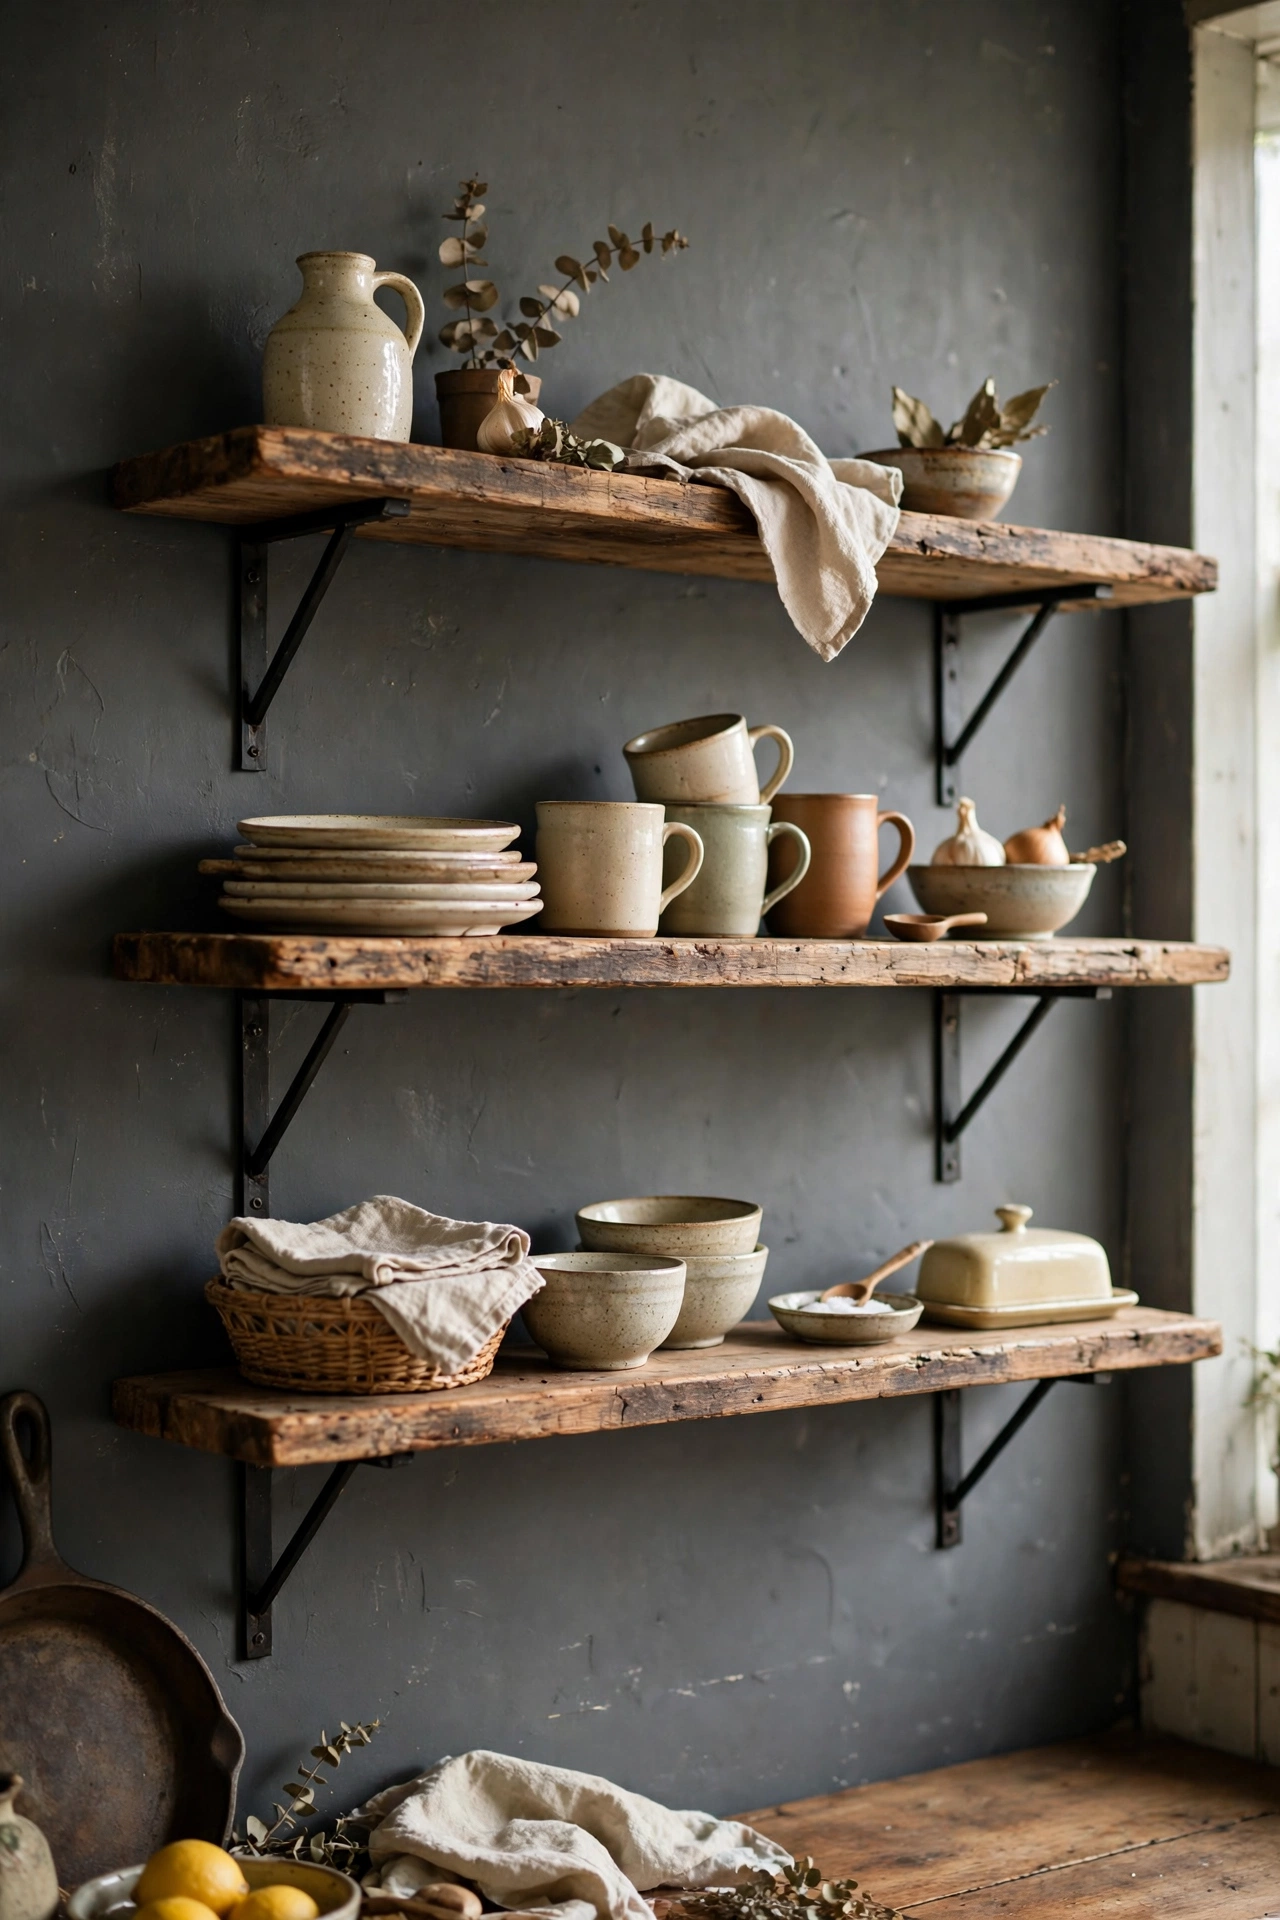
Replacing one run of wall cabinets with open shelves is free if the wood comes from a skip or a reclamation yard, and it gives a charcoal gray kitchen that collected-over-time vintage feel. Cut the boards to length, sand them back, and mount them on simple black brackets screwed into studs. Style them with everyday crockery rather than precious bits — shelves you actually use stay tidy. I tried this and the one mistake to avoid is overloading narrow shelves; keep plates to the lower shelf and light glasses up top so nothing bows.
Cost: ~$15 | Time: 1 afternoon
5. Charcoal Gray Beadboard Backsplash
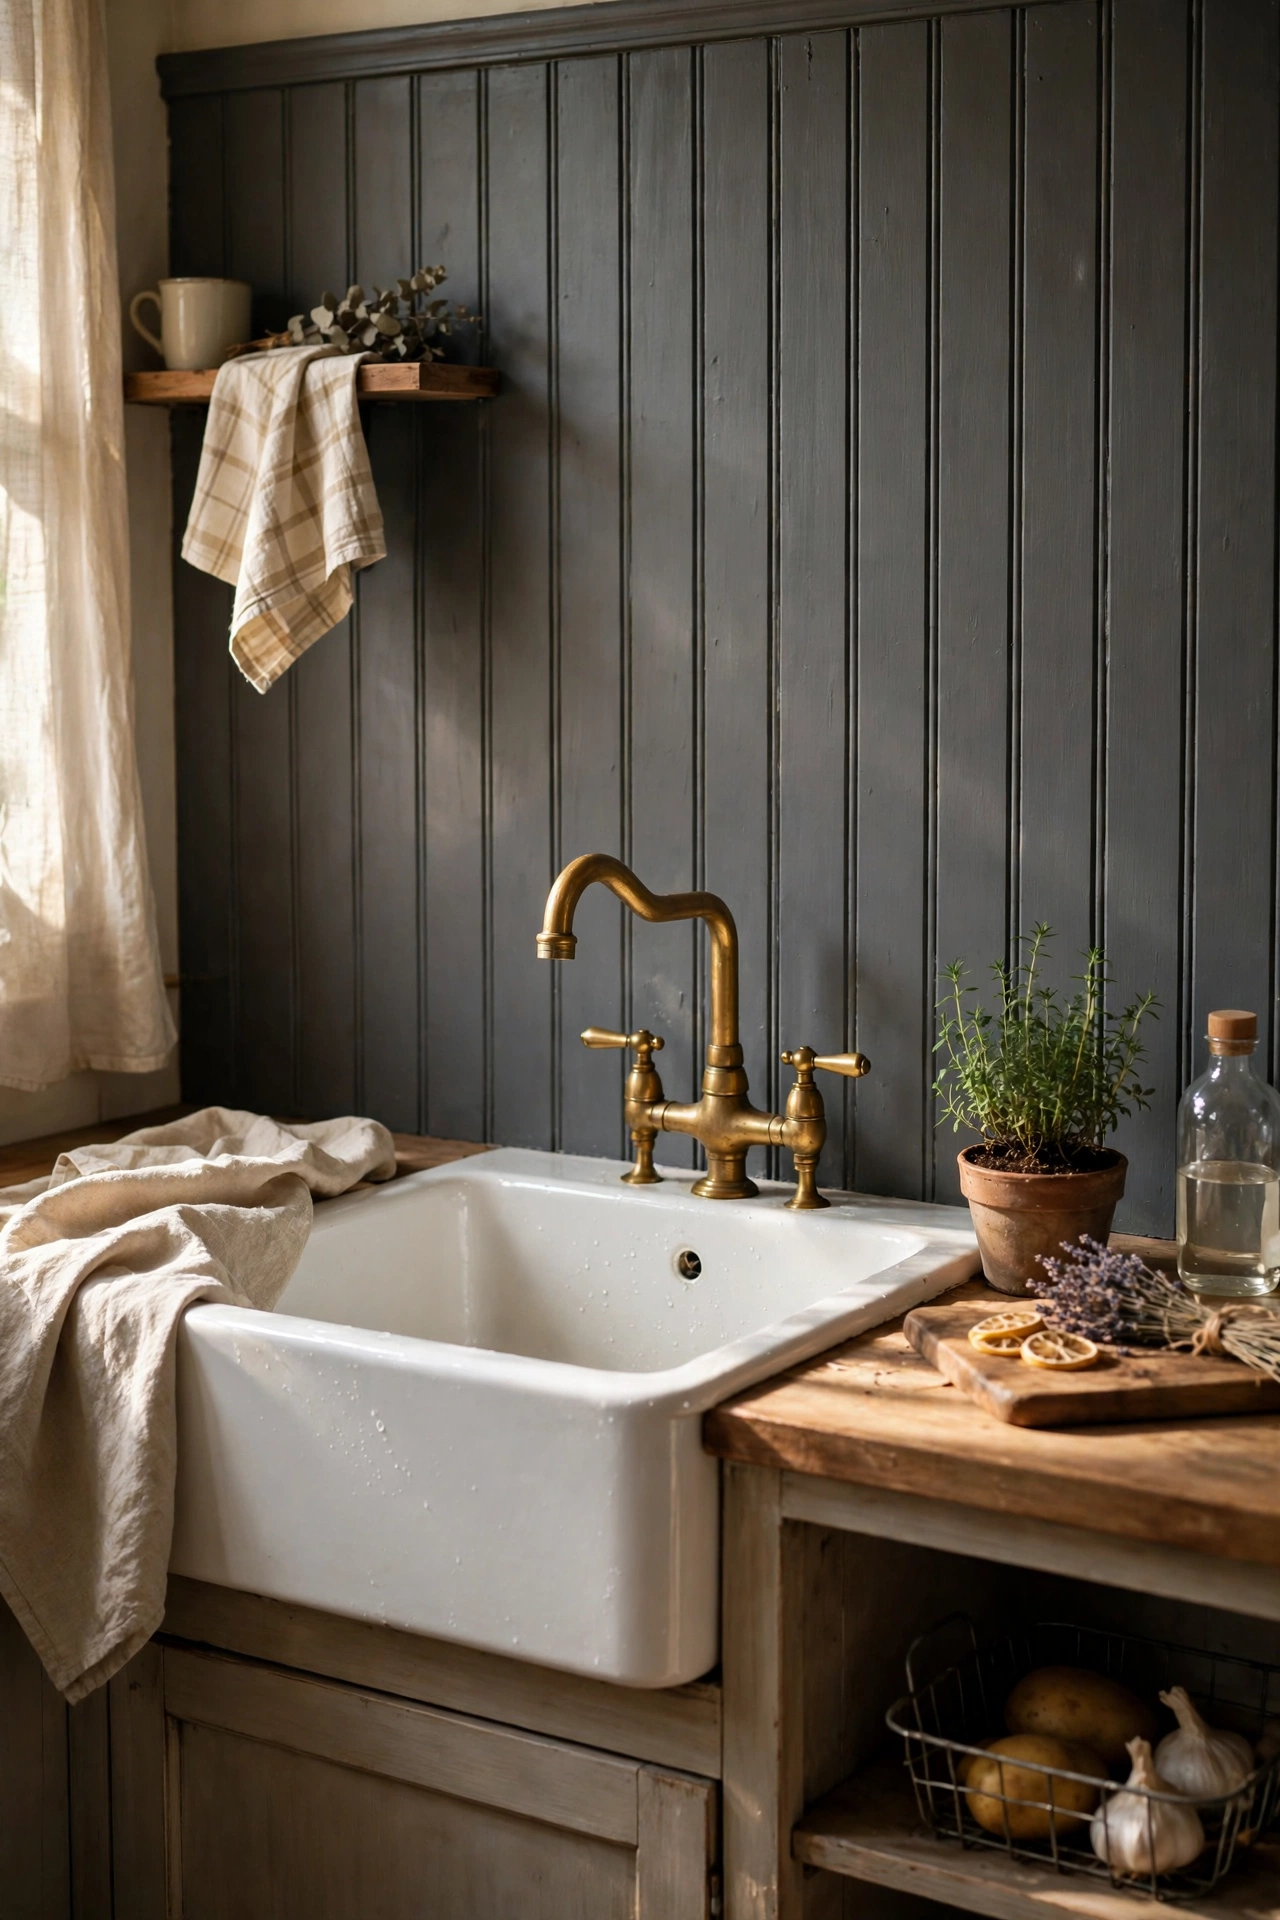
Beadboard panels painted charcoal gray make a brilliant backsplash for almost nothing, and they read as proper vintage rather than budget. Measure your wall, cut the panels with a jigsaw, and fix them with construction adhesive plus a few panel pins. Caulk the top and bottom edges, then paint two coats in a scrubbable kitchen paint. I tried this and the one mistake to avoid is leaving the bottom edge unsealed behind the hob — steam gets in and the board swells; run a bead of silicone along it.
Cost: ~$25 | Time: 1 day
6. Antique-Style Faucet in Brushed Brass
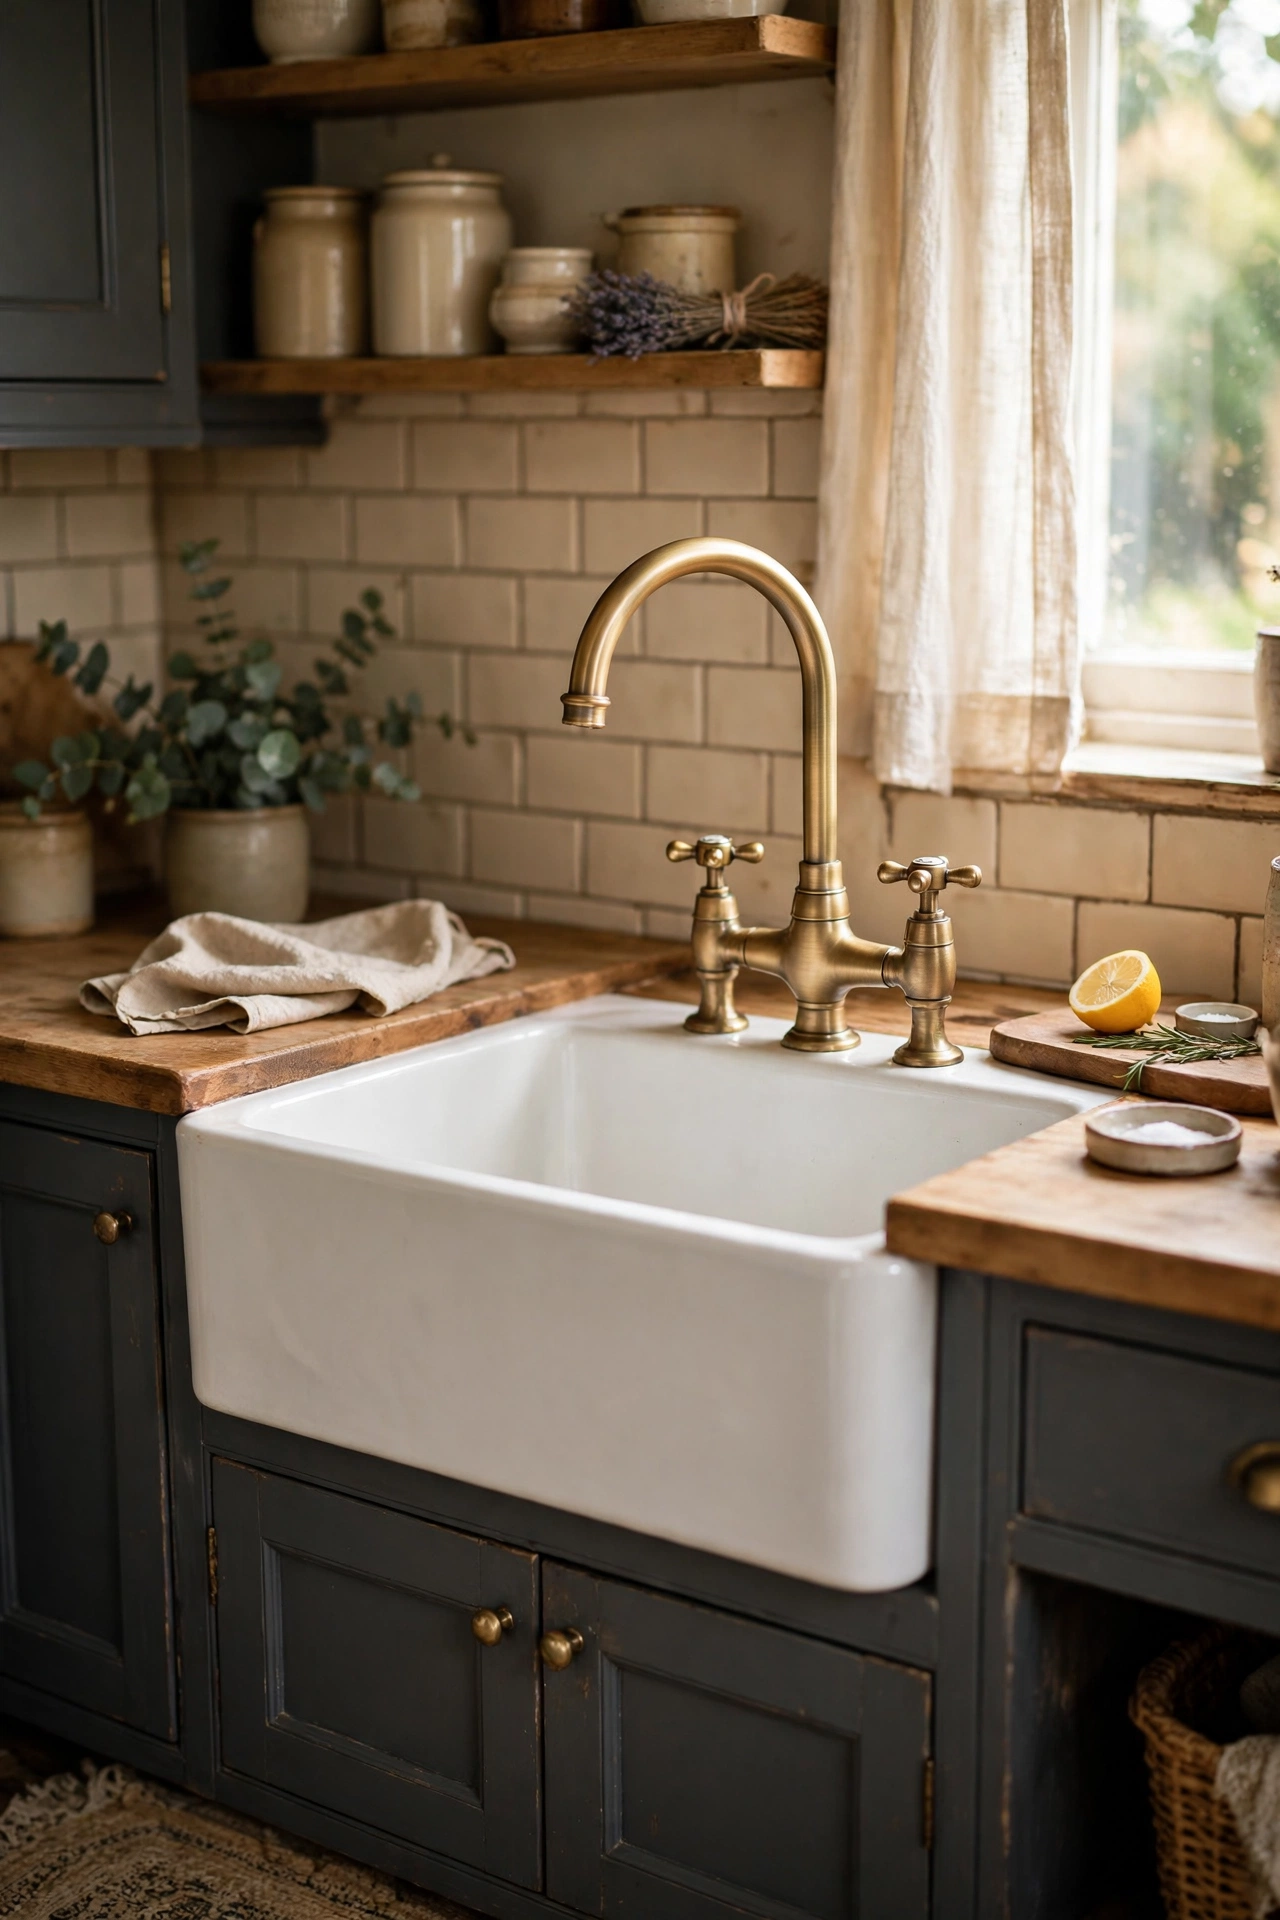
A brass-look faucet with a high arch and crosshead handles turns a plain sink into the vintage centrepiece of the room. The budget versions are surprisingly decent now — look for solid brass-effect plating rather than plastic. Turn off the water at the isolation valves, unscrew the old tap, and fit the new one following the diagram; most are a straightforward swap. I tried this and the one mistake to avoid is overtightening the flexible hoses — hand-tight plus a quarter turn with a wrench is plenty, or you’ll crack the seal.
Cost: ~$55 | Time: 1 hour
7. Vintage Tin Signs and Enamel Plaques
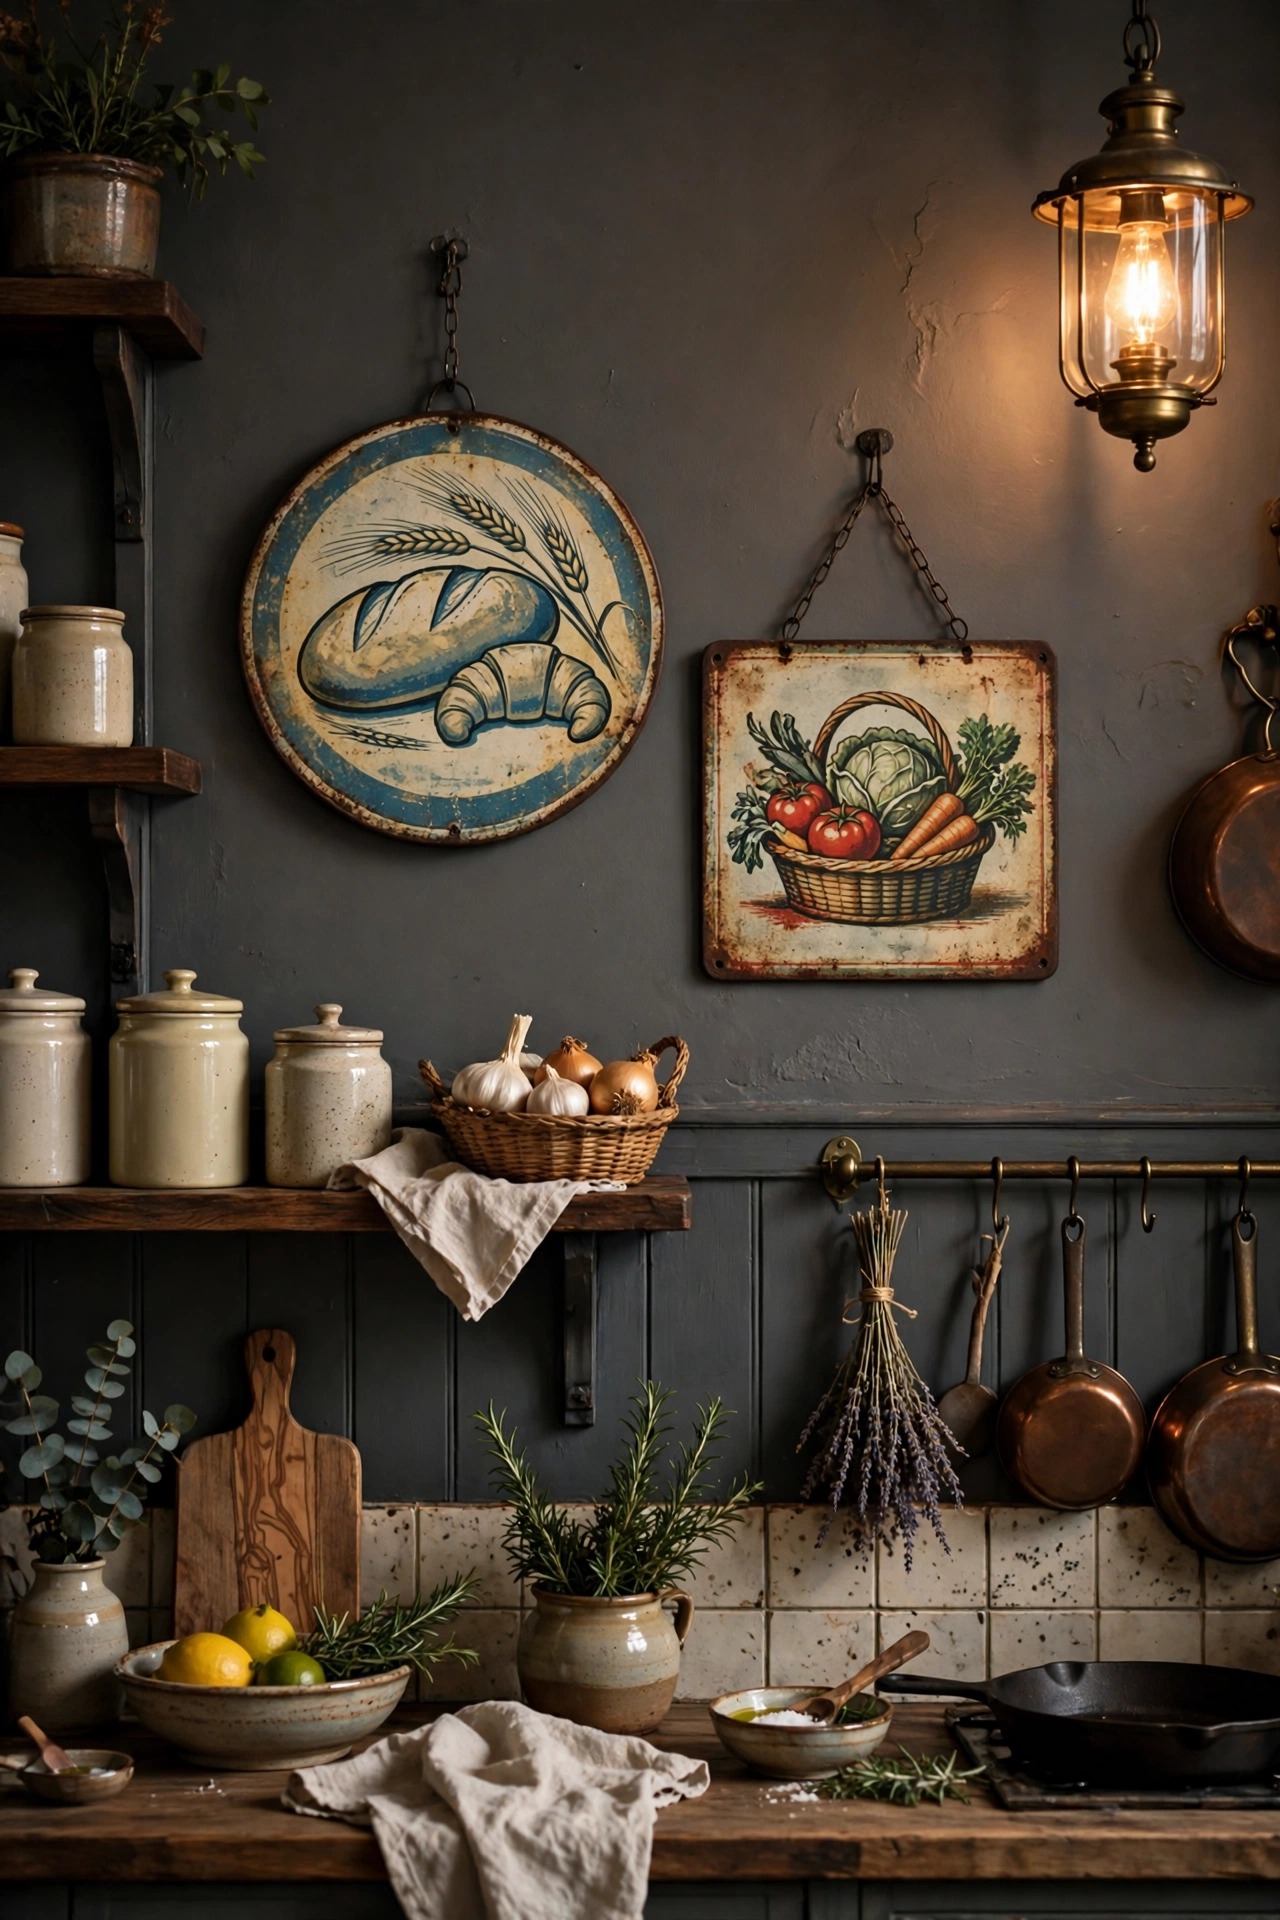
A couple of reproduction tin signs — bakery, grocer, tea — hung on a charcoal gray wall look like they’ve been there for decades. Charity shops and car boot sales are full of them for a few pounds each. Hang them slightly off-centre rather than in a rigid line, and mix in one genuine old enamel plaque if you find one. I tried this and the one mistake to avoid is hanging them too high; sign centres should sit at eye level, about 150cm from the floor. Use proper picture hooks rather than sticky strips on textured walls.
Cost: ~$12 | Time: 30 minutes
8. Glass-Front Upper Cabinets in Cream
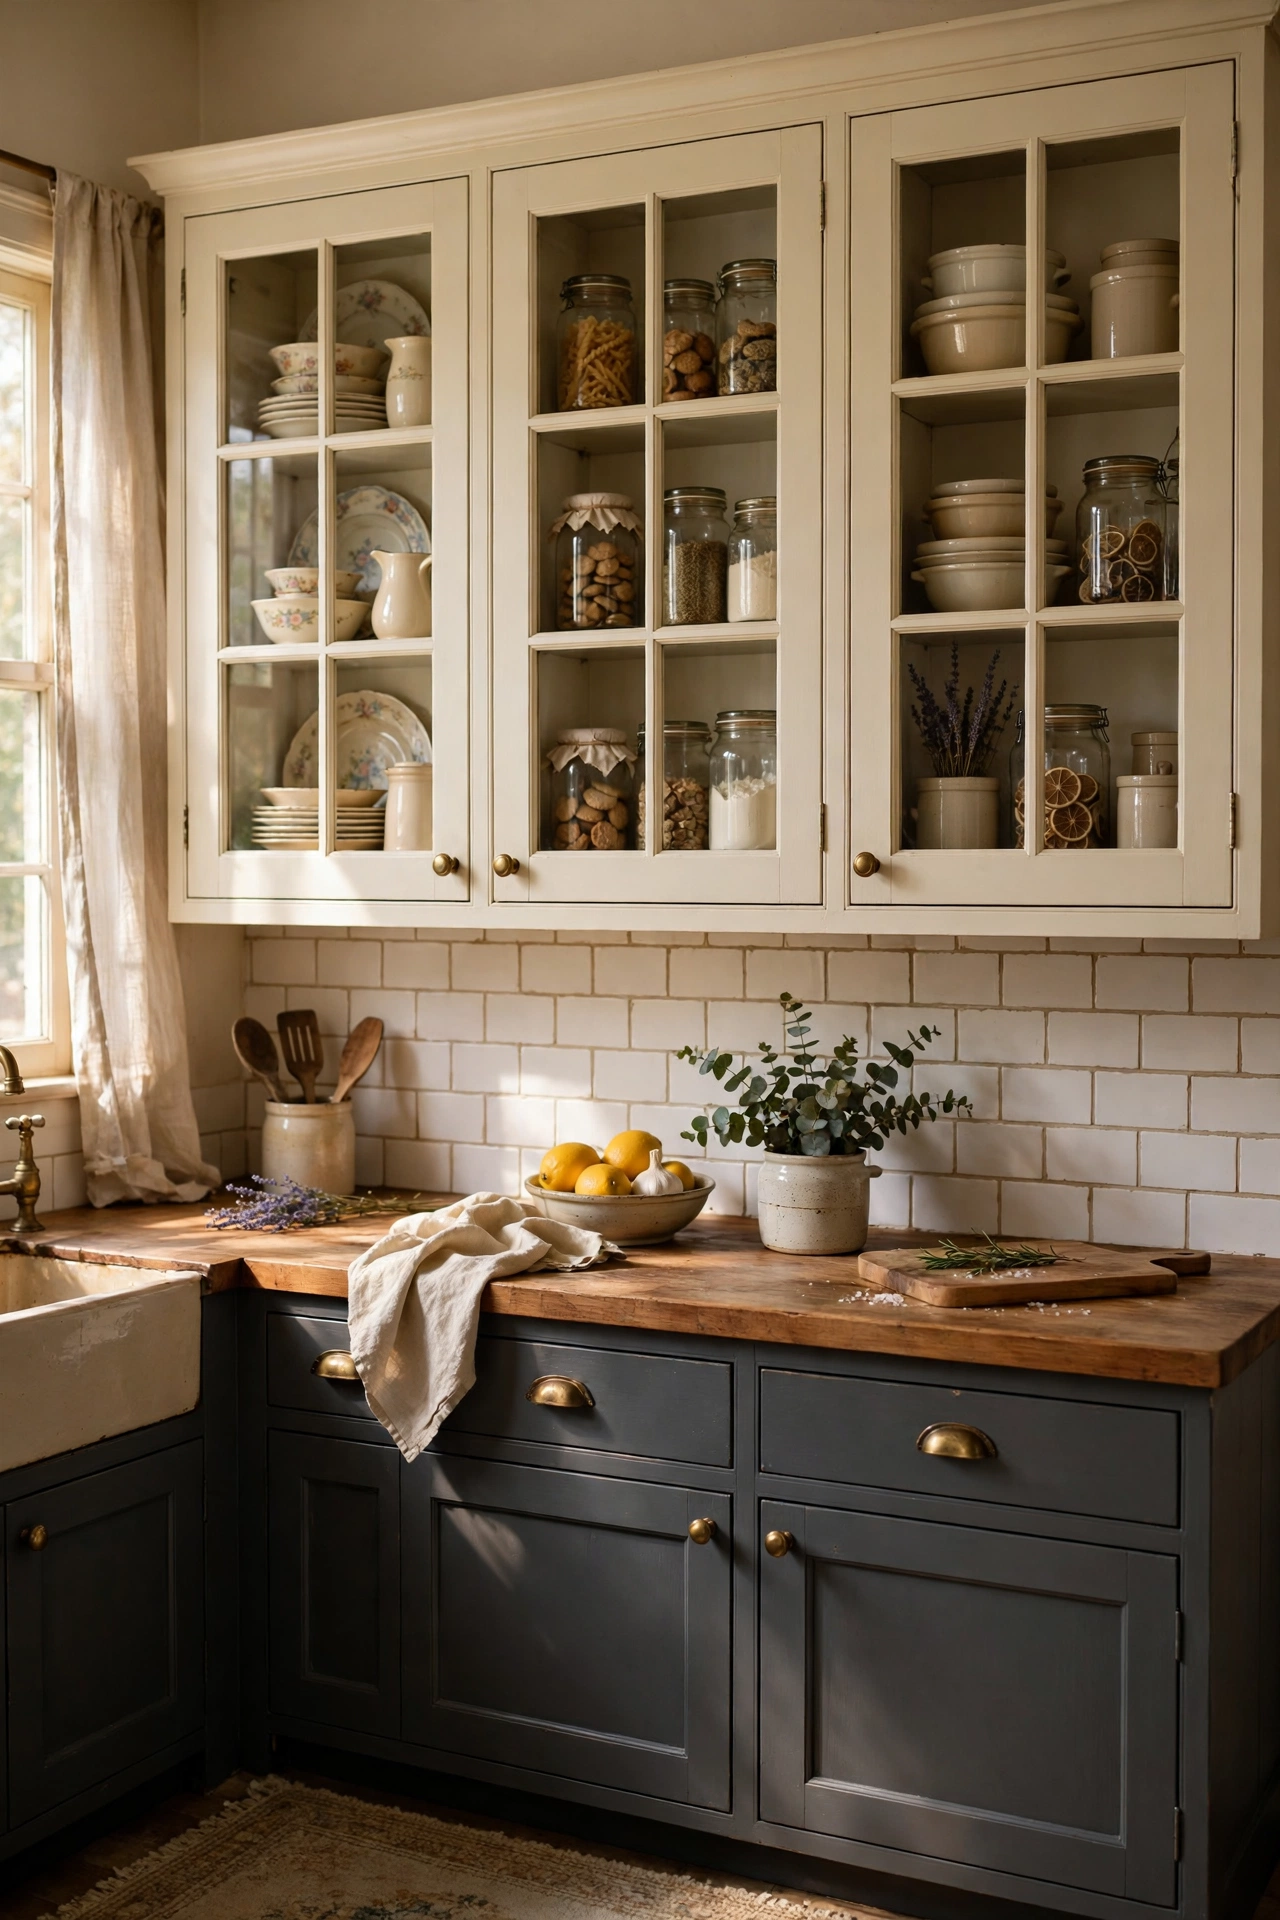
Swapping two solid upper doors for glass-fronted ones — or just removing the doors and painting the insides cream — breaks up a run of charcoal gray and shows off your prettiest crockery. If you’re removing doors, fill the old hinge holes, sand, and paint the interior in a warm cream. Line the shelves with vintage-style paper for extra charm. I tried this and the one mistake to avoid is putting mismatched plastic tubs on display; decant dry goods into matching jars and the whole thing looks intentional.
Cost: ~$10 | Time: 1 afternoon
9. Charcoal Gray Kitchen Island on Castors
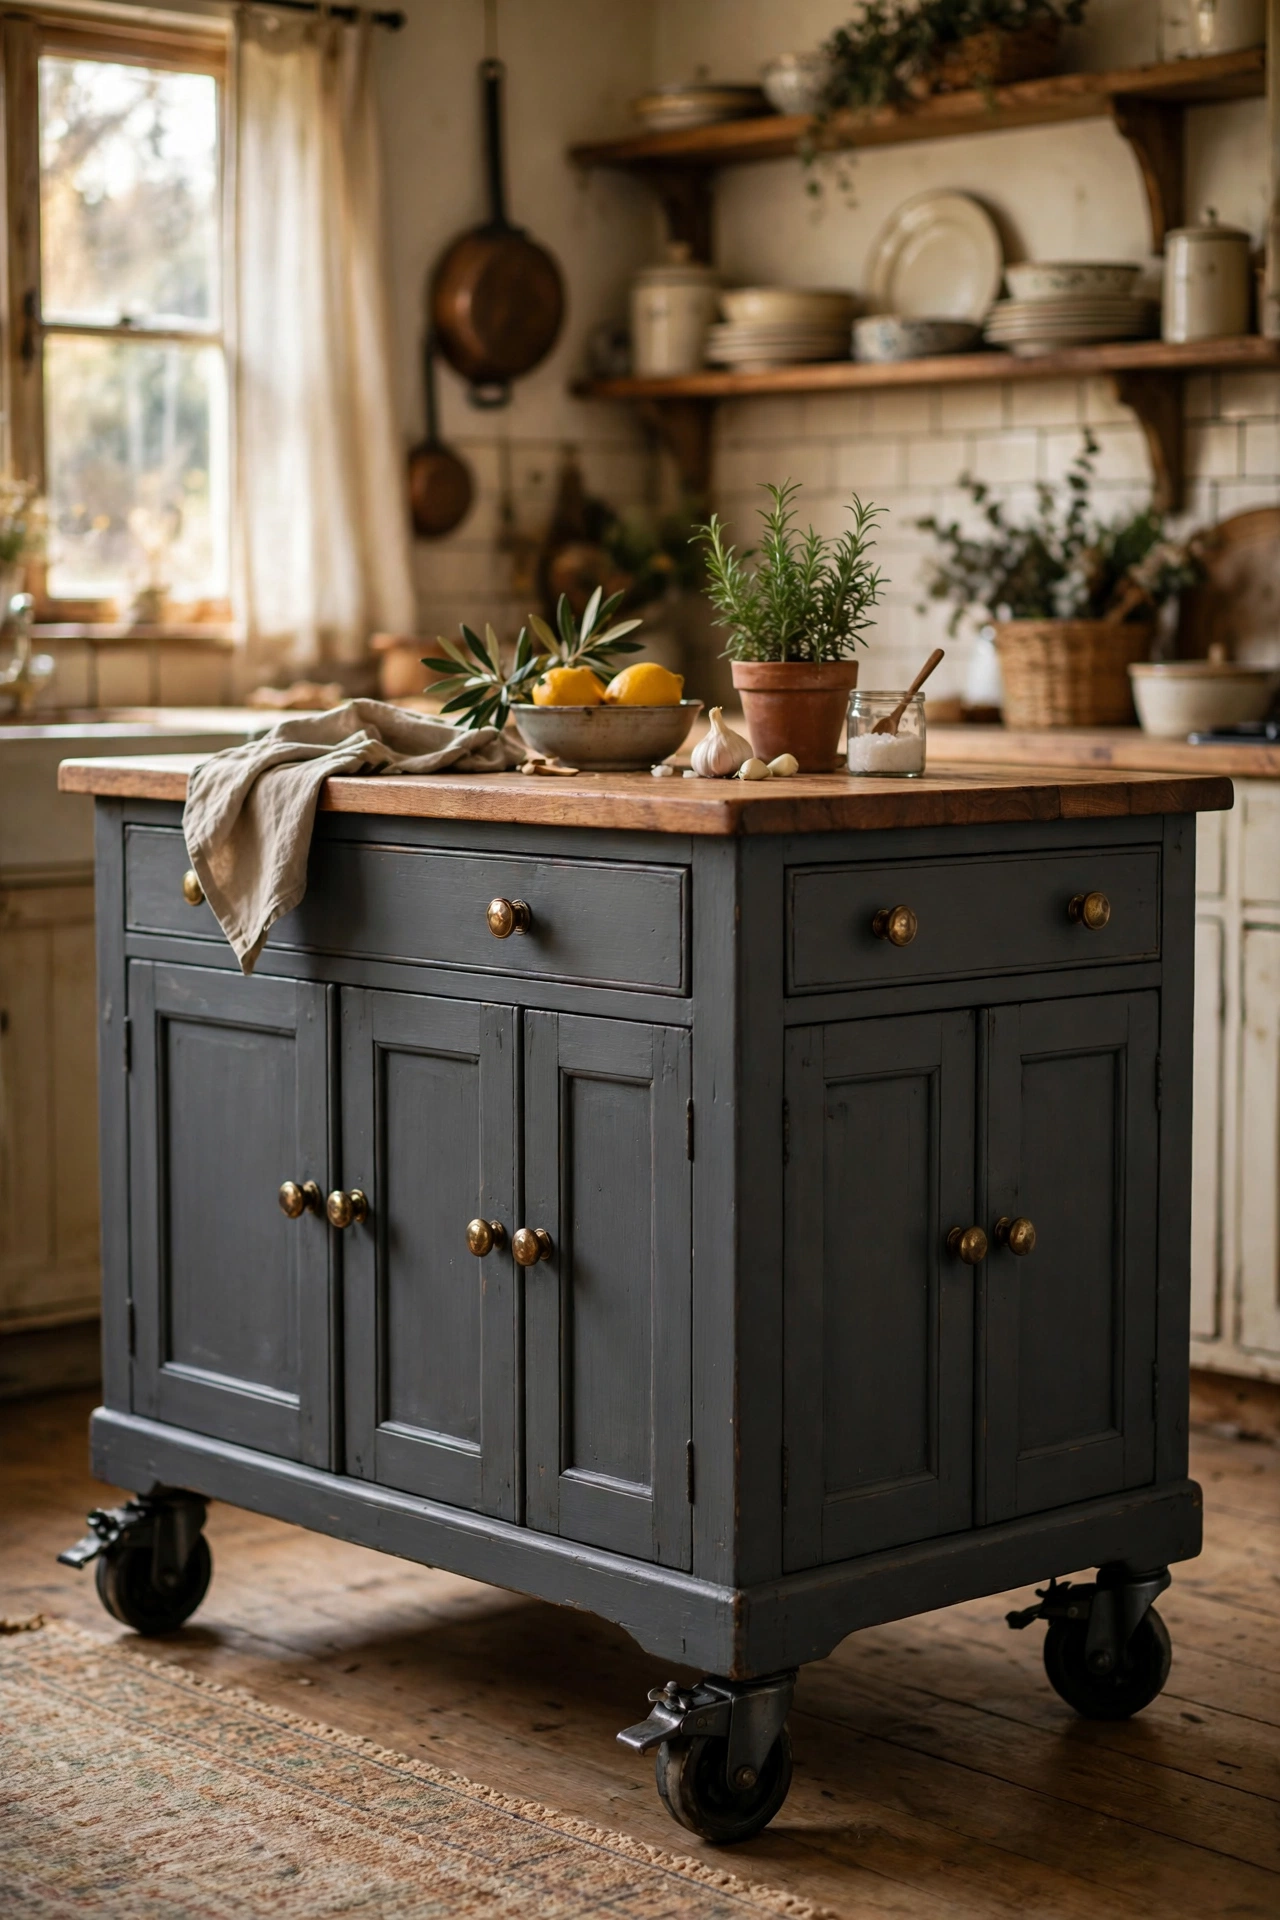
A secondhand sideboard or dresser painted charcoal gray and fitted with chunky castors becomes a movable island with storage and vintage bones. Look for solid wood pieces with drawers — they’re sturdier than they look. Paint, add a sealed wood top if the original is scratched, and bolt on four locking castors. I tried this and the one mistake to avoid is forgetting the castors need to lock; I once watched my island roll slowly across the kitchen while I was chopping onions. Locking wheels, always.
Cost: ~$70 | Time: 1 weekend
10. Farmhouse Apron Sink in Fireclay White
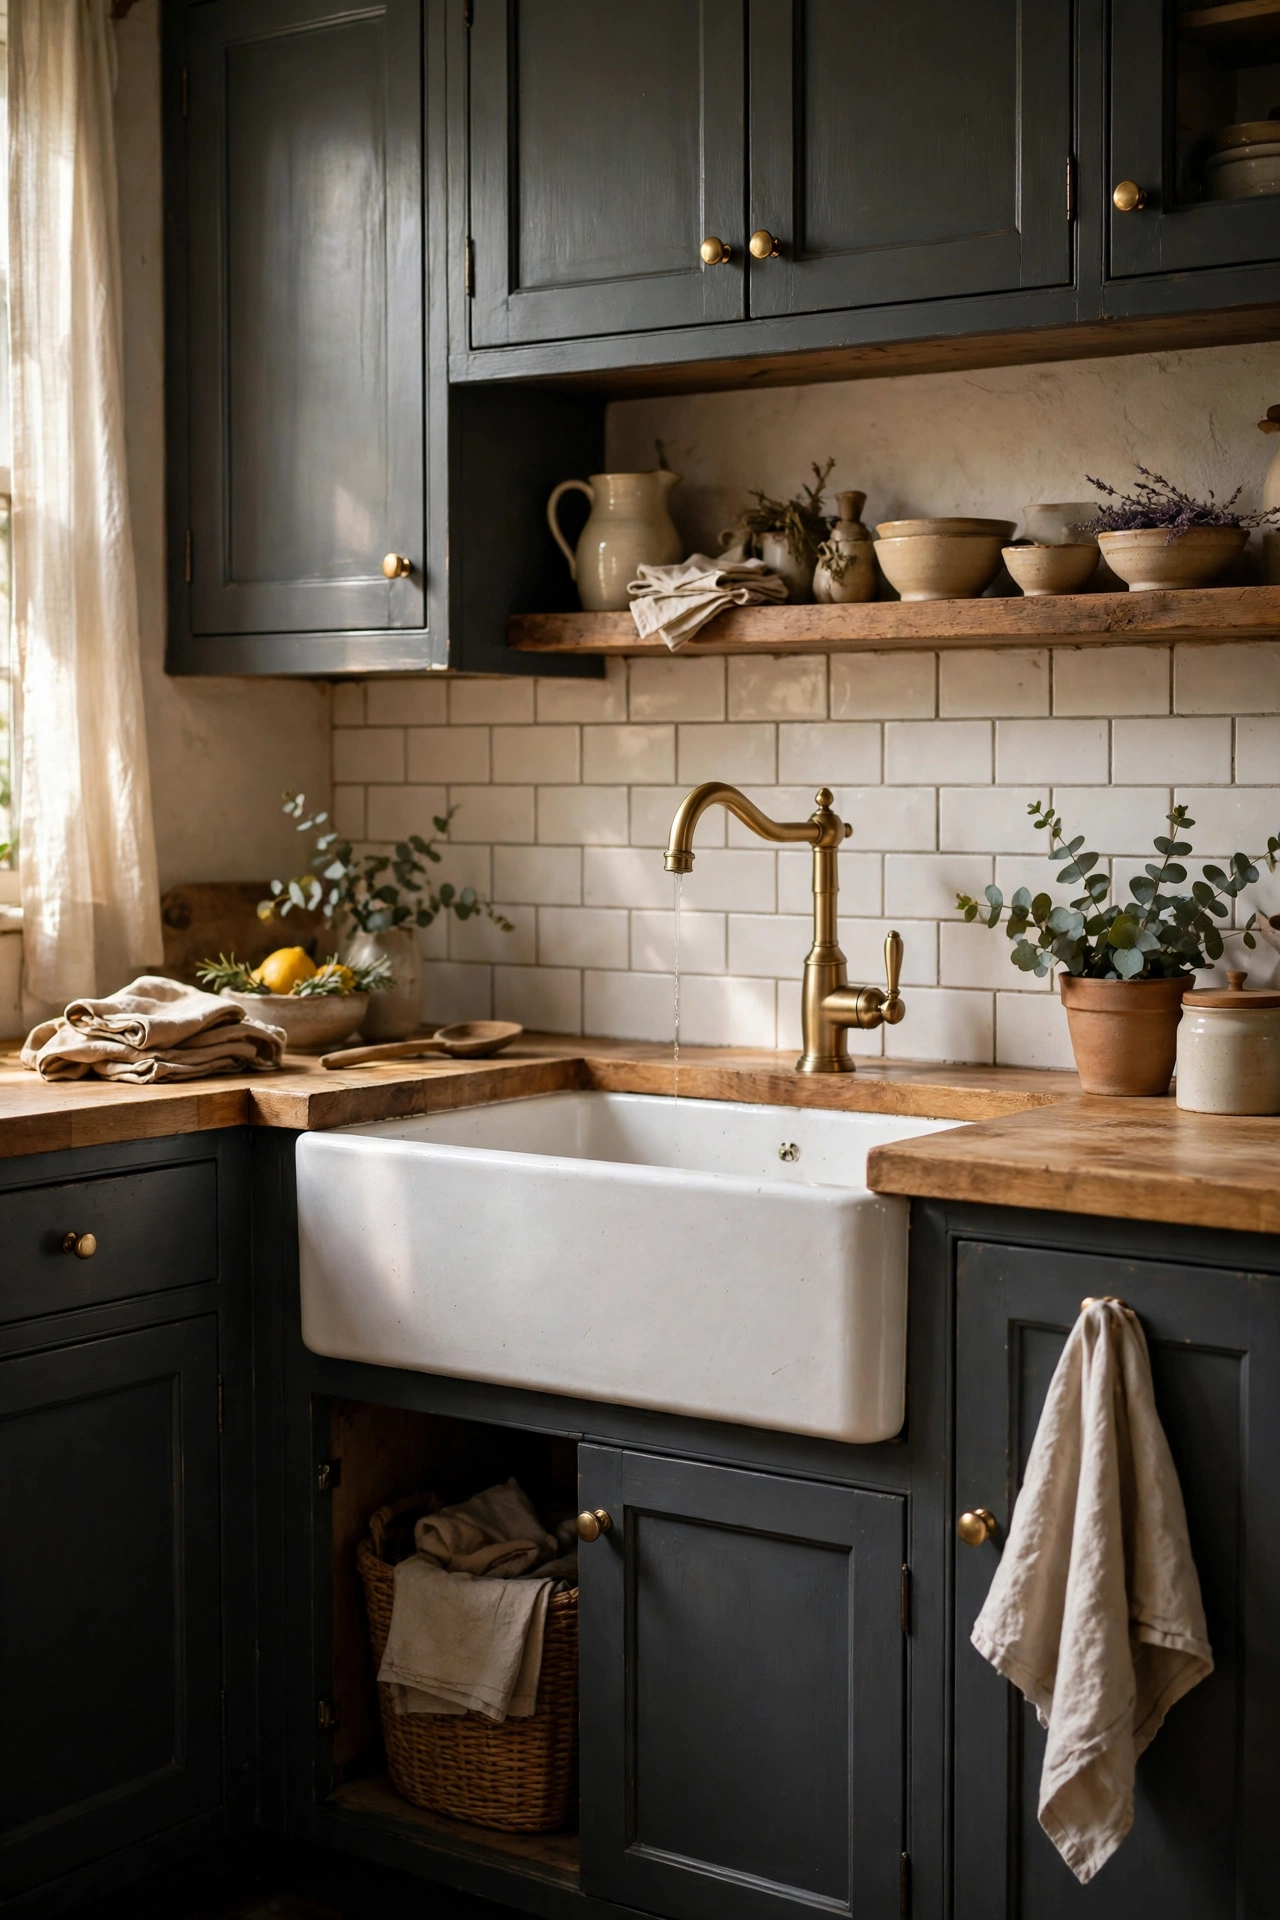
Nothing says vintage kitchen like a big white apron-front sink, and the charcoal gray cabinets around it make it pop like a picture frame. Fitting a proper fireclay sink means cutting the cabinet front, so measure twice and use a jigsaw with a fine blade. Support the sink on a timber frame inside the cabinet — it’s heavier than it looks. I tried this and the one mistake to avoid is assuming your existing cabinet is deep enough; check the internal depth before you buy, or the sink will stick out like a sore thumb.
Cost: ~$180 | Time: 1 day
11. Pendant Lights With Vintage Edison Bulbs
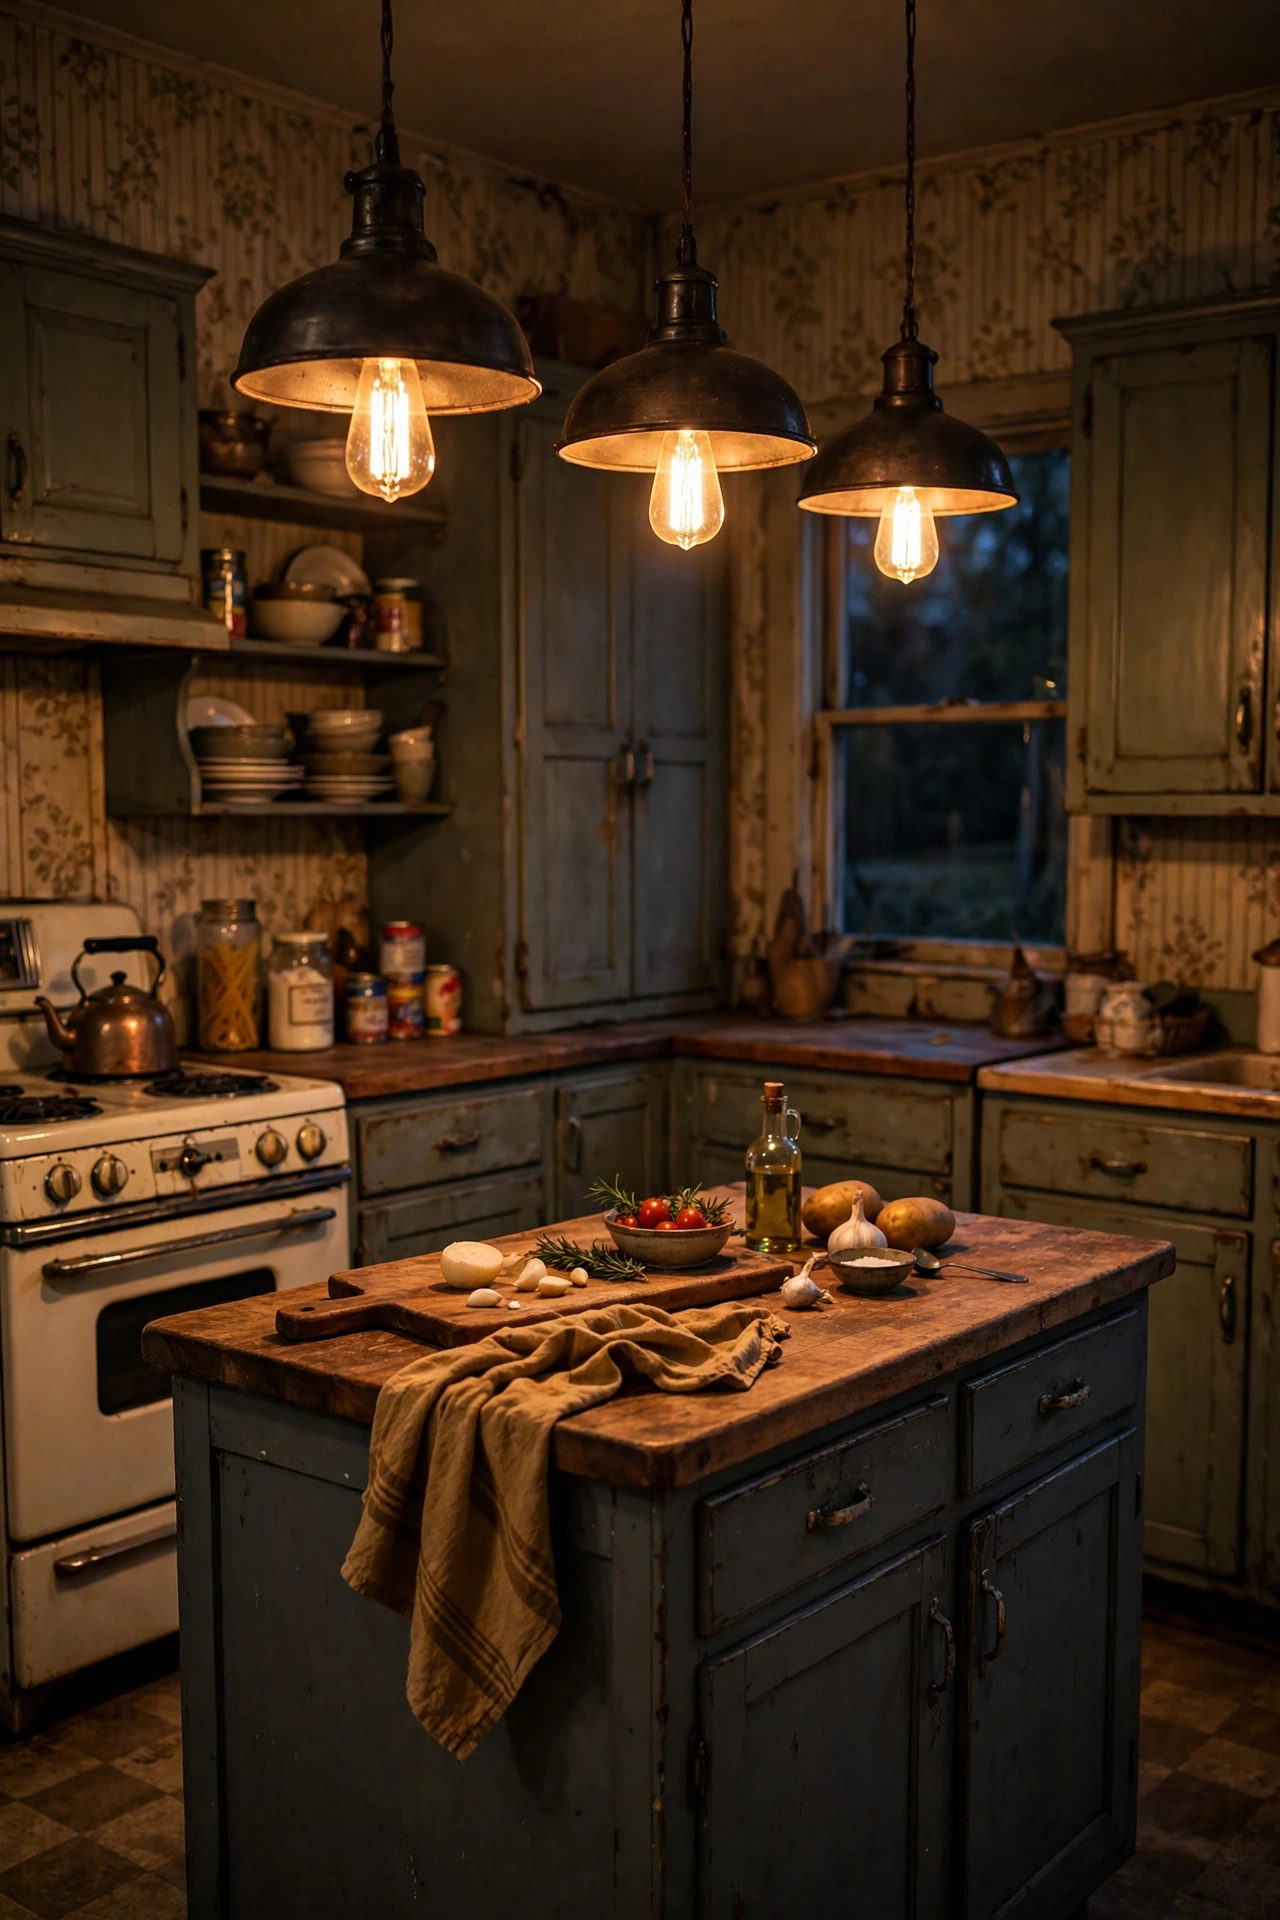
Two or three metal pendant shades with warm Edison bulbs hung over the worktop or island add instant vintage atmosphere for very little money. Wire them into the existing ceiling rose — no electrician needed for a like-for-like swap if you’re comfortable with basic wiring. Hang them low, about 75cm above the worktop, for that cosy pool of light. I tried this and the one mistake to avoid is buying the cheapest bulbs; the warm 2700K ones glow amber, while the cheap ones look orange and sad.
Cost: ~$35 | Time: 1 hour
12. Chalkboard Paint Pantry Door in Charcoal Gray
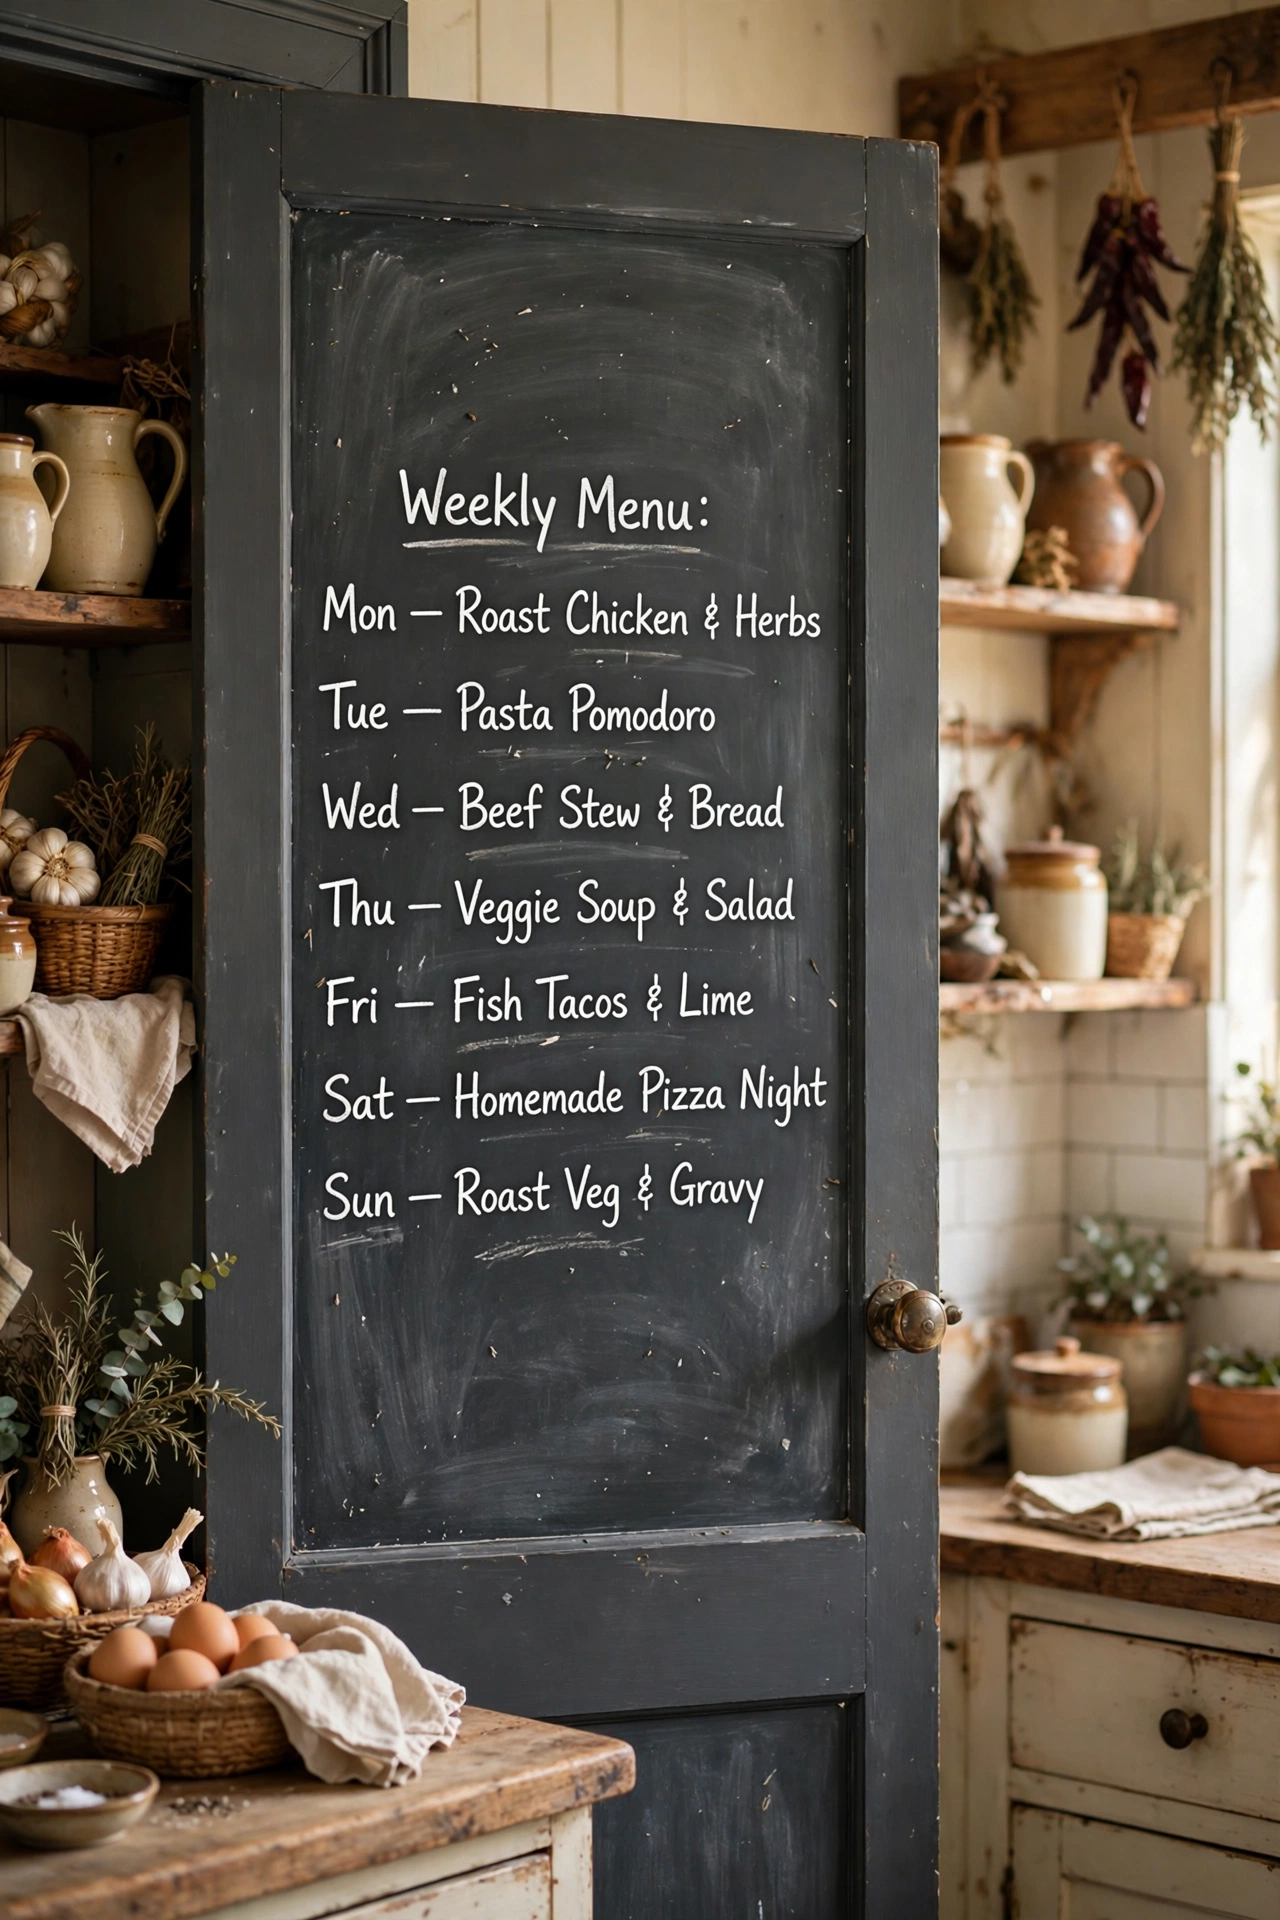
A pantry or cupboard door painted in charcoal gray chalkboard paint becomes a menu board, shopping list, and vintage-style feature all at once. Sand the door lightly, apply two coats of chalkboard paint, and let it cure for three days before writing on it — this bit matters. Prime your chalk by rubbing the side of a stick all over first. I tried this and the one mistake to avoid is writing on it before it’s cured; my first menu ghosted into the paint permanently and I had to sand the whole thing back.
Cost: ~$18 | Time: 1 day (plus curing)
13. Vintage Bread Box and Canister Set
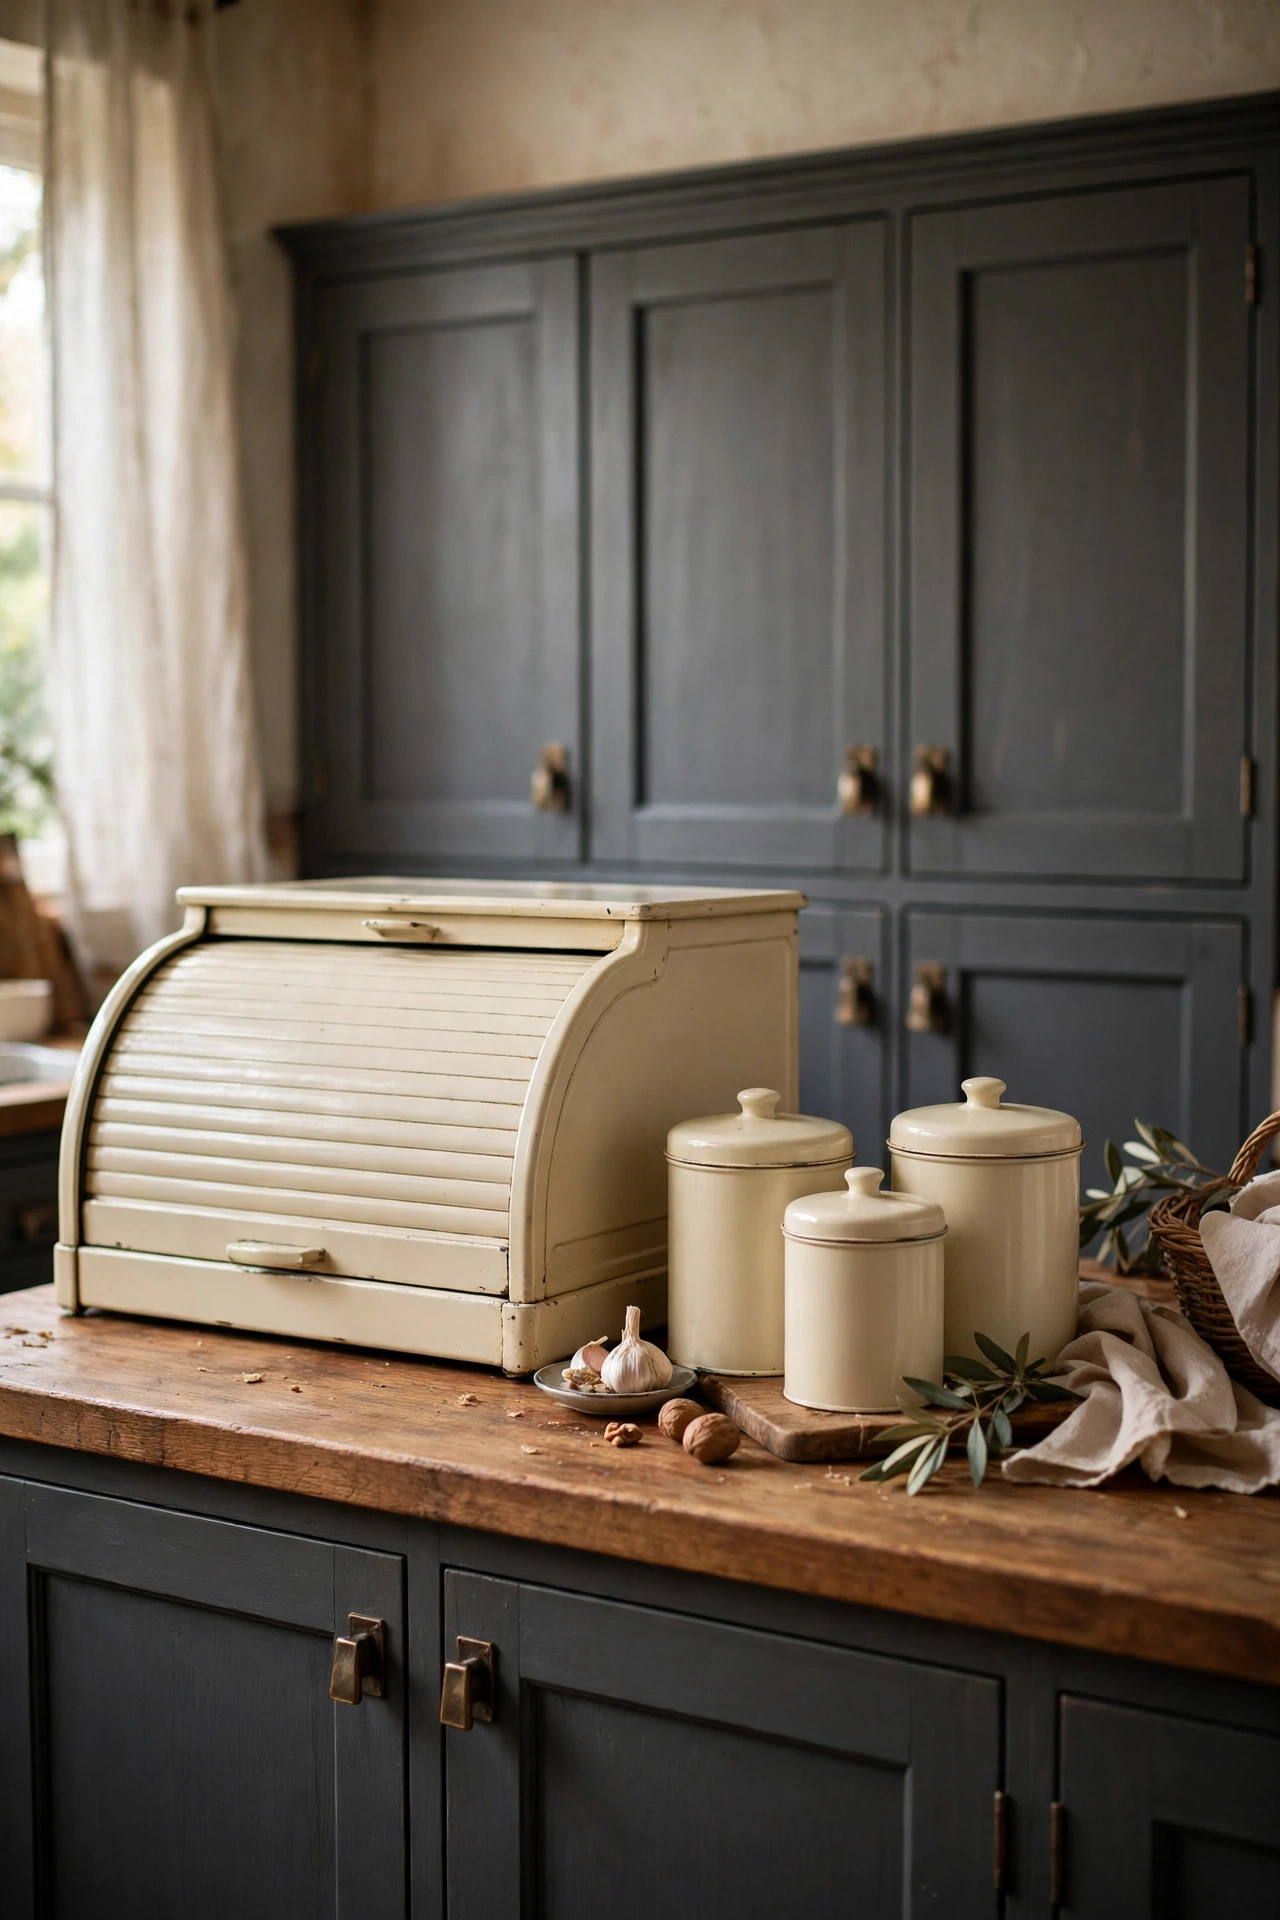
A cream or sage bread box with a roll-top lid and a matching set of canisters clears the clutter off the worktop and adds proper vintage character. Car boot sales are the best hunting ground — look for enamel or tin with minimal rust. Clean them with warm soapy water, line the bread box with a clean tea towel, and group them at one end of the counter. I tried this and the one mistake to avoid is buying canisters with broken seals; give the lids a sniff test — stale rubber smells never wash out.
Cost: ~$20 | Time: 20 minutes
14. Charcoal Gray Window Frame With Cafe Curtains
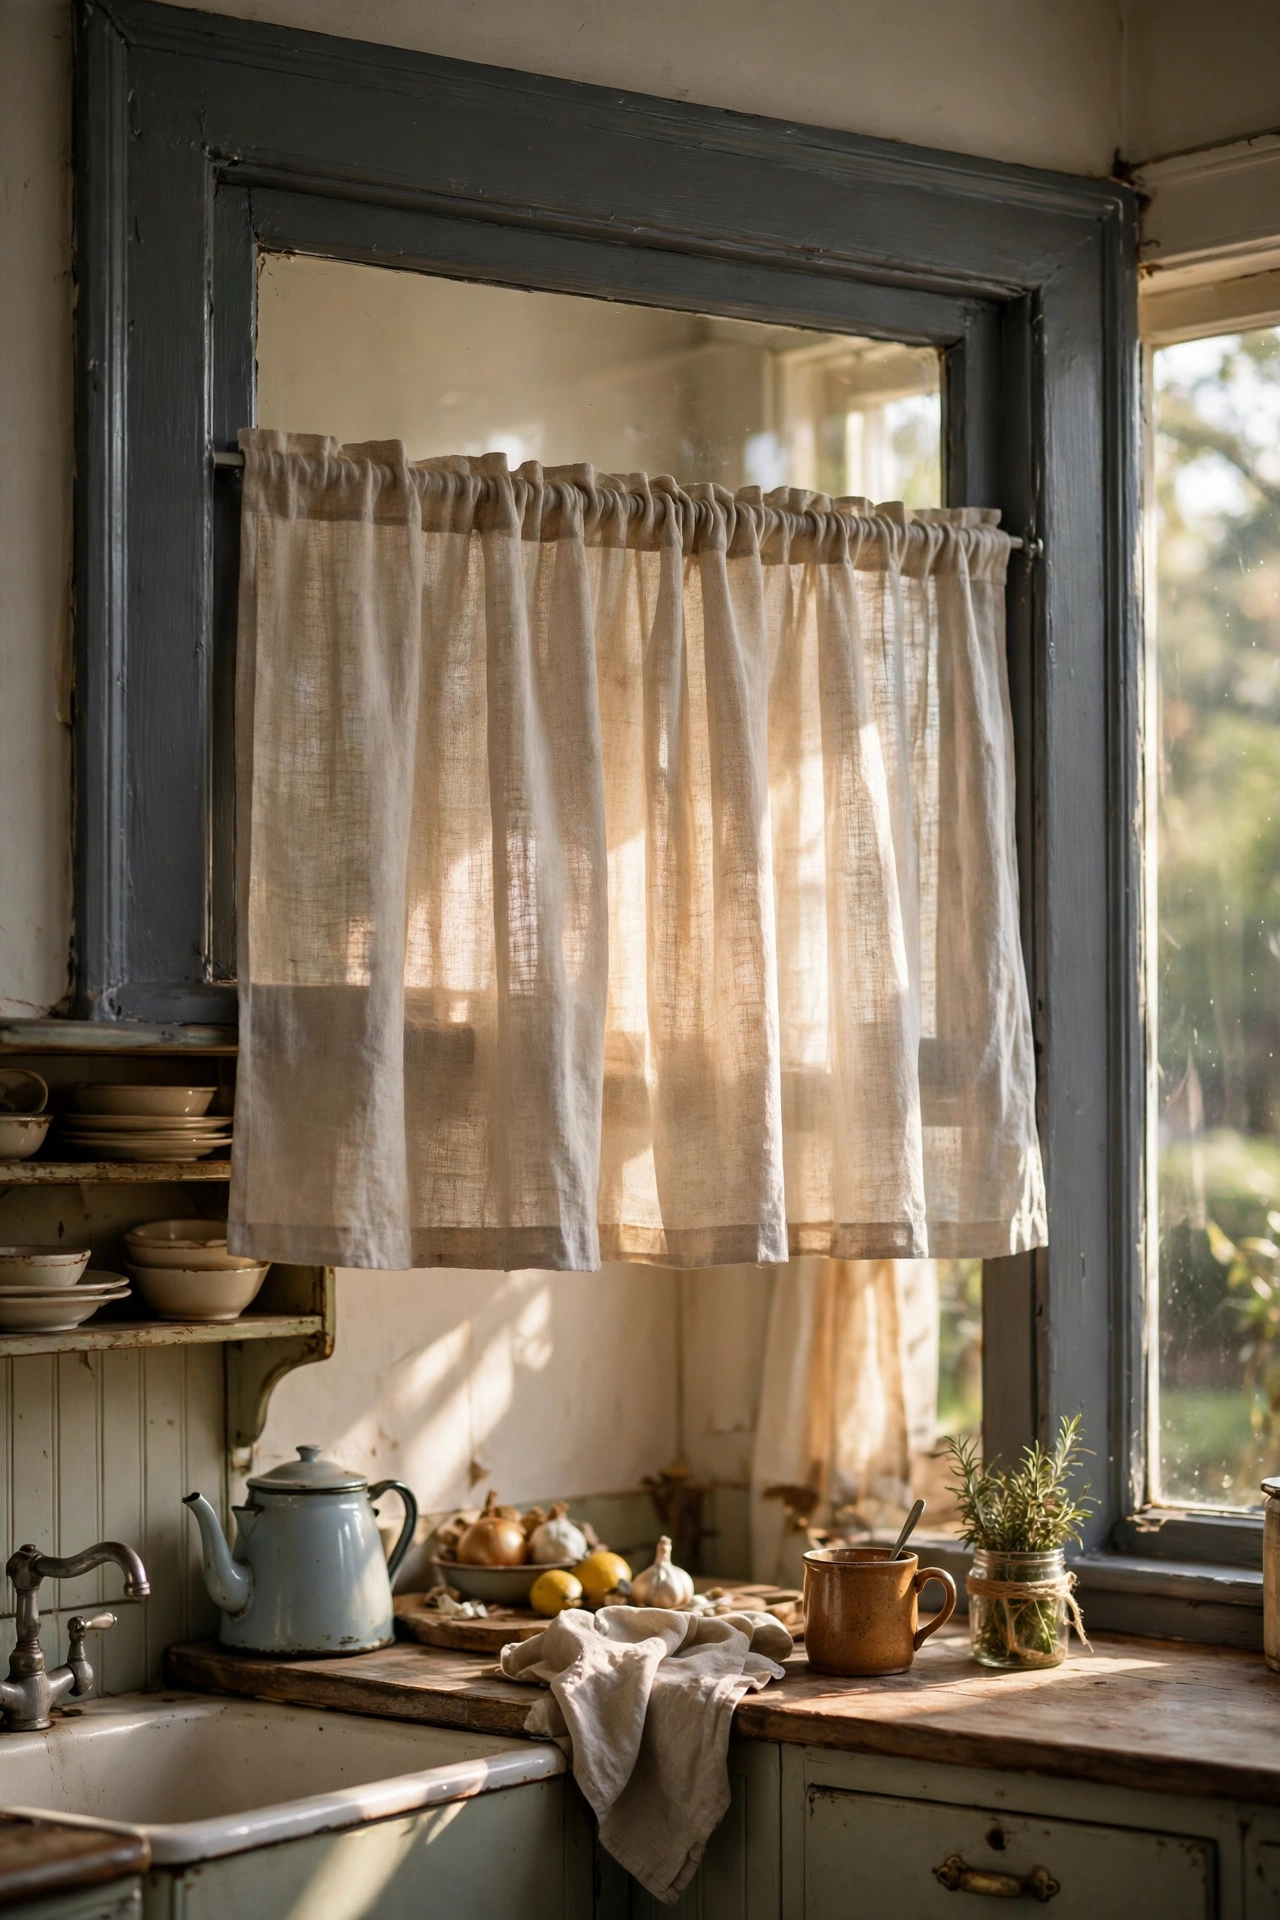
Painting the window frame charcoal gray and hanging a simple cafe curtain on a tension rod frames the view like a vintage postcard. Mask the glass carefully, use a small brush for the frame, and choose a curtain in natural linen or ticking stripe. The tension rod means no drilling — perfect for renters too. I tried this and the one mistake to avoid is painting the window shut; run a craft knife along the seams before the paint fully dries so the sash still opens.
Cost: ~$22 | Time: 2 hours
15. Reclaimed Wood Floating Shelves
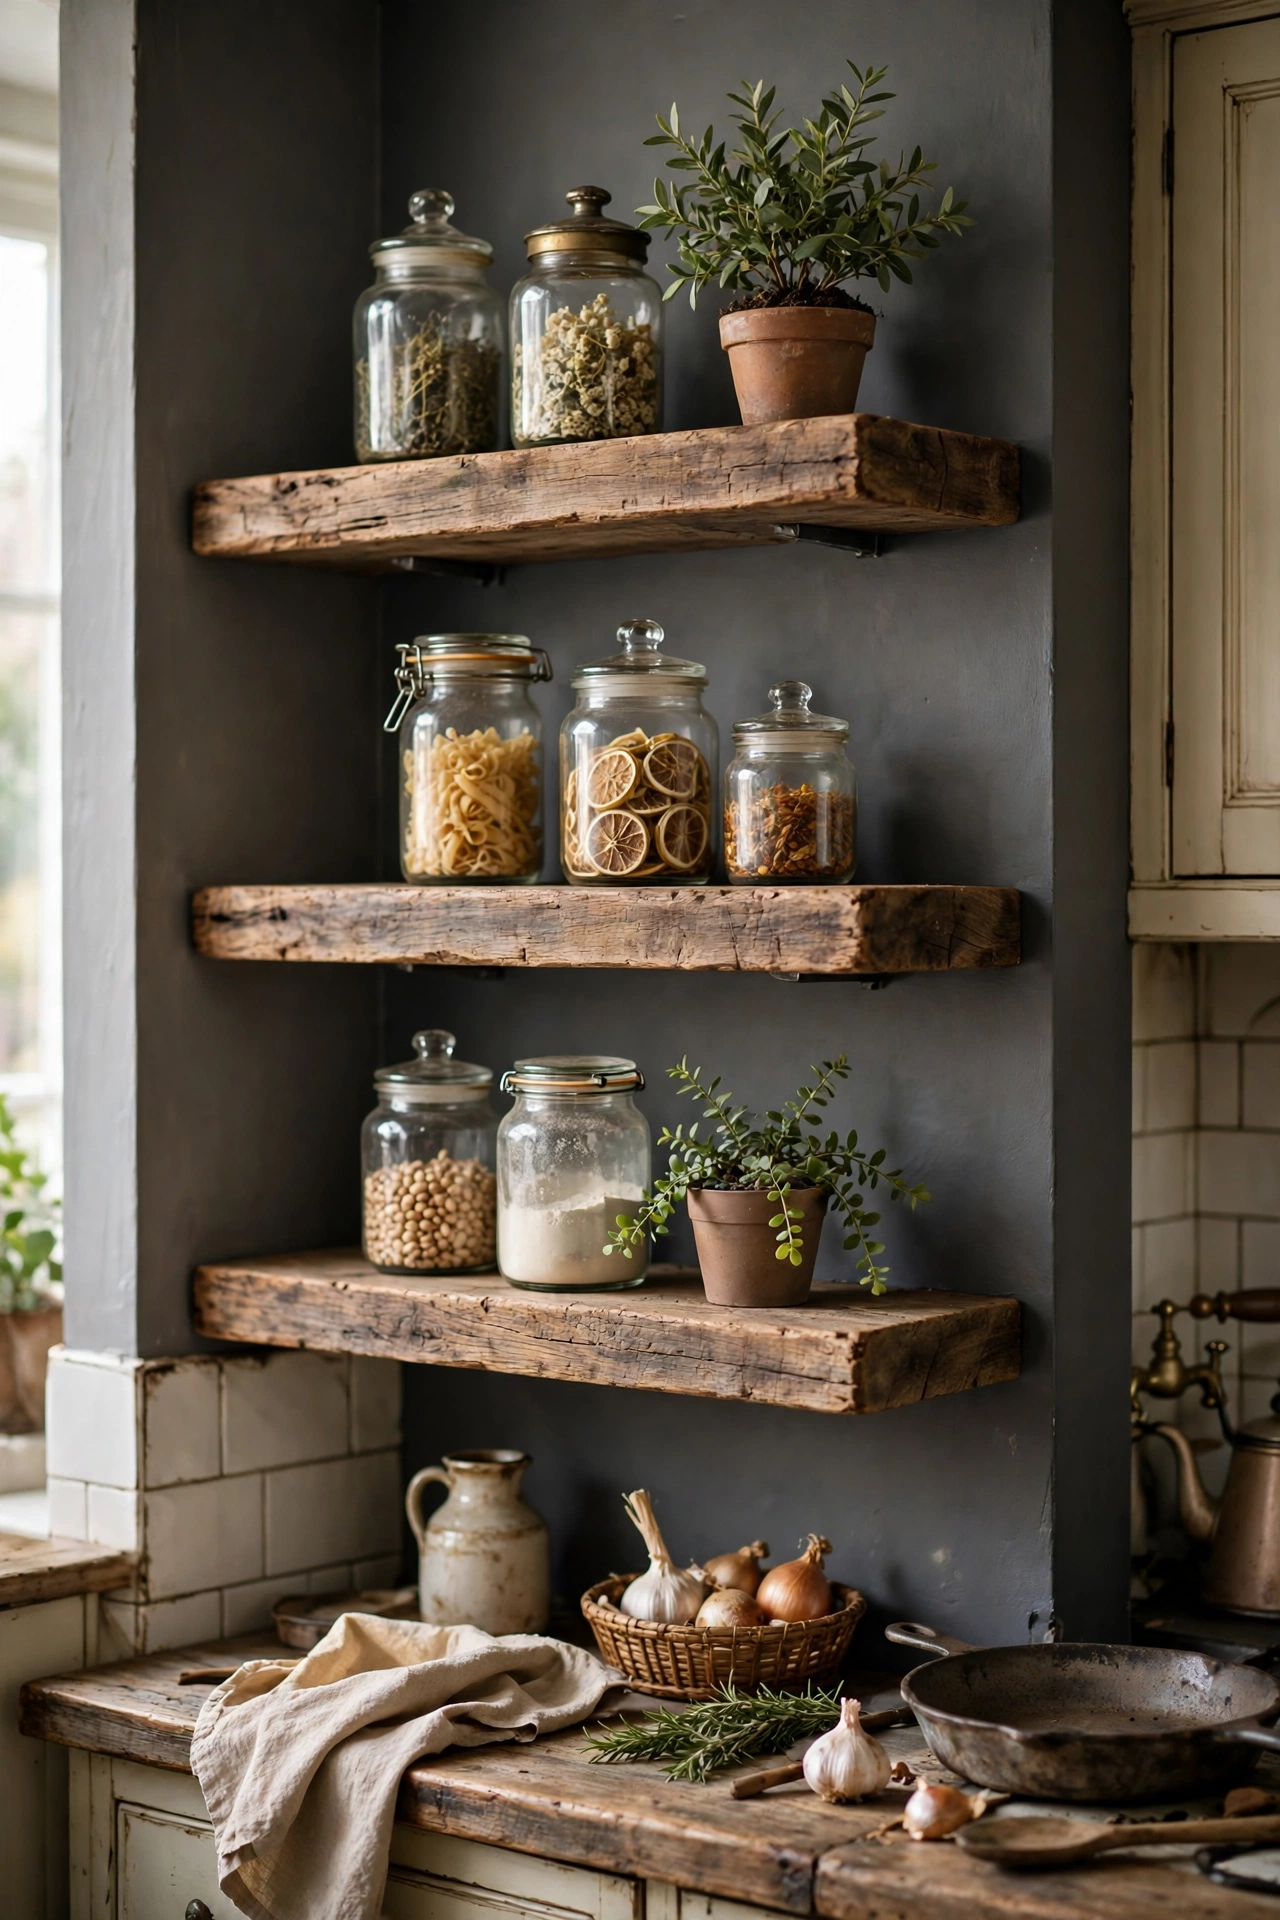
Thick reclaimed wood shelves with hidden brackets look expensive but cost almost nothing if you source the timber from a demolition yard or old pallets. Sand them smooth, treat with food-safe wax, and mount with concealed floating brackets rated for the weight. Style with a few vintage jars and a small plant — less is more here. I tried this and the one mistake to avoid is trusting plasterboard fixings alone; find the studs or use proper cavity anchors, because a shelf of jam jars is heavy.
Cost: ~$18 | Time: 2 hours
16. Vintage Rug Under a Small Kitchen Table
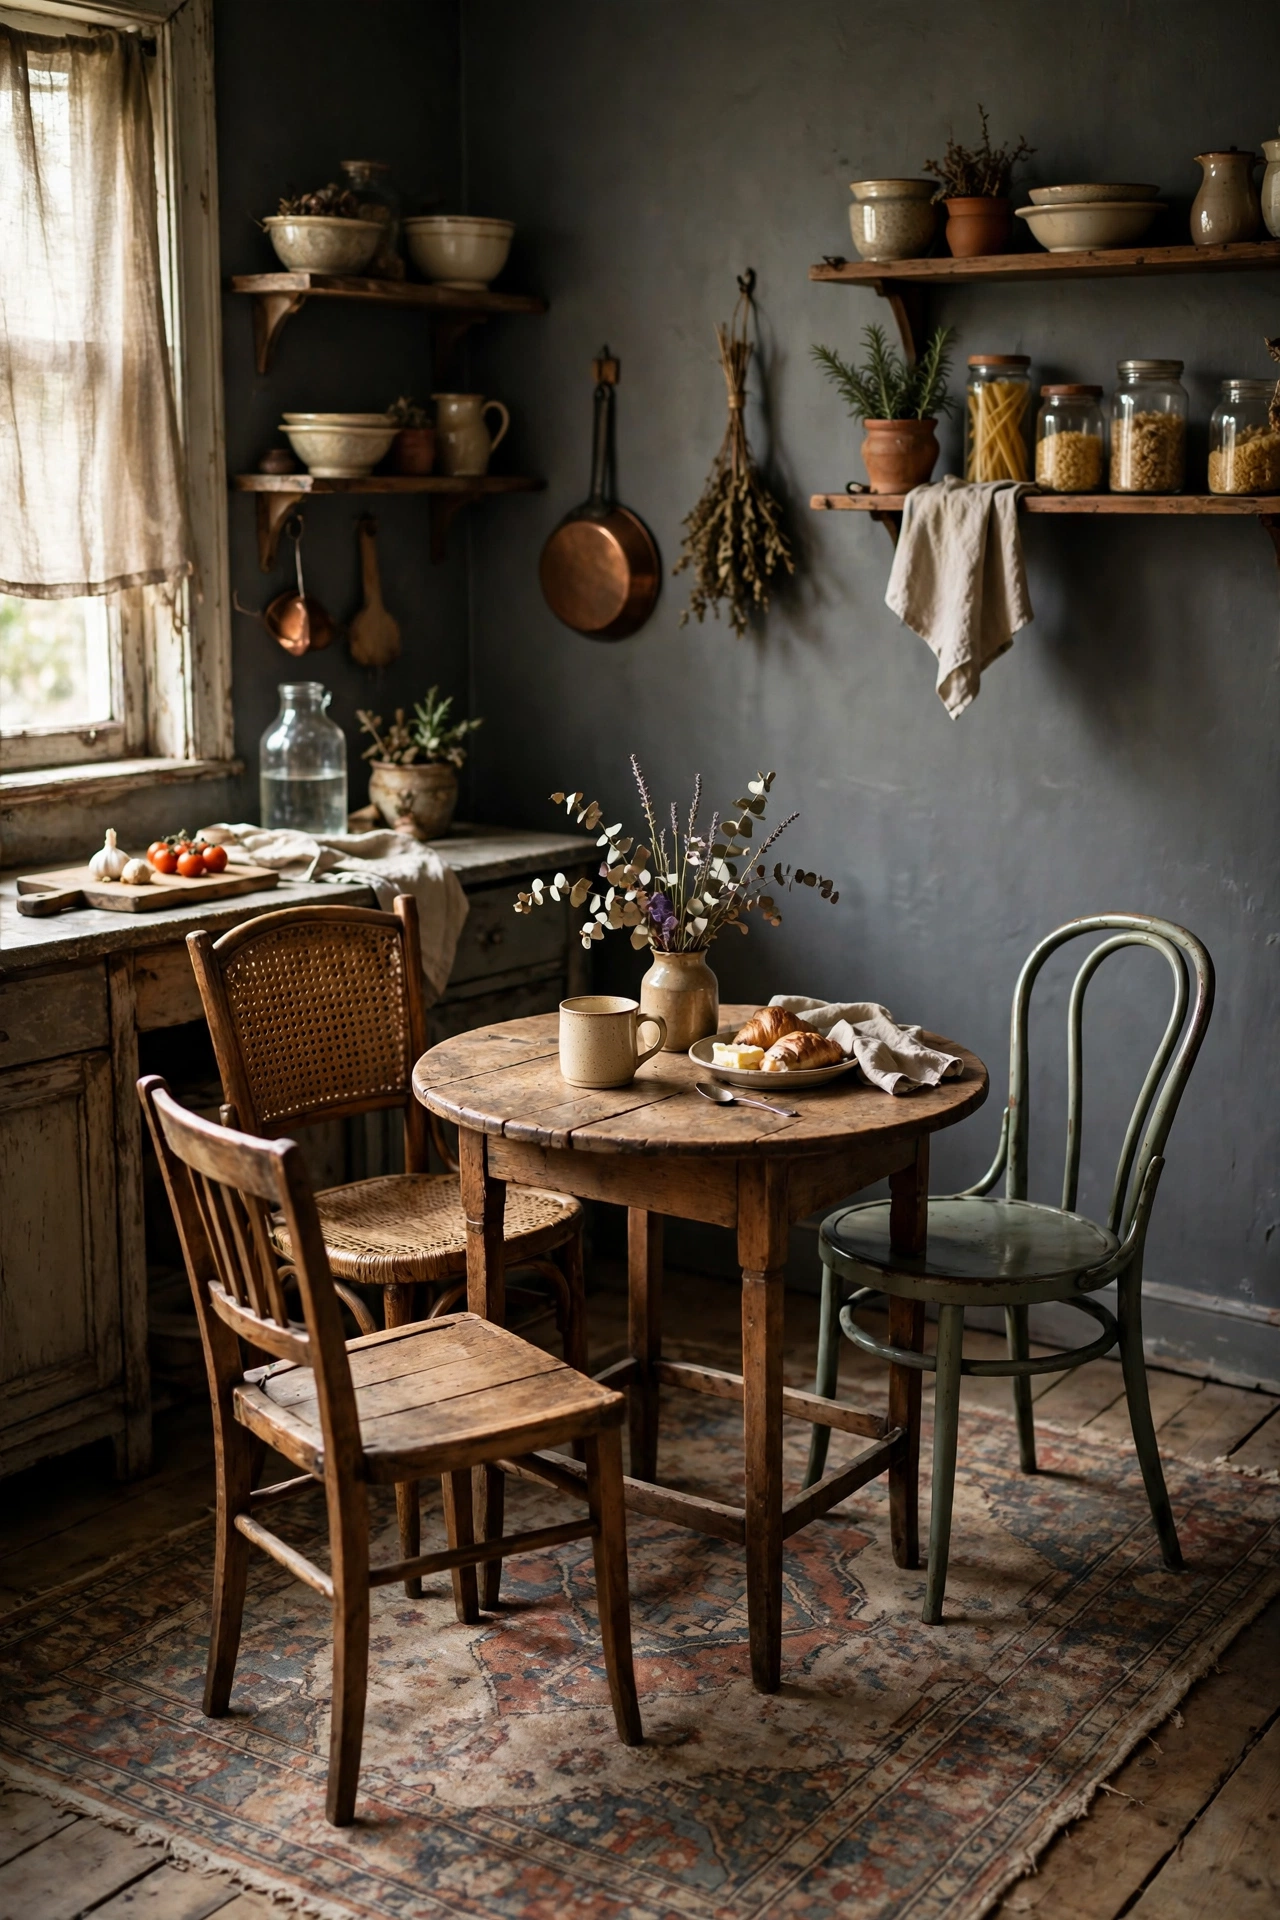
If you have room for even a tiny table, a faded vintage-style rug underneath it turns the corner into a proper little eating nook. The pattern hides crumbs brilliantly, which is half the battle in a kitchen. Choose a low-pile rug so chairs slide easily, and size it so all four chair legs sit on it. I tried this and the one mistake to avoid is a high-pile shaggy rug; it traps every crumb and chair legs sink into it like quicksand. Flat weave, every time.
Cost: ~$35 | Time: 10 minutes
17. Copper Pots Hanging From a Wall Rail
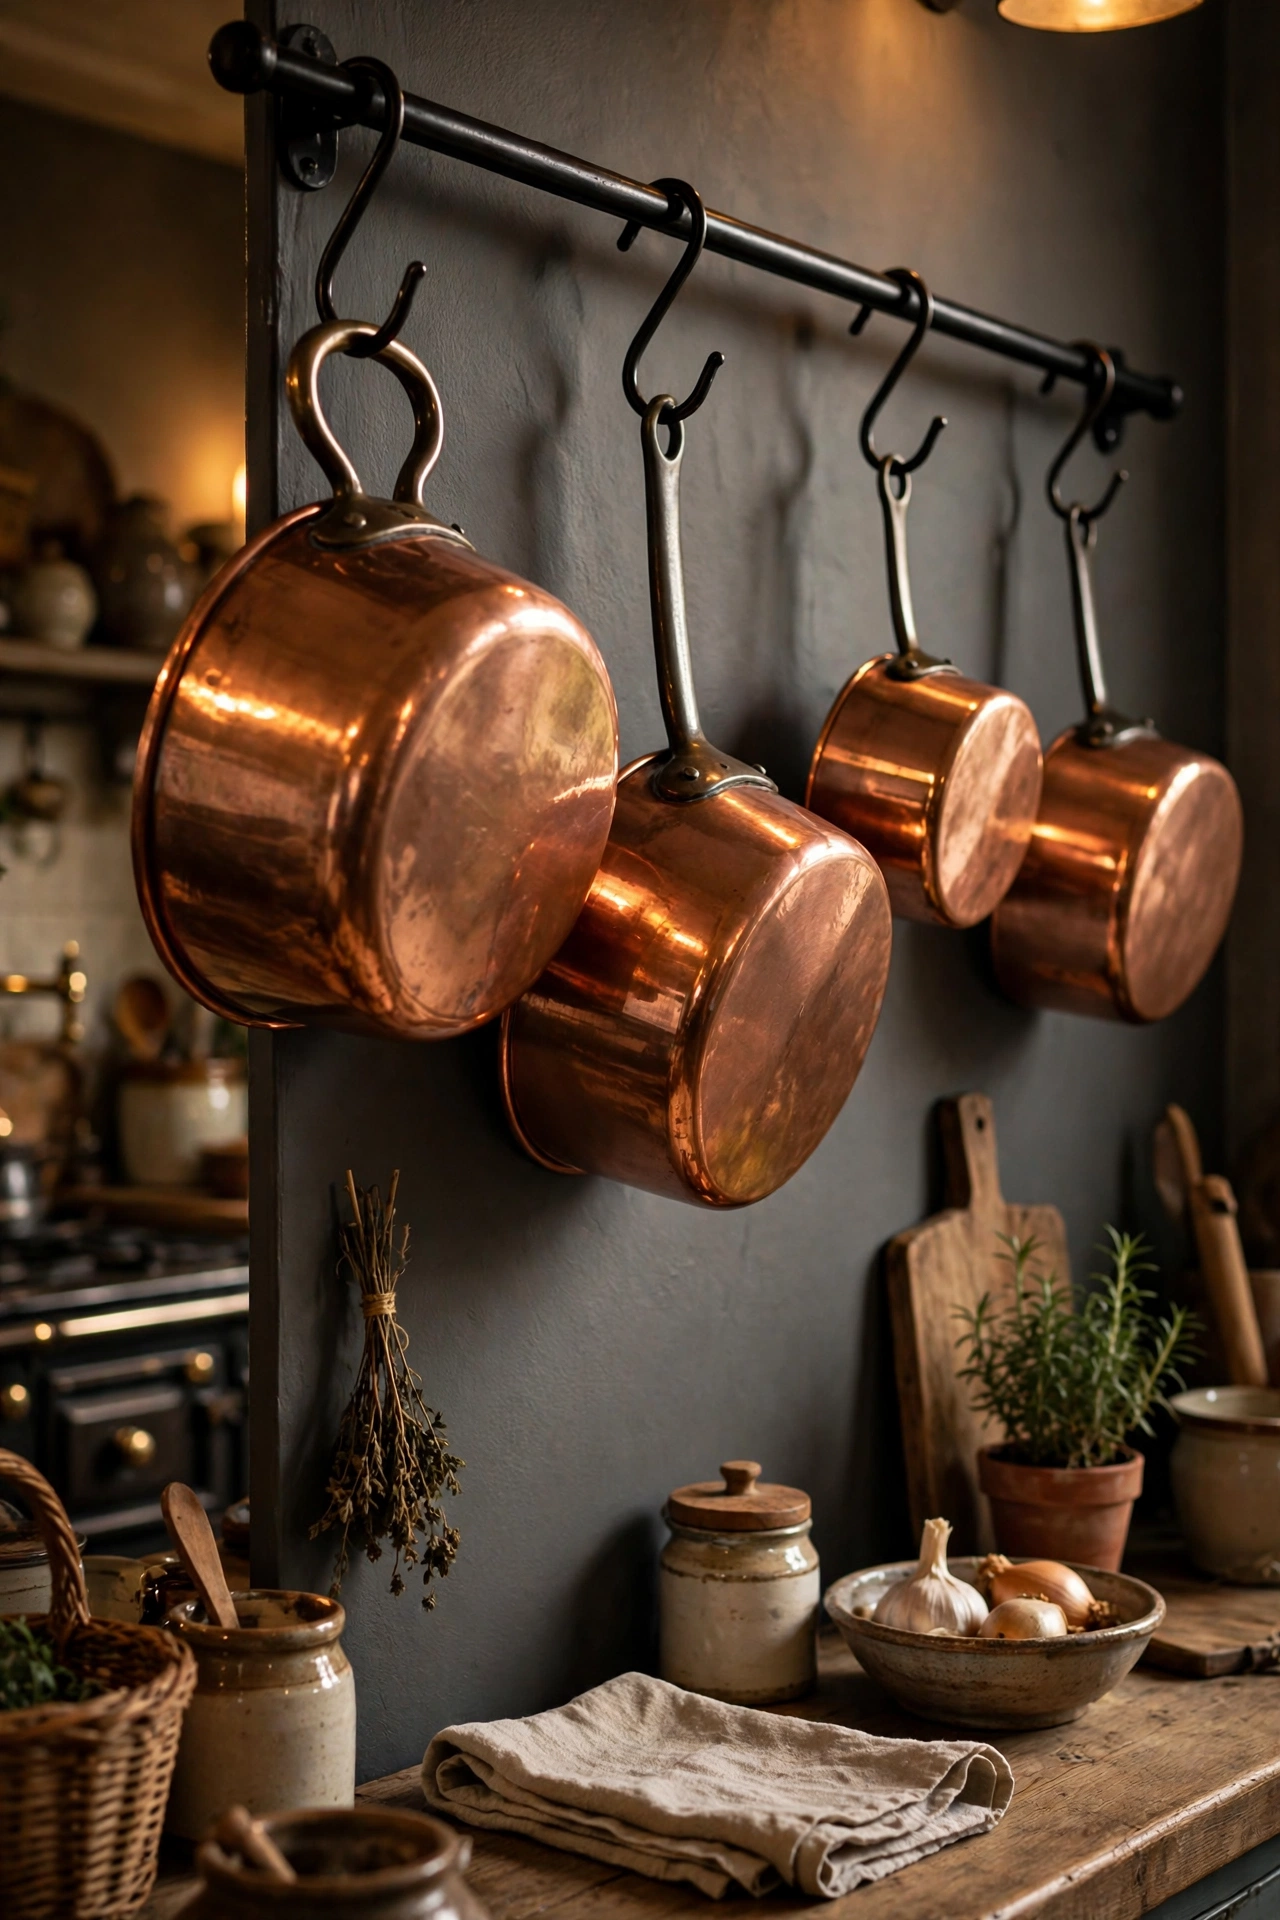
A simple wall-mounted rail with S-hooks holding two or three copper or copper-effect pans is pure vintage kitchen theatre. The warm metal glows against charcoal gray walls beautifully. Fix the rail into studs, space the hooks so pans don’t clang together, and polish the copper with lemon and salt twice a year. I tried this and the one mistake to avoid is hanging your heaviest stock pot on a rail meant for utensils; check the weight rating or it’ll pull straight out of the plaster.
Cost: ~$25 | Time: 45 minutes
18. Charcoal Gray Painted Fridge With Retro Handles
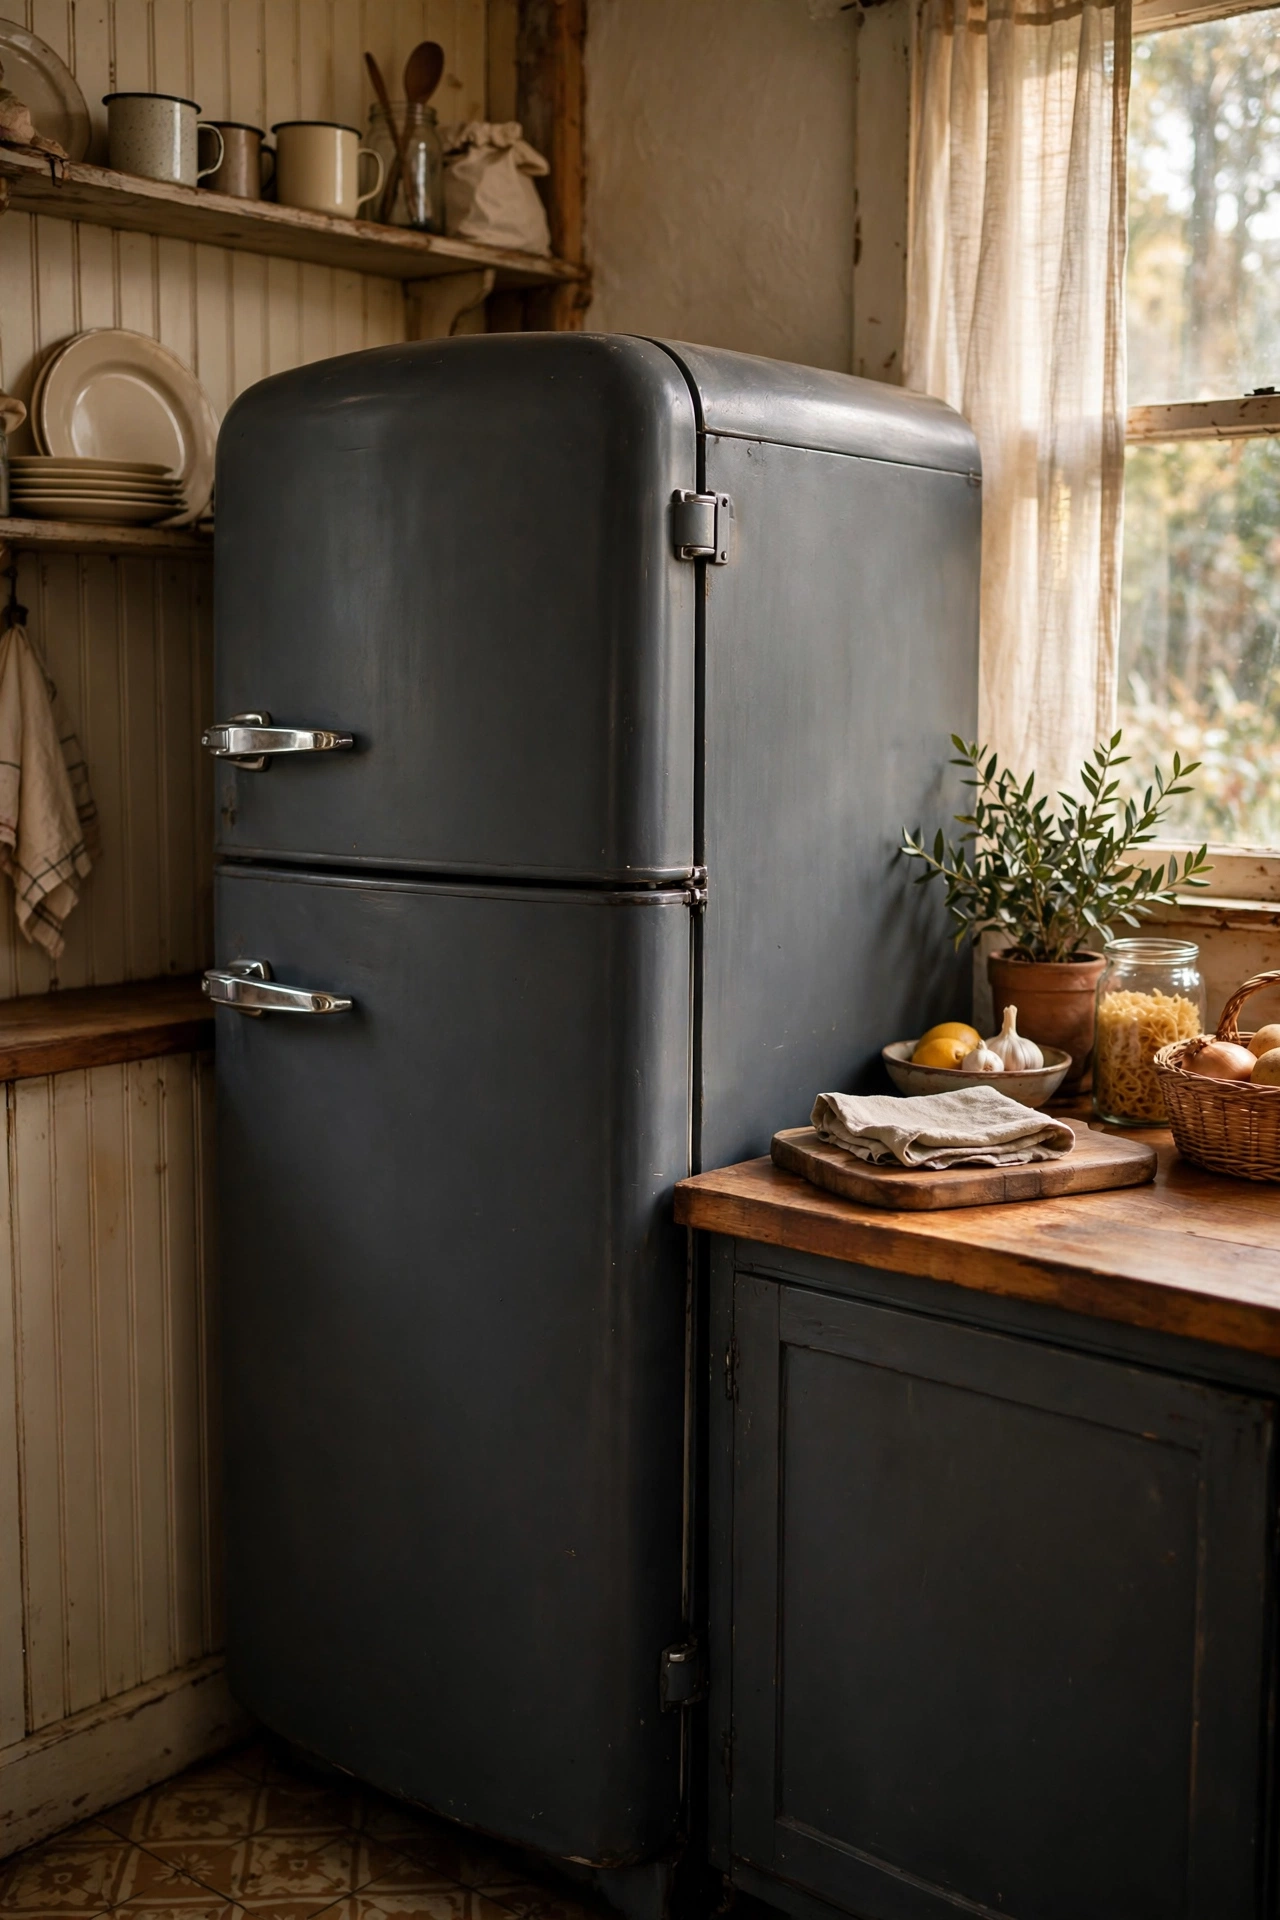
Painting an old fridge charcoal gray with appliance paint and adding retro-style handles is a fraction of the price of a Smeg-style lookalike. Clean thoroughly with degreaser, mask the seals and handles, and apply thin coats with a foam roller — appliance paint self-levels nicely. I tried this and the one mistake to avoid is using ordinary emulsion; it chips within weeks. Proper appliance or metal paint is non-negotiable here. For more ways to refresh tired appliances, my (see also: budget-kitchen-makeover-ideas) post has a few more tricks.
Cost: ~$30 | Time: 1 day
19. Botanical Prints in Thrifted Frames
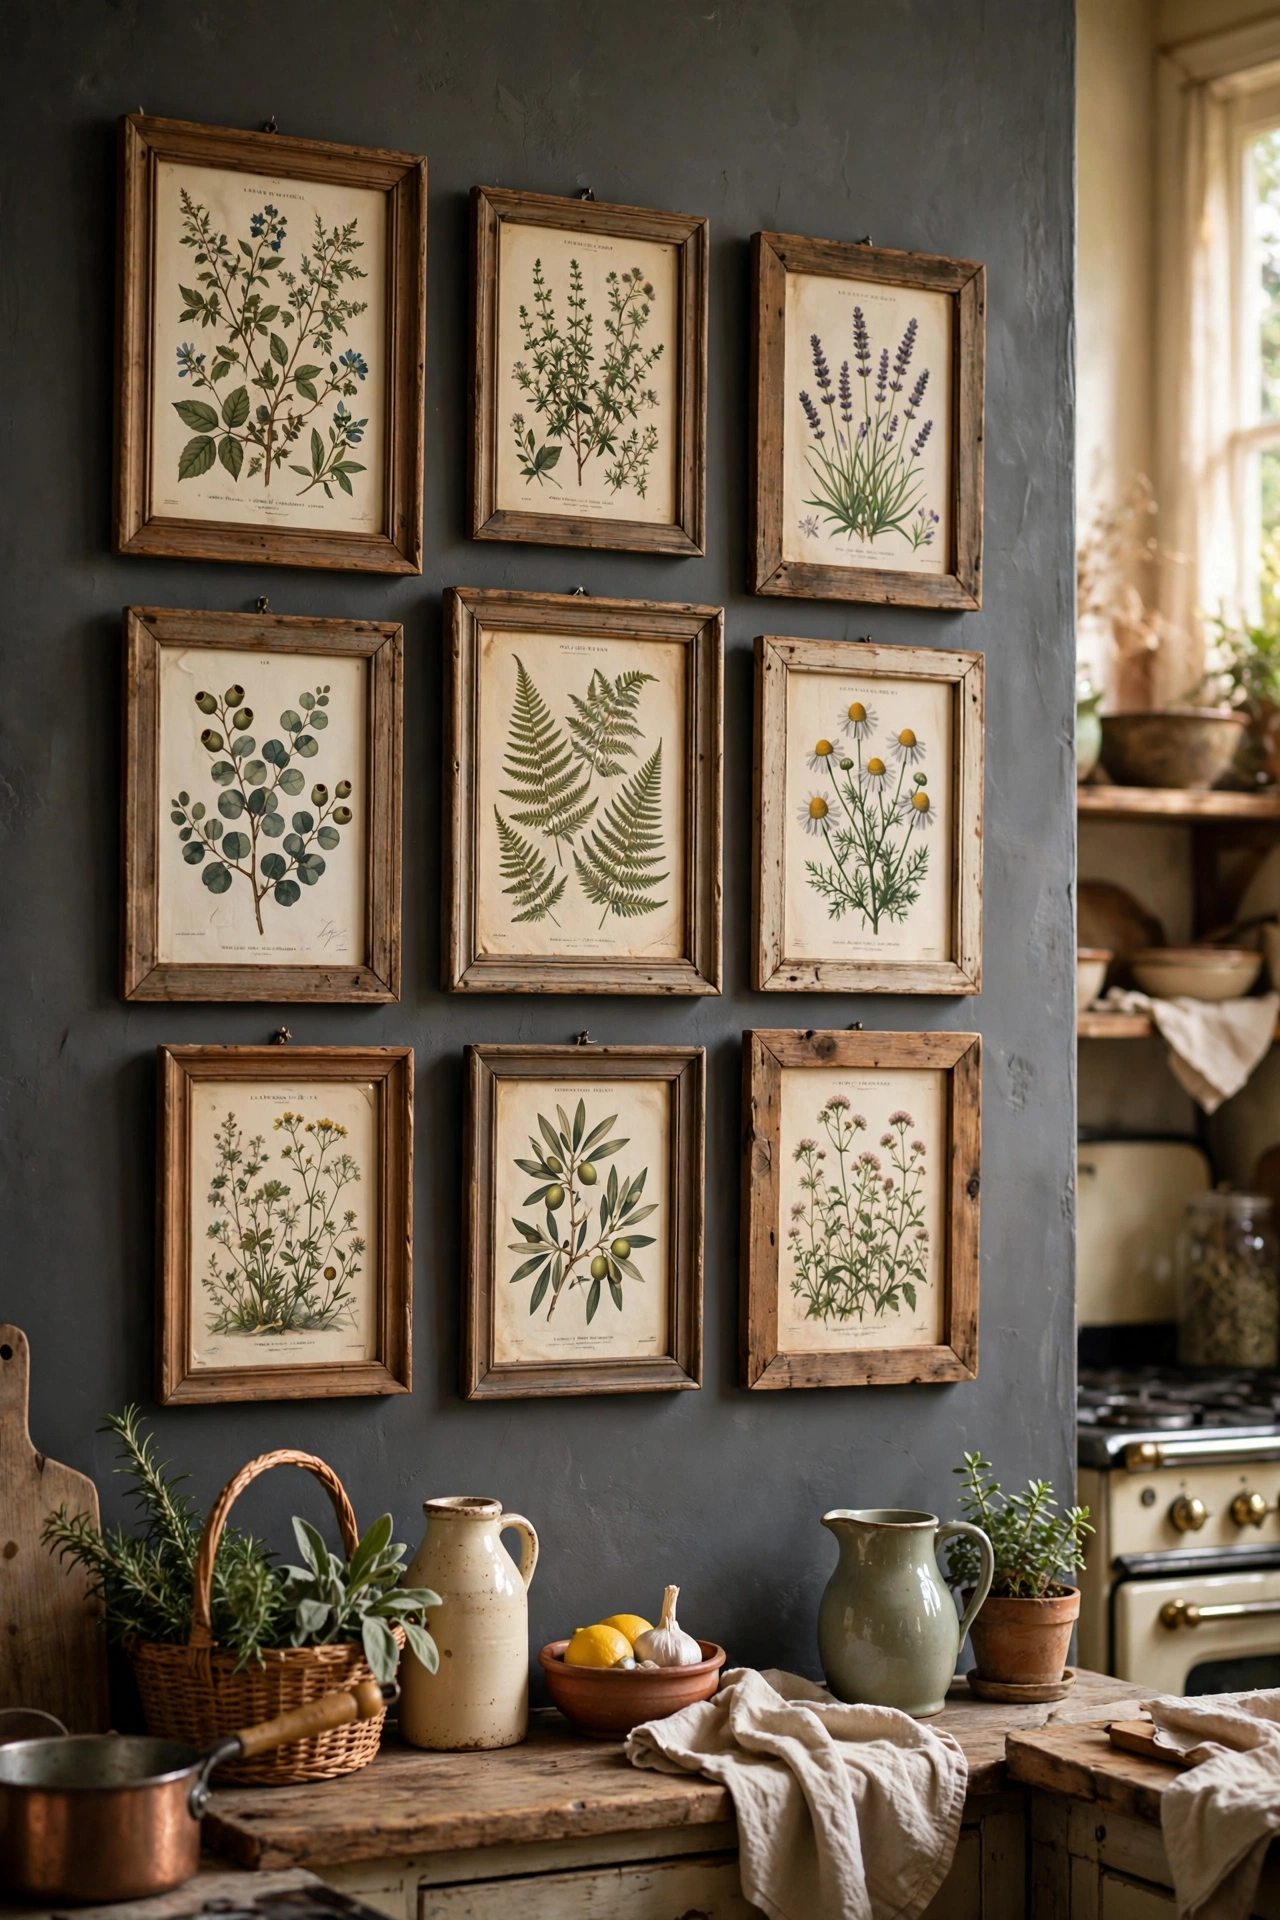
A row of botanical prints in mismatched charity-shop frames adds that collected, vintage feel to any bare wall. Print free vintage botanical illustrations at home or at the library, trim them to fit, and hang them in a loose grid. Spray the frames a uniform cream or leave the wood as-is for a more eclectic look. I tried this and the one mistake to avoid is hanging them in direct sun above the hob; steam and grease fade prints fast, so keep them on a drier wall. If you love this thrifty approach, you’ll like the ideas in (see also: vintage-kitchen-decor-ideas) too.
Cost: ~$15 | Time: 1 hour
Charcoal gray and vintage charm turn out to be the easiest of friends — the dark colour makes everything around it look more expensive, and the old bits keep it from feeling cold. Start with the cabinets if you’re brave, or just the rug and the signs if you’re not; either way the kitchen will feel more pulled together by Sunday night. Save this one for later — you’ll want it open when the paint samples arrive. And if you’re torn between gray and green, have a look at (see also: 21-sage-green-kitchen-ideas-with-vintage-charm) before you decide.
