17 Weekend DIY Projects You Can Finish in a Day
A few years ago I looked around my living room and realised I had been saying “I really should do something about this room” for roughly eighteen months. The problem was never money; it was that every project in my head had grown into a full renovation. So I set myself a rule: only weekend diy home projects that start after breakfast and finish before dinner. The first Saturday I painted one wall and swapped my cabinet handles, and the room felt different by teatime. This list is every single-day project that actually delivers, with honest timings so you can plan your Saturday properly.
All 17 projects below cost under $60, and most land under $25. You will need basic tools: a drill, a paintbrush and roller, a tape measure, and a spirit level. Nothing here needs a second pair of hands, though a friend with a ladder never hurts.
1. One-Wall Accent Paint Refresh
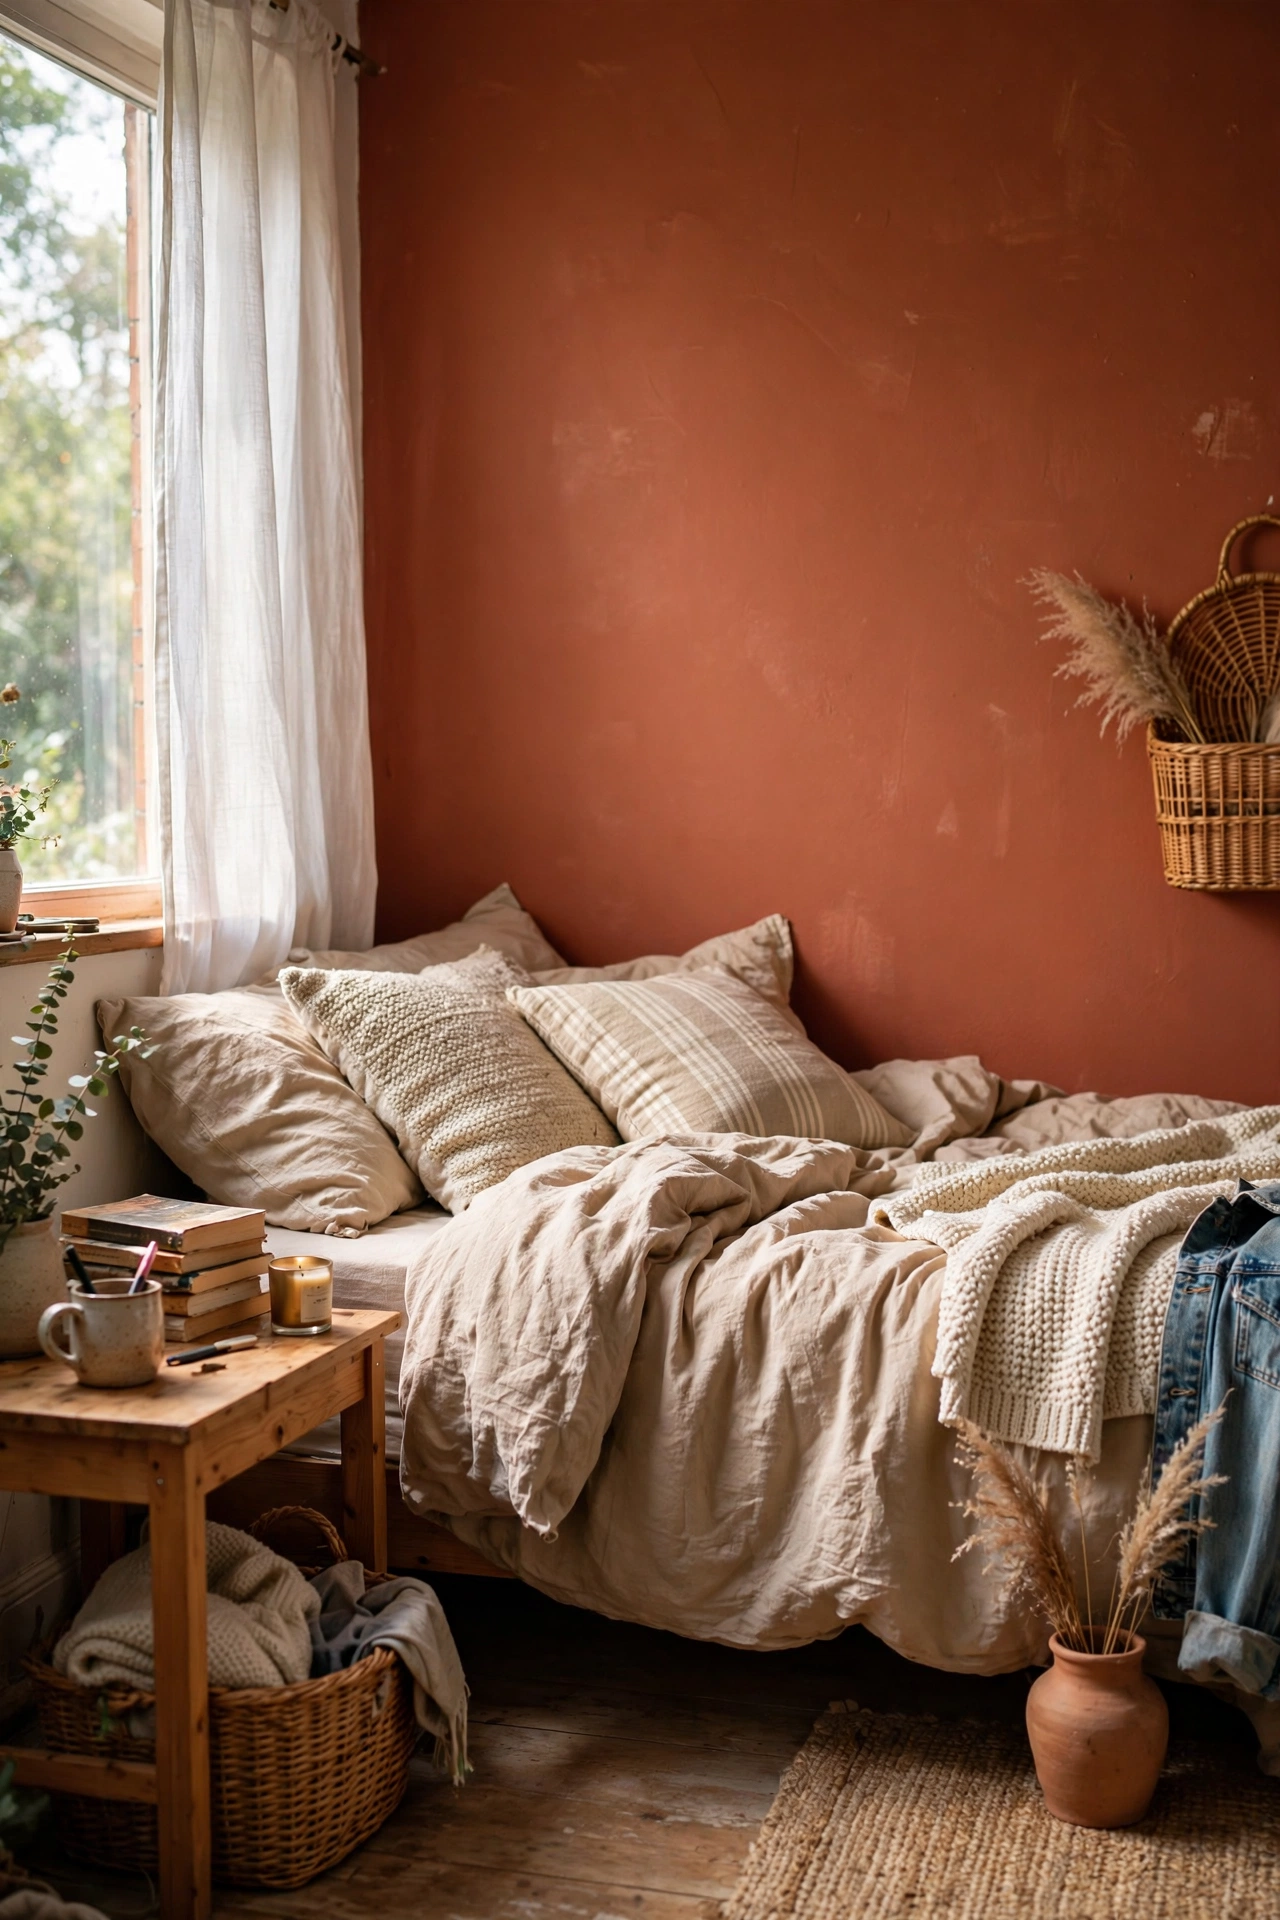
Painting a single wall is the highest-impact day project there is. I painted the wall behind my bed a deep terracotta on a Saturday morning, and the whole bedroom felt redecorated by lunch. Choose the wall your eye lands on first when you enter the room. Cut in the edges with a brush first, then roll the middle in overlapping W shapes for even coverage. My mistake was buying cheap paint the first time; it needed three coats. Decent paint in one good coat actually costs less in the end. Move the furniture back once it is touch-dry, usually four hours.
Cost: ~$20-35 | Time: 4 hours including drying
2. Floating Shelf Trio Install
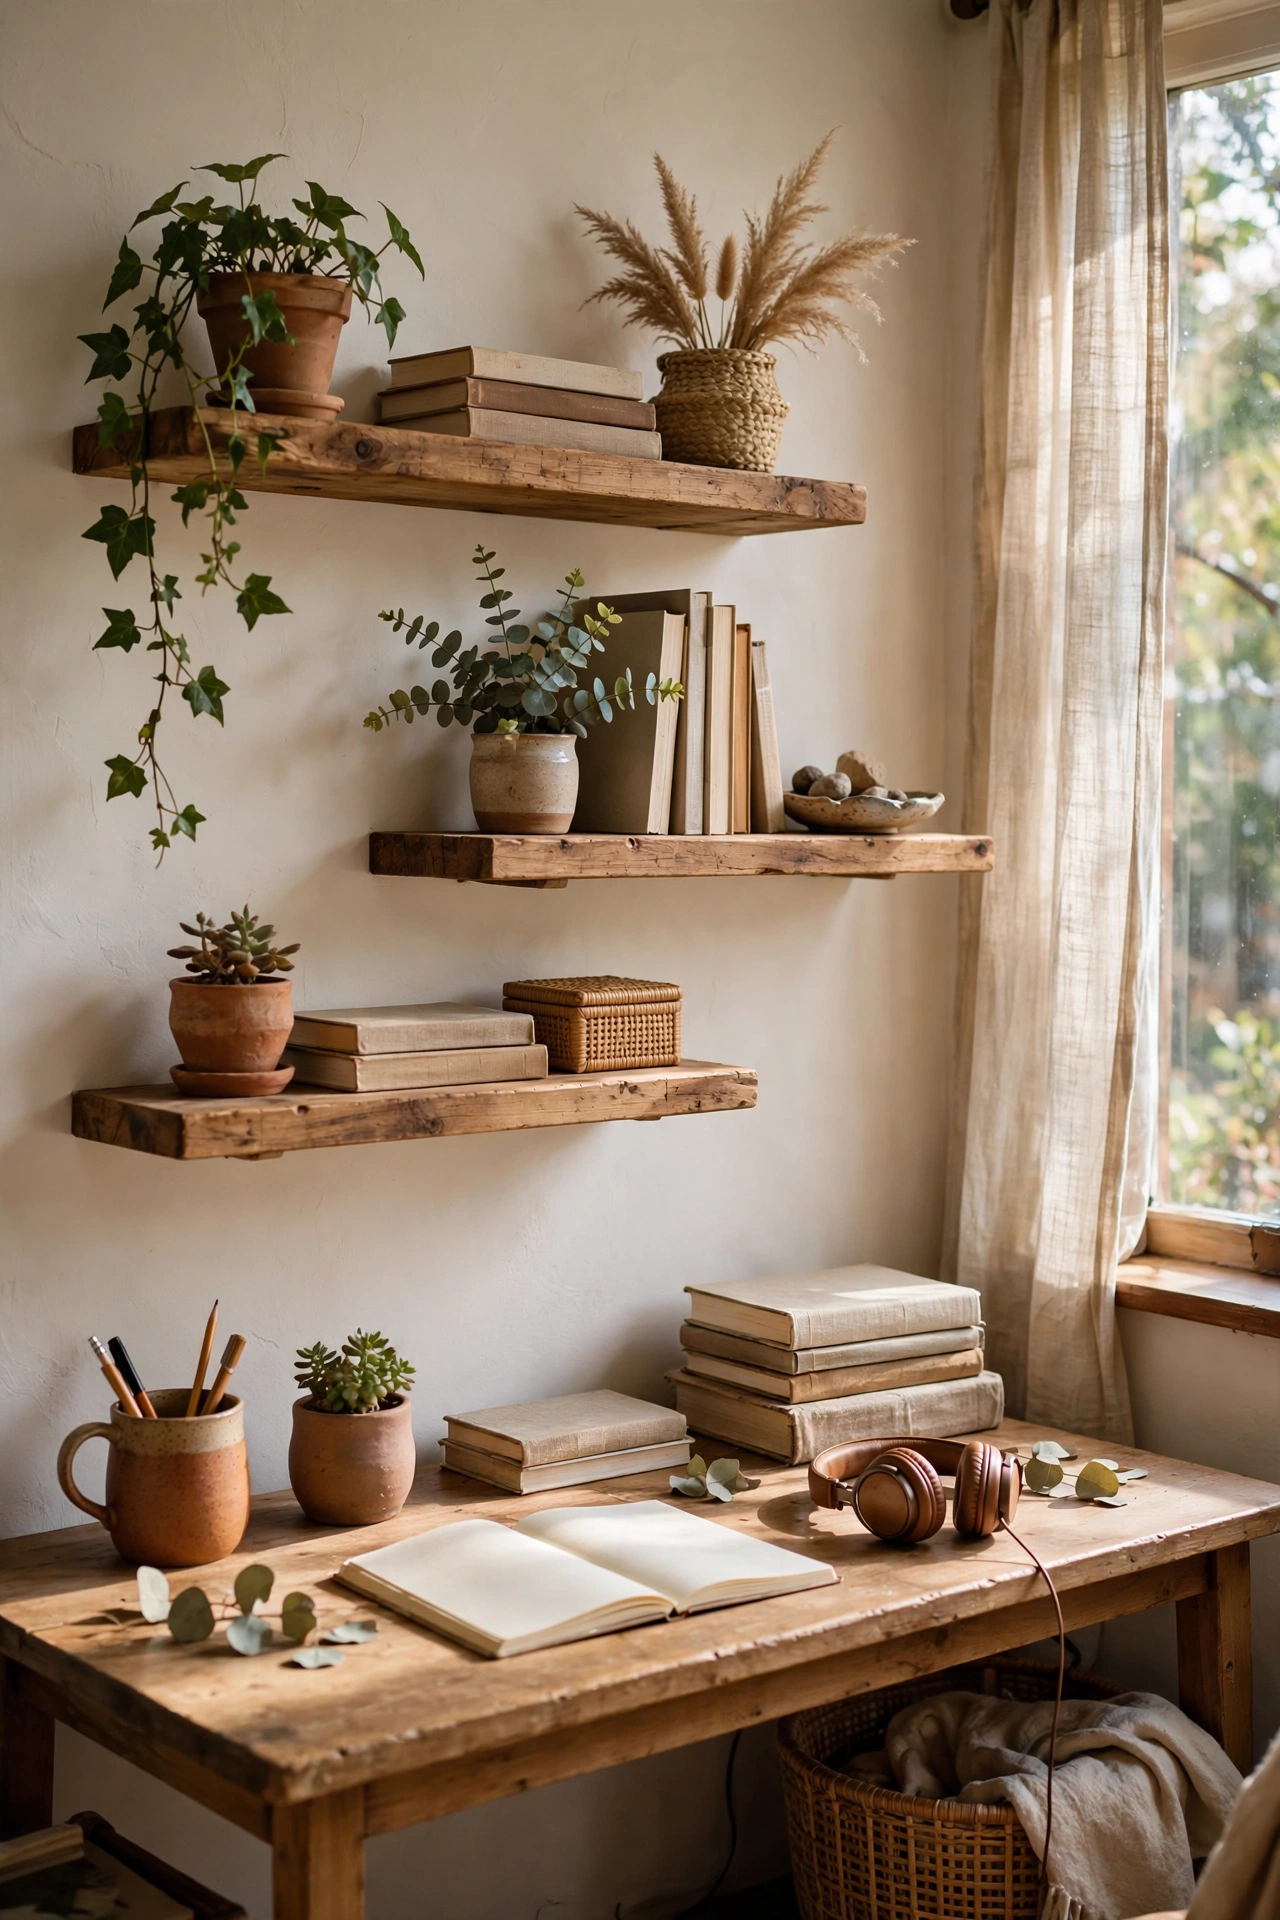
Three floating shelves in a staggered arrangement turn a blank wall into display space in under two hours. I mounted mine above my desk using hidden bracket shelves from the hardware store, spacing them 35cm apart vertically. The secret is finding the studs; shelves that hold books must go into solid wood, not just plaster. I use a cheap stud finder and mark everything with painter’s tape before drilling. Mine hold plants, books, and a framed print. A spirit level is non-negotiable here; wonky shelves are visible from across the room.
Cost: ~$25-40 | Time: 2 hours
3. Cabinet Hardware Swap
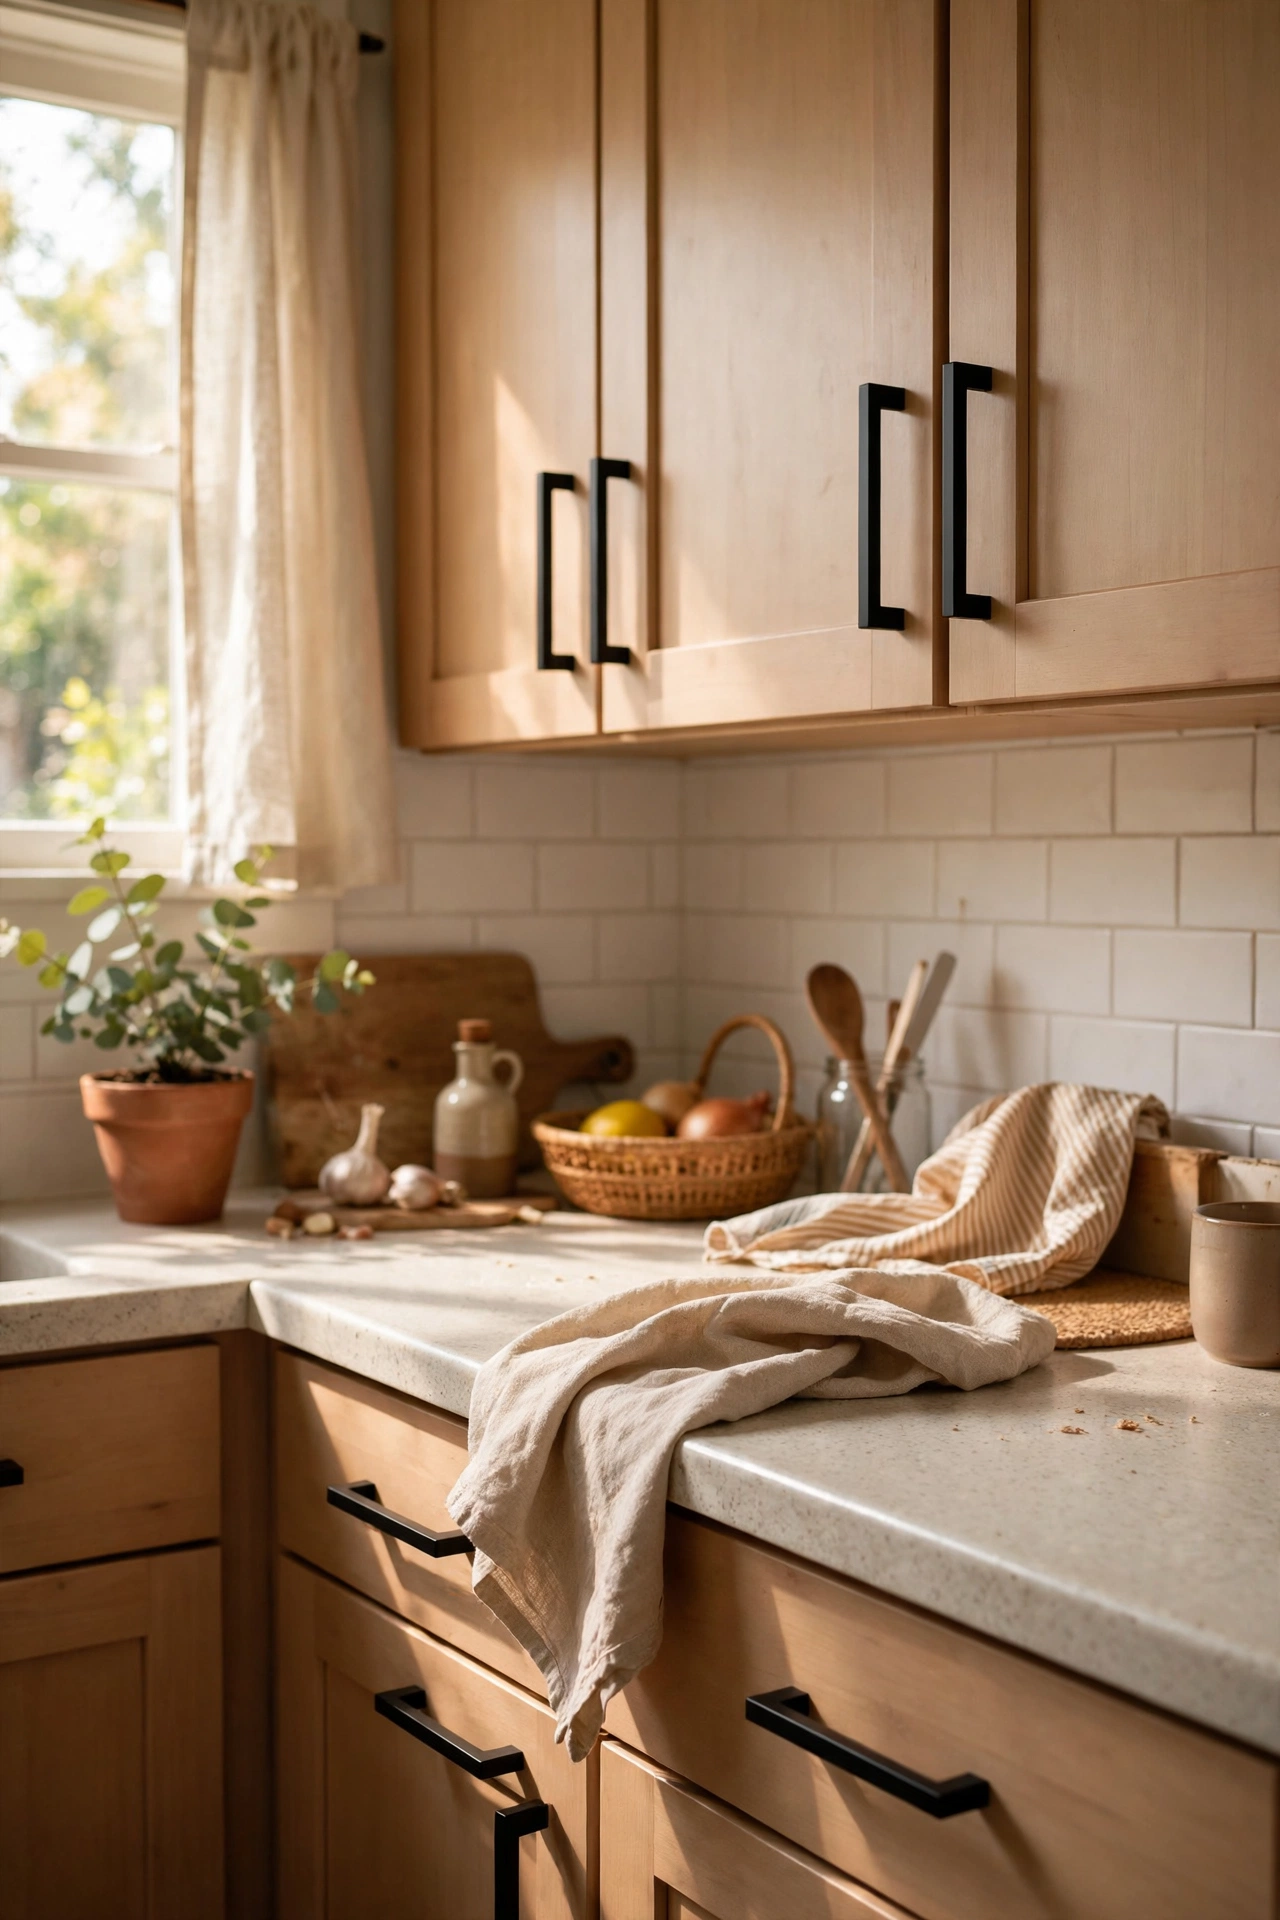
New handles on kitchen cabinets or a dresser change the whole piece in under an hour. I swapped the dated brass knobs in my kitchen for matte black bar pulls, thirty-two of them, and the kitchen looked five years newer. Measure the hole spacing before you buy, because pulls come in standard sizes and mismatched holes mean drilling. Mine were all 96mm, which made ordering simple. Keep the old screws in a labelled bag; the new pulls usually come with their own. This is the project I recommend to every renter.
Cost: ~$15-30 | Time: 1 hour
4. Peel-and-Stick Kitchen Backsplash
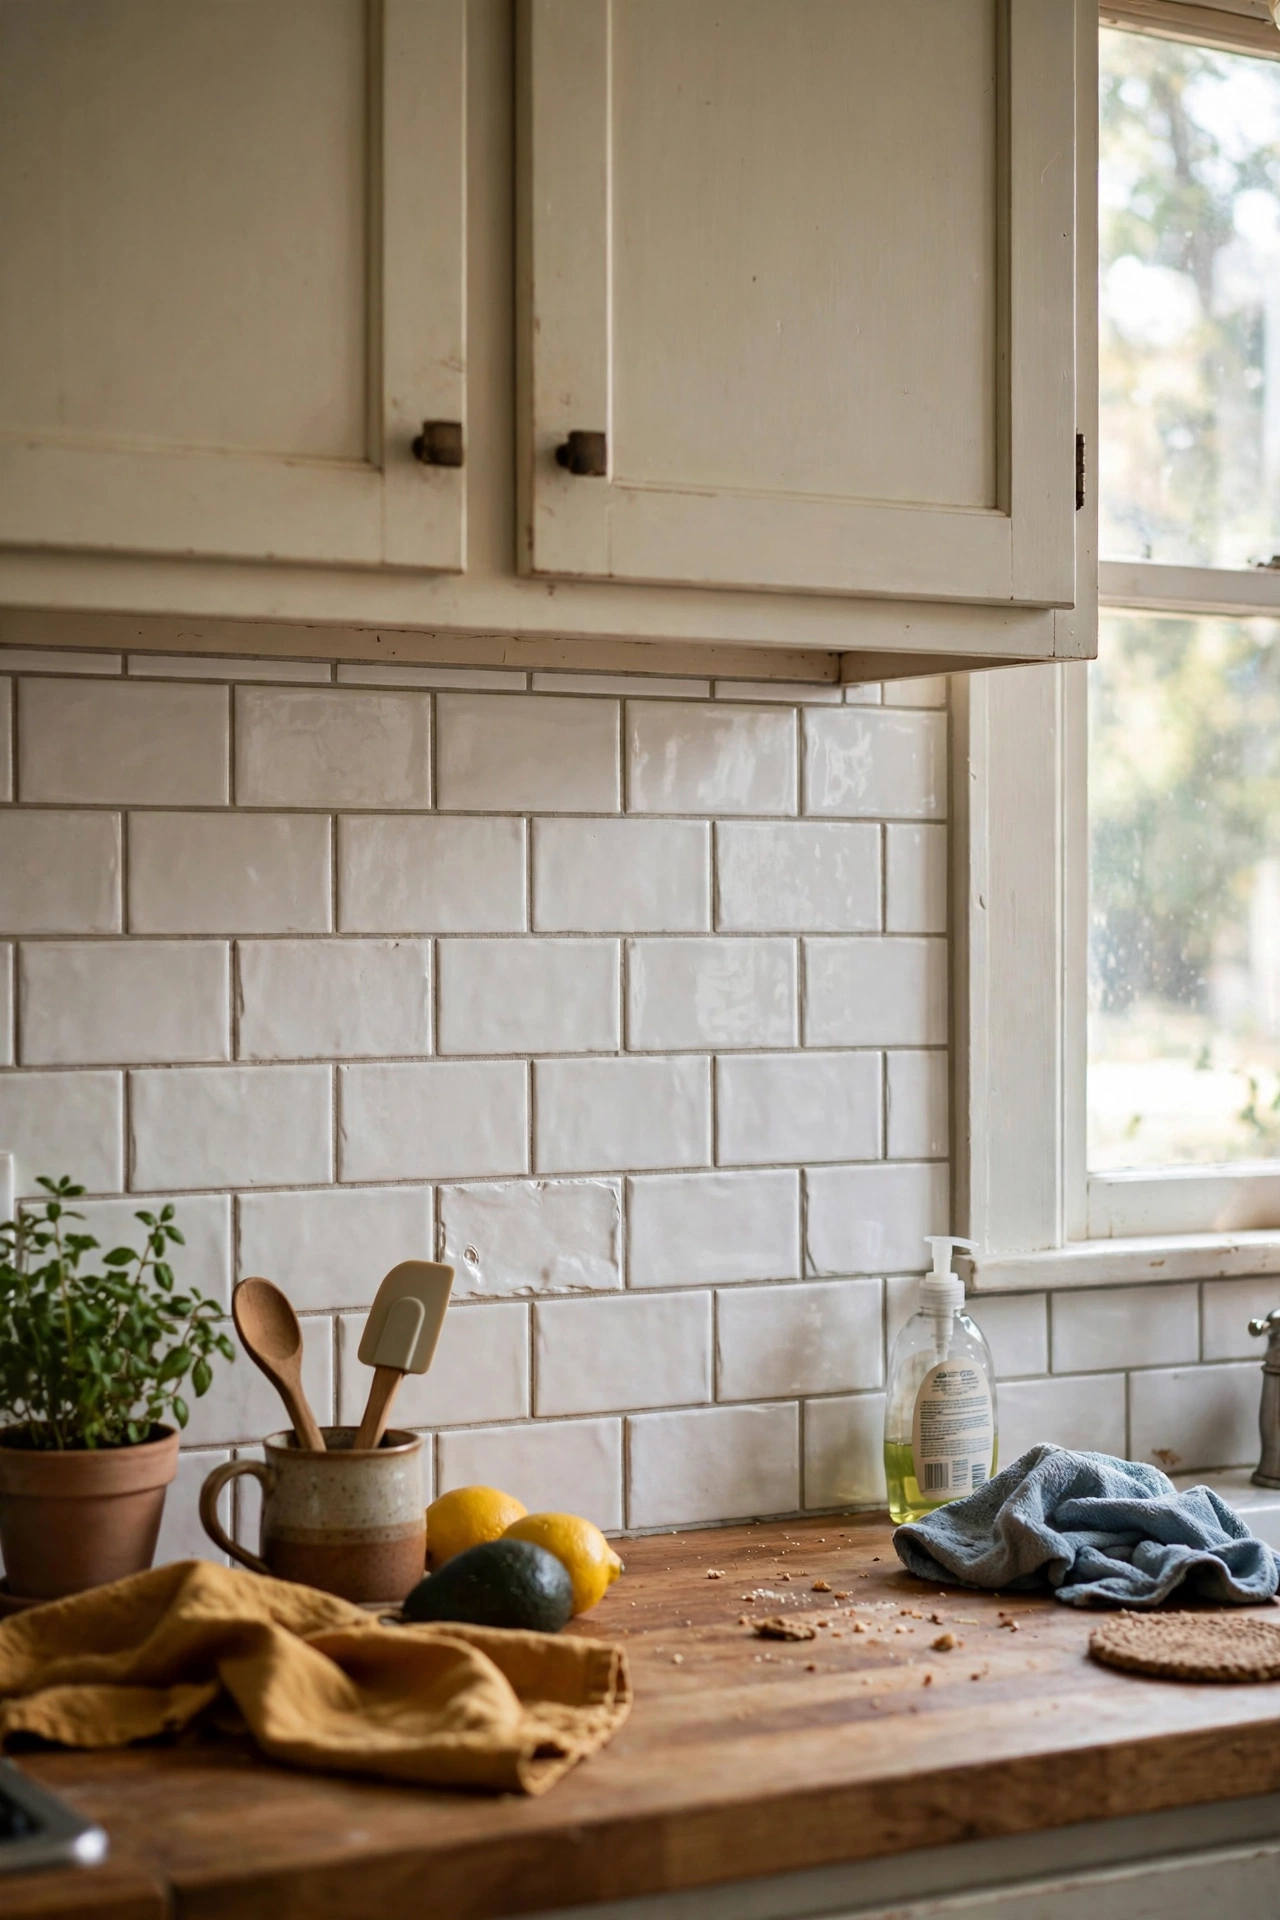
Peel-and-stick backsplash tiles give you a tiled look with zero grout and zero mess. I covered the wall between my counters and wall cabinets on a Sunday afternoon, working from the centre outward so the cut tiles landed at the edges. Clean the wall with sugar soap first, because grease stops the adhesive bonding. My subway-style tiles have survived two years of cooking splashes. Buy ten percent more than you measure; my first box ran short and the dye lot did not match the second.
Cost: ~$25-45 | Time: 3 hours
Budget check: four projects in, and the priciest is still $45. The hardware swap remains the best value per minute of any project I have ever done.
5. Thrifted Frame Gallery Wall
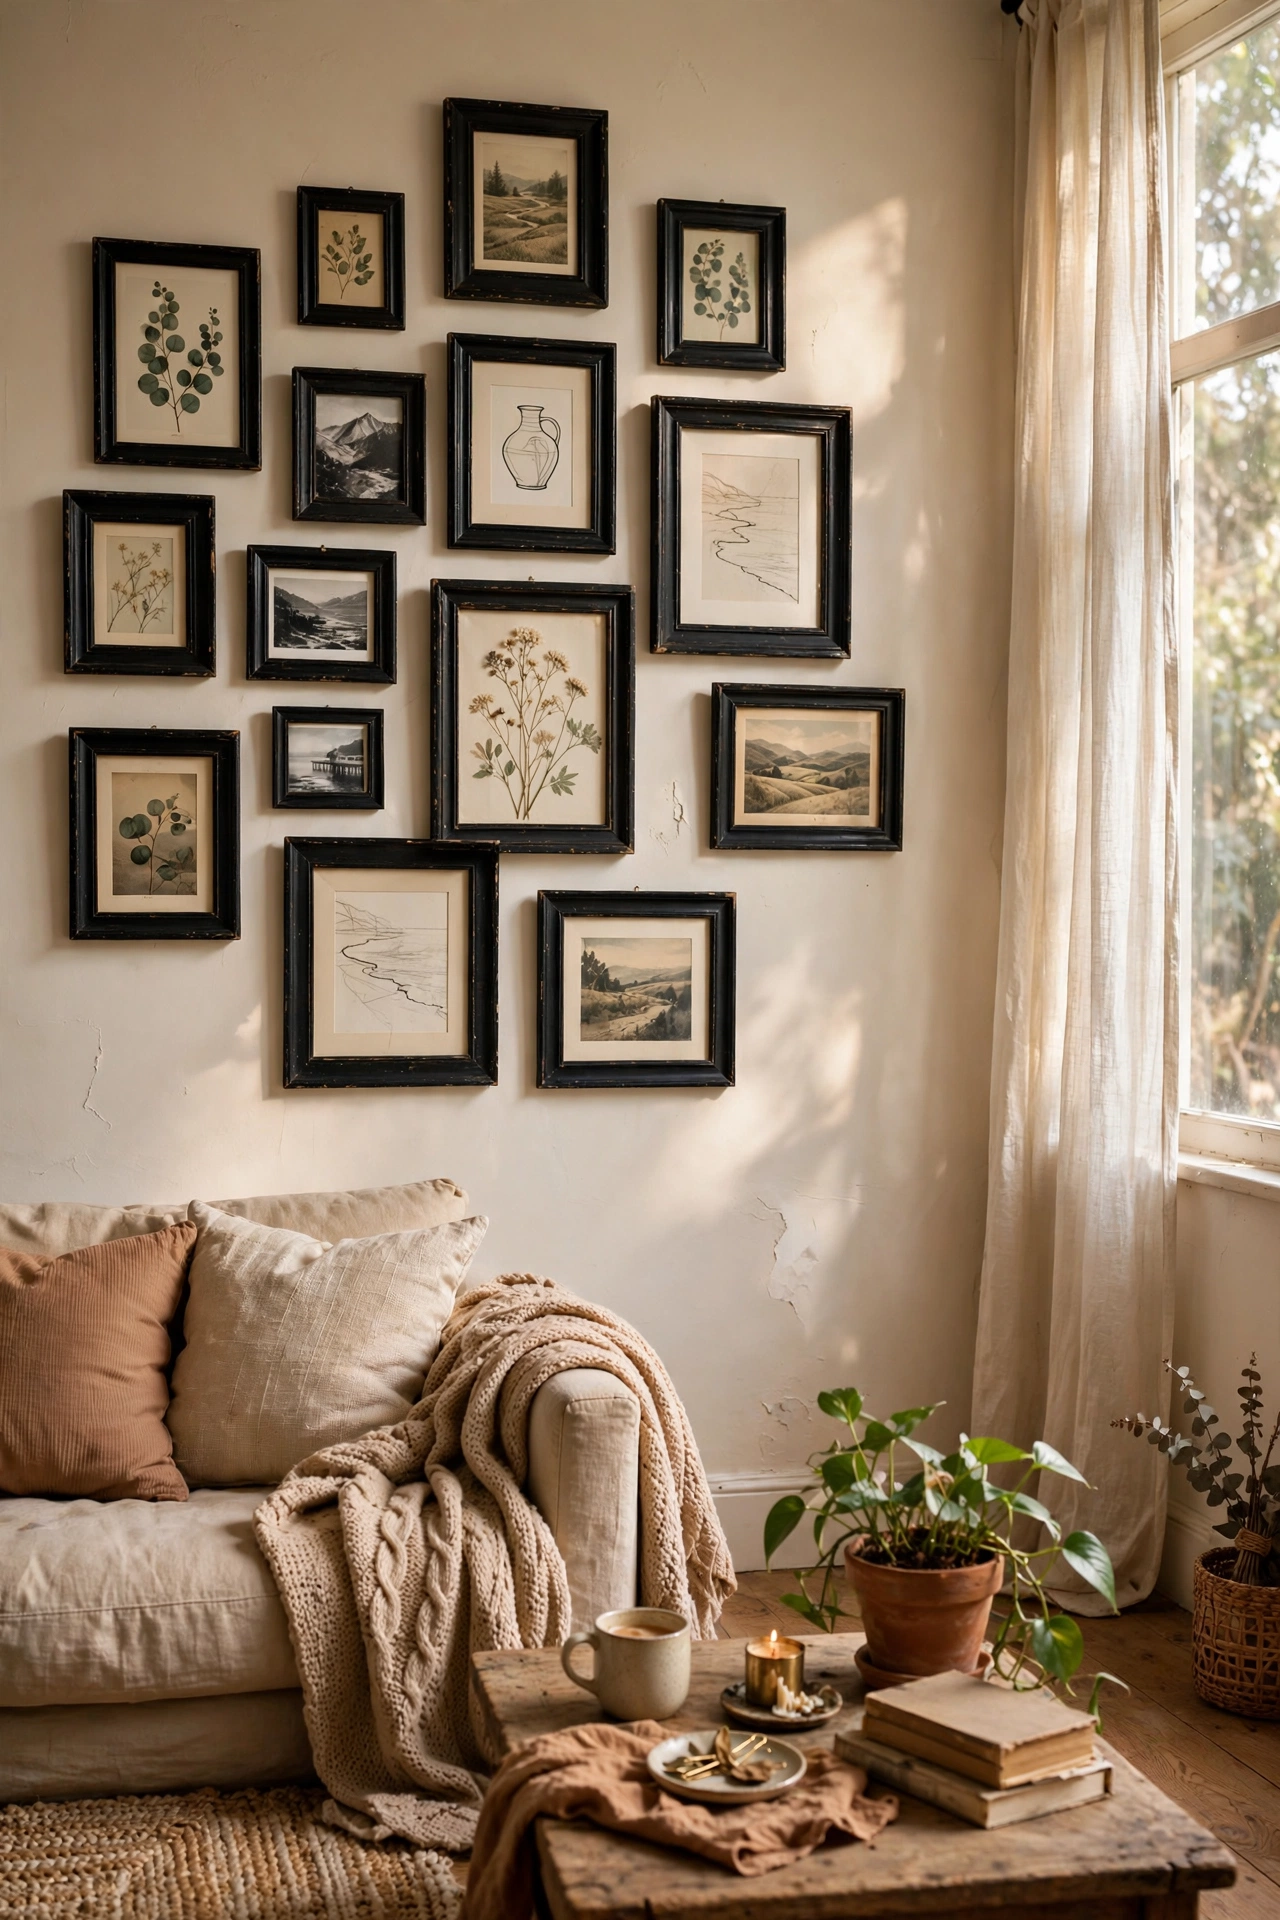
A gallery wall of mismatched thrifted frames looks curated and costs almost nothing. I collected eleven frames over two charity-shop visits, spray-painted them all the same matte black, and filled them with free printable art and family photos. Lay the arrangement on the floor first and photograph it, because what looks good on the floor translates to the wall. I hung mine with the centre frame at eye level and worked outward. Paper templates taped to the wall let you adjust before you commit to nails.
Cost: ~$10-20 | Time: 3 hours
6. Board-and-Batten Accent Strip
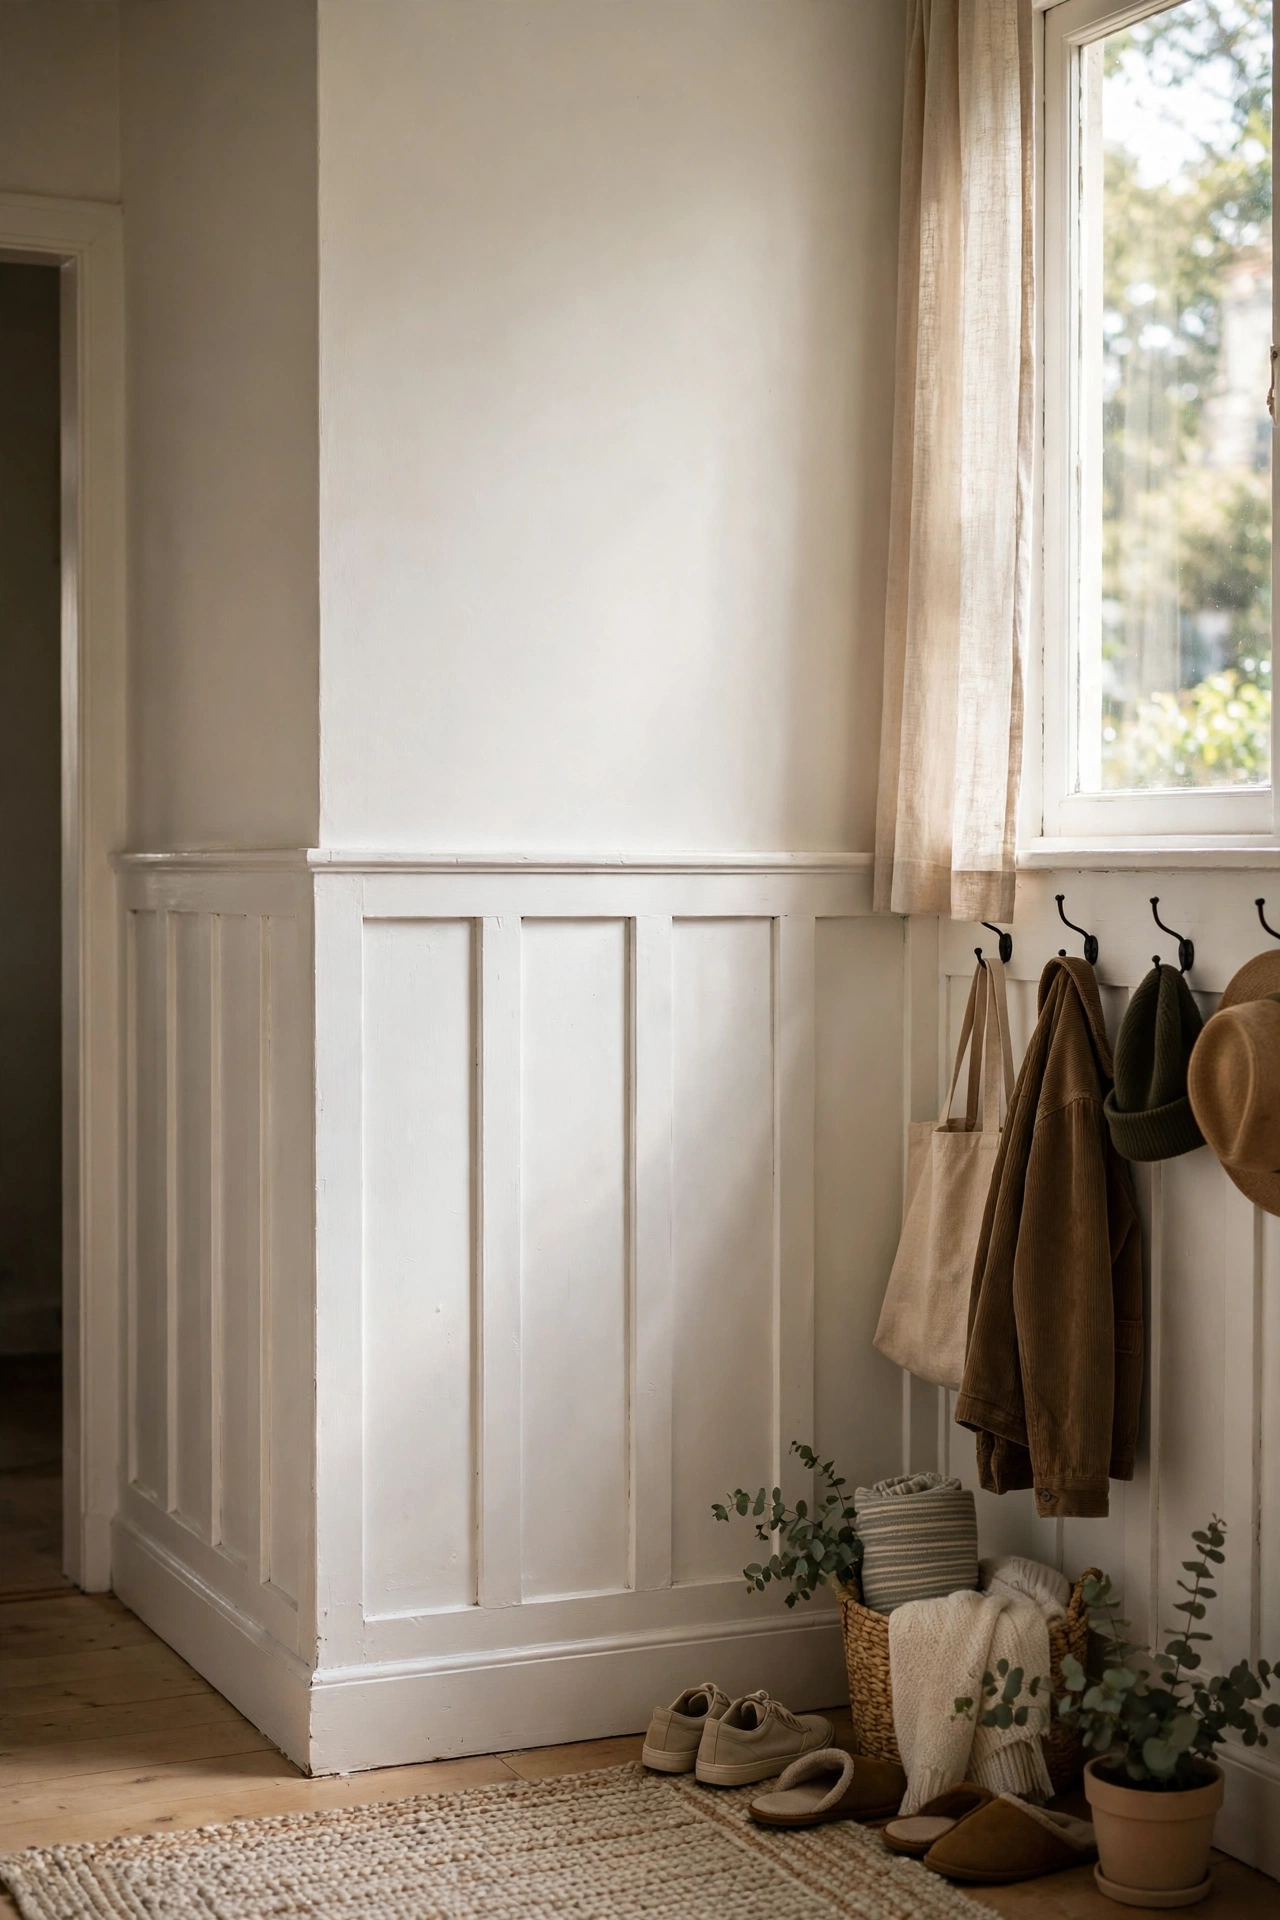
A strip of board-and-batten wainscoting along one hallway wall adds architecture for the price of a few pine strips. I glued and pinned 6cm pine battens in a simple grid pattern on my hallway wall, caulked the seams, and painted the whole thing the same white as the wall. The caulking is the step people skip, and it is the step that makes it look professional. Mine took a Saturday and the hallway went from flat to finished. Keep the pattern simple; complicated grids show every mistake.
Cost: ~$20-35 | Time: 5 hours
7. Entryway Hook Rail
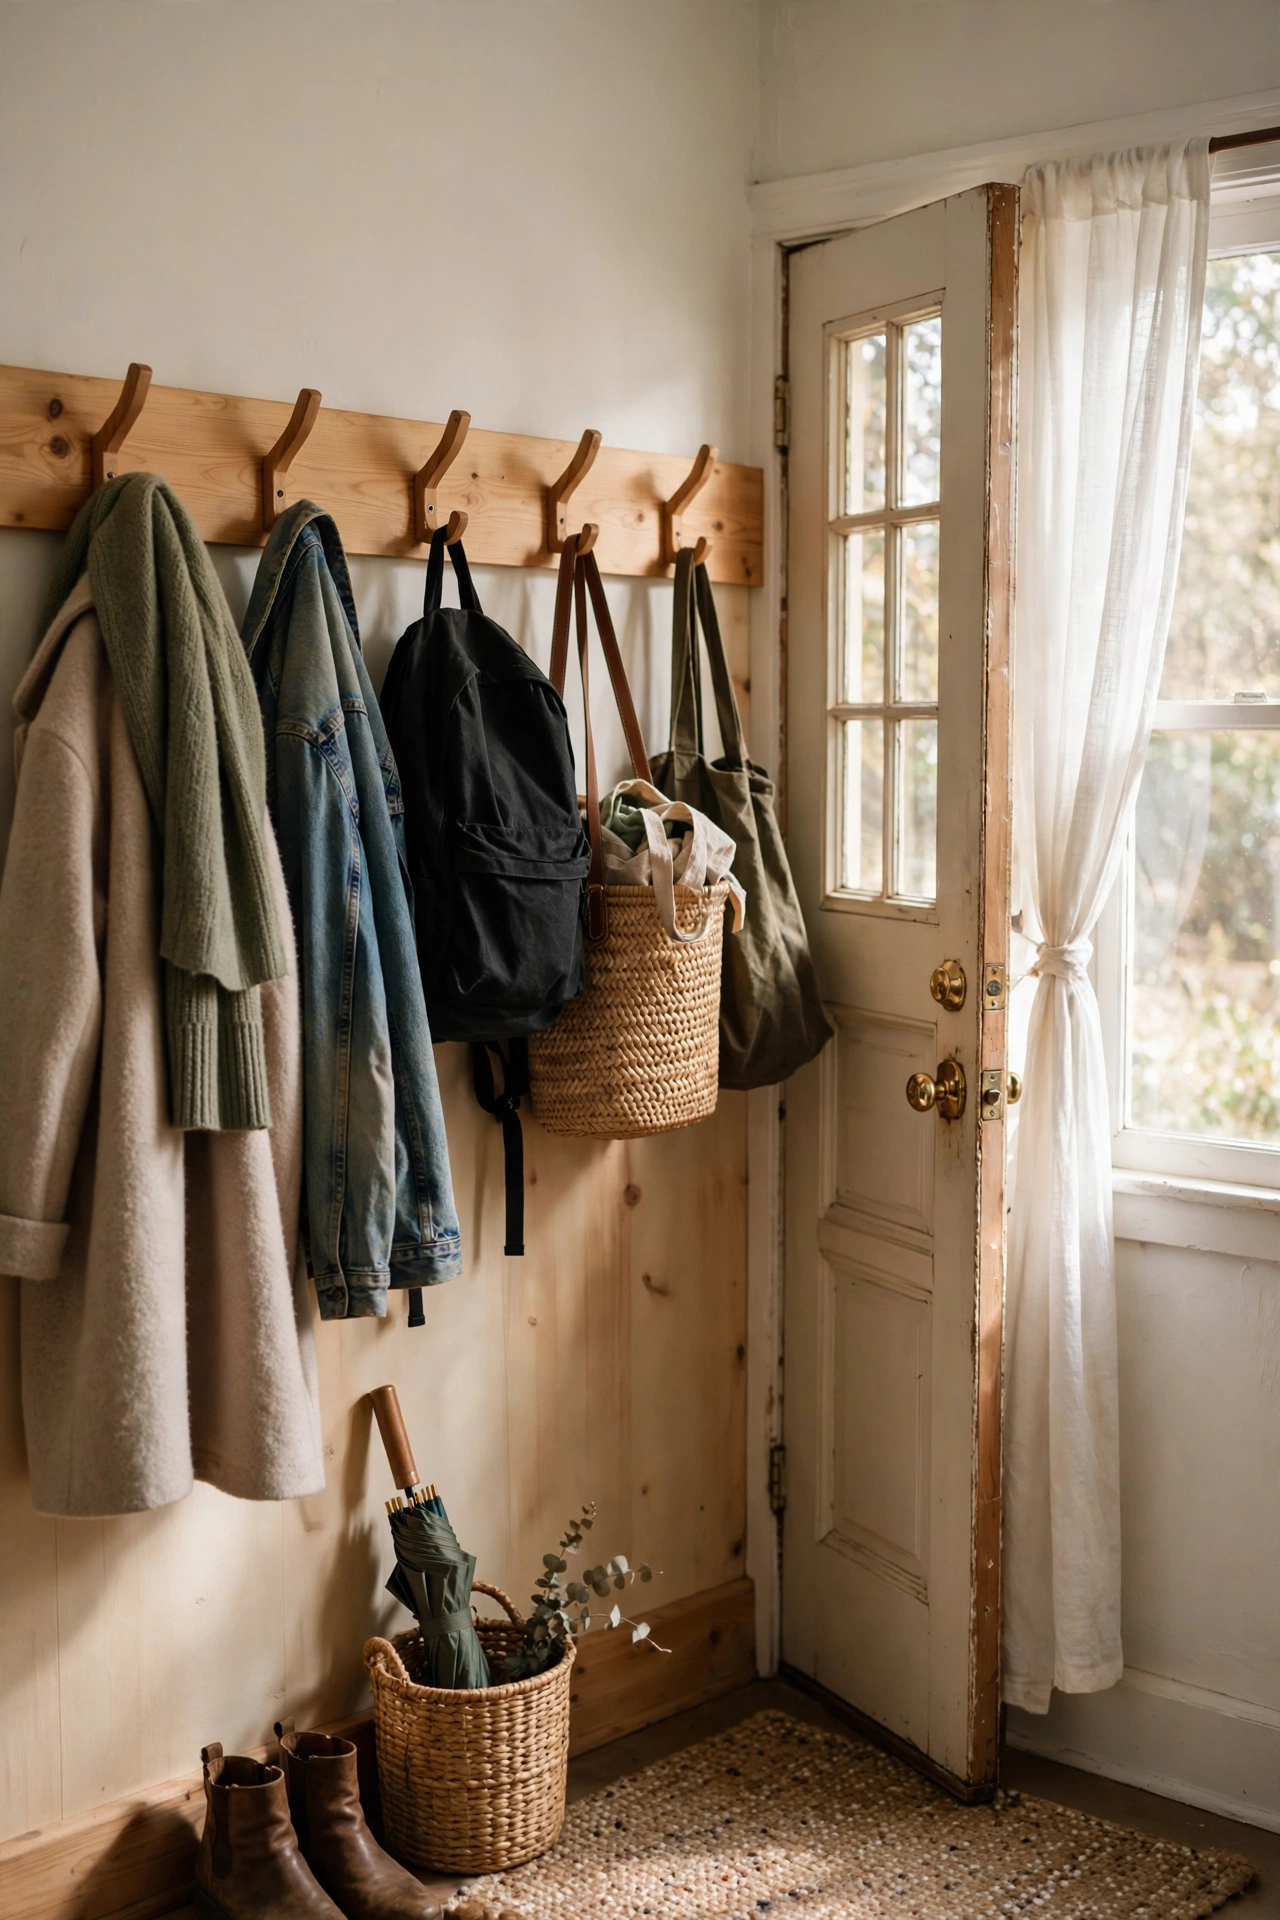
A wooden rail with hooks by the front door ends the coat-pile-on-the-chair era. I screwed five black metal hooks onto a stained oak board and mounted it into studs at shoulder height. Every coat, bag, and dog lead now has a home, and my hallway stays clear. Space the hooks 20cm apart so bulky winter coats do not crowd each other. Mine took forty minutes and it is the most-used project in this whole list. Add a small shelf on top of the rail for keys and sunglasses.
Cost: ~$12-20 | Time: 45 minutes
8. Painted Front Door Refresh
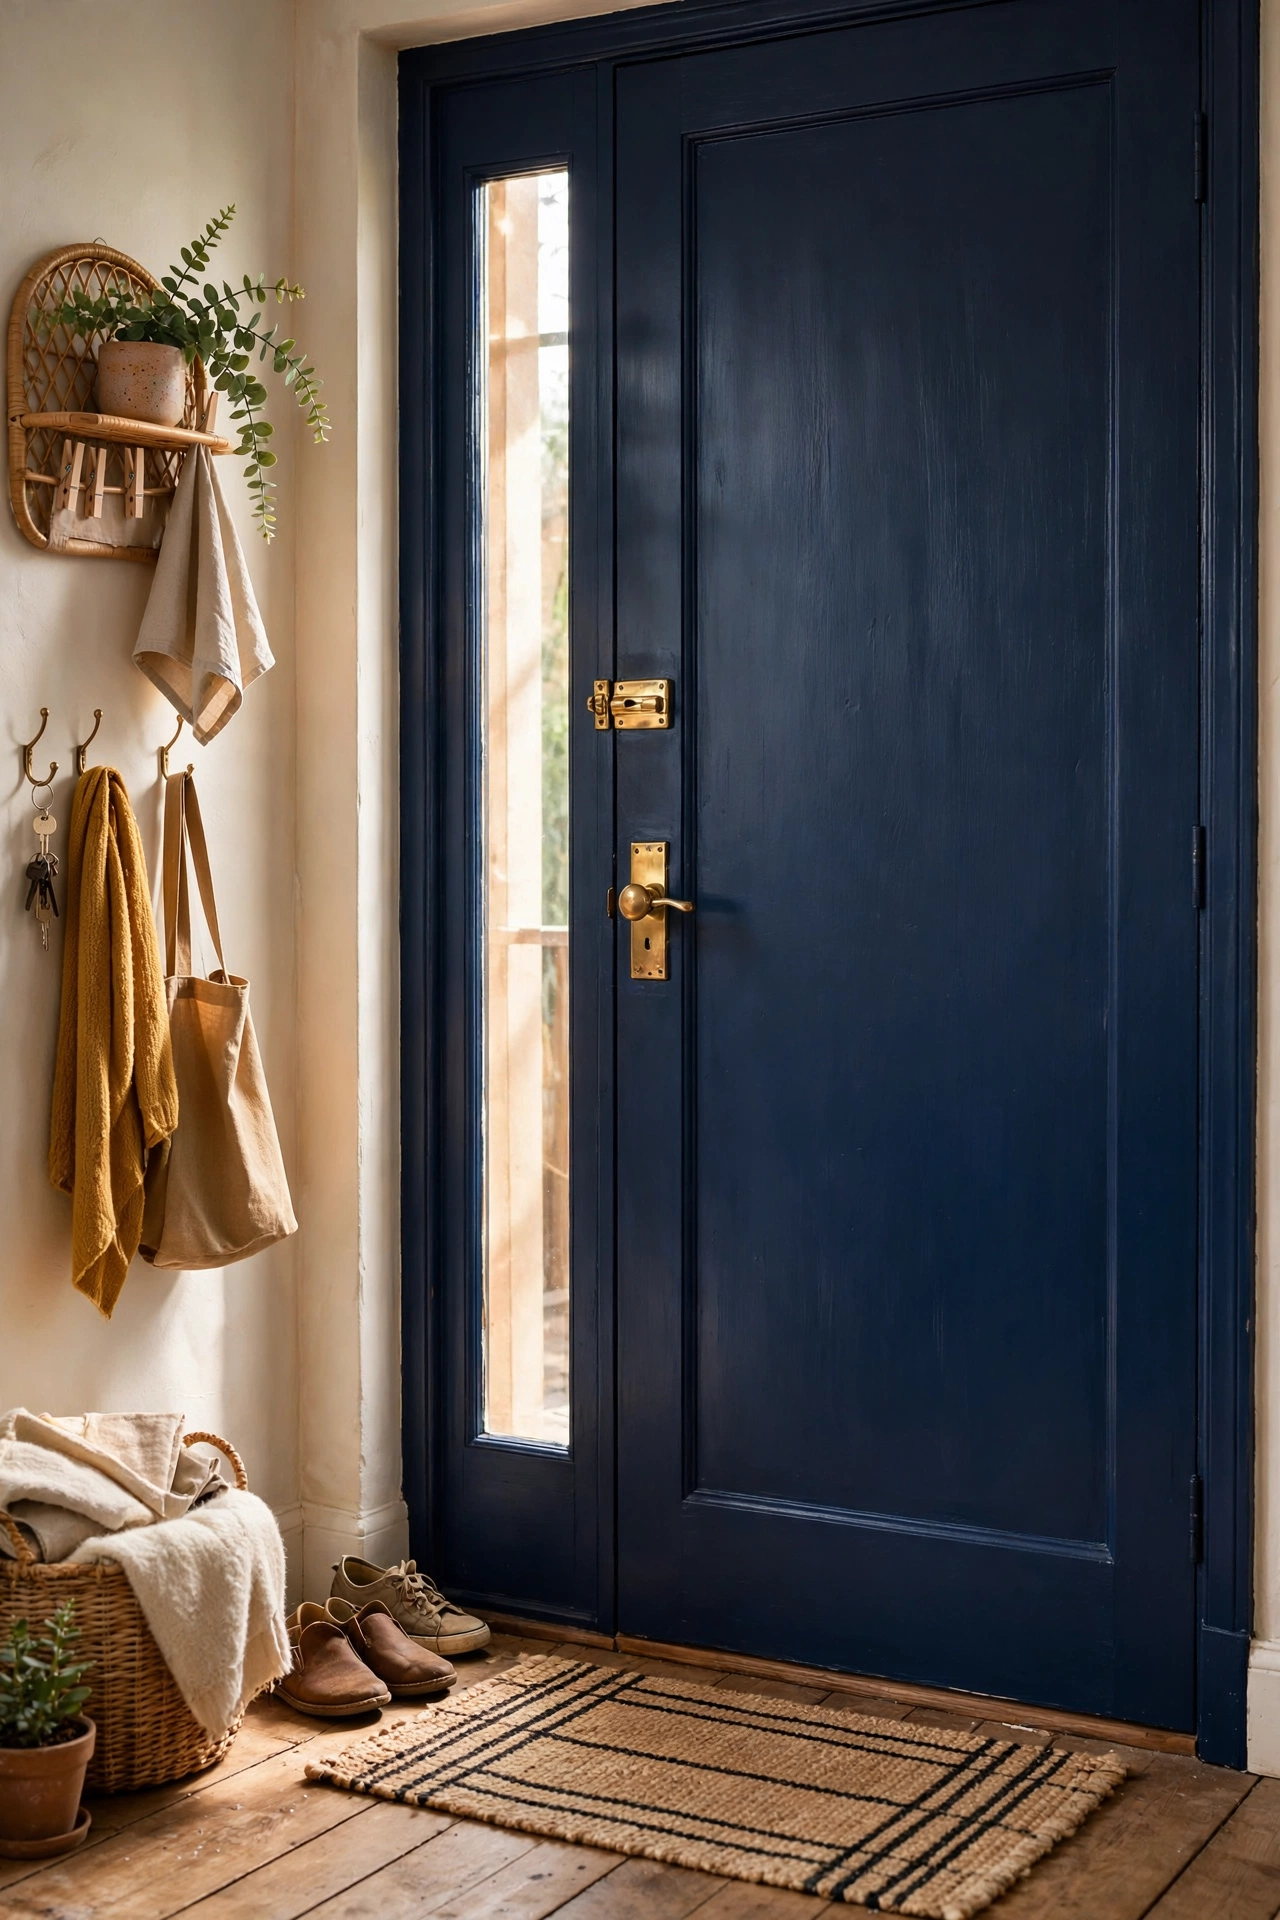
Your front door is the first thing everyone sees, and a fresh colour takes a morning. I painted mine a deep navy with exterior paint made for doors, after a light sand and a wipe-down. Remove the handle and letterbox first; painting around them looks amateur and takes longer anyway. Two thin coats with a small roller give the smoothest finish. Mine gets compliments from delivery drivers, which tells you how much difference it makes. Pick a day without rain in the forecast so it cures properly.
Cost: ~$15-25 | Time: 3 hours including drying
Budget check: halfway through, and the front door refresh might be the best kerb appeal per pound of anything here. A tin of exterior paint and a dry morning is all it takes.
9. Drawer Liner and Organiser Refresh
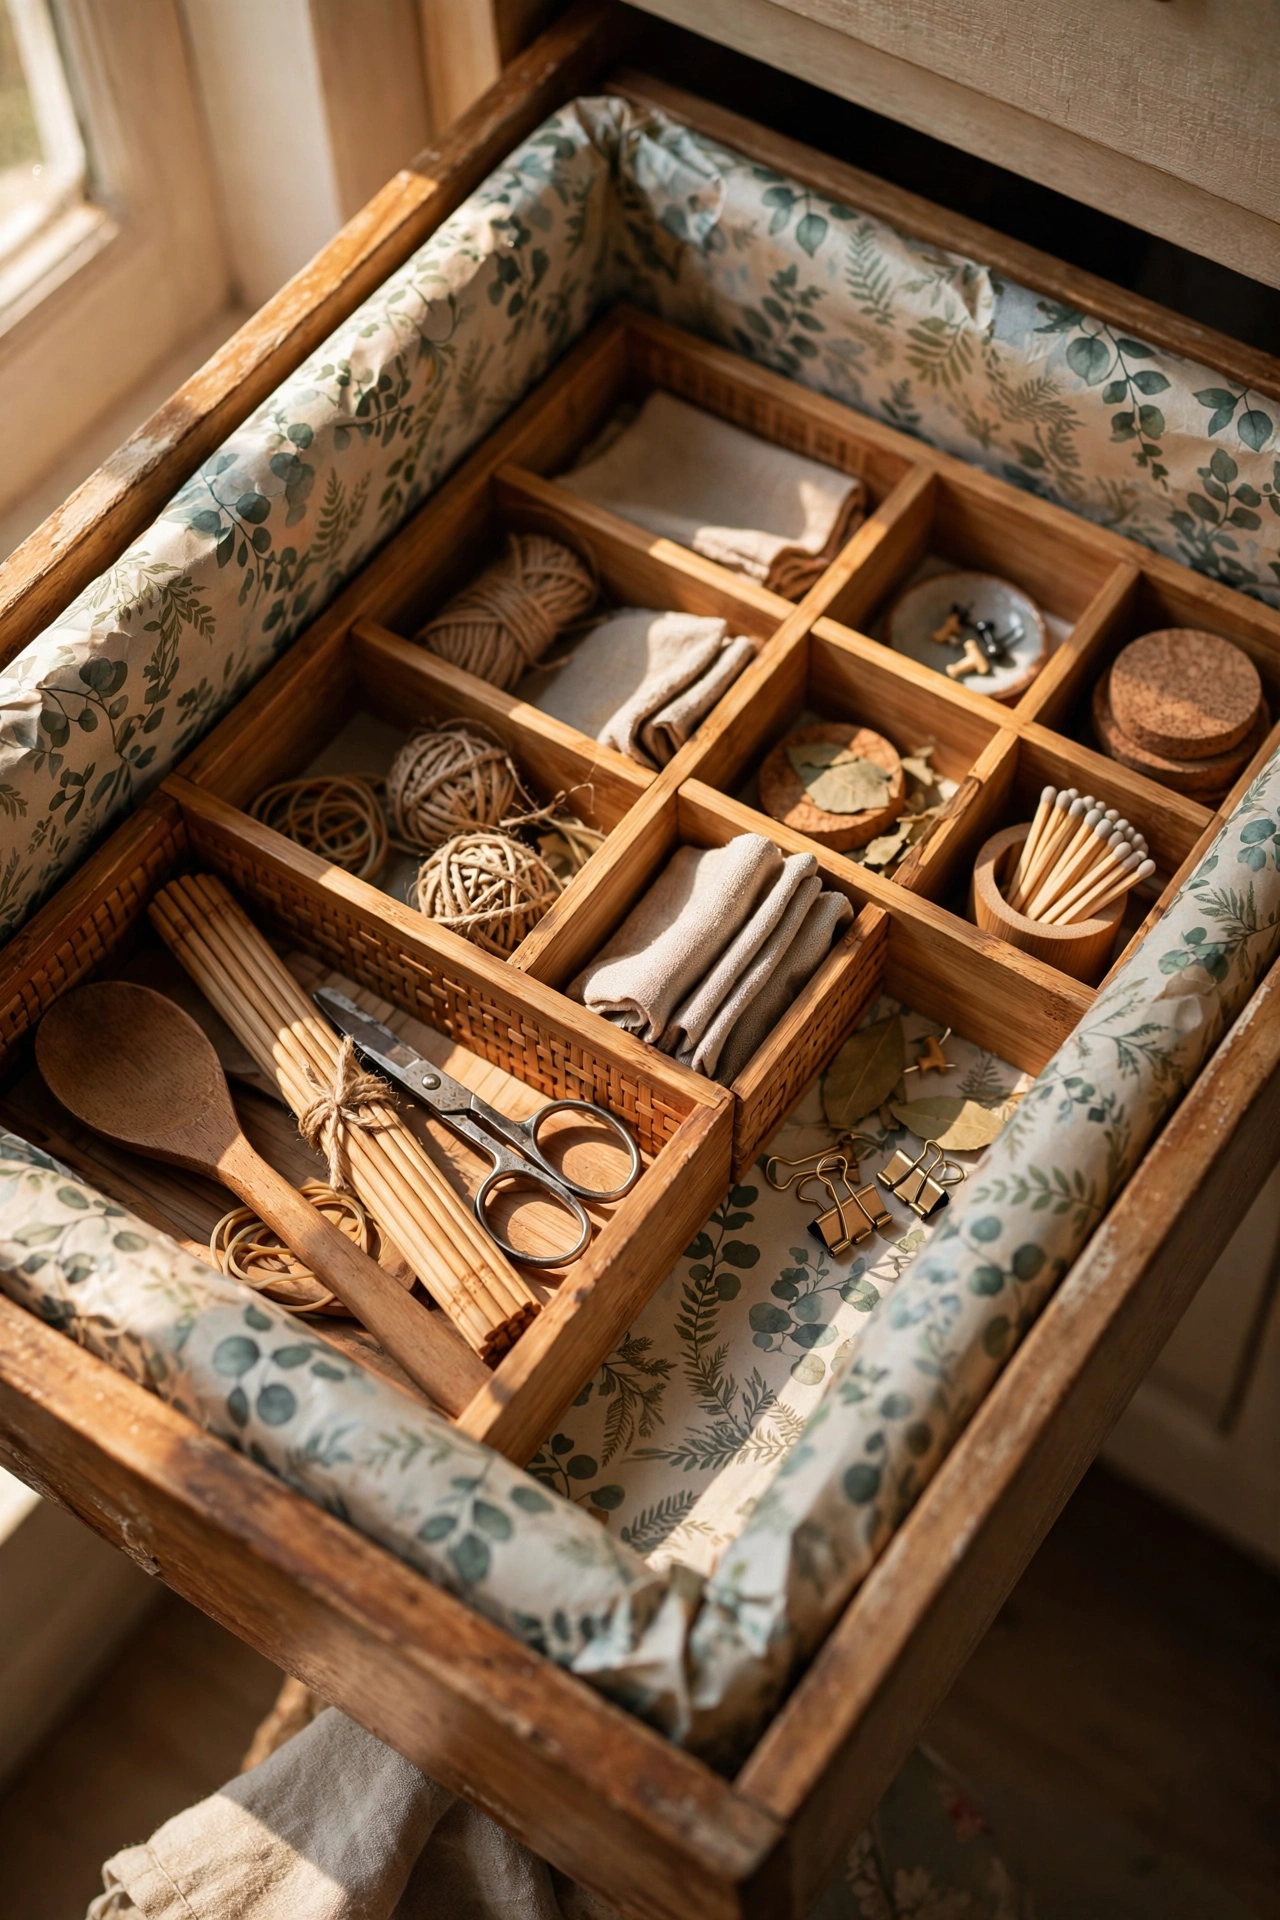
Lining drawers with pretty paper and adding simple organisers makes every drawer feel new. I lined my kitchen drawers with washable patterned liner, cut to fit with a craft knife, and added bamboo dividers to the utensil drawer. Measure each drawer and cut the liner slightly small so it lies flat without buckling. Mine took an afternoon for the whole kitchen and opening the drawers is now weirdly satisfying. The liner also protects the wood from scratches and spills. This is a perfect rainy-day project.
Cost: ~$10-18 | Time: 3 hours
10. Patterned Bookshelf Backing
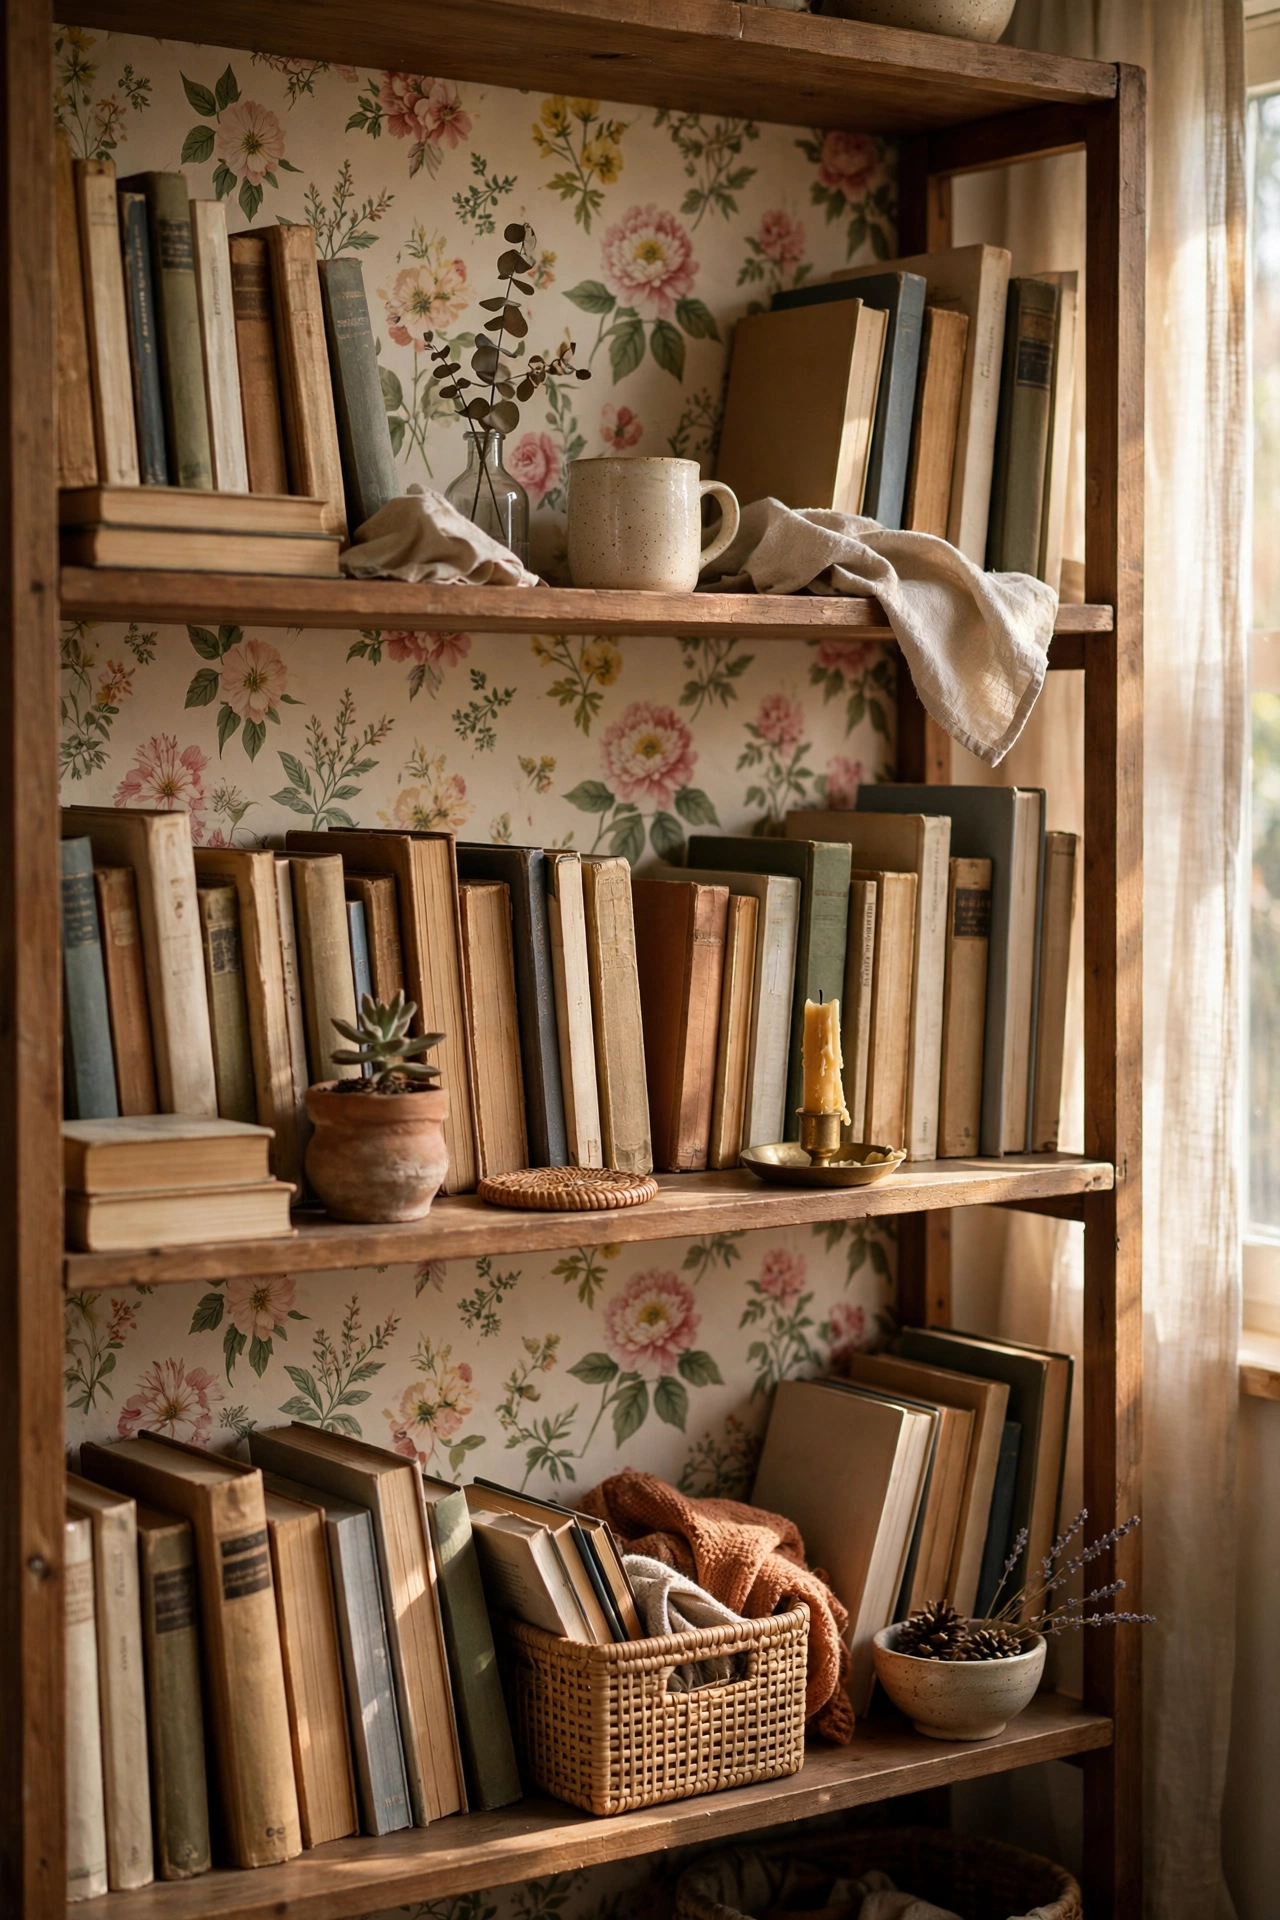
Wallpaper or wrapping paper on the back panel of a bookshelf turns plain shelving into a feature. I cut floral wrapping paper to fit the back of my bookcase, attached it with spray adhesive, and trimmed the edges with a craft knife. The pattern peeks through between the books and the whole shelf looks styled. Choose a paper that complements your book spines rather than fighting them. Mine cost $4 for the paper and took an hour. Removable adhesive means renters can do this too. If you want more paper-based ideas, the candle wraps in (see also: 25-diy-candle-decor-ideas-on-a-budget) use the same trick.
Cost: ~$4-10 | Time: 1 hour
11. Curtain Swap with New Rods
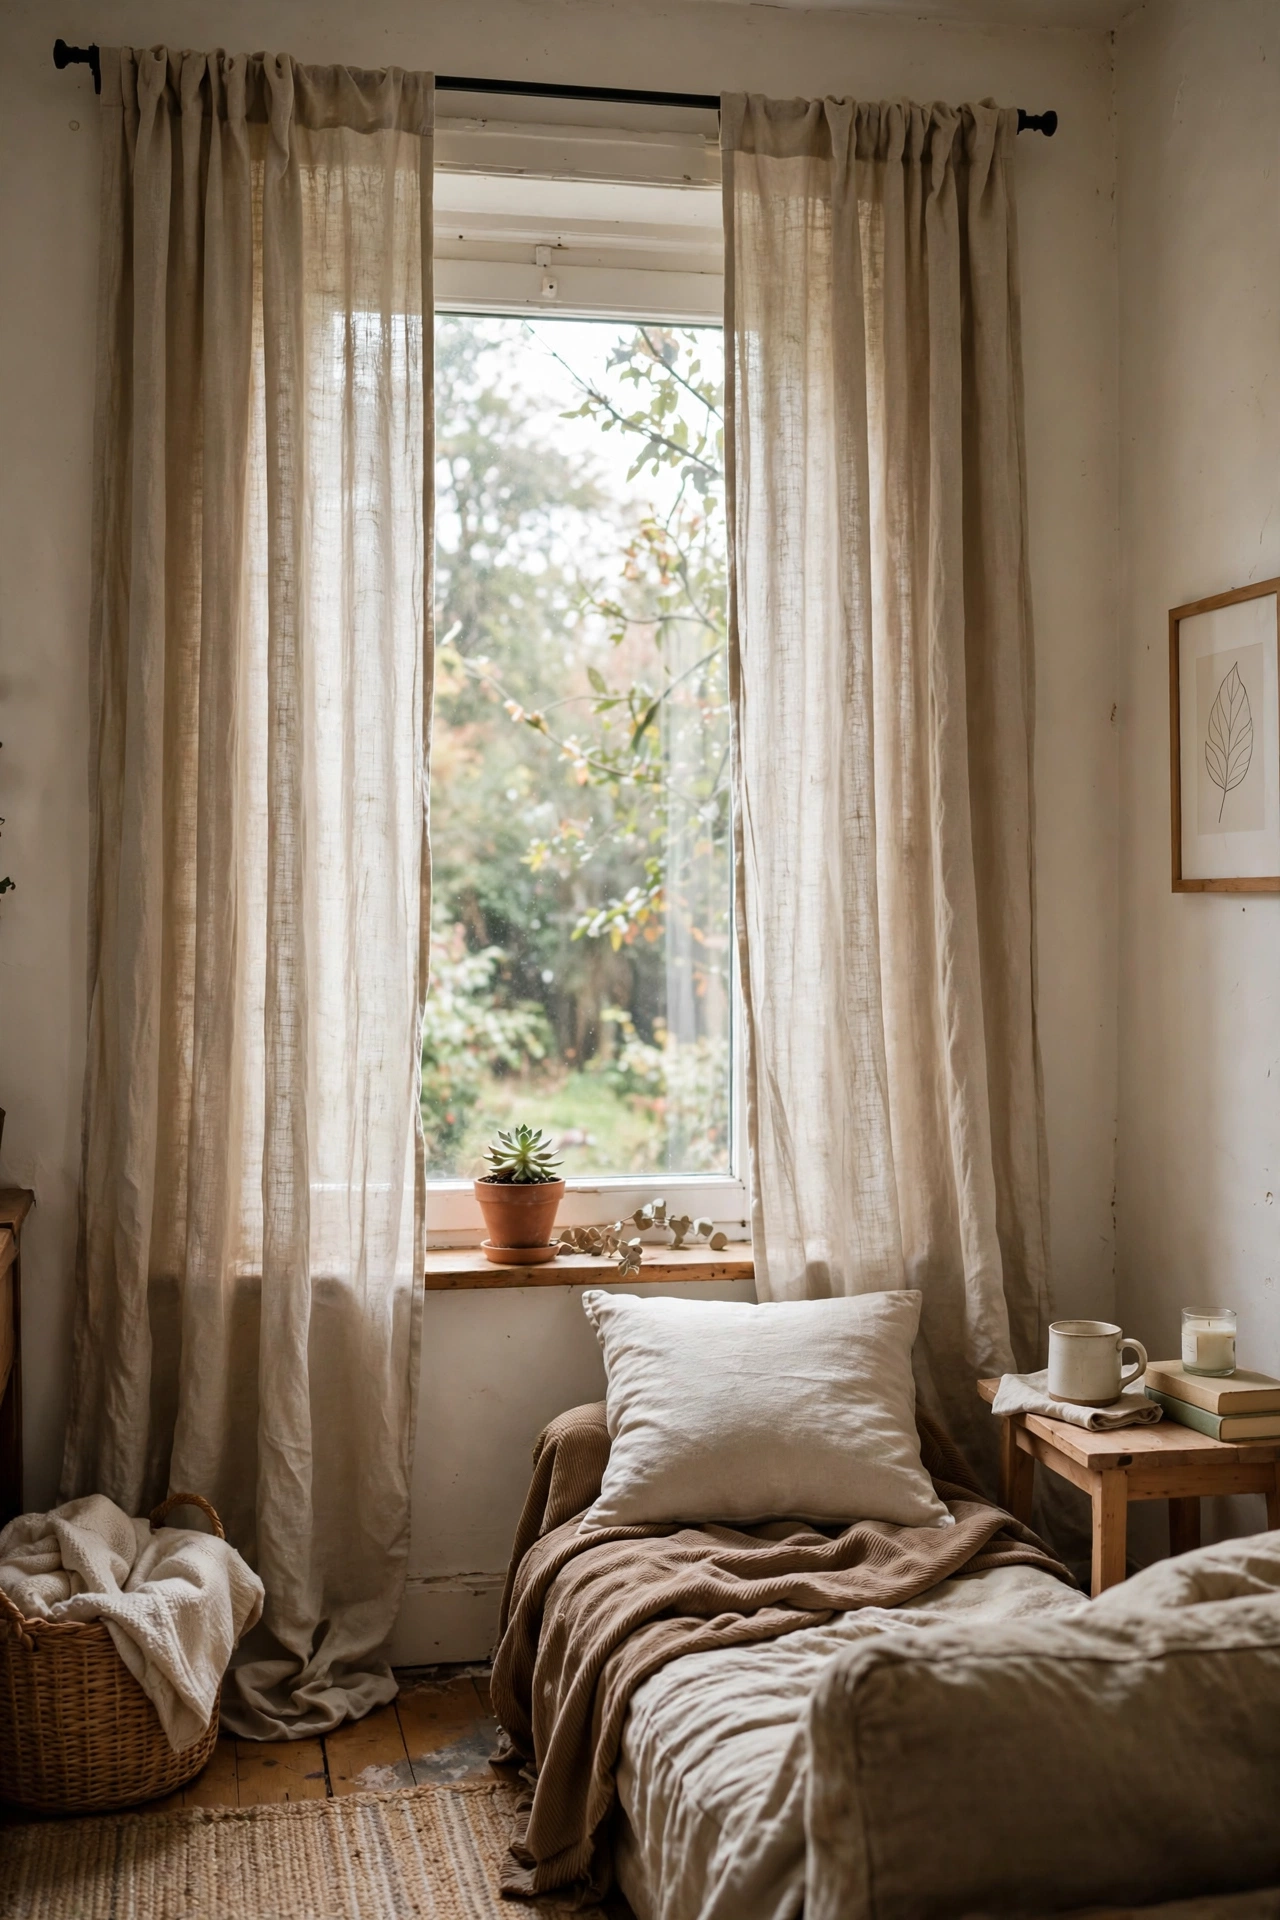
Hanging curtains higher and wider than the window makes any room feel bigger, and it takes an afternoon. I moved my curtain rod 15cm above the frame and 20cm wider on each side, then hung simple linen-look panels that just kiss the floor. The window instantly looked twice the size. Use a proper wall anchor for each bracket, because curtains are heavier than they look. Mine cost $30 for the pair and changed the whole living room. Iron the panels before hanging; creases from the packet ruin the effect.
Cost: ~$25-45 | Time: 2 hours
12. Numbered Porch Planter
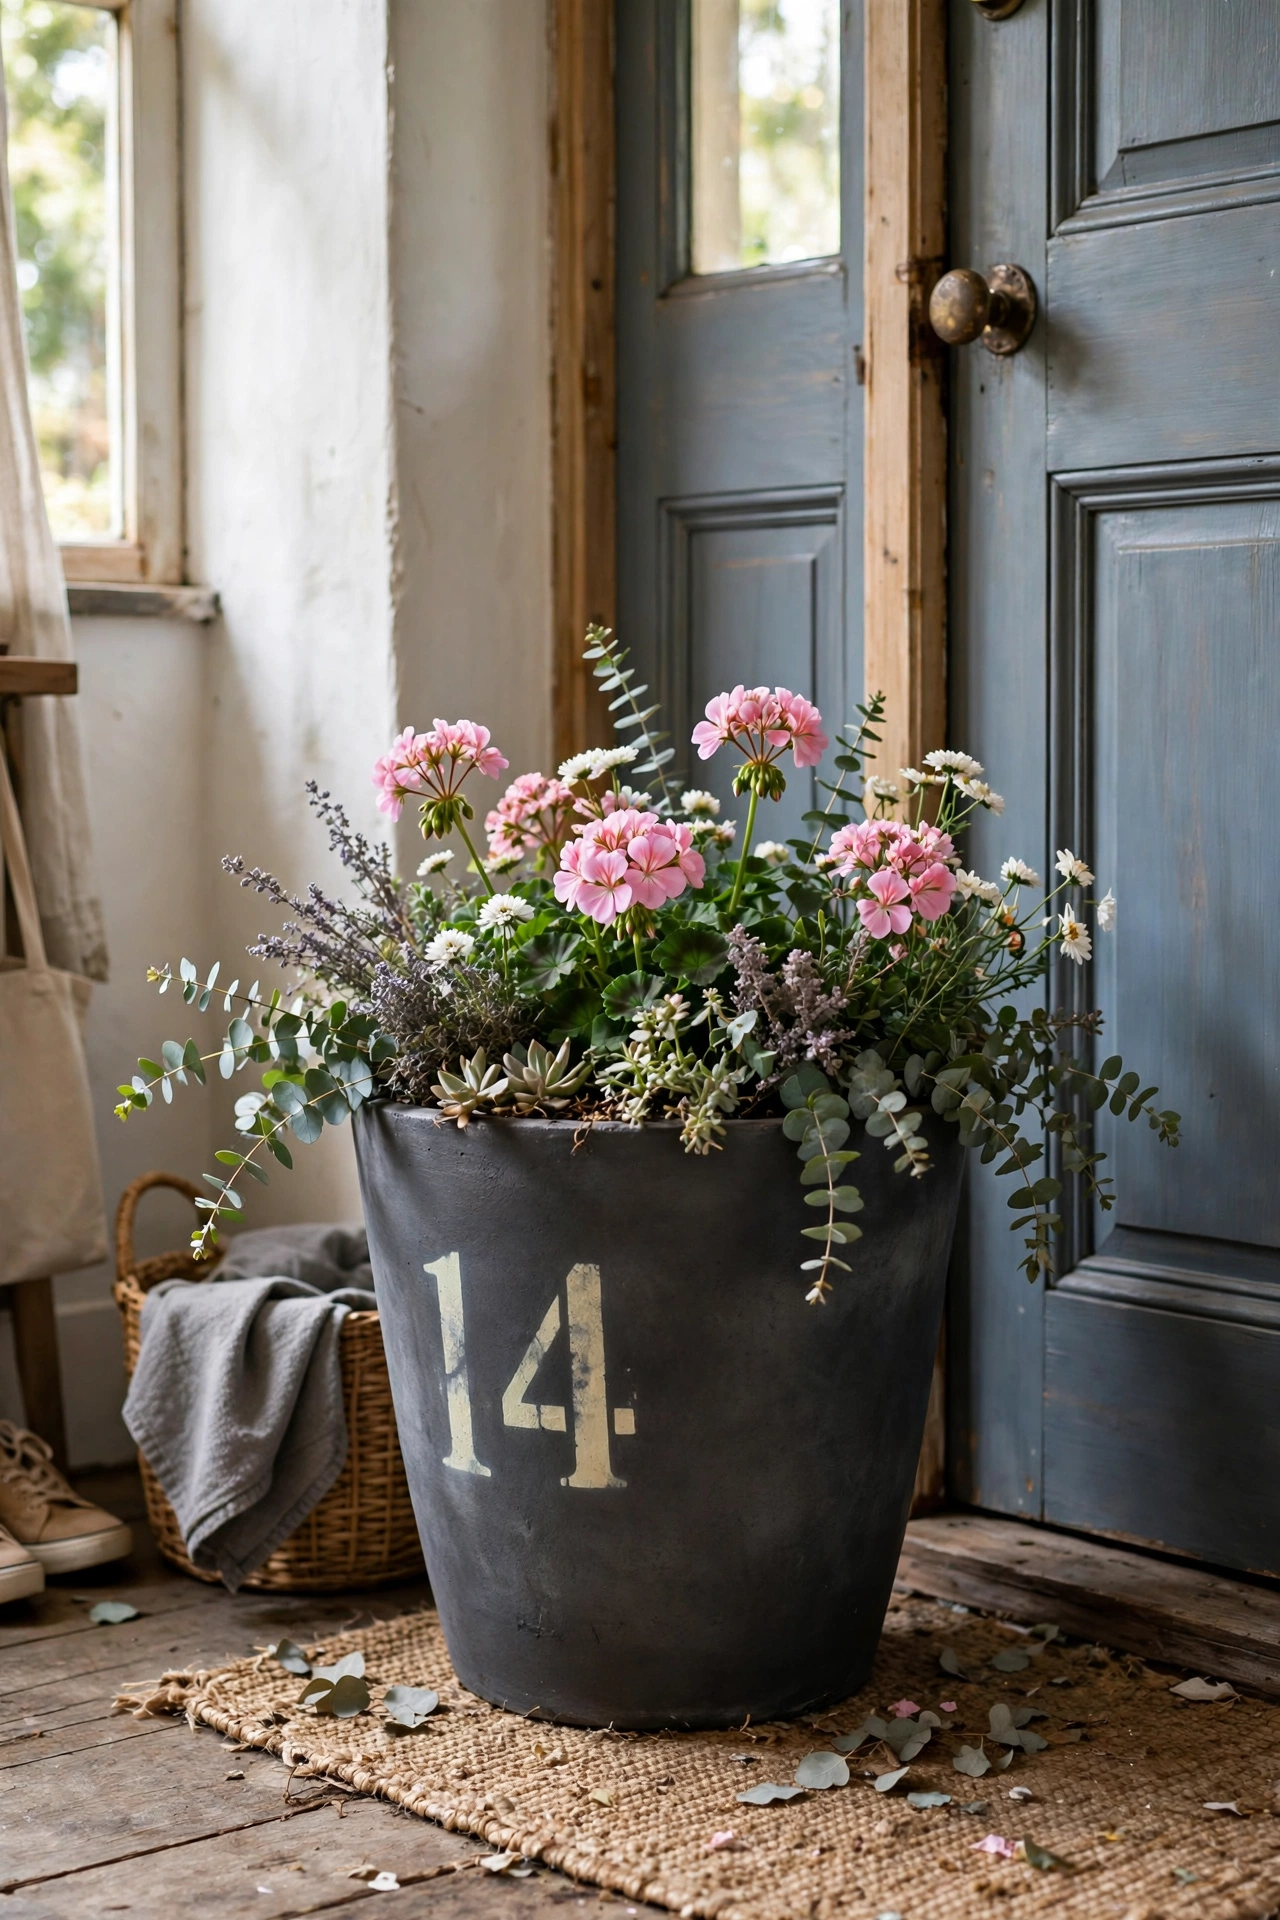
A big planter by the front door with your house number stencilled on it is kerb appeal in a day. I painted a large terracotta pot charcoal, stencilled my house number in white, and planted it with trailing ivy and seasonal flowers. The number helps delivery drivers and looks smart. Seal the stencilled paint with clear outdoor varnish so it survives the weather. Mine has been by my door for three years with a fresh plant each season. For more planter ideas, (see also: 17-diy-planter-ideas-on-a-budget) has twenty-five of them.
Cost: ~$15-25 | Time: 2 hours plus drying
Budget check: twelve down, and the bookshelf backing is proof that a four-dollar roll of wrapping paper can outshine a forty-dollar project. Save the big budgets for paint.
13. Under-Sink Cabinet Tidy-Up
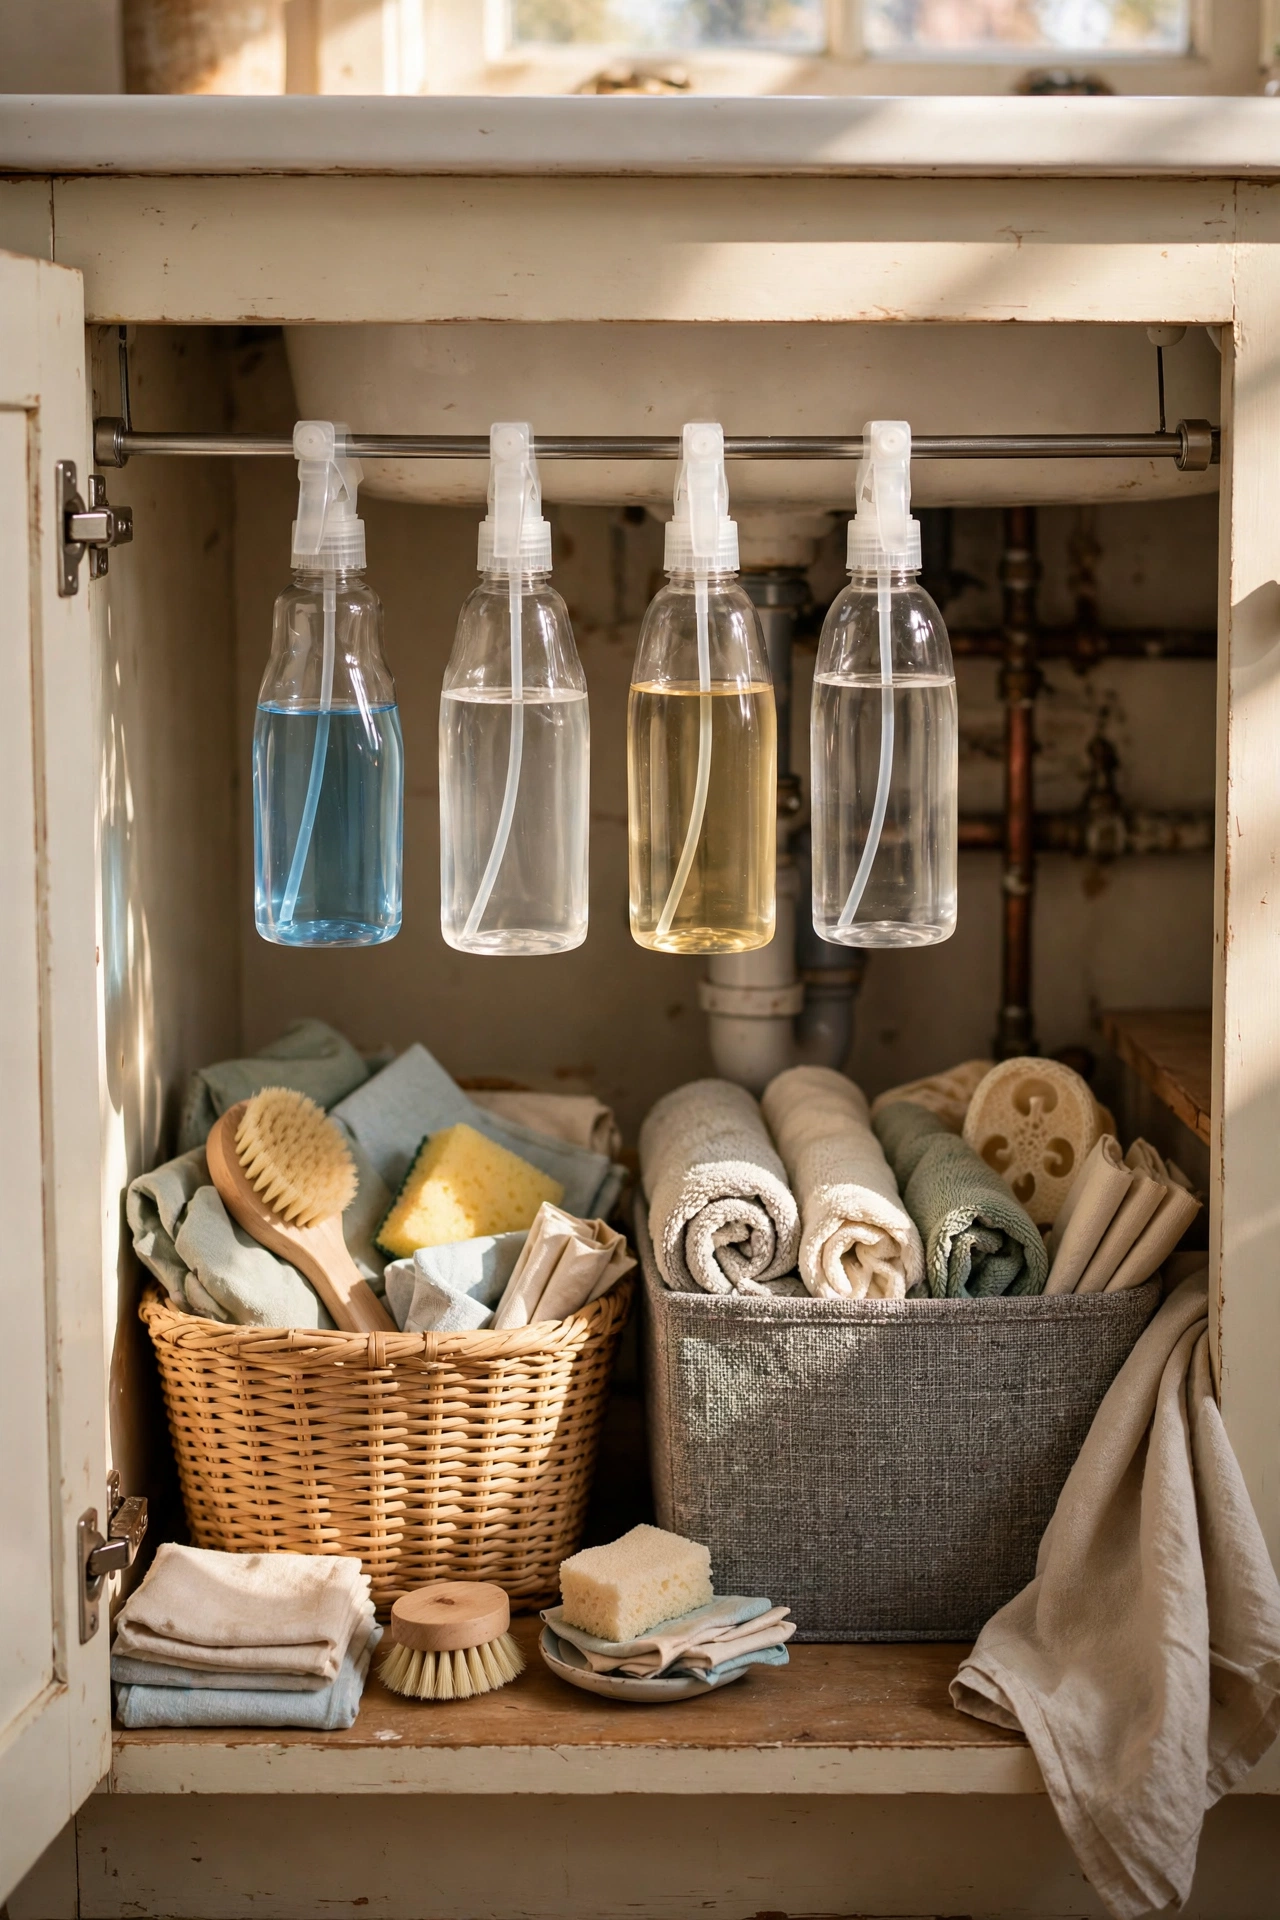
The cabinet under the sink is the messiest spot in most kitchens, and a morning sorts it. I emptied mine completely, wiped it down, laid a waterproof mat, and added a tension rod across the top to hang spray bottles by their triggers. Everything else went into two small bins: cleaning and plumbing spares. The tension rod trick doubled my usable space. Mine took ninety minutes and I can now find everything without kneeling and rummaging. Check for leaks while it is empty; I found a slow drip on a pipe joint that would have caused real damage.
Cost: ~$8-15 | Time: 1.5 hours
14. Stencilled Bathroom Floor Tiles
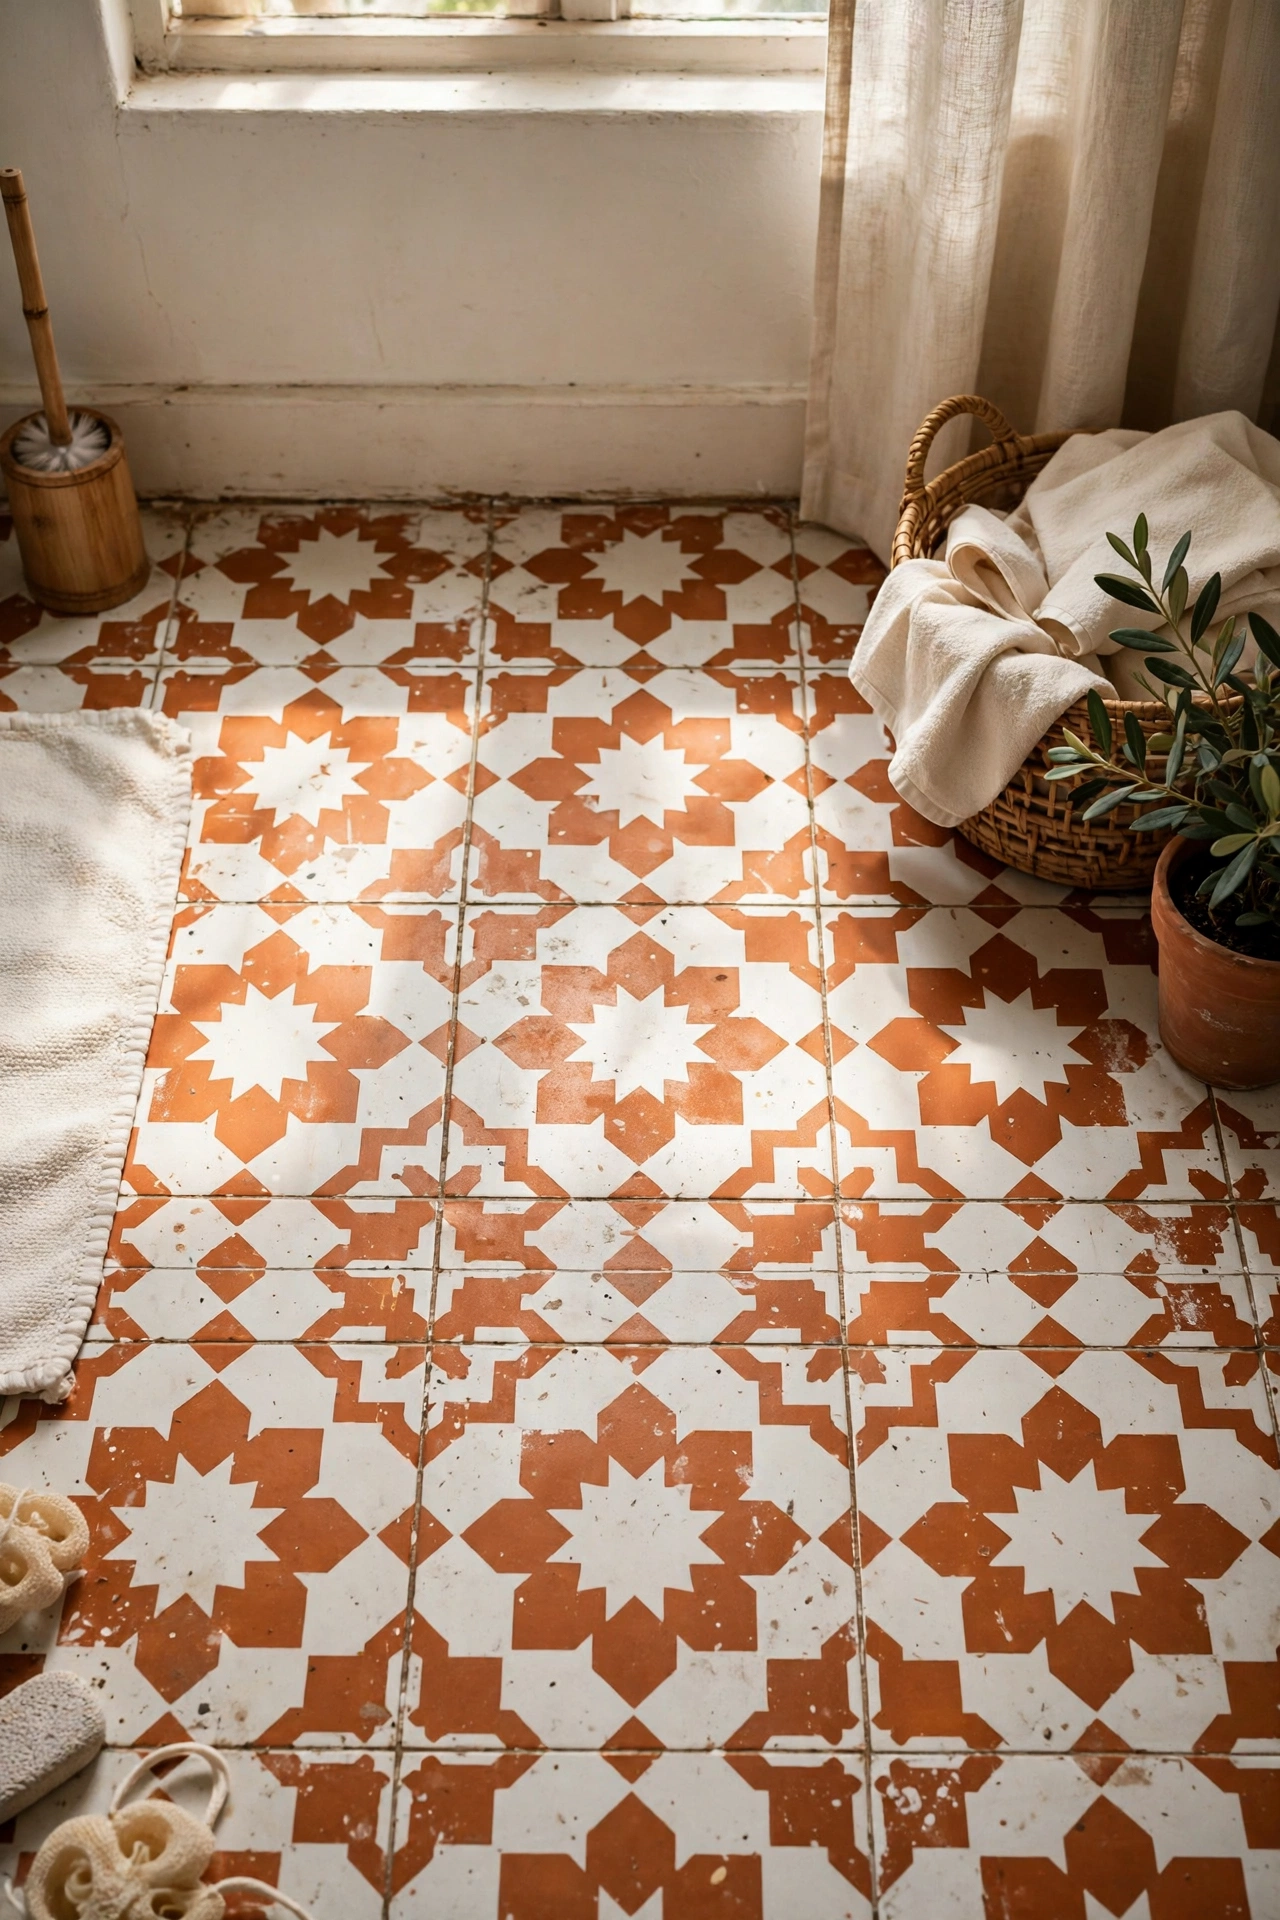
Stencilling over old bathroom floor tiles gives you a patterned floor for the price of a stencil and paint. I cleaned my tiles thoroughly, applied a bonding primer, stencilled a Moroccan pattern in two colours with a foam roller, and sealed it with three coats of floor varnish. The sealing is what makes it last; my first attempt without enough sealer wore through in months. Mine has survived two years of bathroom traffic. Work from the far corner toward the door so you do not paint yourself into a corner.
Cost: ~$20-35 | Time: 6 hours including drying
15. Chalkboard Pantry Door
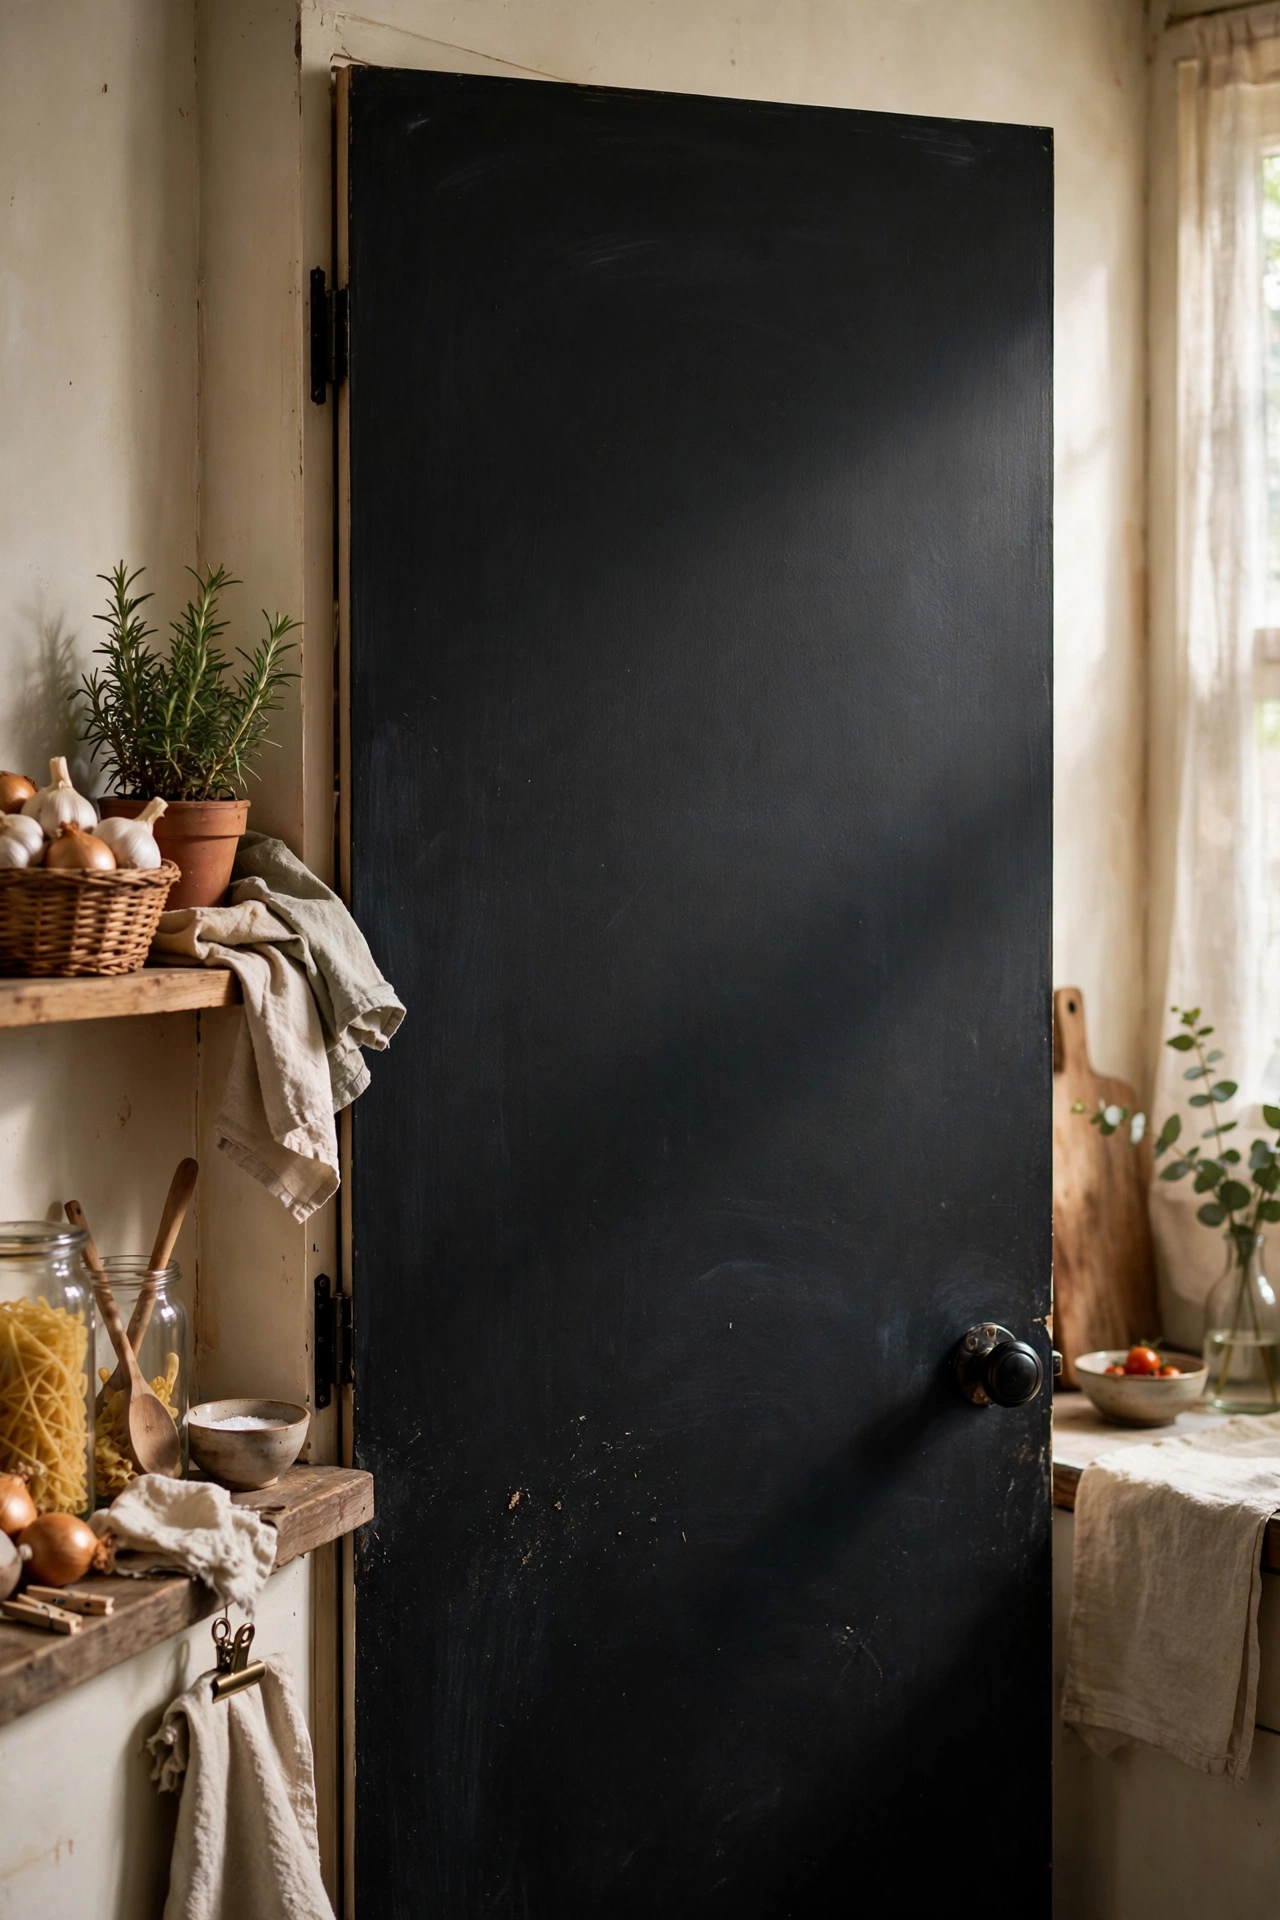
Chalkboard paint on a pantry or kitchen door makes a family message board and menu planner. I painted the inside of my pantry door with two coats of chalkboard paint, let it cure for three days before writing on it, and framed it with thin trim for a finished look. The curing time matters; writing too early leaves permanent ghost marks. Mine holds the weekly meal plan and the shopping list, and the kids draw on the bottom half. Prime first if the door is glossy, or the paint will peel.
Cost: ~$12-20 | Time: 2 hours plus curing
16. Fresh Caulk and Grout Refresh
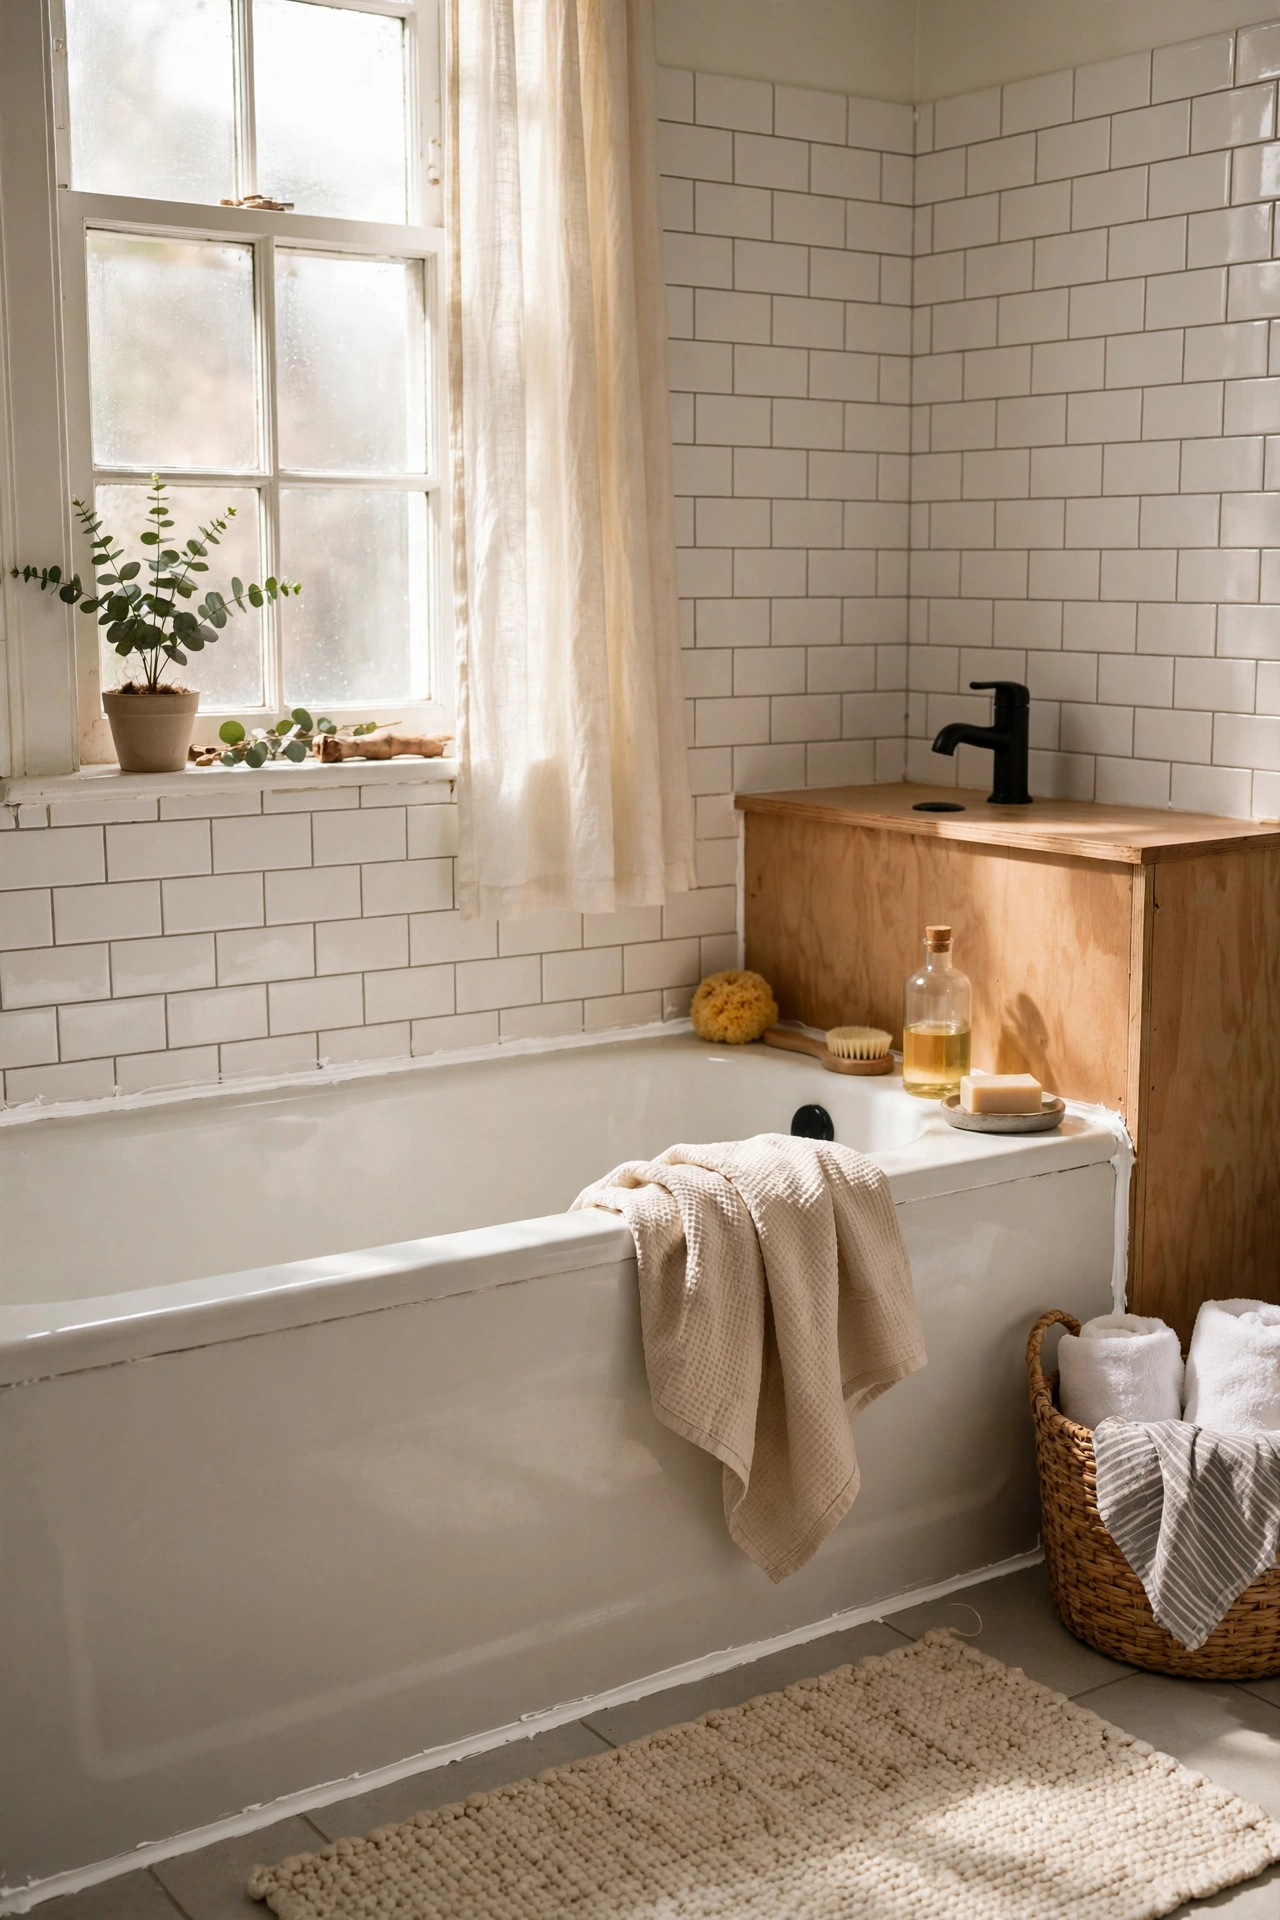
Re-caulking the bath and refreshing grout lines makes a bathroom look newly fitted. I scraped out the old silicone with a proper removal tool, cleaned the gap with bleach, and applied new mould-resistant caulk in one smooth bead. For the grout, a grout pen in bright white covered years of staining in an hour. The removal is the tedious part; the reapplication is quick. My bathroom looked five years younger by evening. Tape both sides of the joint with painter’s tape for a perfect line, and smooth the bead with a wet finger.
Cost: ~$10-18 | Time: 3 hours
Budget check: one project left, and the caulk refresh is the least glamorous and most transformative of the lot. Nobody photographs it, but everybody notices it.
17. Laundry Pegboard Wall
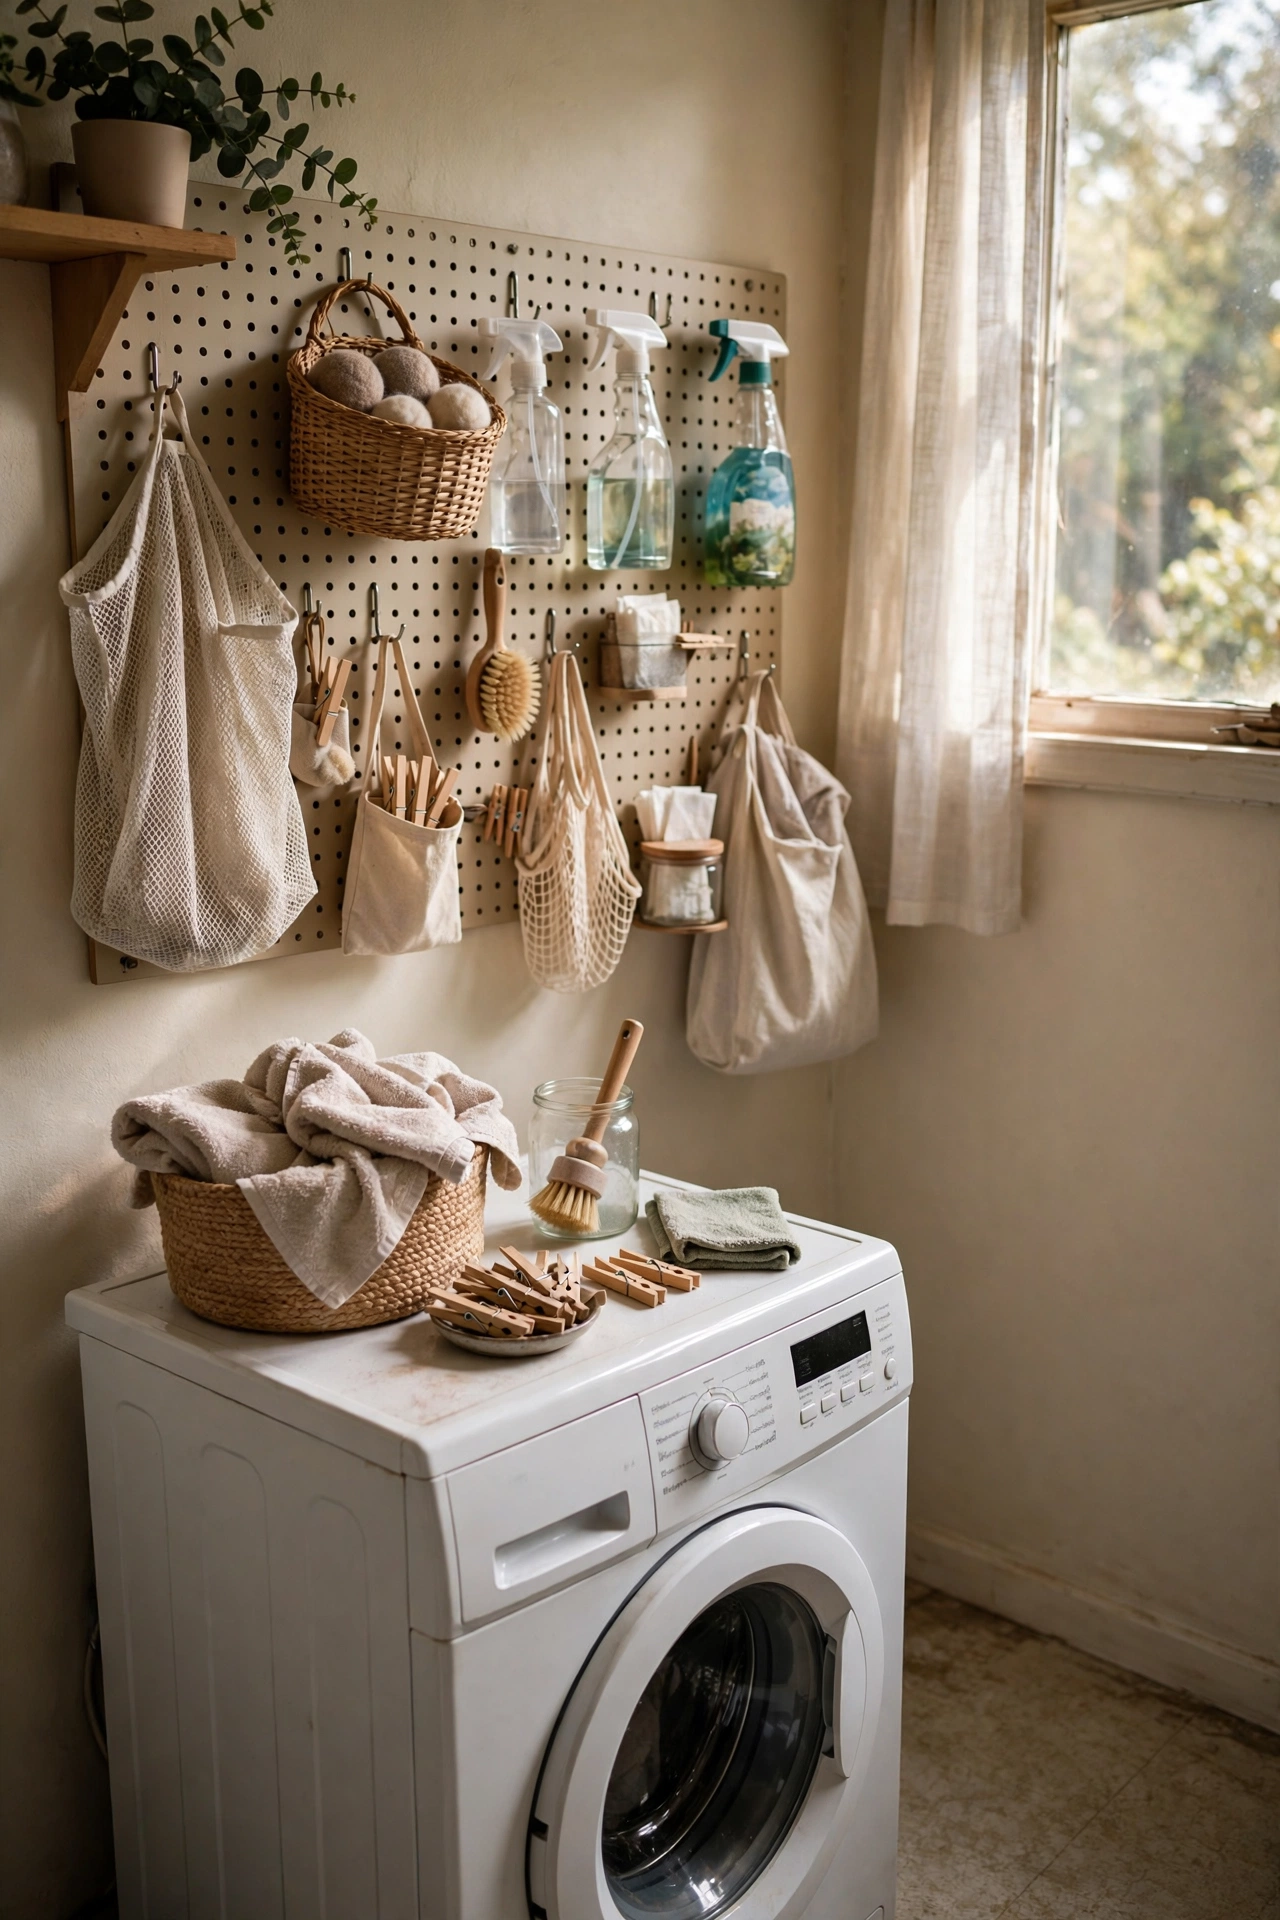
A pegboard on the laundry wall organises every bottle, brush, and drying gadget in an afternoon. I mounted a large pegboard above my washing machine on battens so the hooks have clearance behind, painted it the same colour as the wall, and hung everything with assorted hooks. The battens are essential; without the gap behind, the hooks will not fit. Mine holds detergent, stain remover, the iron, and a drying rack, all off the counter. It turned the most chaotic corner of my house into the tidiest. If your bedroom needs the same treatment, (see also: 17-diy-nightstand-ideas-in-a-weekend) has matching small-space ideas.
Cost: ~$18-30 | Time: 3 hours
Seventeen projects, seventeen finished Saturdays. Save this one for your next rainy-day project list, and pick the one that has been annoying you longest.
Keep the DIY momentum going: (see also: 17-diy-nightstand-ideas-in-a-weekend) (see also: 17-diy-planter-ideas-on-a-budget) (see also: 25-diy-candle-decor-ideas-on-a-budget)
