25 DIY Planter Ideas in a Weekend
Two summers ago I killed every plant I owned because they were all in sad plastic nursery pots shoved on a windowsill, and watering them felt like a chore. Then a friend gave me a spider plant in a teacup she had planted herself, and I realised the pot was half the joy. That weekend I started hunting for anything that could hold soil, and I have not bought a proper diy Planter since. This list is every idea that worked, from five-minute tin cans to a pallet garden that took a Saturday, all cheap enough to try without thinking twice.
Almost every diy Planter here costs under $12, and half cost nothing if you raid your own kitchen and garage first. The only rule that matters: make sure water can get out. A drill for drainage holes, or a layer of pebbles if you cannot drill, will save every plant you put in these.
1. Tin Can Herb Planters
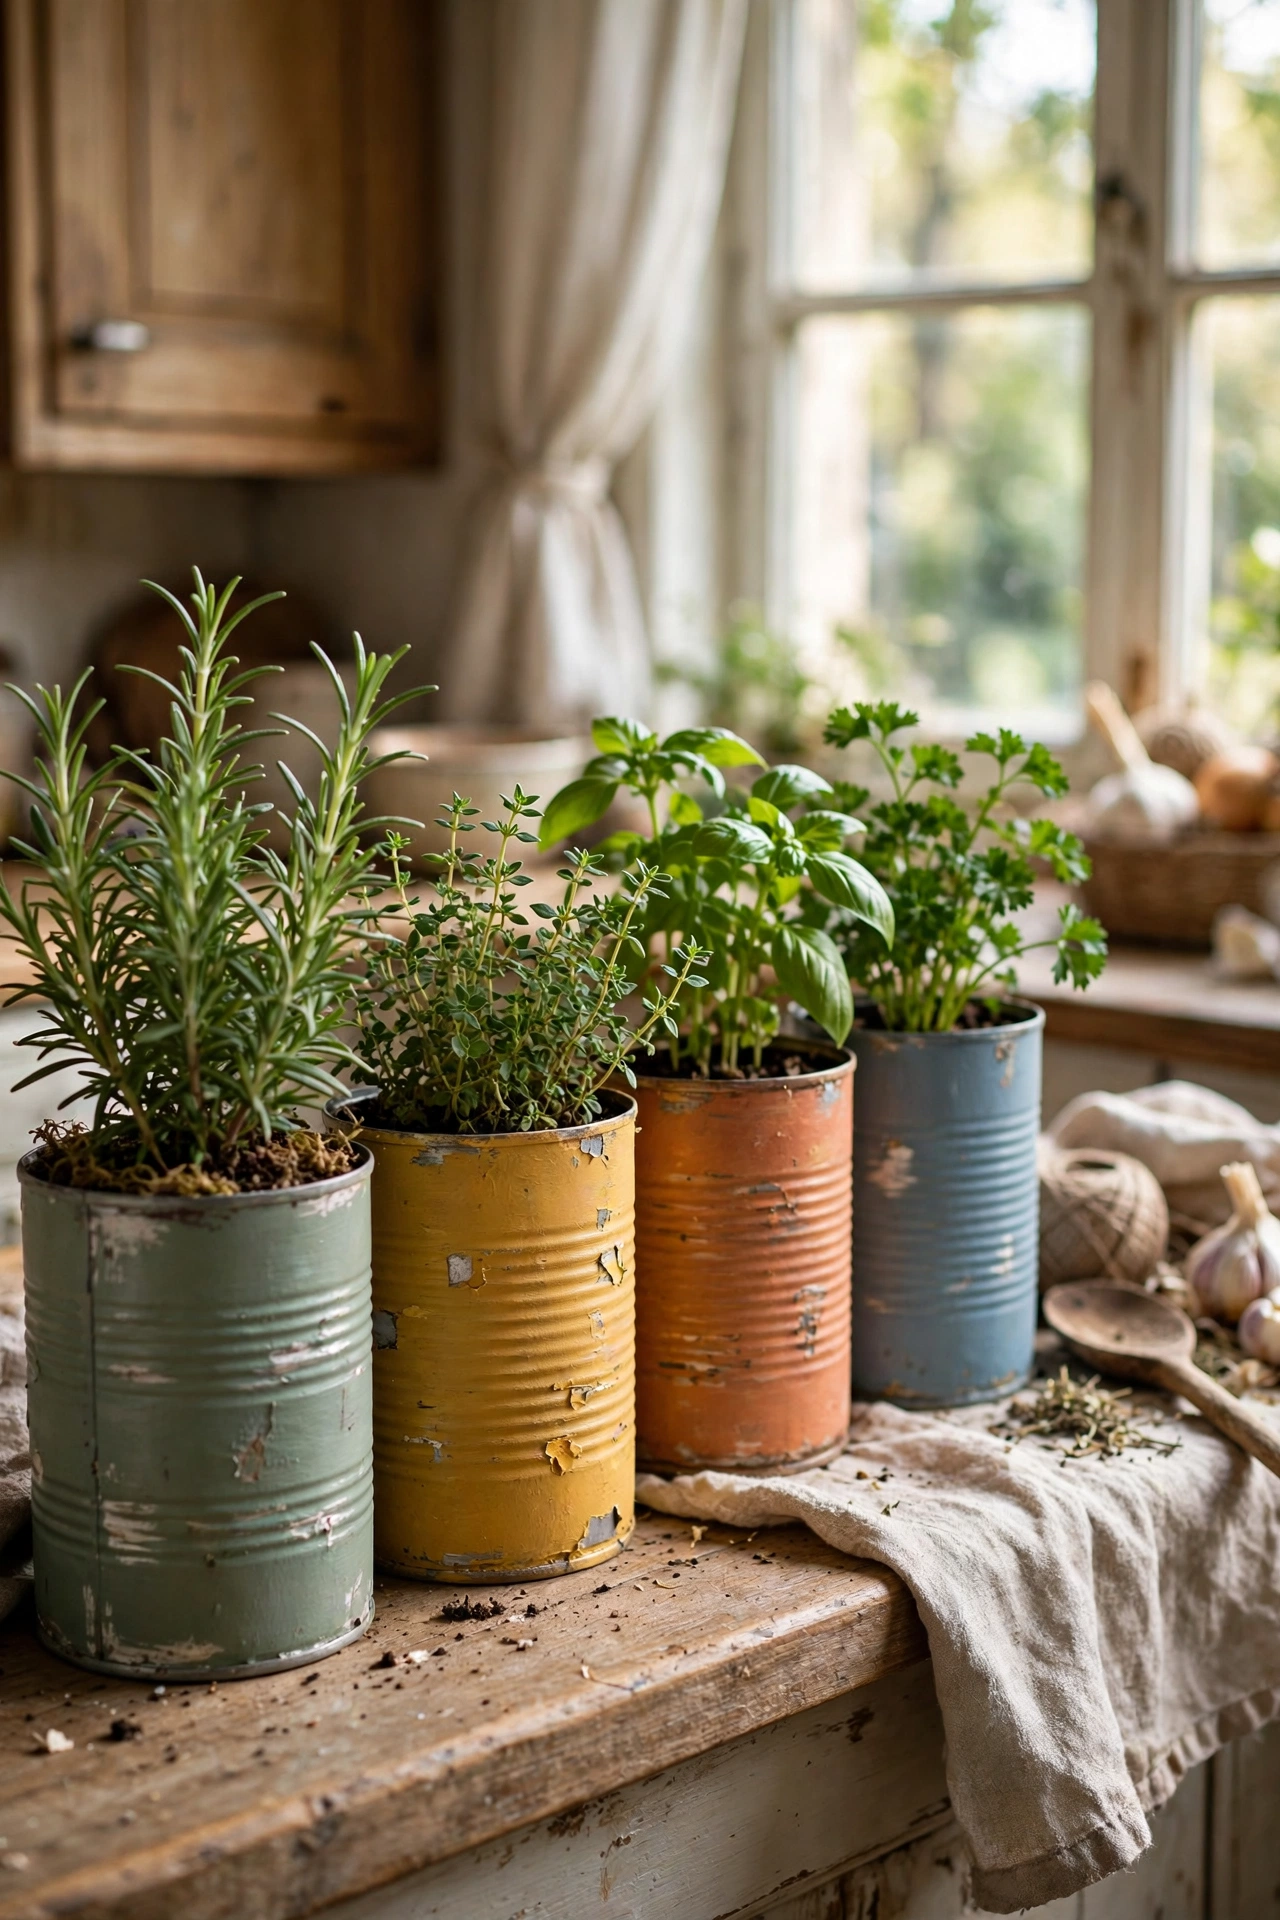
Empty food tins are the perfect size for kitchen herbs, and they look charming lined up on a windowsill. I peel off the labels, punch drainage holes in the bottom with a nail and hammer, and spray-paint the outsides in matching colours. Sand any sharp edges around the rim, because cut tin is unforgiving on fingers. My basil, mint, and chives have lived in tins for two summers now. Chalkboard labels stuck on the front let you rewrite the herb names each season, which is handy when the mint inevitably tries to take over.
Cost: ~$2-6 | Time: 30 minutes
2. Mason Jar Wall Planters
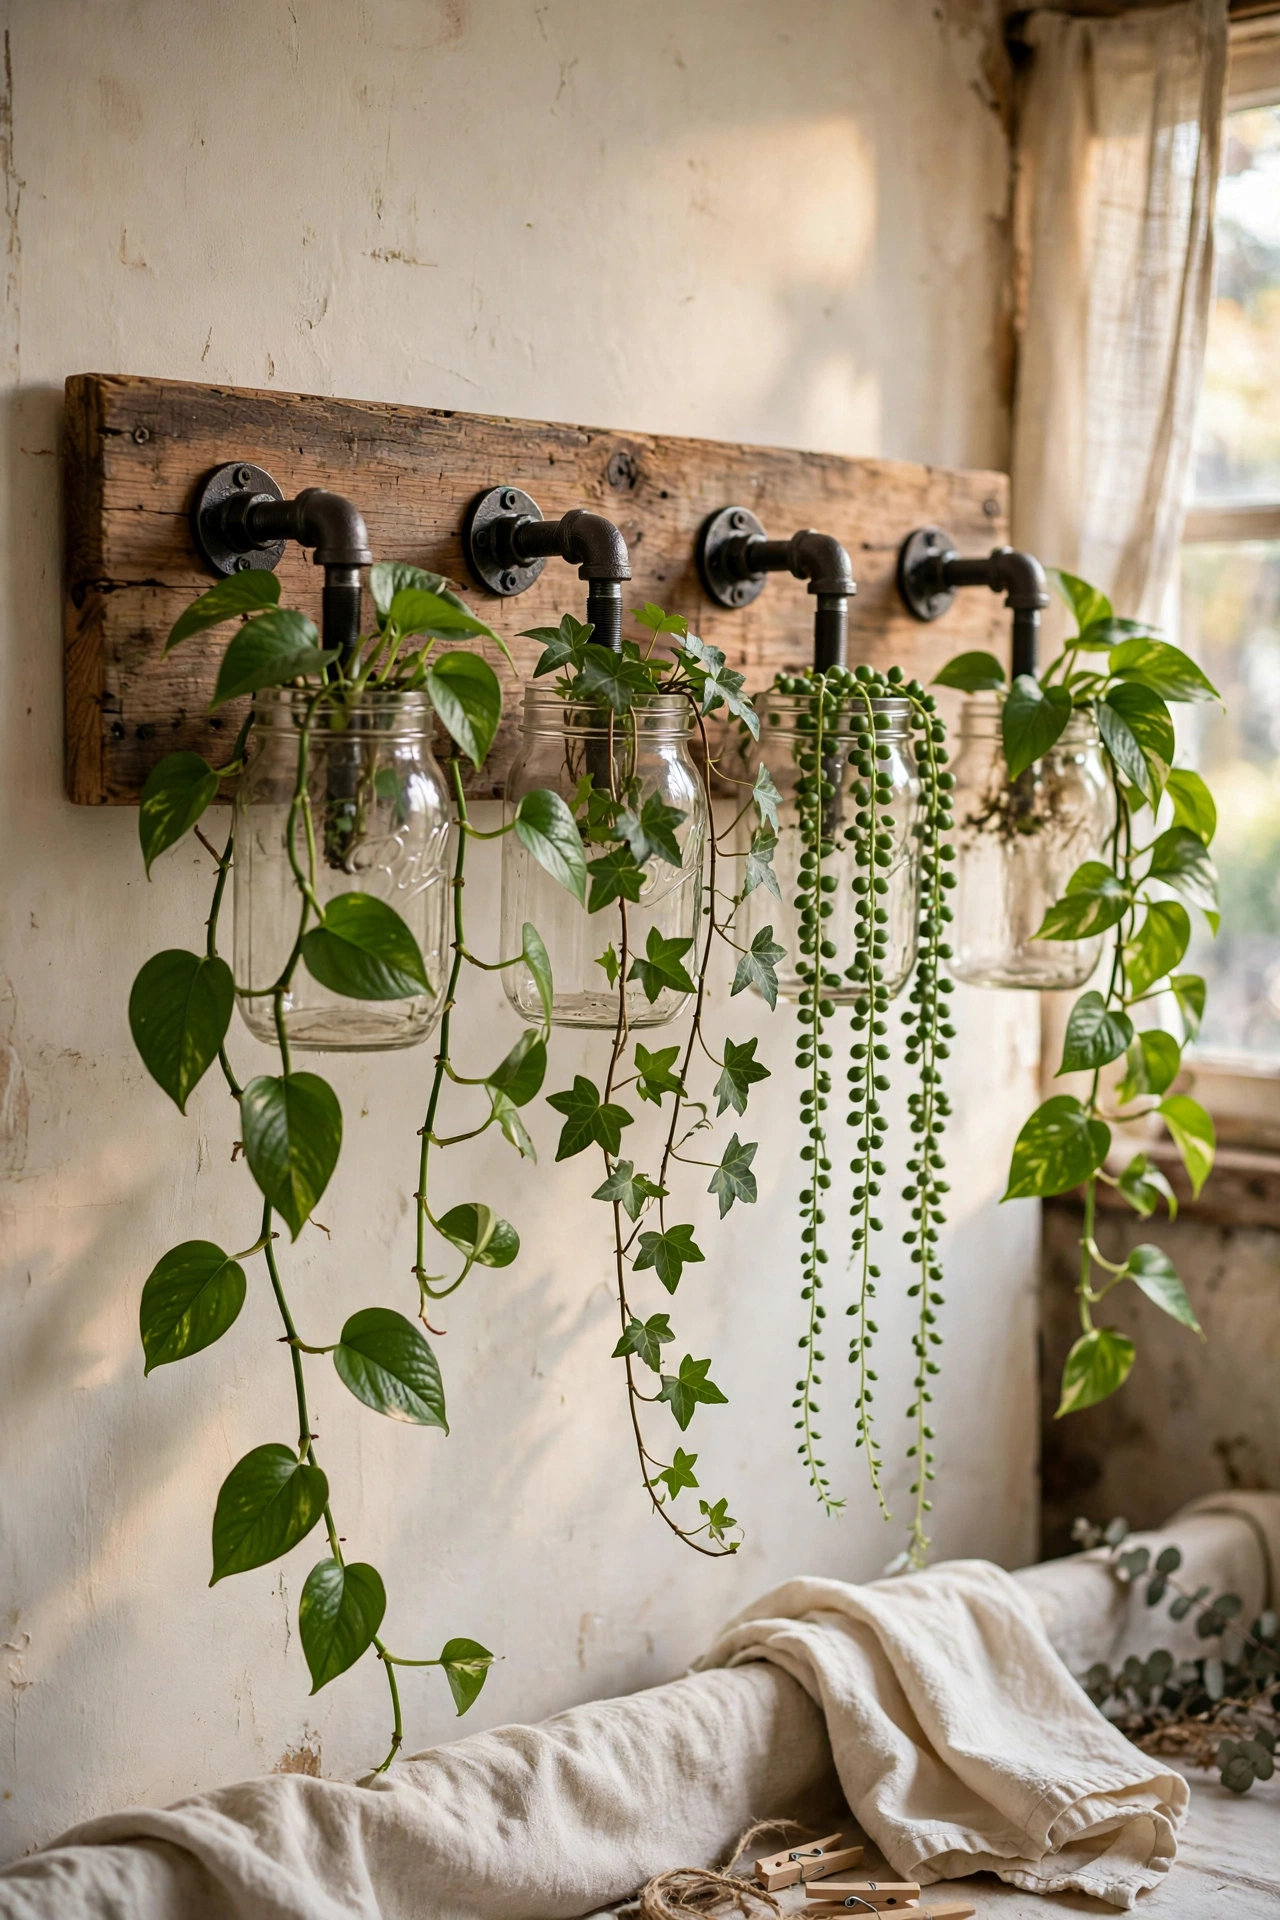
Mason jars clamped to a wooden board make a wall garden that turns a blank kitchen wall into something alive. I screwed three metal hose clamps to a stained pine board, slid a jar into each clamp, and hung the board by the back door. Fill the jars with pebbles before soil so the roots do not sit in water, because jars have no drainage. Mine hold trailing pothos cuttings that root happily in the jars. Tighten the clamps firmly; my middle jar slid out the first week because I was too gentle with the screwdriver.
Cost: ~$8-14 | Time: 45 minutes
3. Terracotta Pot Chalk Makeover
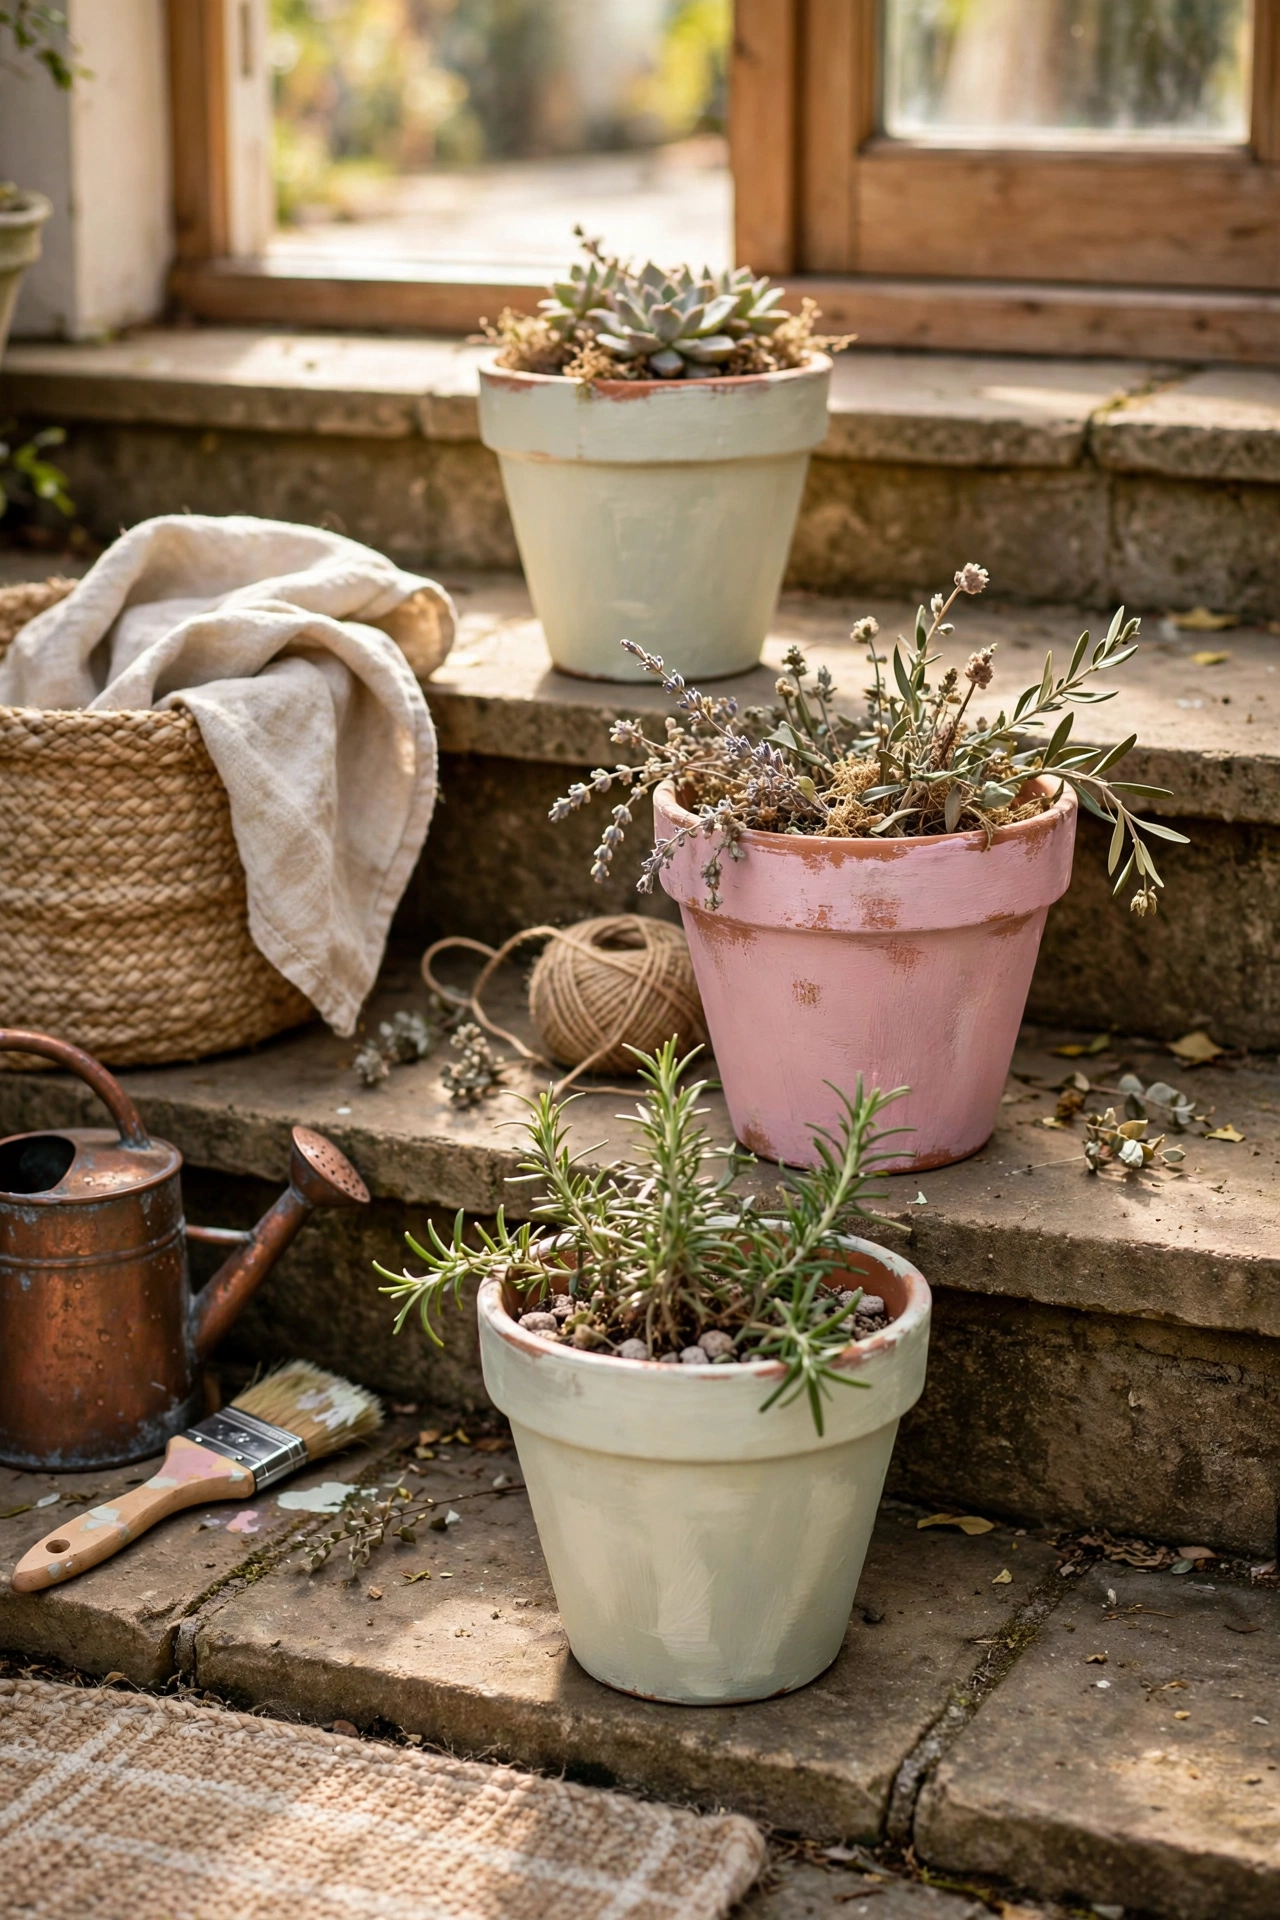
Plain terracotta pots are cheap but dull, and chalk paint fixes that in an afternoon. I painted a set of six small pots in sage, cream, and dusty pink, then sanded the edges lightly for a vintage look. Terracotta is porous, so the paint grips beautifully with no primer needed. Seal the inside rim with clear varnish if you water from the top, because constant moisture will lift the paint over time. Mine sit on my patio steps and look like they came from a garden boutique.
Cost: ~$6-12 | Time: 1.5 hours plus drying
4. Pallet Vertical Garden
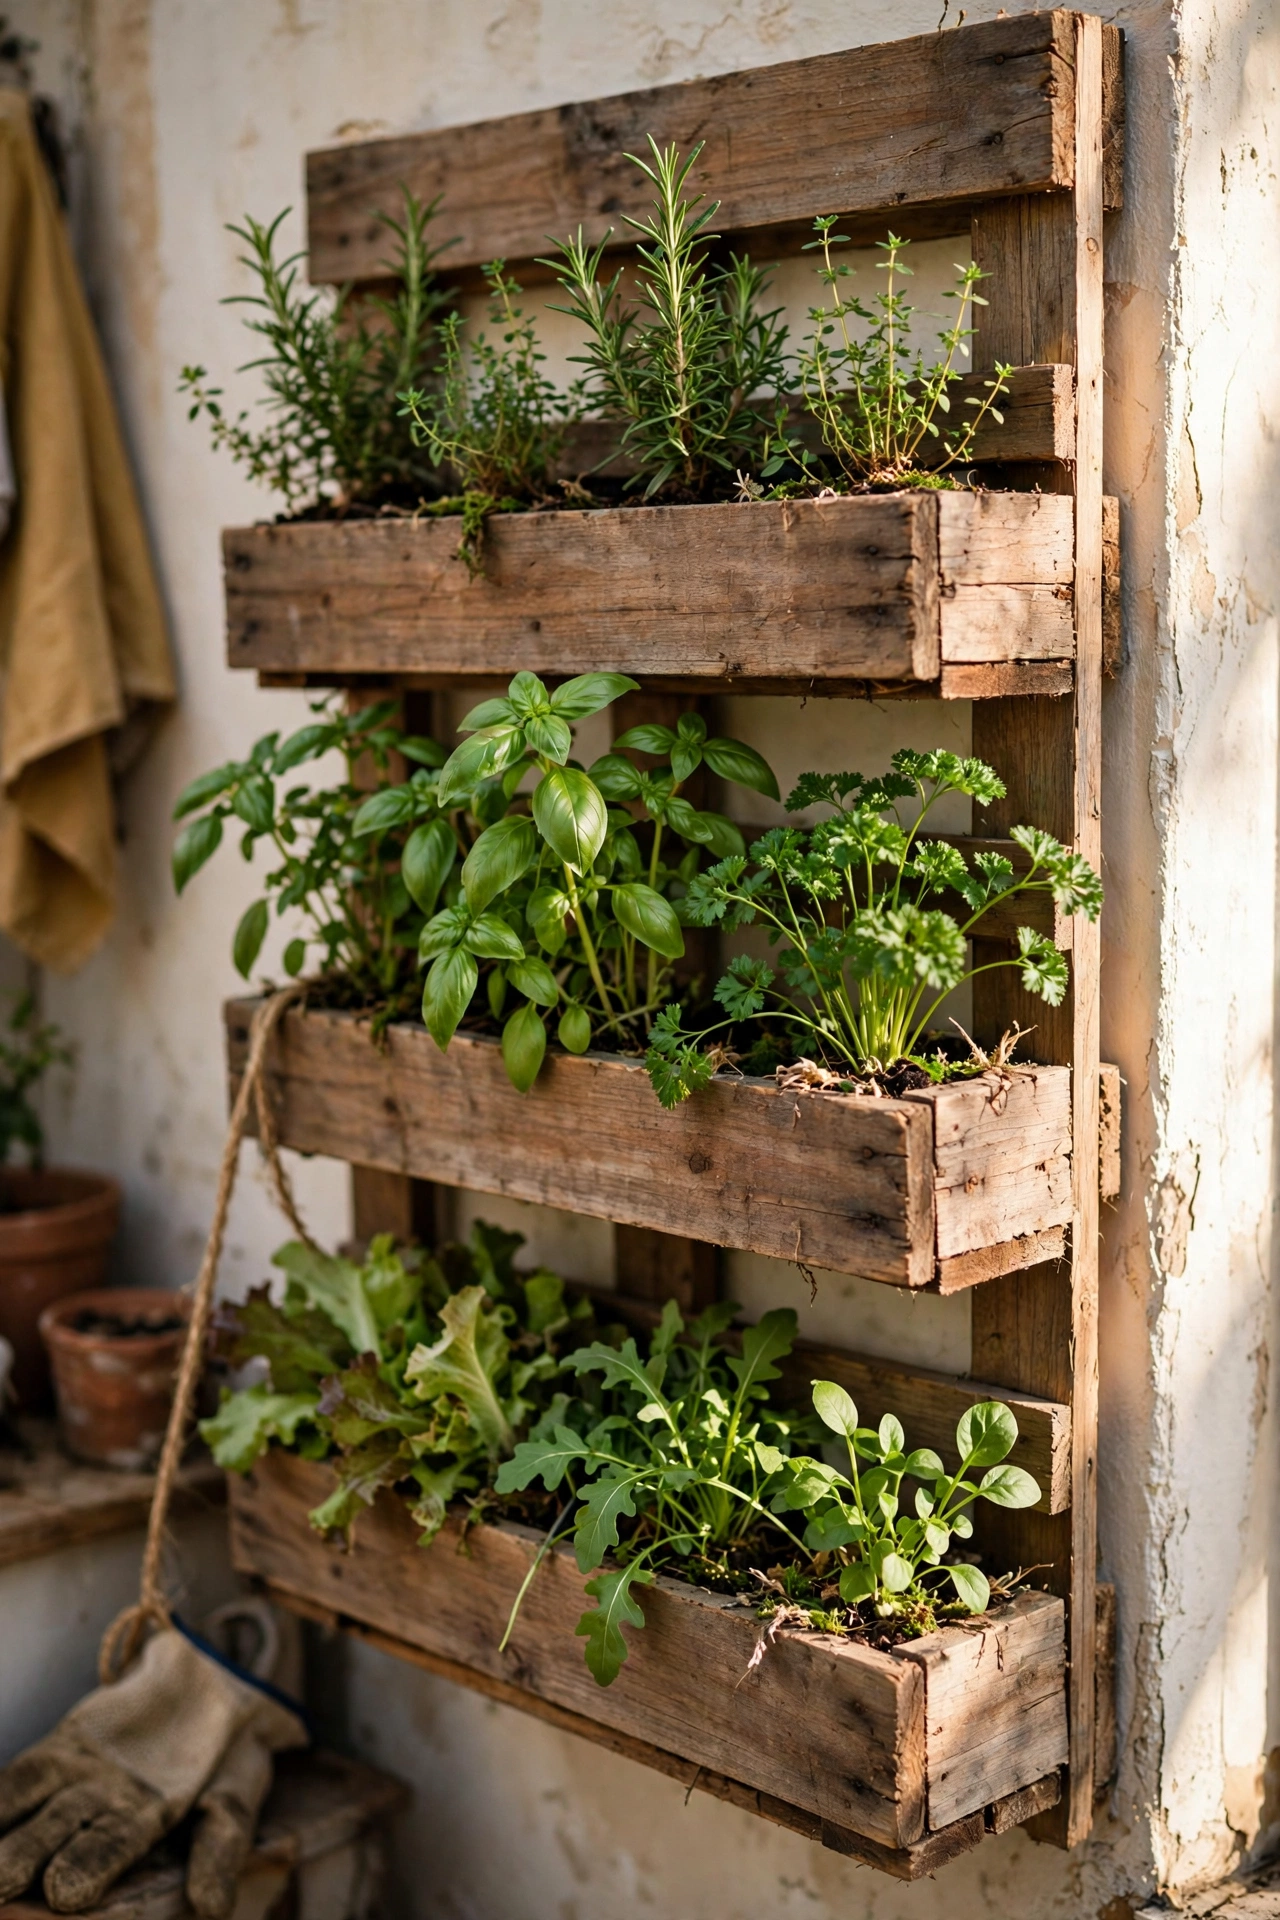
One pallet stood upright against a sunny wall becomes a vertical garden for herbs, salad leaves, and trailing flowers. I stapled landscape fabric across the back and bottom of each slat section to make soil pockets, filled them with compost, and planted through the front gaps. Lean it at a slight angle and screw the top to the wall, because a soil-filled pallet is heavy and will topple in wind. Mine grew an entire summer of salad on a two-metre wall. Water from the top and let it trickle down; the bottom rows stay dampest.
Cost: ~$5-10 | Time: 2 hours
Budget check: four planters in and nothing has cost more than $14. Free pallets and empty tins are doing the heavy lifting so far.
5. Teacup Planters
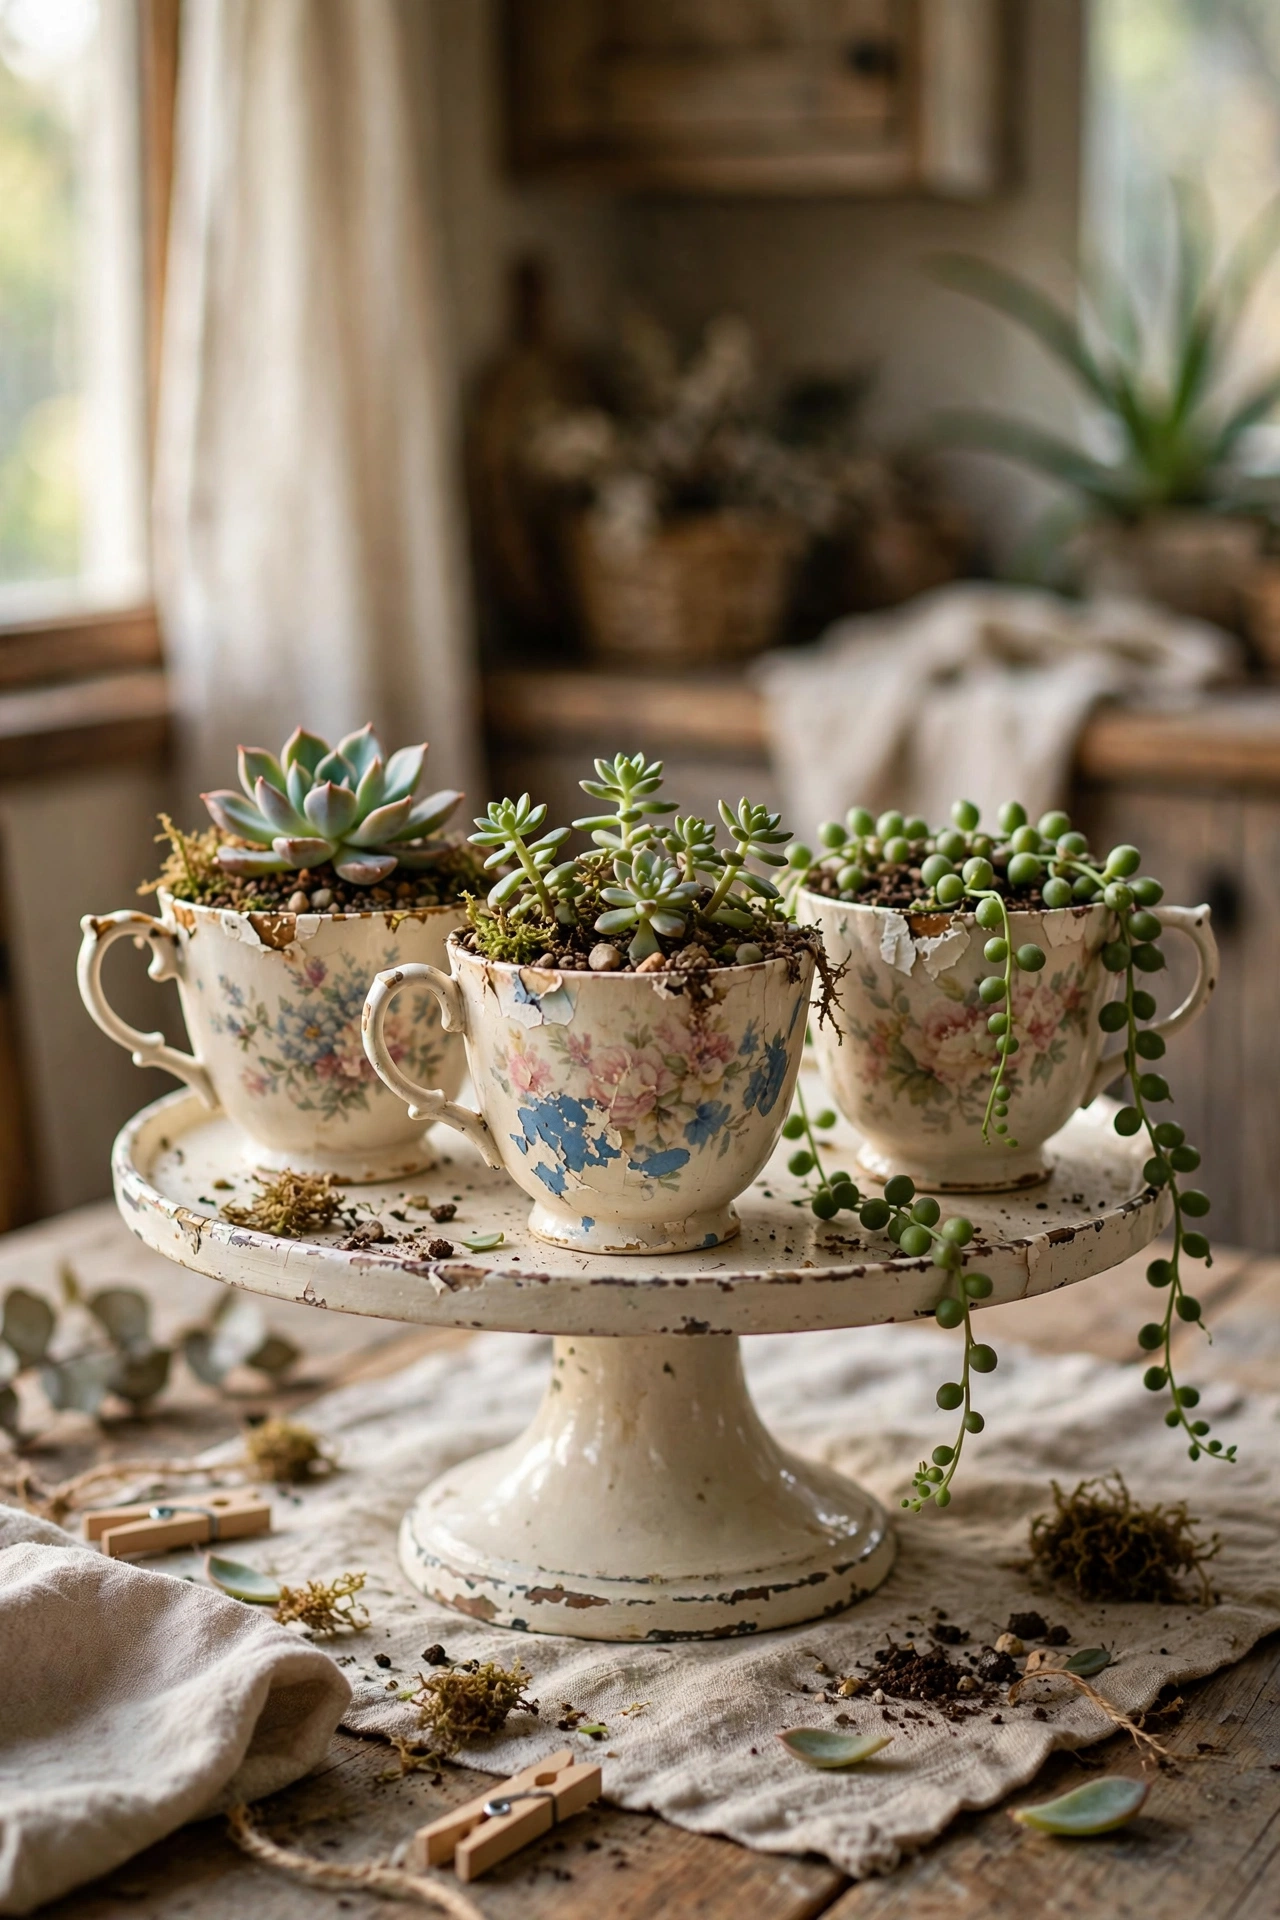
Chipped teacups too pretty to throw away make perfect planters for succulents and tiny cacti. I drill a small drainage hole in each saucer-less cup with a ceramic bit, going slow with a little water, then plant a single succulent in gritty compost. Display them on a cake stand for a proper afternoon-tea look. My grandmother’s chipped rose-pattern cups now hold a whole succulent family on my dresser. Keep the watering minimal; a teaspoon a week is plenty for a teacup.
Cost: ~$2-6 | Time: 20 minutes
6. Wellington Boot Planters
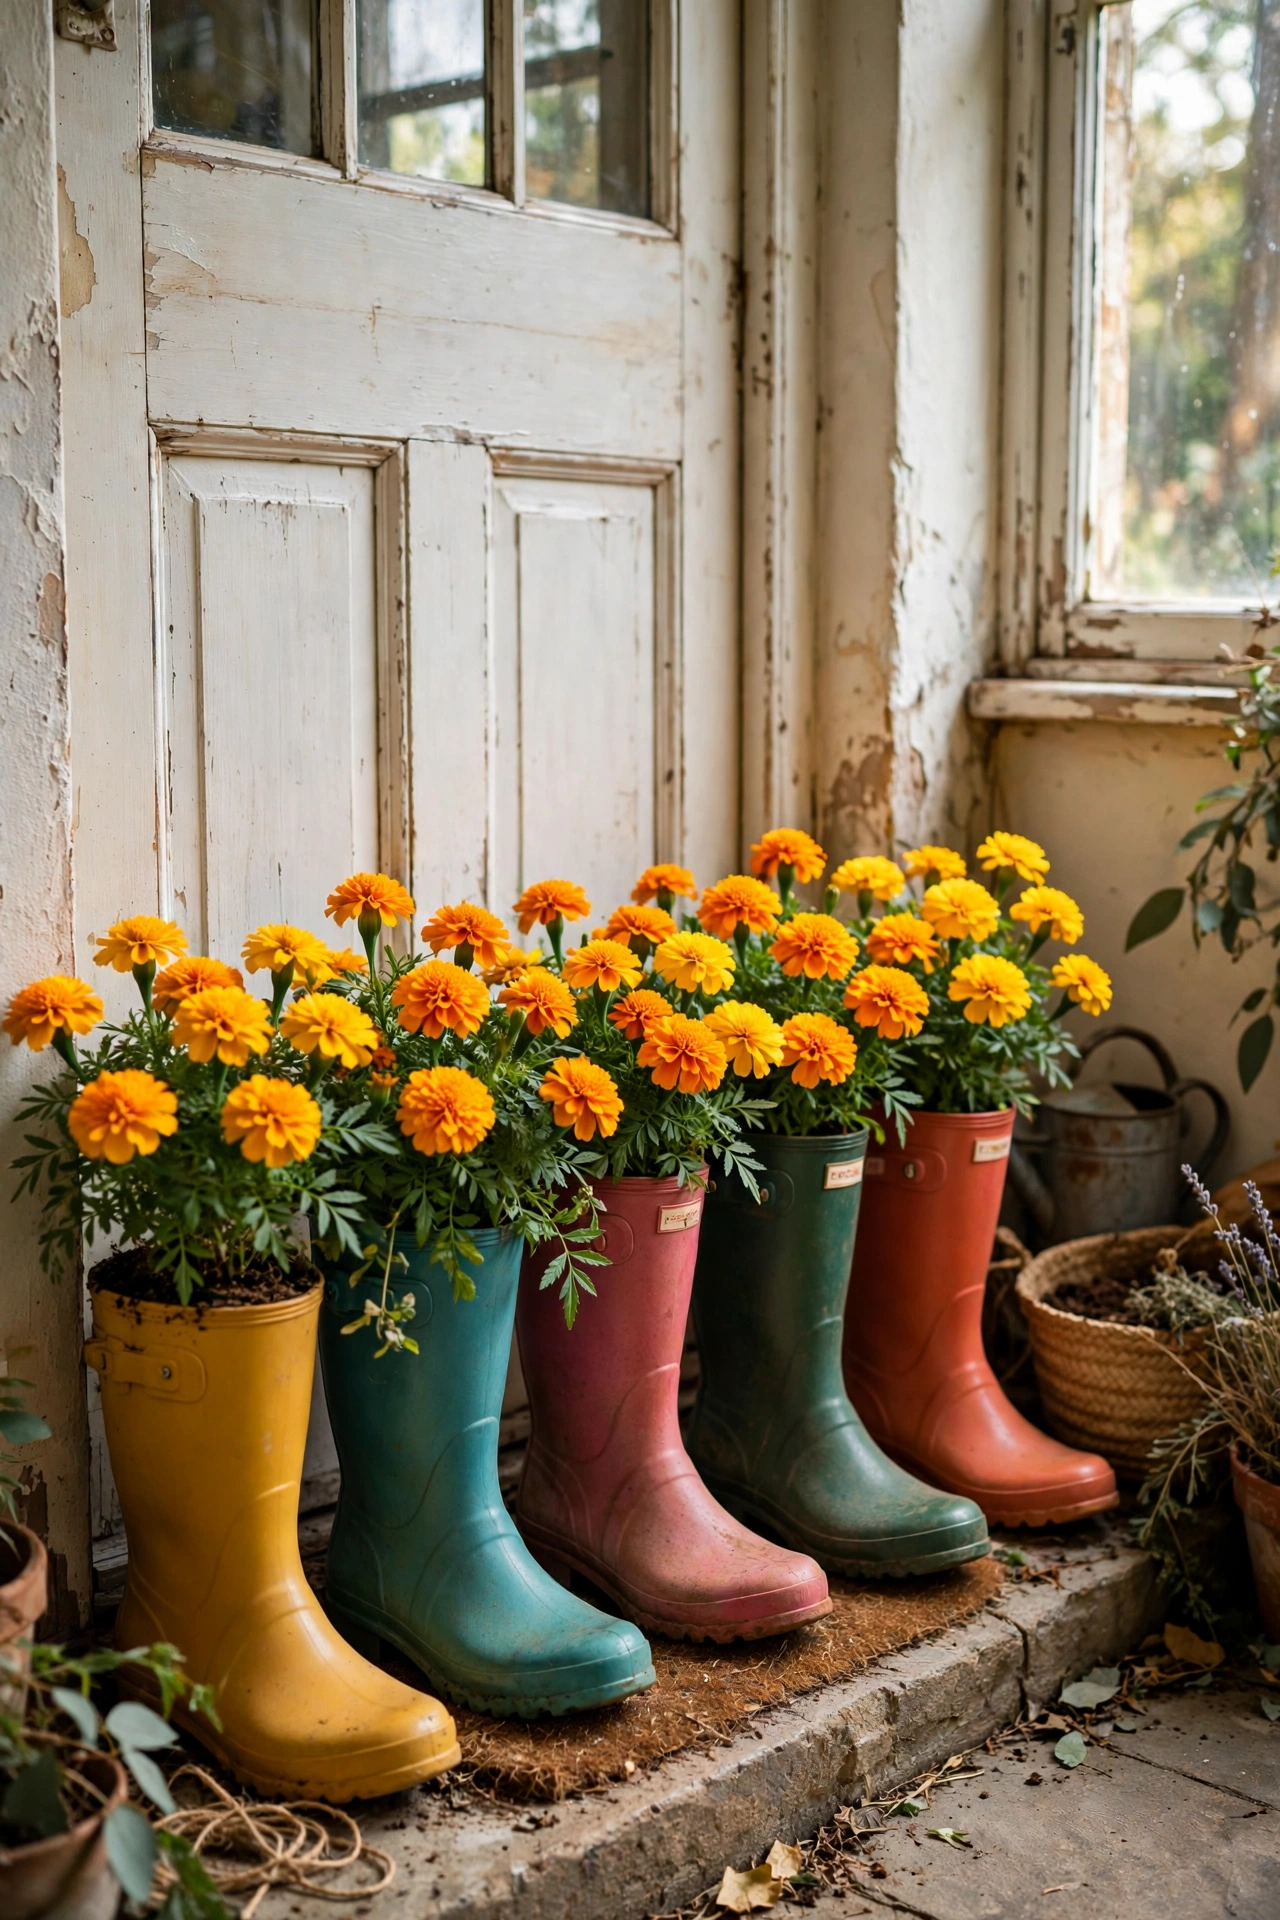
Outgrown or split wellies make the funniest planters, and kids love them. I punched drainage holes in the soles of my daughter’s old boots with an awl, filled them with compost, and planted bright marigolds in each. Line them up by the back door like the family is about to step out. The tall shape suits deep-rooted flowers better than shallow herbs. Mine have survived three summers, and the rubber weathers to a nice matte finish. Bright colours show up best against green foliage.
Cost: ~$3-8 | Time: 30 minutes
7. Colander Hanging Planters
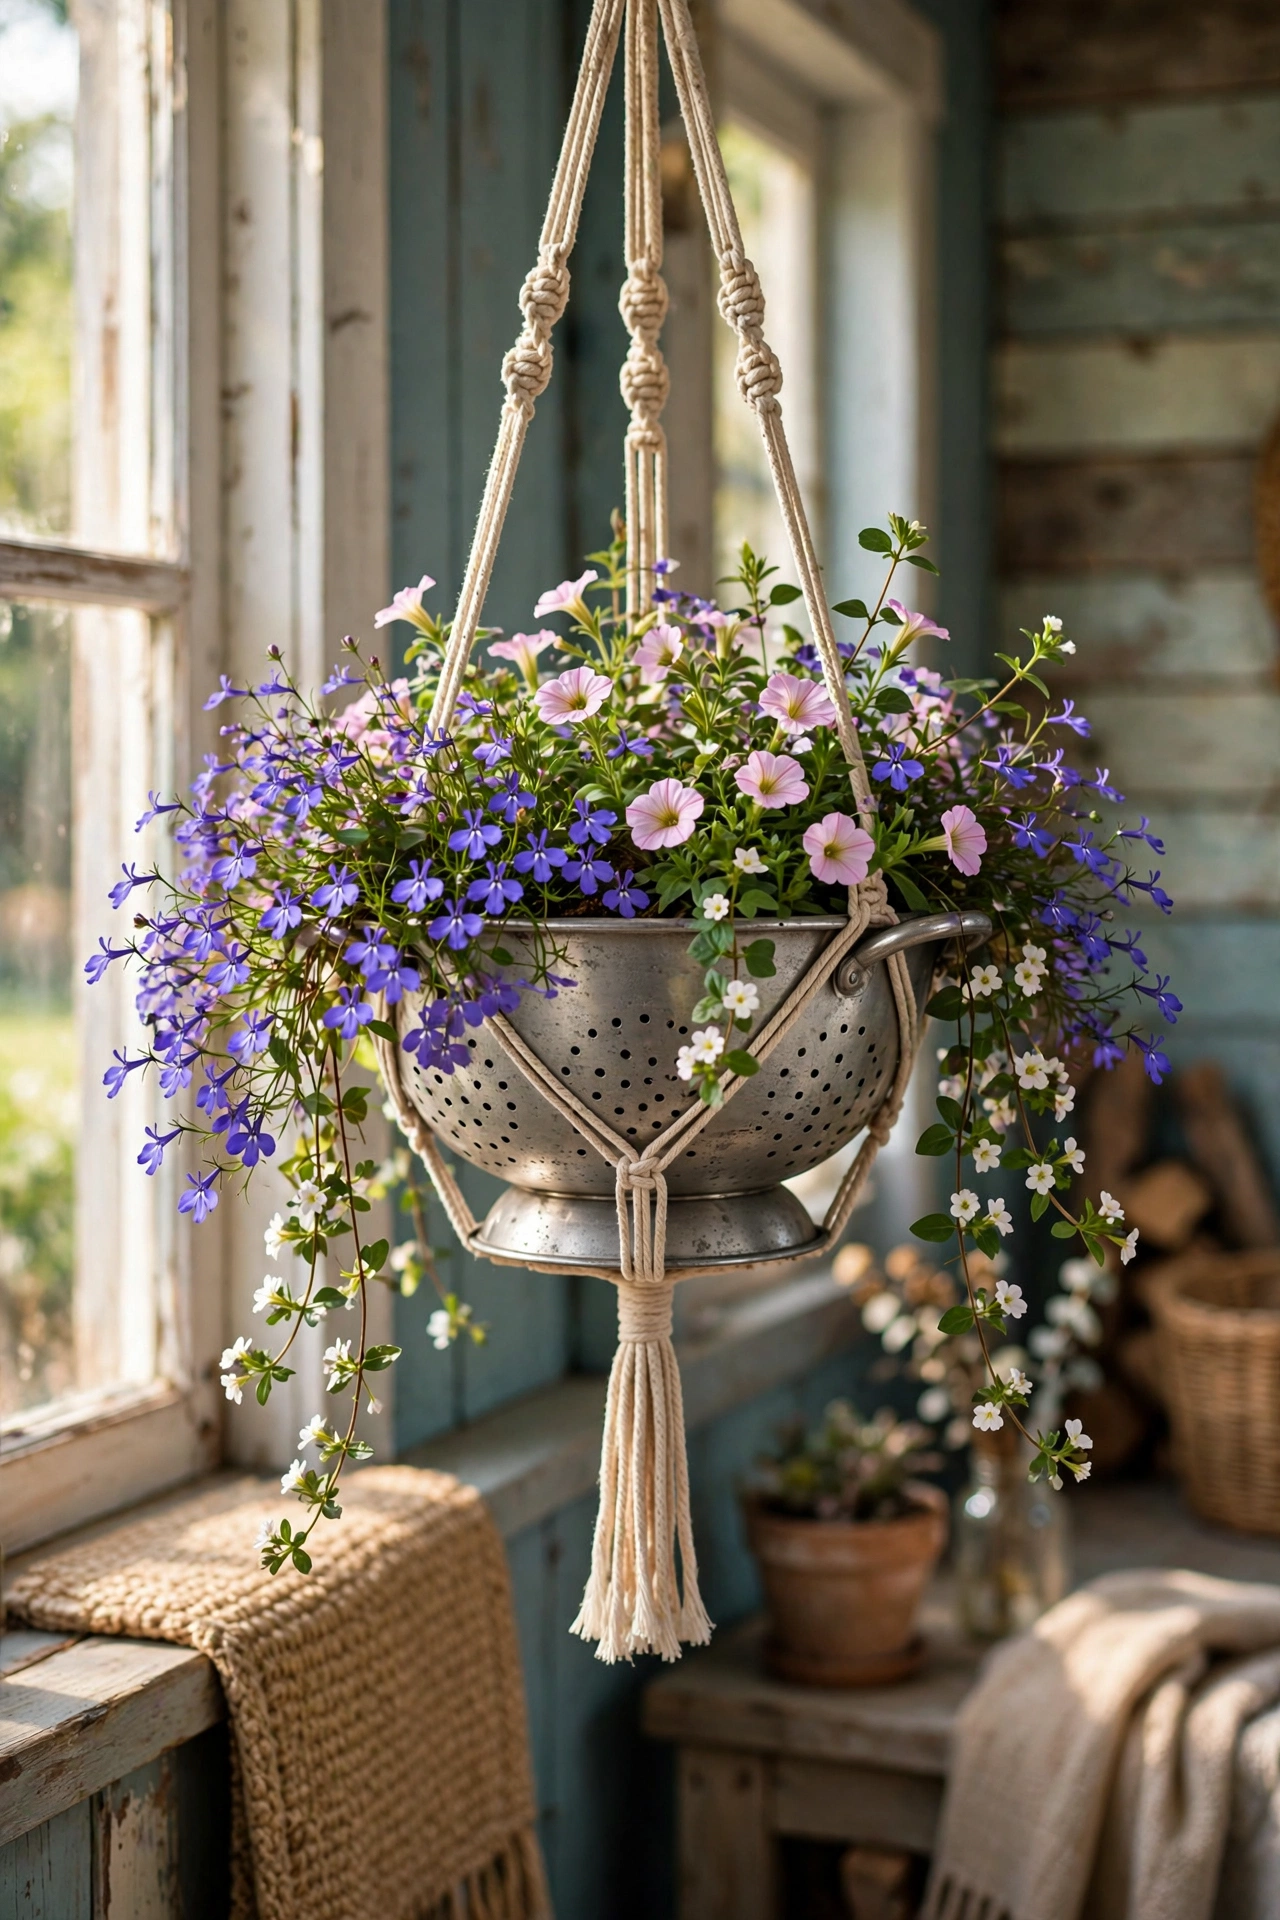
An old metal colander already has perfect drainage, which makes it a natural hanging planter. I threaded three lengths of chain through the rim holes, joined them at a metal ring, and hung it from a porch bracket. Line it with coconut fibre or moss before adding soil so the compost does not wash through the holes. Mine holds trailing lobelia that spills over the sides beautifully all summer. Enamel colanders in retro colours look best; the plain aluminium ones benefit from a coat of spray paint.
Cost: ~$6-12 | Time: 30 minutes
8. Concrete Block Planters
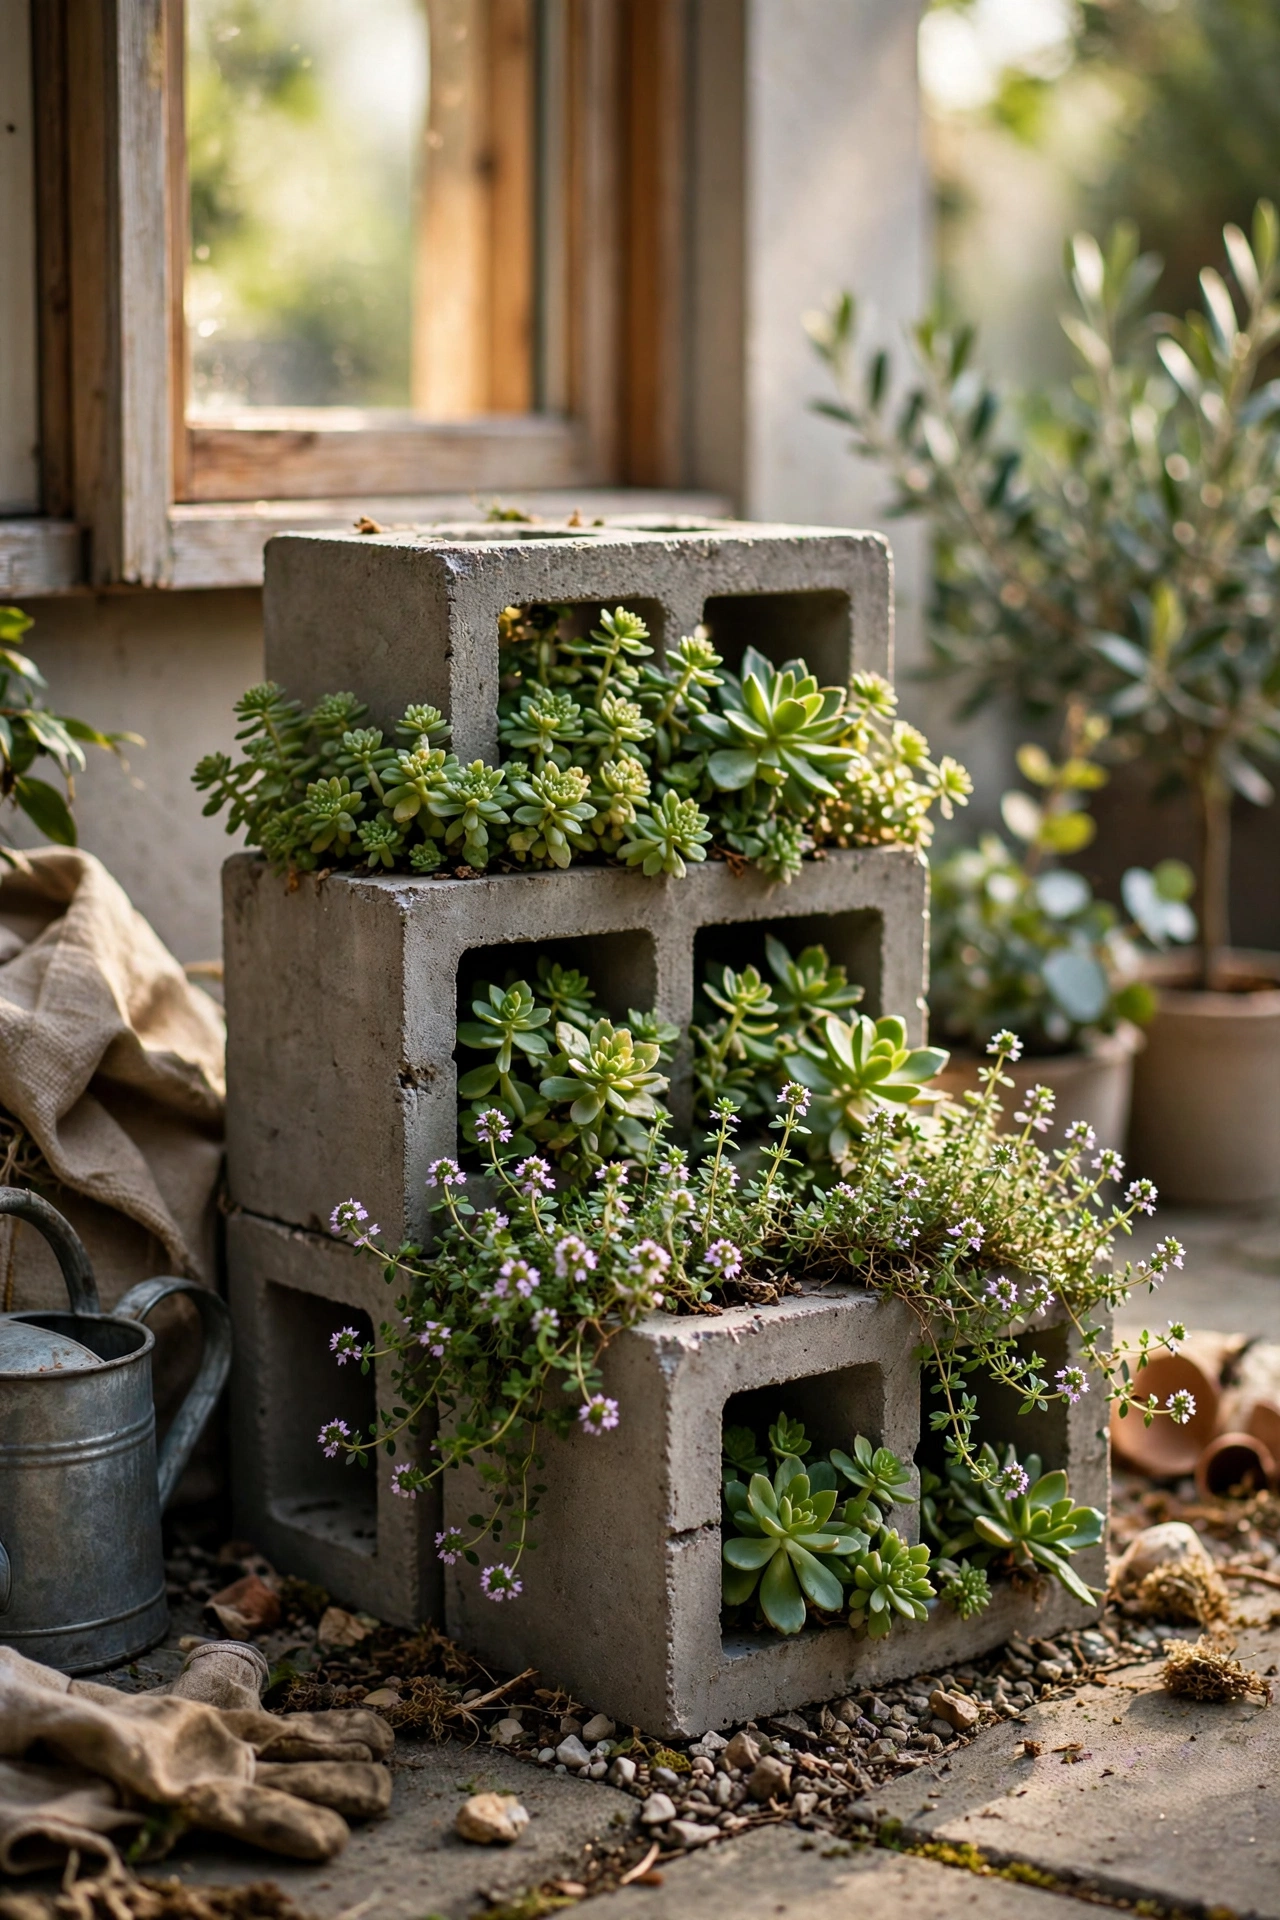
Stacked concrete blocks make a modern geometric planter wall for practically nothing. I dry-stacked two layers of blocks in a staggered pattern, filled the holes with compost, and planted sedums and thyme in each cavity. No mortar needed, which means you can rearrange it whenever you like. The grey concrete looks sharp against green plants and suits contemporary gardens perfectly. Mine has been standing for three years without shifting. Paint the blocks white first if grey feels too industrial for your space.
Cost: ~$8-15 | Time: 1 hour
Budget check: eight ideas down, and the most expensive so far is still $15. The colander and concrete block projects prove that drainage-ready junk beats store-bought pots every time.
9. Ladder Plant Stand
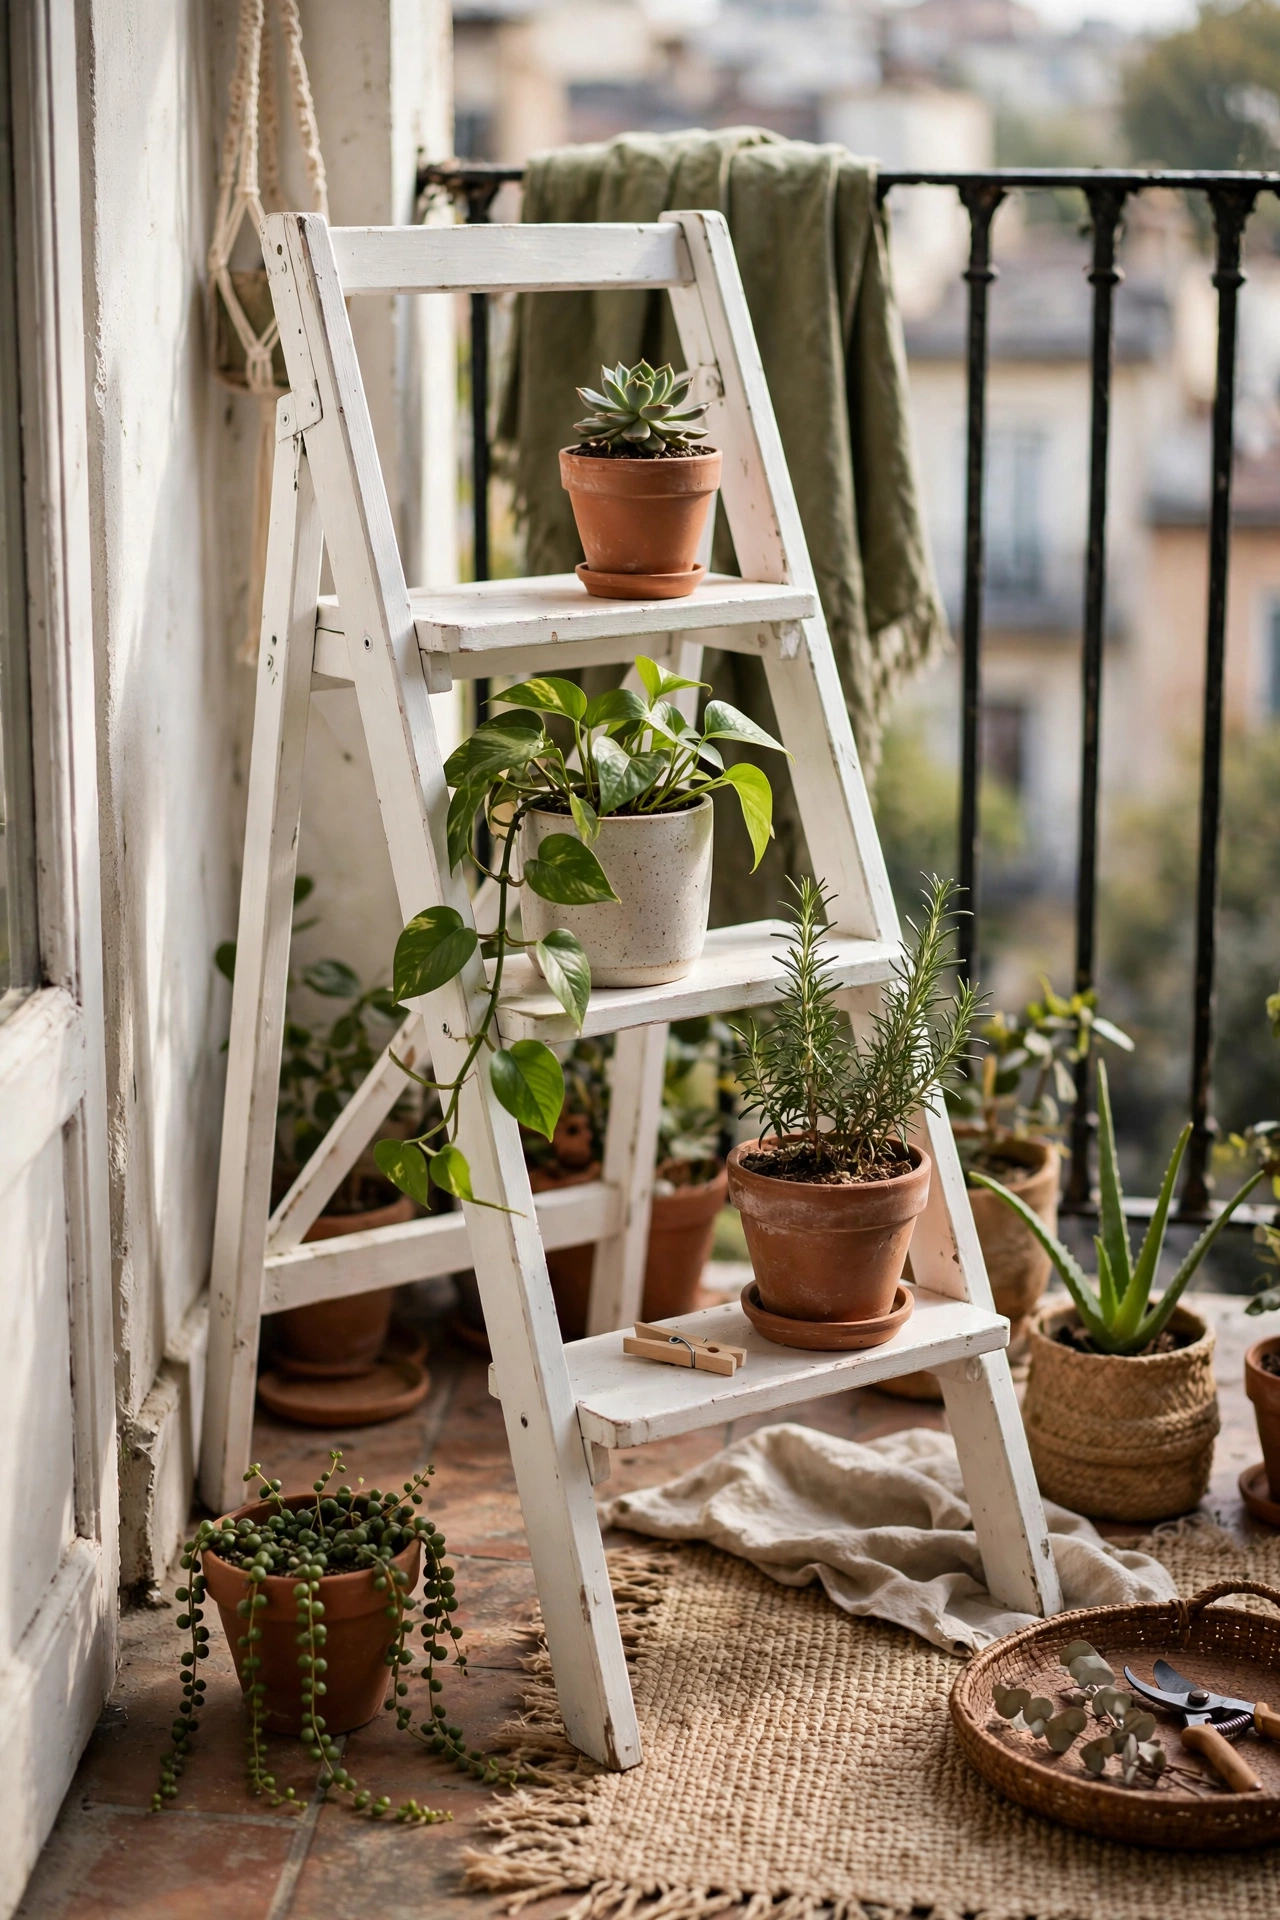
A small wooden step ladder becomes a tiered plant stand with room for a dozen pots. I sanded an old decorating ladder, painted it white, and set potted plants on each step with the tallest at the back. The steps give every plant its own light level, which trailing plants love. Anchor it against a wall so it cannot tip, because a ladder full of pots is top-heavy. Mine lives on my balcony from April to October. Lay a narrow board across a step if you want a deeper shelf for a big pot.
Cost: ~$5-12 | Time: 1 hour plus drying
10. Old Drawer Planter Box
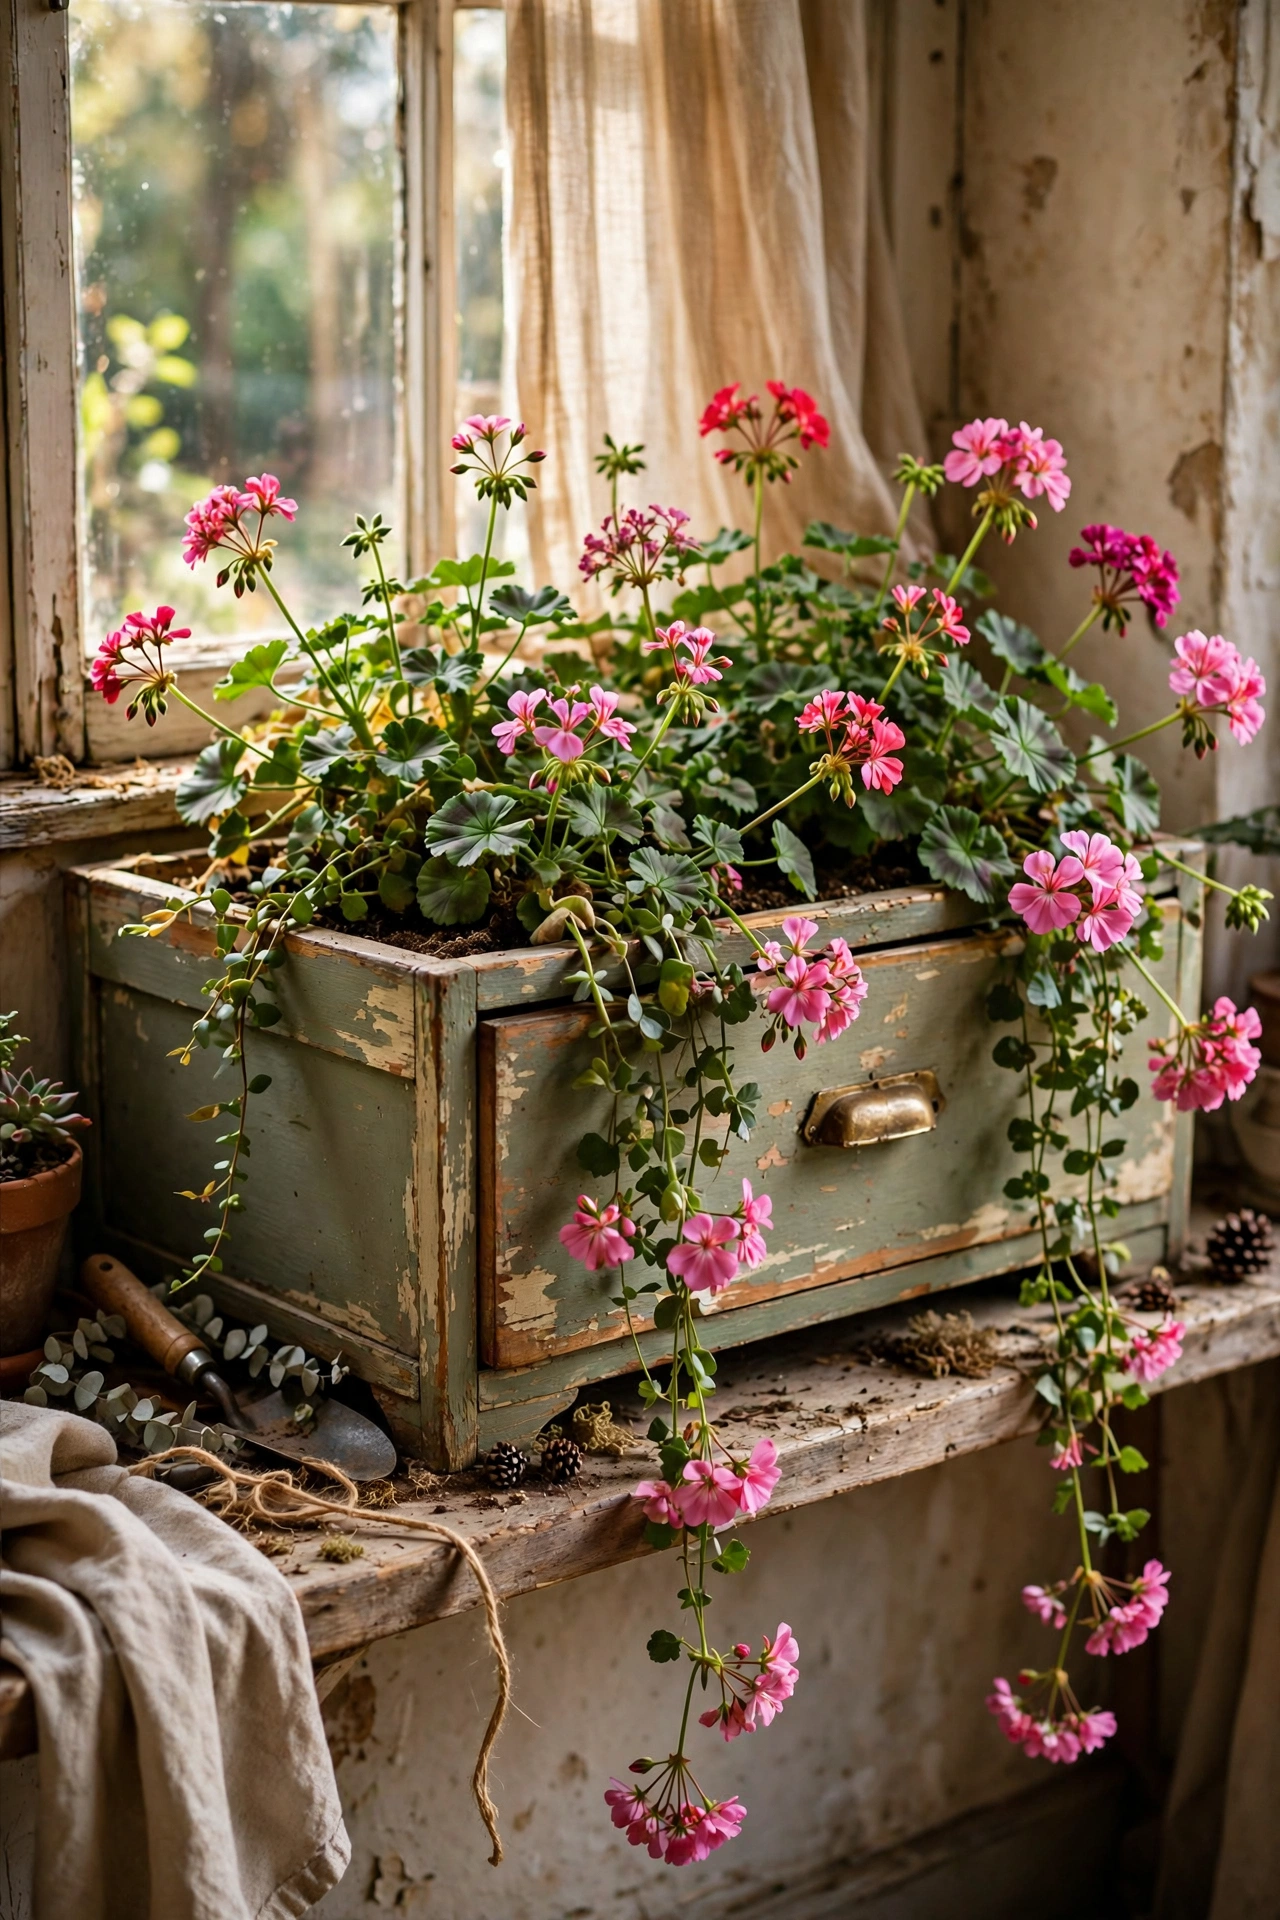
A deep dresser drawer pulled from a broken chest of drawers makes a ready-made window box. I drilled drainage holes in the bottom of mine, gave it two coats of exterior paint, and filled it with trailing geraniums for my front windowsill. The drawer pull becomes a handy handle for moving it around. Line the inside with a bin bag with holes poked in it to protect the wood from constant damp. Mine has lasted four summers with a fresh coat of paint each spring.
Cost: ~$4-10 | Time: 1 hour plus drying
11. Milk Crate Planter Tower
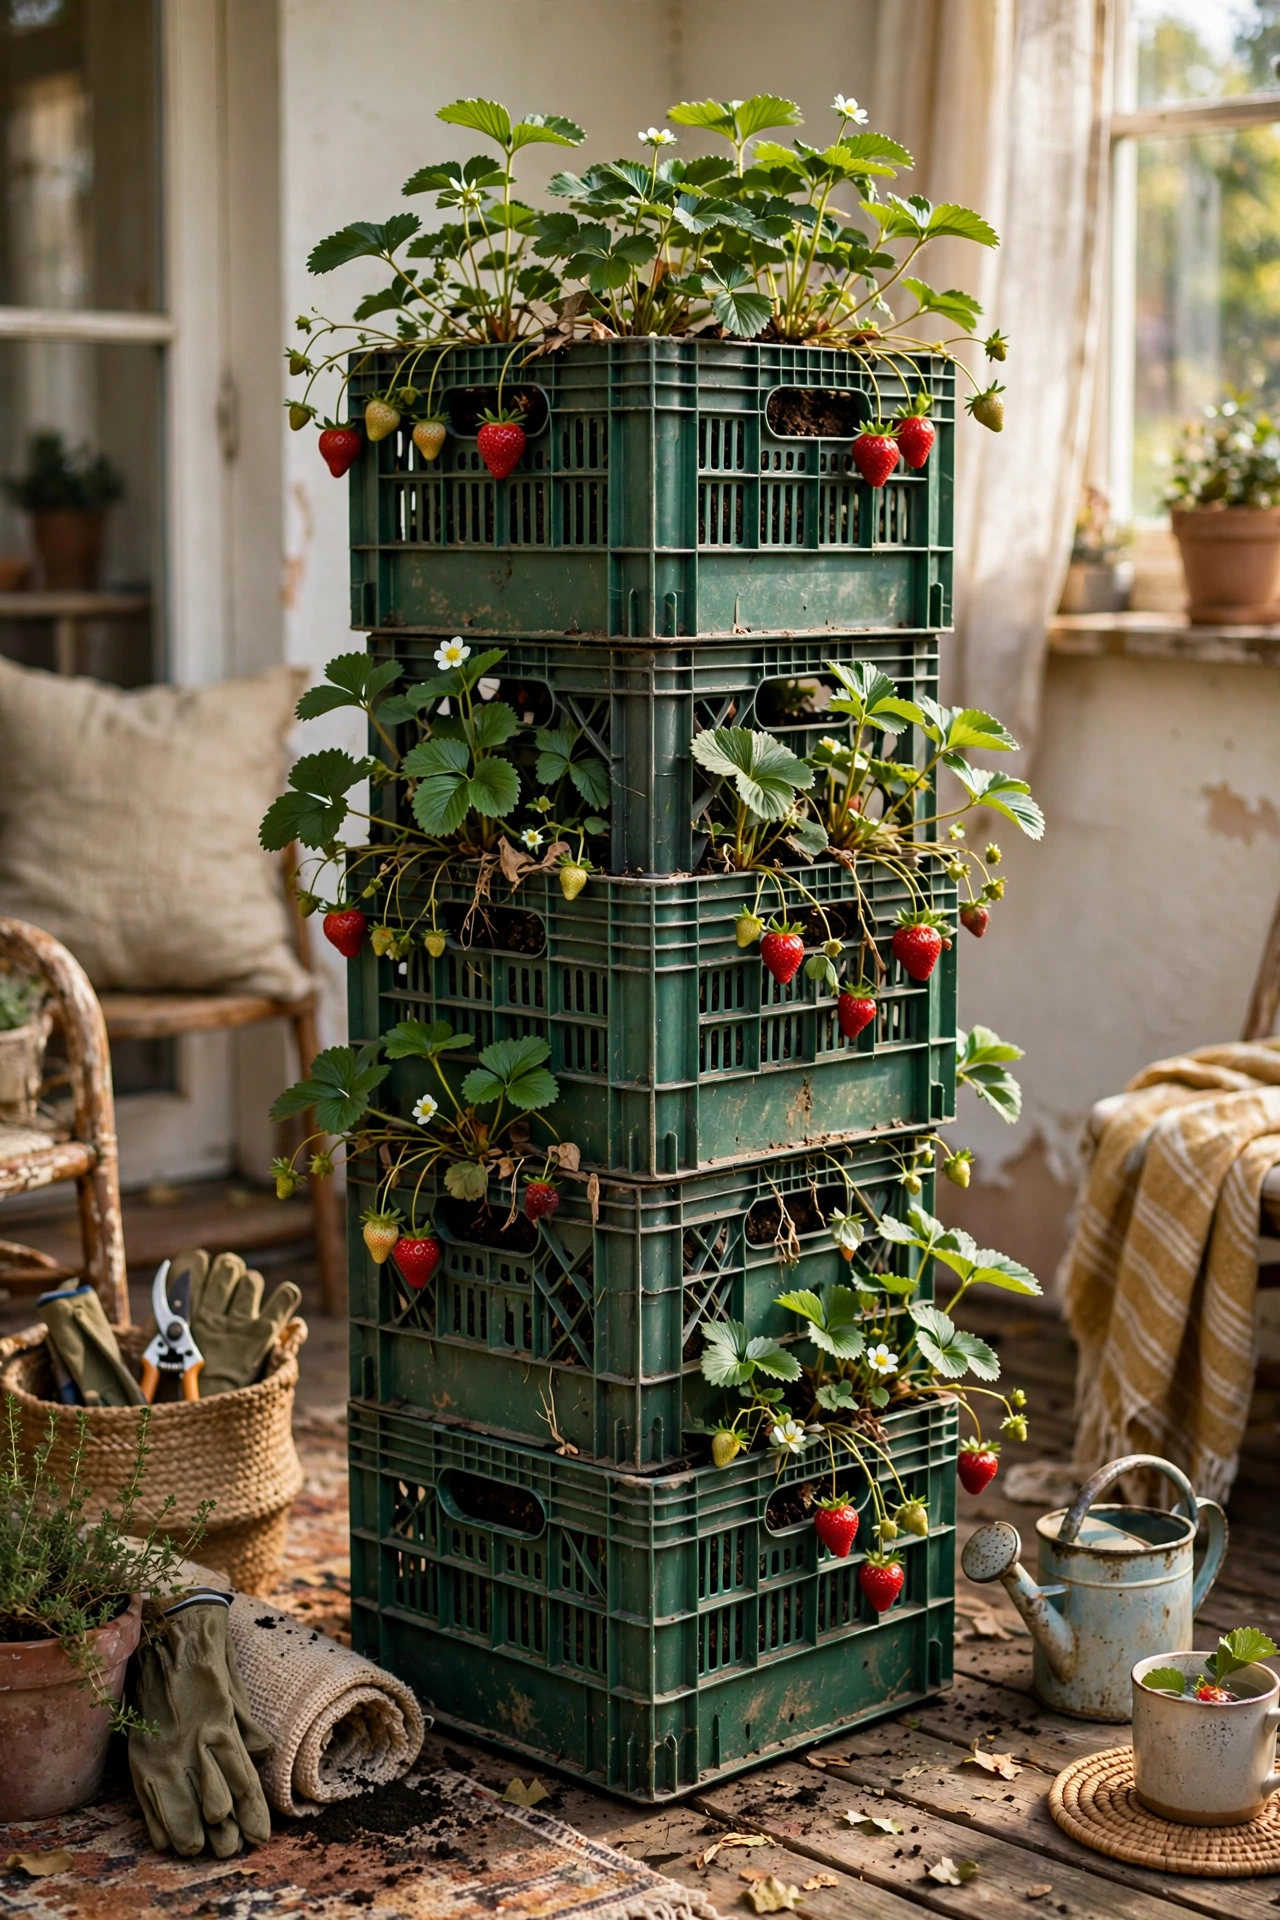
Stacked milk crates make a sturdy planter tower for a patio corner. I lined three crates with landscape fabric, filled them with compost, and stacked them with a slight rotation so each level gets light. The open sides are perfect for strawberries, which dangle through the gaps where you can pick them. Cable-tie the crates together so the tower cannot shift. Mine produced two summers of strawberries on a one-metre footprint. Black crates look smartest; the coloured ones fade in the sun.
Cost: ~$6-12 | Time: 45 minutes
12. Wine Crate Succulent Garden
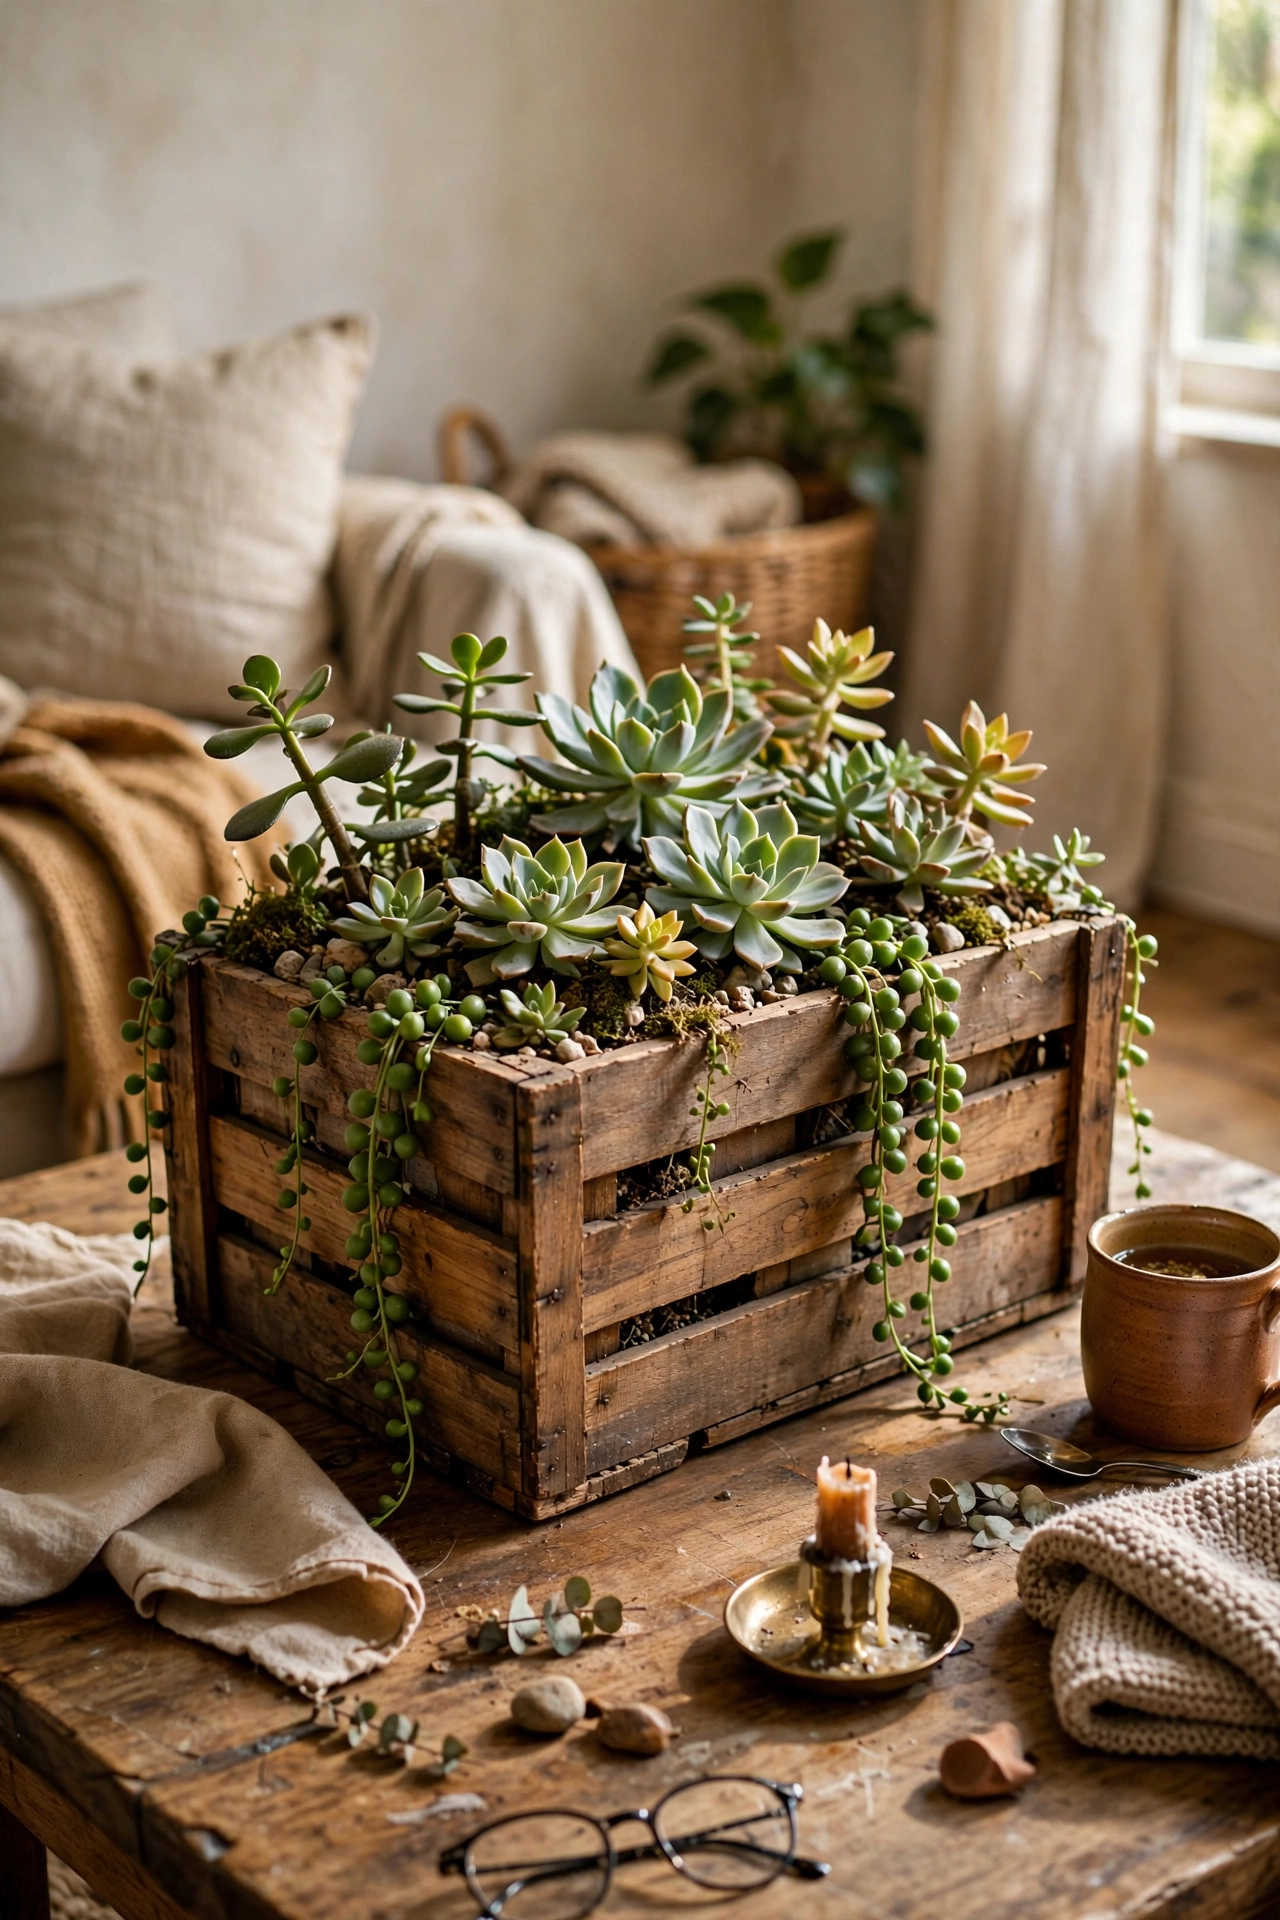
A shallow wooden wine crate is exactly the right depth for a succulent arrangement. I lined mine with a bin bag, poked drainage holes, filled it with gritty cactus compost, and arranged a dozen small succulents in a pleasing jumble. Top the soil with decorative gravel to keep the leaves dry and the whole thing looking tidy. Mine sits on my coffee table and needs watering about once a month. Ask at wine shops for free crates; they usually have stacks out the back.
Cost: ~$8-15 | Time: 45 minutes
Budget check: halfway through, and the wine crate succulent garden might be the prettiest ten pounds you will ever spend. Ask shops for free crates before you buy anything.
13. Galvanised Bucket Planters
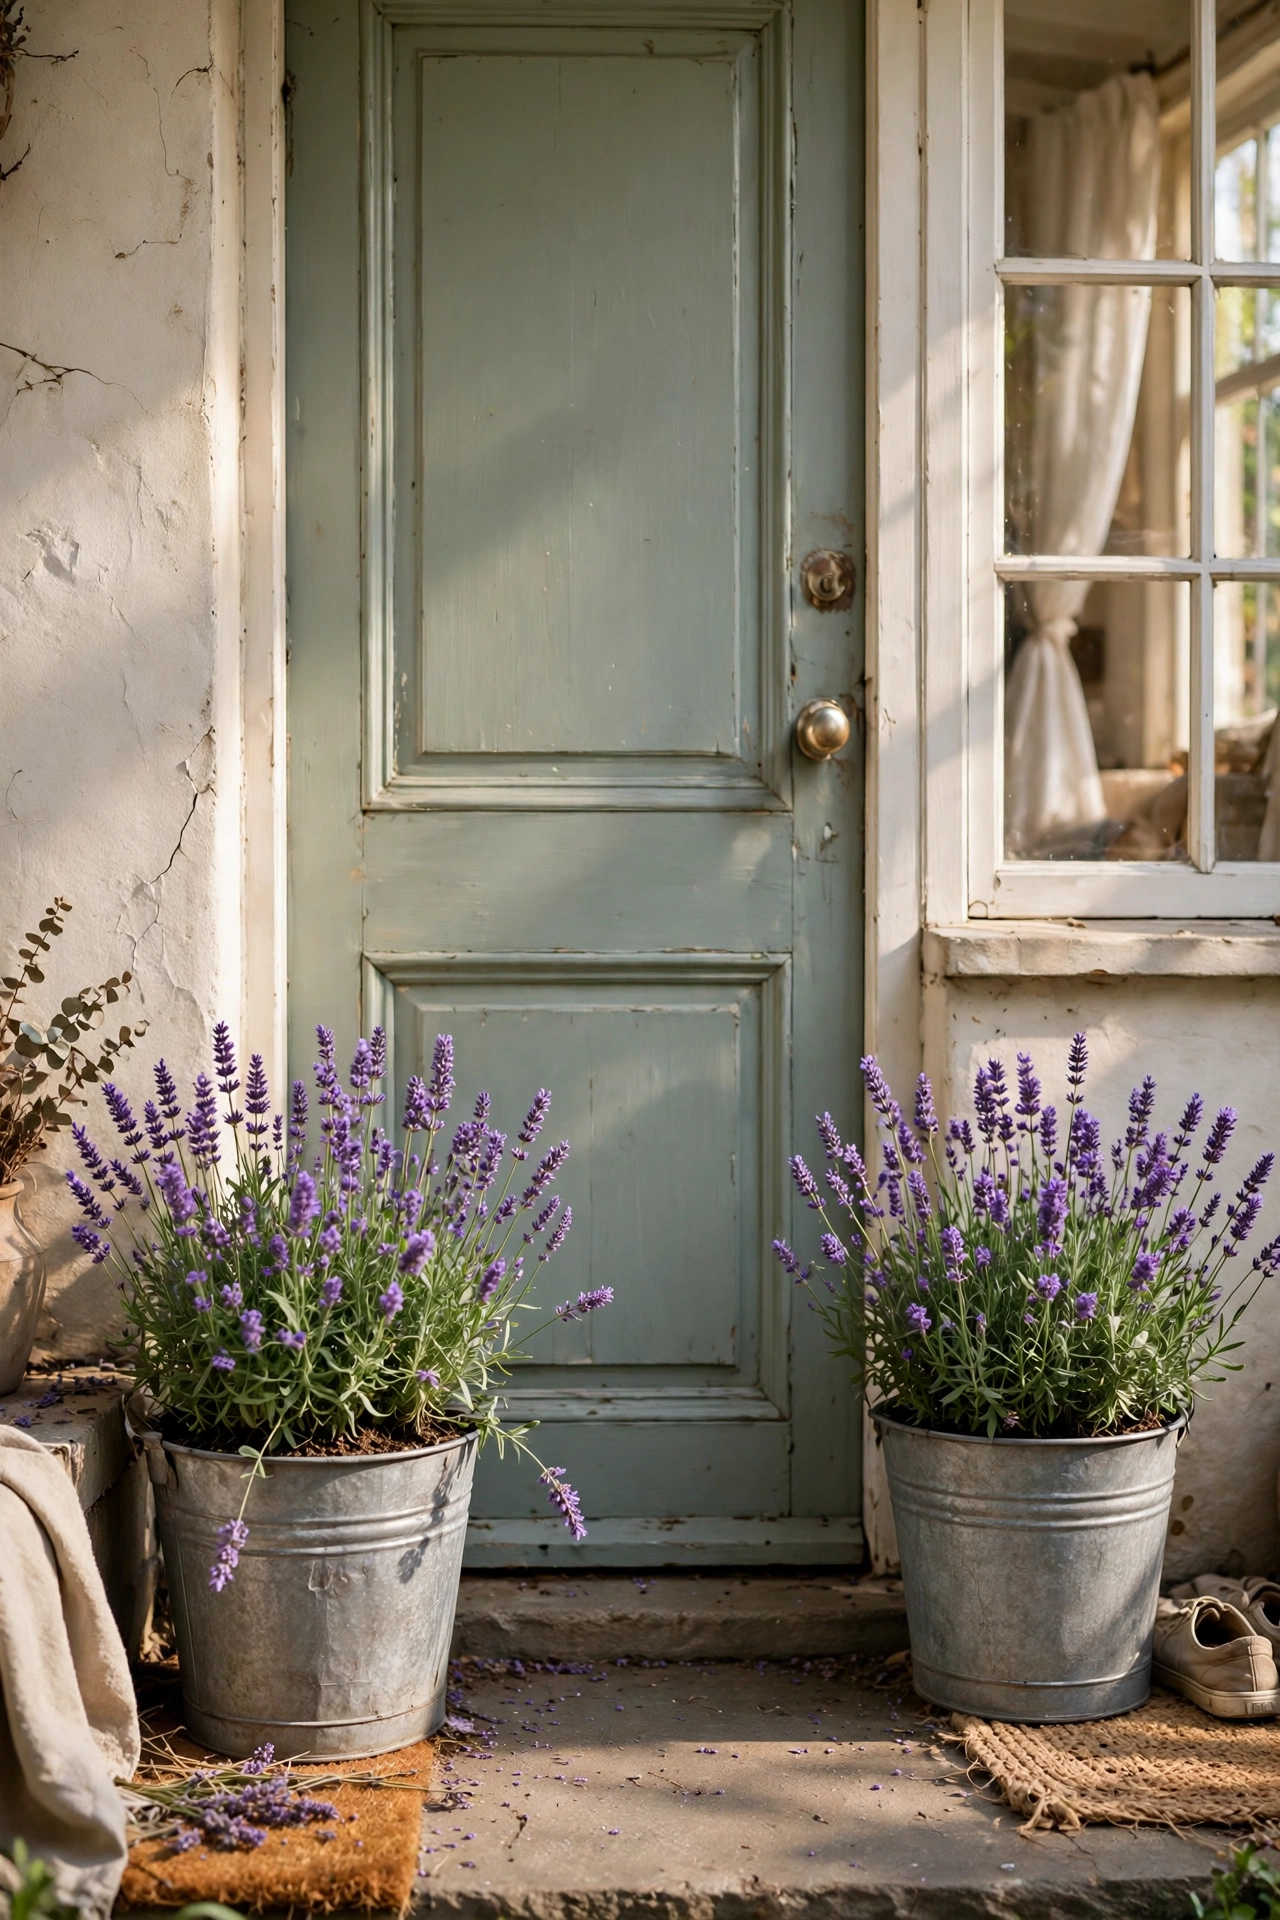
Galvanised metal buckets have that farmhouse look garden centres charge a fortune for. I drilled drainage holes in the bottoms of three different-sized buckets, filled the bottom third with broken polystyrene for lightness, and planted lavender in each. The metal heats up in direct sun, so these suit heat-loving herbs better than ferns. Mine flank my front door and the lavender scent hits you as you walk in. A stencil and some white paint turn a plain bucket into a personalised one.
Cost: ~$8-14 | Time: 30 minutes
14. Rope-Wrapped Plant Pot
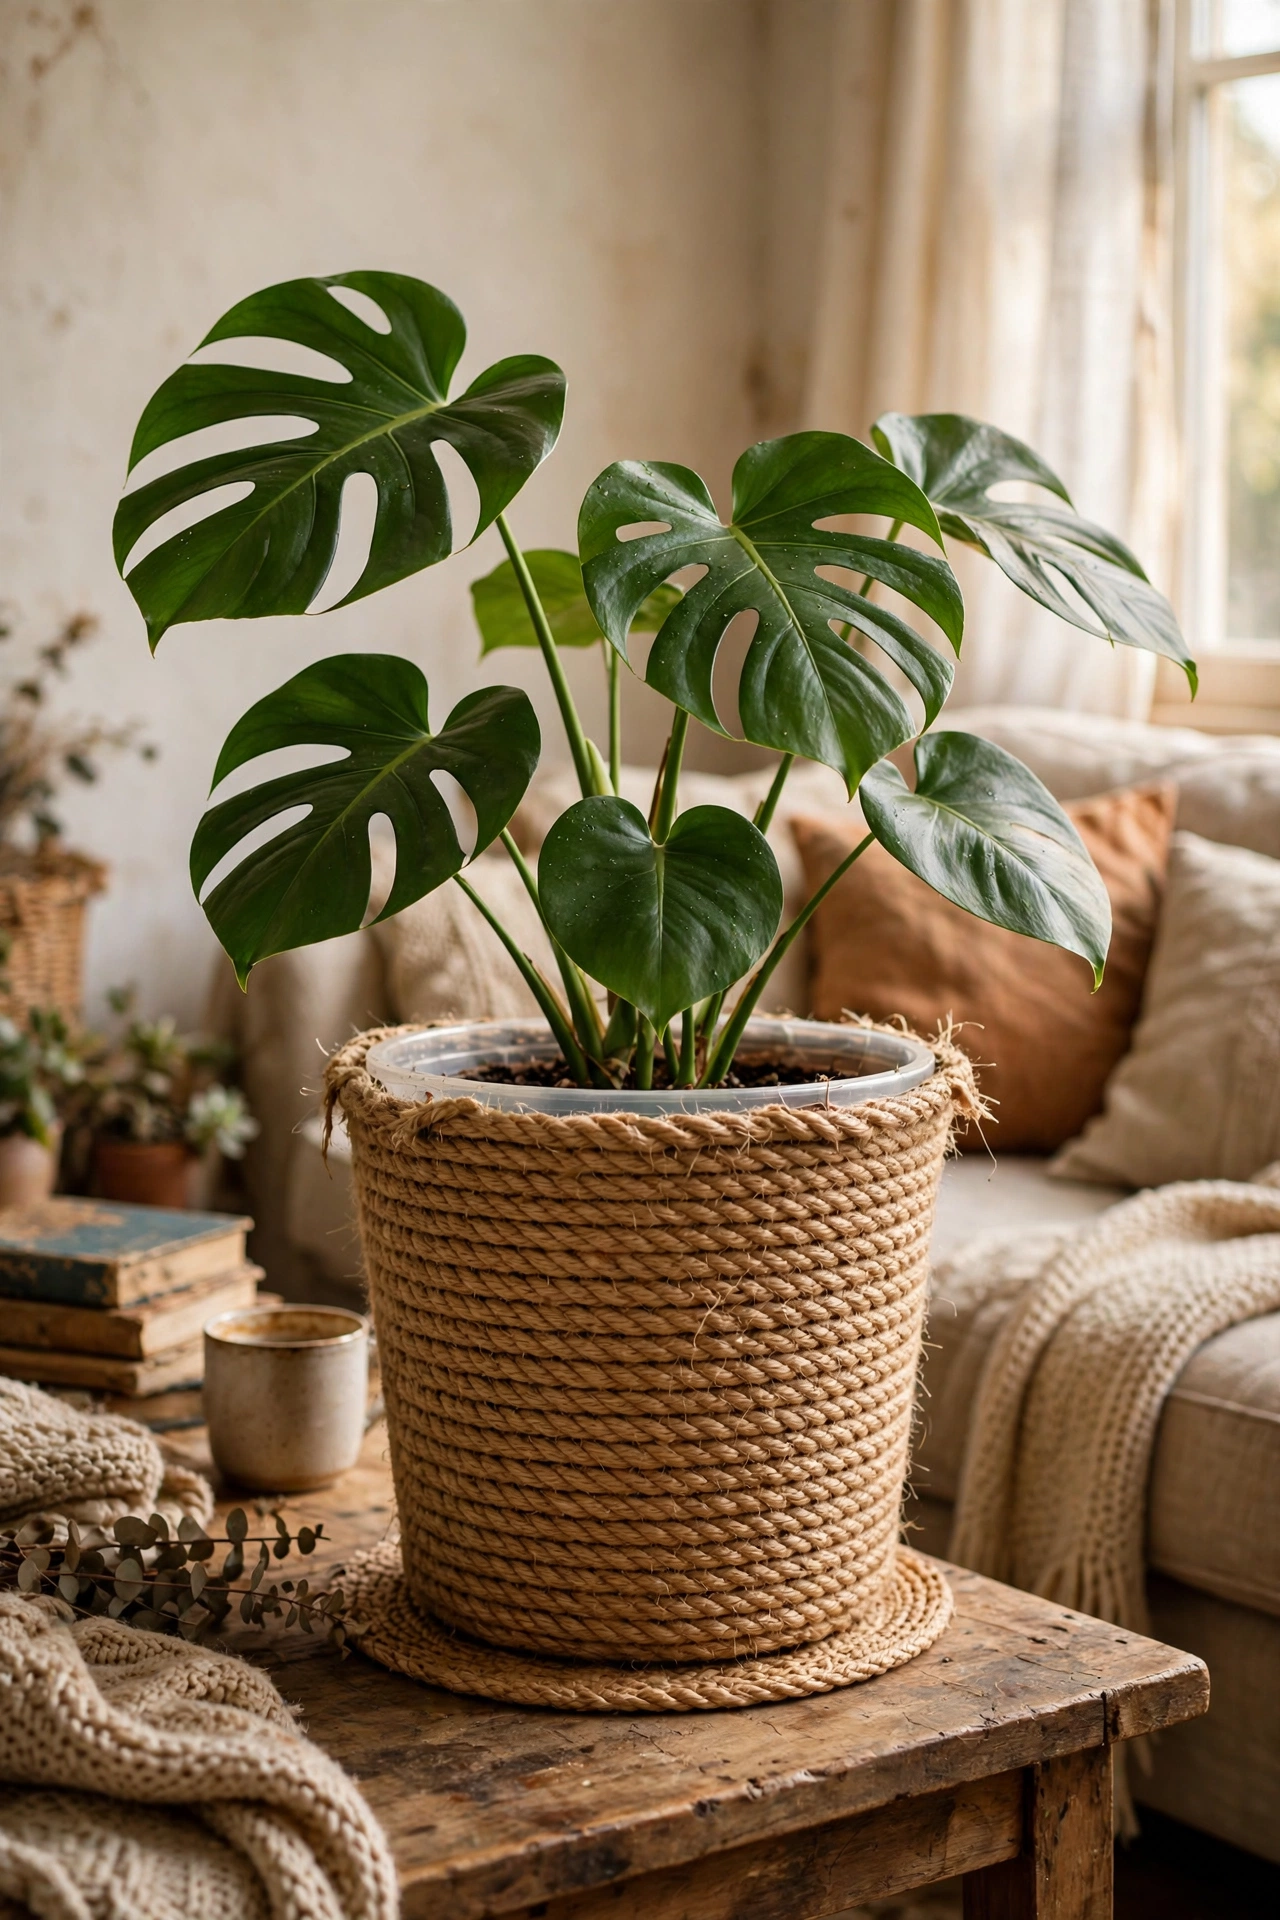
Wrapping a plain plastic pot in sisal rope hides the cheapness completely. I hot-glued rope in tight spirals around a 20cm nursery pot, starting at the bottom and working up, keeping each row snug against the last. It took one episode of television and the pot now looks like a proper seagrass basket. Keep the rows tight, because gaps show the plastic underneath. Mine holds a big monstera in my living room corner. Natural rope suits boho rooms; white cotton rope suits minimal ones.
Cost: ~$4-8 | Time: 1 hour
15. Painted Plastic Pot Glow-Up
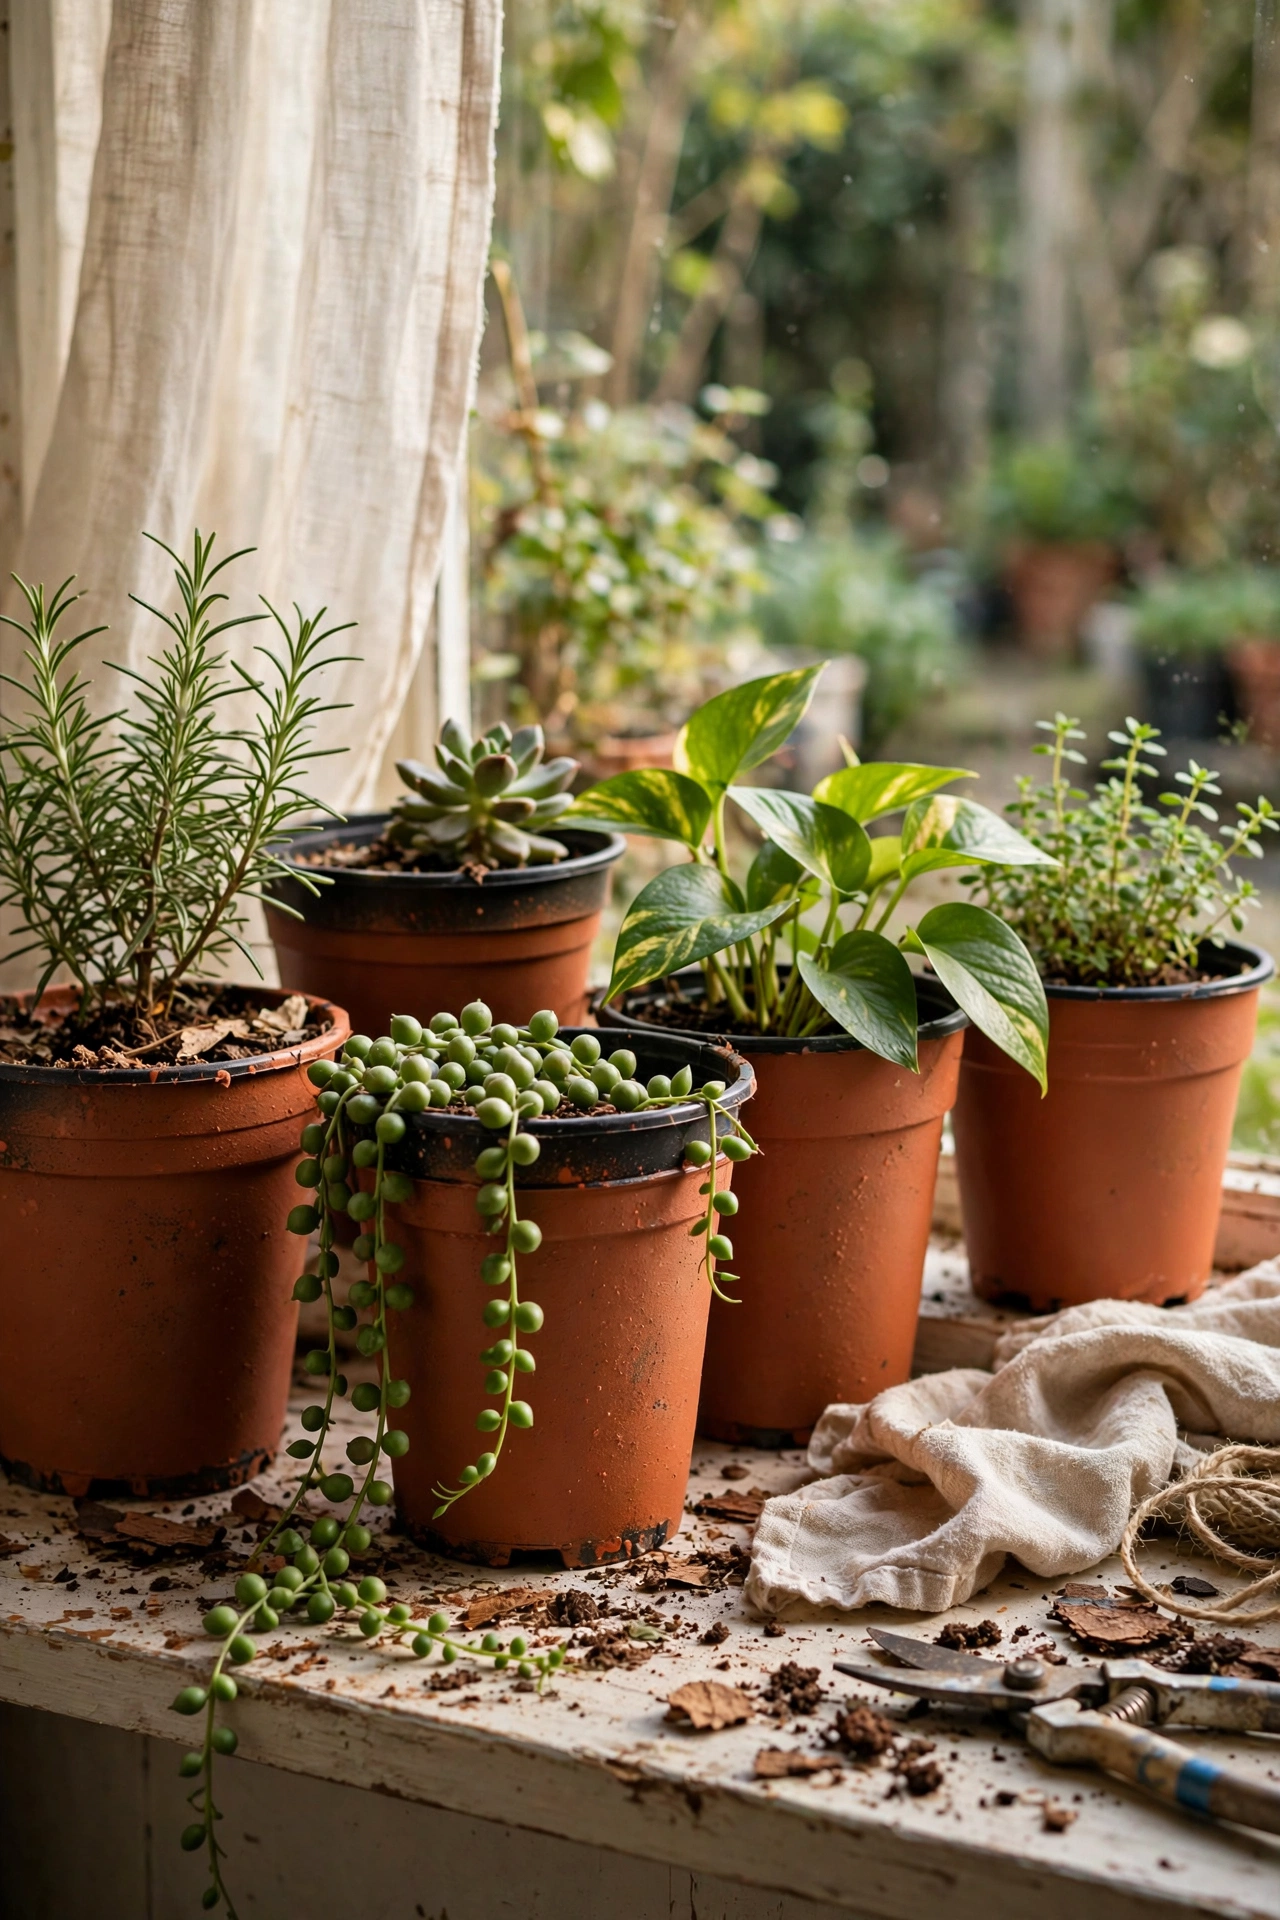
Those ugly brown nursery pots transform with a coat of spray paint made for plastic. I cleaned mine with soapy water, scuffed them lightly with sandpaper, and sprayed two thin coats of matte terracotta. The trick is the plastic-specific paint; ordinary paint peels off within weeks, which I learned the annoying way. A whole set of matching pots costs less than one ceramic one. Mine have been outside for two years with only minor chips. Touch them up each spring and they look new.
Cost: ~$5-10 | Time: 45 minutes plus drying
16. Gutter Garden Planter
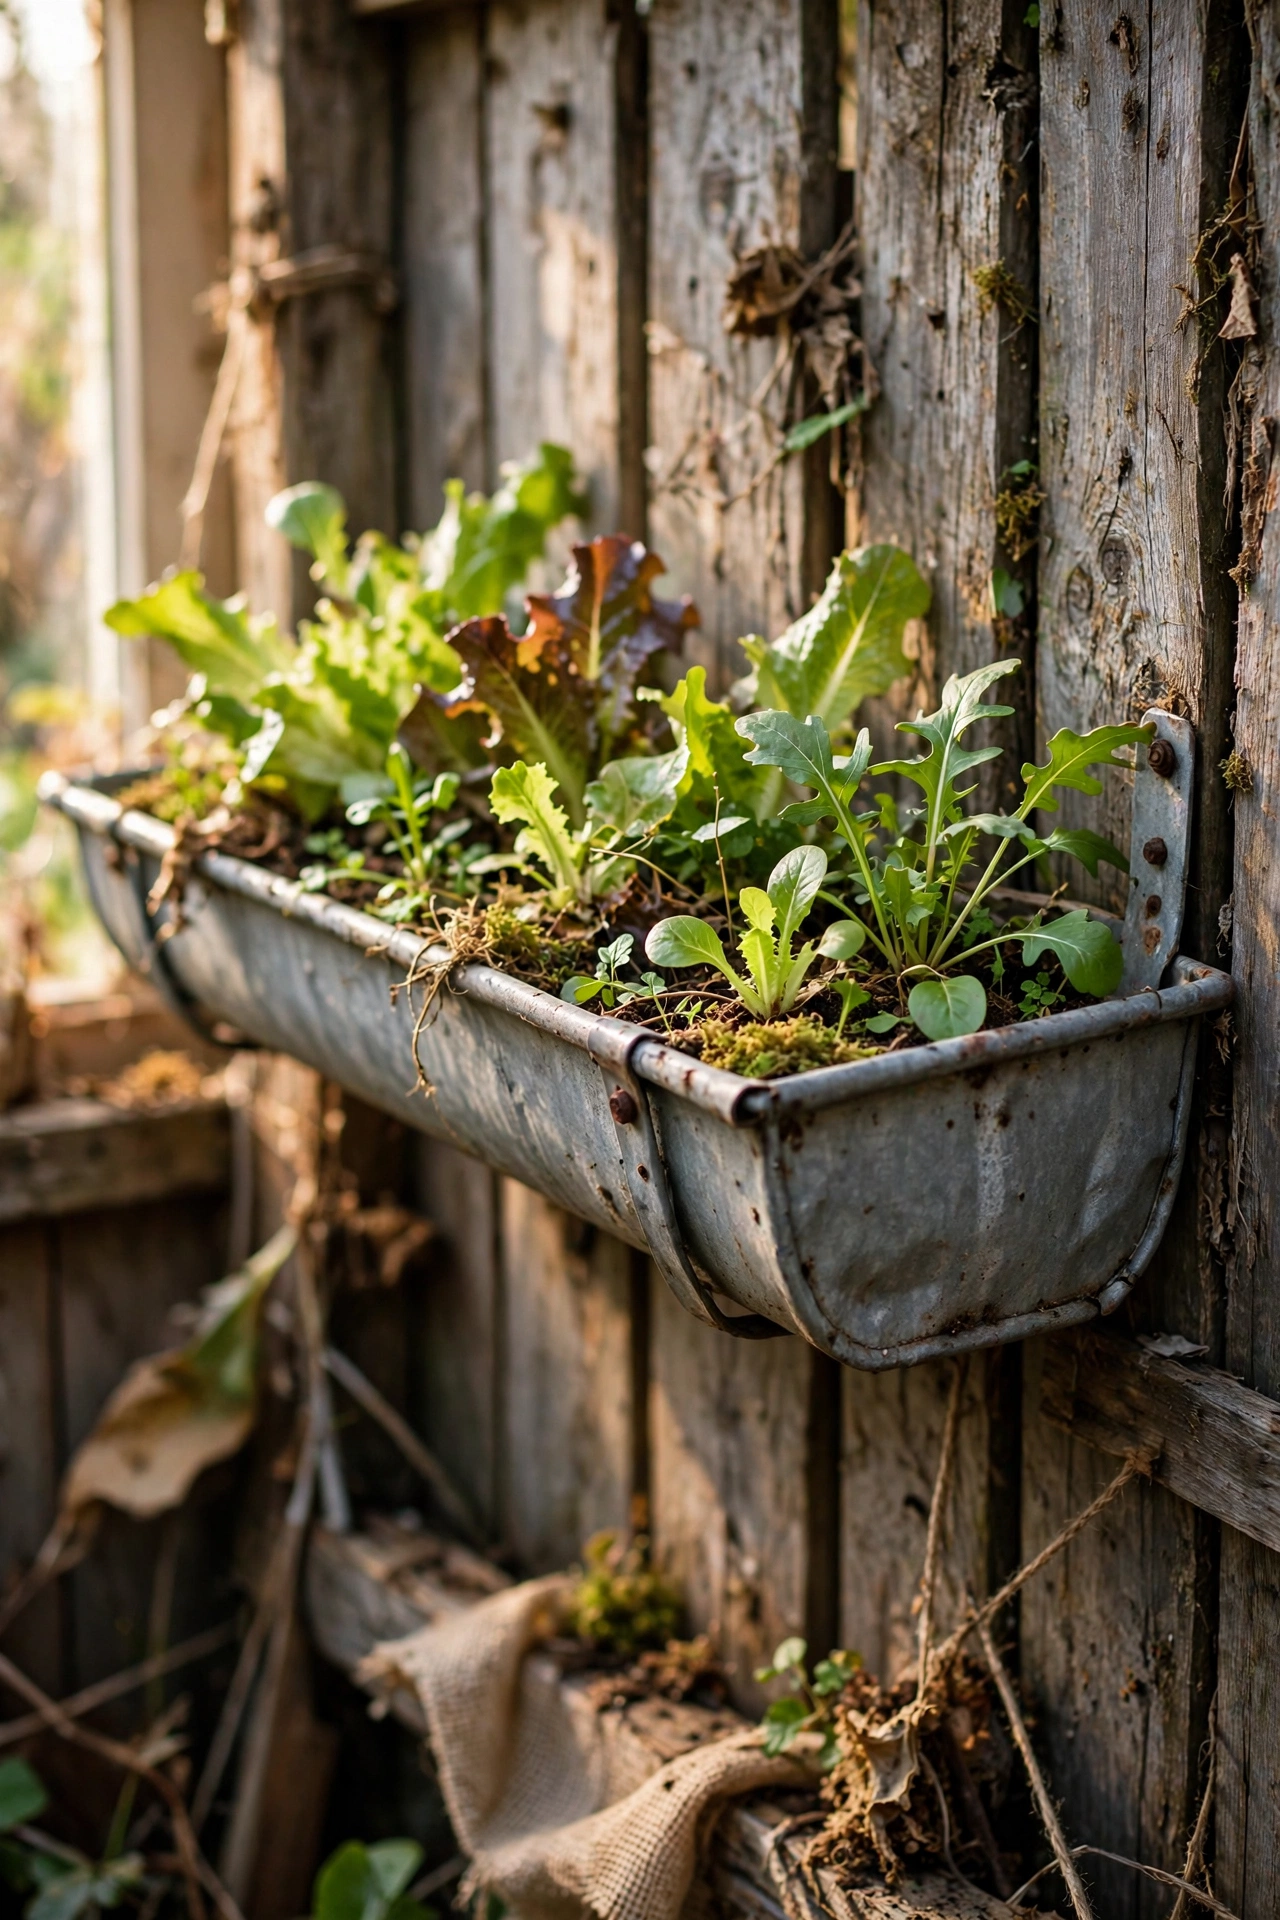
A length of old guttering mounted on a fence becomes a shallow planter perfect for salad leaves and strawberries. I capped both ends, drilled drainage holes along the bottom, screwed it to my fence at waist height, and filled it with compost. Waist height means no bending to pick salad, which my back appreciates. Mount a second length below the first for double the growing space. Mine grows cut-and-come-again lettuce all summer. Ask gutter installers for offcuts; they throw away perfect lengths.
Cost: ~$5-12 | Time: 1 hour
Budget check: sixteen done, and the rope-wrapped pot is proof that the cheapest project can look the most expensive. One ball of sisal rope covers about four pots.
17. Chair Seat Planter
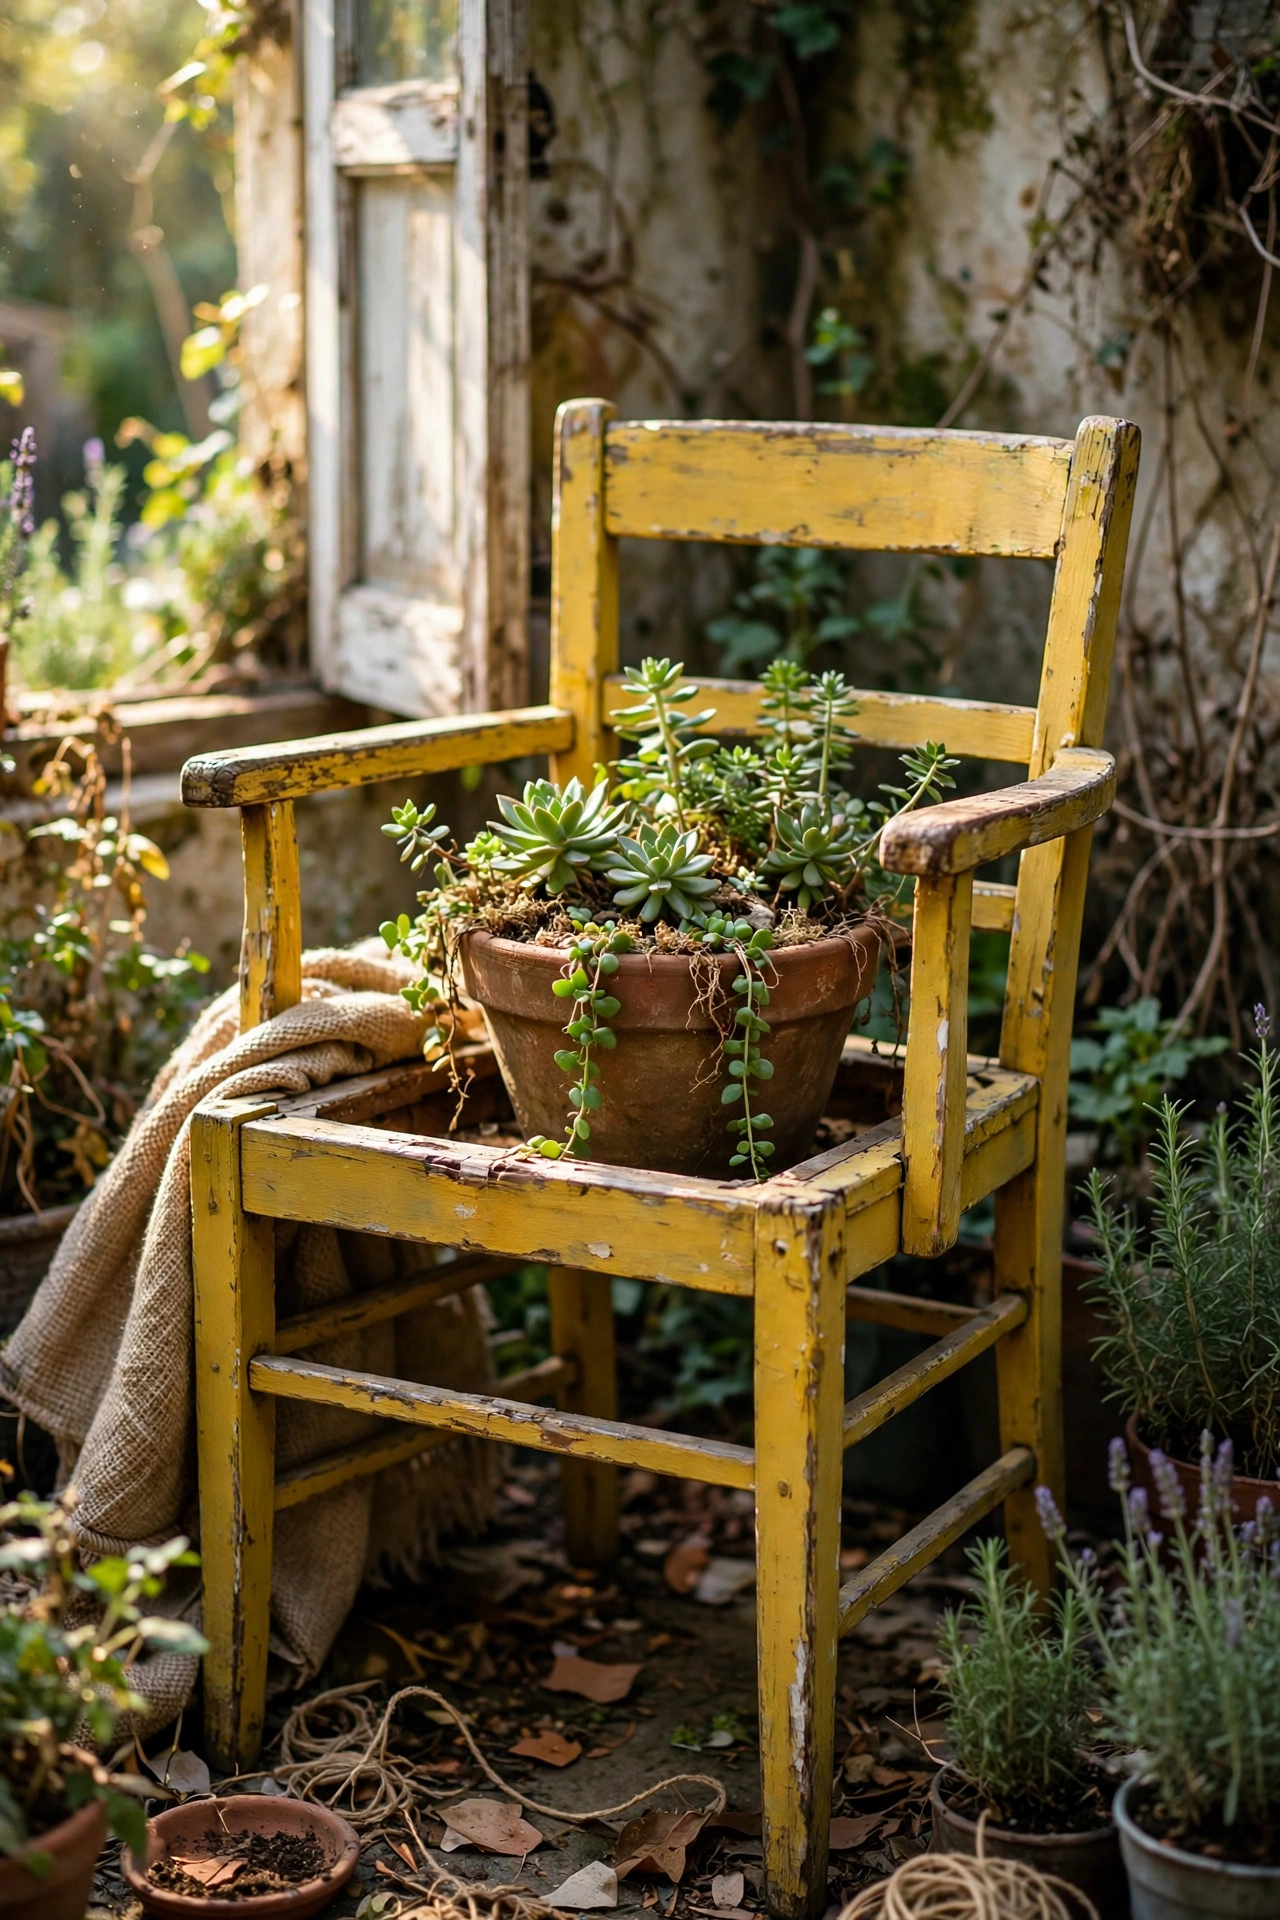
A broken chair with the seat removed becomes a quirky planter stand. I took the seat out of a wobbly dining chair, dropped a terracotta pot into the frame, and painted the whole chair a cheerful yellow. The chair back gives climbing plants something to scramble up, which looks wonderful with sweet peas. Make sure the chair is stable before you plant, because a wobbly chair plus a heavy pot is a bad combination. Mine is the talking point of my garden. This pairs nicely with the wreath ideas in (see also: 23-diy-wreath-ideas-for-every-season) for a coordinated porch look.
Cost: ~$5-12 | Time: 1 hour plus drying
18. Bicycle Basket Planter
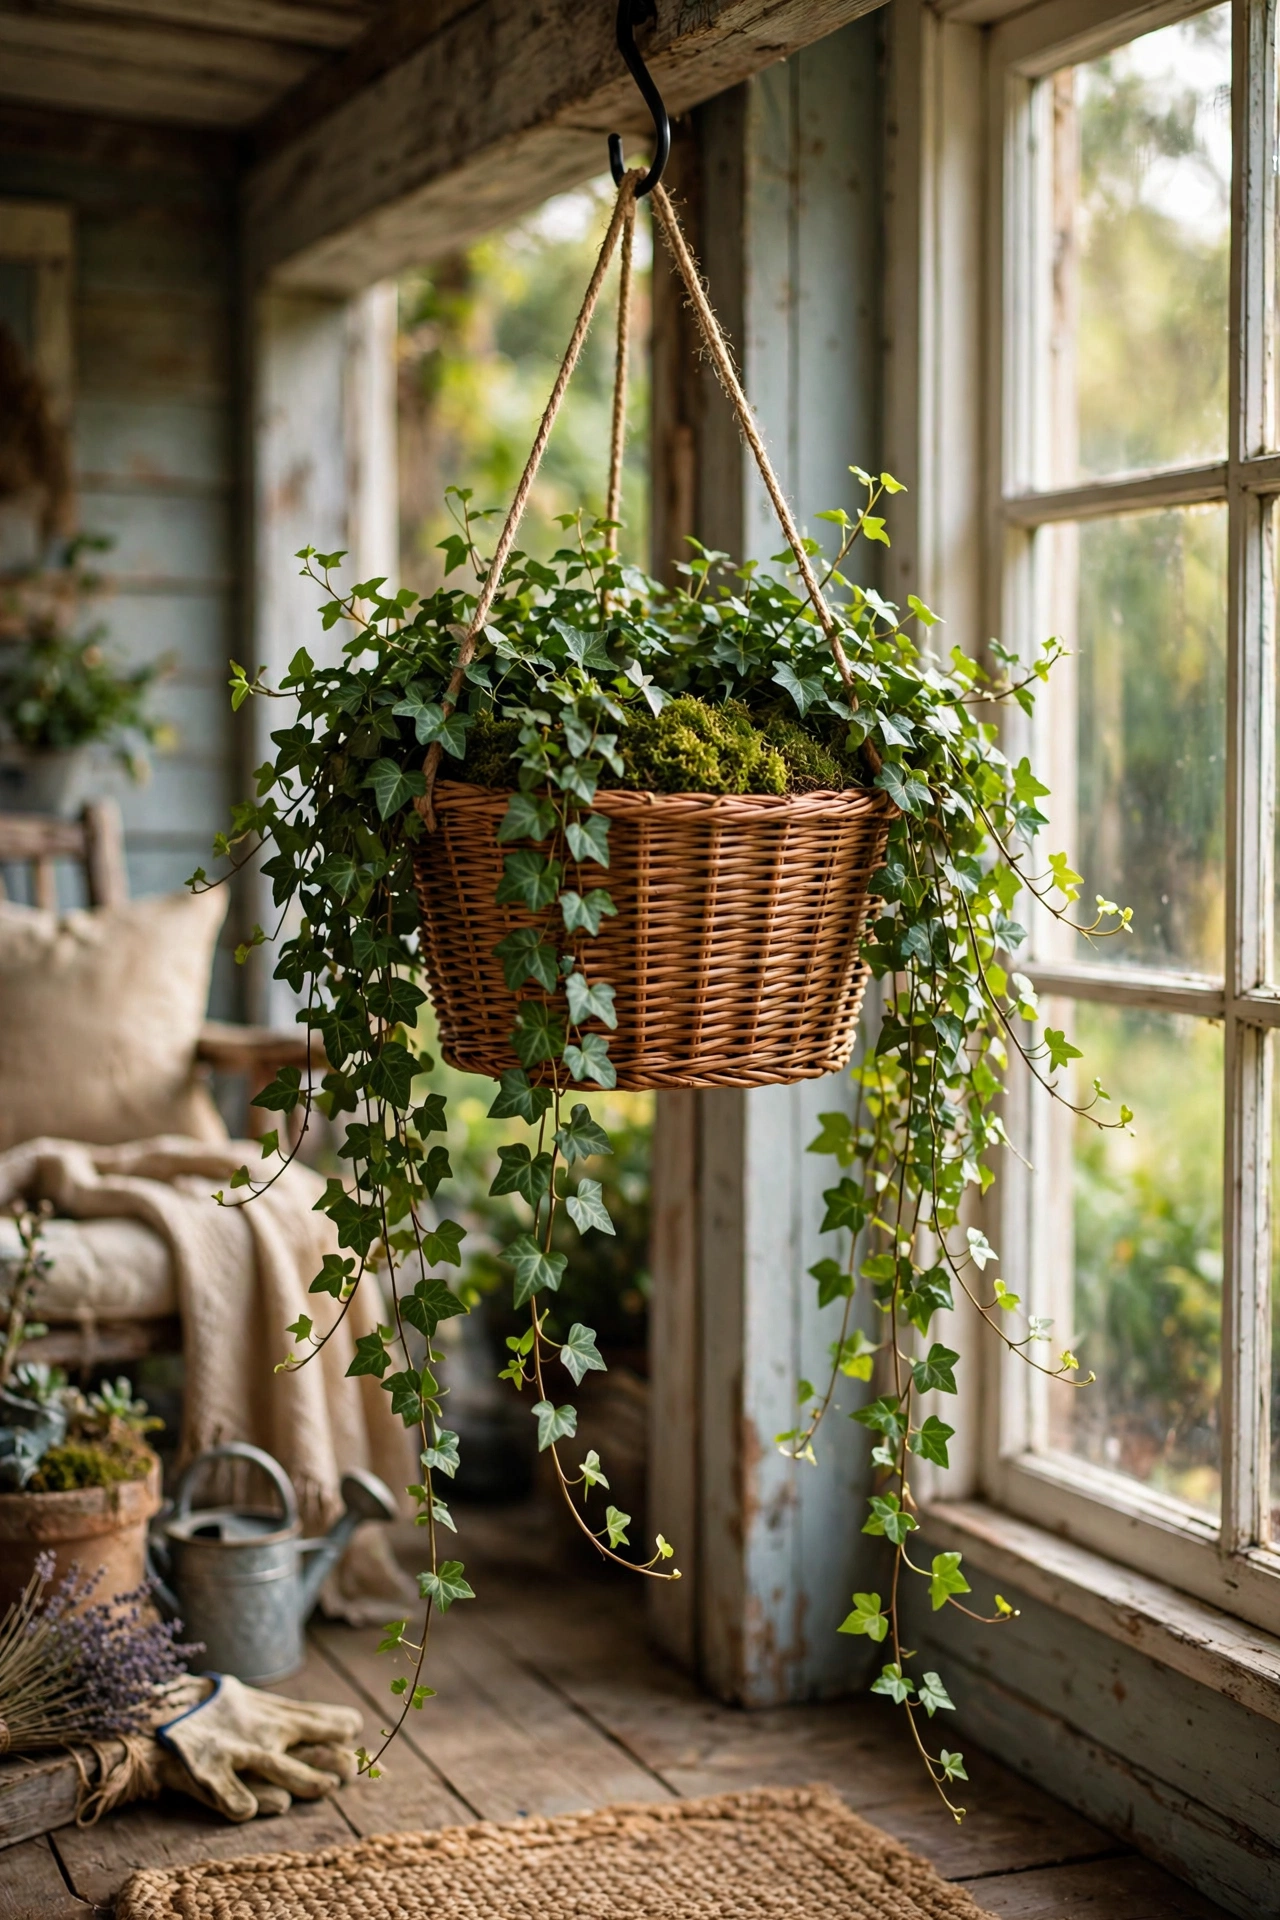
A wicker bicycle basket lined with moss makes a romantic planter for a porch or fence. I lined mine with a thick layer of sphagnum moss, filled it with compost, and planted trailing ivy and violas. Hang it from a sturdy hook, because a planted basket is surprisingly heavy. The moss lining holds moisture well, so it needs less watering than you would expect. Mine hangs by my front door from April to October. A second-hand basket from a charity shop costs a couple of pounds.
Cost: ~$5-10 | Time: 30 minutes
19. Shoe Organiser Wall Garden
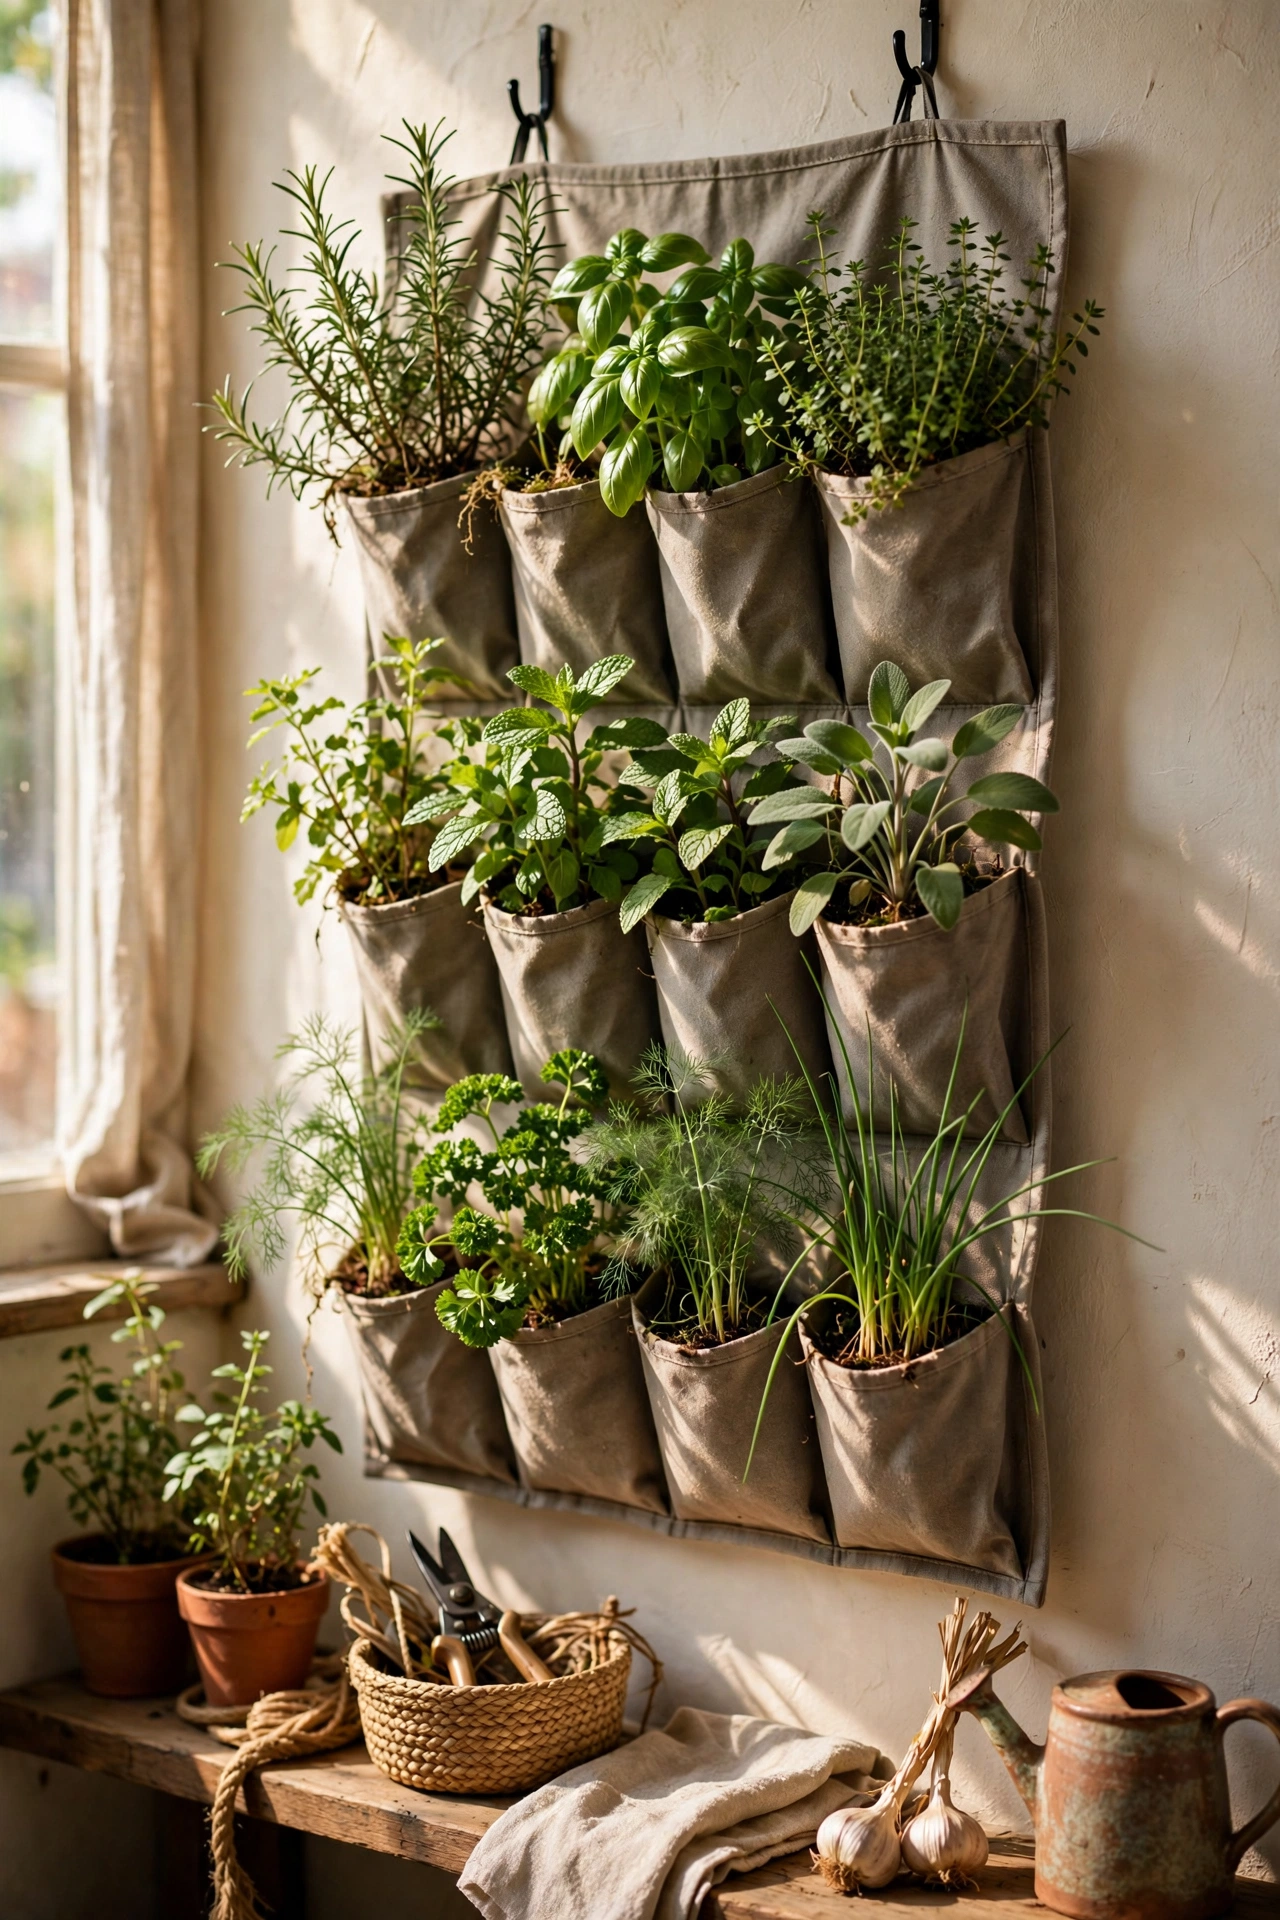
A fabric over-the-door shoe organiser hung on a sunny wall becomes an instant vertical herb garden. I filled each pocket with compost and planted herbs, salad leaves, and small flowers, working from the top down. Poke a small drainage slit in the bottom of each pocket so water does not pool. Mine hangs on my balcony railing and grew all my summer herbs in a one-metre strip. The pockets dry out fast in sun, so water daily in hot weather. It costs less than one bag of shop herbs.
Cost: ~$6-12 | Time: 45 minutes
20. Birdcage Planter
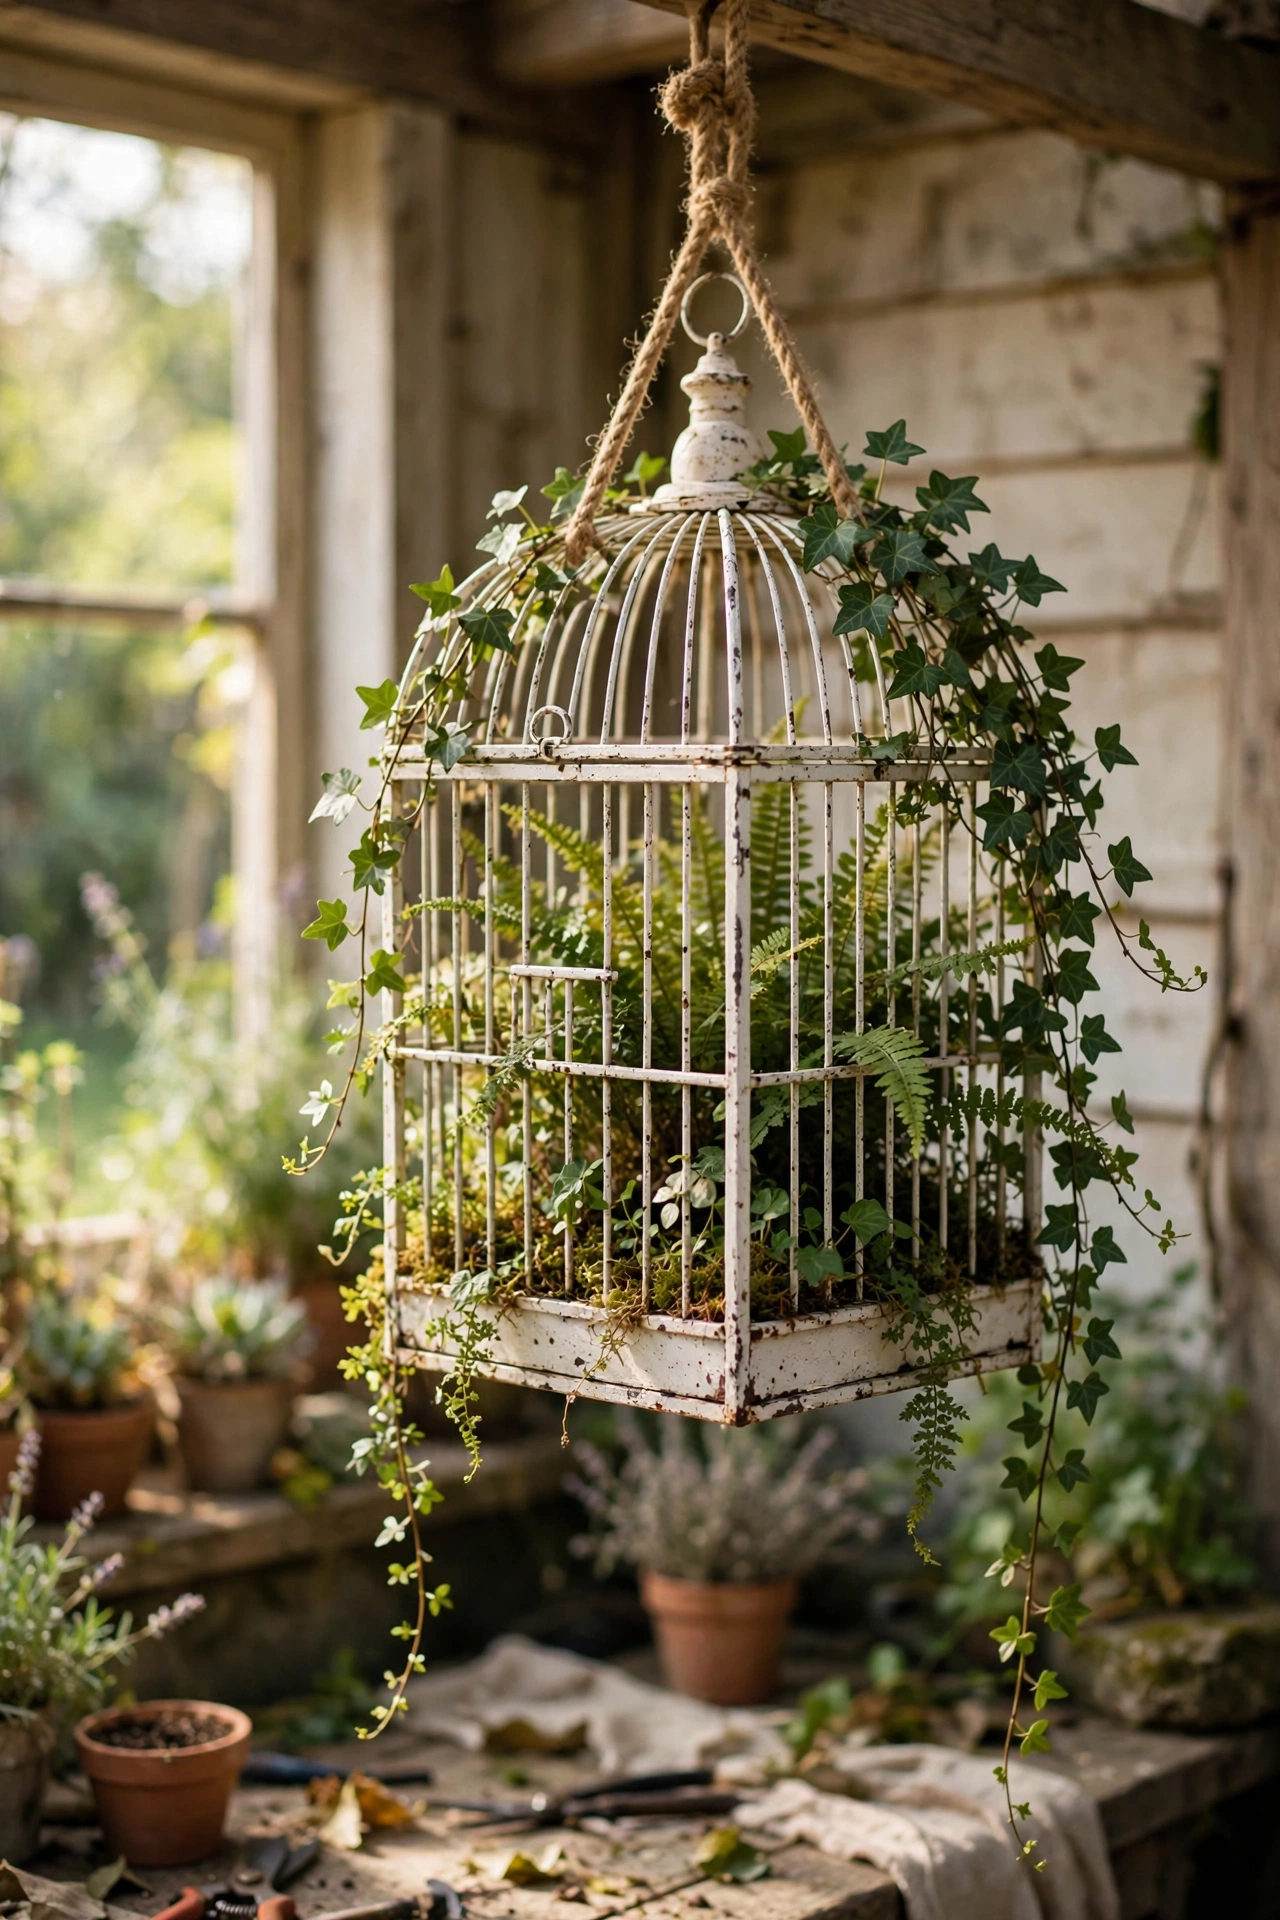
An old decorative birdcage filled with trailing plants is pure garden romance. I lined the bottom of a charity-shop birdcage with moss, added compost, and planted ivy and ferns that spill through the bars. Hang it from a tree branch or a sturdy bracket for the full effect. The bars protect the plants from curious cats, which is why mine lives where my neighbour’s cat patrols. Spray-paint a rusty cage white first and it looks brand new. Air plants tucked into the top work too.
Cost: ~$6-14 | Time: 45 minutes
Budget check: twenty planters done, and the shoe organiser might be the highest yield per pound on the whole list. A full herb garden for the price of one shop-bought pot.
21. Log Slice Planters
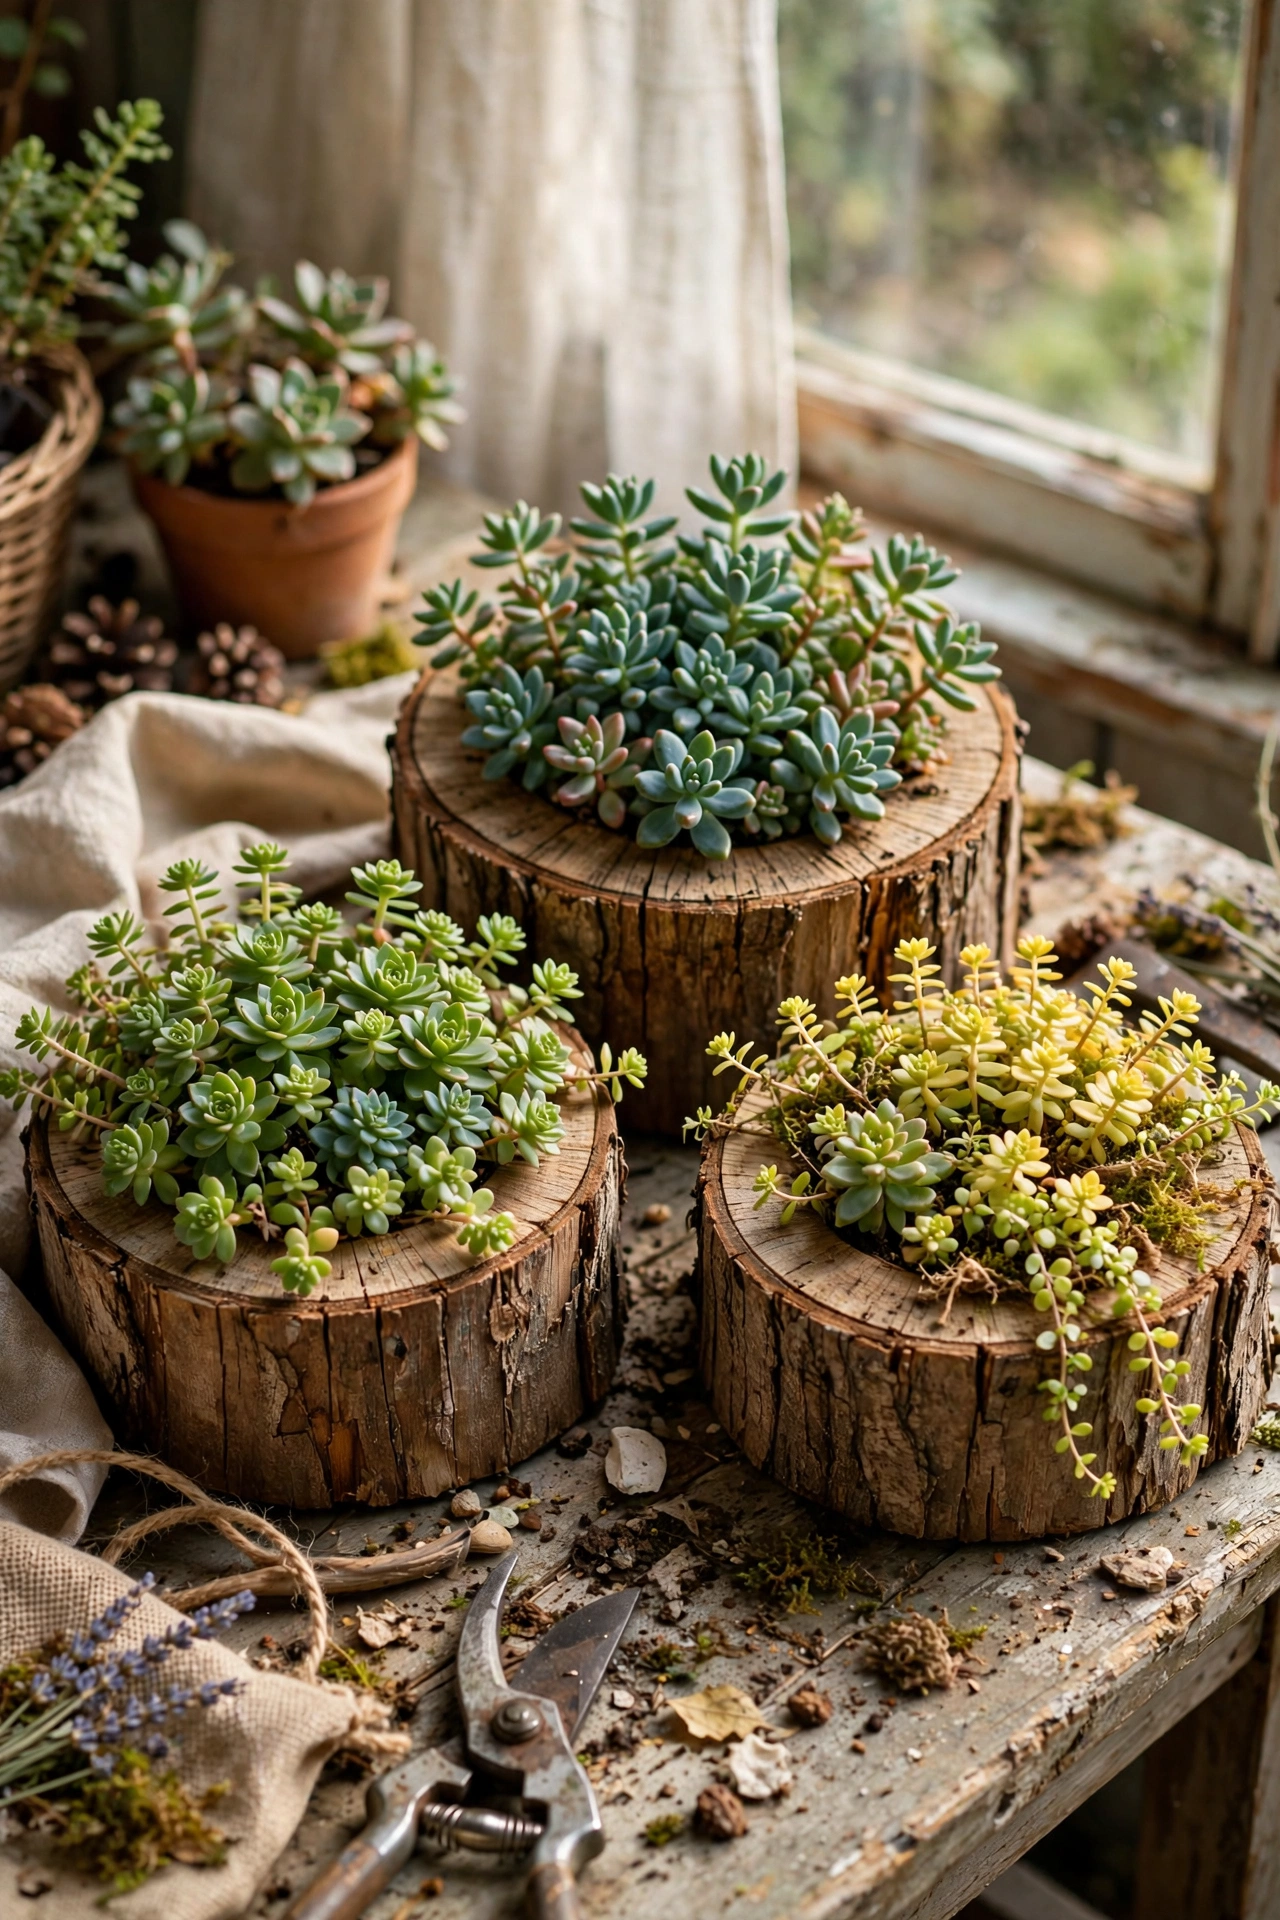
Thick slices of log hollowed out make rustic planters with real woodland charm. I chiselled a shallow bowl into the top of three log slices, drilled a drainage hole through each, and planted sedums in the hollows. Use hardwood logs that are fully dry, because fresh wood splits as it dries. Mine sit on my garden table and the sedums have slowly colonised the bark too. Seal the hollow with linseed oil so the wood does not rot too fast.
Cost: ~$3-8 | Time: 1.5 hours
22. Toolbox Herb Garden
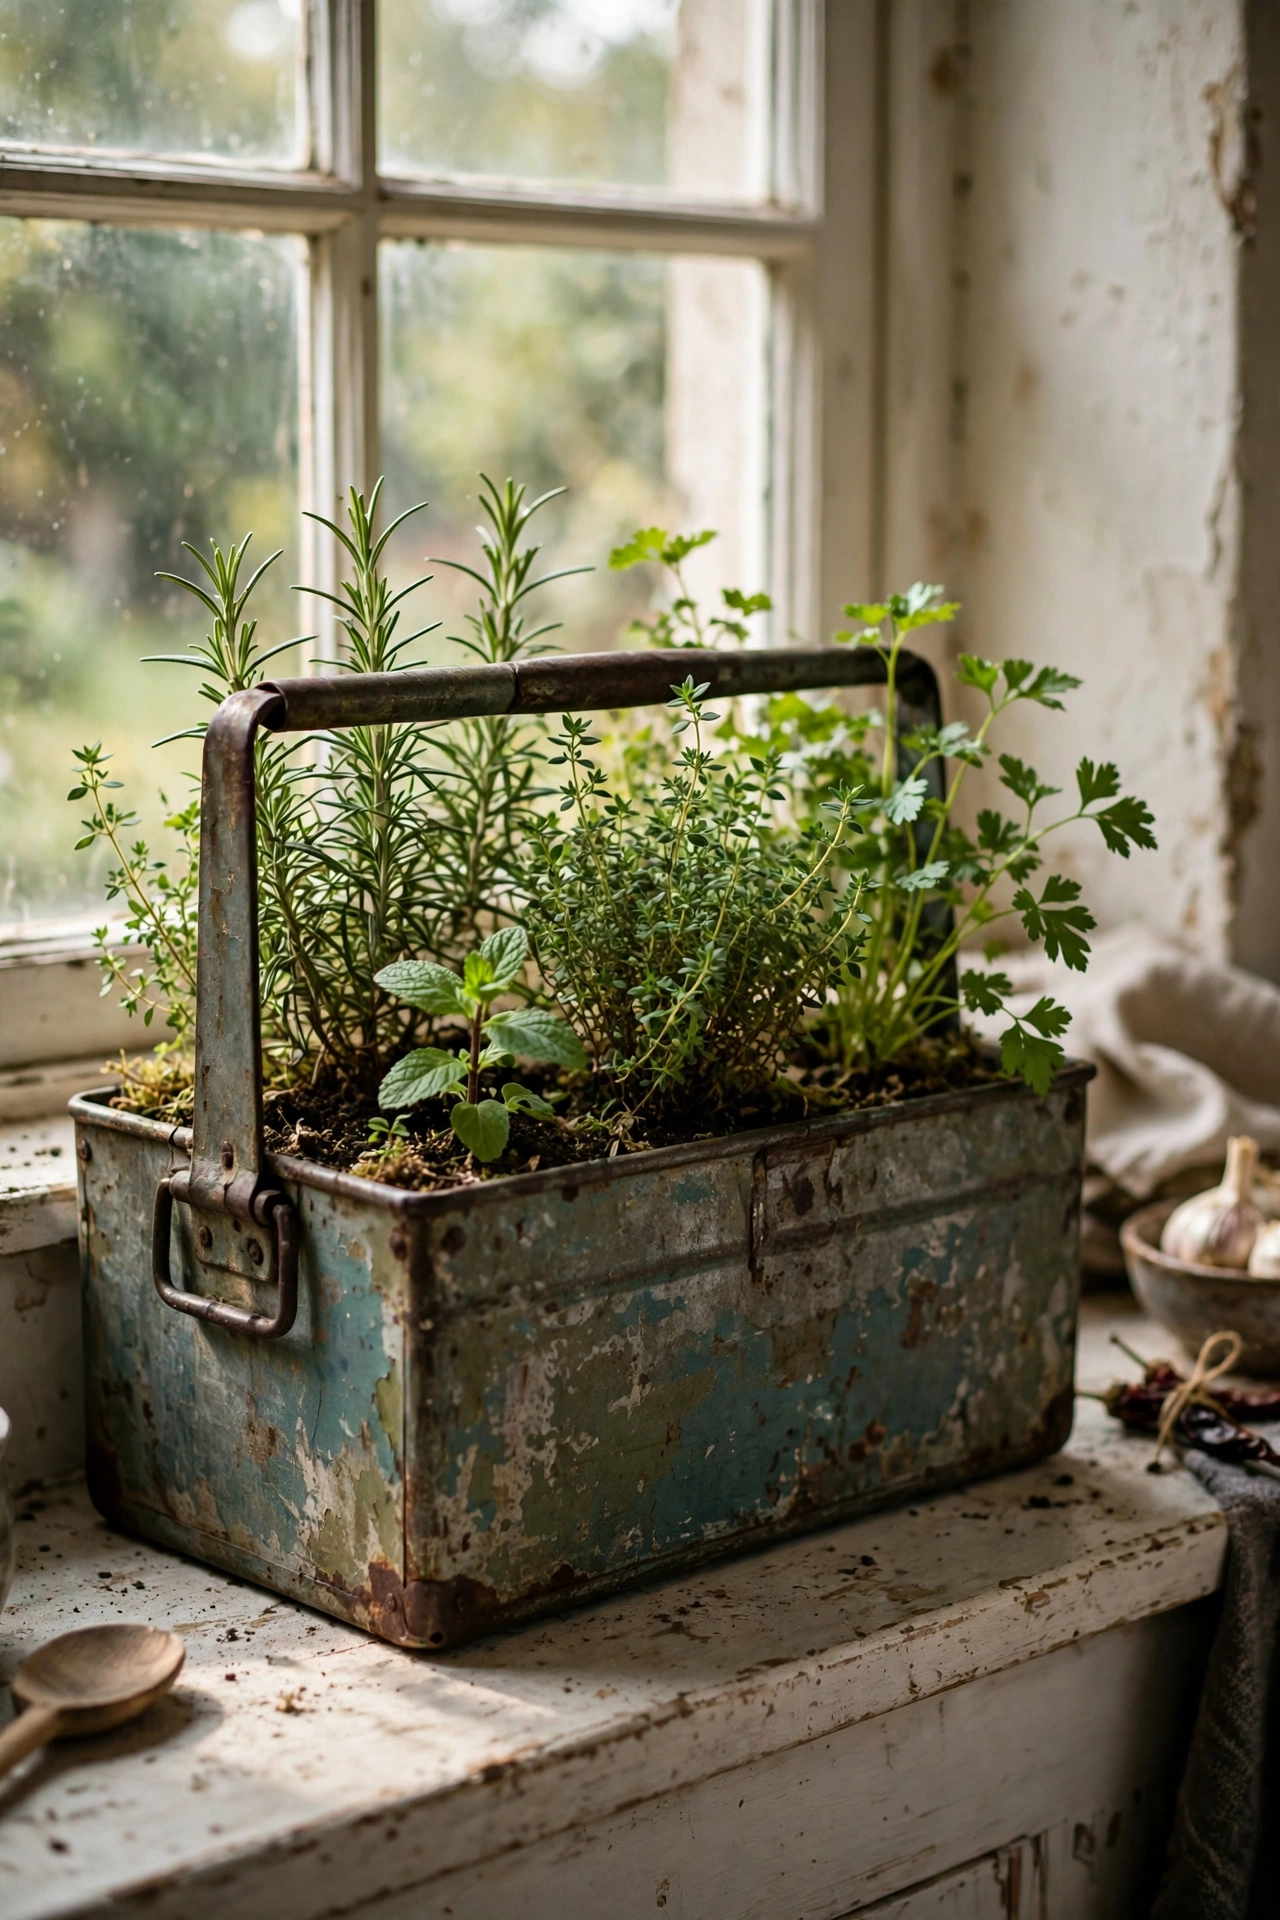
An old metal toolbox with the lid open makes a portable herb garden with vintage charm. I drilled drainage holes in the bottom of a rusty toolbox, filled it with compost, and planted thyme, oregano, and chives in a row. The handle makes it easy to carry inside when frost threatens, which has saved my herbs twice. Line it with a bin bag to slow the rust, and it will last for years. Mine sits on my kitchen windowsill all winter. Car boot sales always have toolboxes for a few pounds.
Cost: ~$5-10 | Time: 30 minutes
23. Canvas Tote Hanging Planters
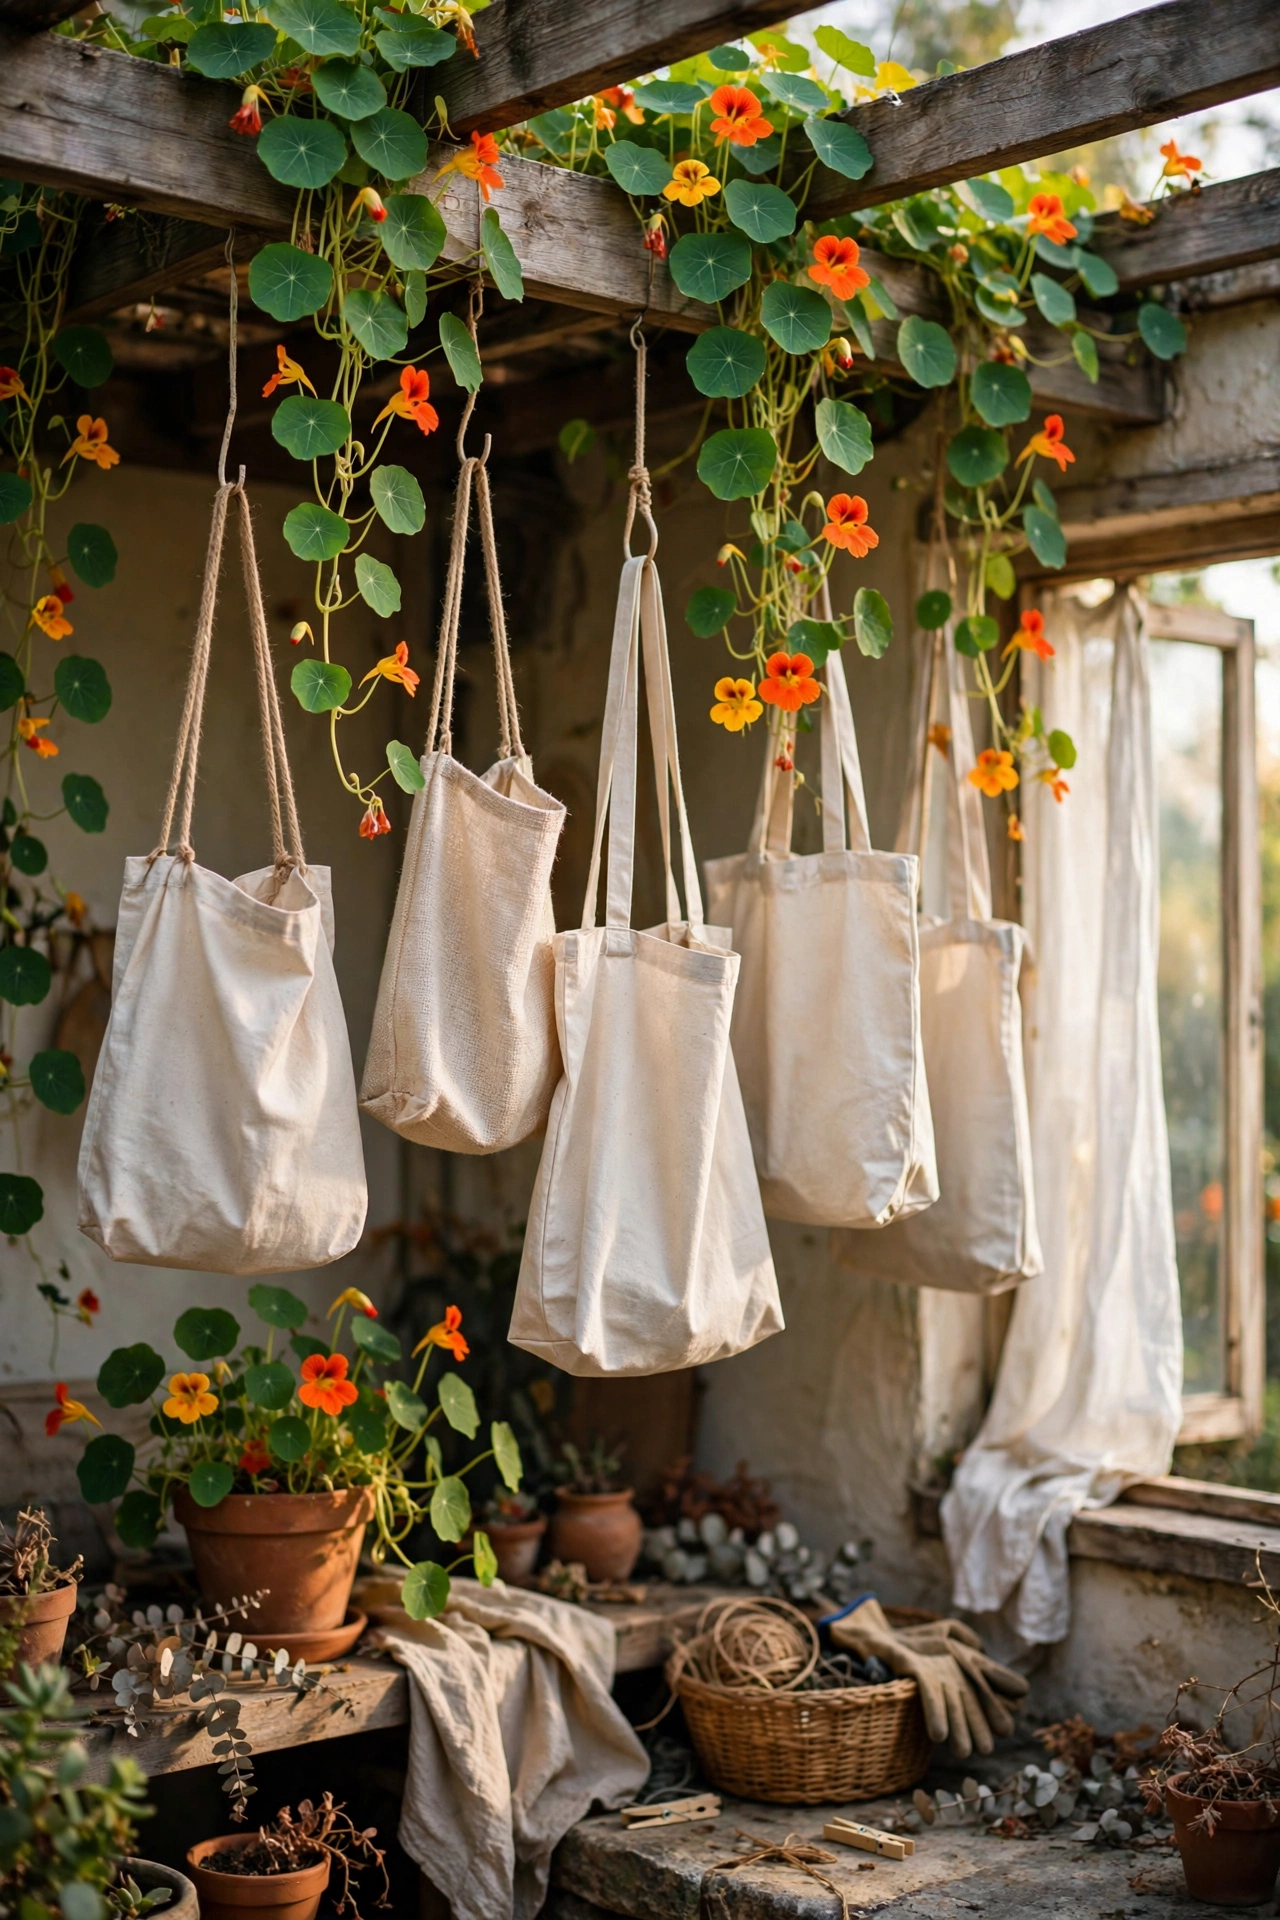
Sturdy canvas tote bags hung from hooks make soft, casual hanging planters. I lined two plain tote bags with bin bags, poked drainage holes, filled them with compost, and hung them from my pergola. The fabric breathes well, so the roots stay healthy, and the whole thing weighs less than a ceramic pot. Mine hold trailing nasturtiums that cascade down beautifully. Choose totes with strong stitched handles, because a full bag of wet compost is heavy. They last about two seasons before the fabric gives out.
Cost: ~$4-10 | Time: 30 minutes
24. Stacked Terracotta Tier Planter
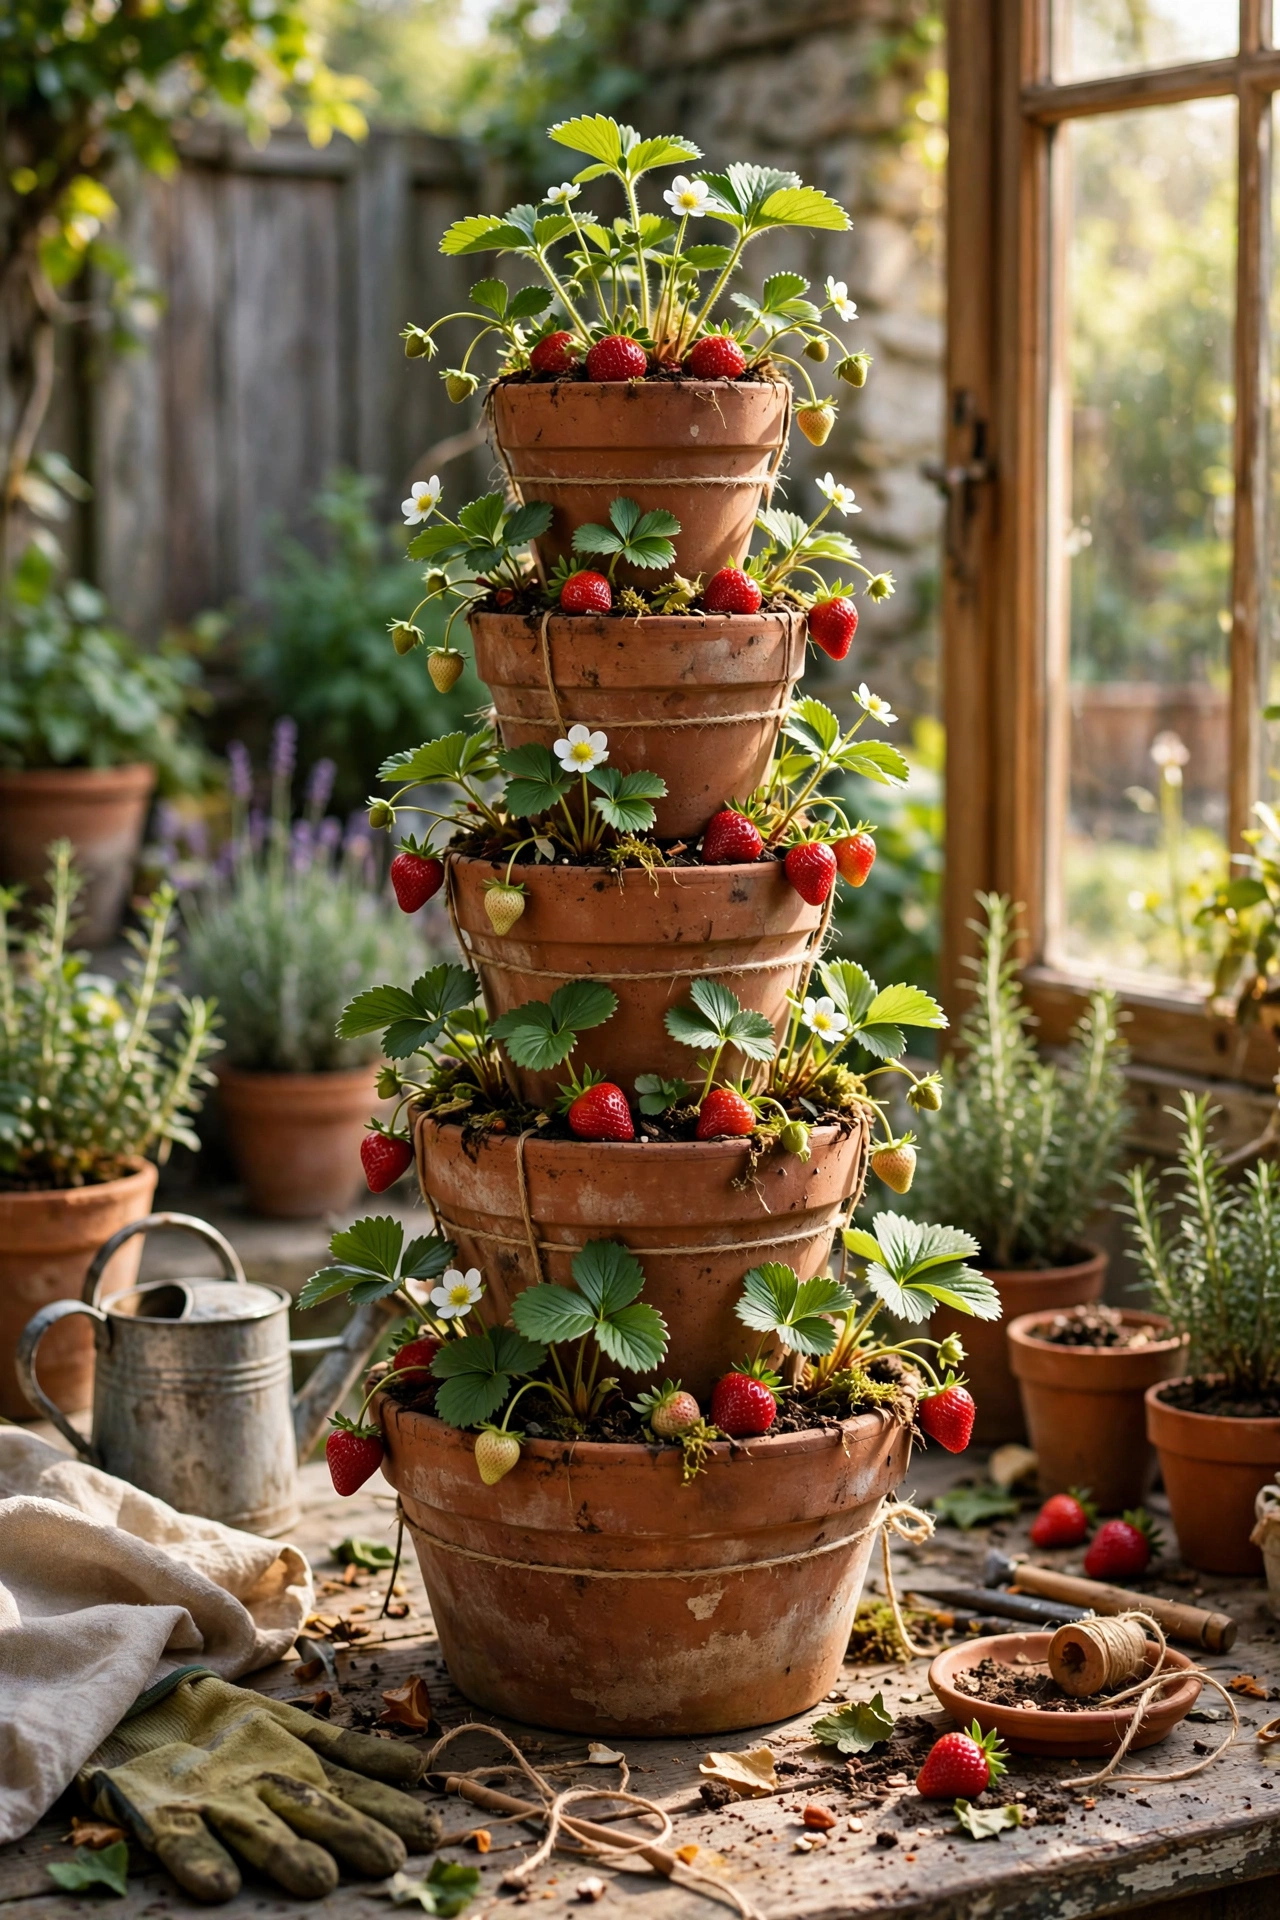
Three terracotta pots stacked largest to smallest on a central rod make a classic tiered strawberry tower. I threaded the pots onto a metal rod hammered into the ground, filling each with compost as I went, and planted strawberries in the rim gaps of each tier. The rod keeps the whole tower stable in wind, which freestanding stacks are not. Mine produced enough strawberries for a summer of desserts. Water the top pot and let it drain down; the bottom tier stays moist longest.
Cost: ~$10-18 | Time: 1 hour
Budget check: one to go, and the running total for all 25 projects is still less than one fancy garden-centre planter. The terracotta tower is the priciest at $18, and it grows dessert.
25. Kokedama Moss Ball Hangers
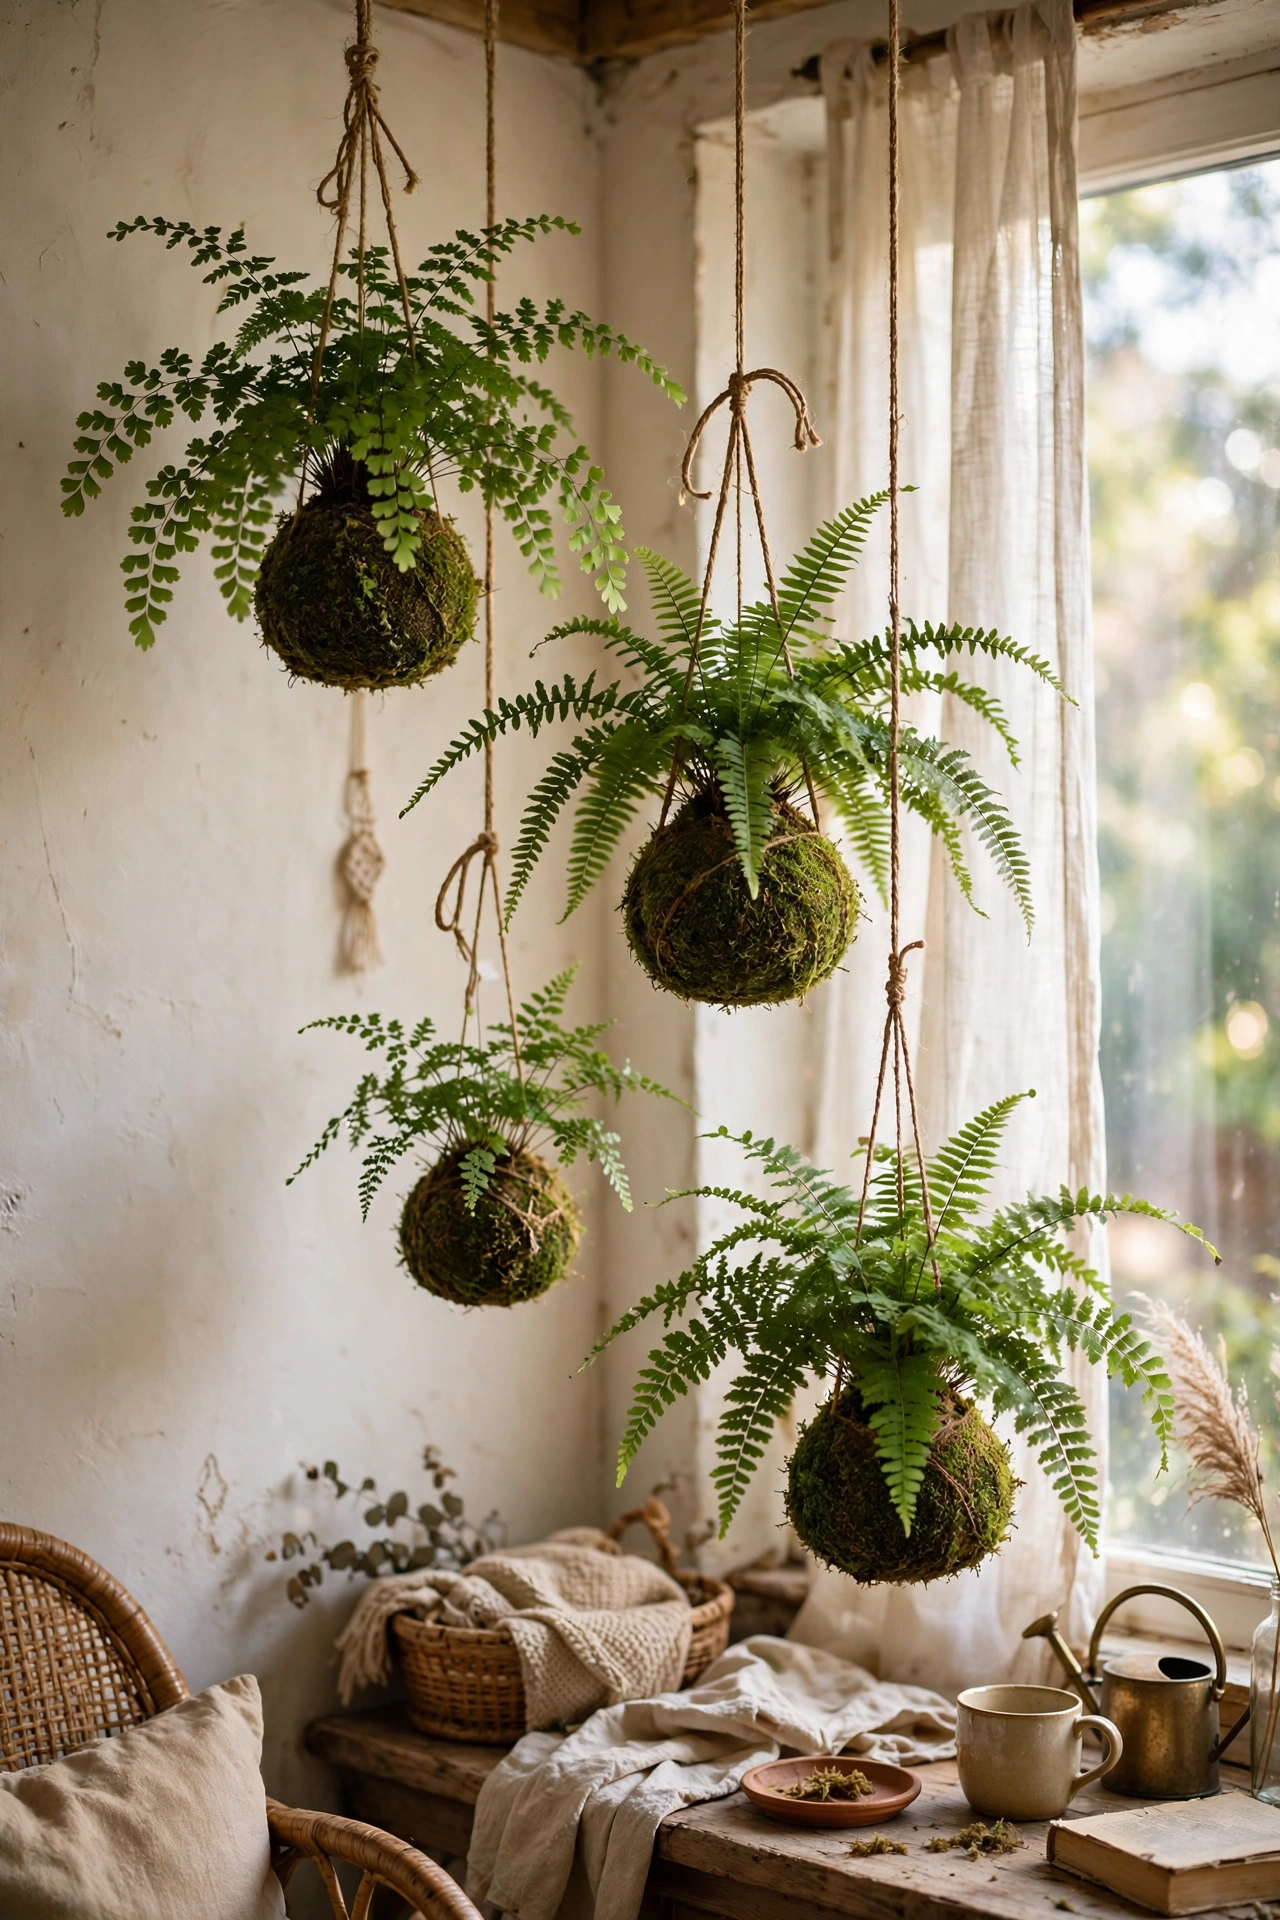
Kokedama, the Japanese art of moss-ball planting, makes the most striking hanging planters on this list. I wrapped a fern’s root ball in damp sphagnum moss, bound it with twine into a neat ball, and hung it from the ceiling with fishing line. Soak the ball in the sink for ten minutes when it feels light; that is the whole watering routine. My first ball unravelled because I was stingy with the twine, so wrap generously. A cluster of three at different heights looks like a floating garden. If you want your porch styled to match, (see also: 23-diy-wreath-ideas-for-every-season) has the wreath to go with it.
Cost: ~$5-10 | Time: 45 minutes
Twenty-five planters, zero full-price pots bought. Save this one for your next rainy-day project list, and start with whatever container is already sitting in your cupboard.
Keep the DIY momentum going: (see also: 23-diy-wreath-ideas-for-every-season) (see also: 17-diy-nightstand-ideas-in-a-weekend) (see also: 25-diy-candle-decor-ideas-on-a-budget)
