15 Minimalist-Style DIY Projects on a Budget
Two years ago my living room looked like a charity shop had exploded in it. Every surface held something: candles I never lit, frames I never straightened, a basket of magazines from 2019. I cleared the lot one rainy Saturday and realised the room did not need more stuff, it needed better choices. Minimalist diy decor turned out to be the cheapest way to get there, because restraint costs nothing and a few handmade pieces beat a trolley full of impulse buys.
These 15 projects are the ones that survived my ruthless clear-outs. Every one costs under $25 and uses simple materials: raw wood, linen, clay, paper, and paint. Nothing needs a workshop or fancy tools. Start with whichever room feels most cluttered and make one piece this weekend.
1. Floating Oak Shelf from a Single Plank
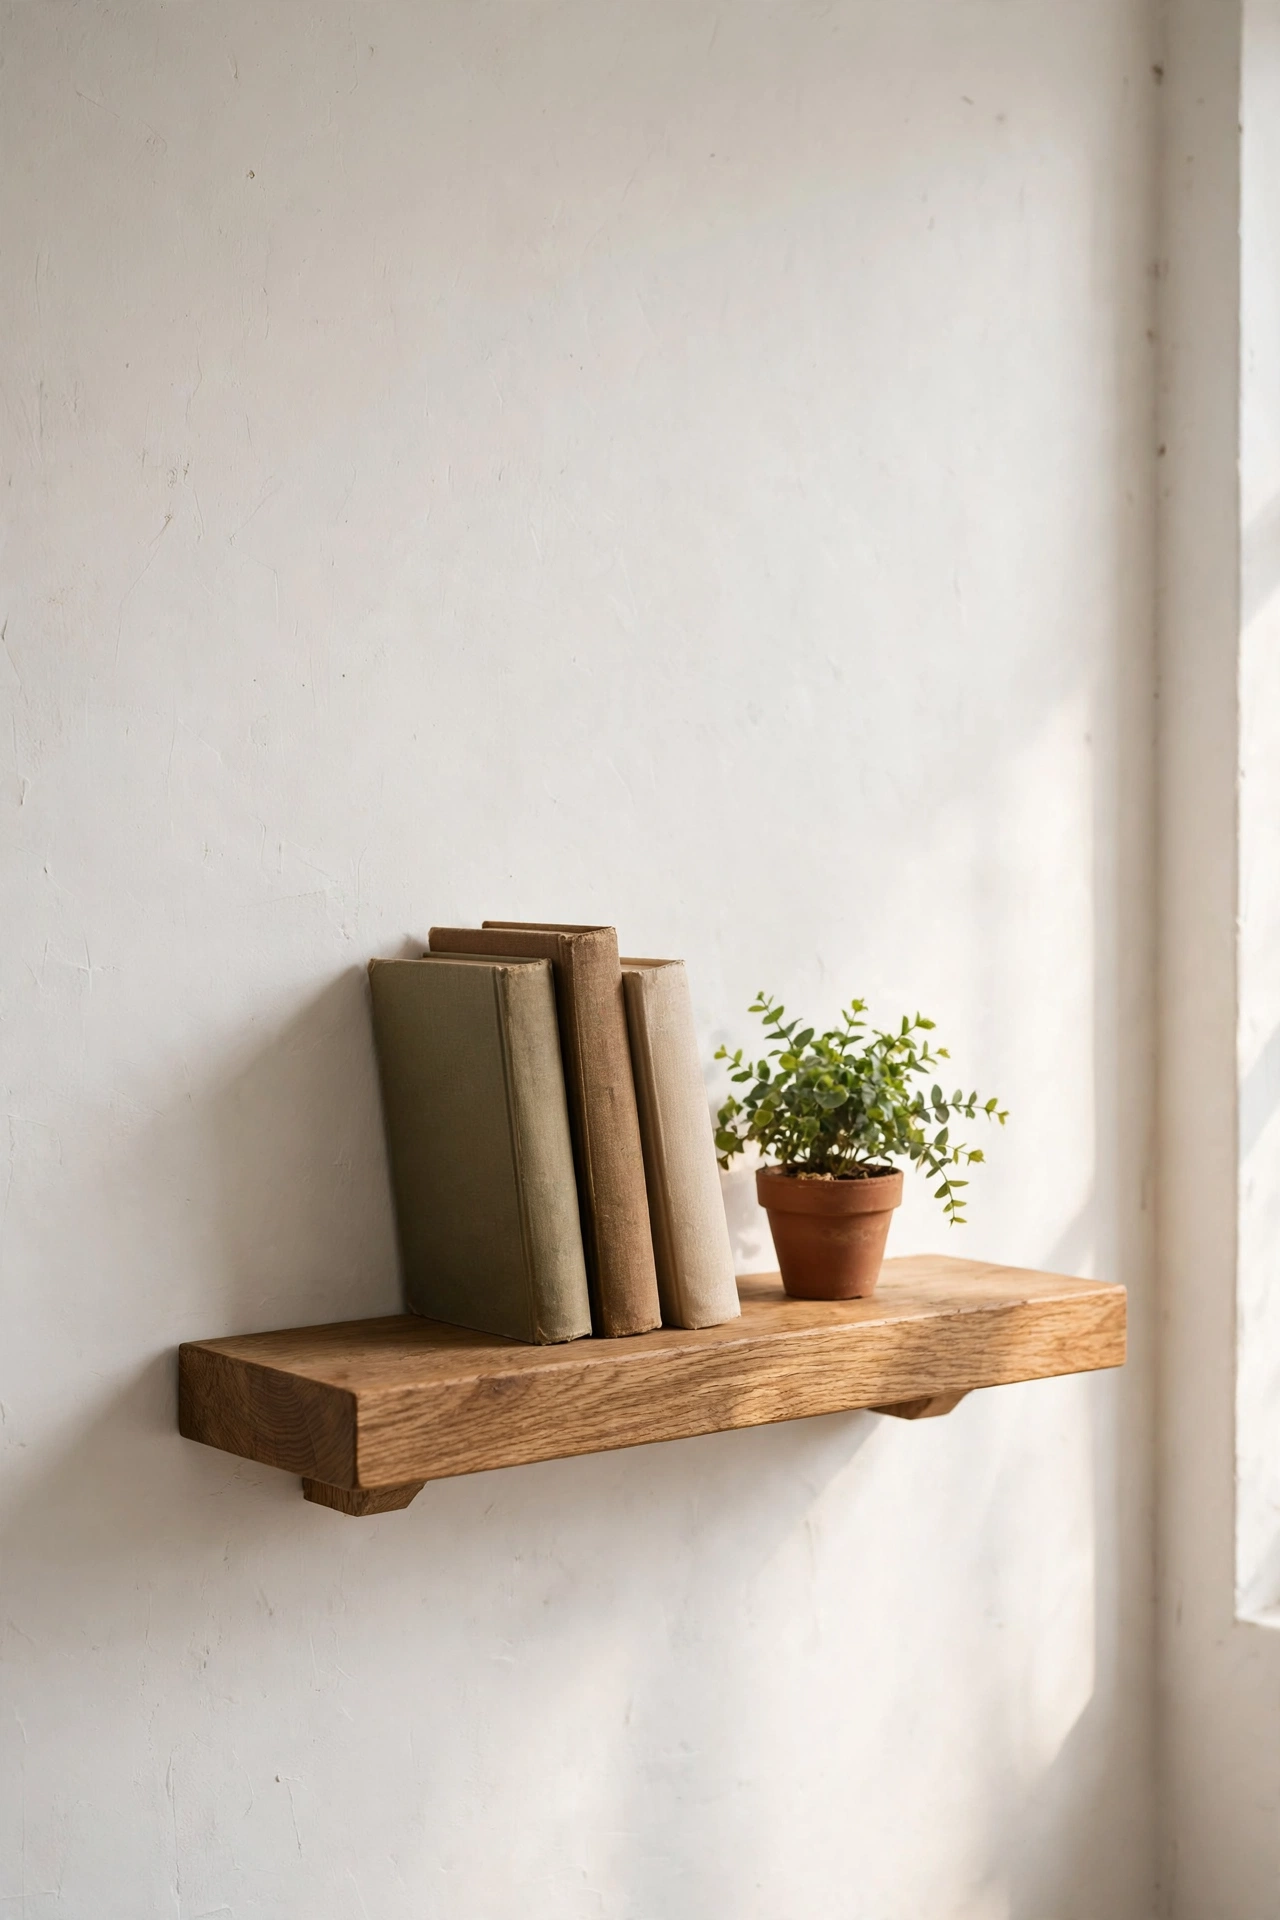
A single thick plank on hidden brackets is the backbone of minimalist shelving. I bought a 1.2-metre oak offcut for $12, sanded it smooth with 120-grit paper, rubbed in a coat of clear furniture oil, and mounted it on two concealed floating brackets. It now holds three books, one small plant, and nothing else, and that restraint is the whole point. Keep the shelf at eye level so it reads as a display ledge rather than storage. My mistake was mounting the first one too high, where it just collected dust and looked apologetic.
Cost: ~$14-20 | Time: 1 hour
2. Limewashed Accent Wall
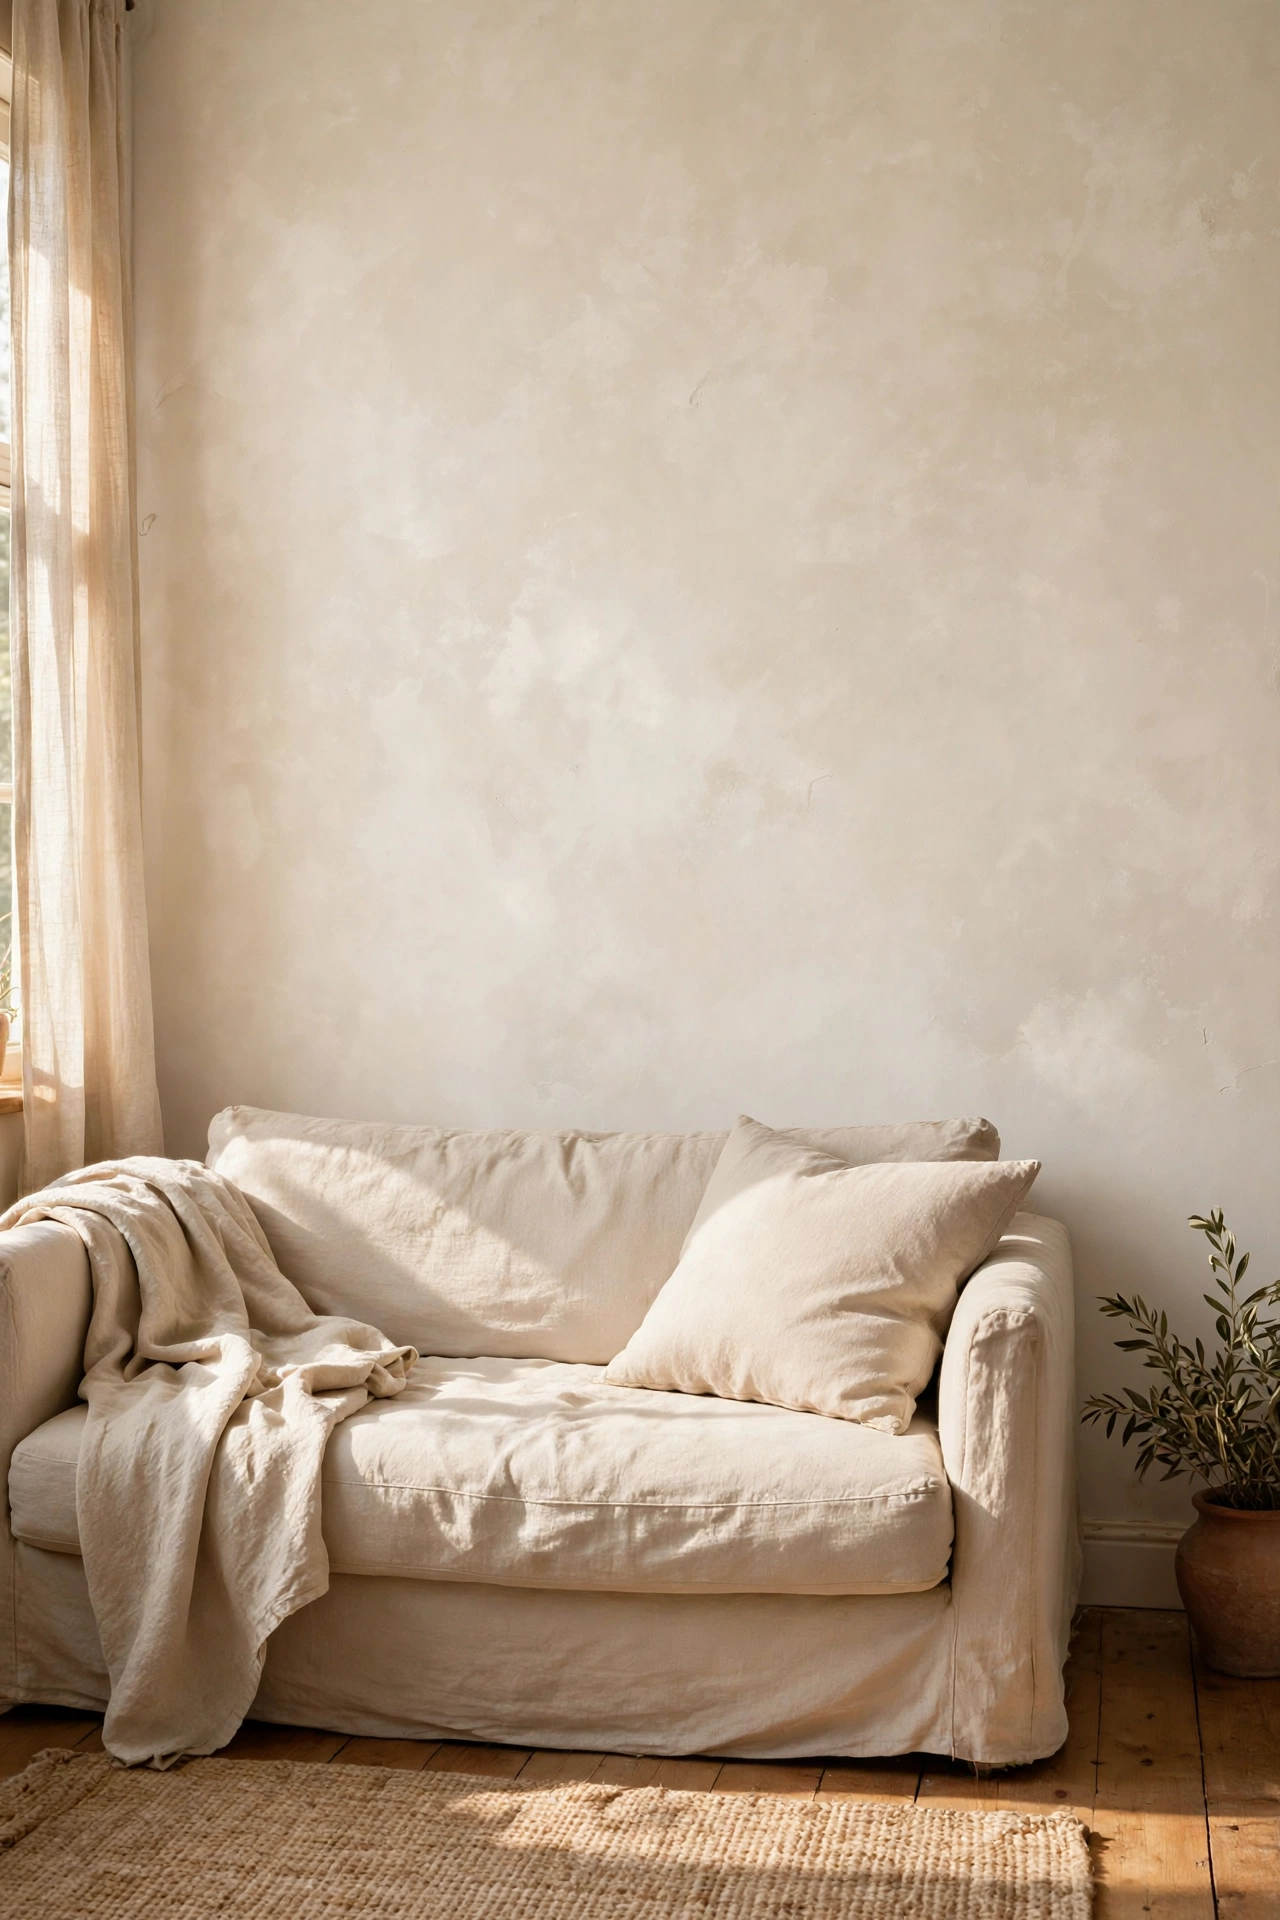
Limewash gives a flat wall the soft, cloudy texture you see in expensive minimalist interiors. I used a $18 tub of limewash paint on the wall behind my sofa, applying it in loose criss-cross strokes with a large block brush. The trick is to embrace the unevenness: overlapping strokes create the cloudy movement, and trying to make it uniform ruins the effect. Work in three-foot sections and keep a wet edge. One coat was enough for my wall, though darker colours underneath may need two. Let it cure for a full day before you hang anything on it.
Cost: ~$18-25 | Time: 3 hours
3. Linen Roman Shade from a Flat Sheet
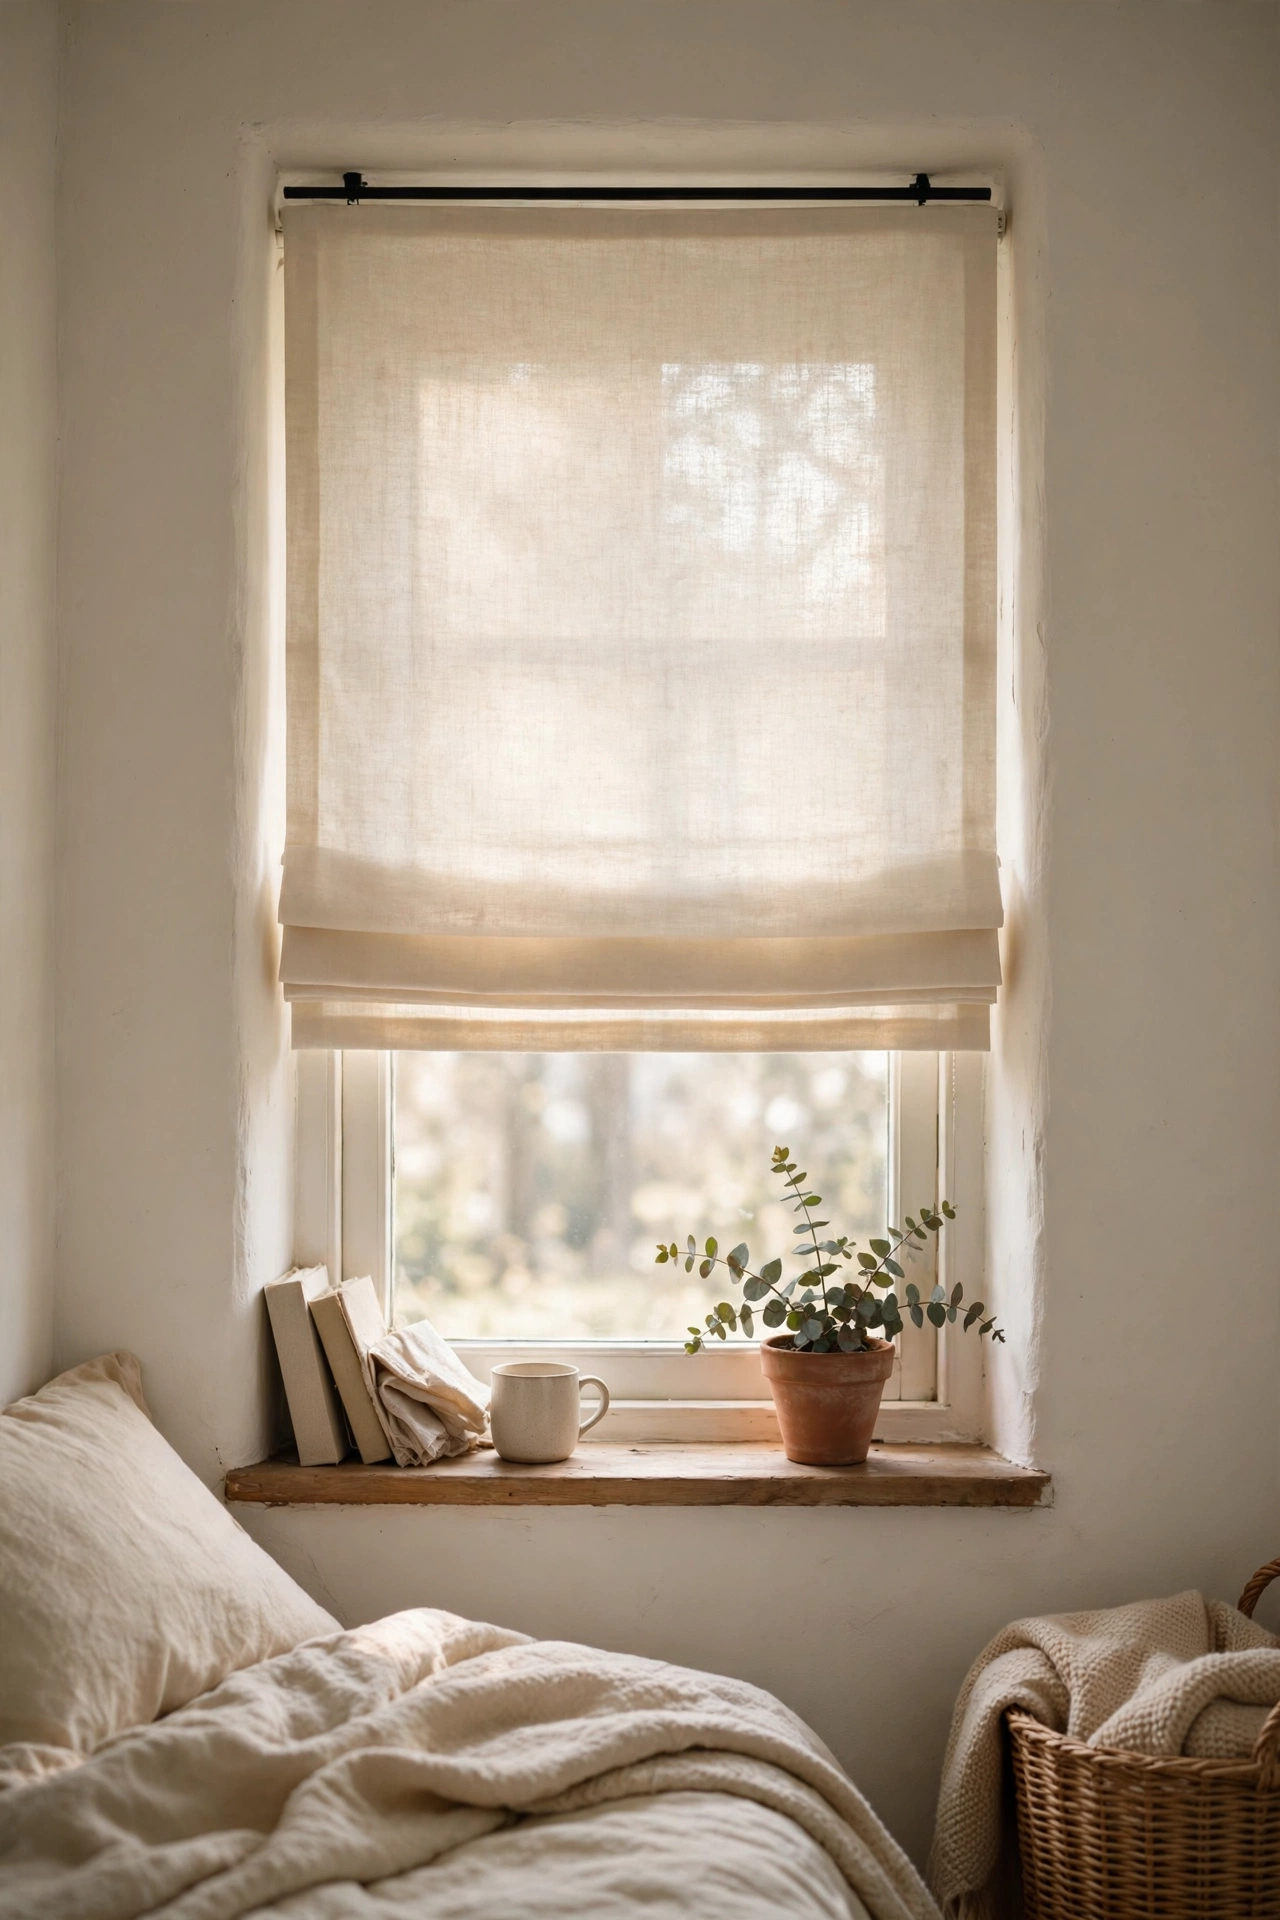
A plain cream flat sheet becomes a beautiful roman shade with a tension rod and some iron-on hem tape. I measured my window, cut the sheet two inches wider than the frame, and folded the sides in with hem tape. Then I threaded a $6 tension rod through a top pocket and let it hang straight for a relaxed, unfussy look. No cords, no pleats, just clean linen. Wash the sheet first so it does not shrink after you have measured it. I skipped that step once and the shade pulled up crooked within a month.
Cost: ~$10-15 | Time: 2 hours
Pro tip: For a truly minimalist look, keep your palette to three neutrals per room: one warm white, one mid-tone like oatmeal or greige, and one dark accent such as charcoal or walnut. Every project on this list works within those three.
4. Bare Birch Branch Coat Rack
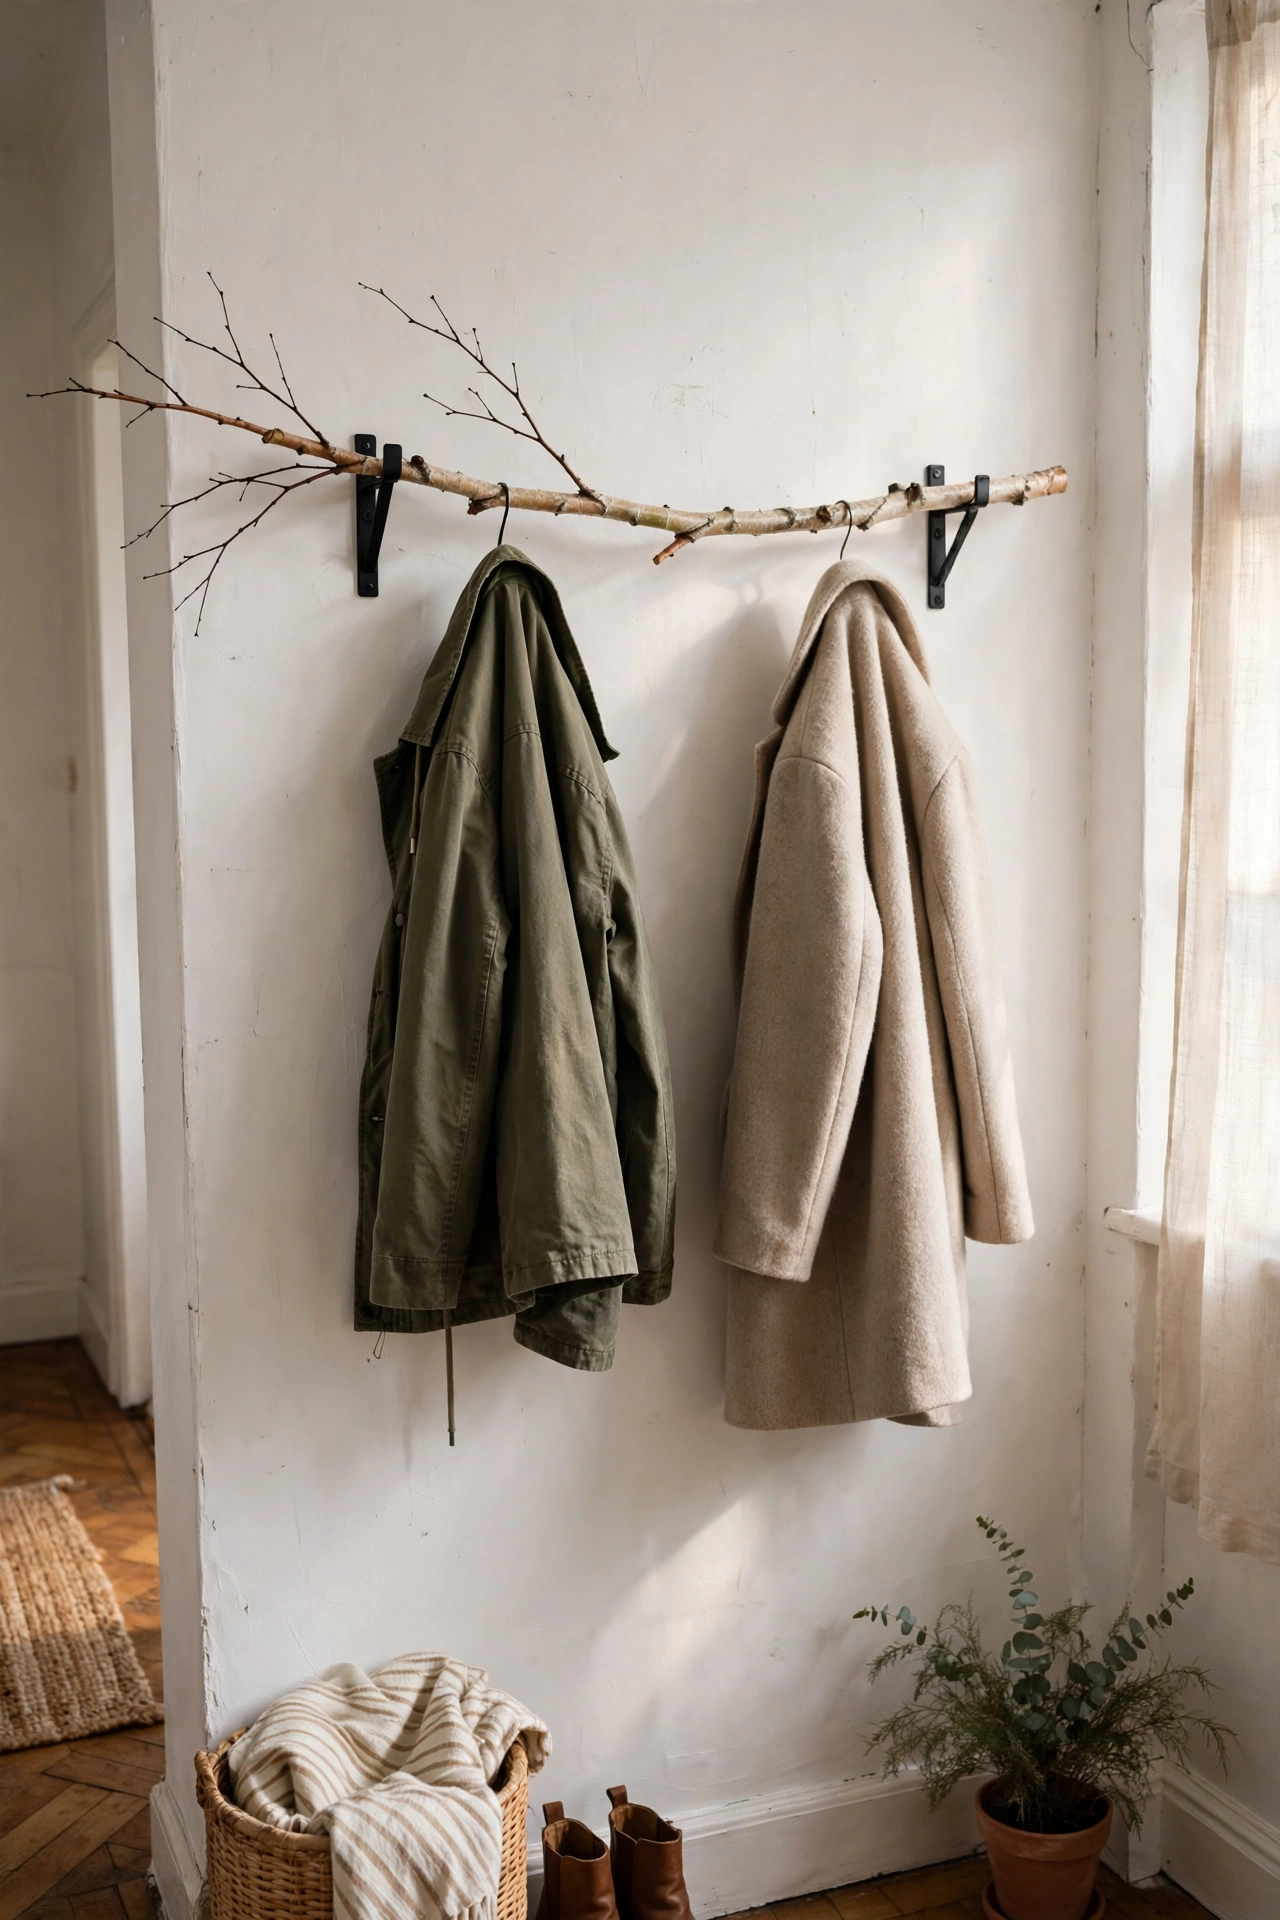
A sturdy fallen branch mounted on the wall makes a coat rack that looks sculptural instead of cluttered. I found a straight birch branch about a metre long, stripped the bark with a drawknife, sanded it smooth, and fixed it to the wall with two black metal brackets. The natural knobs and offshoots serve as hooks. Make sure the branch is fully dry before you mount it, or it will keep shrinking and loosen the screws. Mine sat in the garage for six weeks first. Hang only three or four items on it to keep the minimalist line intact.
Cost: ~$8-12 | Time: 1 hour
5. Paper Clay Sculptural Vases
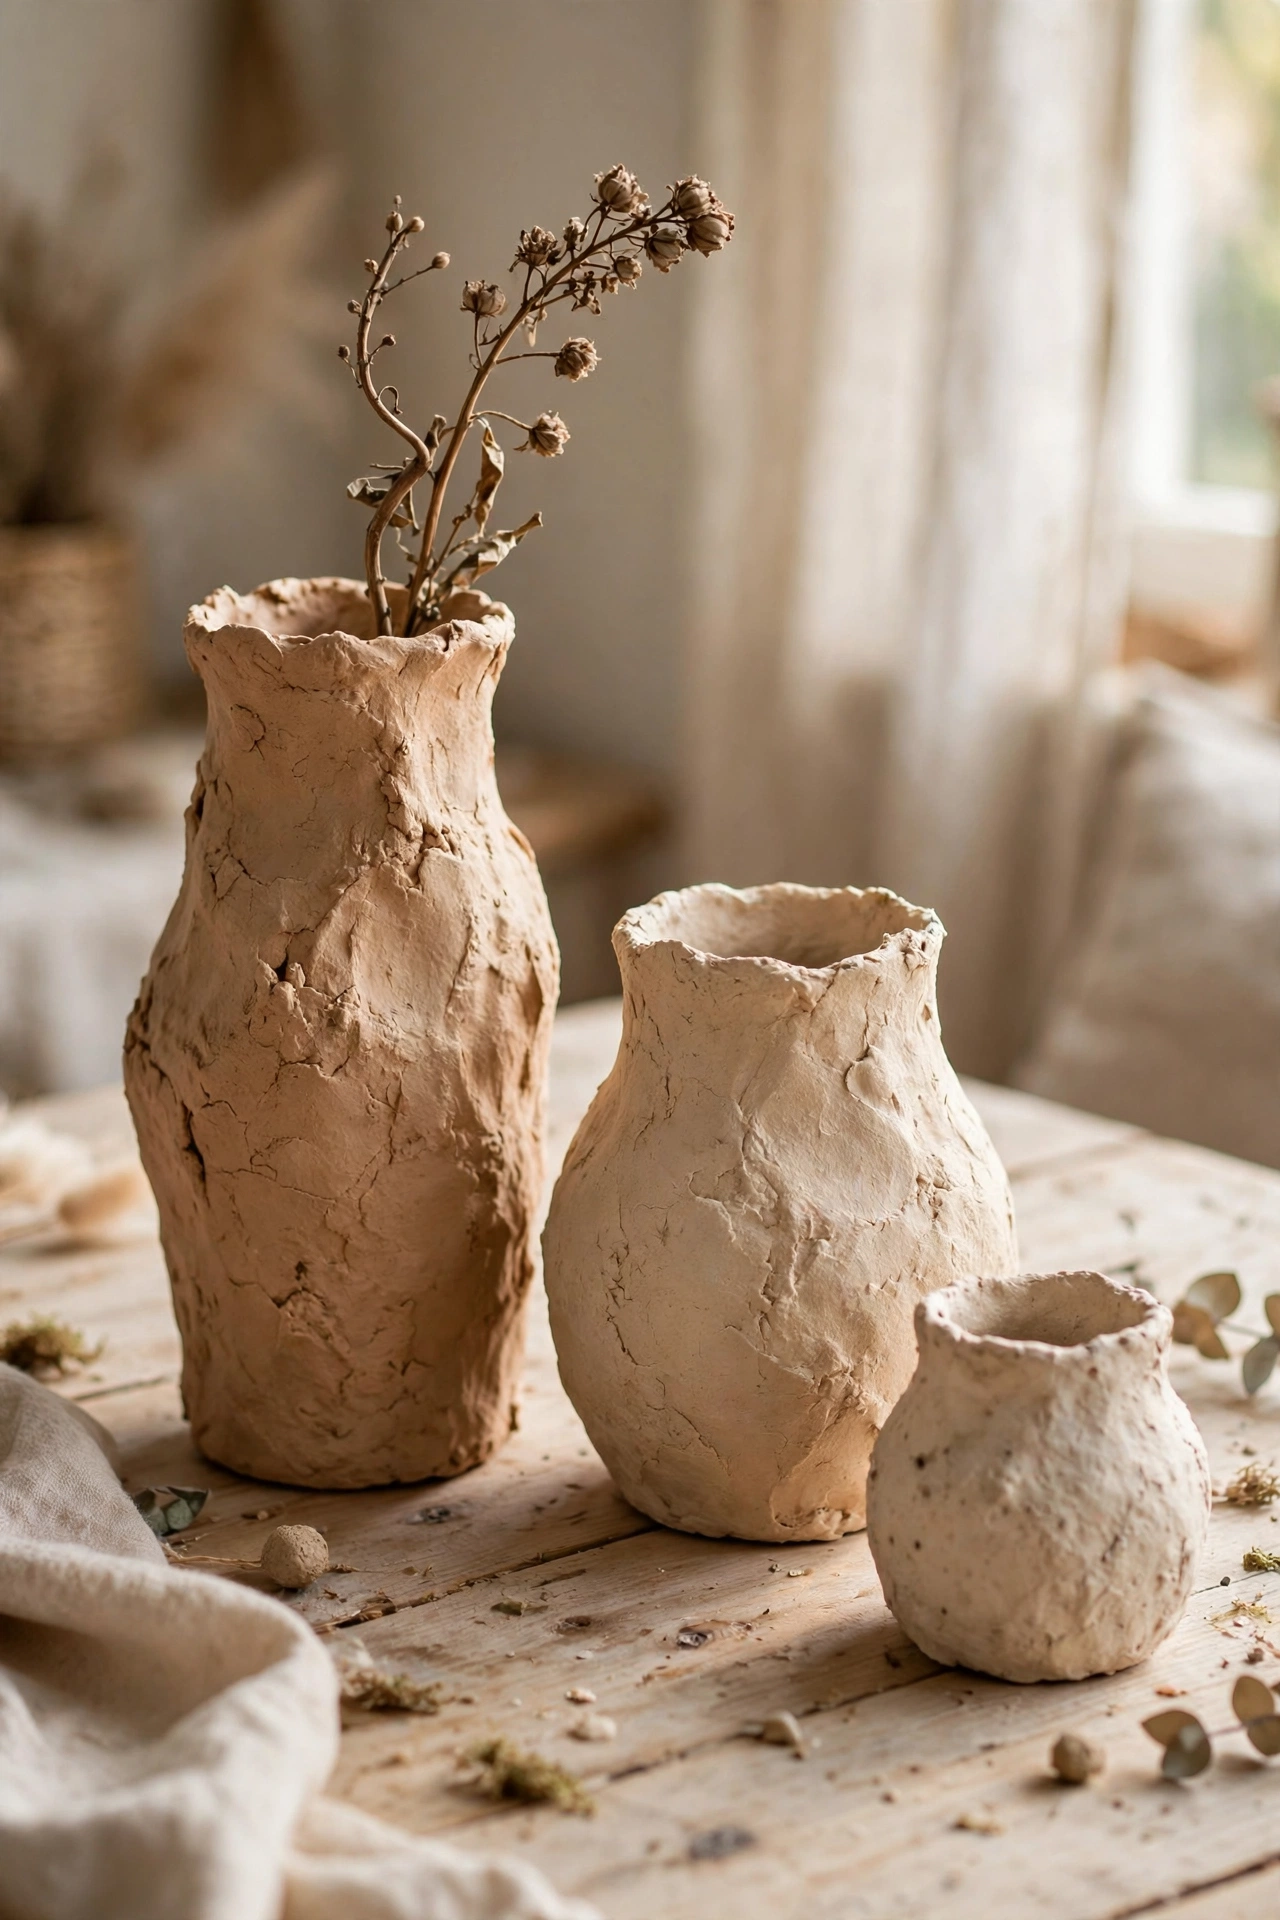
Air-dry paper clay shapes into organic vases that look straight out of a gallery. I rolled the clay into coils, stacked them into a simple vessel shape about 20 centimetres tall, and smoothed the surface with a damp sponge. The beauty is in the imperfections, so do not fuss it smooth. Let it dry for 48 hours, then seal the inside with two coats of clear varnish if you want to hold water. My first vase cracked because I dried it too fast near a radiator, so leave it at room temperature. Group three at different heights for the full minimalist moment.
Cost: ~$6-10 | Time: 1 hour plus drying
6. Black Cord Photo Rail
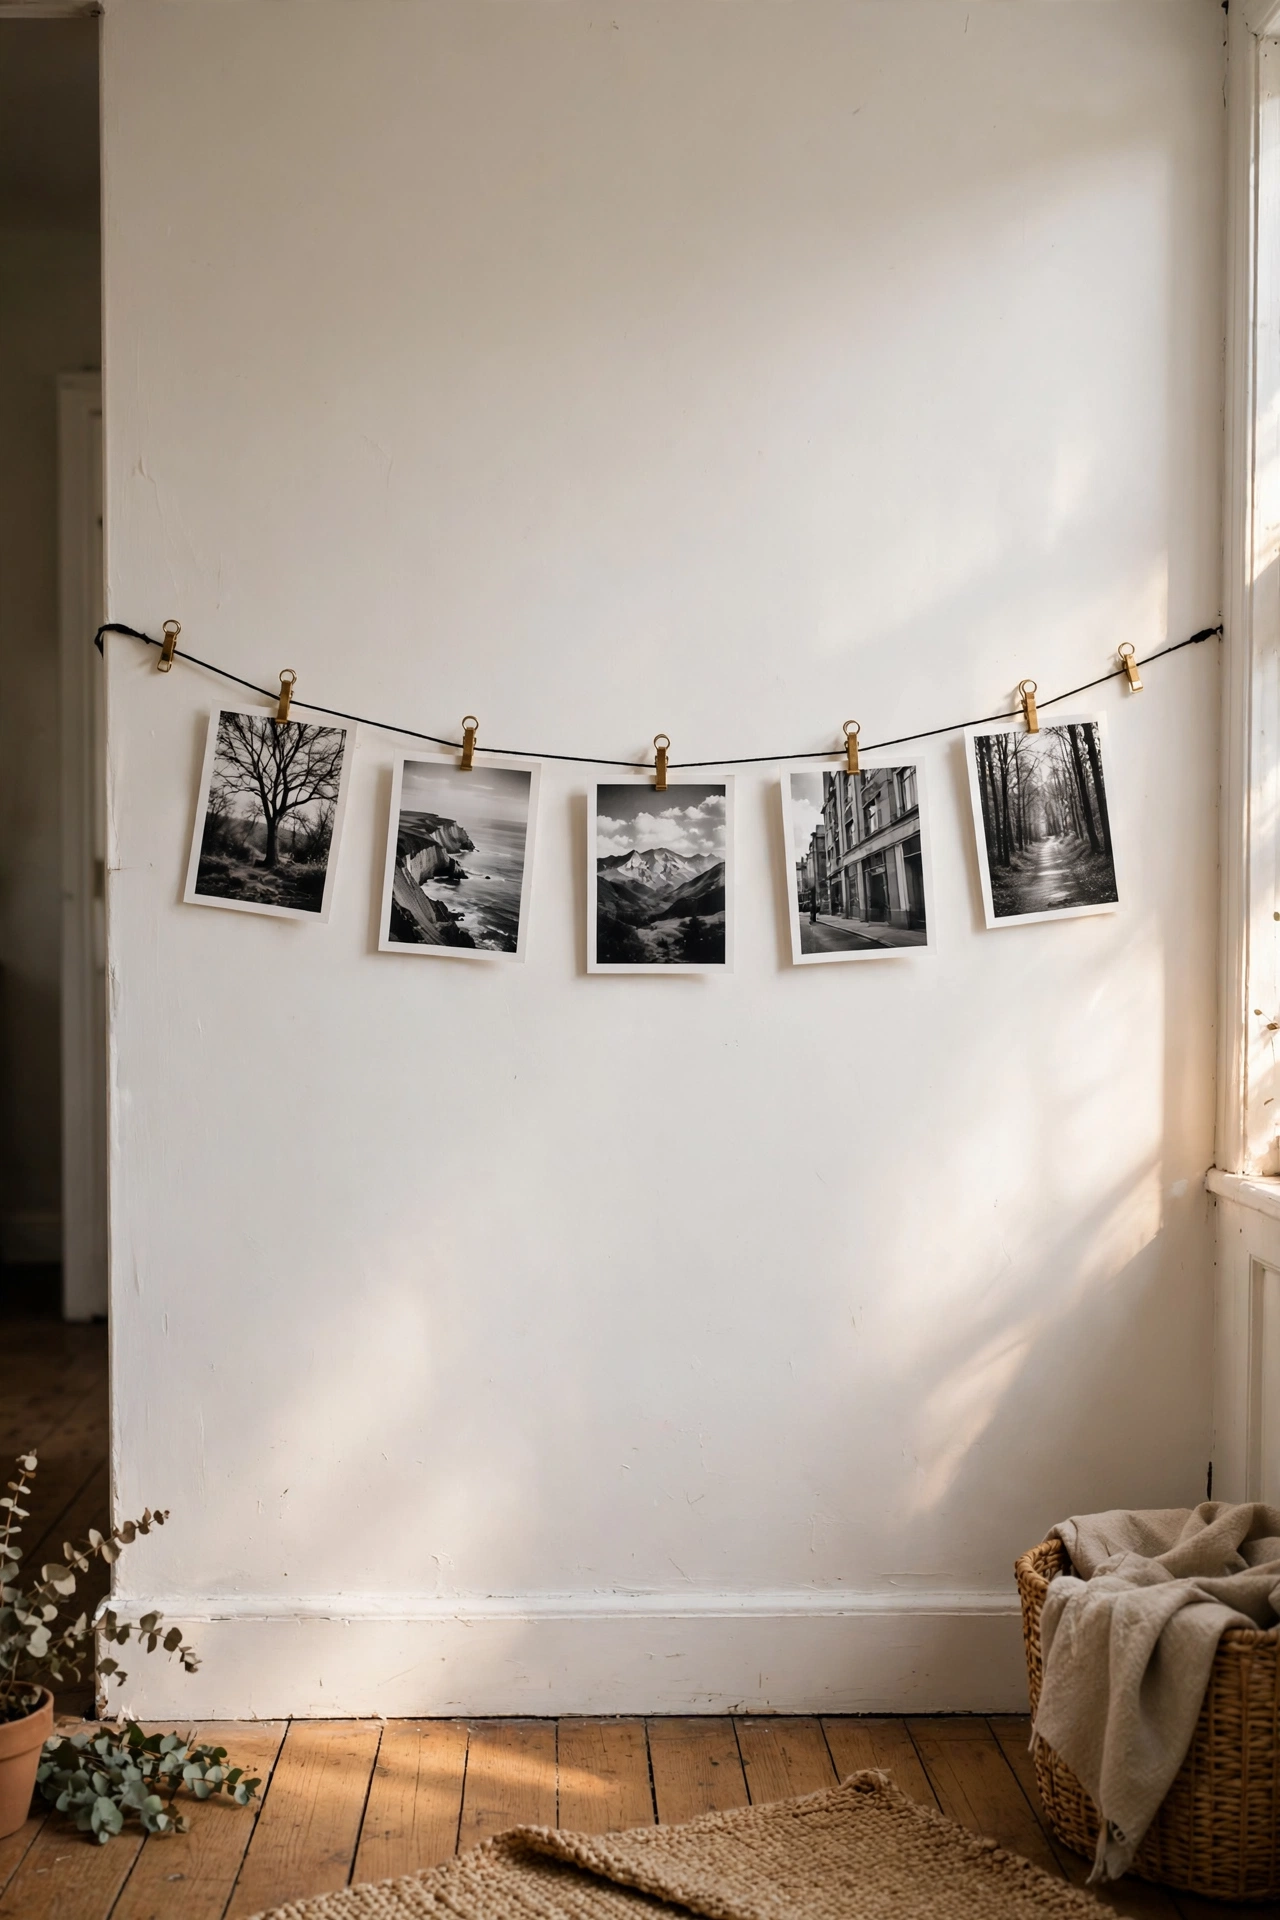
Instead of a cluttered gallery wall, I strung a single black cord across my hallway with small brass clips and hung five black-and-white prints. Two tiny nails, one length of cord, and the whole display can be rearranged in seconds. Keep the prints the same size and the same monochrome tone so it reads as one calm composition. I tried mixing colour photos in at first and the rail looked busy immediately, so I reprinted everything in black and white. Leave generous space between prints, at least a hand width.
Cost: ~$5-8 | Time: 30 minutes
Pro tip: Matte finishes always look more minimalist than gloss. If a project calls for paint, sealer, or varnish, choose the matte or flat option: it softens edges and hides imperfections that gloss would shout about.
7. Bleached Wood Picture Frames
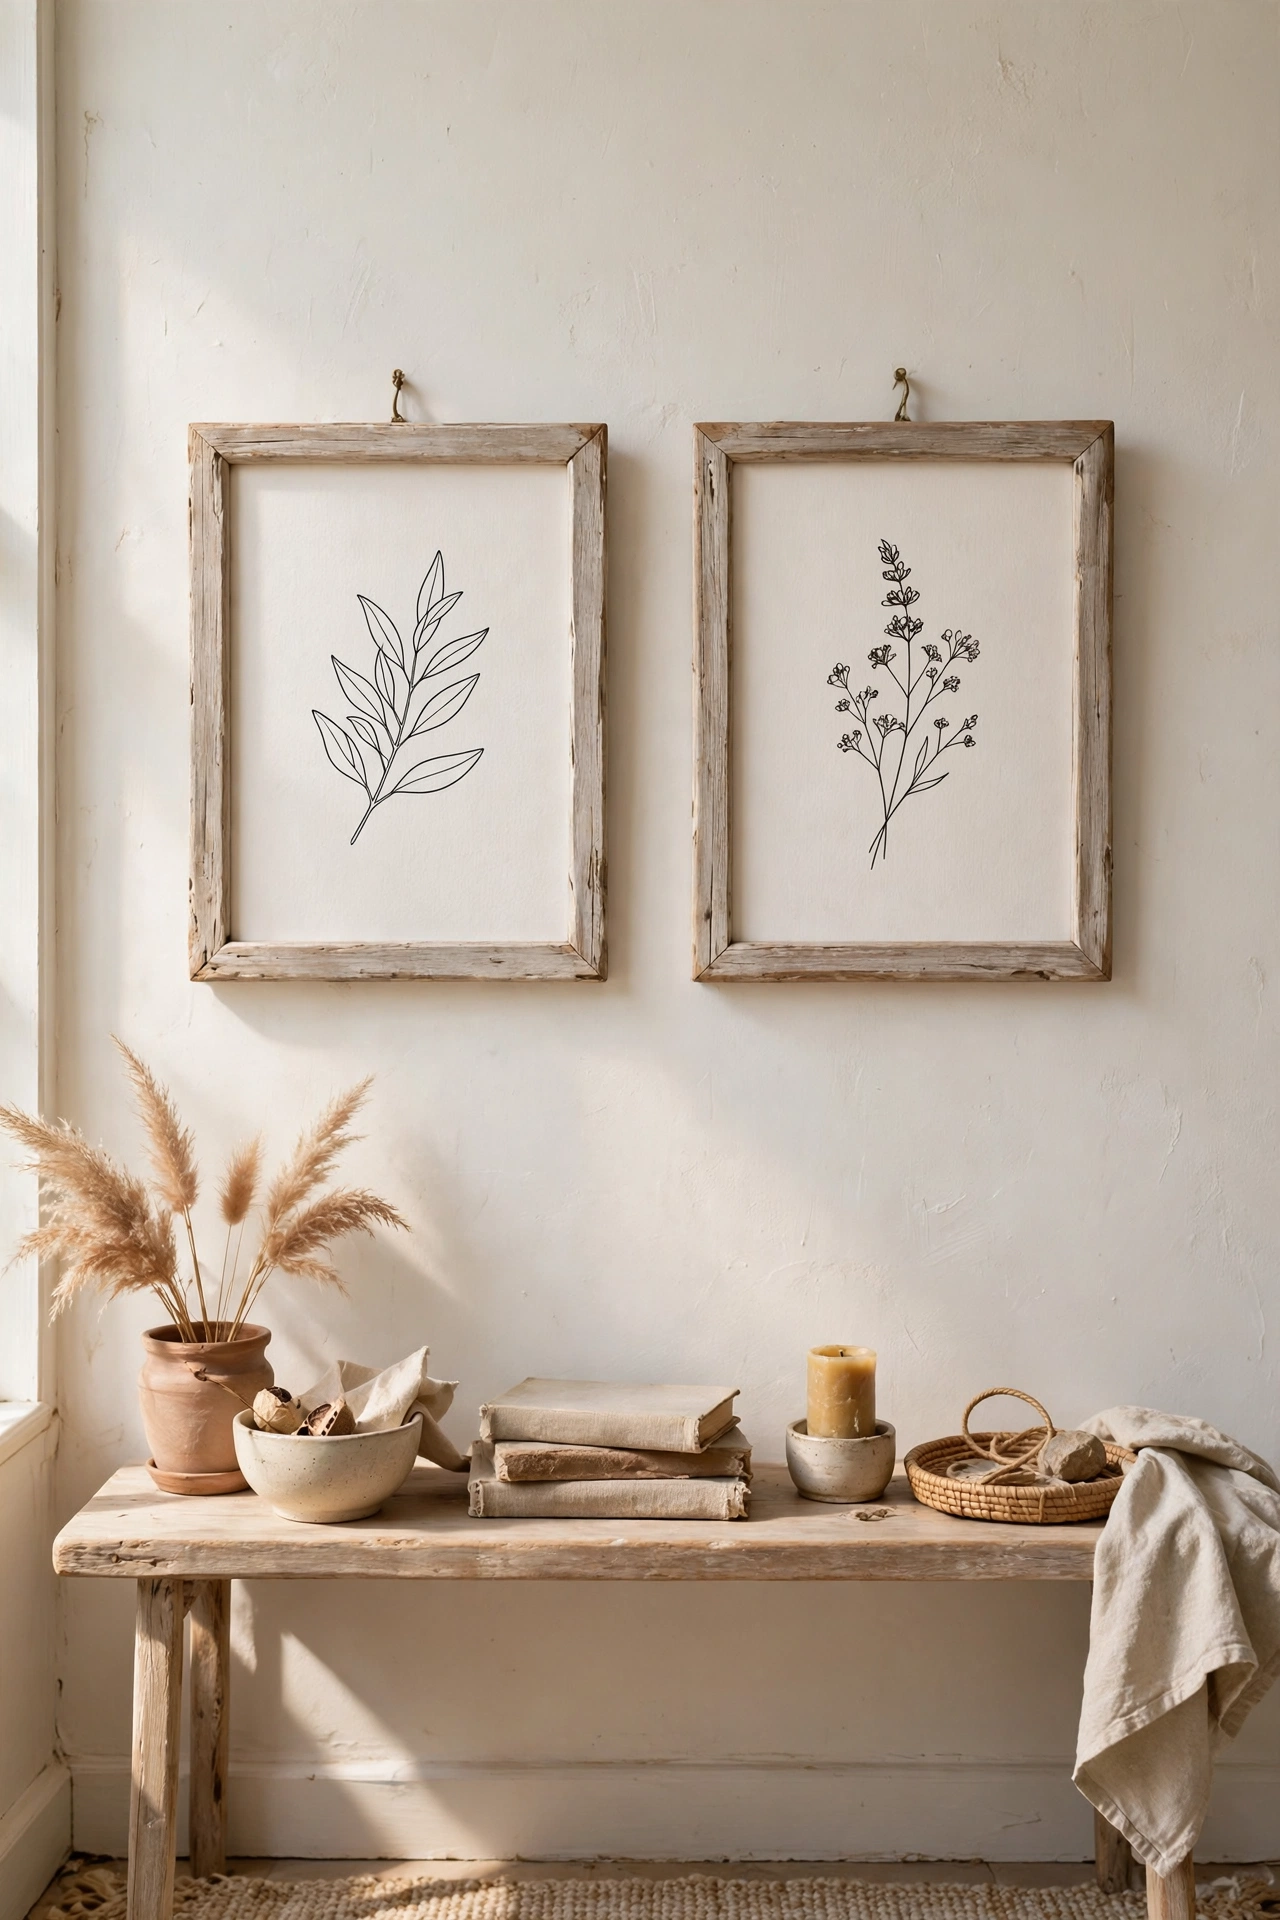
Dark thrift-store frames can be bleached to a pale Scandinavian finish with household bleach and water. I mixed a half-and-half solution, brushed it onto sanded oak frames, and left them in the sun for an hour. The wood lightened to a beautiful driftwood tone. Rinse them well and let them dry fully before you put glass back in. This only works on real wood, not on plastic or foil-coated frames, so check by sanding a hidden corner first. I ruined one plastic frame before I learned to test. Fill them with simple line prints or leave one empty for negative space.
Cost: ~$8-12 | Time: 2 hours
8. Concrete Incense Dish
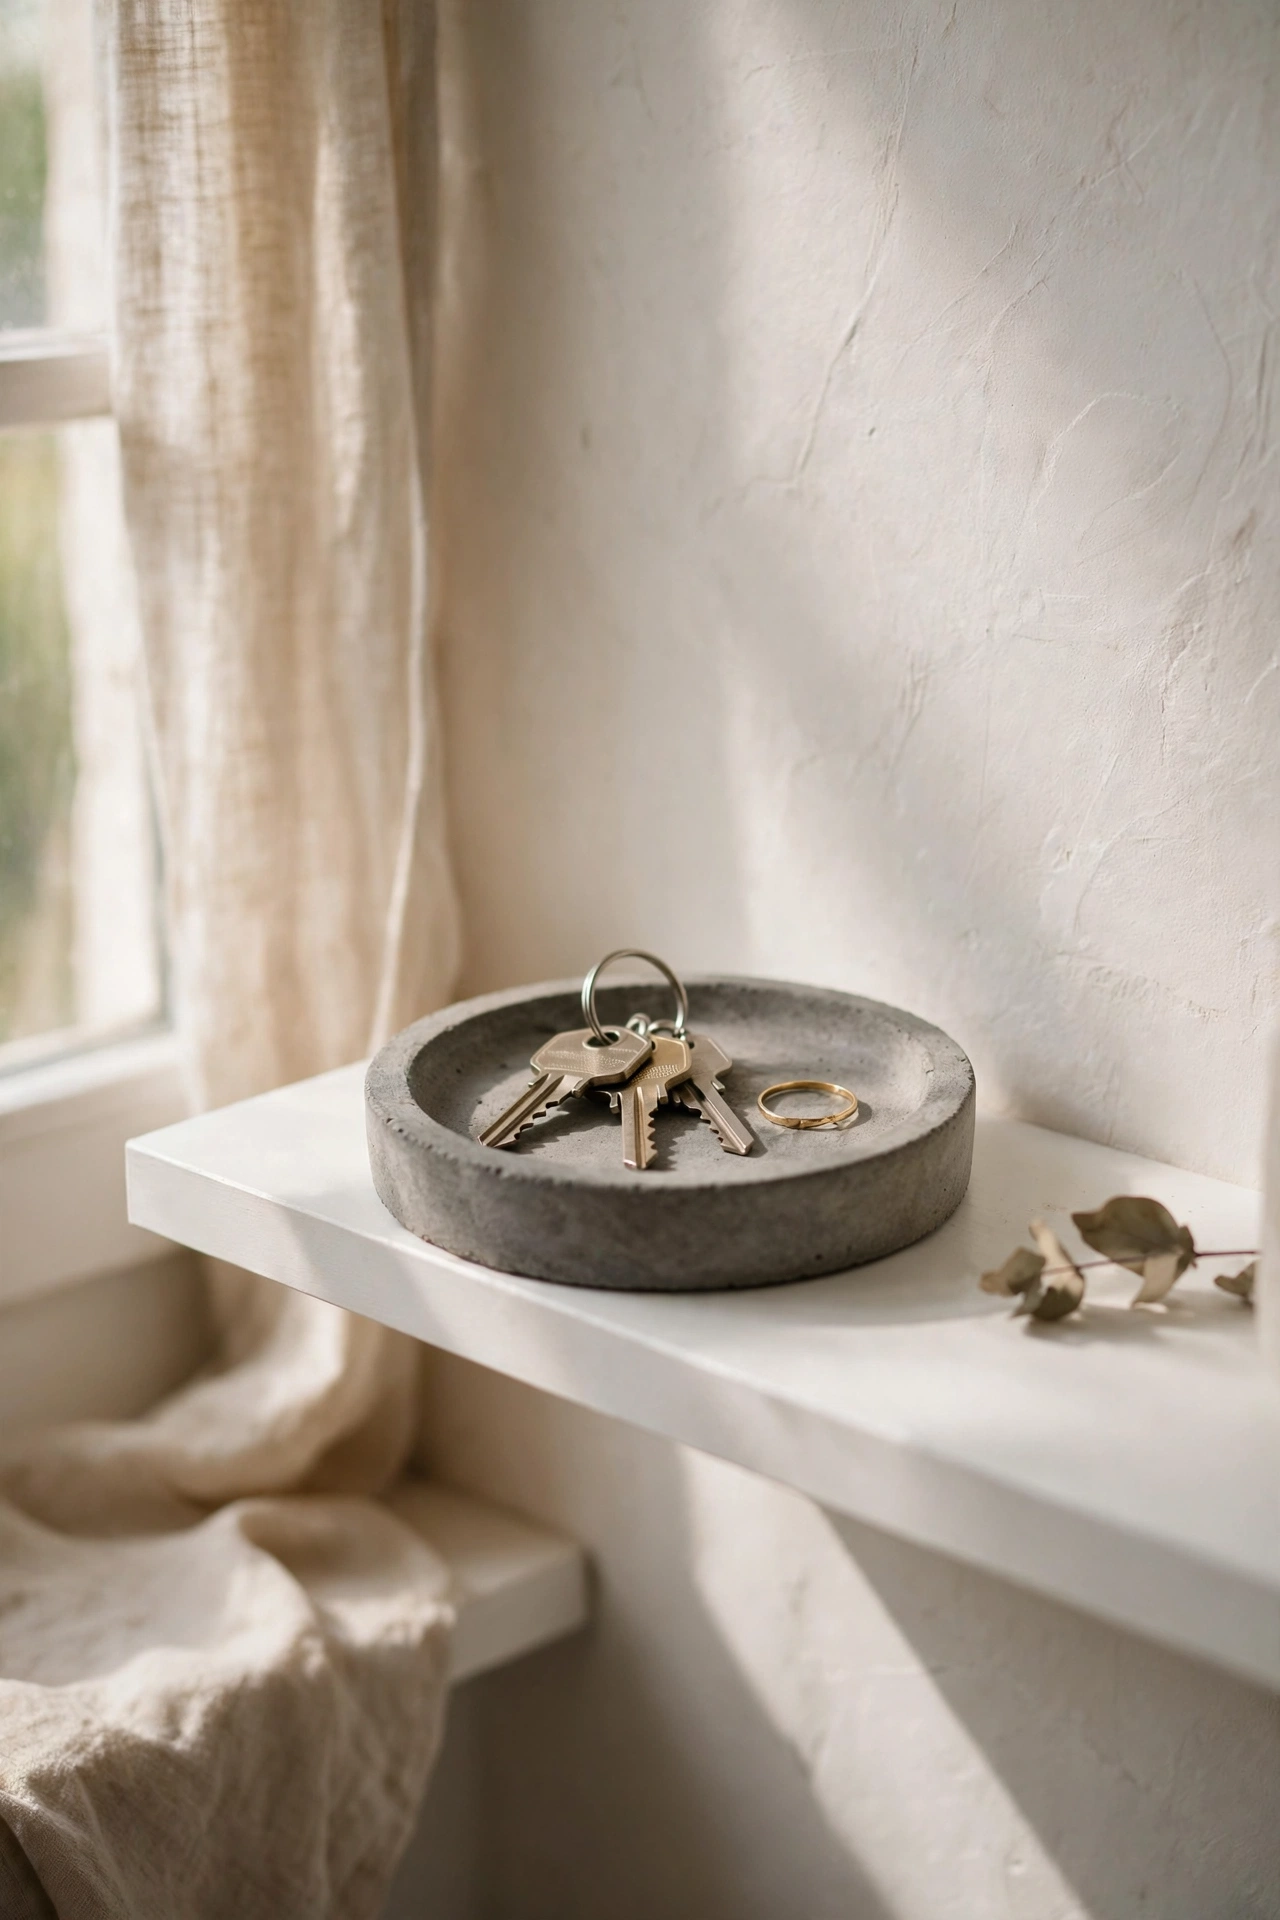
A small cast concrete dish is the perfect minimalist catch-all for keys or jewellery. I mixed a cup of quick-set concrete, poured it into a silicone muffin mould, and pressed a smaller mould into the centre to form a shallow bowl. After 24 hours it popped out perfectly smooth. Sand the rim lightly with fine paper for a soft edge. The raw grey concrete against a white shelf looks incredibly calm. My first attempt stuck to a plastic mould and tore, so use silicone and a light coat of cooking spray. Seal it with matte concrete sealer if you will put damp items in it.
Cost: ~$4-7 | Time: 20 minutes plus curing
9. Oak Blanket Ladder
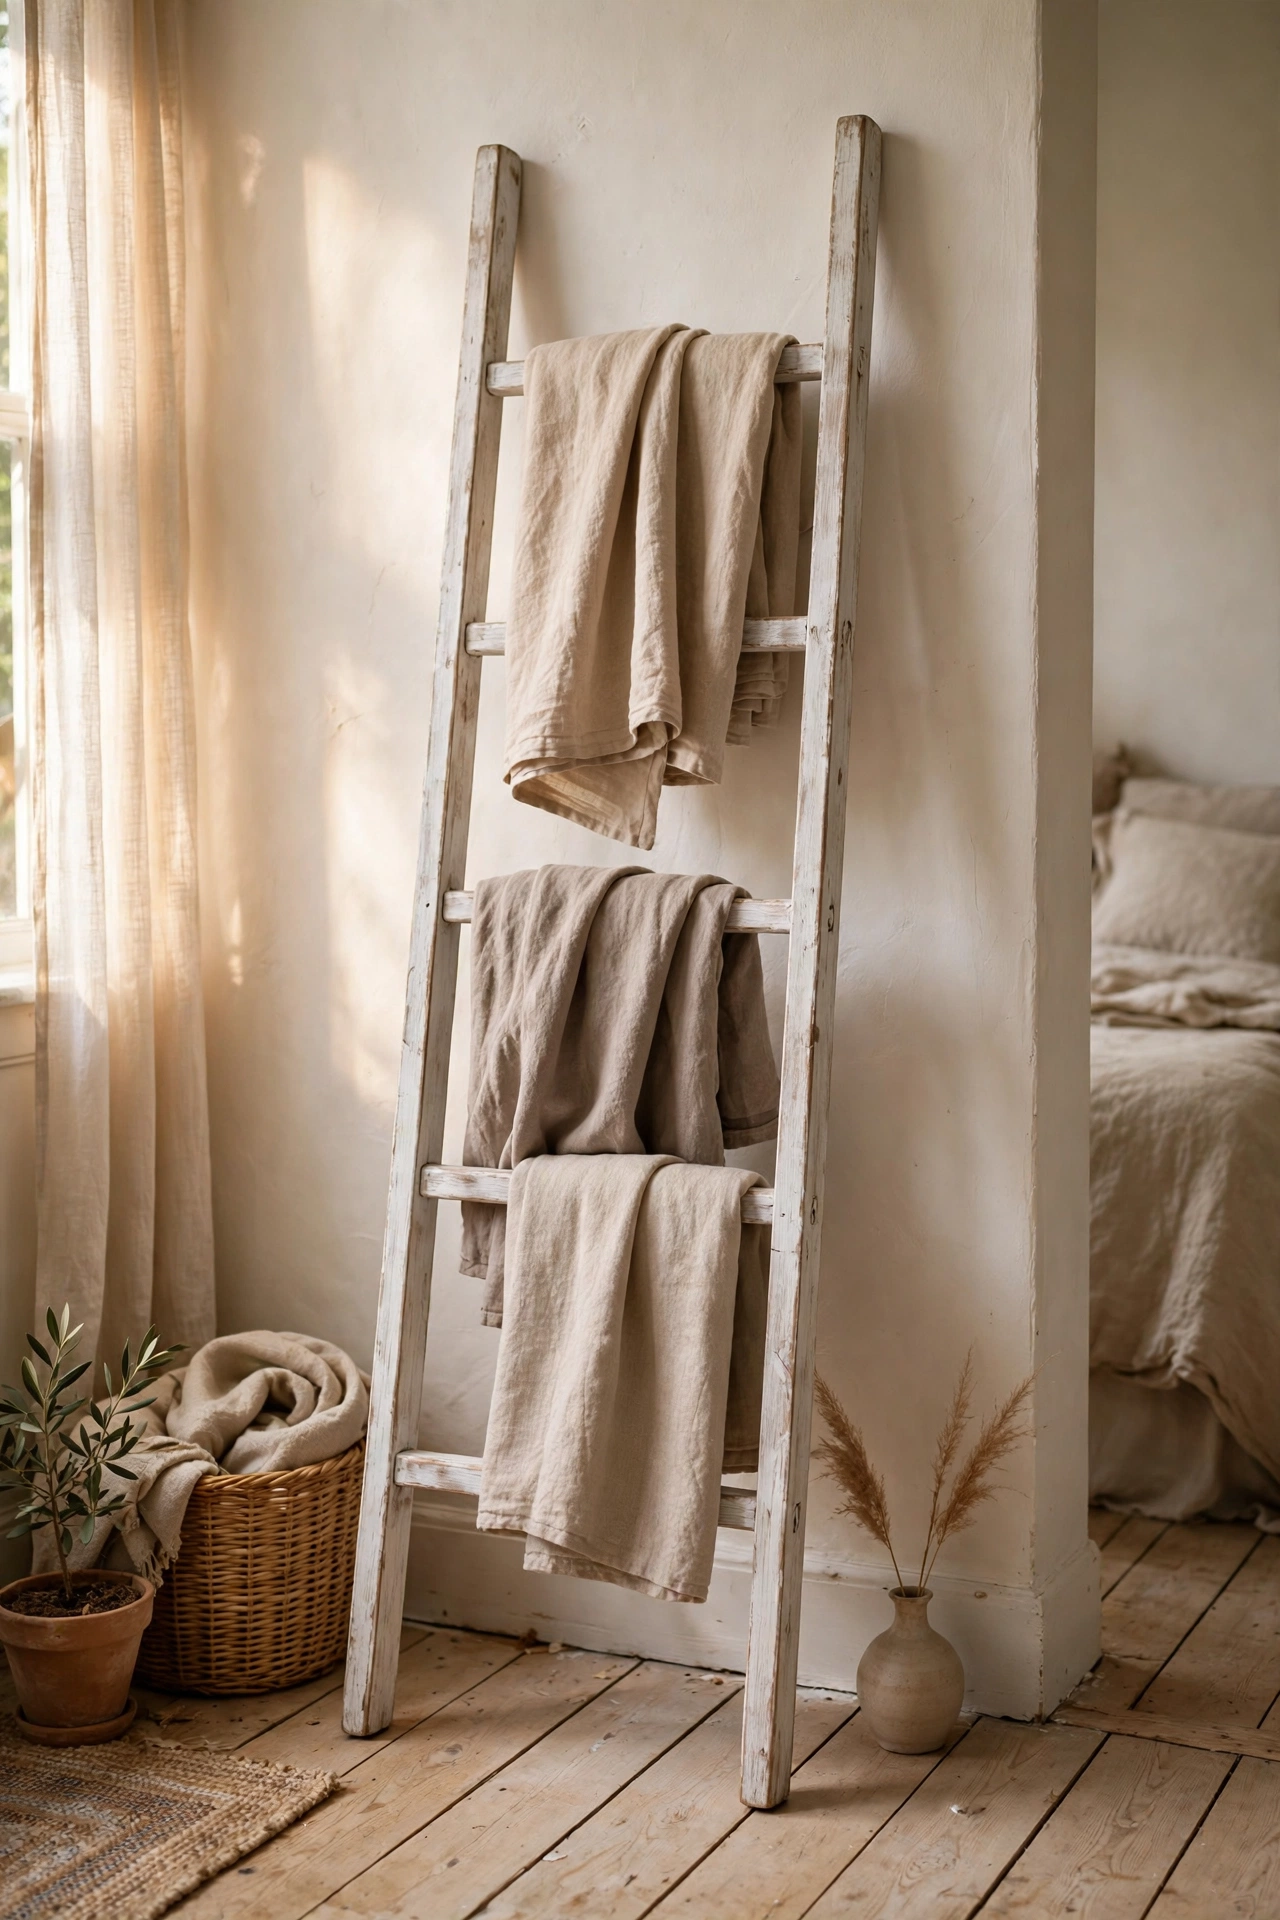
Two side rails and four rungs make a blanket ladder that keeps throws visible but tidy. I cut two 1.8-metre lengths of pine, drilled holes, and joined five dowel rungs with wood glue and screws. A single coat of whitewash lets the grain show through while keeping it pale. Lean it against the wall at a slight angle and drape no more than three blankets on it. I overloaded mine with five at first and it looked like a laundry rack, so I edited down. The ladder shape itself is the decoration, which is very minimalist.
Cost: ~$16-22 | Time: 2 hours
Pro tip: Minimalist rooms live or die on texture. When your palette is restrained, mix linen, raw wood, stone, and paper clay in one space so it feels layered rather than empty. Smooth-on-smooth is what makes minimalism feel cold.
10. Floating Acrylic Book Shelves
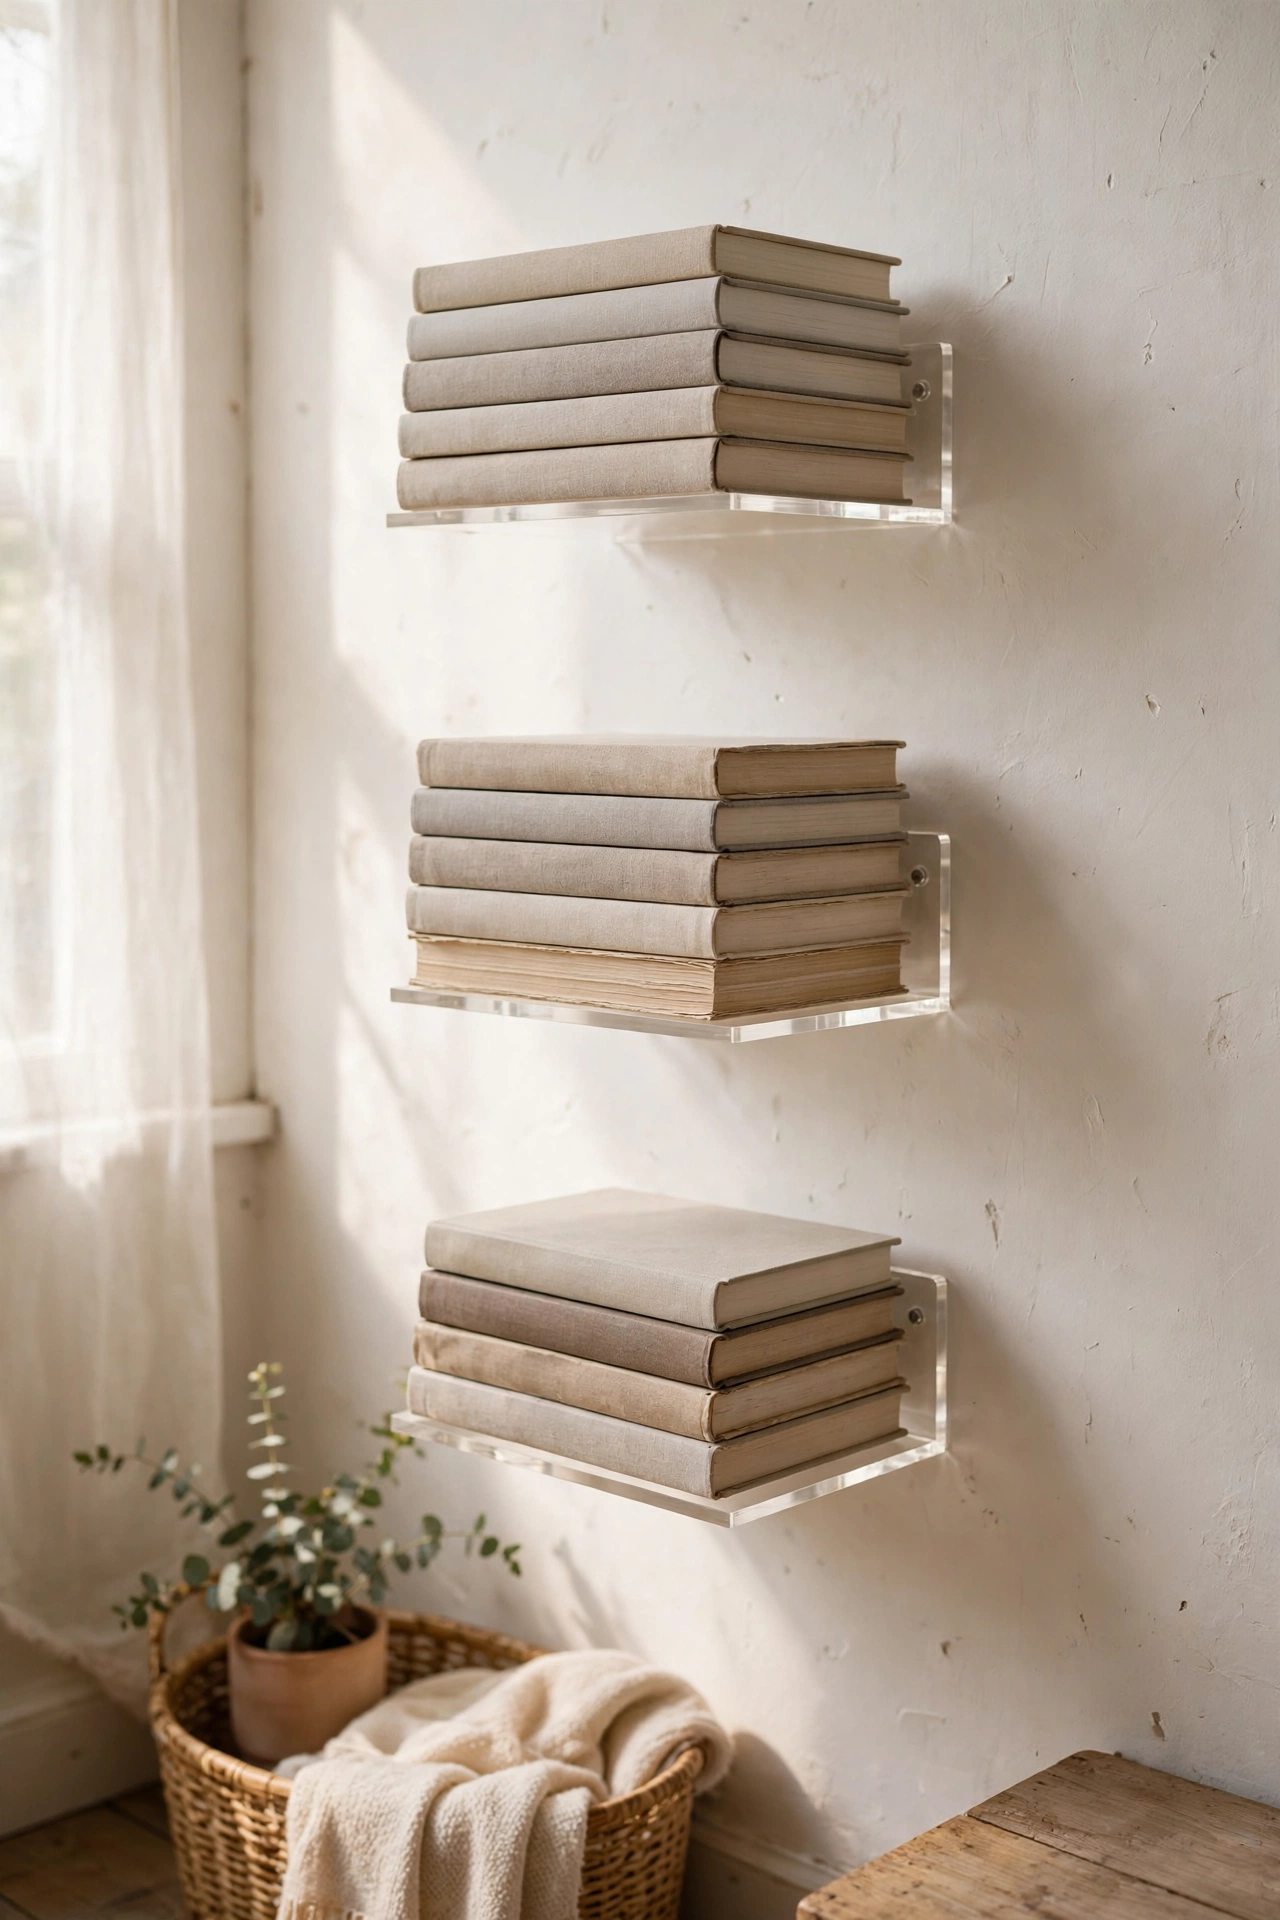
Clear acrylic L-brackets make books look like they are floating on the wall. I screwed three invisible brackets into studs in a vertical line and stacked five books on each, largest at the bottom. From across the room the books appear to hover, which is a lovely minimalist trick. Use a stud finder and do not skip it: a bracket in drywall alone will sag under paperbacks. I keep only books with calm, neutral spines on mine and store the loud ones elsewhere. Three columns of three shelves reads as intentional; one lonely shelf looks like a mistake.
Cost: ~$12-18 | Time: 45 minutes
11. Rice Paper Pendant Shade
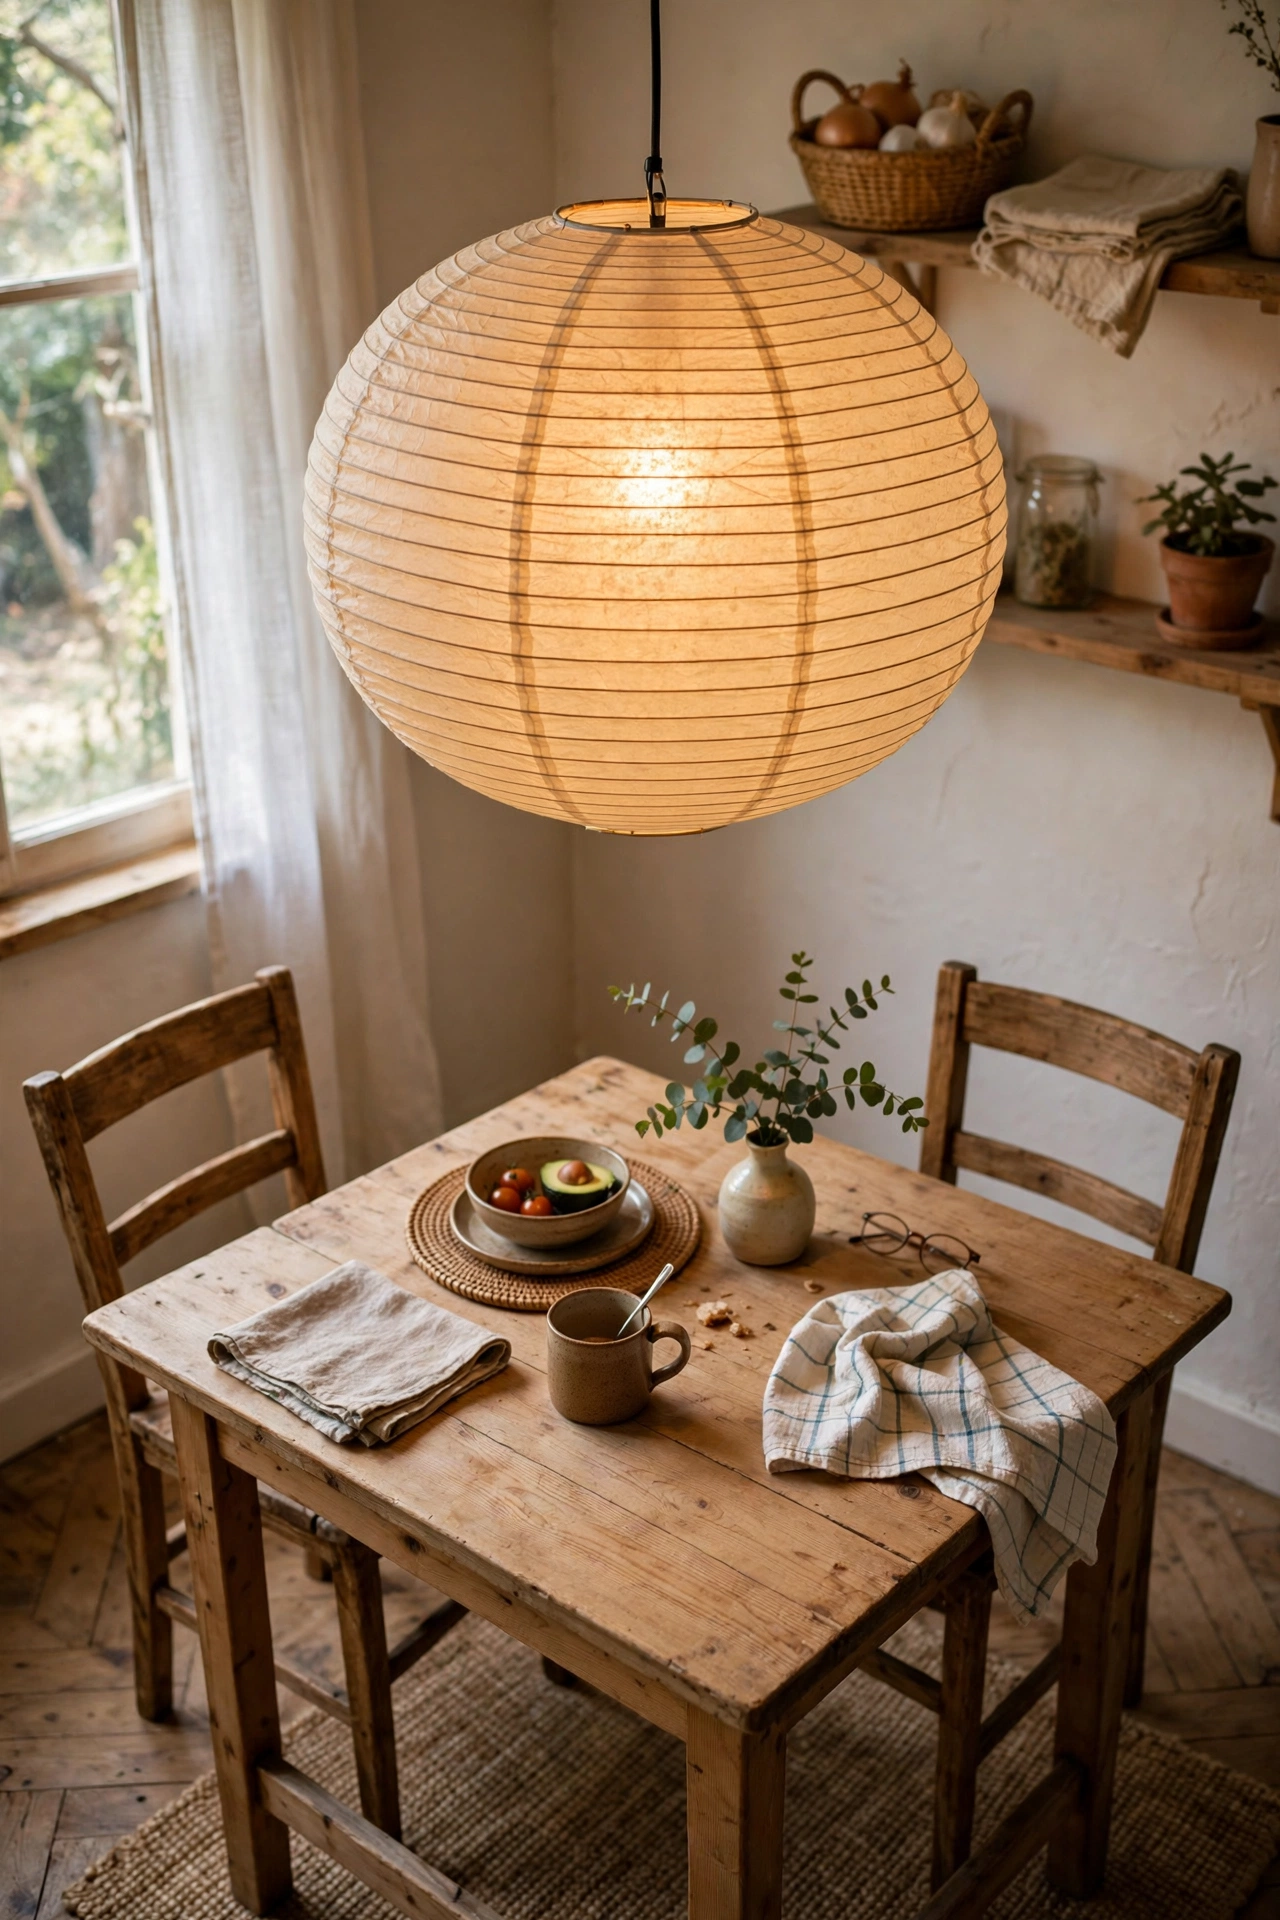
A rice paper lantern over a pendant cord is the cheapest way to get soft, diffused minimalist light. I hung a 45-centimetre round lantern from my existing dining room fitting with a simple cord set, and the whole room went calm. The paper glows warm and hides the bulb completely. Keep the lantern at least 30 centimetres from the ceiling so it does not trap heat, and use an LED bulb only. I replaced my lantern after two years when it yellowed slightly, which at $8 felt like reasonable maintenance.
Cost: ~$10-14 | Time: 1 hour
12. Negative-Space Line Art Canvas
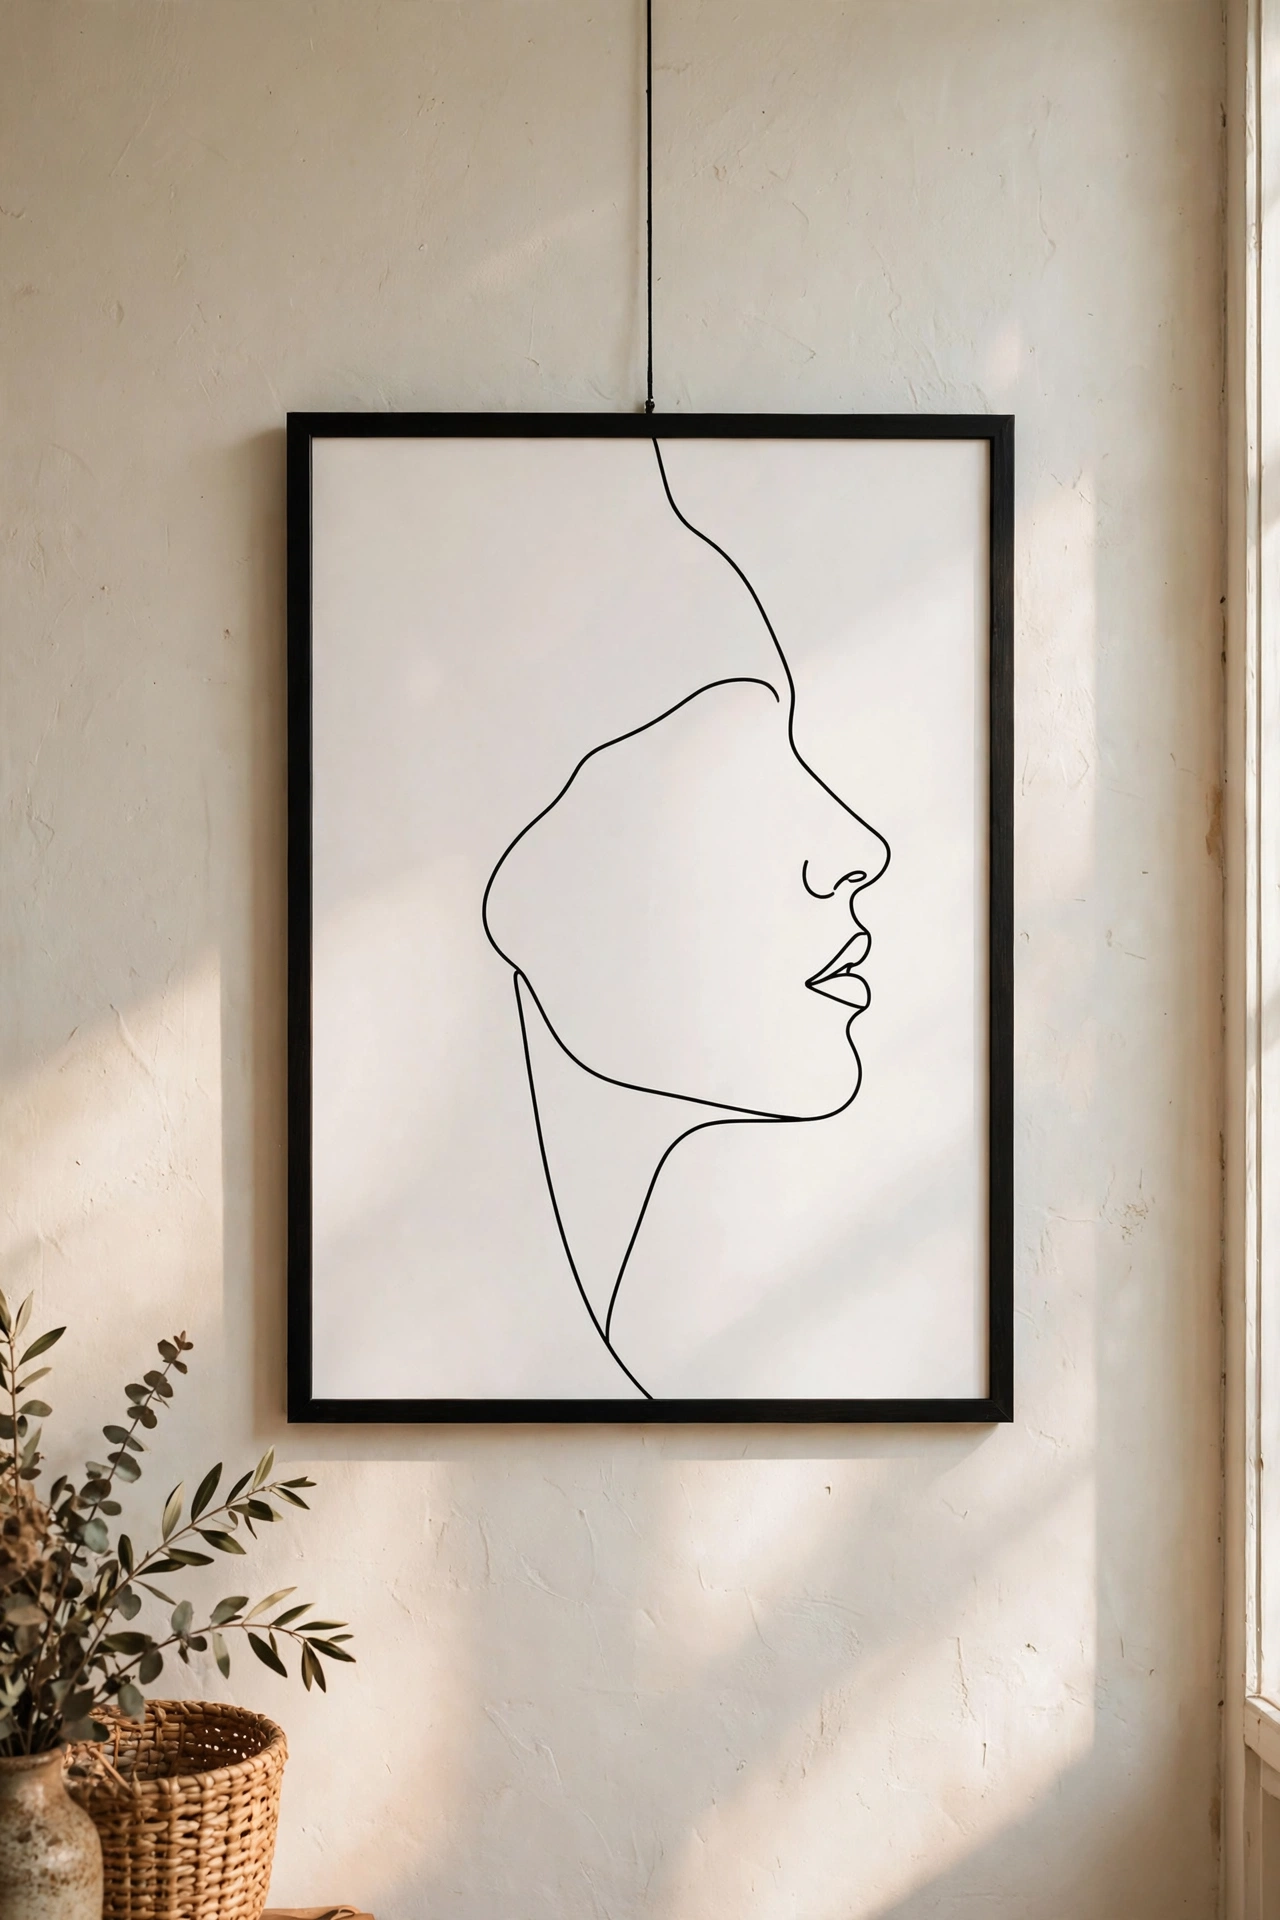
One continuous black line on a white canvas is genuine minimalist art you can make in an afternoon. I sketched a simple face profile in pencil first, then traced it with a single stroke of black acrylic using a small round brush. The confidence of the line matters more than accuracy, so commit to each stroke. My first canvas had three hesitant wobbly lines and I painted over it. The second, done in one brave pass, hangs in my bedroom. Frame it in thin black or leave the edges raw.
Cost: ~$8-12 | Time: 1 hour
Pro tip: When in doubt, take one thing away. After you finish styling a minimalist piece, remove the smallest item from the arrangement and see if it looks better. Nine times out of ten, it does.
13. Raw Pine Cube Stool
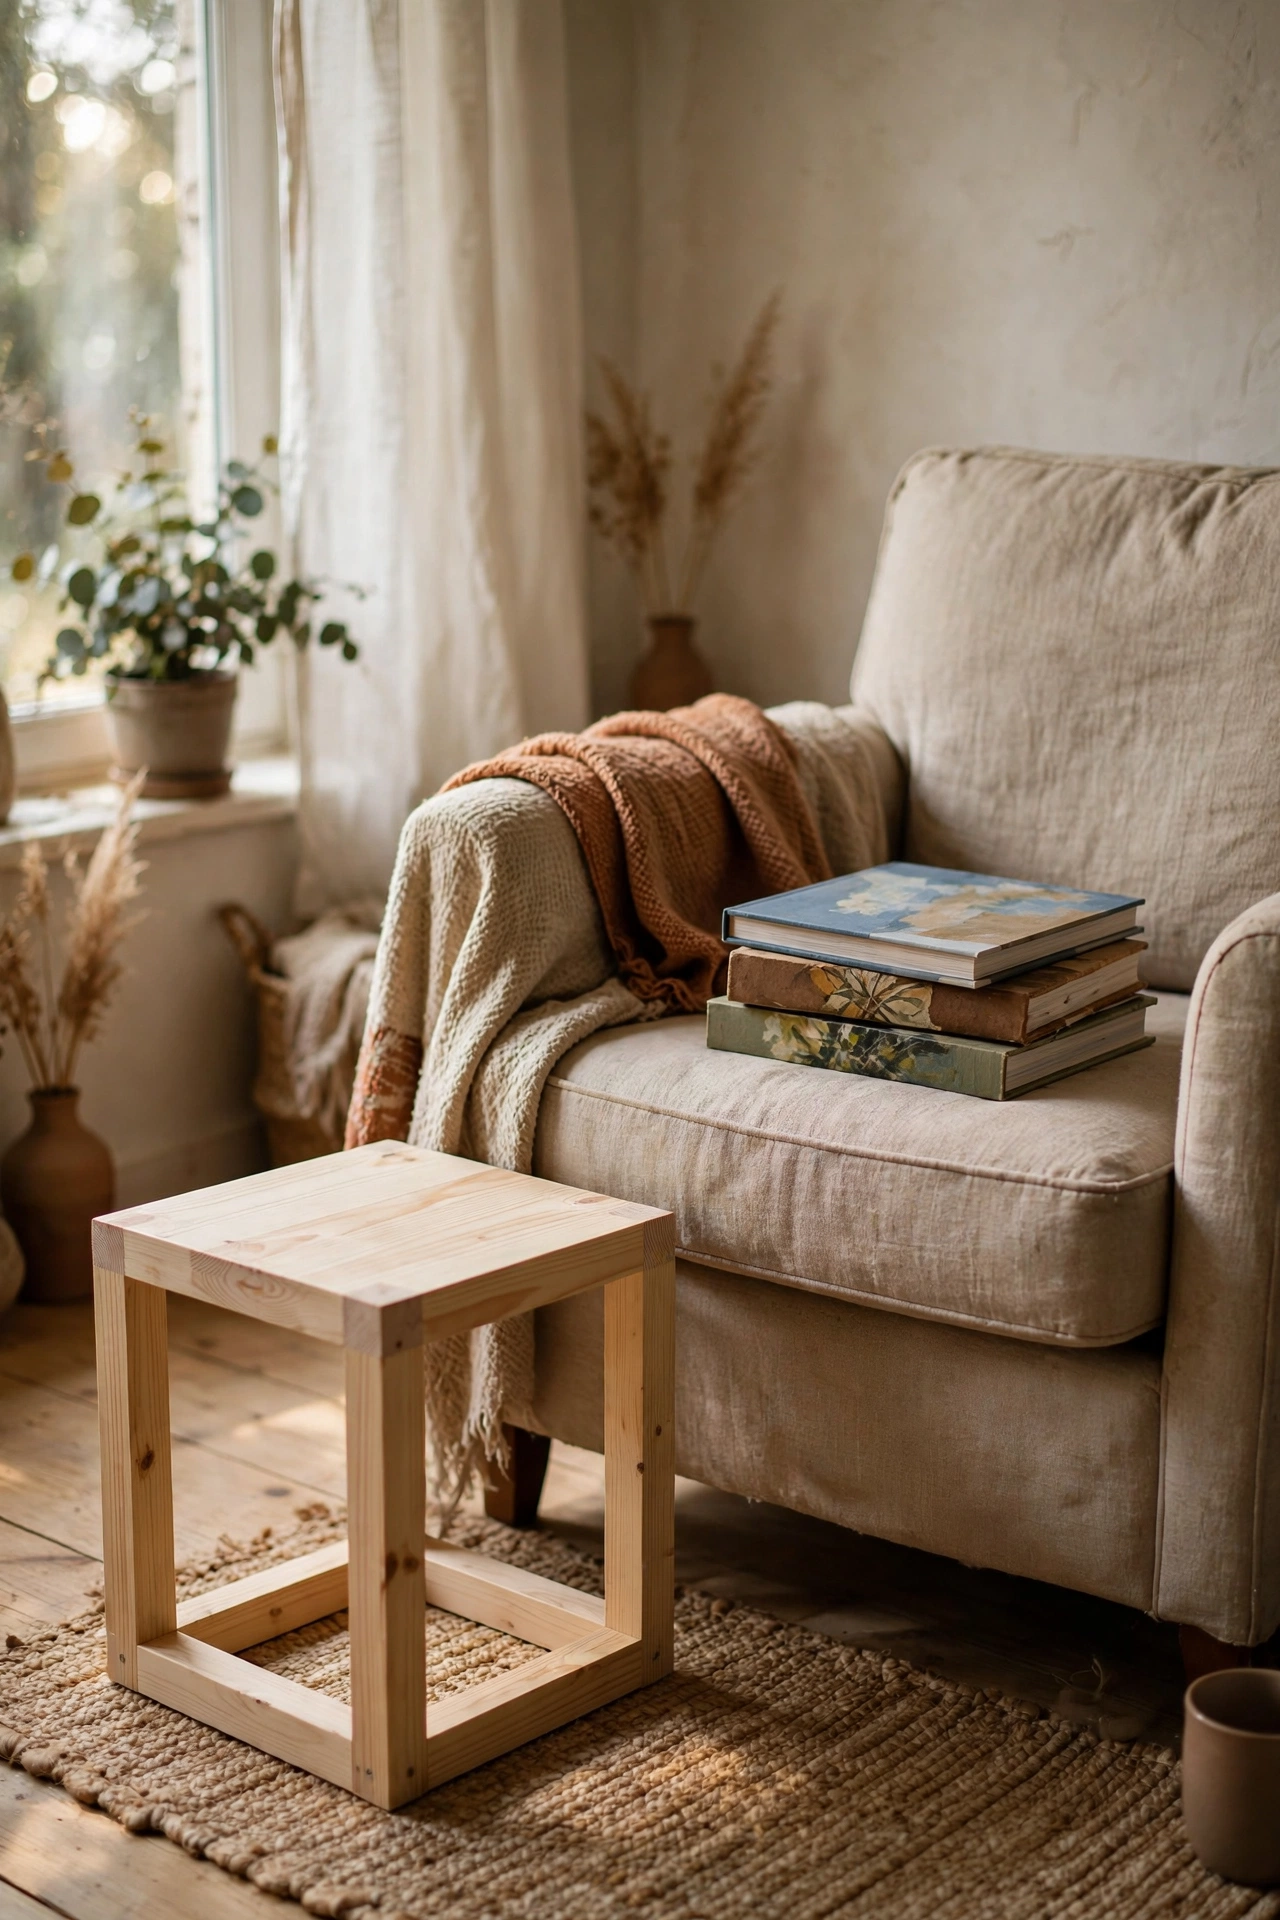
A simple cube stool from pine boards works as a side table, a plant stand, or extra seating. I cut five squares of 2-centimetre pine, screwed four into a box and capped the top, then sanded every edge round and left it completely unfinished. The raw wood warms up beautifully with handling. Measure twice before you cut, because a cube that is two centimetres off-square wobbles. Mine holds a stack of art books next to my reading chair. For a softer look, rub in clear wax instead of varnish.
Cost: ~$15-20 | Time: 2 hours
14. Neutral Candle Cluster Tray
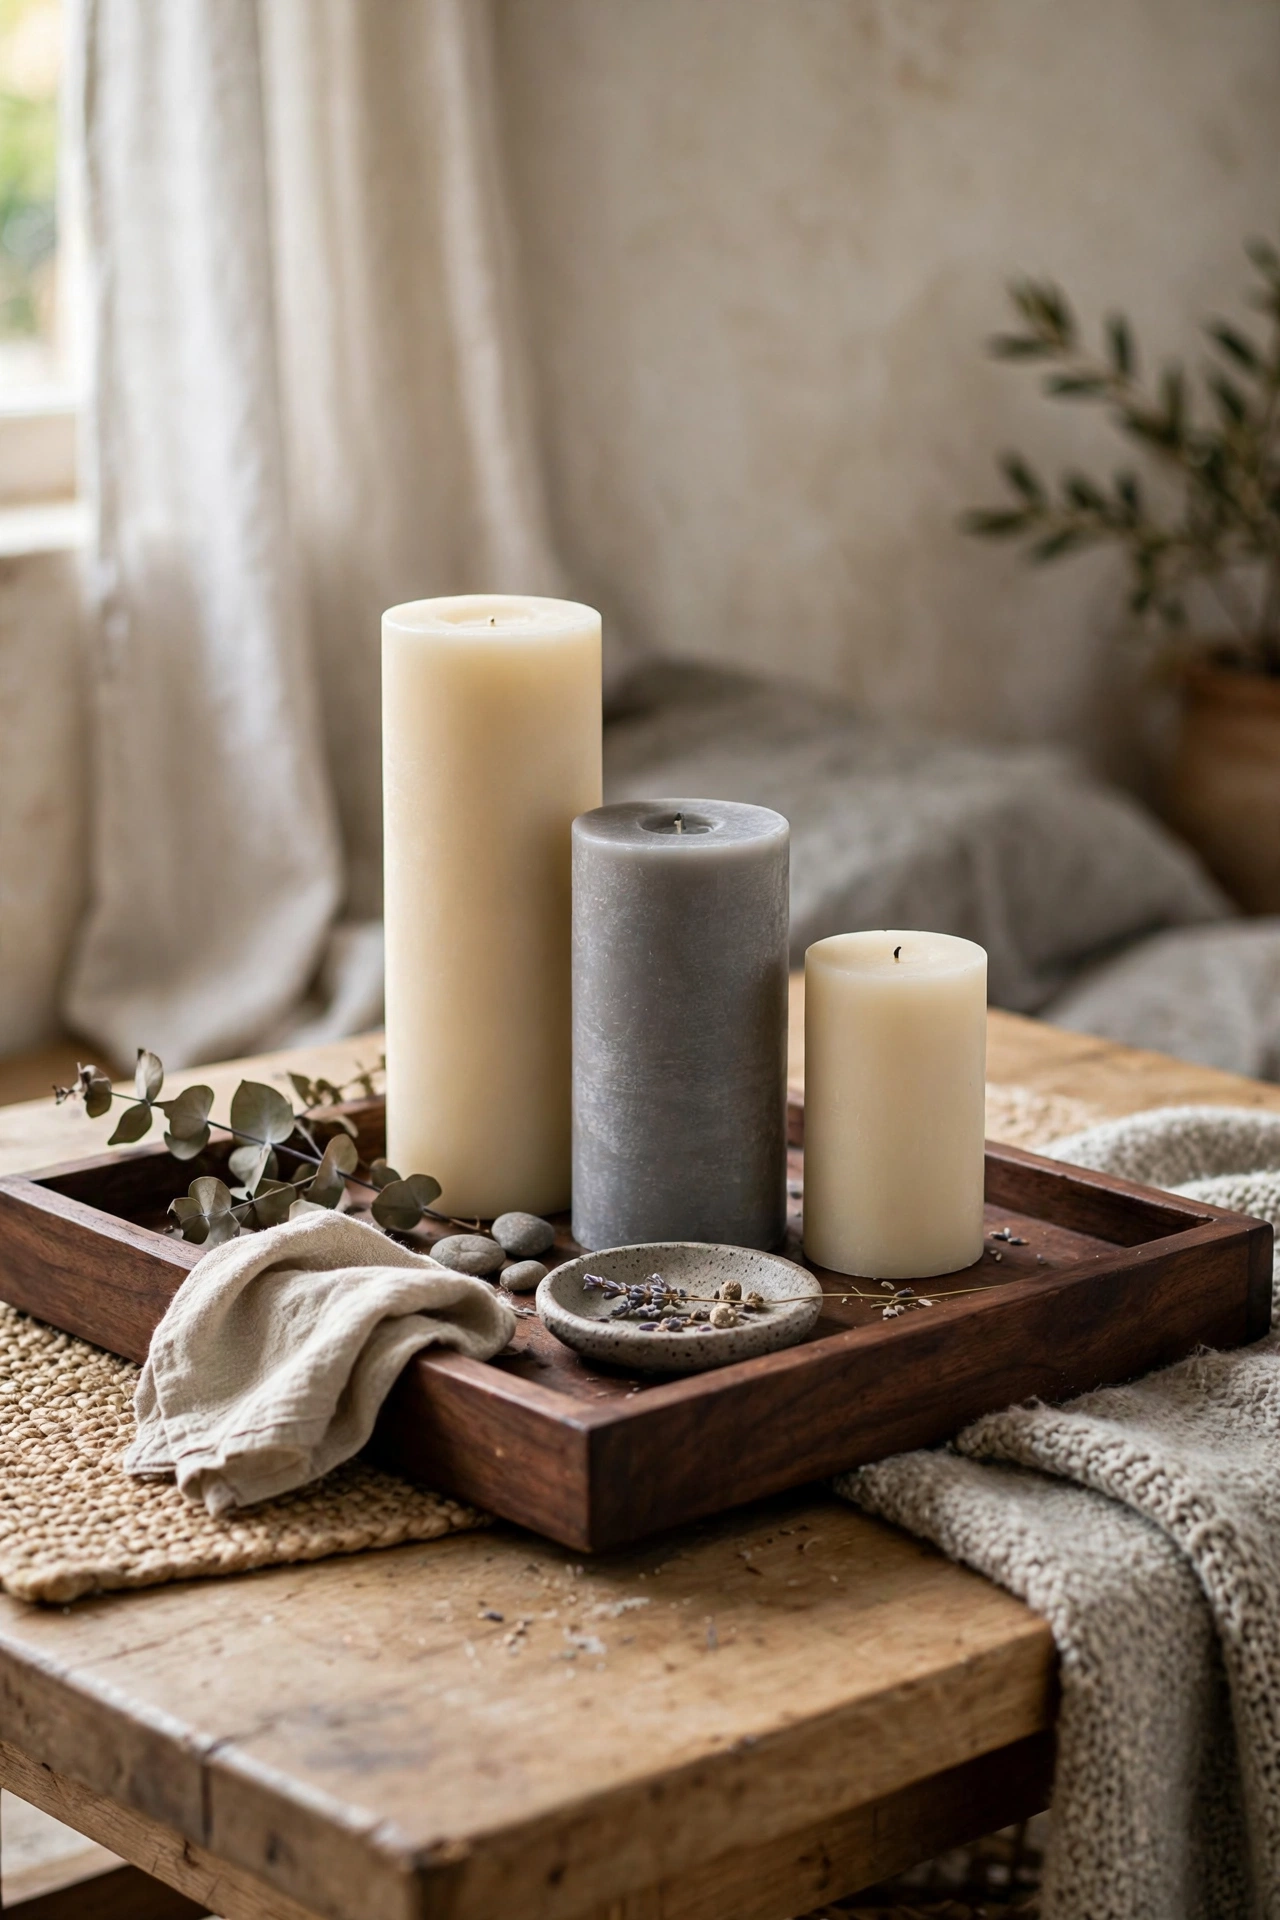
A shallow wooden tray with three candles in graduated heights is the minimalist centrepiece formula. I stained a $5 tray dark walnut, then arranged pillar candles in cream, oatmeal, and stone grey. The rule is odd numbers and varied heights: 10, 15, and 20 centimetres reads as designed. Keep everything within your three neutrals and skip the scented candles with busy labels. I peel the labels off mine and the difference is remarkable. Never leave them burning unattended, and trim wicks to half a centimetre for a clean flame.
Cost: ~$10-14 | Time: 20 minutes
Save this one for your weekend project list.
15. Open-Weave Jute Wall Hanging
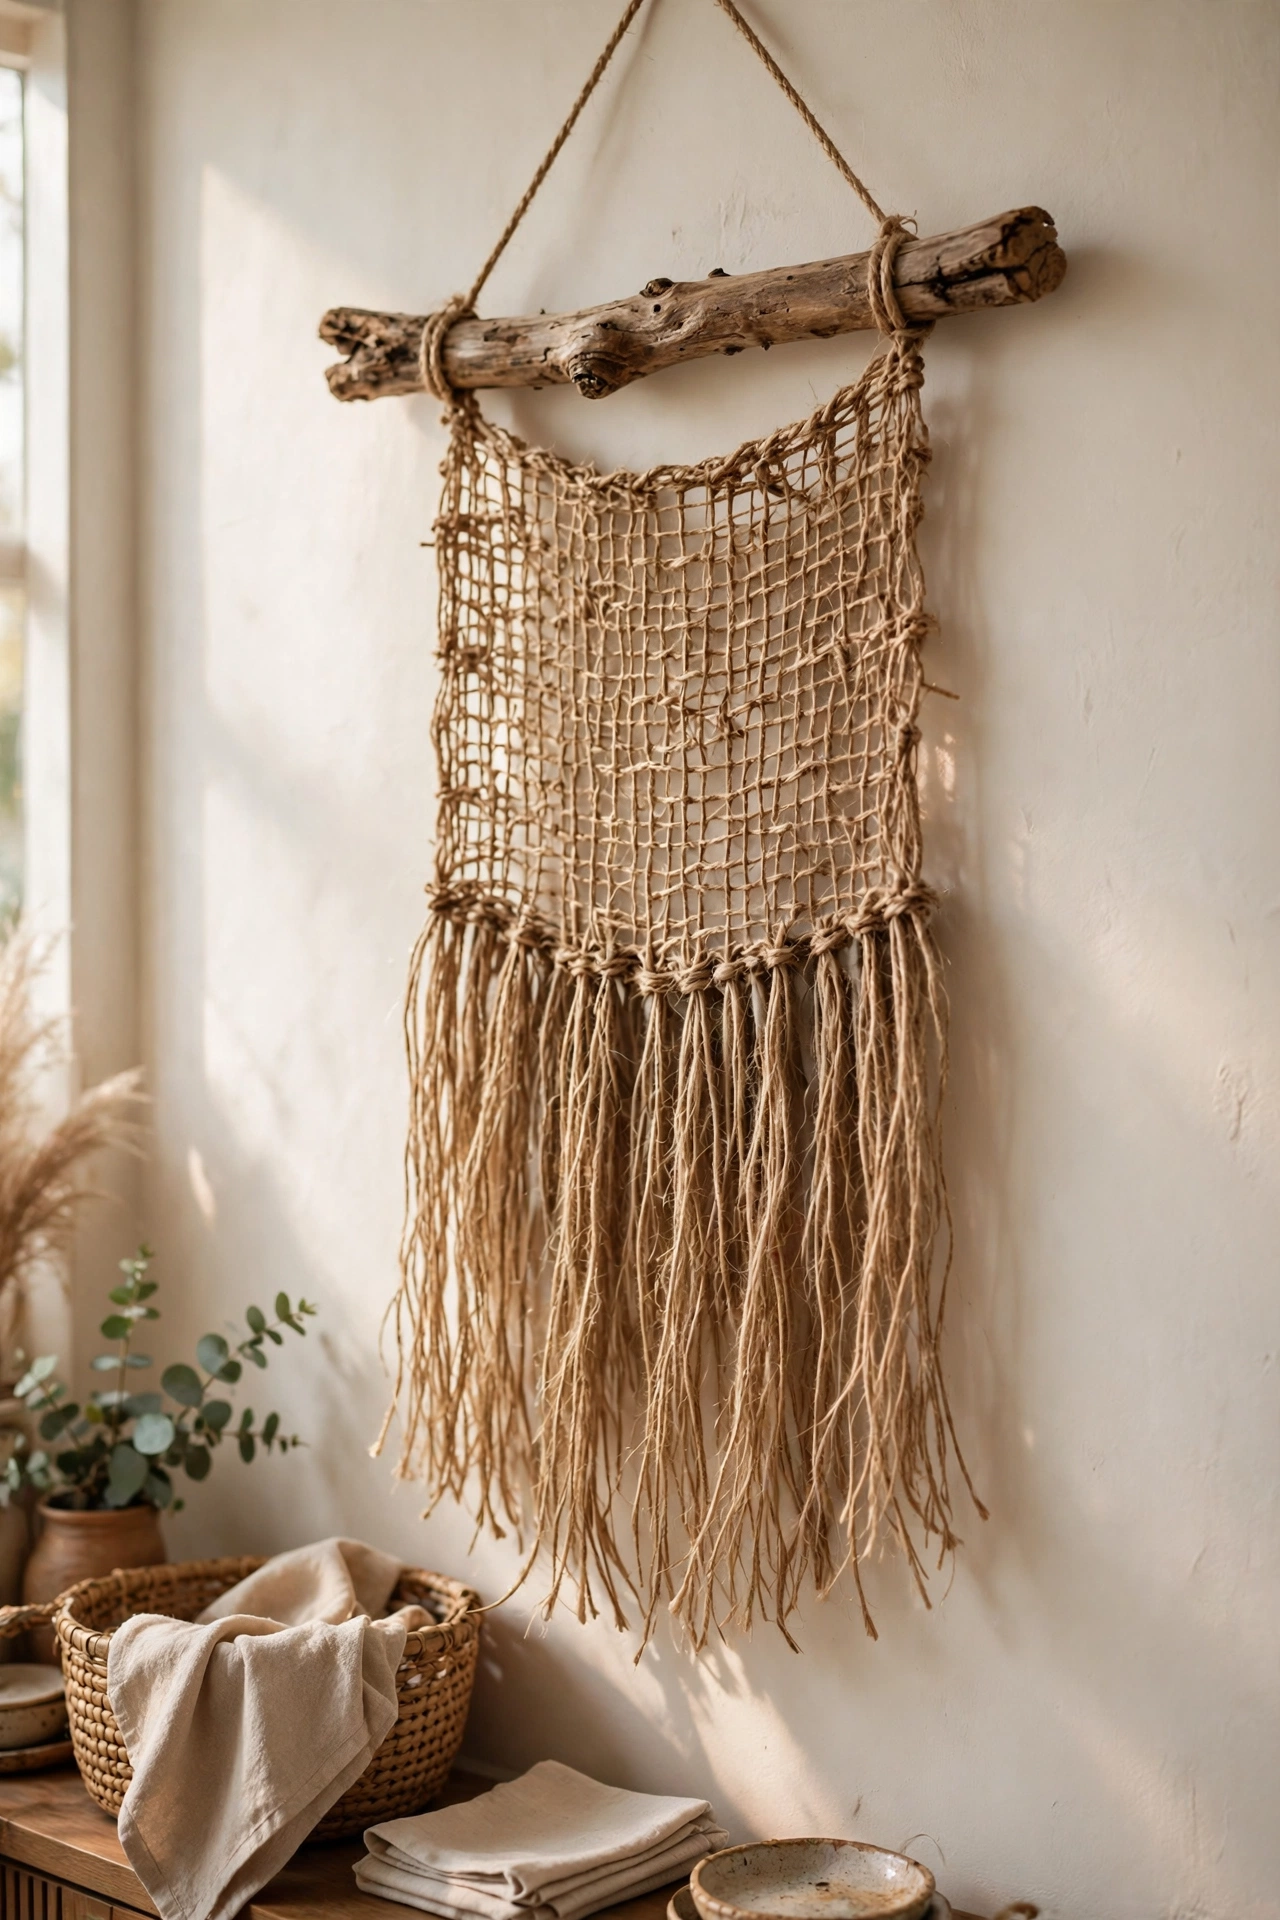
A loose jute weaving on a driftwood dowel adds warmth without adding visual noise. I wrapped natural jute twine around a 60-centimetre stick in a simple tabby weave, leaving long fringe at the bottom. The open weave lets the wall colour show through, which keeps it light and airy. Keep the palette to natural jute only: adding dyed yarns turns it boho instead of minimalist. I hung mine with a single nail and a loop of twine. It took one evening in front of the television and cost less than a takeaway.
Cost: ~$9-13 | Time: 2 hours
Pro tip: Photograph each finished piece against a plain wall before you style it. If it looks good alone, it will look good in the room. If it needs props to look interesting, the piece itself is not strong enough yet.
Keep the calm going: (see also: 17-minimalist-bedroom-ideas-on-a-budget/) (see also: 15-thrifted-living-room-decor-that-look-designer) (see also: 15-easy-diy-home-decor-projects-for-beginners-under-25/)
Pick one project, make it this weekend, and let the rest of the room breathe around it. Minimalism is a practice, not a purchase.
