15 Easy DIY Home Decor Projects for Beginners Under $25
I picked up my first hot-glue gun two years ago because I wanted my living room to feel cosier without spending a fortune. Every tutorial I found seemed to need a workshop, a sewing machine, or a budget I didn’t have. So I started small, with projects that cost less than a takeaway, and honestly? Those little wins are what made my home feel like mine. If you’ve been waiting for permission to start, these easy DIY home decor projects are exactly that permission.
None of these need special skills or fancy tools. Each one costs under $25 in materials — most cost far less — and you can finish almost every project in an afternoon. I’ve made every single one on this list at least once, and I’m sharing what actually worked, what flopped, and the little shortcuts that made the difference.
1. Hand-Painted Terracotta Pots
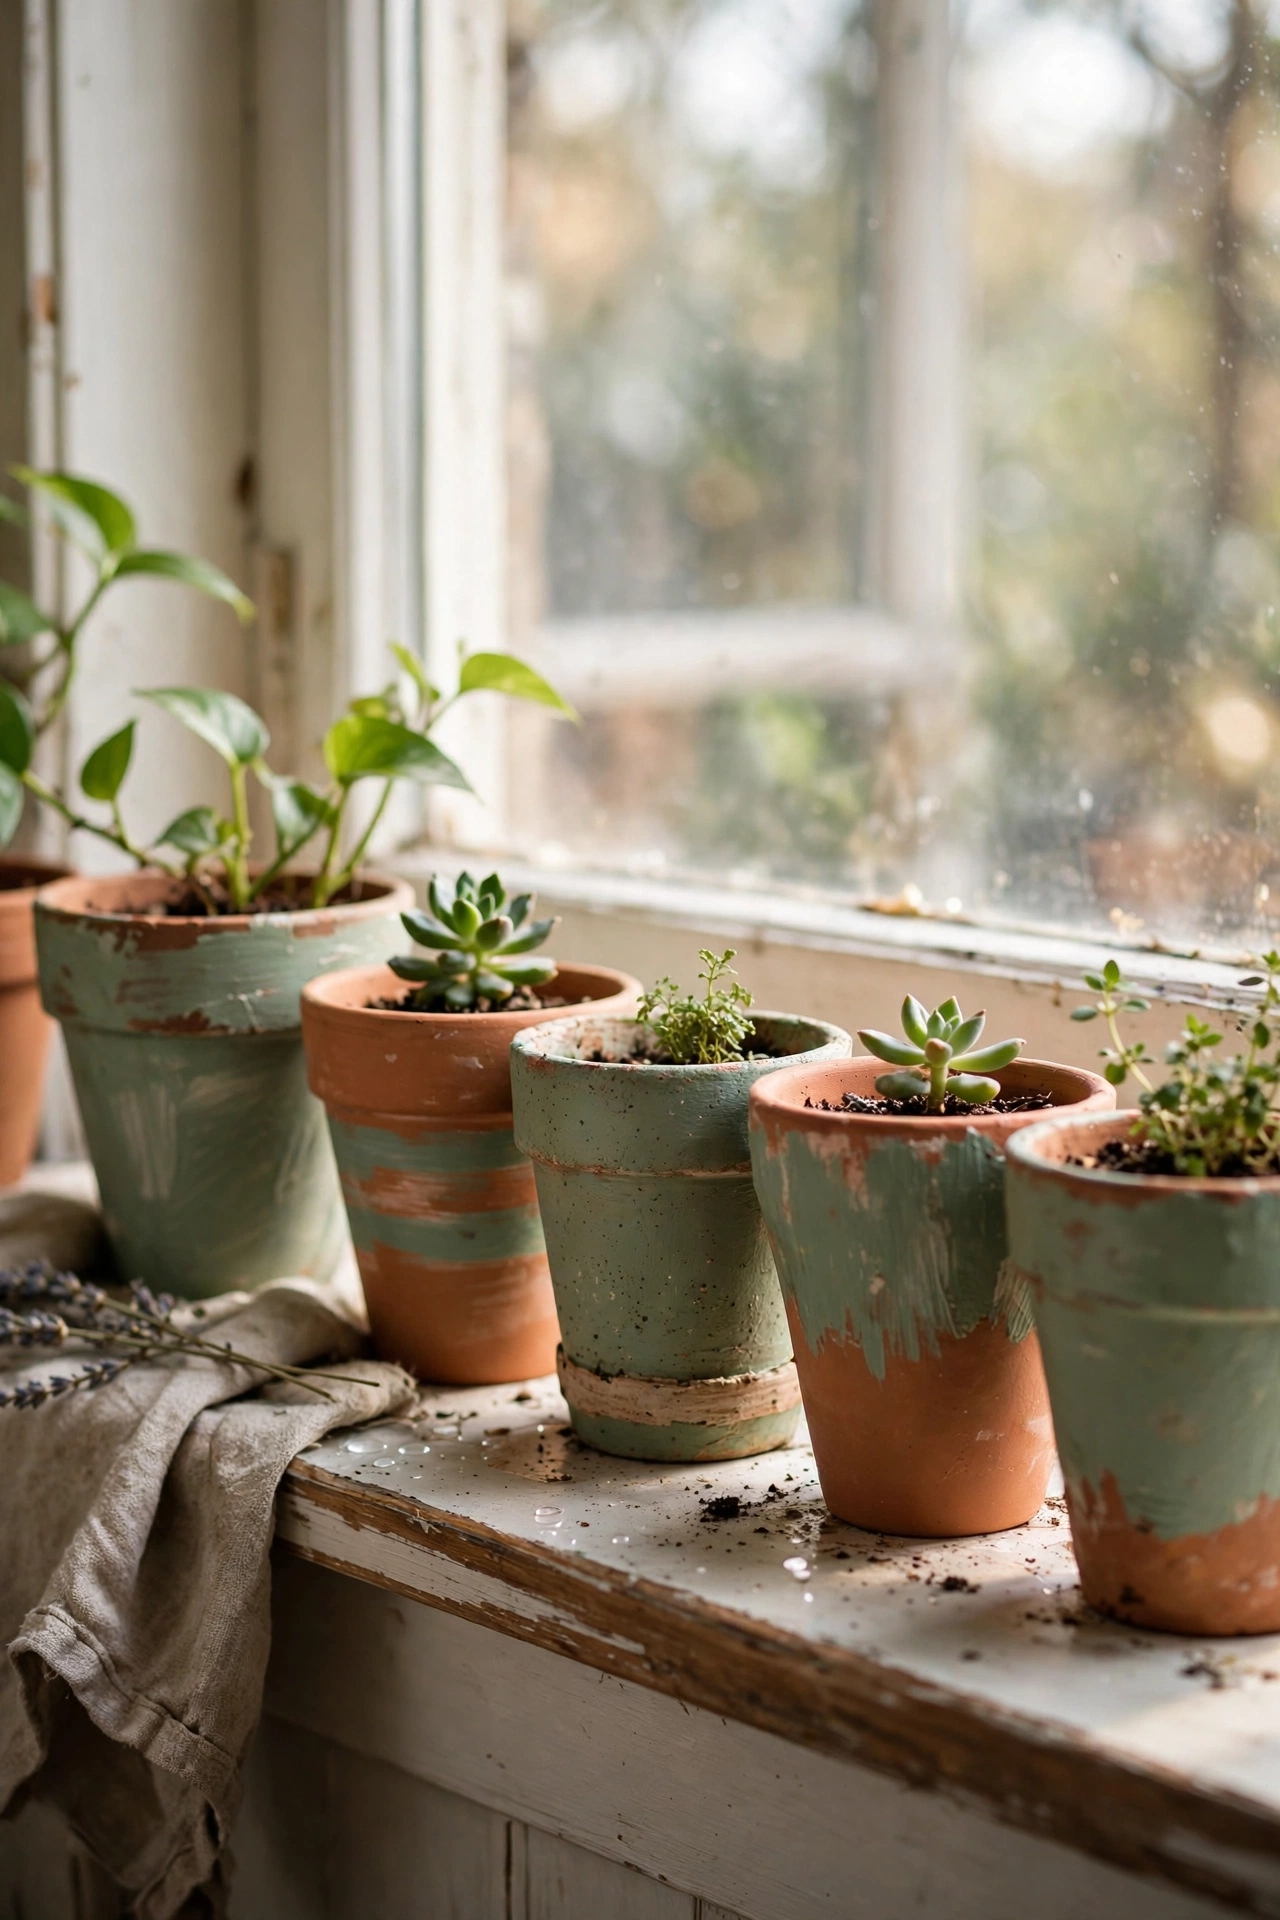
Plain terracotta pots are the cheapest starting point in home decor — I buy mine for under a pound each at the garden centre. The magic is in the paint: wash and fully dry the pot first, then brush on a thin coat of acrylic paint in a warm neutral like clay, sage, or soft white. For a designer touch, paint the top rim a contrasting colour, or dip the bottom half and let it dry upside down for a clean line. I tried this with three pots on my windowsill — the mistake I made was painting over damp terracotta, which bubbled and peeled within a week. Wait until they’re bone dry and your finish will last for years.
Pro tip: seal painted pots with a clear matte varnish if they’ll hold real plants, because watering seeps through unsealed terracotta and stains the paint.
Cost: ~$6 | Time: 45 minutes plus drying
2. Peel-and-Stick Wallpaper Accent Wall
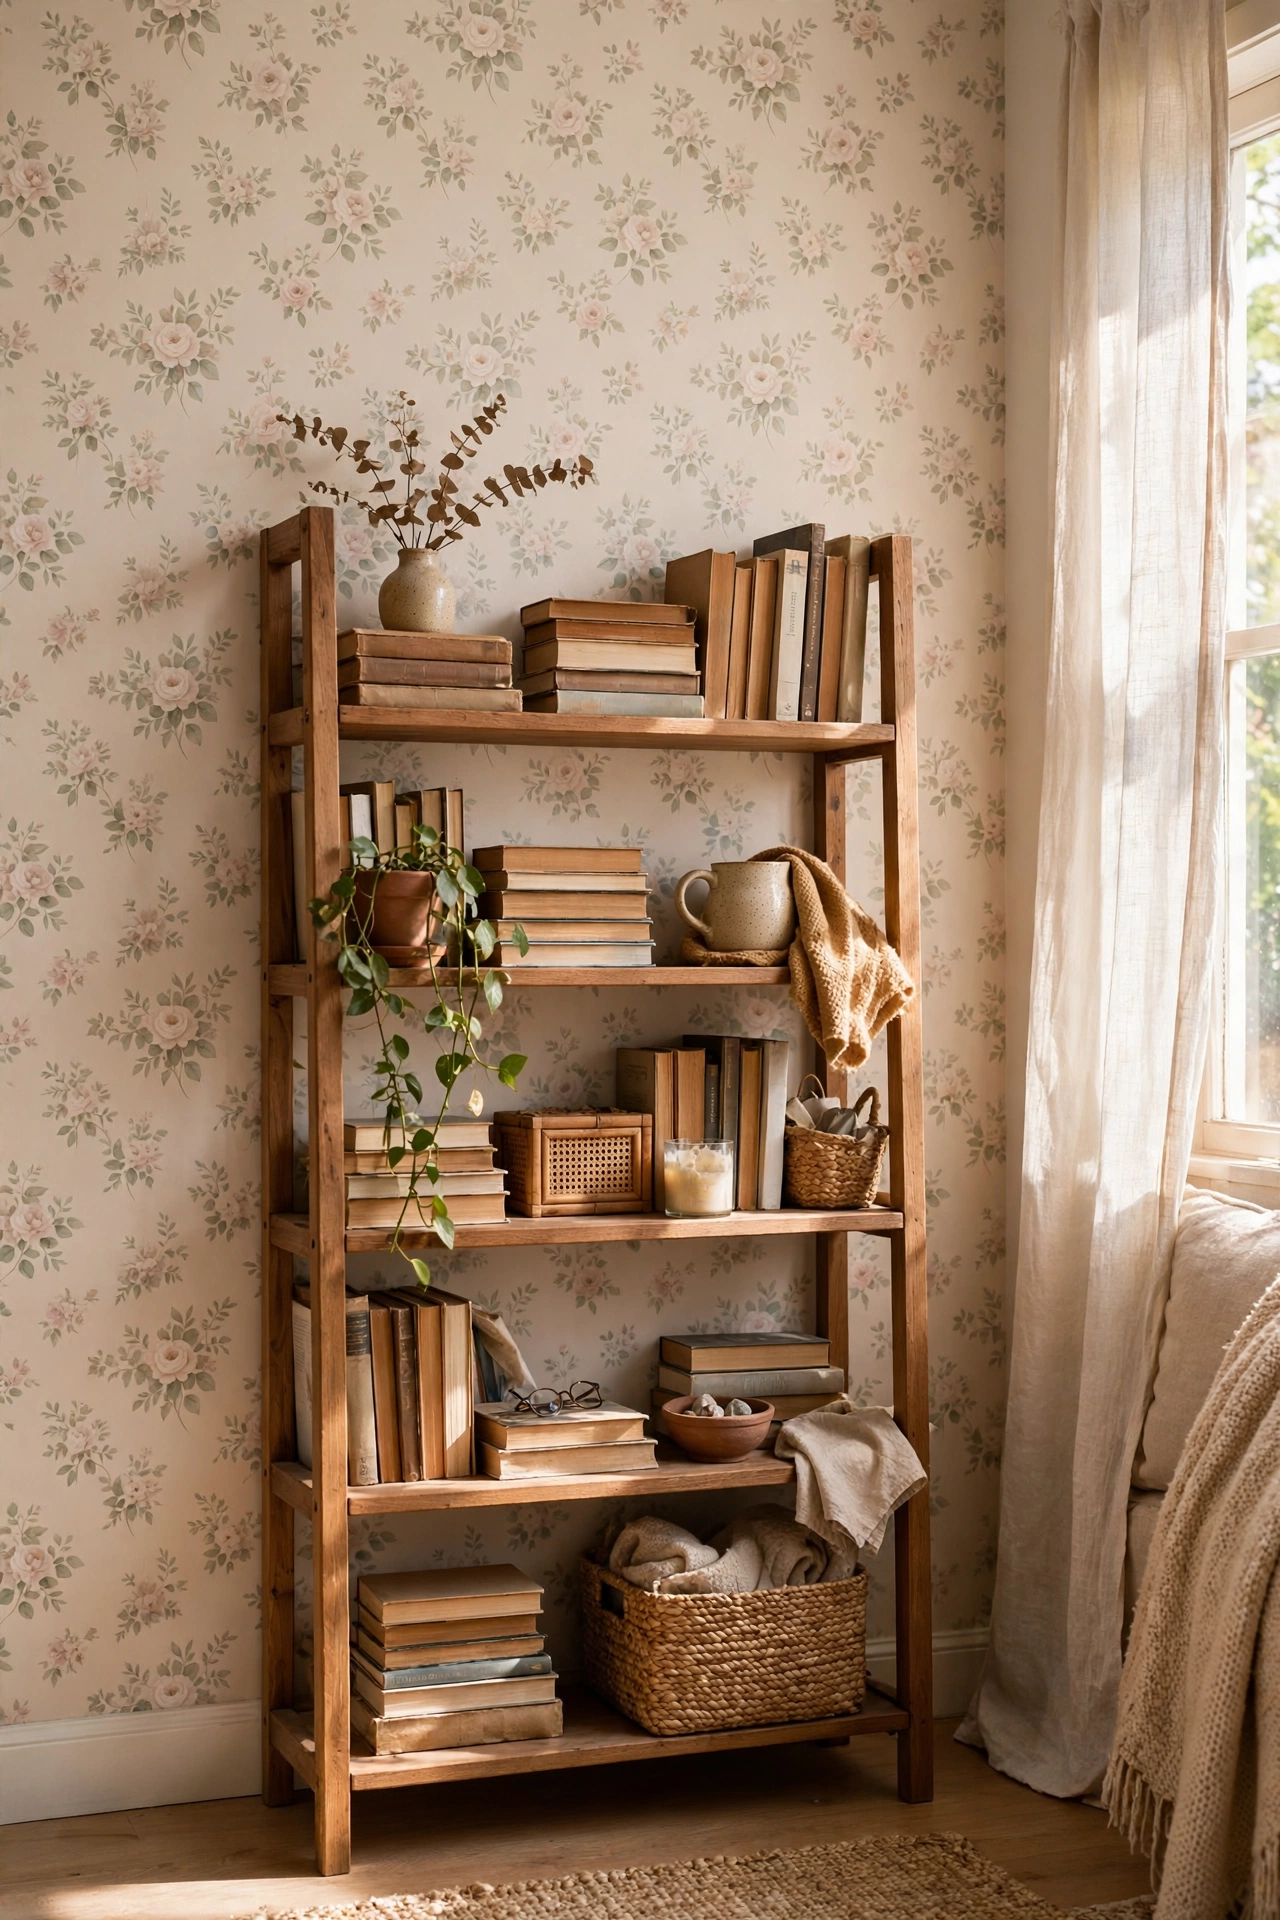
Peel-and-stick wallpaper is the most forgiving wall treatment a beginner can try. You only need one roll for a small accent area — I did the wall behind my bookshelf and used less than half a roll. Measure and cut each strip a little longer than the wall, peel back the top few inches, align it at the ceiling line, then smooth downward with a dry cloth as you peel. My first strip went on crooked because I skipped the plumb line; a strip of painter’s tape as a guide fixes that completely. If you misplace a panel, just peel it off and reposition — that’s the whole point.
Pro tip: buy from a brand that lists removable adhesive; some cheap papers behave like stickers and will take paint off when you remove them.
Cost: ~$18 | Time: 1–2 hours
3. Thrifted Frame Gallery Wall
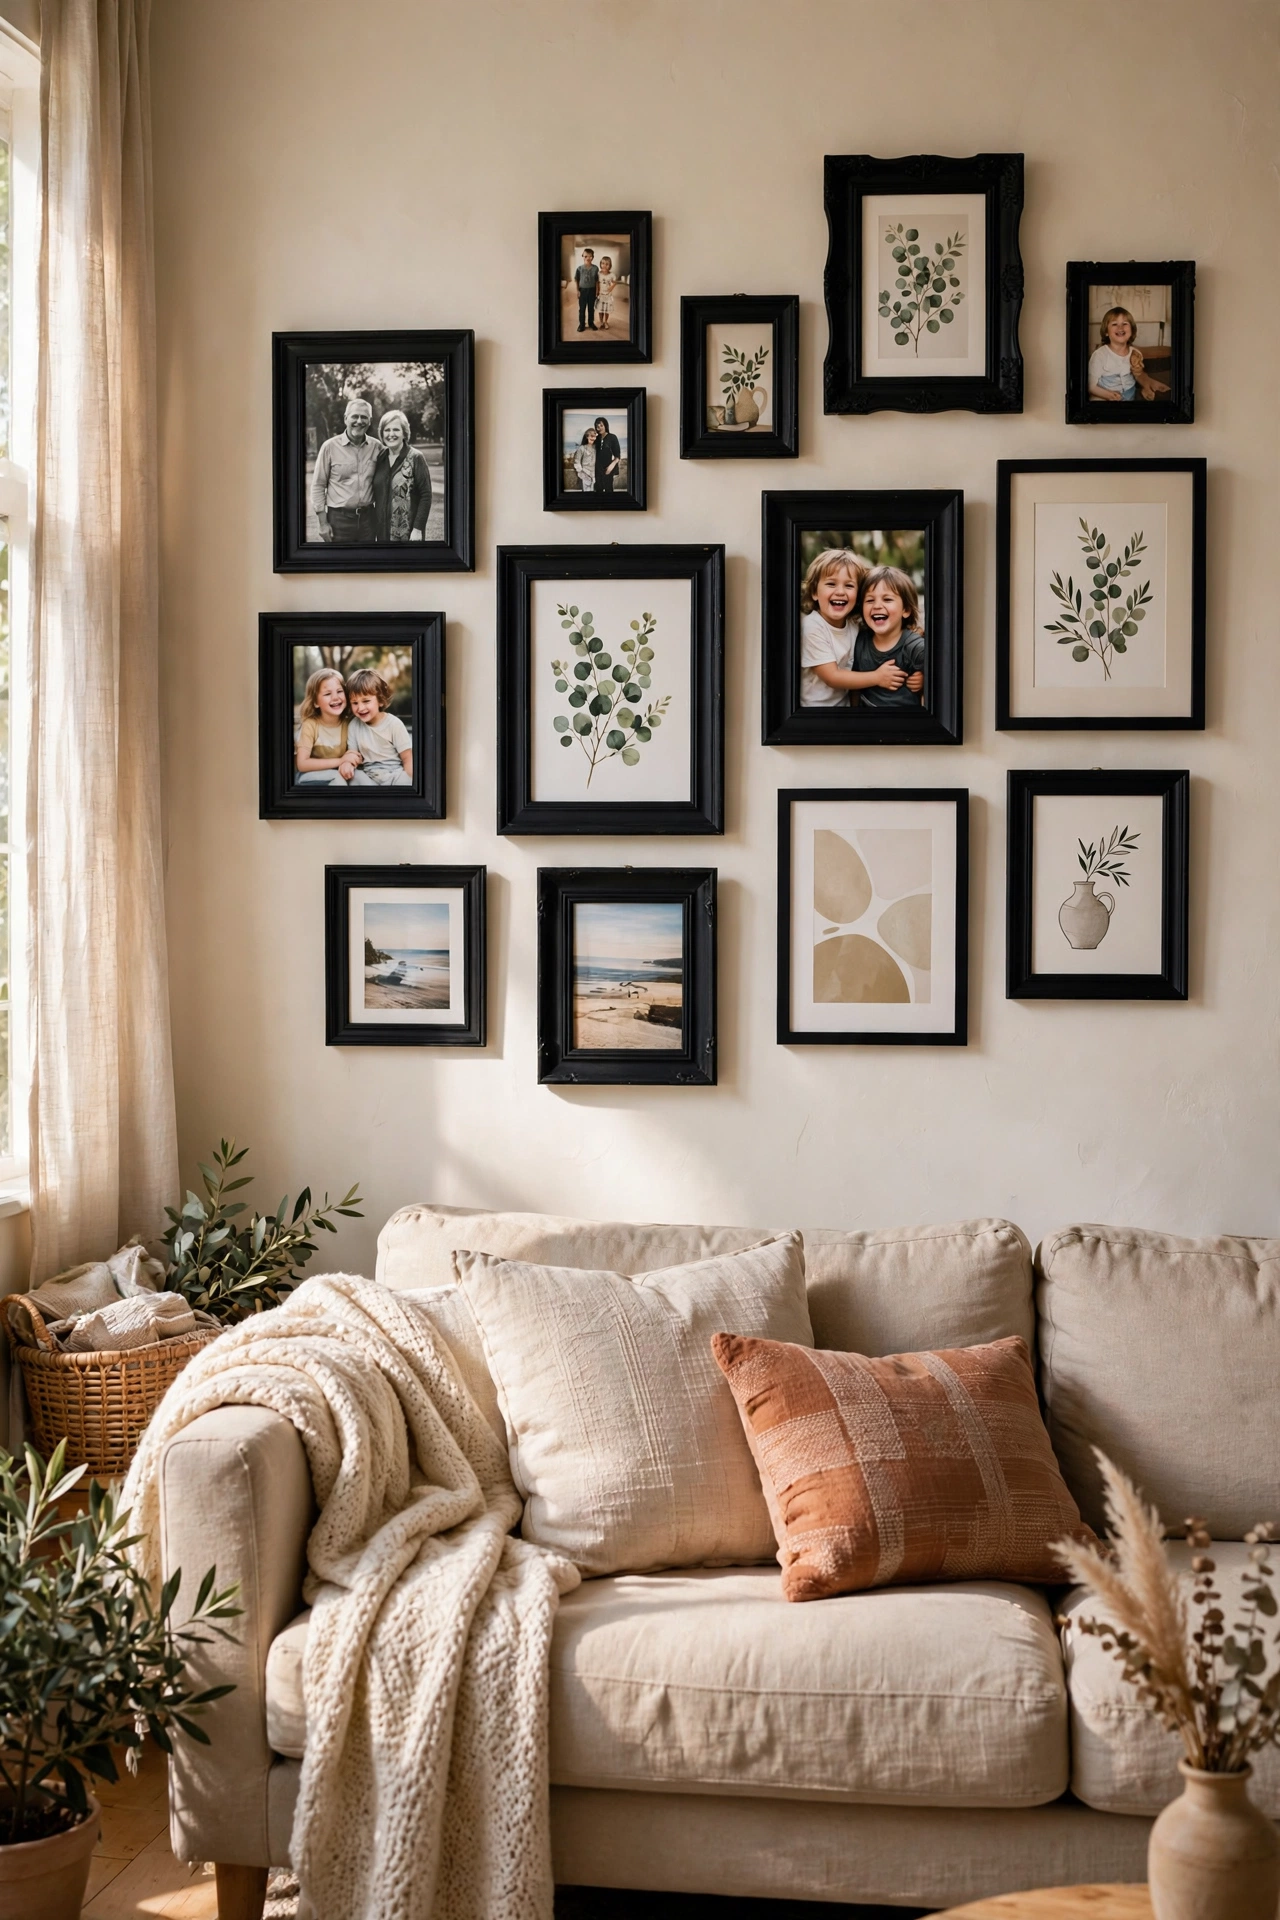
A gallery wall looks expensive but costs almost nothing if you thrift the frames. I collected mismatched wooden frames over a month at charity shops, spending under $10 total. Spray-paint them all one colour — matte black or warm white ties everything together — and fill them with free printable art, family photos, or even pretty pages from old calendars. Lay the arrangement on the floor first and photograph it from above; I tried hanging freehand and ended up with ten unnecessary holes. Trace each frame onto kraft paper, tape the templates to the wall, and hammer your nails through the paper — perfect spacing every time.
Pro tip: keep two to four inches of space between frames for a curated look; anything wider reads accidental.
Cost: ~$12 | Time: 2–3 hours
4. Book Page Garland
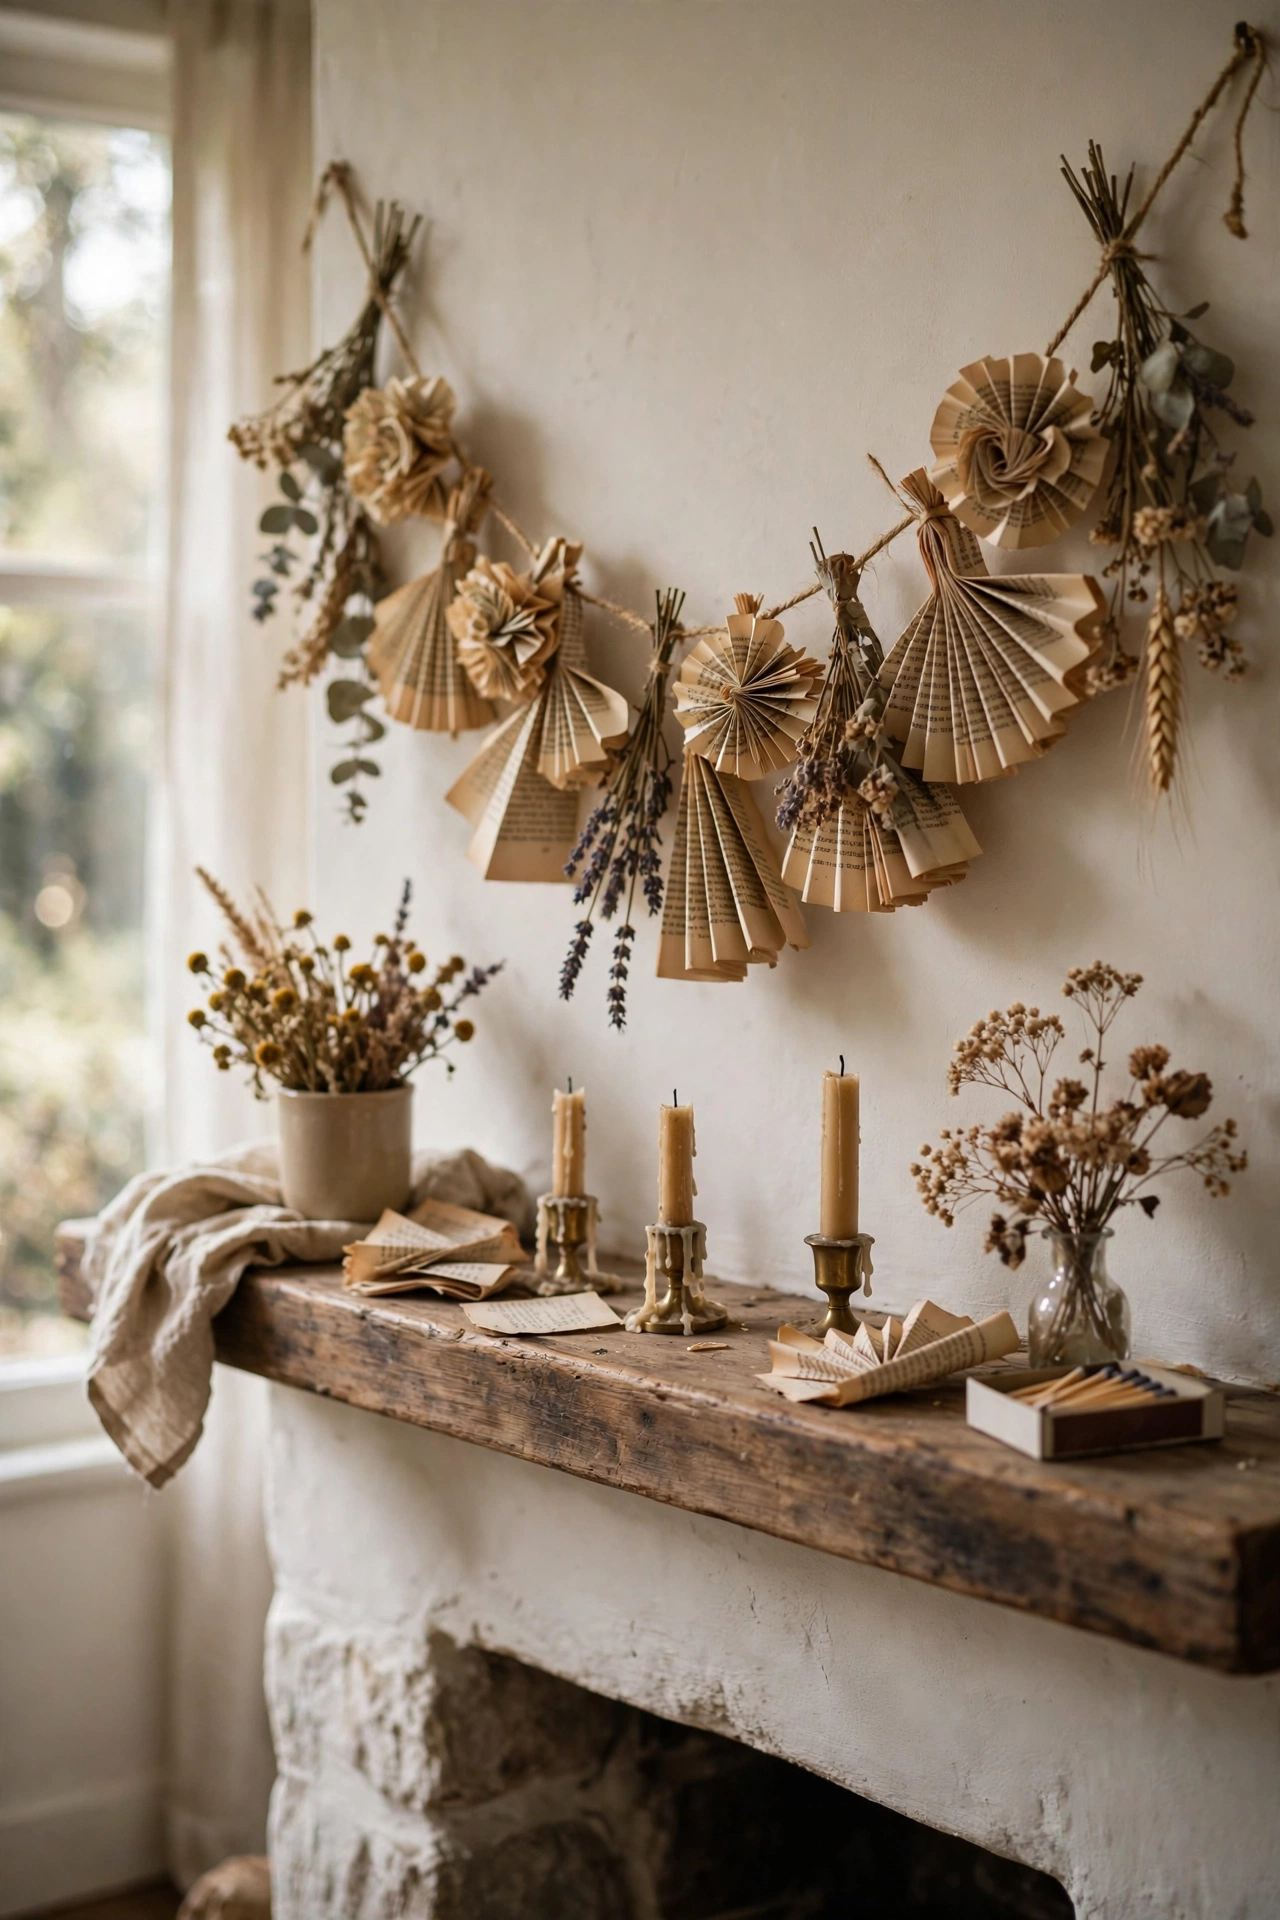
Take a damaged paperback — the kind missing its cover at a charity shop — and turn it into a garland that looks genuinely lovely draped over a mantel. Tear out pages, fold each into a simple fan or triangle, and glue or clip them onto twine spaced about three inches apart. It takes roughly forty pages for a six-foot garland. I tried this with glossy magazine pages first and the glue wouldn’t hold; aged paperback pages grip hot glue beautifully and give that warm, vintage feel. String yours across a doorway, along a bookshelf, or in a layered double strand.
Pro tip: lightly tea-stain the pages first if they look too bright and new — dip, dab dry, and the colour deepens as they dry.
Cost: ~$3 | Time: 1 hour
5. Woven Basket Wall Display
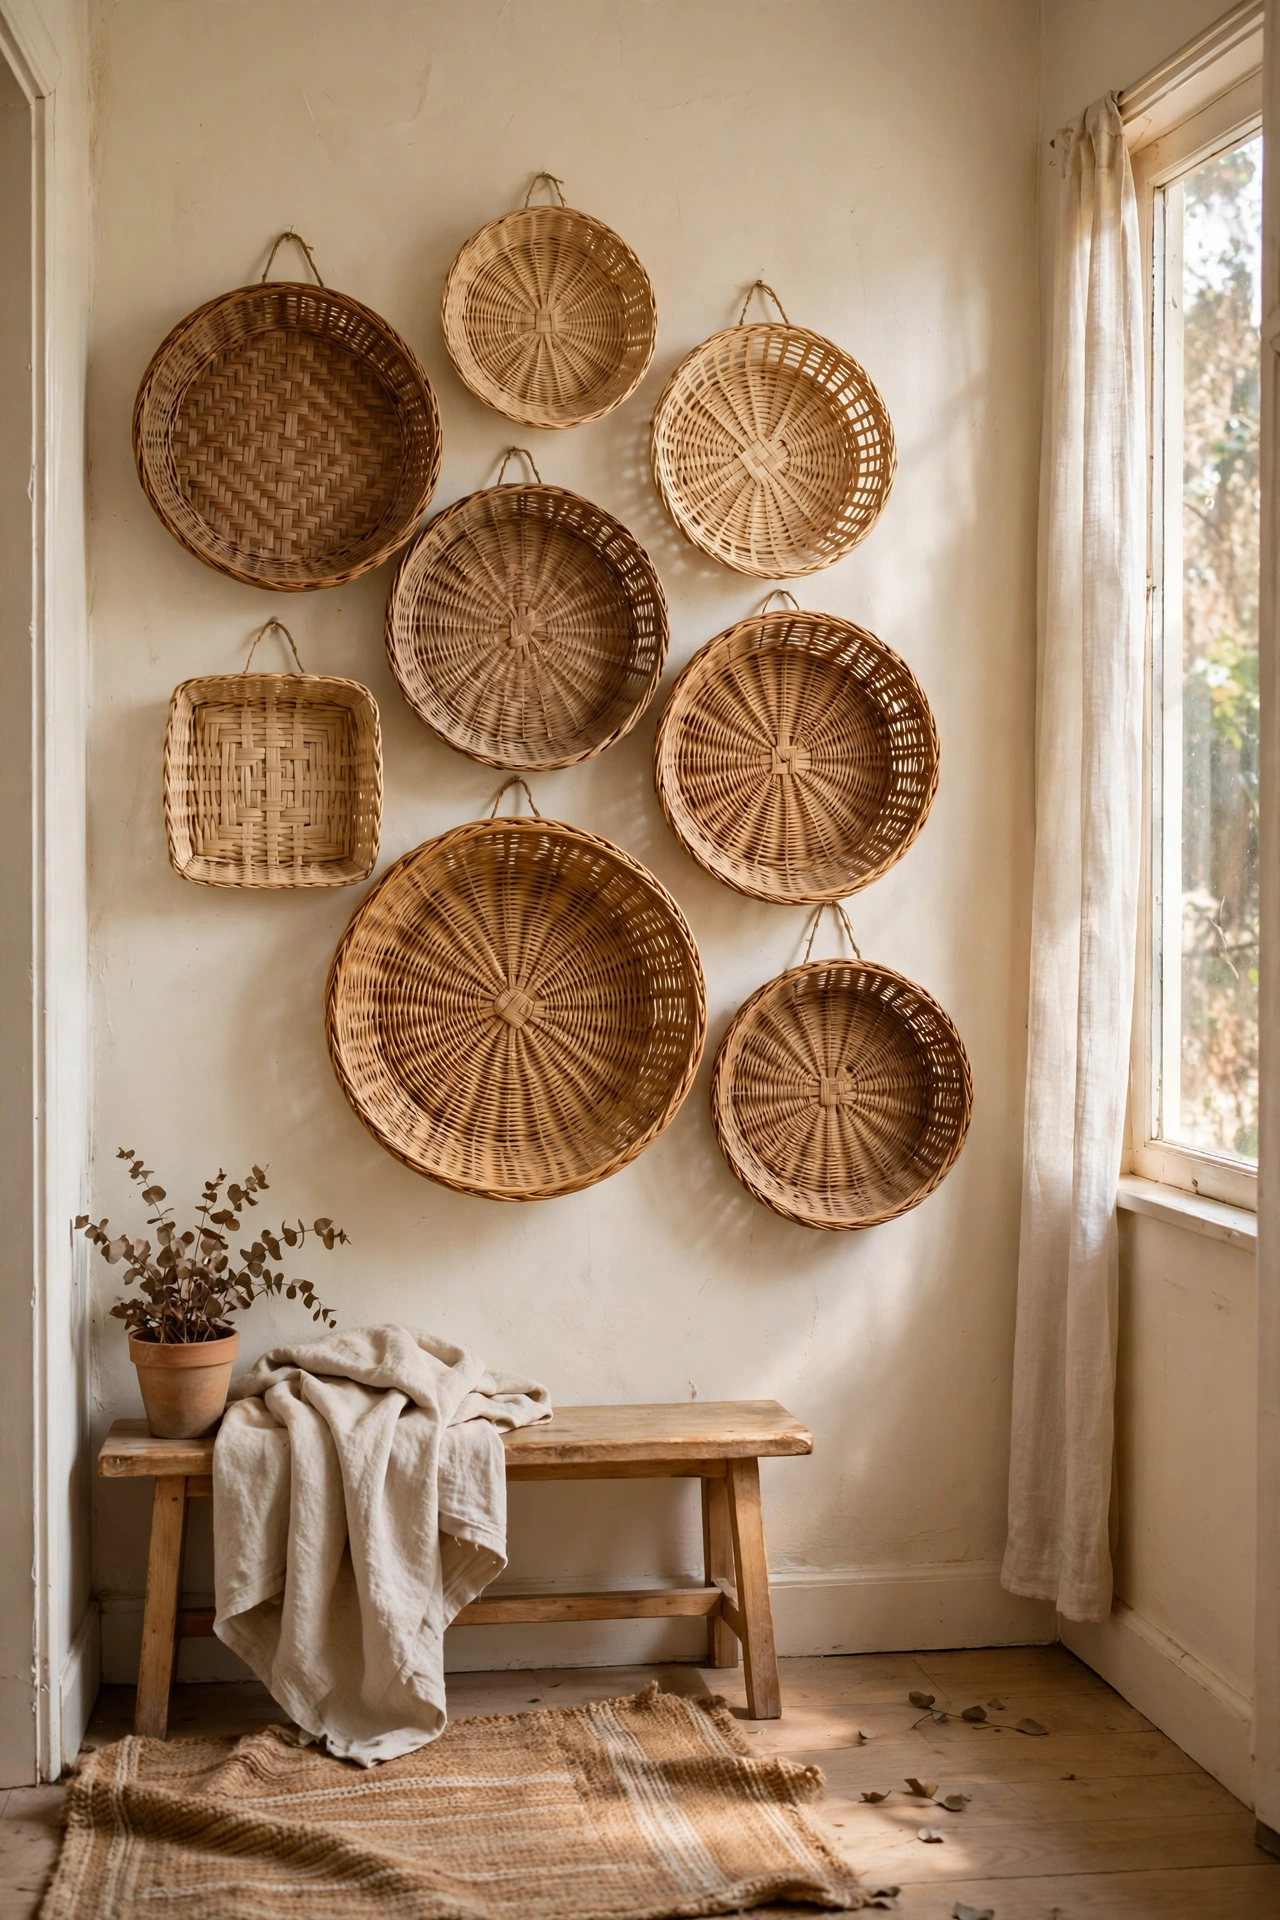
Flat woven baskets from thrift shops and discount stores make a wall display that feels warm and collected. Gather five to nine baskets in varying sizes — the mix of round and oval shapes is what makes it work. Arrange them on the floor first, starting with the largest in the centre, then hang with simple picture nails; most baskets have a weave loose enough to hook straight onto a nail. I learned the hard way that baskets hung in direct sunlight fade fast, so mine went on a north-facing hallway wall where the colour stays rich. This single project made my plain hallway feel finished.
Pro tip: spray the backs lightly with water before hanging so they sit flatter against the wall.
Cost: ~$10 | Time: 45 minutes
6. Decorative Candle Jars
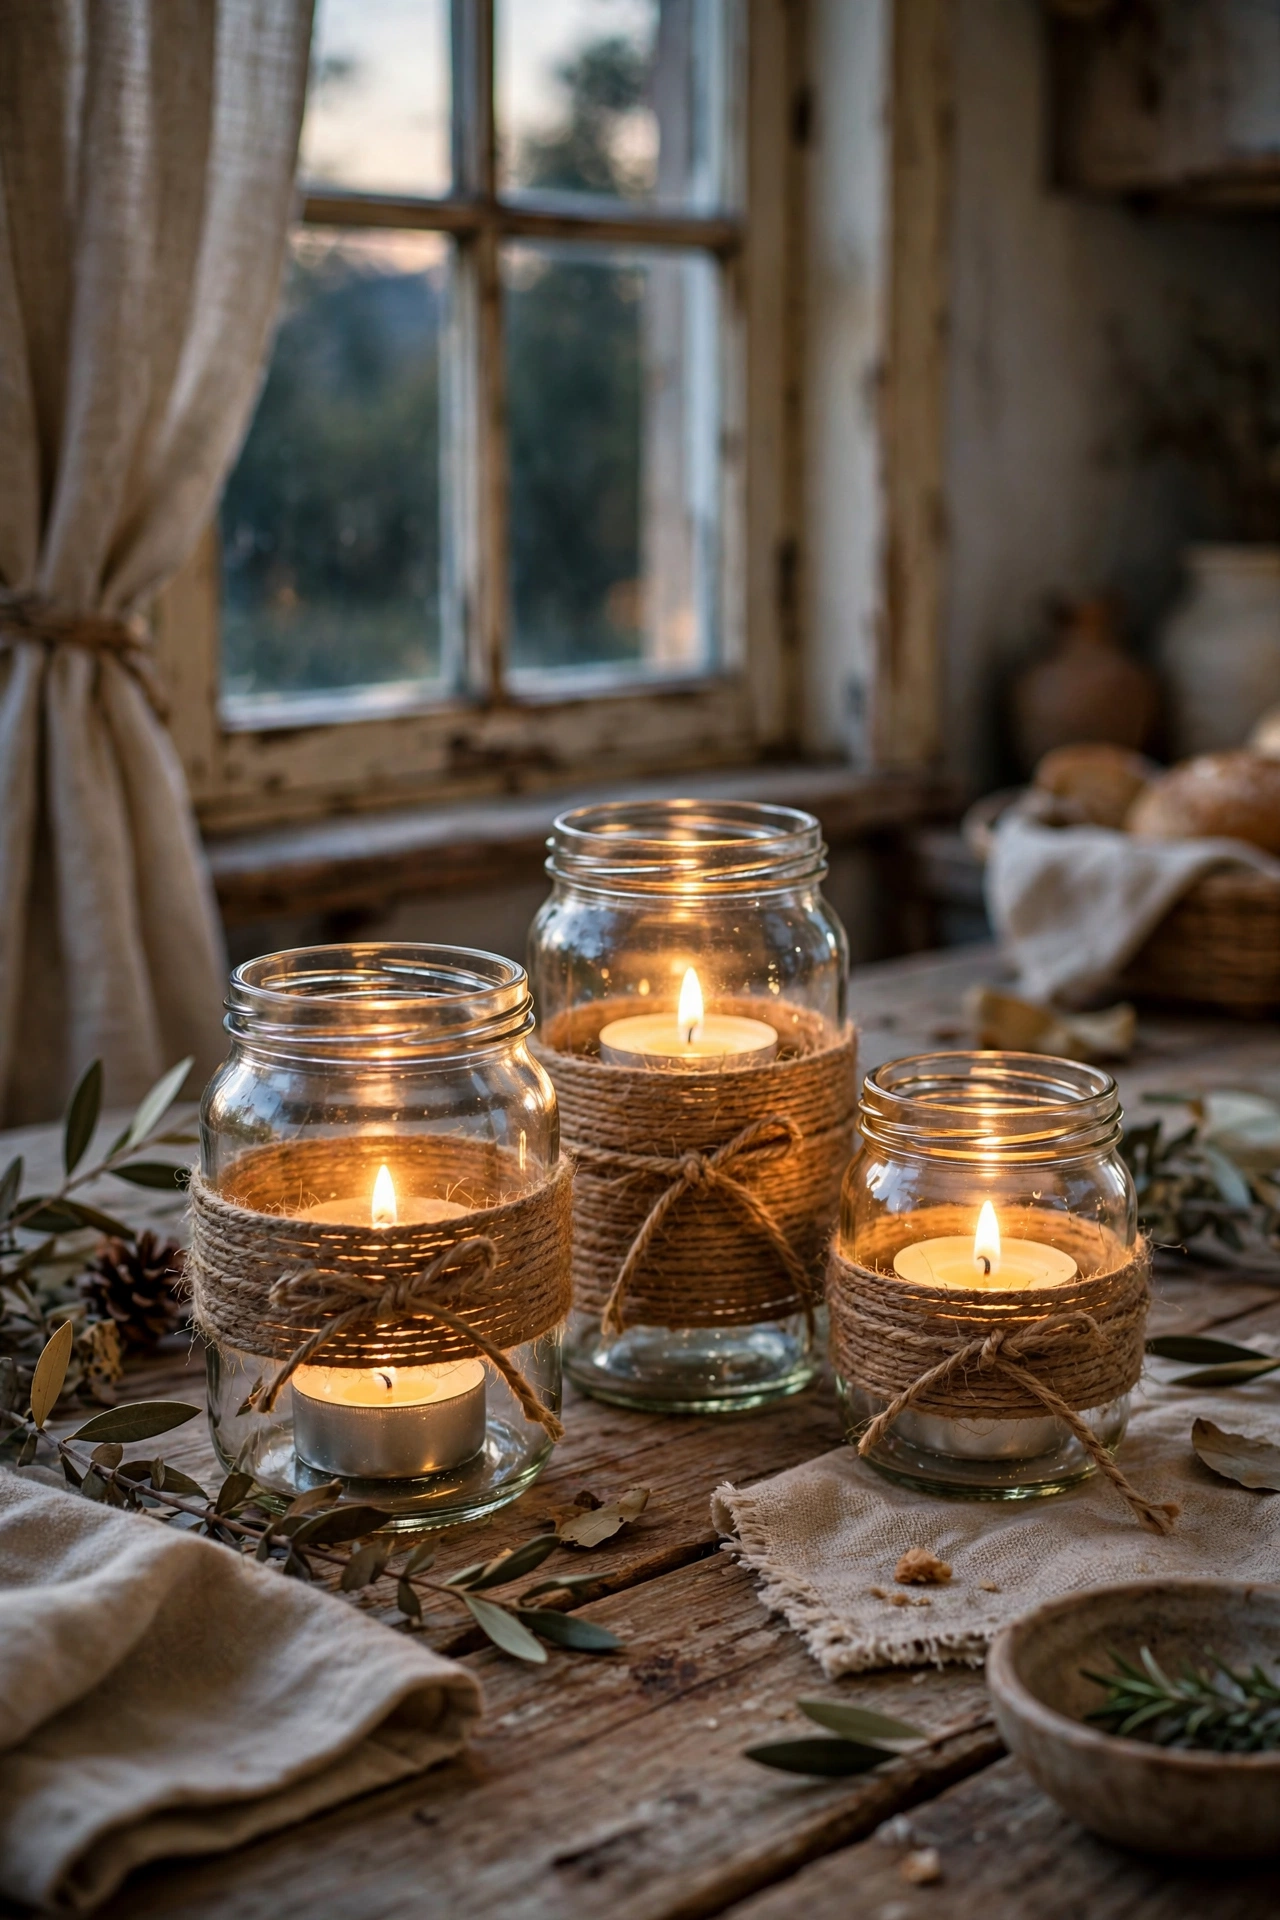
Save every glass jar that comes through your kitchen — pasta sauce jars are perfect. Clean them, remove the labels with hot soapy water, and dress them up: wrap the middle with jute twine, tie on a sprig of dried lavender, or paint the lower third with frosted glass paint. Pop in a tealight and the glow through the glass is gorgeous. I made a set of five for my dining table and guests genuinely assumed they were shop-bought. Don’t use real tealights in jars with dried decorations unless the greenery is well clear of the flame — LED tealights give the same glow with zero worry.
Pro tip: group jars in odd numbers — three or five together look styled, two looks like leftovers.
Cost: ~$4 | Time: 30 minutes
7. Wood Slice Coasters
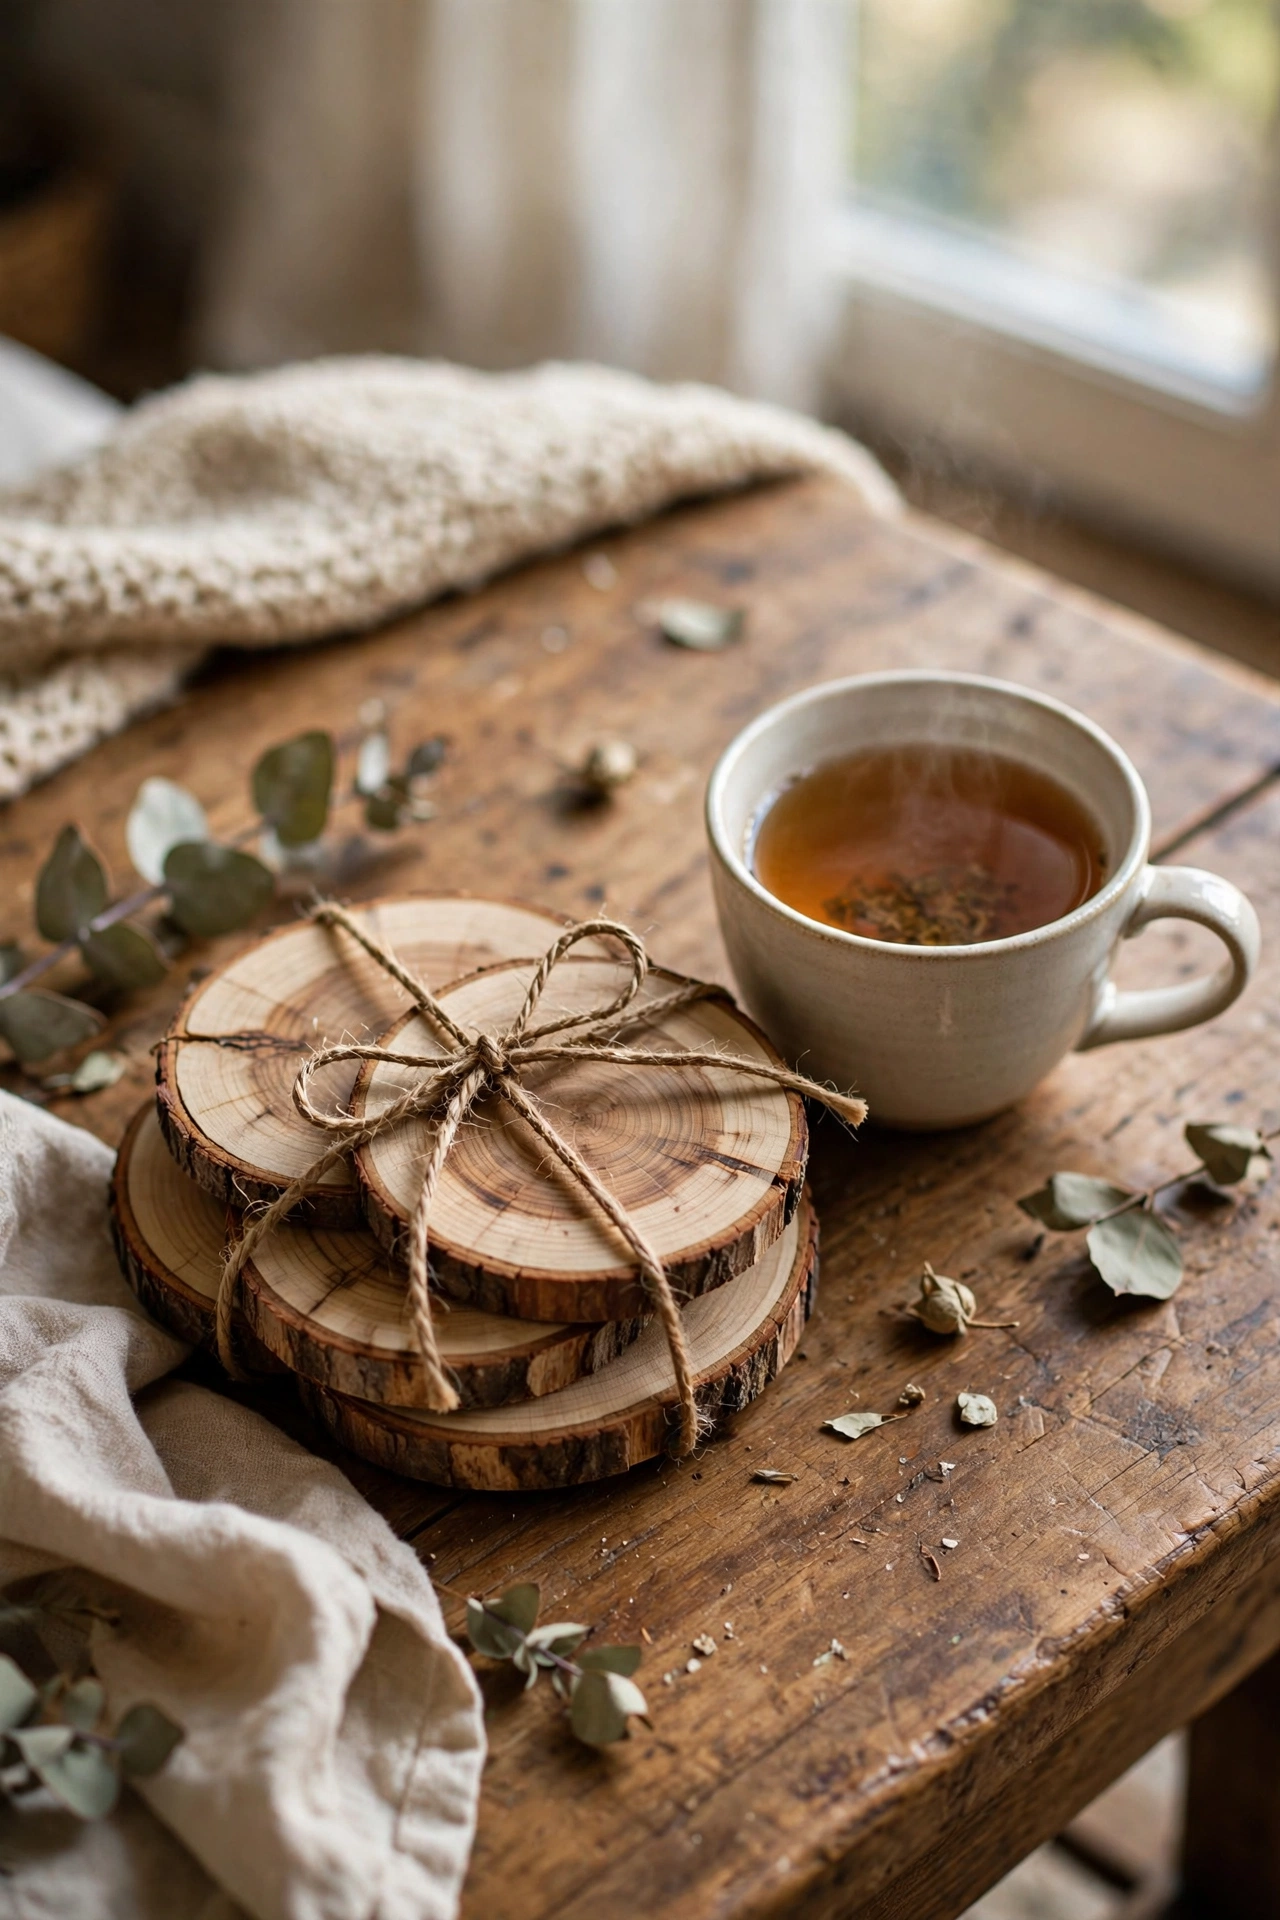
Wood slices from a craft store or a fallen branch become coasters with almost no effort. Sand both faces smooth with medium-grit sandpaper, wipe off the dust, and seal with two thin coats of water-based polyurethane so condensation doesn’t stain. You can leave them natural, stencil a simple motif, or wood-burn a monogram if you own a burner. My first batch I skipped the sanding and they wobbled and scratched the table — ten minutes of sanding makes them genuinely functional. Tie a set of four with twine and they make a lovely gift too.
Pro tip: stick a small felt pad under each coaster to protect polished table surfaces.
Cost: ~$8 | Time: 1 hour plus drying
8. Fabric Scrap Bunting
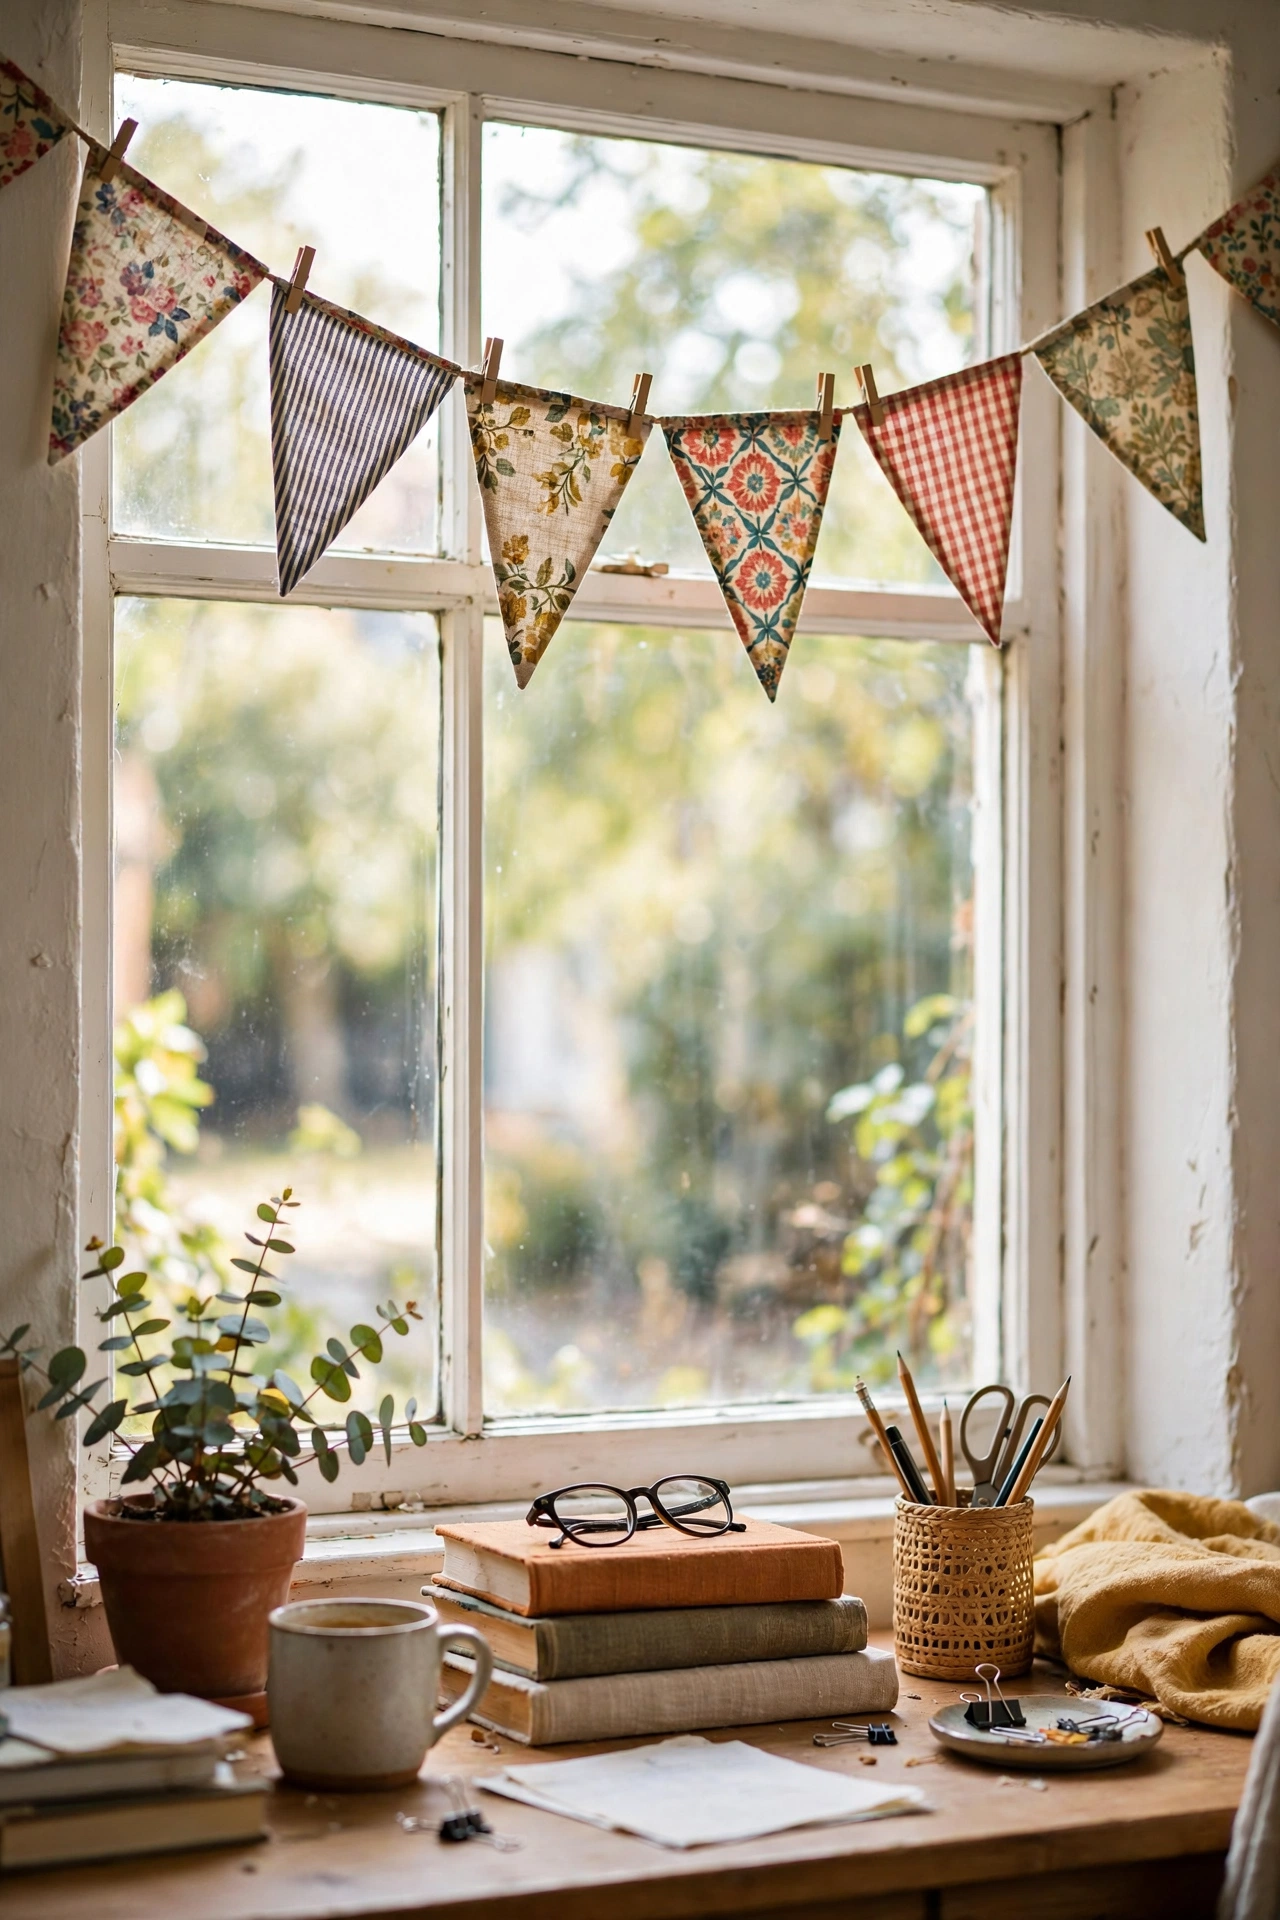
If you have a box of fabric scraps — or can grab a remnant bundle for a few pounds — bunting is the perfect beginner sewing project, and no-sew works too. Cut triangles about eight inches wide, fold the top edge over twine, and either stitch or hot-glue the fold. A six-foot strand needs about fifteen flags. I hung mine across my home-office window and it instantly softened the whole room. The trick I wish I’d known: iron the fabric first so the triangles hang crisply instead of curling at the edges.
Pro tip: mix three coordinating patterns rather than one — solids, stripes, and a small floral read far more styled.
Cost: ~$5 | Time: 1 hour
9. Painted Lampshade Refresh
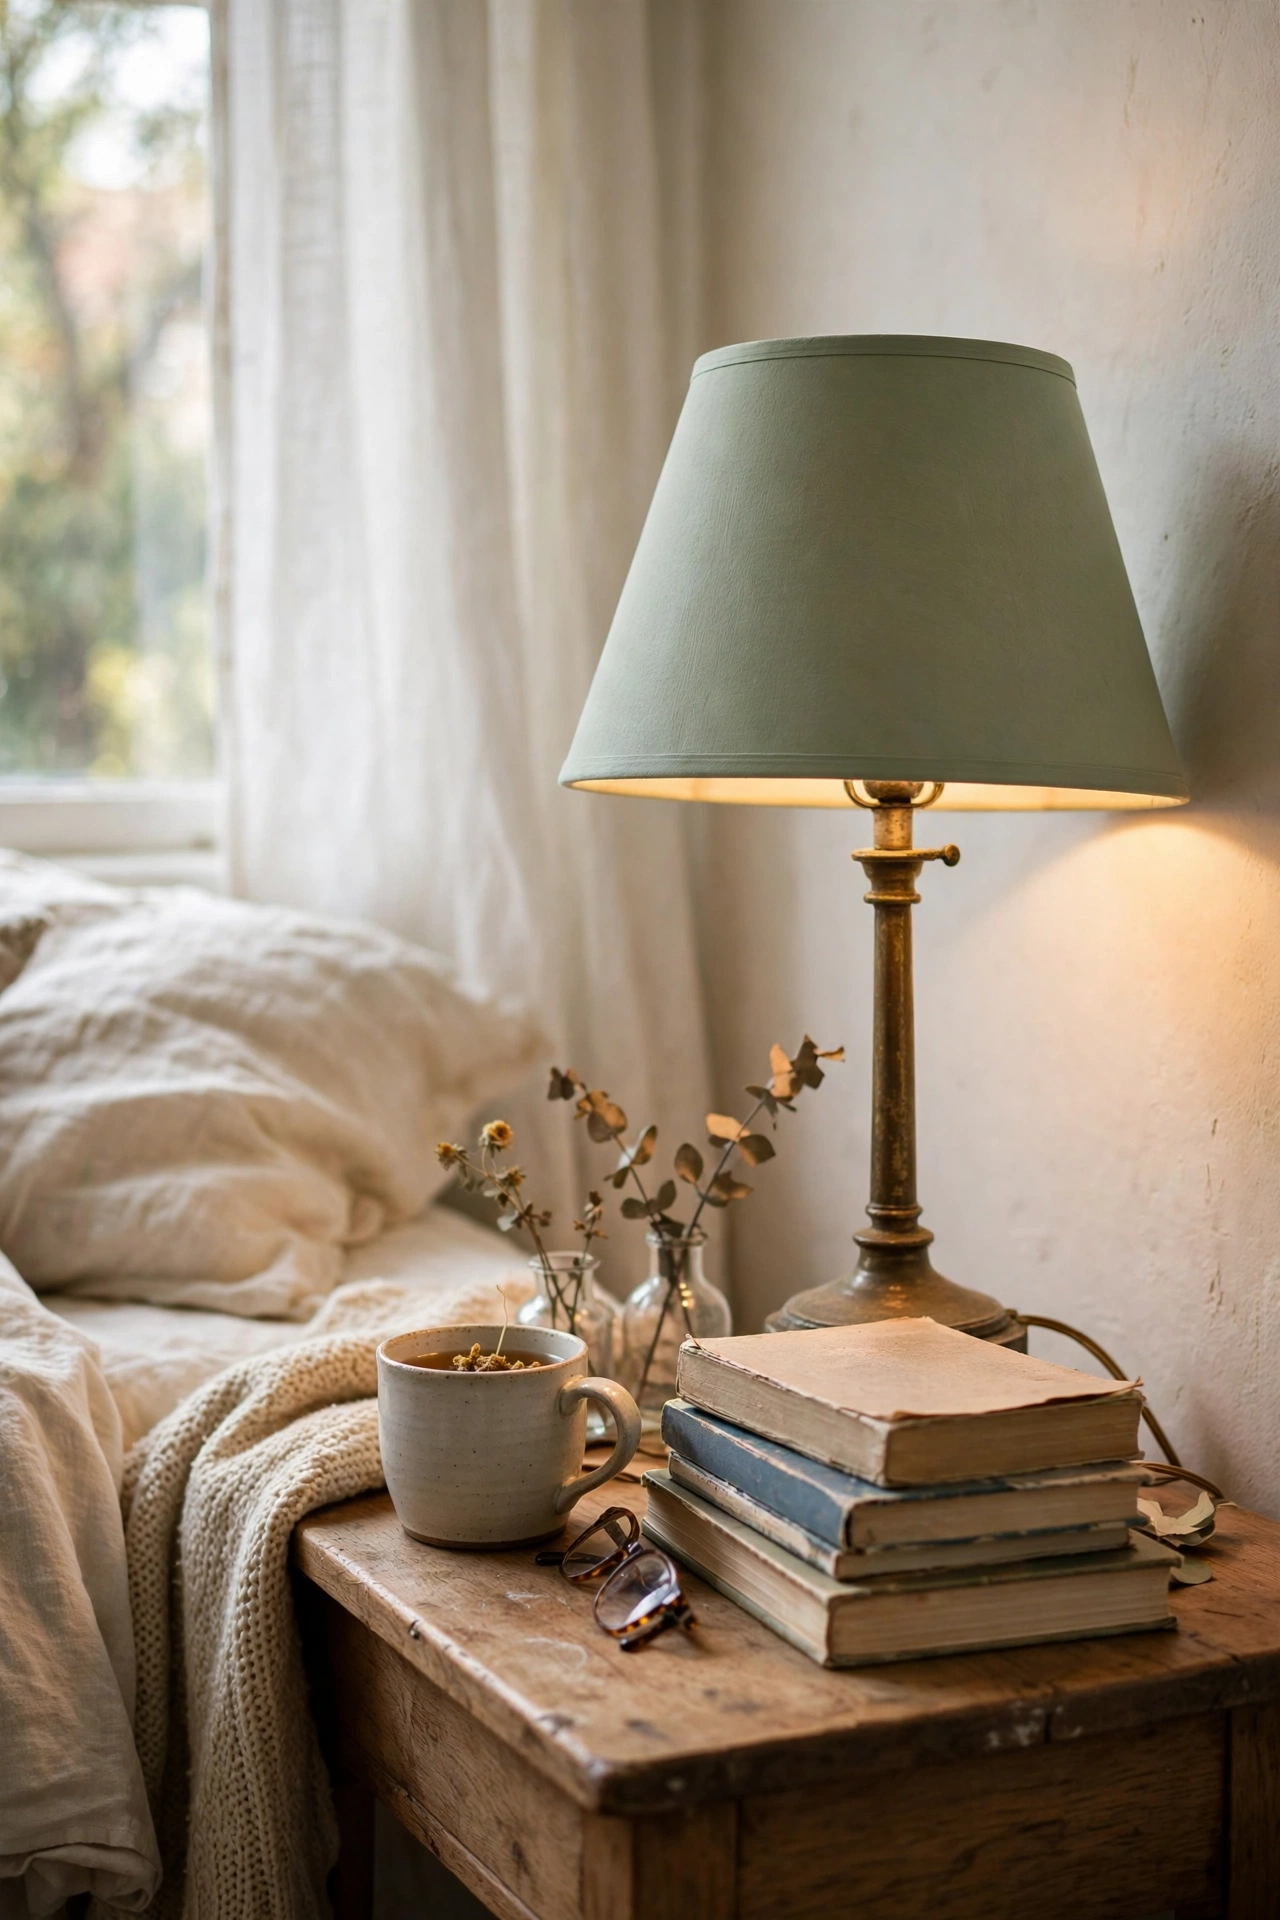
A tired lampshade doesn’t need replacing — it needs paint. A light coat of chalk paint transforms a yellowed or dated shade, and the light still glows through warmly. Remove the shade, brush on one thin coat, let it dry completely, then decide if it needs a second. I painted a grimy cream shade in soft sage and it looked like a different lamp entirely. Don’t use regular wall paint — it’s too thick and blocks the light unevenly. Chalk paint or fabric-specific paint stays thin enough for an even glow.
Pro tip: paint the inside of the shade too with white or cream for a brighter, cleaner light.
Cost: ~$7 | Time: 40 minutes plus drying
10. Wooden Crate Floating Shelf
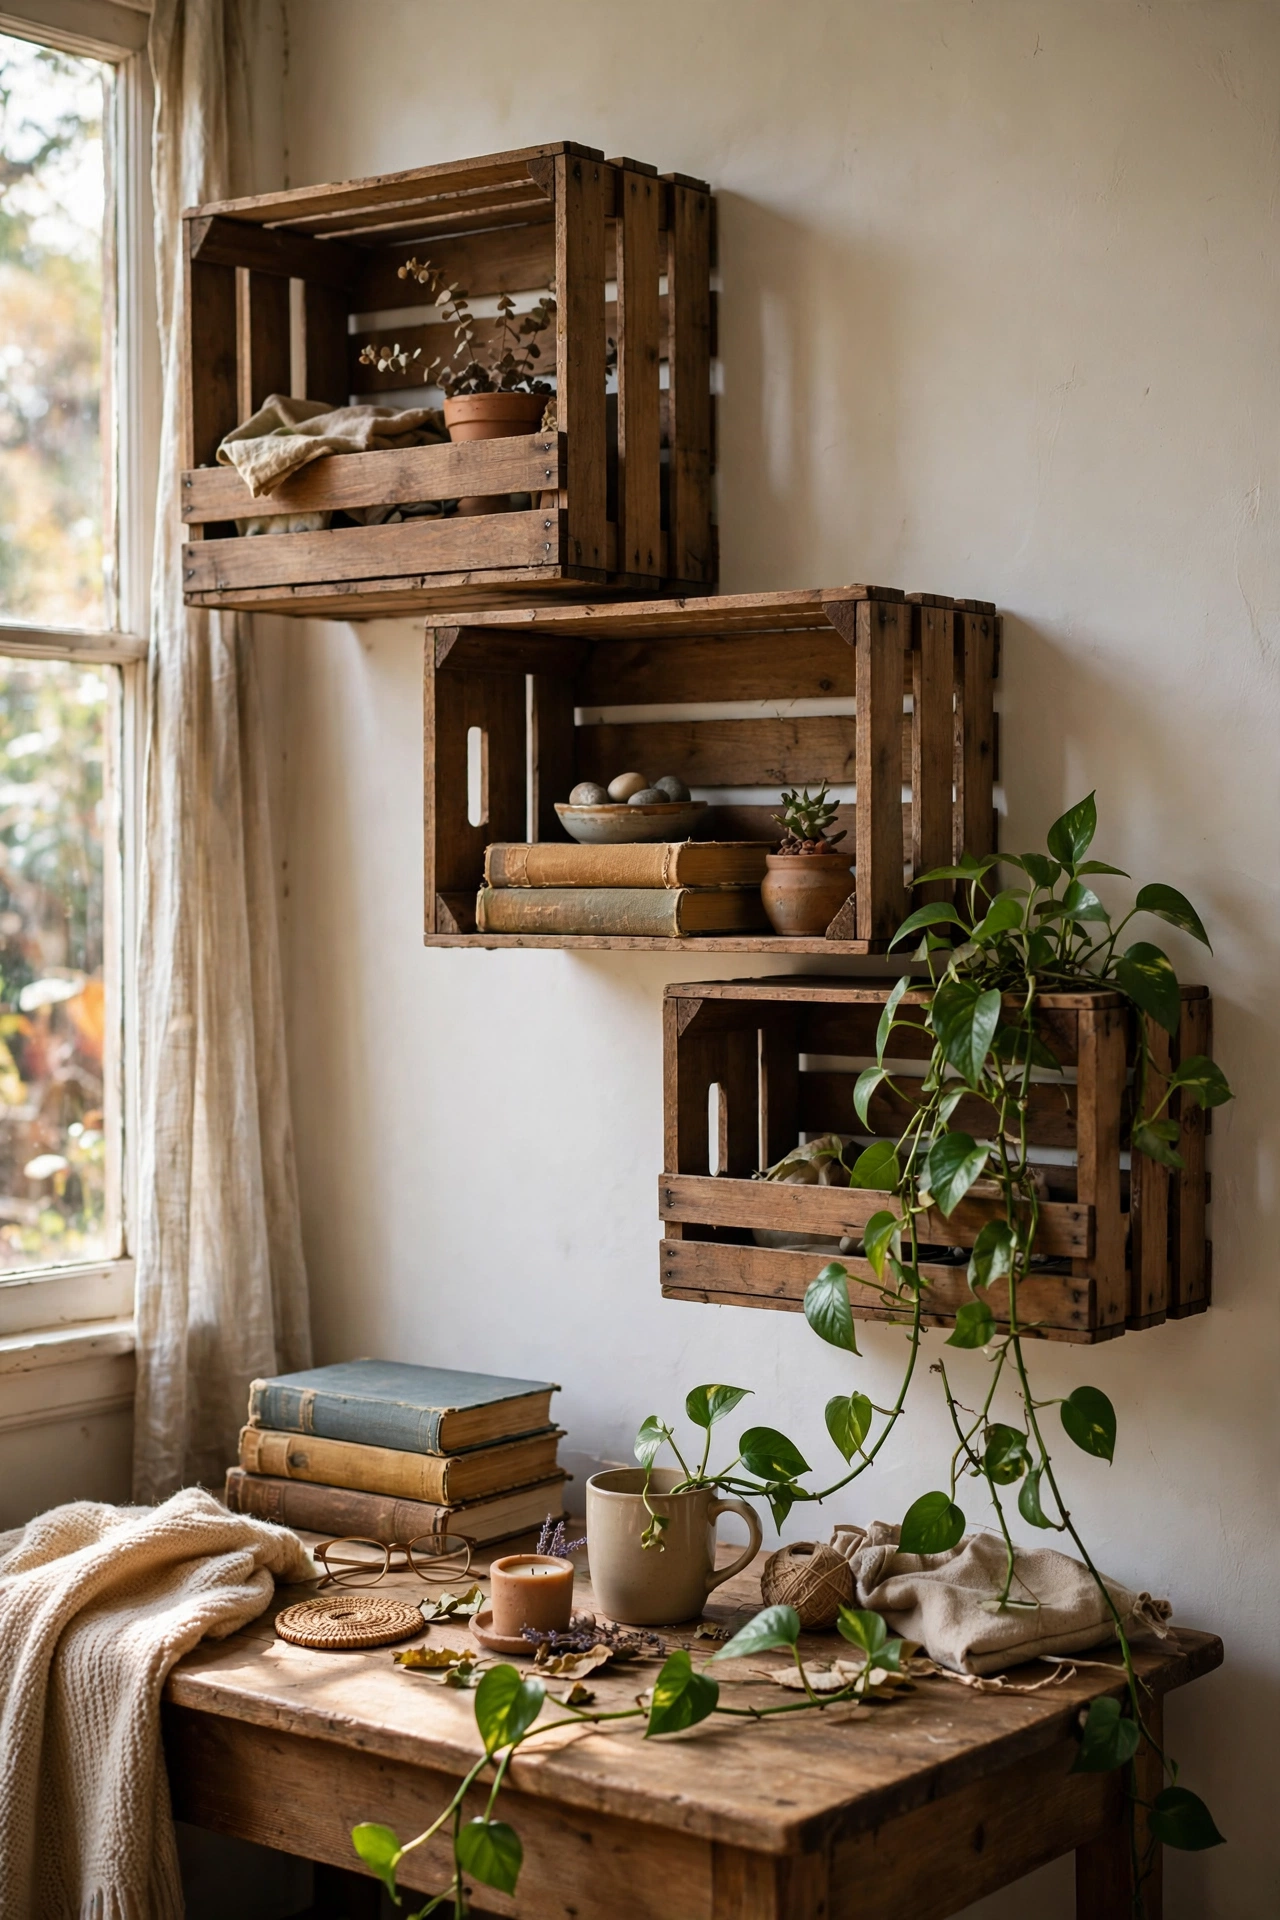
Those small wooden crates from craft stores — or actual fruit crates — make the easiest floating shelves you’ll ever build. Sand lightly, stain or paint in your chosen colour, and mount with two L-brackets screwed into wall studs or proper wall plugs. I mounted three in a staggered row above my desk and they hold books, a small plant, and a candle. My early mistake was using tiny screws into bare plasterboard; the shelf sagged within days. Use fixings rated for the weight and these hold beautifully.
Pro tip: leave the slats visible on the crate’s sides — the texture is what makes them look crafted rather than cheap.
Cost: ~$15 | Time: 1.5 hours
11. Rope-Wrapped Plant Pot
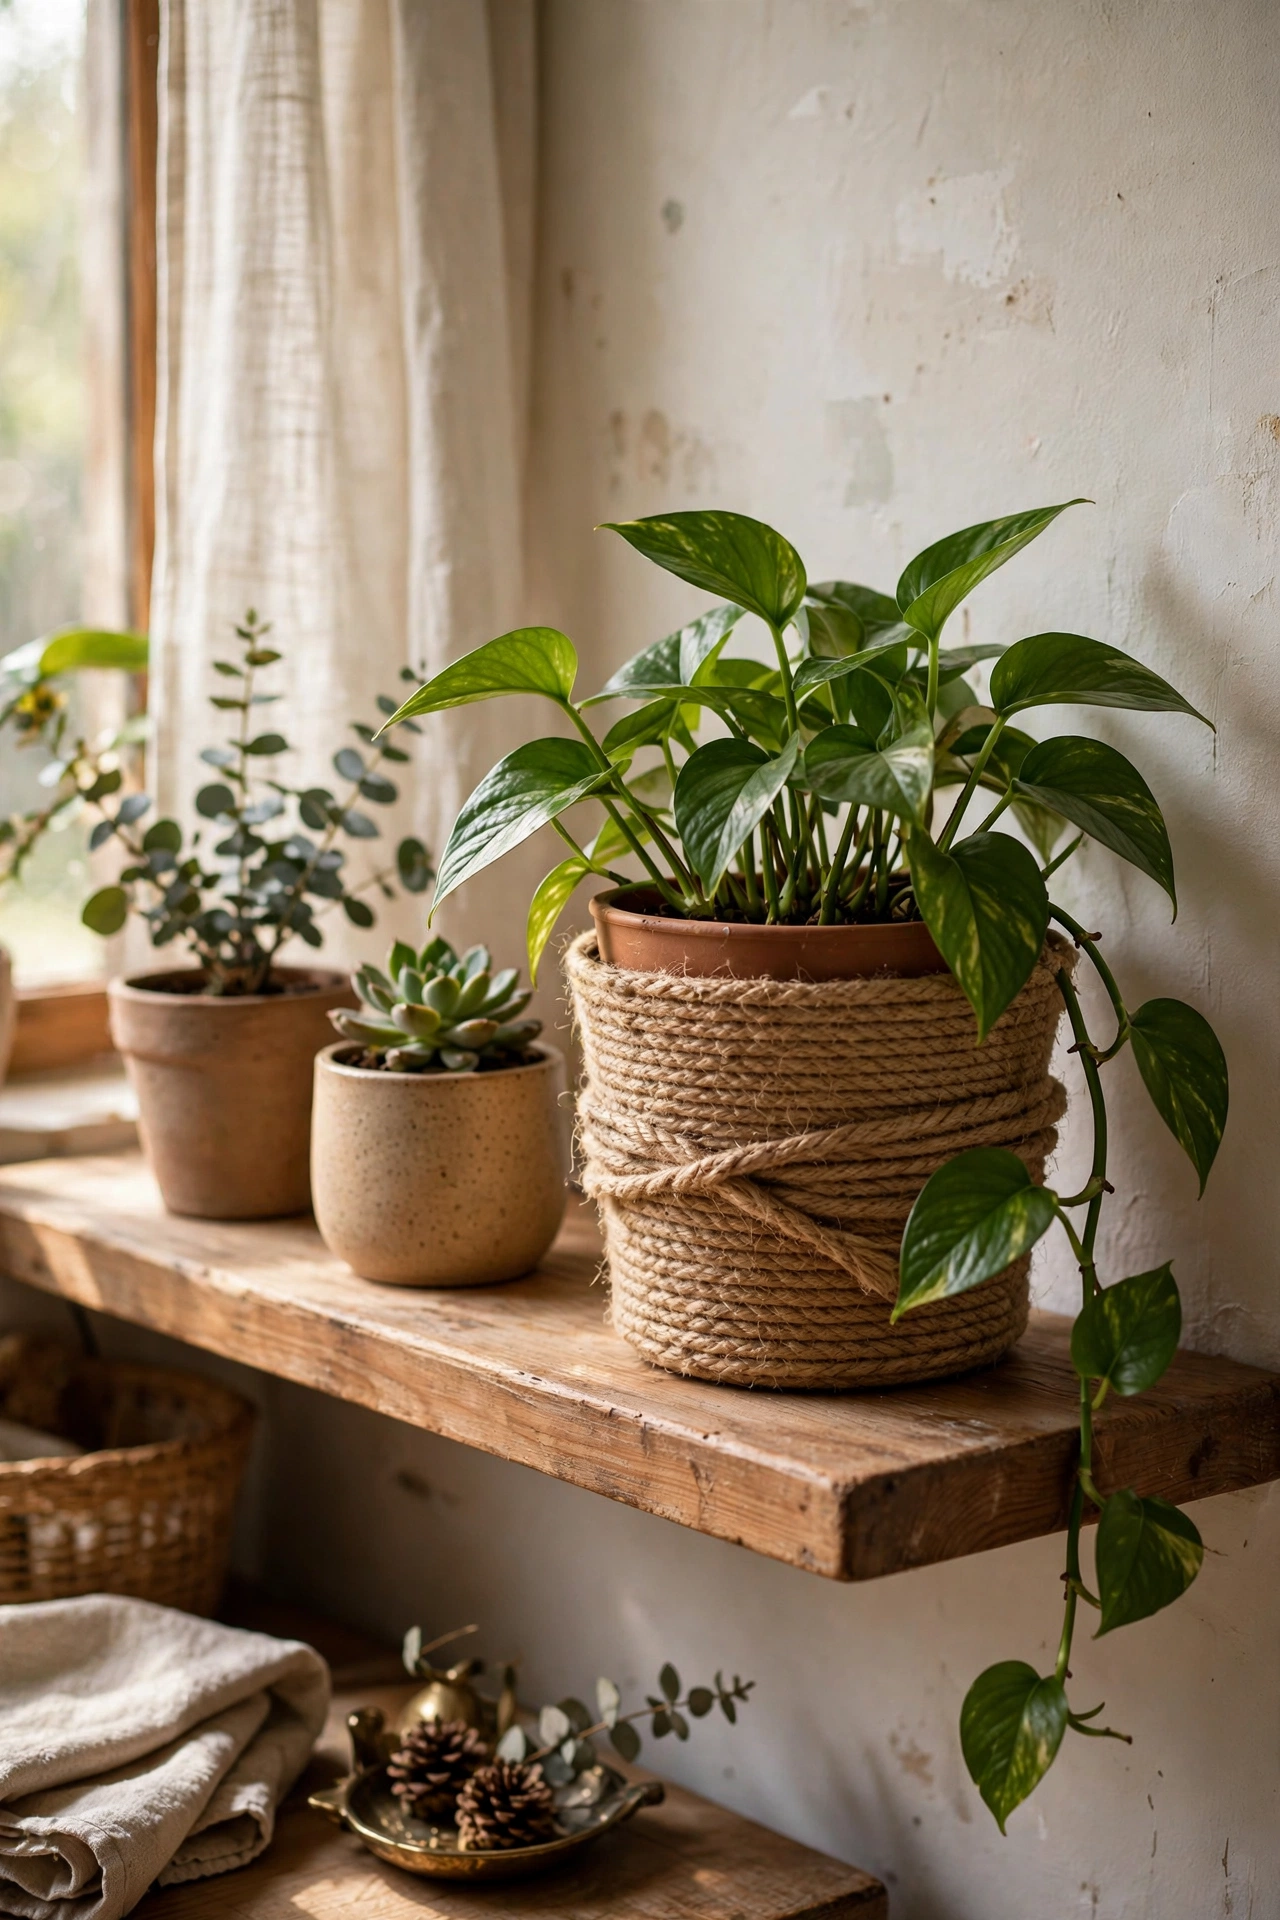
Wrap a plain plastic nursery pot in jute rope and it suddenly looks like a boutique planter. Start at the bottom with a dab of hot glue, wind the rope tightly upward in neat rows, gluing every few turns, and trim at the rim. A six-inch pot takes about thirty metres of rope and twenty minutes. I wrapped four pots for my plant shelf and the total cost was under $8. Keep the rows snug — gaps show the plastic underneath and cheapen the whole effect. Finish with a small bow or a leather label tied at the front.
Pro tip: use a cotton-glove on your guiding hand; hot glue strings burn, and the glove keeps you winding quickly.
Cost: ~$8 | Time: 30 minutes per pot
12. Chalk-Painted Vases
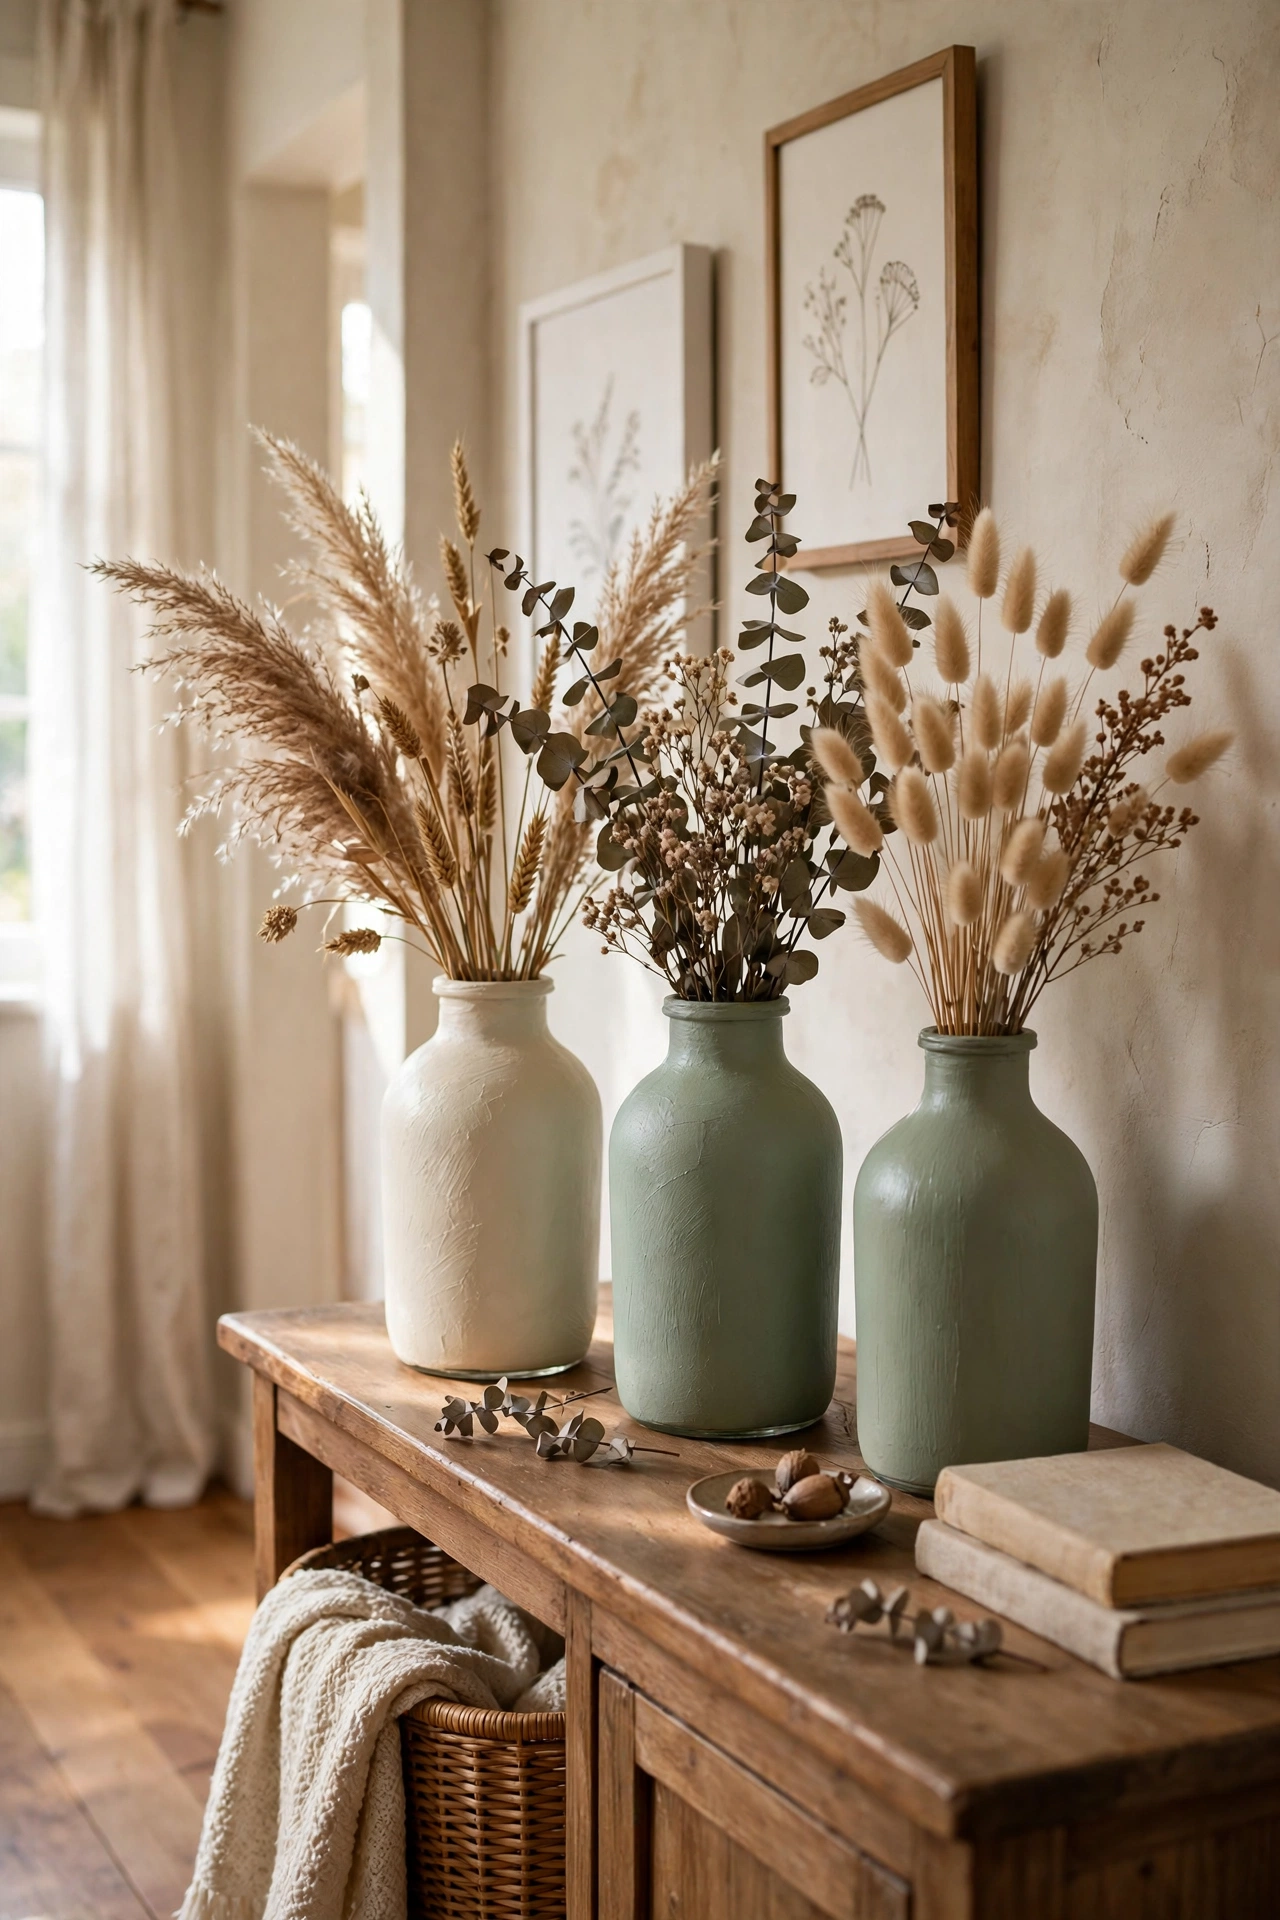
Chalk paint turns any glass bottle or old vase into a matte ceramic lookalike. Clean the glass, brush on two thin coats of chalk paint in a colour you love, and finish with clear wax if you want a soft sheen. Old wine bottles, sauce jars, and charity-shop vases all work — I have a trio on my hallway console that visitors always ask about. Don’t skip the wax on pieces you’ll handle often; unsealed chalk paint chips with fingerprints. With wax, they’ve lasted me two years without a mark.
Pro tip: paint a set of three in different heights but the same colour for a styled, intentional cluster.
Cost: ~$9 | Time: 1 hour plus drying
13. No-Sew Curtain Tie-Backs
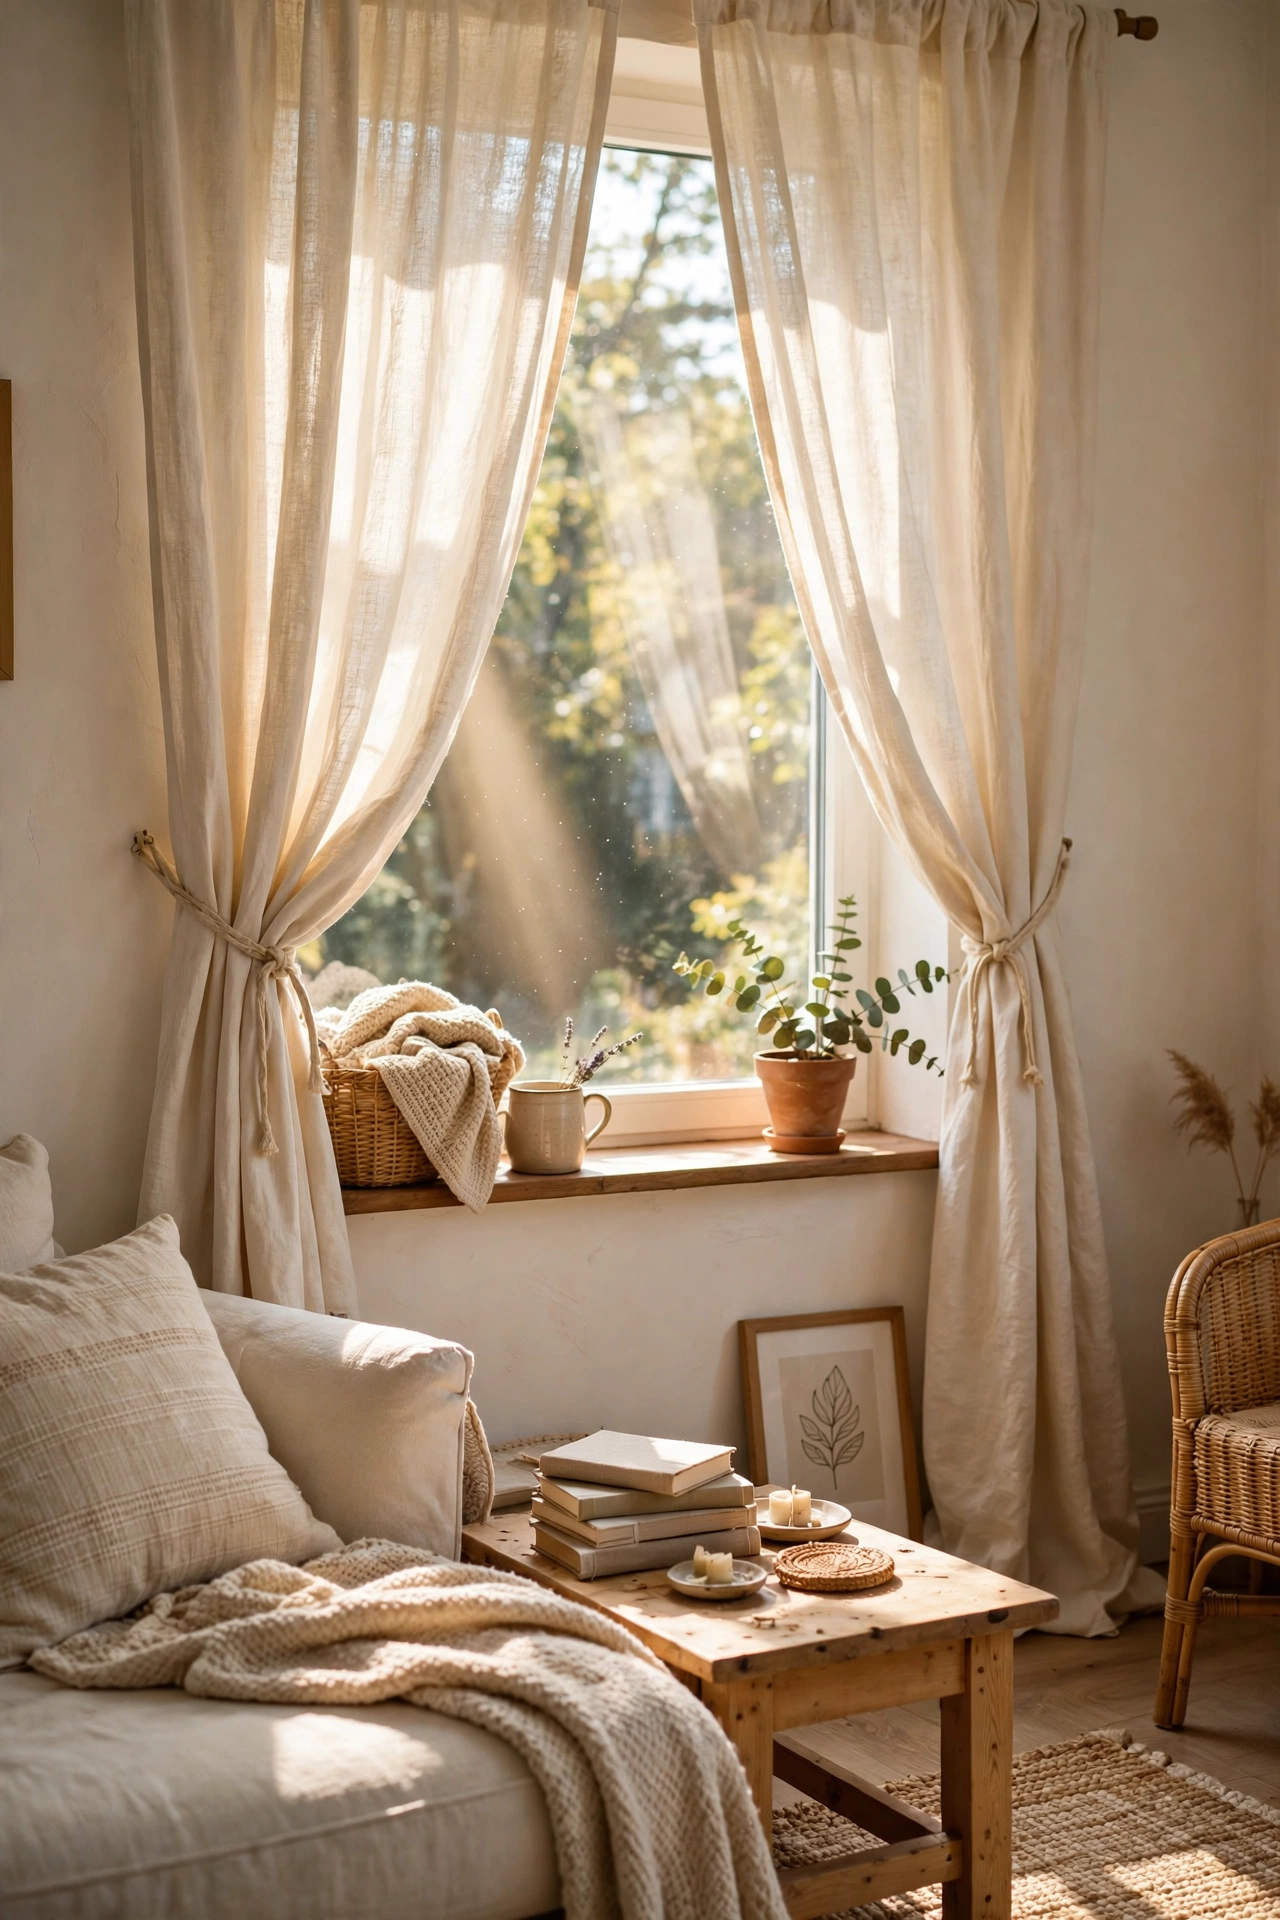
Curtain tie-backs cost a surprising amount in shops, but thick rope or a strip of linen does the job for pennies. Cut a length of rope or fabric about twenty-four inches long, add a loop at each end, and hang it from a small hook or cup hook screwed into the window frame. I made linen tie-backs for my living room curtains from a single remnant and they look far more tailored than the plastic ones they replaced. The mistake to avoid: tying them too tight. Curtains should billow softly through the loop, not be strangled by it.
Pro tip: position tie-backs about a third of the way up from the windowsill for the most flattering drape.
Cost: ~$4 | Time: 20 minutes
14. Chalkboard Pantry Labels
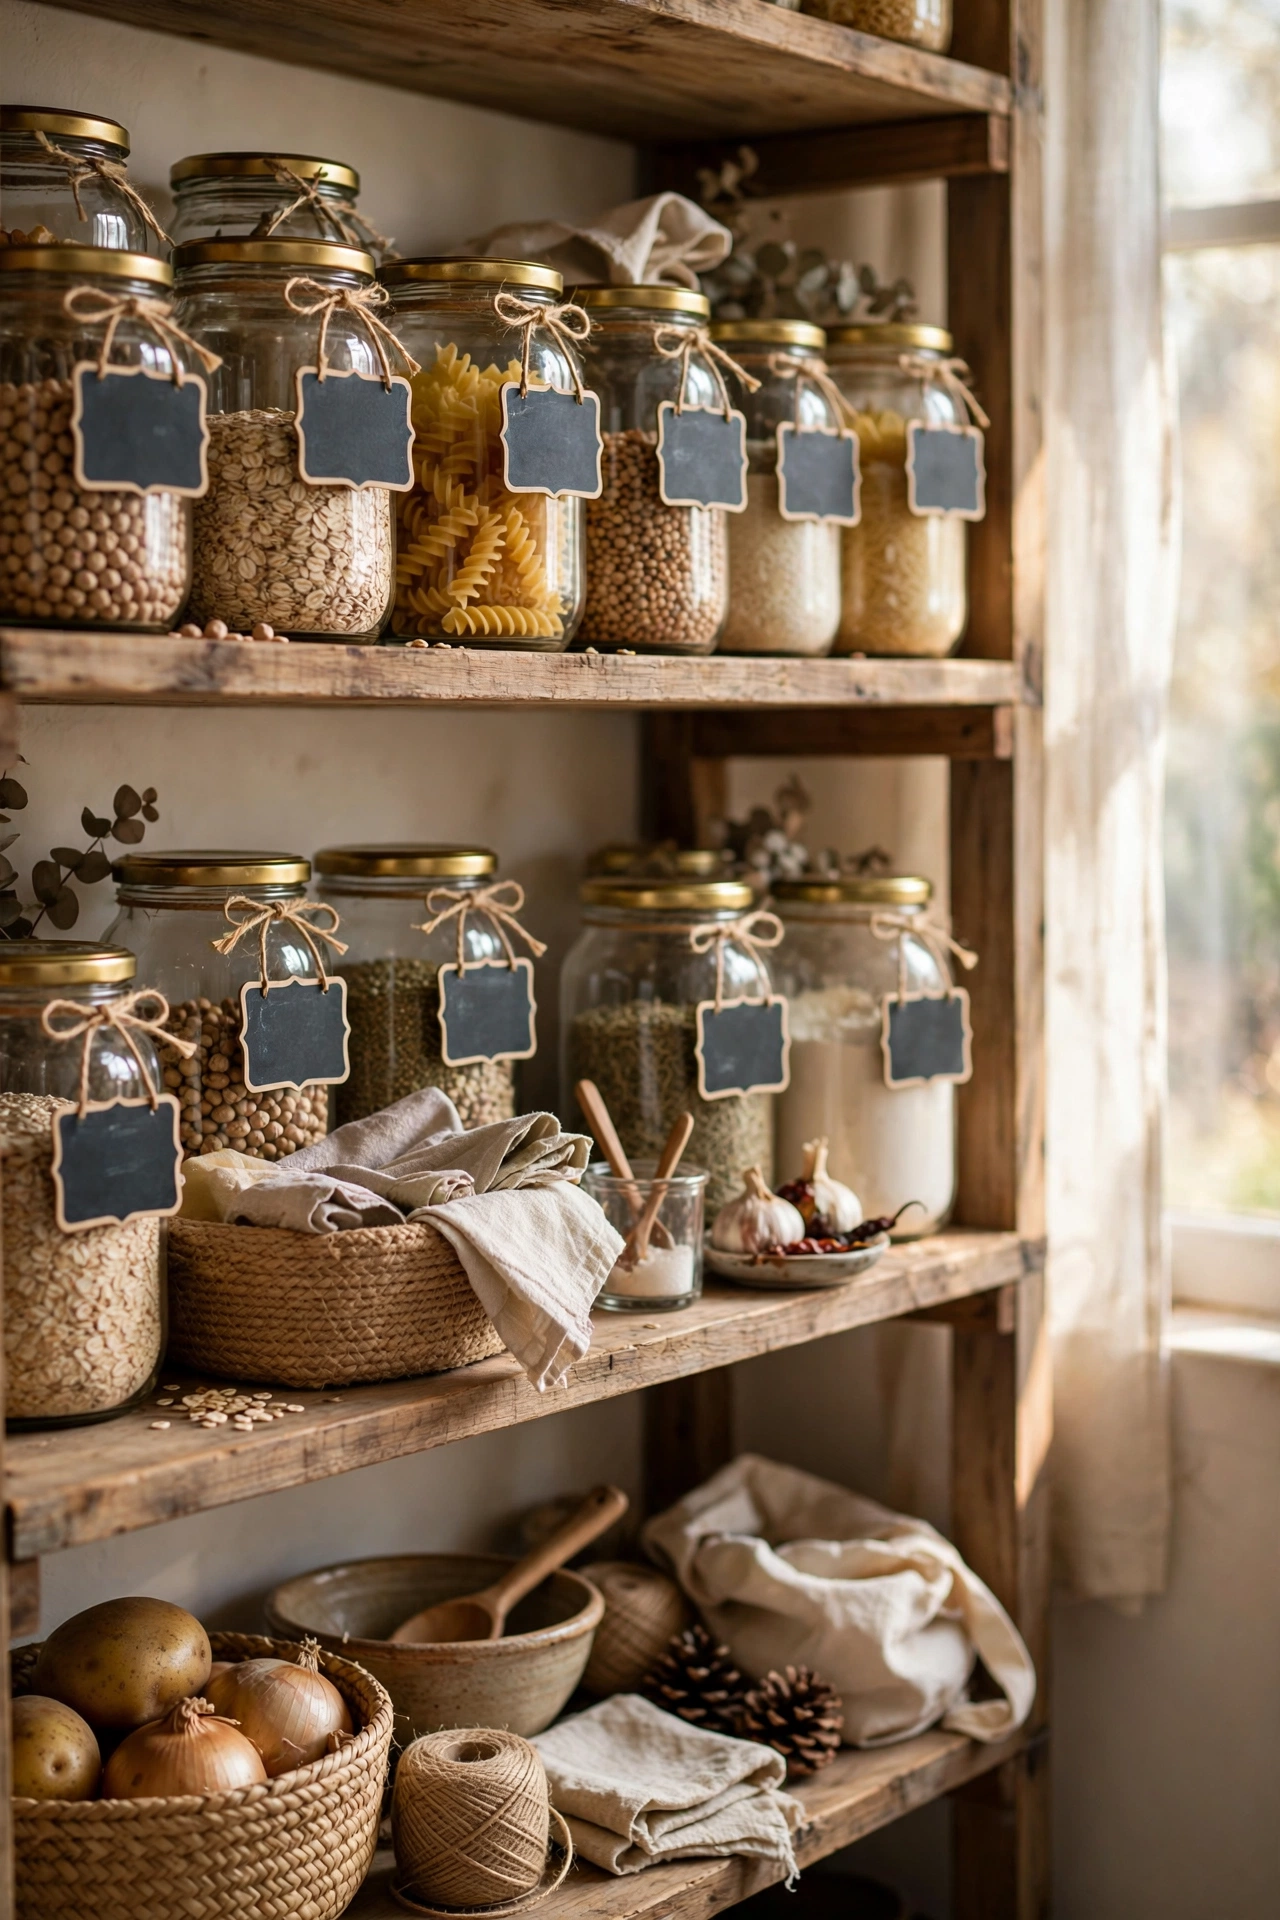
Small wooden tags or even cut card, painted with chalkboard paint, turn messy jars and baskets into an organised pantry display. Cut your tags, drill or punch a hole, brush on two coats of chalkboard paint, season the surface by rubbing chalk over it and wiping off, then write your labels with a chalk marker. I labelled every jar in my pantry and it genuinely makes cooking easier — no more opening five jars to find the lentils. Seasoning the board first is the step everyone skips; without it, your first label ghosts permanently.
Pro tip: use liquid chalk markers, not real chalk — they’re crisper, smudge-proof, and still wipe off with a damp cloth.
Cost: ~$8 | Time: 1 hour plus drying
15. Dried Flower Wreath
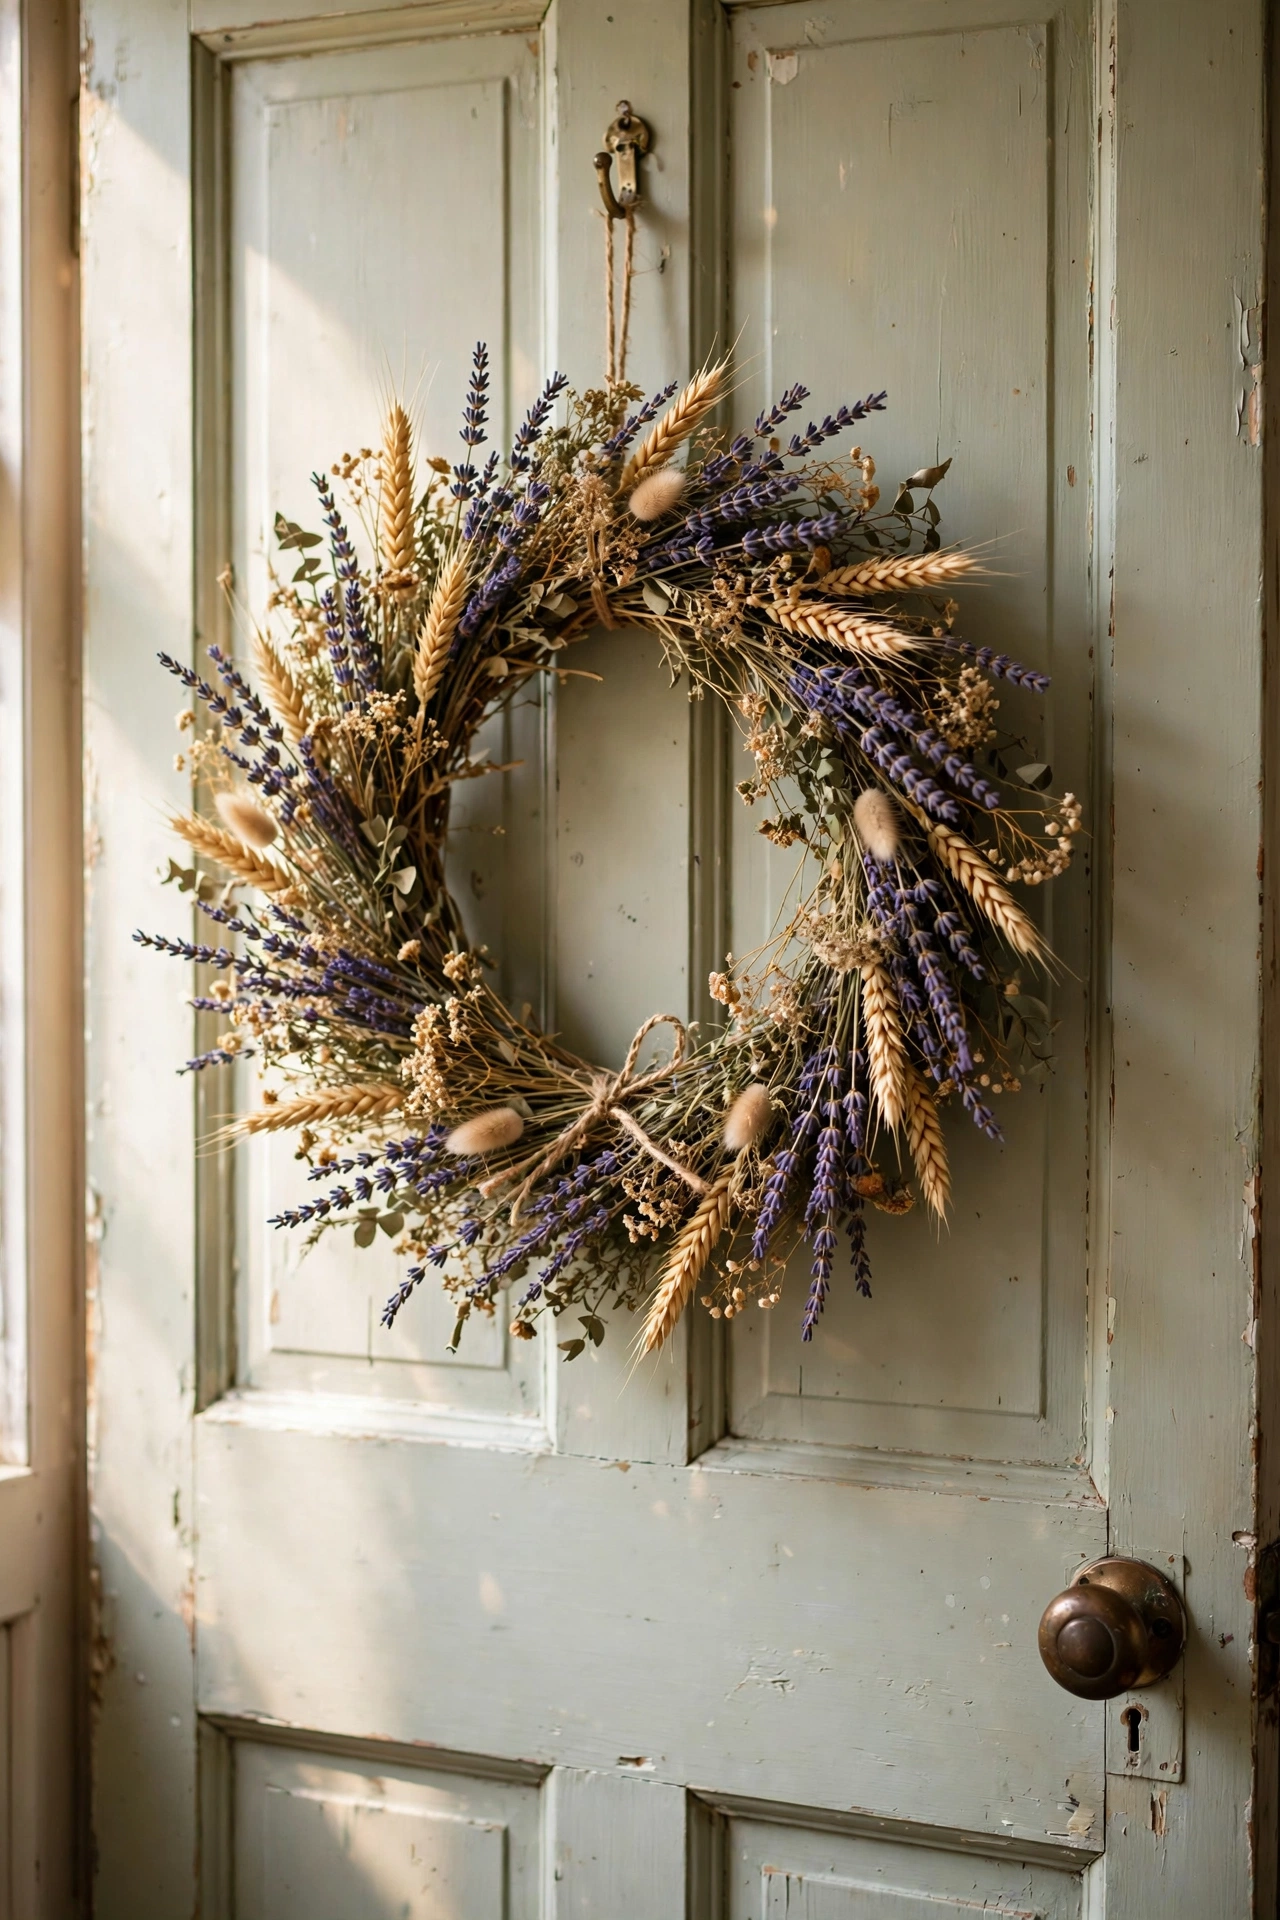
A dried flower wreath costs a fraction of a fresh one and lasts for years. Buy a foam or wire wreath base and a few bunches of dried flowers — lavender, strawflower, and wheat stems are cheap and forgiving. Cut stems to three-inch lengths, push or glue them into the base at an angle, layering as you go so no base shows through. I made mine for my front door in autumn and it survived wind, rain, and two full seasons. Don’t hang dried wreaths in direct sun; the colours bleach out within weeks. A covered porch or interior wall keeps them beautiful.
Pro tip: add the flowers in odd-numbered clusters of three stems — the rhythm looks natural and full.
Cost: ~$16 | Time: 1.5 hours
Quick questions, answered
What tools do I actually need to start DIY home decor?
A hot-glue gun, a decent pair of scissors, a tape measure, sandpaper, and a couple of brushes will cover almost every project on this list. Buy tools as projects demand them — there’s no need to kit out a workshop on day one.
How do I make DIY projects look expensive instead of crafty?
Limit your palette to two or three colours, use matte finishes, and keep everything neat — tidy paint edges and even spacing are what separate “handmade” from “homemade”. Grouping pieces in odd numbers also reads instantly more styled.
Where’s the cheapest place to get DIY materials?
Charity shops and discount stores for frames, baskets, and vases; the garden centre for terracotta and plants; and your own recycling for jars and bottles. I rarely pay full price at a craft store — the remnant bin and seasonal clearance are where the bargains live.
📌 Loving this look? Pin this post now so you can save this idea for your next weekend refresh.
Keep the calm going with these next: (see also: 17-diy-lamp-ideas-on-a-budget/) (see also: 15-upcycled-home-decor-ideas-worth-trying-this-weekend/) (see also: 17-one-hour-diy-decor-ideas-for-busy-people/)
Pick one project this weekend — just one — and finish it before you start another. That’s how a house slowly becomes a home: one small, satisfying win at a time. Which one are you trying first?
