17 Farmhouse-Style DIY Decor Projects on a Budget
I fell in love with farmhouse style the way most people fall in love with anything expensive — at a distance, through a screen, while my bank account laughed at me. Every photo seemed to feature a twelve-foot reclaimed oak table and a barn door that cost more than my car. But here’s what I learned over two years of doing farmhouse diy decor on a shoestring: the style was literally born from making do. Real farmhouses used what they had — scrap wood, old jars, worn fabric — and that’s exactly why it’s the friendliest style for a tight budget.
My first project was a disaster I’ll tell you about below (the welcome sign — oh, the welcome sign). But somewhere around project five, something clicked. I stopped trying to copy catalogue rooms and started asking “what would someone have used here fifty years ago?” That one question made every project cheaper and, honestly, better looking. These are the seventeen projects that actually worked in my home, each finished on a weekend, each for less than a decent restaurant meal.
A note before we start: you don’t need a farmhouse to do farmhouse. I live in a thoroughly ordinary semi with uPVC windows, and these projects fit right in. What you need is patience, a bit of sandpaper, and a willingness to let things look a little worn — because worn is the whole point.
1. Distressed Wooden Welcome Sign
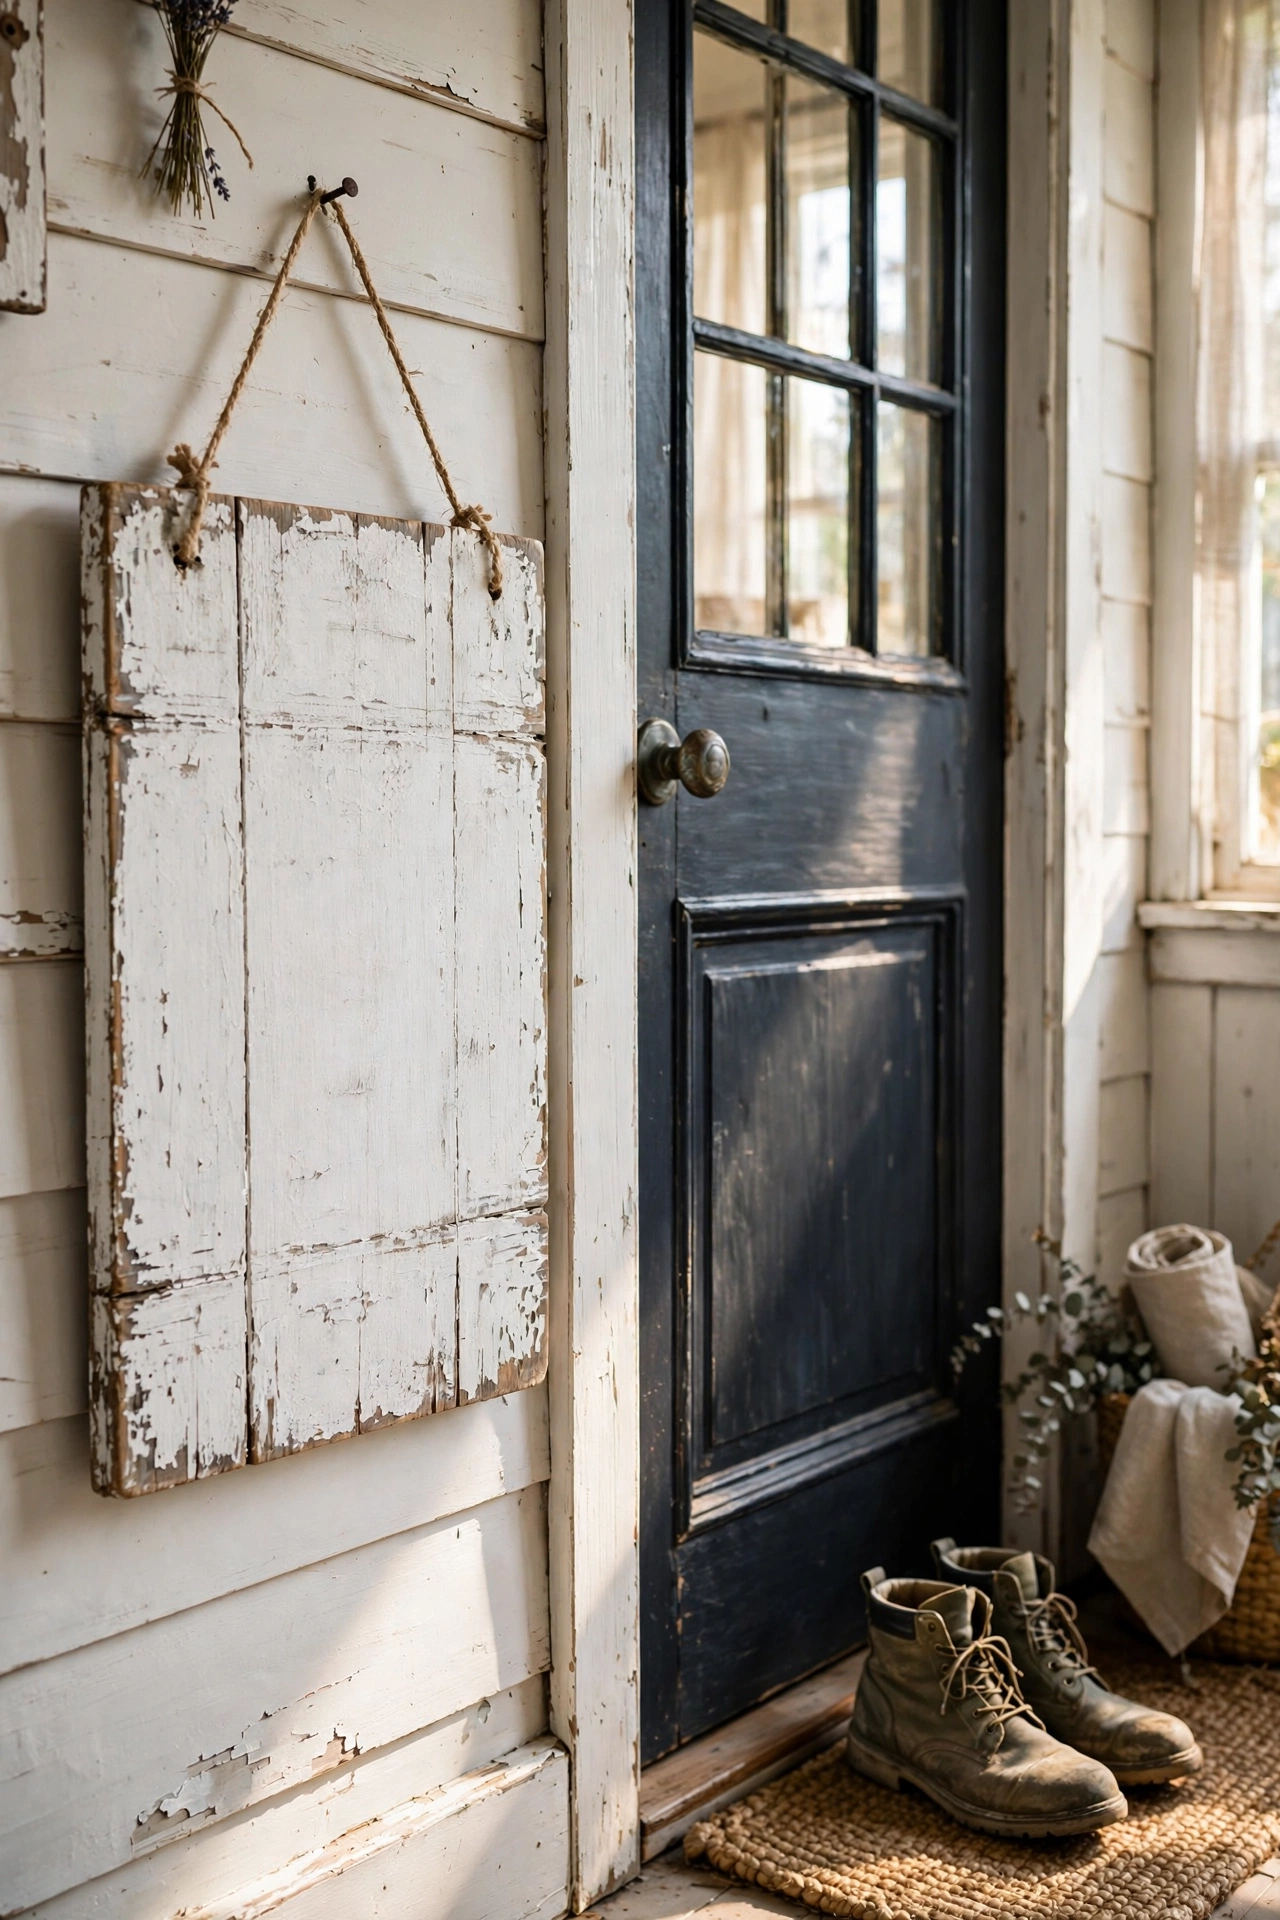
My very first farmhouse project, and the one that taught me the most — mostly through failure. I bought a long plank, painted it white, stencilled “WELCOME” in big letters, and hung it by the front door feeling tremendously proud. It looked awful. Too bright, too perfect, like a sign from a garden centre. So I took it down, sanded the paint back until the wood showed through in patches, rubbed a bit of dark wax into the corners, and hung it back up. Completely different object. Now it looks like it’s been by that door for decades, and that’s the whole trick of distressing: you build it new, then you age it.
What I’d do differently: I’d start with a darker stain under the white paint — the contrast showing through looks far more authentic than bare wood.
Cost: ~$16 | Time: 2 hours (plus drying)
2. Mason Jar Wall Sconces
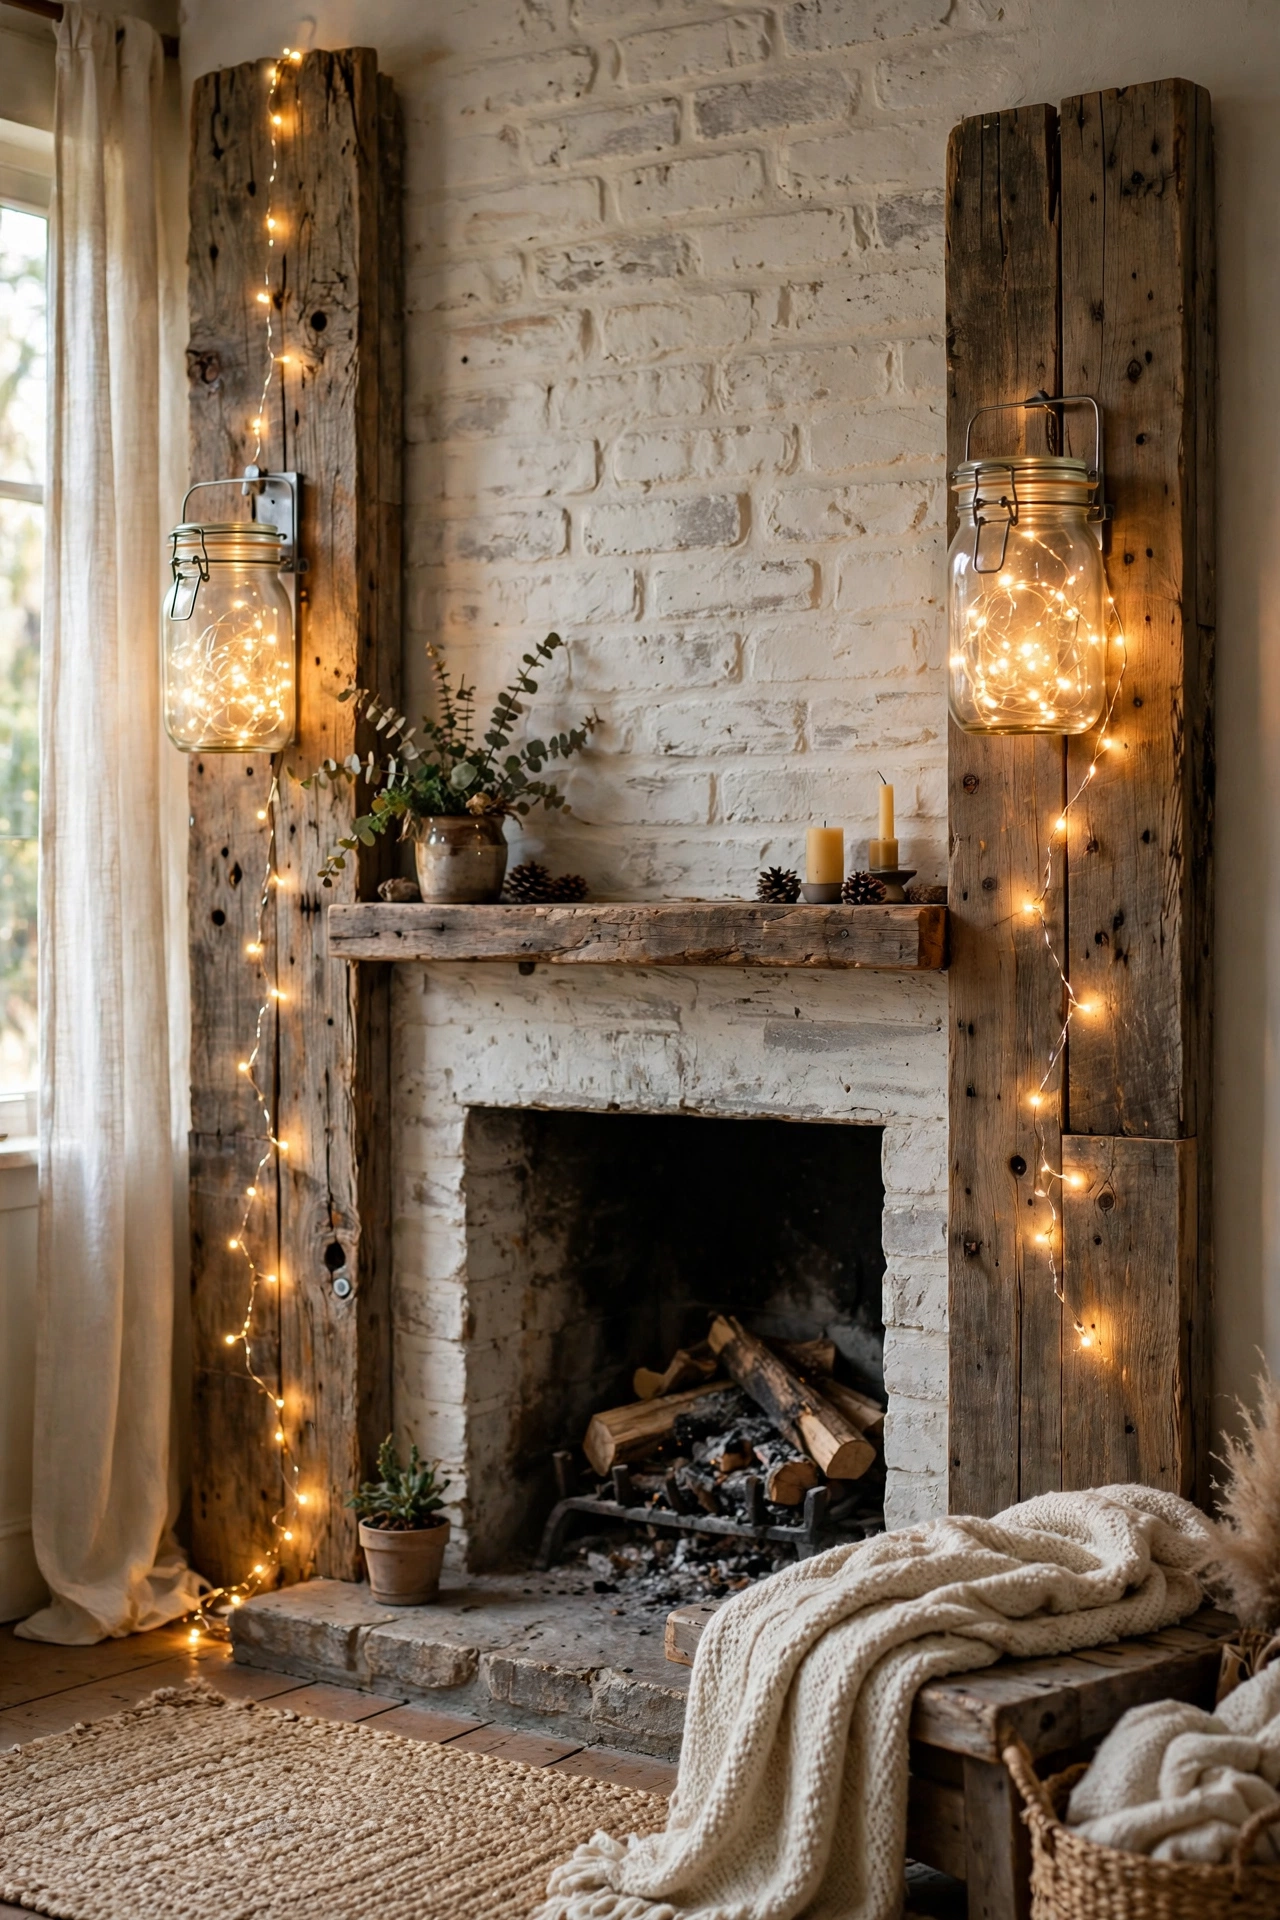
Two mason jars, two bits of reclaimed wood, and a pair of cheap clamp-style brackets made the sconces that flank our fireplace — and they’re the thing visitors ask about most. I screwed the brackets to short stained planks, wired in simple bulb holders (mains wiring I left to an electrician friend for a cup of tea), and set battery fairy lights inside the jars for everyday glow. At night they throw the loveliest dappled light through the glass. My mistake was buying brand-new jars at full price first; a charity shop run the next week found me identical ones for a quarter of the cost.
What I’d do differently: I’d go straight to battery-operated candles or fairy lights instead of fussing with wiring at all — the effect is 90% as good with 10% of the faff.
Cost: ~$24 | Time: 2 hours
3. Faux Shiplap Accent Wall
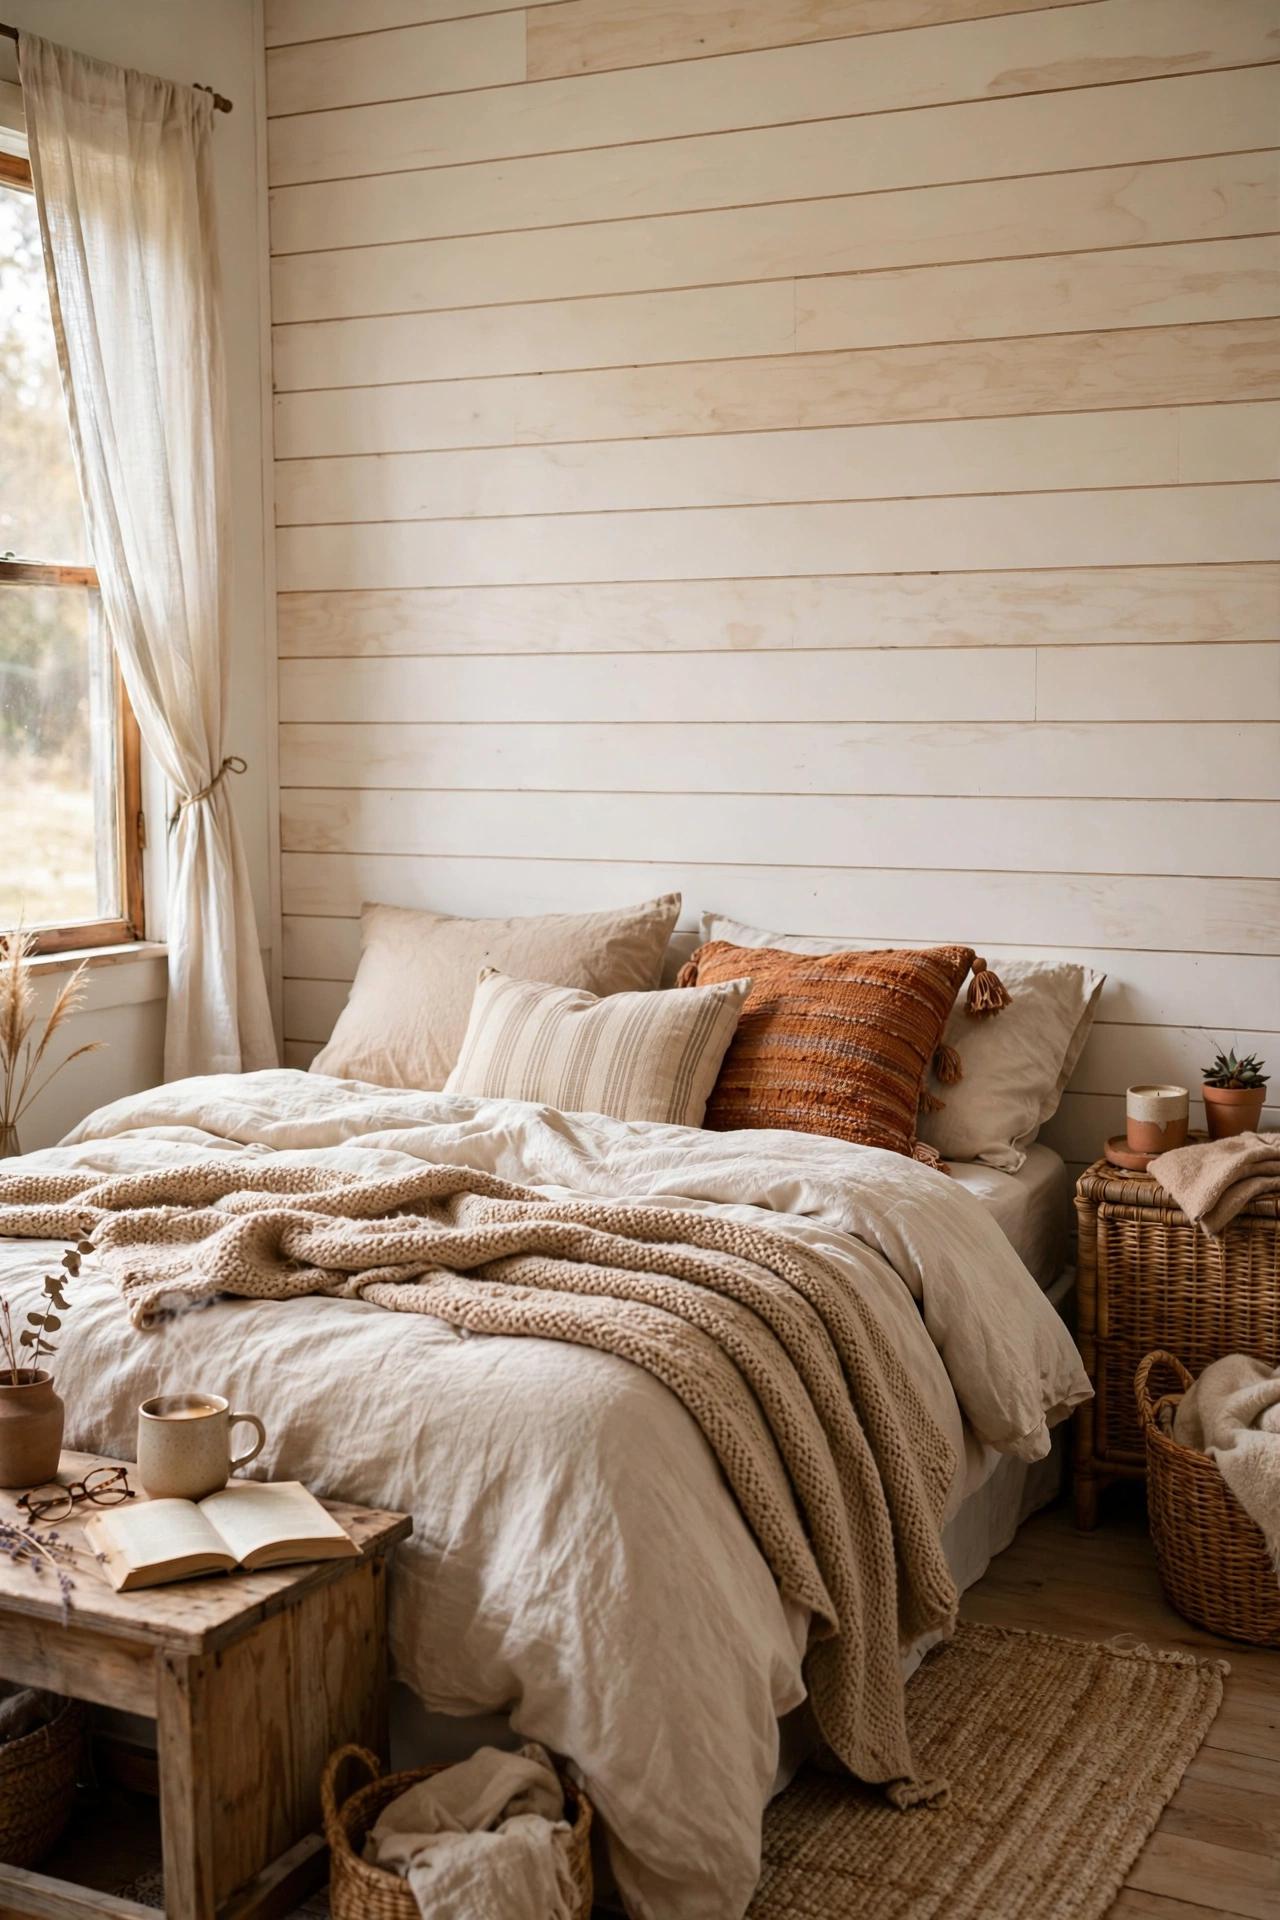
Real shiplap costs a fortune and a joiner. My version is just thin plywood strips, pinned to the wall with a nail gun borrowed from a neighbour, caulked at the edges and painted warm white — and from two metres away, nobody can tell the difference. It took a full Saturday for one bedroom wall, most of it measuring and cutting. The rhythm is meditative once you get going: measure, cut, pin, level, repeat. I learned the hard way to start from the most visible corner and work outward, because the last strip always needs trimming and you want that cut hiding in the least-seen spot.
What I’d do differently: I’d paint the wall behind the strips dark first — any tiny gap then reads as shadow instead of bare plaster, which looks far more convincing.
Cost: ~$38 | Time: 5–6 hours
4. Farmhouse Serving Tray
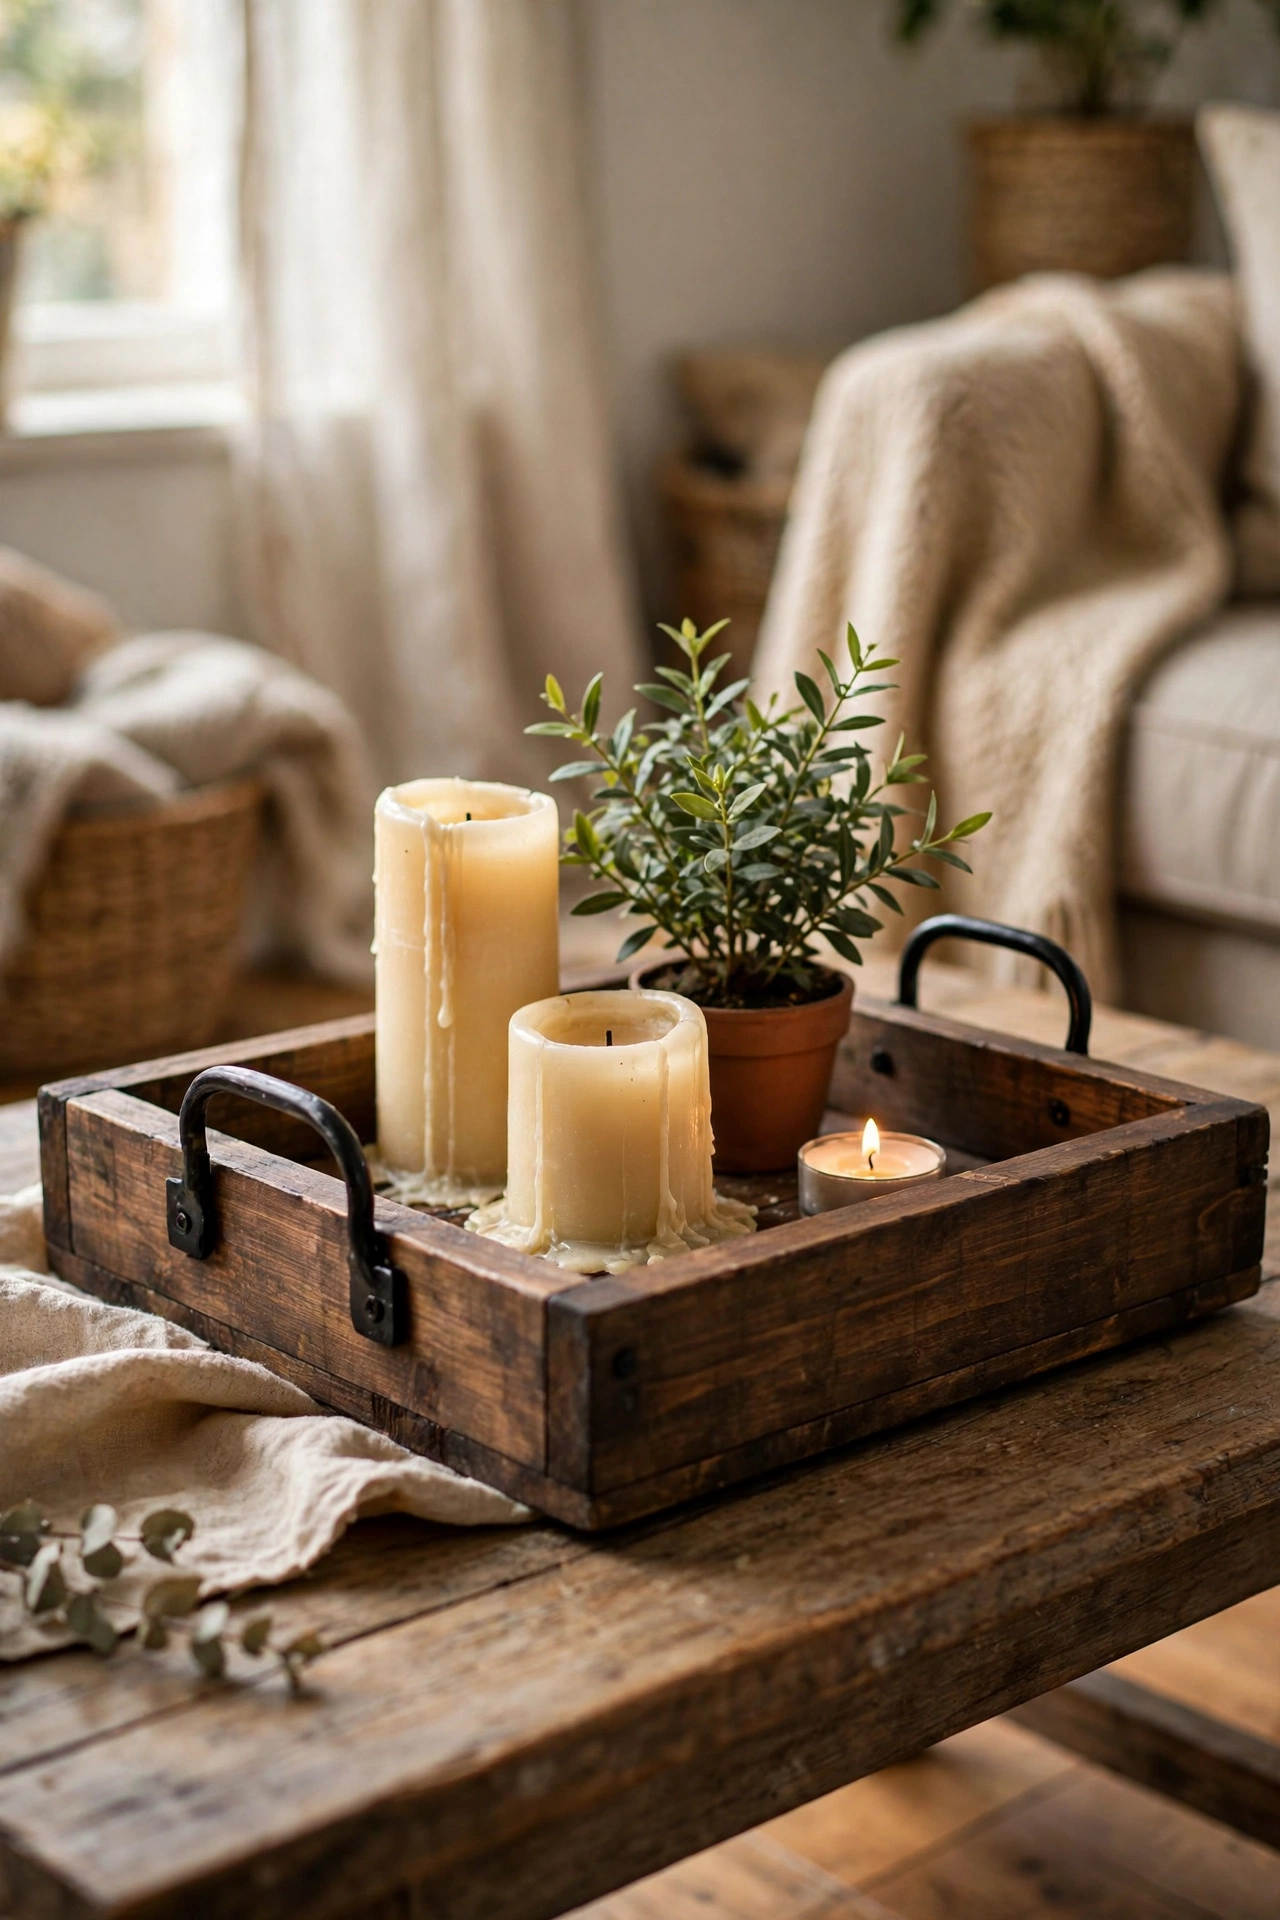
A chunky wooden tray with handles is farmhouse shorthand — it sits on the coffee table holding candles, on the kitchen island holding olive oil, on the ottoman holding the remote controls. I built mine from three fence boards joined with battens underneath, added two black metal cup handles from the hardware shop, and stained it dark walnut. Total build time: one rainy afternoon. The handles are what sell it; without them it’s just a box lid. I use mine daily, which is more than I can say for most “decor” I’ve made, and the walnut stain has aged beautifully with the odd ring mark adding character.
What I’d do differently: I’d seal it with proper polyurethane from the start — my first coat was just wax and water rings appeared within a month.
Cost: ~$22 | Time: 2.5 hours
5. No-Sew Burlap Cushion Covers
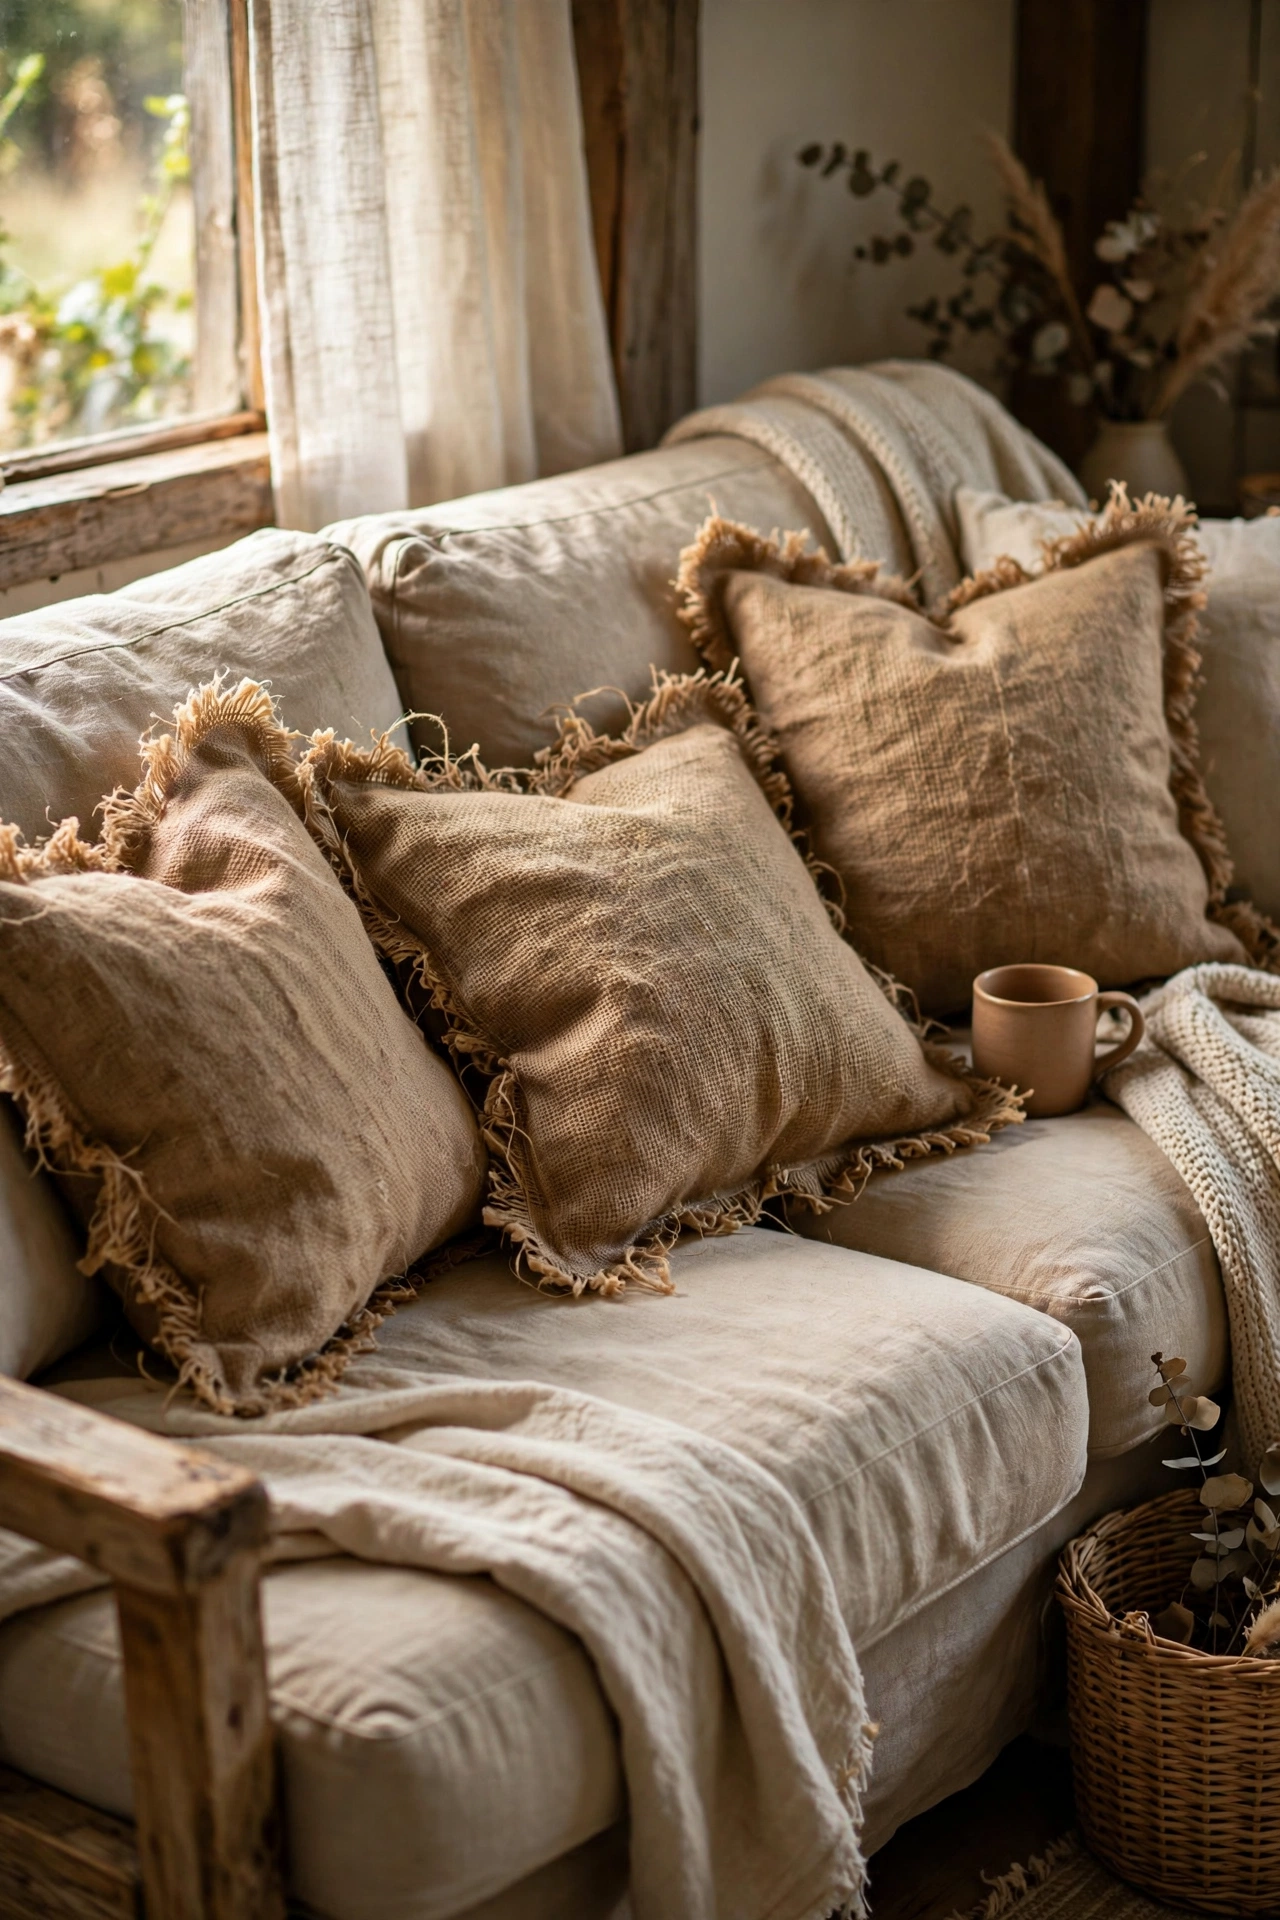
Burlap is the unofficial fabric of farmhouse style, and you can make cushion covers from it without touching a sewing machine. I cut squares of hessian, wrapped them around cushion pads like parcels, and secured the backs with iron-on hemming tape — the stuff you use for trousers. They look properly rustic, all texture and frayed edges. A word of warning from experience: burlap sheds. For the first two weeks I was finding fibres on everything. A good shake outside and a run through the tumble dryer on cool fixed most of it. I also learned to double-layer the front, because single burlap is surprisingly see-through against a white cushion pad.
What I’d do differently: I’d wash and dry the burlap before cutting — it shrinks, and my first cover went baggy after its first wash.
Cost: ~$12 | Time: 1 hour
6. Galvanised Bucket Planters
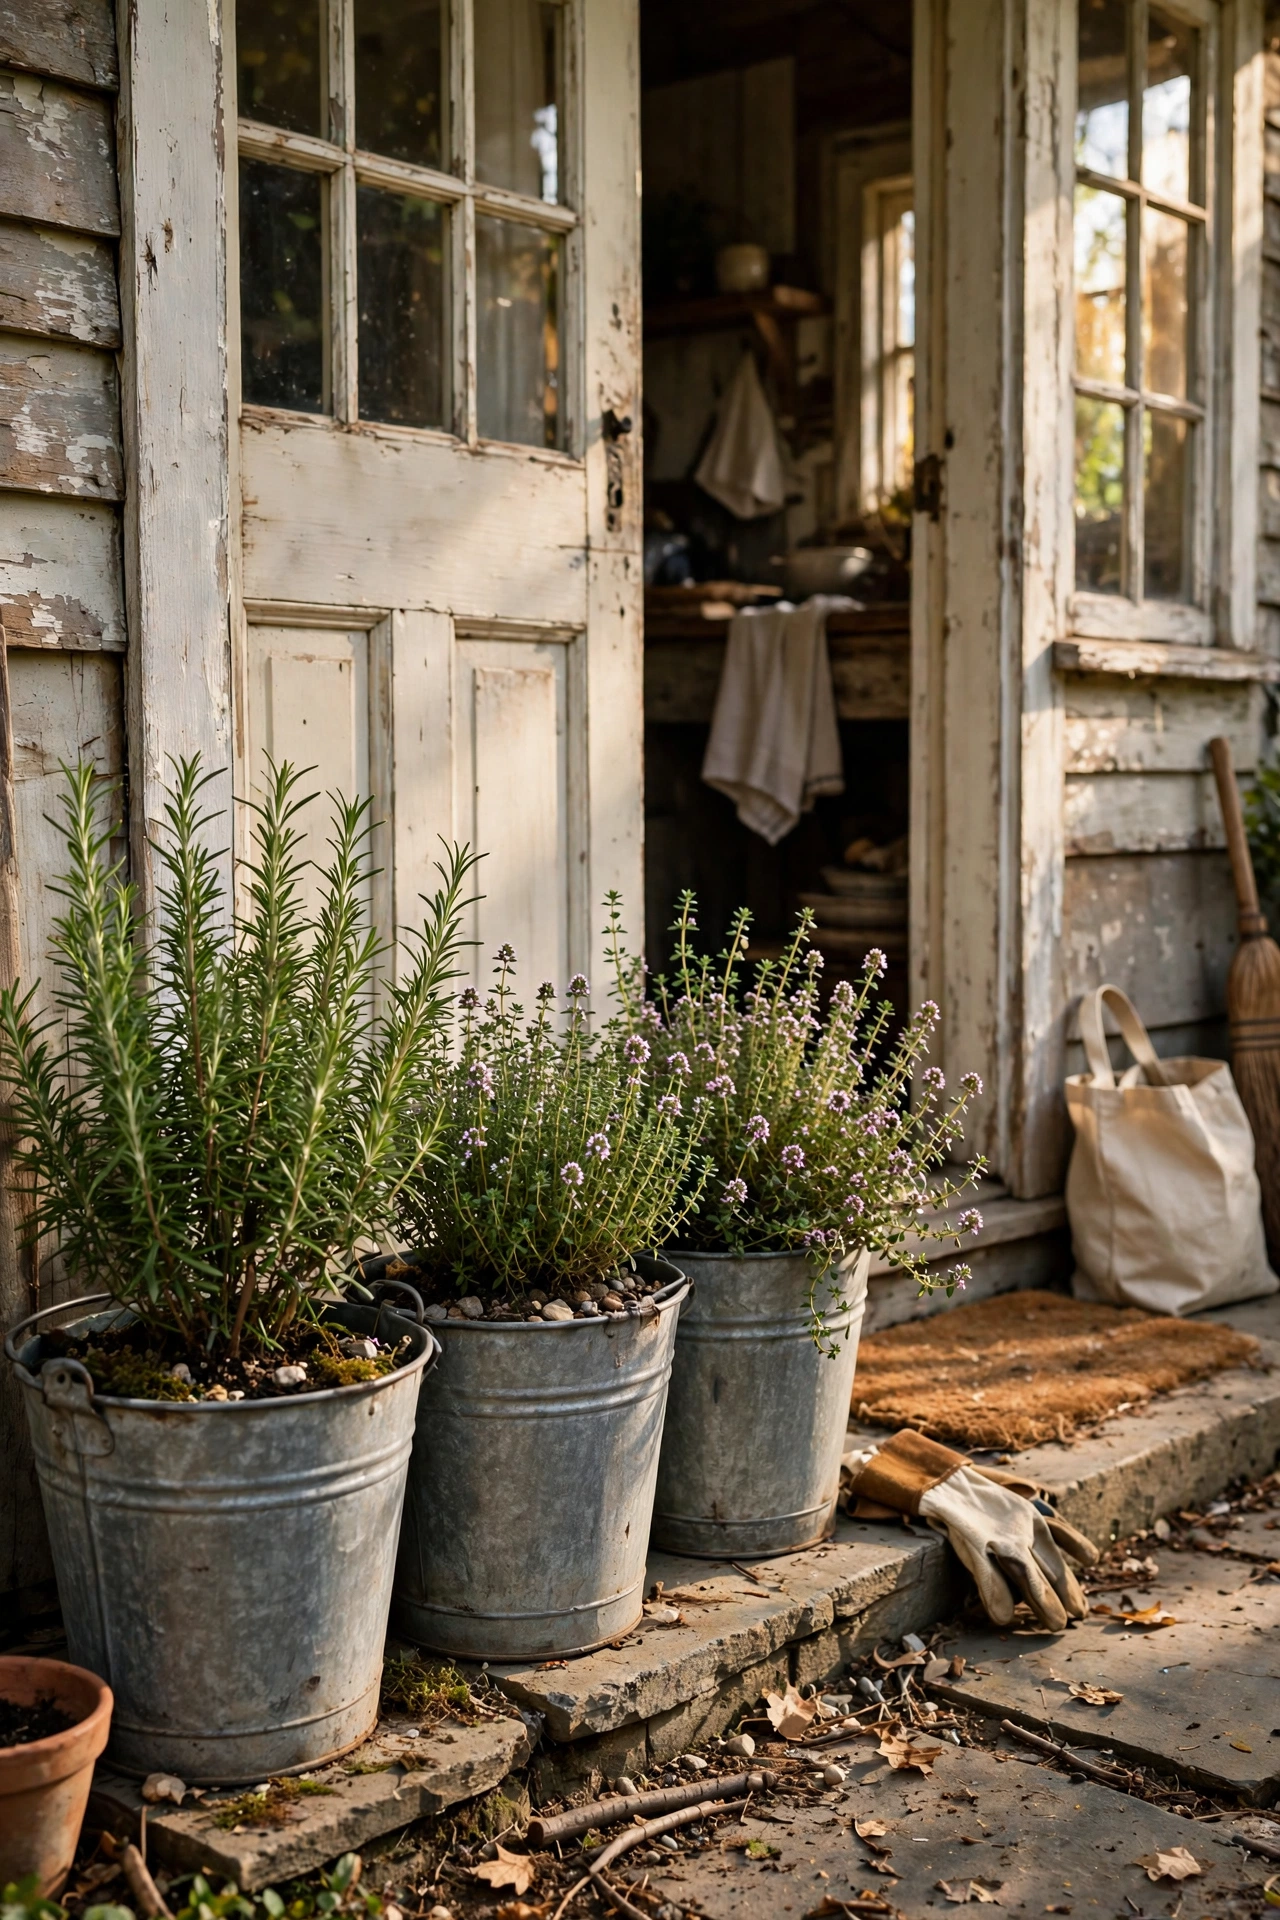
Old metal buckets — the kind with handles, from farm shops or car boot sales — make perfect farmhouse planters once you drill drainage holes in the bottom. I keep three by the back door planted with herbs: rosemary, thyme, mint. They’ve weathered to a lovely dull patina over two summers. The drilling is the only real work; use a metal drill bit and go slowly, because the metal is thinner than it looks and the bit can skate. I put a coffee filter over each hole before the soil went in, an old allotment trick that stops soil washing out while letting water drain. The mint, I should add, gets its own bucket — it will colonise everything otherwise.
What I’d do differently: I’d line the inside with a plastic pot rather than planting directly — the metal heats up in summer sun and cooks the roots.
Cost: ~$18 | Time: 1 hour
7. Wooden Ladder Blanket Holder
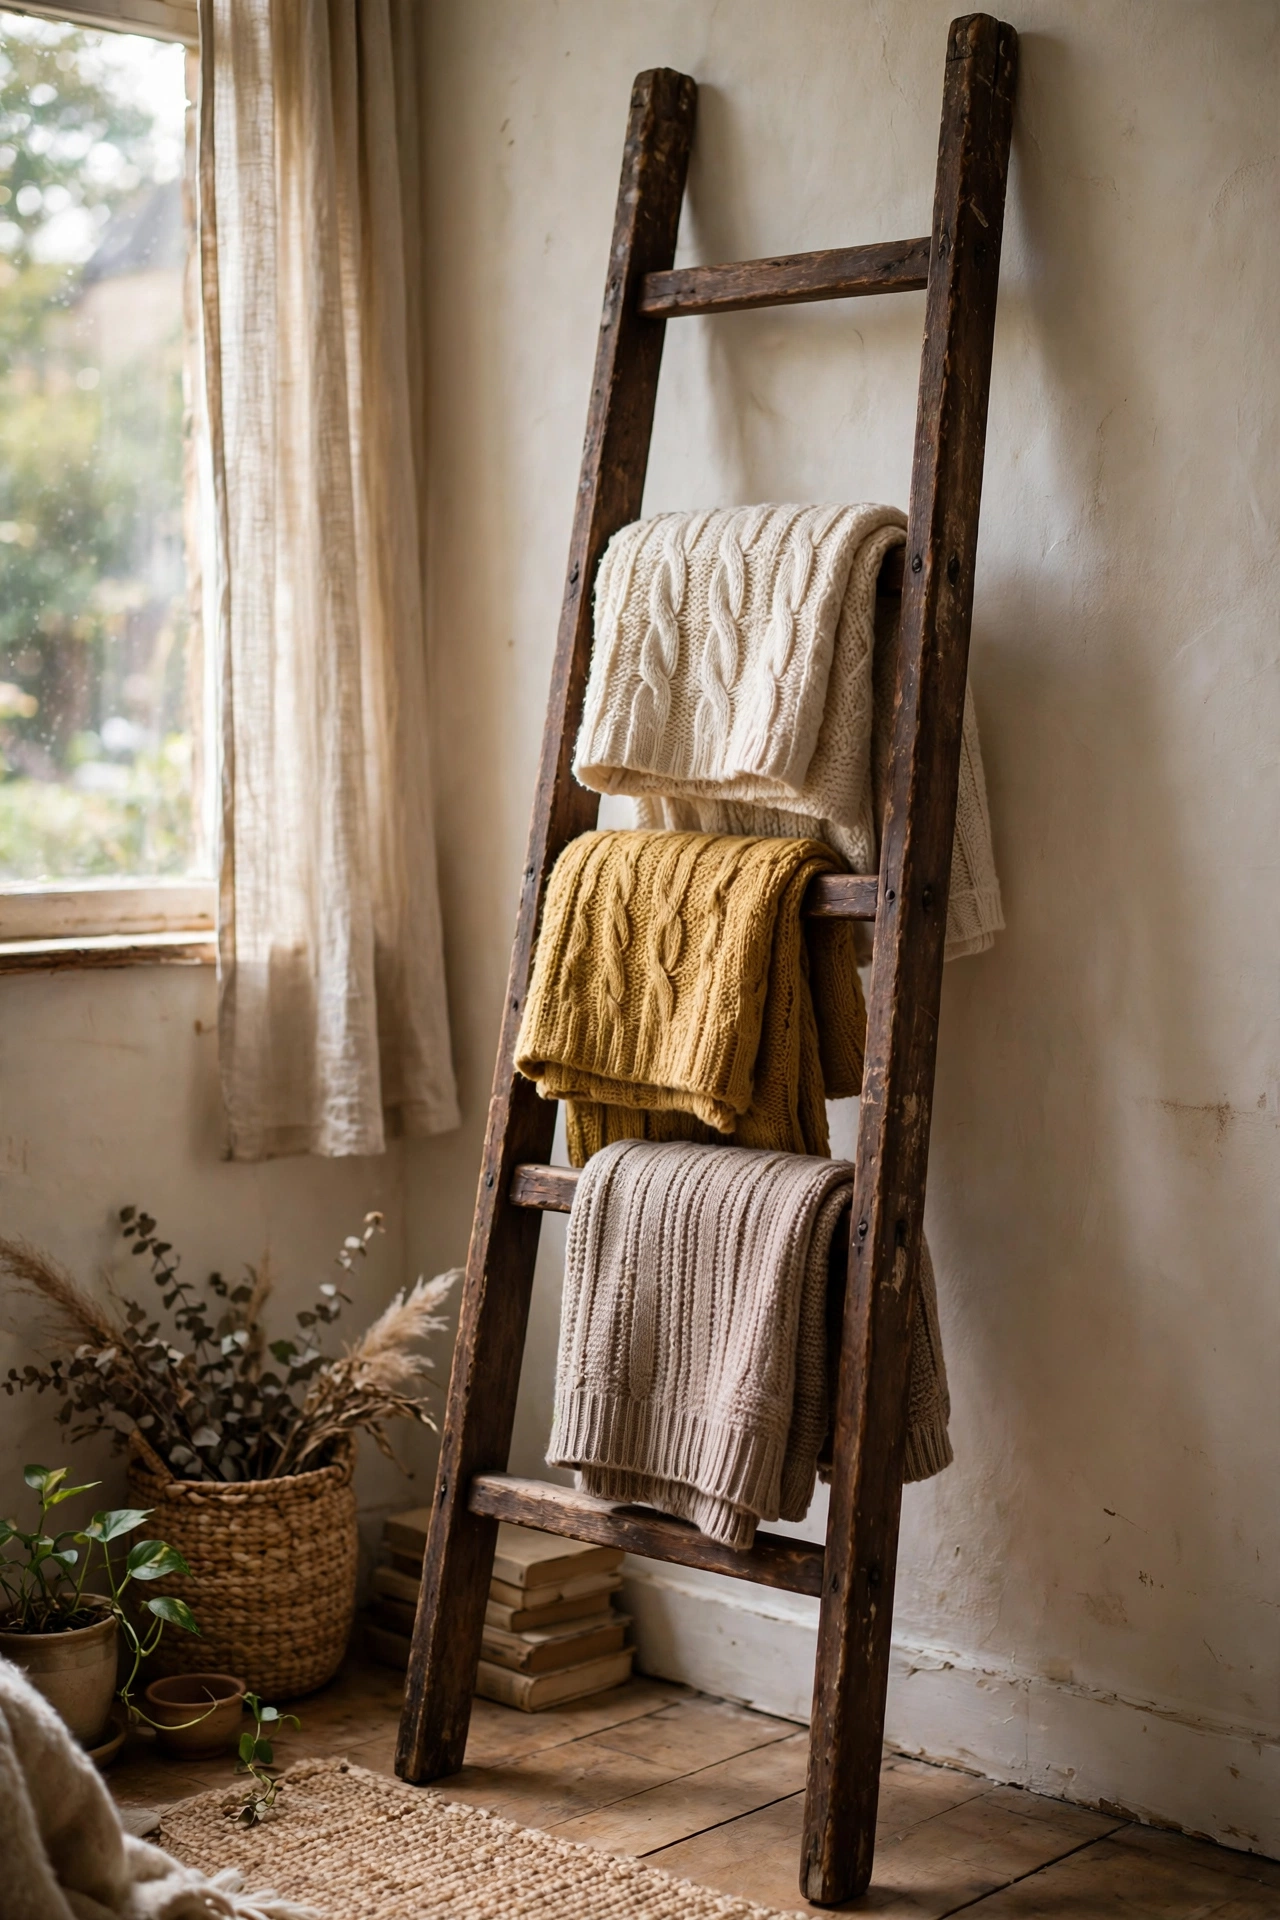
An old wooden ladder, sanded and stained, leant against the living room wall holding folded throws — it sounds too simple to work, but it’s one of the most complimented things in our house. I found the ladder at a house clearance for next to nothing, scrubbed off decades of shed grime, and gave it two coats of dark stain. The throws drape over the rungs and it keeps them off the sofa arms where they used to live in a heap. Check the ladder is stable before you commit — mine wobbled until I added small rubber feet. And don’t hang anything heavy from the top rungs; it’s for blankets, not bookshelves.
What I’d do differently: I’d measure my throw collection first — my ladder’s rungs are a touch close together for the really chunky knitted blankets.
Cost: ~$20 | Time: 2 hours (plus drying)
8. Chalk-Painted Side Table Makeover
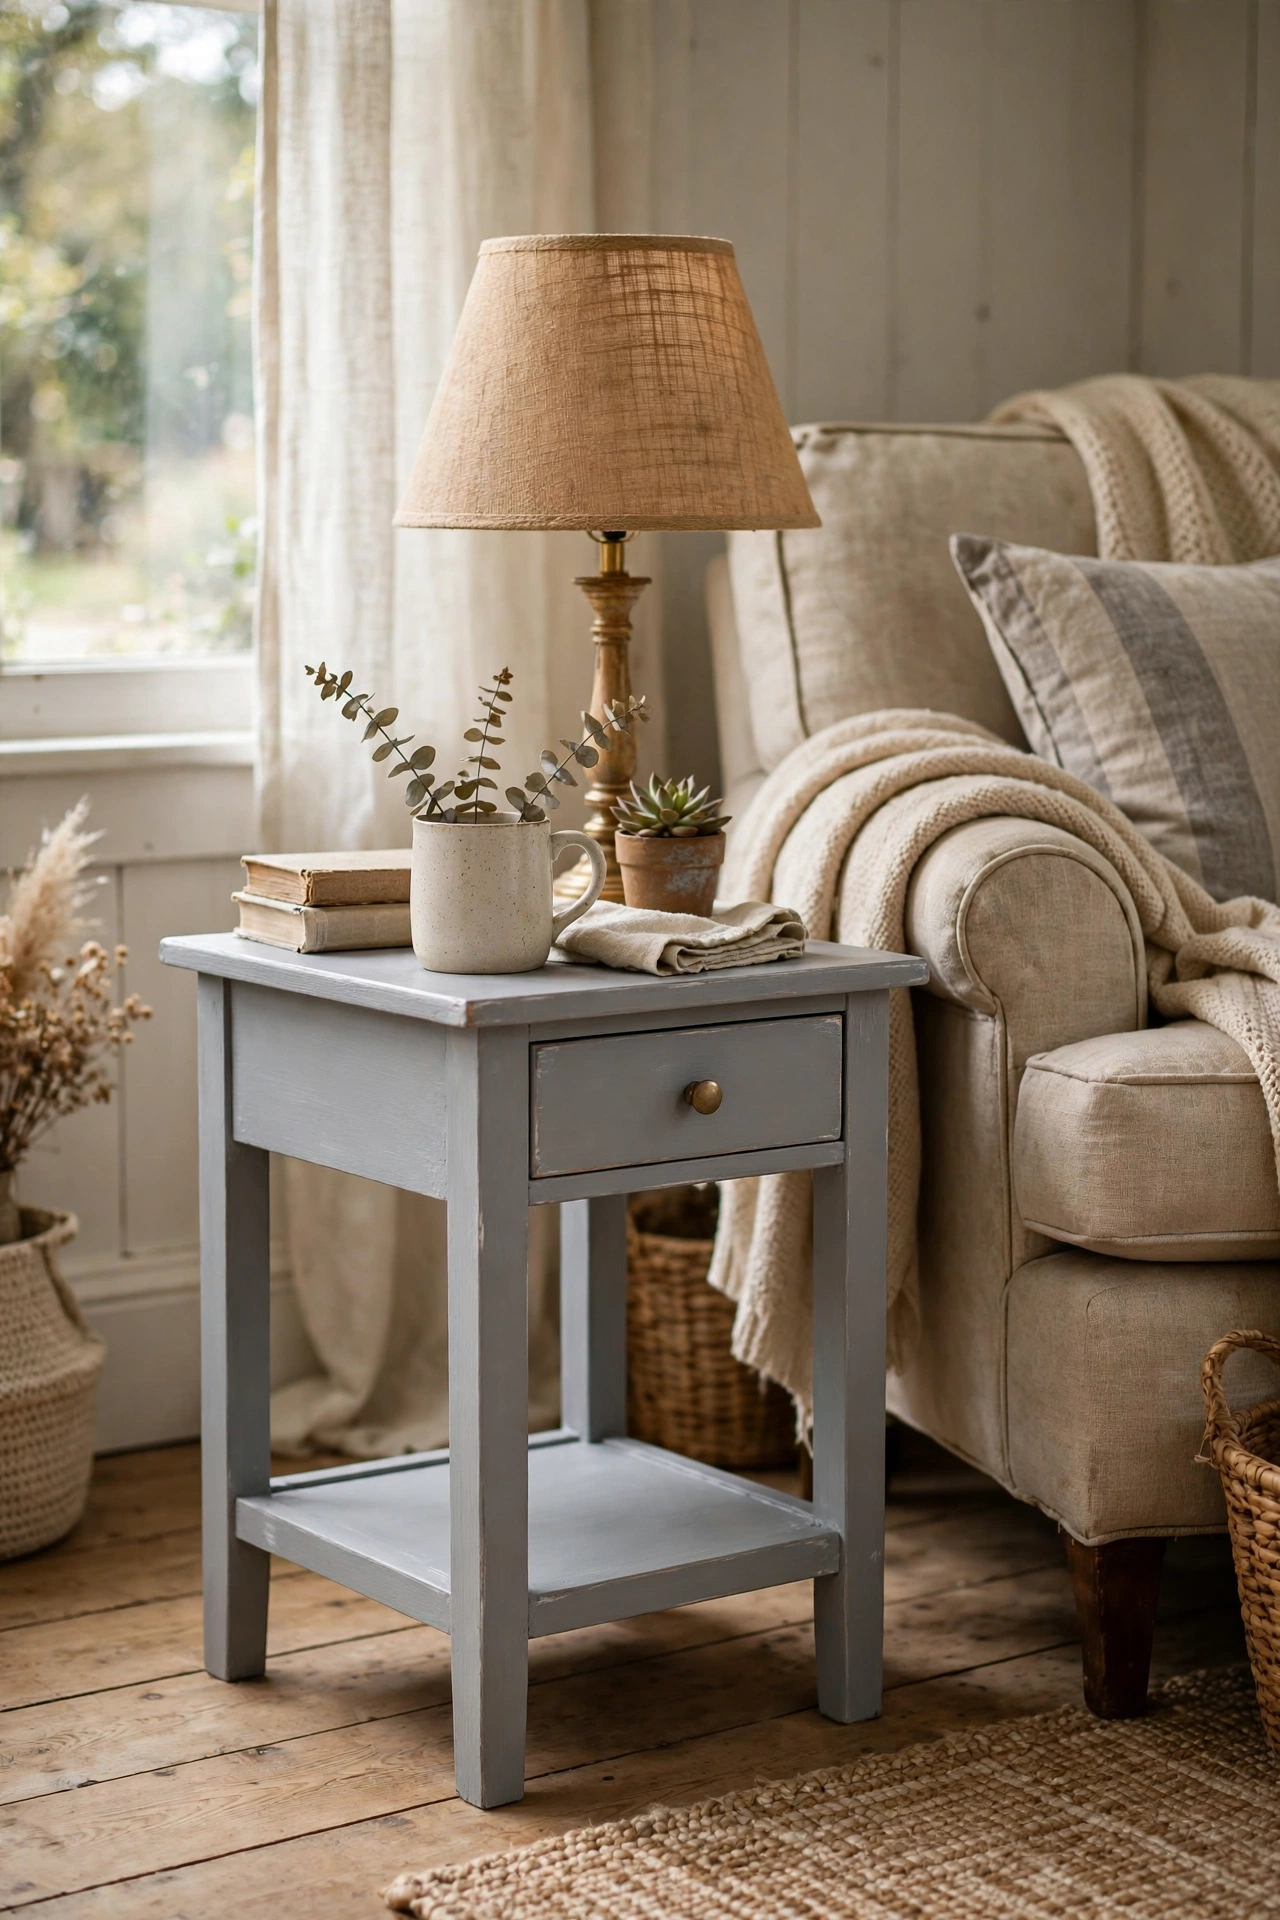
The scuffed pine side table from the charity shop — £8, wobbly leg and all — became my chalk paint education. Chalk paint needs no sanding and no primer, which is why it’s the farmhouse rescuer’s best friend: two coats of soft grey, a light sanding on the edges to let the wood peek through, and clear wax on top. The wobbly leg was fixed with a 50p bracket. The whole transformation took an afternoon and it now sits beside our armchair looking like it cost ten times the price. The waxing step is non-negotiable, I learned — I skipped it on the first table and every mug left a ring within a week.
What I’d do differently: I’d buy the small tin, not the big one — a little chalk paint goes an incredibly long way and my big tin is still half full two years later.
Cost: ~$26 | Time: 3 hours (plus drying)
9. Pallet Wood Farmhouse Clock
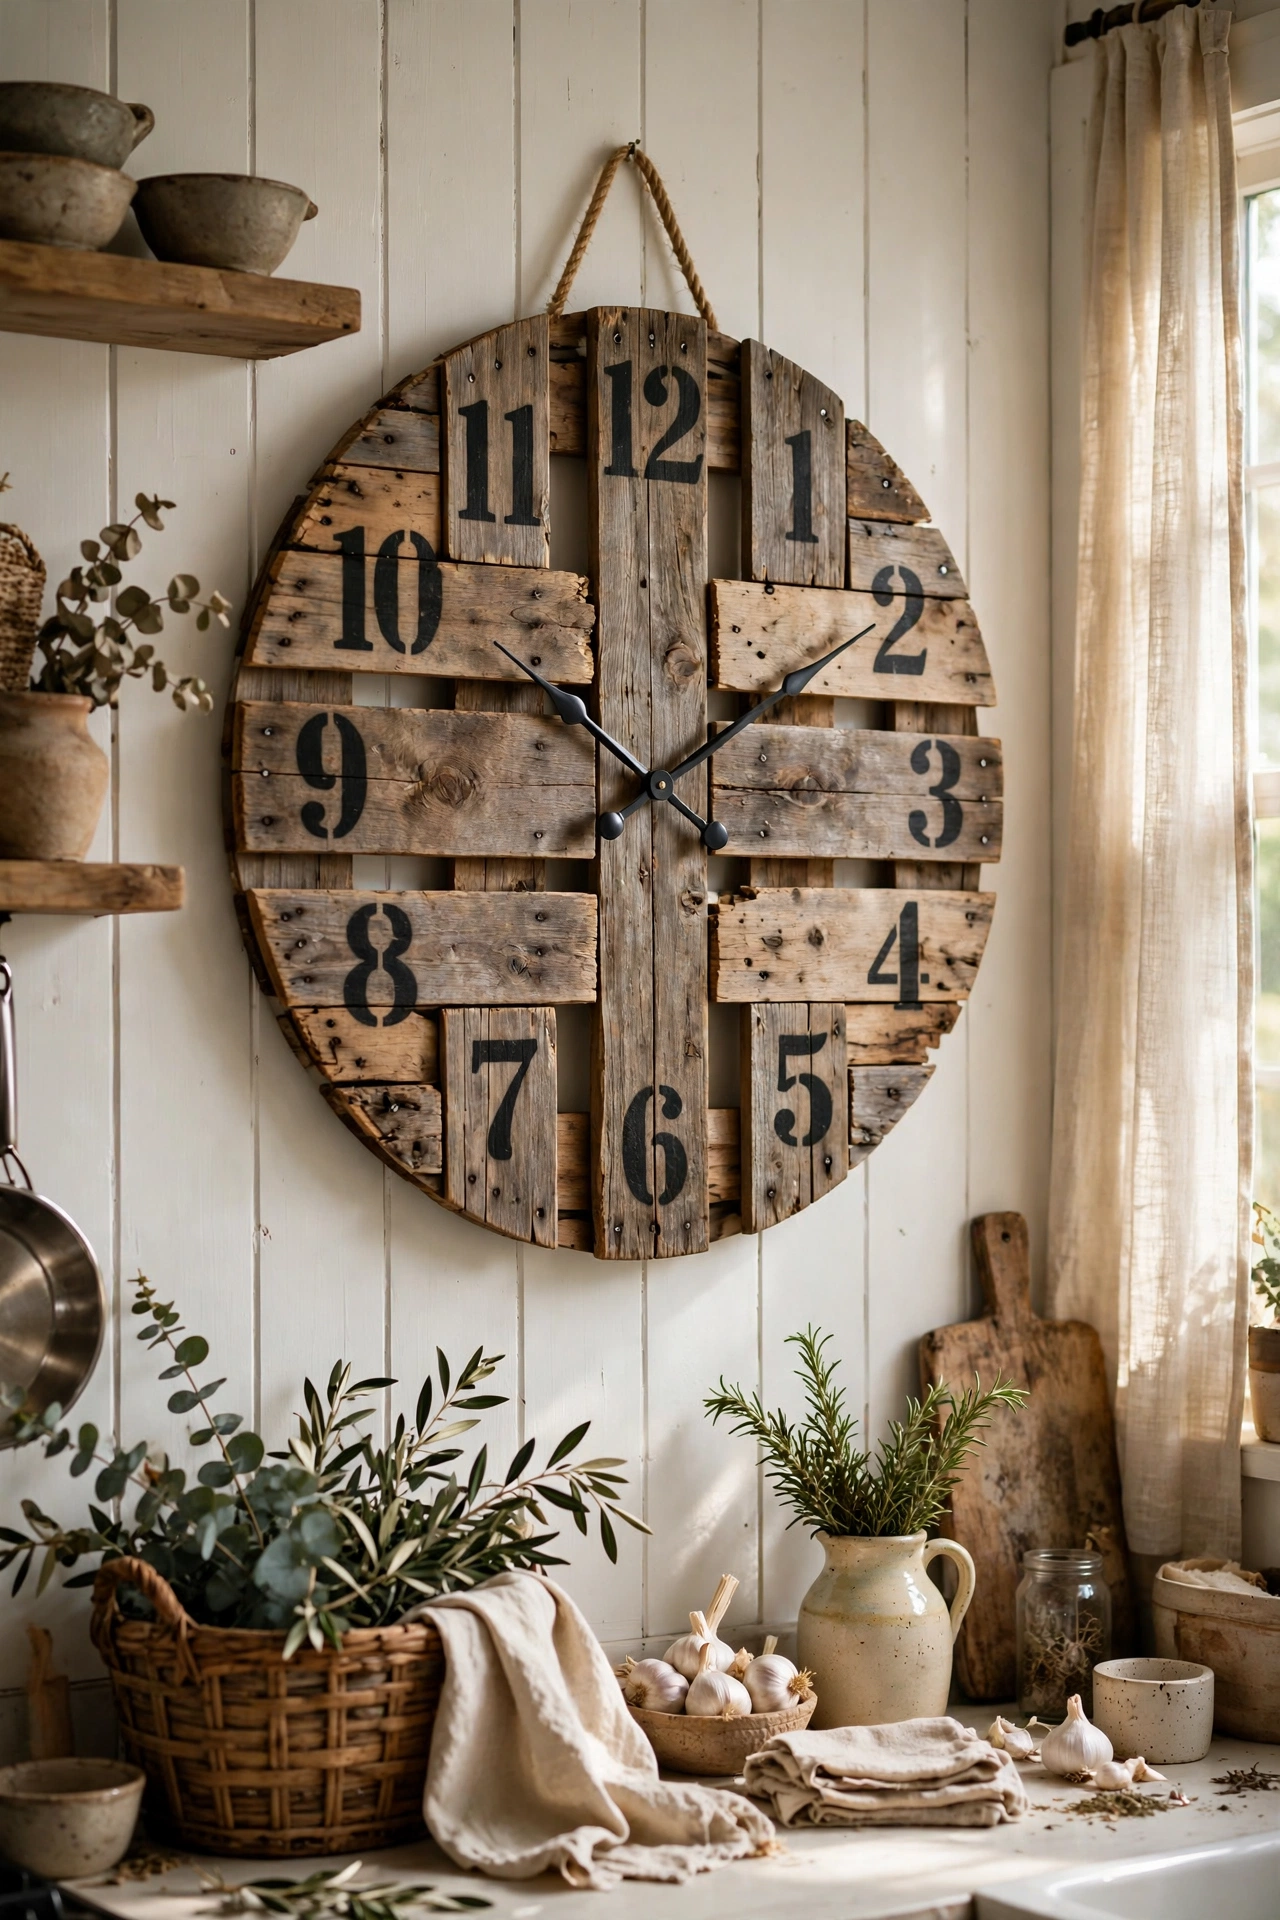
A big round clock made from pallet planks is farmhouse catnip, and the mechanism kits cost almost nothing. I arranged five pallet planks into a square, traced a circle, cut it with a jigsaw, sanded everything smooth, stencilled the numbers in black, and fitted a quartz clock movement through a centre hole. It hangs in our kitchen and keeps perfect time. The jigsaw circle was the scary part — my advice is to cut outside the line and sand back to it, because you can always remove more wood but you can’t put it back. I also sealed mine, since kitchen steam and raw pallet wood are not friends.
What I’d do differently: I’d stencil the numbers before fitting the mechanism — I had to work around the hands on mine and one numeral sits slightly crooked forever.
Cost: ~$19 | Time: 3 hours
10. Wire Basket Wall Display
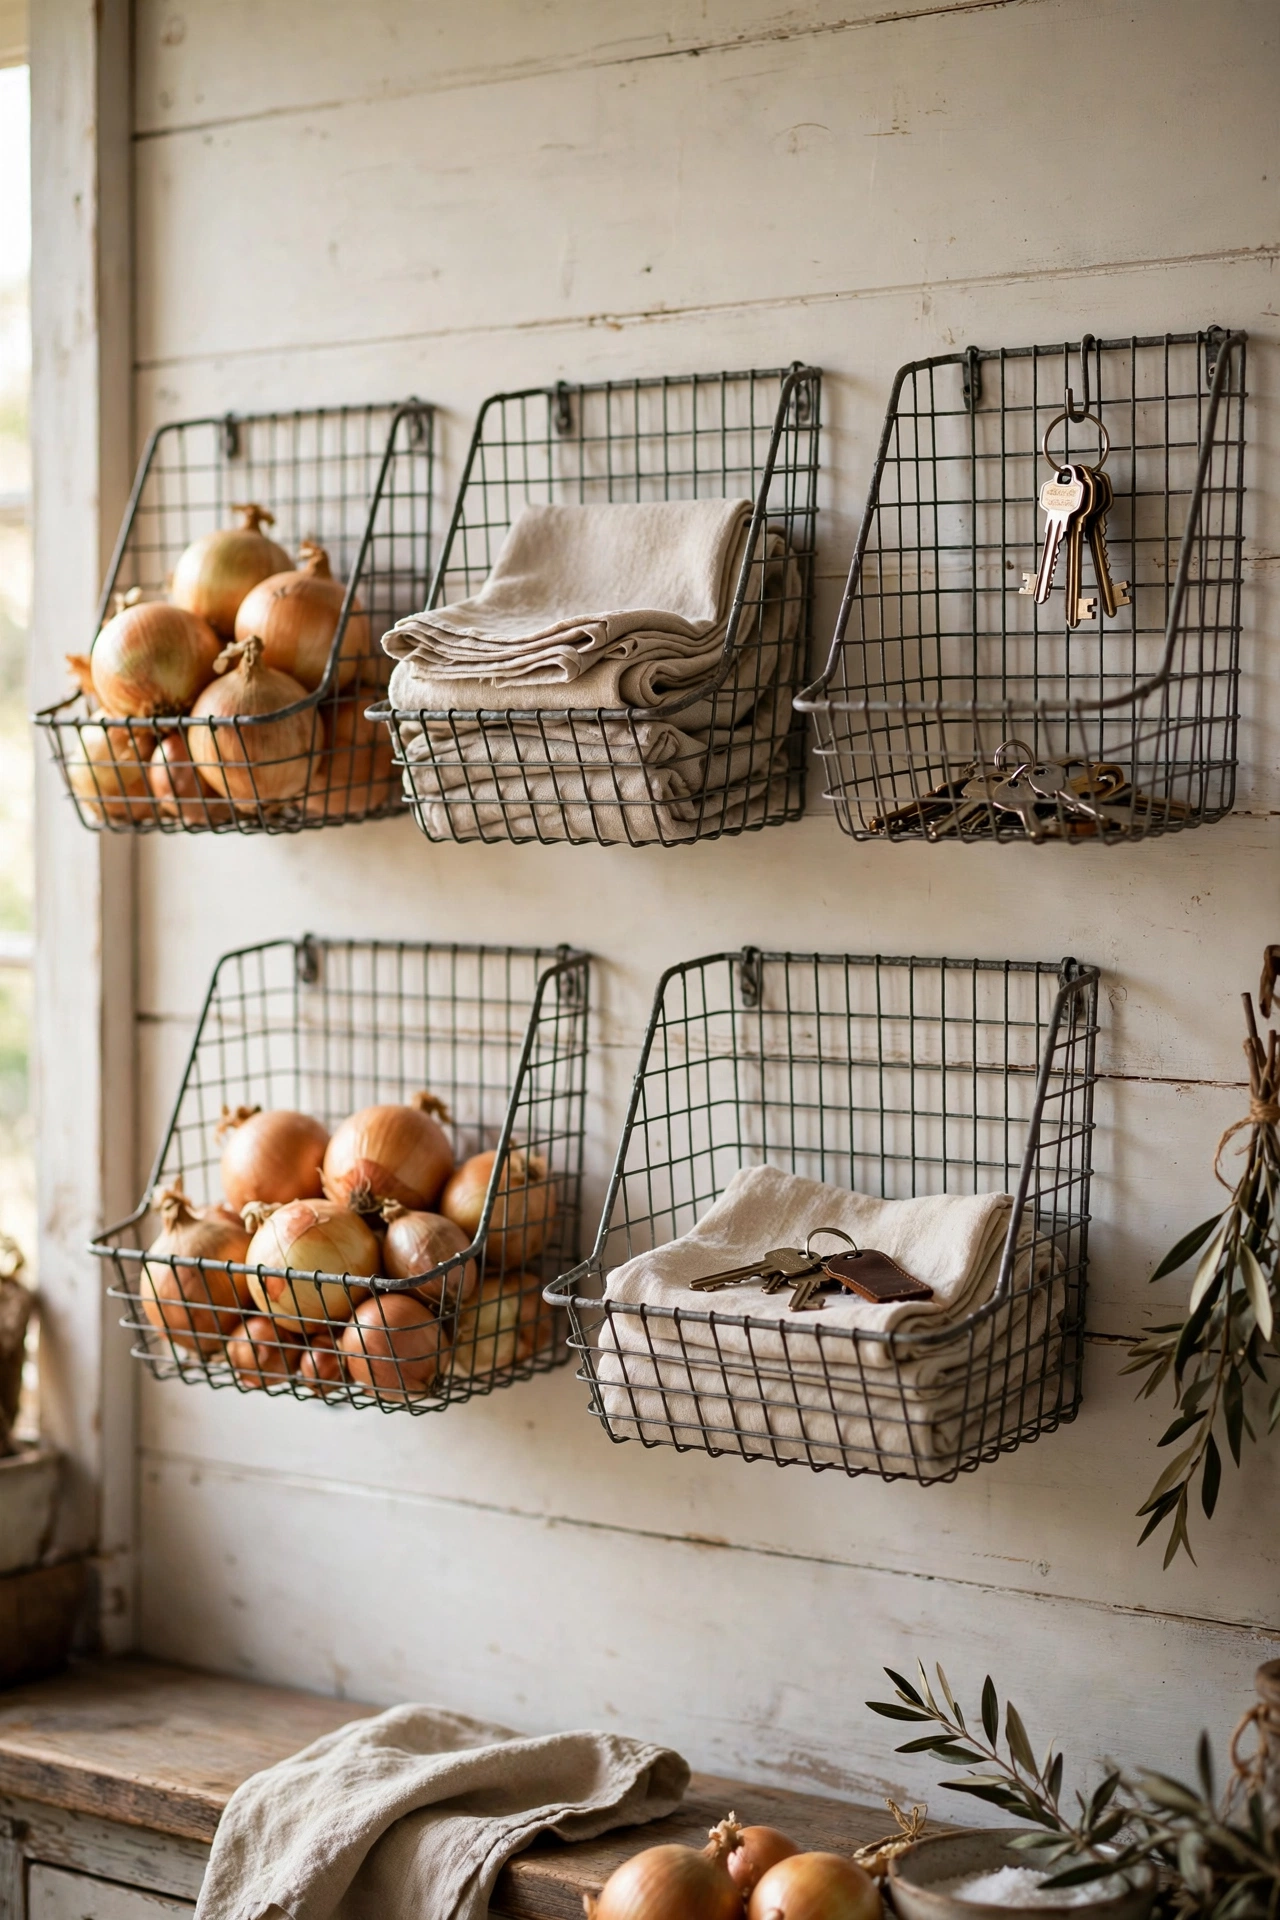
Flat wire baskets — the kind sold for wall storage — grouped on a kitchen wall hold everything from onions to napkins and look wonderfully farmhouse. I hung five in a loose cluster by the back door: one for keys and post, one for the dog’s bits, the rest for whatever the week throws at us. They’re screwed straight into studs because baskets get loaded heavier than you plan. My first attempt used adhesive hooks and lasted exactly four days before the onion basket made its bid for freedom at 2am. The clatter woke the whole house. Screws. Always screws for anything that holds weight.
What I’d do differently: I’d buy them all in the same finish from the start — my mismatched metals bugged me until I spray-painted them all matte black.
Cost: ~$30 | Time: 1 hour
11. Cotton Stem Wreath
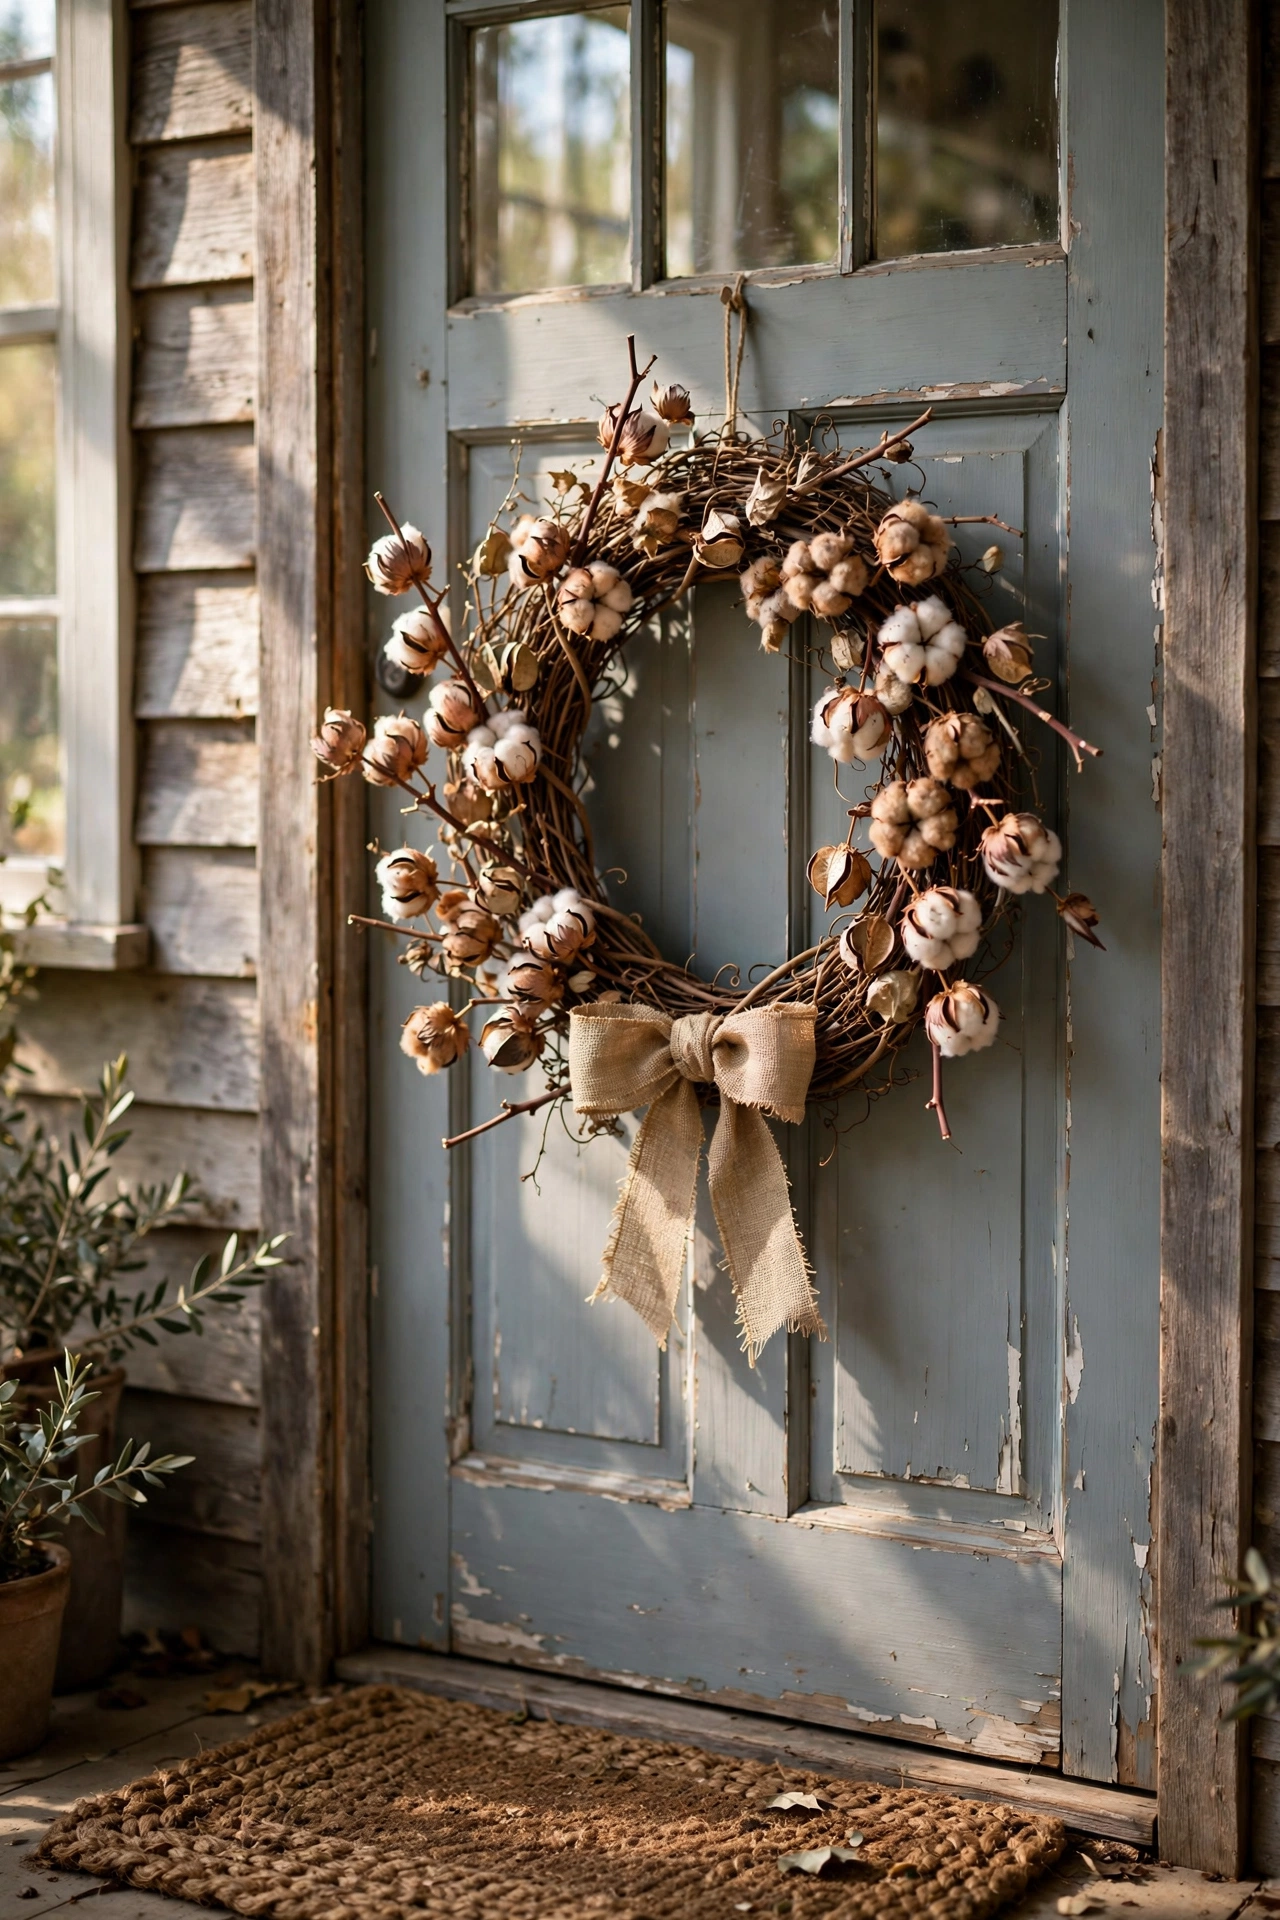
Cotton stems are farmhouse royalty — soft, neutral, and seasonless — and wiring them onto a grapevine wreath base takes about an hour. I bought a bag of dried cotton stems online, tucked and wired them around a plain vine wreath until it looked full, and hung it on our front door. It’s been there eighteen months and still looks good, which is more than I can say for the fresh wreath I bought the Christmas before (dead by Boxing Day, £25 down the drain). Fluff the cotton bolls gently as you go; they arrive flat-packed and need a little encouragement. A simple burlap ribbon bow finishes it.
What I’d do differently: I’d buy one extra bag of stems — I ran short three-quarters round and had to wait a week for more to arrive.
Cost: ~$21 | Time: 1.5 hours
12. Reclaimed Wood Picture Frames
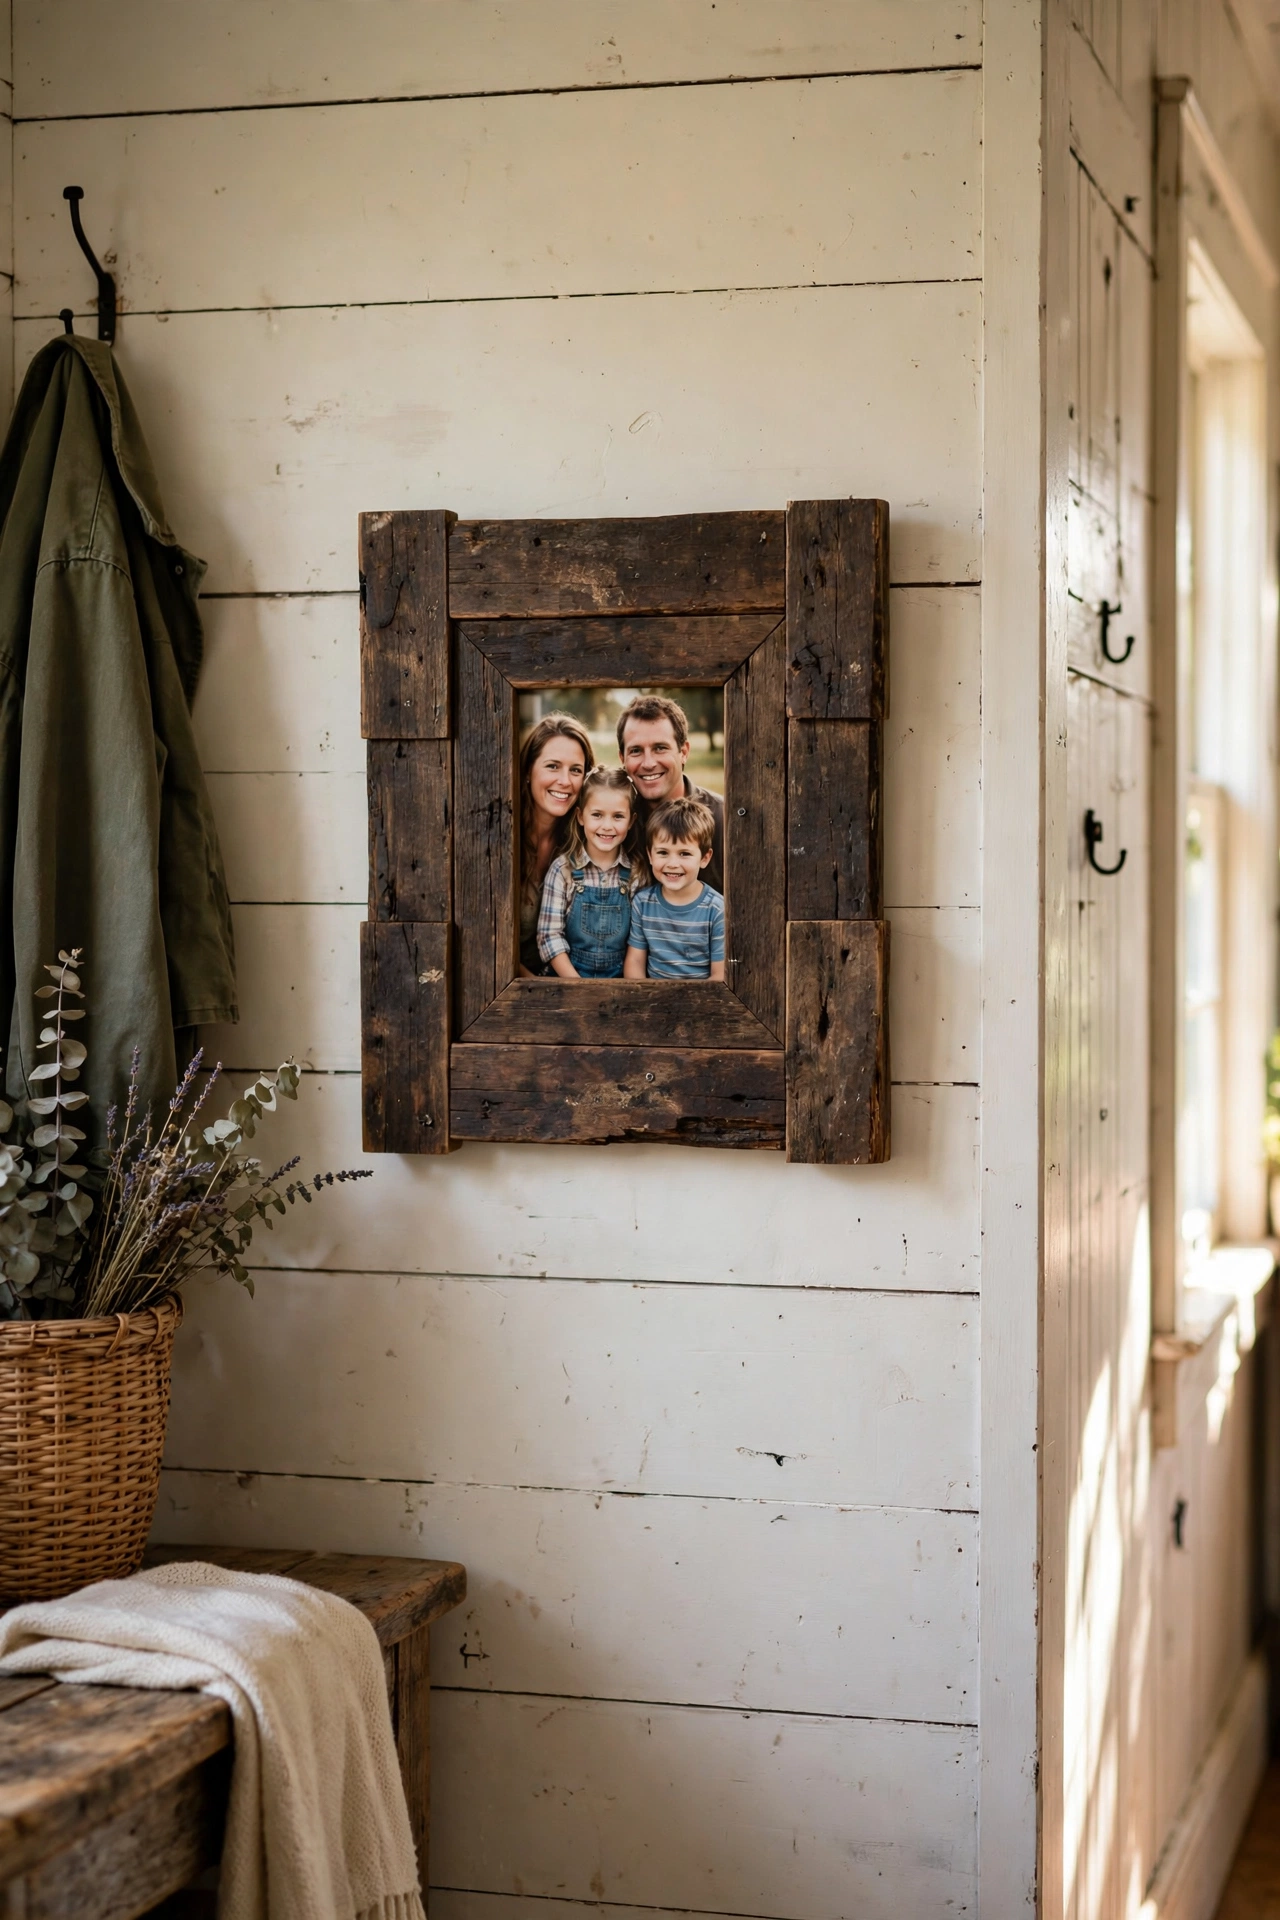
Four bits of old skirting board, mitred at the corners and glued, made the frame around our favourite family photo — and the wood’s previous life as someone’s skirting gives it a patina you can’t buy. I cut 45-degree corners with a mitre box (a £10 tool that has paid for itself many times over), glued and pinned the joints, and stained it to match our other wood tones. The mitring is the only skill involved, and honestly the wood filler forgives a multitude of sins. My corners weren’t perfect; filler and stain hid everything. It hangs in the hallway and the slight imperfections are exactly what make it look hand-made rather than shop-bought.
What I’d do differently: I’d clamp the corners overnight instead of rushing — one of mine shifted slightly and the photo sits a hair crooked.
Cost: ~$14 | Time: 2 hours
13. Farmhouse Tiered Tray Styling
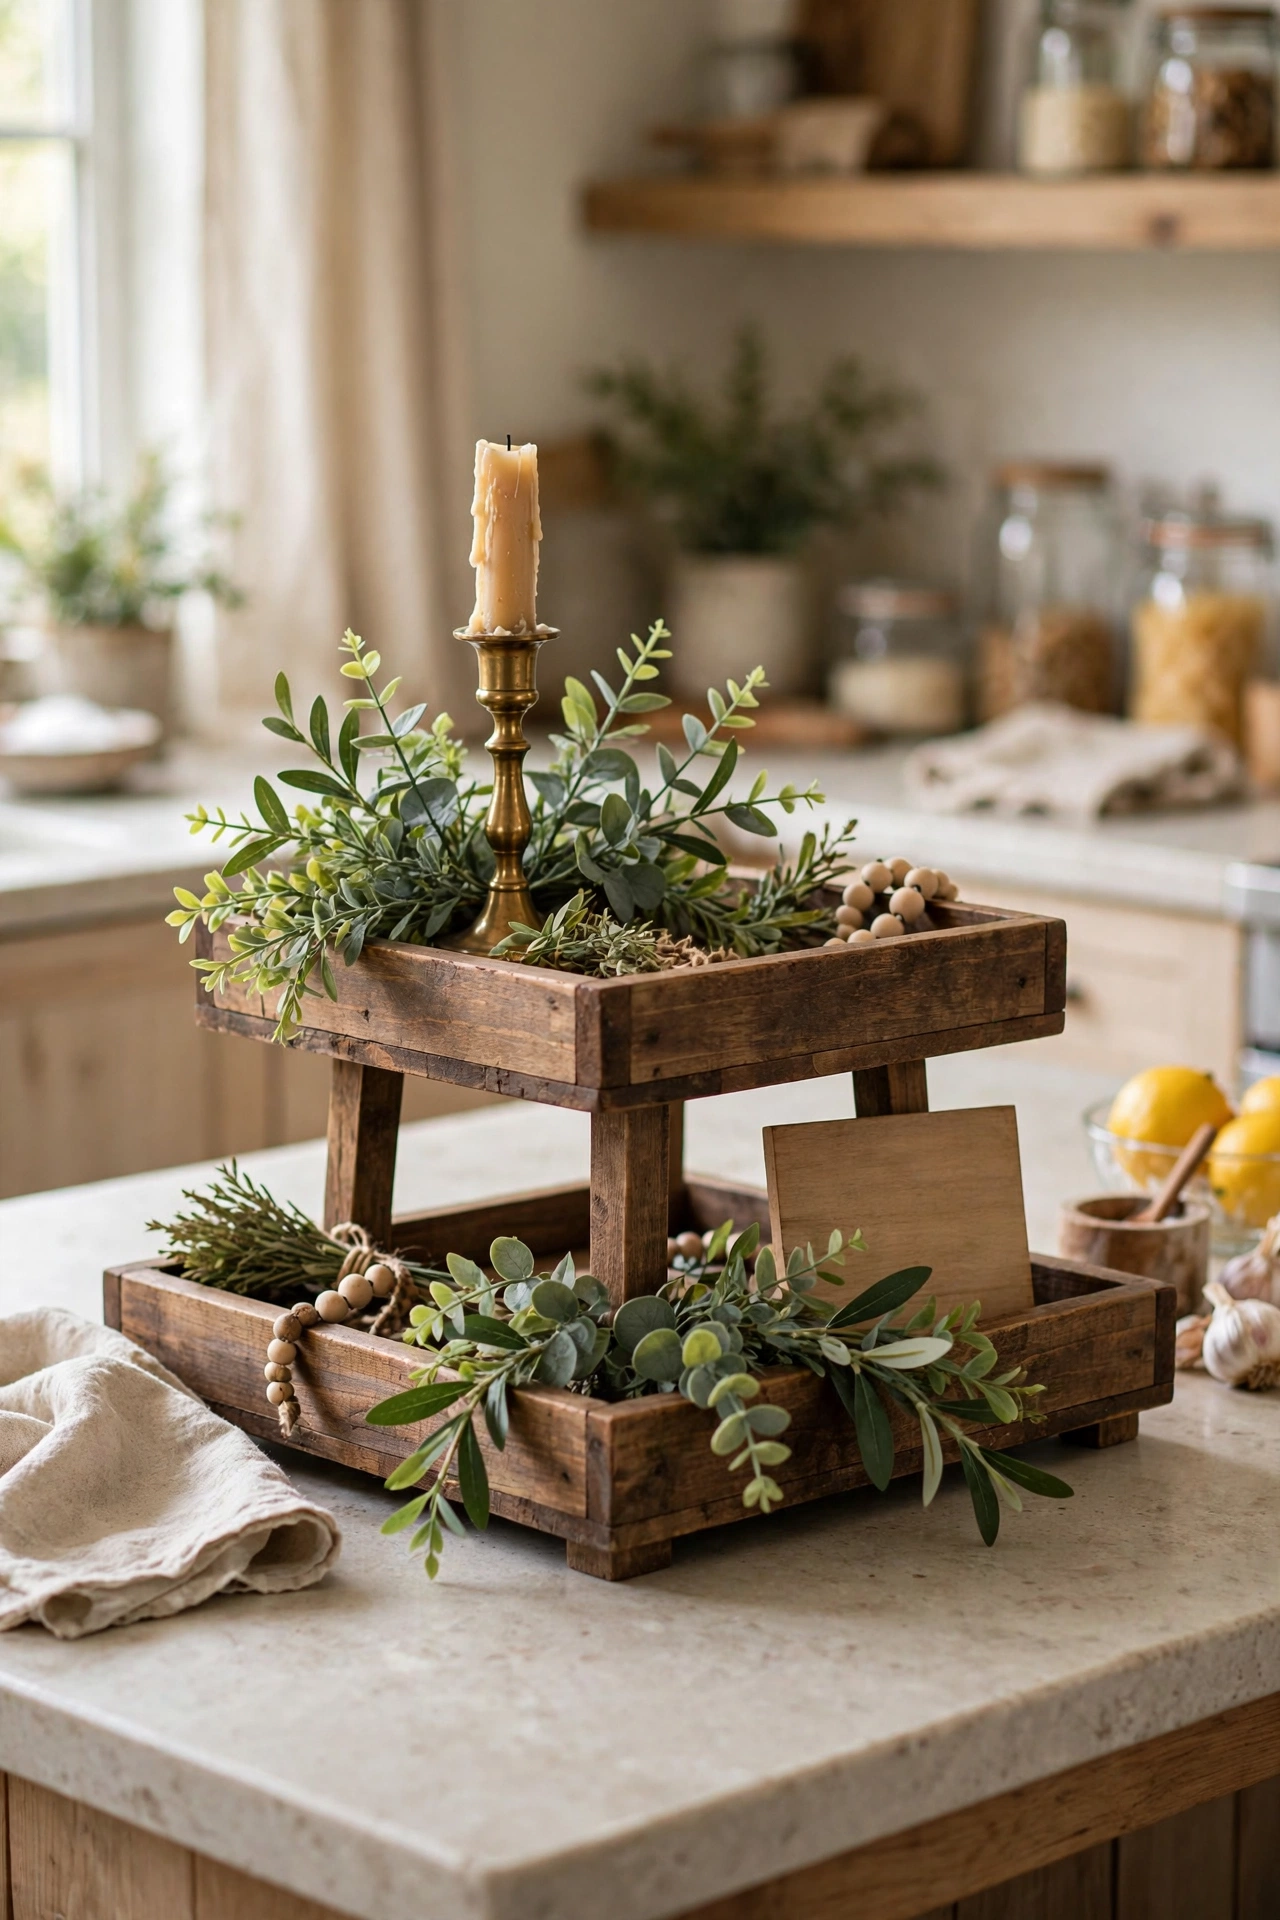
The two-tier tray itself I bought cheap, but the styling is the project — and it’s the one I redo every season. The formula that never fails: something tall at the back (a small bottle or candlestick), something green (a faux sprig or tiny plant), something with words (a mini sign), and something seasonal swapped in and out. Autumn gets pinecones, Christmas gets baubles, spring gets eggs. My first attempt crammed twelve things onto it and it looked like a jumble sale; five to seven items with space between them is the sweet spot. The tray lives on our kitchen island and it’s the first thing I change when a season turns.
What I’d do differently: I’d have started with the tray and built the styling collection slowly from charity shops instead of buying a “tiered tray set” — mine came with filler I never use.
Cost: ~$25 | Time: 1 hour
14. Check Fabric Pillow Covers
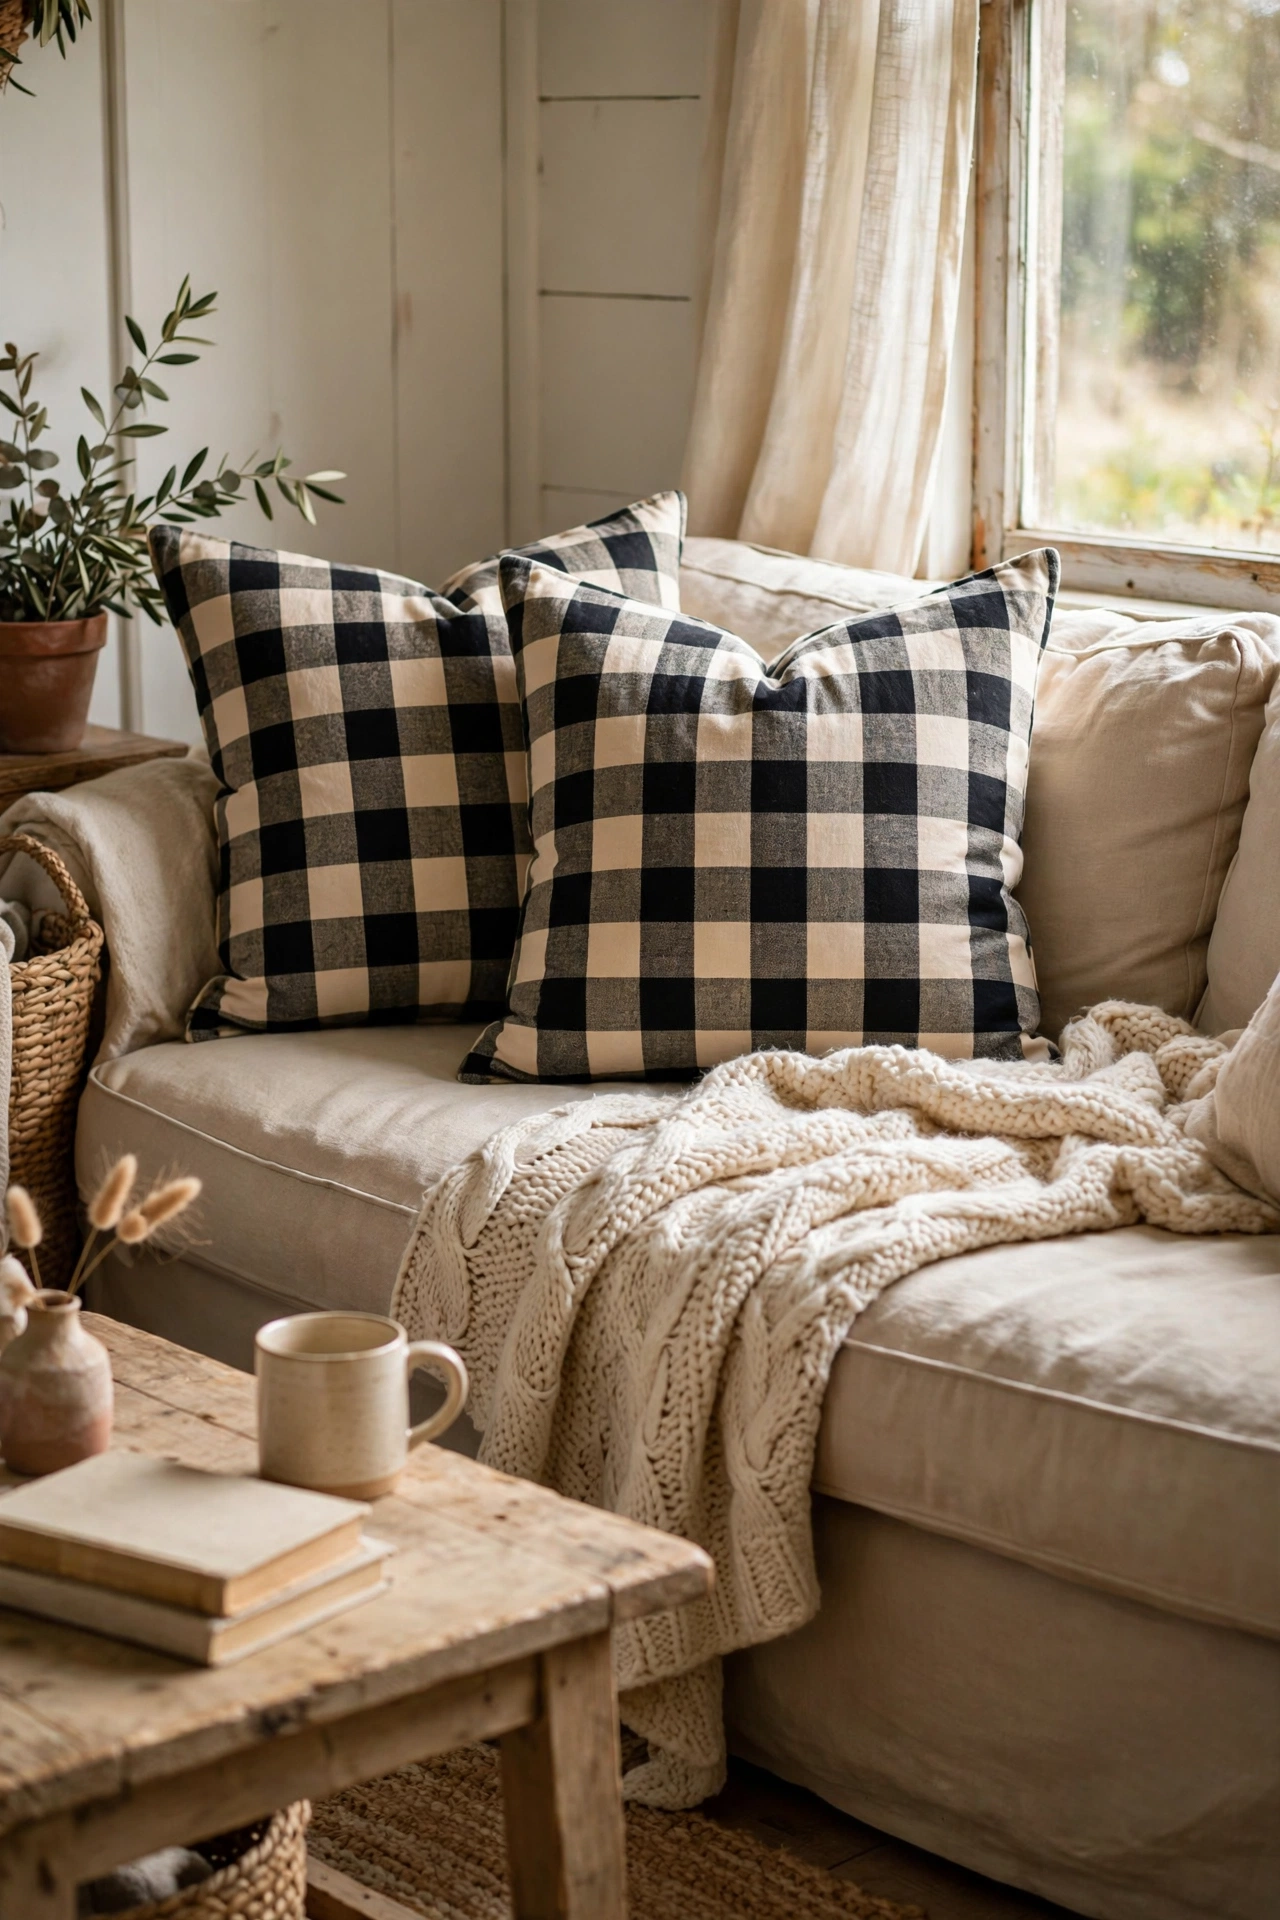
Nothing says farmhouse faster than a buffalo check or gingham pillow, and the no-sew method works here too. I wrapped cushion pads in check fabric using the same iron-on hemming tape trick as the burlap covers, and made four for the sofa in black-and-cream check. They instantly farmhoused the whole living room — my husband walked in and said “when did we get a farmhouse?” which I took as the highest compliment. Fabric choice matters enormously here: the cheap thin check I tried first looked washed-out and sad, while the slightly heavier cotton from the remnant bin held its colour and shape beautifully.
What I’d do differently: I’d pre-wash the fabric — my first set shrank unevenly and one cover puckered at the seams.
Cost: ~$18 | Time: 1.5 hours
15. Rustic Key Holder with Hooks
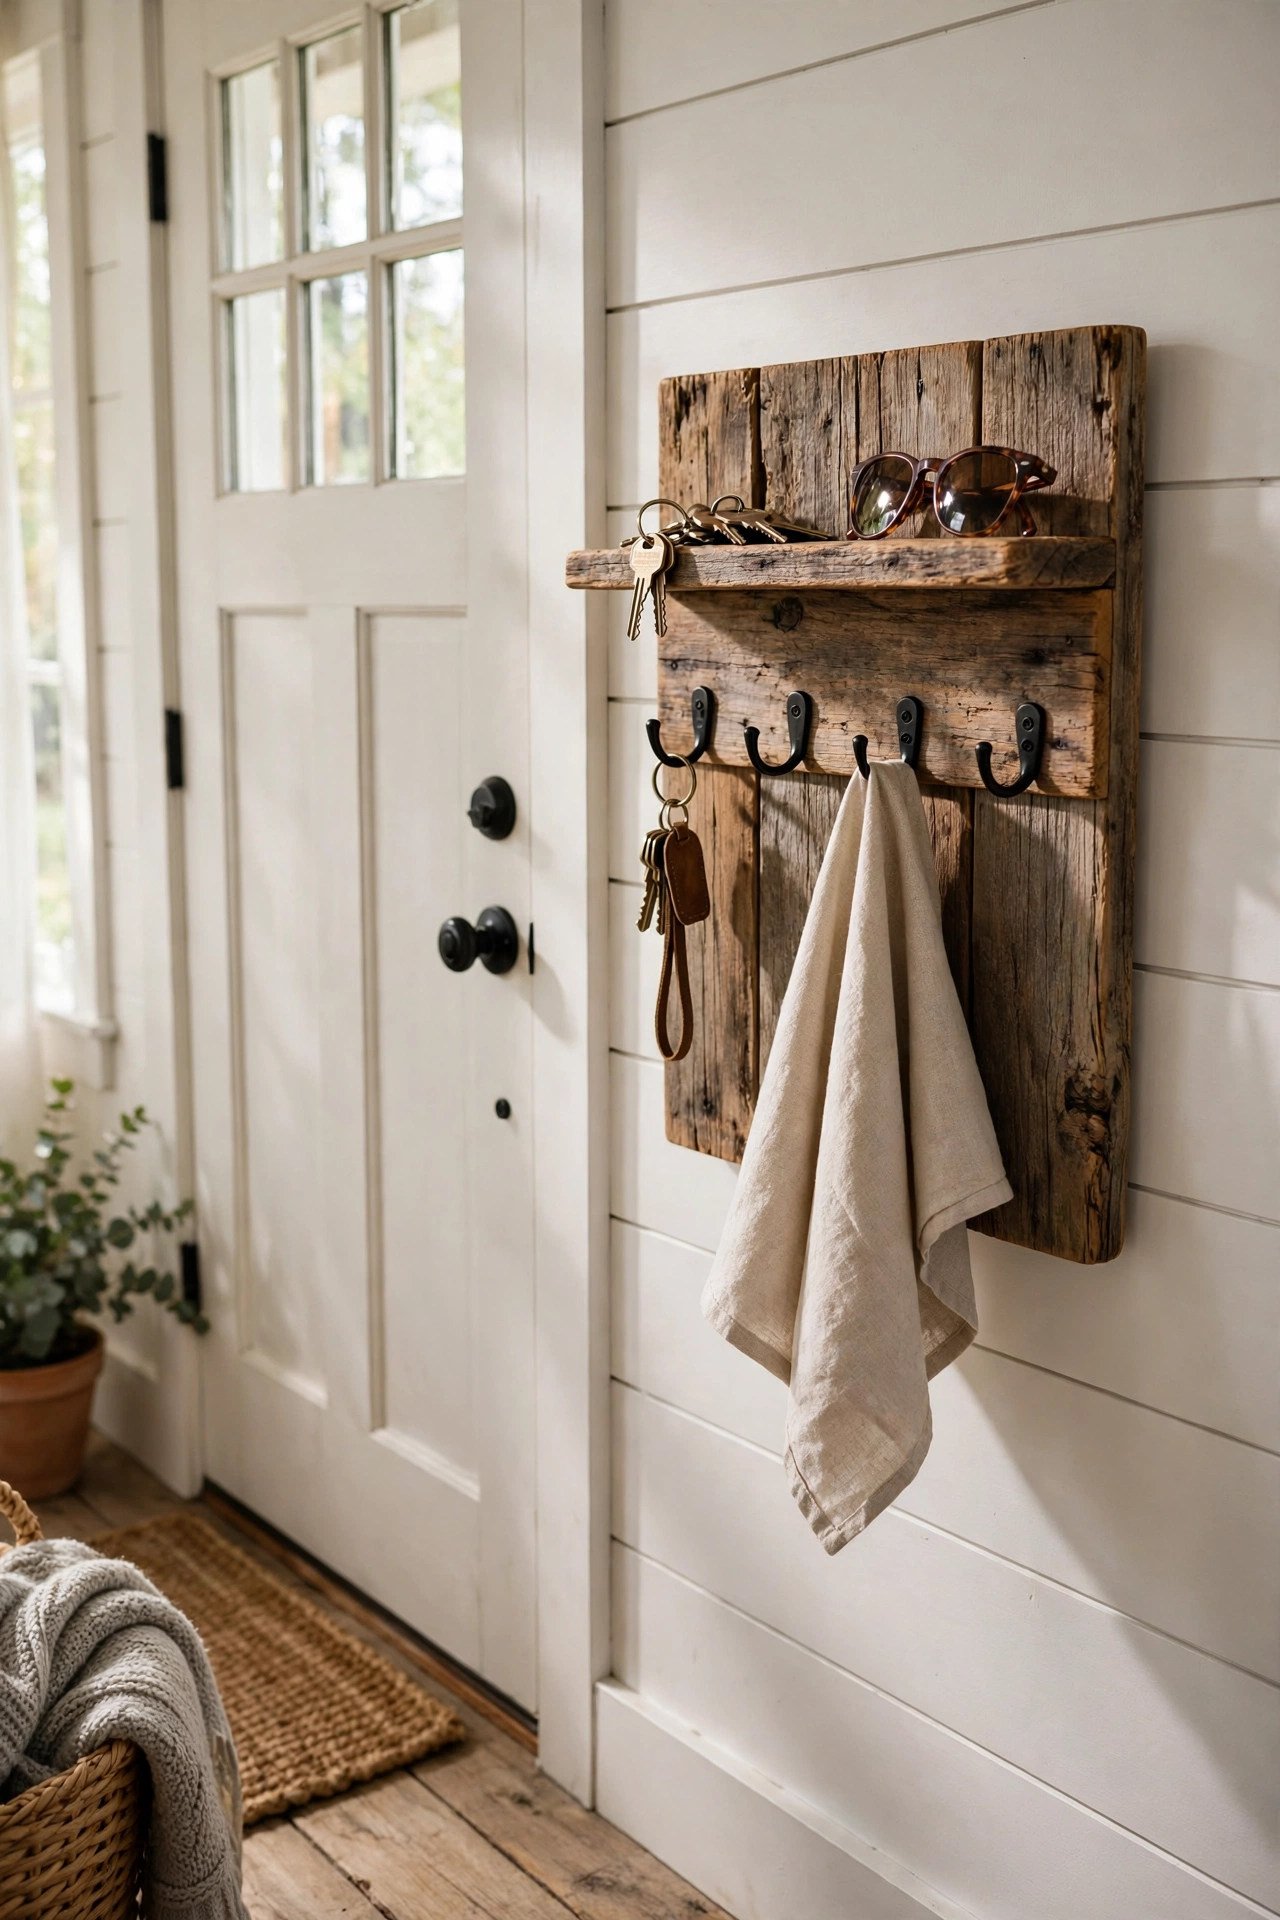
A short length of reclaimed wood with four black hooks screwed underneath, hung by the front door, ended the Great Key Hunt of our household. I stained a bit of old shelf board dark, stencilled a small “keys” label, and fixed it with two screws into a stud. It took forty minutes and it might be the most-used thing I’ve ever made. The labelling sounds fussy but it’s what stops the hooks becoming a dumping ground for lanyards and mystery keys — everyone in the house knows what lives there. My only ongoing battle is that the dog’s lead keeps migrating onto the key hooks, which is a household problem no amount of DIY can solve.
What I’d do differently: I’d add a tiny shelf on top from the start — I retrofitted one later for sunglasses and post, and it would have been easier in one go.
Cost: ~$13 | Time: 45 minutes
16. Old Window Frame Mirror
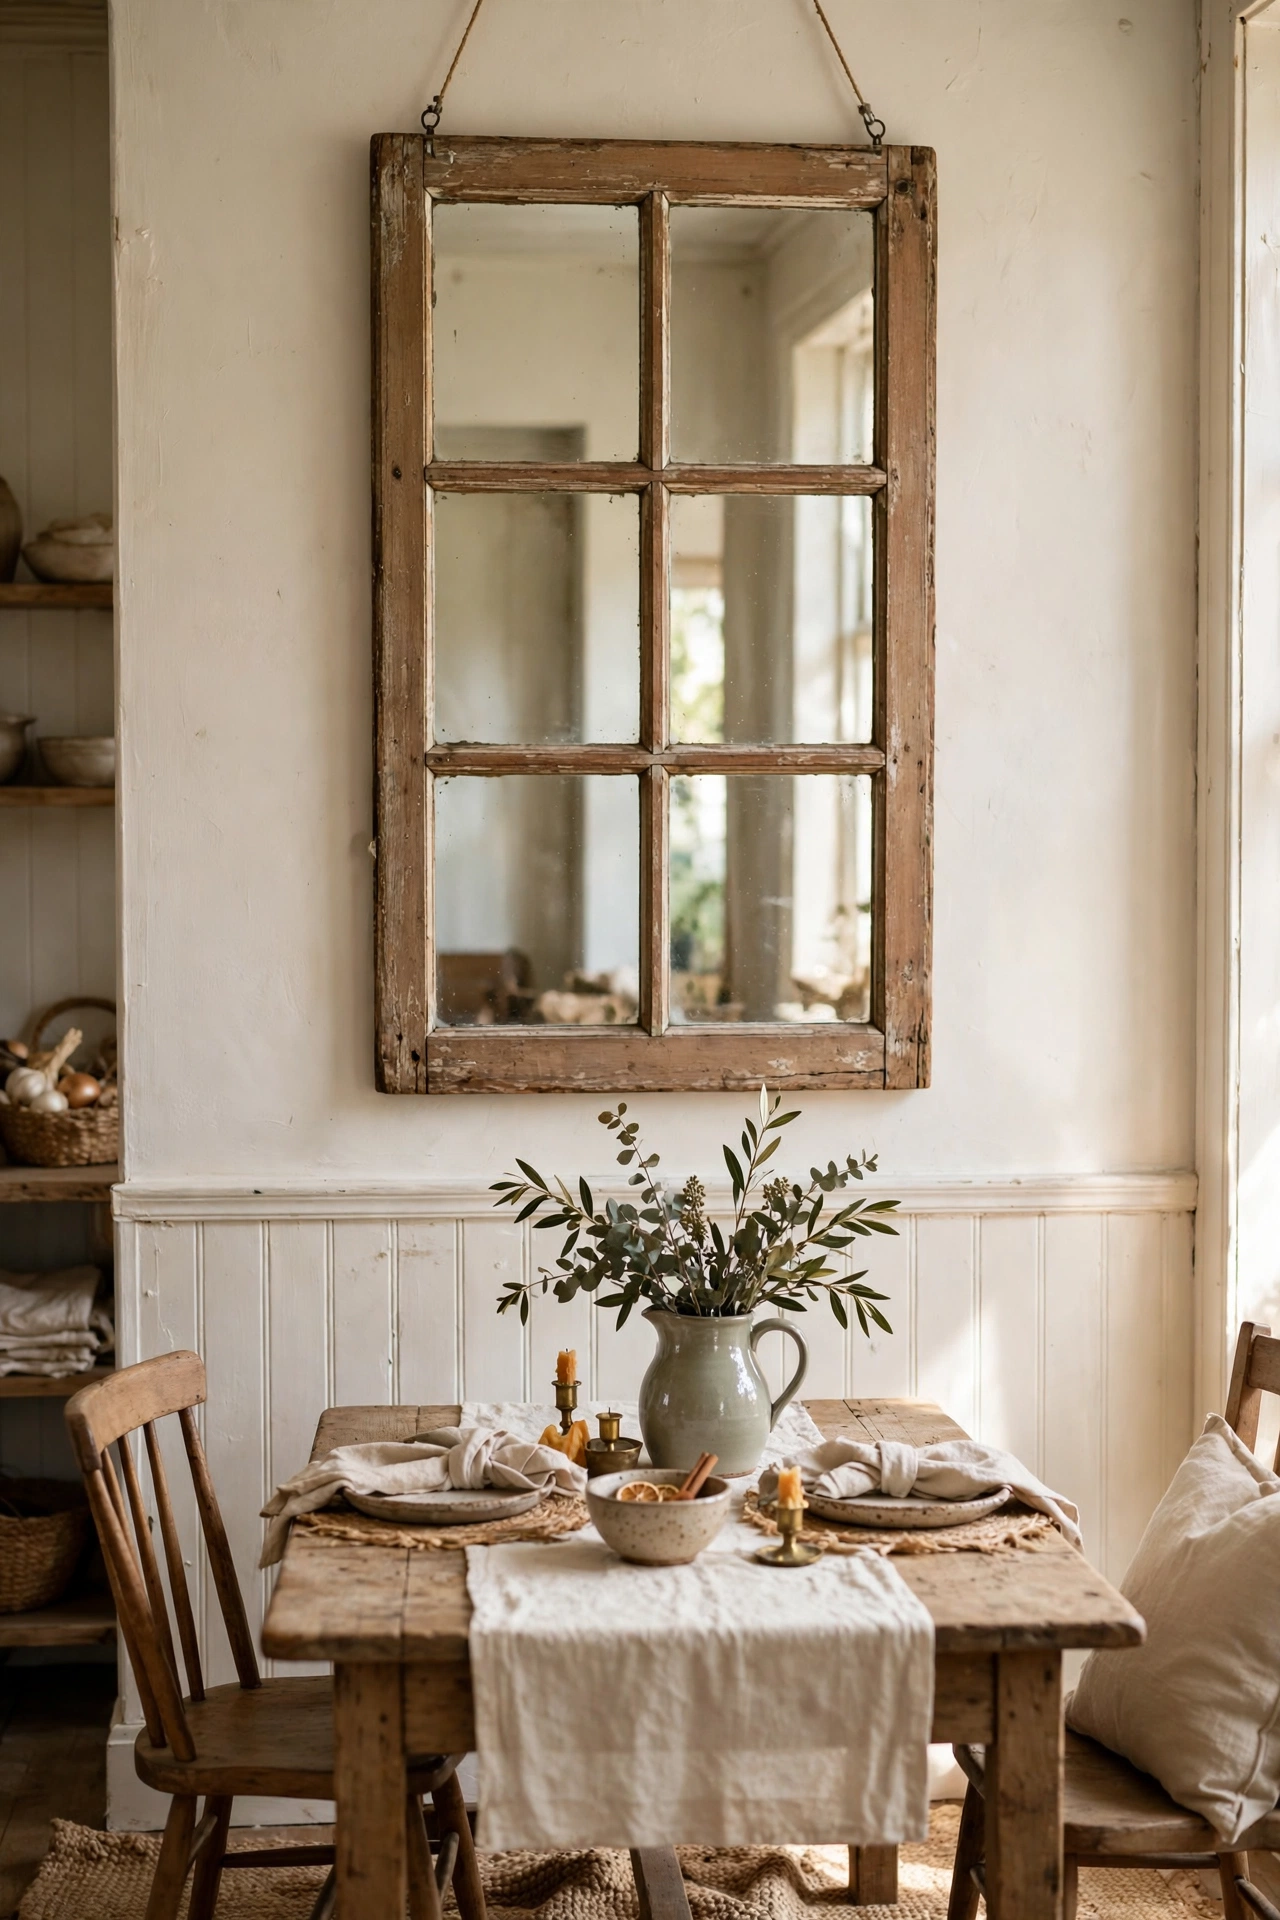
An old timber window frame with the glass replaced by mirror is the definitive farmhouse statement piece, and it’s easier than it sounds. I found a six-pane sash window at a salvage yard, had a glazier cut mirror to fit the panes (about £8 a pane, far cheaper than I’d feared), and secured the mirror with glazing beads. It hangs in our dining room and doubles the light from the patio doors. The frame’s chipped paint I left exactly as found — that wear is the look. One practical note: get help hanging it. Mine weighs a ton and the first attempt with a single picture hook was, in hindsight, genuinely dangerous.
What I’d do differently: I’d get the mirror cut before falling in love with the frame — one of my panes was an odd size and cost double to cut.
Cost: ~$35 | Time: 2 hours (plus glazier turnaround)
17. Chicken-Wire Memo Board
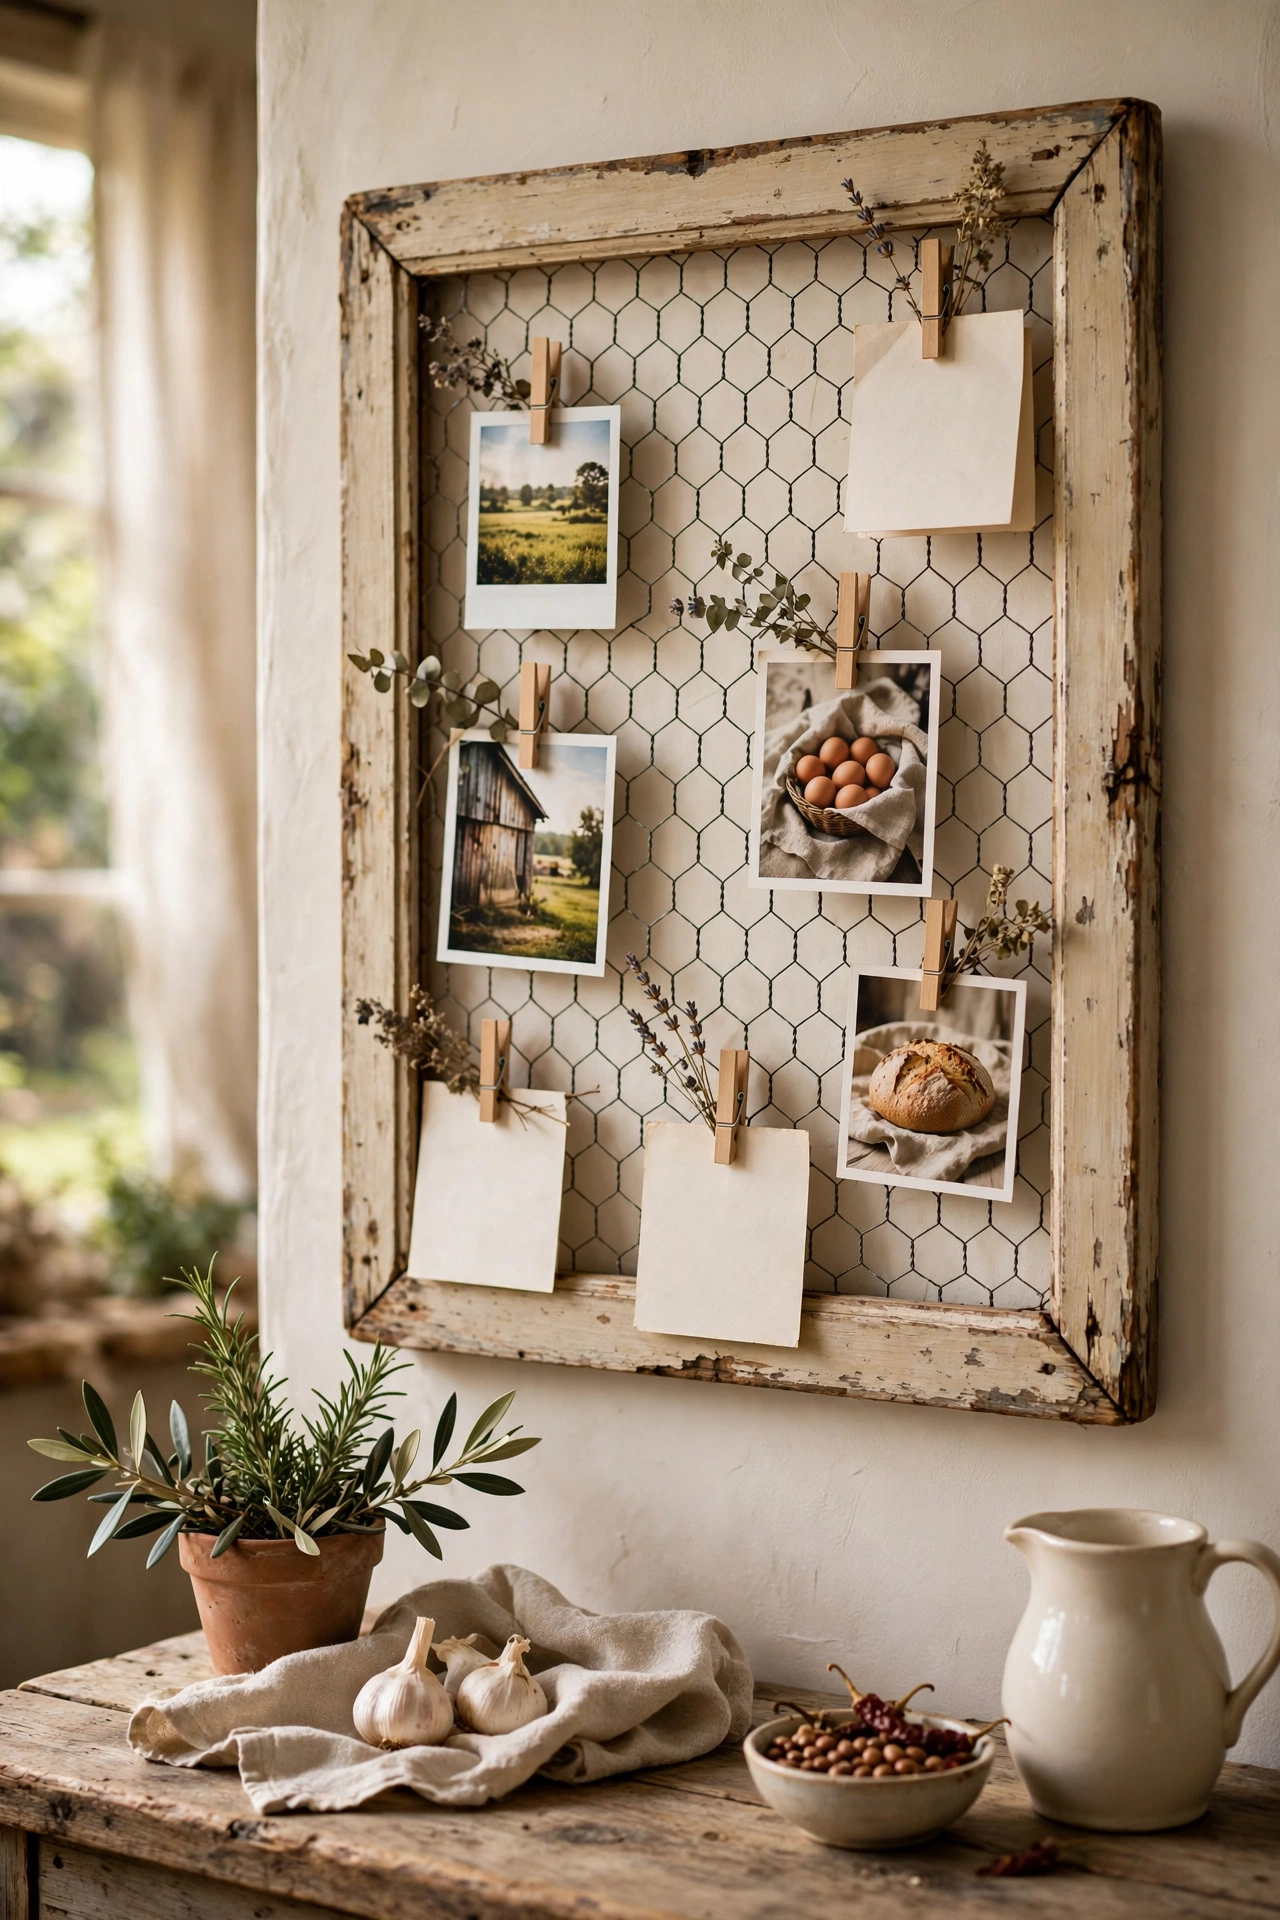
My last project is also my most-used: an old picture frame with chicken wire stapled across the back, hung in the kitchen for notes, photos and the kids’ drawings, clipped on with tiny wooden pegs. I stapled the wire to the back of a deep charity-shop frame, trimmed the sharp edges carefully (wear gloves — chicken wire bites), and hung it where the old cork board used to be. It holds shopping lists, appointment cards, and a rotating gallery of fridge-worthy art. The whole thing cost less than a takeaway coffee run and I look at it twenty times a day. If I had to keep only one project from this list, honestly, it might be this one.
What I’d do differently: absolutely nothing — this one I got right first time, mostly by copying a friend’s and changing nothing.
Cost: ~$11 | Time: 1 hour
Quick questions, answered
What defines farmhouse style decor?
Warm woods, worn textures, neutral colours with black accents, and practical pieces that look like they’ve earned their place. It’s less about buying “farmhouse” products and more about choosing natural materials and letting things look a little lived-in.
Can I do farmhouse style in a modern flat?
Absolutely — I did most of these in an ordinary semi with uPVC windows. A few wooden and textile pieces against modern walls actually looks better than going all-in; the contrast keeps it fresh rather than theme-park.
What is the cheapest farmhouse project to start with?
The memo board or the key holder — both under $15, both done in under an hour, and both things you’ll actually use daily. Start with something useful and the decorative confidence follows.
📌 Loving this look? Pin this post now so you can save this idea for your next weekend refresh.
Keep the calm going with these next: (see also: 19-dollar-store-diys-that-look-designer/) (see also: 21-thrift-store-diy-ideas-that-look-expensive/) (see also: 15-upcycled-home-decor-ideas-worth-trying-this-weekend/)
Farmhouse style rewards the maker, not the spender — every project on this list exists because someone looked at scrap wood and saw something useful. Pick the one that solves a problem in your home first, and let the pretty-but-useless ones wait. That worn, collected look you’re after? It starts with a single Saturday and a bit of sandpaper.
