17 Paper Bag Floor DIY: The $20 Flooring Hack
Two years ago I stood in my rental’s hallway staring at the worst flooring I had ever lived with: peeling stick-on tiles in a shade of beige that photographs will never do justice to. New flooring was not in the budget, and I was not allowed to install anything permanent. A neighbour told me about Paper Bag Floor DIY: The $20 Flooring Hack, and I laughed. Then I tried it in the hallway. Then I did the kitchen. I am not laughing any more.
The technique is simple: tear up brown paper bags, glue the pieces to the floor in overlapping layers, stain them, and seal everything with polyurethane. The result looks like distressed leather or aged stone, depending on your stain colour. It is not a forever floor, but mine has survived two years of daily traffic, a dog, and one flooded dishwasher. Here are the 17 things I wish someone had told me before I started, in the order you will need them.
1. Start with the Right Floor Surface
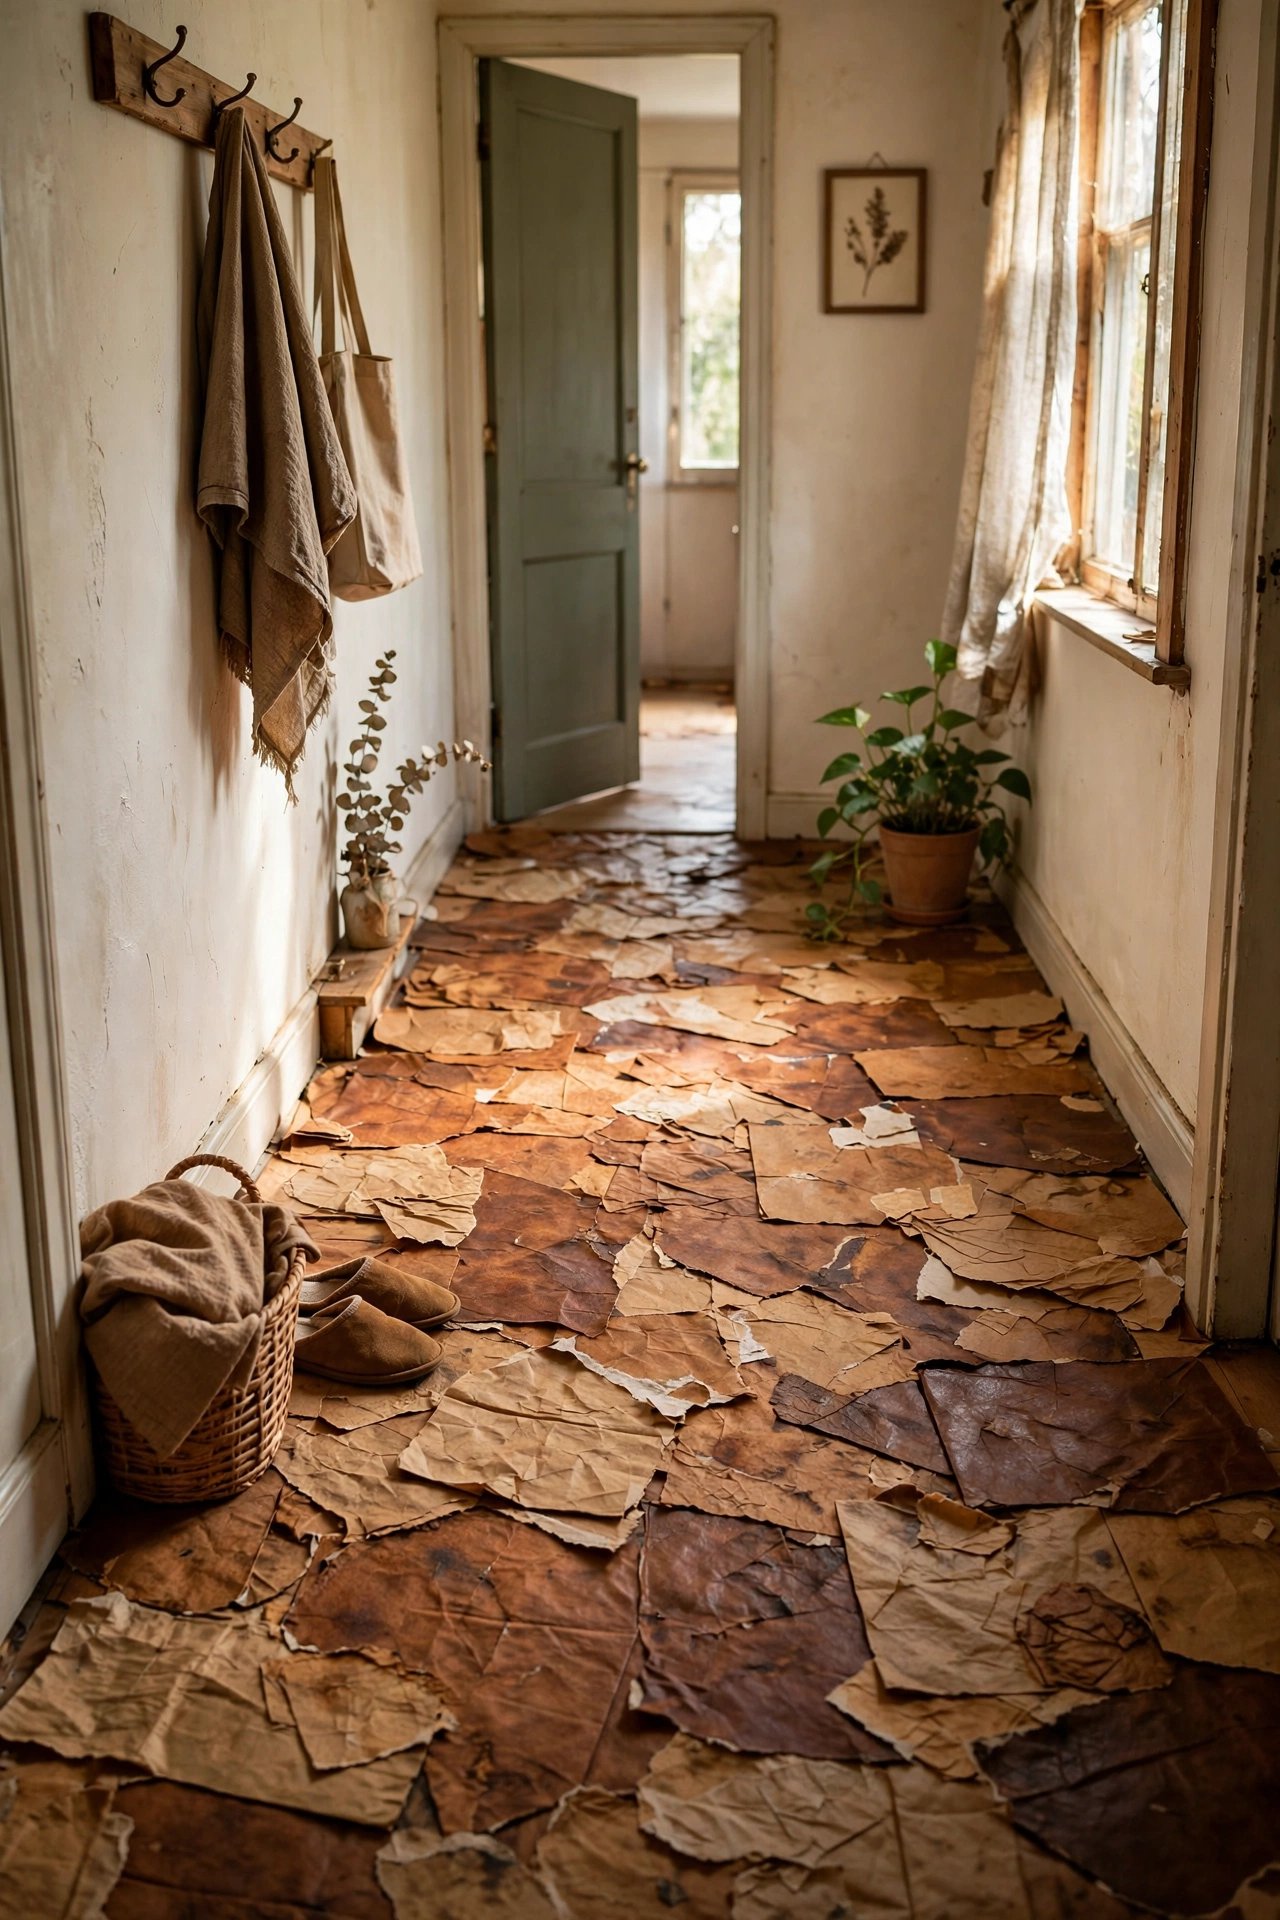
Paper bag floors stick best to smooth, clean surfaces: concrete, old vinyl, or plywood subfloor. My hallway was ancient vinyl tile, which worked perfectly once I scrubbed it with a degreaser and scuffed the shiny spots with sandpaper. Loose or lifting tiles must come up first, because paper glued over a loose tile will lift with it. Fill any cracks or dents with floor patch compound and let it cure. I skipped patching a dip in my kitchen and the paper bridged over it, leaving a bubble I still notice. Prep is boring and it matters more than any other step.
Cost: ~$0-8 | Time: 2-3 hours
2. Save Every Brown Paper Bag You Touch
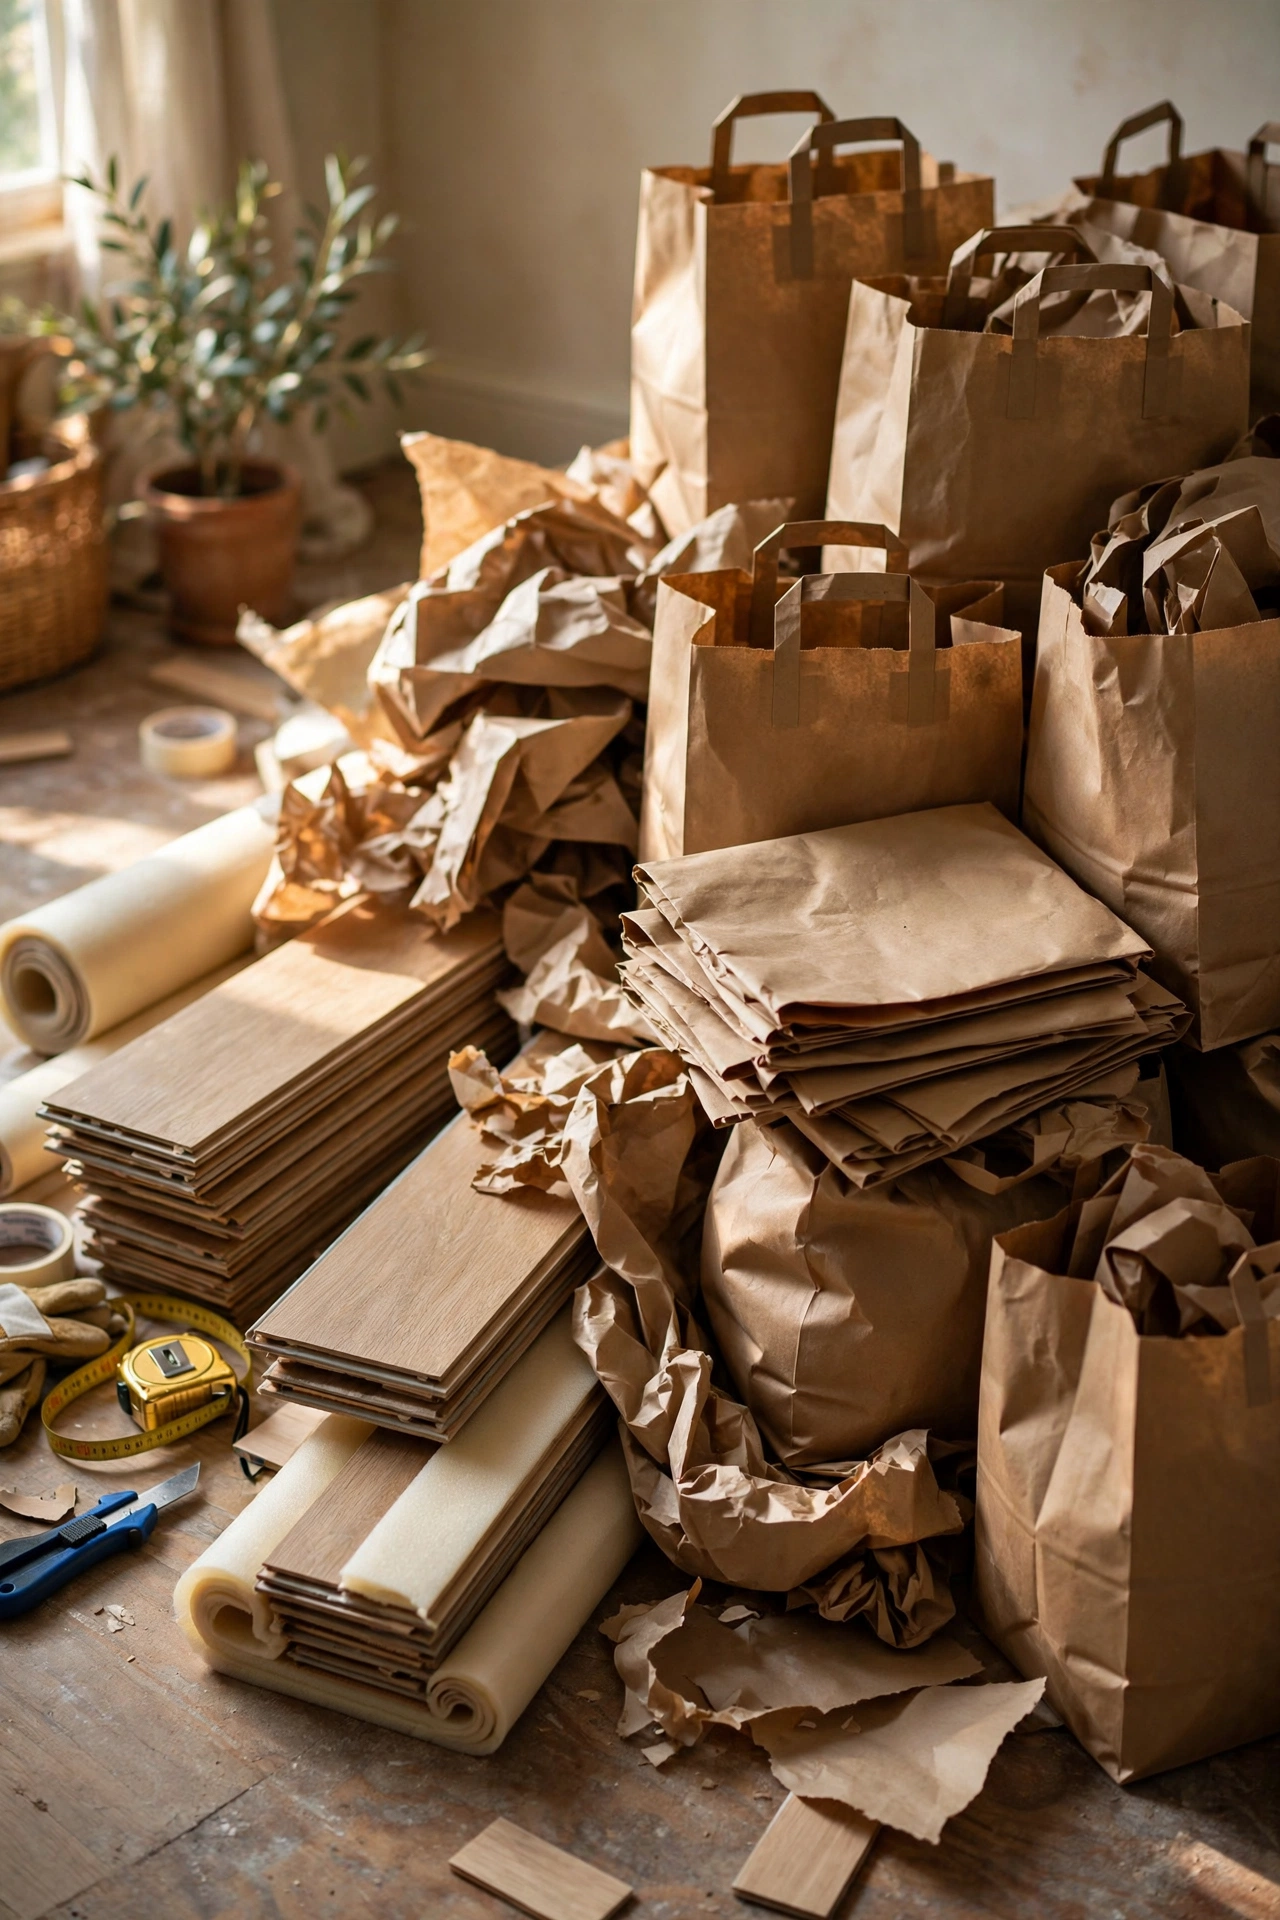
You need a surprising amount of paper, so start collecting bags weeks before the project. Grocery bags are the classic choice, but I also used packing paper from deliveries and the brown paper from a furniture box. Avoid anything with heavy printing or a waxy coating, because the stain sits on top of coating and looks patchy. My first batch of bags had a glossy store logo side, and every logo ghosted through the stain. Cut those sections out. A medium hallway took about forty grocery bags. Ask neighbours and you will have enough in a week.
Cost: ~$0 | Time: ongoing collection
3. Tear, Never Cut, the Paper
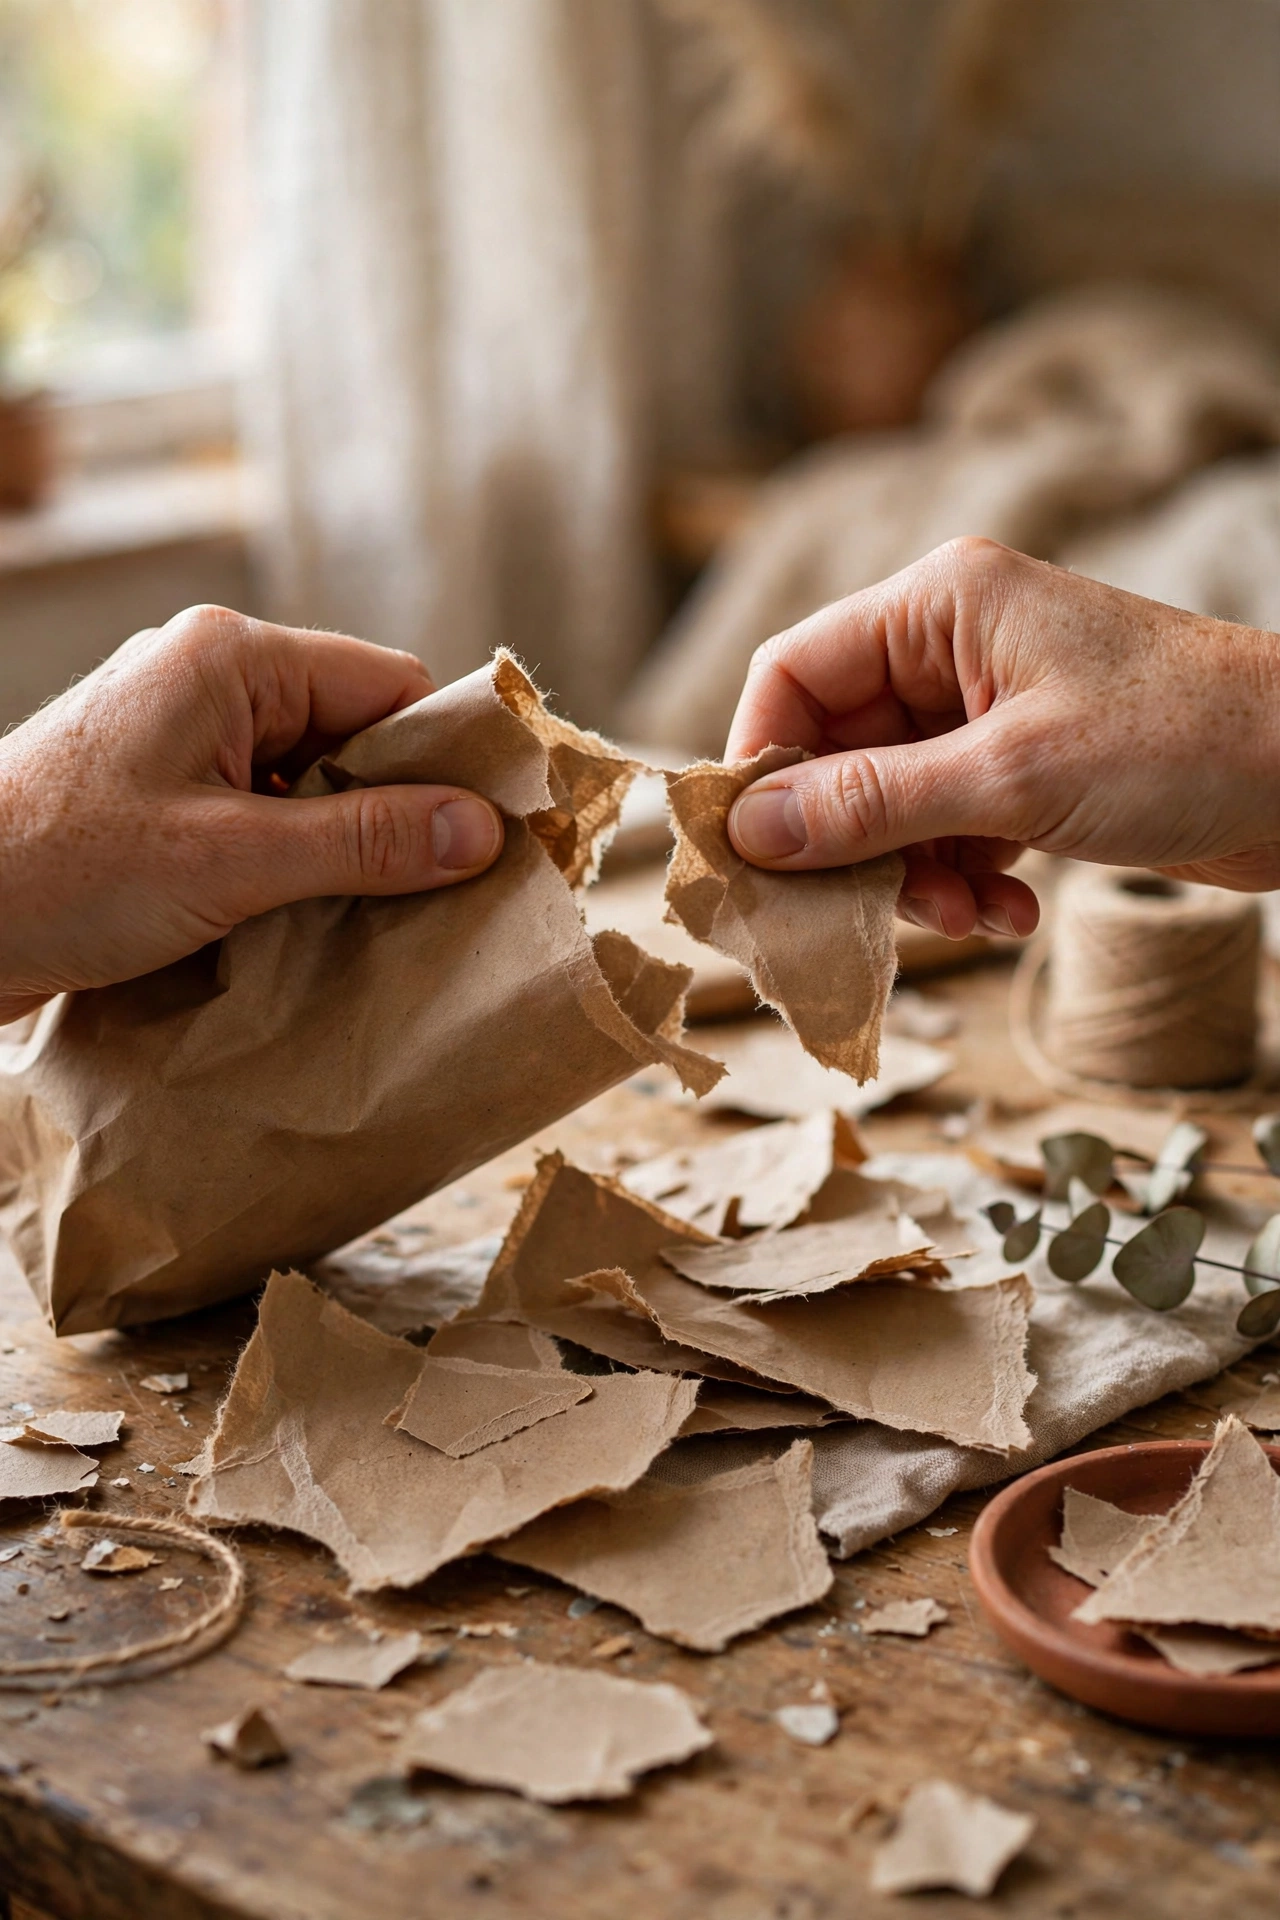
Torn edges feather into the floor and disappear under the stain. Cut edges leave a visible line that screams craft project. I tear my bags into pieces roughly the size of my hand, pulling slowly so the edges get that soft fibrous fringe. The first section I did with scissors because I was impatient, and you can still see the rectangle outlines in raking light. Tearing takes a little longer and it is the single biggest difference between a floor that looks like leather and one that looks like collage. Put on a podcast and tear a big pile before you start gluing.
Cost: ~$0 | Time: 1 hour of tearing
4. Mix Glue and Water 50/50
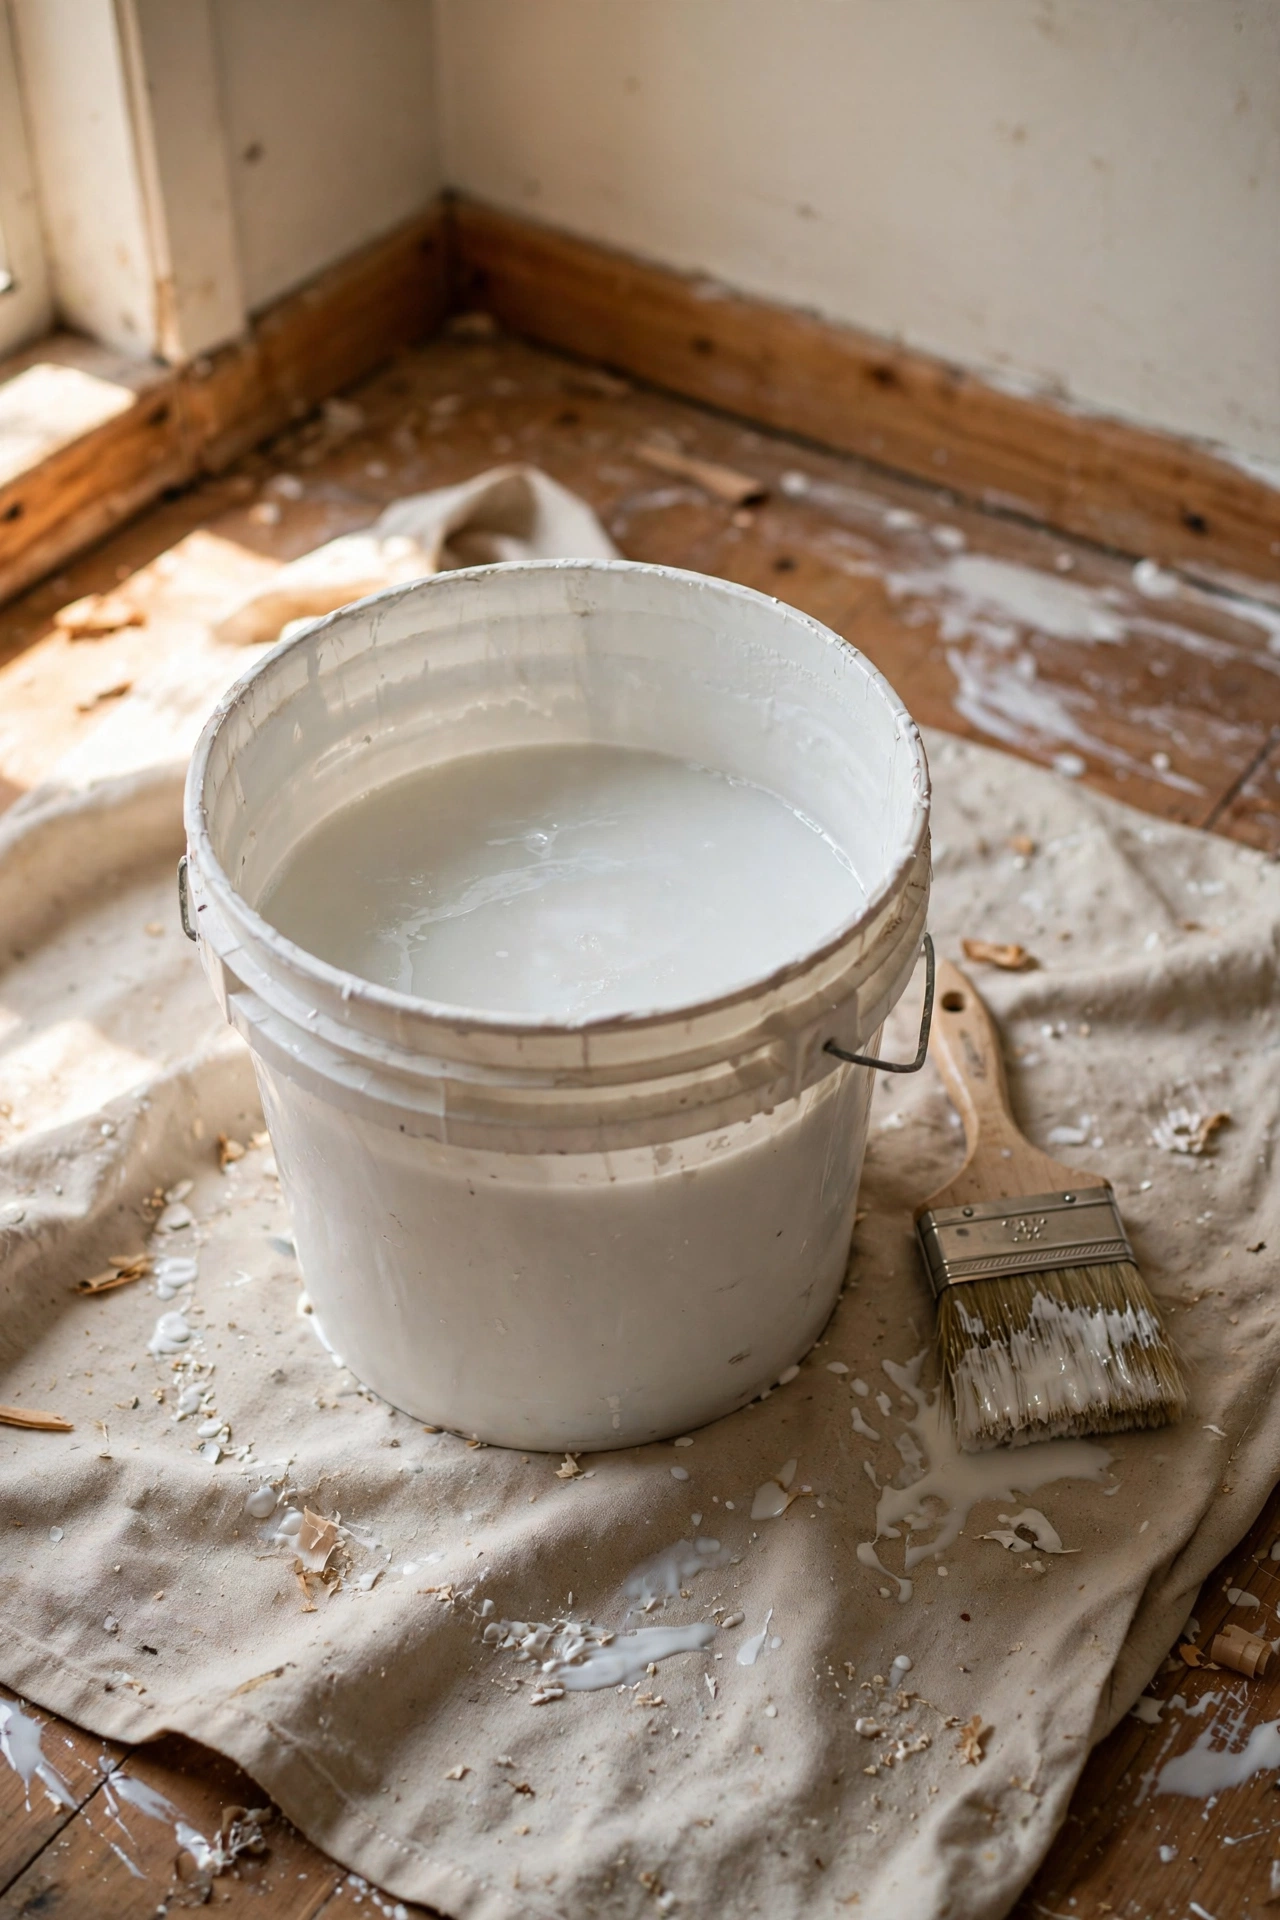
The adhesive is just white school glue thinned with water, half and half, mixed until it pours like thin cream. I use the cheapest gallon jugs from the craft store, and one gallon covers about a hundred square feet. Mix it in a wide bucket so you can dunk pieces easily. If the mix is too thick, the paper does not saturate and the edges lift later. Too thin and it takes forever to dry. The 50/50 ratio has never failed me across three rooms. Stir it every so often while you work because the glue settles.
Cost: ~$6-10 per gallon | Time: 10 minutes
5. Work in Small Sections, Overlapping Generously
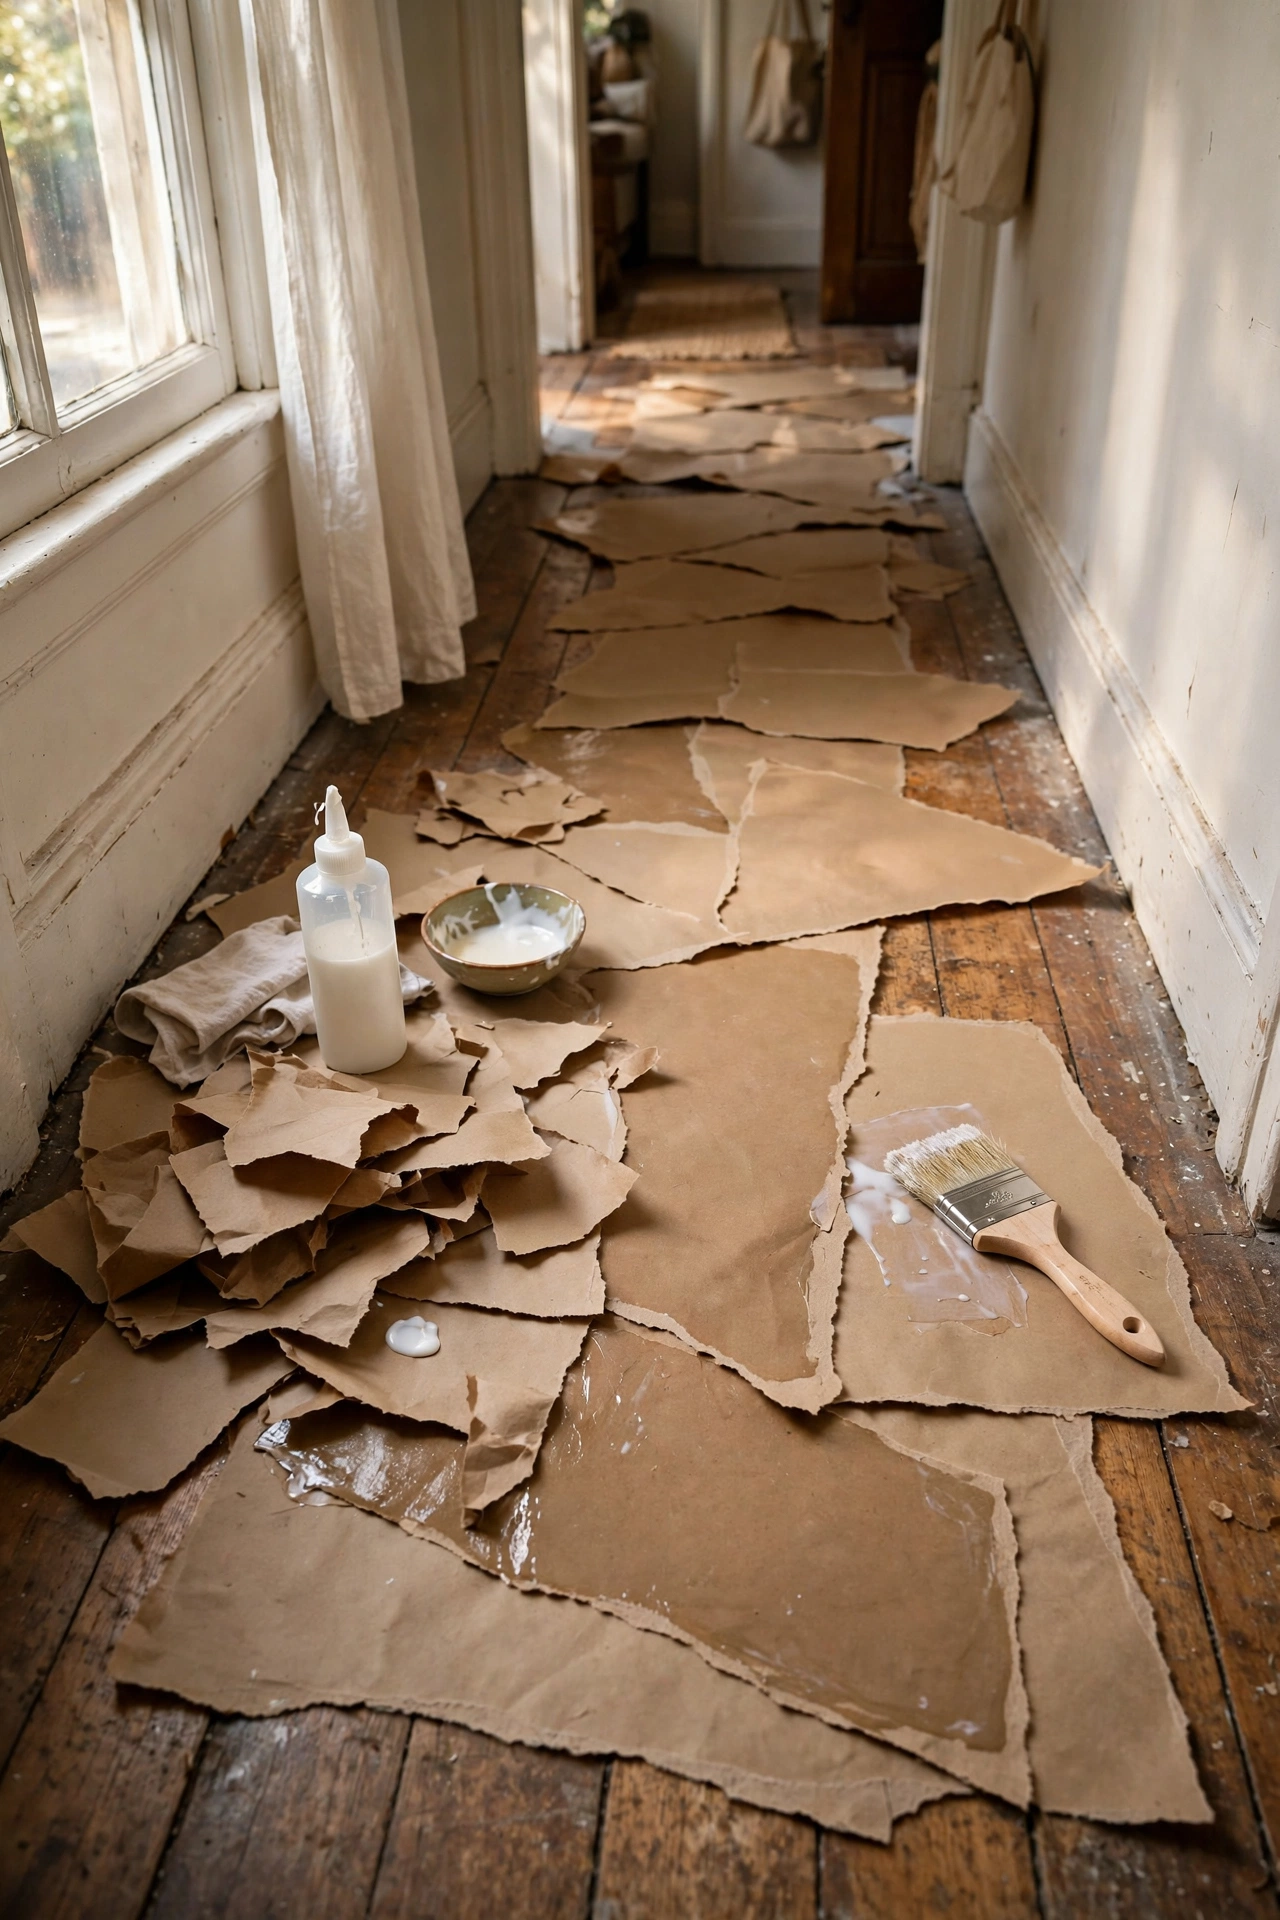
Paint a patch of glue about two feet square, lay down soaked paper pieces with generous overlap, then brush more glue over the top to seal them. I overlap each piece by about a third, which gives the floor its layered leather texture. Do not try to cover the whole room at once, because the glue skins over and the paper will not bond. My comfortable rhythm is one section, then a stretch and a sip of tea, then the next. A hallway took me two evenings working this way. Keep a damp rag handy for your fingers.
Cost: ~$0 | Time: 3-4 hours per 100 sq ft
6. Wrinkle the Paper on Purpose
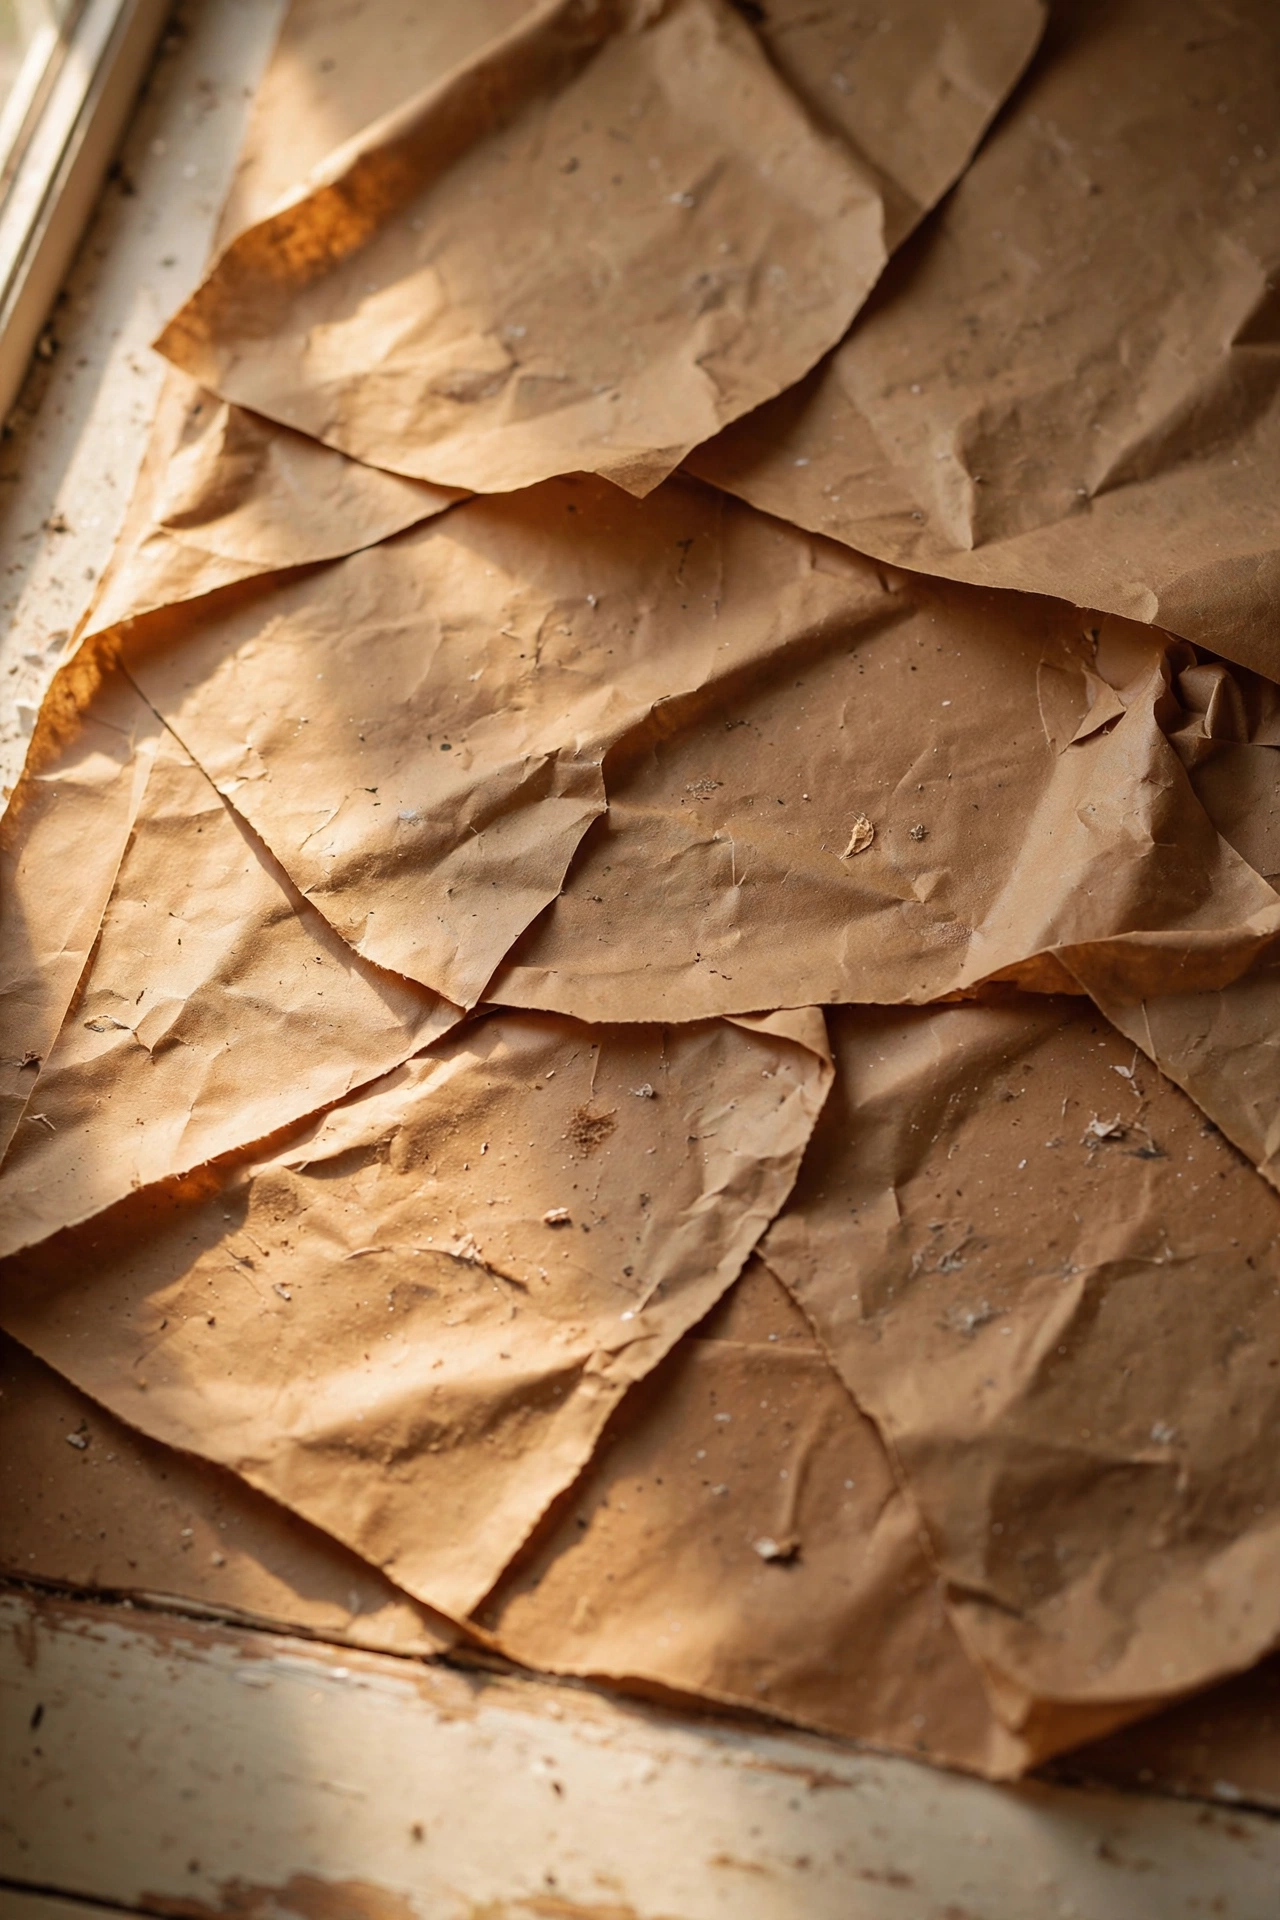
Slight wrinkles are what make the finished floor look like leather instead of wallpaper. As you lay each piece, pinch and crinkle it gently before pressing it down. I aim for small soft wrinkles, not sharp creases. The first section I smoothed perfectly flat and it looked like brown wrapping paper, which is exactly what it is. Wrinkles catch the stain unevenly, and that unevenness is the whole aesthetic. Do not overdo it though: big folds create ridges you will feel underfoot for years.
Cost: ~$0 | Time: included in laying
7. Handle Edges and Corners Carefully
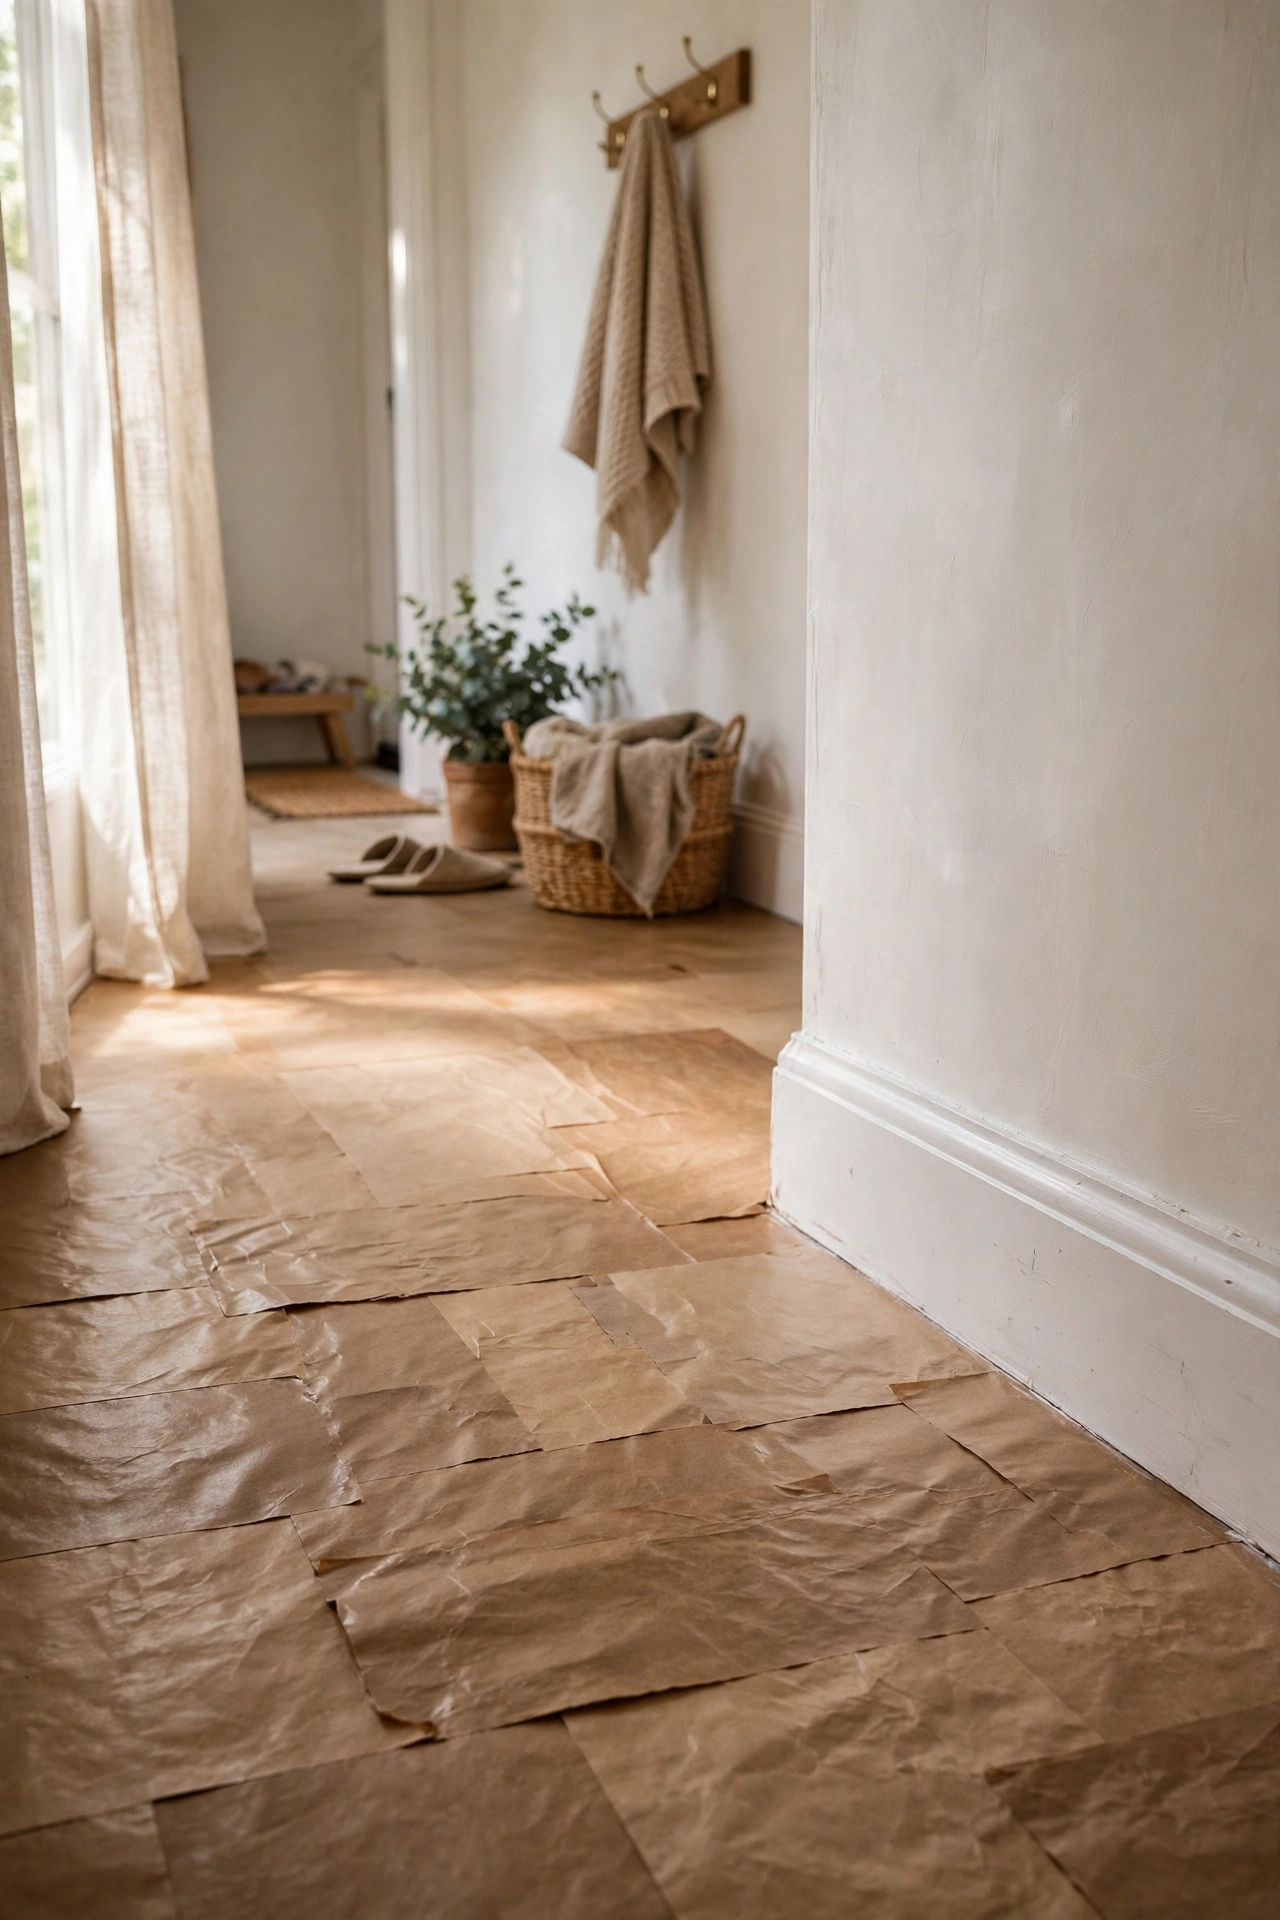
Where the paper meets the skirting board, press pieces right up to the edge and trim with a craft knife once dry. I remove the skirting boards entirely when I can, paper underneath, and refit them for the cleanest line. In my kitchen I could not remove them, so I caulked the paper edge after sealing. Both methods work. Around door frames, wrap the paper slightly up the frame and trim flush. Take your time here, because sloppy edges are the first thing anyone notices.
Cost: ~$0-5 | Time: 1 hour
8. Let the Base Dry Completely Overnight
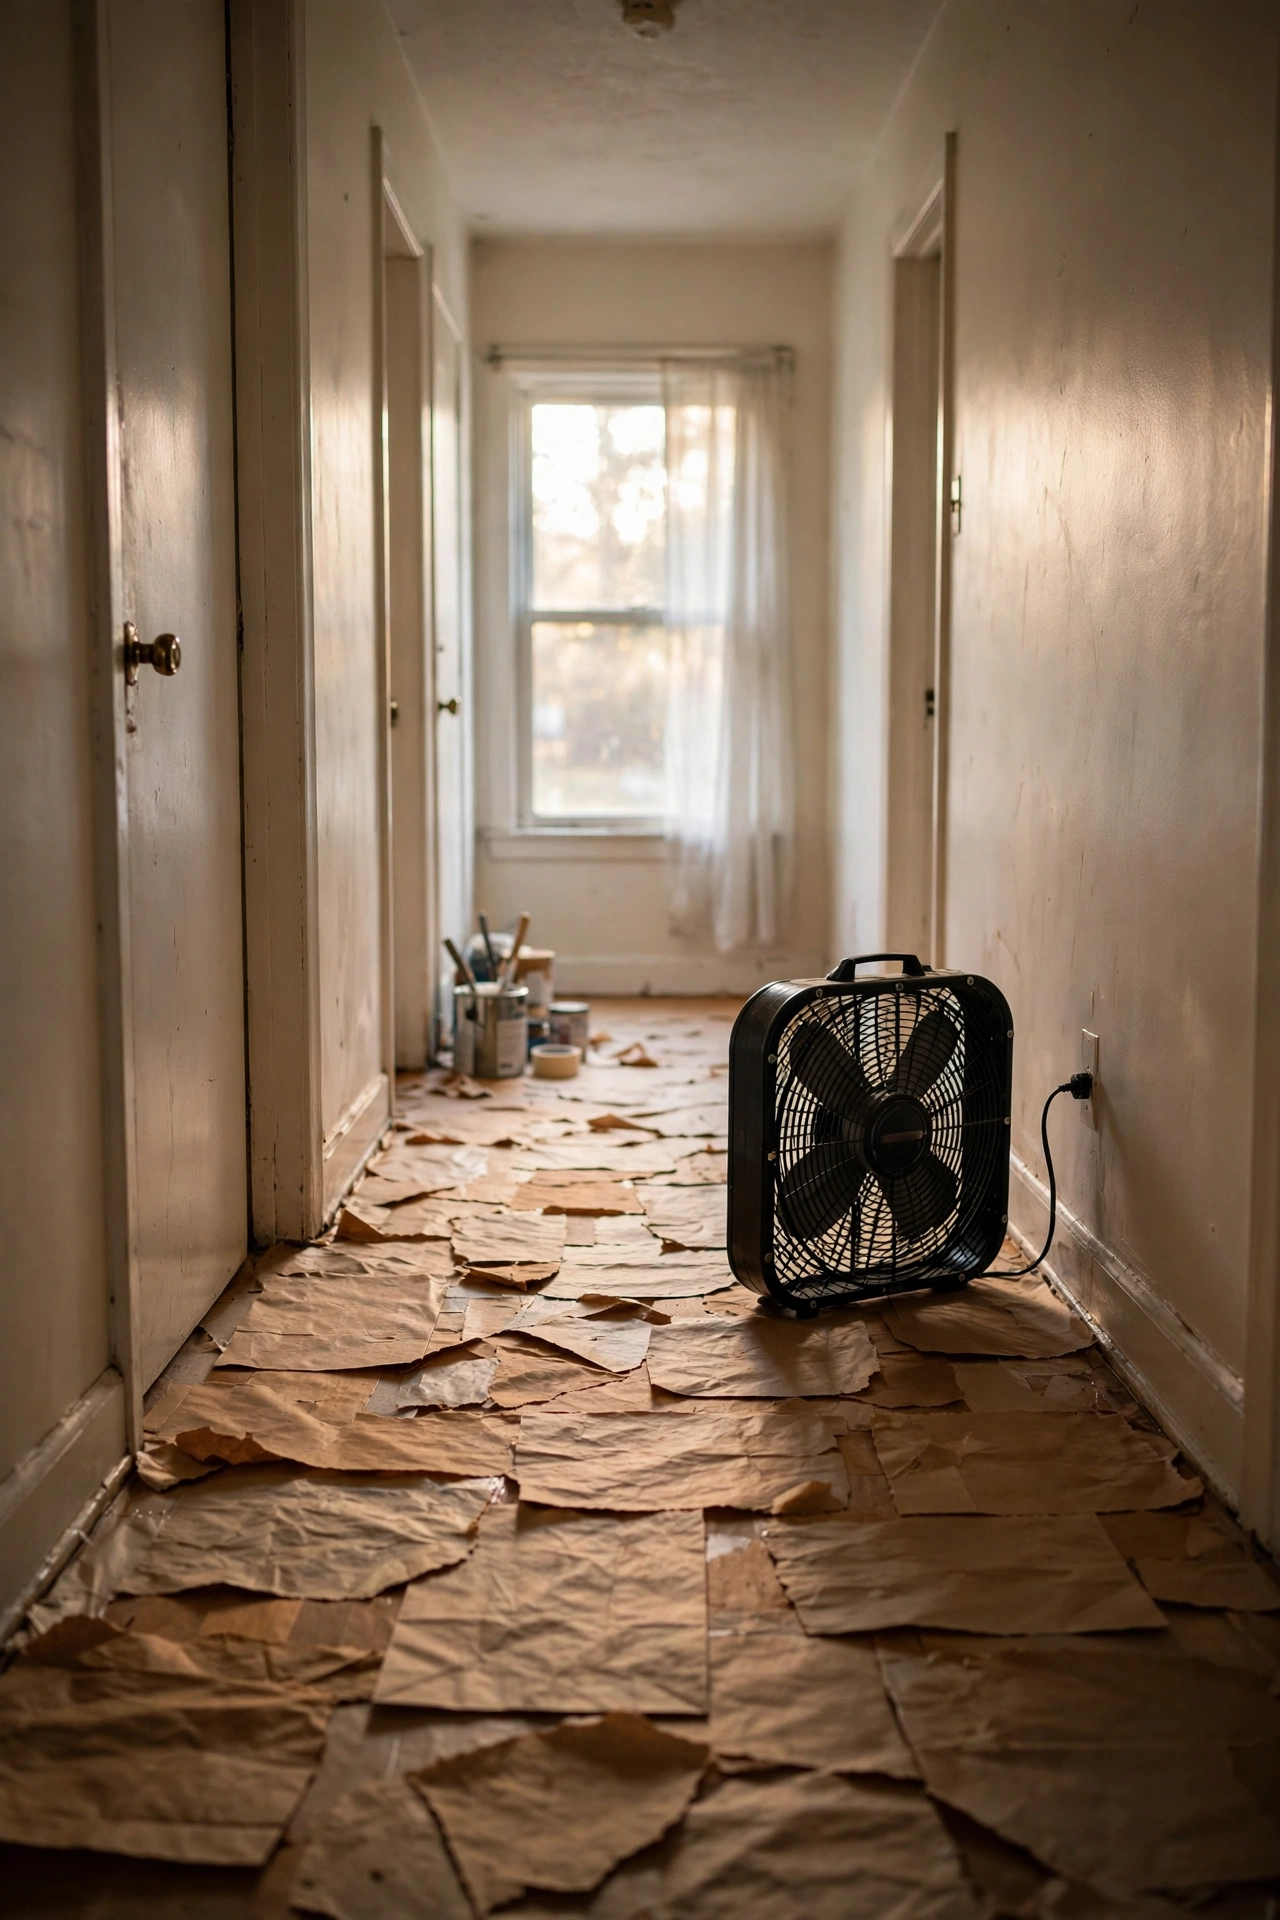
The glued paper must be bone dry before staining, which means a full 24 hours in a ventilated room. I run a fan and keep the heating on low. Touch-test in the middle of the room, because edges dry first and fool you. I stained one corner too early in my hallway and the damp paper bubbled under the stain, leaving a soft spot that took days to harden. Patience here saves real heartache. If the paper feels cool to the touch, it is still damp. Wait.
Cost: ~$0 | Time: 24 hours drying
9. Choose Your Stain Colour Wisely
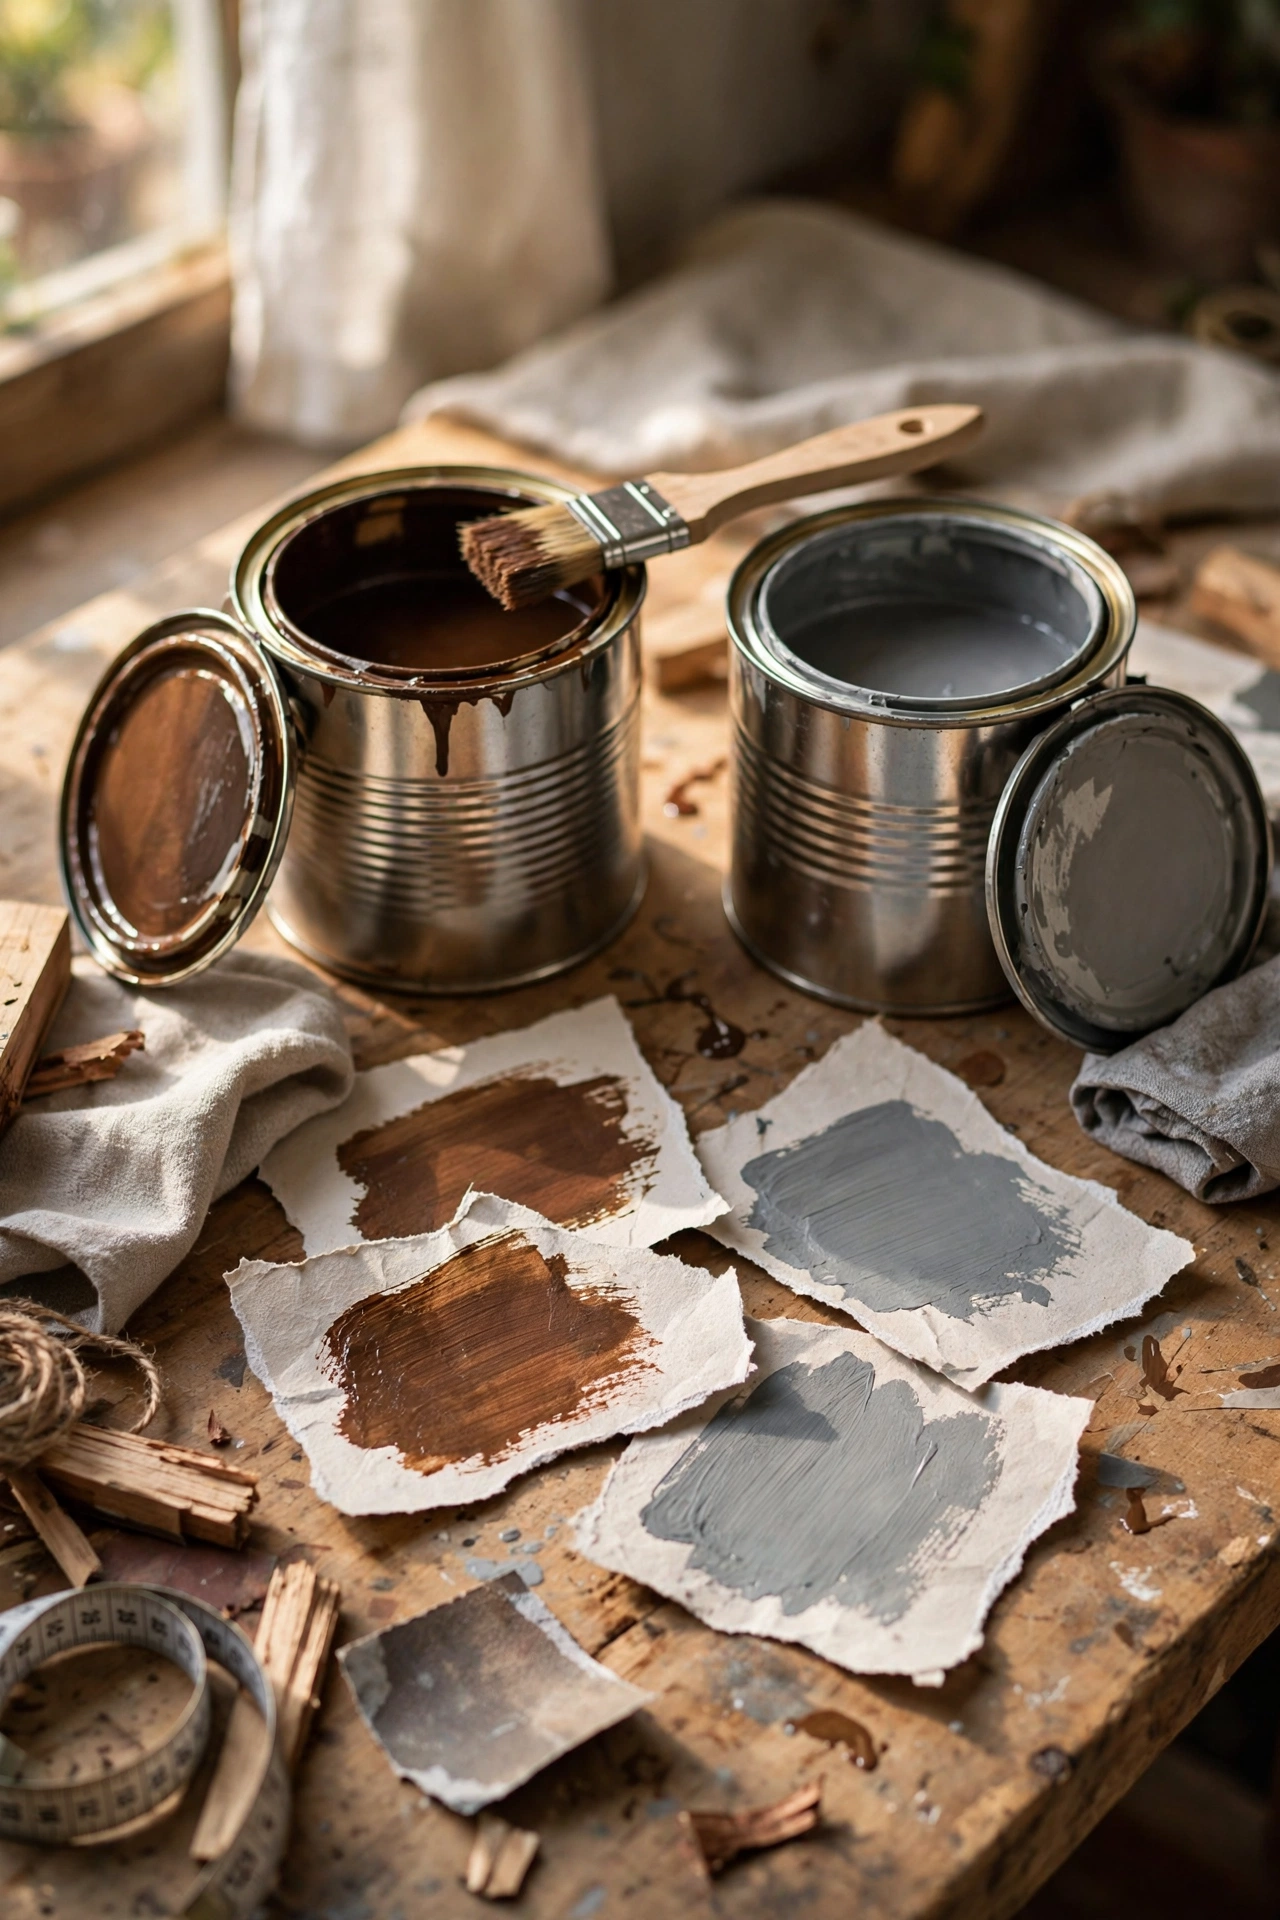
Wood stain is what transforms brown paper into something beautiful. I used a walnut stain in the hallway for a dark leather look and a weathered grey in the kitchen for an aged stone feel. Test on a scrap piece first, because paper takes stain darker than wood does. My walnut went nearly black on the first coat, so I wiped most of it back off with a rag and got the perfect tone. Gel stain gives more control than liquid stain. One quart covers a whole hallway with plenty left over.
Cost: ~$8-12 | Time: 1-2 hours
10. Stain in Thin Coats, Wiping Back
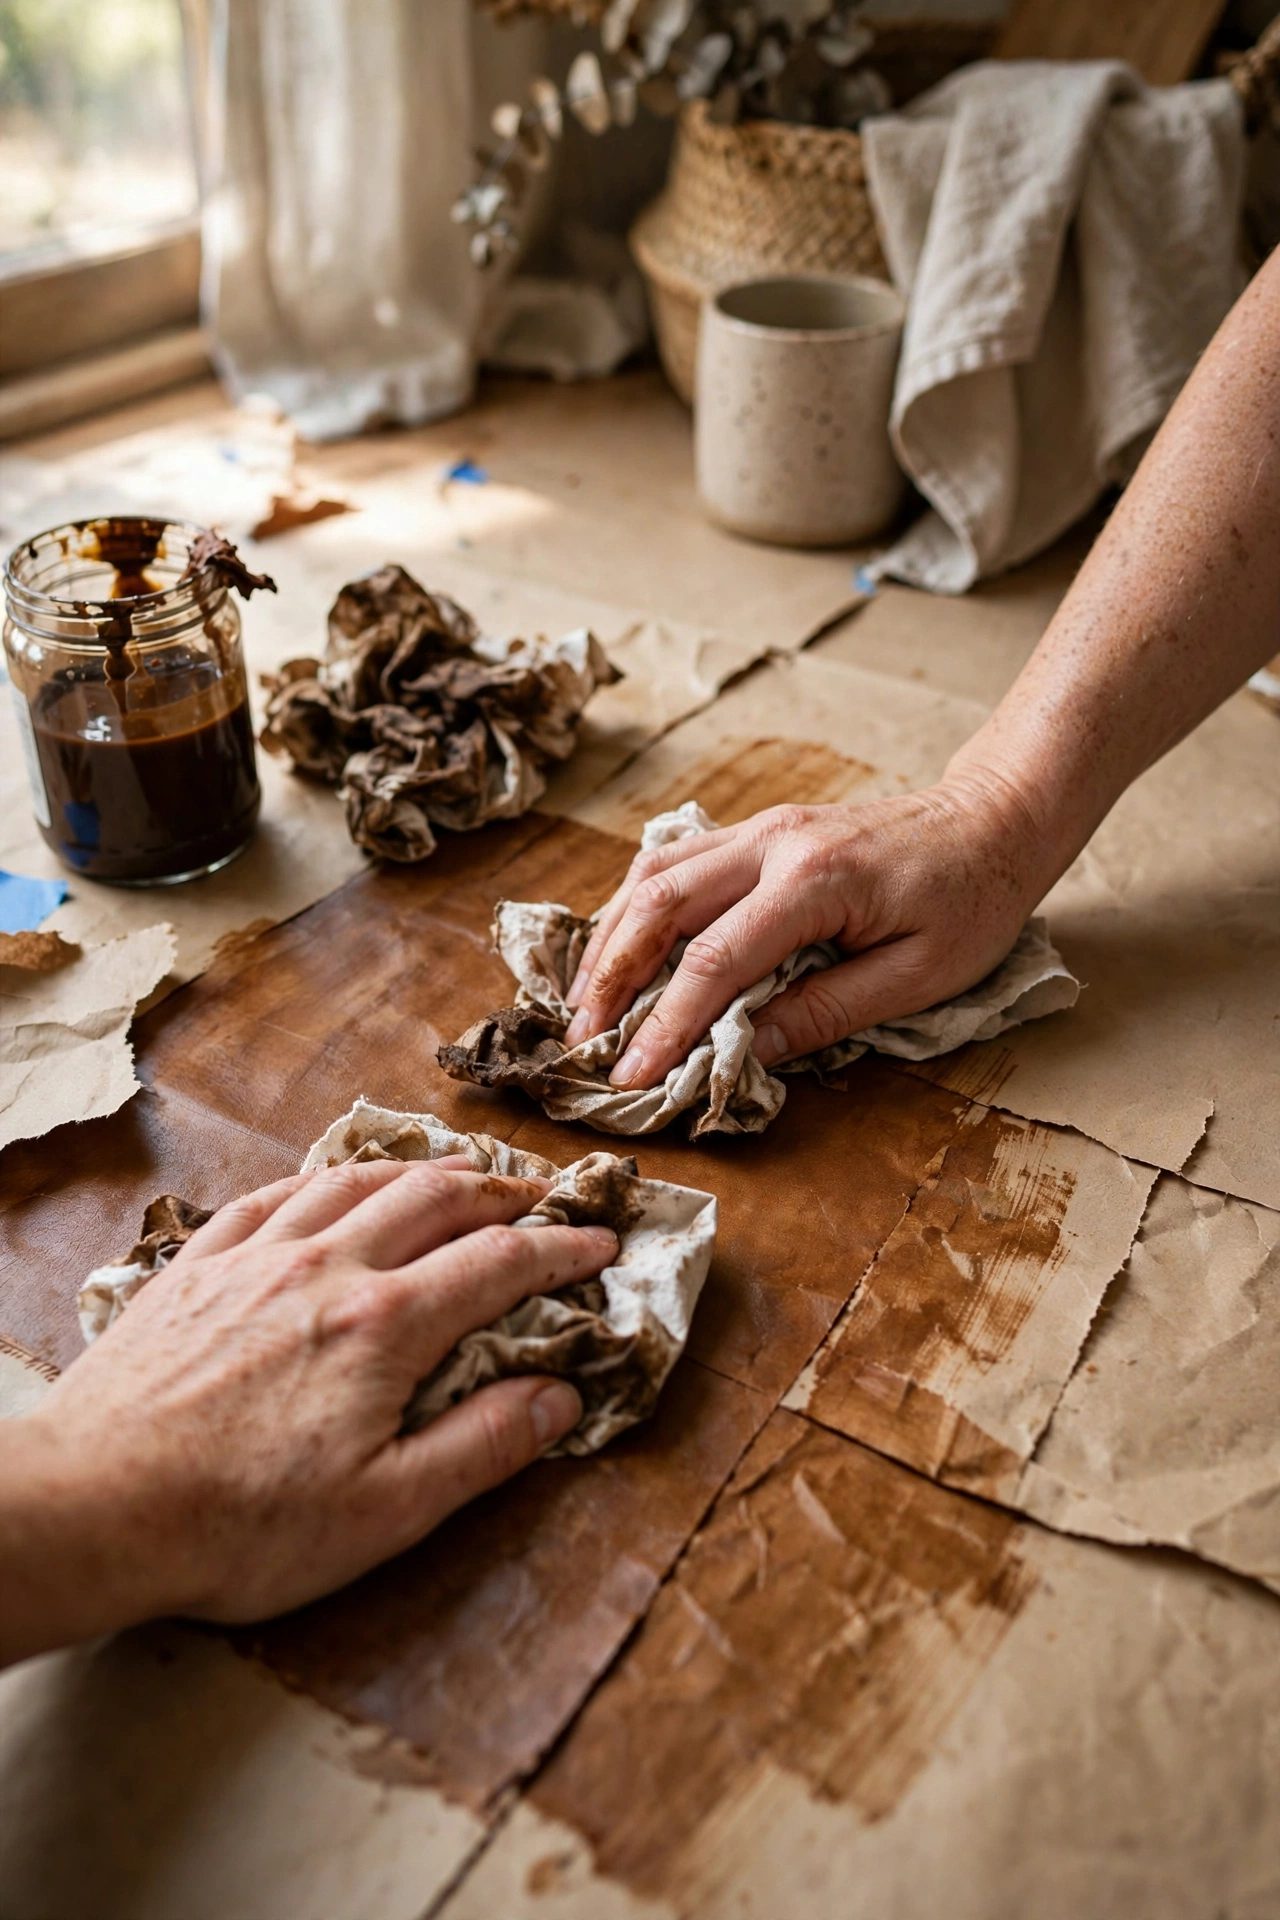
Brush the stain on in thin coats and wipe back the excess with a clean rag within a few minutes. This is where the leather effect happens: stain settles into the wrinkles and wipes off the high spots. I work in four-foot sections, always keeping a wet edge. The first coat defines the colour, the second deepens it. I did two coats in the hallway and three in the kitchen where I wanted it darker. Let each coat dry four hours. Rags with stain on them can combust, so lay them flat outside to dry.
Cost: ~$0 extra | Time: 3-4 hours total
11. Seal with Four Coats of Polyurethane
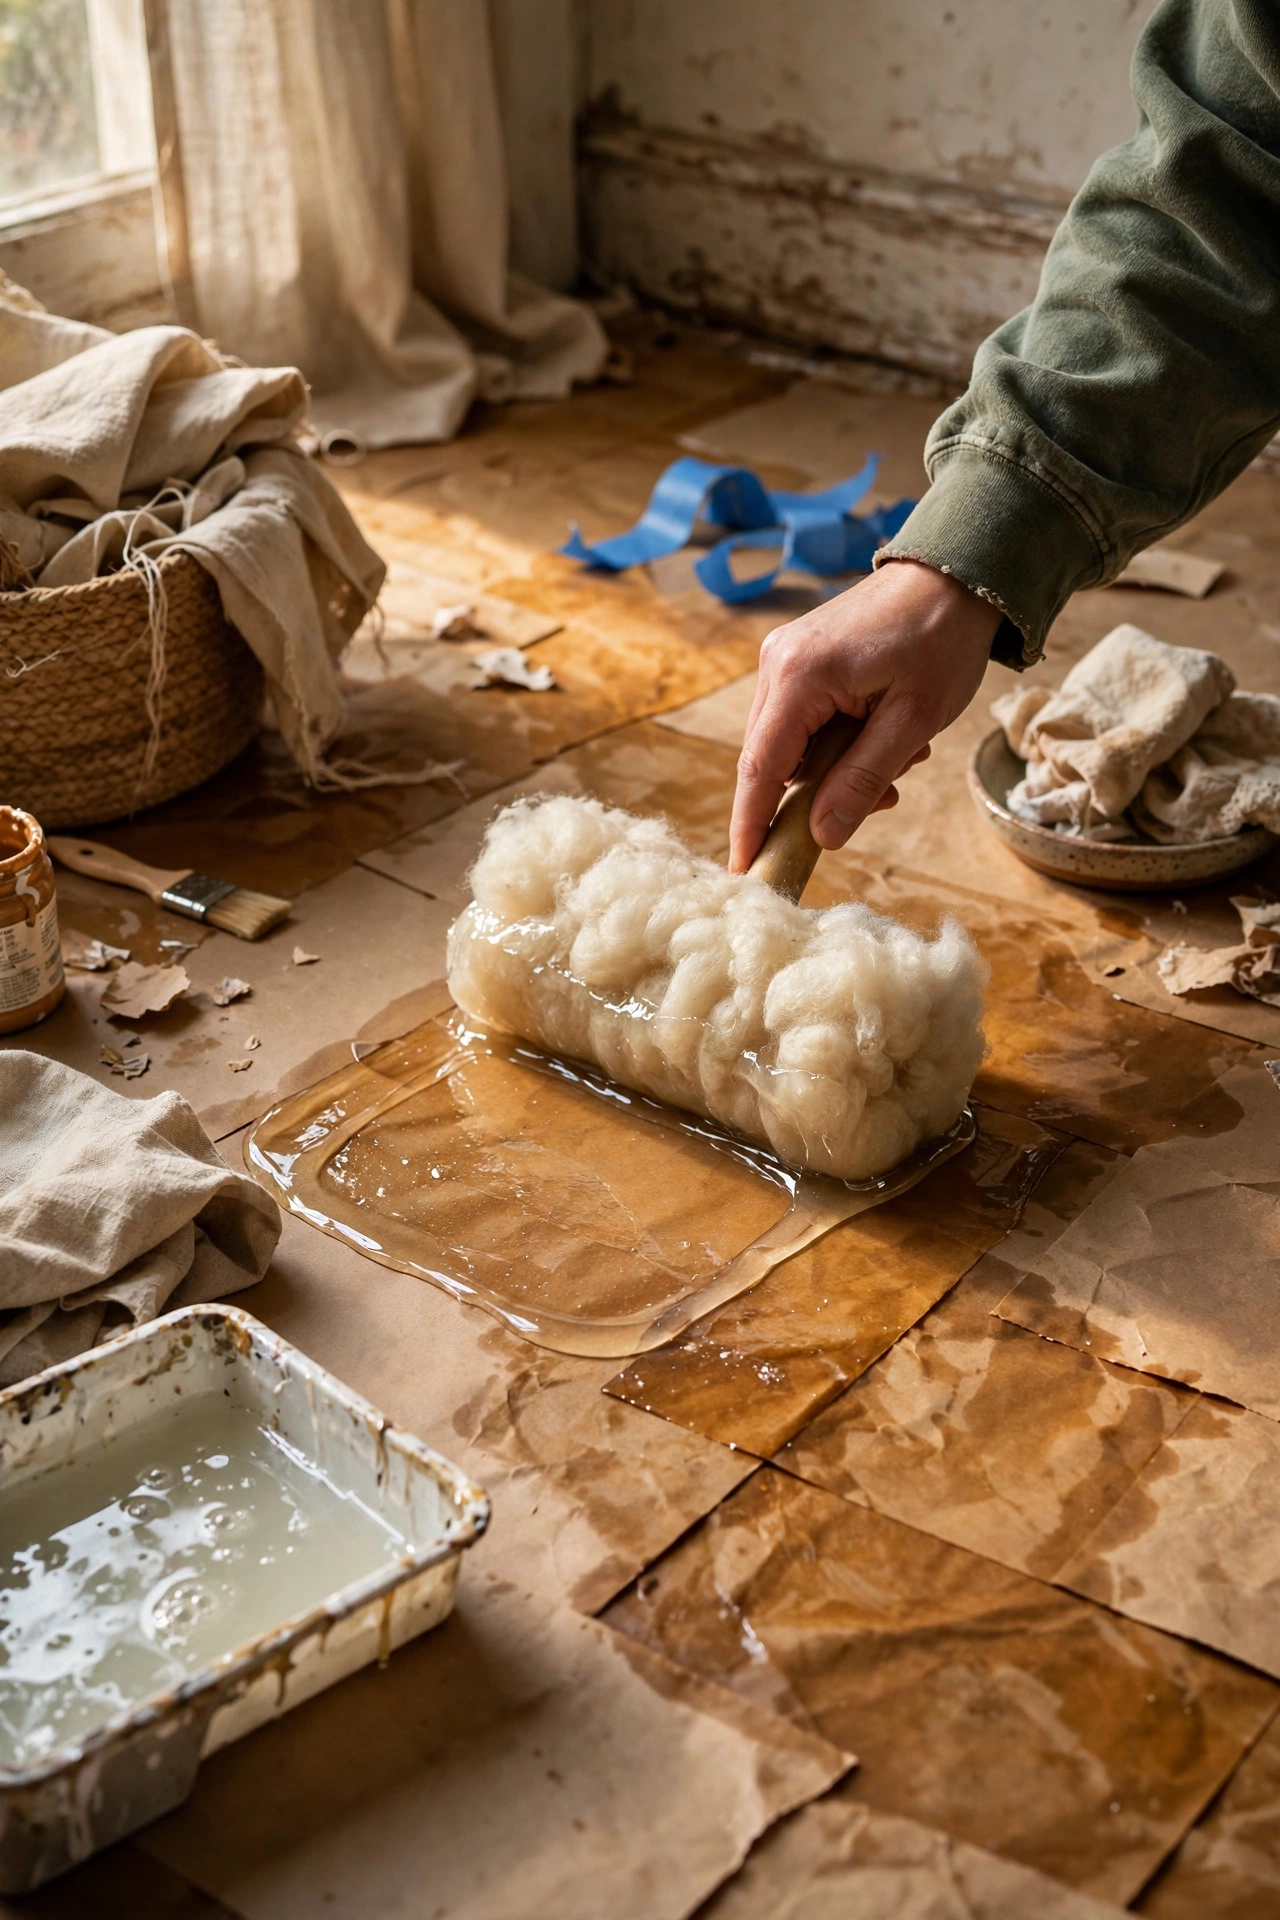
Polyurethane is what makes this a floor instead of a craft. I use oil-based poly in satin finish, four thin coats, sanding lightly with fine sandpaper between coats two and three. The first coat soaks in and looks alarming, the second starts to build, and by the fourth you have a hard protective shell. Let each coat dry a full 24 hours. I tried rushing coat three in the kitchen and the finish stayed tacky for a week. Use a lambswool applicator for the smoothest finish, and ventilate the room well.
Cost: ~$15-25 | Time: 4 days with drying
12. The Real Cost Breakdown
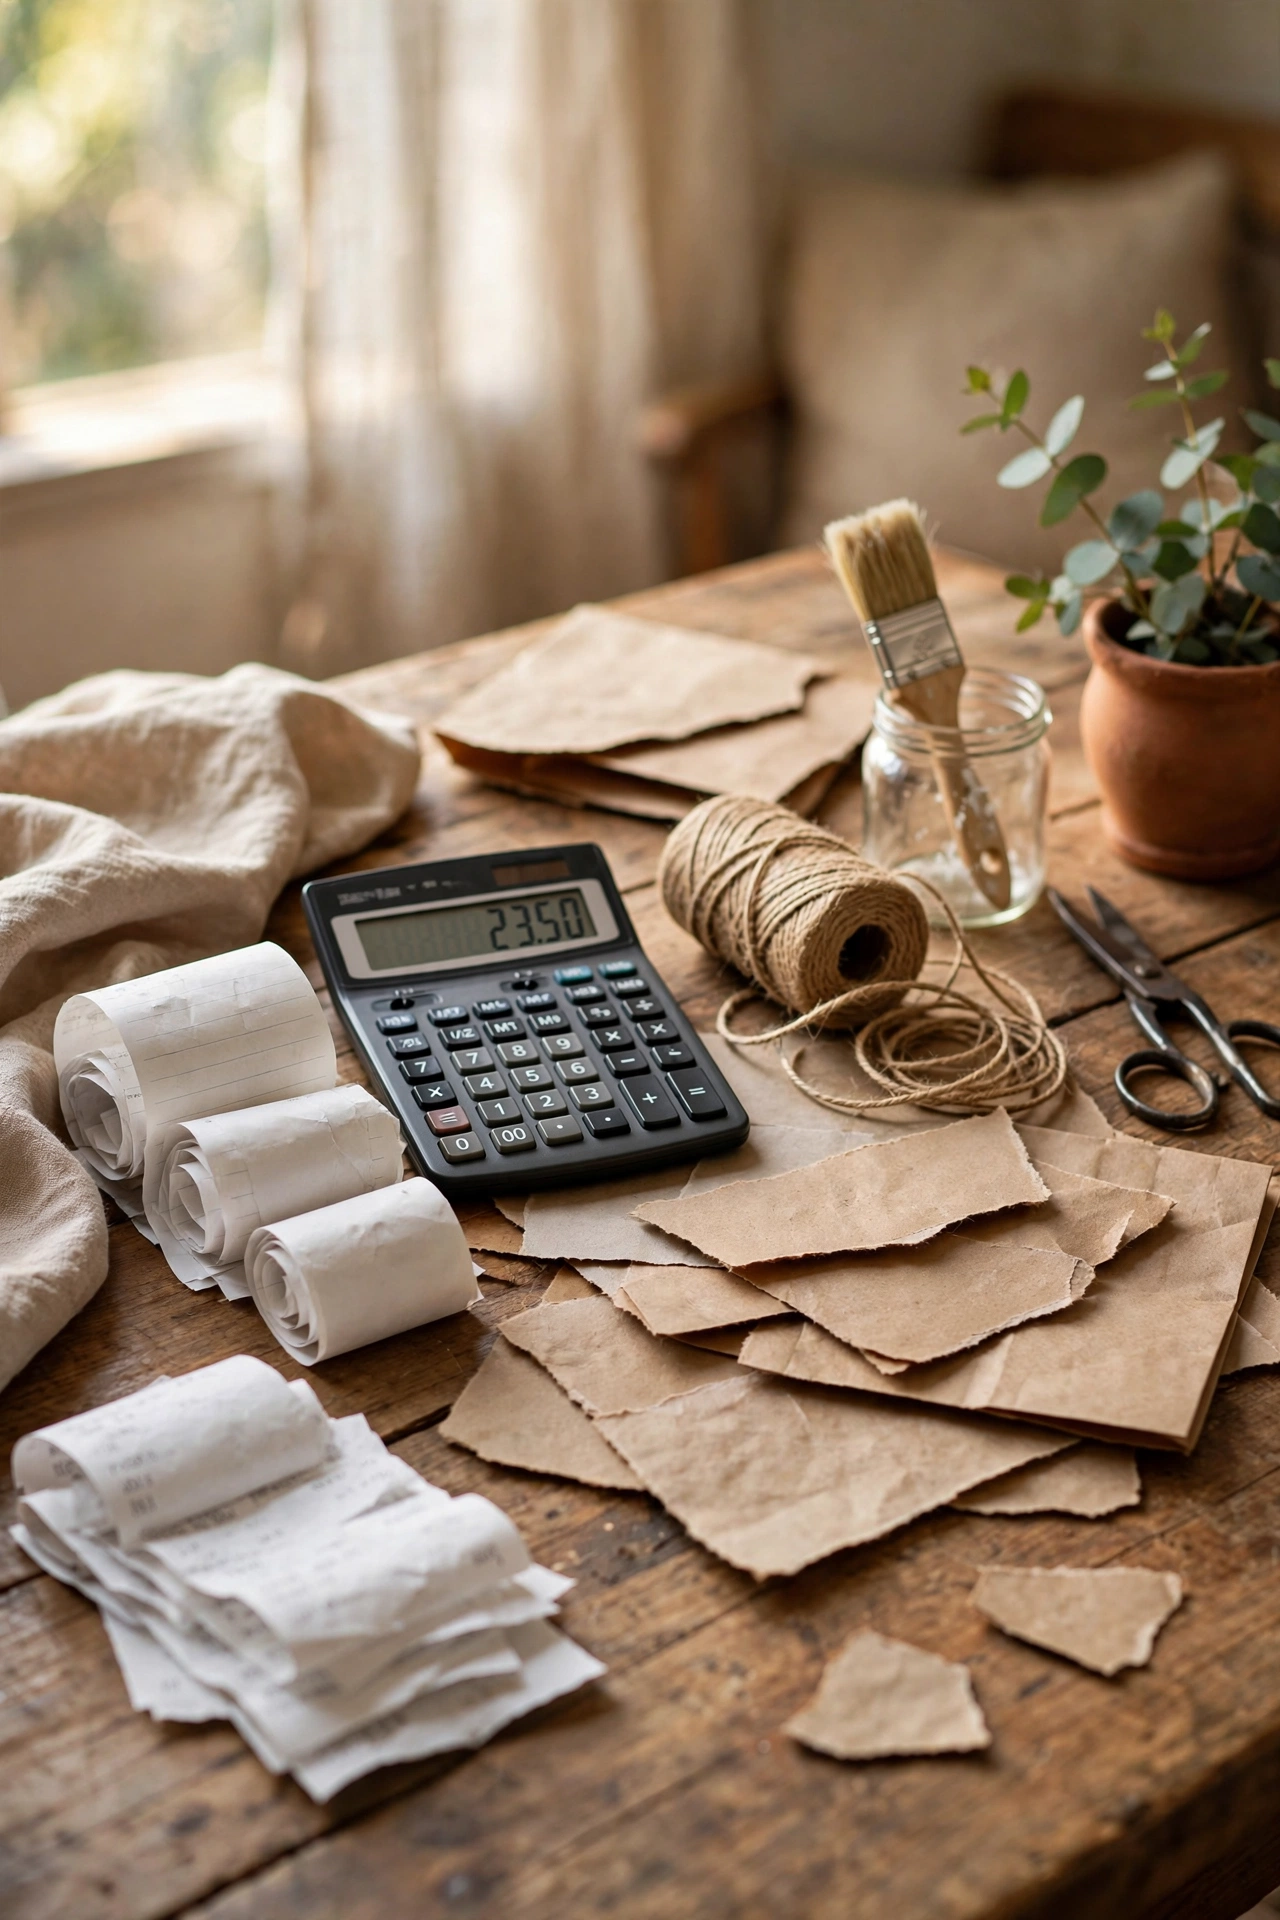
Here is what my hallway actually cost: glue $8, stain $10, polyurethane $20, sandpaper and misc $6. Total $44 for 120 square feet, which is about 37 cents per square foot. The $20 figure in the title is what a small bathroom or entryway costs if you already own the basics. Even at $44, compare that to the cheapest vinyl at $2 a square foot and you see why renters and budget renovators love this. Save receipts and track it, because the real number is always more satisfying than the guess.
Cost: ~$20-45 per room | Time: n/a
13. Fixing Bubbles and Lifts
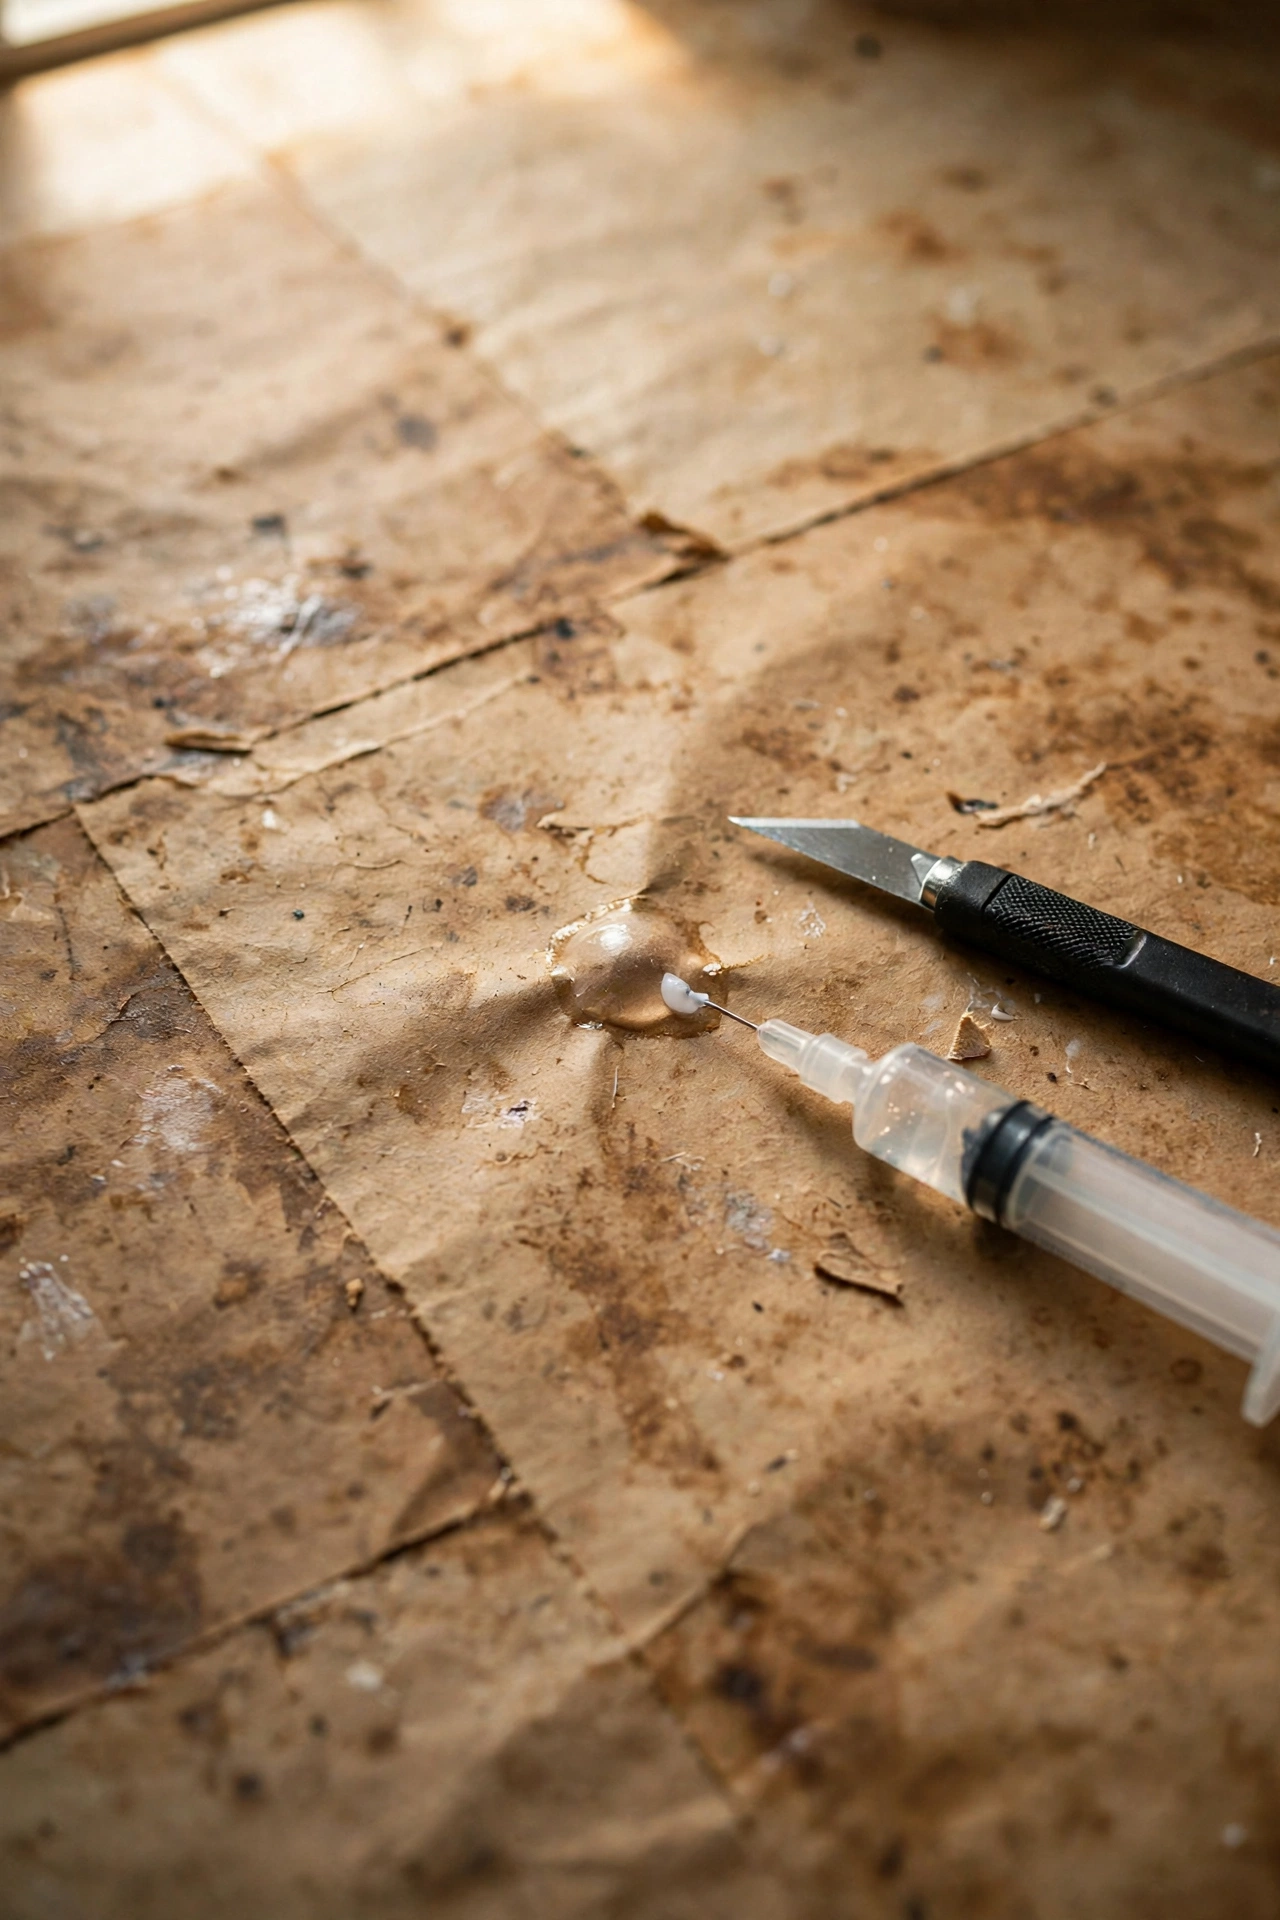
Bubbles happen, and they are fixable. Slit the bubble with a craft knife, inject a little glue underneath with a syringe, press flat, and weight it overnight. I had three bubbles in my hallway from staining too early, and all three are invisible now. If an edge lifts later, a dab of super glue under the edge and a quick reseal with poly fixes it. Keep leftover stain and poly for touch-ups, because a perfect colour match years later is unlikely. Small repairs take ten minutes and disappear completely.
Cost: ~$0-5 | Time: 15 minutes per repair
14. Can You Do It in a Bathroom?
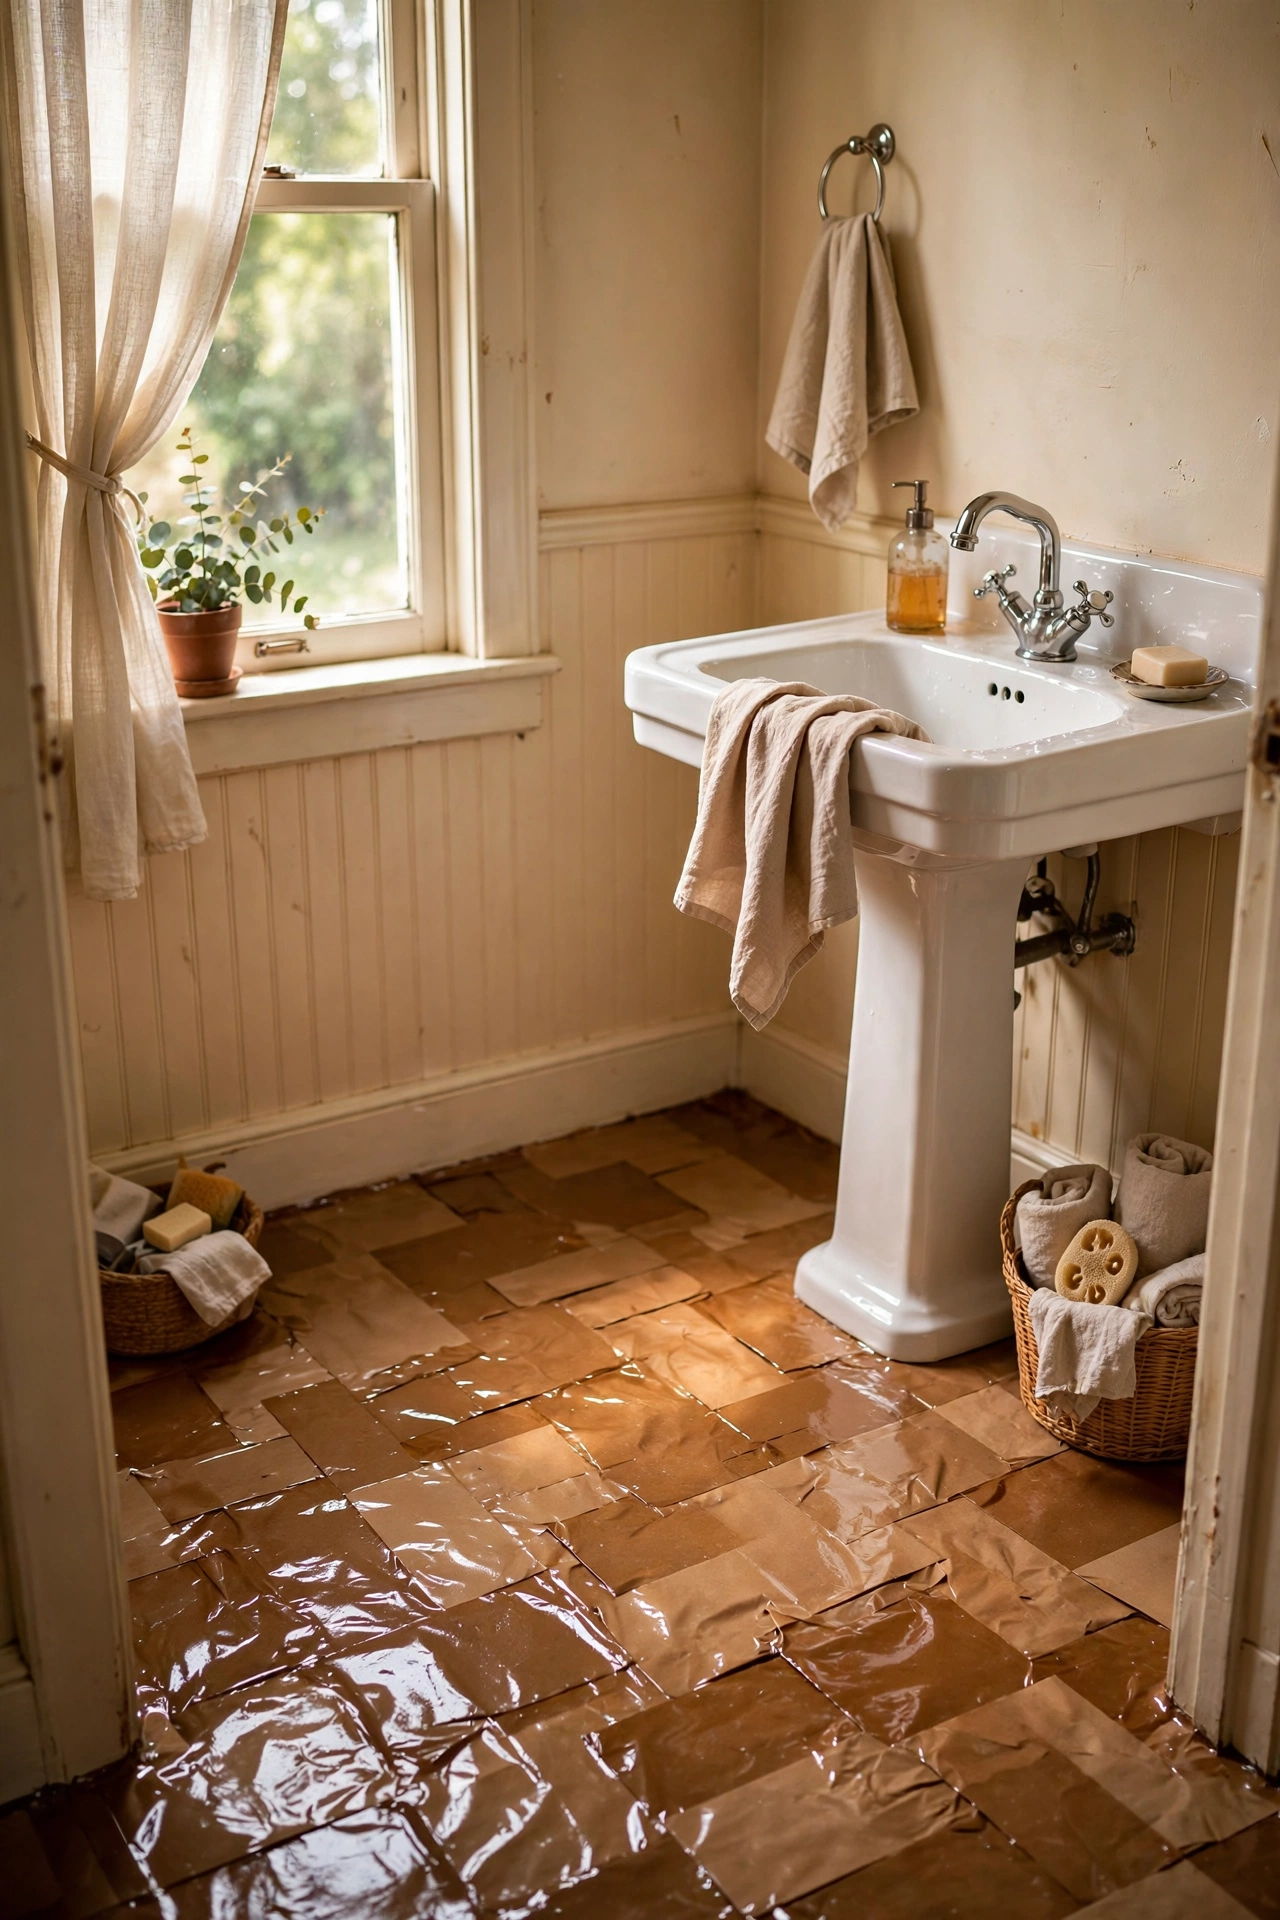
Yes, with caveats. My powder room has a paper bag floor and it has held up fine, but I would not do a full family bathroom with a shower. The key is extra polyurethane: I did six coats in the powder room and caulked every edge where water could creep under. Wipe up standing water promptly, because no paper floor loves a puddle. Use a bath mat by the sink. If your bathroom gets genuinely wet regularly, save this hack for the hallway and choose vinyl for the bathroom.
Cost: ~$25-40 | Time: 6 days with drying
15. Living with Dogs, Kids, and Chairs
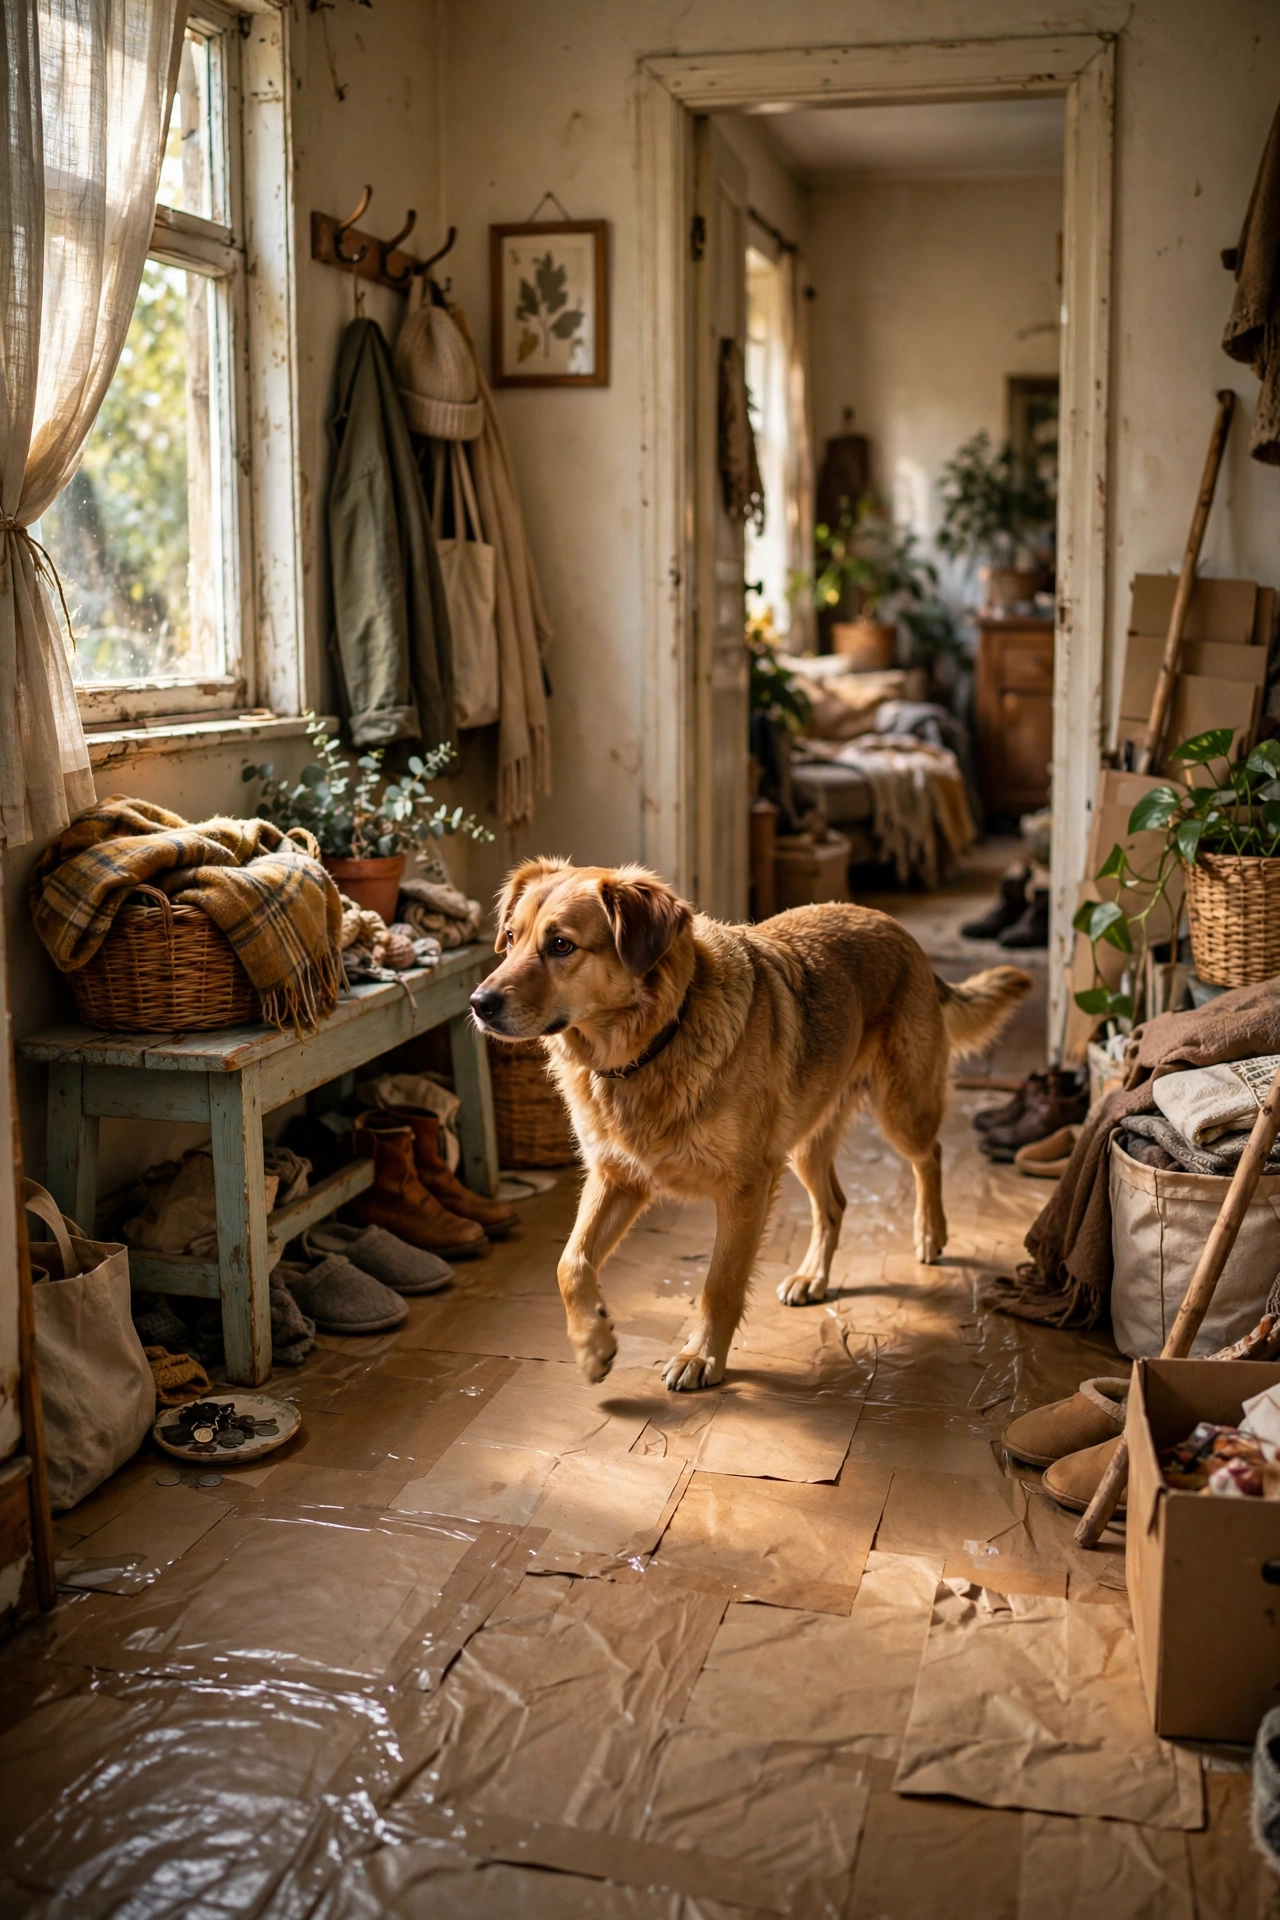
My dog’s claws have not scratched through four coats of poly in two years. Chair legs are the bigger threat: put felt pads on every chair and table leg before the furniture comes back in. I forgot one dining chair and it left a pale scratch I had to touch up. Kids are fine, high heels are not ideal, and dragging anything heavy will gouge it. Treat it like a wood floor and it behaves like one. The finish wears gracefully, developing a patina that suits the rustic look.
Cost: ~$5 for felt pads | Time: 20 minutes
16. Cleaning and Maintenance
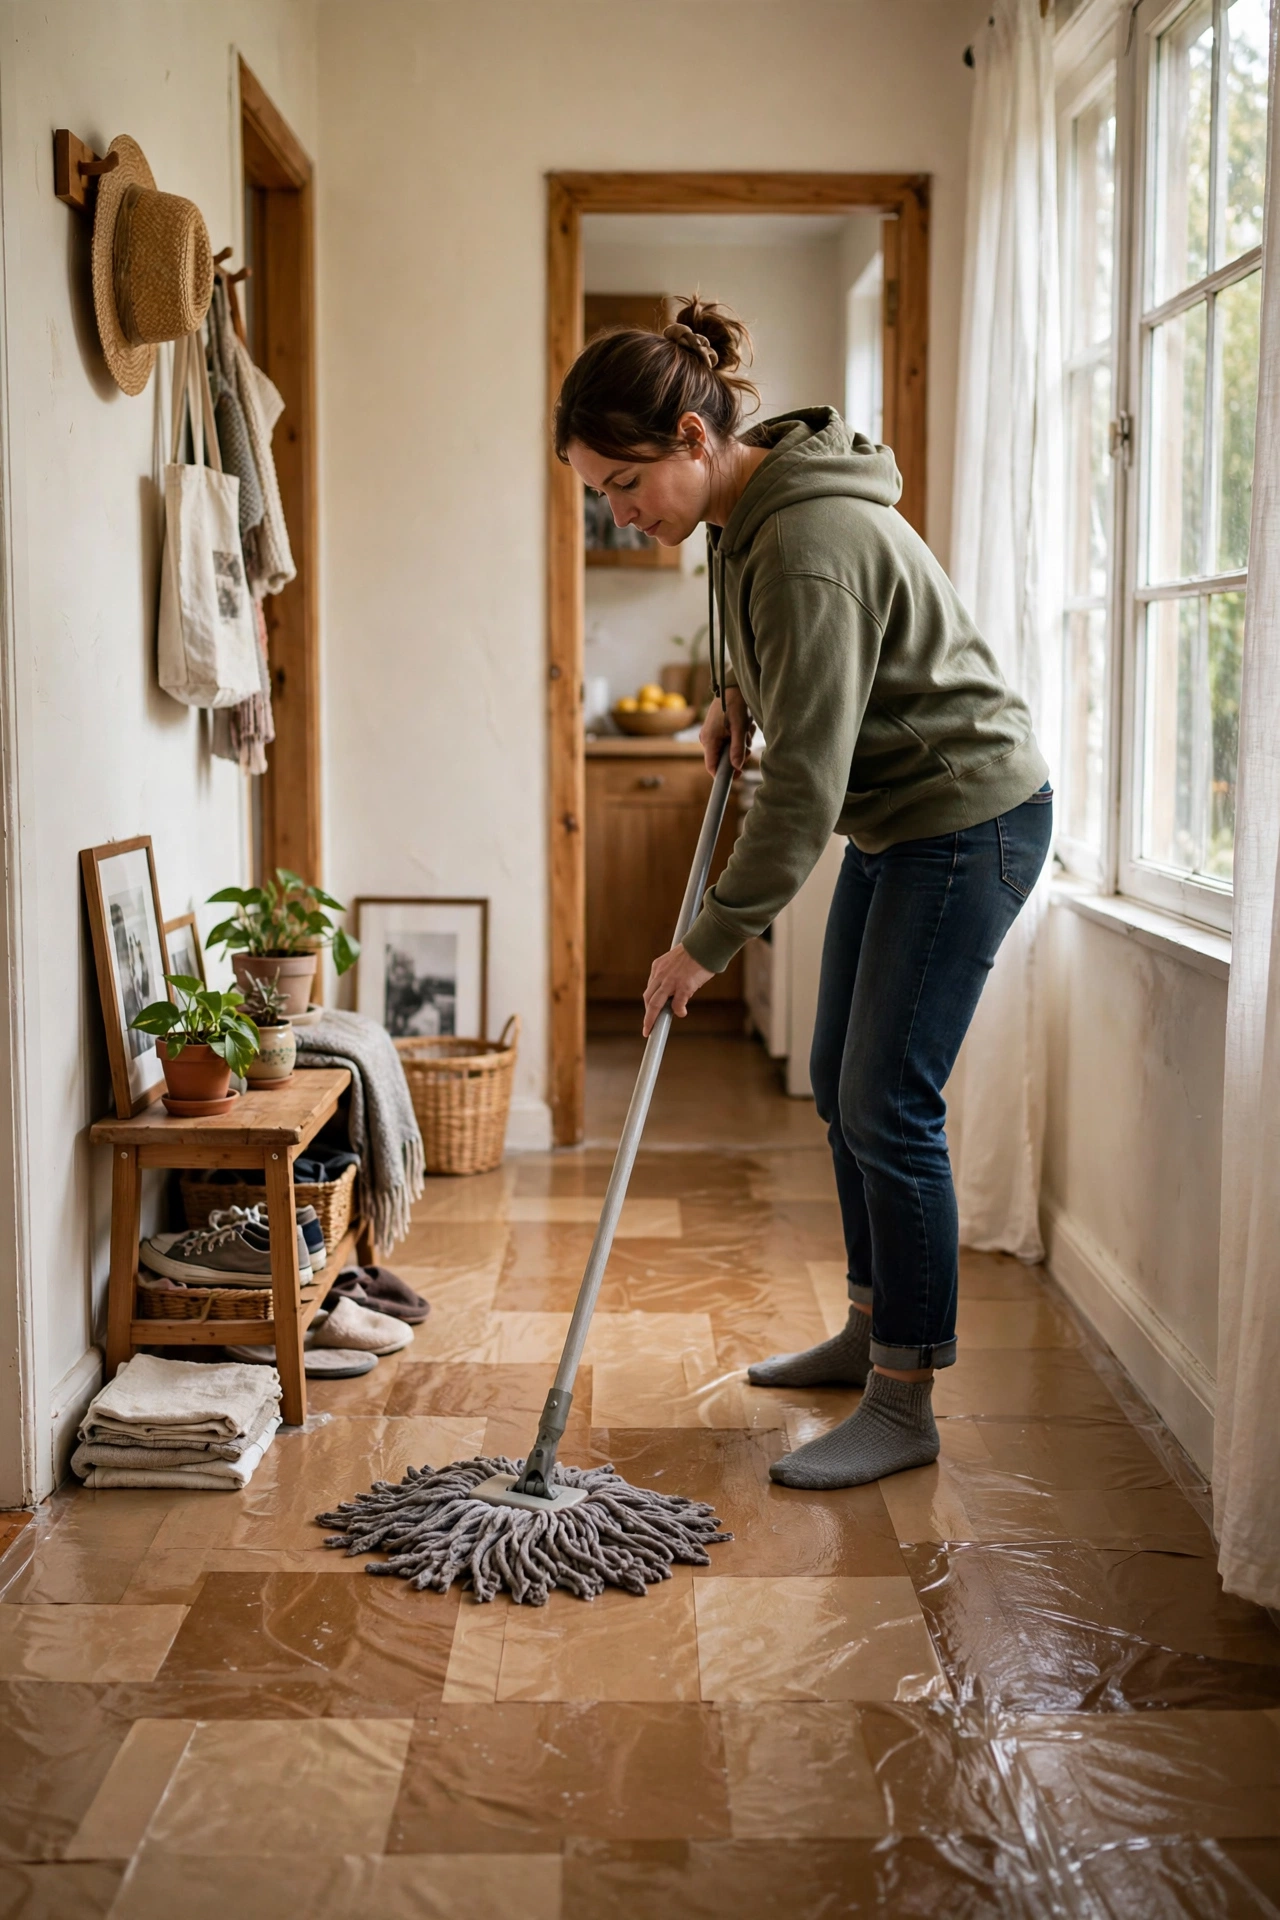
Clean it like a wood floor: sweep regularly, damp-mop with a well-wrung mop, and never flood it. I use a pH-neutral floor cleaner, nothing harsh. Once a year I assess the poly: if high-traffic areas look dull, I scuff lightly and roll on one fresh coat, which takes an afternoon. My hallway is due for its second refresh now, two years in. That maintenance coat is the secret to longevity. Floors that get refreshed last five years or more; floors that do not start looking tired at three.
Cost: ~$10-15 per refresh | Time: 3 hours yearly
17. My Honest Verdict After Two Years
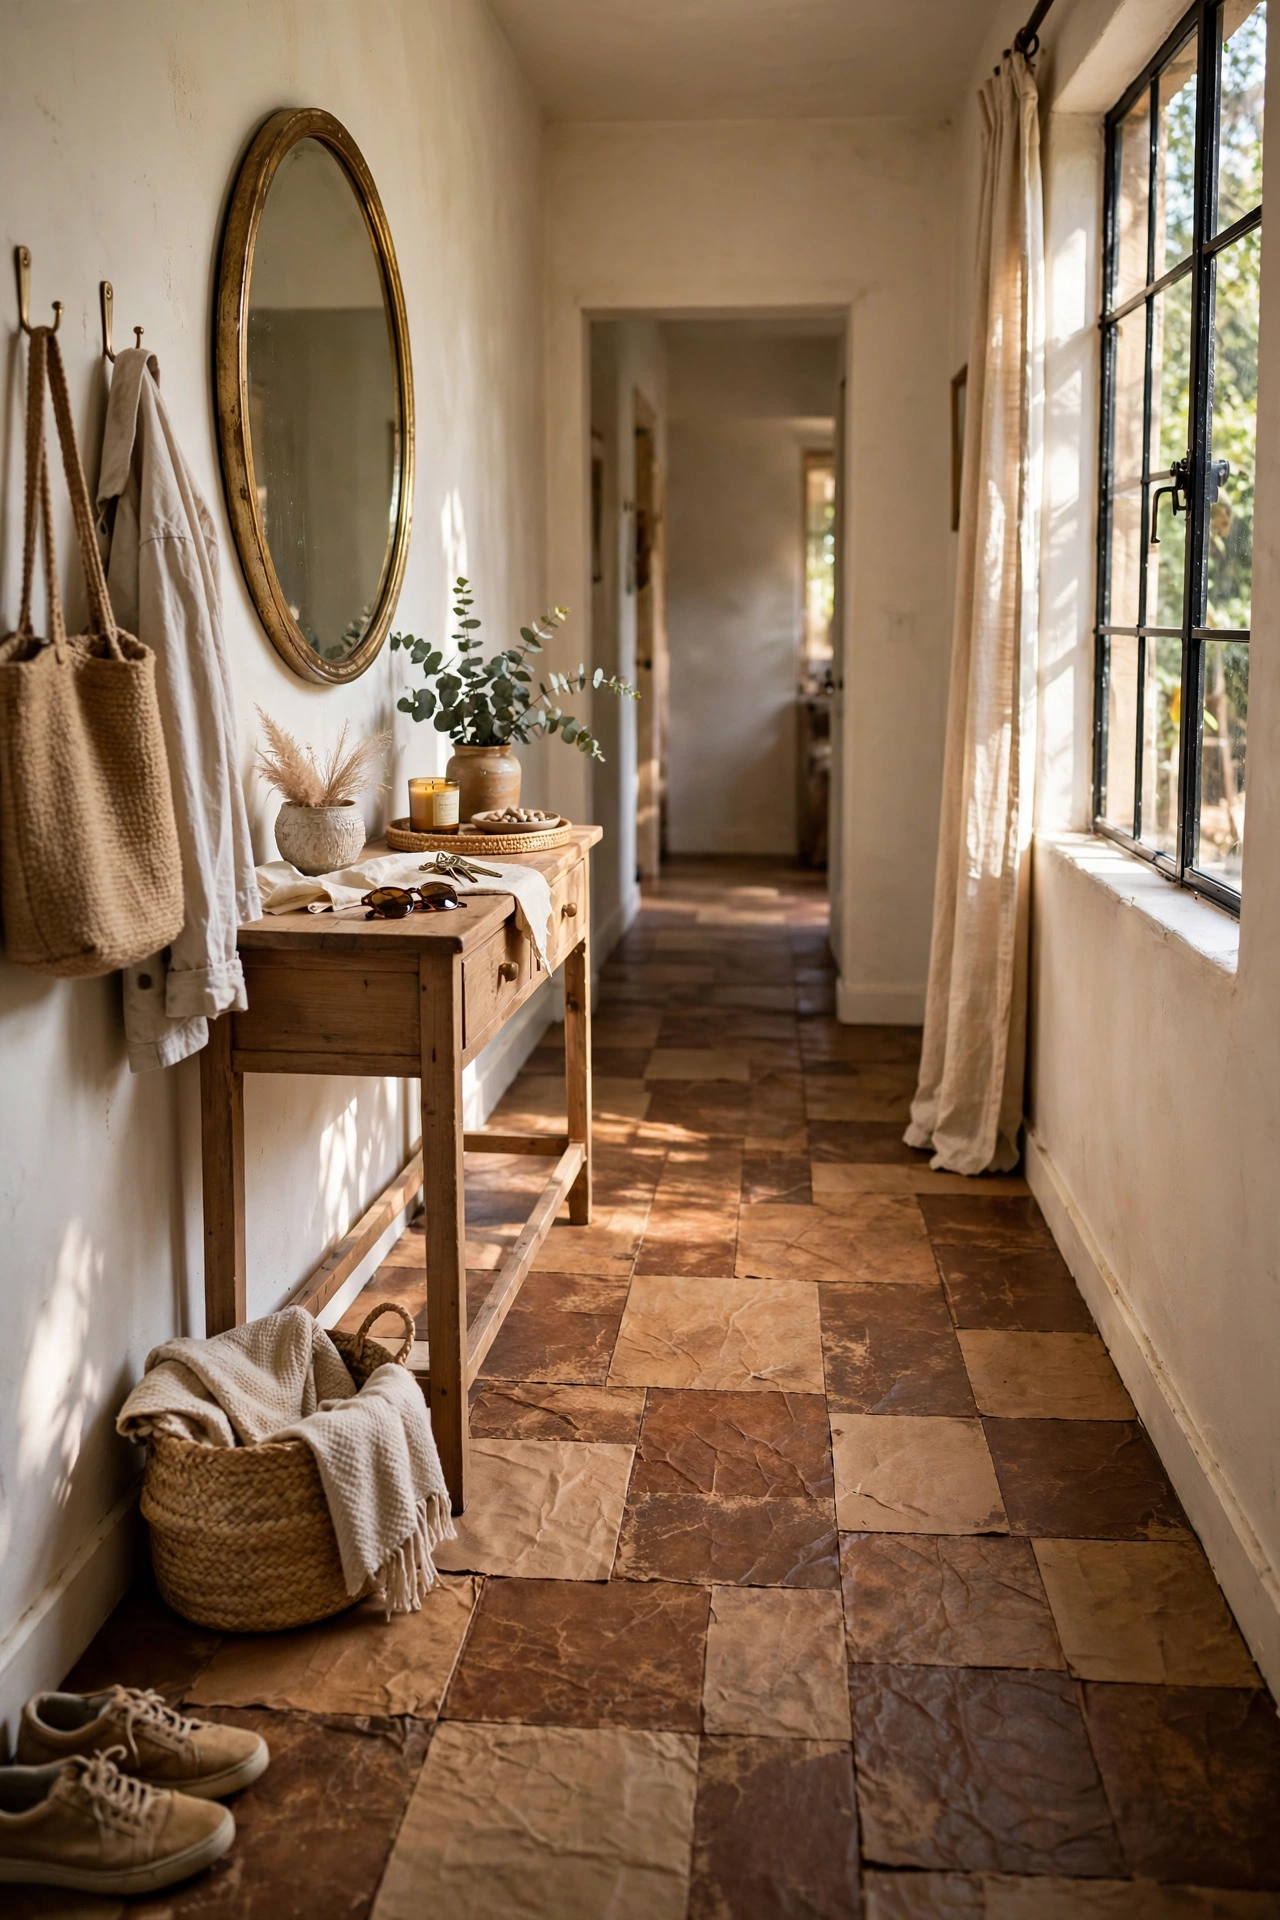
Would I do it again? In a heartbeat, for the right rooms. The hallway still gets compliments from visitors who assume it is leather tile. The kitchen has one scratch from the chair I forgot to pad, and the powder room looks brand new. It is not real flooring and I would never claim it is, but it turned three embarrassing rooms into spaces I am proud of for less than the cost of a nice dinner. If your budget says no to new floors and your eyes say please fix this, tear up some bags and start this weekend.
Cost: ~$0 | Time: n/a
Quick questions, answered
How long does a paper bag floor last?
With four or more coats of polyurethane and a maintenance coat every year or two, expect three to five years in a hallway or living space. High-moisture rooms last less. It is a medium-term solution, not a forever floor, but at under 50 cents a square foot the maths still works beautifully.
Is a paper bag floor safe for rentals?
It depends on your lease. The paper glues directly to the existing floor, so it is not easily reversible like peel-and-stick. I did it in a rental with written landlord permission, because it improved the floor underneath. Always get permission in writing before you glue anything to a floor you do not own.
Does it smell?
Oil-based polyurethane smells strongly while you apply it and for about three days after. Ventilate well and keep pets out during application. Once cured, the floor has no smell at all. Water-based poly is a lower-odour option, though I find oil-based wears harder.
📌 Loving this hack? Pin this post now so you can save this idea for your next flooring project.
More budget DIY projects: (see also: 15-easy-diy-home-decor-projects-for-beginners-under-25/) (see also: 17-one-hour-diy-decor-ideas-for-busy-people/) (see also: 21-thrift-store-diy-ideas-that-look-expensive/)
