15 DIY Wall Art Ideas for Beginners
This one cost me $4. Four dollars covered a small canvas, two tester pots of paint, and a Saturday afternoon, and the finished piece now hangs in my living room where guests assume it came from a homeware shop. That gap between cost and appearance is the quiet magic of DIY wall art, and beginners honestly have an advantage here because simple designs look the most expensive. I have made every project below with my own clumsy hands, no art degree and no steady hand, just patience and a willingness to repaint when things went wrong.
I have ordered the fifteen ideas from easiest to slightly braver, and each one needs only basic supplies and under two hours. I have also noted exactly where I messed up on each project, so you can skip my mistakes and go straight to the part where it looks good. Put the kettle on and pick one.
1. Bold Two-Tone Canvas Blocks
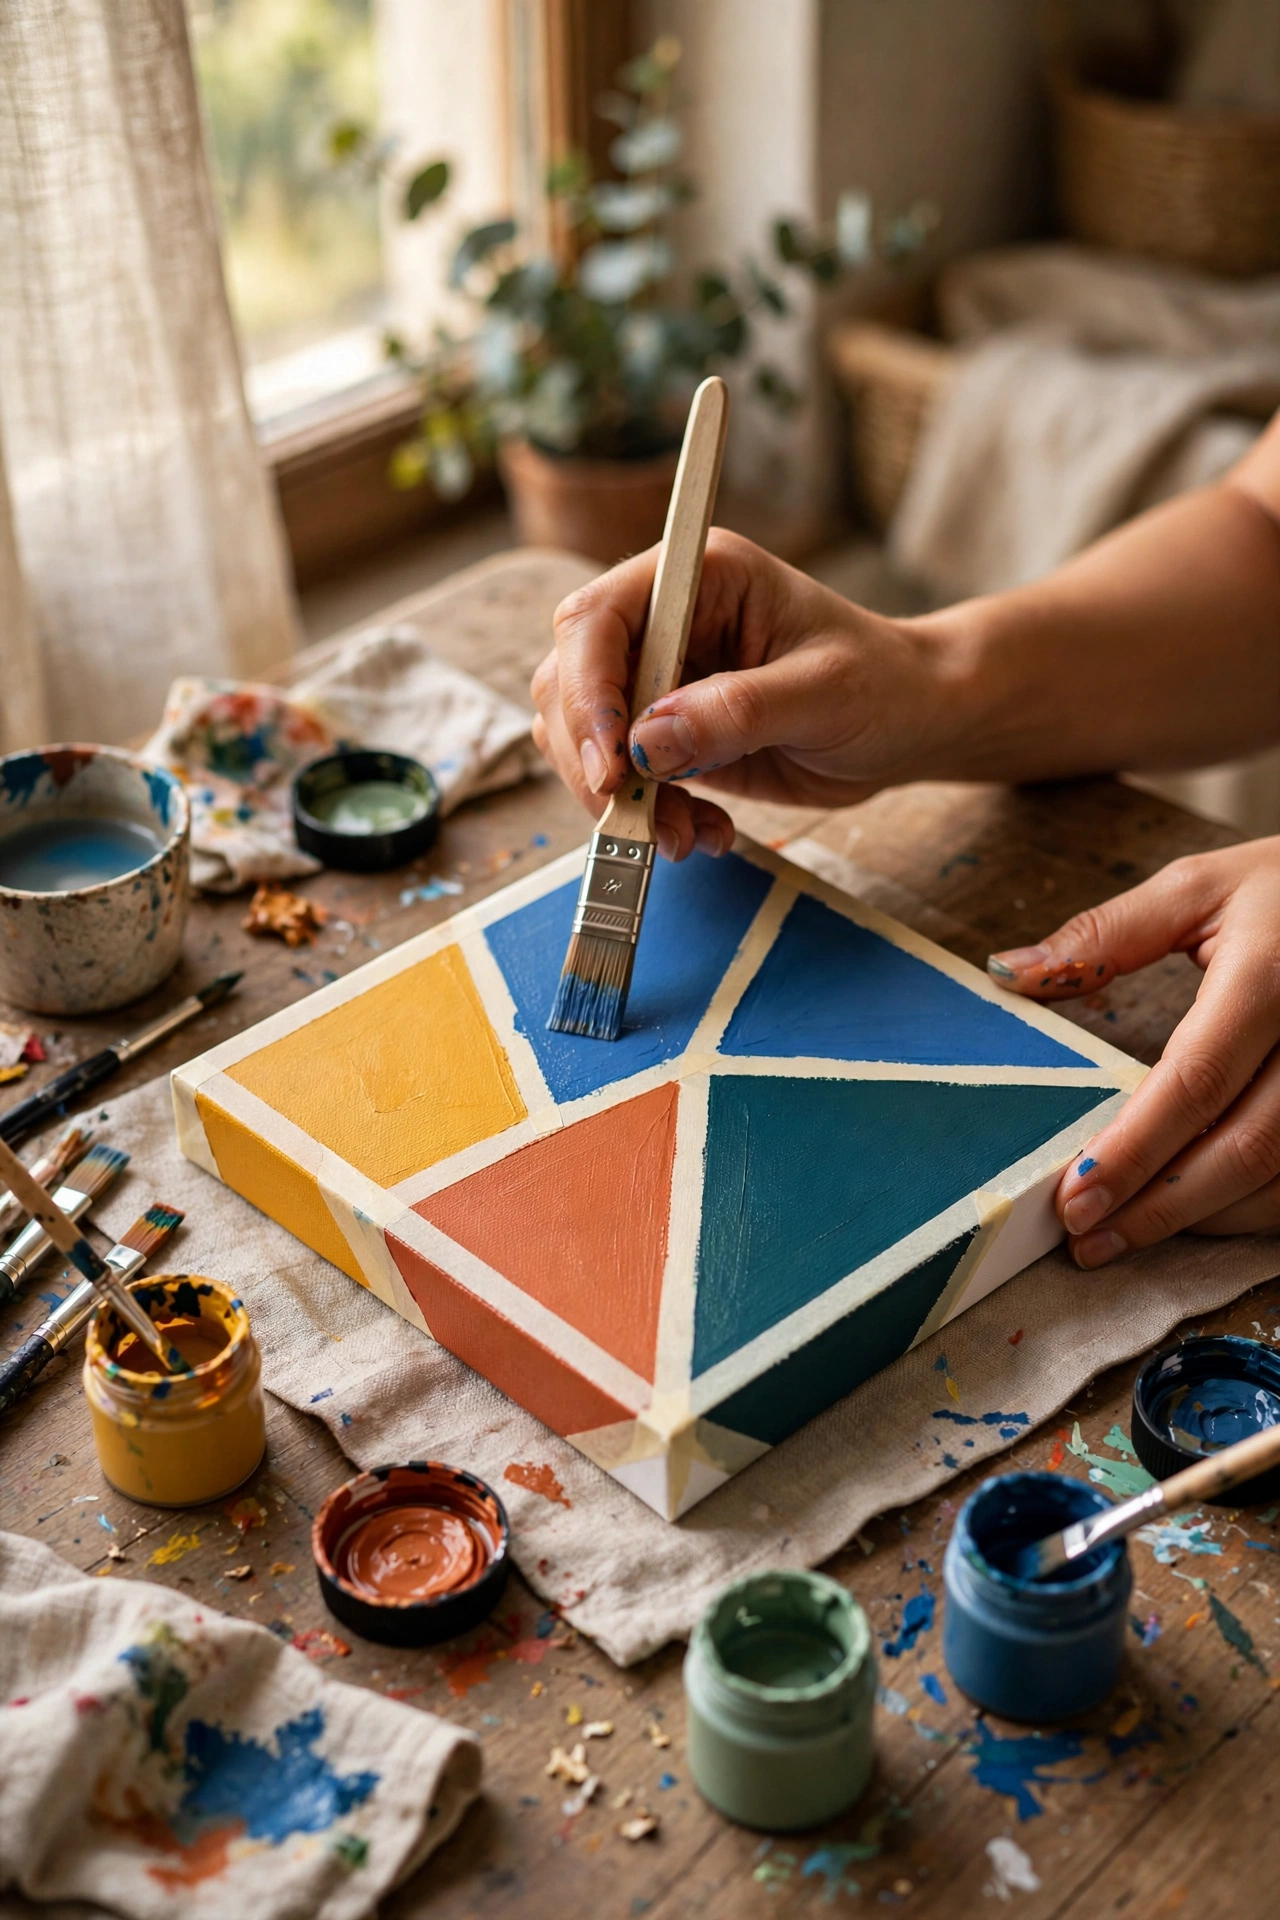
Painter’s tape is the beginner’s best friend, and this project proves it. Paint a small canvas one solid colour and let it dry fully, then tape off bold geometric blocks and paint them in a contrasting shade. The secret is pressing the tape edges down firmly with a credit card, because on my first canvas the paint bled underneath and every line went fuzzy. Peel the tape while the second coat is still slightly tacky for razor-sharp edges. Two colours are enough, and a neutral plus one bold shade looks far more expensive than a rainbow. Hang it slightly off-centre in a grouping and it passes as modern art.
Materials: Small canvas, 2 tester paint pots, painter’s tape | Cost: ~$4-8 | Time: 1 hour plus drying
2. Framed Fabric Remnants
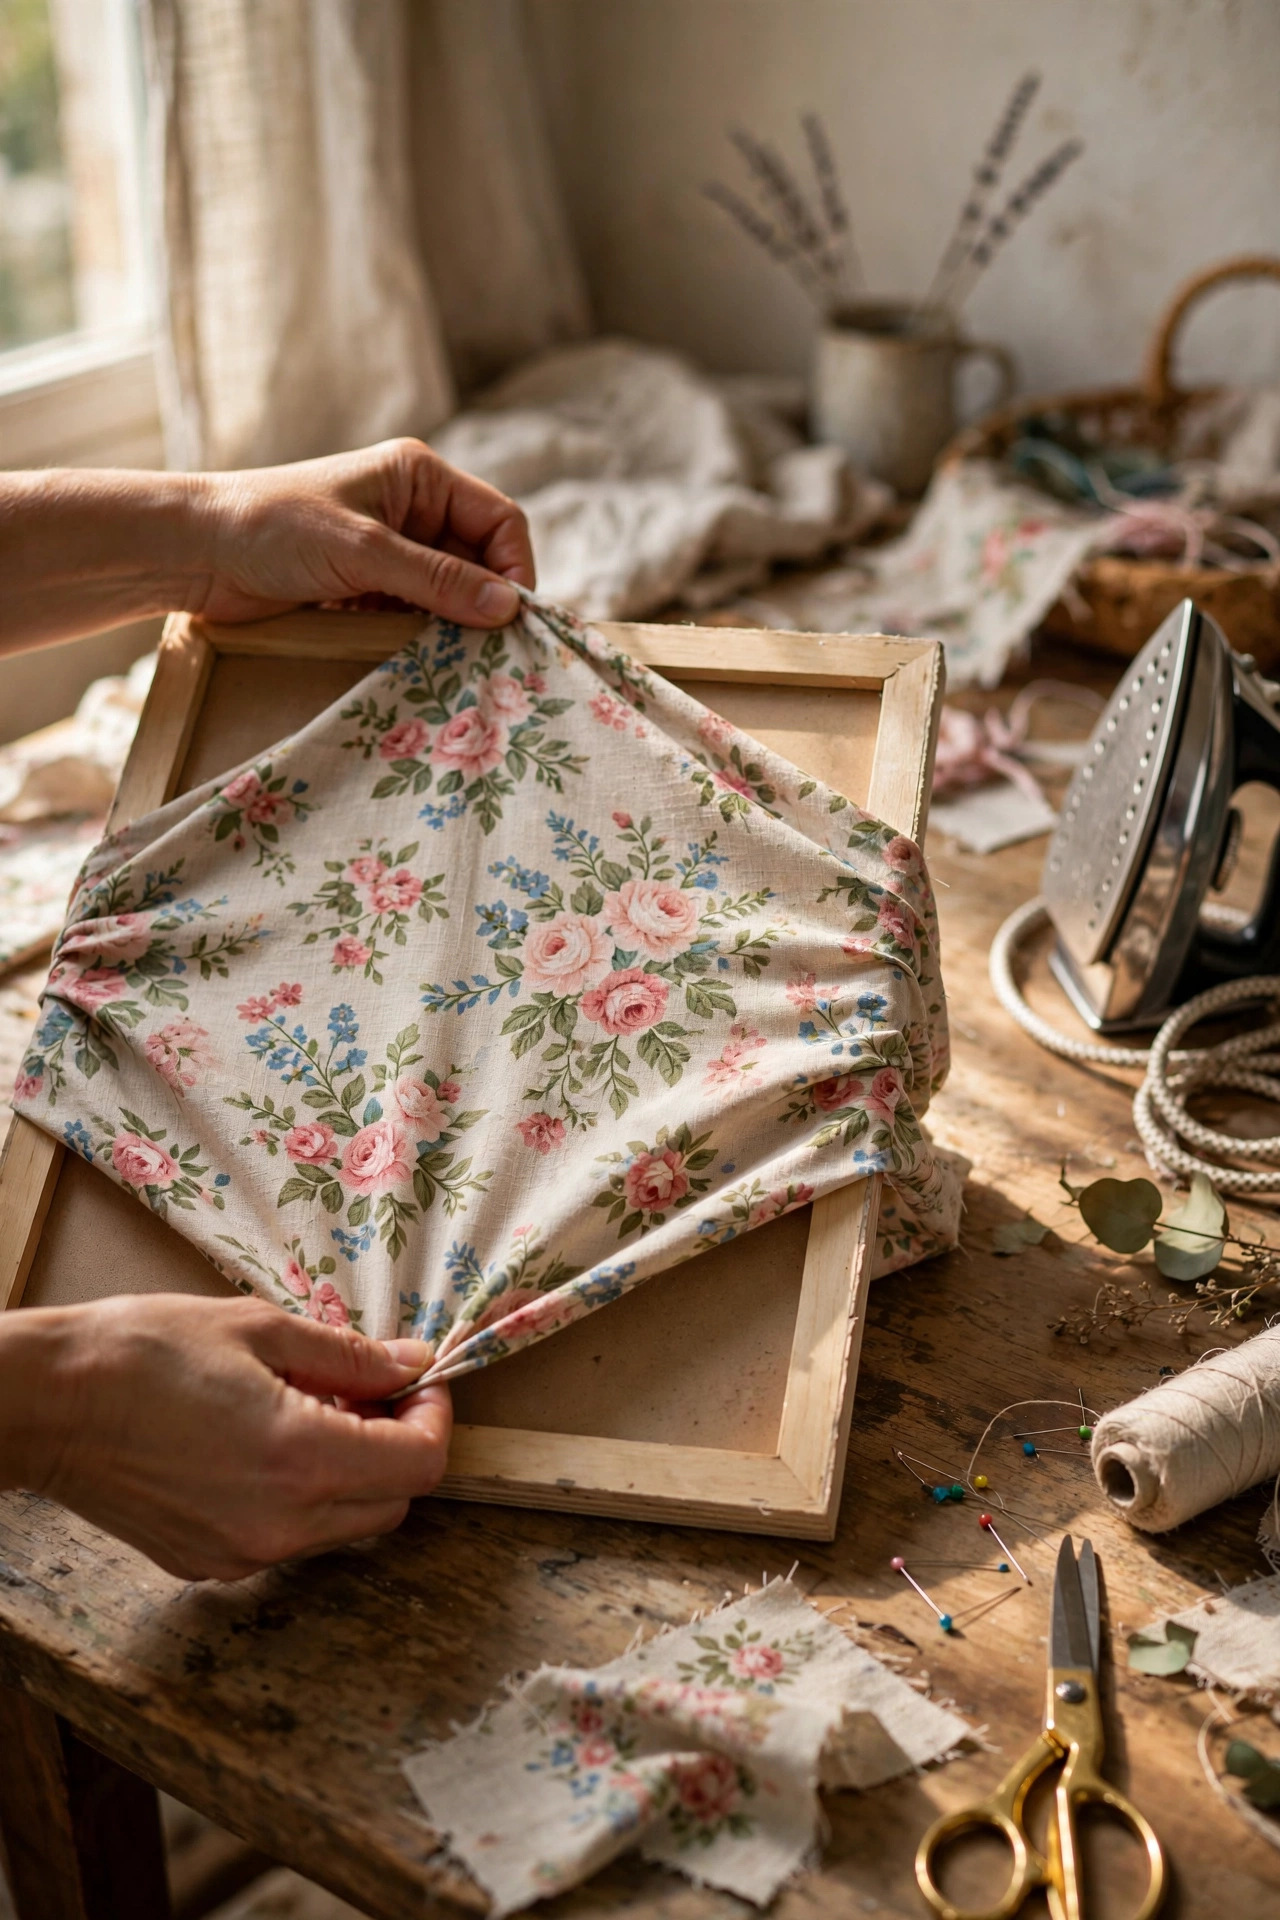
Pretty fabric deserves to be seen, and framing it is the laziest beautiful art there is. Cut a fat quarter or remnant about 5cm larger than your frame on each side, iron it perfectly flat, and stretch it over the backing board like a drum skin. I skipped the ironing once and the wrinkles showed through the glass like a topographical map. Fix the fabric to the back of the board with spray adhesive or a staple gun, pulling firmly as you go so it stays taut. Botanical prints, stripes, and block-print patterns all work beautifully. Charity-shop frames in odd sizes are perfect for this, since you cut the fabric to fit.
Materials: Fabric remnant, secondhand frame, iron, spray adhesive | Cost: ~$3-7 | Time: 30 minutes
3. Dried Flower Shadow Box
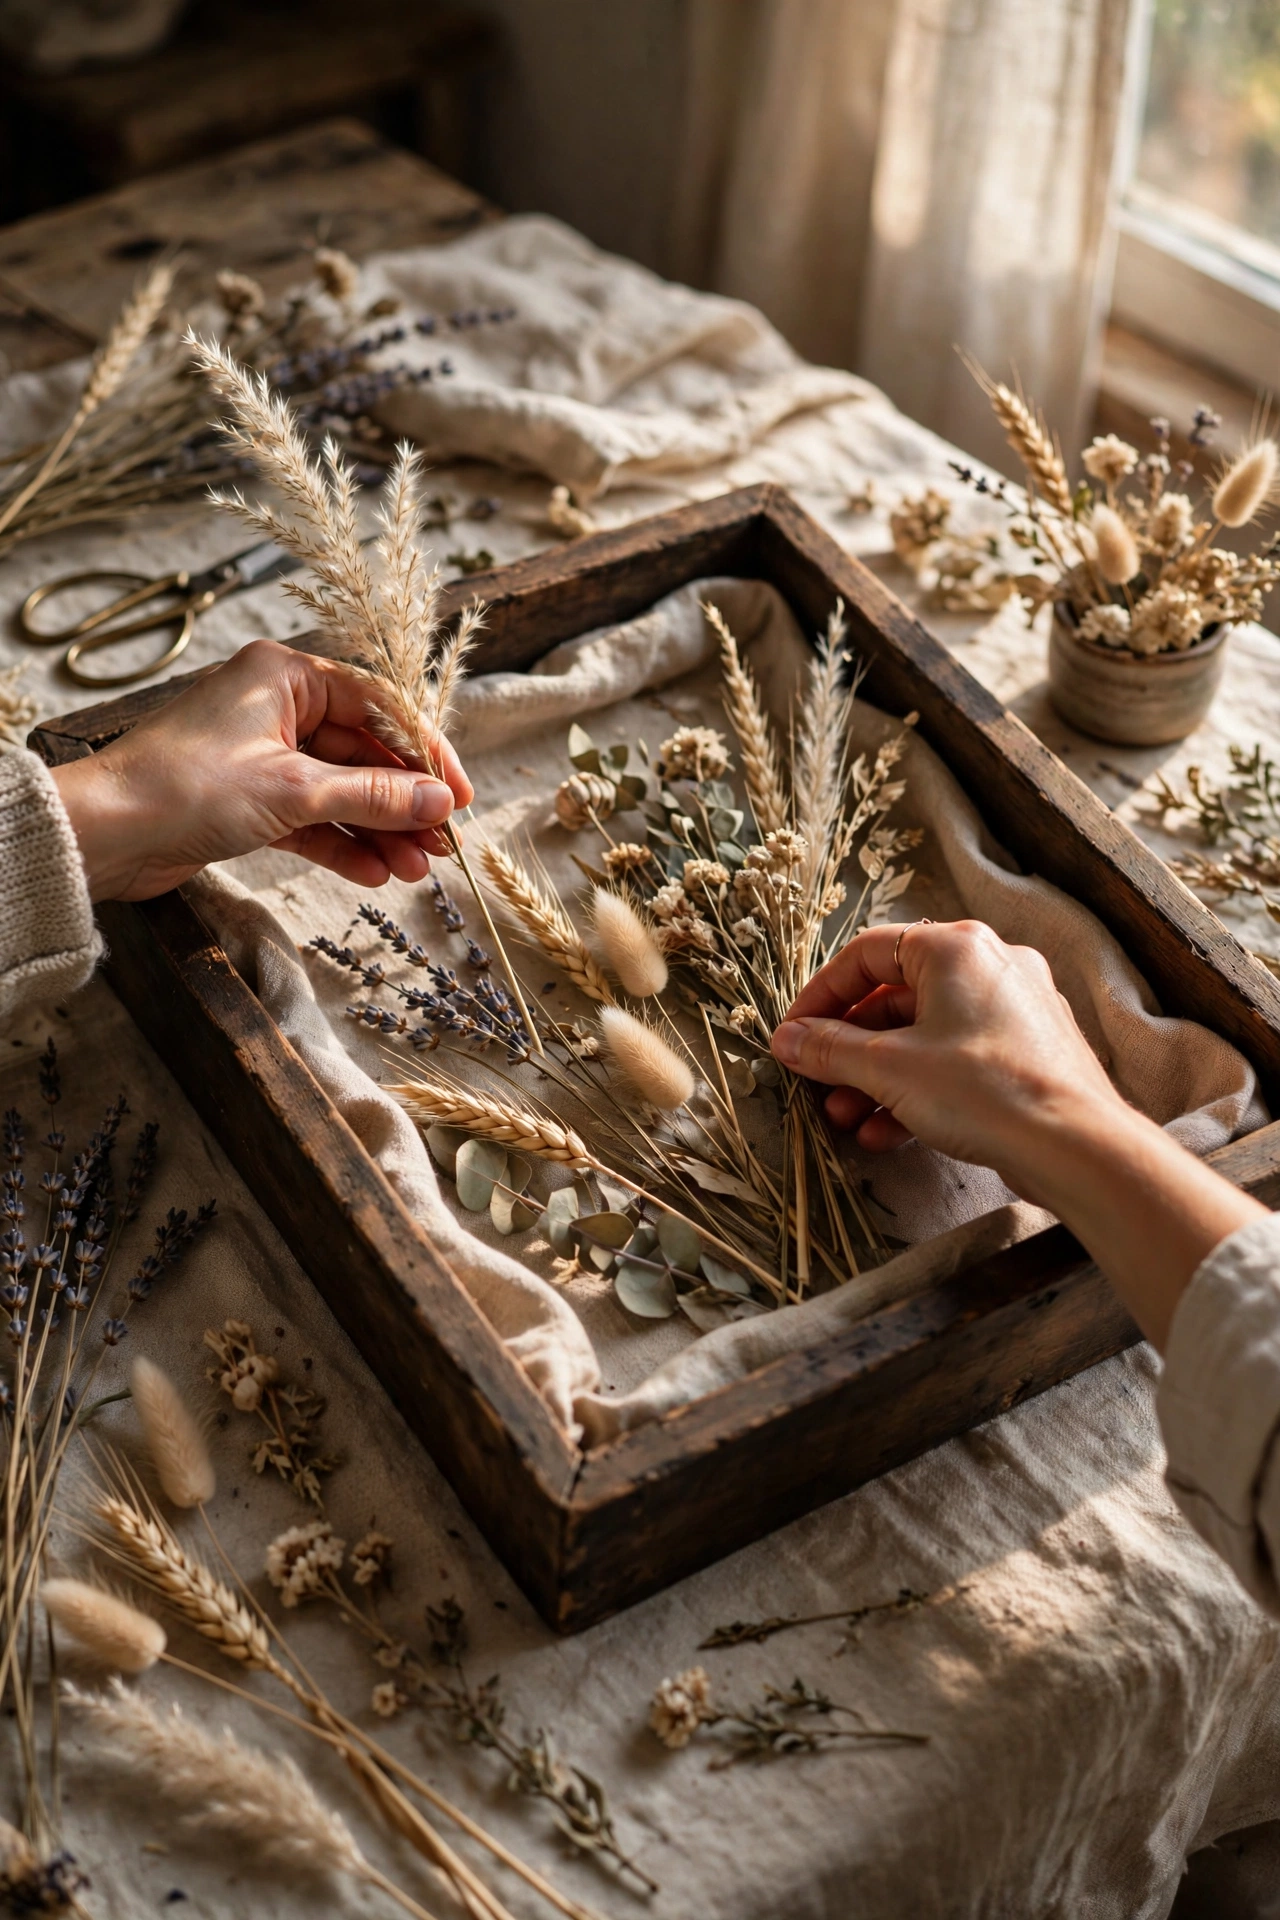
Dried flowers in a deep frame look like something from an expensive florist’s studio. Arrange dried blooms and grasses on a linen-covered backing board, playing with heights until the composition feels balanced, then fix each stem with tiny dots of hot glue. The critical lesson I learned the hard way is to use fully dried flowers only, because I once framed barely-dry lavender and it rotted into a brown science experiment within weeks. Press the arrangement gently under the glass, seal the frame, and hang it away from direct sun. Grasses, strawflowers, and dried eucalyptus hold their colour longest.
Materials: Deep box frame, dried flowers, linen, hot glue gun | Cost: ~$5-10 | Time: 45 minutes
4. Washi Tape Geometric Wall Mural
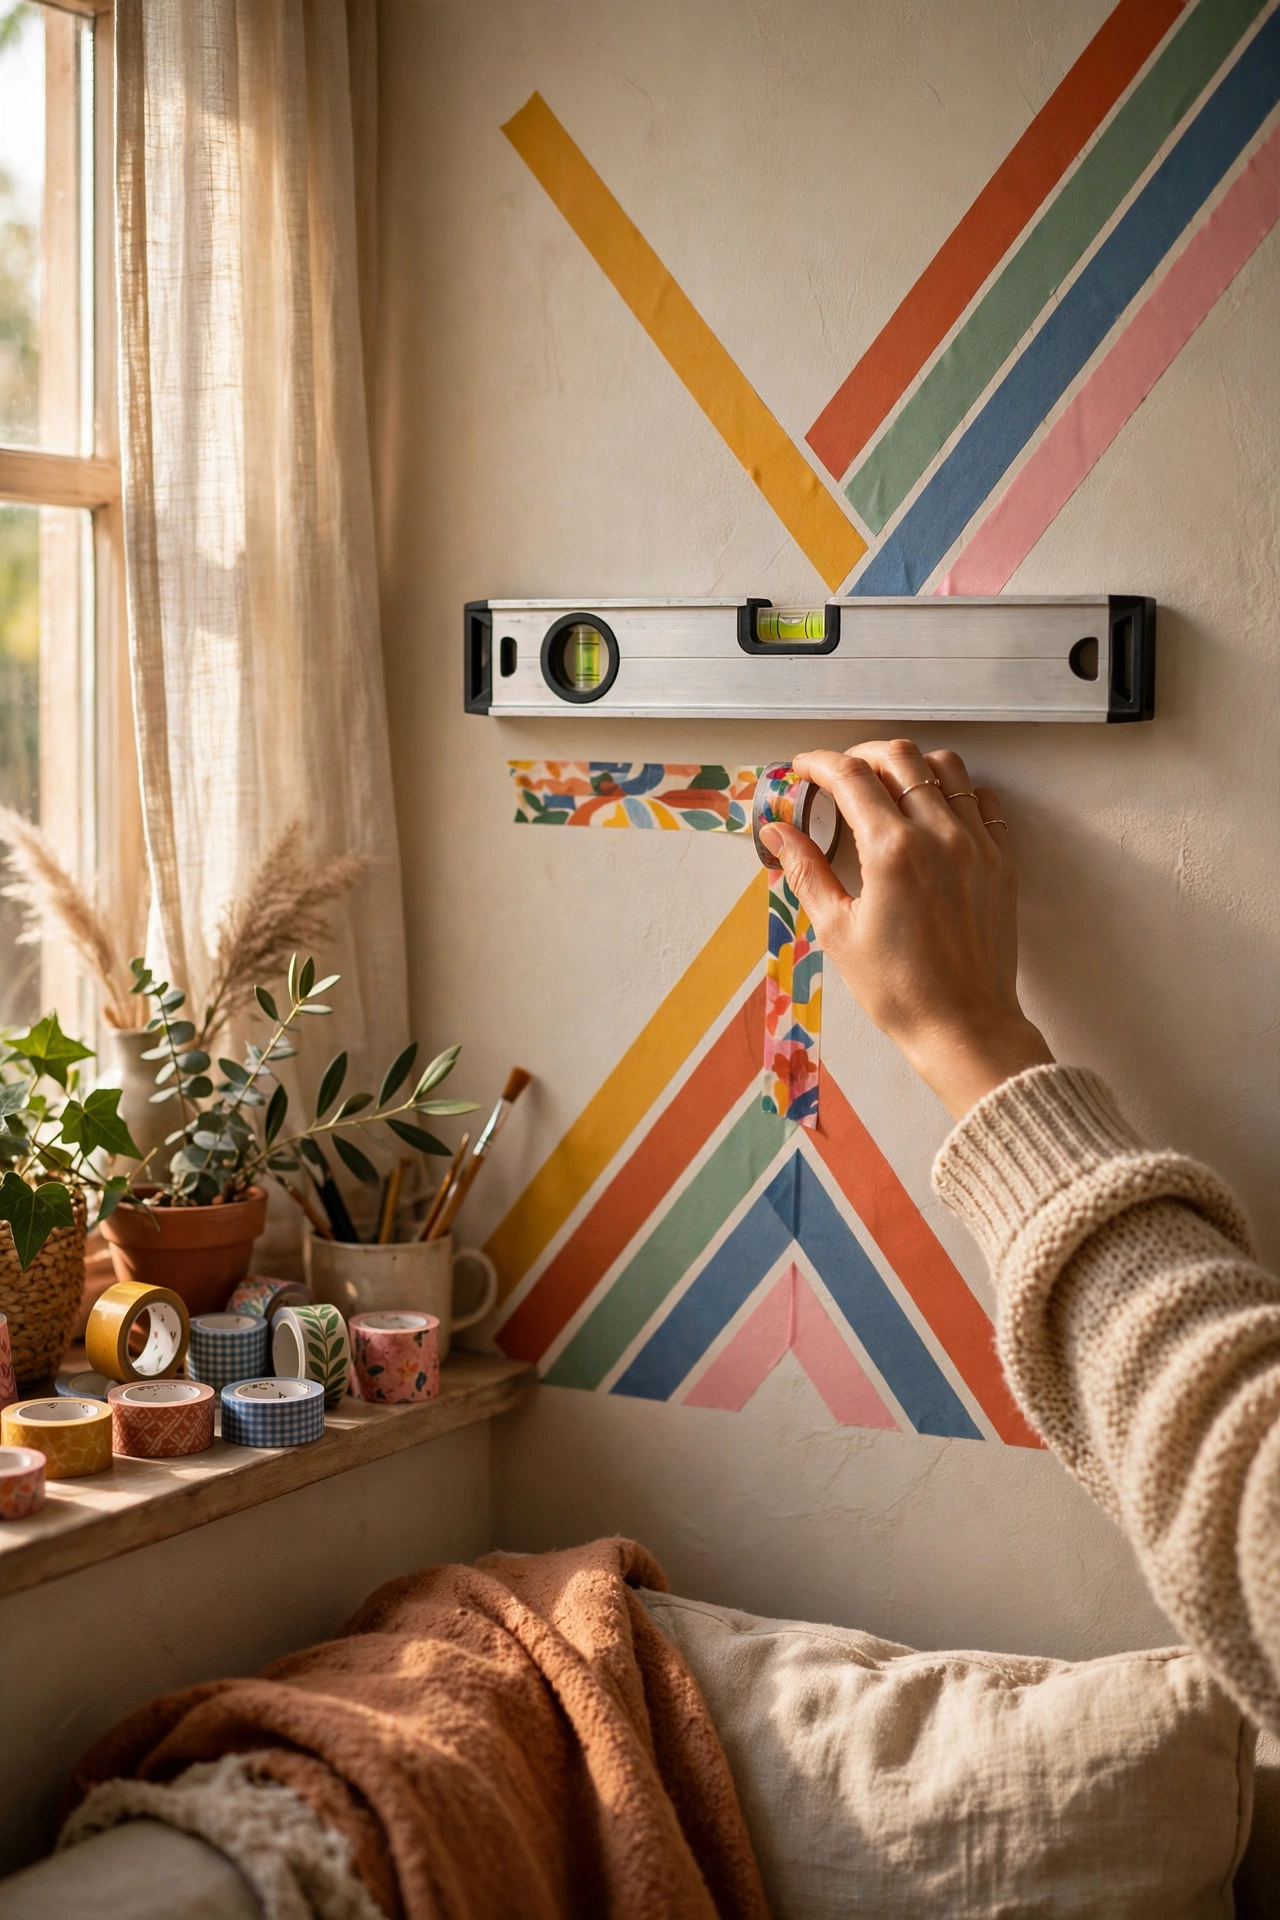
If commitment scares you, washi tape art peels straight off when you change your mind. Plan a simple geometric design on paper first, then recreate it directly on the wall with low-tack washi tape, using a spirit level to keep lines honest. I got carried away on my first attempt and built something so complex it looked like a circuit board, so simpler is genuinely better. Press the tape down firmly and step back often to check the overall balance. When you are bored of it, usually in about a year, it peels off without damaging the paint. Test a hidden patch first, because cheap emulsion can lift with even gentle tape.
Materials: Washi tape in 2-3 colours, spirit level, pencil | Cost: ~$4-9 | Time: 1-2 hours
5. Printable Botanical Prints in Thrift Frames
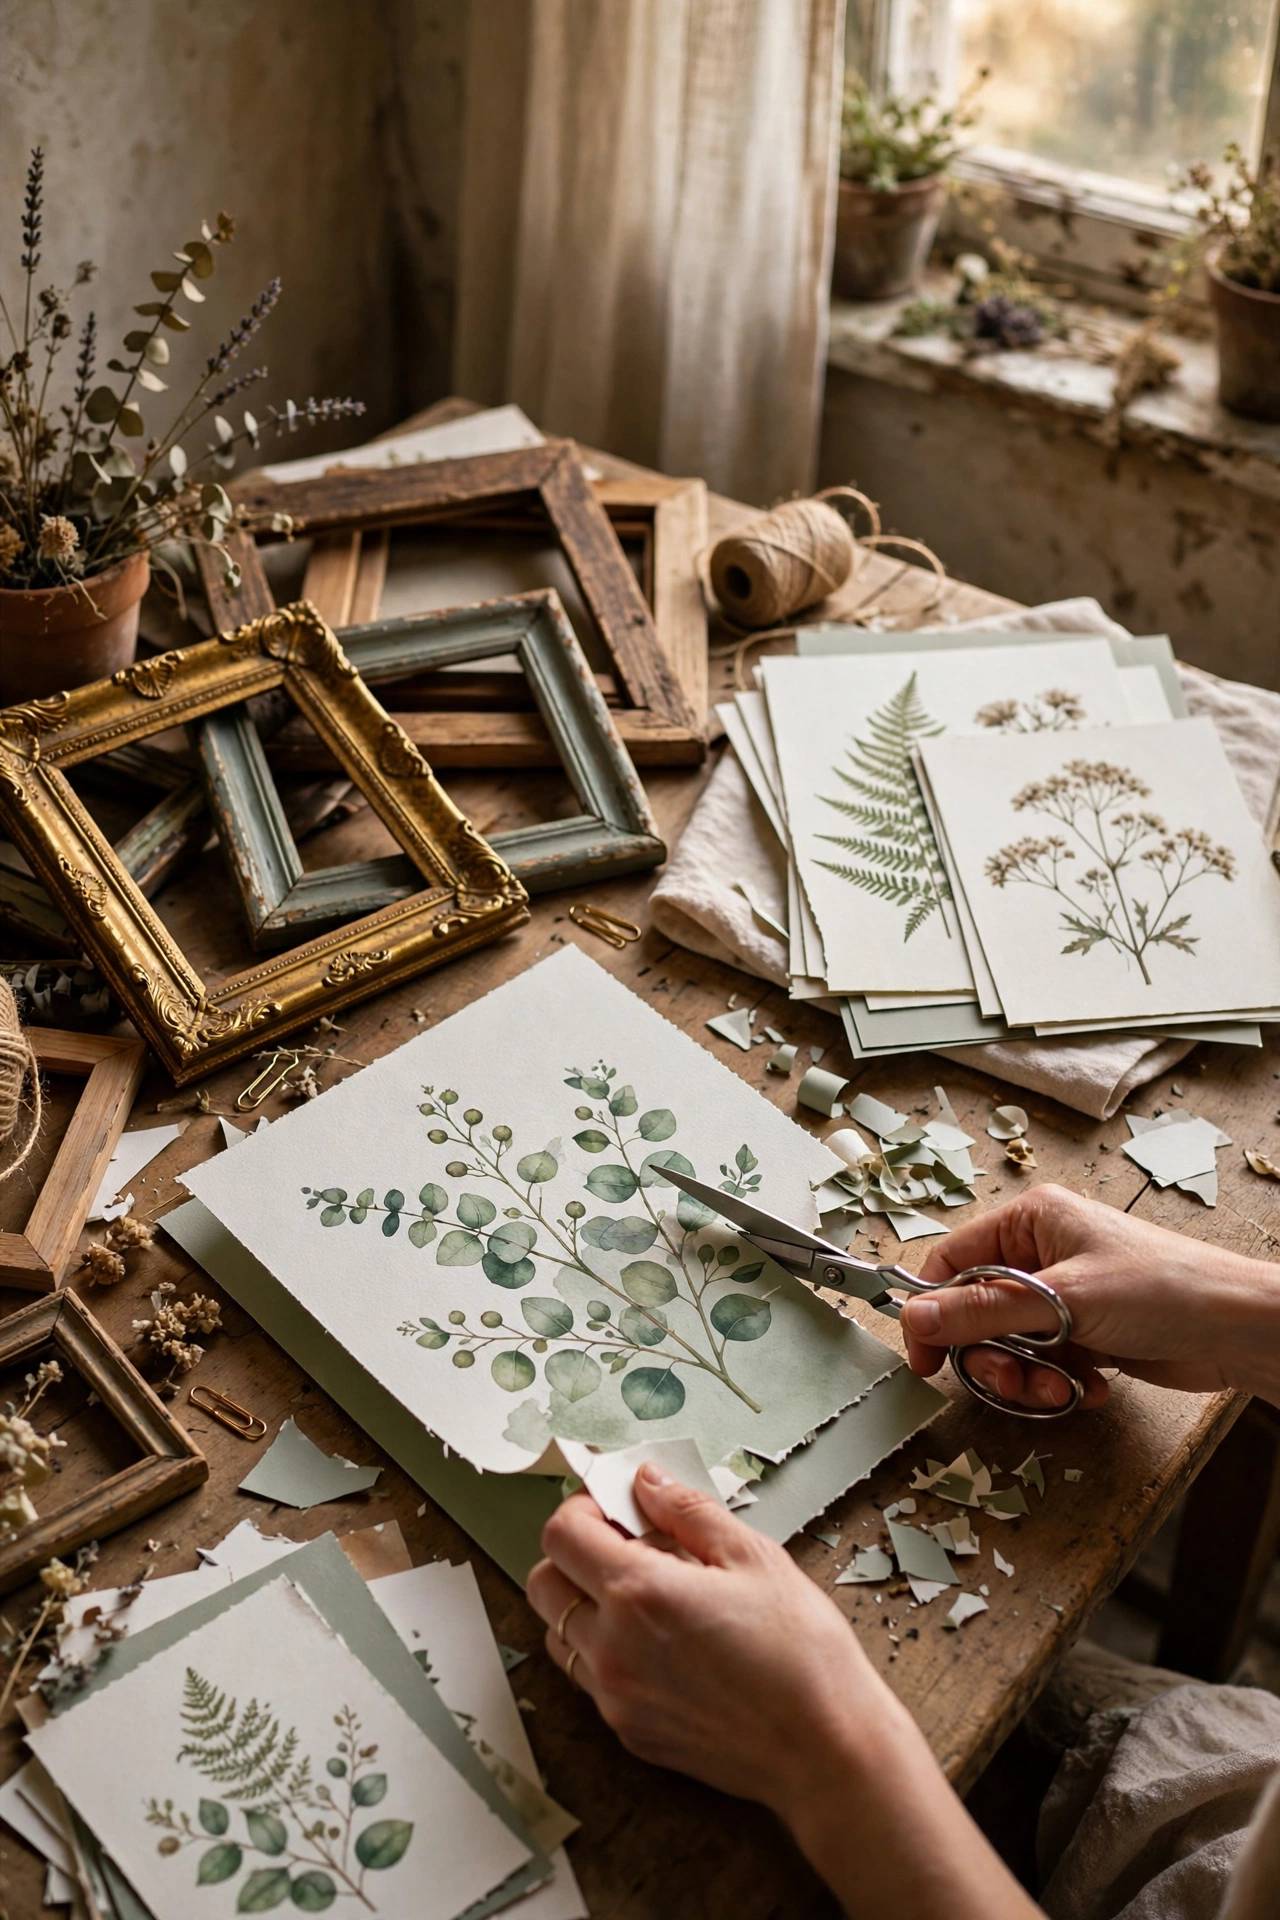
Free printables plus charity-shop frames is the highest value wall art formula I know. Download botanical or line-art printables from a reputable free source, and print them on matte photo paper rather than standard copy paper, which looks thin and grey next to glass. I printed my first set on office paper and they looked like photocopies, so the paper genuinely matters. Trim to fit thrifted frames, and unify mismatched frames with a single paint colour for a collected gallery wall. Group them in odd numbers with consistent spacing. For more budget bedroom styling around your new art, (see also: 23-bedroom-decor-ideas-under-50-for-a-cozy-retreat/) has plenty of ideas that cost less than the frames did.
Materials: Thrift frames, matte photo paper, printer access | Cost: ~$3-8 | Time: 45 minutes
6. Painted Arch Accent Behind a Shelf
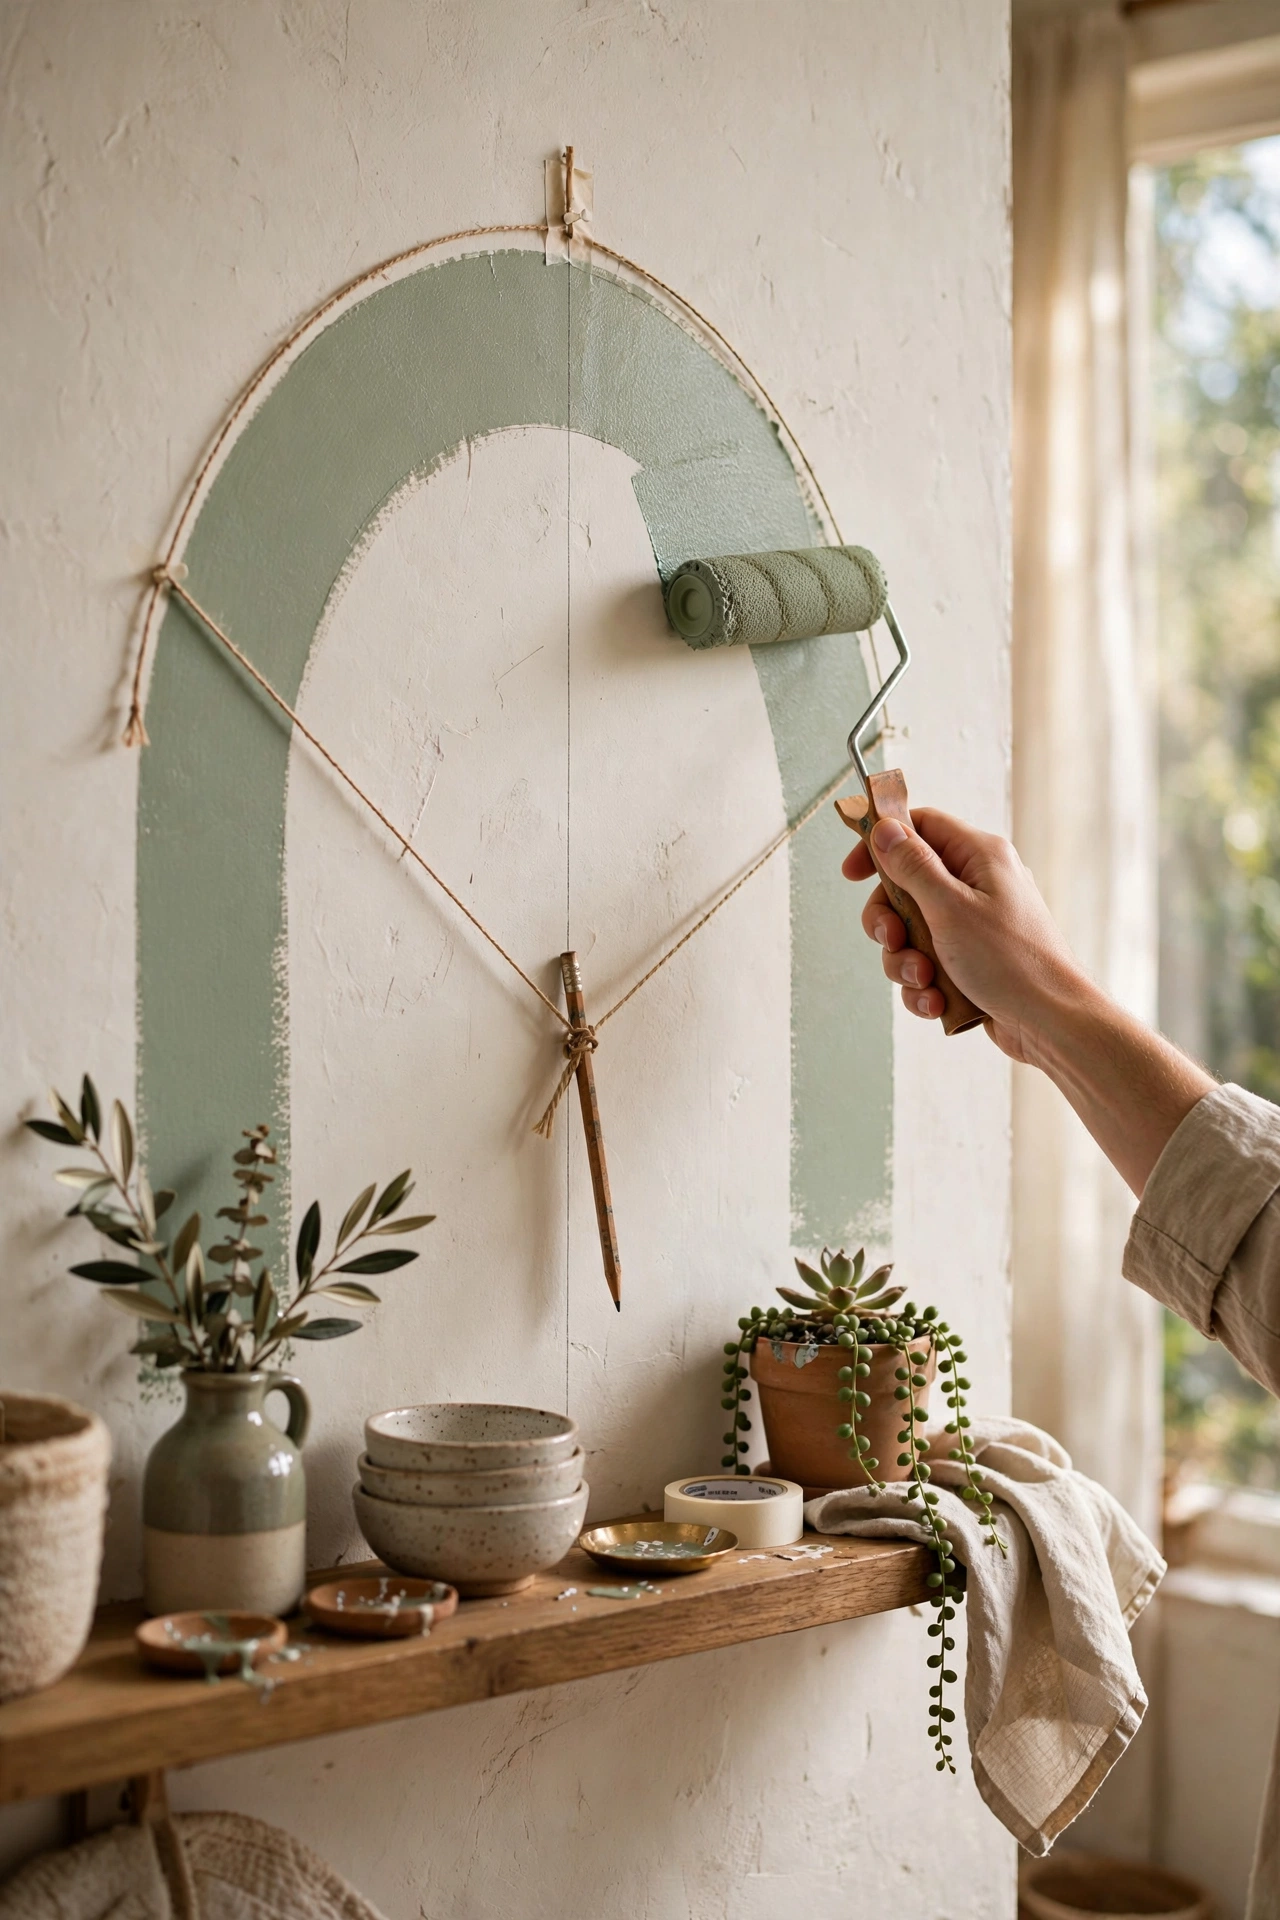
A painted arch is the renter-friendly way to create a focal point without any art at all. Mark the arch with a pencil tied to a string pinned at the centre point, which gives you a perfect curve without freehand wobble. I freehanded my first arch and it leaned like a tipsy rainbow, so use the string trick. Paint two coats of your chosen colour, cutting in carefully at the edges, and let it dry before styling a shelf or console against it. Muted tones like sage, clay, or warm beige look sophisticated, while bold colours demand confidence. It photographs beautifully and costs one tester pot.
Materials: Tester pot of paint, string, pin, small roller | Cost: ~$3-6 | Time: 1-2 hours
7. Simple Macramé Hanging on a Branch
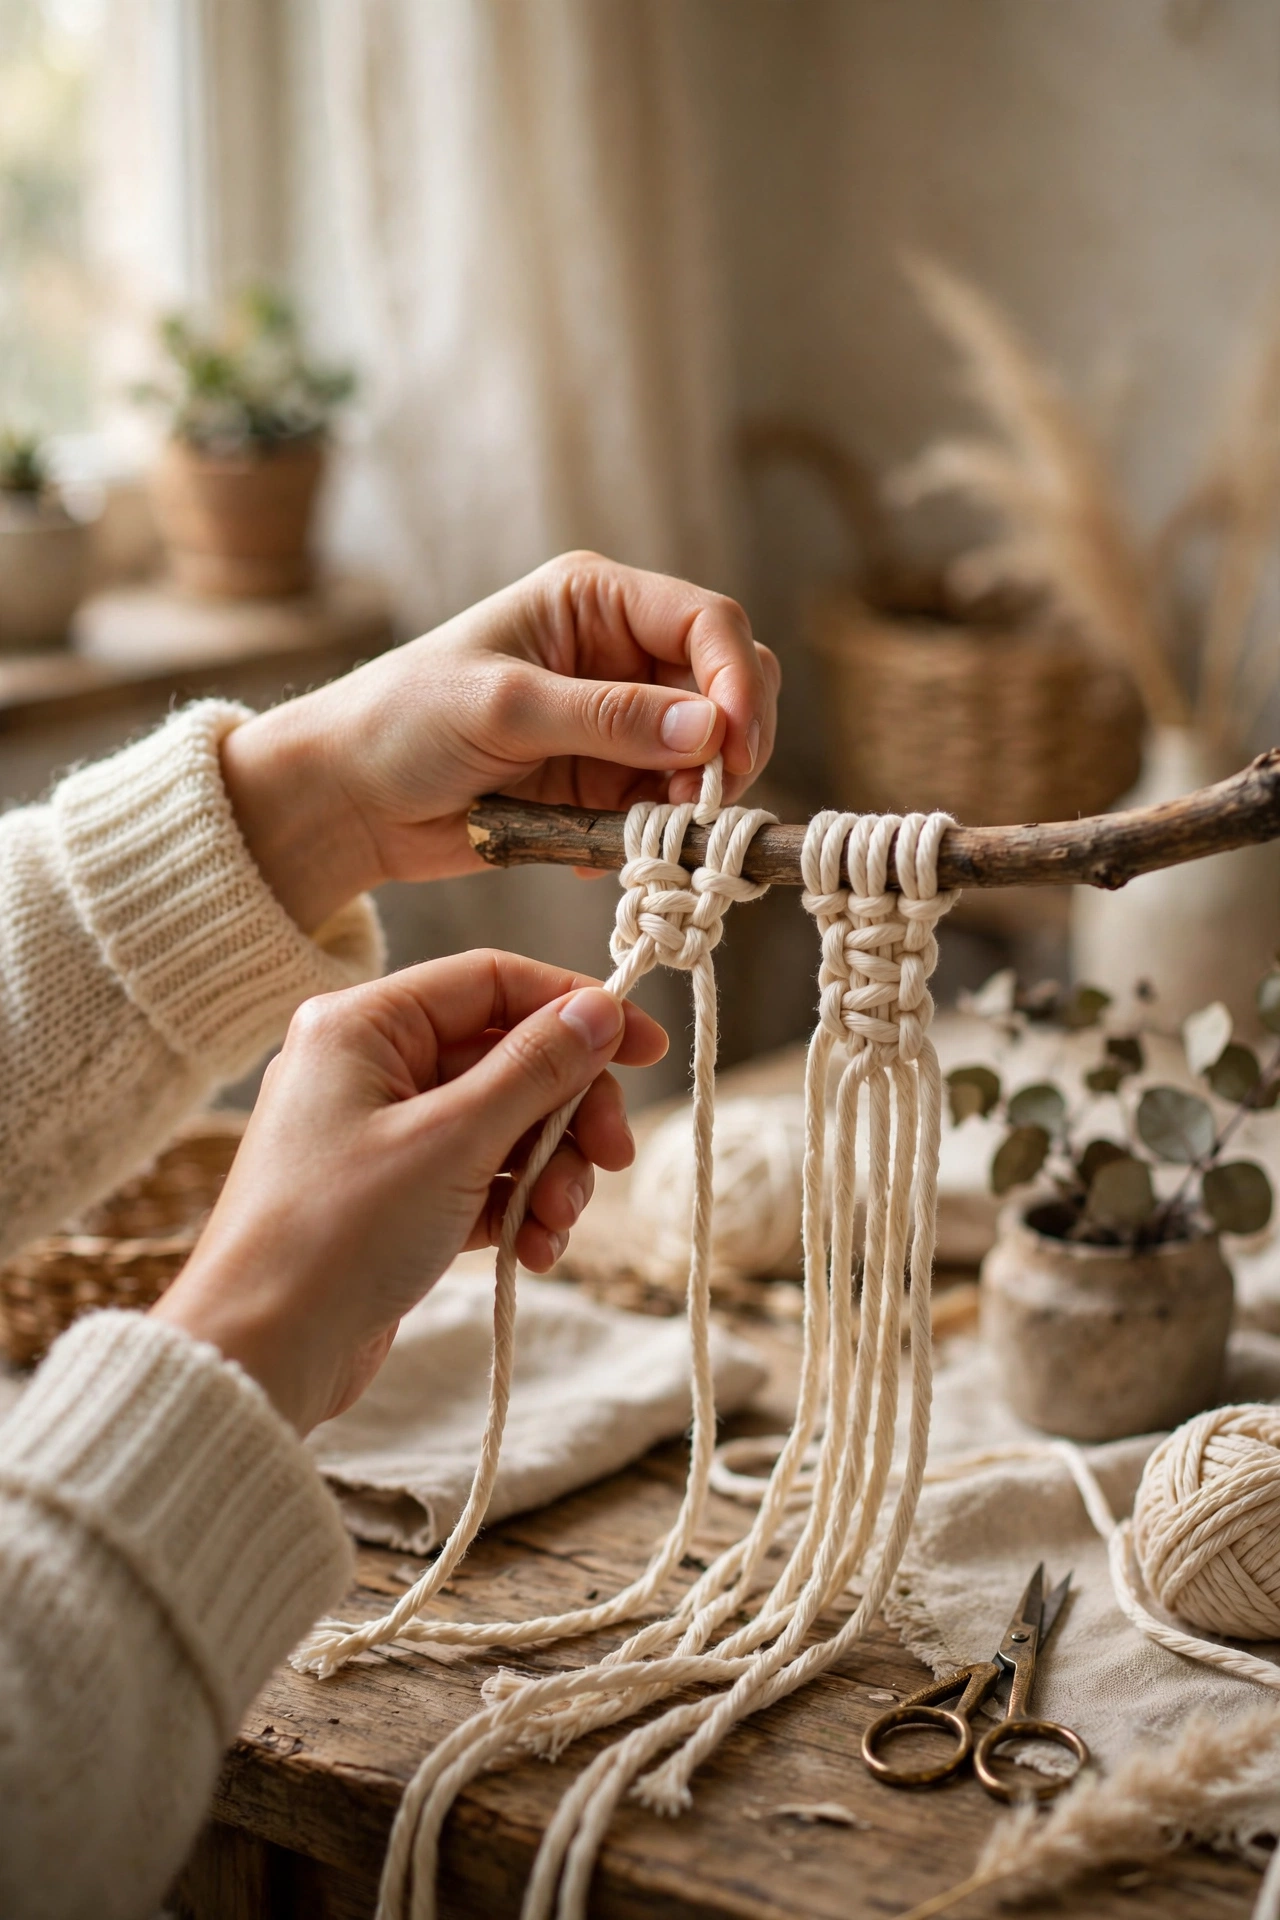
Macramé looks complicated but beginners only need one knot repeated. Find a straight, interesting branch on a walk and let it dry indoors for a week. Cut your cord into equal lengths, fold each over the branch, and tie lark’s head knots along its length, then work simple square knots downward in a pattern you like. My first hanging tangled into a bird’s nest because I did not cut all the cords before starting, so prep everything first. Trim the bottom into a V or straight edge and hang it from two nails. Cotton cord in natural cream suits every room and never looks dated.
Materials: Branch, cotton macramé cord, scissors | Cost: ~$4-9 | Time: 2 hours
8. Wine Cork Board Art
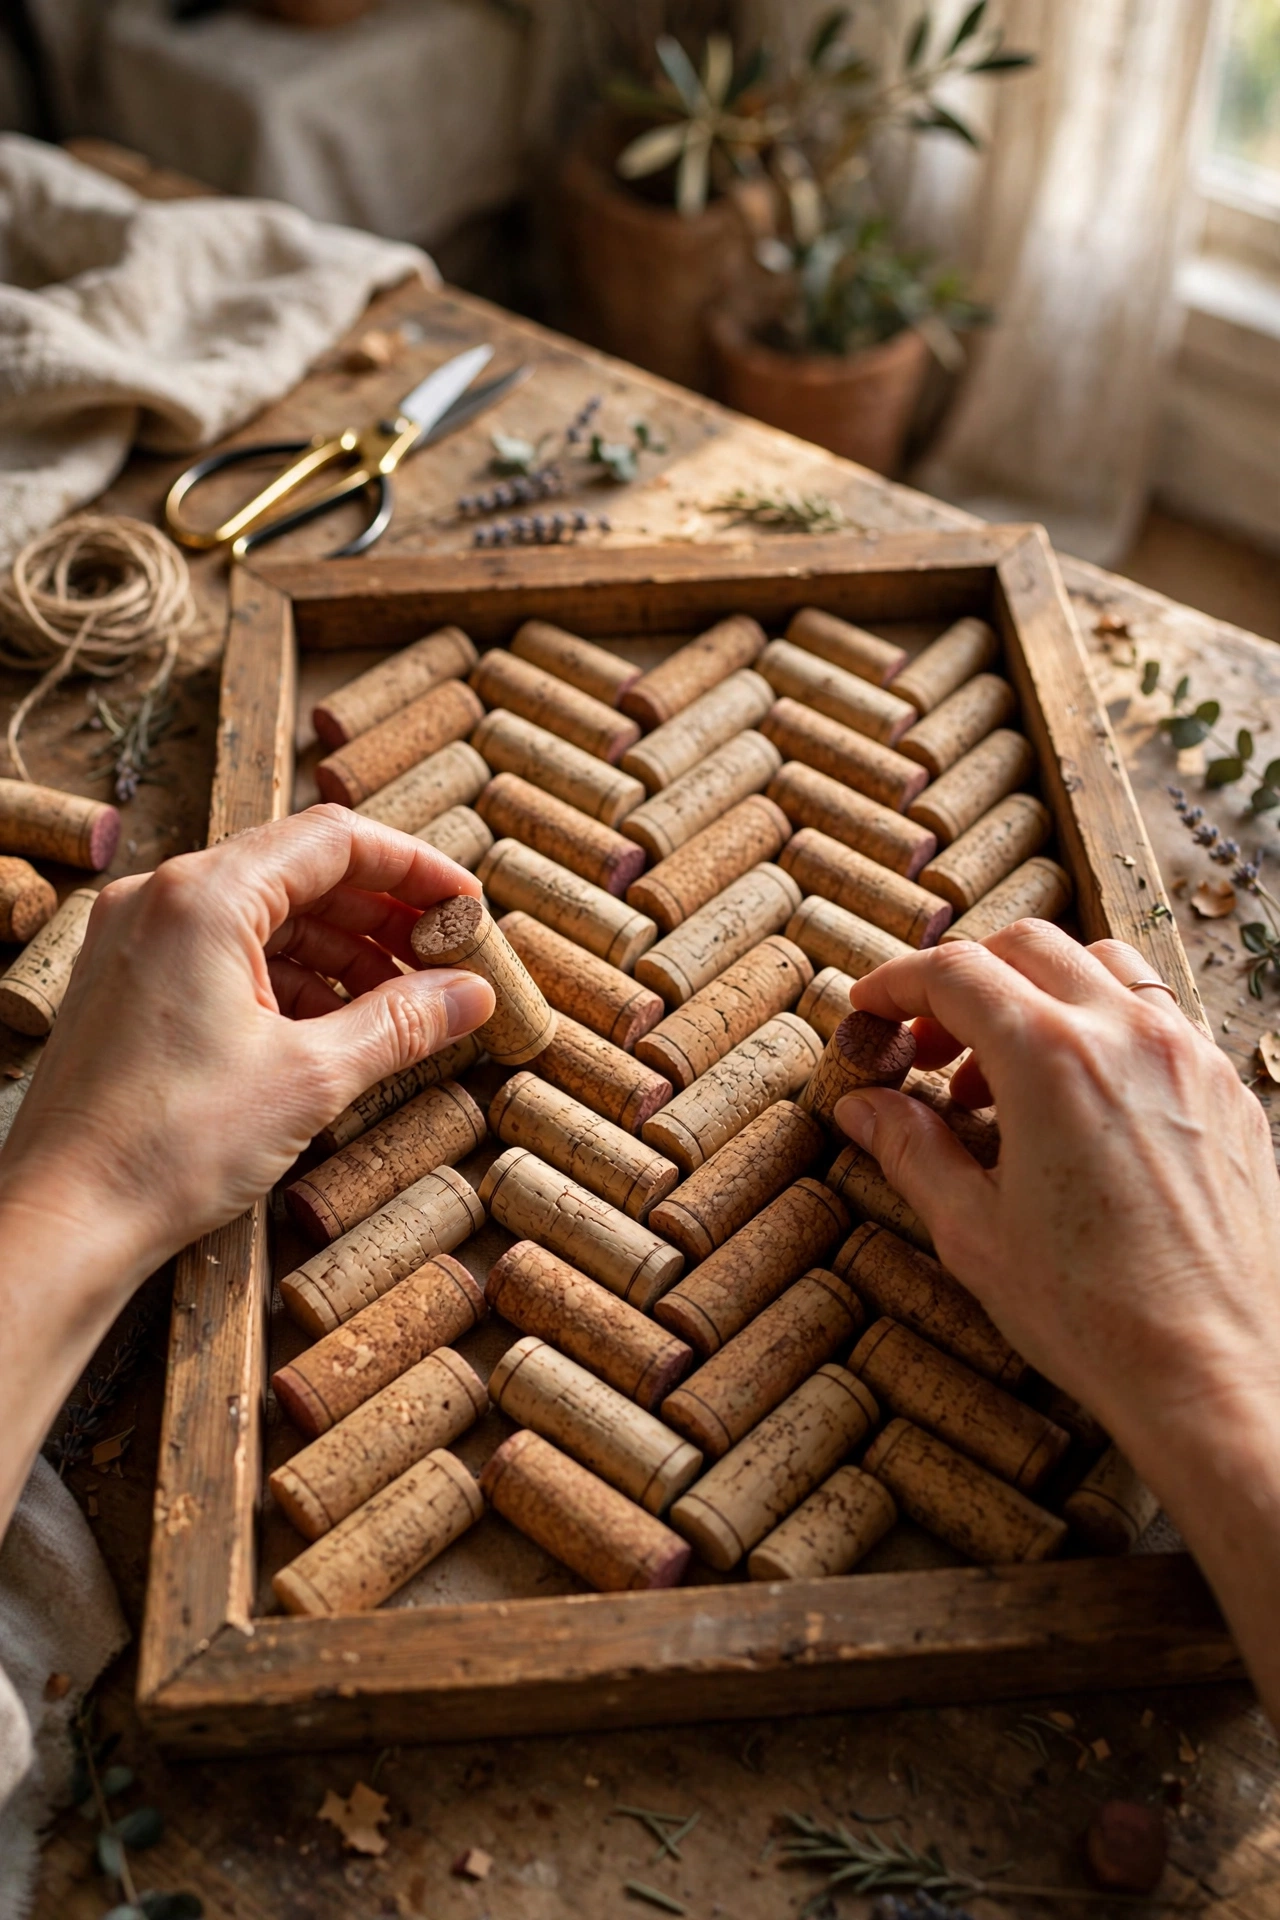
Save your corks and you will eventually have art material. Collect around sixty corks for an A4-sized piece, slice any uneven ones flat, and arrange them in a pattern, herringbone, stripes, or a simple heart, inside a shallow frame or on a board. I ran out halfway through my first piece and had to beg corks from friends, so start collecting early. Glue each cork with a strong adhesive and let the whole thing cure overnight before hanging. The texture is wonderfully tactile and the piece always starts conversations. Stain a few corks with red wine first for subtle colour variation.
Materials: ~60 wine corks, shallow frame or board, strong glue | Cost: ~$2-6 | Time: 1-2 hours
9. Pressed Leaf Gallery Wall
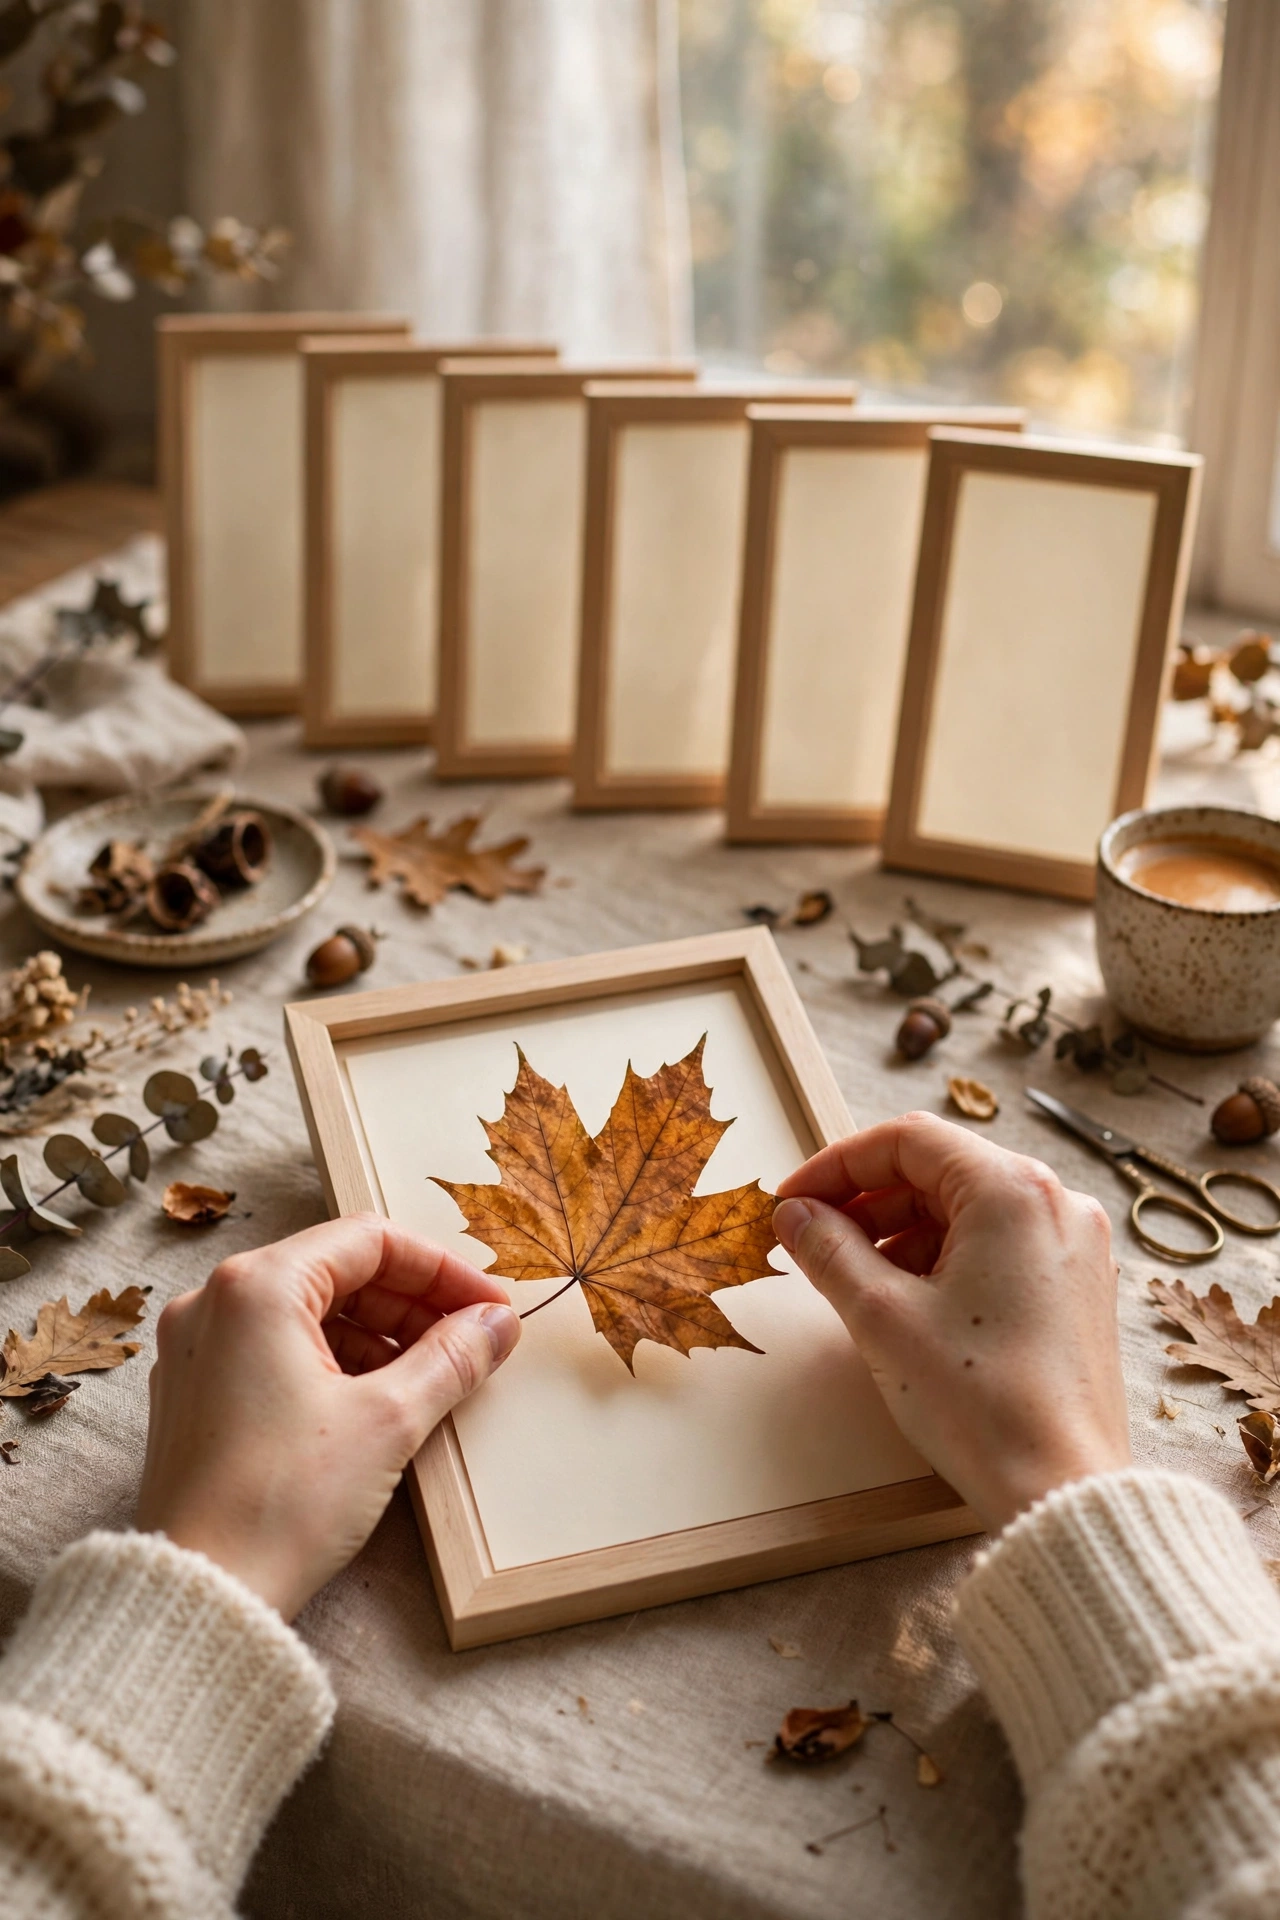
Autumn leaves pressed in books become free art with a short memory of a walk. Press leaves between blotting paper inside heavy books for two weeks until completely flat and dry. Arrange them simply on white or cream card, one leaf per frame, and use identical slim frames for a cohesive gallery. I framed mine in mismatched frames first and the wall looked chaotic, so uniformity matters here. Sage greens and warm ambers look stunning against pale walls, and if you love that palette, (see also: 19-sage-green-bedroom-decor-ideas-that-feel-dreamy/) shows how far it can go in a bedroom. Label each leaf underneath in pencil for a botanical-journal feel.
Materials: Leaves, heavy books, card, matching small frames | Cost: ~$3-7 | Time: 30 minutes plus pressing
10. Yarn-Wrapped Initial Letters
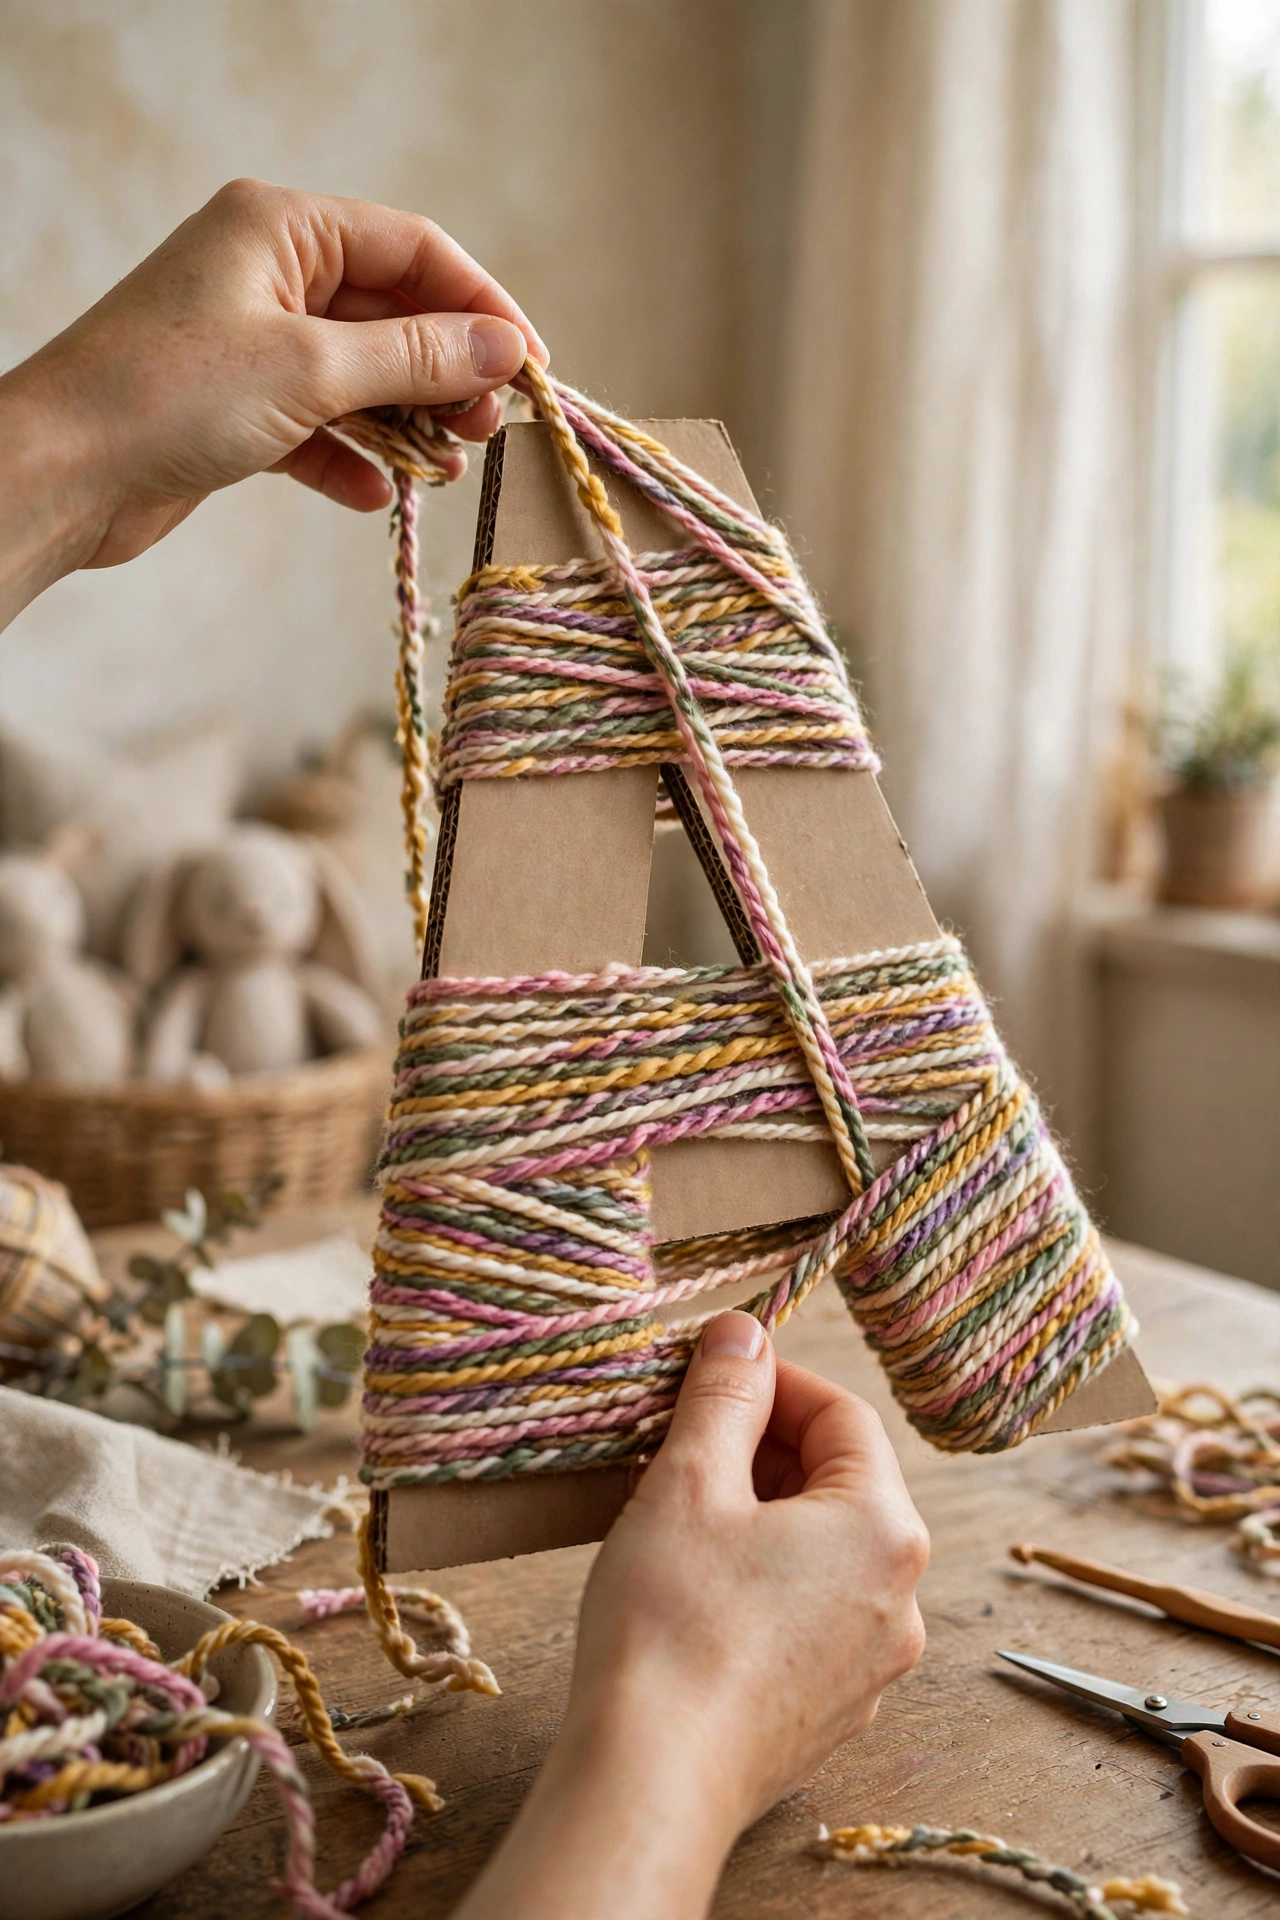
Big cardboard letters wrapped in yarn make cheerful, chunky wall art for kids’ rooms and nurseries. Choose a letter, wrap yarn tightly around it in overlapping passes, and keep the tension even so no cardboard shows through. My first letter had bald patches where I got lazy with the overlap, so slow down at the curves. Secure the yarn end at the back with hot glue and add a small loop for hanging. Variegated yarn does the design work for you, shifting colour as you wrap. Make a whole name or just one proud initial above a bed.
Materials: Cardboard letter, ball of yarn, hot glue gun | Cost: ~$3-7 | Time: 1 hour
11. Continuous Line Art on Plywood
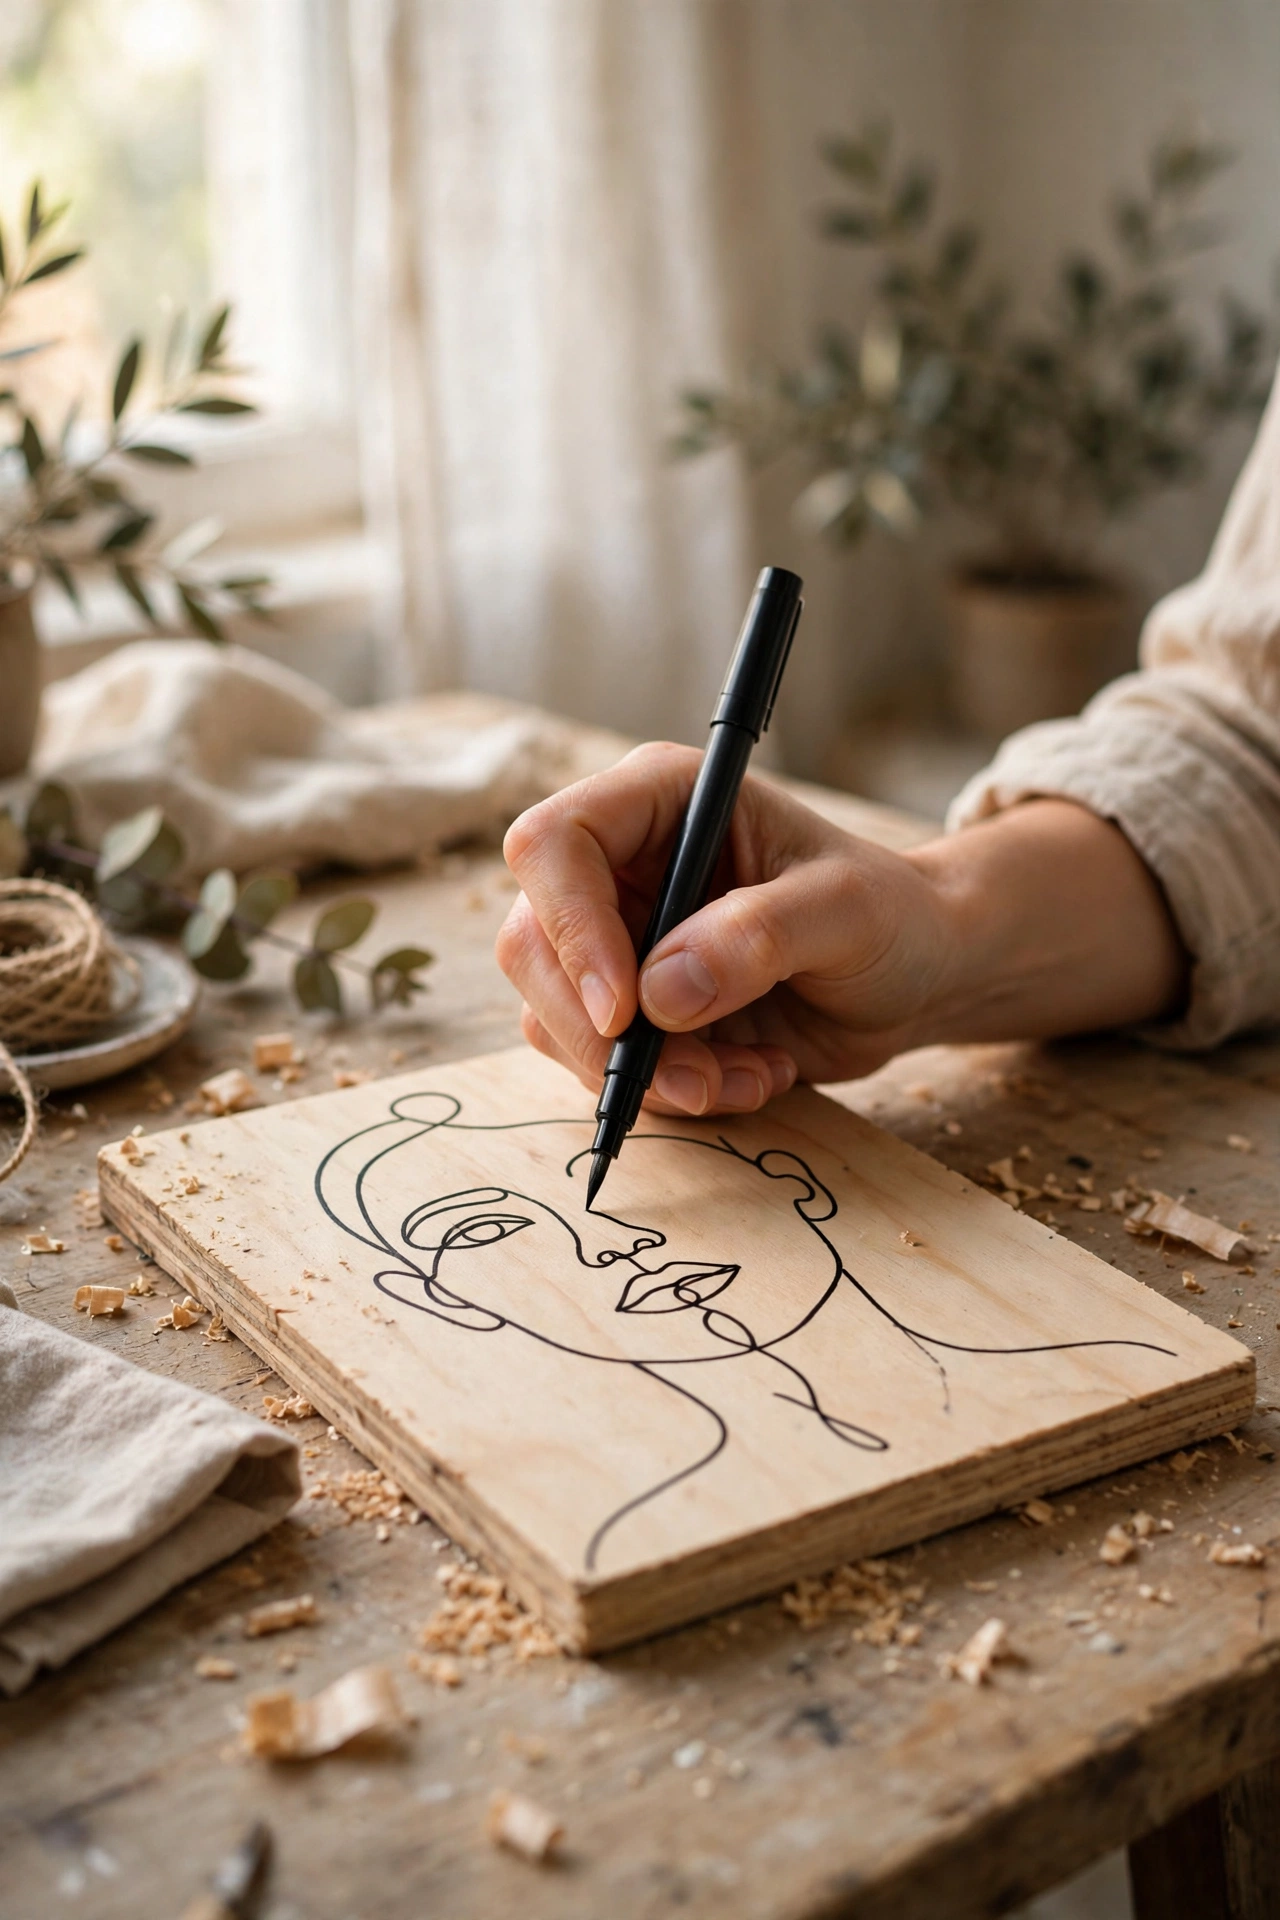
One unbroken line can draw a face, and the wobble is part of the charm. Lightly sketch your design on a small plywood offcut in pencil, then trace it in one confident pass with a black paint pen or thin brush. I overworked my first attempt, going over lines again and again until it looked nervous, so commit to a single pass. Sand the plywood edges smooth first and leave the wood grain visible as your background. Faces, hands, and simple botanical outlines all suit this style. Seal with clear matte varnish so the lines never smudge.
Materials: Plywood offcut, black paint pen, sandpaper, matte varnish | Cost: ~$3-7 | Time: 45 minutes
12. Photo Clip String Display
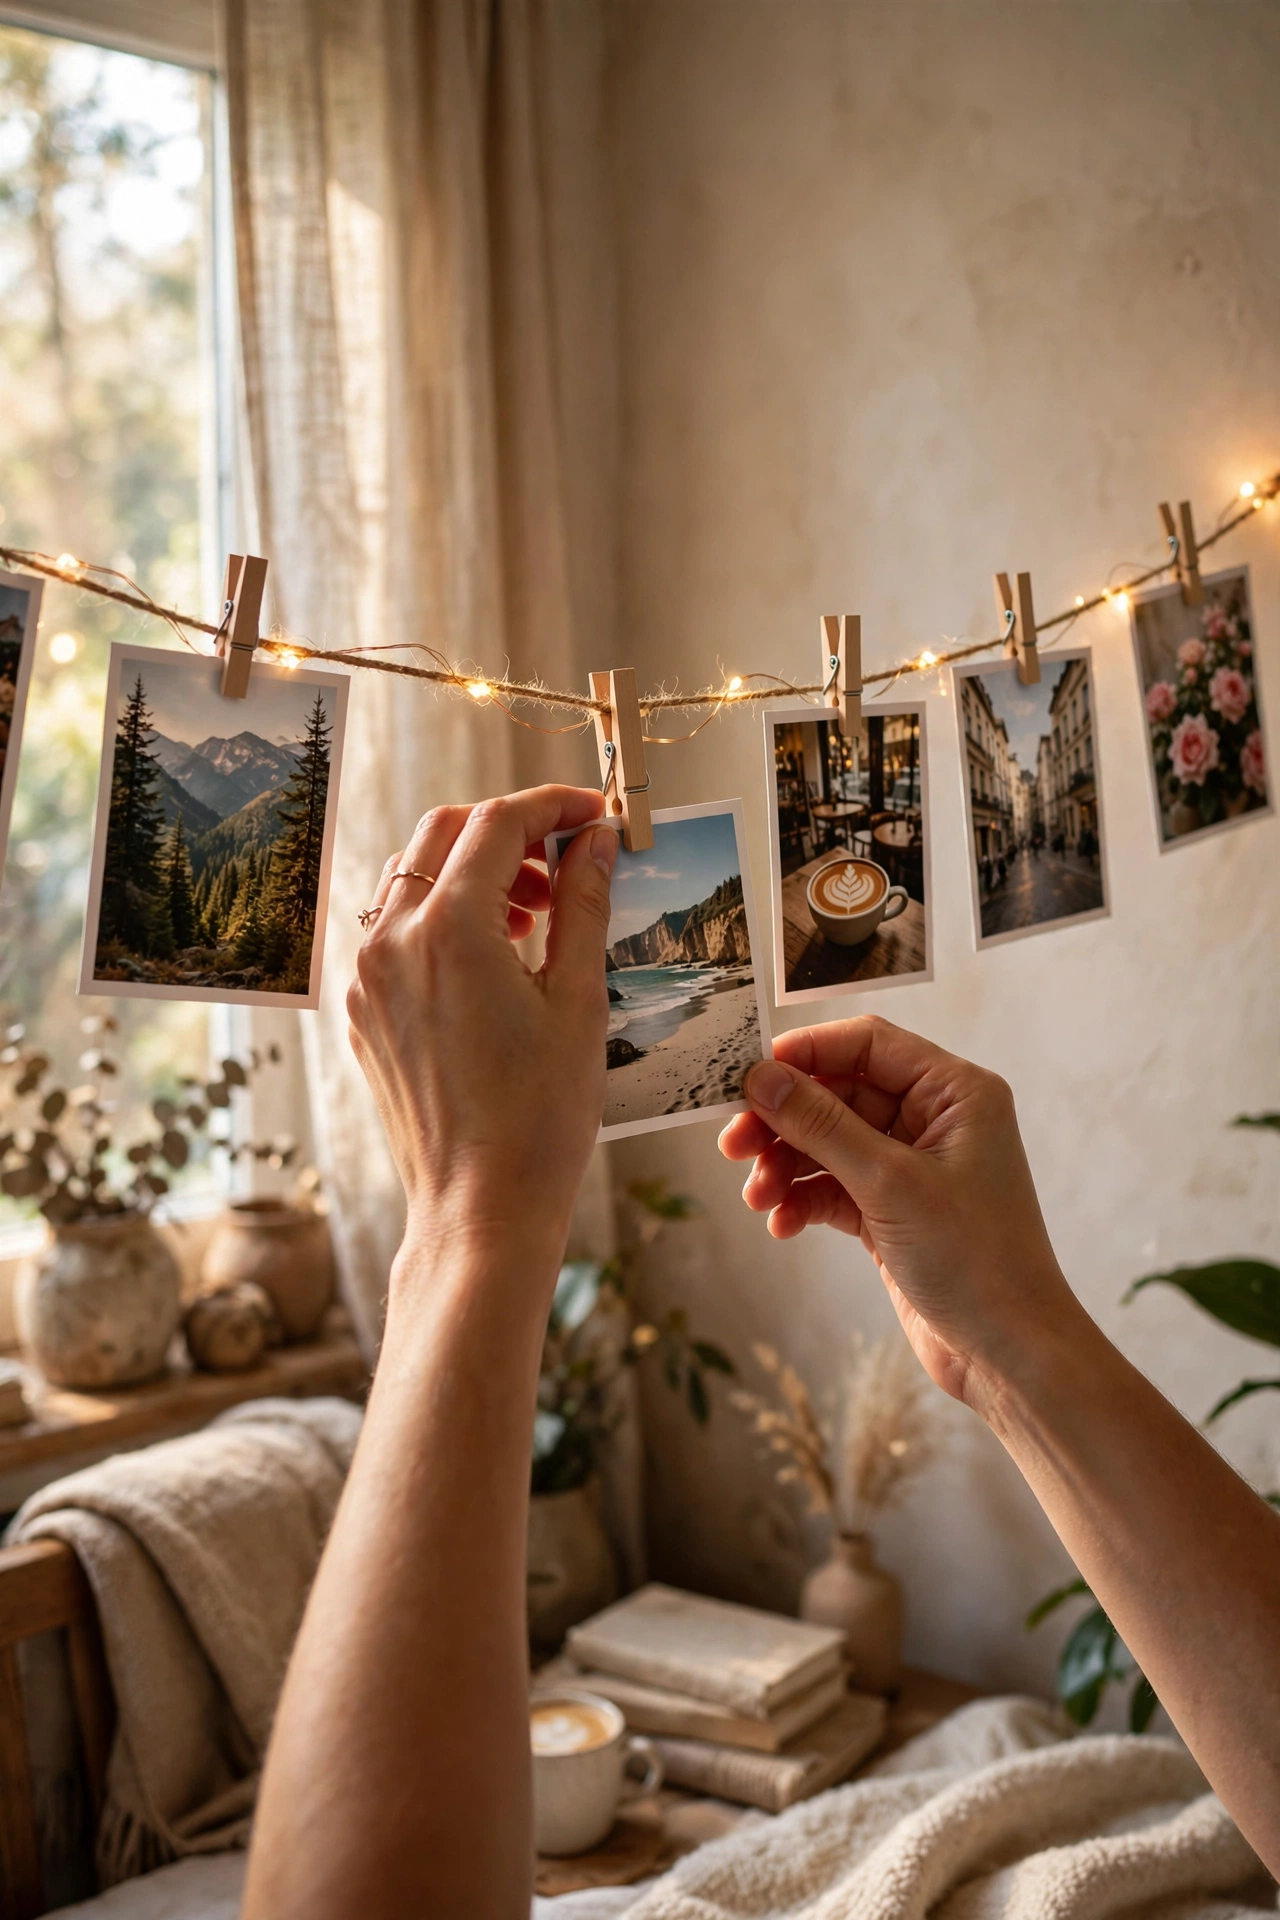
Some walls want memories, not art, and a string of clipped photos delivers. Fix two small hooks or nails at your chosen width, string natural twine between them with a slight sag, and hang prints from mini wooden pegs. Print your photos on heavier card rather than flimsy paper, because my first set curled within days and looked sad. Keep prints the same size for order, or mix sizes deliberately for a casual feel. Fairy lights woven through the string turn it magical after dark. It is the easiest gallery wall in existence and updating it takes minutes.
Materials: Twine, mini pegs, photo prints on card, 2 hooks | Cost: ~$3-8 | Time: 30 minutes
13. Stencilled Quote Canvas
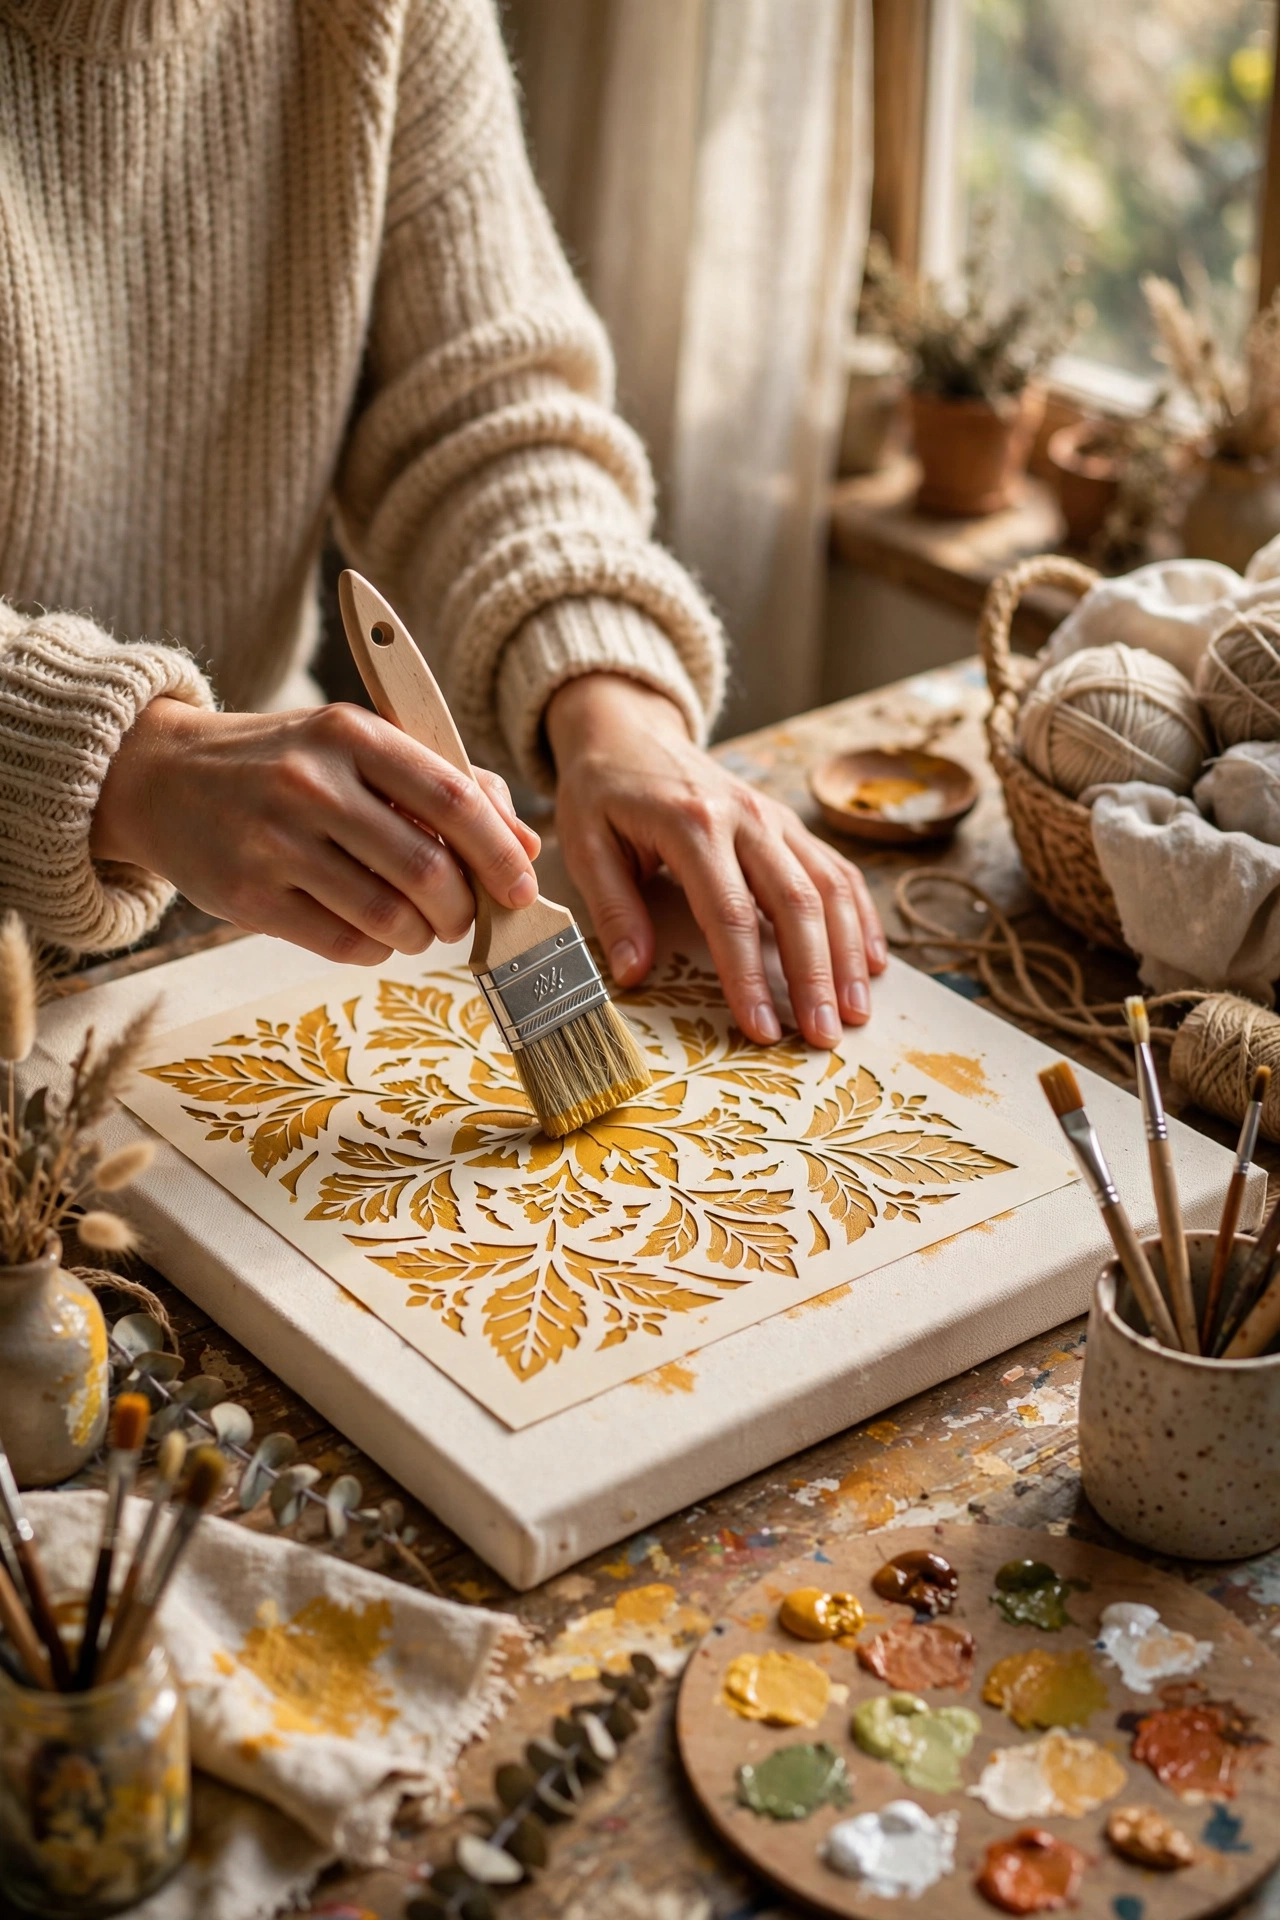
A favourite quote in a beautiful stencil beats a printed poster every time. Position your stencil on a painted canvas and secure it with low-tack tape so nothing shifts mid-project. Load a stencil brush or sponge with paint, then offload most of it onto scrap paper, because excess paint is what seeps under stencil edges. I learned this after my first word came out with fuzzy, bleeding letters. Dab straight up and down rather than brushing sideways, build the colour in two light coats, and peel the stencil while the paint is damp. Choose short quotes, because long ones shrink the lettering unreadably small.
Materials: Canvas, stencil, stencil brush, acrylic paint | Cost: ~$4-9 | Time: 1 hour
14. Woven Paper Strip Wall Hanging
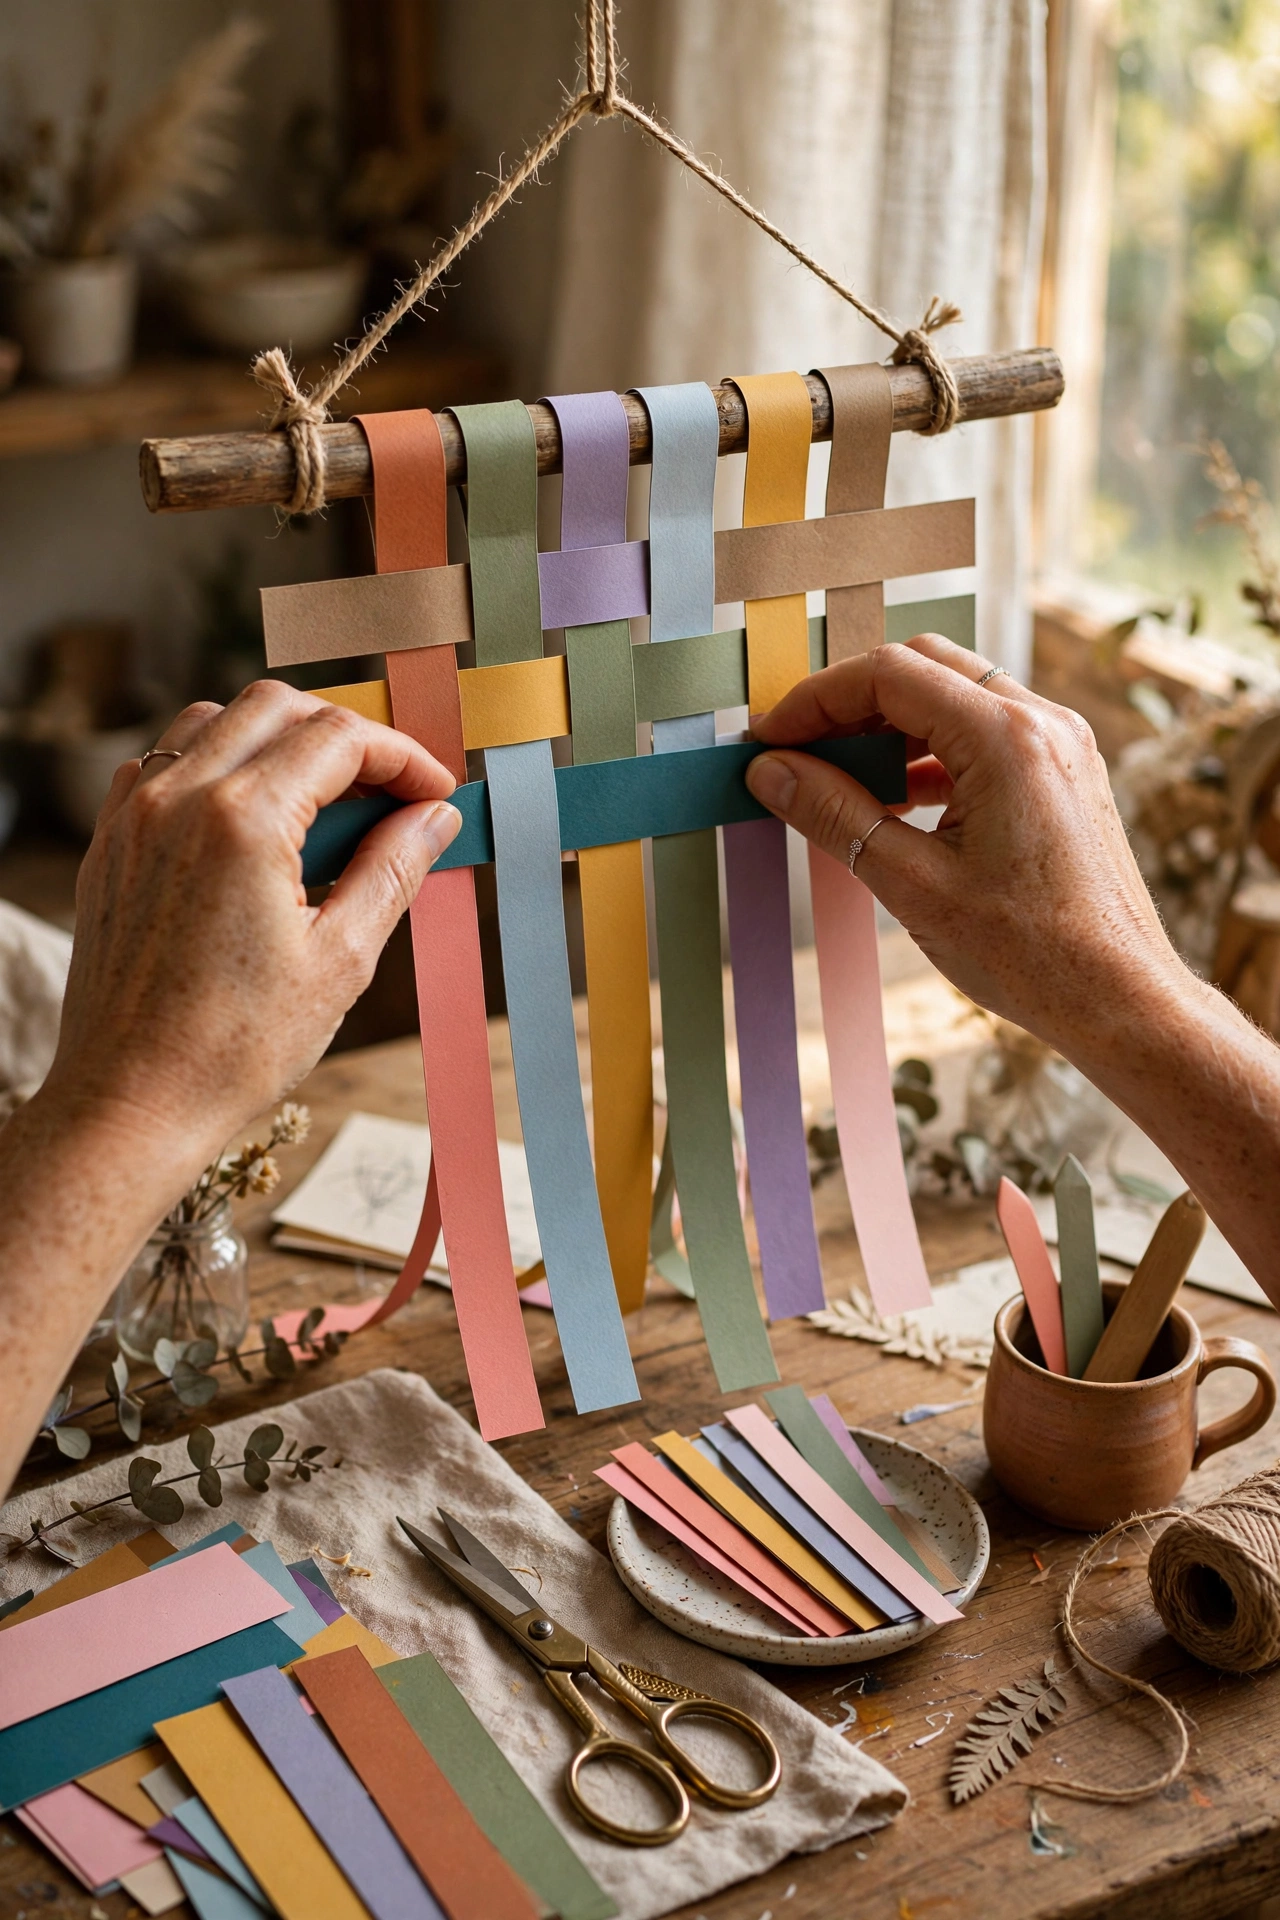
Weaving sounds advanced until you realise it is just over-under repeated. Cut strips of cardstock in two or three coordinating colours, anchor the vertical strips to a wooden dowel with tape, and weave horizontal strips over and under. My first attempt used thin paper and tore halfway through, so cardstock is worth the upgrade. Push each row snug against the last and trim the bottom into points or a straight edge. The result has a lovely handmade textile feel without any textile skills. Hang it from a leather cord or simple twine.
Materials: Cardstock in 2-3 colours, wooden dowel, tape, scissors | Cost: ~$3-6 | Time: 1-2 hours
15. Paint Chip Ombre Mosaic
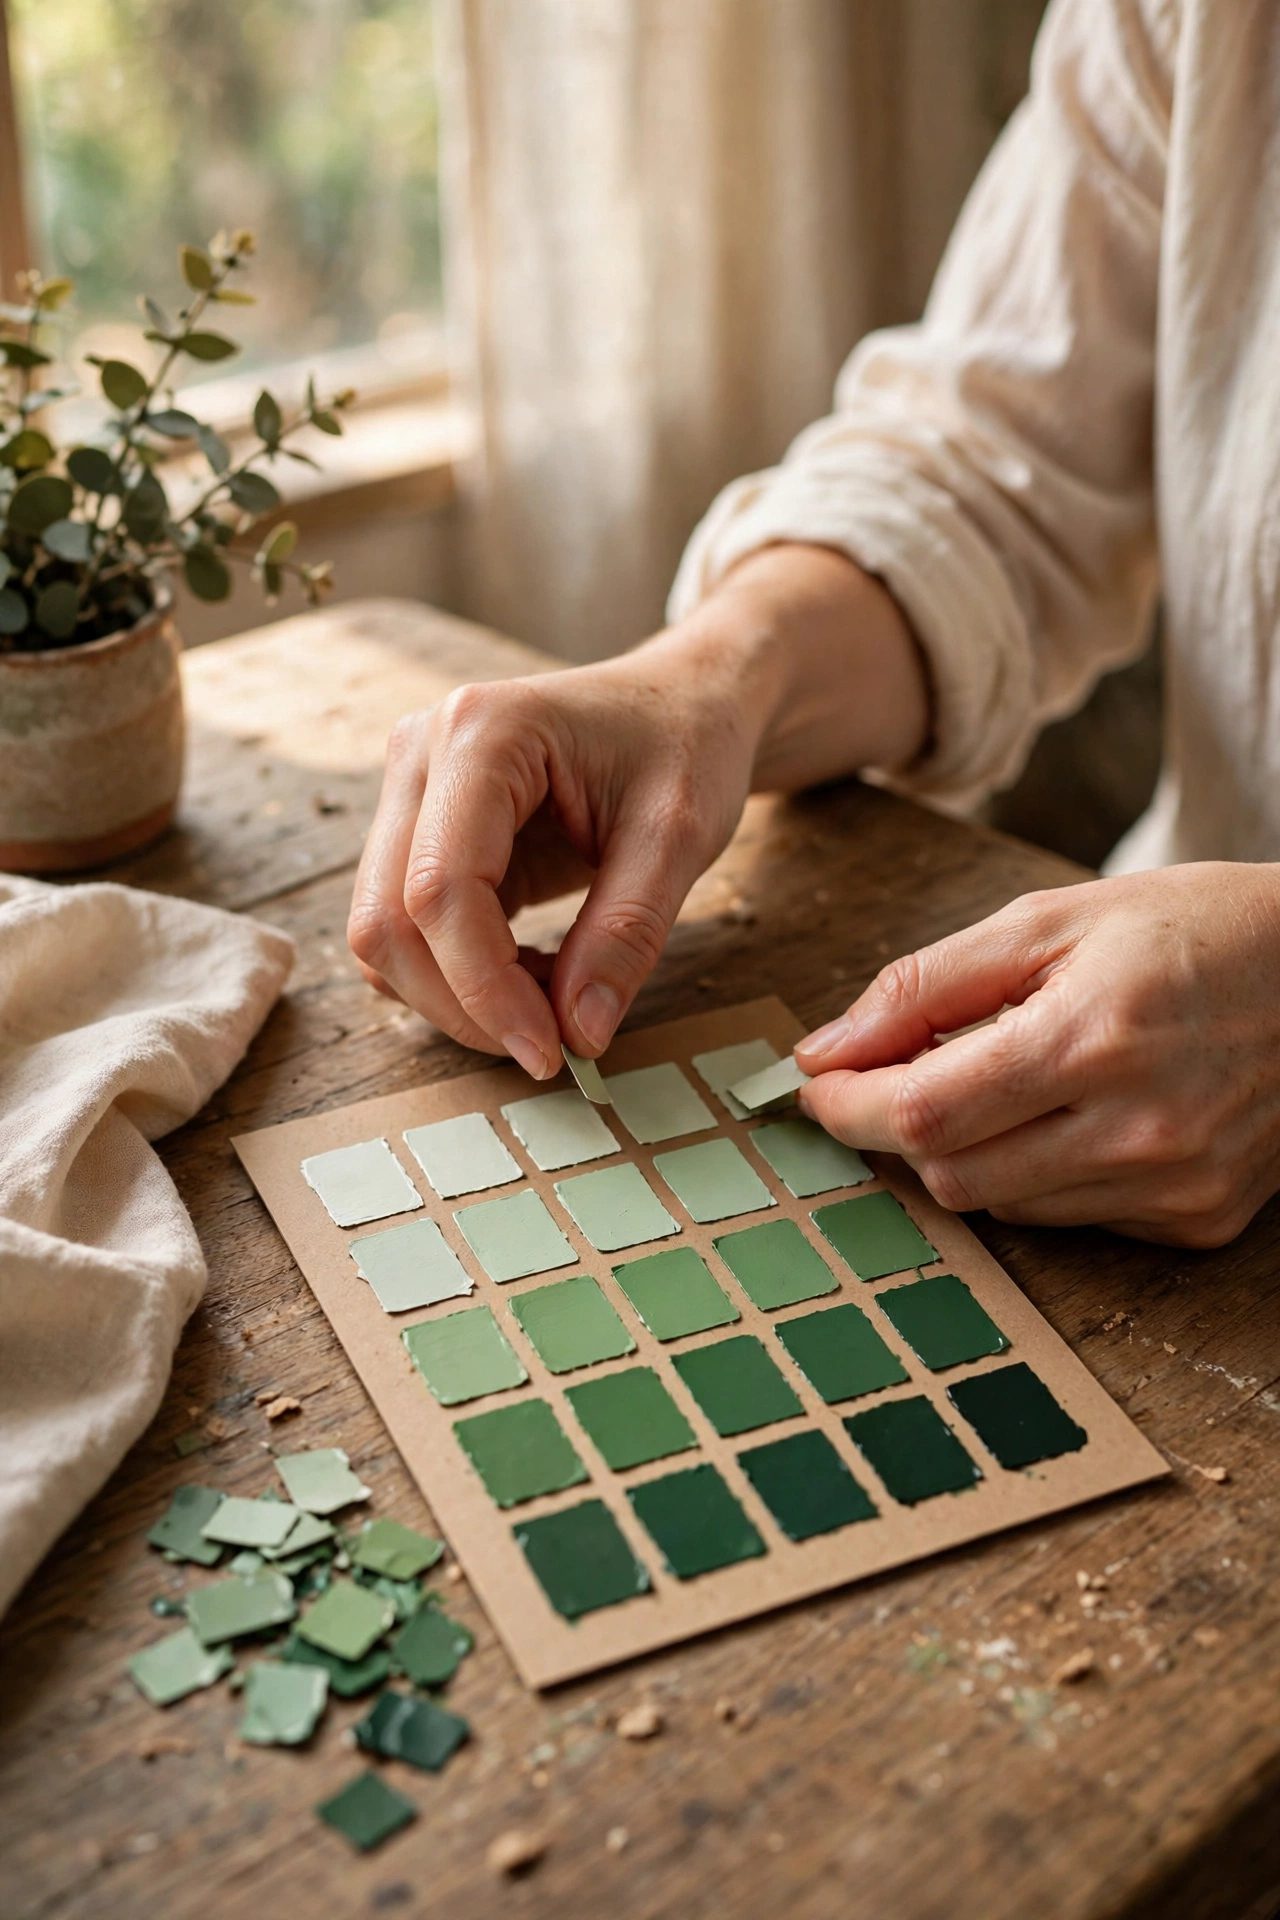
Those free paint chips at the DIY shop are a mosaic waiting to happen. Collect chips in one colour family, arrange them from lightest to darkest in a grid on card, and fix each with double-sided tape. I used glue on my first mosaic and the chips buckled in bathroom humidity, so tape is safer. Frame the finished gradient under glass for a piece that genuinely looks like modern colour-field art. Greens fading to deep forest, or blues running to navy, work beautifully. It costs nothing but patience, and (see also: 17-thrifted-bedroom-decor-that-look-expensive/) proves how far free materials can go when they are presented well.
Materials: Paint sample chips, card, double-sided tape, frame | Cost: ~$1-4 | Time: 1 hour
Pin this post now so you can save this idea for your next weekend project run! Start with the $4 canvas, because the cheapest project is the one that proves you can do this.
