19 Renter-Friendly Bedroom Ideas You Can Take With You
If you rent, you know the bedroom decorating struggle: every cute idea seems to need a drill, and your lease agreement says otherwise. I’ve lived in four rentals in six years, and I’ve gotten really good at renter friendly bedroom ideas that look custom but leave zero damage behind. Everything in this post is portable, patch-free, and safe for your security deposit, so you can decorate with confidence and take it all with you when you move.
I’ve included real prices for everything below, and most ideas take under an hour. Work through them in any order, pick what fits your space and budget, and skip the rest. Nothing here requires asking your landlord for permission, and nothing stays behind unless you want it to.
1. Command-Strip Gallery Wall
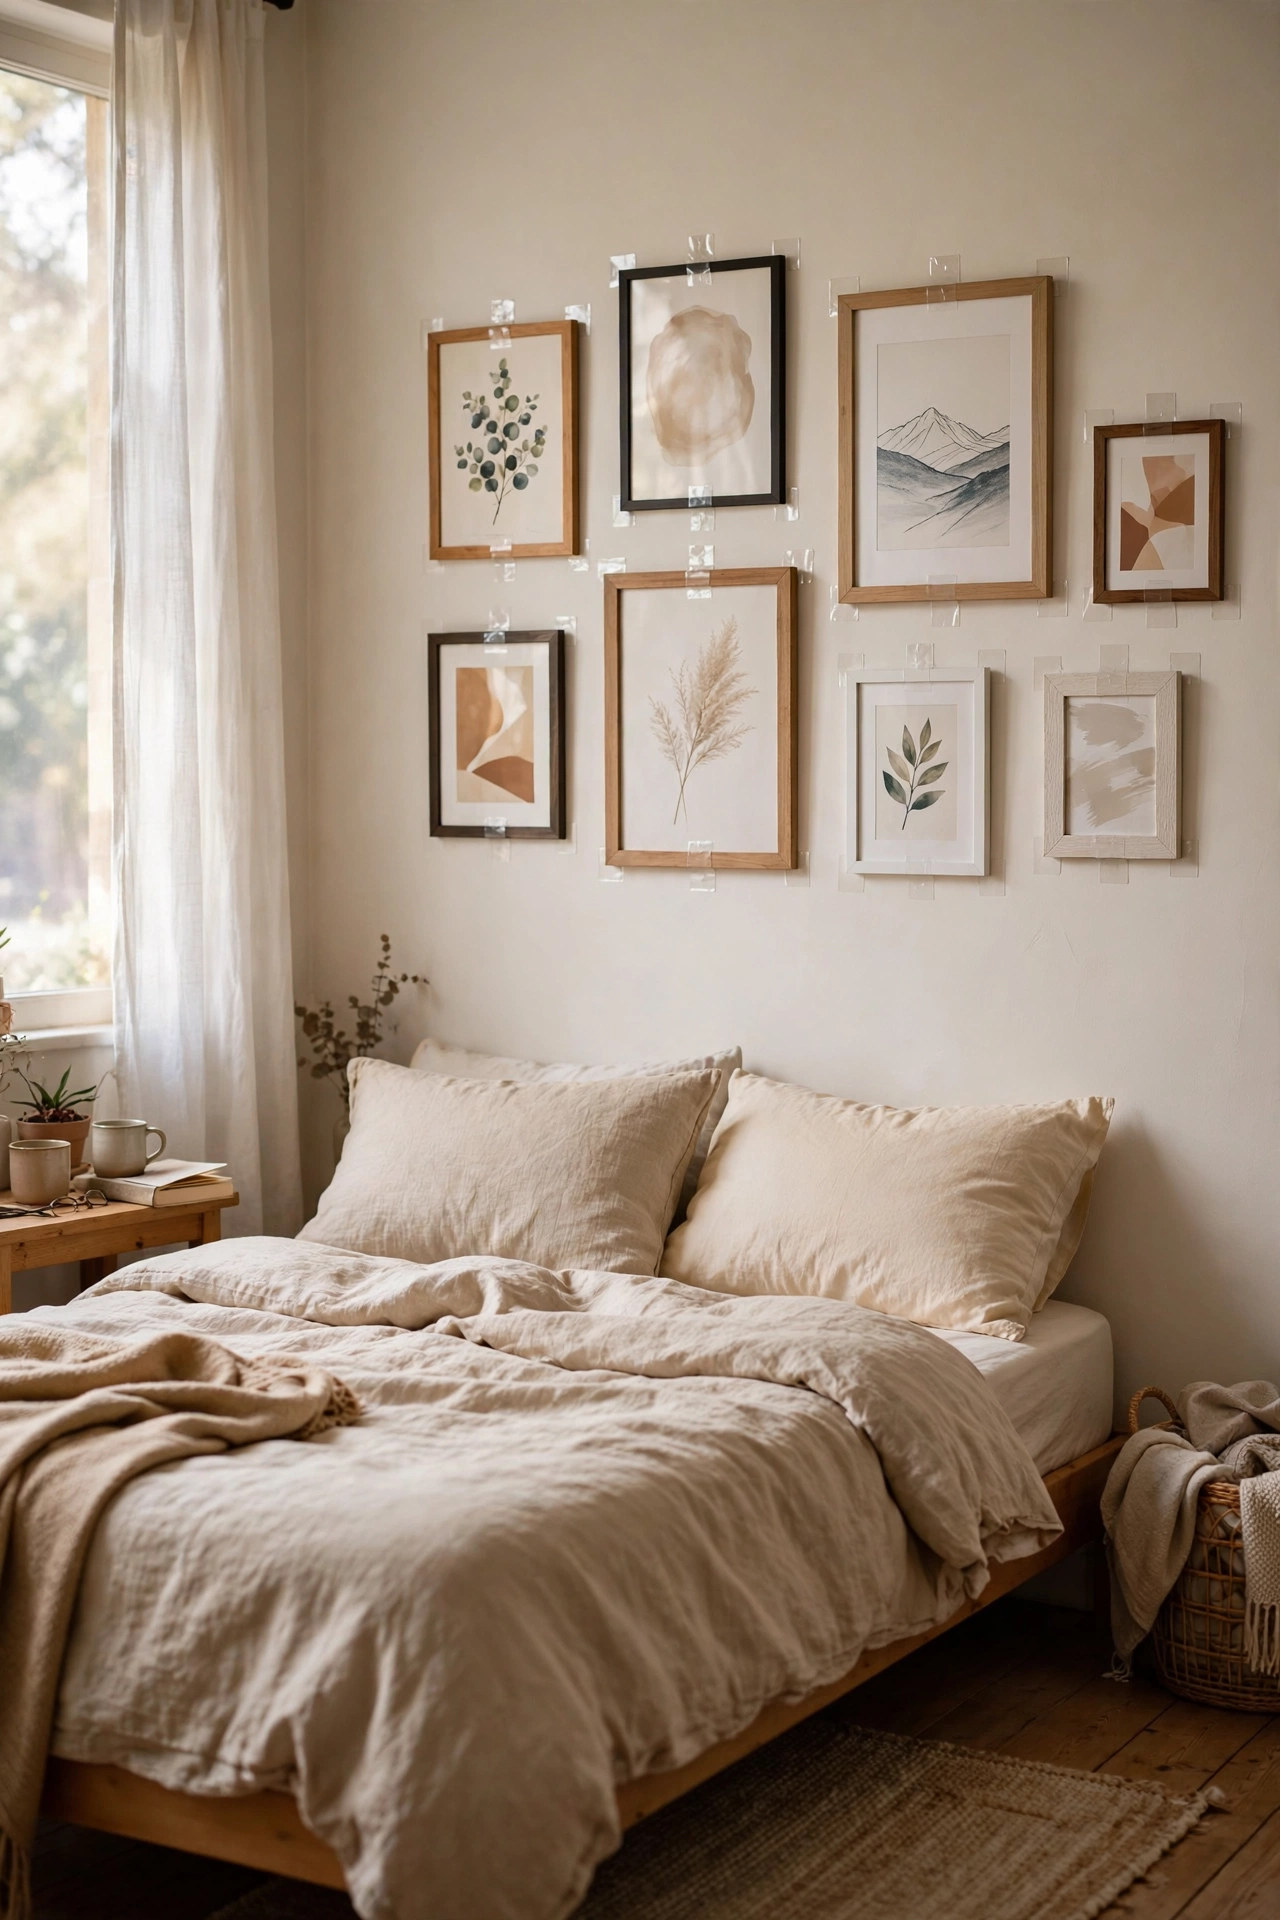
I hung my first gallery wall in my second apartment using only large Command picture-hanging strips, and my landlord never knew it existed. Plan your layout on the floor first, snap a phone photo, then transfer it to the wall with painter’s tape as a guide. Press each strip firmly for 30 seconds and wait an hour before hanging frames. Don’t make my mistake of using the small strips for heavy frames. My biggest frame came crashing down at 2 a.m. because I cheaped out on the weight rating. Use the large pairs rated for the actual weight, and when moving day comes, the pull-tab strips come off cleanly with zero holes to patch.
Cost: ~$12-18 for a multi-pack of strips | Time: 45 minutes
2. Peel-and-Stick Wallpaper Accent Wall
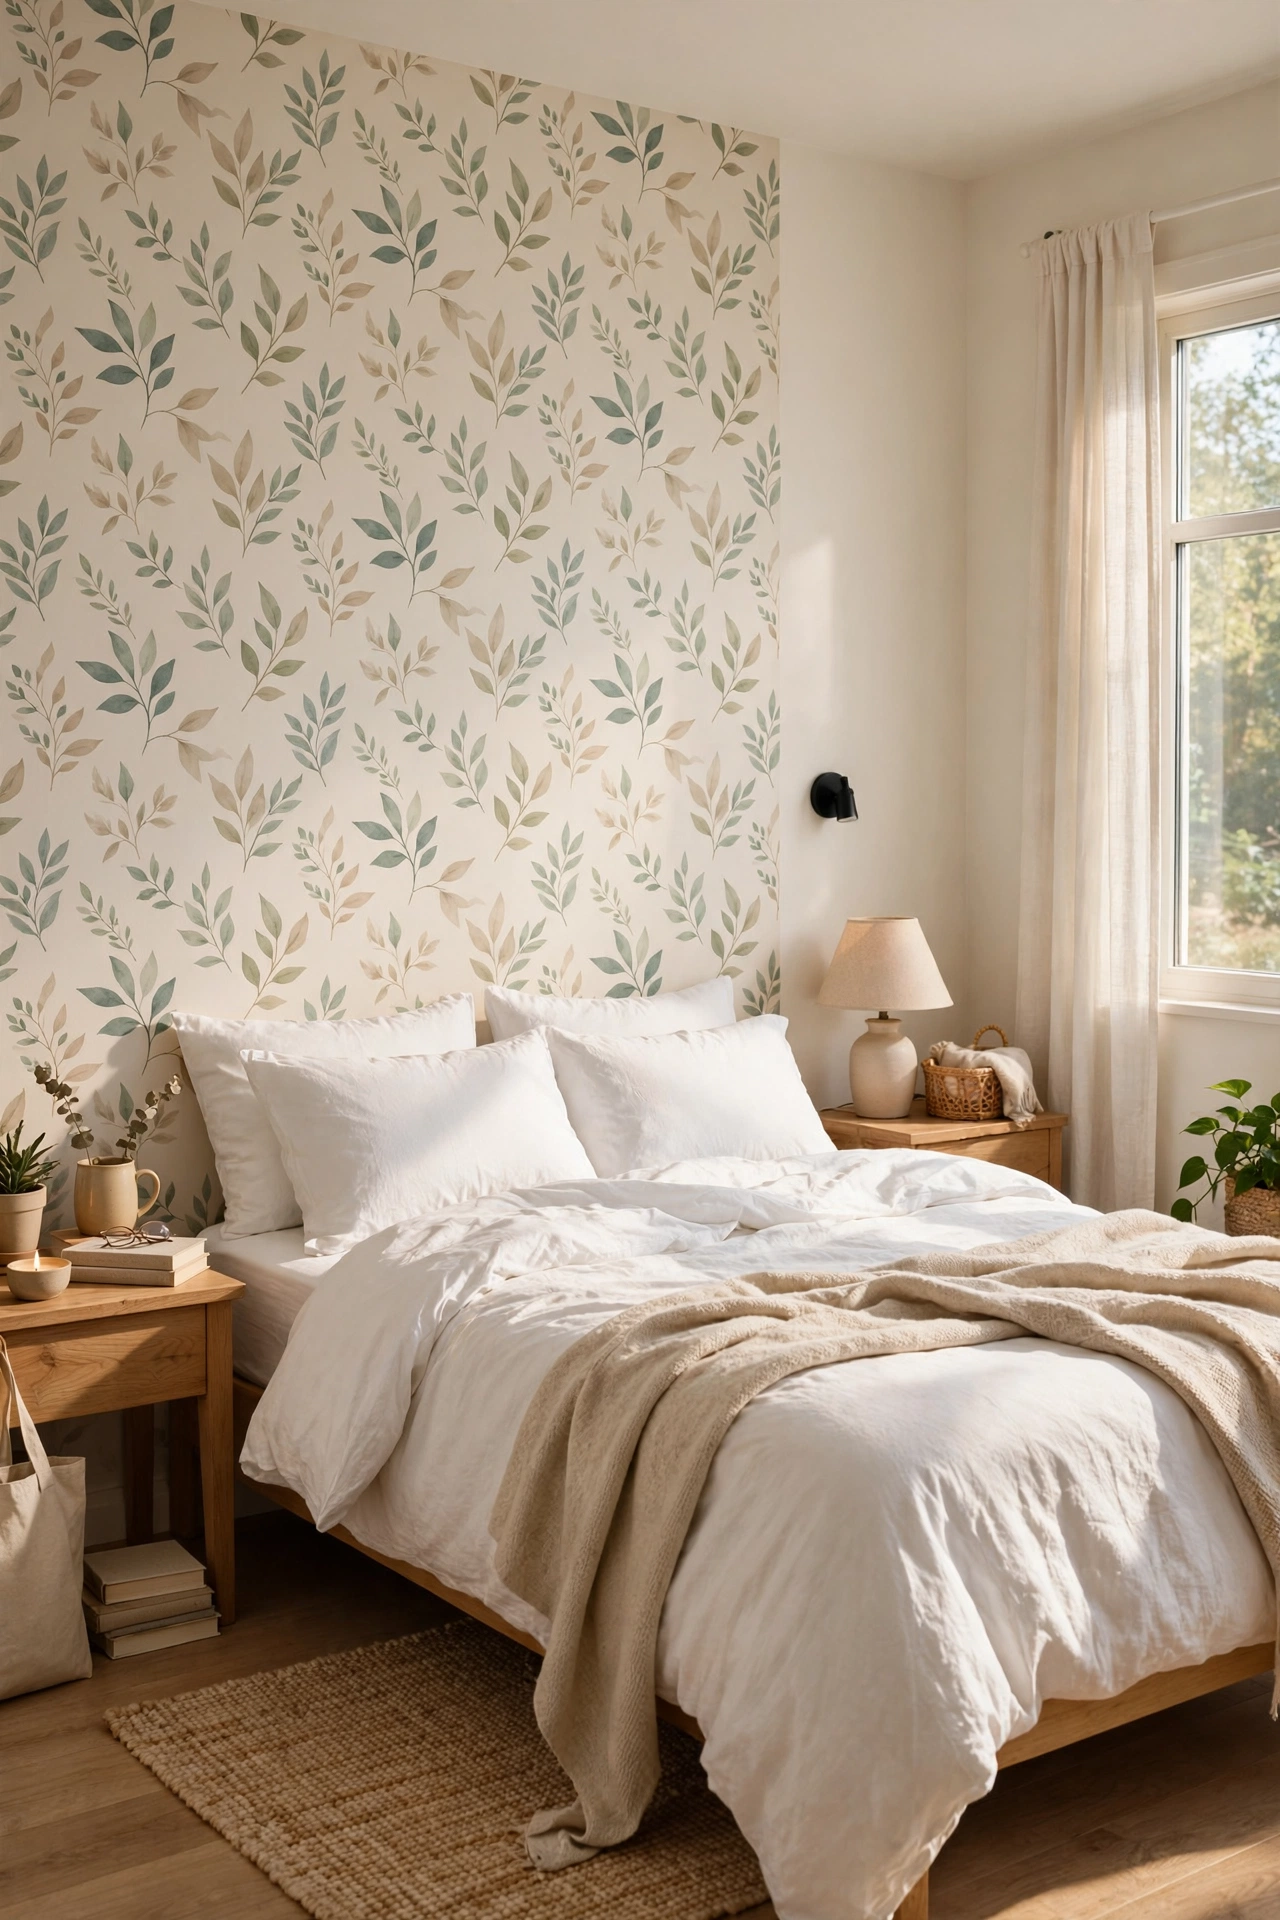
Peel-and-stick wallpaper changed everything for my rental bedrooms. It looks like real wallpaper, costs a fraction, and peels off cleanly when you move. Pick one wall, usually the one behind the bed, and measure twice before ordering. Most brands recommend ordering 10 percent extra for pattern matching. Start at the top and smooth downward with a credit card or squeegee, working out bubbles as you go. I tried this on a Saturday and learned the hard way that textured walls are the enemy. If your walls have heavy orange-peel texture, the edges will lift within weeks. On smooth walls it holds for years, and removal took me twenty minutes with a hair dryer on warm.
Cost: ~$30-50 per wall | Time: 2 hours
3. Leaning Floor Mirror
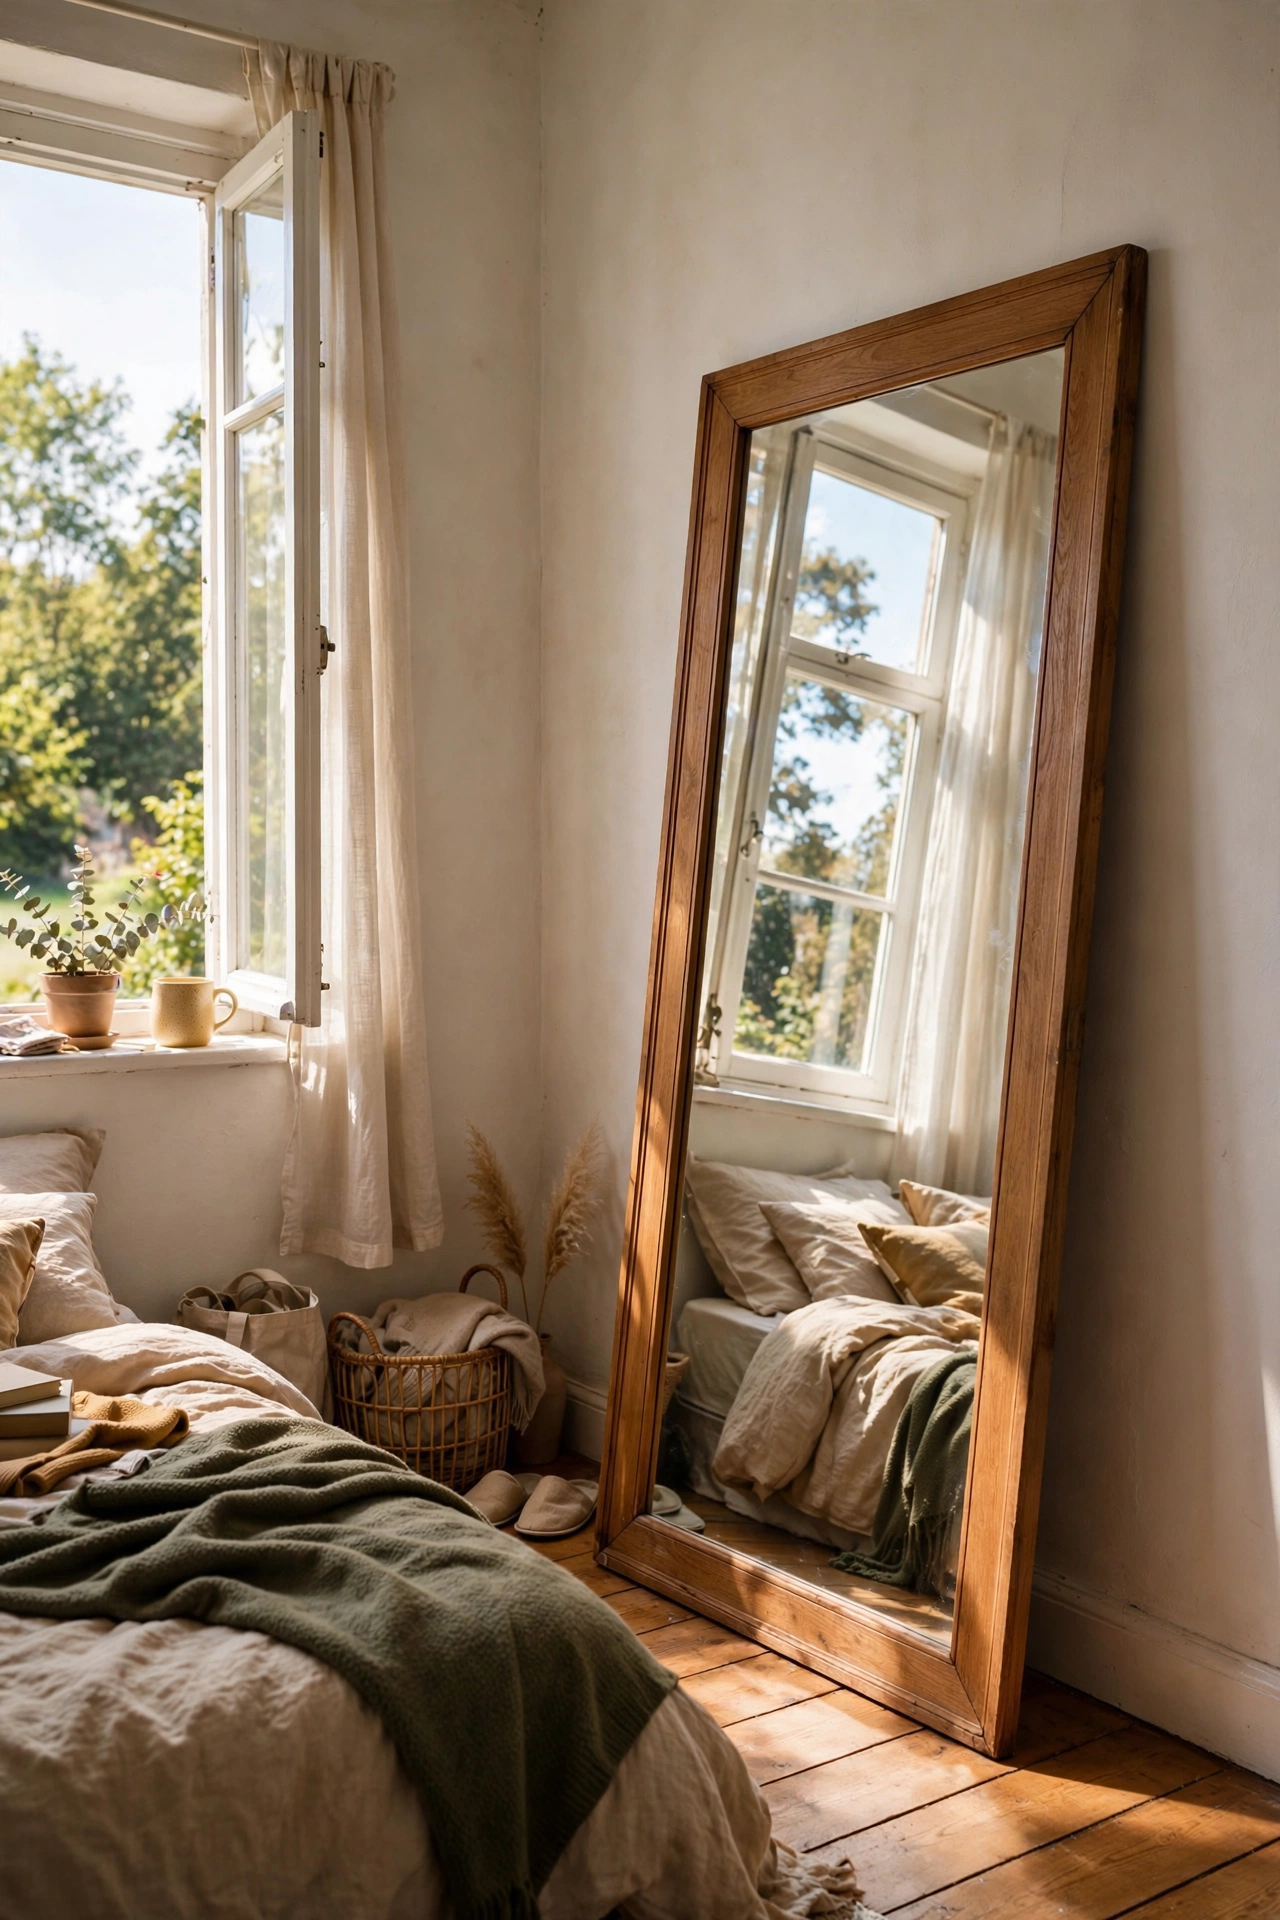
A big leaning mirror makes a small rental bedroom feel twice as big, and you never have to touch the wall. I found mine on Facebook Marketplace for $40 from someone moving out of state. Lean it against the wall at a slight angle, anchor the top with a pair of heavy-duty Command strips or museum putty for safety, and keep it away from high-traffic edges. Don’t make my mistake of placing it where my bedroom door swings. One bump and I had a heart-stopping wobble that nearly ended in seven years of bad luck. Choose a mirror with a sturdy frame and a wide enough base to stand on its own. It bounces window light around the room beautifully.
Cost: ~$40-80 secondhand | Time: 15 minutes
4. Over-the-Door Hooks and Organizers
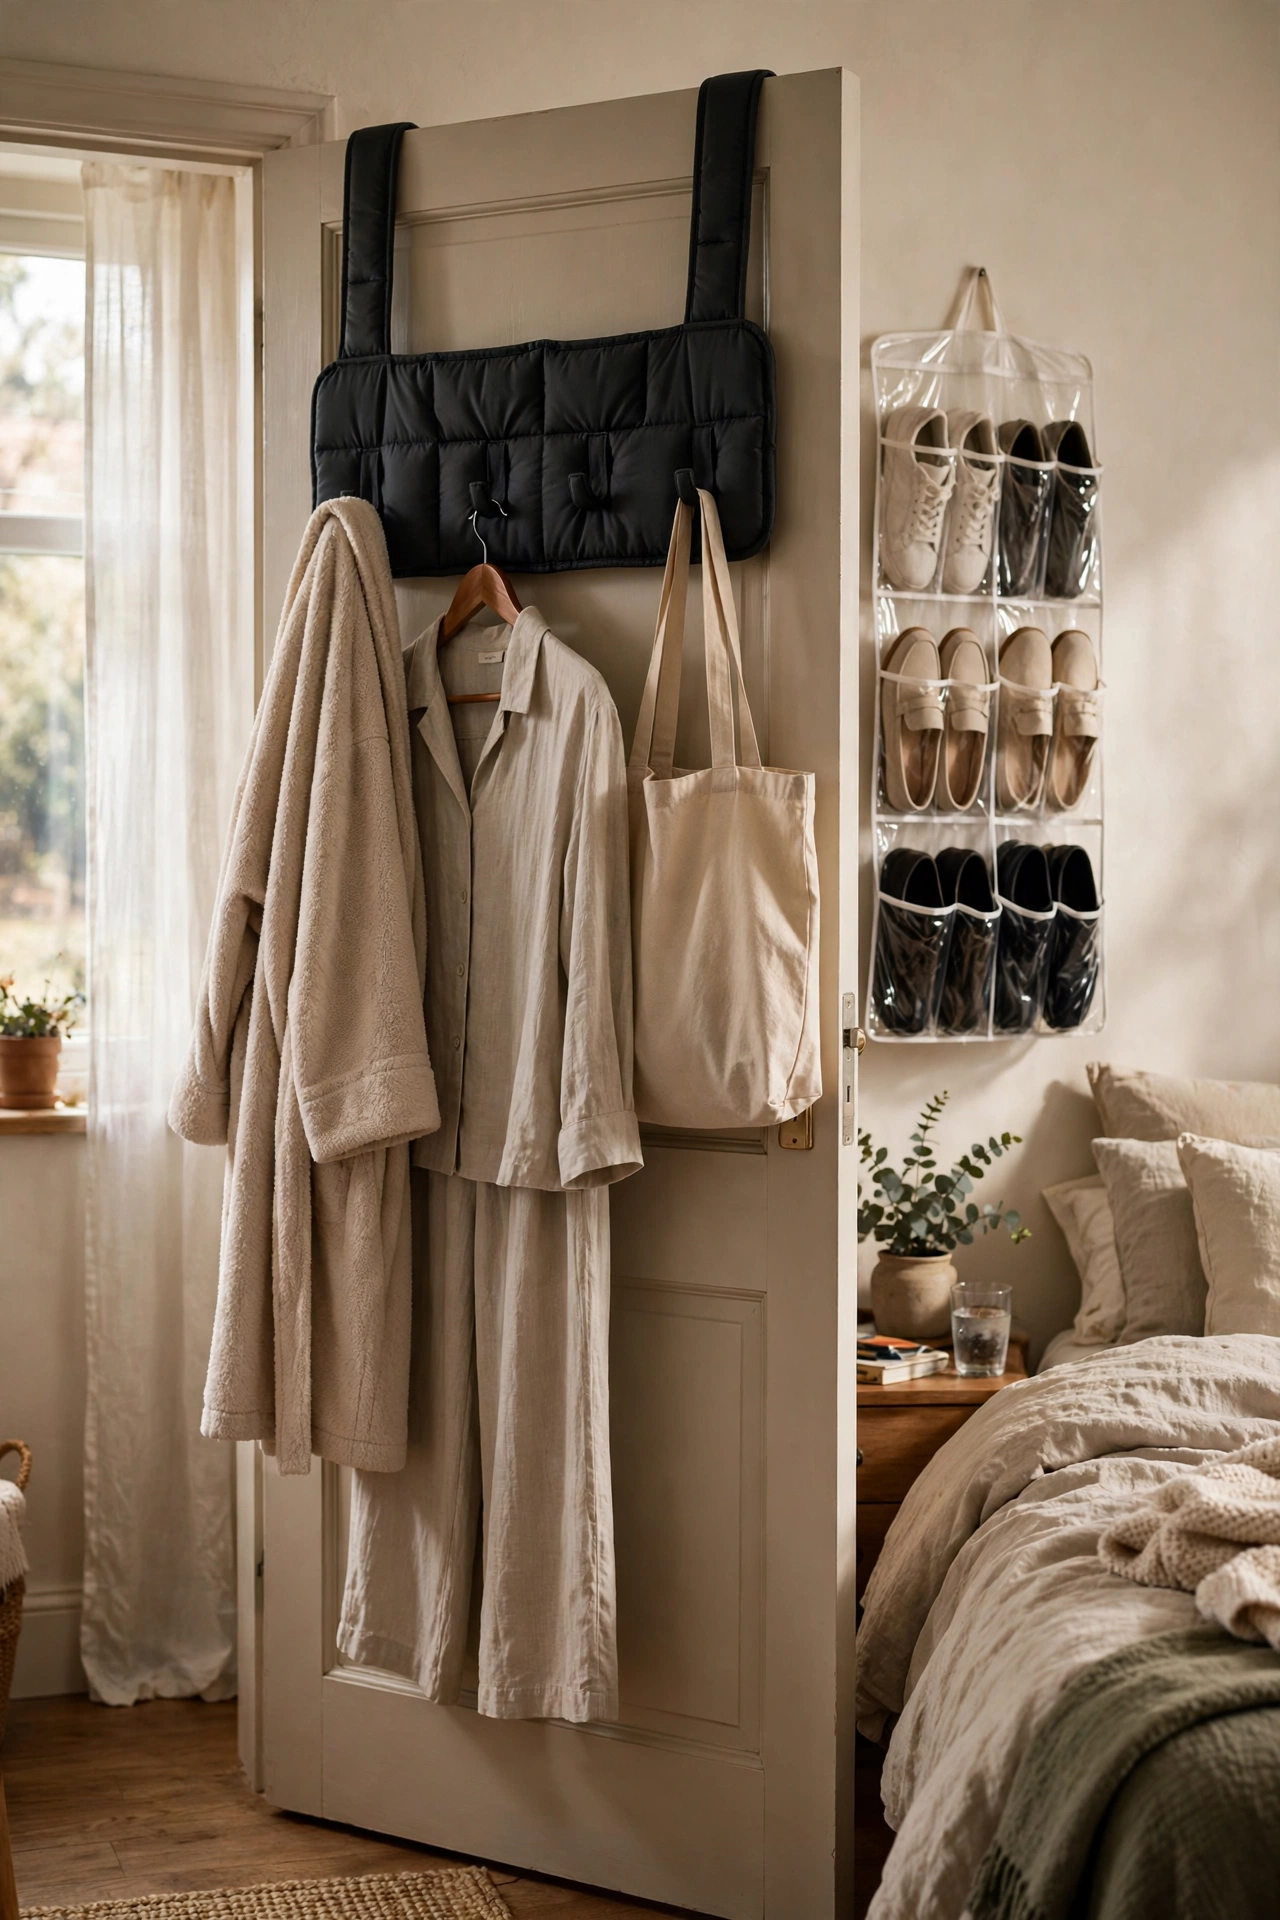
The back of my bedroom door is some of the hardest-working real estate in my apartment. A $12 over-the-door hook rack holds my robe, tomorrow’s outfit, and my tote bag, all without a single screw. Look for racks with foam padding so they don’t scratch the door paint. I also use a clear over-the-door organizer for shoes and accessories, since the pockets keep everything visible. I tried this and learned to check the door clearance first. My first rack was too thick and the door wouldn’t close. Measure the gap between your door and frame before buying. When you move, it lifts right off and goes straight to the next place.
Cost: ~$12-20 | Time: 10 minutes
5. Tension Rod Curtains
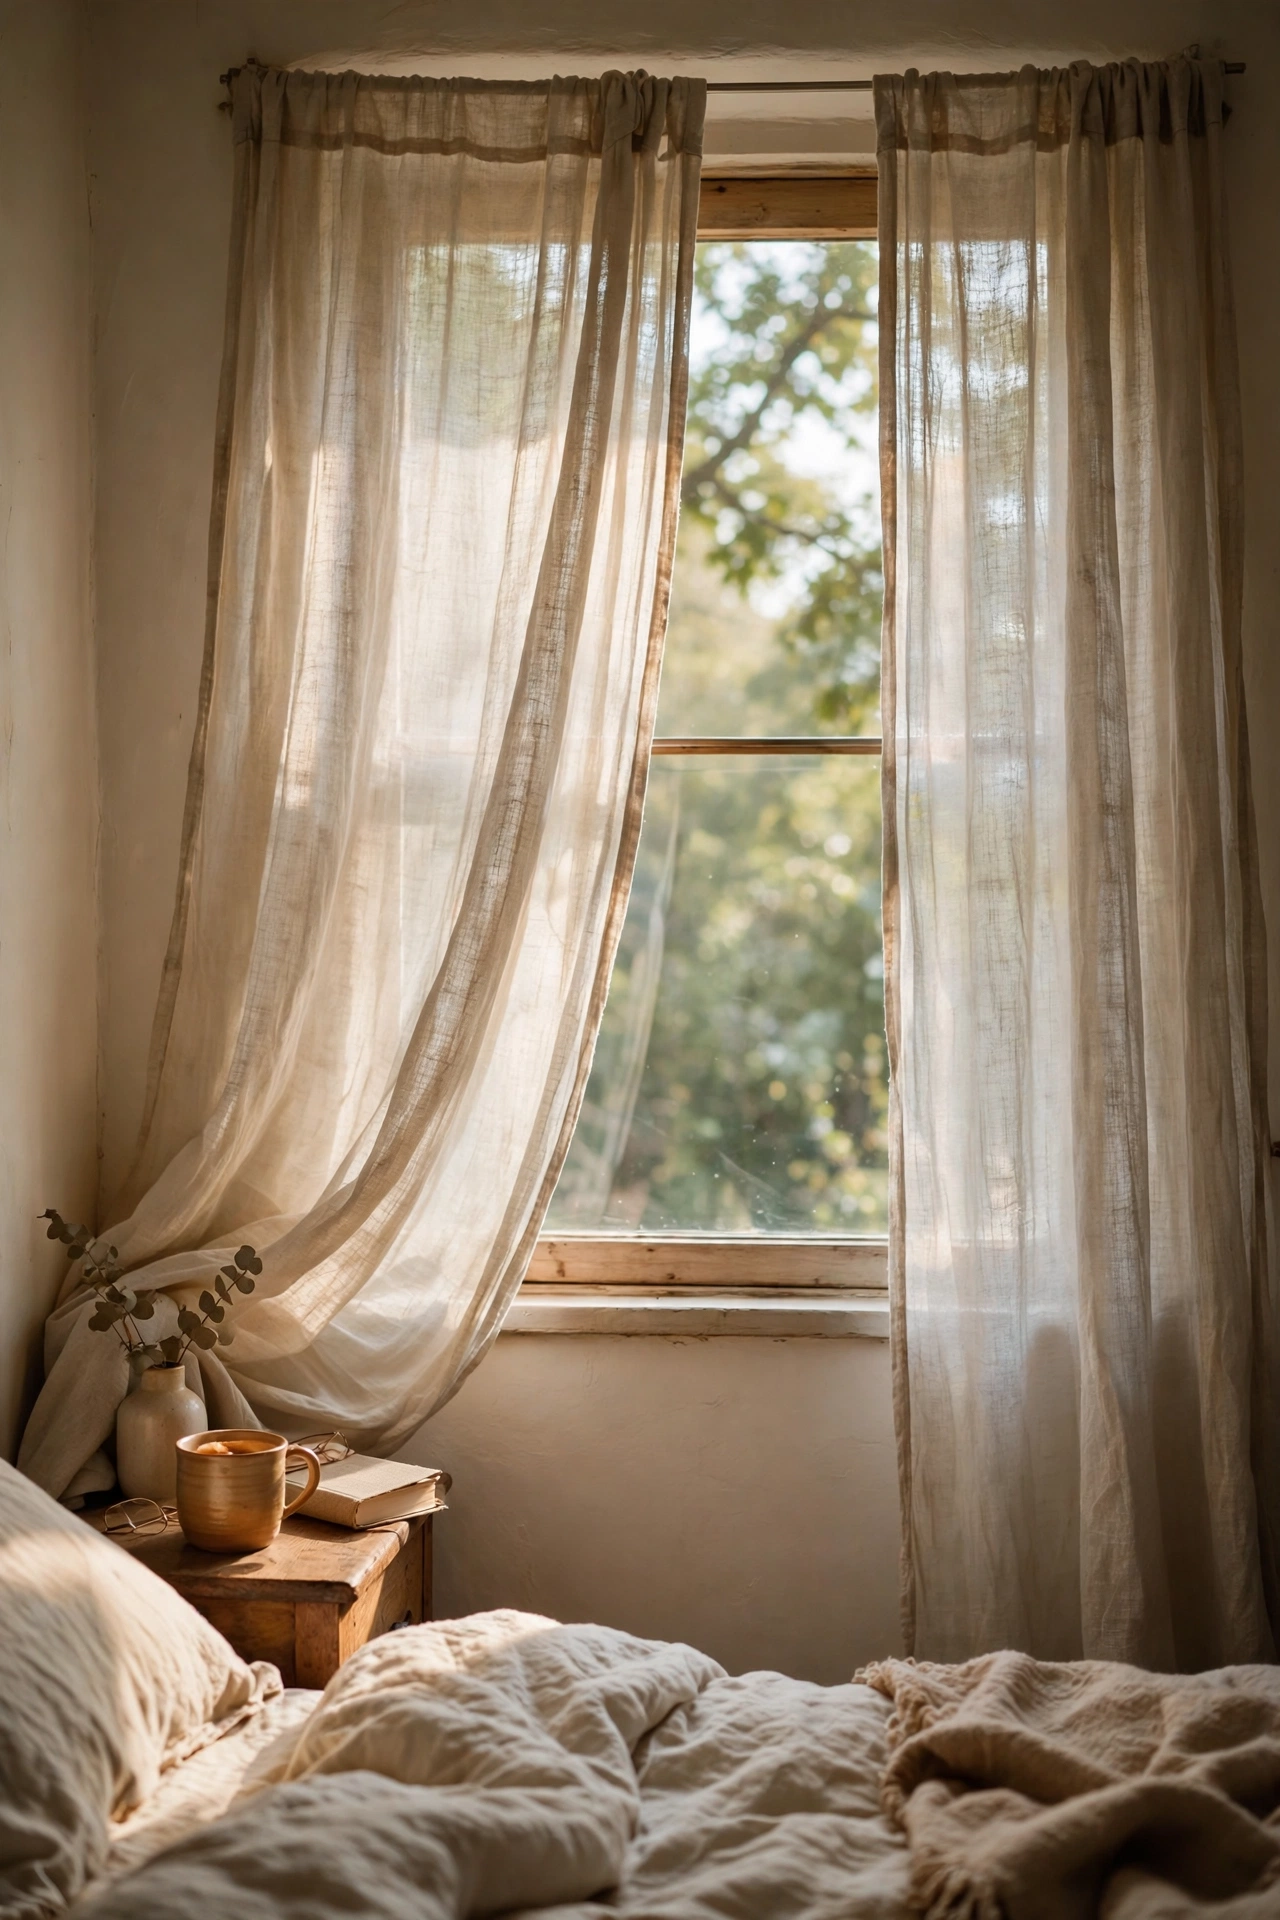
Tension rods are the renter’s best friend for curtains, room dividers, and even closet covers. I wedged one inside my window frame to hang linen curtains, and it has held for two years without budging. Twist to extend until the rod is snug, then twist a little more so the rubber ends grip the frame. Don’t make my mistake of buying the cheapest rod for heavy blackout curtains. It bowed in the middle within a month and dumped a curtain on my head. Get one rated for the weight you plan to hang, and for wide windows use two rods or a center support. They also work great inside closets when your rental has no doors.
Cost: ~$10-18 per rod | Time: 20 minutes
6. Clip-On Bedside Shelf
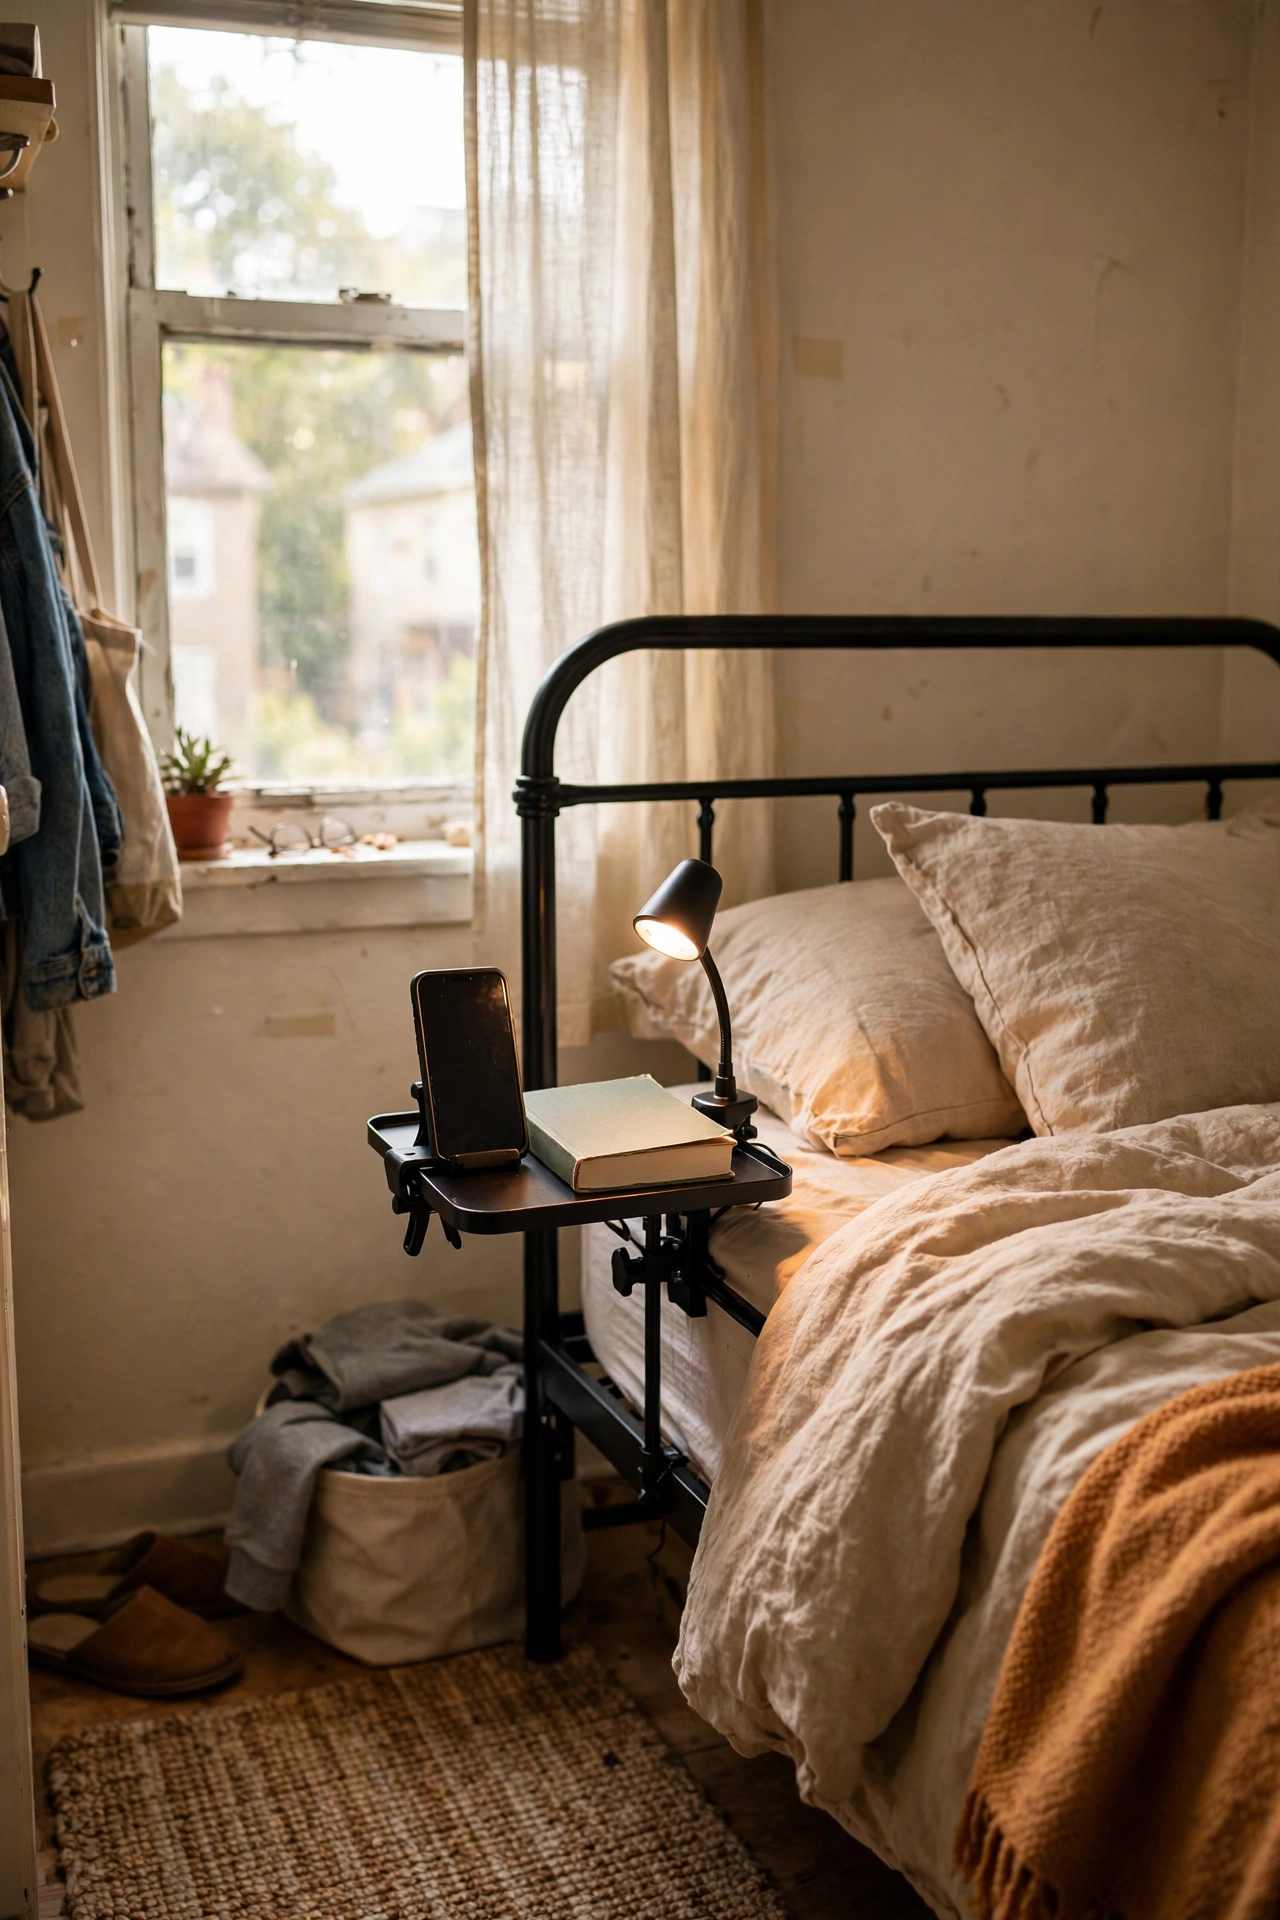
My current rental bedroom has no room for a nightstand on one side, so I bought a $16 clip-on shelf that grips the bed frame. It holds my phone, lamp, and book with room to spare. Look for one with a sturdy clamp and a non-slip surface. Mine tightens with a simple knob and hasn’t budged in eight months. I tried this and learned to check my bed frame thickness first. The first shelf I ordered didn’t fit a platform frame and went straight back. Measure your frame or headboard before ordering. It packs flat in a moving box, which makes it one of my favorite space-saving tricks for tiny bedrooms. If your whole room is tight, these (see also: small-bedroom-ideas-that-maximize-every-corner/) will help you squeeze function out of every inch.
Cost: ~$14-20 | Time: 10 minutes
7. Fabric-Wrapped Foam Headboard Panels
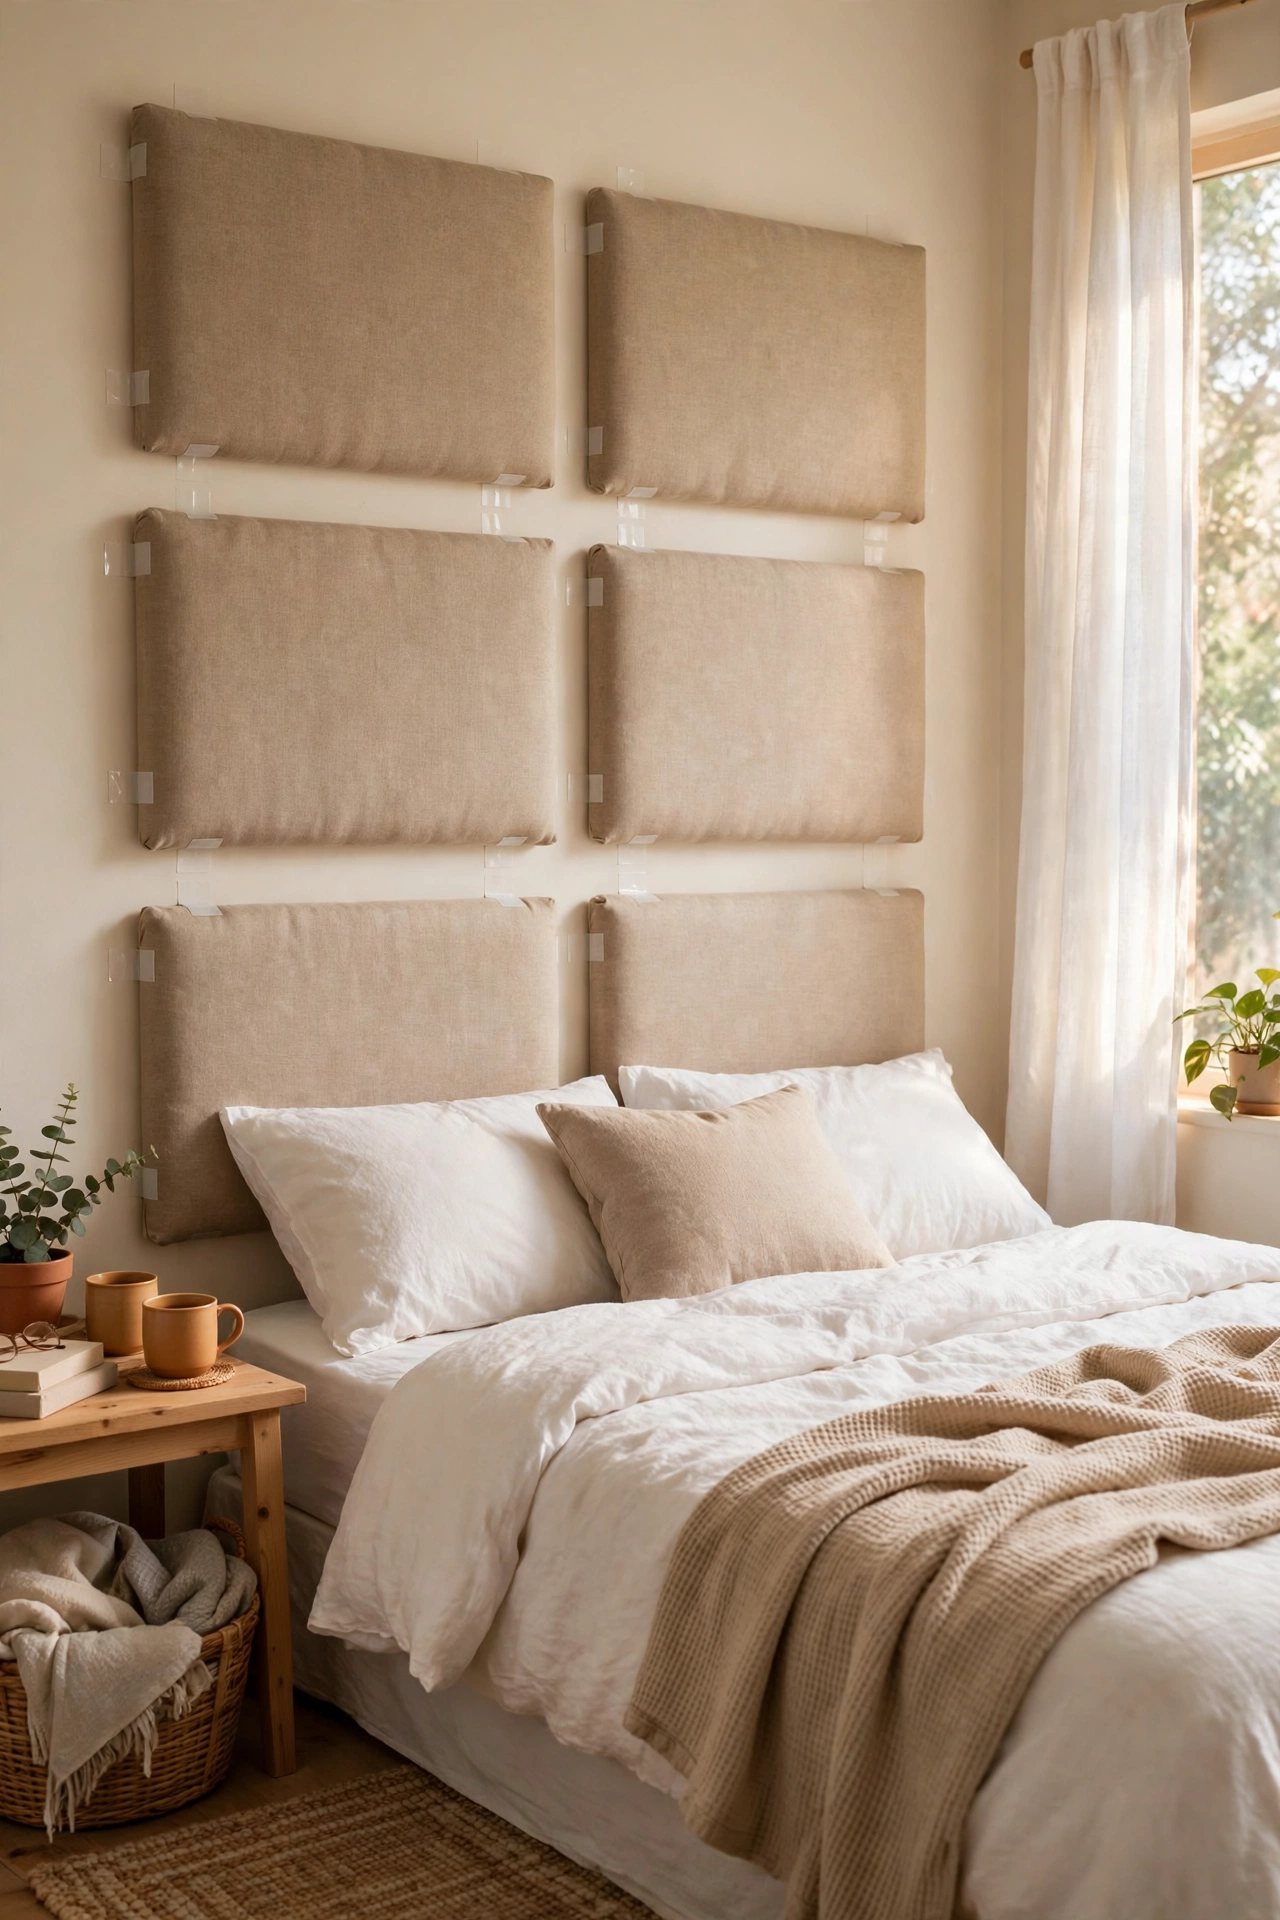
Headboards are expensive and a pain to move, so I made my own from two fabric-wrapped foam boards. I bought 2-inch foam insulation boards from a home improvement store, wrapped them in $25 worth of linen-look fabric, and hung them with Command strips behind my bed. The total cost was under $40 and it looks genuinely upholstered. Cut the boards to your bed’s width, wrap them like a gift, and secure the back with duct tape. Don’t make my mistake of using thin fabric over dark foam. The color showed right through. Use a liner layer or pick a darker fabric. They pop right off the wall on moving day with no trace left behind.
Cost: ~$35-45 | Time: 1.5 hours
8. Layered Area Rugs
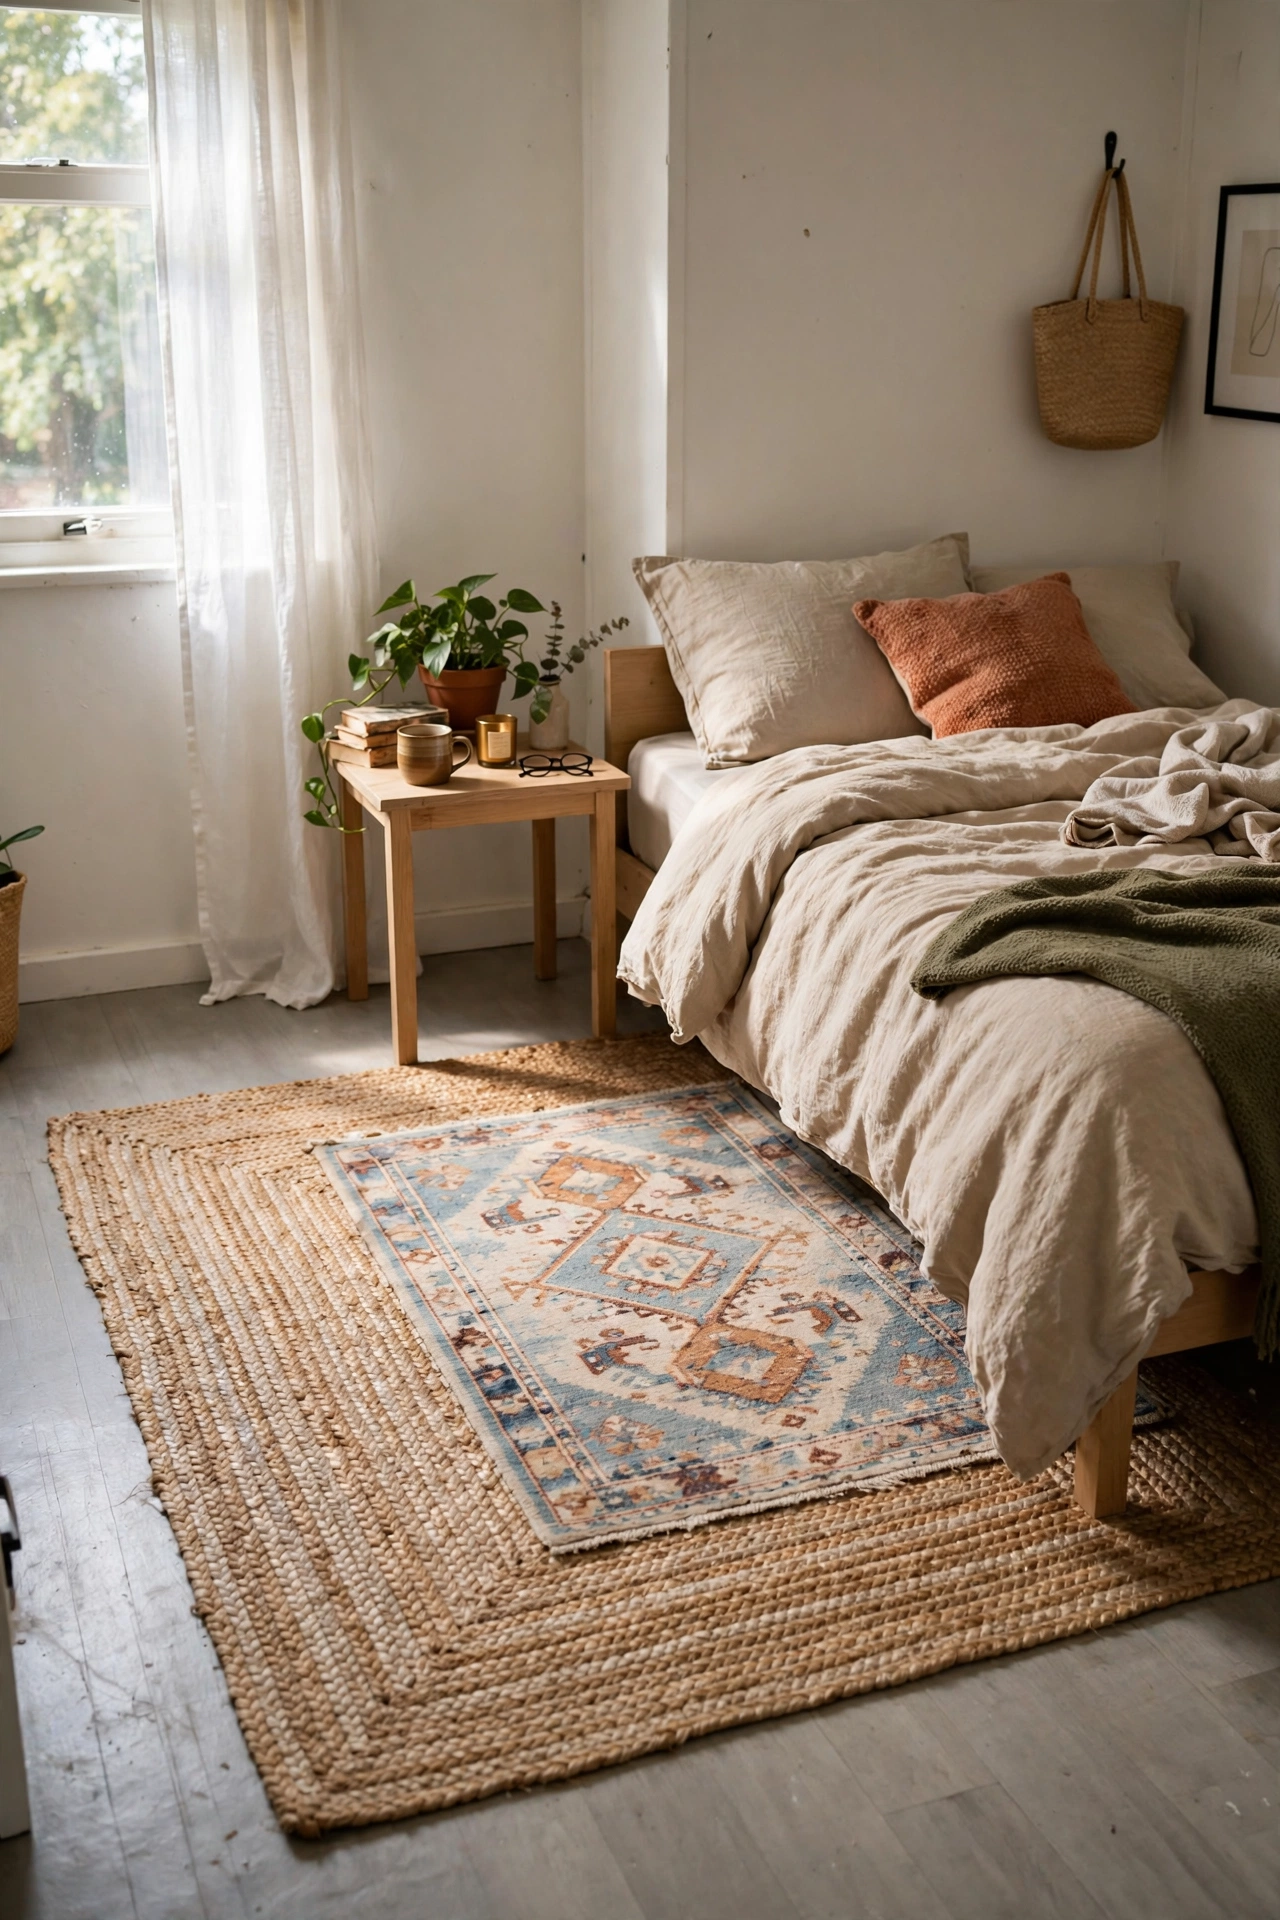
Rental floors are usually the same sad carpet or scratched laminate, and rugs fix everything. I layer a large low-cost jute rug with a smaller soft rug on top for texture and warmth. The bottom rug anchors the room and the top one adds personality. Rugs are completely portable and go straight to the next apartment, which makes them the perfect renter investment. I tried this and learned to use a rug pad underneath on hard floors. Without one, my top rug slid around dangerously every time I walked past. Buy the pad slightly smaller than the rug so it doesn’t peek out. Thrift stores and Facebook Marketplace are goldmines for barely-used rugs at half the retail price.
Cost: ~$50-90 for both layers | Time: 20 minutes
9. Freestanding Garment Rack
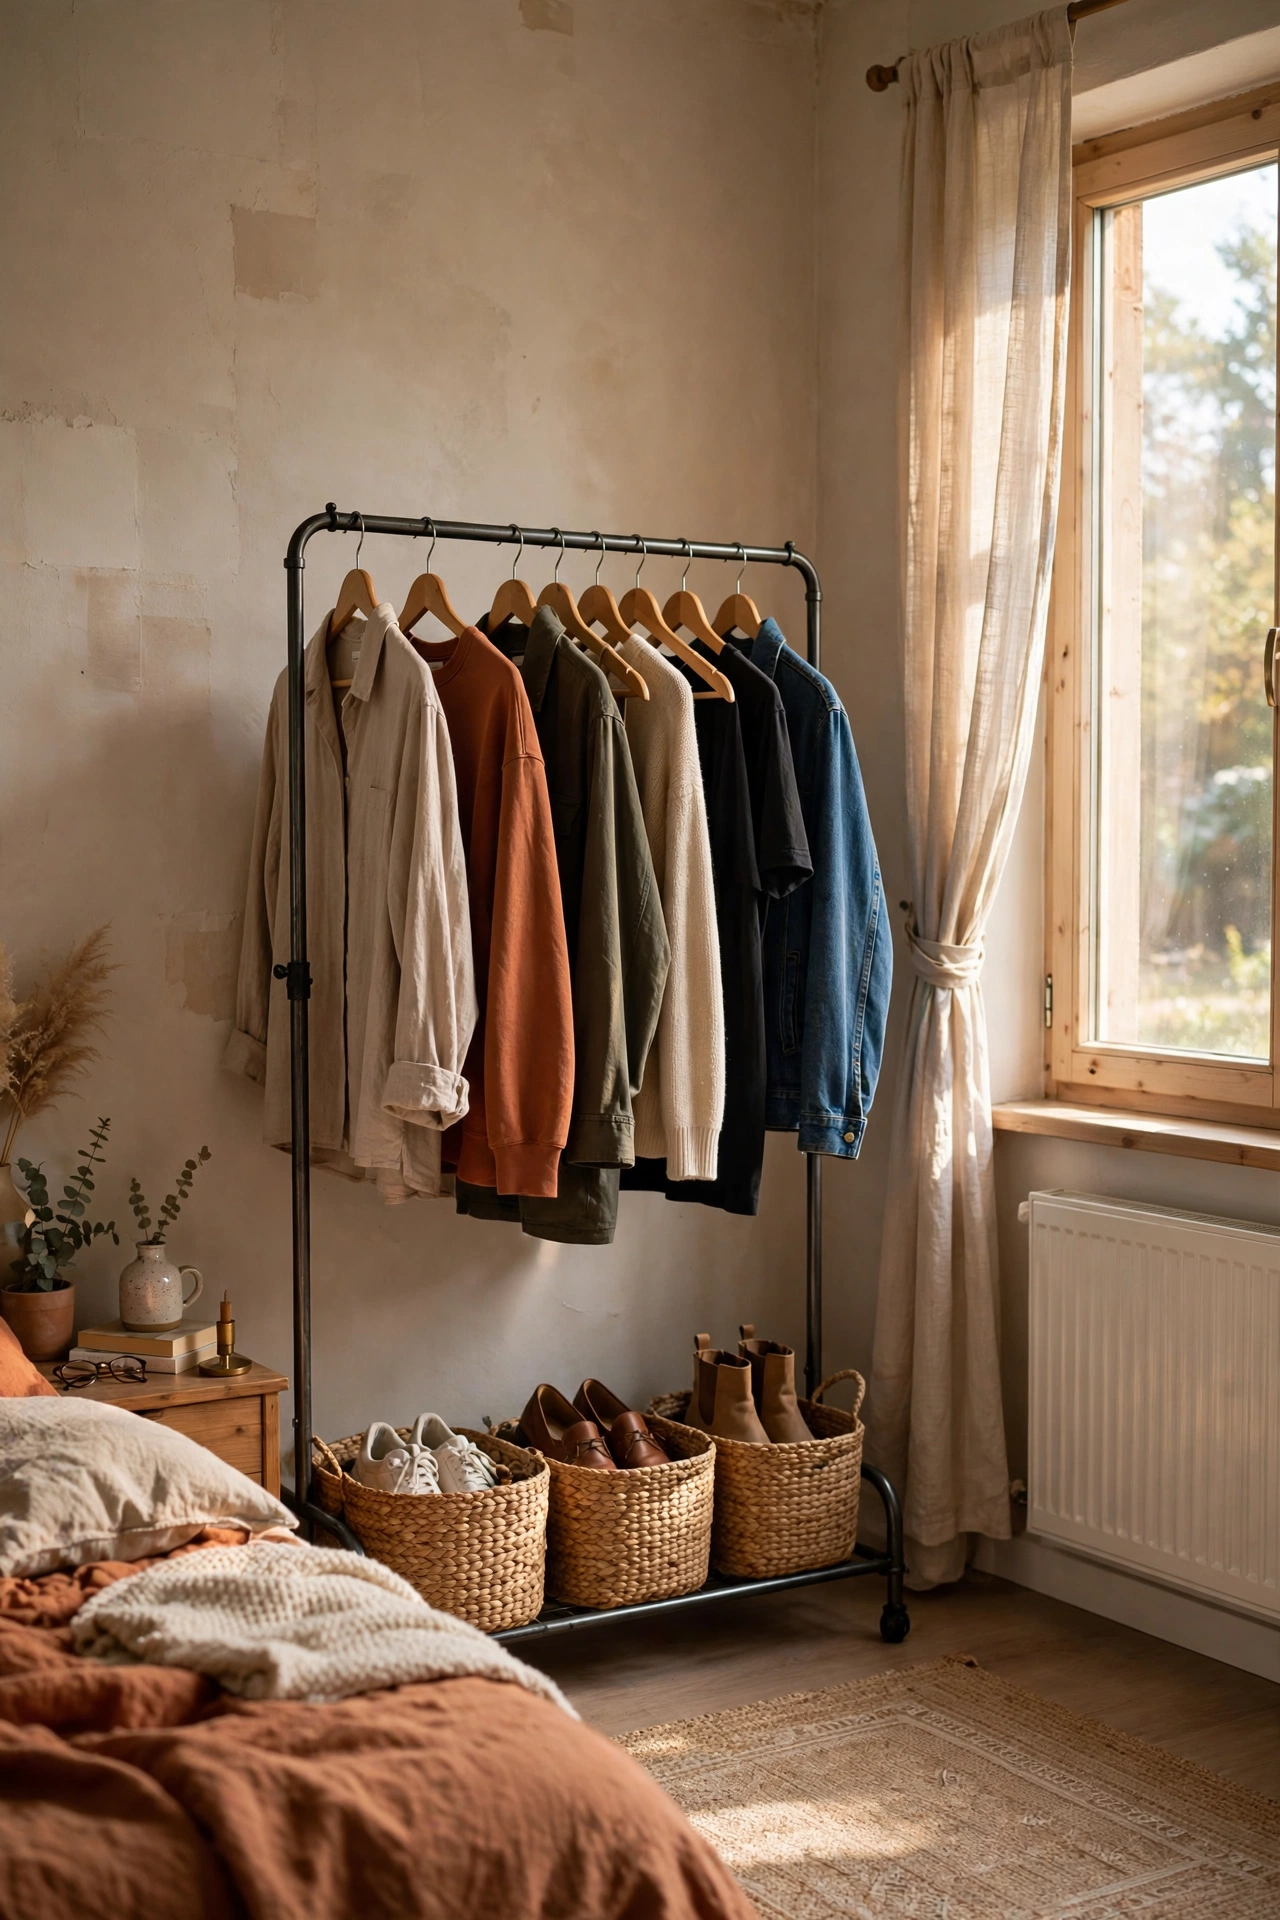
My rental closet was tiny, so a $35 freestanding garment rack from IKEA became my open wardrobe. It holds my most-worn pieces and looks intentional, not messy, if you keep the hangers matching. Assemble it once and it moves in one piece to the next apartment. I tried this and learned to distribute weight evenly. I overloaded one side with winter coats and the whole thing tipped over at midnight, which was terrifying. Keep heavier items centered or low, and add a bottom shelf or baskets for shoes. For a renter, it’s also a lifesaver during closet cleanouts. Everything you own stays visible and portable when the lease ends.
Cost: ~$30-45 | Time: 30 minutes to assemble
10. String Lights with Adhesive Clips
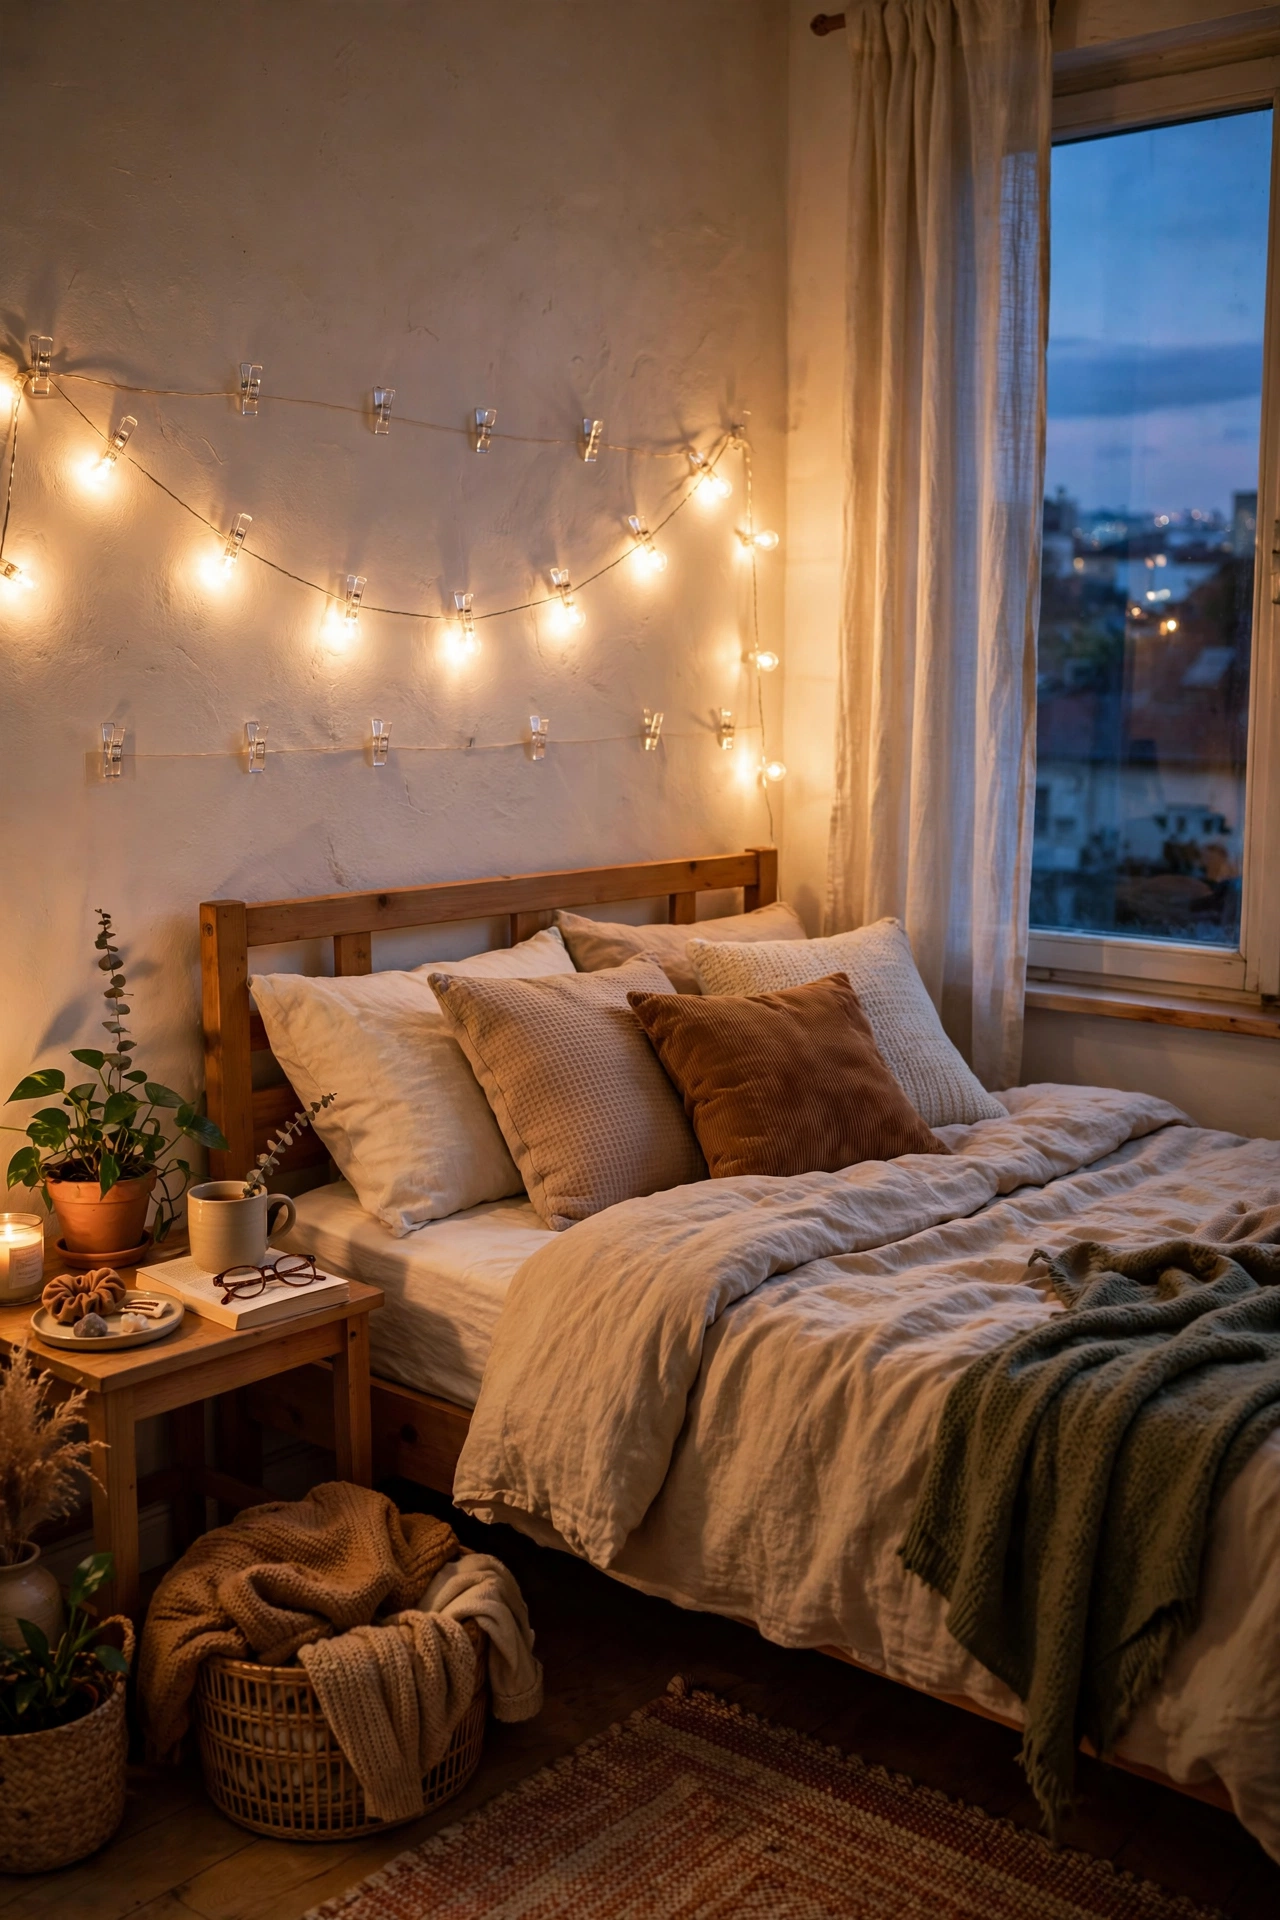
Warm string lights make a rental bedroom feel cozy instantly, and adhesive clips mean no nails in the walls. I draped mine along the top of my headboard wall using small clear Command light clips spaced about a foot apart. The clips are nearly invisible in daylight. Choose warm white, not cool blue, for a bedroom glow that actually relaxes you. Don’t make my mistake of buying battery lights with a timer switch I couldn’t reach. I had to climb on the bed every single night. Get plug-in lights with a remote or a smart plug you control from your phone. The clips pop off cleanly at move-out with no damage.
Cost: ~$15-25 | Time: 30 minutes
11. Leaning Ladder Shelf
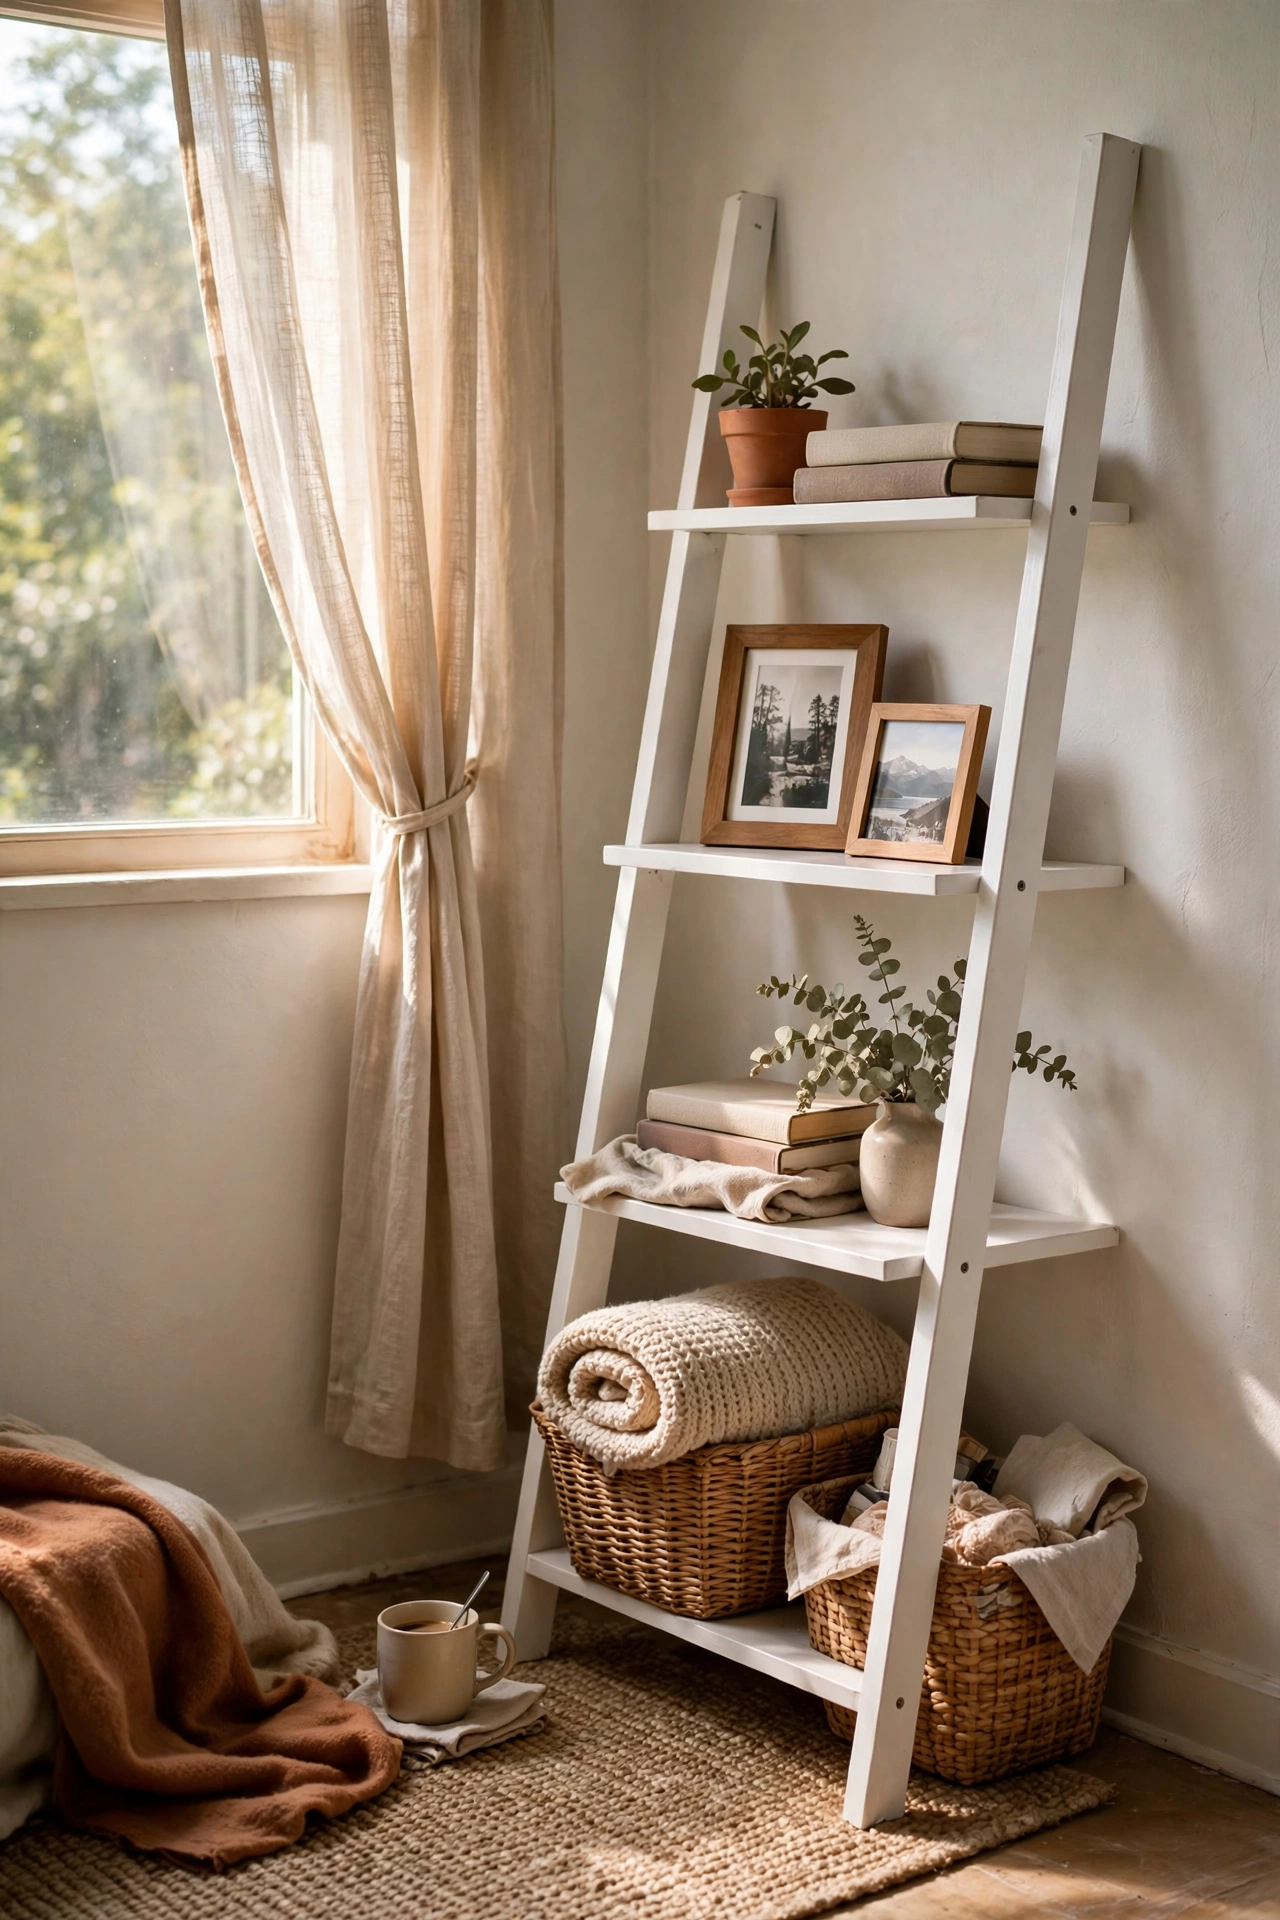
A leaning ladder shelf gives you five shelves of storage without a single screw. Mine holds books, a plant, framed photos, and baskets of chargers and clutter. The lean design means gravity does the work, and most models include a small wall strap you can secure with a Command strip instead of a screw. I found mine at a thrift store for $20 and painted it white over a weekend. I tried this and learned to put the heaviest items on the bottom shelves. A top-heavy ladder shelf wobbles every time you walk past. Anchor it if you have kids or pets bumping into it. It folds flat enough to fit in a car on moving day.
Cost: ~$20-50 | Time: 20 minutes
12. Motion-Sensor Closet Lights
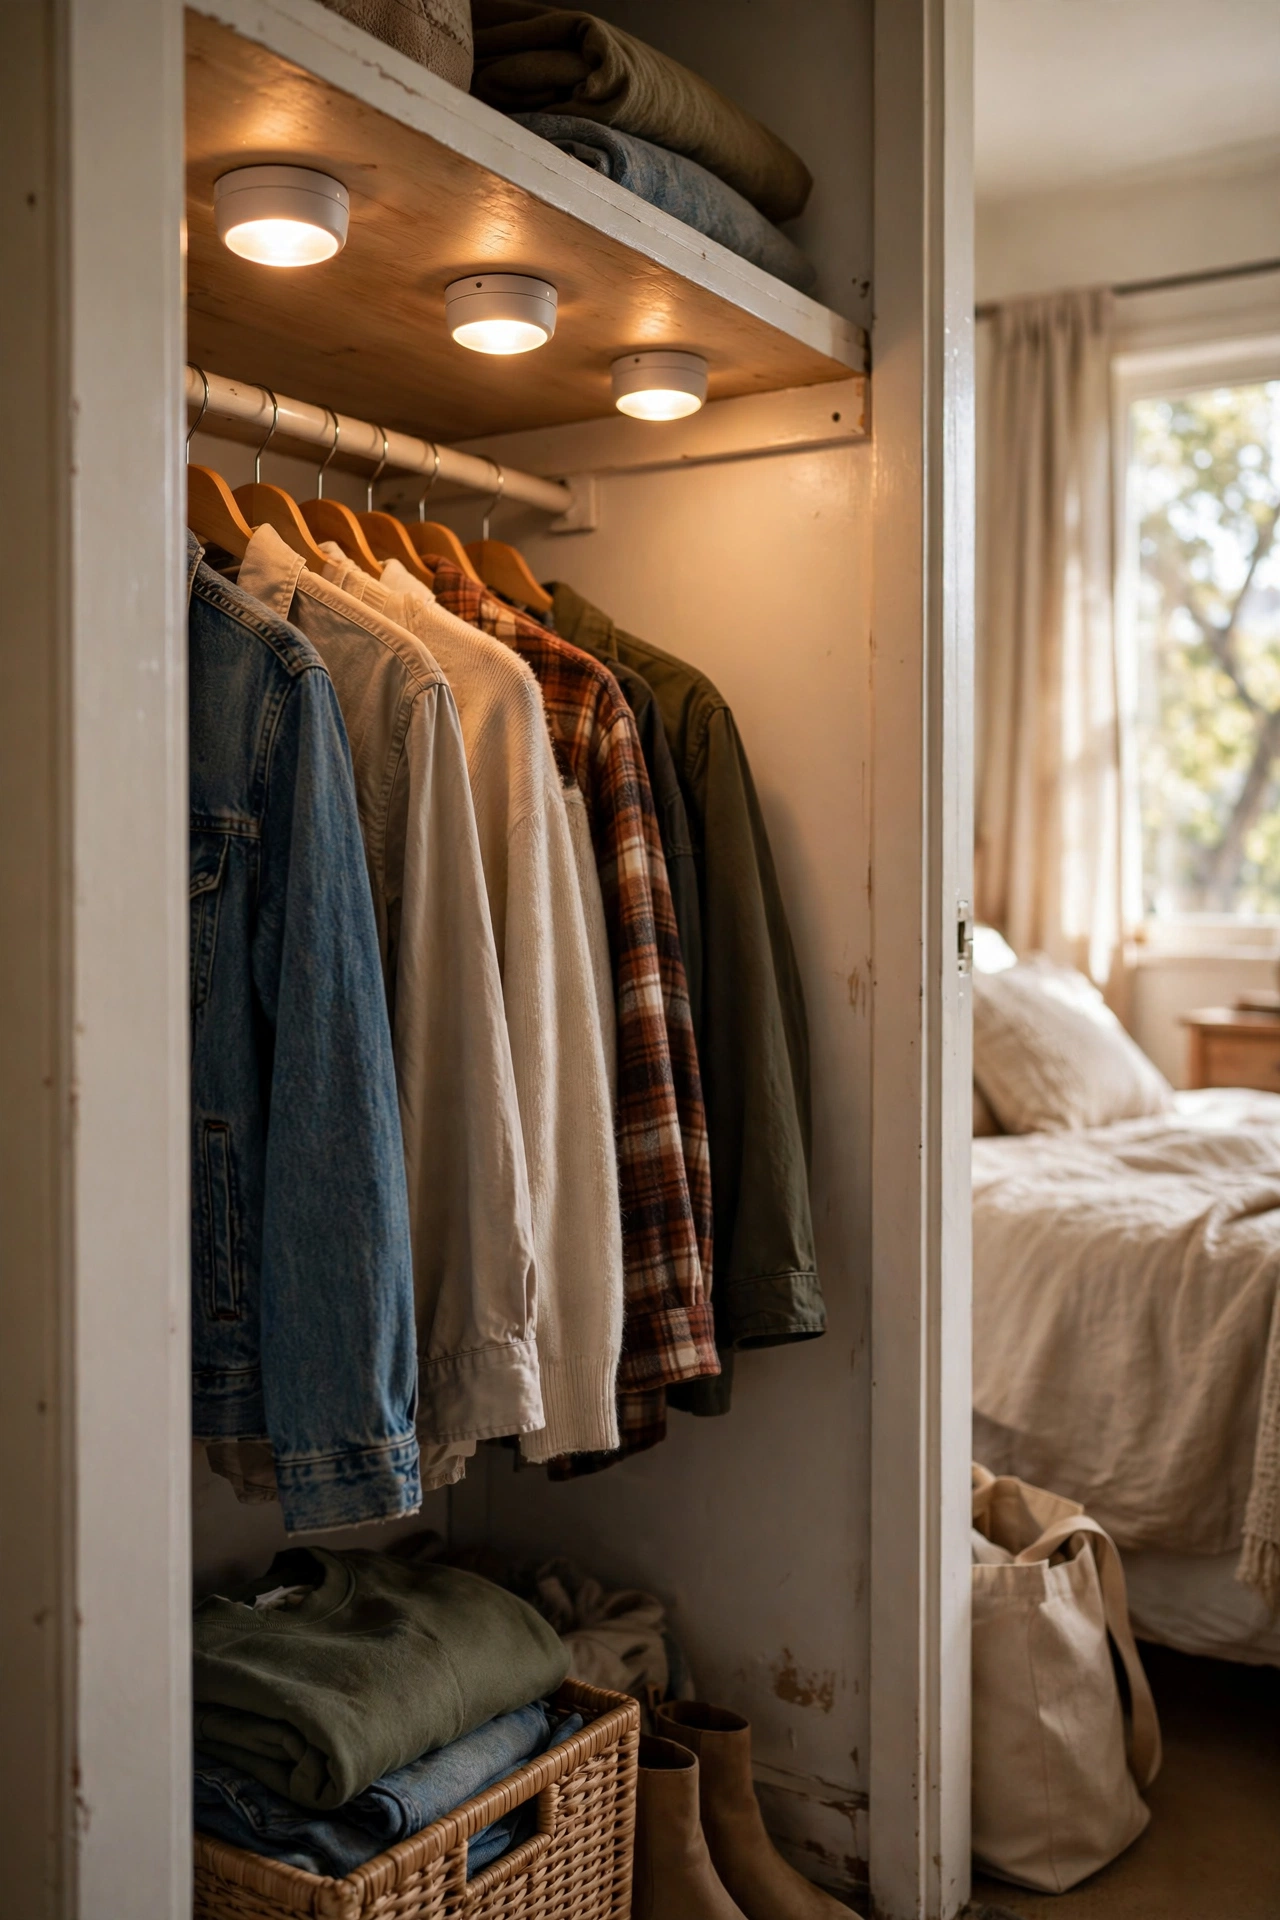
Rental closets are always dark, and these $15 stick-on motion-sensor lights fixed mine in minutes. They run on batteries and attach with adhesive pads, so there is no wiring and no landlord permission needed. Stick one to the inside top of the closet or under a shelf, and the sensor turns it on when you open the door. I tried this and learned to buy rechargeable ones. I burned through my first set of batteries in six weeks, which wiped out the savings. Rechargeable puck lights cost a bit more upfront but pay for themselves fast. Move them to your next closet when you go. Simple, cheap, and weirdly life-changing.
Cost: ~$15-25 | Time: 10 minutes
13. Removable Mirror Tiles
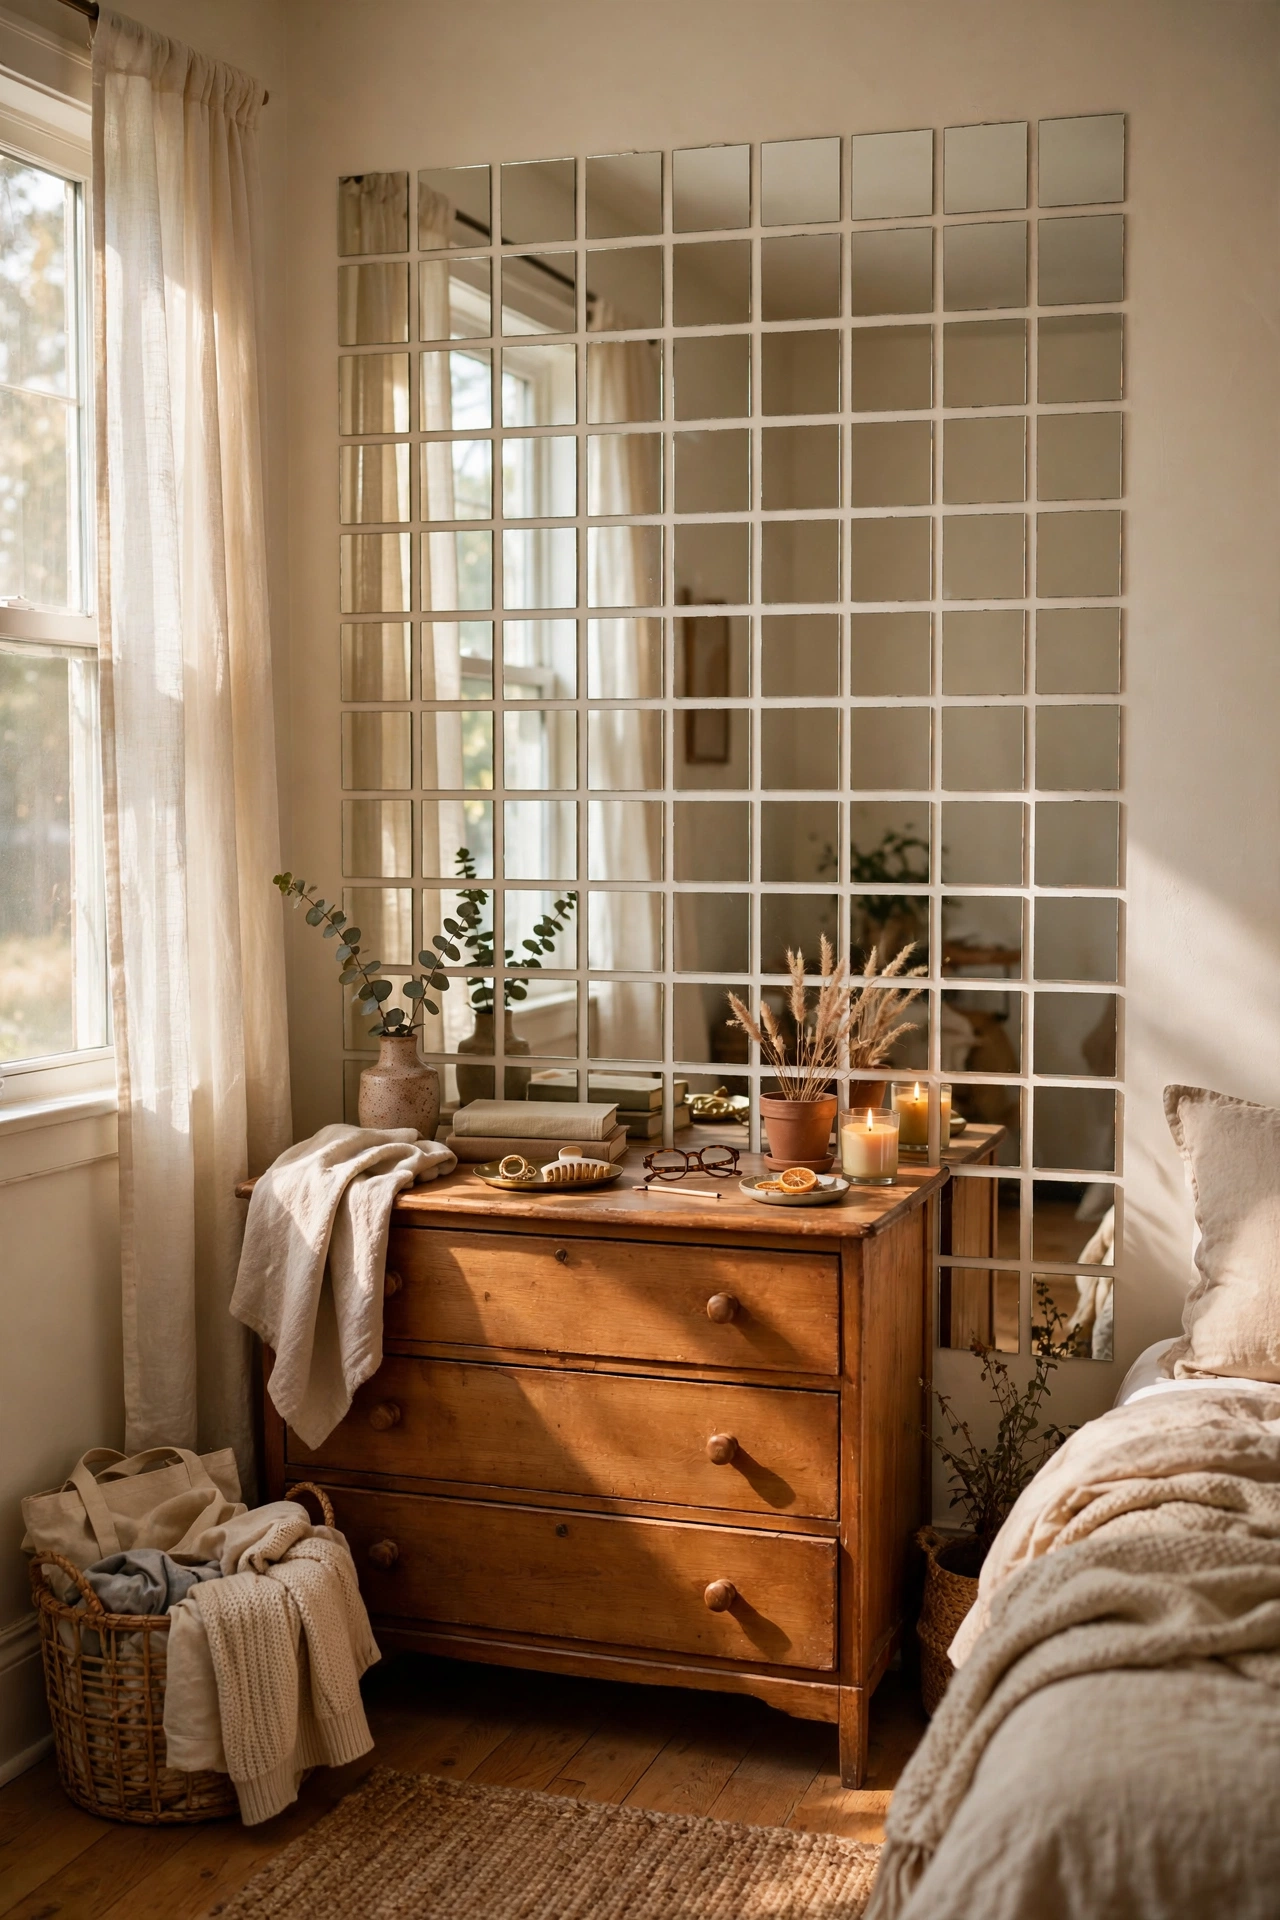
Peel-and-stick mirror tiles bounce light around a dark rental bedroom and cost about $20 for a pack of sixteen. I arranged mine in a grid behind my dresser to fake a much bigger window reflection. Clean the wall with rubbing alcohol first so the adhesive bonds well, press firmly, and let them set overnight. Don’t make my mistake of placing them where the afternoon sun hits directly. The glare was blinding at 4 p.m. every single day until I moved them. Test placement with one tile before committing to the whole grid. They peel off without damage, which makes them a safe bet for any rental.
Cost: ~$18-25 | Time: 30 minutes
14. Suction-Cup Blackout Shades
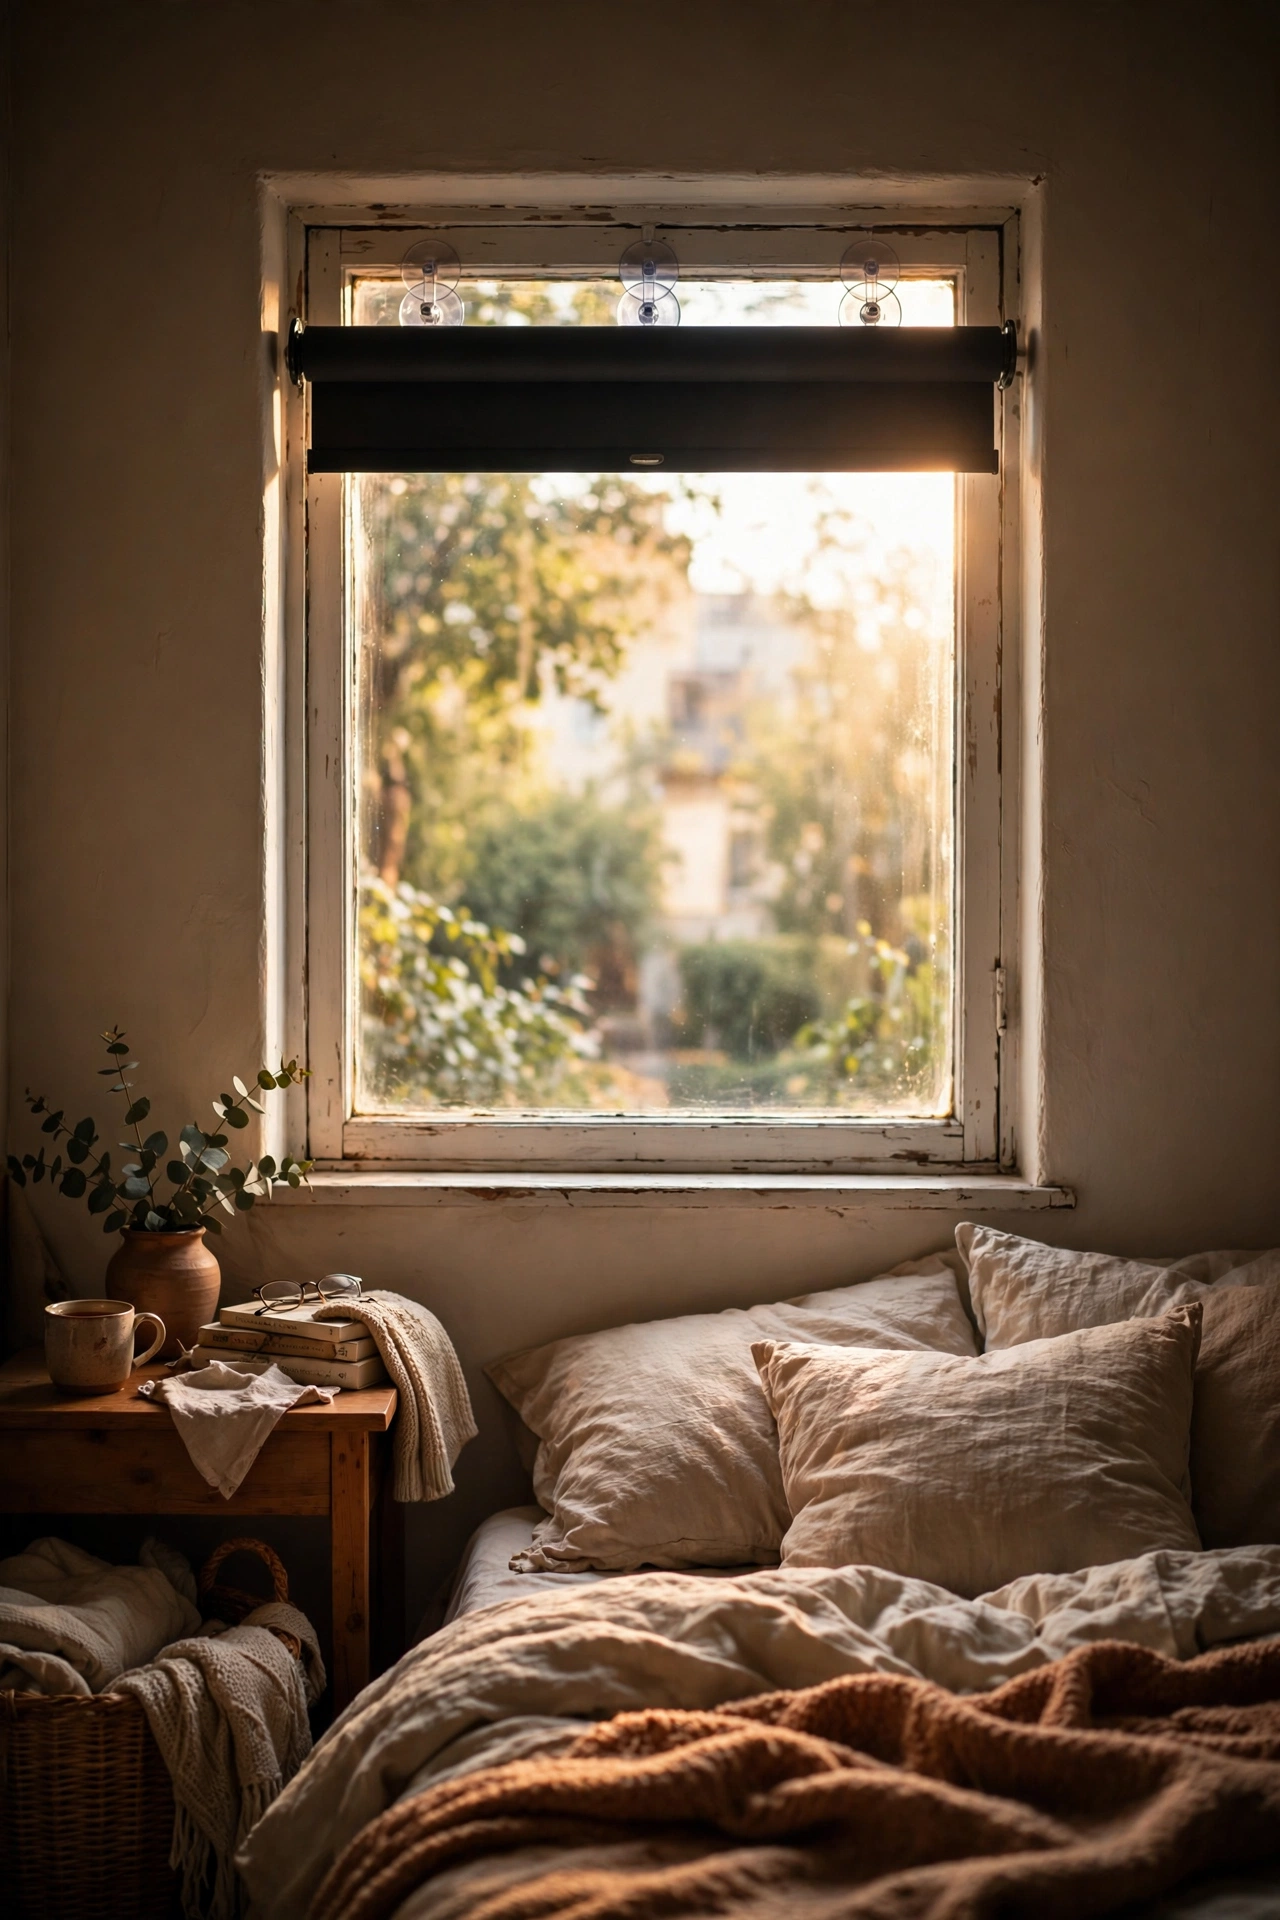
My rental came with paper-thin blinds, so I added portable blackout shades that stick on with suction cups. They cost $25 for the window and made my bedroom dark enough for actual sleep. The shades roll up during the day and the suction cups leave no marks on the glass. I tried this and learned to clean the window first. Dust kills suction, and my first attempt slid down overnight. Wipe the glass with a damp cloth, press the cups firmly, and they hold for months. For odd-sized windows, trim the shade with scissors. They roll up tiny for moving day. If your lease allows tension rods too, those work even better for full coverage, and these (see also: 23-renter-friendly-bedroom-ideas-that-need-no-drilling/) cover every drill-free window option.
Cost: ~$20-30 per window | Time: 15 minutes
15. Freestanding Plant Corner
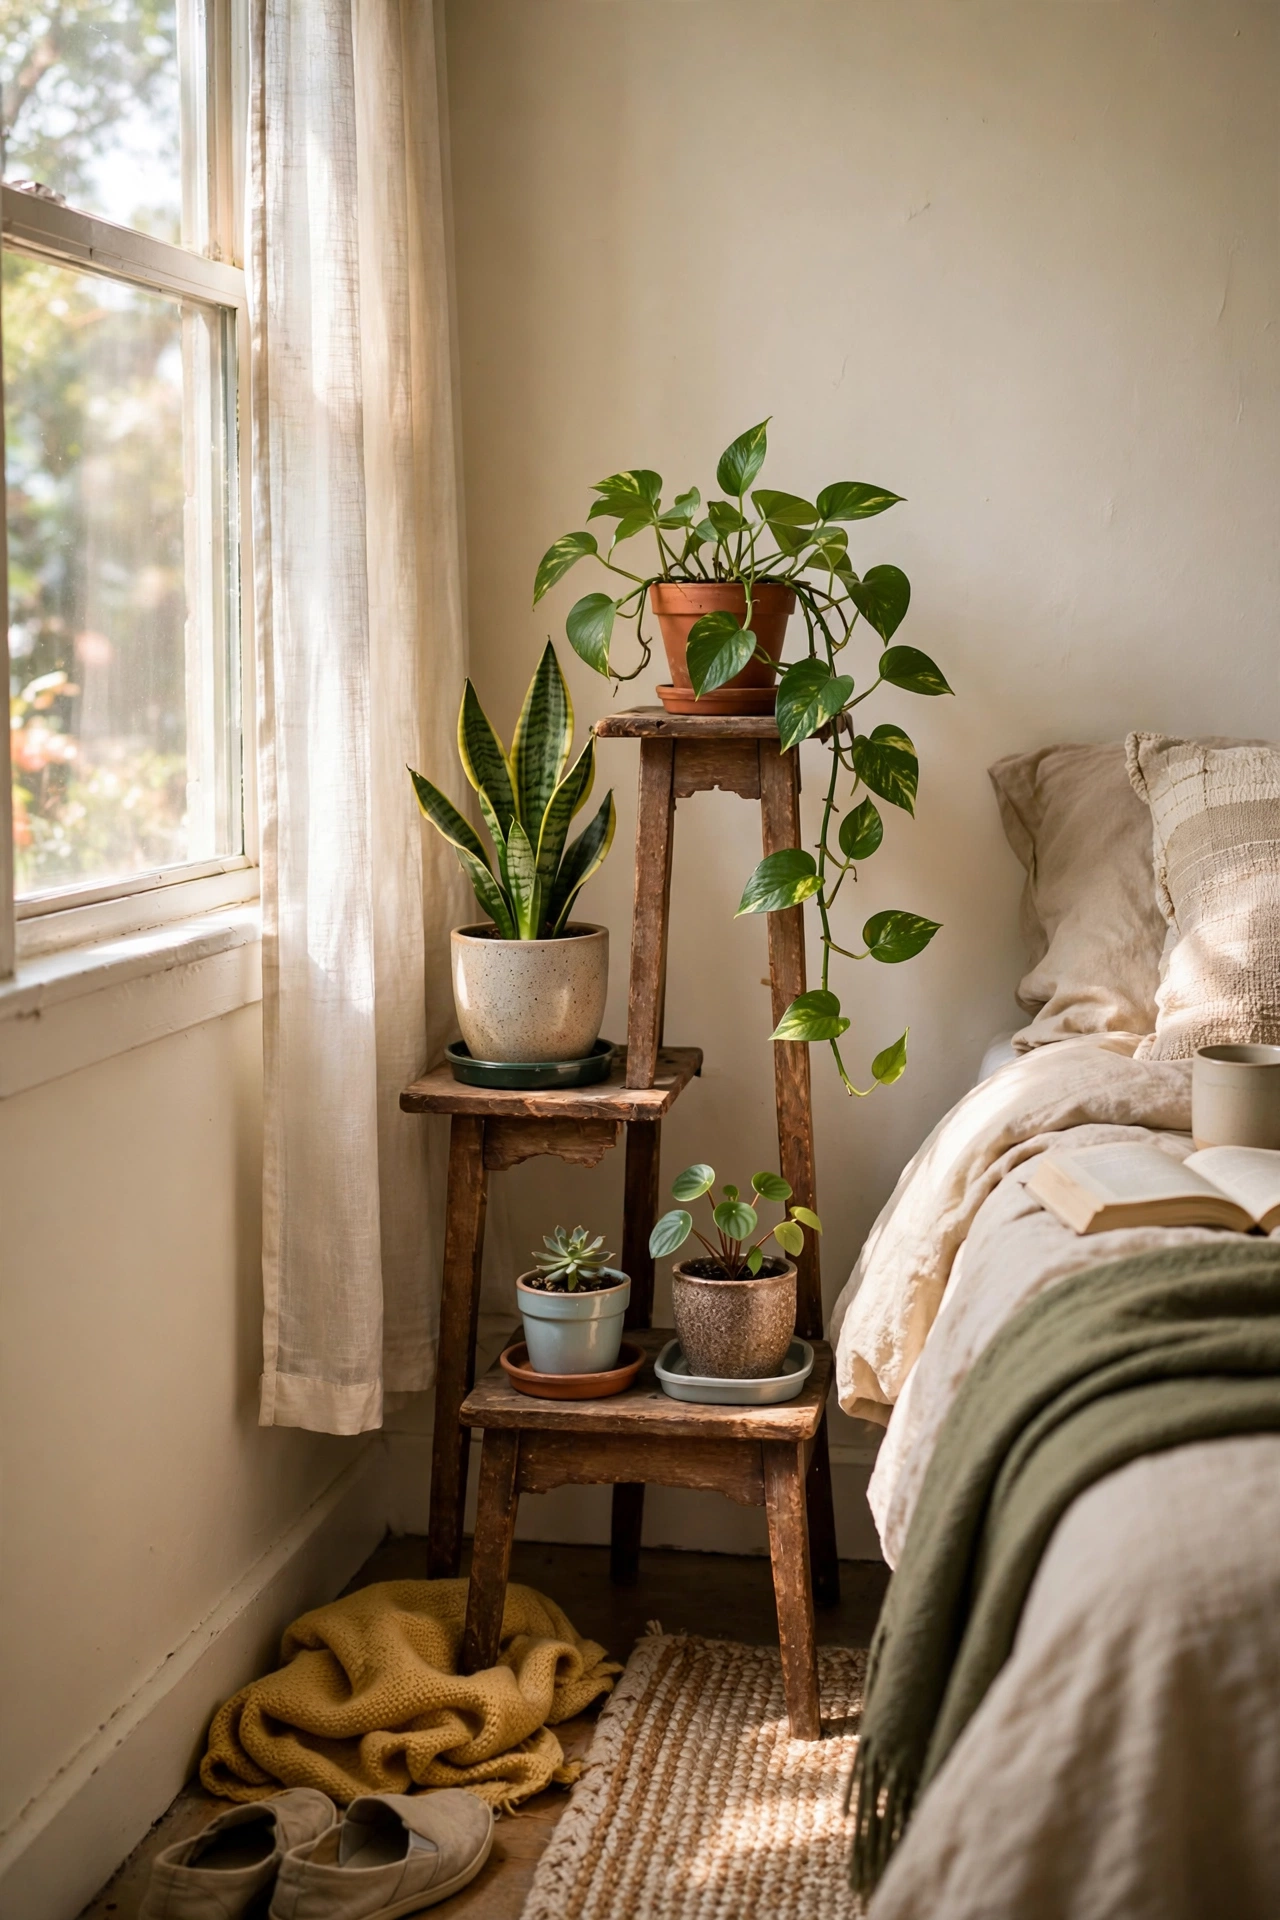
Plants make any bedroom feel alive, and pots move with you. I built a plant corner with a $10 thrifted plant stand, three pots from IKEA, and easy plants like pothos and snake plants. Group odd numbers together at different heights for a styled look. I tried this and learned to check the light first. My first fern died in a dark corner within a month because I bought for the look I wanted, not the light I had. Match the plant to your actual light. Use trays under every pot to protect floors and get your deposit back. A plant corner costs almost nothing and photographs beautifully.
Cost: ~$25-40 | Time: 30 minutes
16. Adhesive Cord Covers
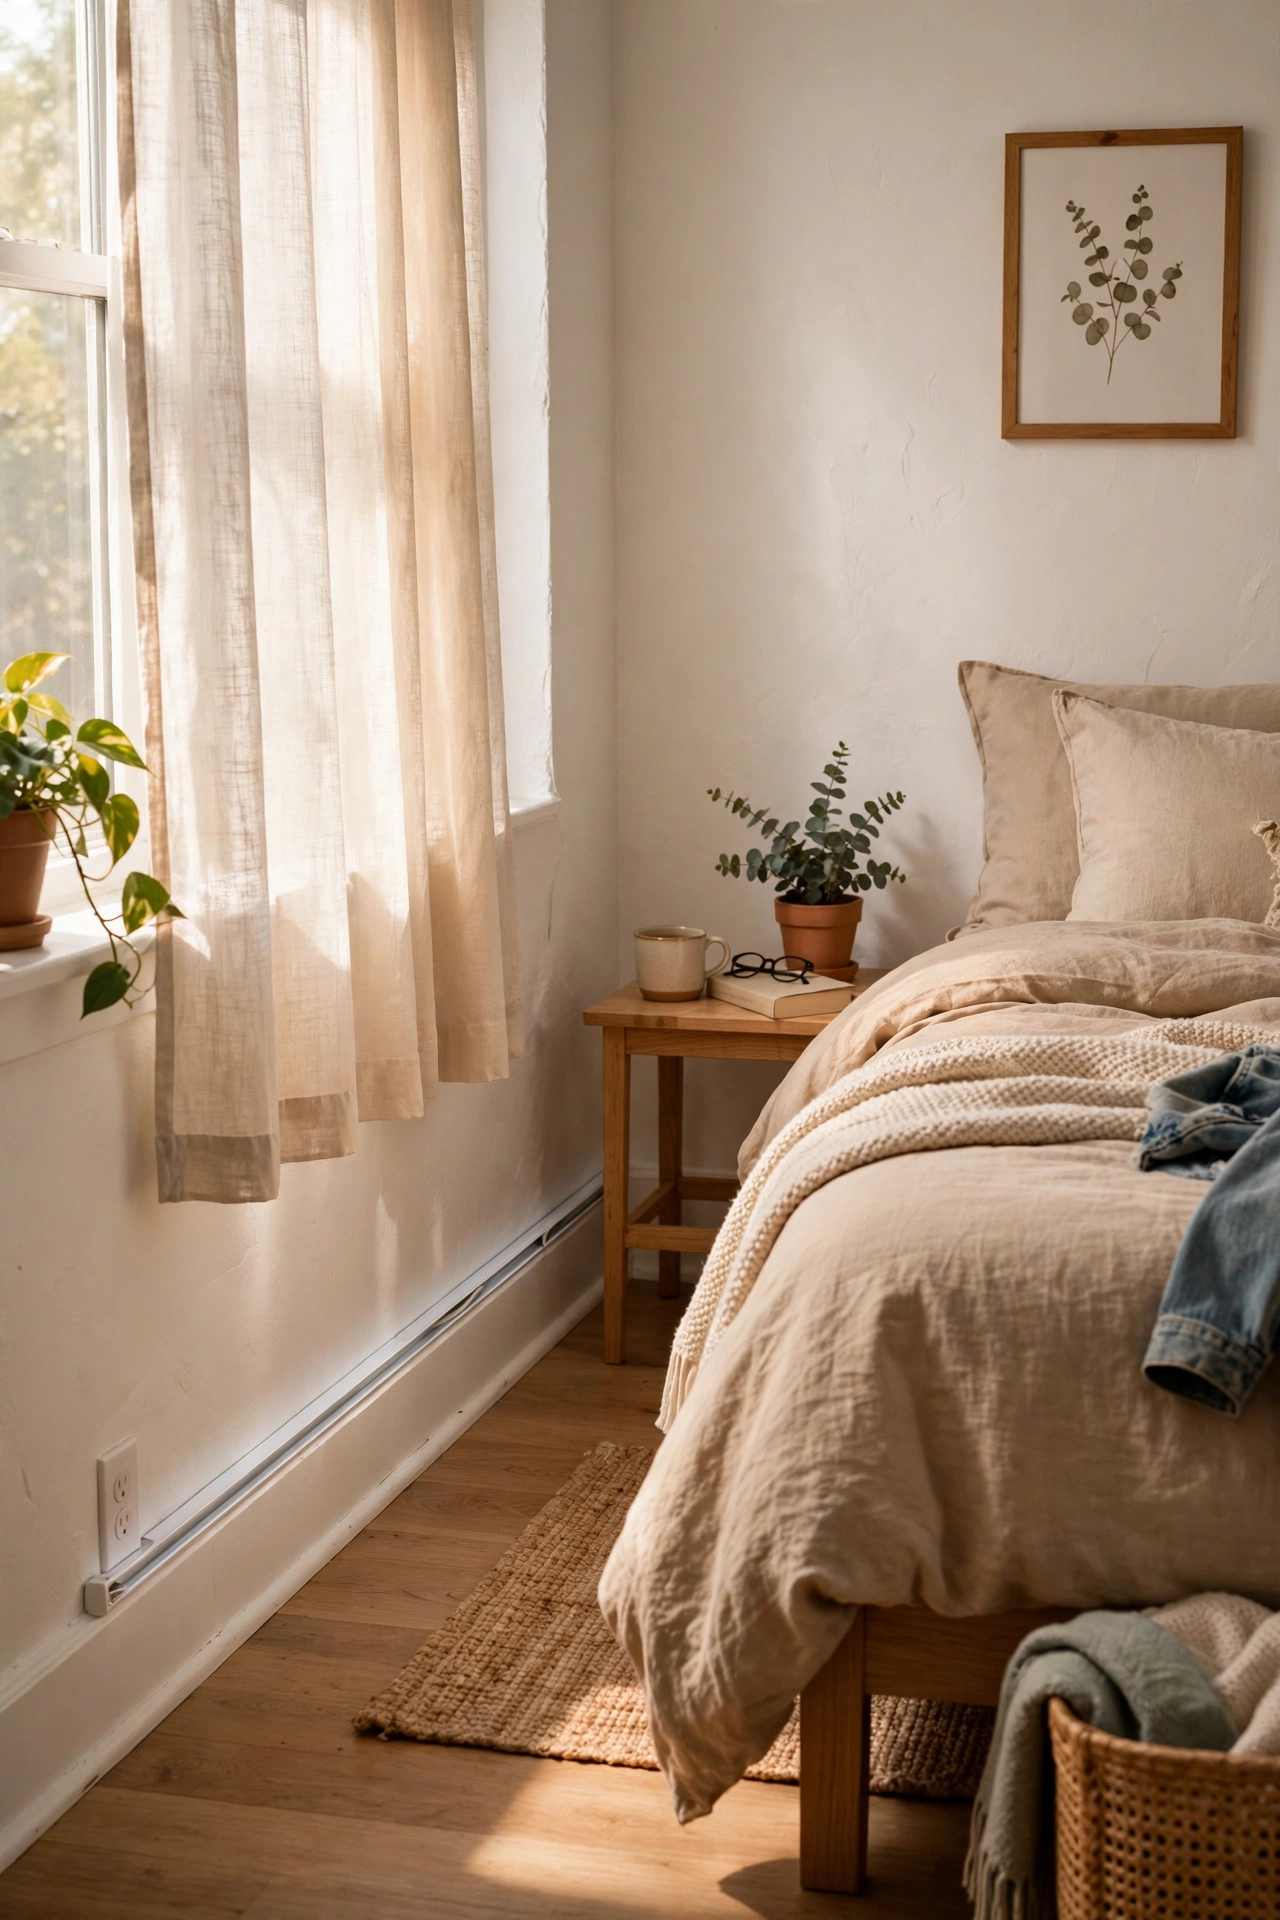
Nothing ruins a cozy bedroom faster than a tangle of charging cables. I ran mine through $12 adhesive cord covers along the baseboard from the outlet to the bed. They stick on, paint over easily if needed, and peel off clean at move-out. Measure the run first and buy a little extra. The covers snap open, you lay the cables inside, and snap them shut. Don’t make my mistake of overstuffing one cover with five cables. It wouldn’t close and popped open weekly until I split them up. Two slim covers beat one fat one every time. Your bedroom looks instantly tidier, and your landlord never has to know.
Cost: ~$10-15 | Time: 25 minutes
17. Folding Room Divider Screen
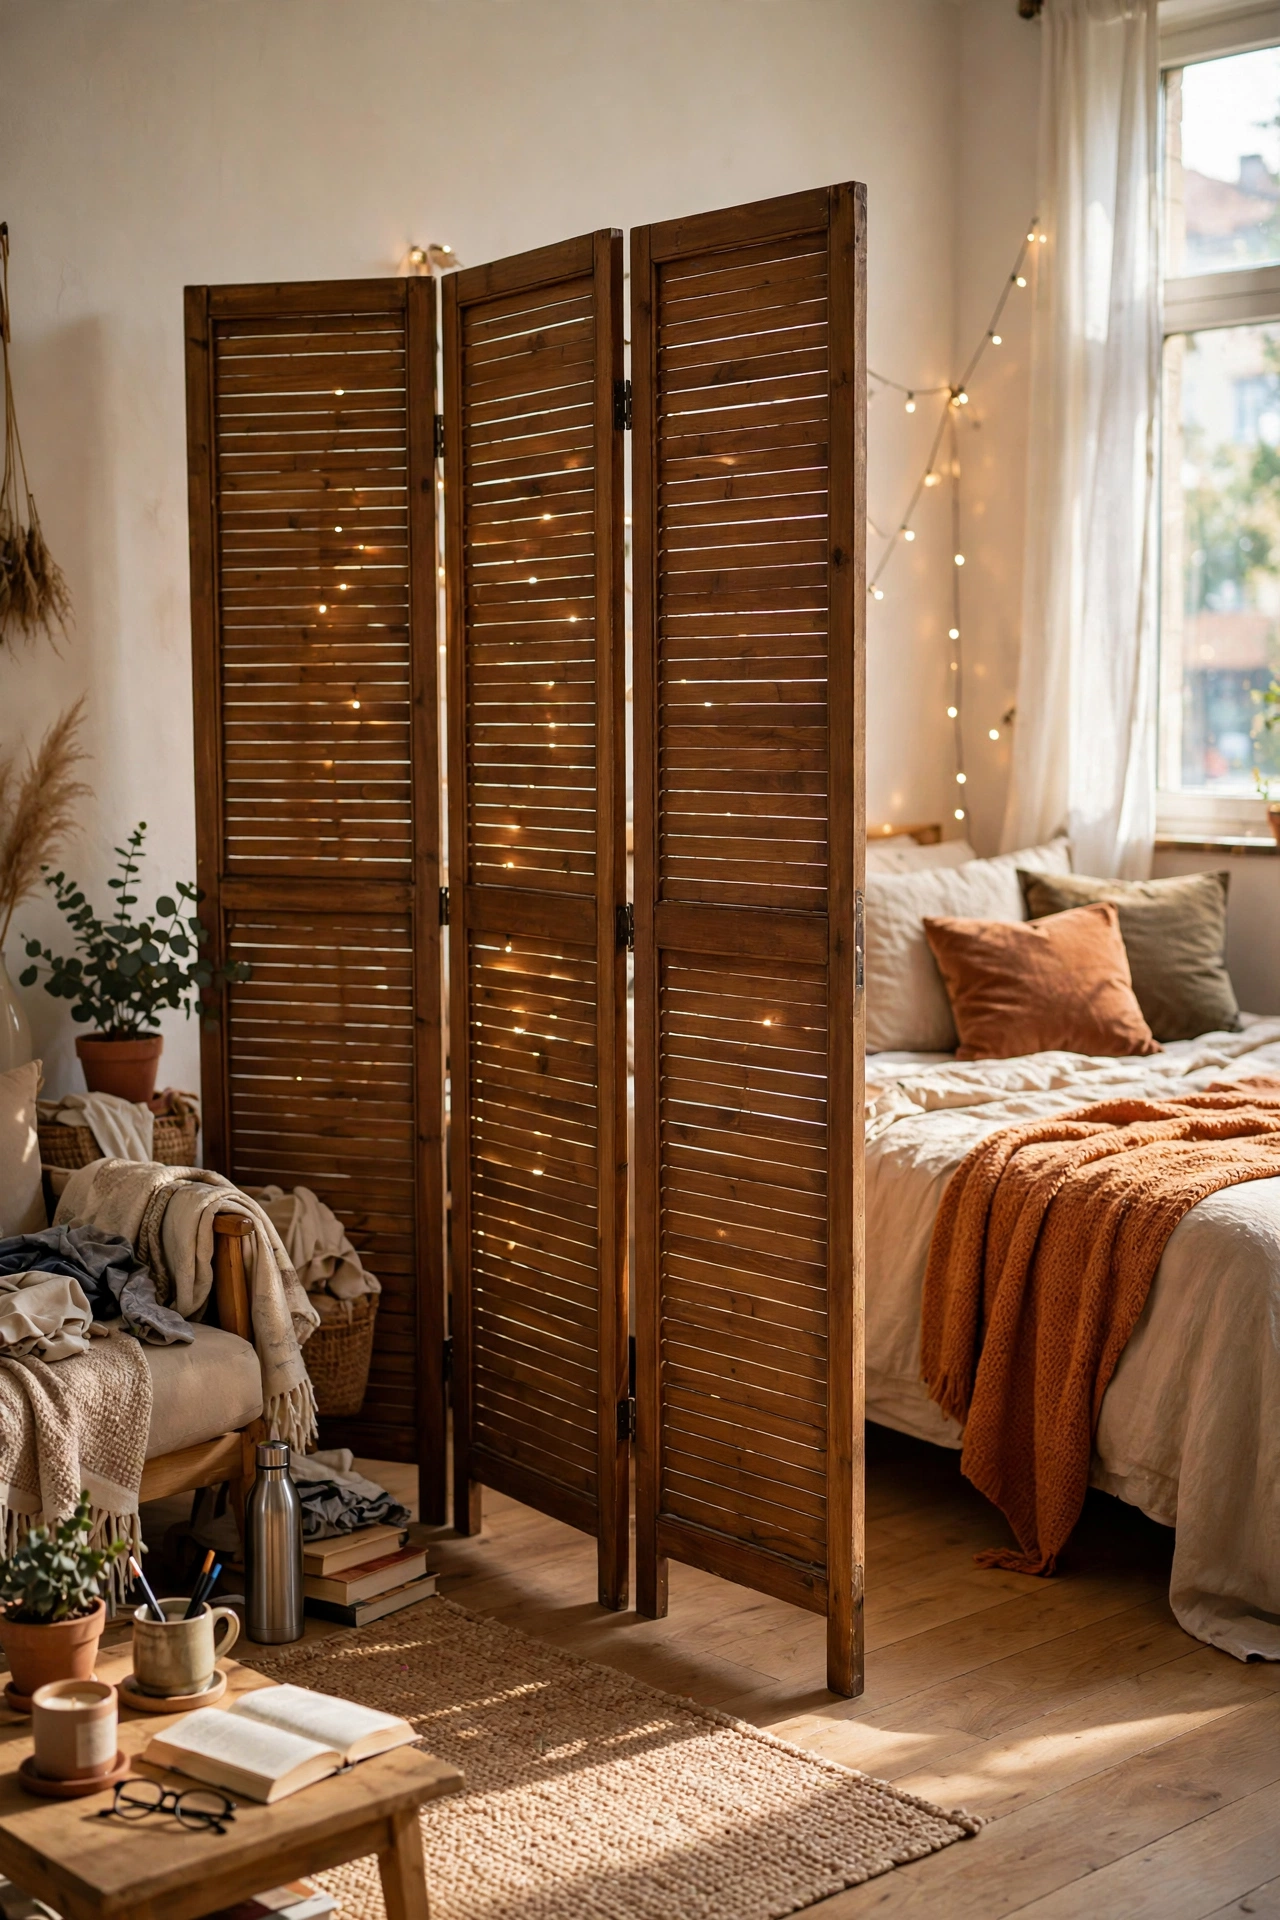
In my studio rental, a $45 folding screen divided my sleeping area from my living space and gave the bedroom a real sense of privacy. Look for a three-panel screen in wood or fabric. It stands on its own, folds flat for moving, and doubles as a backdrop for video calls. I tried this and learned to anchor it in a slight zigzag. A perfectly straight screen tips over if you bump it in the night. The zigzag stance is stable and looks better anyway. Style one panel with a hanging plant or string lights. When you move to a bigger place, it becomes a decorative accent instead of a necessity.
Cost: ~$40-70 | Time: 10 minutes
18. Clip-On Reading Lamps
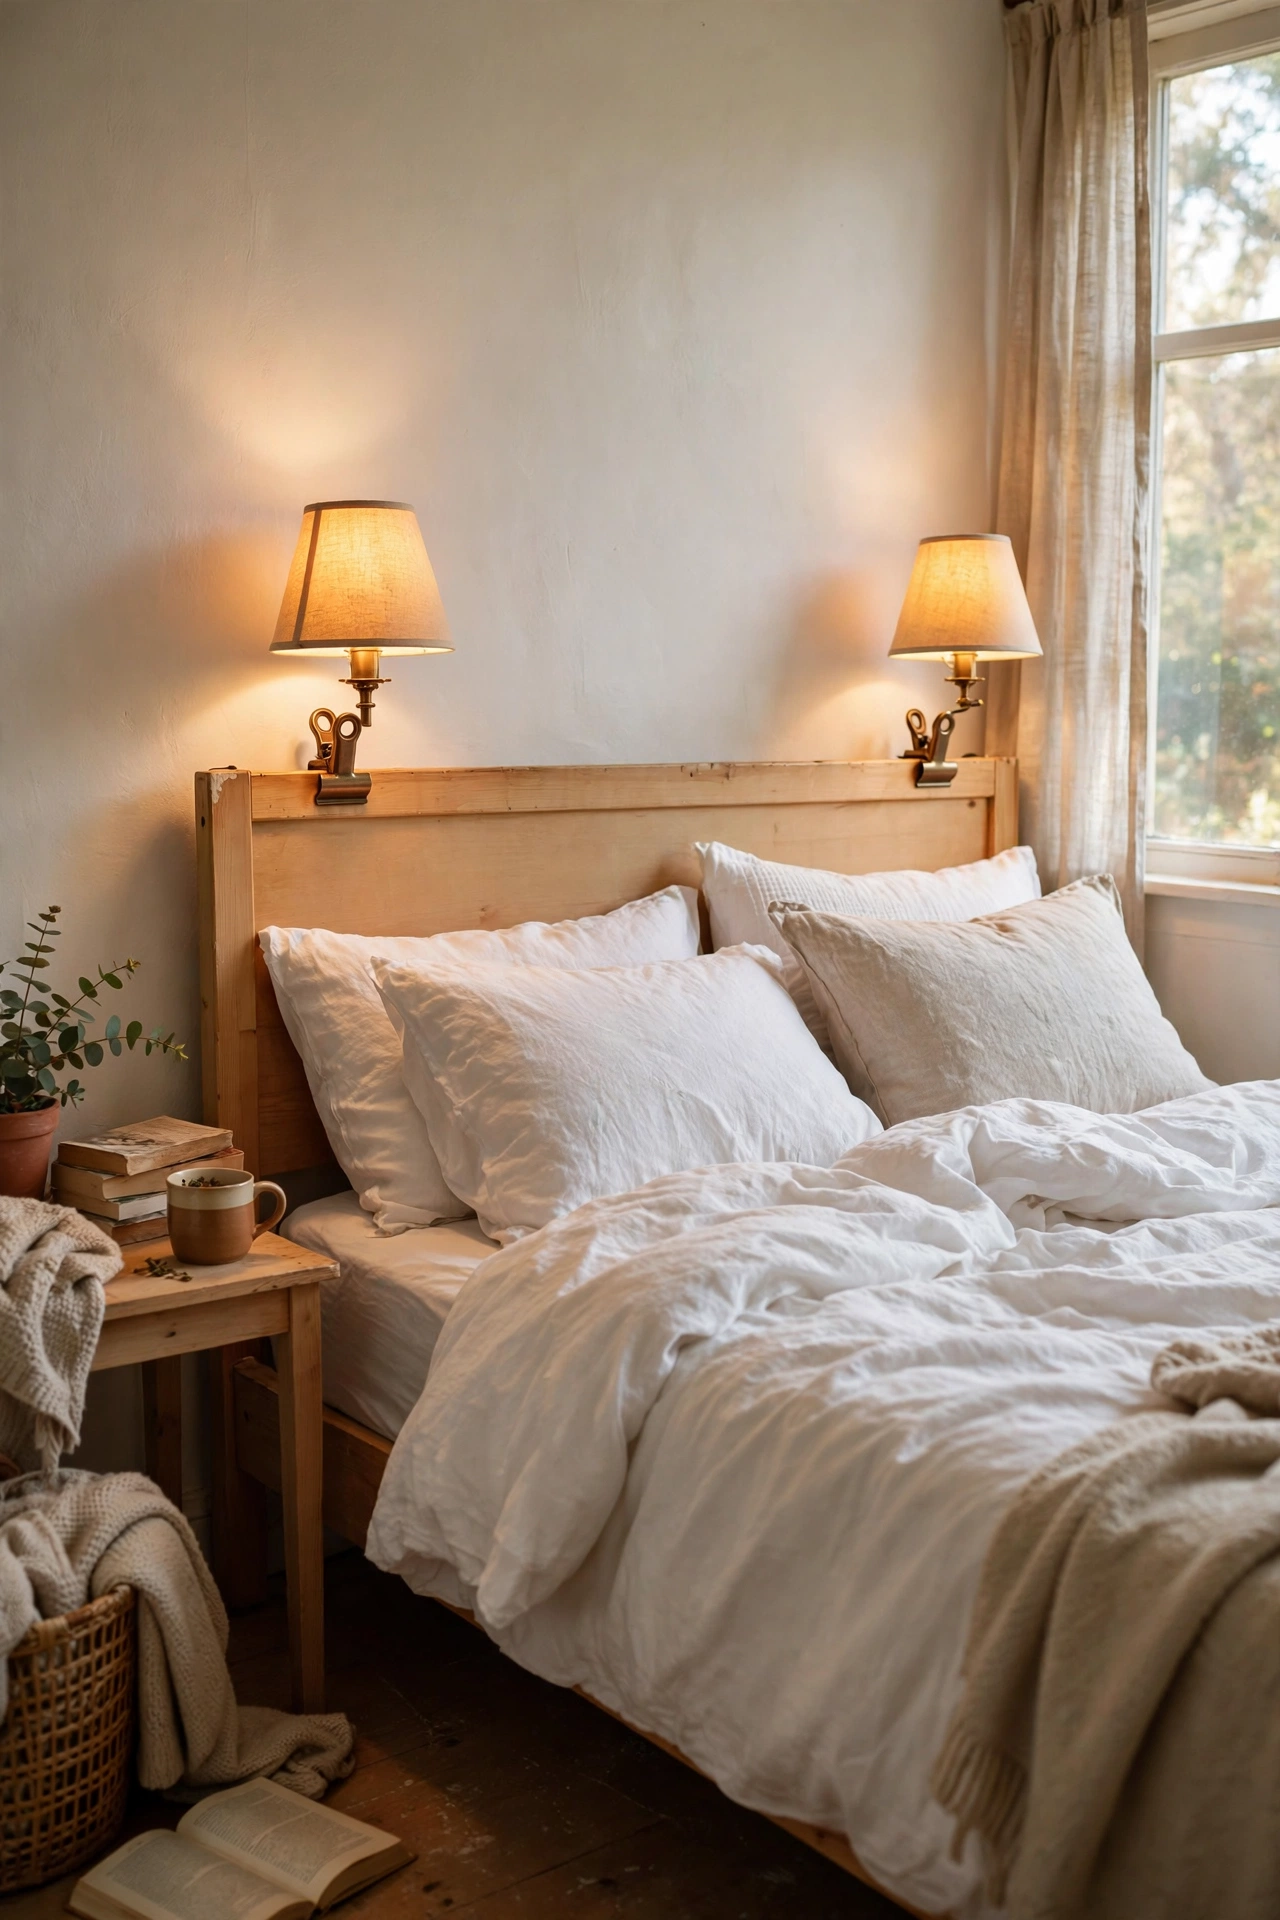
Overhead rental lighting is always terrible, so I clipped $14 reading lamps to my headboard instead of wiring sconces. They give perfect reading light and turn a plain bed into a cozy nook. Look for lamps with flexible necks and warm LED bulbs. Mine have three brightness levels and a USB charging port, which freed up an outlet. I tried this and learned to check the clip size against my headboard thickness. The first pair I bought barely fit and kept sliding down at night. Measure before ordering. They clip off in seconds on moving day. Pair them with these (see also: minimalist-bedroom-ideas-on-a-budget/) if you want the rest of the room to feel just as calm and uncluttered.
Cost: ~$12-18 each | Time: 5 minutes
19. Vacuum-Seal Under-Bed Storage
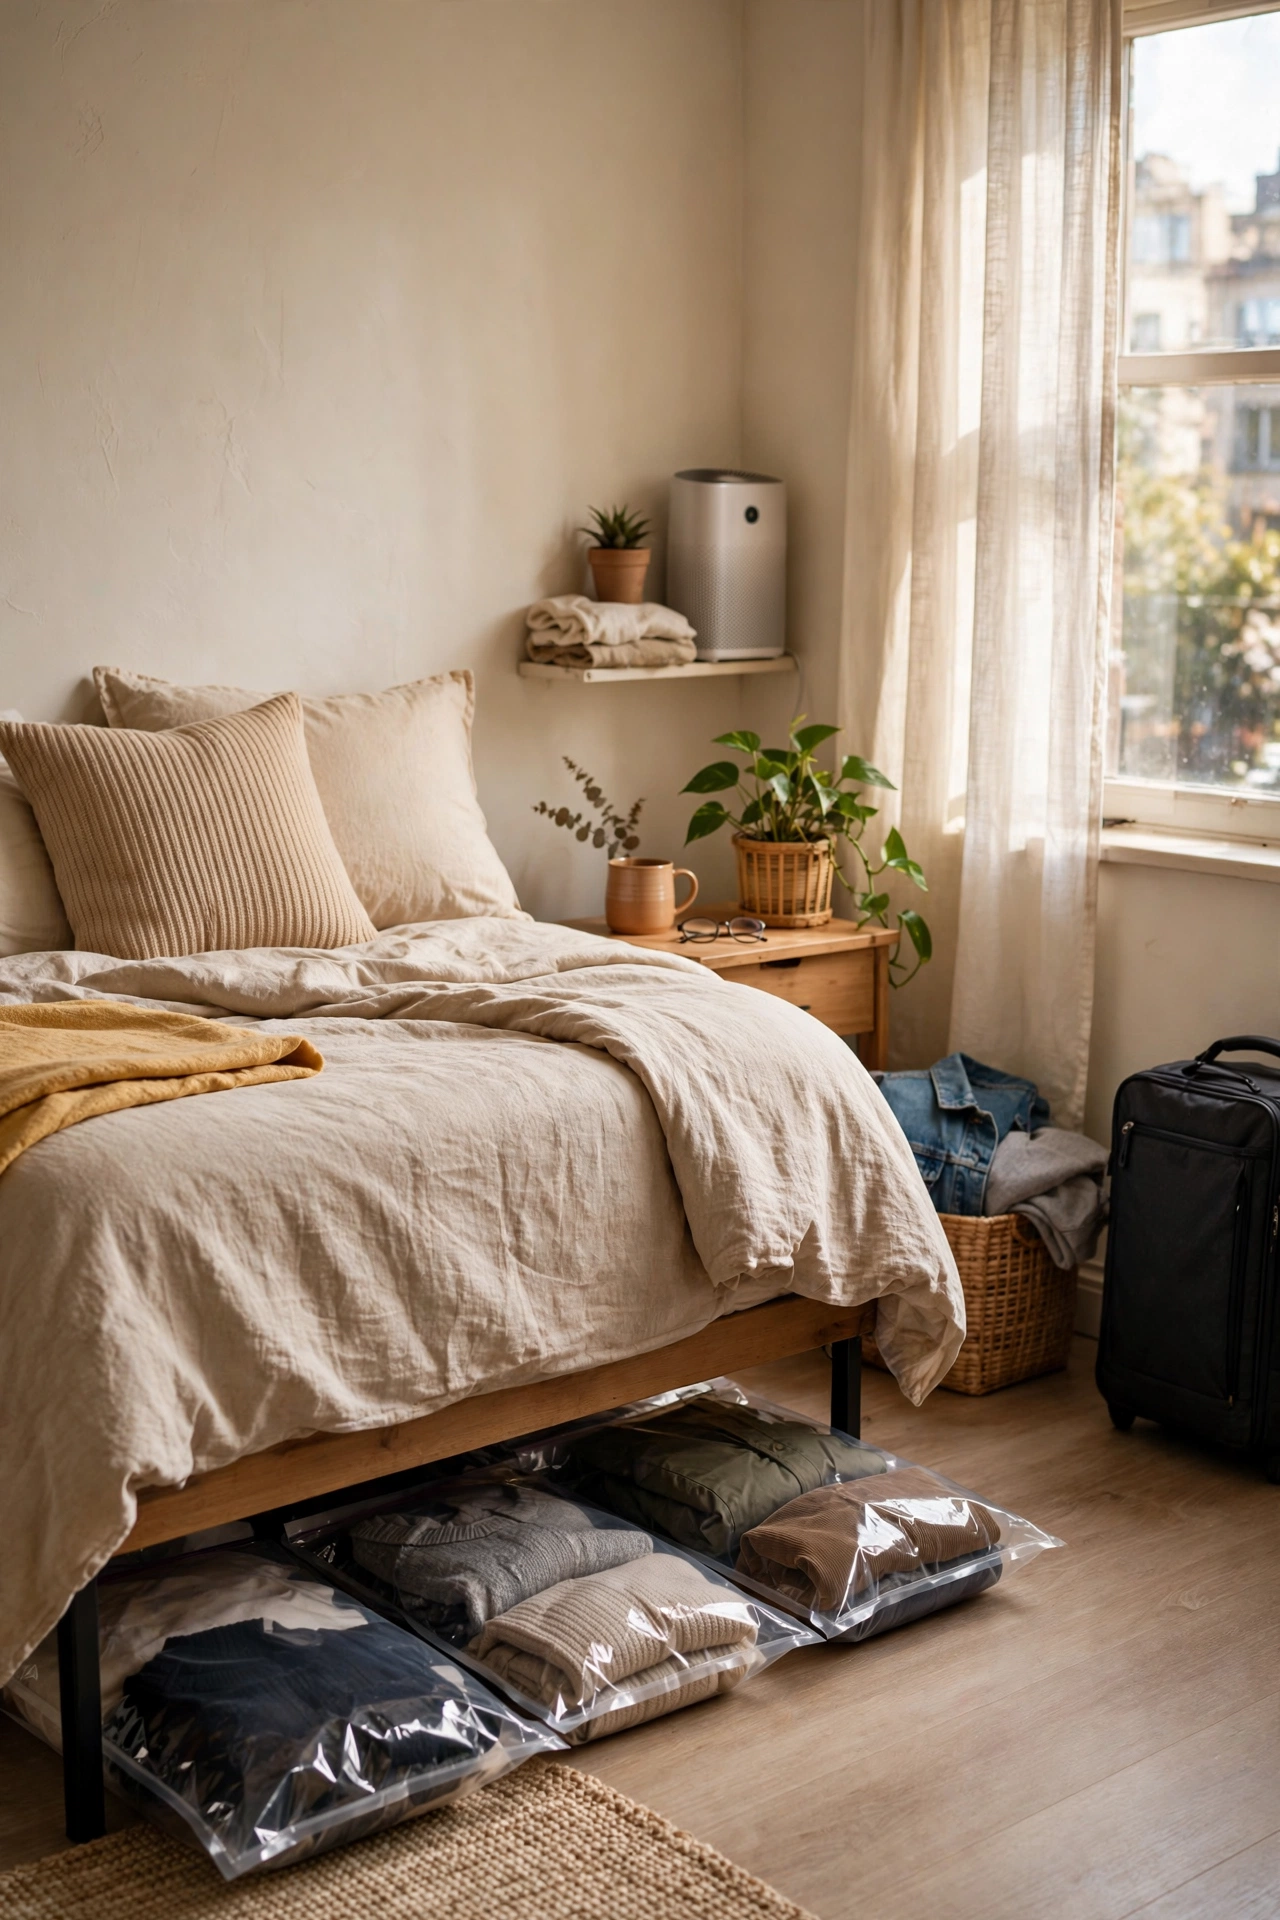
Under-bed space is free square footage, and vacuum-seal bags turn it into a full closet. I store off-season clothes and extra bedding in $18 worth of bags under my bed. Roll the air out, seal, and slide them under. Everything stays dust-free and flat. I tried this and learned not to overfill the bags. Stuffed bags don’t compress and won’t fit under a low frame. Fill them three-quarters full and measure your bed clearance first. Label each bag with tape so you know what’s inside without opening everything. On moving day, they stack neatly in the car. It’s the least glamorous idea here and the most useful.
Cost: ~$15-20 | Time: 30 minutes
Quick Answers
Q: Will Command strips really hold heavy frames without damaging the walls?
A: Yes, if you use the right size and follow the instructions. Buy strips rated for more than your frame’s actual weight, press them firmly for 30 seconds, and wait the full hour before hanging. On removal, stretch the tab slowly along the wall instead of pulling outward. I’ve removed dozens and never lost paint when I followed those steps.
Q: Can I use peel-and-stick wallpaper in a rental with textured walls?
A: Light texture is usually fine, but heavy orange-peel or knockdown texture will cause the edges to lift. Test one strip in a hidden spot for a week before committing to a whole wall. On smooth walls, quality peel-and-stick wallpaper can last for years and removes cleanly with a little warm air from a hair dryer.
Q: How do I get my full security deposit back after decorating?
A: Photograph everything before you move in and again when you move out. Remove all adhesive products slowly, patch any accidental scuffs with a dab of matching paint, and do a final walkthrough with your landlord. Most of the ideas in this post are designed to leave zero trace, which makes that final inspection easy.
Pick one idea this weekend and try it. Your rental bedroom can feel like home without risking a dollar of your deposit, and when moving day comes, everything goes with you. Save this idea for later and keep the ones you love handy so your next apartment starts beautiful from day one.
