23 Above Bed Decor Ideas That Cost Almost Nothing
The wall above your bed is the biggest blank canvas in your bedroom, and filling it does not have to cost much at all. I have tested dozens of above bed decor ideas in my own rental bedrooms, and almost everything on this list costs between zero and fifteen dollars. Most of them use things you already own: old frames, book pages, fabric scraps, and a little twine.
Expect real prices from thrift stores, dollar stores, and my own junk drawer, plus the mistakes I made so you can skip them. Work through the ideas in any order, pick whatever fits the frames and supplies you already have, and know that the space above a headboard forgives a lot of experimentation.
1. DIY Canvas Gallery Grid
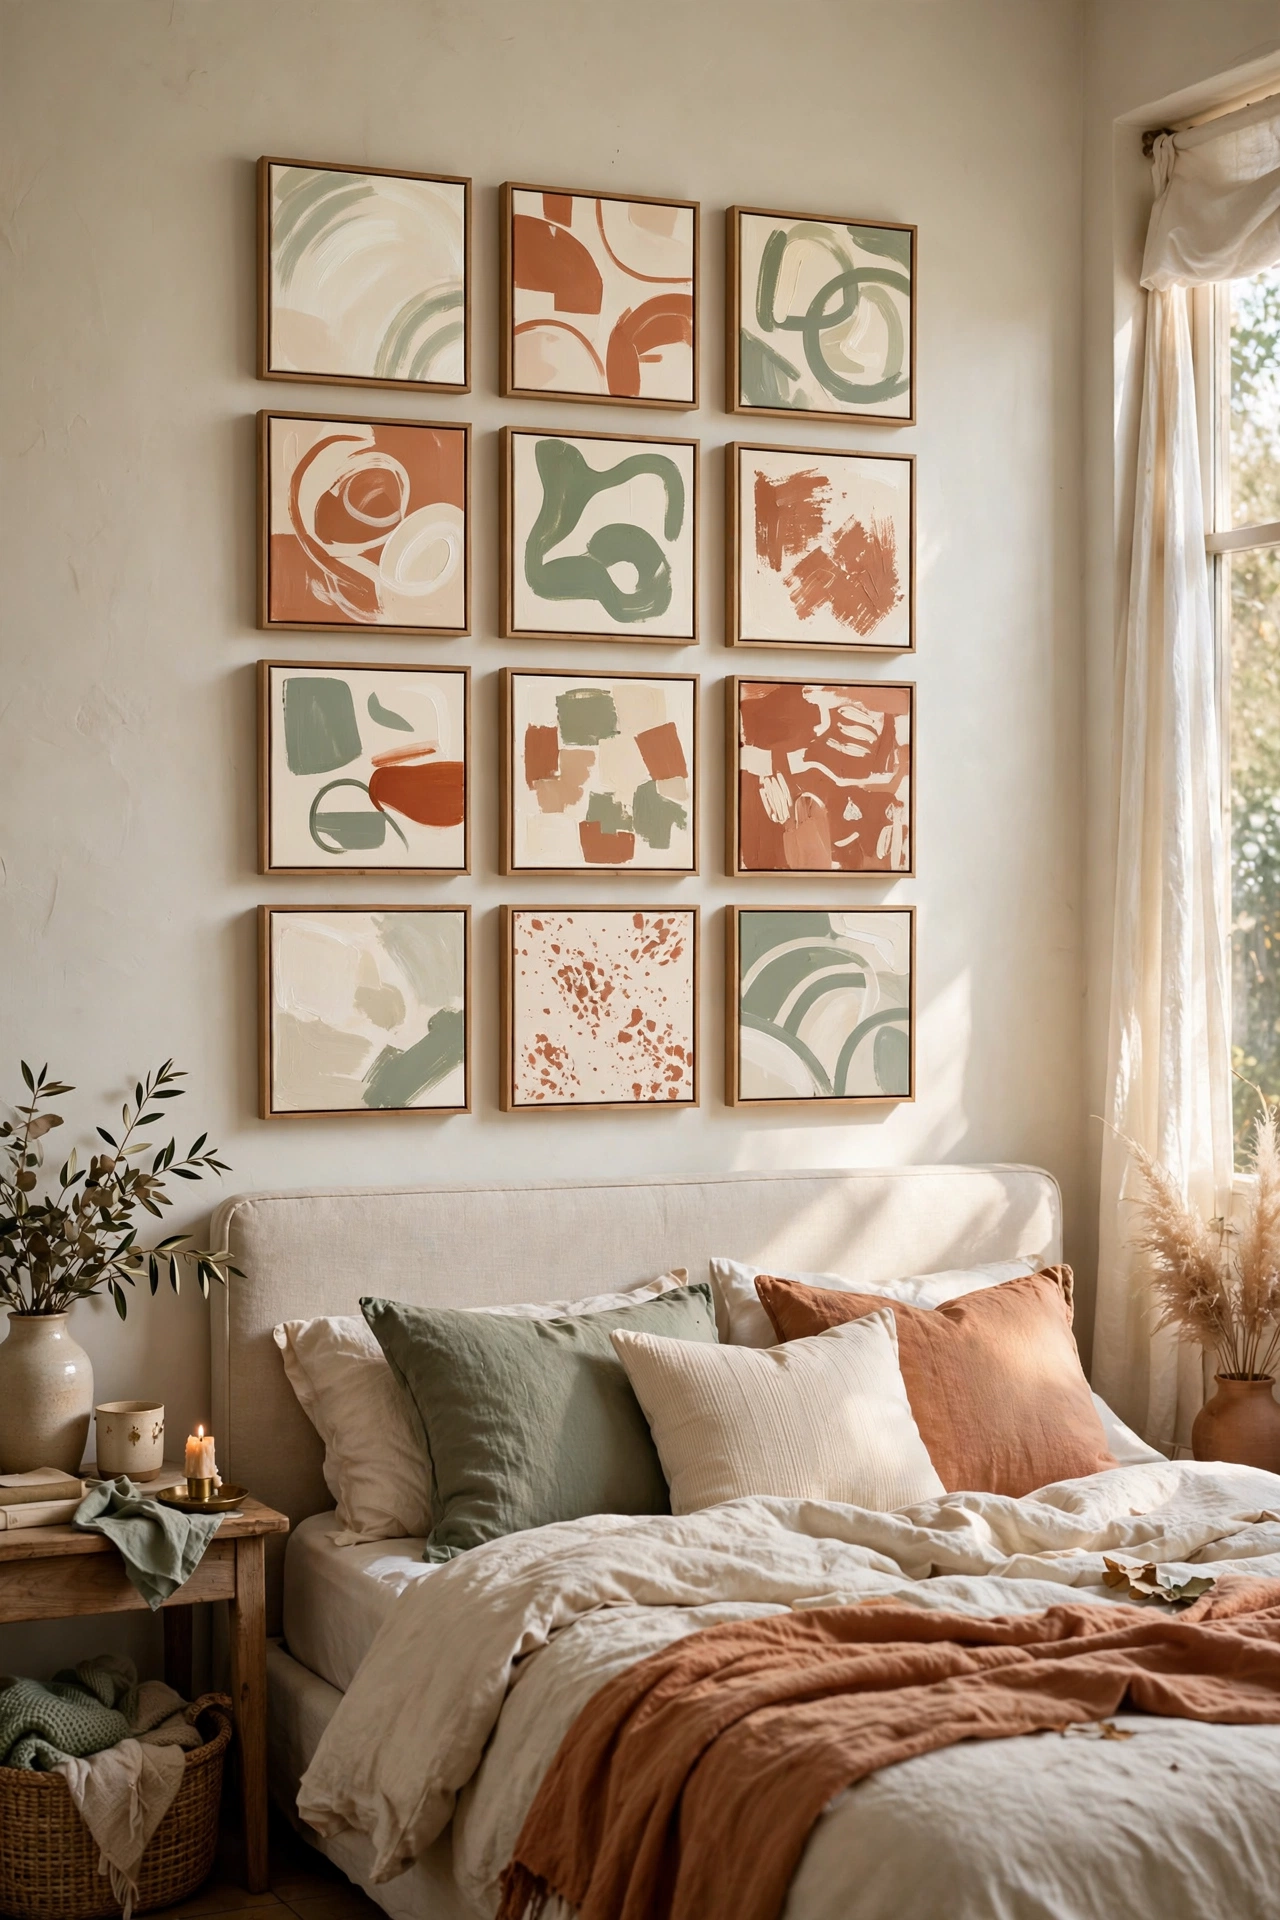
A tight grid of small canvases above the bed looks like a gallery wall for a fraction of the price. I bought a 12-pack of small canvases from the dollar store for $12 and painted simple abstract shapes in my bedroom colors. Keep each canvas to two or three brushstrokes so the grid feels cohesive instead of chaotic.
Space them one inch apart in a three by four grid and hang them with small adhesive hooks. I hung my first grid crooked because I eyeballed it. Use a strip of painter’s tape as a level line across the wall first. This (see also: diy-gallery-wall-ideas-that-look-expensive/) guide has more layout tricks that make cheap art look pricey.
Cost: ~$10-15 | Time: 1-2 hours
2. Thrifted Frame Salon Wall
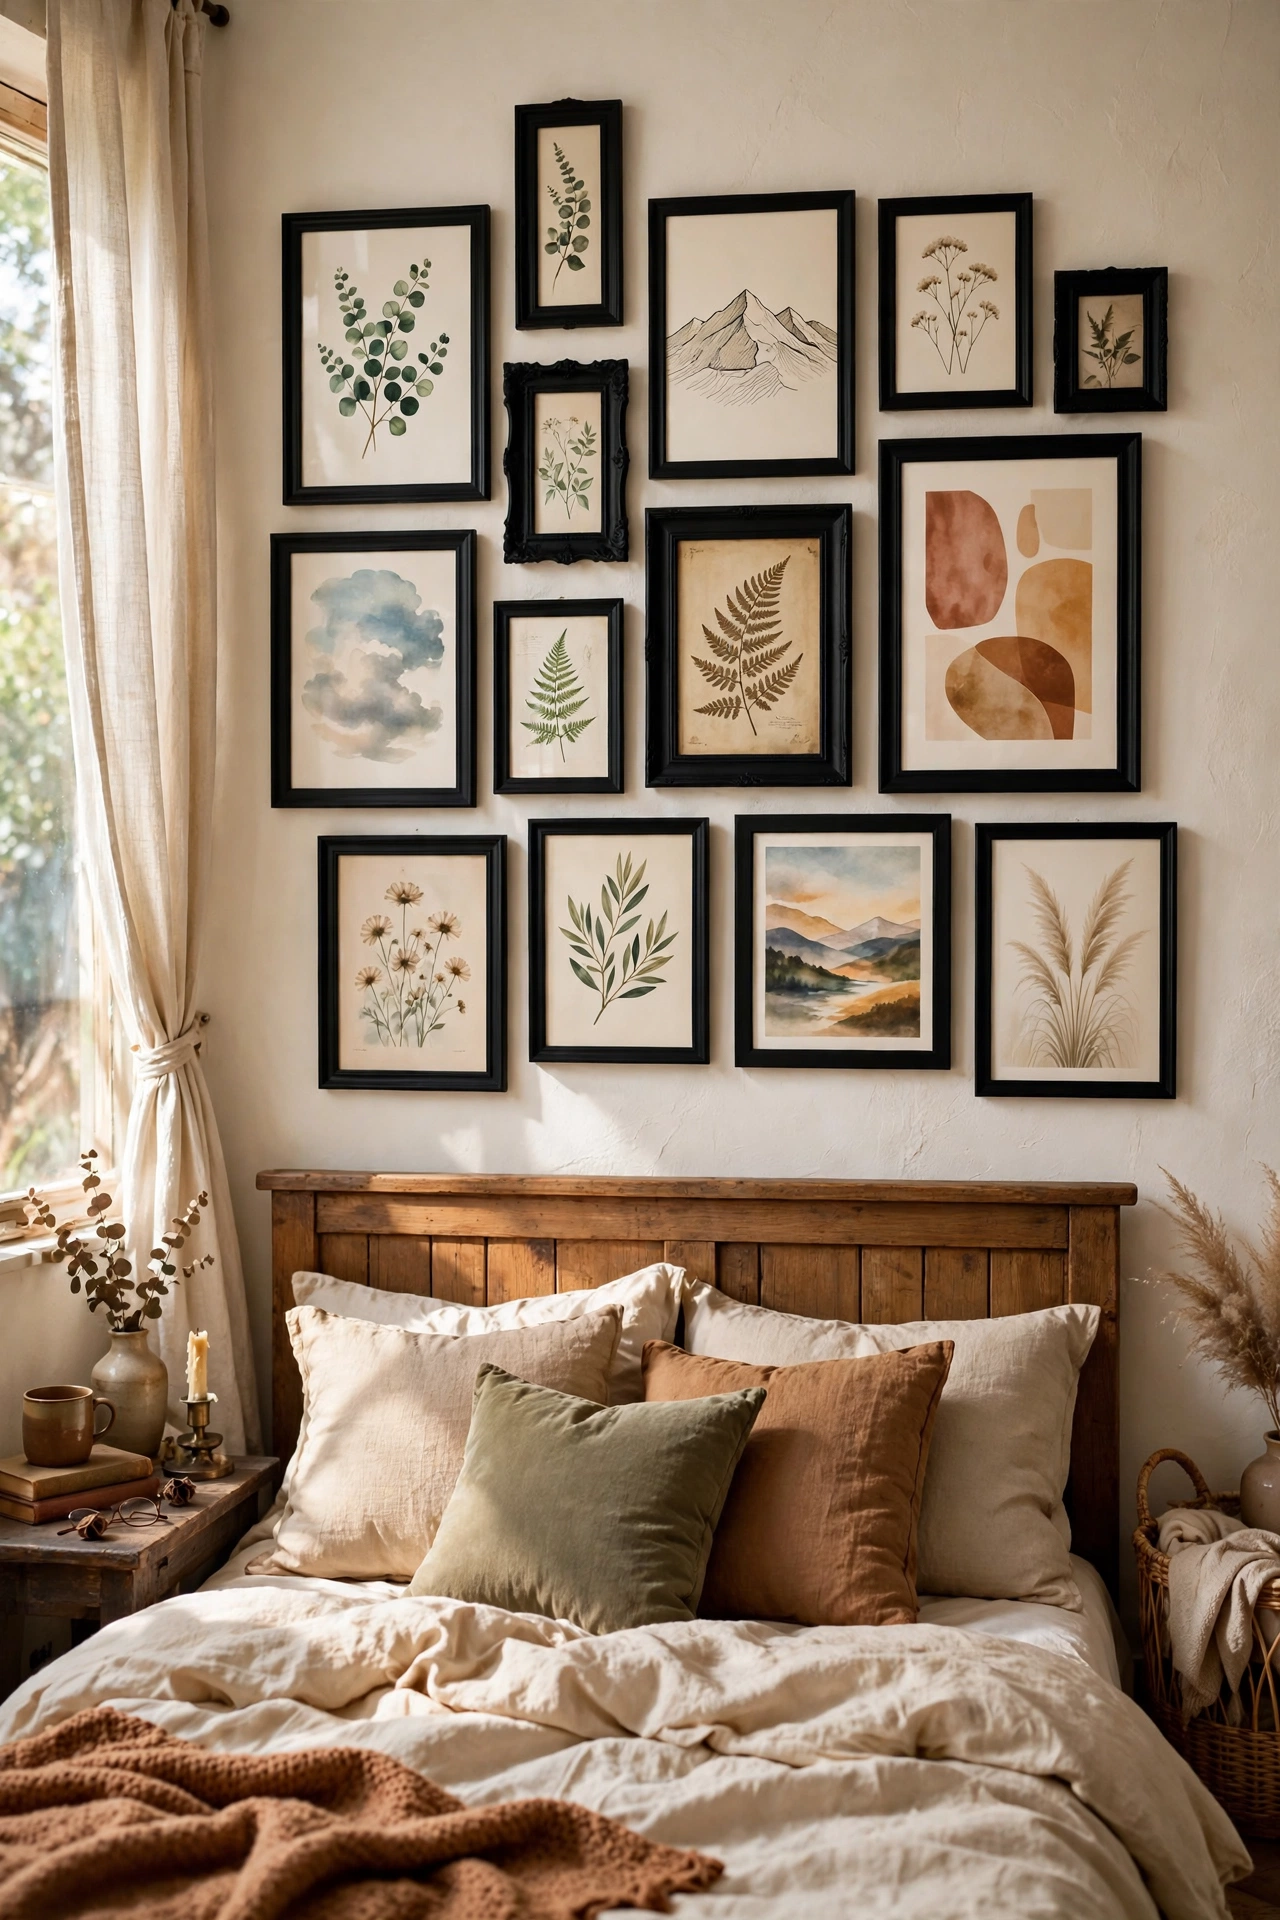
Mismatched thrifted frames painted one color look like a curated salon wall above the bed. I gathered eight frames at a thrift store for 50 cents to $1 each, then spray painted them all matte black. Fill them with free printables, book pages, or fabric scraps, and nobody can tell the frames were random.
Lay the arrangement on the floor first and take a photo before hanging anything. I skipped this step once and ended up with eleven nail holes in my wall. Start with the biggest frame in the center and build outward. Painting every frame the same color is the trick that unifies the whole cluster.
Cost: ~$5-12 | Time: 2 hours
3. Hanging Macrame Wall Piece
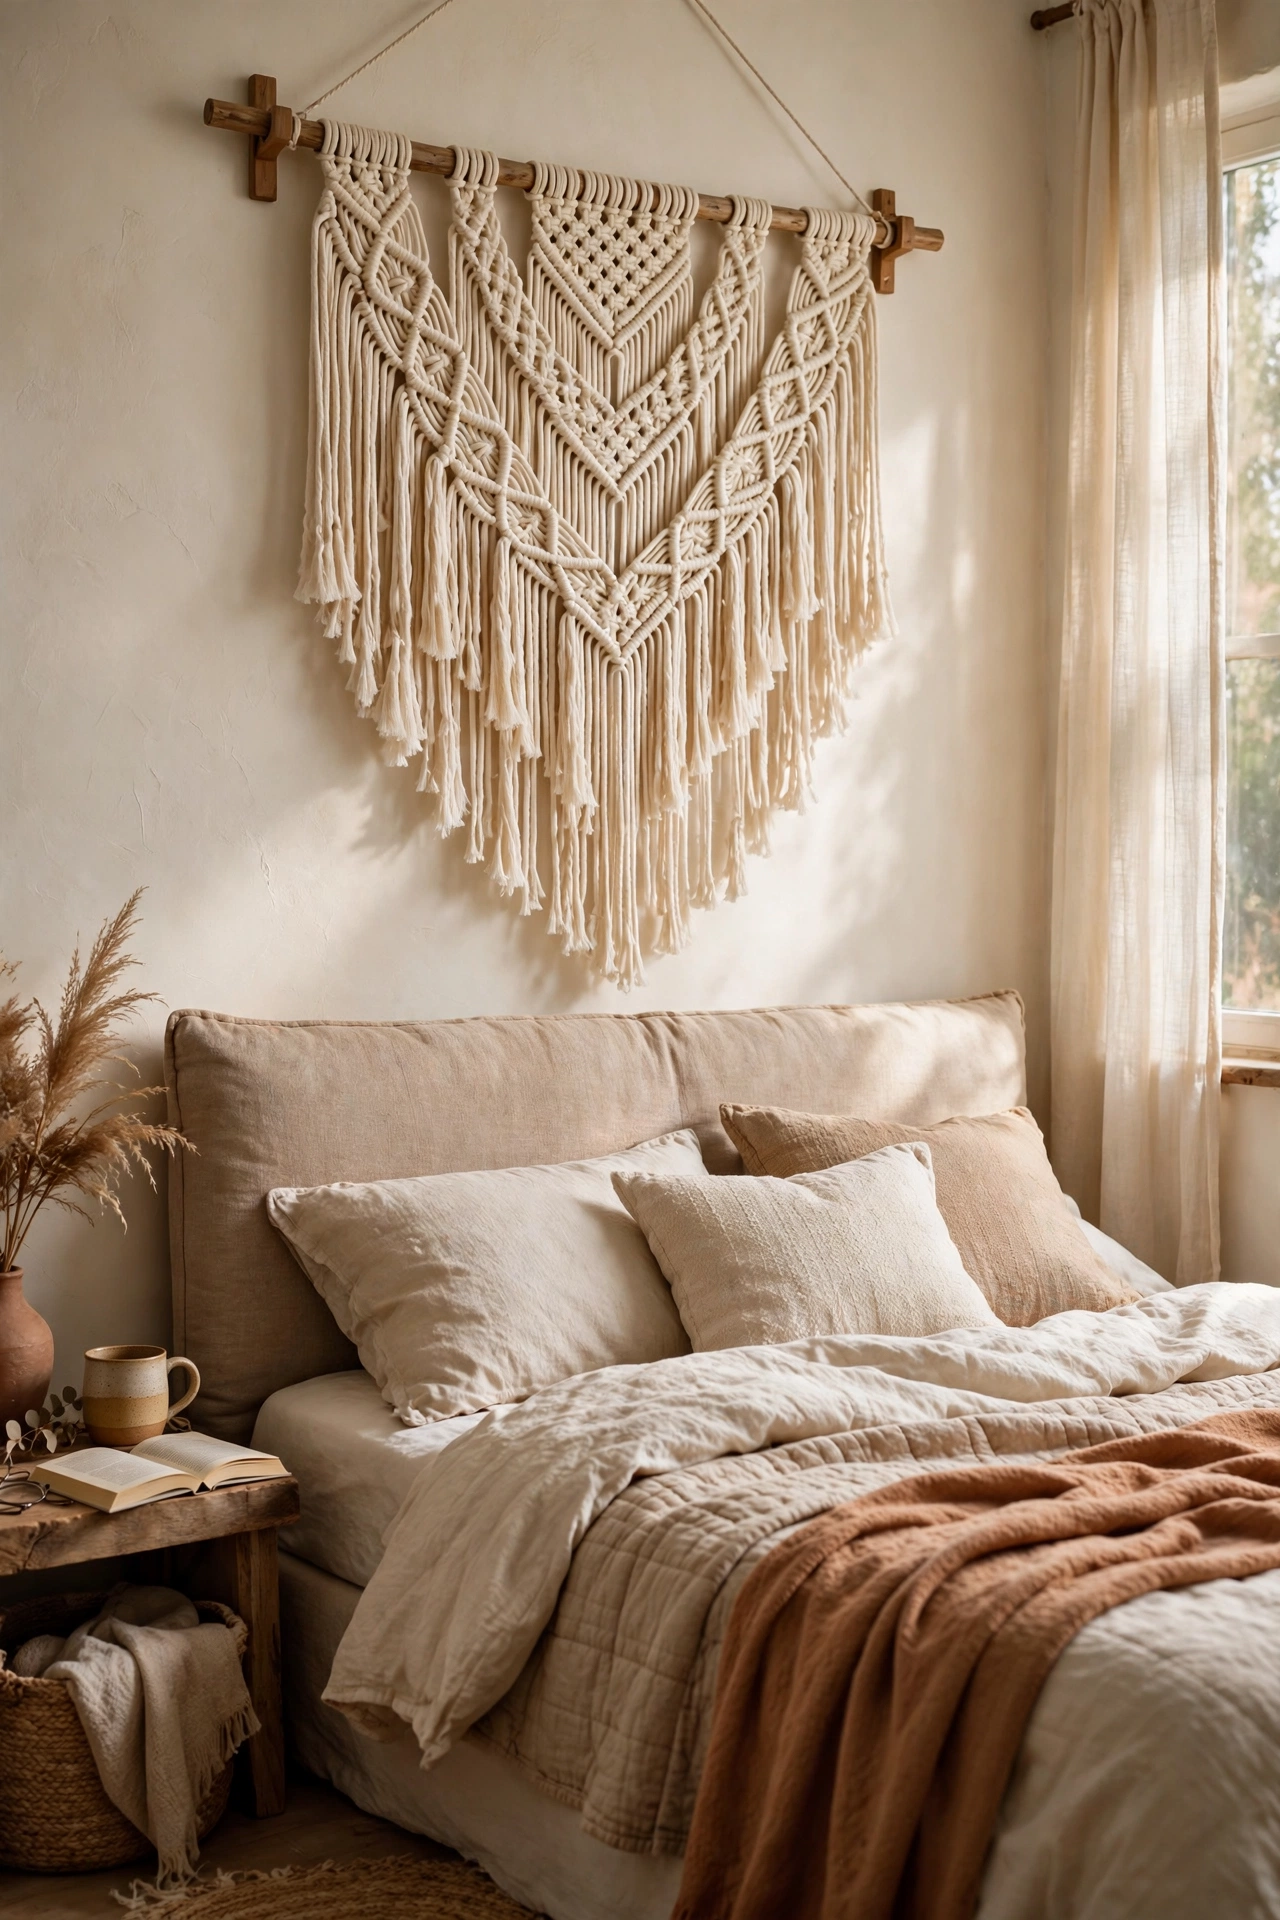
A single macrame hanging softens the wall above the bed and adds texture for almost nothing. I made mine with a $6 roll of cotton cord from the craft store and a free tutorial video. You only need to learn two knots: the square knot and the lark’s head knot, and the whole thing takes an evening.
Hang it from a wooden dowel or a found branch about three feet wide so it fills the space above a queen headboard. My first one was too narrow and looked like a lost doily on the wall. Let the fringe hang long and trim it into a V shape at the bottom for the classic look.
Cost: ~$5-10 | Time: 2-3 hours
4. Framed Vintage Book Pages
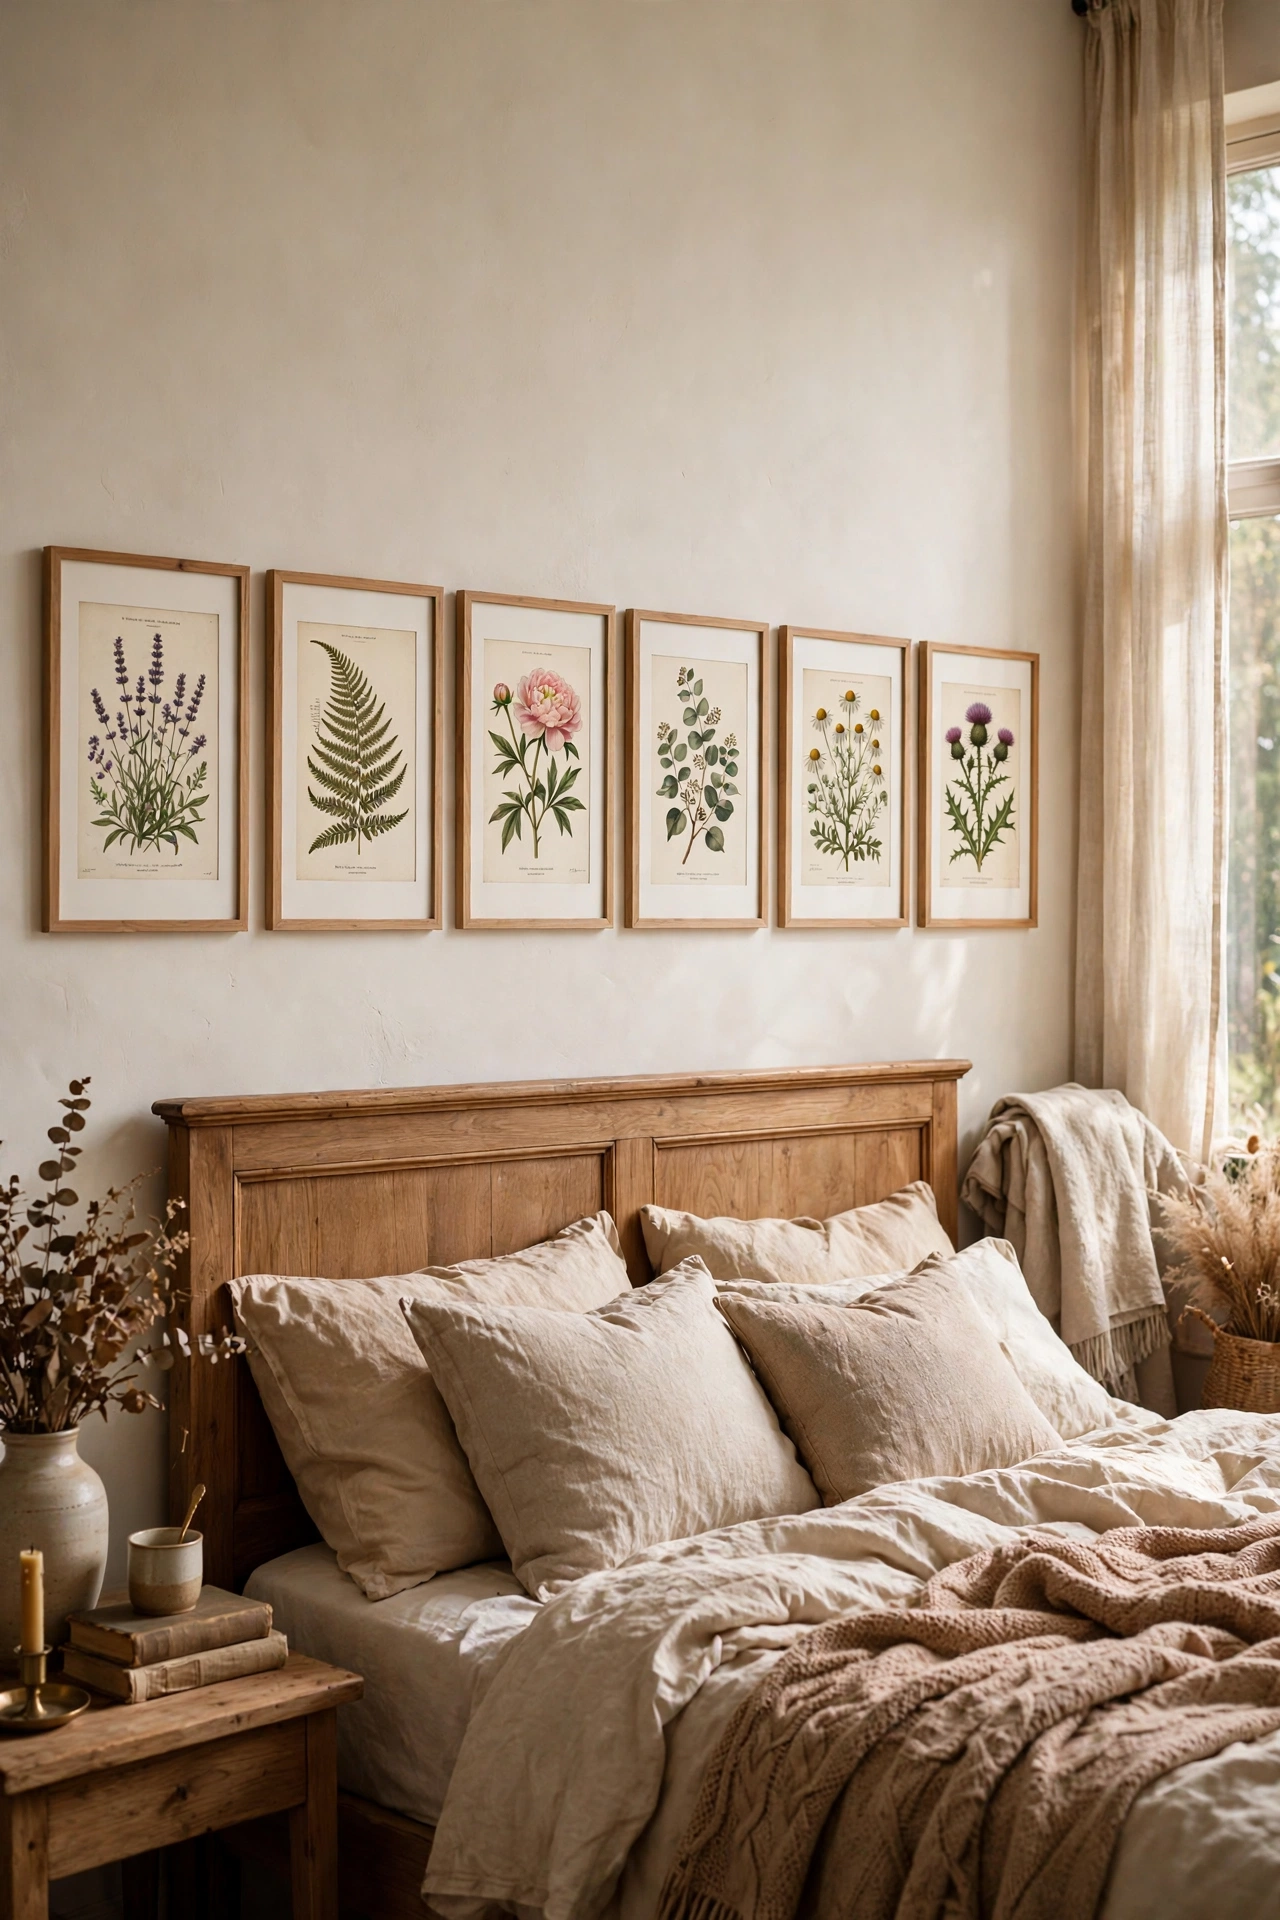
Pages from old books with beautiful illustrations or typography make wonderful above-bed art for free. I pulled six botanical plates from a damaged encyclopedia at the thrift store for $2. Float-mount them on white cardstock inside simple frames so the page edges show.
Choose pages with a consistent theme, all botanical, all maps, or all poetry pages, so the set reads as intentional. I mixed random pages the first time and it looked like a recycling bin exploded. This (see also: thrifted-frame-diy-ideas-that-look-custom/) has frame styling tricks that make these pages look like a custom set.
Cost: ~$2-8 | Time: 1 hour
5. Dried Flower Garland on Twine
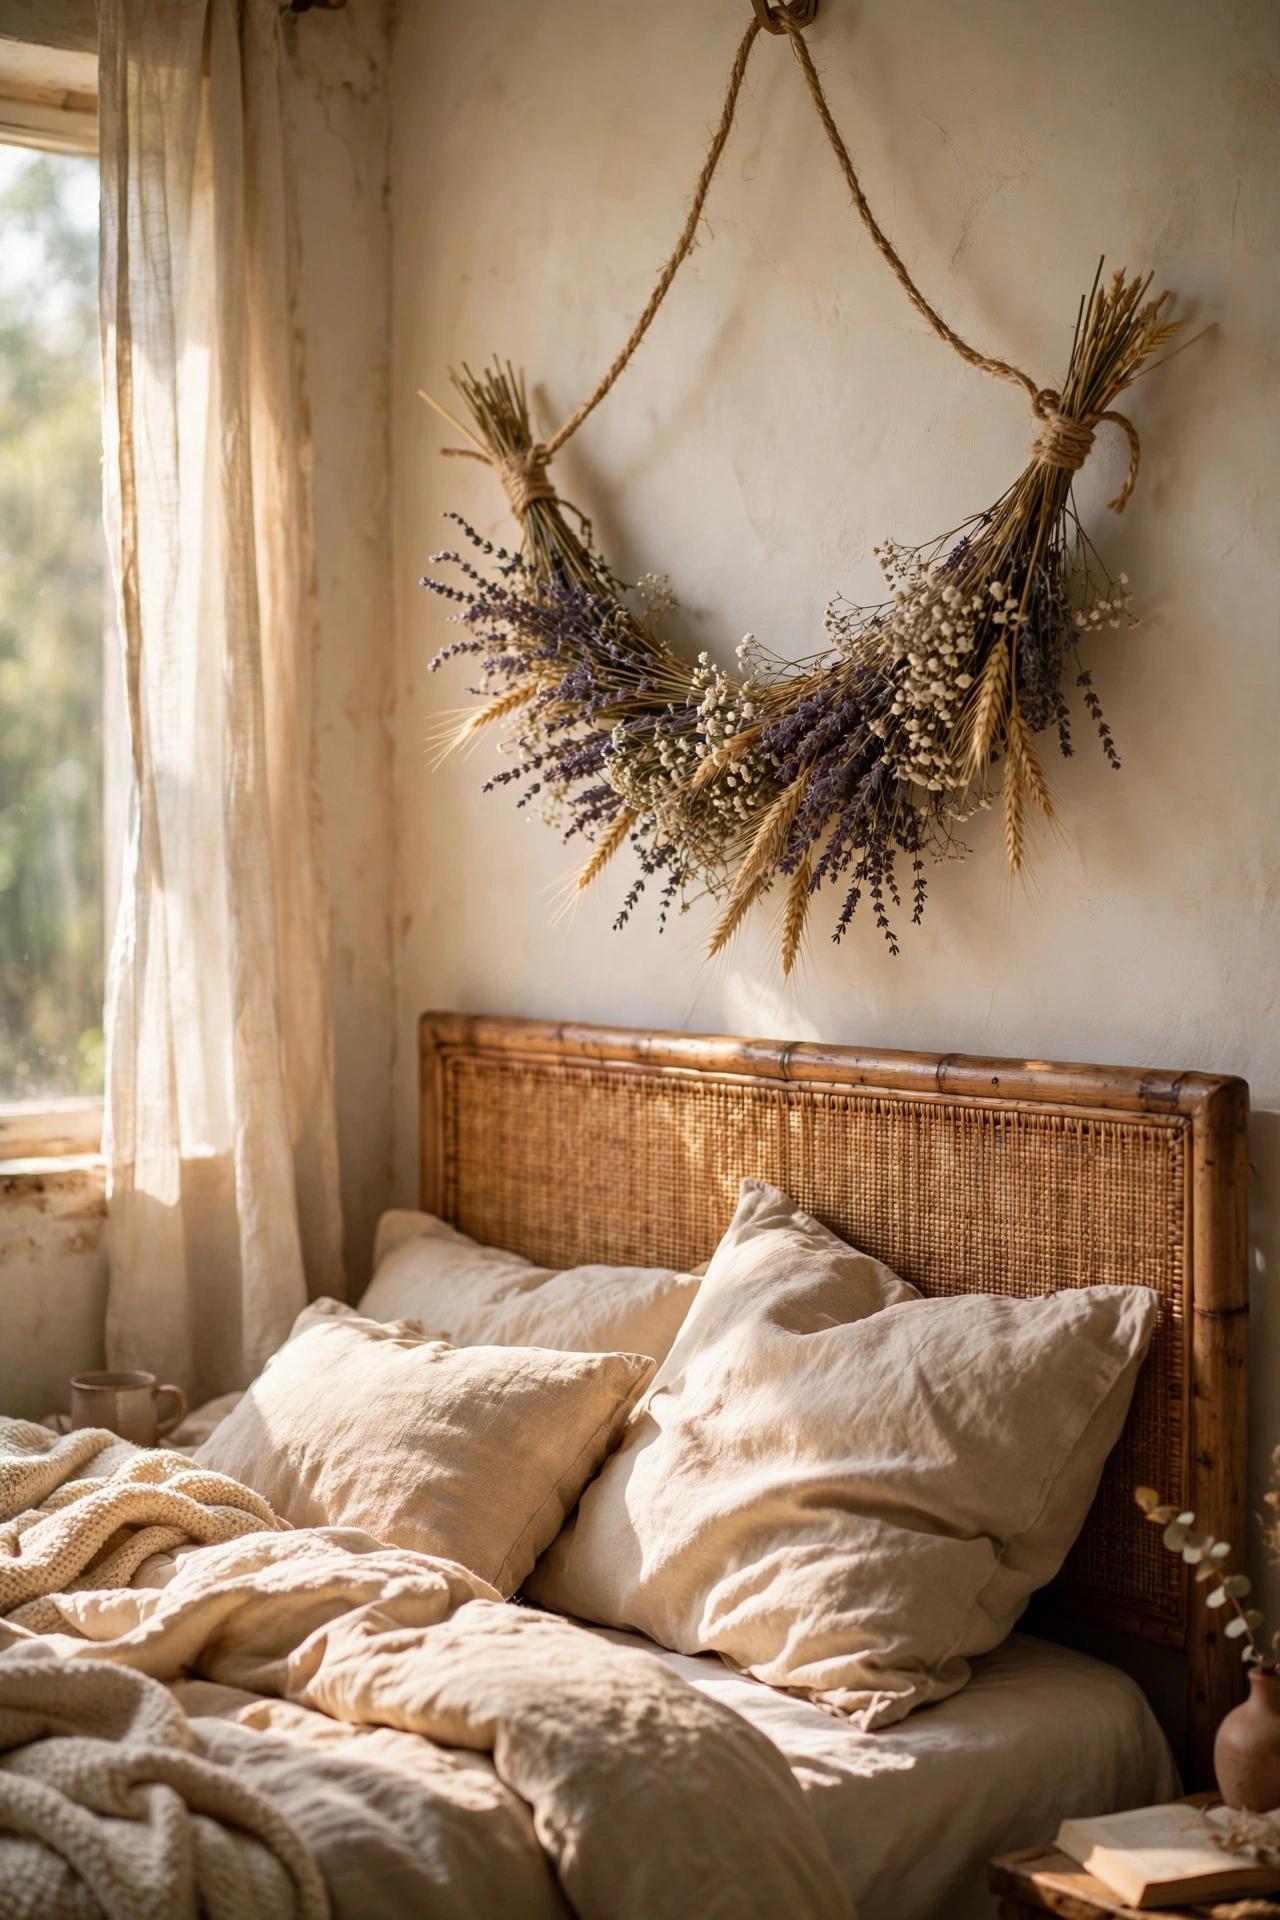
A swag of dried flowers on twine is soft, romantic, and nearly free if you dry your own. I hung lavender, baby’s breath, and wheat stems I dried from a grocery bouquet, tied to a length of jute twine. Hang the twine in a gentle swag shape with the ends secured by two small hooks.
Dry the flowers upside down for two weeks before hanging so they do not drop petals everywhere. I hung mine fresh once and spent a month sweeping dead petals off my pillows. Mist very lightly with hairspray to help them hold together. The whole swag costs less than the bouquet you dried.
Cost: ~$0-8 | Time: 30 minutes
6. Floating Picture Ledge
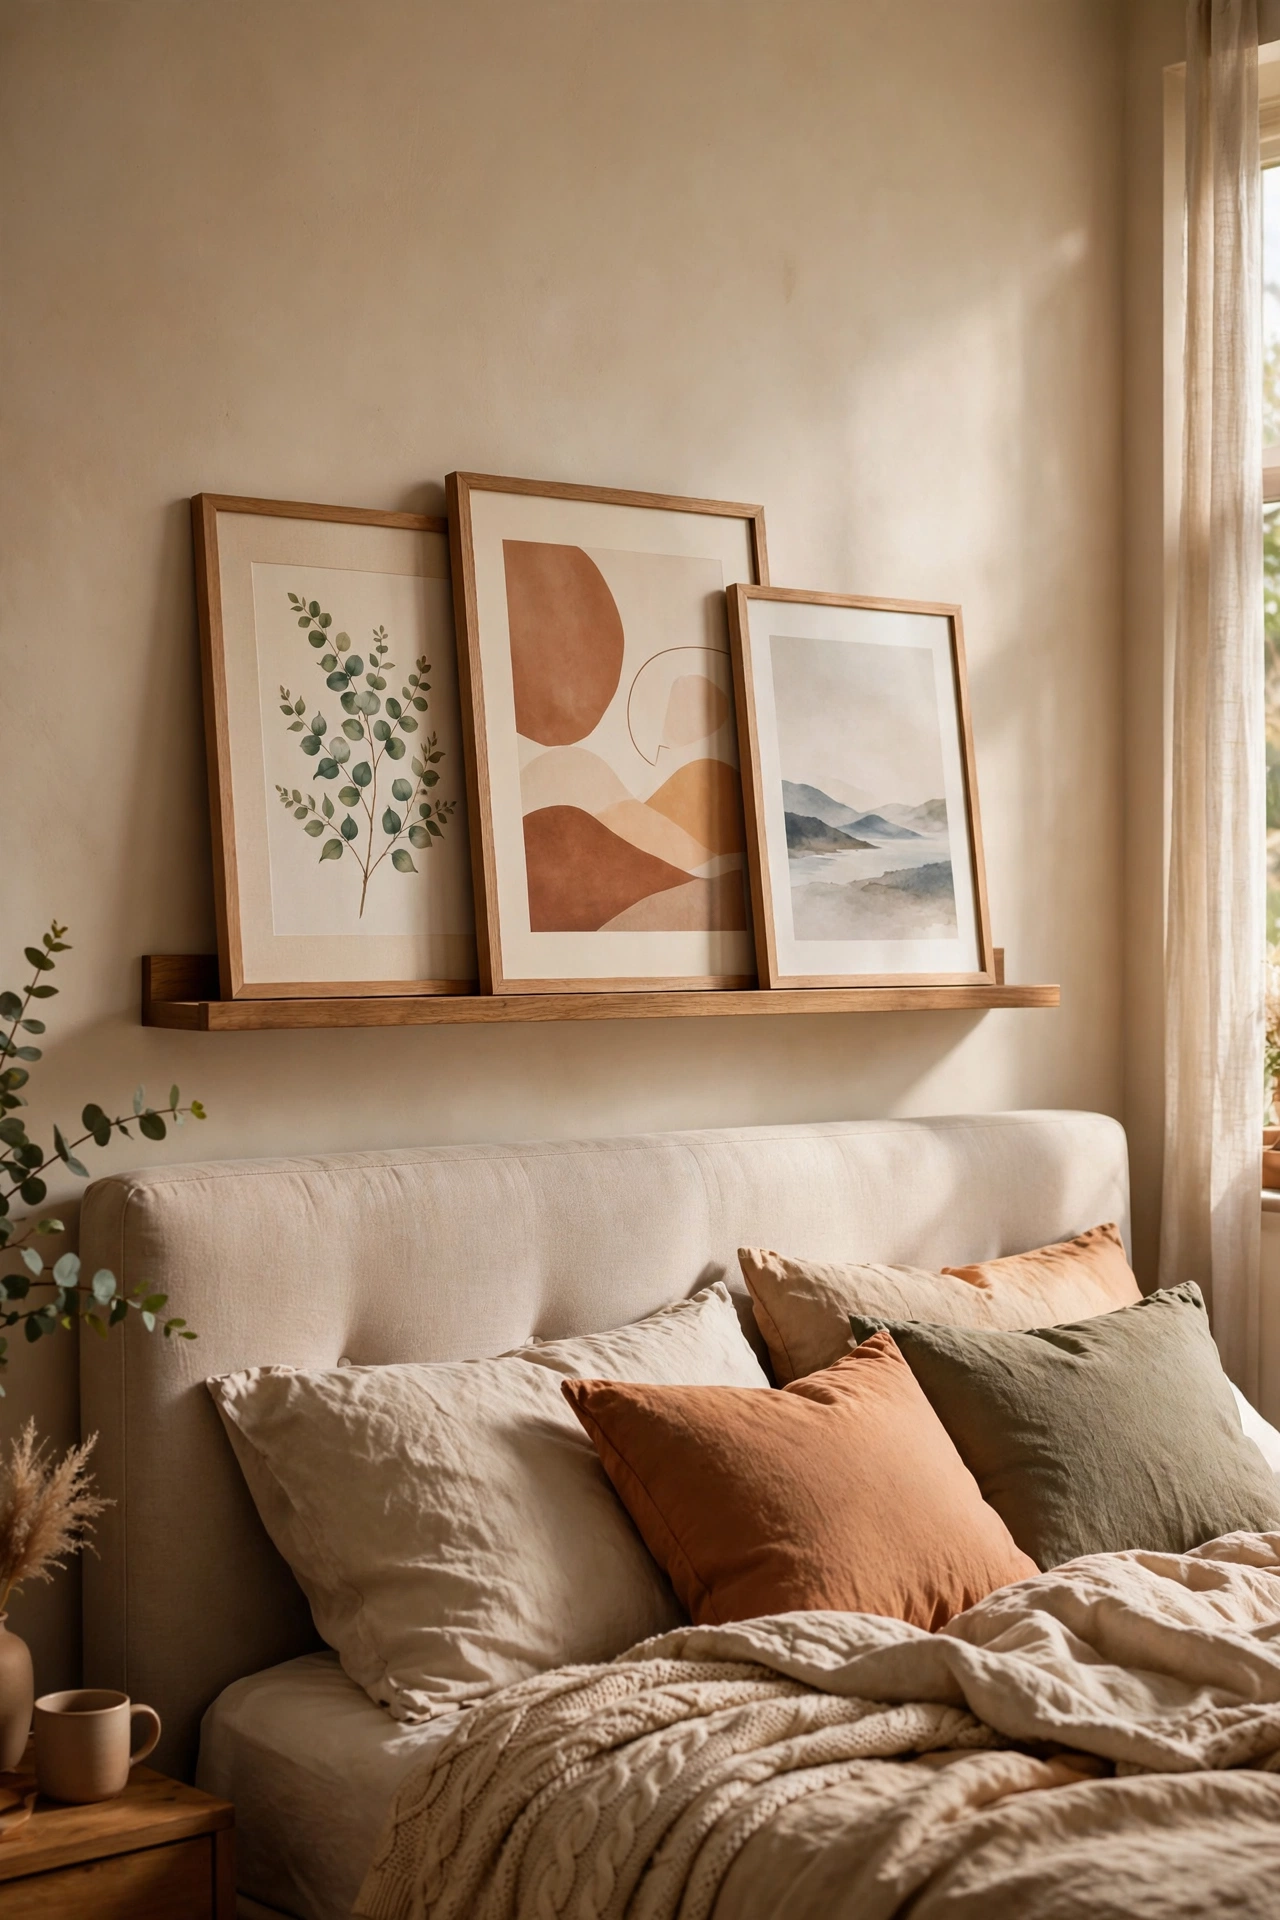
A narrow picture ledge lets you layer art above the bed without committing to nail holes. I bought a 36-inch ledge shelf from IKEA for $10 and mounted it twelve inches above the headboard. Lean three or four framed prints against the wall on the ledge, overlapping them slightly like books on a shelf.
The beauty is you can swap the art seasonally without new holes. I change mine every few months and it keeps the bedroom feeling fresh. Lean the tallest piece at the back and the smallest at the front so everything stays visible. Secure the ledge into a stud because leaning frames still shift the weight forward.
Cost: ~$10-15 | Time: 30 minutes
7. Oversized DIY Abstract Canvas
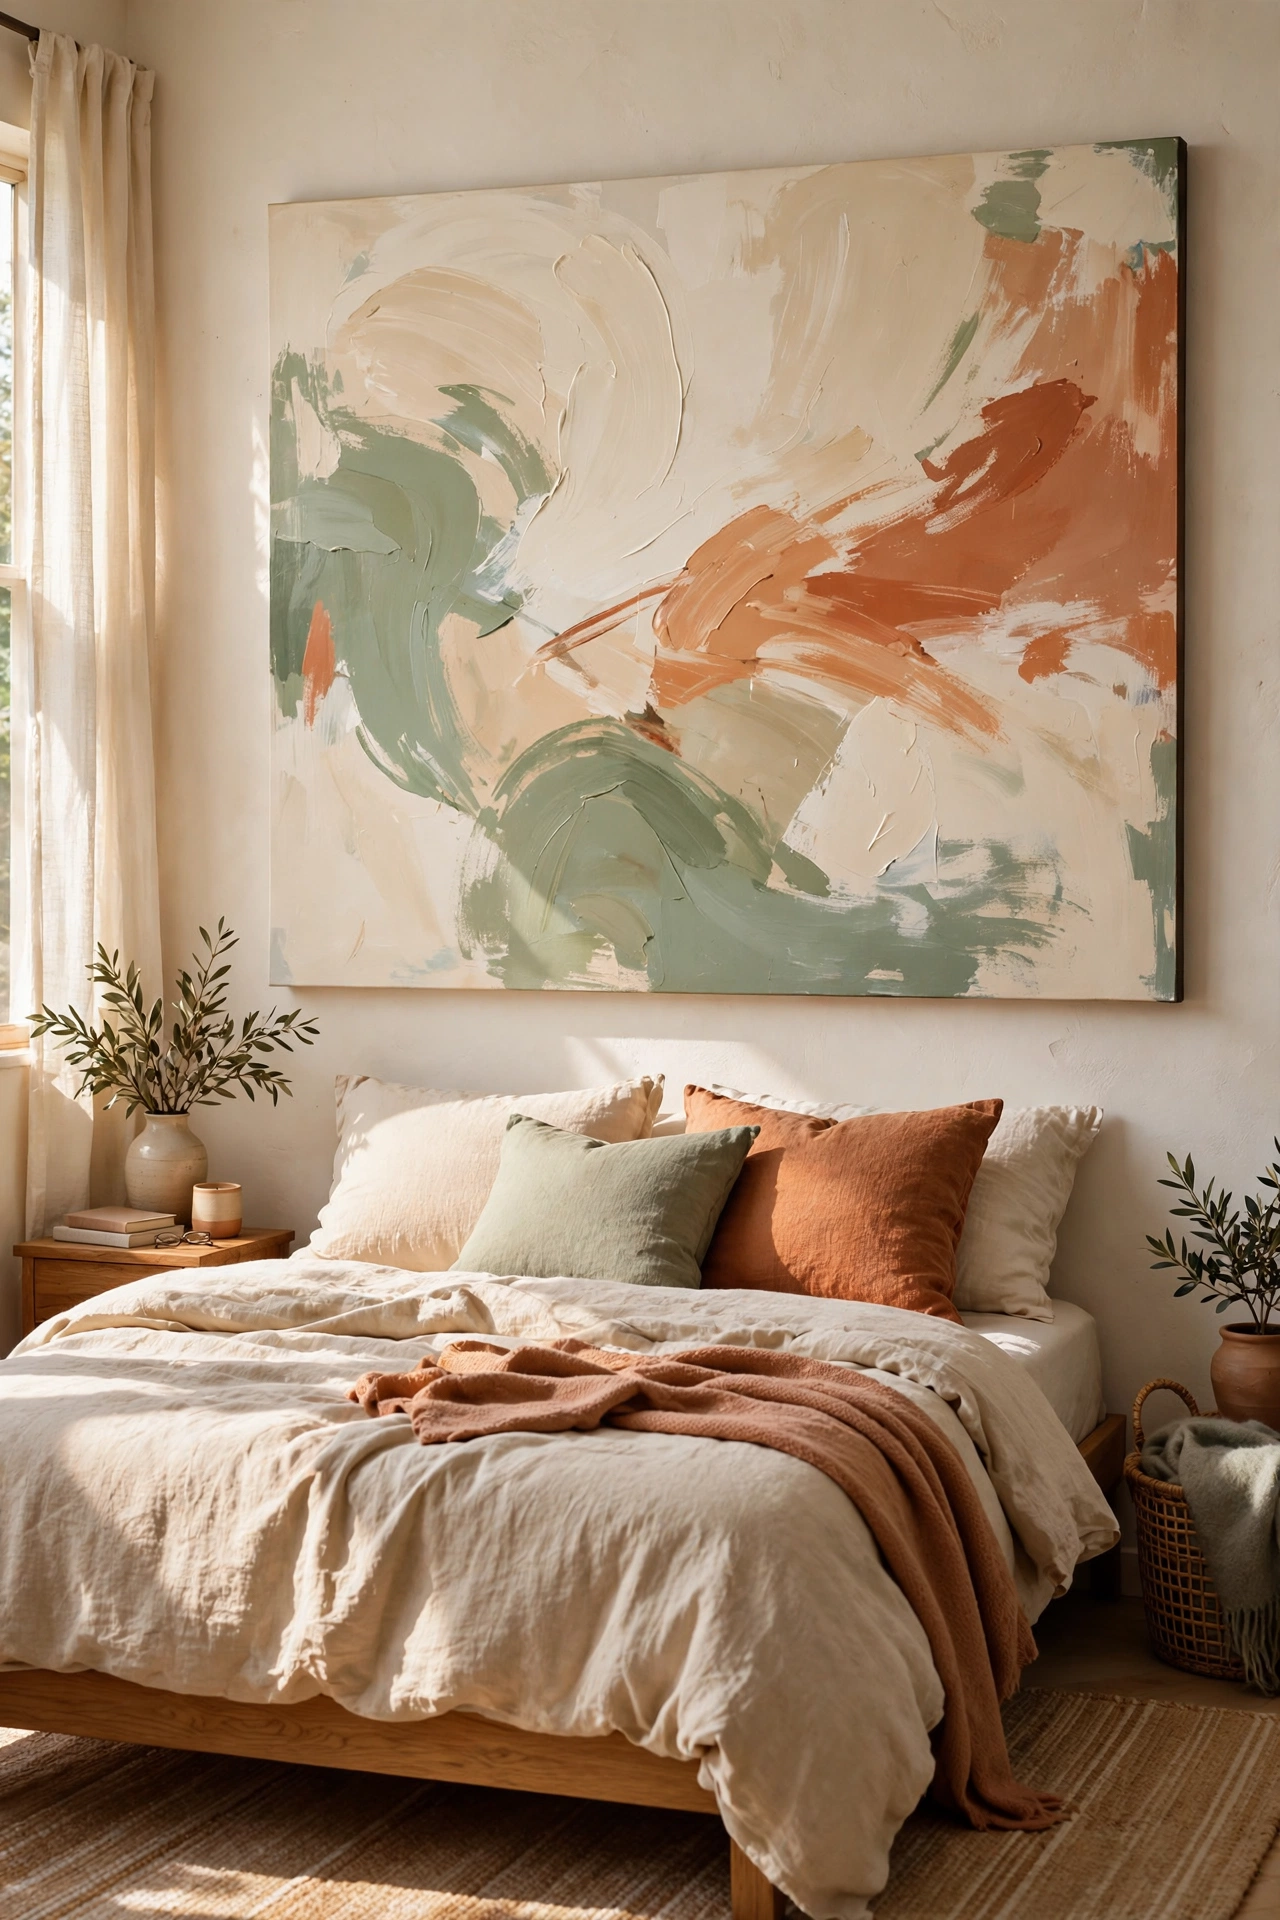
One big canvas above the bed makes a bigger statement than ten small pieces. I bought a 30 by 40 inch canvas for $14 on sale and painted large soft brushstrokes in cream, sage, and terracotta. Big shapes and limited colors are the secret, tiny detailed painting looks messy at this scale.
Hold the brush loosely and work fast so the strokes stay loose and confident. My first attempt was fussy and overworked until I painted over it in five minutes and liked the result ten times better. Hang it so the center sits at eye level from the doorway. Beginners can find confidence with these (see also: diy-wall-art-ideas-for-beginners/) techniques.
Cost: ~$12-20 | Time: 1-2 hours
8. Fabric Wall Hanging on a Wooden Dowel
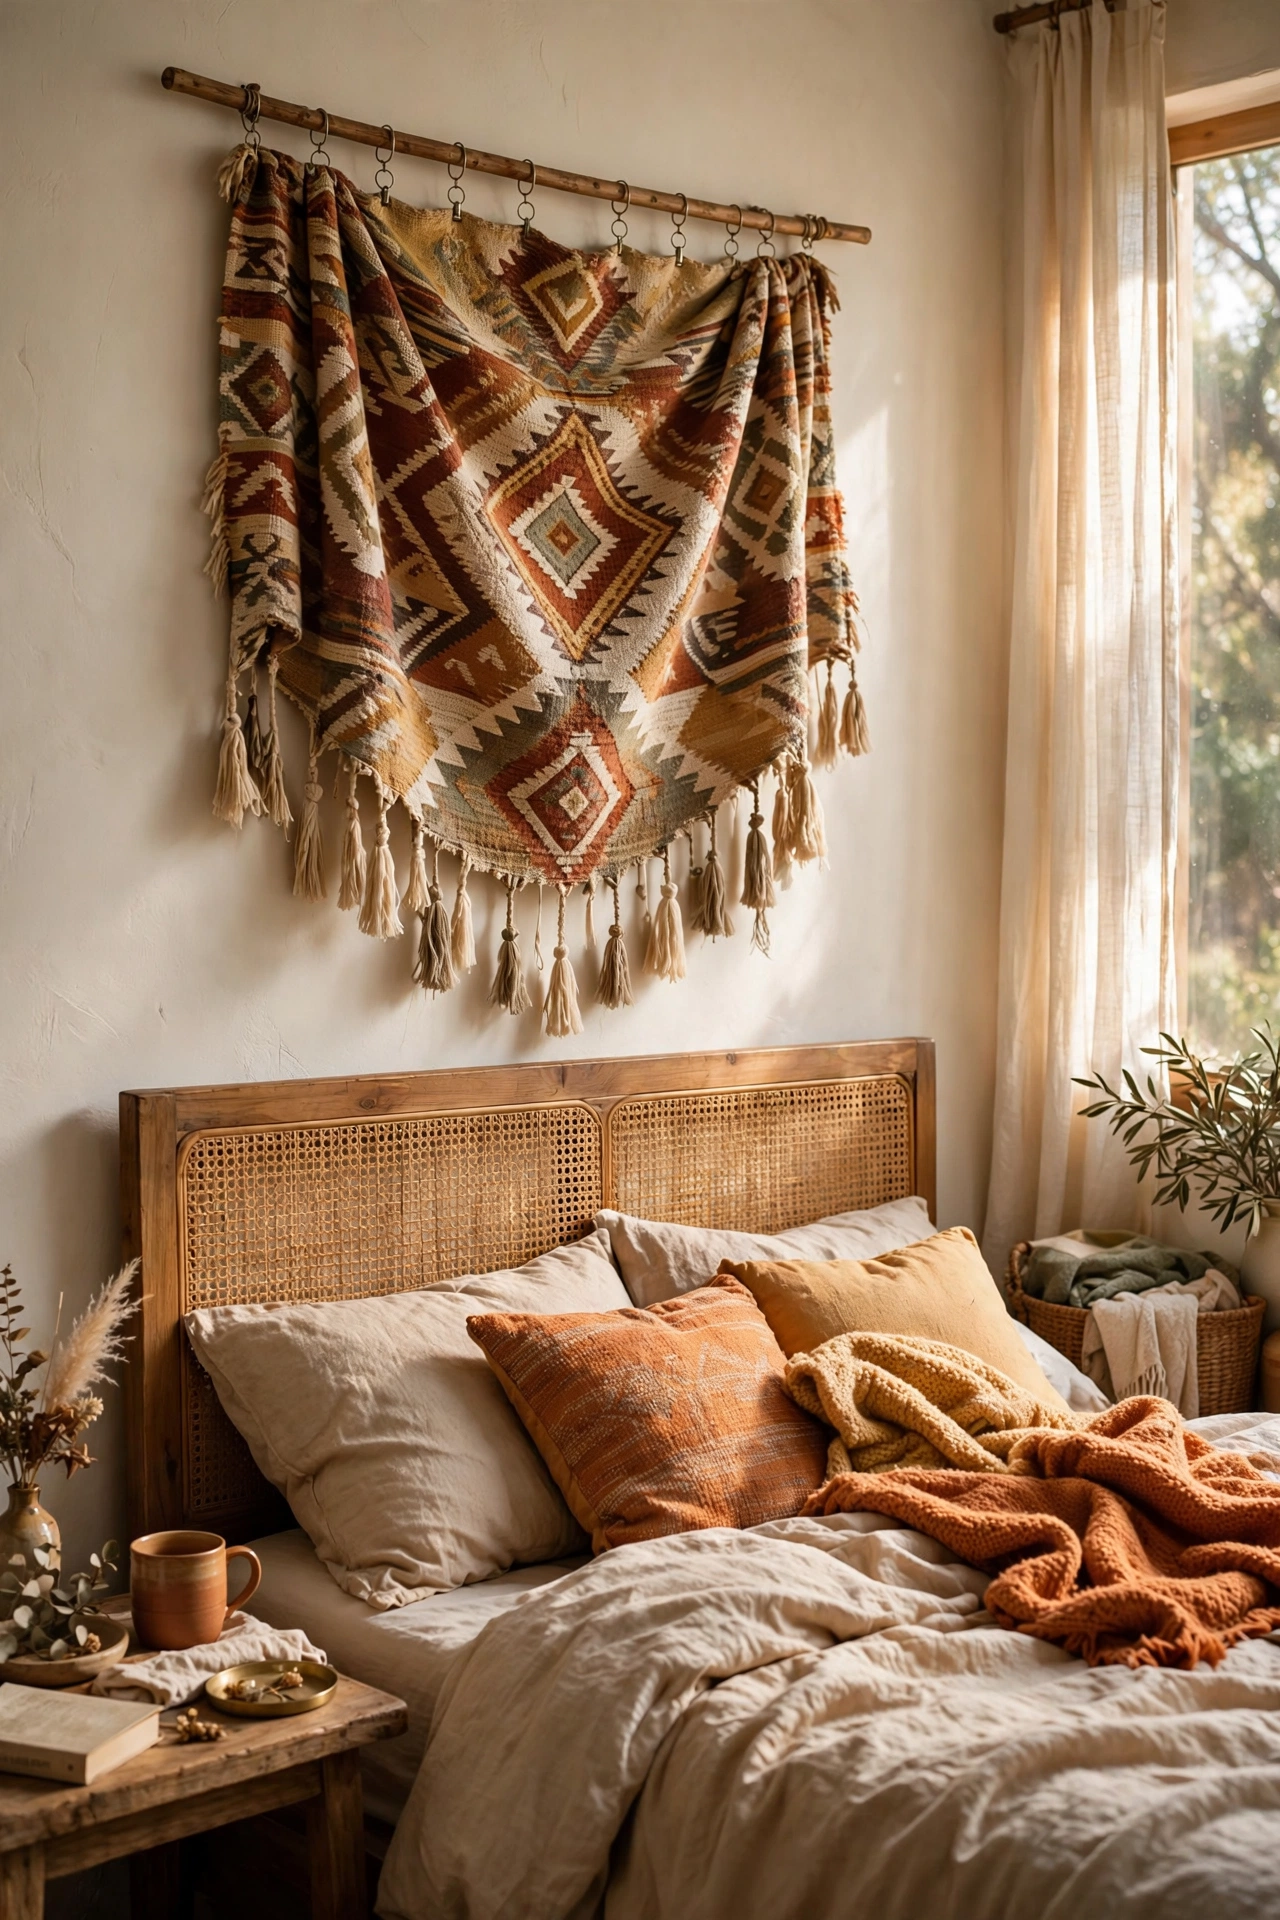
A fabric wall hanging covers the whole above-bed space in one move. I found a boho-style woven piece for $11 online and hung it from a wooden dowel with small clip rings. The dowel keeps the top edge crisp and straight, which looks far more polished than tacking the corners.
Iron or steam the fabric before hanging so it lies flat. Mine had fold creases for a week before I bothered, and they photographed terribly. Size it to span about two-thirds of the bed width. Too wide and it overwhelms the room, too narrow and it looks like a poster.
Cost: ~$10-15 | Time: 20 minutes
9. Washi Tape Statement Frame
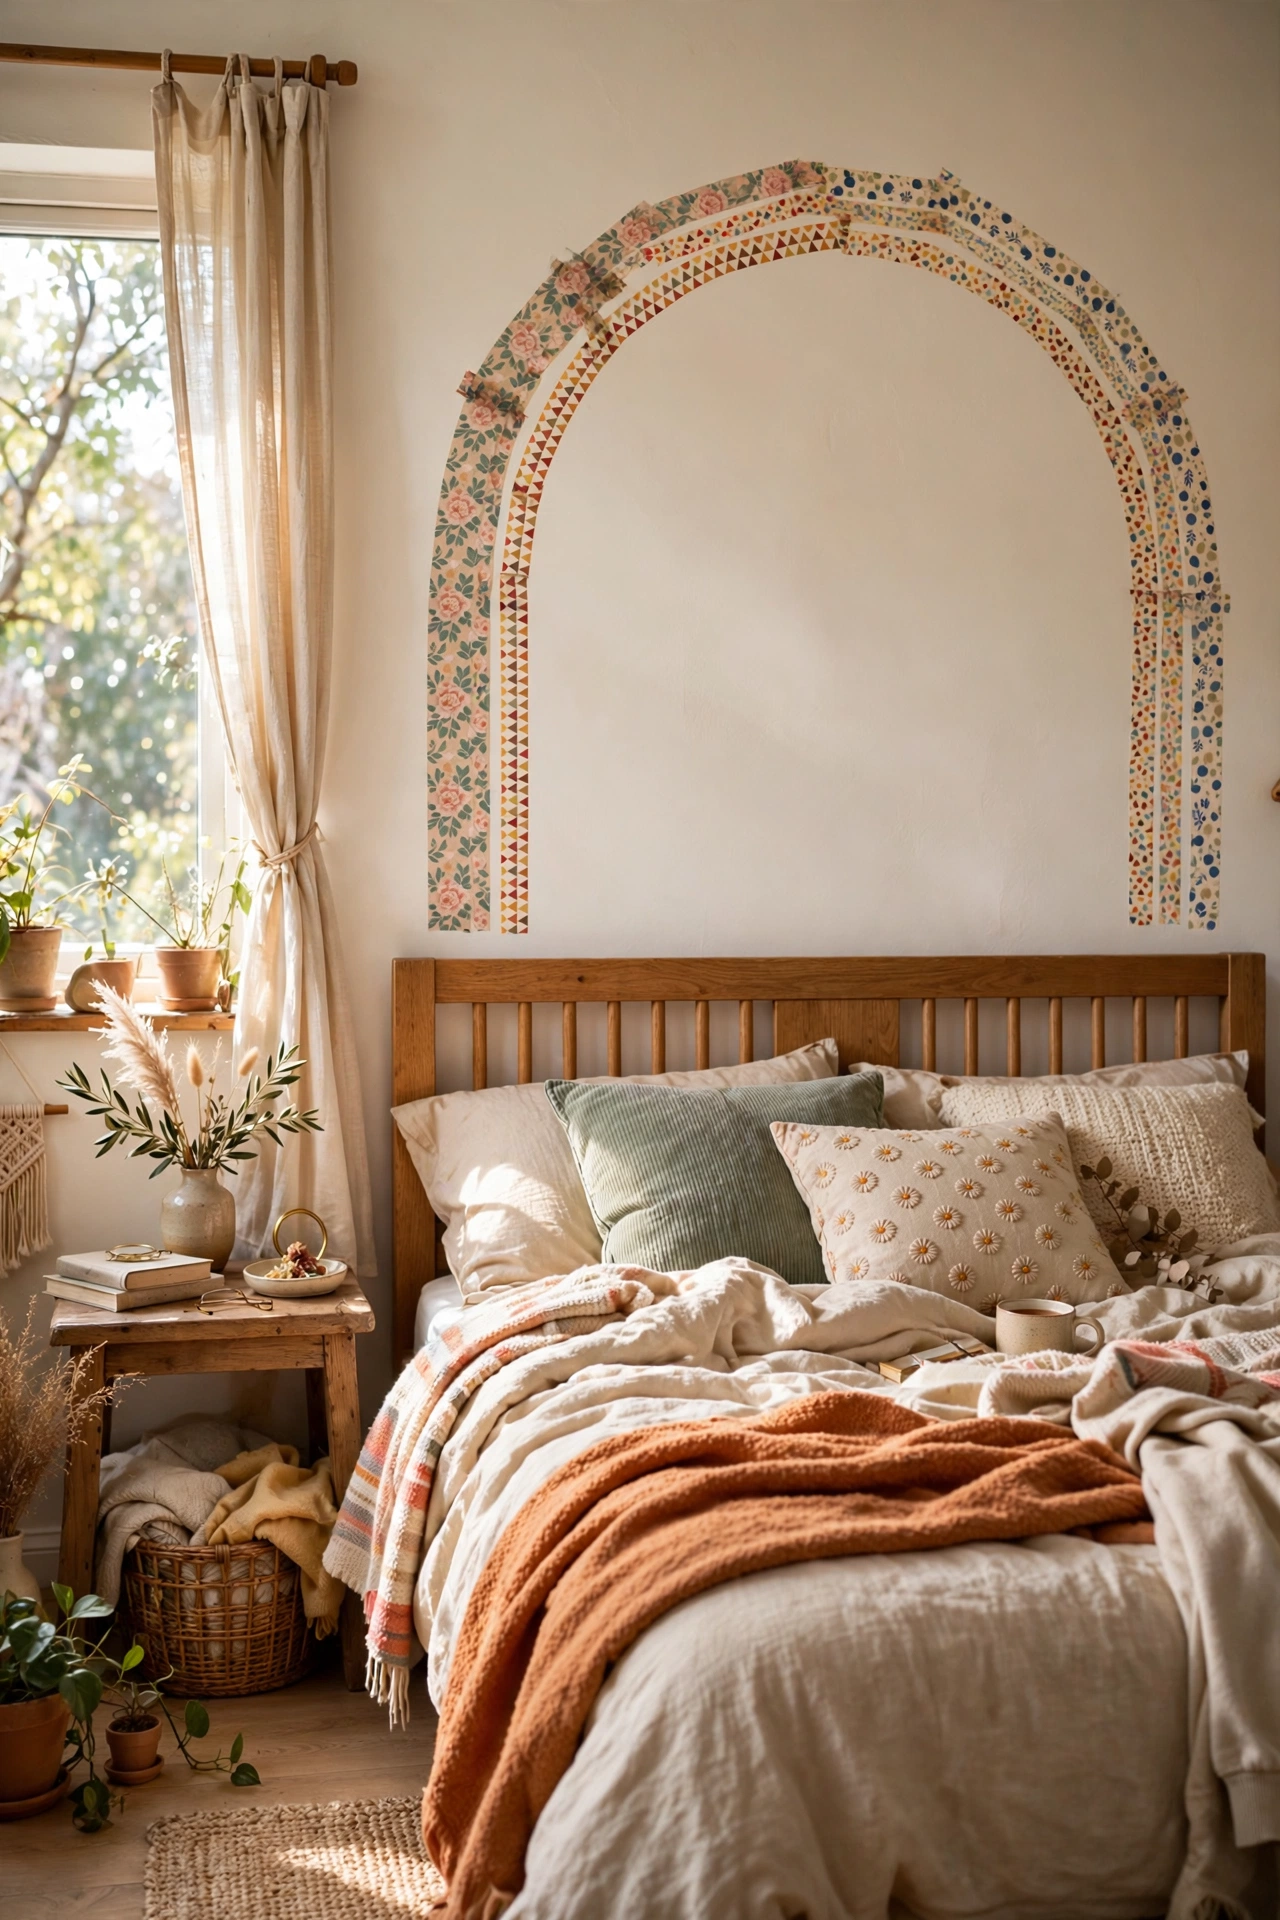
Washi tape lets you draw a giant frame or geometric border directly on the wall for a few dollars. I used three rolls of patterned tape to create a large arch outline above my headboard. Peel it slowly when you are done and it removes cleanly, which makes this perfect for renters.
Sketch the shape lightly in pencil first so both sides stay symmetrical. I freehanded mine and one side was visibly higher than the other. Press the tape edges down firmly with a credit card so paint does not show through the pattern. Three rolls covers an arch big enough for a king bed.
Cost: ~$3-9 | Time: 45 minutes
10. Polaroid Photo Clothesline
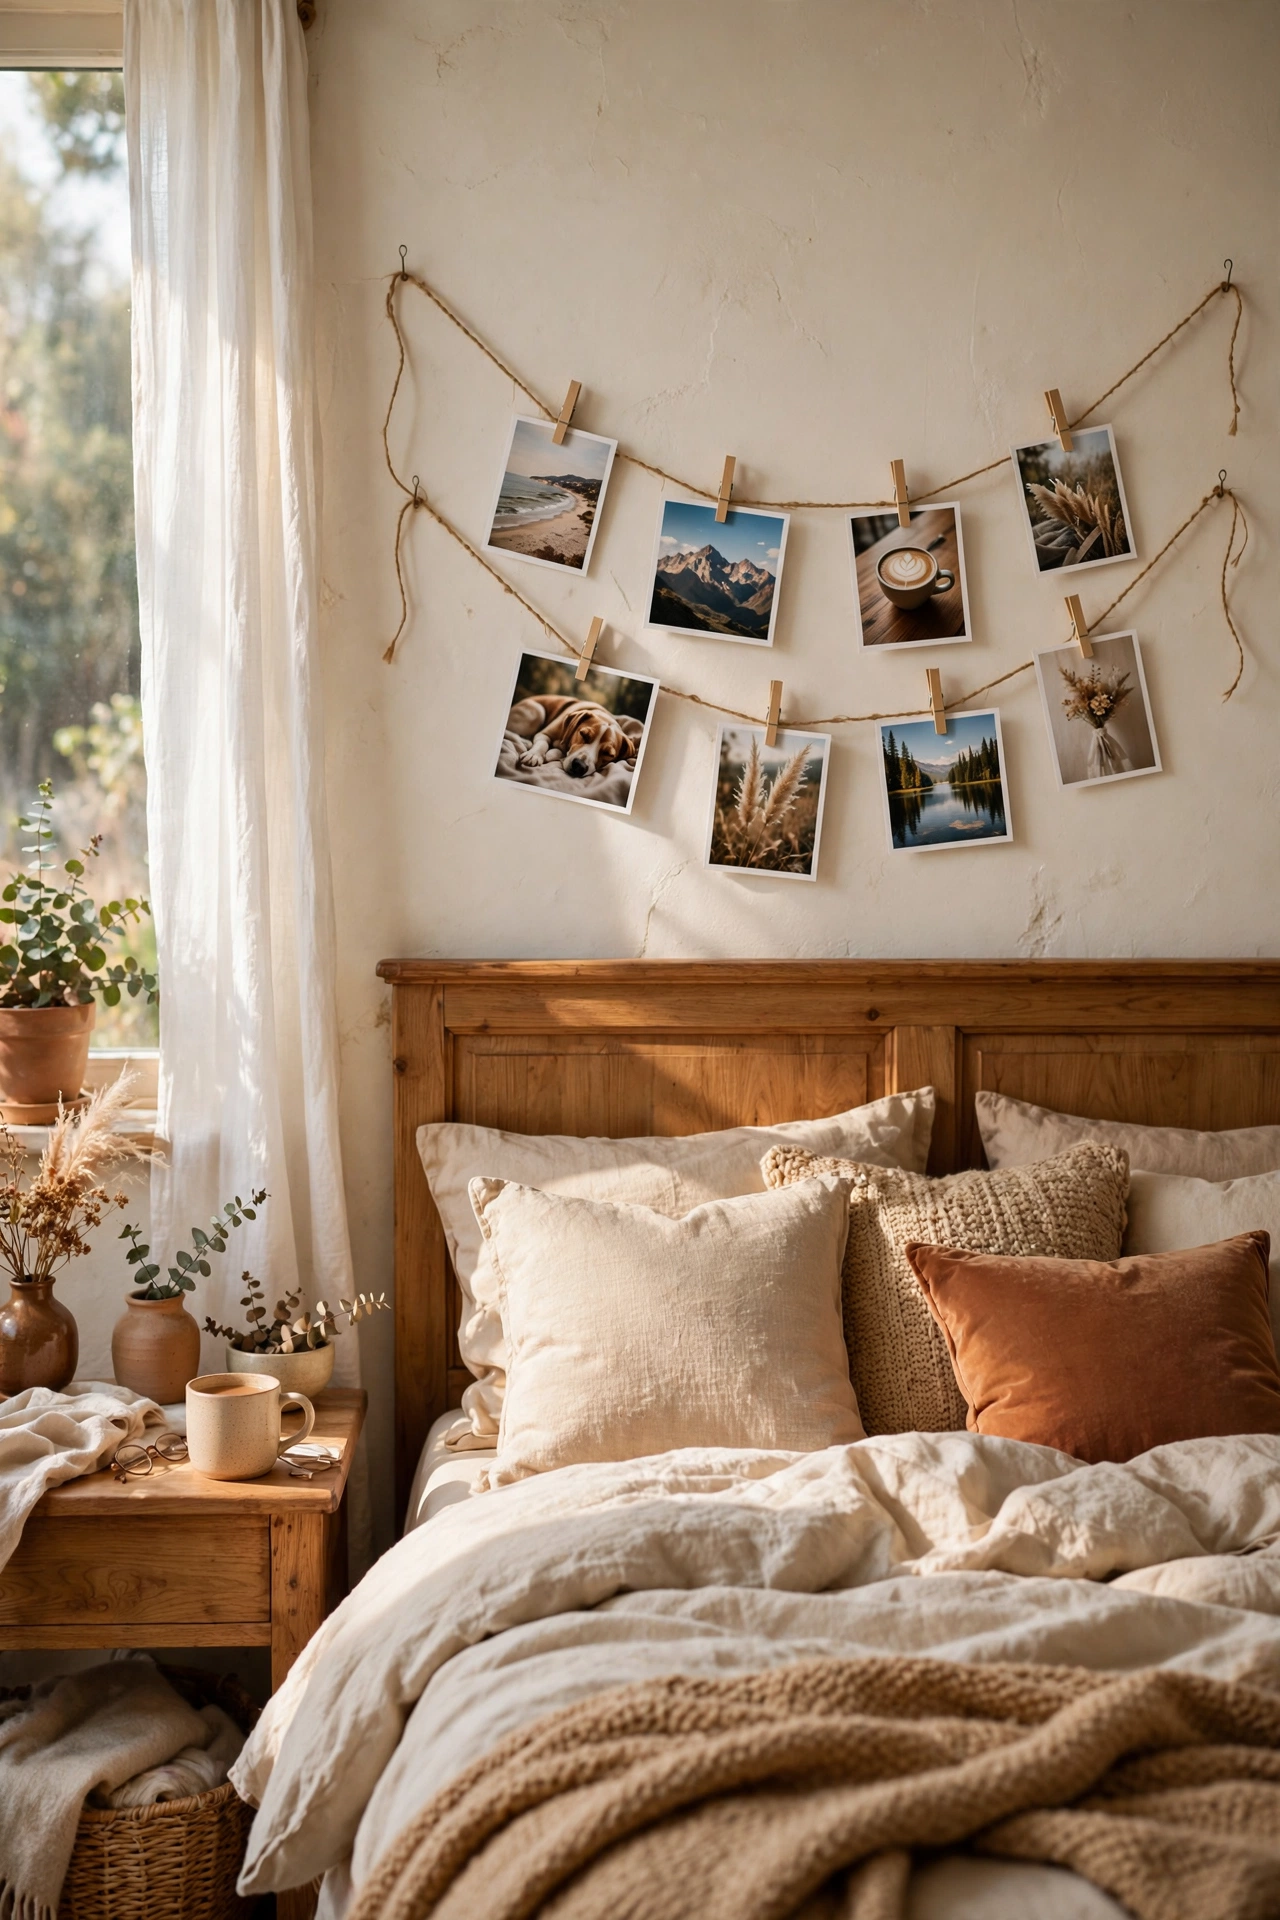
A string of real photos clipped to twine is personal art that costs almost nothing. I printed twelve photos at the drugstore for 30 cents each and clipped them to a length of twine with tiny wooden clothespins. Drape the twine in a loose swag across two hooks above the headboard.
Mix close-ups and landscapes so the line has visual rhythm instead of all faces. I did all selfies the first time and it looked like a shrine to myself. Leave the prints to curl slightly, the imperfect edges are part of the charm. Swap photos in whenever you want a fresh look.
Cost: ~$4-8 | Time: 20 minutes
11. Framed Fabric Remnants
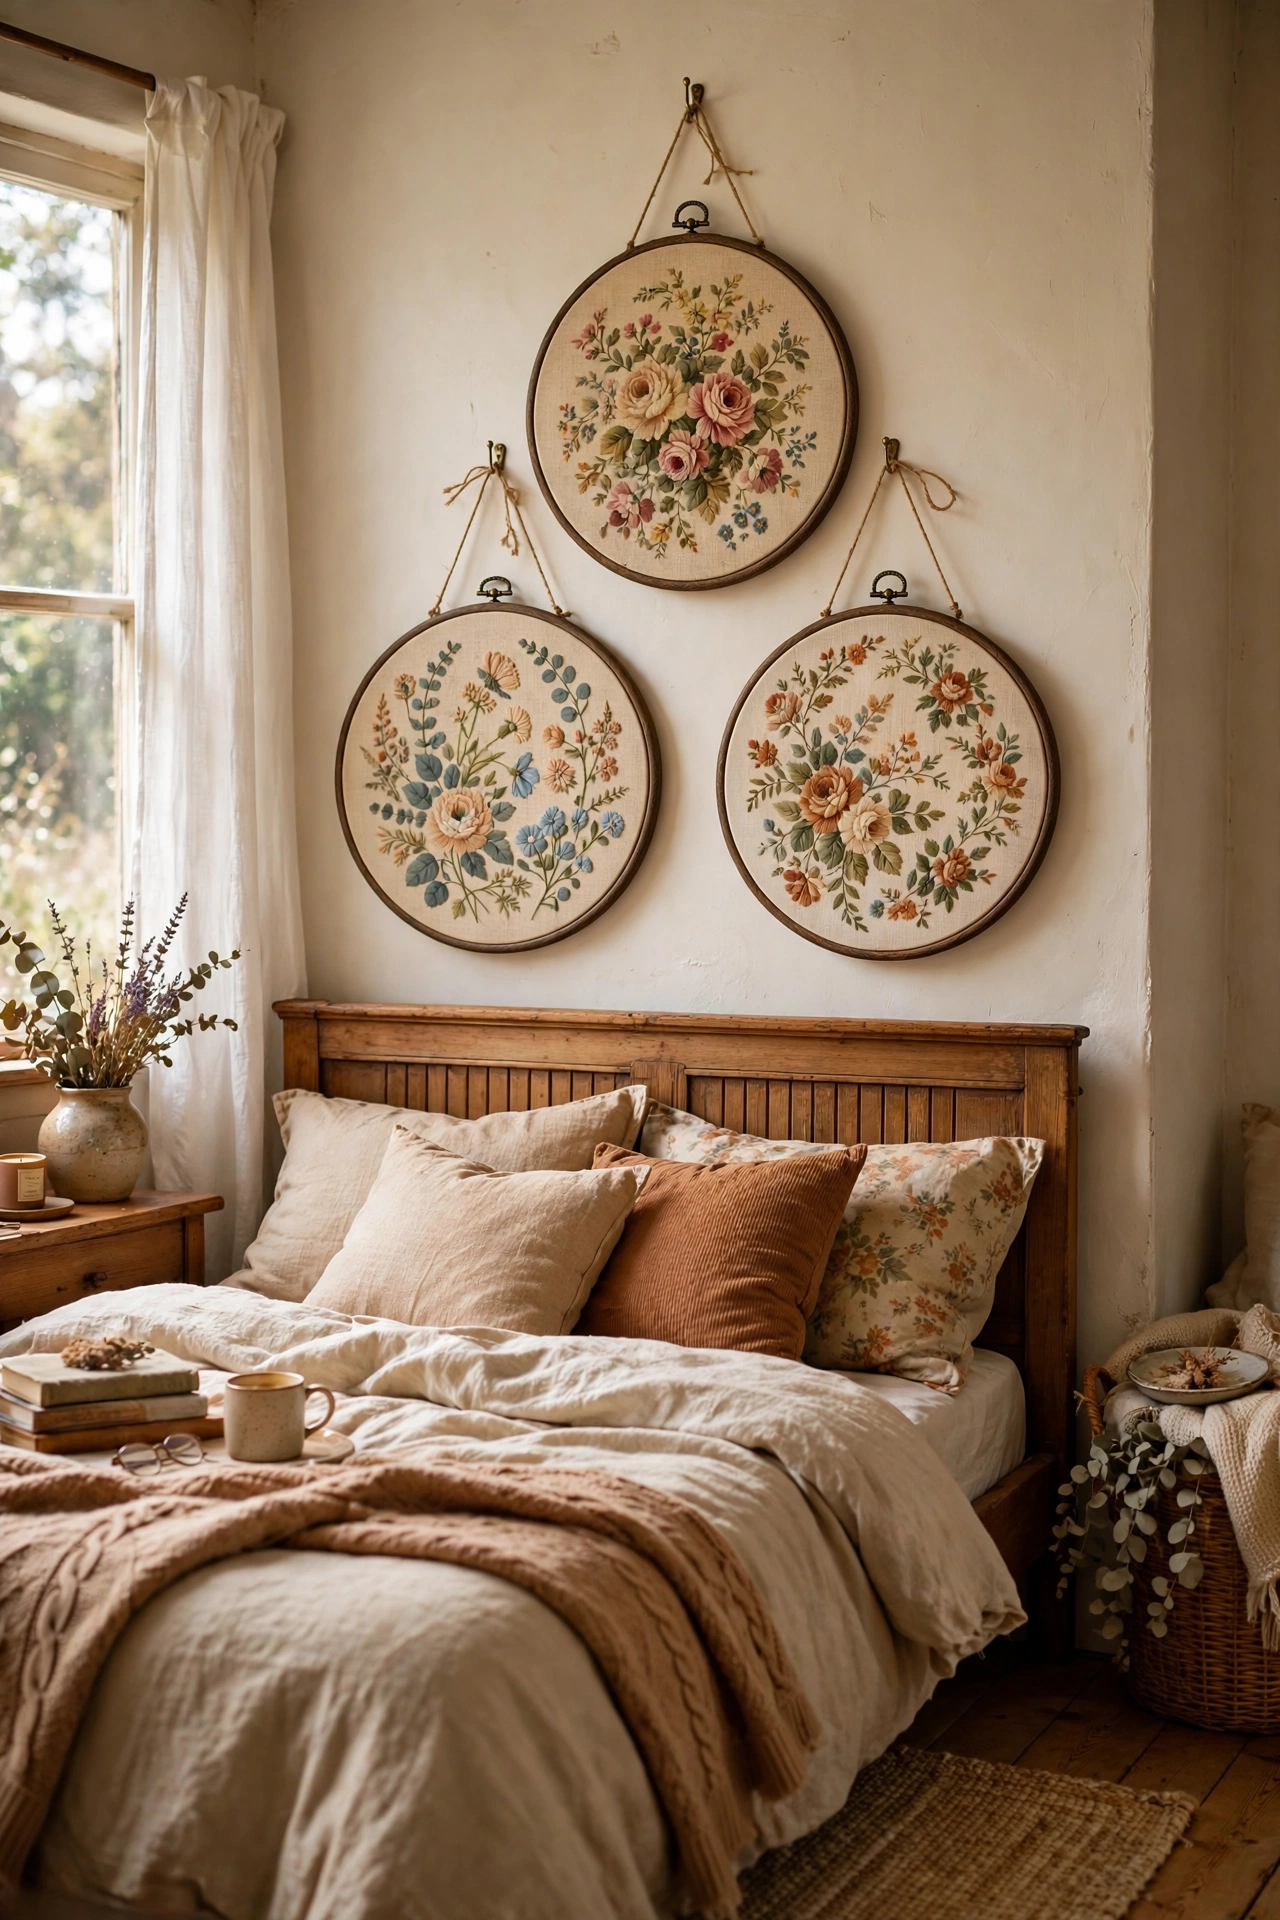
Pretty fabric stretched in an embroidery hoop or frame is instant art. I bought three vintage floral fat quarters at a thrift store for $1 each and mounted them in $3 hoops. Pull the fabric drum tight and trim the back, and the pattern does all the decorating work for you.
Choose fabrics that share one color with your bedding so the hoops tie into the room. Mine clashed horribly the first time because I picked patterns I liked instead of patterns that matched. Hang three hoops in a vertical row or a loose triangle. The round shape softens all the rectangles of the bed and furniture.
Cost: ~$5-12 | Time: 30 minutes
12. Peel-and-Stick Wallpaper Panel
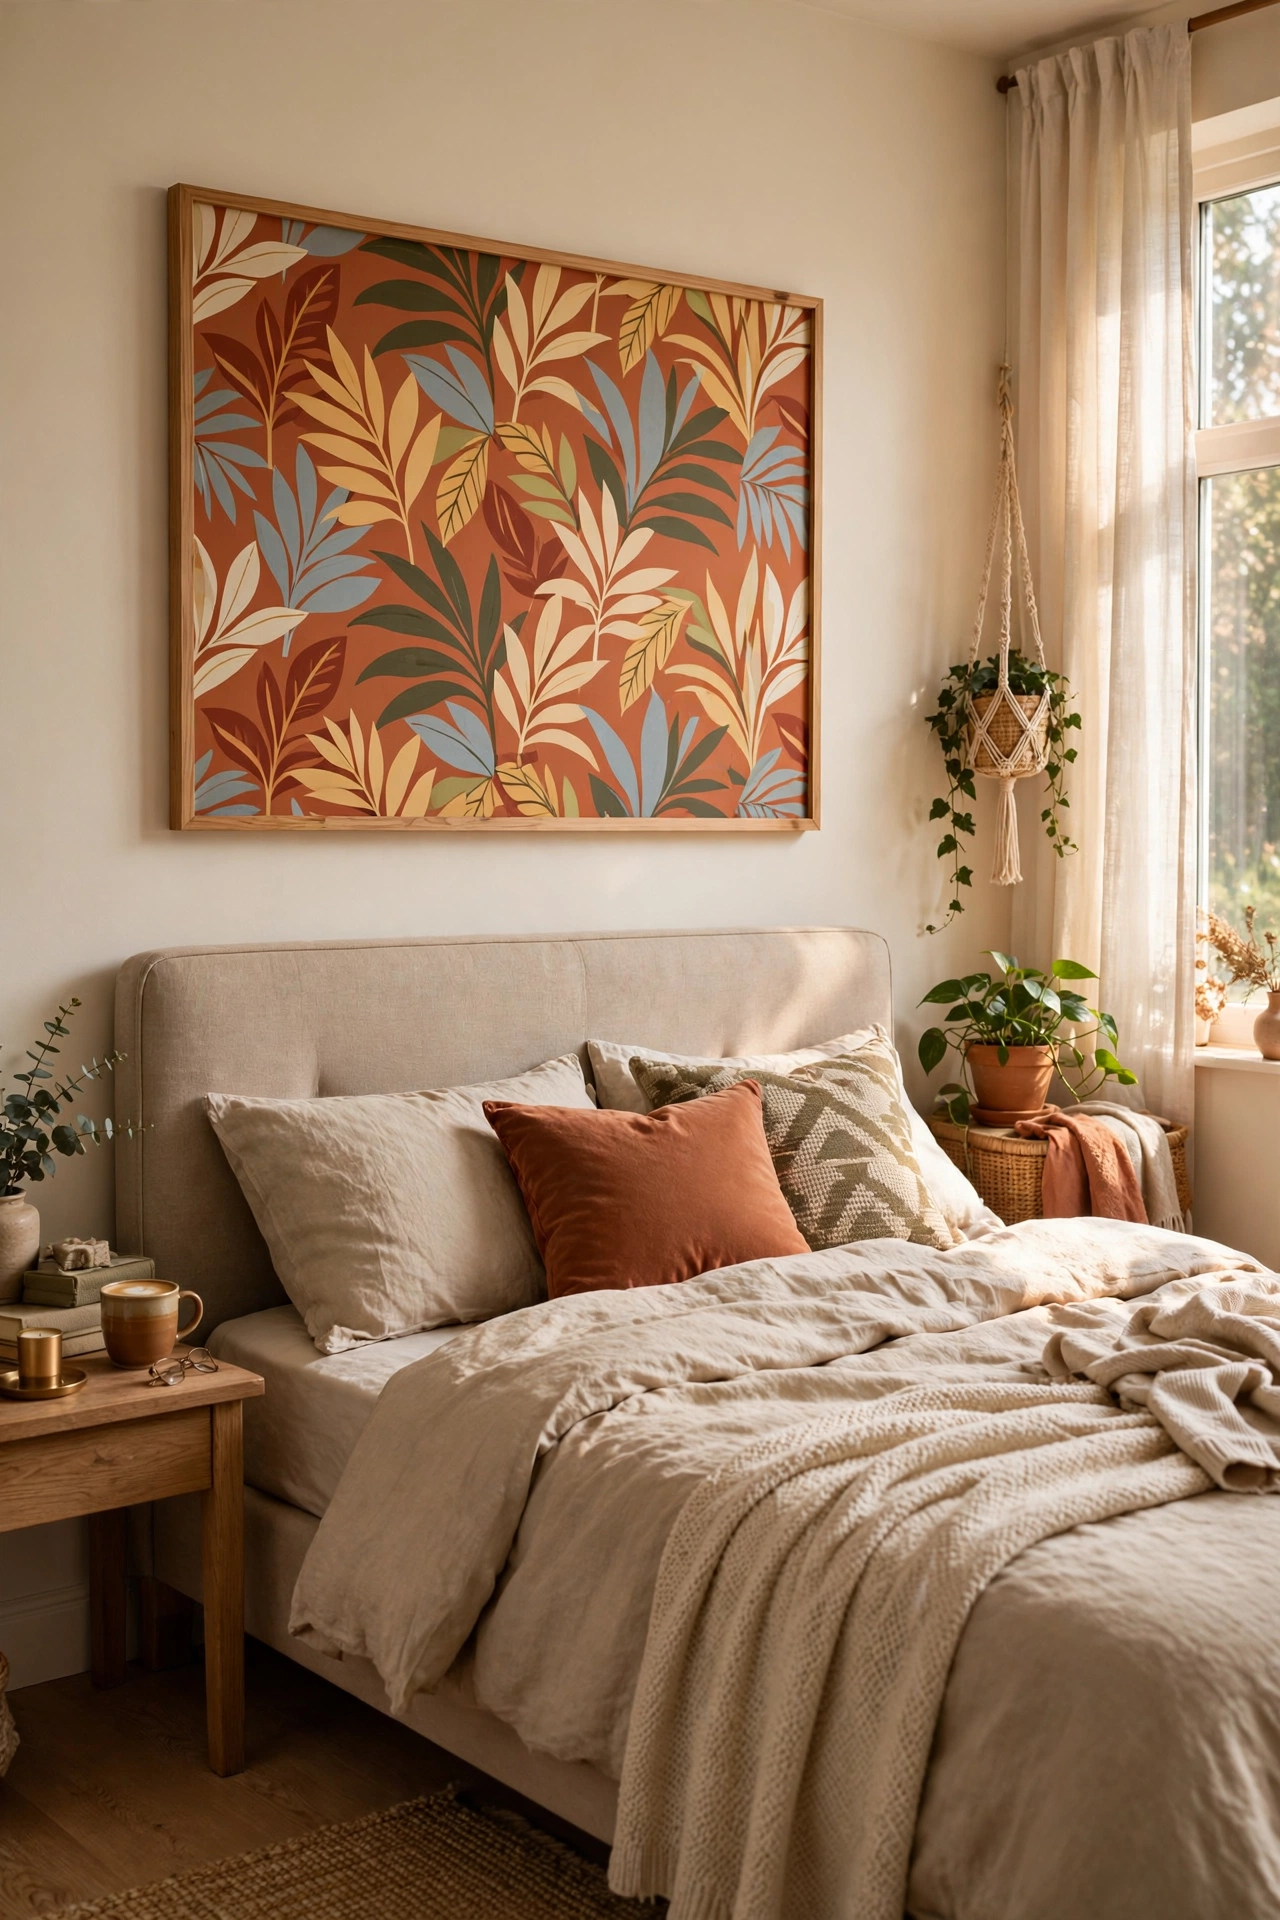
One framed panel of peel-and-stick wallpaper gives you pattern without papering the wall. I bought a single roll for $9, applied a three-foot section to a piece of foam board, and framed the edge with thin wood trim. It reads as an expensive art piece from across the room.
Smooth the wallpaper onto the board with a credit card to push out every bubble before trimming. I left a bubble the size of a quarter on my first try and saw it every single day. Choose a bold pattern you love, since the small scale means it will not overwhelm the bedroom.
Cost: ~$9-15 | Time: 45 minutes
13. Leaning Mirror Trio
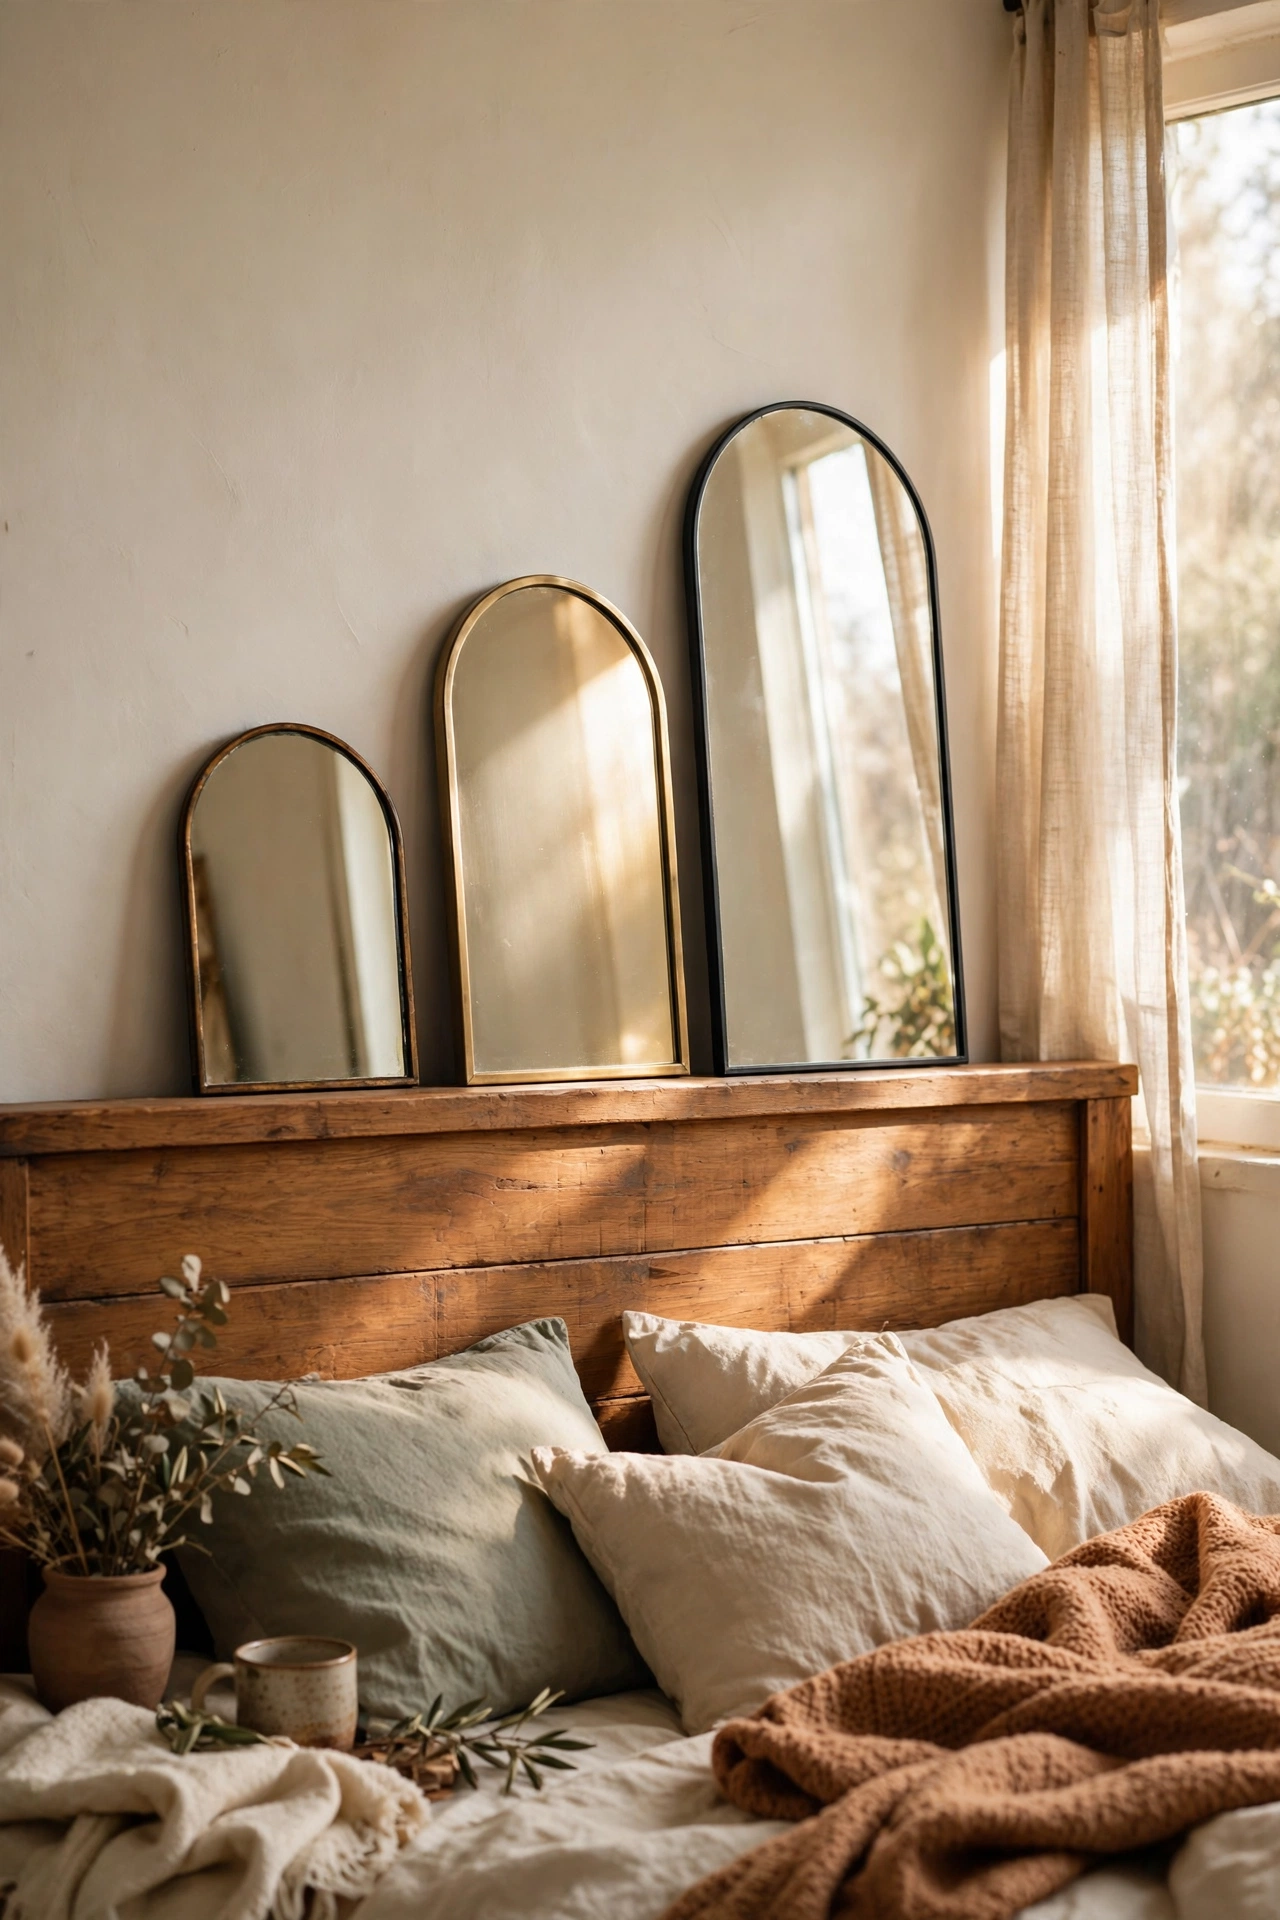
Small mirrors propped on the headboard ledge bounce light around and open up the wall. I found three arch-shaped mirrors at the dollar store for $4 each and leaned them against the wall on top of my wooden headboard. They catch the morning light and throw it across the ceiling.
Make sure they sit stable before you walk away, because a mirror sliding off the headboard onto a sleeping person is a terrible surprise. I added small adhesive pads under the front edges to stop any creeping. Vary the heights slightly so the trio feels collected rather than matched.
Cost: ~$10-15 | Time: 15 minutes
14. Floating Shelf with Tiny Plants
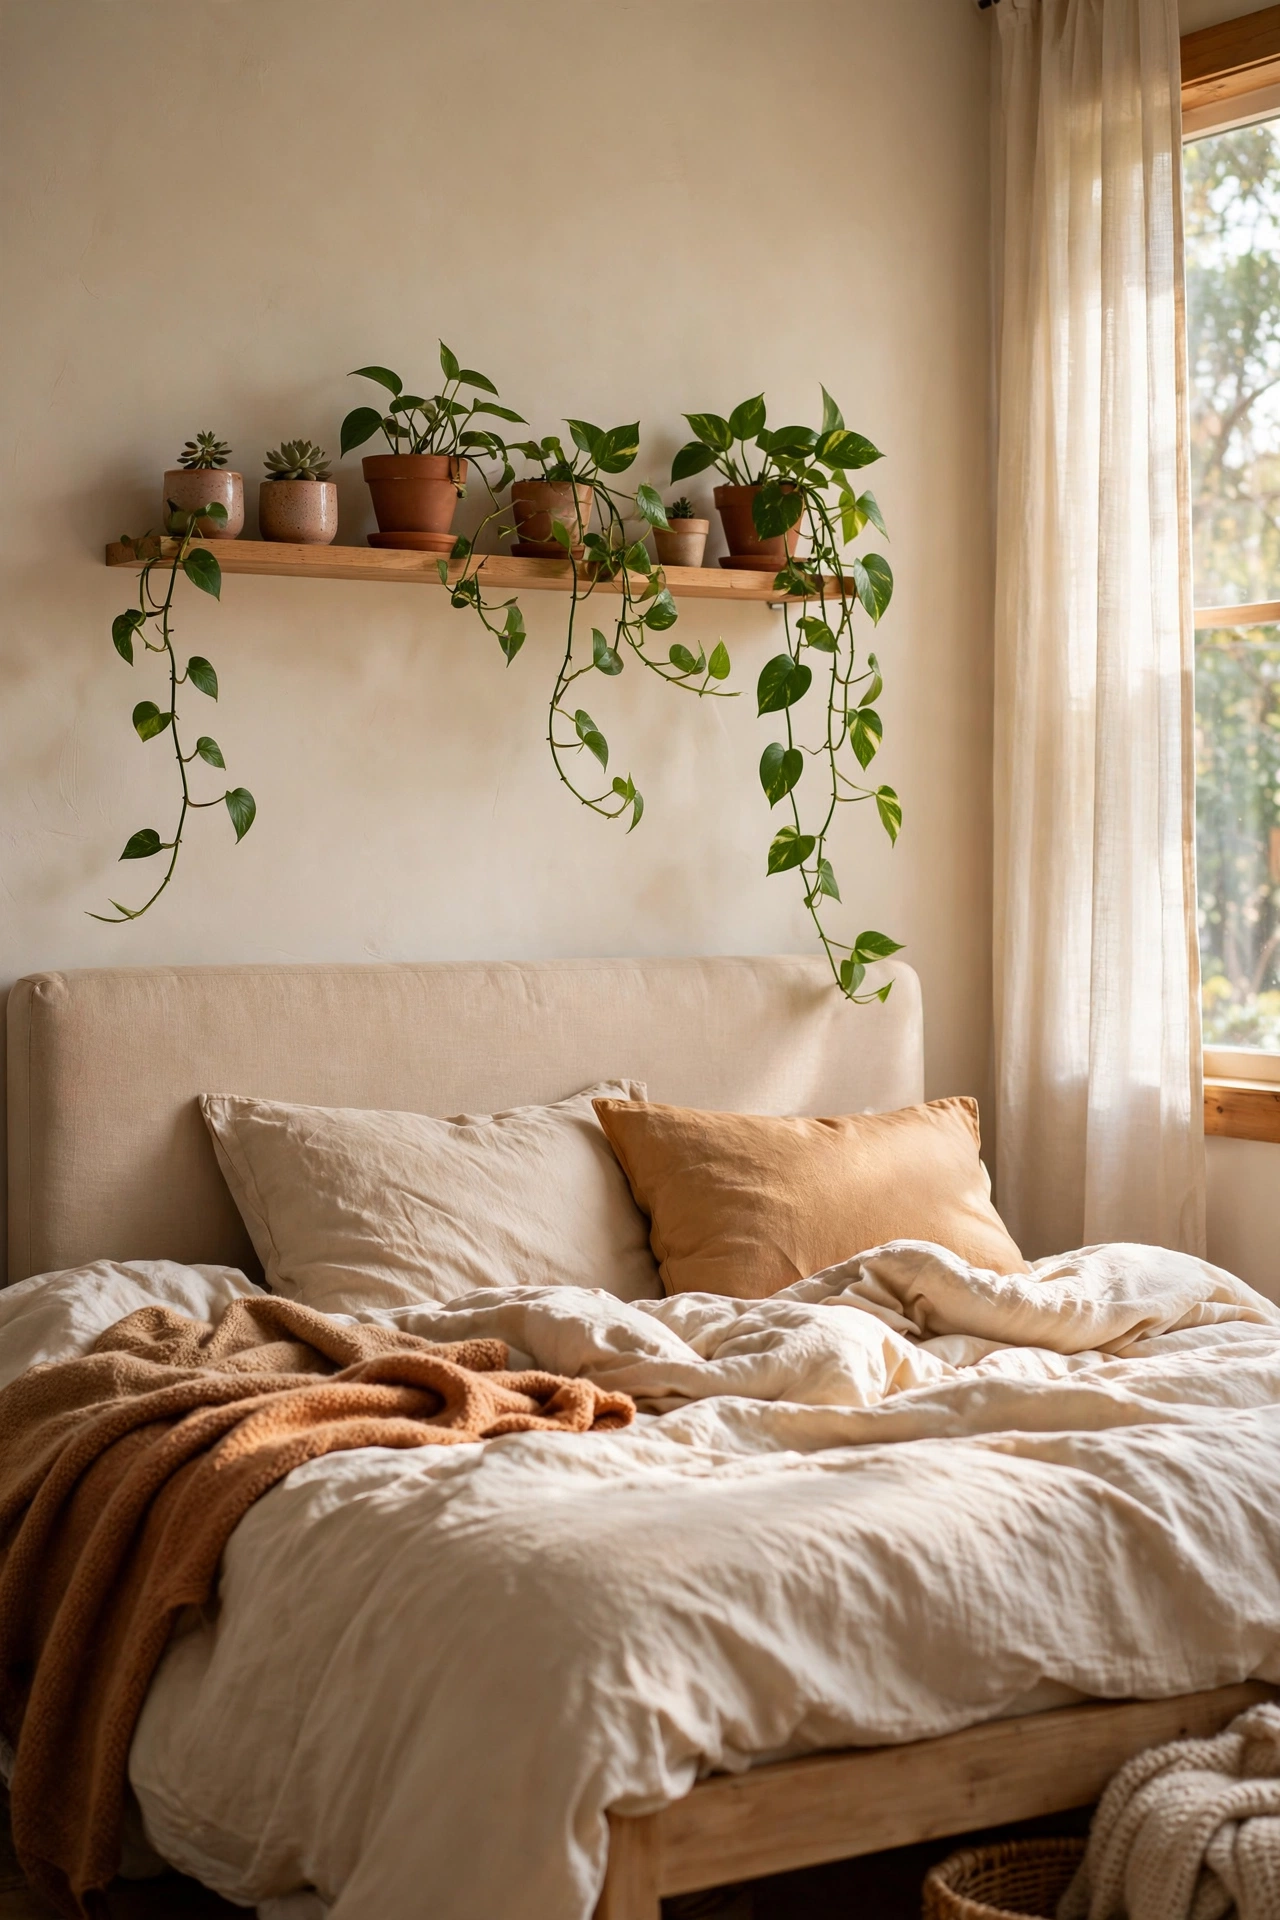
A single floating shelf with two or three small plants brings life to the wall above the bed. I mounted a 24-inch shelf for $8 and added two pothos cuttings I propagated for free. Trailing plants are perfect here because the vines drape down and soften the hard line of the shelf.
Hang the shelf high enough that you cannot bump your head sitting up in bed, about 18 inches above the headboard. Mine was too low the first week and I knocked a plant off with my pillow. Water the plants over the sink, not on the shelf, to protect your bedding from drips.
Cost: ~$8-15 | Time: 30 minutes
15. DIY Starburst from Bamboo Skewers
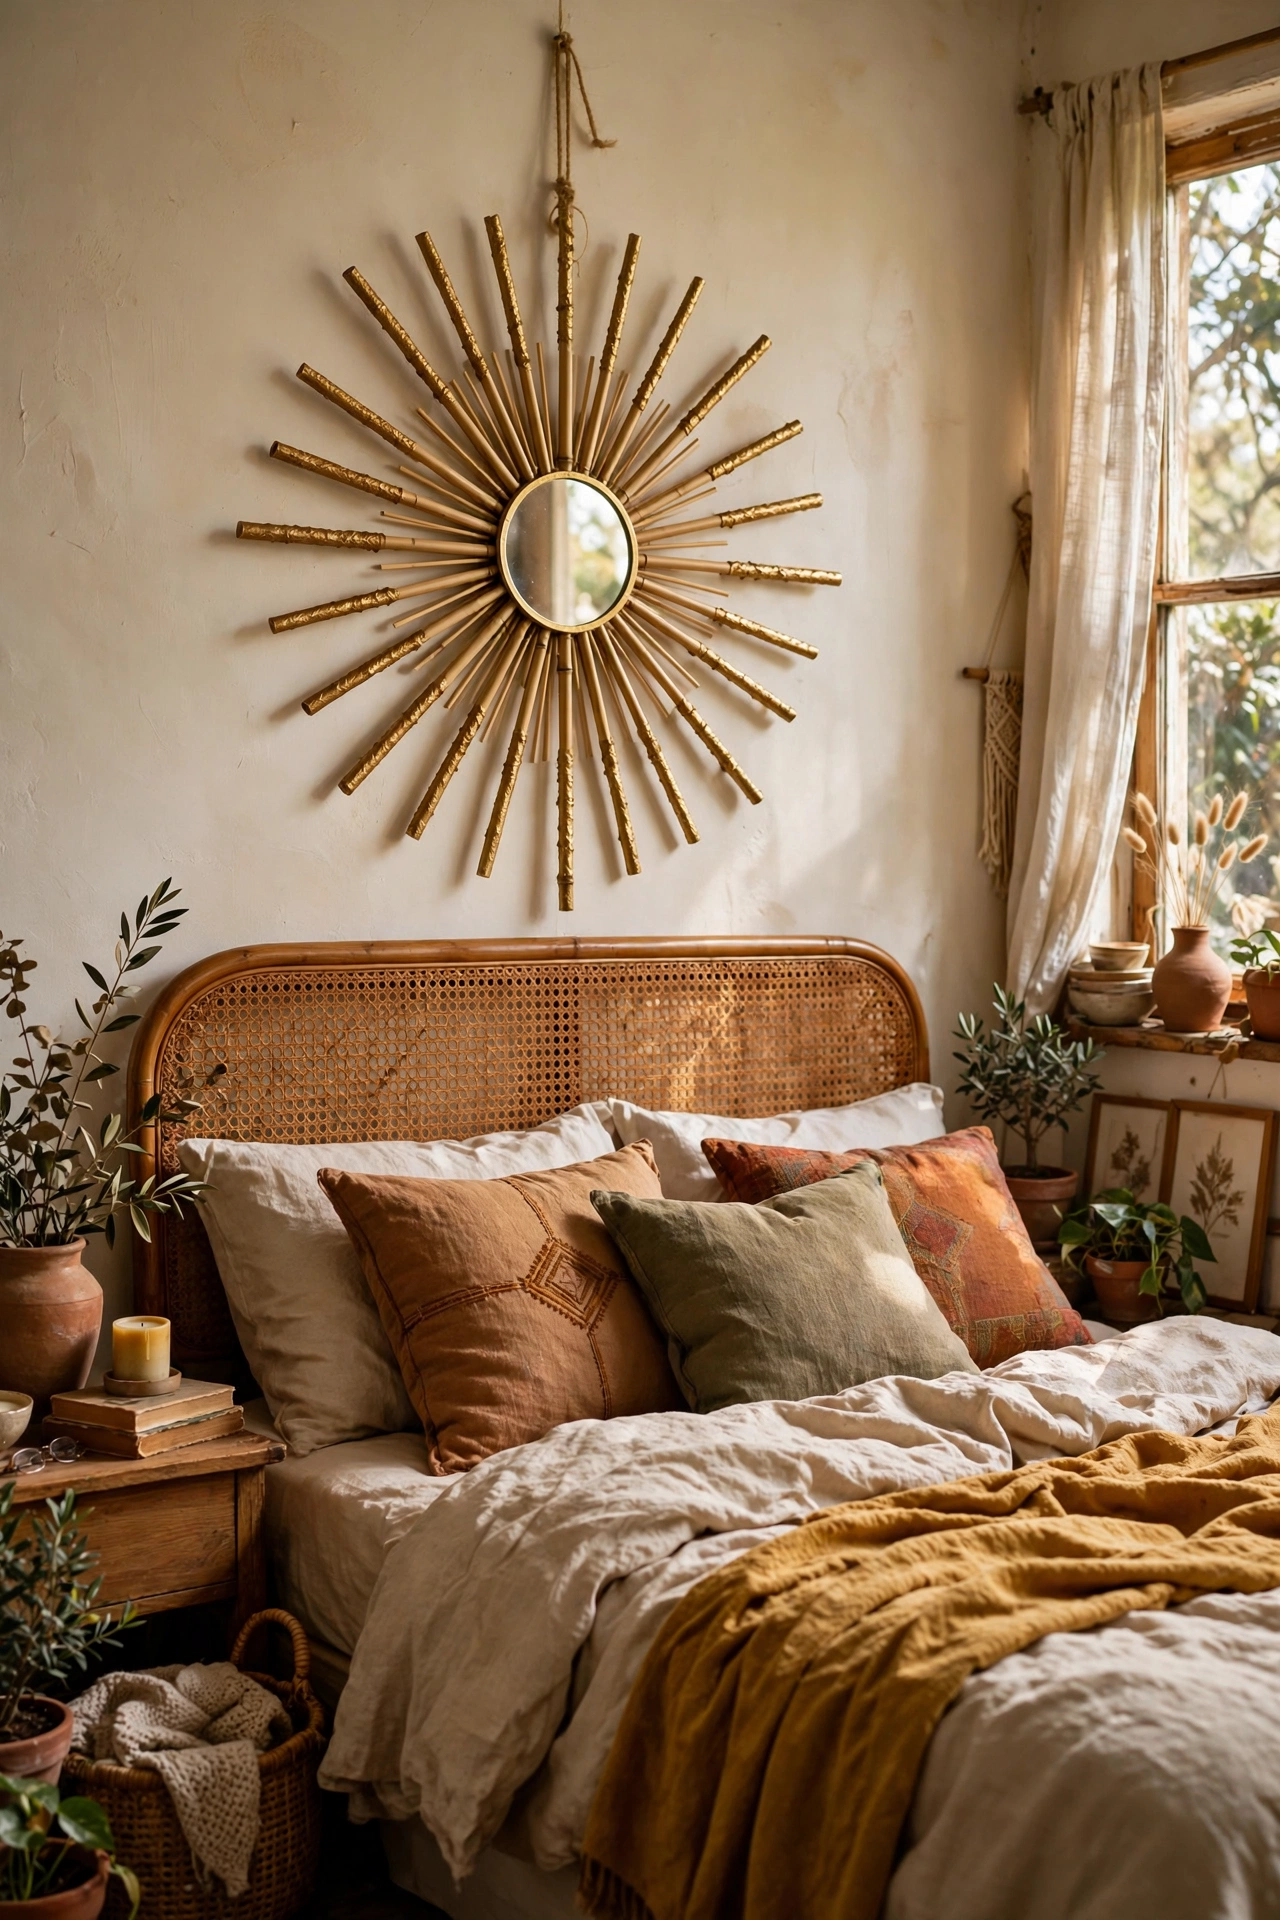
A starburst made from bamboo skewers is a bold above-bed focal point for about $5. I glued skewers in a radiating pattern onto a cardboard circle, spray painted the whole thing gold, and glued a small mirror in the center. It looks like a designer piece from ten feet away.
Vary the skewer lengths and let a few cross over each other for a handmade, organic feel. My first one was perfectly symmetrical and looked store-bought in a bad way. Hang it with two hooks so it stays level, since these are wider than they are heavy and they tilt easily.
Cost: ~$4-8 | Time: 1 hour
16. Framed Kids Artwork Display
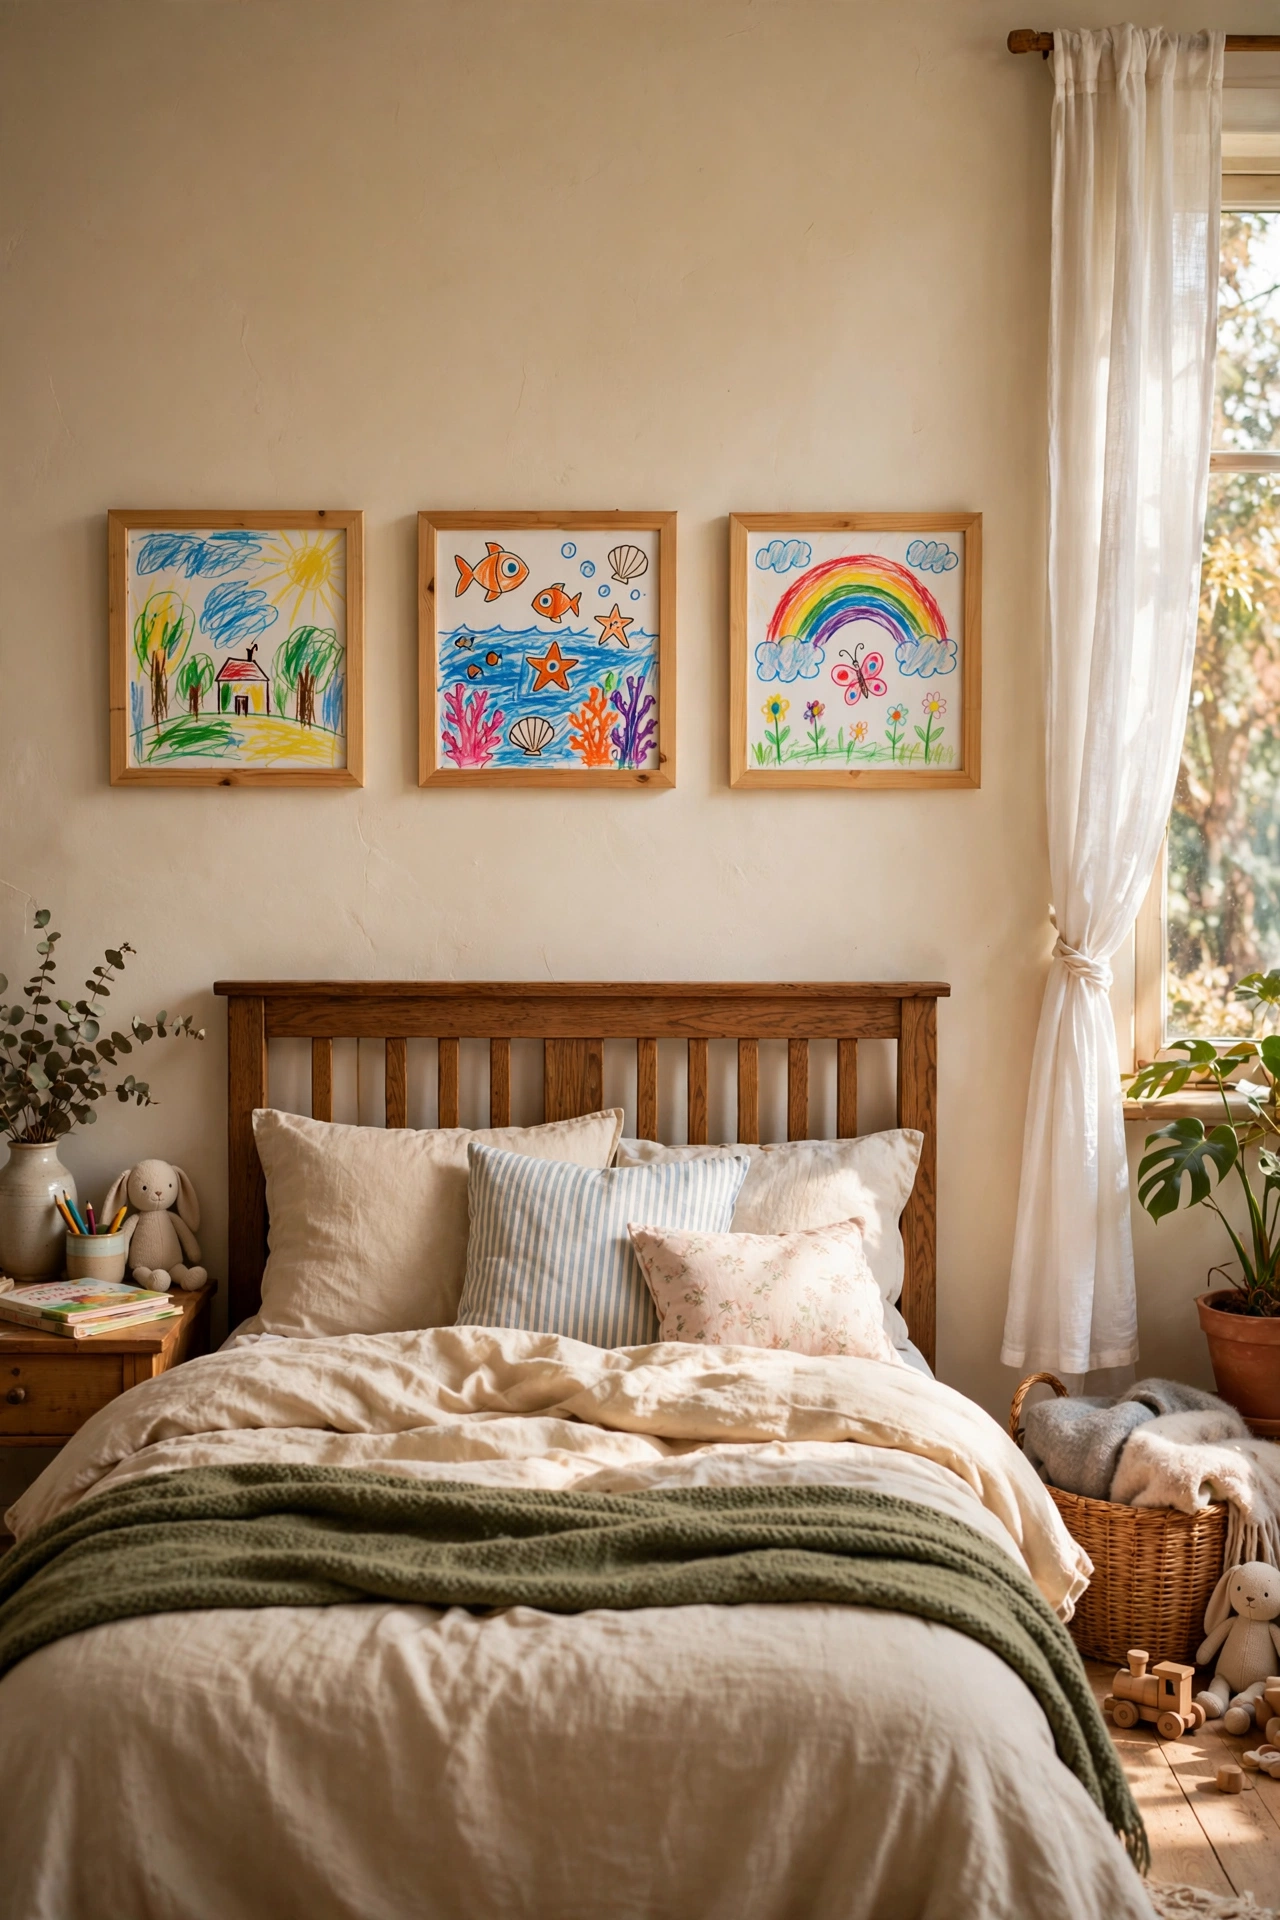
Your kids’ best drawings framed above the bed are free and full of personality. I picked three of my daughter’s brightest paintings, trimmed them to fit $2 frames, and hung them in a row. Guests always ask about them, and no store-bought print gets that reaction.
Choose pieces that share a color family so the row feels intentional. I framed a muddy brown one first and it dragged the whole set down. Rotate the art every season and the display becomes a little gallery of their growing up. The frames are the only cost, and the art is priceless.
Cost: ~$4-10 | Time: 30 minutes
17. Hanging Eucalyptus Bunch
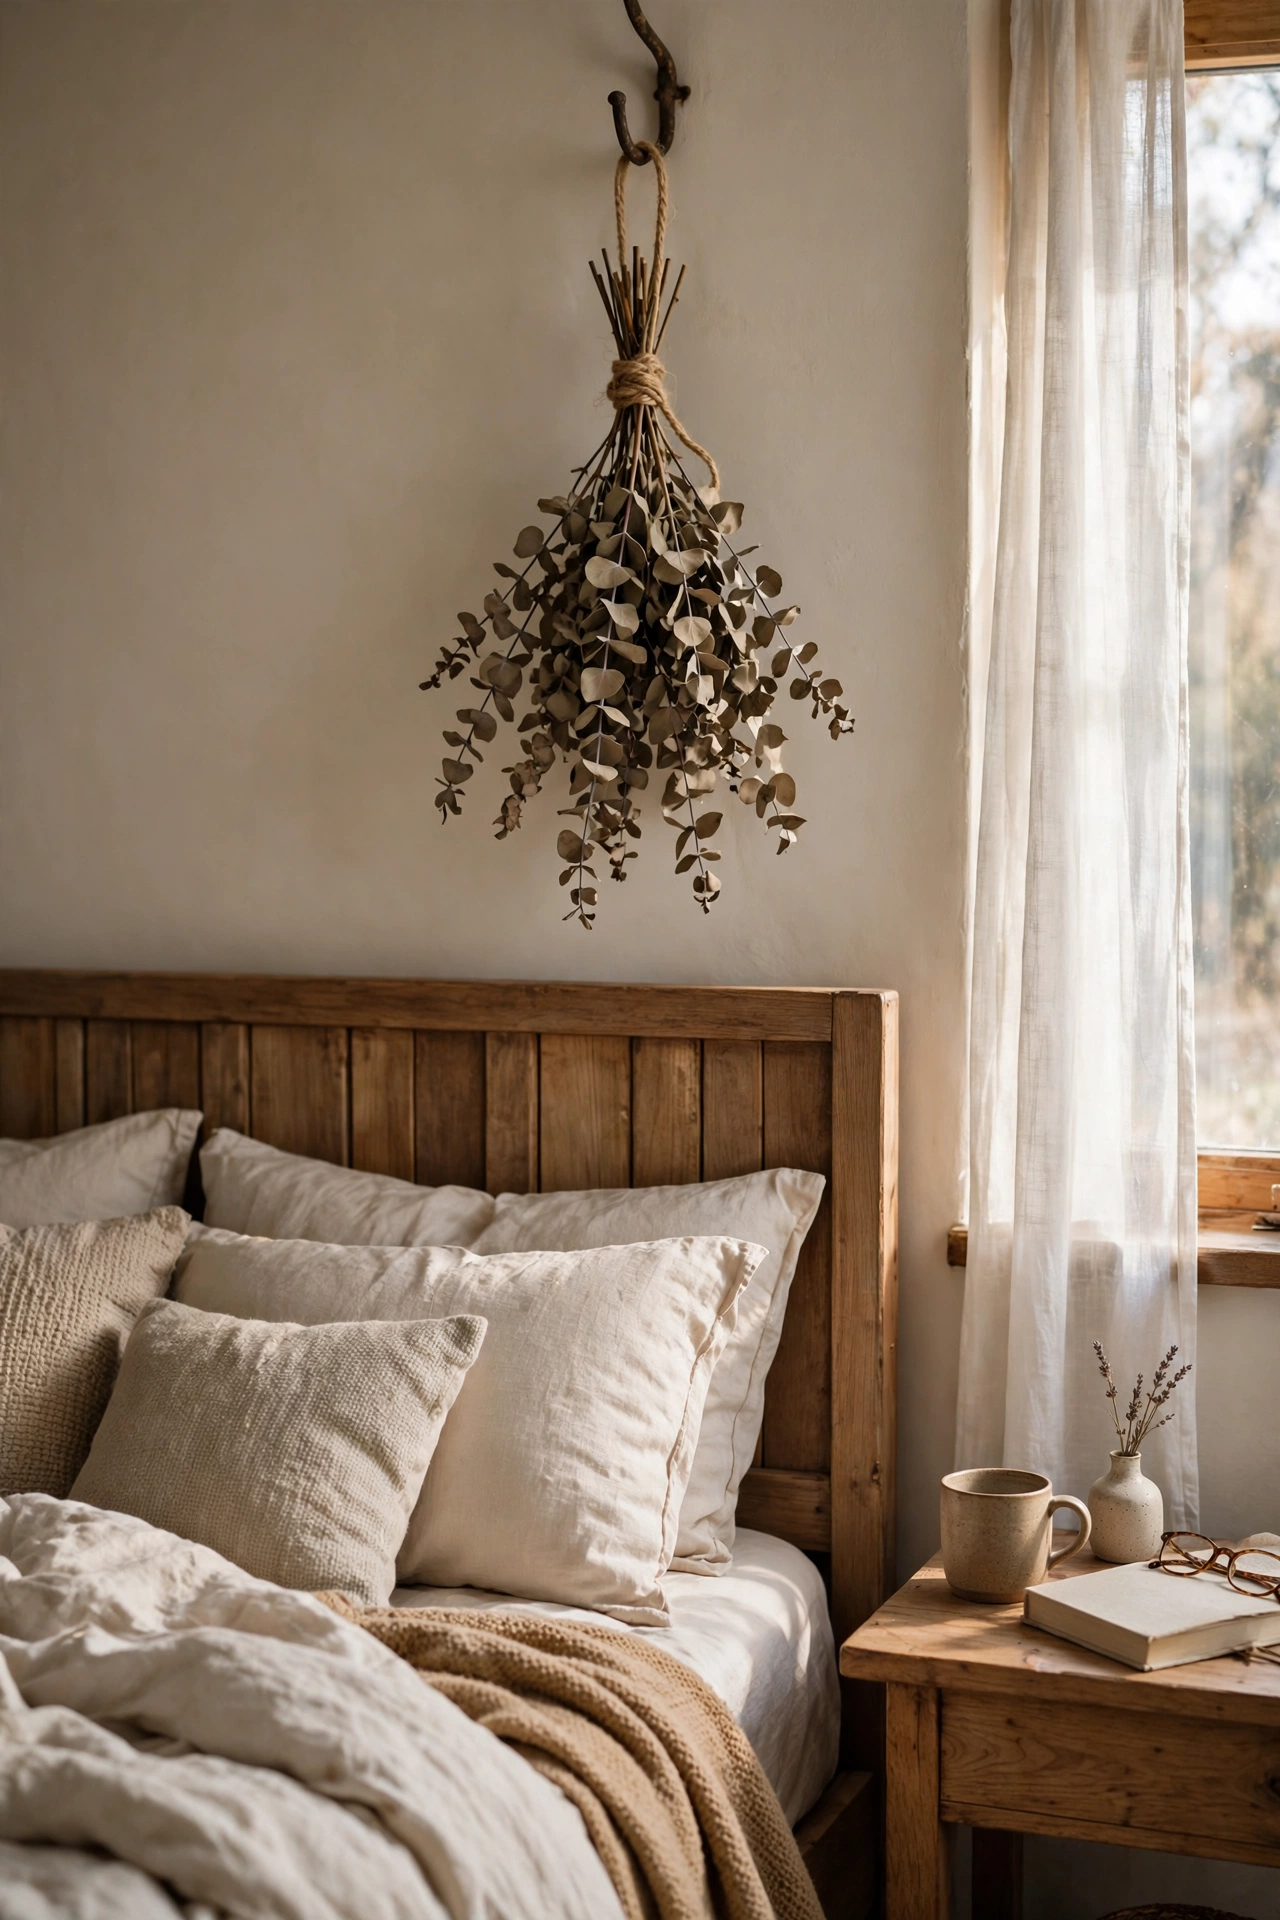
A bundle of eucalyptus hung upside down above the bed adds scent and soft color for a few dollars. I bought a bunch at the grocery store for $6, tied it with twine, and hung it from a small hook. It dried beautifully and kept its shape for months.
Hang it from the side of the arrangement rather than directly over your pillows, because dried leaves will shed a little. Mine dropped leaves onto my pillowcase for the first week. A light shake outside before hanging removes most of the loose bits. The silvery green color works with almost any bedding.
Cost: ~$5-8 | Time: 10 minutes
18. Hand-Painted Stencil Border
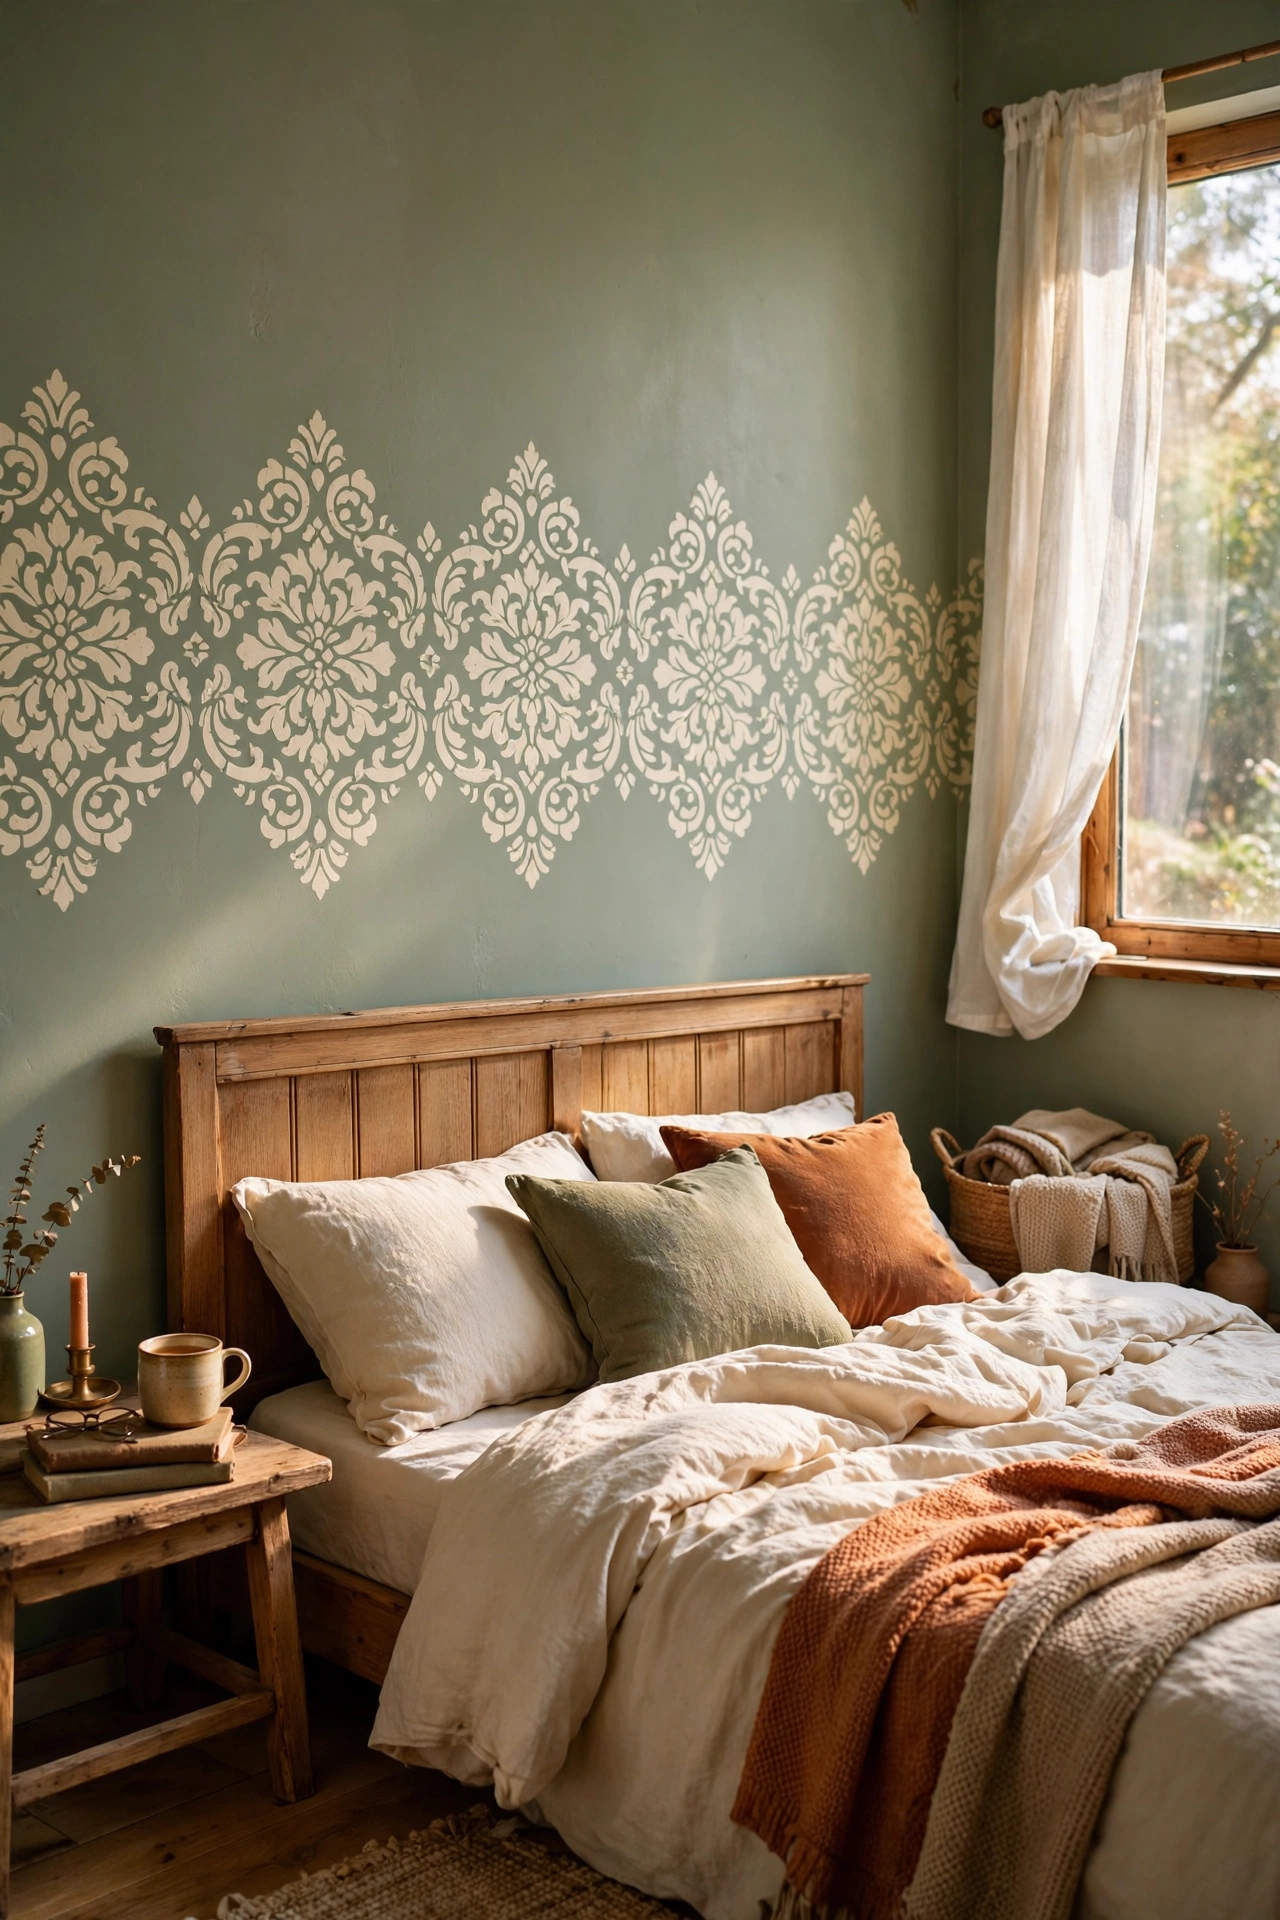
A painted stencil border running along the wall above the bed adds pattern for the price of a craft store stencil. I used a $7 damask stencil and cream paint on my sage wall, repeating the pattern in a horizontal band. It took one evening and a podcast to finish.
Tape the stencil level and reposition carefully, because a drifting pattern line is obvious. I rushed the first section and the whole border sloped downhill. Use a nearly dry brush and dab, never stroke, so paint does not bleed under the edges. One band of pattern is enough, do not stencil the whole wall.
Cost: ~$7-12 | Time: 2-3 hours
19. Thrifted Plate Collection
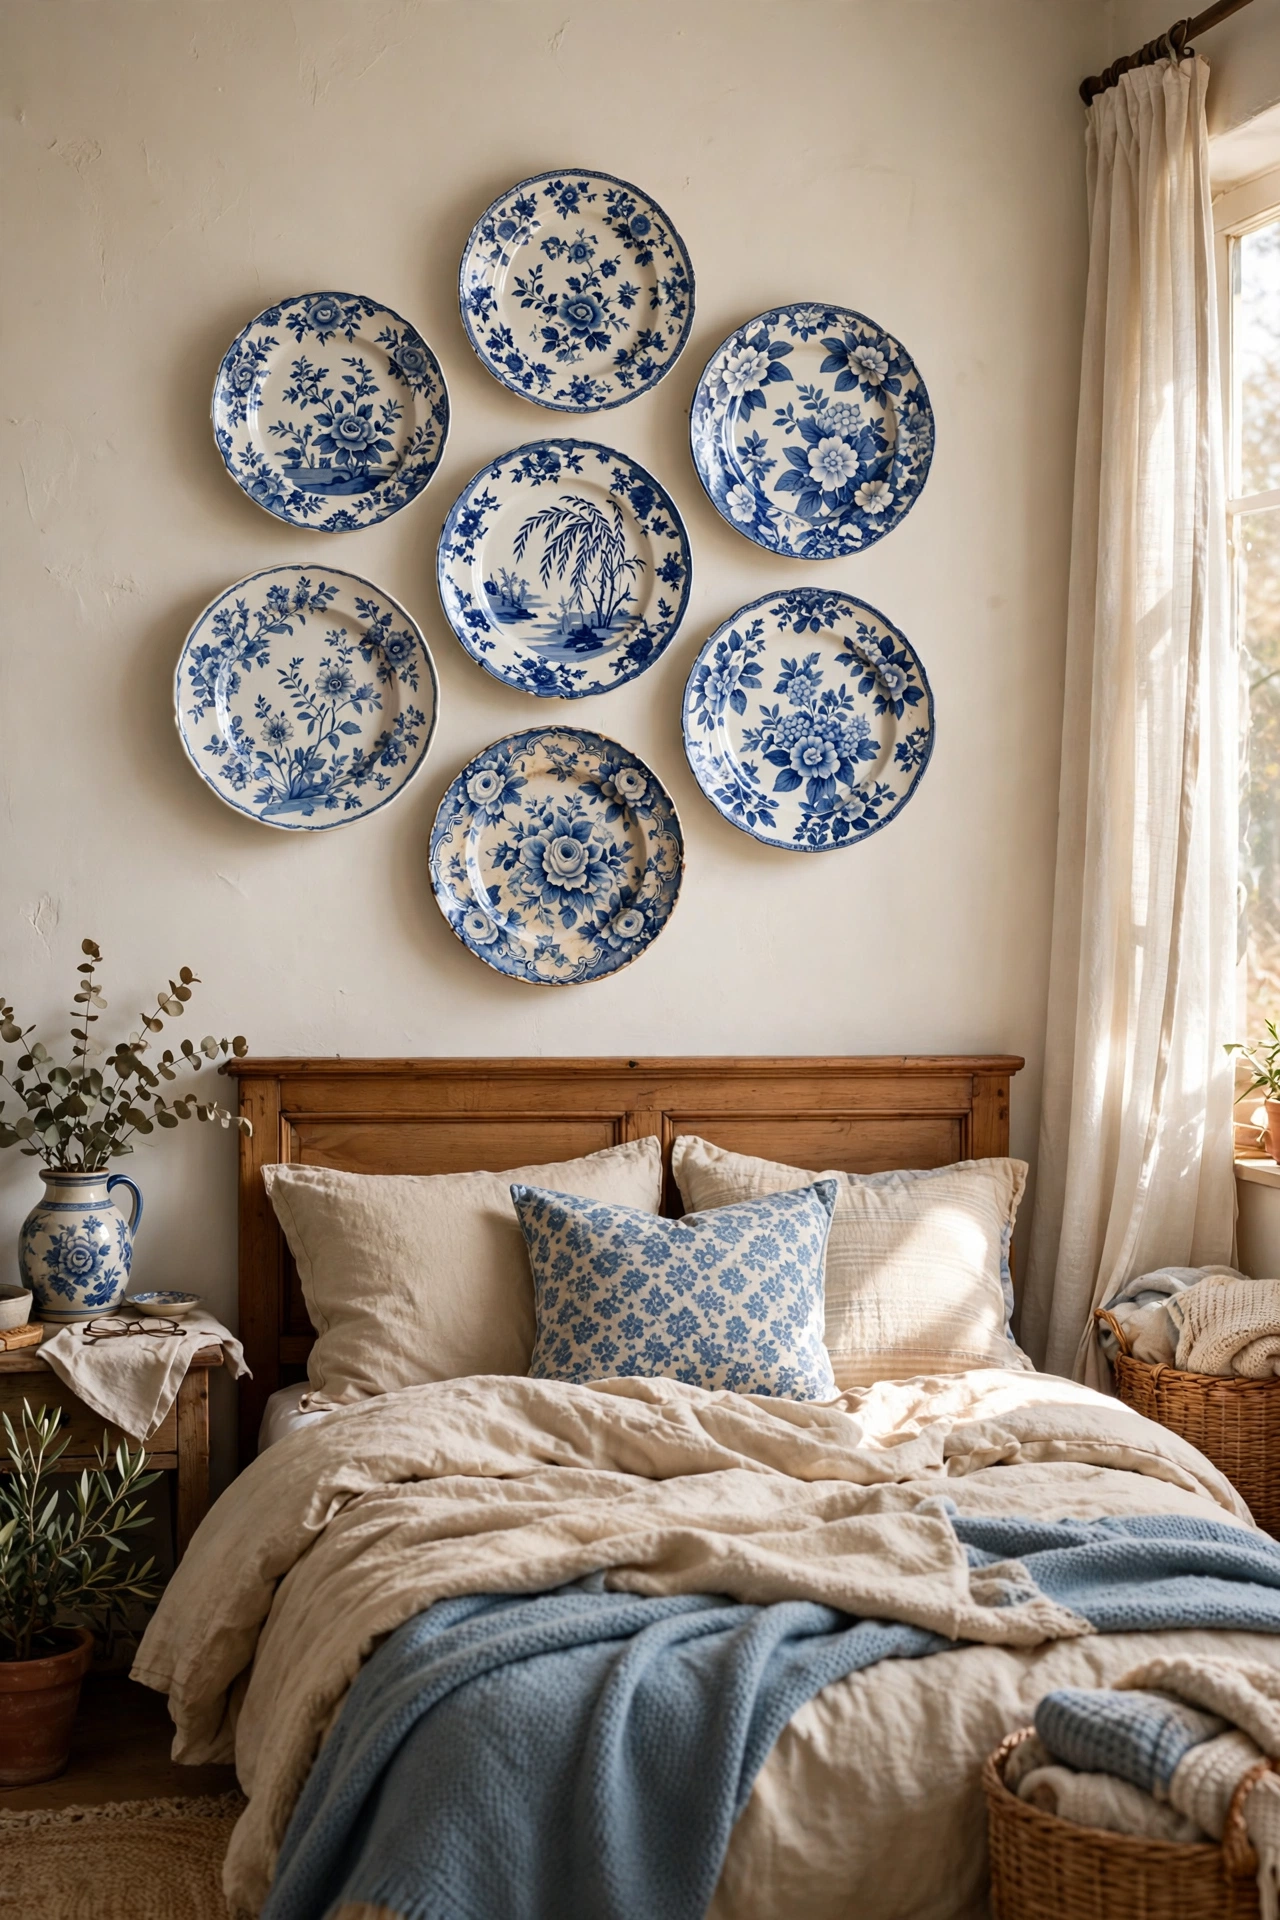
A cluster of decorative plates above the bed is charming and incredibly cheap. I collected seven mismatched floral plates at the thrift store for 75 cents each. Plate hangers cost about $1 apiece, and they grip the rim securely without damaging anything.
Stick to one color story, all blue and white or all florals, so the mismatched shapes still read as a set. I bought random plates first and the wall looked like a yard sale. Trace the arrangement on paper, tape the paper to the wall, and hang through it for perfect spacing.
Cost: ~$8-15 | Time: 1 hour
20. Fairy-Light Backlit Canvas
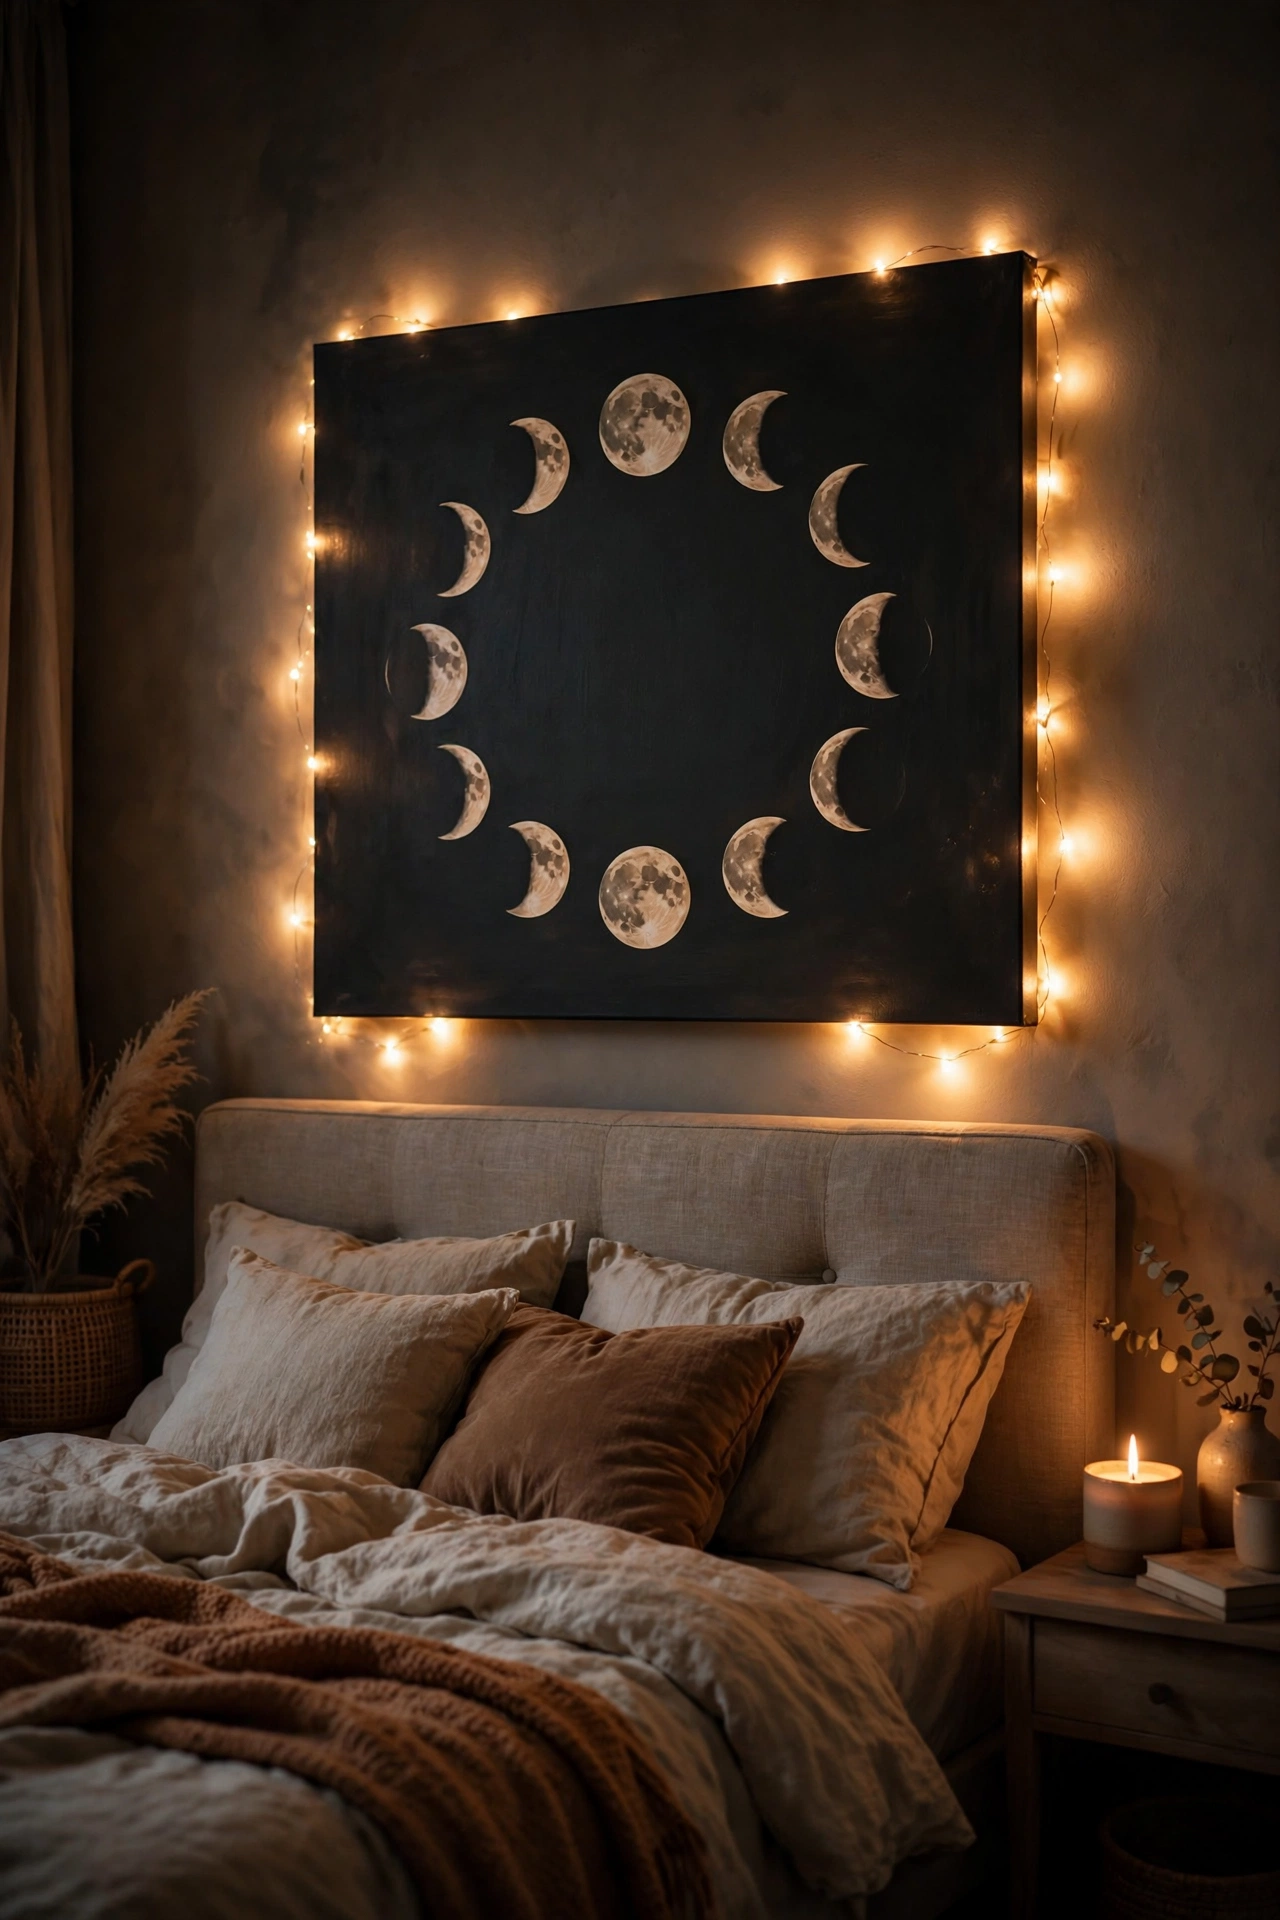
A canvas with fairy lights behind it glows softly above the bed at night. I stapled a $5 string of warm fairy lights to the back of a stretched canvas I painted with simple moon phases. The light spills around the edges and makes the whole wall feel dreamy.
Use battery lights with a timer so you are not climbing up to switch them off. Mine ran all night the first week until I bought a timer pack. Keep the canvas art simple and dark, because the glow effect does the real work. The whole project costs less than a takeout dinner.
Cost: ~$8-15 | Time: 1 hour
21. Chalkboard Quote Board
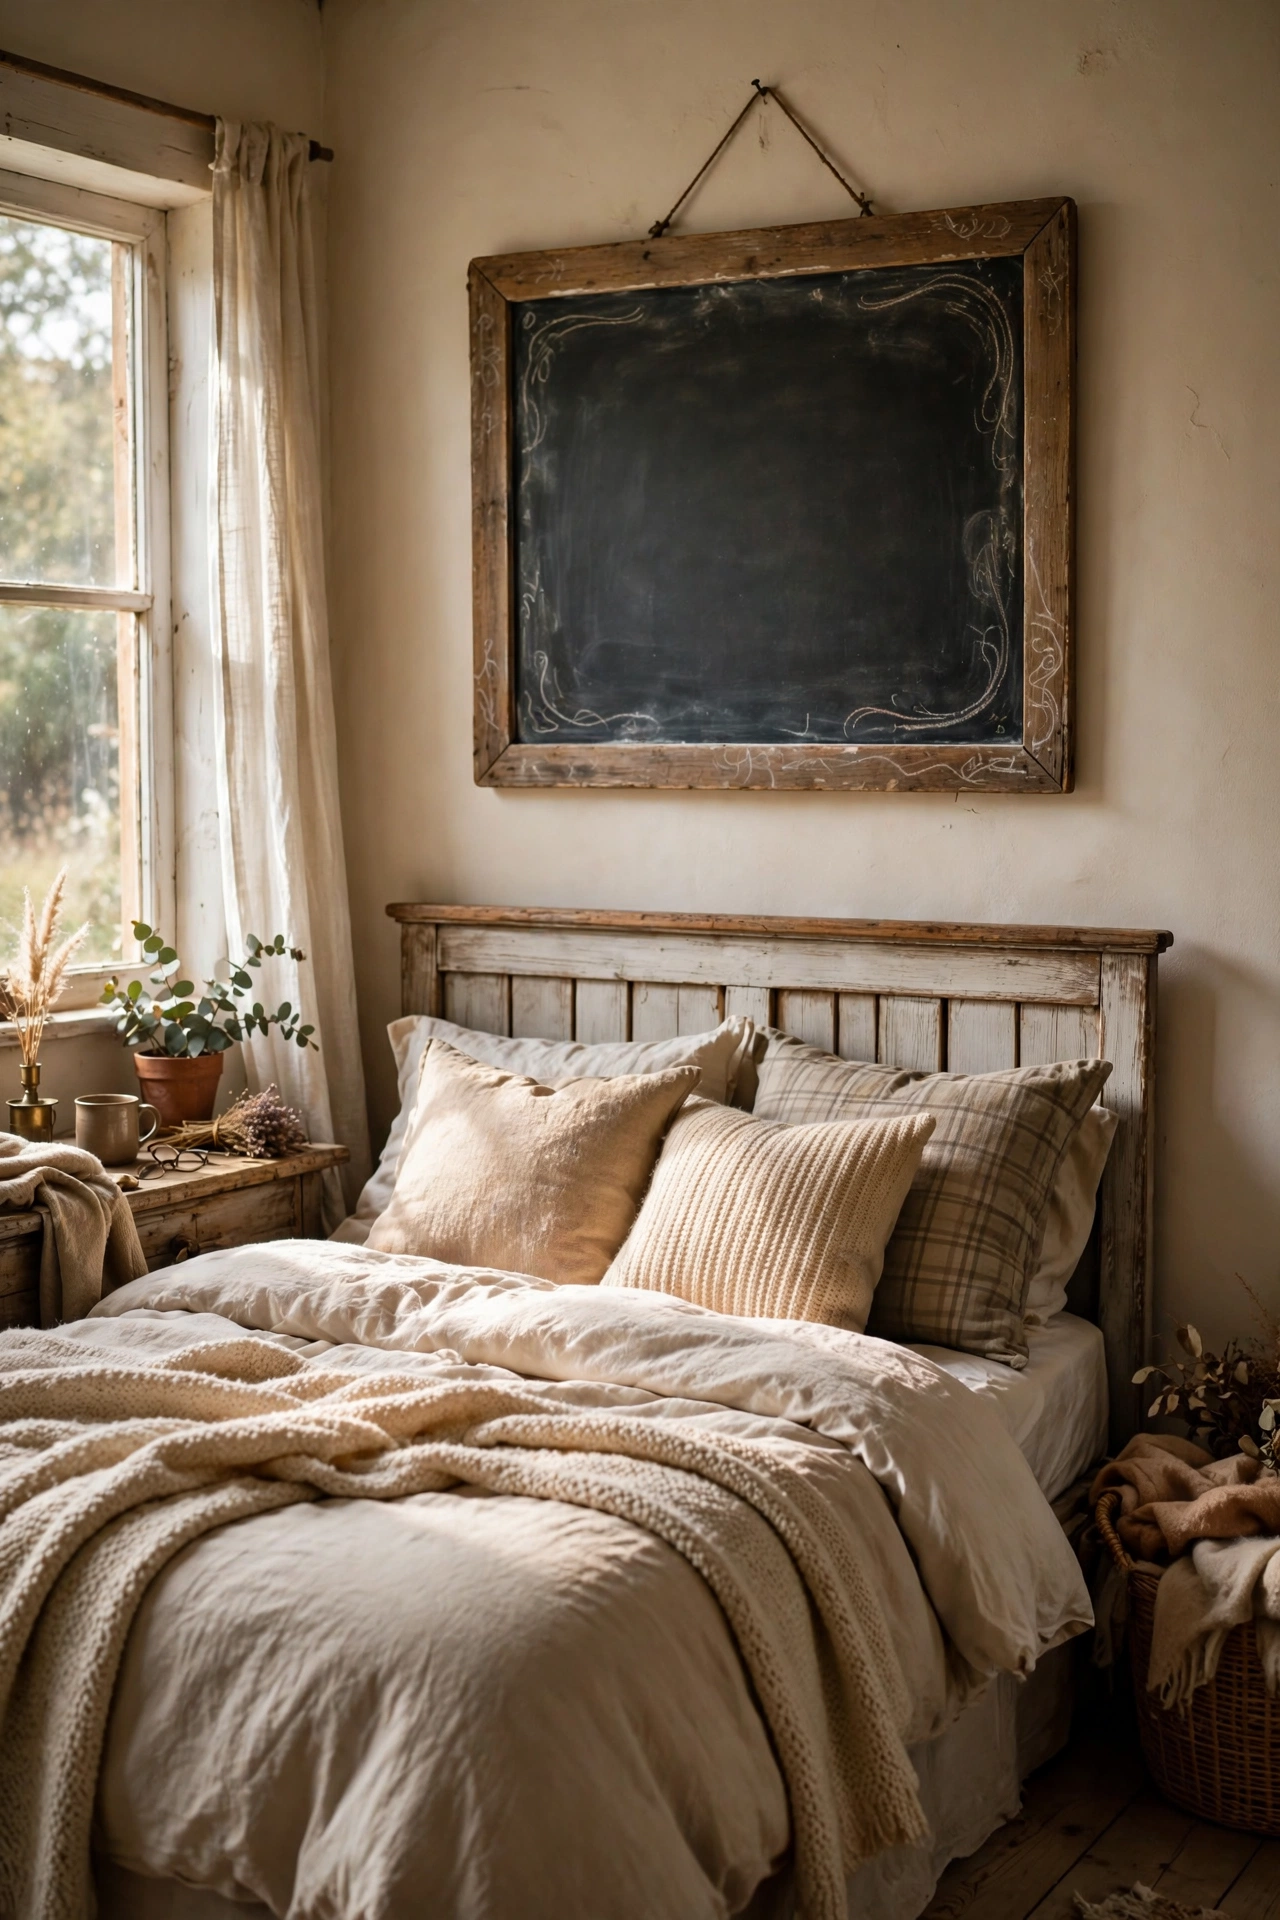
A chalkboard above the bed lets you change the message whenever the mood strikes. I painted a $4 thrift store frame’s backing board with chalkboard paint and wrote our favorite quote in chalk markers. It costs almost nothing and I rewrite it every few months.
Use chalk markers instead of real chalk for crisp lines that do not smudge on your pillow. Real chalk dusted everywhere the first time I tried it. Practice the lettering on paper first, because wonky spacing is permanent until you erase. A simple quote in your own handwriting beats a perfect printed one.
Cost: ~$5-10 | Time: 45 minutes
22. Pressed Flower Frames
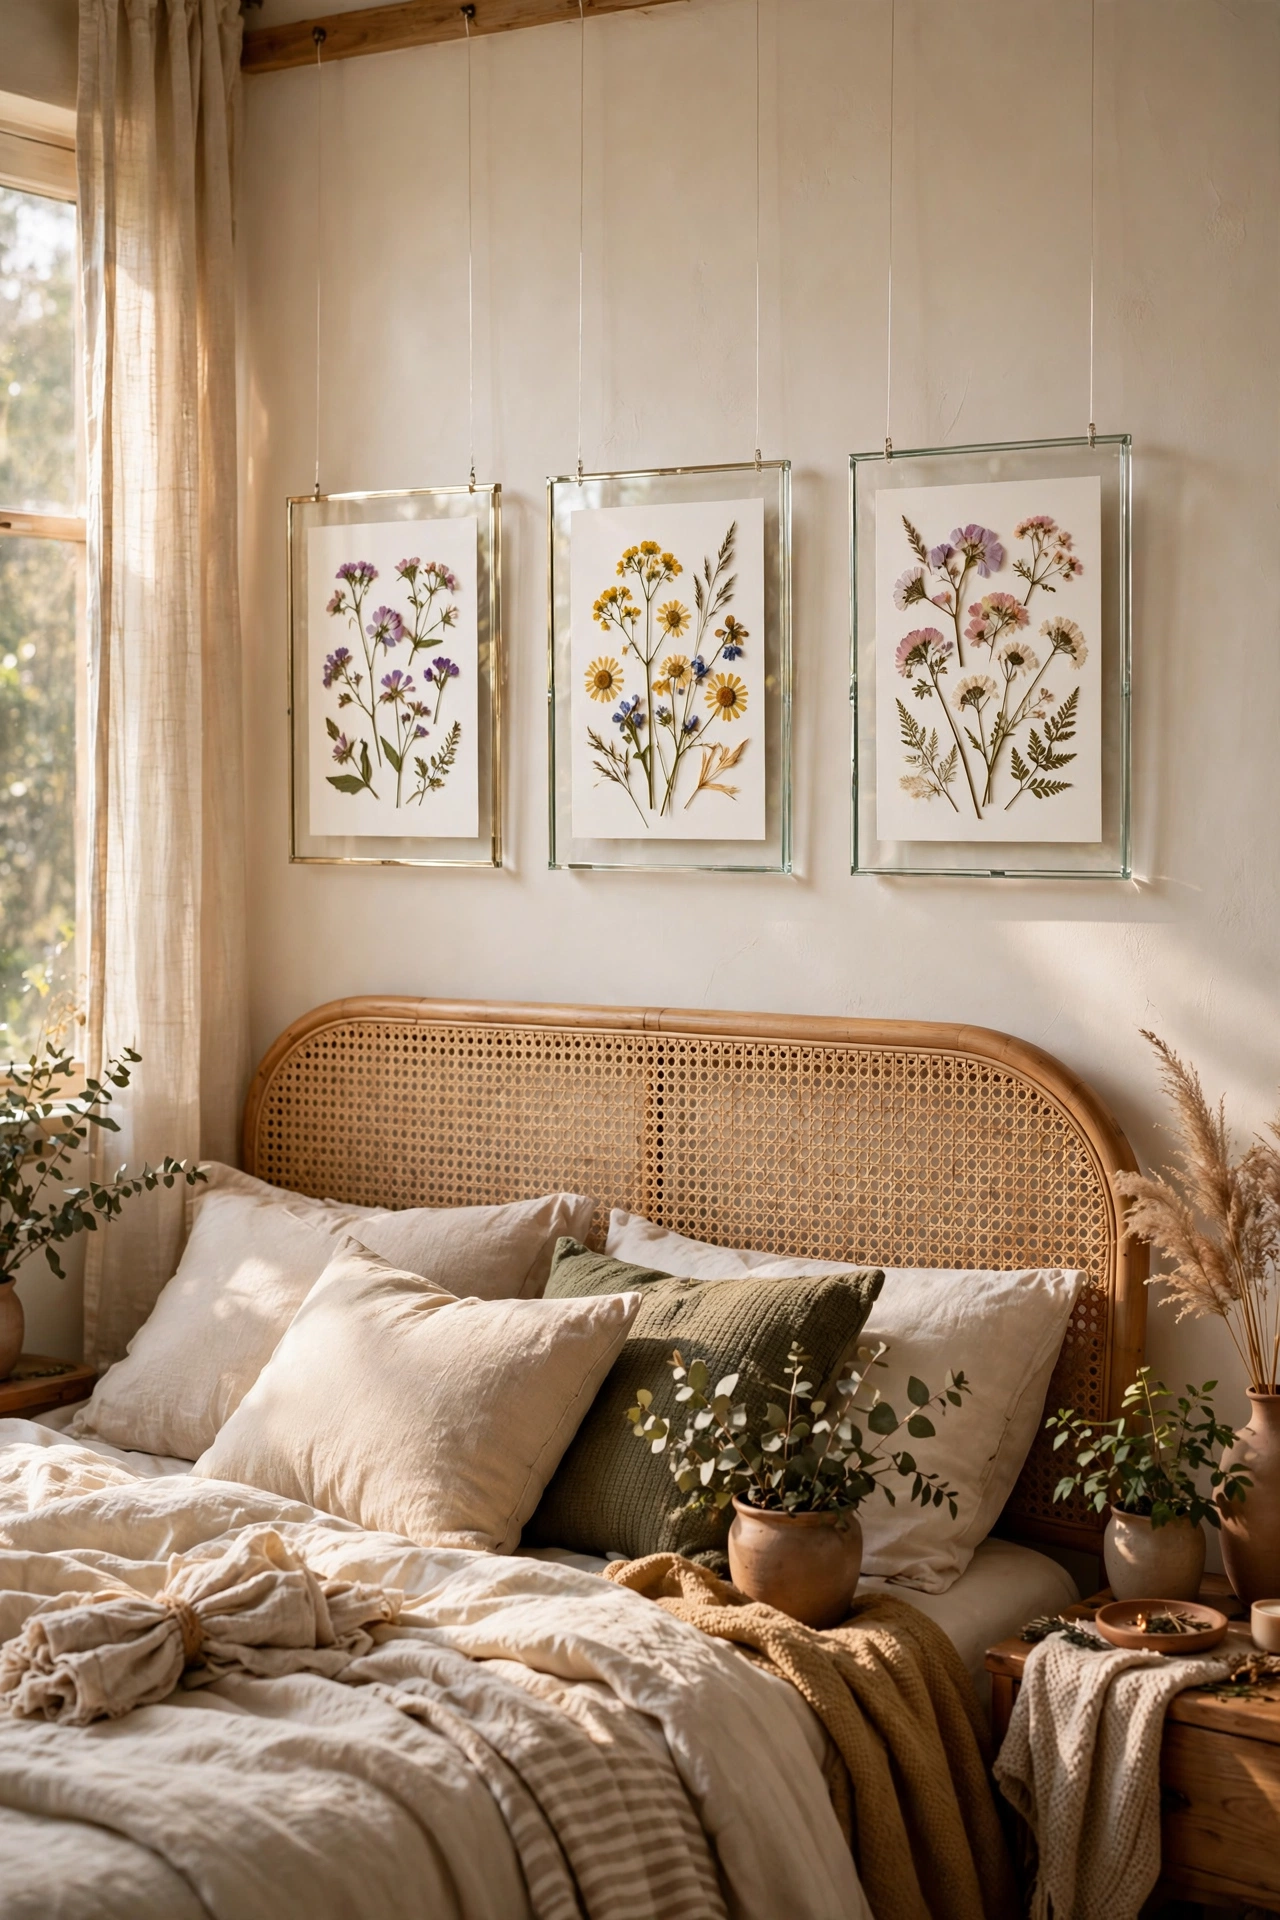
Pressed flowers between glass make delicate above-bed art for free. I pressed wildflowers in a heavy book for two weeks, then arranged them on white cardstock inside floating glass frames from the dollar store. The frames were $3 each and the flowers cost nothing.
Press more flowers than you think you need, because half of them will brown or crumble. I pressed twelve and used five. Keep the frames out of direct sunlight so the colors stay bright. A row of three small frames looks sweet and botanical above any headboard.
Cost: ~$5-10 | Time: 30 minutes (plus pressing time)
23. Rope-Hung Mini Shelf
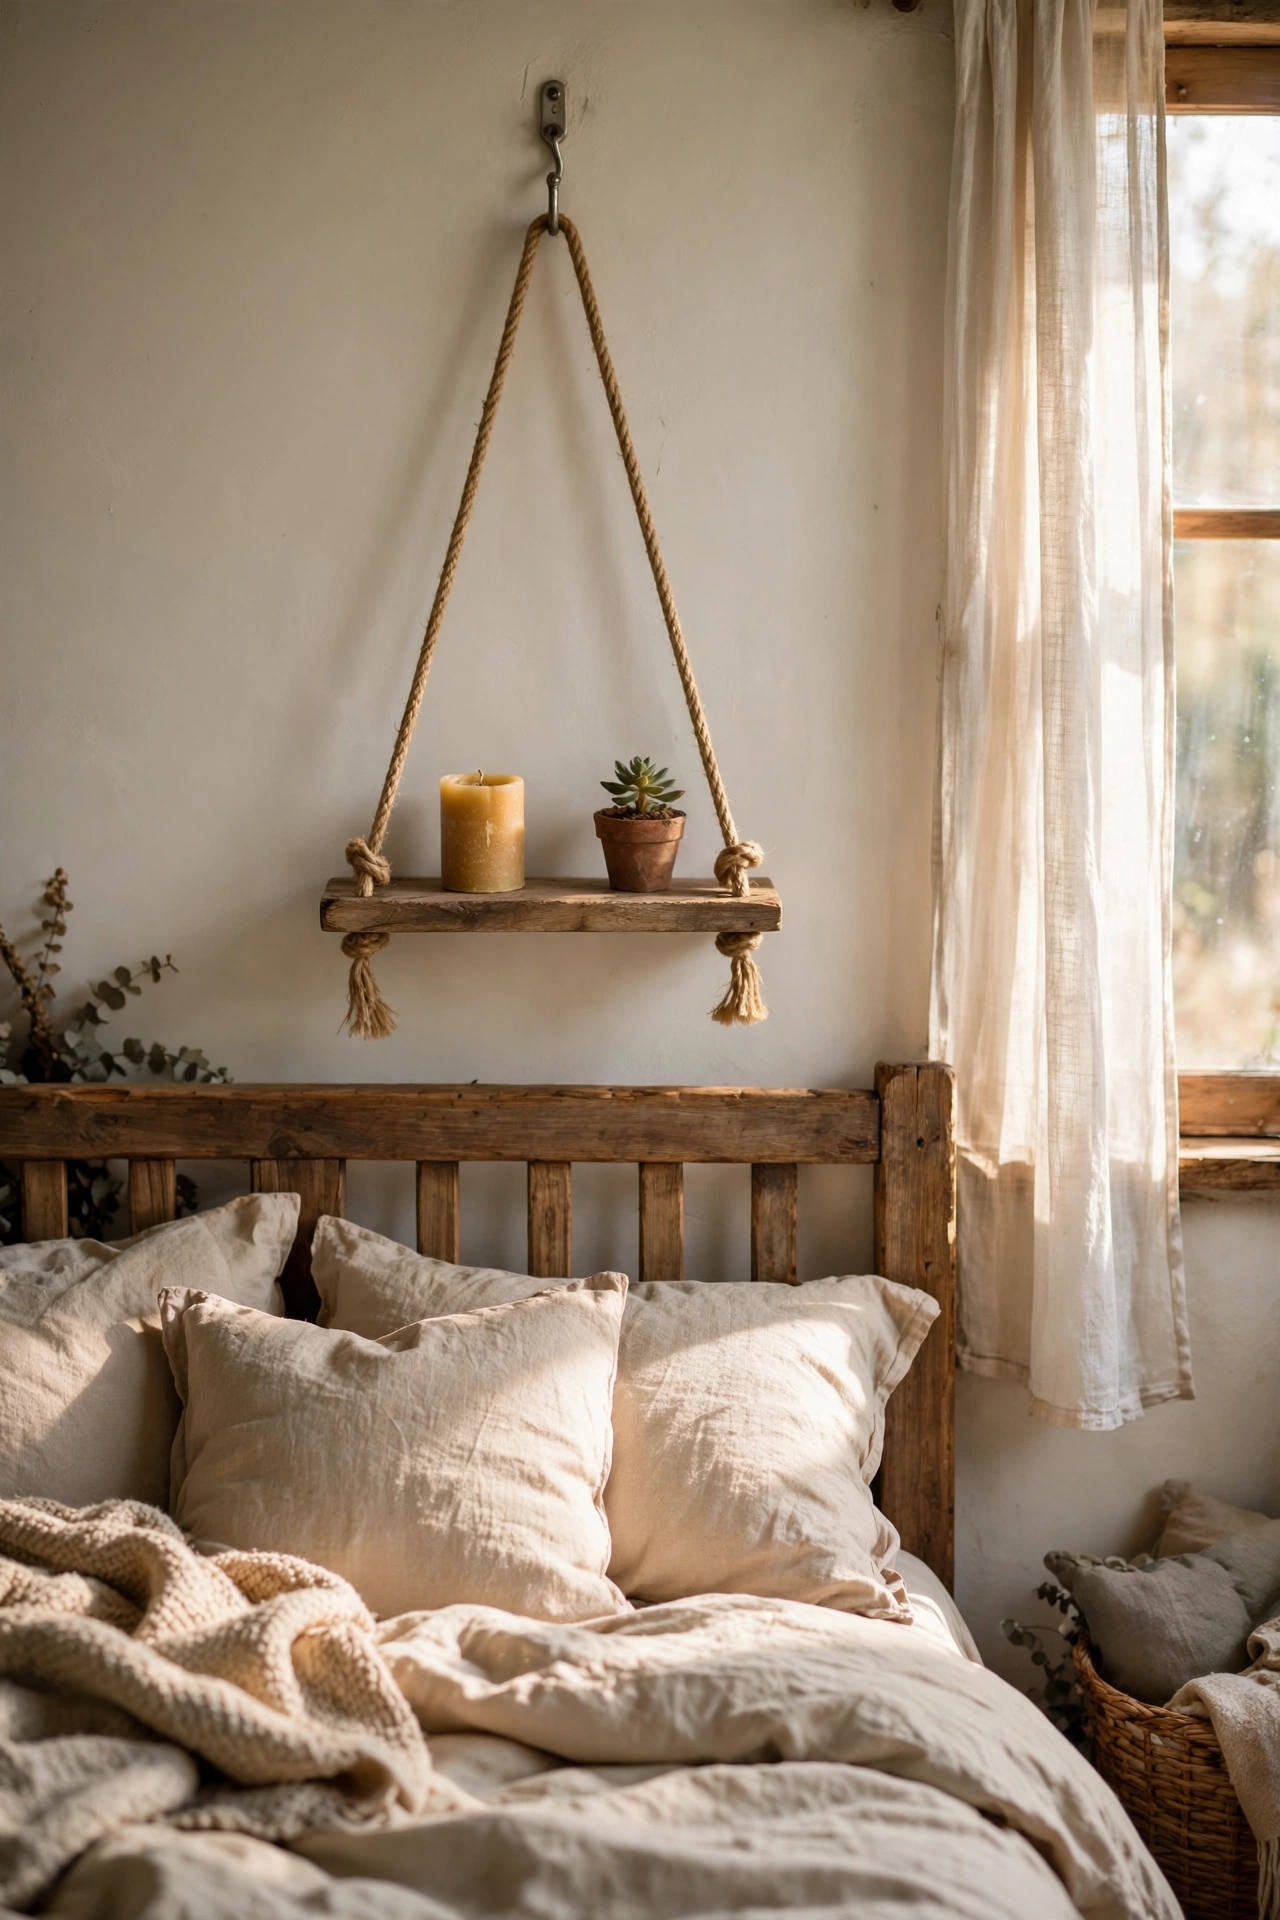
A small wooden board hung by rope holds a candle and a tiny plant above the bed. I cut a scrap board to 18 inches, drilled holes in the corners, and threaded thick jute rope through to a single hook. It cost me $3 in rope because the wood was leftover.
Level the board carefully before loading it, because rope stretches unevenly at first. Mine tilted and my candle slid off on day two. Tie the knots, hang it empty overnight, then adjust in the morning. Keep the styling minimal: two objects maximum on a shelf this size.
Cost: ~$3-8 | Time: 30 minutes
Quick Answers
Q: What should I hang above my bed if I have no budget?
A: Start with what you already own: photos clipped to twine, book pages in thrifted frames, or fabric in embroidery hoops. A DIY canvas grid or a starburst from bamboo skewers costs under $15 and fills the whole space. The trick is one unified idea repeated across the width of the bed, not one tiny frame floating alone.
Q: How high above the bed should decor hang?
A: Keep the bottom edge of your art 6 to 12 inches above the headboard, with the center of the arrangement roughly at eye level when you stand at the foot of the bed. Hanging too high is the most common mistake and it disconnects the art from the bed. When in doubt, go lower and wider rather than higher and smaller.
Q: How do I decorate above my bed in a rental without nail holes?
A: Use adhesive hooks and strips rated for the weight, lean art on a picture ledge, or hang a fabric piece with removable clips. Washi tape designs and rope-hung pieces on a single adhesive hook leave zero damage. Always check the weight rating on the package, because above-bed art that falls at night is the one decor disaster you want to avoid.
Save this idea for later and start with the cheapest one on the list.
