19 Kitchen Cabinet Hardware Ideas That Upgrade Everything
My kitchen cabinets were fine — white shaker doors, nothing offensive — but the whole room felt tired. Then a friend pointed out my hardware: builder-grade chrome knobs that had gone cloudy, one hanging loose like a wobbly tooth. I spent one Saturday and about sixty dollars swapping them, and honestly, these kitchen cabinet hardware ideas that upgrade everything sound like a big claim until you see your own doors with proper brass cup pulls. This post is the list I wish I’d had: nineteen ways to change knobs, pulls, and handles that take an afternoon and cost less than a takeaway habit.
1. Swap Worn Knobs for Matte Black Bar Pulls
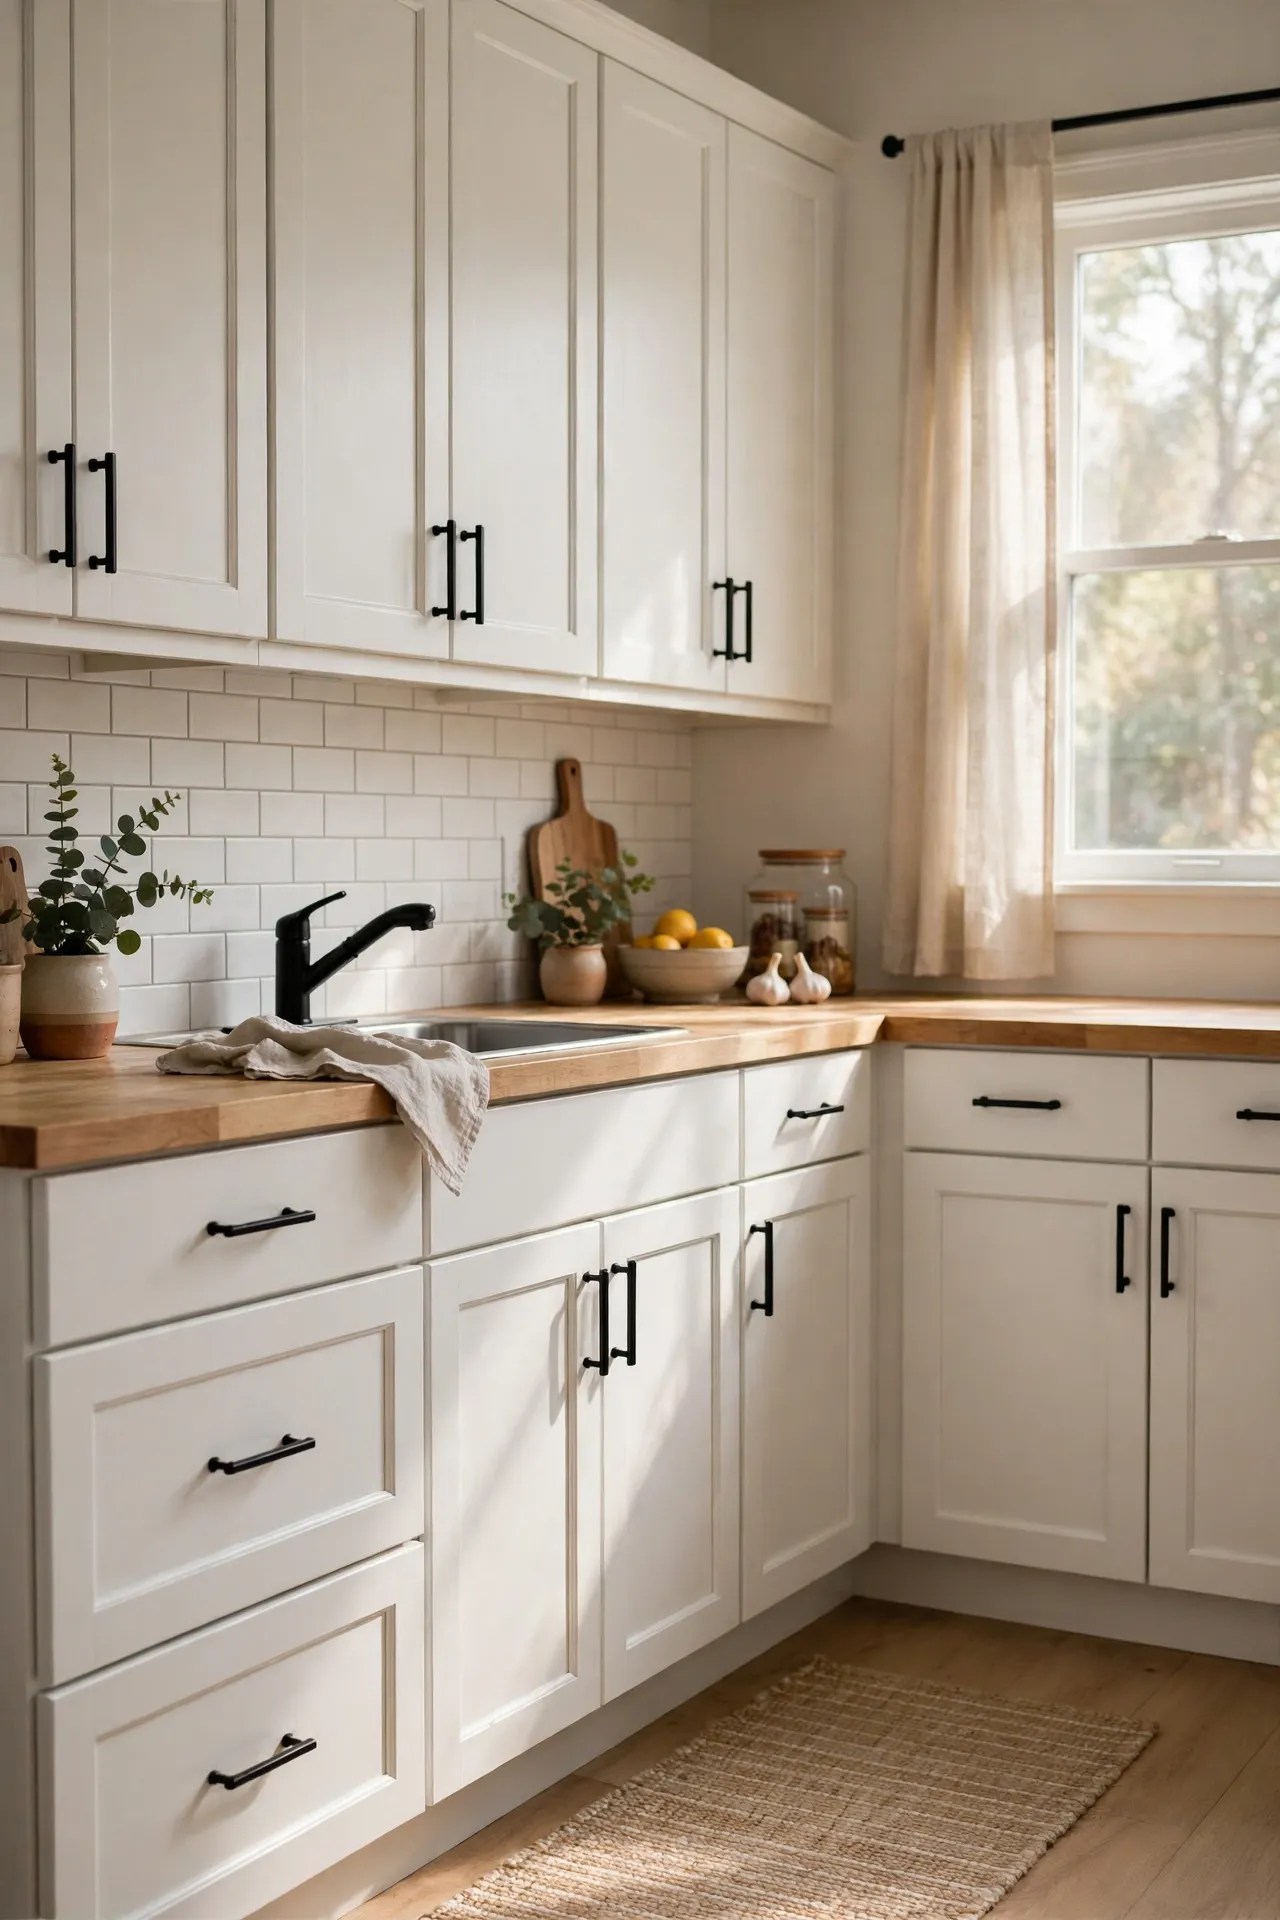
Matte black bar pulls are the fastest way to make dated cabinets look deliberate. They suit shaker doors, flat fronts, even old oak, and they hide grubby fingerprints far better than chrome. First, measure your existing hole spacing — most pulls come in 96mm or 128mm — so you can reuse the holes. Second, unscrew the old knobs and wipe the doors with sugar soap. Third, screw the new pulls on with the longer screws supplied. I tried this and the mistake to avoid is mixing hole spacings across one run of cabinets — it looks accidental. Once the hardware is sorted, the counters are next: these (see also: 19-kitchen-counter-decor-ideas-that-look-styled-not-cluttered) keep the new look tidy.
Cost: ~$25 for a pack of 10 | Time: 45 minutes
2. Fit Brushed Brass Cup Pulls on Drawers
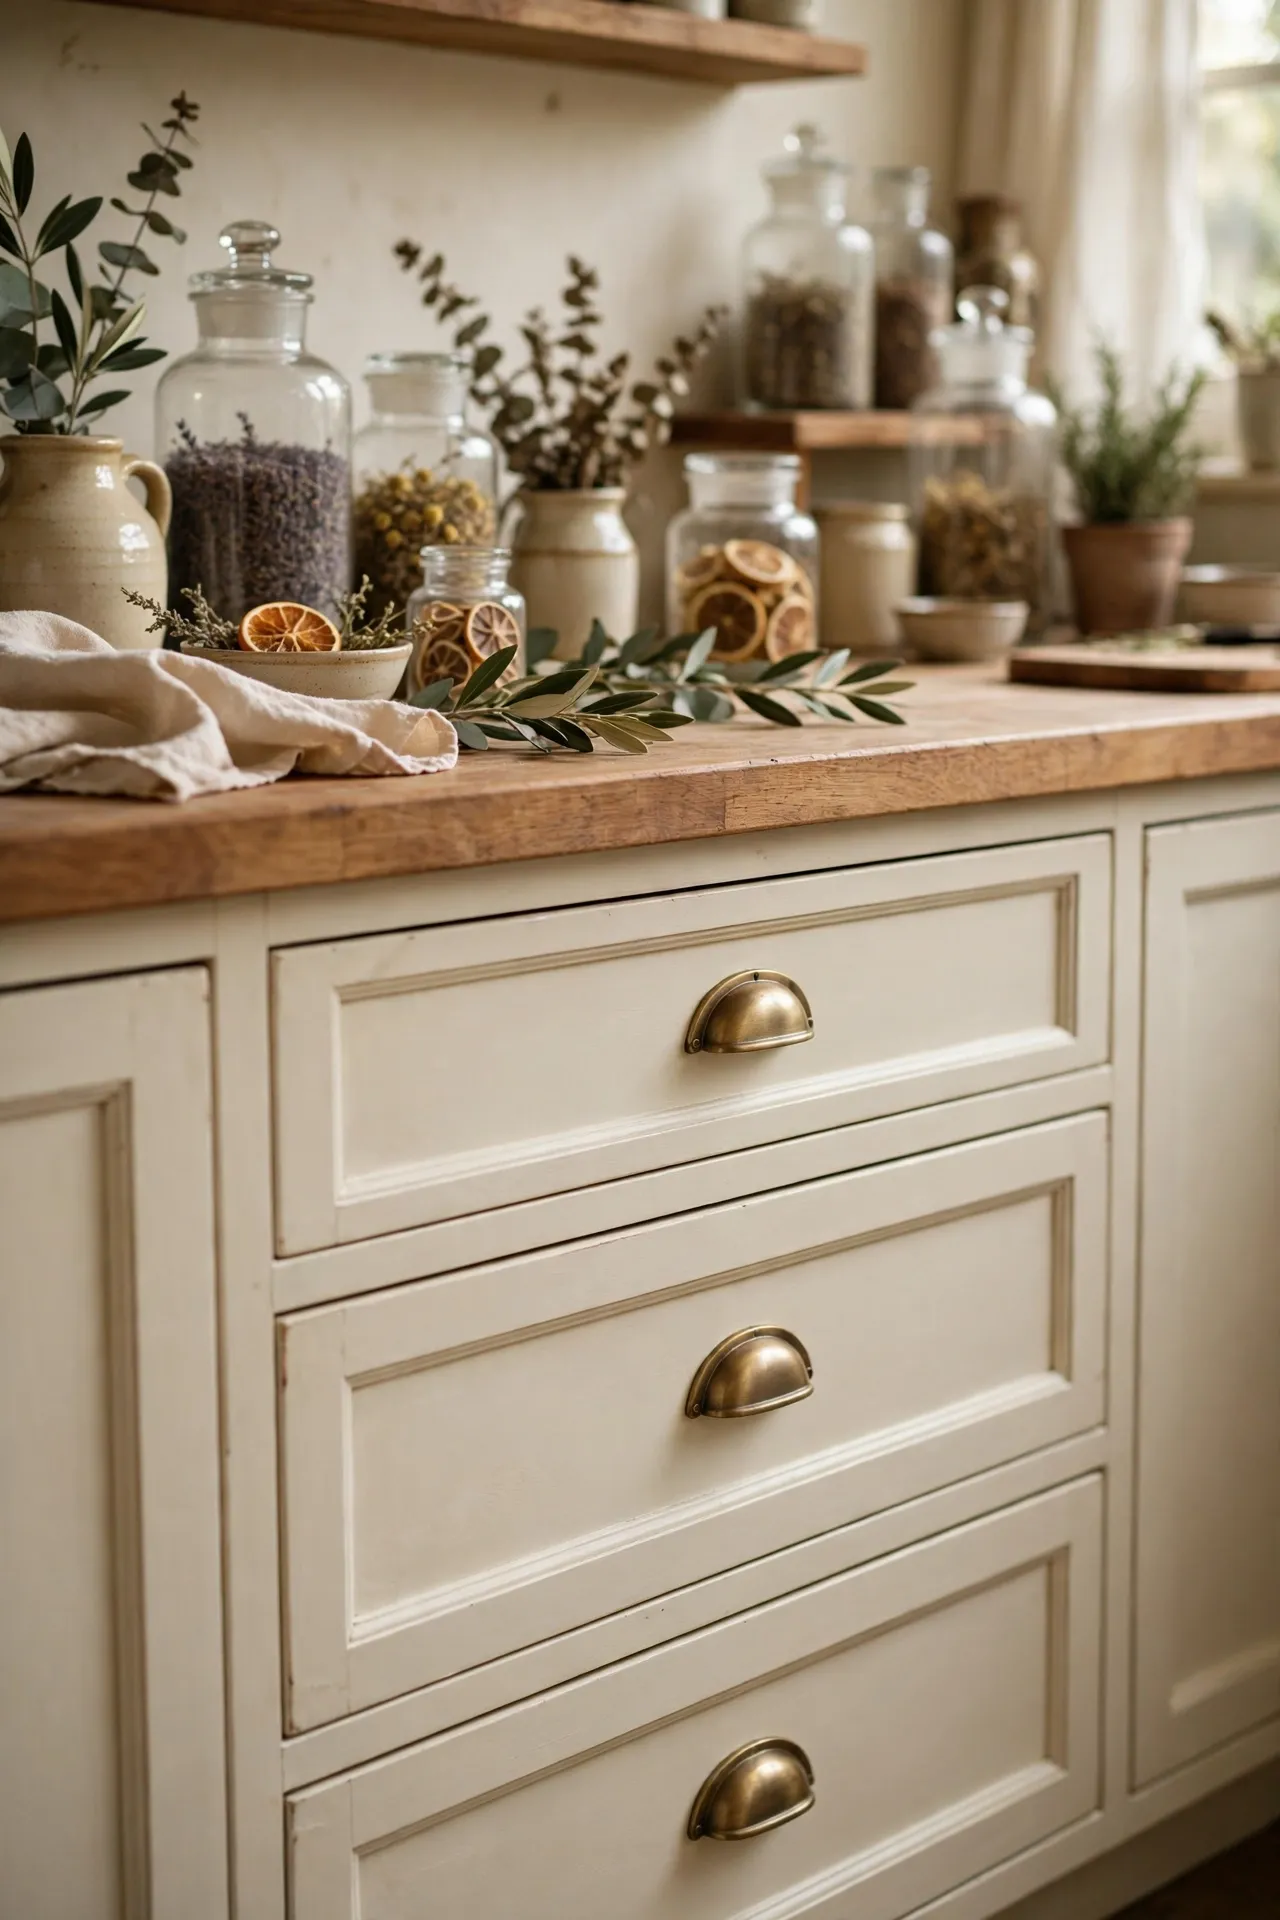
Brushed brass cup pulls give drawers that classic apothecary look without the antique-shop price. The half-moon shape is comfortable to grab, and the brushed finish forgives fingerprints and water spots. First, centre each pull on the drawer front, about 5cm down from the top edge. Second, drill pilot holes through from the front with a small bit to stop the wood splitting. Third, fix from inside with the machine screws provided. I tried this and the mistake to avoid is fitting them crooked — use a cardboard template for every drawer so they all line up. Brass pairs beautifully with soft colour too; see these (see also: 25-blush-pink-kitchen-ideas-on-a-dime) for proof.
Cost: ~$30 for 10 | Time: 60 minutes
3. Choose Polished Chrome Knobs for a Clean Shine
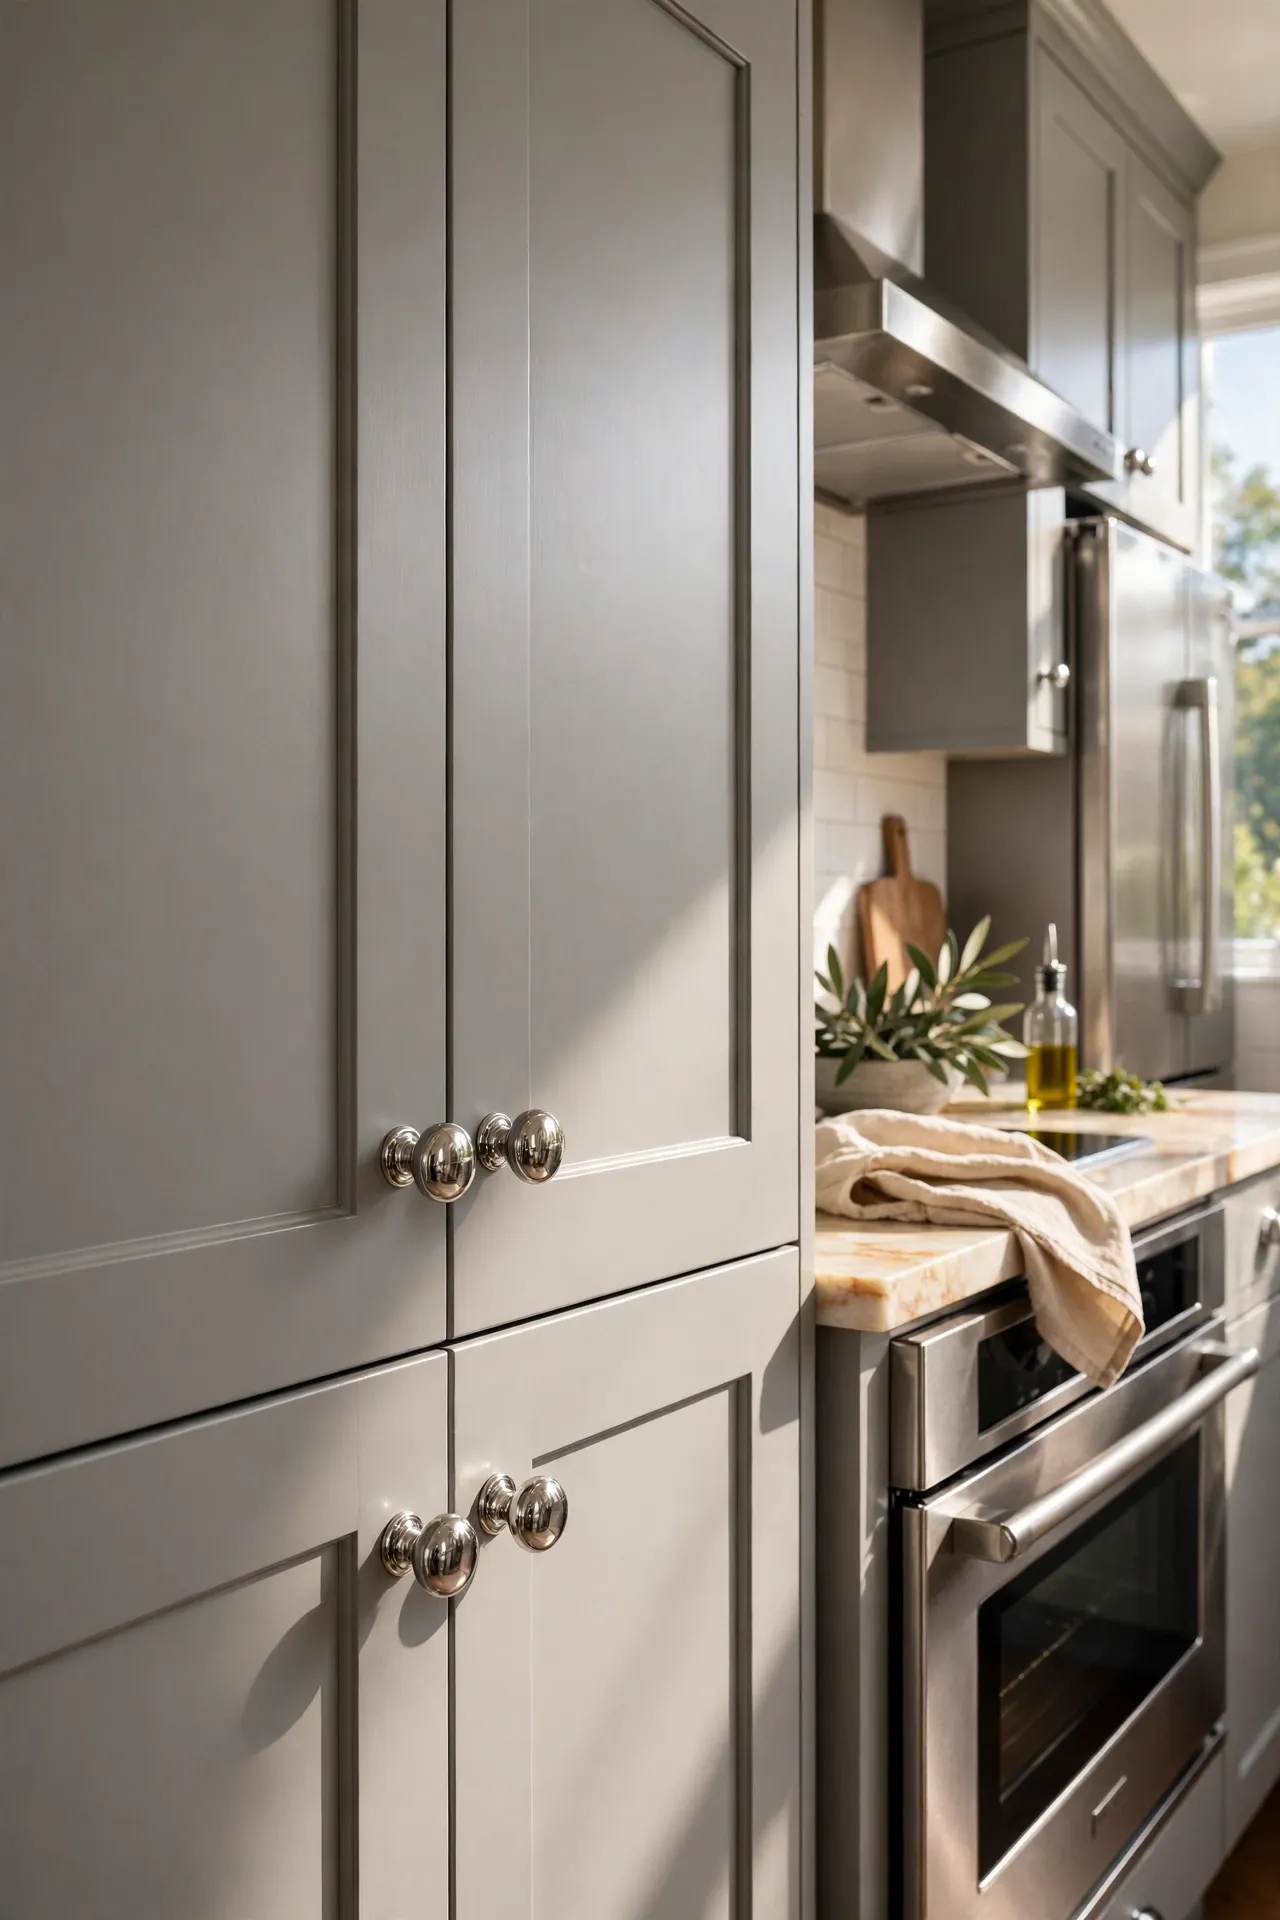
If your kitchen already has stainless appliances, polished chrome knobs tie everything together for very little money. Round mushroom knobs are the classic pick and they suit almost any door style. First, decide on a single diameter — 30mm works on most doors. Second, remove the old hardware and fill any unused holes with wood filler, sanding smooth once dry. Third, screw the new knobs on, tightening from the back so the front stays scratch-free. I tried this and the mistake to avoid is over-tightening — it can crack the knob base or dent the door front.
Cost: ~$15 for 20 | Time: 40 minutes
4. Try Leather Drawer Pulls for Warmth
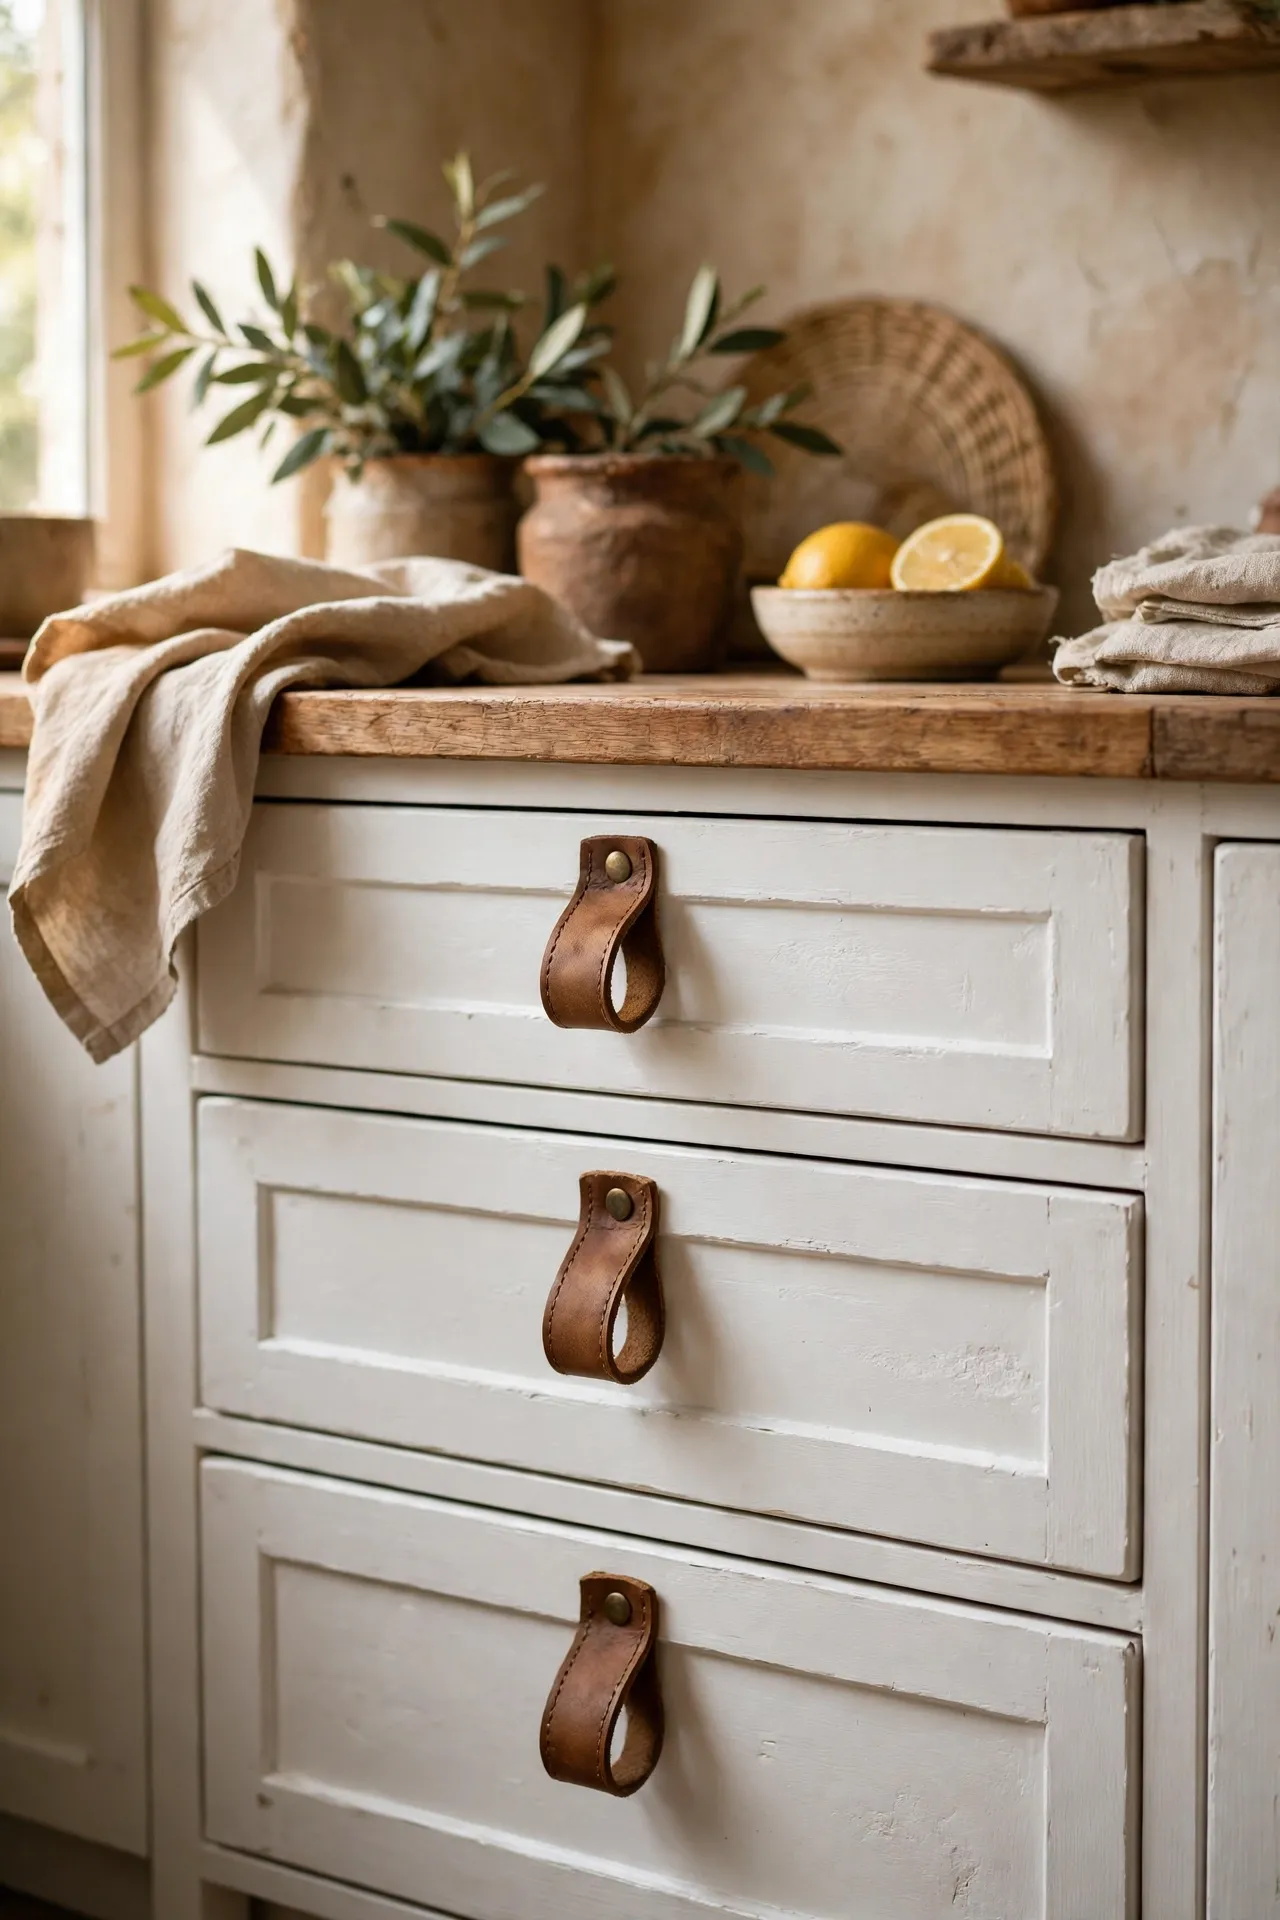
Leather pulls add instant warmth to white or grey kitchens, and they feel lovely in the hand. You can buy them ready-made or cut your own from an old belt. First, cut strips about 15cm long and 2cm wide if you are going the DIY route. Second, fold each strip into a loop and mark your fixing points on the drawer. Third, screw through both ends with a small washer behind so the leather does not tear. I tried this and the mistake to avoid is using thin fashion leather — it stretches over time; upholstery-weight leather holds its shape.
Cost: ~$20 DIY / ~$35 bought | Time: 50 minutes
5. Pick Turned Wooden Knobs for Cottage Character
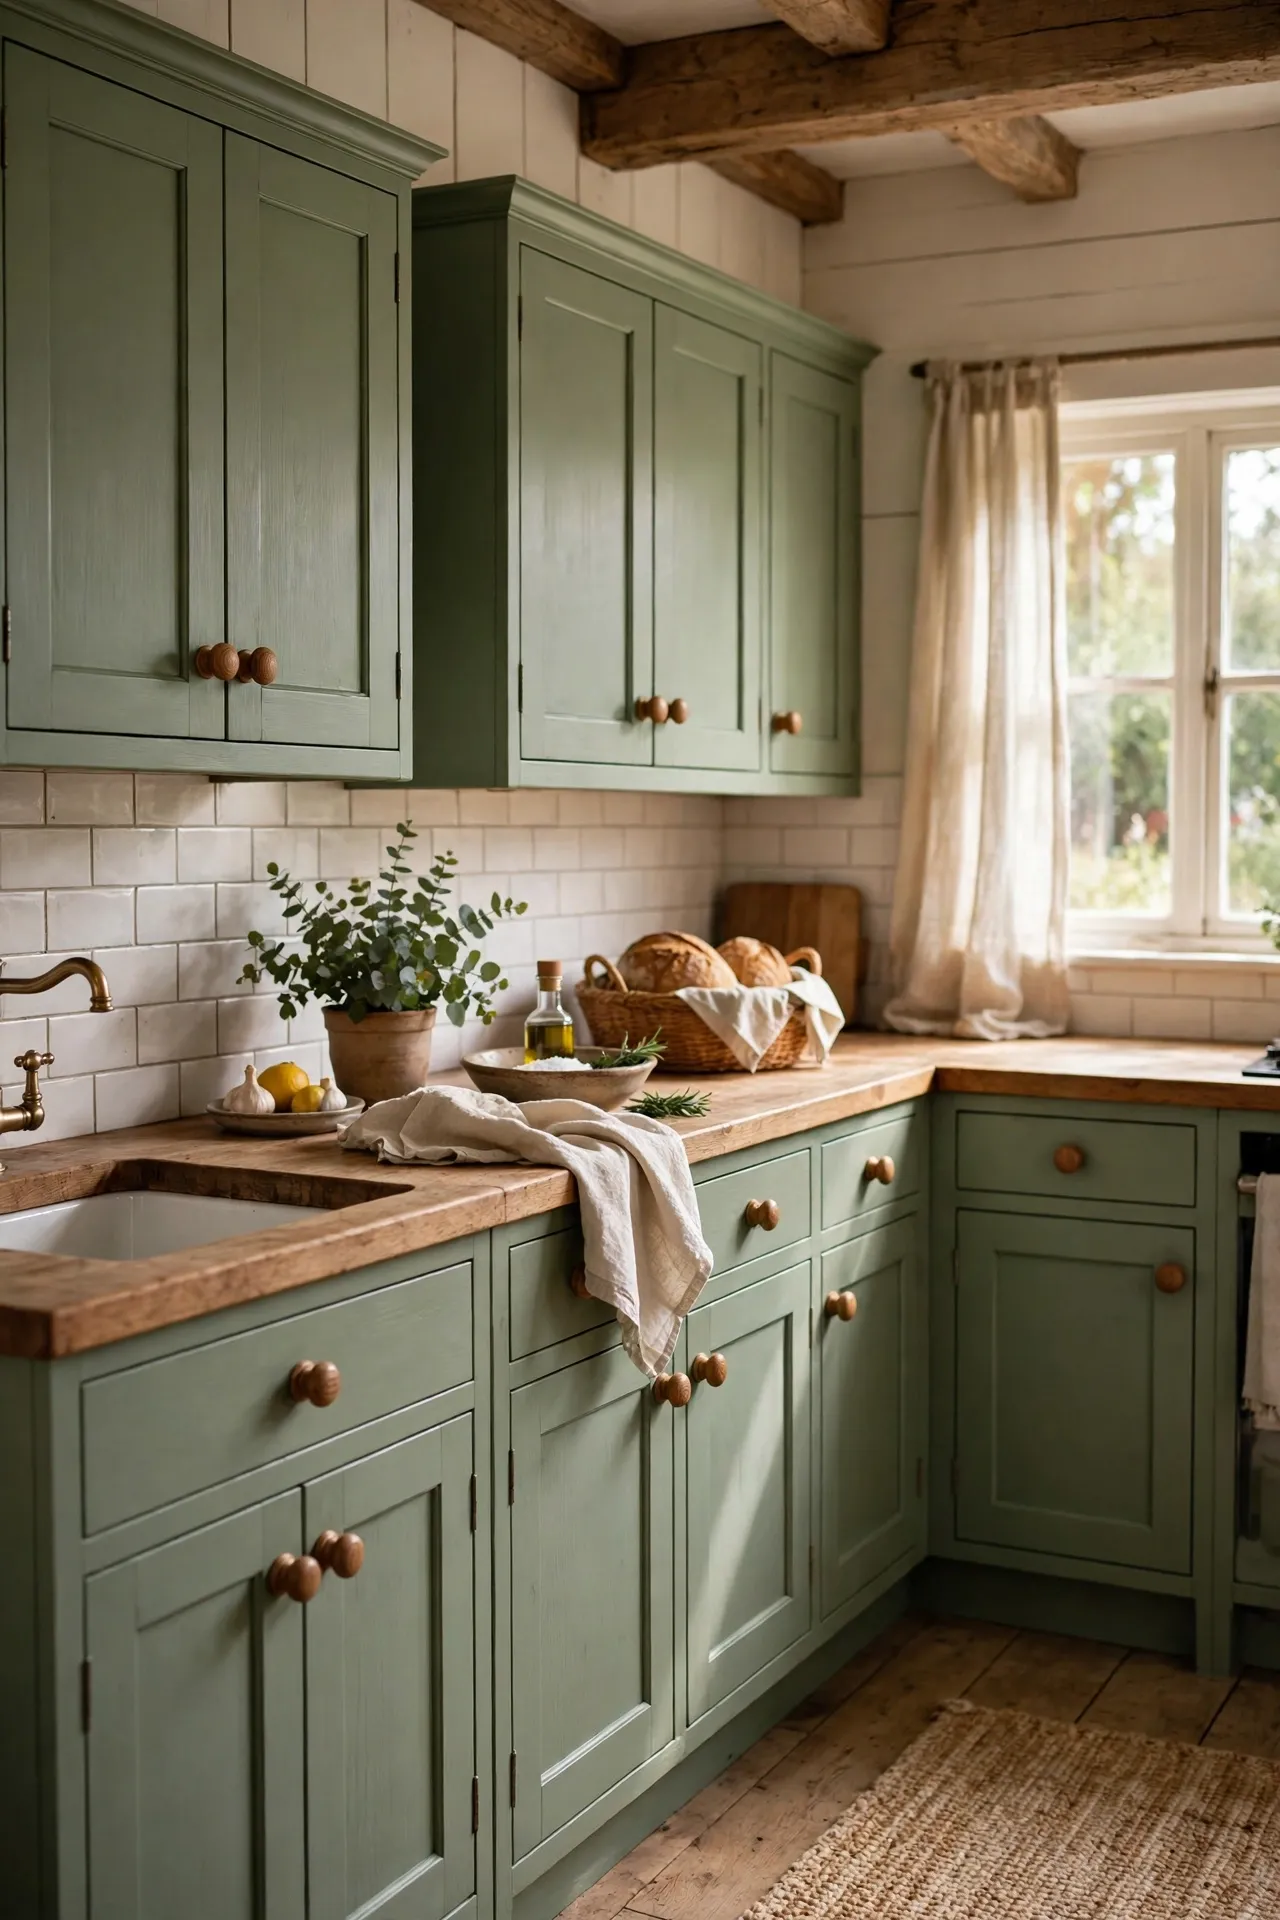
Turned wooden knobs are perfect for cottage or farmhouse kitchens where metal feels too cold. Oak, beech, and painted finishes all work well. First, choose one profile and stick to it across the whole kitchen. Second, sand the door front lightly where the old knob sat, in case of a shadow mark. Third, fix the new knob with the supplied bolt, holding the knob still so it does not spin and scratch the paint. I tried this and the mistake to avoid is buying mixed wood tones — one finish throughout looks intentional, three looks like leftovers.
Cost: ~$18 for 12 | Time: 45 minutes
6. Add Hand-Painted Ceramic Knobs
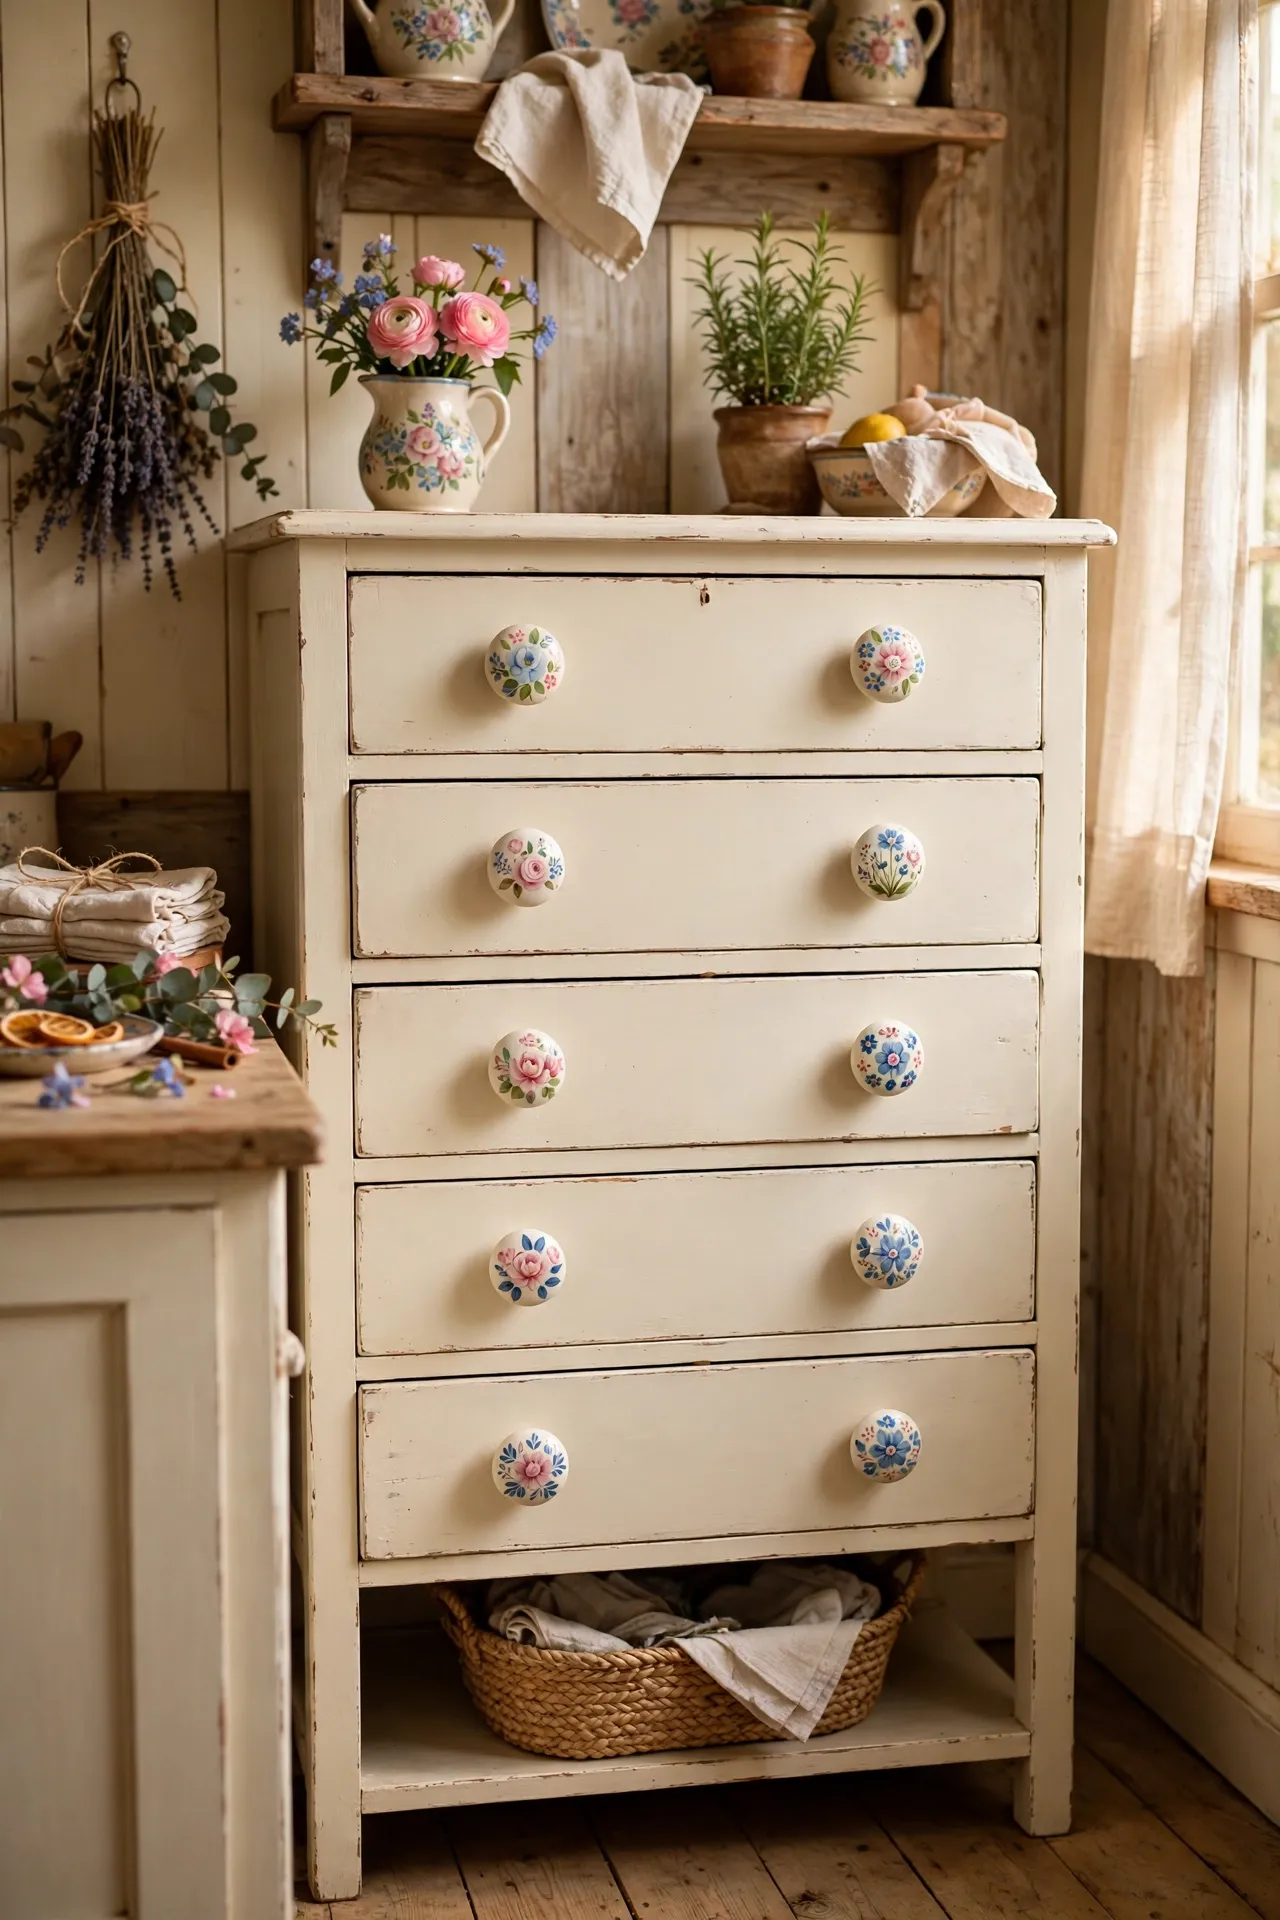
Hand-painted ceramic knobs are little pieces of art that make plain doors feel personal. Florals, stripes, and Delft-style blues are easy to find at markets and online. First, group your knobs by colour family before you start so the pattern repeats sensibly. Second, use them on upper doors or a dresser rather than heavy-use drawers, where they chip less. Third, fit with the rubber washer supplied to cushion the ceramic against the wood. I tried this and the mistake to avoid is mixing every pattern you own — pick two or three designs and alternate them.
Cost: ~$24 for 8 | Time: 35 minutes
7. Use Antique Bronze Bin Pulls for Vintage Feel
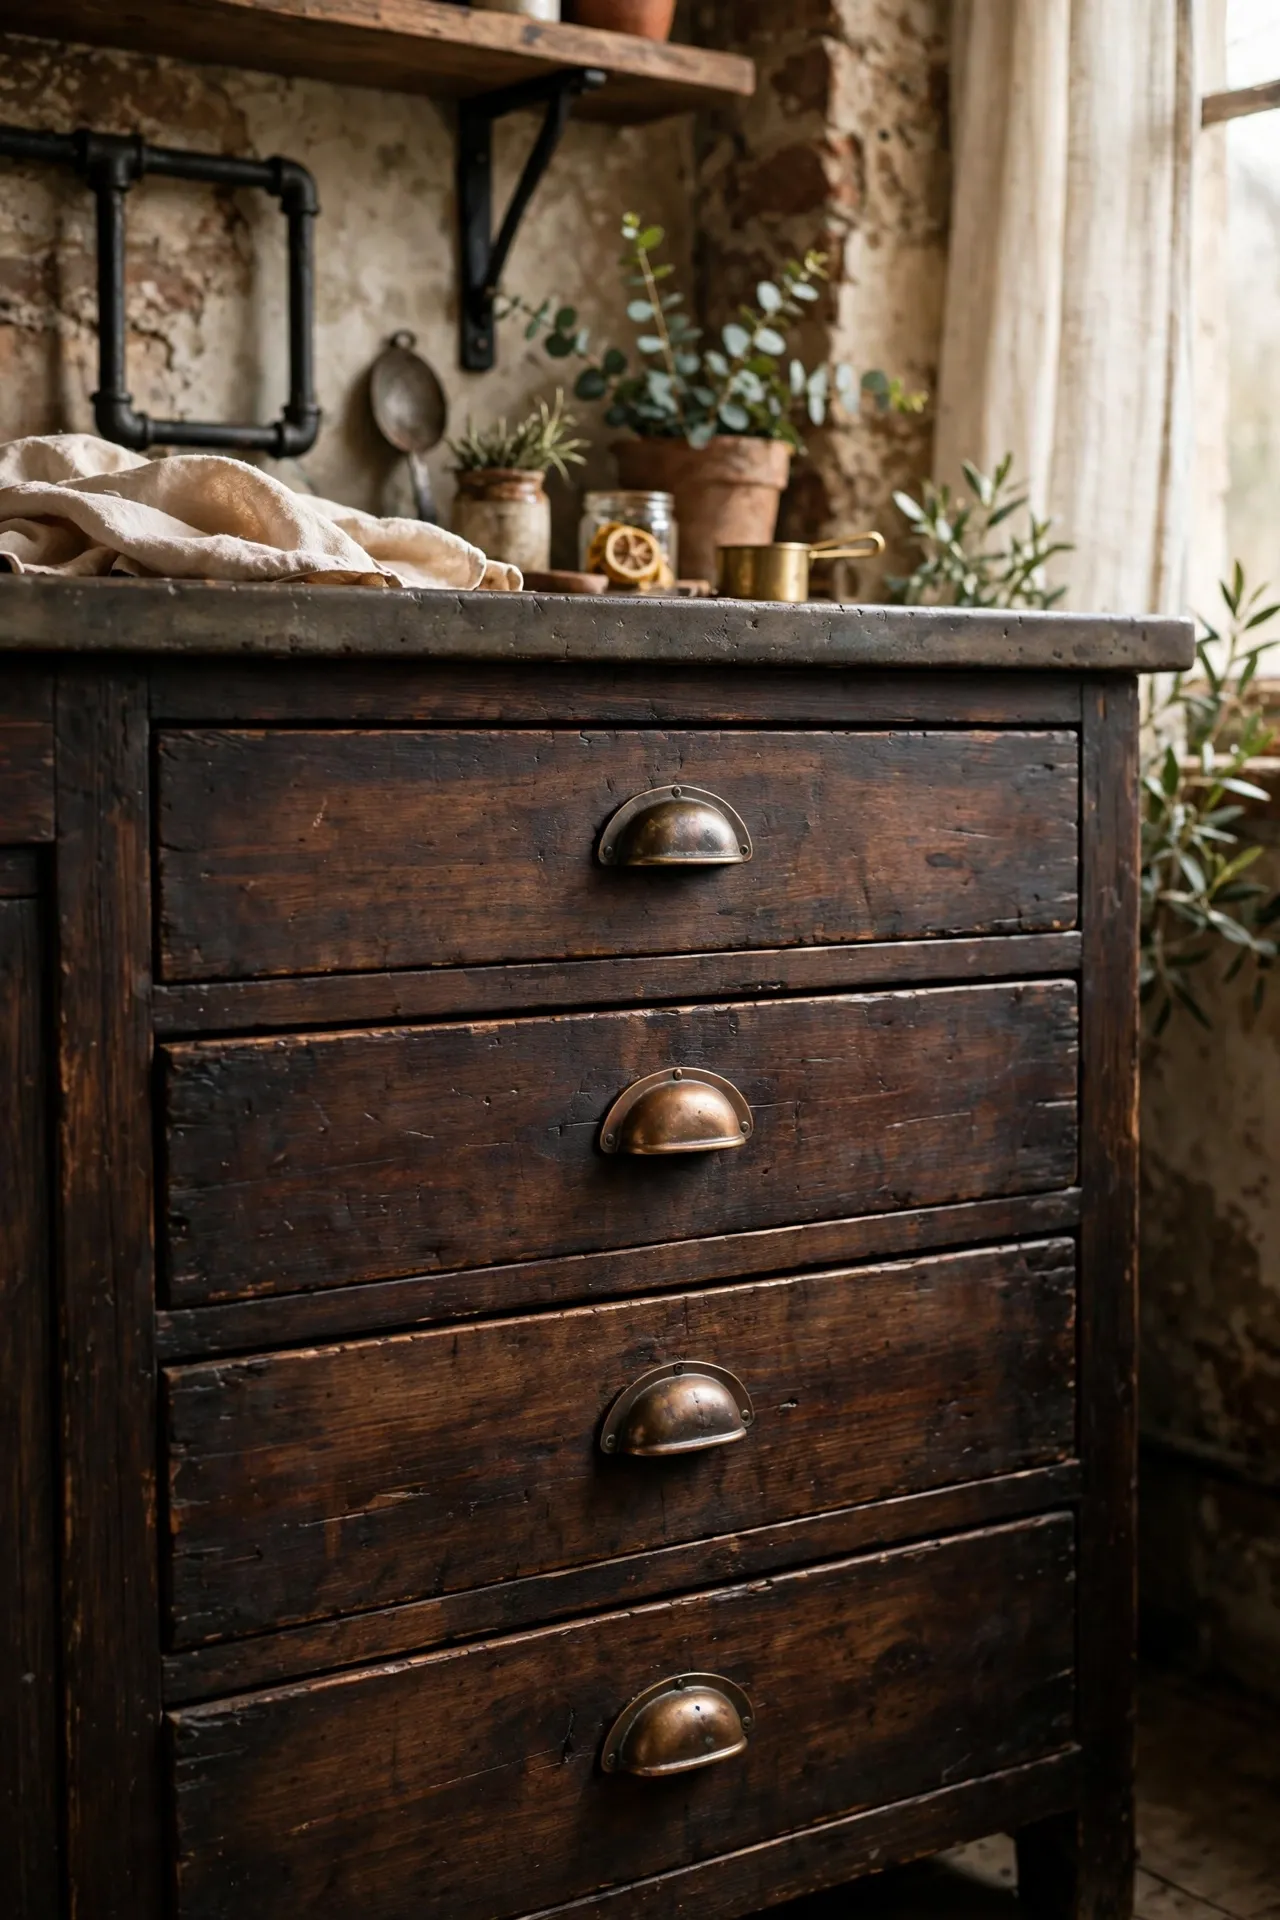
Bin pulls — those half-cup handles from old shop counters — bring instant vintage character to drawers. The antique bronze finish hides wear beautifully. First, check your drawers are at least 12cm tall, since bin pulls need room to sit. Second, mark the two screw holes with a template so every pull sits dead centre. Third, drill, then fix from behind with short machine screws. I tried this and the mistake to avoid is fitting them on shallow top drawers — the cup overhangs and catches your knuckles every time.
Cost: ~$28 for 10 | Time: 55 minutes
8. Install Glass Knobs That Catch the Light
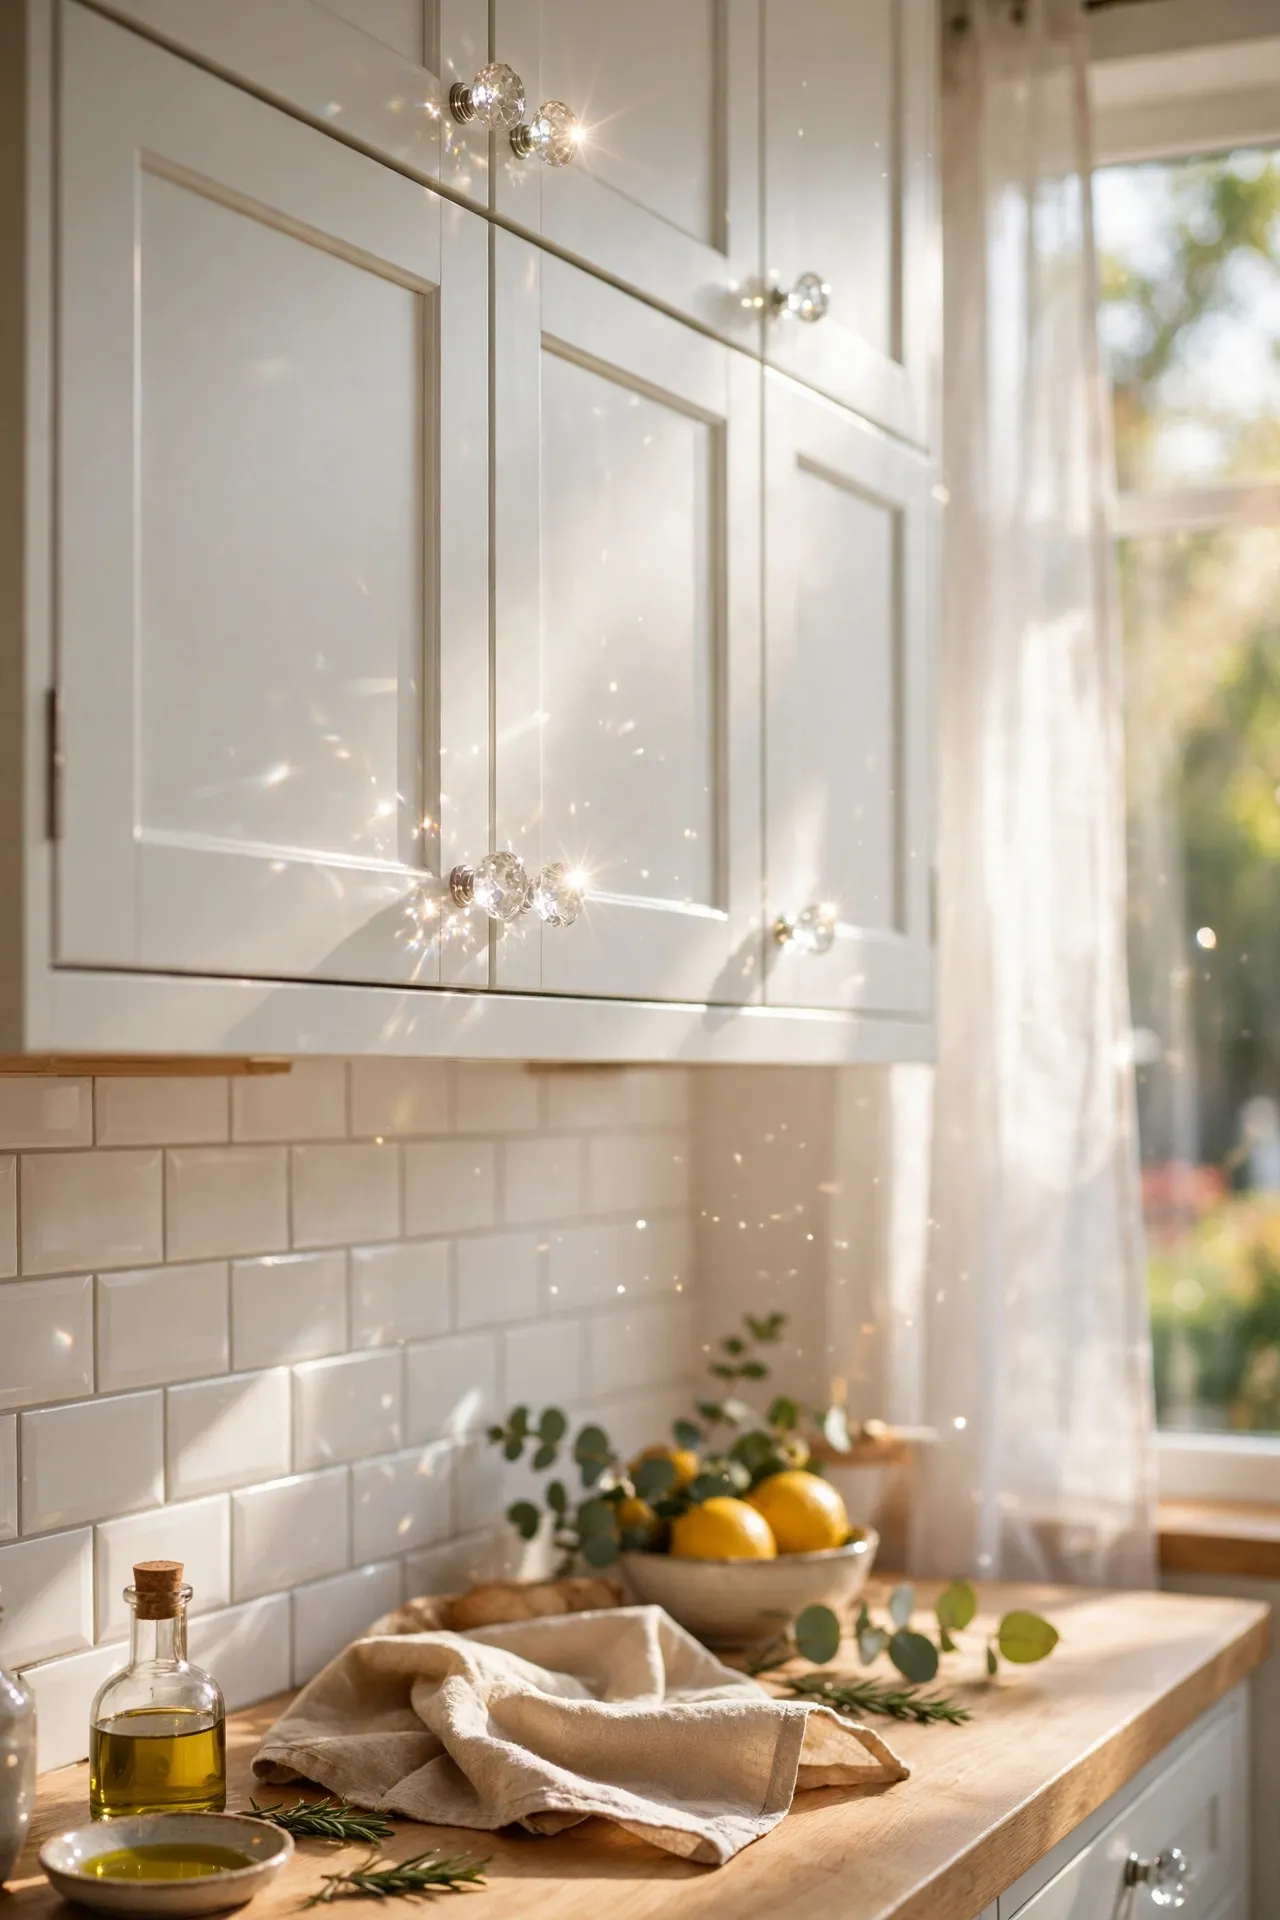
Clear or milk-glass knobs sparkle in the light and suit everything from vintage to modern kitchens. They are also one of the cheapest upgrades going. First, decide between clear glass for sparkle or frosted for a softer look. Second, replace knobs on glass-fronted or upper cabinets first, where the light hits them best. Third, screw on gently by hand — glass threads strip easily with a drill. I tried this and the mistake to avoid is using them on the bin cupboard — they show every smudge from sticky fingers.
Cost: ~$16 for 12 | Time: 40 minutes
9. Go Handle-Free With Slim Edge Pulls
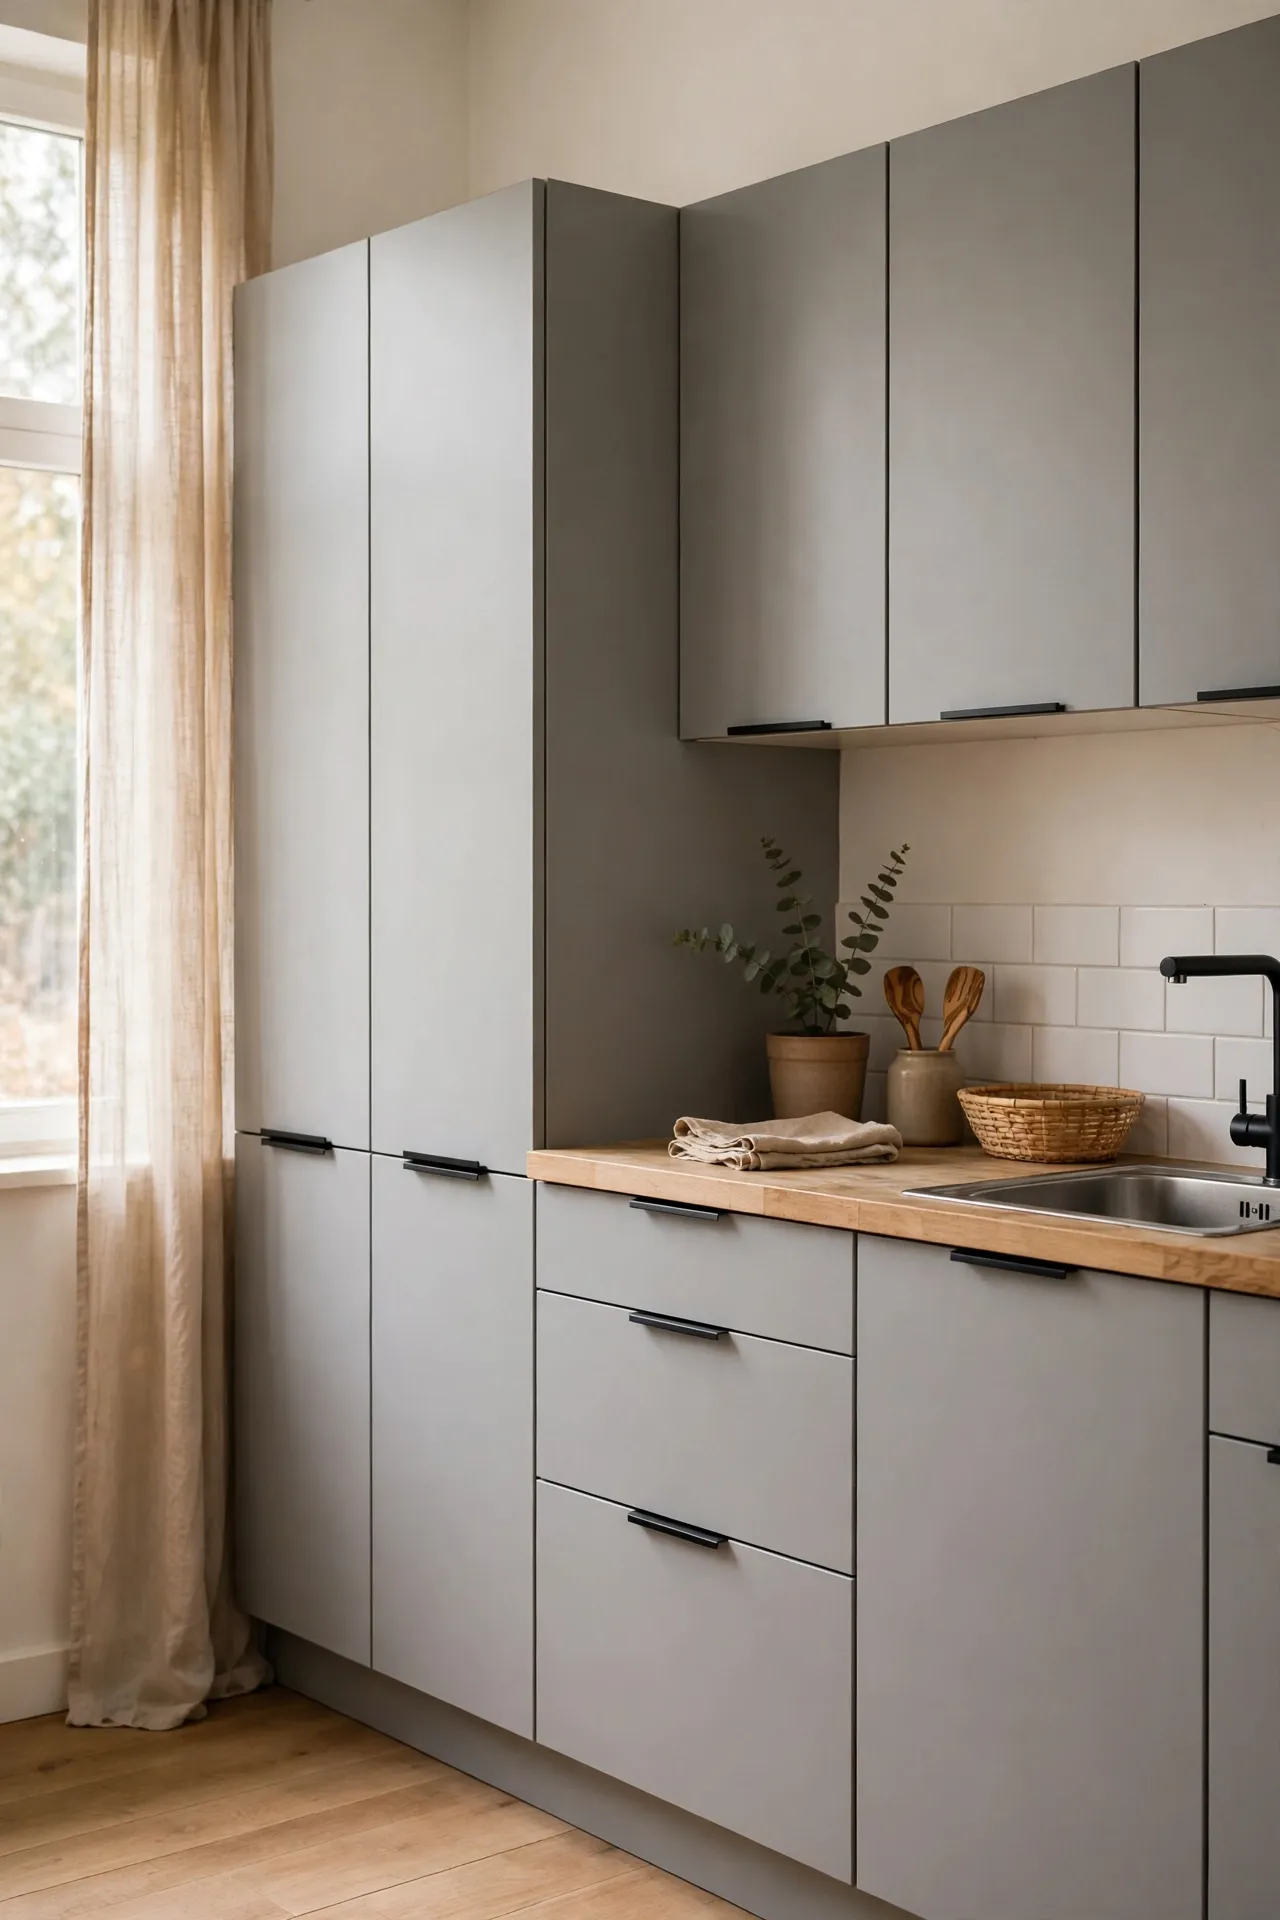
Edge pulls, also called tab pulls, screw to the top edge of the door so the handle almost disappears — a neat trick for modern flat-front cabinets. First, choose pulls that match your door thickness, usually 18–20mm. Second, clamp a straight edge along the door top so every pull sits at exactly the same height. Third, screw through the pre-drilled holes, checking the pull does not foul the door above. I tried this and the mistake to avoid is fitting them without measuring the gap — some need 3mm clearance to grip comfortably.
Cost: ~$22 for 10 | Time: 60 minutes
10. Hang Vintage-Style Drop Handles
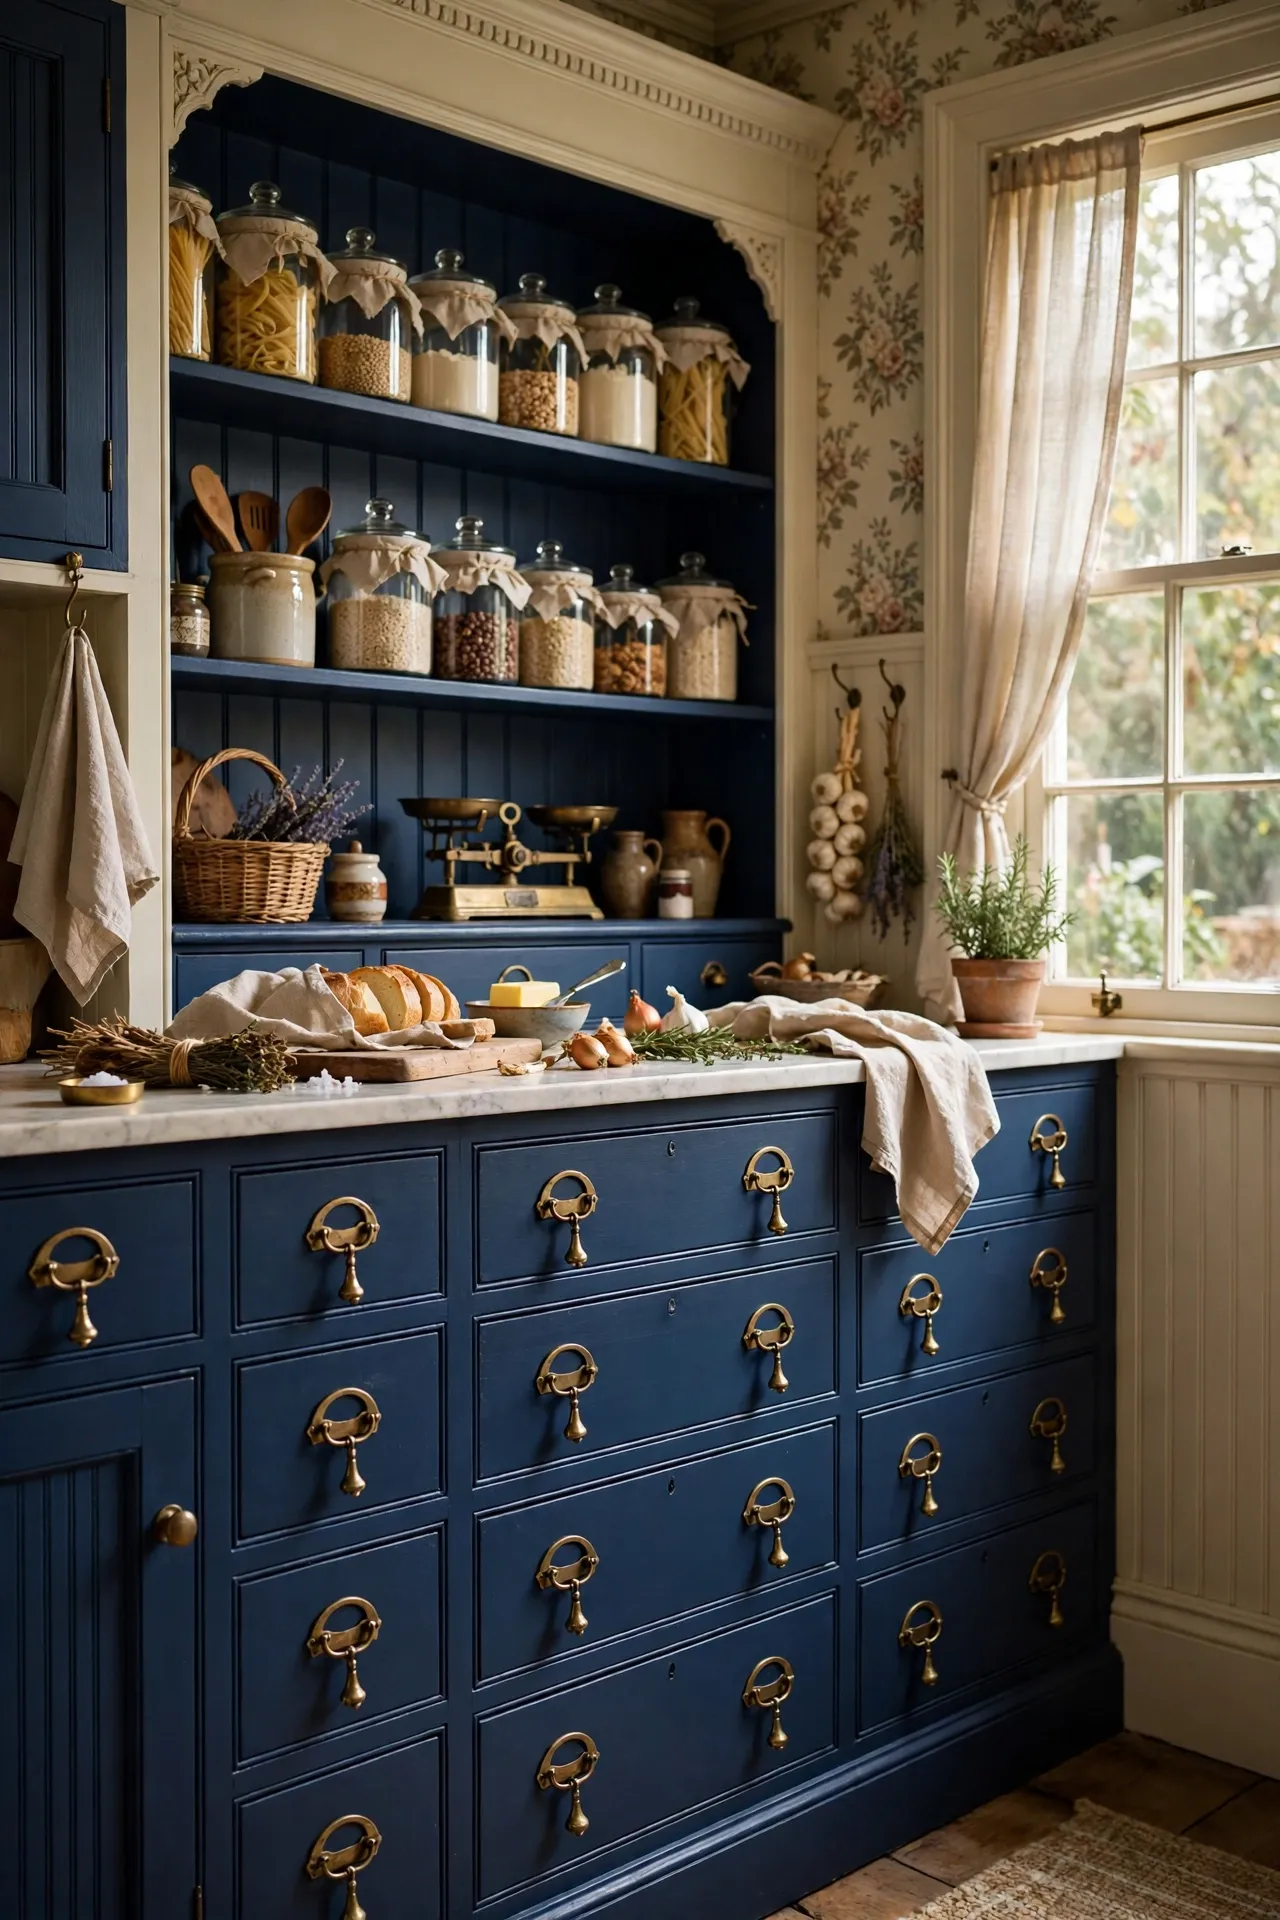
Drop handles with a swinging bail look straight out of a Victorian pantry and cost a fraction of real antiques. First, buy handles with a backplate that covers your old knob hole — many are designed for exactly this. Second, hold the backplate in place and mark both screw holes before drilling. Third, fix the backplate, then hook the bail through its lugs and test the swing. I tried this and the mistake to avoid is fitting them on doors children use daily — the swinging bail pinches small fingers.
Cost: ~$26 for 8 | Time: 50 minutes
📌 Like this one? Save it to your kitchen board before you forget.
11. Warm Things Up With Copper Knobs
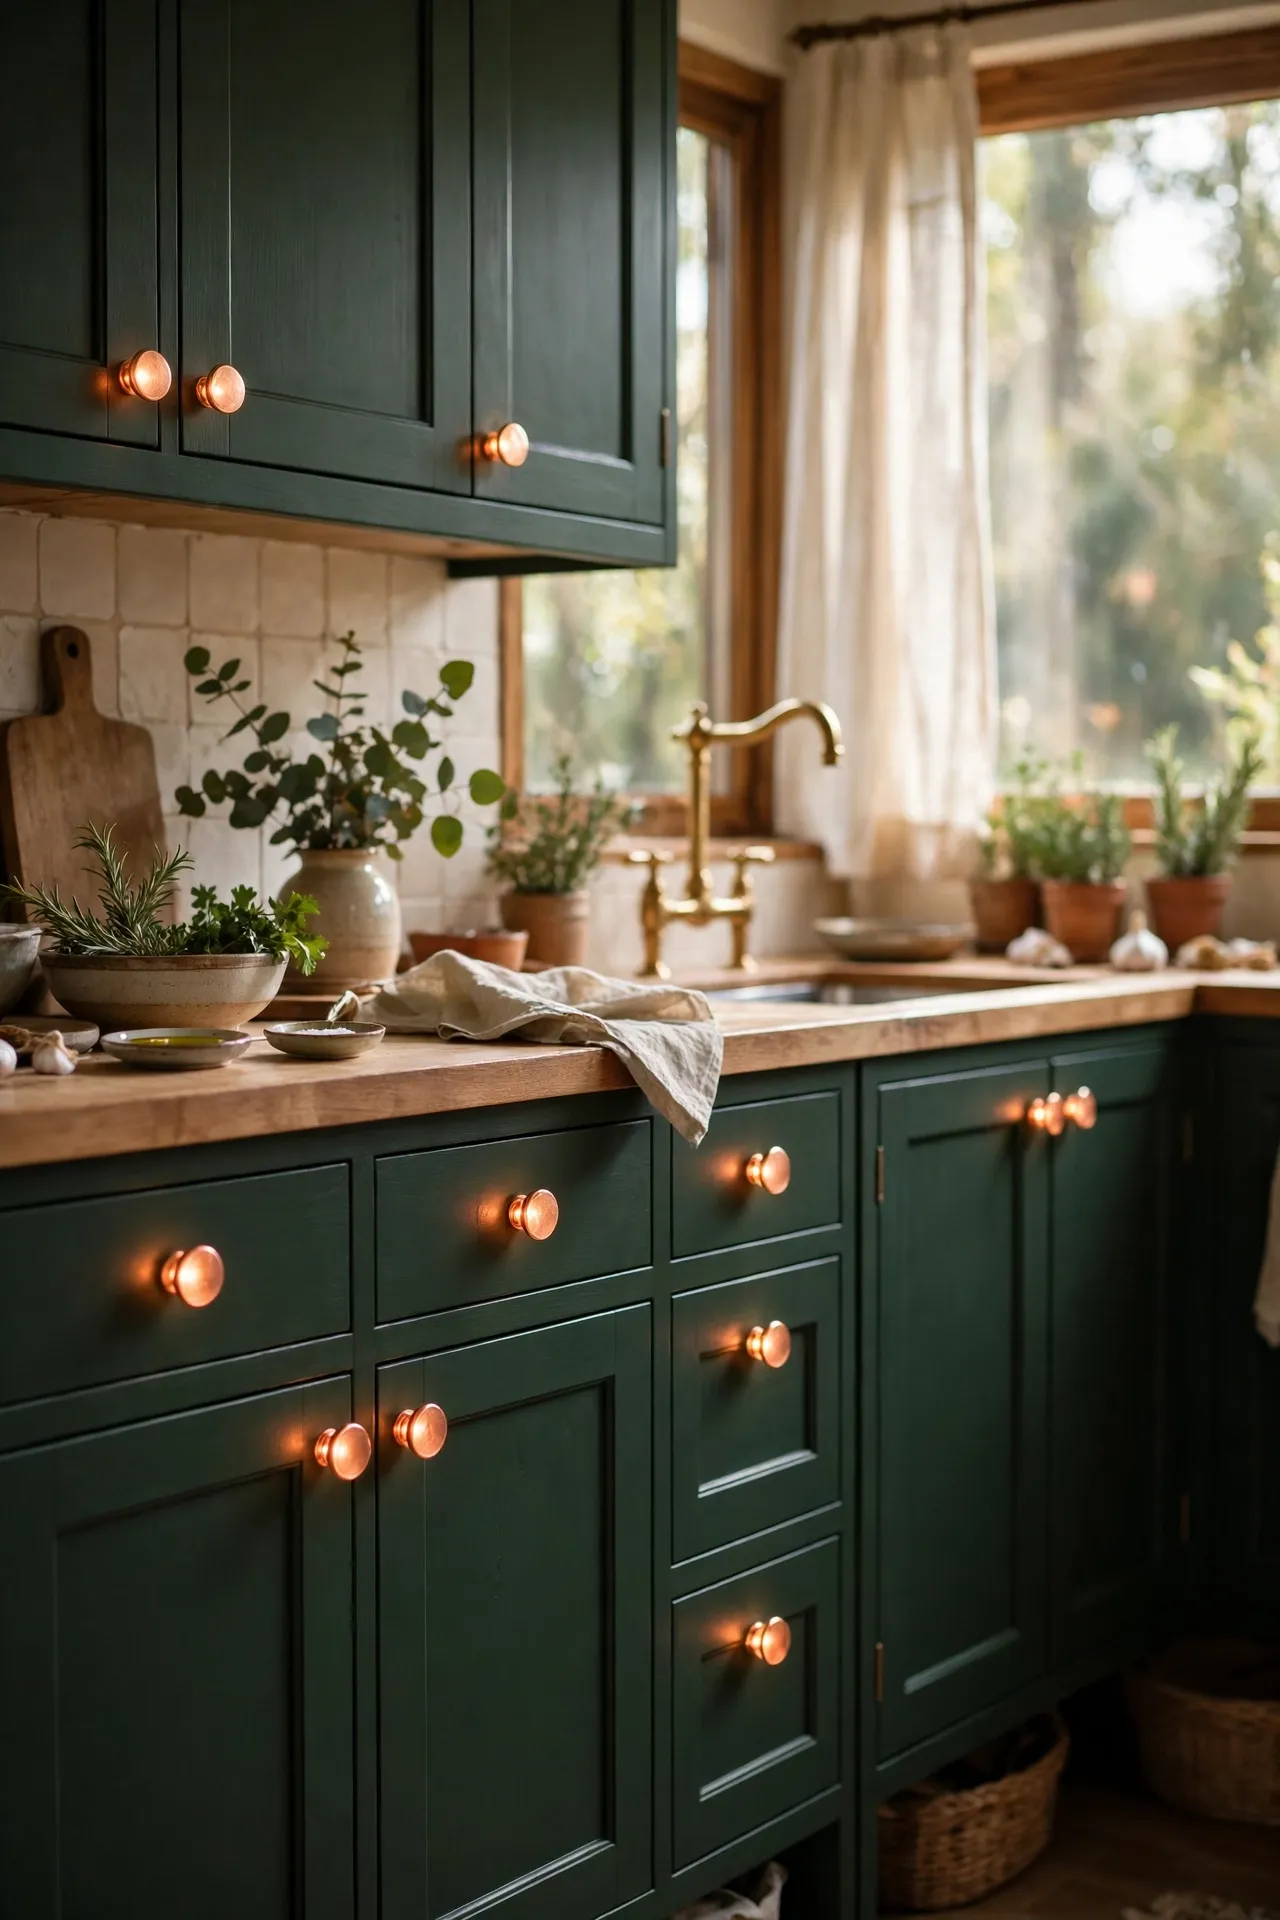
Copper knobs glow against dark green, navy, or black cabinets and warm up plain white ones too. Real copper develops a patina; lacquered versions stay shiny. First, decide which look you want — unlacquered ages, lacquered does not. Second, wipe doors clean before fitting, as copper shows greasy fingerprints during installation. Third, use the screws supplied rather than old ones, which are often a thread off. I tried this and the mistake to avoid is mixing copper with chrome elsewhere — pick one warm metal and commit to it.
Cost: ~$30 for 12 | Time: 40 minutes
12. Knot Rope Pulls for Coastal Texture
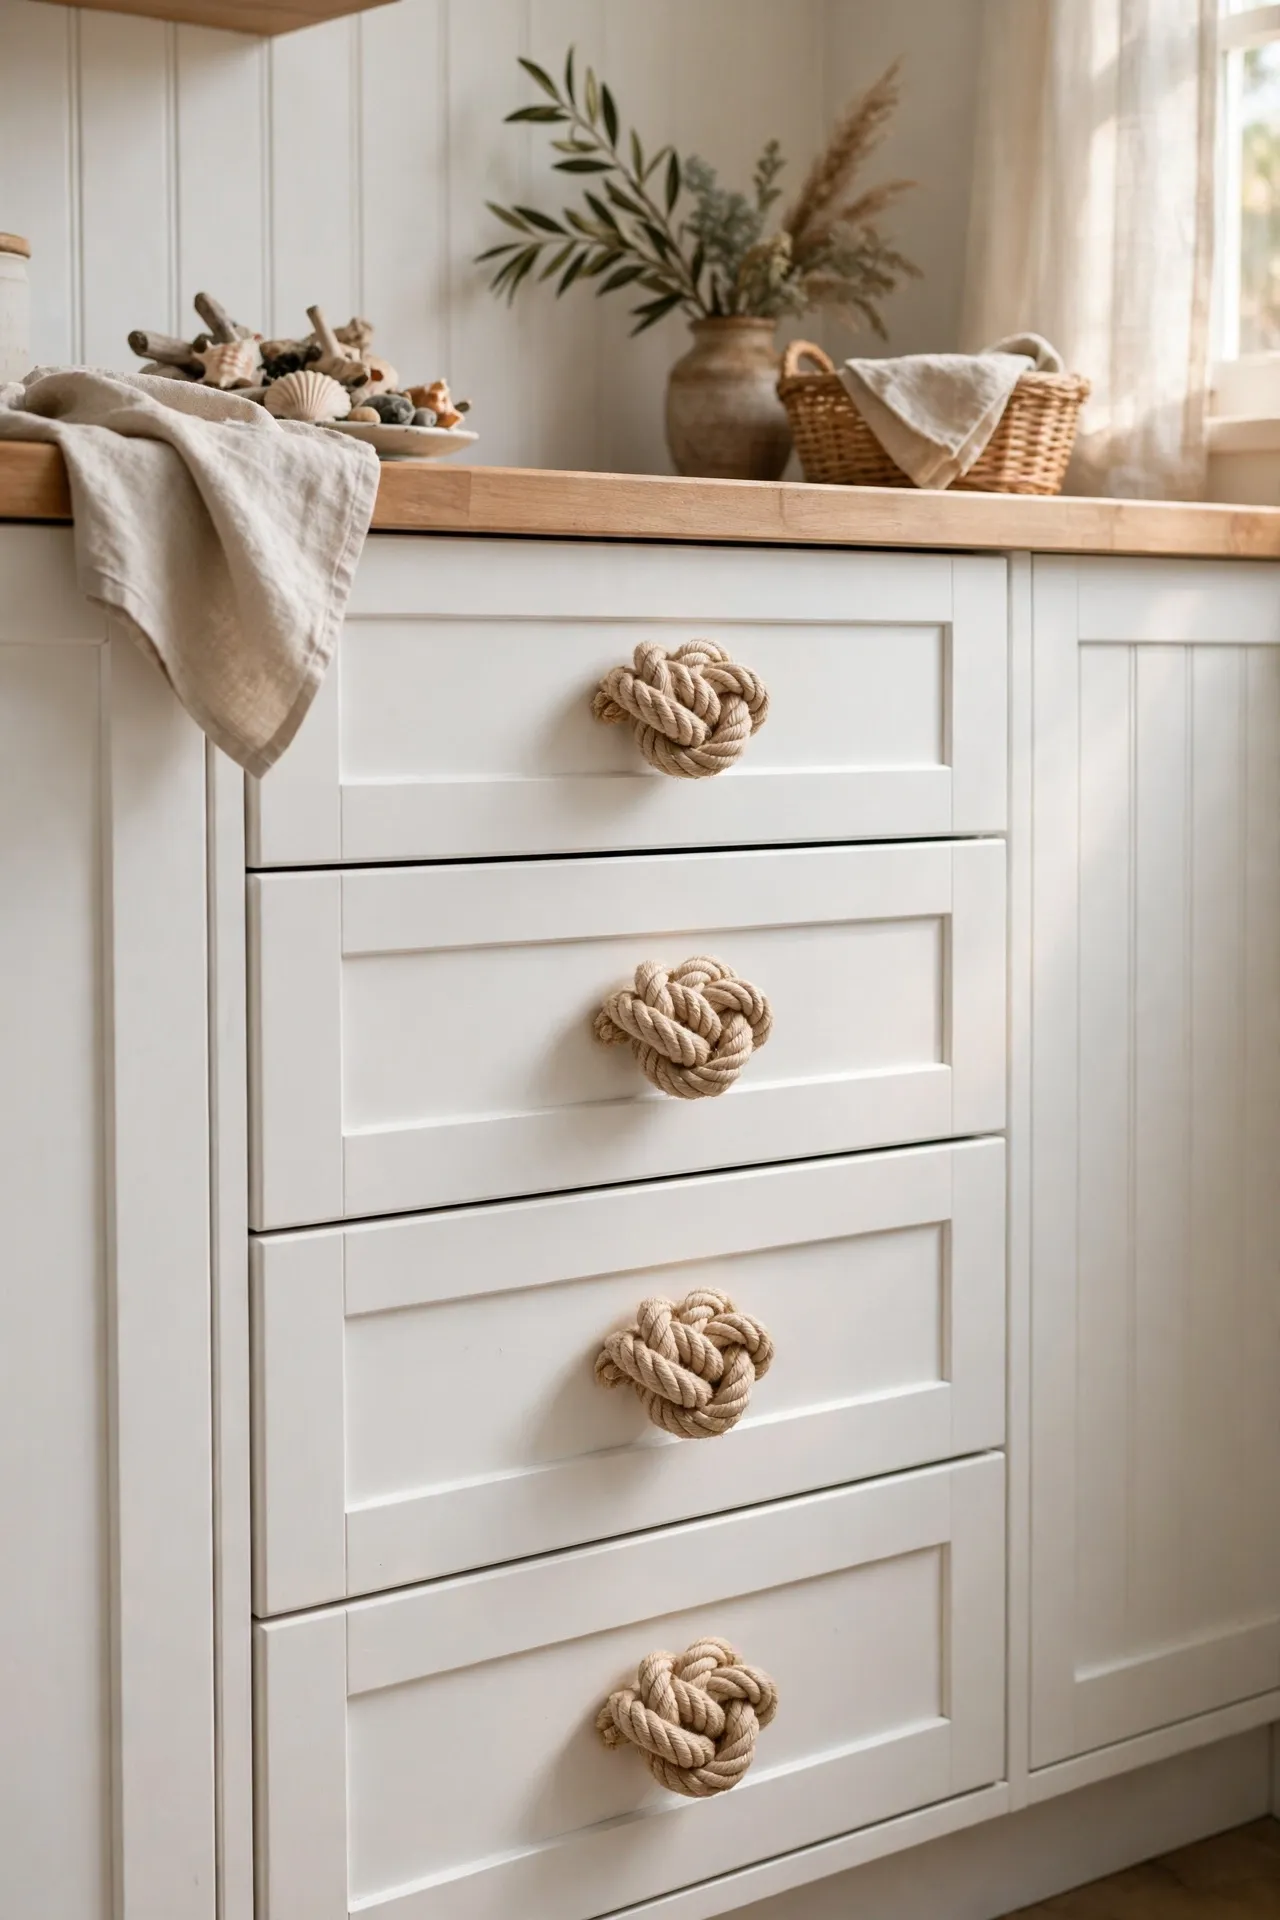
Thick rope pulls bring a relaxed coastal feel and cost almost nothing if you buy rope by the metre. First, cut rope into 20cm lengths and seal the ends with tape or a dab of glue. Second, thread each length through the existing knob hole and knot it tightly behind the door. Third, trim the knot ends at an angle for a tidy finish. I tried this and the mistake to avoid is using thin craft rope — it looks flimsy; go for 10mm cotton sash cord at minimum.
Cost: ~$10 for the whole kitchen | Time: 30 minutes
13. Sparkle With Cut-Glass Crystal Knobs
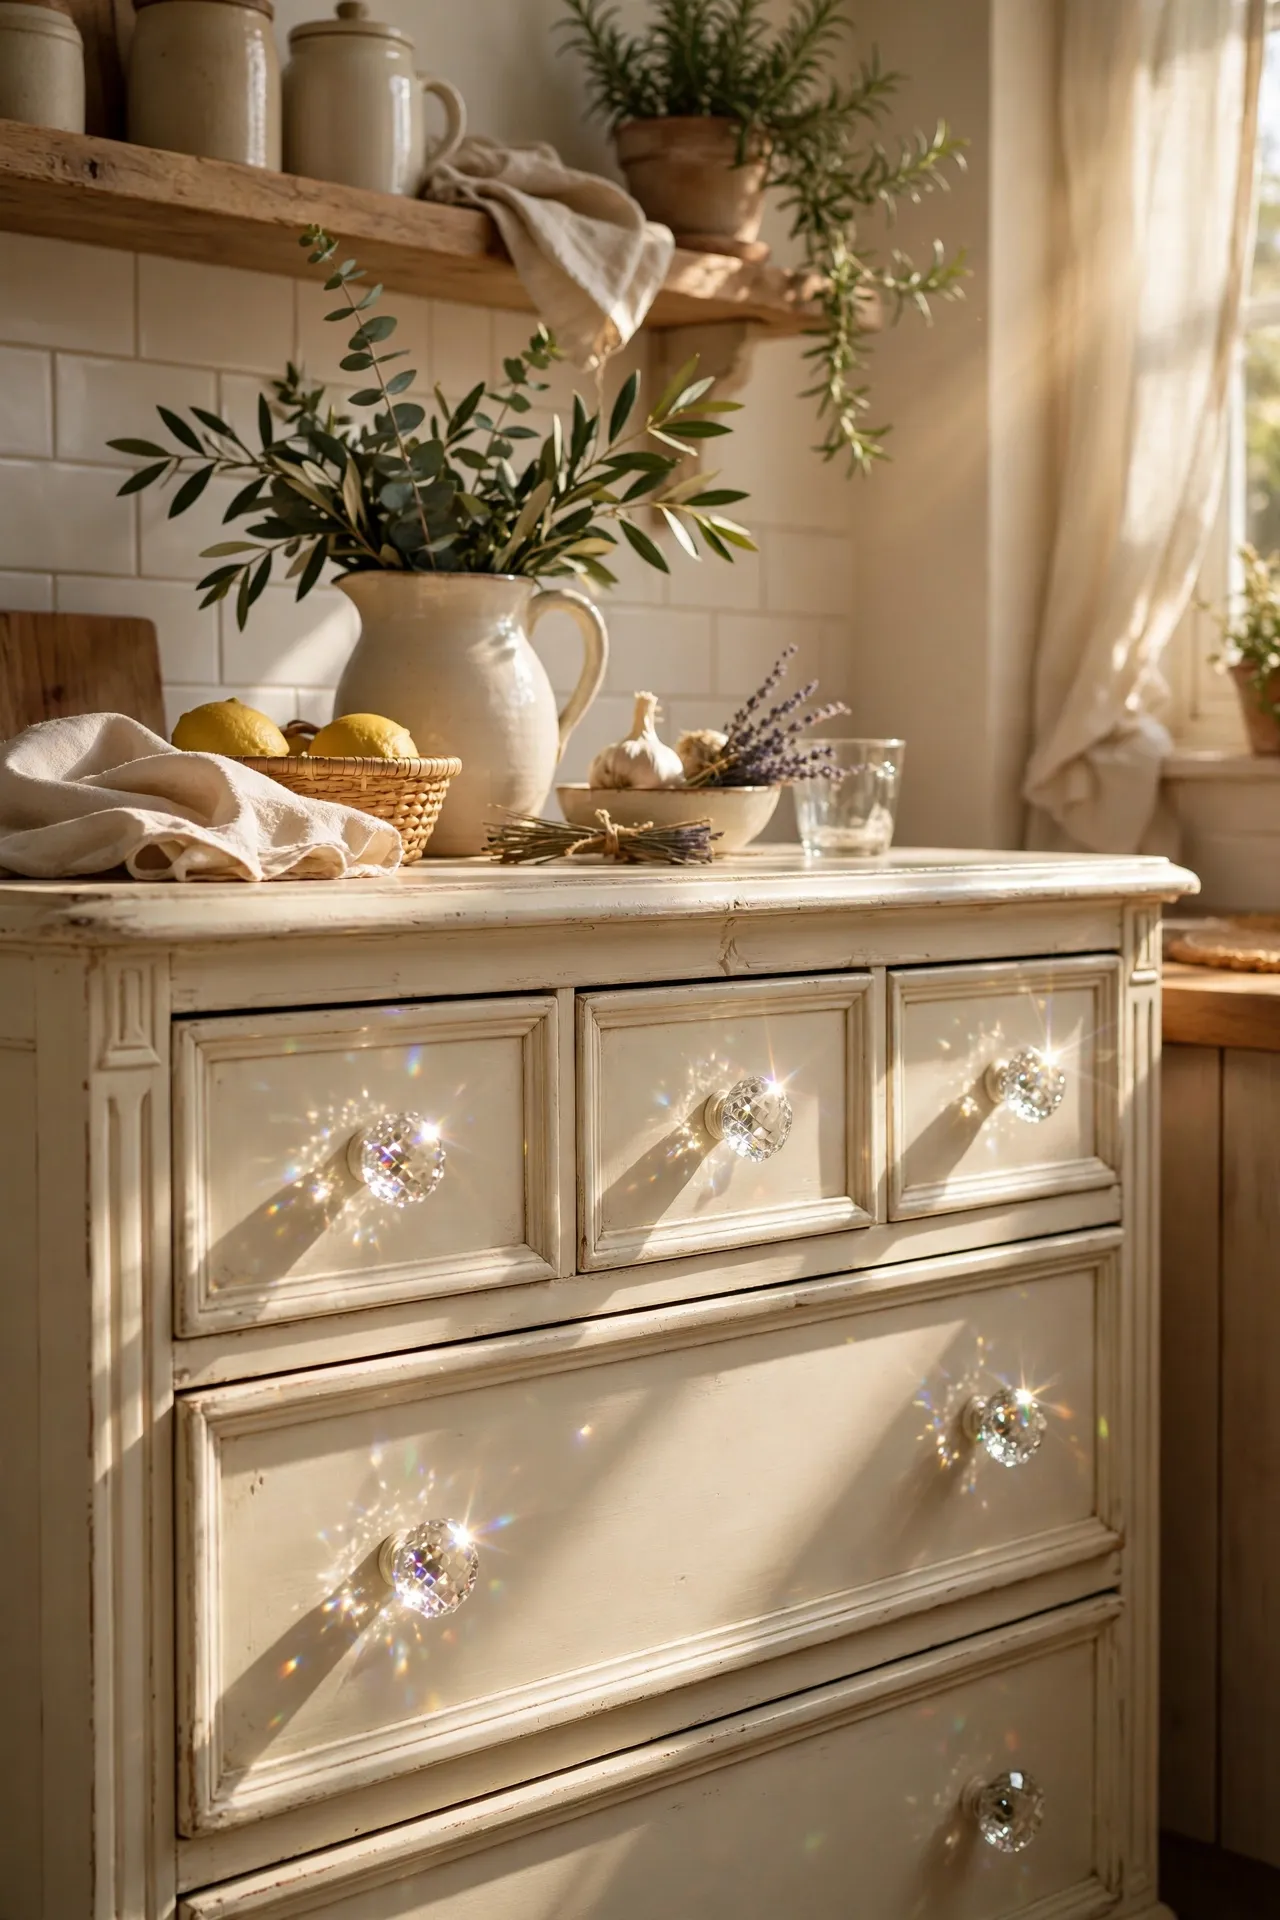
Cut-glass knobs throw tiny rainbows across the kitchen on sunny mornings — a small joy for very little money. First, use them where the sun actually reaches, like a south-facing dresser or window-side cabinets. Second, pair with simple doors; busy doors plus sparkly knobs fight each other. Third, fit by hand with the rubber washer, tightening just until snug. I tried this and the mistake to avoid is putting them on every single door — a dozen statement knobs beat forty fussy ones.
Cost: ~$22 for 10 | Time: 45 minutes
14. Mix Brass and Black for a Two-Tone Look
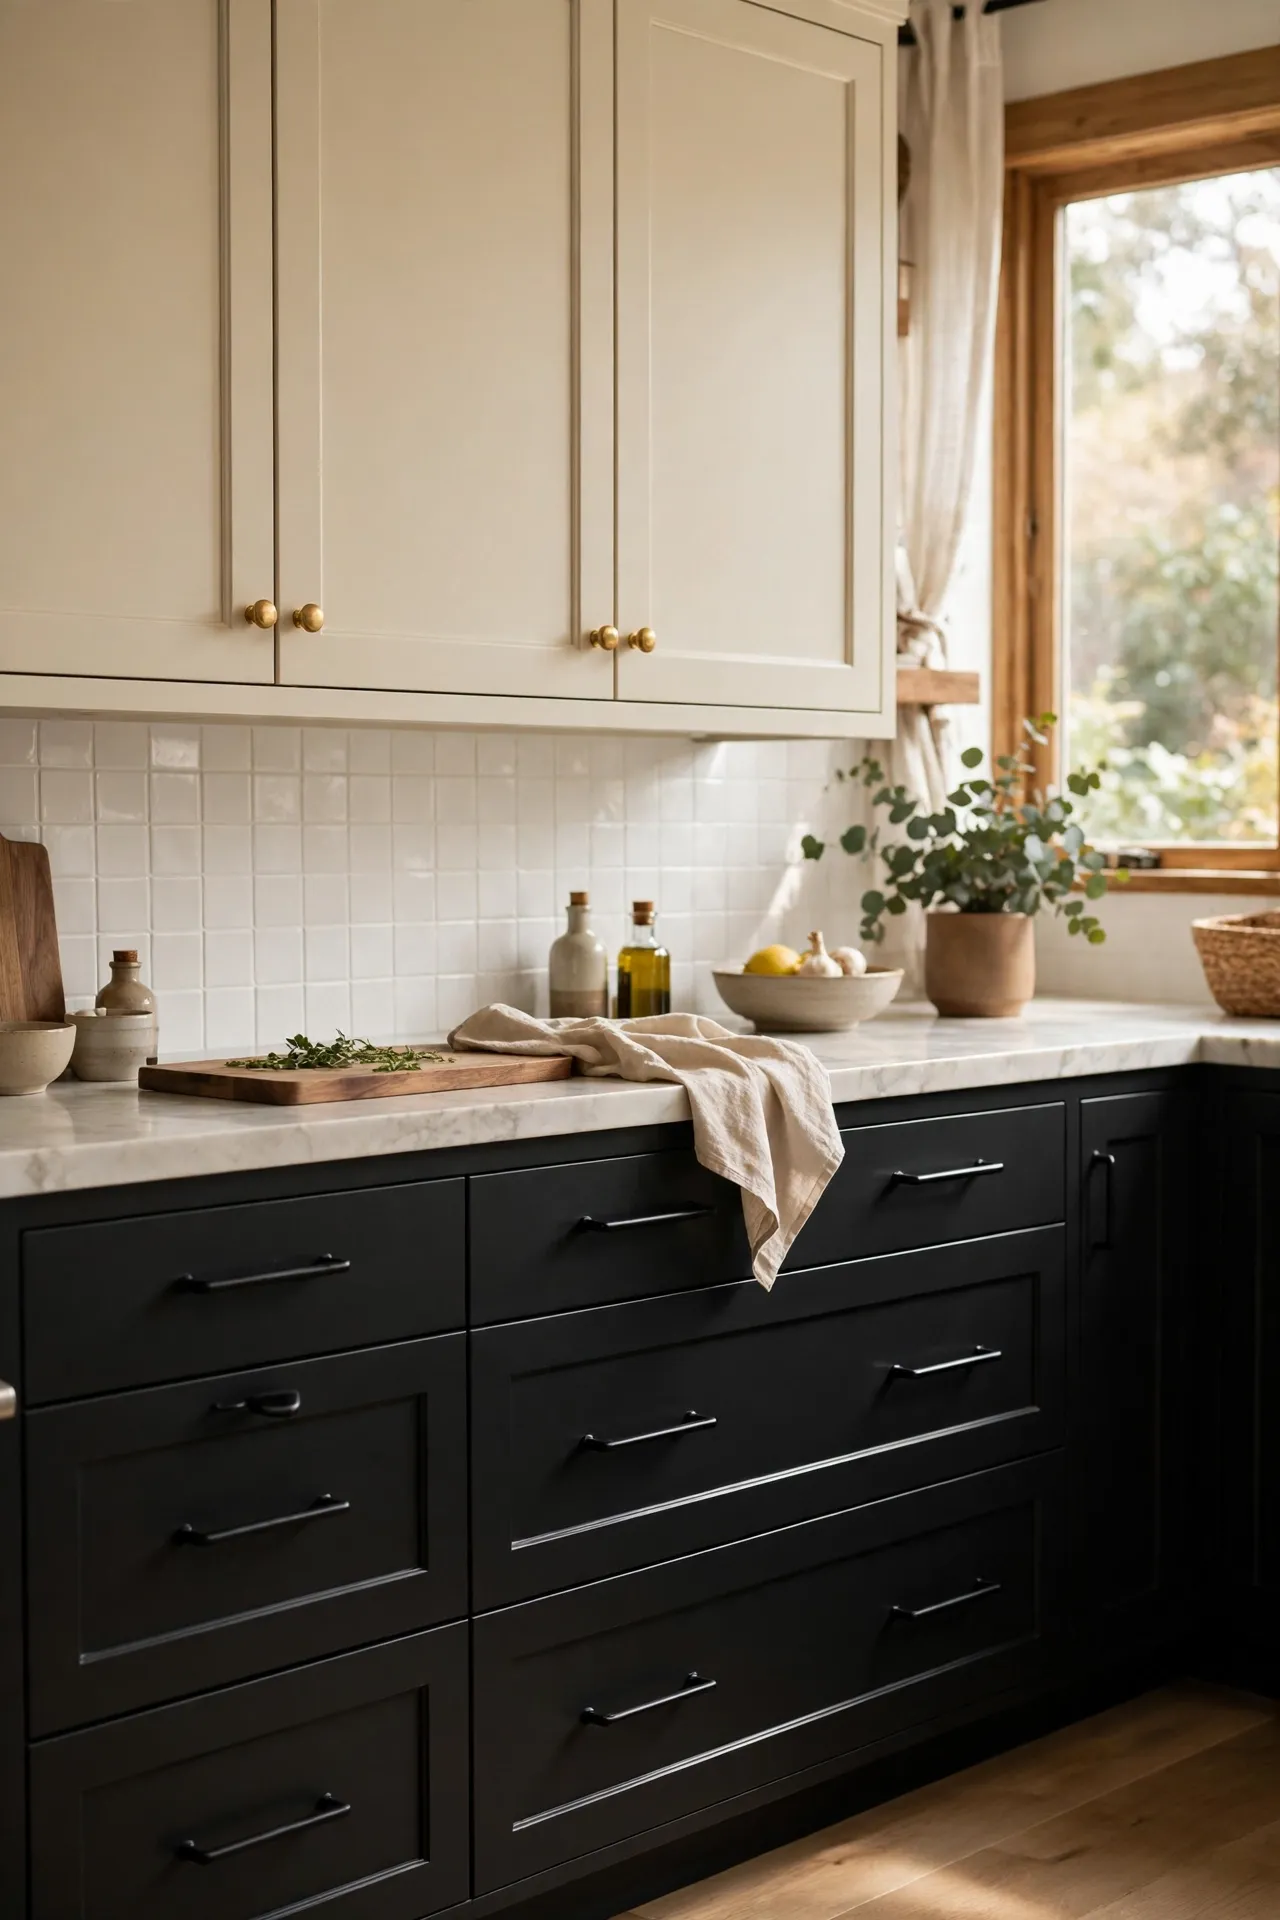
Two-tone hardware — say brass knobs on uppers and black pulls on lowers — looks designer-level but just needs a plan. First, draw a quick map of which finish goes where and stick to it. Second, keep the shapes in the same family so the mix reads intentional, not random. Third, repeat each finish at least three times so neither looks like a mistake. I tried this and the mistake to avoid is adding a third metal into the mix — two finishes is confident, three is chaotic.
Cost: ~$35 for a mixed set | Time: 60 minutes
15. Follow the Knobs-on-Doors, Pulls-on-Drawers Rule
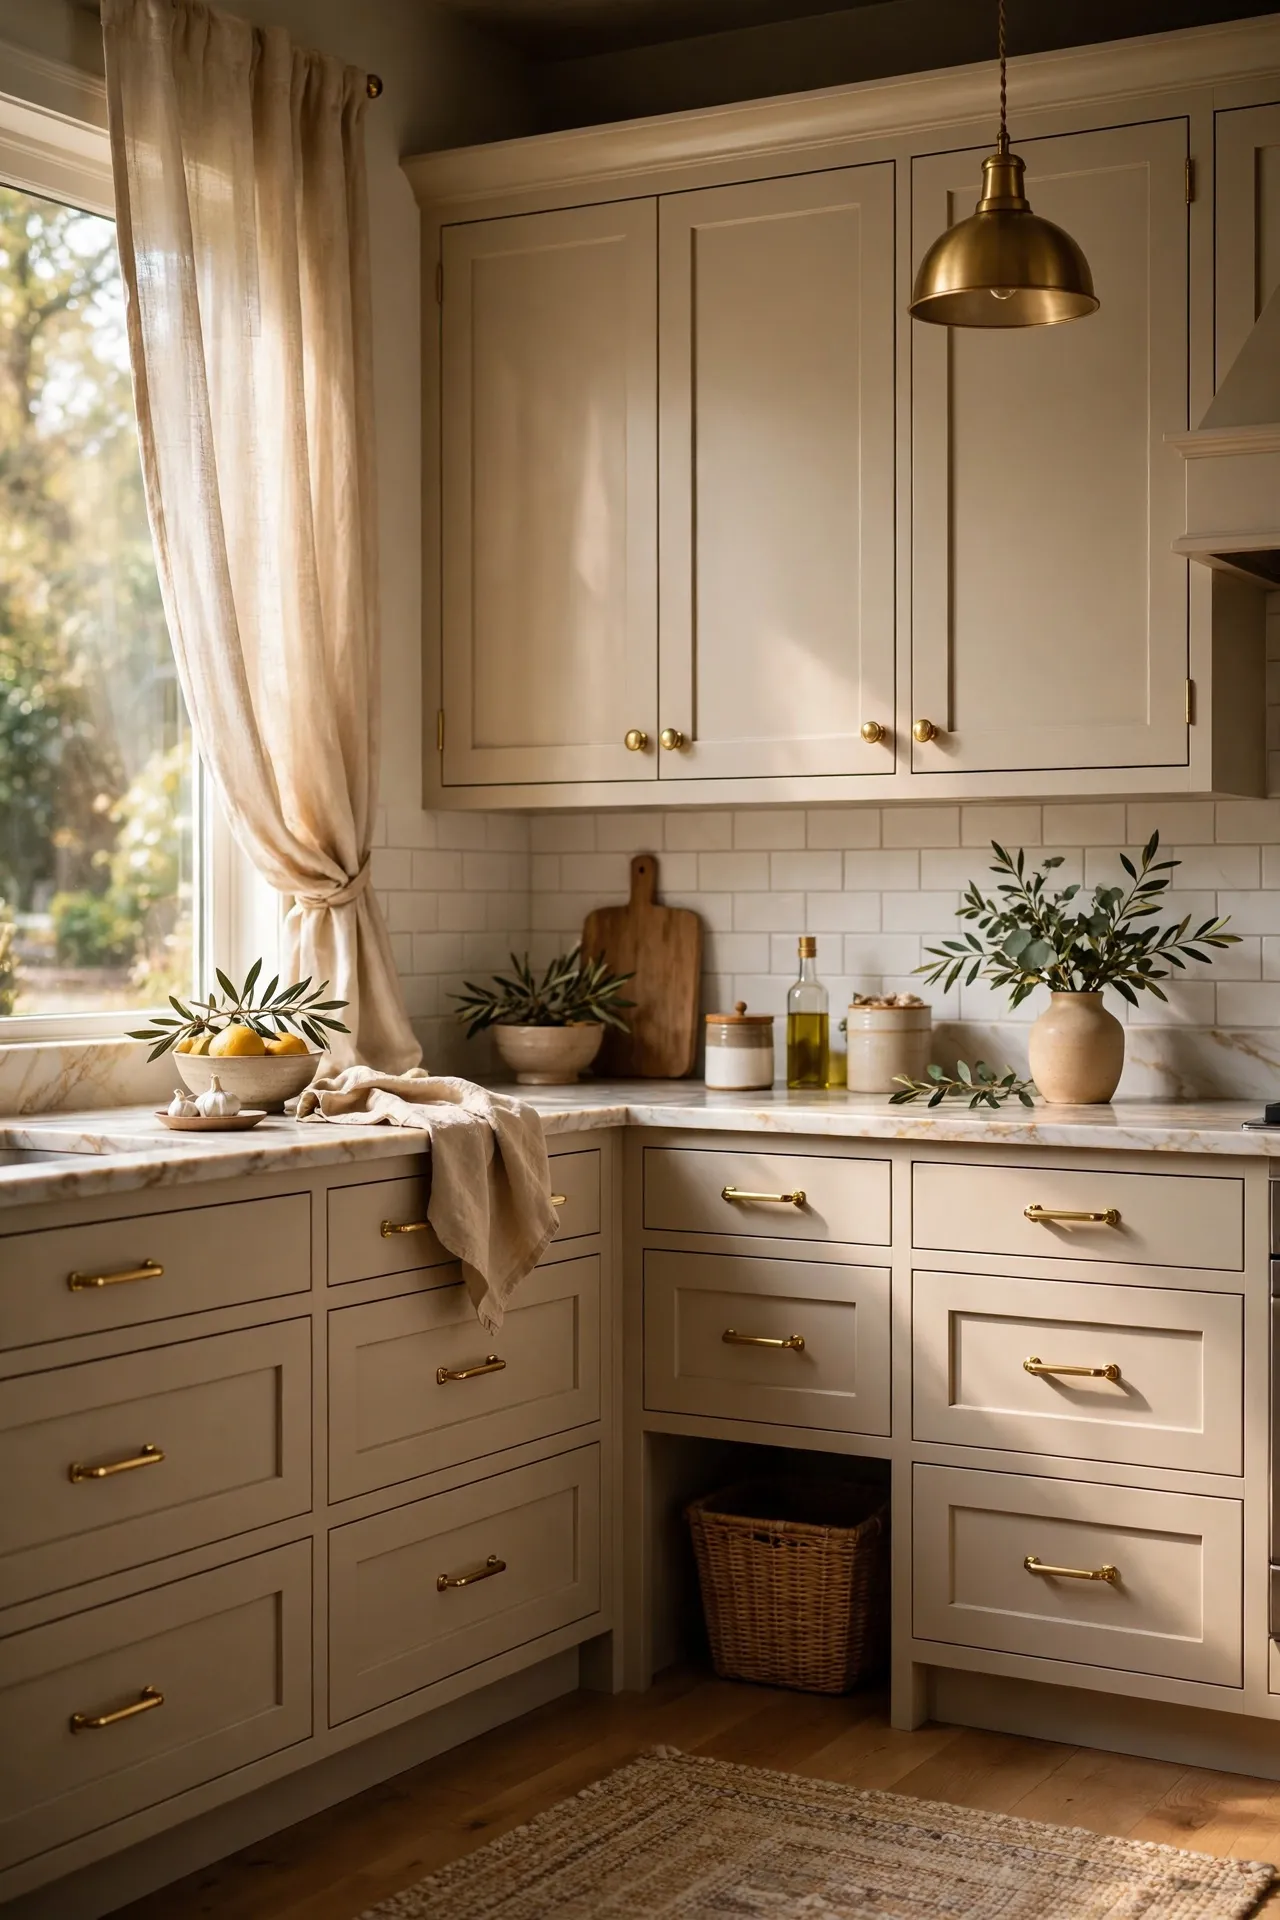
Interior designers swear by this rule for a reason: knobs suit the swing of a door, pulls suit the drag of a drawer. First, count your doors and drawers separately and order accordingly. Second, keep the finish identical across both so the rule reads as a choice. Third, position drawer pulls centred on narrow drawers and in pairs on wide ones over 60cm. I tried this and the mistake to avoid is using giant pulls on tiny drawers — scale the hardware to the drawer, not your ambition.
Cost: ~$40 for a full set | Time: 75 minutes
16. Go Big With Oversized Statement Pulls
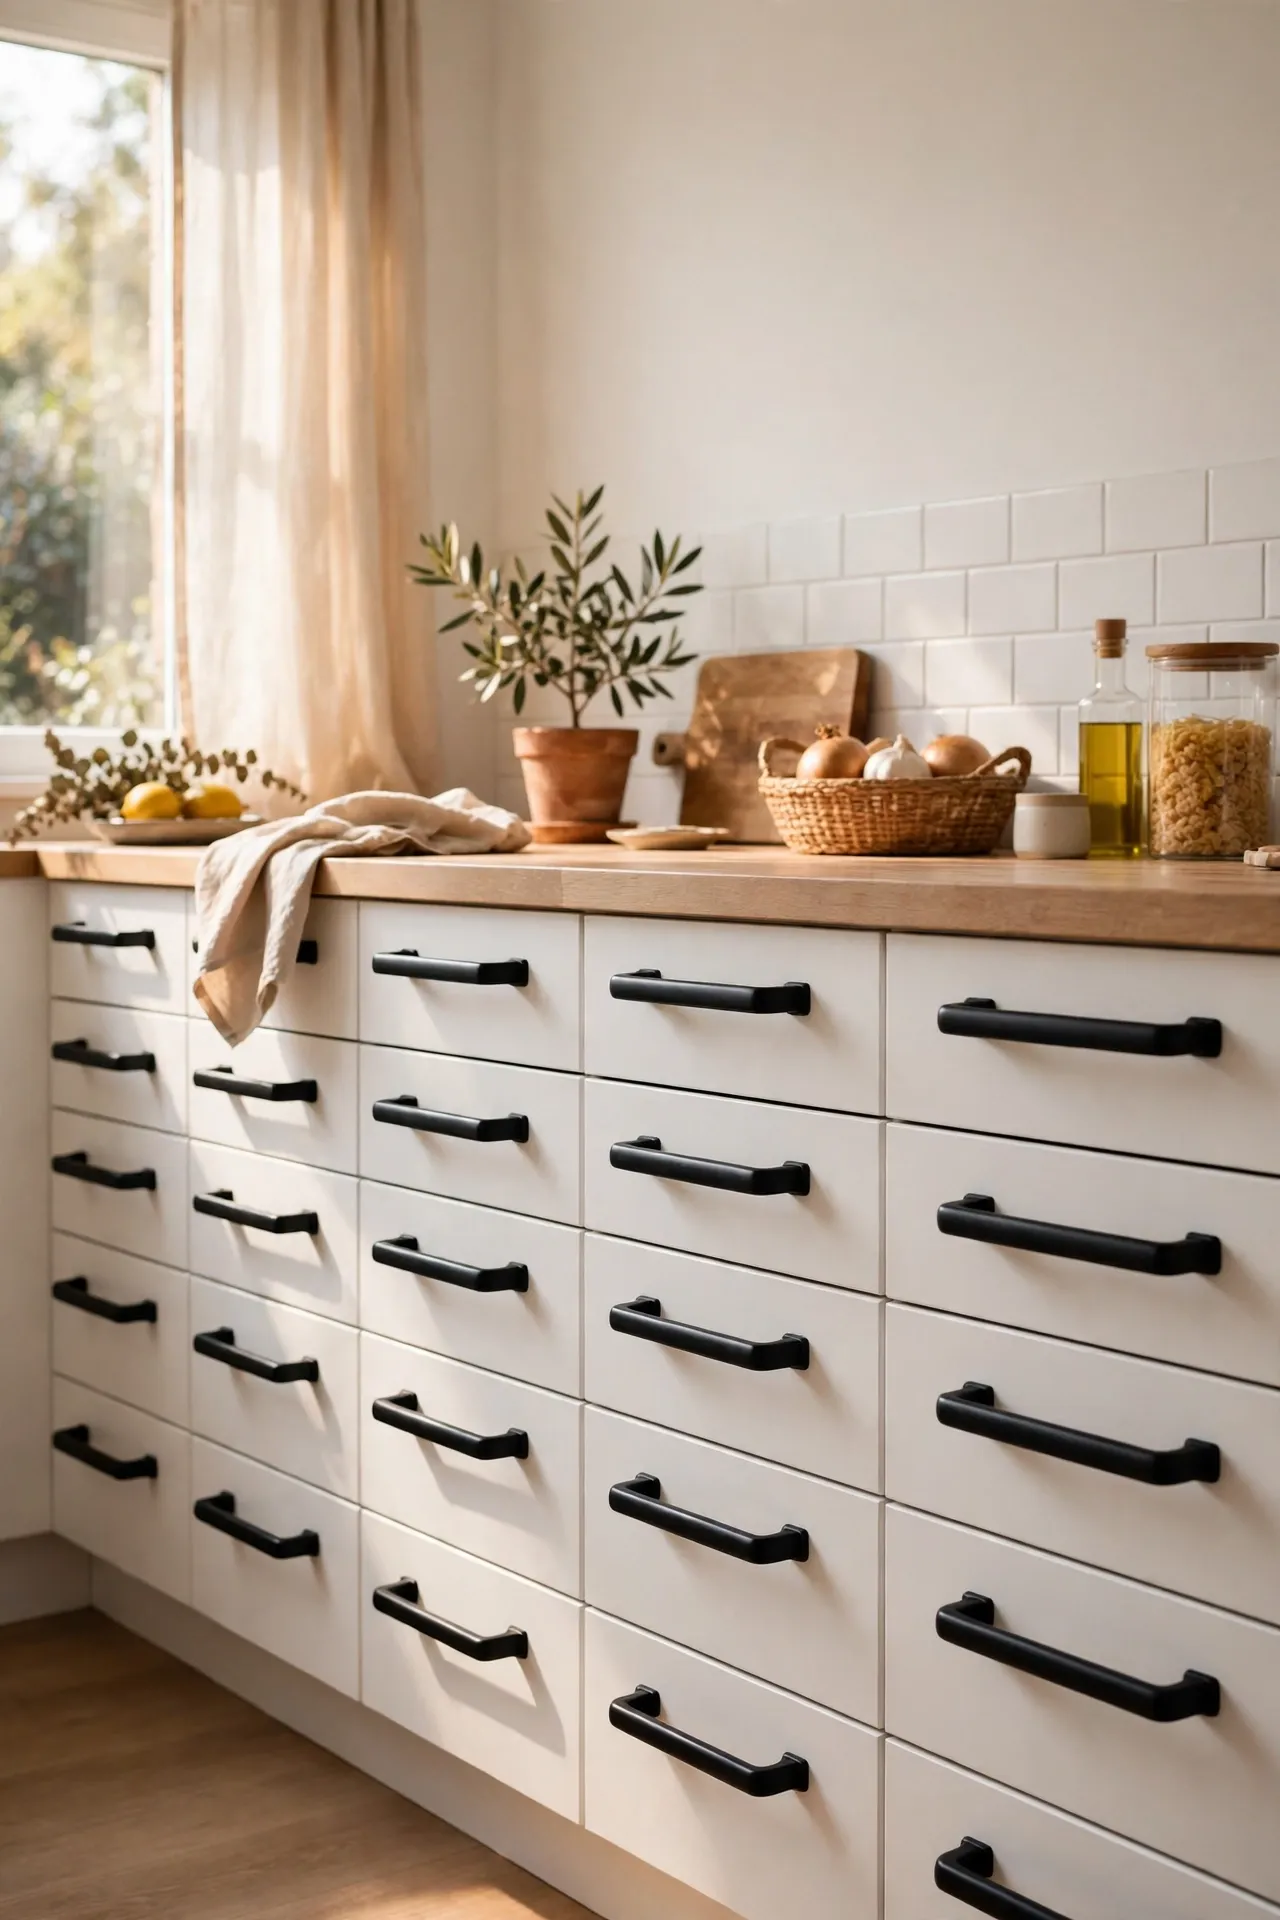
Oversized pulls — 200mm and up — make plain slab doors look like custom joinery. The trick is proportion. First, measure your longest drawer and choose a pull about a third of its width. Second, buy one to test before committing to twenty — big pulls dominate a door. Third, use the longer screws supplied and tighten evenly from both ends. I tried this and the mistake to avoid is fitting huge pulls on a 40cm drawer — they overhang and look like handles on a suitcase.
Cost: ~$45 for 8 | Time: 50 minutes
17. Choose Flush Ring Pulls for a Flat Finish
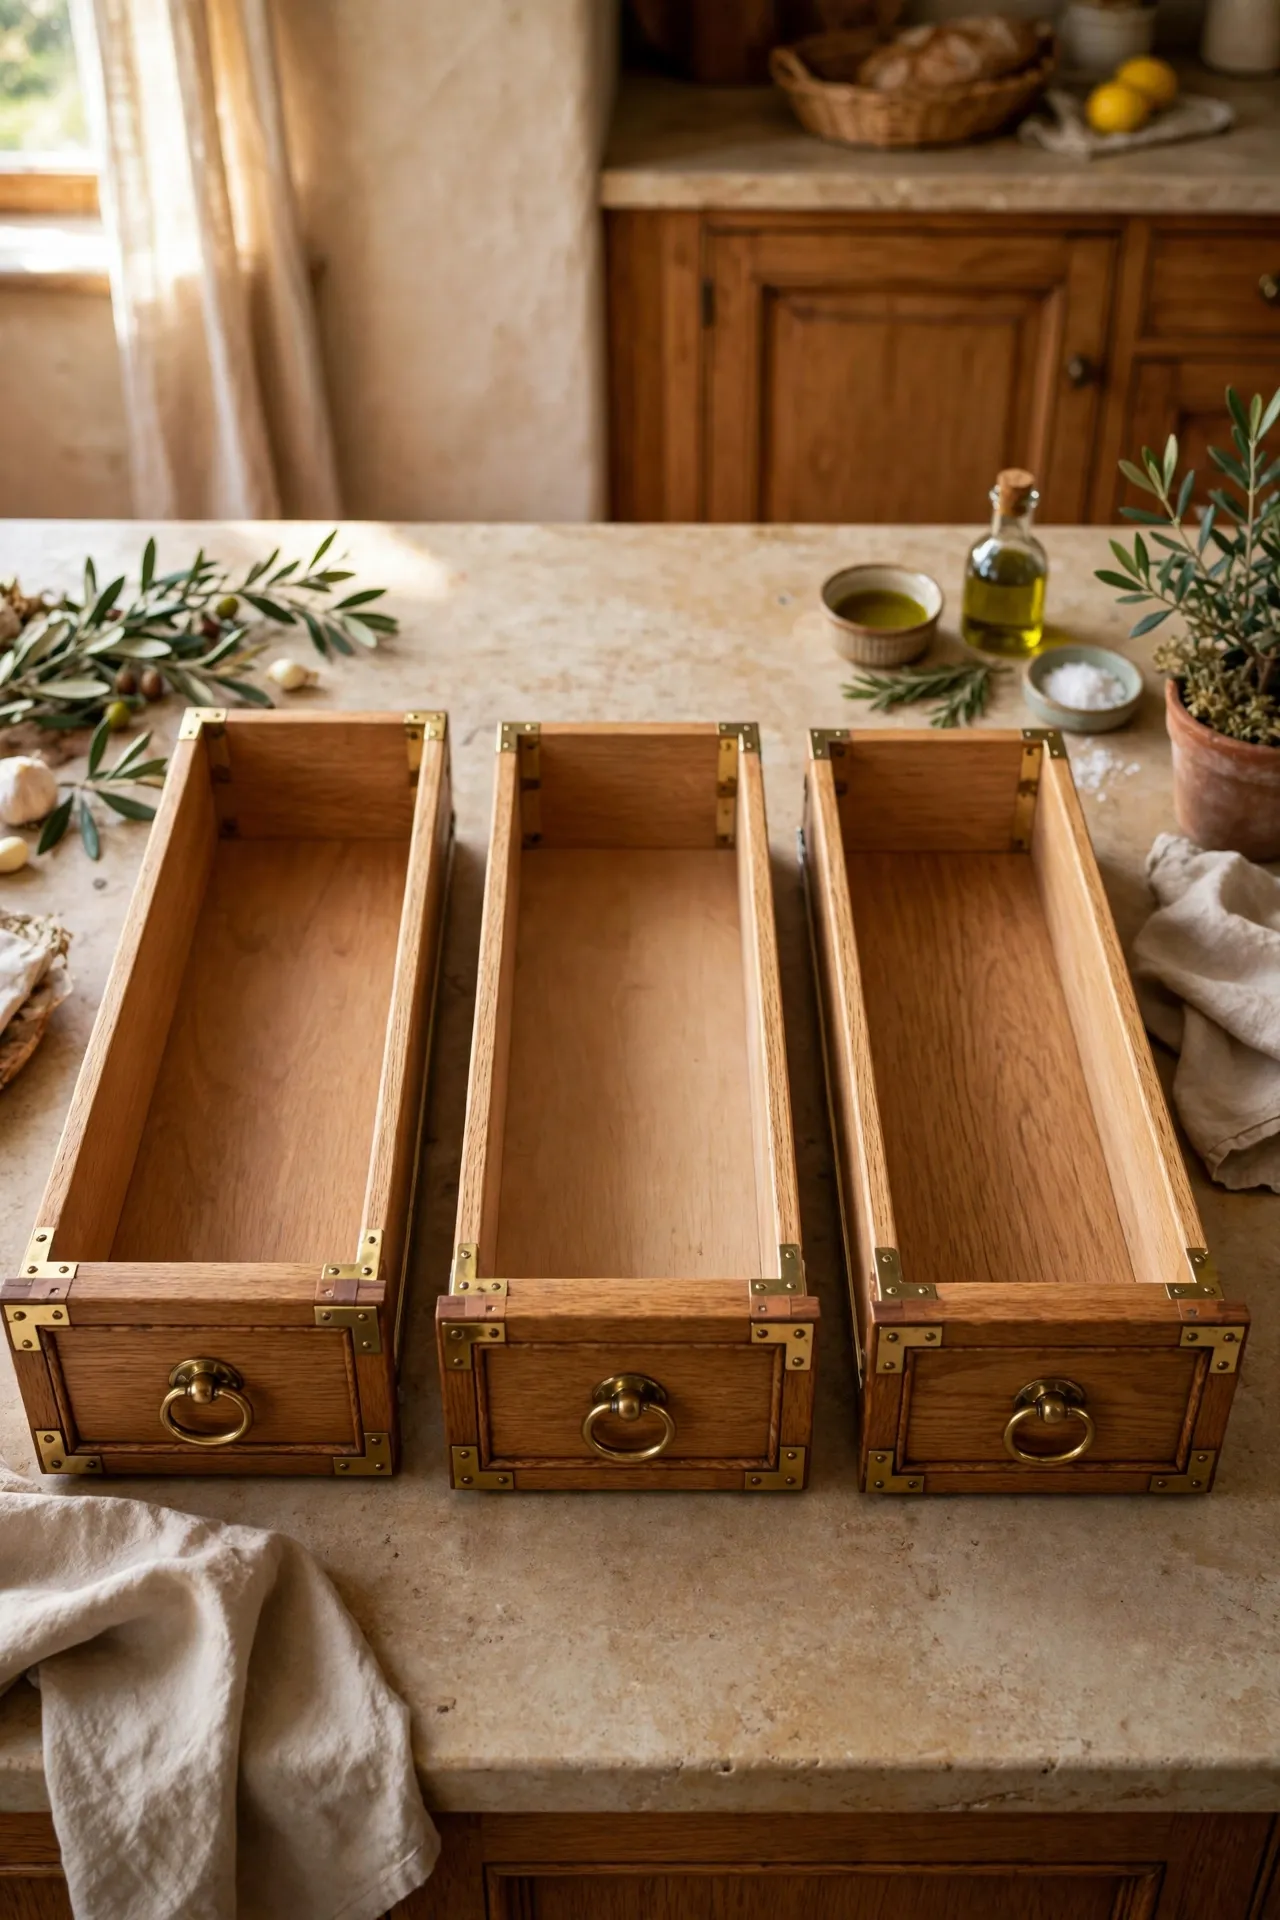
Ring pulls lie flat against the drawer front, giving a clean campaign-furniture look that never snags clothing. First, check the backplate covers your existing holes — most are 64mm or 96mm centres. Second, mark and drill carefully, since the plate shows any wonky holes. Third, screw the plate on, then check the ring drops flat without catching. I tried this and the mistake to avoid is fitting them where you need a strong grip — rings suit light drawers, not the heavy pan drawer.
Cost: ~$24 for 10 | Time: 55 minutes
18. Fake the Handle-Free Look With Routed Finger Pulls
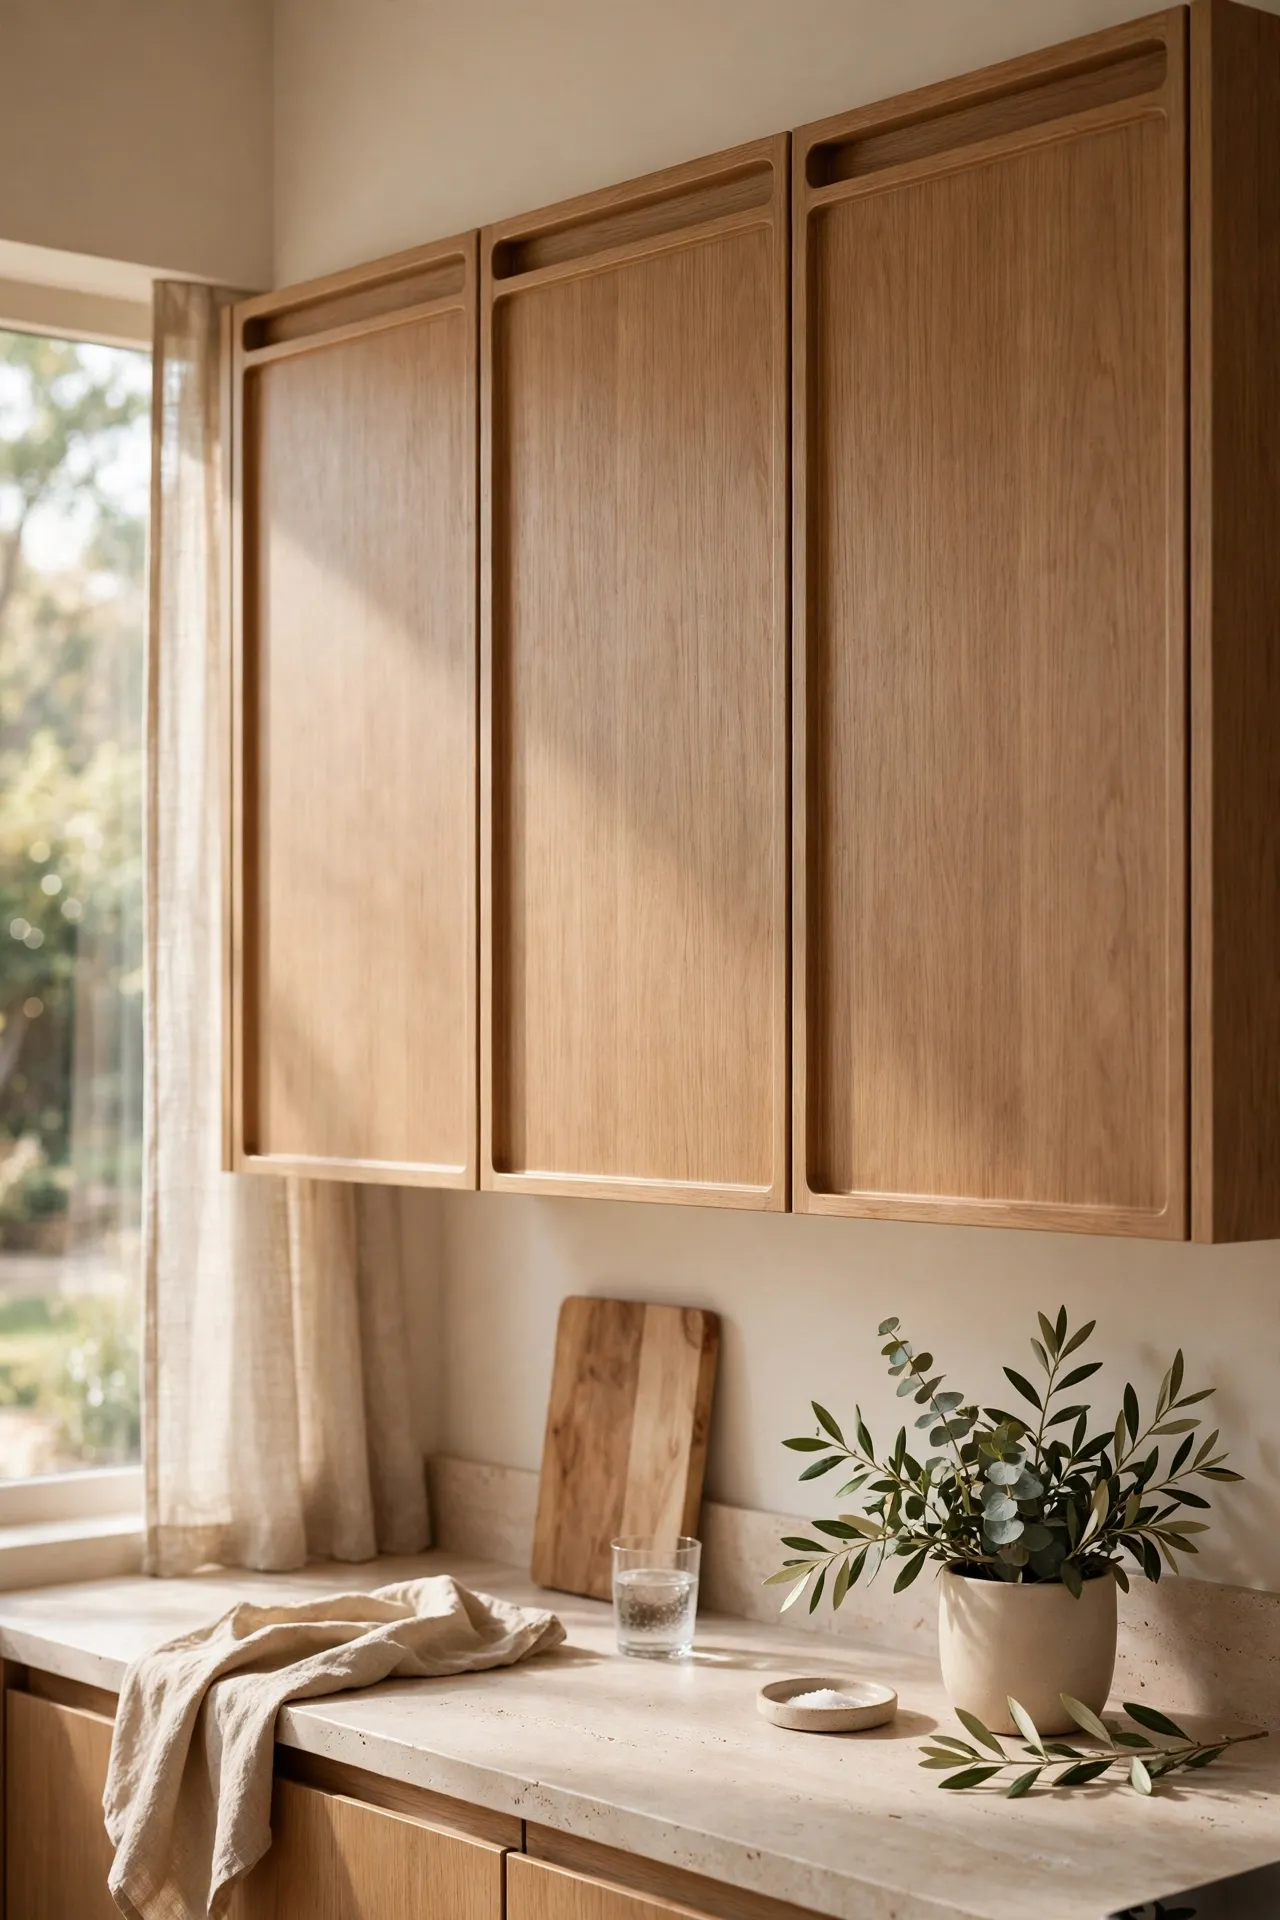
Routed finger pulls are a groove cut into the door edge — true handle-free style without buying new doors. This one needs a router and a steady hand, or a friendly carpenter. First, practise the groove on a scrap of wood to set the depth. Second, clamp a straight guide along each door edge for a consistent line. Third, sand the groove smooth and seal it with paint or oil. I tried this and the mistake to avoid is routing too deep — 12mm is plenty; more weakens the door edge.
Cost: ~$0 if you own a router | Time: 120 minutes
19. Spray-Paint the Hardware You Already Have
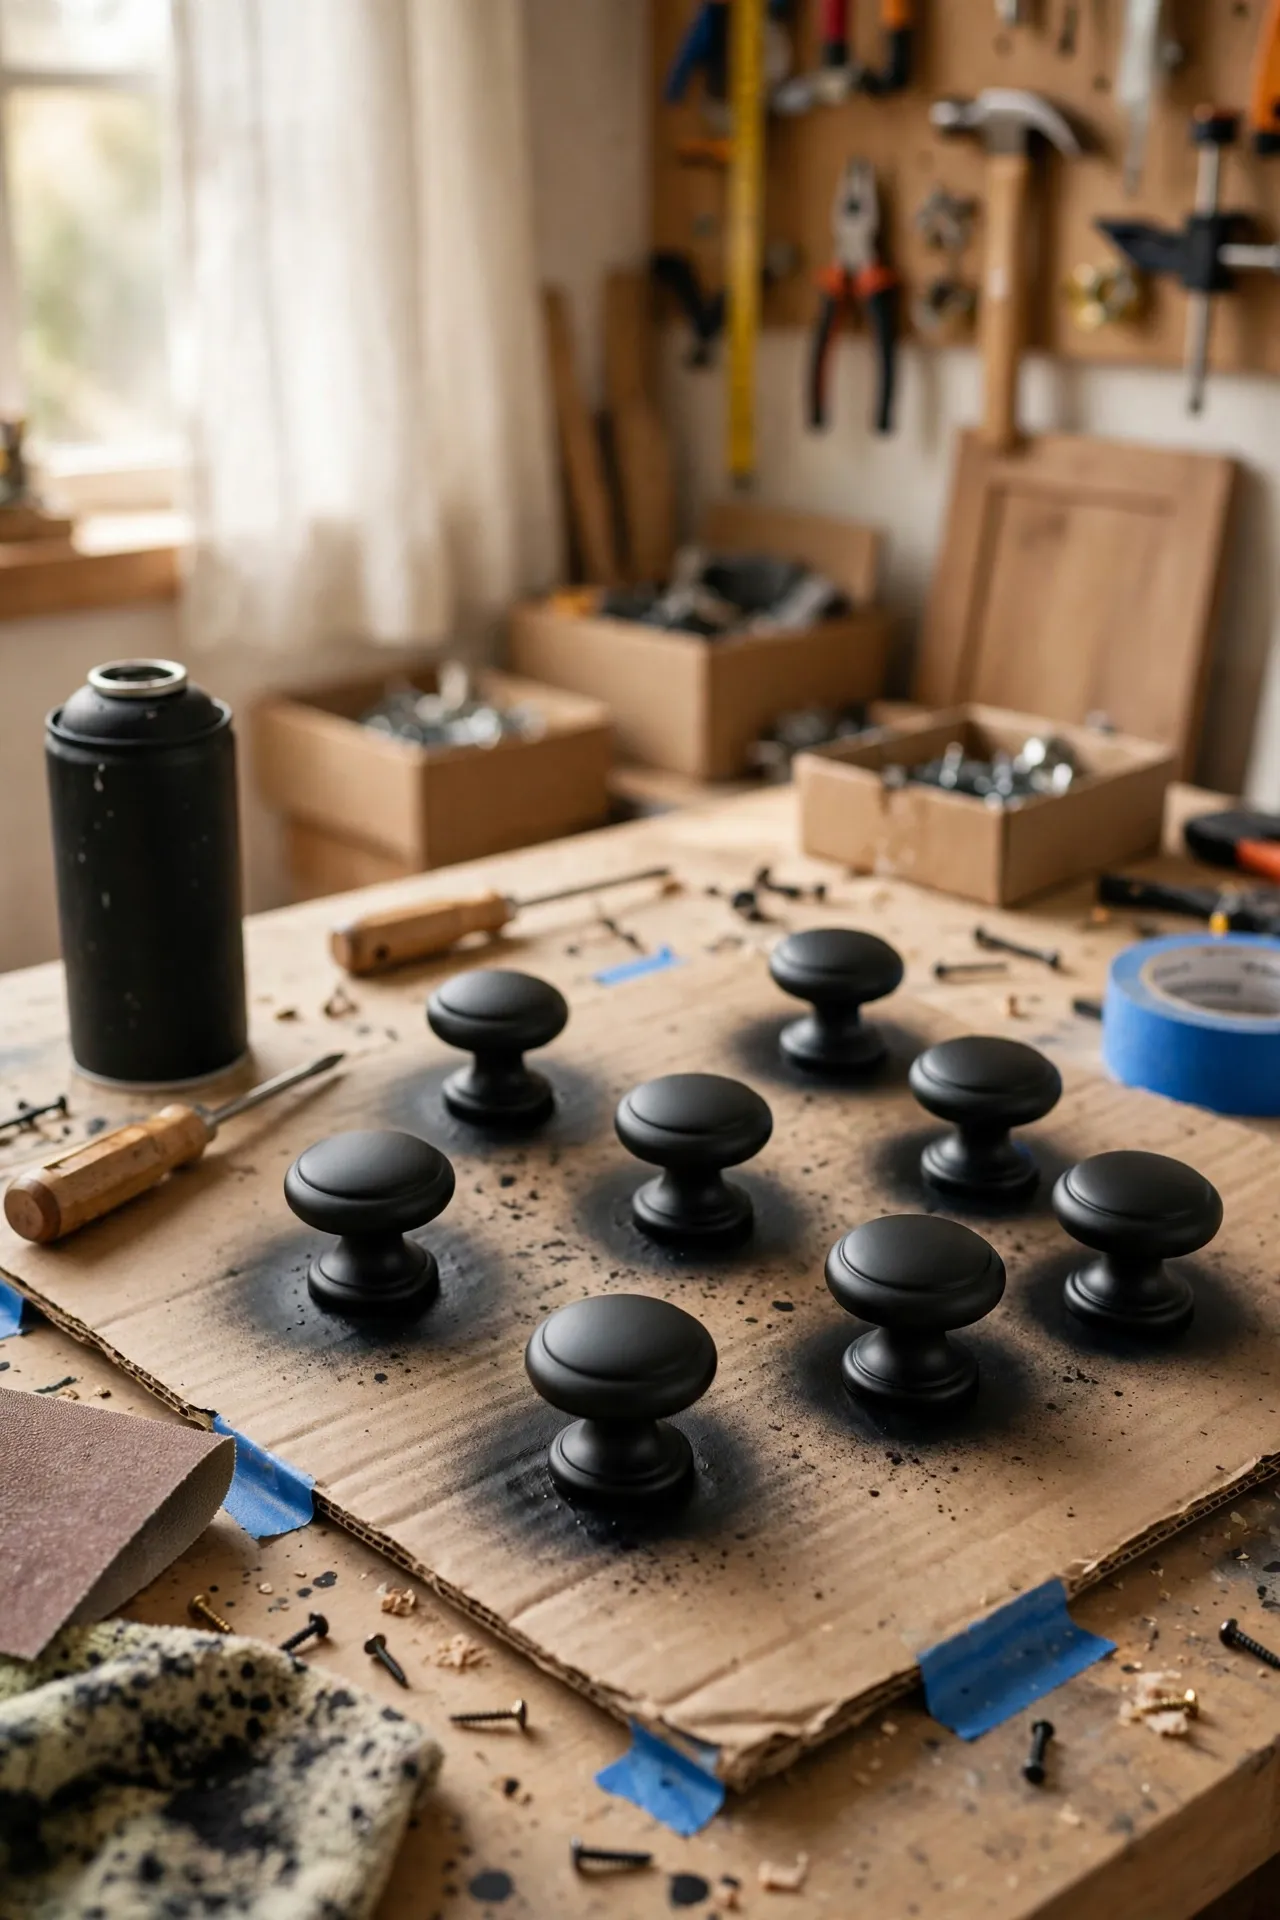
The cheapest upgrade of all: keep your hardware and change its colour. A can of metallic spray paint turns dated brass or chrome into matte black or brushed gold. First, remove every knob and scrub off grease with sugar soap — paint will not stick to cooking film. Second, lay them on cardboard and spray light coats, flipping halfway through. Third, let them cure a full 48 hours before refitting, or the paint chips on day one. I tried this and the mistake to avoid is skipping the primer — one coat of metal primer doubles the life of the finish. It is the thriftiest trick in this list of (see also: 15-kitchen-decor-ideas-under-50-without-renovating).
Cost: ~$12 for paint + primer | Time: 30 minutes + drying
Quick Questions About Cabinet Hardware
Q: What size cabinet pulls should I buy?
A: For drawers, a good rule is a pull about one-third the width of the drawer front — so a 60cm drawer suits a 192mm pull. For doors, 96mm or 128mm bar pulls look balanced on standard 60cm doors. When in doubt, go slightly bigger than you think; small hardware disappears both in person and in photos.
Q: Do I need to drill new holes when I replace my knobs?
A: Not always. Measure the distance between the screw holes on your current pulls — 96mm and 128mm are the most common — and buy new hardware with the same centres to reuse the holes. If you are switching from knobs to pulls, you will need one extra hole per handle, so make a cardboard template to keep them all level.
Q: Which hardware finish hides fingerprints best?
A: Brushed and matte finishes — brushed brass, matte black, antique bronze — hide fingerprints far better than polished chrome or polished nickel, which show every touch. If your kitchen gets heavy family use, brushed finishes look cleaner between wipedowns and need less polishing to stay smart.
New hardware will not fix a broken layout, but it is the closest thing to a kitchen facelift that costs less than a weekly shop. Pick one idea, order the handles this weekend, and enjoy the most satisfying hour of DIY you will do all year.
