15 Dollar Tree Entryway Decor Hacks on a Budget
Your entryway sets the tone for your whole home, but it doesn’t need a big budget to look pulled together. These dollar tree Entryway decor hacks solve the real problems — keys that vanish, shoes that pile up, walls that look bare — using clever finds that cost very little each. I have tested every one of these in my own hallway, and most take under an hour to sort. Grab a basket, head to the store, and let’s fix that front door area properly.
Stick-On Coat Hooks That Leave No Marks
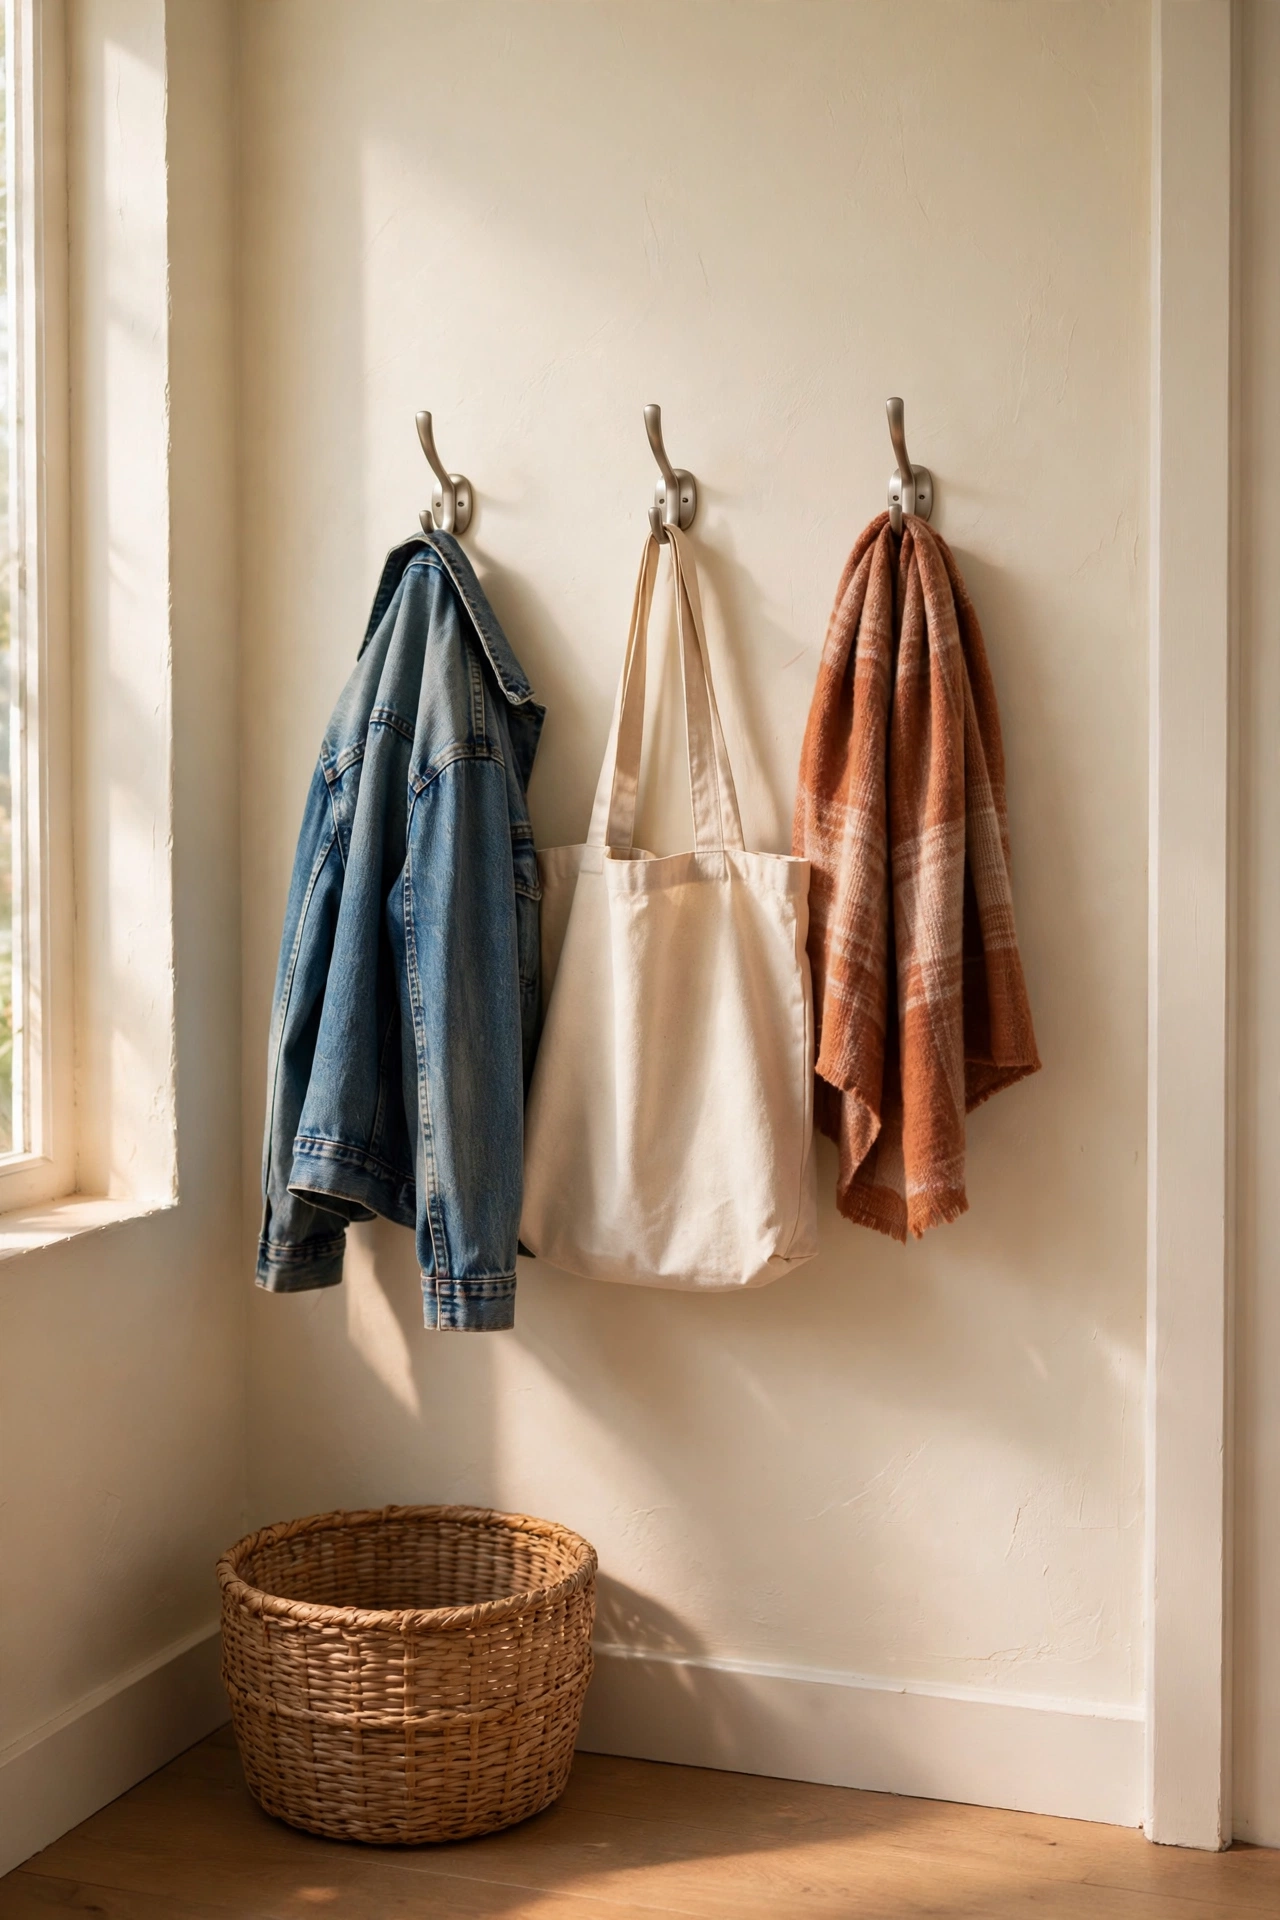
If you rent, or you simply don’t fancy drilling into fresh paint, adhesive removable coat hooks are the answer. The large-format ones at the dollar store hold a surprising amount of weight — two or three per hook is realistic — and they peel off cleanly when you move. To fit them, wipe the wall with rubbing alcohol and let it dry completely, press the hook firmly for a full 30 seconds, then wait an hour before hanging anything. I tried this in my own hallway last winter and the hooks holding our everyday coats are still going strong two years on. One mistake to avoid: don’t hang them on textured or dusty walls, as the adhesive needs a smooth, clean surface to grip.
Cost: ~$5 · Time: 15 minutes
A Wall-Mounted Key Holder Shelf for Grab-and-Go Mornings
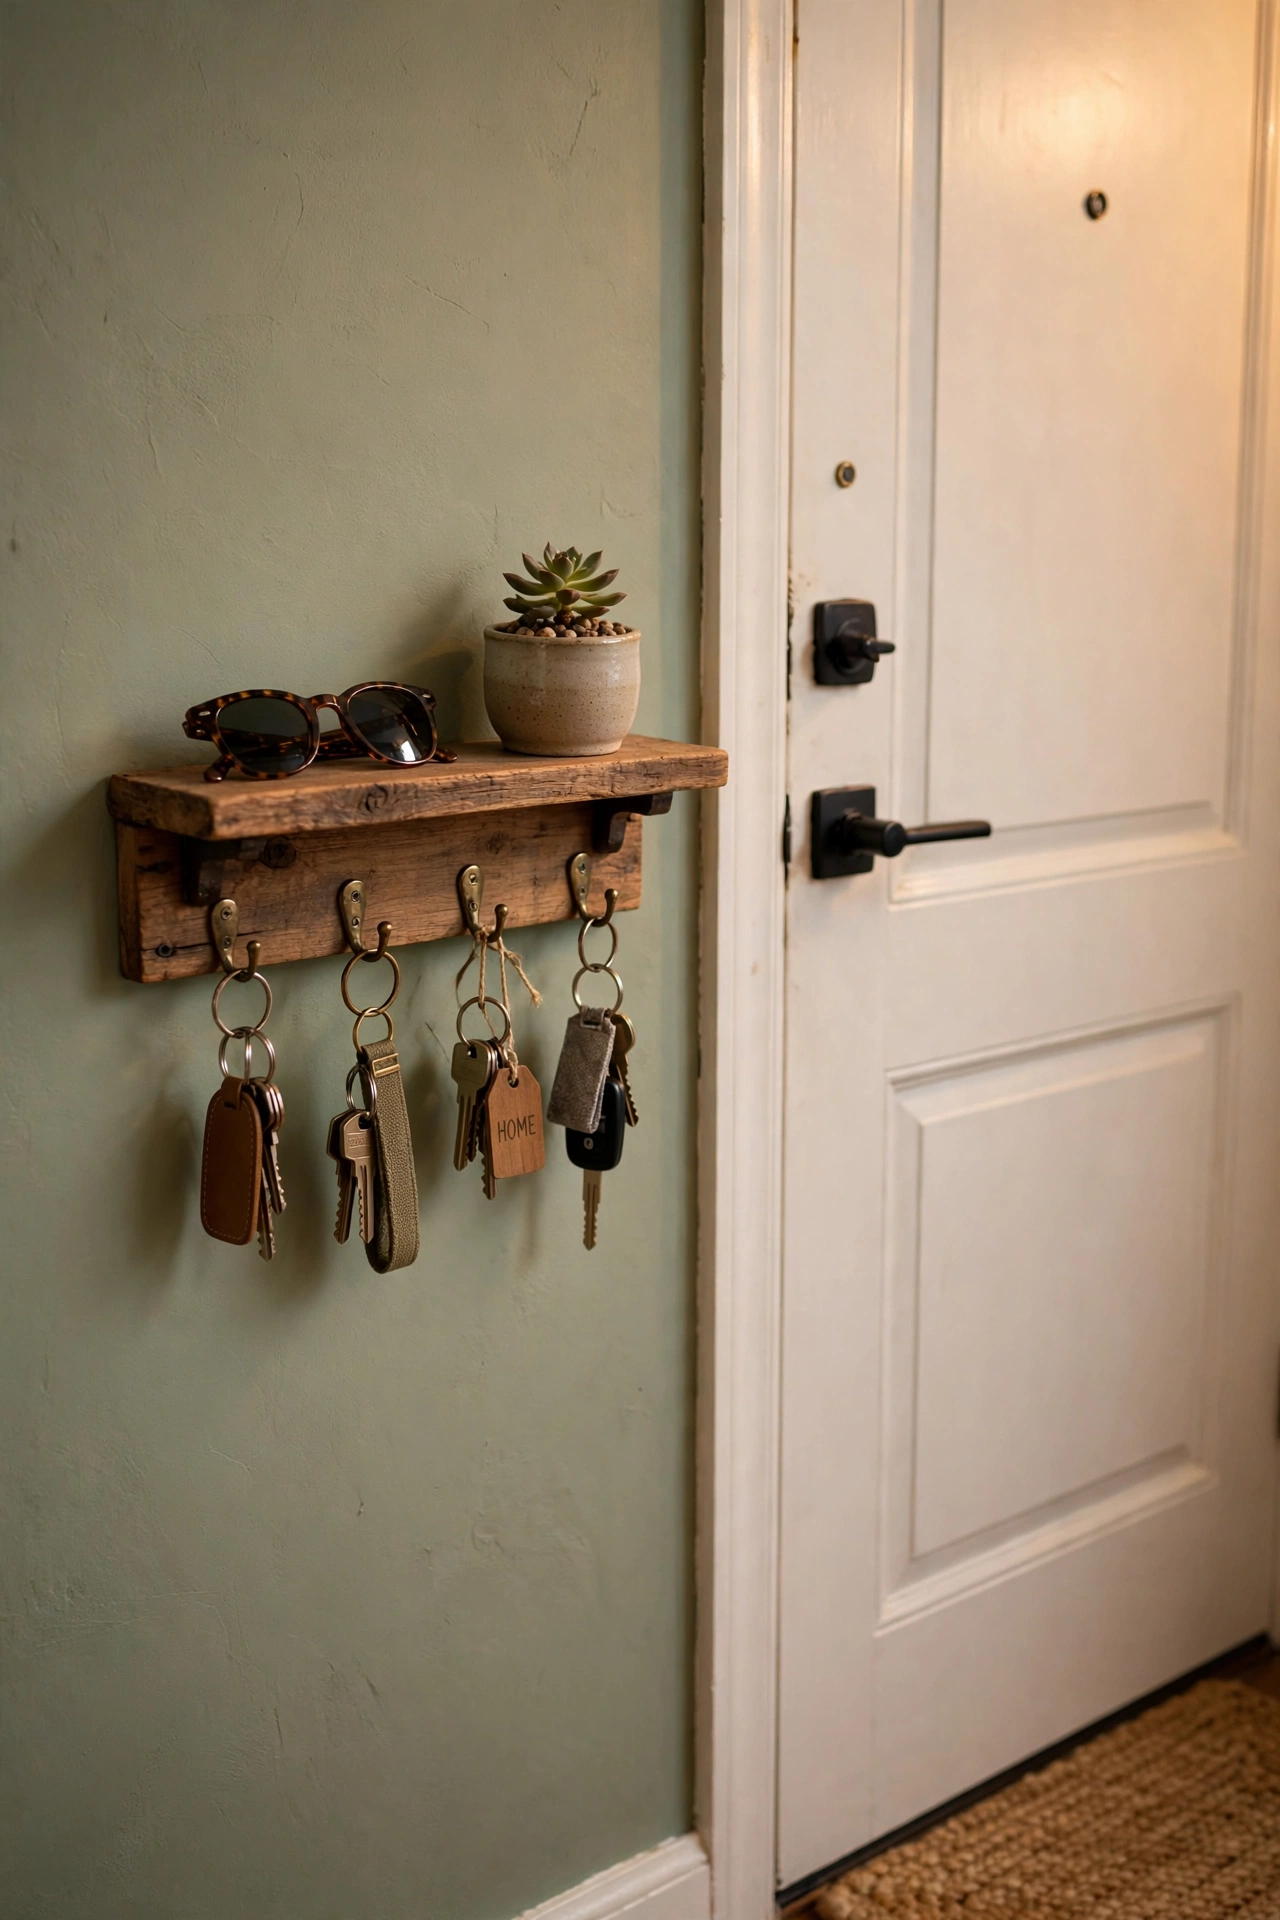
A tiny wall-mounted key holder shelf with hooks underneath solves the lost-keys panic in one move. You get a small shelf on top for sunglasses or post, and four or five hooks below for keys and lanyards. Mount it at shoulder height beside the door: mark your screw holes with a pencil, drill or use the included anchors, then check it is level before you tighten everything. I keep my car keys on the middle hook out of habit, and it means I never do the frantic pat-down before leaving the house. One mistake to avoid: don’t mount it above a radiator or in direct sun, as heat can warp the cheaper wooden versions over time.
Cost: ~$6 · Time: 25 minutes
Pro tip: Paint the key holder shelf the same colour as your wall and it reads as a built-in rather than a cheap add-on. One coat of leftover emulsion does the trick.
A Console-Table Catch-All Tray for Keys and Clutter
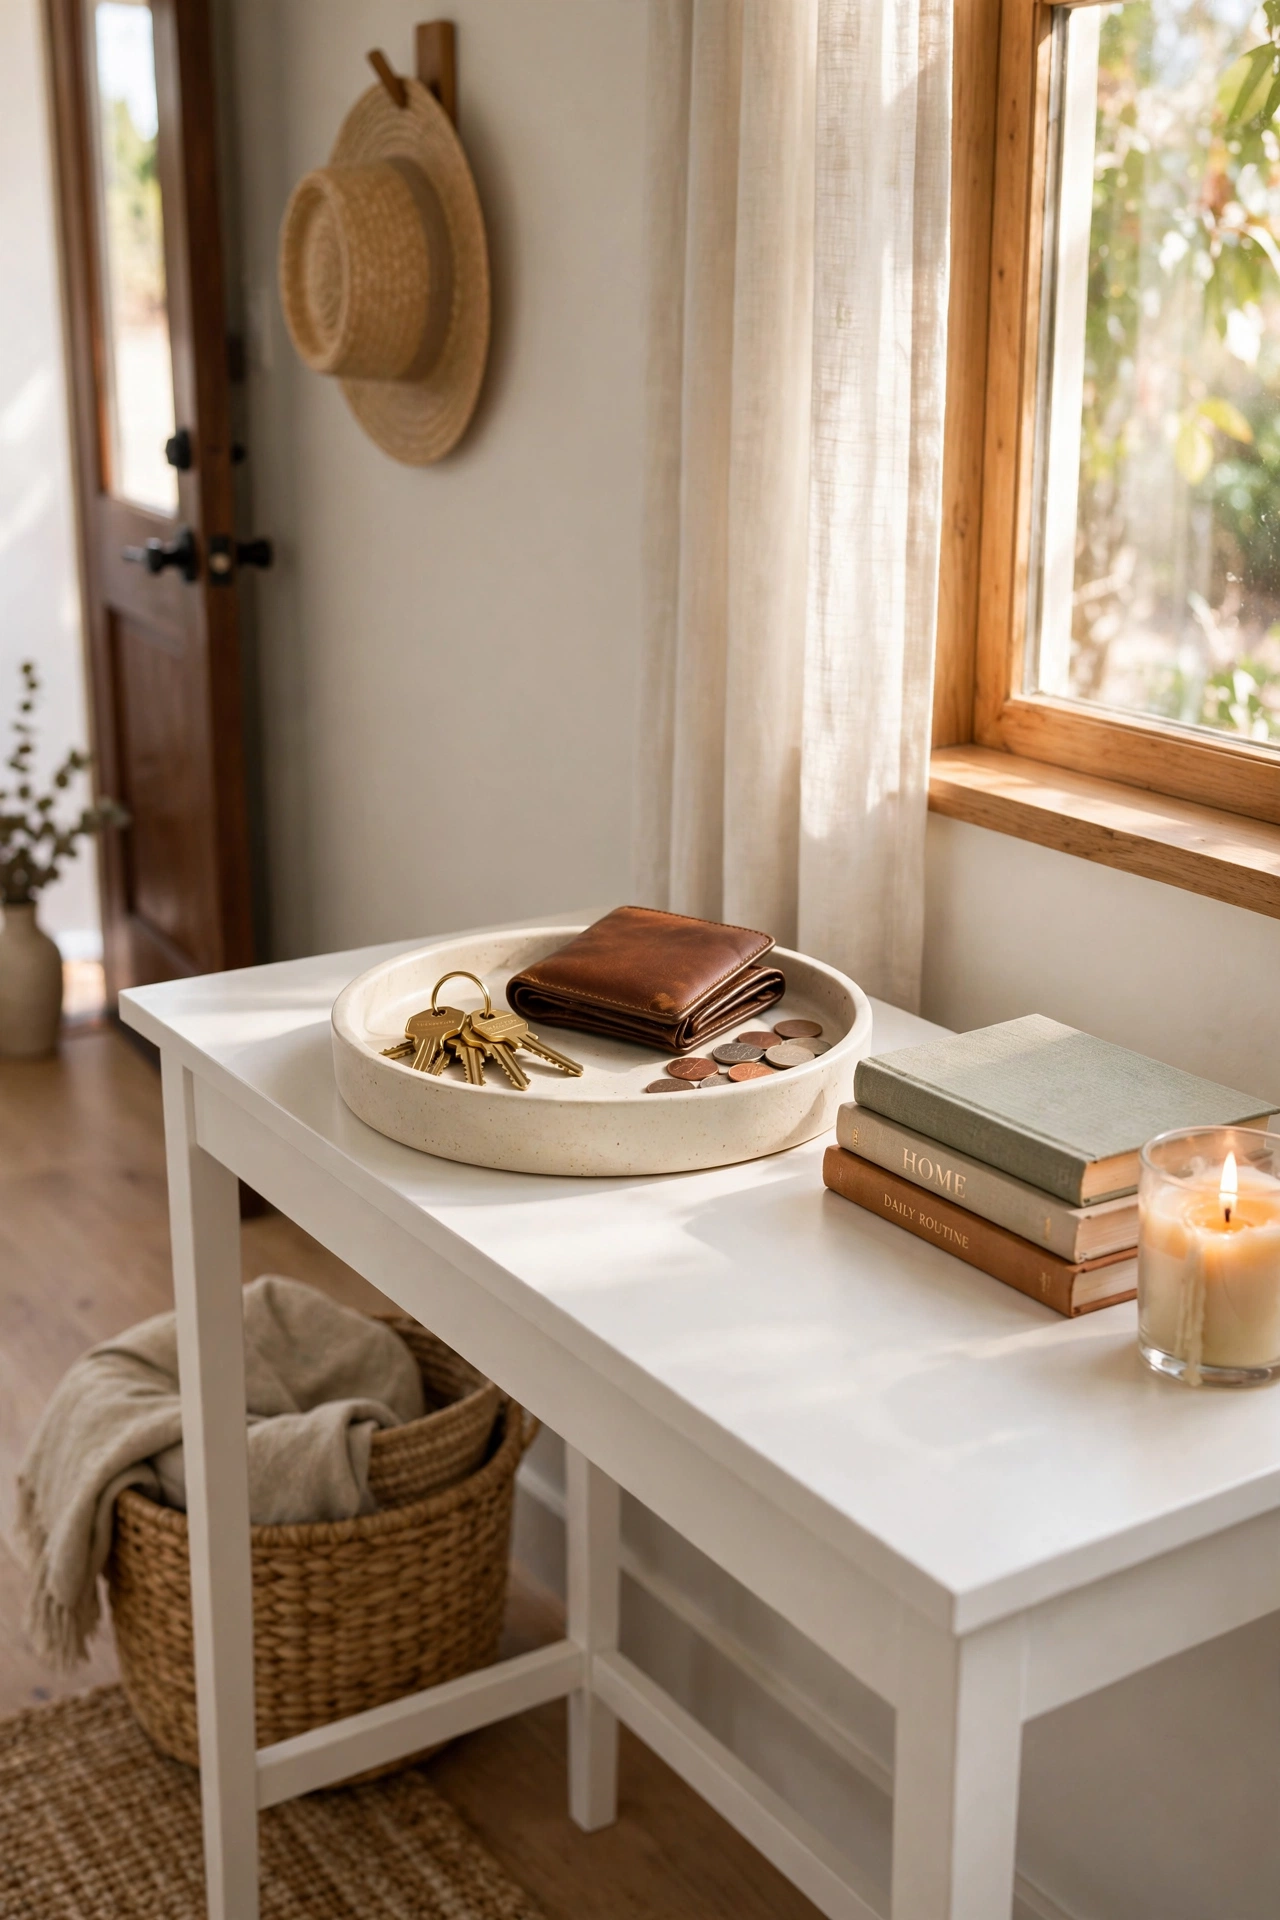
Every entryway needs one landing spot for the stuff in your pockets, and a catch-all tray on a slim console table does the job beautifully. Choose a tray roughly the size of a dinner plate so it holds keys, a wallet, and loose change without becoming a dumping ground. Place it on the console closest to the door, then give every family member one small section — this stops the tray overflowing into chaos. I tried this in my own entryway and the nightly “where are my keys” routine disappeared within a week. One mistake to avoid: don’t pick a tray with high sides, as you’ll stop bothering to drop things in if it feels like a chore.
Cost: ~$4 · Time: 10 minutes
Layered Coir Welcome Mats for a Thicker, Richer Look
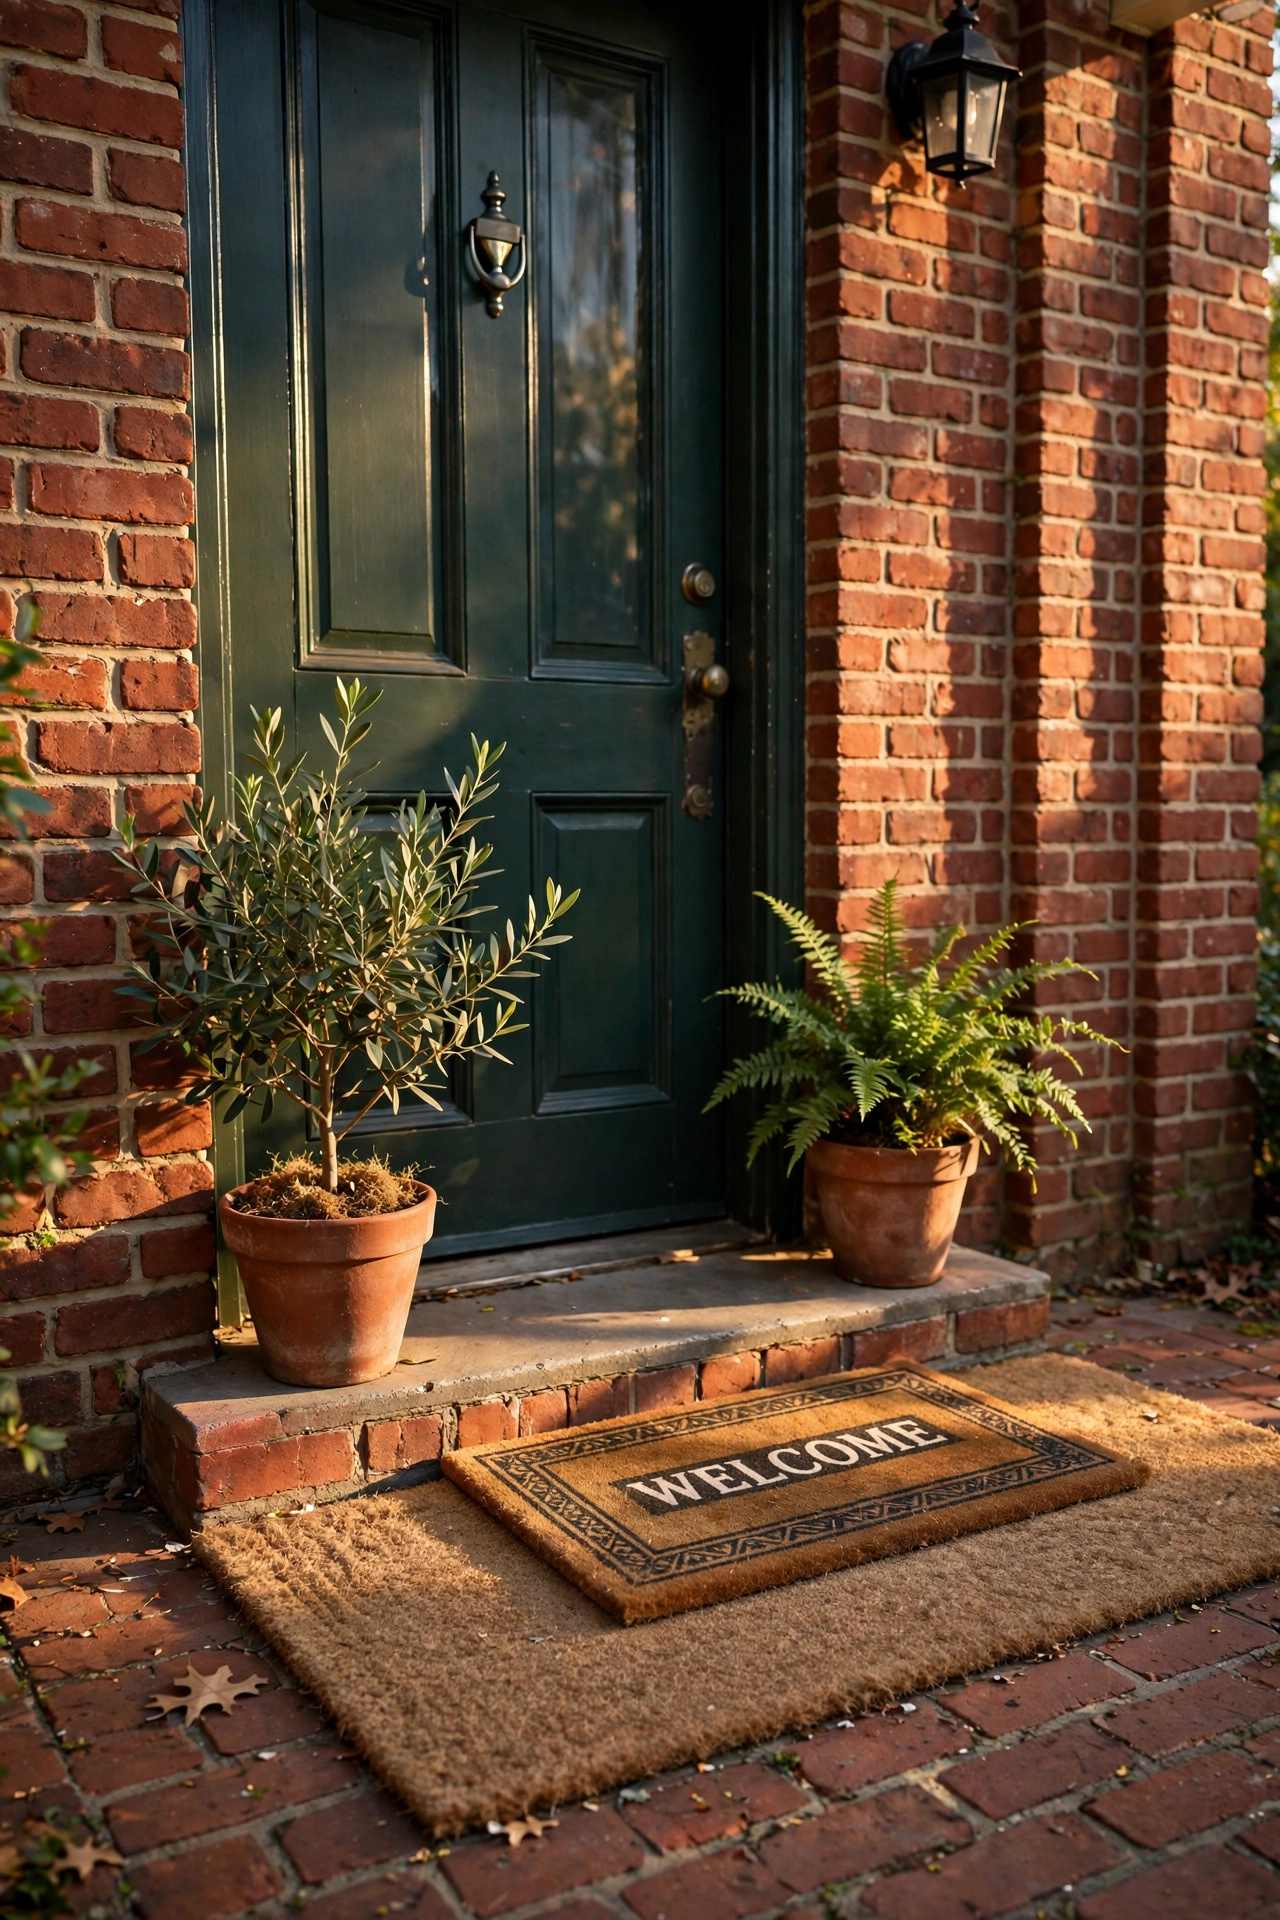
Layering two cheap coir welcome mats — one plain, one patterned — gives you the thick, expensive doormat look for a fraction of the price. Start with a larger plain coir mat underneath, then centre a smaller patterned one on top, slightly off-centre so the bottom layer shows as a border. Shake both mats outside first, since coir sheds fibres when new. I did this on my own doorstep and visitors genuinely assumed it was one fancy mat from a homeware shop. One mistake to avoid: don’t layer mats on a slippery tiled step without a rug pad underneath, or the whole stack will slide when it rains.
Cost: ~$8 · Time: 10 minutes
Pro tip: If the patterned mat is a touch too small, rotate it diagonally on the base mat — the diamond overlap looks deliberate and designer, and hides the size difference.
A Round Entry Mirror on a Budget
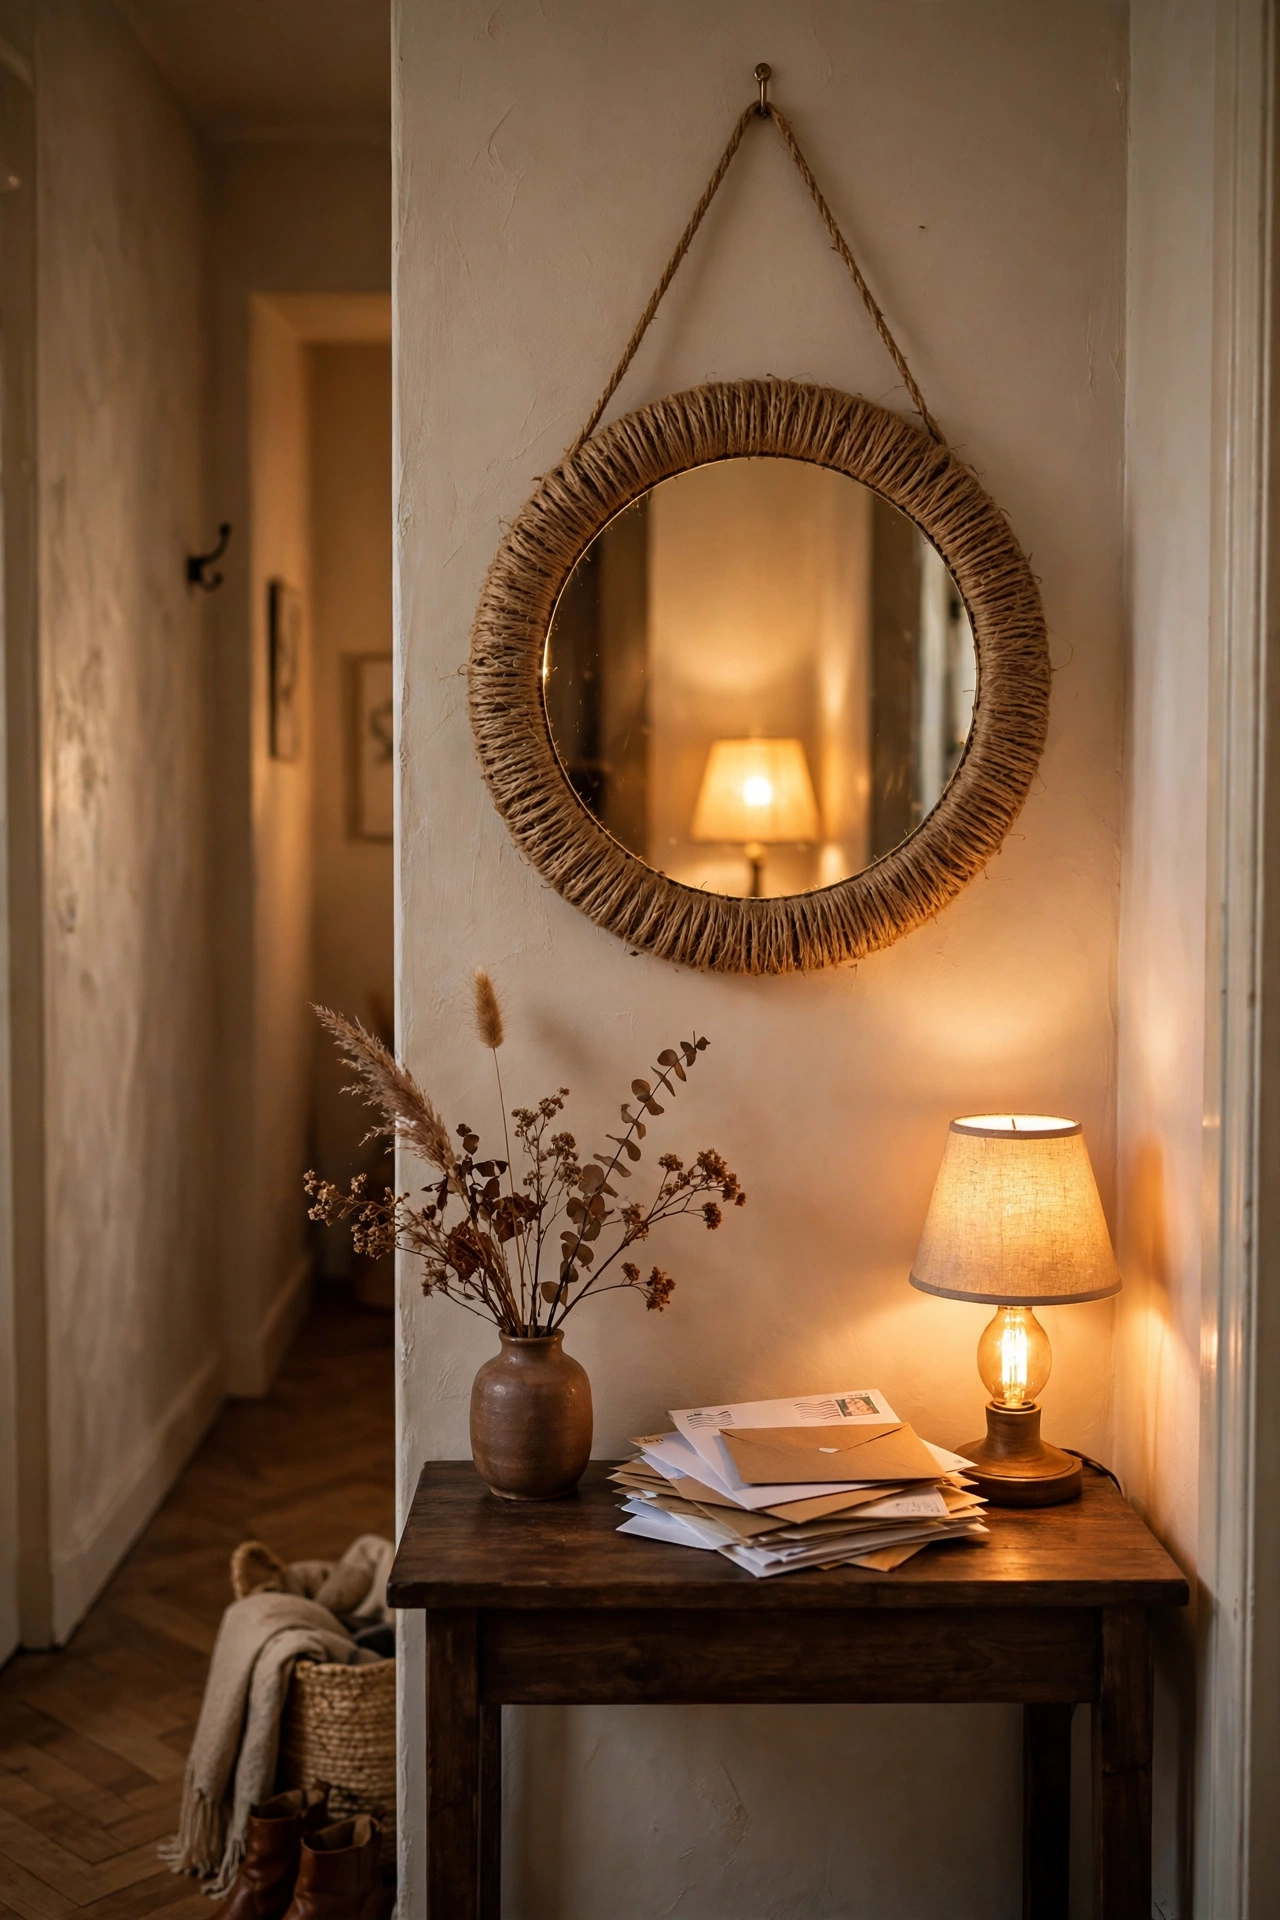
A round mirror above the console table bounces light around and makes a narrow entryway feel twice as wide. The dollar-store round mirrors come with a basic rim, which you can upgrade in minutes: wrap the edge with jute twine or give it a coat of matte black spray paint for a modern finish. Hang it at eye level, centred over your console, using a proper wall anchor since even a light mirror needs secure fixings. I tried this in my own dark hallway and it caught the morning light from the front door so well I stopped switching the lamp on. One mistake to avoid: don’t hang it opposite clutter, as a mirror doubles whatever it reflects.
Cost: ~$7 · Time: 30 minutes
A Tall Umbrella Stand That Corrals Wet Brollies
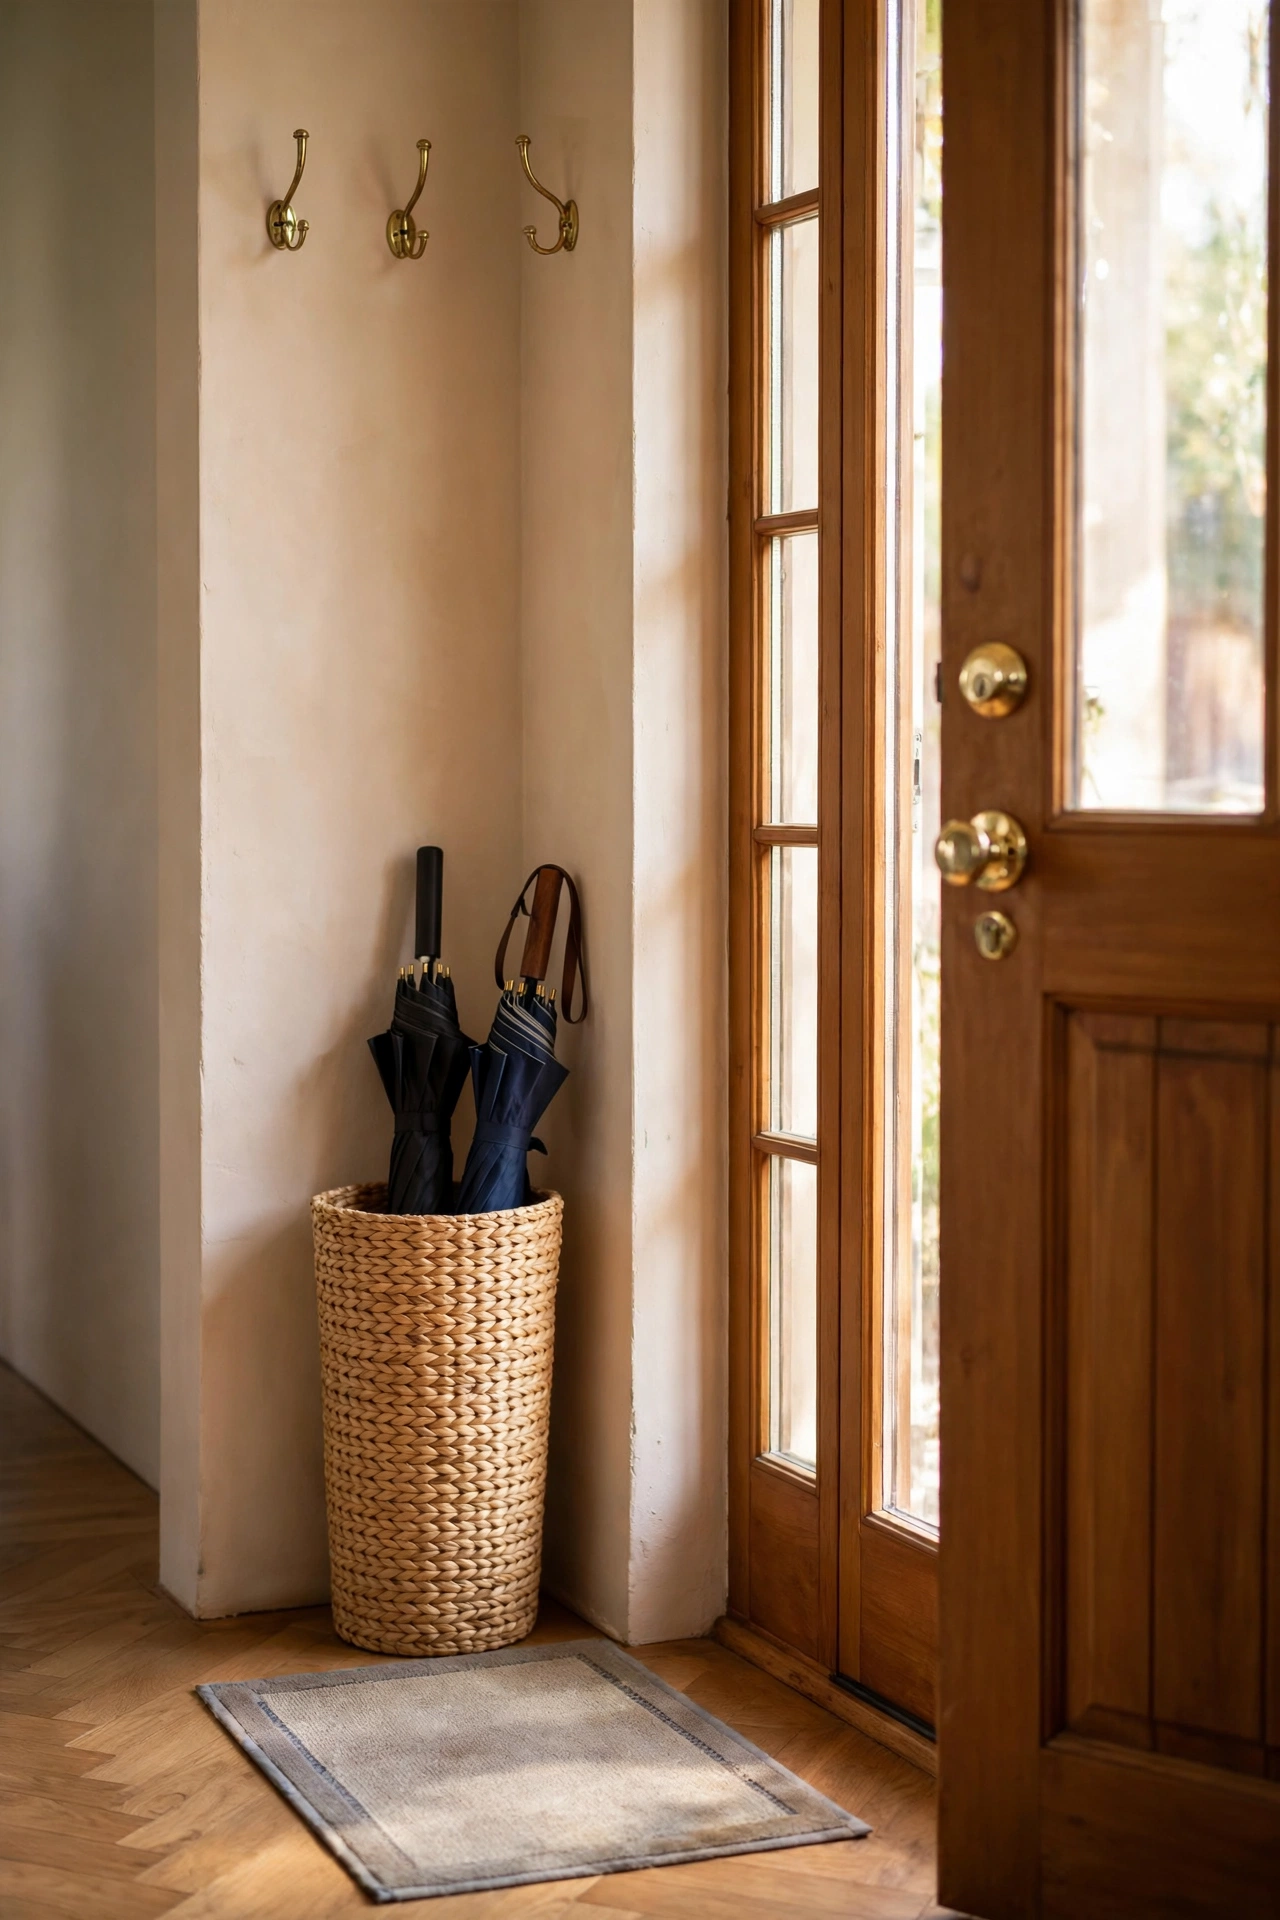
A tall, narrow umbrella stand tucked into the corner by the door keeps wet umbrellas off your floors and out of the way. Look for a rigid cylinder or a woven-look basket tall enough that brollies don’t flop over — around 50cm is ideal. Pop a folded microfibre cloth or a small absorbent mat inside the base to catch drips, and empty it after heavy rain so nothing sits damp. I keep ours by the back door and it has saved the hardwood from more than a few puddle stains this autumn. One mistake to avoid: don’t choose a stand with no weight to it, as a couple of heavy golf umbrellas will tip a flimsy one straight over.
Cost: ~$6 · Time: 10 minutes
Pro tip: Line the inside of the stand with a cut-to-size piece of contact paper in a fun pattern — it protects the base from rust and looks intentional when you glance inside.
Cubby Shoe Baskets That Hide the Mess
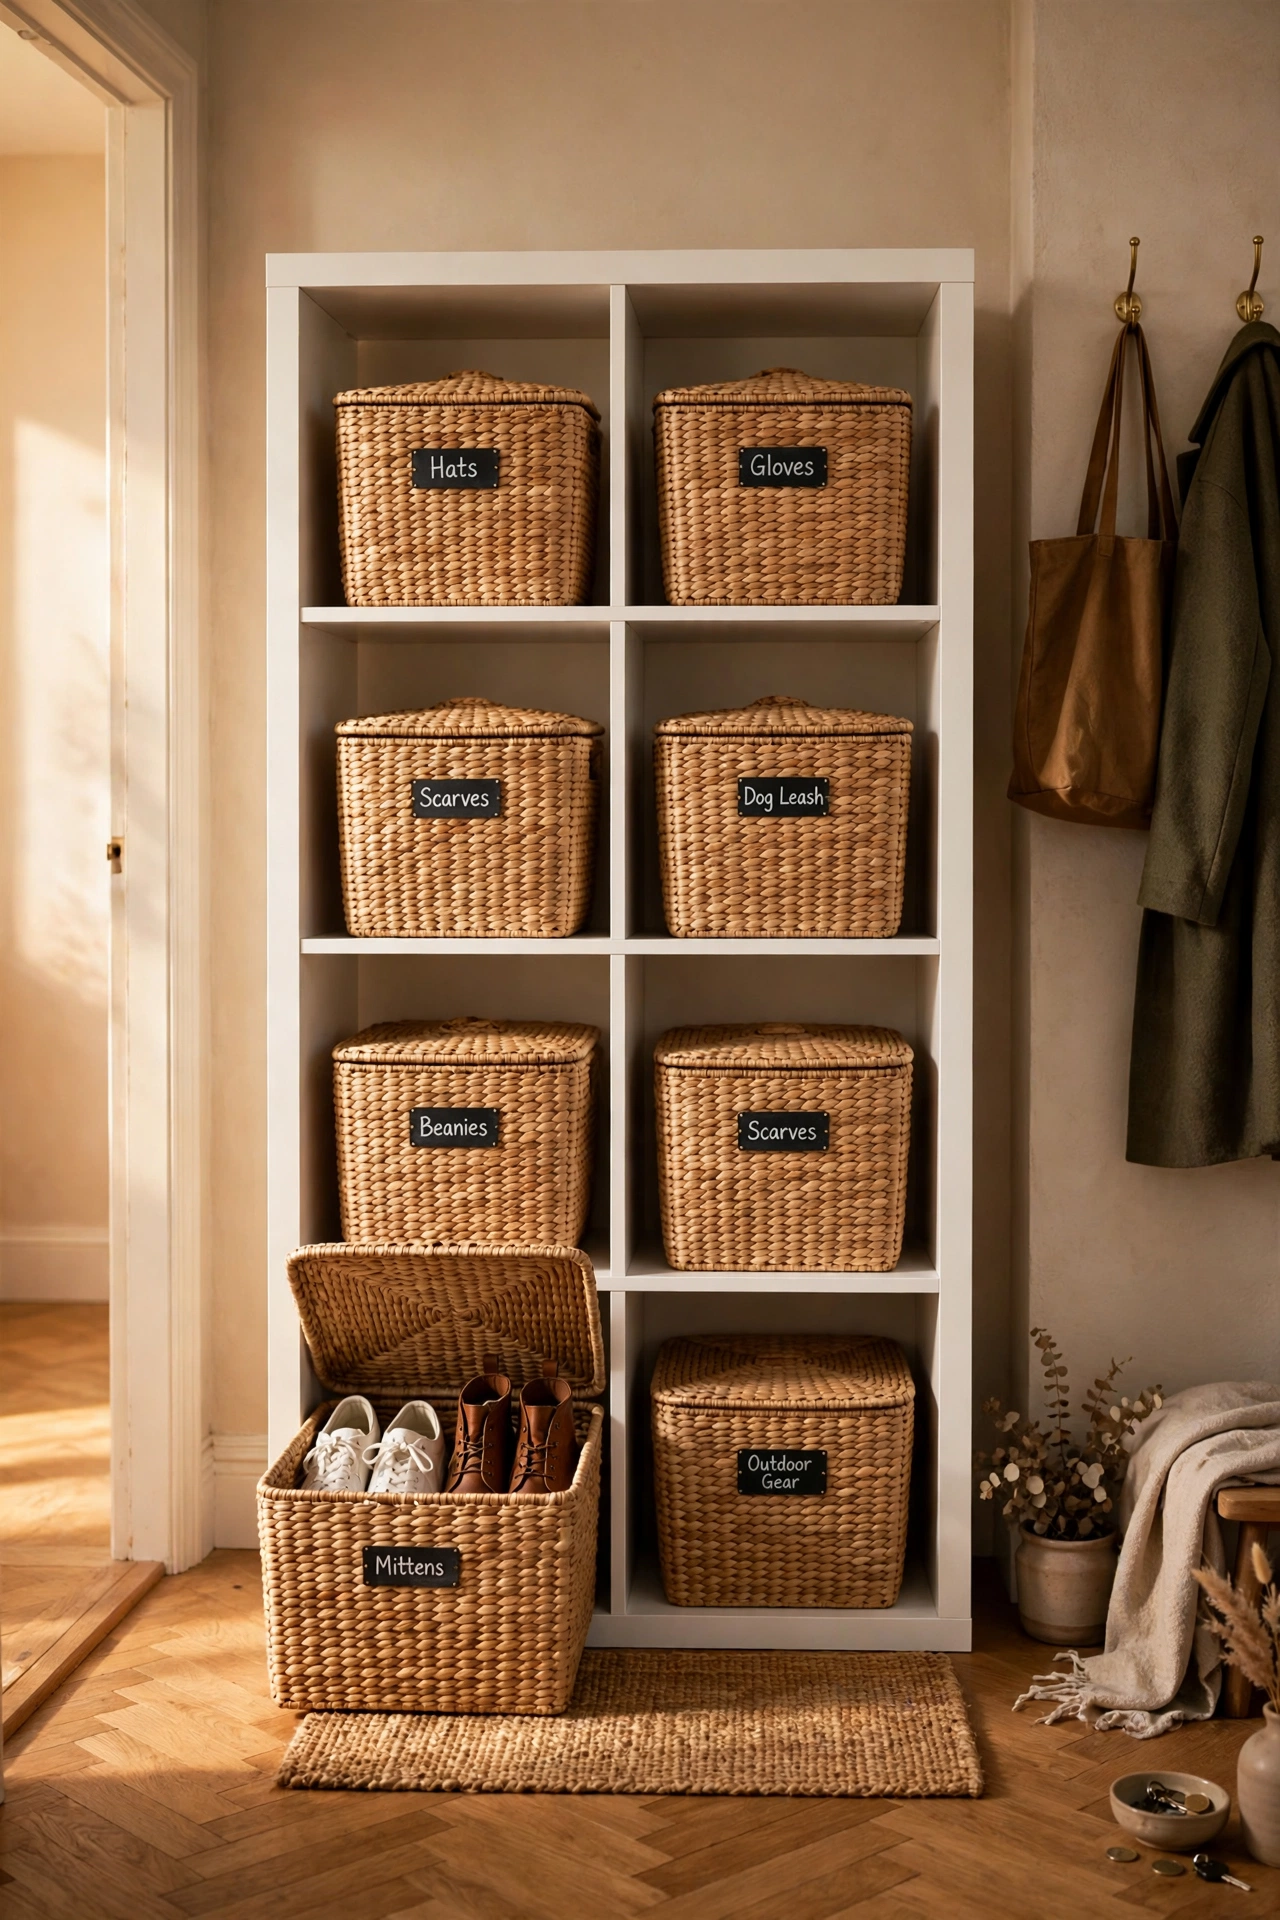
Open shoe piles are the fastest way to make an entryway look untidy, and lidded cubby baskets fix that instantly. Slot one lidded basket per person into a cube shelf or stack them under the bench — each holds two to three pairs of everyday shoes. Label each basket with a chalk tag or a stick-on name label so everyone knows which is theirs, and do a monthly clear-out of shoes nobody wears. I tried this in my own home with three kids, and the hallway went from obstacle course to clear floor in an afternoon. One mistake to avoid: don’t buy baskets that are too deep, or shoes get buried and the kids stop using them altogether.
Cost: ~$9 · Time: 20 minutes
A DIY Bench Seat Cushion From Foam and Fabric
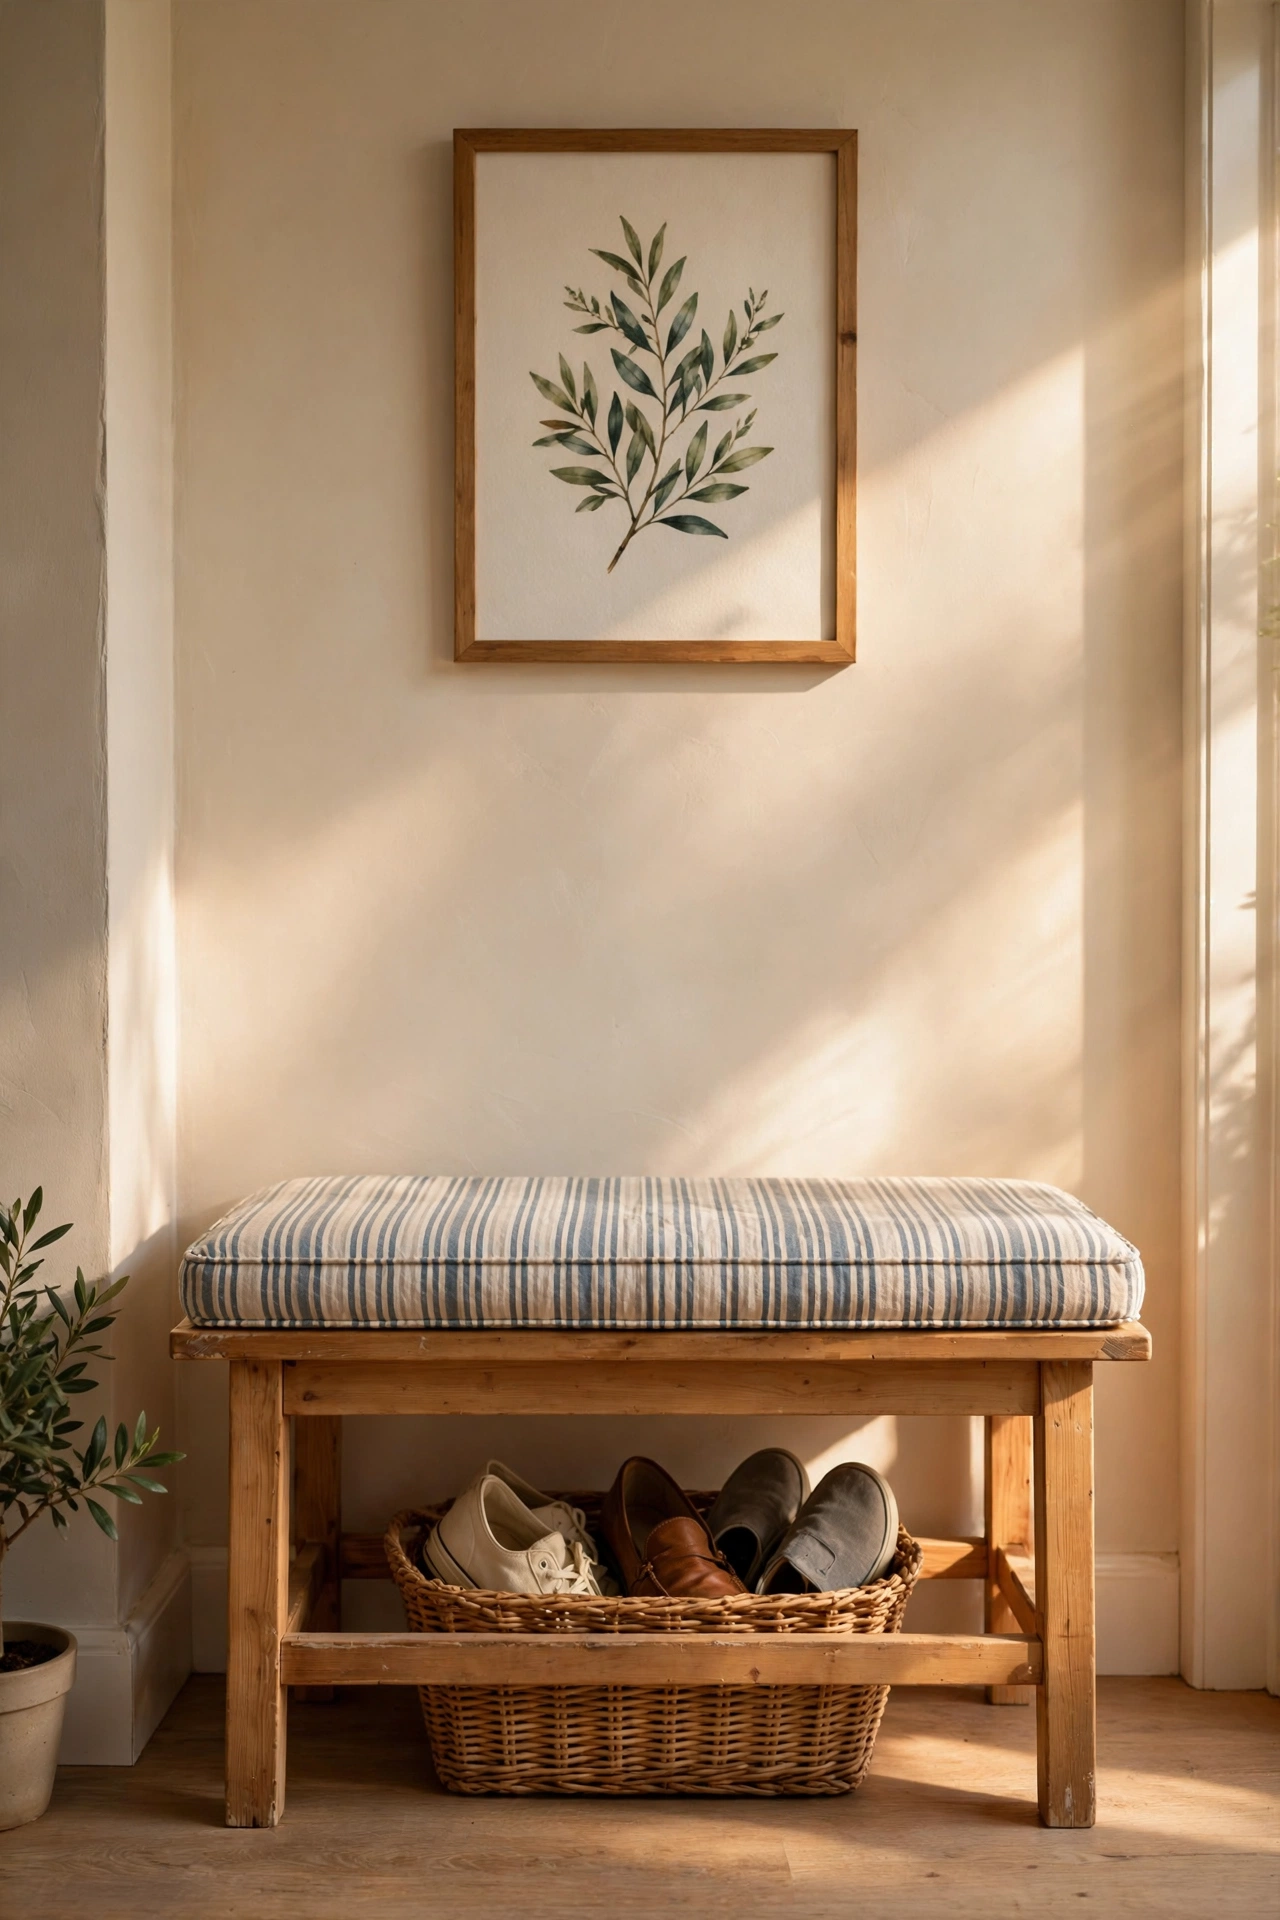
A plain wooden bench becomes a proper perch with a simple DIY cushion, and you can make one for the price of a ready-made throw pillow. Buy a foam seat pad from the craft aisle and a metre of sturdy fabric, then wrap the foam like a present: fold the fabric over the top, staple or hot-glue underneath, and trim the corners for a neat finish. Measure the bench first so the cushion fits edge to edge with no overhang. I made one for my own entry bench in a striped ticking fabric and it gets used every single morning while shoes go on. One mistake to avoid: don’t use thin quilting cotton alone — it wrinkles fast, so pick upholstery-weight fabric or double it up.
Cost: ~$8 · Time: 45 minutes
Save this idea for later — when you’re standing in the store aisle, you’ll want this list to hand so you don’t forget the small bits like foam pads and labels.
Pro tip: Add a layer of quilt batting between the foam and fabric before you wrap it — it rounds off the edges and hides lumps in the foam for a much more professional finish.
A Floating Entry Shelf for a Slim Catch-All
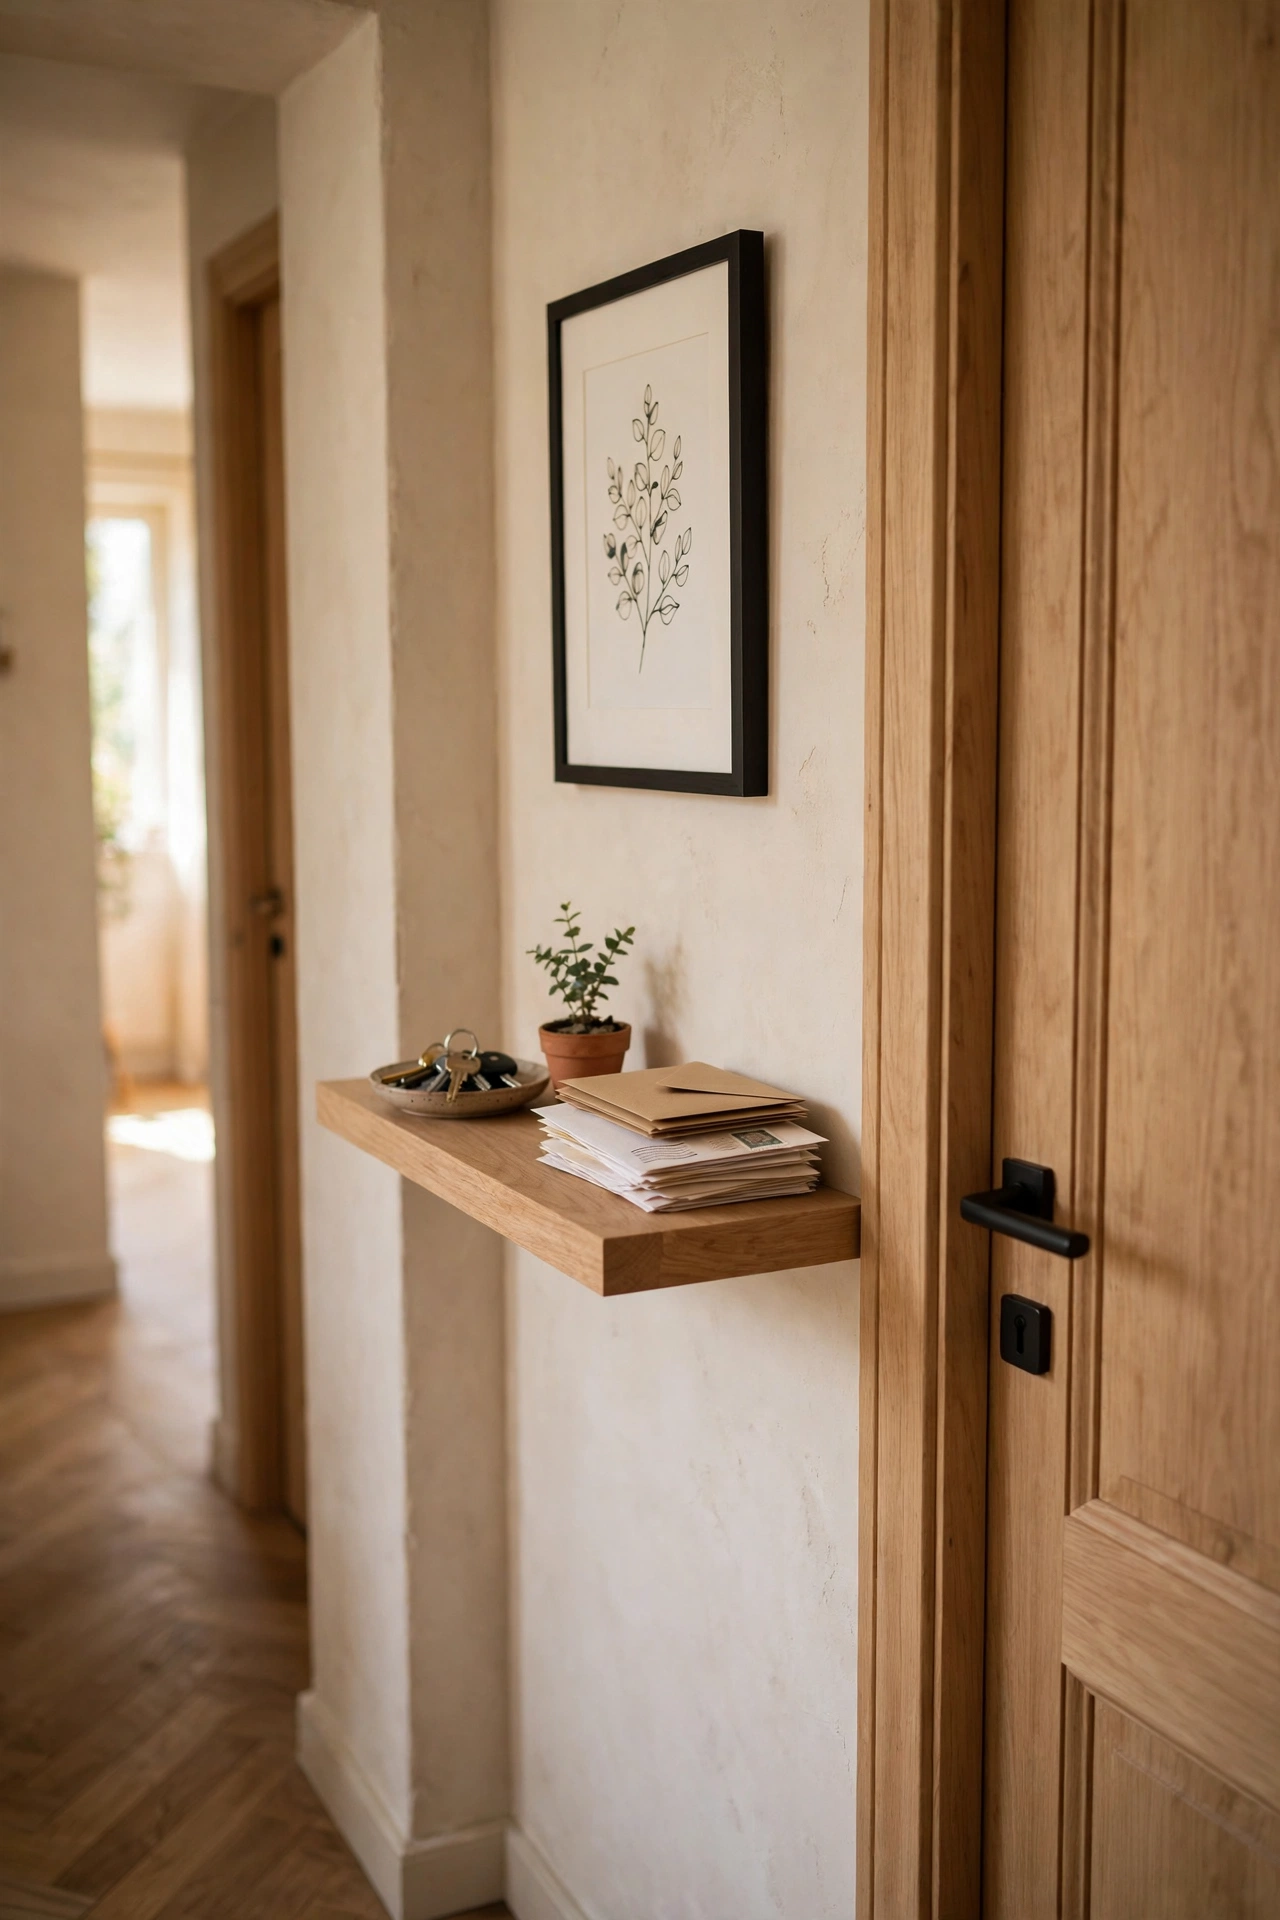
When there’s no room for a console table, a floating entry shelf gives you a landing strip for keys and post without eating floor space. Choose a shelf about 60cm wide and mount it just above light-switch height so it doesn’t crowd the door swing. Use proper wall plugs suited to your wall type — plasterboard fixings for stud walls, masonry plugs for brick — and test the weight before you load it up. I fitted one in my own narrow side-entry hallway where a table would never fit, and it holds keys, a small plant, and the week’s post. One mistake to avoid: don’t mount it where the door handle swings open, or the first gust of wind will sweep everything off.
Cost: ~$7 · Time: 30 minutes
A Wall-Mounted Mail Sorter to Tame Paper Piles
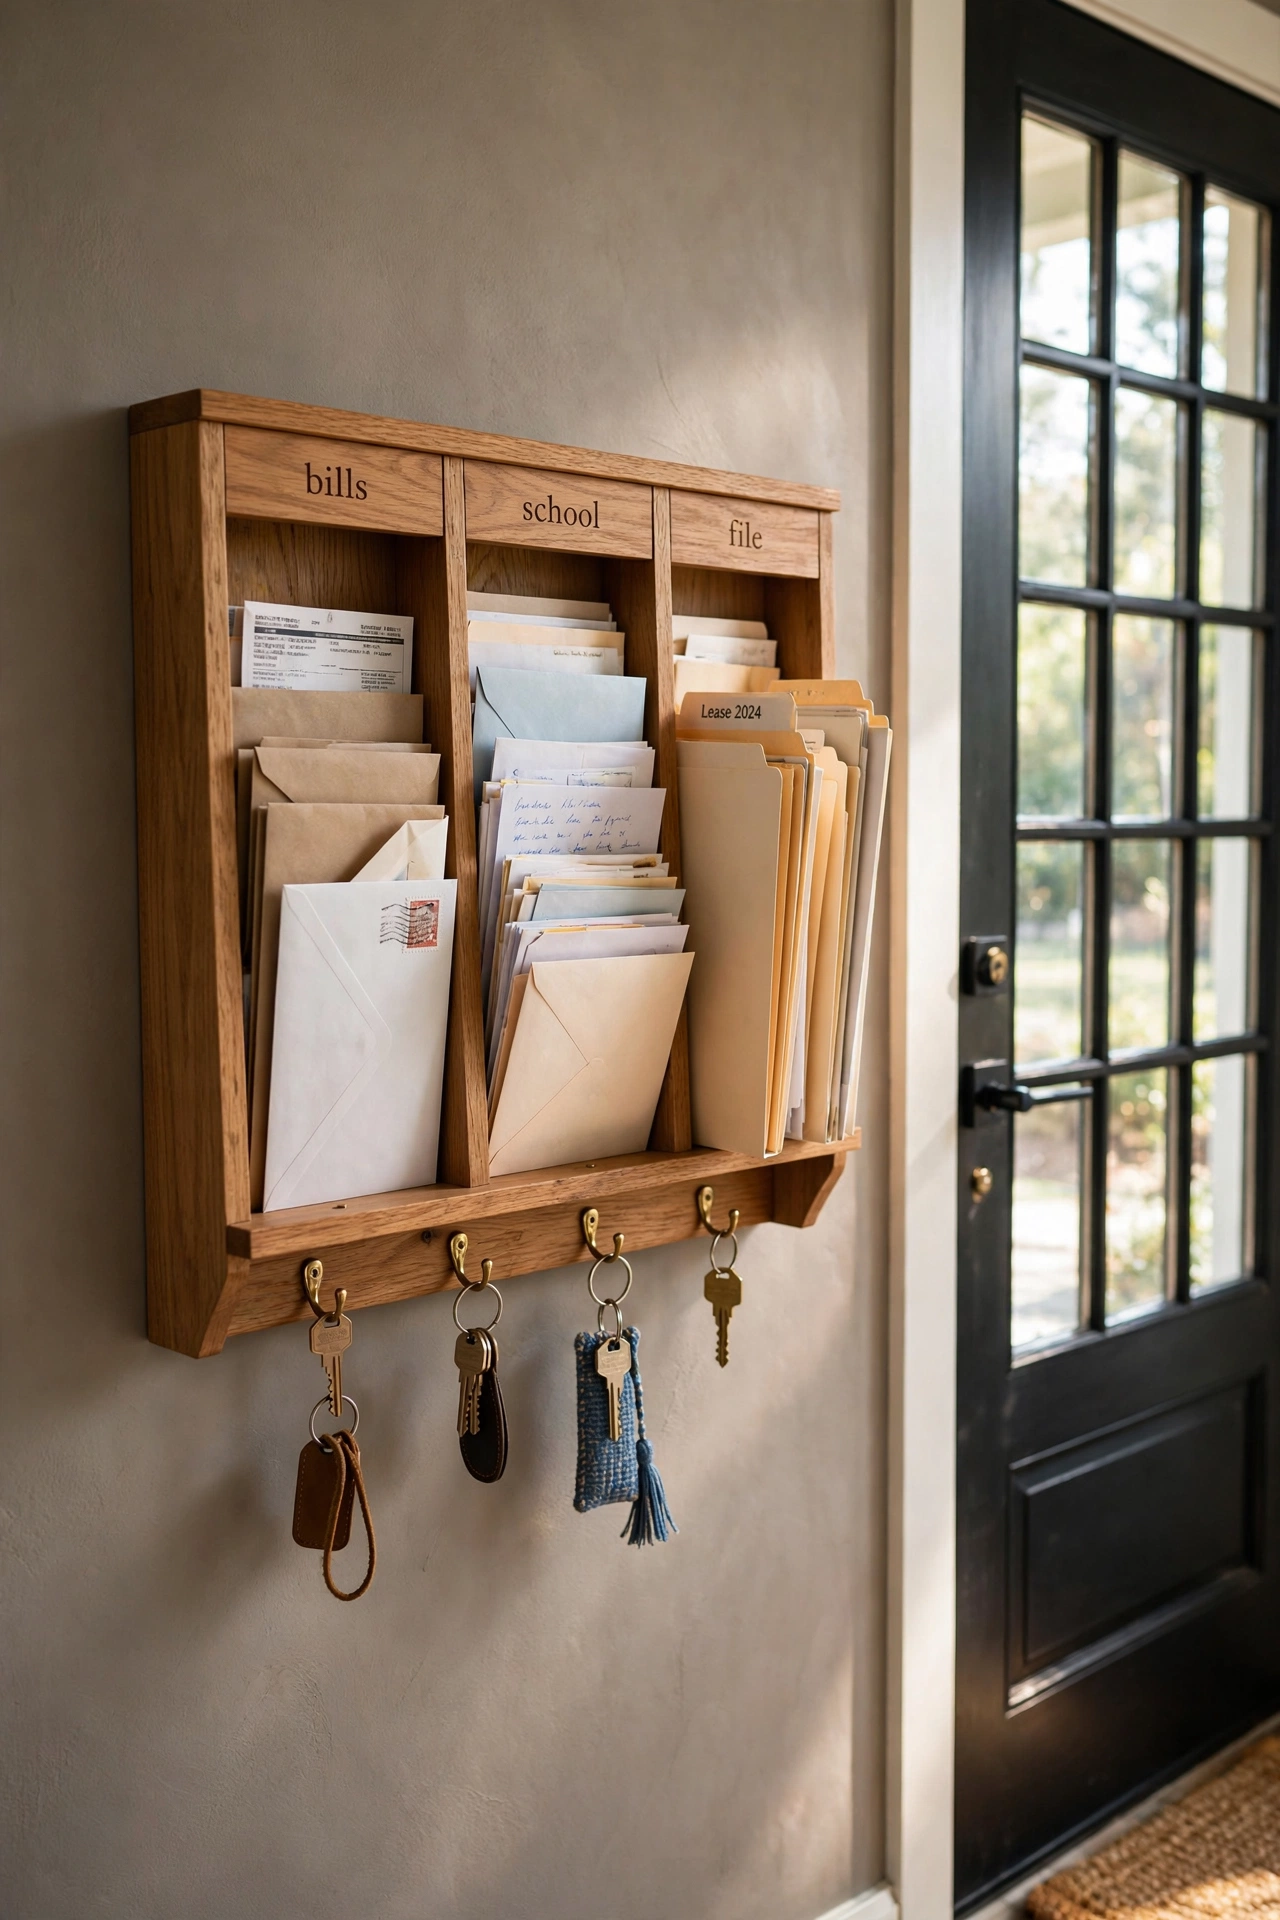
Post multiplies on every flat surface unless it has a designated home, and a wall-mounted mail sorter gives each type of paper its place. Look for one with three or four vertical slots — one for bills, one for school letters, one for things to file. Mount it near the door at a height everyone can reach, and make it a rule that post goes straight in when it arrives. I set this up in my own hallway and the kitchen counter finally stopped being a paper mountain. One mistake to avoid: don’t let the “to file” slot become a second junk pile — clear it every Sunday evening or the system falls apart. For more paper-taming ideas, see (see also: 25-dollar-store-organization-ideas-for-every-room).
Cost: ~$6 · Time: 20 minutes
Pro tip: Stick a small label on each slot (“bills”, “school”, “file”) — it takes two minutes and stops anyone dumping everything in the first opening out of laziness.
A Clustered Family Photo Frame Gallery
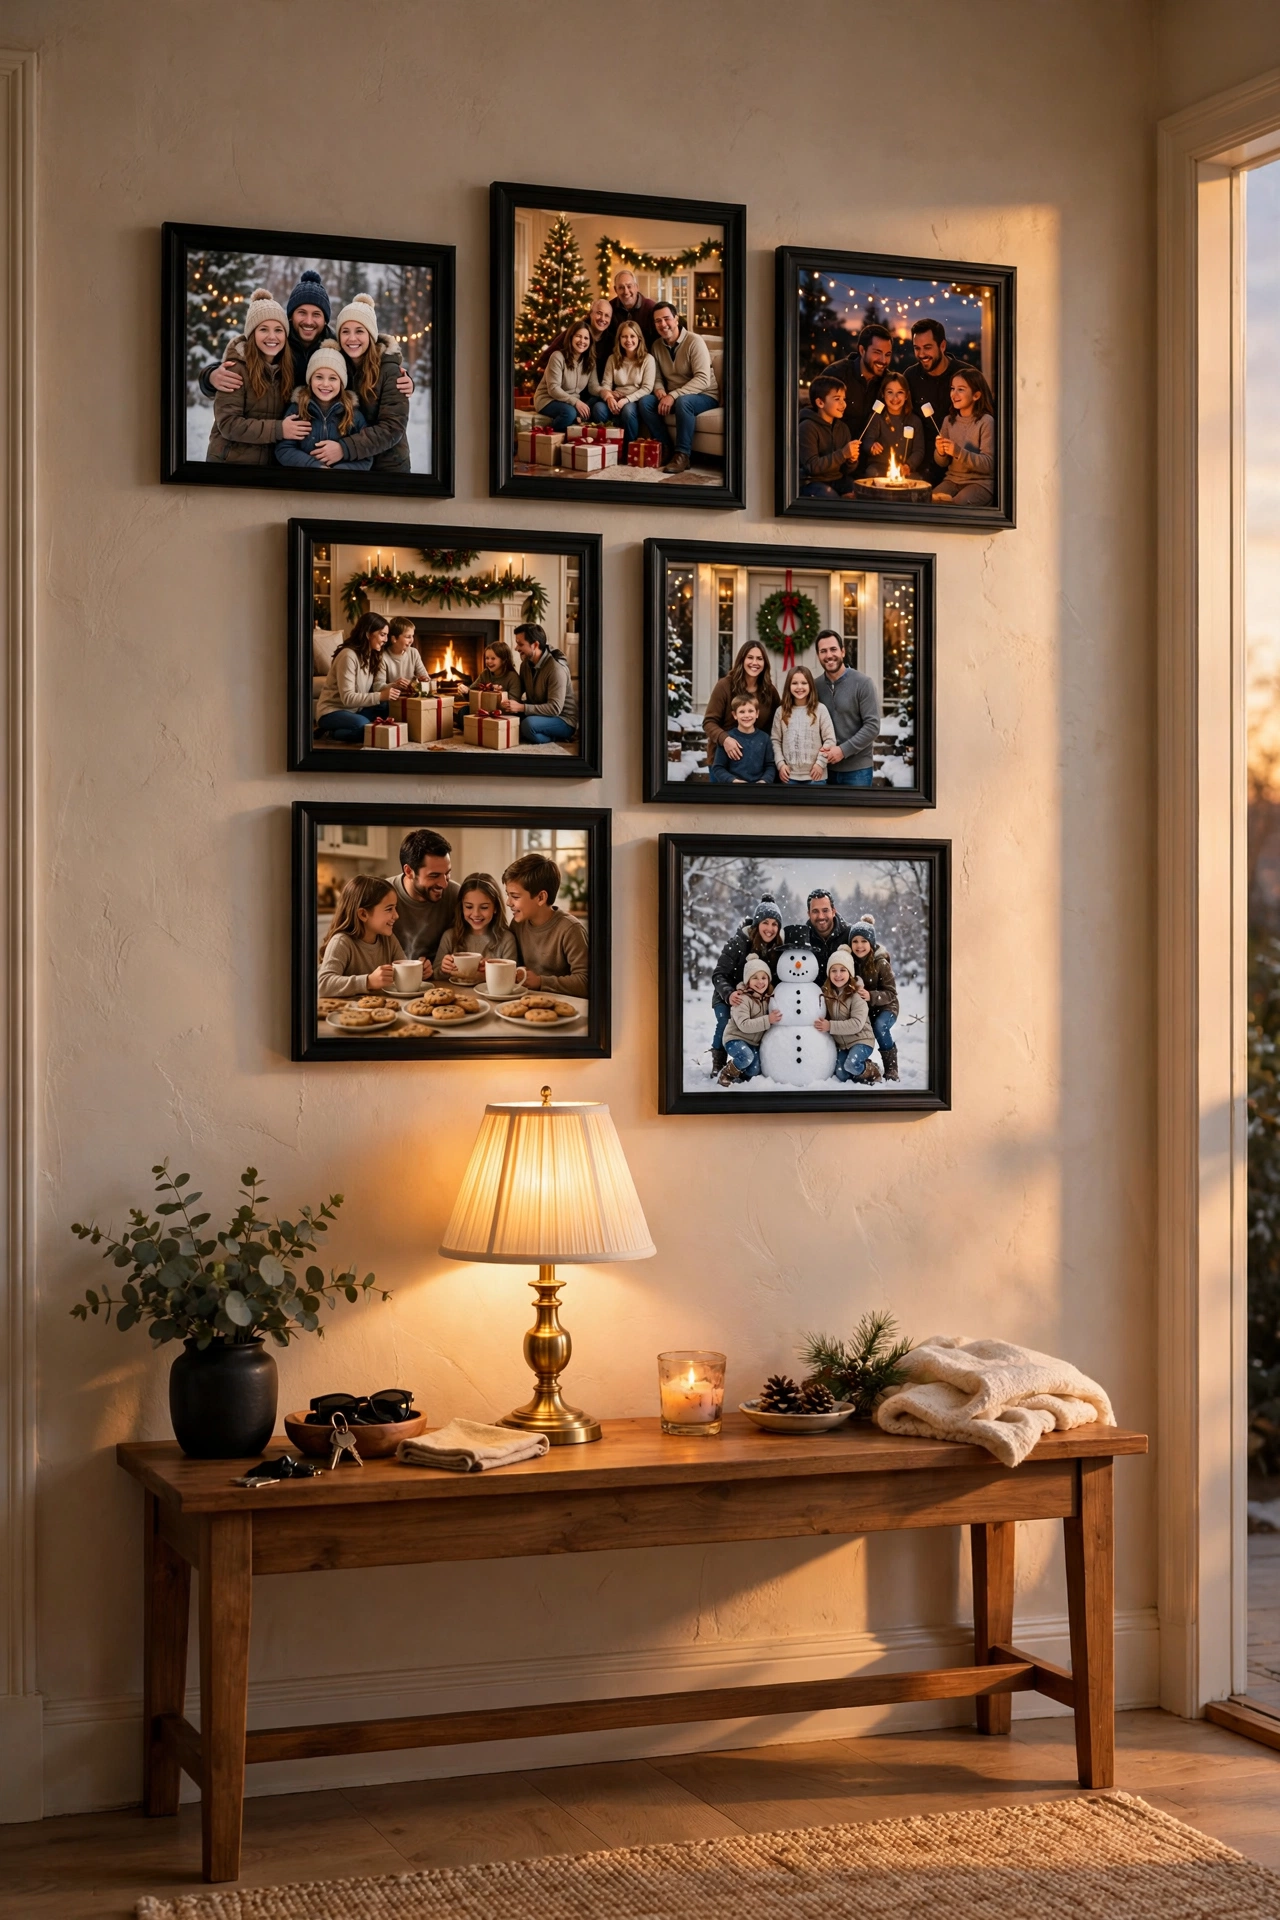
A cluster of family photos turns a blank entryway wall into something personal, and matching dollar-store frames make it look planned rather than random. Pick one frame size and one finish — black or natural wood — and buy five to seven of them. Lay the arrangement out on the floor first, starting with the largest in the middle, keeping gaps even at about 5cm. Then transfer the layout to the wall with painter’s tape as a guide. I built one in my own hallway with holiday snaps and it is the first thing guests comment on. One mistake to avoid: don’t mix frame colours in a small cluster, as it reads messy instead of curated when the frames don’t match.
Cost: ~$10 · Time: 40 minutes
A Backpack and Bag Hook Row by the Door
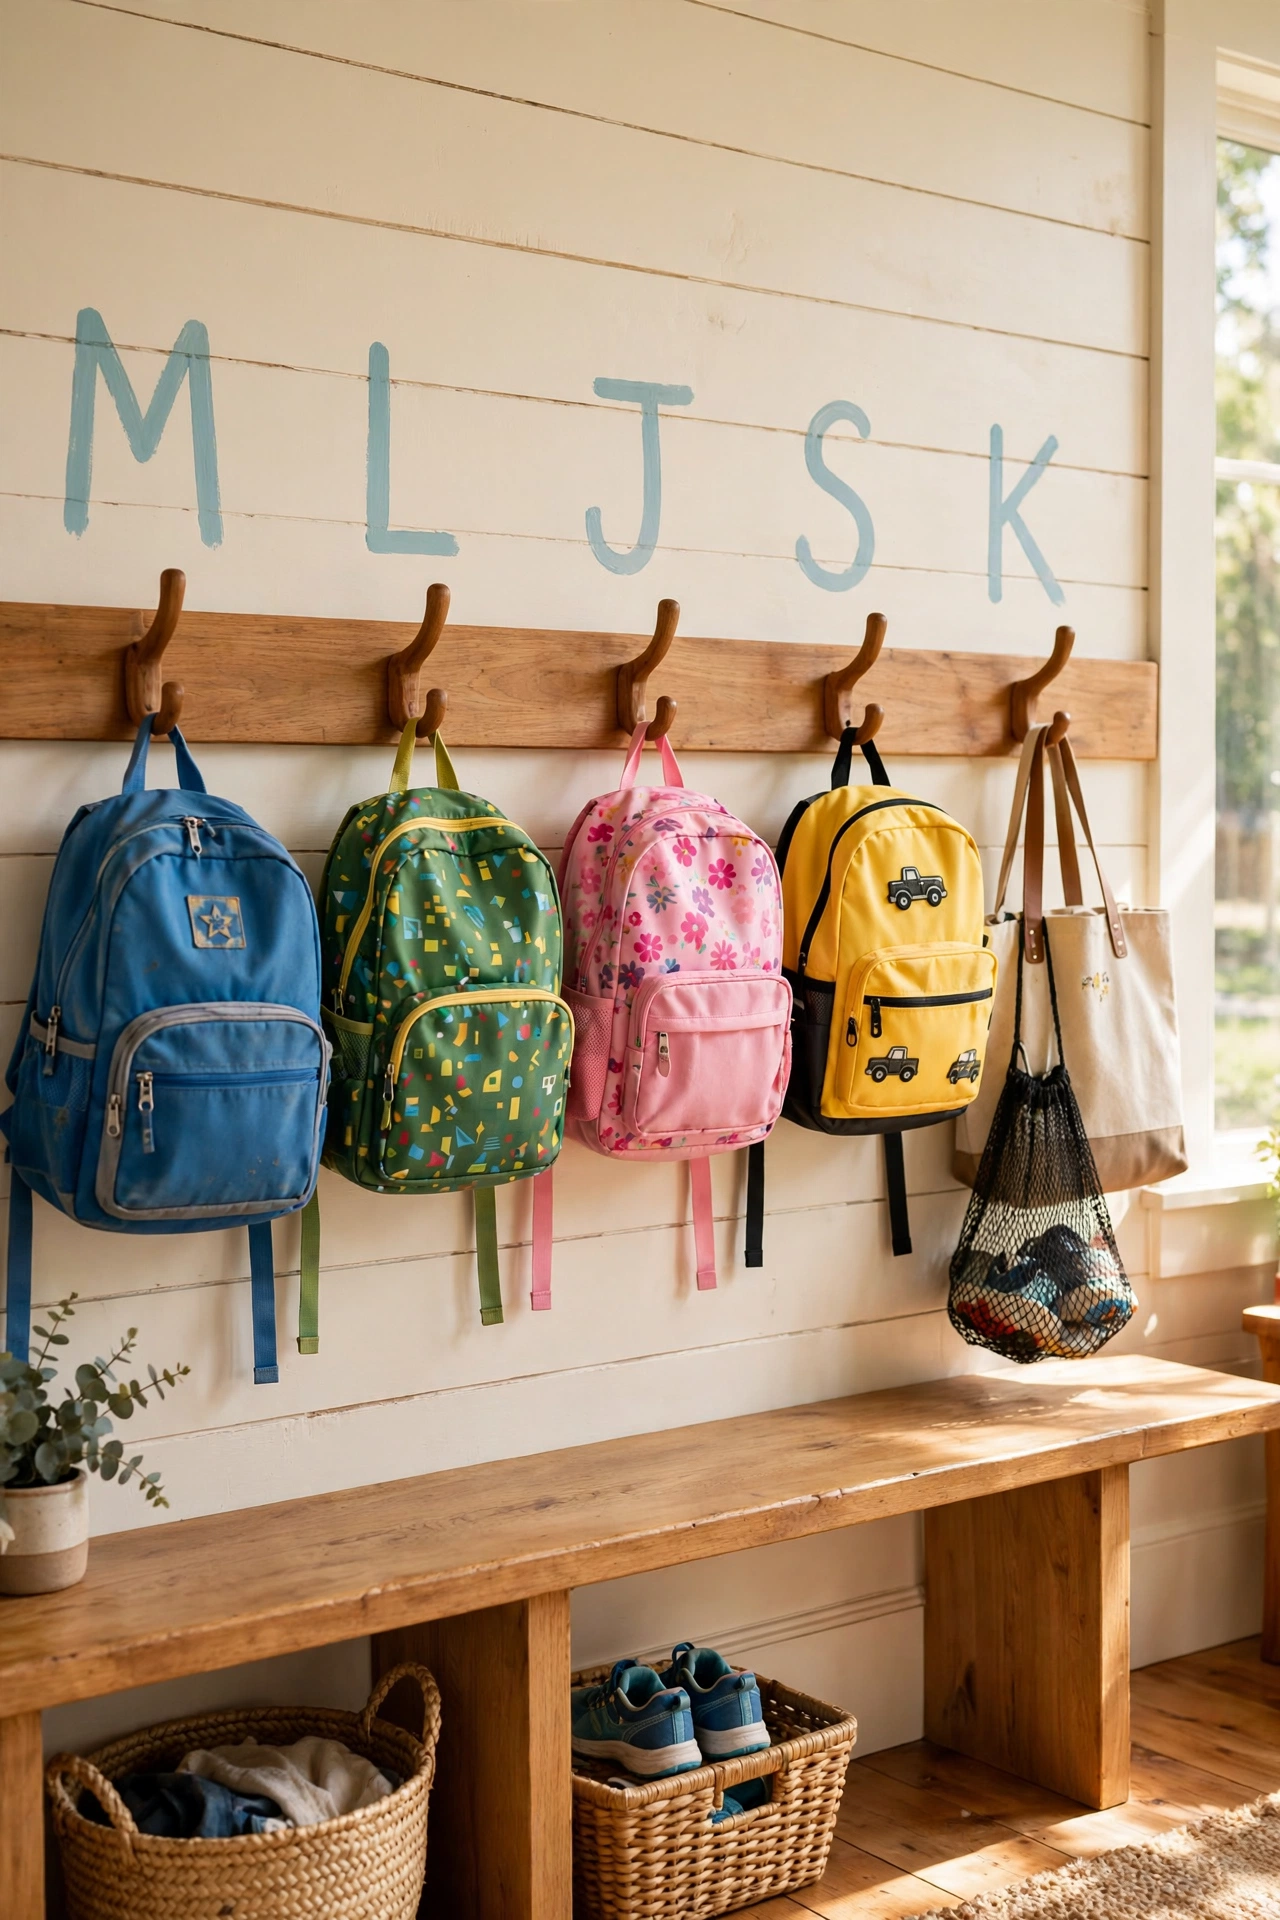
School bags and work totes dumped on the floor are an entryway classic, and a dedicated hook row at kid height ends it. Fit a simple wooden rail with four or five sturdy hooks, mounted about 110cm high so children can actually reach. Space the hooks 25cm apart so chunky backpacks don’t overlap, and assign each person a hook with a painted initial or colour dot. I fitted one in my own mudroom corner and the morning bag hunt is finally over. One mistake to avoid: don’t use the flimsy self-adhesive hooks here — loaded school bags are heavy, so screw the rail into a stud or use heavy-duty anchors.
Cost: ~$9 · Time: 35 minutes
Pro tip: Hang a small mesh bag on the end hook for the bits that fall out of school bags — permission slips, spare hair ties, and the odd lost glove all end up in one findable place.
A Washable Small Entry Rug for Muddy Boots
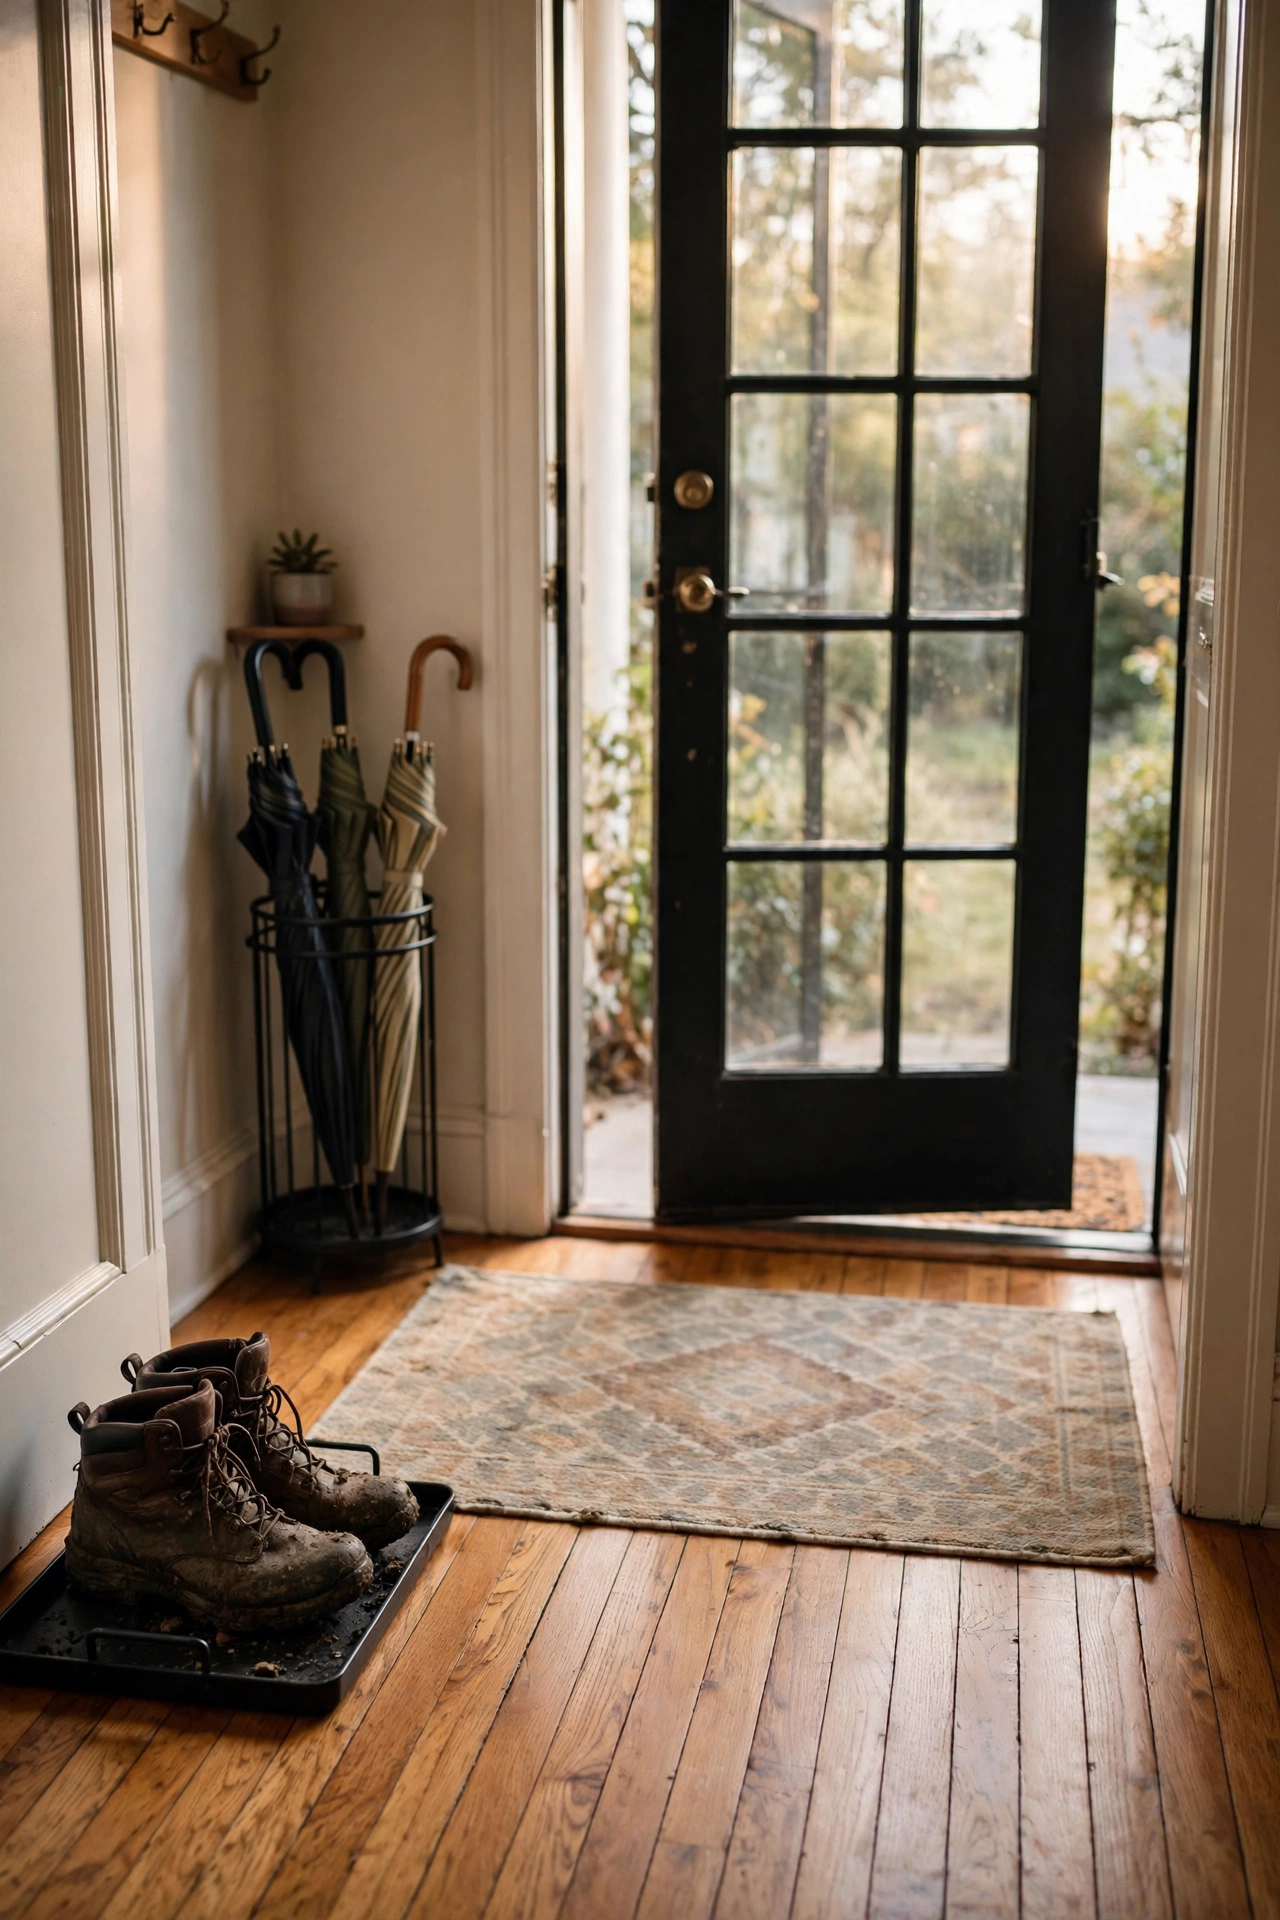
A small washable rug inside the door catches the dirt that mats miss, and being machine-washable means you never have to live with the stains. Look for a low-pile rug about 60 by 90cm that fits the door swing — low pile matters so the door still opens freely. Lay it just inside the threshold with a thin non-slip pad beneath, and wash it on a cool cycle whenever it looks tired. I keep one in my own entryway through the muddy months and it goes in the machine roughly once a fortnight. One mistake to avoid: don’t buy a rug with a rubber backing for a wooden floor, as some rubber backings can discolour varnish over time.
Cost: ~$8 · Time: 10 minutes
A Faux Potted Entry Plant for Instant Life
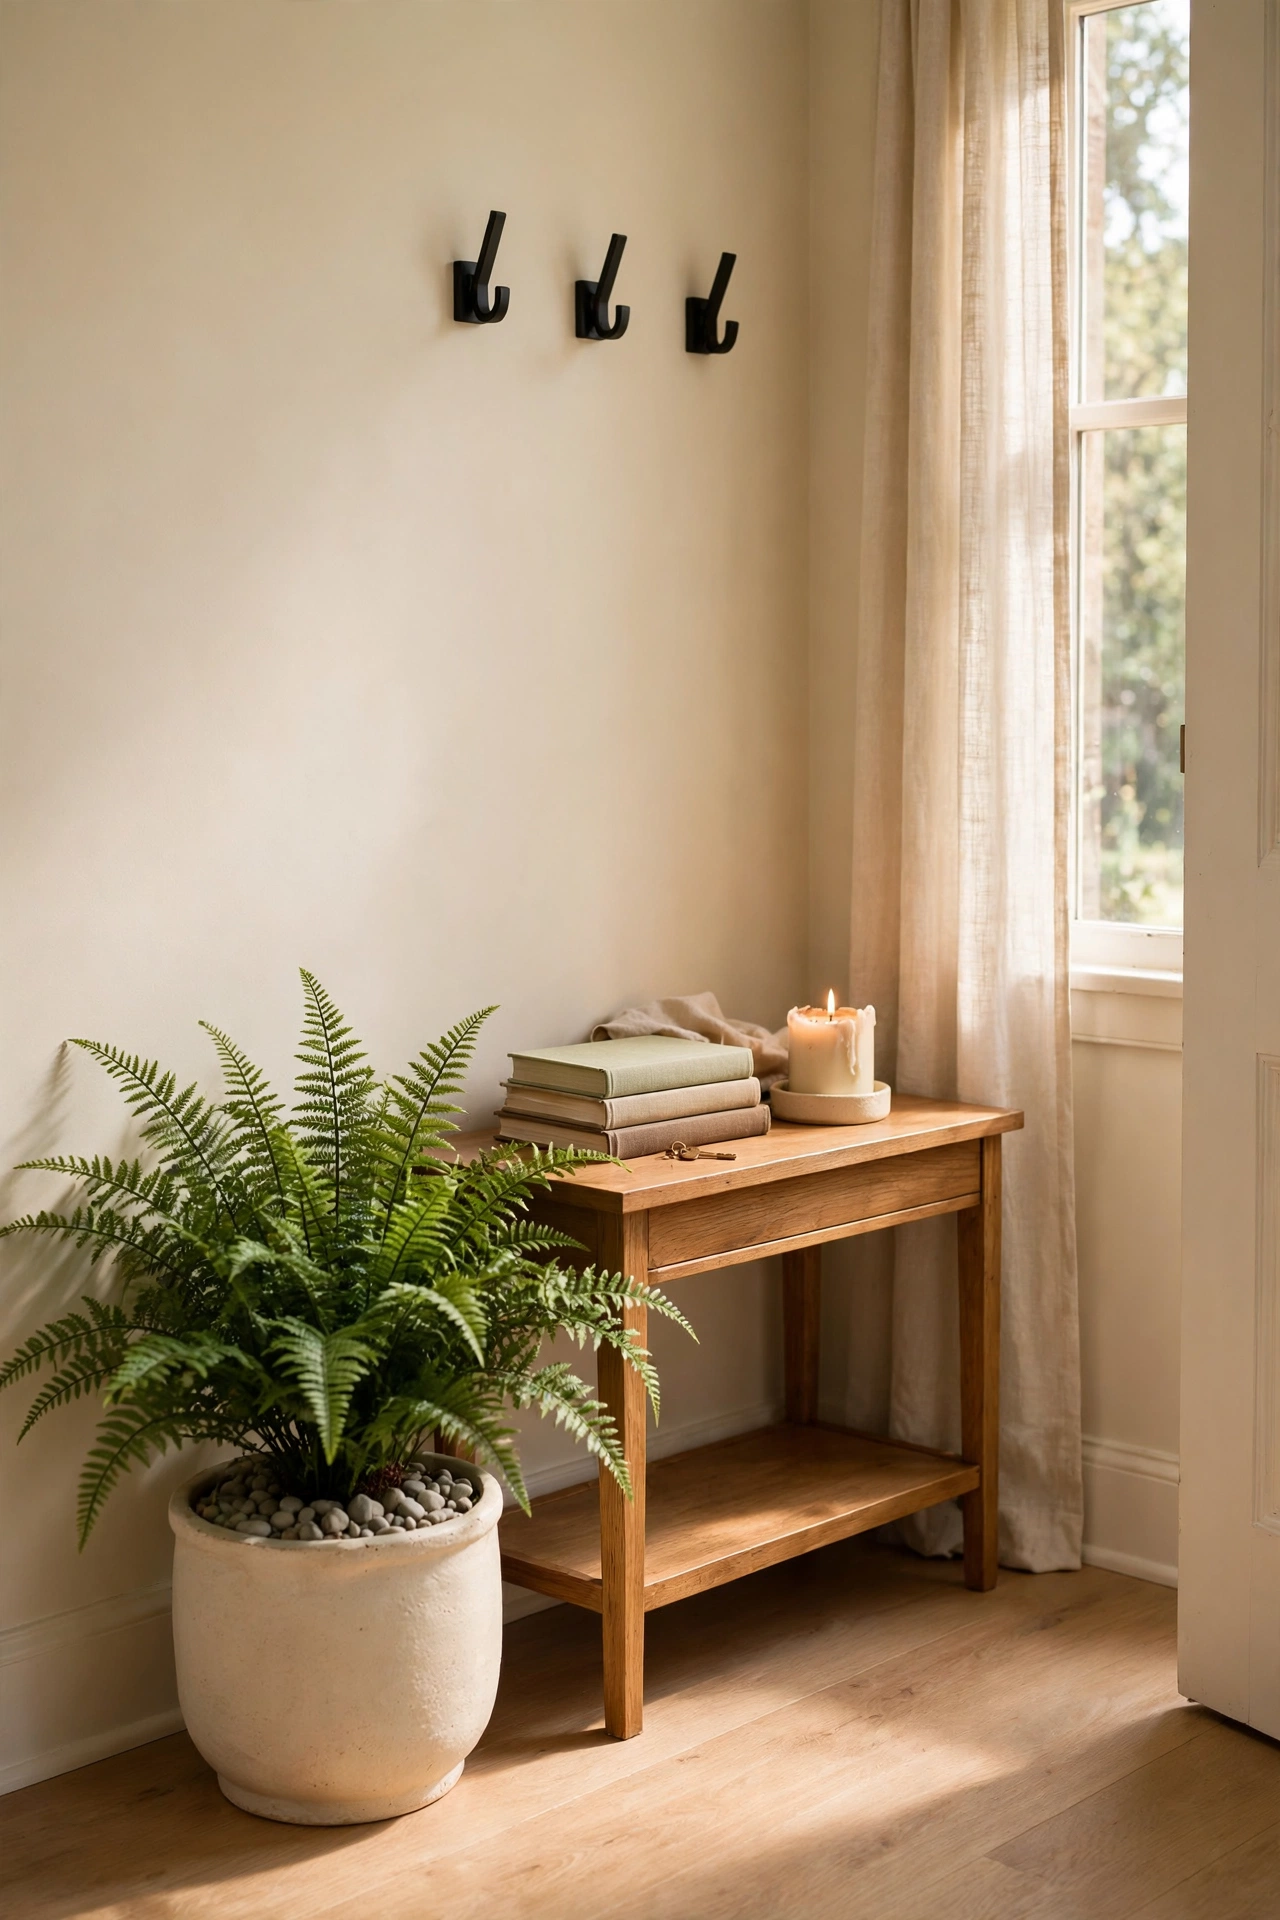
A touch of green makes an entryway feel alive, and a faux potted plant gives you the look with zero watering. Choose a simple leafy plant — a faux fern or pothos style — and re-pot it out of its plastic nursery pot into a nicer dollar-store planter, packing the top with a little moss or pebbles to hide the base. Set it on the floor beside the console or on a lower shelf where real plants would struggle for light. I have one flanking my own front door that guests regularly try to water. One mistake to avoid: don’t leave the shiny plastic leaves as they come — a quick wipe with a damp cloth removes the factory sheen and makes them look far more real.
Cost: ~$7 · Time: 15 minutes
Pro tip: Bend the stems slightly so the plant doesn’t sit in a perfect symmetrical cone — real plants grow unevenly, and a few wonky stems sell the illusion immediately.
A Seasonal Chalkboard Door Sign You Can Update Monthly
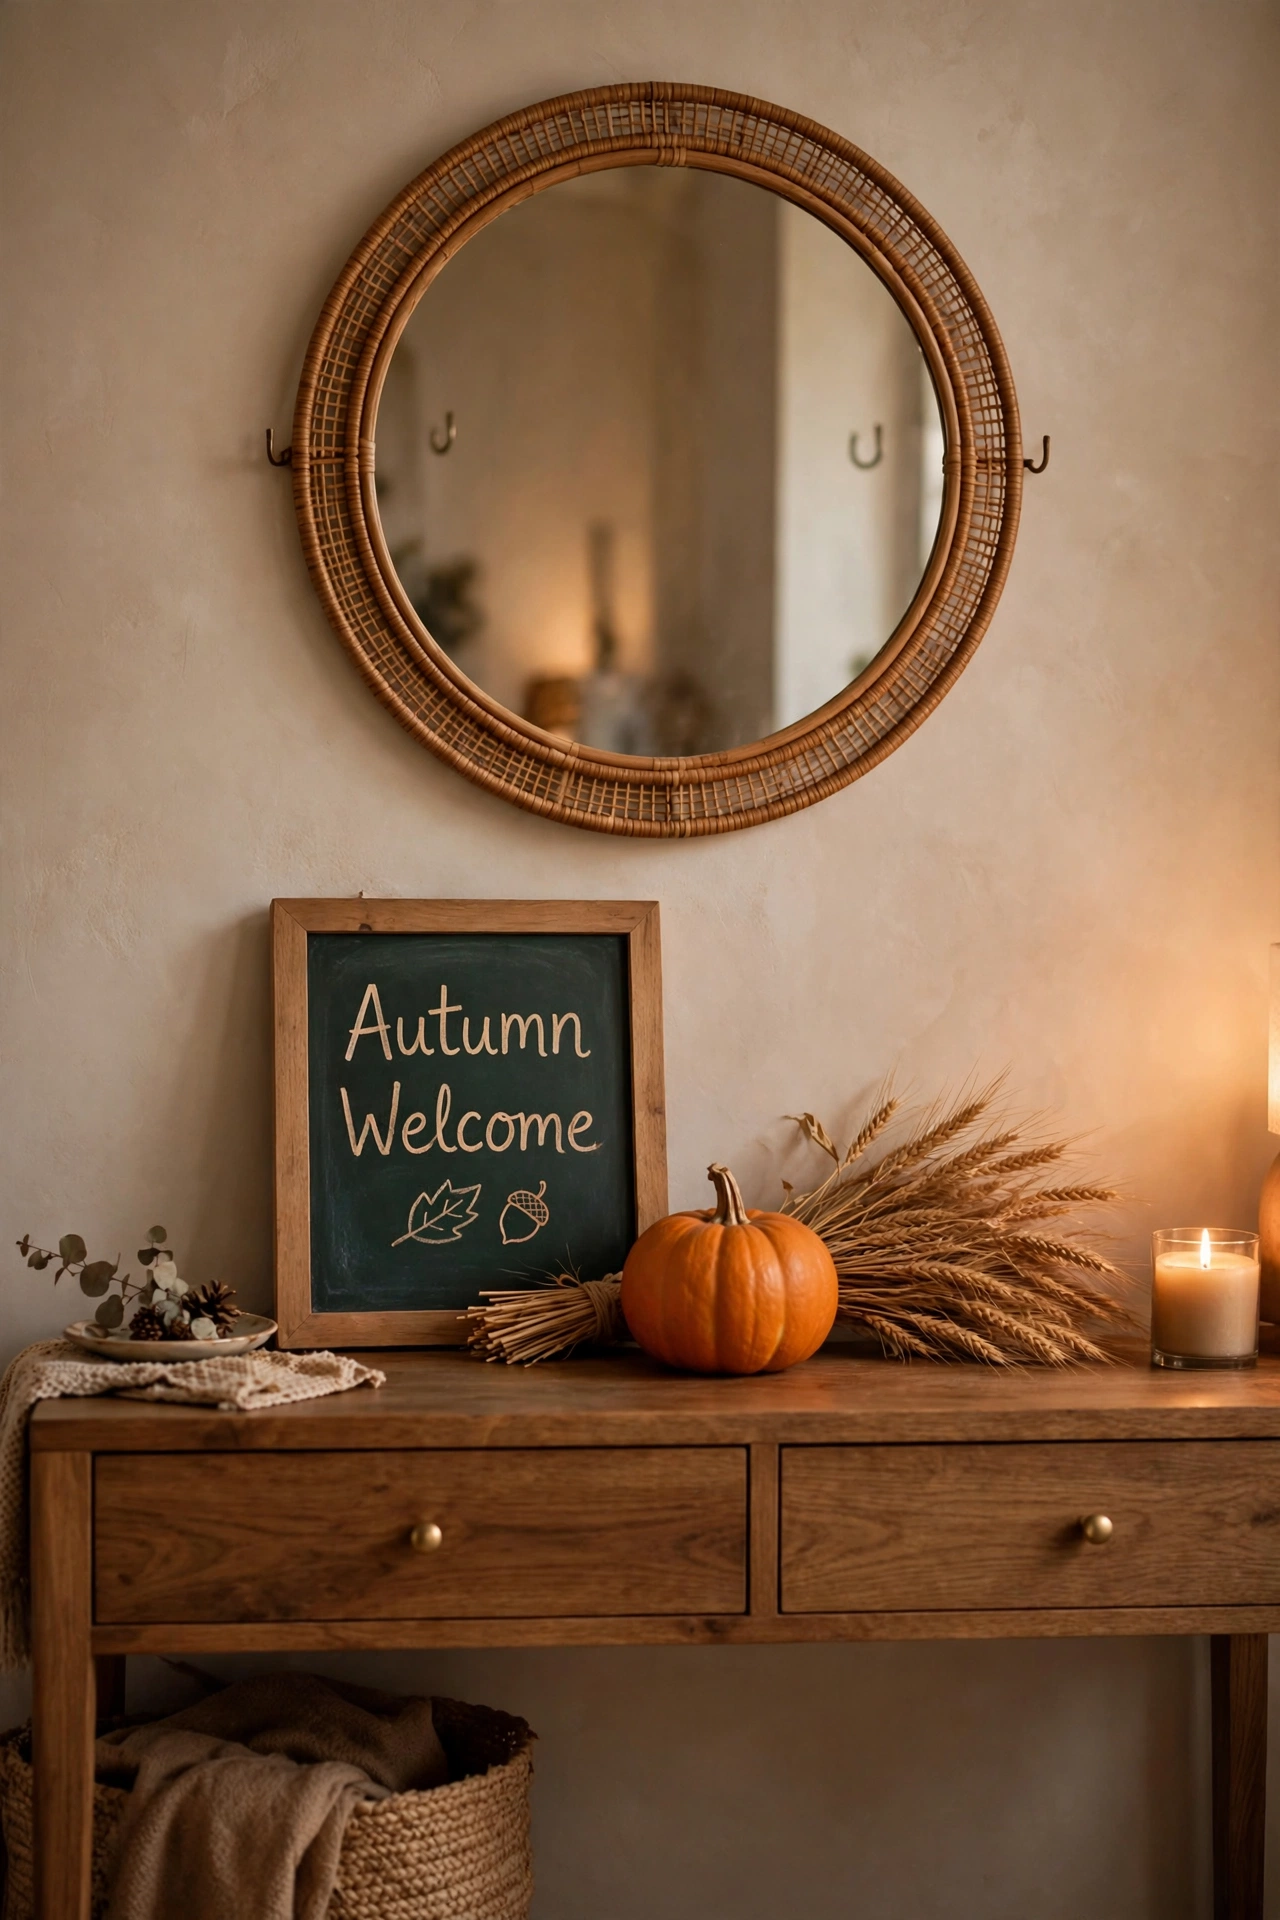
A small chalkboard sign by the door lets you refresh your entryway every season without buying new decor. Season a framed chalkboard first by rubbing chalk over the whole surface and wiping it off, then write your message with chalk markers for a bolder finish. Hang it on the door or lean it on the console, and update it monthly. I change mine at the start of each month and it takes five minutes. One mistake to avoid: don’t use regular chalk near the door, as it smudges when anyone brushes past — chalk markers stay put until you wipe them off. More ideas: (see also: 15-dollar-store-entryway-finds-on-a-budget) and (see also: 21-high-end-dupes-from-the-dollar-store-worth-grabbing).
Cost: ~$5 · Time: 20 minutes
Start with the three hacks that solve your biggest daily annoyance — the keys, the shoes, the post pile — and your entryway will feel like a different room by the weekend. Small fixes, done well, beat a full makeover every time.
