23 Dollar Store Laundry Room Upgrades That Work
The laundry room is the most neglected room in the house, and it’s also the one where small upgrades make the biggest daily difference. These dollar store laundry room upgrades aren’t about making the room pretty for photos — they’re about making wash day faster, calmer, and less annoying. I’ve tested every one of these in my own utility room over the past year, and the room went from a place I avoided to one that actually runs like a system.
1. Labelled Detergent Decanting Jars
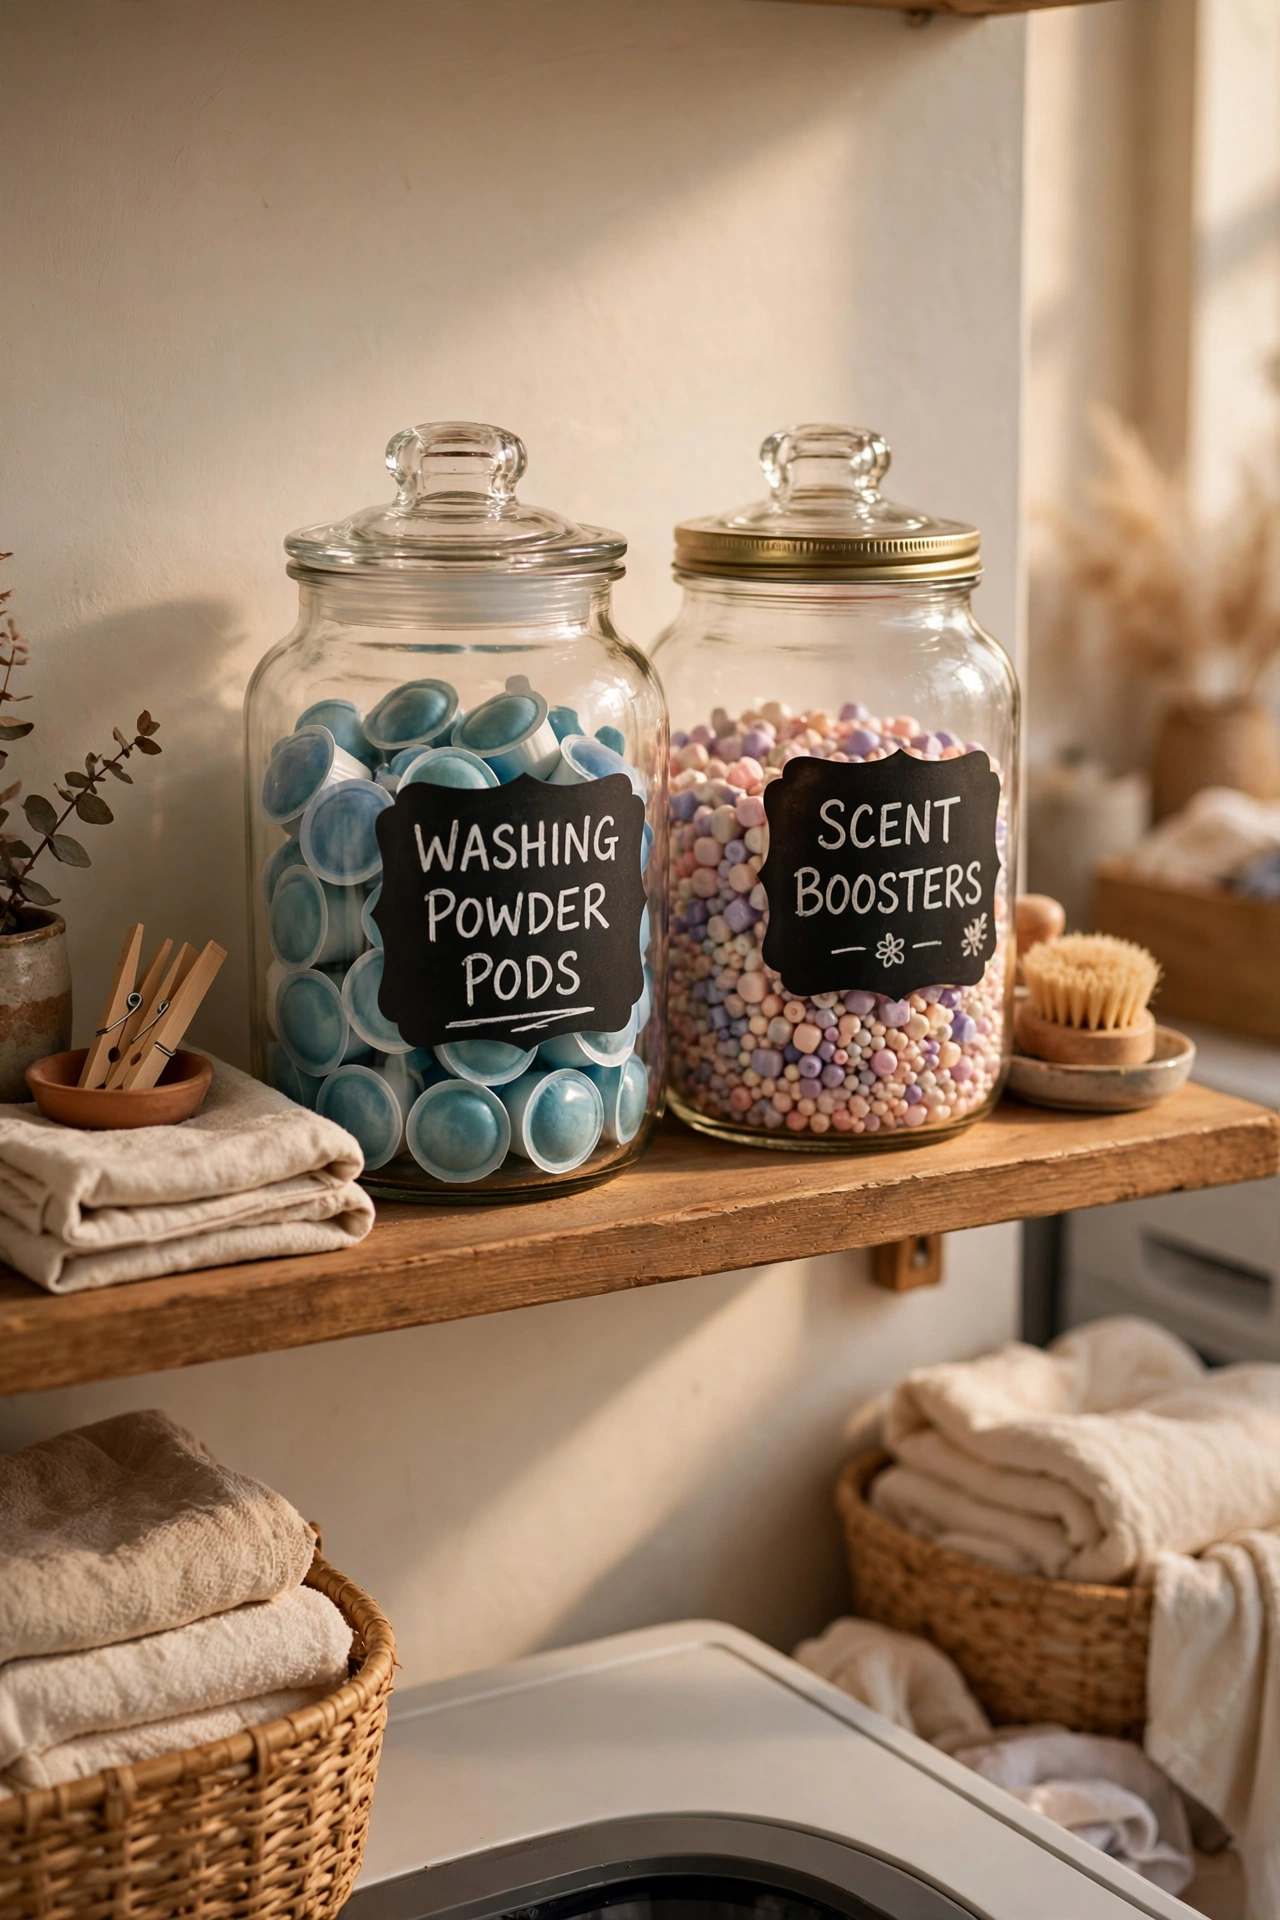
Decant washing powder, pods and scent boosters into matching glass jars with labels. It looks tidy, but the real win is that you can see at a glance when you’re running low — no more discovering an empty box mid-wash. Use wide-mouth jars so scooping is easy, and keep the original packaging’s dosing instructions tucked behind the jar. I tried this in my own laundry room and stopped over-pouring detergent immediately, which probably paid for the jars within two months.
Cost: ~$4 · Time: 20 minutes
2. Wire Basket Set for Sorting
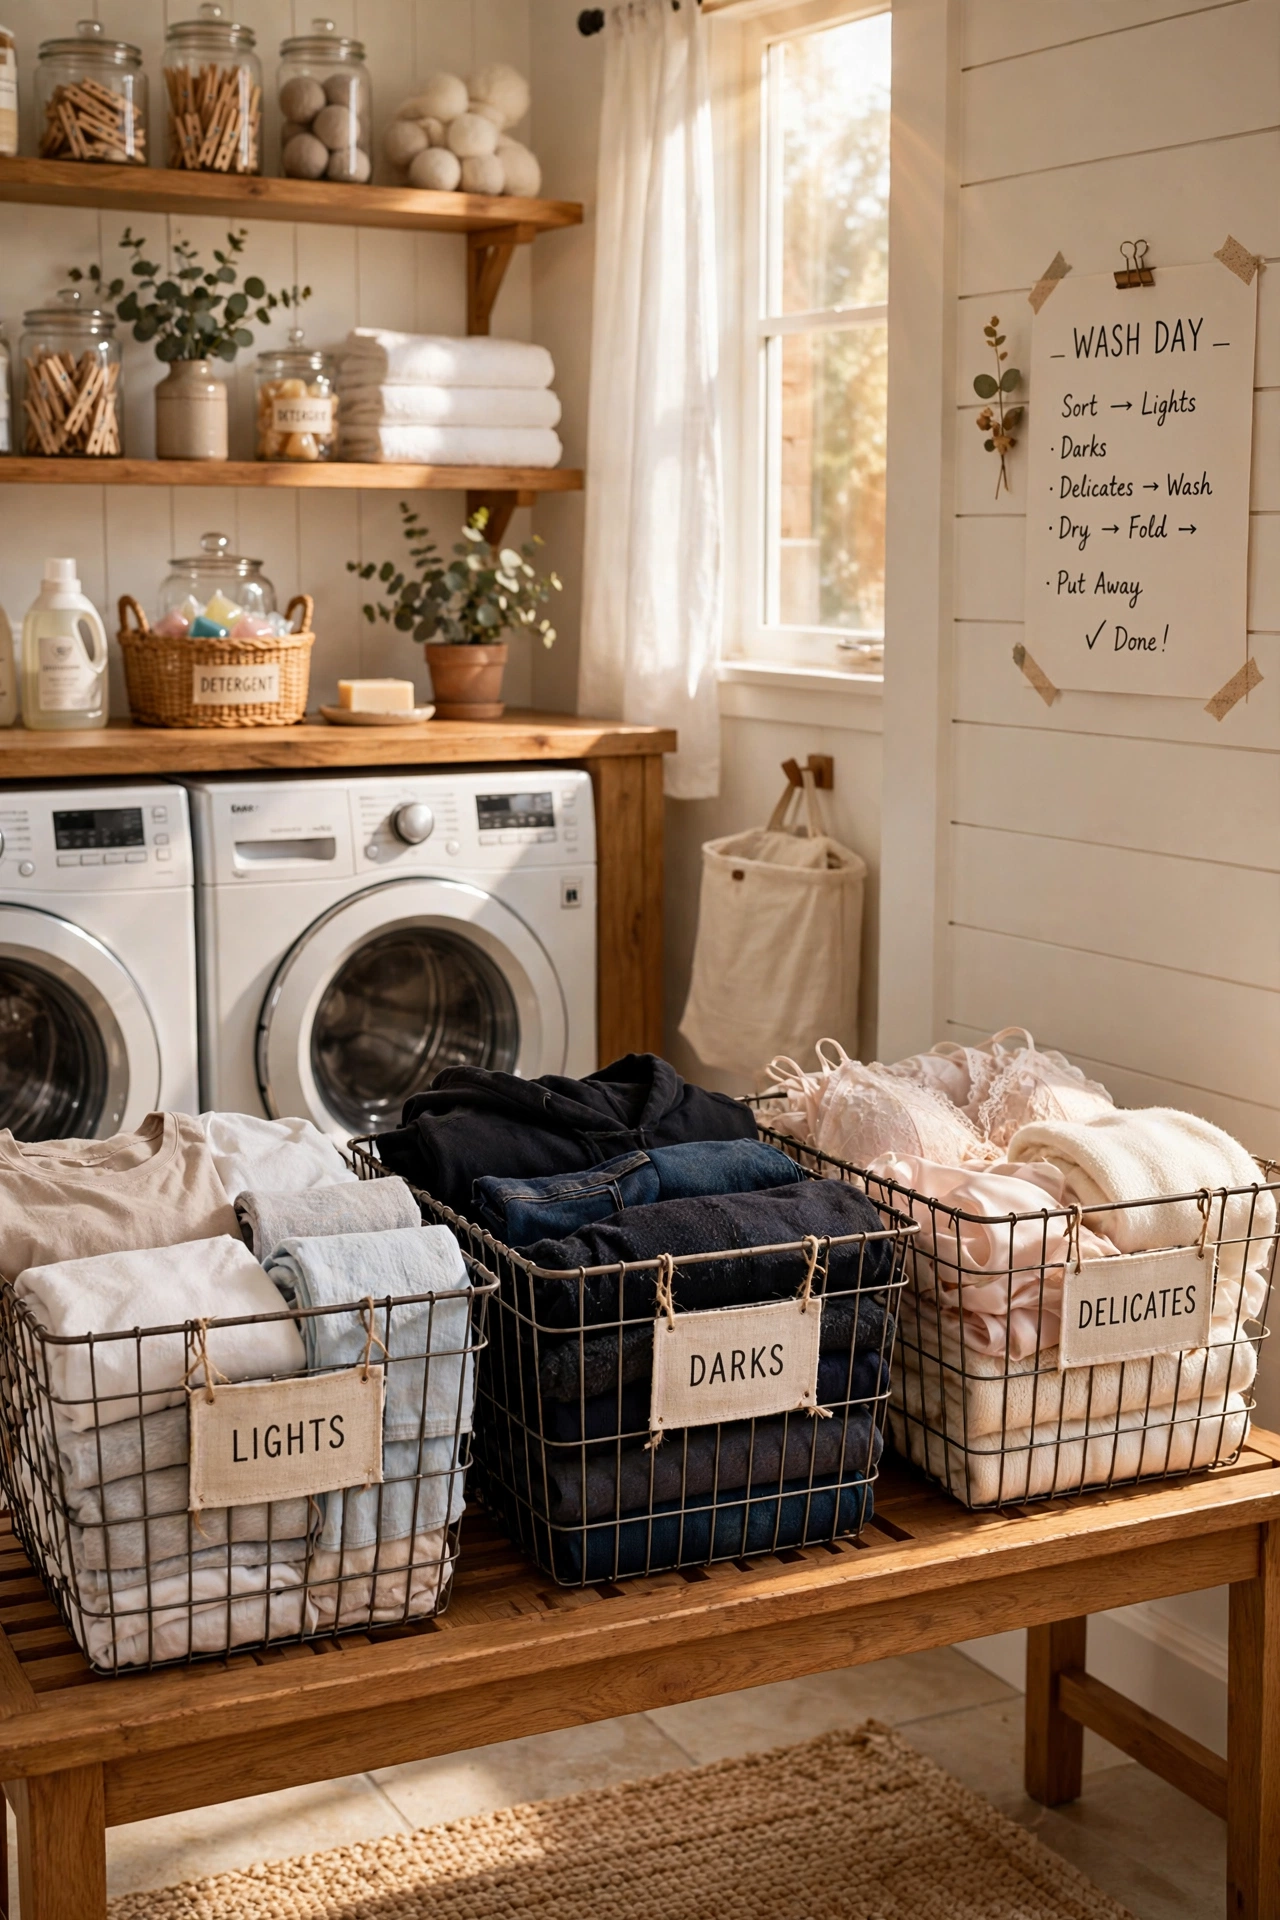
Three wire baskets — lights, darks, delicates — turn sorting into a grab-and-go habit instead of a floor-pile situation. Label each basket clearly, because the system collapses the moment someone guesses wrong. Stack them or line them along a shelf depending on your space. One mistake to avoid: don’t buy baskets so large they become immovable when full; medium baskets you can actually carry beat giant ones every time.
Cost: ~$3 each · Time: 10 minutes
3. Wall-Mounted Folding Shelf
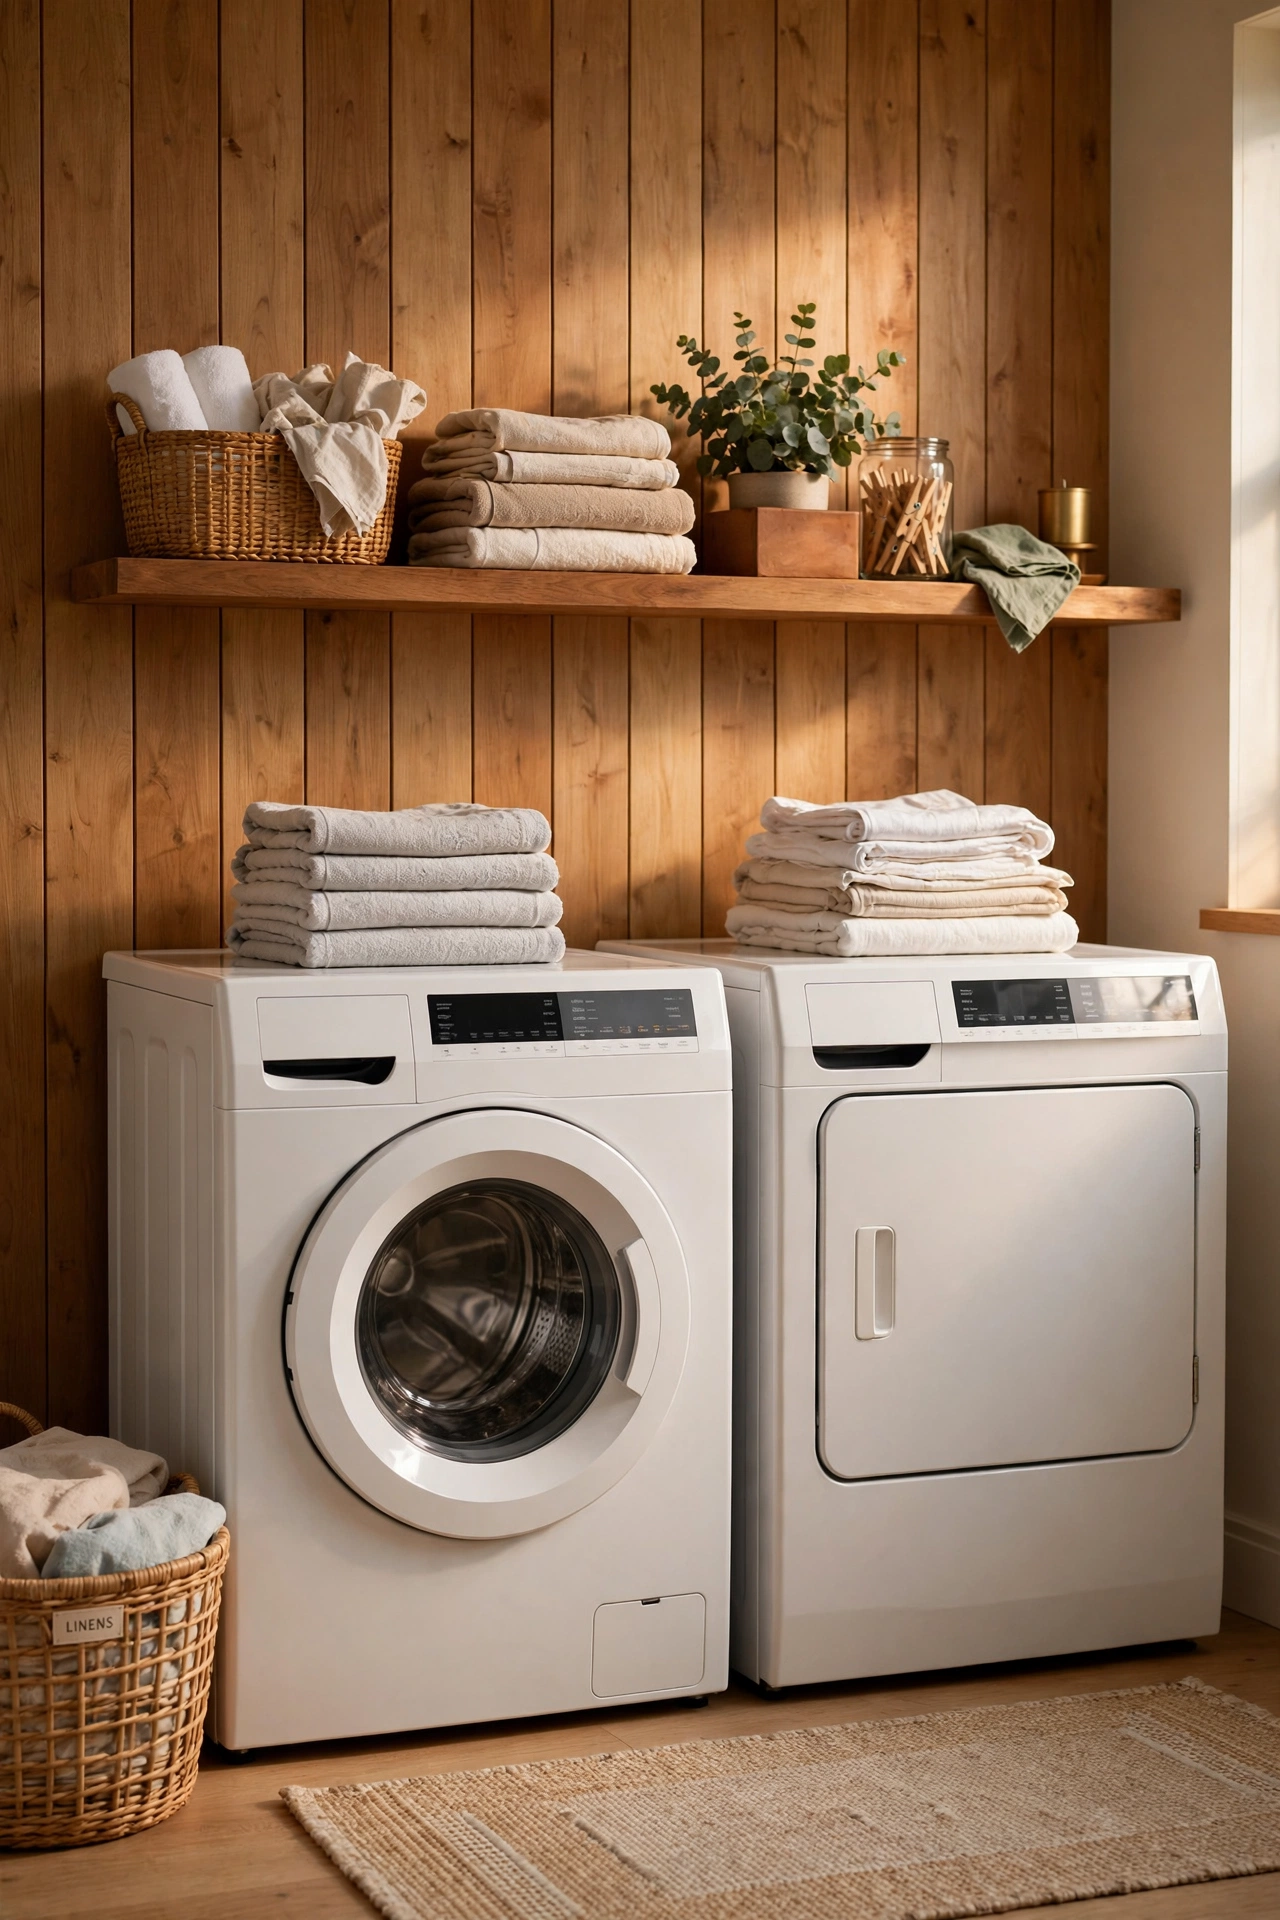
A simple wall-mounted shelf above the machines becomes a folding station and a landing spot for the laundry basket. Mount it at a comfortable working height — about waist level — and keep the surface clear as a rule, not a suggestion. I added one above my dryer and folding stopped happening on the bed, which meant clothes actually got put away instead of living in a “clean pile” for a week. Use proper wall anchors; a shelf of folded laundry is heavier than it looks.
Cost: ~$4 · Time: 30 minutes
4. The Lost-Sock Basket
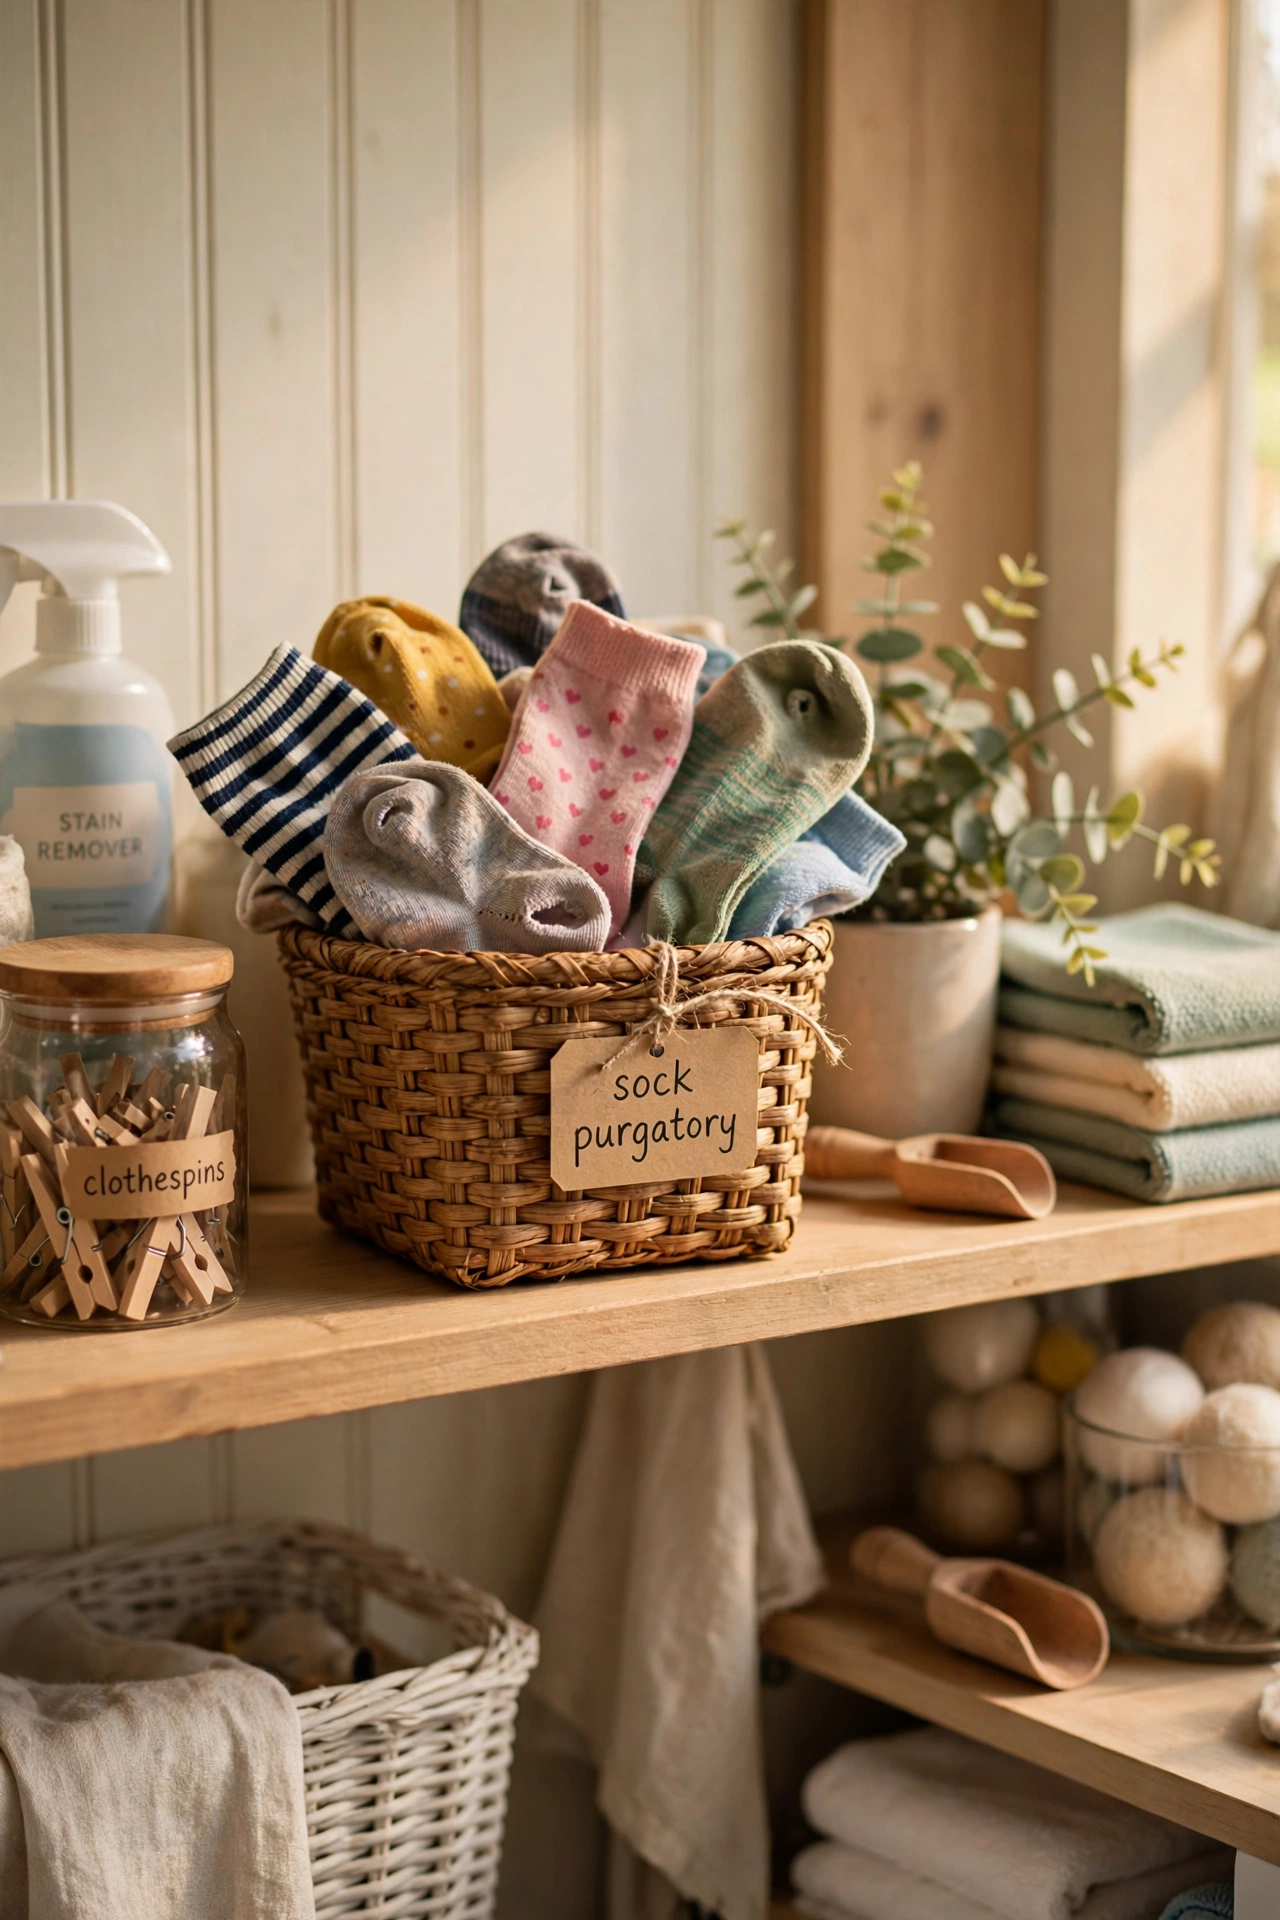
Every household needs one designated basket where single socks go to wait for their partners. Keep it small and visible, and check it monthly — you’d be amazed how many pairs reunite. I started this as a joke and it genuinely reduced sock-related grumbling in our house. After three months, unmatched loners get retired to the cleaning rag bag with no guilt. Label it something fun; “Sock Purgatory” has worked well in our house.
Cost: ~$2 · Time: 5 minutes
5. Dedicated Lint Bin
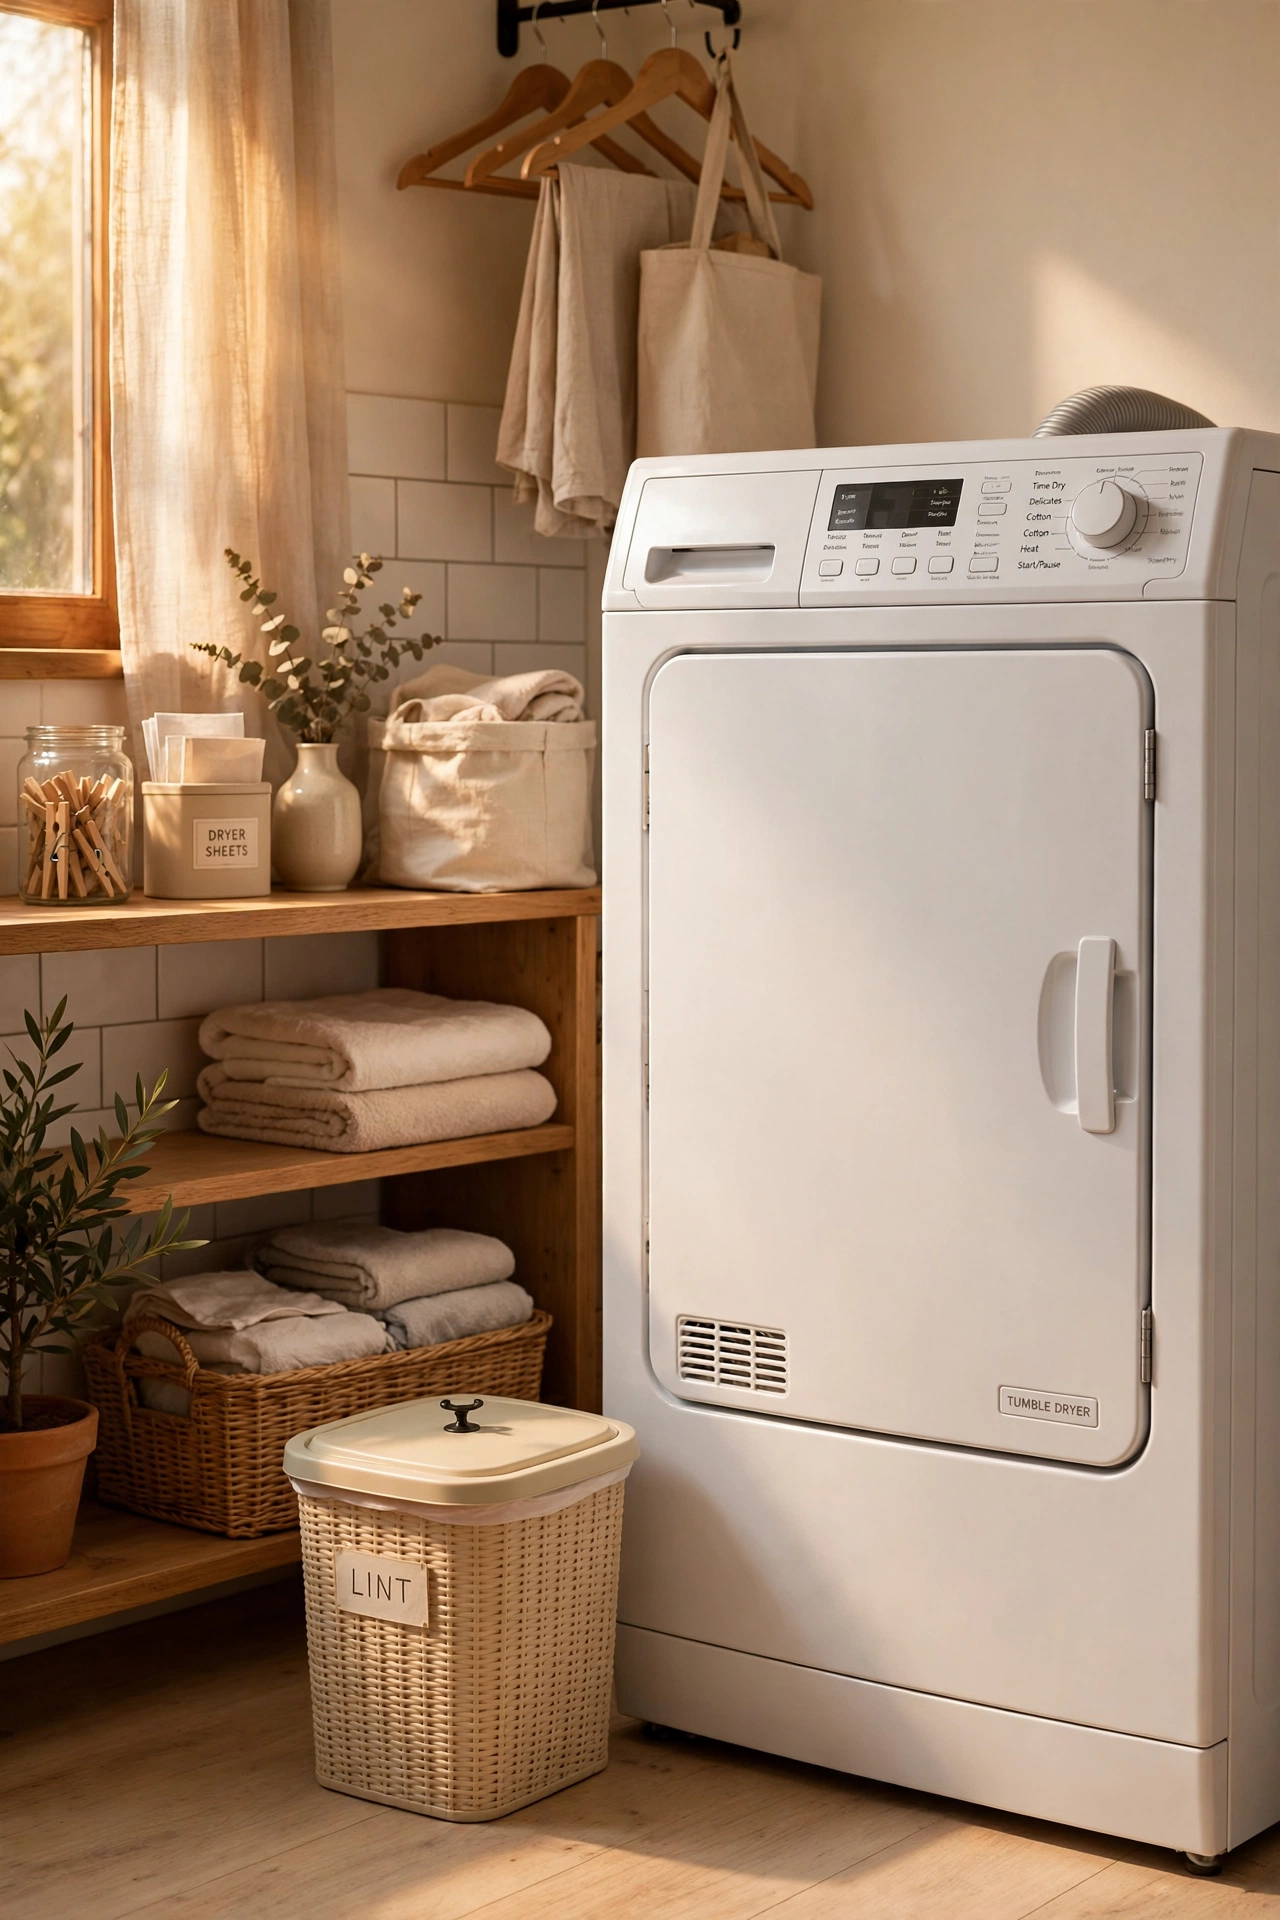
A small lidded bin next to the dryer for lint beats the classic “balance it on top of the machine” method. Empty the filter into it after every load and tip it into the bin weekly. I keep a little note on mine reminding everyone to clean the filter — it takes ten seconds and keeps the dryer running efficiently. The bin also catches dryer sheets and the occasional tissue that survived a pocket check. (see also: 21-dollar-store-laundry-room-finds-that-look-expensive)
Cost: ~$2 · Time: 5 minutes
6. Foldable Drying Rack
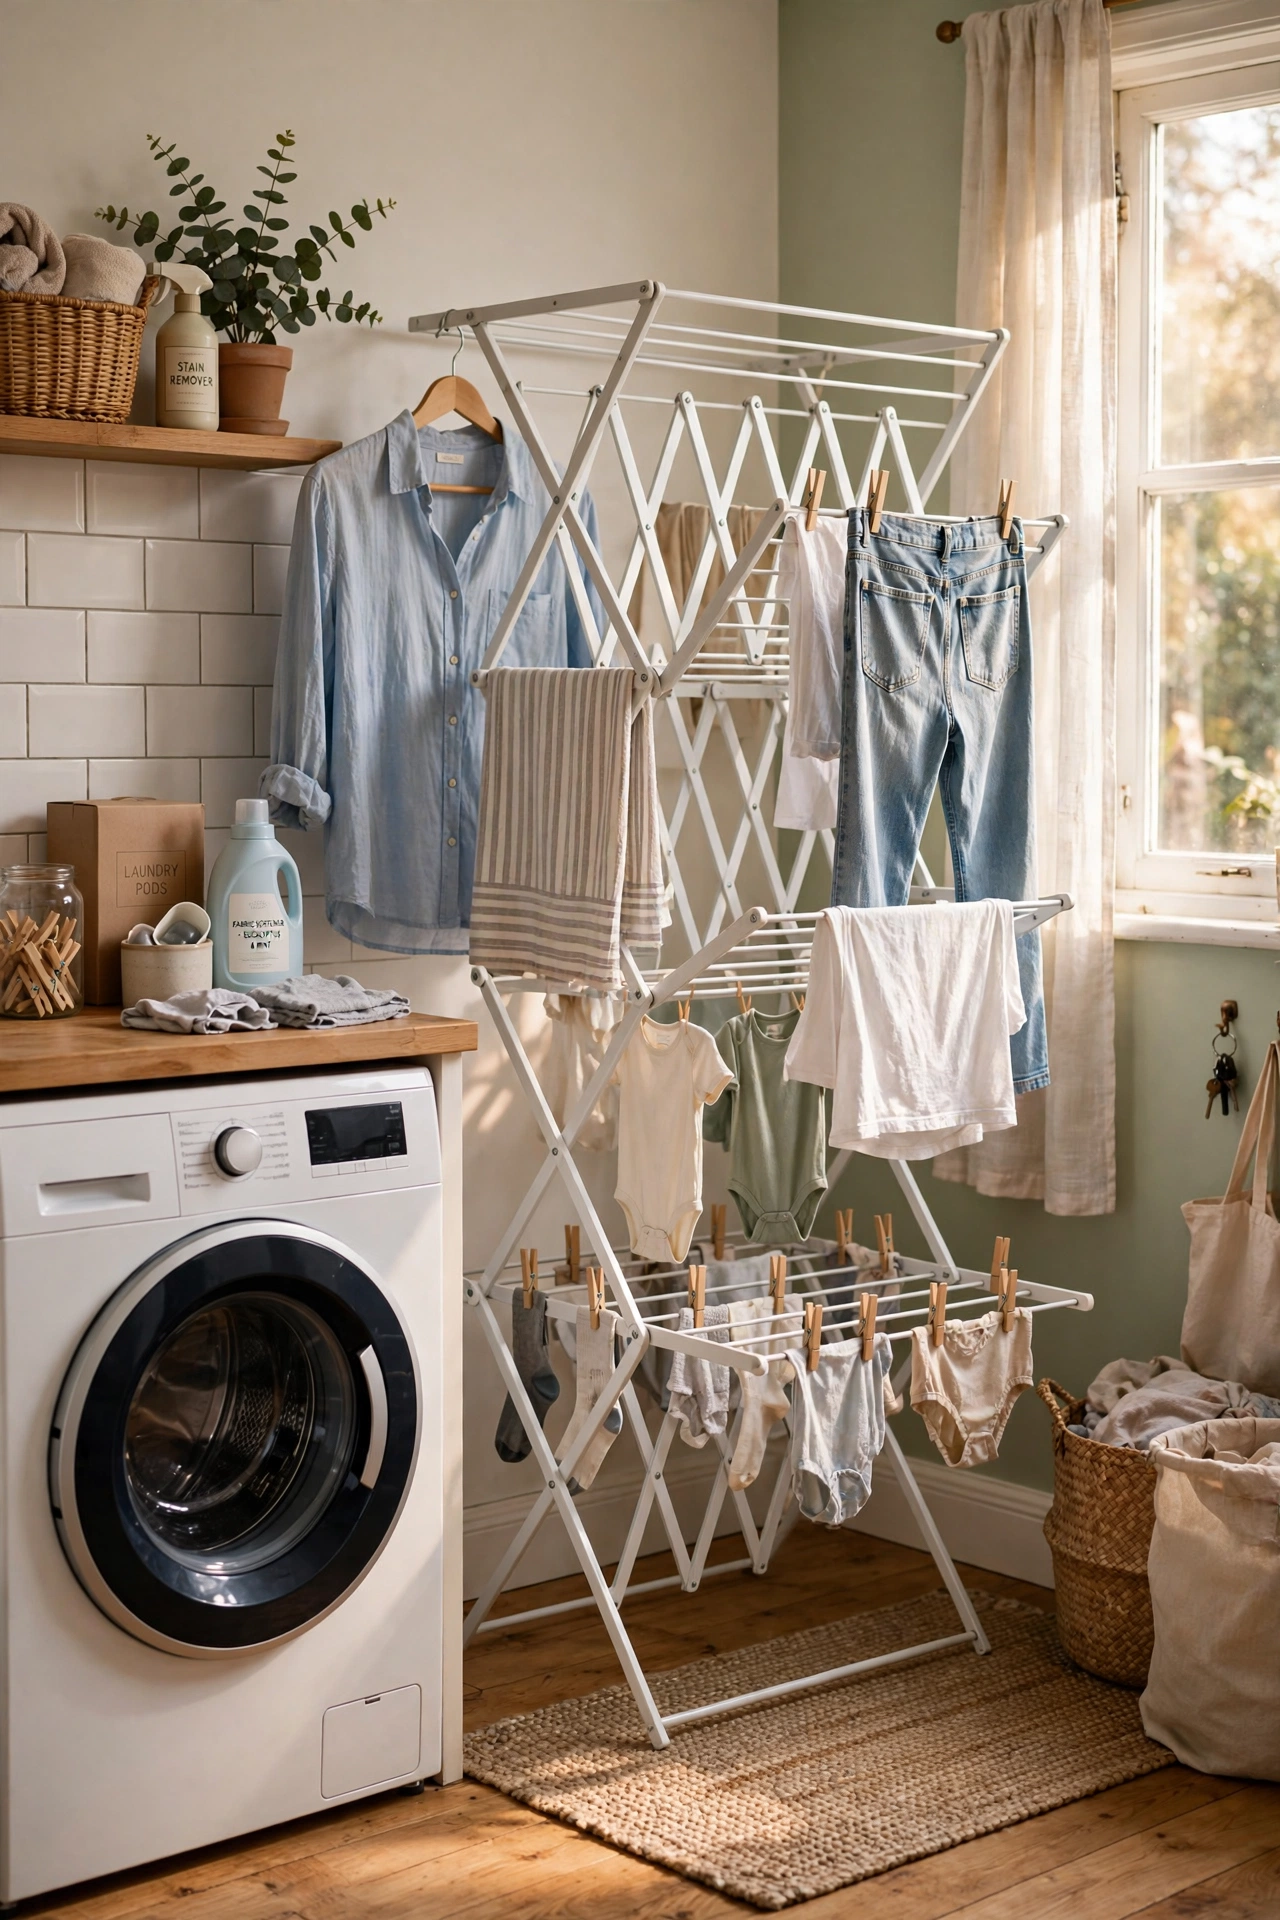
A concertina drying rack that folds flat is essential if you air-dry delicates. Open it when needed, fold it behind the door when you don’t. Look for one with multiple hanging bars rather than a flat grid — bars hold more and dry faster. I dry all my knitwear on mine and it’s extended the life of my jumpers noticeably. Don’t overload one side or it tips; distribute weight evenly like you’re loading a seesaw.
Cost: ~$5 · Time: 5 minutes
7. Fresh Ironing Board Cover
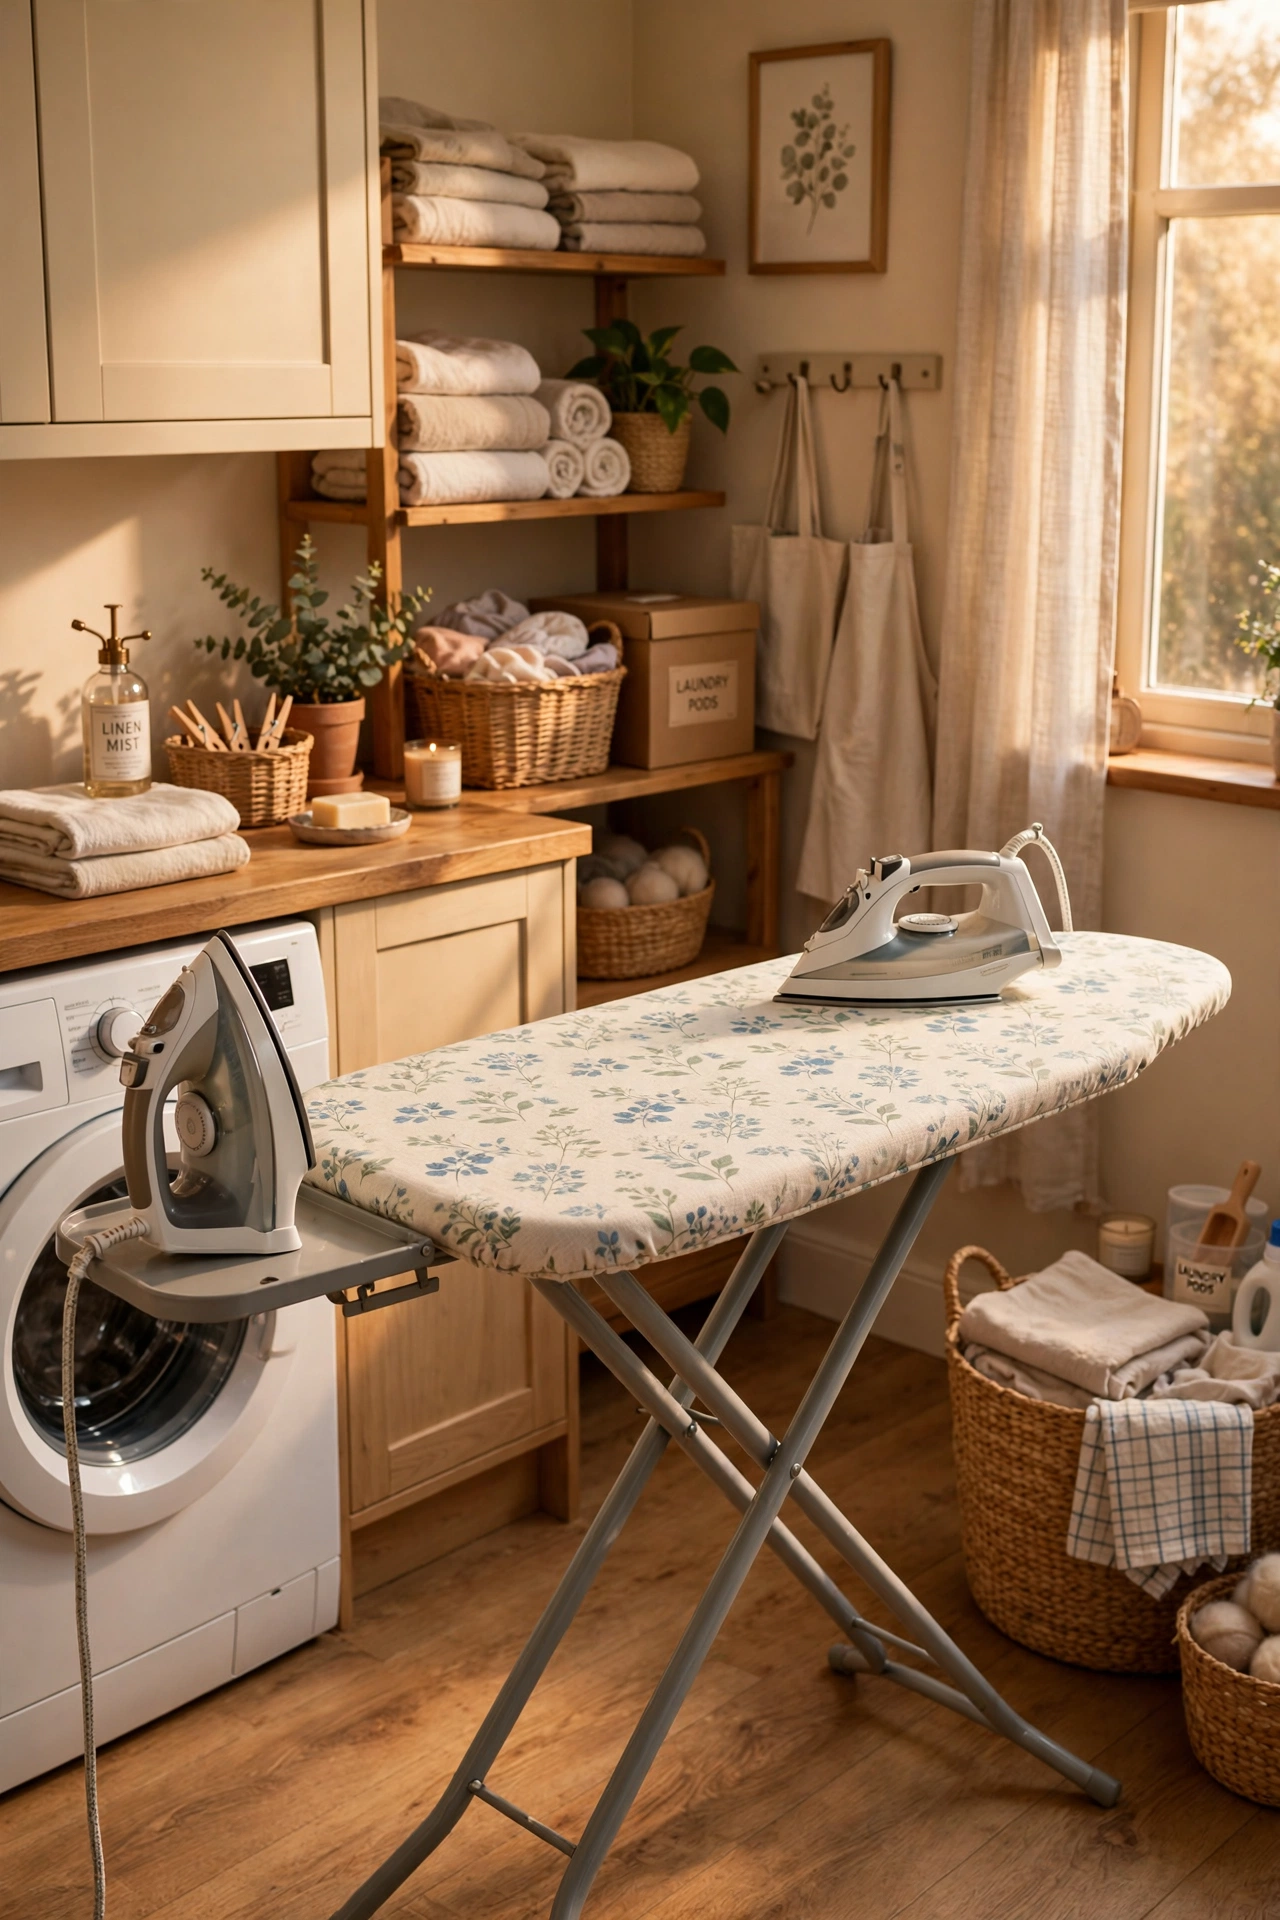
A new ironing board cover with a bit of padding makes ironing faster and the board itself look cared for. Choose a light pattern so you can see what you’re pressing, and make sure the elastic edge fits your board size — they come in standard sizes but cheap boards vary. I replaced a scorched, stained cover and ironing went from a chore I dreaded to one I merely tolerate, which is real progress. Sprinkle the board lightly with water before starting for stubborn creases.
Cost: ~$4 · Time: 10 minutes
8. Stain-Treatment Caddy
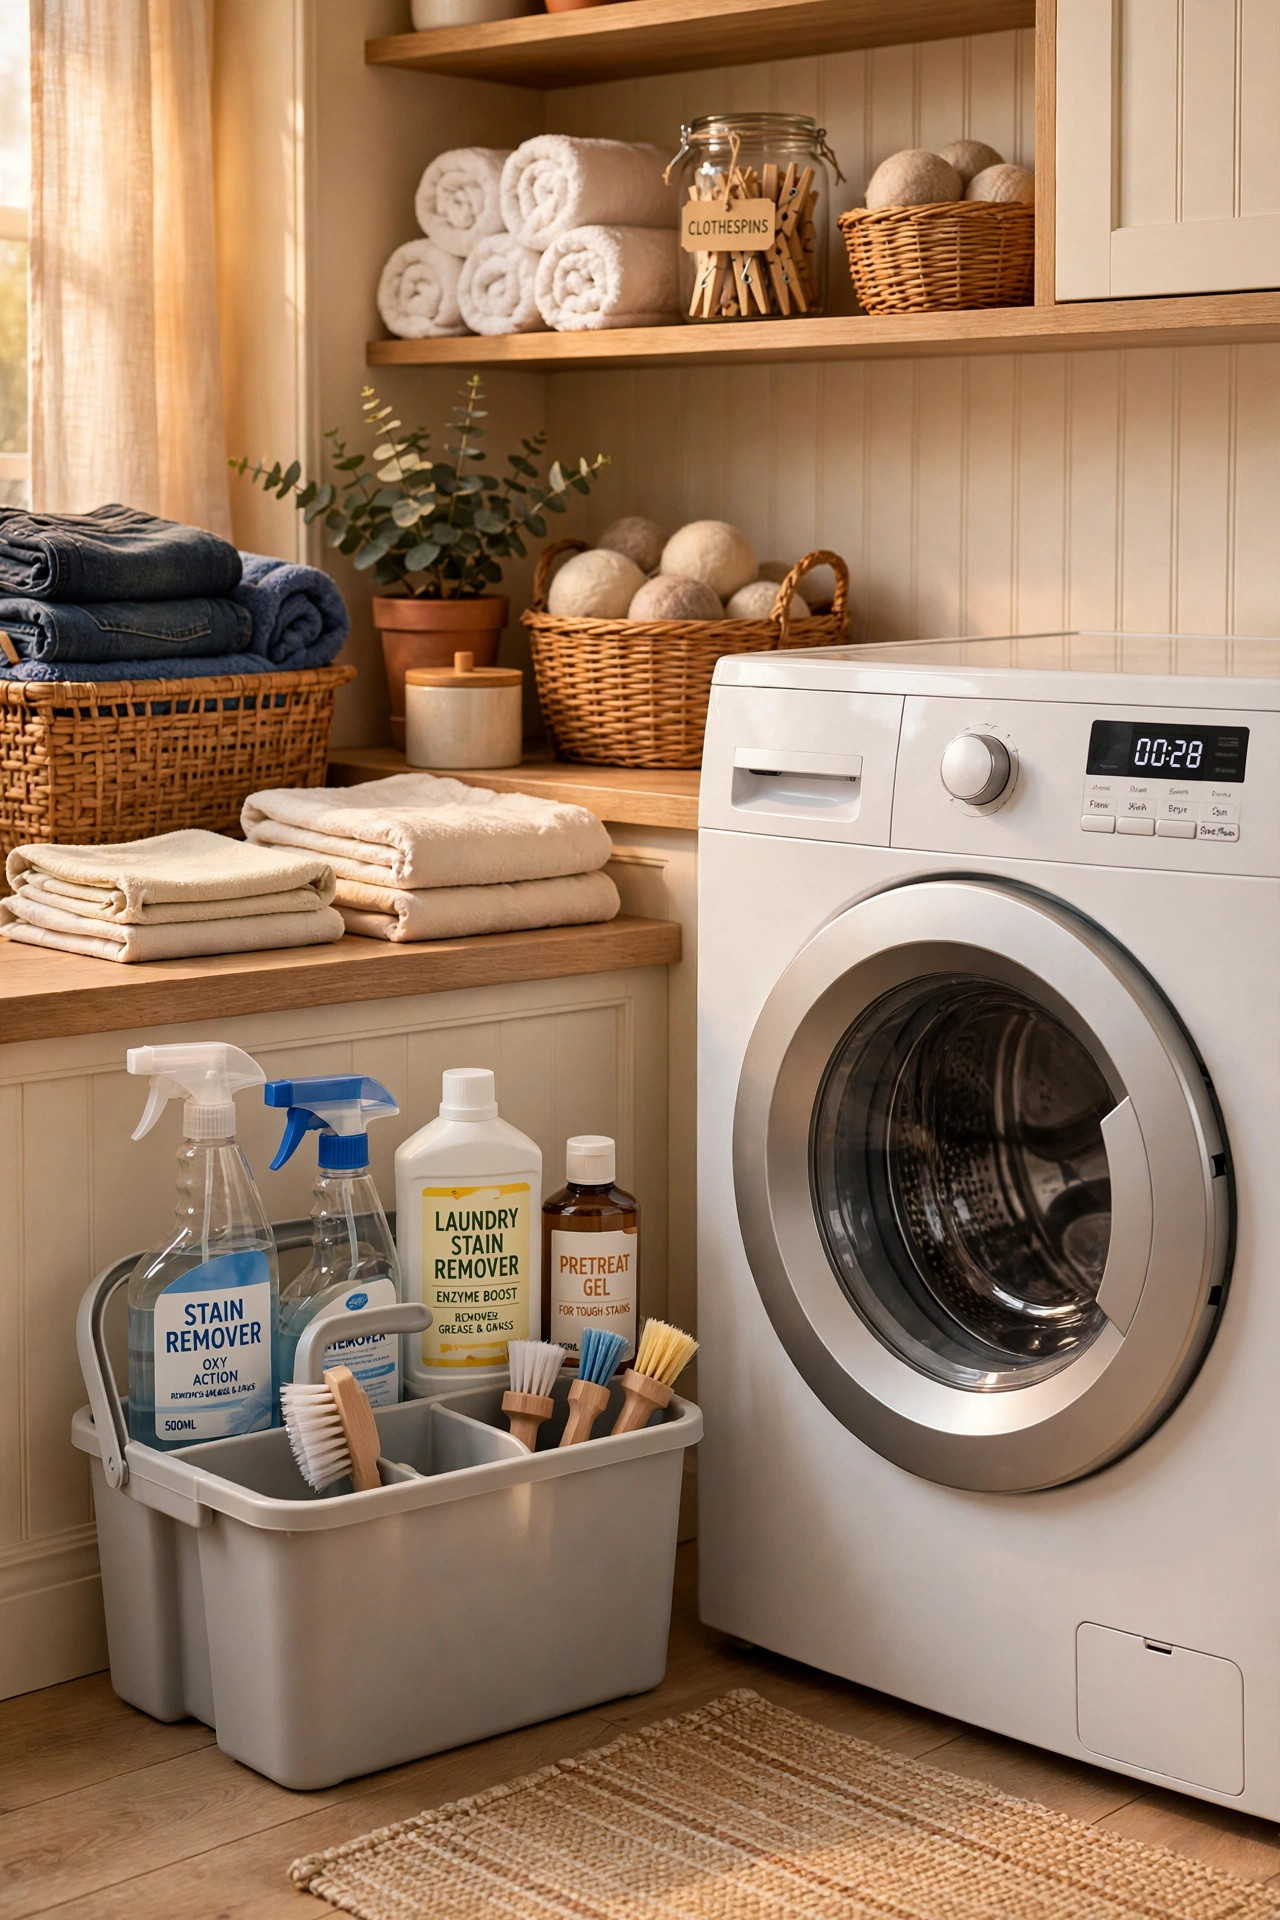
Keep every stain remover, pre-treater and old toothbrush in one portable caddy that lives by the machines. When something gets stained, you grab the caddy instead of hunting through cupboards while the stain sets. I tried this after ruining a shirt by treating it forty minutes too late, and the caddy has saved at least a dozen garments since. Restock it when a bottle runs low, not when you need it — the whole point is readiness.
Cost: ~$3 · Time: 15 minutes
9. Mesh Sock Sorting Bags
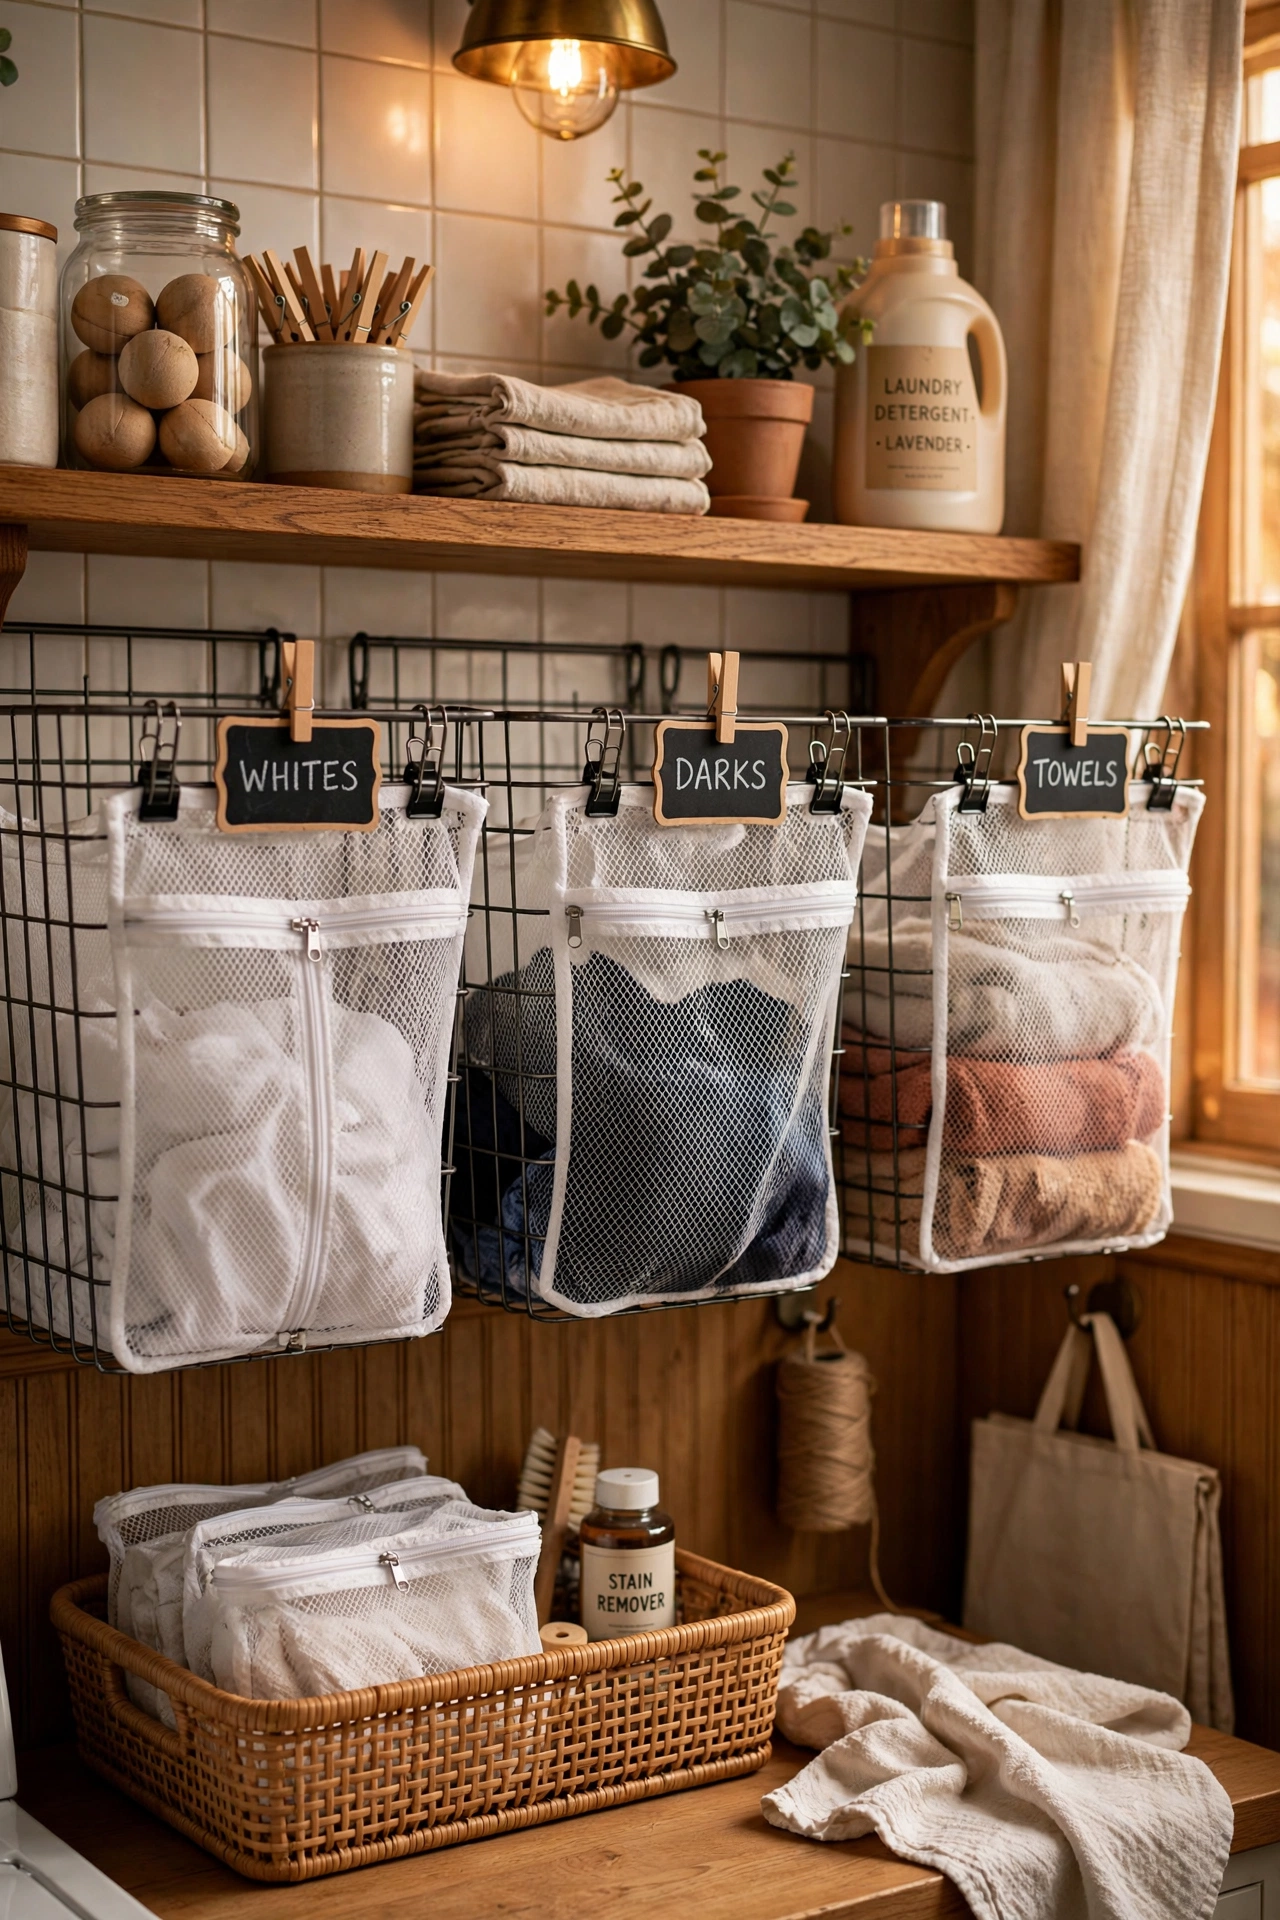
Give every family member a mesh laundry bag for socks and smalls, and the sorting problem nearly solves itself. Each person’s items wash together in their bag and come out together — no more matching marathon. Clip the bags to the sorting baskets so they don’t wander. I was sceptical about this one, but it genuinely cut my sorting time in half. Buy bags with zips, not drawstrings; drawstrings come undone and eat a sock into the machine’s nether regions.
Cost: ~$2 each · Time: 5 minutes
10. Over-Door Hook Rack
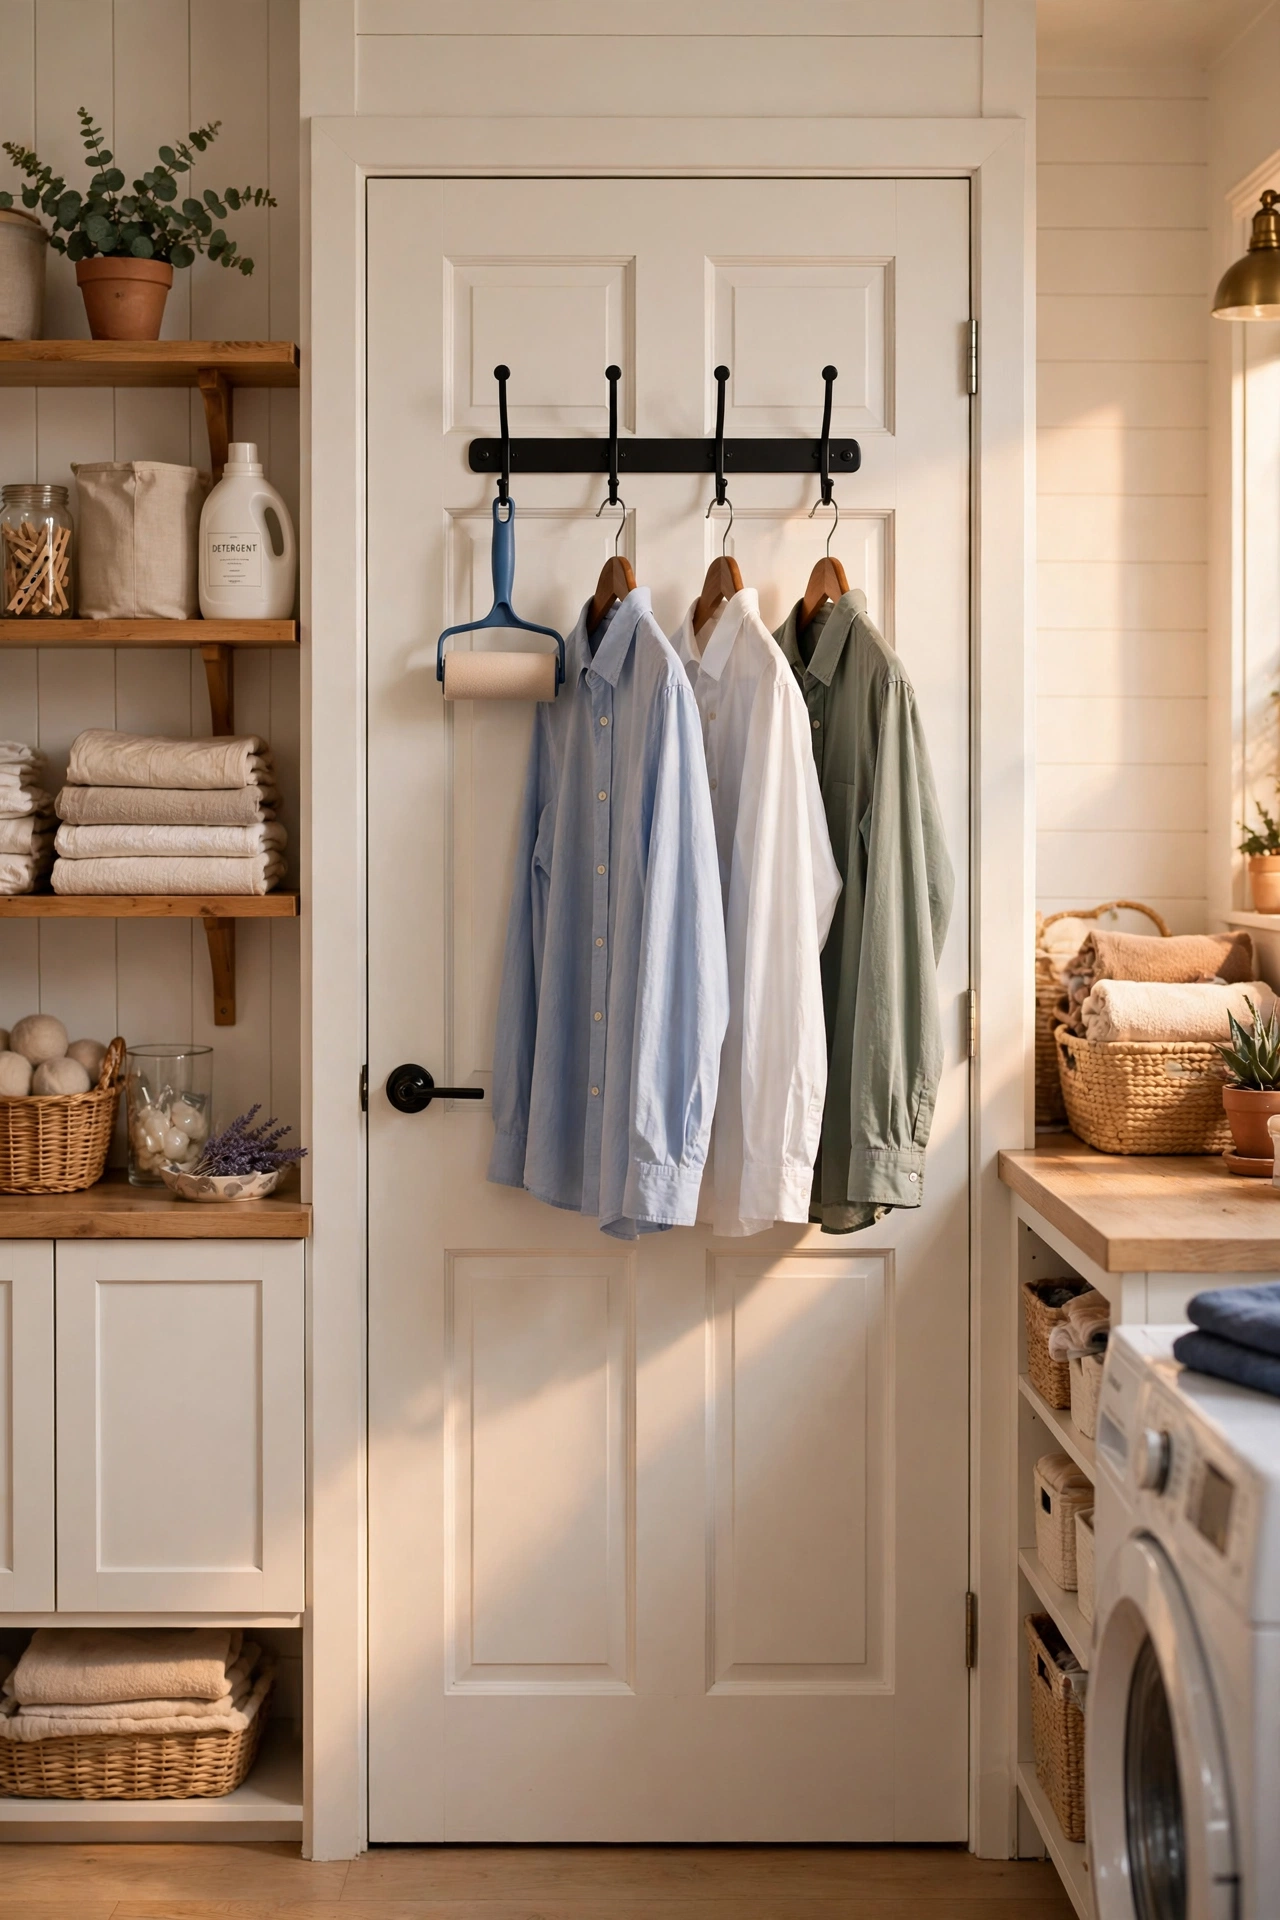
An over-door hook rack on the laundry room door holds the ironing board cover bag, a lint roller, and tomorrow’s outfit for steaming. No drilling needed, which matters in rentals. I hang my work shirts on it the night before so they’re ready for a quick steam in the morning. Keep it to the essentials — five hooks of clutter just becomes a new mess. The rack I bought has stayed put for a year without shifting.
Cost: ~$3 · Time: 5 minutes
11. Slim Rolling Cart for the Machine Gap
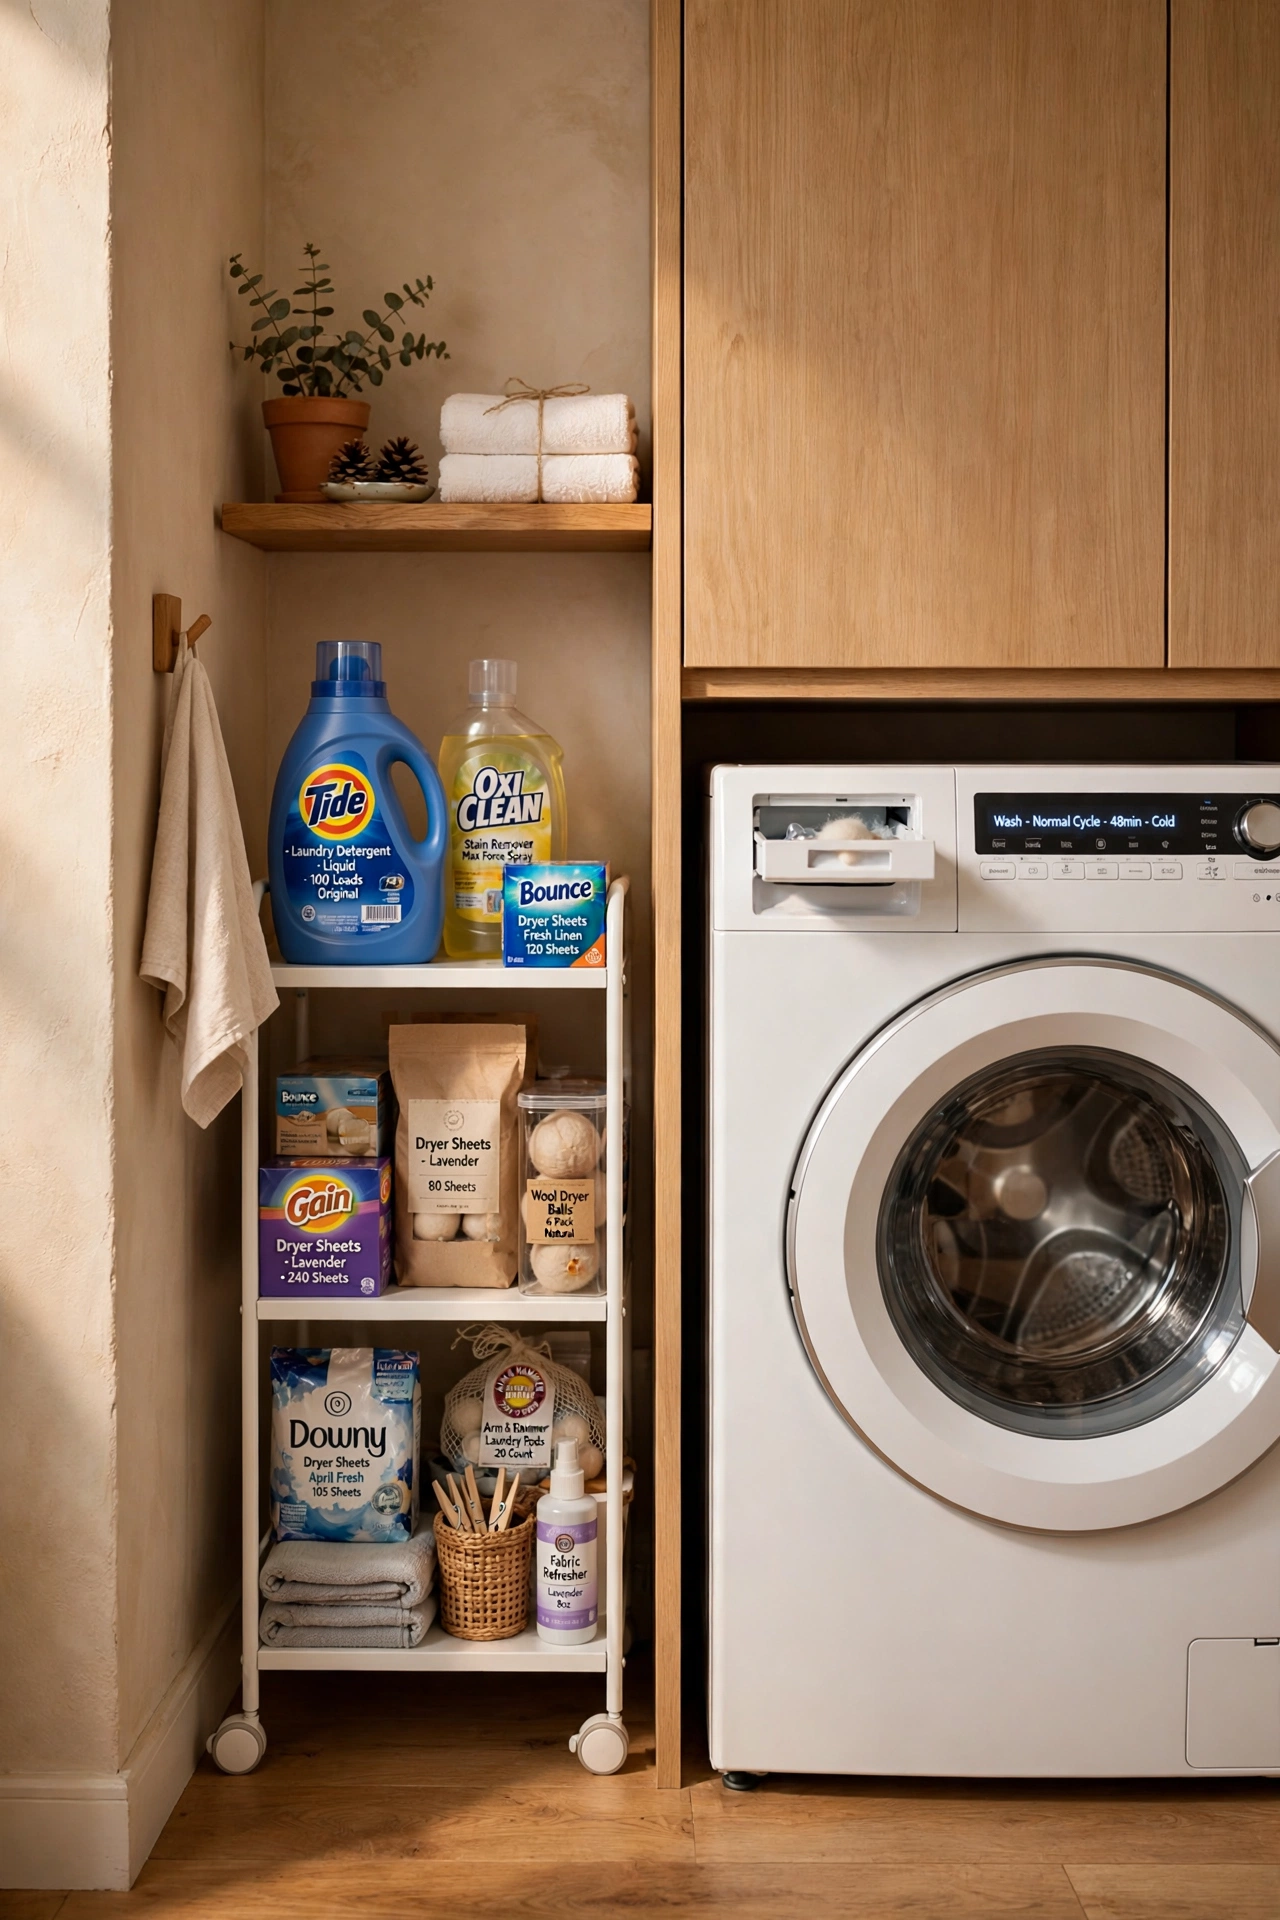
That dead gap between the washer and the wall fits a slim rolling cart perfectly. Stock it with detergent, dryer sheets and stain remover, and everything is within arm’s reach of the machines. Measure the gap before you buy — they come in a few widths and a centimetre matters here. I filled mine in an afternoon and stopped the constant trekking to the under-sink cupboard. The wheels lock, which you’ll want on a hard floor.
Cost: ~$5 · Time: 15 minutes
12. Folding Counter Board
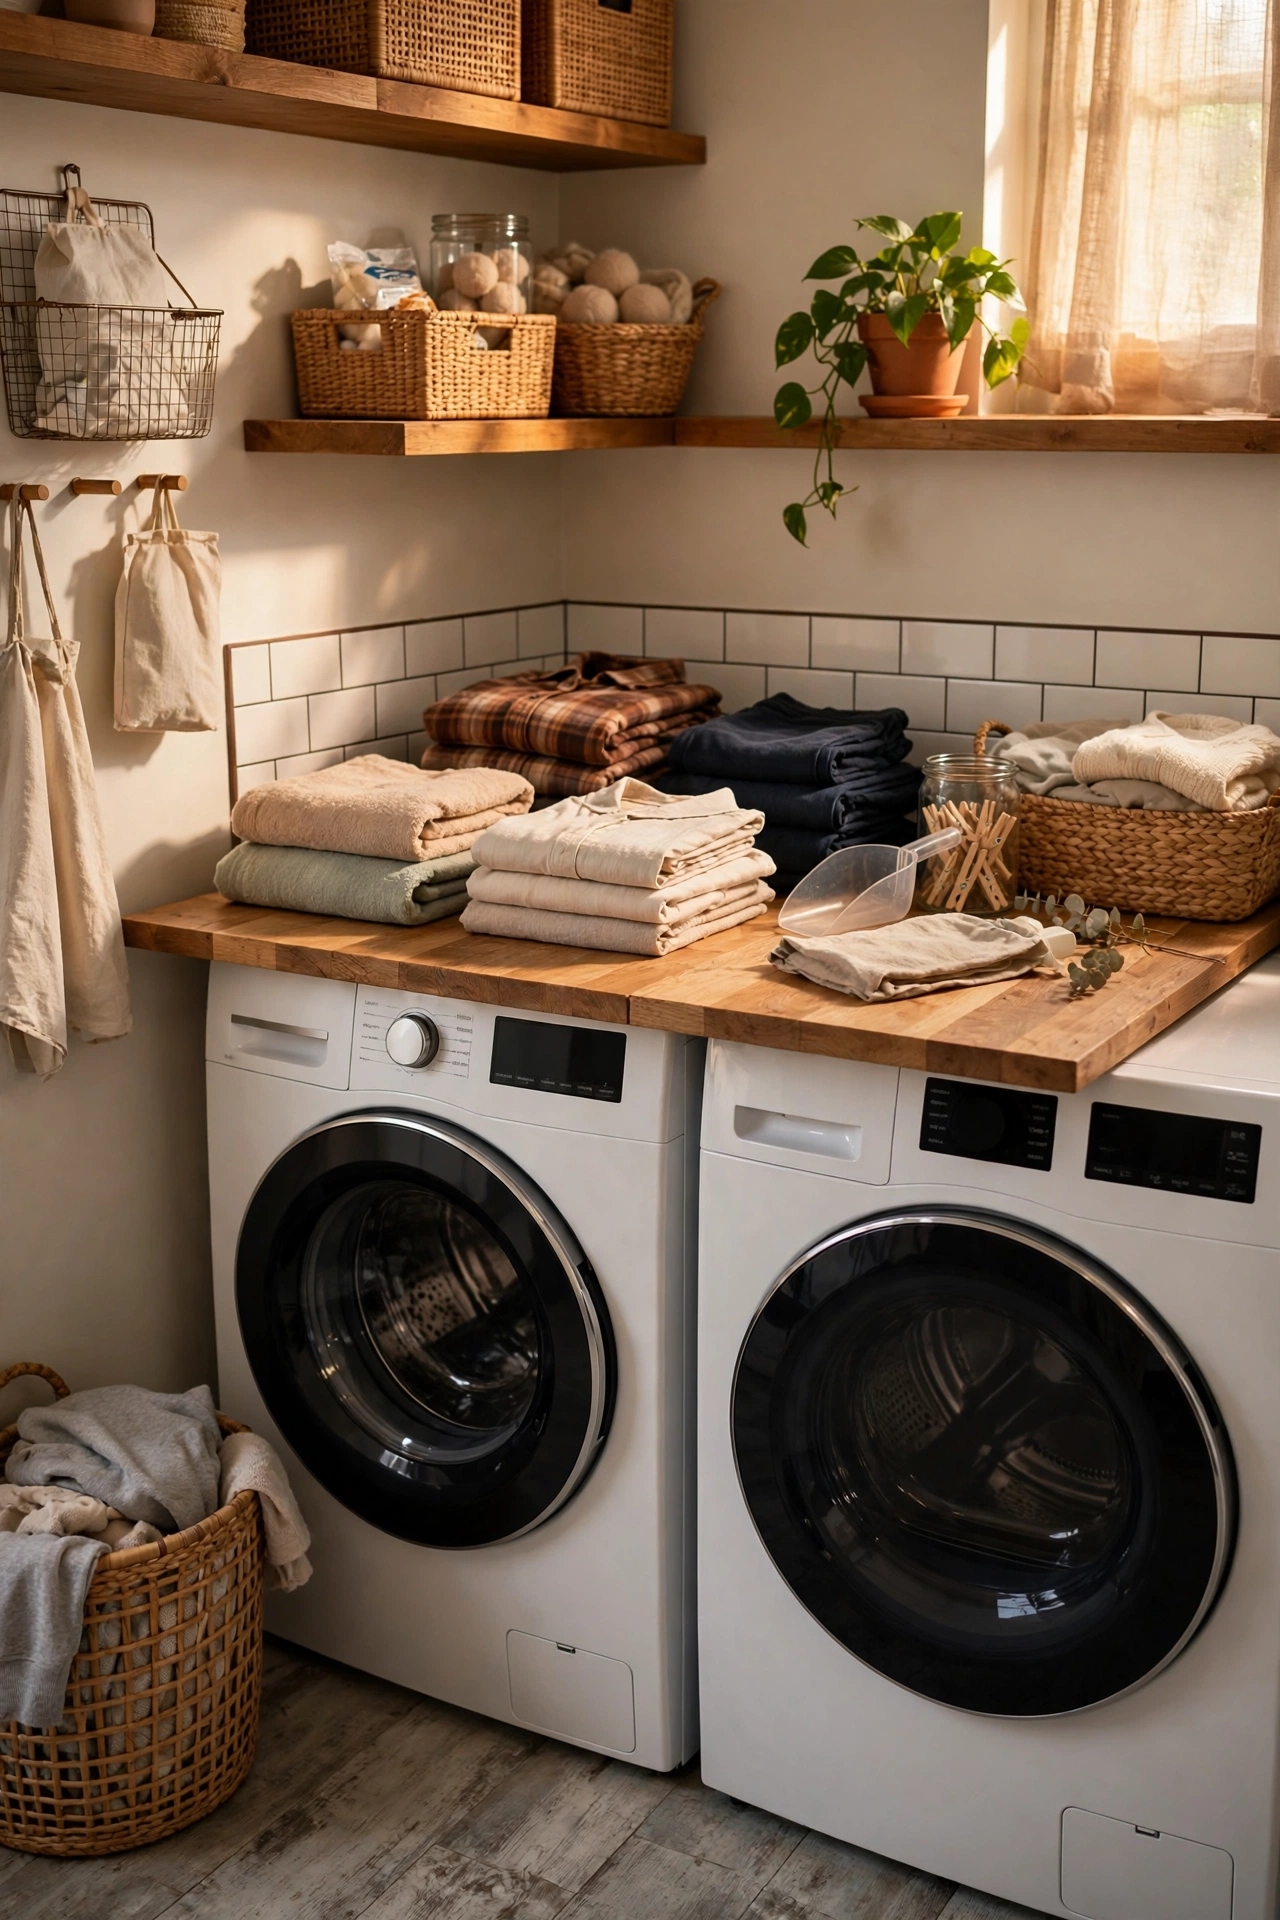
A large wooden-look board laid across the washer and dryer creates an instant folding counter. Cut or buy one to fit your machines exactly, and add small rubber feet so it doesn’t scratch the tops. I use mine as a folding surface and as a staging area for the ironing pile. One mistake to avoid: don’t leave it on the machines during a spin cycle unless it’s secured — I learned that when mine walked off mid-wash. Store it upright beside the machines when not in use.
Cost: ~$5 · Time: 10 minutes
13. Hanging Clothespin Bag
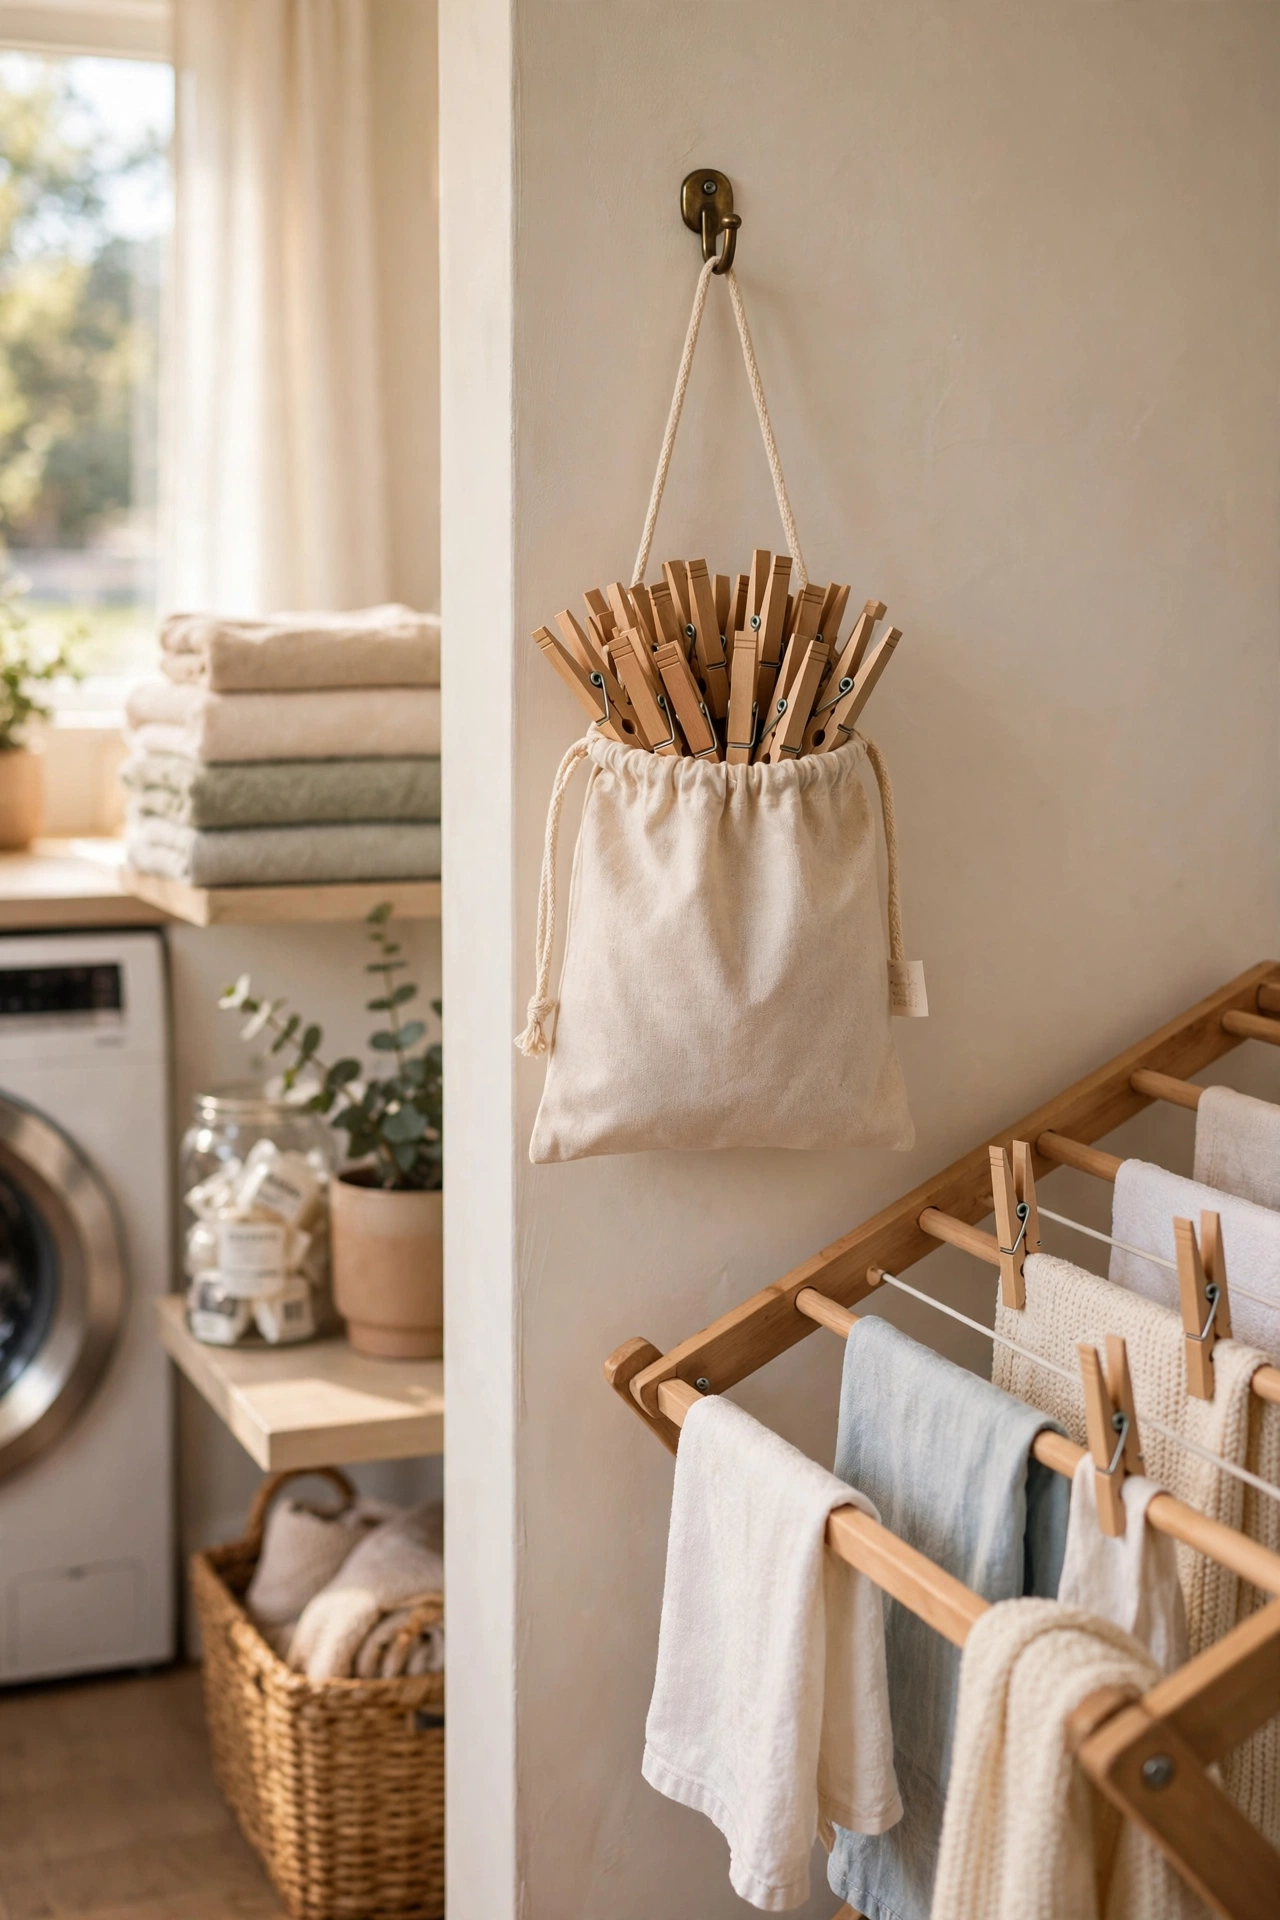
A small hanging bag for clothespins keeps them together instead of scattered across every surface in the room. Hang it from a hook near the drying rack or the back door. I sewed nothing — a dollar store drawstring bag on a hook does the job. Count your pins when you hang the bag up; knowing you have forty and can only find thirty is how you discover the garden has been eating them. Replace wooden pins when they start to splinter — they snag delicates.
Cost: ~$2 · Time: 5 minutes
14. Scent Booster Storage Jar
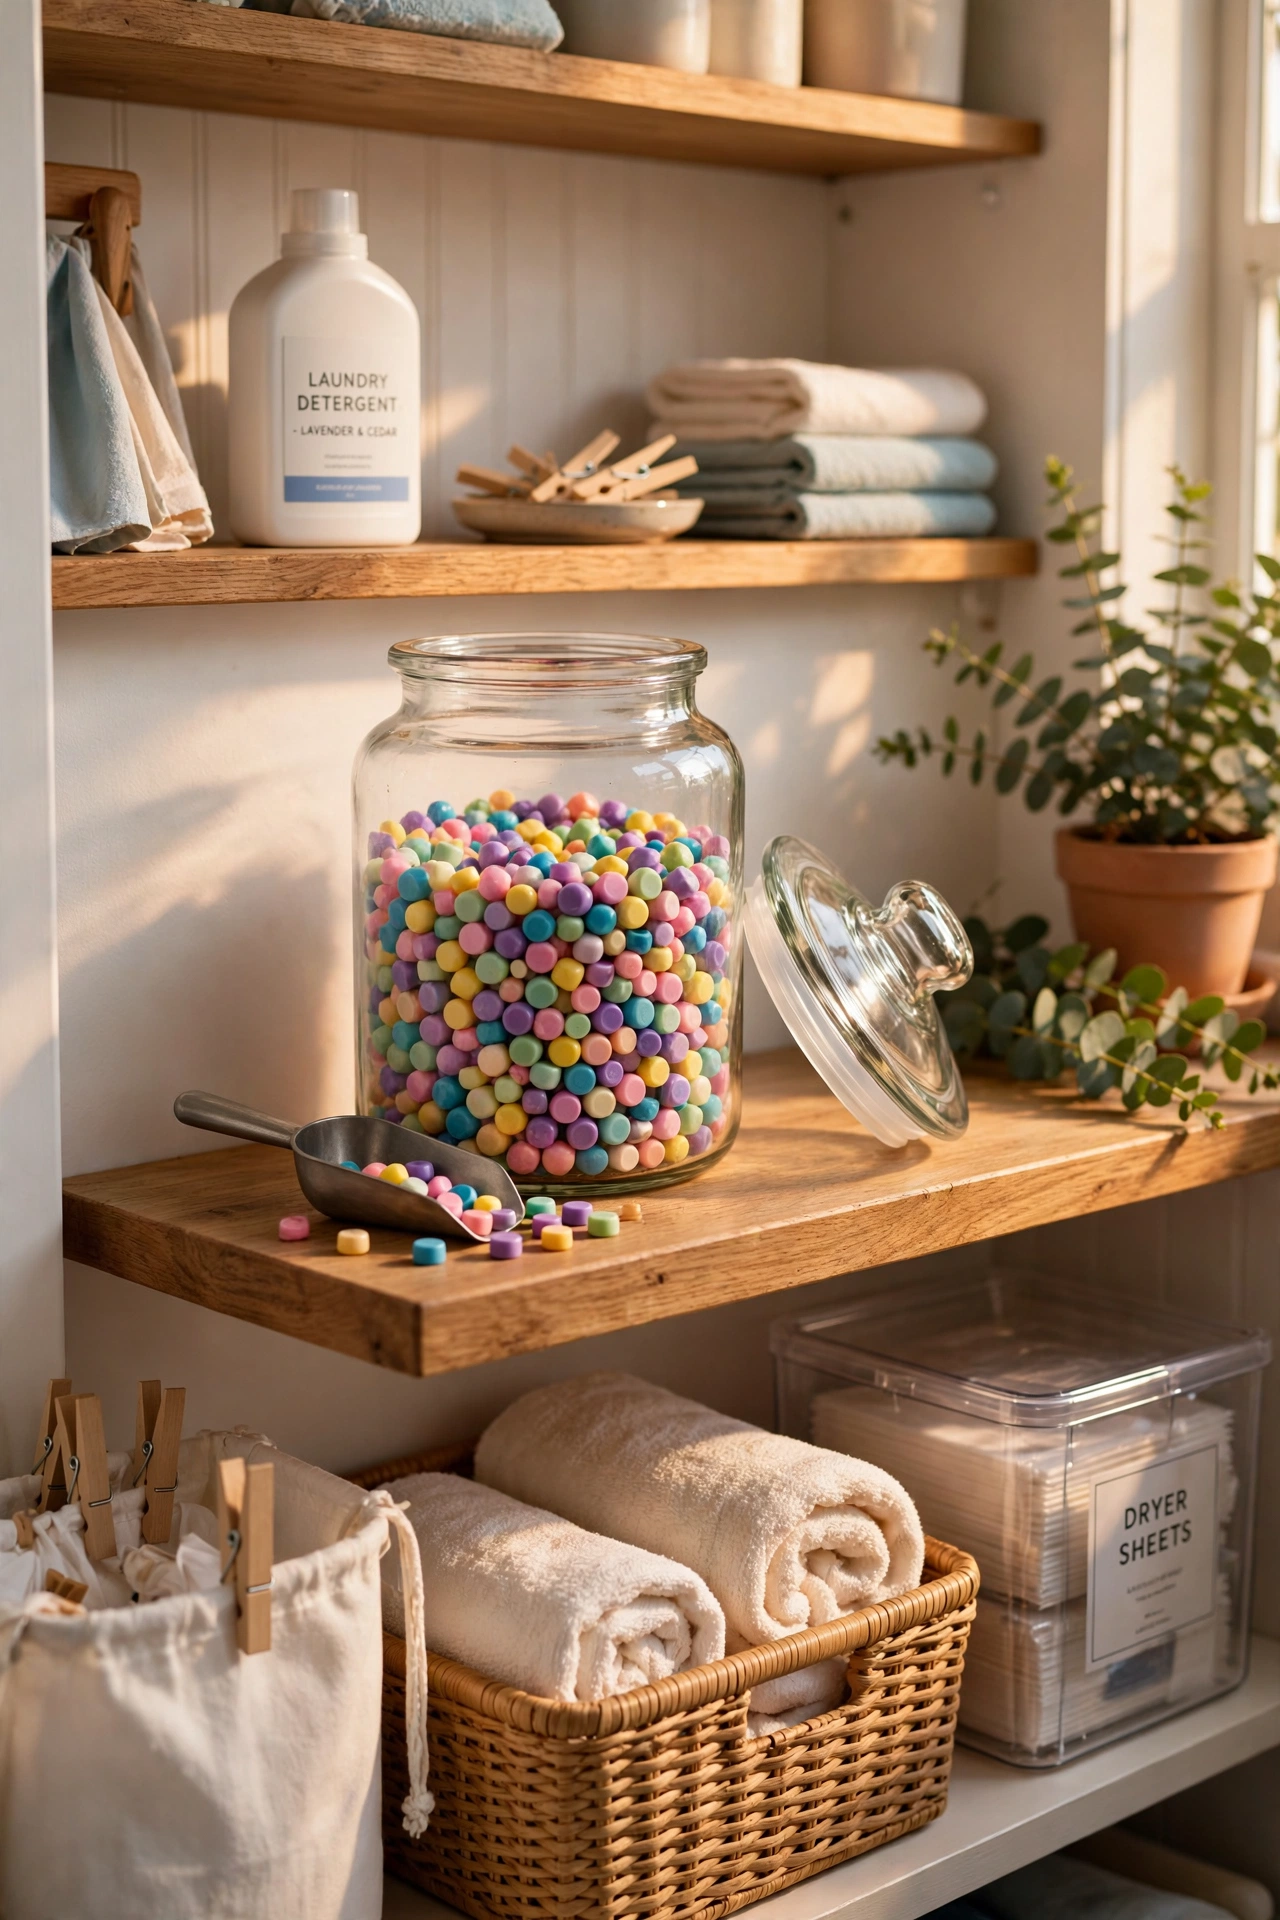
Decant scent booster beads into a pretty jar with a scoop, and the laundry room smells lovely before you’ve even started. Keep the scoop in the jar so dosing is consistent — a tablespoon per load is plenty. I tried this in my own utility room and the jar became a little moment of pleasure in an otherwise boring chore. Don’t overdo the amount; too much booster leaves residue on the machine’s dispenser drawer over time.
Cost: ~$3 · Time: 10 minutes
15. Pegboard Tool Wall
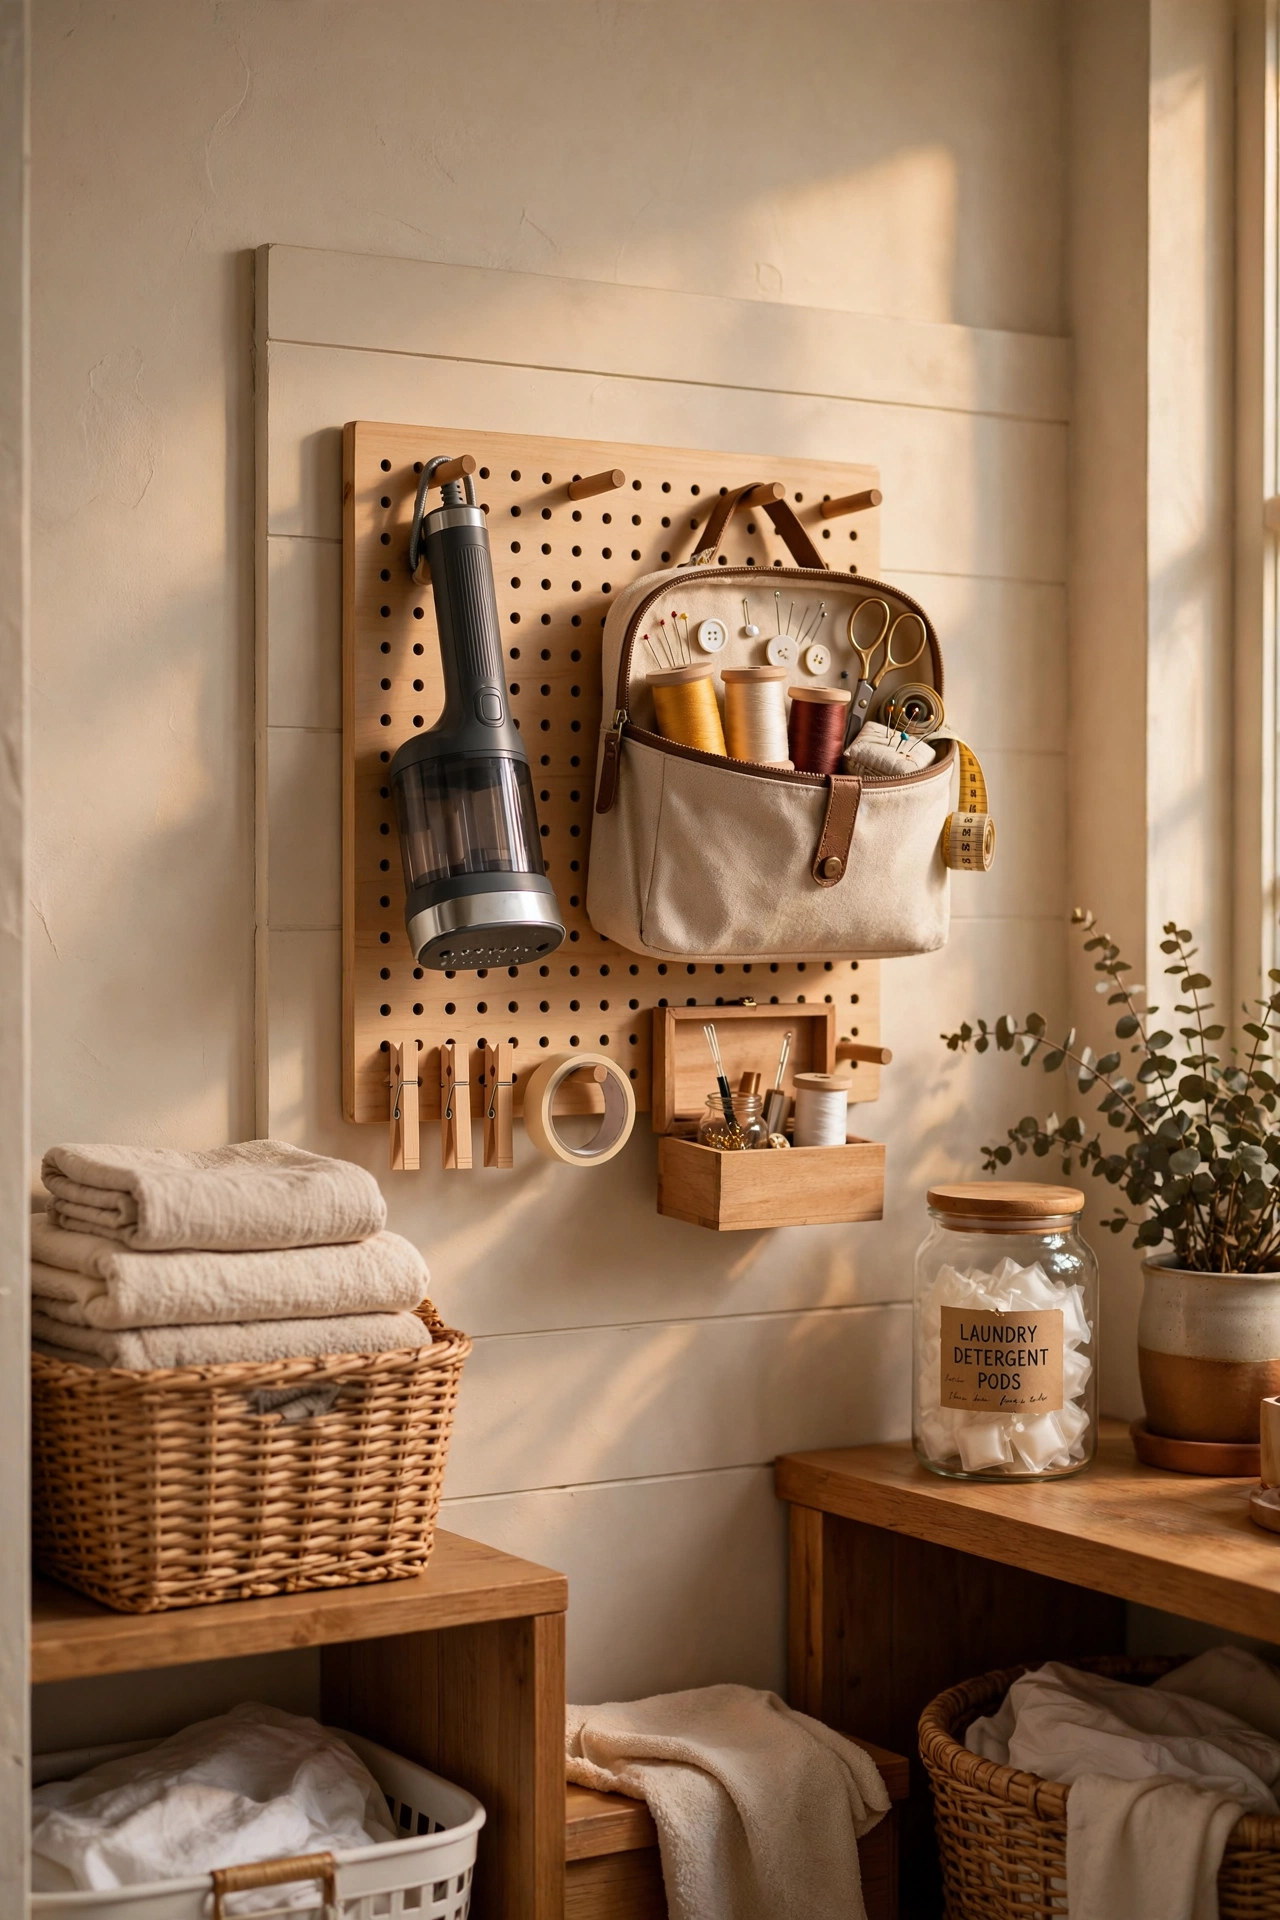
A small pegboard on the wall holds the iron, the steamer, scissors and the sewing kit — all the laundry-adjacent tools that usually live in a drawer. Hang hooks to suit your tools, not the other way round. I mounted mine beside the machines and it freed an entire drawer in the kitchen. Sketch your layout on paper first; moving pegboard hooks is easy but planning saves the faff. A small shelf across the bottom of the board holds bottles upright and stops them toppling off hooks. (see also: 25-dollar-store-laundry-room-finds-worth-grabbing)
Cost: ~$5 · Time: 30 minutes
16. Refillable Spray Bottles
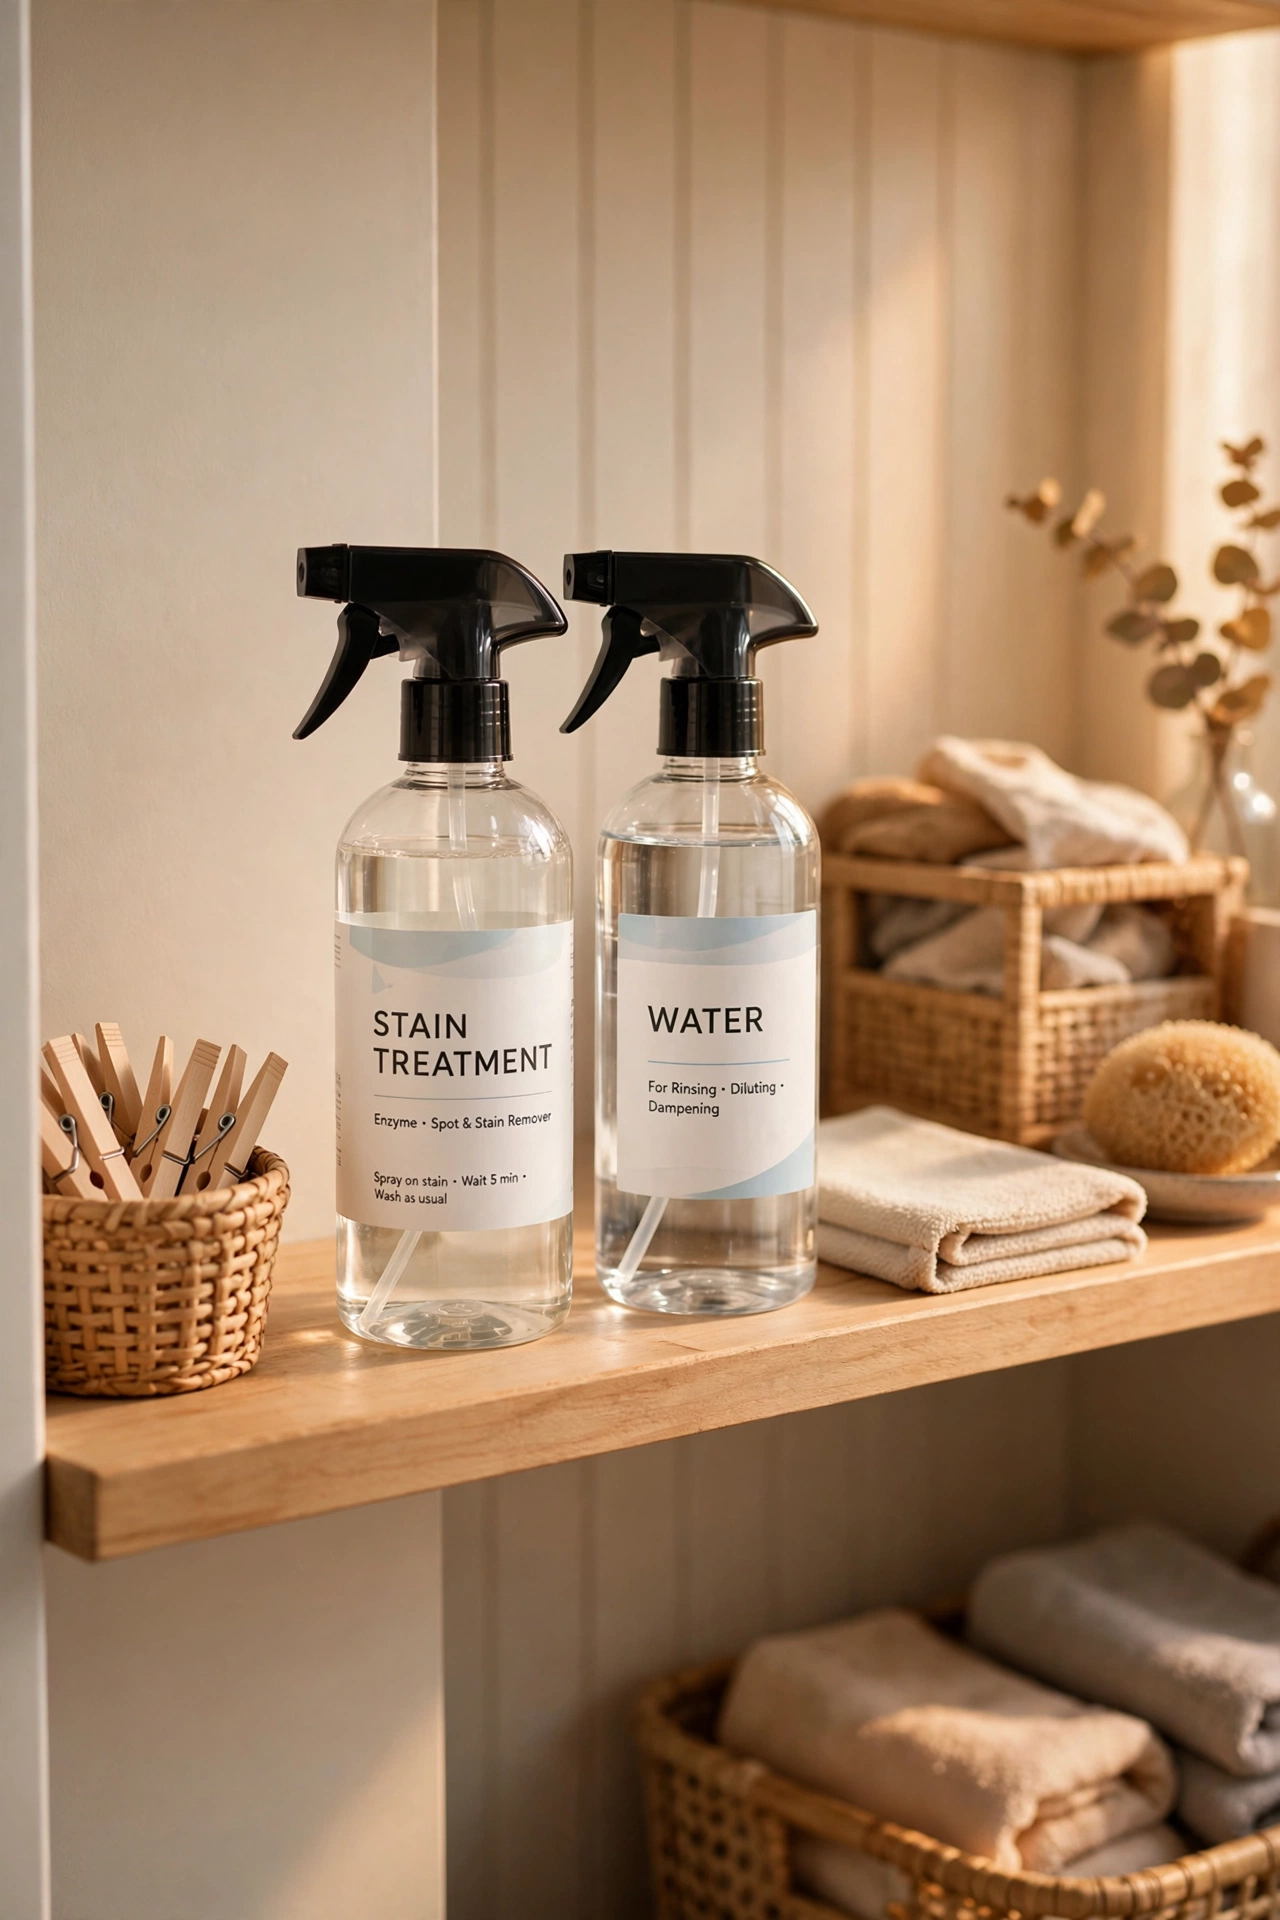
Two labelled spray bottles — one with diluted stain remover, one with water for ironing — replace a shelf of branded bottles. Mix a capful of stain treatment with water for everyday spots; it works just as well as the neat stuff for fresh stains. I keep mine on the folding shelf and reach for them constantly. Label them clearly and keep them out of children’s reach, even though the contents are mild. Replace the mixture monthly so it stays effective.
Cost: ~$2 · Time: 10 minutes
17. Measuring Scoop Set
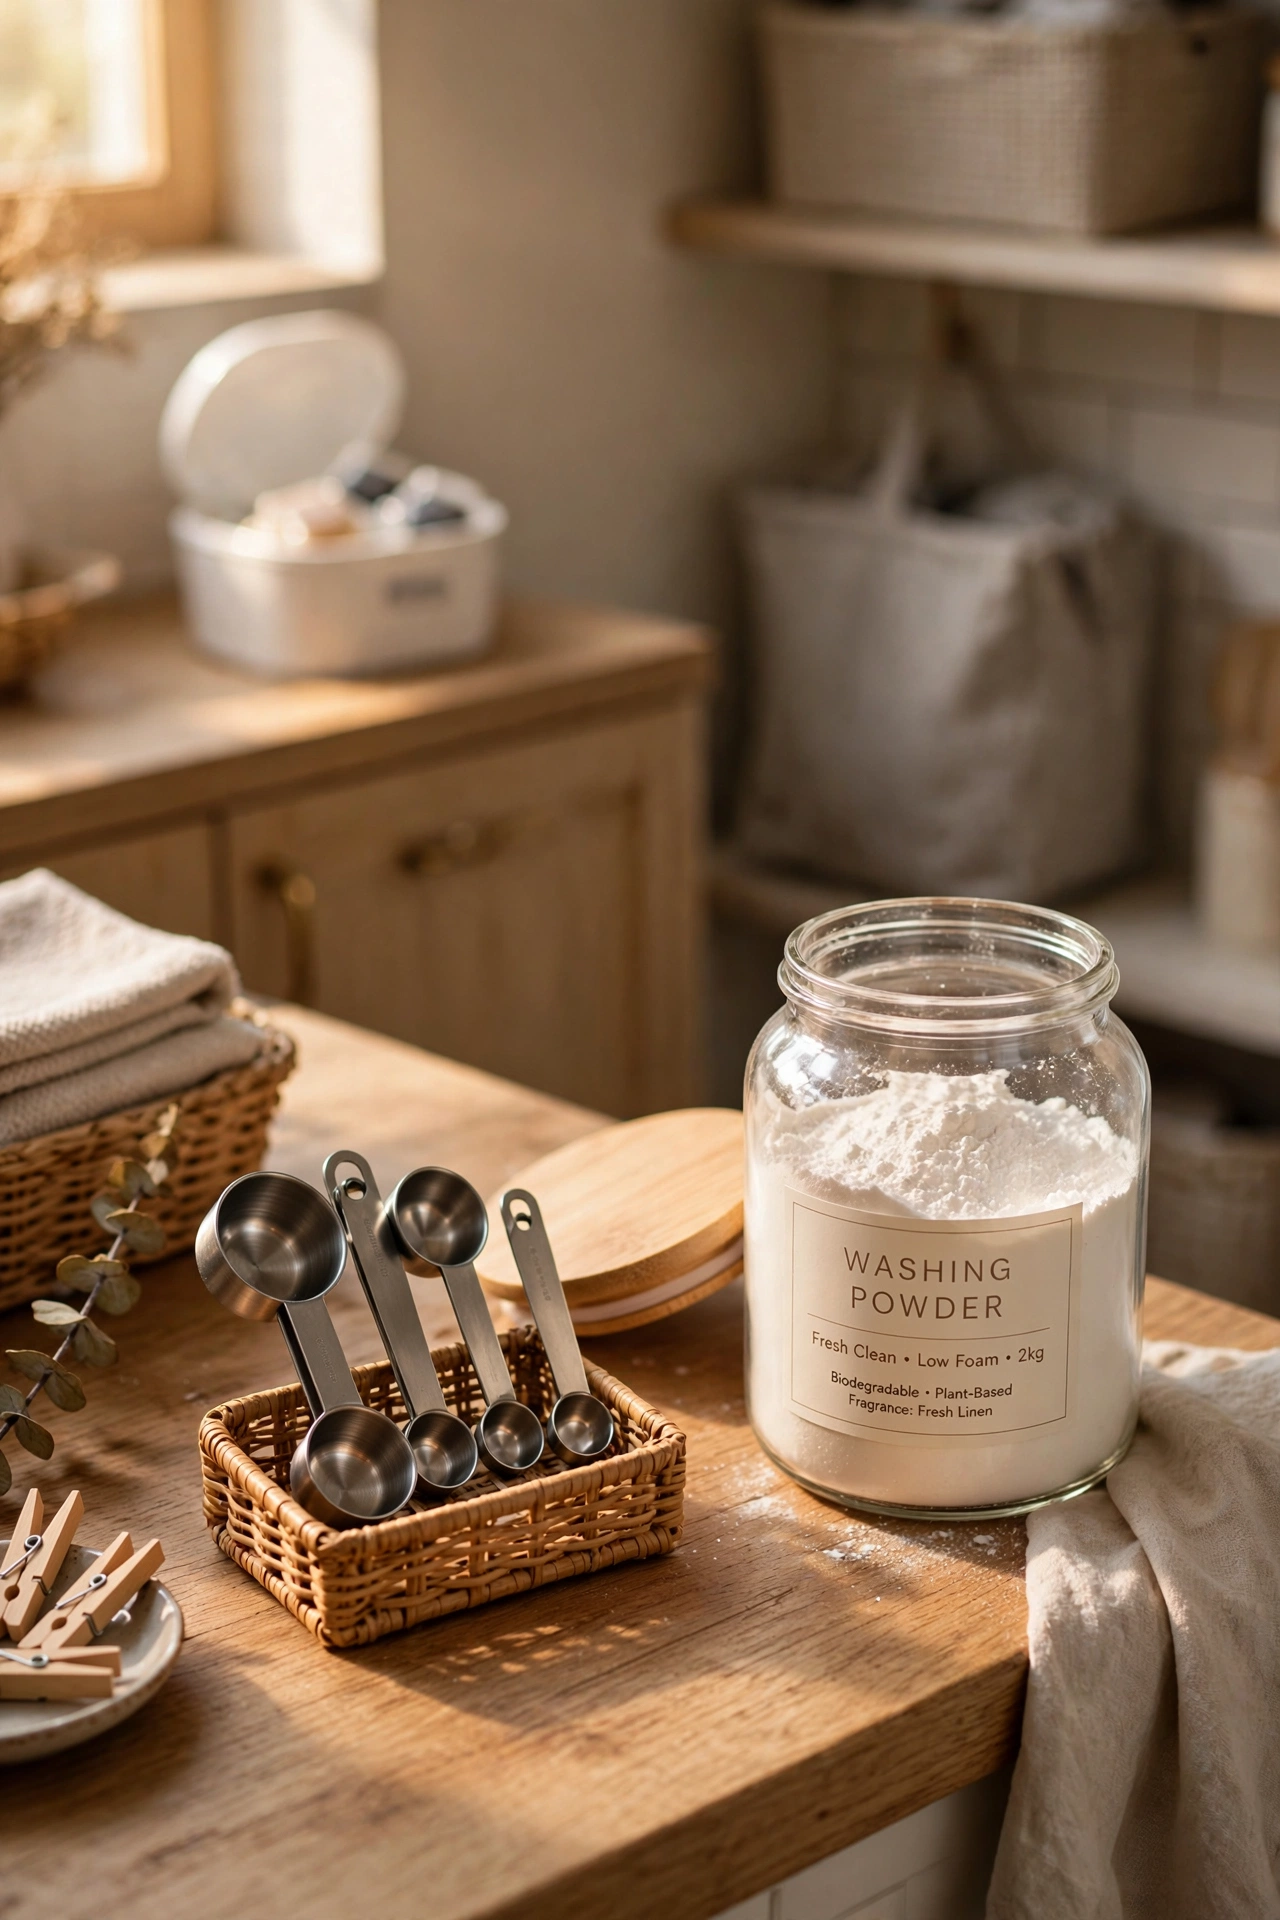
A set of small scoops for powder detergent ends the guessing game of “how much is a capful”. Use the scoop that matches your machine’s recommended dose and keep it in the detergent jar. I switched to this and my detergent started lasting noticeably longer — I’d been overdosing for years without realising. It also stops the powder spilling everywhere, which anyone with a white tiled floor will appreciate. Keep a second scoop in the scent booster jar so the two never get mixed up.
Cost: ~$2 · Time: 5 minutes
18. Hamper Divider Labels
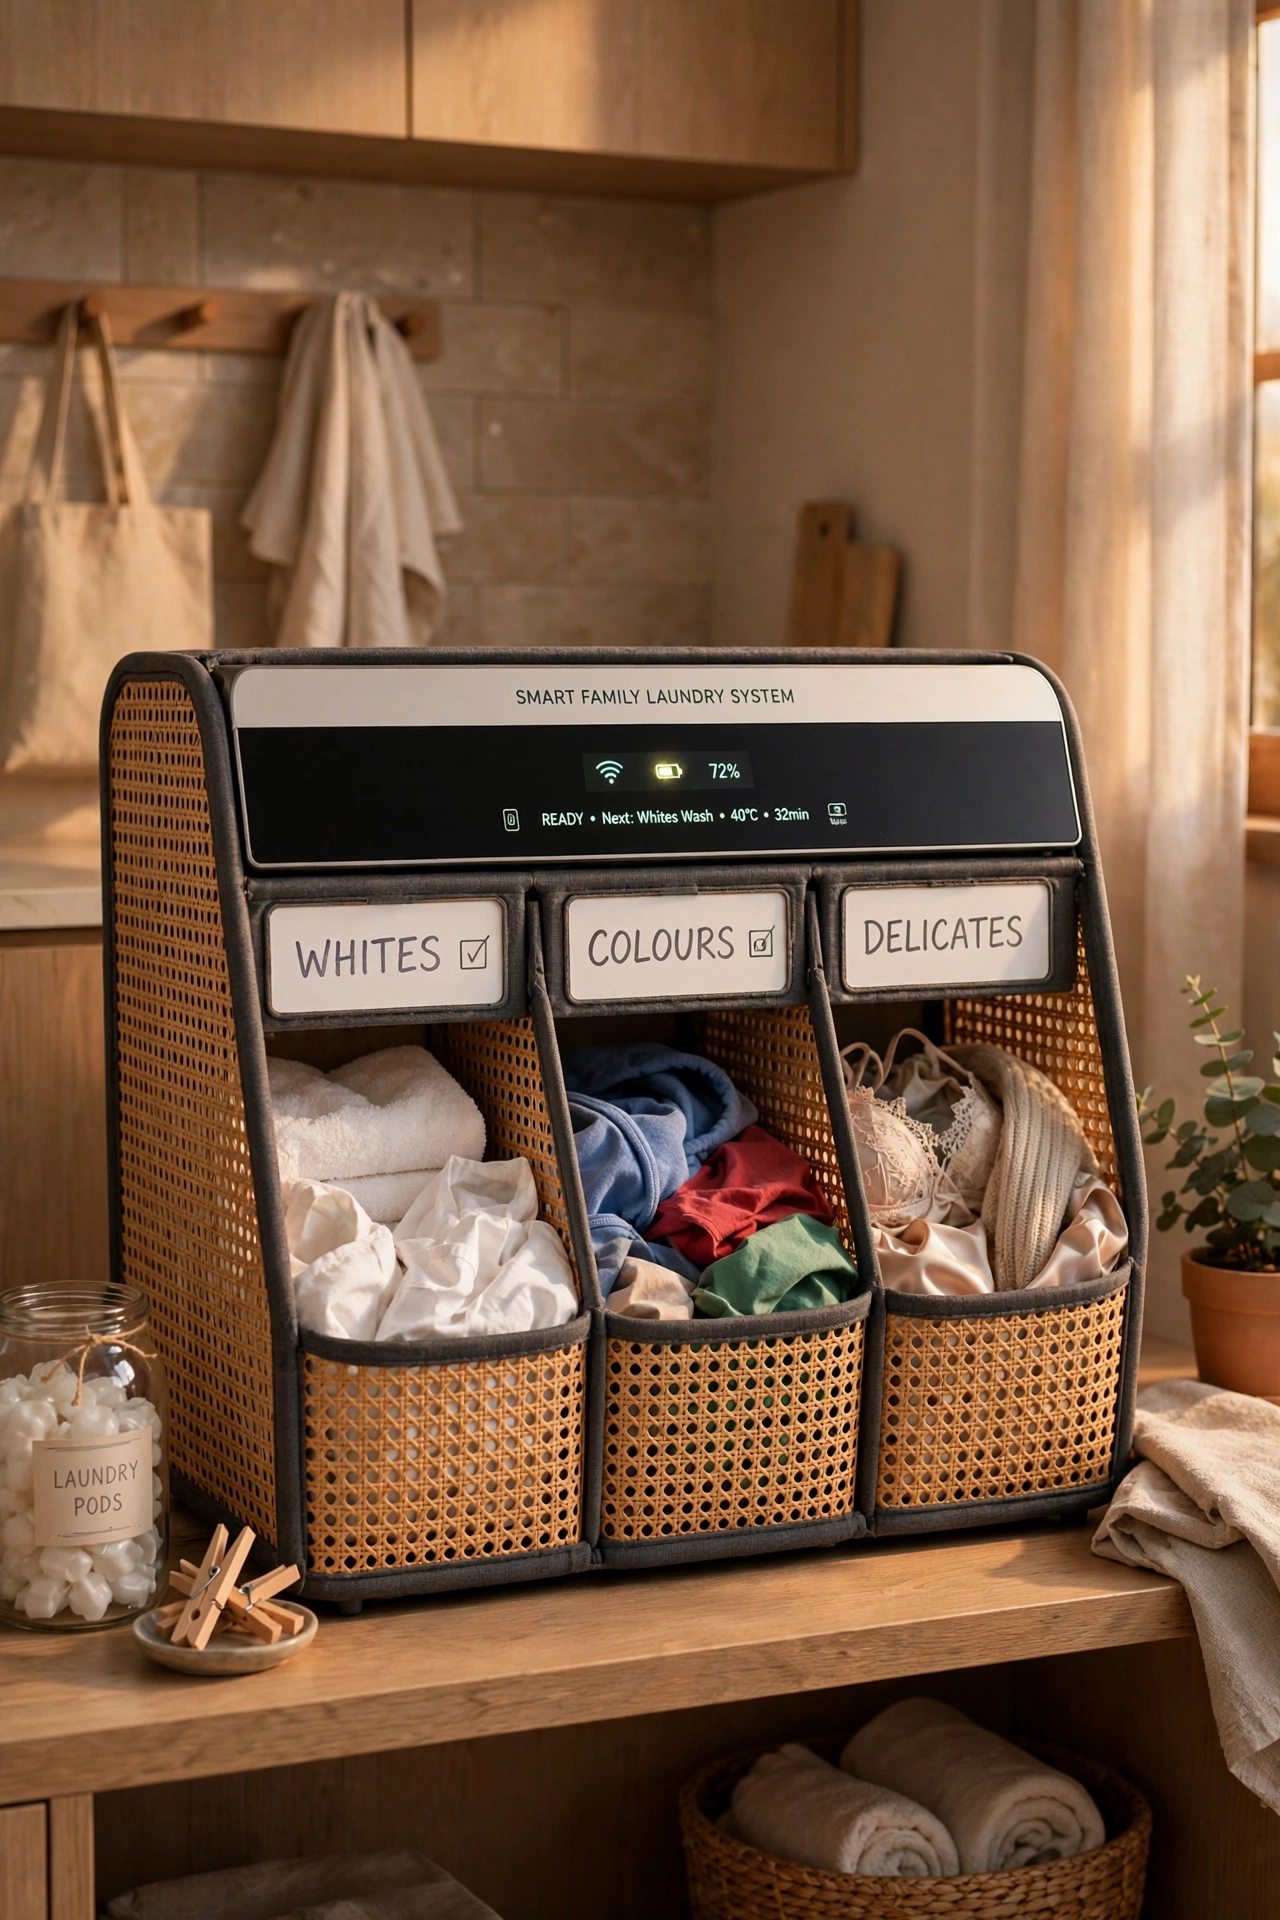
If you use a divided hamper, label each section — whites, colours, delicates — so sorting happens at the point of undressing, not on wash day. Use tags that can be wiped clean, because laundry rooms are humid. I did this for my teenagers and the “I didn’t know” excuses evaporated overnight. It sounds rigid, but it genuinely means wash day starts with three ready loads instead of an hour of sorting.
Cost: ~$2 · Time: 10 minutes
19. Absorbent Drying Mat
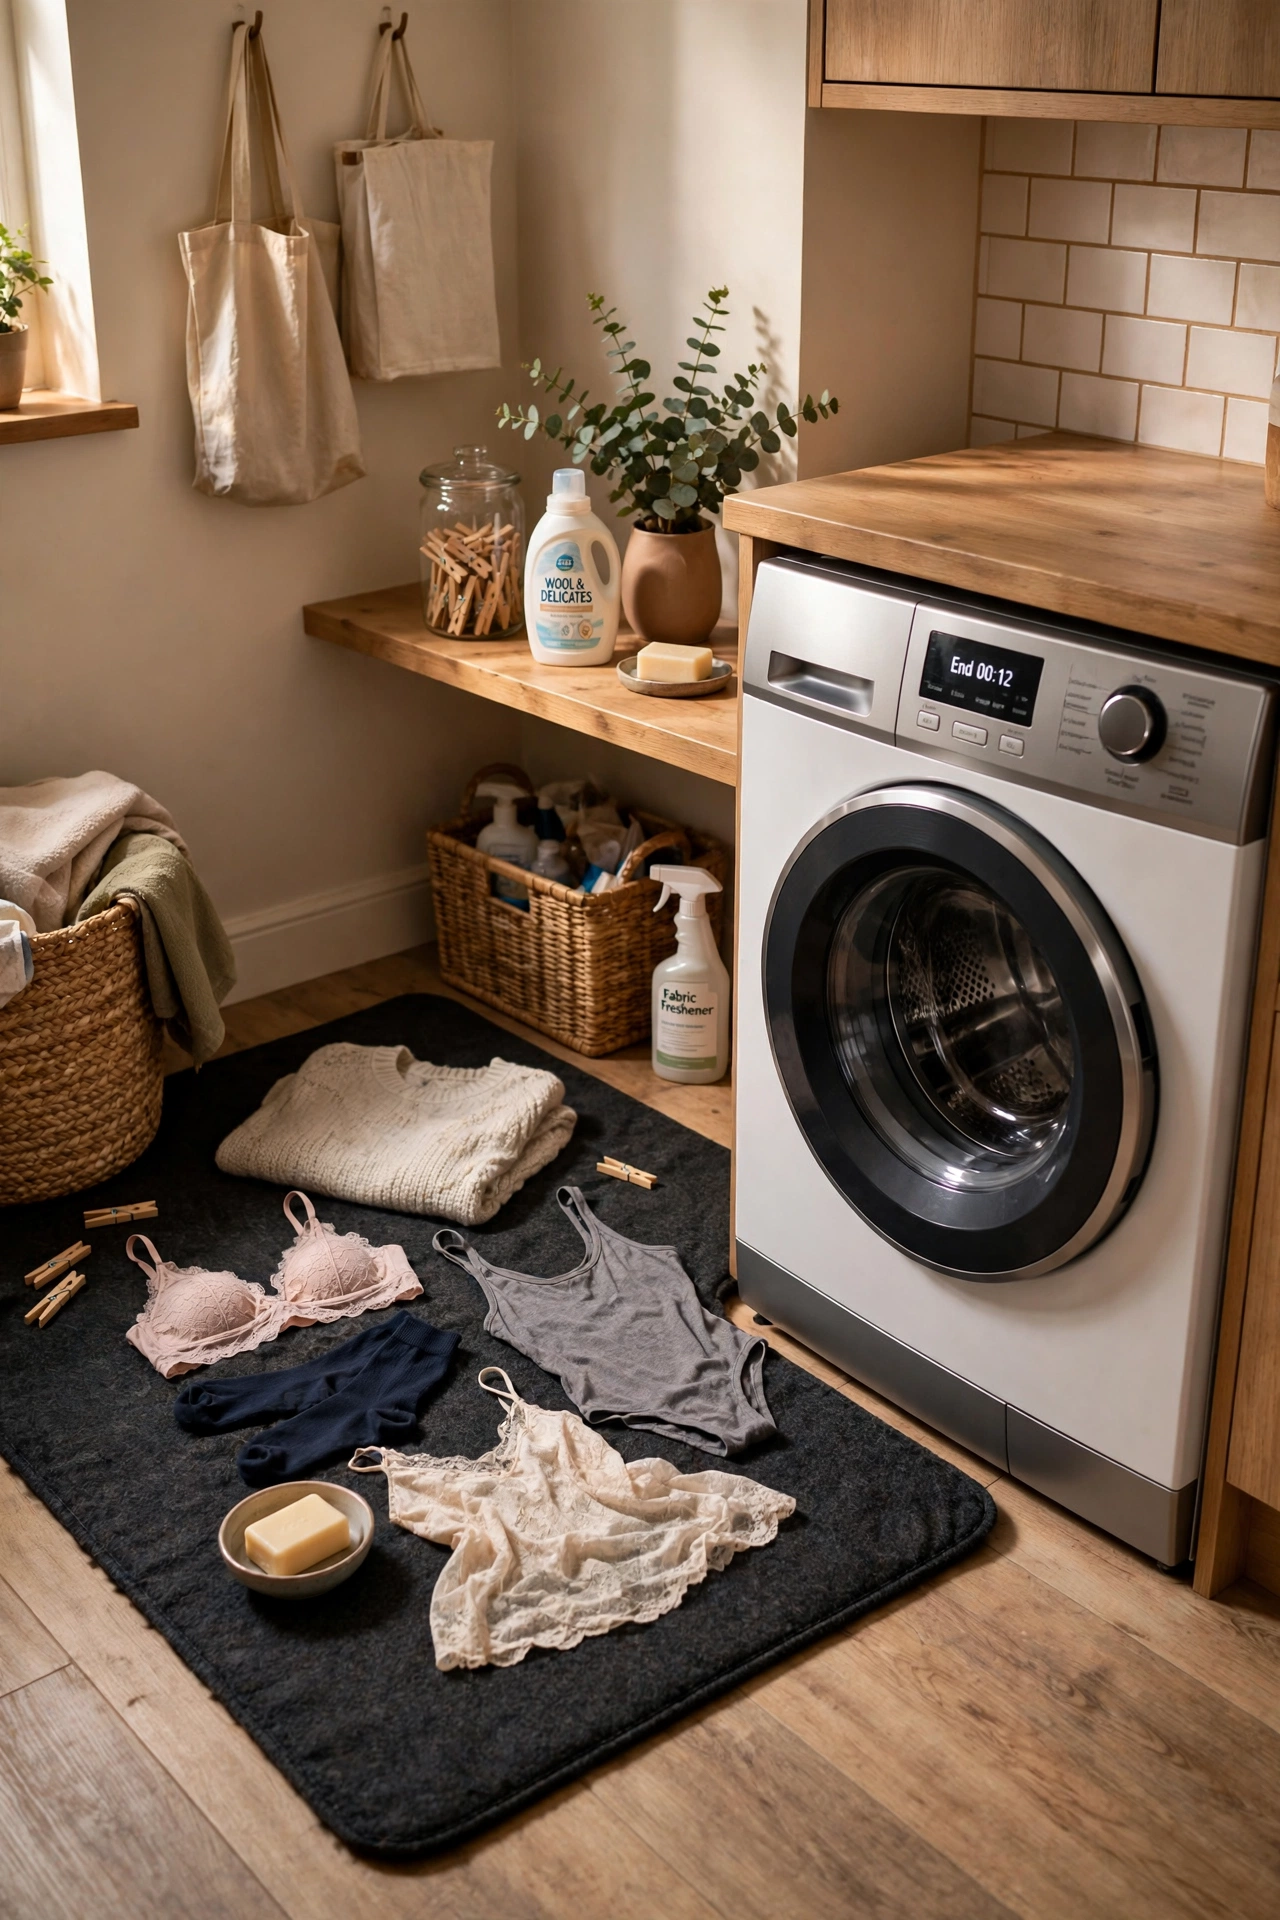
A microfibre drying mat beside the machines catches drips from the just-emptied washer and gives delicates a flat drying surface. Lay it out when you’re doing laundry, hang it to dry after. I use mine for hand-wash items that shouldn’t go on the rack. Wash the mat itself monthly or it gets musty — I forgot once and the smell reminded me for a week. Choose a dark colour; white mats show every stray sock dye.
Cost: ~$3 · Time: 5 minutes
20. Wall-Mounted Lint Roller Holder
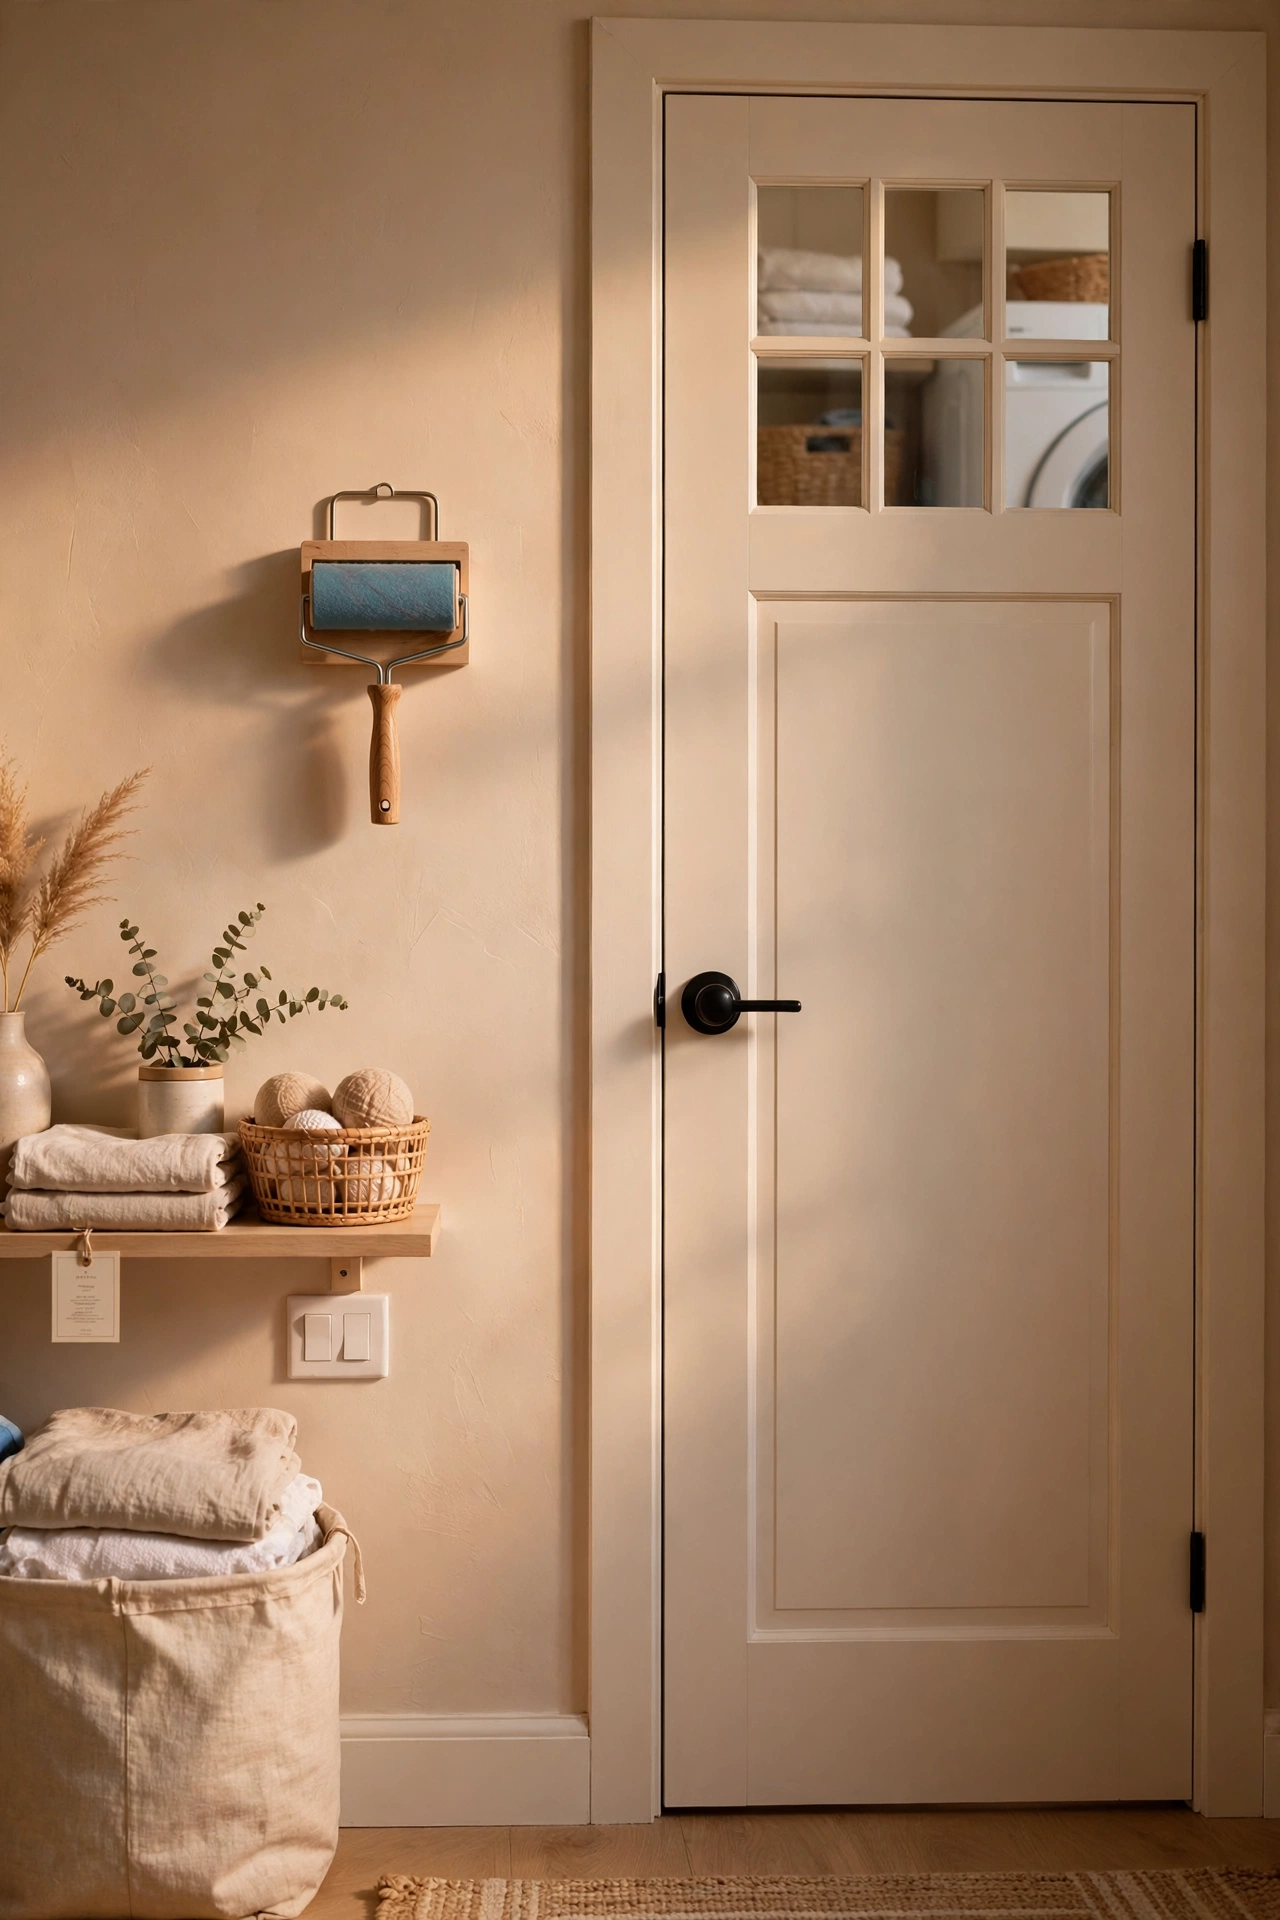
Mount a simple holder for a lint roller by the door so you can de-fuzz on the way out. This is the upgrade guests notice most — everyone has left a house with pet hair on a dark coat. I keep one by our back door and one in the laundry room. Buy the refillable roller rather than disposables; the refills are cheaper and the roller itself lasts years. A quick roll takes five seconds and saves the embarrassment.
Cost: ~$3 · Time: 10 minutes
21. Framed Laundry Room Print
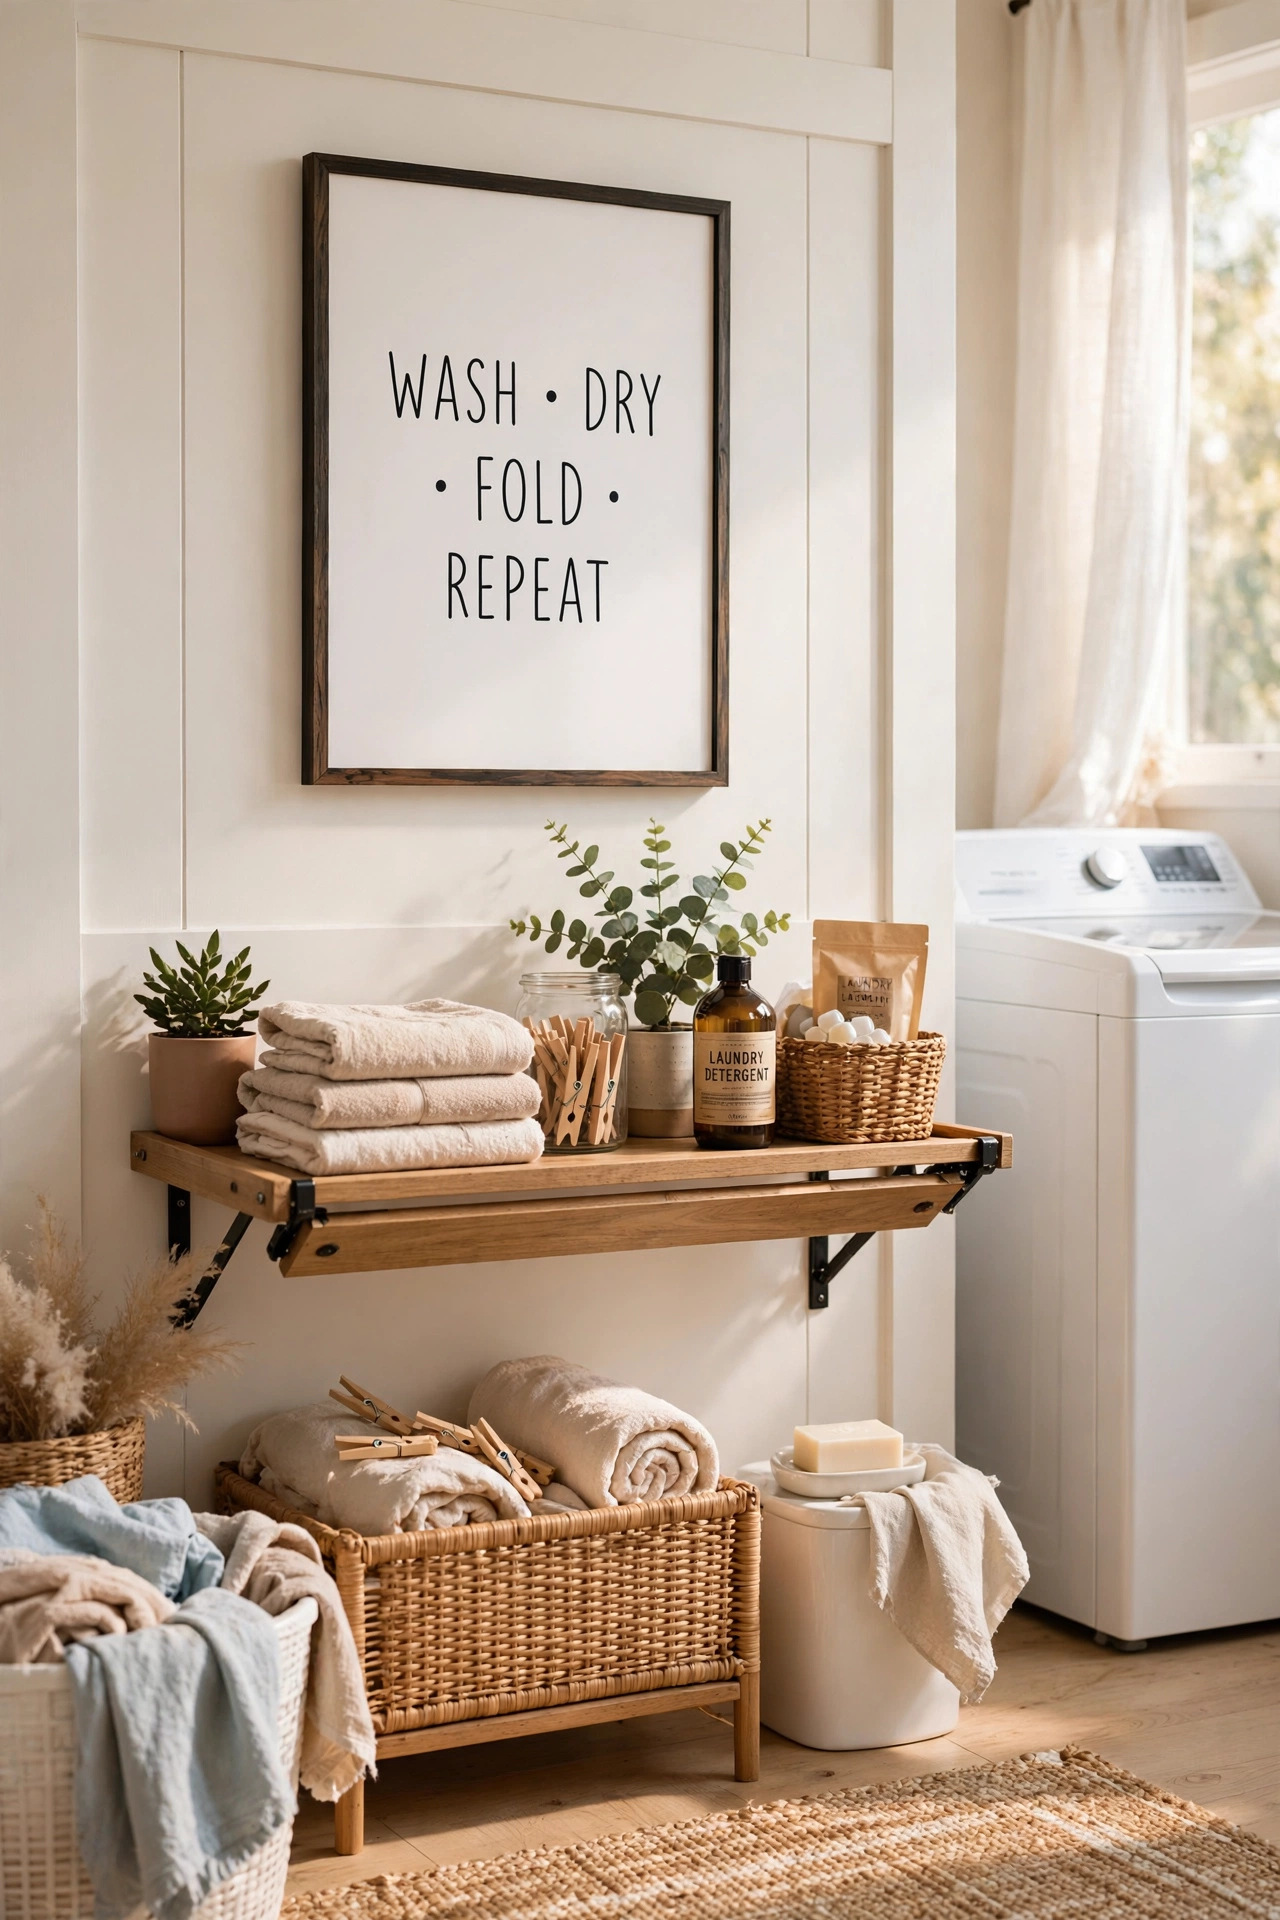
A simple framed print — a quote, a botanical, even a nicely designed “wash, dry, fold” sign — makes the room feel finished. The dollar store frames are perfectly good if you choose simple ones; it’s the print inside that matters. I framed a free printable and hung it above the folding shelf, and the room finally felt like part of the house rather than an afterthought. Keep it simple and slightly humorous; laundry rooms suit a light touch.
Cost: ~$3 · Time: 10 minutes
22. Washable Runner Rug
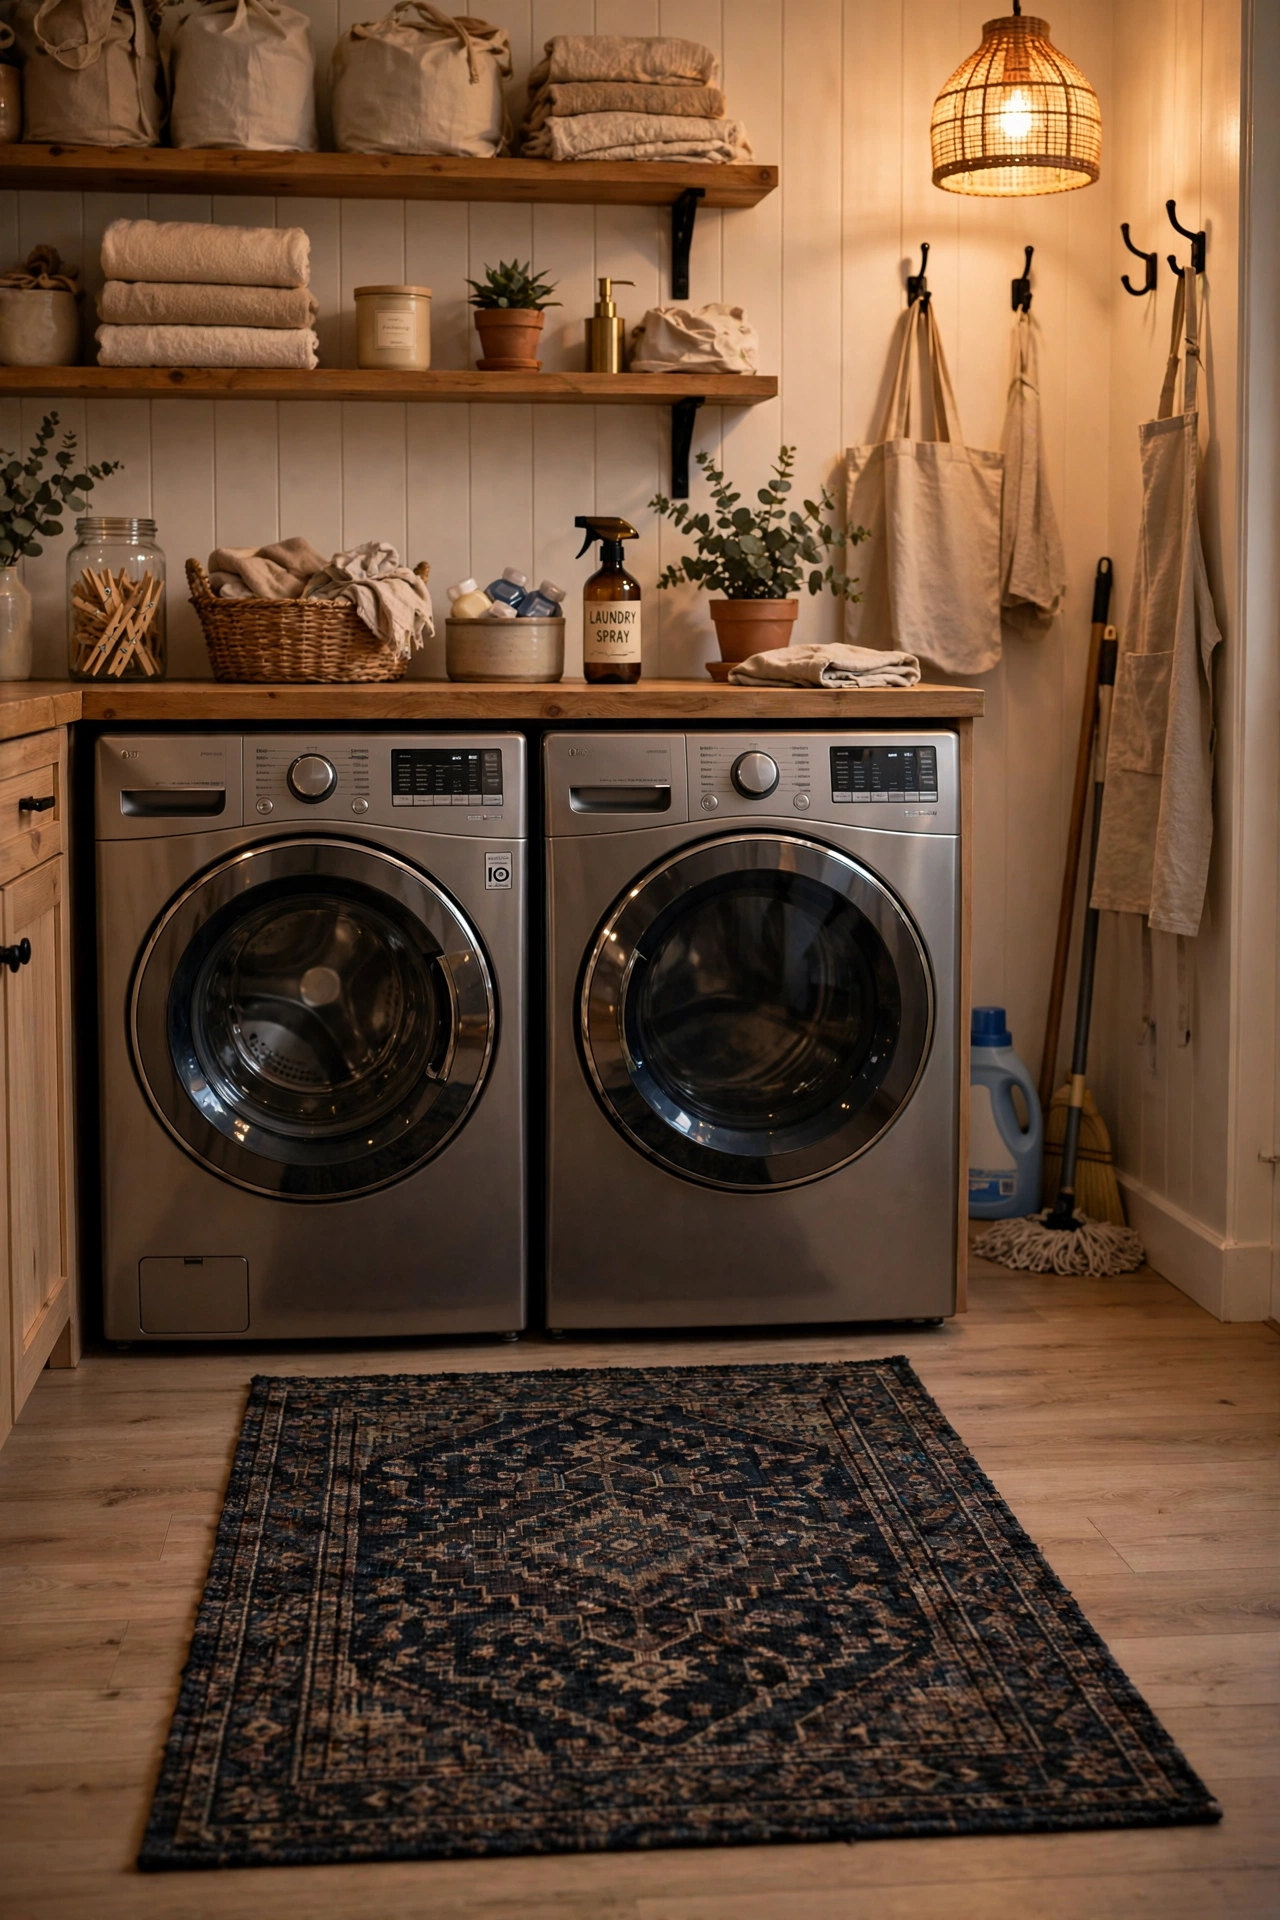
A low, washable runner in front of the machines softens the room and catches the inevitable drips. Choose a dark pattern that hides lint and stains, and make sure it’s low-profile so the laundry basket slides over it. I wash mine with a load of towels every month and it comes out fresh. One mistake to avoid: skip anything with a rubber backing that isn’t machine-washable — it crumbles in the wash and you’ll be picking bits out of the filter.
Cost: ~$5 · Time: 5 minutes
23. Button and Mend Tin
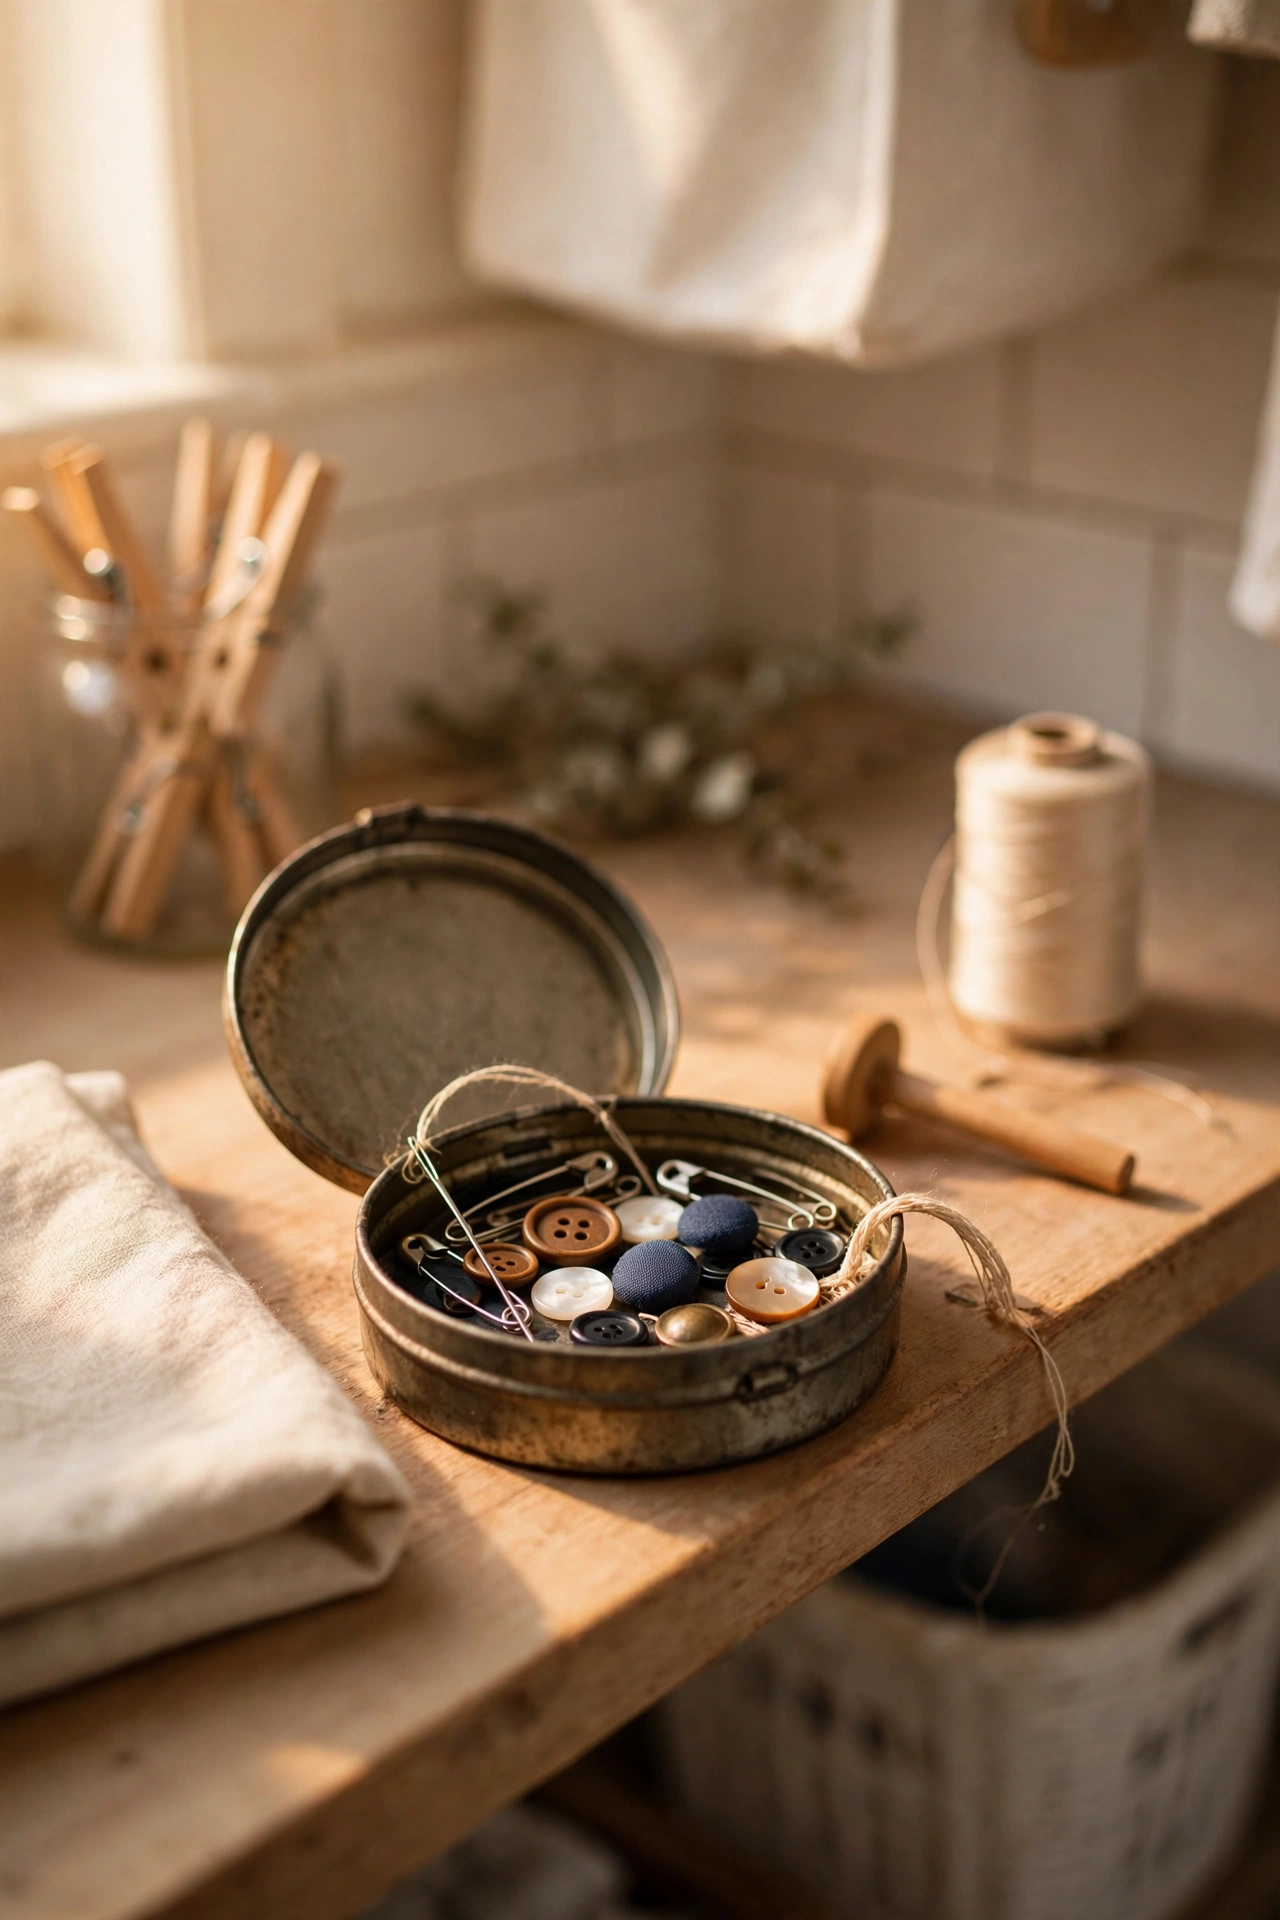
A small tin for spare buttons, a needle, and thread ends the era of the “mending pile” that never gets mended. Keep it on the folding shelf so you can sew a button back on the moment you notice it’s loose. I fixed three shirts in the first week of having mine out, simply because the kit was finally to hand. Add a few safety pins too — they solve more wardrobe emergencies than you’d expect.
Cost: ~$2 · Time: 10 minutes
Do I really need to decant detergent into jars?
No — but it solves two real problems: you see when you’re running low, and you stop overdosing because the scoop enforces the right amount. If you’d rather not, just keep the original packaging tidy on a tray. The system matters more than the container.
How do I keep a small laundry room from smelling musty?
Leave the washer door open between loads, wipe the door seal monthly, and run a hot empty cycle with vinegar every month or two. The drying mat and lint bin on this list also help, because damp fabric left sitting is usually the culprit.
What’s the single best upgrade for a rented laundry space?
The over-door hook rack and the slim rolling cart — both add serious function with zero holes in the wall. Everything on this list is renter-friendly, but those two give you the most storage per pound without touching the paintwork.
How often should I actually deep-clean the machines?
Wipe the seal and dispenser drawer monthly, run a hot maintenance wash every one to two months, and clean the dryer vent and lint filter path twice a year. Put a recurring reminder on your phone — “when I remember” means never.
Save this idea for later: work through this list one shelf at a time, and wash day will never feel like a chore avalanche again. (see also: 23-dollar-store-laundry-room-upgrades-that-work)
