23 Dollar Tree Entryway Decor Hacks That Look High-End
First impressions are made in the first ten seconds, and your entryway does most of the talking. The good news is that a luxe-looking entrance has very little to do with money. These dollar tree Entryway decor hacks use styling tricks designers rely on — symmetry, texture, and a restrained colour palette — to make bargain finds read as high-end. I have restyled my own hallway with these exact ideas, and guests keep asking which boutique I shopped at.
A Styled Console Table Vignette With the Rule of Threes
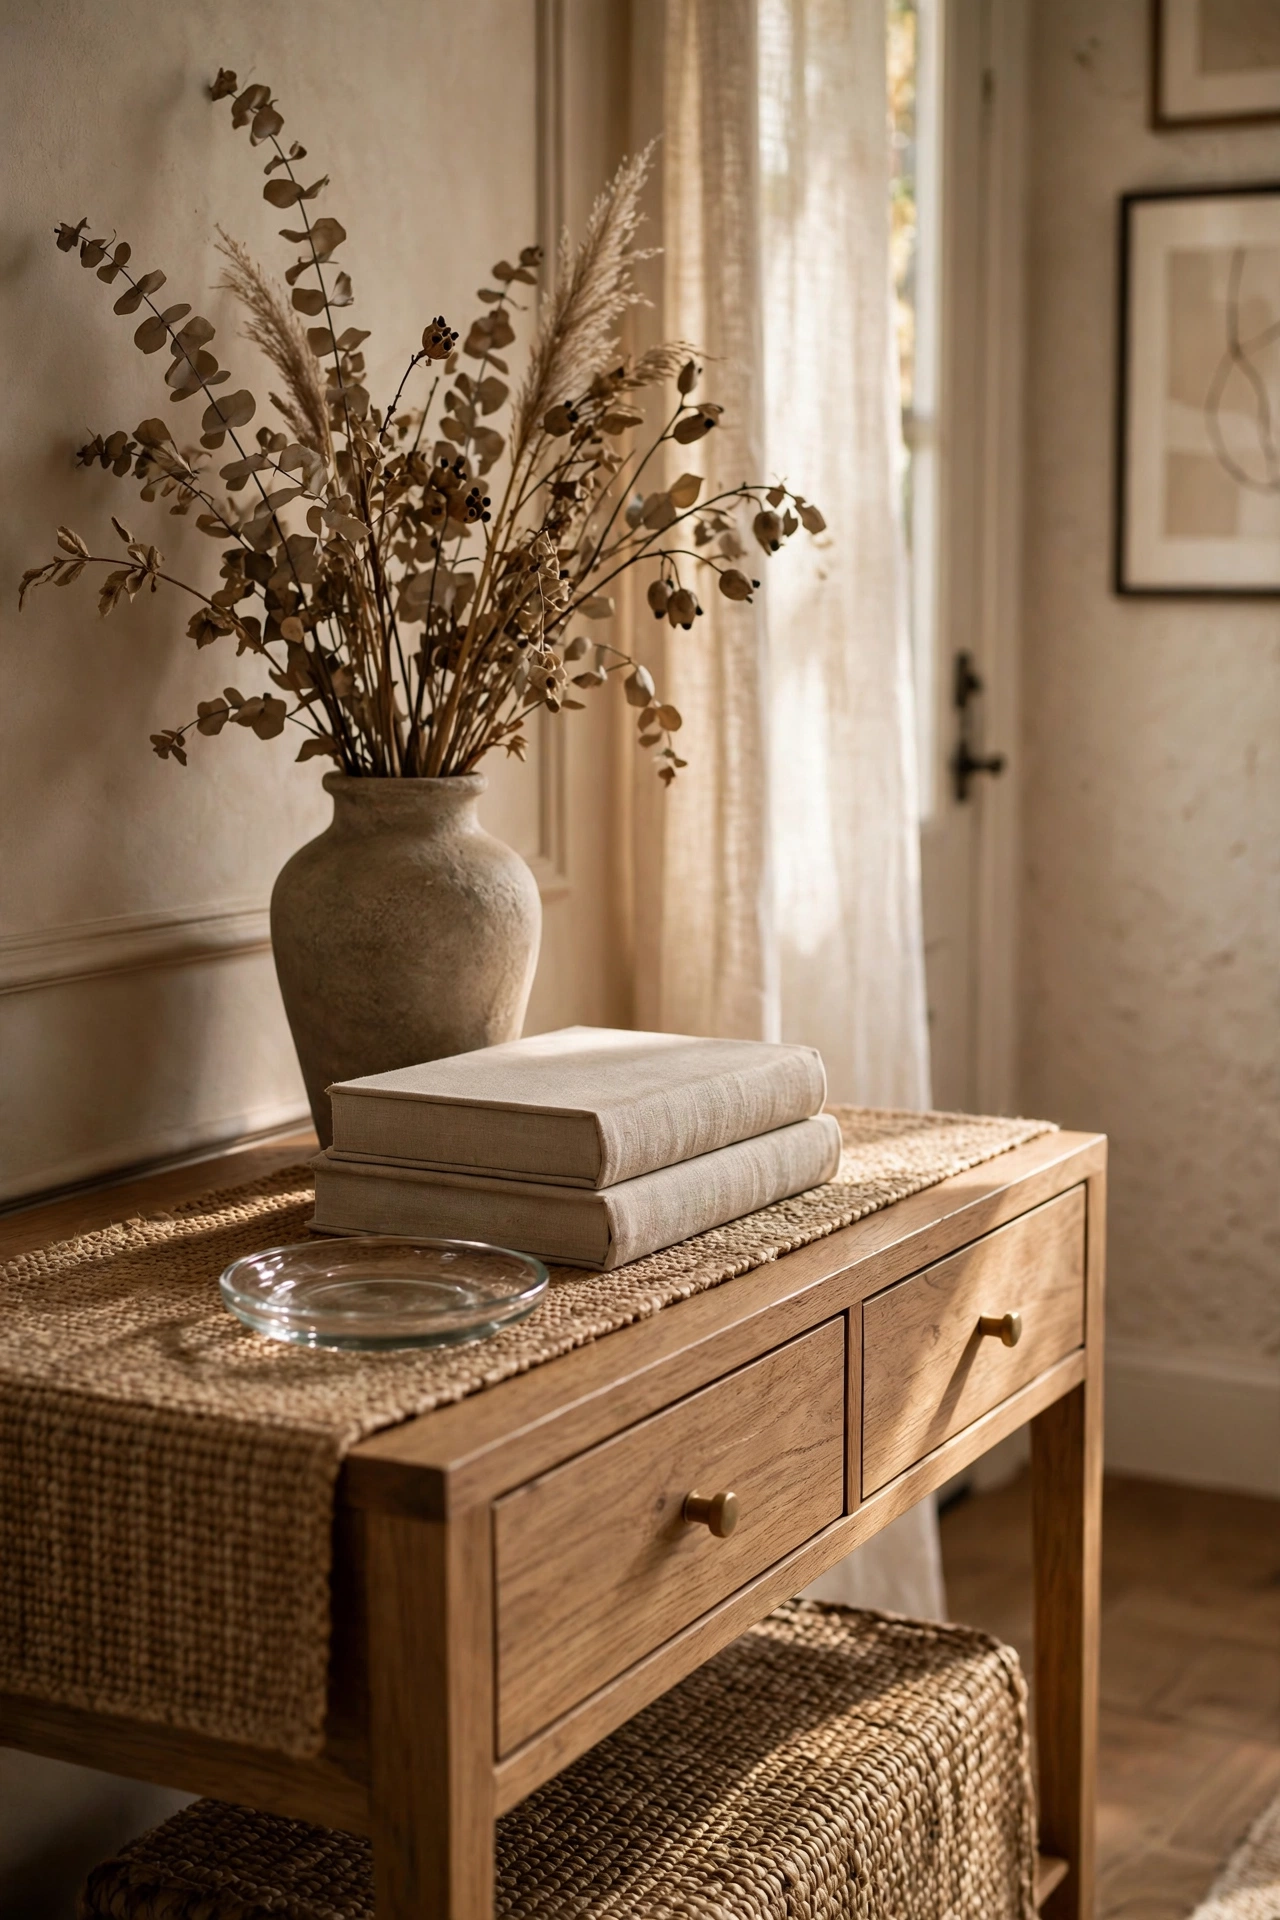
Designer vignettes almost always group objects in threes, and you can copy the trick with dollar-store finds. Start with something tall at the back — a vase with dried stems works — then add a medium piece like a stack of two books, and finish with something small and shiny, such as a little glass dish. Keep everything within one colour family so it reads as one deliberate composition. Arrange, step back, and shuffle until the heights descend in a pleasing staircase. I restyled my own console this way in about twenty minutes and it finally looked like the magazine photos I’d been saving. One mistake to avoid: don’t line everything up in a straight row — overlap the pieces slightly so the grouping feels natural.
Cost: ~$9 · Time: 25 minutes
An Arched Full-Length Mirror for Instant Elegance
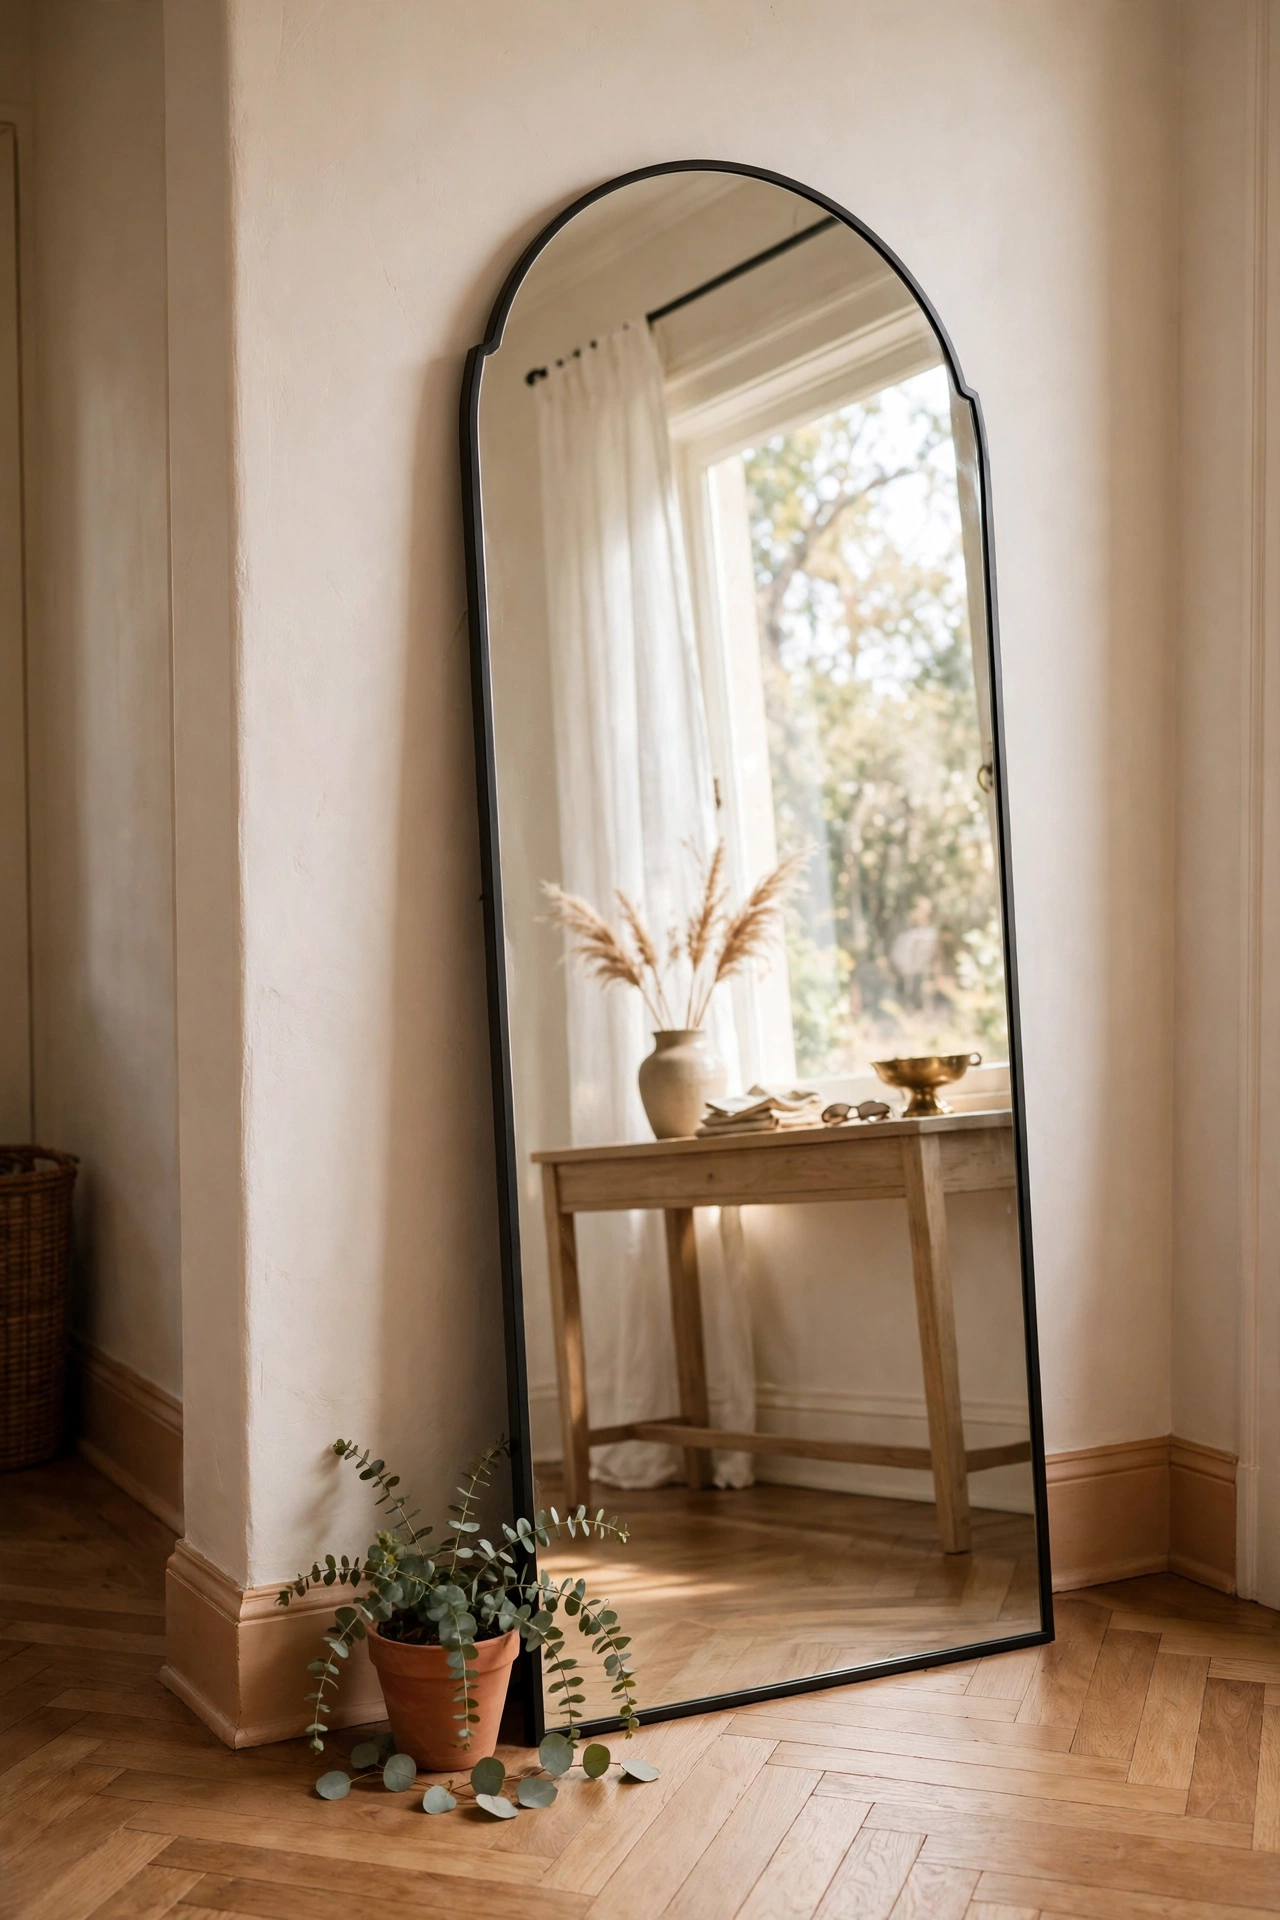
Arched mirrors are everywhere in high-end interiors right now, and leaning a full-length version against your entryway wall copies the look for almost nothing. The arch shape softens all the hard angles of a hallway and reflects light beautifully. Lean it at a slight angle against the wall rather than hanging it — the casual lean is exactly what makes it look expensive — and place it where it catches window light. I tried this in my own entryway and the narrow space felt twice as tall overnight. One mistake to avoid: don’t put it where the front door swings into it, as one gust will send it toppling — wedge a small doorstop behind the base.
Cost: ~$12 · Time: 10 minutes
A Symmetrical Gallery Wall of Matching Frames
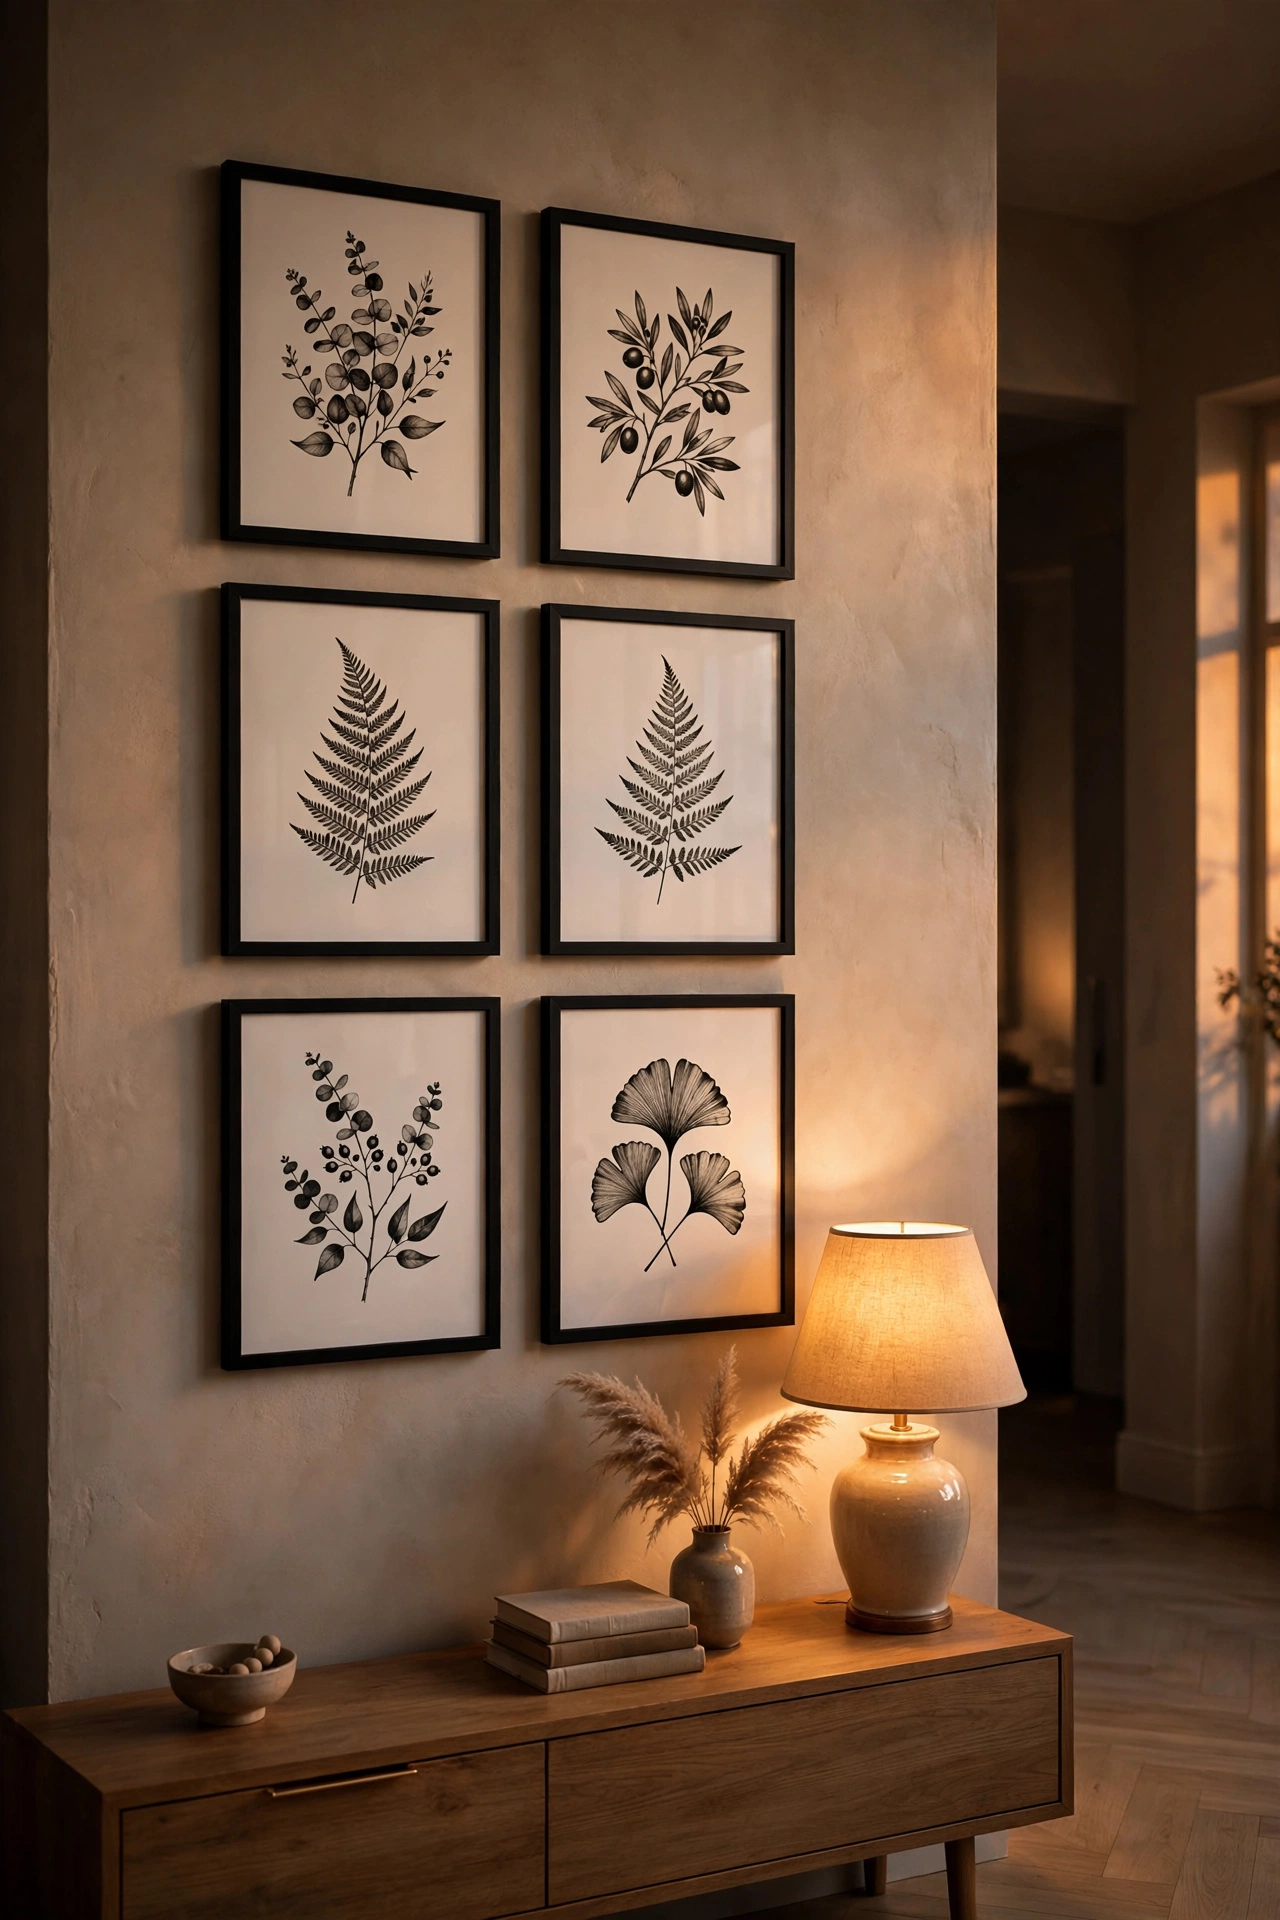
Symmetry reads as expensive, and a grid of identical frames is the quickest way to fake it. Buy six or eight matching frames from the dollar store and arrange them in a tight grid with even 4cm gaps, using prints in a single palette — black and white photography works beautifully. Map the grid on the wall with painter’s tape first so your spacing stays perfect. I built one in my own hallway with botanical prints and it looks like something from a hotel lobby. One mistake to avoid: don’t eyeball the spacing — a crooked grid ruins the effect, so use a level and a tape measure.
Cost: ~$12 · Time: 50 minutes
A Tufted-Look Storage Bench in Linen Fabric
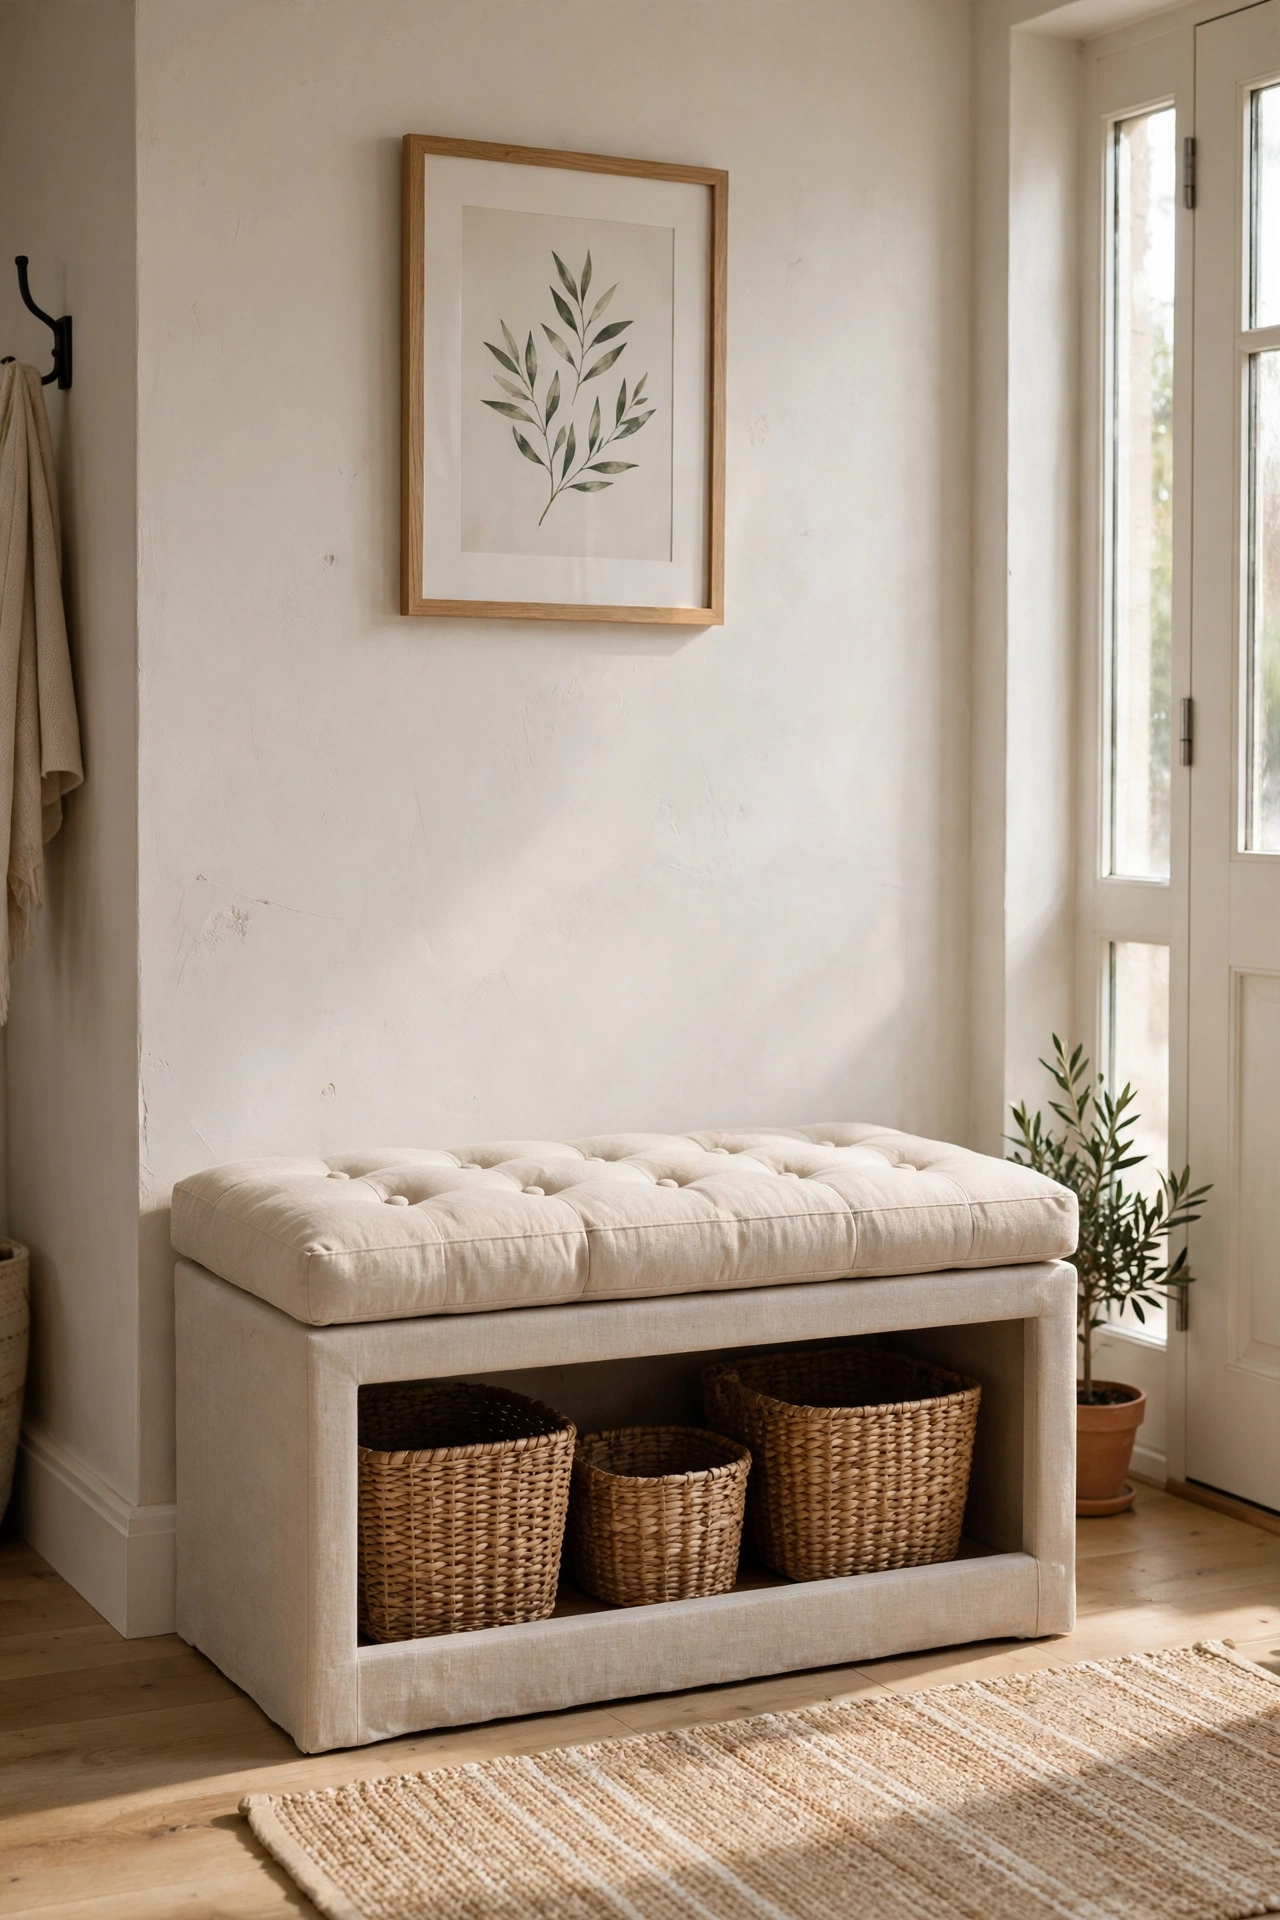
A storage bench with a tufted-look top gives you seating, hidden storage, and a whiff of a boutique hotel lobby. Choose a bench in a neutral linen-look fabric and upgrade it with a set of upholstery buttons: push them through the cushion top and secure underneath with thread to fake the tufting. Keep the storage inside for the ugly-but-necessary stuff — dog leads, spare batteries, reusable bags. I added buttons to a plain bench in my own entryway and visitors assumed it cost ten times the price. One mistake to avoid: don’t space the buttons randomly — measure a diamond or square grid so the tufting looks intentional.
Cost: ~$14 · Time: 45 minutes
A Woven Jute Table Runner as Natural Texture
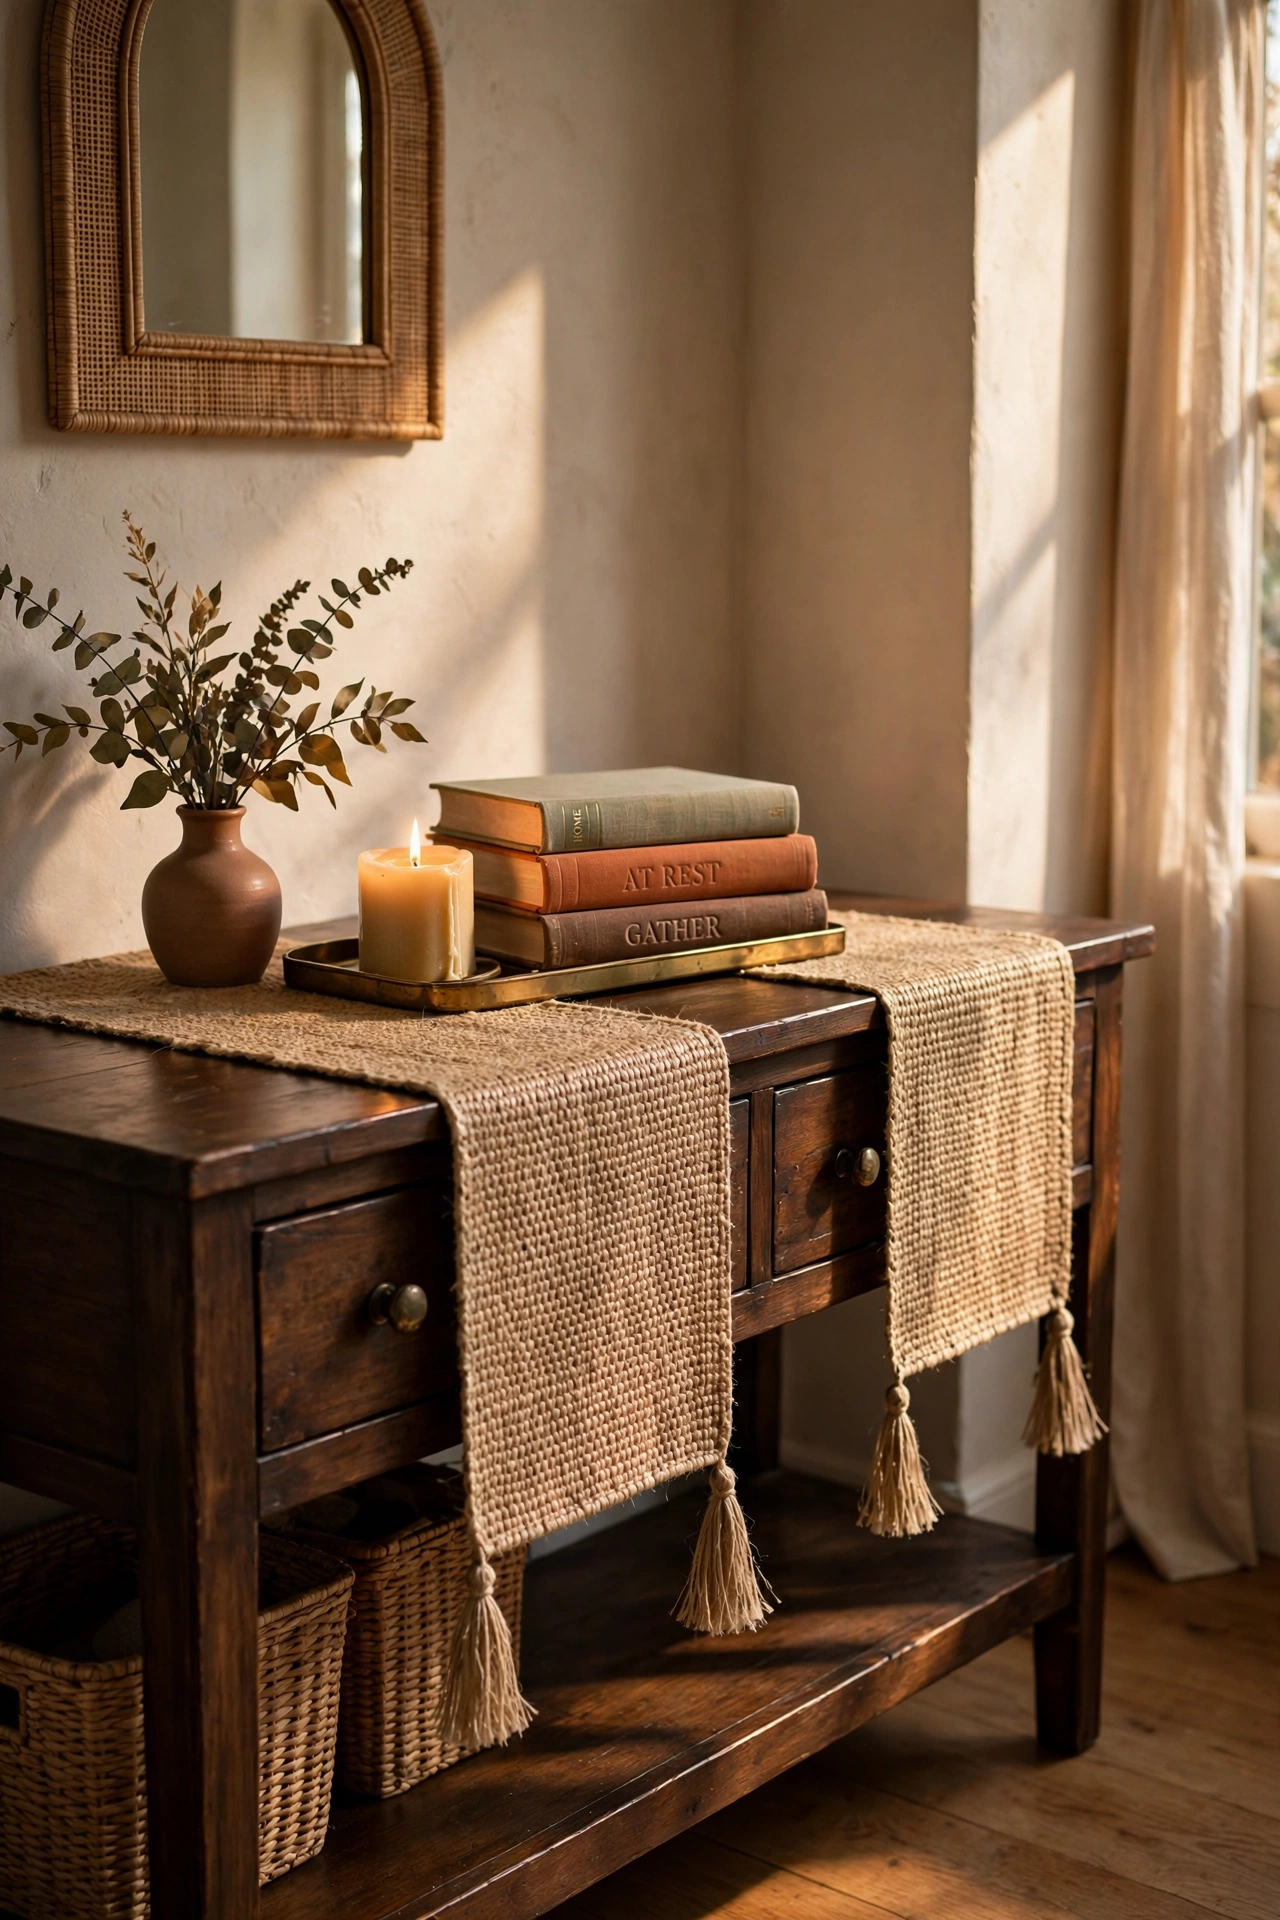
Texture is what separates flat, cheap styling from rich, layered styling, and a woven jute runner adds it instantly. Lay it down the centre of your console table, letting the ends hang evenly over both sides. Layer a small tray or a couple of books on top so the runner becomes the base of your vignette rather than a floating strip. The natural fibres warm up glass and metal pieces around them. I use one on my own console and it makes even plain white ceramics look considered. One mistake to avoid: don’t choose a runner wider than half your table, or it overwhelms the surface instead of accenting it. For more texture tricks, see (see also: 17-dollar-store-wall-decor-ideas-that-look-expensive).
Cost: ~$5 · Time: 10 minutes
Matching Ceramic Table Lamps for Symmetry
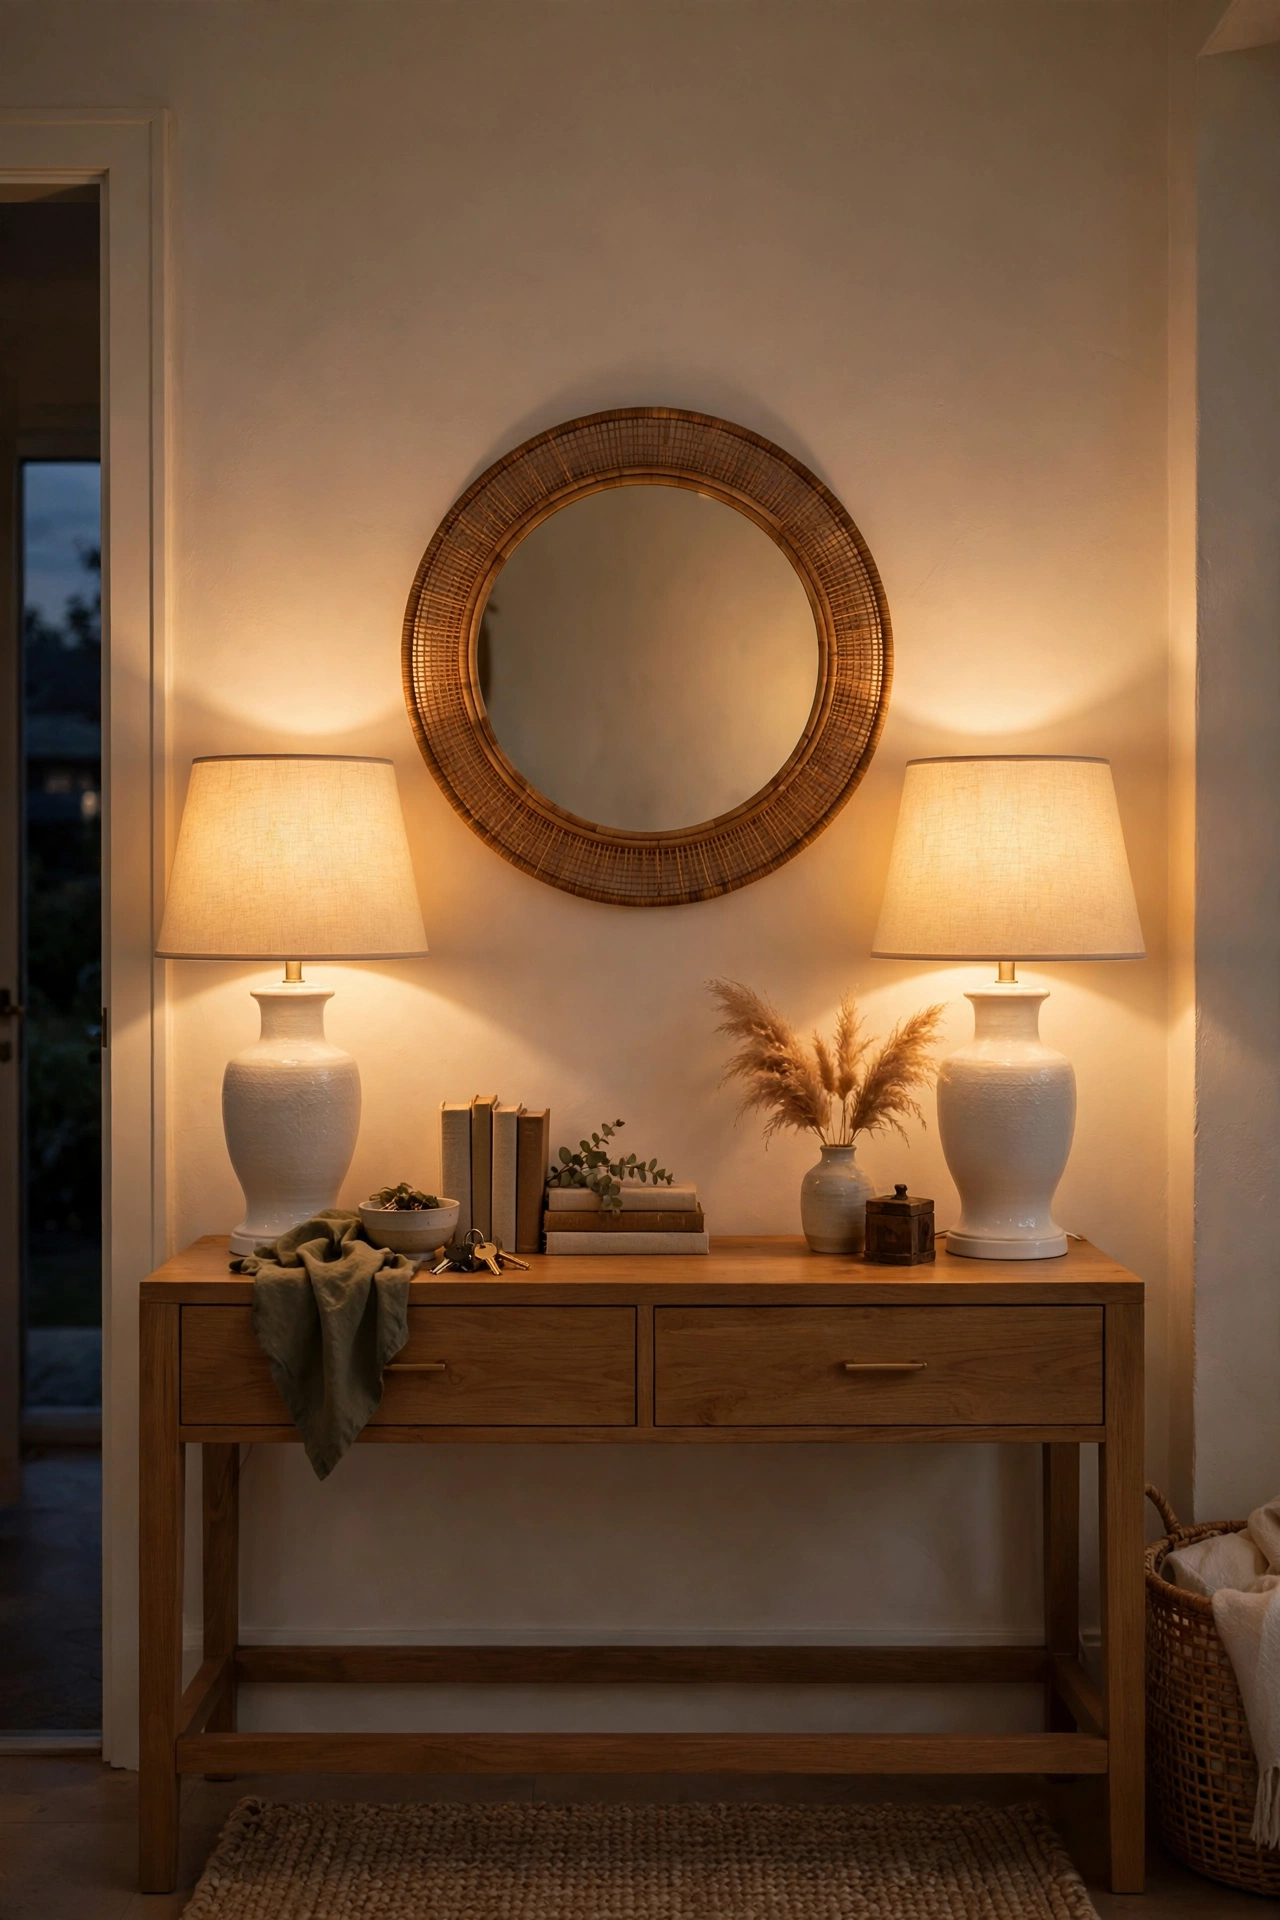
Nothing says “designed” like a matching pair of lamps, and two identical ceramic bases from the dollar store do the job. Place one at each end of the console table so the arrangement mirrors itself — symmetry is the oldest luxury trick in the book. Choose simple drum shades in white or cream to keep the look calm, and use warm-toned bulbs for that golden evening glow. I added a pair to my own entryway and the hallway went from corridor to boutique in one evening. One mistake to avoid: don’t mix bulb colours — one cool and one warm bulb will make the whole scheme feel off even if you can’t name why.
Cost: ~$14 · Time: 20 minutes
A Mirrored Decorative Tray With a Glass Finish
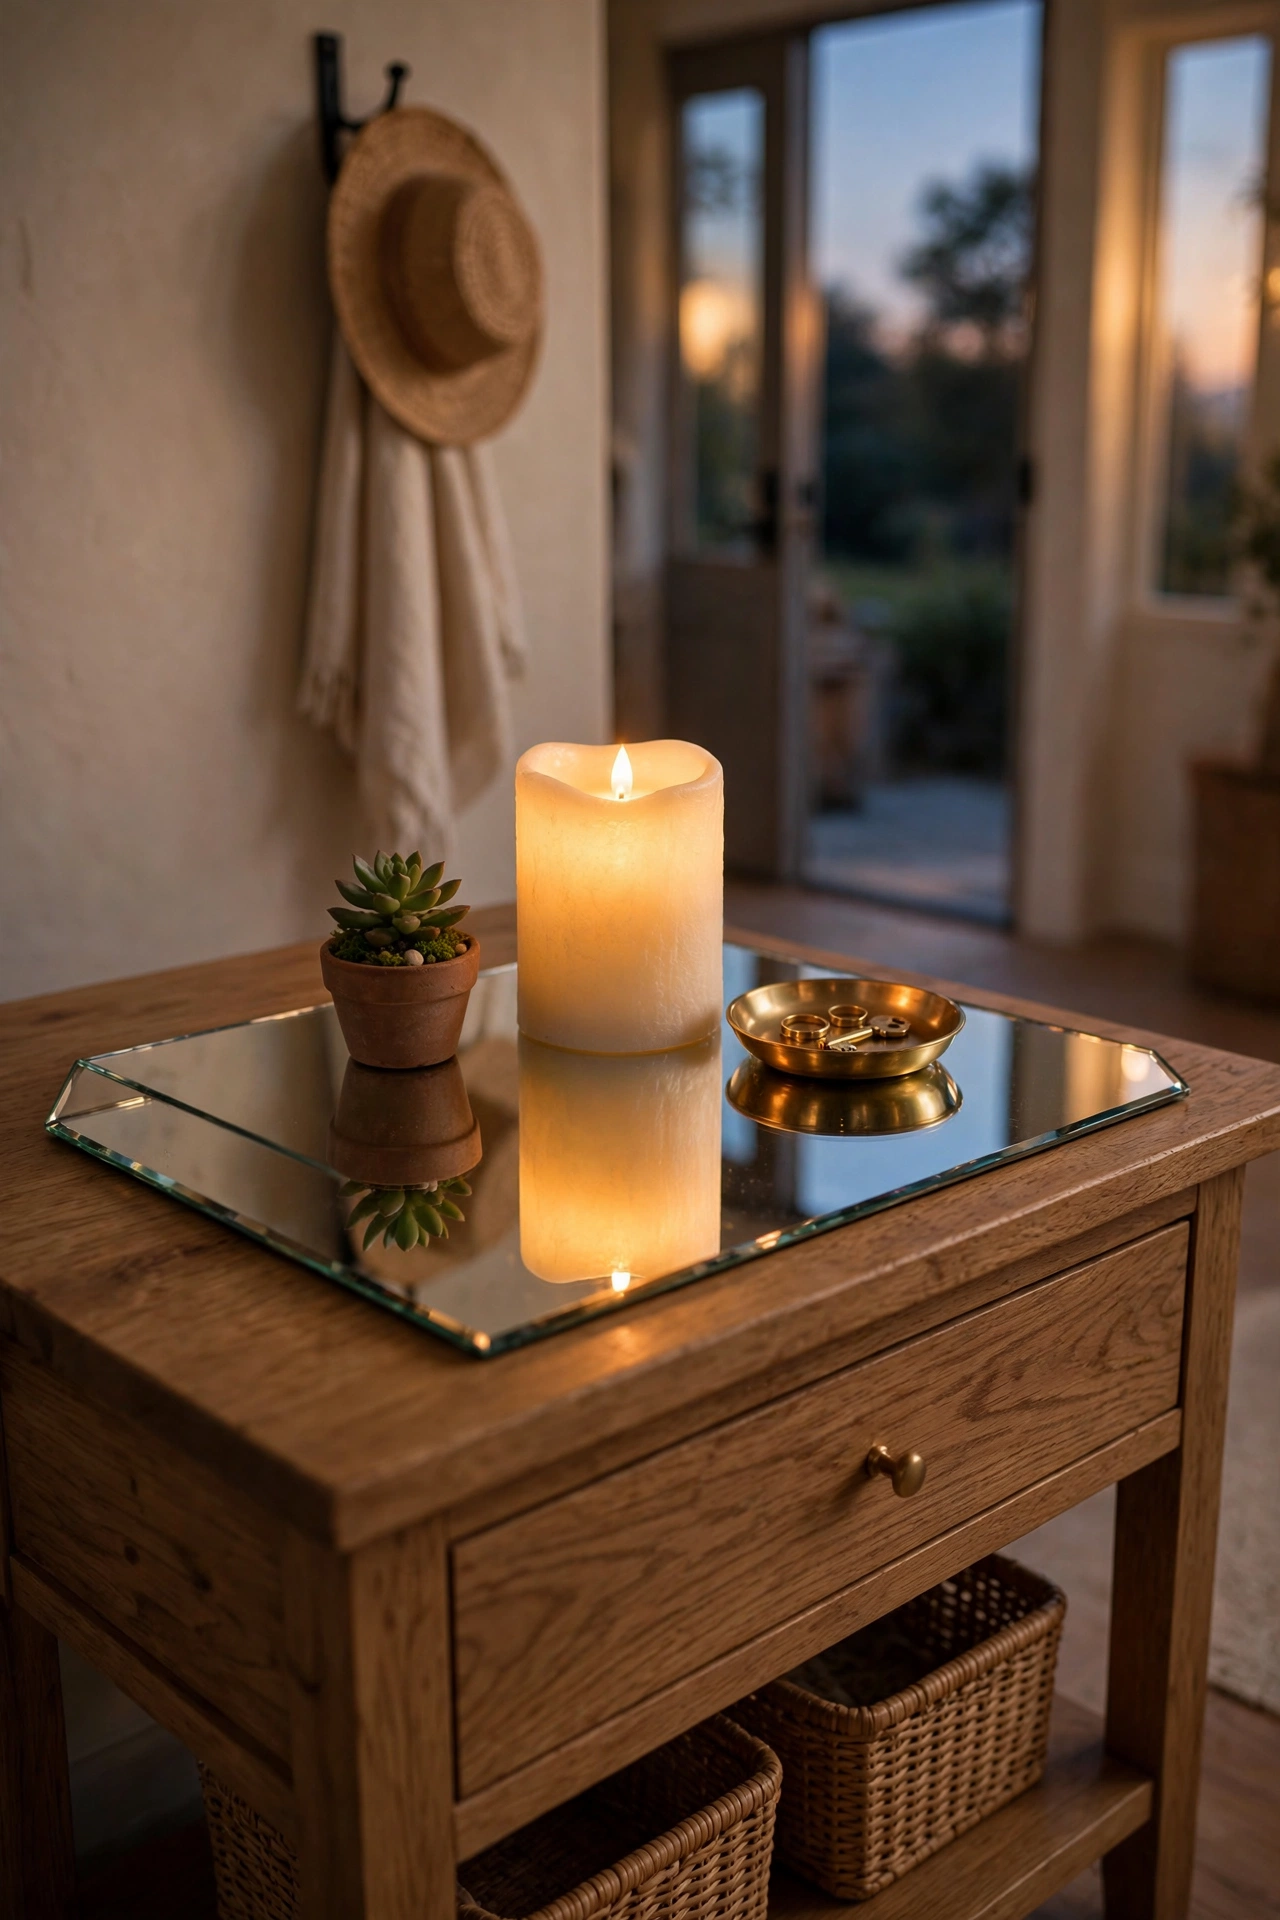
A mirrored tray catches the light and makes everything sitting on it look more precious — it’s the same trick jewellers use in display cases. Use one as the base layer of your console vignette: group a candle, a small plant, and a decorative object on top, and the reflective surface doubles their impact. Wipe it with glass cleaner regularly, as fingerprints show up fast on mirror. I keep one on my own console with a candle and a little dish, and guests always pick it up to look closer. One mistake to avoid: don’t overload it — three items maximum, or the reflections turn into visual noise.
Cost: ~$6 · Time: 10 minutes
Brushed-Brass-Look Wall Hooks for a Jewellery Feel
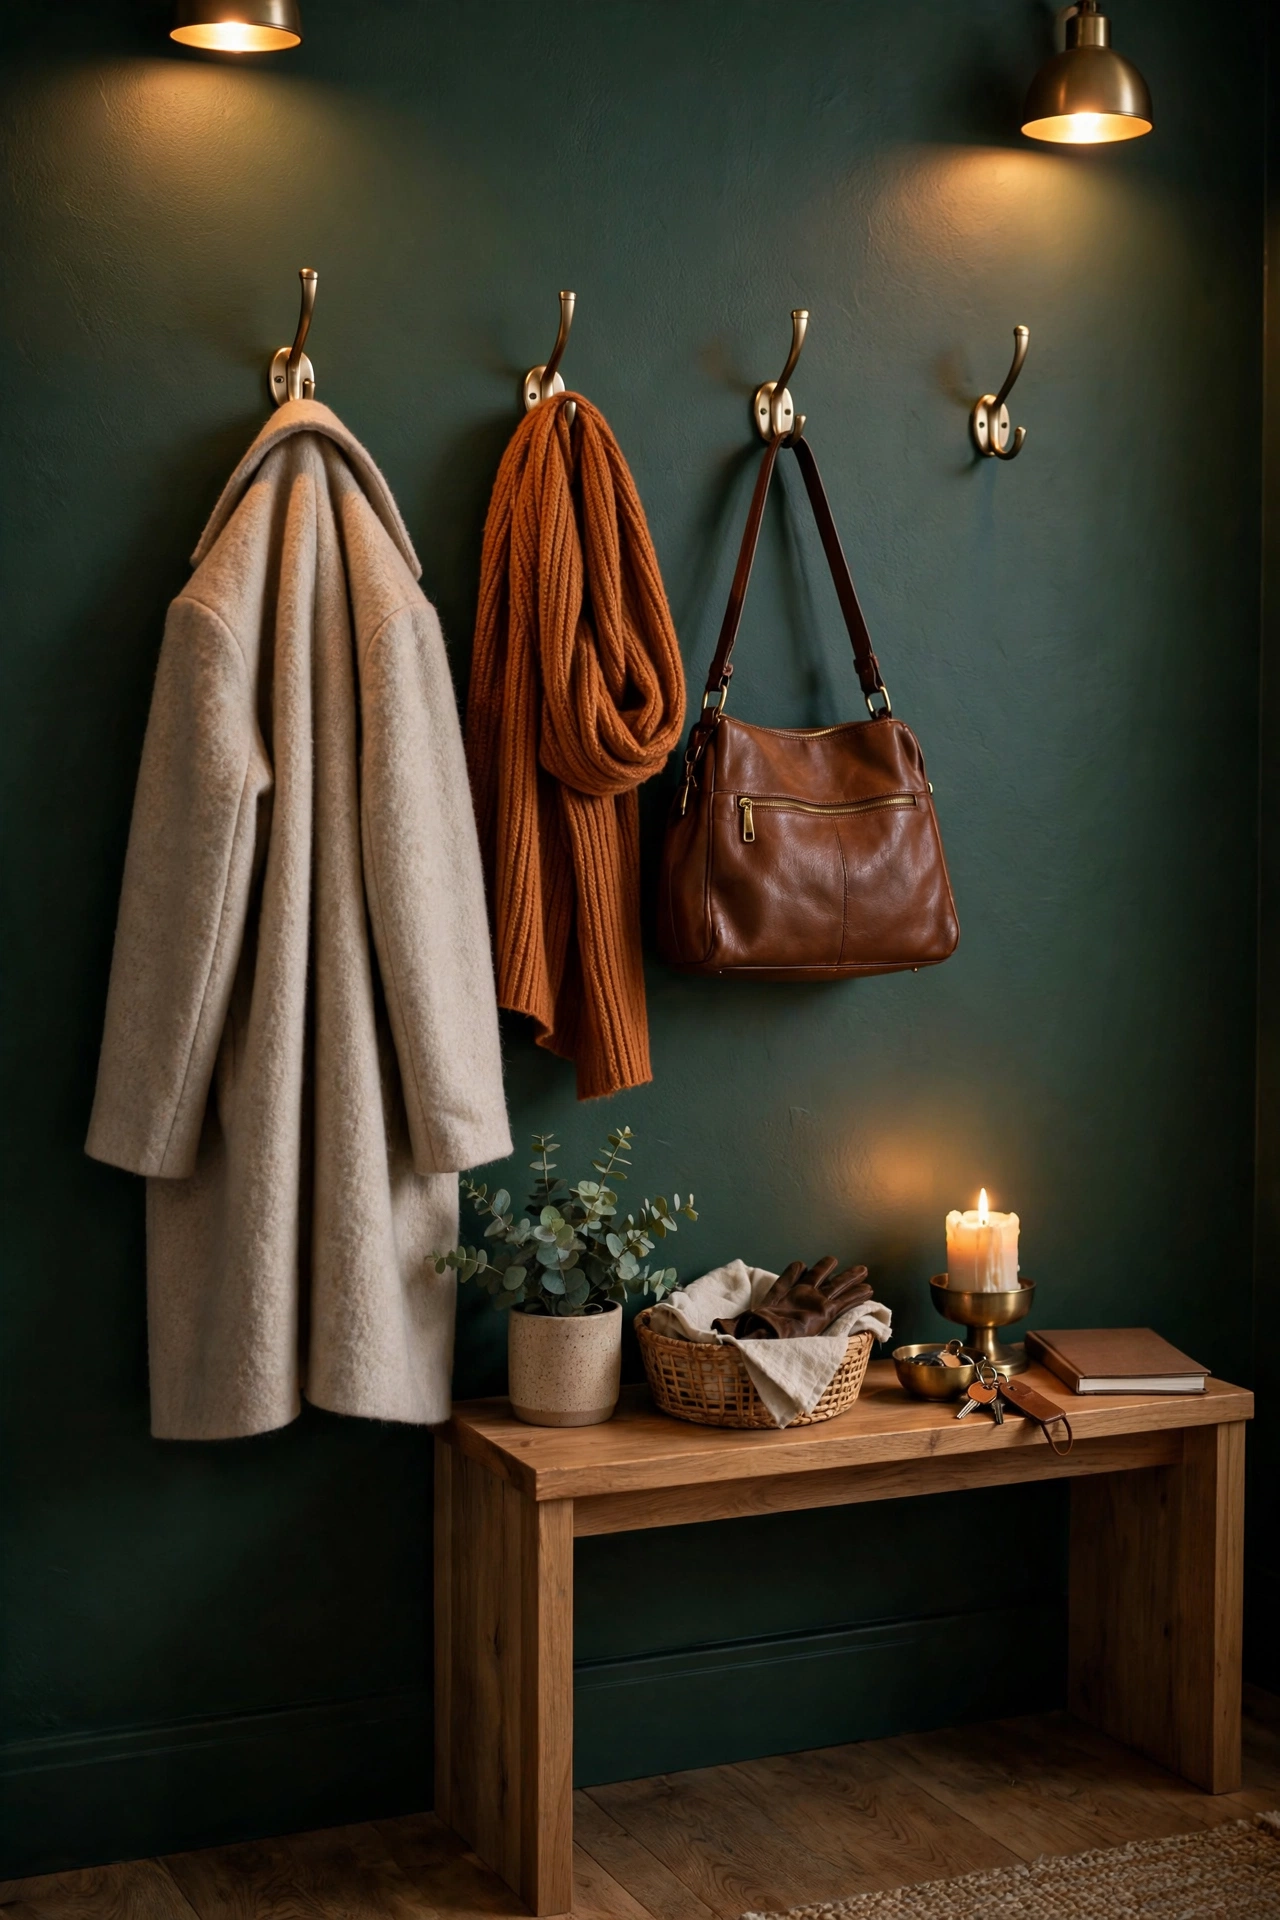
Hardware is the jewellery of a room, and brushed-brass-look hooks give your entryway wall an expensive glint. Mount three or four in a neat row beside the door for coats and bags, spacing them evenly with a tape measure. The warm metal tone pairs beautifully with deep wall colours like navy or forest green. If the finish looks too shiny out of the packet, a light rub with fine steel wool dulls it to a convincing brushed effect. I fitted these in my own hallway and they look like they came from a designer ironmonger. One mistake to avoid: don’t mix brass hooks with silver door handles nearby — pick one metal and commit to it.
Cost: ~$8 · Time: 30 minutes
An Oversized Abstract Art Print in a Slim Frame
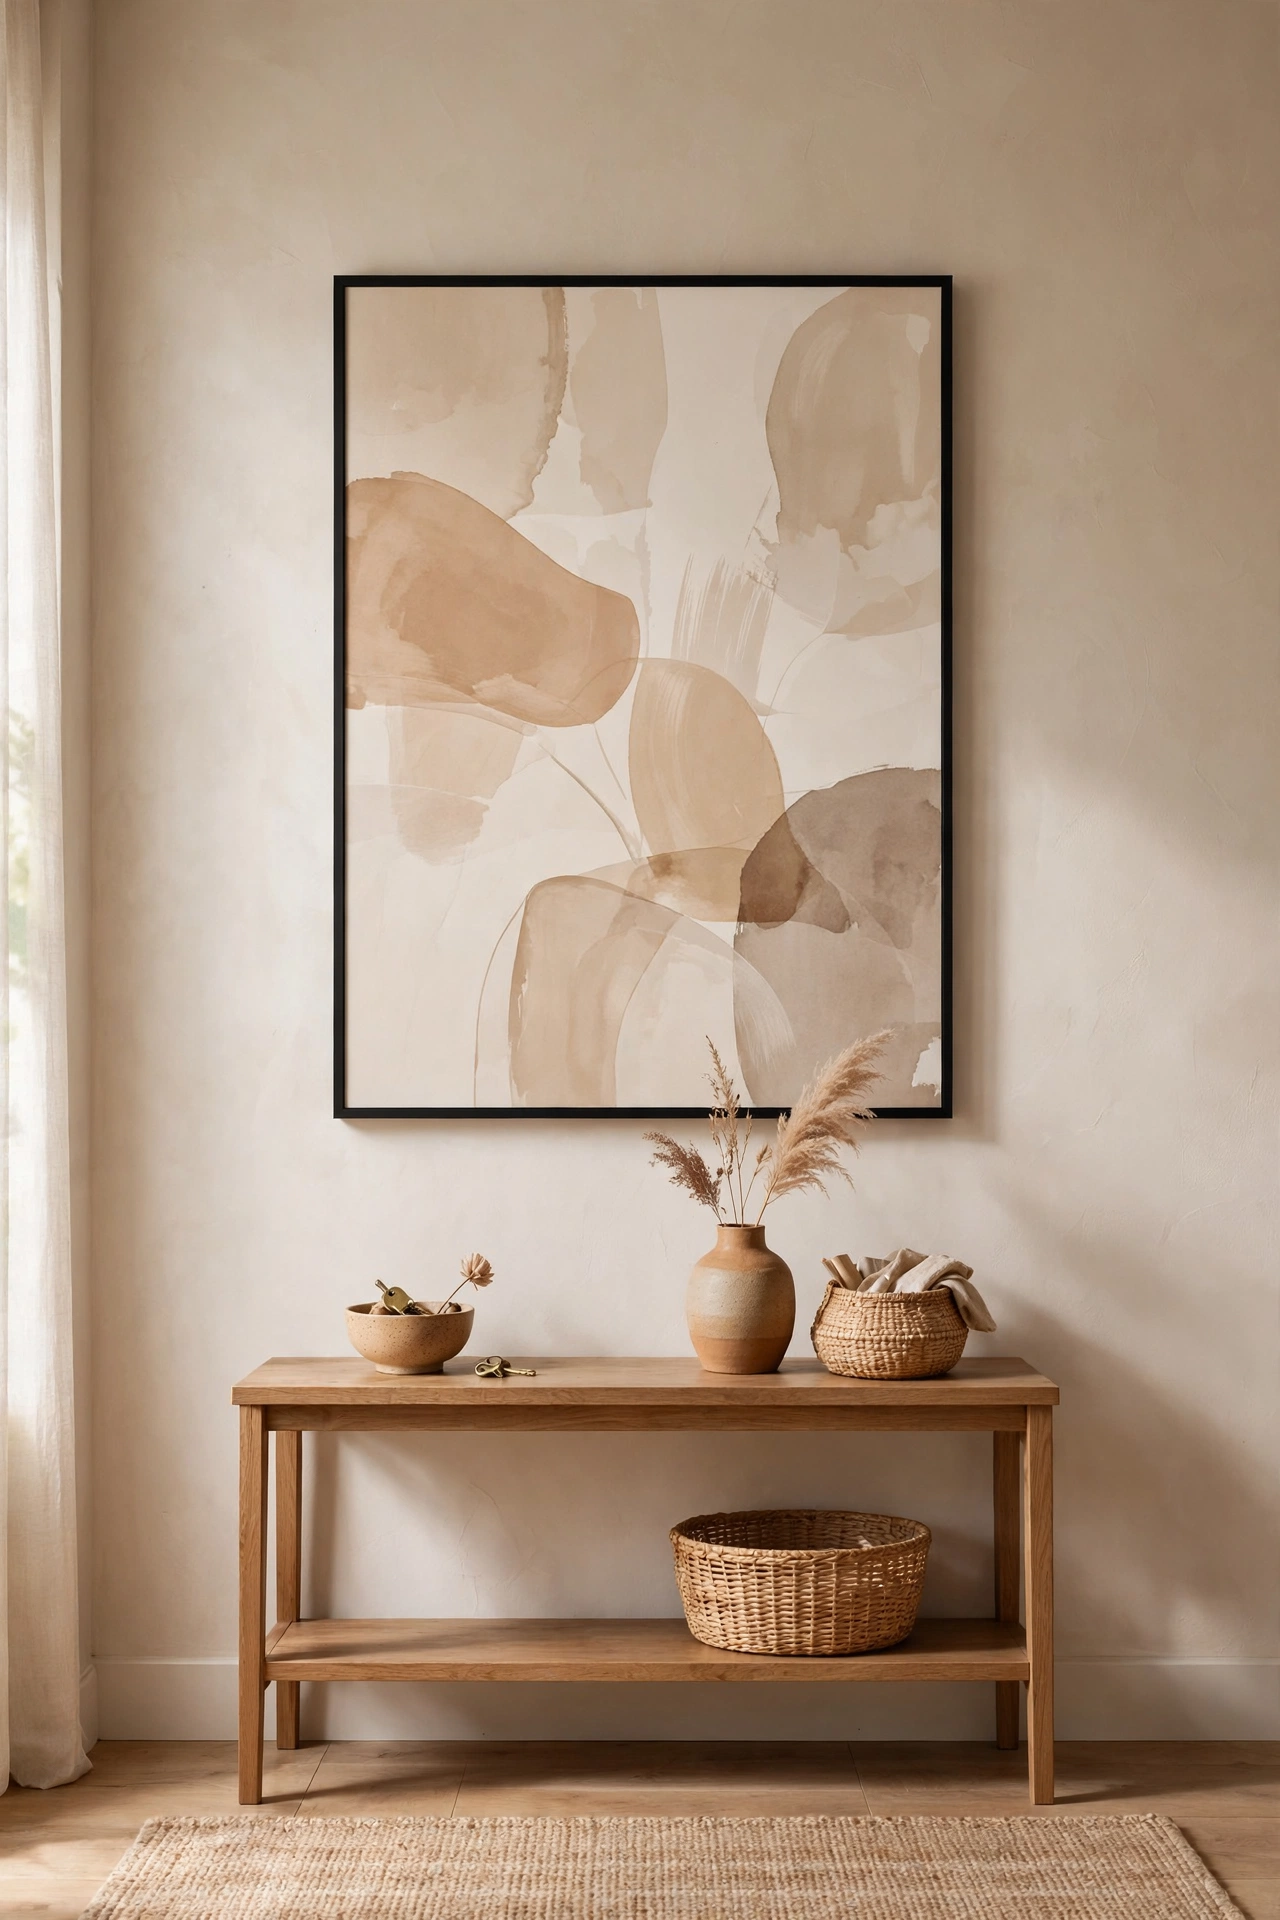
One large piece of art makes a stronger statement than a dozen small ones, and oversized prints are a gallery trick anyone can copy. Print a favourite abstract image at poster size from a print shop — many charge very little — and frame it in a slim black or natural-wood dollar-store frame. Hang it so the centre sits at eye level, and give it breathing room by keeping the surrounding wall clear. I hung one in my own entryway and it instantly became the focal point visitors ask about. One mistake to avoid: don’t choose a print with clashing colours — pull two or three tones from your existing decor so it ties the scheme together.
Cost: ~$10 · Time: 30 minutes
A Faux Olive Topiary Tree in a Stone Planter
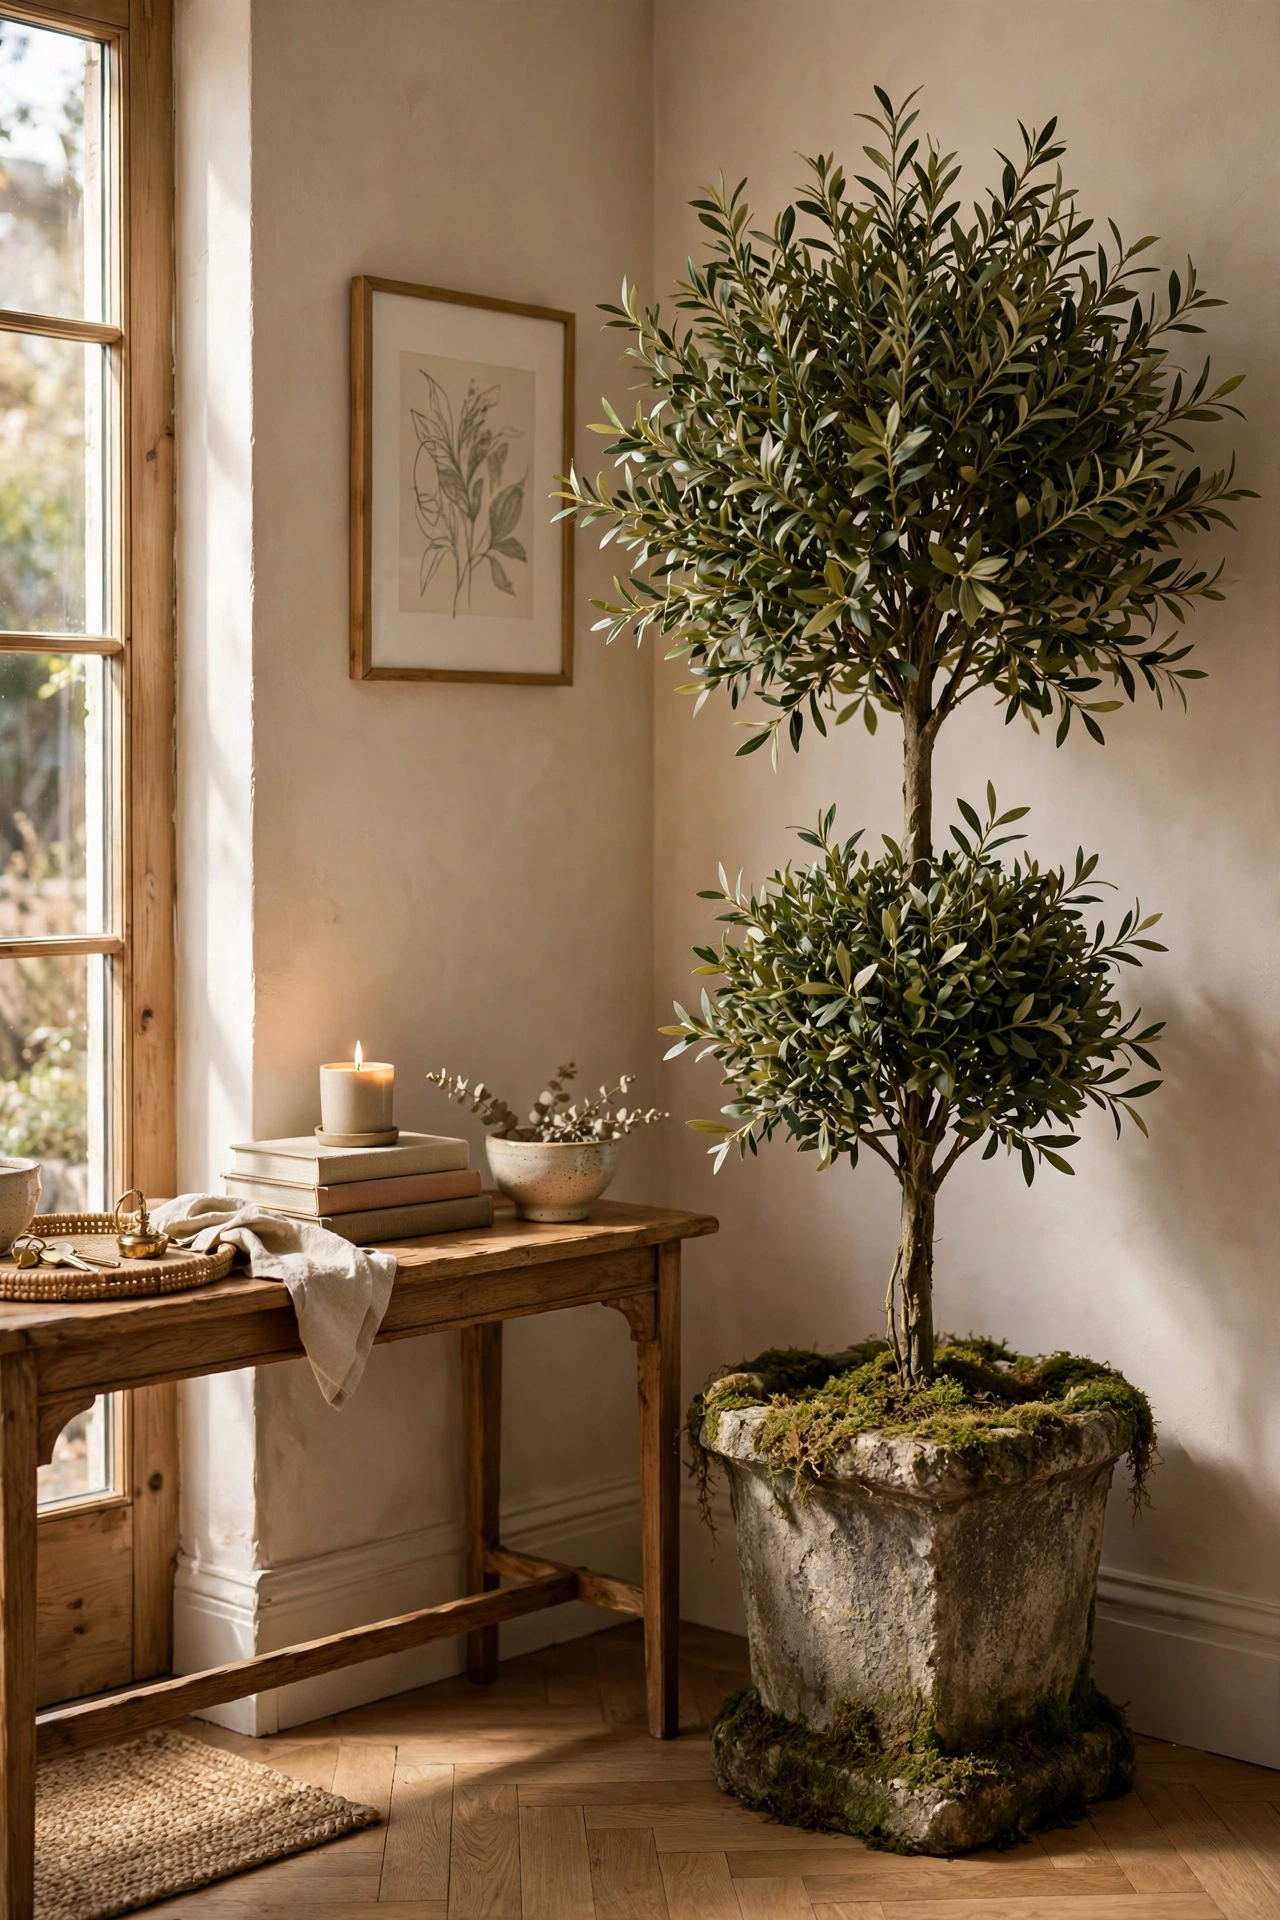
Olive topiaries are a classic luxury-hotel motif, and a faux version in a weighty stone-look planter fakes it convincingly. Choose a topiary with varied leaf tones rather than flat green plastic, and set it in a planter that looks like aged stone — the heavy base keeps it stable and sells the expensive illusion. Place it in the corner beside your console where it softens the angle. I have one flanking my own entryway and it photographs like the real thing. One mistake to avoid: don’t leave the plastic nursery pot visible — repot it and cover the base with moss so there’s no giveaway plastic in sight.
Cost: ~$12 · Time: 20 minutes
A Lidded Seagrass Basket Set for Hidden Storage
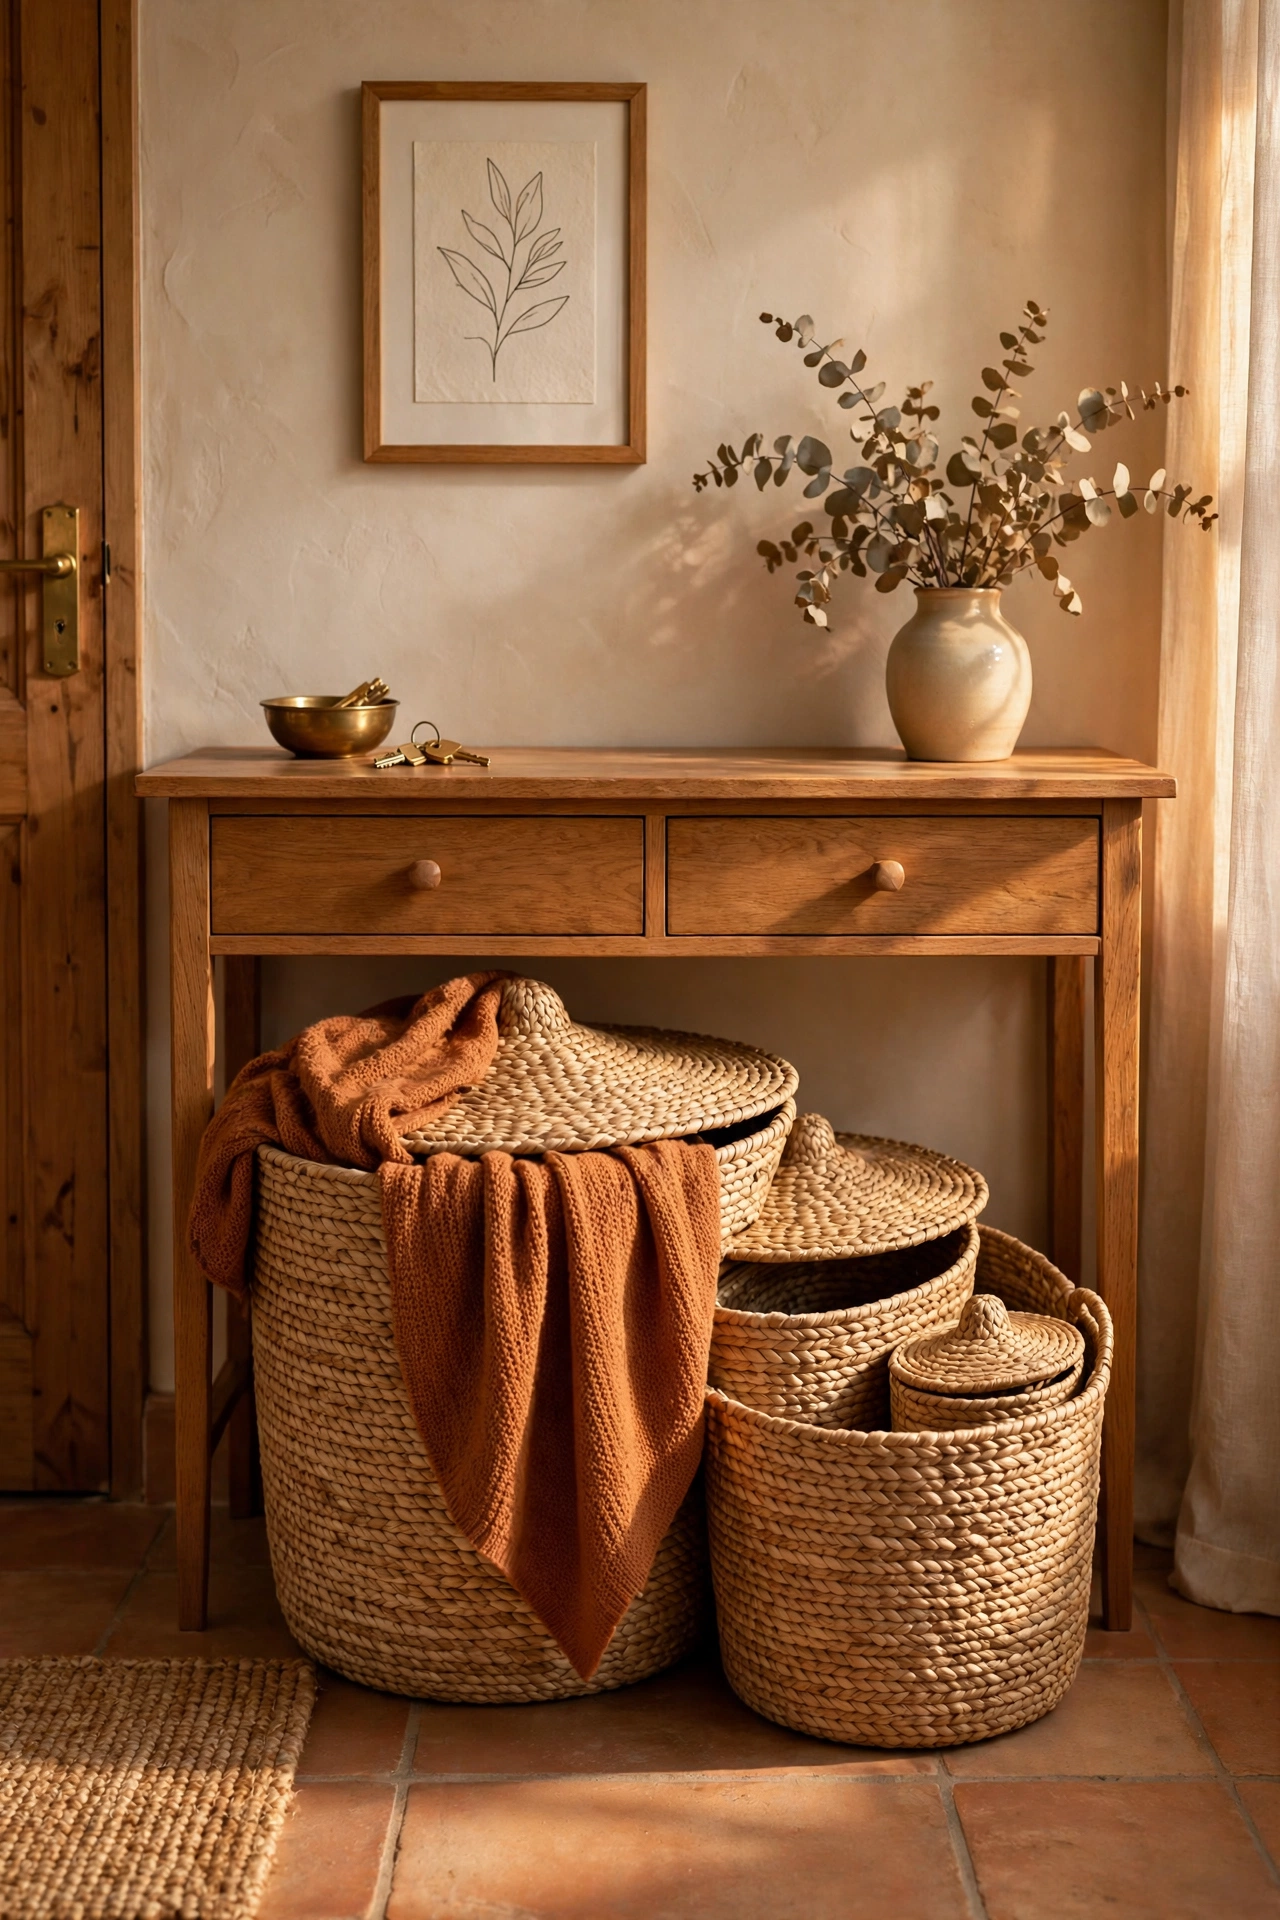
Lidded seagrass baskets hide the everyday clutter while adding the natural texture designers love. Nest a set of two or three under the console table or beside the bench — one for scarves and gloves, one for the dog’s bits, one for spare shopping bags. The lids are the key: open baskets read as storage, lidded baskets read as decor. Wipe them down occasionally, as natural fibres collect dust. I use a set in my own hallway and nobody guesses they hold the chaos of family life. One mistake to avoid: don’t buy baskets without checking the lids fit snugly — a wobbly lid ruins the polished look.
Cost: ~$11 · Time: 10 minutes
A Clustered Flameless Candle Trio at Dusk
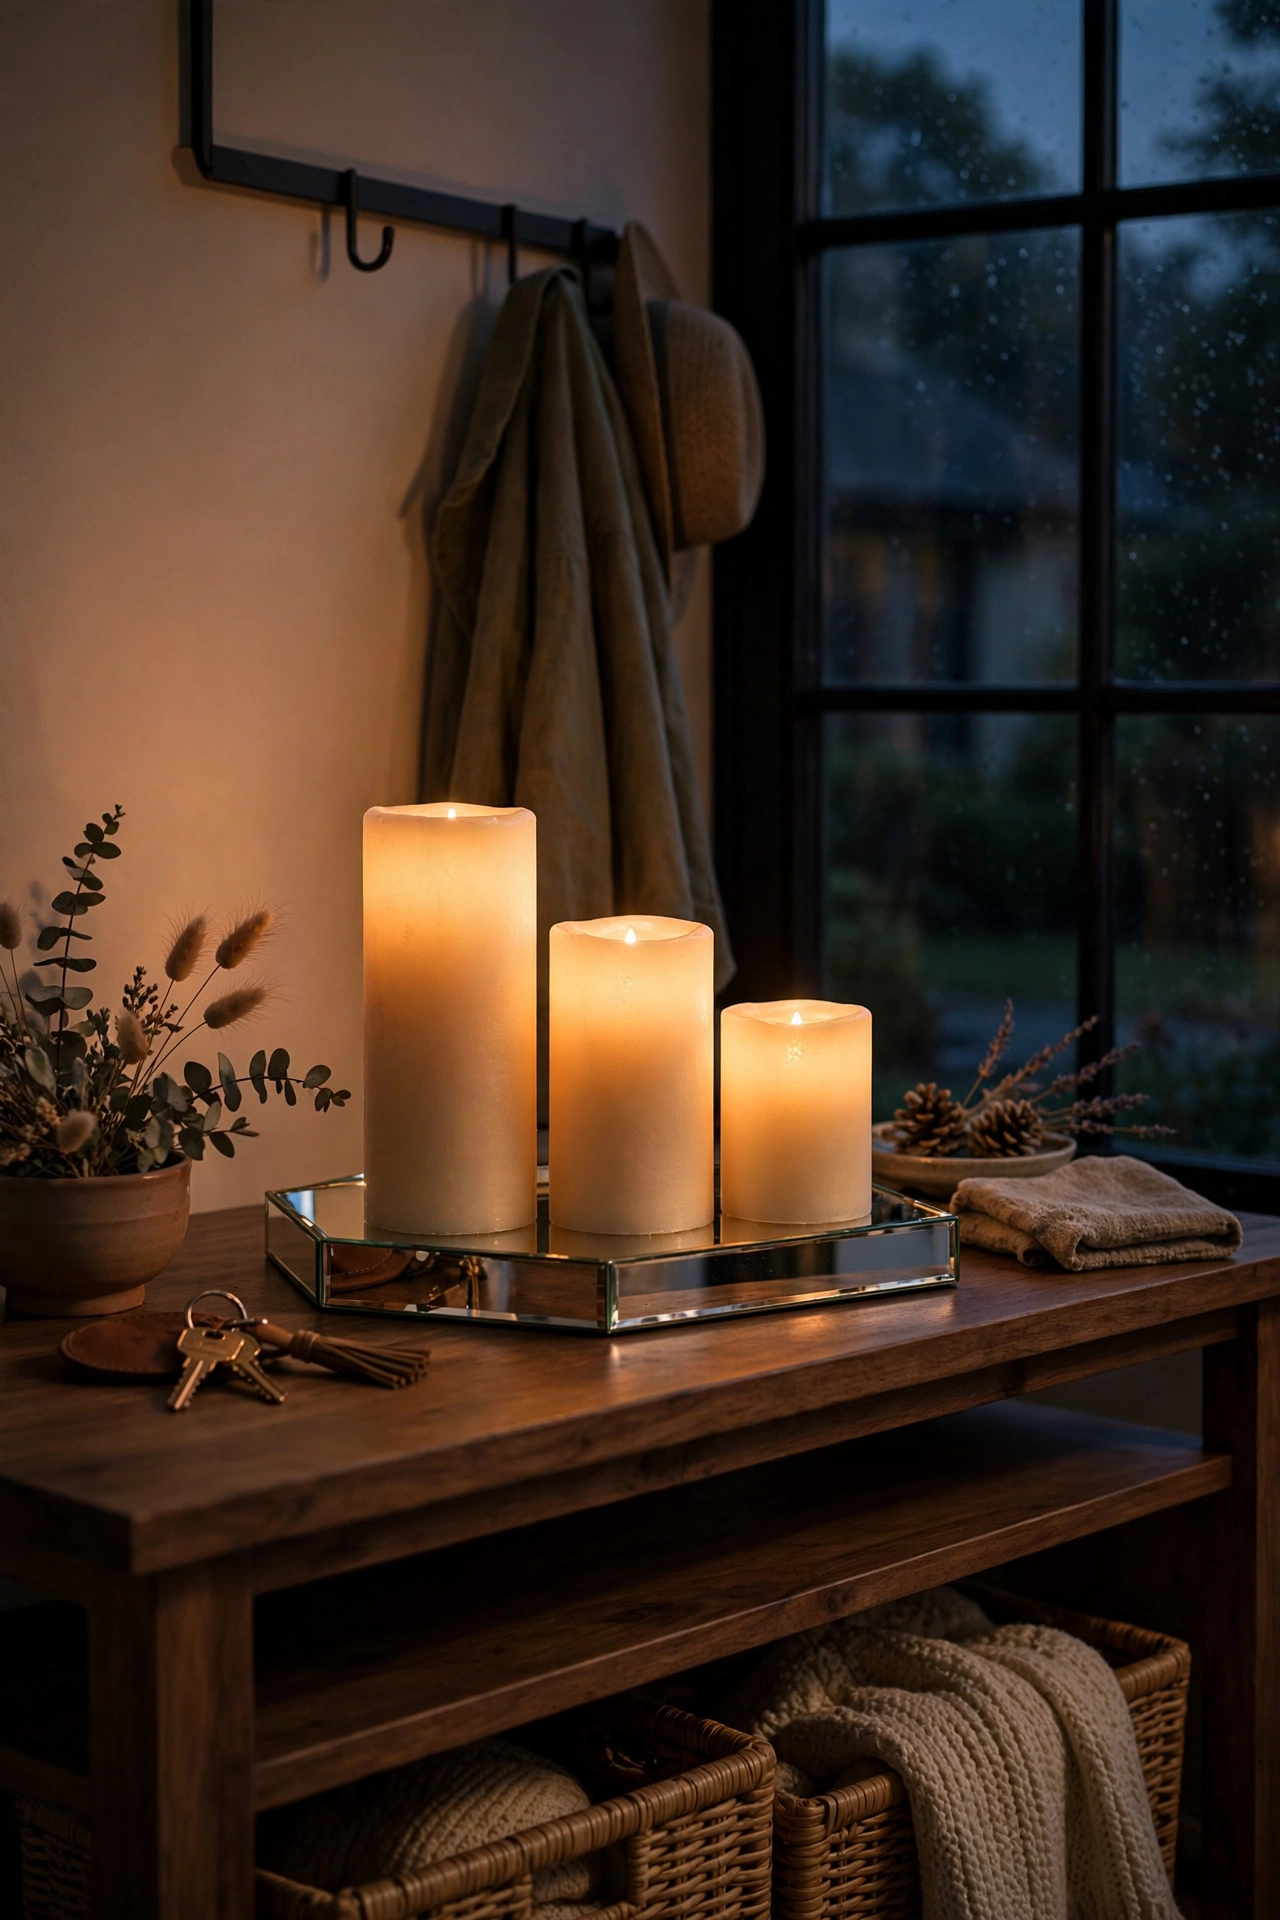
Candlelight makes any room feel expensive, and a trio of flameless candles gives you the glow with none of the risk near a busy front door. Group three pillar candles of staggered heights on your console or a side shelf, and switch them on as the evening draws in — many have built-in timers so they light themselves daily. The flicker effect on the better ones is remarkably convincing. I run mine on the timer setting in my own entryway and coming home to that warm glow never gets old. One mistake to avoid: don’t mix real and flameless candles in one cluster — the difference in flame quality is obvious side by side.
Cost: ~$8 · Time: 10 minutes
Save this idea for later — when the evenings draw in, you’ll want this list to hand for the cosiest version of your hallway.
Peel-and-Stick Wall Panel Moulding for Architecture
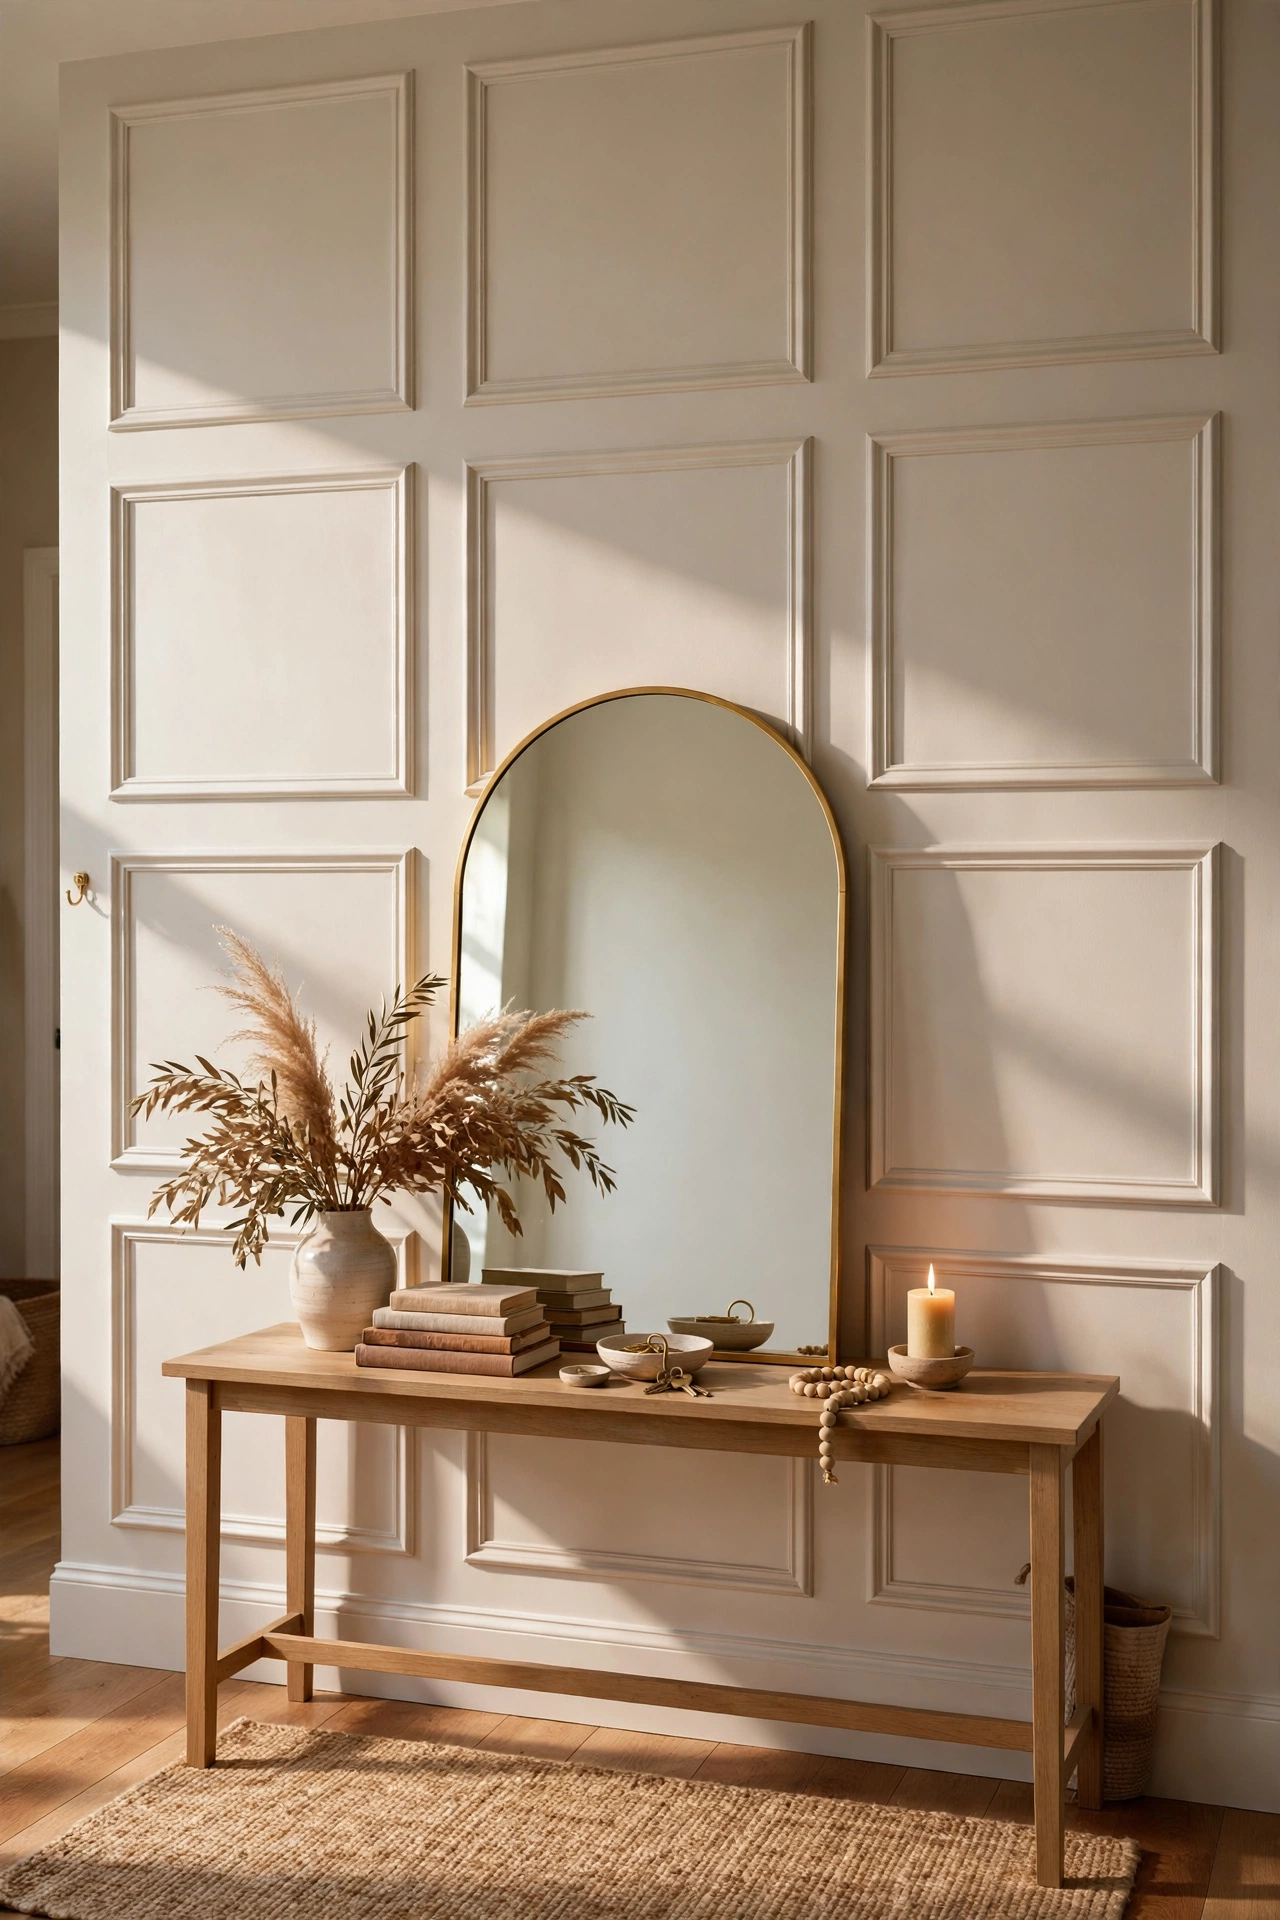
Wall panelling is the hallmark of expensive interiors, and peel-and-stick moulding strips let you fake the architecture. Plan a simple rectangle design on your entryway wall — two or three large rectangles at picture-rail height look classic. Stick the strips up following your pencil guidelines, press firmly along the whole length, then paint the strips and wall one colour so they read as original features. I panelled one wall in my own hallway on a Saturday and it changed the whole feel of the space. One mistake to avoid: don’t skip the painting step — unpainted strips look like stuck-on trim, but one coat of emulsion makes them disappear into the wall.
Cost: ~$13 · Time: 2 hours
An Antique-Style Wall Clock as a Focal Point
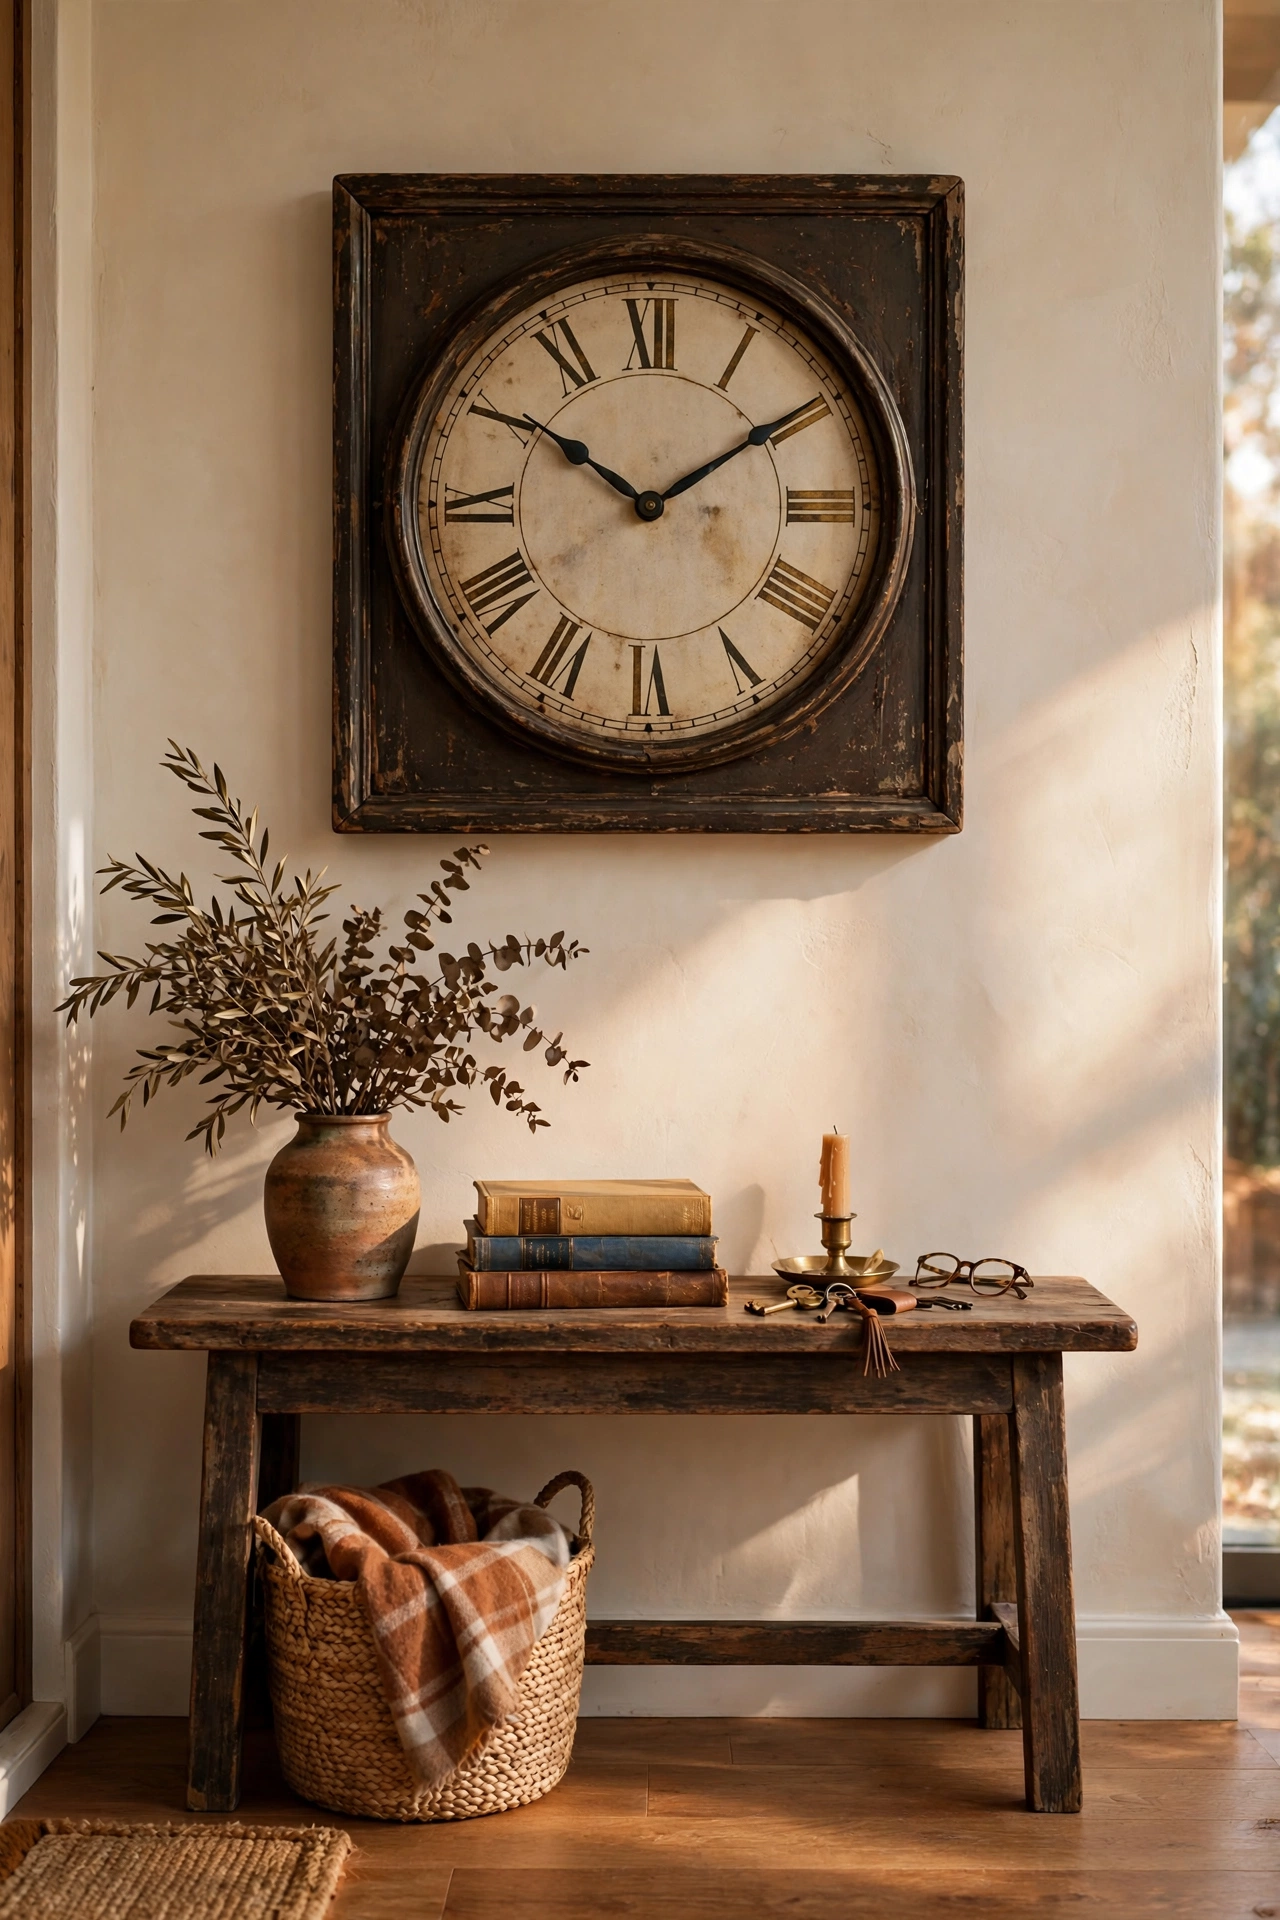
A large antique-style clock gives your entryway the kind of focal point you’d expect in a period property. Look for one with a distressed wood or dark metal frame and classic Roman numerals — the aged finish is what sells the expensive look. Hang it centred above the console or on the main wall, at a height where the face is easily readable. Check the mechanism ticks quietly before you commit, since you’ll hear it every time you pass. I hung one in my own hallway and it anchors the whole wall like a piece of art. One mistake to avoid: don’t hang it in direct sun all day — UV fades the face and warps cheaper wooden frames.
Cost: ~$11 · Time: 25 minutes
Velvet Accent Cushions in Jewel Tones
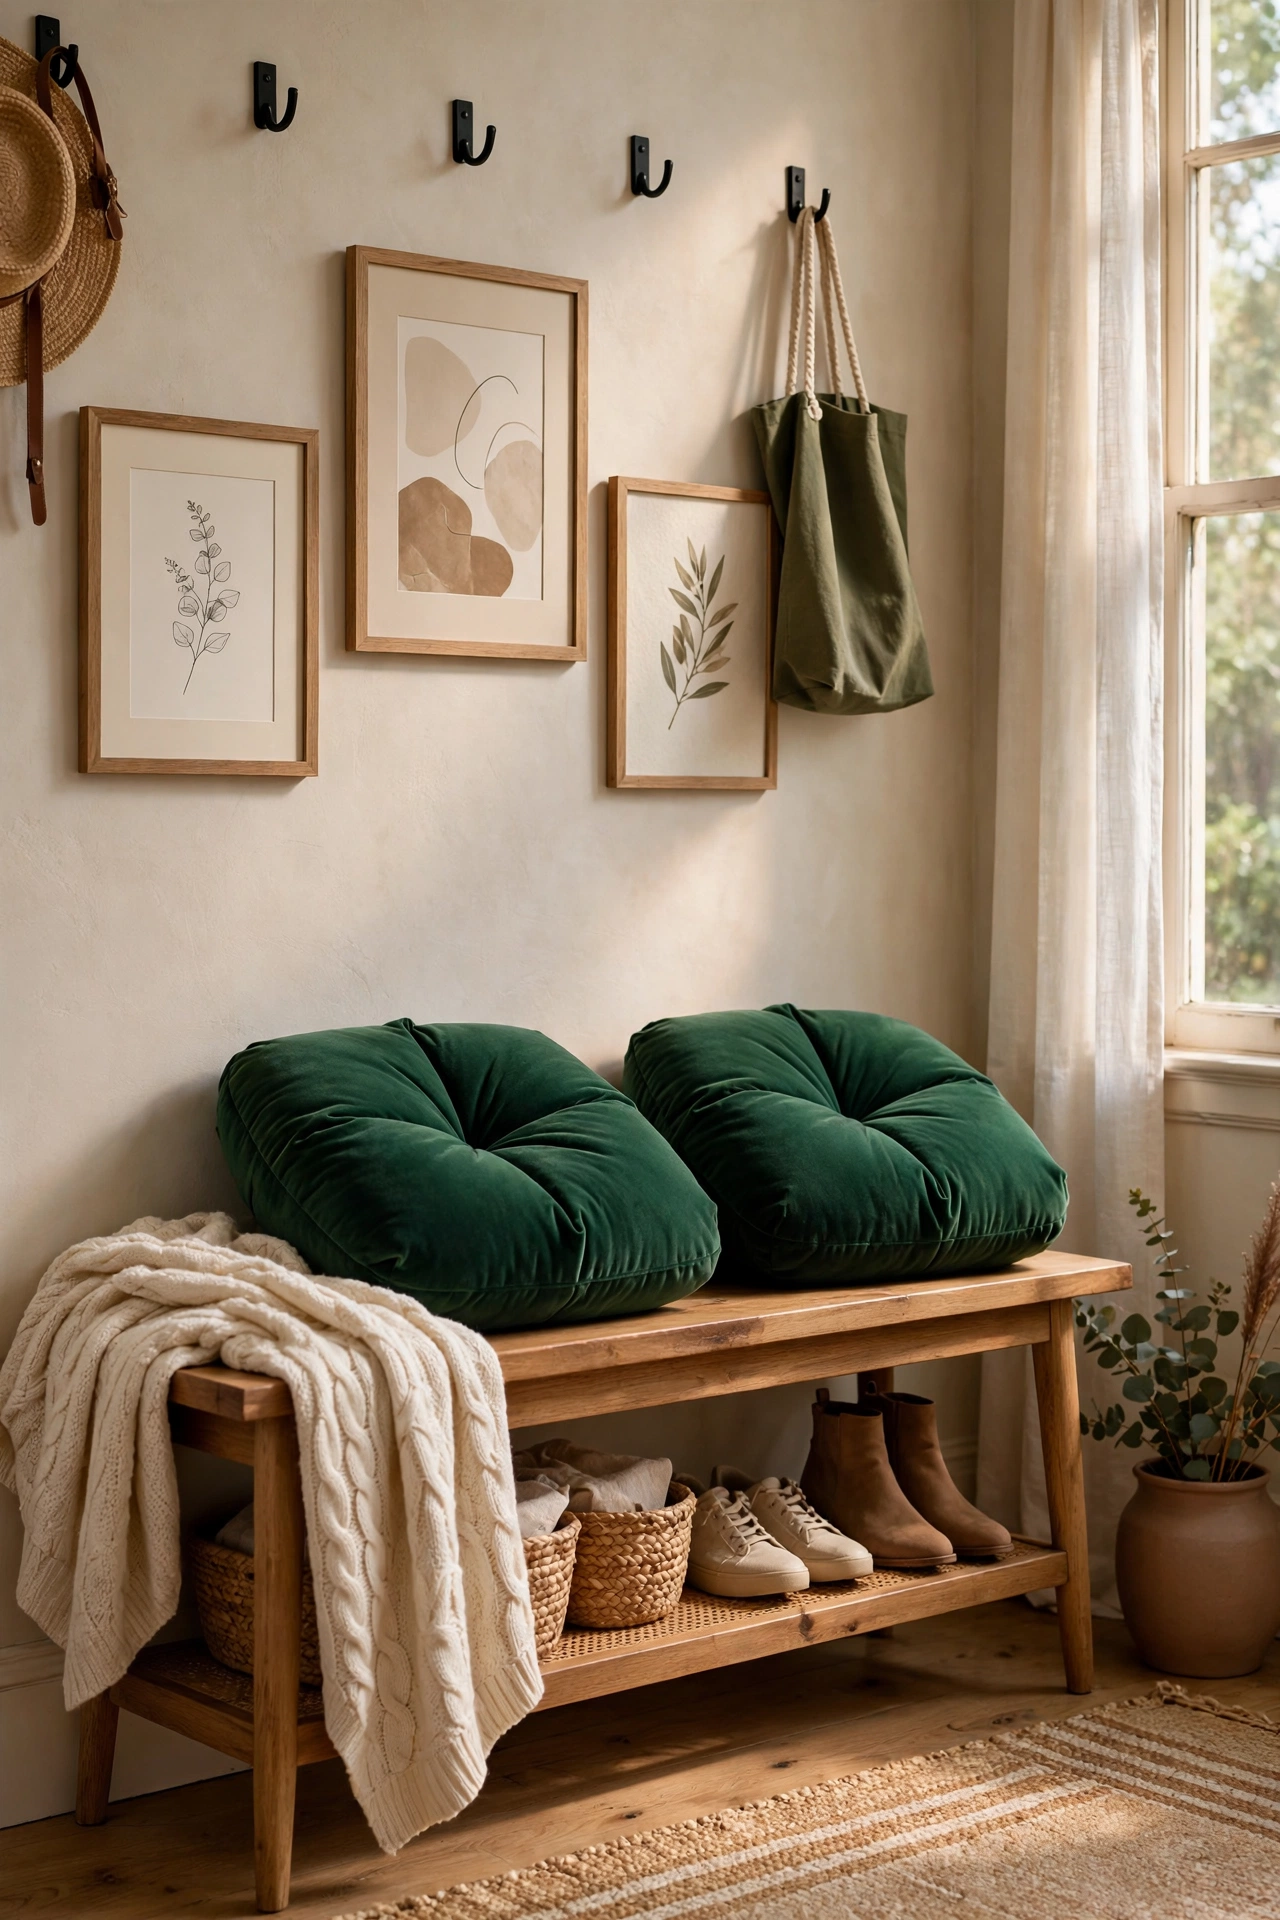
Velvet is shorthand for luxury, and a couple of jewel-toned cushions on your entryway bench borrow the look instantly. Choose deep emerald, sapphire, or plum covers — rich colours photograph beautifully against neutral walls. Plump them properly with decent inserts rather than the flat pads they sometimes come with, and karate-chop the tops for that styled finish. I added two emerald cushions to my own bench and the whole corner suddenly looked like a boutique dressing room. One mistake to avoid: don’t pick pale velvet for a high-traffic bench — it marks fast, while dark jewel tones hide wear gracefully. For more luxe-on-a-budget finds, browse (see also: 23-dollar-store-living-room-finds-worth-grabbing).
Cost: ~$9 · Time: 15 minutes
A Reed Diffuser Scent Station for a Luxury Welcome
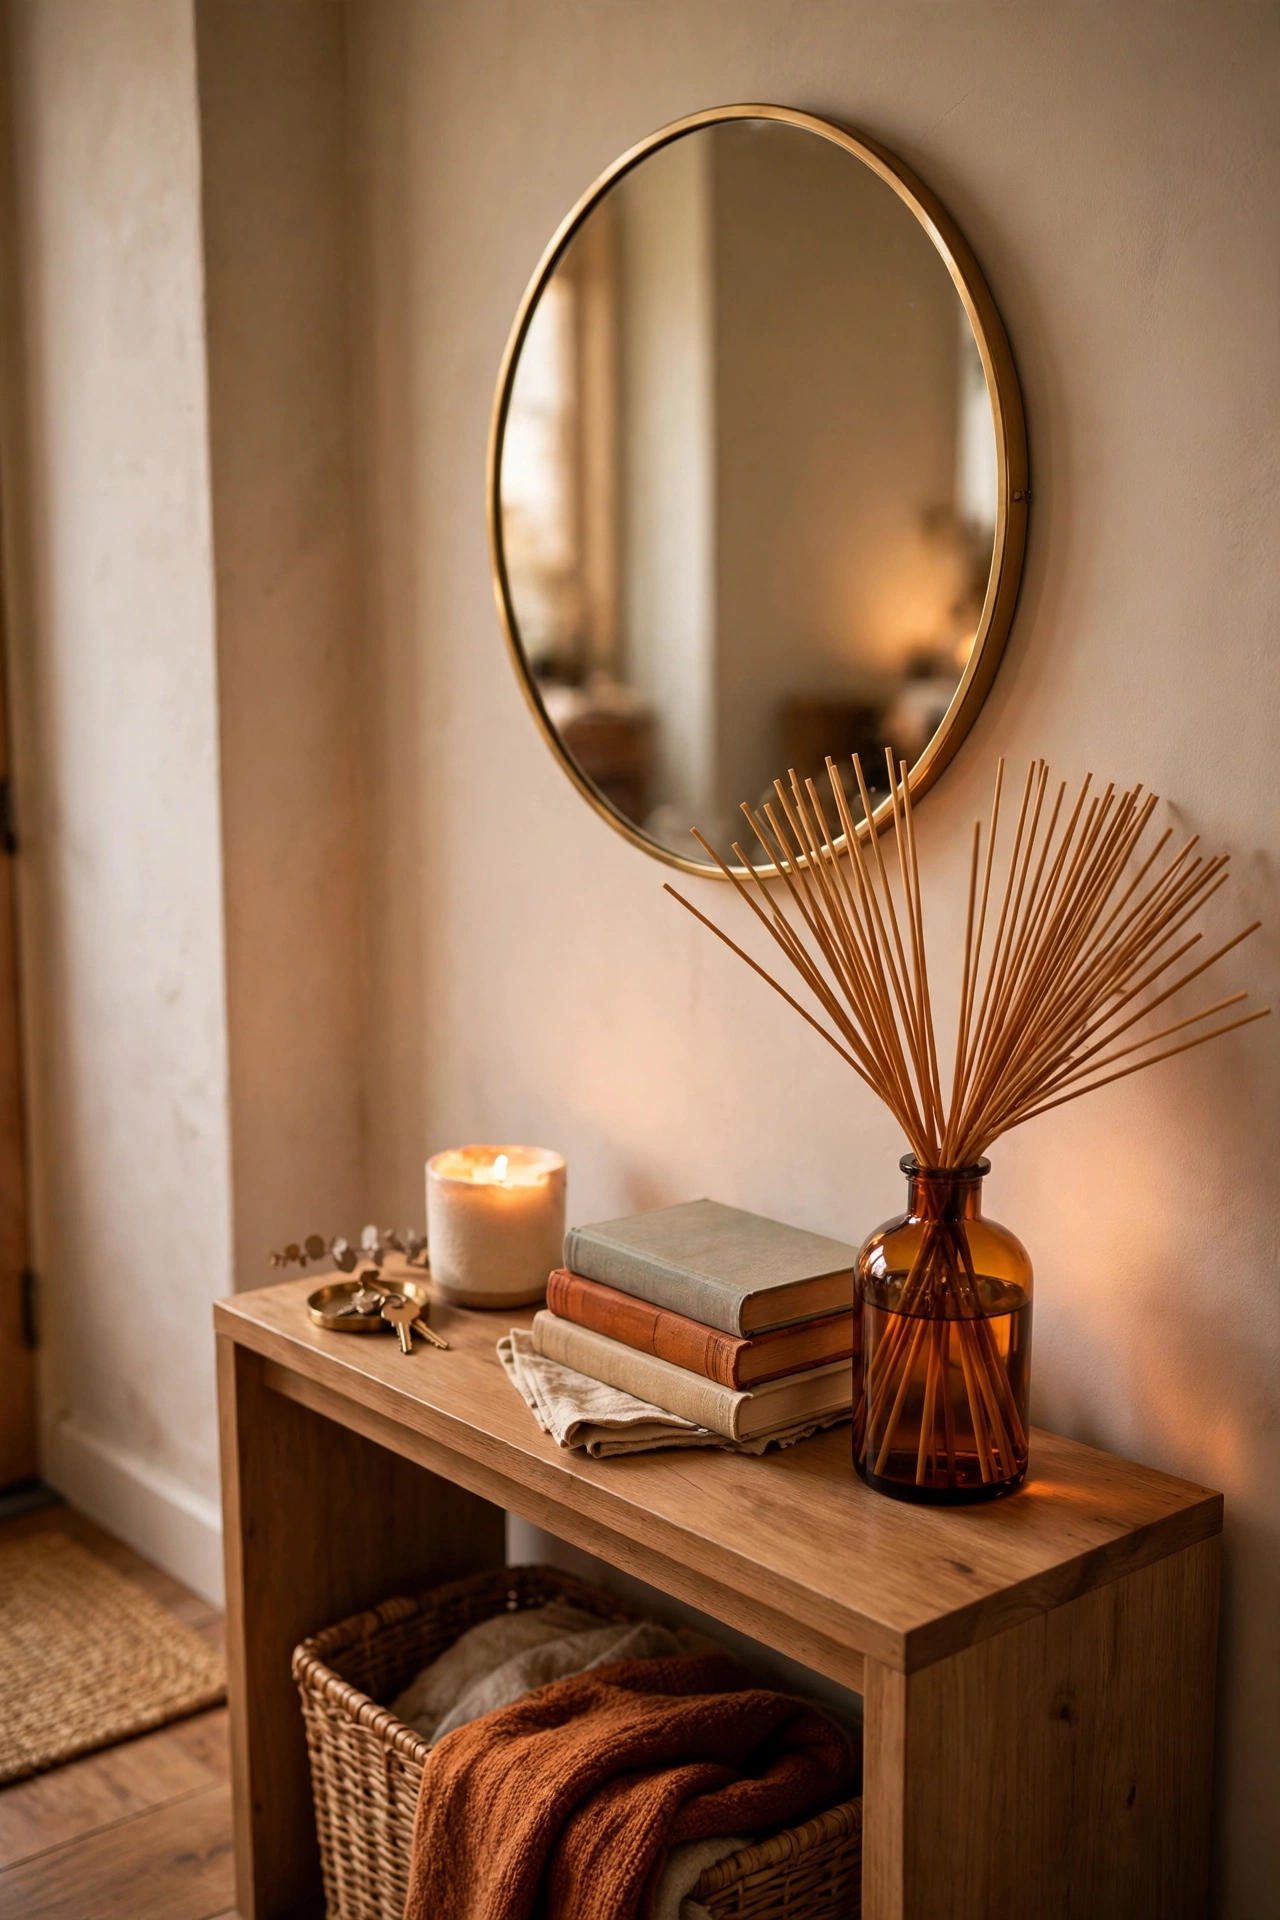
Expensive homes smell expensive, and a reed diffuser by the front door is the cheapest way to copy that. Choose a scent in the woody or amber family rather than anything sweet — sandalwood, cedar, and amber read as sophisticated. Place the diffuser on the console with the reeds fanned out, and flip the reeds weekly to refresh the scent. One diffuser scents a hallway for months. I keep one in my own entryway and visitors regularly ask what the “lovely smell” is. One mistake to avoid: don’t place it right next to the door where draughts blast the scent away — a metre or two inside works far better.
Cost: ~$7 · Time: 5 minutes
A Framed Botanical Print Set in Antique Brass Frames
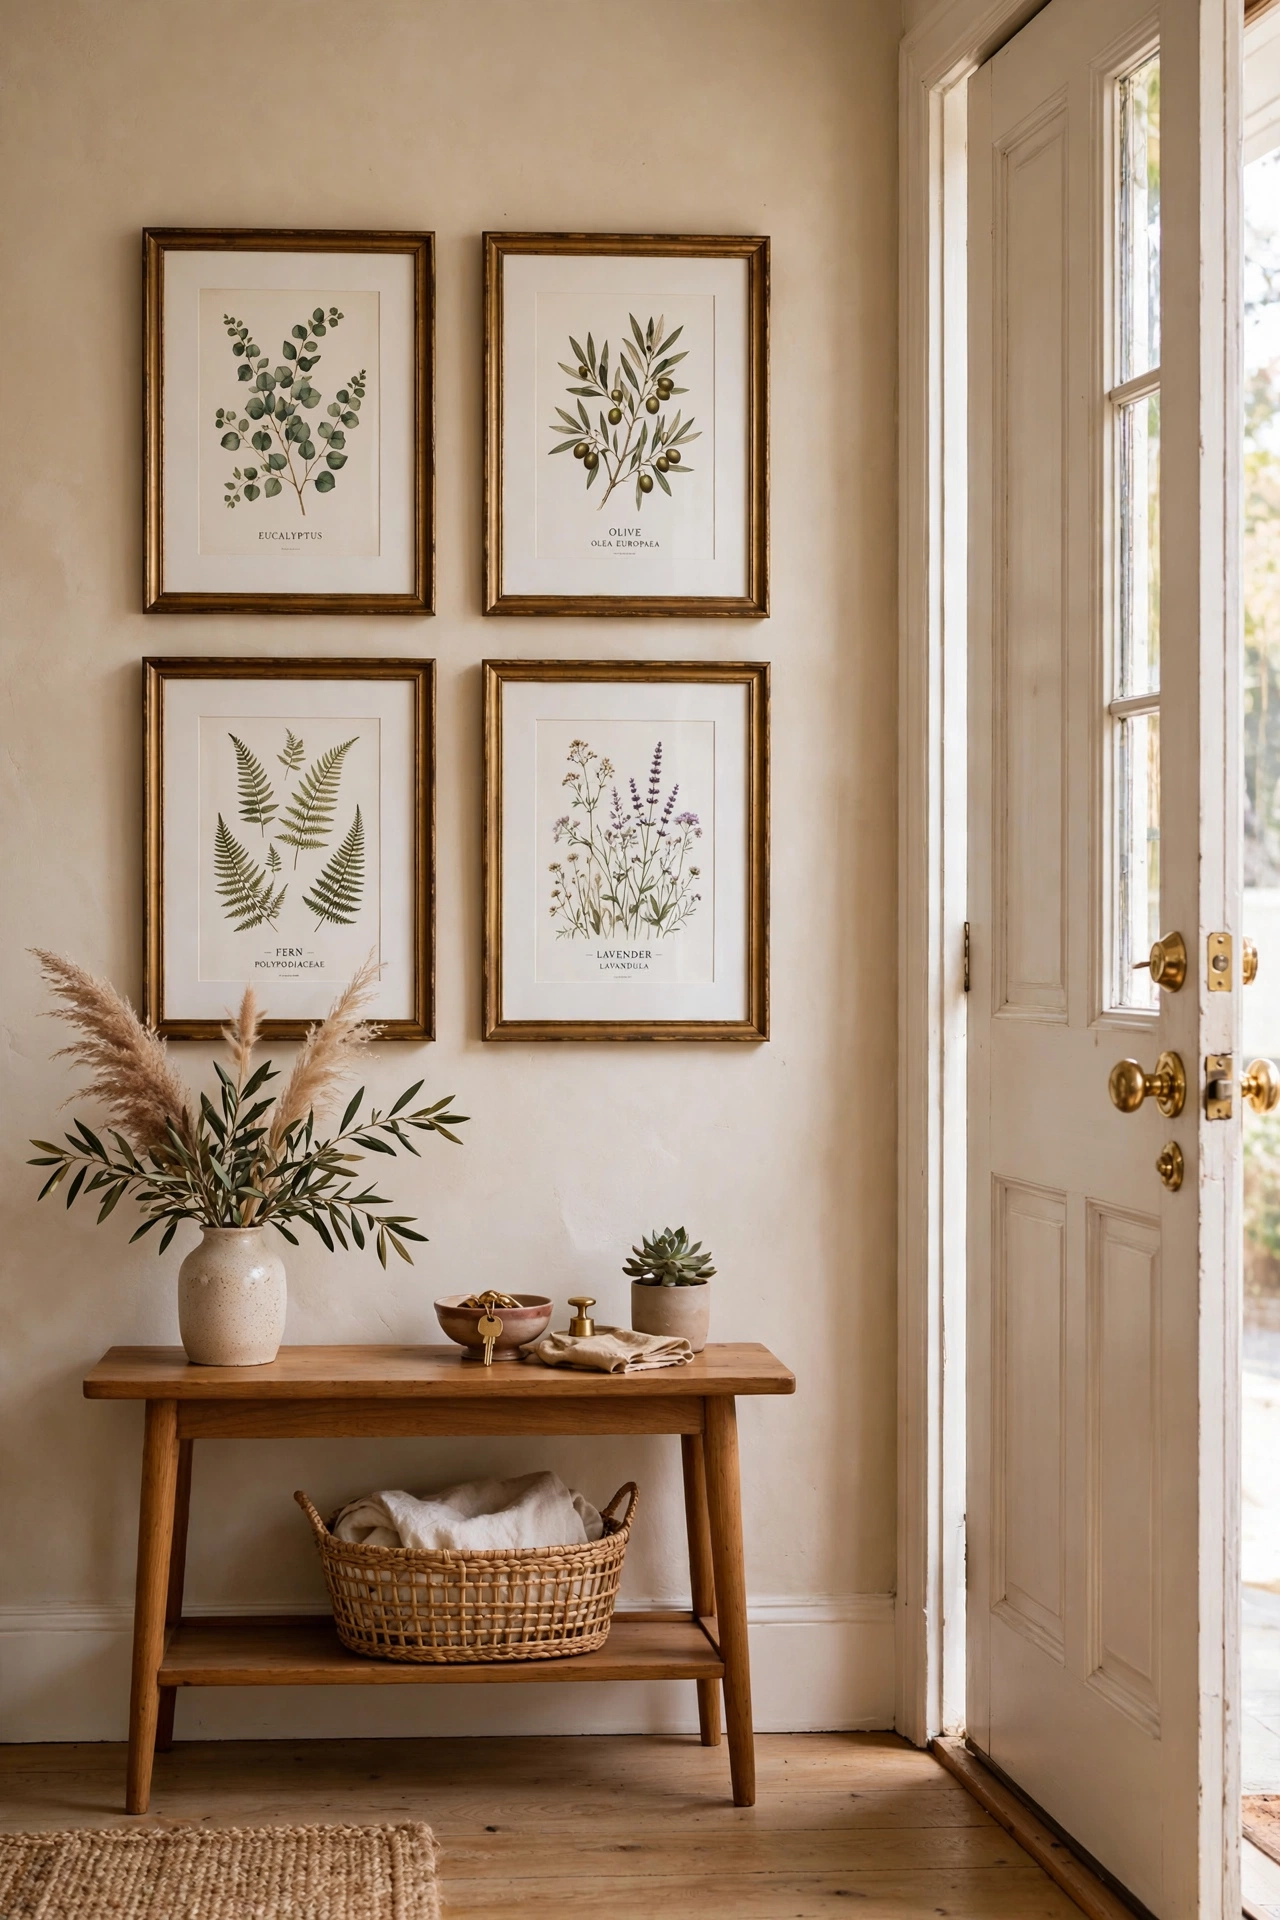
Botanical prints in aged brass frames are a timeless, collected look that whispers money rather than shouting it. Print four botanical illustrations in muted greens and creams, and frame them in dollar-store frames sprayed with antique-brass paint for the aged-metal effect. Hang them in a vertical column or a two-by-two grid beside the door. The key is the matting — even a simple white paper border around each print makes them look professionally framed. I did a set of four in my own hallway and they look like auction finds. One mistake to avoid: don’t use glossy photo paper — matte prints look far more like real art prints.
Cost: ~$10 · Time: 40 minutes
A Stoneware Vase With Dried Pampas Stems
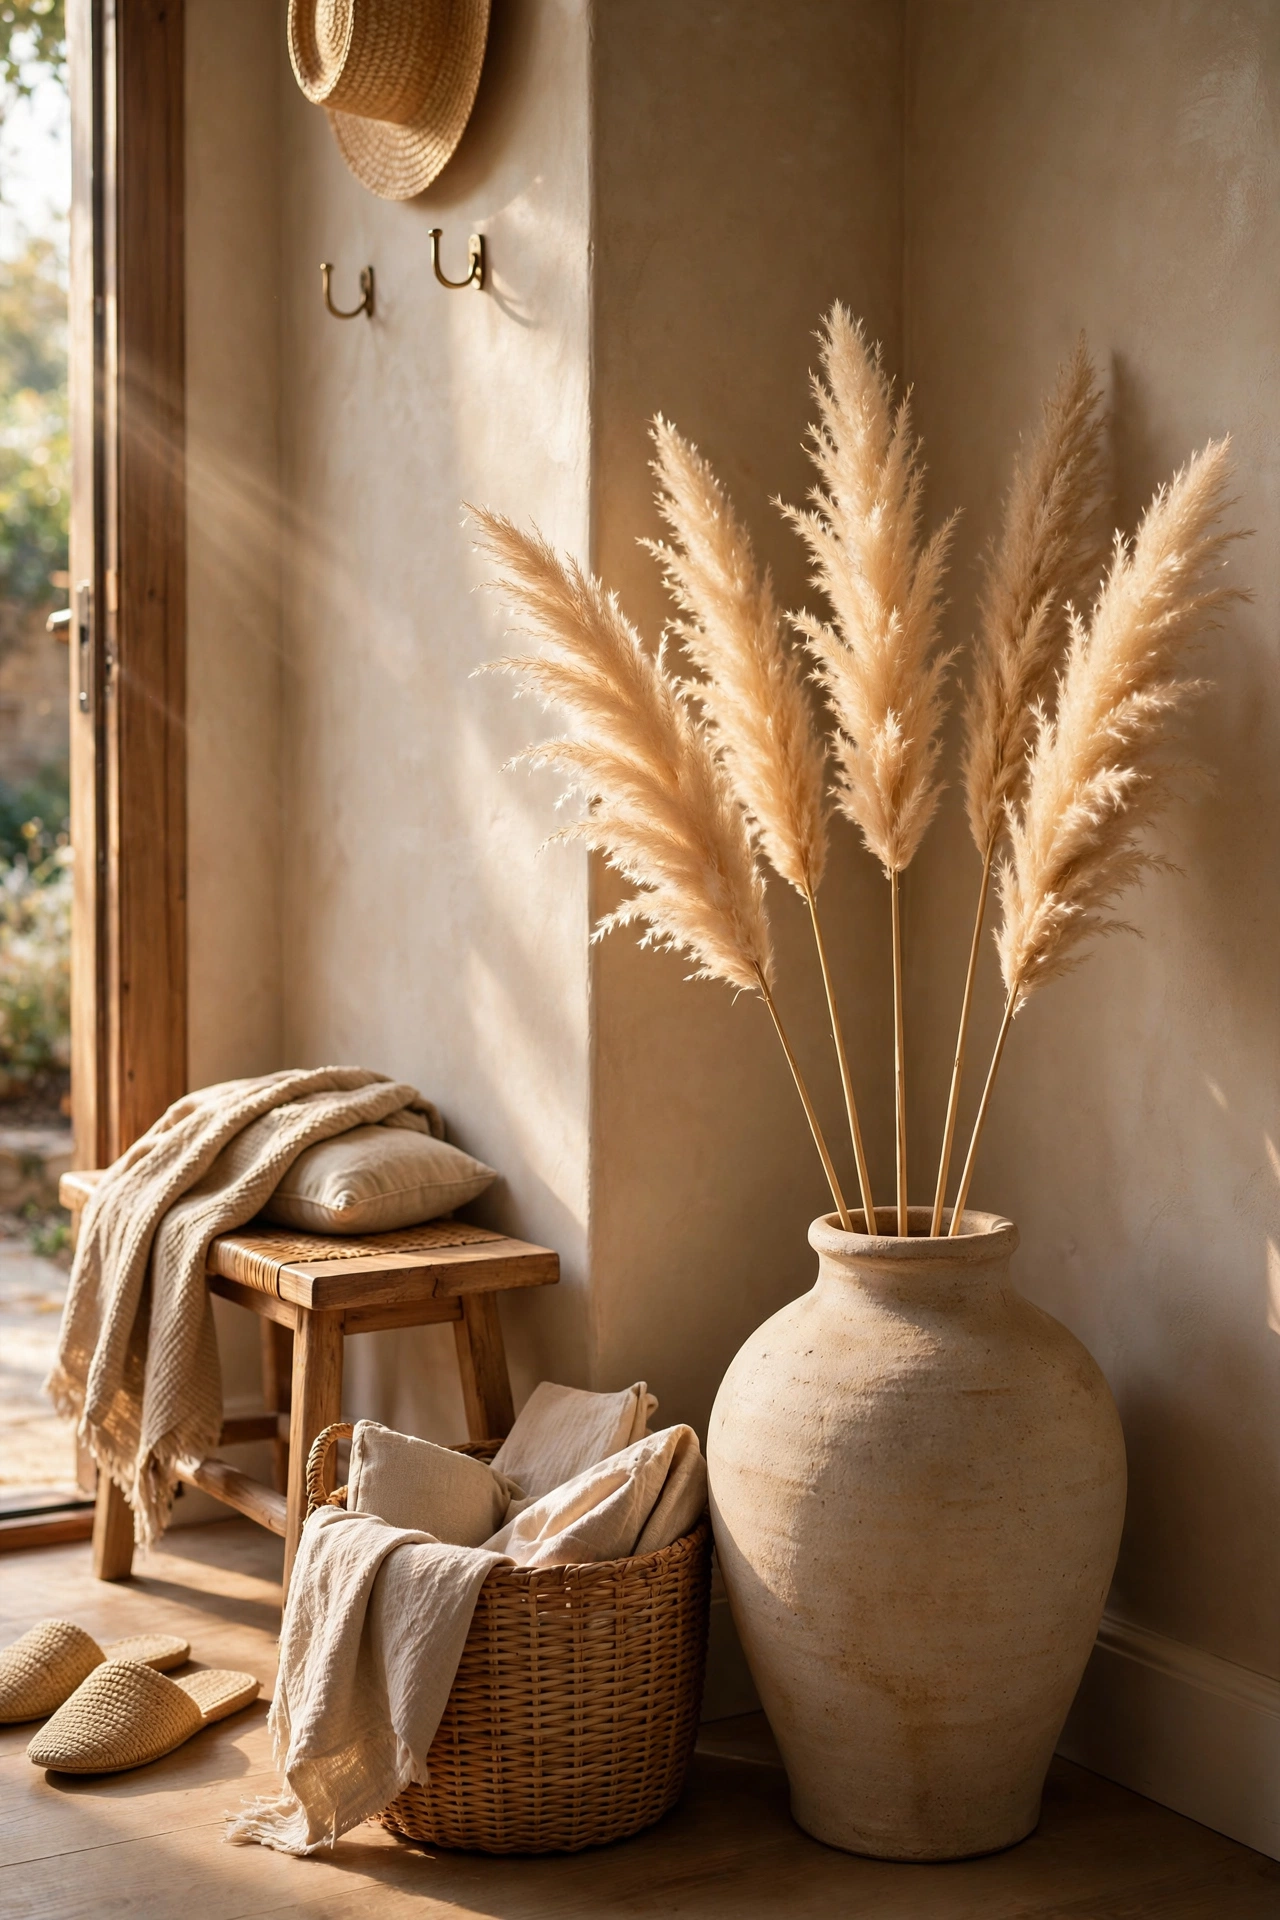
A weighty stoneware vase with dried pampas stems is the stylist’s shortcut to an expensive-looking corner. The trick is proportion: the vase should be heavy enough to anchor the stems, and the stems should be about one and a half times the vase height. Fluff the pampas plumes gently with your hands — they arrive compressed — and keep the arrangement simple, five to seven stems maximum. I have one in my own entryway corner and it softens the whole space. One mistake to avoid: don’t put pampas near a draught or a frequently slammed door — the plumes shed, and you’ll be sweeping for weeks.
Cost: ~$9 · Time: 15 minutes
A Draped Knit Throw Blanket Over the Bench
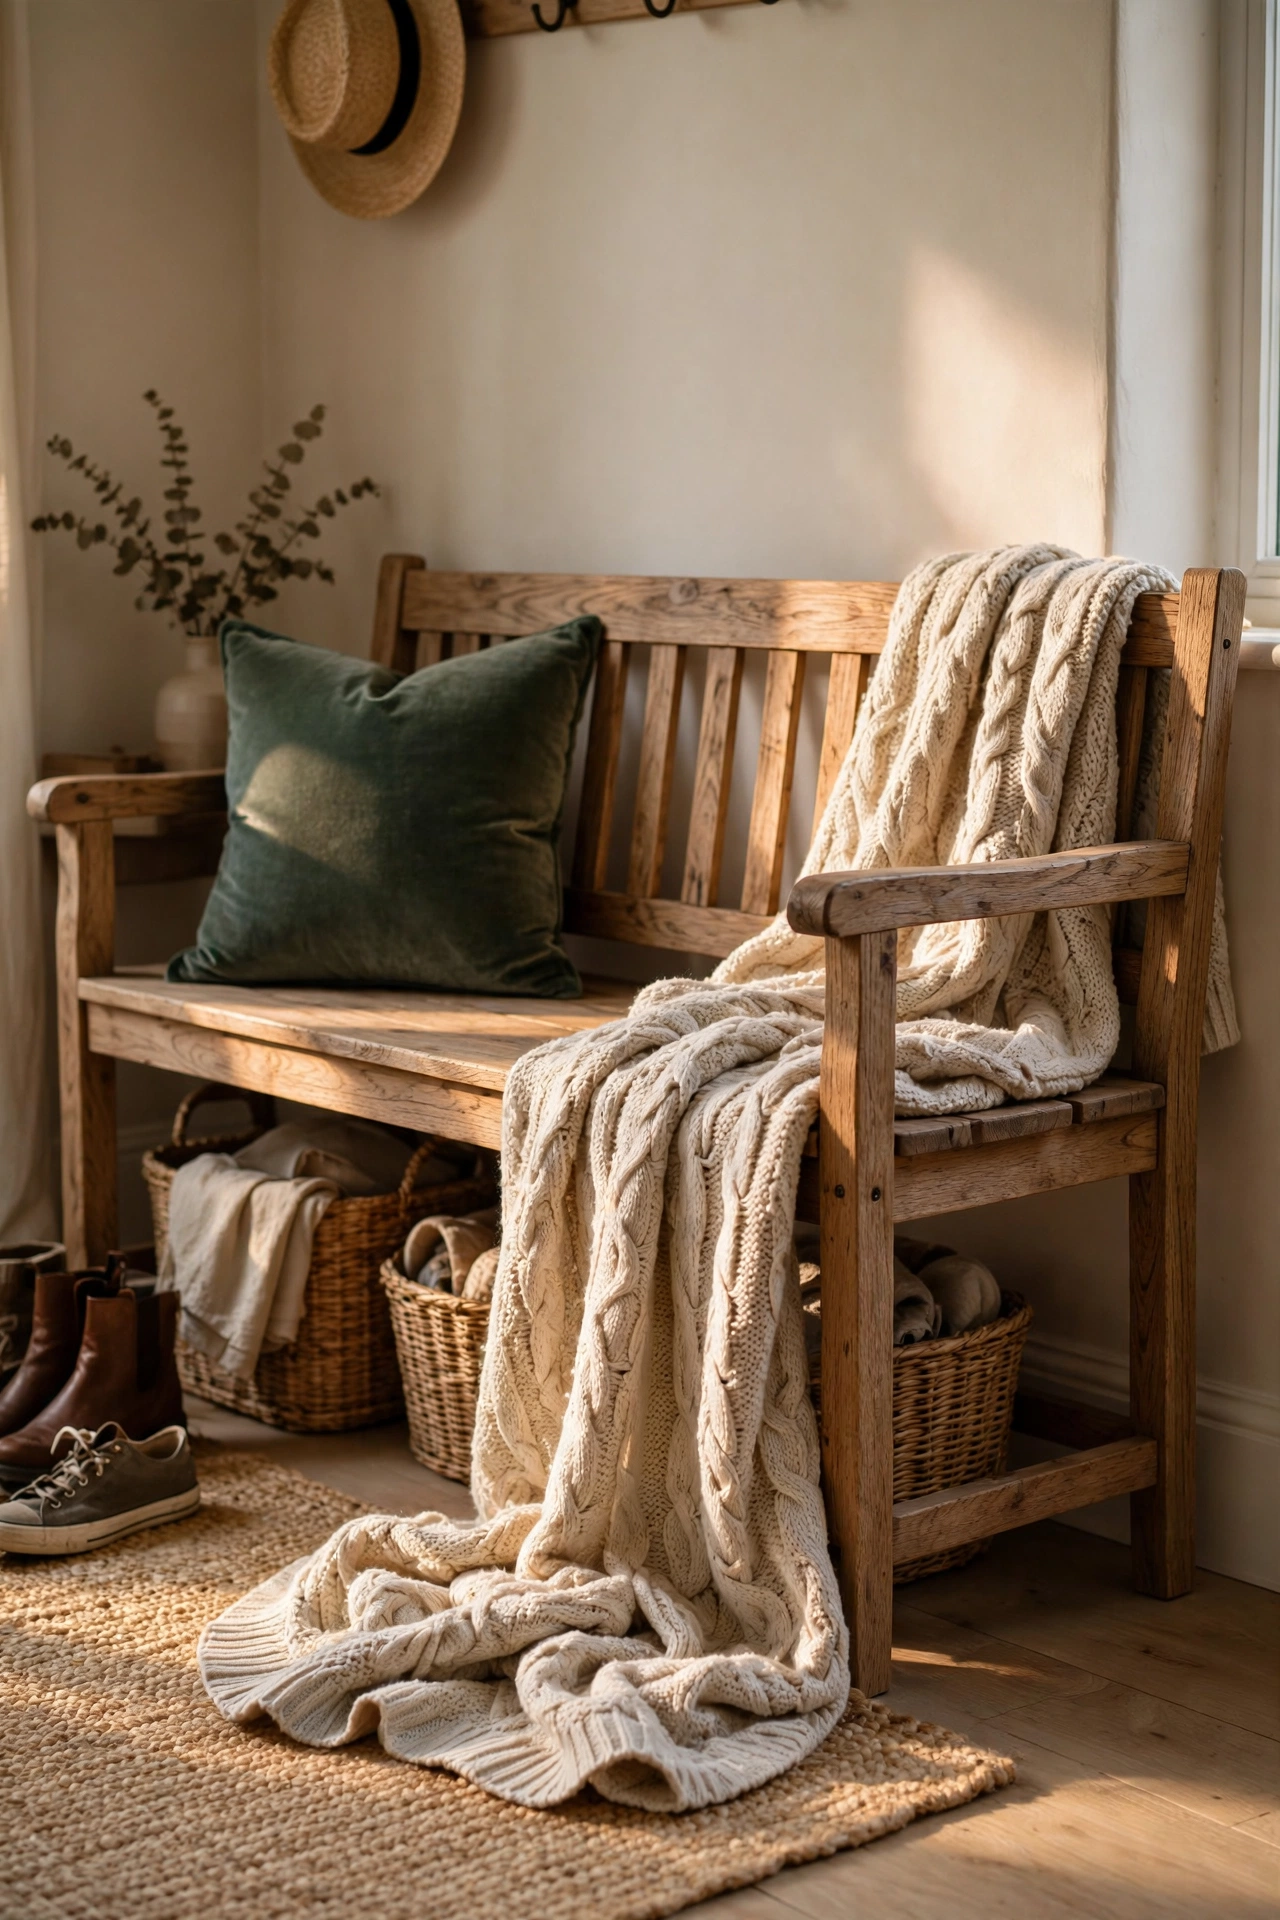
A chunky knit throw draped over the bench adds the soft, lived-in luxury you see in styled homes. Fold it in thirds lengthways, drape it over one end of the bench, and let one corner puddle slightly — the casual drape is what makes it look effortless rather than staged. Choose a cream or oatmeal knit that picks up the other neutrals in your scheme. I keep one on my own bench through the colder months and it gets grabbed constantly. One mistake to avoid: don’t fold it into a perfect rectangle — crisp folds look like a shop display, while a soft drape looks like a home.
Cost: ~$8 · Time: 5 minutes
A Picture-Frame Wall Moulding Illusion in Paint
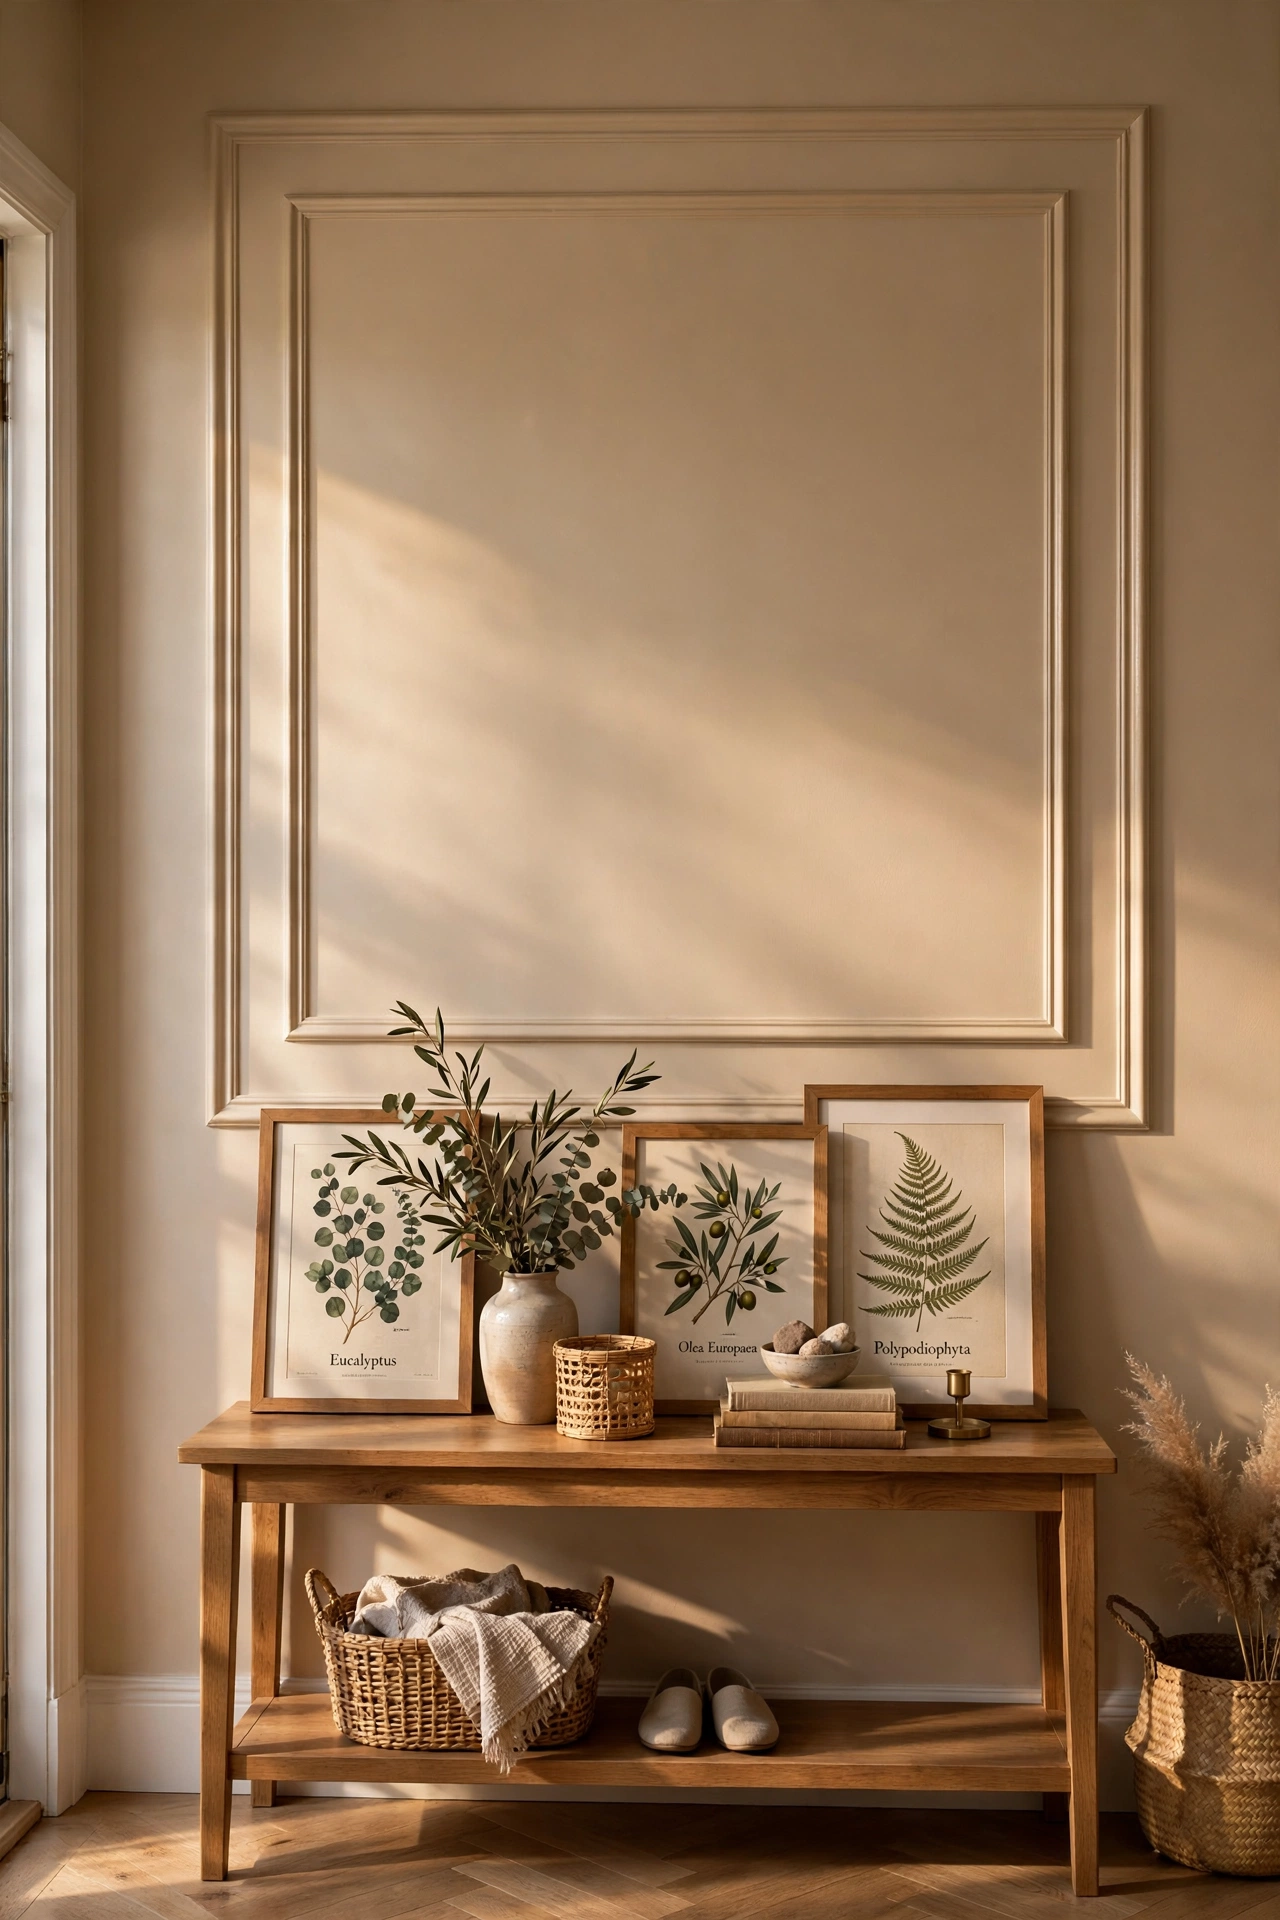
If you can’t add real moulding, paint the illusion of it — a tone-on-tone rectangle painted on the wall reads as panelling from a few steps back. Use painter’s tape to mark a large rectangle on your entryway wall, then paint inside it with the same colour in a different finish — eggshell inside, matte outside, or vice versa. The subtle sheen difference catches the light like real trim. Peel the tape while the paint is still slightly tacky for the crispest line. I tried this in my own hallway as an experiment and guests touch the wall to check. One mistake to avoid: don’t make the rectangle too small — go big, at least a metre wide, or the effect gets lost. For more wall ideas, see (see also: 21-dollar-store-home-office-finds-on-a-budget).
Cost: ~$6 · Time: 1 hour
A Plug-In Pendant Light Look With a Swag Cord
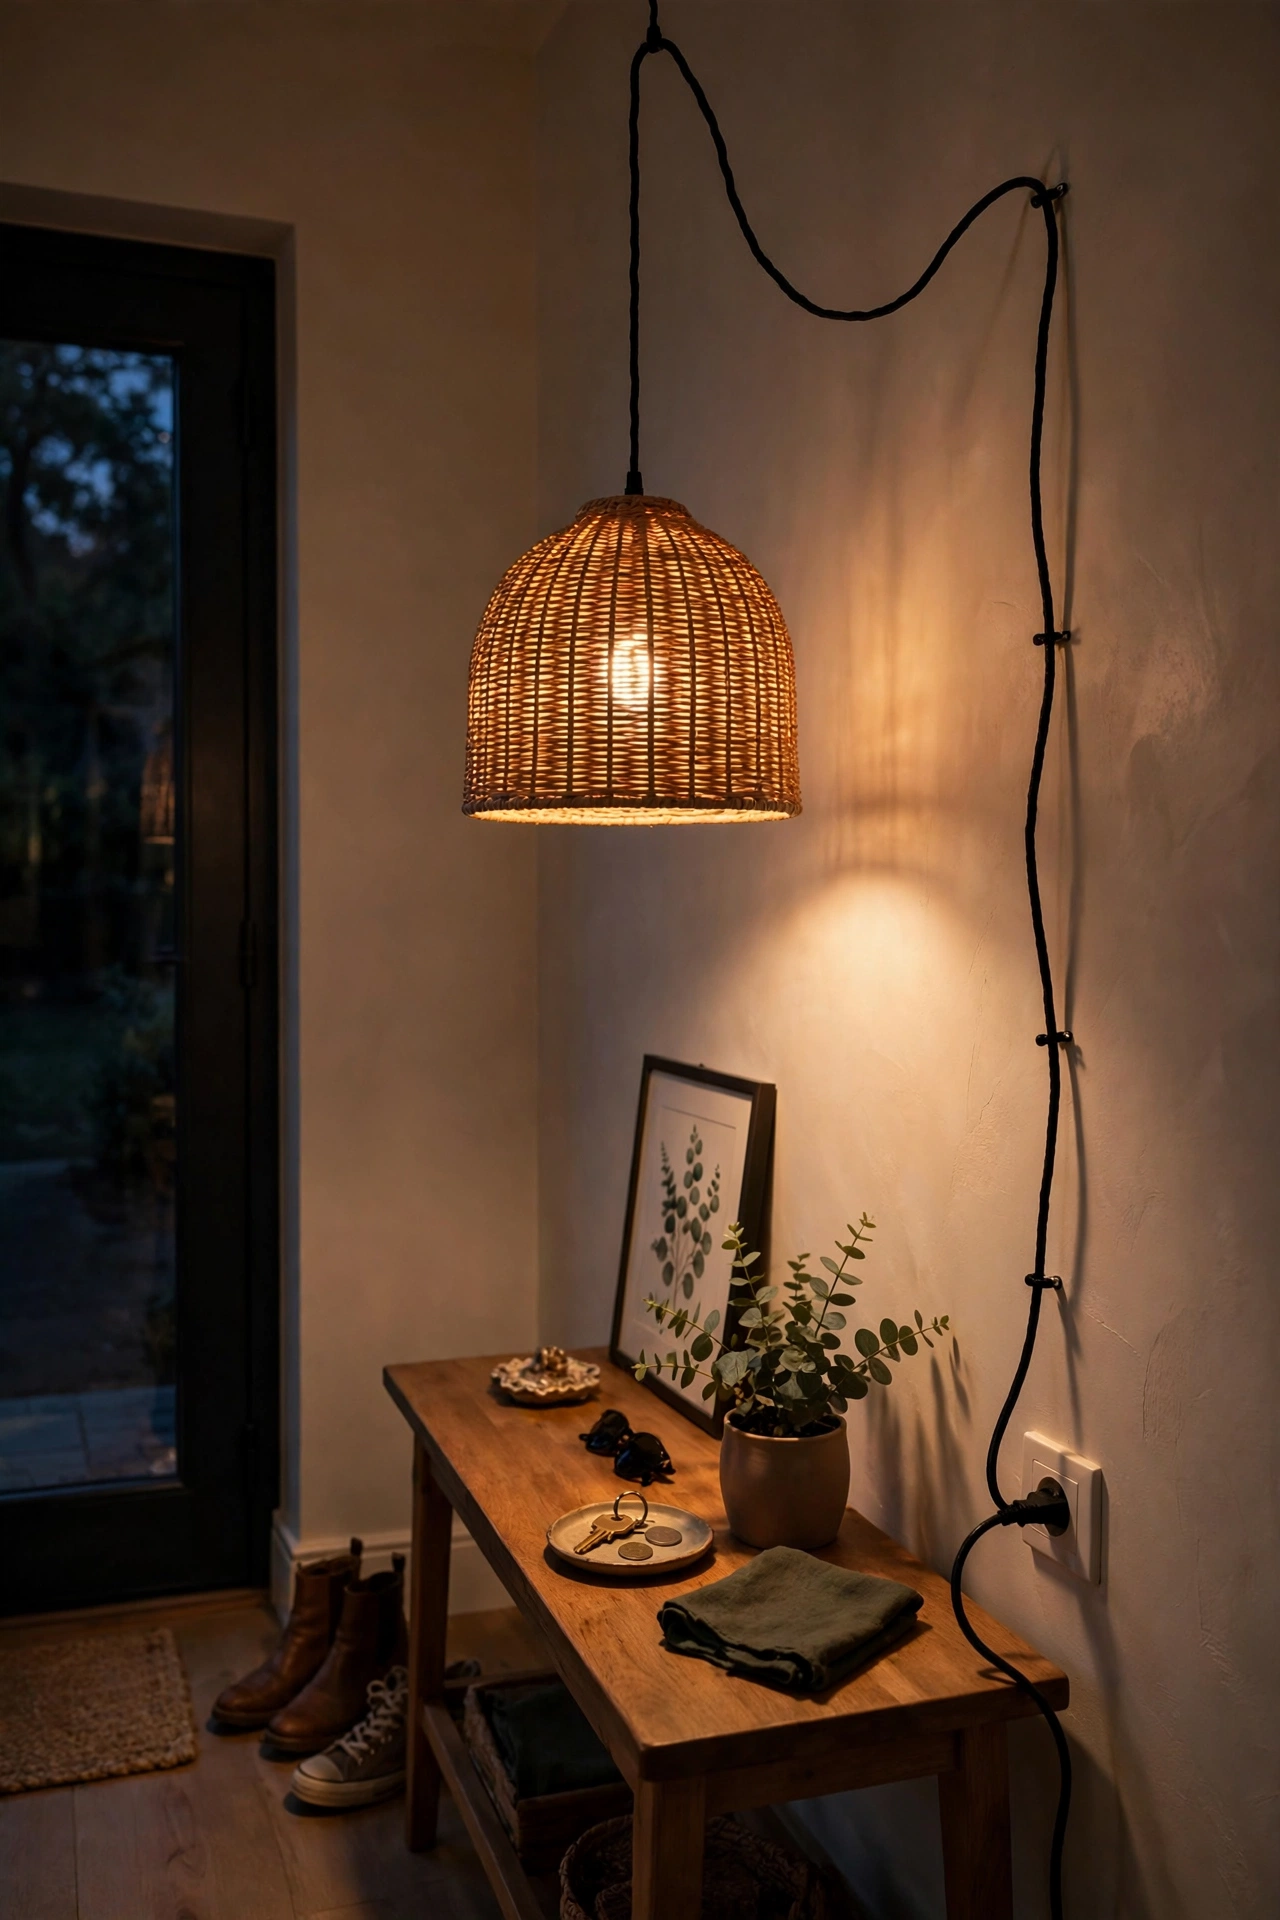
A pendant light hung from a swag cord gives you designer lighting with zero electrical work. Buy a plug-in pendant kit and a dollar-store shade — a drum or a woven rattan-look shade both work — then swag the cord from a ceiling hook to the nearest outlet, letting it drape in a gentle curve. Hang the shade about 2 metres off the floor so it clears heads but still pools light over the console. I did this in my own entryway and the warm pool of light changed the whole mood after dark. One mistake to avoid: don’t let the cord hang straight down the wall — use small adhesive cord clips to guide it neatly to the socket.
Cost: ~$13 · Time: 40 minutes
A Personalised Monogram Doormat in Classic Script
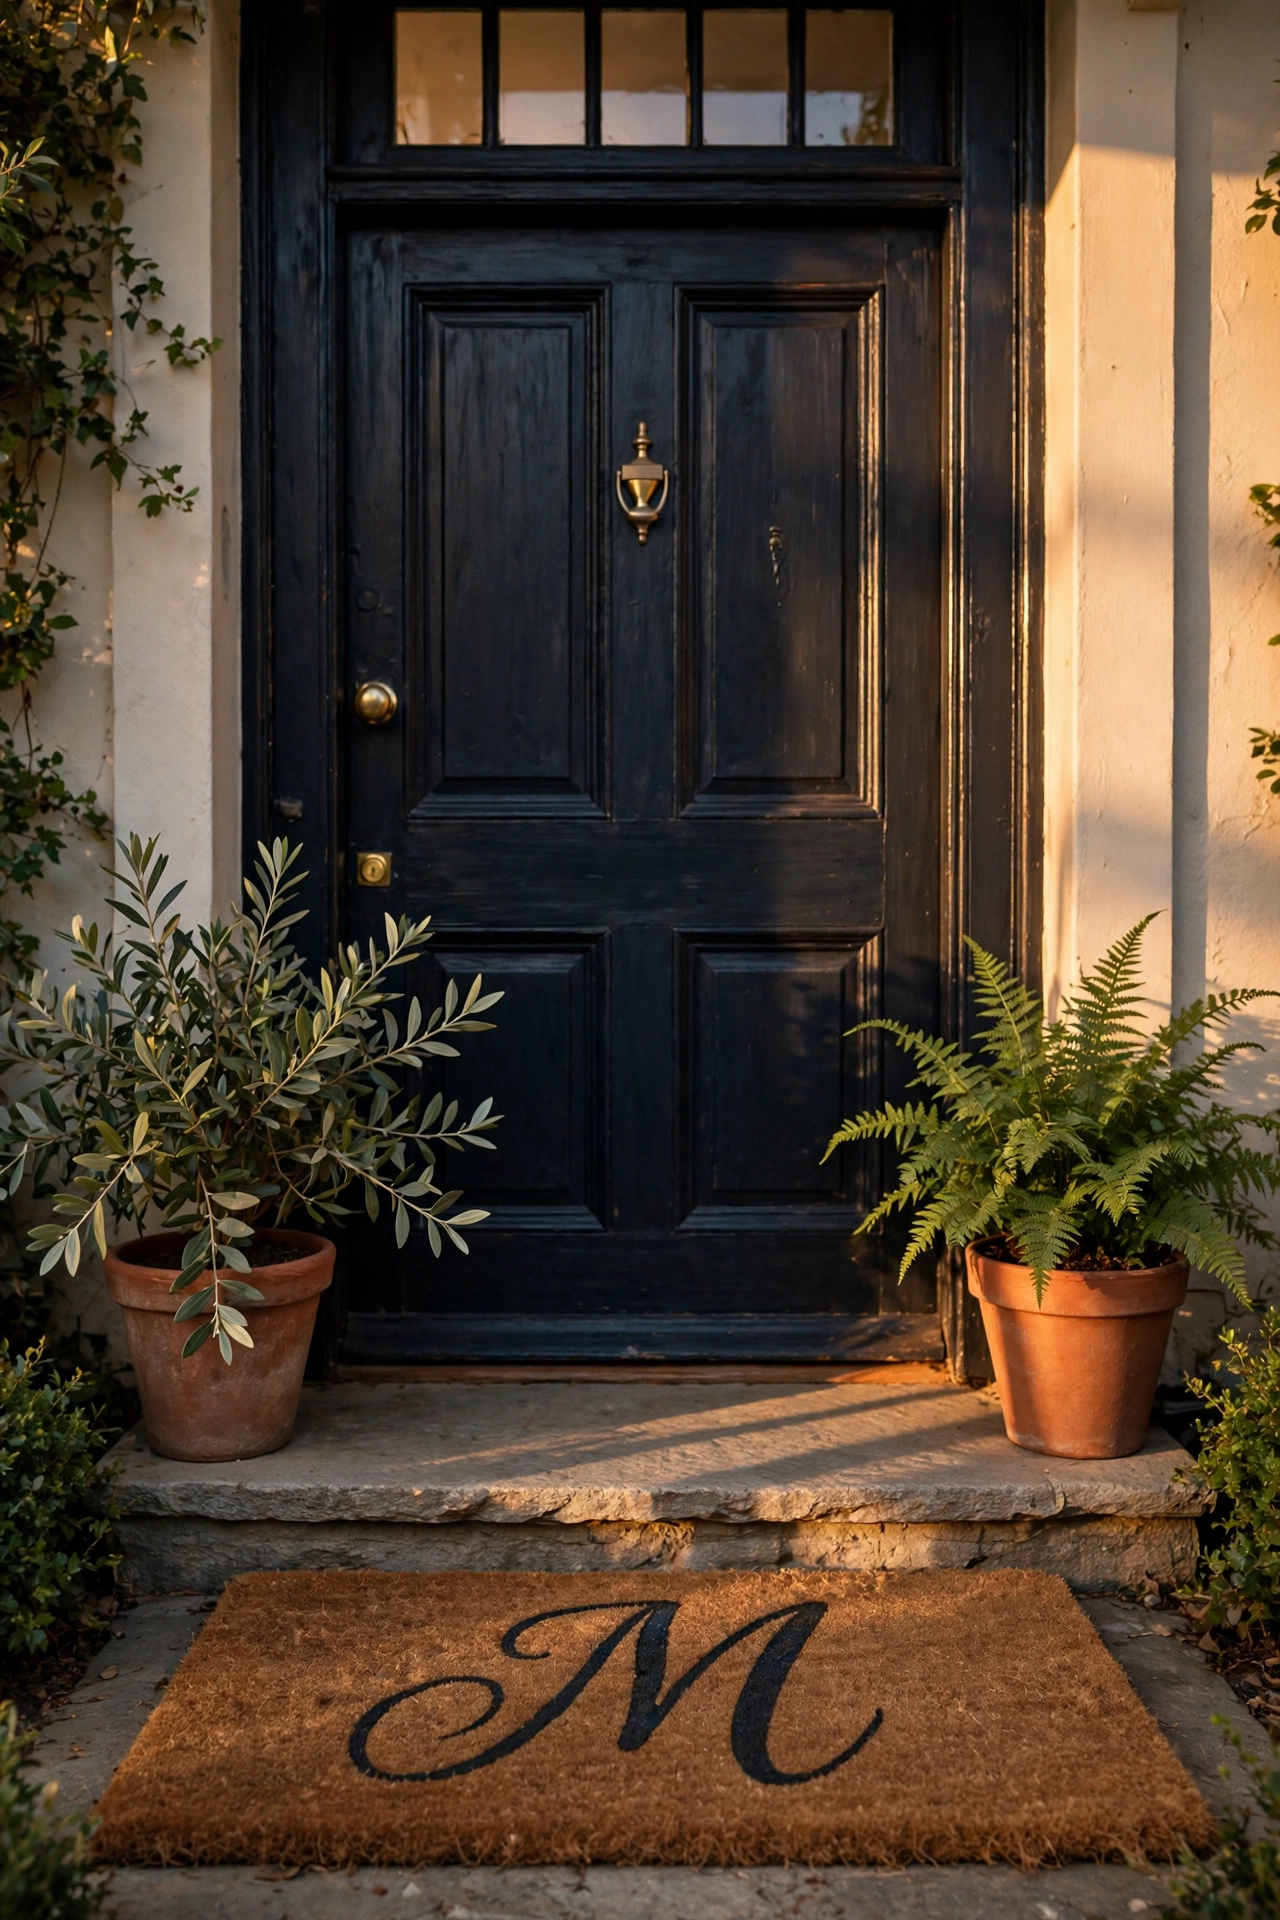
A monogrammed doormat is the oldest personalisation trick in the book, and it makes a rental hallway feel like your own front door. Buy a plain coir mat and stencil your family initial in classic script using outdoor acrylic paint and a steady hand — or a printed stencil if your handwriting wobbles like mine. Let it dry a full 24 hours before it meets wet shoes. I made one for my own doorstep and the delivery drivers comment on it. One mistake to avoid: don’t use regular craft paint — it washes off in the first rain, so outdoor or fabric paint is essential.
Cost: ~$7 · Time: 45 minutes
A Freestanding Wooden Coat Rack With Turned Details
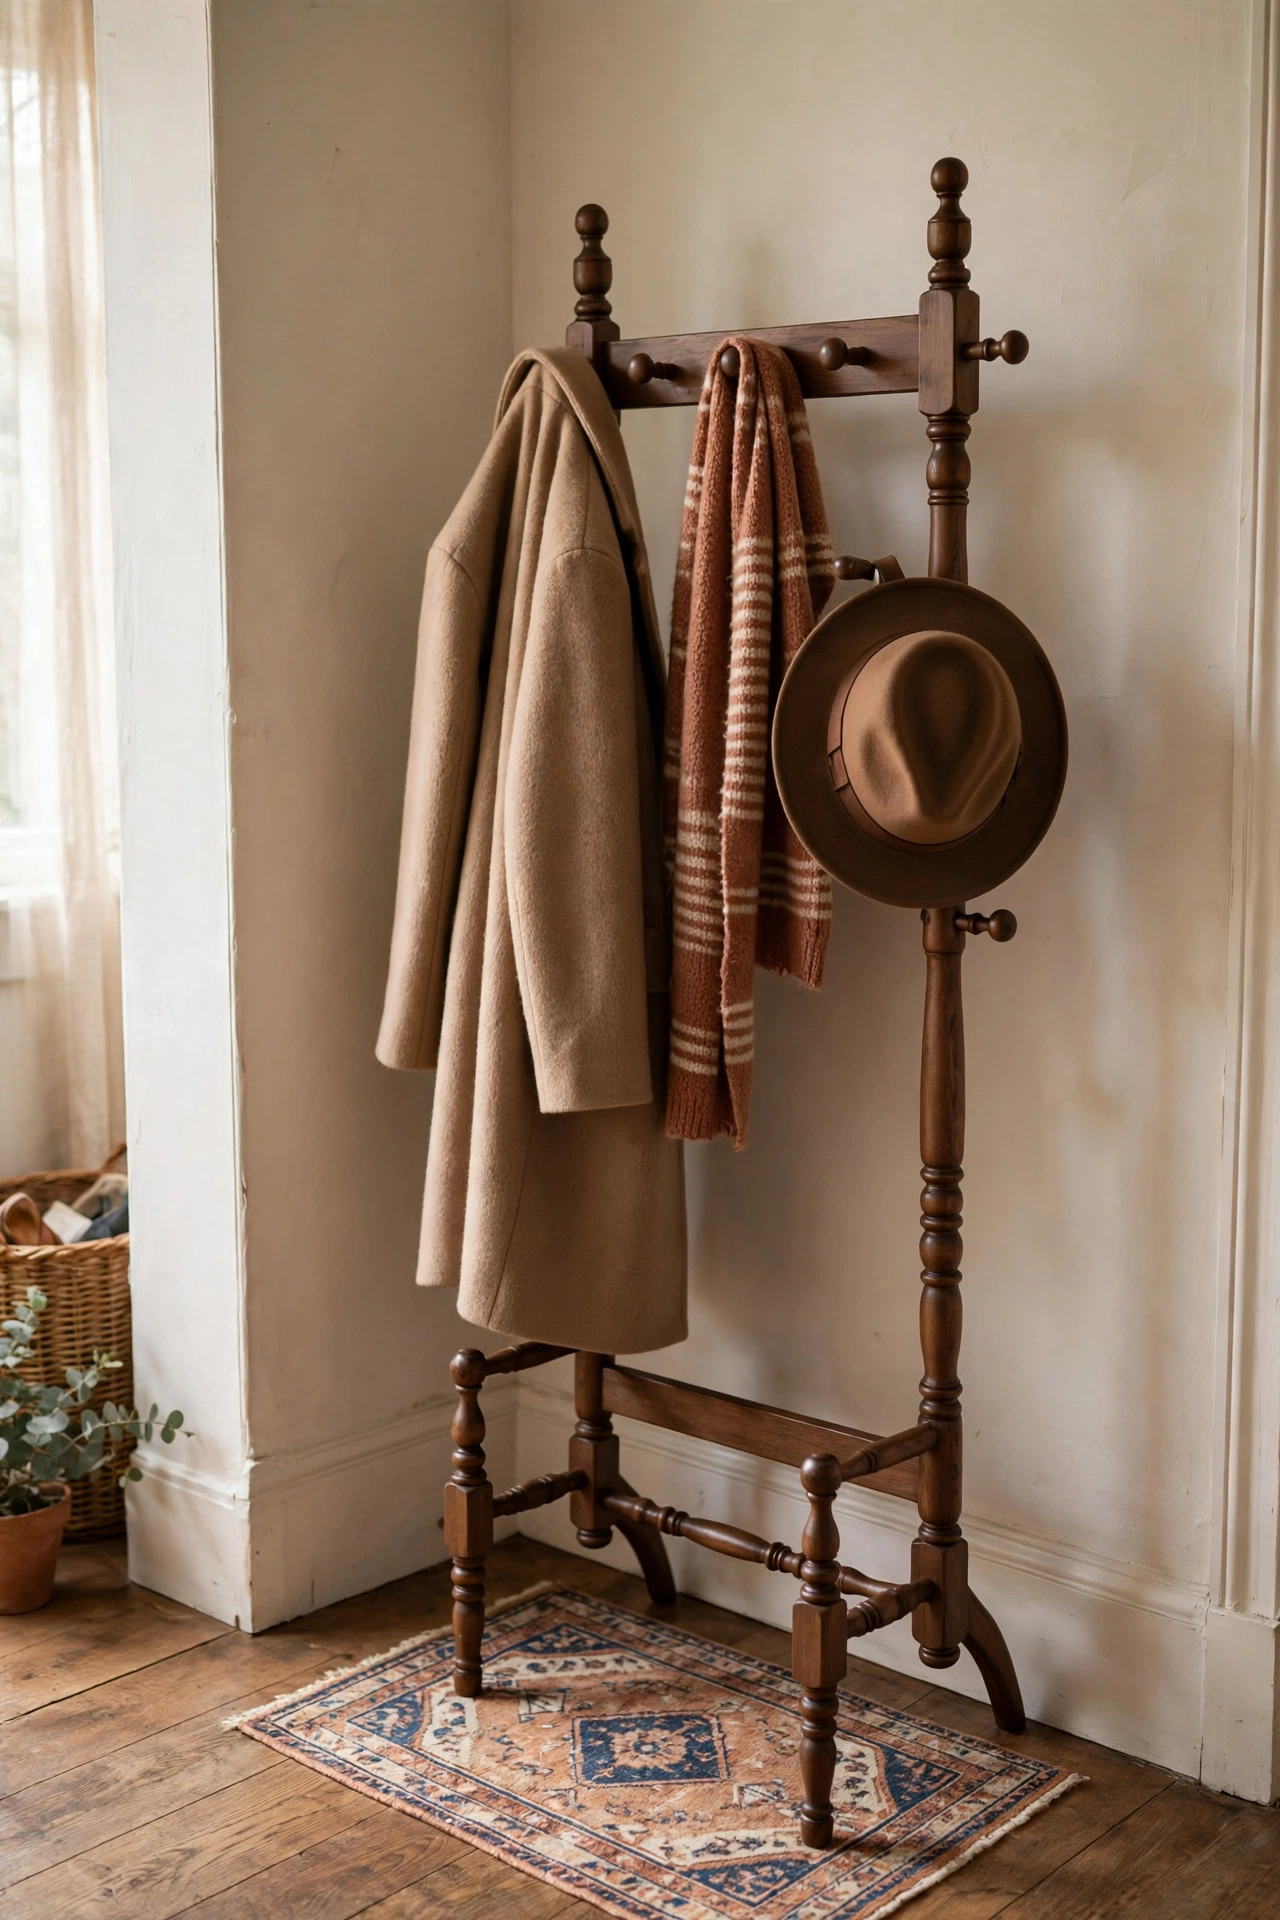
A freestanding coat rack with turned-wood details brings the feel of a Victorian hallway into a modern space. Look for one with shaped pegs rather than plain hooks — the turned details are what read as expensive. Give it a coat of dark walnut stain or matte black paint to unify the finish, and place it in the corner where coats won’t block the door swing. It holds the overflow when wall hooks are full. I stained one for my own entryway and it looks like a proper antique. One mistake to avoid: don’t overload one side only — distribute coats evenly or a top-heavy rack will lean and eventually topple.
Cost: ~$12 · Time: 50 minutes
FAQ
How do you make Dollar Tree frames look expensive?
Consistency is everything. Use identical frames in one finish, add a white paper mat inside each one, and hang them with measured, even spacing. A grid of matching frames with mats looks like professional framing, while mixed frames in a jumble read as cheap no matter what they cost. Spray paint is your friend — one coat of matte black or antique brass unifies any mismatched set.
What colours make a cheap entryway look high-end?
Stick to a tight palette of three tones: a warm neutral for the walls, a deep accent like navy, forest green, or charcoal, and one metallic — brass or black. Cheap materials look expensive when the colours are restrained, because the eye reads the scheme rather than the price tags. Avoid scattering lots of bright, unrelated colours around a small space.
Can a dollar-store entryway really fool guests?
Honestly, yes — because guests respond to styling, not receipts. Symmetry, good lighting, a pleasant scent, and clutter hidden out of sight are what make a space feel expensive. Nobody inspects a candle holder for a price sticker when the vignette is balanced and the hallway smells of cedar. The ideas above lean on exactly those cues.
How do I keep the look from feeling cluttered?
Give everything a home and stick to the rule of threes on surfaces. Lidded baskets and a storage bench swallow the daily mess, and limiting each surface to three styled objects stops the “dollar-store shelf” effect. If a surface starts collecting random bits, that’s your sign something needs a proper home — usually a basket or a hook.
A high-end entryway is mostly about decisions, not spending: one palette, matched pairs, hidden clutter, and good light. Pick the five ideas that fit your space, do them properly, and your hallway will feel like a different house.
