23 Dollar Tree Centerpiece Ideas on a Budget
Hosting a dinner party should not cost a fortune — the table is the first thing guests see, and it sets the mood for the whole evening. Every Dollar Tree Centerpiece idea below costs under ten pounds to put together, and most come in well under five. I have made every single one of these on my own kitchen table before a real dinner, testing what looks good from across the room and what survives an evening of passing dishes. Pick one, gather your supplies, and your table will look far more expensive than it was.
Mason Jar Wildflower Trio
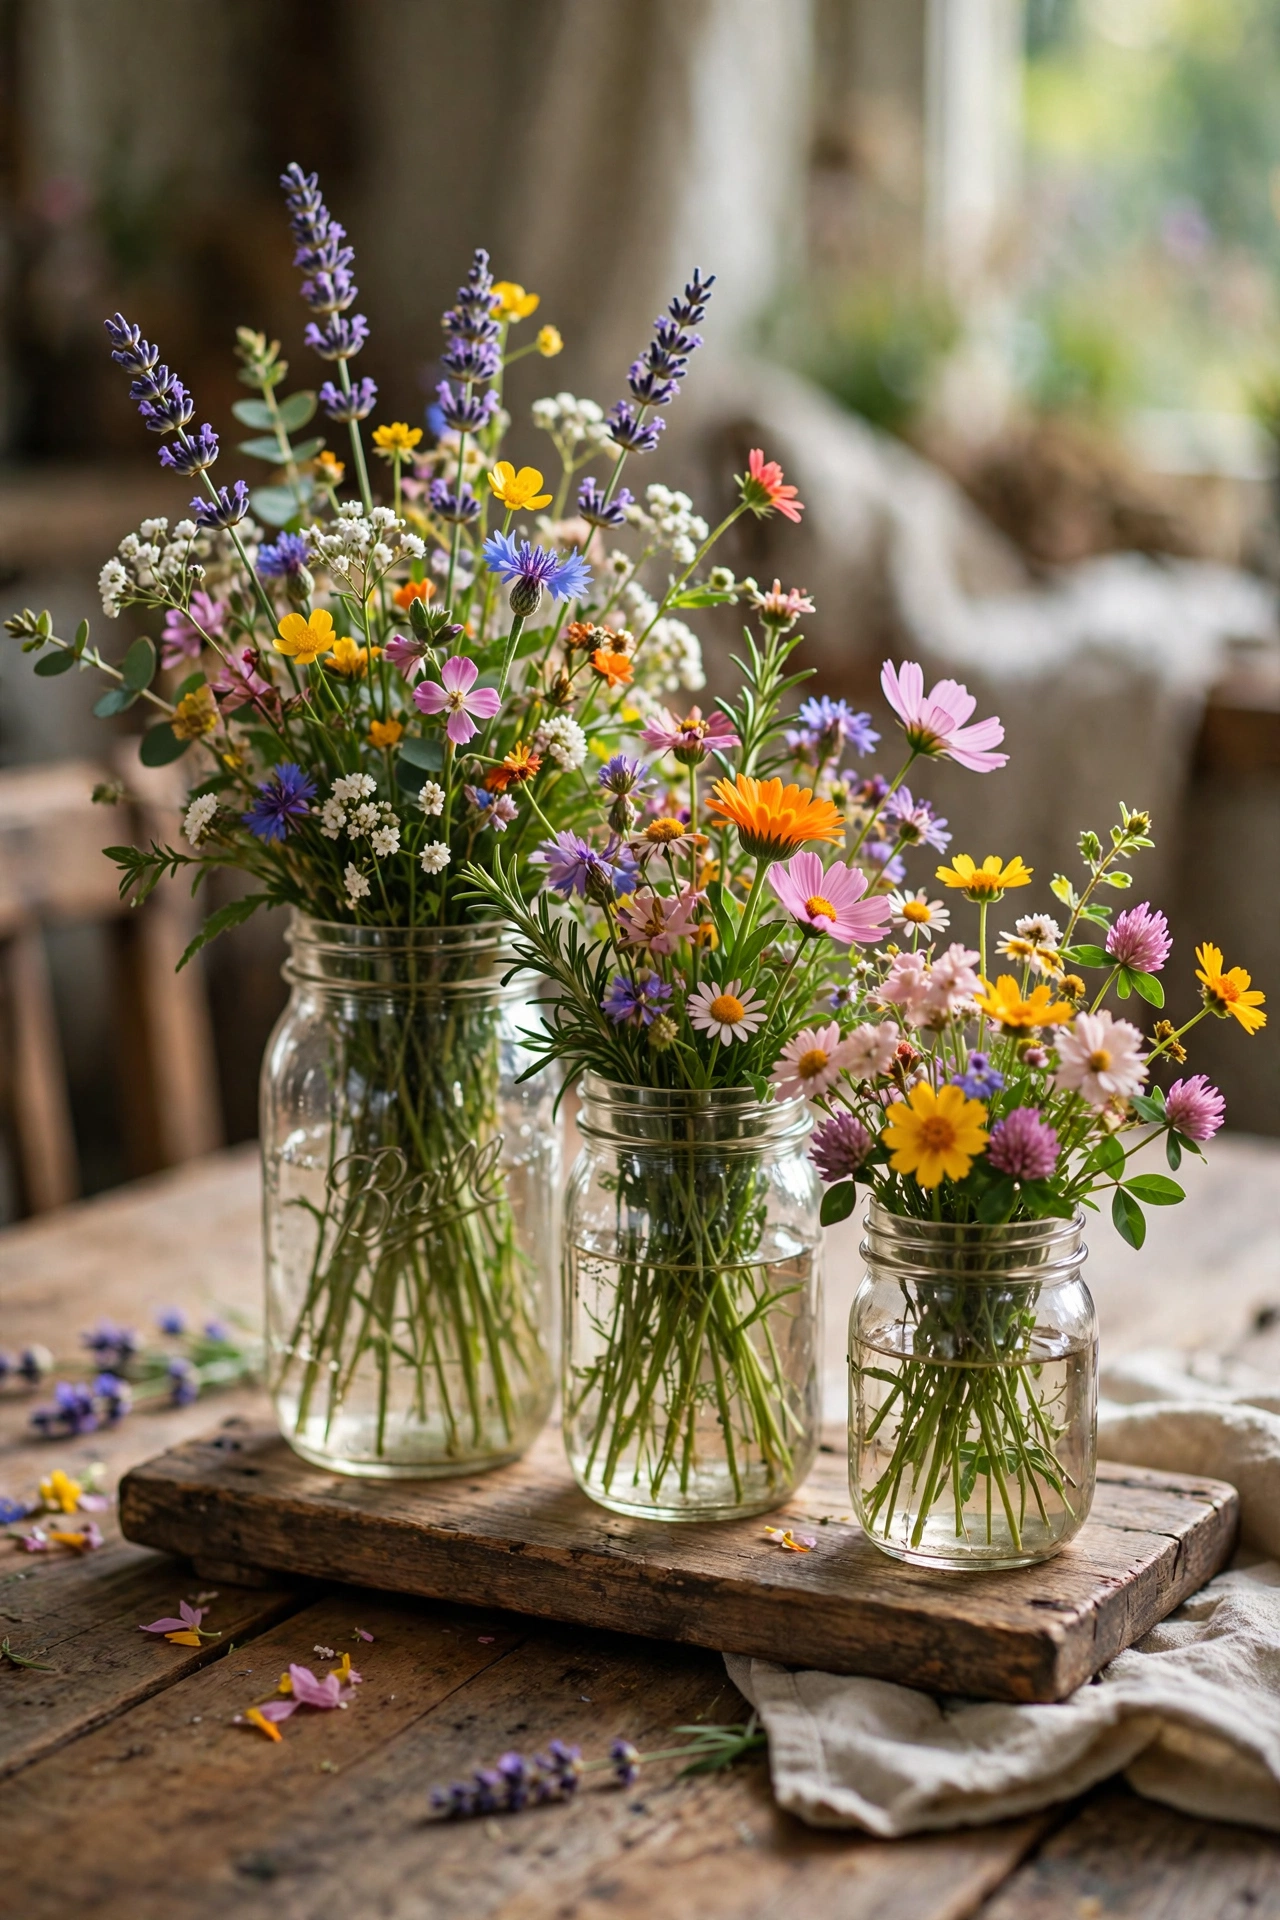
Total: ~$6 — three jars, three bunches of stems, and one lovely runner of flowers down the table.
Three jars of wildflowers make the friendliest centrepiece on this list. First, fill each jar two-thirds with water and trim your stems to staggered heights, so the tallest bunch sits in the centre jar. Second, set the jars on a small tray or a strip of fabric to pull them together visually. Third, place the trio off-centre on the table so it feels styled rather than symmetrical. I tried this in my own dining room for a Sunday lunch and guests assumed the bunches came from a florist. One mistake to avoid: don’t use real wildflowers past their prime — wilted petals undo the whole look in hours.
Cost: ~$6 · Time: 20 minutes
Pillar Candle Cluster Tray
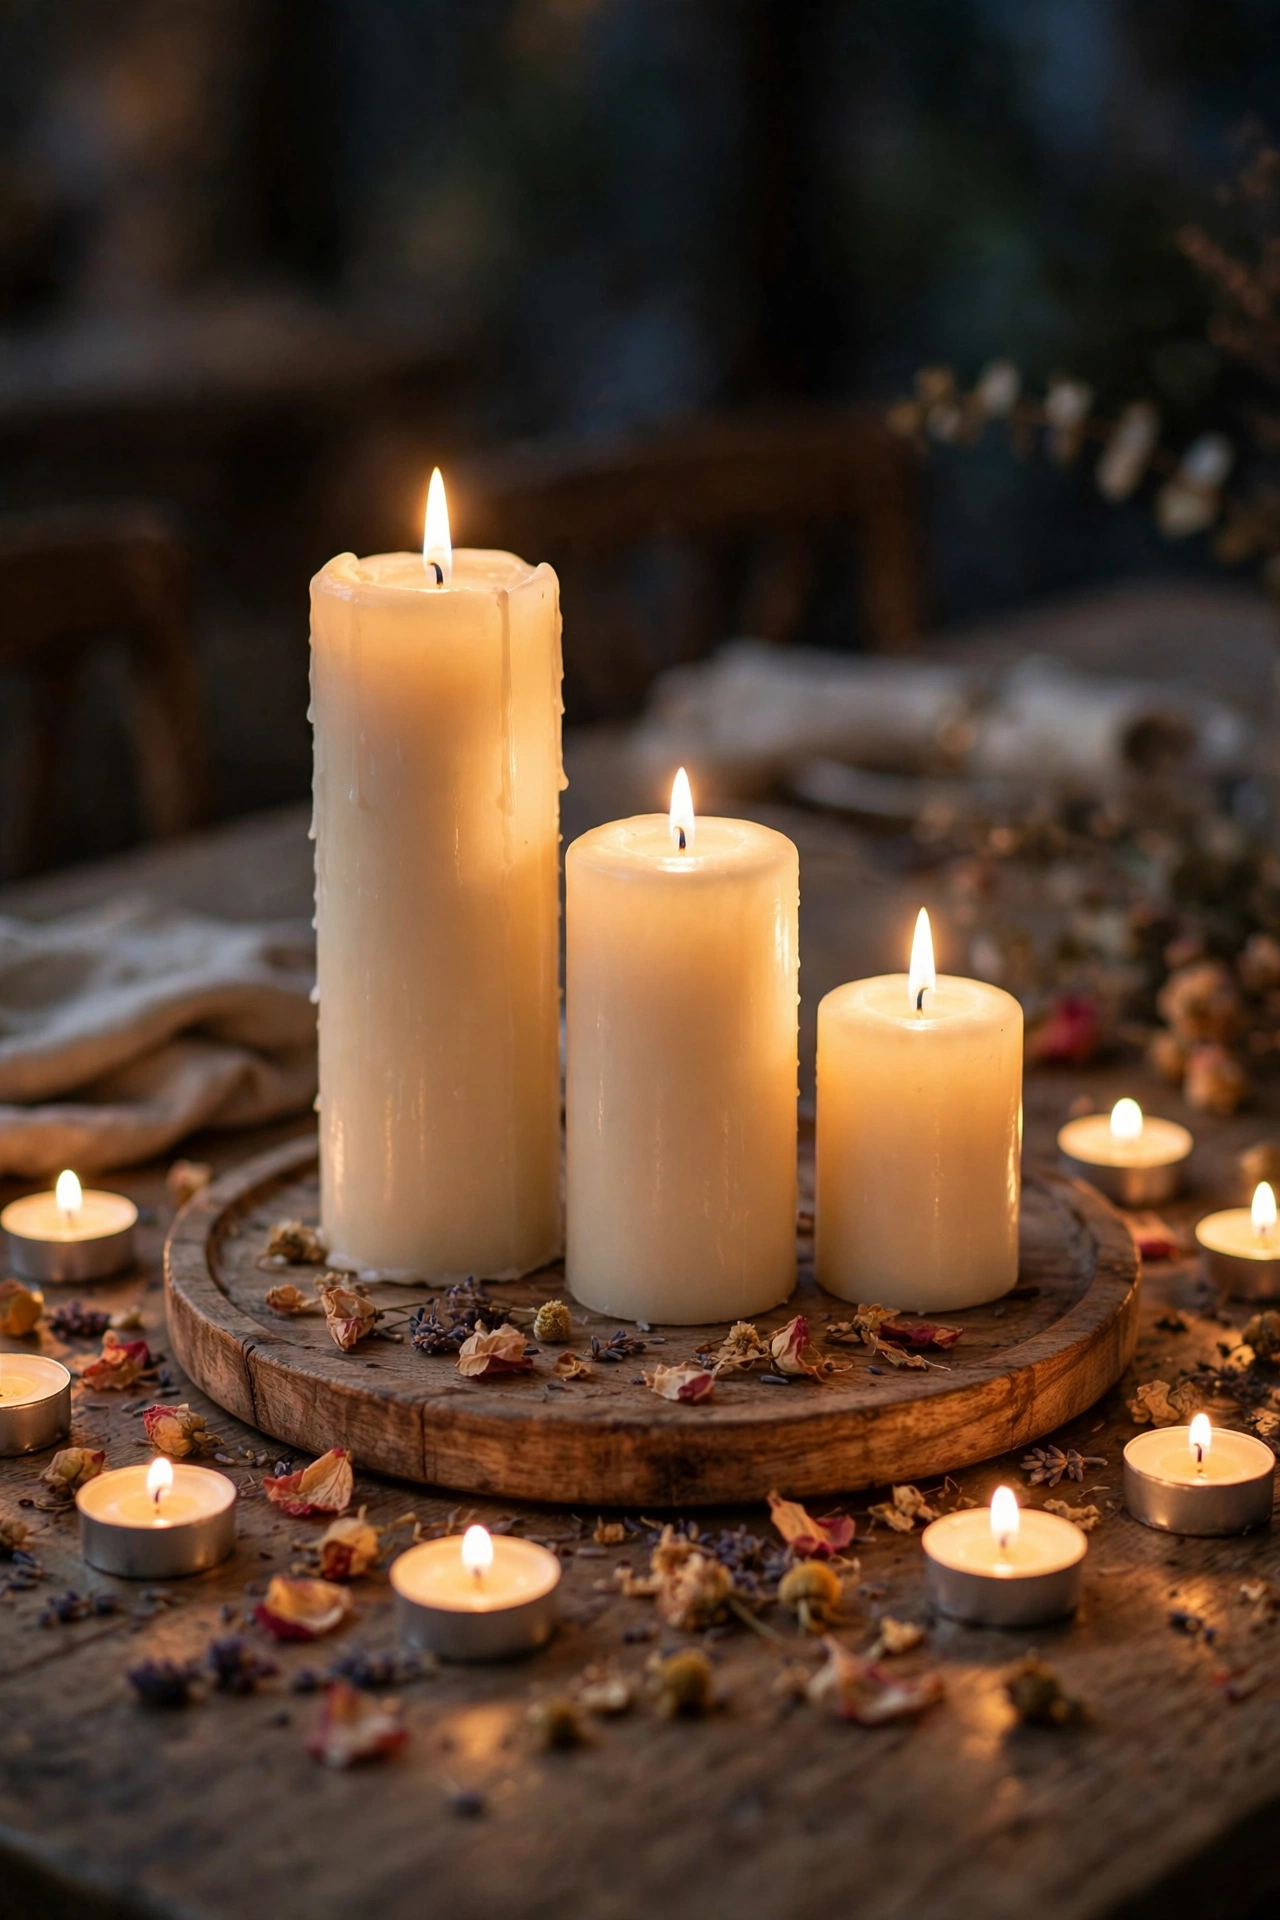
Total: ~$5 — three pillars, one tray, and instant evening atmosphere.
Nothing beats candlelight for making a table feel special, and pillars at different heights look deliberate rather than random. First, choose three pillar candles in graduating heights, all in the same colour so they read as a set. Second, arrange them on a round tray or wooden board, tallest at the back. Third, scatter a few tea lights or dried petals around the base to fill the gaps. I tried this in my own dining room for a dinner with friends and the glow made the whole evening feel warmer. One mistake to avoid: don’t mix scented and unscented candles, because competing smells muddy the food.
Cost: ~$5 · Time: 15 minutes
Hurricane Glass Candle Vases
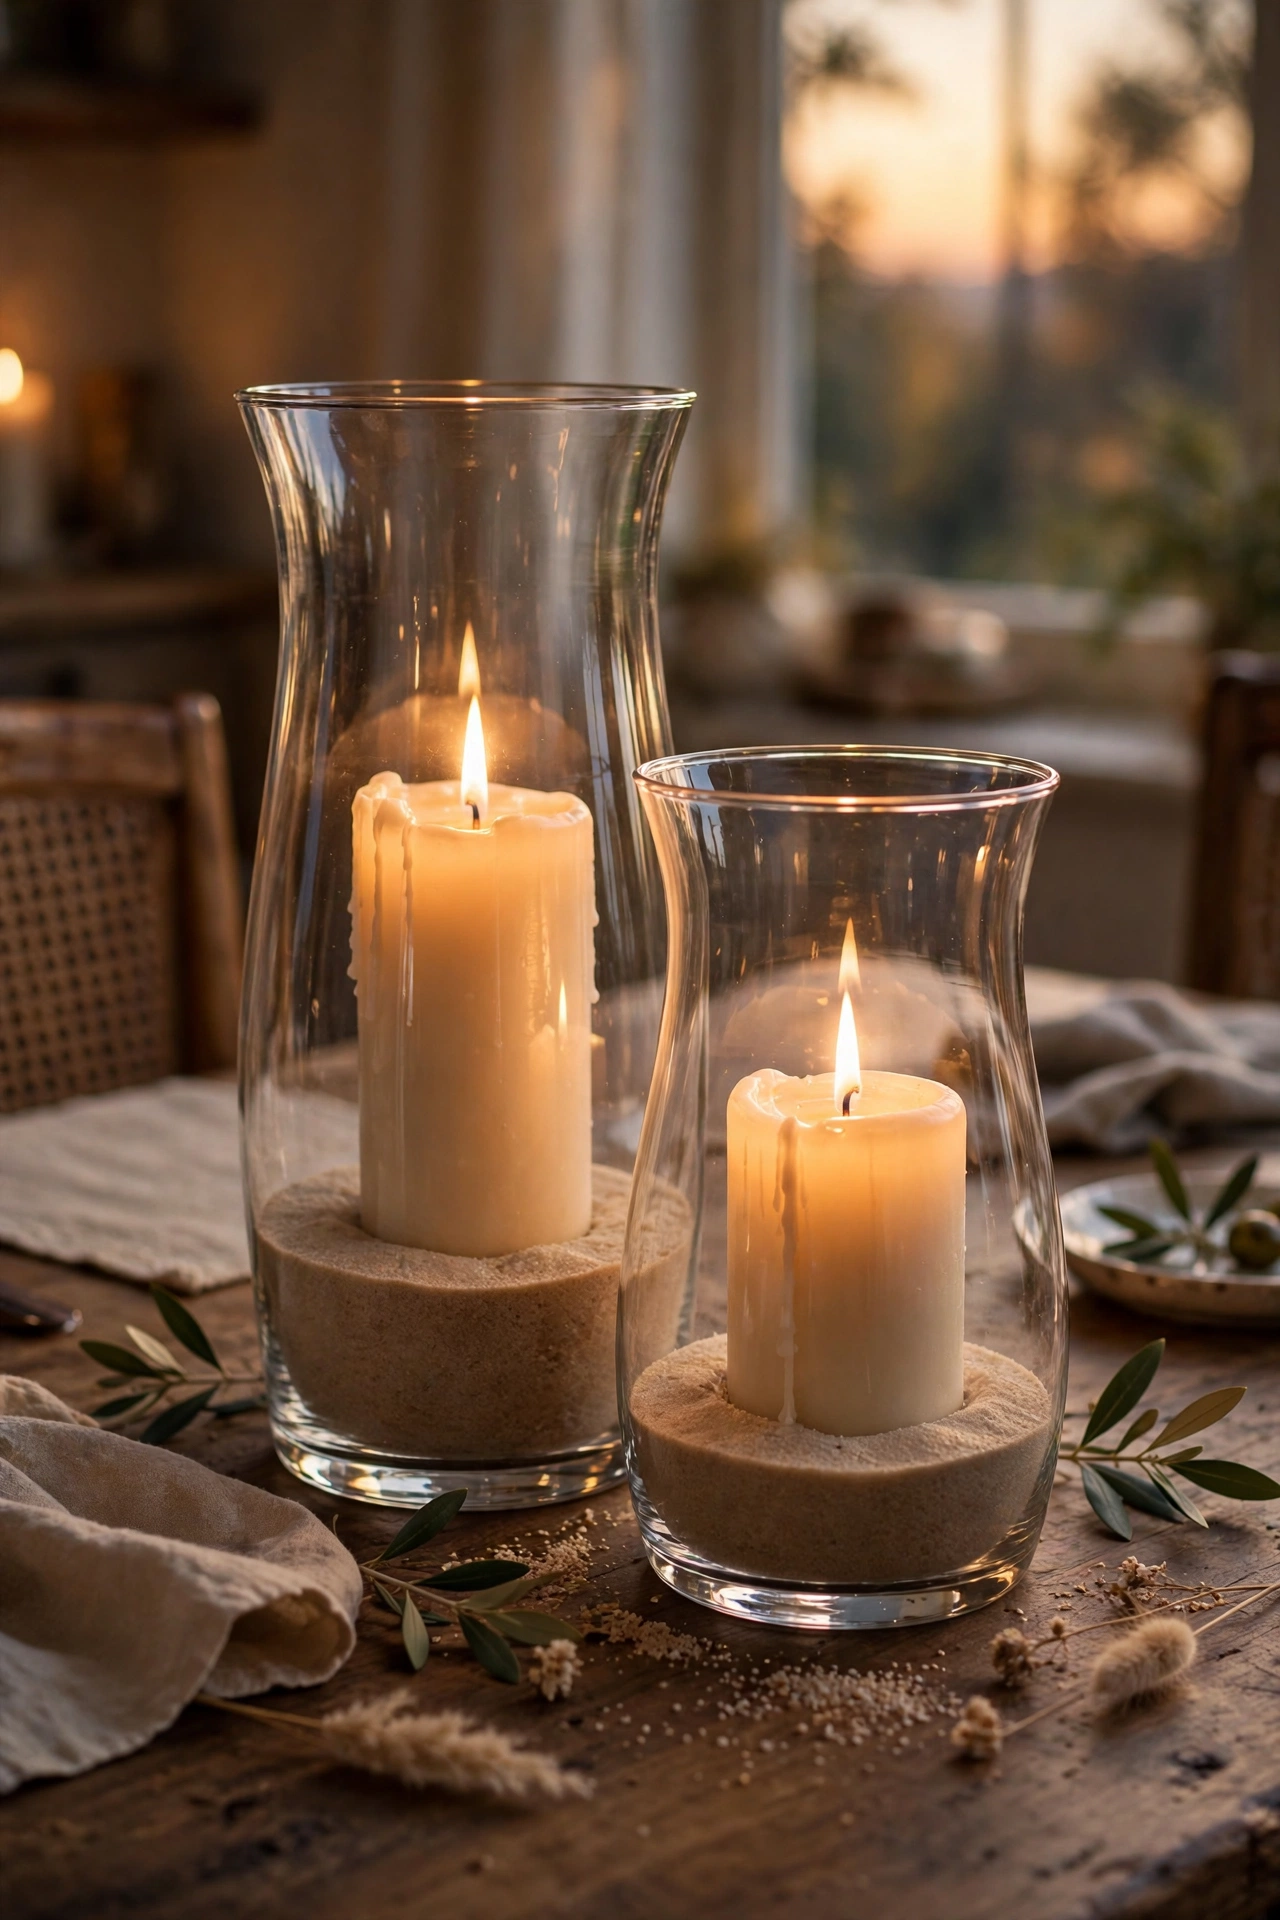
Total: ~$6 — glass hurricanes that make plain candles look expensive.
Hurricane vases make even the plainest candle look expensive. First, stand a pillar candle or a cluster of tea lights inside each glass. Second, pour a thin layer of sand, small pebbles, or dried lentils around the candle base for texture. Third, group two or three hurricanes of different heights together as your table anchor. I tried this in my own conservatory for an evening supper and the layered glass caught the light beautifully. One mistake to avoid: don’t leave the candles burning unattended — glass traps heat, so keep the flame modest.
Cost: ~$6 · Time: 15 minutes
Citrus Fruit Bowl Display
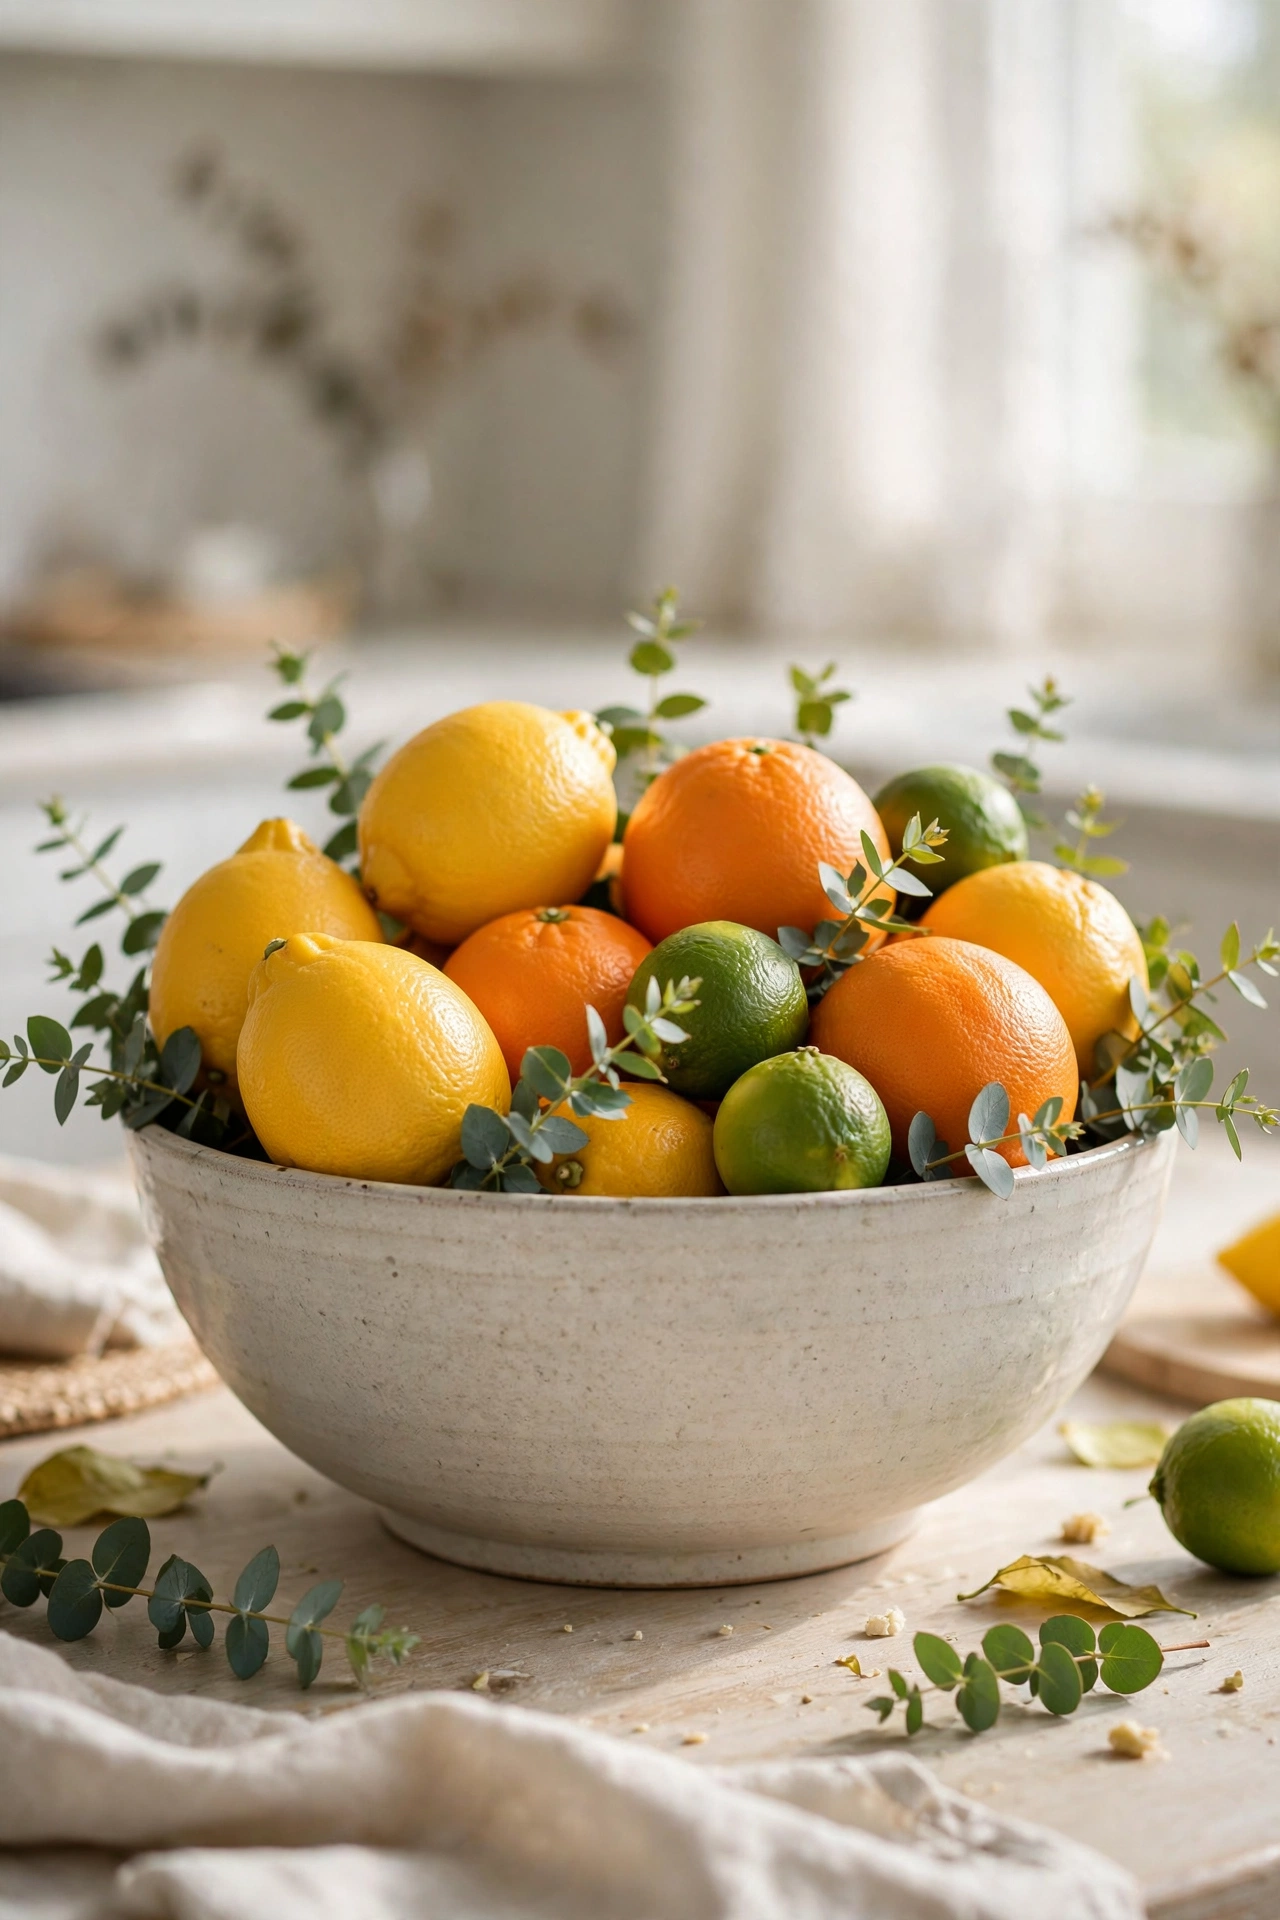
Total: ~$4 — a bowl of fruit that guests can actually use.
A bowl of bright citrus is the freshest, cheapest centrepiece going. First, fill a wide bowl with lemons, oranges, and a few limes for colour contrast. Second, tuck a few sprigs of greenery or eucalyptus between the fruit. Third, set it slightly off-centre so it feels styled rather than just practical. I tried this in my own kitchen before a brunch and guests kept grabbing a lemon for their water. One mistake to avoid: don’t include fruit that’s past its best — one soft orange ruins the look. If you like bright, fresh styling, the ideas in my (see also: 17-dollar-store-wall-decor-ideas-that-look-expensive) use the same trick.
Cost: ~$4 · Time: 10 minutes
Faux Peony Stem Arrangement
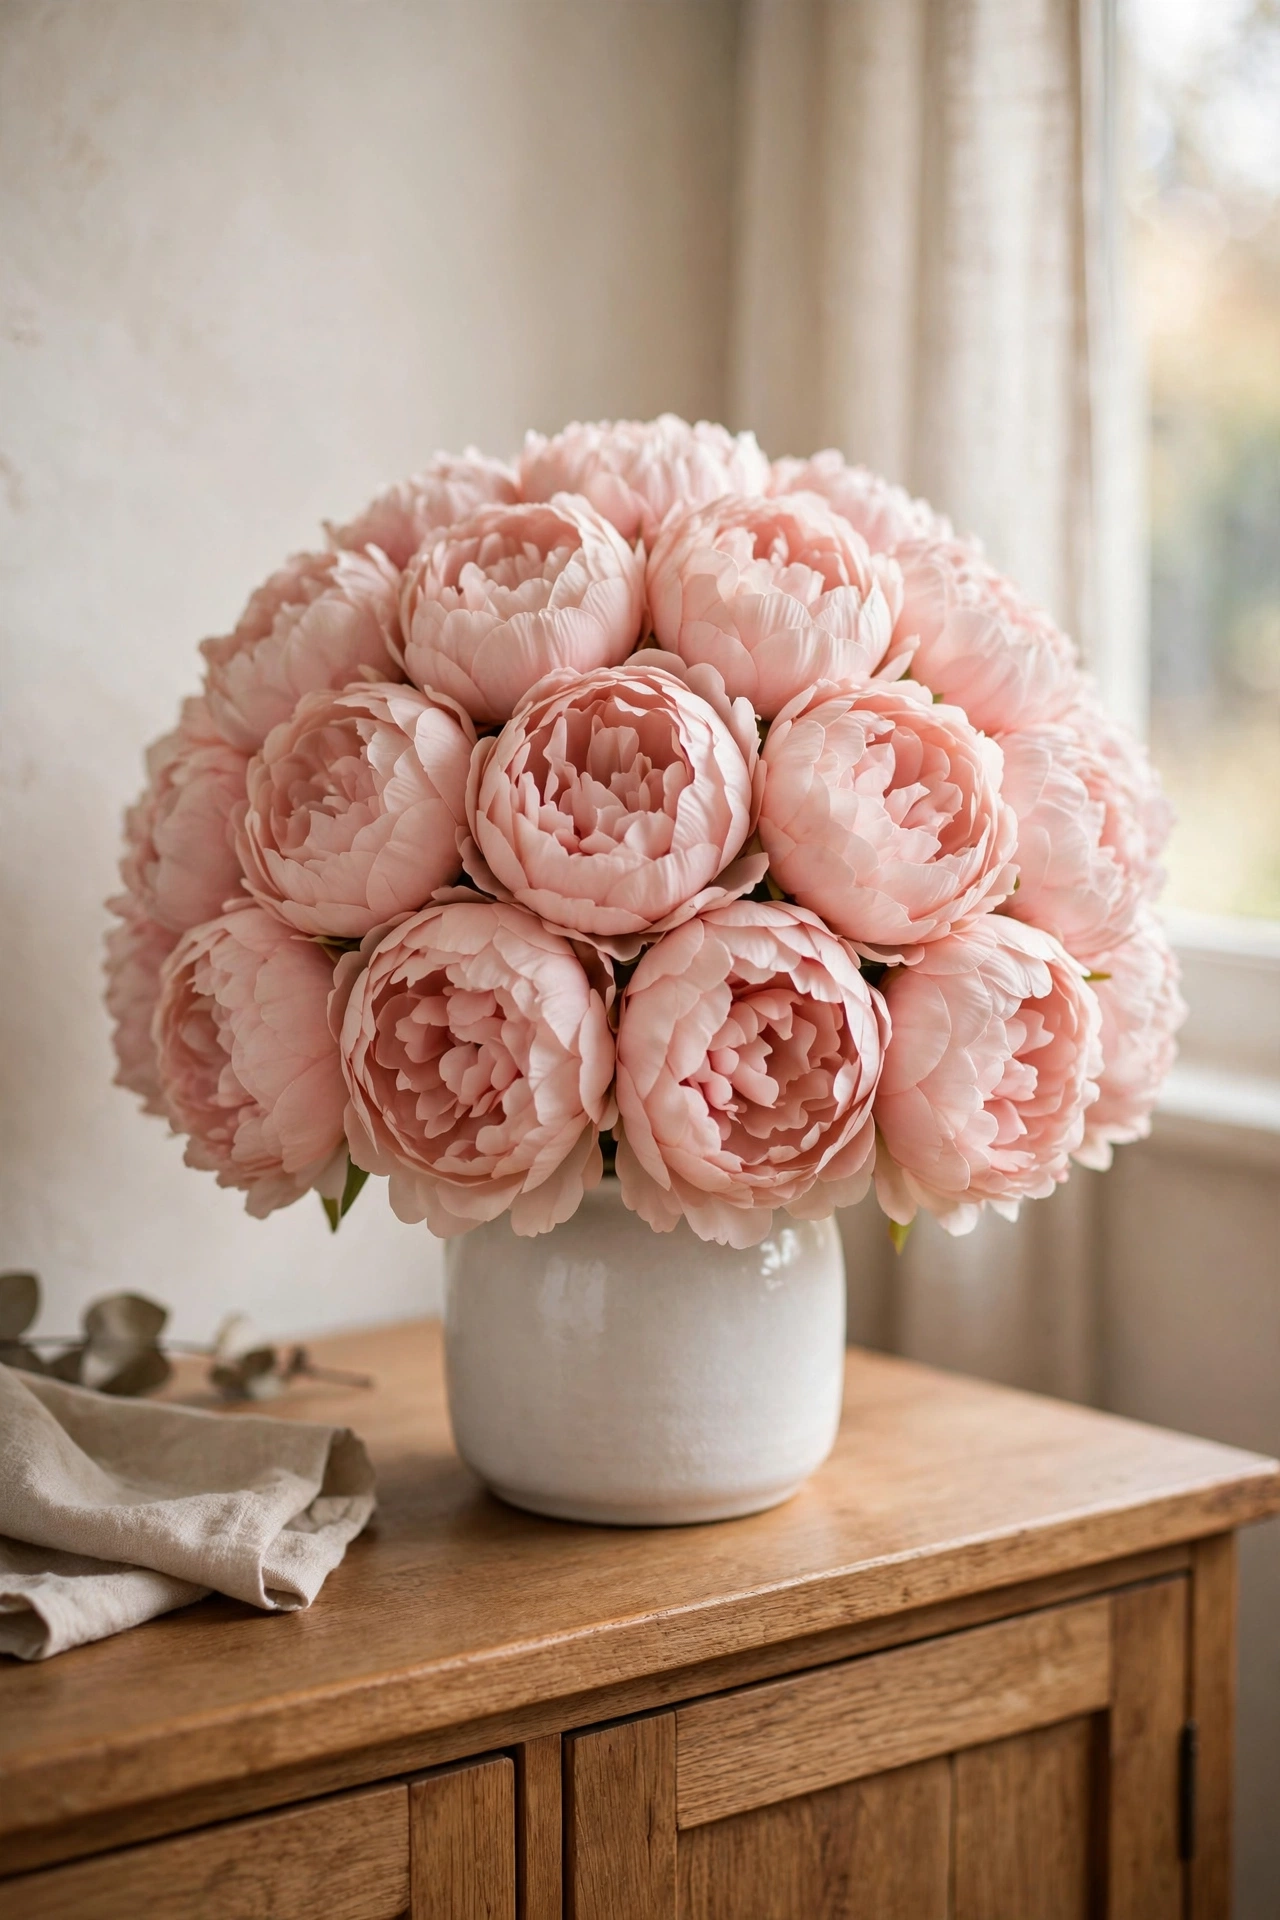
Total: ~$7 — peonies that never wilt and never cost a fortune.
Faux peonies have become so realistic that nobody guesses. First, buy two or three bunches in the same blush or white shade. Second, trim the stems to fit a short vase and arrange them in a dome shape, tallest in the middle. Third, fluff the petals open with your fingers so they look full and natural. I tried this in my own living room and the arrangement has survived three dinner parties without a single droopy stem. One mistake to avoid: don’t mix colours randomly — one shade looks expensive, a rainbow looks cheap.
Cost: ~$7 · Time: 15 minutes
Wooden Tray Table Vignette
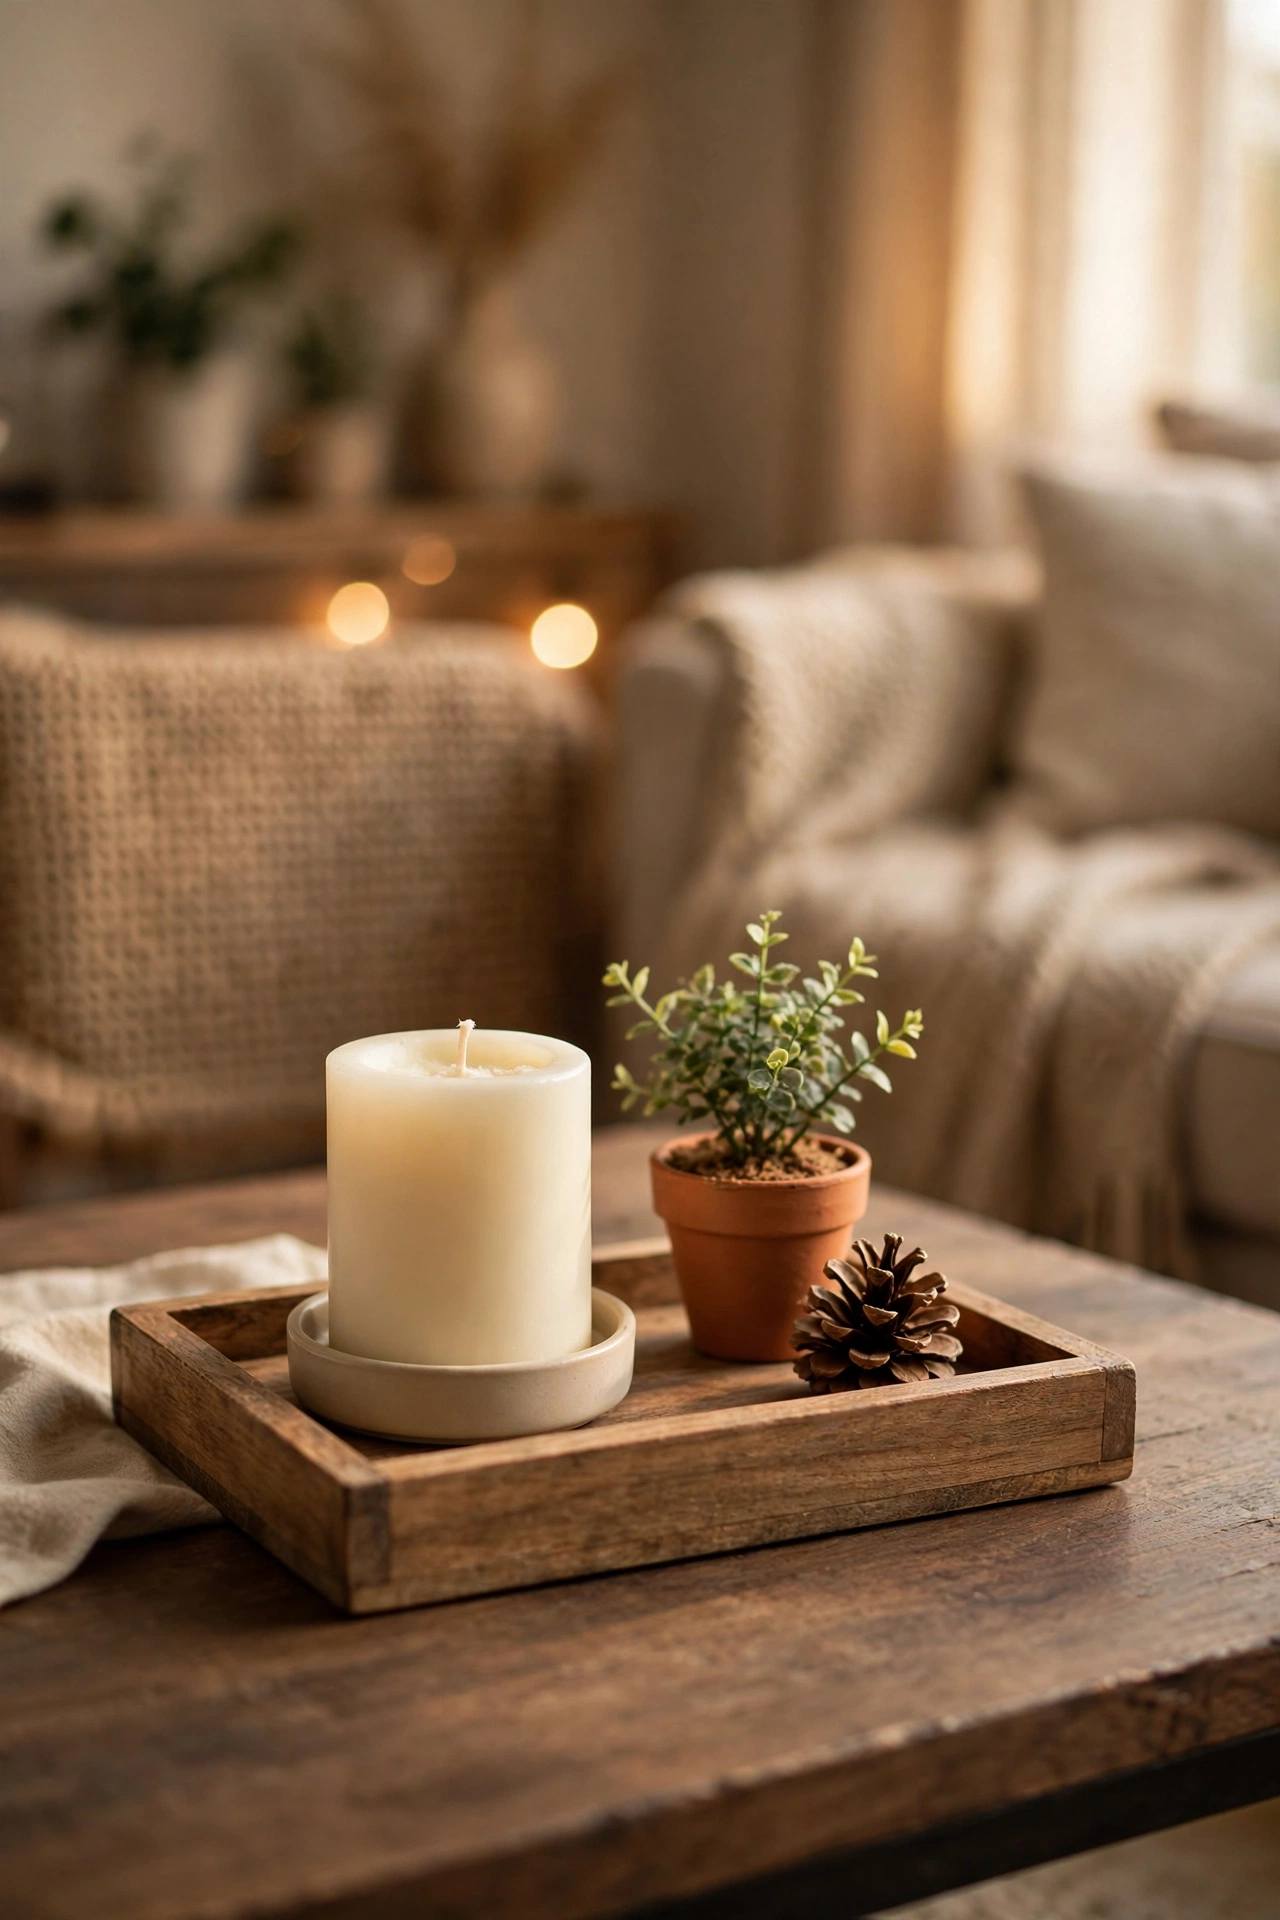
Total: ~$8 — a tray that turns random bits into a styled vignette.
A wooden tray turns random bits into a proper vignette. First, start with a small rectangular or round wooden tray as your base. Second, add a candle, a small plant or vase, and one textured item like a pinecone or a small book. Third, leave a little empty space so it doesn’t look cluttered. I tried this in my own coffee table and it made the whole room feel styled in minutes. One mistake to avoid: don’t overfill the tray — three to five items is the sweet spot. The trays in my (see also: 25-dollar-store-organization-ideas-for-every-room) double up nicely for this.
Cost: ~$8 · Time: 20 minutes
Metal Lantern Centerpiece
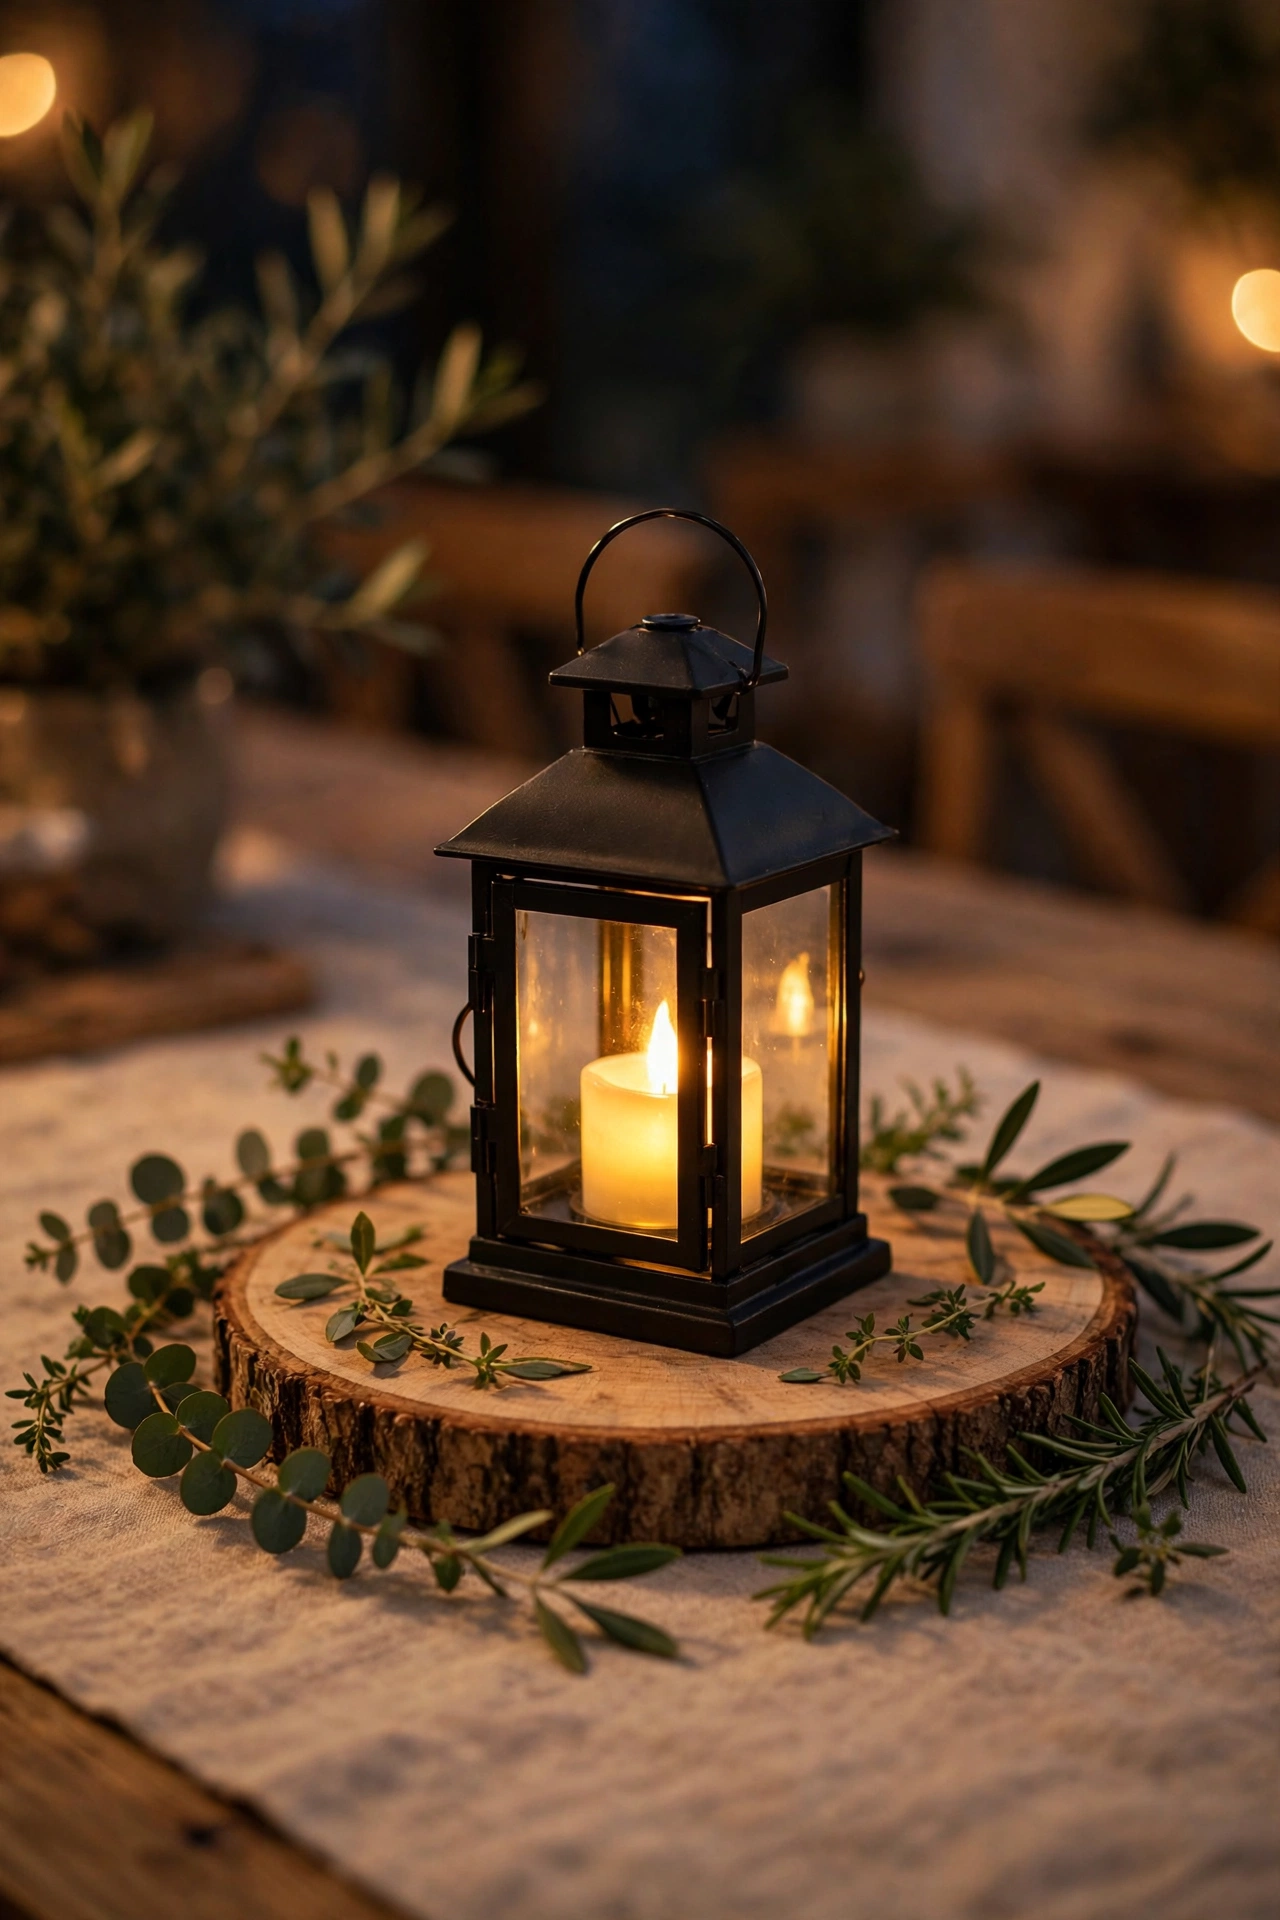
Total: ~$5 — a lantern that brings structure to the middle of the table.
A small metal lantern brings structure to the middle of the table. First, place a battery pillar candle inside so there’s no heat worry. Second, set the lantern on a round placemat or slice of wood to ground it. Third, surround the base with a few sprigs of greenery or small stones. I tried this in my own hallway table and the lantern’s pattern threw lovely shadows on the wall. One mistake to avoid: don’t use a real flame if kids or pets will be near the table — the metal gets warm.
Cost: ~$5 · Time: 10 minutes
Three-Tier Dessert Stand Display
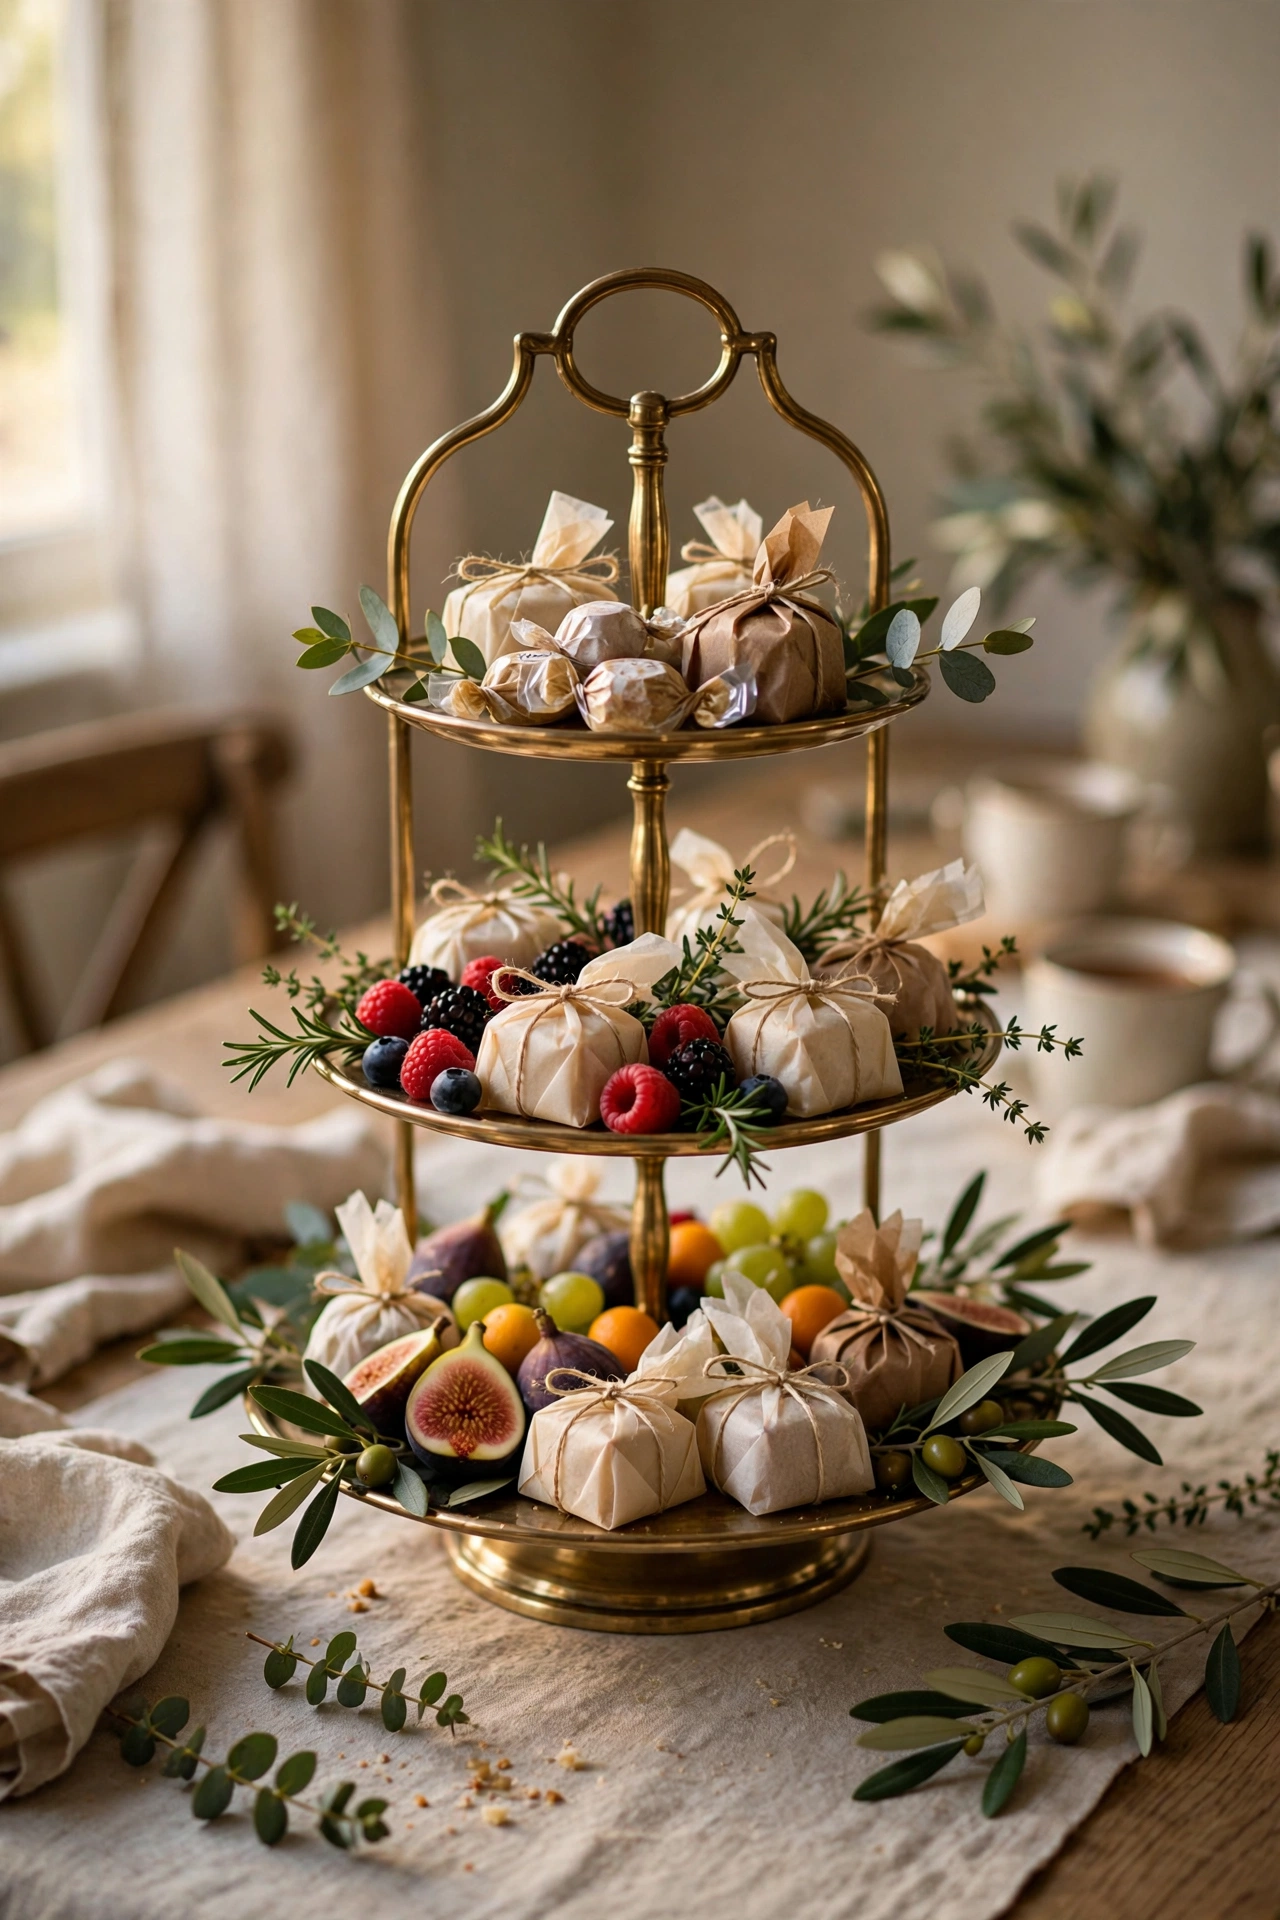
Total: ~$7 — ready-made height that works for far more than cake.
A tiered stand isn’t just for cake — it’s a ready-made centrepiece with height. First, place your largest items on the bottom tier and work upward. Second, use it for wrapped sweets, small fruit, or even stacked teacups. Third, add a sprig of greenery on each level to tie it together. I tried this in my own dining room for a birthday tea and guests photographed the stand more than the cake. One mistake to avoid: don’t overload the top tier — it gets top-heavy and wobbly fast.
Cost: ~$7 · Time: 15 minutes
Tabletop Glass Terrarium
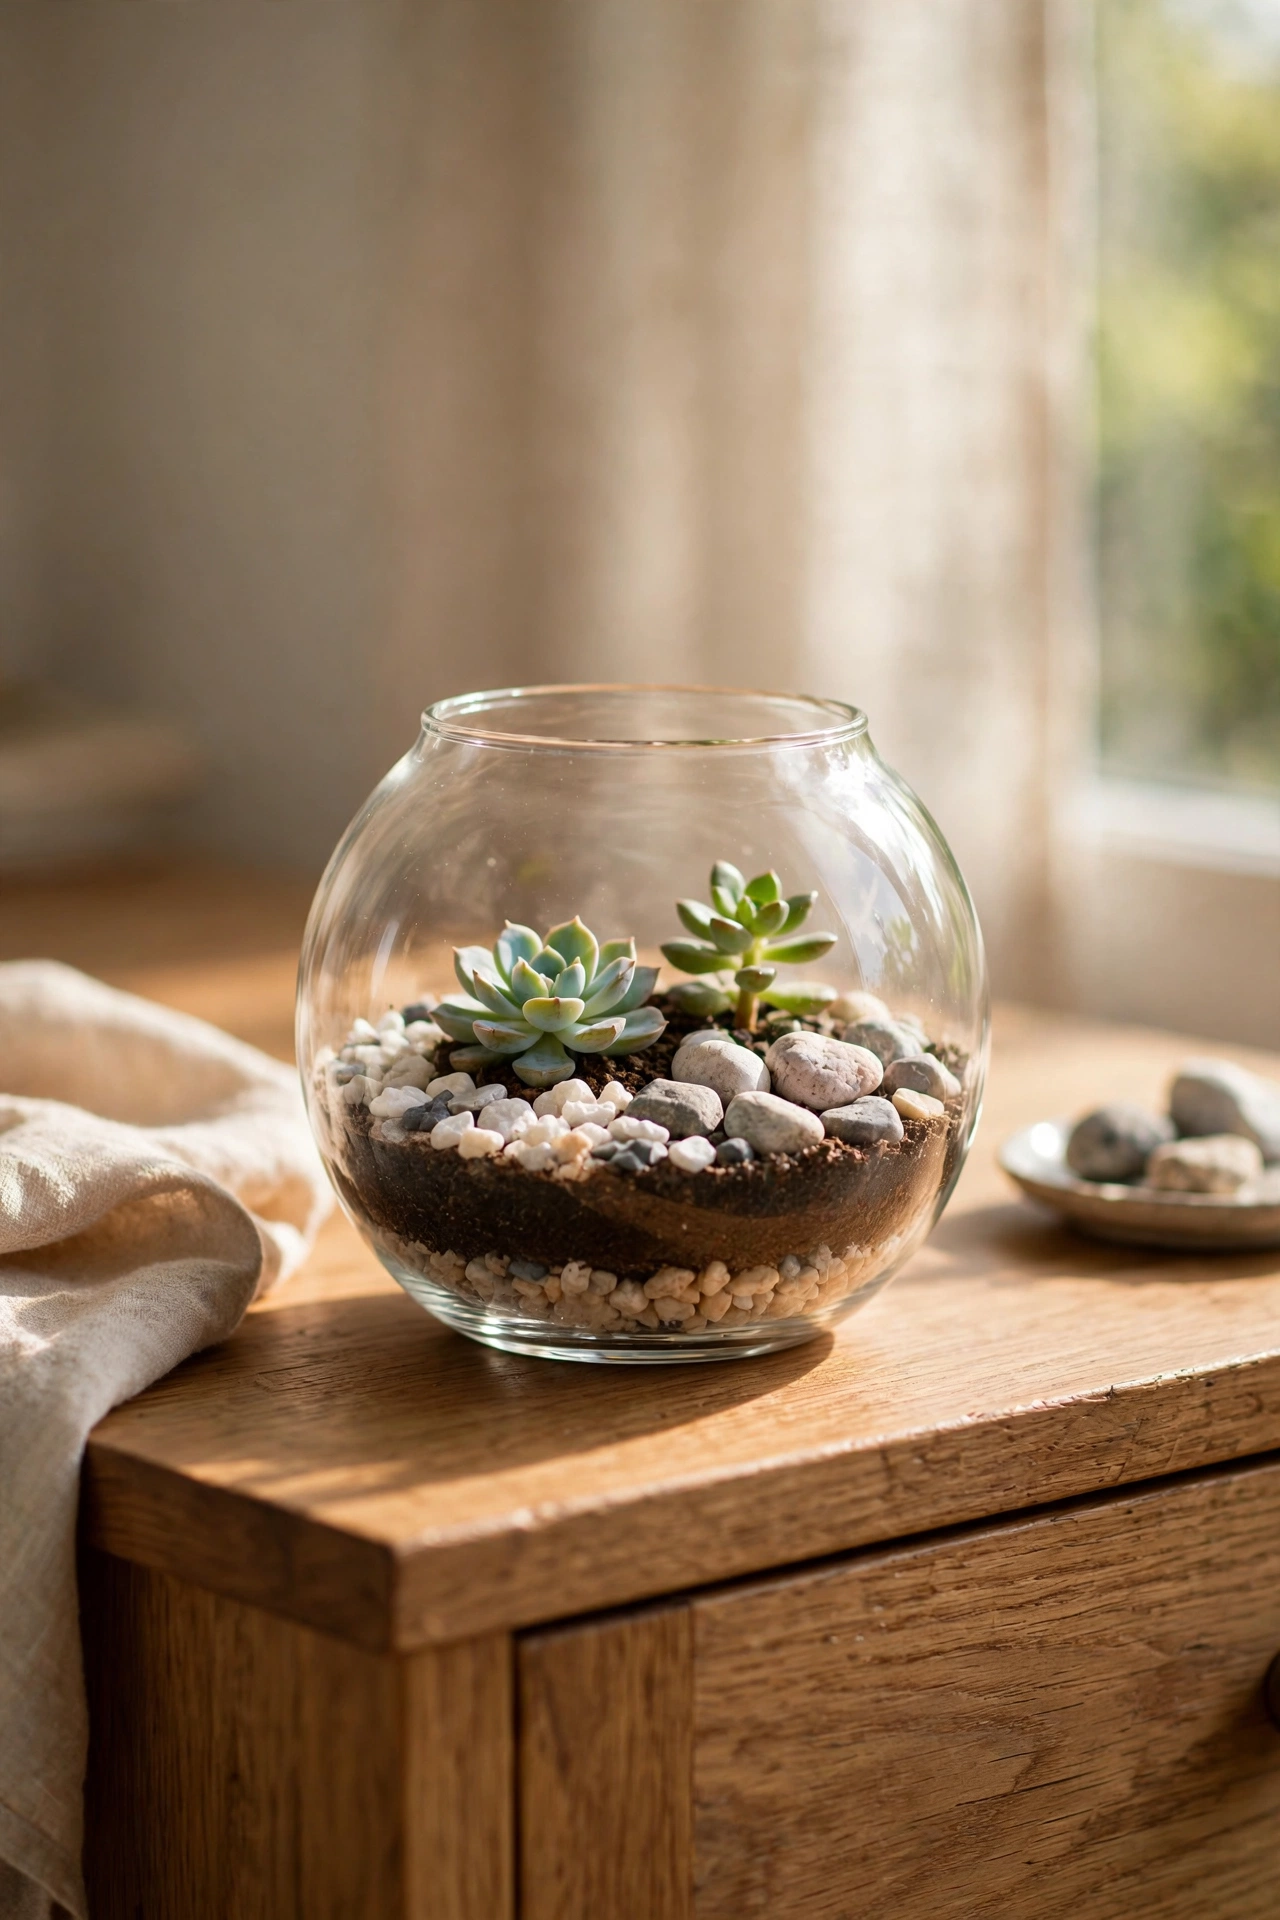
Total: ~$8 — a tiny indoor garden that always gets compliments.
A little glass terrarium brings a garden indoors. First, layer small pebbles, then a spoonful of charcoal, then potting soil inside the glass. Second, nestle in two or three small succulents or air plants. Third, finish with a few decorative stones on top. I tried this in my own sideboard and it’s the one centrepiece guests always ask about. One mistake to avoid: don’t overwater — a teaspoon at a time is plenty, because there’s no drainage. A tiny wooden pick with a word on it makes a sweet finishing touch.
Cost: ~$8 · Time: 25 minutes
Decorative Orb Bowl
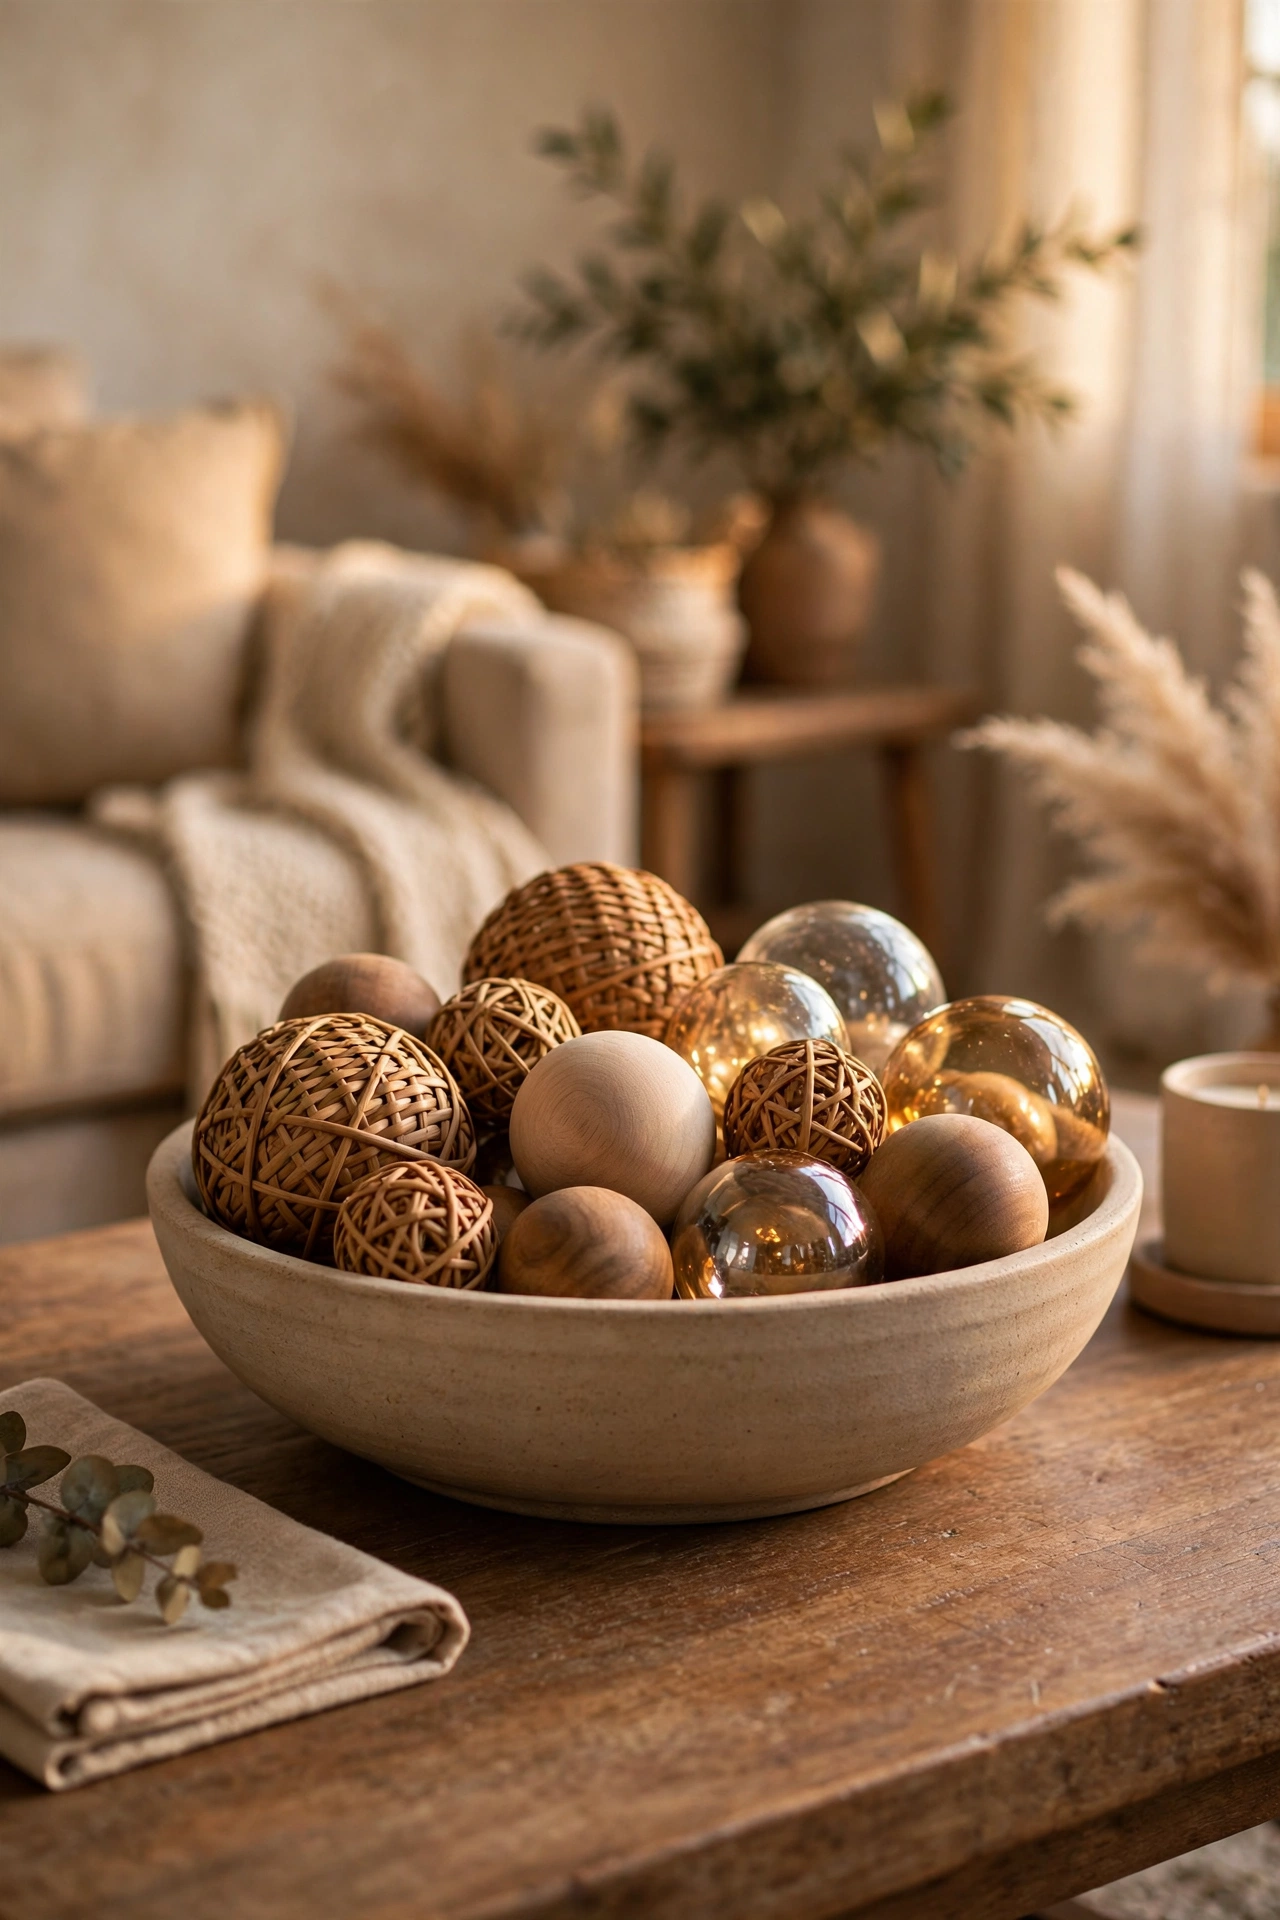
Total: ~$4 — embarrassingly easy, and it always looks good.
A bowl of decorative orbs is almost embarrassingly easy and always looks good. First, fill a wide shallow bowl with a mix of rattan, wooden, and glass orbs. Second, vary the sizes so it doesn’t look like a single product. Third, nestle the bowl on a small doily or fabric square to finish it. I tried this in my own living room and it sits on the coffee table year-round. One mistake to avoid: don’t buy orbs all in one colour — the mix of textures is what makes it work.
Cost: ~$4 · Time: 10 minutes
Stacked Vintage Books with Candles

Total: ~$5 — a literary centrepiece for the book lovers’ table.
Old books make a wonderfully literary centrepiece base. First, stack three or four hardbacks largest to smallest, spines facing out. Second, top the stack with a small candle or a tiny plant. Third, tie the whole stack with twine if you want a rustic feel. I tried this in my own study nook and it looks like something from a bookshop window. One mistake to avoid: don’t use books you actually need to read — guests will pick them up. More bargain styling tricks are in my (see also: 23-dollar-store-living-room-finds-worth-grabbing).
Cost: ~$5 · Time: 10 minutes
Woven Basket Floral Arrangement
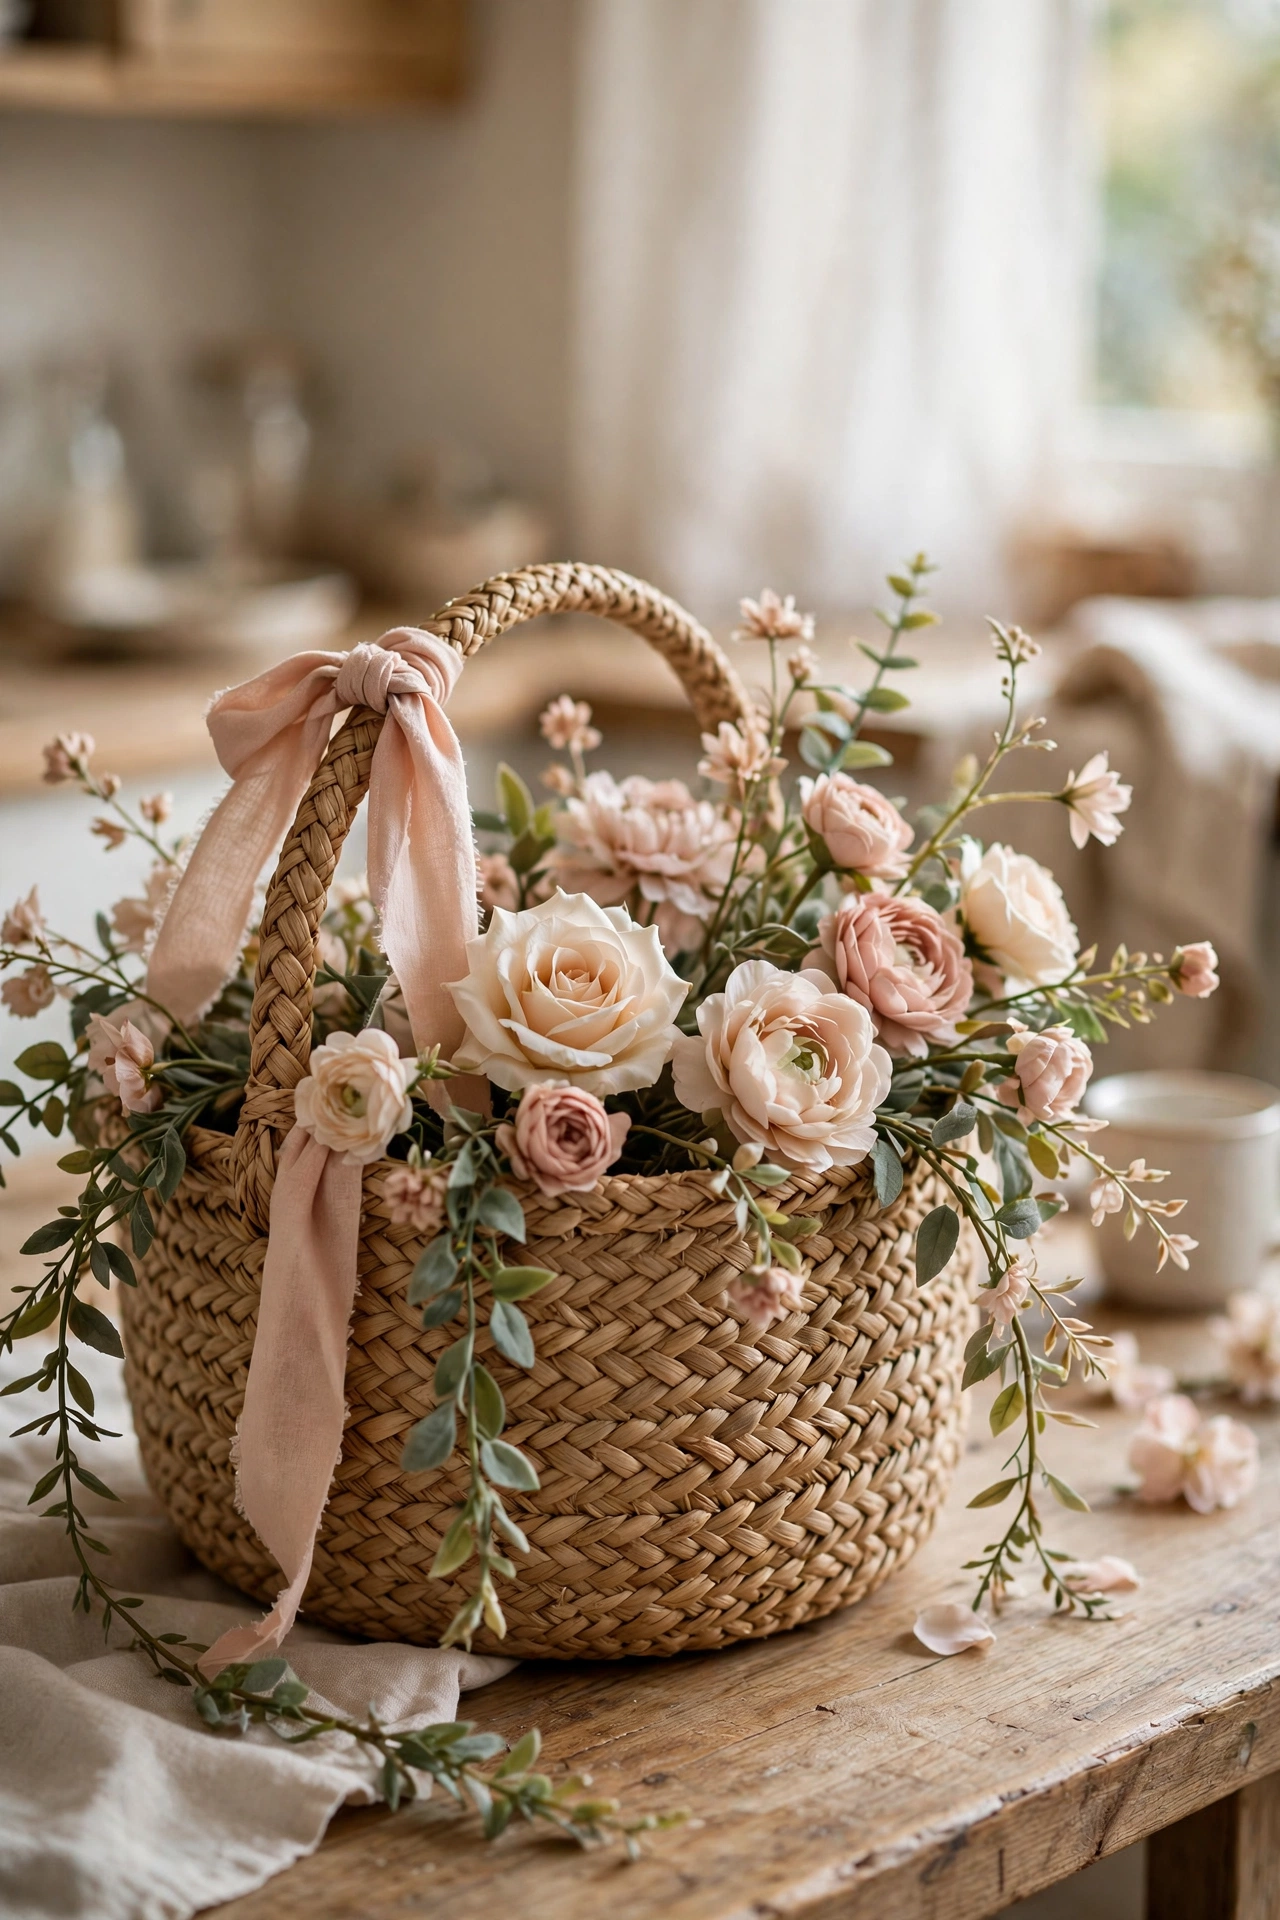
Total: ~$7 — effortless country charm in a basket.
A woven basket full of stems feels effortlessly country. First, line the basket with a plastic bag or place a jar inside so water doesn’t soak through. Second, arrange your faux or fresh stems loosely, letting a few trail over the edge. Third, add a bow or tag on the handle for a finished look. I tried this in my own kitchen table and it survived a whole month of family dinners. One mistake to avoid: don’t pack the stems too tightly — the looseness is the charm.
Cost: ~$7 · Time: 20 minutes
Glass Cloche Table Display
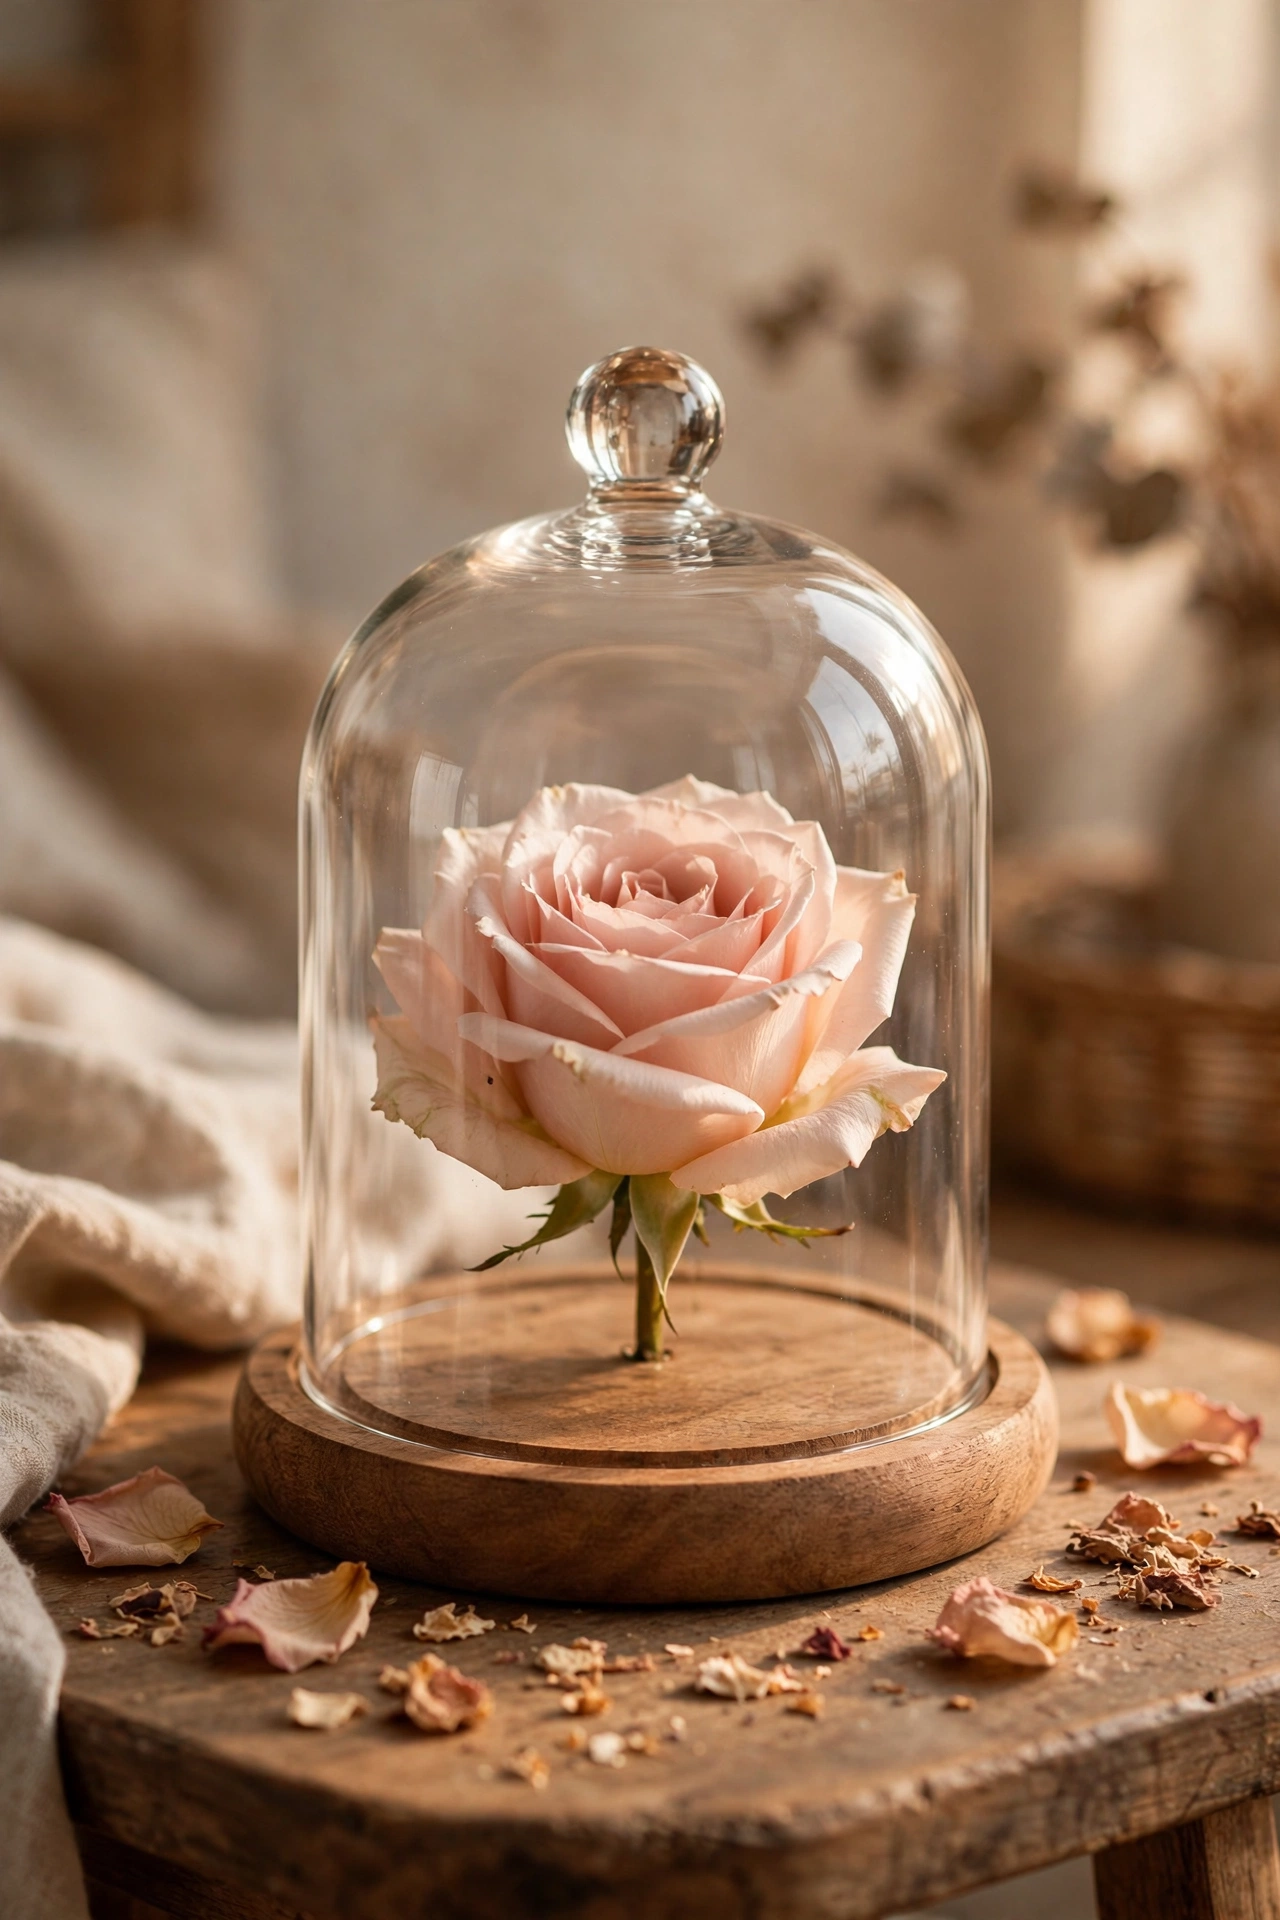
Total: ~$6 — a cloche that makes anything look like a museum piece.
A glass cloche turns anything into a museum piece. First, choose a small object — a candle, a sprig of flowers, a tiny plant. Second, set it on a wooden base or plate and lower the cloche over it. Third, add a few dried petals or moss around the base for context. I tried this in my own side table with a single rose and it looked far more expensive than it was. One mistake to avoid: don’t put fresh food under a cloche for more than a day — it sweats.
Cost: ~$6 · Time: 10 minutes
Painted Glass Bottle Set
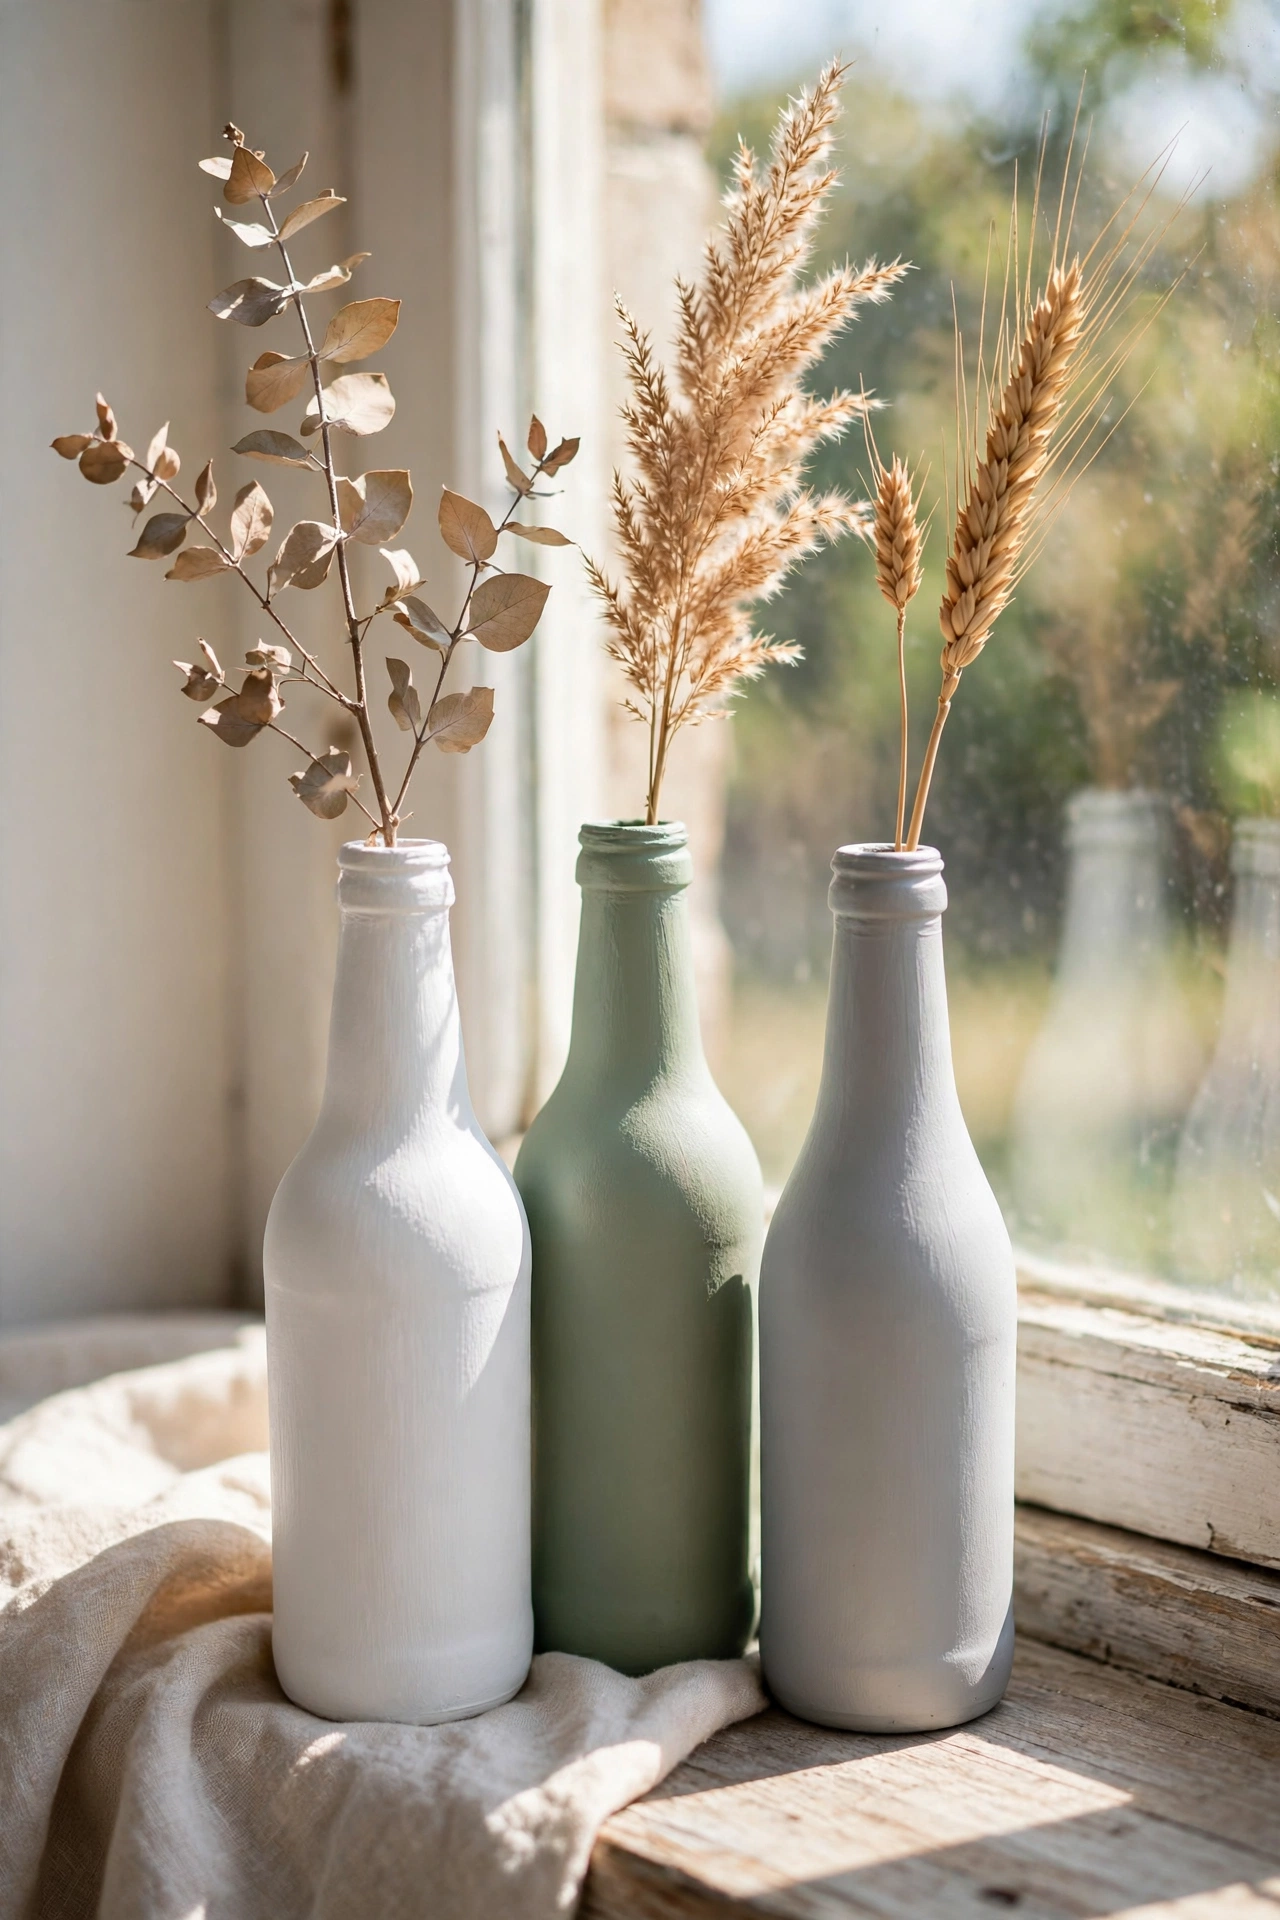
Total: ~$4 — plain bottles turned into a designer-look vase set.
Plain glass bottles become art with a coat of paint. First, clean your bottles well and let them dry completely. Second, paint the outsides in chalk or matte paint in a matching palette — white, sage, and grey work beautifully. Third, use them as single-stem vases grouped together. I tried this in my own windowsill with three painted bottles and they look like a designer set. One mistake to avoid: don’t paint the insides if you plan to use water — paint from the outside only.
Cost: ~$4 · Time: 30 minutes
Pinecone and Candle Bowl
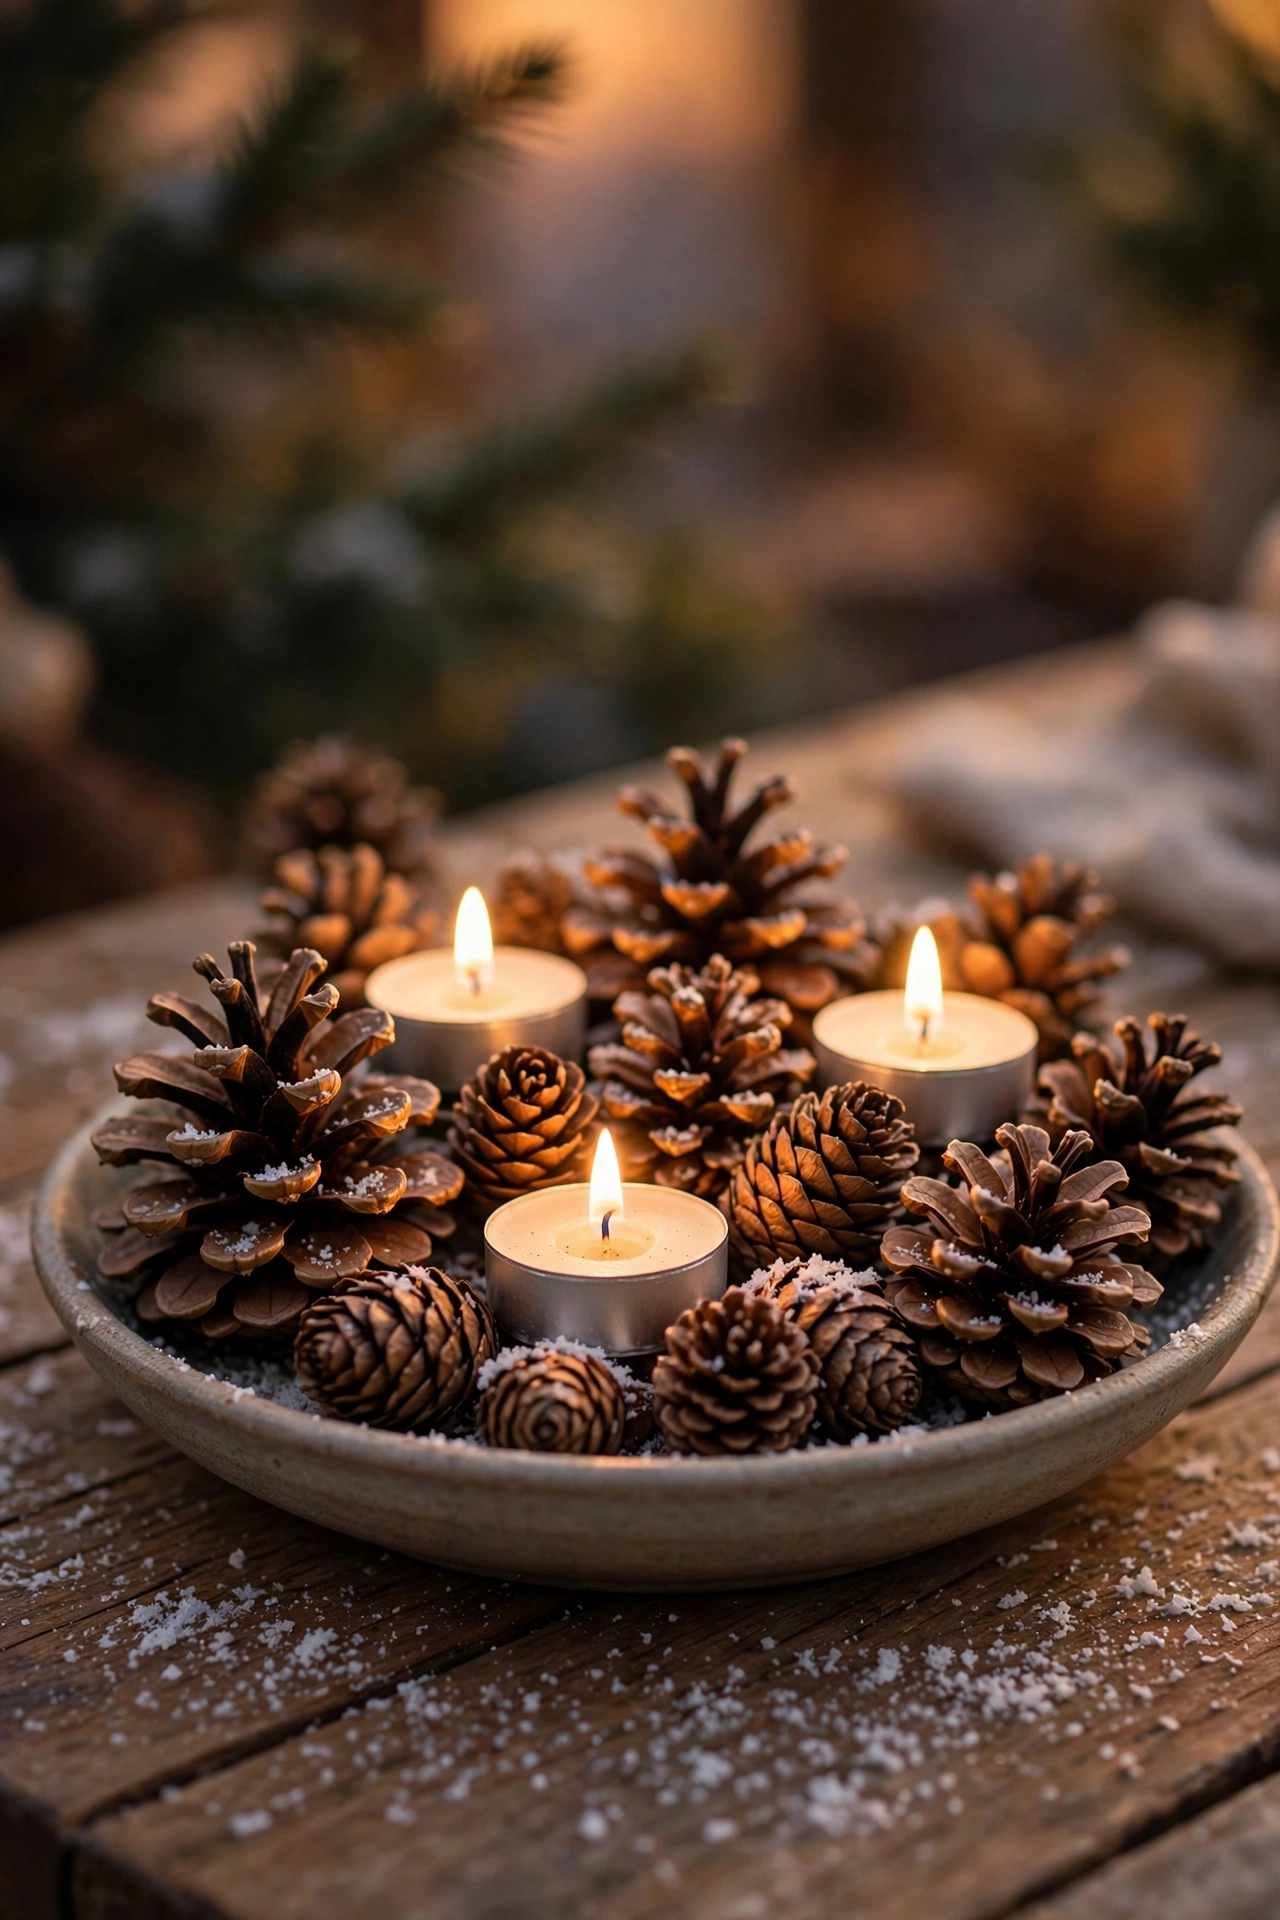
Total: ~$3 — the cheapest seasonal centrepiece that still feels special.
Pinecones and candles are the cheapest centrepiece that still feels seasonal. First, fill a shallow bowl with pinecones of different sizes. Second, nestle three tea lights or a small pillar among them. Third, dust the pinecones lightly with salt or fake snow for a frosted effect. I tried this in my own hallway for the holidays and it smelled faintly of pine for weeks. One mistake to avoid: don’t use real flames near dried pinecones without supervision — they catch fast.
Cost: ~$3 · Time: 15 minutes
Teacup Succulent Garden
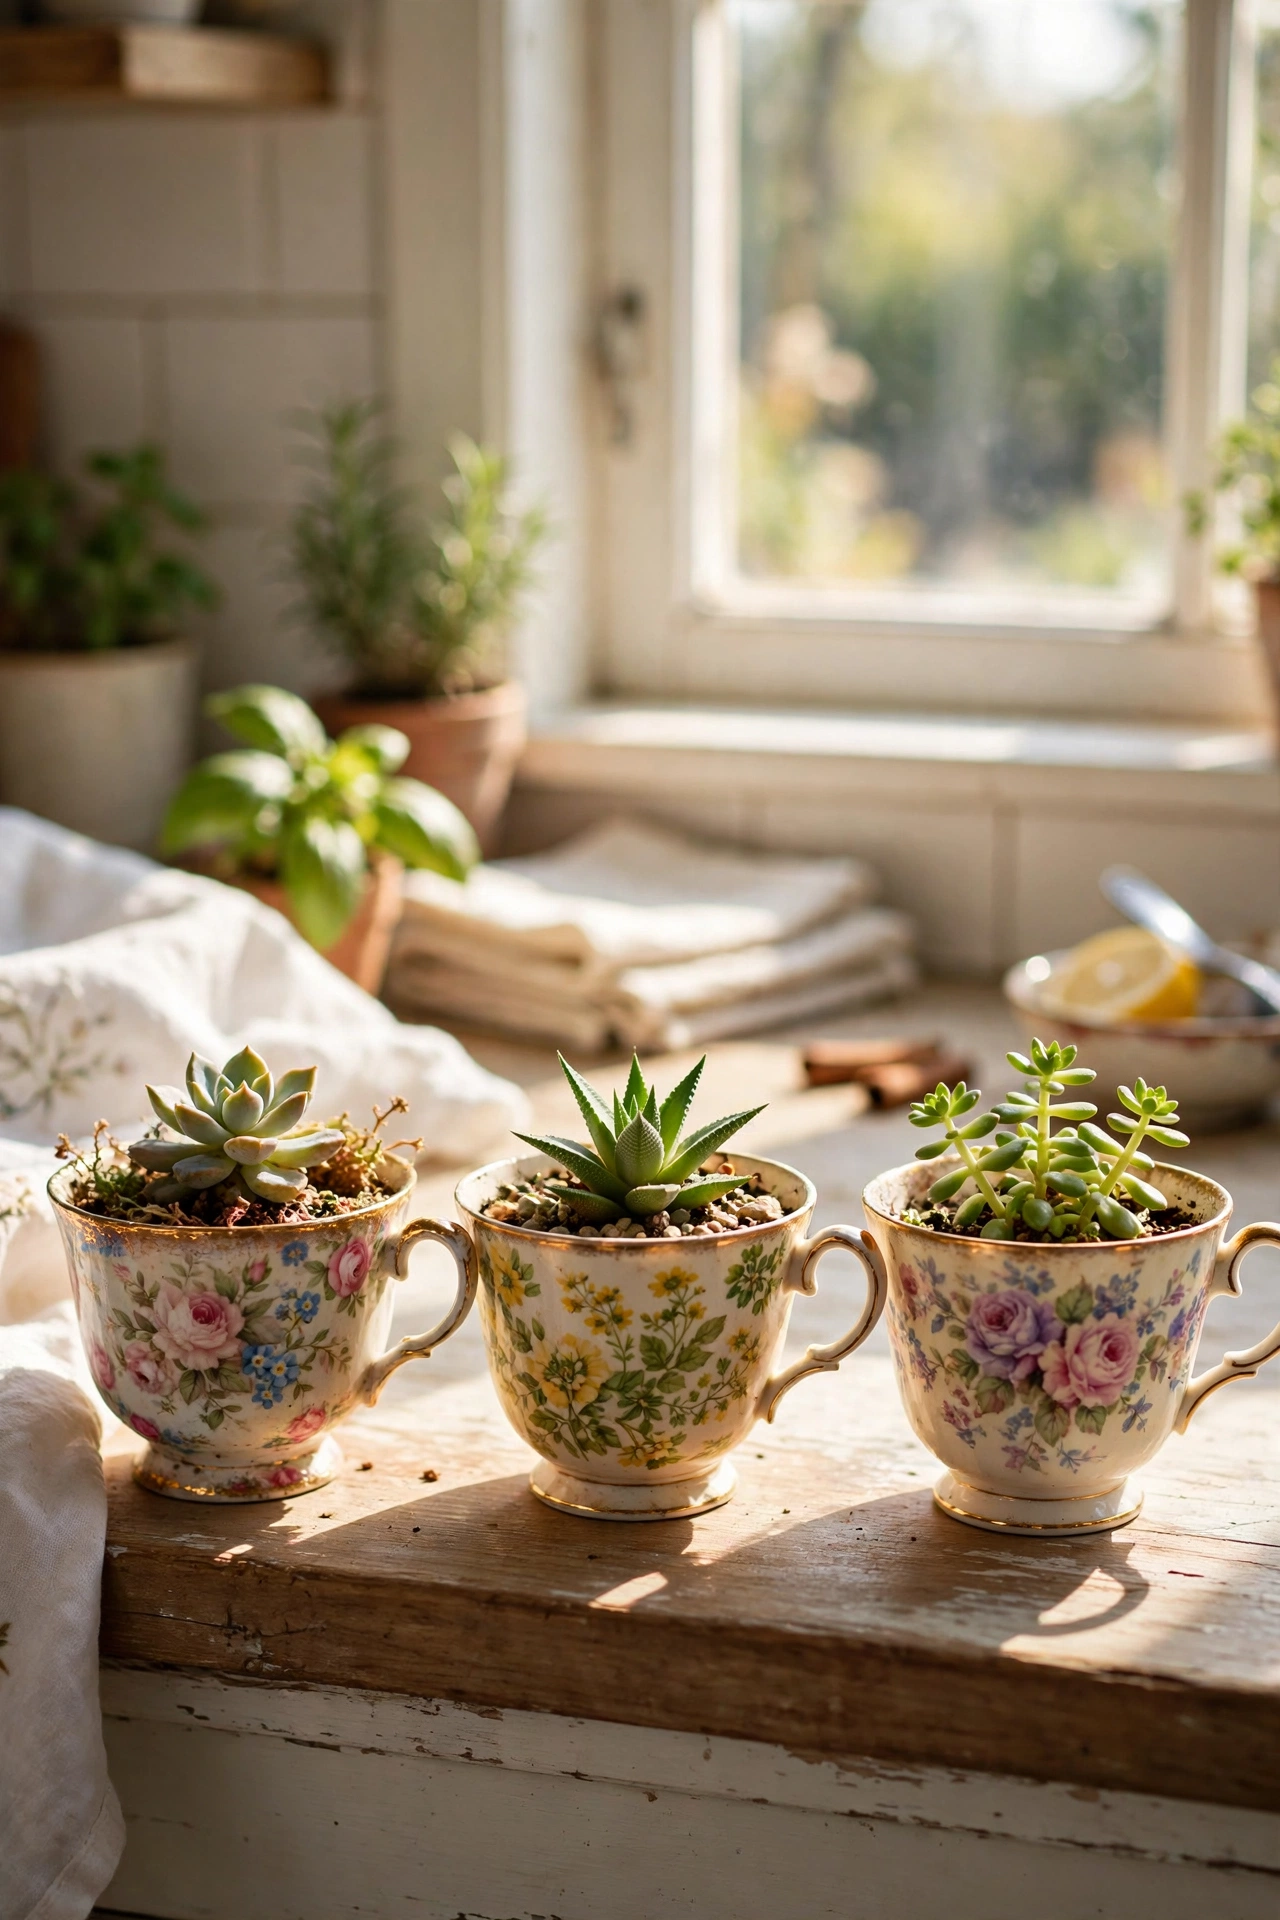
Total: ~$8 — the sweetest little planters, three for the price of one.
Teacups make the sweetest little planters. First, pick three mismatched teacups — charity shops are perfect for this. Second, add a layer of small stones for drainage, then cactus soil. Third, plant one small succulent per cup and top with decorative grit. I tried this in my own kitchen windowsill and they get watered with a teaspoon every fortnight. One mistake to avoid: don’t use cups with no drainage without the stone layer — the roots will rot. Group the three cups on a small tray so they read as one arrangement.
Cost: ~$8 · Time: 25 minutes
Floating Candle Water Bowl
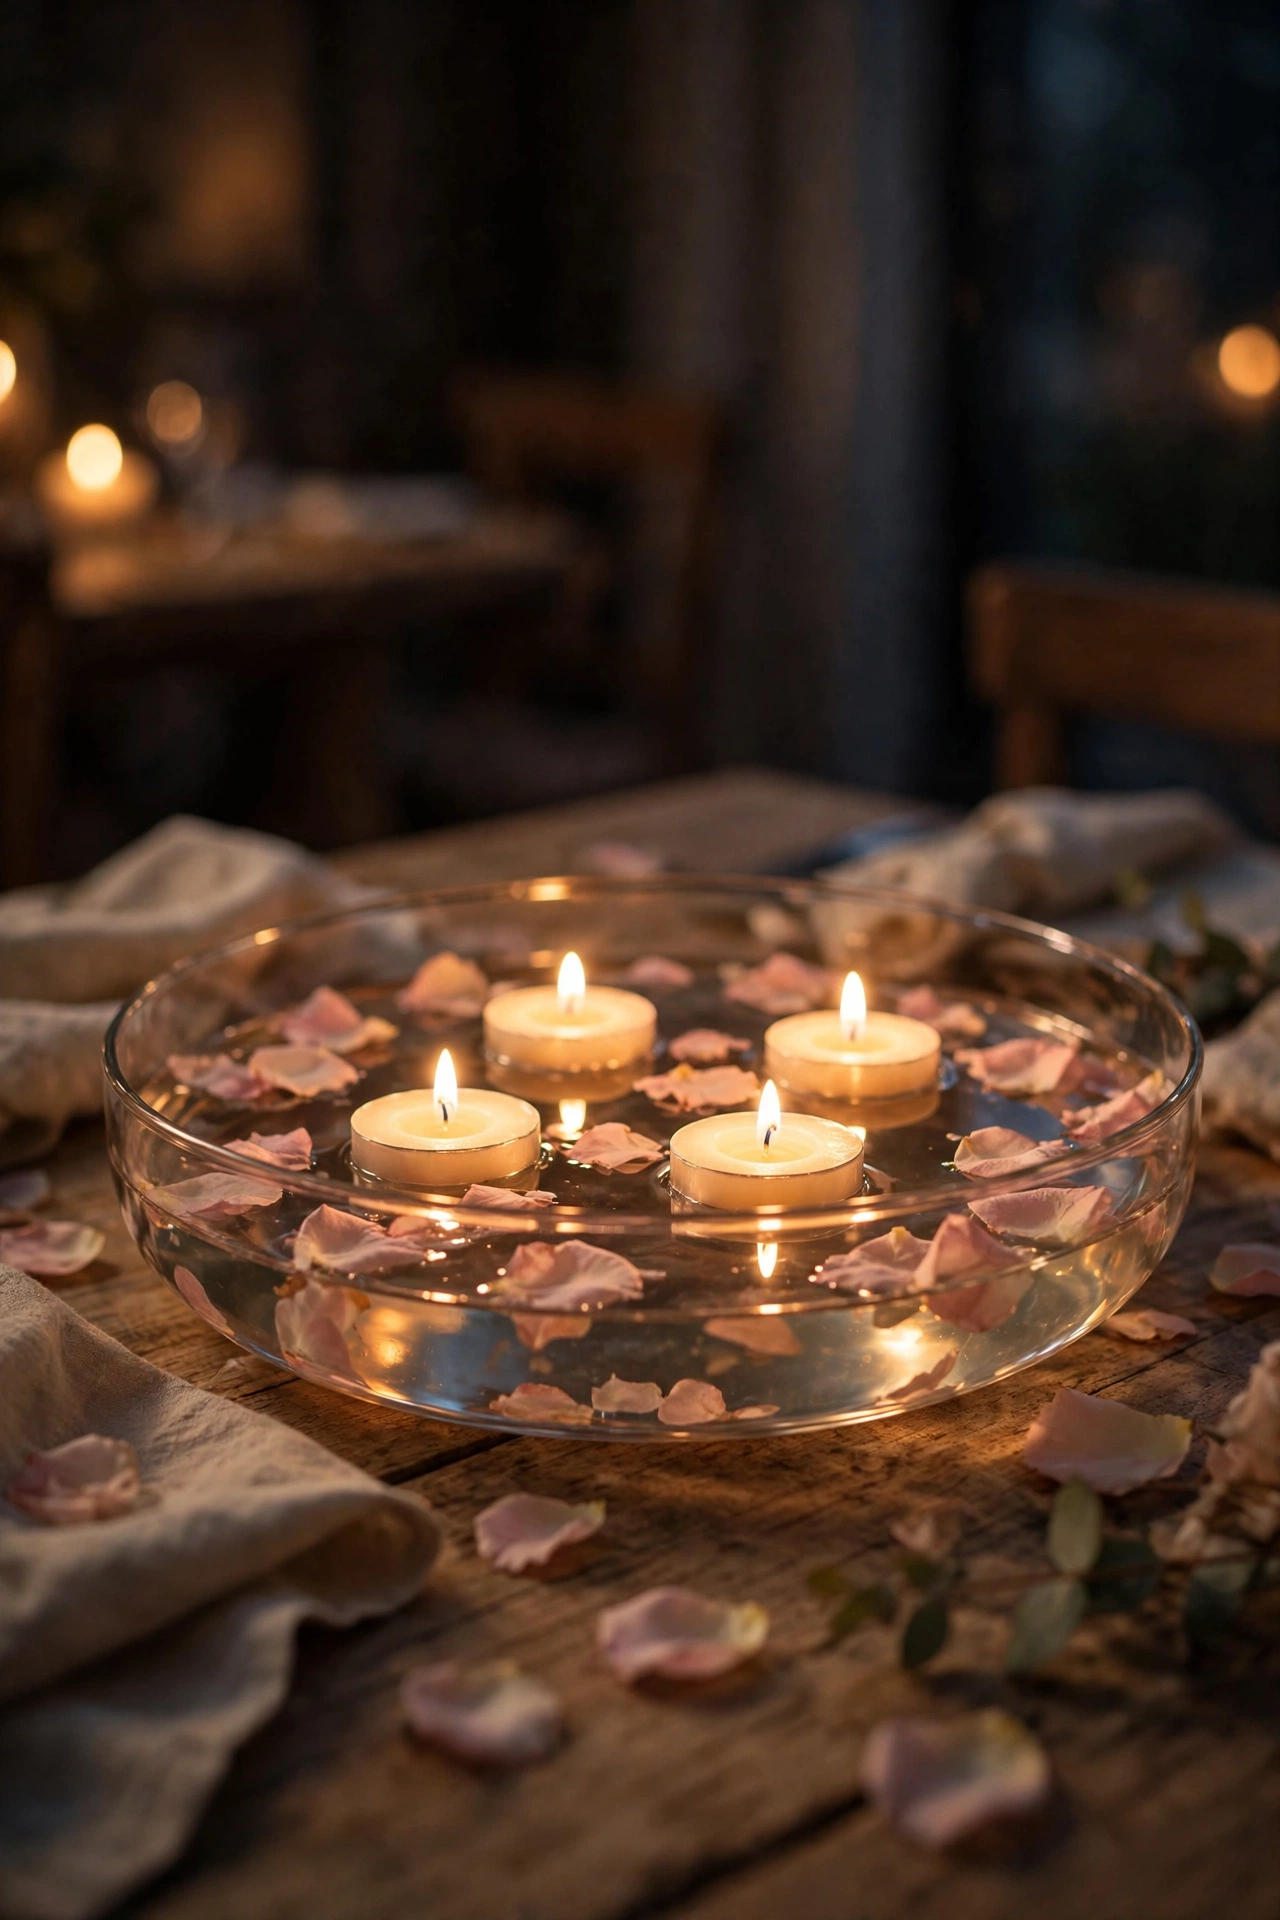
Total: ~$4 — pure magic after dark, for the price of a coffee.
Floating candles are pure magic after dark. First, fill a wide shallow bowl with water to about two-thirds. Second, float three or four tea-light candles on the surface. Third, scatter a few petals or leaves on the water between them. I tried this in my own dining room for an anniversary dinner and the reflections doubled the glow. One mistake to avoid: don’t place it where anyone will bump the table — sloshing water and candles don’t mix. A dark tablecloth underneath makes the flames look twice as bright.
Cost: ~$4 · Time: 10 minutes
Seashell Collection Bowl
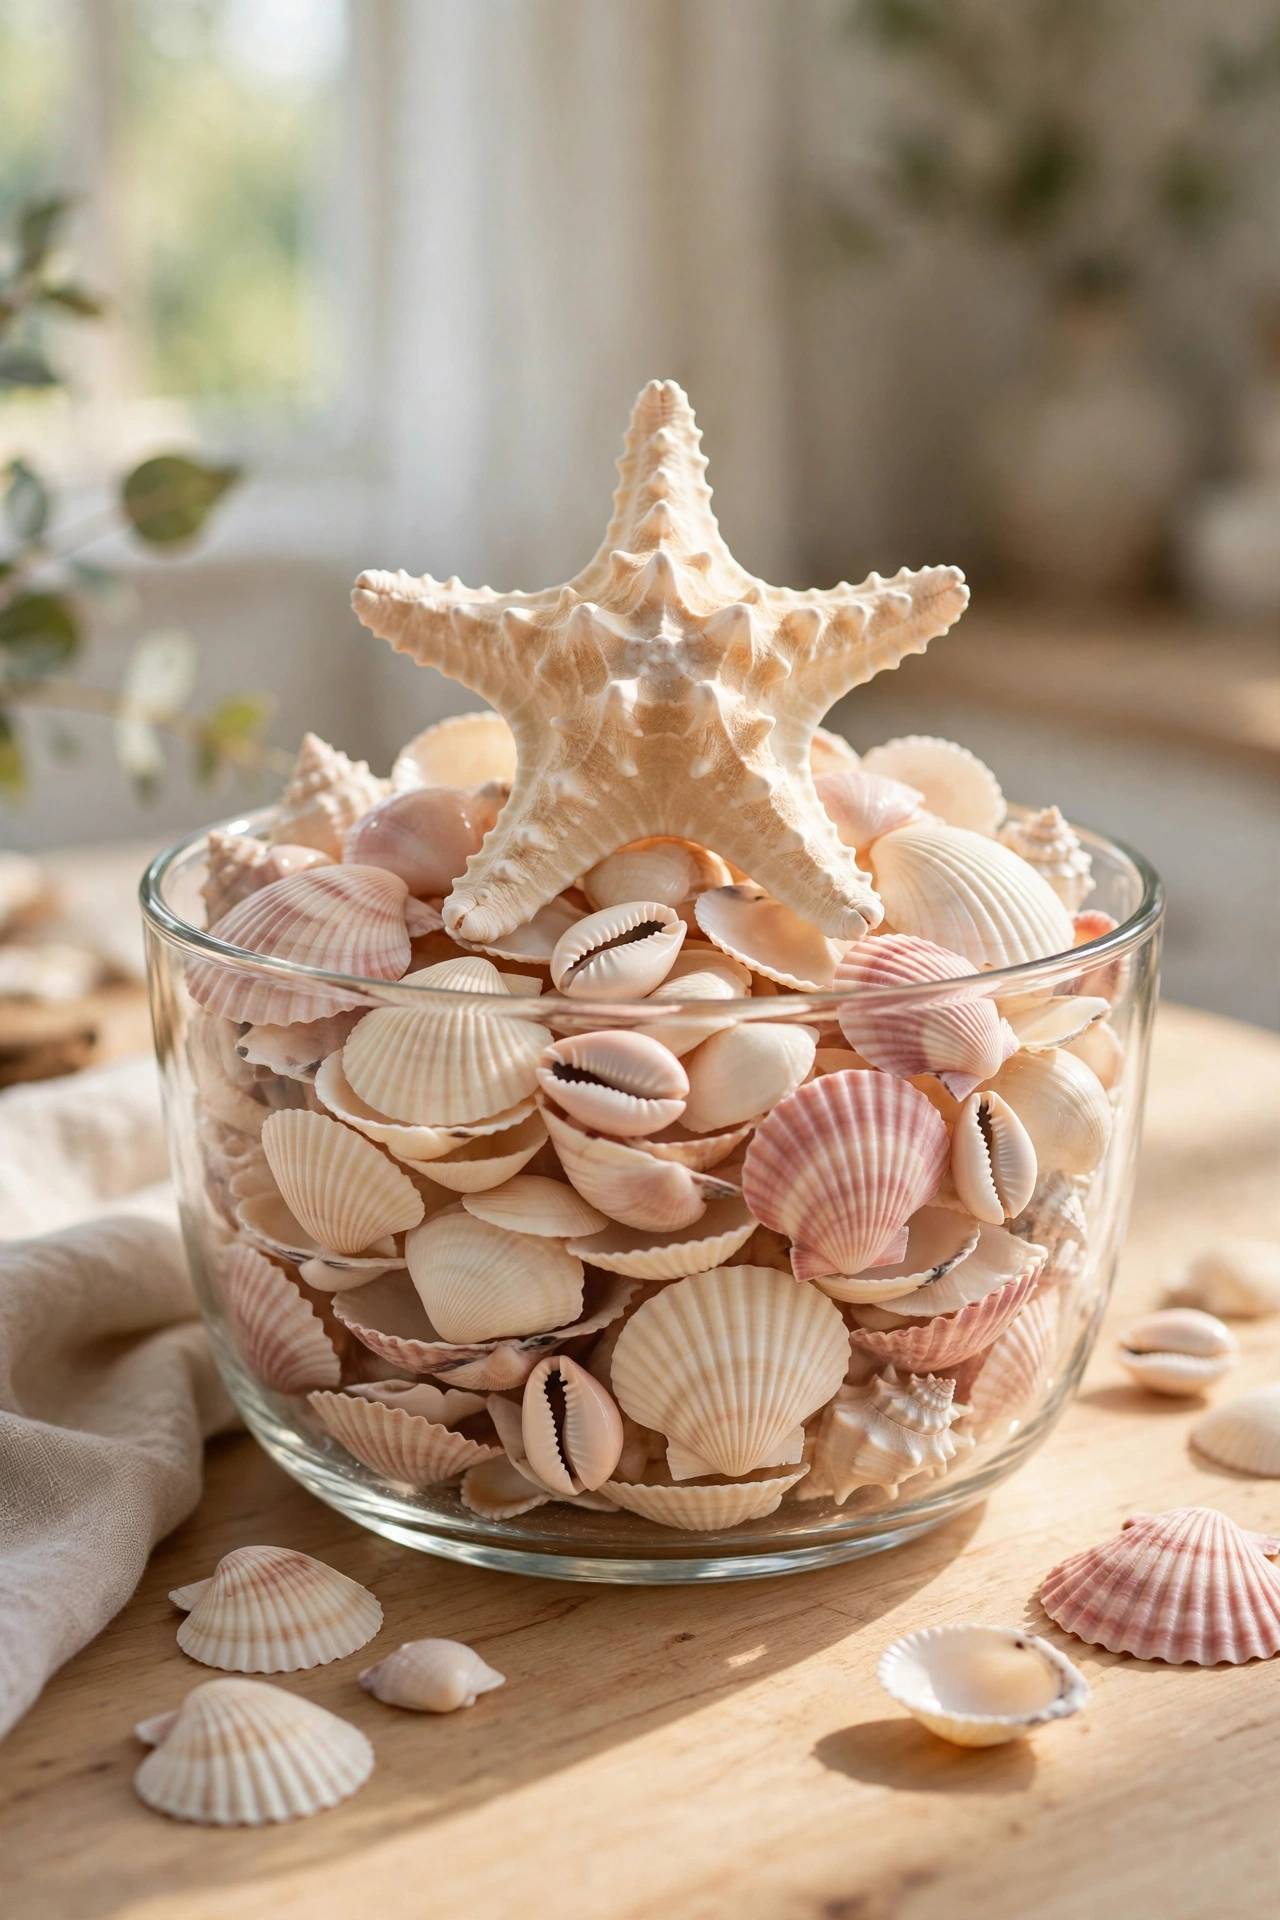
Total: ~$3 — a little bit of the beach on your table.
A bowl of shells brings the beach to the table. First, rinse your shells and let them dry in the sun. Second, layer them in a clear glass bowl so the shapes show through the sides. Third, add a single larger shell or a piece of coral as the star of the show. I tried this in my own dining table for a summer supper and it felt like a holiday. One mistake to avoid: don’t mix in broken fragments — whole shells only, or it looks like rubble.
Cost: ~$3 · Time: 15 minutes
Pebble and Tea-Light Tray
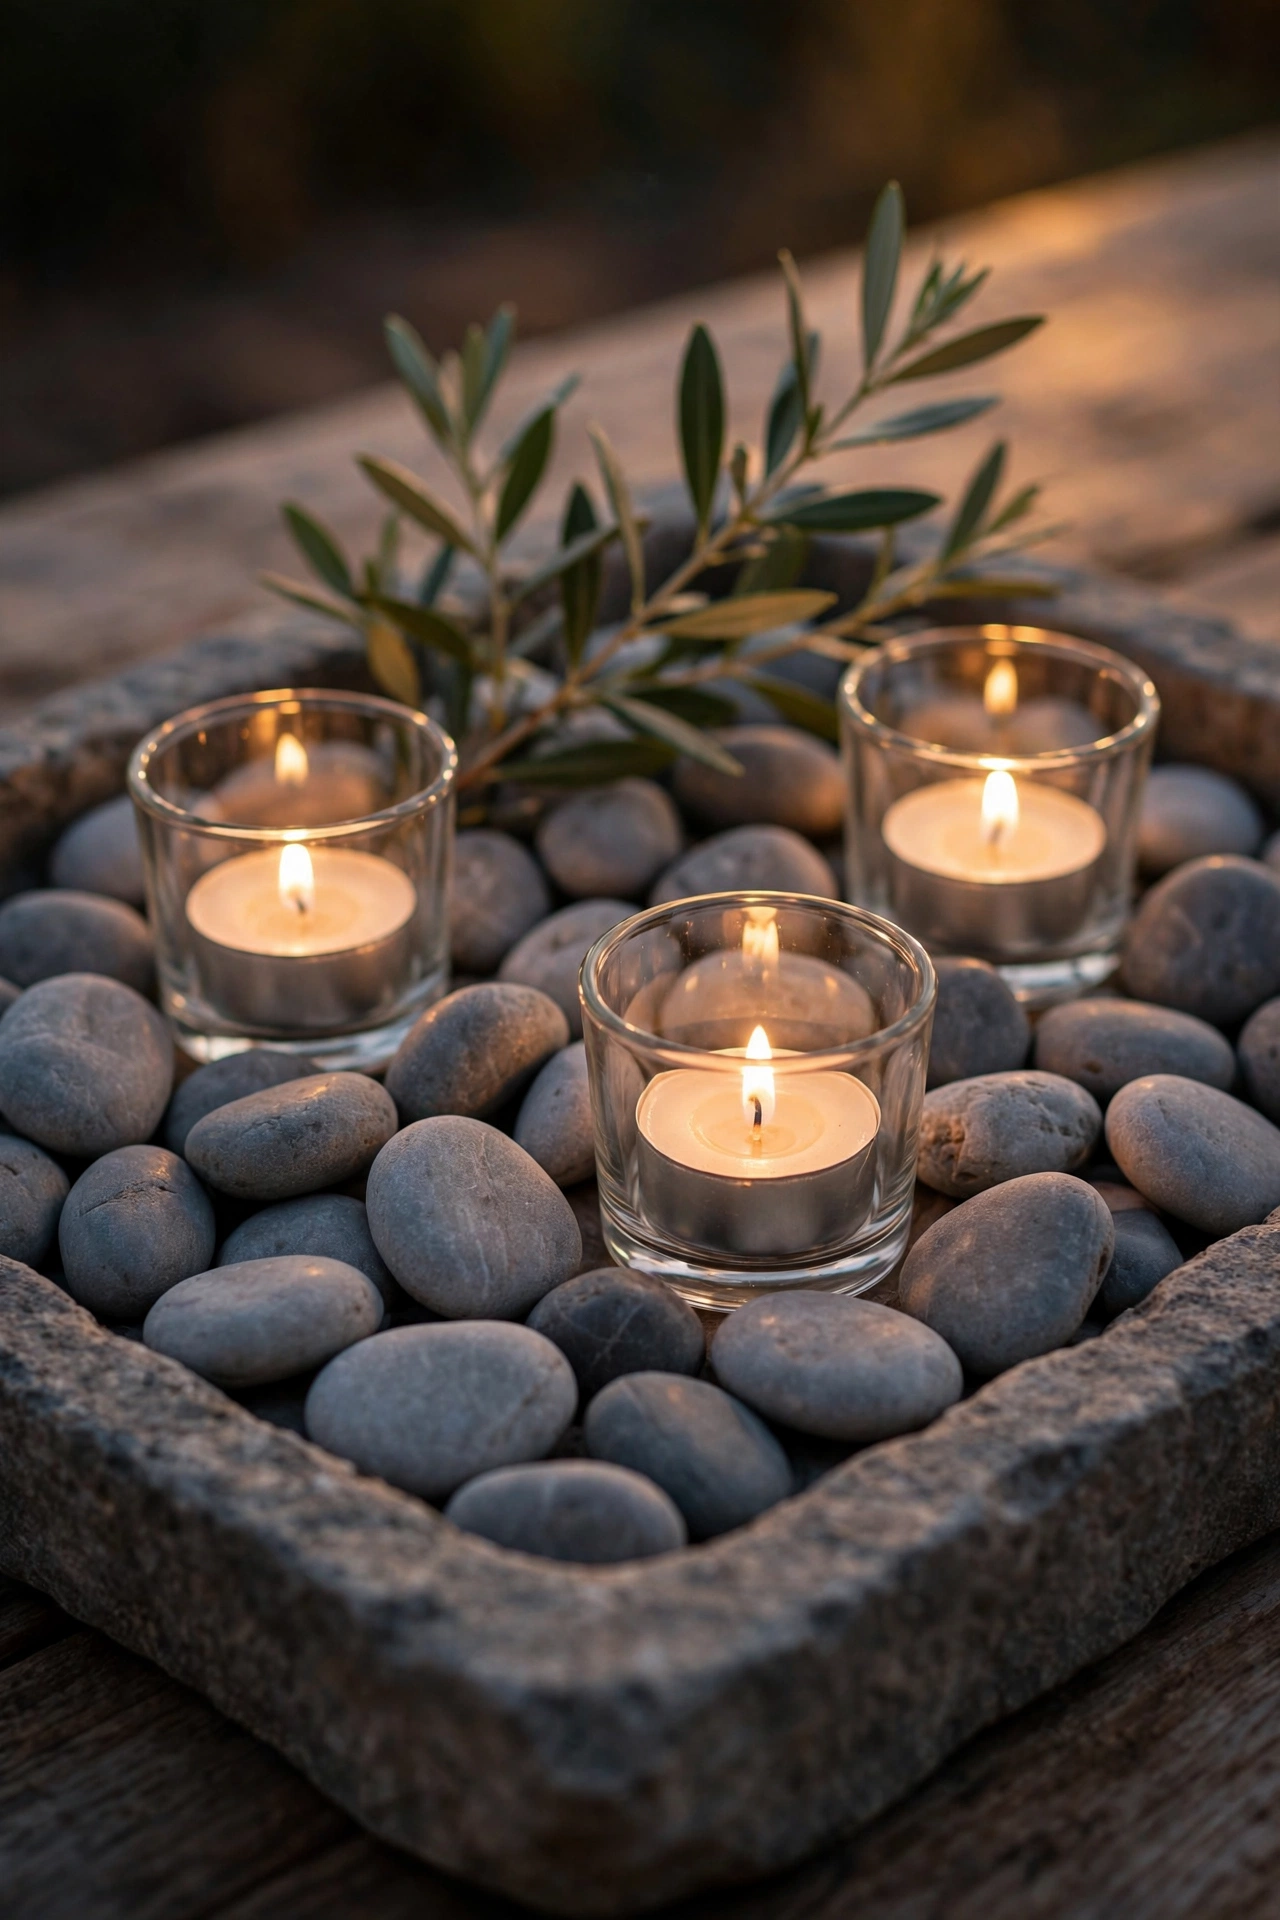
Total: ~$5 — a calm, spa-like centrepiece in minutes.
Smooth pebbles and tea lights make a calm, spa-like centrepiece. First, spread a layer of pebbles over a shallow tray or plate. Second, nestle glass tea-light holders among the stones. Third, add one sprig of greenery for a touch of life. I tried this in my own bedroom dresser and the soft glow is wonderfully relaxing. One mistake to avoid: don’t use rough garden gravel — the smooth polished pebbles are what make it look intentional. Swap the tea lights for fairy lights when you fancy a change.
Cost: ~$5 · Time: 10 minutes
Greenery-Filled Wire Basket
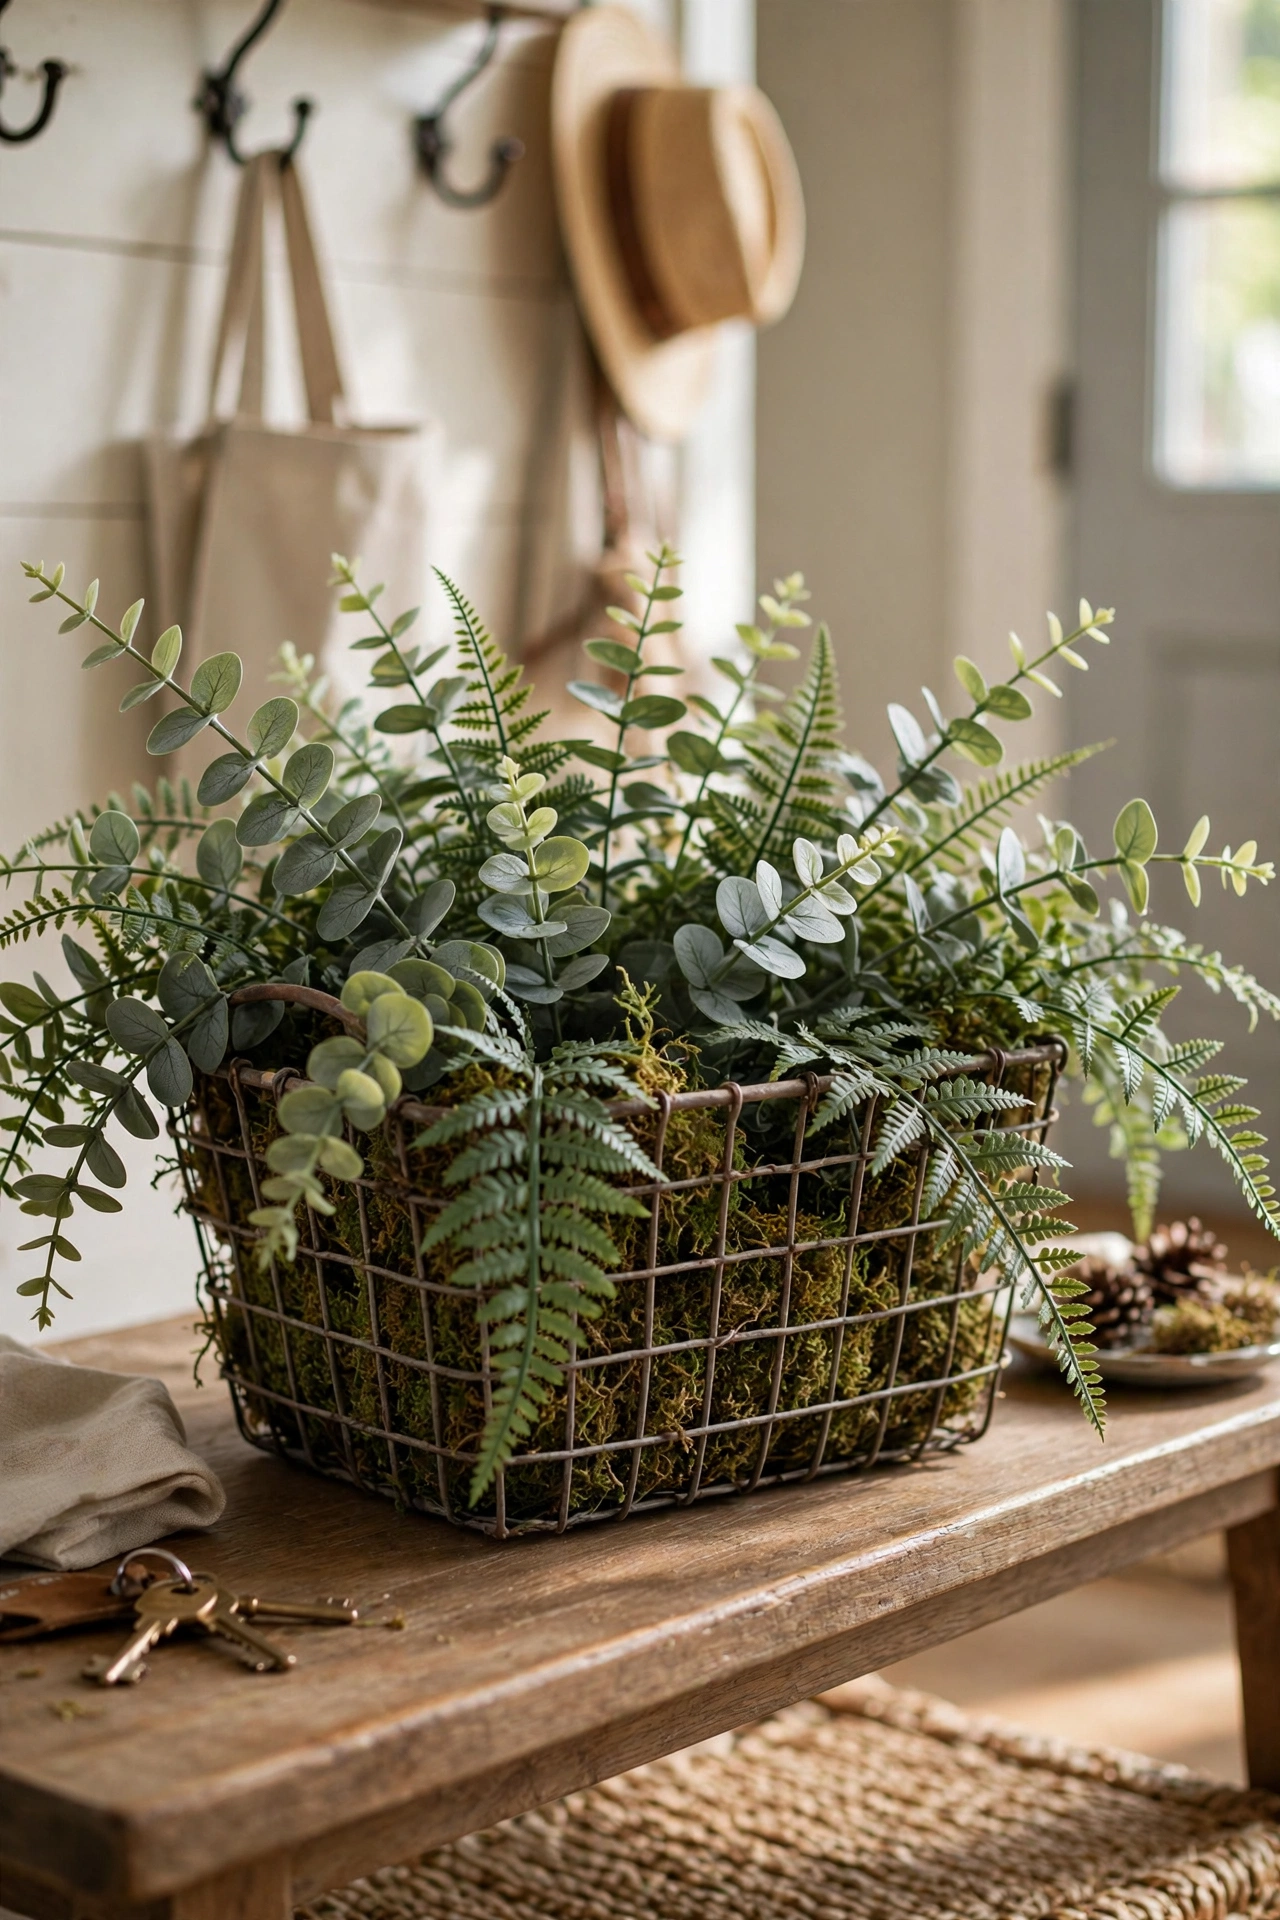
Total: ~$6 — farmhouse catalogue looks from a wire basket.
A wire basket full of greenery looks straight out of a farmhouse catalogue. First, line the basket loosely with moss so the stems don’t show through. Second, fill it with faux eucalyptus, ferns, or fresh cuttings. Third, let some stems spill over the sides for a natural look. I tried this in my own entryway table and it’s been sitting there for months. One mistake to avoid: don’t let fresh cuttings sit dry for days — swap them before they wilt.
Cost: ~$6 · Time: 15 minutes
Ceramic Pitcher Stem Vase
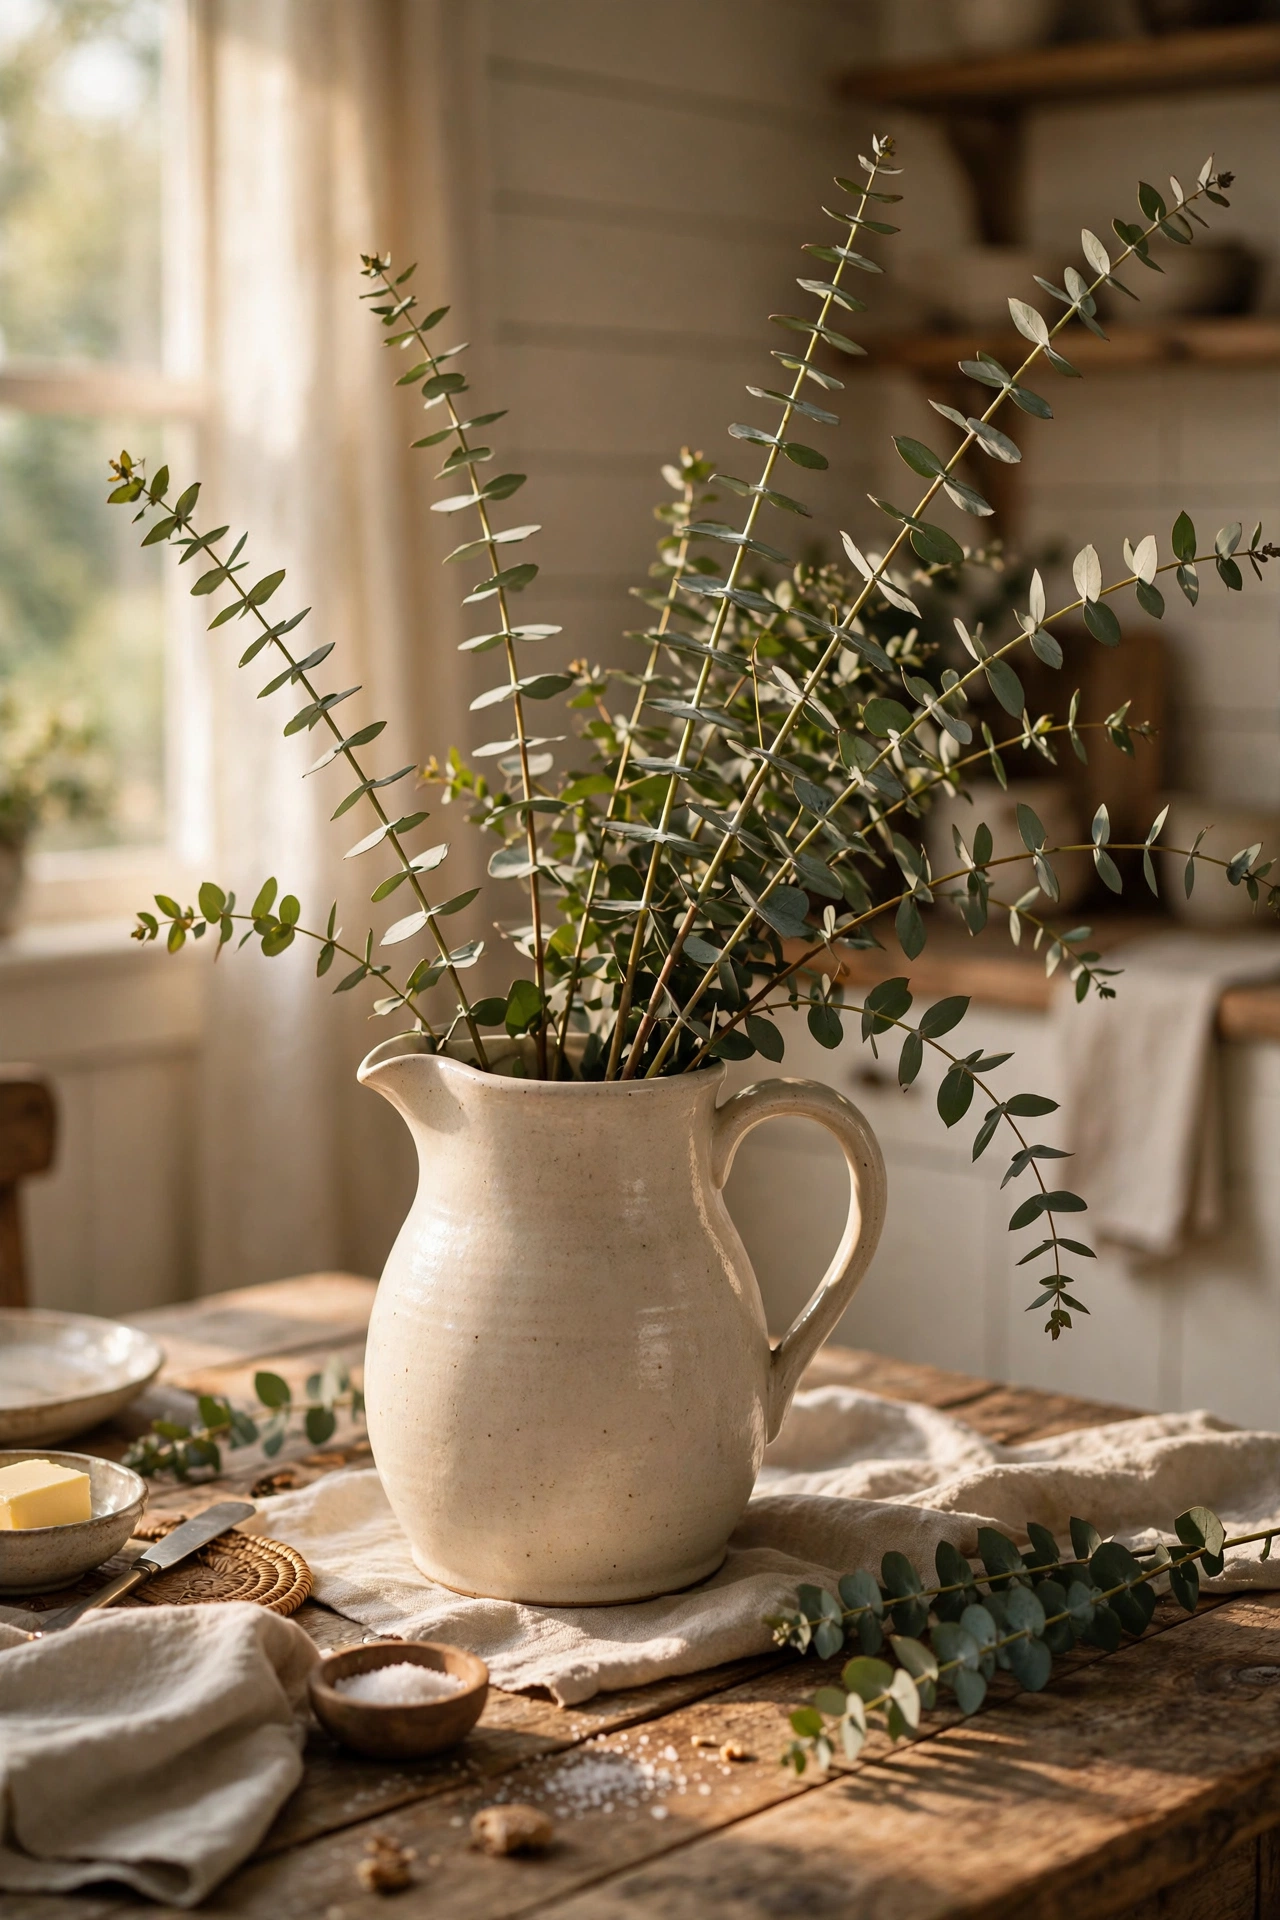
Total: ~$5 — a charmingly unexpected vase from the kitchen shelf.
A ceramic pitcher as a vase is charmingly unexpected. First, choose a pitcher with a shape you love — white or cream works with everything. Second, fill it with tall stems like eucalyptus or faux branches. Third, let the stems lean naturally rather than forcing them upright. I tried this in my own kitchen table with eucalyptus and it looked like a French farmhouse. One mistake to avoid: don’t use a pitcher with a hairline crack for water — line it with a jar first.
Cost: ~$5 · Time: 10 minutes
Cake-Stand Candle Display
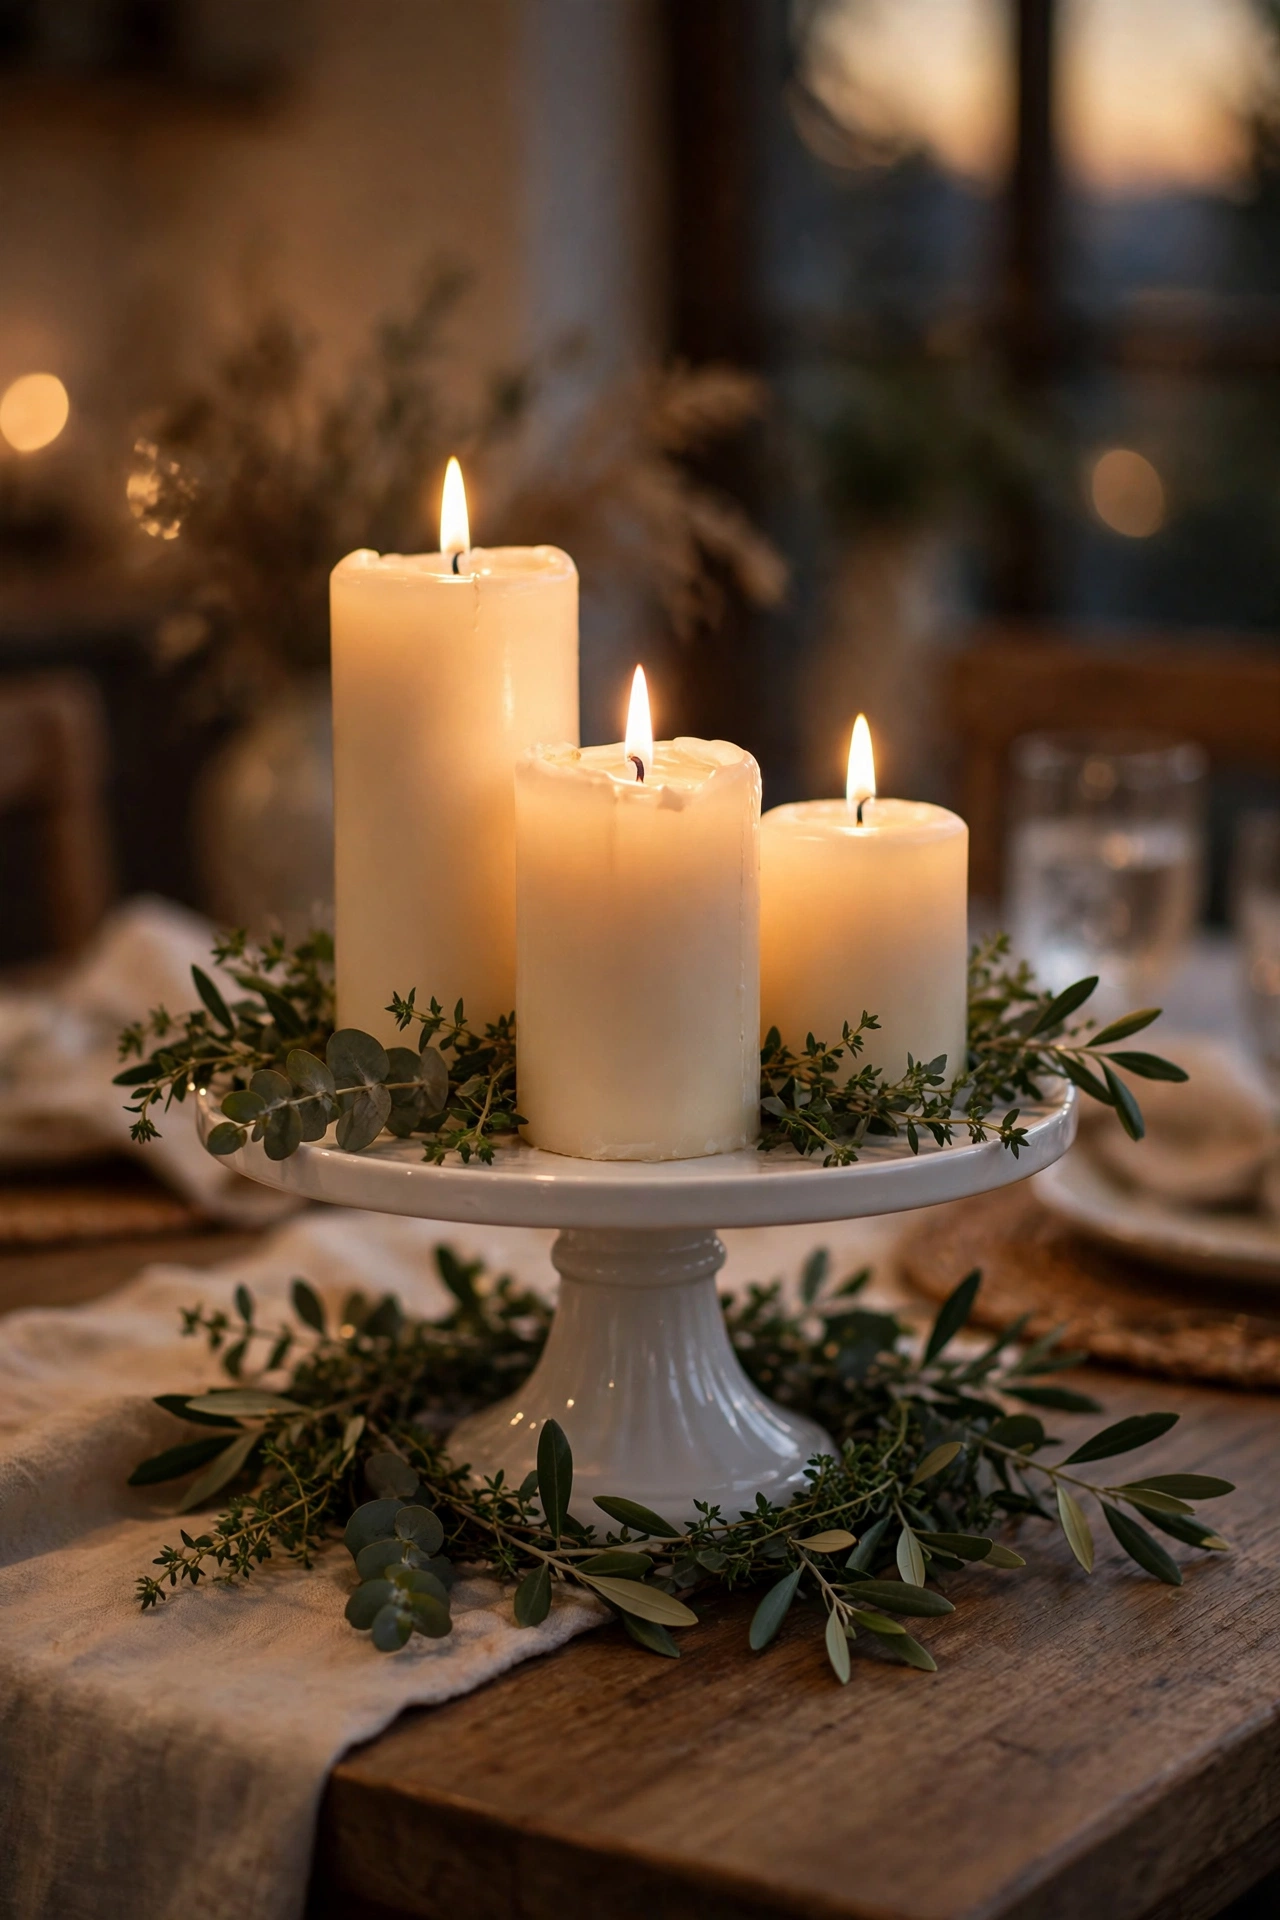
Total: ~$6 — candles lifted to eye level where they belong.
A cake stand lifts candles to eye level where they belong. First, place a round cake stand in the centre of the table. Second, arrange pillar candles of different heights on top. Third, tuck greenery or petals around the base of the stand. I tried this in my own dining room and the raised candles made the whole table feel grand. One mistake to avoid: don’t use a stand with a wobbly foot — test it before you light anything.
Cost: ~$6 · Time: 10 minutes
Driftwood Table Sculpture
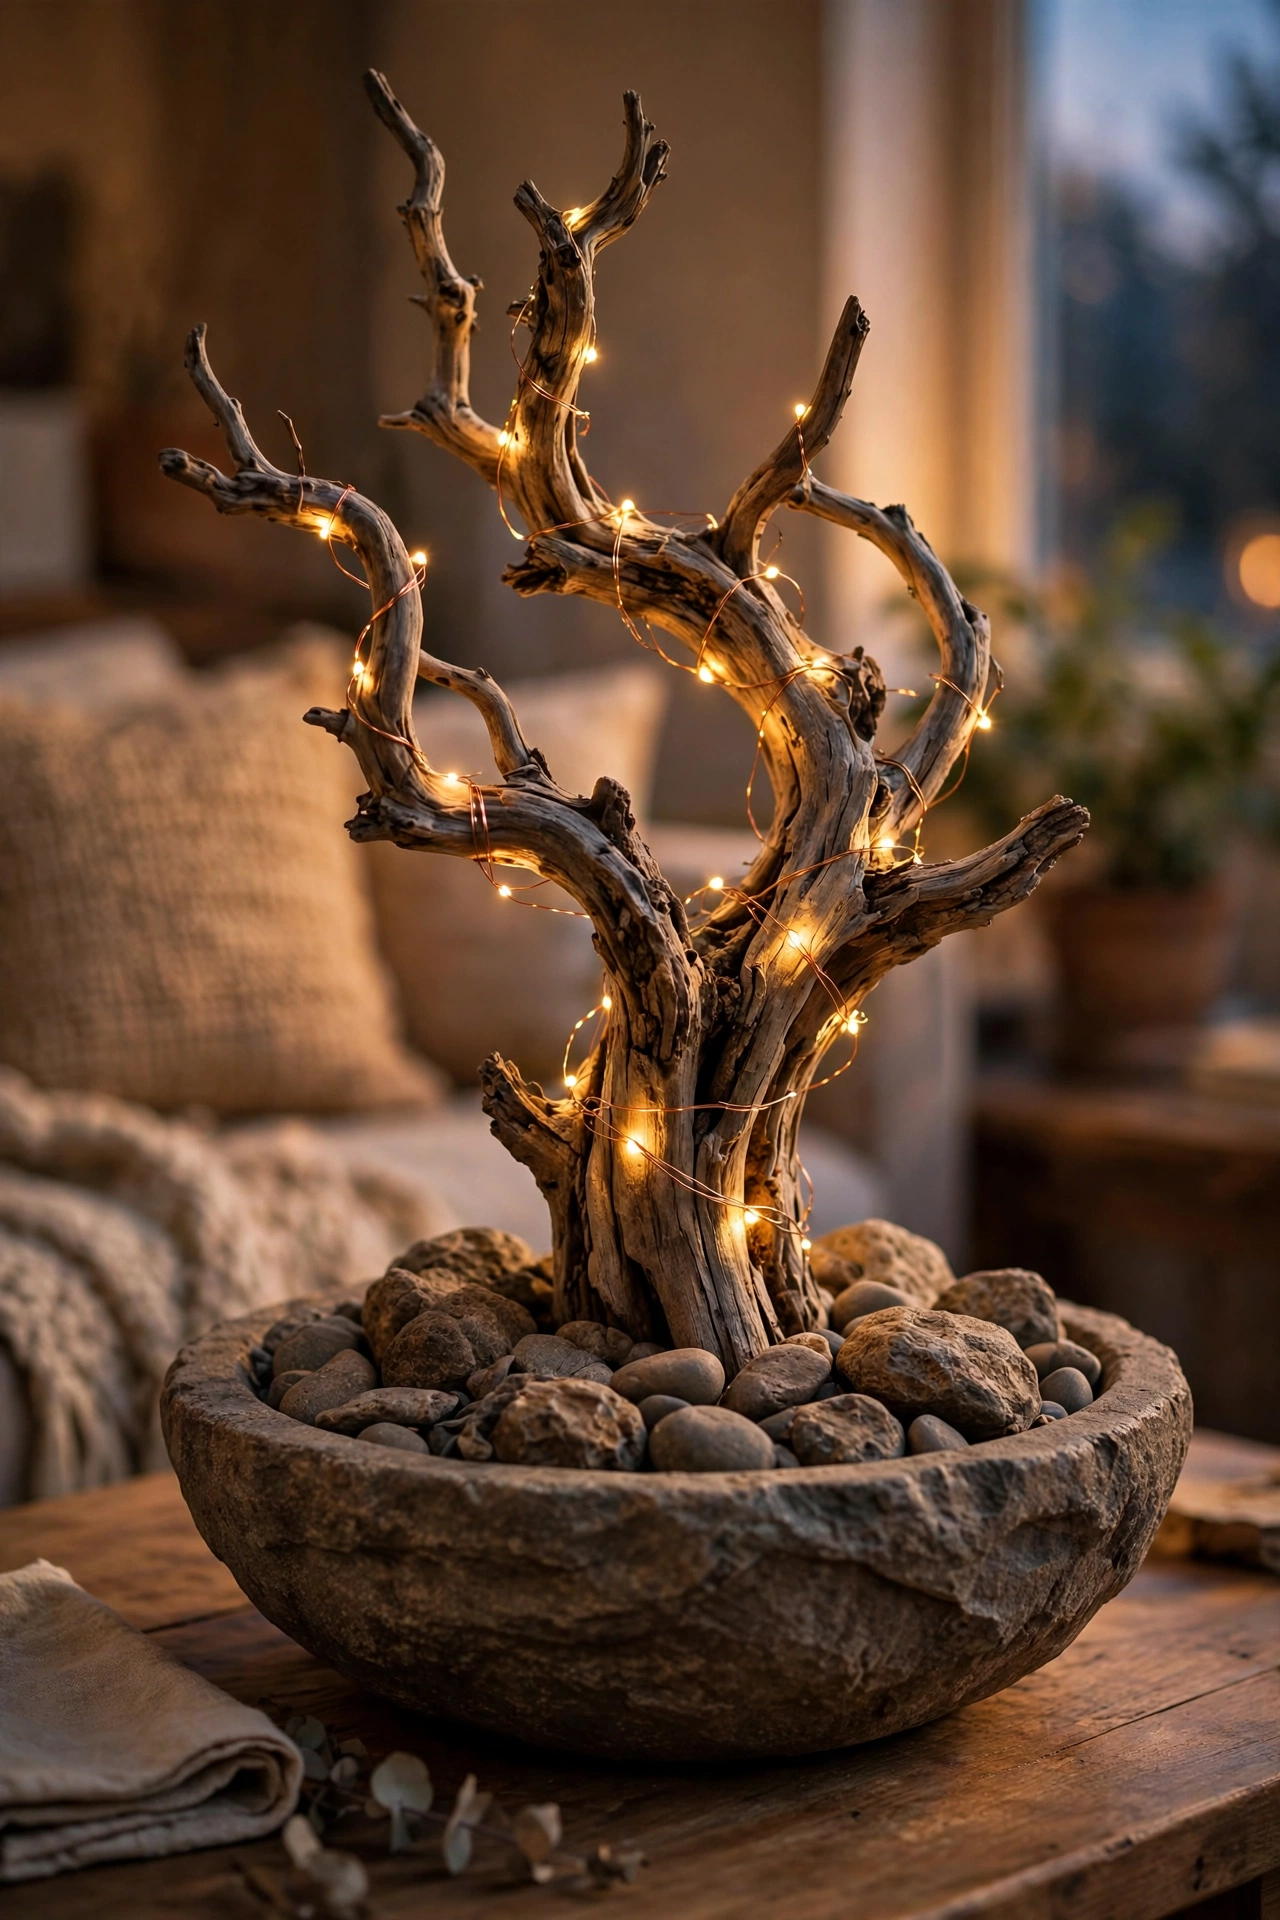
Total: ~$4 — nature’s sculpture, free if you live near the coast.
Driftwood is nature’s sculpture, and it’s free if you live near the coast. First, choose a piece with an interesting shape and clean it well. Second, stand it upright in a heavy bowl weighted with stones. Third, wrap a few fairy lights around it for evening magic. I tried this in my own living room and guests always ask where I bought it. One mistake to avoid: don’t skip cleaning — driftwood hides sand and salt that stains tables. Seal it with a clear matte spray if you want it to stay put for years.
Cost: ~$4 · Time: 20 minutes
Save this idea for later: bookmark this page before your next party, so your centrepiece plan is ready when you shop.
That’s all twenty-three — every one under a tenner, most under a fiver, and all of them made on a real kitchen table before a real dinner. Start with the jars or the candles, build from there, and your table will do the talking.
