25 Dollar Store Mirror Decor Ideas That Look Pricey
Mirrors are the closest thing decorating has to a cheat code: they double light, fake space, and reflect your best styling back at you. And dollar store mirror decor has come a long way from the flimsy squares of years past — the current range includes sunbursts, rounds, and hexagons that look genuinely good on the wall. These 25 ideas use them in ways that read expensive, organised by where and how each one works hardest.
Gallery Walls
1. Sunburst Mirror as a Focal Point
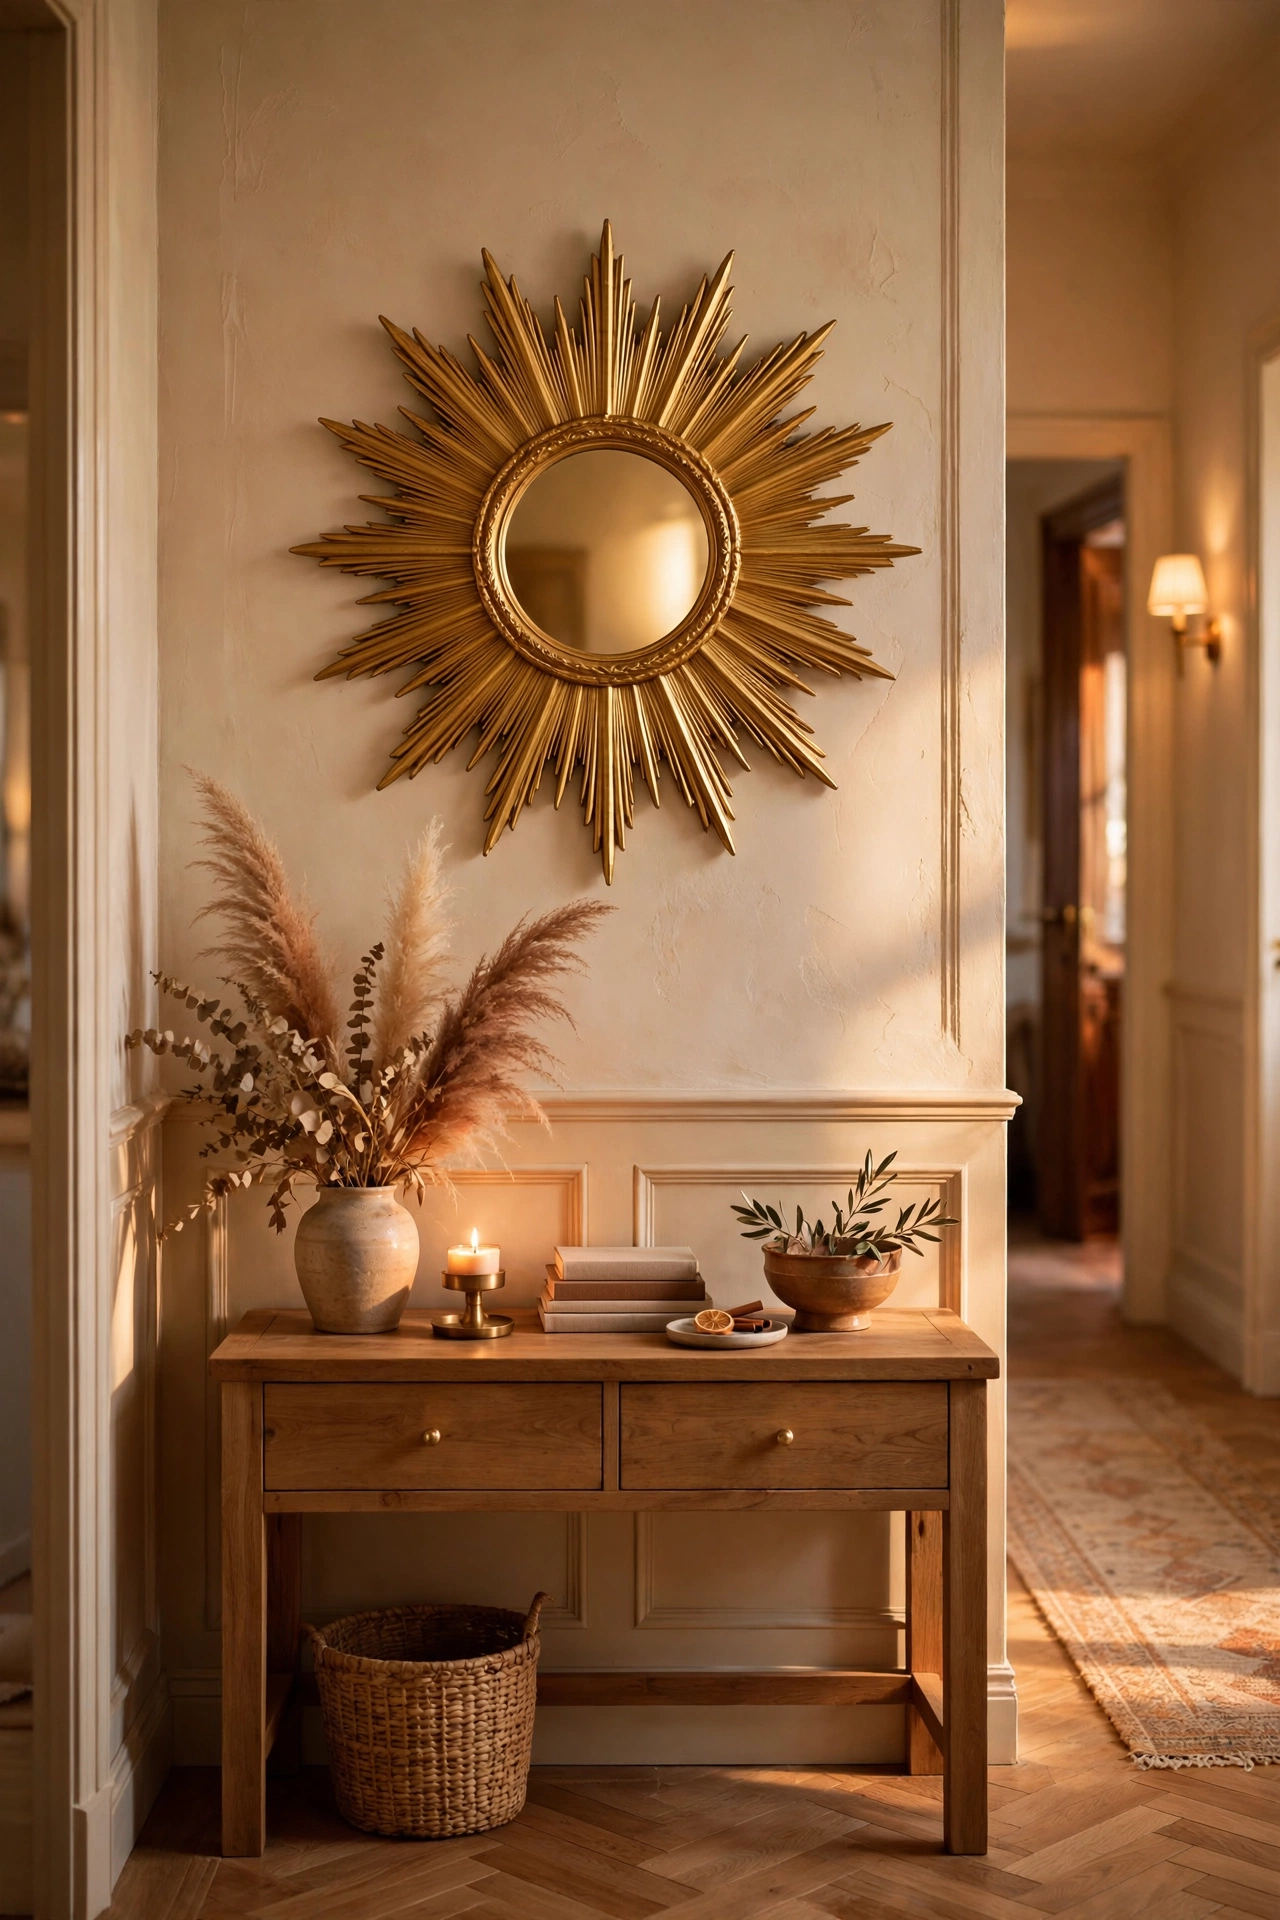
A sunburst mirror above a console or mantel is an instant focal point — the radiating shape draws the eye the way art does. Hang it centred over the furniture below, with the bottom of the mirror about 15cm above the surface. I hung one in my hallway and visitors always assume it was a proper investment piece. The gold-finish ones look best; the silver can read a bit cold. Dust the rays occasionally — they collect cobwebs faster than flat frames.
Cost: ~$6 · Time: 15 minutes
2. Hexagon Mirror Cluster
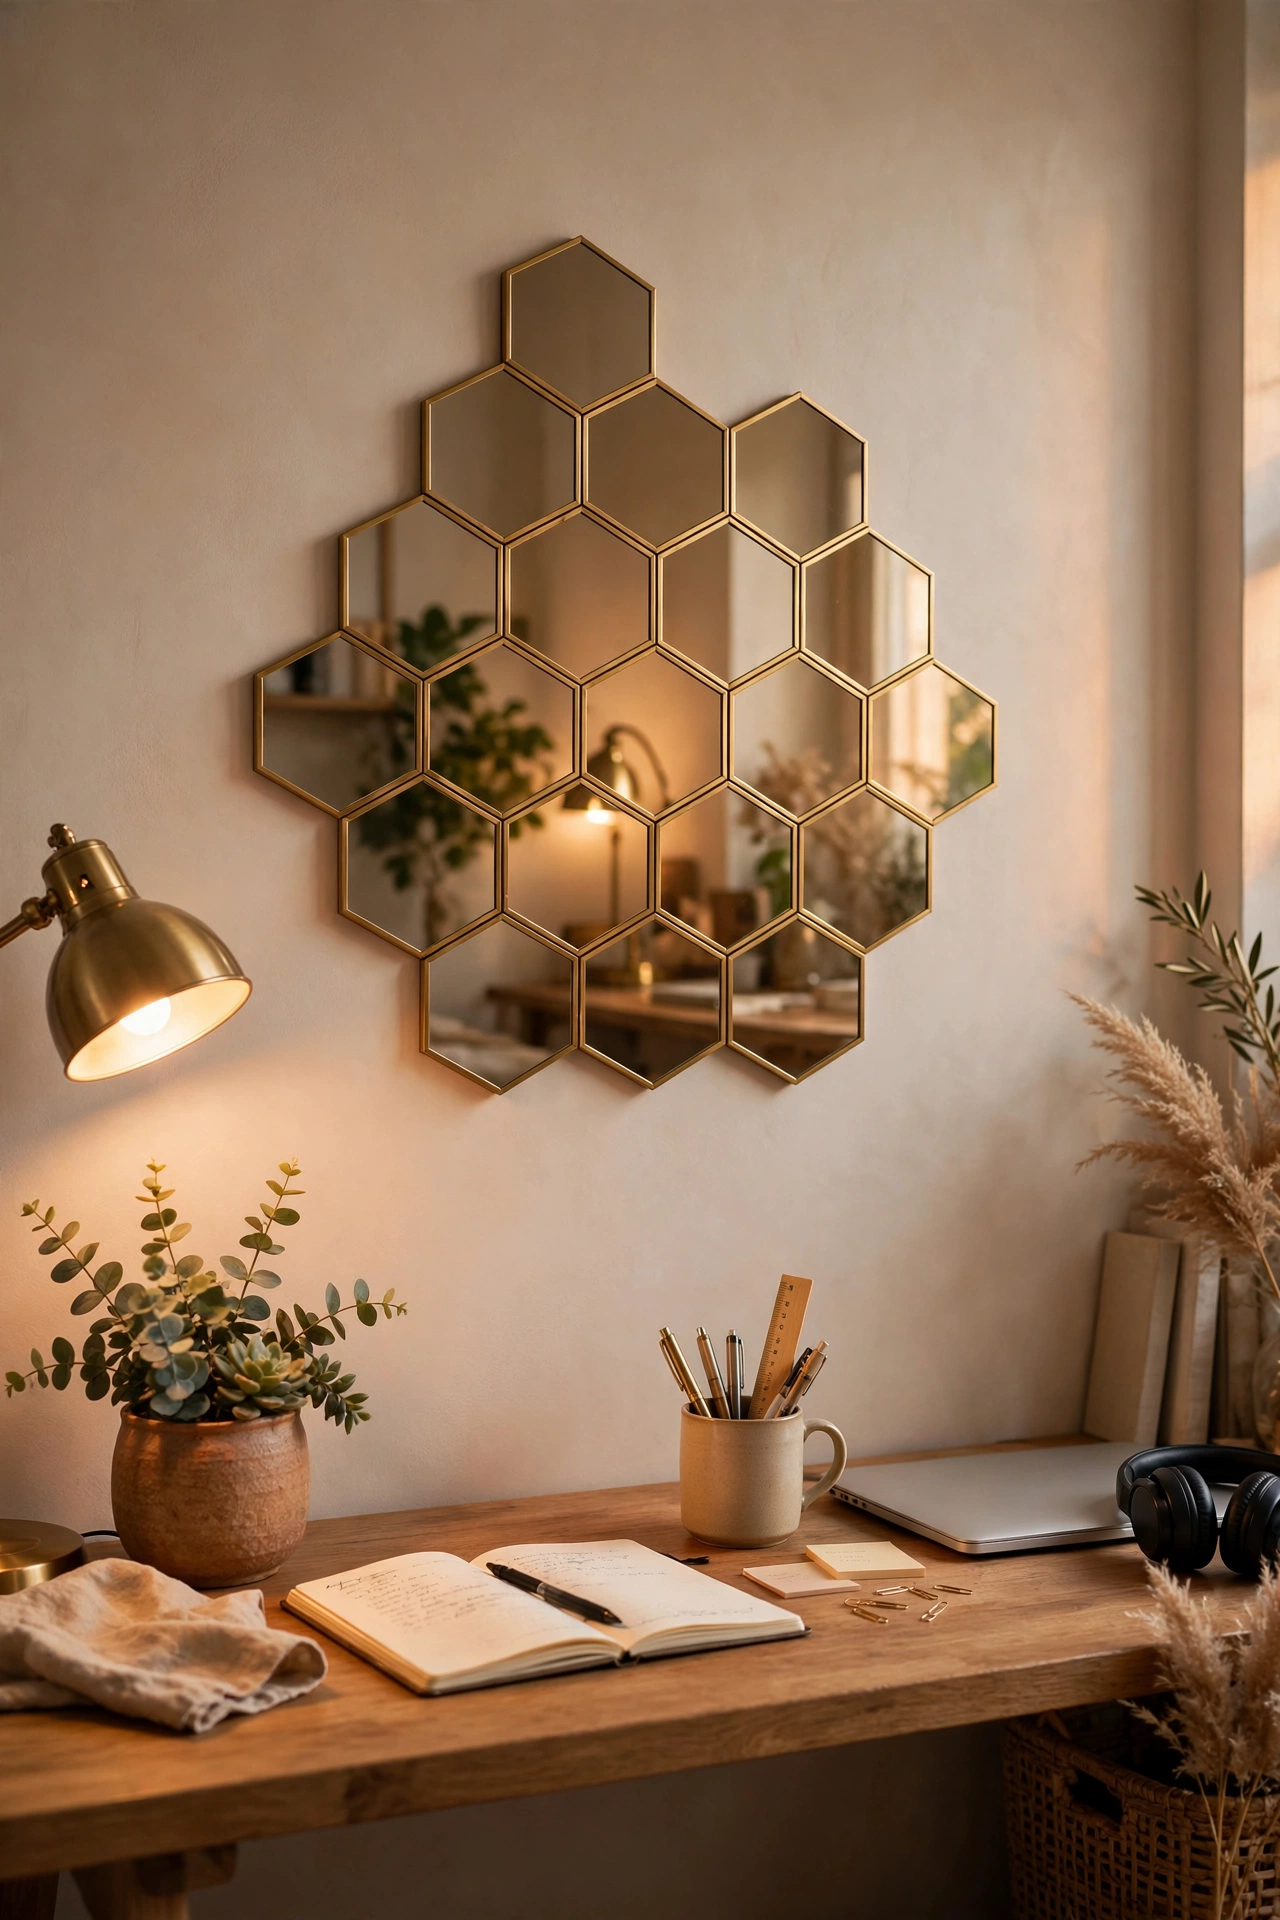
Arrange six or seven small hexagon mirrors in a honeycomb cluster for a modern gallery wall with dimension. Lay the arrangement on the floor first, photograph it, then transfer it to the wall using the photo as a map. I did this in my home office and it looks like a designer installation. Keep the gaps even — uneven spacing is what separates intentional from accidental. Adhesive strips work for these since each piece is light.
Cost: ~$8 for the set · Time: 45 minutes
3. Stacked Round Mirrors
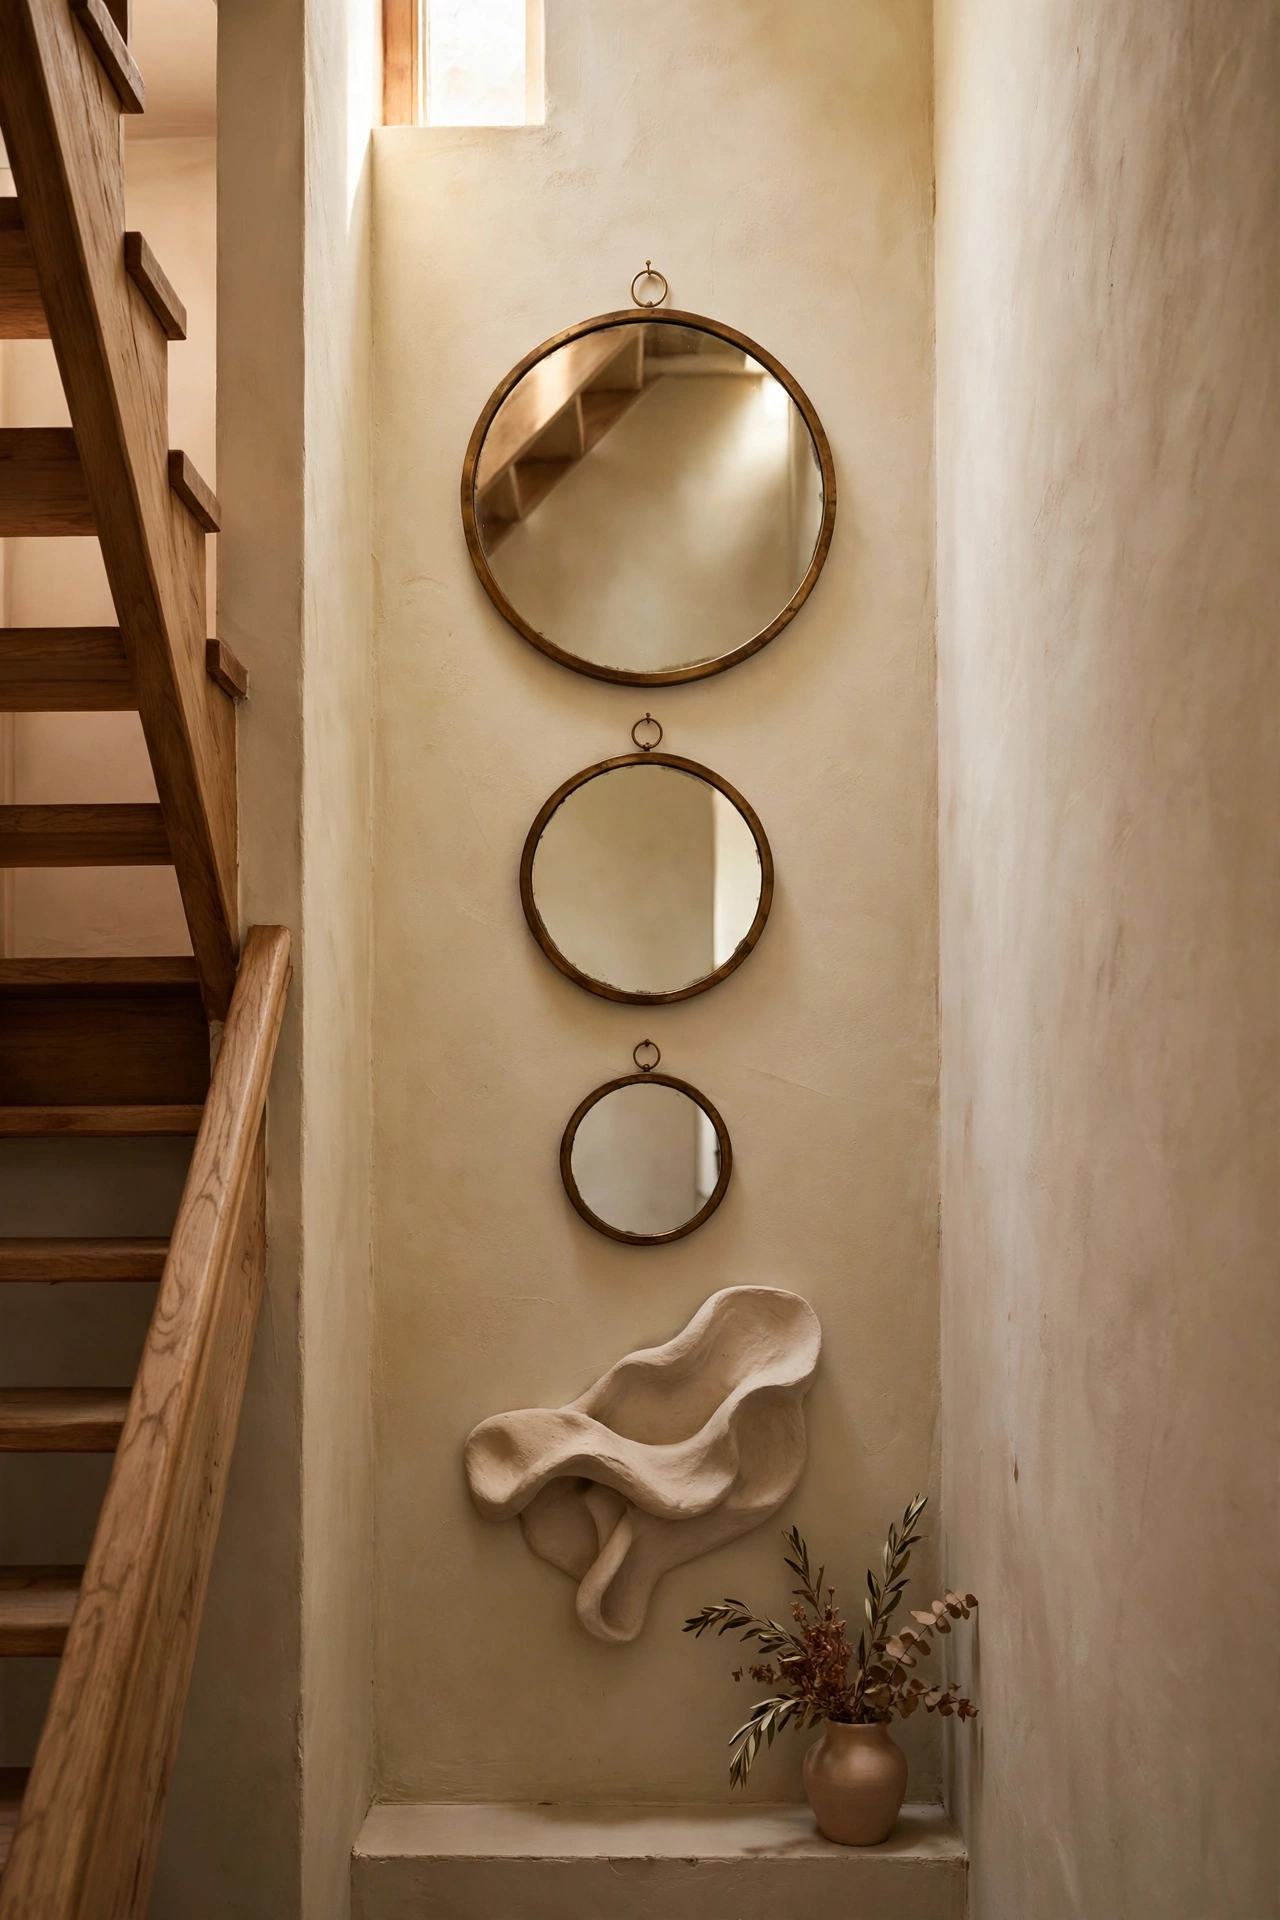
Hang three round mirrors of descending size in a vertical line for a sculptural effect that suits narrow walls. Space them evenly and keep the line perfectly vertical — use a spirit level, because a drifting line ruins the effect. I put a stack in my stairwell, the one dead wall in the house, and it finally feels decorated. This works brilliantly in hallways and beside front doors where art feels too fussy.
Cost: ~$9 for three · Time: 30 minutes
4. Frameless Tile Grid
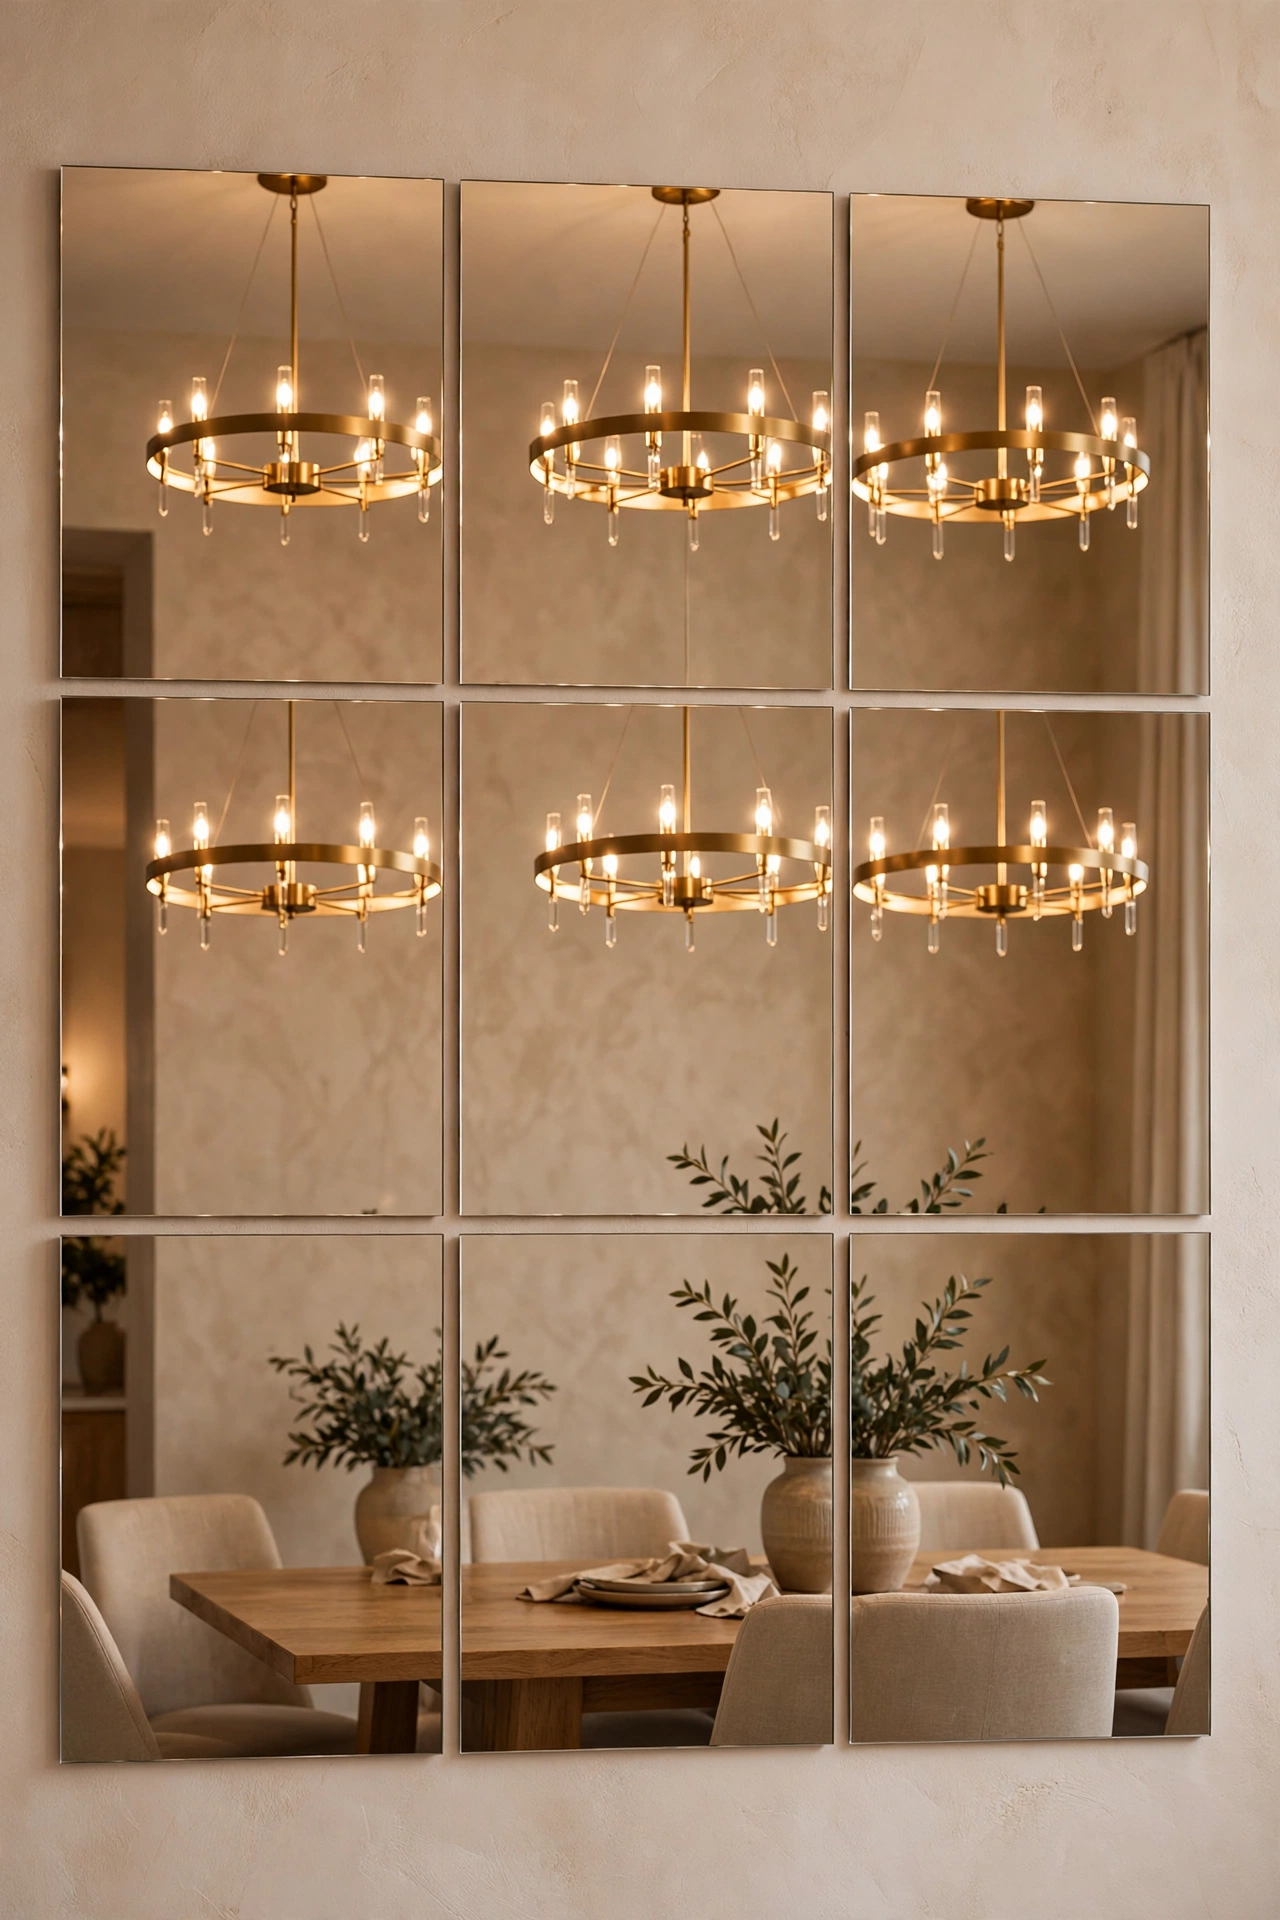
A tight grid of square frameless mirror tiles reads as one large contemporary mirror for a fraction of the price. Mount them edge to edge on a flat wall with mirror adhesive, working from the centre outward so the grid stays symmetrical. I did a three-by-three grid in my dining room and it reflects the chandelier beautifully at dinner. The edges must be clean — wipe each tile before mounting or you’ll seal dust behind glass forever.
Cost: ~$10 · Time: 1 hour
5. Antique-Look Painted Mirror
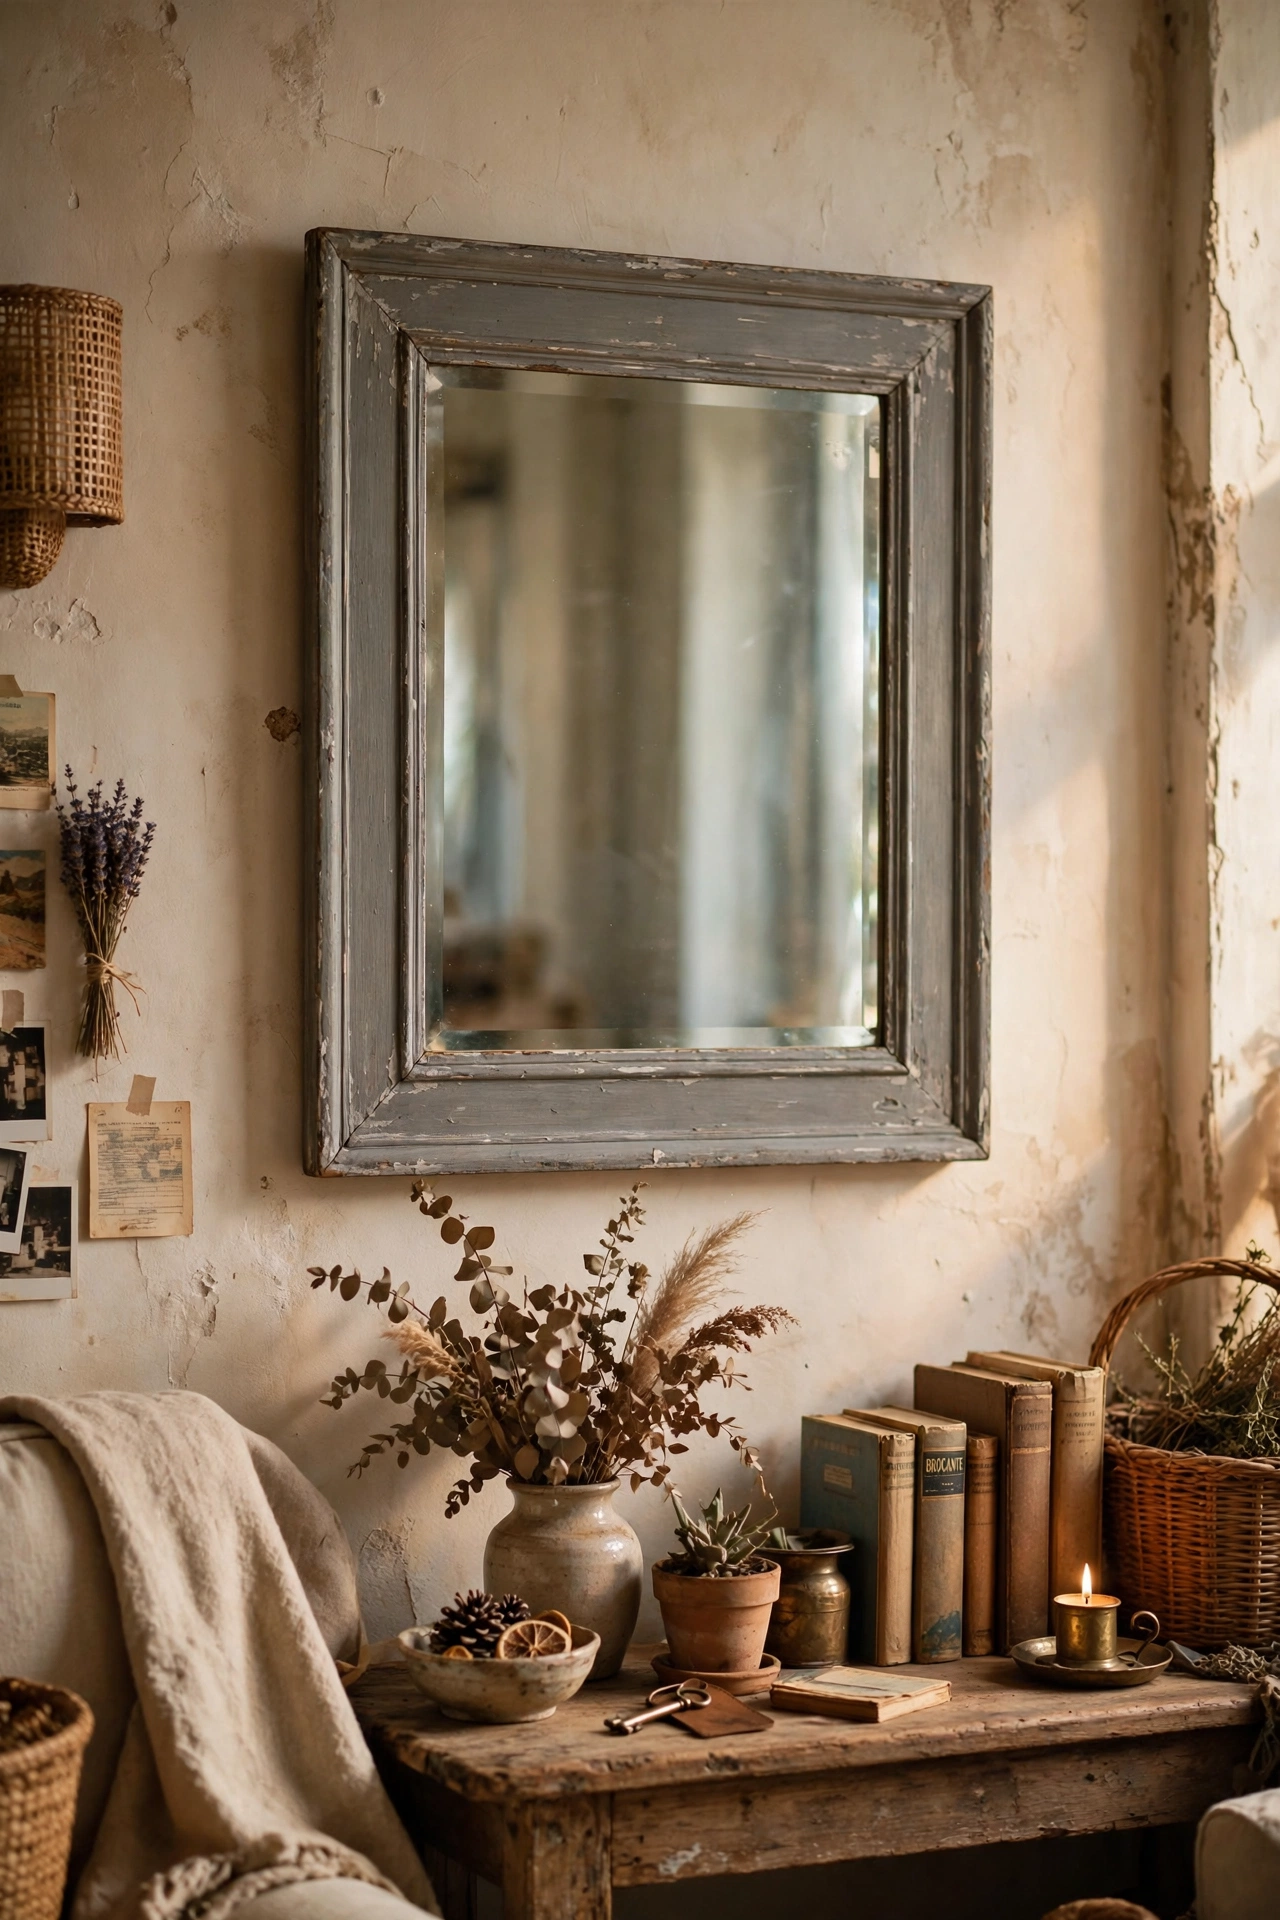
Age a plain framed mirror with a wash of grey paint wiped back at the edges for a vintage, foxed look. Paint the frame, let it dry, then rub the high points with a damp cloth to reveal hints of the base. I did this to a boring rectangular mirror and it now looks like a flea-market find. Practise on the back of the frame first — the technique is forgiving, but your first attempt teaches you the right pressure.
Cost: ~$5 · Time: 45 minutes
6. Shell-Framed Mirror for Coastal Style
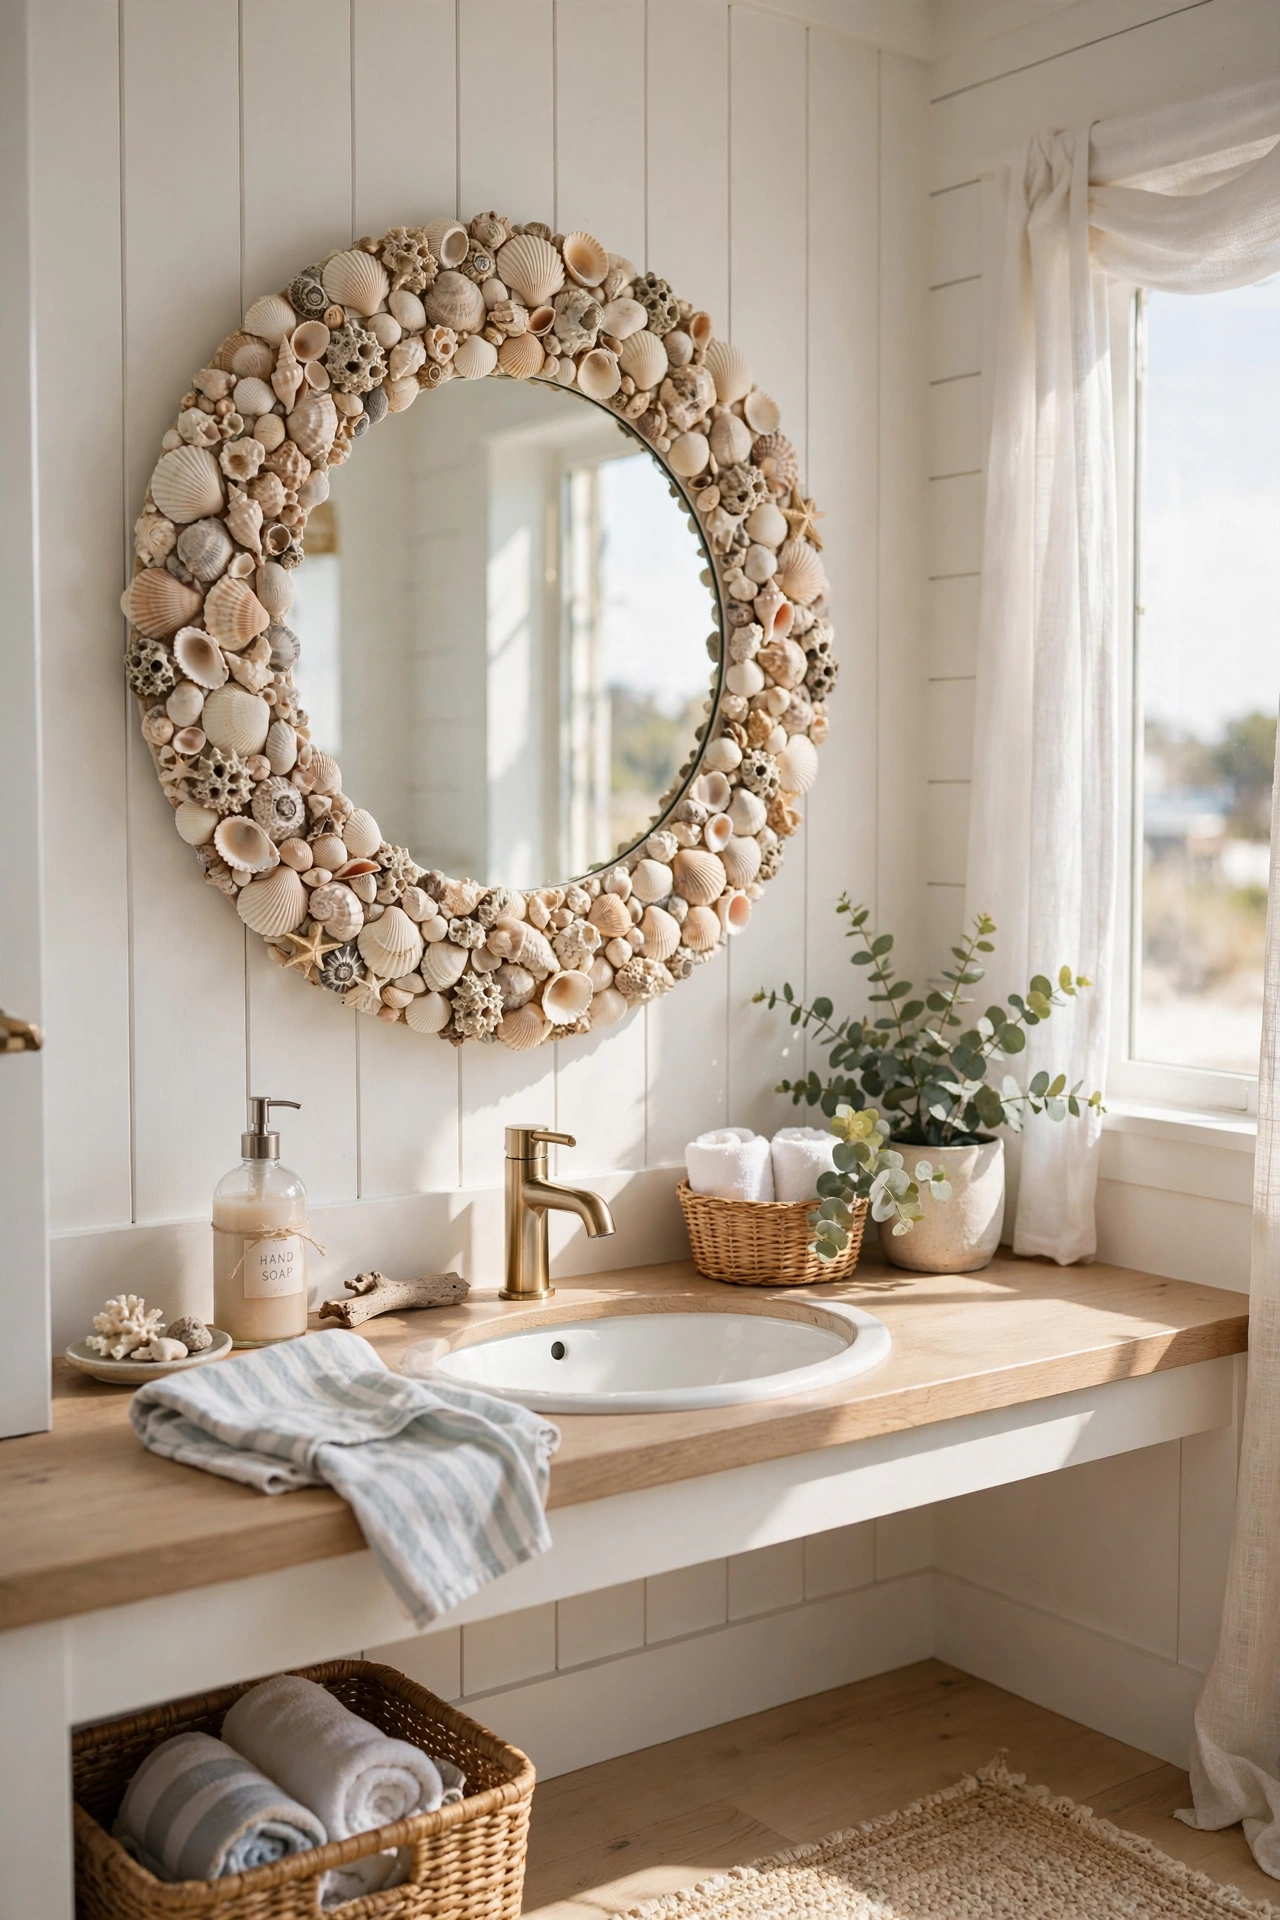
Glue small shells around a round mirror frame for a coastal piece that looks straight out of a beach house. Work in a single layer, overlapping slightly, and use a hot glue gun for speed. I made one for my bathroom and it gets compliments constantly. Collect shells on holiday for a personal touch, or buy the bags from the craft aisle — both work. Seal with a clear spray so bathroom humidity doesn’t loosen the glue over time.
Cost: ~$6 · Time: 1 hour
Statement Mirrors
7. Leaning Floor Mirror in the Bedroom
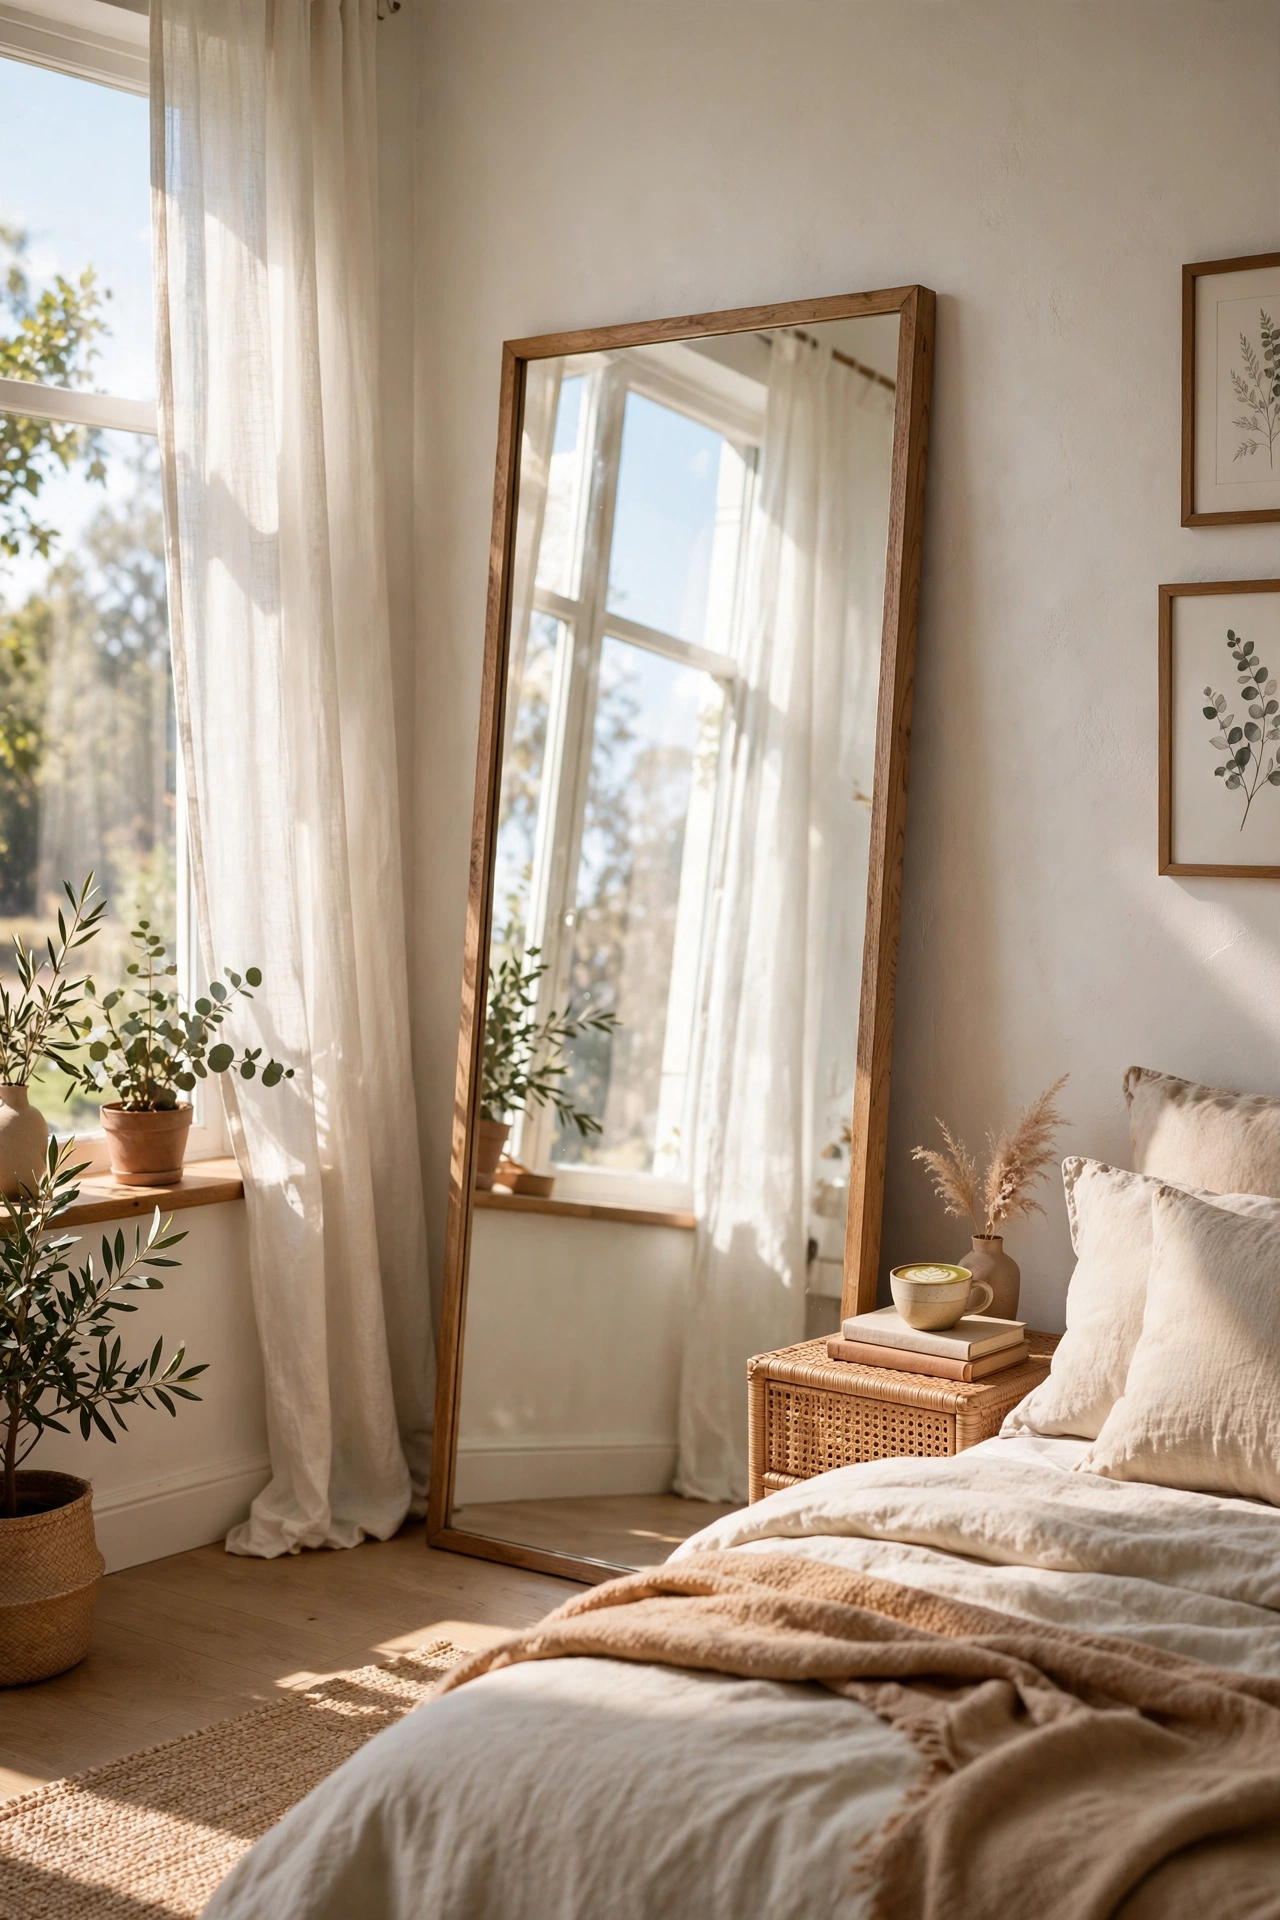
A tall mirror leaned against the wall (secured at the top) makes a bedroom feel twice the size and gives you a full-length view. Lean it at a slight angle, anchor the top to the wall with a discreet bracket, and place it where it catches window light. I leaned one in my bedroom corner and the room’s gloom lifted immediately. Never leave a tall mirror unsecured — they’re top-heavy and a bumped one is dangerous.
Cost: ~$12 · Time: 15 minutes
8. Mirror Dressed with Fairy Lights
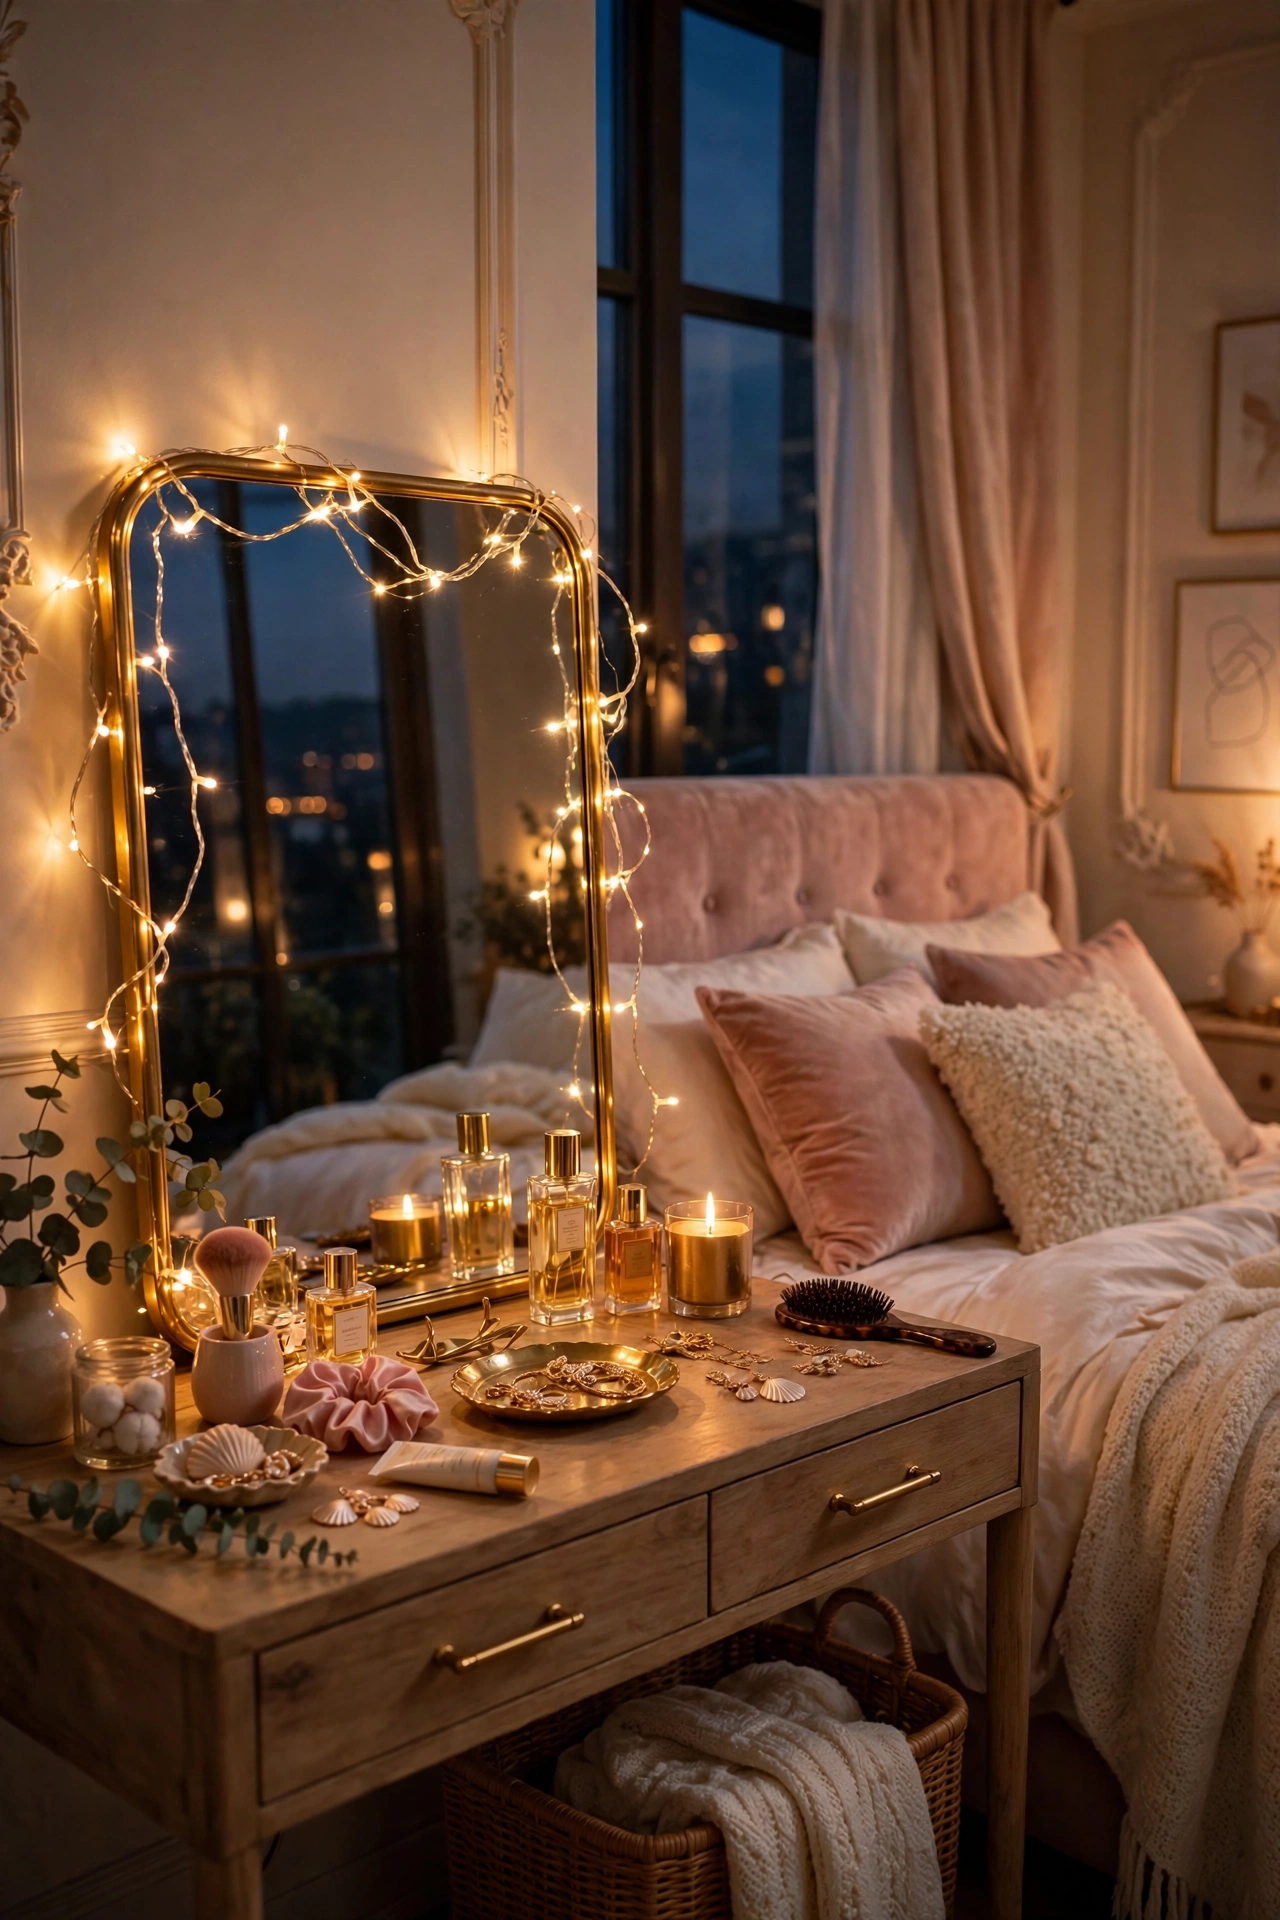
Weave warm fairy lights around a mirror’s frame and it becomes an evening feature — the lights double in the reflection. Drape them loosely rather than wrapping tight; a relaxed swag looks better than a regimented coil. I did this on my dressing-table mirror and getting ready in the evening feels oddly glamorous now. Battery lights with a timer mean you never have to fiddle with them. Tuck the battery pack behind the frame so it stays hidden. (see also: 17-dollar-store-candle-holder-ideas-that-glow-up-any-room)
Cost: ~$8 · Time: 15 minutes
9. Beaded Frame Mirror
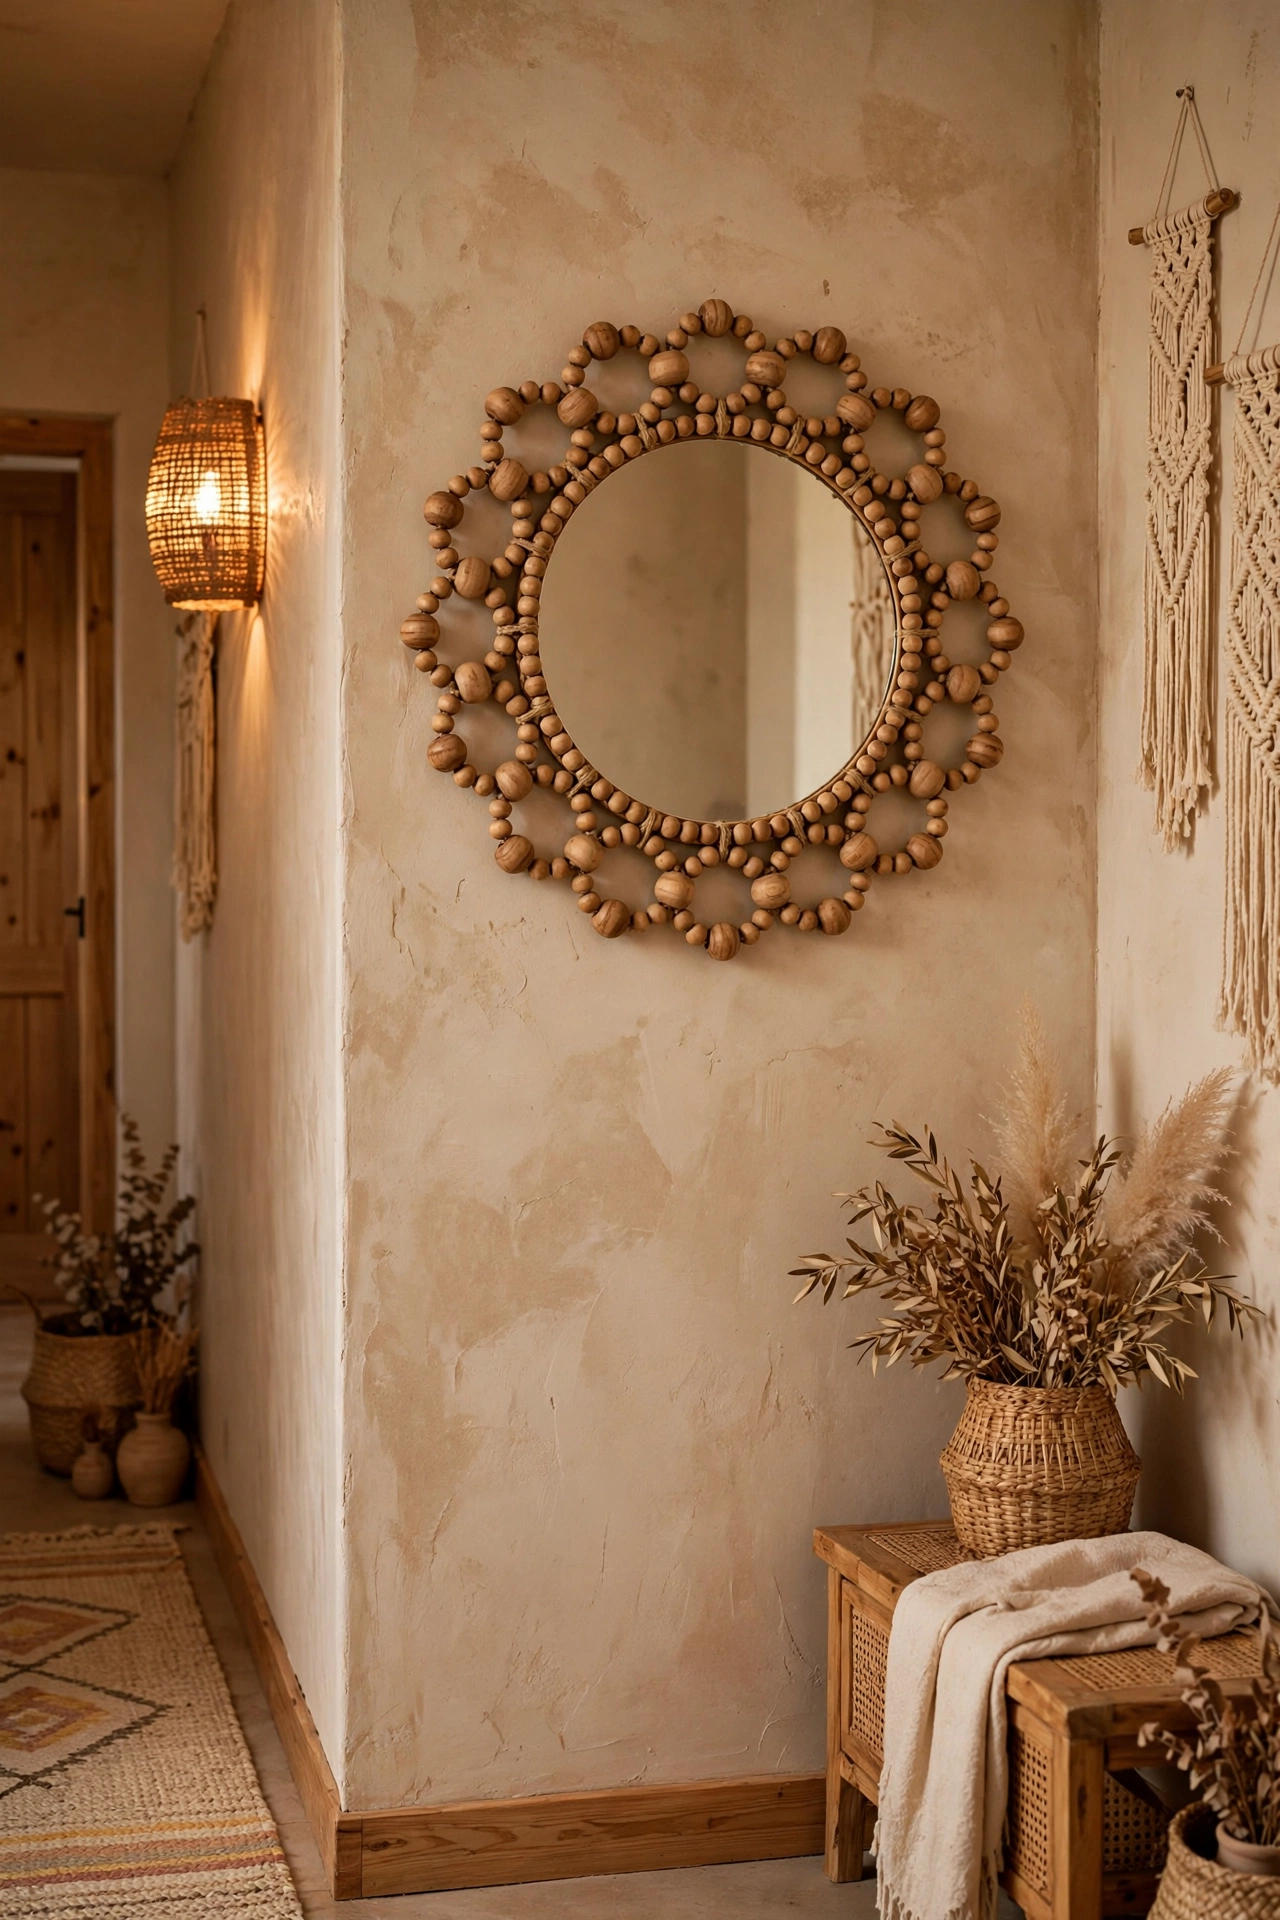
Glue wooden beads around a plain round mirror for a textured, boho frame that looks handmade in the best way. Use beads of similar size for a neat look, or graduated sizes for something more organic. I made one with natural wood beads for my hallway and it fits the space perfectly. Paint the beads first if you want colour — white beads on a white wall look surprisingly chic. A dab of glue on each bead stops them sliding around the frame.
Cost: ~$6 · Time: 1 hour
10. Mirror Above the Mantel
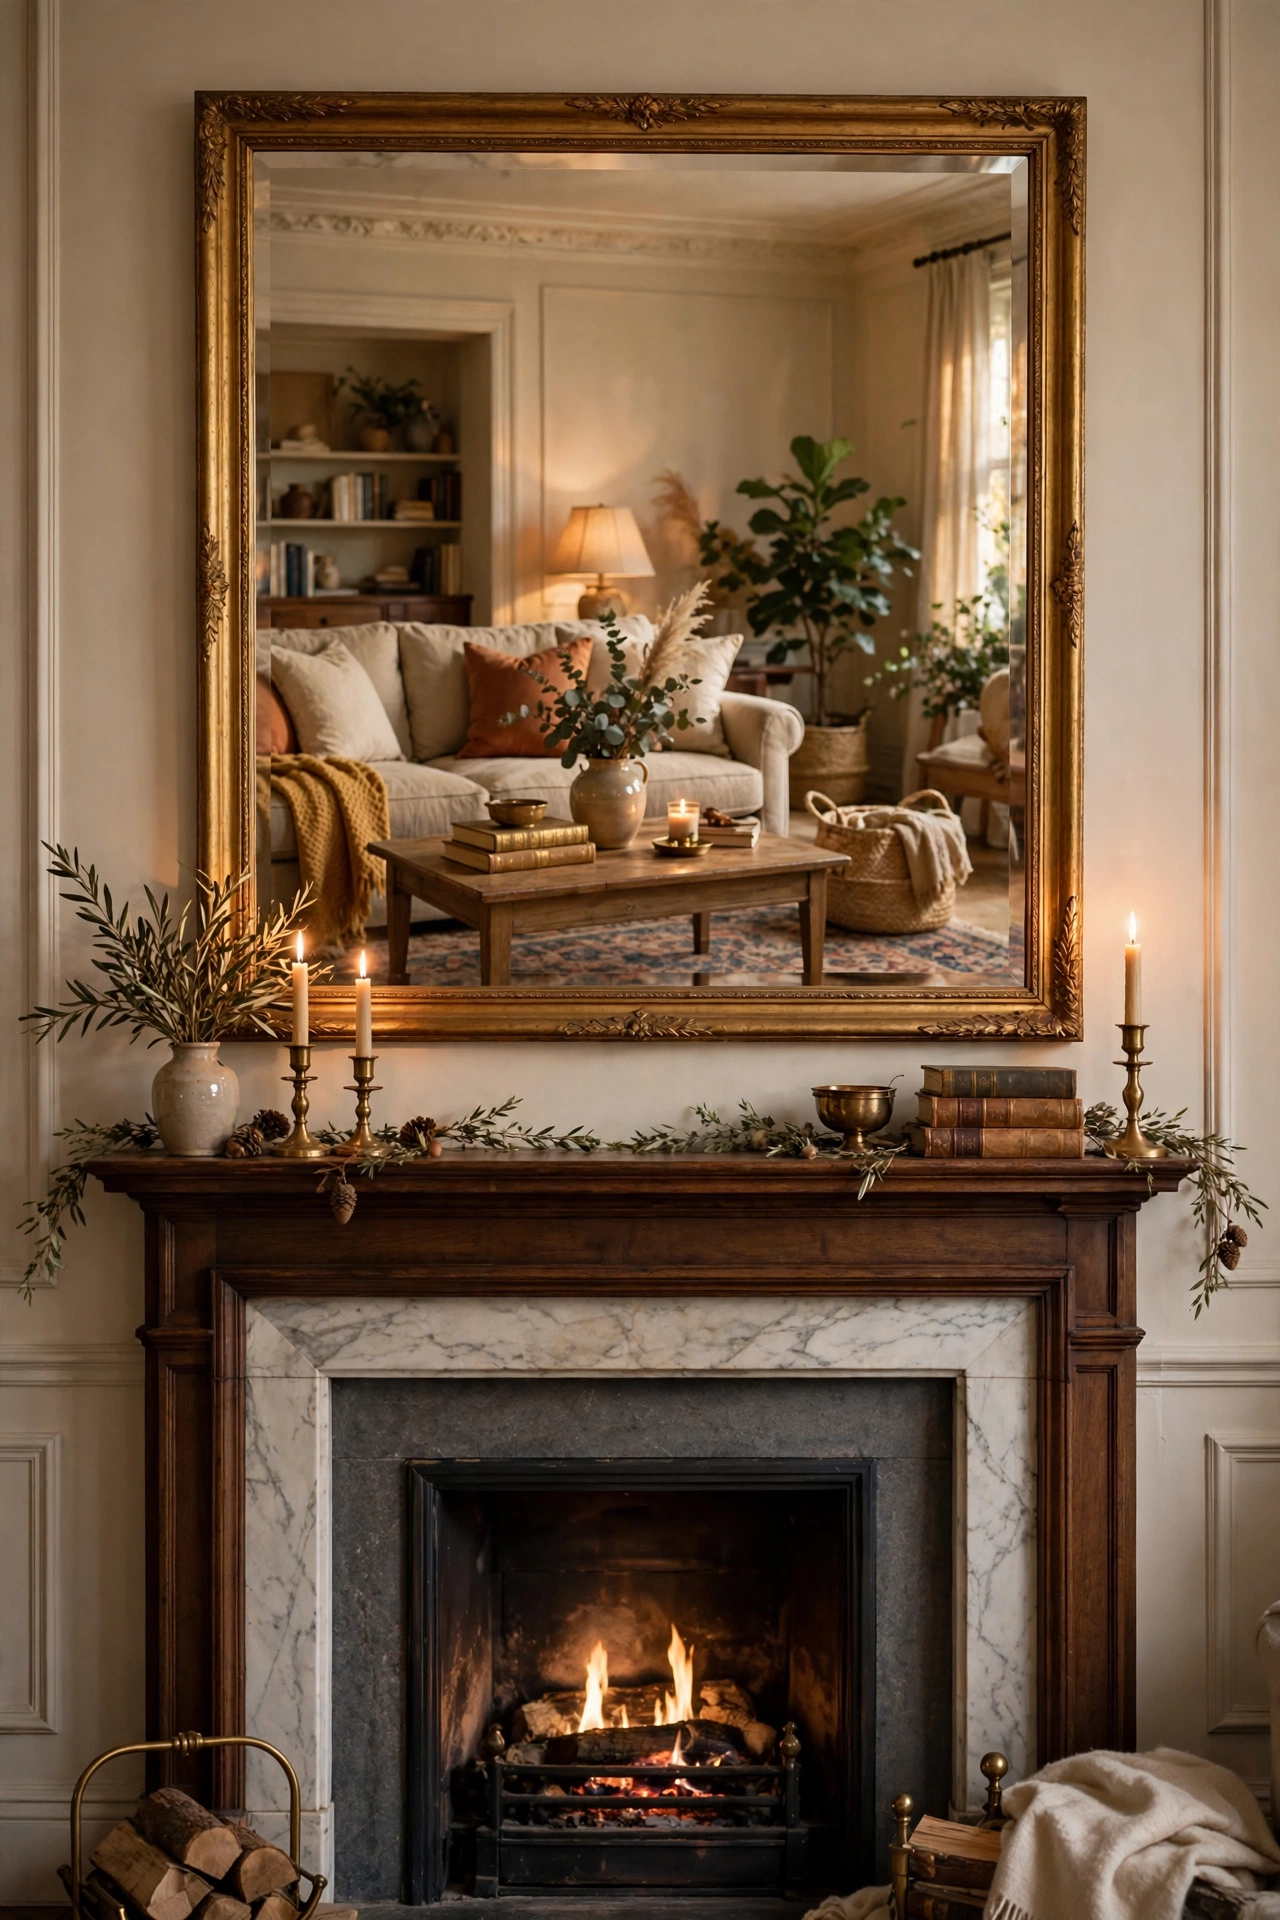
A mirror above the mantel is a classic for a reason: it reflects the room back, doubles the firelight, and fills the awkward space. Hang it so the bottom sits just above the mantel shelf, centred on the chimney breast. I swapped art for a mirror above mine and the living room felt larger the same evening. In a small room this is one of the highest-impact changes you can make for the money.
Cost: ~$8 · Time: 20 minutes
11. Faux Window Mirror
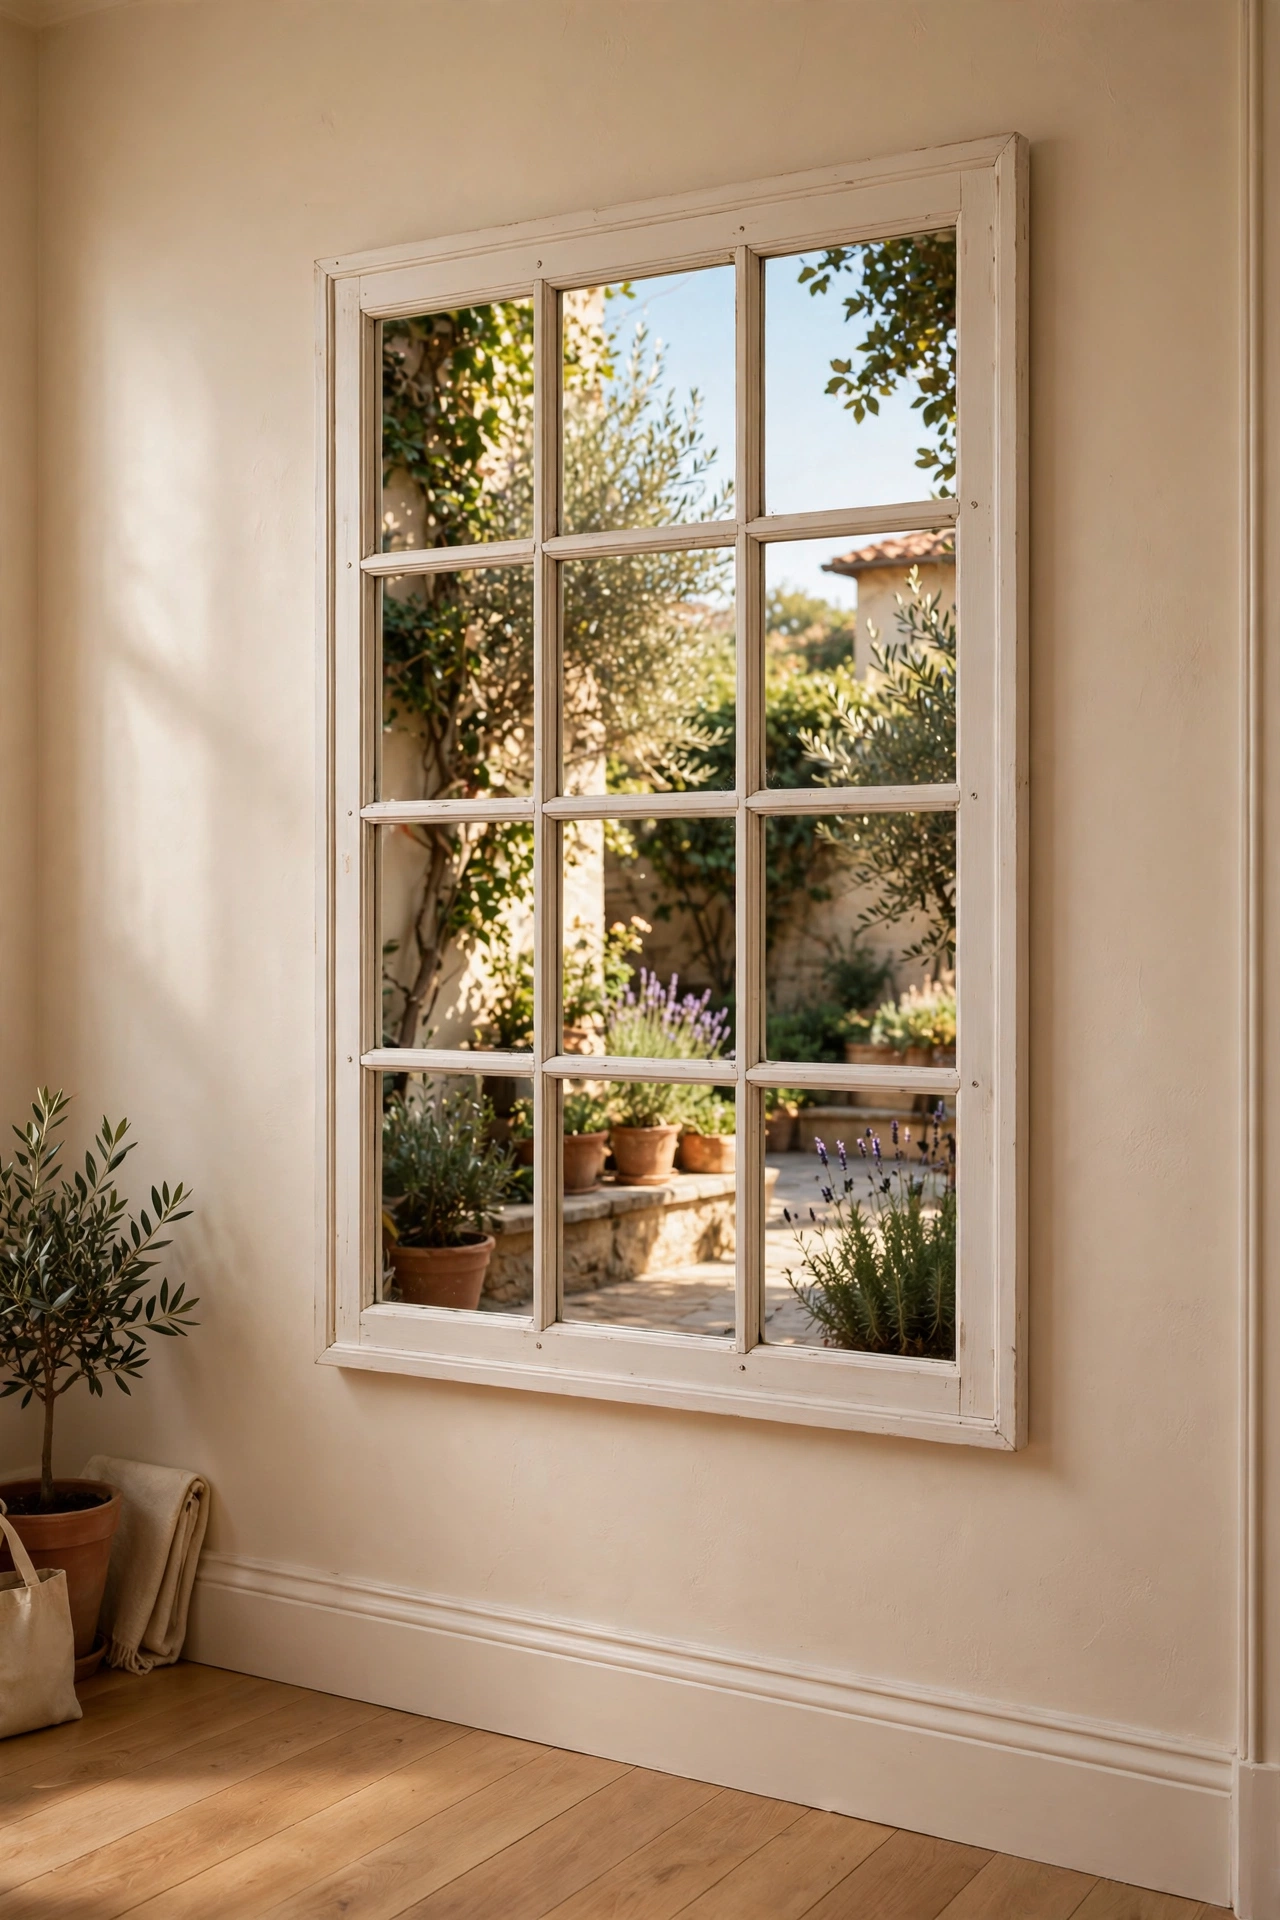
Create a window effect on a blank wall by framing a mirror with muntin-style trim to look like panes. Paint the trim white, mount it over a large rectangular mirror, and the wall suddenly has “a window” where there wasn’t one. I did this in a windowless hallway and the illusion genuinely works — guests do a double take. Keep the trim slim; chunky trim breaks the illusion. A coat of satin paint on the trim makes it look like proper joinery.
Cost: ~$12 · Time: 1 hour
12. Mirrored Door Panels
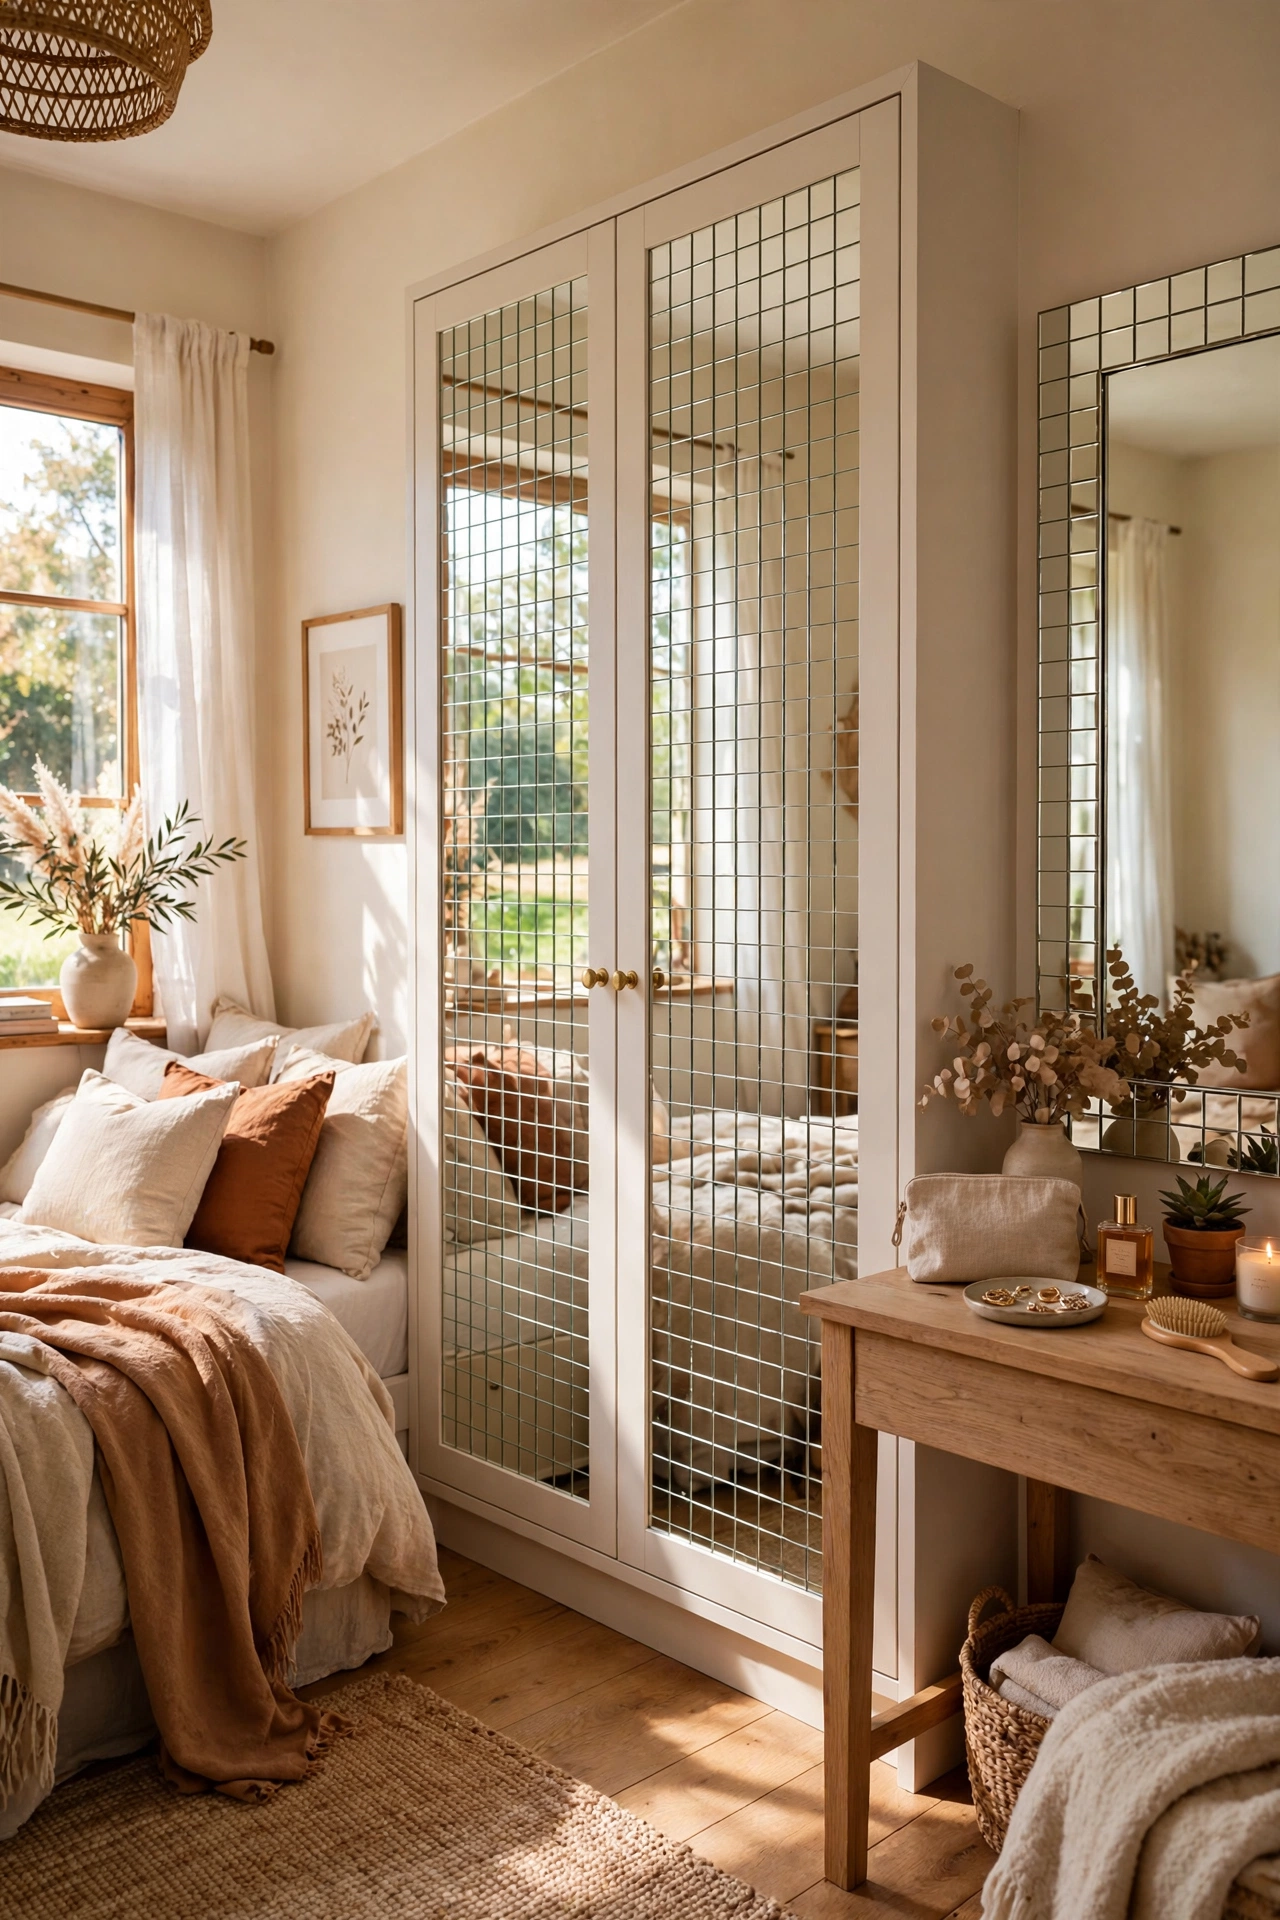
Stick mirror tiles onto a wardrobe door’s flat panels to turn storage into a dressing mirror. Measure each panel, cut or buy tiles to fit, and mount with mirror adhesive. I did this on a plain wardrobe and gained a full-length mirror without using a centimetre of wall. The transformation is startling — flat-pack furniture suddenly looks custom. Make sure the door still closes properly with the added thickness. Clean the tiles with glass cleaner once mounted for a flawless finish.
Cost: ~$10 · Time: 45 minutes
Mirrors That Multitask
13. Mirrored Serving Tray
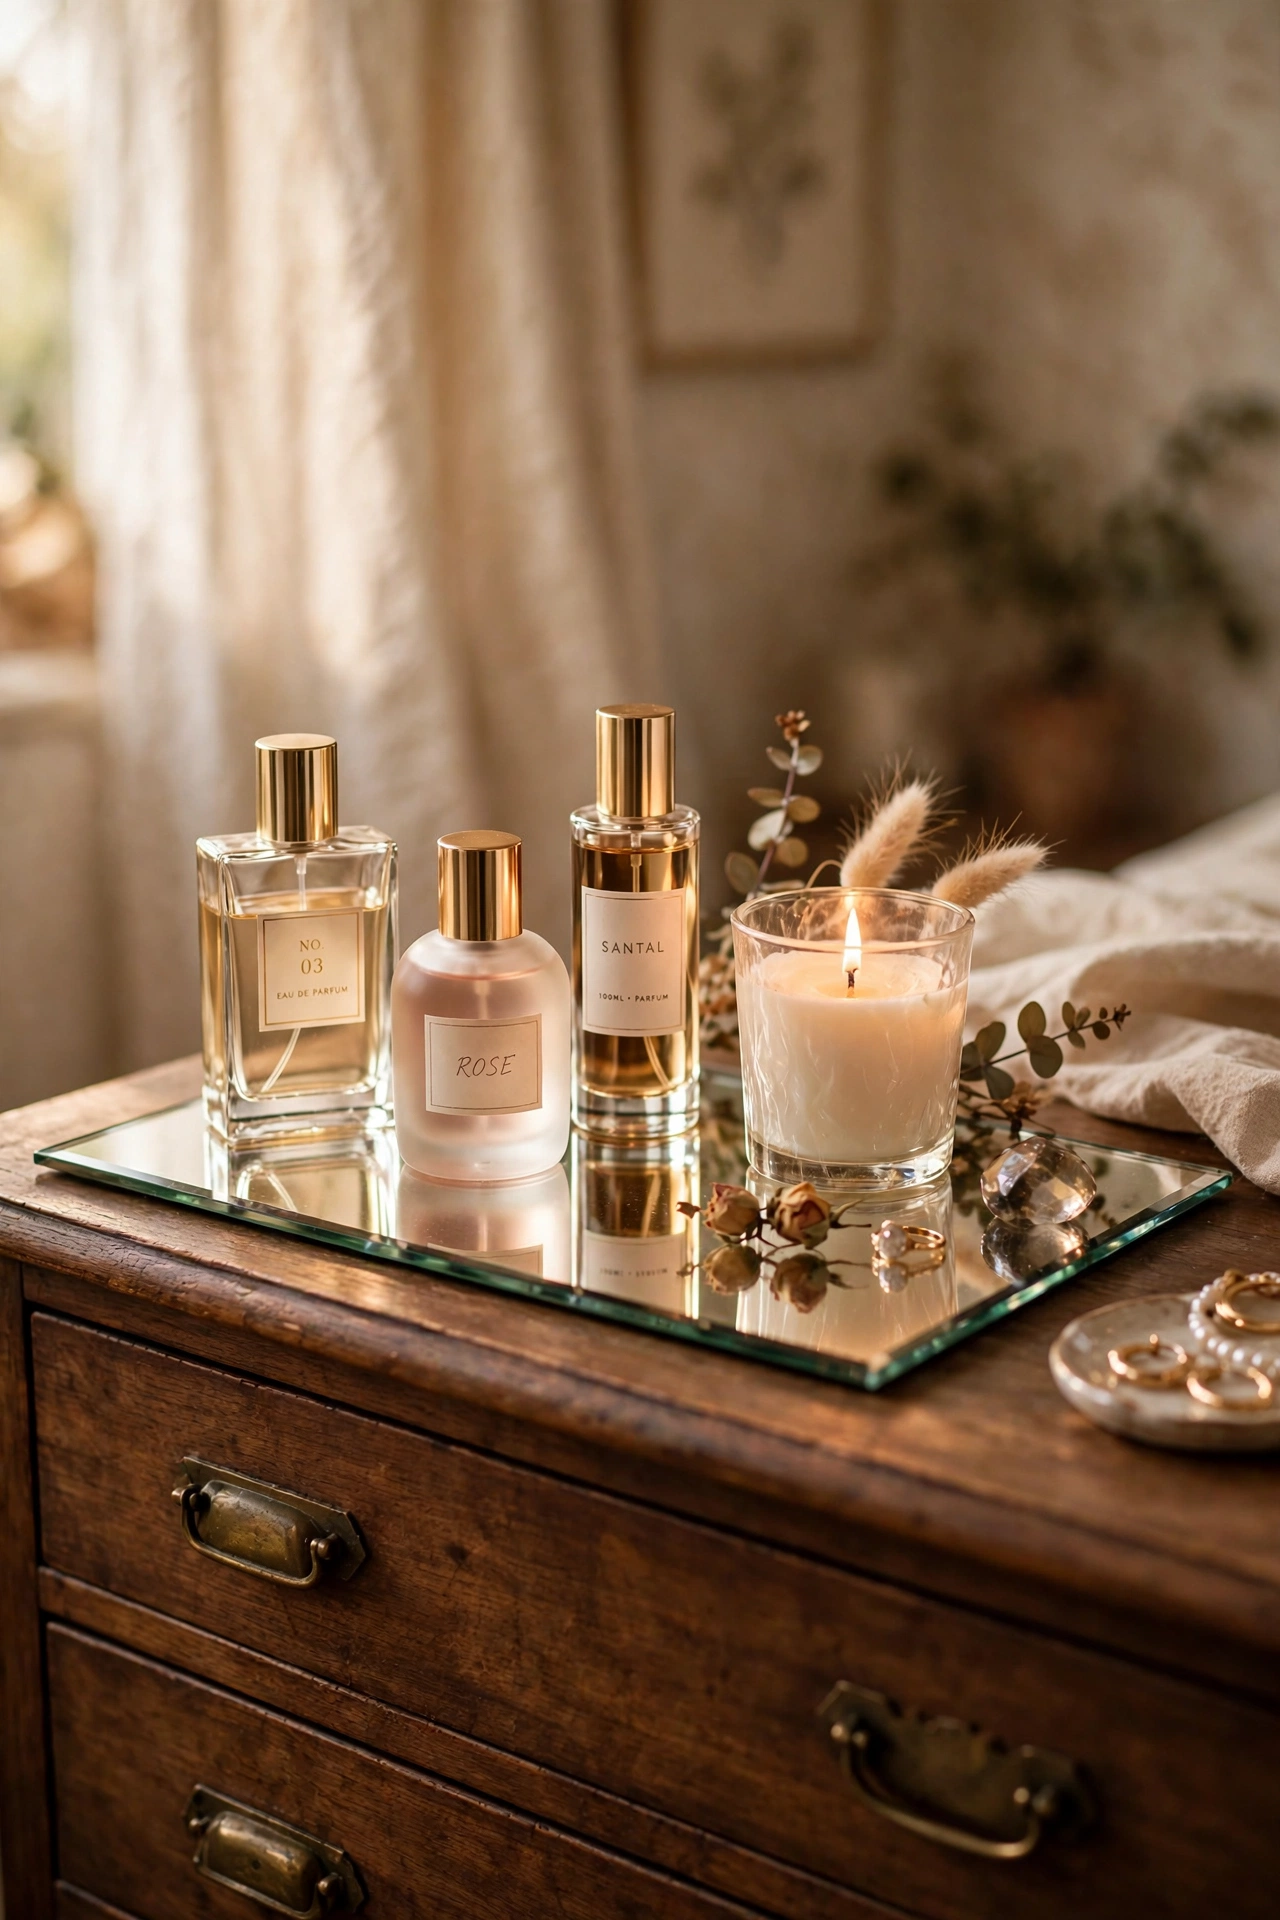
A mirrored tray on the coffee table or dresser reflects candlelight and makes every object on it look more deliberate. Style it with three items of varying heights and let the reflection do the rest. I keep one on my dresser with perfume bottles and it looks like a boutique display. Wipe it weekly — mirrored surfaces show every fingerprint, which is their one flaw. A microfibre cloth keeps it streak-free in seconds.
Cost: ~$5 · Time: 10 minutes
14. Mirror Mosaic Tabletop
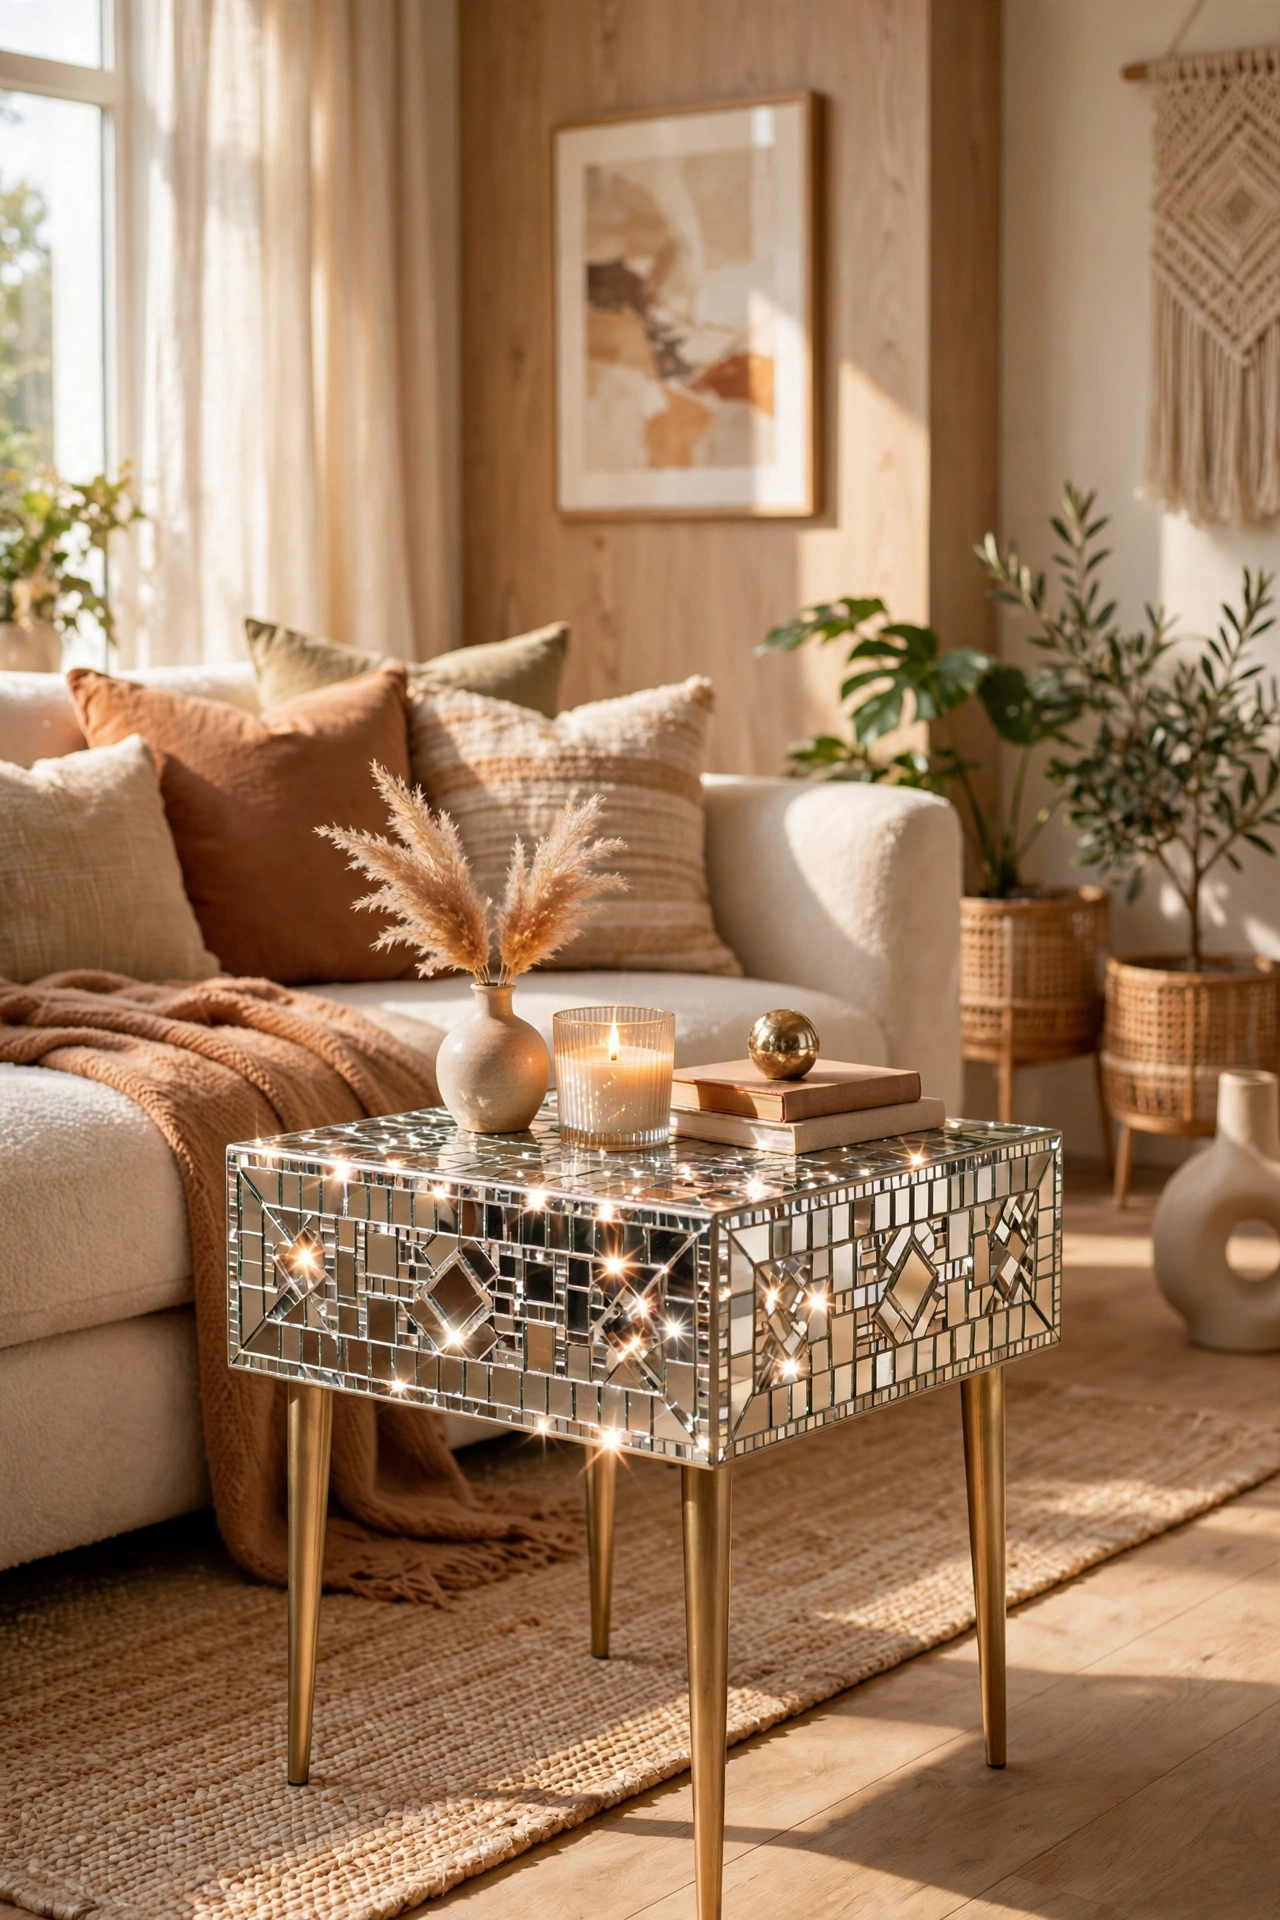
Cover a tired side table’s top with small mirror tiles in a mosaic pattern for a piece that looks designer-made. Arrange the tiles dry first to plan the pattern, then adhere them one by one. I rescued a scratched table this way and it’s now the prettiest thing in the room. Seal the edges with grout or trim so nothing catches. This is a weekend project, but the result is genuinely striking.
Cost: ~$12 · Time: 2 hours
15. Mirror Placemats as Chargers
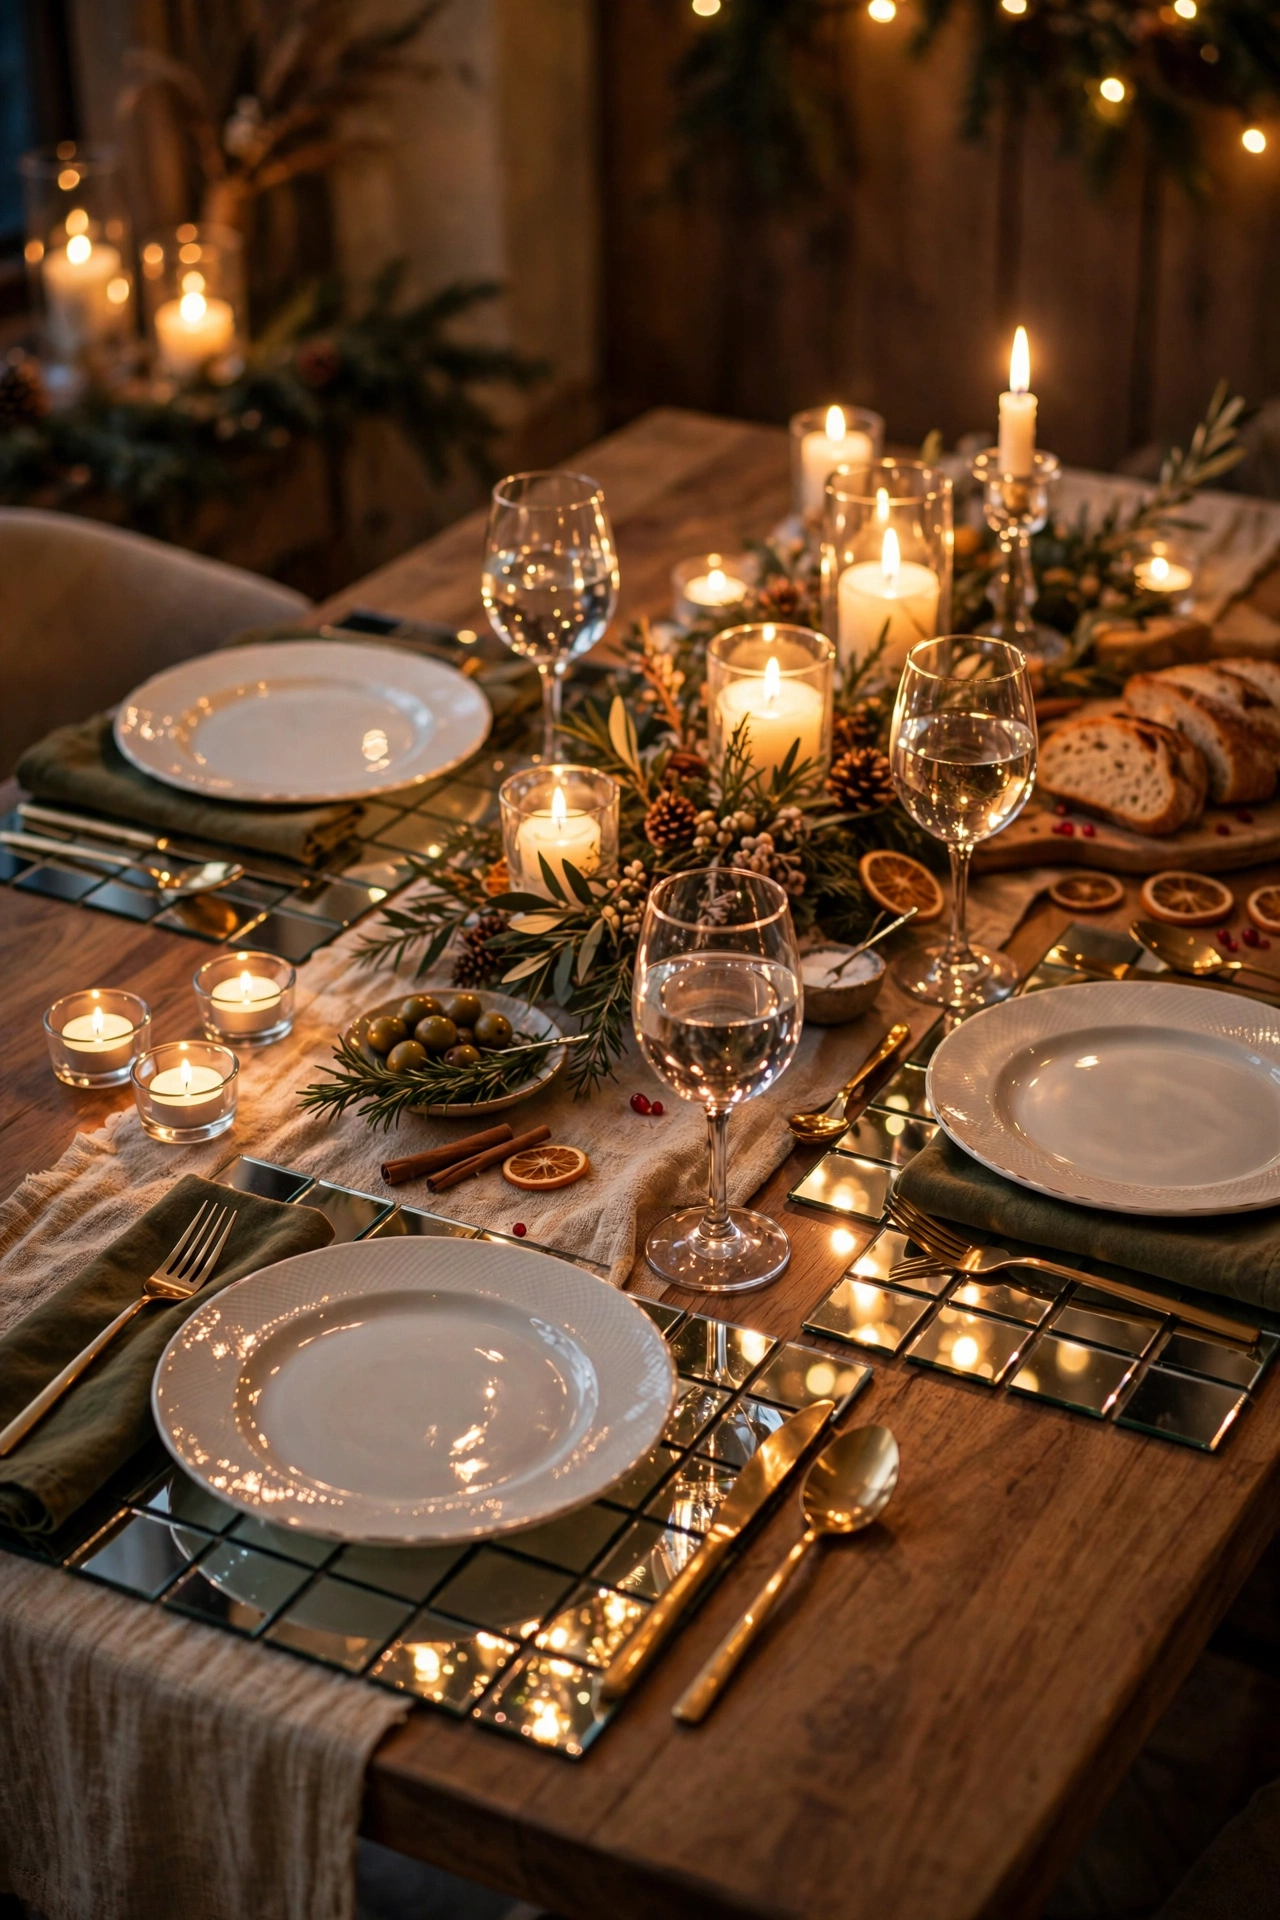
Square mirror tiles used as placemats or chargers under plates make a dinner table glitter. They reflect the candles and the food, and the table looks dressed for an occasion. I use them for dinner parties and they always get comments. They’re easy to wipe clean, but handle them carefully — the edges can be sharp, so choose tiles with finished edges or add a rim of tape underneath.
Cost: ~$6 for four · Time: 5 minutes
16. Mirror-Backed Shelf
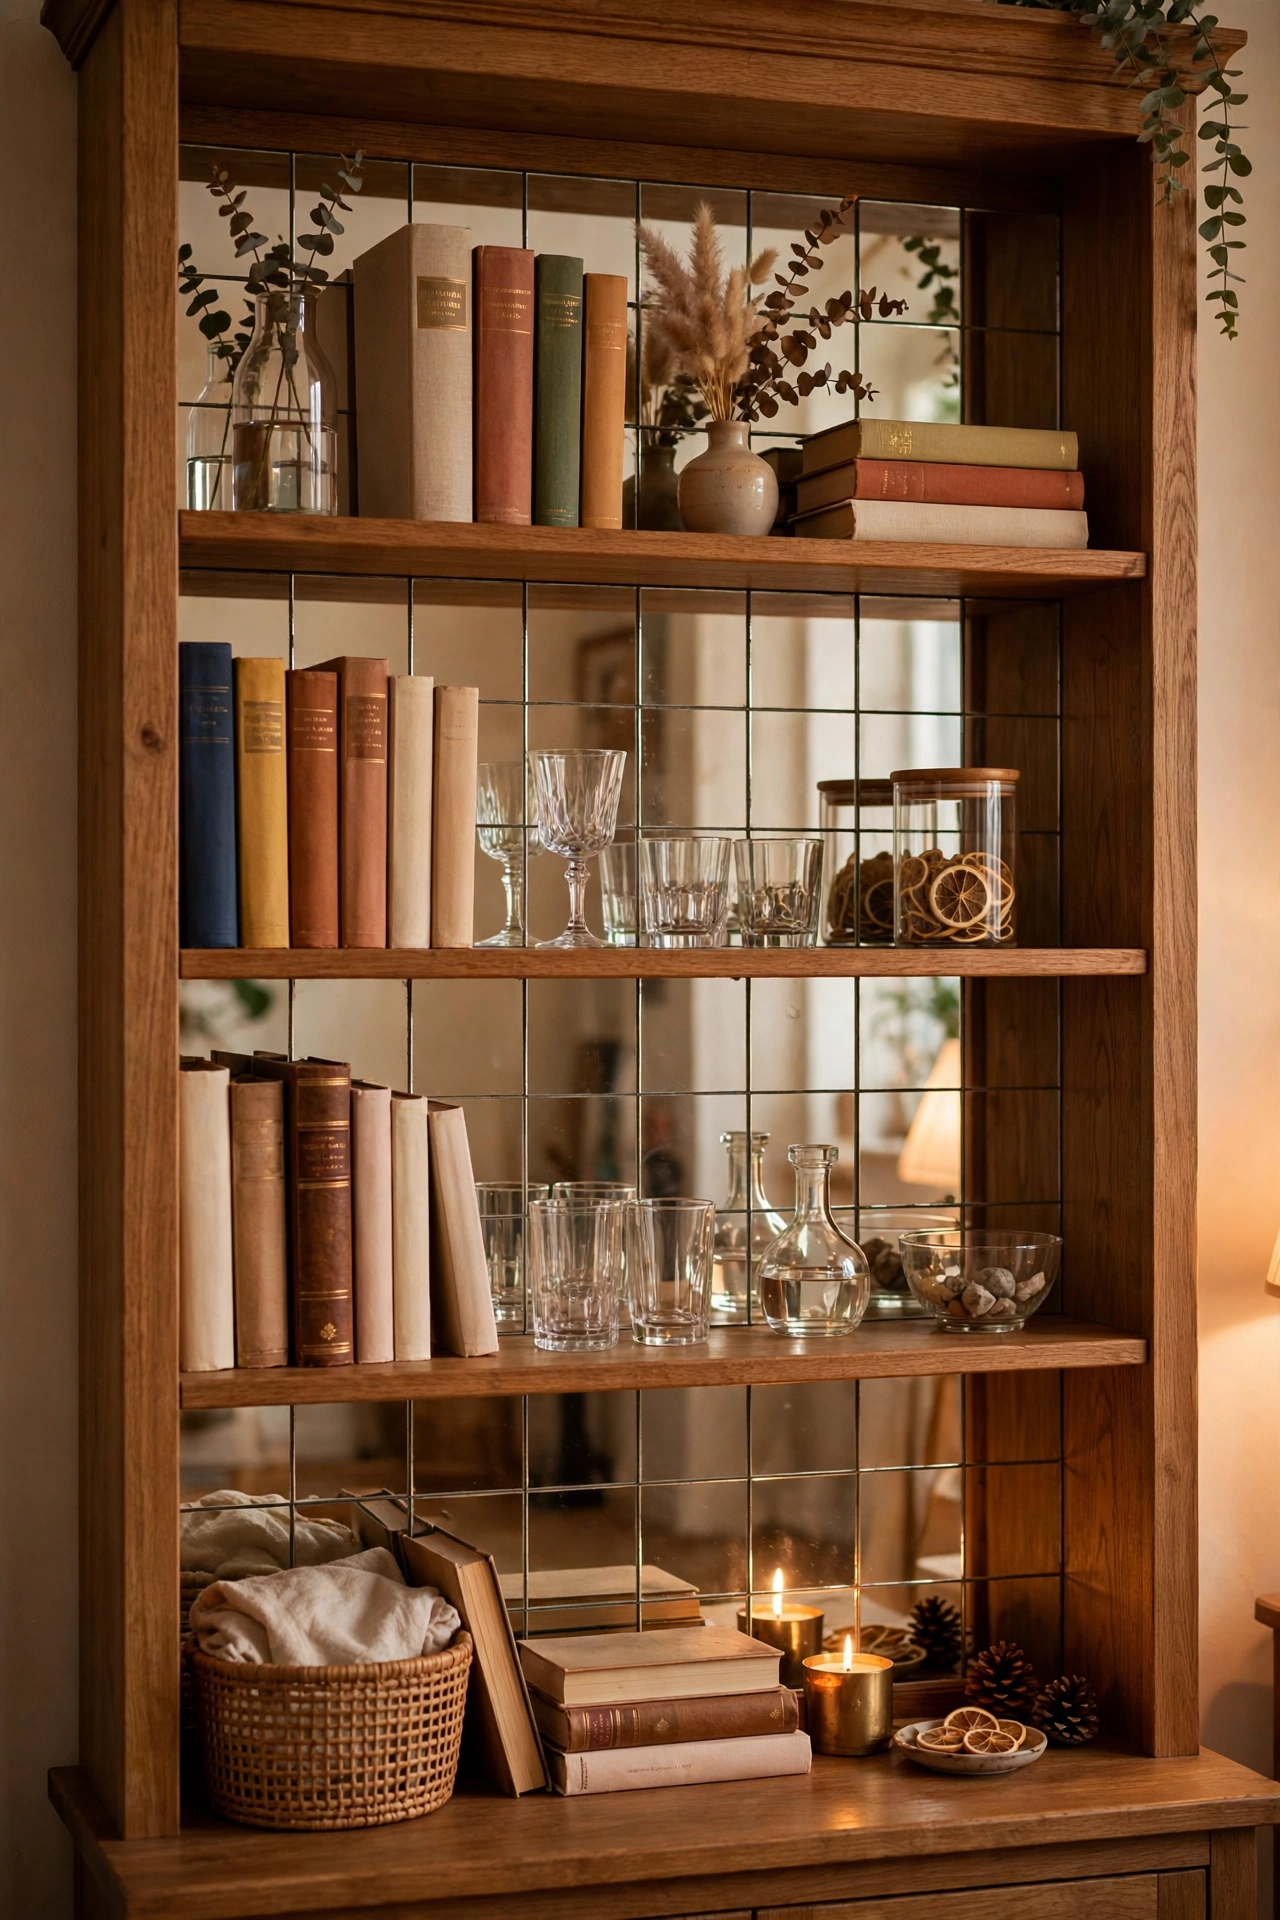
Line the back of a bookshelf or display cabinet with mirror tiles and everything on the shelves looks doubled and lit from within. Cut tiles to fit each shelf back and adhere them carefully. I did this in a dark hallway bookcase and the books finally look inviting rather than gloomy. This works especially well for displaying glassware — the reflections multiply the sparkle beautifully. Measure each shelf back carefully before cutting a single tile.
Cost: ~$10 · Time: 1 hour
17. Mirrored Kitchen Backsplash Tiles
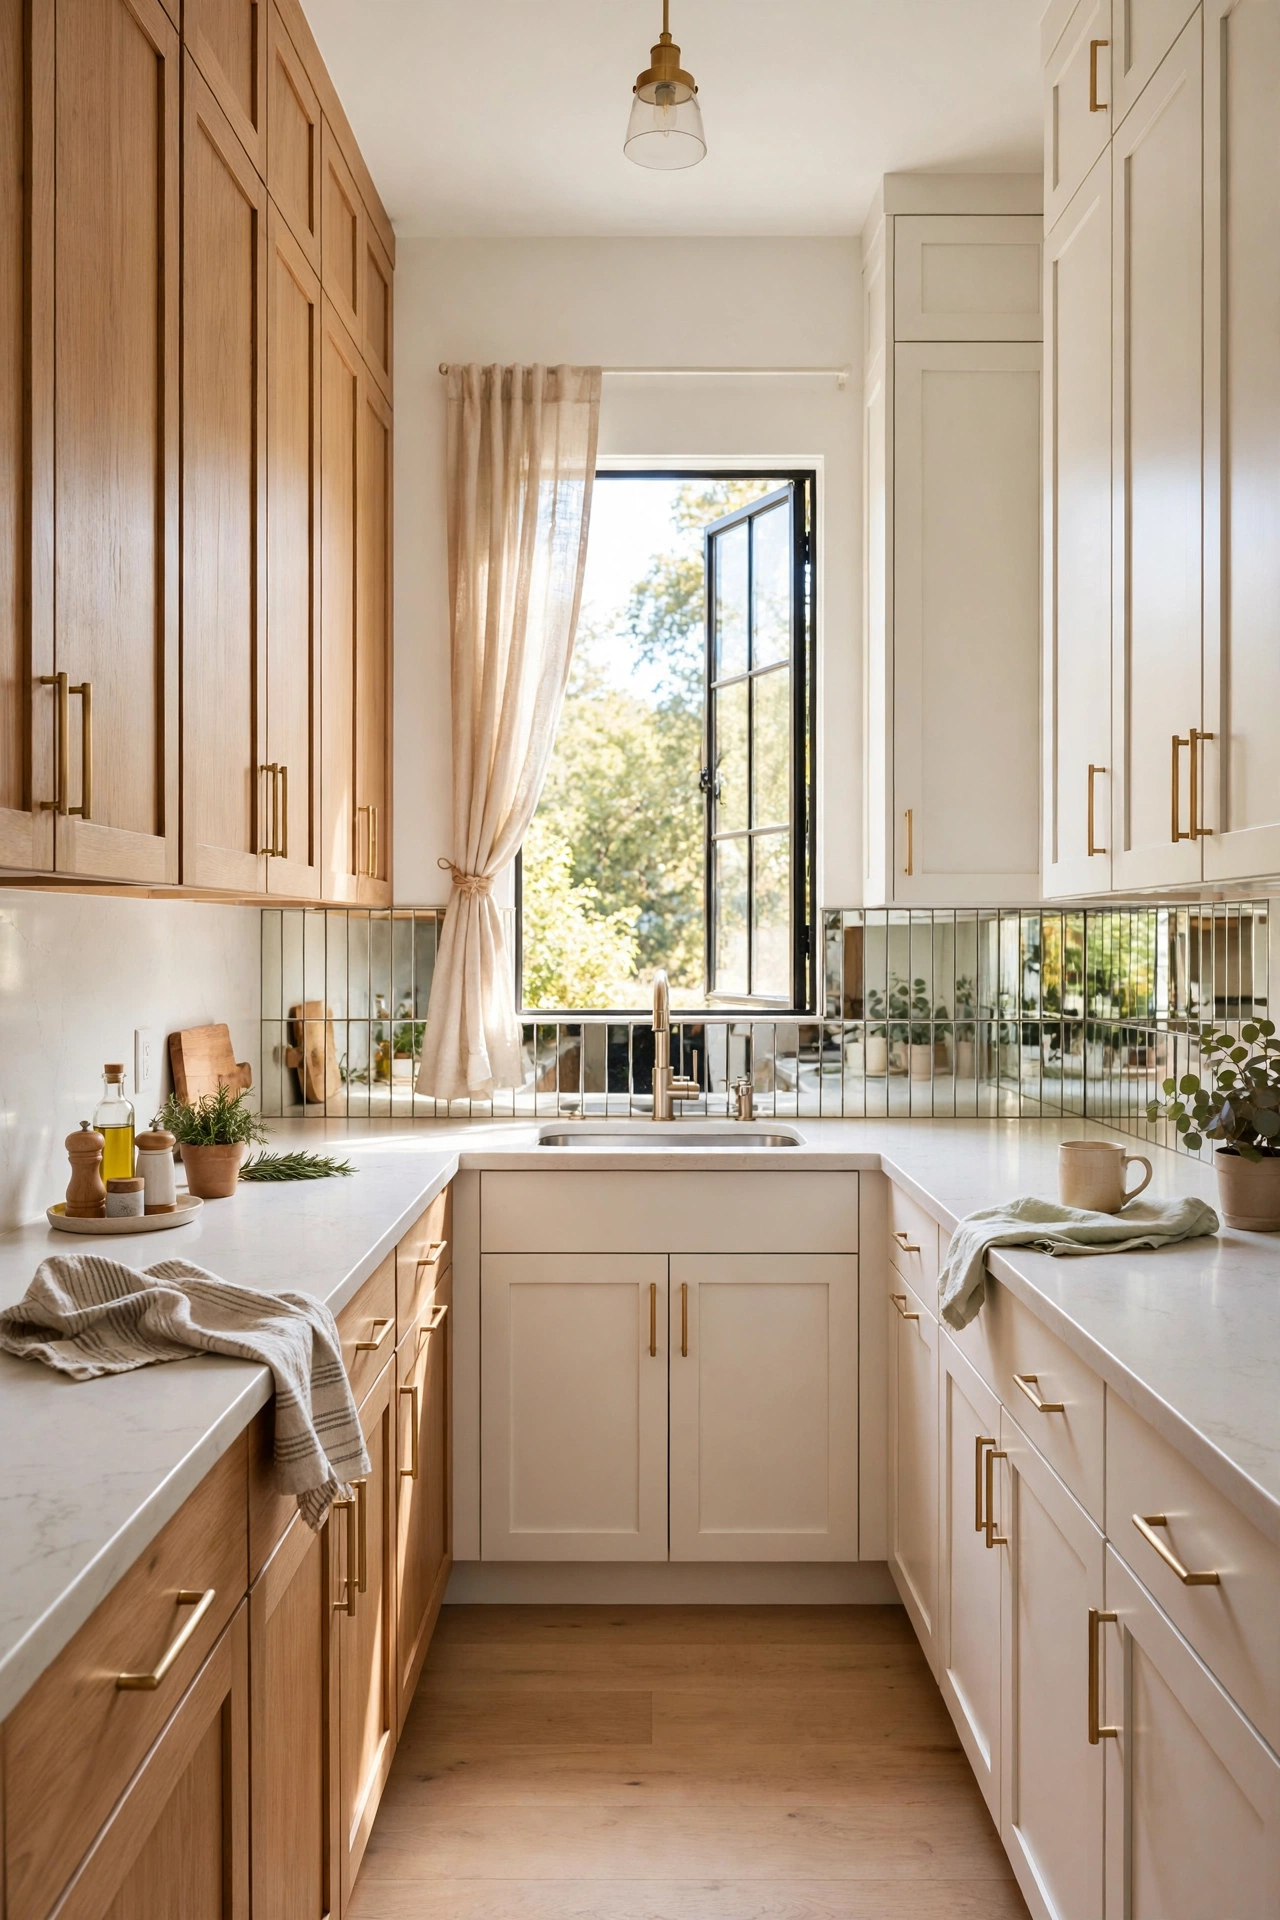
A strip of mirror tiles as a backsplash behind the cooker or sink bounces light around the kitchen and makes it feel larger. Use them as an accent strip rather than a full wall — a little goes a long way. I added a mirrored strip in my galley kitchen and the narrow space felt wider immediately. Choose tiles rated for heat and moisture if they’re going near the hob, and seal the grout lines well.
Cost: ~$12 · Time: 2 hours
18. Mirror Picture Frame Inserts
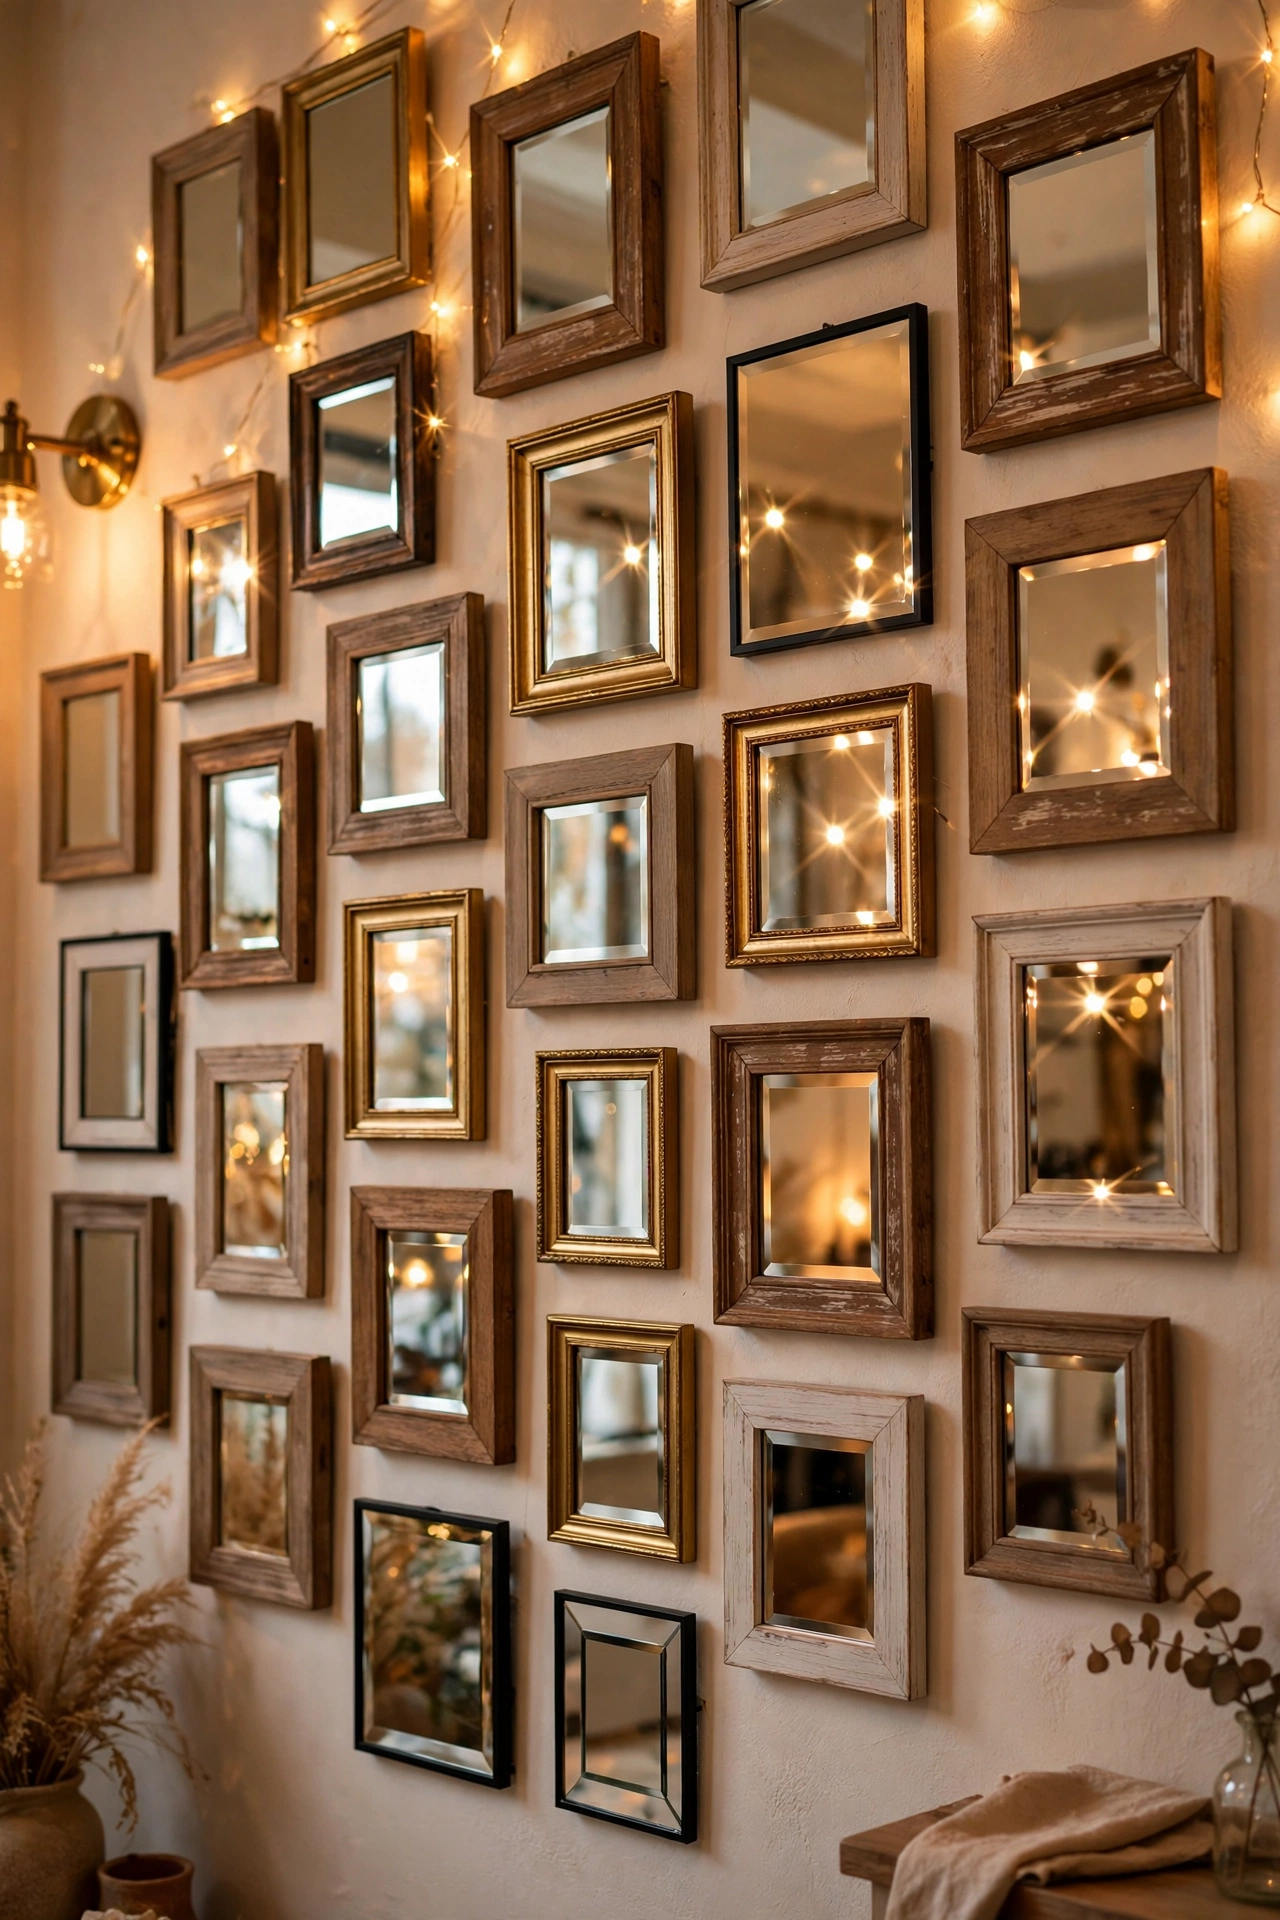
Pop small mirror tiles into photo frames instead of pictures for a gallery wall that reflects light from every angle. Mix frame styles but keep the mirrors the same size for cohesion. I made a set of six for a dark corner and the wall came alive. This is perfect for renters — it’s just frames on nails, completely reversible, but the effect is far more interesting than prints. Vary the frame finishes slightly for a collected, curated feel.
Cost: ~$8 · Time: 30 minutes
Clever Placements
19. Entryway Mirror for Last Checks
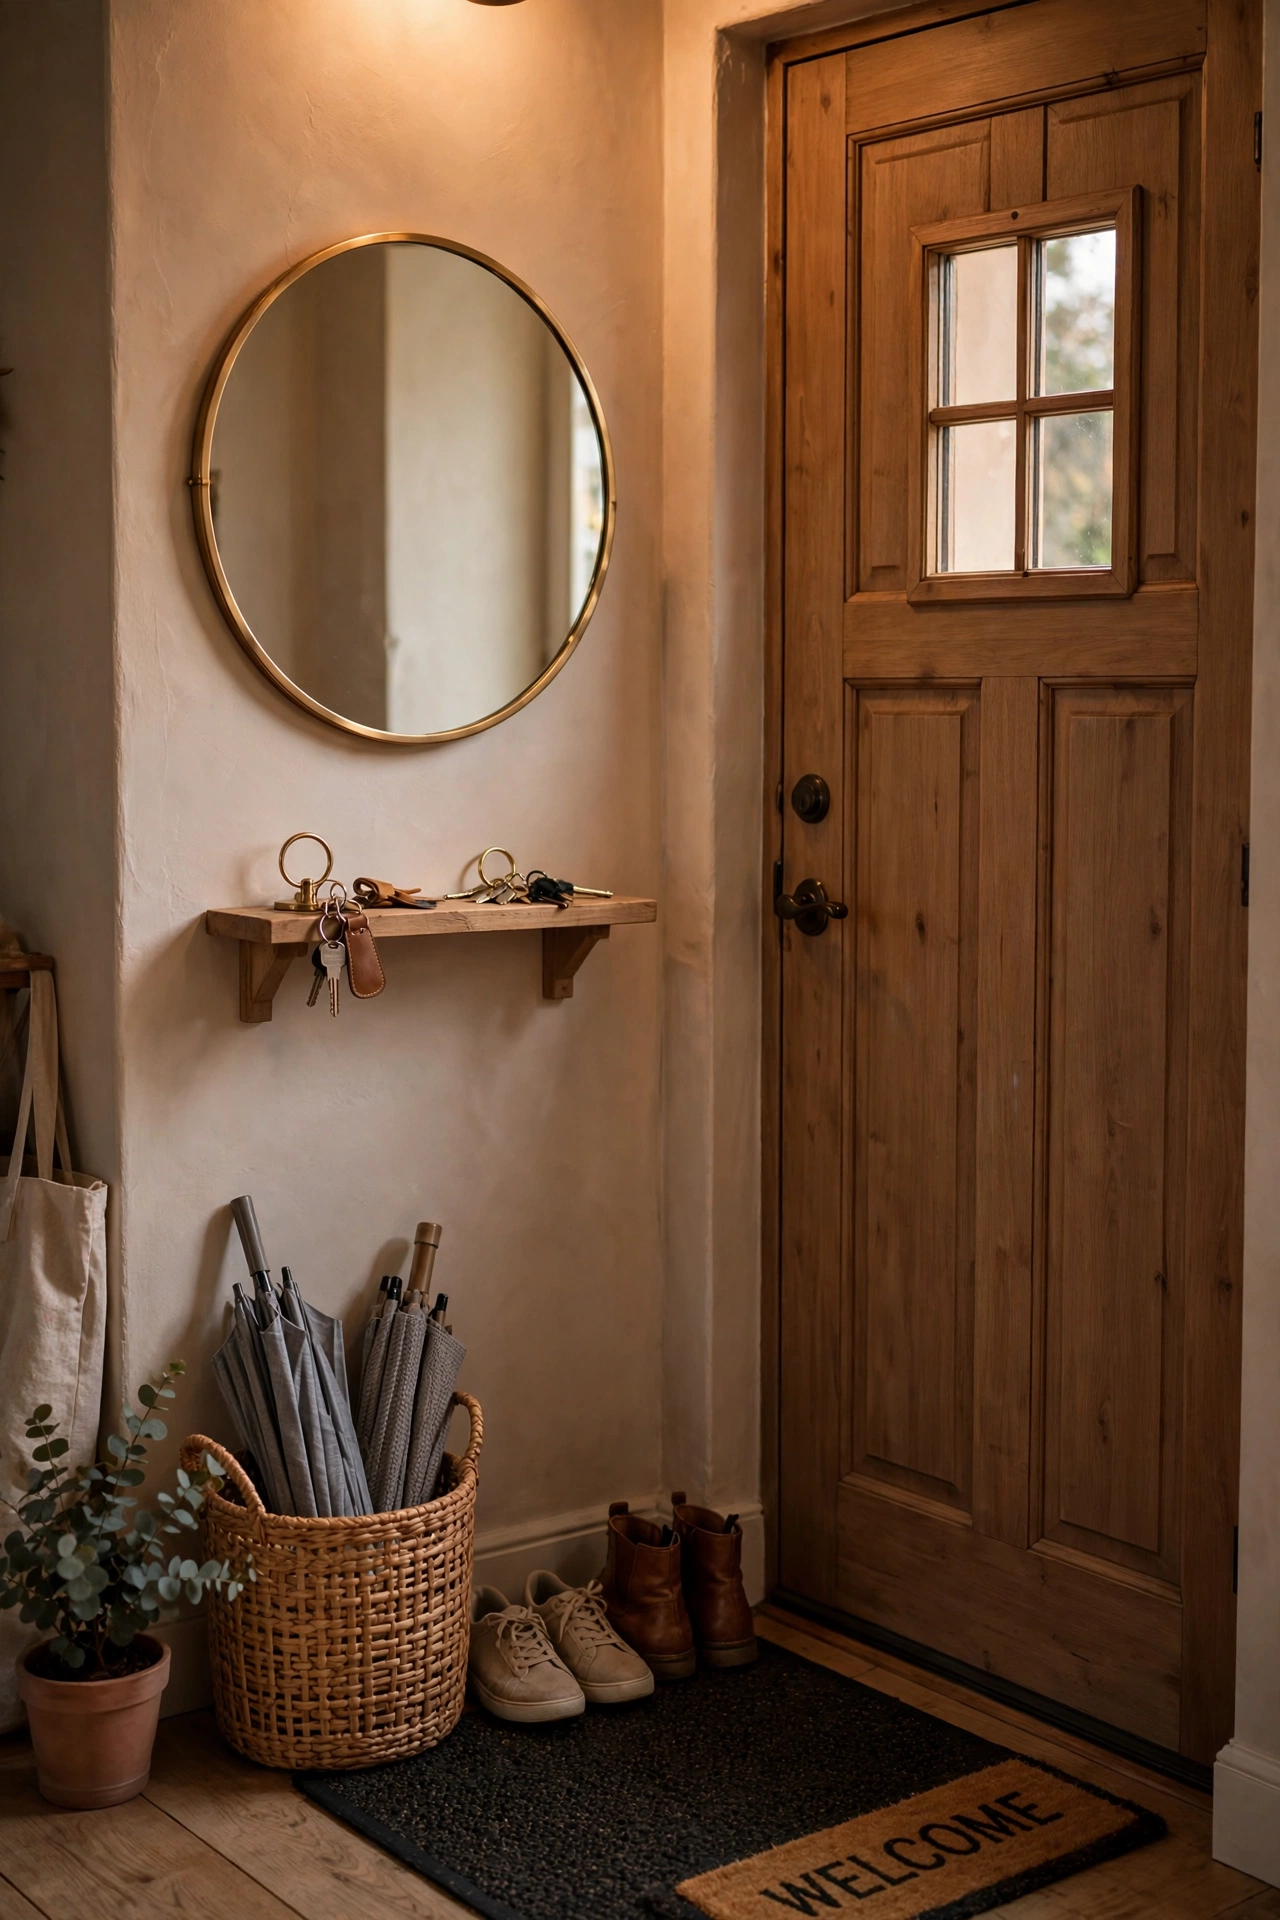
A mirror by the front door is practical — last outfit check — and it makes a small entry feel larger. Hang it at a height that works standing up, beside the door rather than on it so it doesn’t rattle. I added a round one with a small shelf beneath for keys, and the entry finally functions properly. In a narrow hallway, a mirror on the long wall visually doubles the width.
Cost: ~$6 · Time: 15 minutes
20. Mirror Behind Houseplants
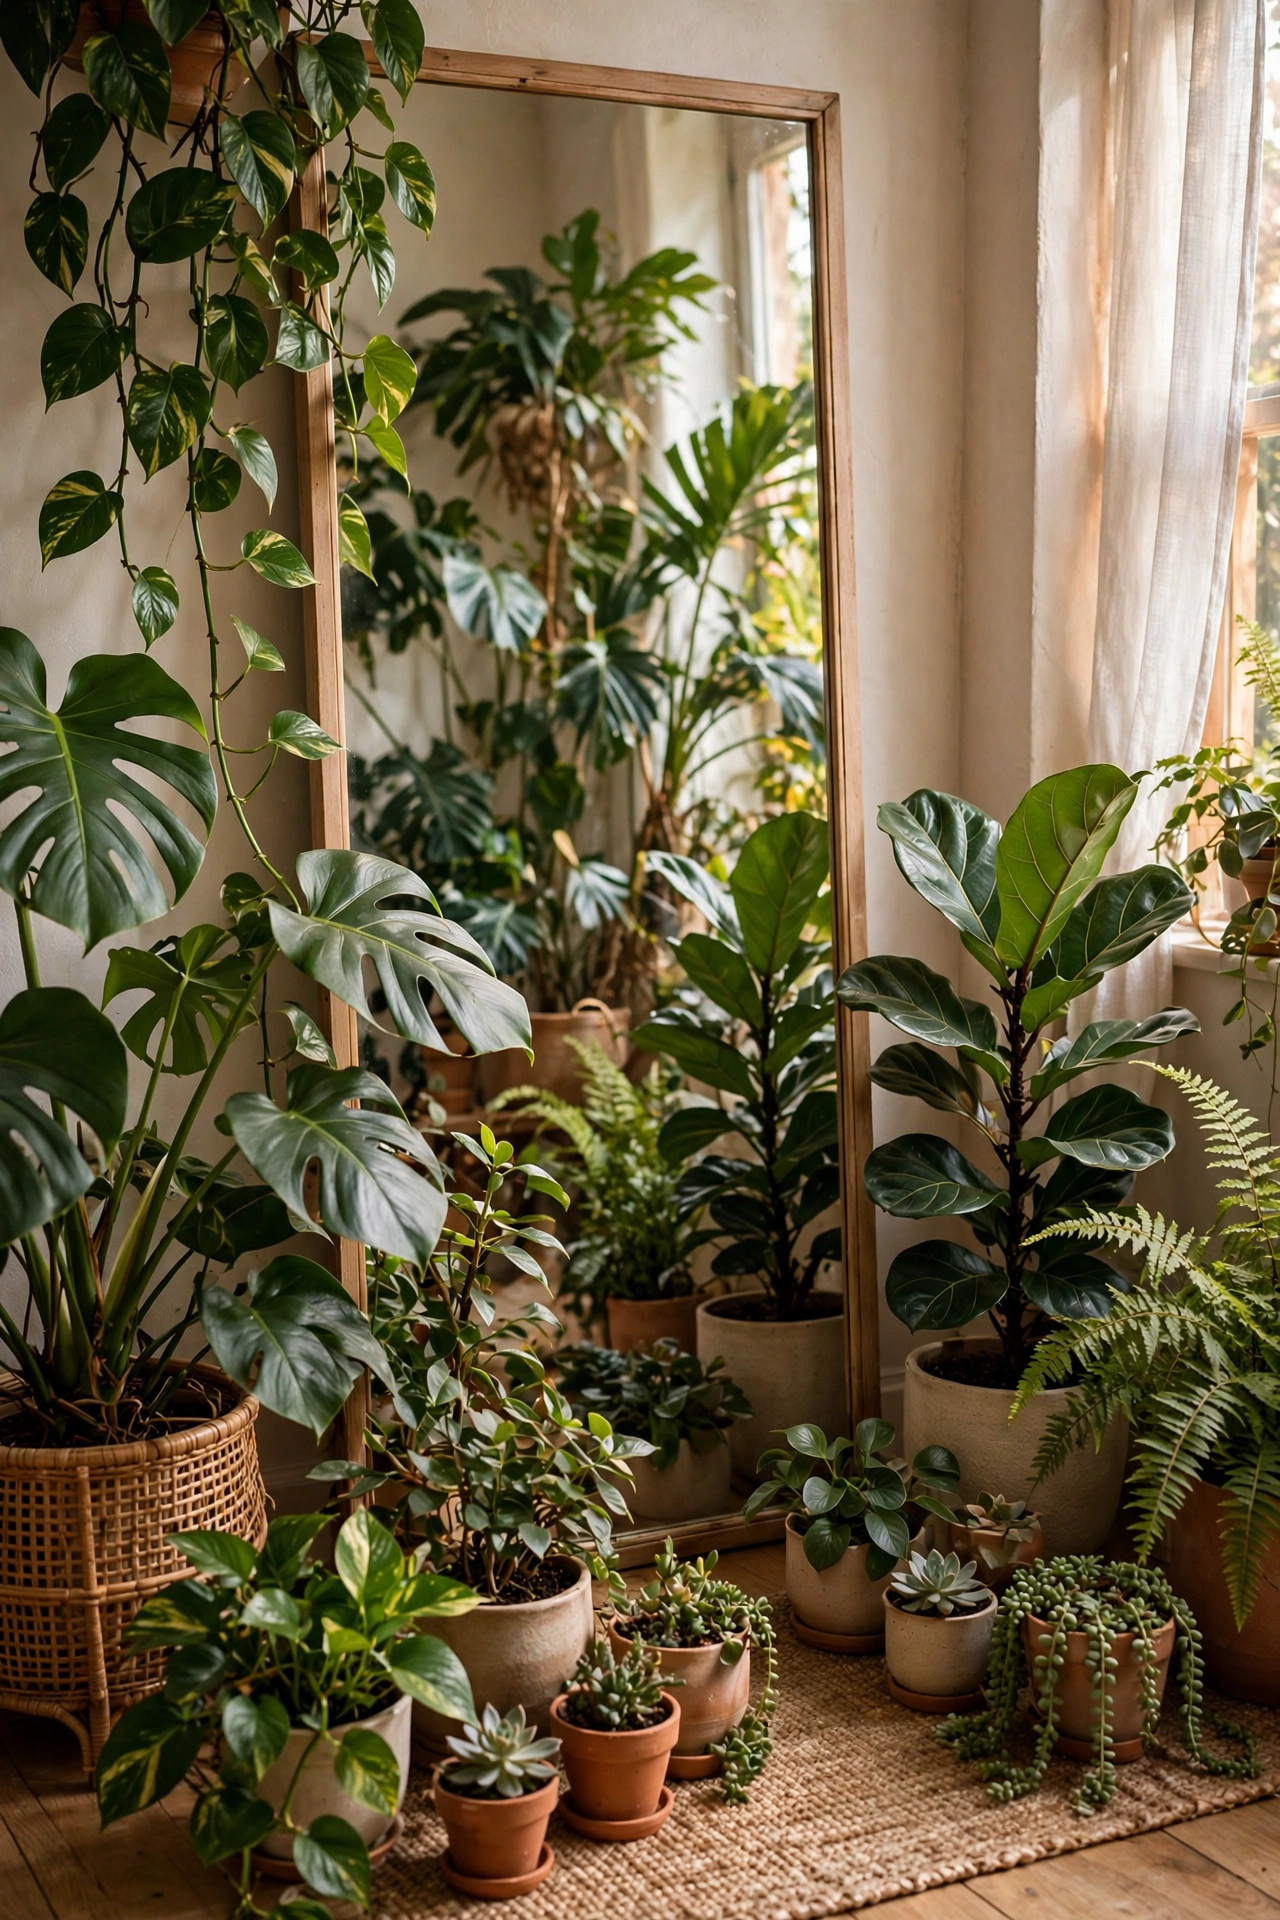
Place a mirror behind a group of houseplants and the greenery looks twice as lush — the reflection fills in every gap. This is the trick plant shops use, and it works at home too. I put a tall mirror behind my plant corner and the jungle effect doubled overnight. The mirror also bounces light back onto the plants, which they genuinely appreciate in a dim corner. Wipe the glass monthly — plant misting leaves water spots.
Cost: ~$8 · Time: 10 minutes
21. Mirror with Garland Draped Over
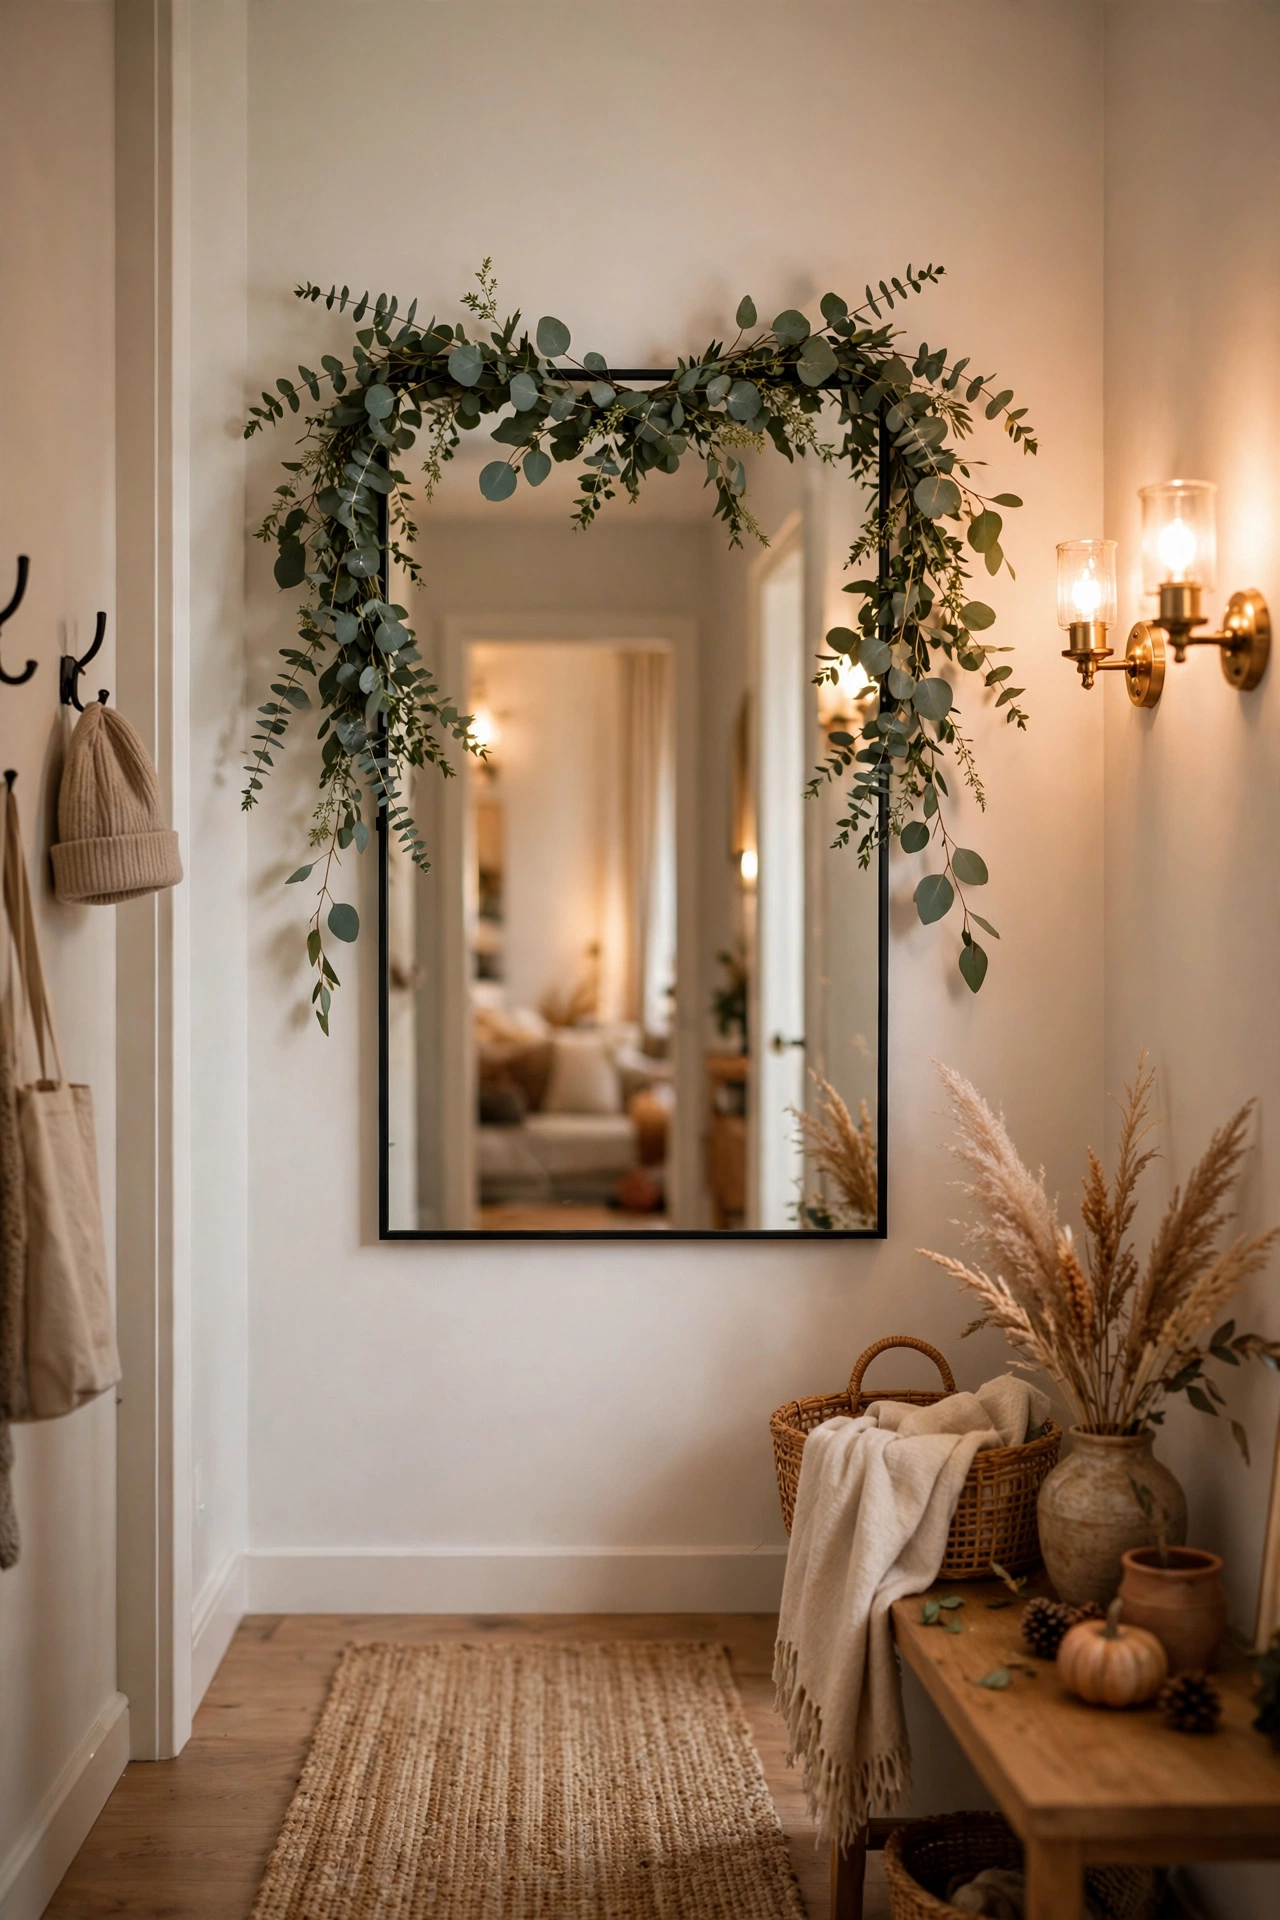
Drape a garland over the top of a wall mirror for instant seasonal styling — eucalyptus in spring, dried orange slices at Christmas. The greenery reflected in the glass looks twice as abundant. I do this on my hallway mirror every season and it’s the easiest refresh in the house. Use a lightweight garland so it doesn’t pull the mirror’s hanging hardware, and check it hasn’t slipped weekly. Swap the garland with the seasons for a year-round feature. (see also: 19-dollar-tree-garland-ideas-on-a-budget)
Cost: ~$4 · Time: 10 minutes
22. Paired Mirrors in the Hallway
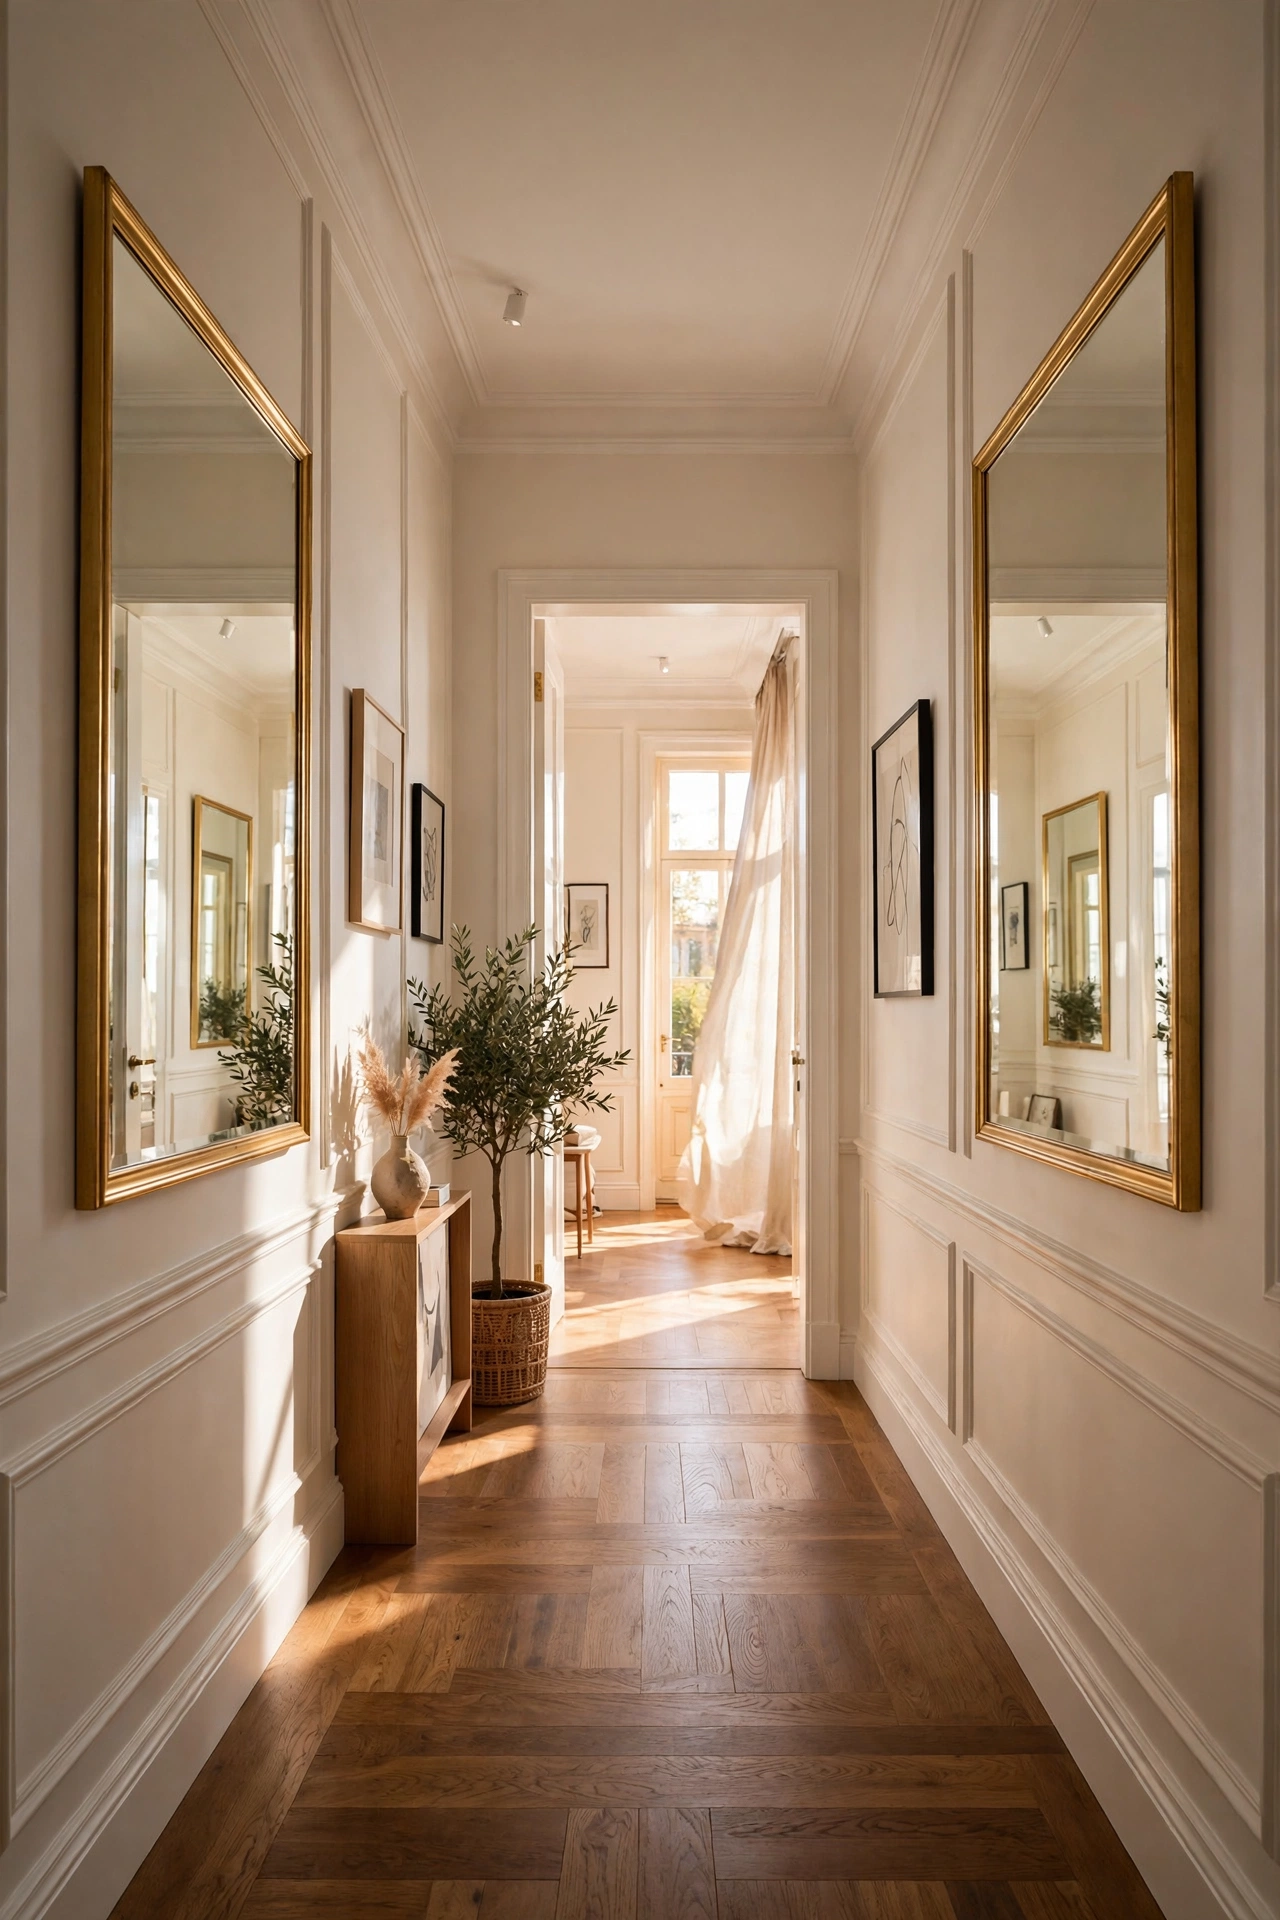
Hang two identical mirrors opposite each other in a hallway and light bounces between them like a gallery. The symmetry looks deliberate and expensive. I did this in my windowless hall and it’s the brightest-feeling part of the house now, which still surprises me. Keep the frames identical — mismatched pairs in this arrangement look like a mistake rather than a choice. Hang them at the same height for a crisp, gallery-like finish.
Cost: ~$12 for two · Time: 30 minutes
23. Bathroom Mirror Upgrade
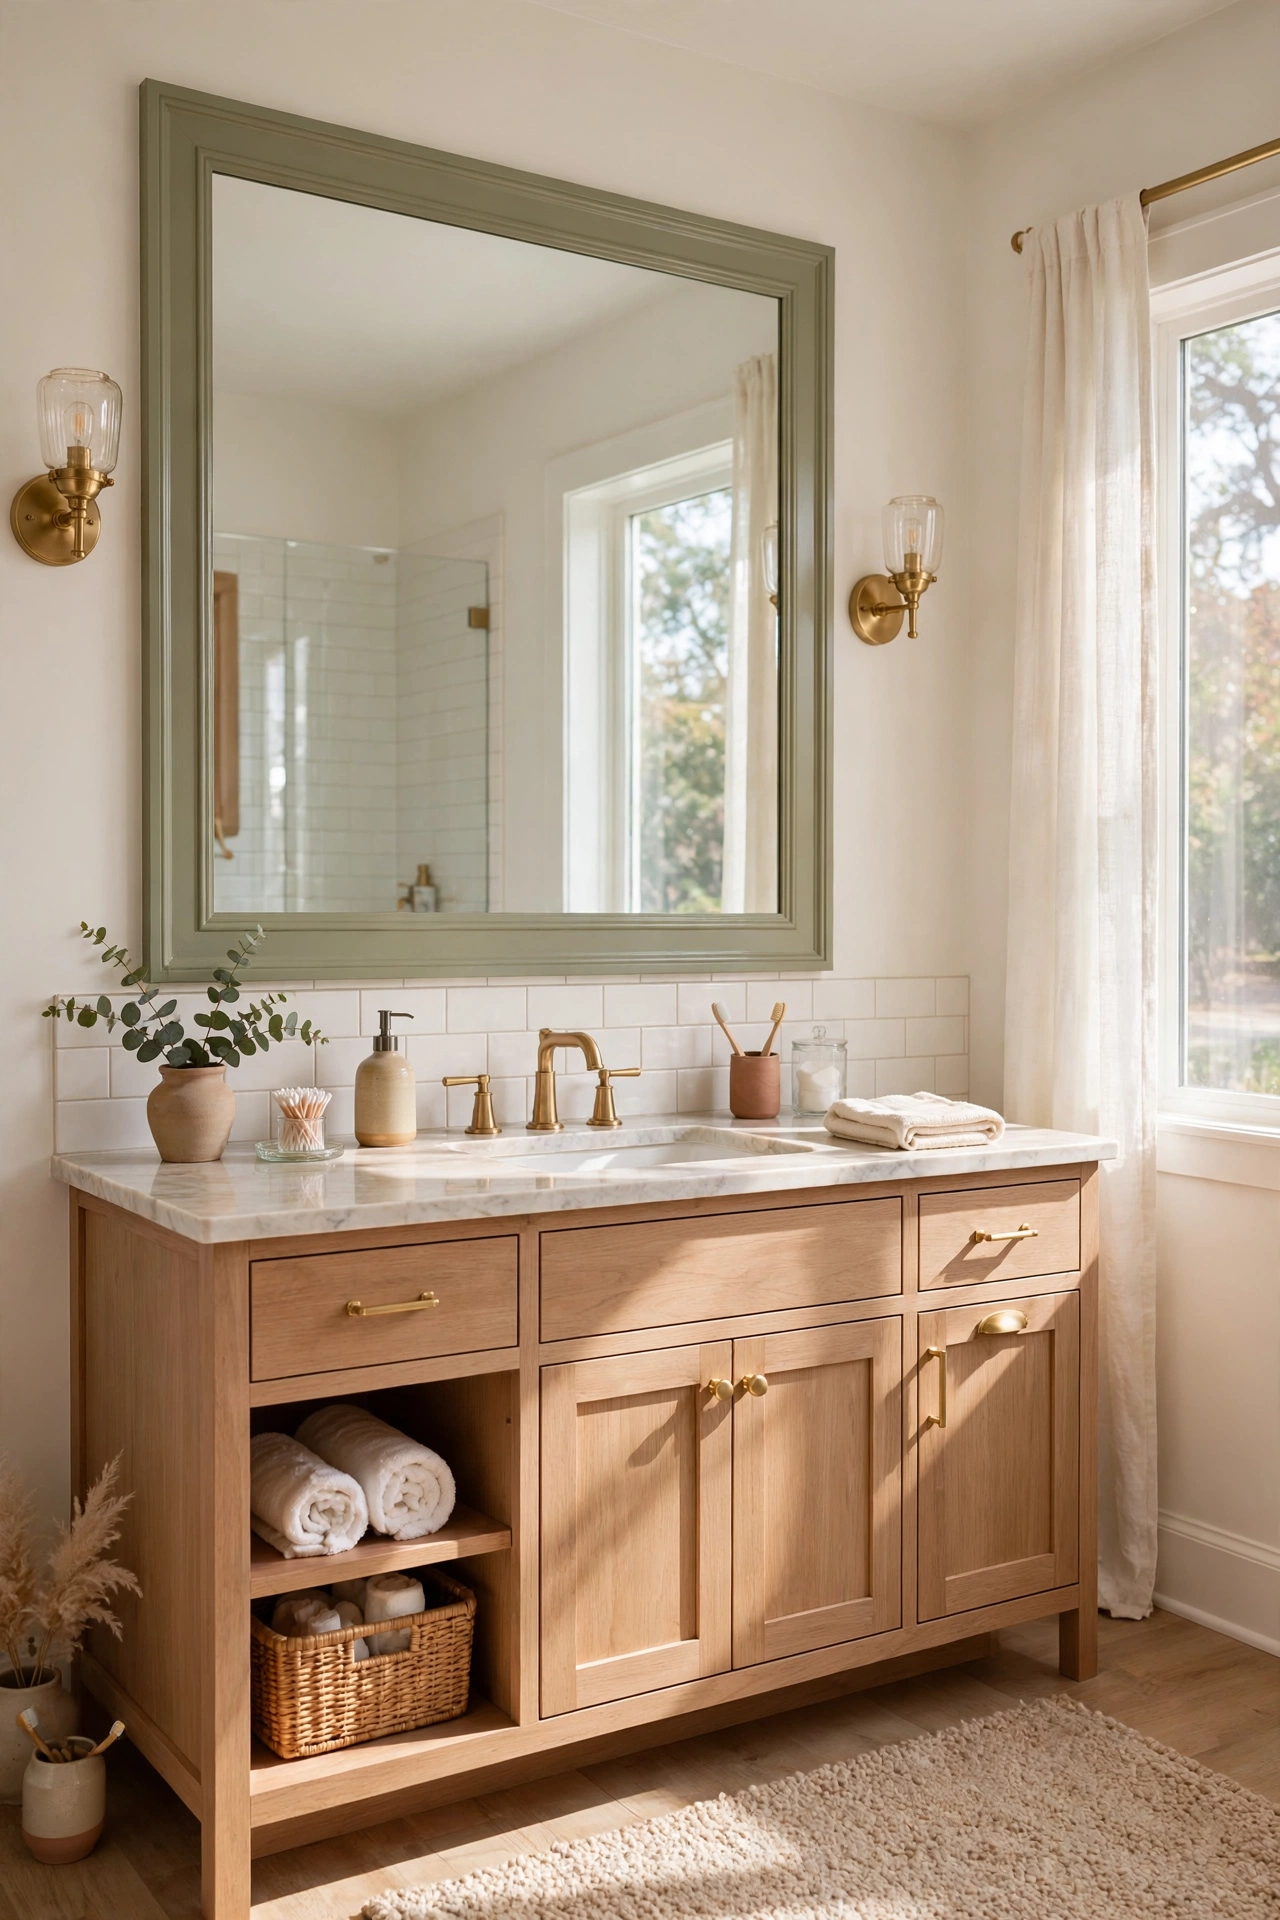
Frame a plain bathroom mirror with trim or tile edging and the whole vanity looks renovated. Glue thin molding around the edges and paint it to match the room. I framed our flat builder-grade mirror and the bathroom looked twice the price. Use moisture-resistant adhesive — bathroom humidity defeats ordinary glue within months, a lesson I learned when my first frame slid off at 6am. Paint the frame to match your fittings for a cohesive look.
Cost: ~$8 · Time: 1 hour
24. Closet Door Mirrors
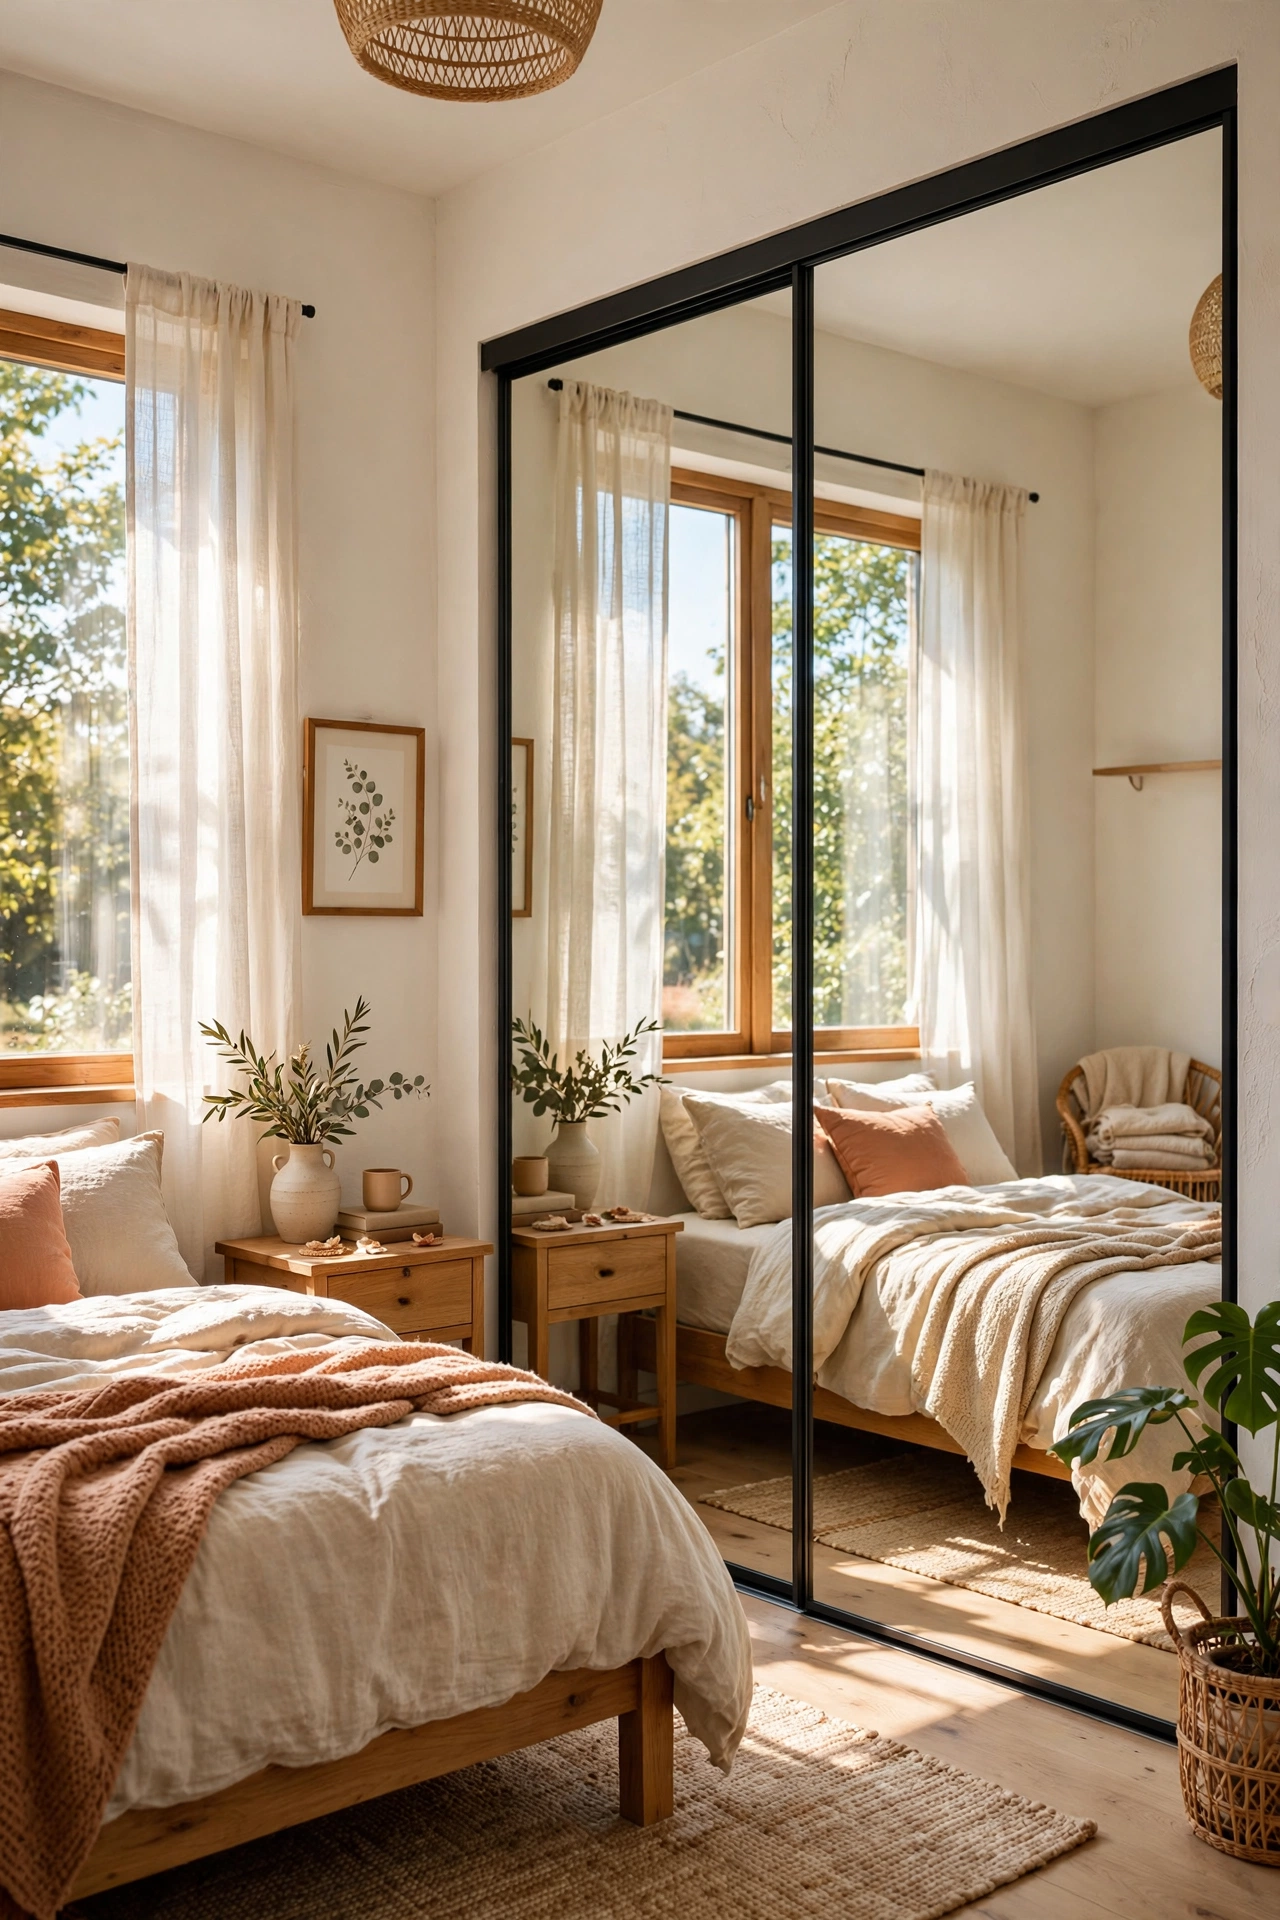
Full-length mirror panels on sliding closet doors turn the biggest surface in the bedroom into a dressing mirror and make the room feel enormous. Mount with proper mirror adhesive and check the doors still slide freely. I did this in a tiny box room and the difference was dramatic — the room felt twice the size. This is the single best mirror trick for small bedrooms, full stop. Test the doors’ sliding action before the adhesive fully cures, while adjustments are still possible.
Cost: ~$15 · Time: 1 hour
25. Garden Mirror for Outdoor Depth
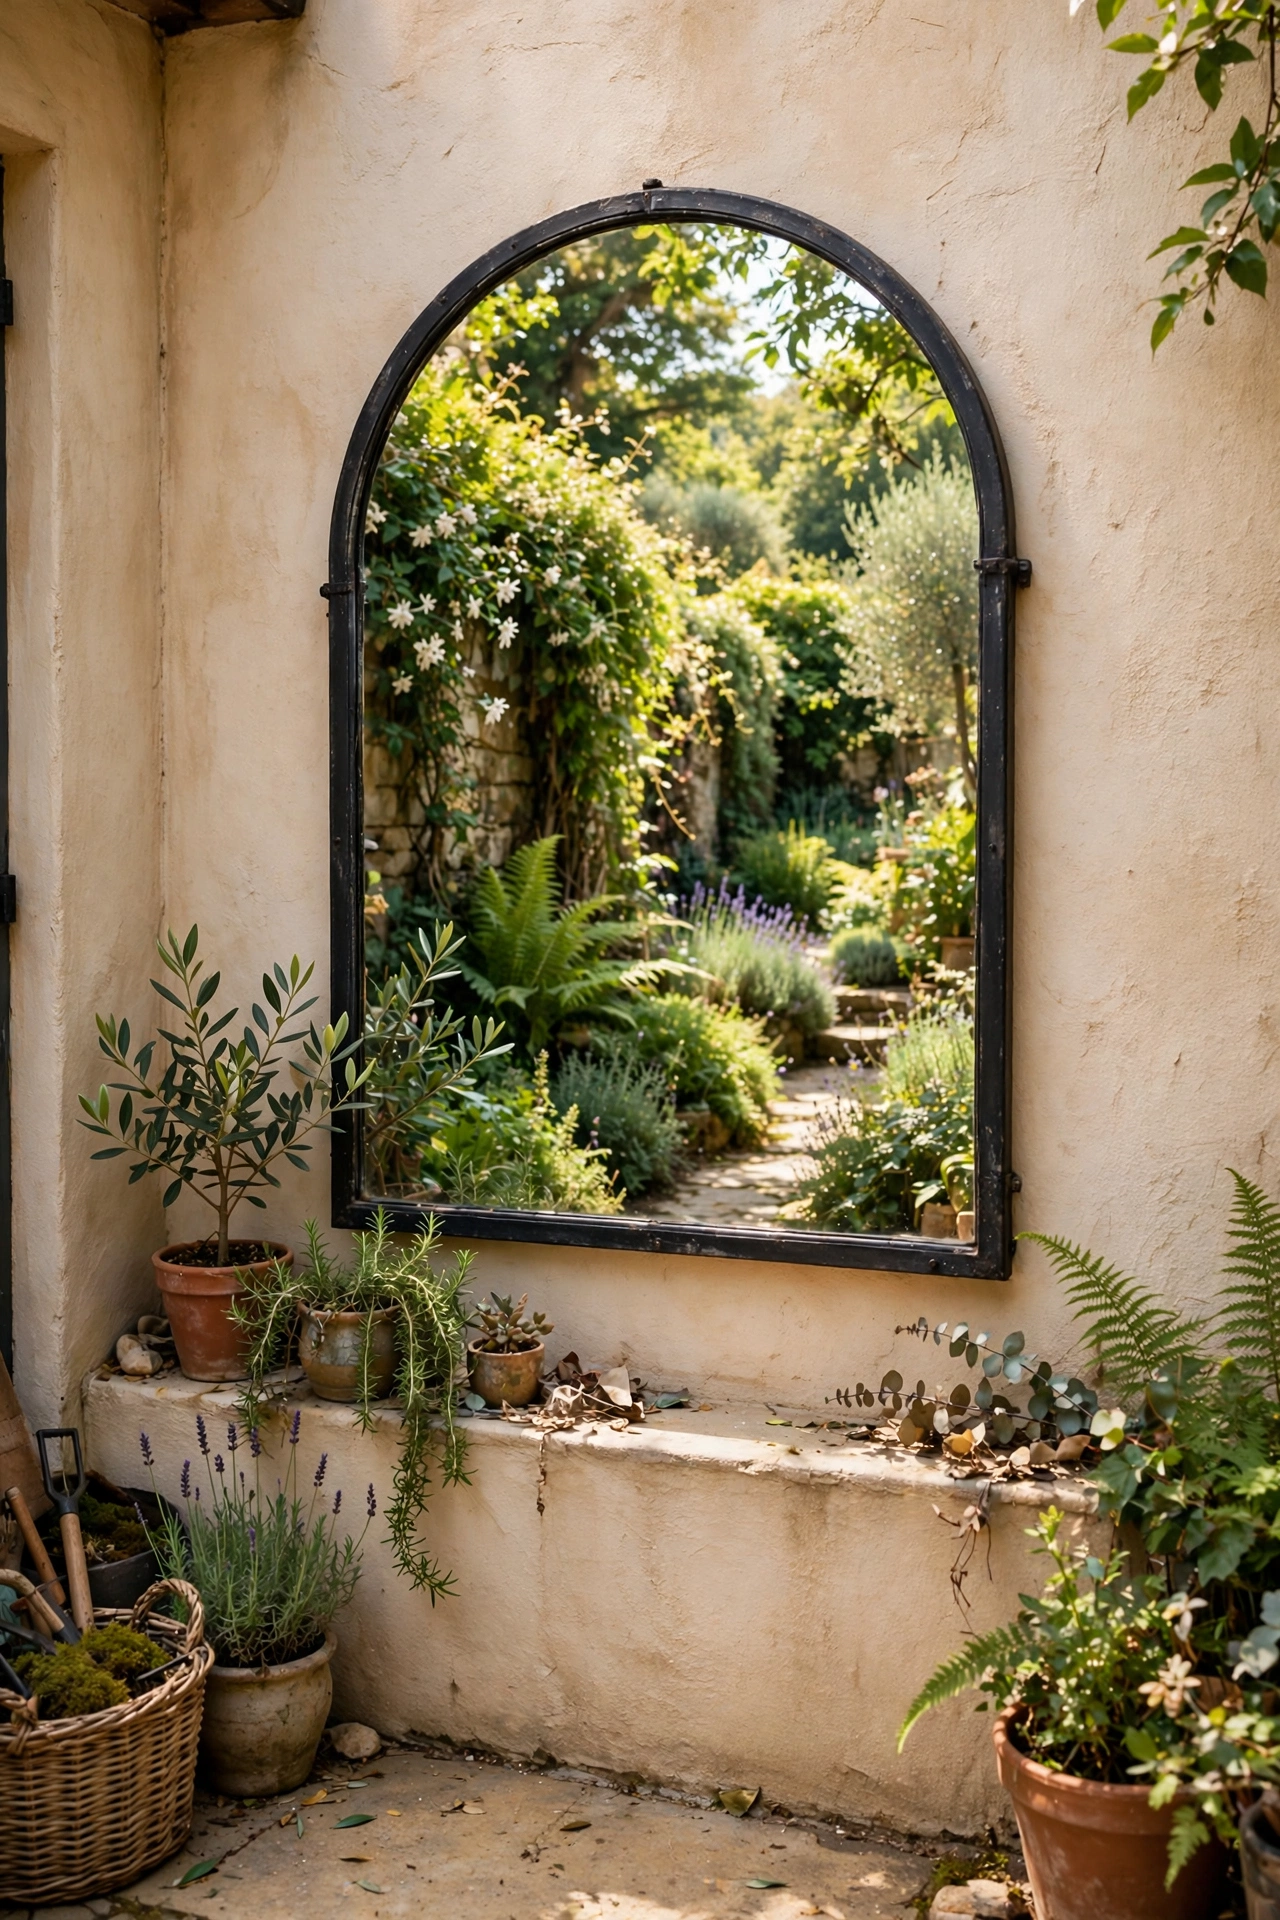
A mirror on a garden wall or fence creates the illusion of depth and reflects the planting back at you. Choose a weatherproof frame — metal or sealed wood — and angle it to reflect greenery, not the neighbour’s bins. I put an arched mirror on my small patio wall and the space feels twice as deep. Fix it very securely; garden mirrors catch the wind like sails, and mine needed reinforcing after the first storm.
Cost: ~$10 · Time: 30 minutes
Save this idea for later: start with one mirror opposite your brightest window — that single placement does more for a room than any other trick on this list.
