25 Dollar Store DIYs That Don’t Look Cheap
25 Dollar Store DIYs That Don’t Look Cheap
People assume dollar store diy decor has to look like a dollar store, but the secret is editing: one material, one colour, repeated with confidence. I decorated my entire hallway console with dollar store finds and my sister asked which boutique I shopped at. These 25 projects all share the same trick, cheap supplies plus a designer eye.
Vase and Centrepiece DIYs
1. Spray-Painted Glass Vase Set
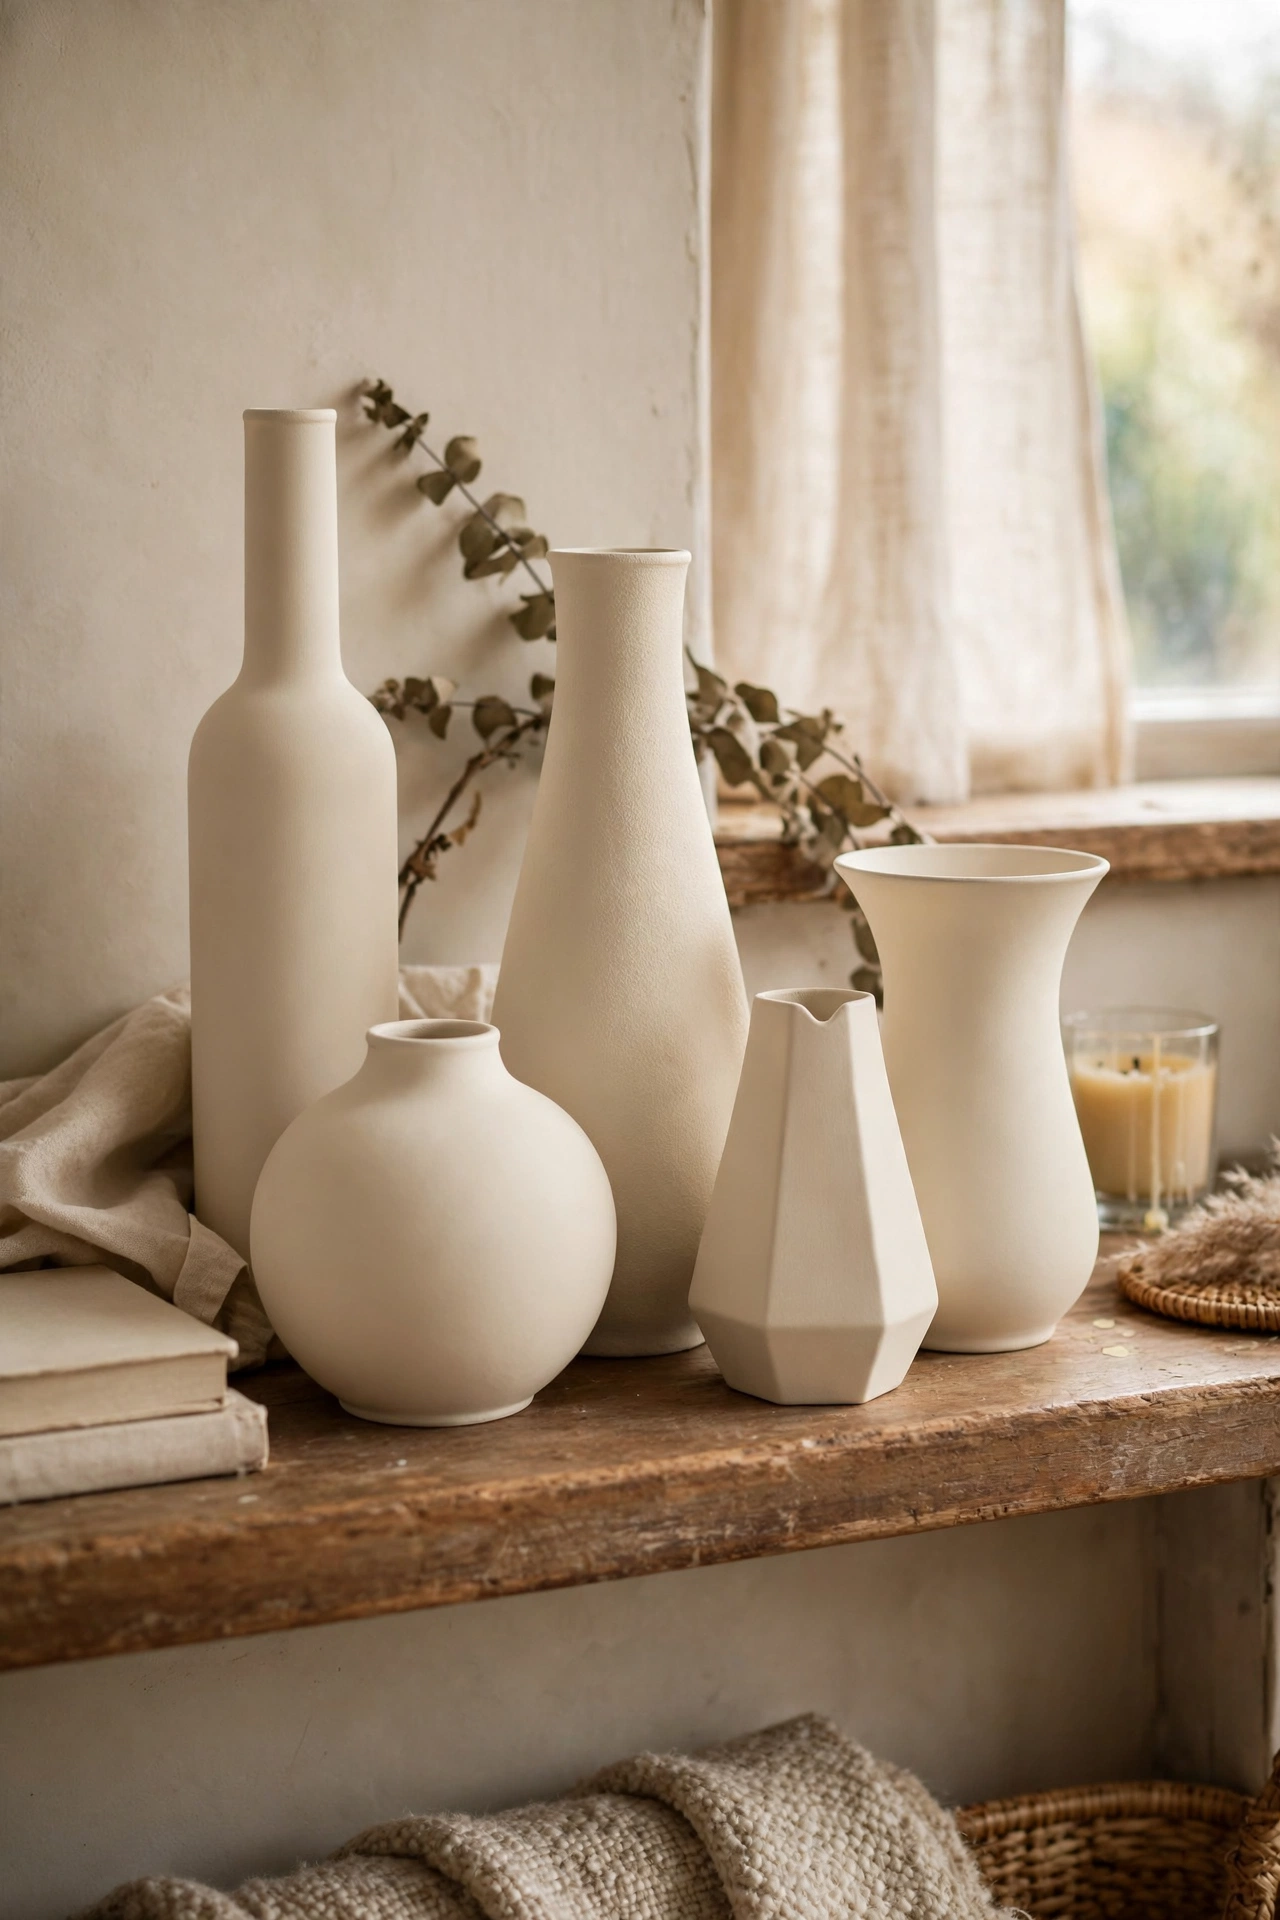
Plain glass vases sprayed in one matte colour look like a curated set. I bought five different-shaped glass vases, sprayed them all matte cream, and grouped them on my mantel. The matching finish is what makes them look expensive. Spray in light coats and rotate the vase as you go. My first one had drips because I sprayed too close. Ten inches away, steady passes, and they look like stoneware. Leave two empty and fill the rest with dried stems.
Cost: ~$6-9 | Time: 1 hour plus drying
2. Stone-Look Textured Vase Dupe
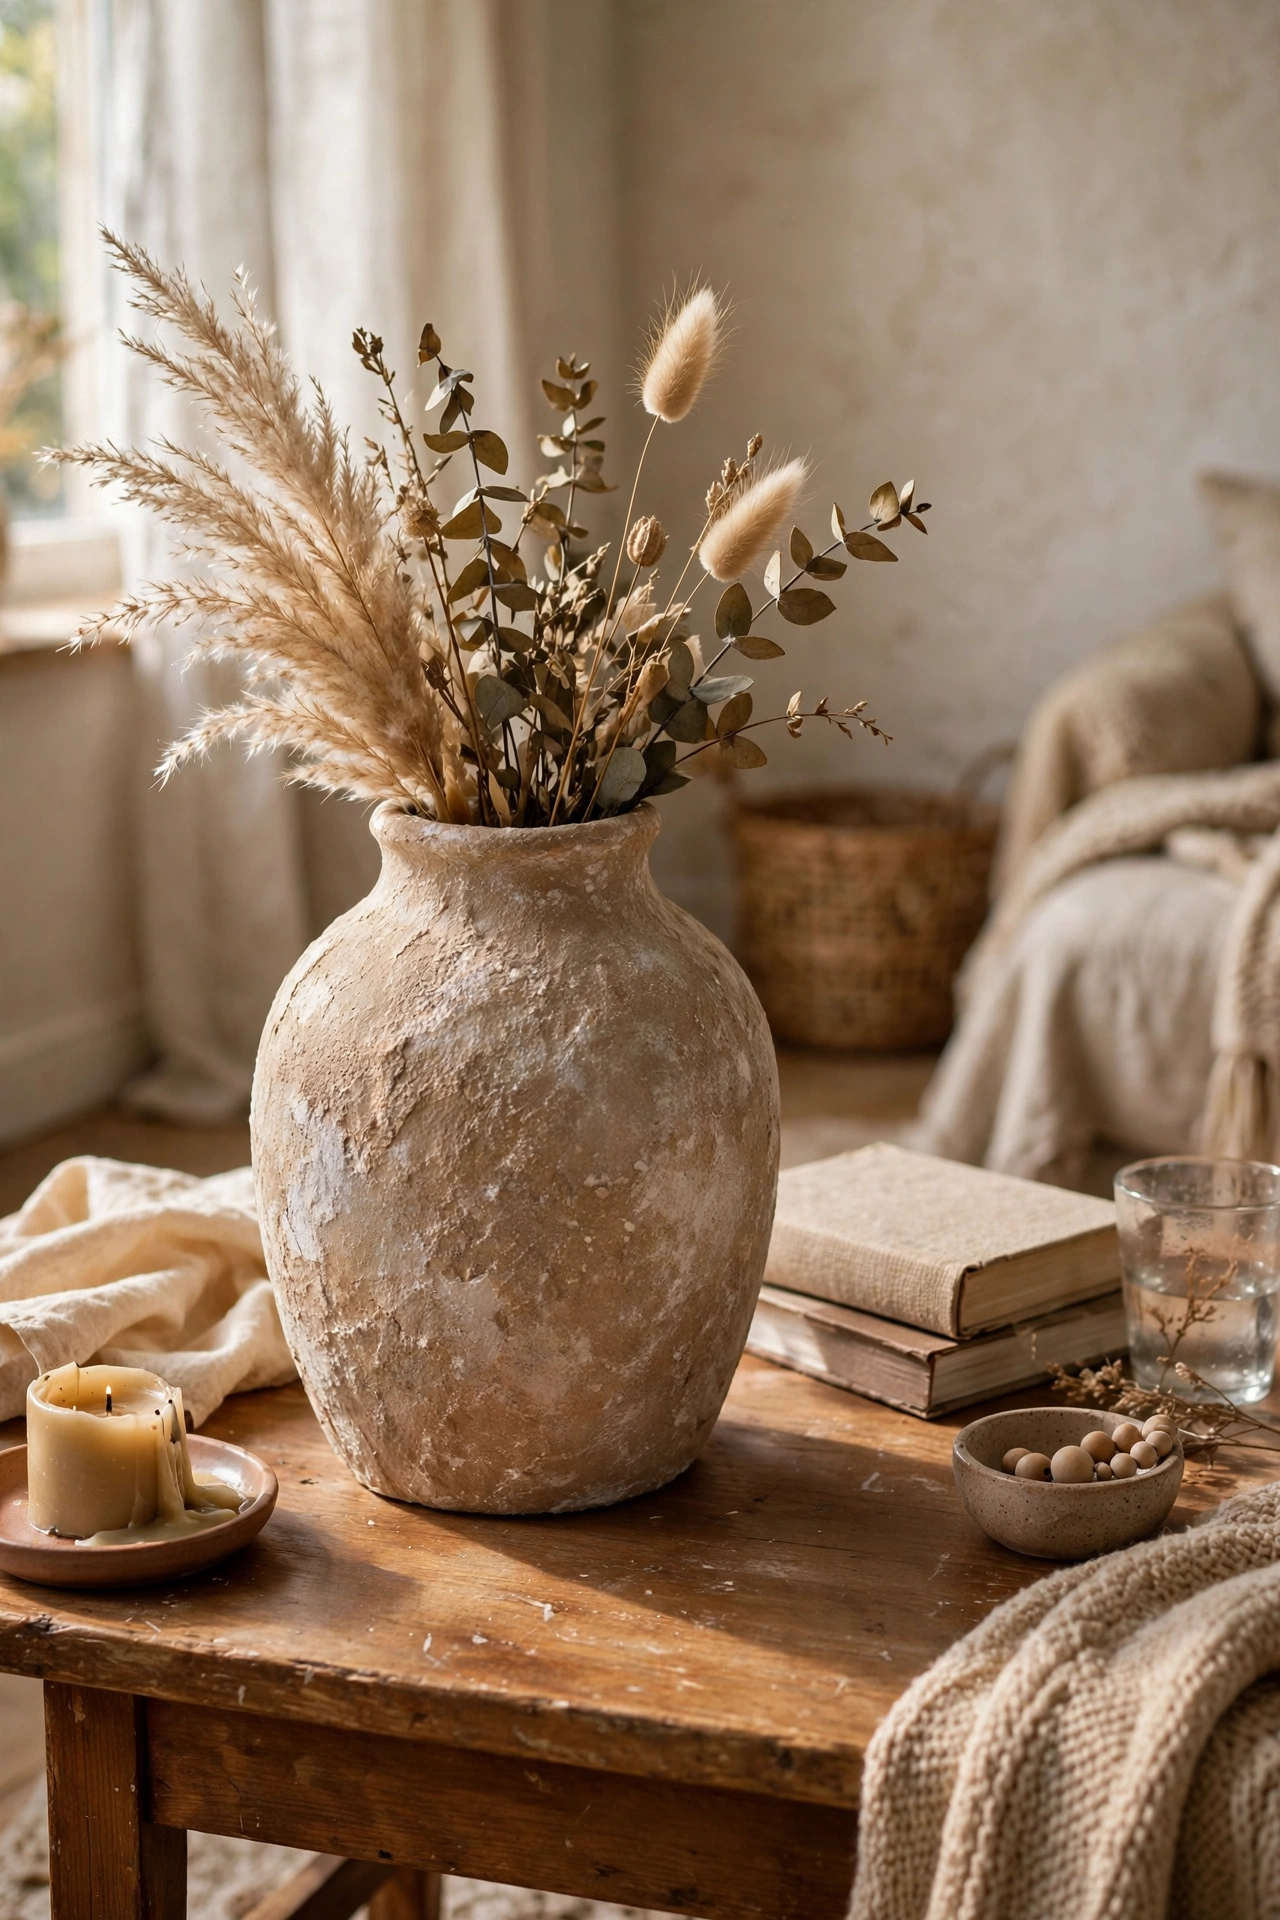
Mixing baking soda into paint creates a stone-like texture on any vase. I stirred two spoonfuls of baking soda into cream craft paint and brushed it onto a glass vase in dabbing strokes. The result looks remarkably like handmade ceramic. Two coats give the best texture. I use mine as a standalone sculptural piece. The trick is dabbing, not brushing, so the texture stays rough. It fooled my mother-in-law completely. I did this on a whim and it turned out to be a keeper.
Cost: ~$3-5 | Time: 45 minutes plus drying
3. Eucalyptus Stem Centrepiece
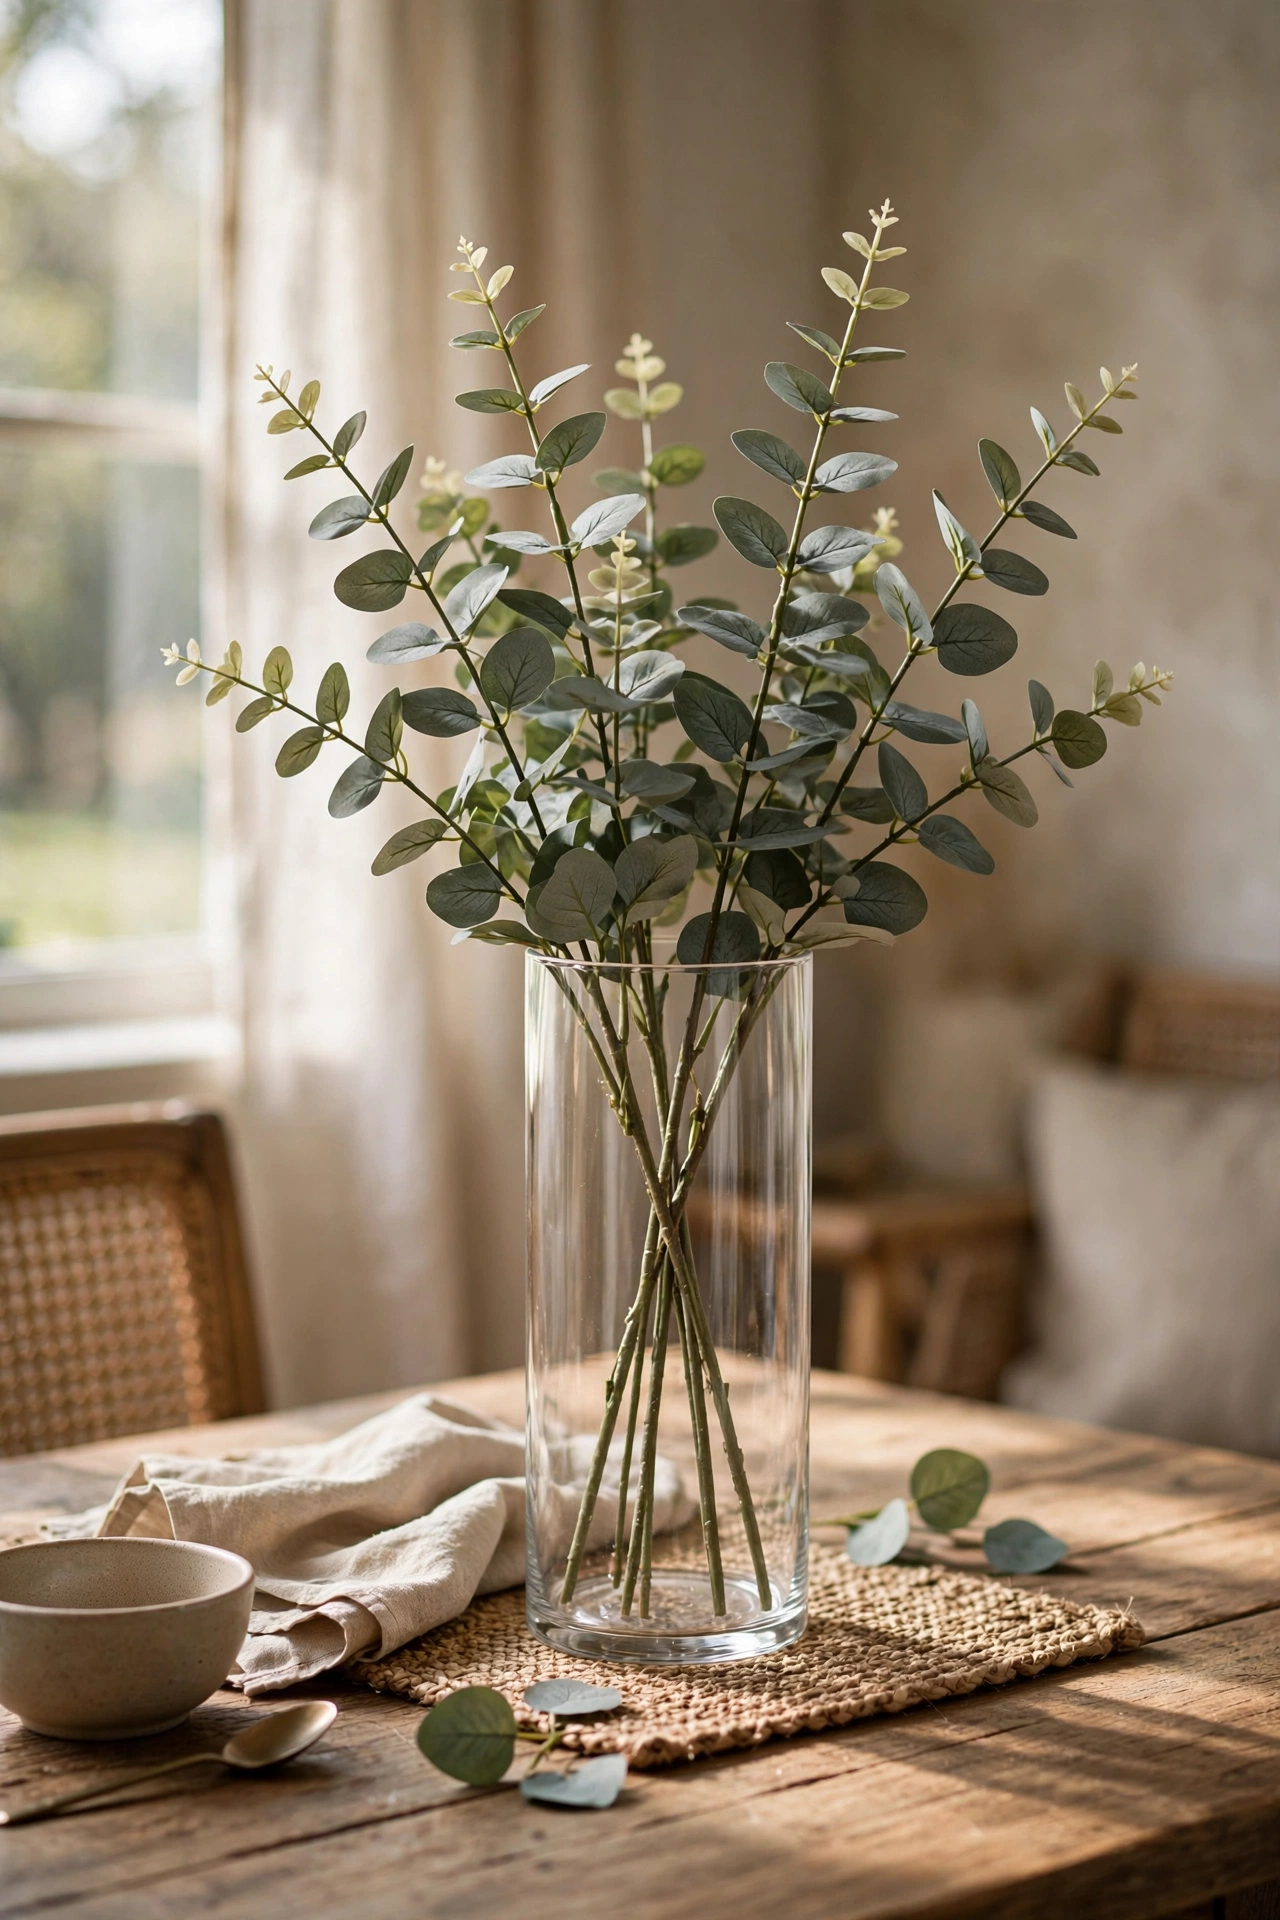
A bunch of faux eucalyptus in a tall vase is the easiest centrepiece that exists. I bought three stems and a tall glass cylinder, trimmed the stems at different heights, and fanned them out. The stems were $1 each and the whole thing looks fresh for months. Bend the wire stems slightly for a natural shape. Real eucalyptus dries out and drops leaves; the faux kind stays perfect. I refresh mine by shaking off the dust monthly. It blends in so well that visitors think it was always there.
Cost: ~$4-6 | Time: 15 minutes
4. Tiered Candle Centrepiece Tray
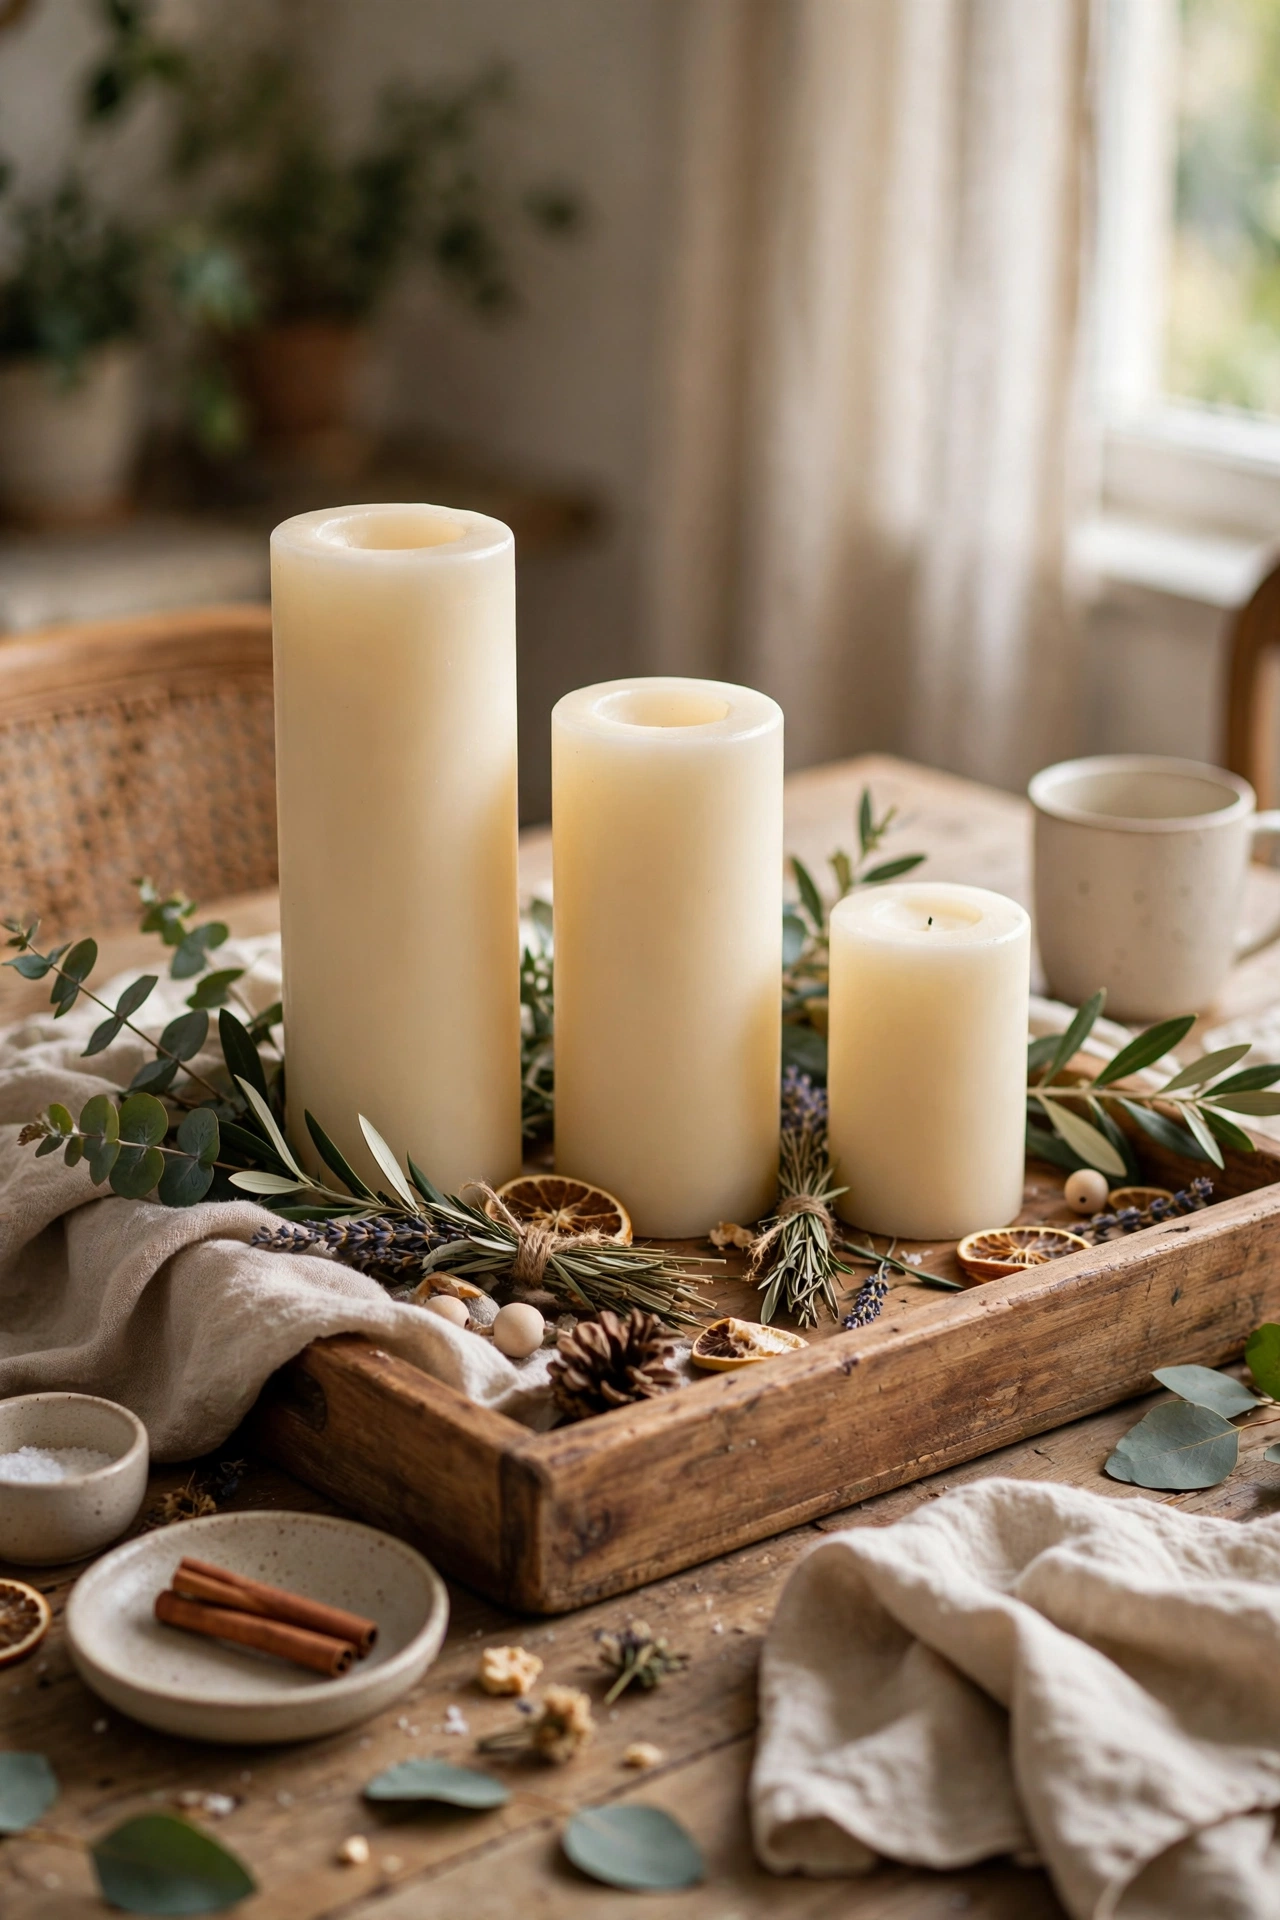
A round tray with candles at three heights makes a dining table feel styled. I put a large pillar candle, a medium one, and a small votive on a wooden tray, all in cream. The single colour is what keeps it classy. Add a sprig of greenery between the candles. My dining table looked bare for years; this tray fixed it in ten minutes. Keep the tallest candle in the centre for balance. The upkeep is basically zero, which suits me perfectly.
Cost: ~$5-8 | Time: 15 minutes
5. Bud Vase Trio on a Wood Slice
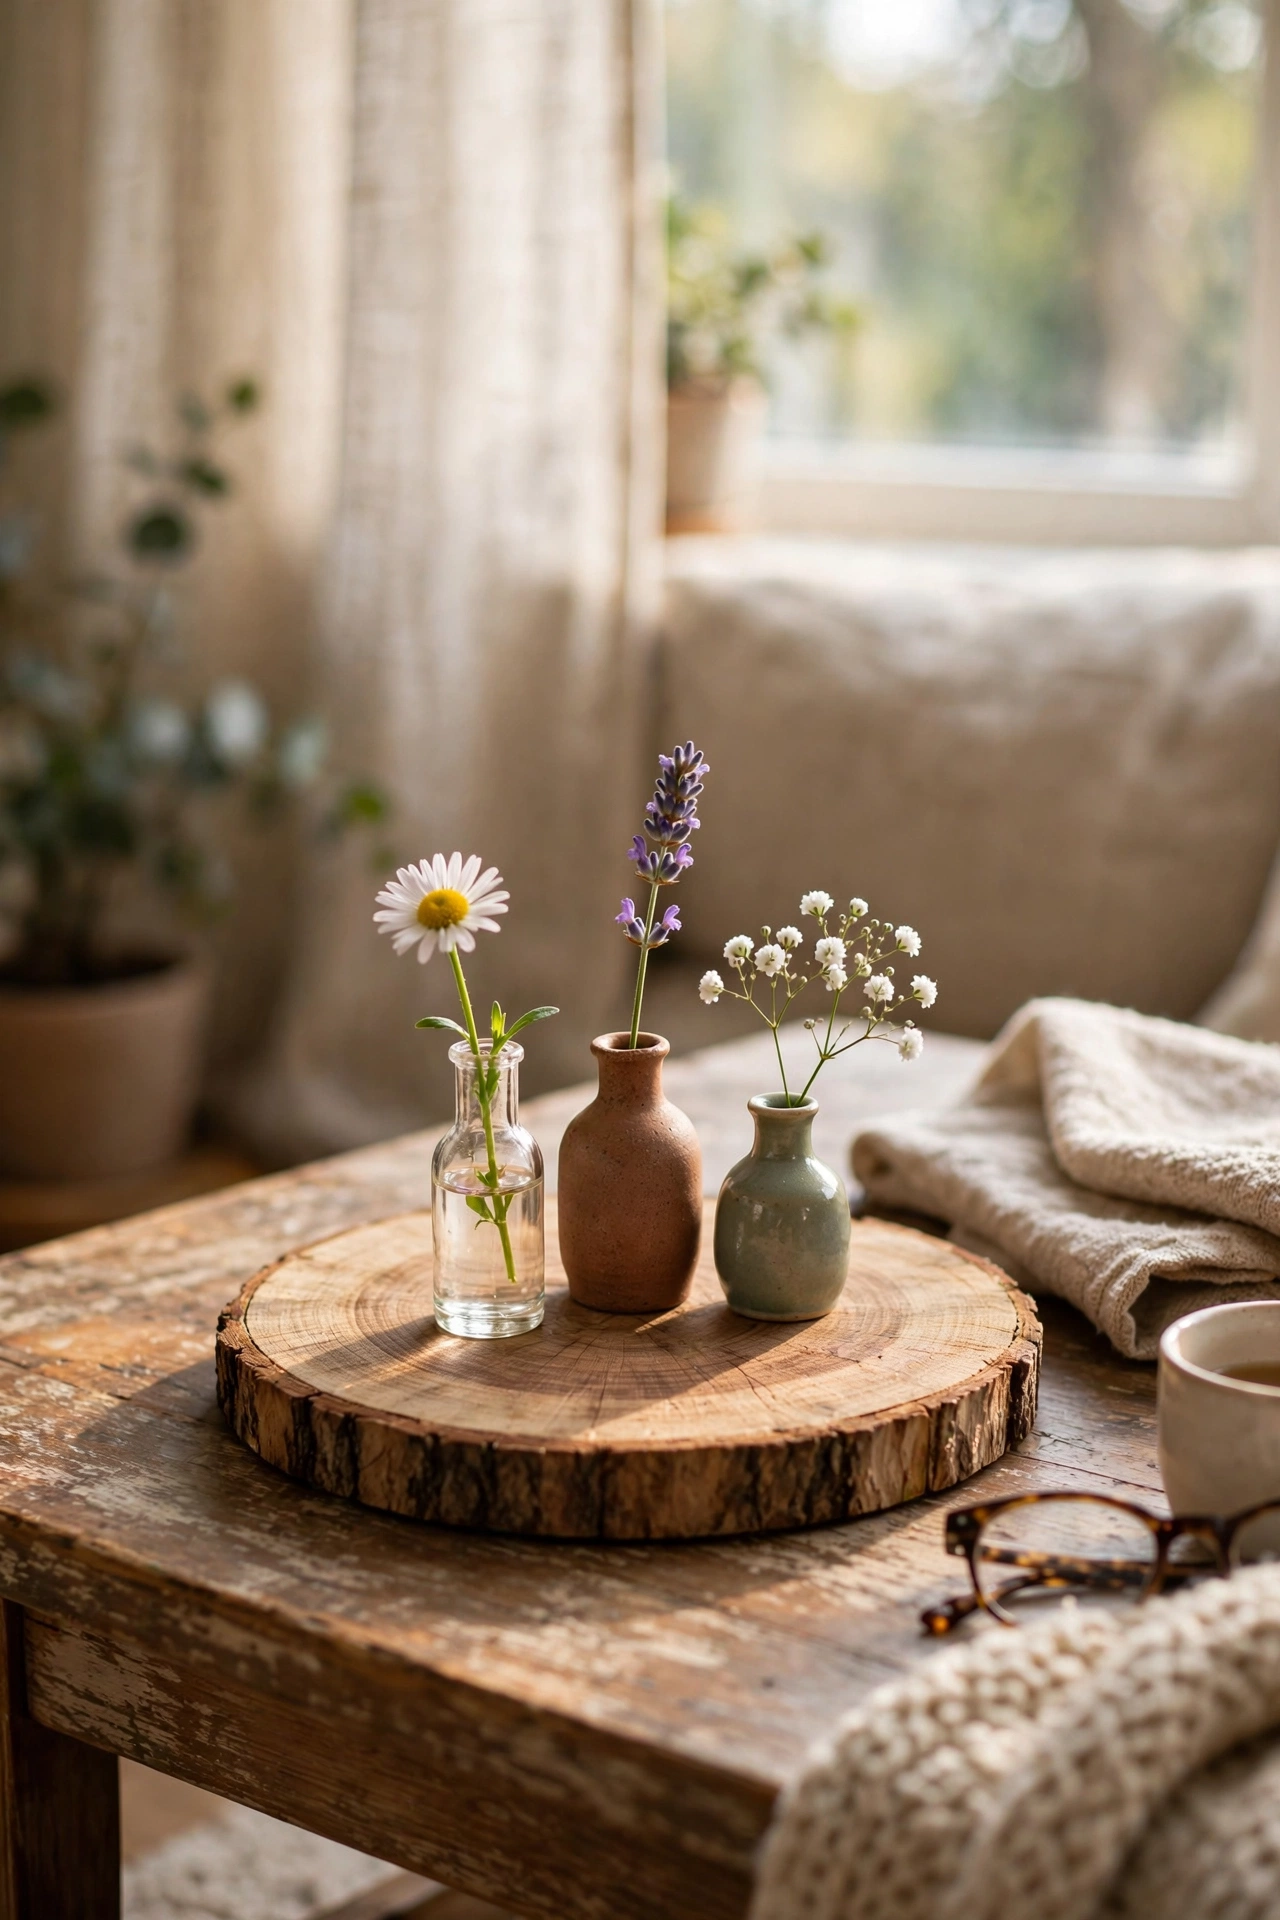
Three tiny bud vases on a wood slice make a sweet coffee table moment. I lined up three small glass vases on a round wood slice and put one flower stem in each. The wood slice cost $1 and grounds the whole arrangement. Odd numbers and varied heights are the rule. I change the flowers weekly and the base stays the same. It takes up almost no space but the table feels finished. I keep meaning to do a second one for another room.
Cost: ~$4-6 | Time: 10 minutes
6. Faux Ceramic Vase with Baking Soda Paint
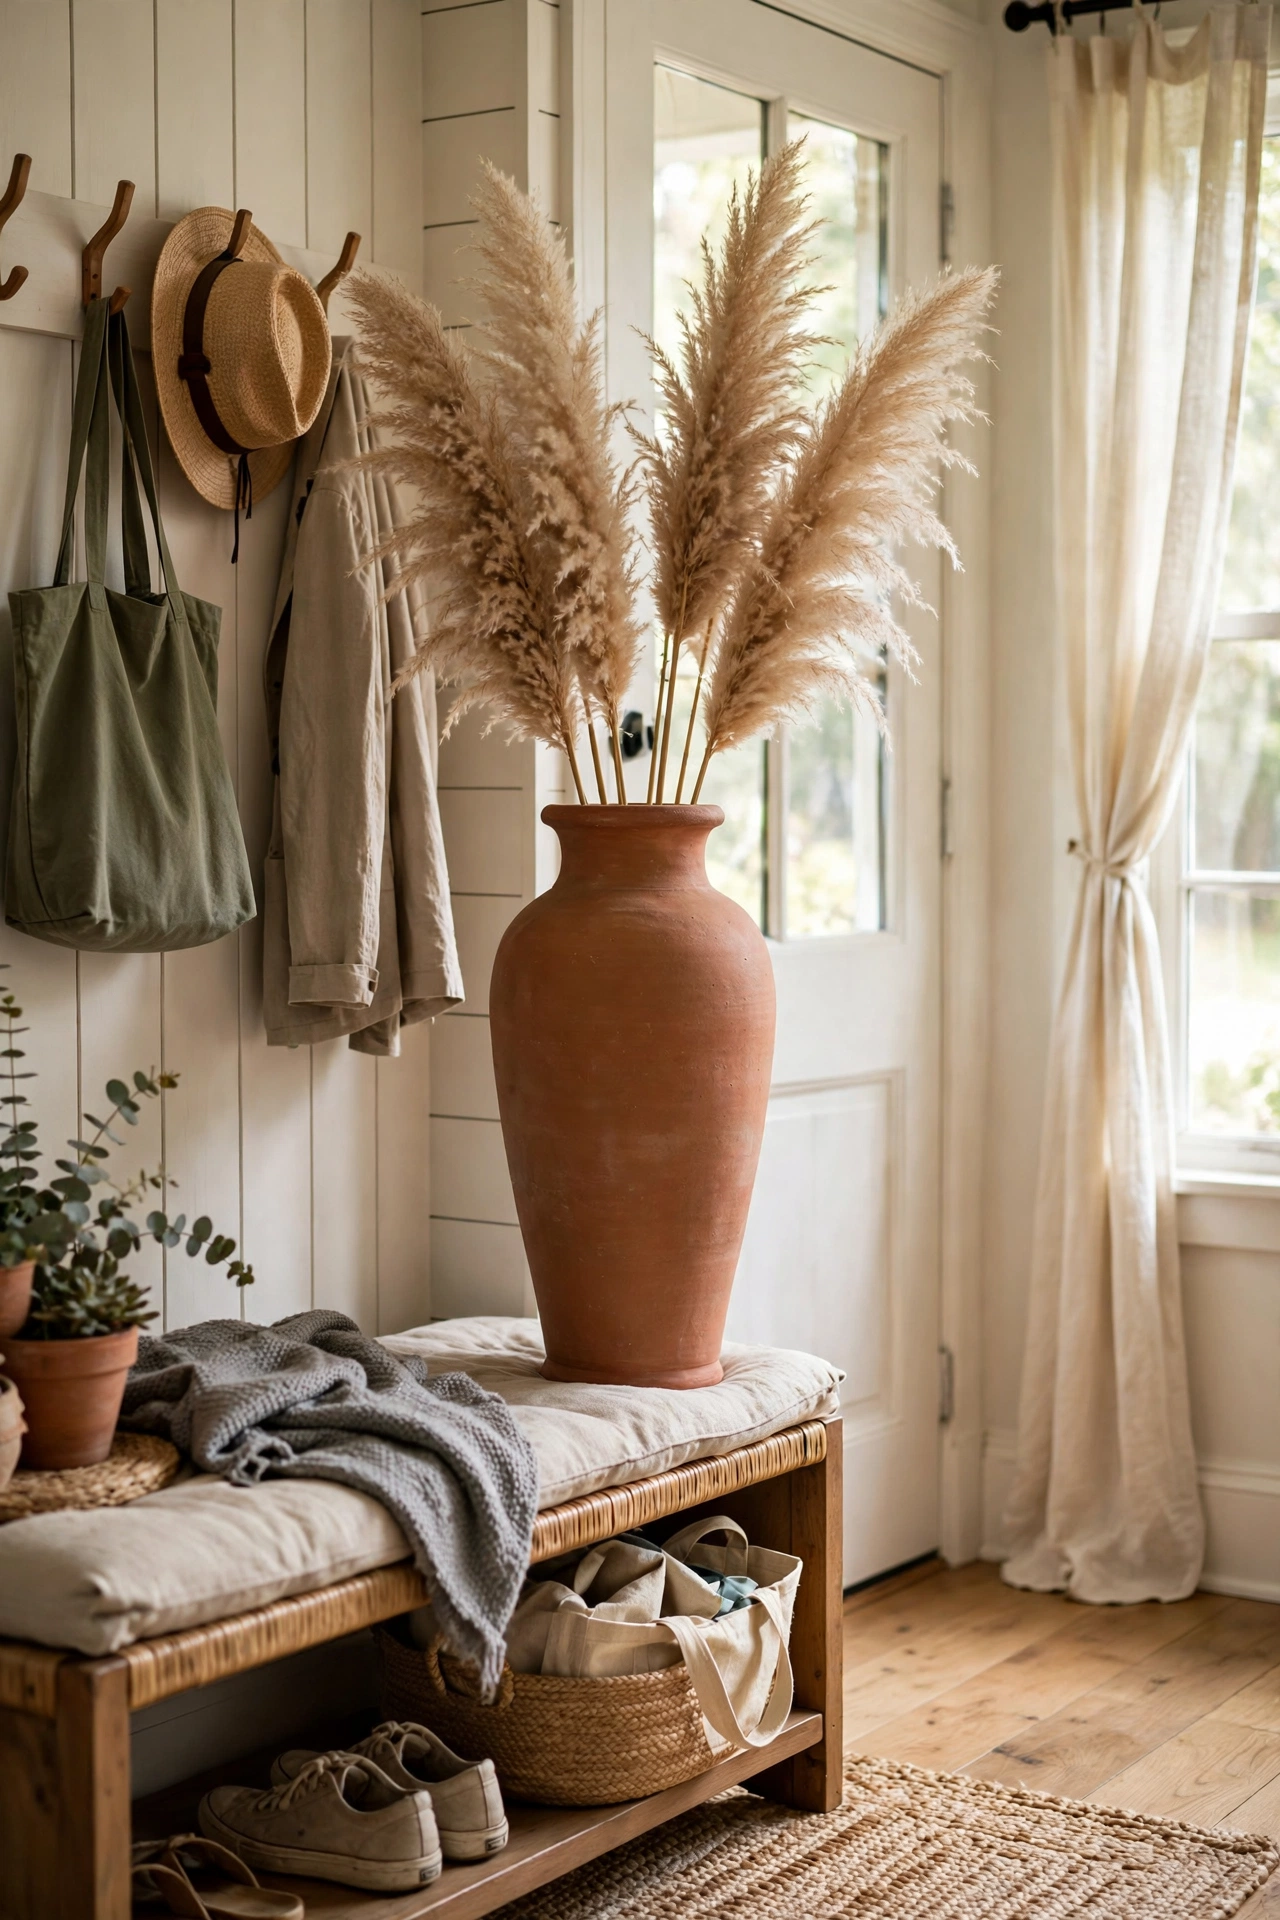
This is the baking soda technique taken further: a tall vase that passes for artisan ceramic. I painted a plain tall vase with the baking soda mixture in a warm terracotta shade. Two coats, dabbed on, and it looks hand-thrown. Display it empty as sculpture or with pampas grass. My version sits in my entryway and guests always pick it up to check. The matte finish is essential; glossy paint ruins the illusion. It was the finishing touch the space had been missing.
Cost: ~$3-5 | Time: 1 hour plus drying
7. Dried Flower Arrangement in a Tall Vase
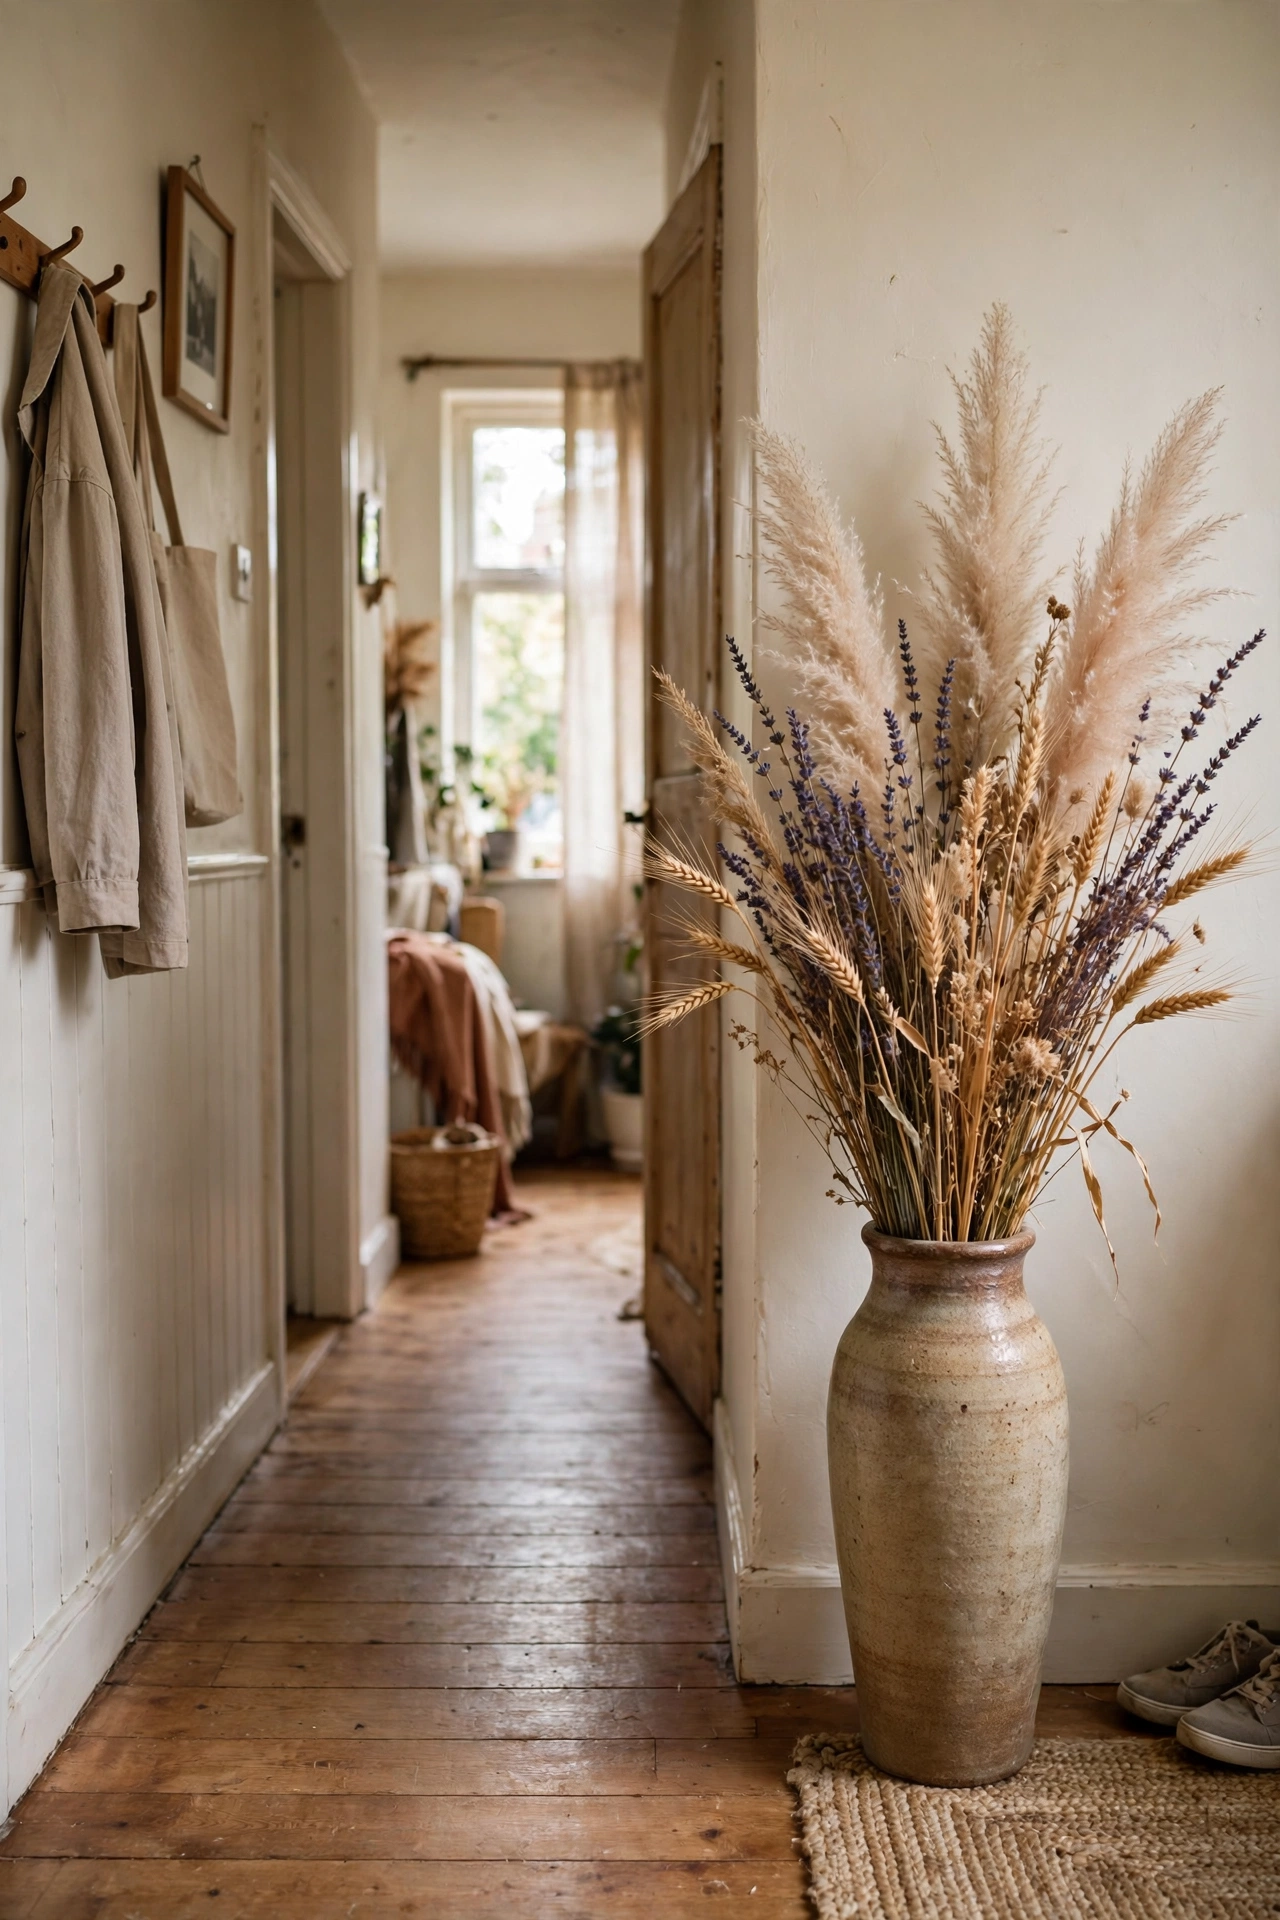
Dried flowers in a tall vase give height and warmth for almost nothing. I arranged dried wheat, lavender, and pampas stems in a tall floor vase, cutting them to staggered heights. The tallest stems go in the middle. Dried arrangements last a year or more. Mine has been in my hallway for eight months and still looks good. Keep them out of direct sun or the colours fade. A light hairspray mist keeps petals from shedding. Honestly, it looks like something from a much pricier shop.
Cost: ~$6-9 | Time: 20 minutes
Pro tip: Stick to one finish across all your dollar store vases, all matte or all glossy. Mixed finishes are what make cheap items look cheap. One finish makes them look like a set.
Wall and Shelf Projects
8. Framed Botanical Print Gallery
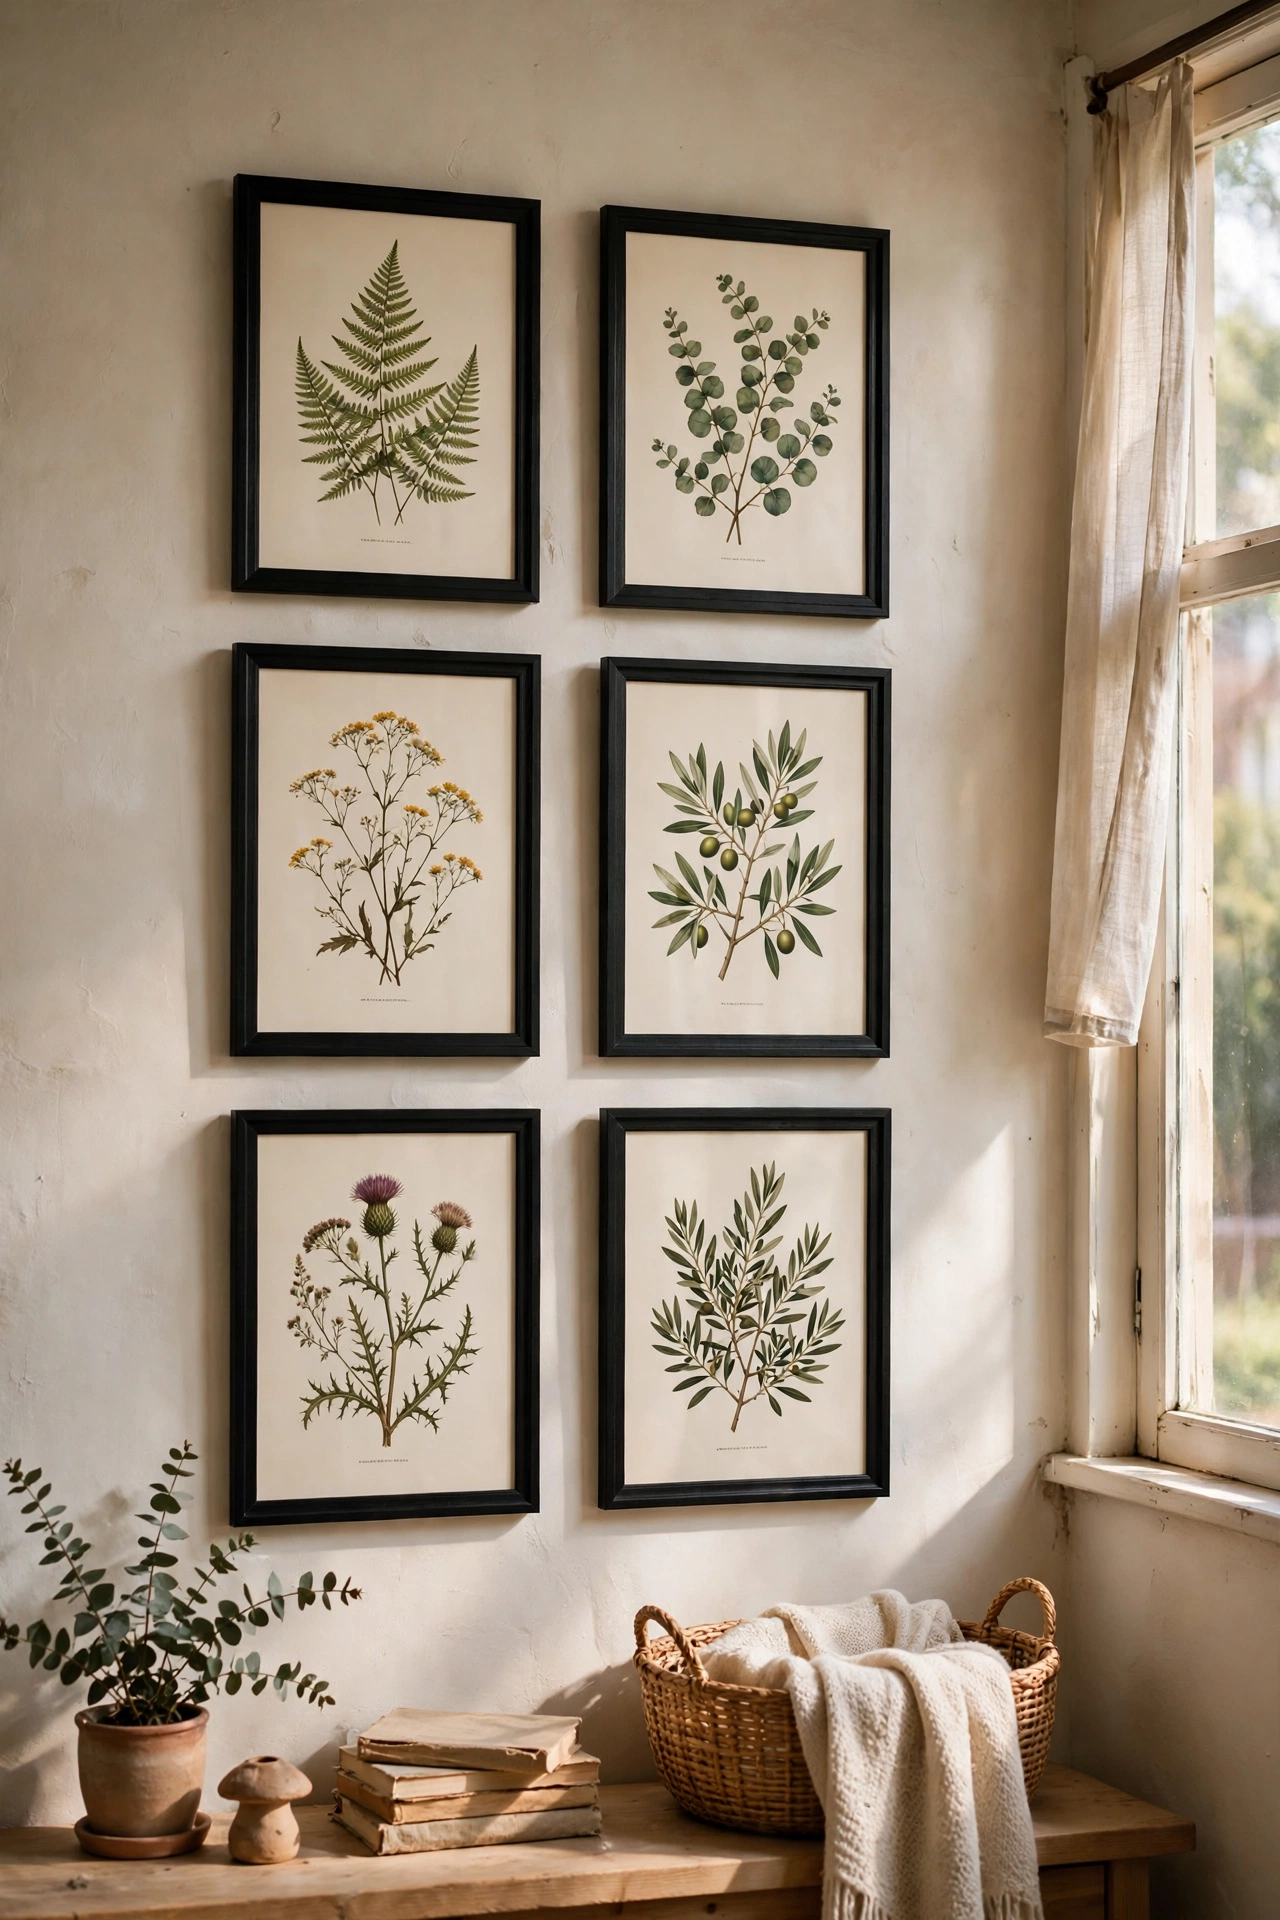
Botanical prints in matching frames make a wall look like a design studio. I printed six free botanical images, put them in matching black frames, and hung them in two rows of three. The matching frames do all the work. Print on matte paper, not glossy, for the expensive look. I hung mine above my desk and the whole corner feels calmer. Measure the spacing with a ruler; even gaps are what sell it. I catch myself admiring it more than I expected.
Cost: ~$8-12 | Time: 1 hour
9. Floating Shelf Styled with Dollar Finds
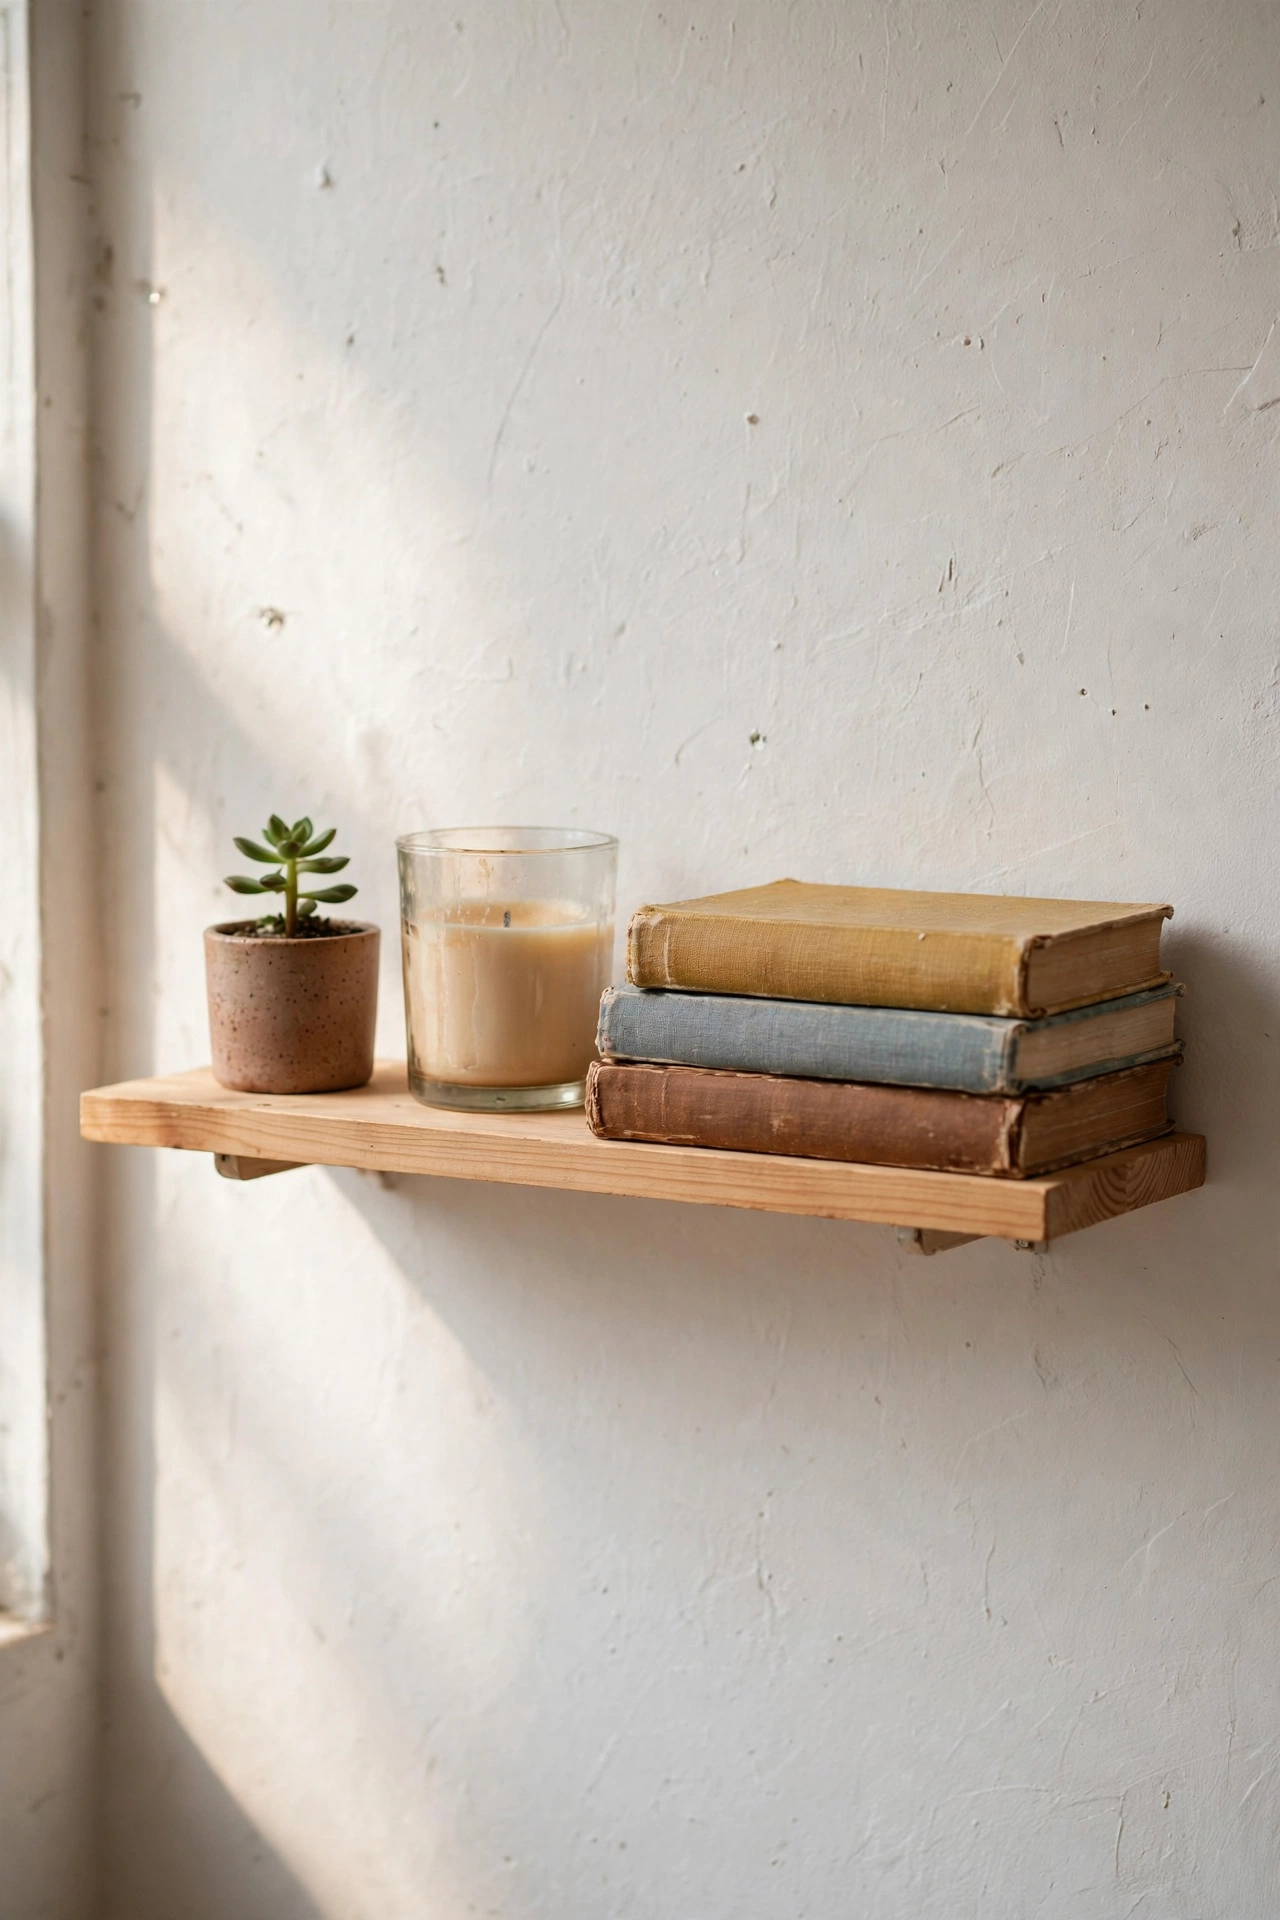
One floating shelf styled with dollar store finds looks like a boutique display. I mounted a small shelf and arranged a tiny plant, a candle, and two stacked books. Three items, three heights. The shelf itself was the priciest part. I restyle it seasonally and it always feels new. Keep the colour palette to two or three tones. My shelf has been photographed by guests more than any furniture I own. It has survived kids, pets, and daily life without a scratch.
Cost: ~$8-12 | Time: 45 minutes
10. Arch Mirror Wall Cluster
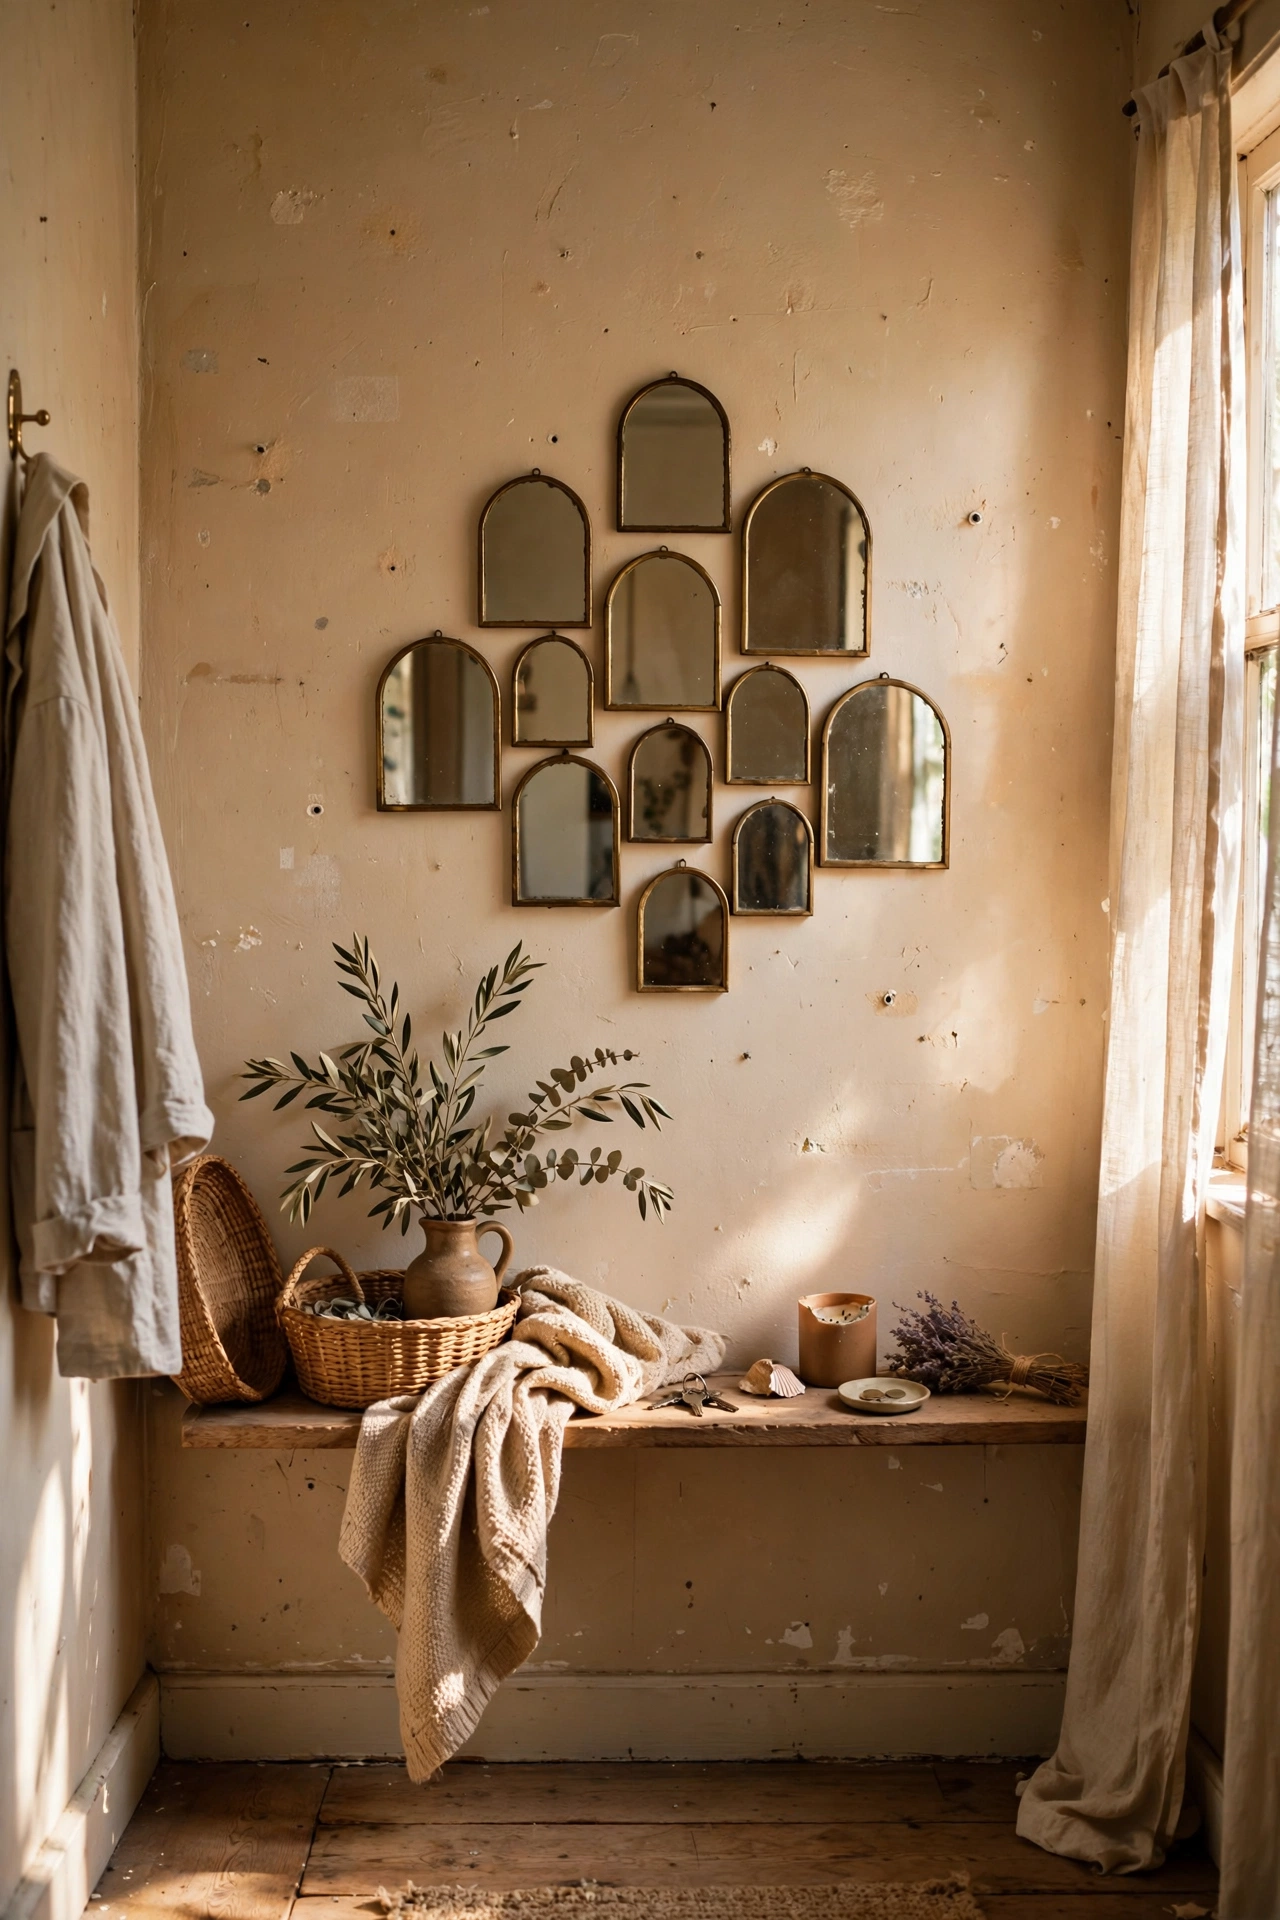
Small arch-shaped mirrors grouped together catch light beautifully. I bought five small mirrors and arranged them in an organic cluster on my hallway wall. Use proper hanging strips rated for the weight. The cluster shape matters: start with one centre mirror and build outward. My hallway went from dark to bright without any electrical work. Mirrors opposite a window double the effect. I would do this again in a heartbeat. I get asked about this one more than anything else in the room.
Cost: ~$6-10 | Time: 45 minutes
11. Woven Wall Hanging from Placemats
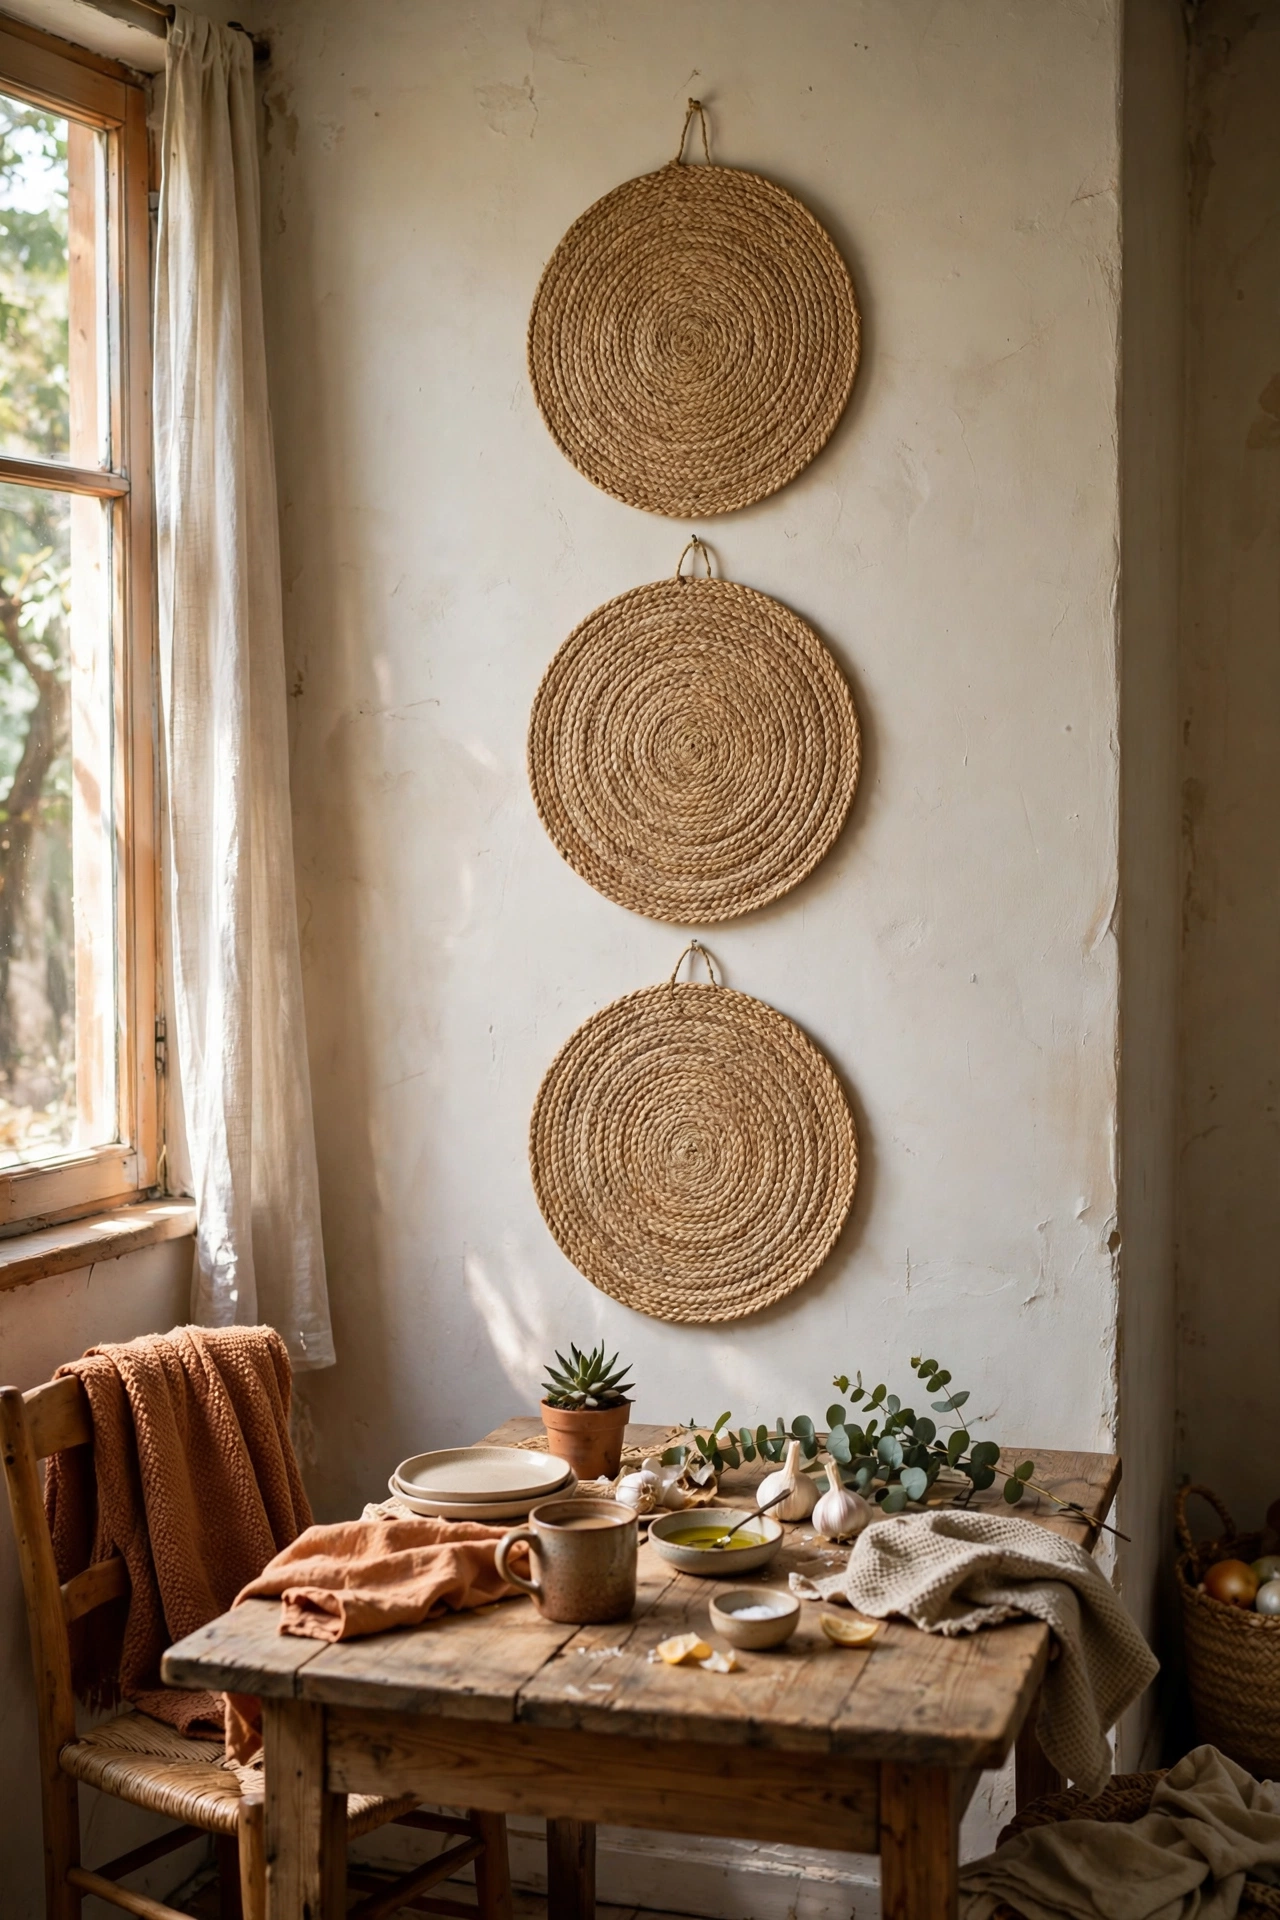
Woven placemats hung in a row make surprisingly good wall art. I hung three round woven placemats on my dining room wall with small nails. The natural texture adds warmth that flat art cannot. Vary the sizes slightly for interest. Mine cost $3 total and look like something from a craft market. This works best in dining rooms and bedrooms where texture is welcome. Keep them level with a small spirit level. It has held up beautifully through months of daily use.
Cost: ~$3-5 | Time: 30 minutes
12. Mini Easel Art Display
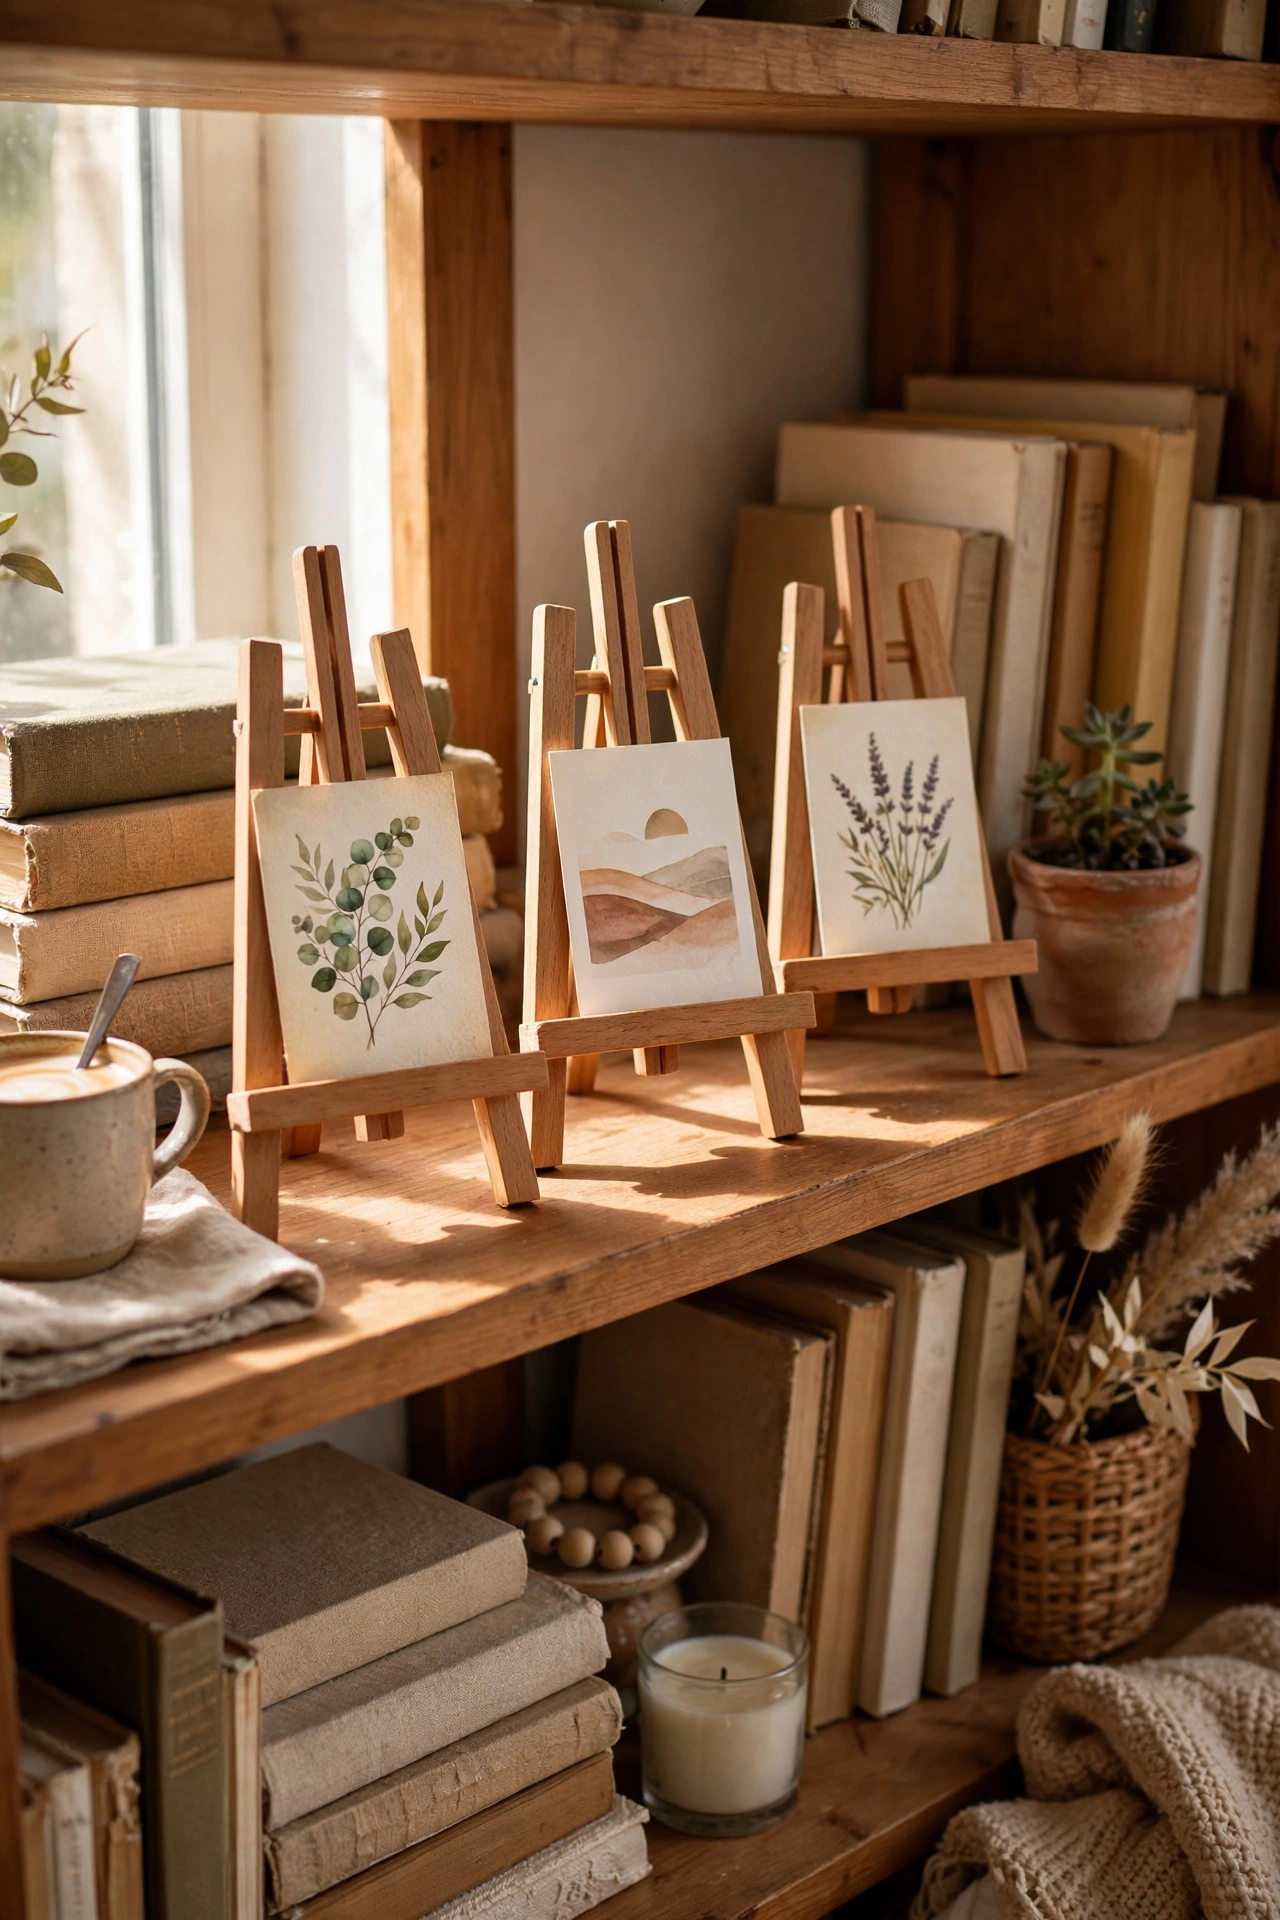
Tiny easels holding small prints make a charming shelf display. I placed three mini easels on my bookshelf, each holding a small art print. They add height and art-gallery energy to flat shelves. Swap the prints seasonally. Mine currently hold autumn postcards. The easels cost almost nothing but the display looks thoughtful. Keep the prints small, postcard size works perfectly. Guests always assume it cost far more than it did. This is one of those small changes I wish I had made years ago.
Cost: ~$4-6 | Time: 20 minutes
13. Black Frame Grid with Free Printables
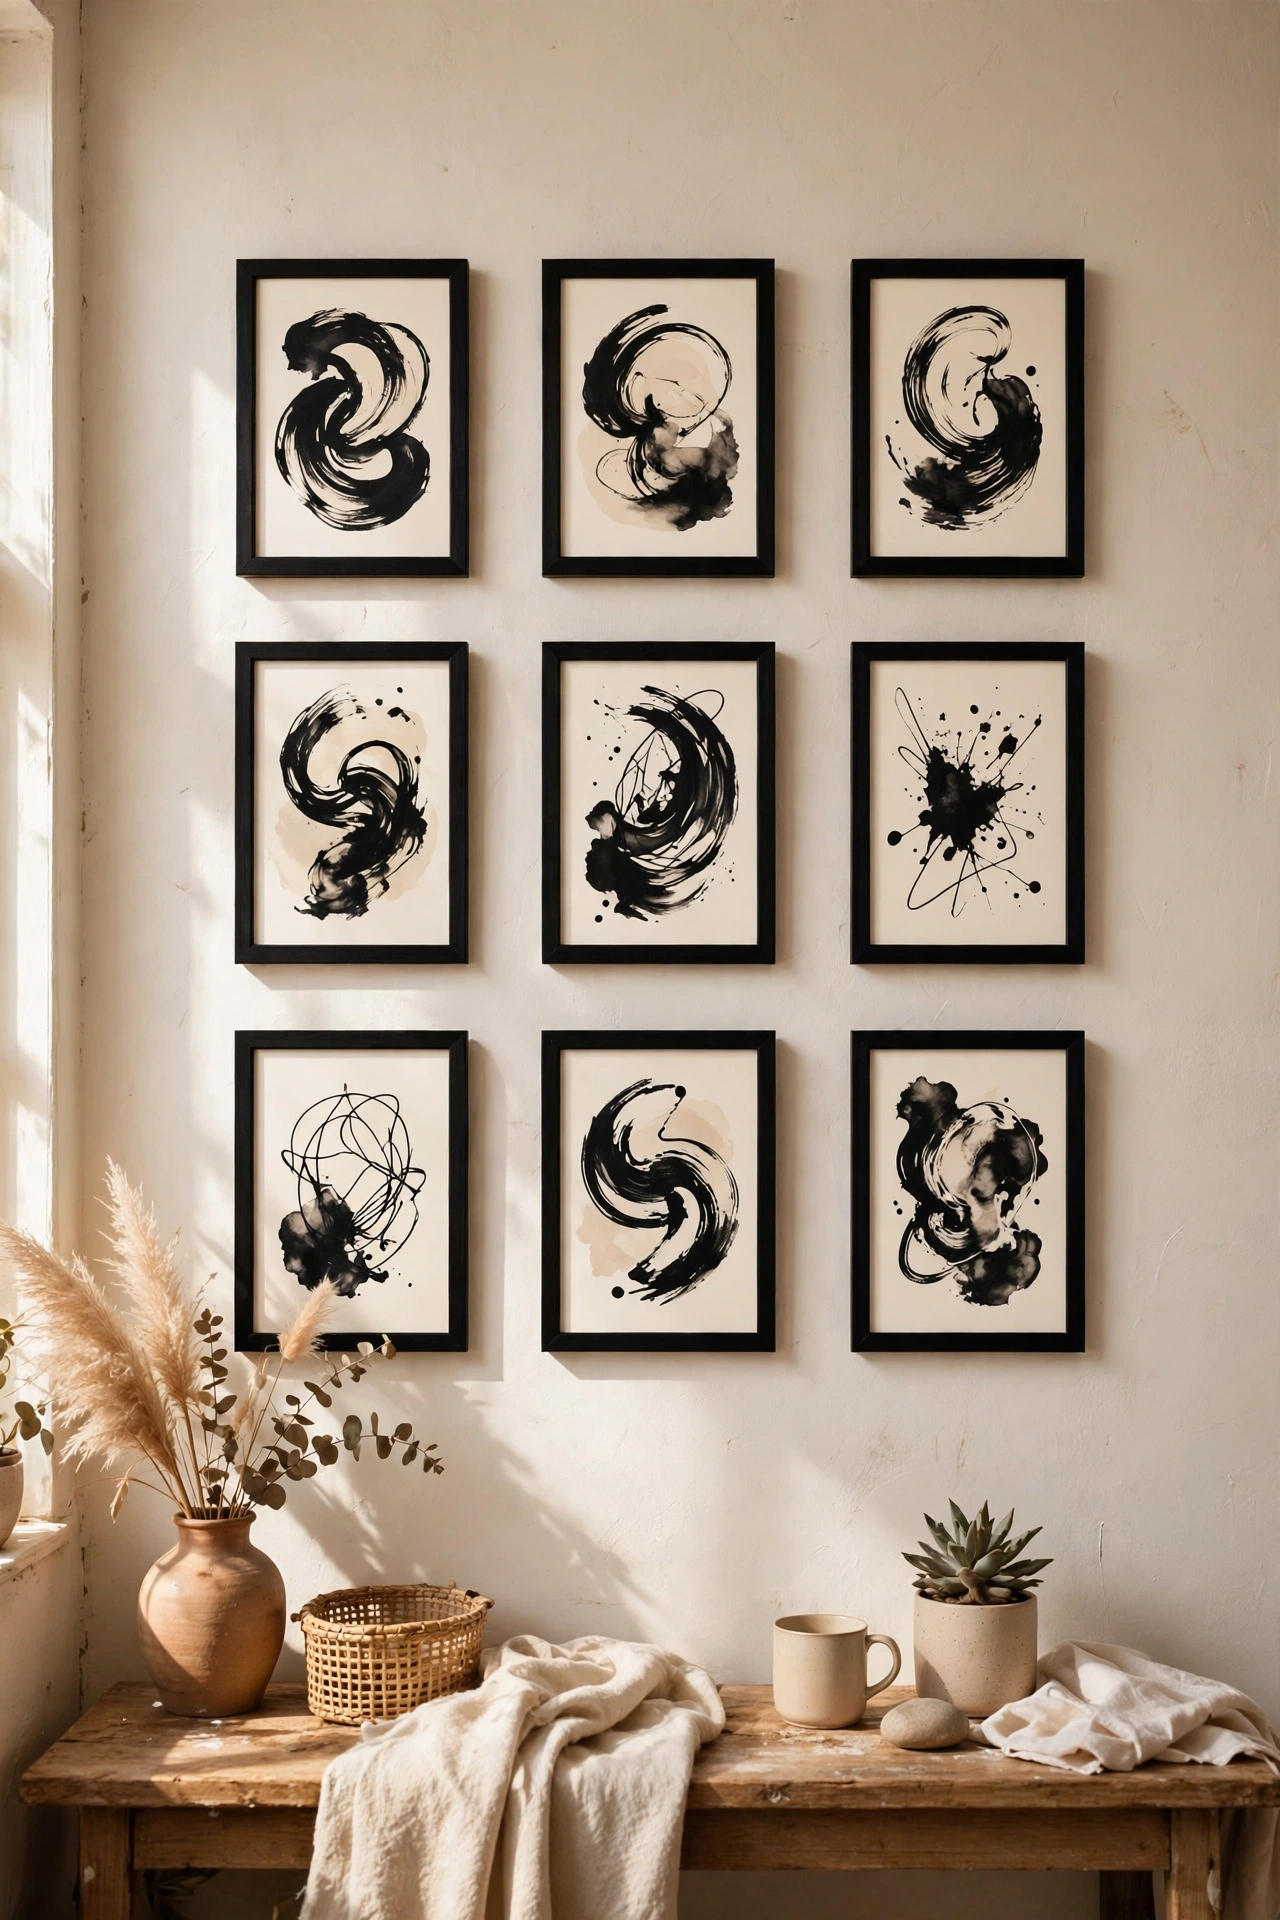
Nine small black frames in a perfect grid with free printables inside look gallery-grade. I printed nine abstract shapes in black and cream, framed them identically, and hung them with one-inch gaps. The repetition is the design. This took me an afternoon and looks like commissioned art. Use a paper template on the wall first to plan the layout. I taped paper squares up before hammering a single nail. It took me less time to do than to decide to do it.
Cost: ~$10-14 | Time: 2 hours
Candle and Lighting Looks
14. Flameless Candle Hurricane Set
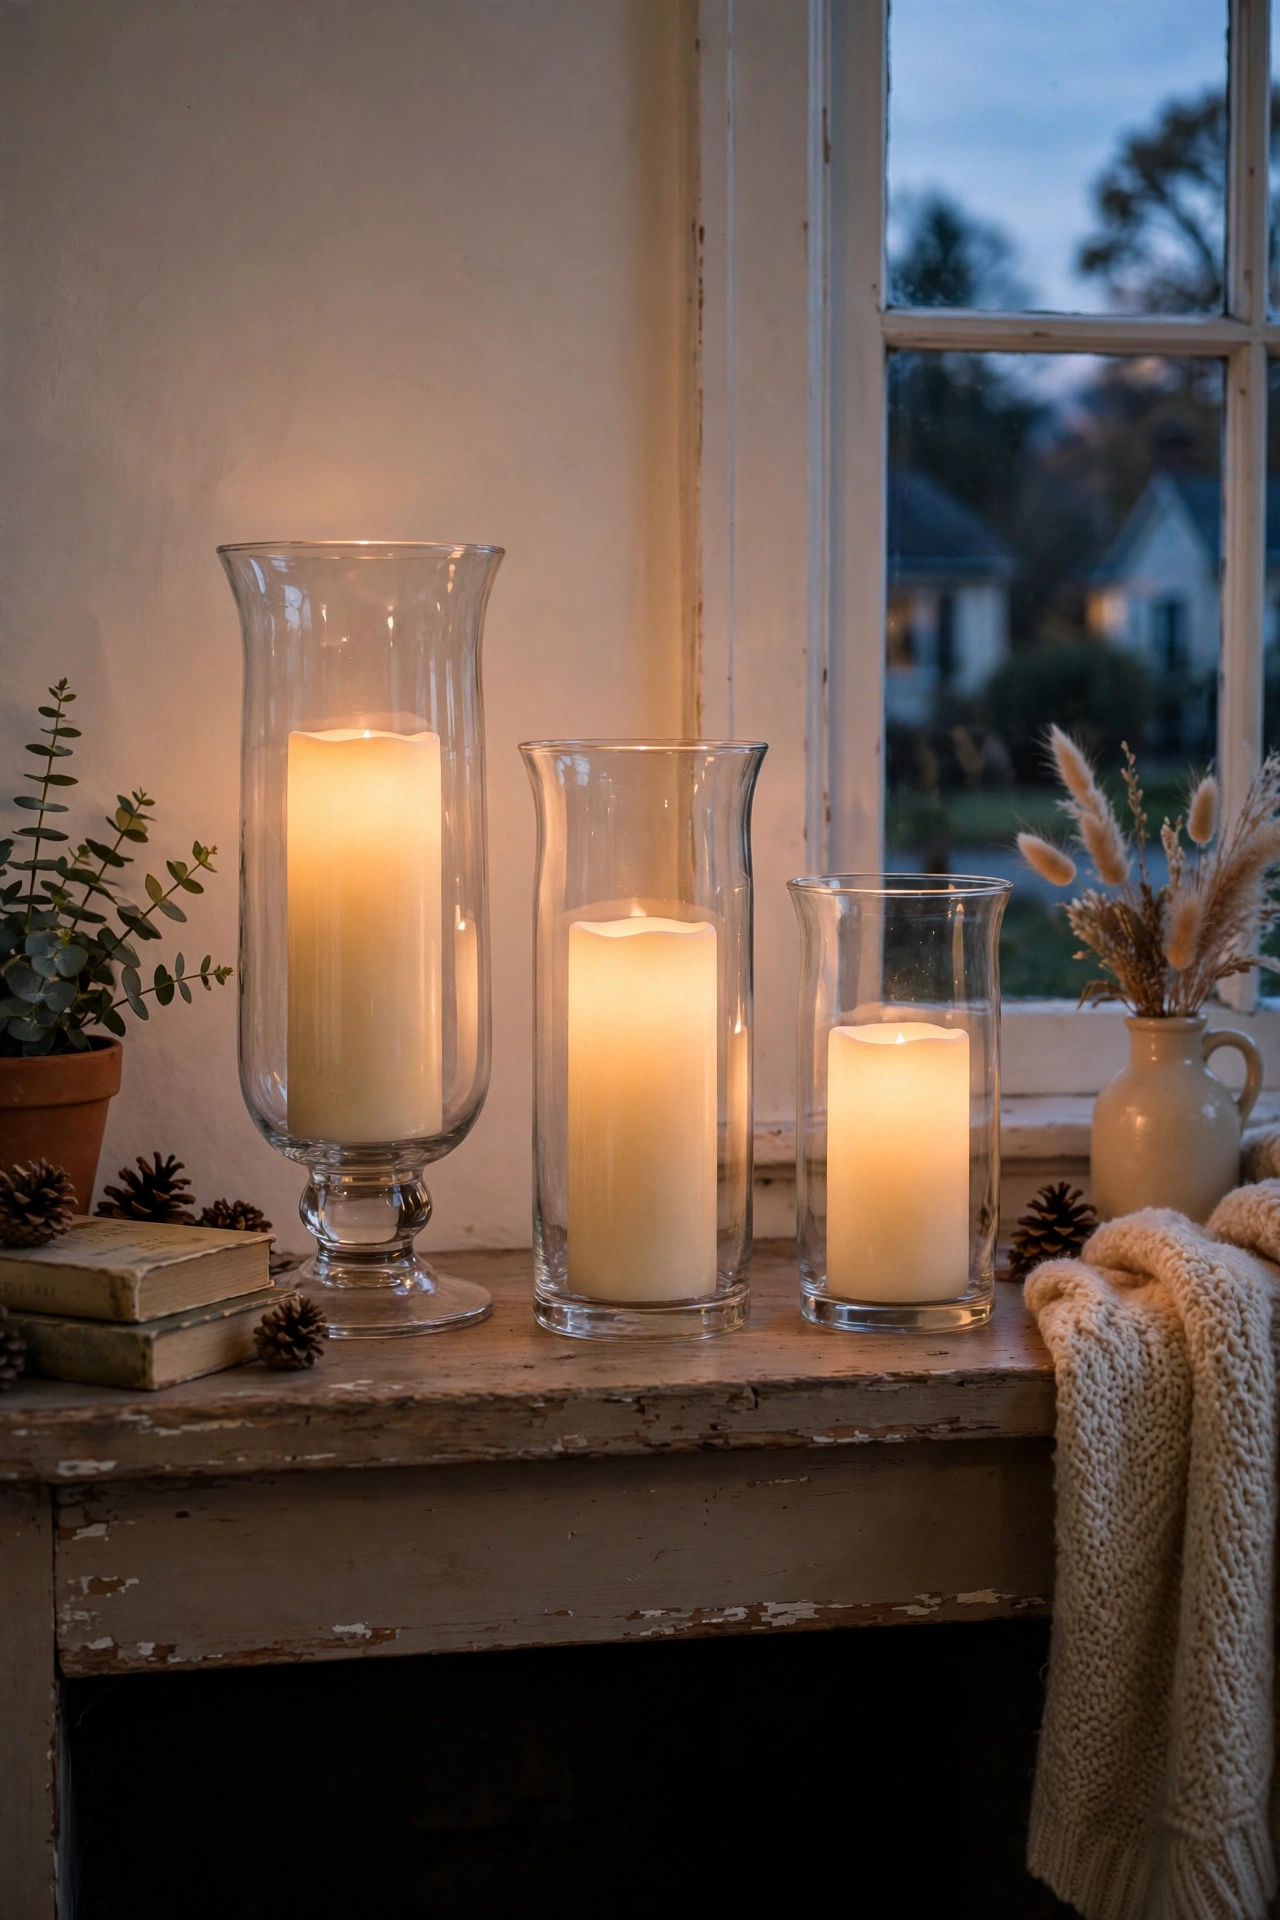
Glass hurricanes with flameless candles inside glow safely all evening. I put battery candles in three glass cylinders of different heights on my mantel. The timers turn them on automatically at dusk. Real candles in a house with a cat were stressing me out; these solved it. The glass hurricanes make them look real from across the room. Replace the batteries twice a year. I have recommended this to three friends already. The difference it made honestly surprised me. It still looks as good as the day I set it up.
Cost: ~$6-10 | Time: 20 minutes
15. Gold-Rimmed Candle Holders
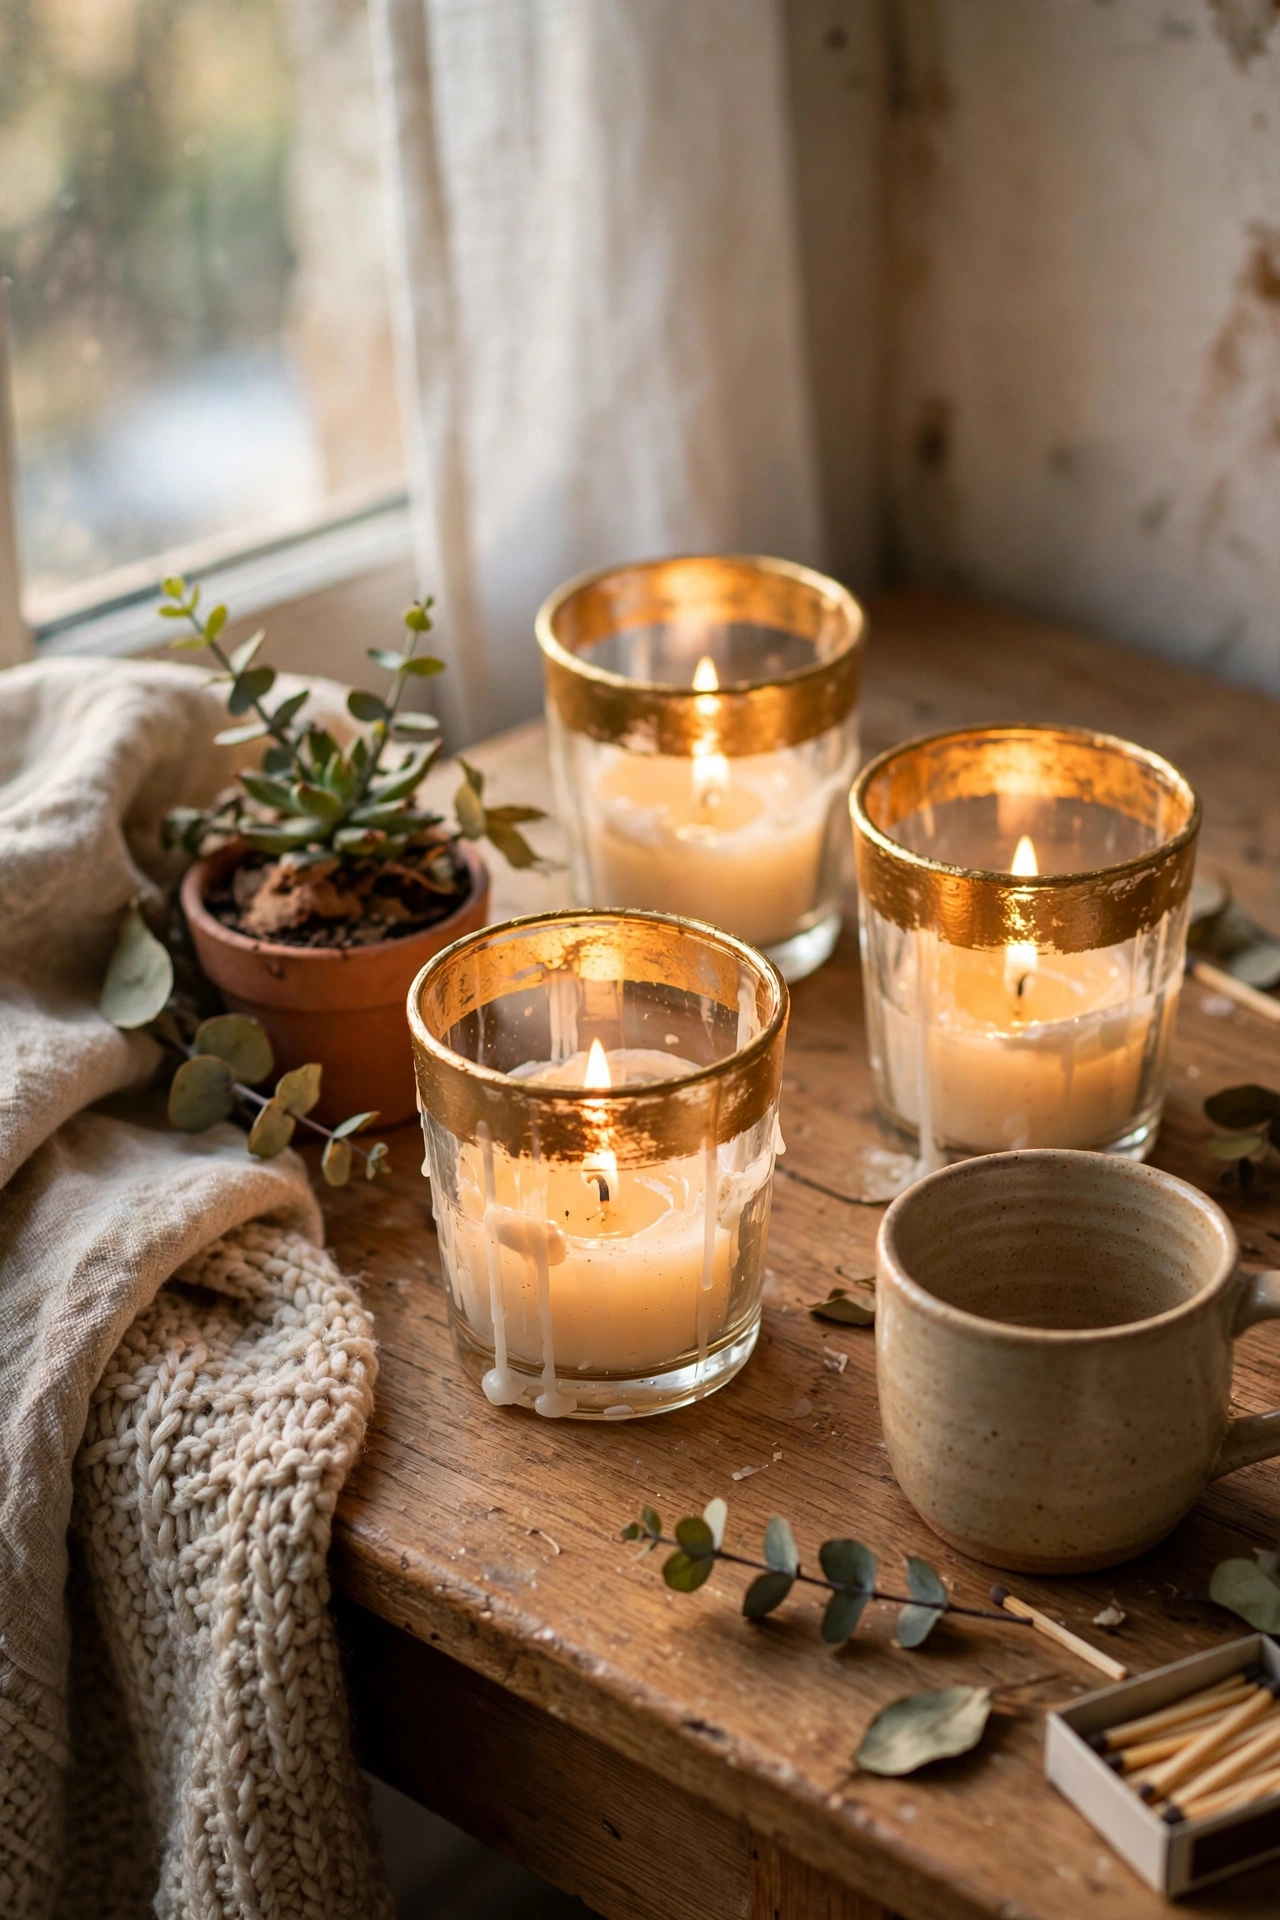
Plain glass candle holders get a luxe upgrade with gold paint on the rim. I painted the top edge of six small holders with metallic gold craft paint. They catch the candlelight beautifully. Use a small flat brush and steady hand. My first rims were wobbly; the second set I rotated the holder as I painted and got clean lines. They look like they cost ten times more. Group them in odd numbers. My partner noticed the change immediately, which never happens.
Cost: ~$4-7 | Time: 45 minutes plus drying
16. Lantern with Fairy Lights
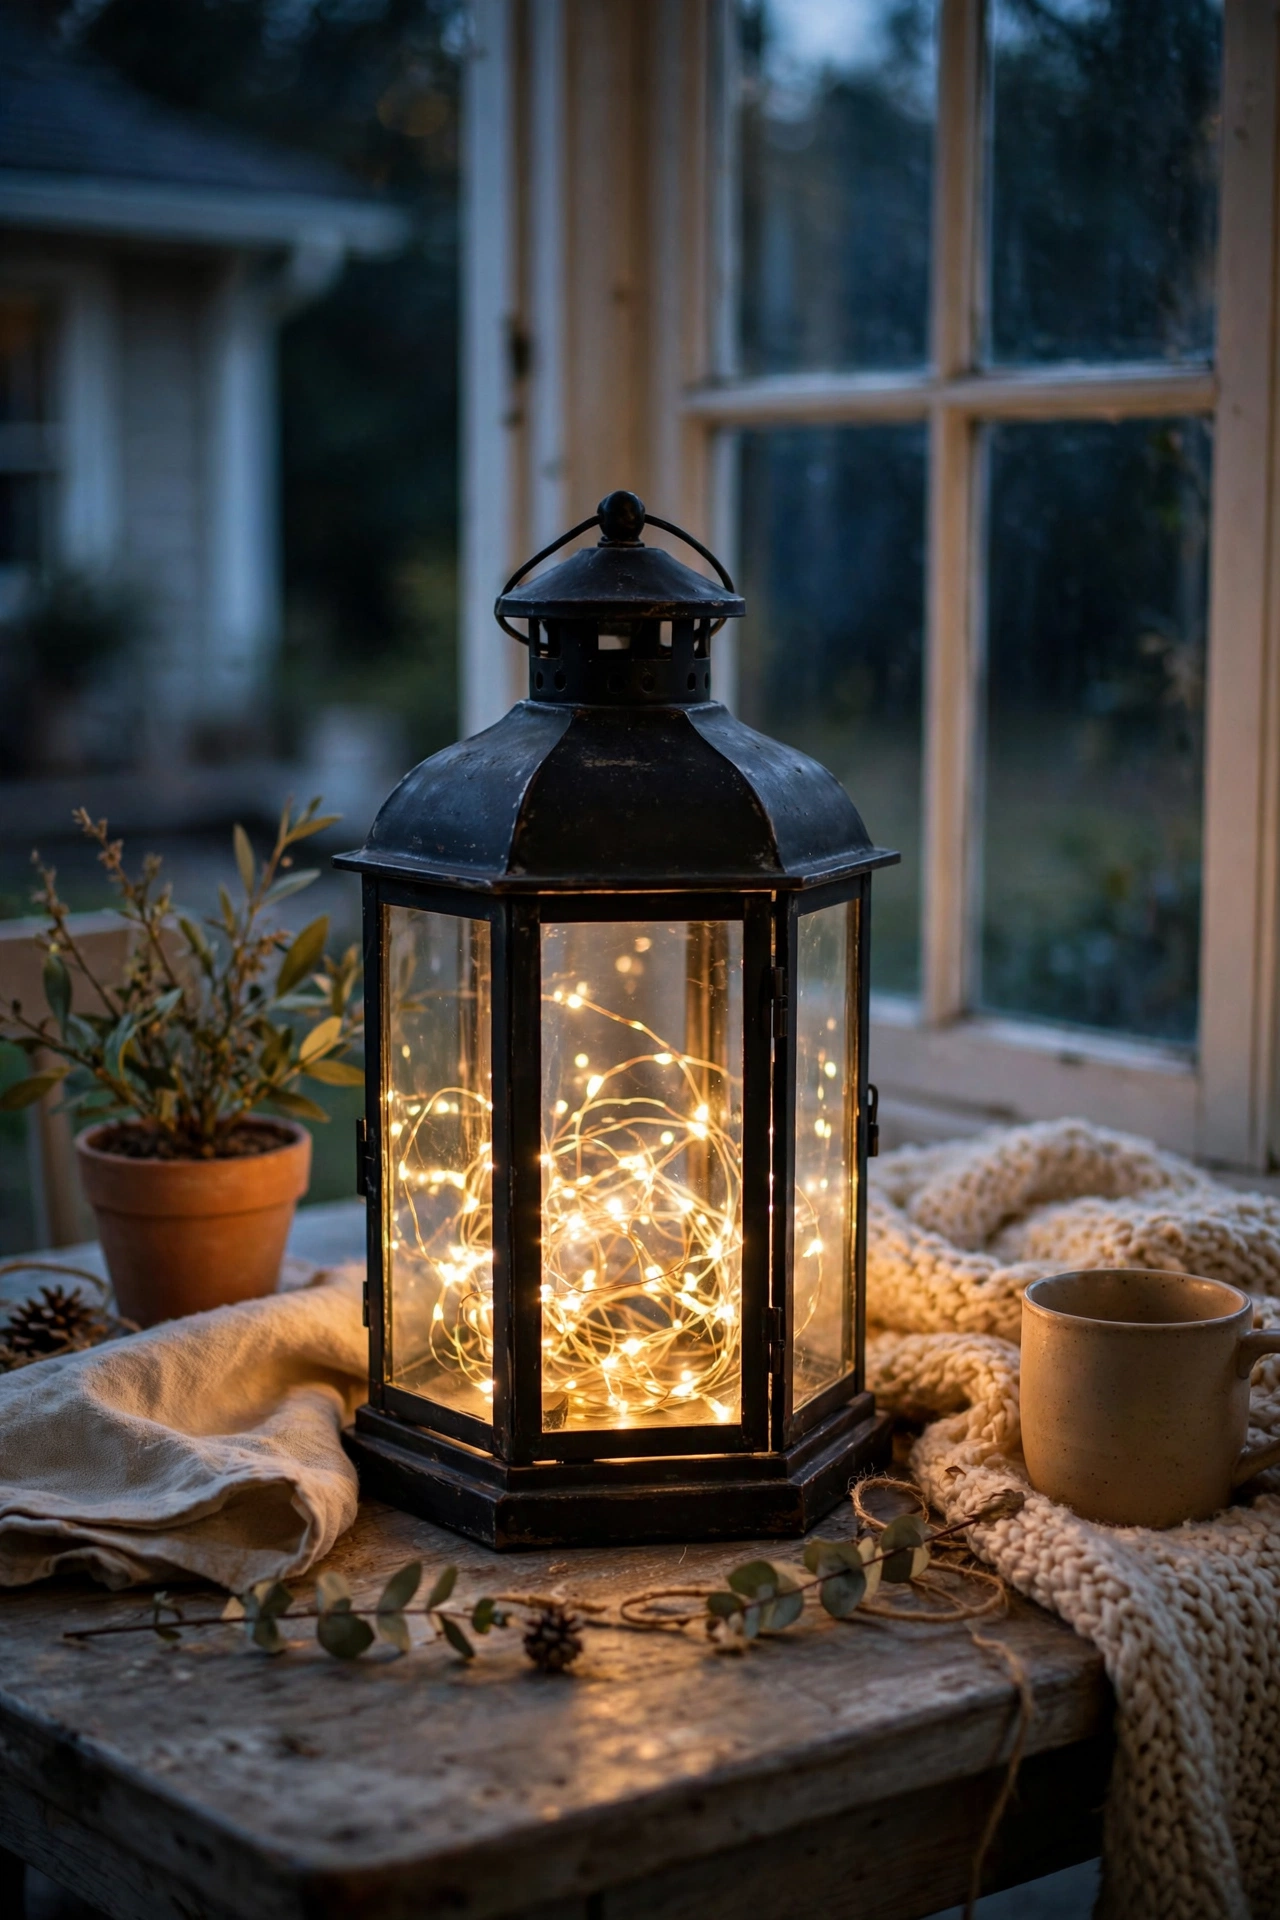
A metal lantern stuffed with fairy lights is instant cosy. I coiled a string of warm fairy lights inside a black lantern and set it on my porch table. The battery pack hides in the base. It turns on with the timer every evening and my porch finally feels welcoming. Use warm white lights, not cool, for the cosy glow. Mine has survived two rainy seasons under a covered porch. I find myself smiling every time I walk past it.
Cost: ~$5-8 | Time: 15 minutes
17. Mirrored Candle Tray
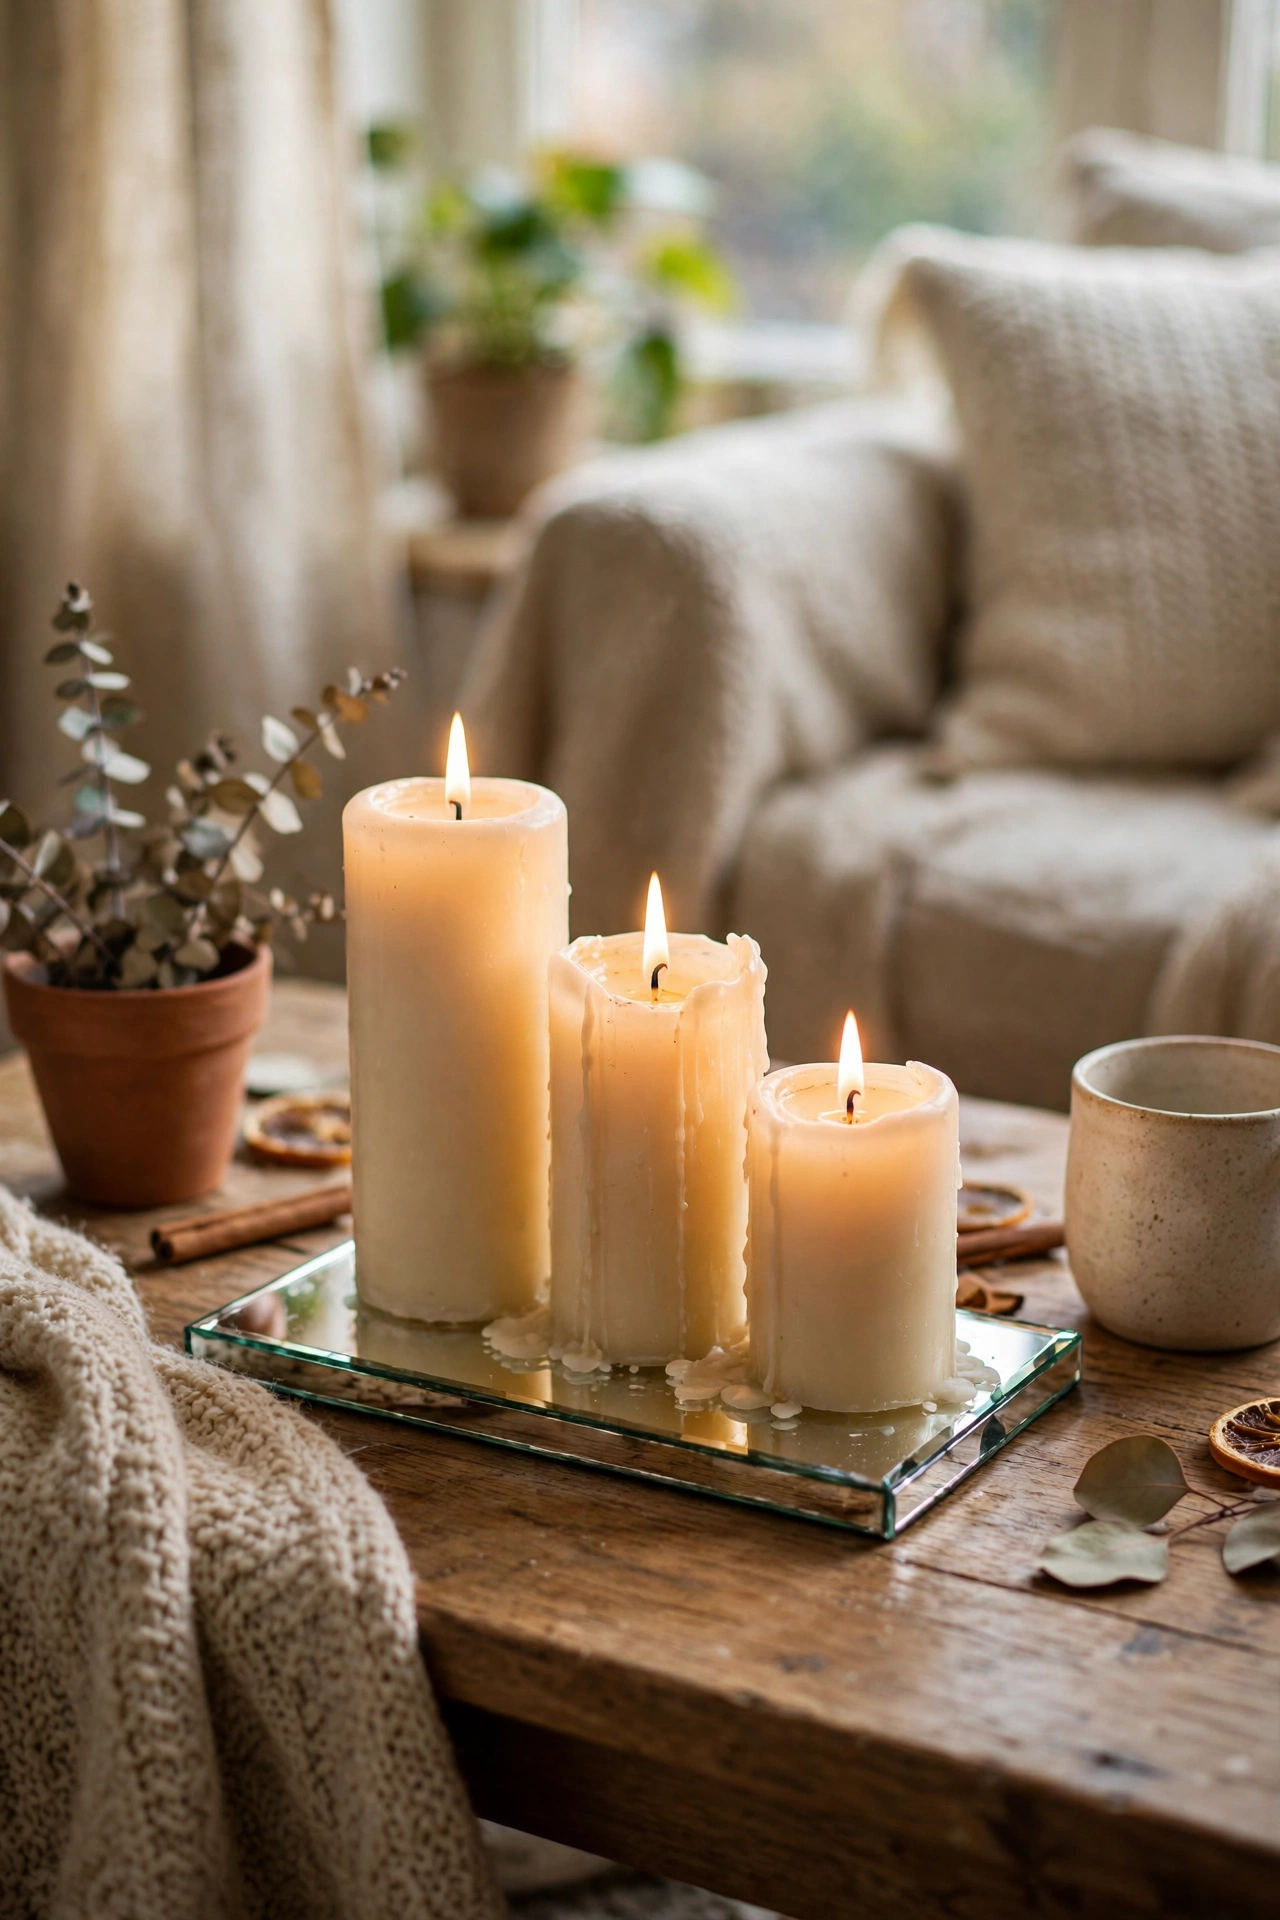
A mirrored tray under candles doubles their glow. I placed three pillar candles on a small mirrored tray on my coffee table. The reflection makes the whole arrangement look twice as rich. Wipe the mirror weekly because it shows dust. My living room feels fancier at night with this lit. Keep the candles unscented if the tray sits near seating, because scent plus conversation can be too much. This has become one of my favourite corners of the house. I did this on a whim and it turned out to be a keeper.
Cost: ~$5-8 | Time: 10 minutes
18. Scented Candle Cloche Display
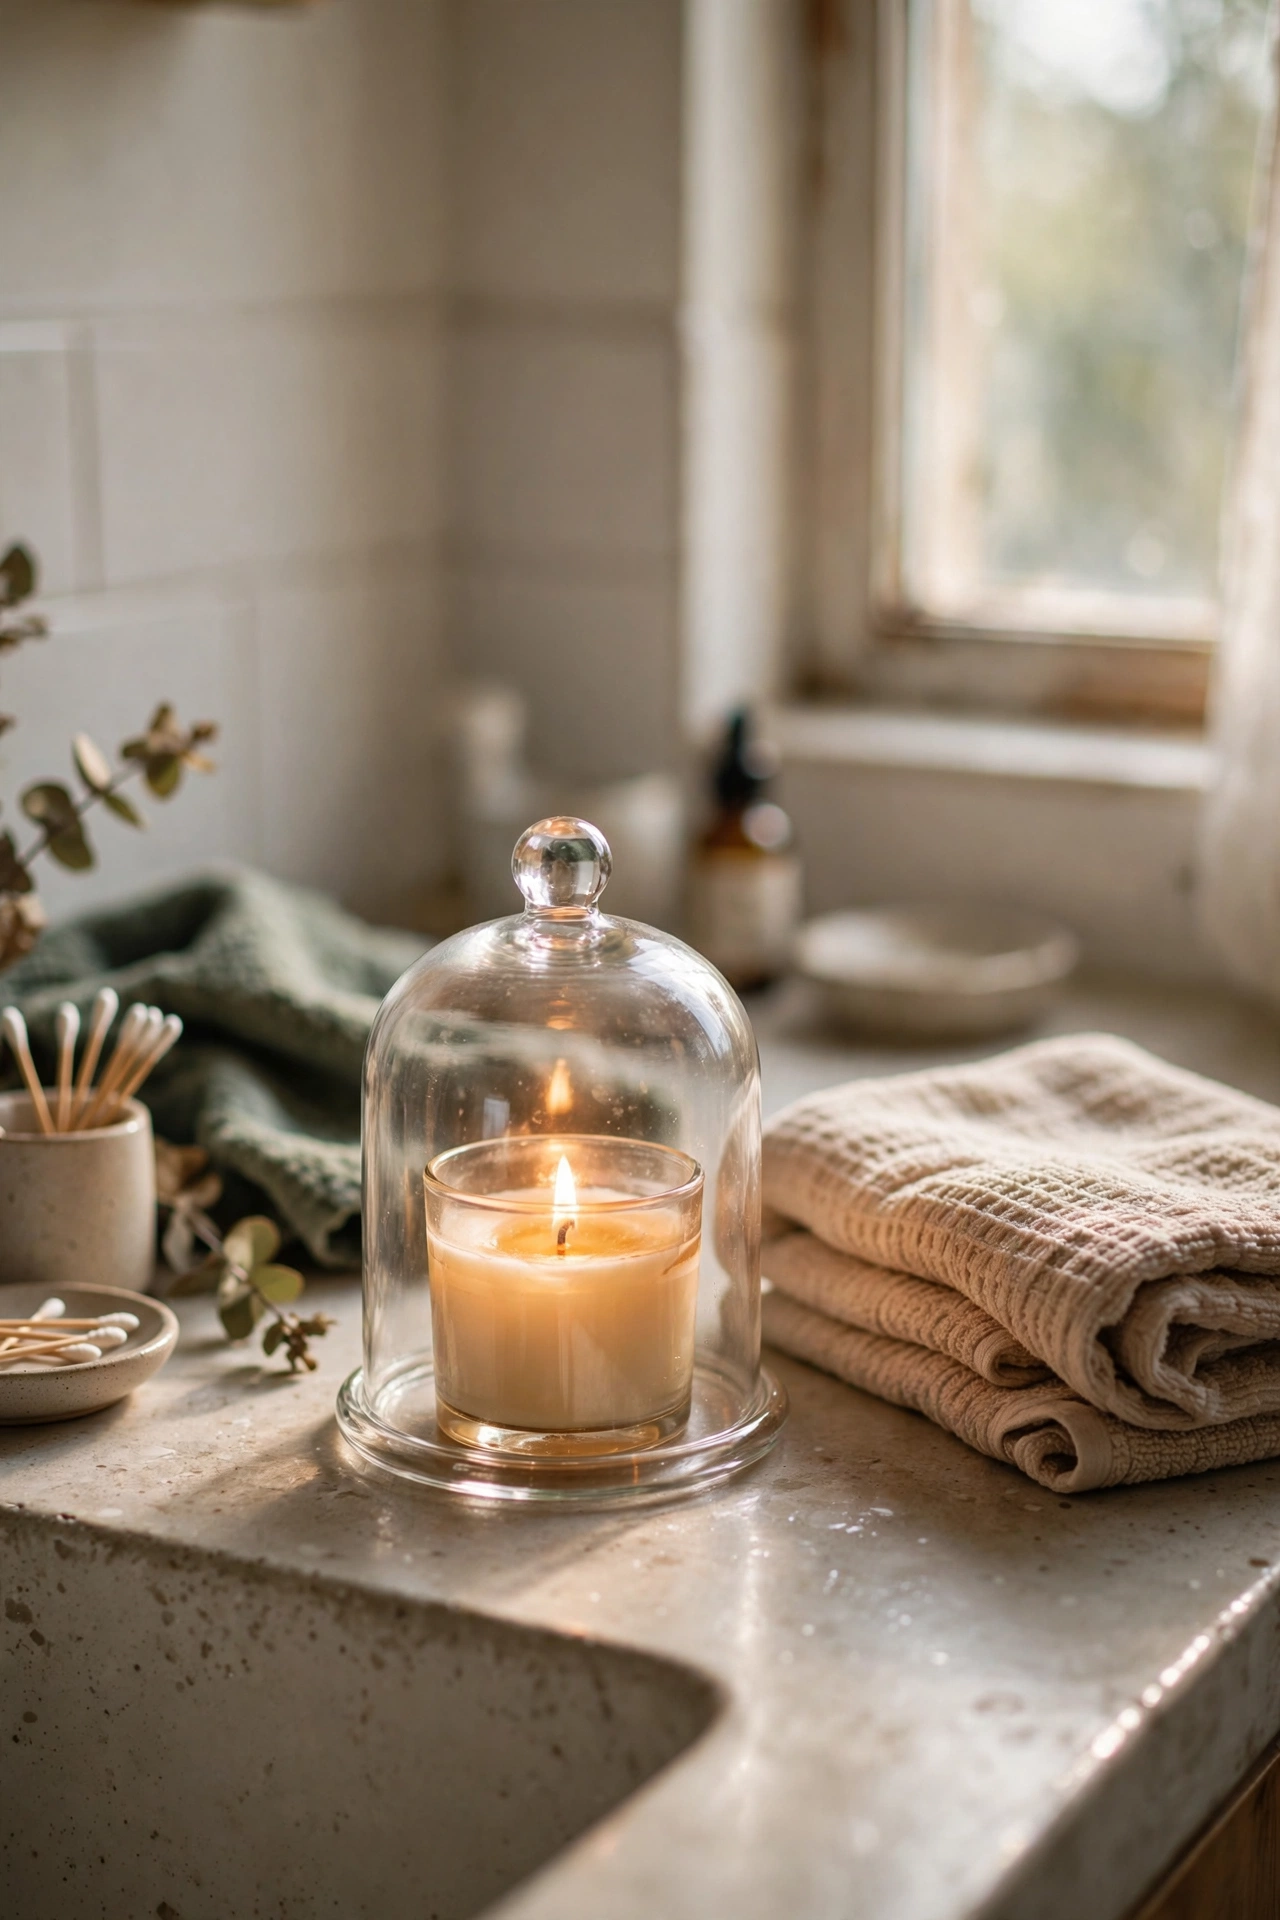
A glass cloche over a candle makes it a display piece. I put a scented candle under a small glass dome on my bathroom counter. It looks like a boutique hotel detail. The cloche also keeps dust off the candle. Lift it when you want the scent. Mine cost $2 and gets more comments than anything else in the bathroom. Pair it with a folded hand towel for the full effect. It blends in so well that visitors think it was always there.
Cost: ~$3-5 | Time: 10 minutes
19. Taper Candle Holders in Brass Look
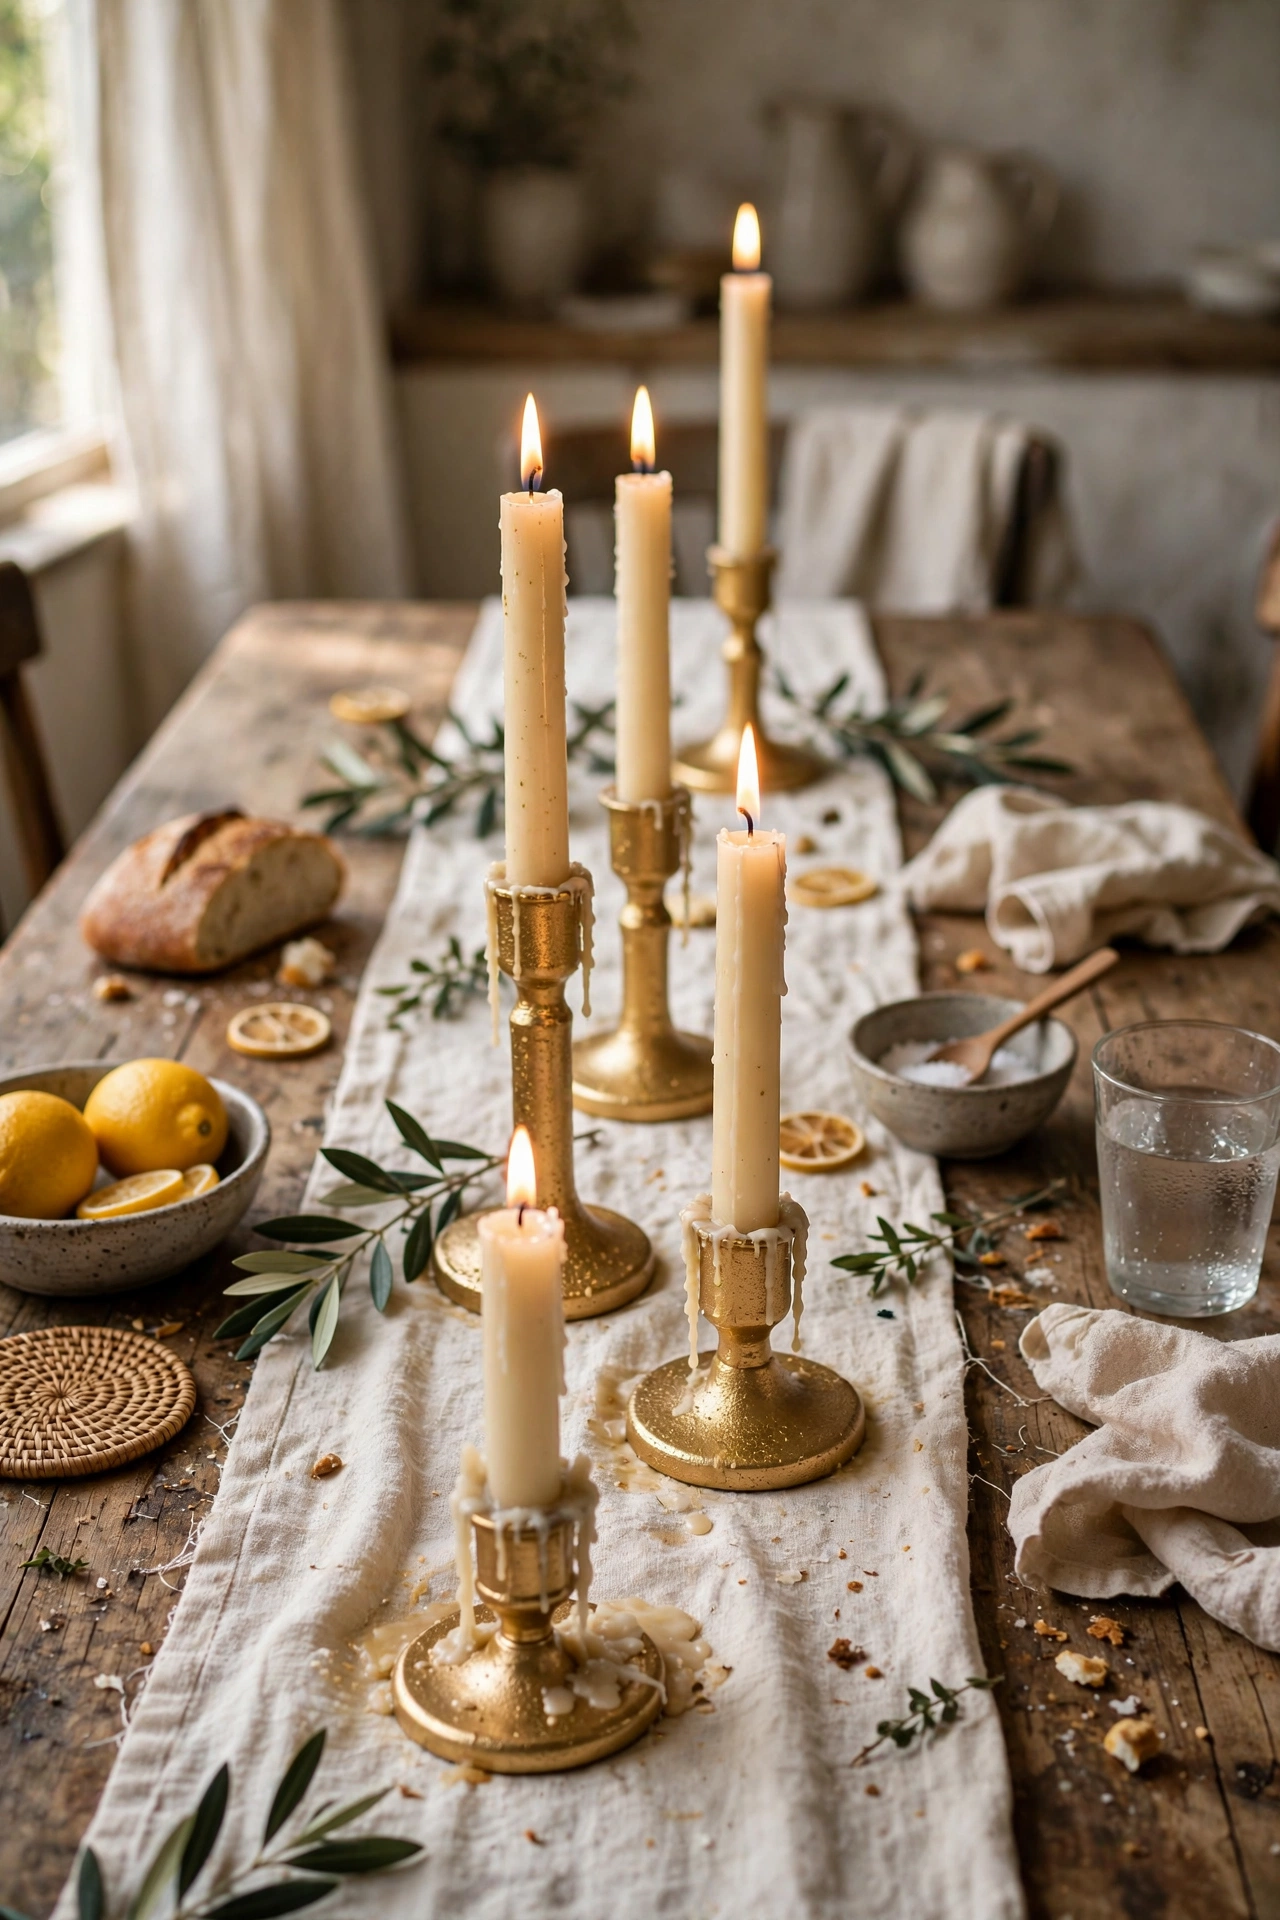
Glass taper holders sprayed metallic gold pass for brass. I sprayed six plain holders and arranged them down my dining table with cream tapers. The metallic finish is what sells it. Two light coats, rotating as you spray. My table looked ready for a dinner party in minutes. Store the tapers separately so they do not bend. This is my go-to for instant table elegance. The upkeep is basically zero, which suits me perfectly. I keep meaning to do a second one for another room.
Cost: ~$5-8 | Time: 45 minutes plus drying
Pro tip: Warm white lighting makes dollar store decor look richer. I swapped one cool bulb for warm in my living room and every cheap find suddenly looked better. Light is free styling.
Textile and Tabletop Upgrades
20. Linen-Look Table Runner
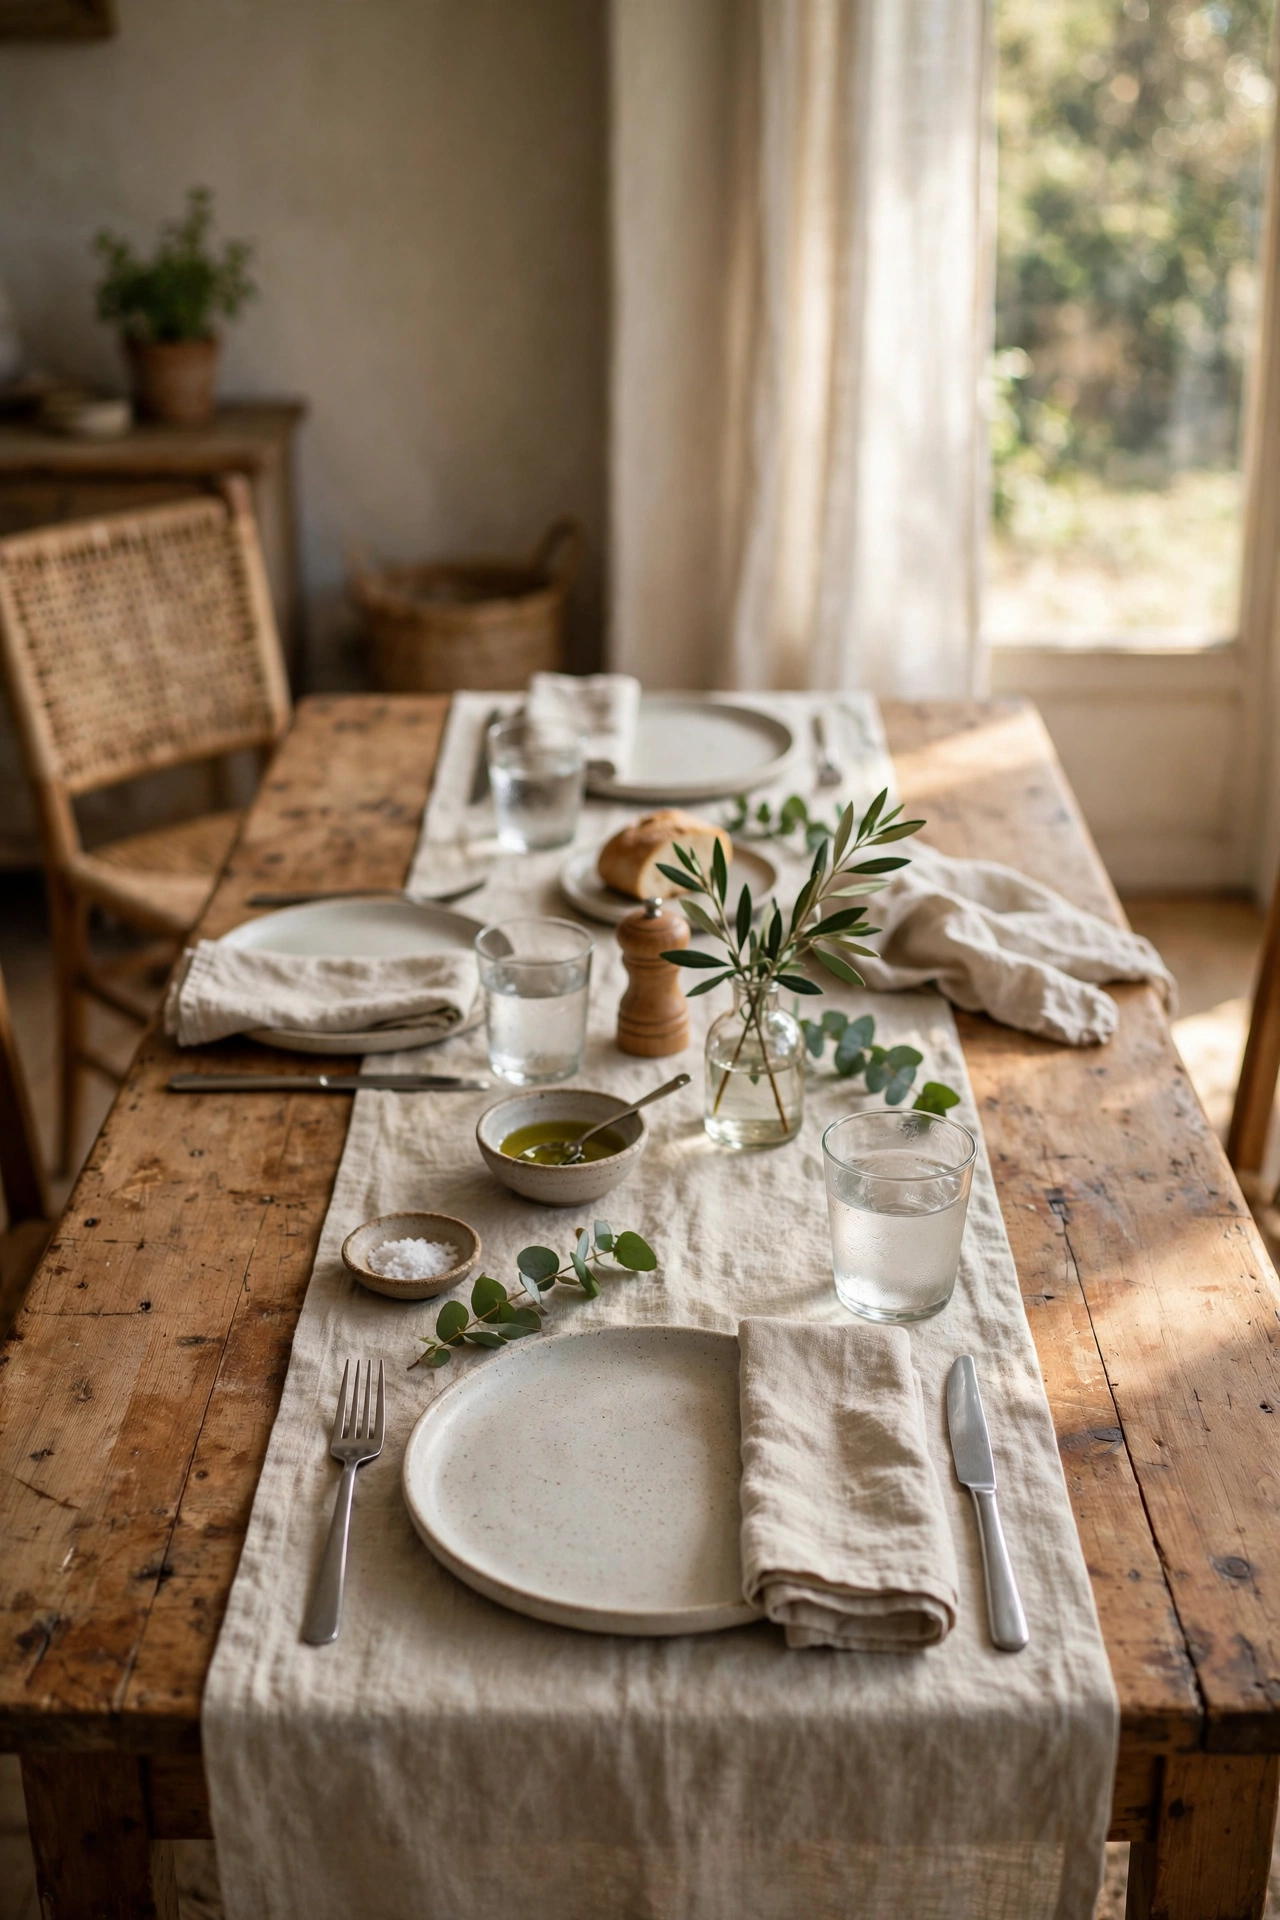
A linen-look runner instantly dresses a bare table. I laid a natural-toned runner down the centre of my dining table and the room felt finished. No sewing needed; just press the ends under with an iron for a clean edge. Layer it over a plain tablecloth for texture contrast. Mine has survived weekly dinners and washes well. The natural weave hides stains better than solid fabric. It was the finishing touch the space had been missing. Honestly, it looks like something from a much pricier shop.
Cost: ~$3-5 | Time: 15 minutes
21. Woven Placemat Charger Plates
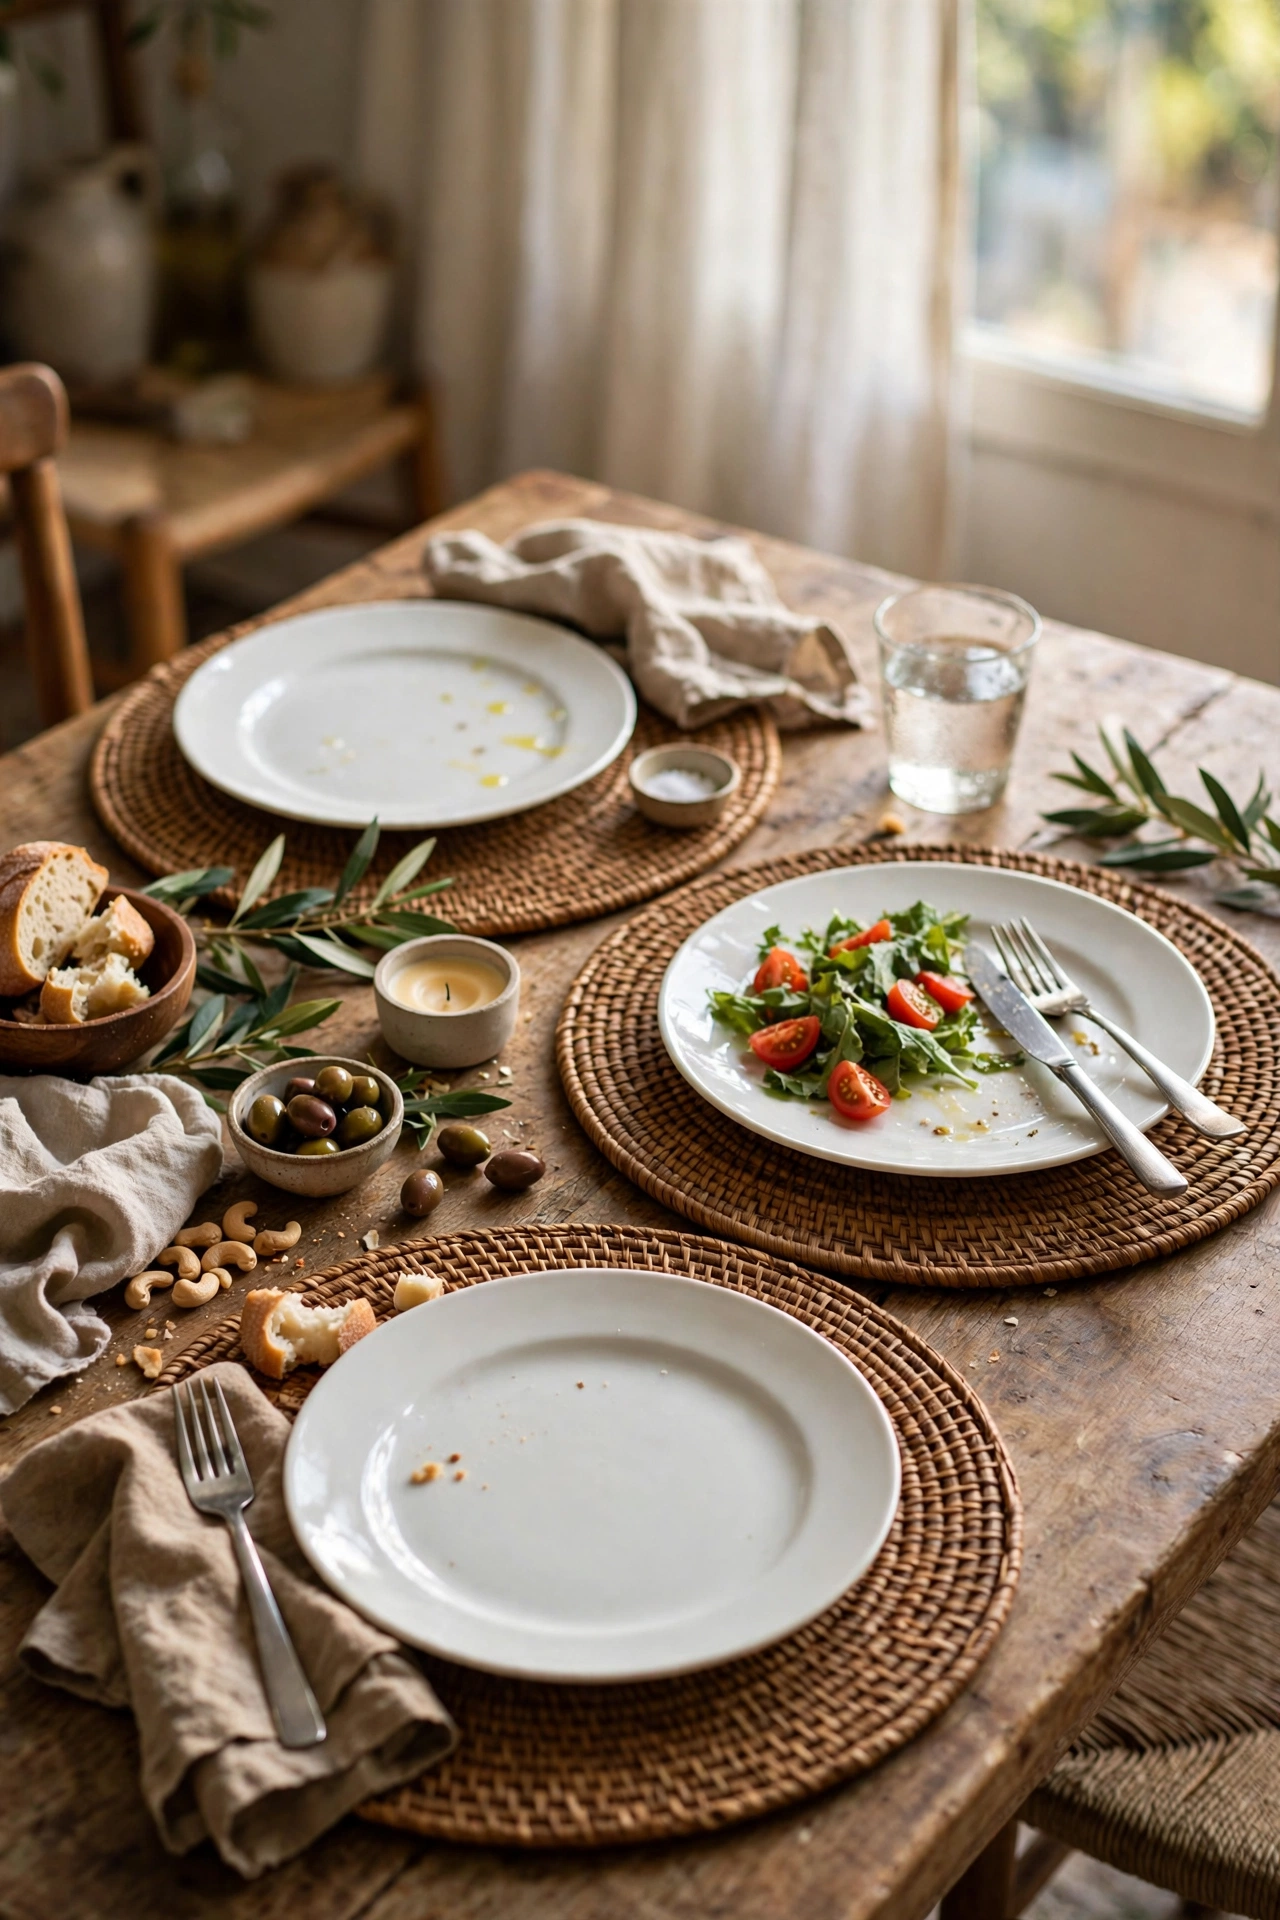
Round woven placemats work as charger plates under dinner plates. I set my table with woven placemats under white plates and it looked like a restaurant. The texture makes even the simplest meal feel special. They wipe clean easily. I keep a stack for everyday dinners now. Pair with cloth napkins for the full effect. My weeknight dinners feel more special with almost no effort. I catch myself admiring it more than I expected. It has survived kids, pets, and daily life without a scratch.
Cost: ~$4-6 | Time: 10 minutes
22. Napkin Ring Set from Shower Rings
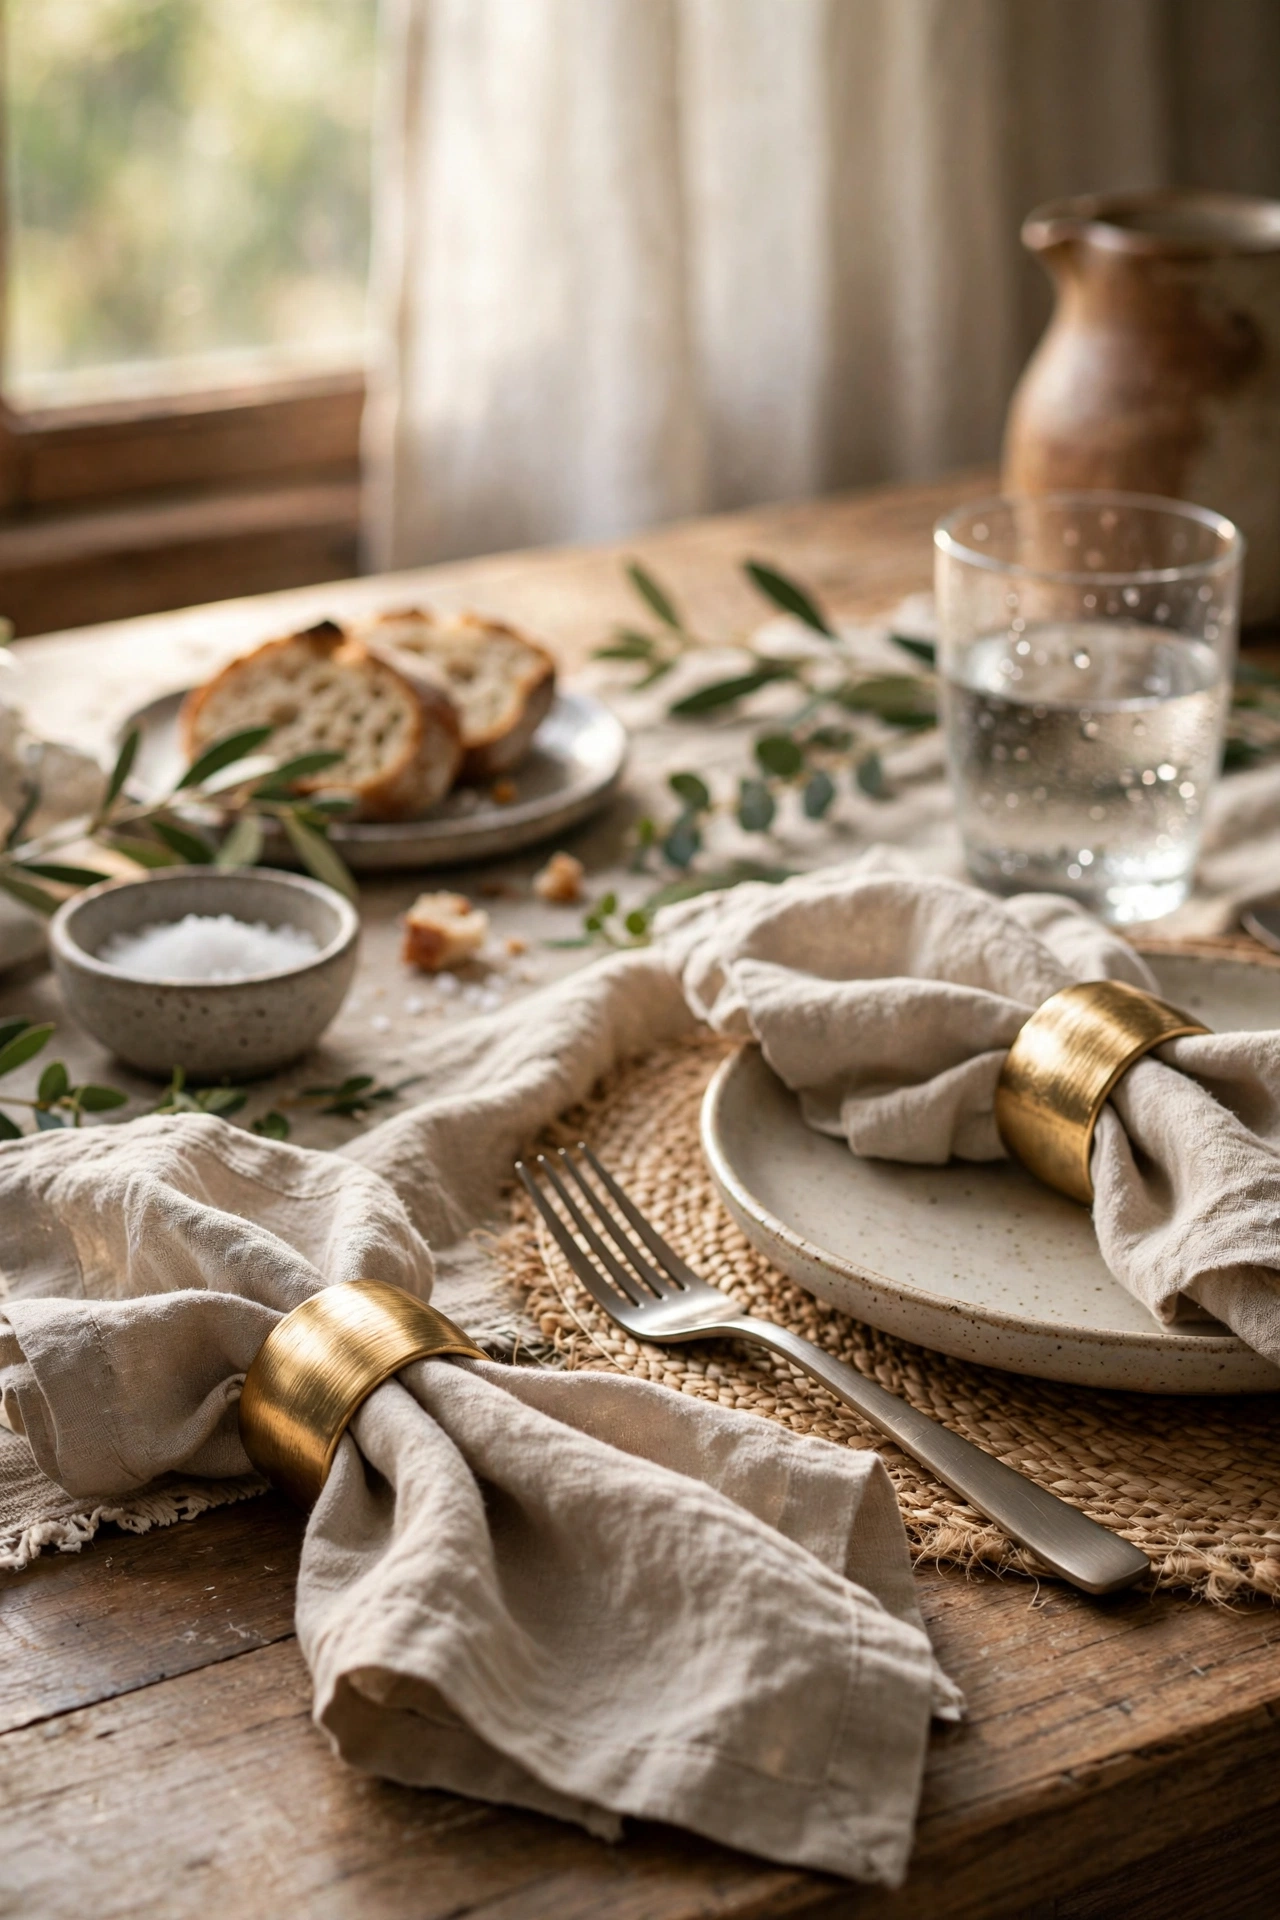
Decorative shower curtain rings make perfect napkin rings. I bought a pack of metallic rings and threaded cloth napkins through them. They look like proper napkin rings at a tenth of the price. Choose rings with some weight so they sit well. Mine are brushed gold and guests never guess. This is the kind of trick that makes people ask where you shop. Keep a set in the dining drawer. I would do this again in a heartbeat. I get asked about this one more than anything else in the room.
Cost: ~$2-4 | Time: 10 minutes
23. Faux Marble Contact Paper Tray
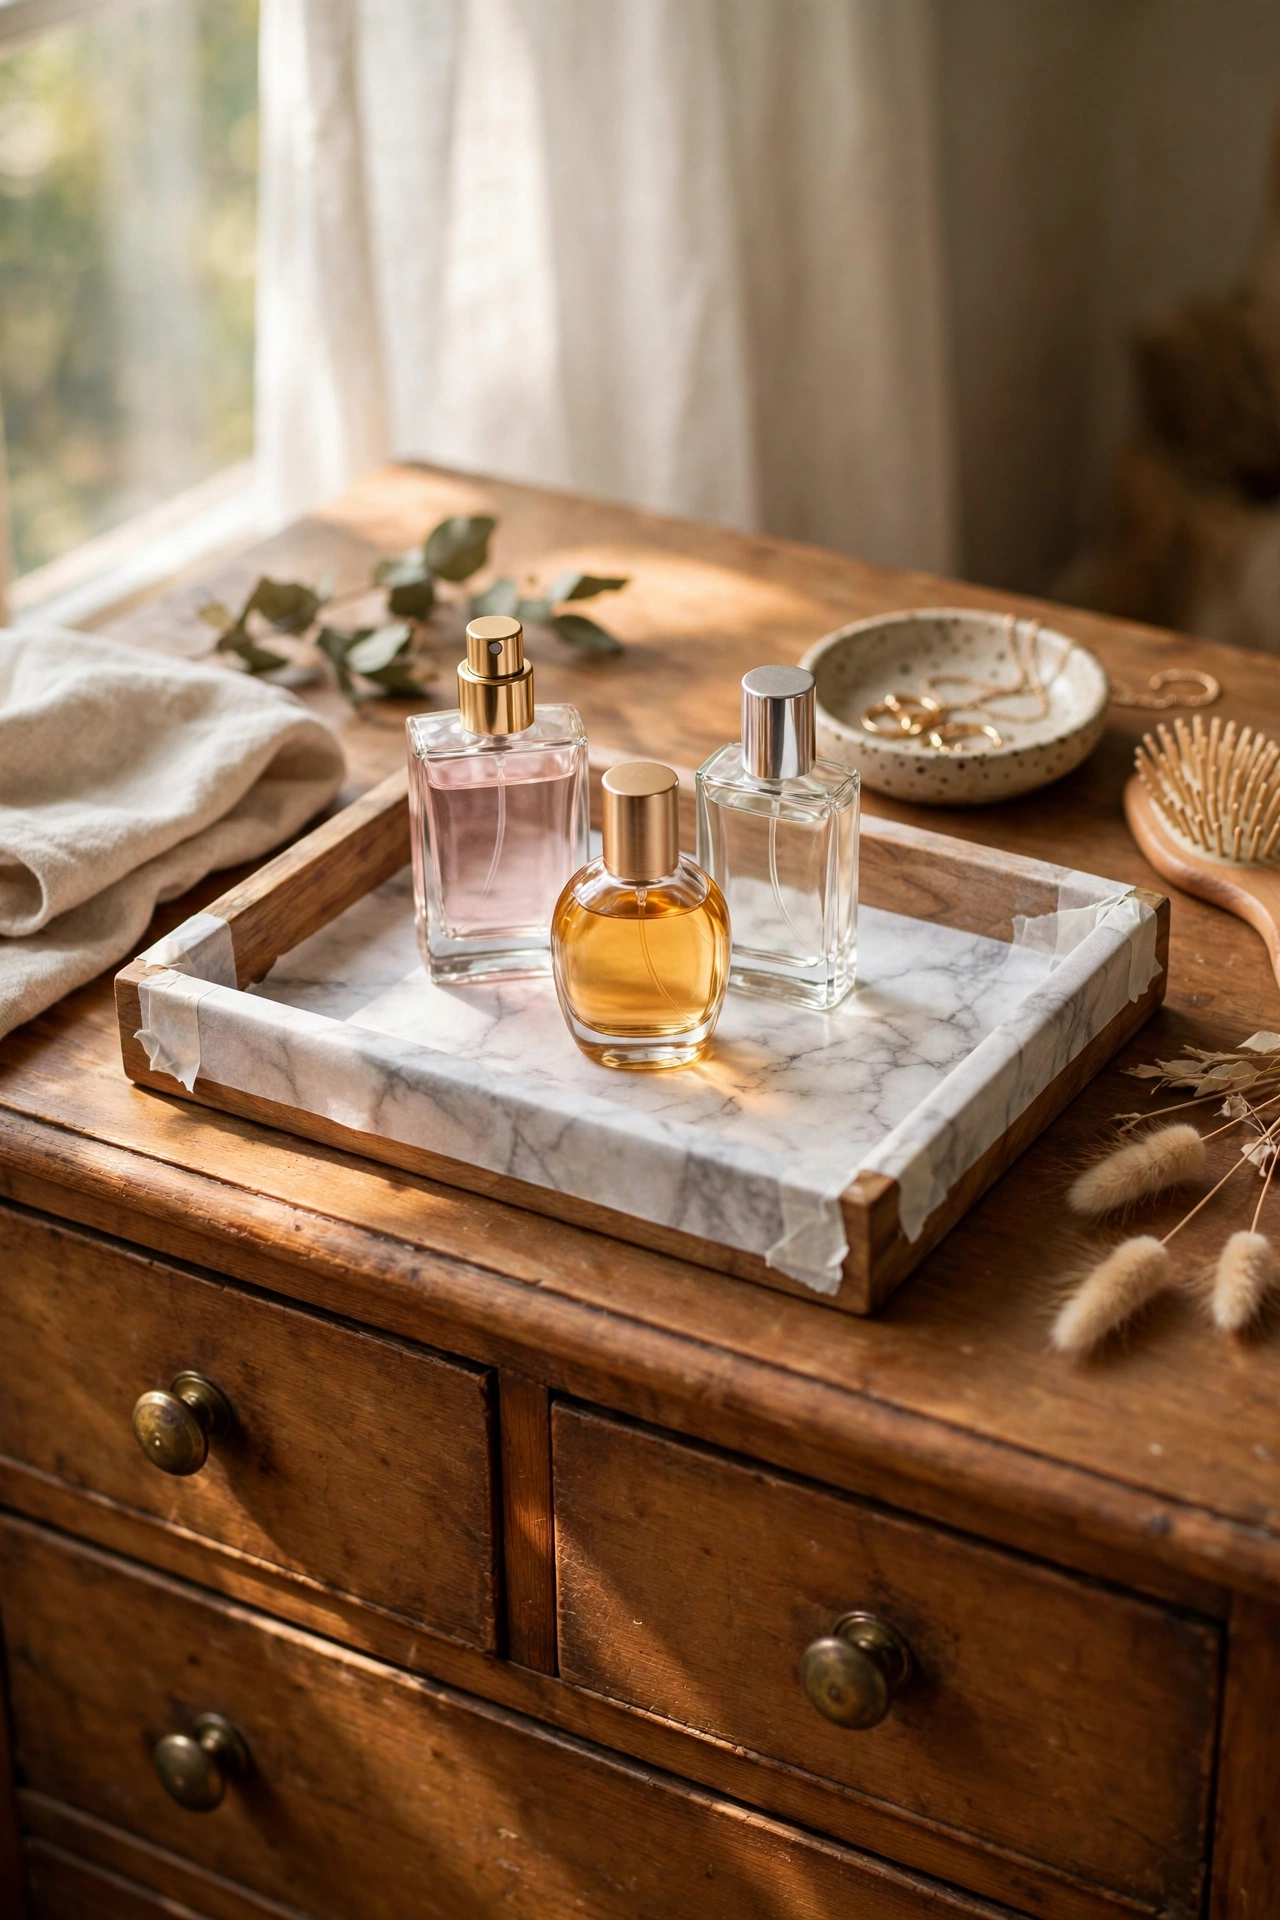
Marble contact paper turns a plain tray into a luxe piece. I covered a wooden tray with marble-patterned contact paper, smoothing out bubbles as I went. The trick is applying it slowly with a credit card to push air out. My tray looks like real marble from a foot away. Use it for perfumes on the dresser or coffee on the table. Seal the edges well so it does not peel. It has held up beautifully through months of daily use.
Cost: ~$3-5 | Time: 30 minutes
24. Decorative Storage Boxes Stack
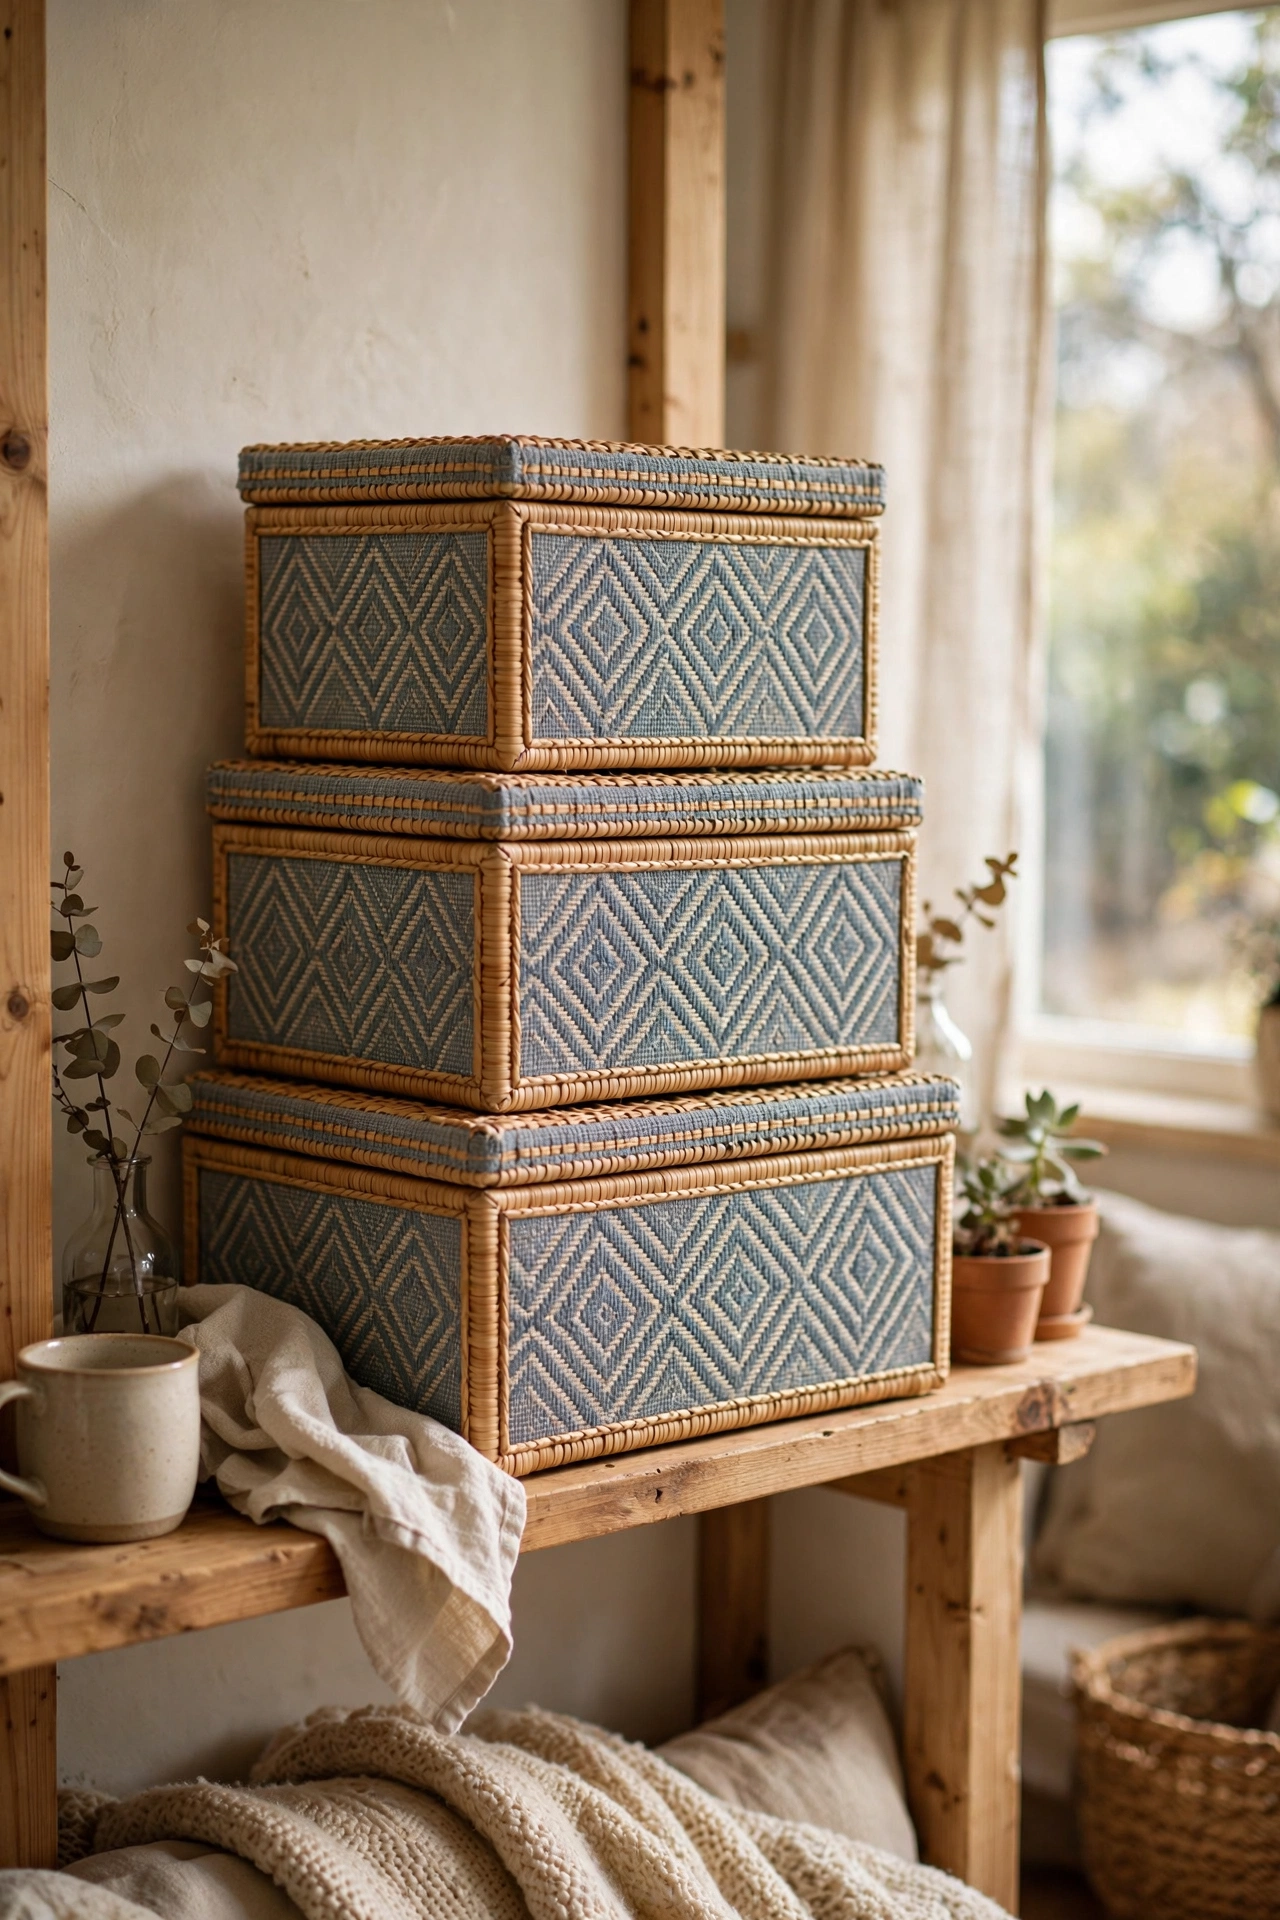
Matching decorative boxes stacked on a shelf hide clutter beautifully. I bought three boxes in the same pattern and stacked them in my living room. Remote controls, chargers, and random bits all disappear inside. The matching set is what makes it look intentional. Label the bottom of each box so you remember what is inside. Mine hold everything from batteries to board games. Guests always assume it cost far more than it did. This is one of those small changes I wish I had made years ago.
Cost: ~$4-6 | Time: 15 minutes
25. Coffee Table Book Stack Dupe
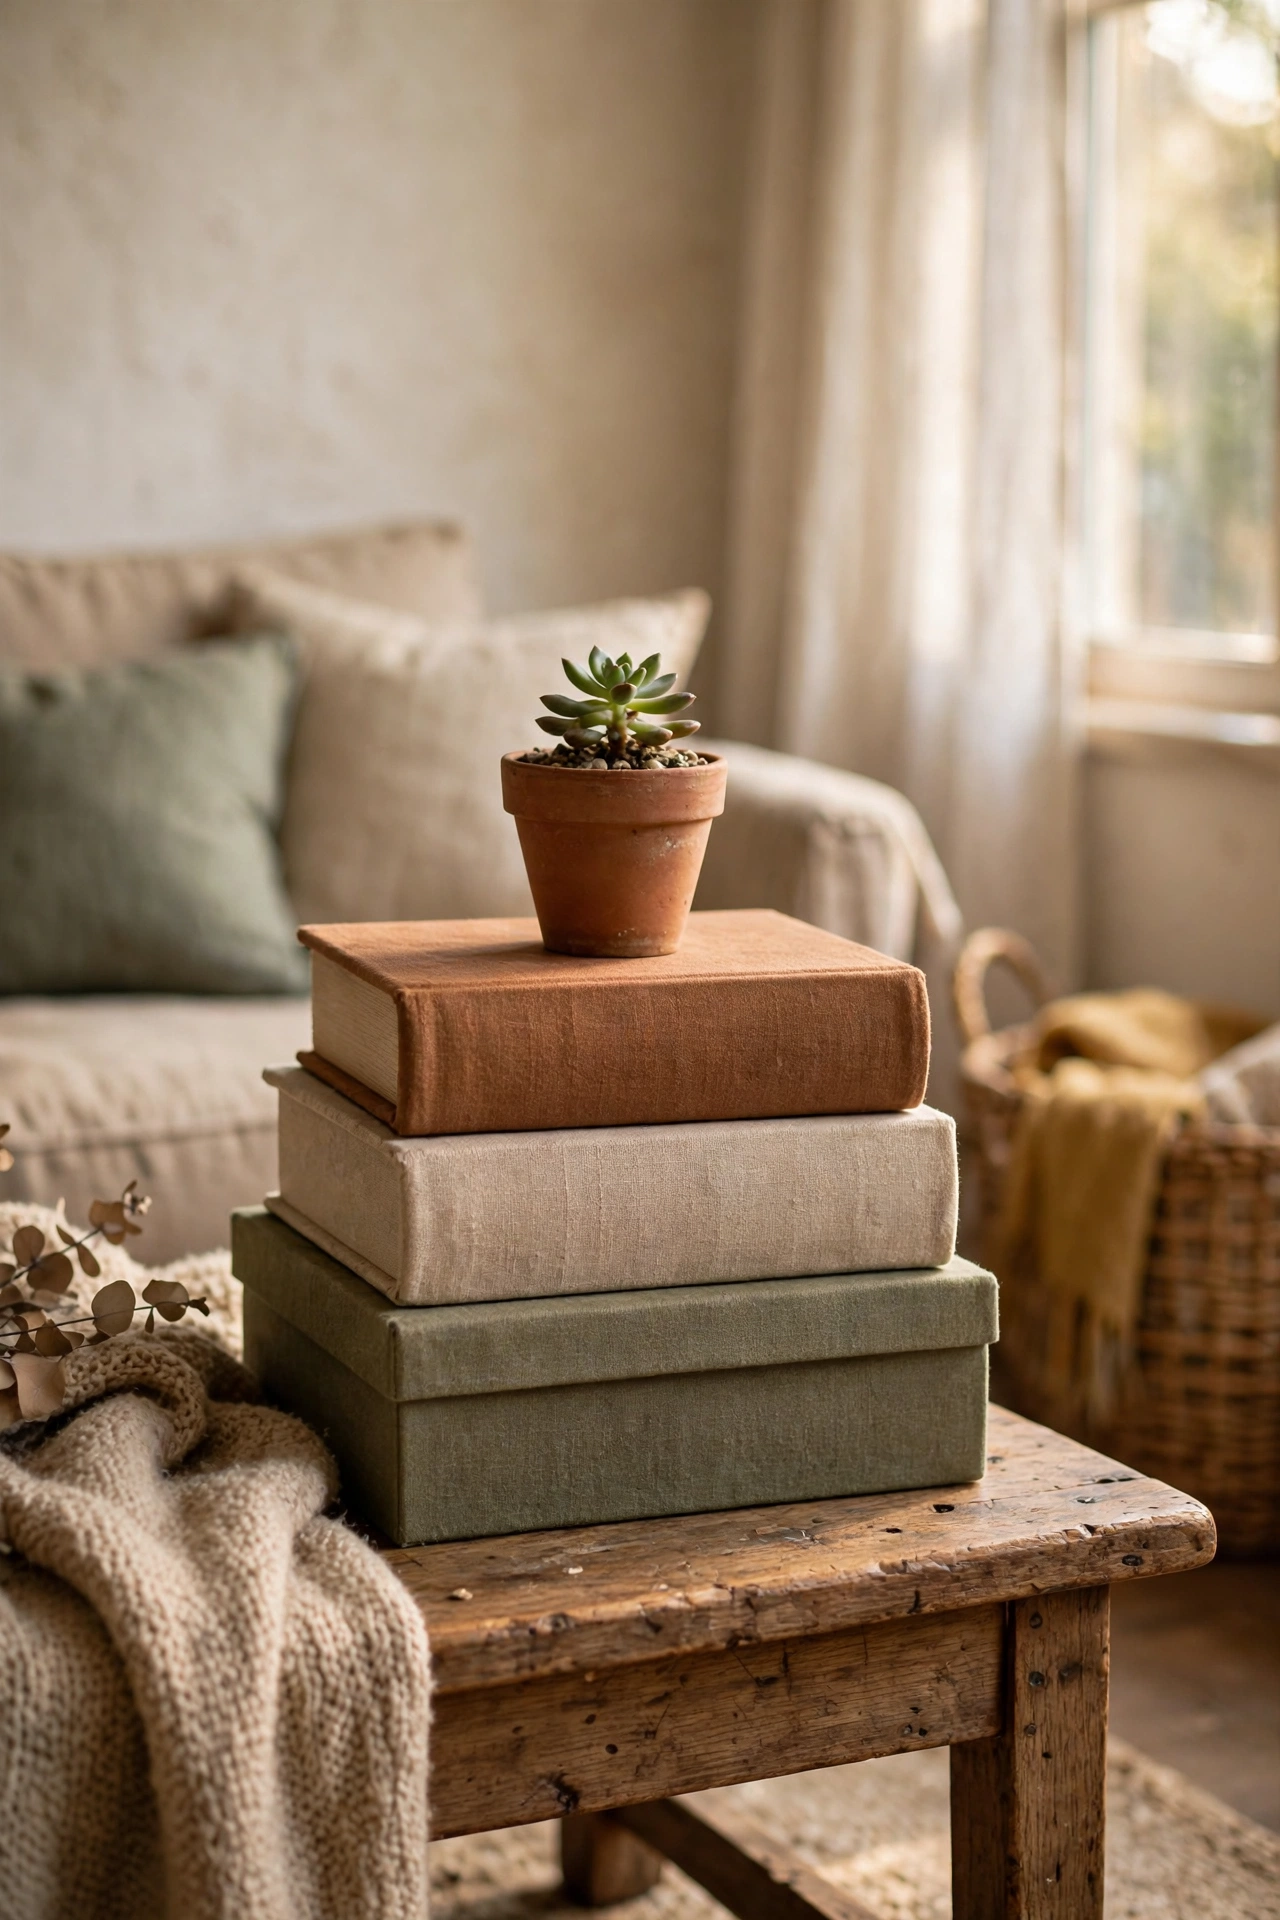
Hardcover-look storage boxes stacked like coffee table books give you the look without the price. I stacked three decorative book boxes on my coffee table with a small plant on top. They look like an art book collection and hide the remotes inside. Vary the sizes slightly. Mine are always the first thing guests pick up. Choose covers in your room’s colour palette. It took me less time to do than to decide to do it. I have recommended this to three friends already.
Cost: ~$4-6 | Time: 10 minutes
Pro tip: Buy multiples of the same item rather than lots of different ones. Three identical vases look curated; three different vases look random. Repetition is the cheapest design trick there is.
Save this one for your next dollar store run, and keep the budget momentum going: (see also: 19-dollar-store-decor-ideas-that-look-expensive/) (see also: 15-dollar-store-diys-worth-every-penny/) (see also: thrift-store-decor-finds/)
