21 Dollar Store DIYs That Look Expensive
Some of my favourite pieces at home cost less than a coffee. I started making dollar store DIY decor three years ago when our flat needed warmth and my bank account firmly said no, and I quickly learned the difference between crafts that look cheap and crafts that fool everyone. The secret is never the shop — it is the finish. A little spray paint, the right glue, and one careful extra step turn budget bits into pieces people genuinely compliment.
This list is my greatest-hits collection: 21 dollar store DIYs that look expensive, each one I have actually made, photographed, and kept in my own home. Every project stays under $10, most take an afternoon or less, and each has the one trick that sells the expensive illusion. I have included my own mistakes too, because they are the fastest way for you to skip them.
1. Faux Marble Catch-All Tray
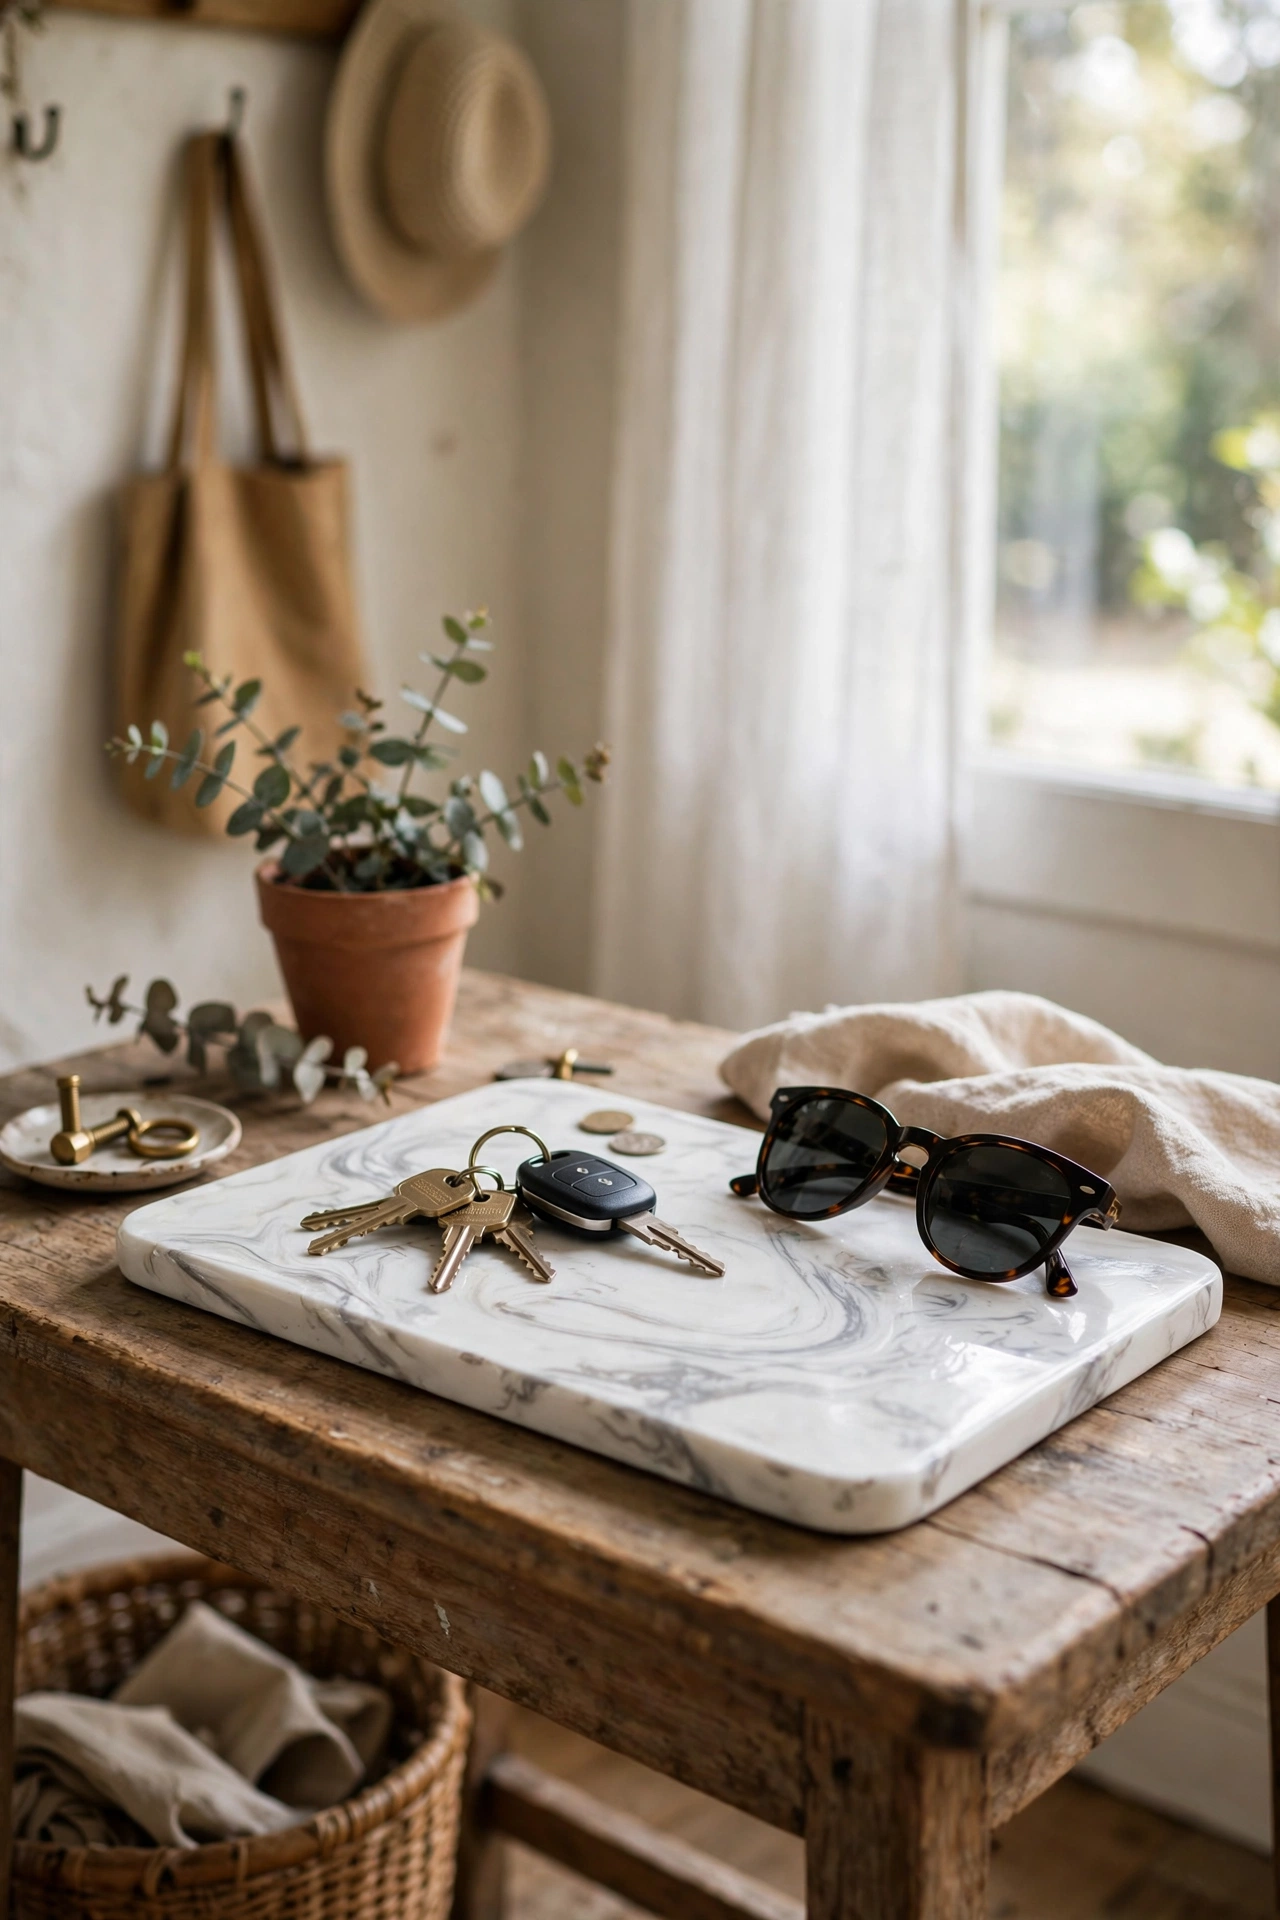
A faux marble tray is the classic dollar store flex, because real marble trays cost twenty times more. Buy a plain metal or plastic tray, spray it two coats of gloss white, and let it dry fully overnight. Then water down a little grey acrylic paint until it flows like ink, flick it across the surface with an old toothbrush, and drag a toothpick through the droplets to pull them into thin veins. Seal it with two coats of clear lacquer so keys and coins do not scratch it. I tried this with thick painted veins first and it looked like grey smoke. Thin, irregular veins are the whole trick — less is genuinely more. Keep the tray on an entryway table with your keys and sunglasses, and watch guests pick it up.
Cost: ~$6 | Time: 45 minutes plus drying
Pro tip: Wipe a used black tea bag lightly over the finished tray before sealing to warm the white into a creamy, aged-marble tone.
2. Gold Spray-Painted Frame Gallery Wall
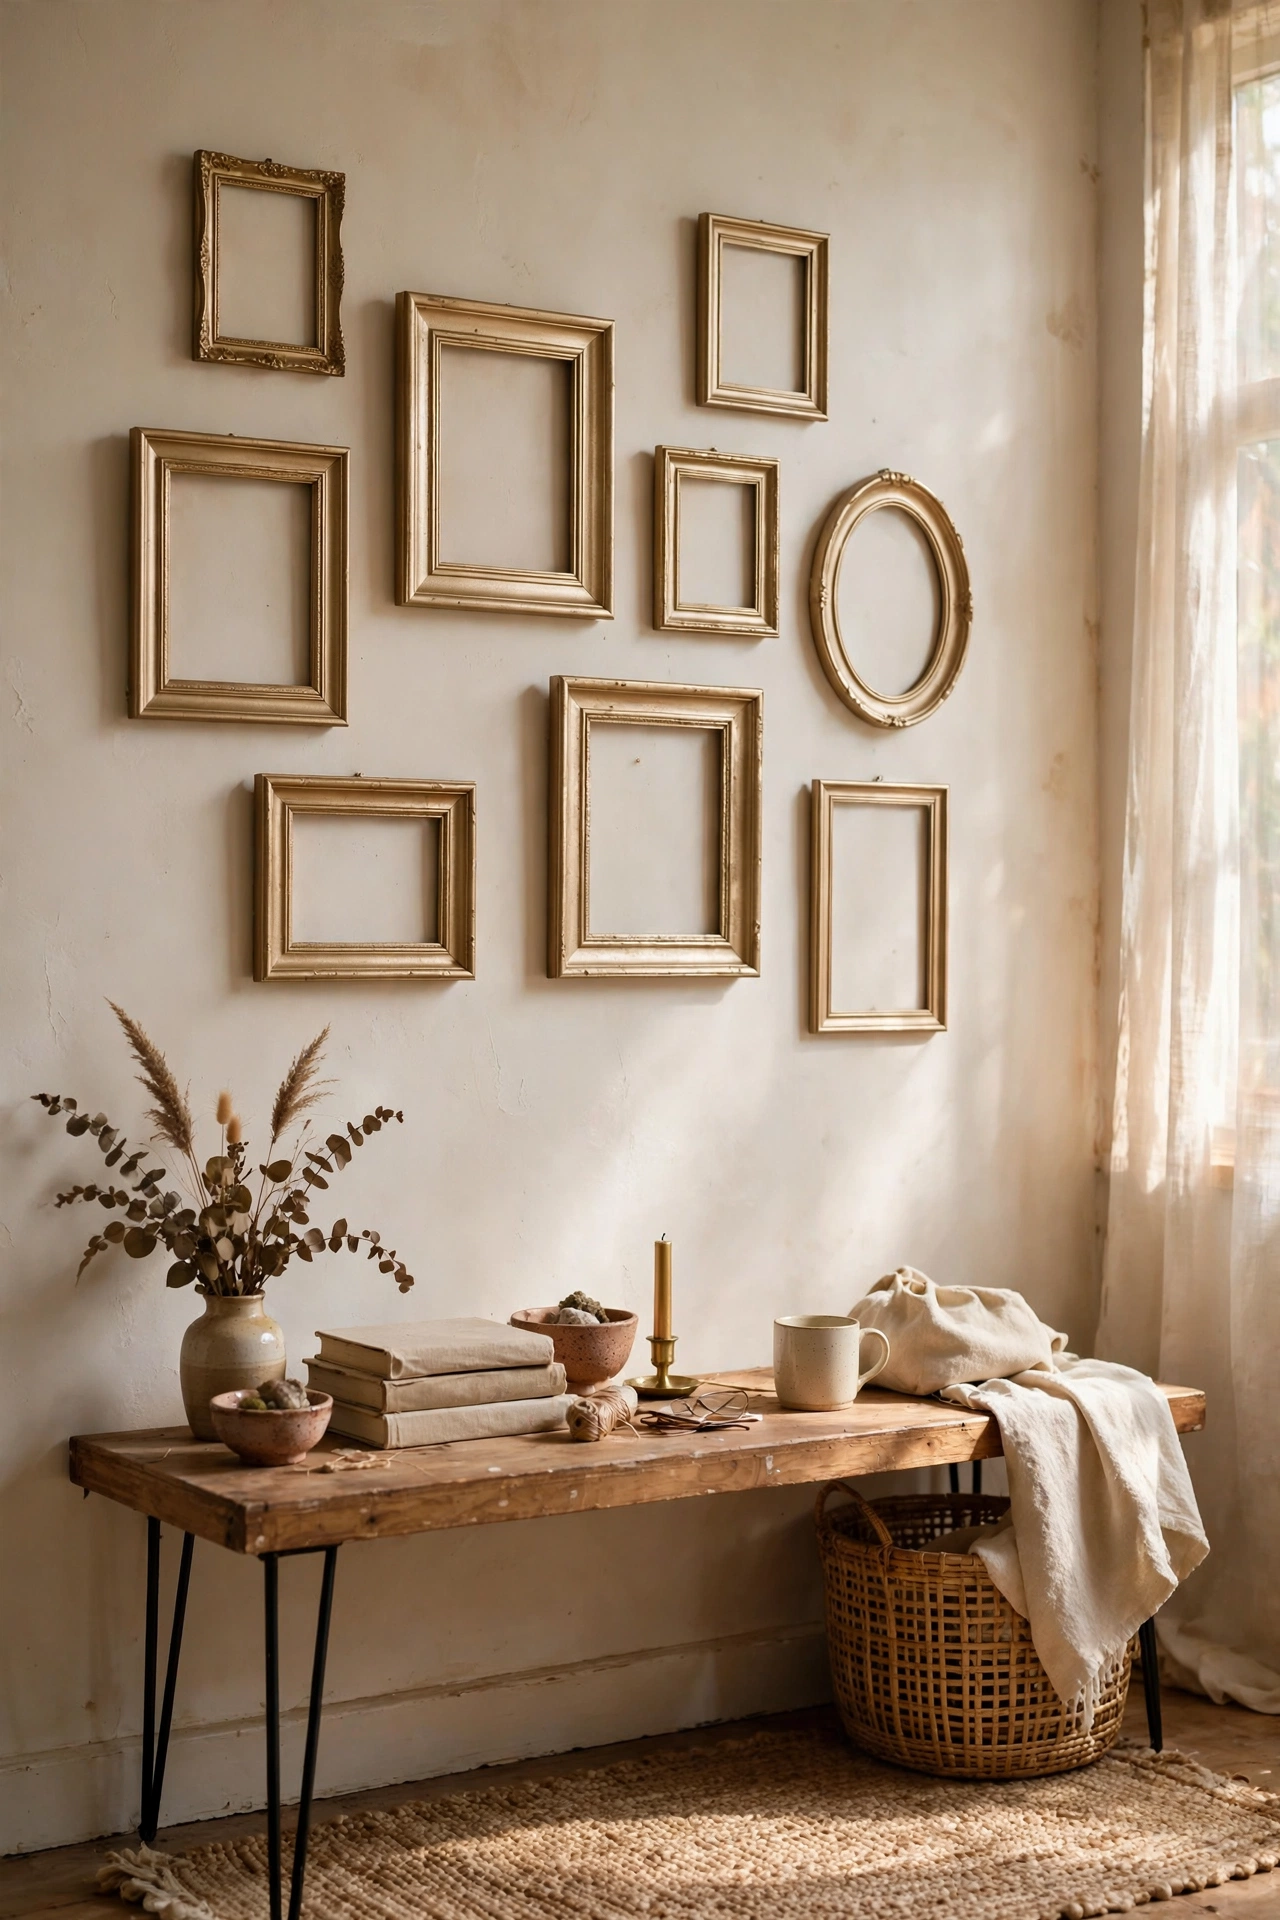
Six mismatched charity-shop or dollar store frames become a designer gallery wall the moment they share one colour. Gather frames in different shapes and sizes — variety is the point — then clean them, give a light sanding, and spray two even coats of metallic gold, turning them halfway to catch every edge. Fill them with free printable art, black-and-white family photos, or even plain textured card for a modern abstract look. Hang them in a loose grid above a console table, keeping 5cm between each. I sprayed my first batch in bright gloss gold and they looked like plastic toys. Satin champagne gold is what reads expensive. The single unifying colour is what makes a jumble of frames look intentional.
Cost: ~$10 | Time: 1 hour plus drying
Pro tip: Spray the backs too, because frames that show bare wood or plastic on the sides give the game away in side light.
3. Stacked Glass Apothecary Jars
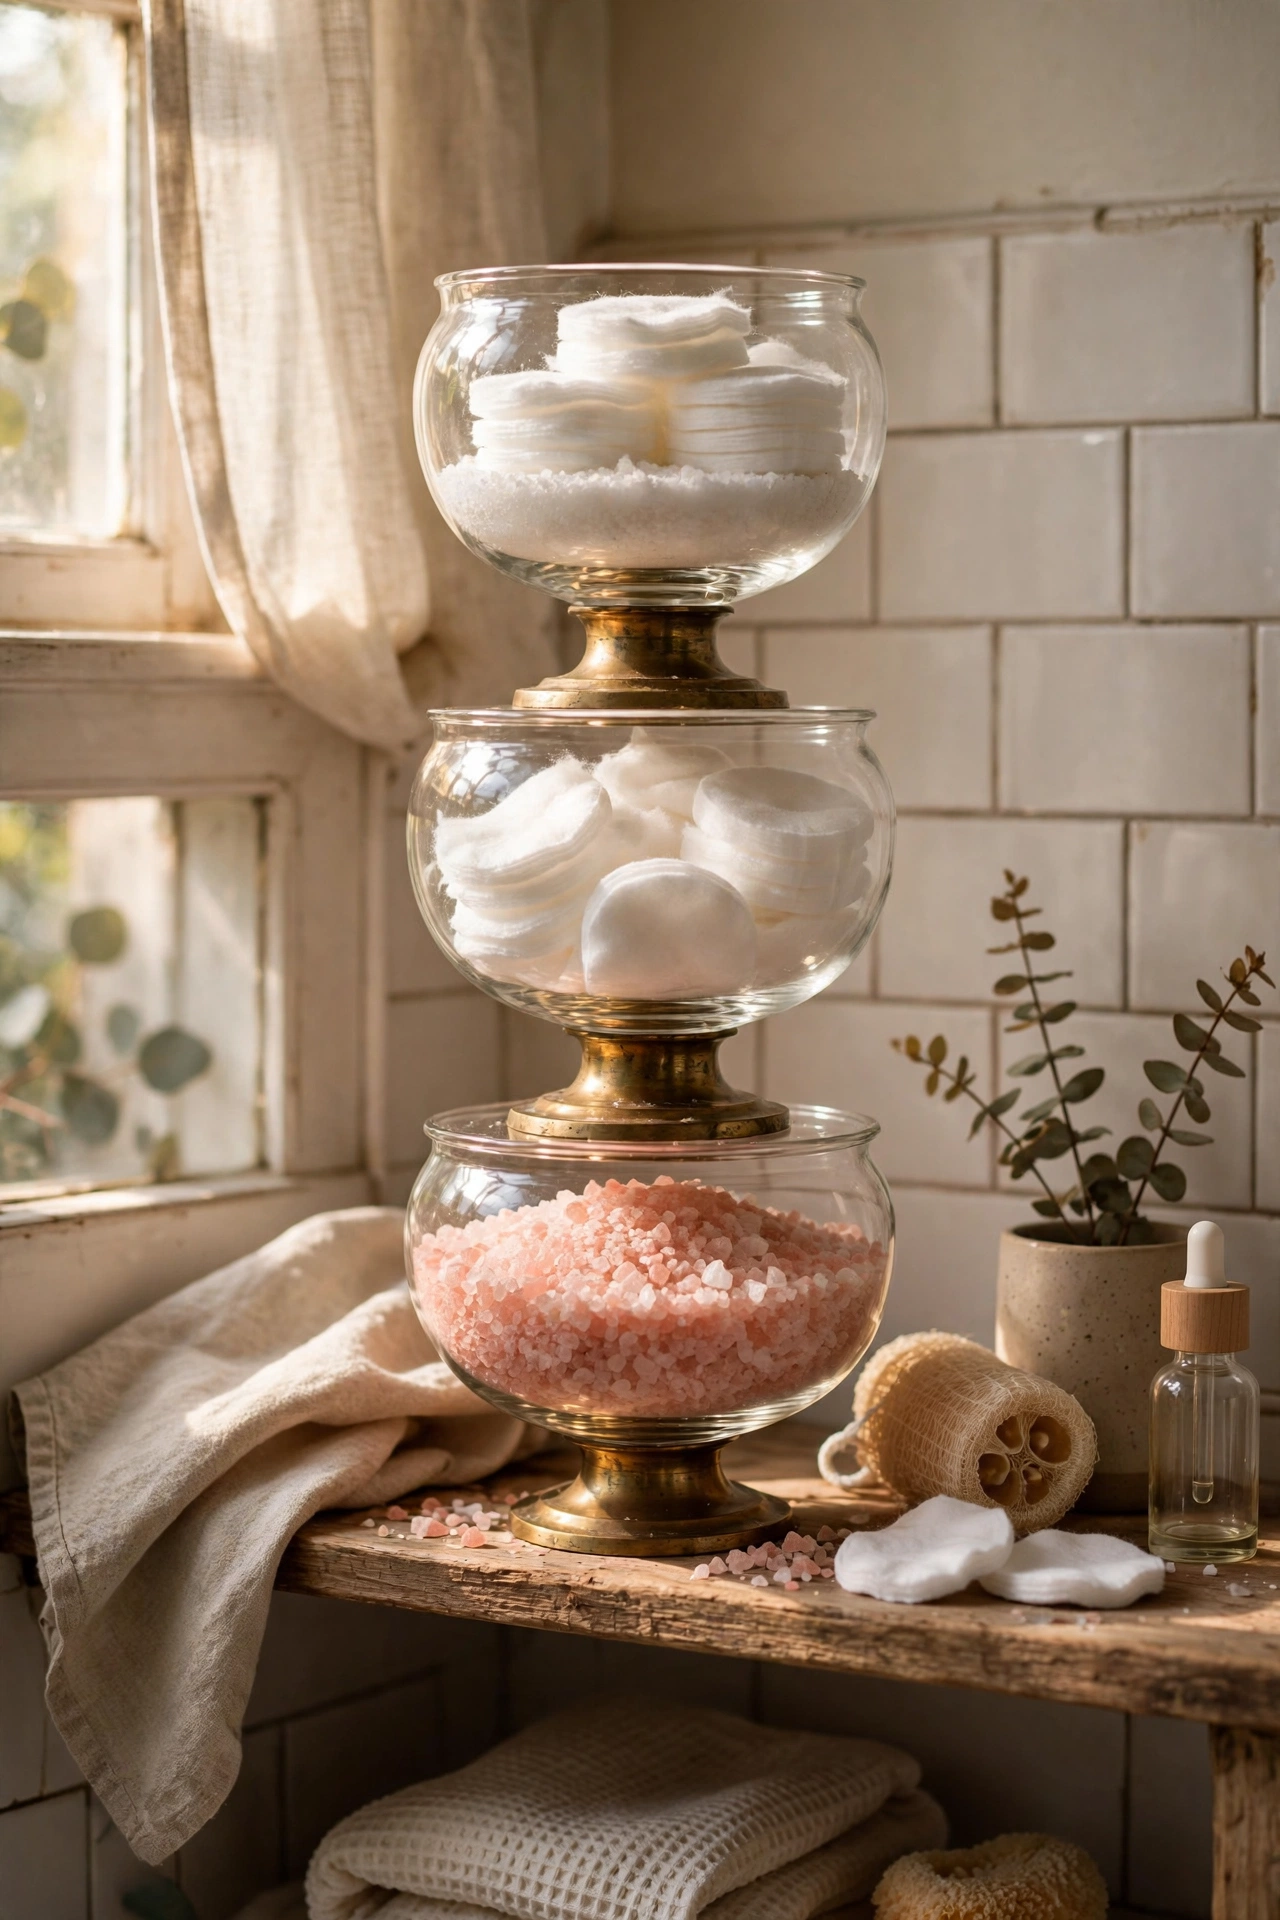
Glass bowls flipped over dollar store candlesticks make apothecary jars that look straight from a homeware shop. Pick a glass bowl and a short glass candlestick with matching weight and style — plain and chunky works best. Scuff both contact points lightly with sandpaper so the glue bites, then bond them with E6000 adhesive and leave the joint undisturbed for a full 24 hours. Fill the jars with bath salts, cotton pads, dried citrus slices, or colourful sweets. I tried hot glue first and my jar came apart on the bathroom shelf within a week. E6000 smells strong but holds forever once cured. Group three jars of different heights on a bathroom shelf for the full effect.
Cost: ~$4 per jar | Time: 15 minutes plus curing
Pro tip: Put a felt dot under each candlestick base so the jars glide instead of screeching across your shelves.
4. Linen-Wrapped Storage Boxes
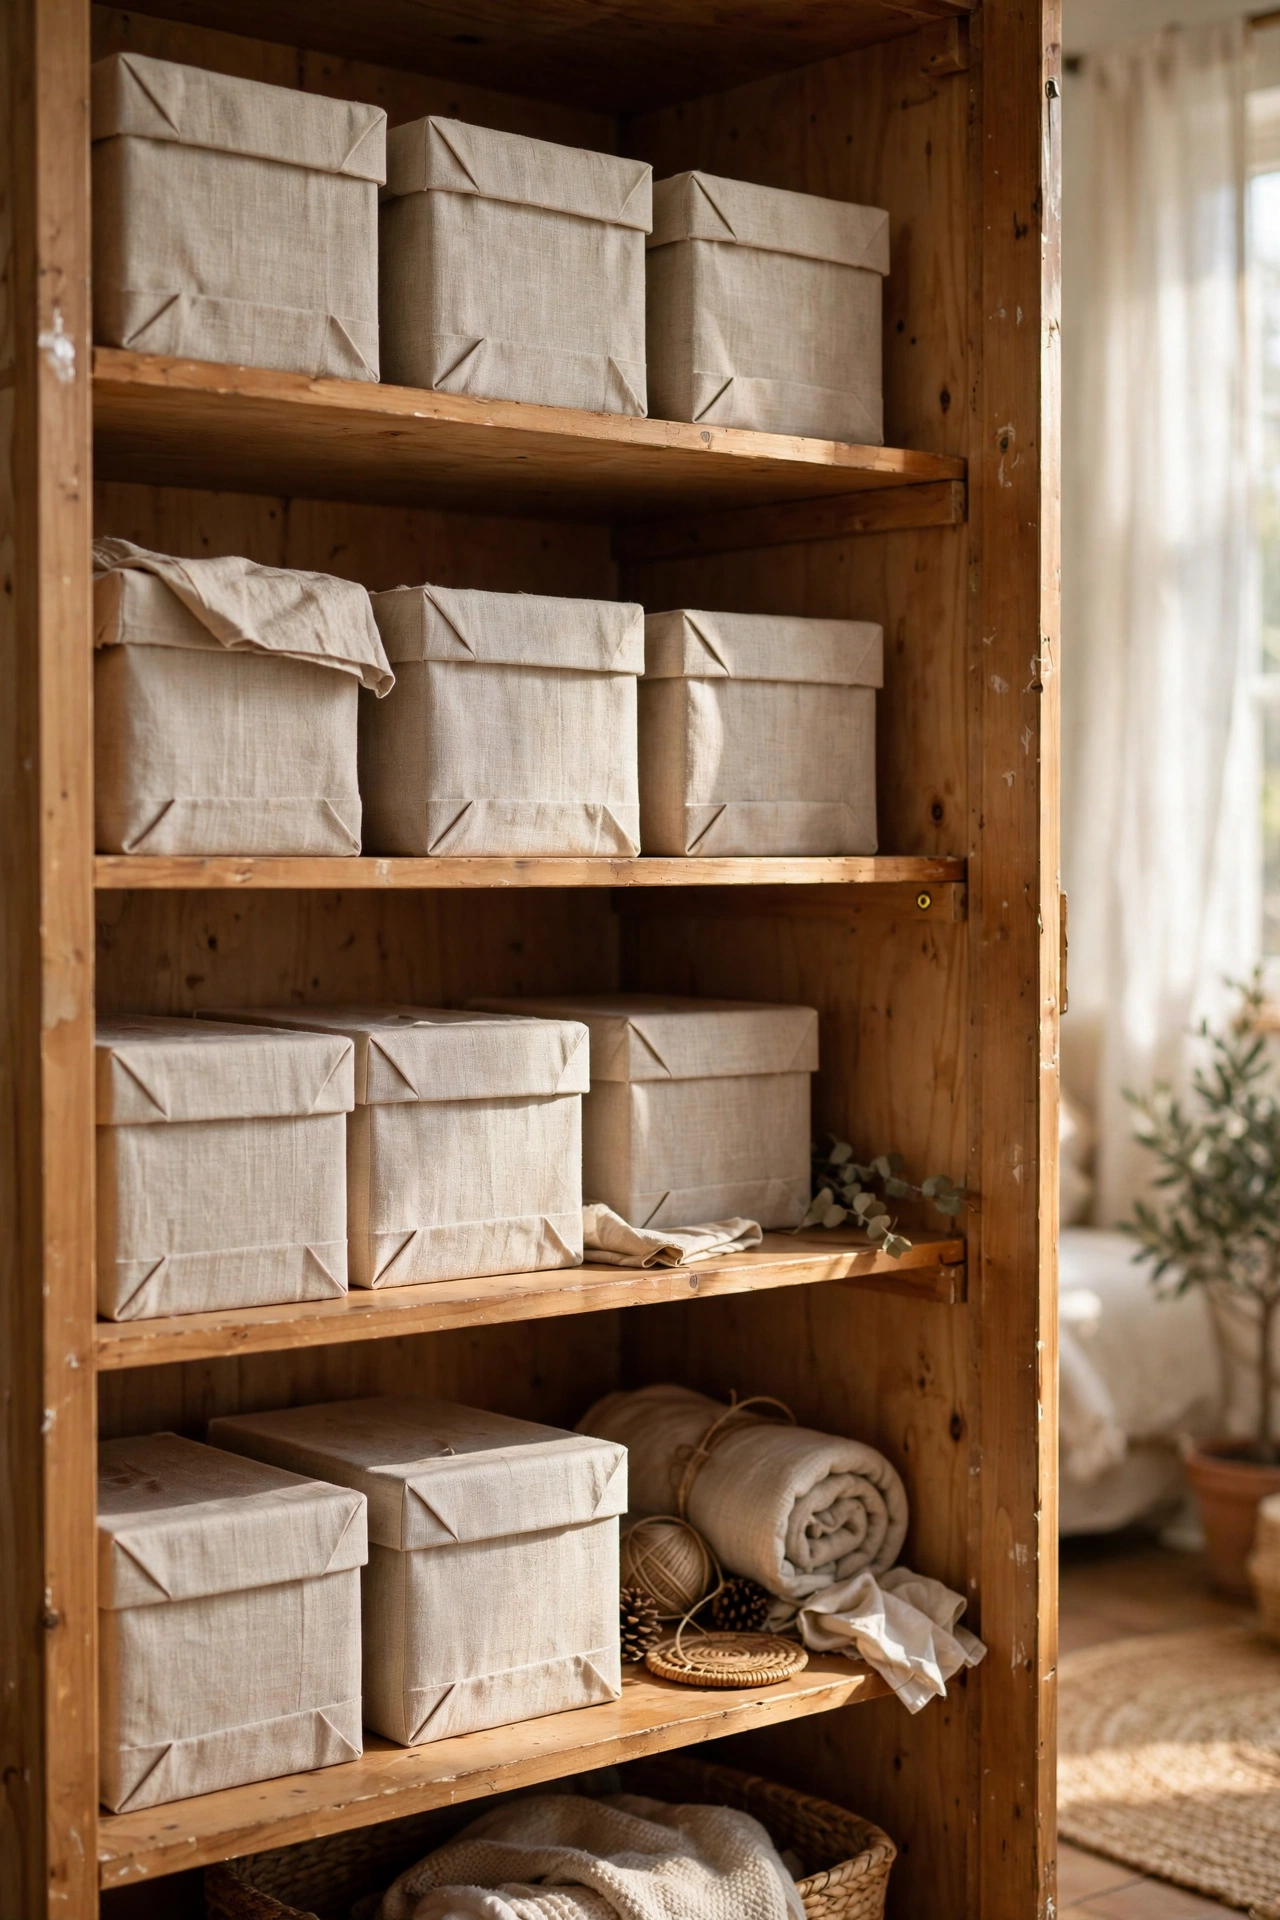
Cardboard photo boxes wrapped in linen-look fabric sit on open shelves like boutique storage. Cut fabric about 8cm larger than the box on every side, brush a thin layer of craft glue or Mod Podge on the box, and wrap the fabric around it like a parcel, folding the corners neatly. Trim the excess inside and glue a matching fabric panel over the lid. The fabric hides every trace of the original box. I left a sliver of raw cardboard showing on my first one and it was the only thing anyone could see. Neat corners are what sell this — wrap them like a gift, mitred and tight. Line two or three on a wardrobe shelf for instant calm.
Cost: ~$5 per box | Time: 30 minutes plus drying
Pro tip: Iron the fabric first, because creases from the shop fold show through the glue and spoil the flat finish.
5. Milk Glass Bud Vases
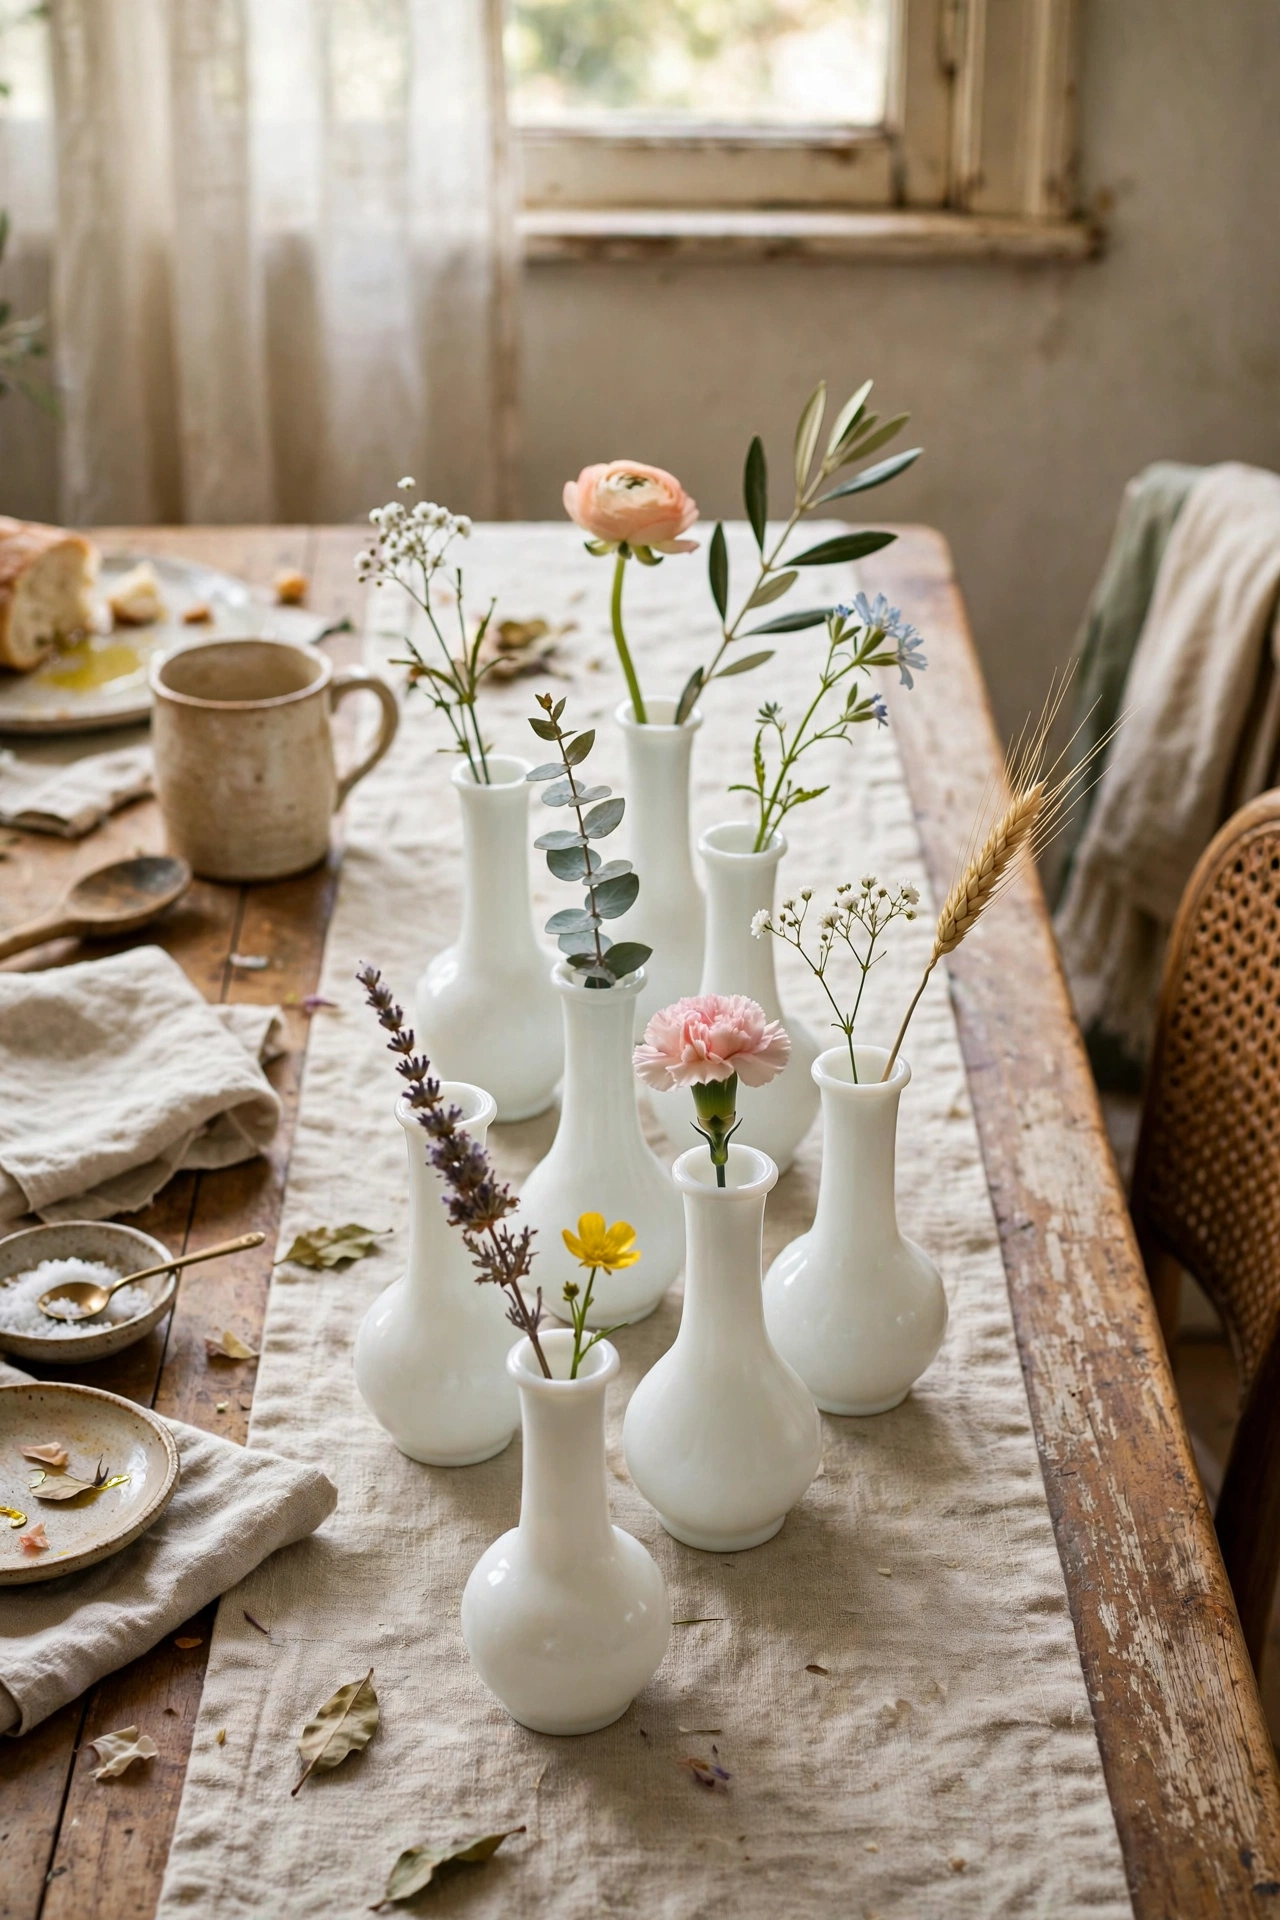
Clear dollar store vases become vintage-style milk glass with one can of matte white spray paint. Choose simple straight or bud shapes, wash them in warm soapy water, and dry them completely. Spray three light coats from 25cm away, letting each go tacky before the next, and leave them to cure for two full days before water goes in. The matte finish reads exactly like real collected milk glass. I got impatient on my first vase and laid the paint on thick — it dried with an orange-peel texture that looked anything but vintage. Light, patient coats are the whole job. Cluster five bud vases with single stems down a dining table for a centrepiece that costs under $8.
Cost: ~$2 per vase | Time: 20 minutes plus curing
Pro tip: Put a dab of clear nail varnish on the base rim of each vase to stop the paint chipping when you set them down.
6. Faux Terracotta Plant Pots
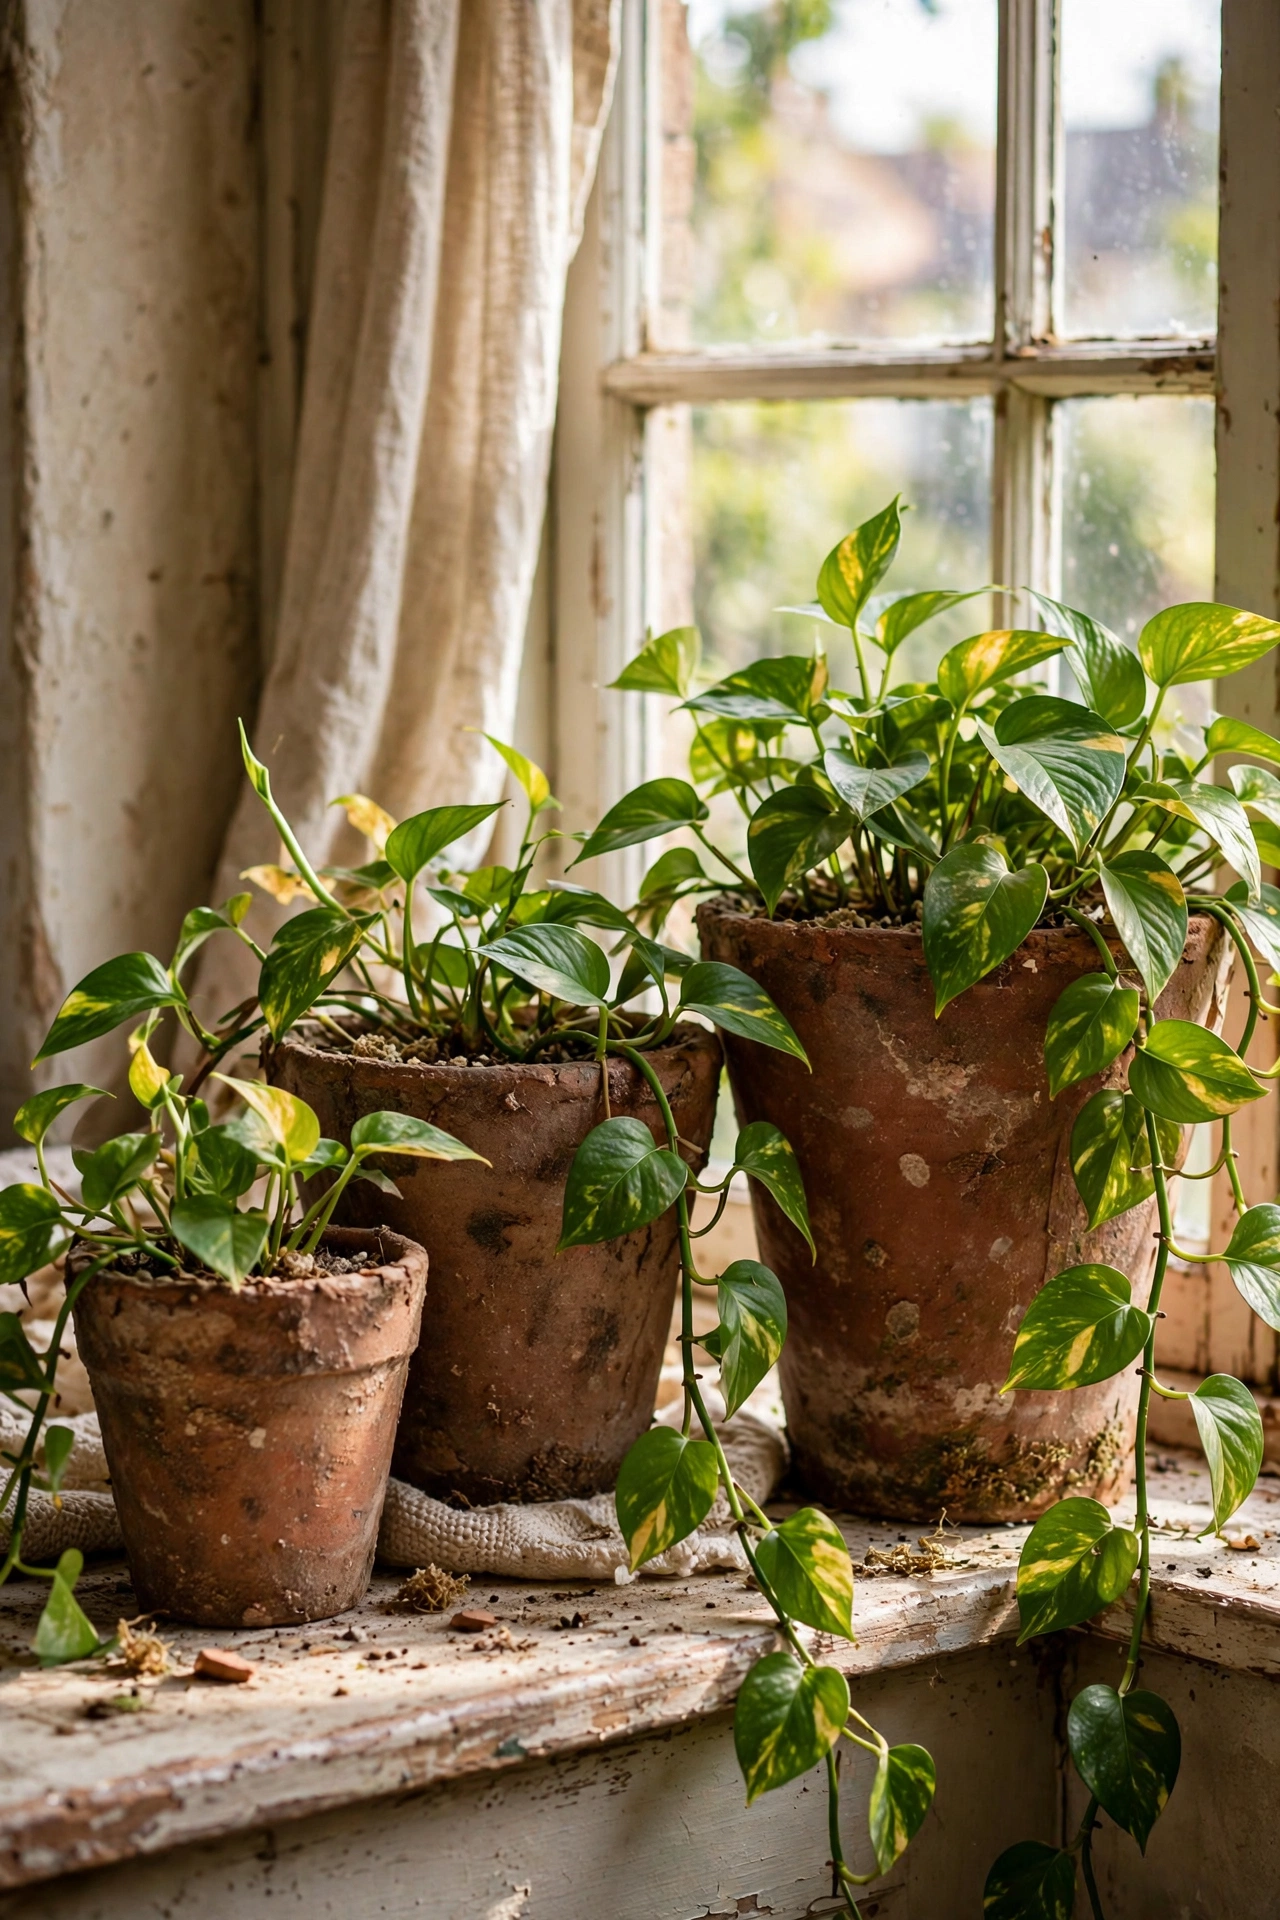
Plastic nursery pots painted to look like aged terracotta fool everyone at arm’s length. Mix matte terracotta-coloured acrylic paint with a spoonful of baking soda until it turns thick and gritty, then dab it onto a clean plastic pot with a sponge so the texture looks hand-formed. Add a second layer around the rim for that chalky aged look. I tried one thick coat first and it cracked like dried mud within a day. Two thin textured coats are what last. Plant them with trailing pothos or a small fern. Line up three pots of graduated sizes on a windowsill and the plastic originals become completely unrecognisable.
Cost: ~$3 per pot | Time: 25 minutes plus drying
Pro tip: Dust the finished pots with a dry brush of pale sand-coloured paint on the high spots to fake years of sun and weather.
7. Wooden Bead-Trimmed Mirror
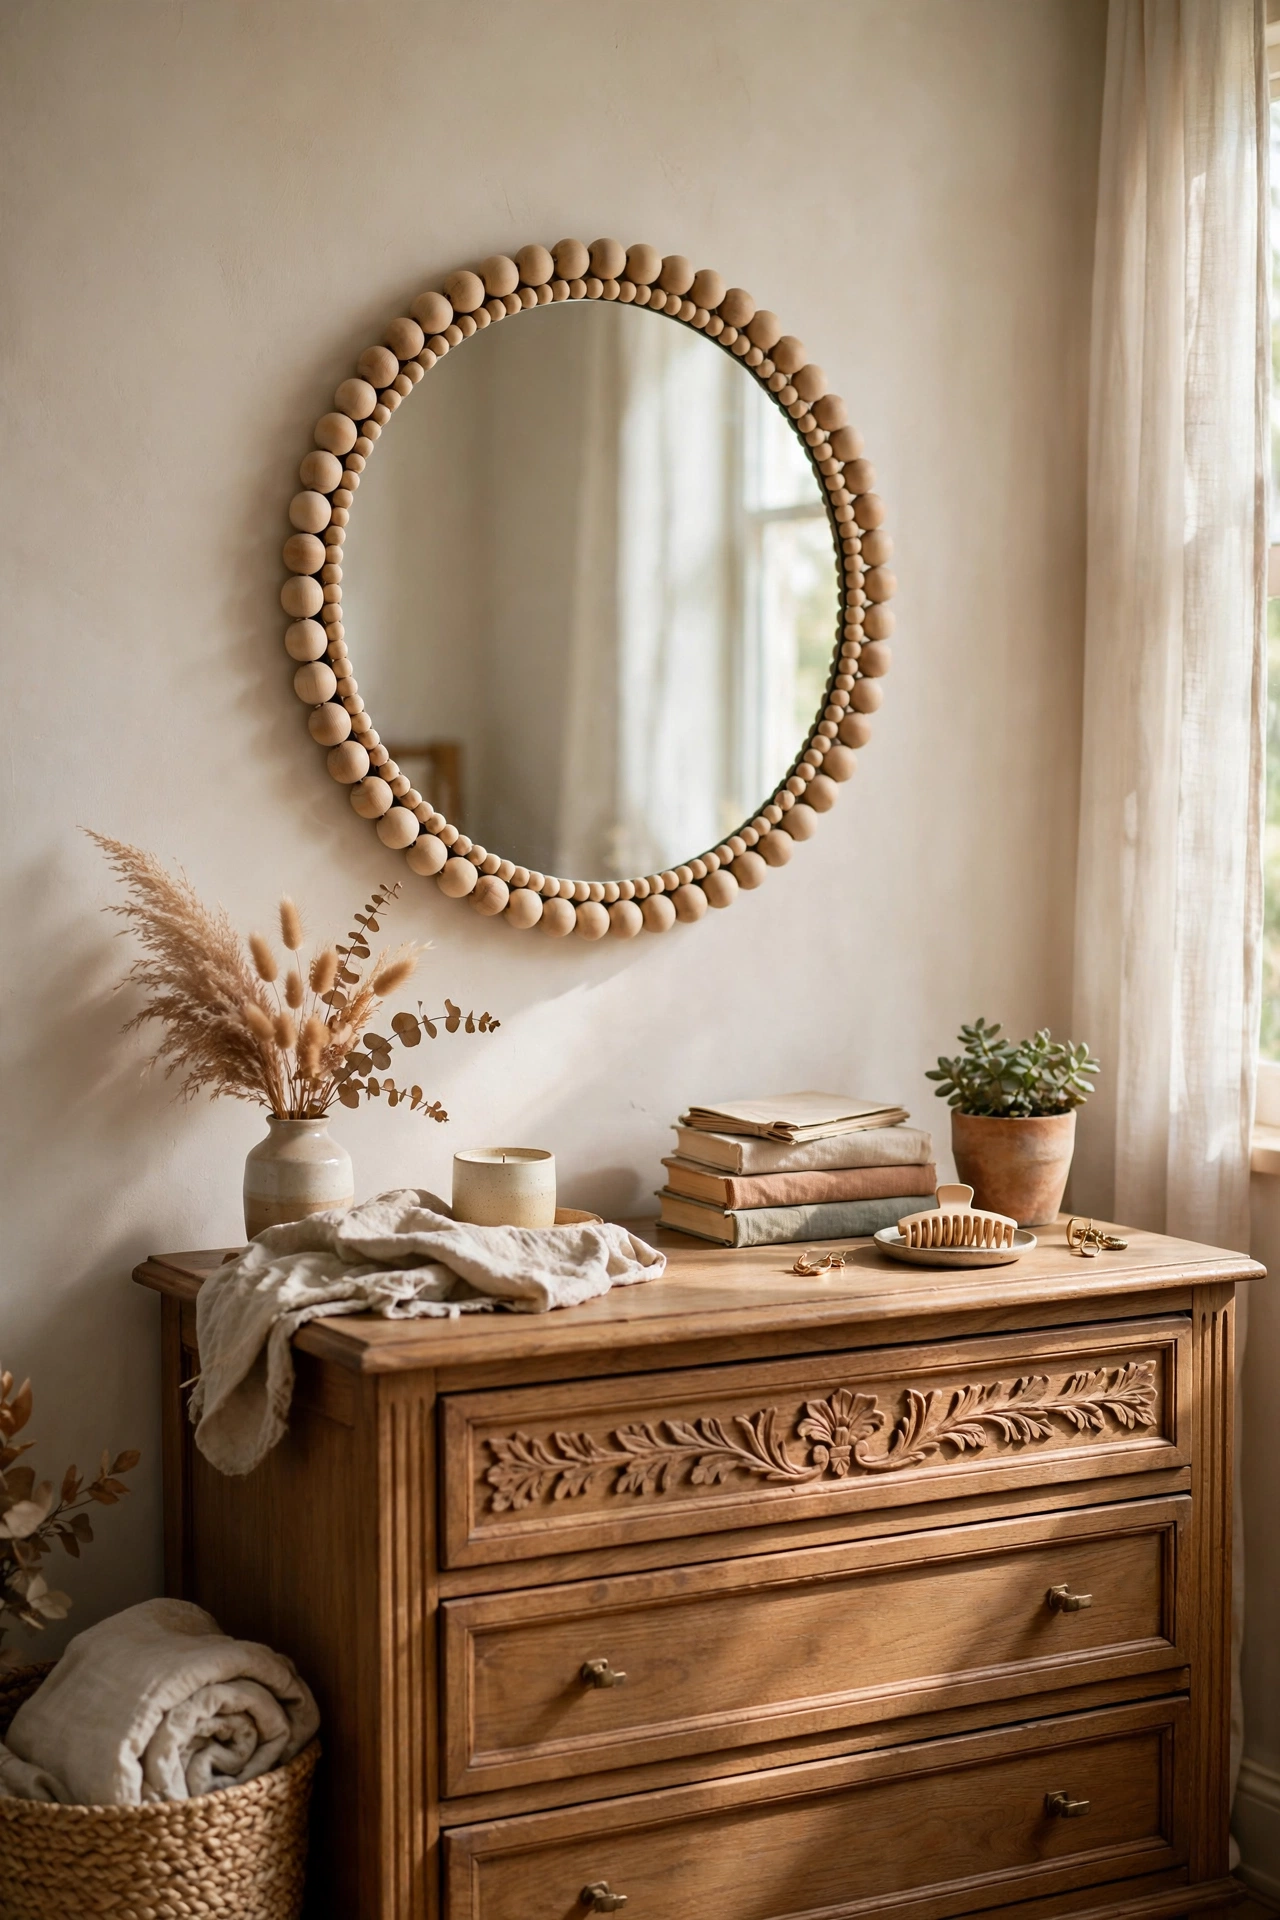
A plain dollar store round mirror turns into a statement piece with a ring of wooden beads. Buy a simple unframed mirror and a bag of natural wooden beads with a flat side or a large centre hole, then hot-glue the beads one by one around the mirror’s edge, keeping them snug and evenly spaced. Work in quarters so the spacing stays consistent all the way round. I rushed the final quarter on my first one and the spacing went visibly uneven right where the eye lands. Slow, steady beading is worth it. Hang it above a dresser or in a hallway and the bead ring reads like a carved wood frame that costs real money.
Cost: ~$5 | Time: 40 minutes
Pro tip: Stain the beads with a single wipe of walnut wood stain before gluing for a rich, furniture-grade tone that raw pine never gives.
8. Rope-Wrapped Table Lamp
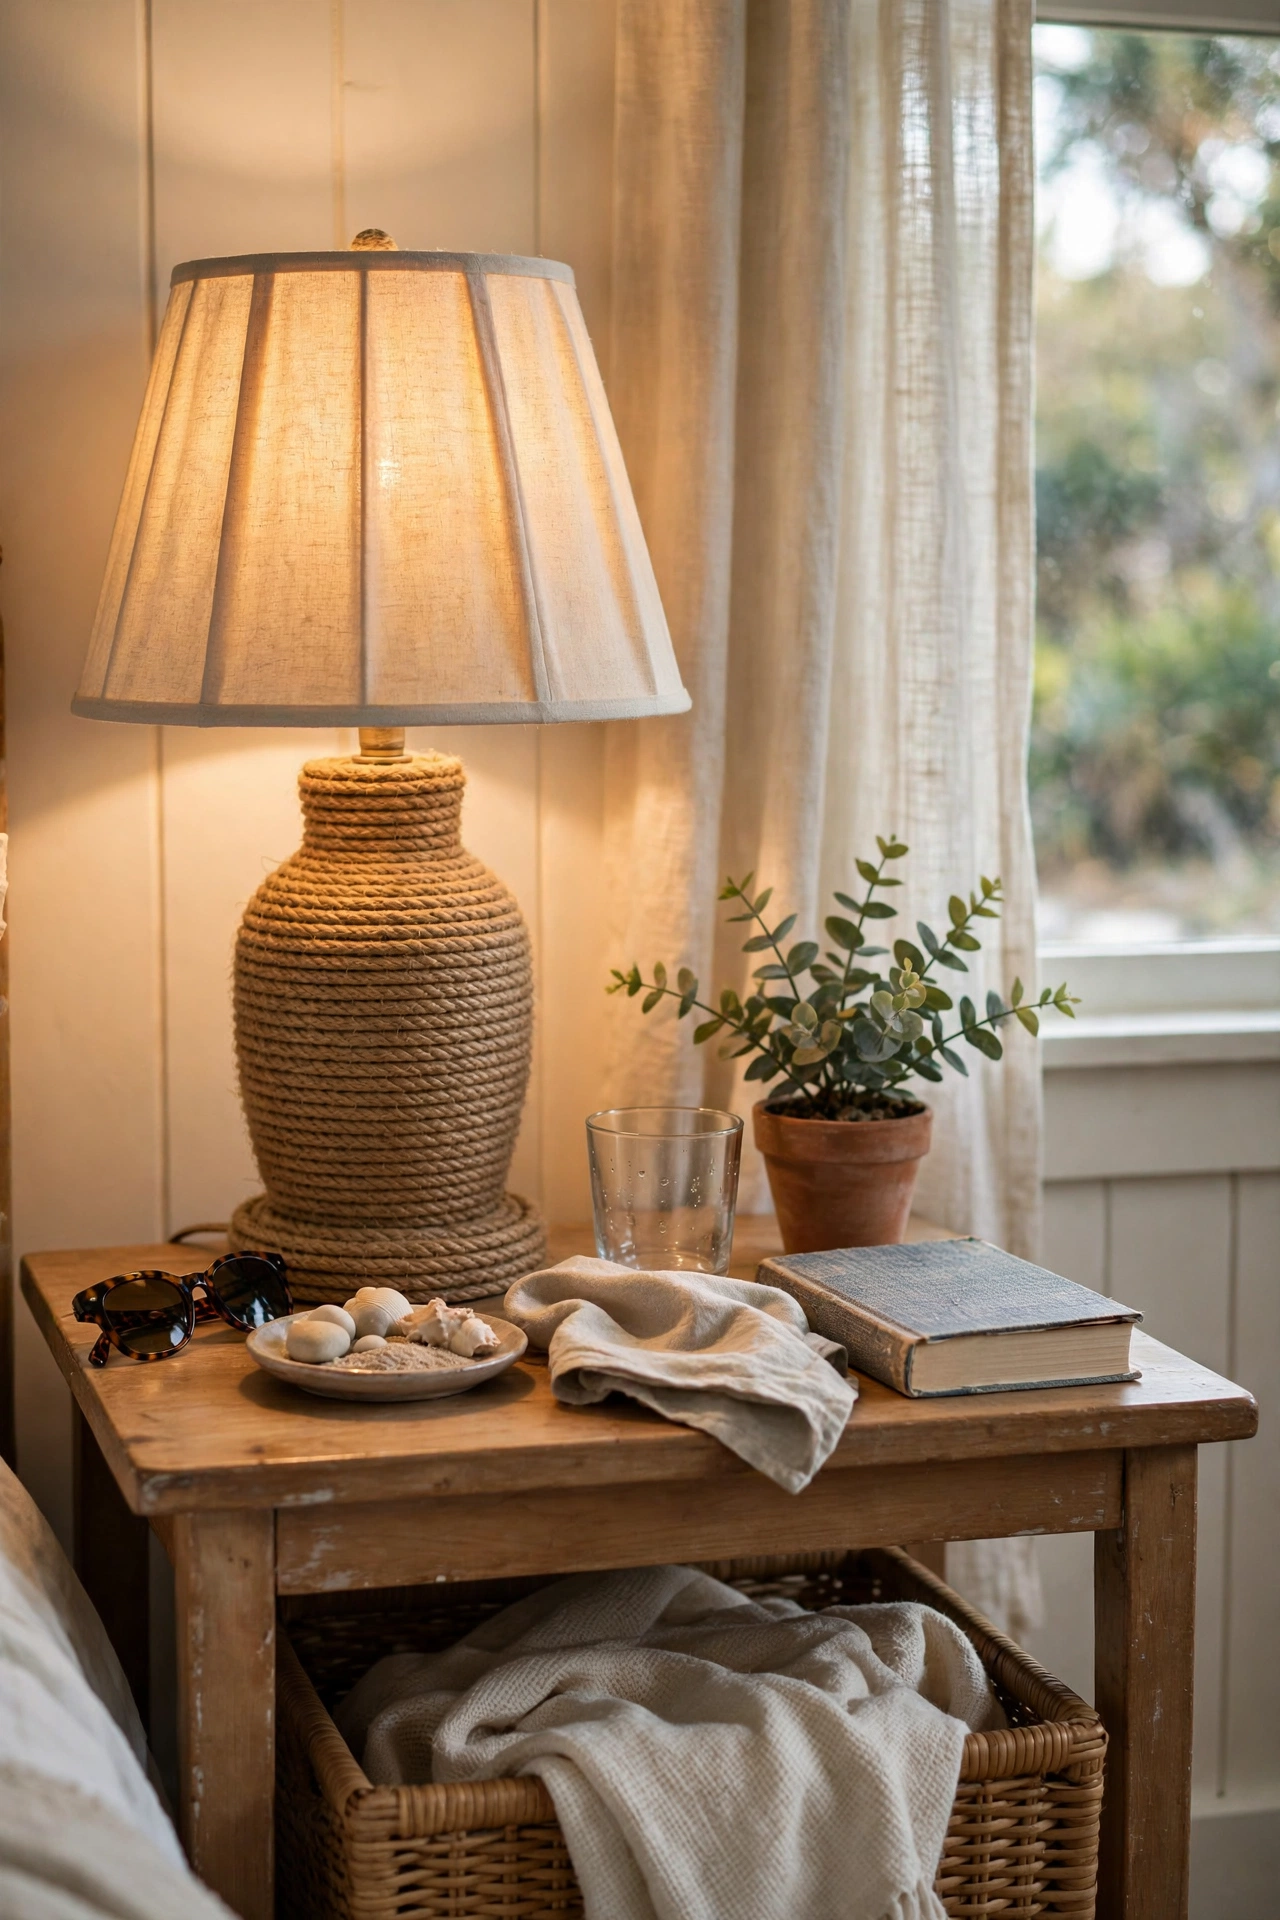
A tired ceramic lamp base wrapped in jute rope becomes a coastal-style lamp for the price of a takeaway. Find a simple lamp base at a charity shop or the dollar store, wipe it clean, and hot-glue jute twine in tight coils starting at the very bottom, working your way up with each row touching the last. Keep a thin line of glue under each coil as you go. I wrapped mine top-down first and the rope spiralled loose and gappy. Bottom-up with constant tension is the fix. Pair it with a plain linen shade and the whole lamp looks like a seaside boutique buy.
Cost: ~$8 | Time: 1 hour
Pro tip: Dab the rope’s cut end with clear glue and tuck it under the final coil so it never frays or unwinds.
9. Mercury Glass Tea Lights
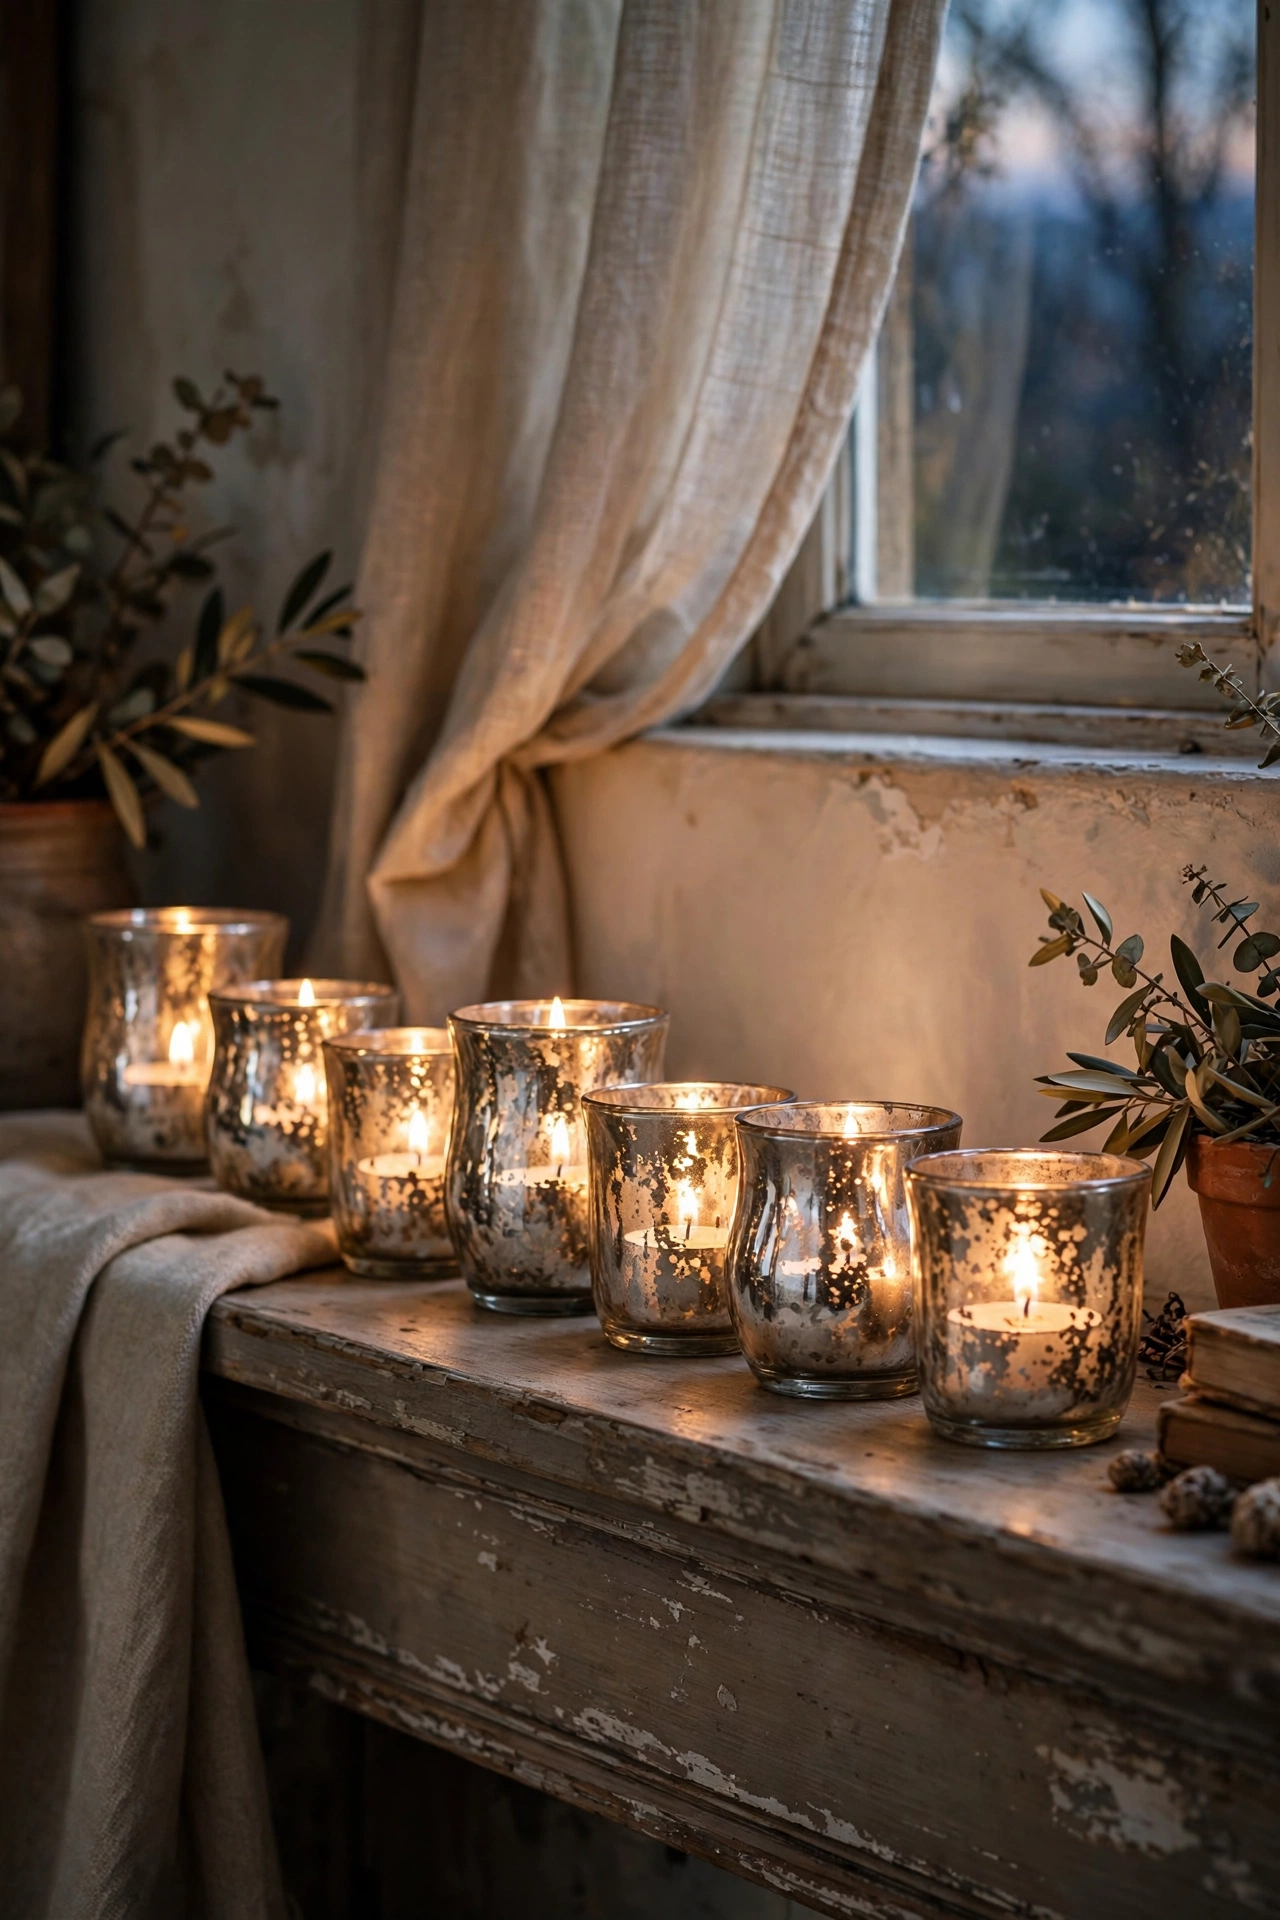
Plain glass votive holders get the antique mercury-glass look with mirror-effect spray paint and water. Spray the outside of each holder with mirror-effect paint, then immediately mist it lightly with water from a spray bottle so the paint beads and breaks into that mottled antique pattern. Let them dry untouched. I soaked my first batch and washed the silver clean off — a fine mist, not a soak, is what creates the effect. The mottled silver catches candlelight beautifully. Scatter five or six down a mantel with tea lights and the whole room glows with a warmth that feels far more expensive than it is.
Cost: ~$1.50 each | Time: 15 minutes plus drying
Pro tip: Spray a whisper of the same paint inside the holder too, because the uncoated inner glass edge is visible in candlelight.
10. Tiered Stand from Plates and Candle Holders
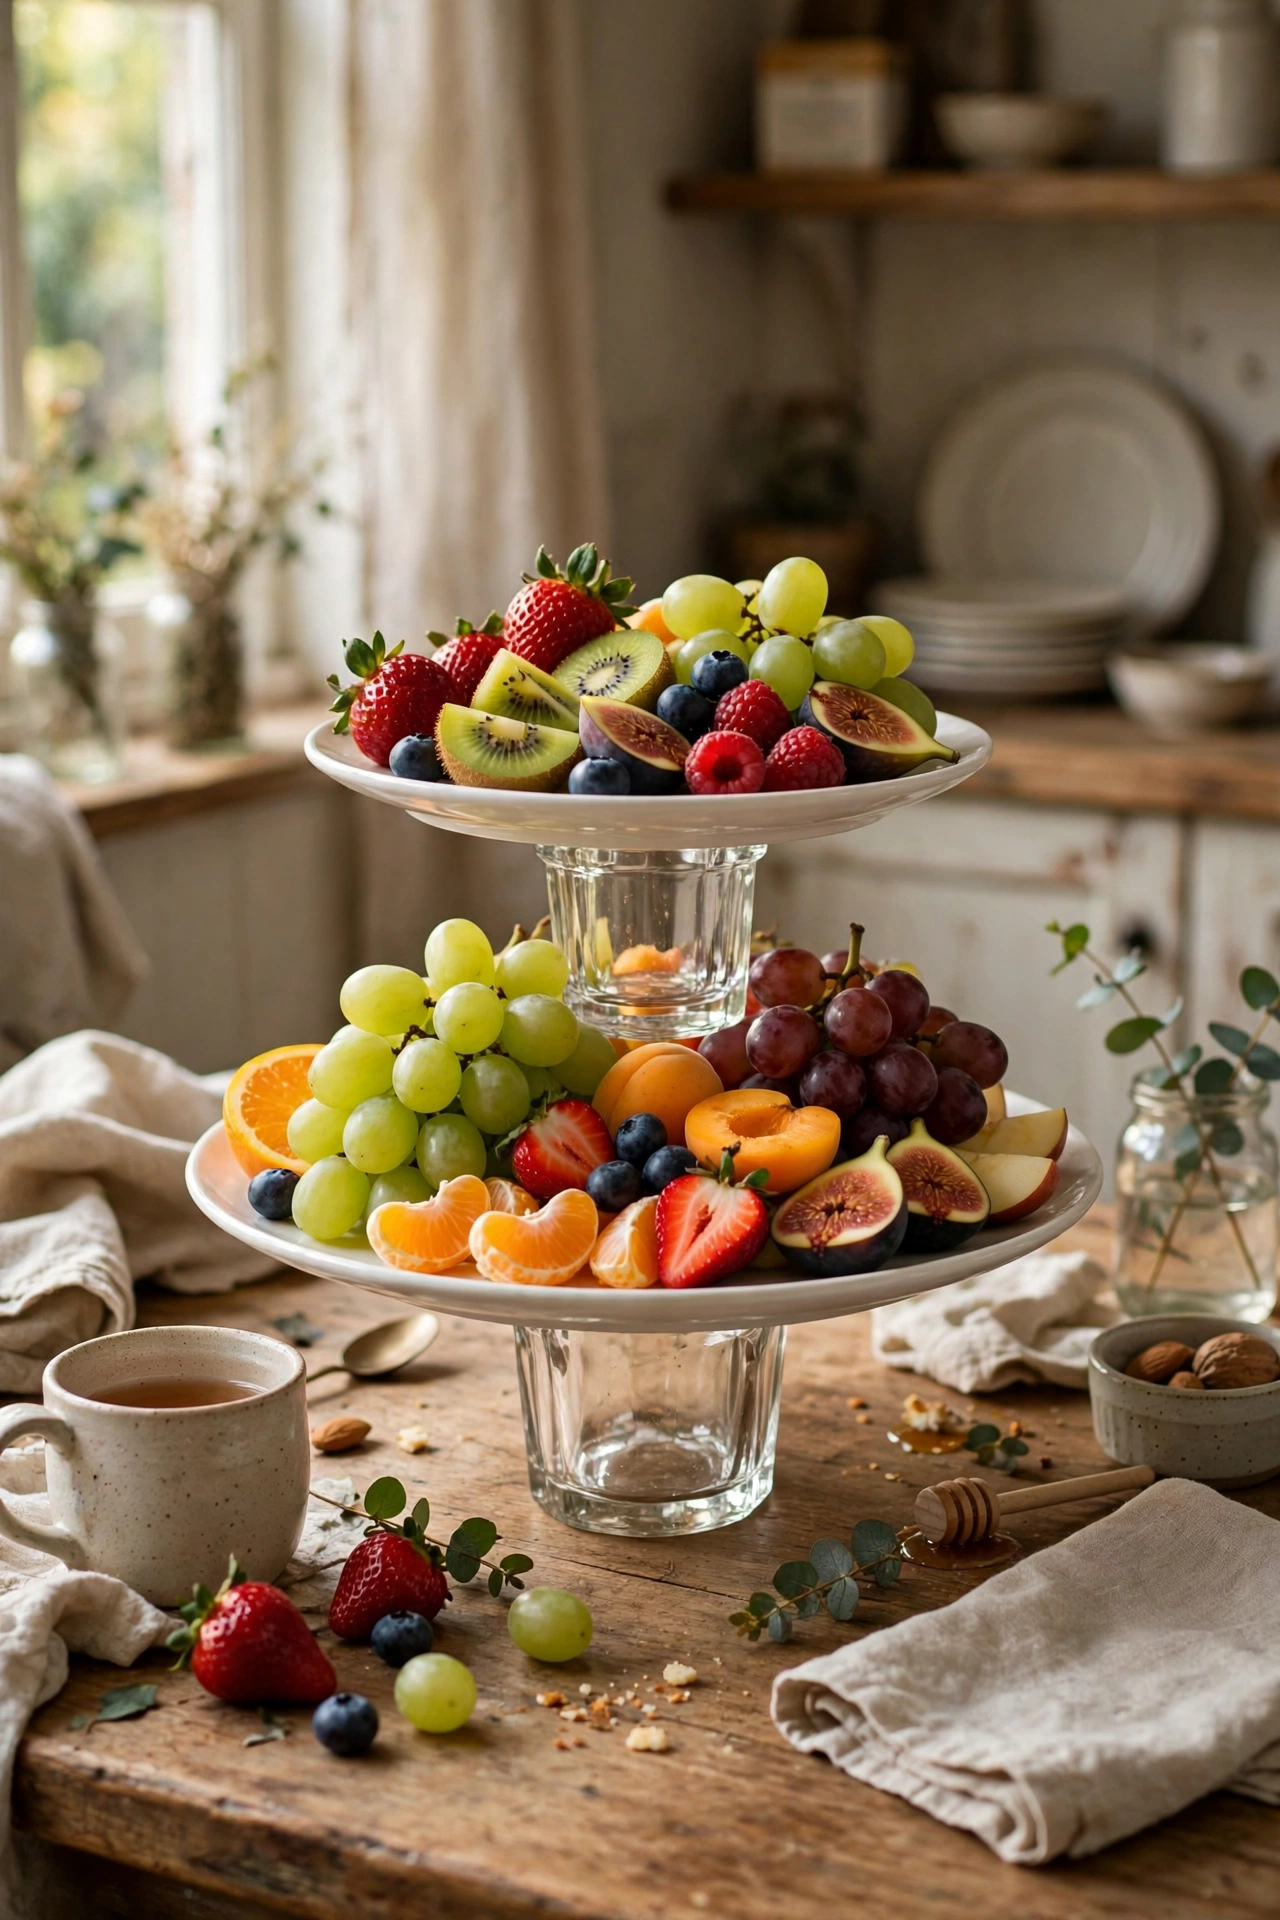
Two plates and two glass candle holders glued into a tiered stand look like proper afternoon-tea serveware. Choose plates in graduated sizes and chunky glass candle holders as the columns, scuff the contact points, and bond each layer with E6000, checking the plates sit dead centre before walking away. Let it cure a full day. I nudged my top plate a centimetre off-centre and it wobbled for a year before I rebuilt it. Centre every layer with a ruler if you have to. Pile it with fruit, muffins, or wrapped soaps in the bathroom, and guests will assume it came from a department store.
Cost: ~$6 | Time: 15 minutes plus curing
Pro tip: Pick plates with a slightly raised rim, because the lip hides the glue joint and makes the tiers look manufactured.
11. Wooden Bead Garlands
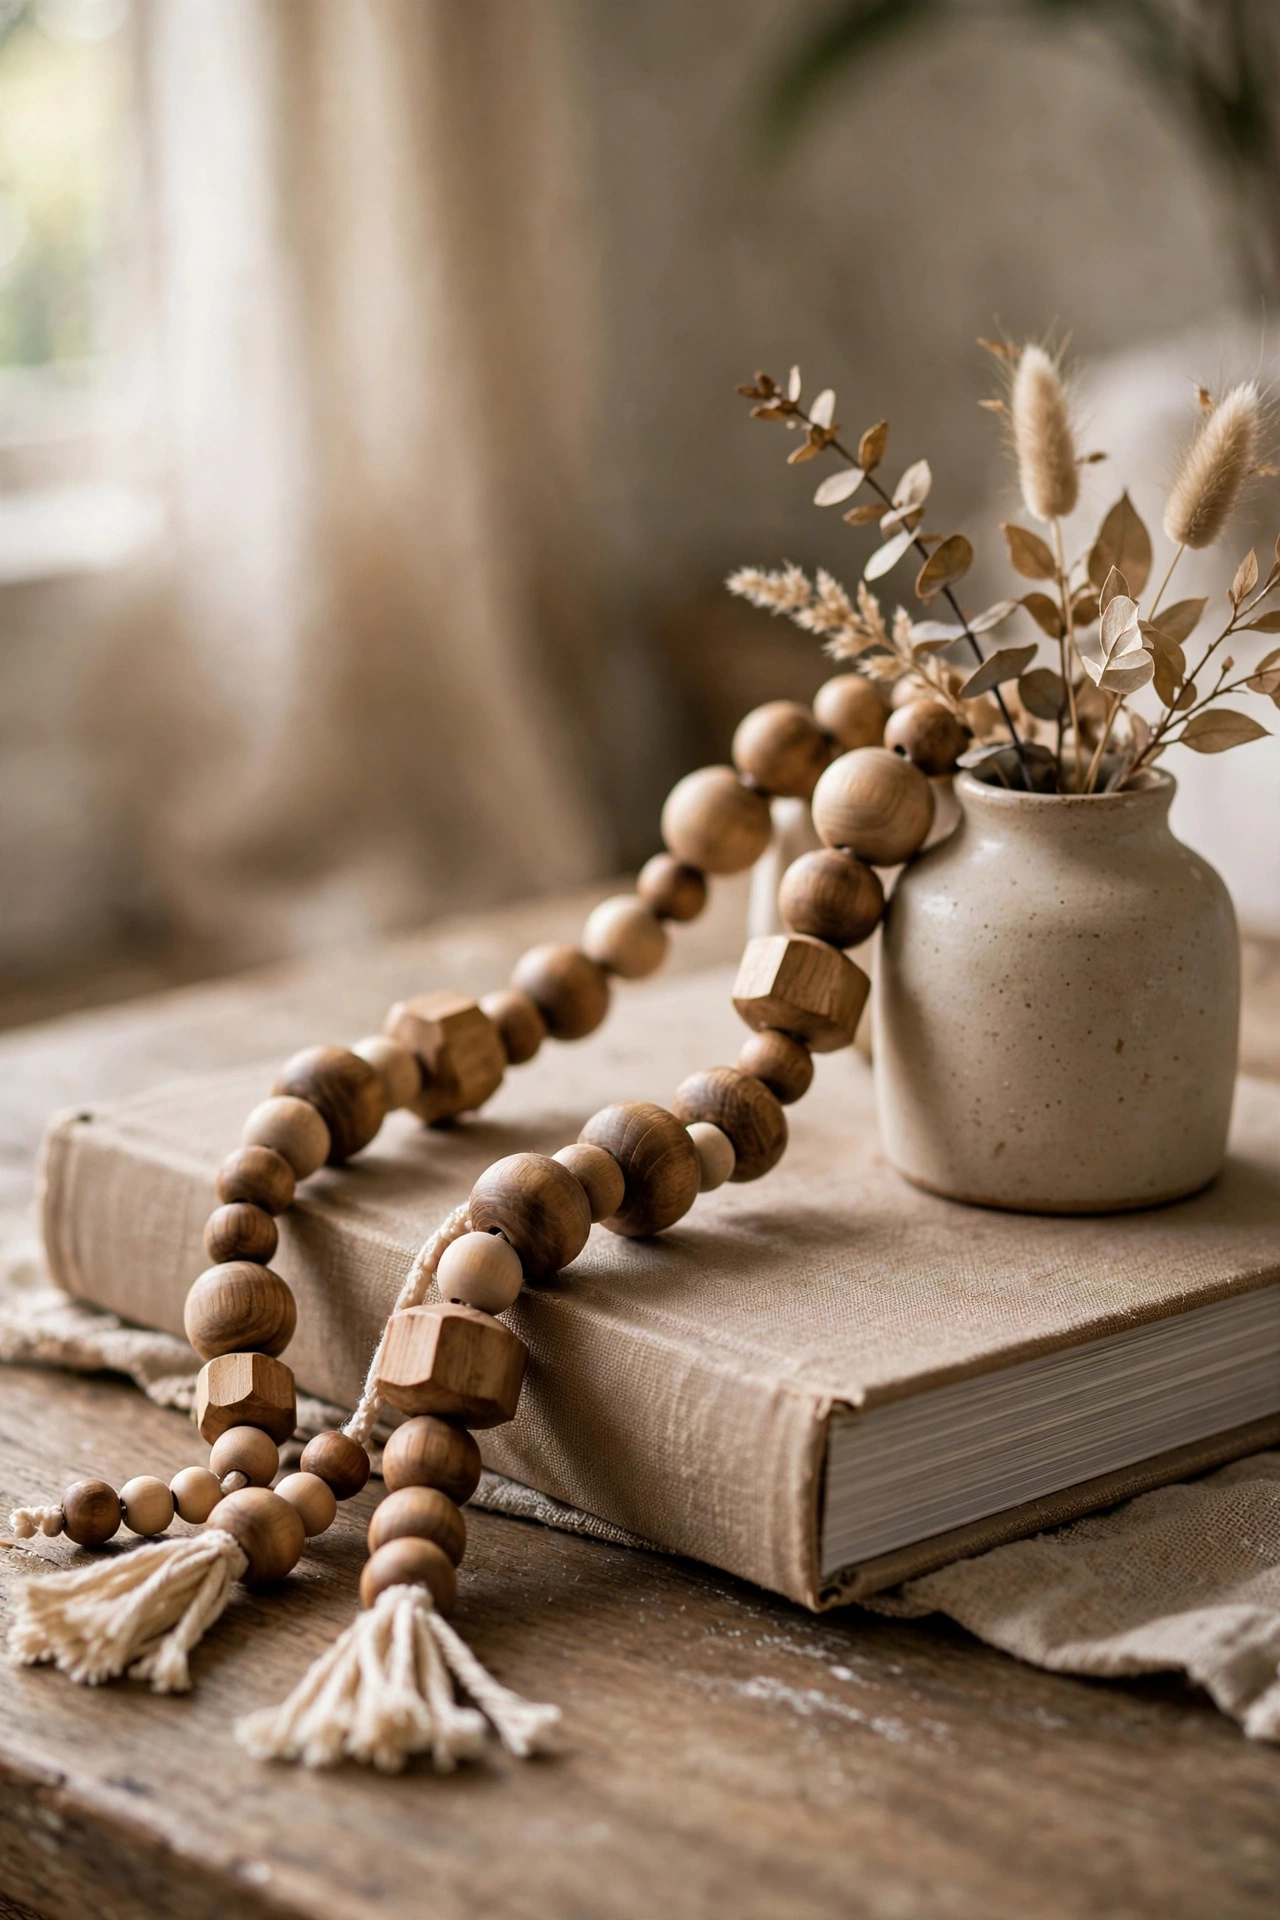
Strands of wooden beads draped over trays and books are the styling trick every homeware account uses, and they cost pennies to make. Thread natural wooden beads of mixed sizes onto sturdy twine, tie a knot every few beads so they do not all slide into a heap, and finish each end with a loop knot or a small tassel. I made my first garland with all-identical beads and it looked like a nursery toy. Varied sizes and a couple of painted or stained beads mixed in are what make it look collected rather than crafted. Drape one across a coffee table book and a small vase, and the vignette instantly looks styled.
Cost: ~$3 | Time: 25 minutes
Pro tip: Rub the finished garland with a used teabag to age the wood into a warm, honeyed tone in seconds.
12. Framed Botanical Prints
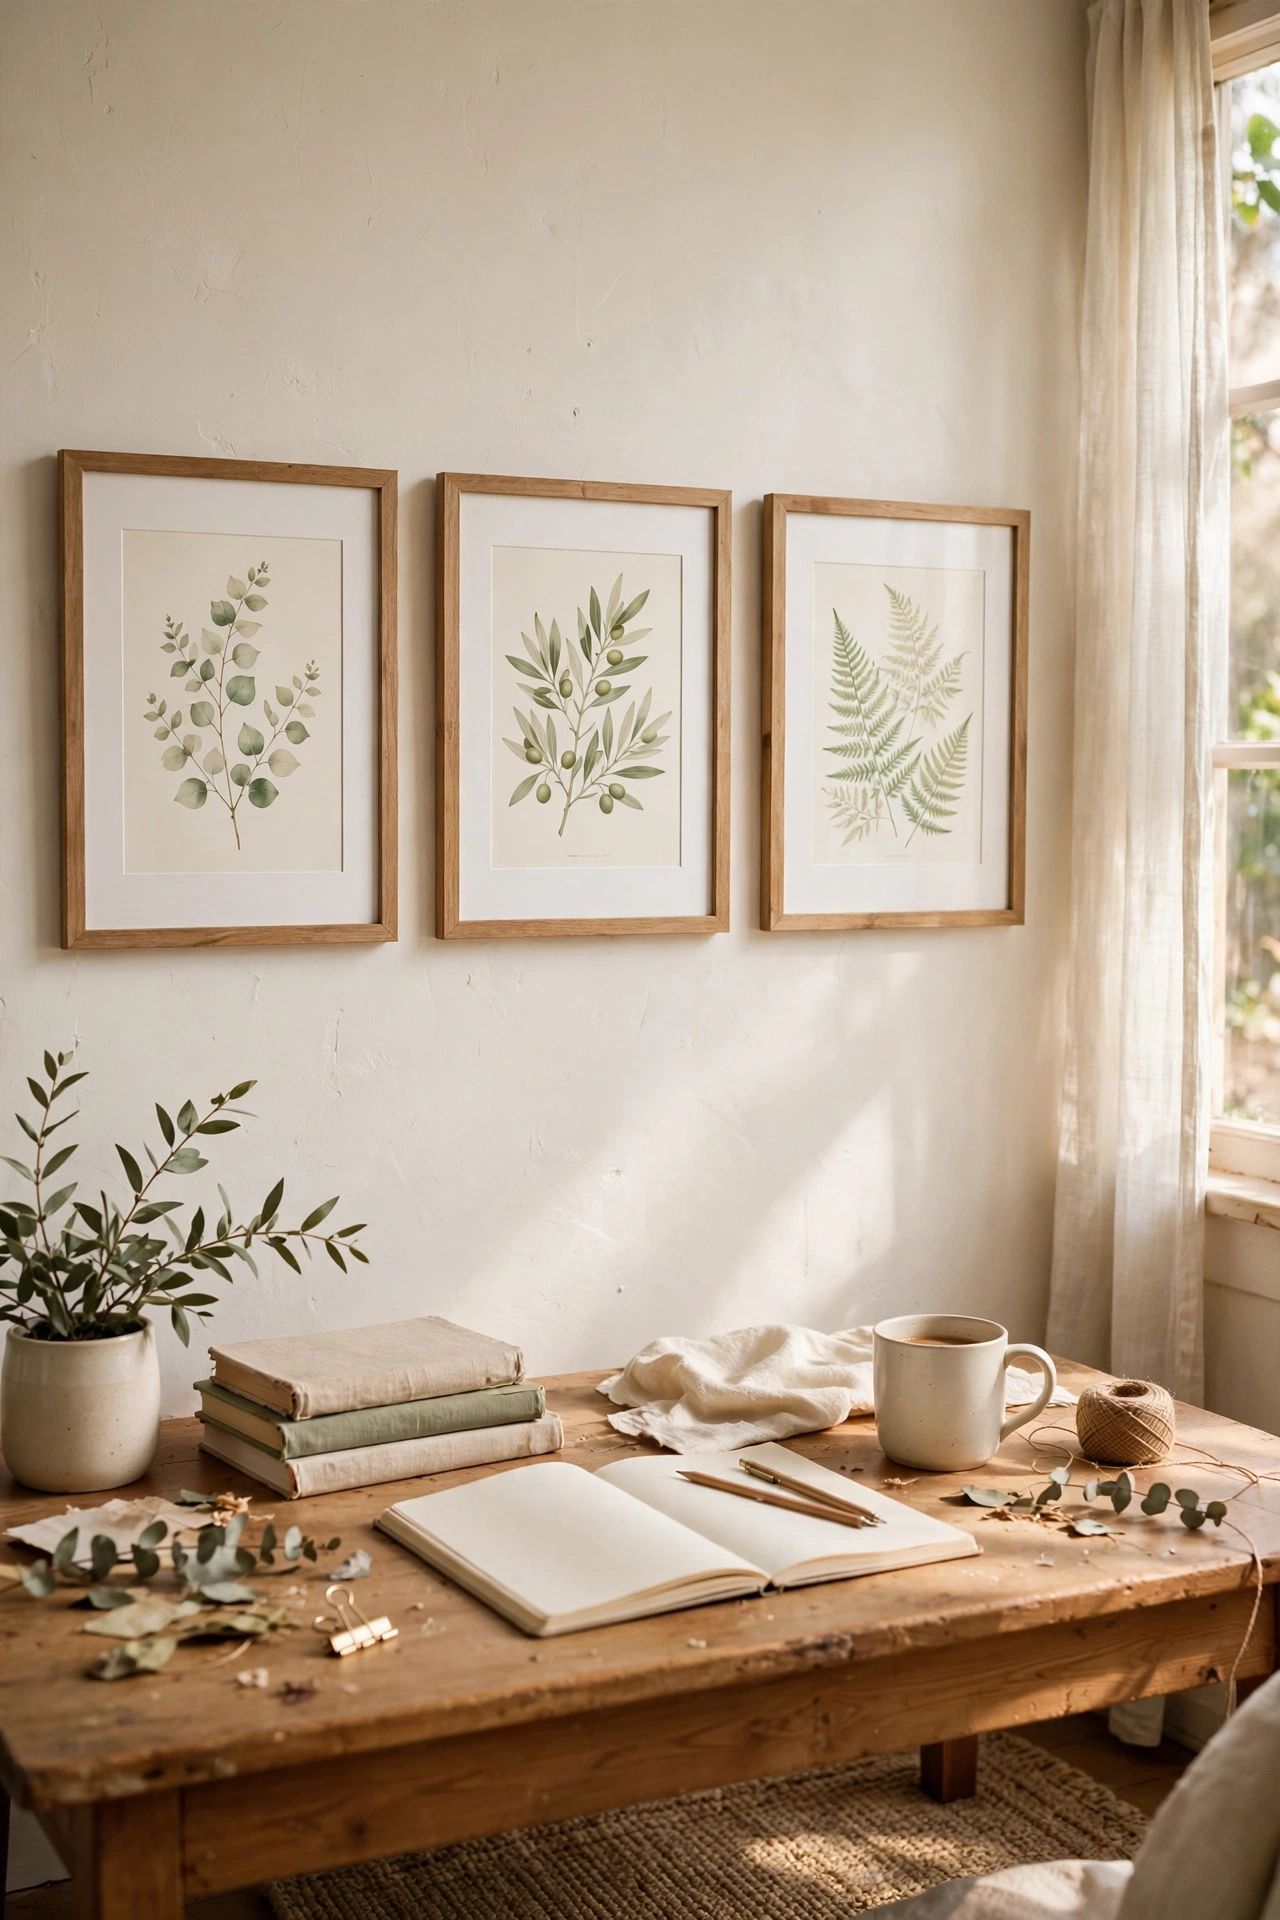
Free printable botanical art in dollar store frames hangs like a proper gallery set. Search for free botanical printables in soft greens and creams, print them at the highest quality setting on thick paper, and trim them to leave a generous white border so they mimic expensive gallery mats. I printed my first set on draft mode and they came out grey and murky — full-quality printing is what makes them read as art rather than photocopies. Hang three in a row above a desk or in a hallway. The white breathing room around each image is the detail that makes free prints look framed-by-a-professional.
Cost: ~$3 per frame | Time: 30 minutes
Pro tip: Spray the printed art with a single coat of clear matte sealer so the ink does not fade in sunny hallways.
13. Picture-Frame Serving Tray
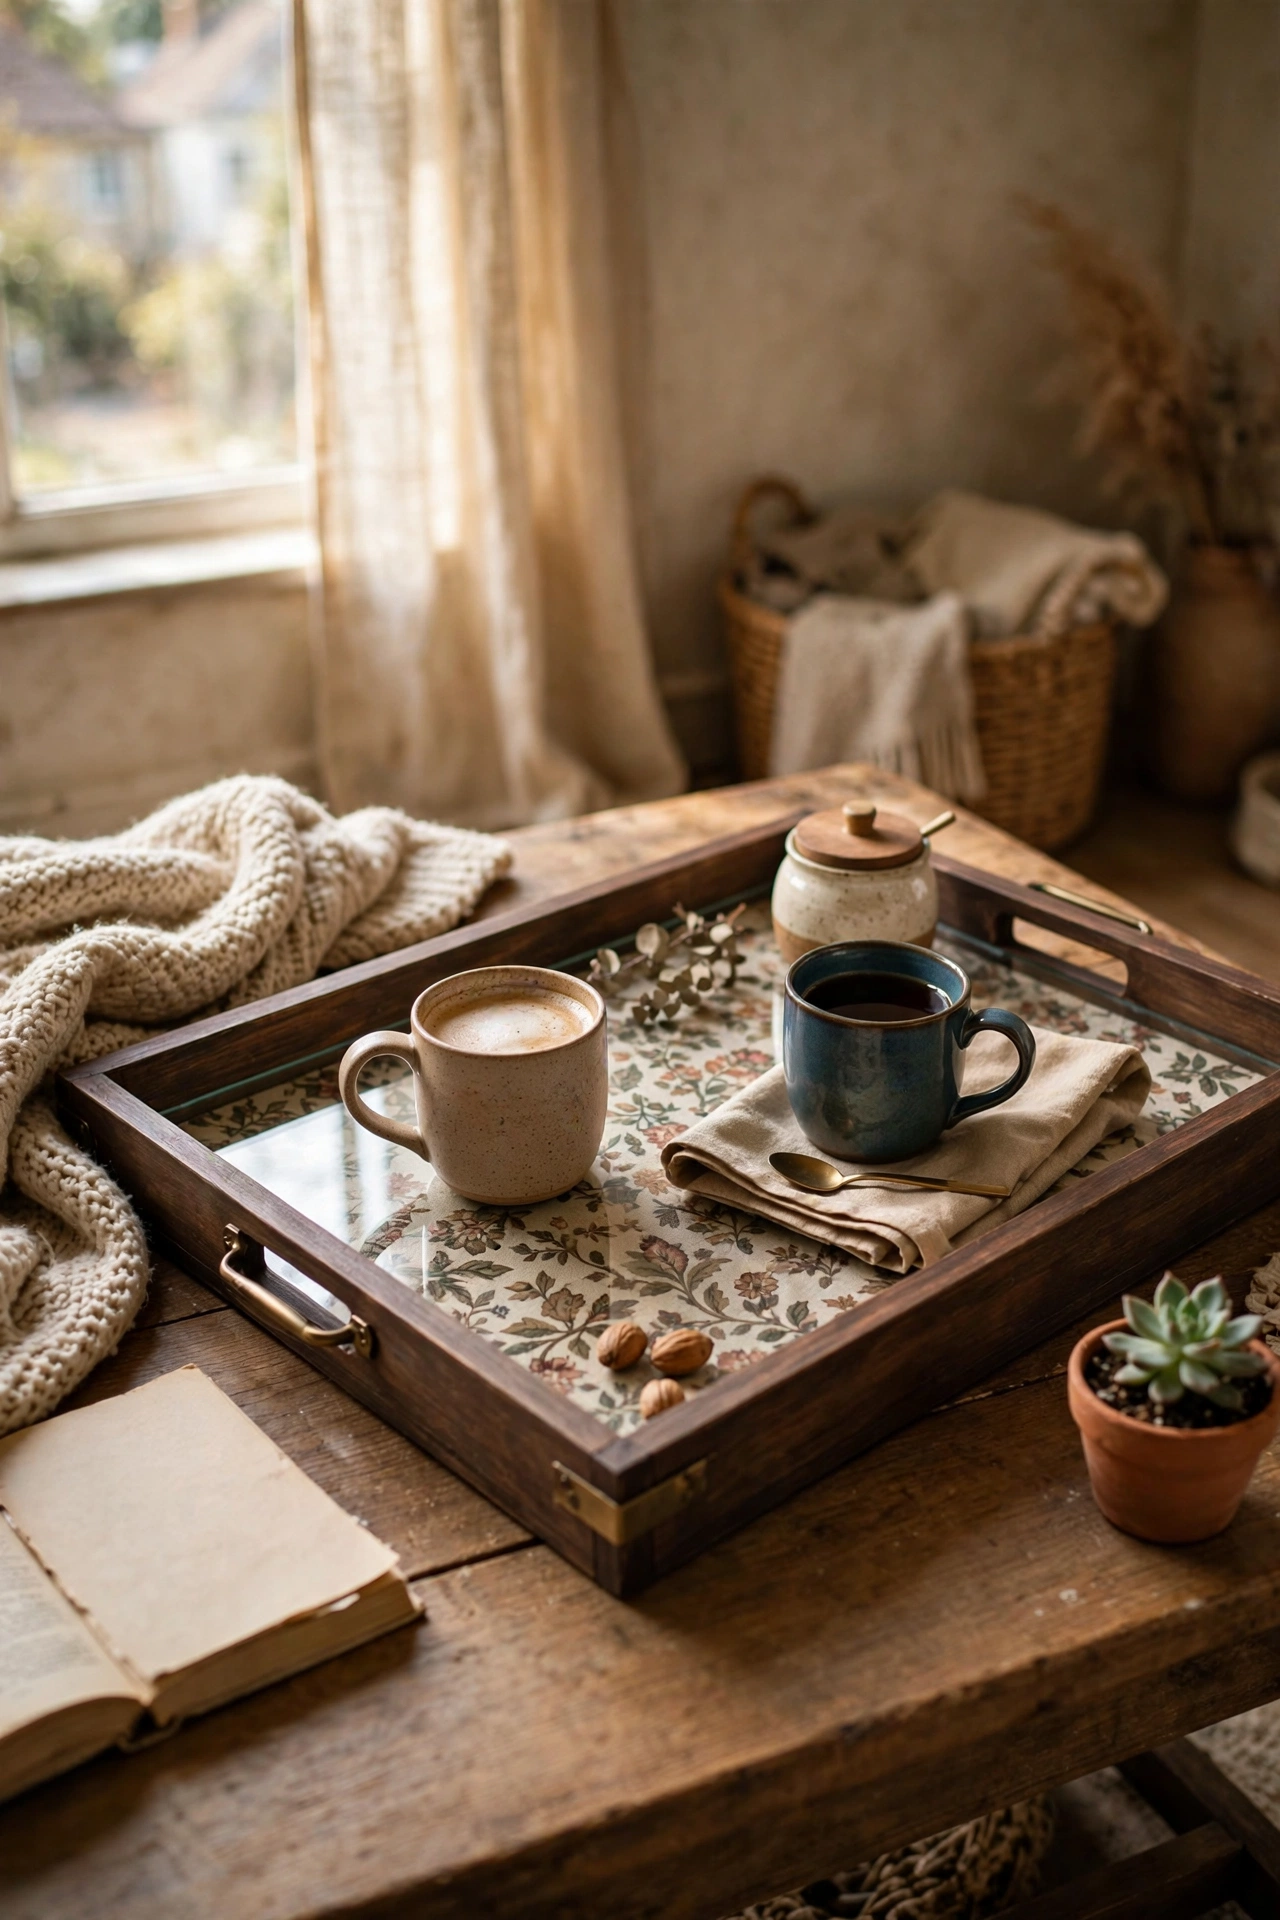
A deep picture frame flipped glass-side up becomes a serving tray with a custom base. Remove the backing board, lay a piece of patterned fabric or decorative paper over the glass from behind, and replace the backing to sandwich it in place. Screw small handles or cabinet knobs to each end of the frame. I used wrapping paper on my first tray and it bubbled the moment anything warm touched it — fabric, smoothed flat with a book, is far more durable. The glass top wipes clean and the fabric underneath stays pristine. Use it for perfume bottles on a dresser or mugs on a coffee table, and it looks like a boutique find.
Cost: ~$7 | Time: 30 minutes
Pro tip: Glue four tiny felt pads to the frame corners underneath so the tray does not scratch furniture when you set it down.
14. Linen-Covered Notice Board
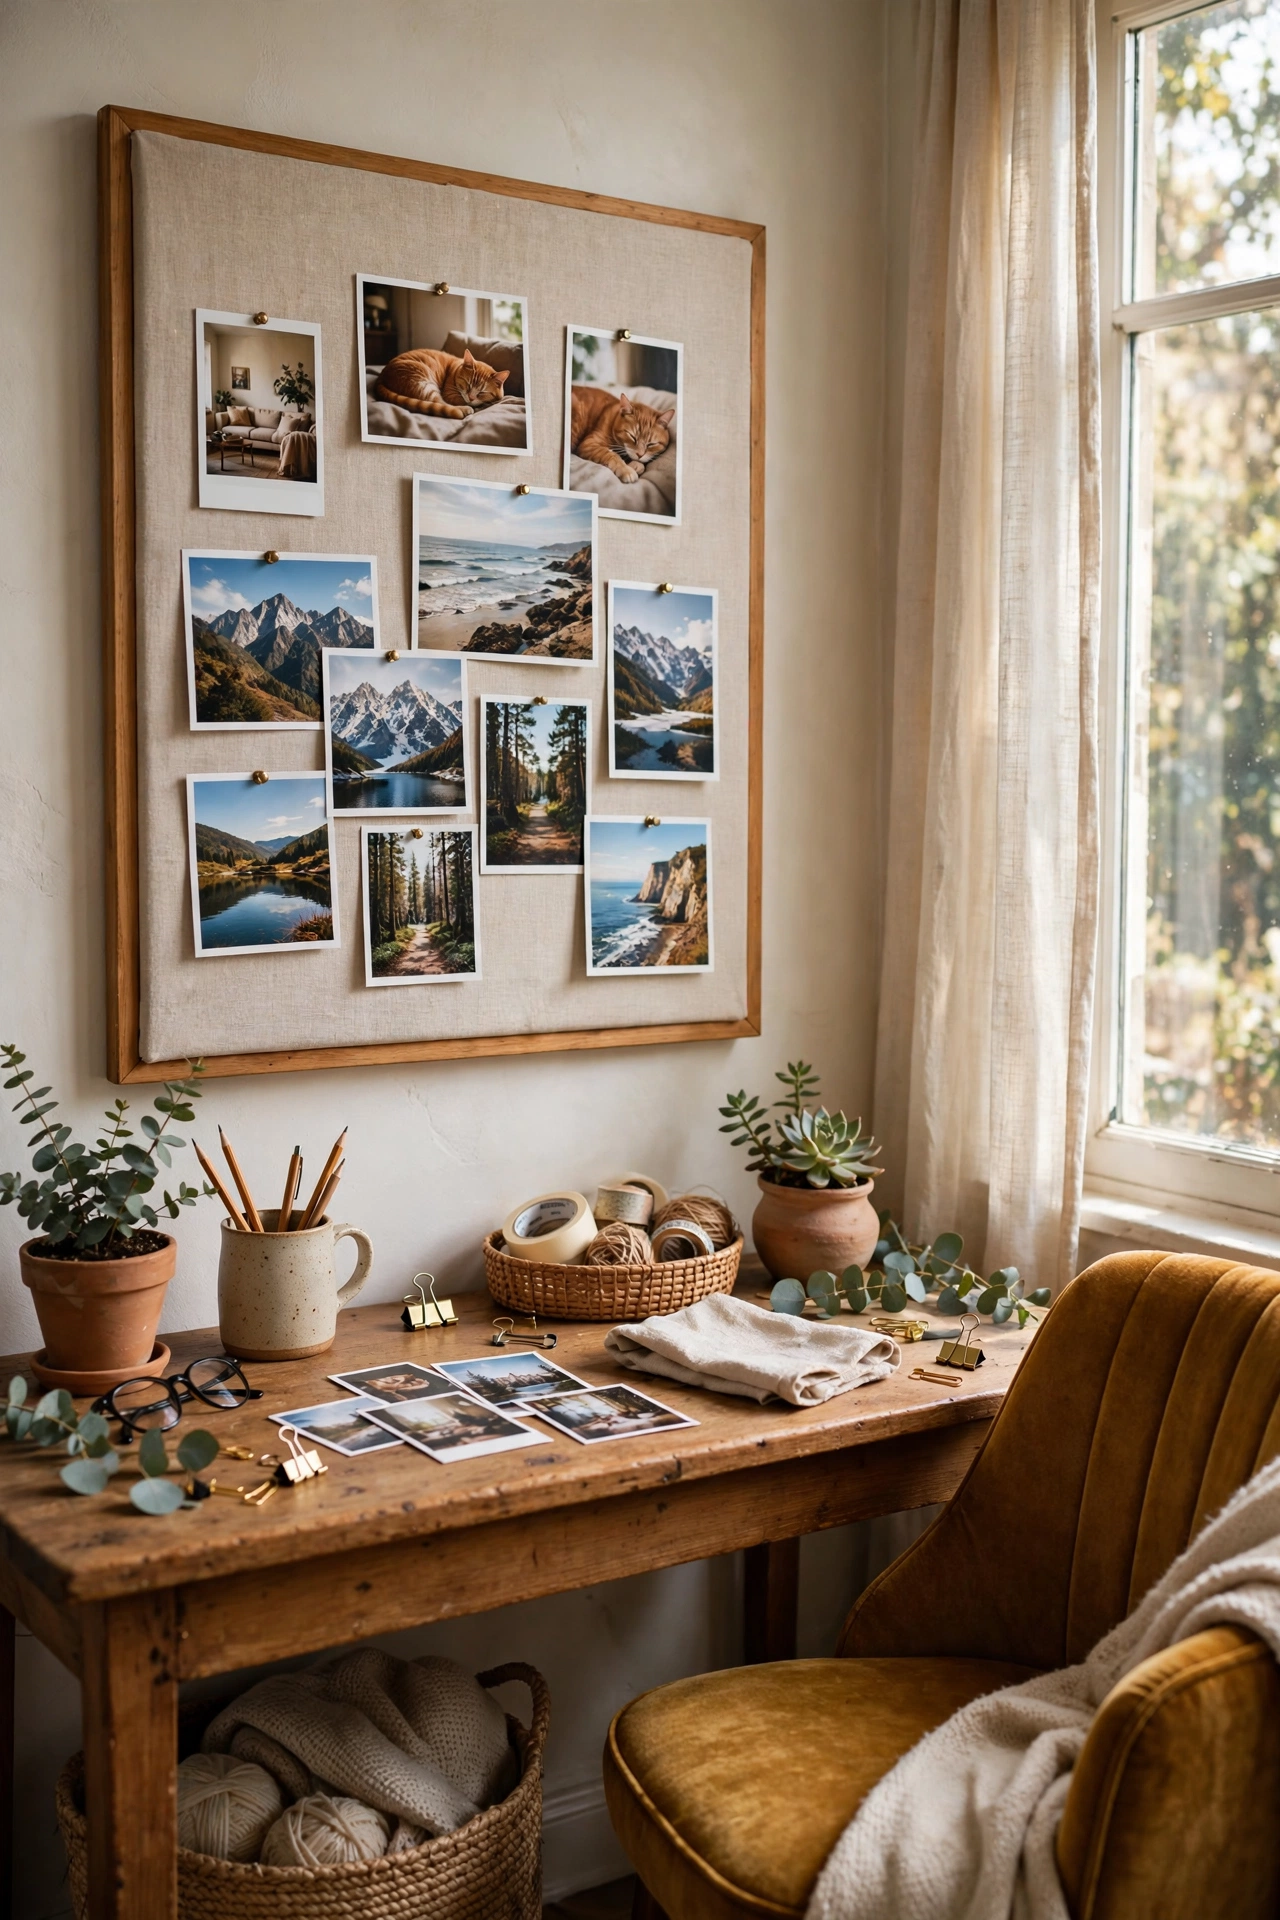
A foam or cork board wrapped in linen fabric becomes a pinboard that looks upholstered rather than crafty. Cut linen-look fabric generously larger than the board, stretch it drum-tight across the front, and staple or glue it firmly around the back, pulling opposite sides in turn so the weave stays straight. I left my first wrap slightly loose and every wrinkle showed through like a crumpled shirt. Drum-tight is non-negotiable. Pin it in a home office above the desk and it reads as a designer fabric board. The tight linen texture is what separates this from a school notice board.
Cost: ~$6 | Time: 25 minutes
Pro tip: Criss-cross thin jute cord over the front before pinning, and you get a French-style memo board that holds photos without pins.
15. Stone-Effect Vases
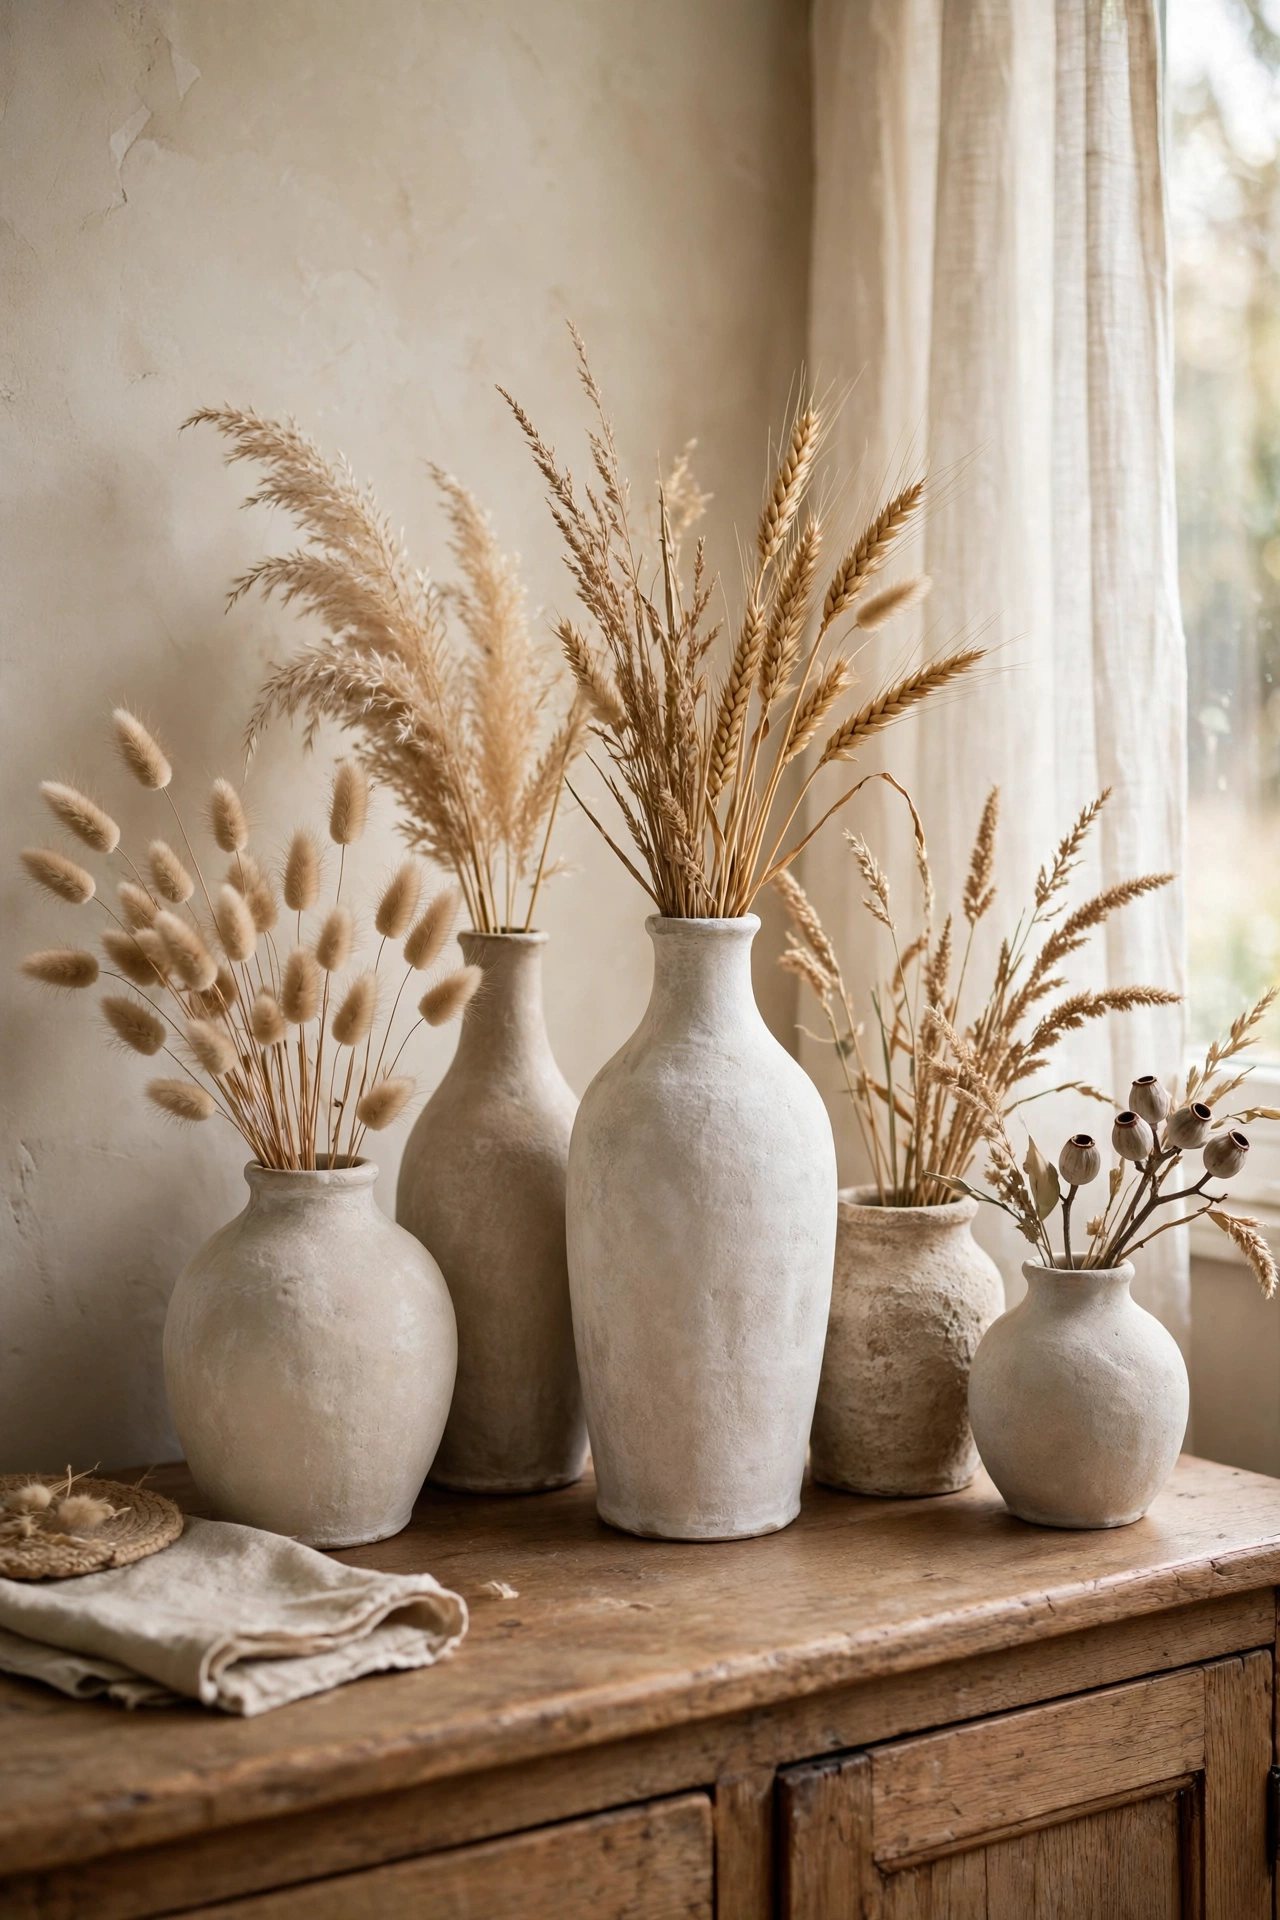
Old glass vases painted with a limewash-style finish look like hand-thrown stoneware. Mix matte off-white or sand-coloured paint with a little water until it is thin and chalky, then brush it onto a clean glass vase in long vertical strokes, letting each coat go patchy on purpose. Two or three coats build the stone texture. I cross-hatched my first vase and it looked scratched and messy. Strokes in one direction only — that is what reads as handmade pottery. Style the finished vases with dried grasses or eucalyptus stems, and the chalky finish catches the light exactly like real stoneware.
Cost: ~$3 per vase | Time: 30 minutes plus drying
Pro tip: Sand the vase’s sharp base edge lightly after painting, because the worn patch is the detail that sells the handmade look.
16. Frosted Hurricane Lanterns
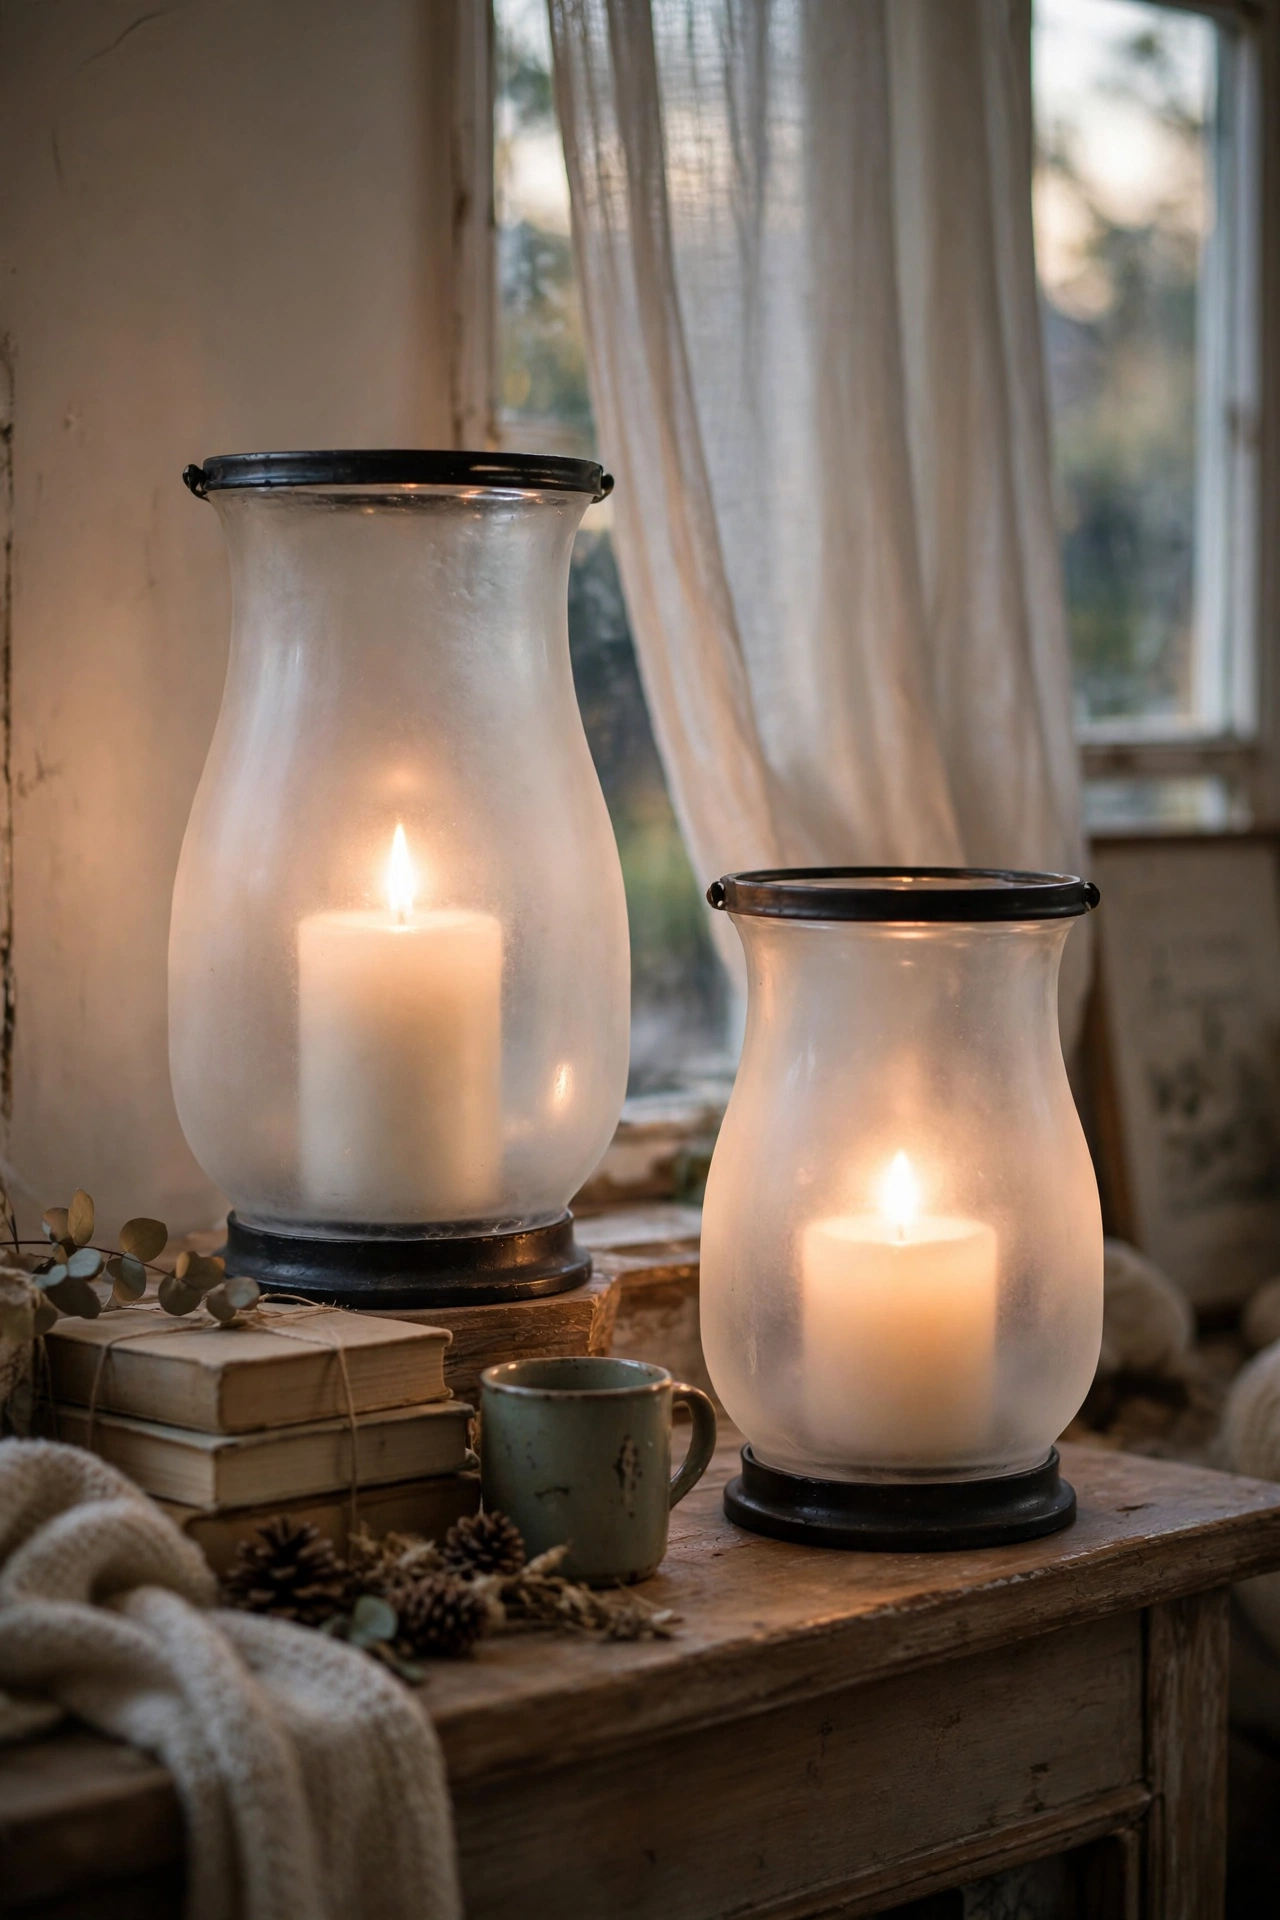
Glass cylinders misted with frosted spray become elegant hurricane lanterns for pillar candles. Stand the cylinders upright on newspaper, spray a light, even coat of frosted glass spray from 30cm away, and leave them to cure. The frosted finish diffuses candlelight into a soft glow that flatters every room. I sprayed my first one from too close and the finish pooled into drips that caught the light for all the wrong reasons. Distance and a light hand are everything. Place two lanterns of different heights on a mantel or dining table, and they look like the expensive kind with the little price tags still on.
Cost: ~$4 each | Time: 10 minutes plus drying
Pro tip: Leave a narrow clear band unsprayed at the very bottom of each lantern, because it shows the candle glow through and looks intentional.
17. Jute-Wrapped Baskets
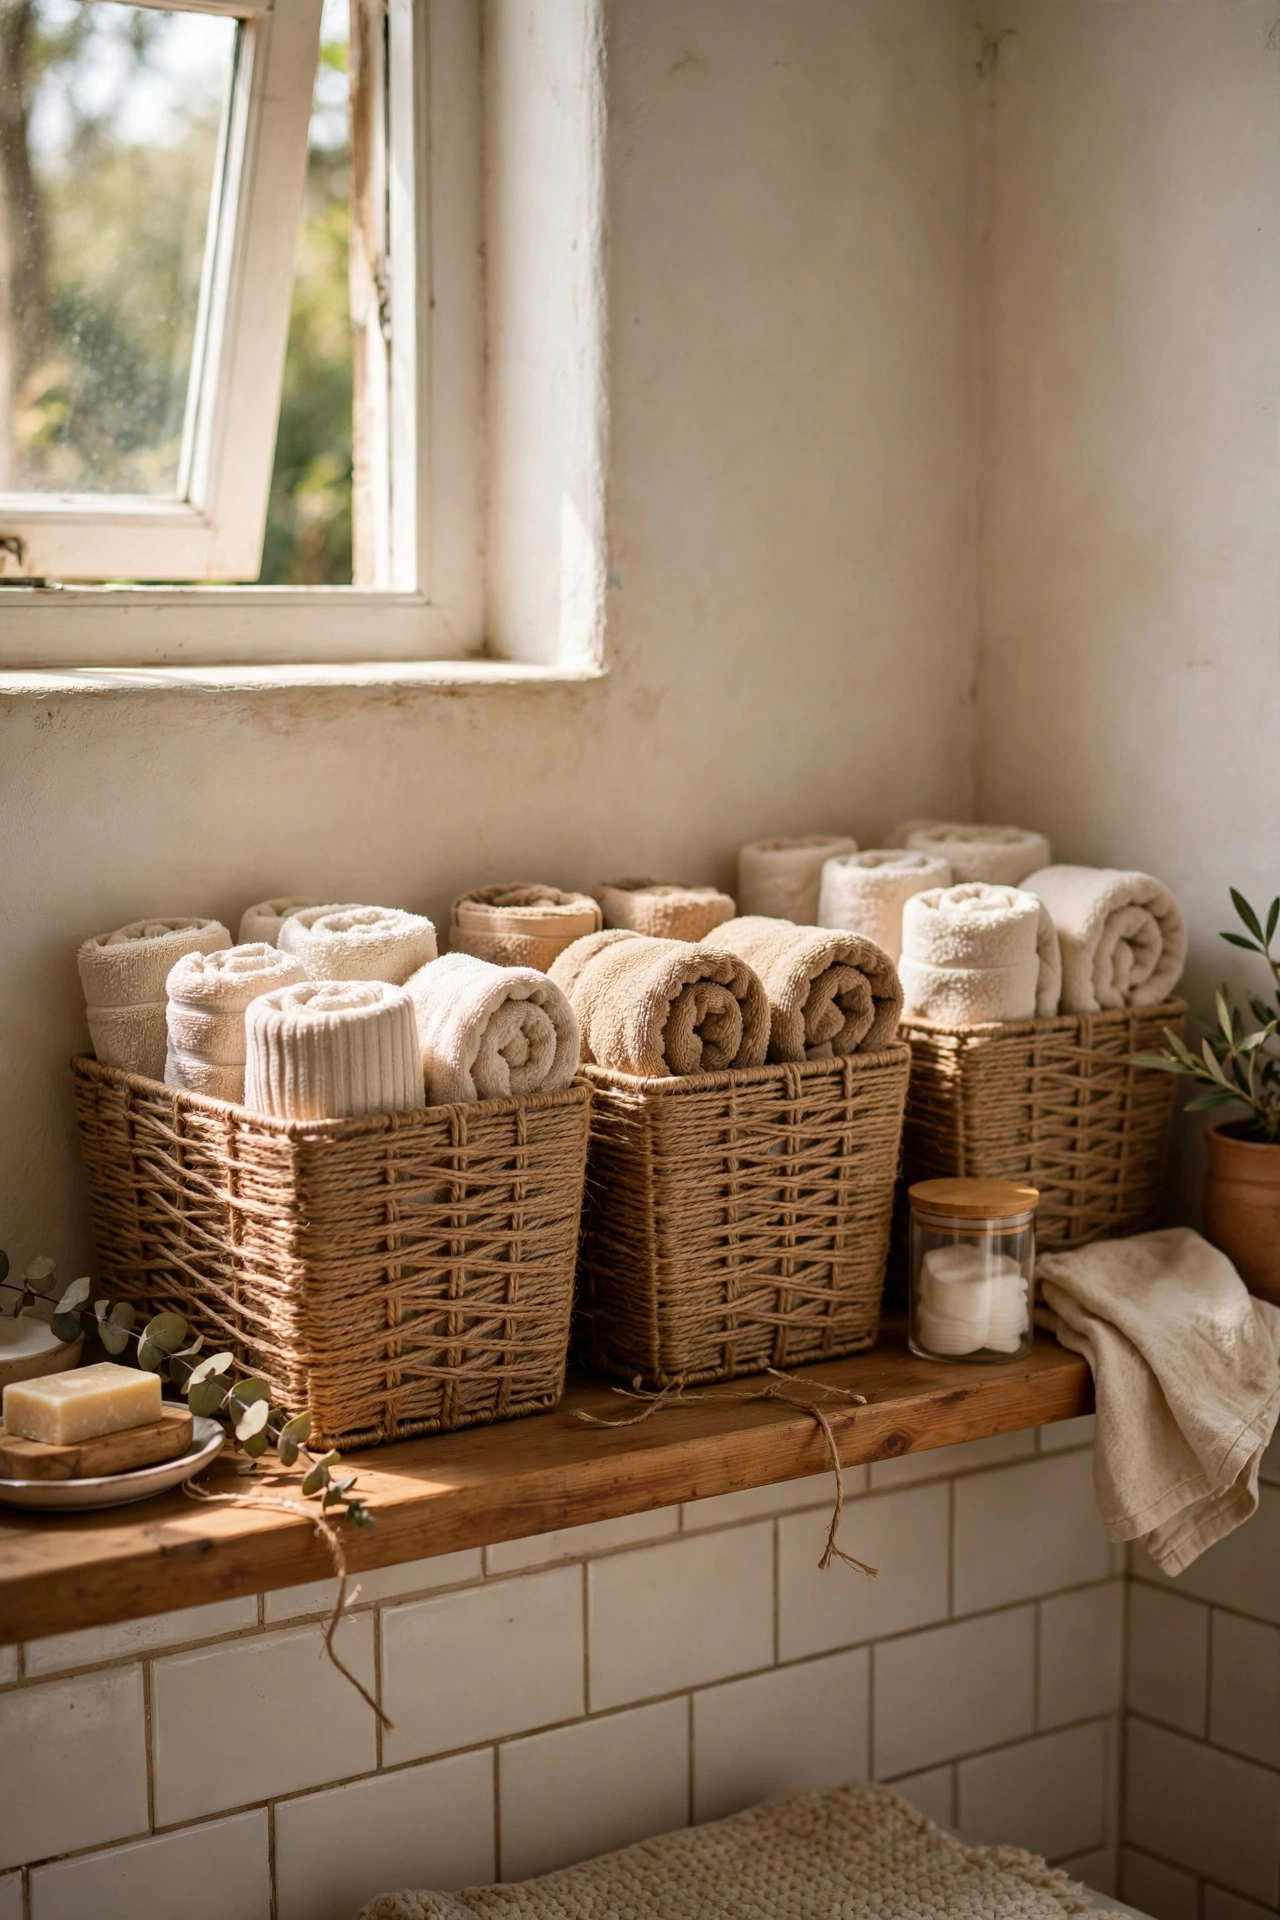
Plain plastic storage baskets wrapped in jute twine pass for natural-fibre baskets at a glance. Start at the base and hot-glue the twine in tight, touching rows, working your way up the basket’s sides and keeping every row snug against the last. I left small gaps on my first basket and every gap screamed DIY from across the room. Tight, overlapping rows are the whole illusion. The jute texture reads warm and organic on shelves and in bathrooms. Use them for rolled towels, toilet rolls, or toy storage, and nobody will guess what sits underneath the twine.
Cost: ~$5 per basket | Time: 45 minutes
Pro tip: Wrap the basket’s top rim twice with twine to make a neat finished edge that hides the plastic lip completely.
18. Decorative Glass Cloches
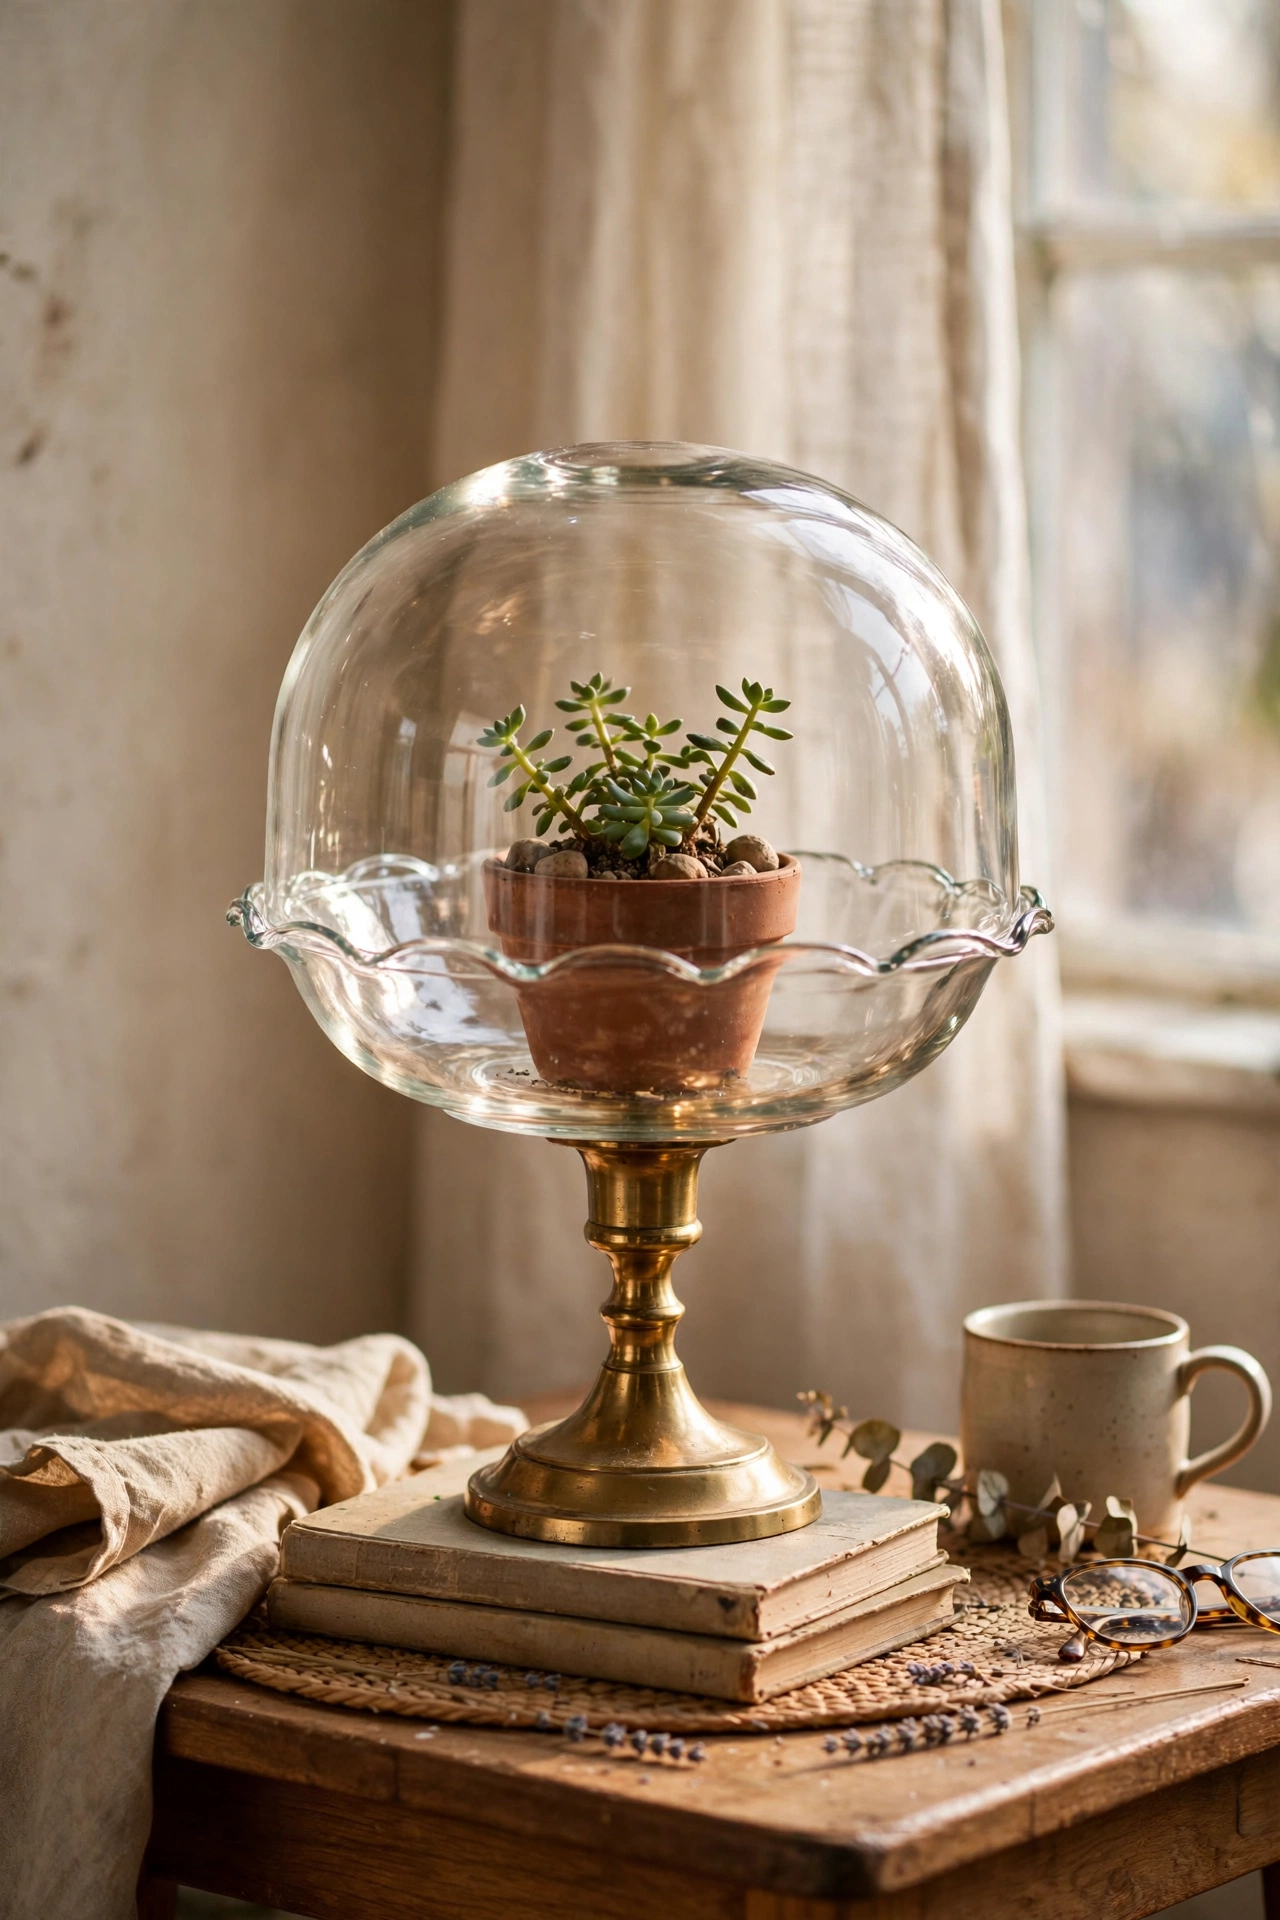
A glass salad bowl glued onto a candlestick base becomes a display cloche for the prettiest things you own. Pick a bowl with a flat-ish base and a sturdy glass candlestick, scuff the contact points, and bond them with E6000, leaving a full day to cure. I tried hot glue here too and learned my lesson twice — the bowl slid off mid-display. E6000 is the only glue for glass-to-glass weight. Set the cloche over a small plant, a candle, or a stack of pretty soaps. The dome shape catches the light and turns ordinary objects into a styled display.
Cost: ~$5 | Time: 15 minutes plus curing
Pro tip: Place a small round mirror or lace doily under the cloche, because the reflective base doubles the light inside the dome.
19. Textured Plaster Wall Art
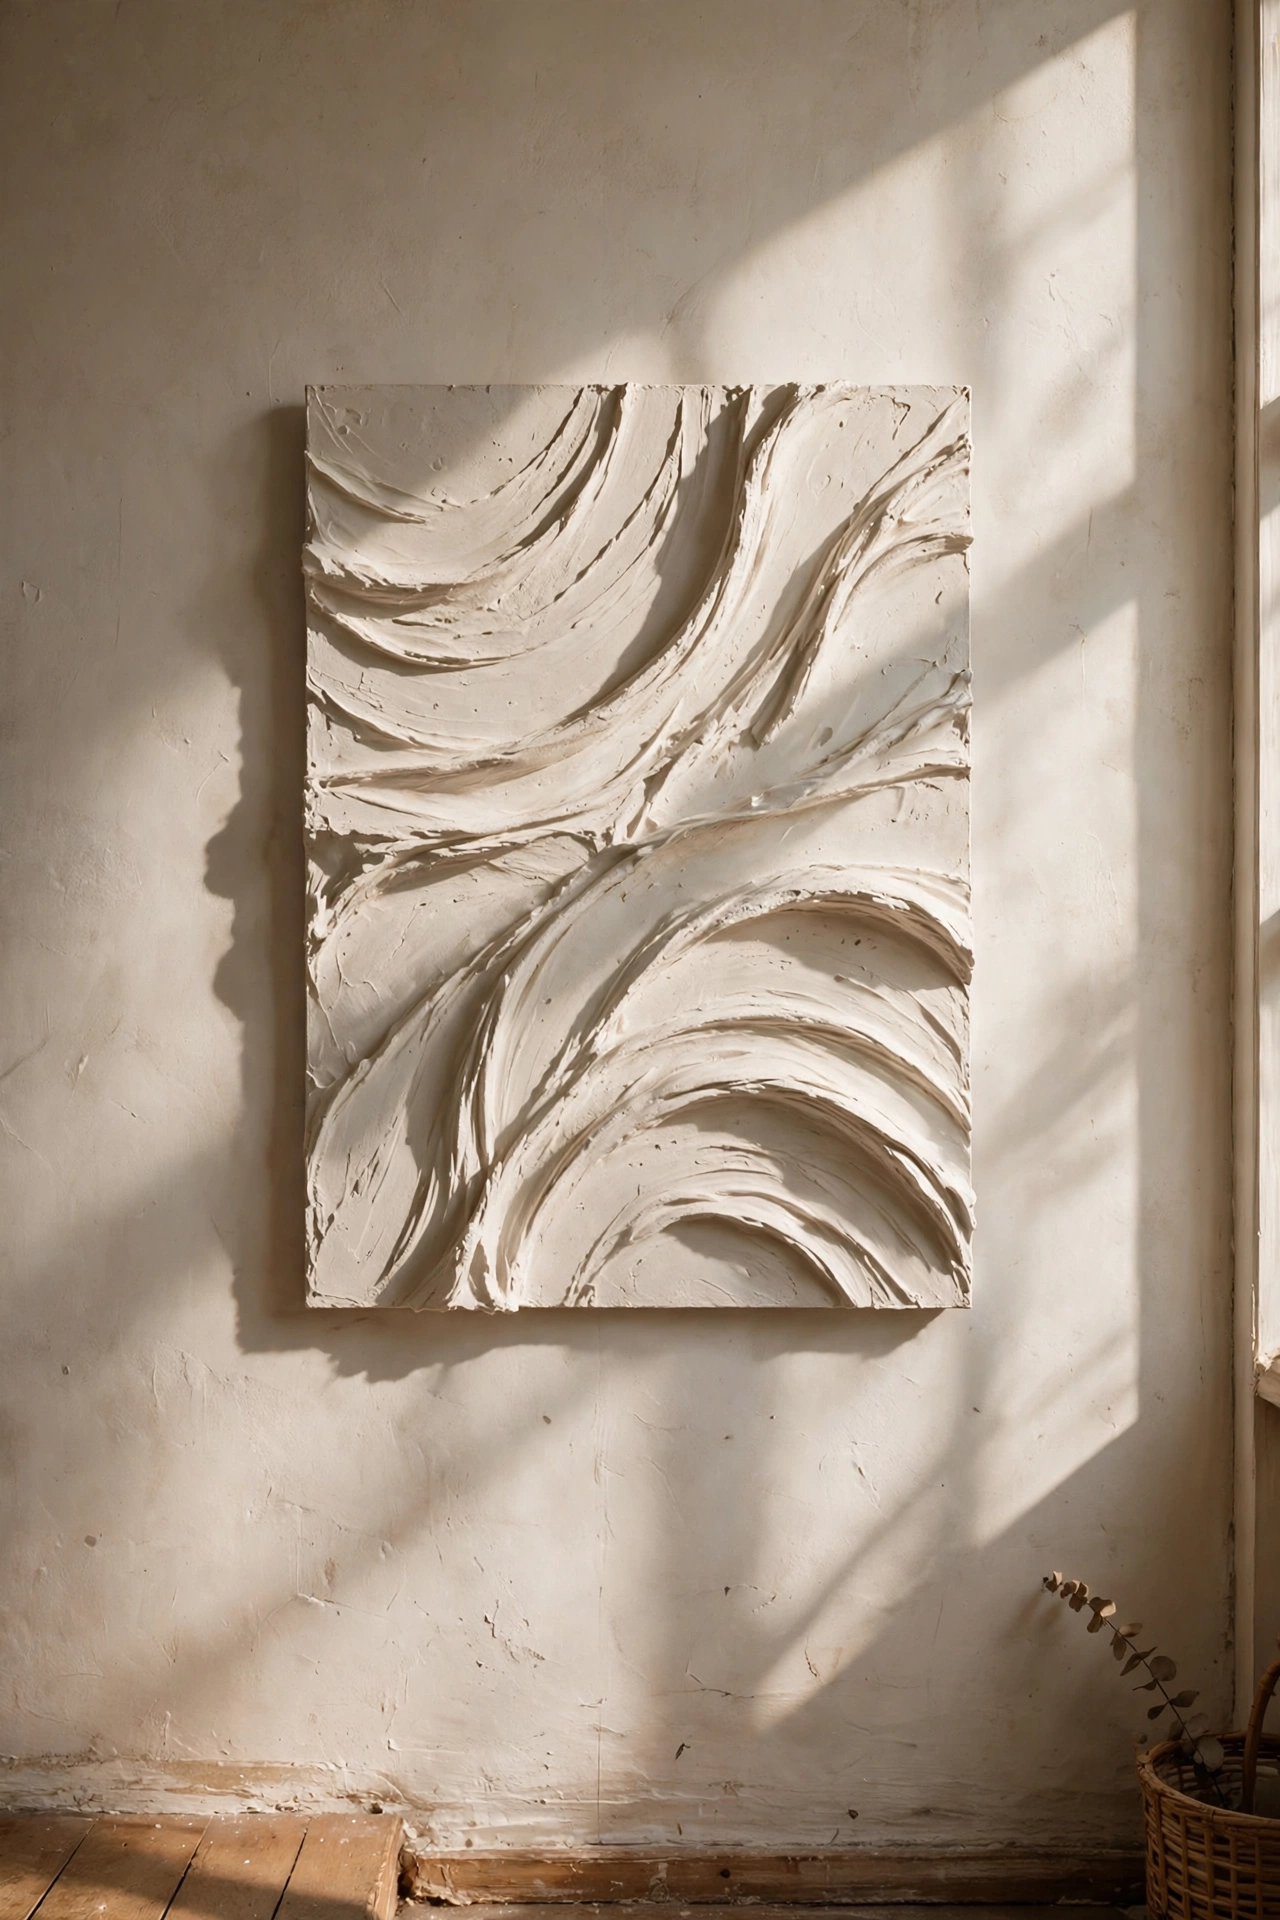
A cheap canvas smeared with joint compound becomes the textured wall art that sells for hundreds in galleries. Spread ready-mixed joint compound over a small canvas with a palette knife in broad, sweeping arcs, building up ridges and valleys, then leave it to dry completely and paint the whole thing in one warm white. I kept fiddling with my first one and the texture went muddy and flat. Commit to bold strokes and walk away — restraint is the skill. Hang it alone on a quiet wall where the shadows can play across the ridges. The plaster texture does all the expensive-looking work for you.
Cost: ~$6 | Time: 30 minutes plus drying
Pro tip: Photograph the wet texture in raking light before it dries, so you can see which ridges will catch real shadows.
20. Brass-Look Gilded Candlesticks
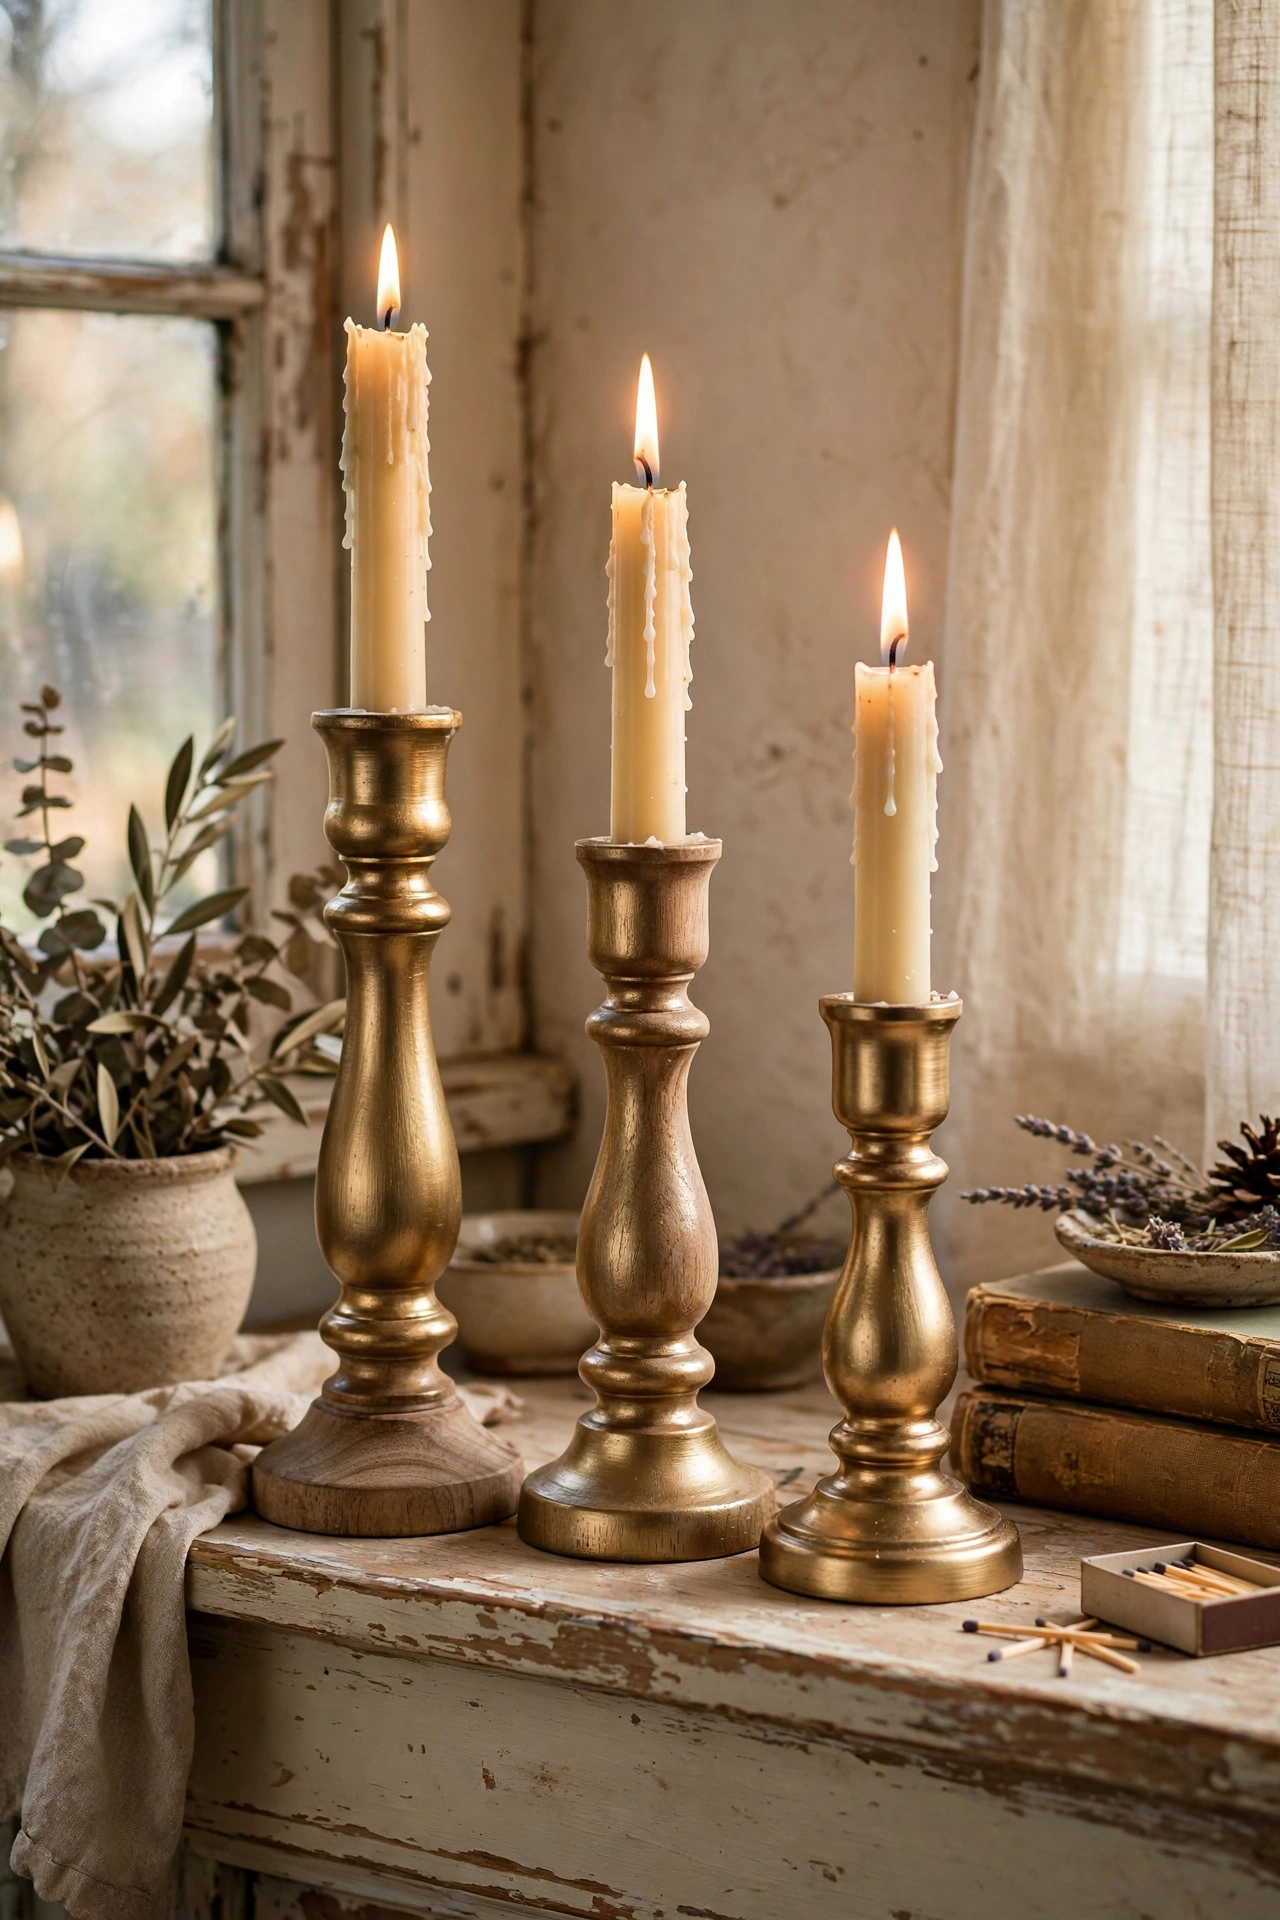
Wooden candlesticks sprayed in brushed brass look like vintage metal finds. Buy simple turned-wood candlesticks, give them a light sanding, and spray two thin coats of brass-effect metallic paint, rotating them so every curve catches the colour. I brushed metallic paint on my first pair and every brushstroke showed like tiger stripes. Spray gives the smooth, even finish that sells the illusion. Group three heights on a mantel with cream tapers. The warm brass tone against candlelight is the combination that makes these read as collected antiques rather than painted wood.
Cost: ~$4 each | Time: 20 minutes plus drying
Pro tip: Buff the dried candlesticks lightly with a soft cloth, because it polishes the high spots and fakes years of handling.
21. Fabric-Covered Lampshade
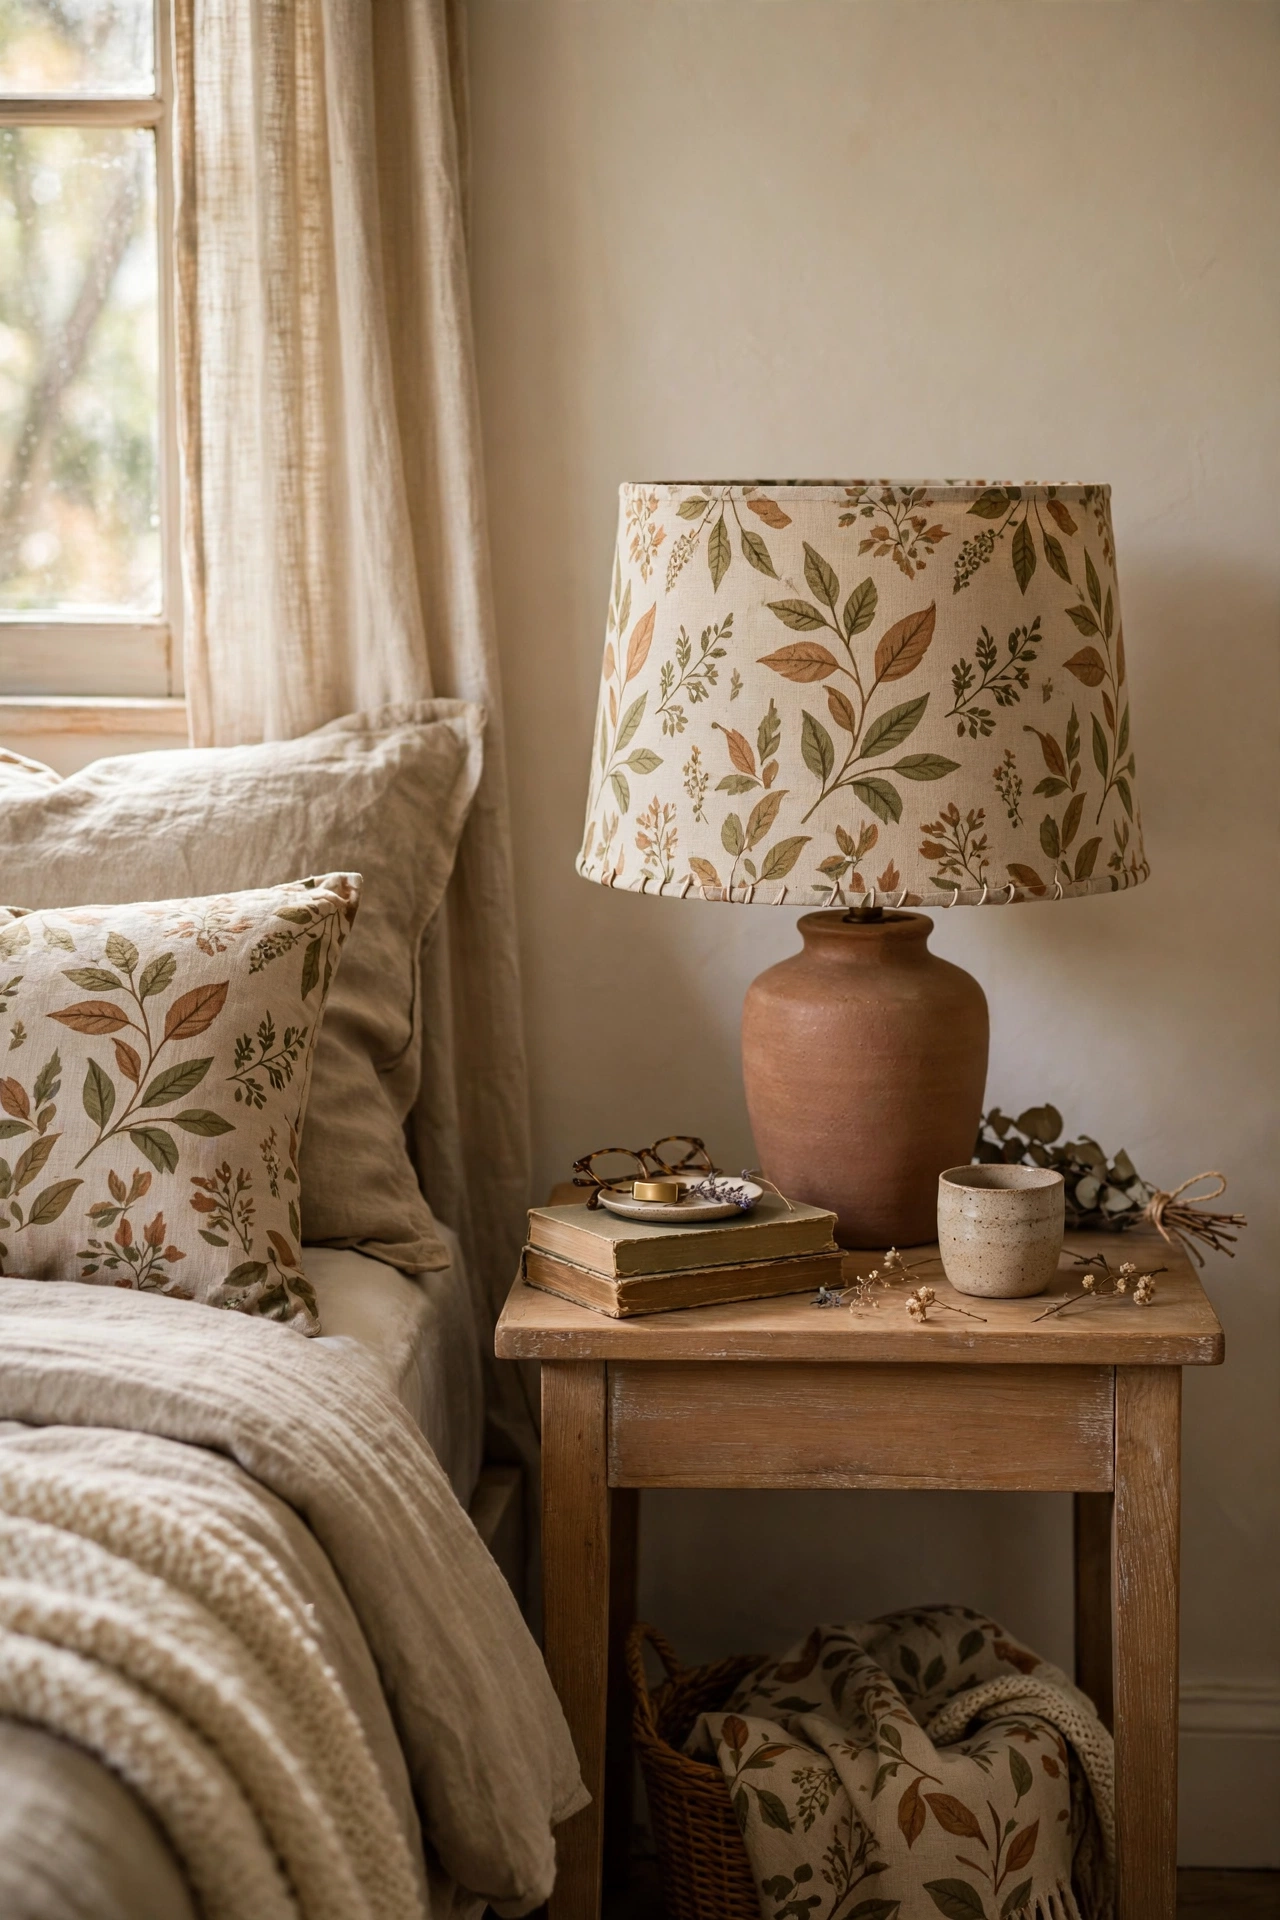
A plain lampshade recovered in fabric looks custom-made for the room. Cut your fabric about 5cm larger than the shade on every side, spray the shade lightly with repositionable adhesive, and roll it smoothly onto the fabric, trimming the top and bottom edges and folding them inside with a little more glue. I cut my first fabric exactly to size and the edges frayed out within weeks, looking tatty. Generous overlap folded inside is what lasts. Choose a fabric that echoes your cushions or curtains, and the lamp suddenly looks like it was ordered to match the whole scheme.
Cost: ~$8 | Time: 30 minutes
Pro tip: Use an LED bulb with a recovered shade, because fabric over a hot bulb yellows and the old safety rules still apply.
📌 Loving this look? Pin this post now so you can save these dollar store DIYs for your next craft run.
Keep the budget magic going: (see also: 19-dollar-store-diys-that-look-designer) (see also: 15-dollar-tree-craft-ideas-that-dont-look-like-kid-crafts) (see also: 21-thrift-store-diy-ideas-that-look-expensive)
