23 Upcycled Home Decor Ideas That Cost Nothing
My spare bedroom used to look like the inside of a recycling bin. Cardboard boxes stacked by the door, a bag of fabric offcuts I could not bring myself to throw away, sticks the kids dragged home from the park, and a pile of books falling apart at the spine. One rainy weekend I stopped seeing rubbish and started seeing materials, and by Sunday night that same room had framed art on the walls, a new rug by the bed, and a wreath on the door. I spent exactly zero. Every upcycled home decor idea below is a no-spend project I have actually finished, using junk-drawer bits, foraged finds, and packaging most people bin without a thought.
The ground rules for zero-cost crafting are simple. Only use what you already have or can gather free: delivery boxes, worn-out clothes, garden prunings, old magazines, jars from the recycling. Give everything a good clean before you start, because dust is what makes upcycled projects look cheap. Each idea below lists the free materials, the steps I followed, and the mistake I made first time round so yours turns out better than mine did.
1. Cardboard Picture Frames with a Painted Finish
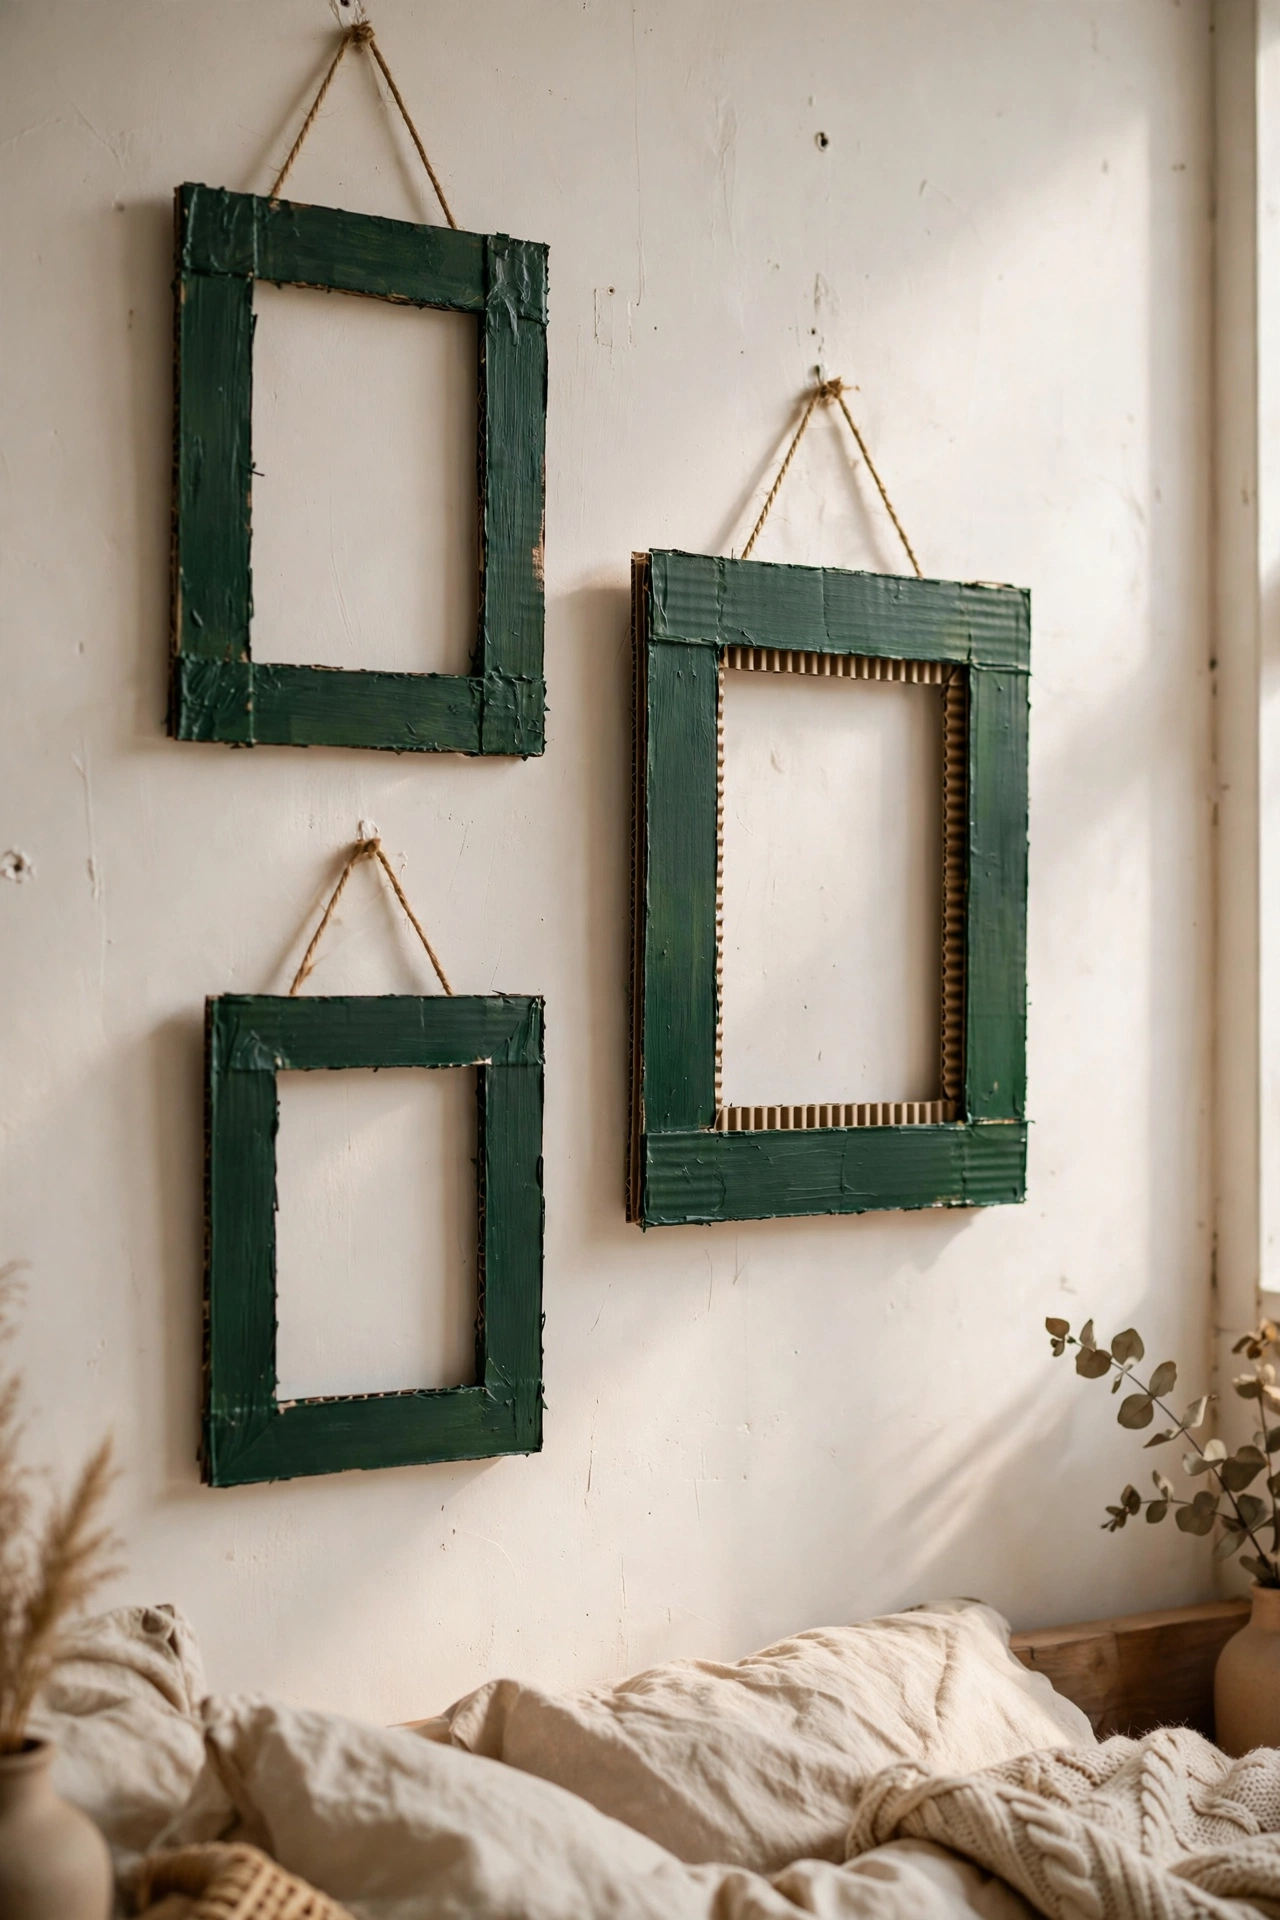
Sturdy delivery-box cardboard becomes a convincing picture frame with nothing but scissors and paint. I cut two identical frame shapes from corrugated card, glued them together for thickness, cut the centre out with a craft knife, and painted the whole thing with leftover wall paint in deep green. A photo taped behind the opening finishes it. The trick is sealing the cut edges: my first frame showed fluffy corrugated edges that screamed cardboard, so now I run a thin line of glue along every cut edge and sand it smooth when dry. Three of these in a row look like lacquered wood from a distance.
Materials: Delivery-box cardboard, glue, leftover wall paint, craft knife | Cost: ~$0 | Time: 45 minutes plus drying
2. Scrap Fabric Braided Rag Rug
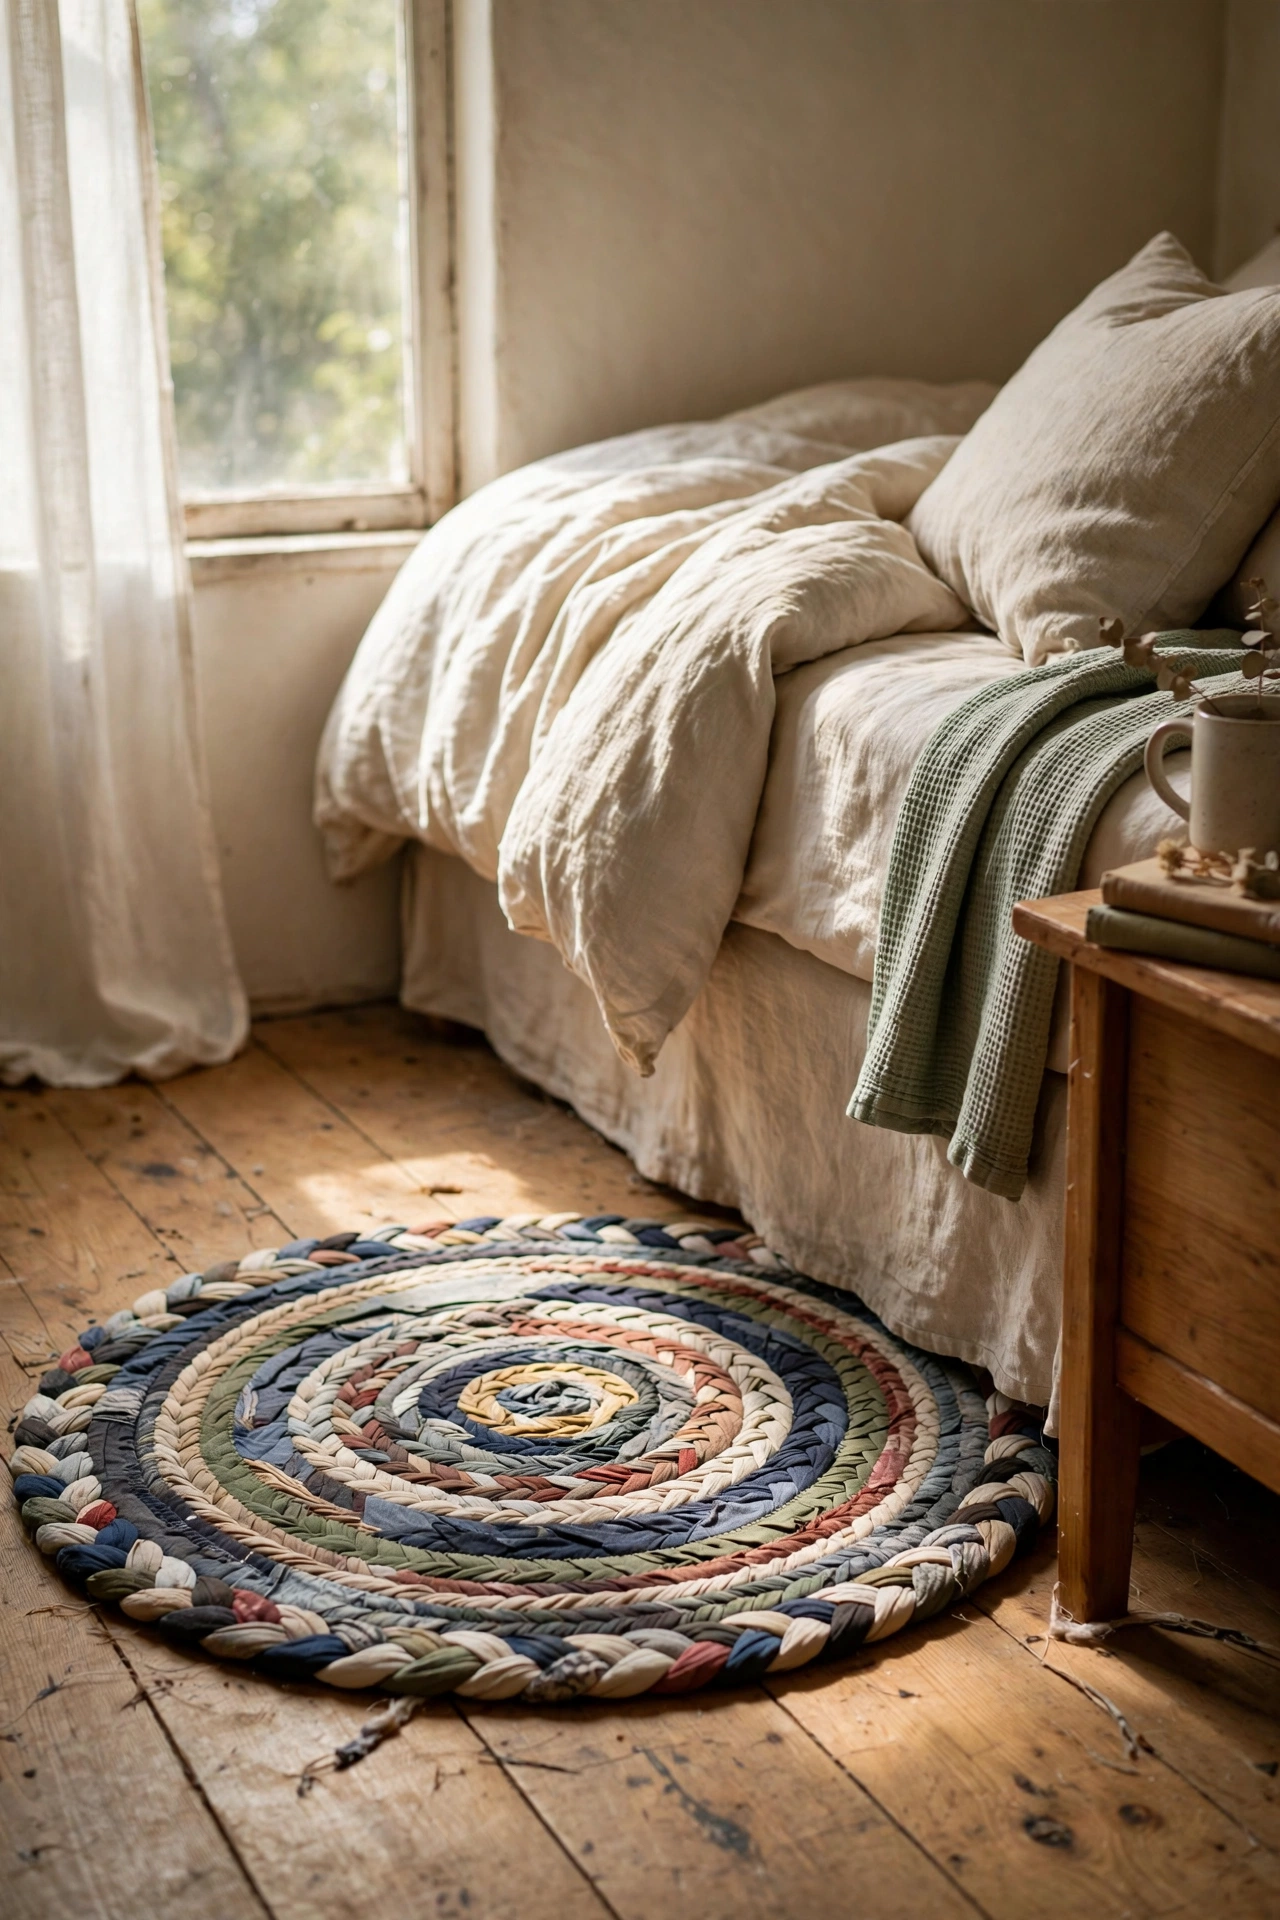
Worn-out clothes become a proper rug if you cut them into strips and braid. I sliced old t-shirts and pillowcases into 3cm strips, knotted three strips together at one end, and braided a long rope, coiling it into a spiral and stitching the coils together with big looping stitches. My rug sits by the bed and gets compliments constantly. The mistake I made was mixing stretchy jersey with stiff denim in the same braid, which buckled, so keep one fabric type per braid section. It is slow television work, but the result is a rug with real weight and history. For more bedroom styling around it, see (see also: 17-minimalist-bedroom-ideas-on-a-budget/).
Materials: Worn-out clothes and bedding, scissors, large needle, thread | Cost: ~$0 | Time: 4-5 hours over a few evenings
3. Foraged Stick Wall Hanging
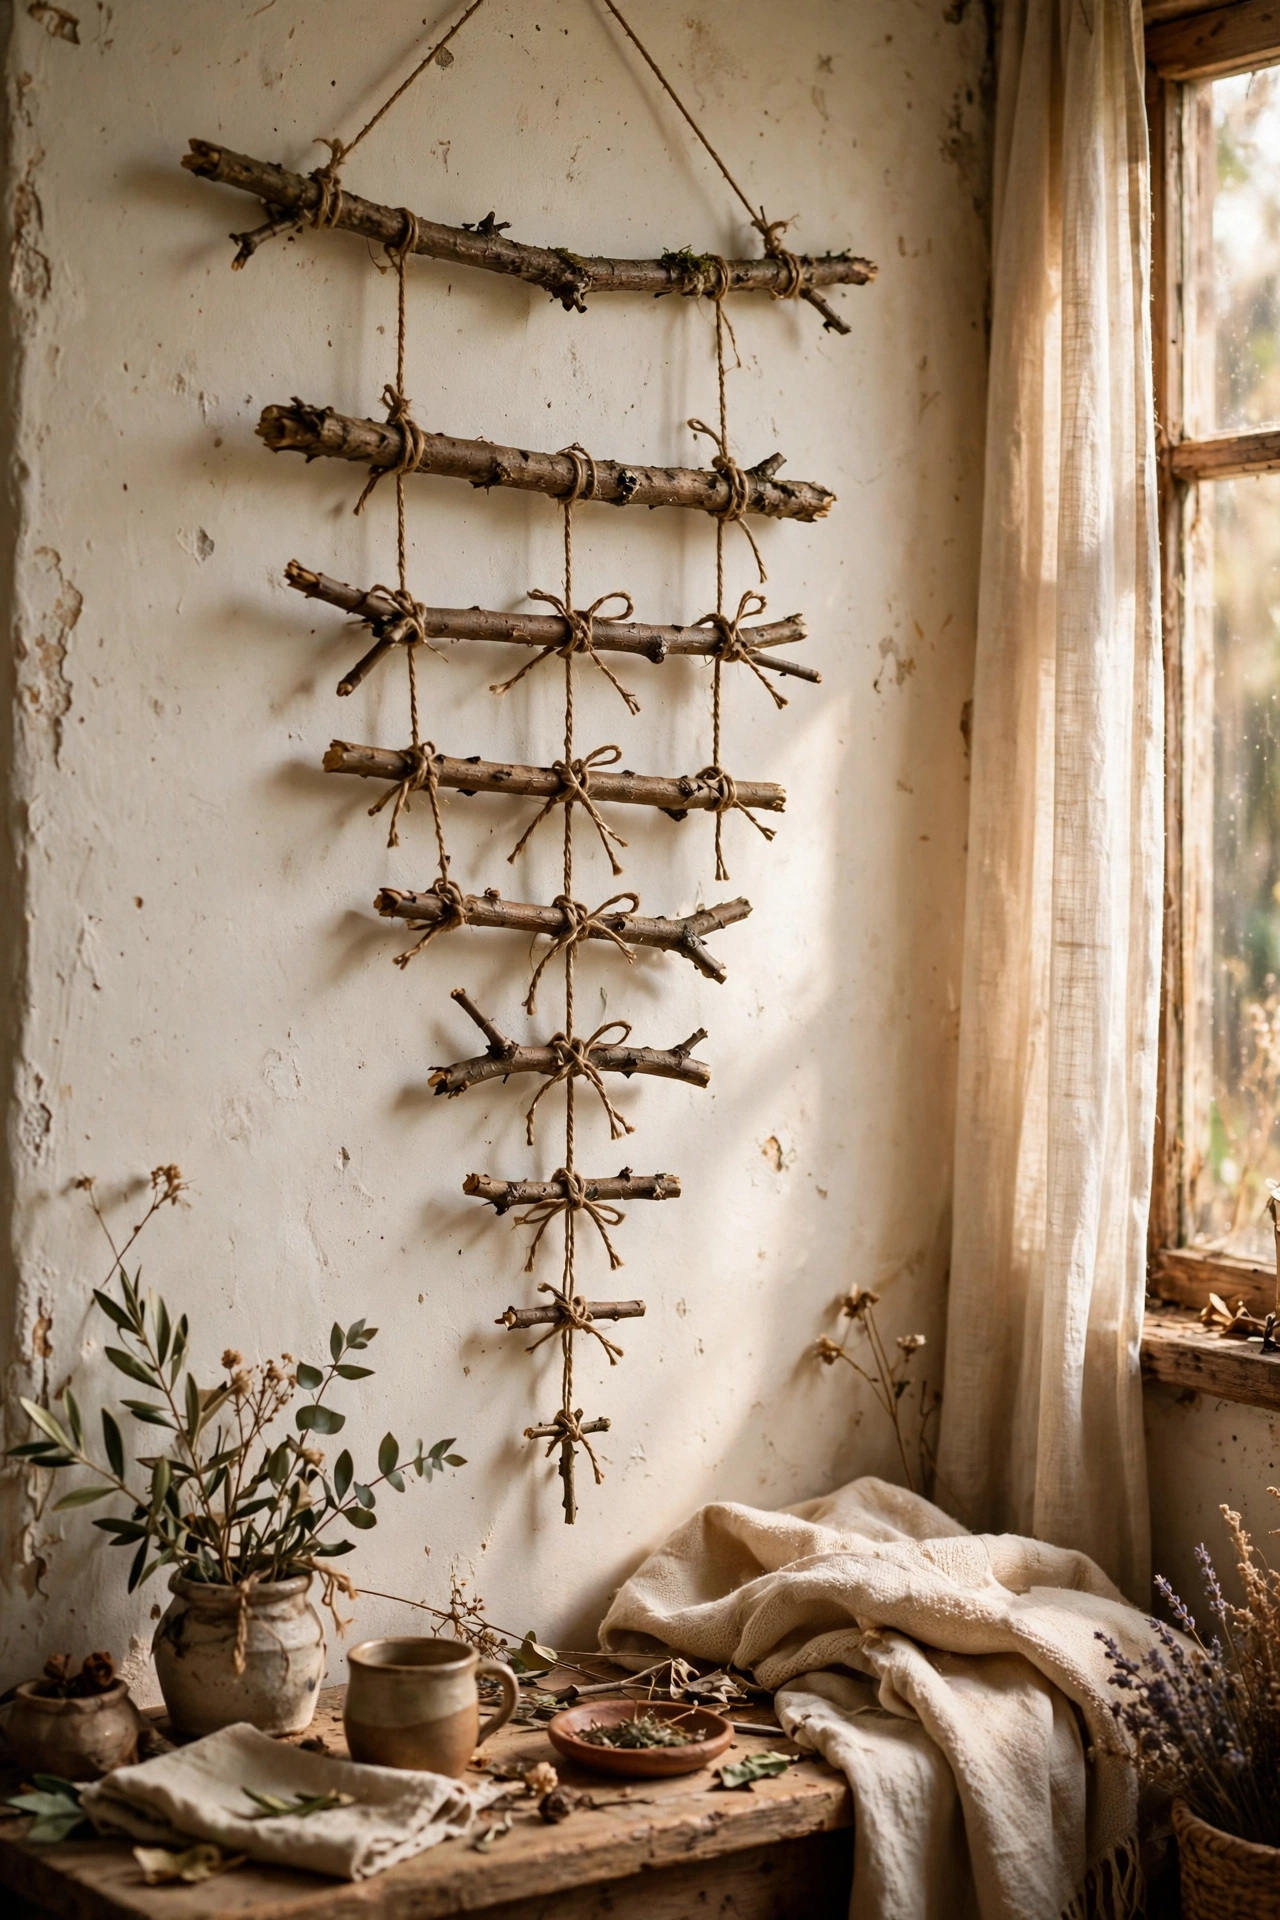
Straight sticks from the park become a beautiful wall hanging with string and patience. I gathered a dozen straight-ish sticks, trimmed them to graduated lengths, and tied them in a row beneath a longer horizontal branch using garden twine, spacing each drop slightly differently for a natural cascade. It hangs in my hallway and looks like something from a craft market. My first attempt used green bendy sticks that warped as they dried, so collect dead, dry wood and let it sit indoors a week before you build. Sand any rough bits and the whole thing feels smooth and finished.
Materials: Dry straight sticks, garden twine, sandpaper, scissors | Cost: ~$0 | Time: 1 hour
4. Old Book Page Paper Wreath
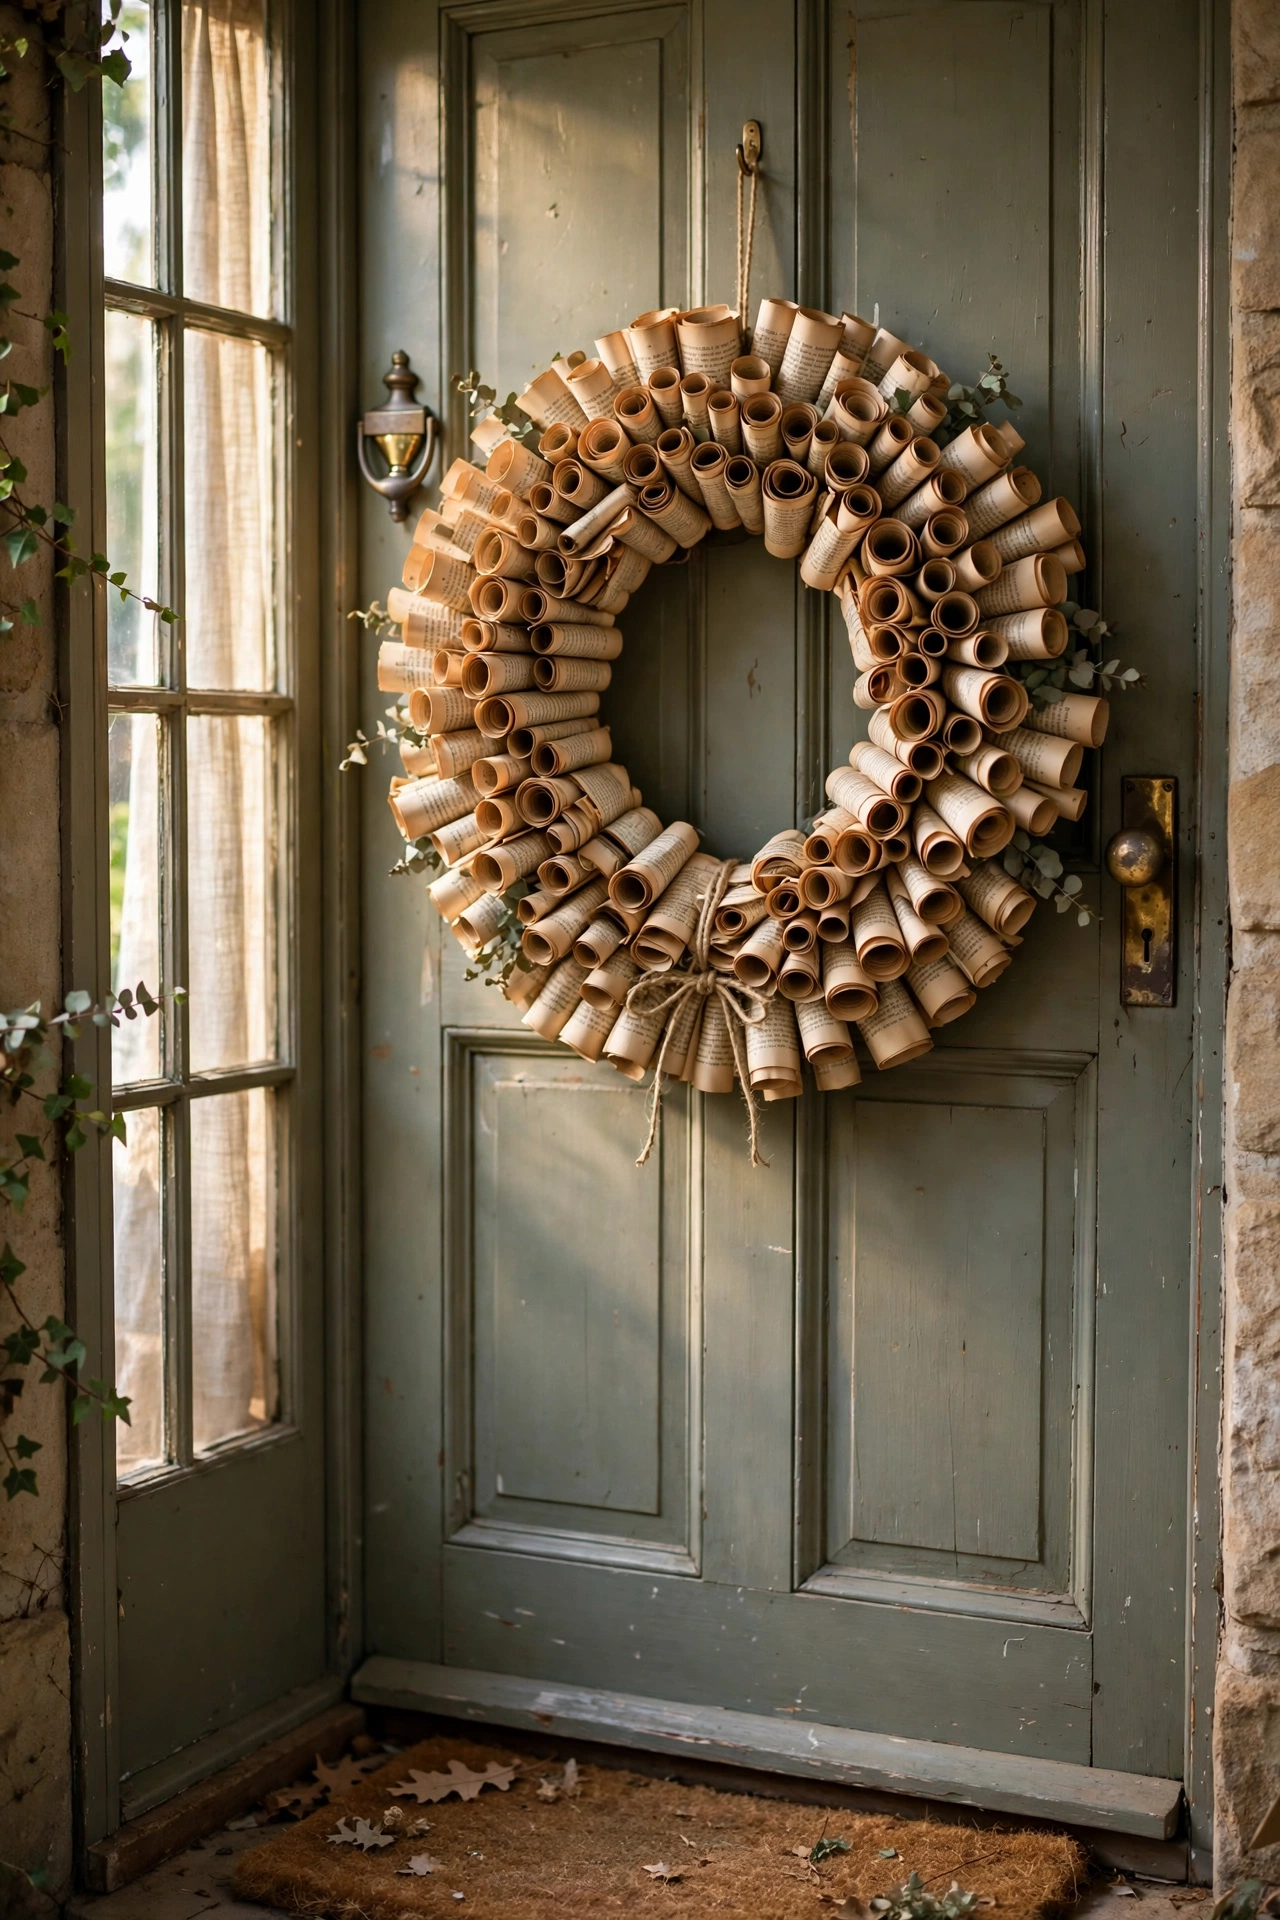
Pages from a book nobody will read again roll into the prettiest paper wreath. I tore out about sixty pages, rolled each into a tight cone, and hot-glued the cones in overlapping rings onto a cardboard ring cut from a cereal box. Two layers of cones, one angled outward and one upright, give it fullness. My first wreath looked sparse because I spaced the cones too far apart, so overlap generously and it will look lush. A light brush of leftover white paint on the cone tips gives a frosted look for winter, and it has survived three years on my front door.
Materials: Damaged old book, cereal-box cardboard, hot glue gun, scissors | Cost: ~$0 | Time: 2 hours
5. Pallet Wood Rustic Sign
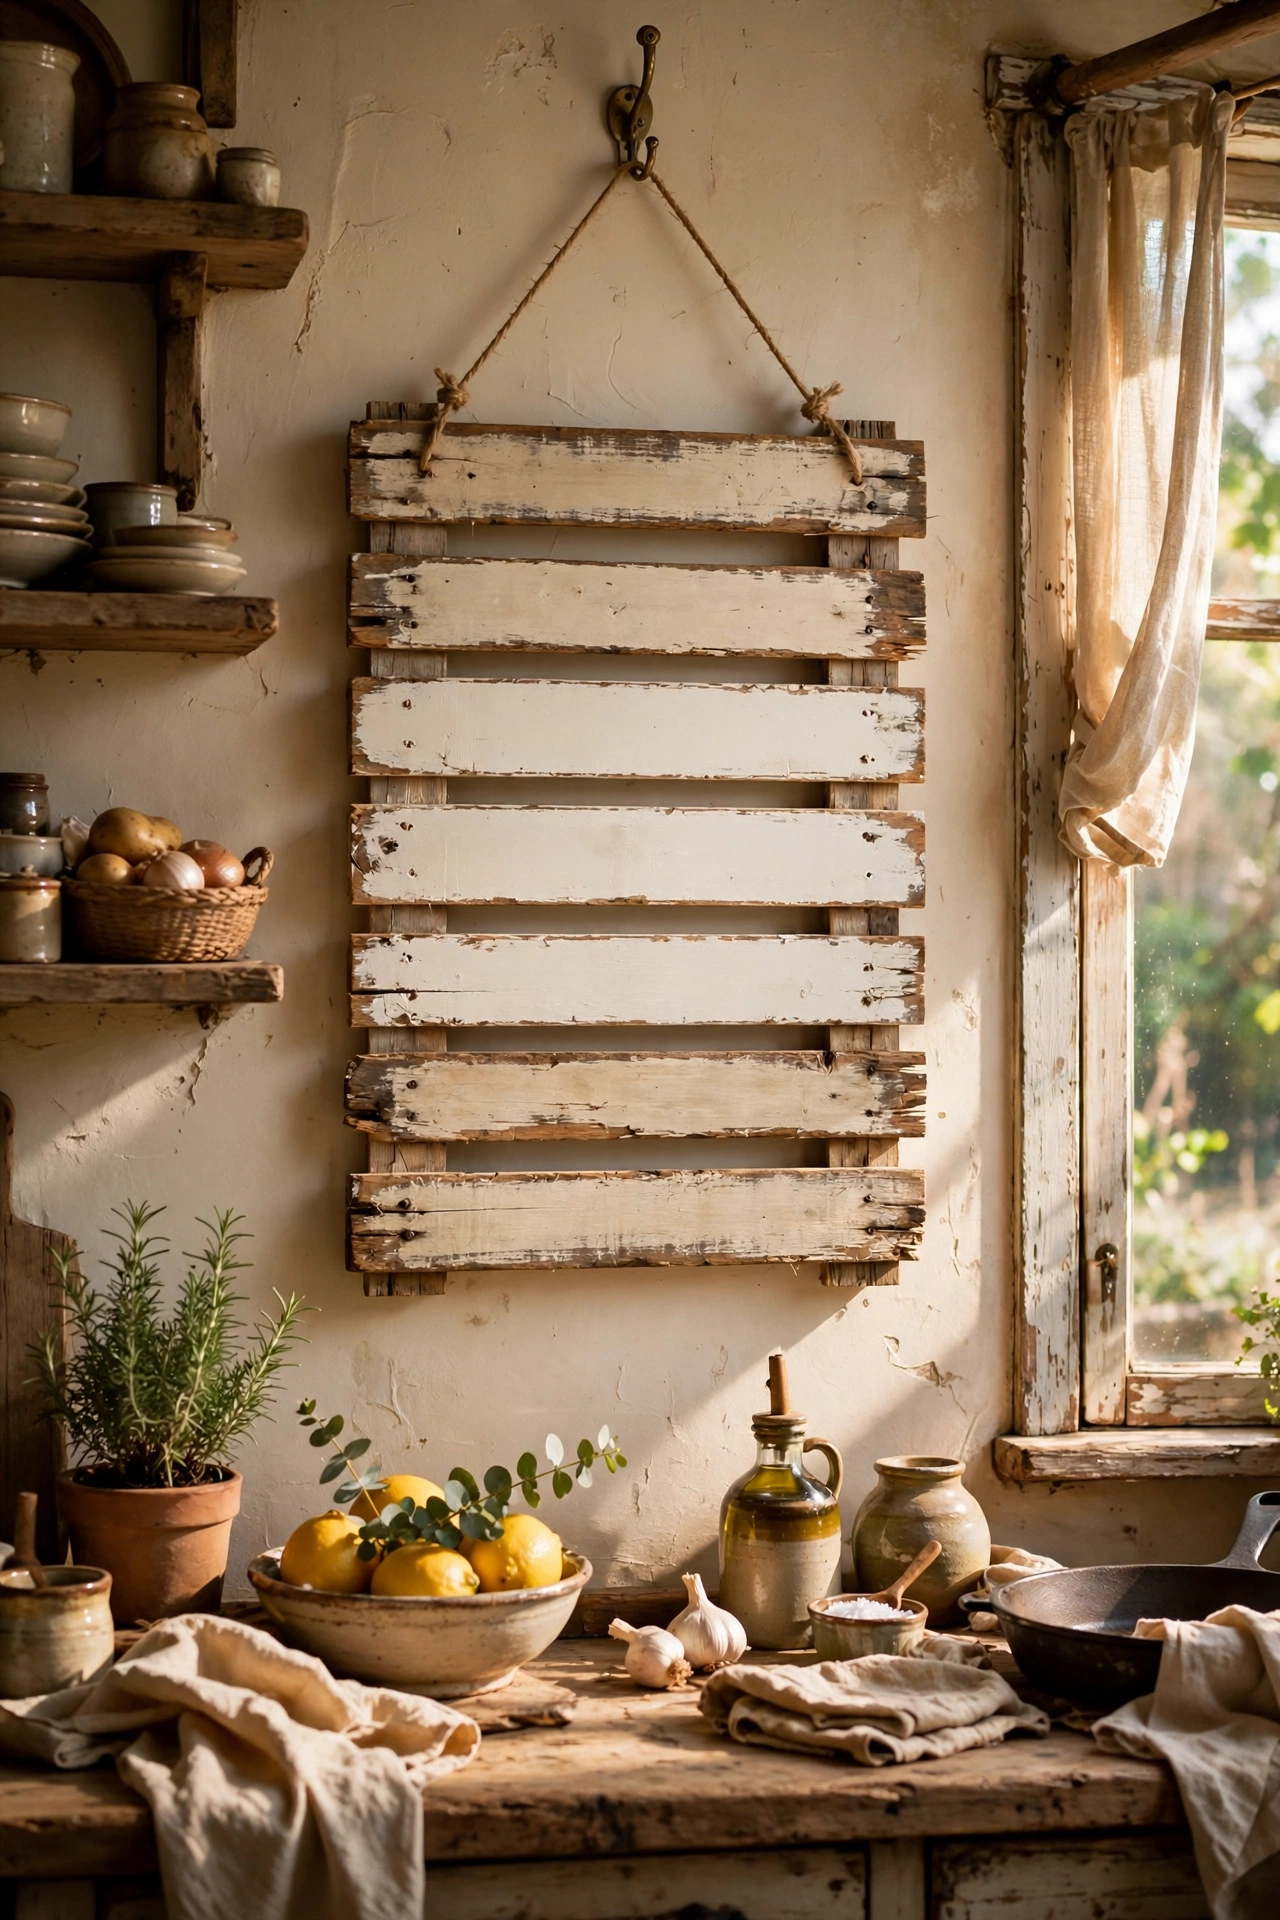
A single pallet slat becomes a rustic sign with a steady hand and leftover paint. I pried one clean slat from a pallet left out for collection, sanded it smooth, and painted a simple word in cream using a small brush, then sanded the edges lightly so the wood showed through for a worn look. It hangs in my kitchen and cost nothing but an afternoon. The mistake I learned from was painting on rough unsanded wood, where the paint bled along the grain and the letters went fuzzy. Sand to smooth, wipe the dust off, and your lettering stays crisp.
Materials: Pallet slat, sandpaper, leftover paint, small brush | Cost: ~$0 | Time: 1.5 hours plus drying
6. Tin Can Herb Planters
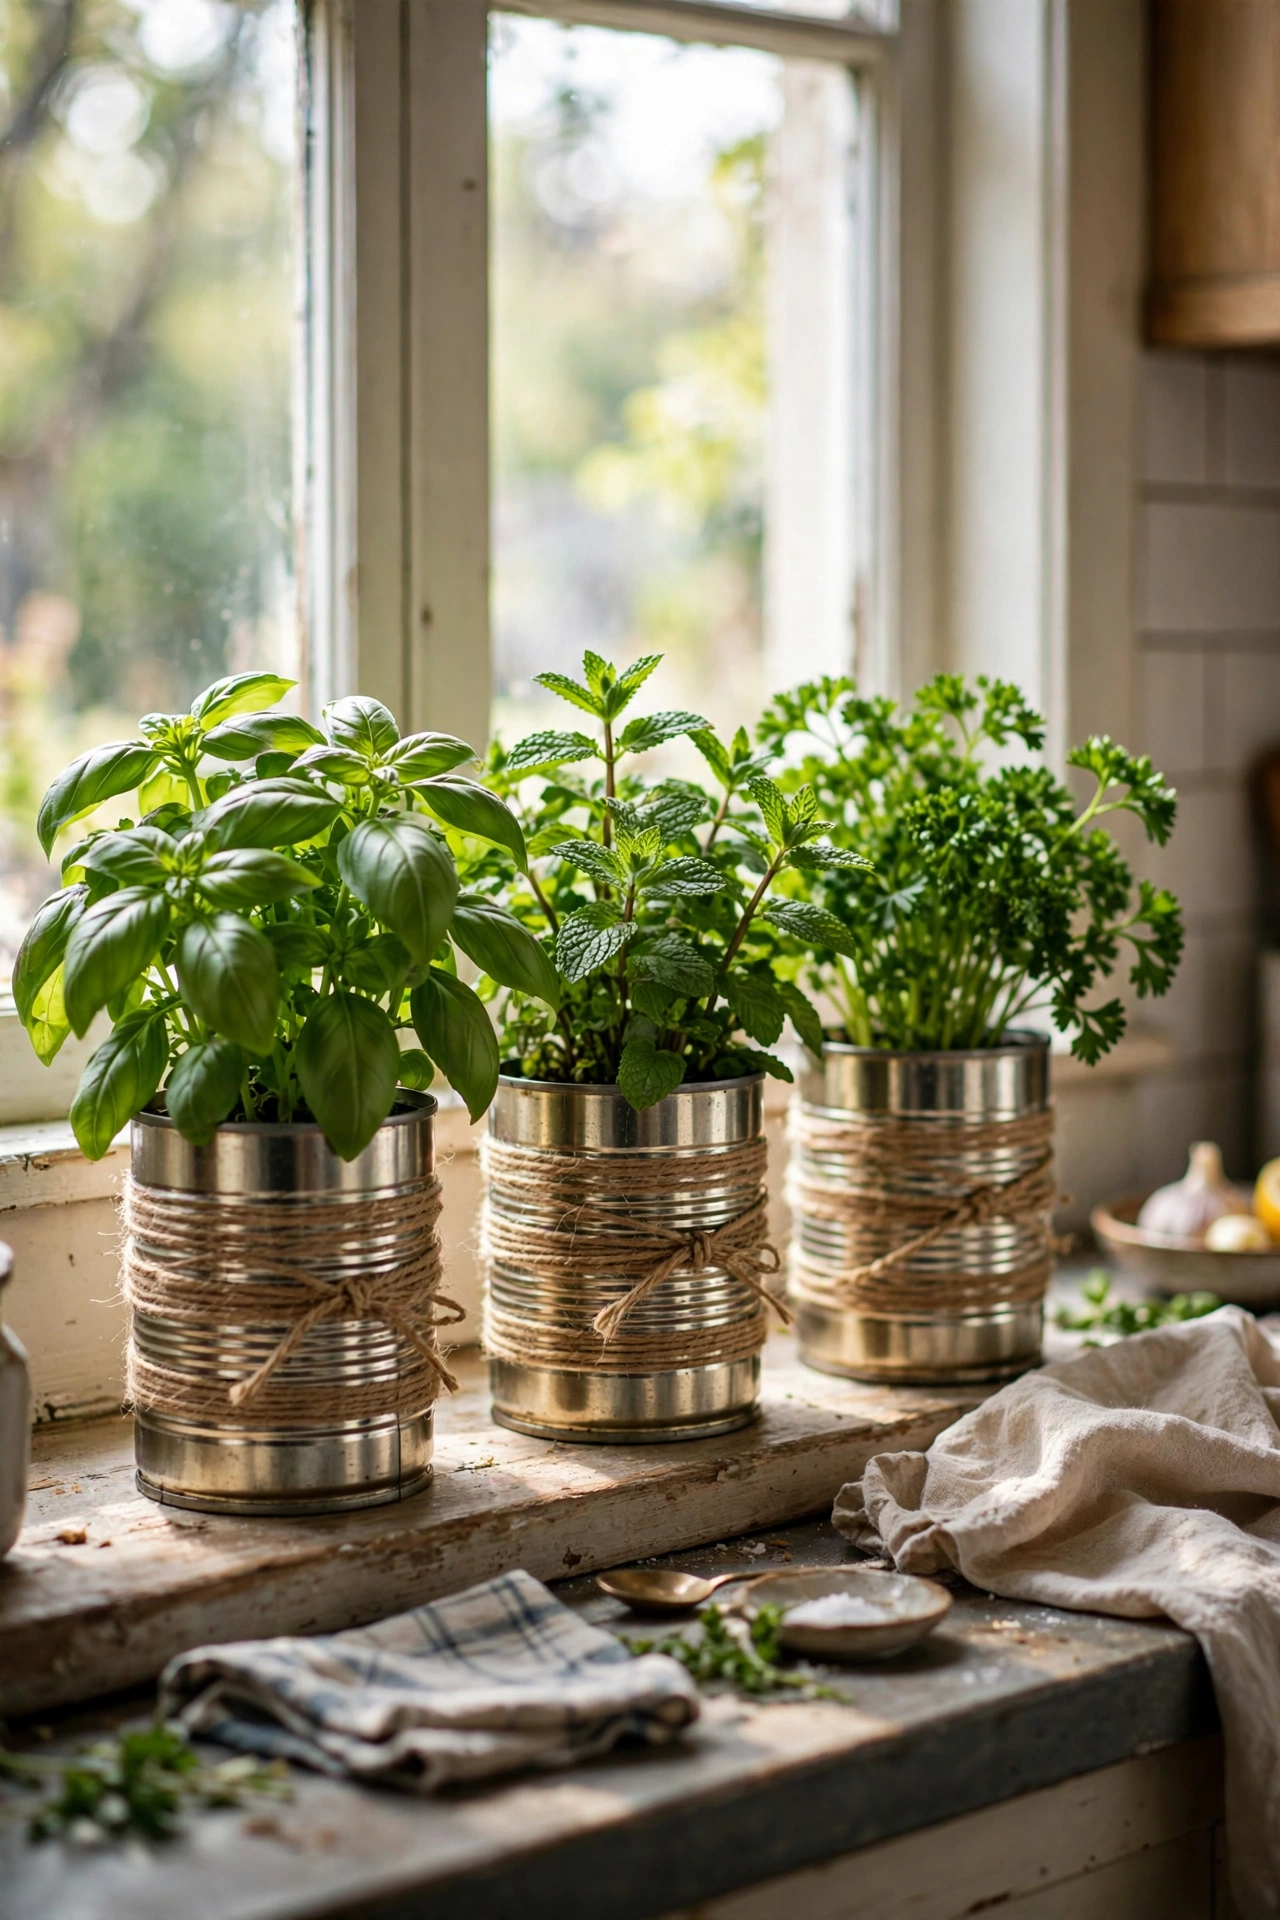
Empty food tins make perfect herb planters once you punch drainage holes. I cleaned three large tins, hammered five nail holes in each base, and planted supermarket basil, mint and parsley straight in with compost from the garden. A wrap of twine around the middle hides the labels and makes them look rustic. My first batch drowned because I skipped the drainage holes thinking the metal would be fine, and the roots rotted within a fortnight, so do not skip that step. They sit on my kitchen windowsill and I have not bought herbs in months.
Materials: 3 large food tins, hammer, nail, twine, compost, herb plants | Cost: ~$0 | Time: 30 minutes
7. Jam Jar Tealight Holders
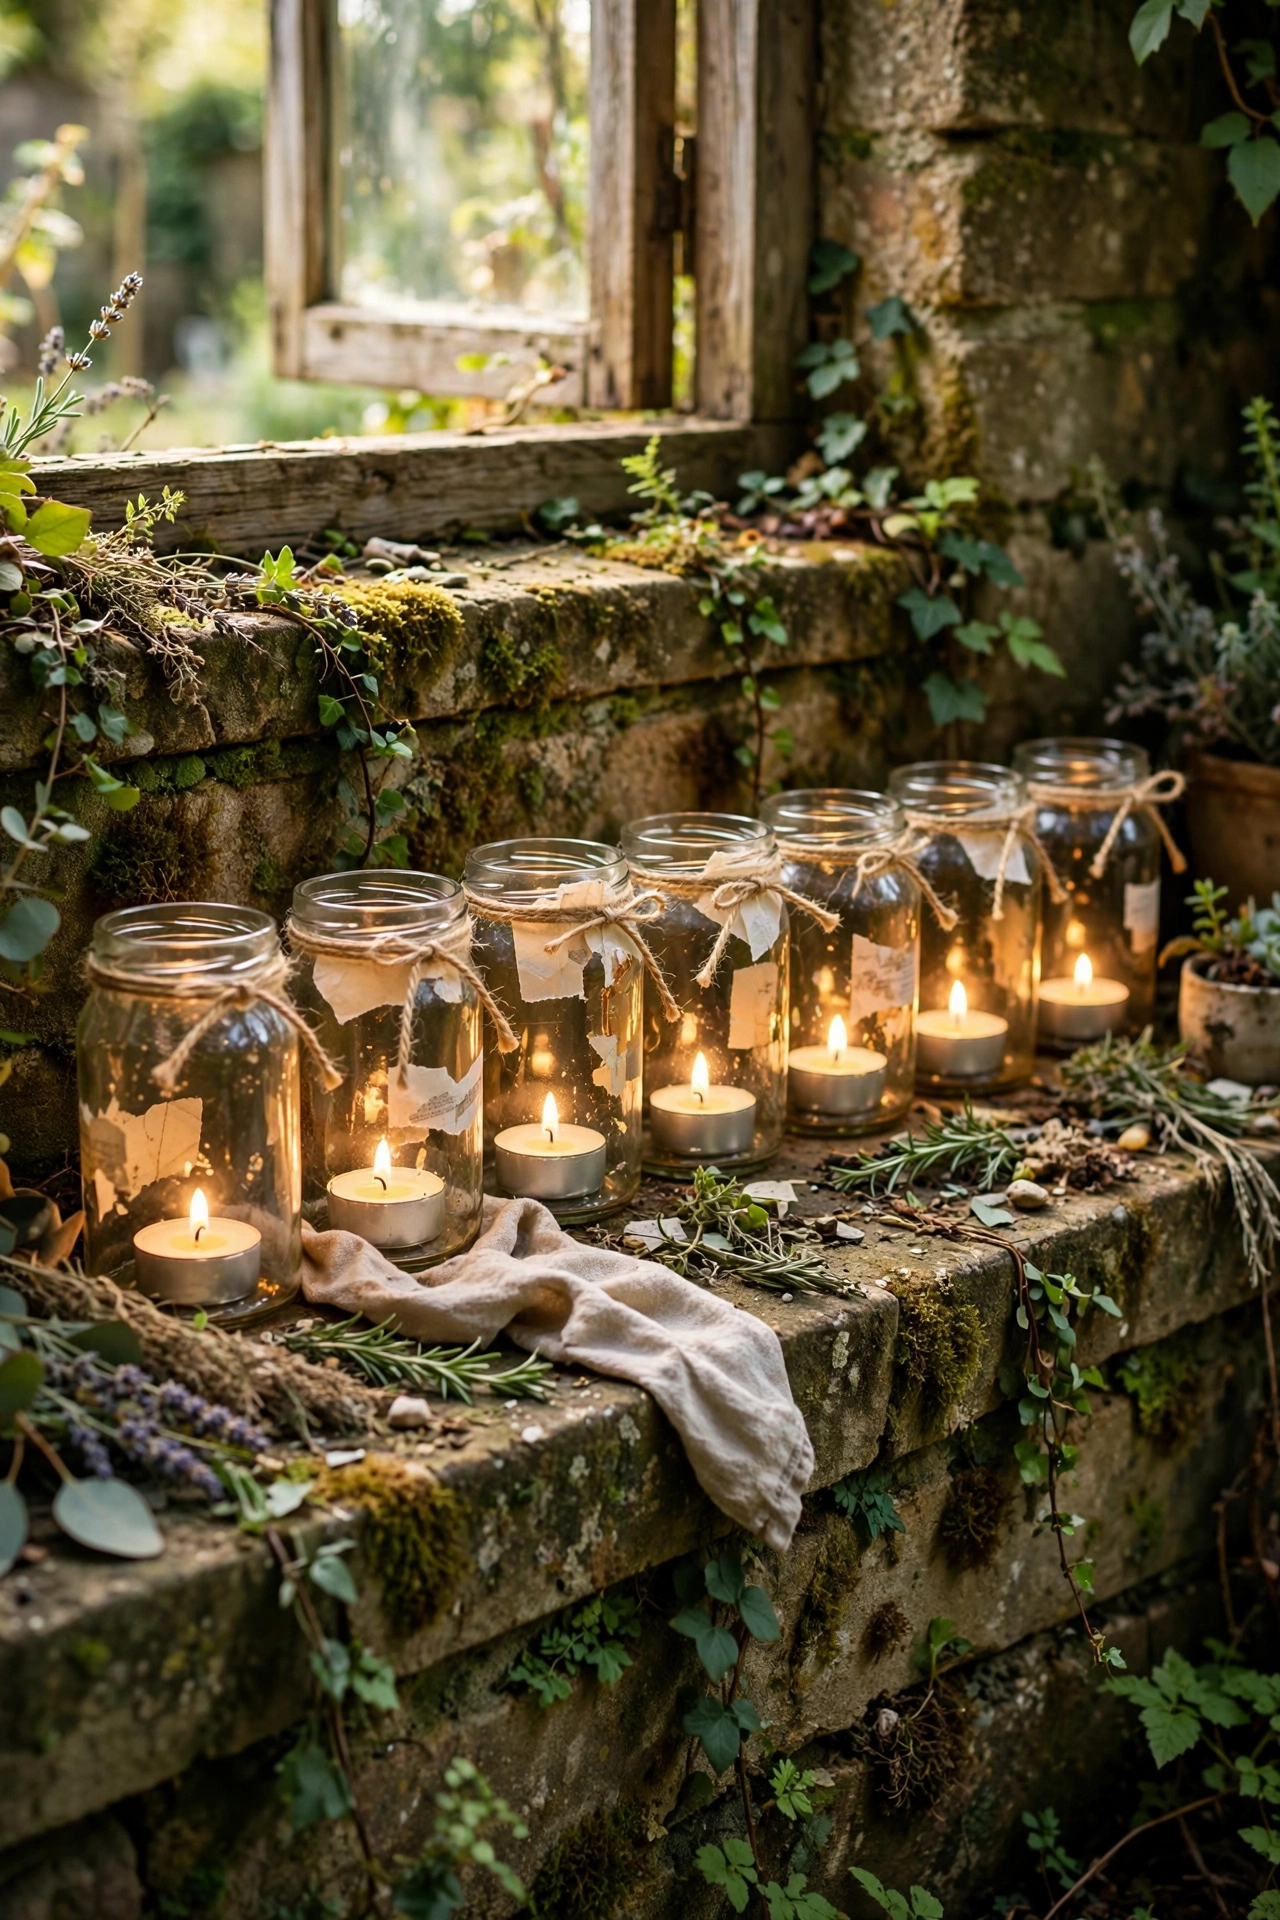
Jam jars glow beautifully with a tealight inside and need zero crafting skill. I soak the jars to remove labels, dry them fully, and tie a loop of garden twine around each neck for hanging or carrying. A row of them along the garden wall on summer evenings looks magical. My first attempt left sticky label residue that caught the light horribly, so soak in hot soapy water and rub with baking soda until the glass is squeaky clean. Frost the outside with a thin smear of leftover white paint for a softer glow, or leave them clear.
Materials: Jam jars, hot soapy water, baking soda, twine, tealights | Cost: ~$0 | Time: 20 minutes
8. Cardboard 3D Wall Letters
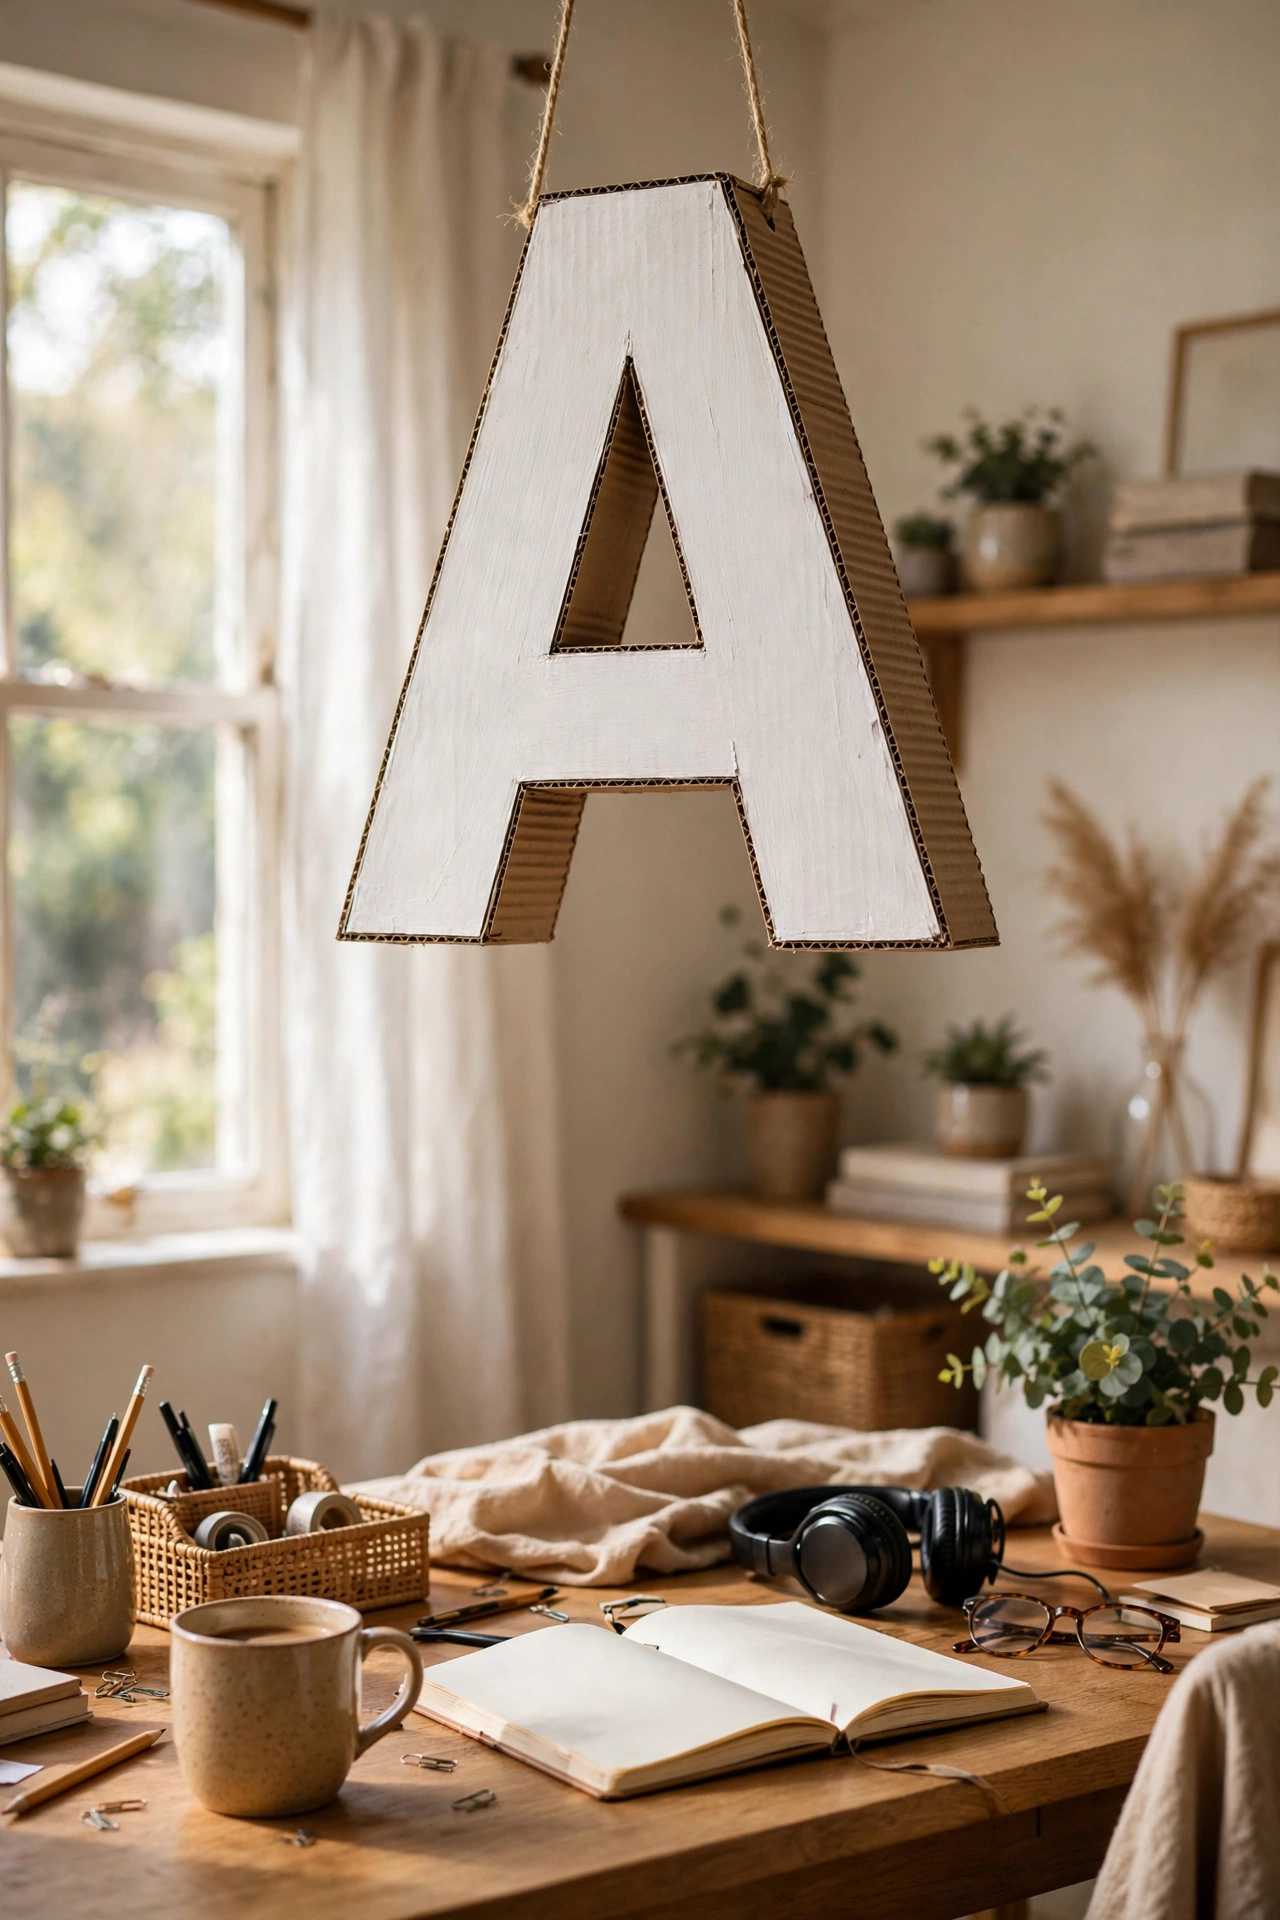
Big 3D letters spell out joy on a wall and cardboard builds them free. I drew a large letter on cardboard, cut two copies, then cut long strips for the sides and glued the whole thing into a hollow 3D letter, bracing the inside with small tabs. Painted in leftover white paint, my initials hang above the desk and look like shop-bought decor. The fiddly part is curved letters, so start with straight ones like E or T while you learn. My first letter collapsed because I rushed the glue, so let every joint set fully before moving on.
Materials: Cardboard boxes, glue, leftover paint, craft knife, ruler | Cost: ~$0 | Time: 1.5 hours plus drying
9. Scrap Paper Origami Star Garland
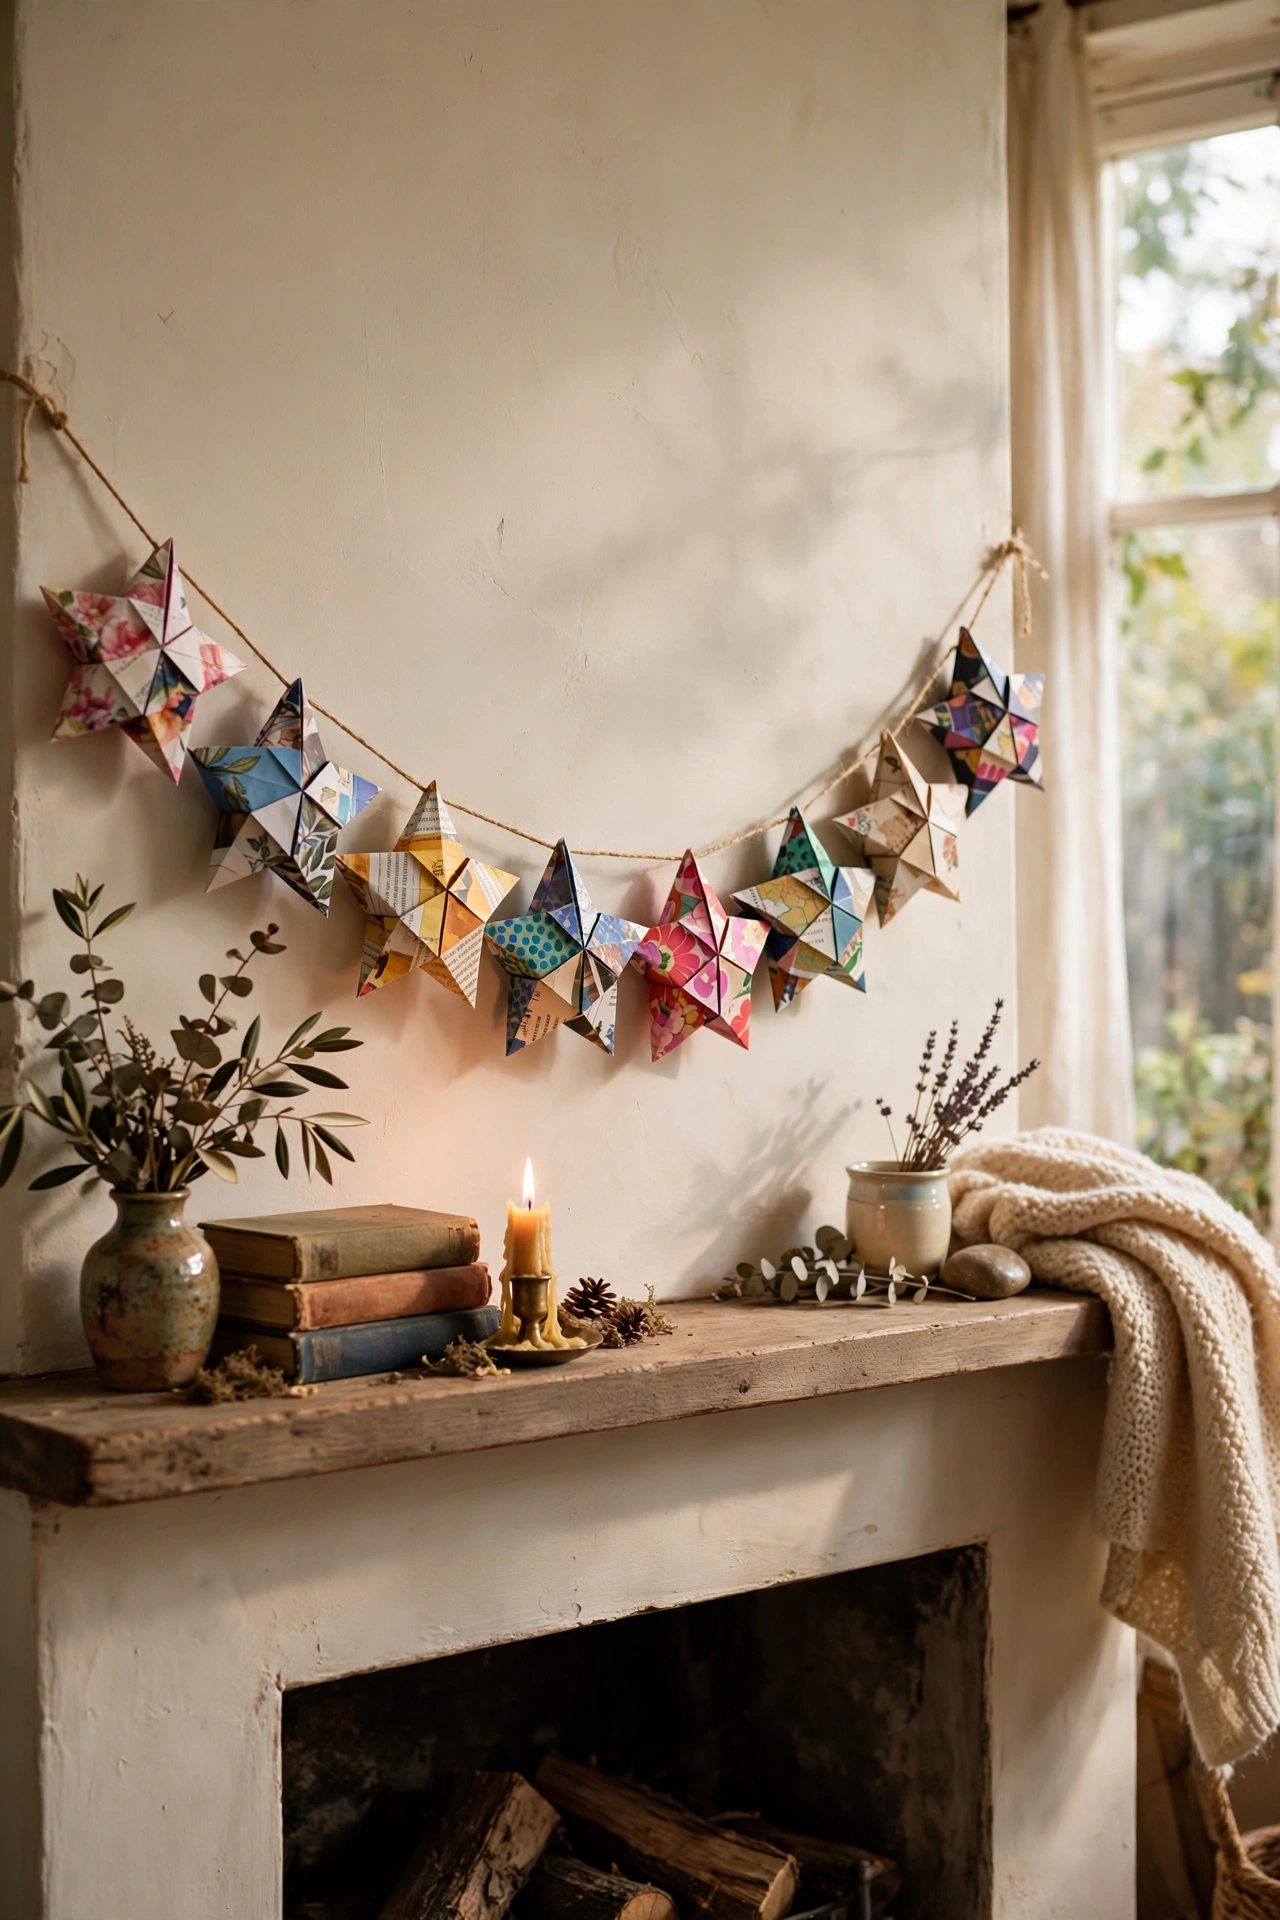
Old magazines fold into stars that string into the loveliest garland. I cut strips from colourful magazine pages, folded each into a five-pointed puffy star following a basic origami diagram, and threaded them onto twine with a needle. Twenty stars make a garland long enough for a mantel. My first stars were lopsided because I rushed the folds, so crease each fold sharply with a fingernail and they puff up perfectly. It is the ideal rainy-day project, and the garland has survived four Christmases in my decoration box. Pair it with seasonal styling from (see also: 19-sage-green-bedroom-decor-ideas-that-feel-dreamy/) for a calm festive corner.
Materials: Old magazines, twine, needle, scissors | Cost: ~$0 | Time: 2 hours
10. Stick and Twine Blanket Ladder
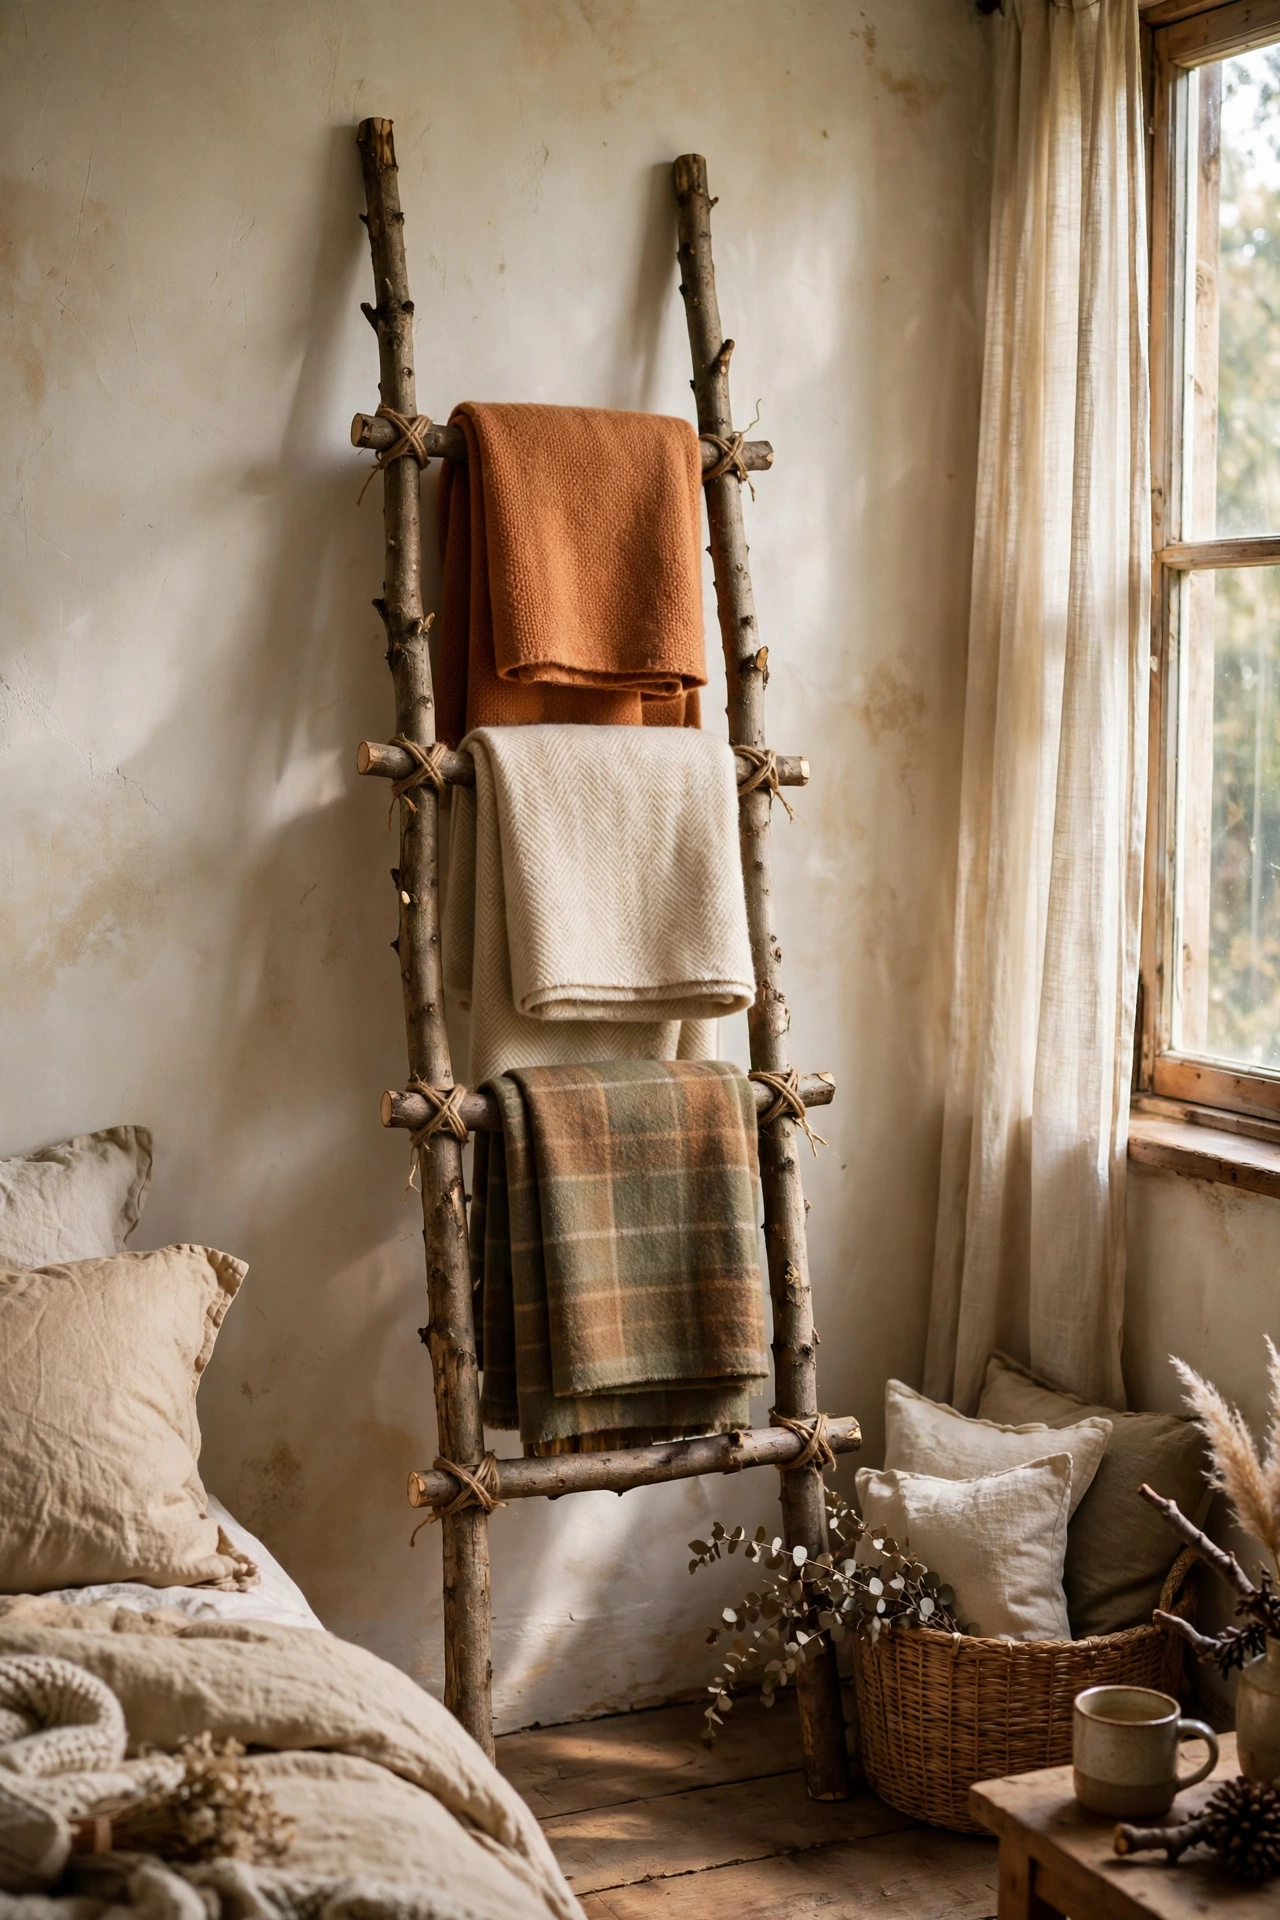
Two long branches and some rungs become a blanket ladder with real character. I found two straight sturdy branches about 150cm long, lashed four shorter sticks across as rungs with garden twine in cross patterns, and leaned the finished ladder against the bedroom wall. It holds three throws and looks like a stylised log cabin feature. The key lesson from my wobbly first version is lashing tightly: wrap the twine at least eight times per joint and knot it hard. Test the weight with blankets before you trust it, and keep the feet on a rug so they do not slip.
Materials: 2 long branches, 4 short sticks, garden twine, sandpaper | Cost: ~$0 | Time: 1 hour
11. Old T-Shirt Braided Coasters
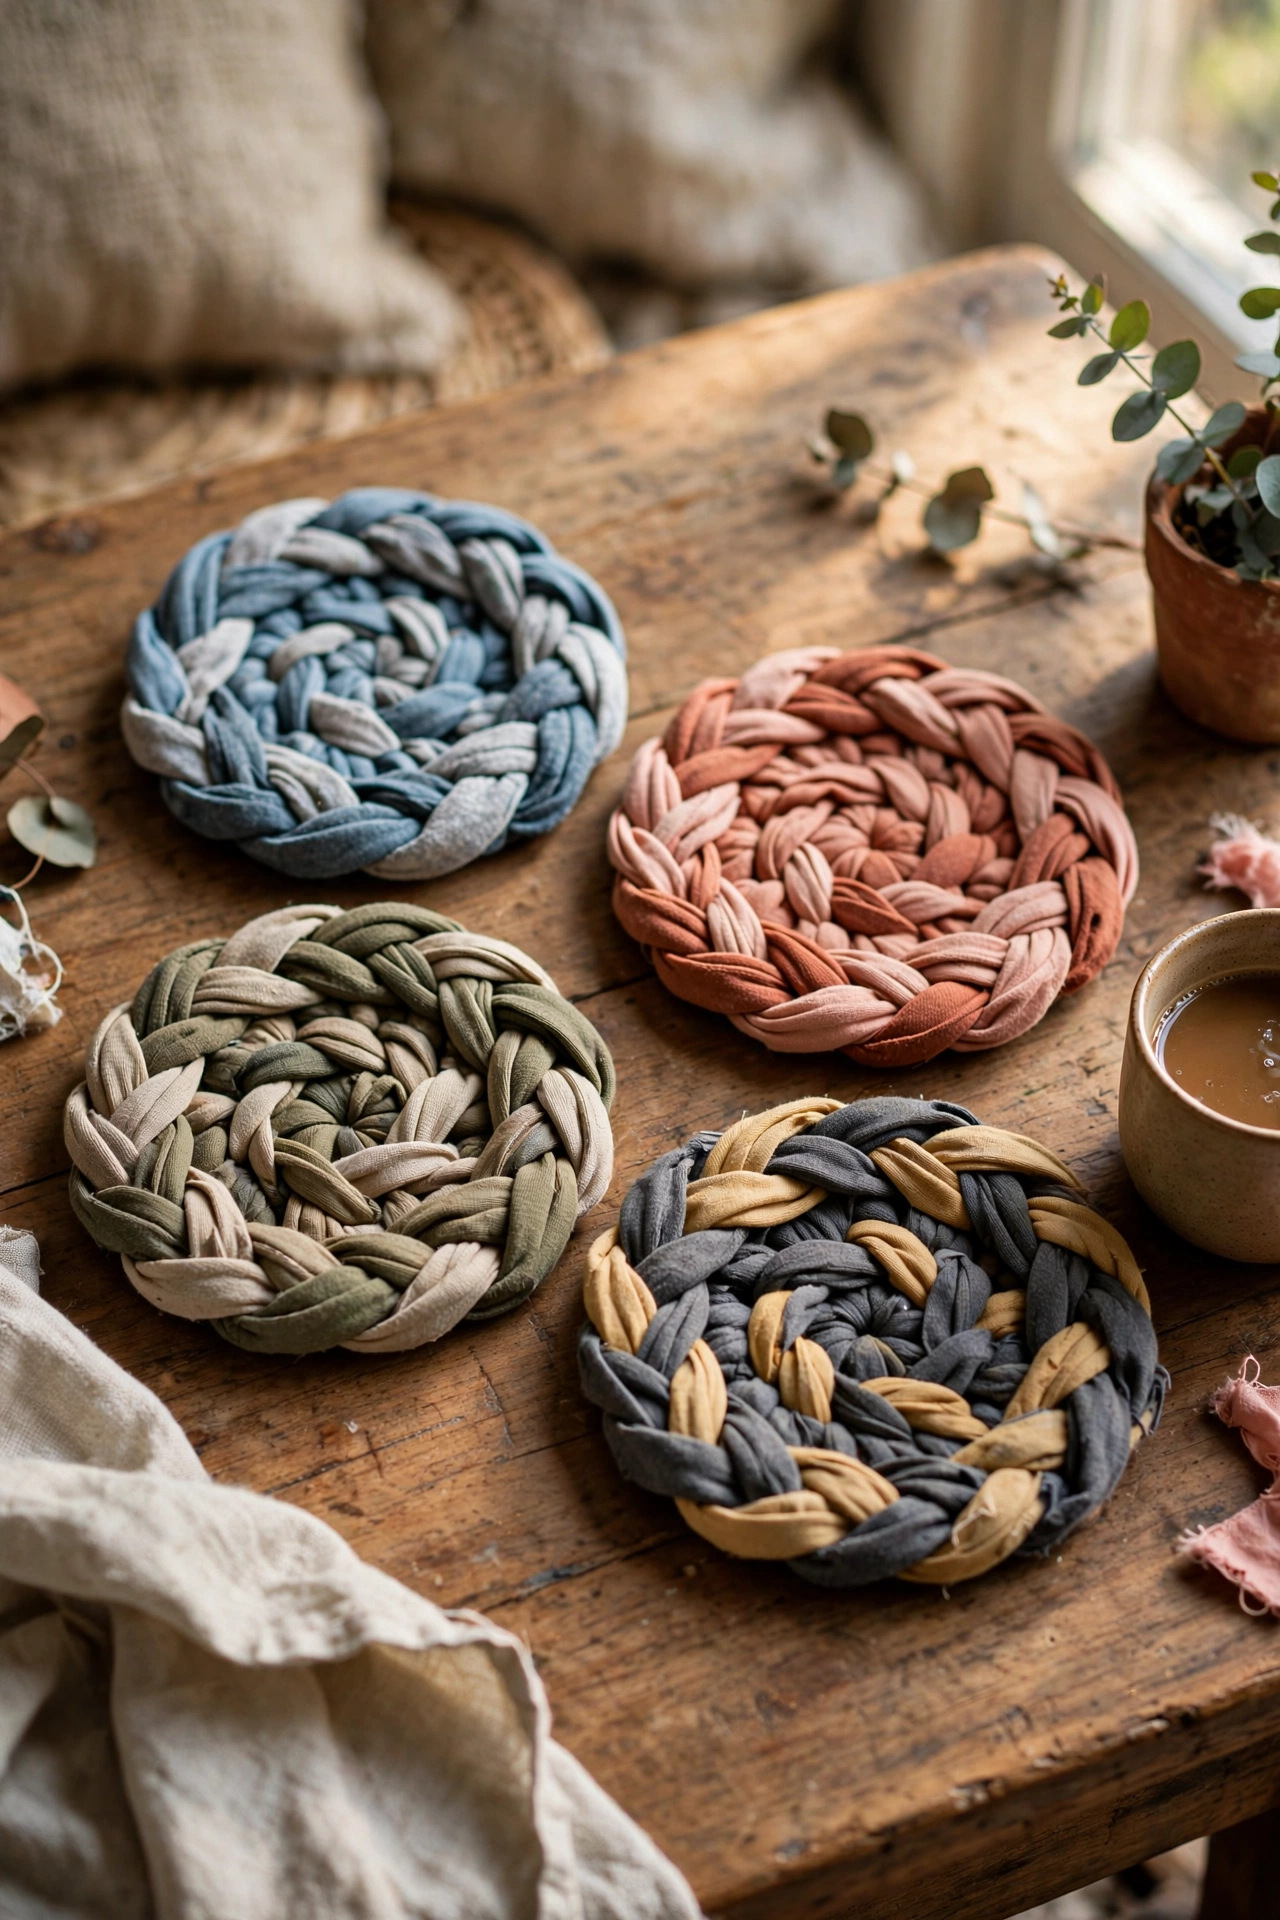
T-shirts too worn for the charity bag braid into thick, thirsty coasters. I cut a shirt into long 2cm strips, braided three strips into a cord, then coiled the cord into a tight spiral, stitching each round to the last with strong thread. Four coasters took one evening in front of the television. The trick is pulling the braid snug as you coil, because my first coaster went wavy from a loose braid and rocked on the table. Use shirts in similar colours for a set that looks deliberate, and they wash perfectly in the machine.
Materials: 2-3 worn t-shirts, scissors, strong thread, large needle | Cost: ~$0 | Time: 2 hours
12. Newspaper Woven Storage Basket
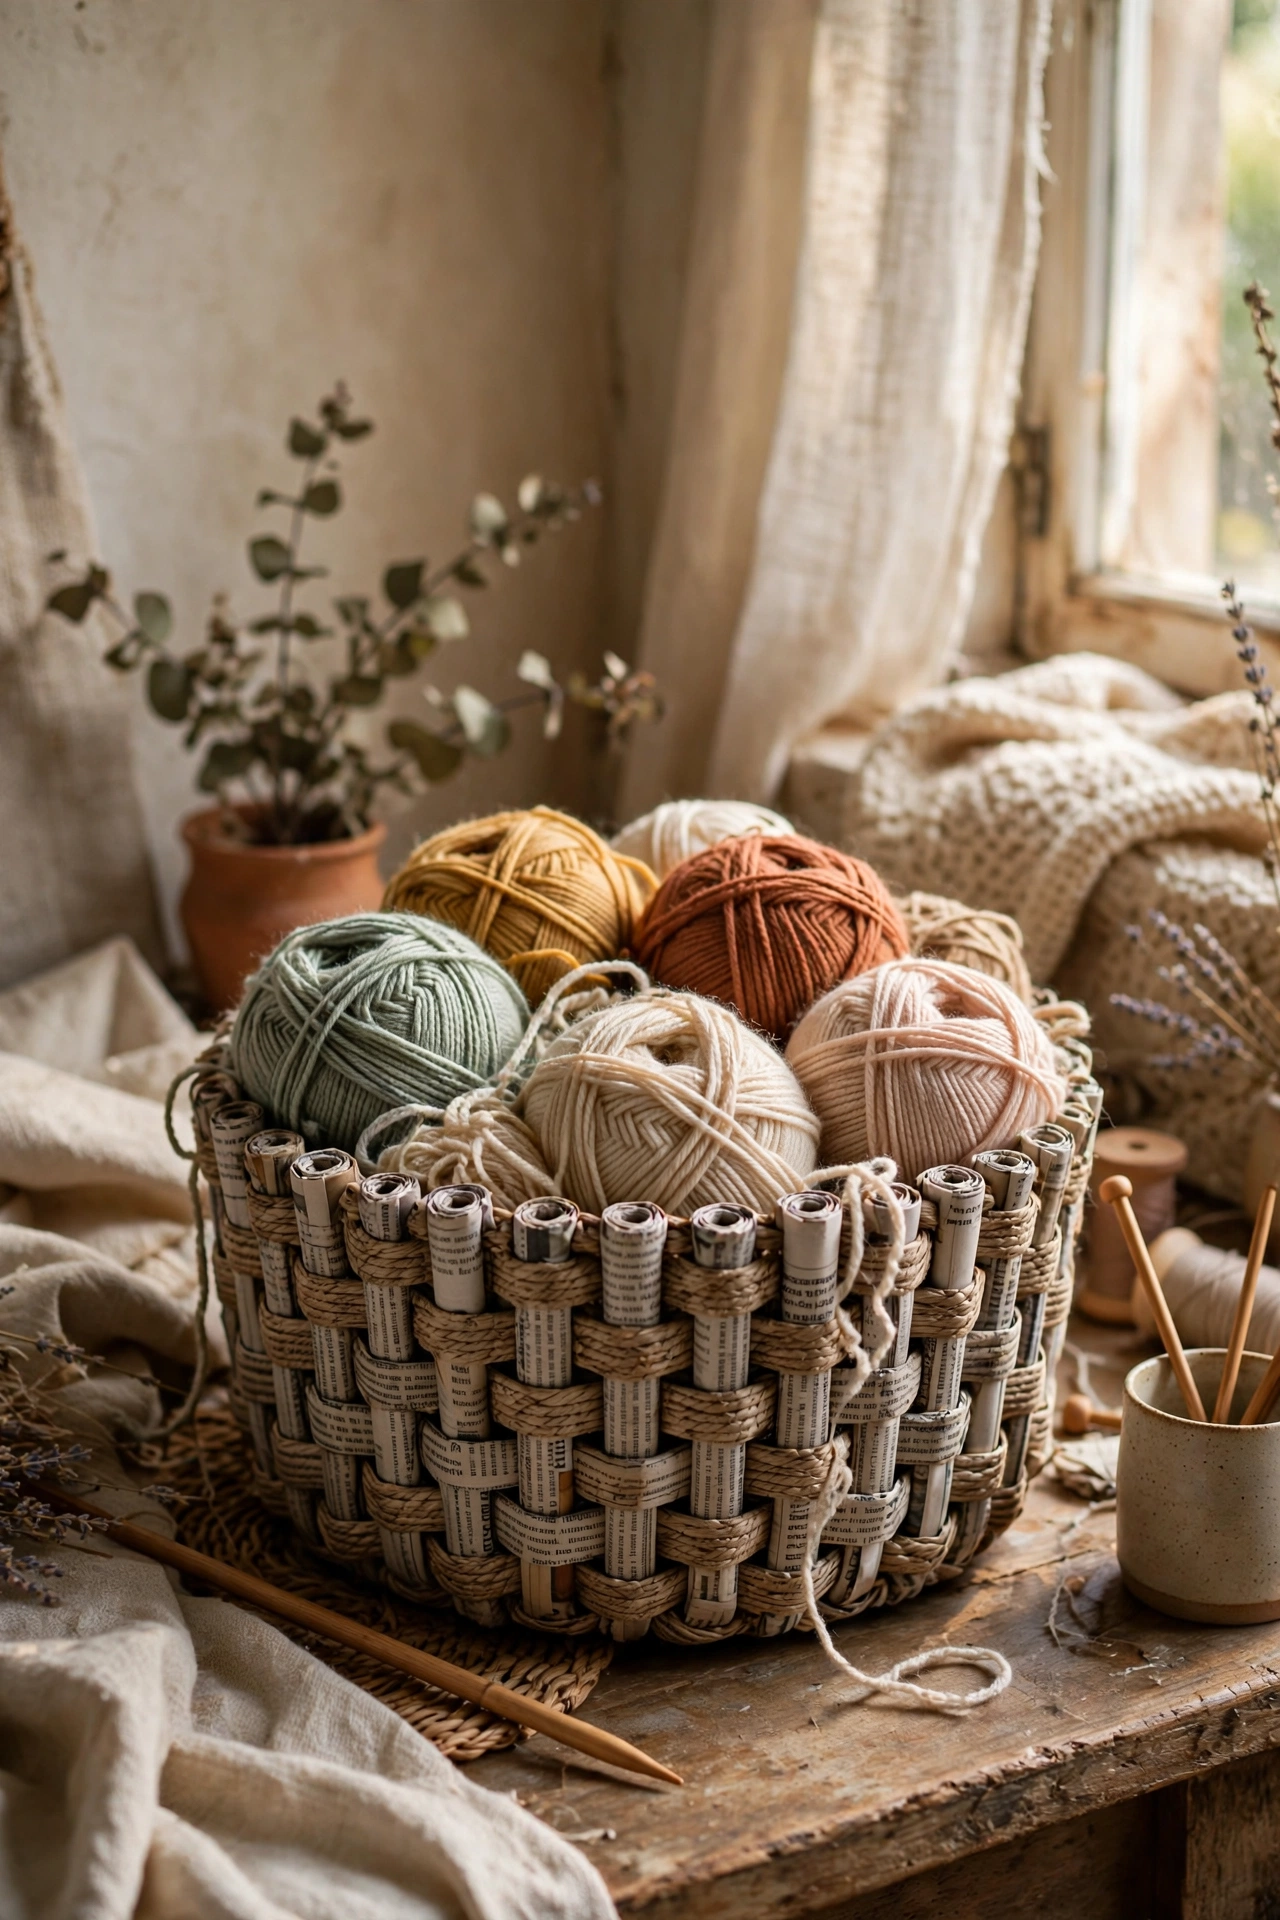
Rolled newspaper tubes weave into a surprisingly sturdy storage basket. I rolled about forty tight tubes from newspaper sheets, glued each shut, then wove them over and under around a cardboard base, building up the sides and tucking the tops down. A coat of leftover varnish or watered-down glue stiffens the whole thing. My first basket sagged because my tubes were loosely rolled, so roll them tight around a skewer and they become rigid. It holds my yarn stash and nobody believes it started as yesterday’s news.
Materials: Old newspapers, glue, skewer, cardboard, scissors | Cost: ~$0 | Time: 3 hours
13. Book Page Bunting Banner
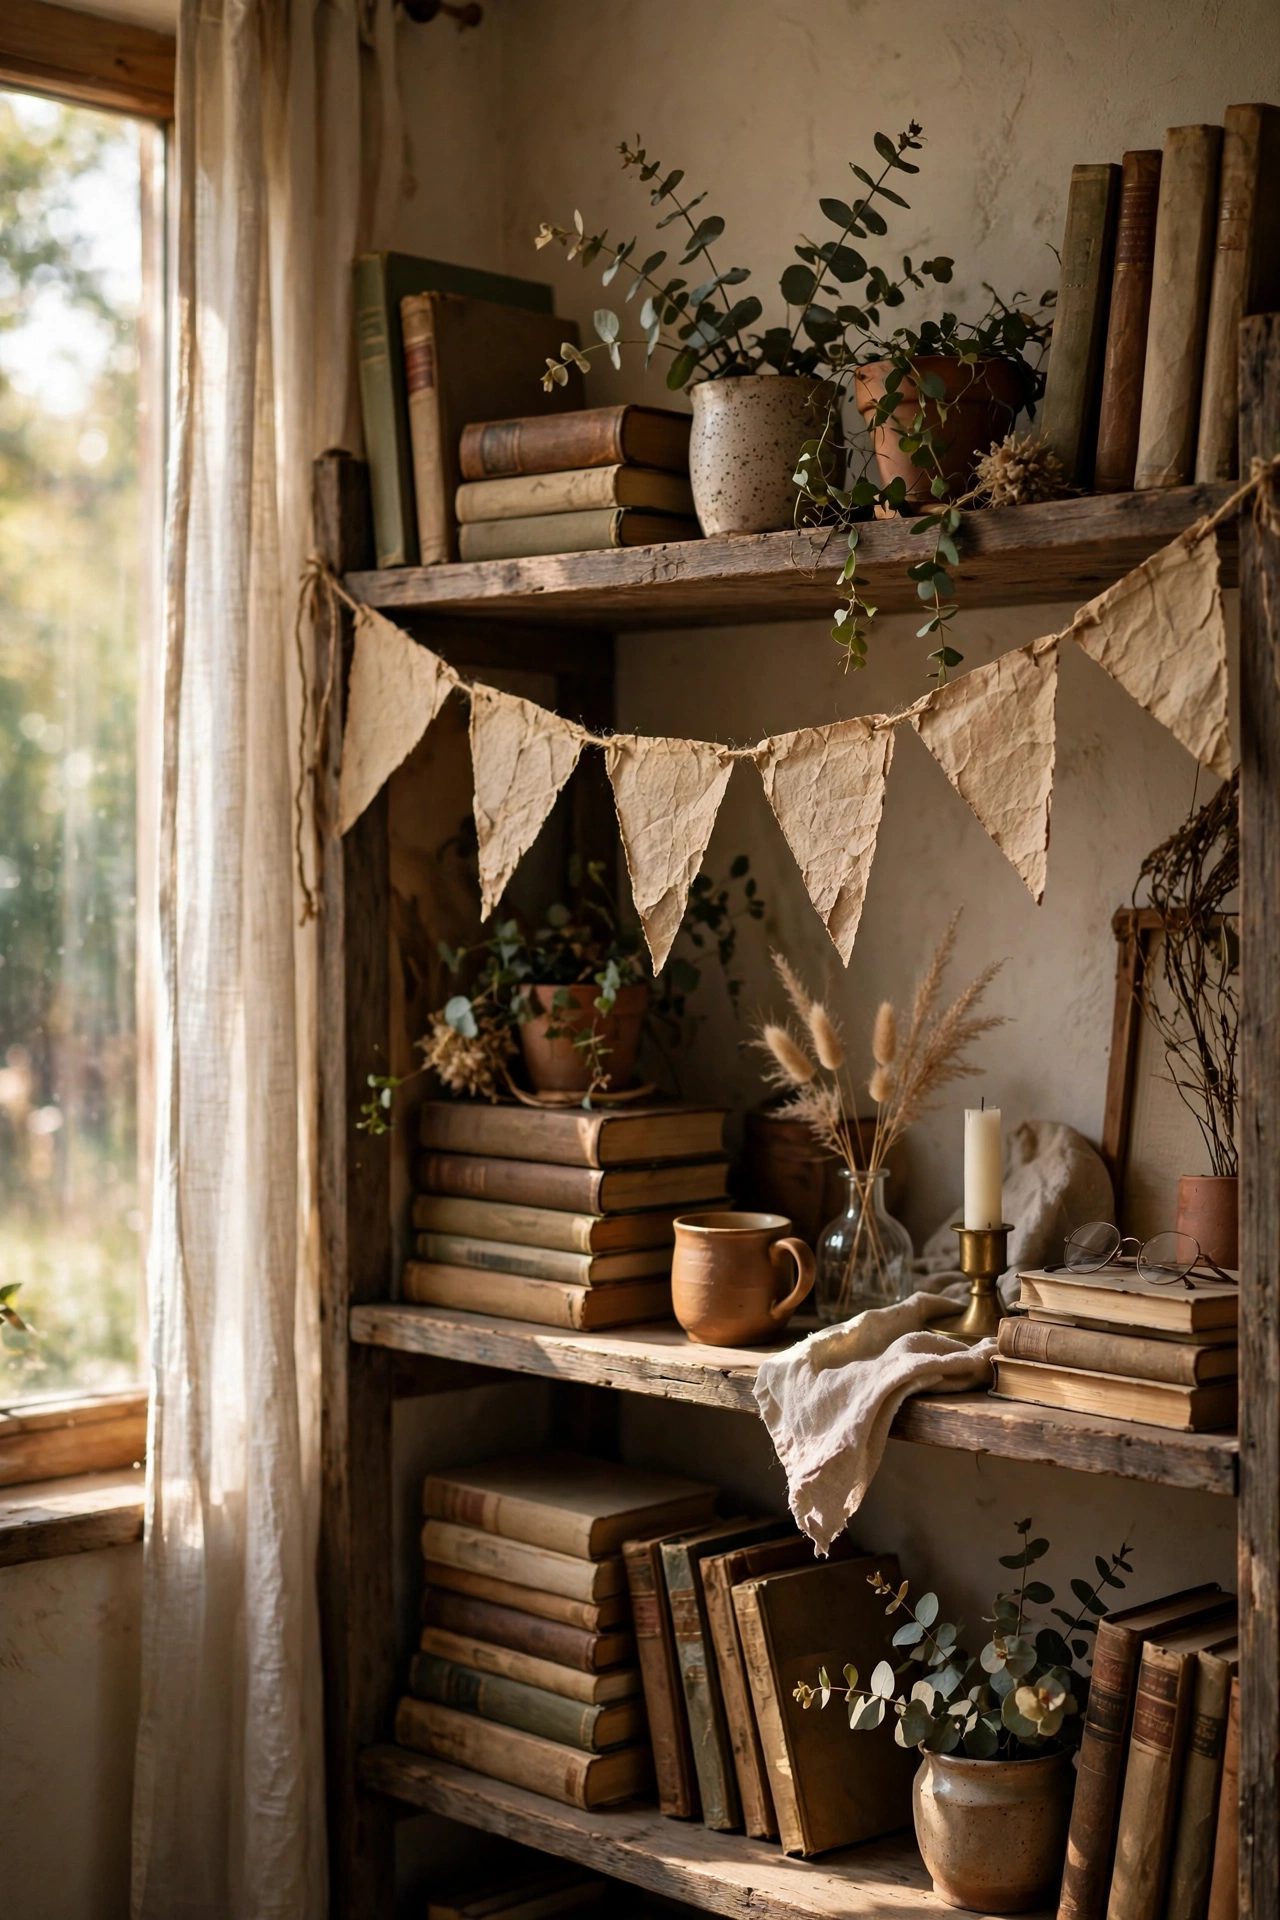
Triangles cut from old book pages string into bunting with vintage charm. I folded pages in half, cut neat triangles, and draped them over a long piece of twine, securing each with a dab of glue so they stay put. It hangs across my bookshelf and catches the light beautifully. My first banner used pages that were too big and it looked heavy, so keep triangles around 12cm wide for a delicate drape. Mix in a few pages with illustrations for visual interest, and it works for parties, nurseries or just everyday pretty.
Materials: Damaged old book, twine, glue, scissors, ruler | Cost: ~$0 | Time: 1 hour
14. Twine-Wrapped Jar Vases
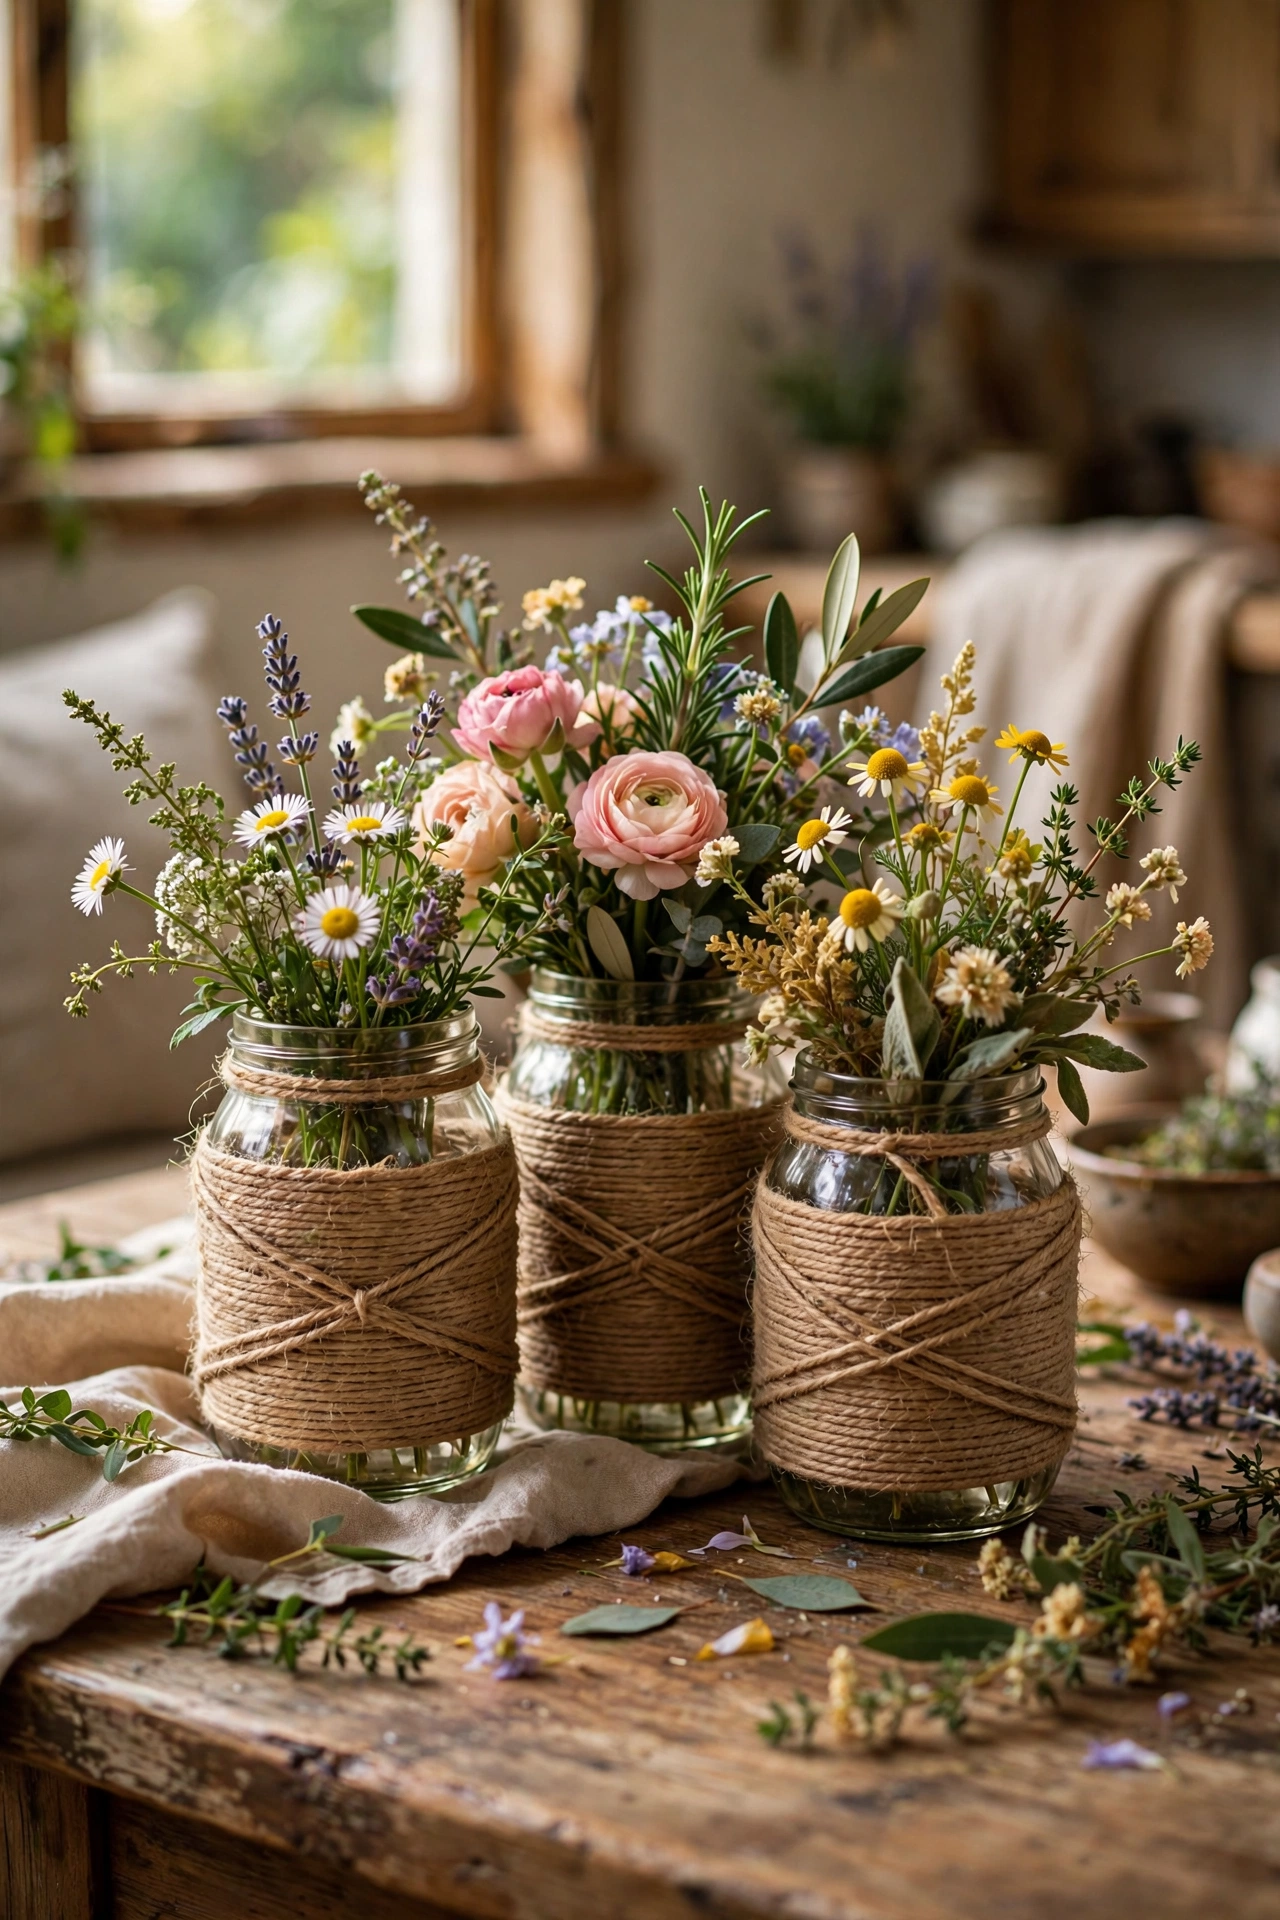
Wrapping jars in twine turns recycling into rustic vases in minutes. I cleaned pasta sauce jars, ran a line of glue near the base, and wound twine tightly upward in neat rows to the neck, finishing with a small bow. A bunch of garden flowers in three of them makes a centrepiece that looks straight from a country wedding. The mistake I made first time was wrapping loosely, and the twine slid down within days, so keep tension firm and add a dab of glue every few rows. Vary the jar heights for the best arrangement.
Materials: Glass jars, garden twine, glue gun | Cost: ~$0 | Time: 30 minutes
15. Pinecone and Acorn Bowl Fill
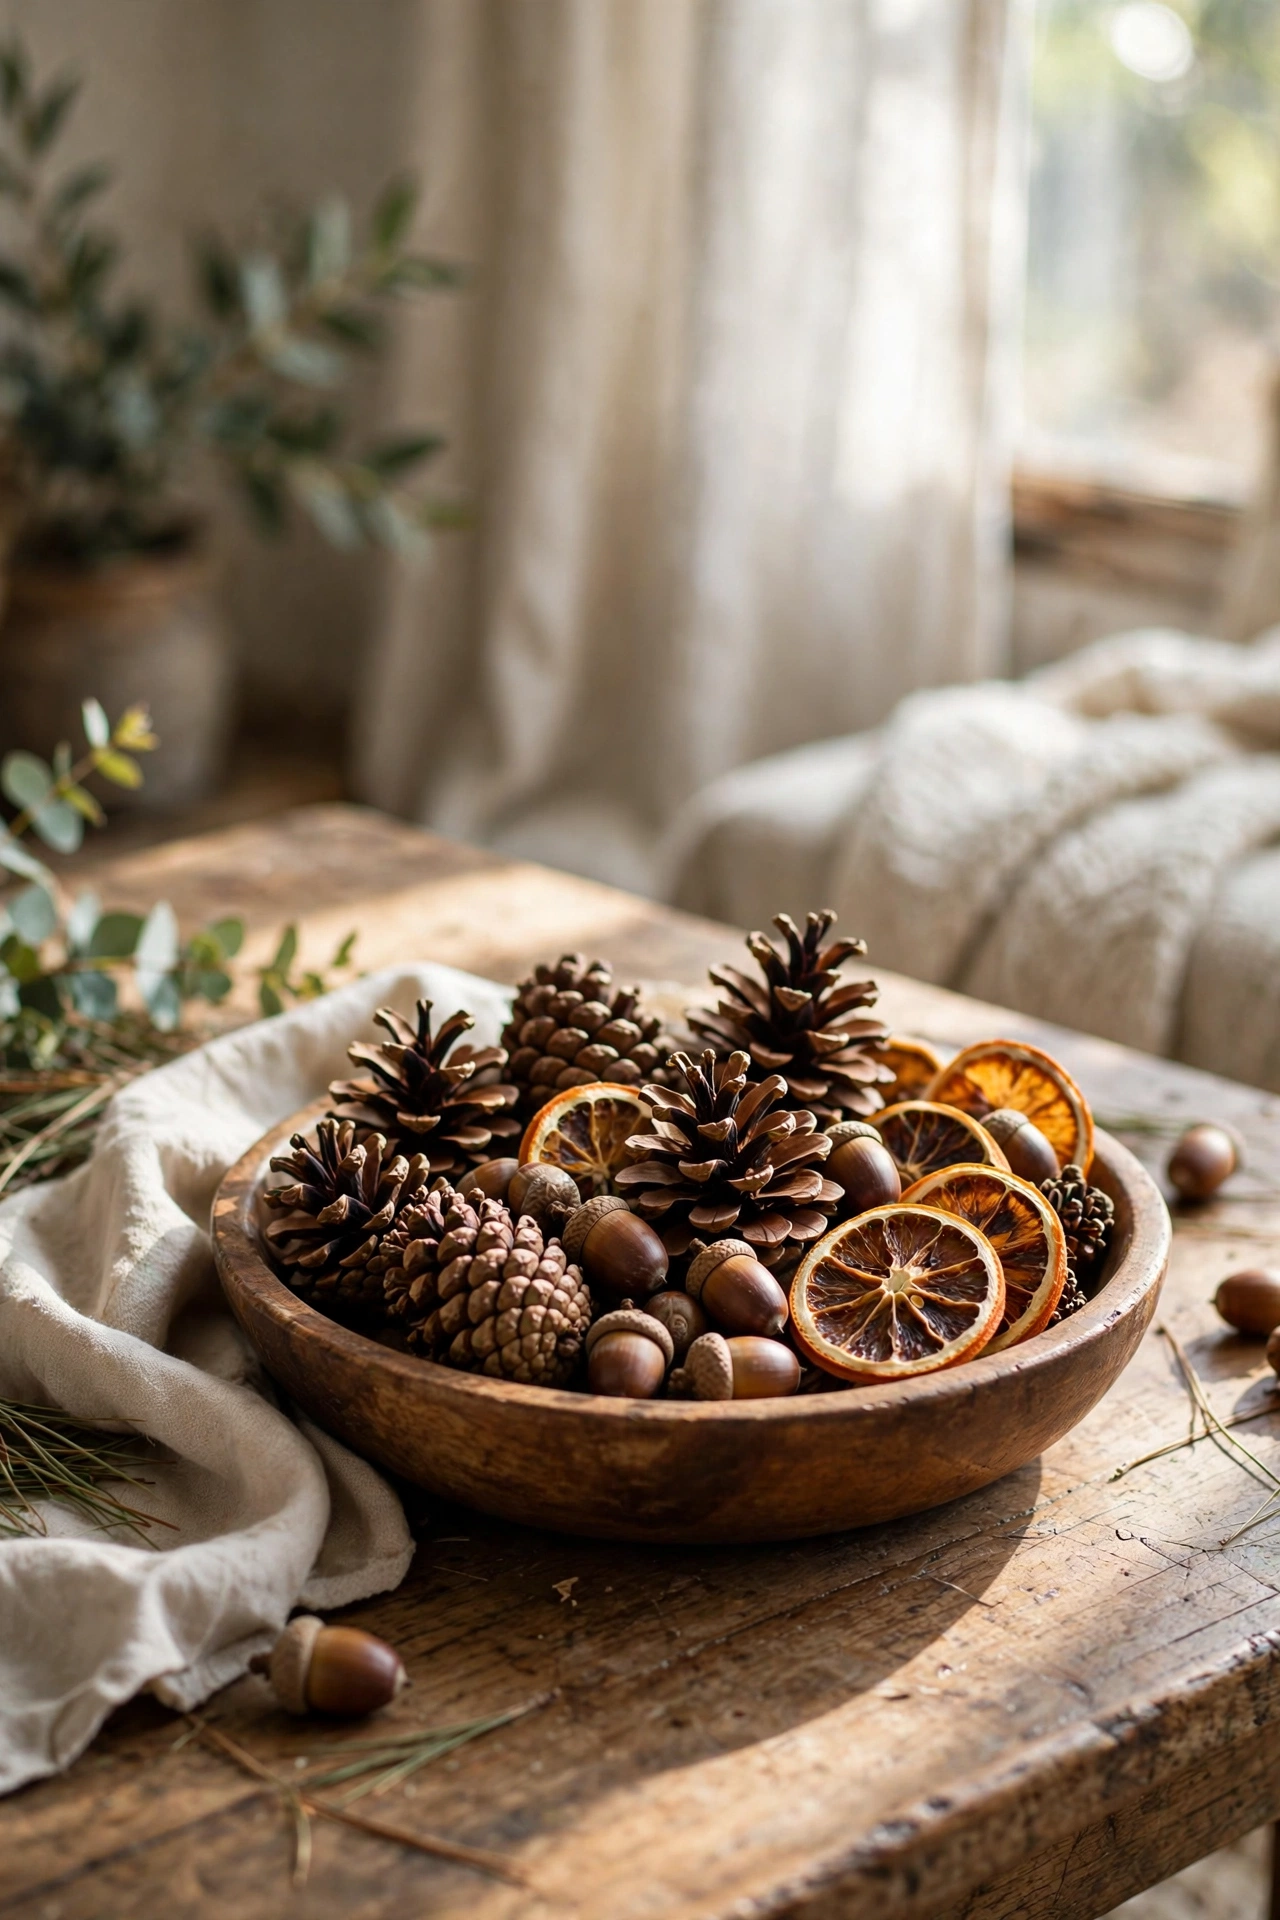
A bowl of foraged pinecones is the easiest autumn decor that exists. I collect pinecones and acorns on autumn walks, bake them at low heat for an hour to kill any bugs and open the scales, then pile them into a wooden bowl on the coffee table. The baking step matters: my first bowl skipped it and tiny insects appeared within a week, which was horrible. Add a few dried orange slices or cinnamon sticks from the kitchen for scent, and you have a centrepiece that costs nothing and smells like the season.
Materials: Foraged pinecones and acorns, wooden bowl, oven | Cost: ~$0 | Time: 20 minutes plus baking
16. Broken Mug Mosaic Coasters
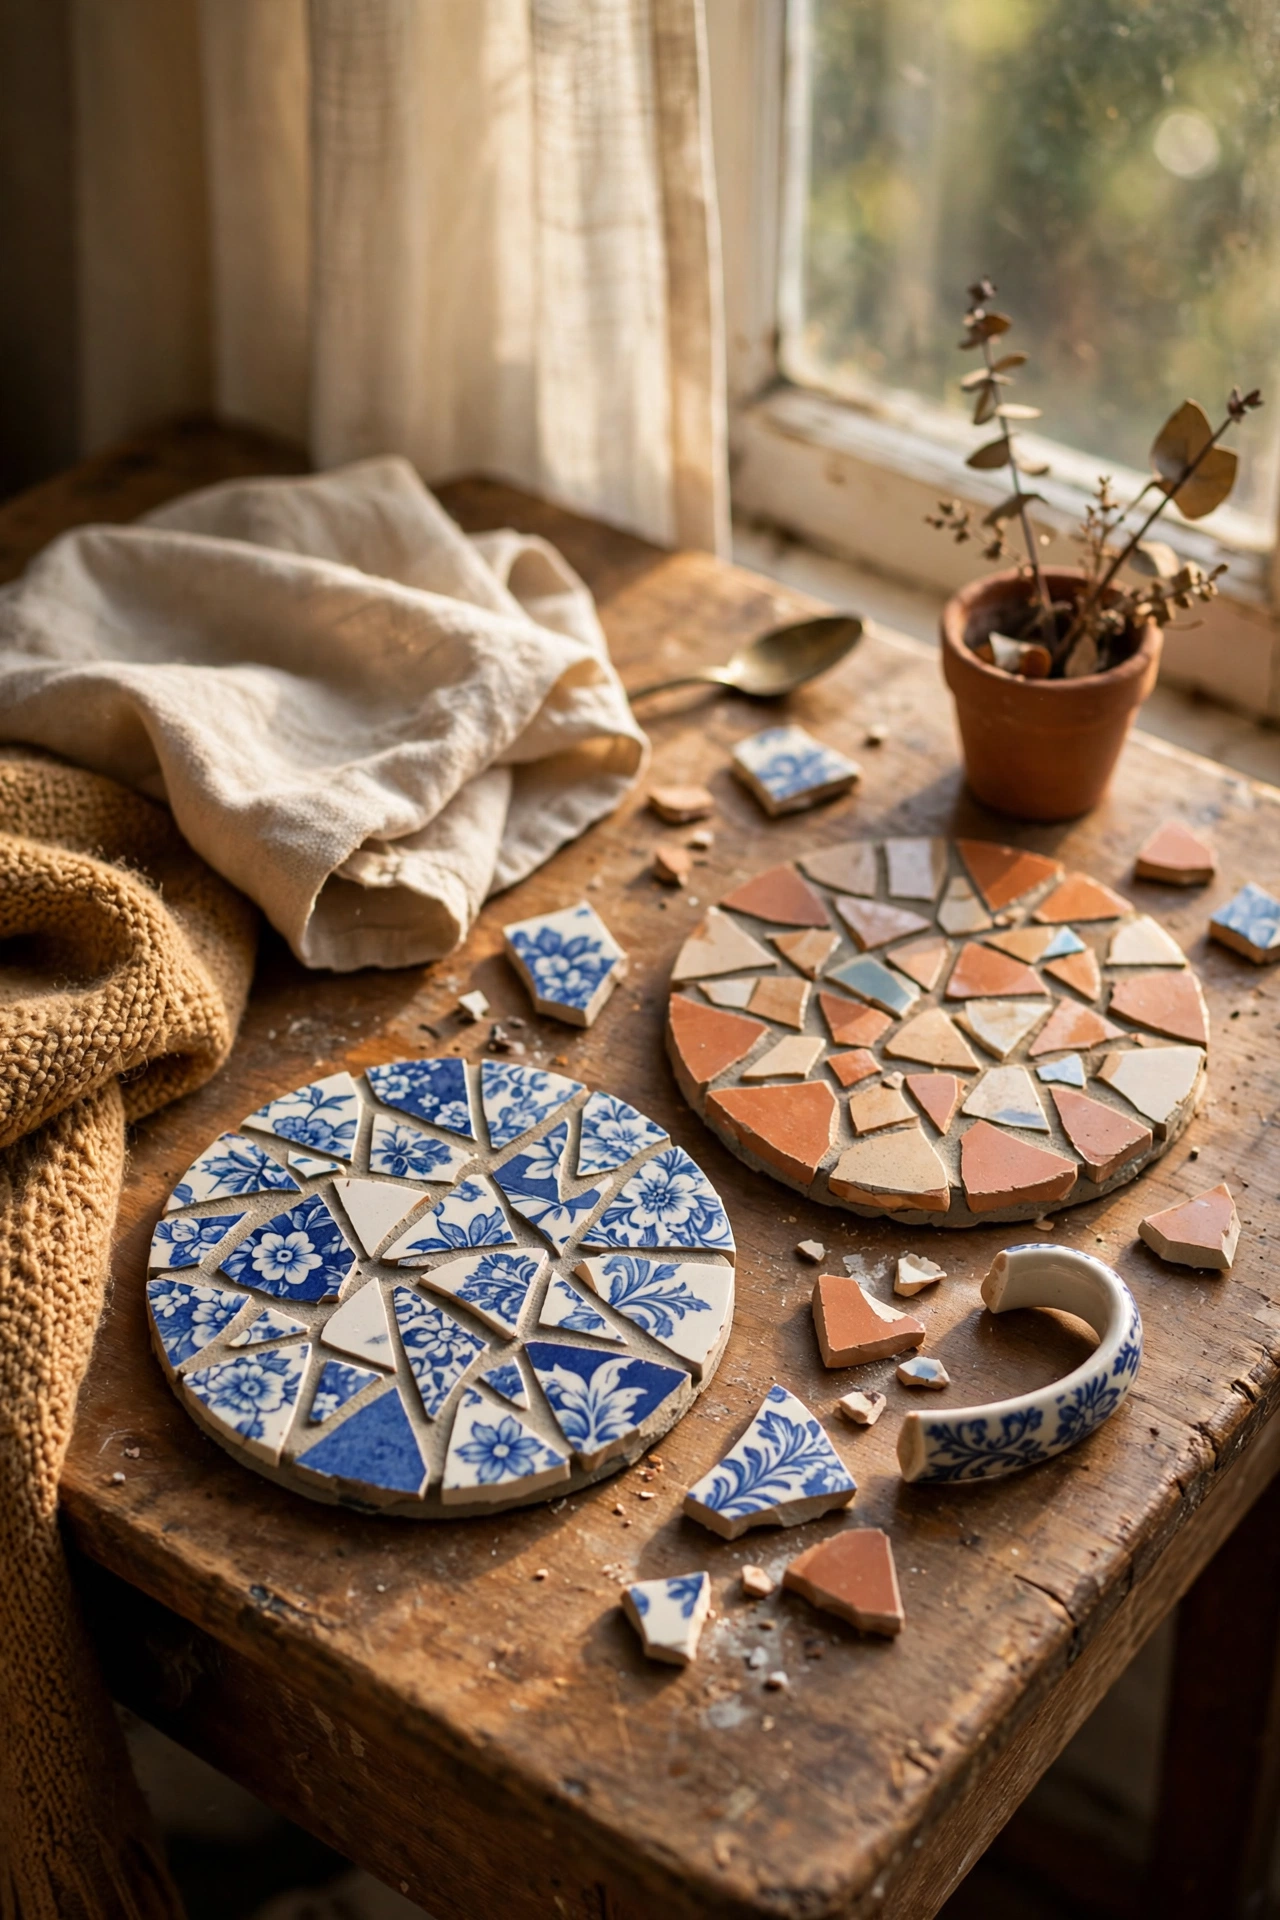
A favourite mug that smashed does not have to go in the bin. I wrapped the shards in a towel and tapped them into small pieces with a hammer, then arranged them like a jigsaw onto cardboard squares with glue, leaving small gaps, and grouted the gaps with leftover filler. Sanded smooth and sealed, they are sturdy, waterproof coasters with a story. Wear gloves for this one, obviously, and my first attempt used pieces that were too big and chunky, so aim for thumbnail-sized shards that sit flat. They make genuinely touching gifts.
Materials: Broken ceramic mug, towel, hammer, cardboard, glue, filler, gloves | Cost: ~$0 | Time: 1.5 hours plus drying
17. Old Jumper Envelope Cushion Covers
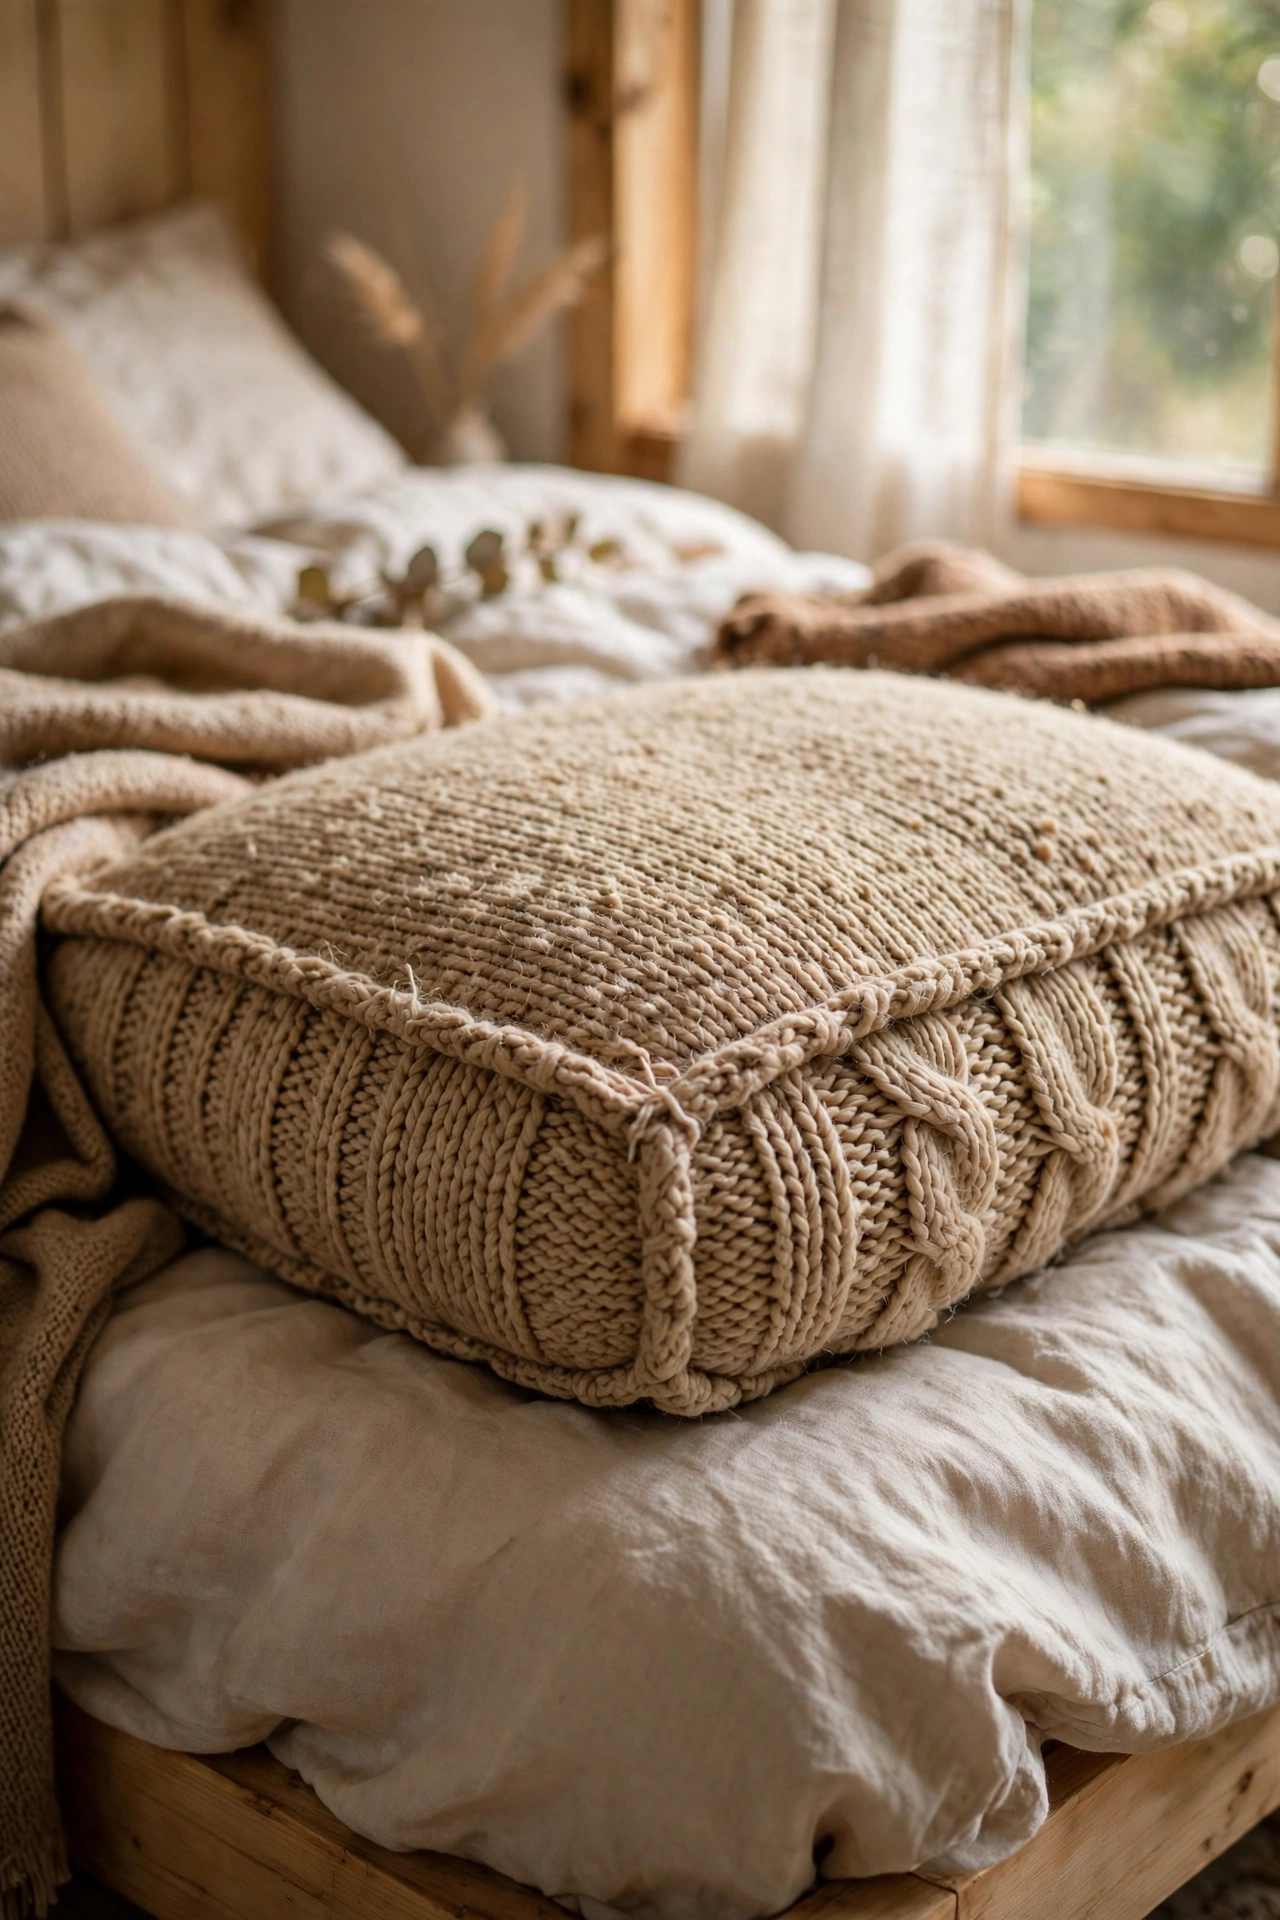
A felted old jumper becomes the cosiest cushion cover with barely any sewing. I cut the body of a shrunken wool jumper into a square larger than my cushion pad, folded the back pieces over each other envelope-style, and stitched the edges with blanket stitch. The sleeves even make sweet mini cushions. My first cover was too tight because I forgot seam allowance, so cut 3cm bigger than the pad all round. The texture of old knit looks far more expensive than it is, and it is machine washable. If your bedroom needs the full cosy treatment, browse (see also: 17-thrifted-bedroom-decor-that-look-expensive/) for matching ideas.
Materials: Old wool jumper, cushion pad, needle, thread, scissors | Cost: ~$0 | Time: 1 hour
18. Cardboard Drawer Dividers
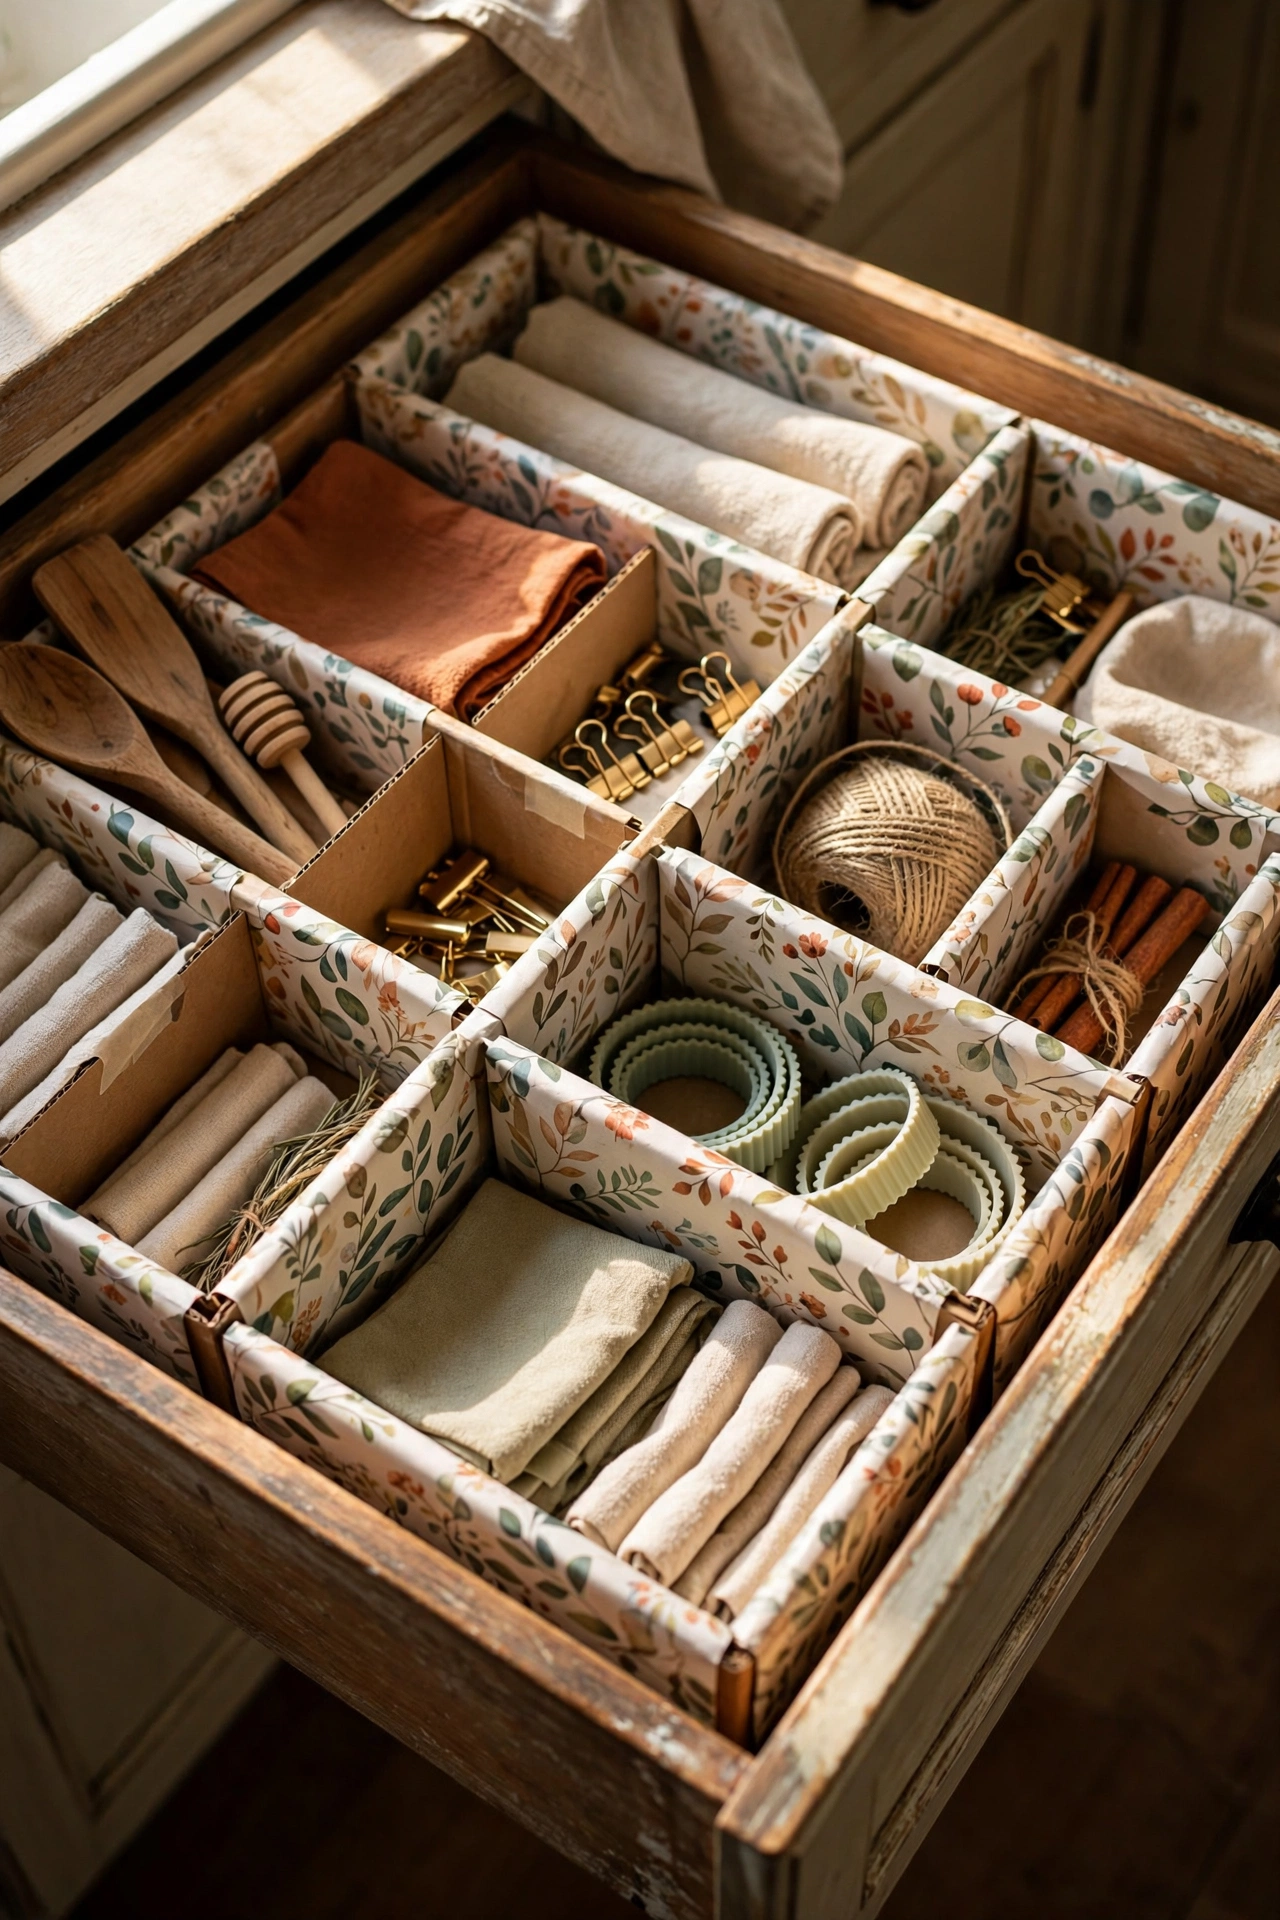
Cereal boxes become custom drawer dividers that make any drawer look organised. I measured my drawers, cut box card into strips of the right height, and slotted them together with interlocking cuts to form a grid that fits snugly. Covered in leftover wrapping paper, they look properly smart. My first set was too tall and the drawer would not close, so measure the drawer depth and cut 1cm shorter. It is deeply satisfying work, and my utensil drawer has stayed tidy for a year, which has never happened before.
Materials: Cereal boxes, leftover wrapping paper, glue, ruler, craft knife | Cost: ~$0 | Time: 1 hour
19. Magazine Strip Rolled Wall Art
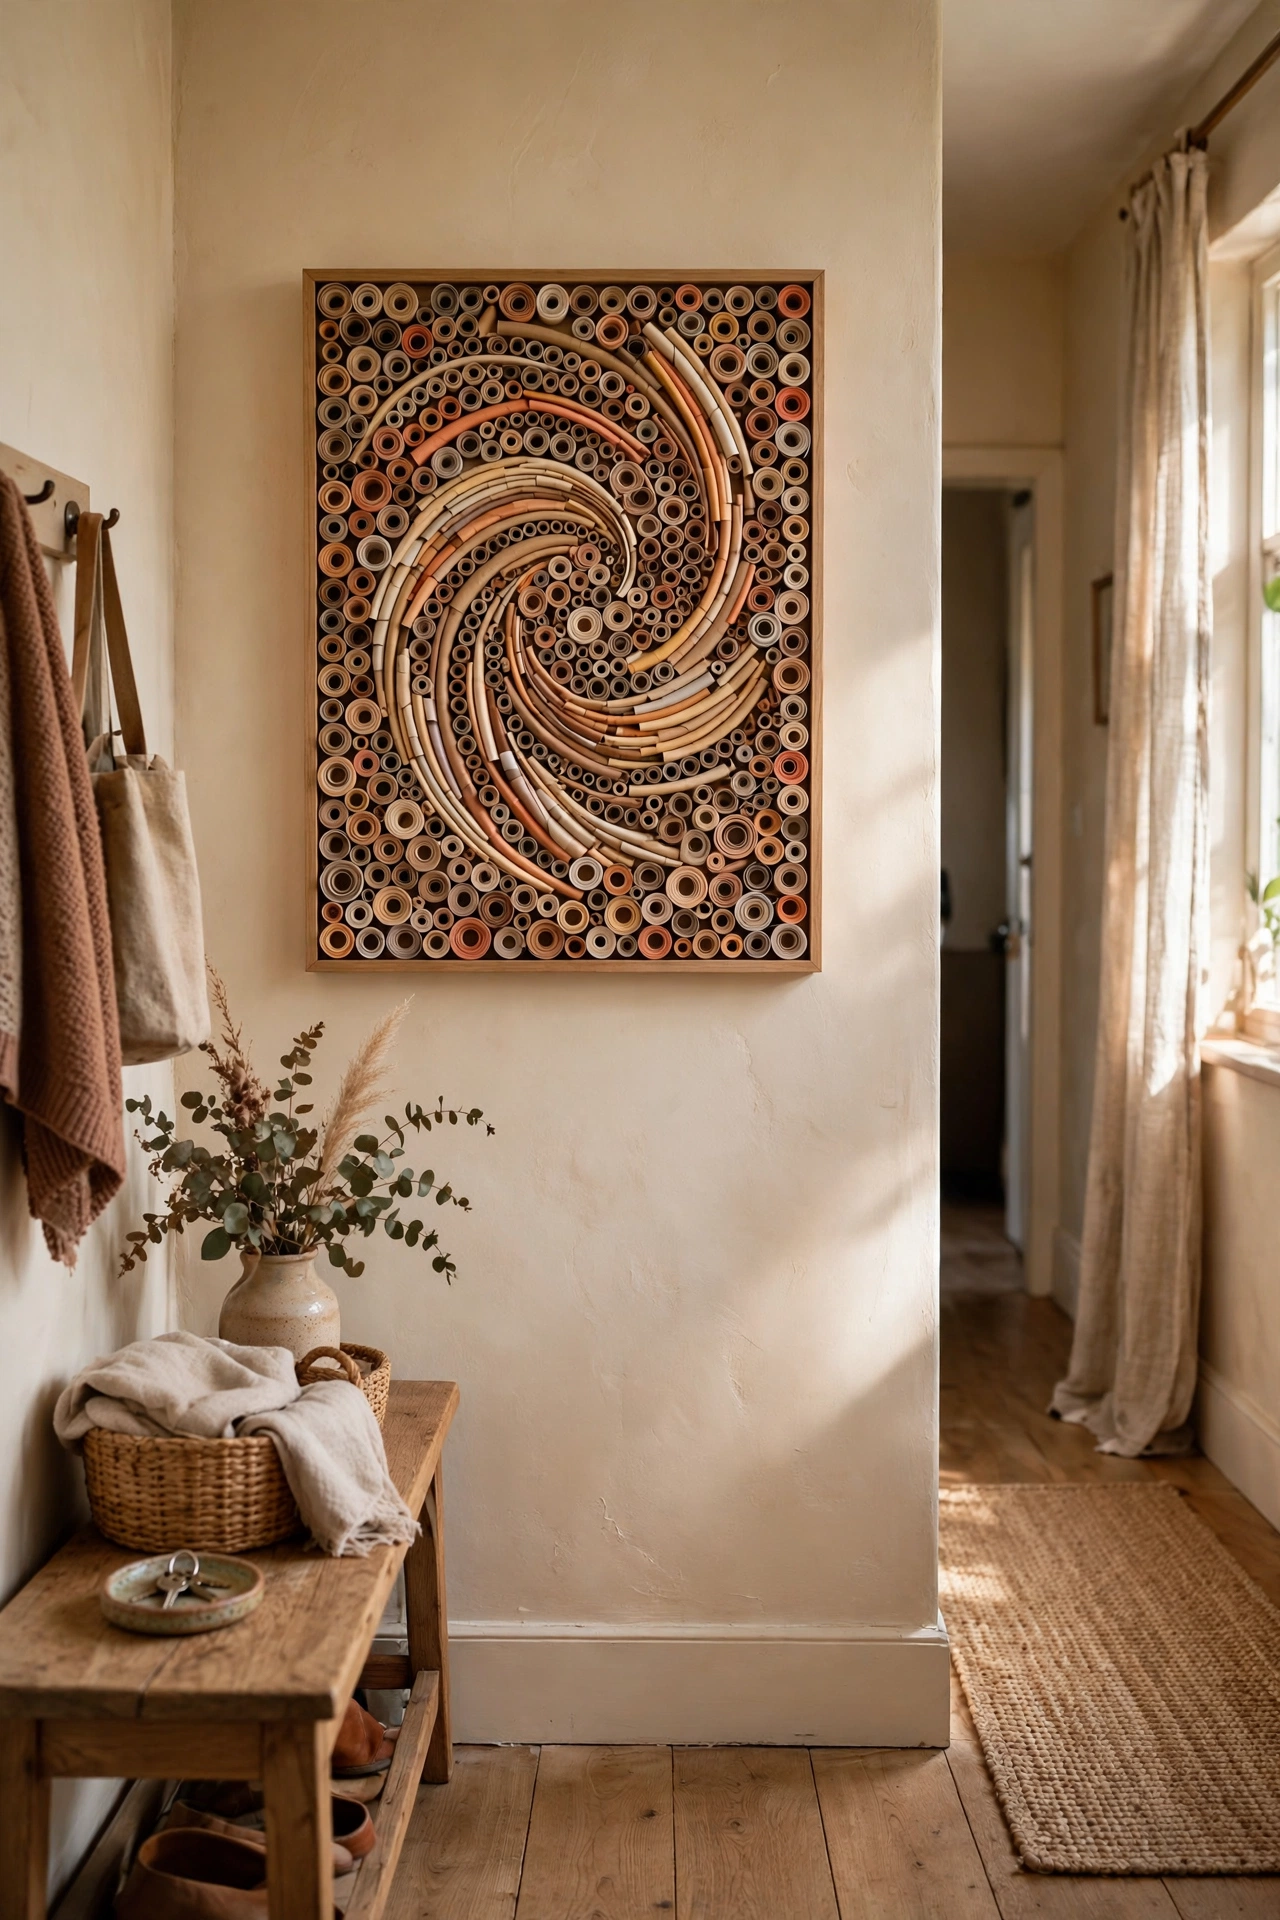
Rolled magazine strips become textured wall art that looks like expensive paper sculpture. I cut colourful magazine pages into long strips, rolled each into a tight coil, glued the end, and packed the coils edge to edge inside a shallow cardboard tray. The result is a mosaic of colour and shadow that hangs in my hallway. The lesson from my first piece is colour control: random pages looked chaotic, so I sorted strips into one colour family and the piece instantly looked designed. It is slow but meditative work.
Materials: Old magazines, glue, shallow cardboard box, scissors | Cost: ~$0 | Time: 3 hours
20. Scrap Wood Block Candle Holders
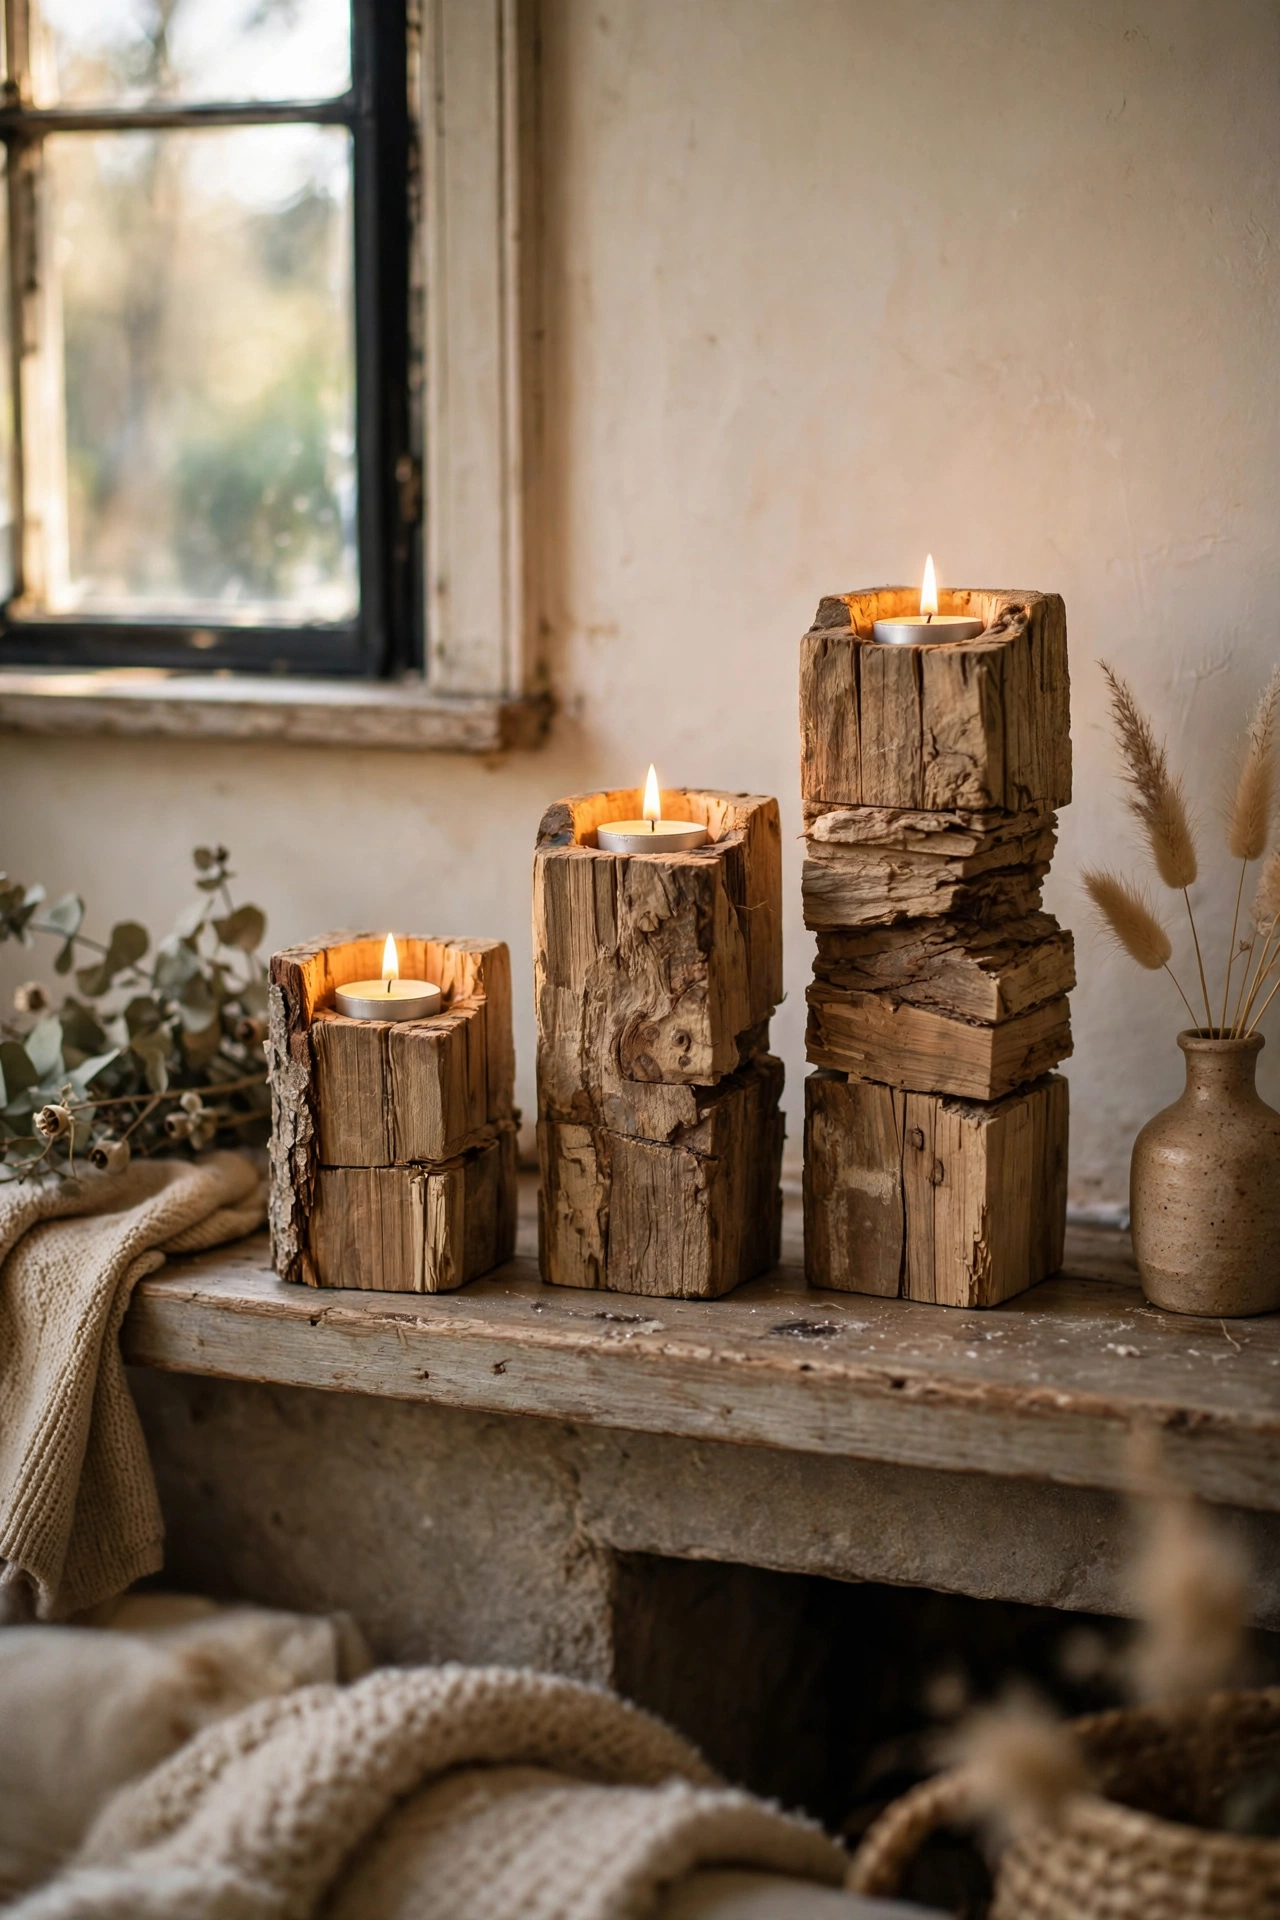
Offcuts of wood become chunky candle holders with one drilled hole each. I collected short blocks from a neighbour’s fence project, sanded them smooth, and drilled a hole in the top sized for a tealight, then rubbed them with a little cooking oil to bring out the grain. A row of three in graduated heights looks sculptural on the mantel. My first holes were too shallow and the tealights sat proud and wobbly, so drill at least 2cm deep and test the fit. Never leave them burning unattended, obviously.
Materials: Wood offcuts, sandpaper, drill, tealights, cooking oil | Cost: ~$0 | Time: 45 minutes
21. Pressed Wildflower Glass Frames
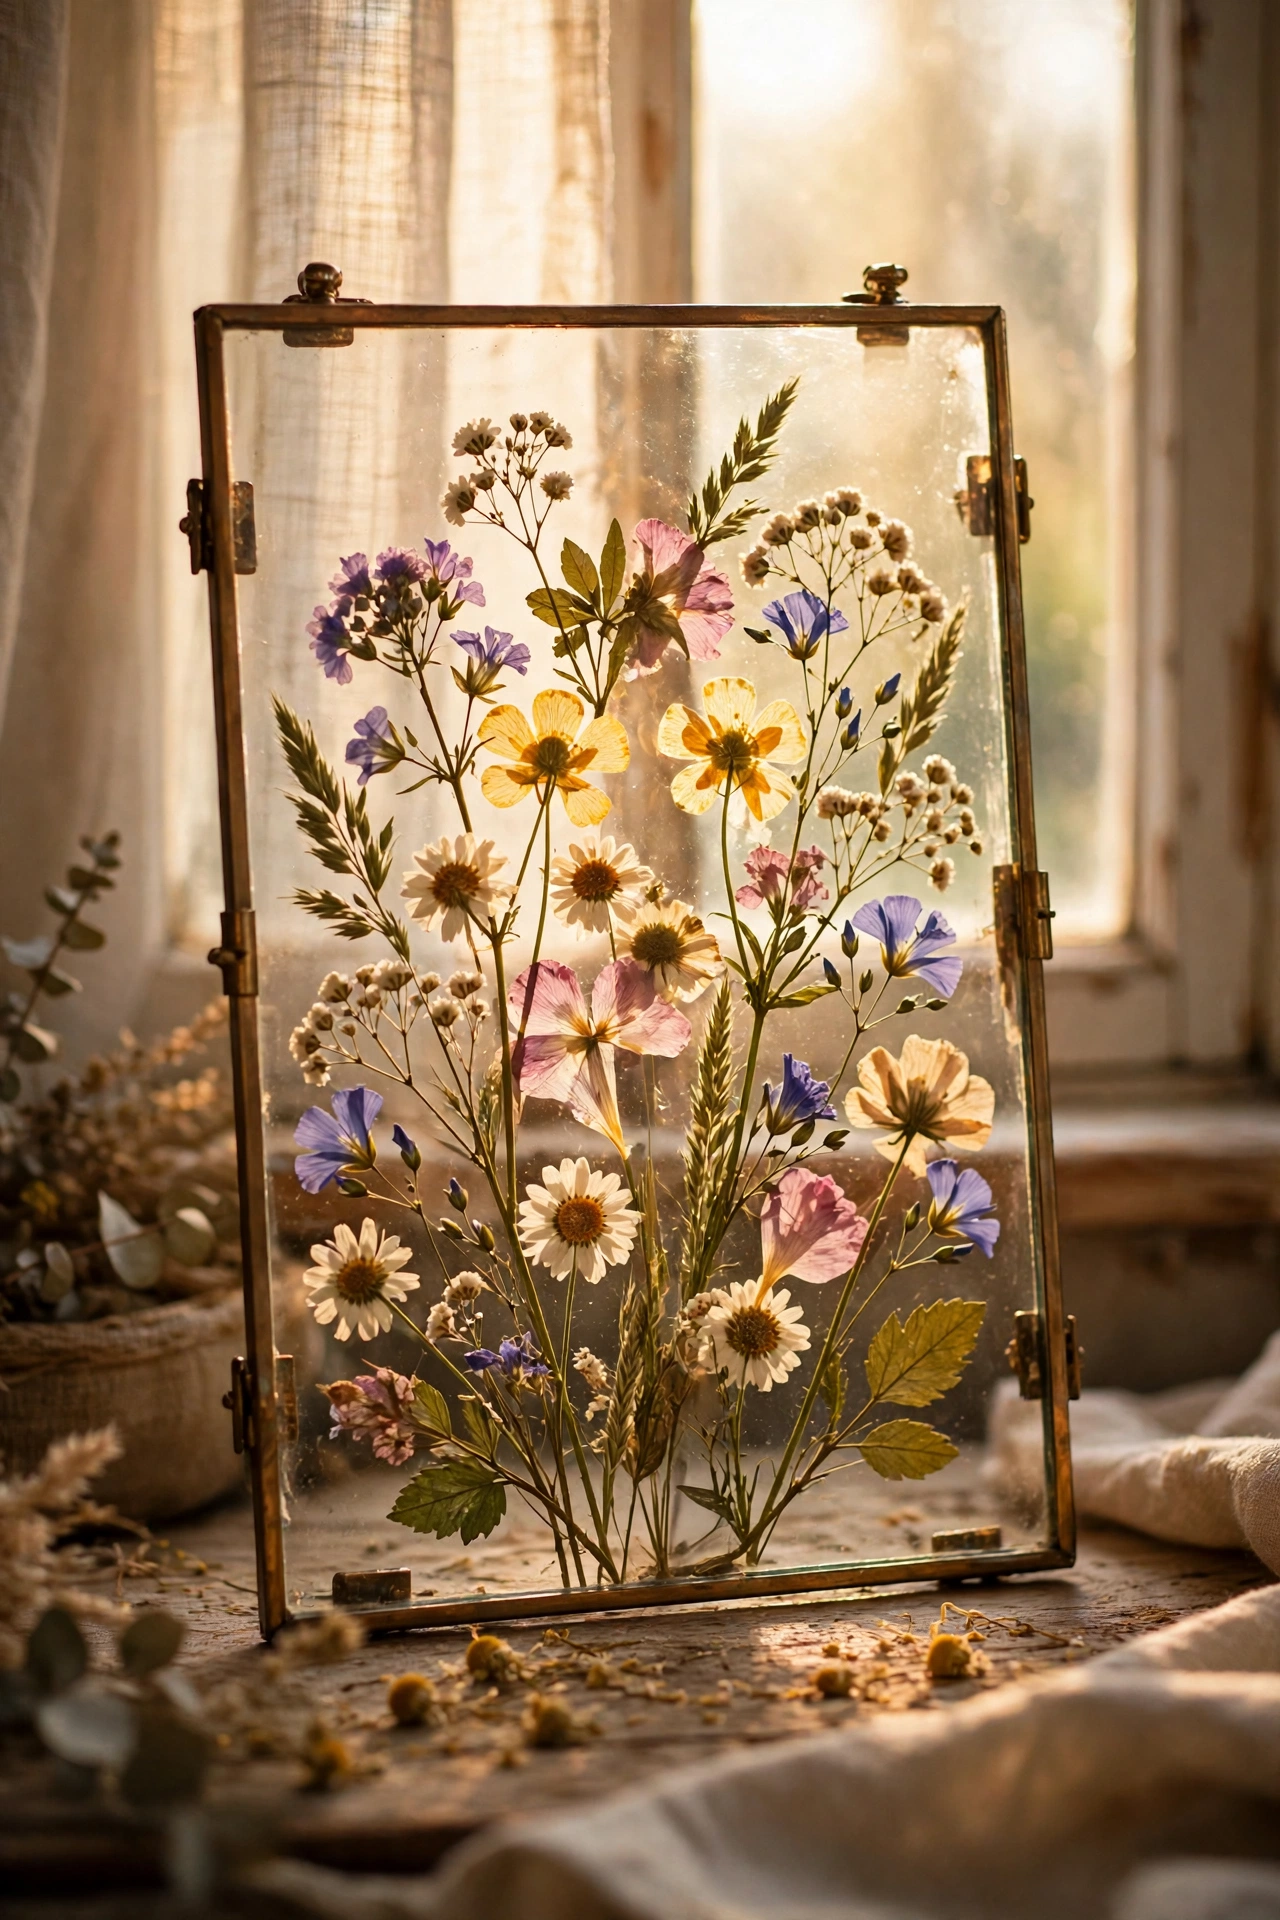
Wildflowers pressed between glass make the most delicate art, and old photo frames supply the glass free. I pressed meadow flowers in heavy books for two weeks, then sandwiched them between two pieces of glass from broken frames, taping the edges with washi tape and hanging them where light shines through. The flowers glow like stained glass. My first batch faded because I hung them in direct sun, so choose a bright spot out of harsh sunlight. Pick flowers responsibly, only where they are plentiful, and press more than you need since some will crumble.
Materials: Foraged wildflowers, heavy books, glass from old frames, washi tape | Cost: ~$0 | Time: 30 minutes plus pressing
22. Egg Carton Flower Door Wreath
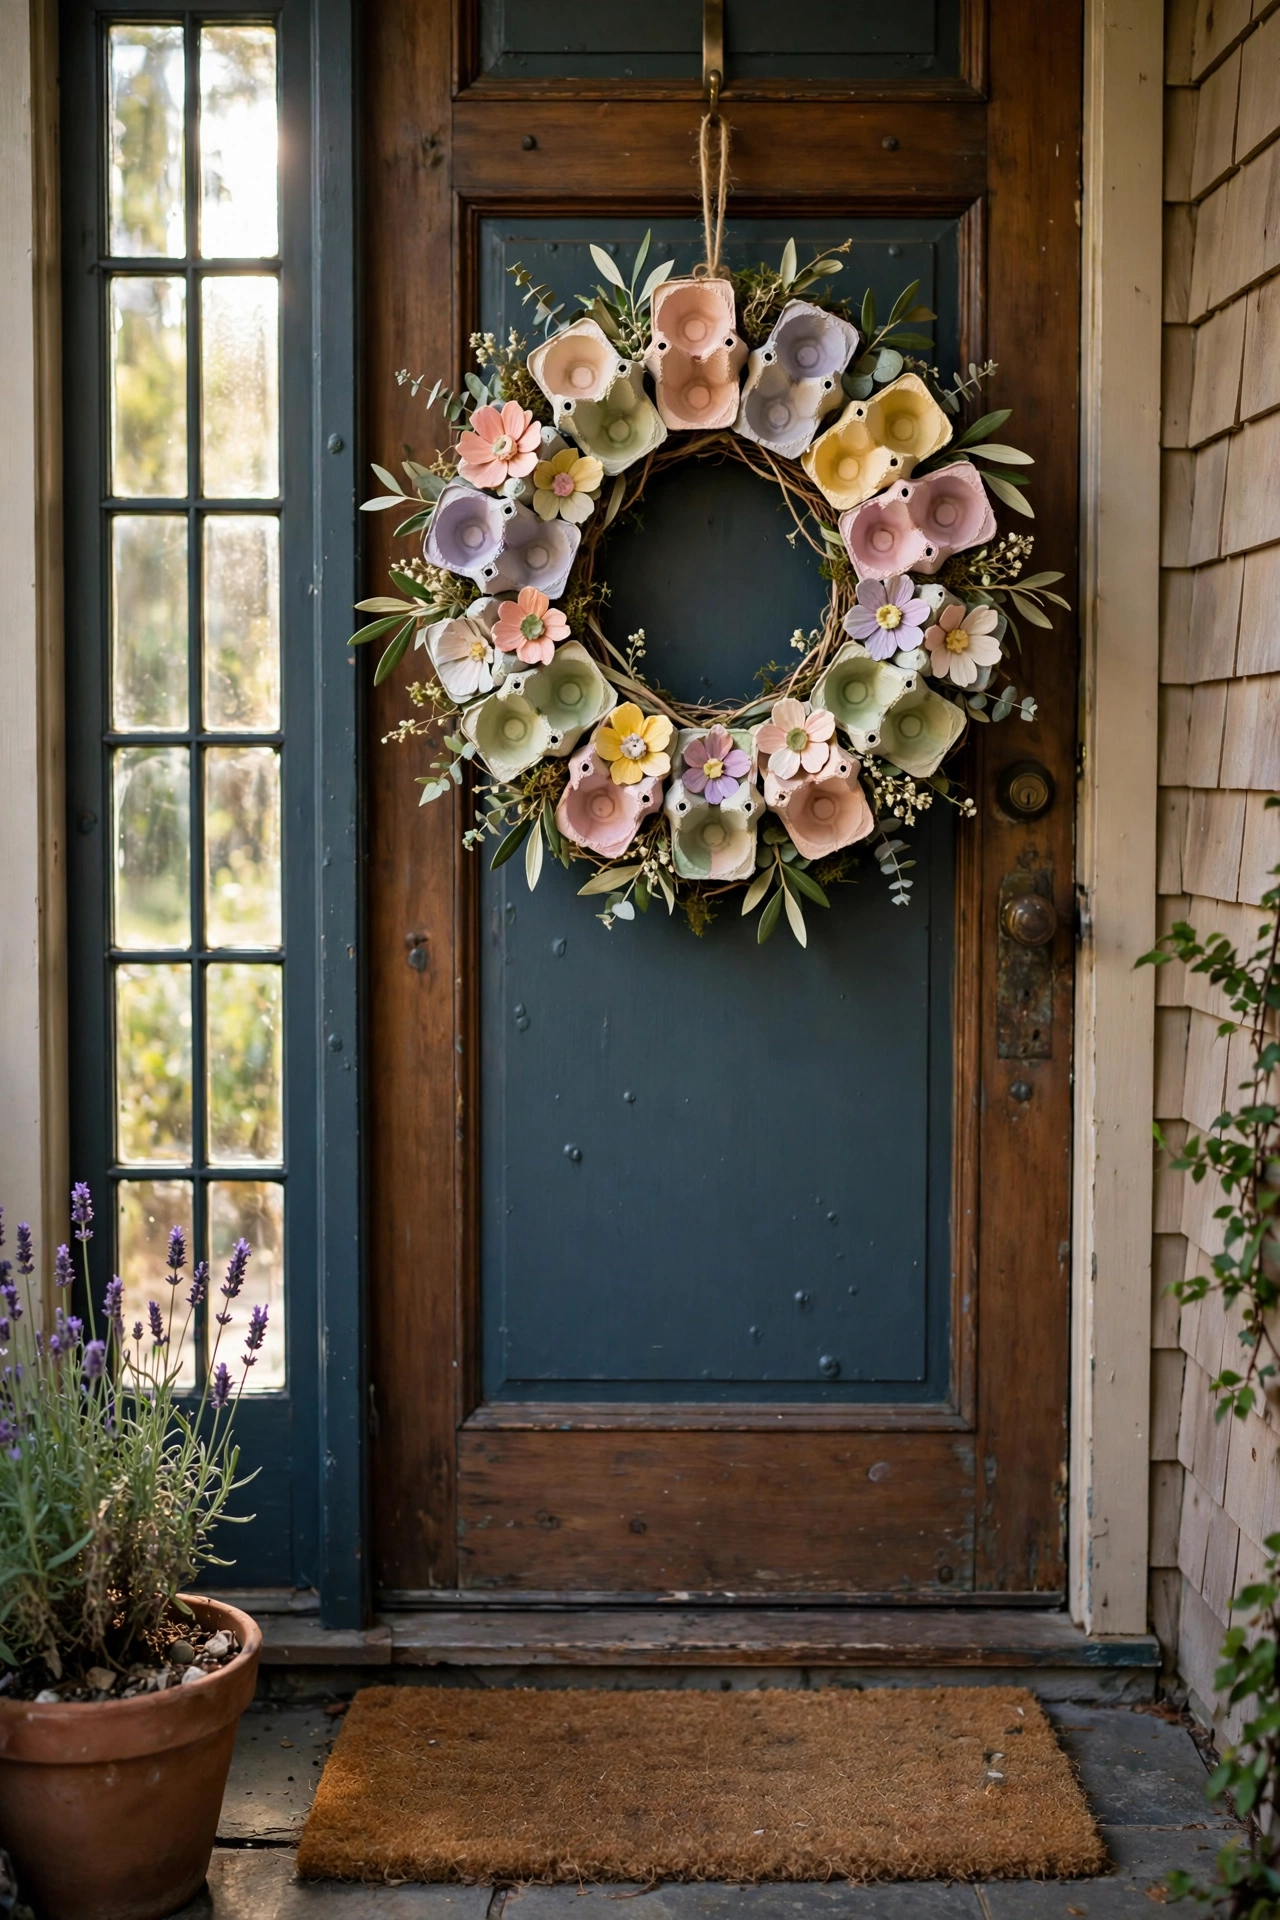
Egg cartons cut apart bloom into surprisingly pretty flowers. I cut the cups from cardboard egg cartons, trimmed each into petal shapes, and glued them in layered rings onto a cardboard wreath base, then brushed the petals with leftover pink and cream paint. From the doorstep it genuinely reads as a floral wreath. My first flowers looked flat because I skipped the layering, so build each bloom from three graduated cups for real depth. It has survived two springs on my front door and still gets compliments.
Materials: Cardboard egg cartons, cardboard wreath base, glue, leftover paint, scissors | Cost: ~$0 | Time: 2.5 hours plus drying
23. Bottle Cap Mosaic Trivet
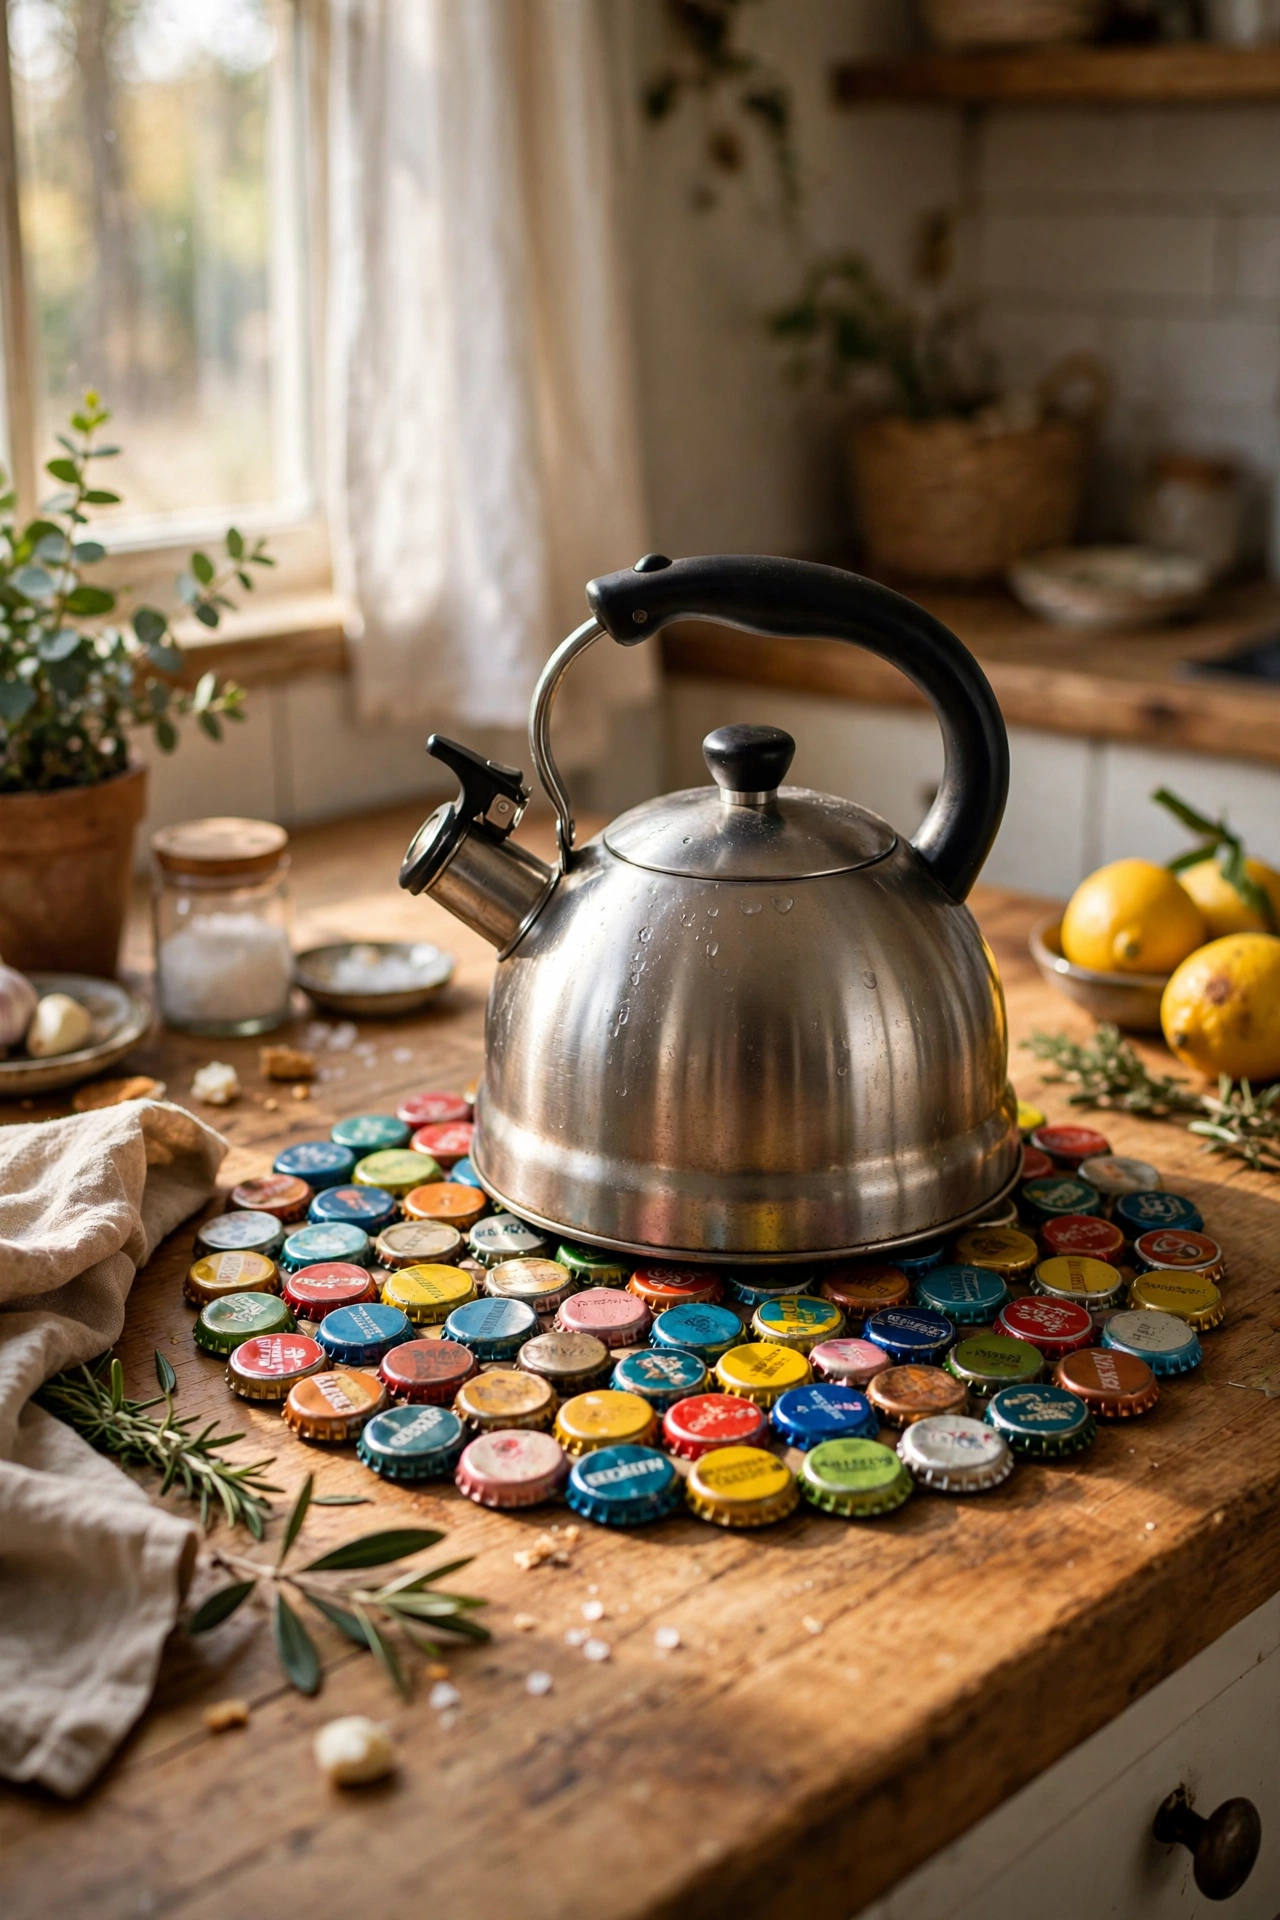
Saved bottle caps become a colourful mosaic trivet for hot dishes. I collected caps over a few months, arranged them in a pattern inside a shallow cardboard tray, and fixed them with strong glue, then filled the gaps with leftover grout or filler for a solid finish. It lives under my kettle and handles the heat perfectly. The mistake I made was mixing steel and plastic caps, which sat at different heights and wobbled, so stick to metal caps only. Sort them by colour first and the pattern practically designs itself.
Materials: Metal bottle caps, shallow tray or cardboard base, strong glue, leftover filler | Cost: ~$0 | Time: 1.5 hours plus drying
Pin this post now so you can save this idea for your next weekend project run! Start with whatever is already in your recycling bin tonight, and by Sunday you will have decor that cost you absolutely nothing.
