21 Upcycled Home Decor Ideas From Things You Already Own
I nearly threw away the ladder that now holds all my blankets. It stood wobbling in the garage with one cracked rung, and I had the bulky-waste booking page open on my phone. Then a friend asked why I was binning a perfectly good blanket rack, and I felt like a prize idiot. That moment rewired how I look at my own clutter, and it sits at the heart of upcycled home decor ideas: the raw materials are already in your house, quietly waiting for a second job. Since that day I have raided my own cupboards, garage, and wardrobe for every project below, and each one cost me next to nothing.
Two warnings from my mistakes before you start. First, clean everything properly, because garage grime becomes permanent under varnish. Second, if your home predates the 1960s, check old painted wood for lead paint before sanding. And never skip the sanding, because rough wood drinks paint unevenly and every shortcut shows. Here are the twenty-one projects that actually earned their place in my home.
1. Mason Jar Pendant Lights
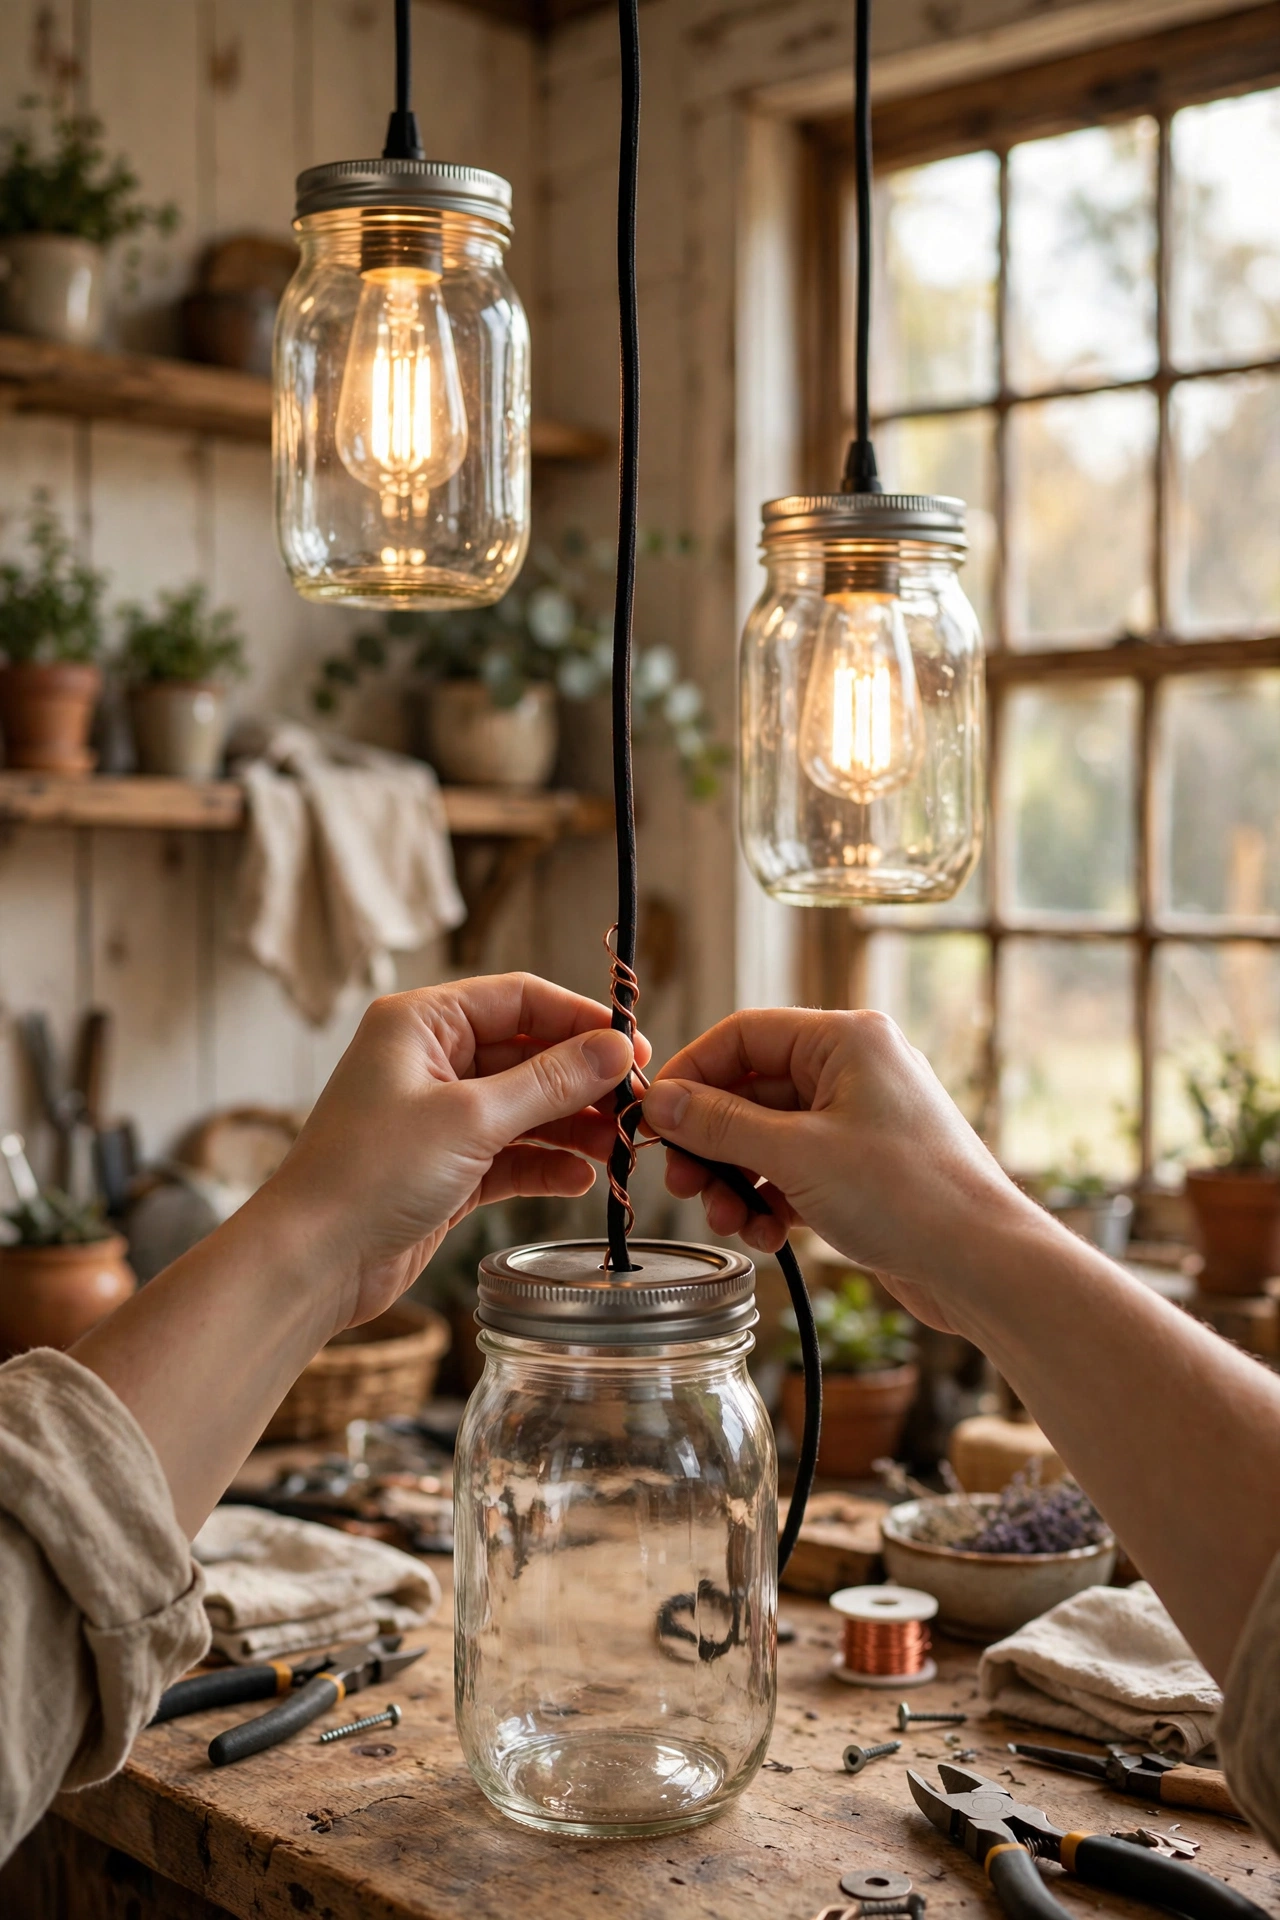
A cluster of mason jars as pendant lights looks straight out of a farmhouse catalogue. Drill a hole in each metal lid with a diamond drill bit, keeping the bit wet so the jar never cracks from heat, because I shattered my first jar by drilling it dry. Thread a pendant light kit through the lid, fit a low-wattage LED bulb, and hang the jars at staggered heights from a ceiling beam or frame. Always use a proper wired pendant kit rather than improvising electrics, and if wiring makes you nervous, hire an electrician for the final connection. The warm glow through the glass is ridiculously cosy.
Materials: Mason jars, diamond drill bit, pendant light kits, LED bulbs | Cost: ~$8-15 per light | Time: 1-2 hours
2. Old Sweater Pillow Covers
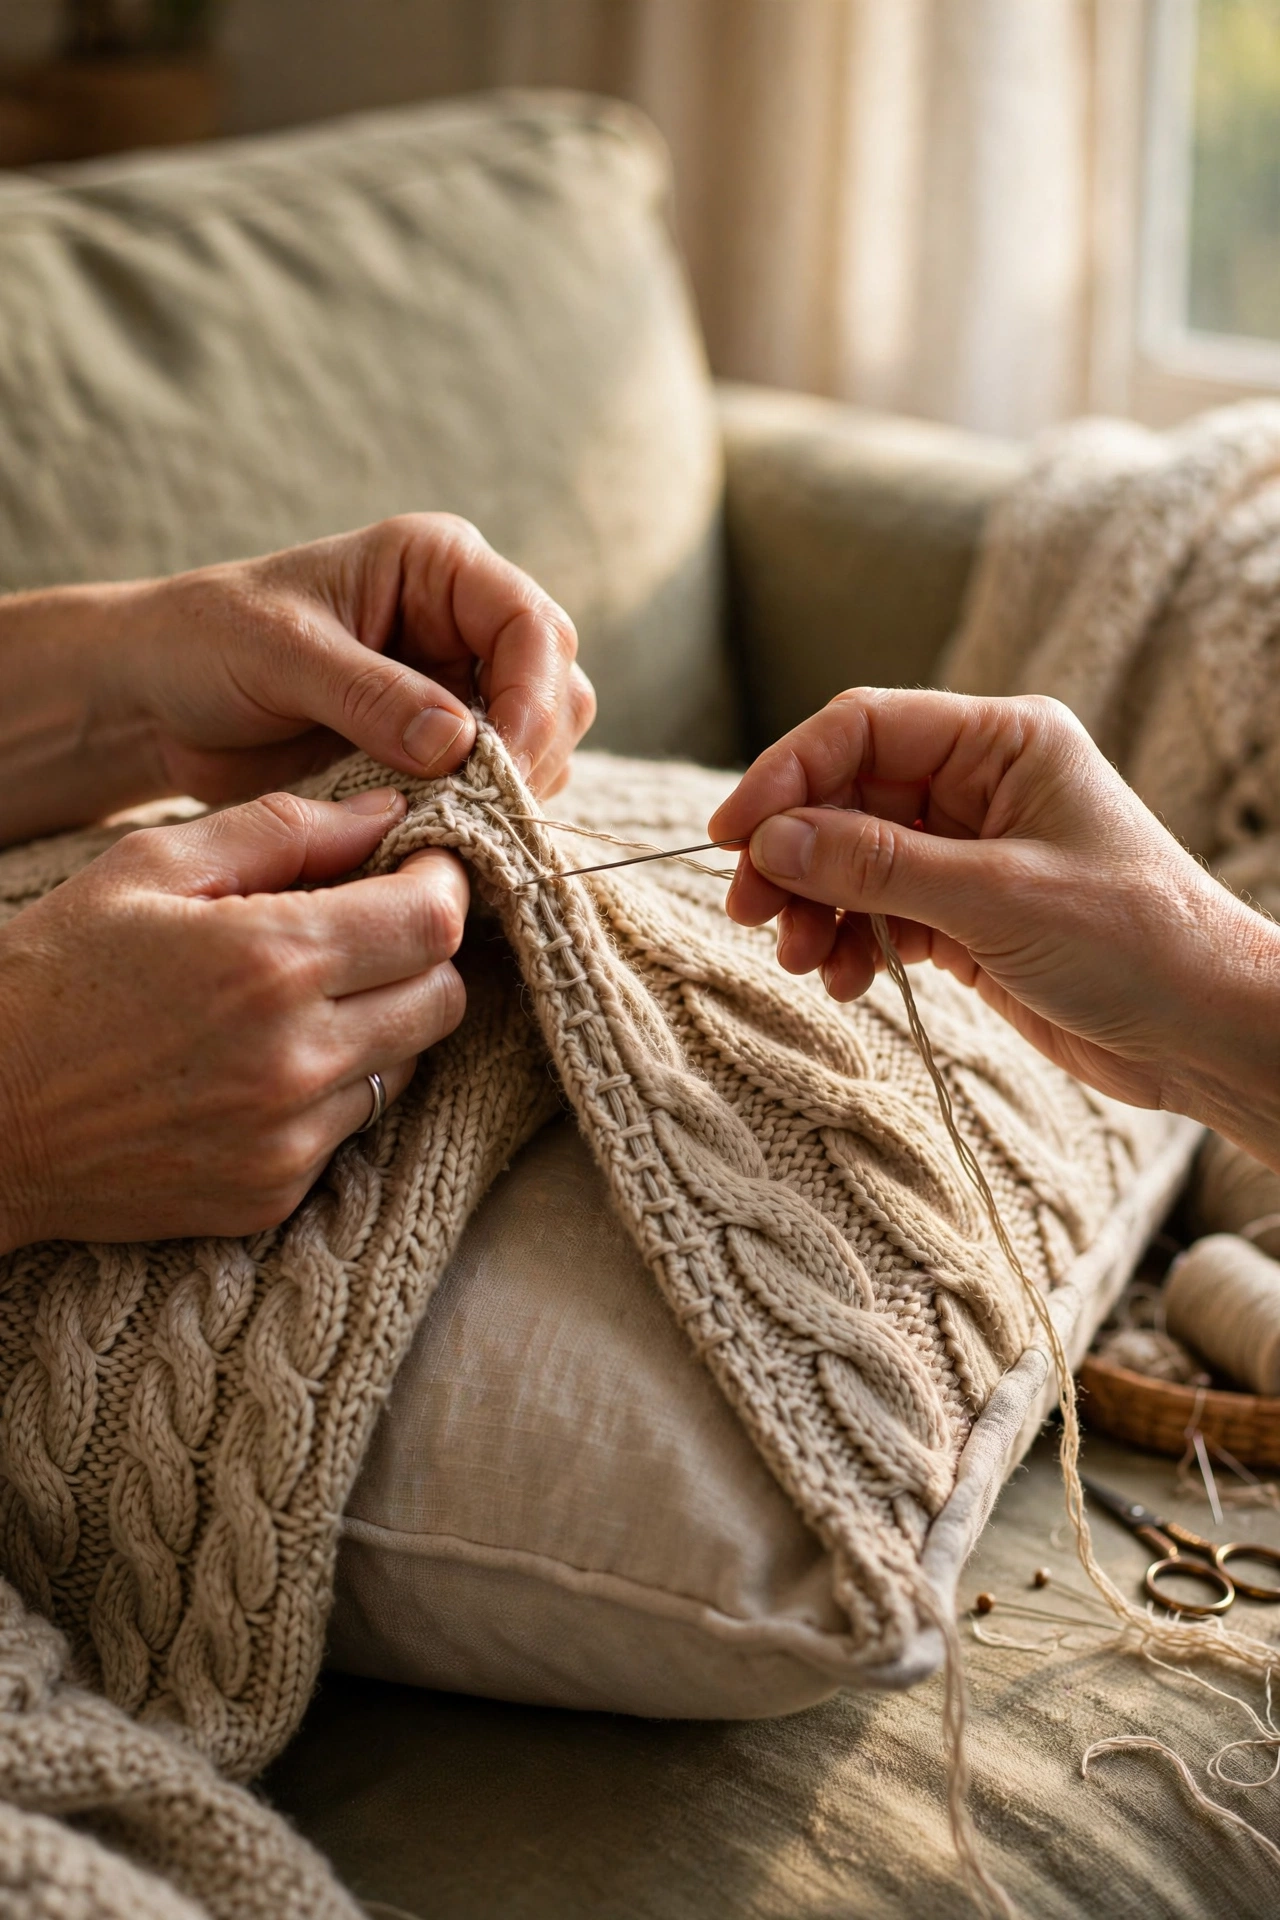
That stretched jumper at the back of the drawer makes the cosiest cushion cover you will ever own. Cut the body of the sweater into two squares slightly larger than your cushion pad, turn them inside out, and sew three sides, or use fabric glue for a no-sew version. My first attempt used a loosely knitted sweater and it stretched out of shape within weeks, so choose a tight knit or felt the sweater in a hot wash first. Cable knits and Fair Isle patterns look especially good. They add instant winter warmth to a sofa, and (see also: 23-bedroom-decor-ideas-under-50-for-a-cozy-retreat/) has more cosy textile tricks for cold months.
Materials: Old sweater, cushion pad, needle and thread or fabric glue | Cost: ~$2-5 | Time: 30-45 minutes
3. Stacked Wooden Crate Shelving
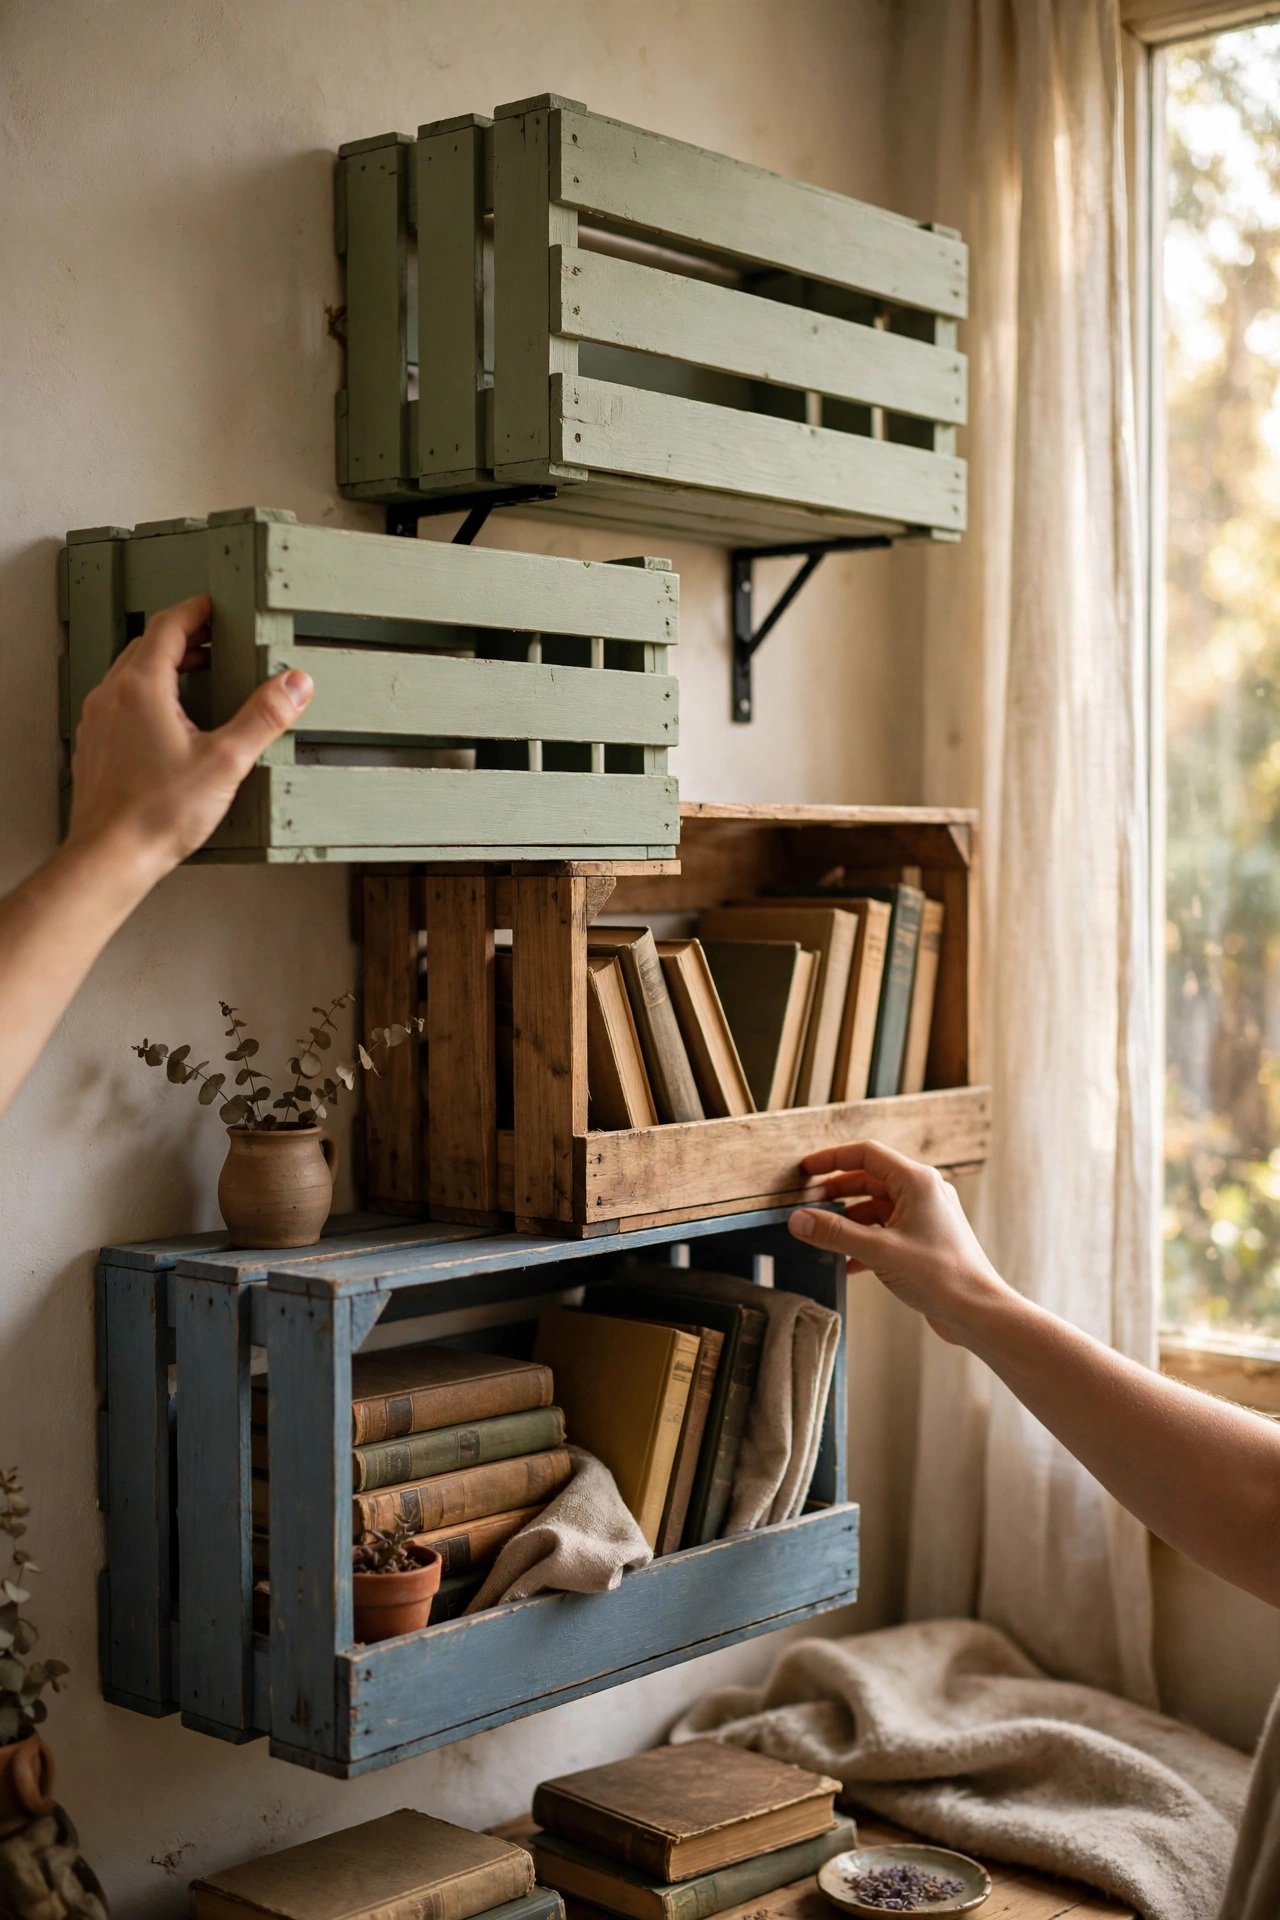
Wooden crates stack into shelving that looks intentionally rustic rather than improvised. Sand each crate smooth, stain or paint them one unified colour, and stack them in a staggered arrangement, screwing the crates together and anchoring the whole unit to the wall. I skipped the wall anchor on my first tower and watched it lean ominously every time someone walked past, so do not skip it. Leave some crates open-fronted for display and turn others sideways for deeper cubbies. They work brilliantly as a bookcase, a toy store, or a pantry organiser.
Materials: Wooden crates, sandpaper, paint or stain, screws, wall anchor | Cost: ~$5-15 | Time: 2-3 hours
4. Tin Can Herb Planters
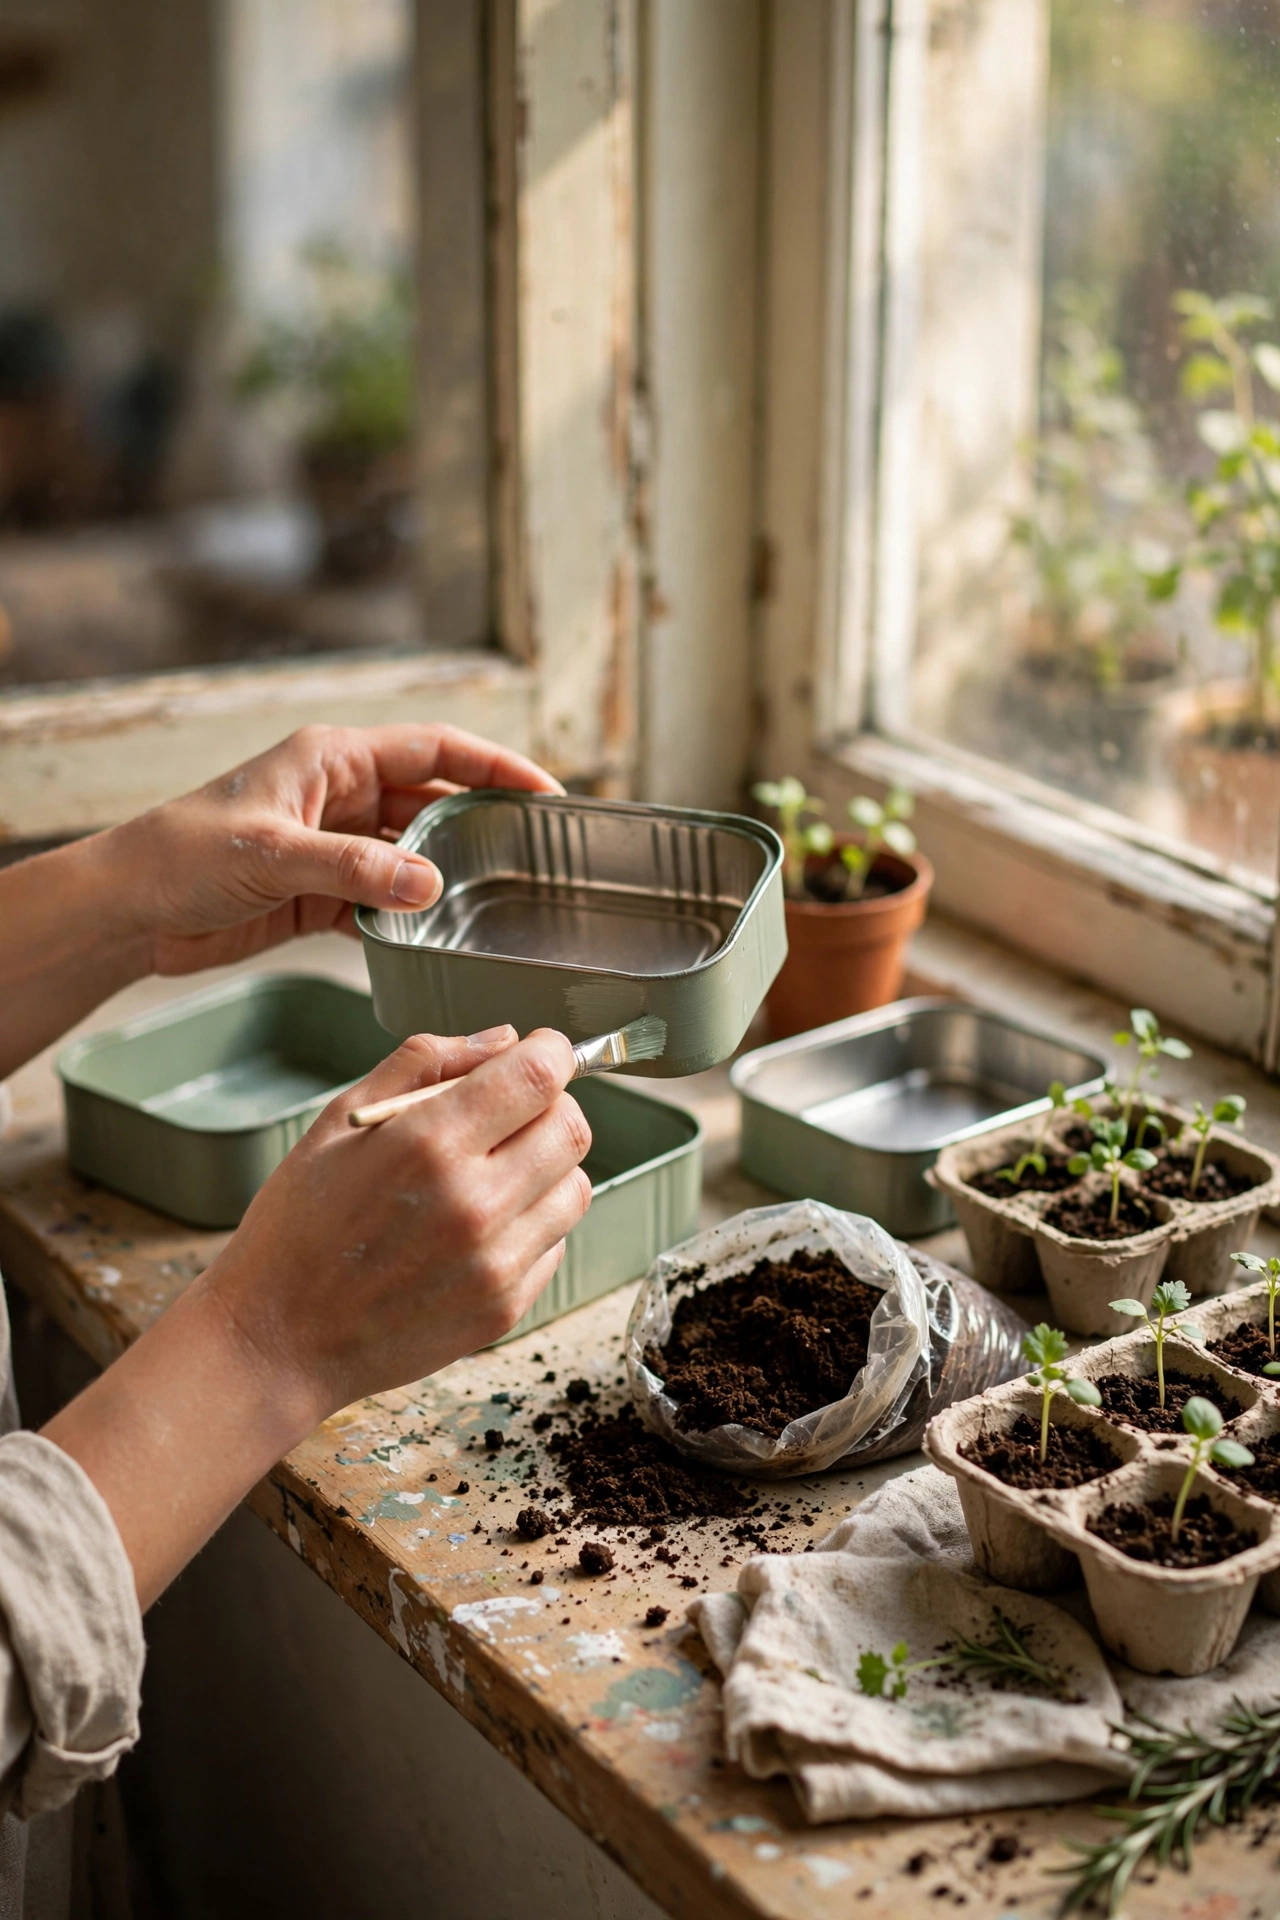
Empty food tins make charming herb planters with almost zero effort. Peel the labels, wash the tins thoroughly, and punch drainage holes in the base with a hammer and nail. Paint the outsides with a couple of coats of exterior paint, because my first unsealed tins rusted within a month on a damp windowsill. Fill with compost, plant your herbs, and line them along the sill. Chalkboard labels tied on with twine let you identify the seedlings before they are recognisable. They cost nothing, grow dinner, and look far prettier than plastic pots.
Materials: Empty tins, hammer and nail, exterior paint, compost, herb seedlings | Cost: ~$2-6 | Time: 1 hour
5. Hinged Shutter Room Divider
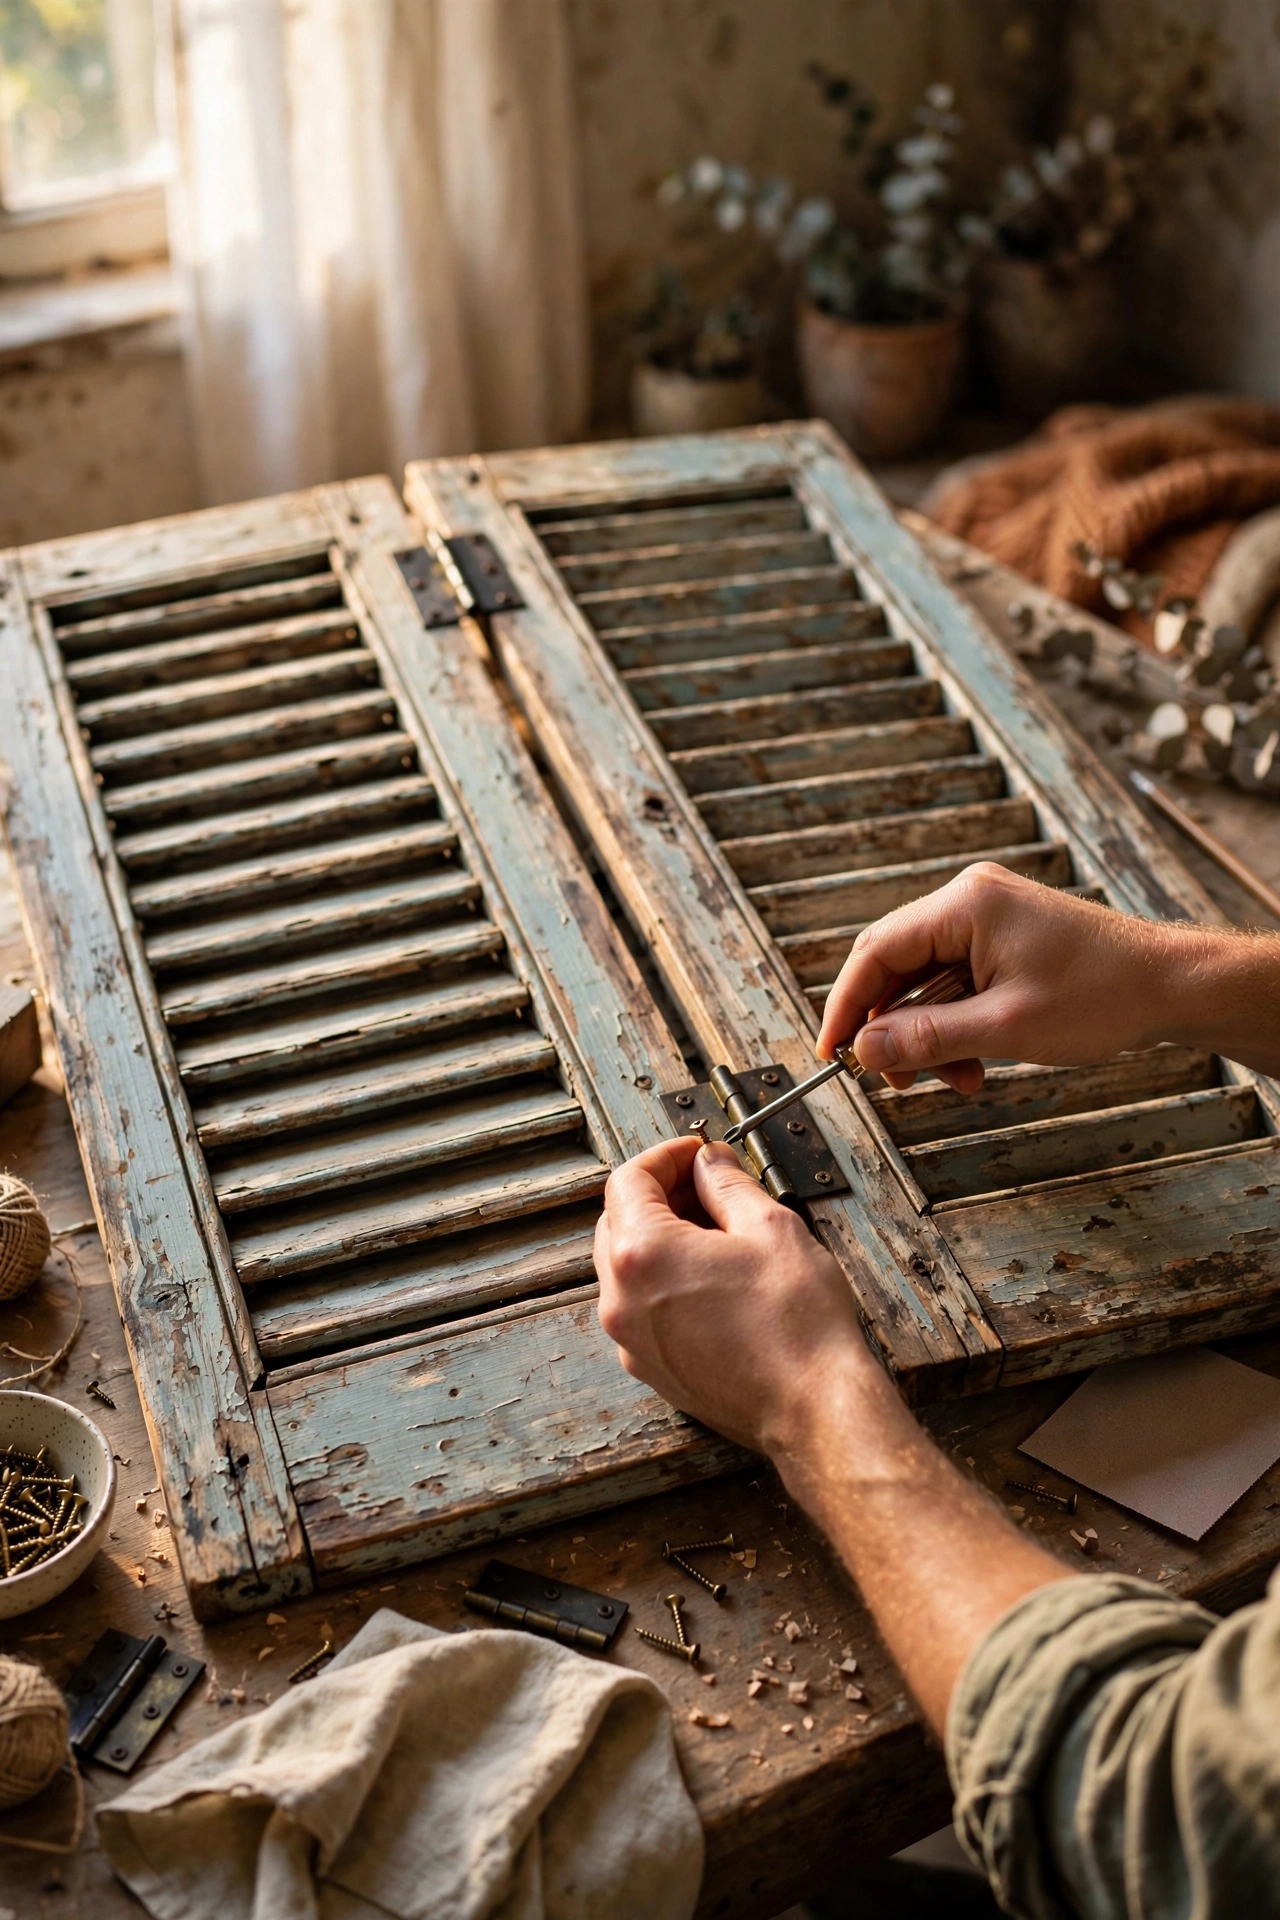
Two old shutters hinged together make a room divider with genuine vintage character. Clean the shutters thoroughly, sand lightly, and paint or leave them distressed depending on your style. Join them with sturdy hinges, two per joint, and check they fold smoothly before placing. I pinched my fingers badly on my first attempt by using flimsy hinges that let the panels slam, so buy proper ones. Use the divider to hide a messy corner, zone an open-plan room, or create a dressing area. Louvred shutters filter light beautifully, casting striped shadows across the floor.
Materials: 2 old shutters, sturdy hinges, screws, paint (optional) | Cost: ~$5-15 | Time: 2 hours
6. Wine Rack Turned Towel Holder
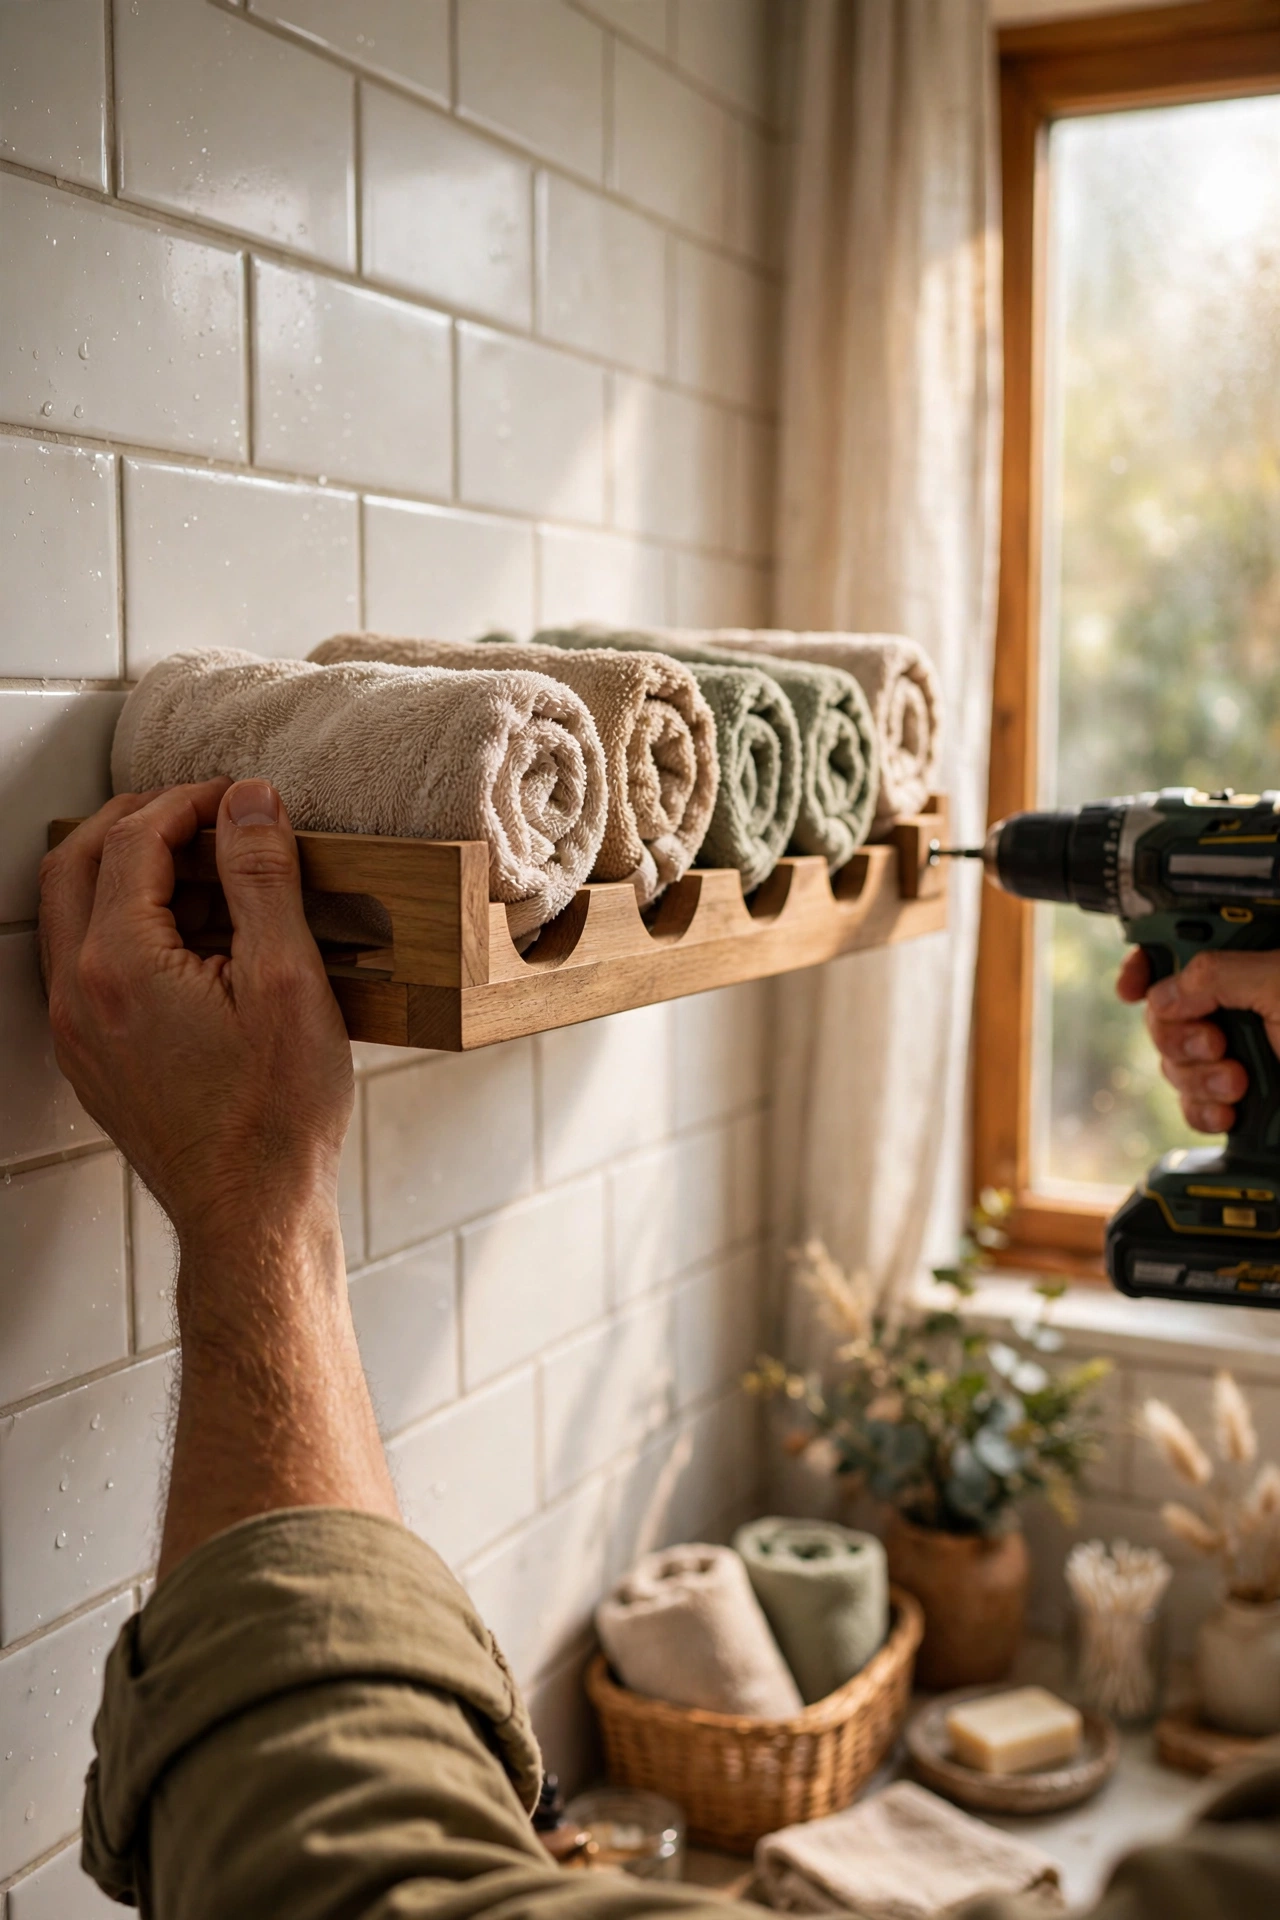
That countertop wine rack you never use makes a brilliant bathroom towel holder. Mount it horizontally on the bathroom wall with proper wall plugs, spacing it so rolled towels slide into the bottle slots. My first mounting used the wrong plugs for a tiled wall and the whole rack slid down overnight, so match your fixings to the wall type. Roll hand towels and flannels into the slots and hang larger towels over the top rail. Paint the rack to match your bathroom fittings for a built-in look. Guests always ask where it came from, and nobody guesses its previous life.
Materials: Unused wine rack, wall plugs and screws, paint (optional) | Cost: ~$3-8 | Time: 45 minutes
7. Ladder Blanket Rack
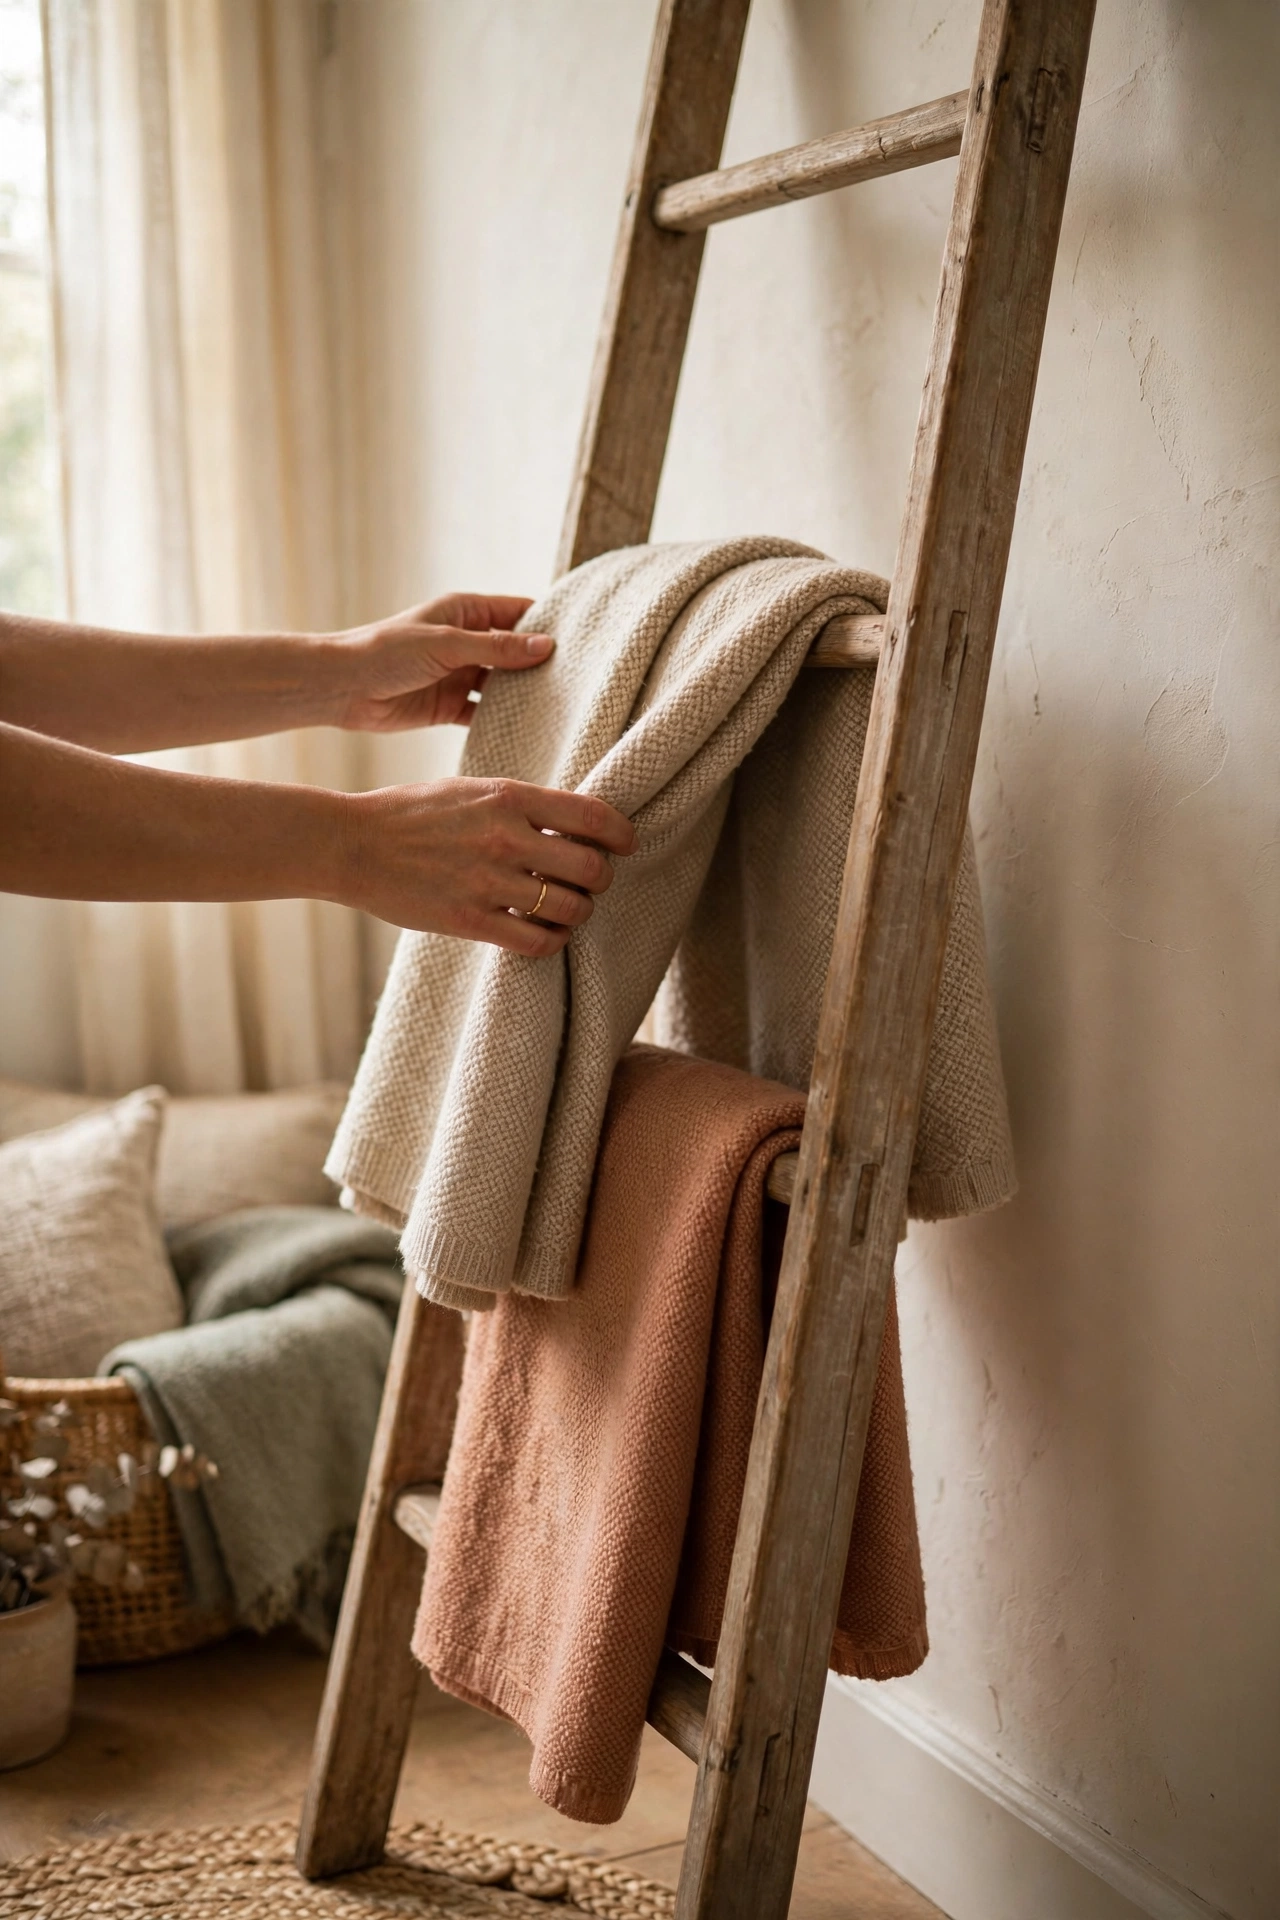
The ladder I nearly binned now holds every throw in my living room. Sand it smooth, tighten or replace any wobbly rungs, and lean it against the wall at a slight angle. Stick felt pads where it touches the wall, because my first placement scratched the paintwork within days. Drape blankets over the rungs, heaviest at the bottom for stability, and you have storage that doubles as decoration. It suits bedrooms beautifully too, keeping throws within arm’s reach, and (see also: 17-thrifted-bedroom-decor-worth-every-penny/) is full of secondhand finds that work the same double shift. A coat of paint unifies a scruffy ladder completely.
Materials: Old wooden ladder, sandpaper, felt pads, paint (optional) | Cost: ~$3-10 | Time: 1-2 hours
8. Dresser Drawer Wall Shelves
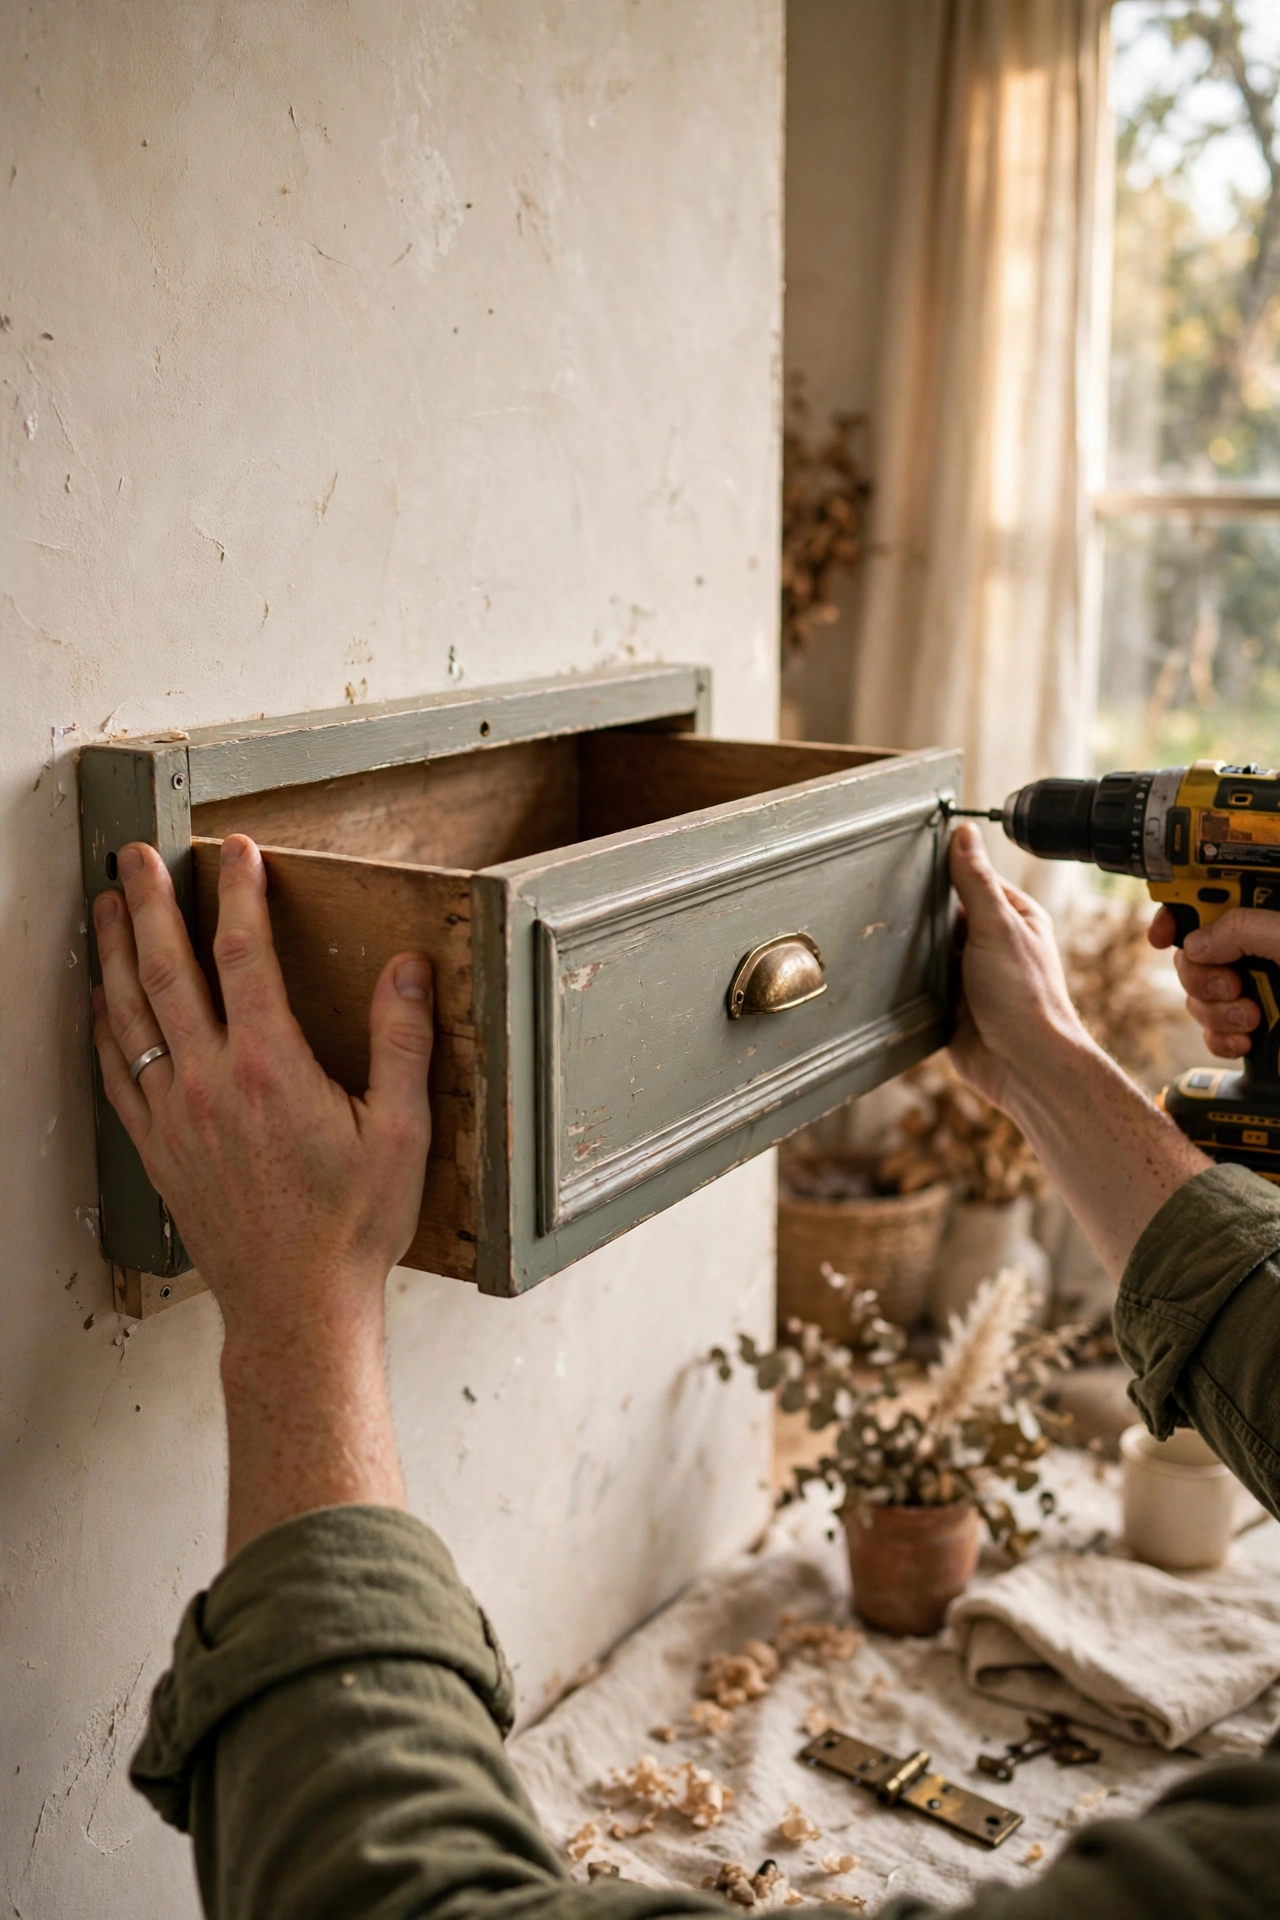
Old dresser drawers mount on walls as deep shadow-box shelves with instant character. Remove the drawers from a broken dresser, sand and paint them inside and out, and mount them with heavy-duty brackets screwed into wall studs. I mounted my first drawer into plasterboard alone and it pulled clean out under a stack of books, so find the studs or use proper cavity fixings. Arrange two or three at staggered heights for a display wall, or mount one by the door as a catch-all shelf. The drawer sides keep everything contained, which open shelves never do.
Materials: Old drawers, paint, heavy-duty brackets, screws | Cost: ~$5-12 | Time: 2 hours
9. Vintage Suitcase Side Table
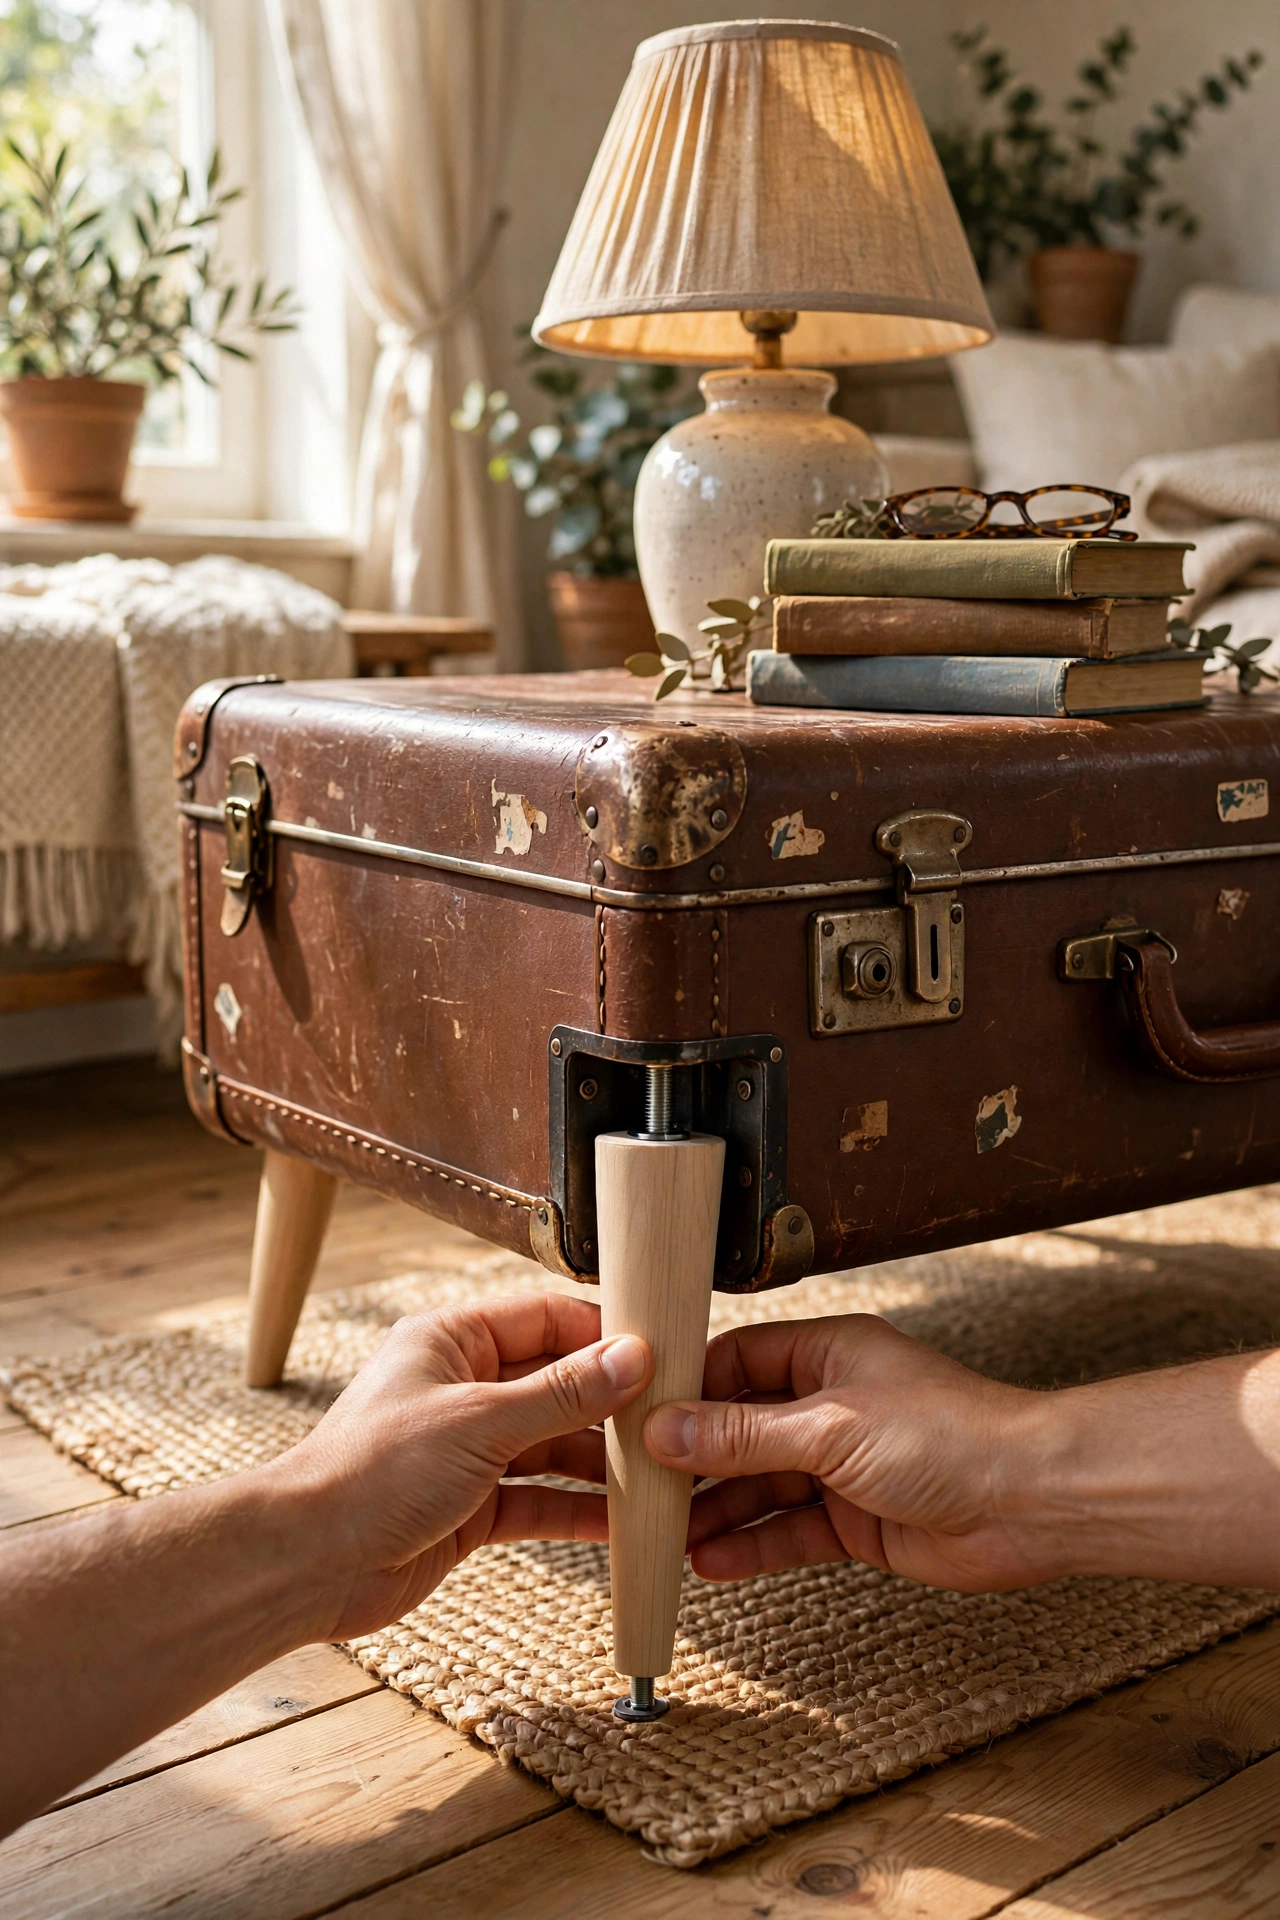
A hard-shell vintage suitcase on legs becomes the most characterful side table you will own. Find a sturdy suitcase, clean it inside and out, and screw four short tapered legs to the base, adding a small chain inside so the lid cannot flop open. I skipped the chain on my first table and the lid crashed open every time someone bumped it. Style the top with a lamp and a stack of books, and use the interior for hidden storage like board games or spare bedding. It works brilliantly as a bedside table in a small room where every piece must earn its footprint.
Materials: Vintage suitcase, 4 furniture legs, screws, small chain | Cost: ~$8-18 | Time: 1-2 hours
10. Teacup Candles

Chipped teacups too pretty to bin make the loveliest candles. Melt soy wax flakes in a double boiler, secure a wick in the centre of each cup with a dab of hot glue, and pour the wax in two layers, letting the first cool to avoid sinkholes. My first candles drowned their wicks because I poured too fast and too full, so trim wicks to about 6mm and pour patiently. Stir in a few drops of essential oil before pouring for scent. Group three mismatched cups on a tray and you have a gift that looks far more expensive than the few dollars of wax it used. Never leave them burning unattended.
Materials: Chipped teacups, soy wax flakes, wicks, essential oil (optional) | Cost: ~$5-10 | Time: 1 hour plus cooling
11. Jeans Pocket Wall Organiser
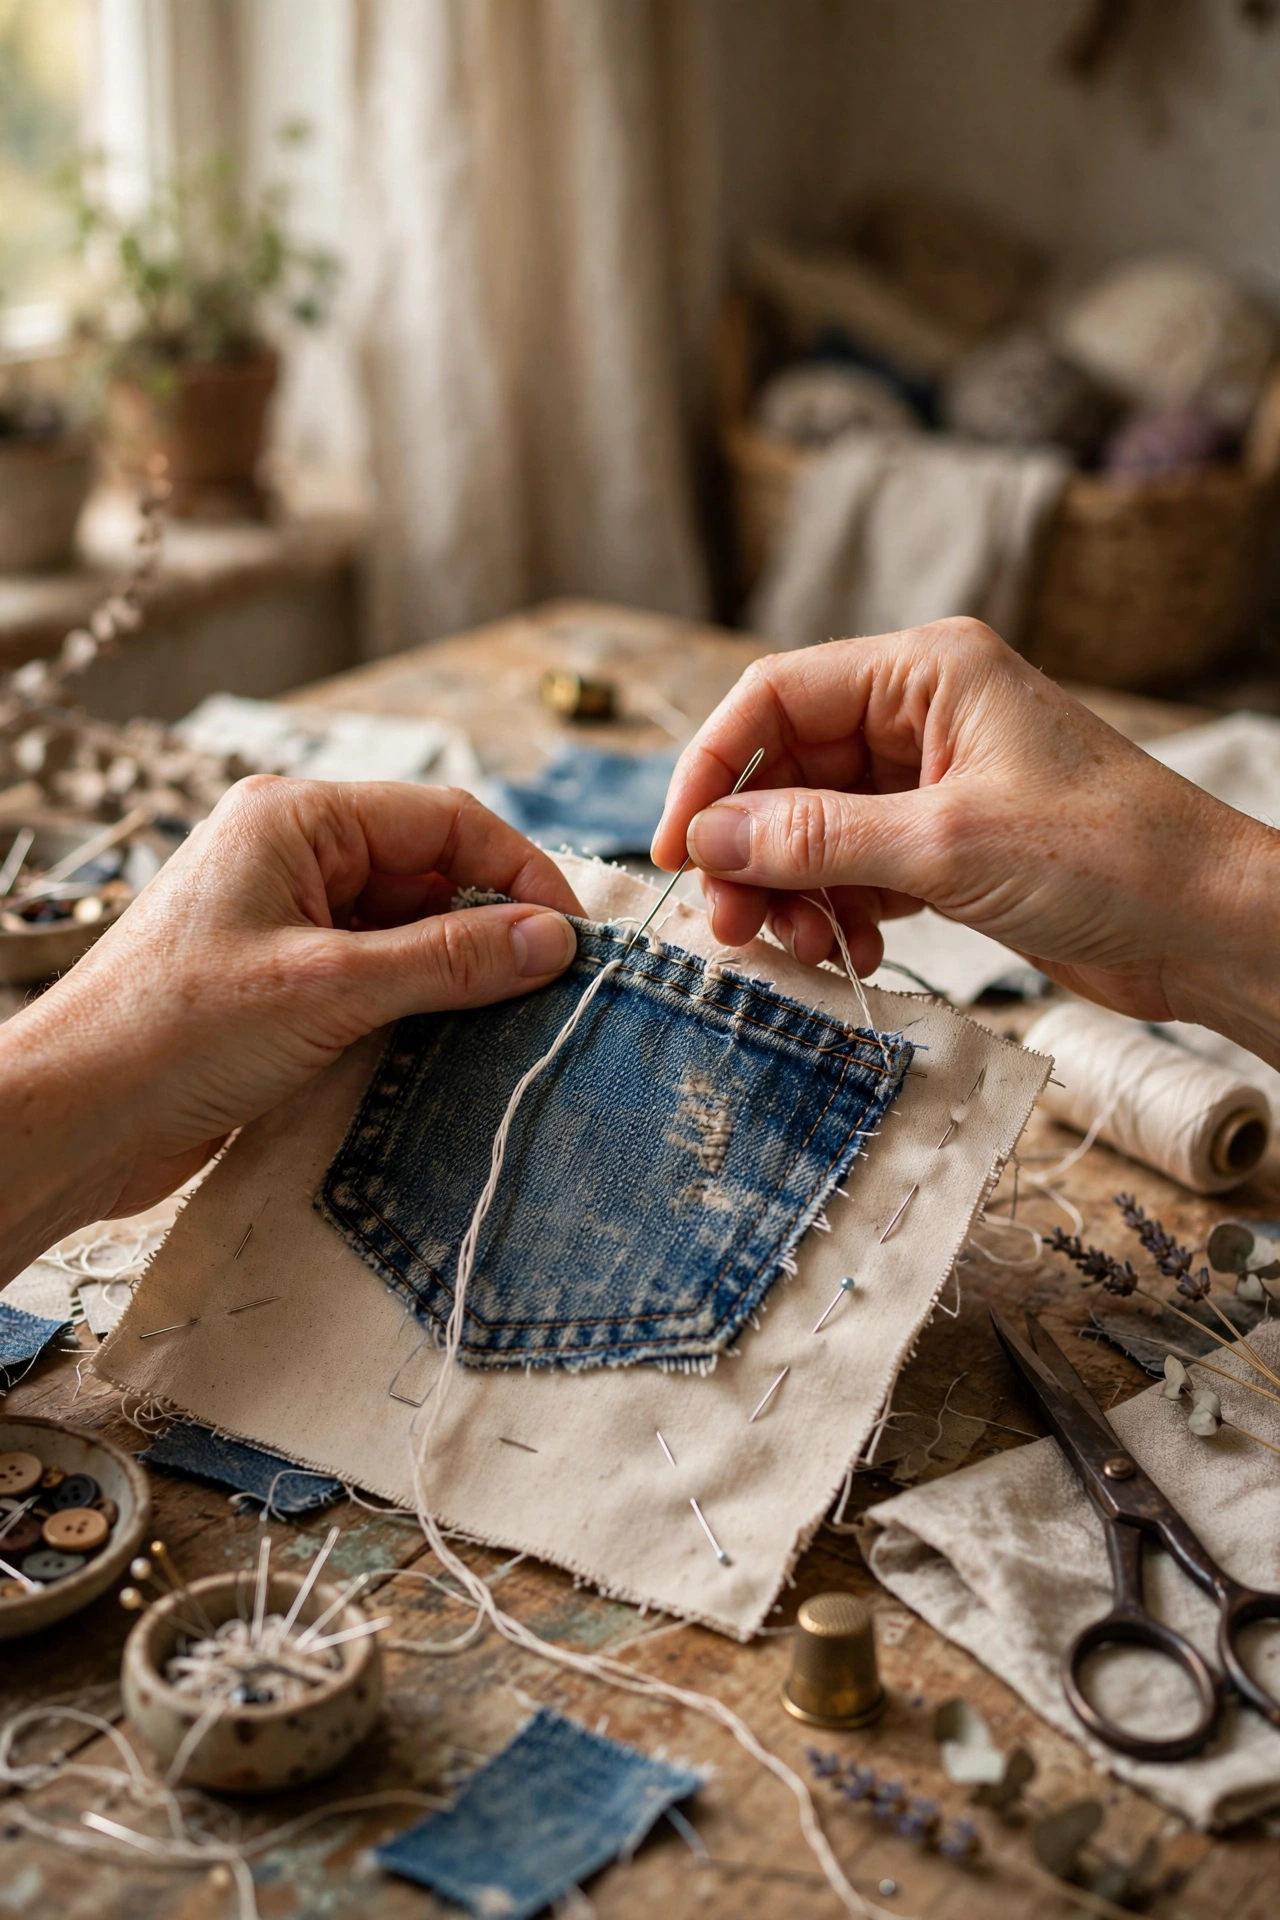
Cut the back pockets off worn-out jeans and you have ready-made wall storage. Arrange the pockets on a backing of calico or an old tea towel, overlapping them slightly, and stitch or glue each pocket firmly along its sides and bottom. I tried machine-sewing my first organiser and the denim layers defeated my machine, so hand-stitching with a thimble is honestly easier. Hang it by the door for keys and sunglasses, in a craft room for supplies, or by a desk for stationery. The faded denim looks better with age, which is the opposite of most storage.
Materials: Old jeans, fabric backing, needle and strong thread or glue | Cost: ~$1-4 | Time: 1-2 hours
12. Picture Frame Serving Tray
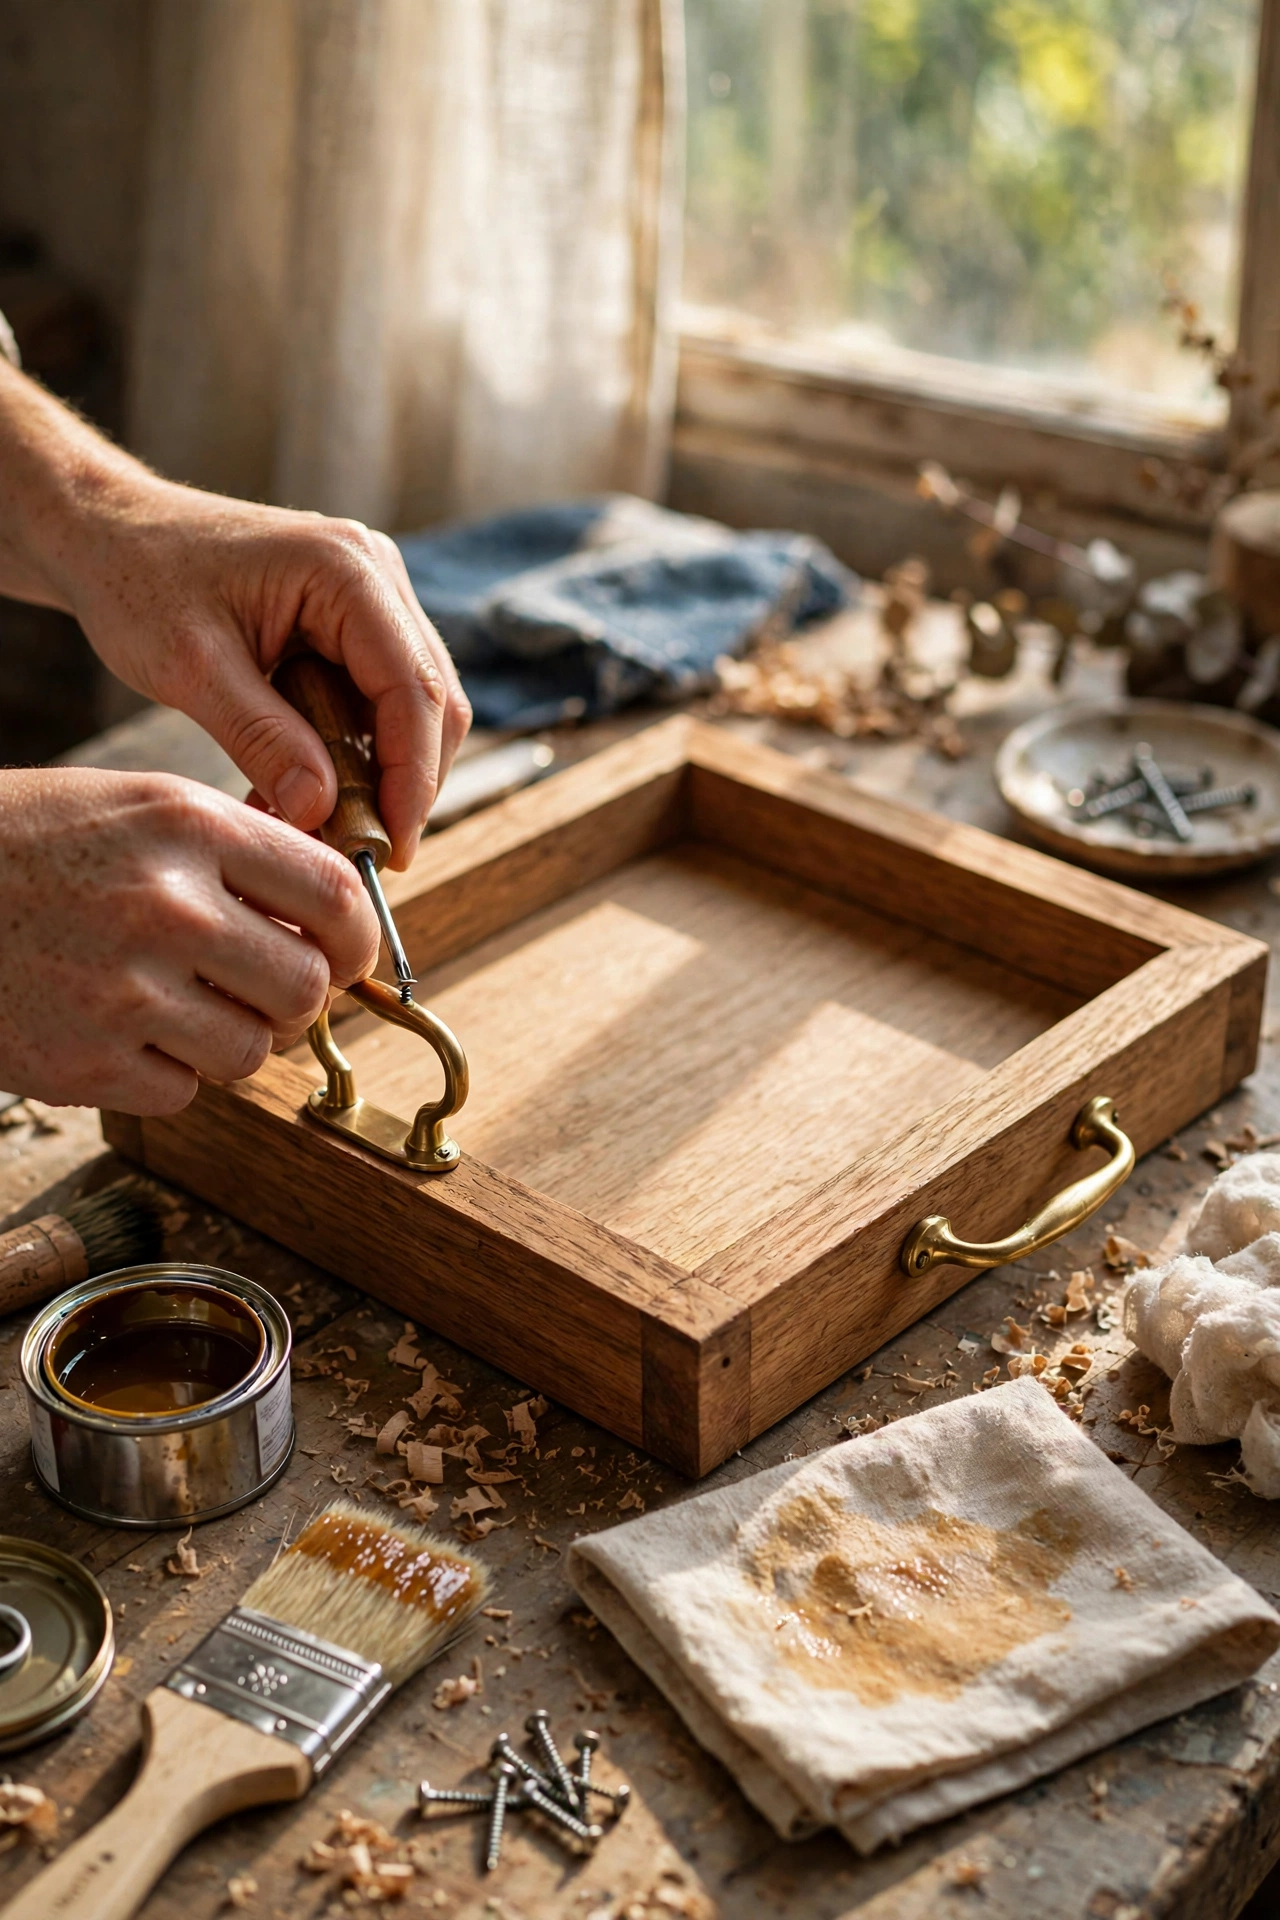
A sturdy picture frame plus two handles equals a serving tray with a custom look. Remove the glass, or replace it with thin plywood for safety, and paint or decoupage the backing board to suit your style. My first tray kept its original glass and shattered the week a guest set down a heavy jug, so use plywood or acrylic. Screw cup handles to the two short sides, seal everything with a wipeable varnish, and it is ready for breakfast in bed. Line the base with pretty paper under a sheet of acrylic for a changeable design. It also works as a perfume tray on a dresser.
Materials: Sturdy frame, plywood or acrylic sheet, 2 cup handles, varnish | Cost: ~$5-12 | Time: 1-2 hours
13. Colander Pendant Lamp
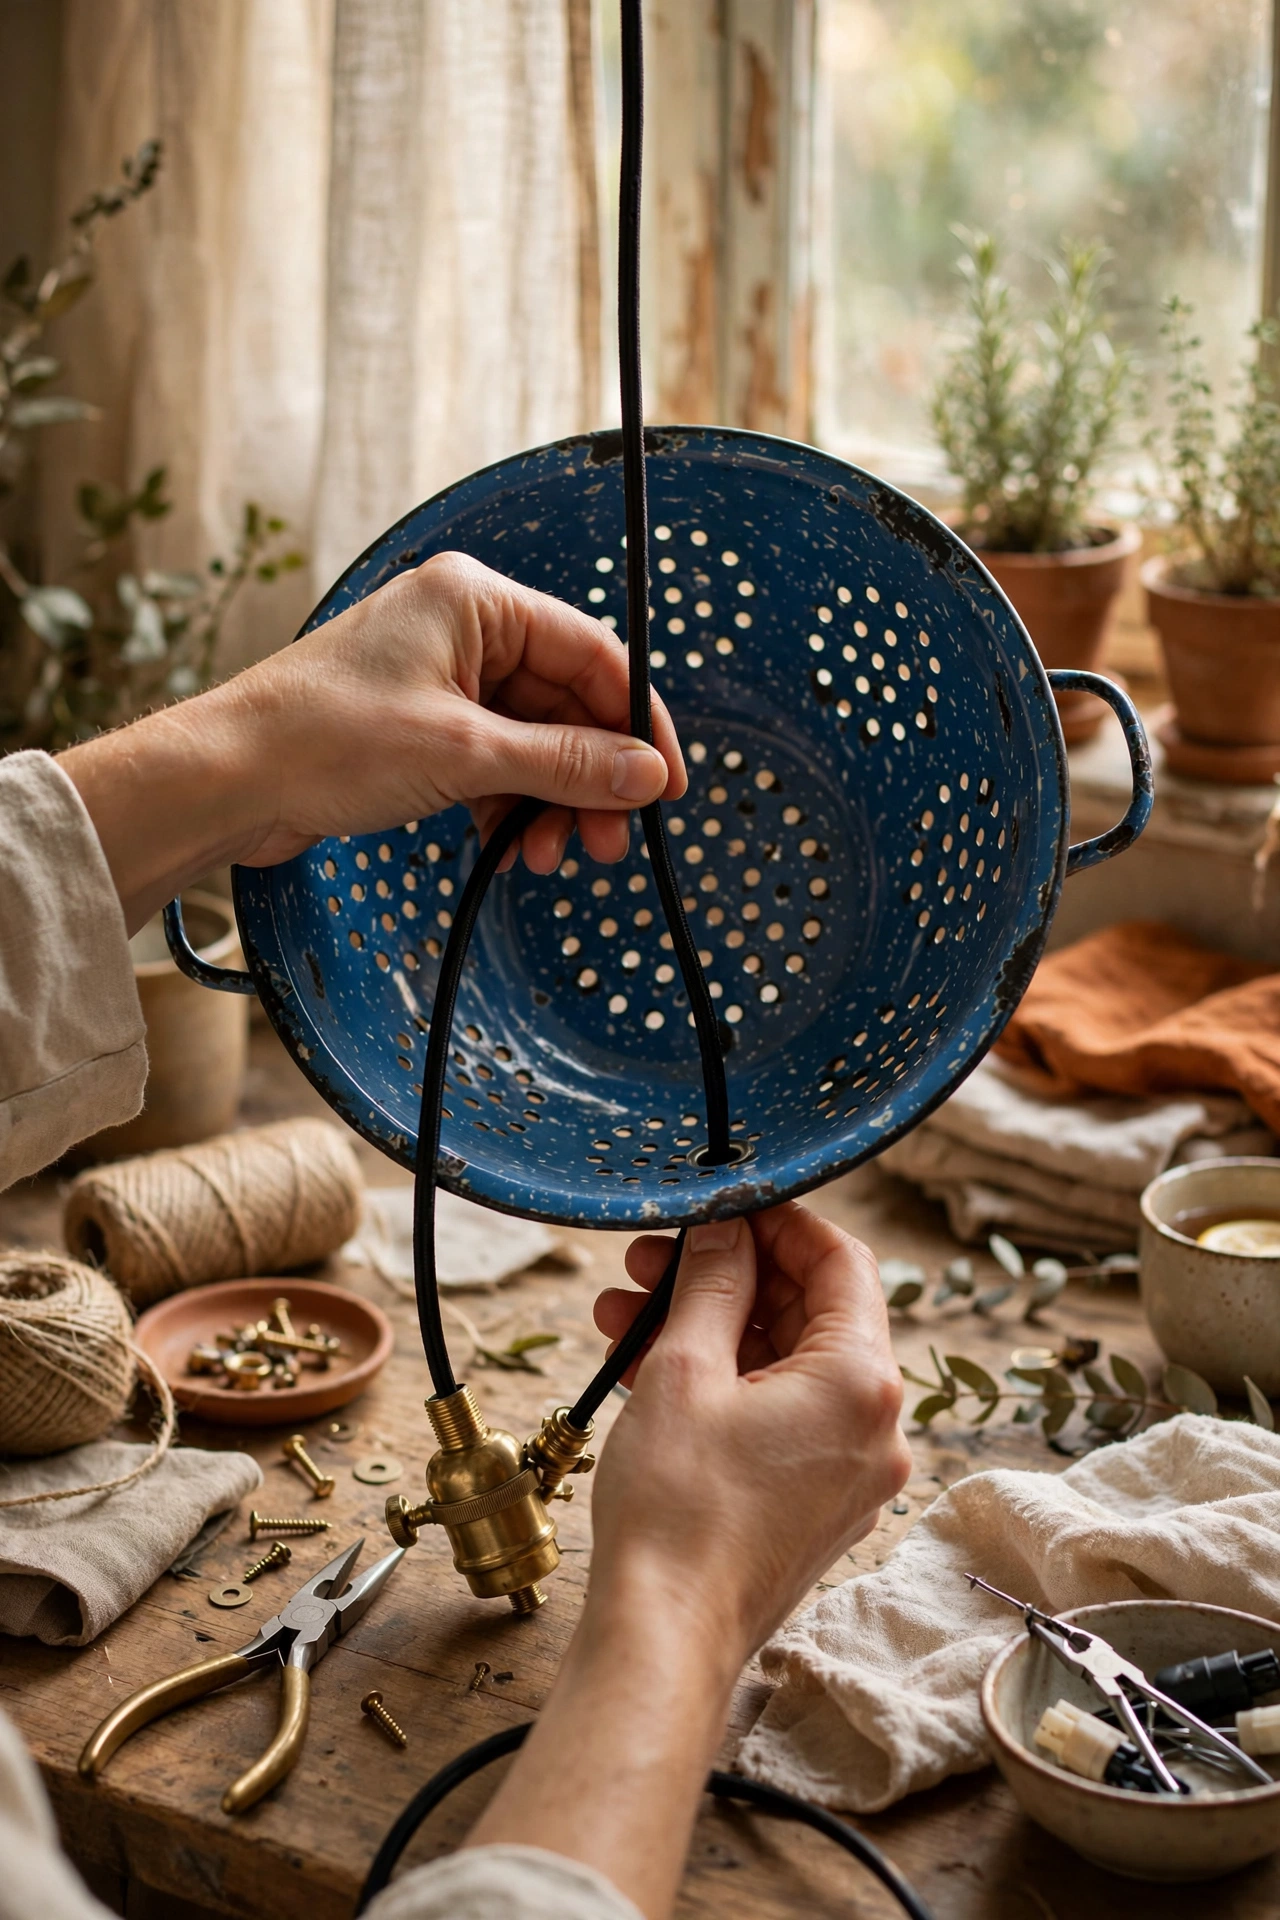
A metal colander makes a surprisingly beautiful pendant shade, scattering patterned light. Drill or widen one hole in the base to thread a pendant light kit through, and hang it so the colander sits like a dome. Use a low-wattage LED Edison-style bulb, because my first attempt with a hot halogen bulb turned the colander into a radiator. The existing holes project a gorgeous dotted pattern across the ceiling at night. Enamel colanders in cream or red look best, and a quick polish brings dull metal back to life. Hang one over a kitchen table or a reading corner.
Materials: Metal colander, pendant light kit, LED bulb | Cost: ~$8-14 | Time: 45 minutes
14. Book Page Wreath
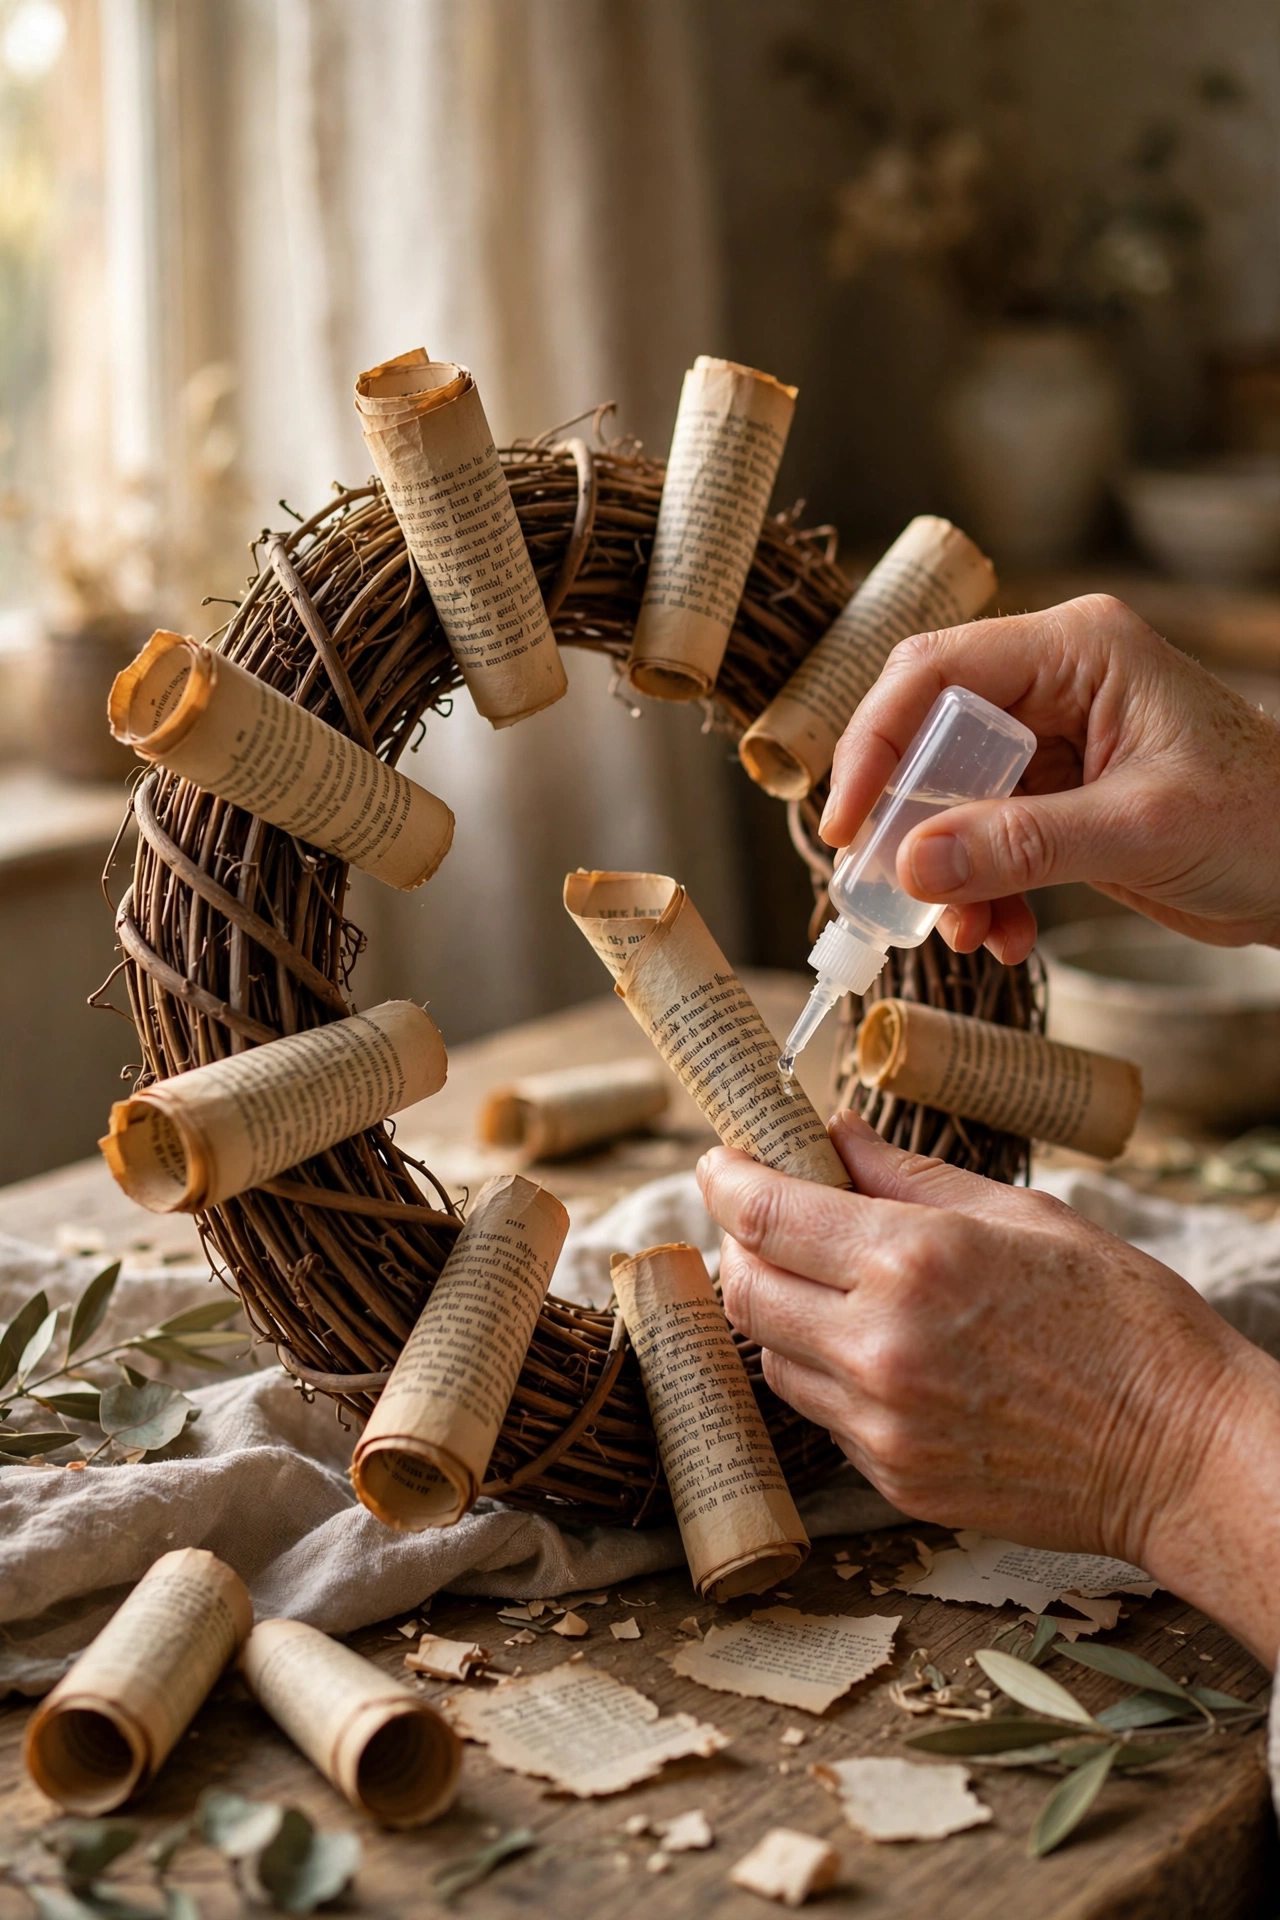
An old paperback nobody will read again becomes a full, textured wreath. Roll each page into a tight cone, secure with a dab of hot glue, and glue the cones point-inward around a foam or straw wreath form, working in overlapping rows. My first wreath took nearly three hours, so put on an audiobook and settle in, because rushing shows in the gaps. Fluff the cones outward when finished for maximum fullness. Hang it on an interior door or above a mantel where its papery texture catches the light. Stain a few cones with tea first for subtle aged variation.
Materials: Old paperback, wreath form, hot glue gun | Cost: ~$3-8 | Time: 3 hours
15. Jumper-Sleeve Vase Covers
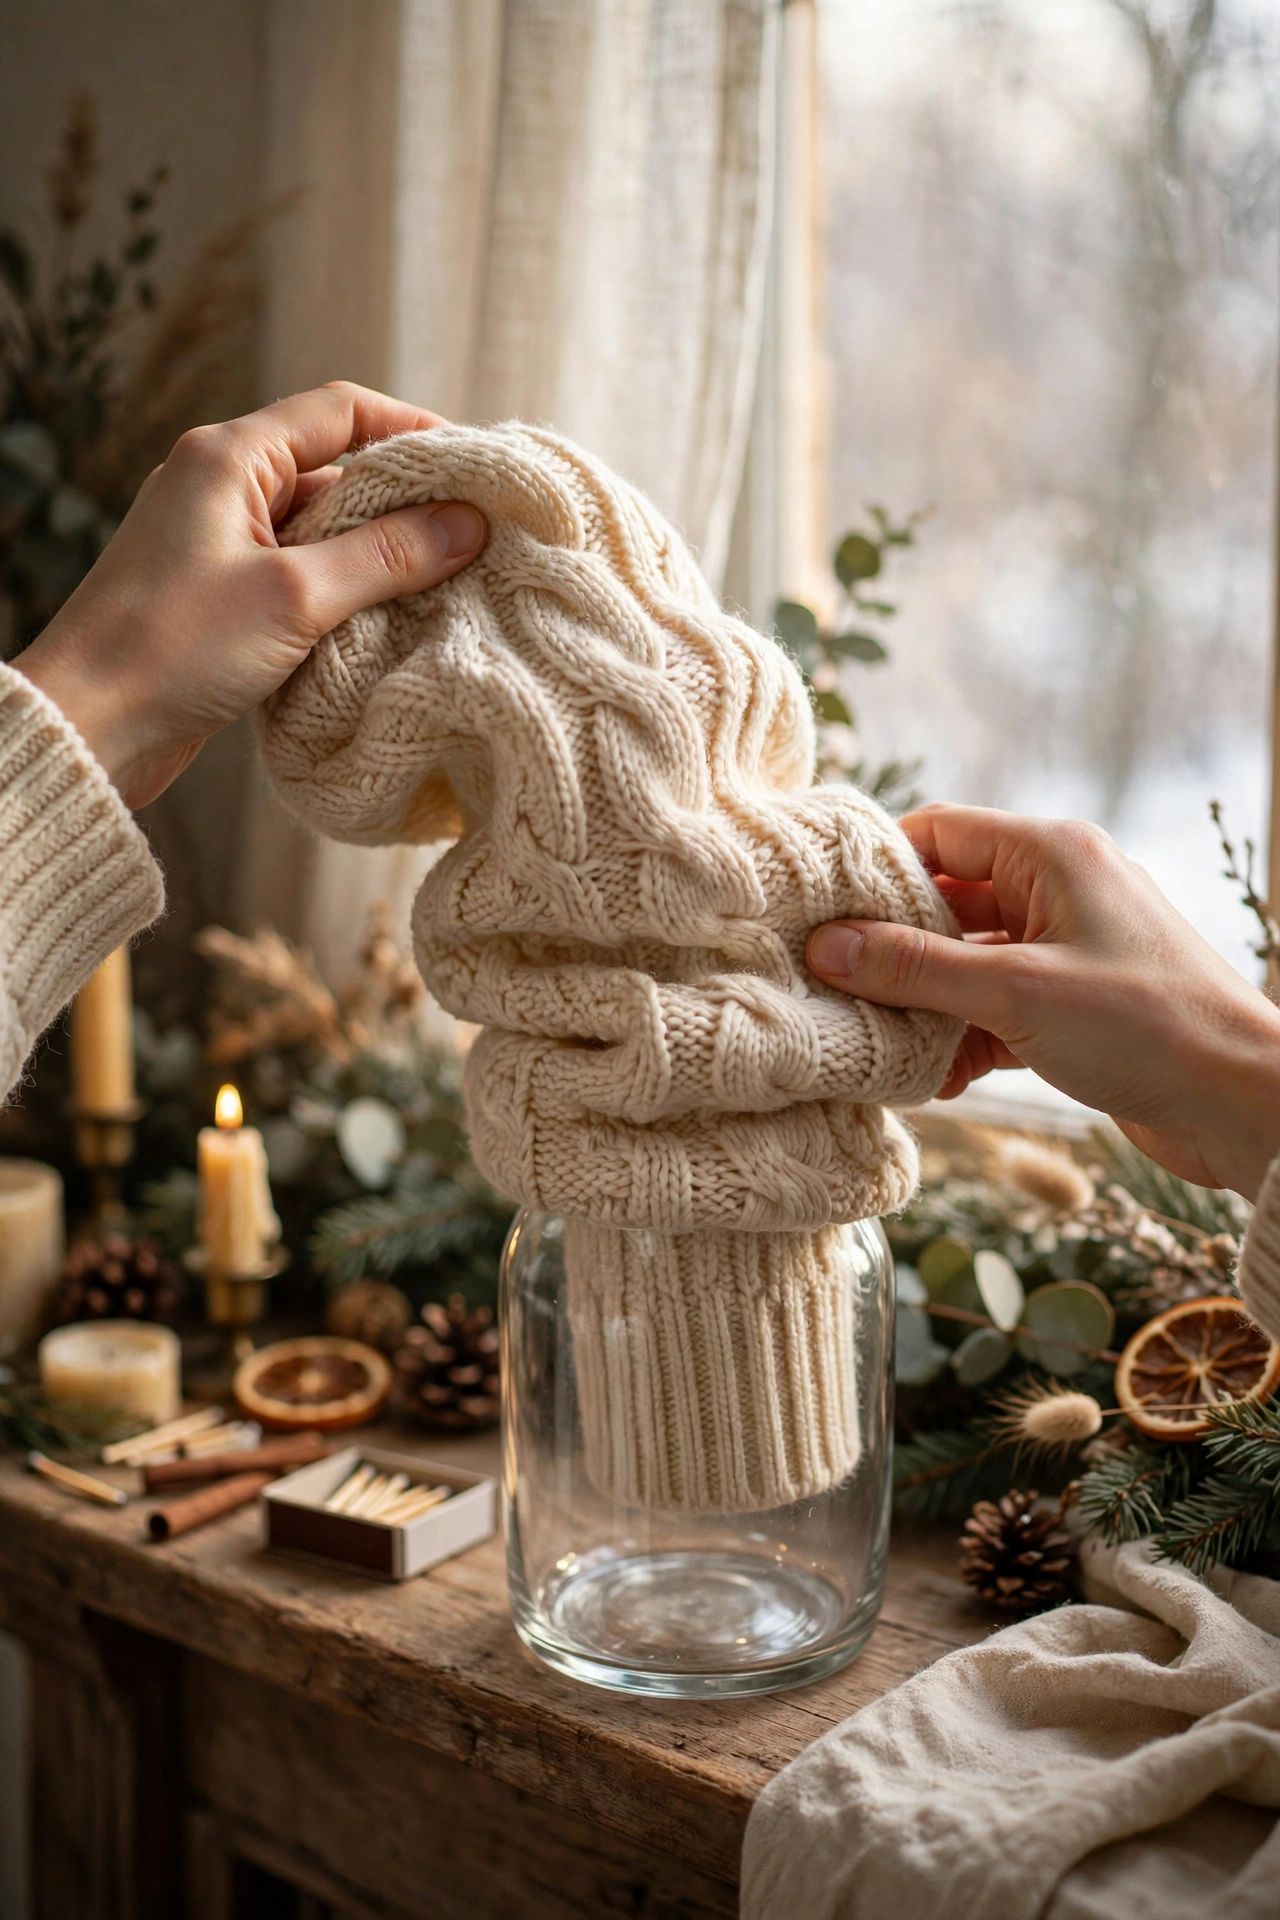
Old jumper sleeves slip over plain vases and jars like they were tailored for them. Cut a sleeve to the height of your vase plus a couple of centimetres, fold the raw edge under, and slide it on, or secure it with a little fabric glue if it slips. My first cover had a moth hole right at the front, so inspect the knit and double-layer thin areas. Cable knits look wonderful, and Fair Isle patterns turn a jam jar into a winter centrepiece. Group three in different knits on a mantel for instant seasonal styling. When spring comes, the sleeves peel off and the vases return to normal.
Materials: Old jumpers, plain vases or jars, fabric glue | Cost: ~$1-4 | Time: 20 minutes
16. Old Door Headboard
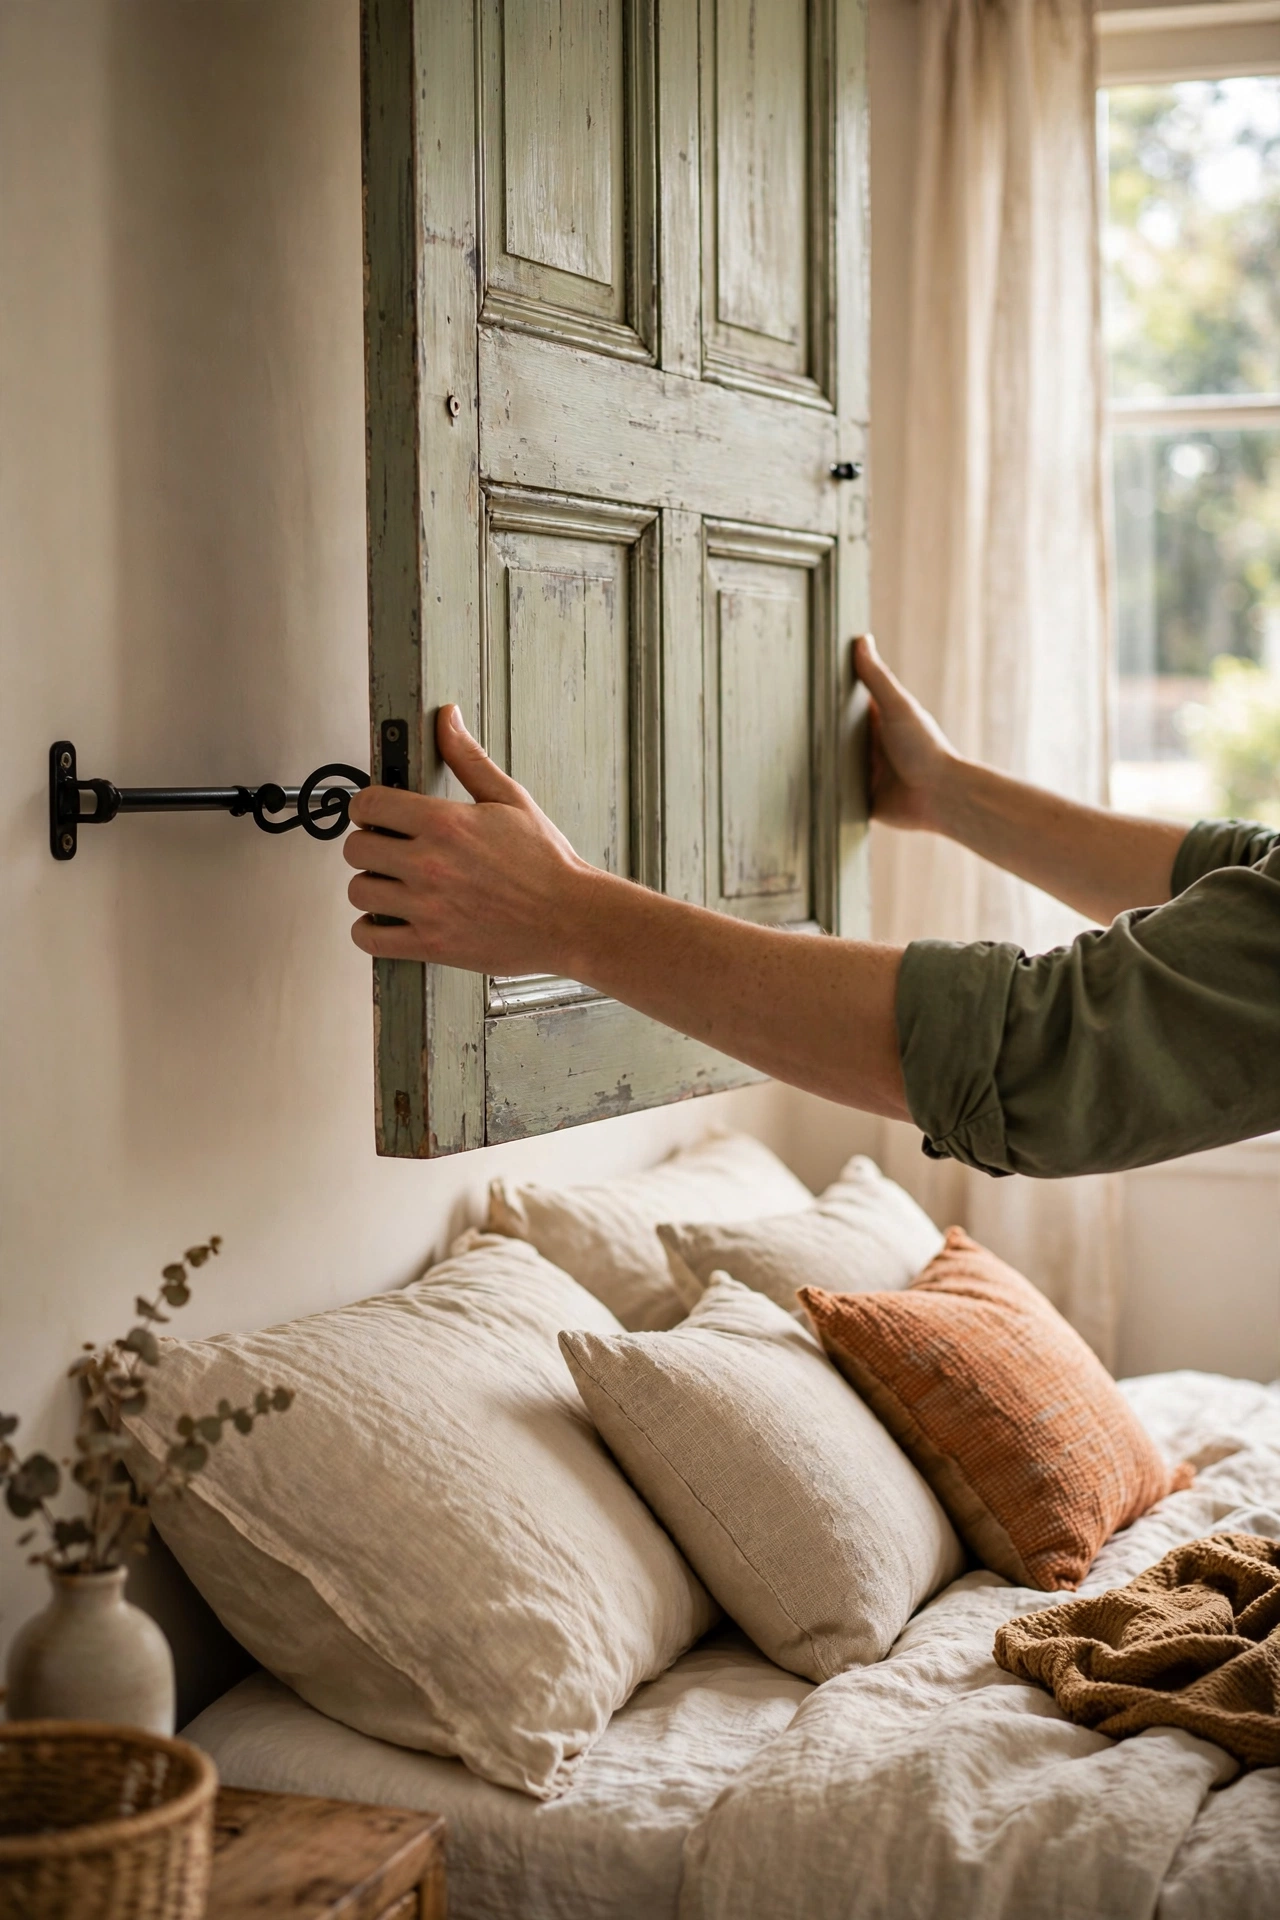
A panelled door makes a headboard with more presence than anything flat-pack. Sand it smooth, fill any damage, and paint it in a colour that suits your room, or strip it back to bare wood for a rustic look. Mount it with a French cleat screwed into wall studs, because a solid door is heavy and my first attempt on inadequate fixings tilted forward alarmingly. Centre it behind the bed and style with layered pillows. The panels add architectural detail that upholstered headboards costing hundreds try to imitate. Check salvage yards if you do not have a spare door, because they sell them cheaply.
Materials: Old panelled door, sandpaper, paint, French cleat | Cost: ~$10-20 | Time: 3-4 hours
17. Painted Glass Bottle Vases
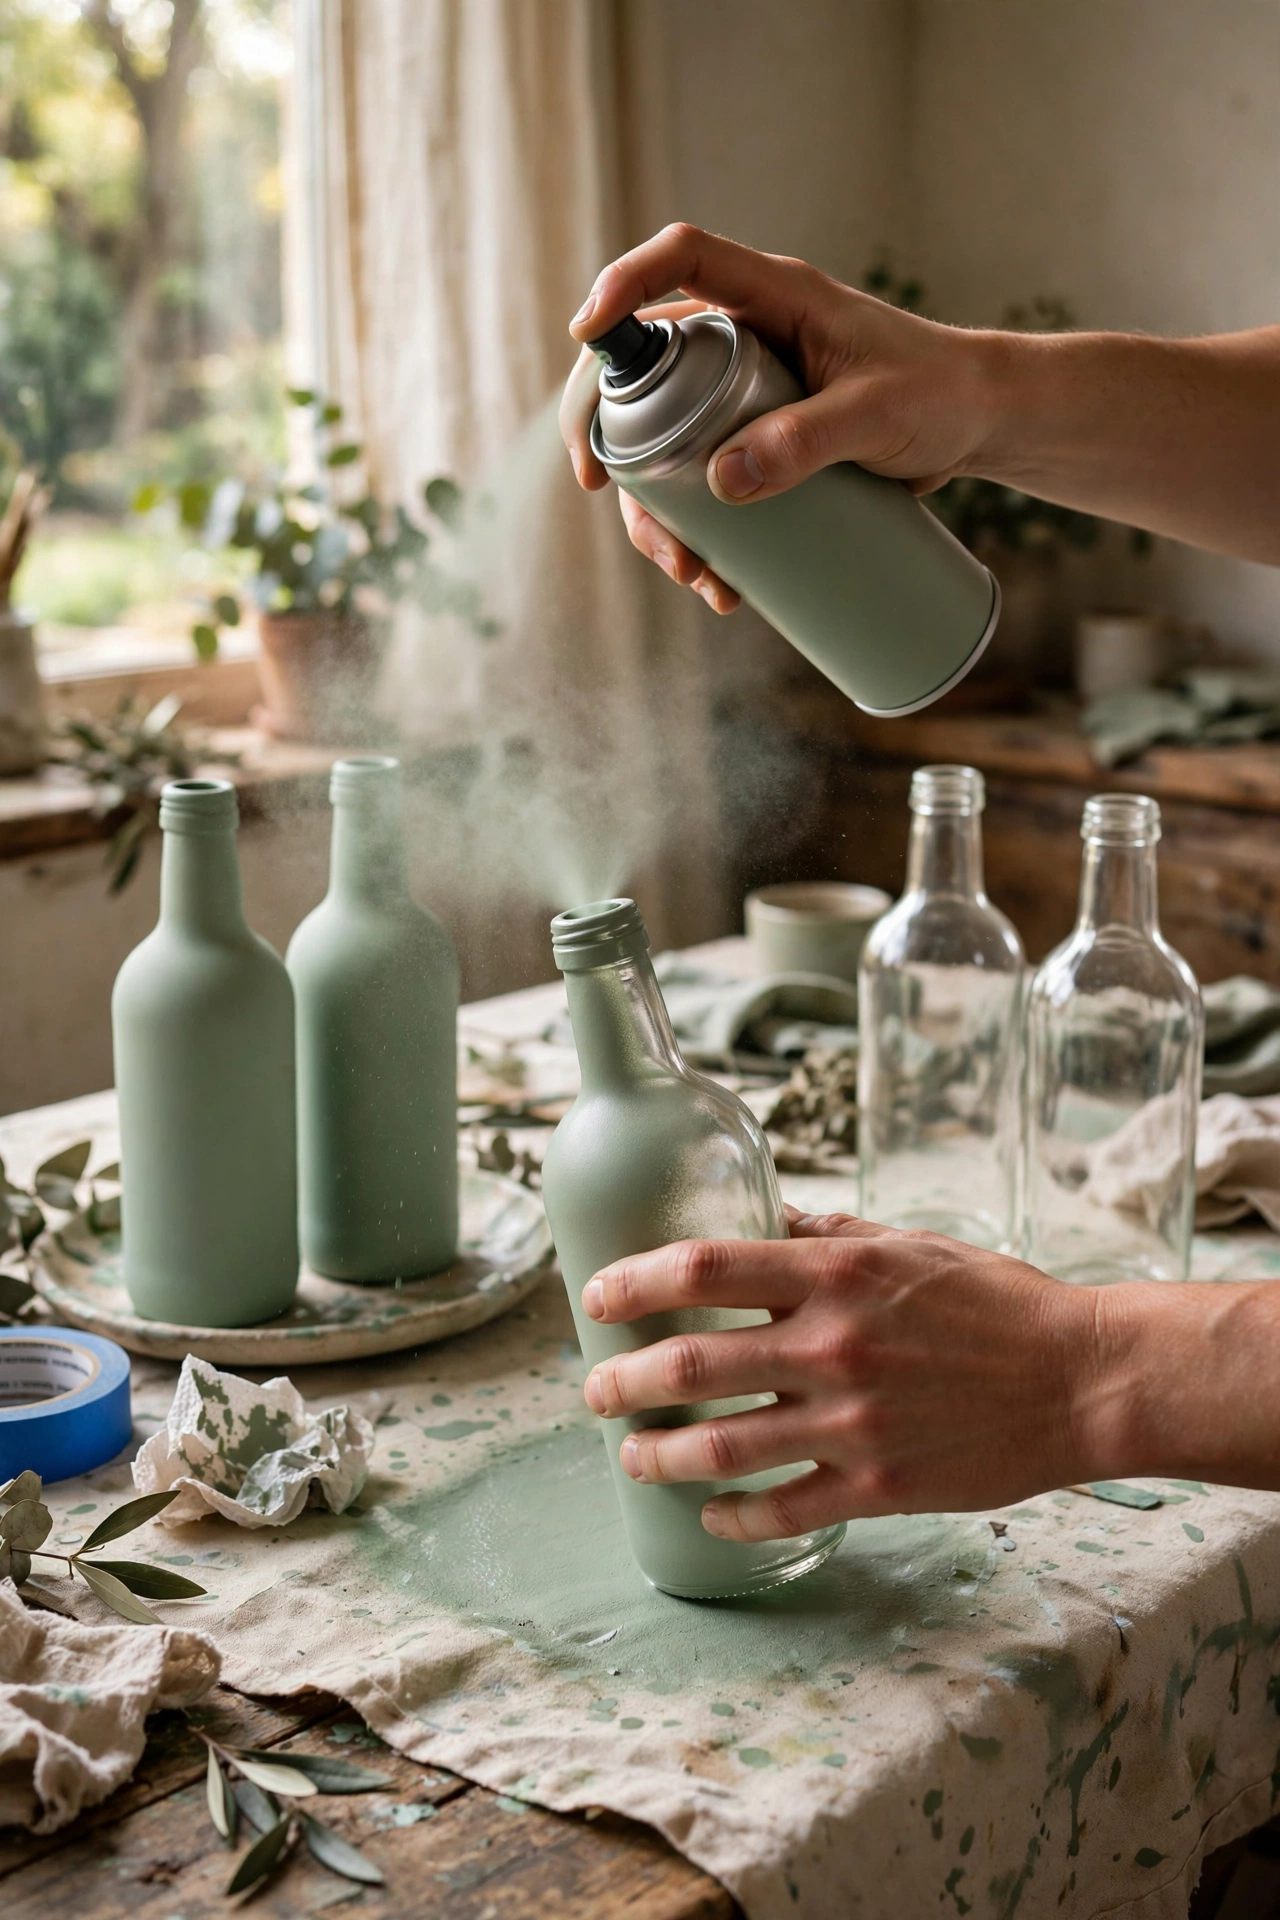
Empty glass bottles become a coordinated vase collection with nothing but spray paint. Soak the bottles to remove labels, wash and dry them completely, then apply a coat of primer followed by two thin coats of spray paint in your chosen colour. I skipped primer on my first batch and the paint chipped the first time a bottle was moved, so do not skip it. Group bottles of different heights in odd numbers for a styled cluster. Matte black looks dramatic, soft sage looks calm, and metallic gold looks festive. They cost nothing and lift any shelf or mantel instantly.
Materials: Glass bottles, primer, spray paint | Cost: ~$3-8 | Time: 1 hour plus drying
18. Scarf Curtain Panels

Big silk or lightweight scarves clip onto curtain rings as instant bohemian panels. Gather two or three large scarves in coordinating colours, thread them onto clip rings, and hang them on a tension rod or existing pole. My first set faded unevenly in strong sun, so rotate the panels every few months or keep them on a north-facing window. They filter light softly and move beautifully in a breeze. When you tire of the pattern, the scarves go back in the drawer with no damage done. It is the ultimate commitment-free window treatment for renters.
Materials: 2-3 large scarves, clip curtain rings, tension rod | Cost: ~$2-8 | Time: 20 minutes
19. Baking Tin Magnetic Board
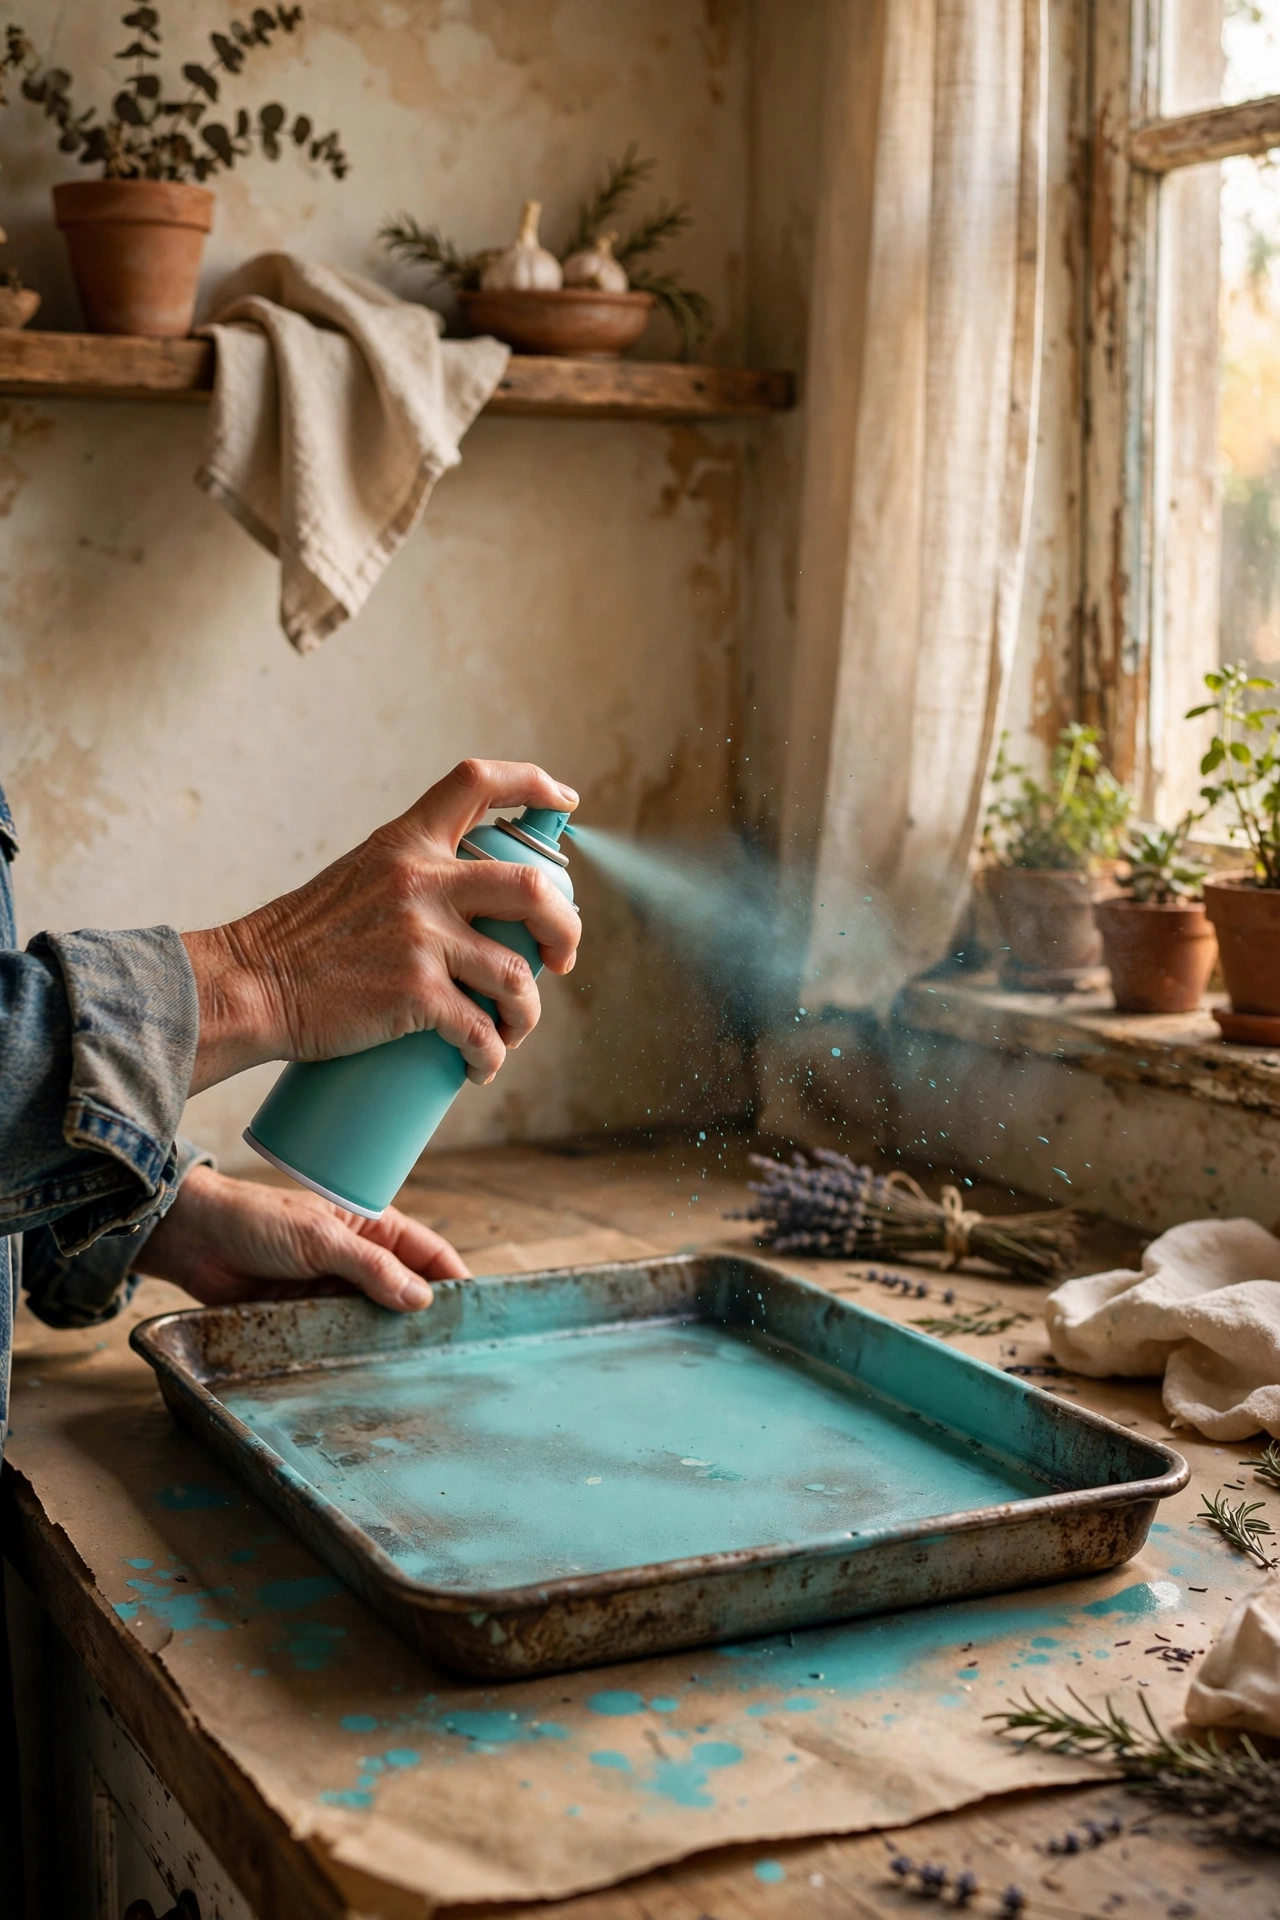
An old metal baking tray becomes a magnetic notice board with one coat of paint. Clean the tray thoroughly, spray it with a couple of coats of paint in a fun colour, and let it cure fully before use. Standard fridge magnets may slide, so invest in small neodymium magnets, which grip properly through the paint layers. I learned this after my first board slowly shed its contents overnight. Hang it in the kitchen for shopping lists, in a hallway for keys and reminders, or in a kids’ room for artwork. The raised edges stop pens rolling off, which notice boards never manage.
Materials: Metal baking tray, spray paint, neodymium magnets | Cost: ~$3-8 | Time: 45 minutes plus drying
20. Toolbox Planter
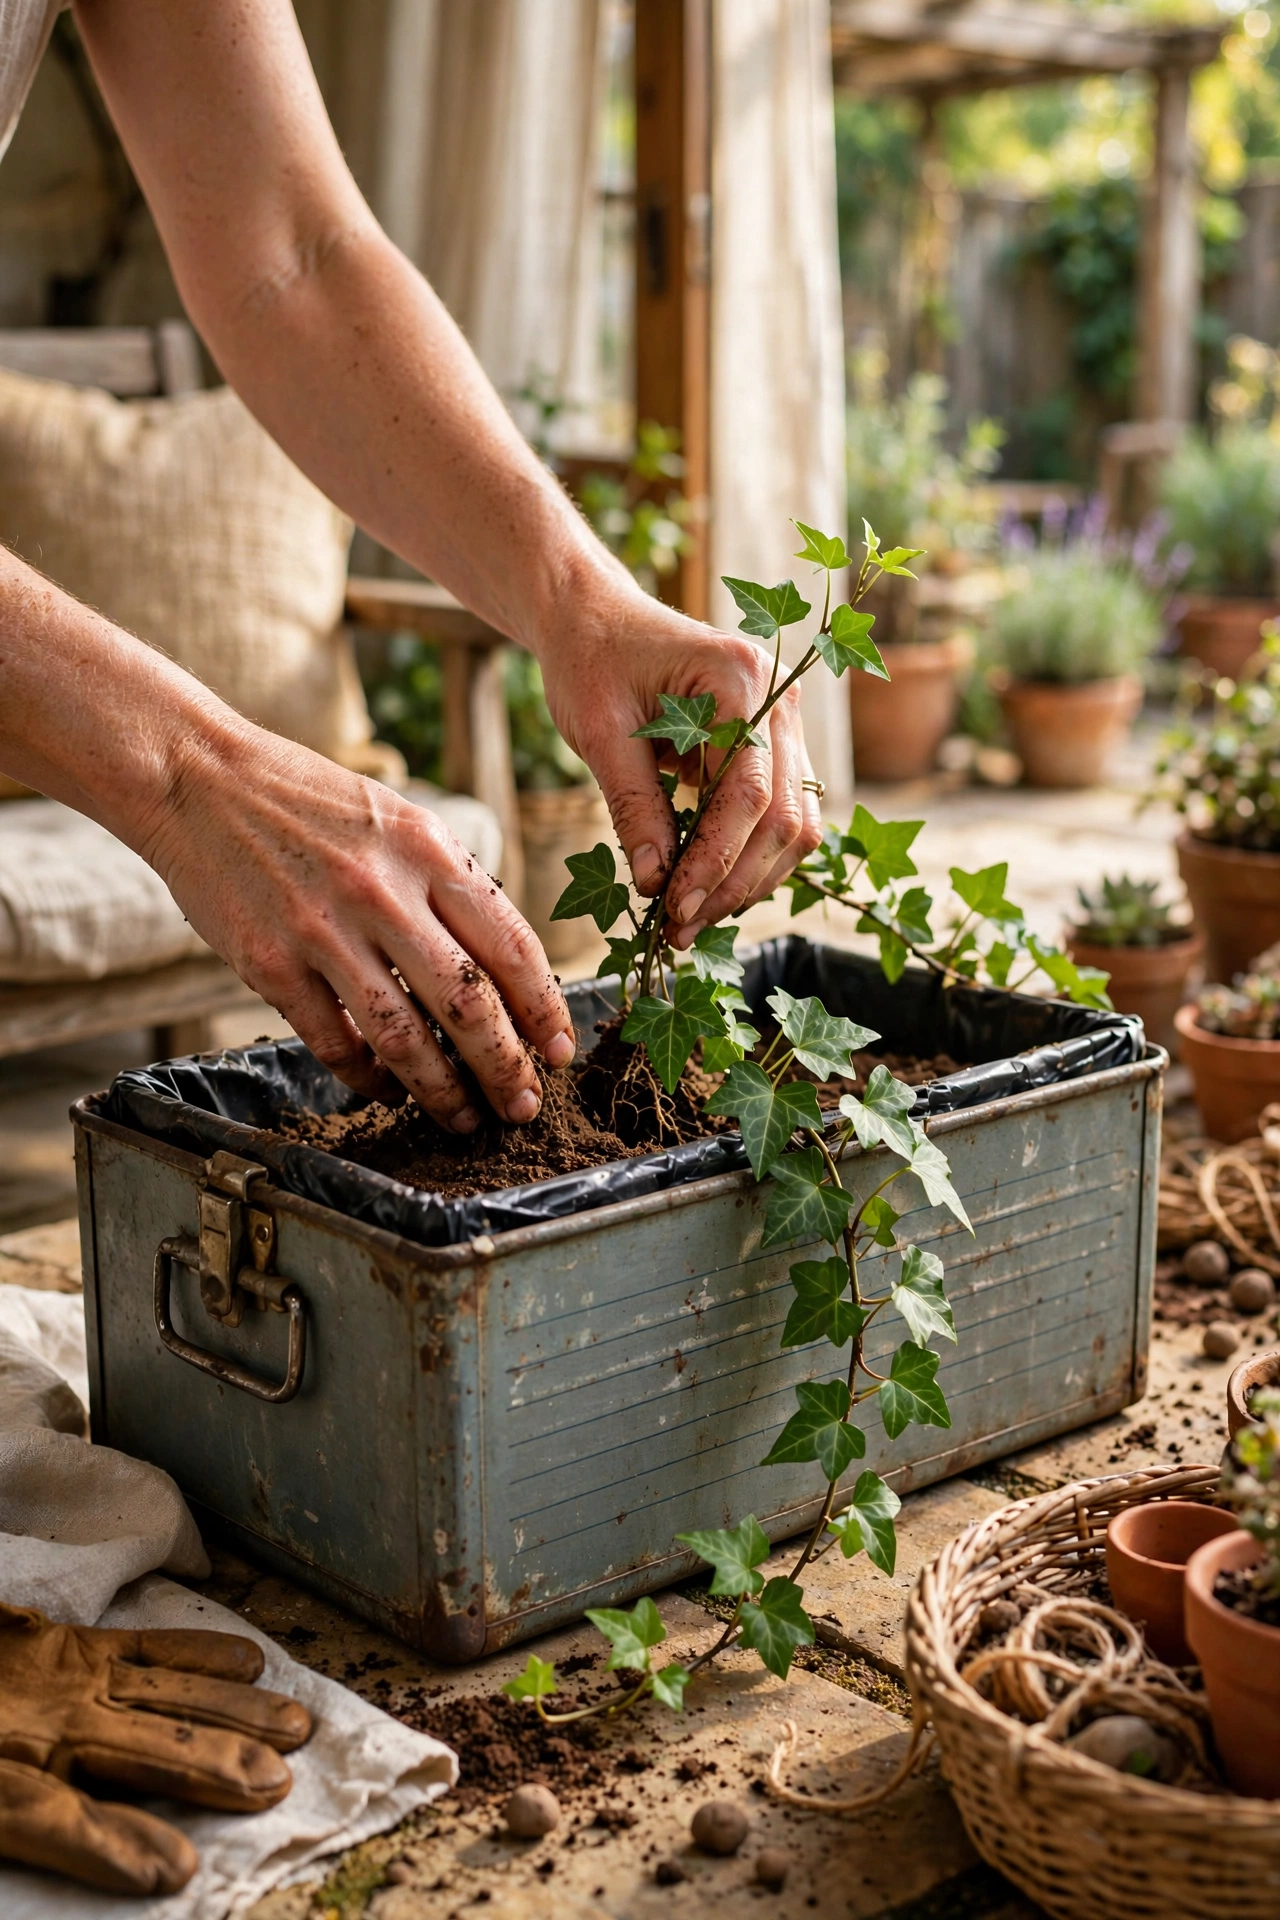
A rusty old toolbox makes a planter with unbeatable character. Drill drainage holes in the base, line it with landscape fabric to hold the soil while letting water through, and fill with compost. My first toolbox planter skipped the liner and leaked muddy water across the patio every time it rained, so the liner matters. Plant it with trailing plants like ivy or string-of-pearls that spill over the edges, or with herbs by the kitchen door. The metal handle makes it easy to move for sun or shelter. It looks like a deliberate vintage find rather than a garage rescue.
Materials: Old metal toolbox, drill, landscape fabric, compost, plants | Cost: ~$5-12 | Time: 1 hour
21. Wobbly Stool Side Table
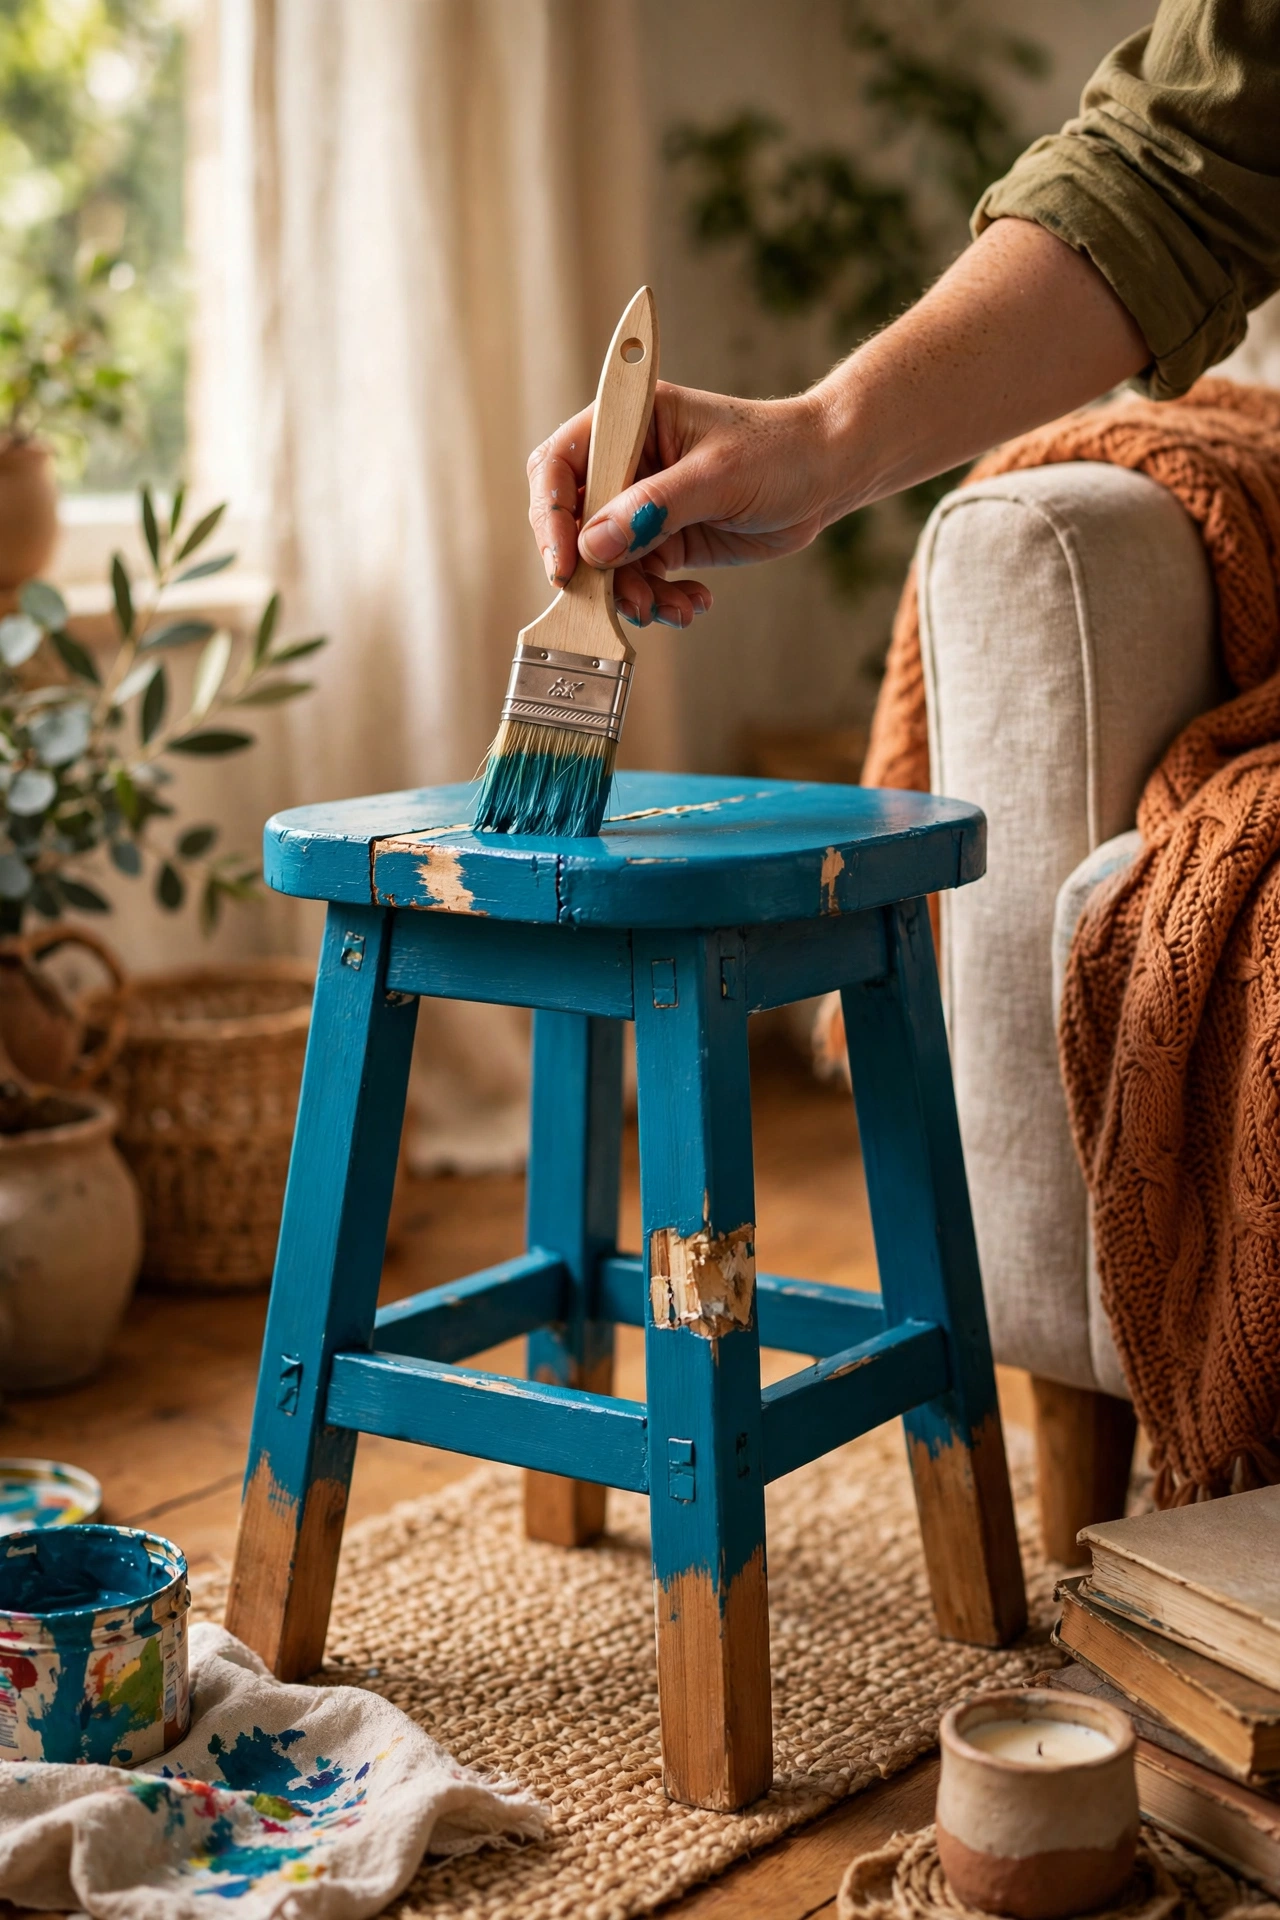
That wobbly wooden stool is one repair away from being a charming side table. Tighten every joint with wood glue and screws, add small corner braces underneath if the wobble persists, and sand the whole thing smooth. My first repair skipped the braces and the wobble returned within a month, so brace it properly the first time. Paint it a bold colour or stain it dark, then style it beside an armchair with a lamp or a stack of books. Small rooms love pieces like this, and (see also: 21-bedroom-decor-ideas-under-25-on-a-tight-budget/) has more tiny-space heroes that cost less than a takeaway. Nobody will ever know it once wobbled.
Materials: Old wooden stool, wood glue, screws, corner braces, paint | Cost: ~$3-9 | Time: 1-2 hours
Pin this post now so you can save this idea for your next weekend project run! Start with whatever is already in your garage, because the best material is the one you do not have to buy.
