19 Budget Bedding Ideas That Look Luxe
I once spent a painful amount of money on a “luxury” duvet set with a French-sounding name, and it still looked flat and sad on my bed. That expensive mistake taught me the real secret behind budget bedding ideas that look luxe: the luxury lives in the styling, not the price tag. Crisp folds, thoughtful layers, and the right textures do more for a bed than any designer label ever will.
I have tried every idea below on my own bed, most of them on lazy Sunday afternoons with things I already owned. Each one costs very little, and several cost nothing at all. Together they turned my plain bedroom into something that genuinely looks like a boutique hotel. Here are the nineteen tricks that actually worked for me.
1. Swap to an All-White Bedding Base
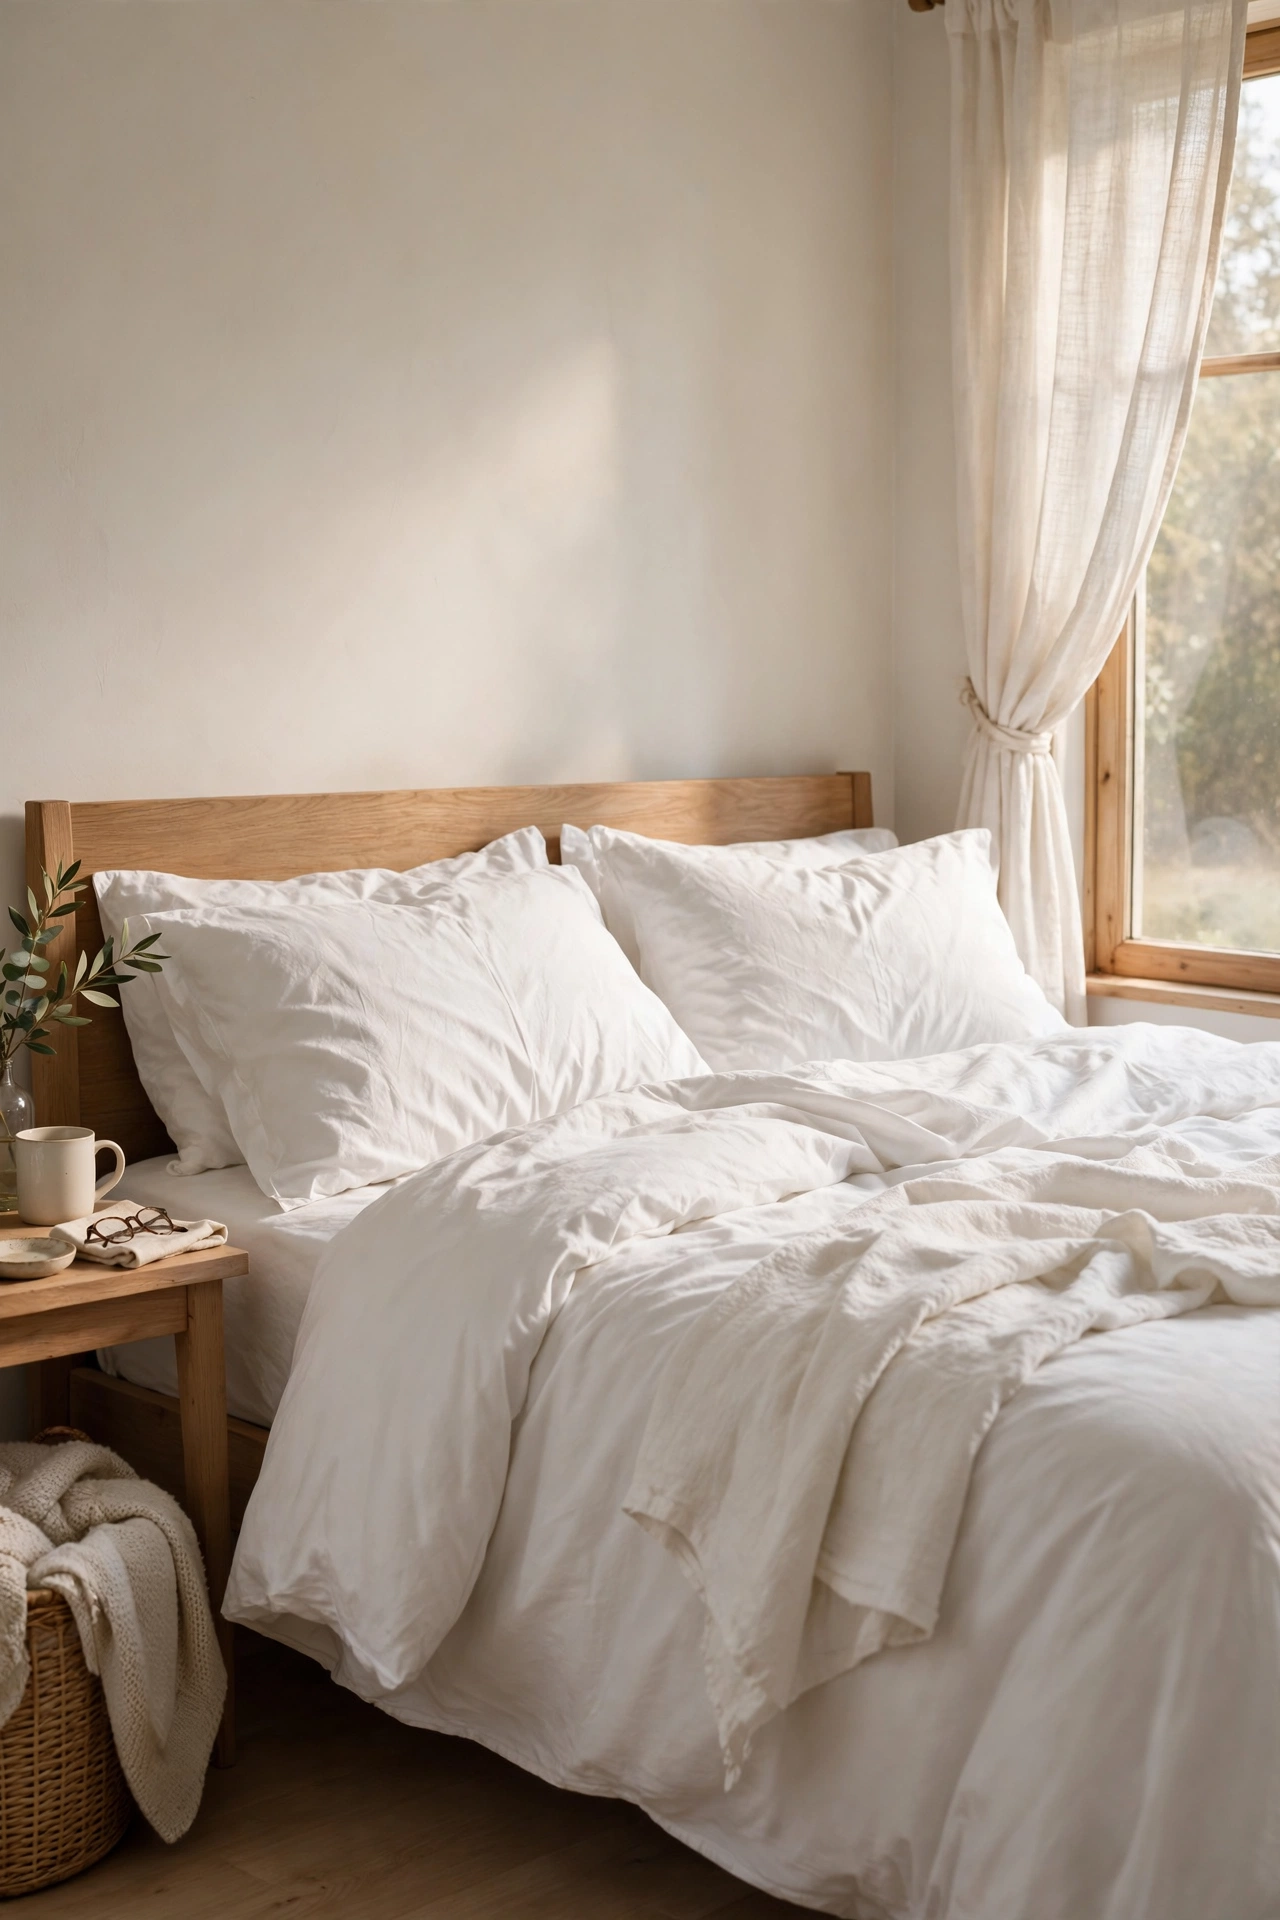
Mismatched sheets are the fastest way to make a bed look cheap, and I lived with a navy fitted sheet and a floral duvet for years without noticing. I stripped everything back to plain white using the cheapest cotton set I could find, and the room changed overnight. White reads as clean, calm, and expensive in any light. Wash everything together so it ages to the same shade, and keep a spare set so the bed never sits bare on laundry day. The trick is committing fully, because one patterned pillowcase undoes the whole effect. My spare set lives in a basket under the bed, ready to swap in minutes when guests are coming.
Cost: ~$15-25 | Time: 20 minutes
2. Layer Cream and White for Tone-on-Tone Luxury
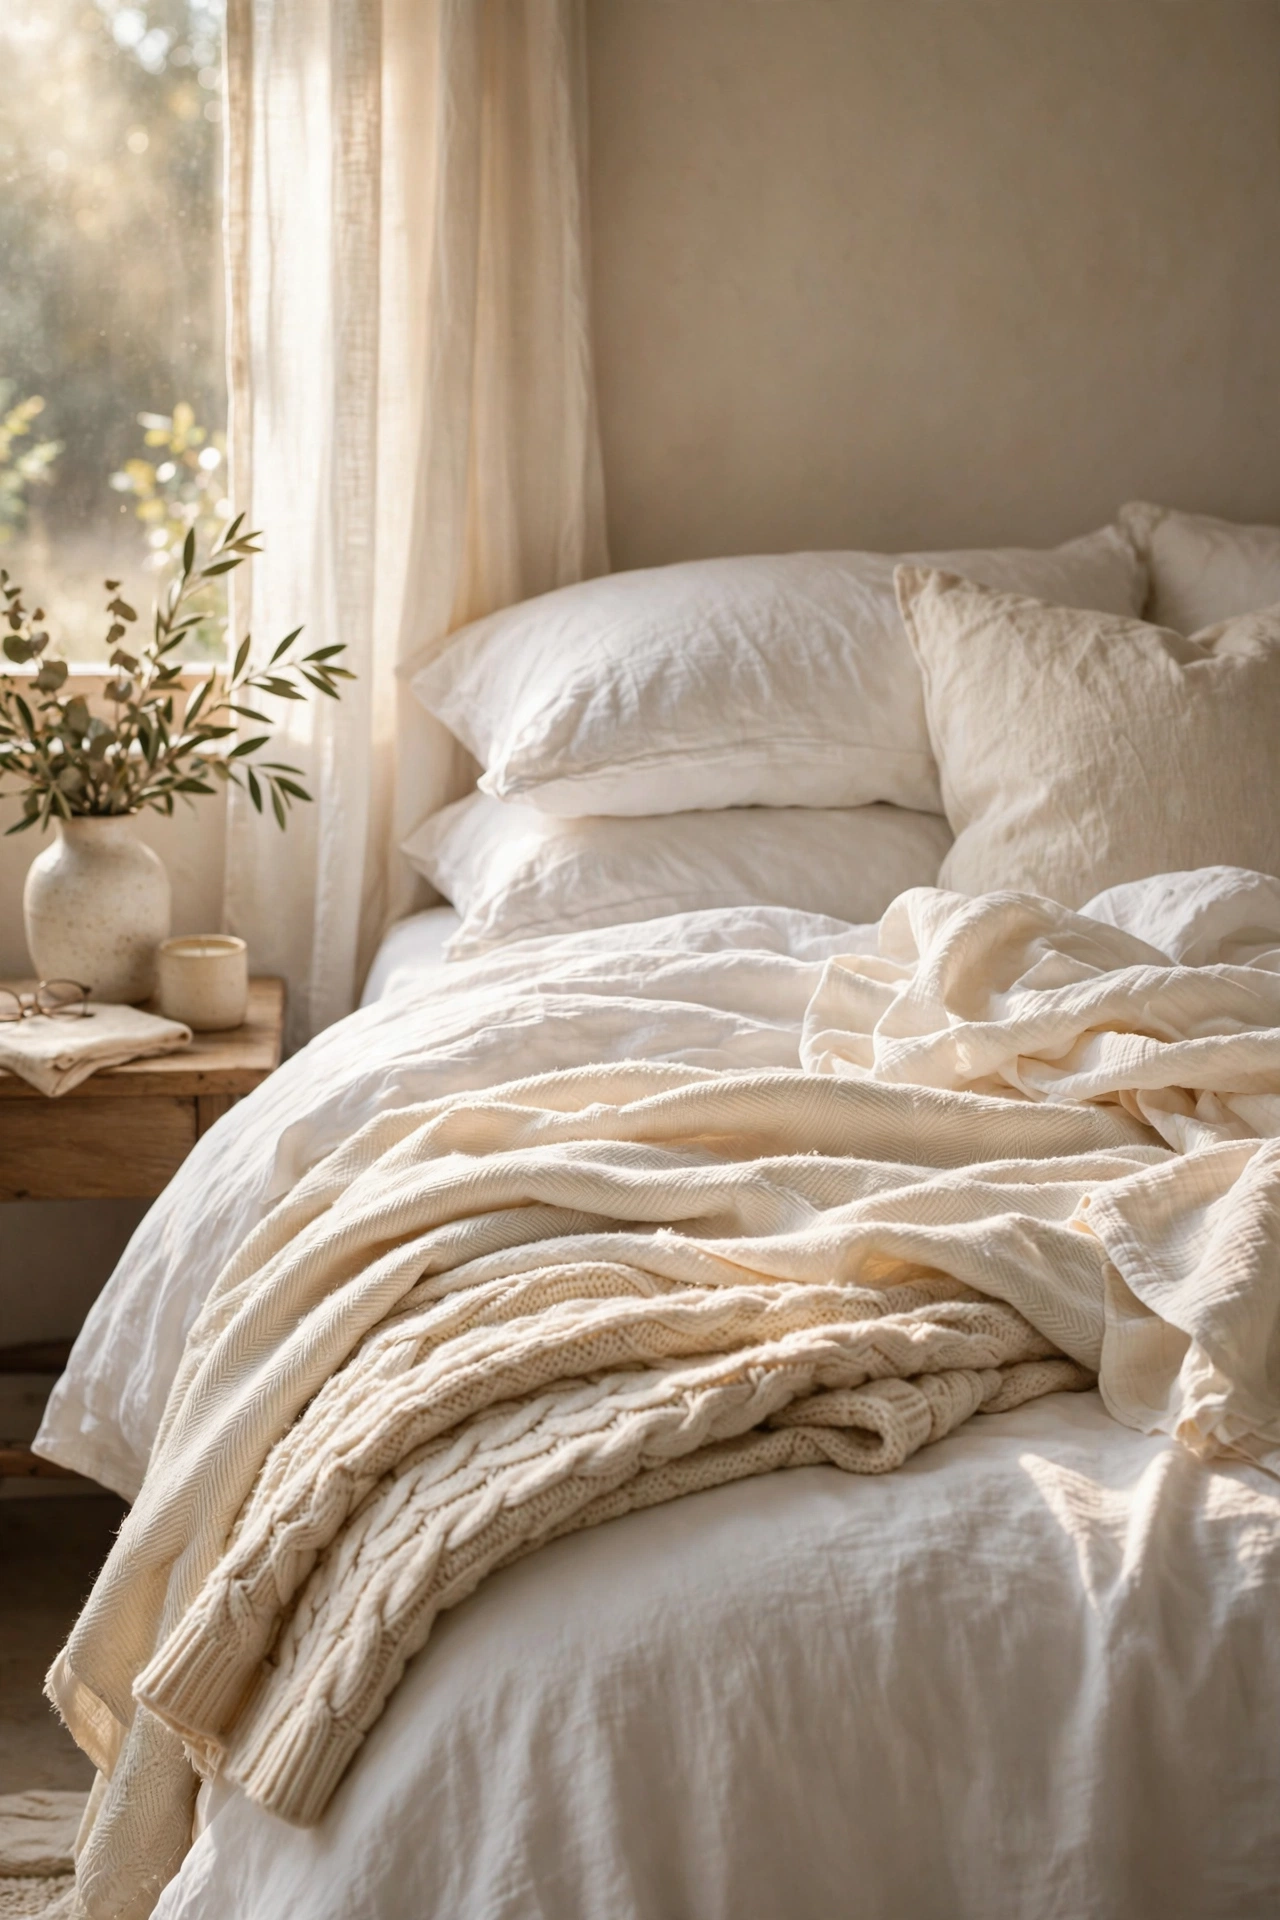
All white can feel a little stark, so I started layering cream and ivory pieces over the white base and the bed suddenly looked styled instead of plain. A cream throw at the foot, ivory cushions against white sleeping pillows, and a natural linen runner down the middle create depth without any pattern at all. Hotels do this constantly because tonal layering reads as deliberate and calm. I keep the creams on the warm side and the whites bright so the layers stay distinct. My mistake the first time was using grey, which just looked dirty next to white. Stick to warm neutrals and it always works.
Cost: ~$10-20 | Time: 15 minutes
3. Master the Hotel Triple Fold
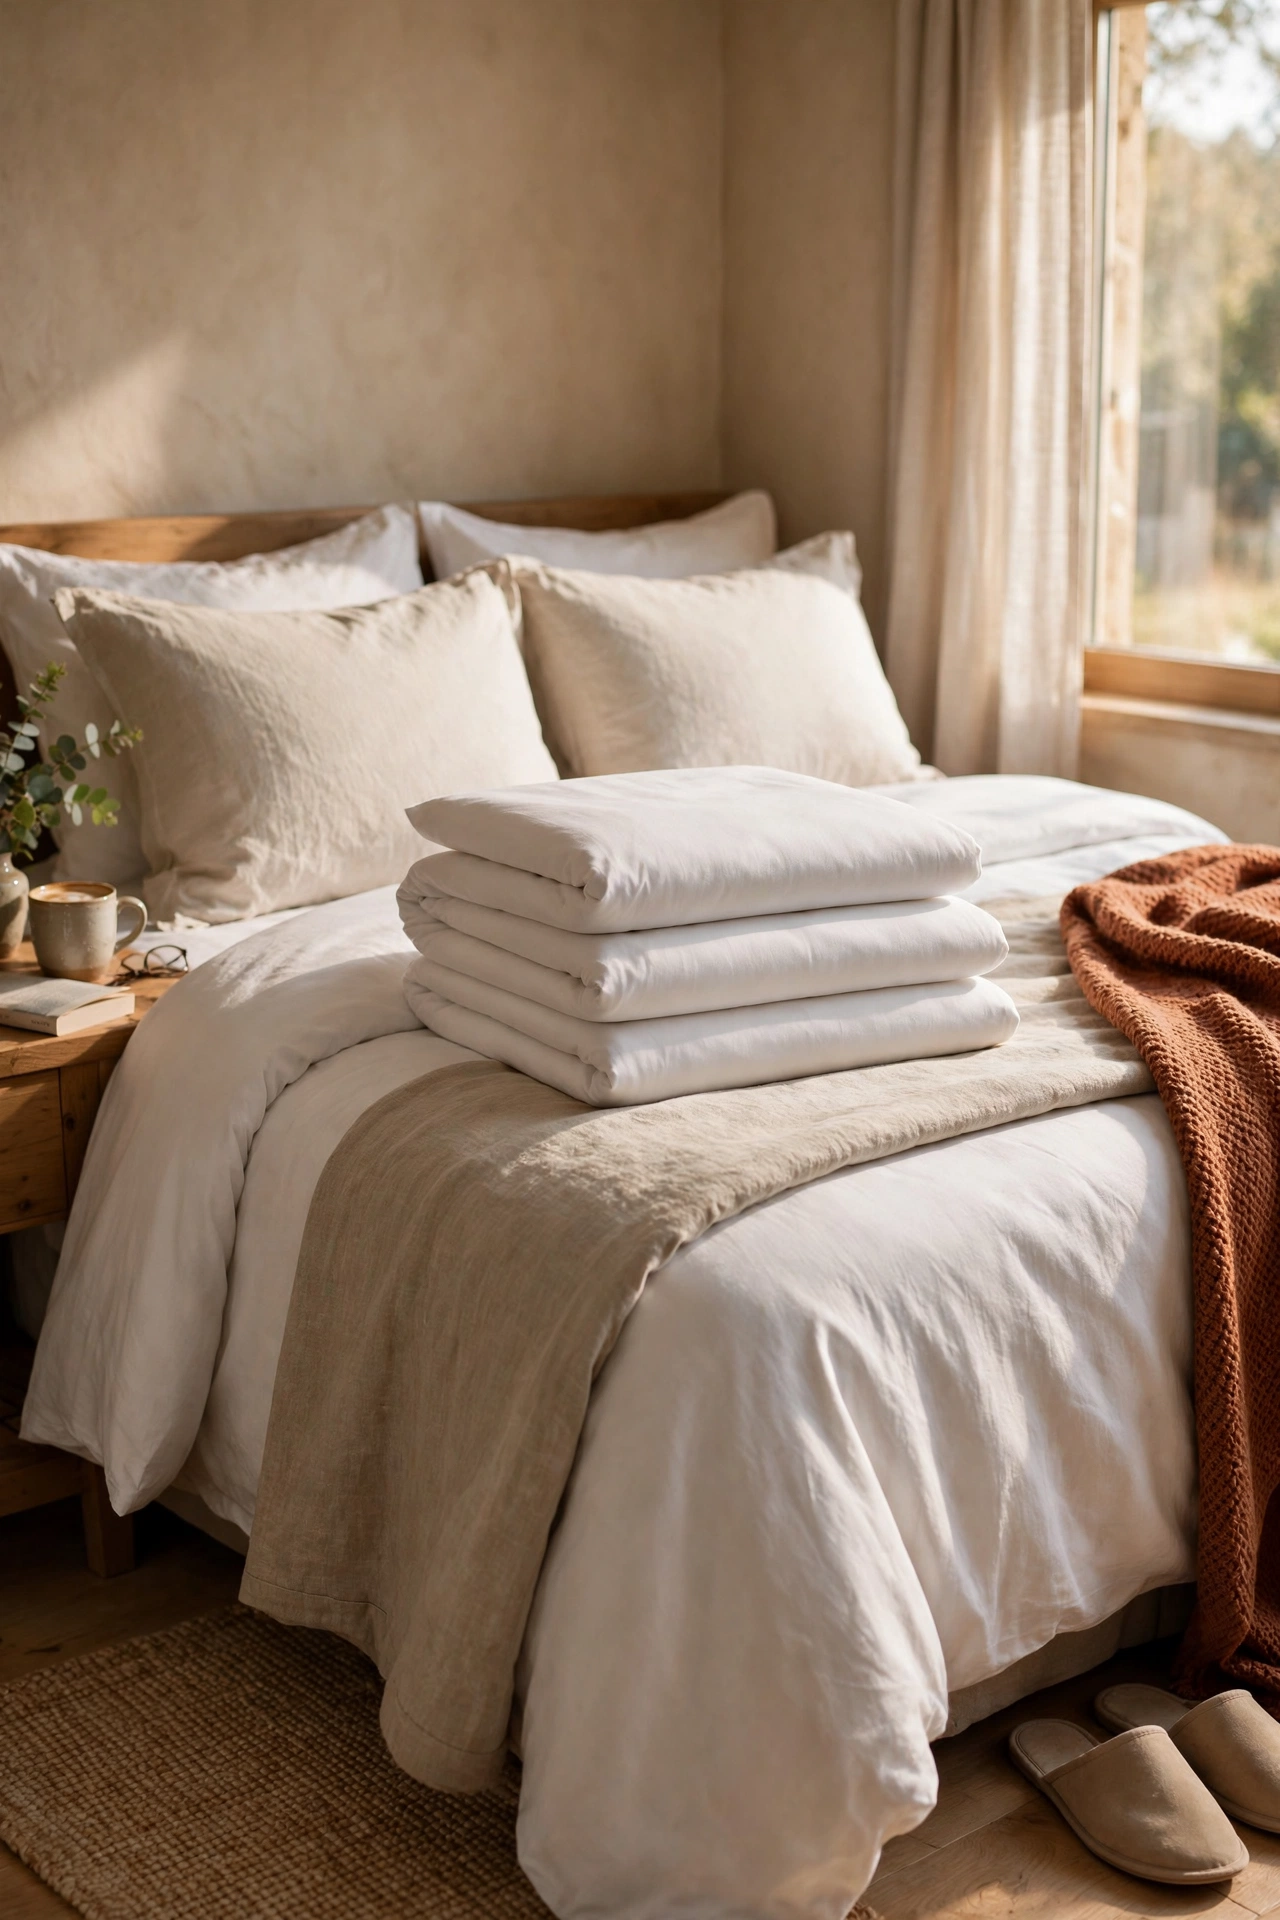
The hotel triple fold is the single trick that made my bed look expensive, and it costs nothing. Pull the duvet down about a third, fold the exposed top sheet back over it, then fold the whole lot down once more so you get three crisp layers at the head of the bed. It takes practice to get the folds even, so use the mattress edge as your guide. I watched a hotel housekeeping video twice before my folds stopped looking lumpy. The result looks so professional that my sister asked if I had bought new bedding. I had not touched a single new thing.
Cost: ~$0 | Time: 5 minutes
4. Iron Your Pillowcases for a Crisp Finish
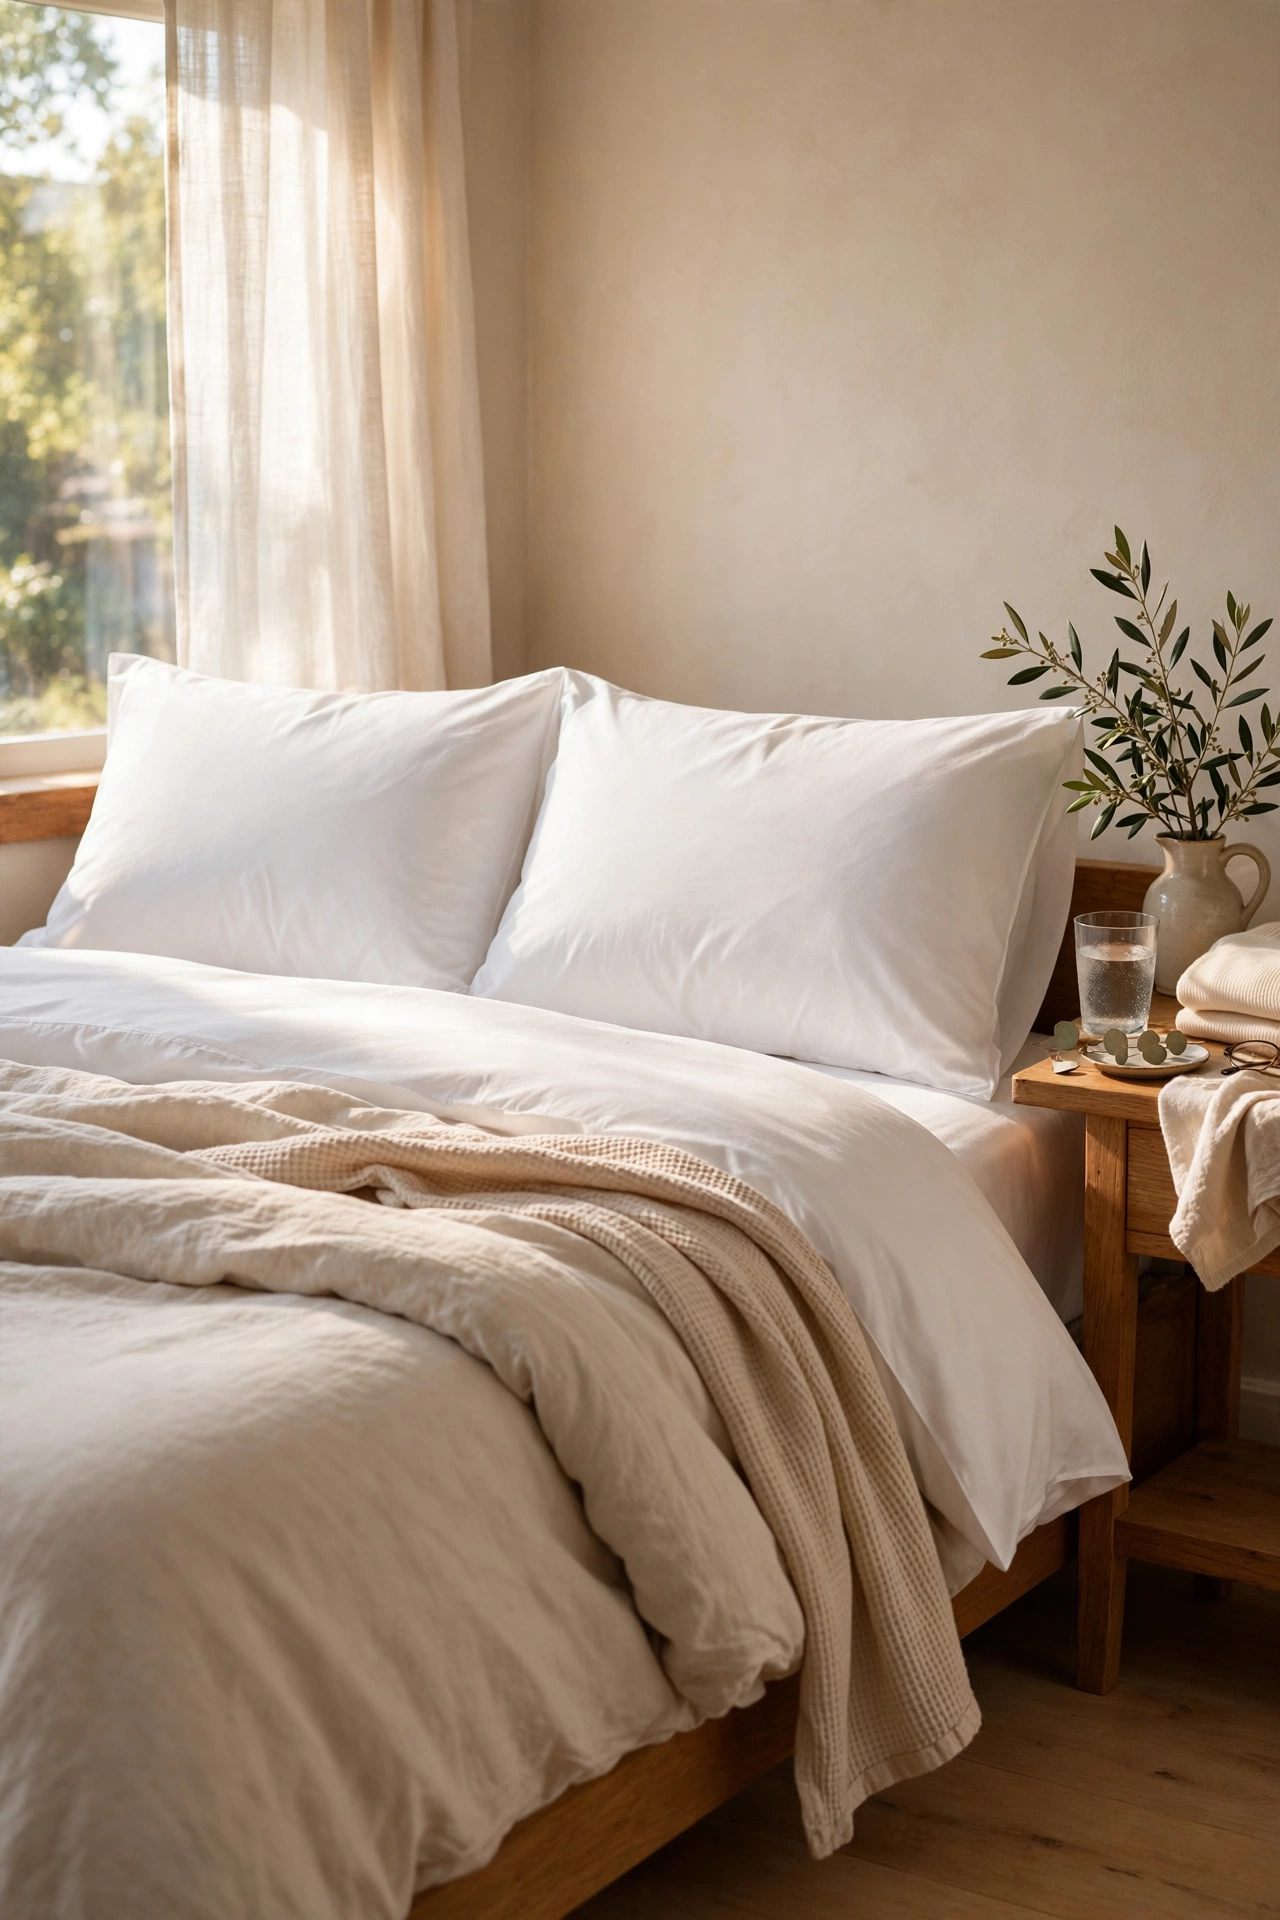
I used to think ironing bedding was madness until I tried it on two pillowcases and saw the difference. Crisp, smooth pillowcases catch the light evenly and look freshly laundered in a way that unironed cotton never does. You only need to iron the front face that shows, which takes about two minutes per case. Use a hot iron with steam and press the opening edge flat so it lies neatly. I do mine while the kettle boils on Sunday mornings, so it never feels like a chore. Pair this with the triple fold and the whole bed looks pressed and perfect.
Cost: ~$0 | Time: 5 minutes
5. Make Oversized Euro Shams from Cheap Covers
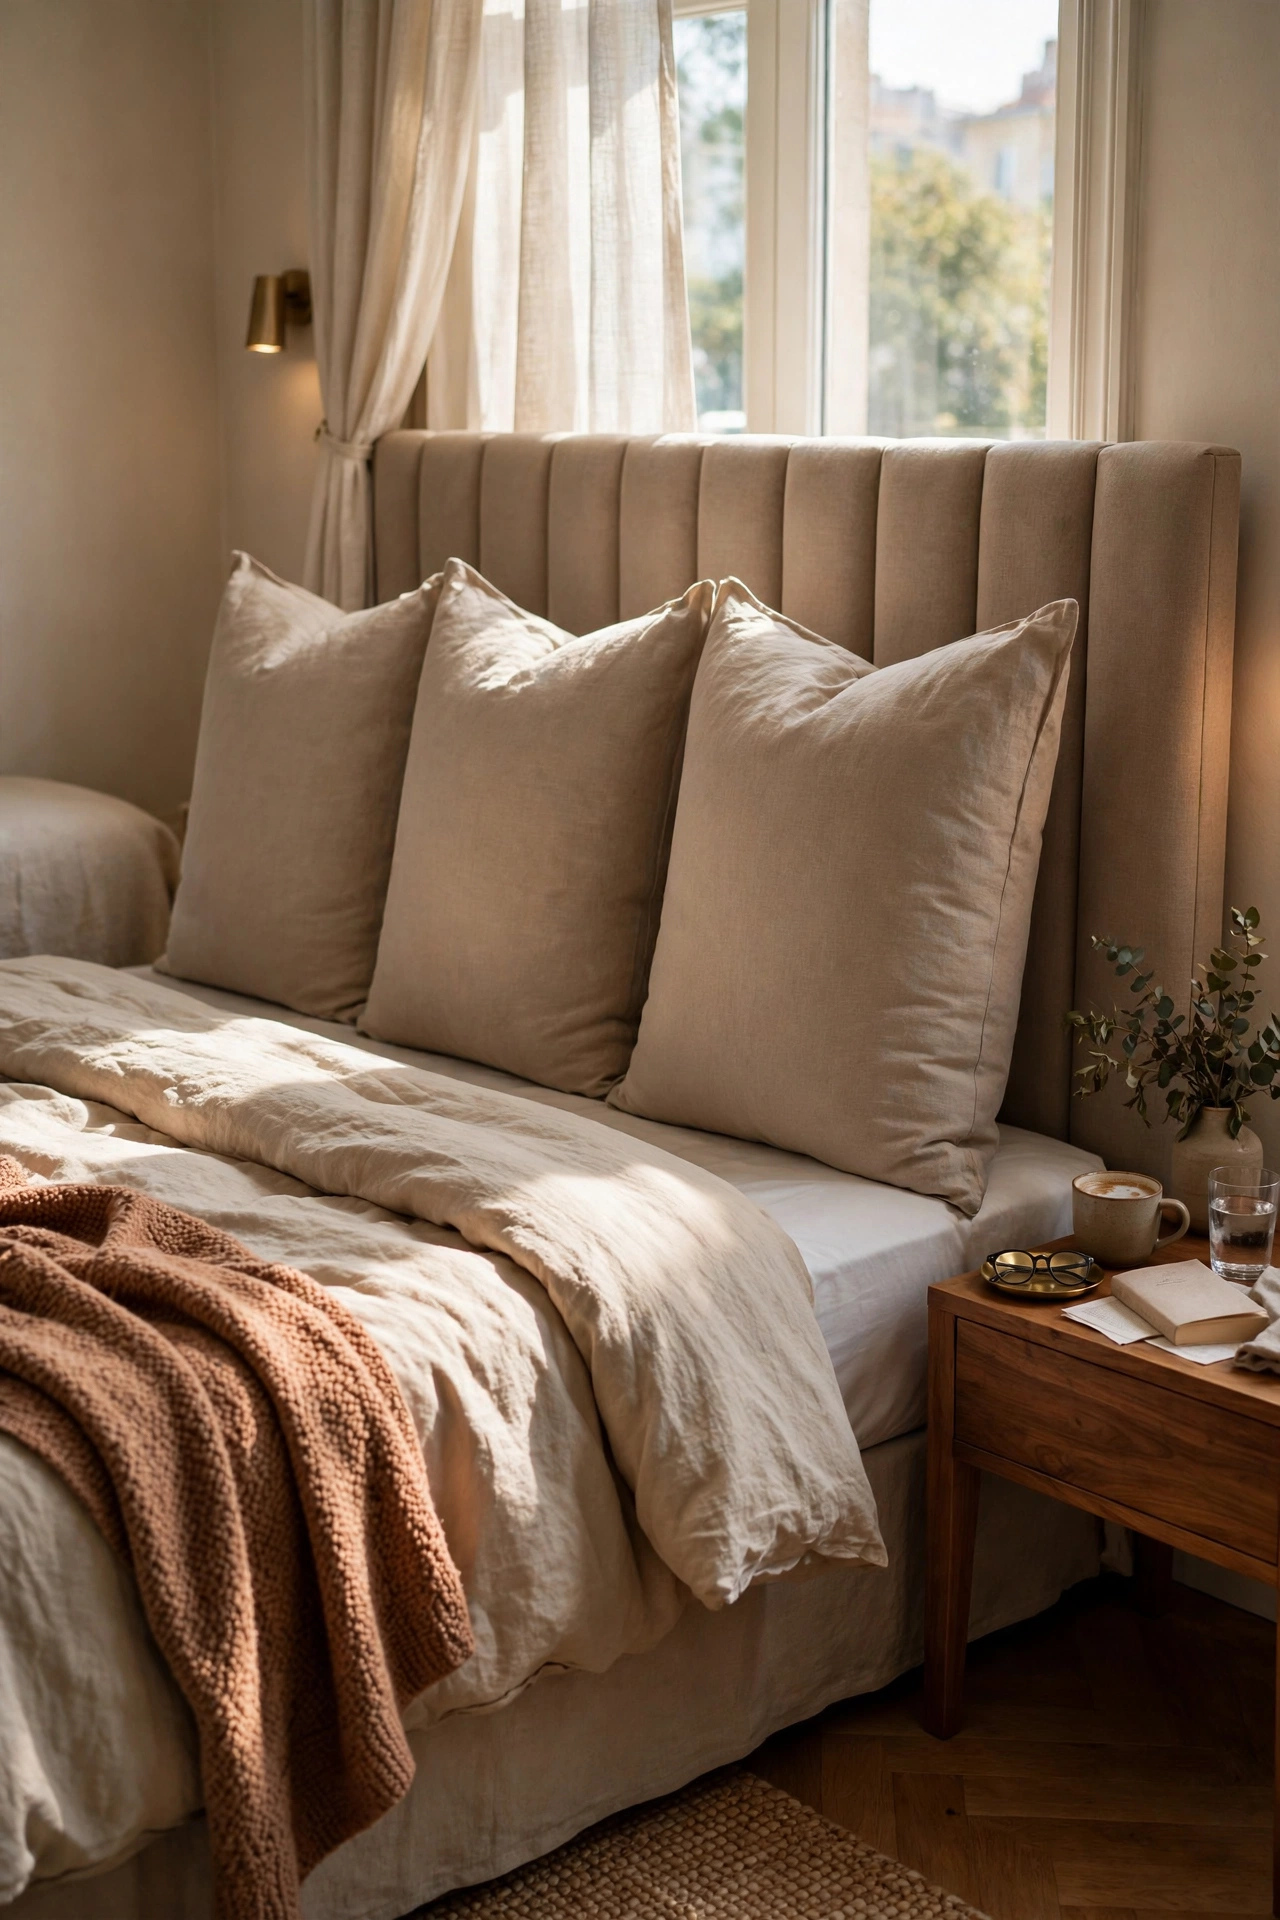
Euro shams are those big square cushions hotels lean against the headboard, and they add instant height and structure to a bed. Real ones are pricey, but I made mine by stuffing two cheap square cushion pads into plain white pillowcases and folding the excess fabric neatly behind. From the front, nobody can tell the difference. Stand them upright against the headboard with the opening hidden at the back. I bought the pads for a few dollars each at a discount home store. They give the bed that tall, layered hotel silhouette that flat pillows never achieve.
Cost: ~$8-14 | Time: 10 minutes
6. Layer a Quilt Over Your Duvet
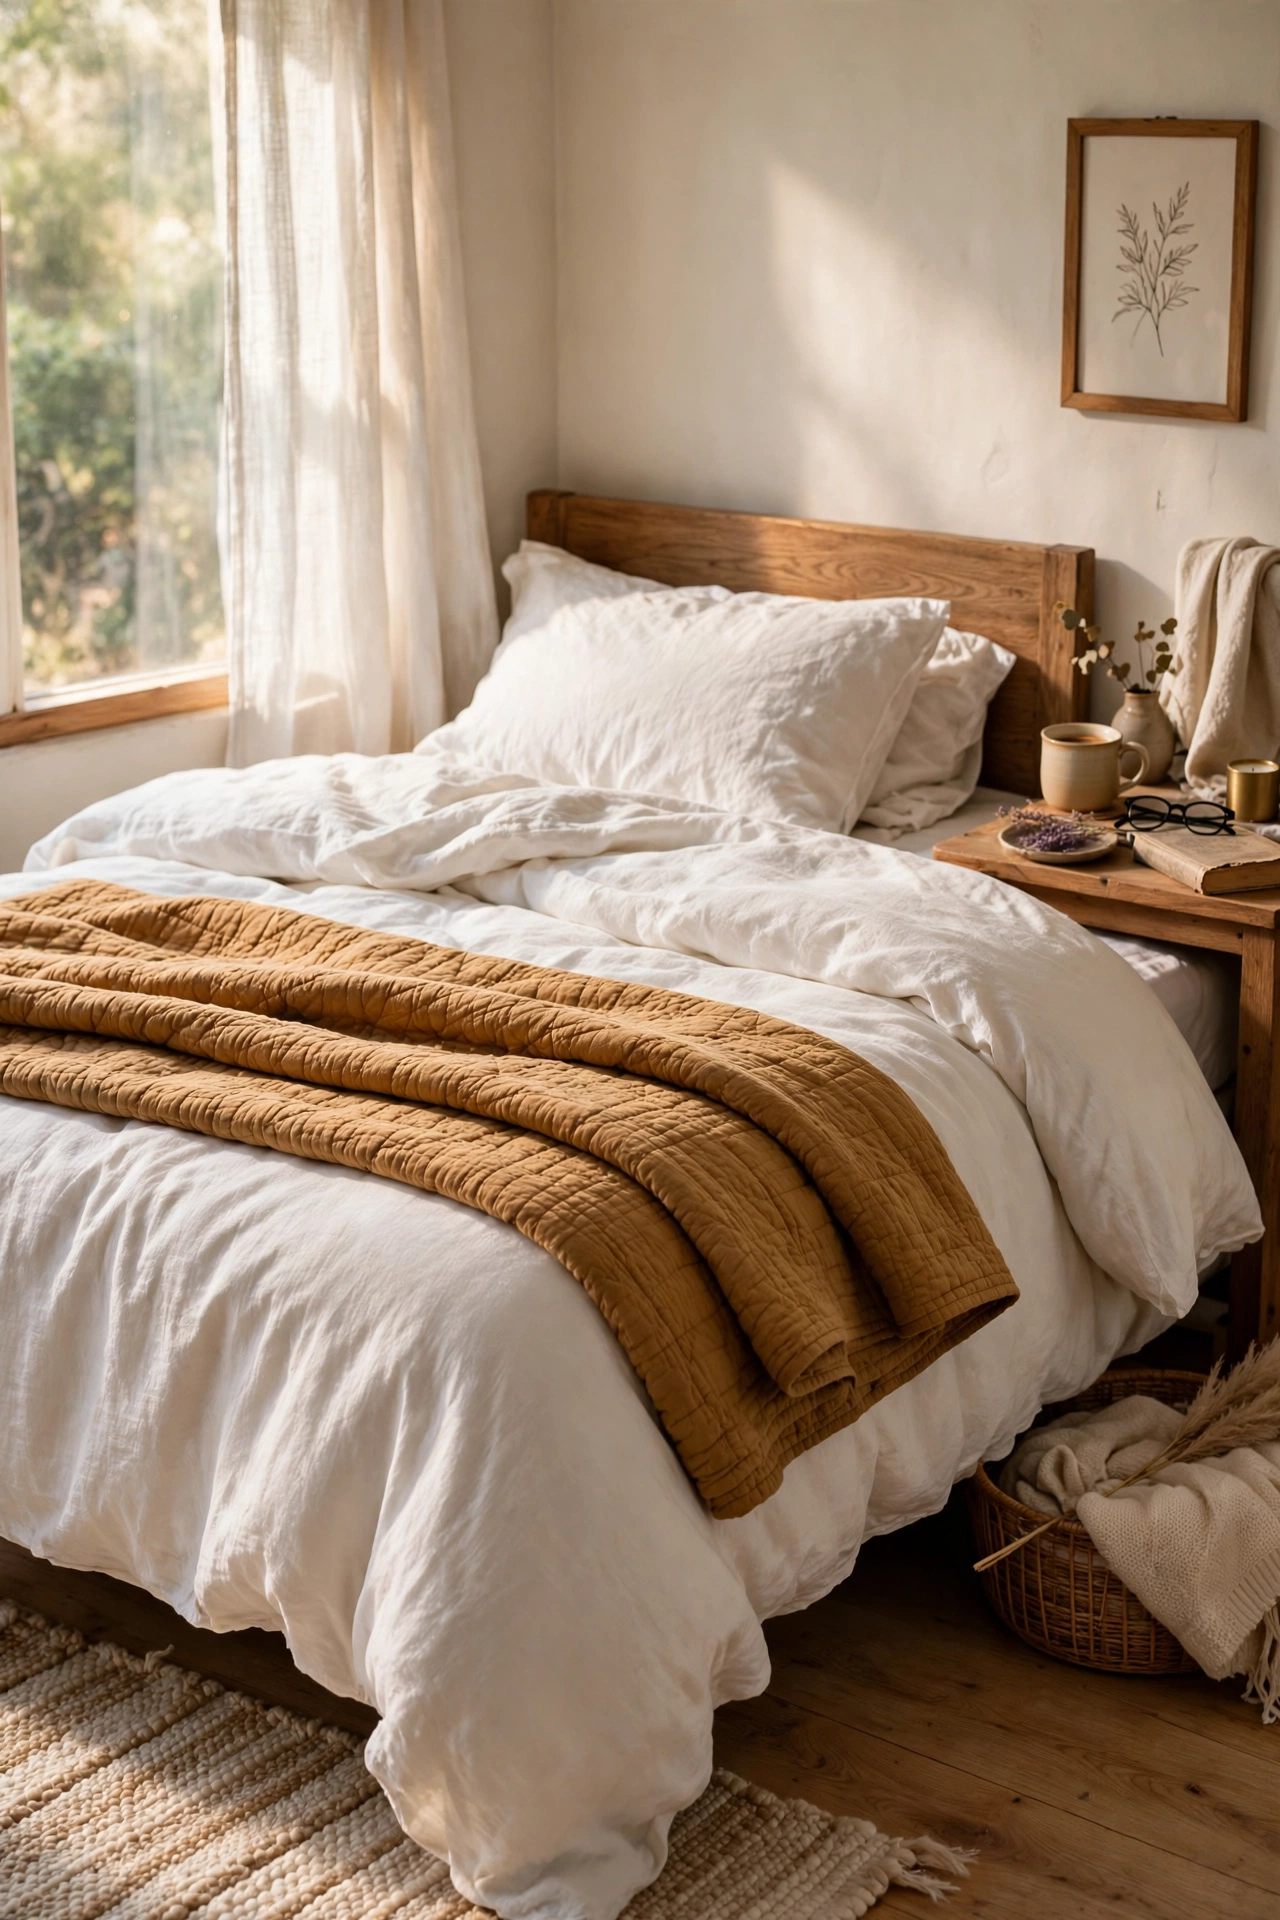
One duvet alone looks flat, but a quilt folded across the lower half adds a second texture and a tailored finish. I dug out an old quilt from the linen cupboard, folded it in thirds lengthways, and laid it across the foot of the bed. It instantly looked like a styled editorial photo. The quilt should contrast slightly with the duvet, either in colour or texture, so the layering reads as intentional. Mine is a faded floral that somehow looks chic against plain white. If you do not own a quilt, a second flat sheet folded the same way gives a similar effect.
Cost: ~$0-12 | Time: 10 minutes
7. Add a Waffle-Weave Throw for Texture
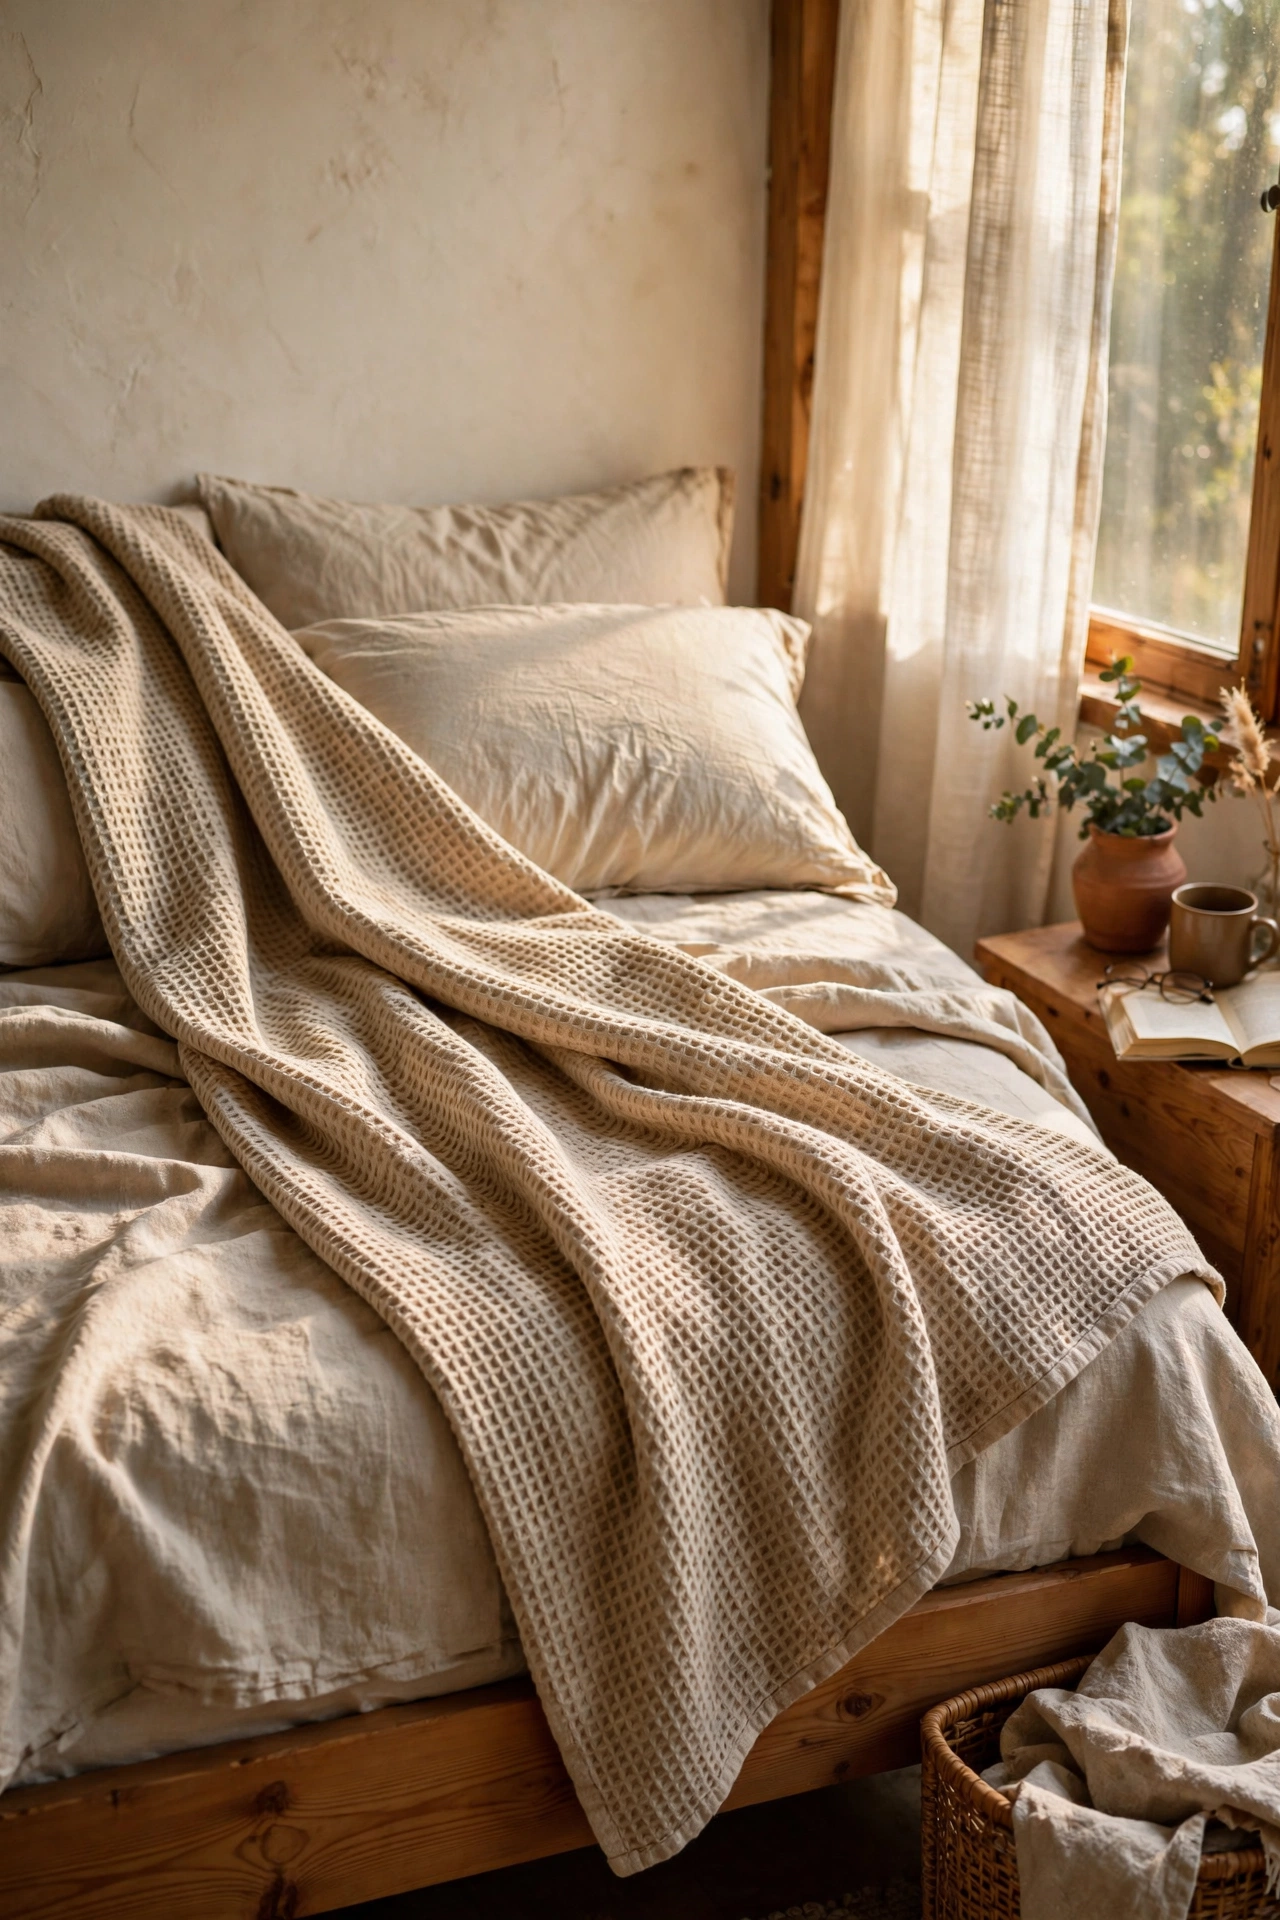
Smooth bedding needs one textured piece to stop it looking flat, and a waffle-weave throw is the cheapest way to get it. The little honeycomb pattern catches light and shadow, which reads as expensive even in a budget fabric. I drape mine diagonally across one corner of the bed rather than folding it dead centre, which looks more relaxed and styled. Wash it first because waffle cotton softens beautifully after one cycle. I bought mine on sale and it is the most complimented item in the room. Texture truly is the shortcut to a luxe look.
Cost: ~$12-20 | Time: 5 minutes
8. Use Hospital Corners on the Top Sheet
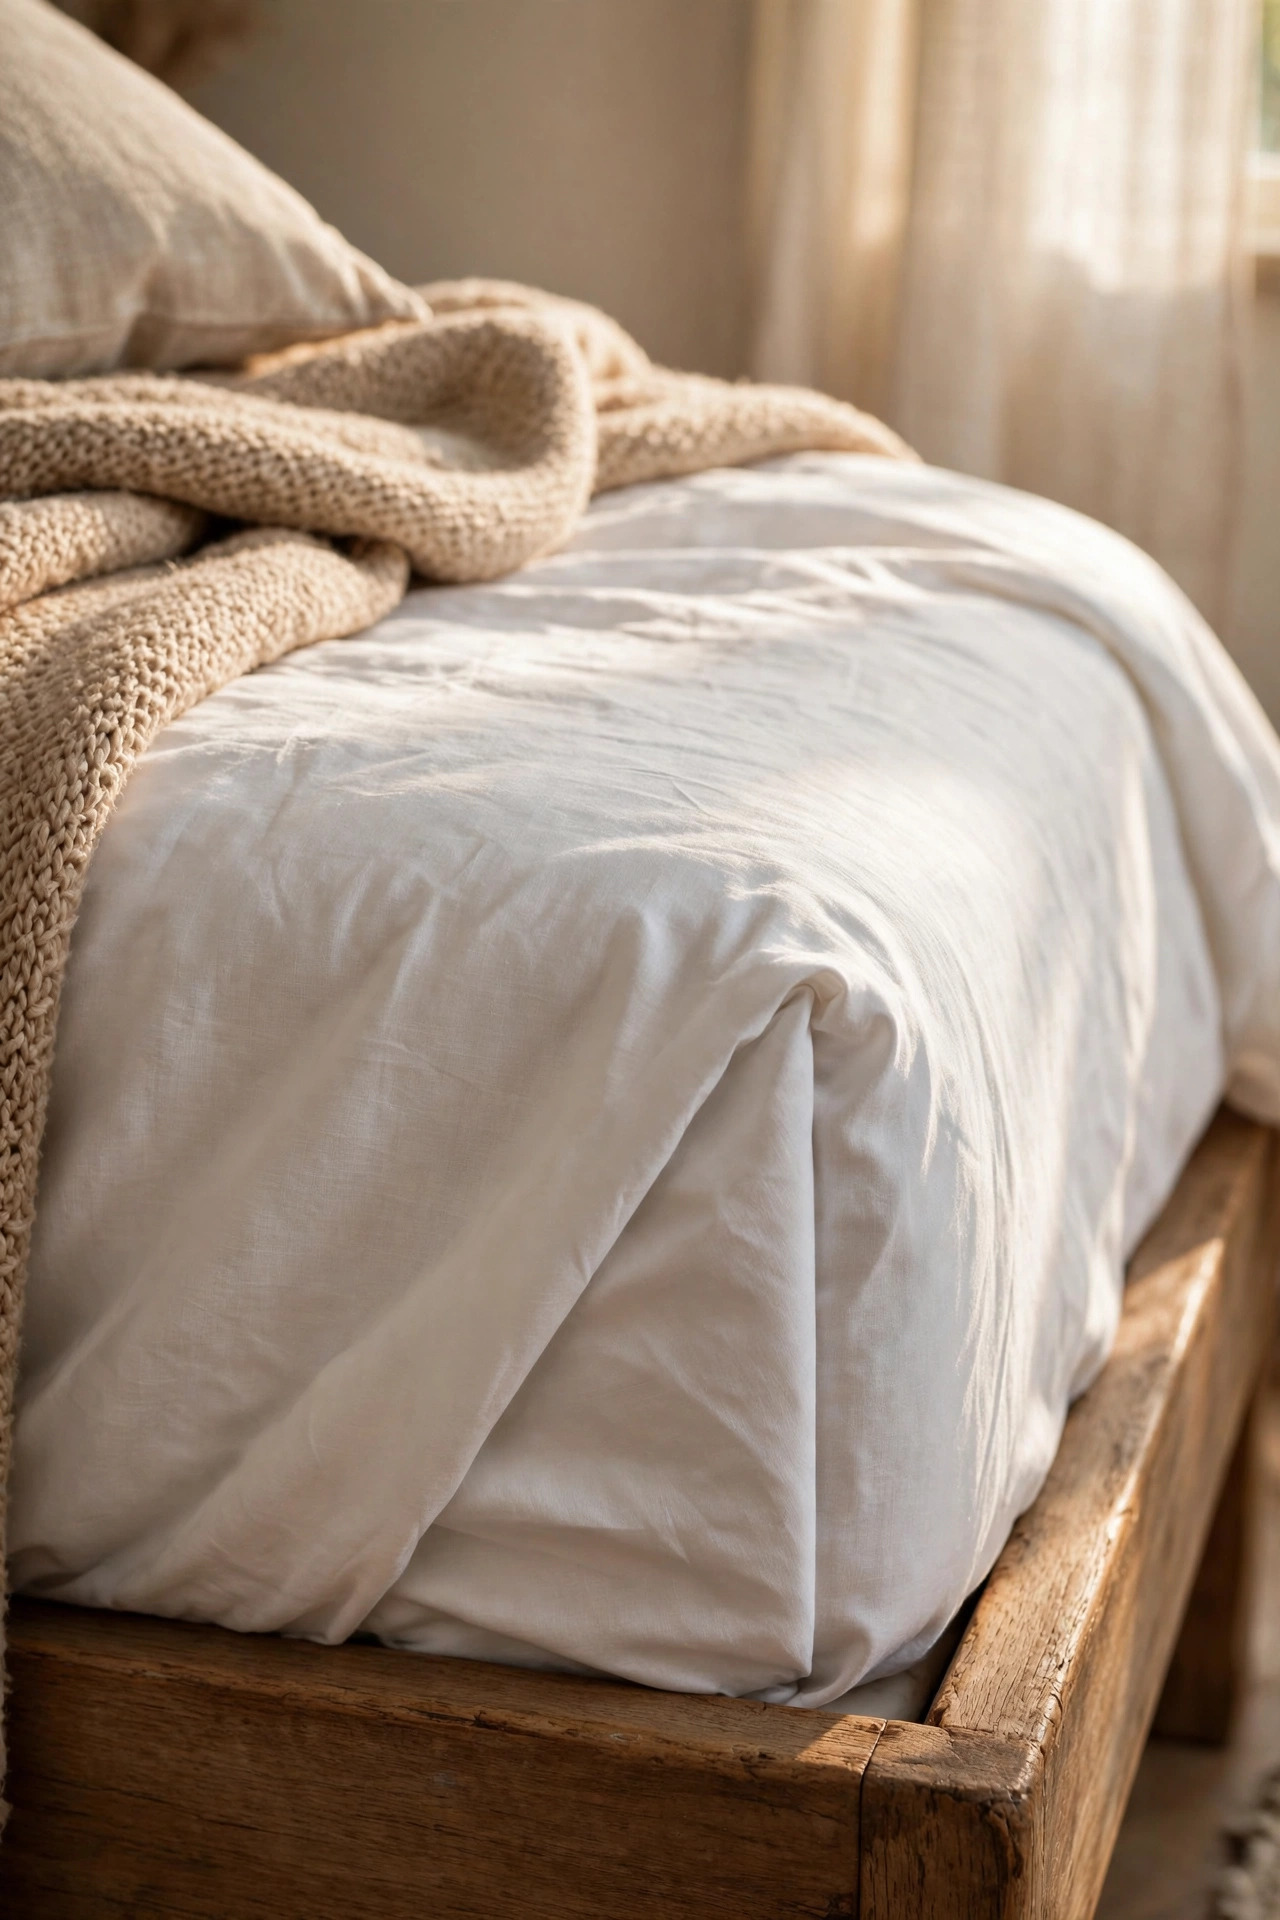
Hospital corners are the tight, tucked sheet corners nurses use, and they make a bed look sharply made with zero cost. Tuck the sheet under the mattress at the foot, then lift the side drape, tuck the hanging fold under, and drop the drape back down for a crisp diagonal line. It sounds fiddly but takes about a minute per corner once you have done it twice. My first attempt looked lumpy because I was working with a wrinkled sheet, so smooth the fabric flat first. The finished corners hold all week and give the bed a tailored, expensive edge that loose tucking never manages.
Cost: ~$0 | Time: 5 minutes
9. Add Iron-On Monogram Initials
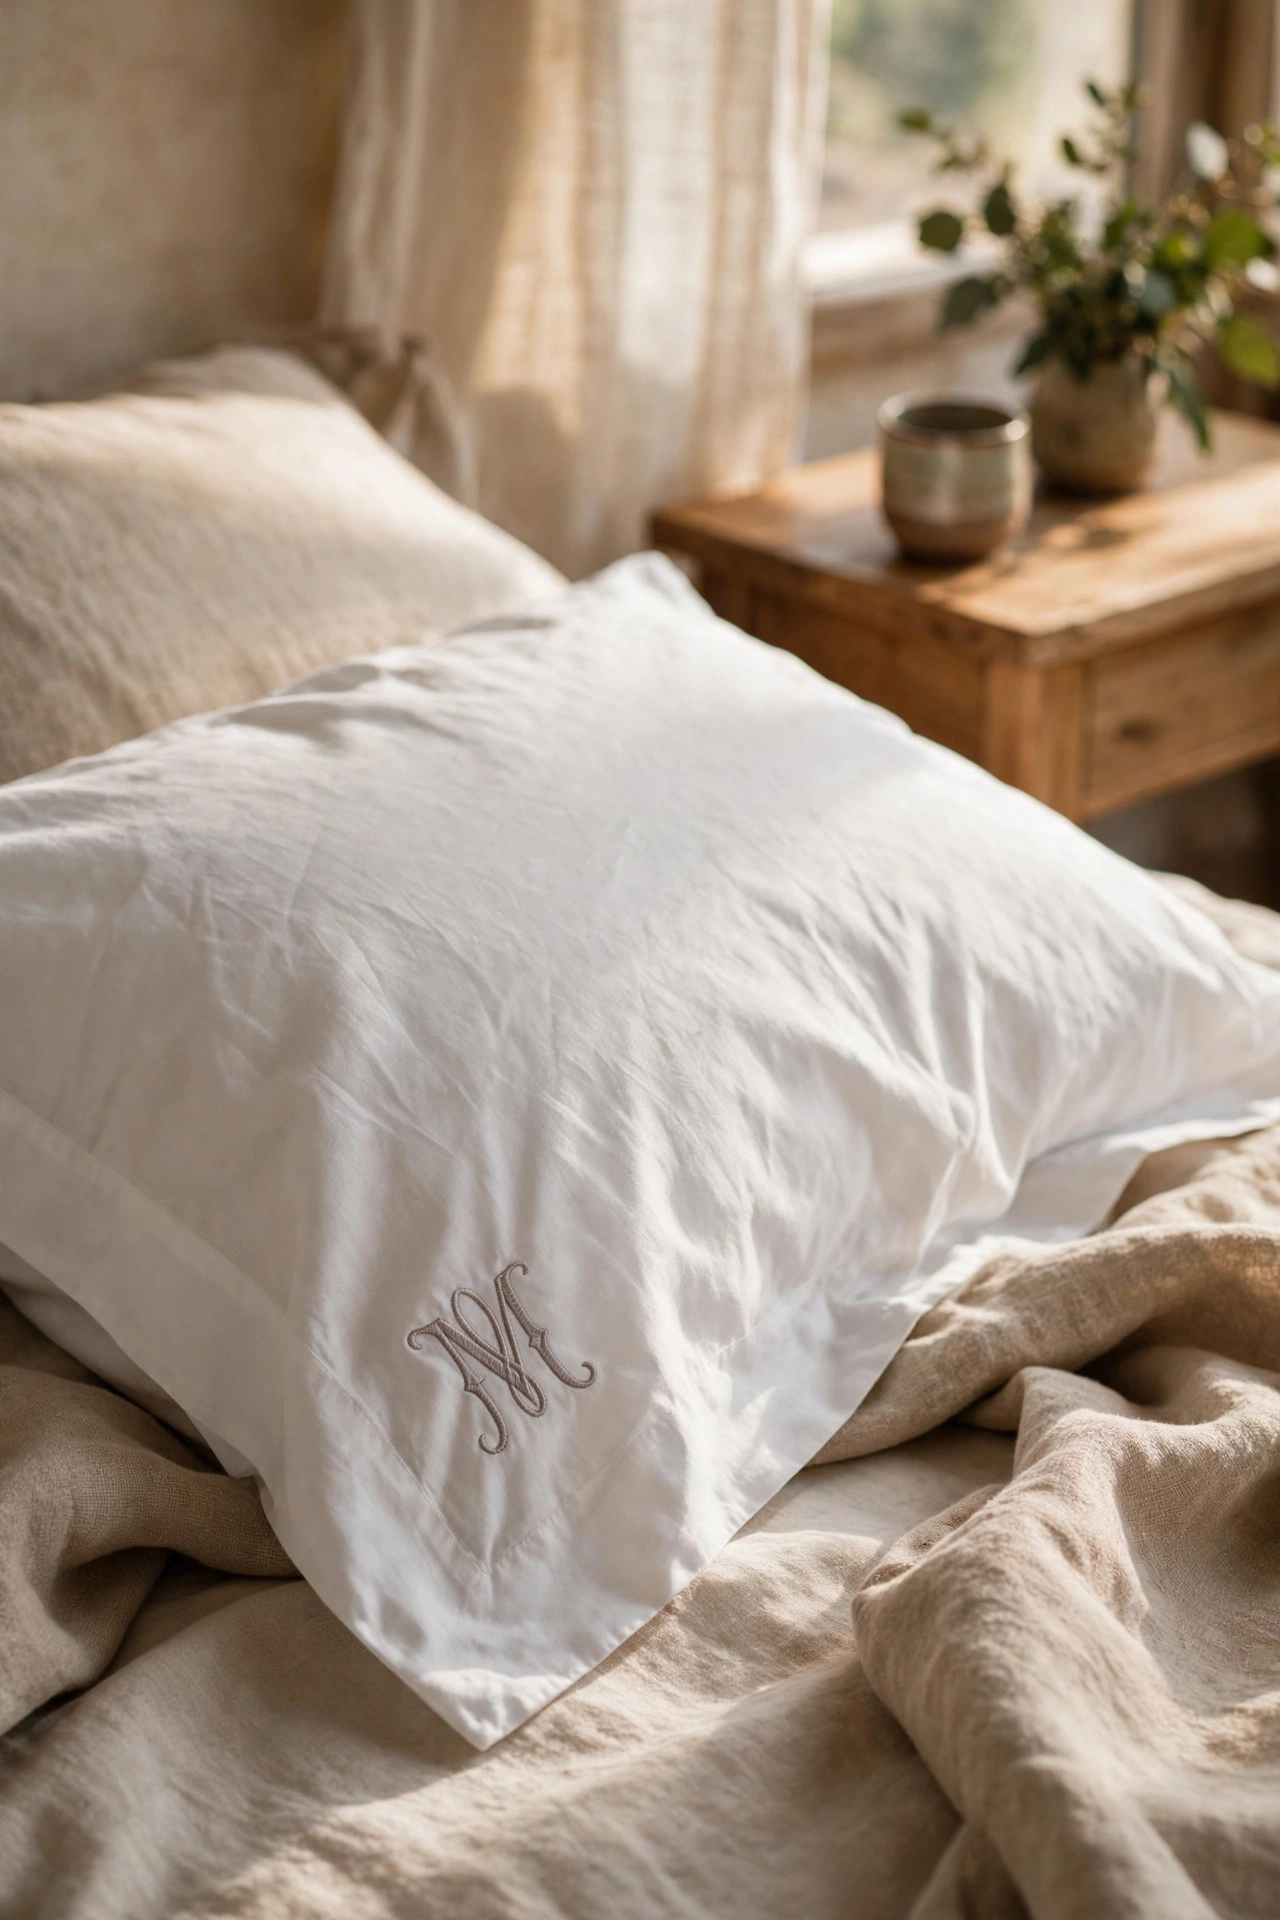
Monogrammed bedding screams boutique hotel, and iron-on letters make it a five-minute project. I bought a pack of white embroidered-style iron-on initials and pressed one onto each pillowcase near the opening edge. Position them carefully with the iron on medium heat and hold for thirty seconds without sliding. My first letter went on crooked because I eyeballed it, so now I mark the spot lightly with a pencil first. Guests always assume the pillowcases were custom made. It is the smallest detail on this list and one of the most effective.
Cost: ~$4-8 | Time: 15 minutes
10. Sew Piped Edges on Plain Pillowcases
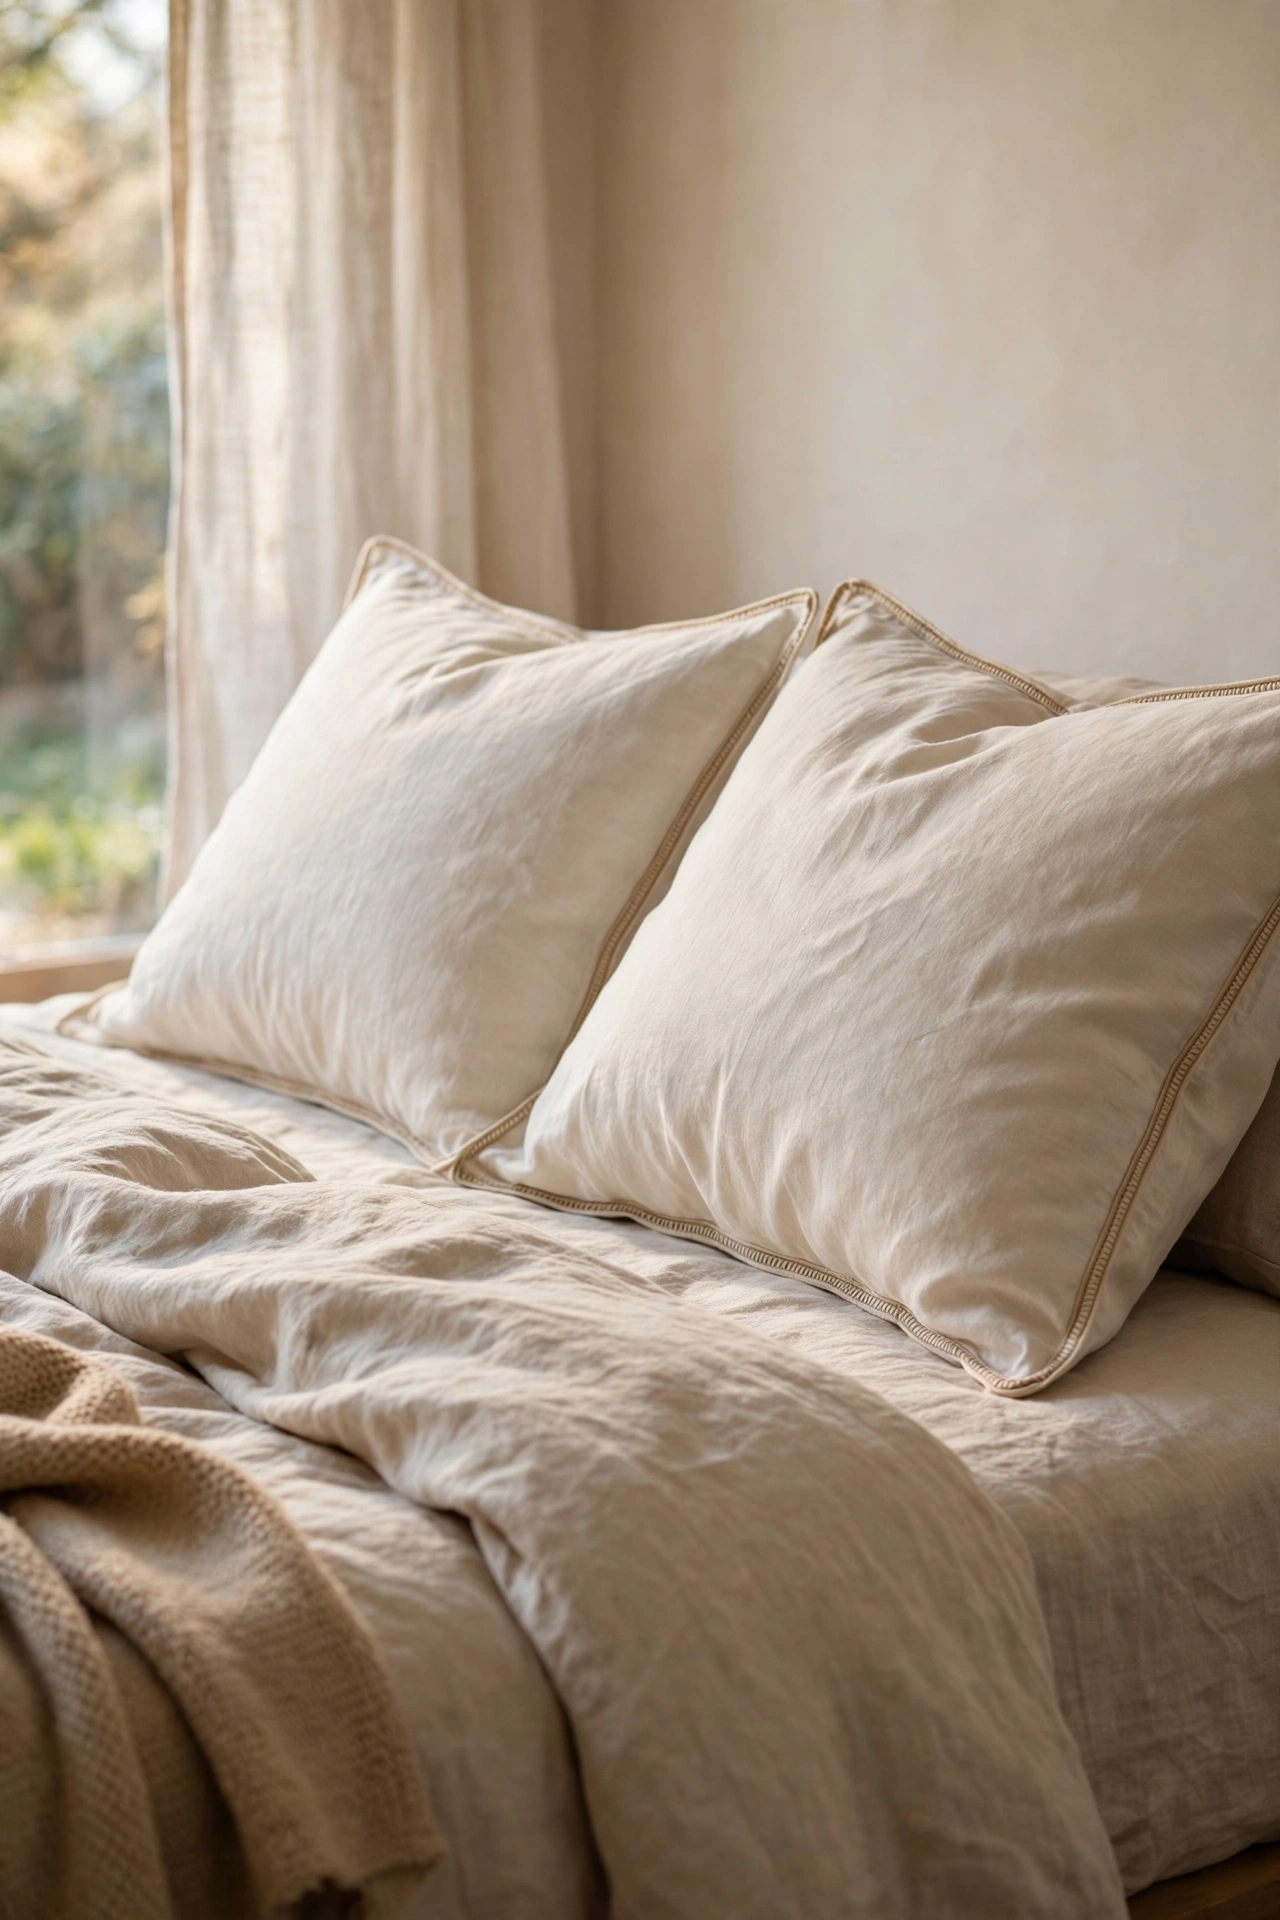
Piping is the corded trim on expensive pillowcases, and adding it yourself is easier than it looks. Buy a reel of cotton piping cord, pin it around the inside edge of a plain pillowcase, and sew one straight seam to close it. Use a zipper foot so you can stitch close to the cord. My first attempt puckered because I pulled the fabric, so go slowly and let the machine feed it. The finished edge looks tailored and professional. I did four pillowcases in one evening while watching television, and they now look like they came from a proper bedding shop.
Cost: ~$5-10 | Time: 1 hour
11. Score Cushion Covers at Charity Shops
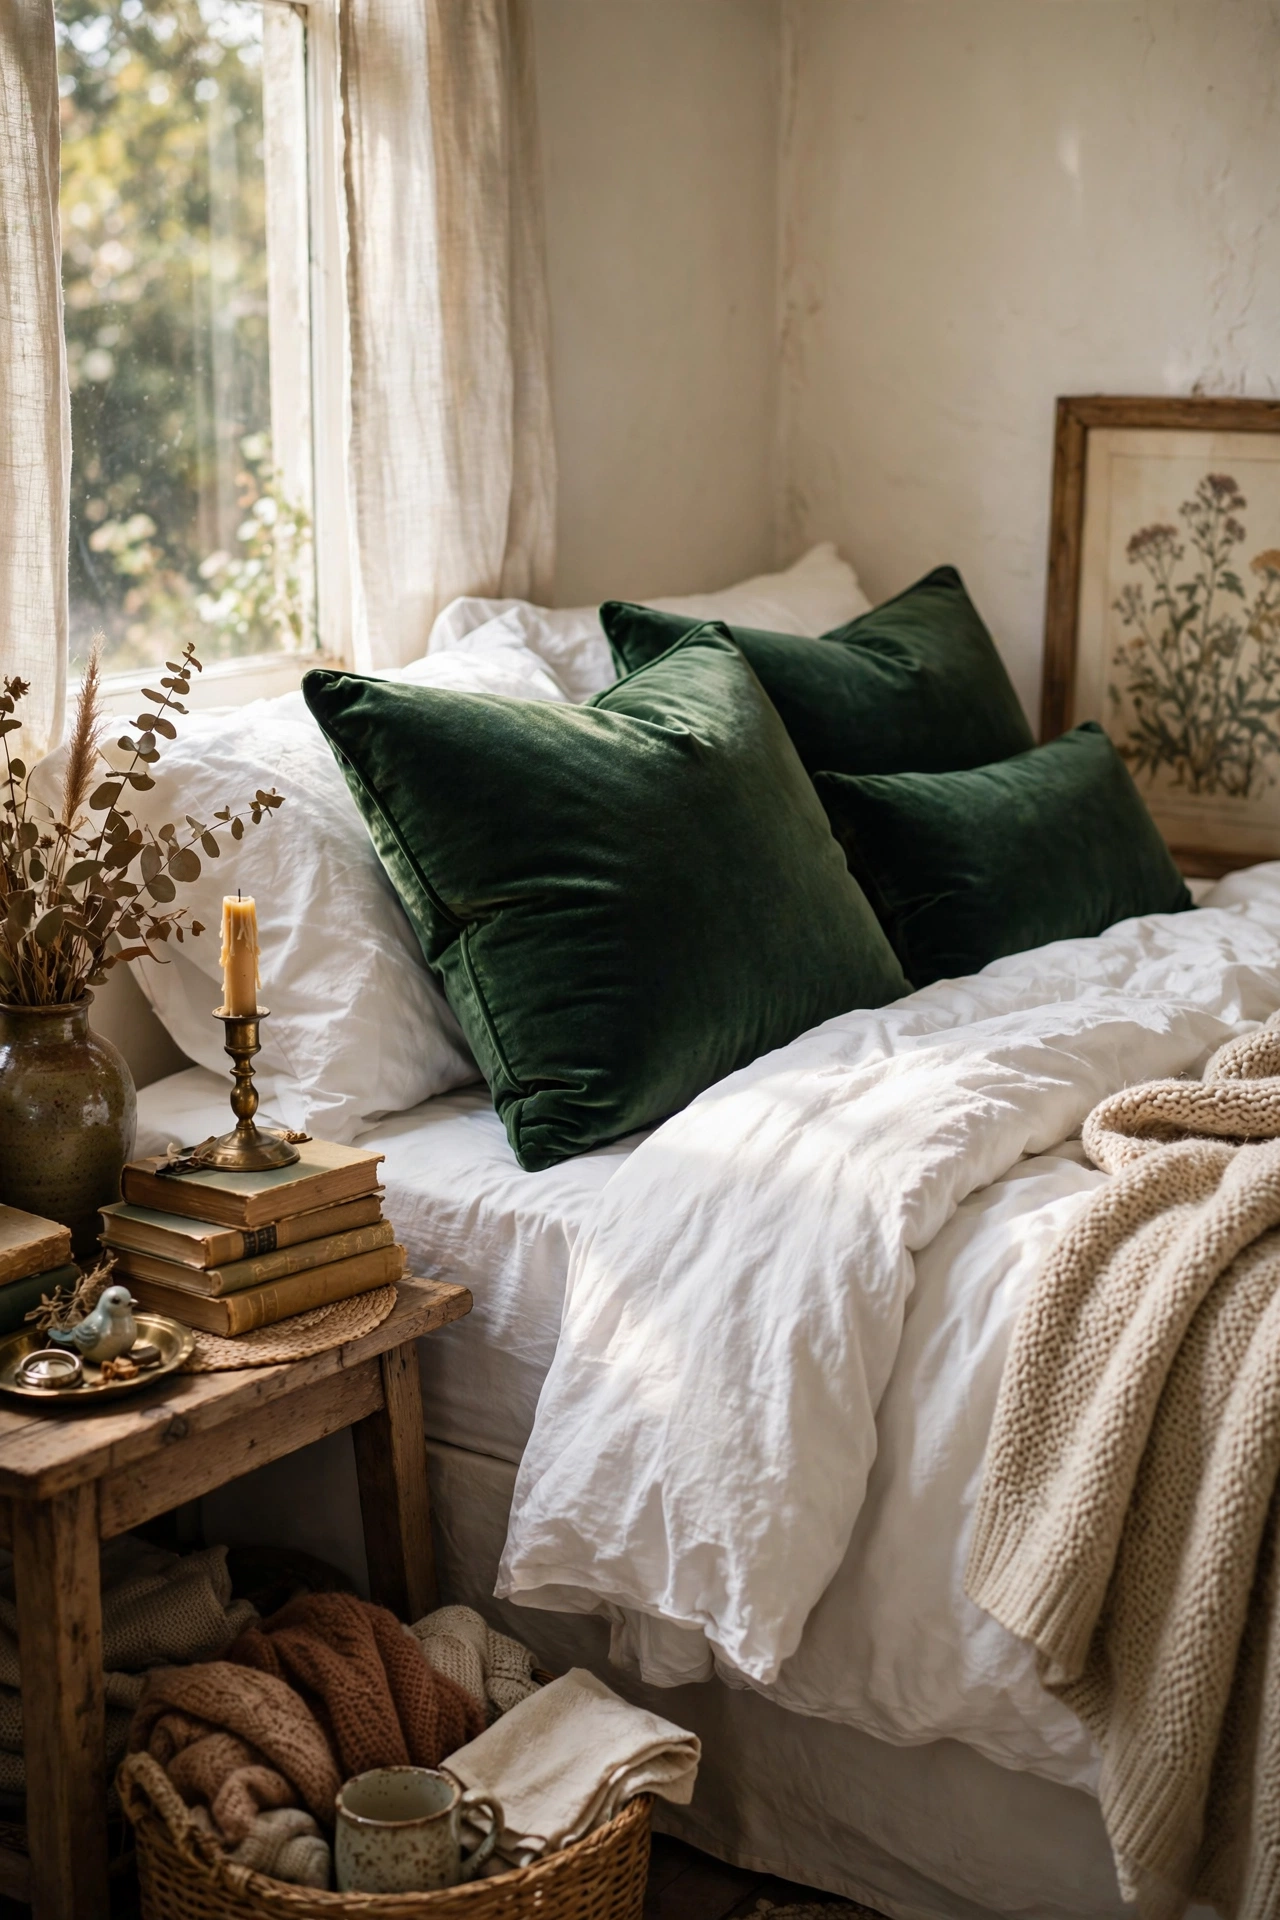
Charity shops are full of cushion covers in rich fabrics that cost a fortune new, like velvet, linen, and embroidered cotton. I found two velvet covers in deep green for almost nothing, and they are the most luxurious-looking things on my bed. Check the seams and zips before buying, and always wash them hot when you get home. Velvet in jewel tones photographs beautifully and instantly lifts plain white bedding. I go hunting with a colour in mind so I do not come home with random clutter. For more secondhand wins, see these (see also: 17-thrifted-bedroom-decor-that-look-expensive/) finds that pair perfectly with styled bedding.
Cost: ~$2-6 | Time: 30 minutes
12. Make a No-Sew Lumbar Cushion
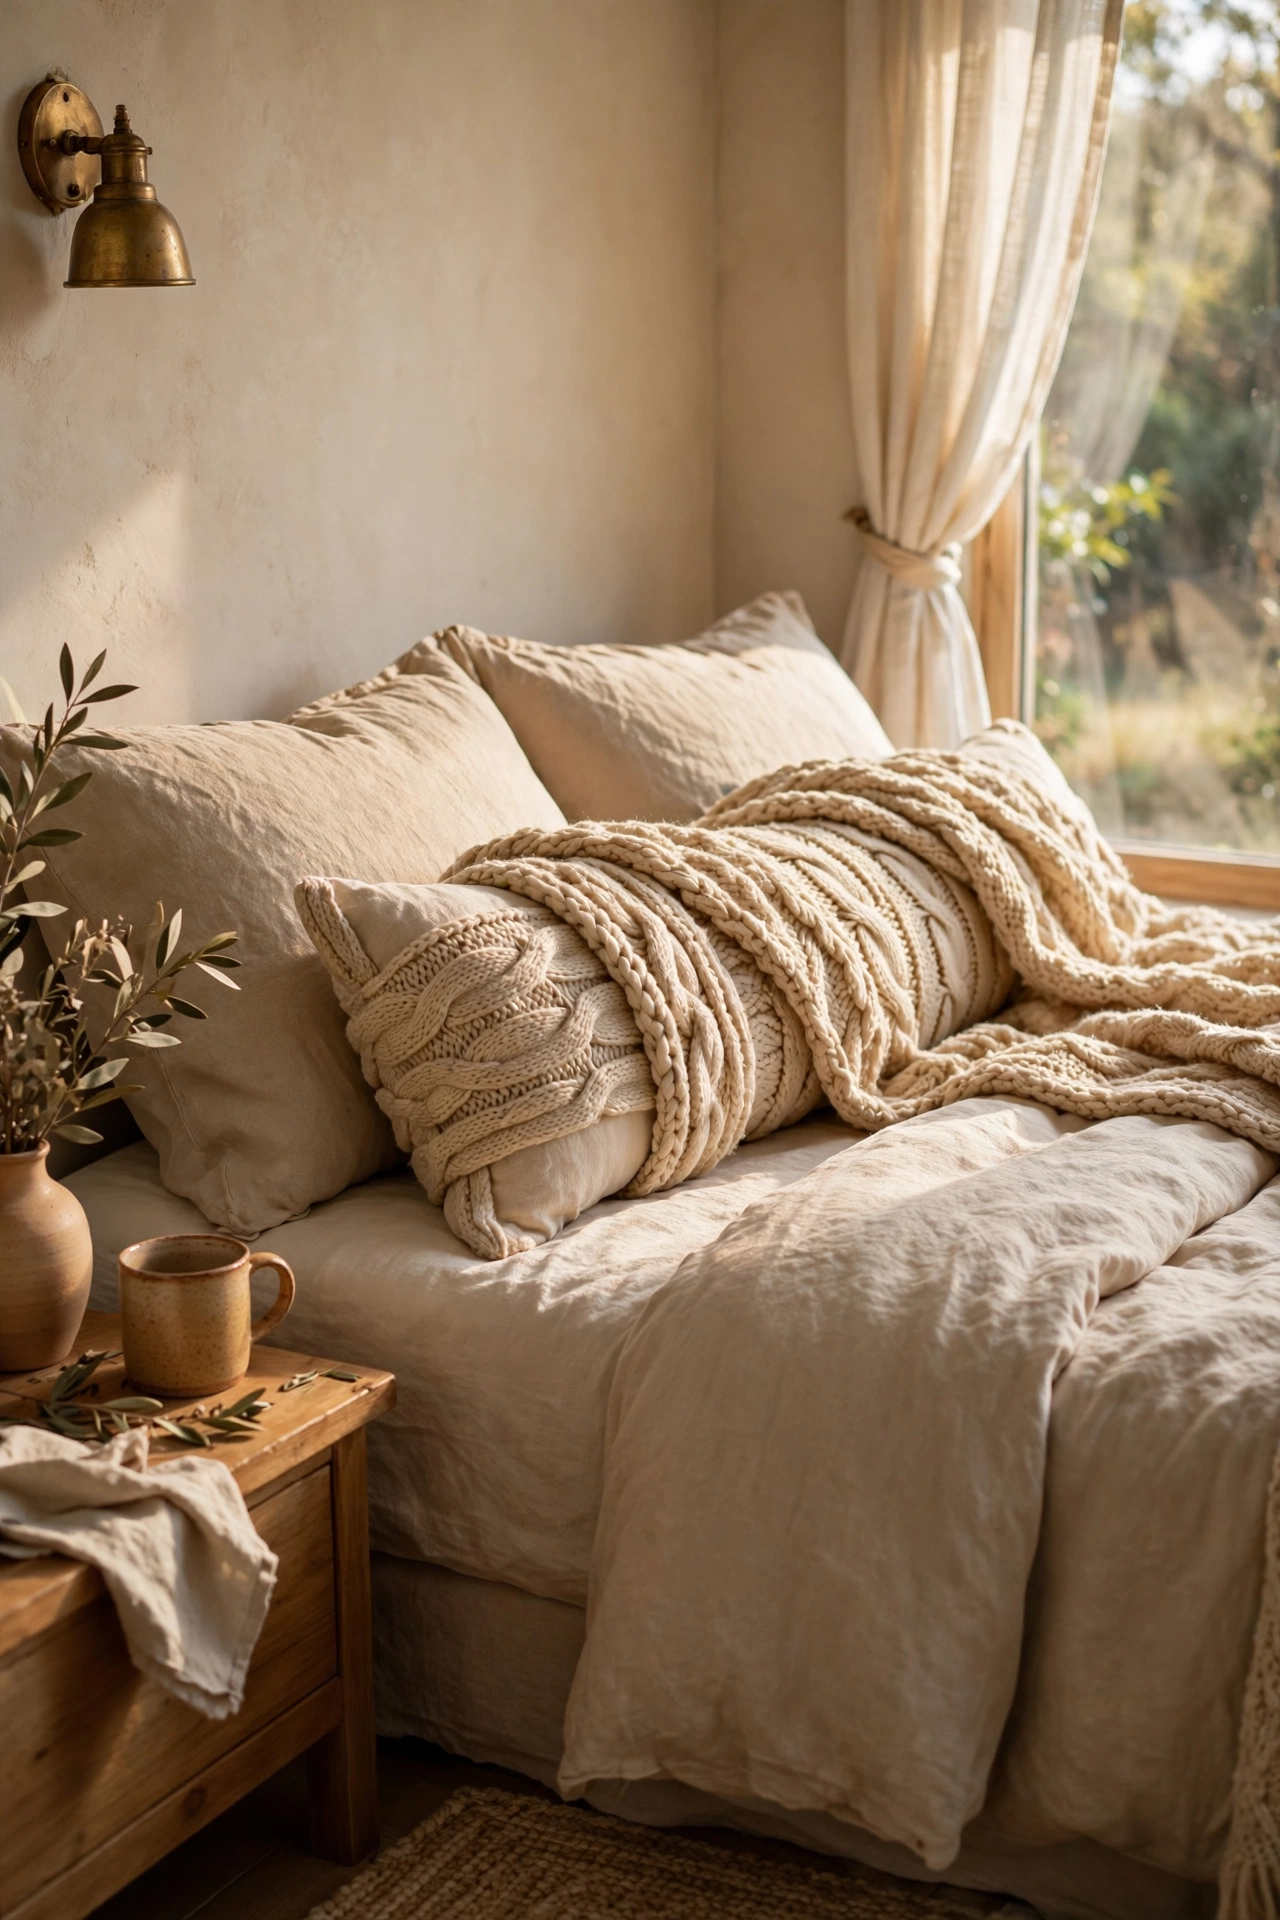
A long lumbar cushion across the front of the pillows is a classic designer styling move. I made mine without sewing by wrapping a rectangular cushion pad in a folded throw and securing the back with safety pins hidden underneath. Choose a throw in a contrasting texture, like knit or woven cotton, so it stands out against smooth bedding. Tuck the loose ends tightly so nothing peeks out from the front. Mine cost nothing because the throw was already in my cupboard. It gives the bed that finished, layered look you see in showrooms.
Cost: ~$0-10 | Time: 10 minutes
13. Turn a Flat Sheet into a Bed Skirt
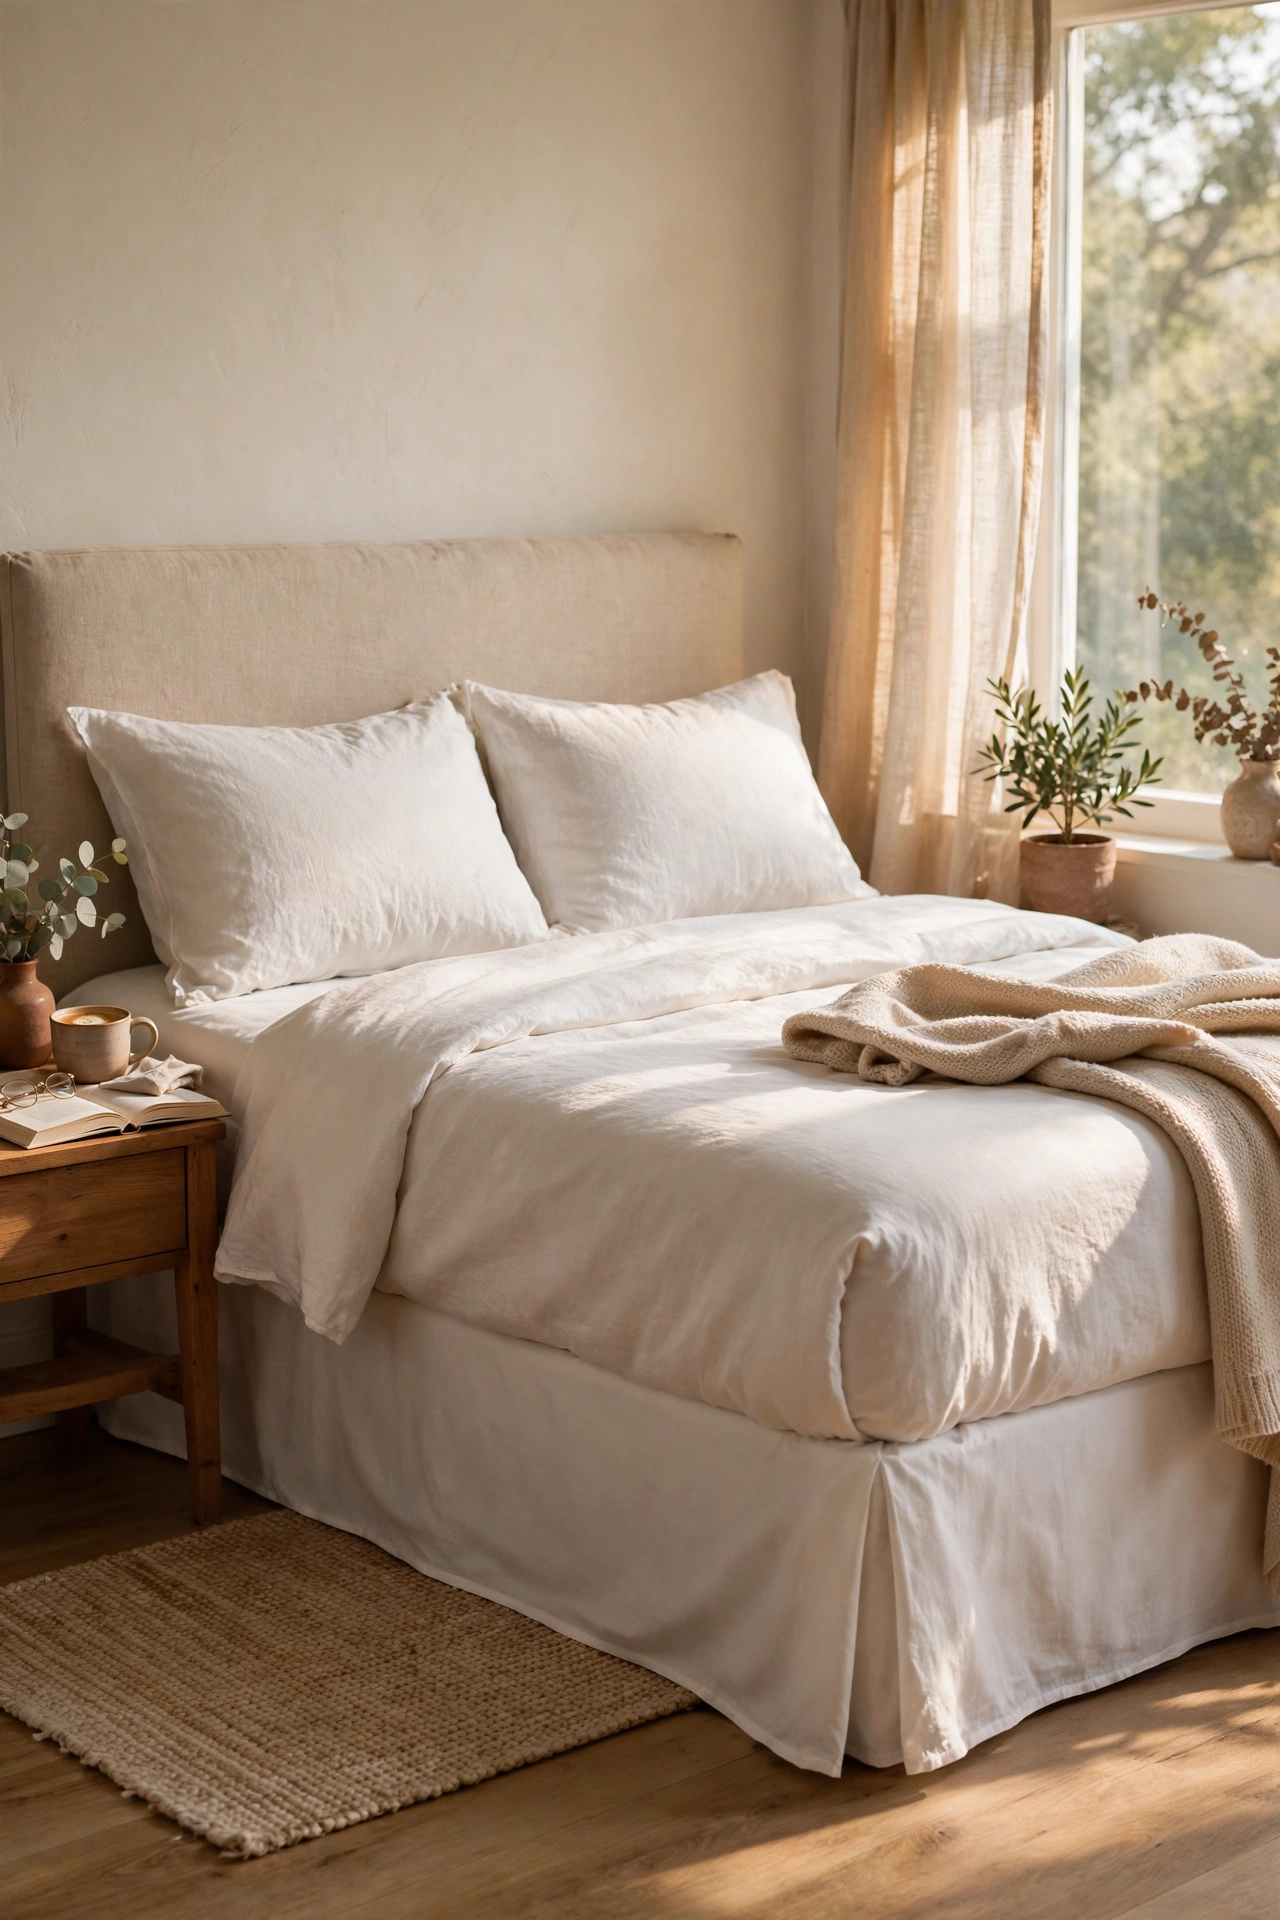
Visible bed frames and storage boxes underneath ruin the luxe illusion, and a bed skirt hides everything. Instead of buying one, I tucked a spare flat sheet around the mattress base with the top edge folded under the mattress and the rest hanging to the floor. Smooth it evenly on all three visible sides and let the headboard side go, since nobody sees it. A white or cream sheet disappears against the bedding and looks intentional. My under-bed storage is now completely invisible. It is not perfect up close, but from the doorway the bed looks properly dressed.
Cost: ~$0-8 | Time: 15 minutes
14. Steam the Top Edge of Your Duvet
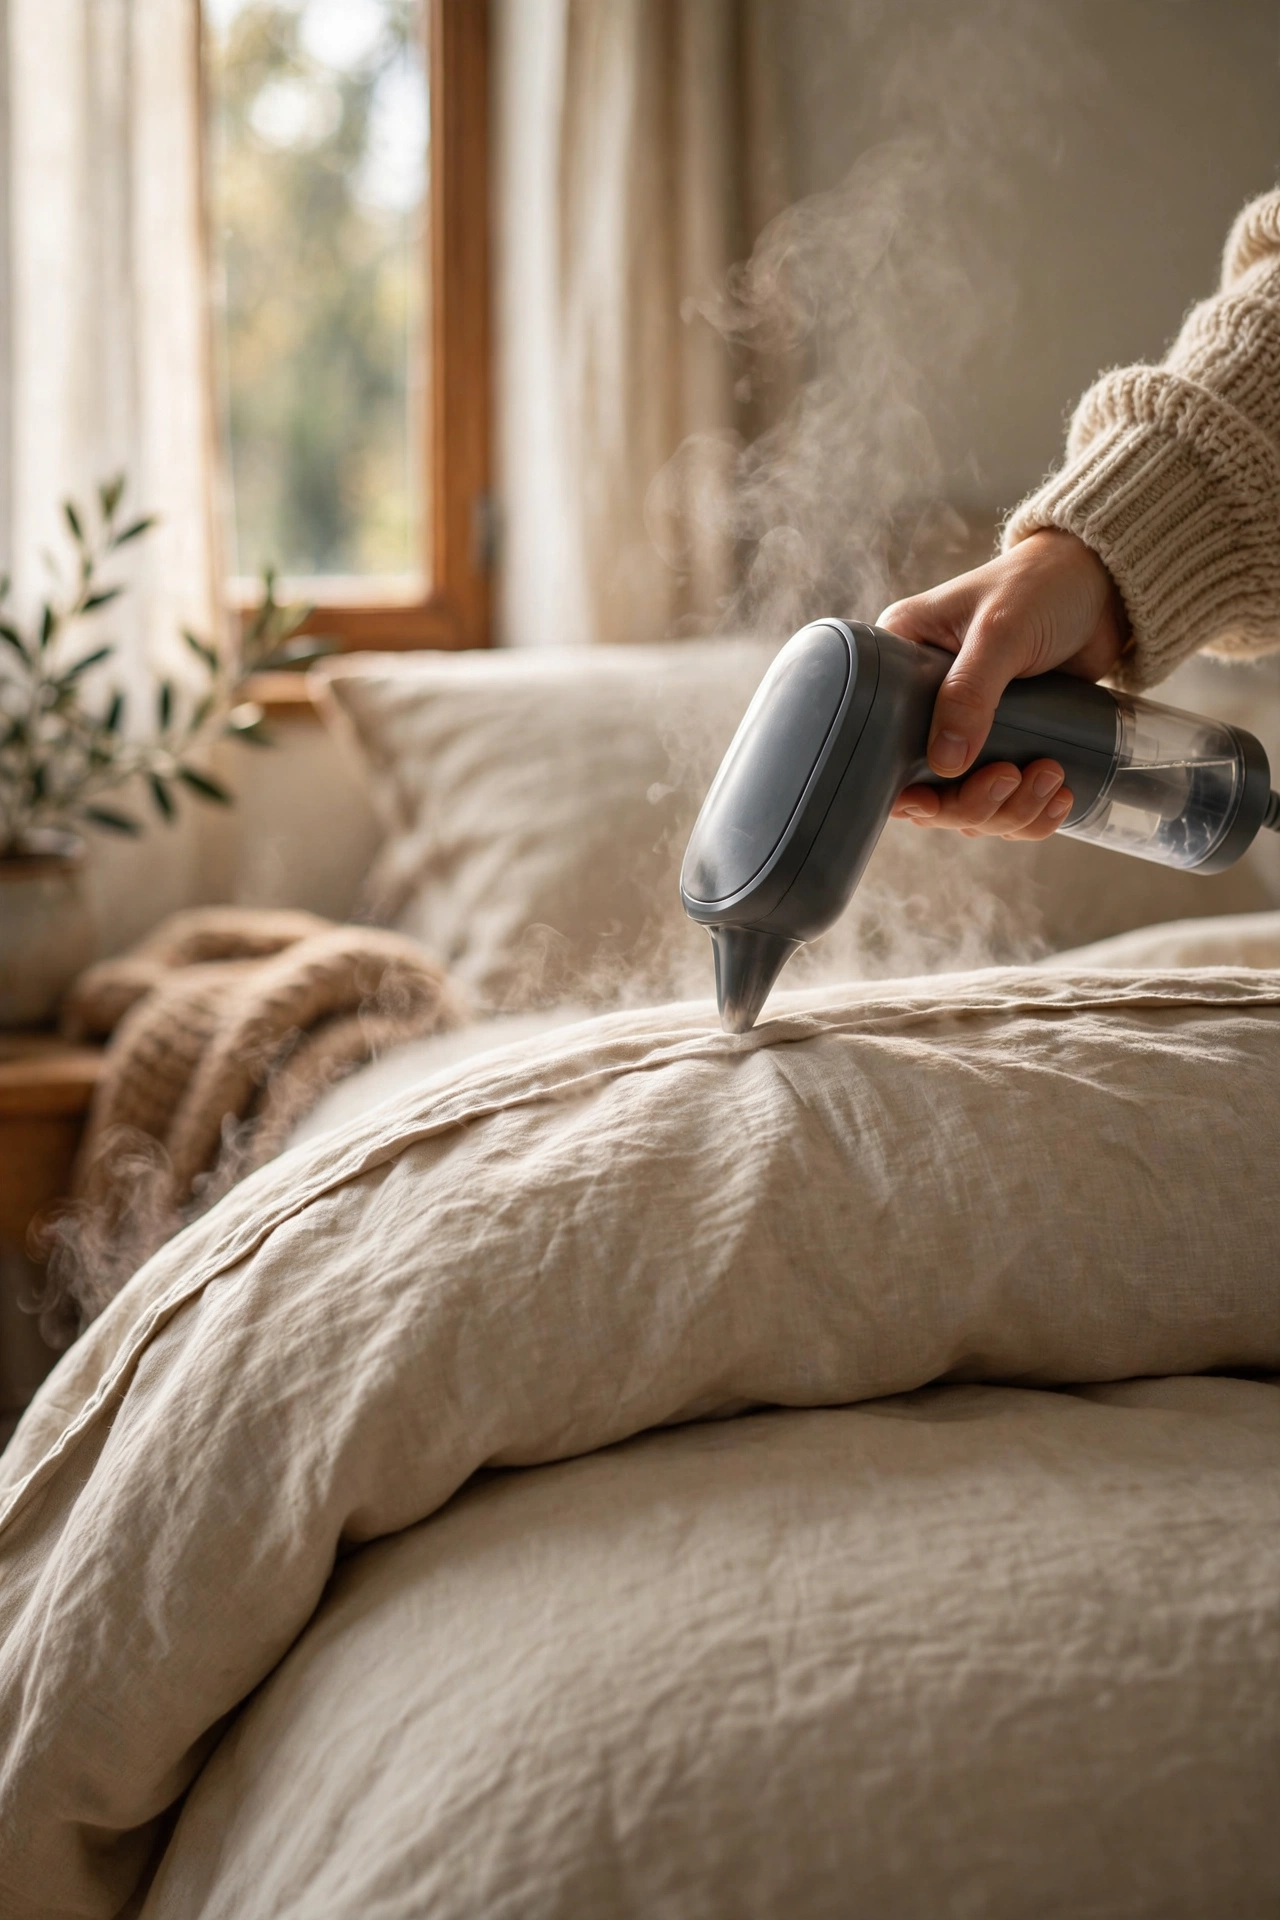
Wrinkles are what separate cheap-looking bedding from expensive-looking bedding, and a handheld steamer erases them in minutes. I steam just the visible top edge of the duvet and the pillow area rather than the whole bed, which takes under five minutes. Hold the steamer a few centimetres from the fabric and pull the material taut with your other hand. My duvet cover looked brand new afterwards, even though it was three years old. If you do not own a steamer, hanging the cover in a steamy bathroom works too. This is the fastest refresh on the entire list.
Cost: ~$0 | Time: 5 minutes
15. Mix Stripes with Solids
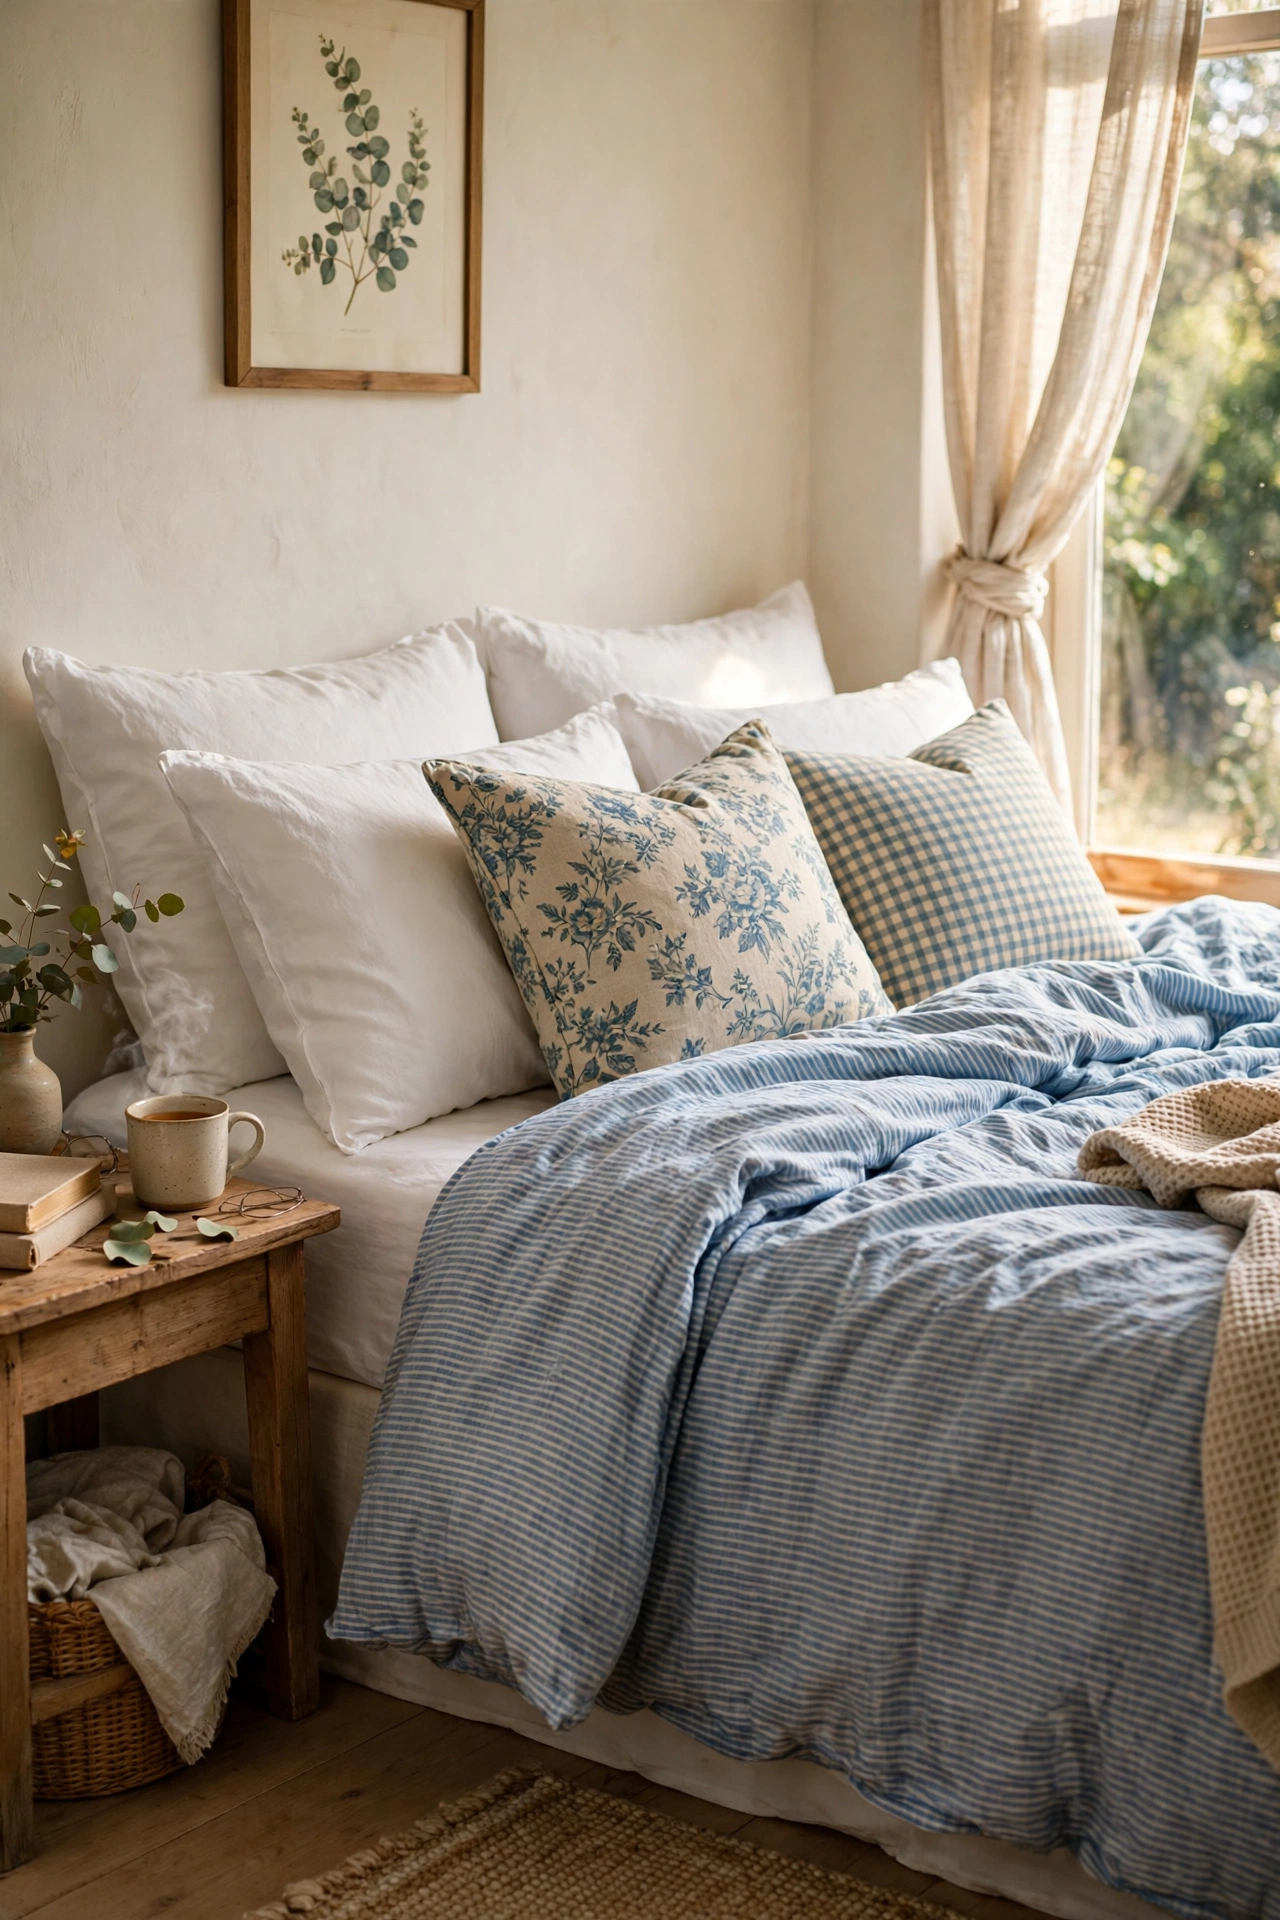
Pattern mixing sounds risky, but stripes with solids is the one combination that always looks expensive. I paired a thin blue-striped duvet cover with solid white sheets and plain cushions, and the bed looked instantly more designed. Keep the stripe subtle and let the solids dominate, roughly one patterned piece to three plain ones. My rule is that the stripe should read as texture from across the room, not as a bold print. I tried a wide nautical stripe once and it looked like a beach hut, so finer is better. This works beautifully in a (see also: 19-sage-green-bedroom-decor-ideas-that-feel-dreamy/) colour scheme too.
Cost: ~$15-25 | Time: 10 minutes
16. Drape a Chunky Knit Throw for Weight
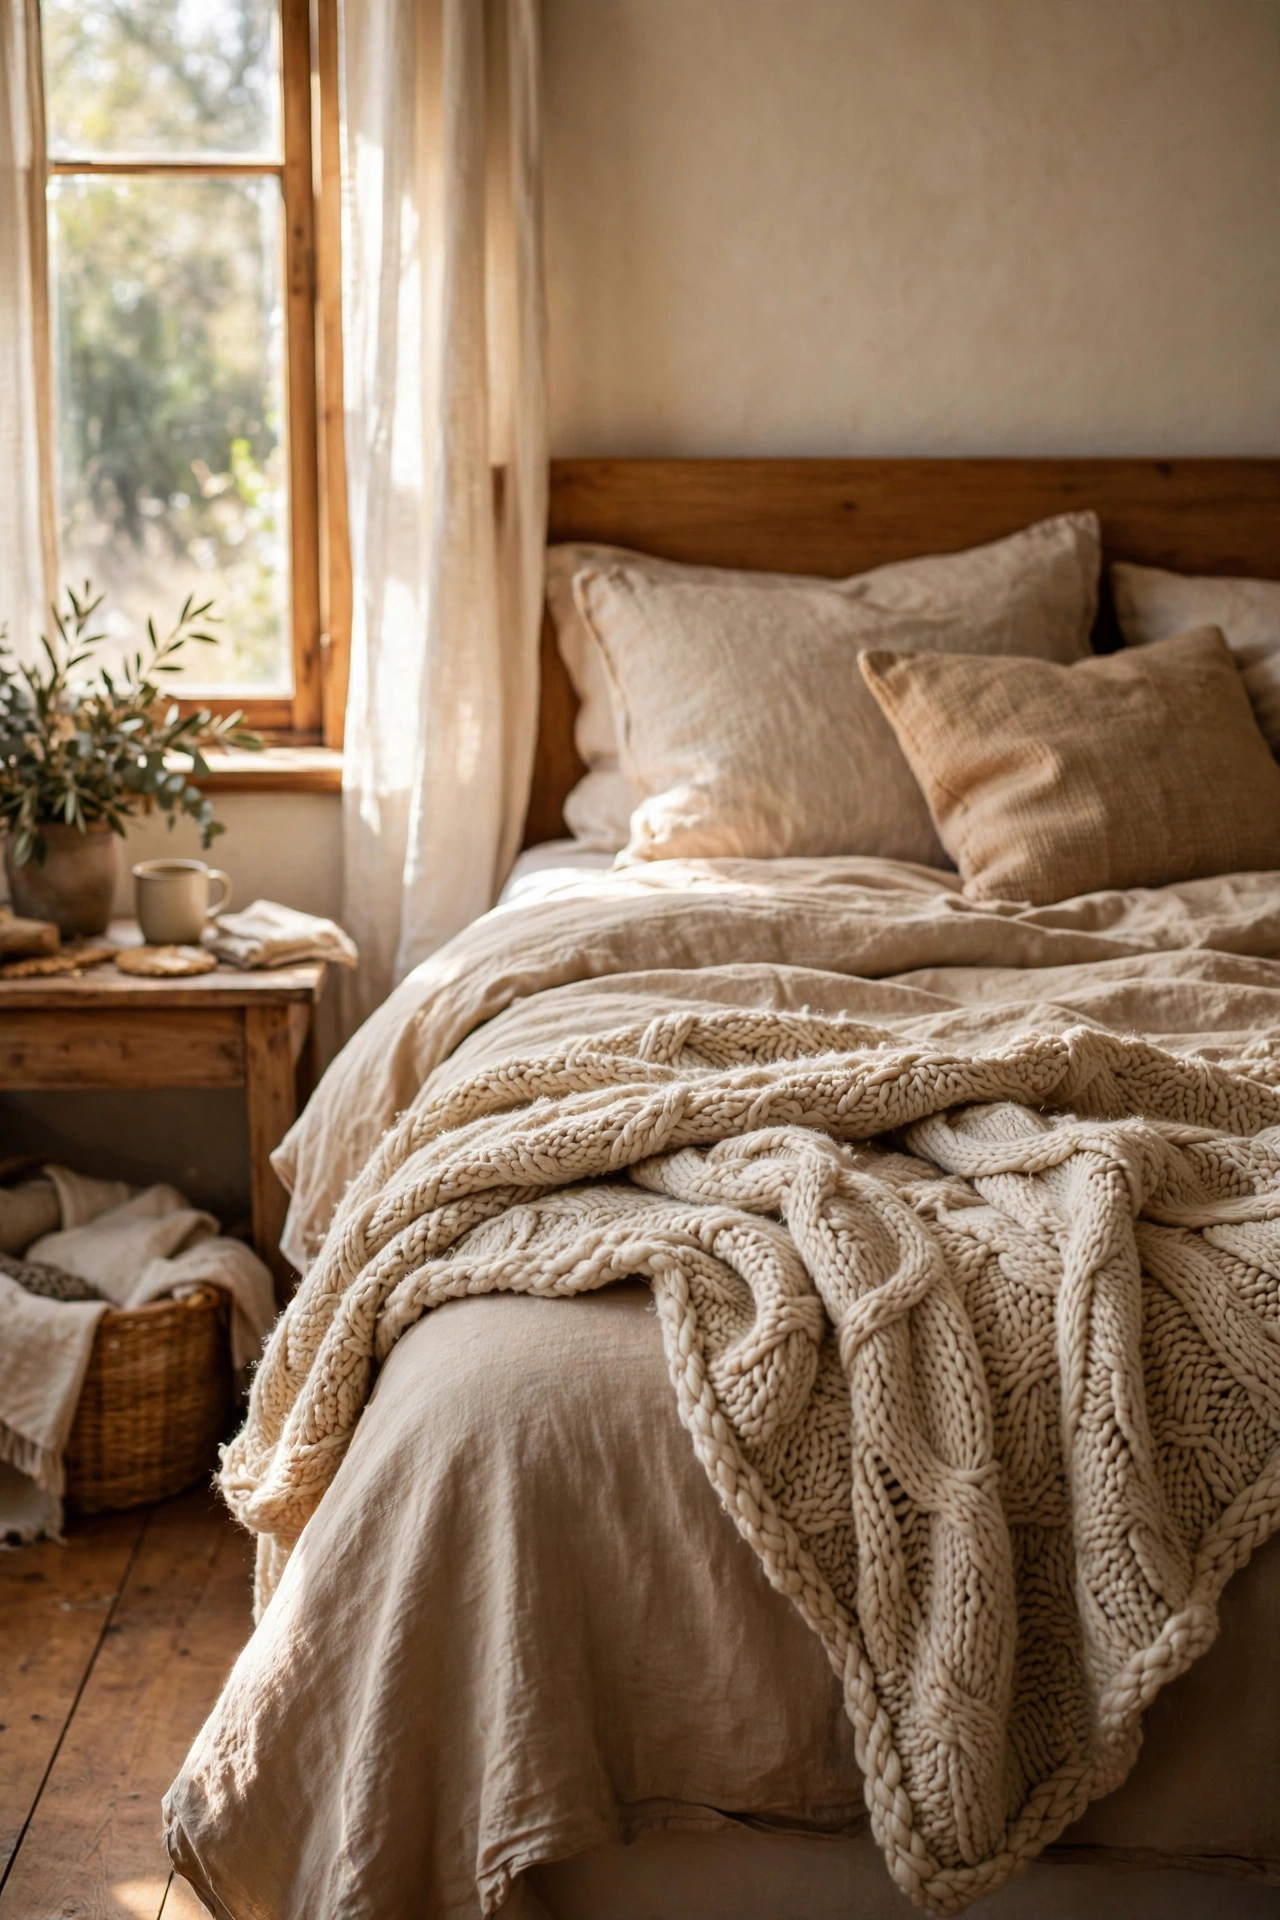
A heavy knit throw adds visual weight that makes the whole bed feel substantial and costly. Thin bedding can look insubstantial no matter the colour, but one chunky knit across the foot anchors everything. I drape mine loosely rather than folding it flat, letting the knit texture do the talking. Choose a neutral colour so it works year round. Mine was a sale find, but charity shops often have them too. The weight of it genuinely makes the bed feel warmer as well, so it earns its place twice over.
Cost: ~$15-30 | Time: 5 minutes
17. Stand Pillows Up Instead of Laying Them Flat
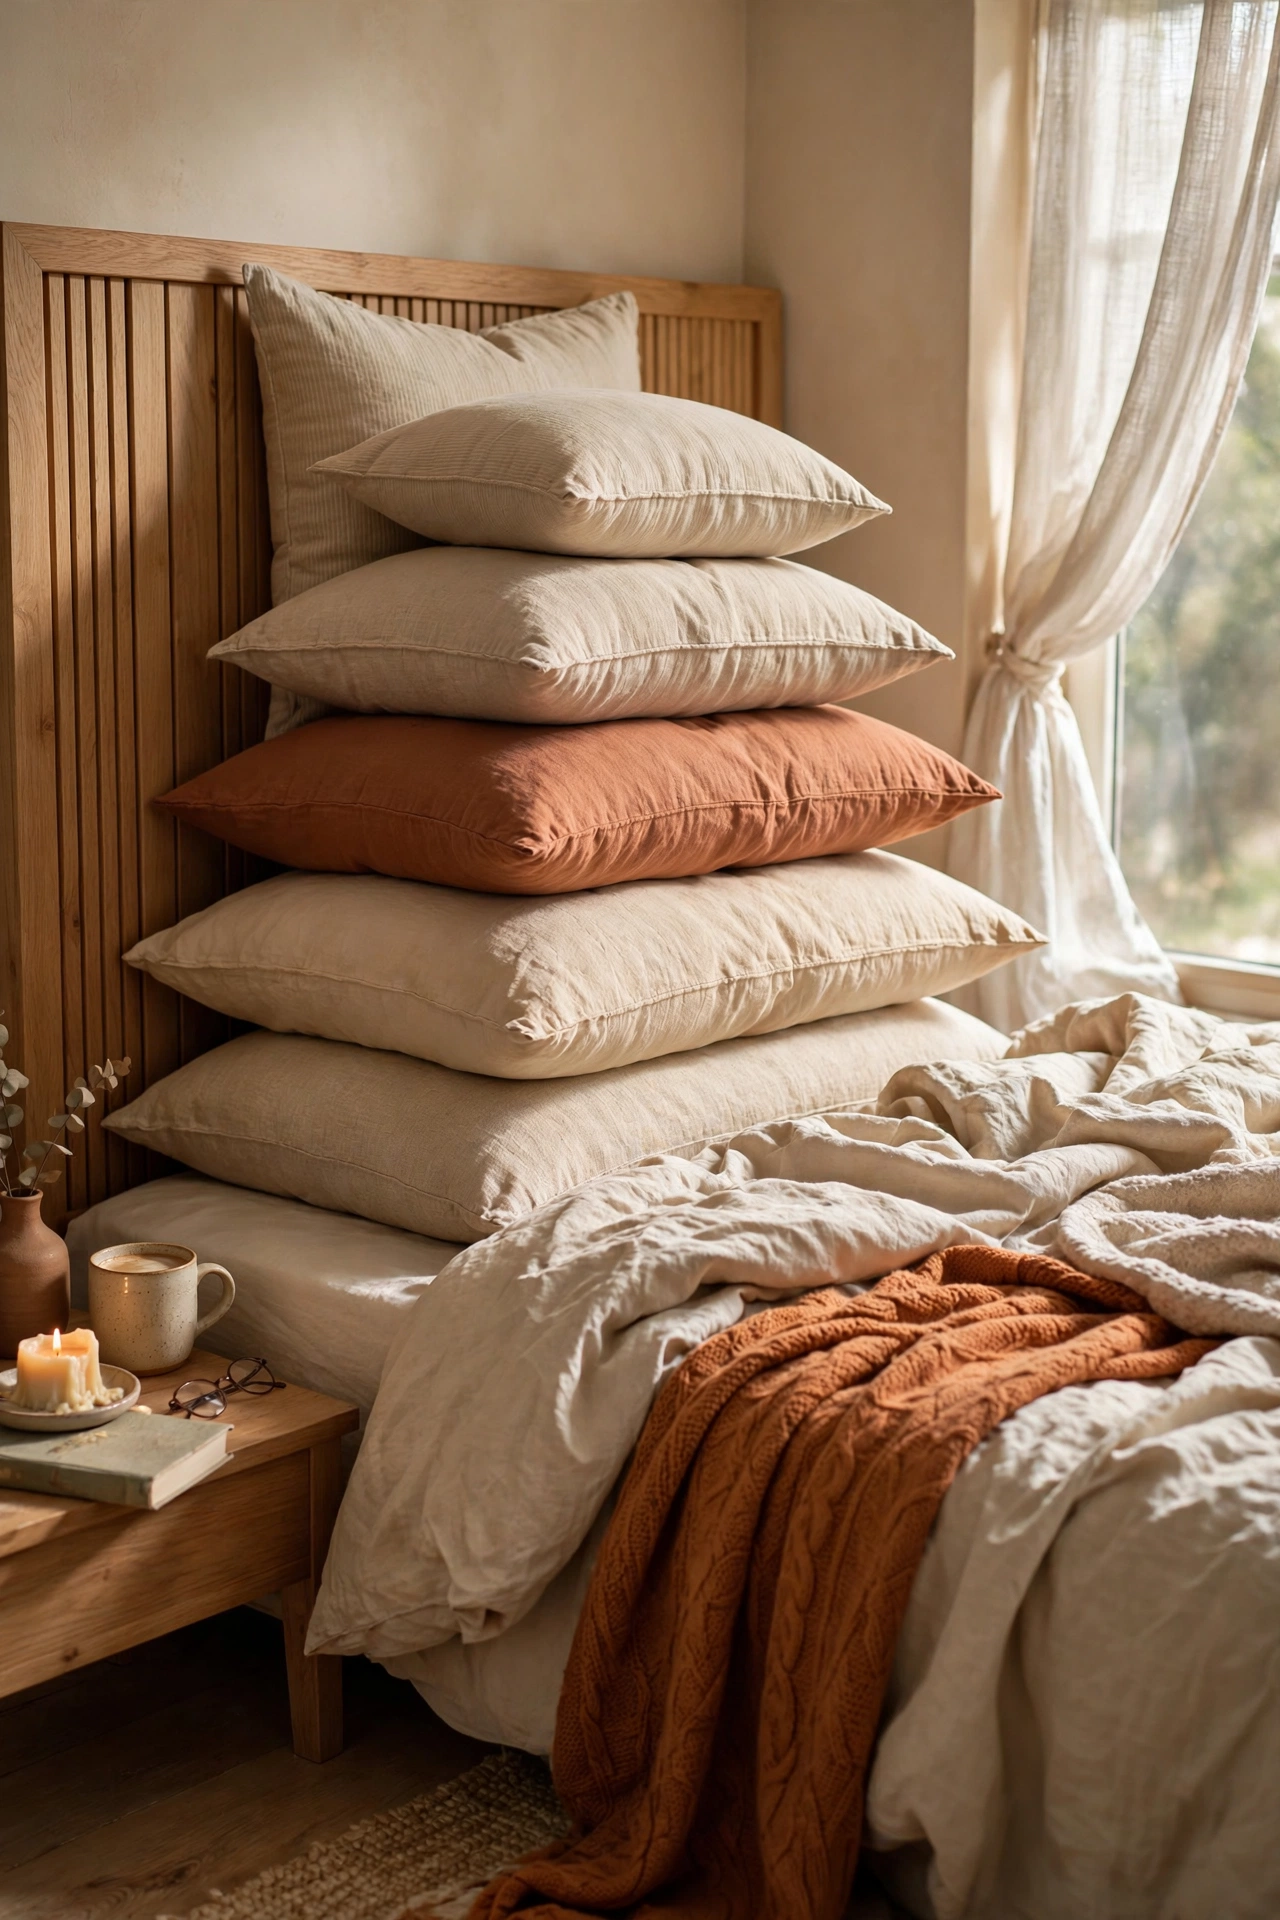
Flat pillows make a bed look slept in, while upright pillows make it look styled. I stand my sleeping pillows upright against the headboard, then layer the Euro shams and cushions in front. Give each pillow a karate chop down the middle top edge to create that little dent you see in magazines. It sounds silly but it genuinely makes pillows look plumper. My pillows are nothing special, just standard supermarket ones, but standing them up transformed the whole arrangement. This costs nothing and takes thirty seconds every morning.
Cost: ~$0 | Time: 2 minutes
18. Mist Bedding with Homemade Linen Spray
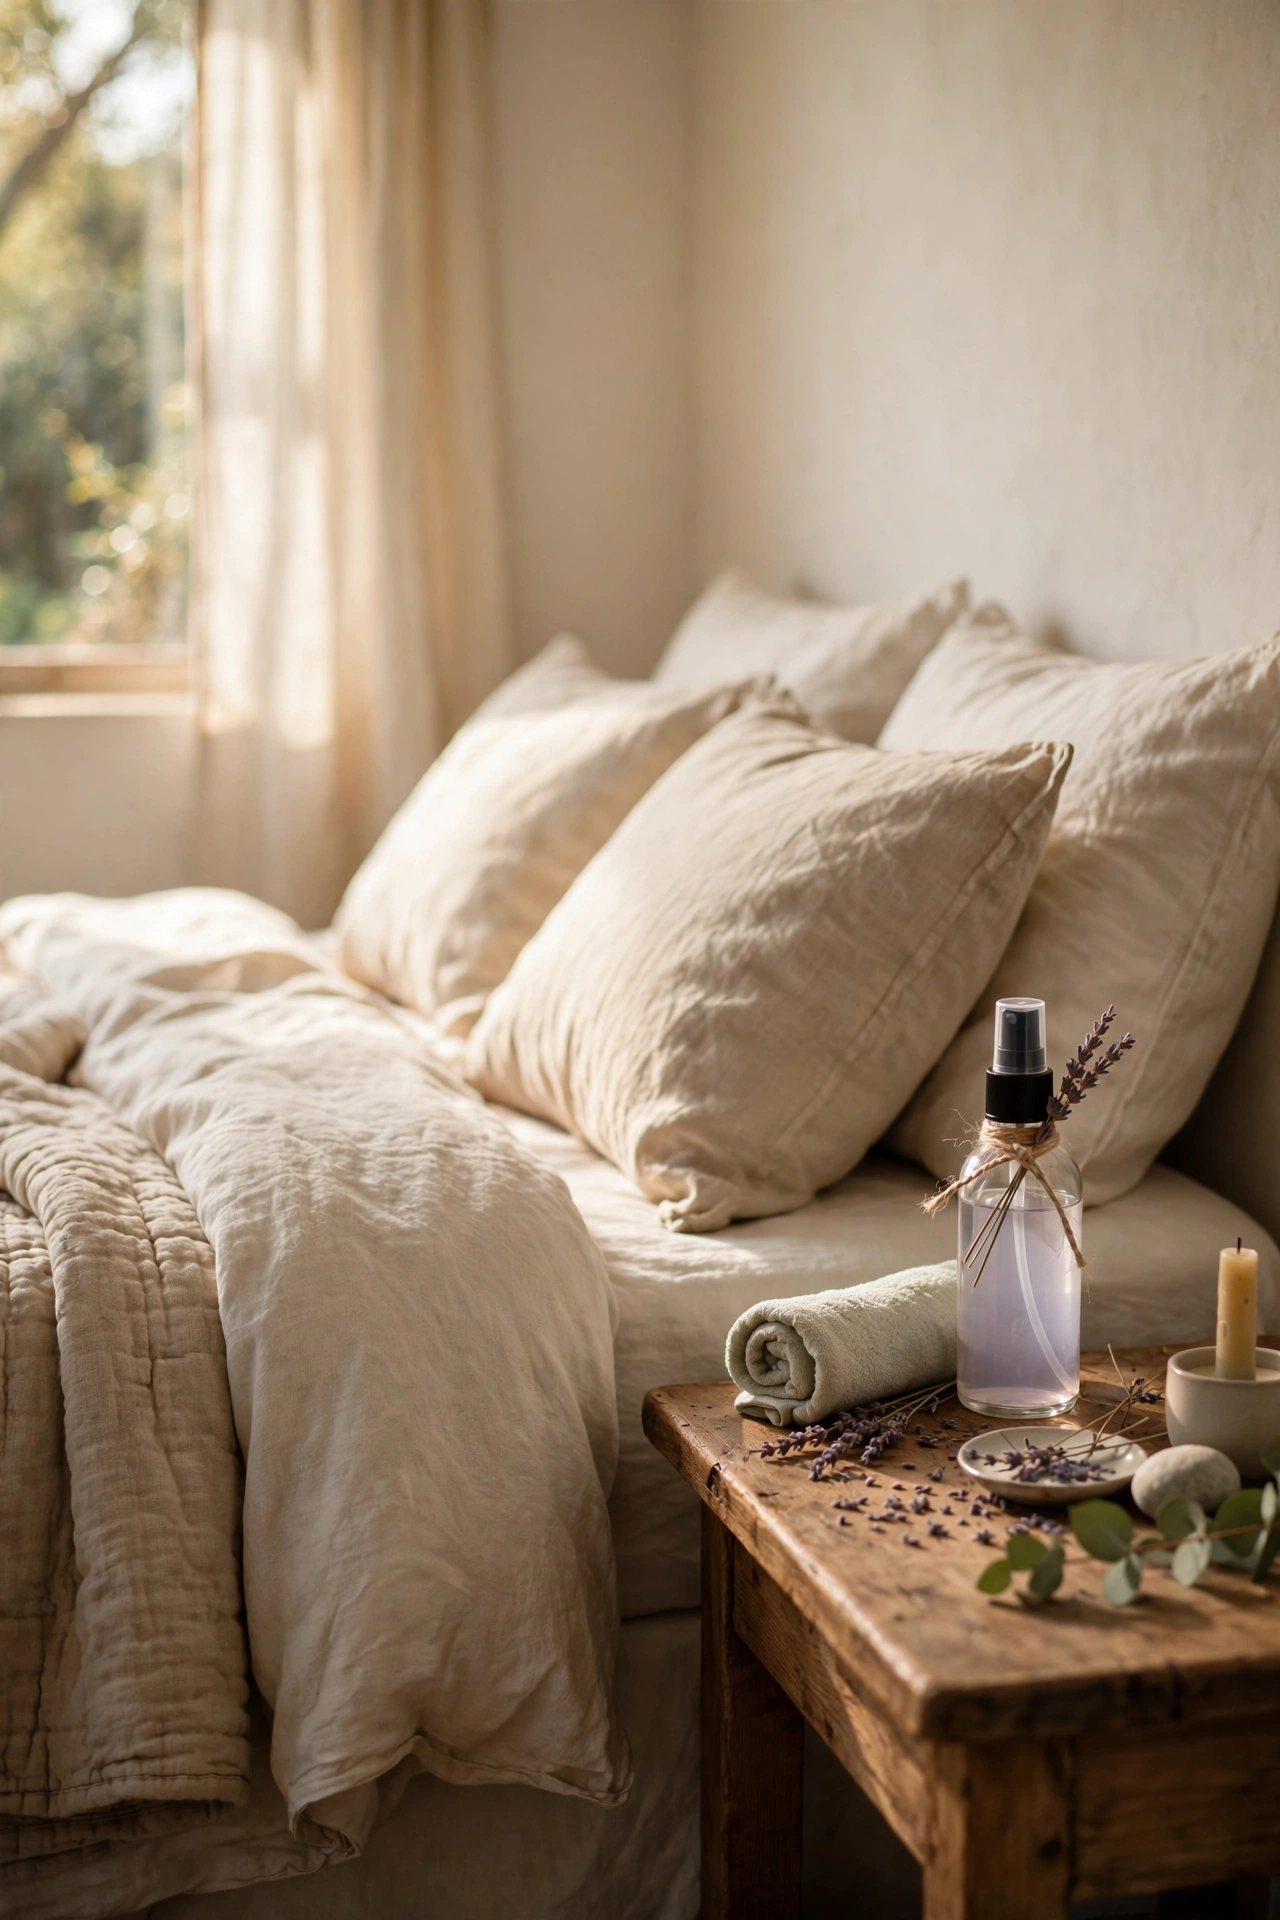
Luxury is partly about how a room smells, and a homemade linen spray costs almost nothing. I mix water with a splash of vodka and about twenty drops of lavender essential oil in a spray bottle, then mist the pillows and duvet lightly each morning. The vodka helps the scent disperse and evaporates without marking the fabric. Do not soak the bedding, just a light mist from arm’s length. My bedroom smells like a spa now, and guests always comment on it. Keep the bottle on the nightstand so you actually remember to use it.
Cost: ~$3-6 | Time: 5 minutes
19. Top the Bed with a Vintage Quilt
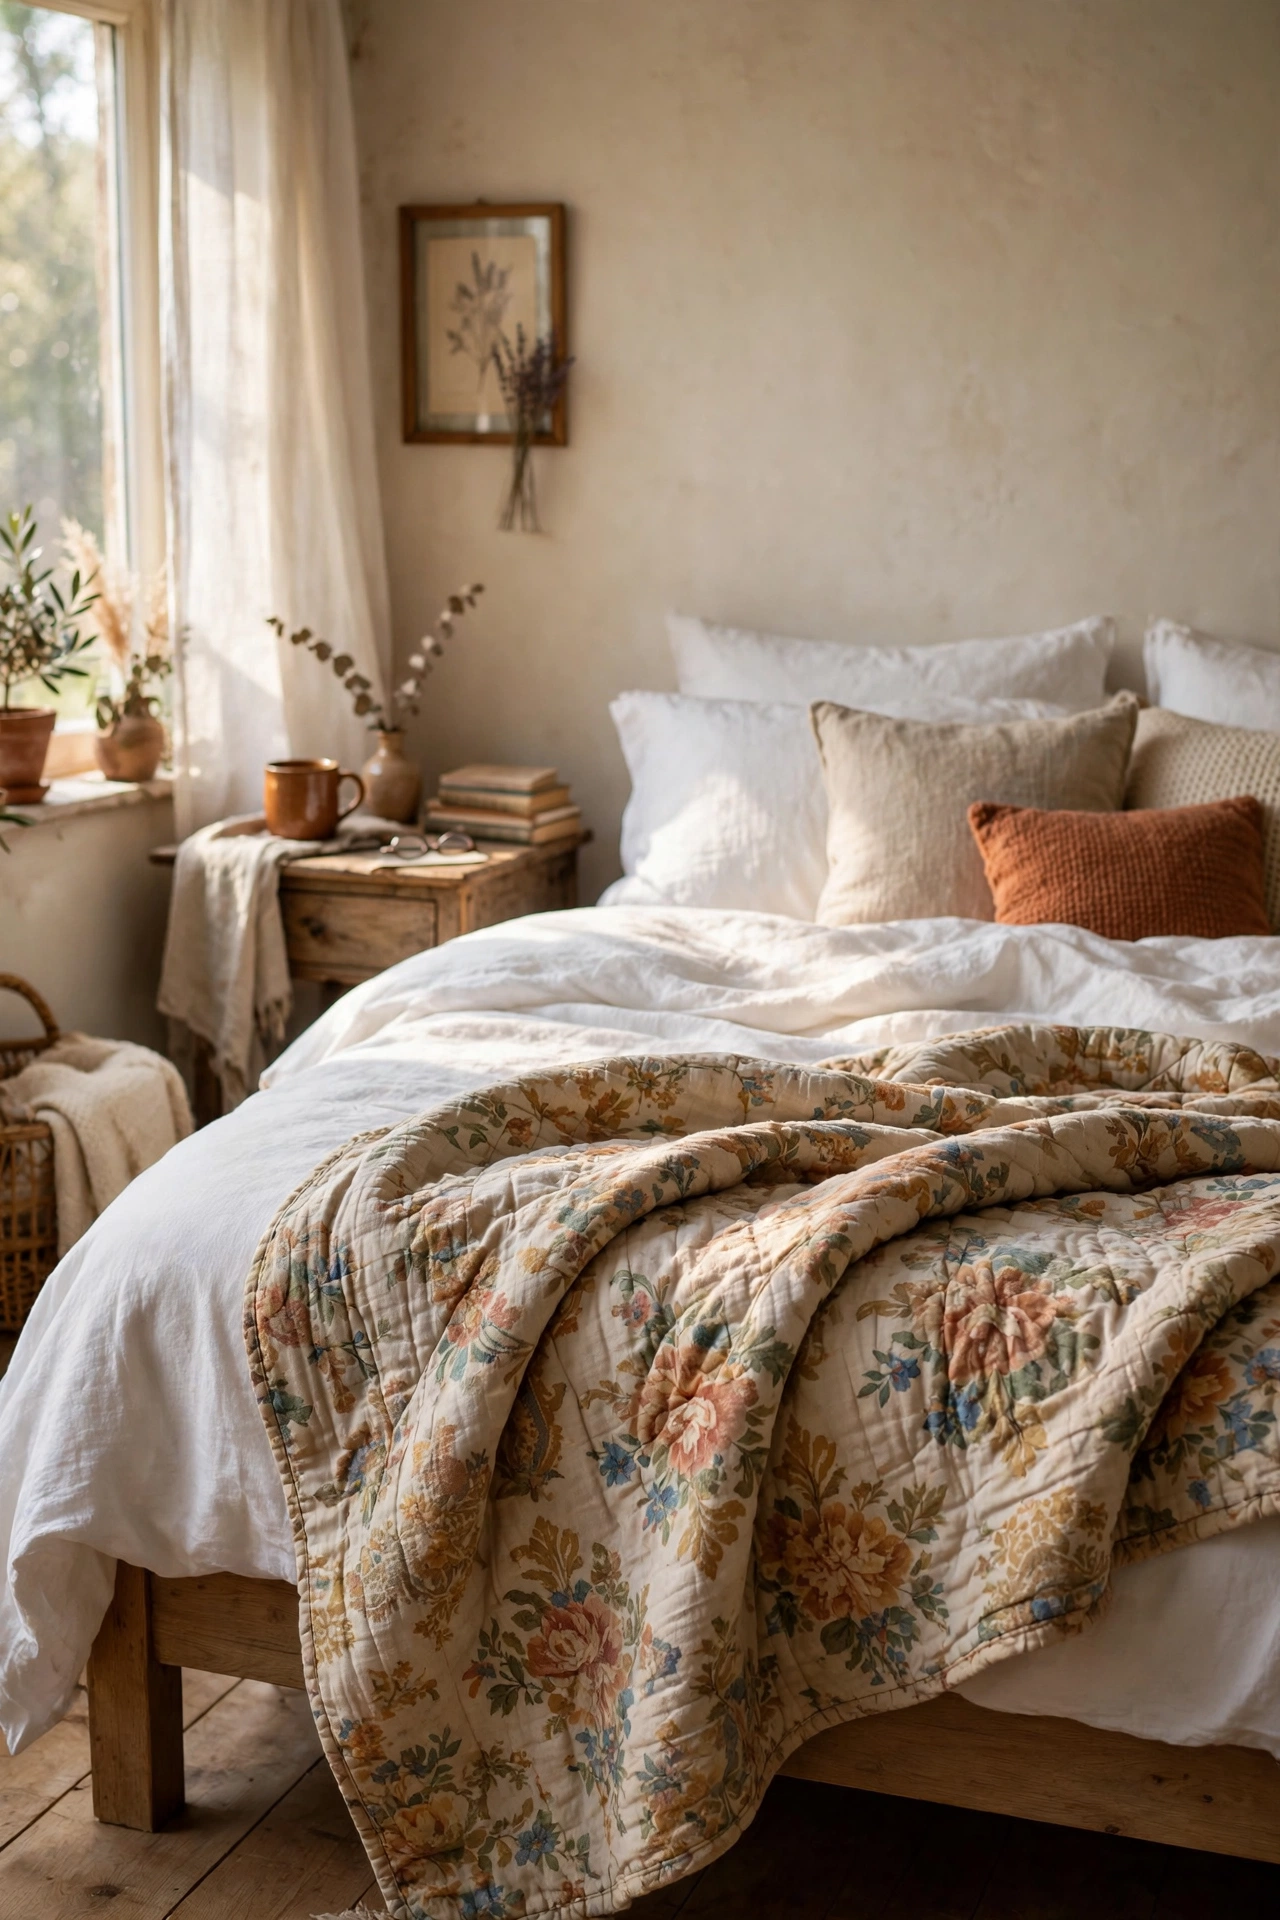
A vintage or vintage-look quilt folded at the foot of the bed adds character that new bedding cannot fake. I found mine at a car boot sale, washed it twice, and now it is the centrepiece of the whole room. Look for quilts in faded florals or classic patchwork, and do not worry about small imperfections because they add to the charm. Drape it casually rather than folding it perfectly, since vintage pieces look better slightly undone. If your room is small, a quilt also draws the eye and makes the bed the clear focal point, which suits (see also: 23-small-bedroom-ideas-that-maximize-every-corner/) styling perfectly.
Cost: ~$5-15 | Time: 10 minutes
Pin this post now so you can save this idea for your next weekend project run!
Once your bed looks this good, the rest of the room deserves the same treatment, so browse our thrifty bedroom guides next.
