15 Bedroom Decor Ideas Under $100 That Look Expensive
Bedroom decor under $100 that looks expensive is my favorite kind of challenge. Last spring I moved into a rental with a beige box for a bedroom, a landlord who banned paint, and a savings account that laughed at furniture stores. So I gave myself one rule: nothing over $100, and every piece had to look like it cost three times more.
Six weekends later, my neighbor walked in and asked which designer I hired. That is the power of the fifteen ideas below. Each one is something I actually did, with the real price, the real time it took, and the mistakes I made along the way so you can skip them.
1. Crisp White Duvet Cover That Mimics Hotel Bedding
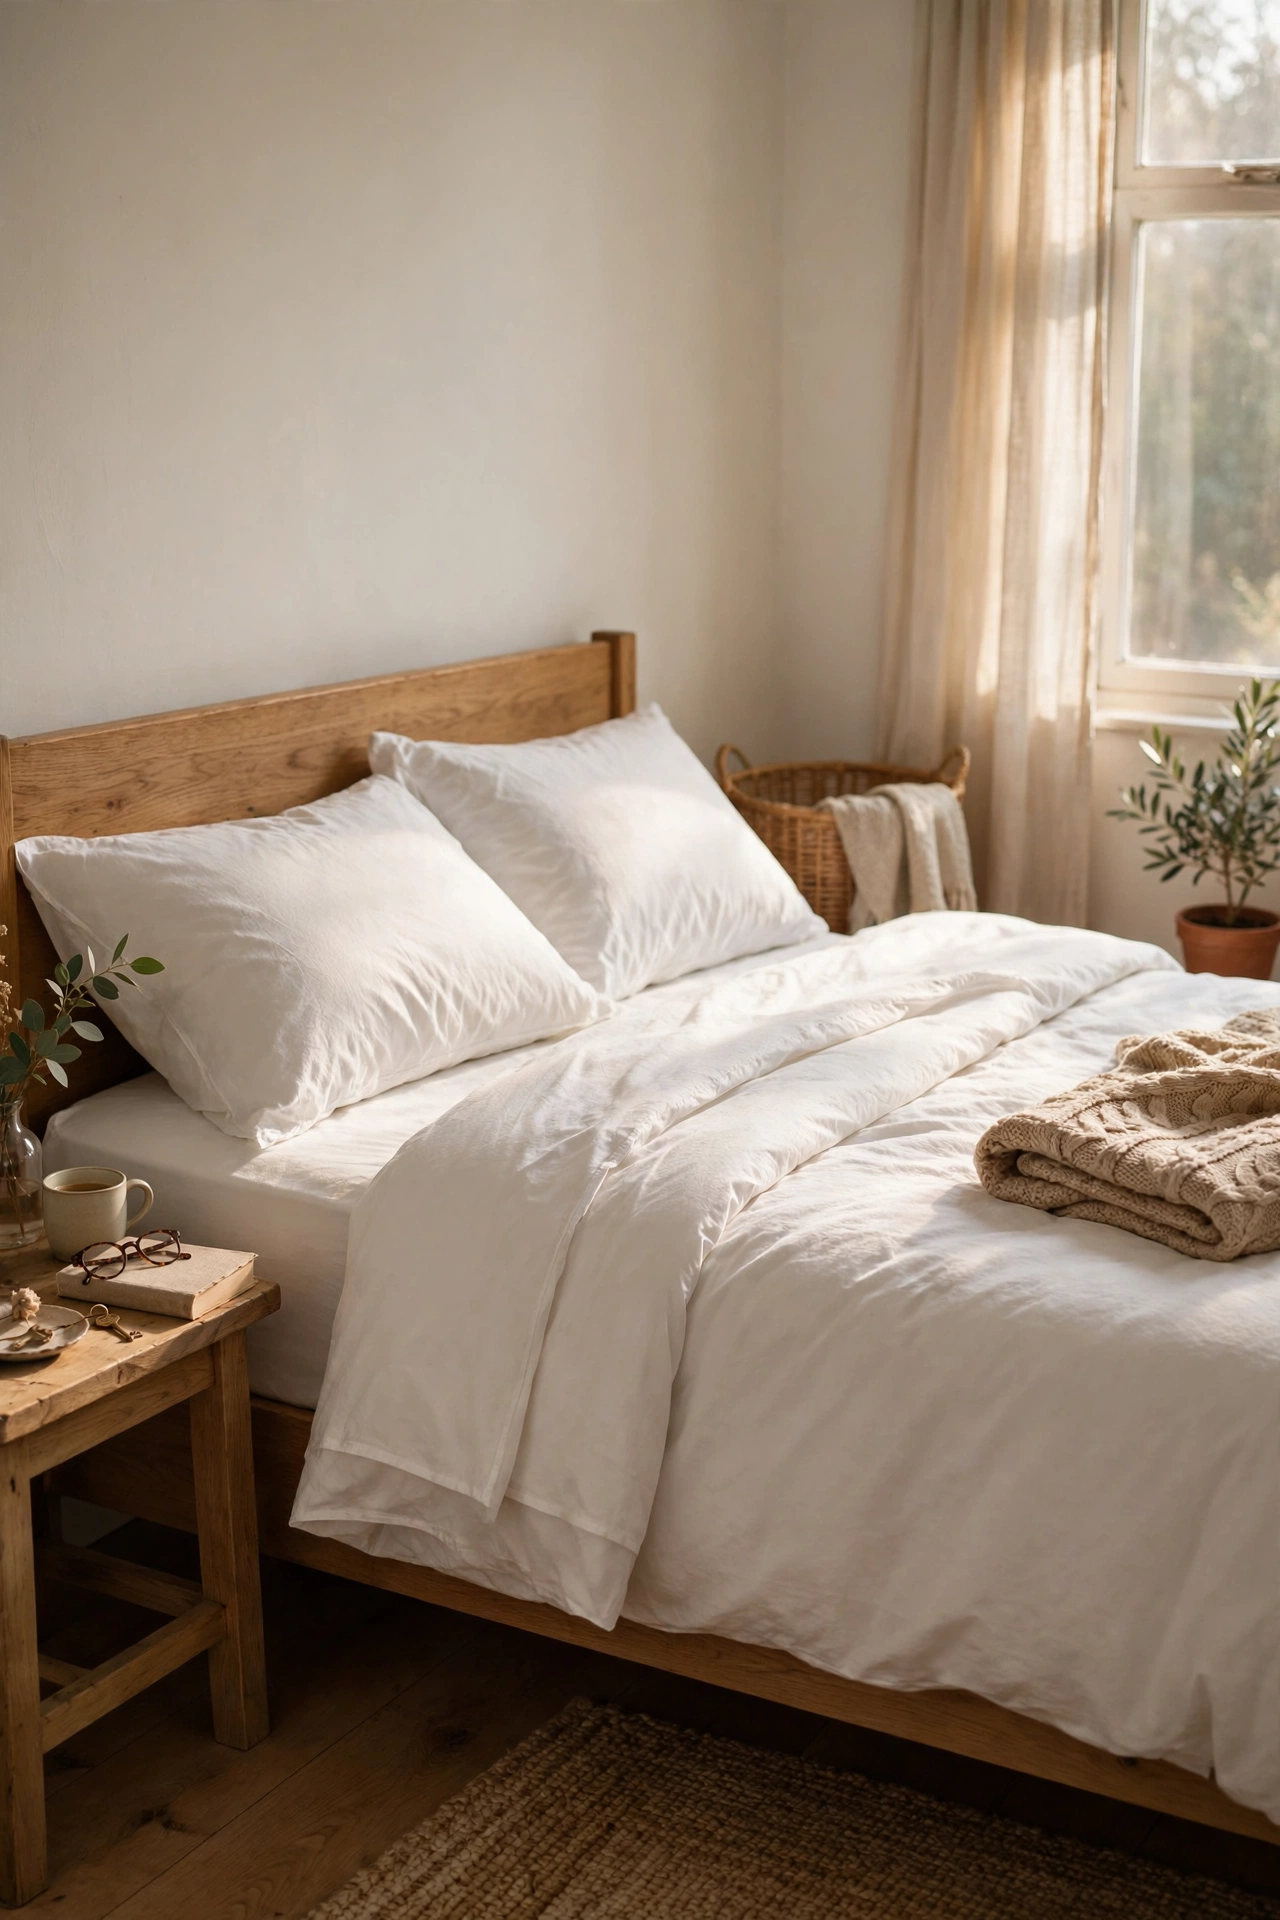
A white duvet cover is the fastest way to make a cheap bed look expensive. I grabbed a 100% cotton one on clearance for $28, washed it twice so it softened up, and ironed just the top fold before making the bed. The trick is wrinkles everywhere except the visible edge, because that one crisp line reads like a hotel. Fold the top down about eight inches and tuck a folded throw across the foot. My bed went from dorm vibes to boutique hotel in twenty minutes. I learned the hard way that polyester blends look shiny under lamplight, so check the fabric label before you buy.
Cost: ~$25-35 | Time: 20 minutes
2. Thrifted Nightstands with Fresh White Paint
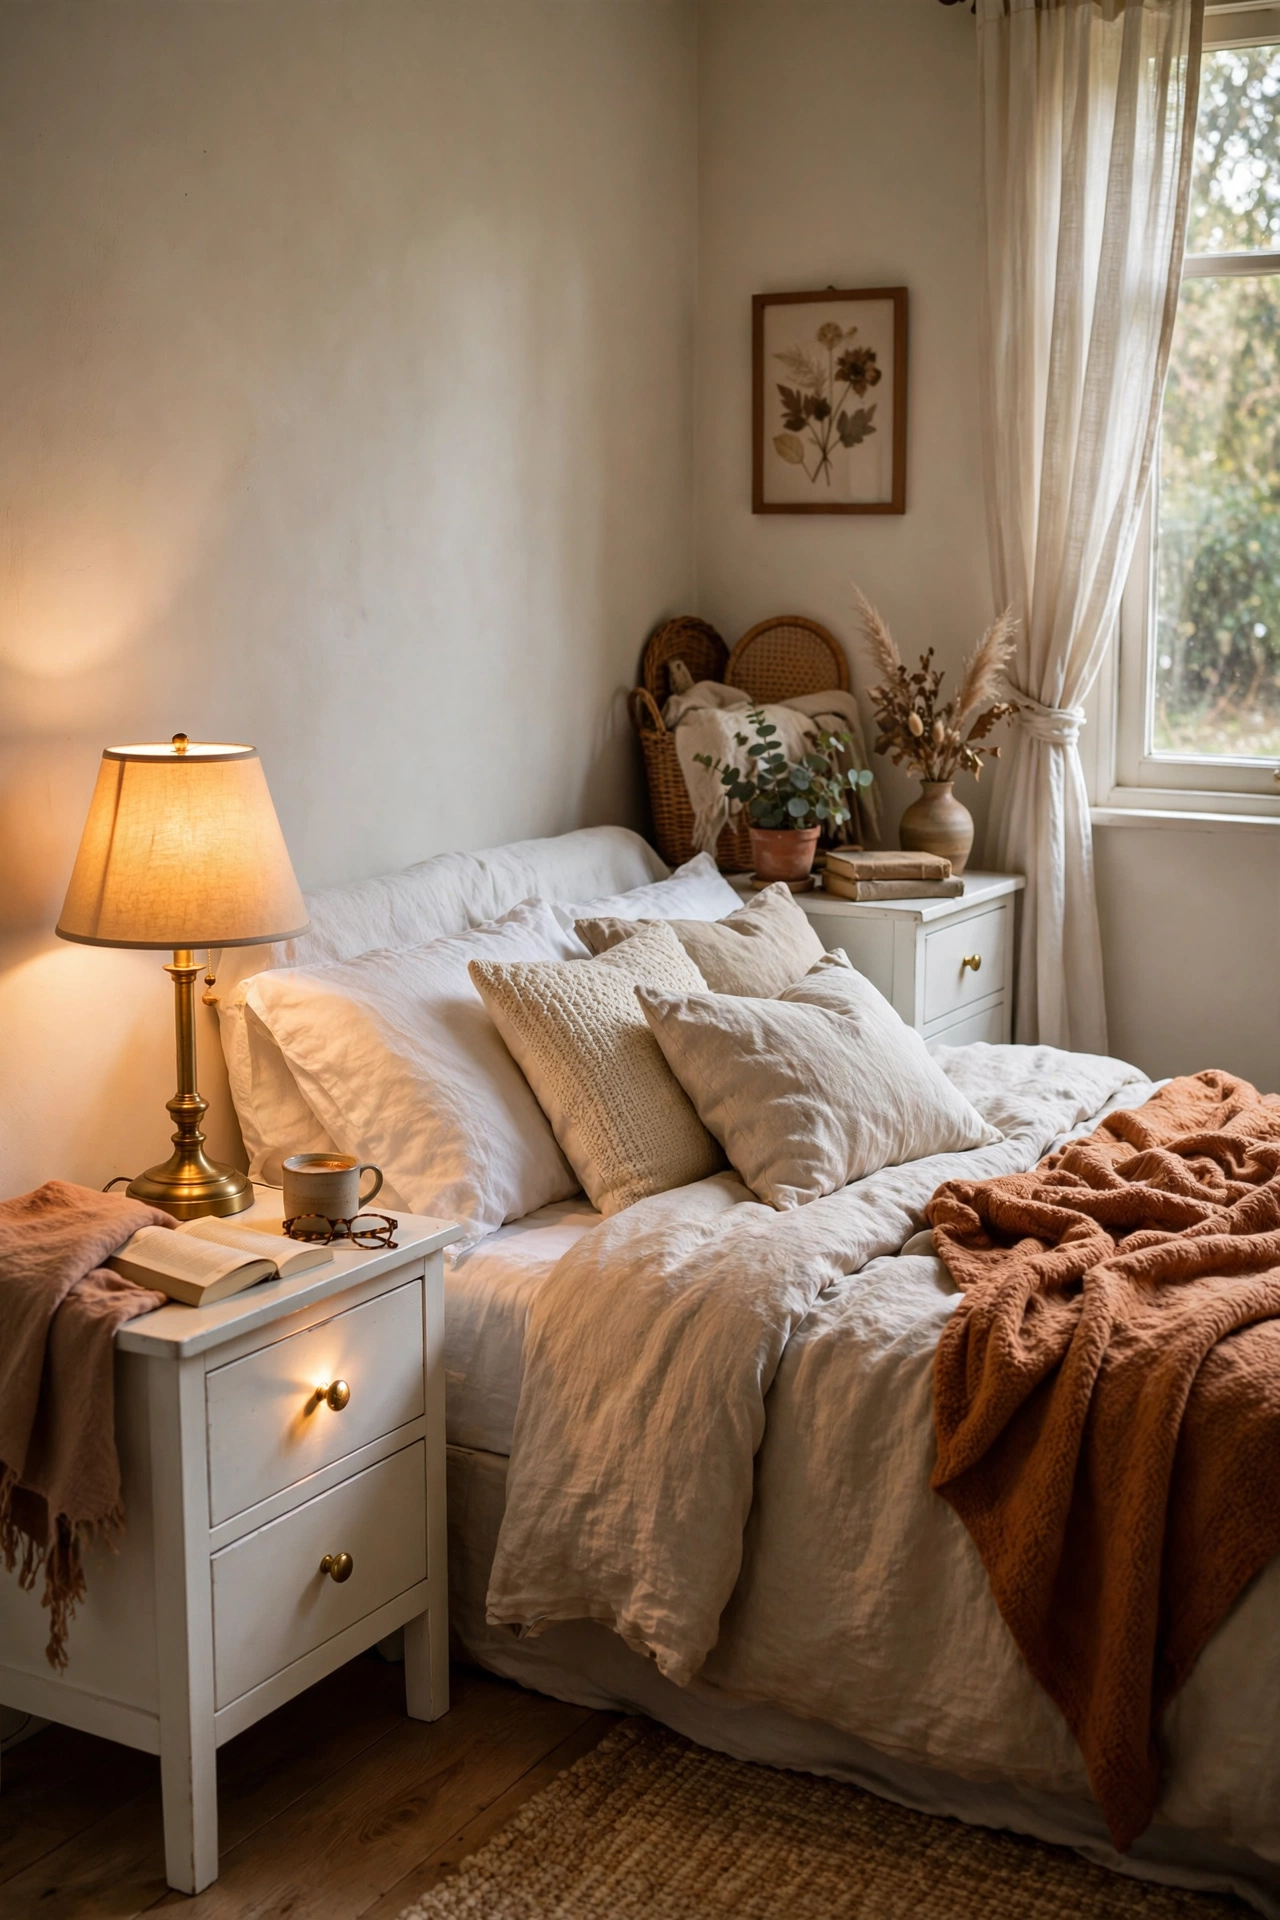
Nightstands are the piece everyone overpays for, but thrift stores are full of solid wood ones hiding under bad finishes. I found a pair for $30 total, sanded them with 120-grit paper, and brushed on two coats of leftover white satin paint. Swap the knobs for $4 brass pulls from the hardware store and nobody will believe they are secondhand. Let each coat dry fully before flipping the piece, because I rushed mine and peeled a corner. A pair of matching nightstands, even small ones, makes the whole room feel planned instead of accidental.
Cost: ~$35-45 | Time: 3 hours plus drying
3. Statement Throw Pillow Covers in Mixed Textures
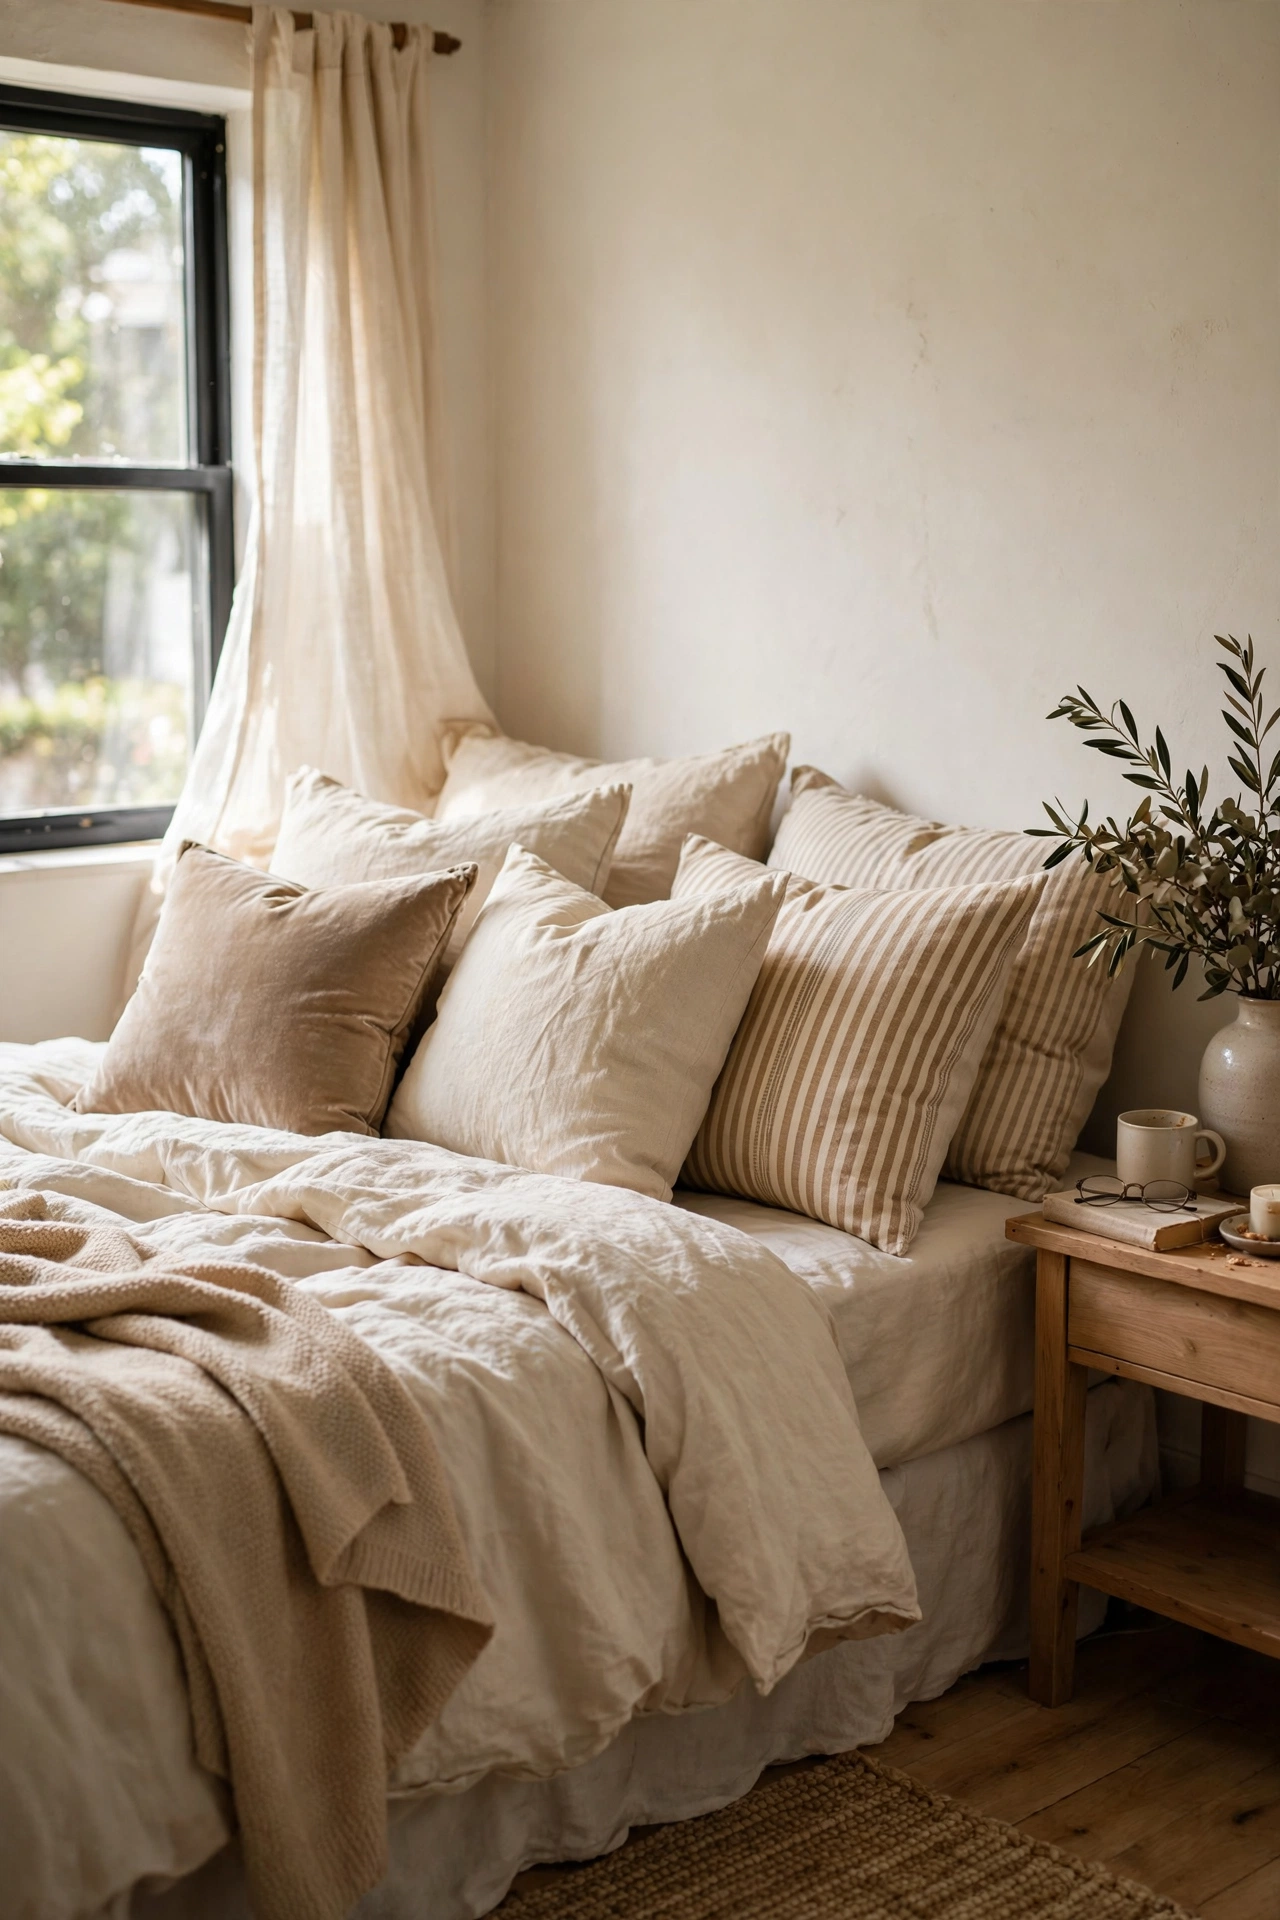
Cheap pillows are the fastest giveaway of a budget bedroom, but the fix is covers, not new pillows. I bought four covers for $18 total: two linen-look, one velvet, one with a subtle stripe, all in cream and beige tones. Stuff them with the inserts you already own, then karate-chop the tops for that styled look. Mixing textures is what makes it look expensive, because one fabric repeated four times reads flat. My first attempt was four identical covers and the bed looked like a waiting room. Two textures and a pattern fixed everything instantly.
Cost: ~$15-20 | Time: 15 minutes
4. Peel-and-Stick Wallpaper Behind the Headboard
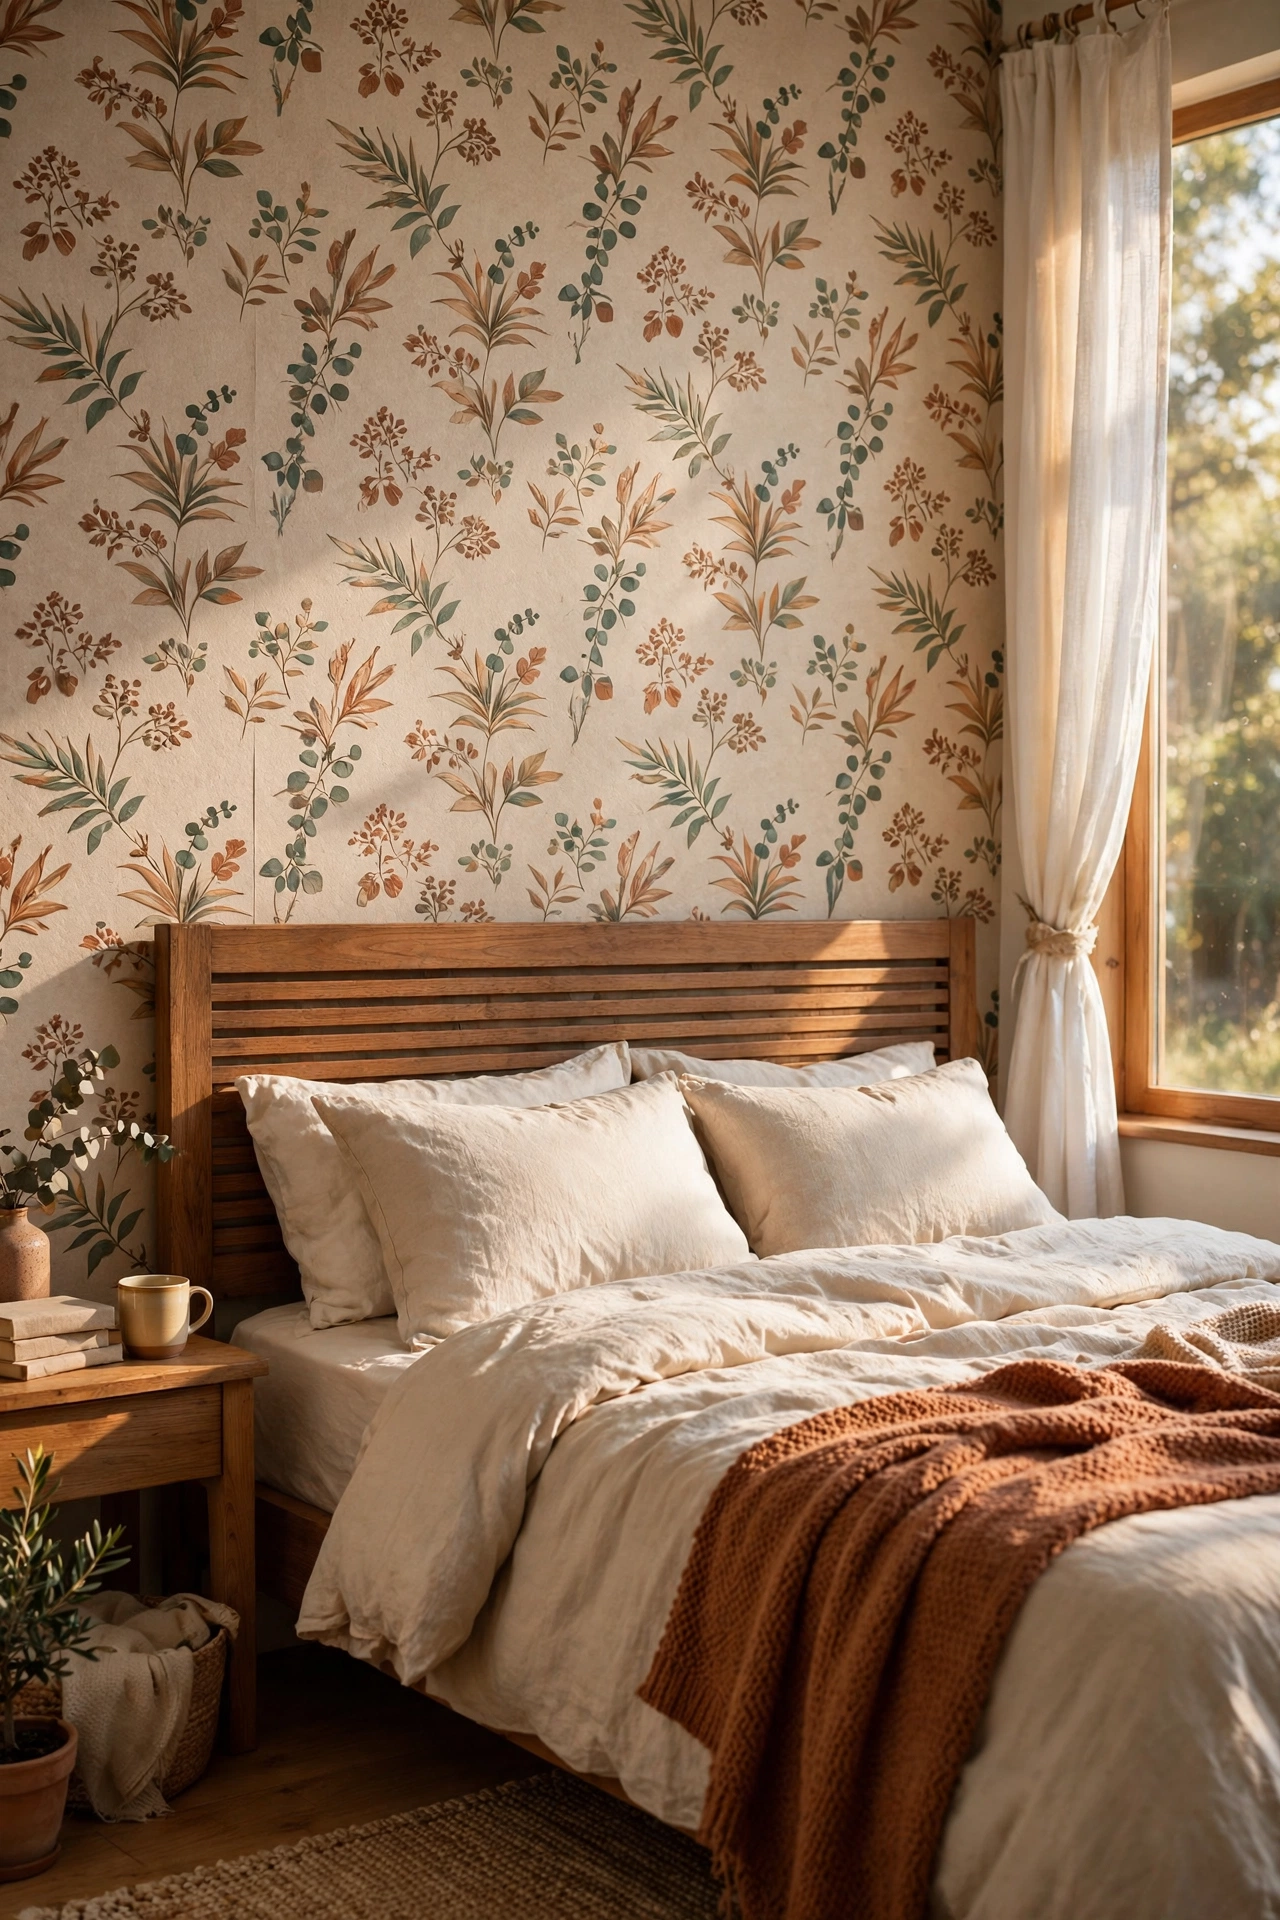
One wall of peel-and-stick wallpaper behind your bed reads like a custom upholstered headboard from across the room. I chose a subtle linen-texture print at $22 a roll, needed just two rolls for the wall, and spent a Saturday morning smoothing it up with a credit card. Start from the top center and work outward so the pattern stays centered behind the bed. My landlord approved it because it peels off clean, and my rental bedroom suddenly had a focal wall. The texture matters more than the pattern here, so skip busy prints.
Cost: ~$40-50 | Time: 2 hours
5. DIY Plywood Headboard Wrapped in Linen
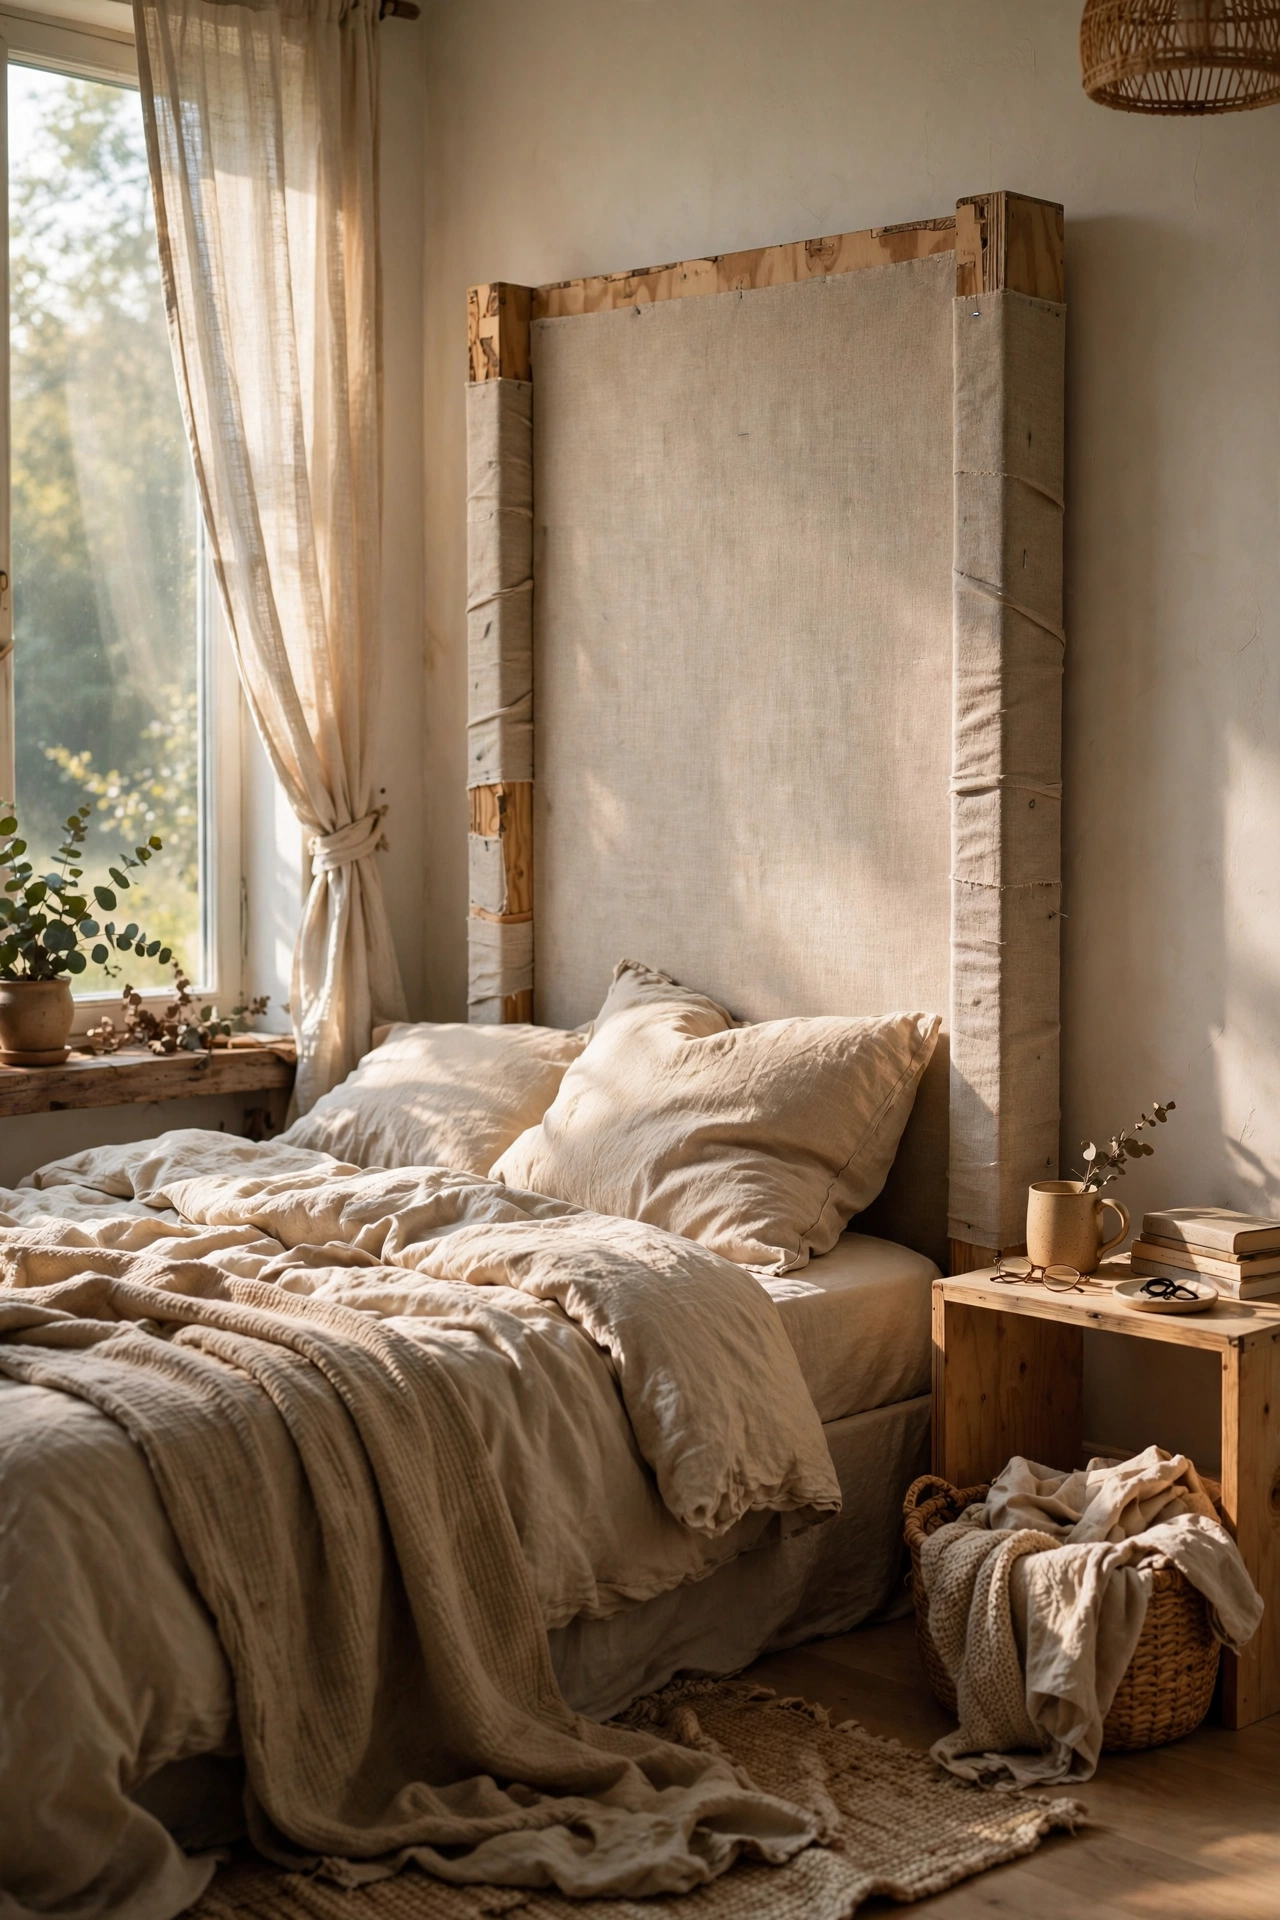
A tall headboard makes a bedroom feel expensive, and you can build one for almost nothing. I had the hardware store cut a sheet of plywood to 60 by 48 inches, wrapped it in a $14 drop cloth, and stapled the fabric tight on the back. Sand the edges first so no splinters poke through the fabric. Lean it against the wall behind the mattress or screw it into the bed frame. Mine looks like a $400 upholstered headboard and took me an afternoon. The drop cloth wrinkles less than cheap cotton, which is the secret most tutorials skip.
Cost: ~$20-25 | Time: 2 hours
So far: 5 ideas, ~$135 if you did every single one — but most people only need two or three. Pick your favorites and you will stay well under $100.
6. Brass Drawer Pulls on the Dresser
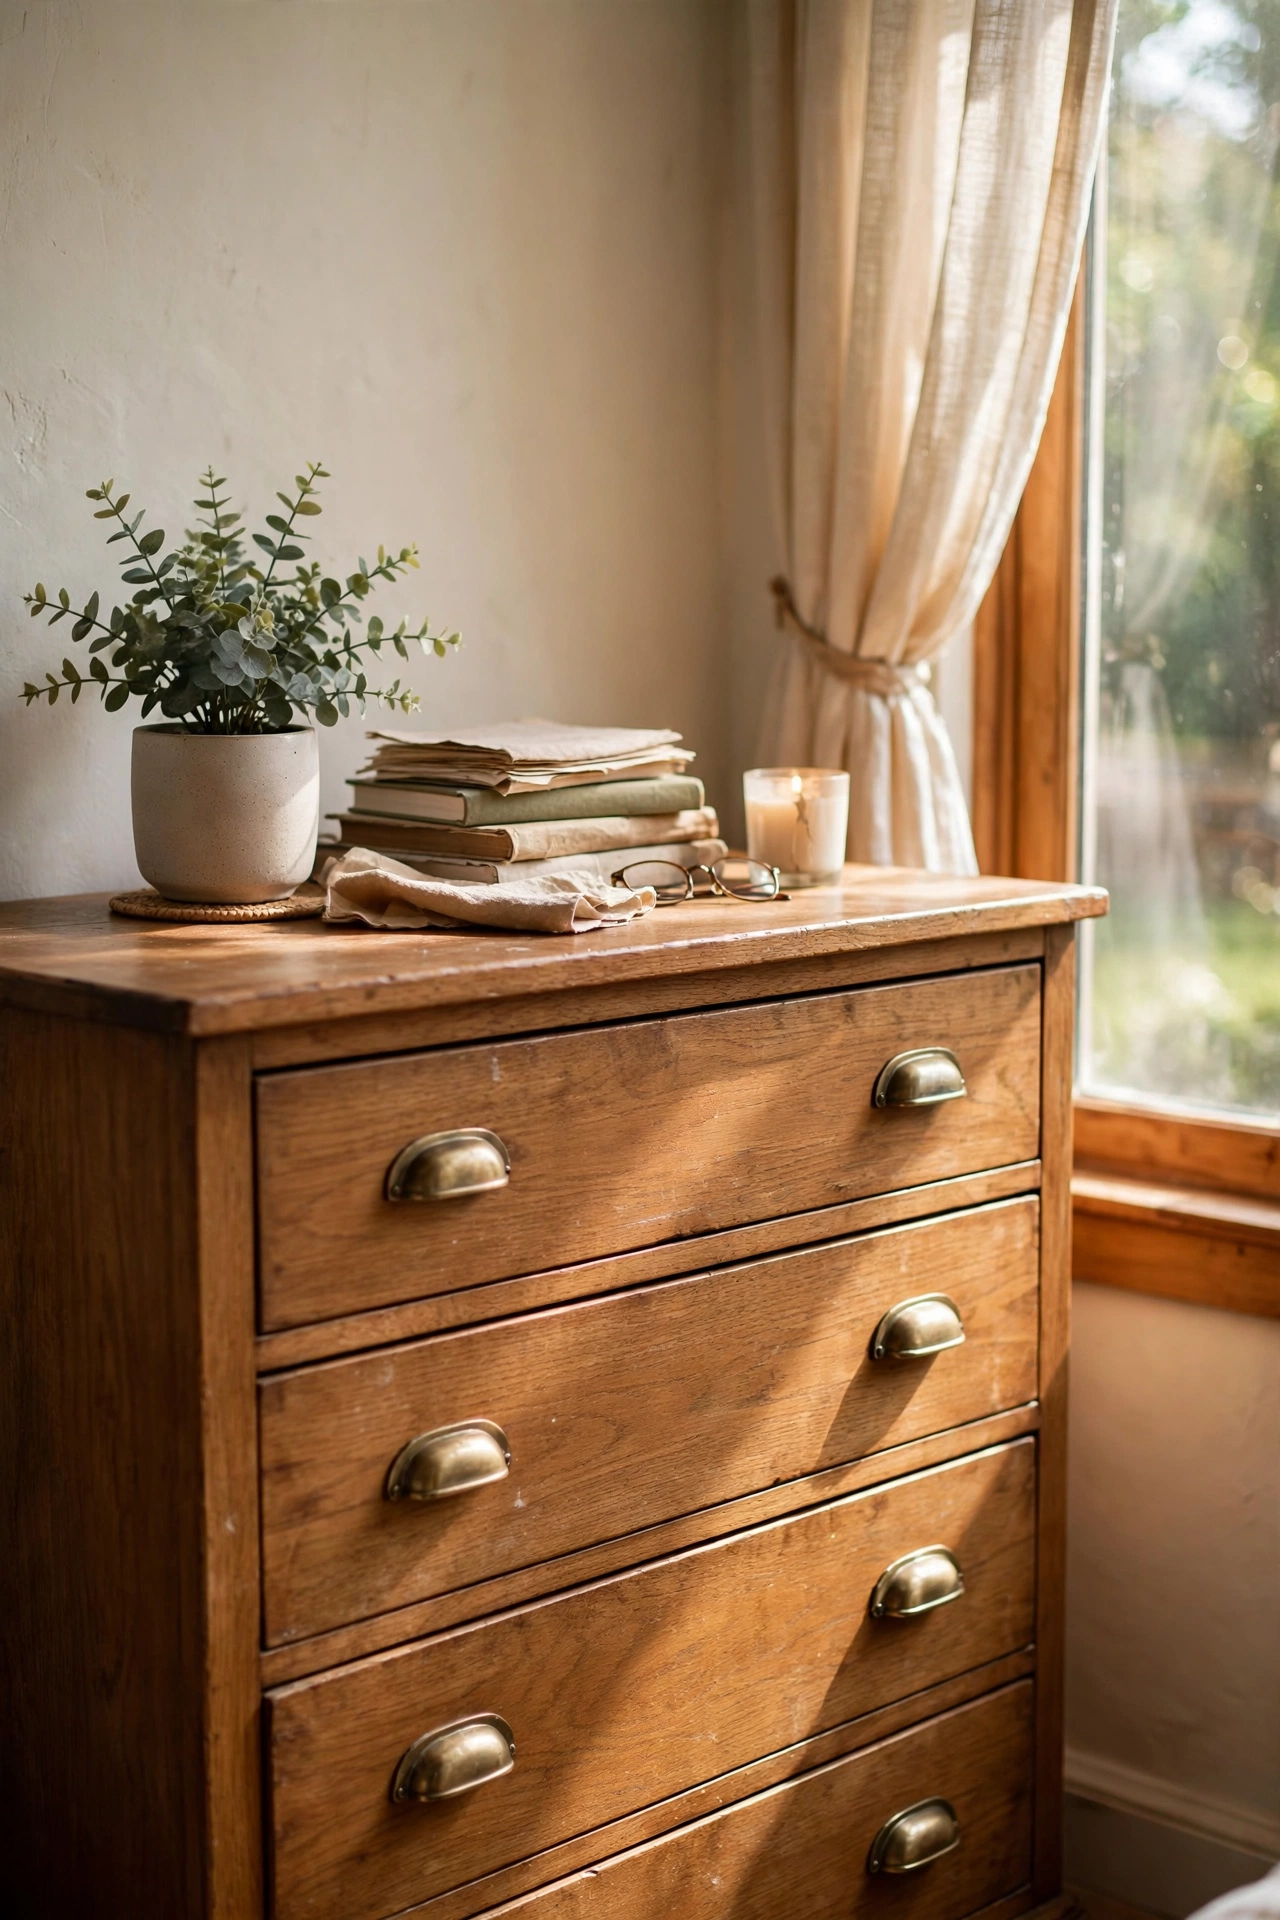
Hardware is jewelry for furniture, and a dresser with matching brass pulls looks twice its price. I replaced eight dated wooden knobs on my dresser with brushed brass bar pulls at $3 each, and the whole piece looked custom. Measure the hole spacing before you buy, since older dressers often have non-standard holes and I had to exchange mine once. A screwdriver and twenty minutes is all it takes. Keep the old knobs in a bag taped inside a drawer so the landlord never notices. This is the smallest project on the list and one of the biggest payoffs.
Cost: ~$20-28 | Time: 20 minutes
7. Matching Table Lamps from the Clearance Shelf
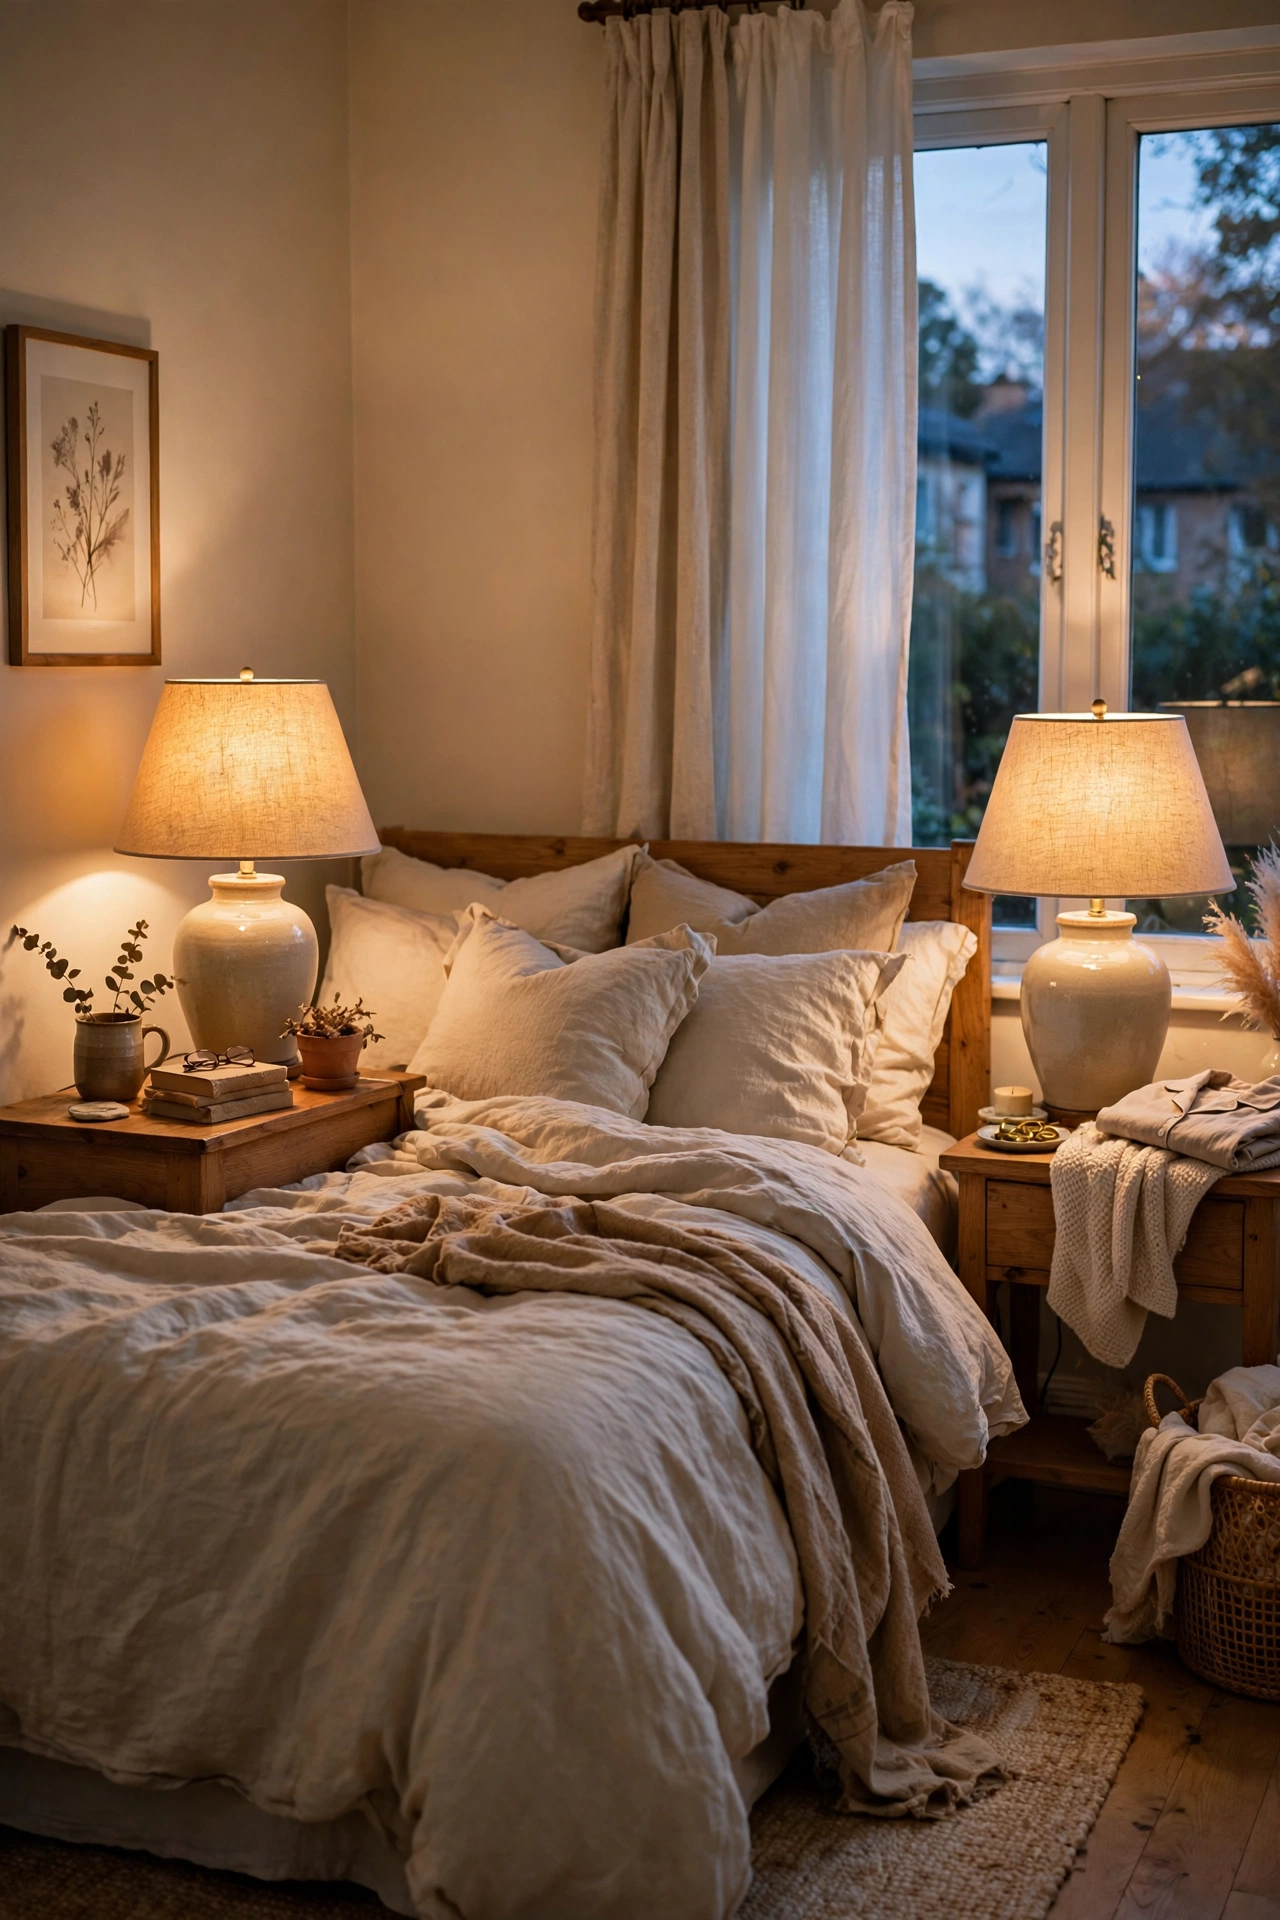
Matching lamps on both nightstands make a bedroom feel designed, and mismatched lamps are a dead giveaway of a thrown-together room. I found two ceramic lamps on the clearance shelf for $16 total, then swapped their shades for matching $10 linen ones. Keep the shade height roughly equal to the lamp base for good proportions. Put warm 2700K bulbs in both, because cool white bulbs make a bedroom feel like an office. The pair cost me less than one lamp at full price, and the symmetry alone made my room look expensive.
Cost: ~$22-30 | Time: 30 minutes
8. Oversized Art Print in a Cheap Frame
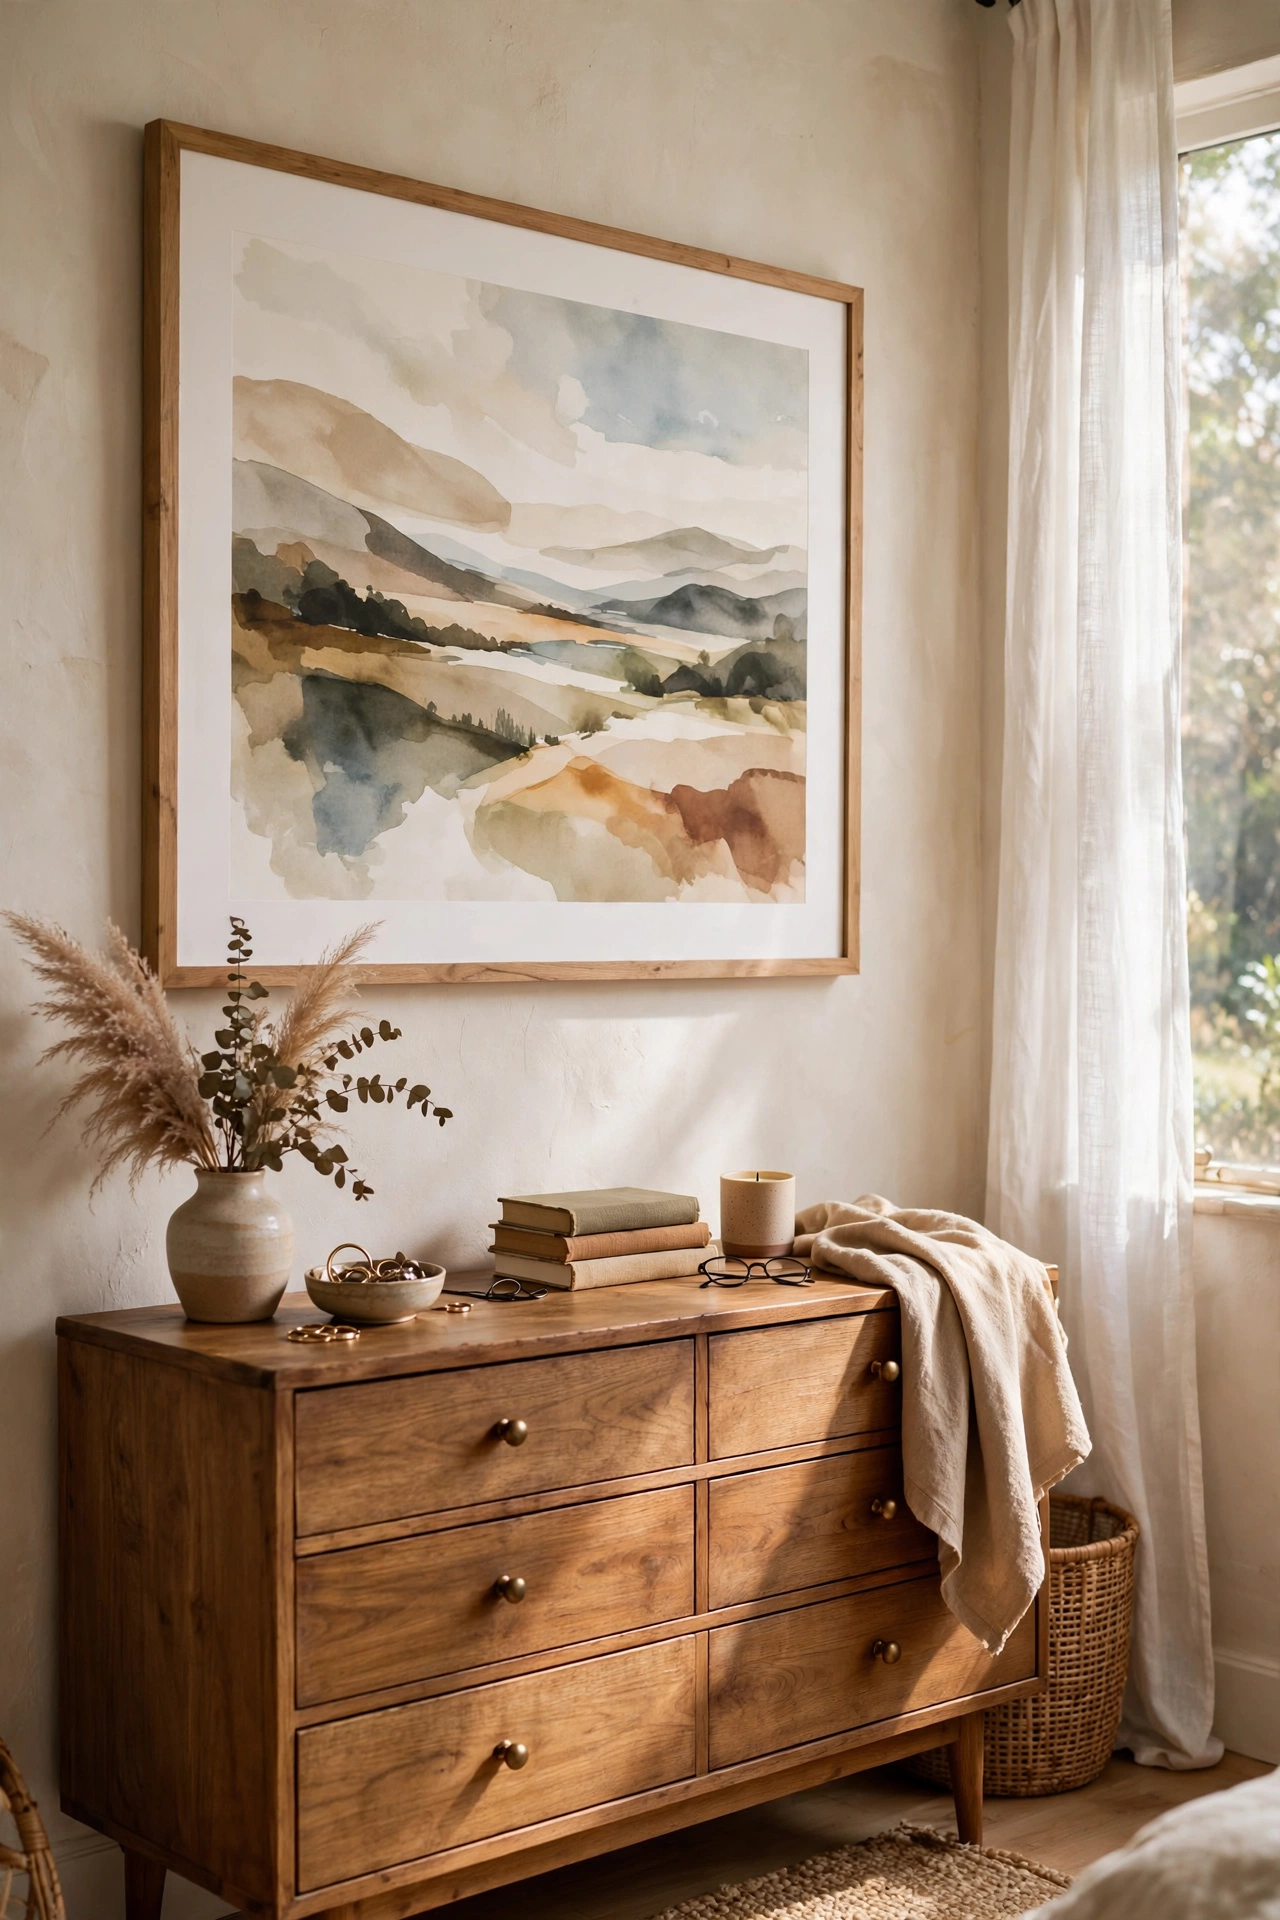
Big art over the dresser or beside the bed reads expensive, and the print itself can cost almost nothing. I downloaded a free abstract landscape, had it printed at 24 by 36 inches at the office supply store for $12, and framed it in a $20 big-box frame. The frame matters more than the art, so pick one with a wide mat, since the mat is what makes cheap prints look gallery-worthy. Hang the center at eye level, about 57 inches from the floor. Mine looks like something from a boutique hotel hallway.
Cost: ~$28-35 | Time: 45 minutes
Pro tip: Pro tip: shop the hardware store’s paint mistint shelf first — quarts of perfect neutrals sit there for $5, and one quart covers a nightstand and a mirror frame.
9. Velvet Throw Folded at the Foot of the Bed
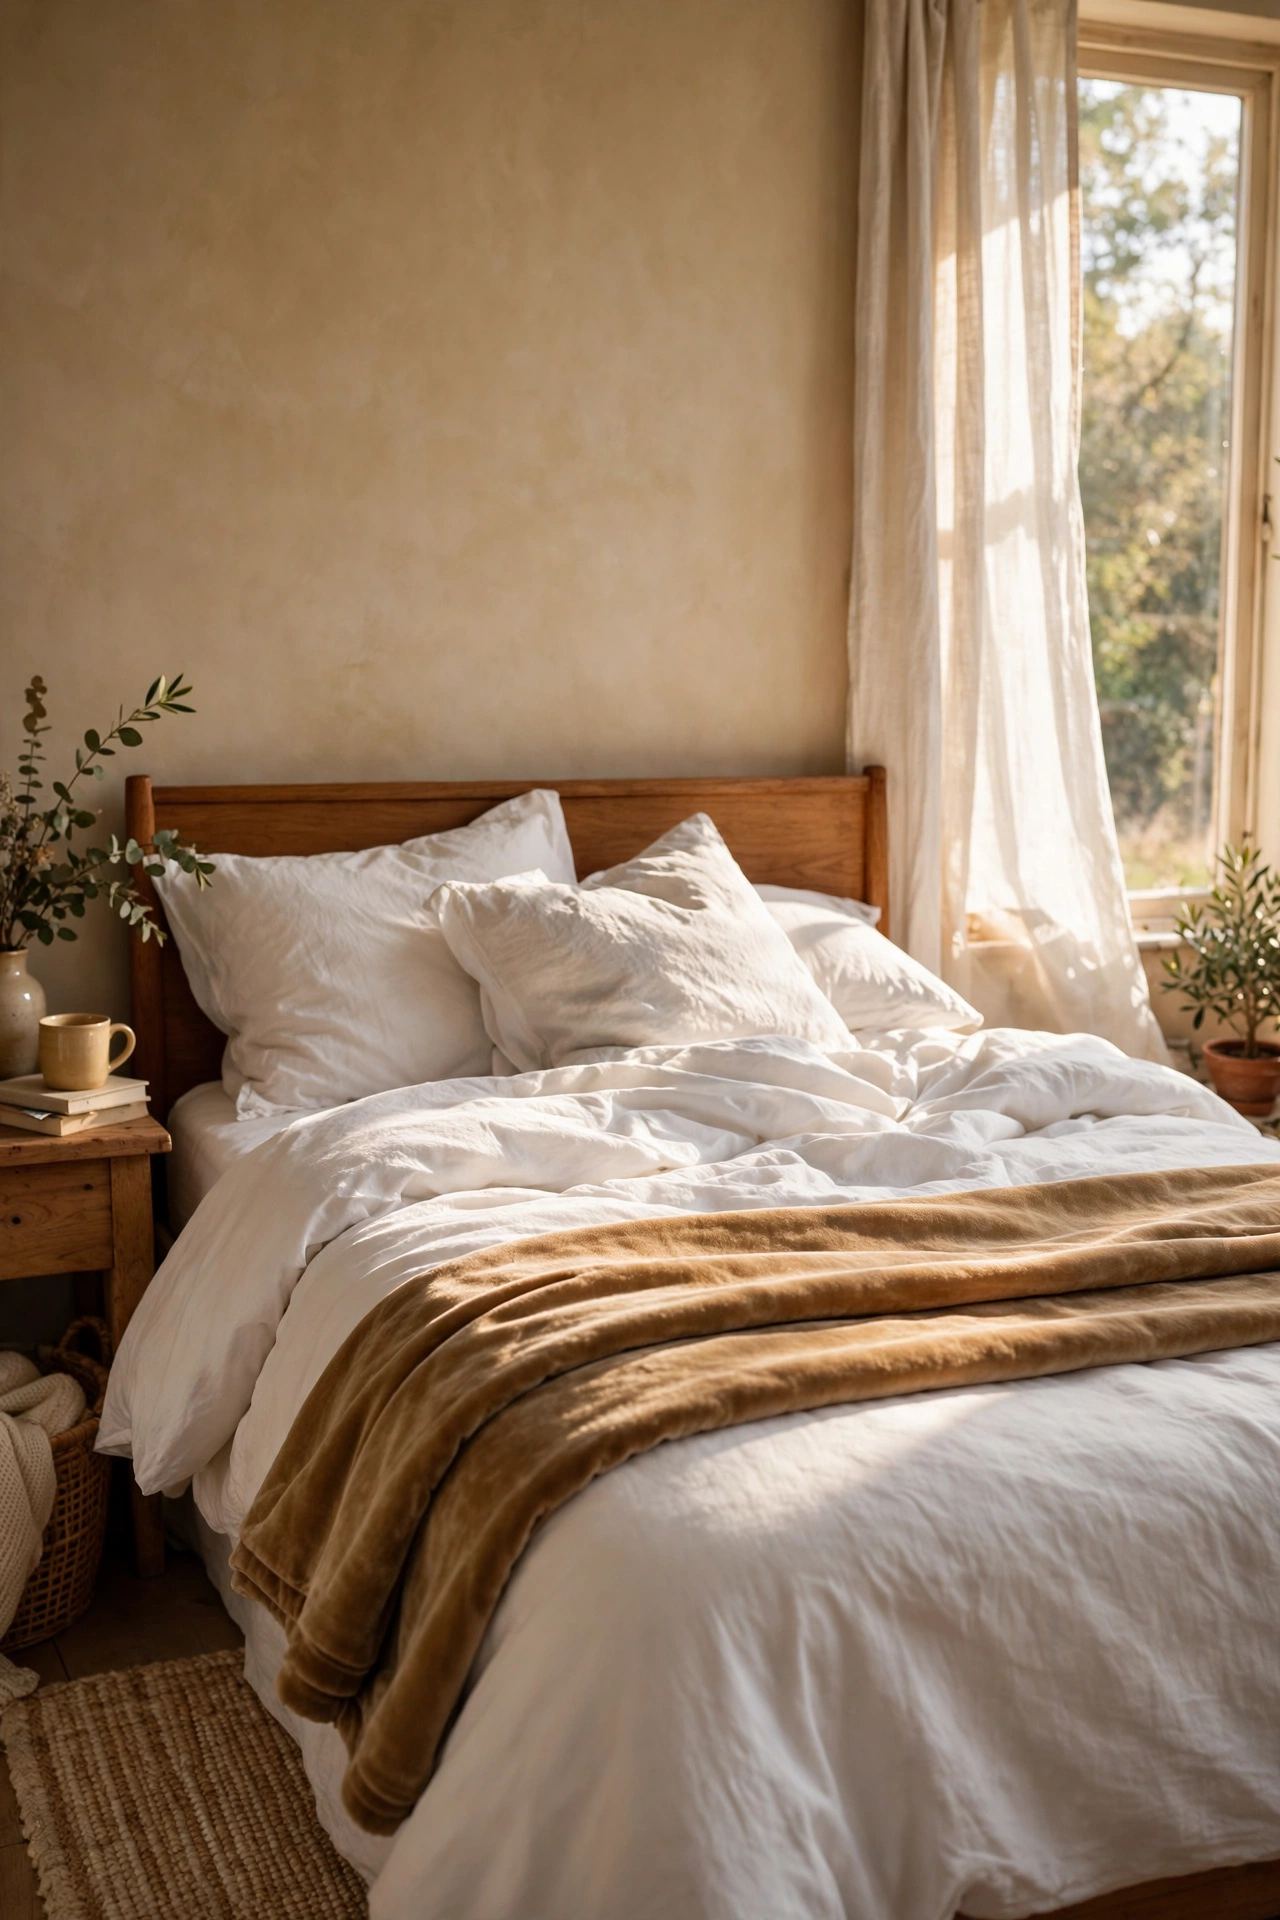
A throw folded across the foot of the bed is the detail every styled bedroom photo has, and it costs very little. I found a soft velvet throw in a warm camel tone for $16 at a discount store, folded it in thirds lengthwise, and laid it straight across the foot of the duvet. Do not just toss it, because a tossed throw always reads as laundry. Keep the color one step deeper than your bedding so it adds contrast. Mine has survived a year of washing and still looks plush, which is more than I can say for the cheaper knit one I tried first.
Cost: ~$14-20 | Time: 5 minutes
10. Layered Bedroom Rugs for a Designer Look
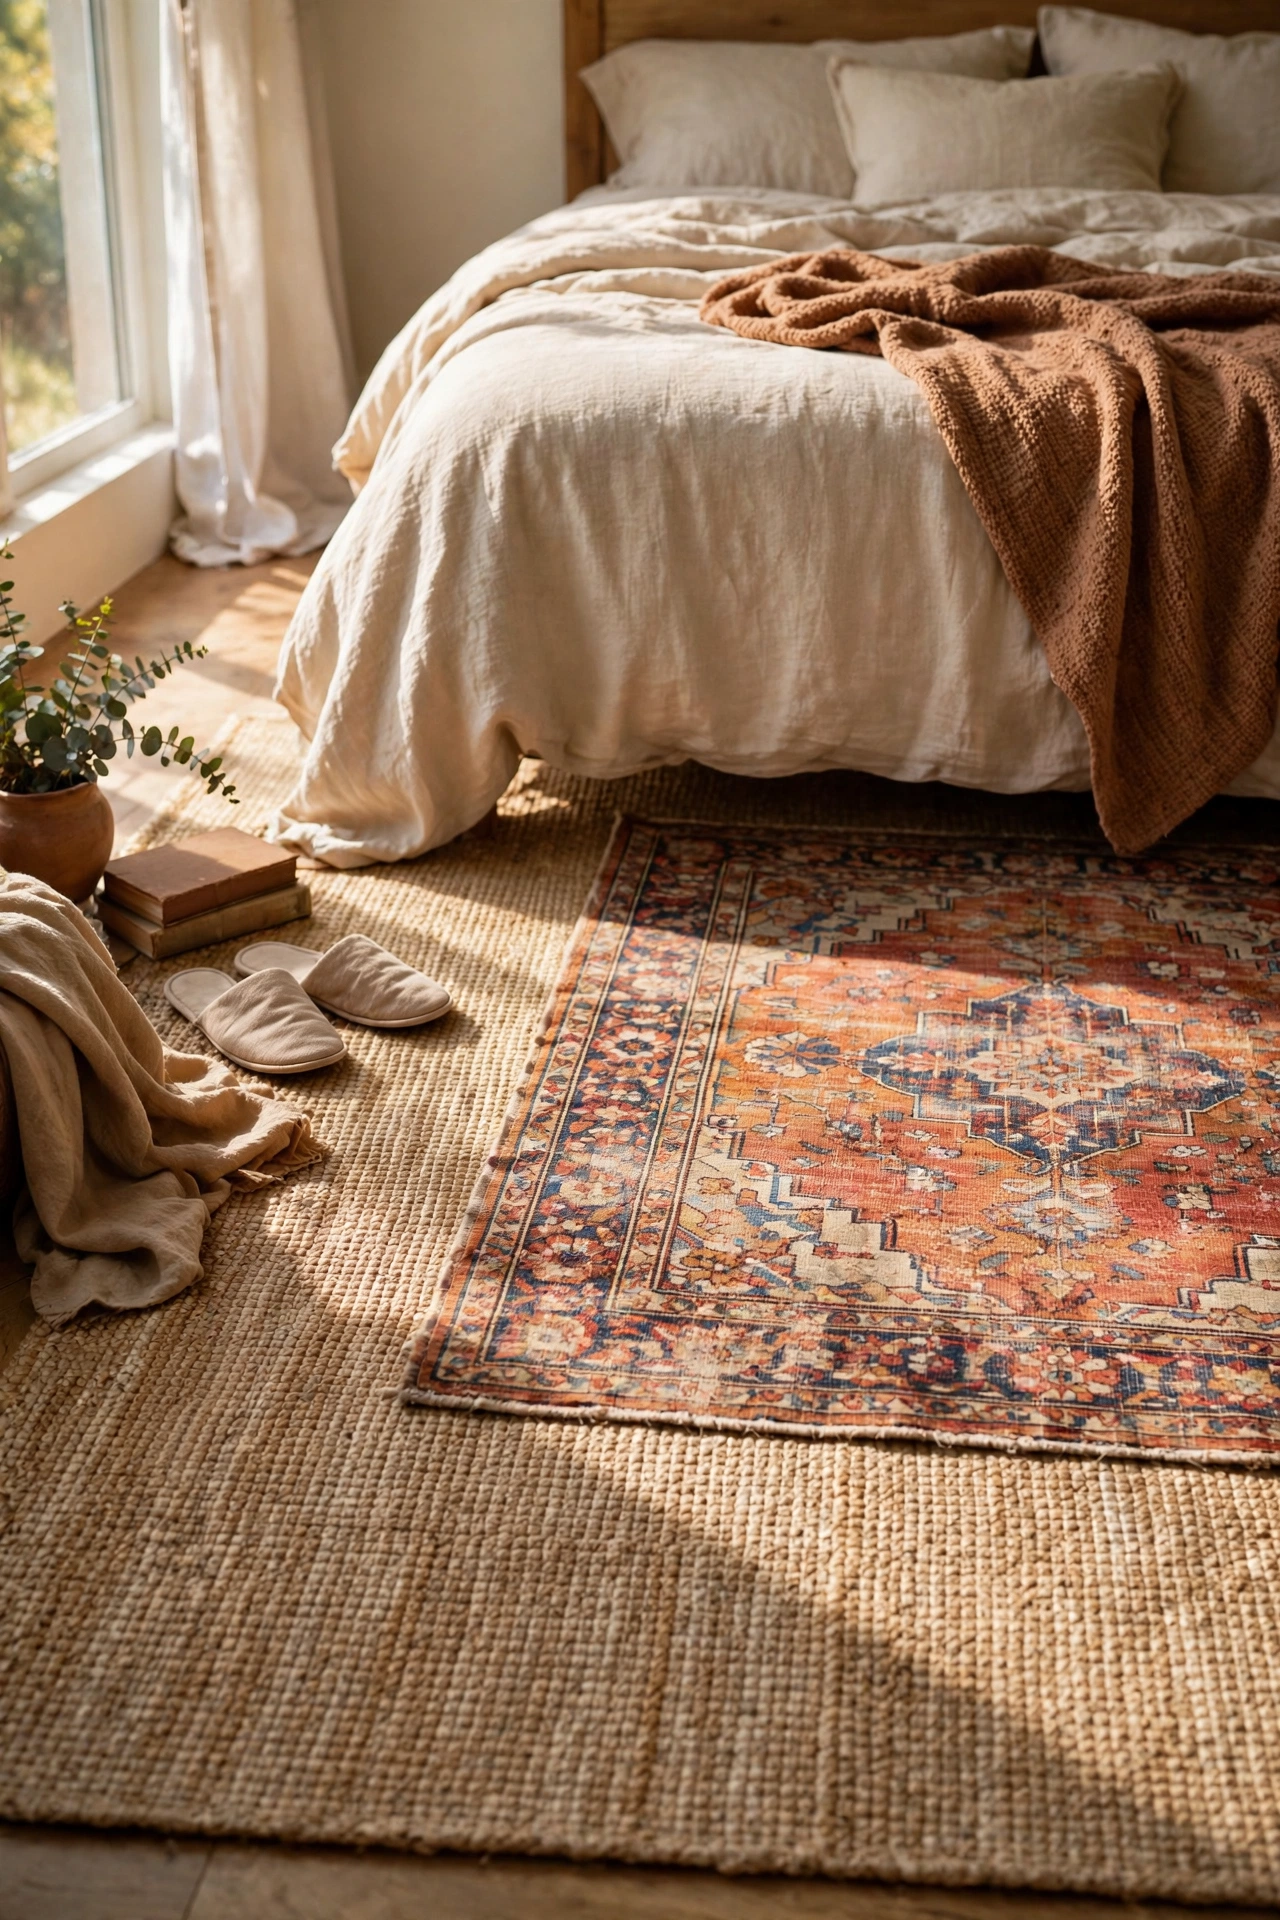
Layering a small rug over a larger neutral one is the designer trick that costs the least. I put a $30 3-by-5 vintage-look rug over the flat beige rug my rental came with, set slightly off-center at the foot of the bed. Two different textures are the rule, because two identical piles look like a laundry accident. Shake both out before stacking so nothing bunches. My layered corner photographs like a styled Airbnb listing, and the whole thing cost less than one medium rug. Check the rug pad situation too, since layered rugs slide.
Cost: ~$28-35 | Time: 20 minutes
So far: 10 ideas down, and if you picked just the cheapest five you are under $100 with a room that photographs like a magazine.
11. Velvet Curtain Panels Hung High and Wide
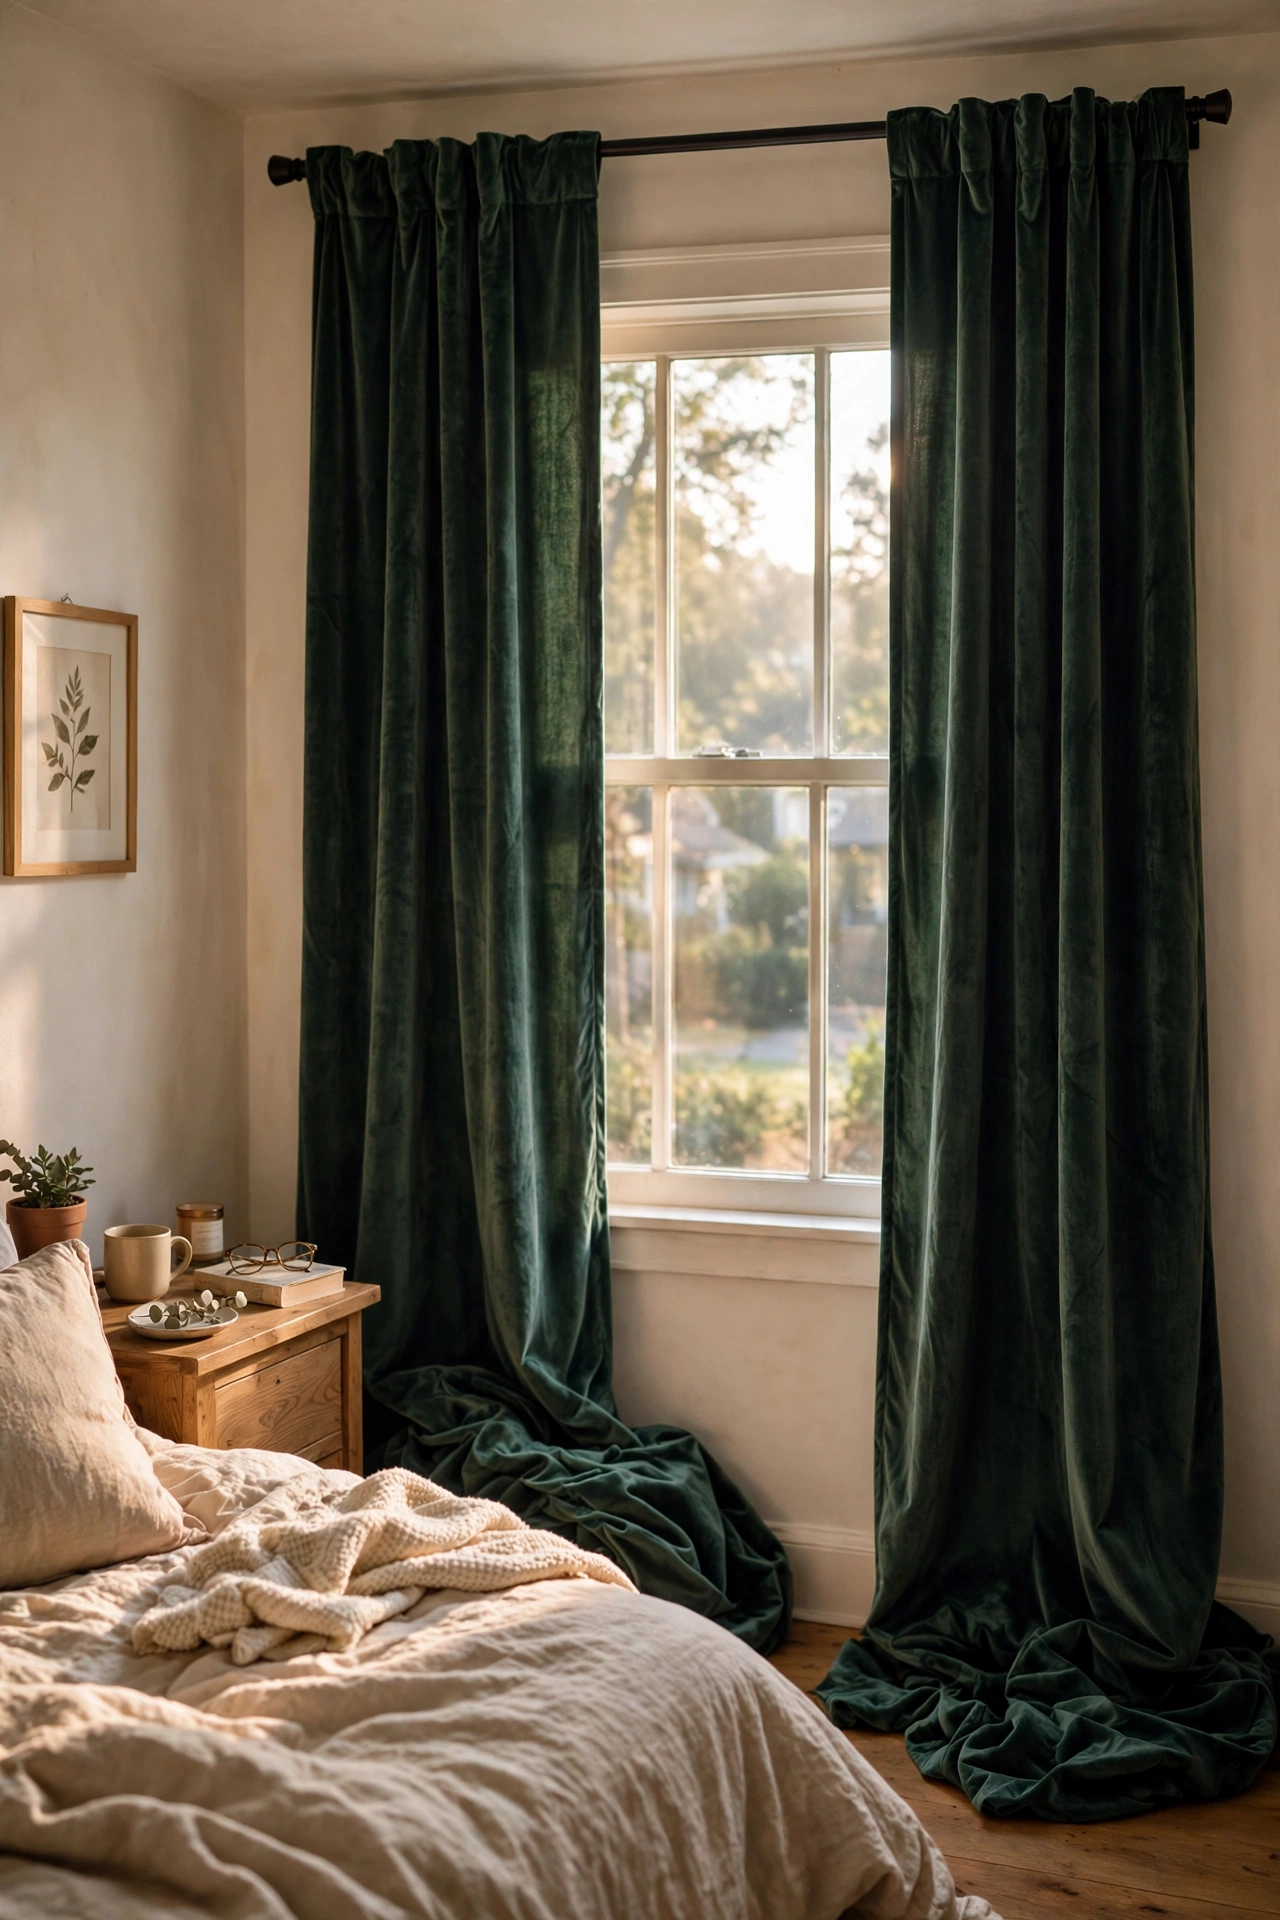
Curtains hung close to the ceiling make a bedroom feel taller and far more expensive. I bought two velvet-look panels on sale for $24, mounted the rod four inches below the ceiling and eight inches wider than the window, and let the panels just kiss the floor. Steam them before hanging, because wrinkled panels are what make budget curtains look cheap. I skipped this step the first time and spent a week blaming the color. Ten minutes with a steamer fixed it, and my eight-foot ceilings suddenly look ten feet tall.
Cost: ~$20-30 | Time: 1 hour
12. Styled Dresser Top with a Tray and Candle
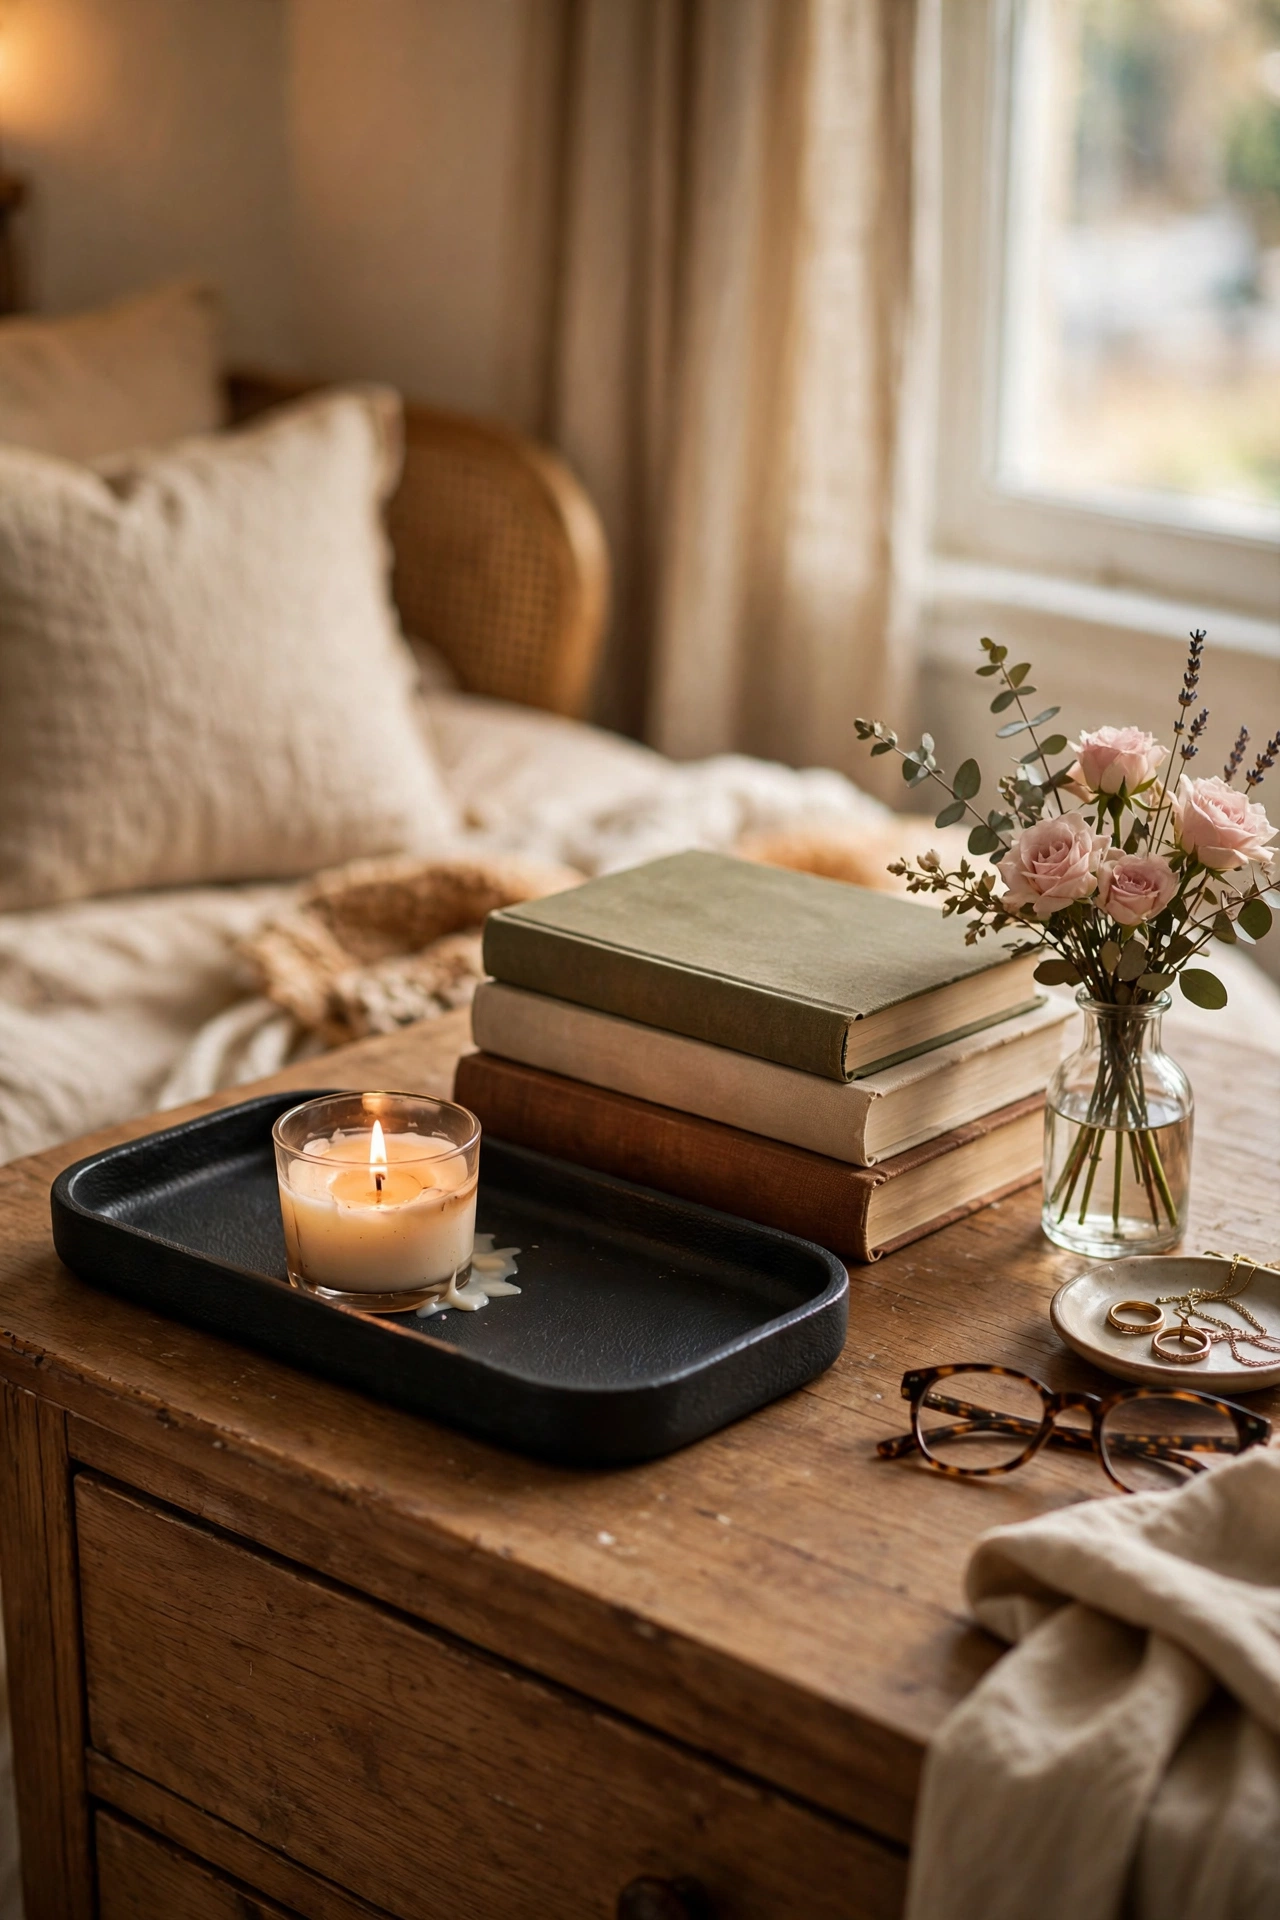
A styled dresser top looks expensive when everything sits on a tray. I spray-painted a $4 thrifted wooden tray matte black, added a $5 candle, a small stack of books I already owned, and a $3 bud vase with grocery store flowers. The tray is what turns clutter into a vignette, so do not skip it. Group things in odd numbers and vary the heights. My dresser went from junk drawer overflow to something I actually photograph. When guests come, the tray lifts off in one move and the whole surface is clean.
Cost: ~$12-18 | Time: 30 minutes
13. Thrifted Mirror with a Spray-Painted Frame
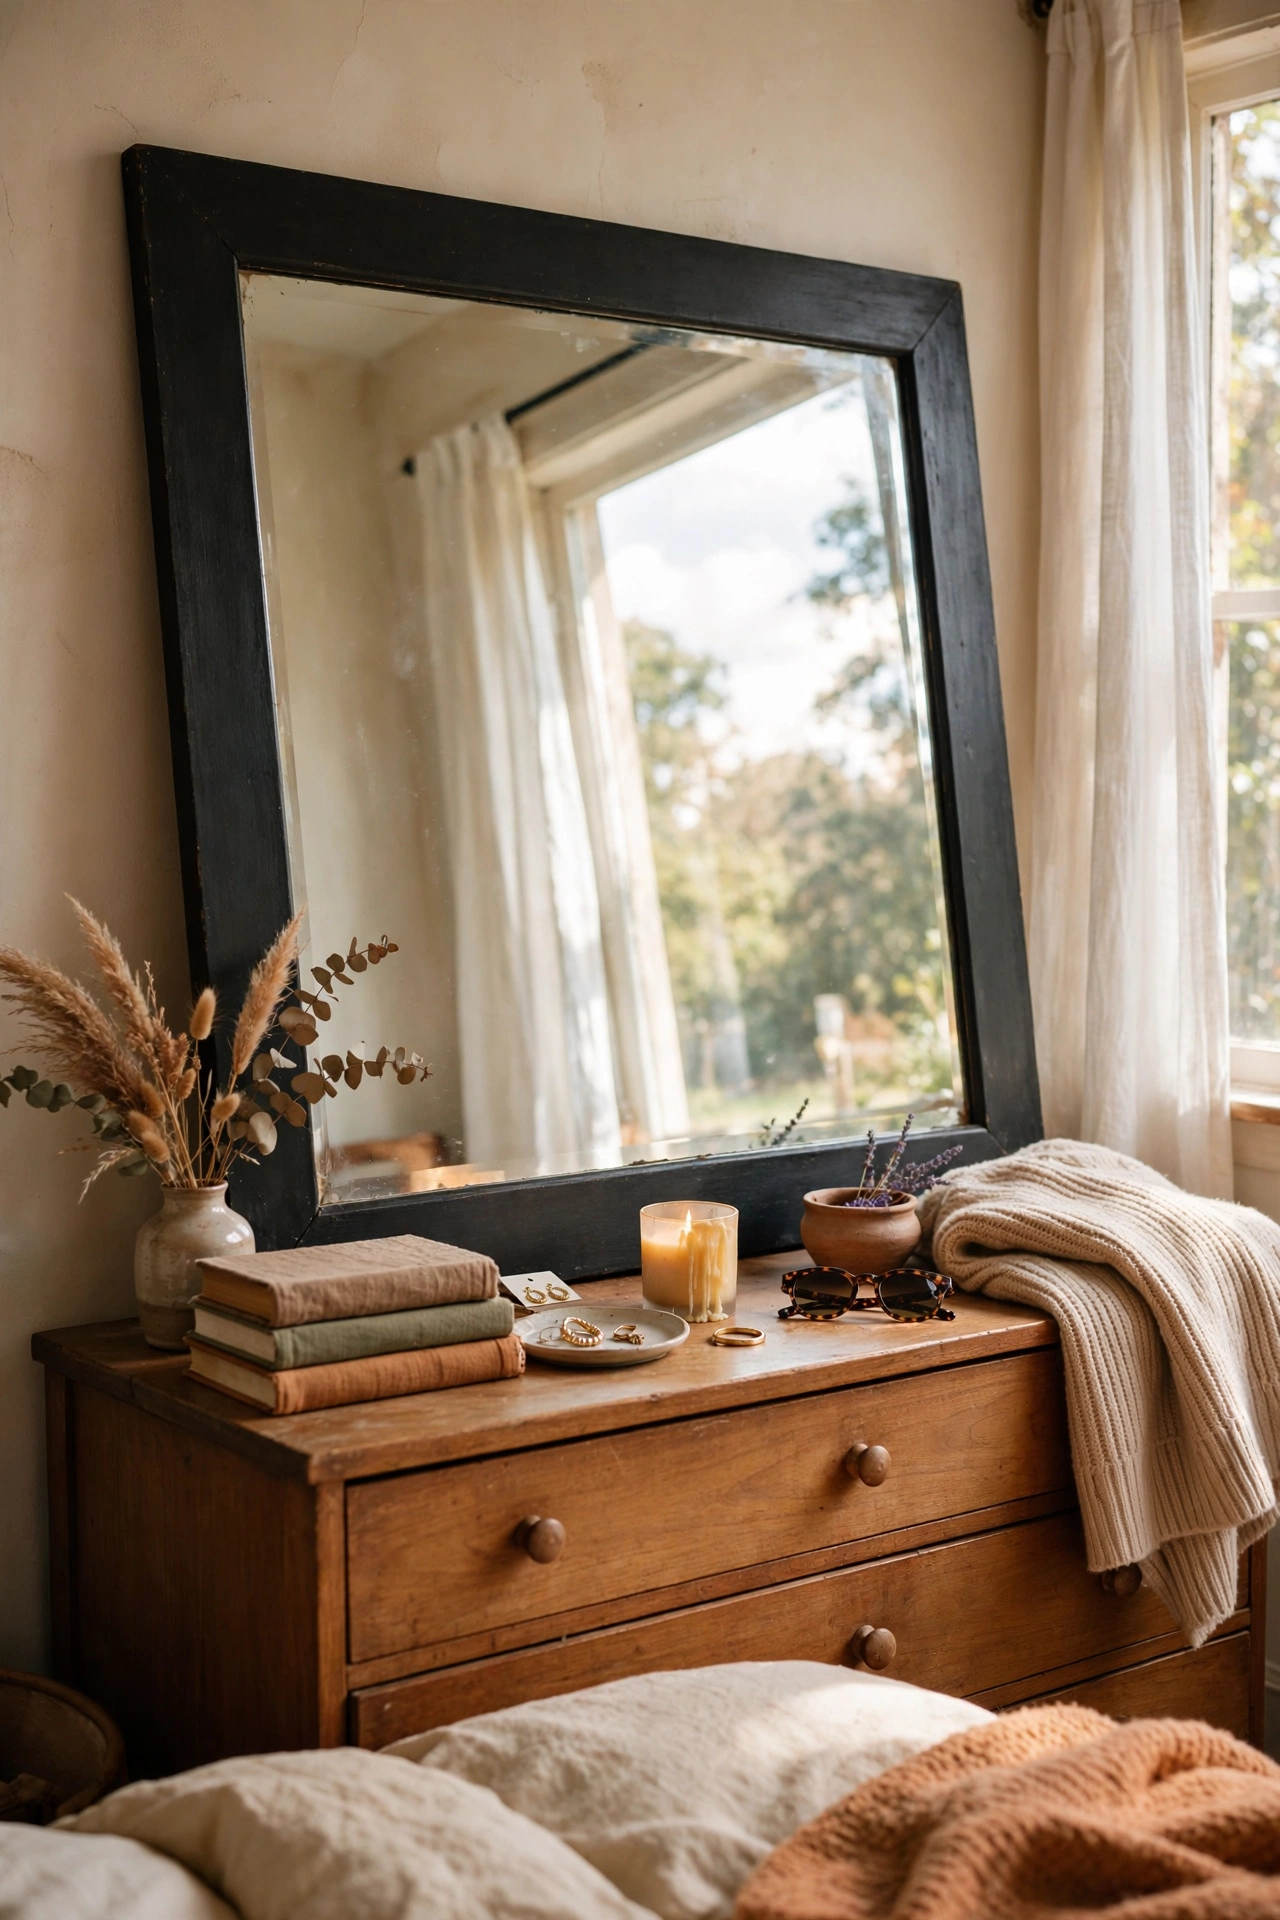
A big mirror bounces light and doubles the sense of space, and thrift stores sell them for almost nothing. I found a large framed mirror for $12, taped off the glass with painter’s tape and newspaper, and sprayed the frame matte black in two light coats. Light coats are the whole game, since I went heavy once and got drips I had to sand off. Lean it against the wall on the dresser instead of hanging it if your landlord bans nails. The black frame reads modern and expensive against my white walls.
Cost: ~$15-20 | Time: 1 hour plus drying
14. Matching Bedside Carafes and Book Stacks
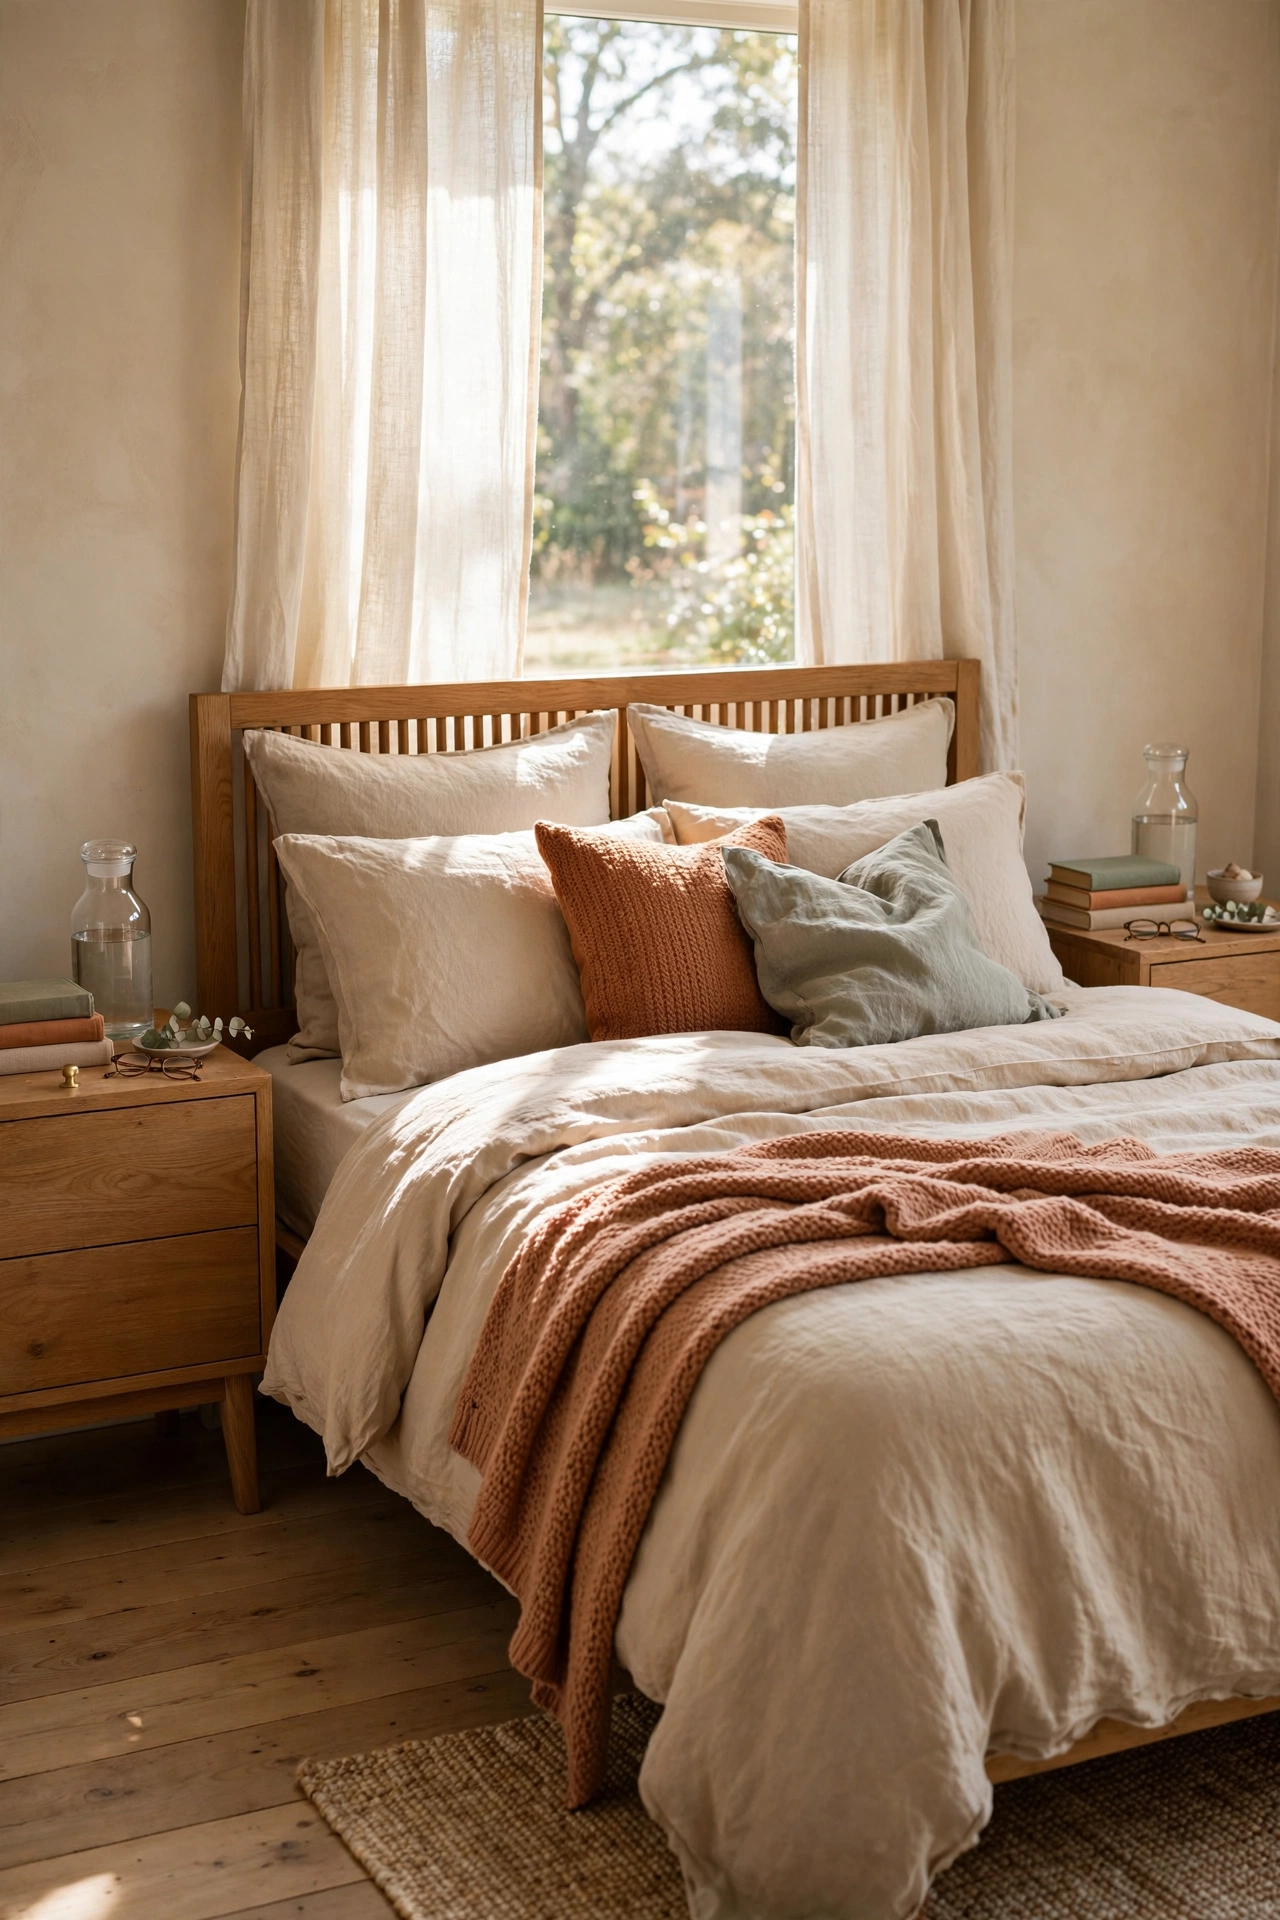
Matching water carafes on both nightstands are the boutique-hotel detail nobody expects in a budget bedroom. I bought two simple glass carafes for $12 total and stacked two books I already owned beside each one. Symmetry is doing all the work here, so keep both sides identical down to the book stack height. Fill the carafe each evening and it becomes a ritual you will actually enjoy. Guests always ask about mine, and the pair cost less than one takeout dinner. Small detail, huge expensive look.
Cost: ~$10-15 | Time: 10 minutes
15. Woven Seagrass Baskets for Pretty Storage
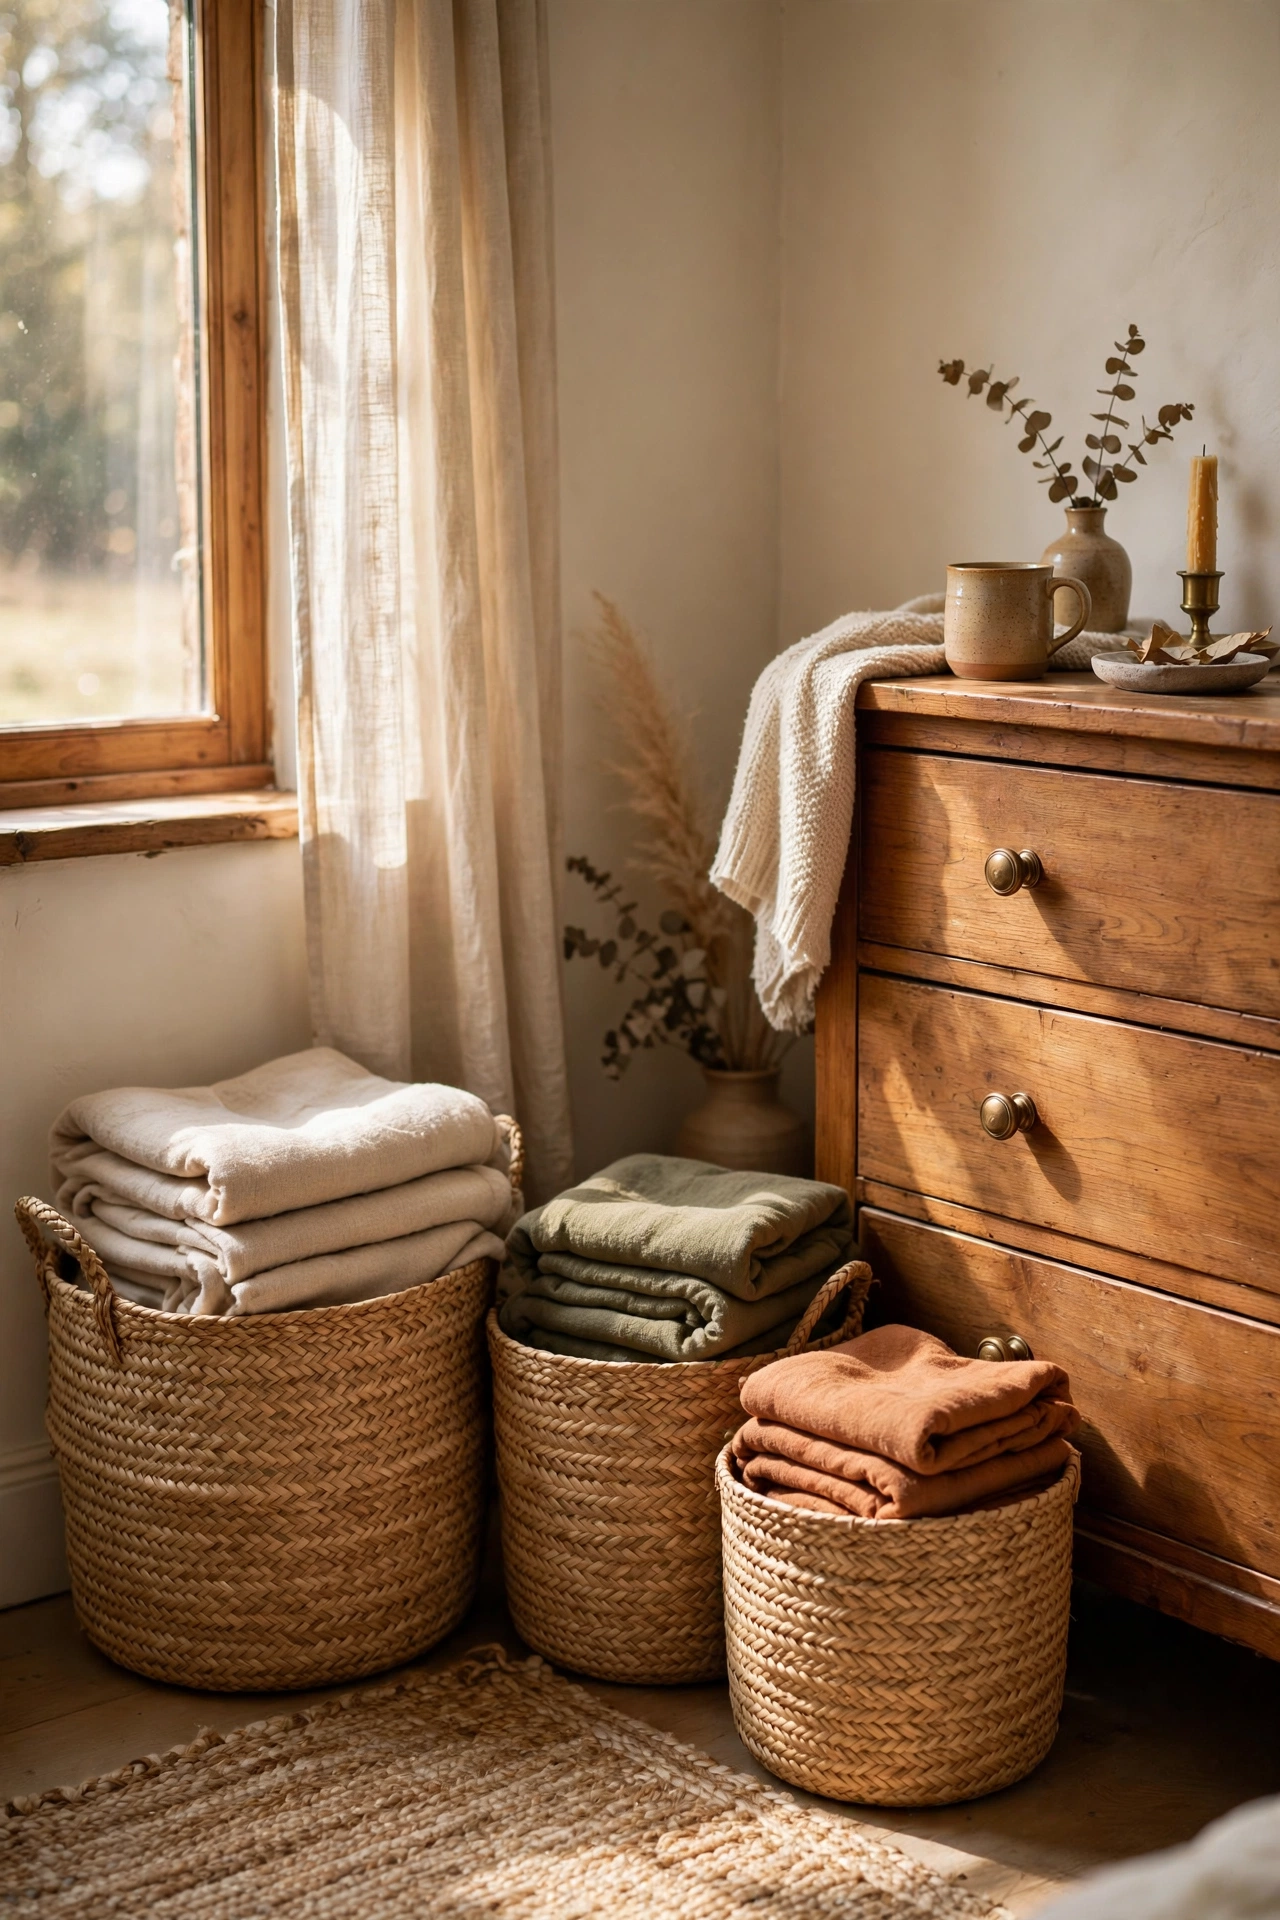
Clutter is what makes a bedroom look cheap, and woven baskets hide it beautifully. I bought three seagrass baskets in graduated sizes for $26 total: one for throw blankets, one for chargers and remotes, one for the laundry I never fold. Corral the small stuff first, because loose clutter on surfaces is the real problem. The natural texture warms up a plain room and looks far more expensive than plastic bins. I labeled nothing, which my organized friends find horrifying, but the baskets look so good nobody asks what is inside.
Cost: ~$22-30 | Time: 15 minutes
The Expensive Look Is Mostly Editing
None of my fifteen ideas required talent, just a willingness to edit. Matching pairs, one crisp white layer, texture mixing, and hiding the clutter did more for my bedroom than any single purchase. Start with the duvet cover and the pillow covers this weekend, then add one idea a week. Your bedroom will look expensive long before you hit $100 total.
📌 Pin this post so you can save this idea for your own expensive-looking bedroom later!
Want more rooms that look pricey for pennies? Keep reading: (see also: 23-living-room-decor-ideas-under-100-that-look-expensive) (see also: 17-living-room-decor-ideas-under-50-that-look-expensive) (see also: 21-thrifted-living-room-decor-that-look-expensive)
