19 Small Bedroom Ideas to Make Every Inch Count
My first tiny bedroom was a box room that barely fit a double bed, and I spent months bumping into furniture before I admitted the room was not the problem, my layout was. These small bedroom ideas are the ones that actually worked for me, tested in two rentals and one very cramped box room. Nothing here costs more than $40, and most ideas need nothing but an hour and a little rearranging.
Every idea below comes with a real price and a real time estimate, because budget decorating is only useful when you know what you are getting into. I have noted the mistakes I made too, so you can skip straight to the version that works. Start with whatever solves your biggest headache, and by the end your room will feel bigger, calmer, and far more useful.
1. Wall-Mounted Fold-Down Desk
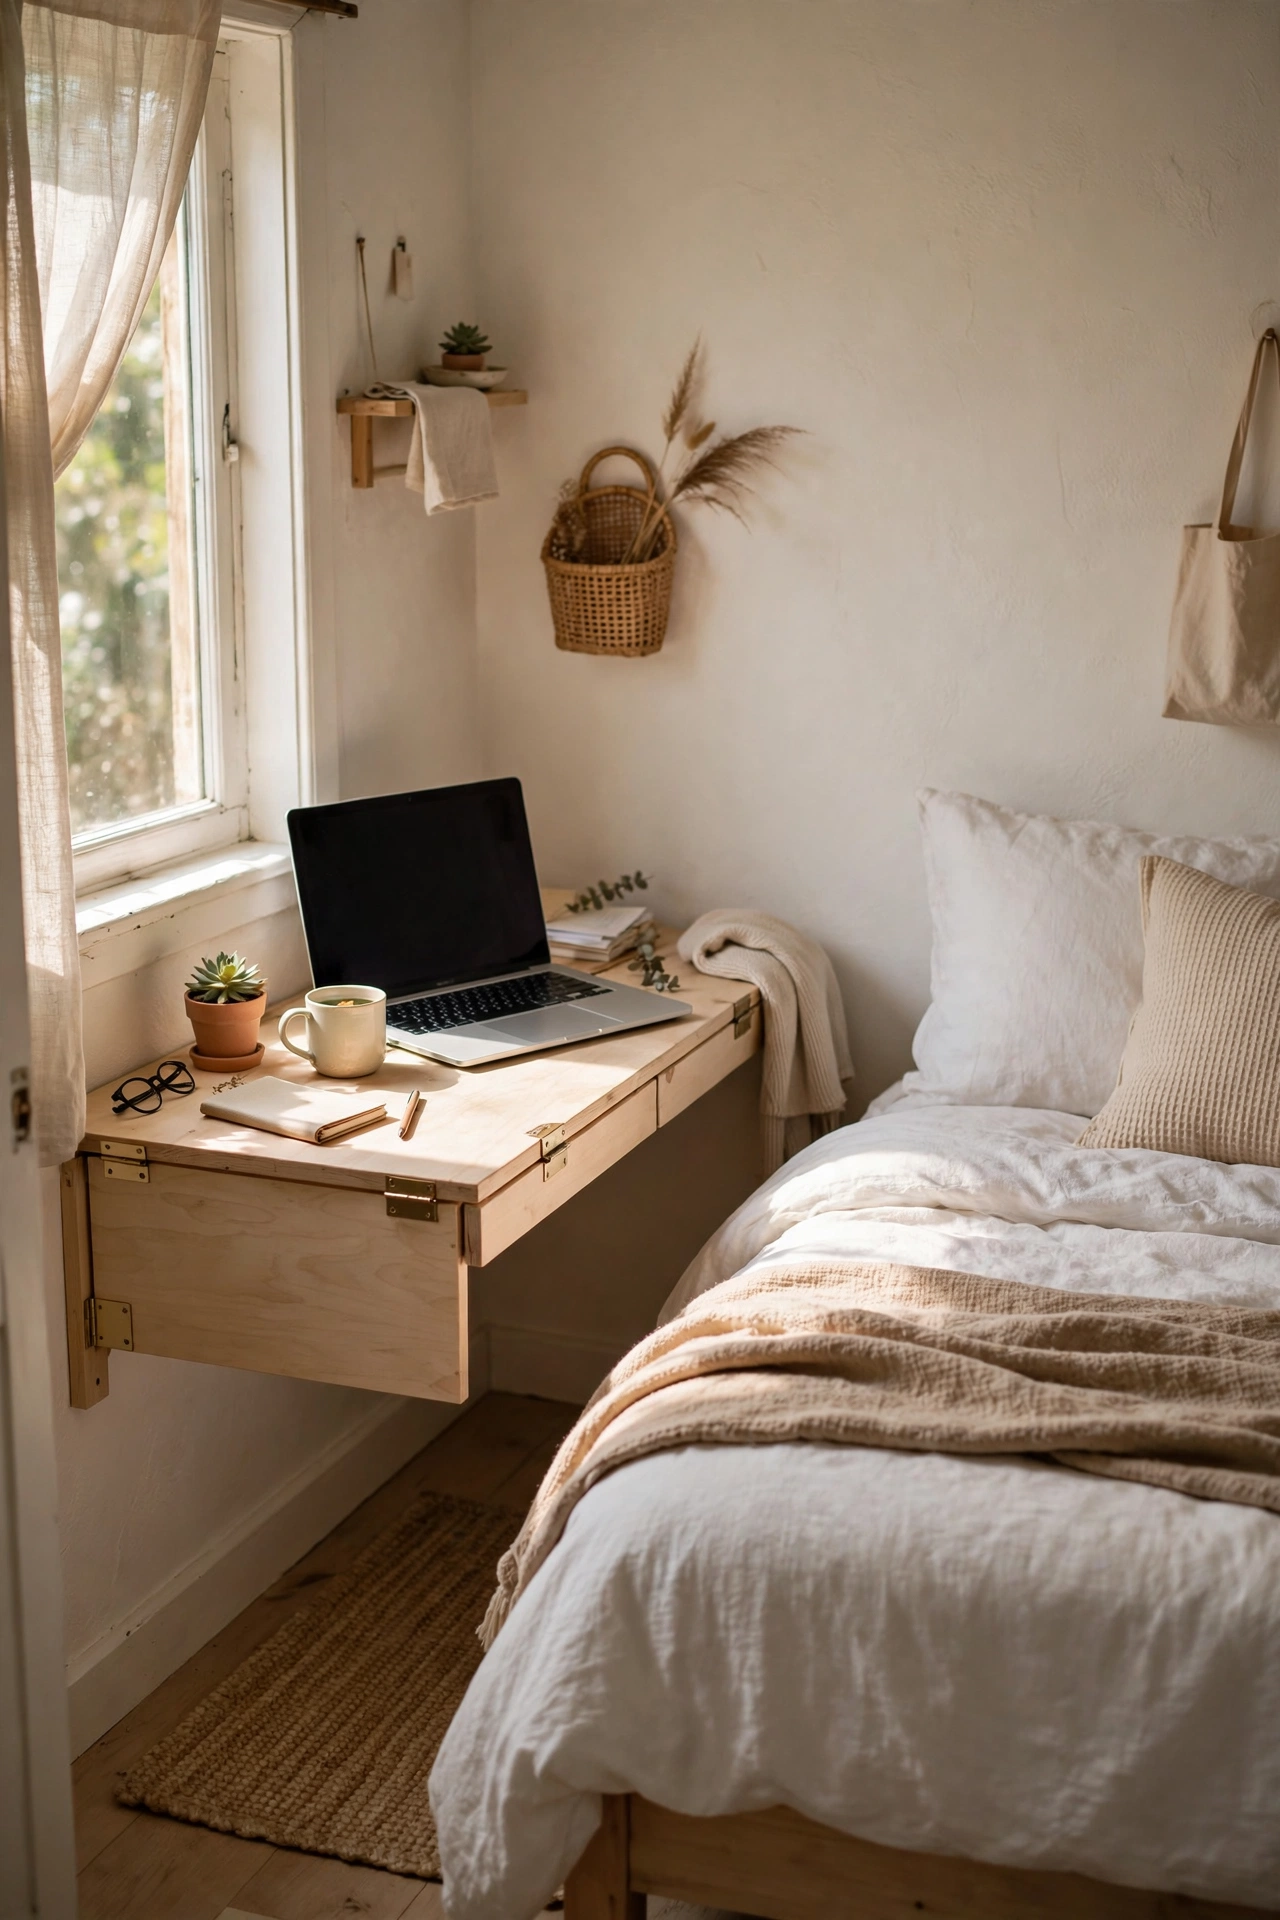
A fold-down desk gives you a proper workspace without stealing floor space all day. I mounted a $25 fold-down desk on the wall beside my bed, and it doubles as a nightstand when folded flat. Measure your wall and mark the studs, mount the brackets level, then fold it down to test clearance before you load it up. Do not skip the stud finder: my first attempt went into plasterboard with the wrong fixings and the whole thing sagged within a week. Redoing it with proper anchors took twenty minutes and it has held my laptop daily for a year. Fold it up each morning and the room instantly feels twice as big.
Cost: ~$20-30 | Time: 45 minutes
2. Rolling Under-Bed Drawers
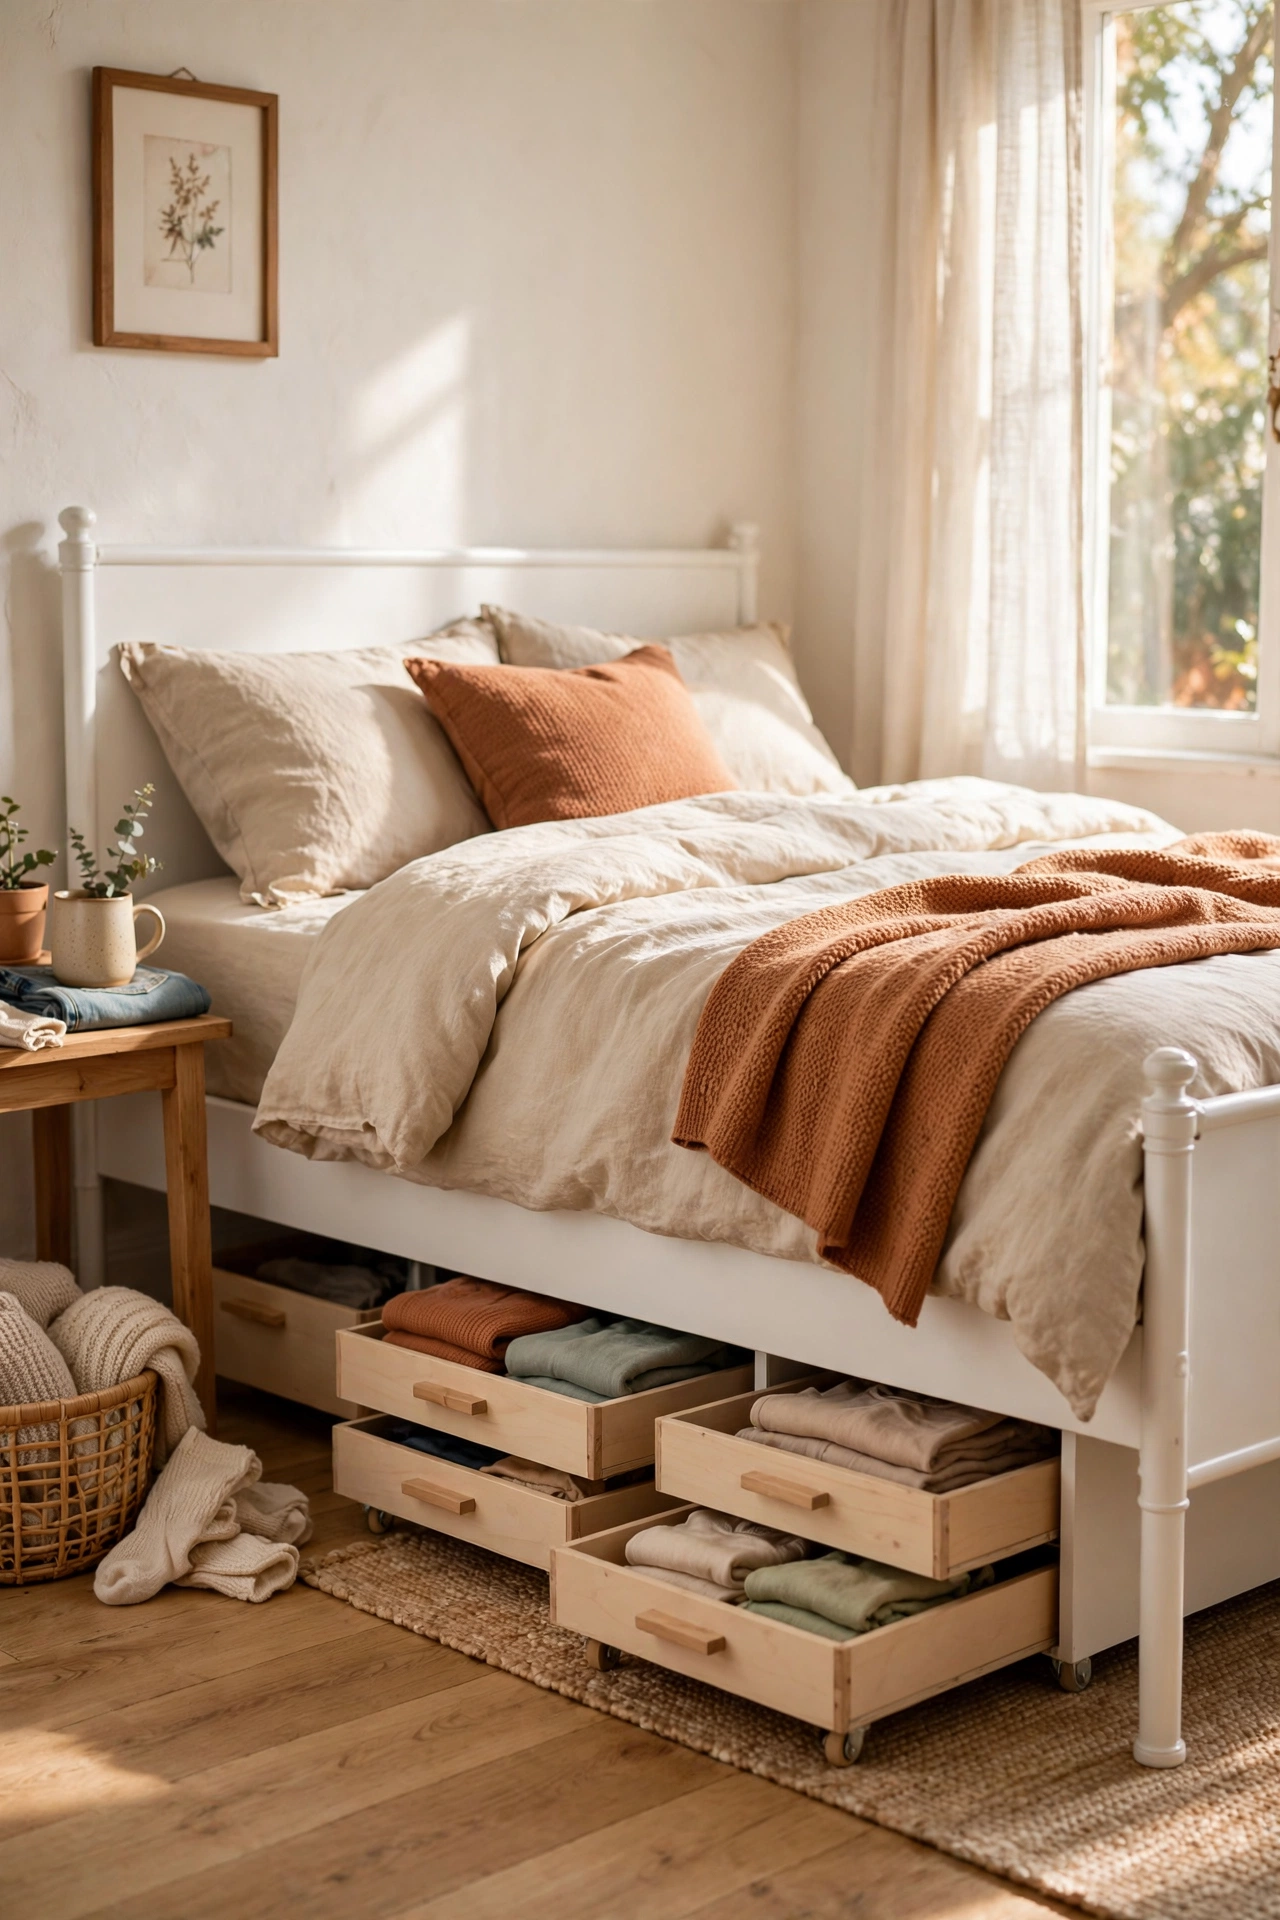
The space under your bed is a free wardrobe if you use it right. I bought two shallow rolling drawers for $15 each and they swallowed my out-of-season clothes, spare bedding, and the gift wrap I never had a home for. Measure your bed clearance first, because most drawers need at least six inches. Add felt pads under the wheels so they glide silently on hard floors. My mistake was buying pretty fabric bins with no wheels, and I stopped using them within a month because dragging them out was a chore. The rolling ones get used weekly. Label each drawer with masking tape so you never have to guess what is inside.
Cost: ~$25-35 | Time: 20 minutes
3. Over-the-Door Shoe and Accessory Organiser
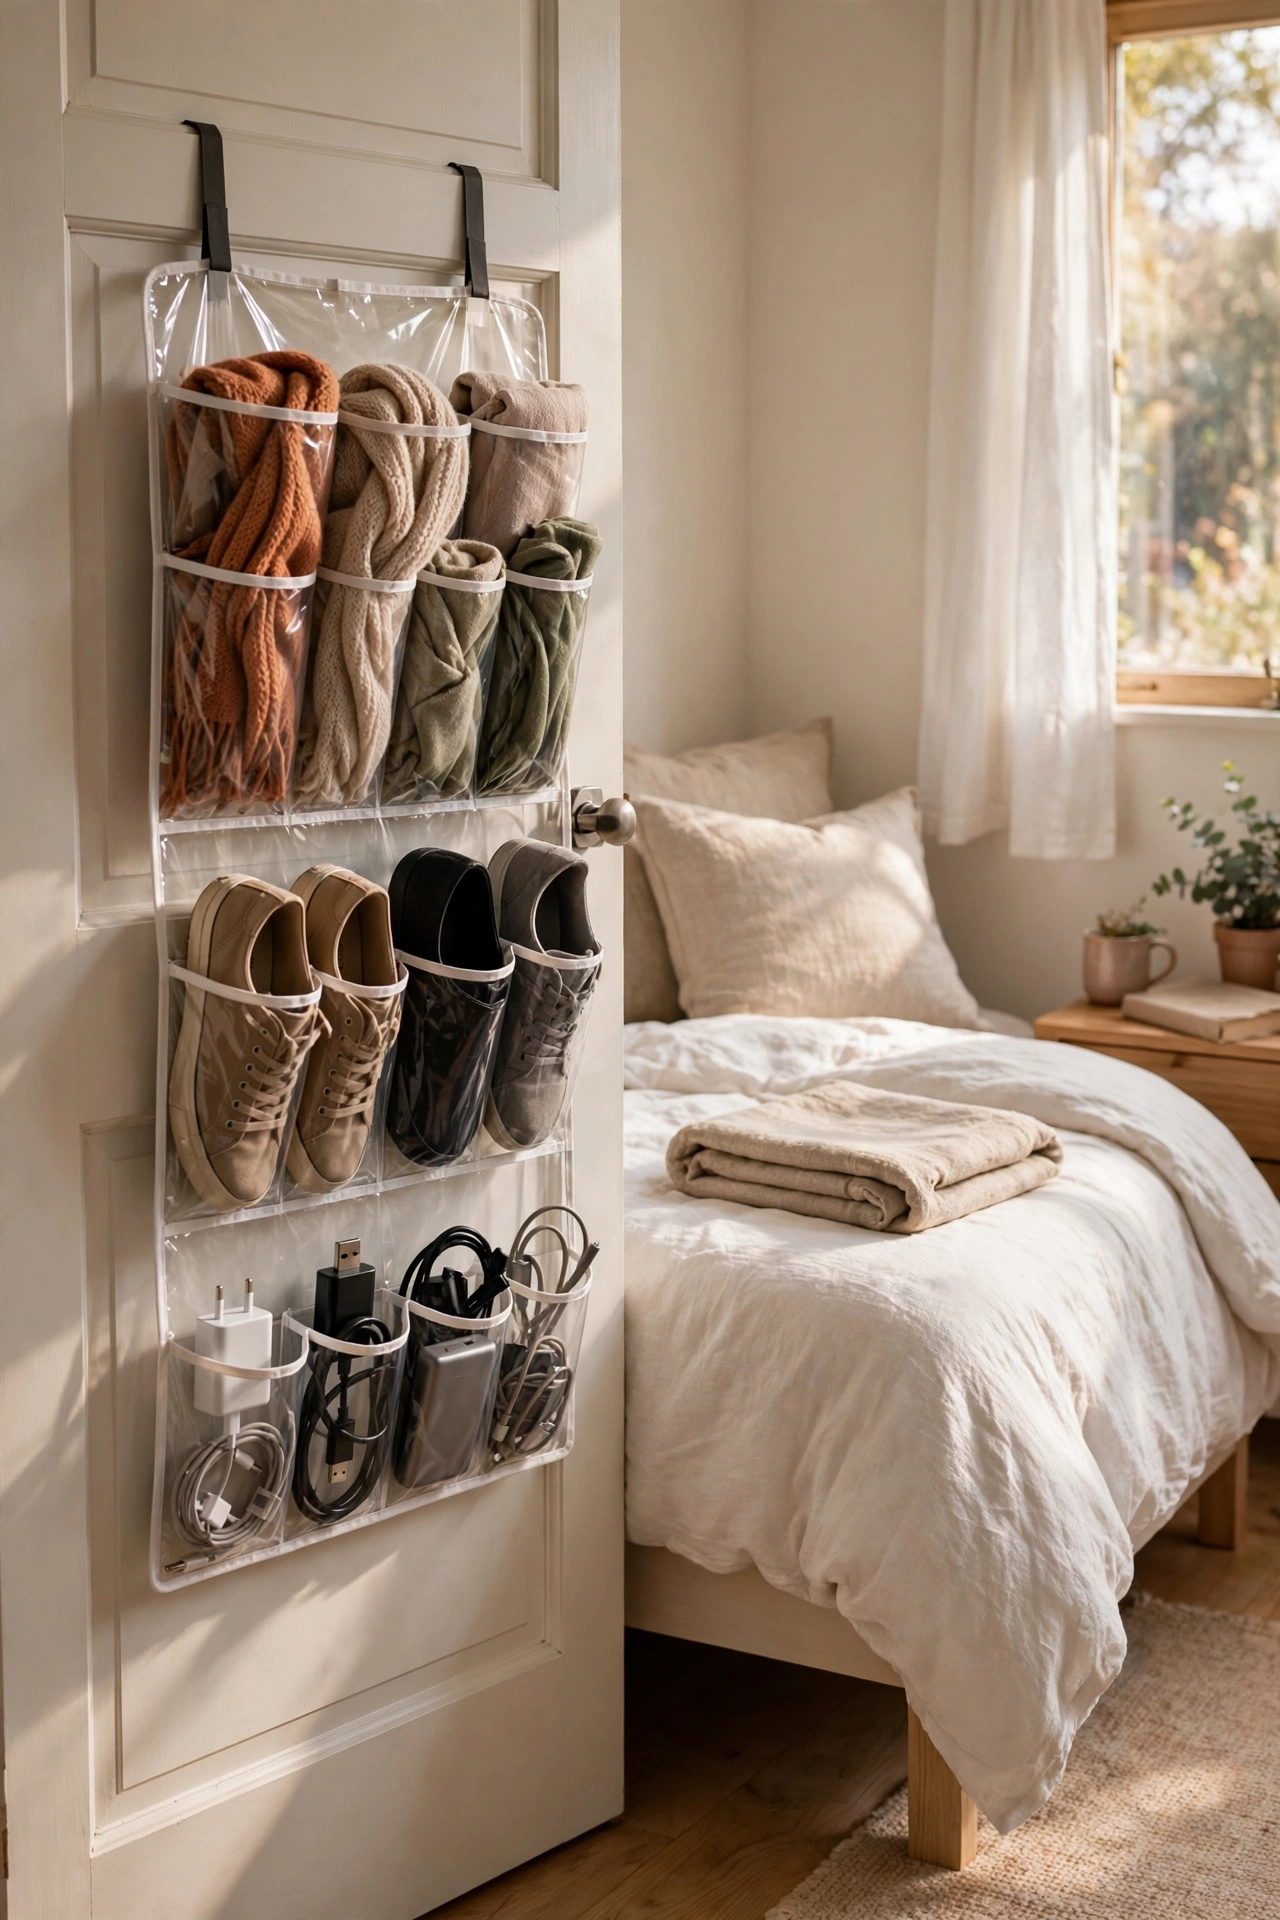
The back of your bedroom door is wasted wall space, and a clear over-the-door organiser turns it into a shoe rack, accessory store, and charging station in one. I hung a $10 pocket organiser and assigned each pocket a job: shoes in the big ones, belts and scarves rolled in the middle, phone chargers in the top. Hang it so the bottom sits a few inches above the floor, or it swings and bangs the door. I learned to skip the metal-hook versions after one scratched my door paint; the fabric-strap hooks are gentler and just as strong. Ten minutes to hang, and it freed an entire shelf in my tiny wardrobe.
Cost: ~$8-14 | Time: 10 minutes
Pro tip: Before buying any storage, tape out the footprint on your floor with painter’s tape and live with it for two days. I nearly bought a $60 drawer unit that would have blocked my wardrobe door. The tape test cost me nothing and saved a very annoying return trip.
4. Vertical Pegboard Wall Organiser
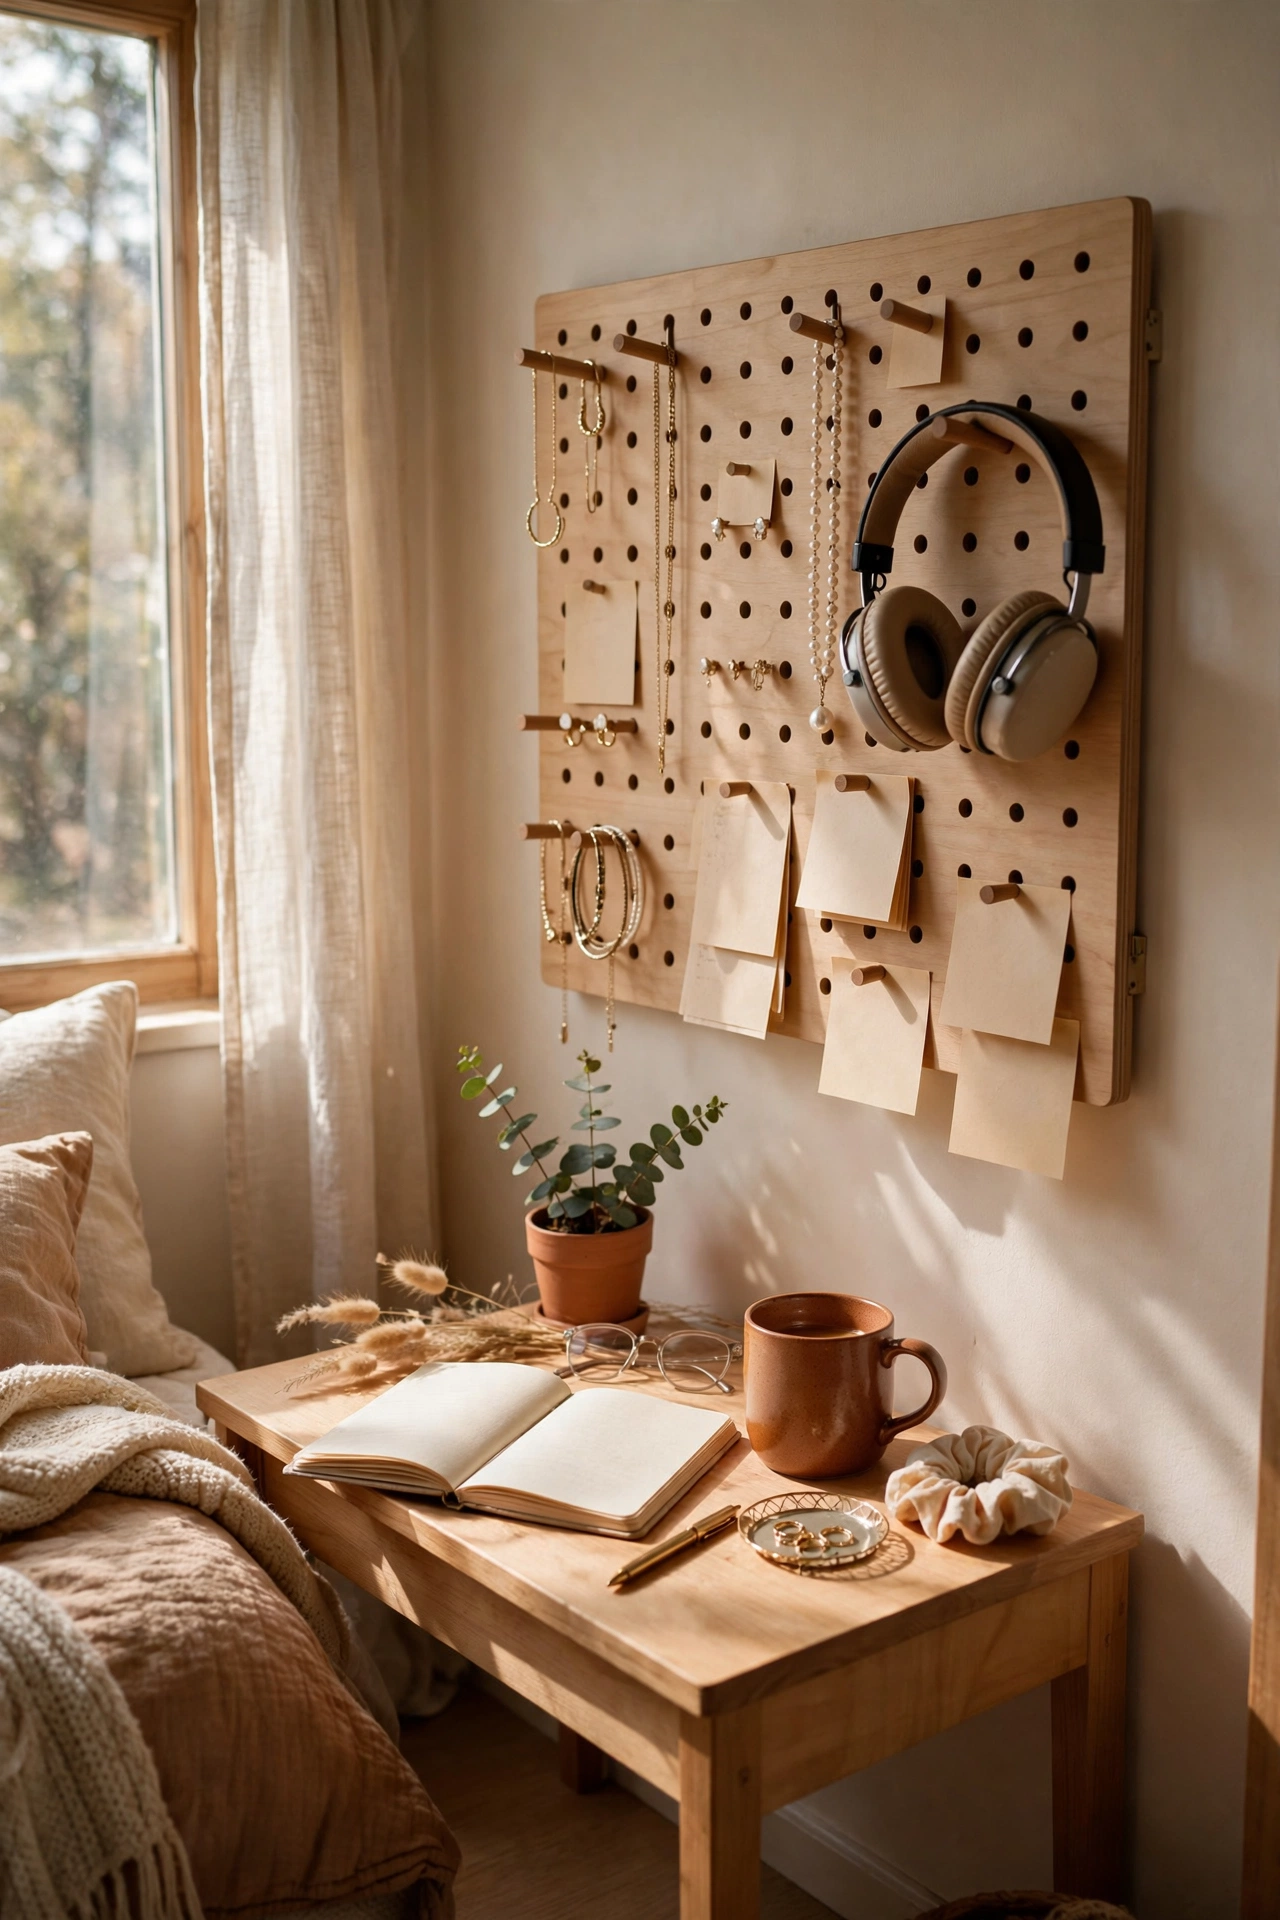
When floor space is gone, go up. I mounted a $20 pegboard above my desk and it holds my jewellery, headphones, a small mirror, and my weekly to-do list, all off the surfaces. Map your layout on the floor first, then hang the pegboard with proper wall anchors so it sits flush. Add hooks and tiny shelves rather than piling things on randomly. My first attempt was a jumbled mess because I hung everything at once. Starting over with just five items, then adding slowly, made it look styled instead of cluttered. It doubles as wall art if you keep the colour palette tight.
Cost: ~$18-28 | Time: 40 minutes
5. Large Mirror Opposite the Window
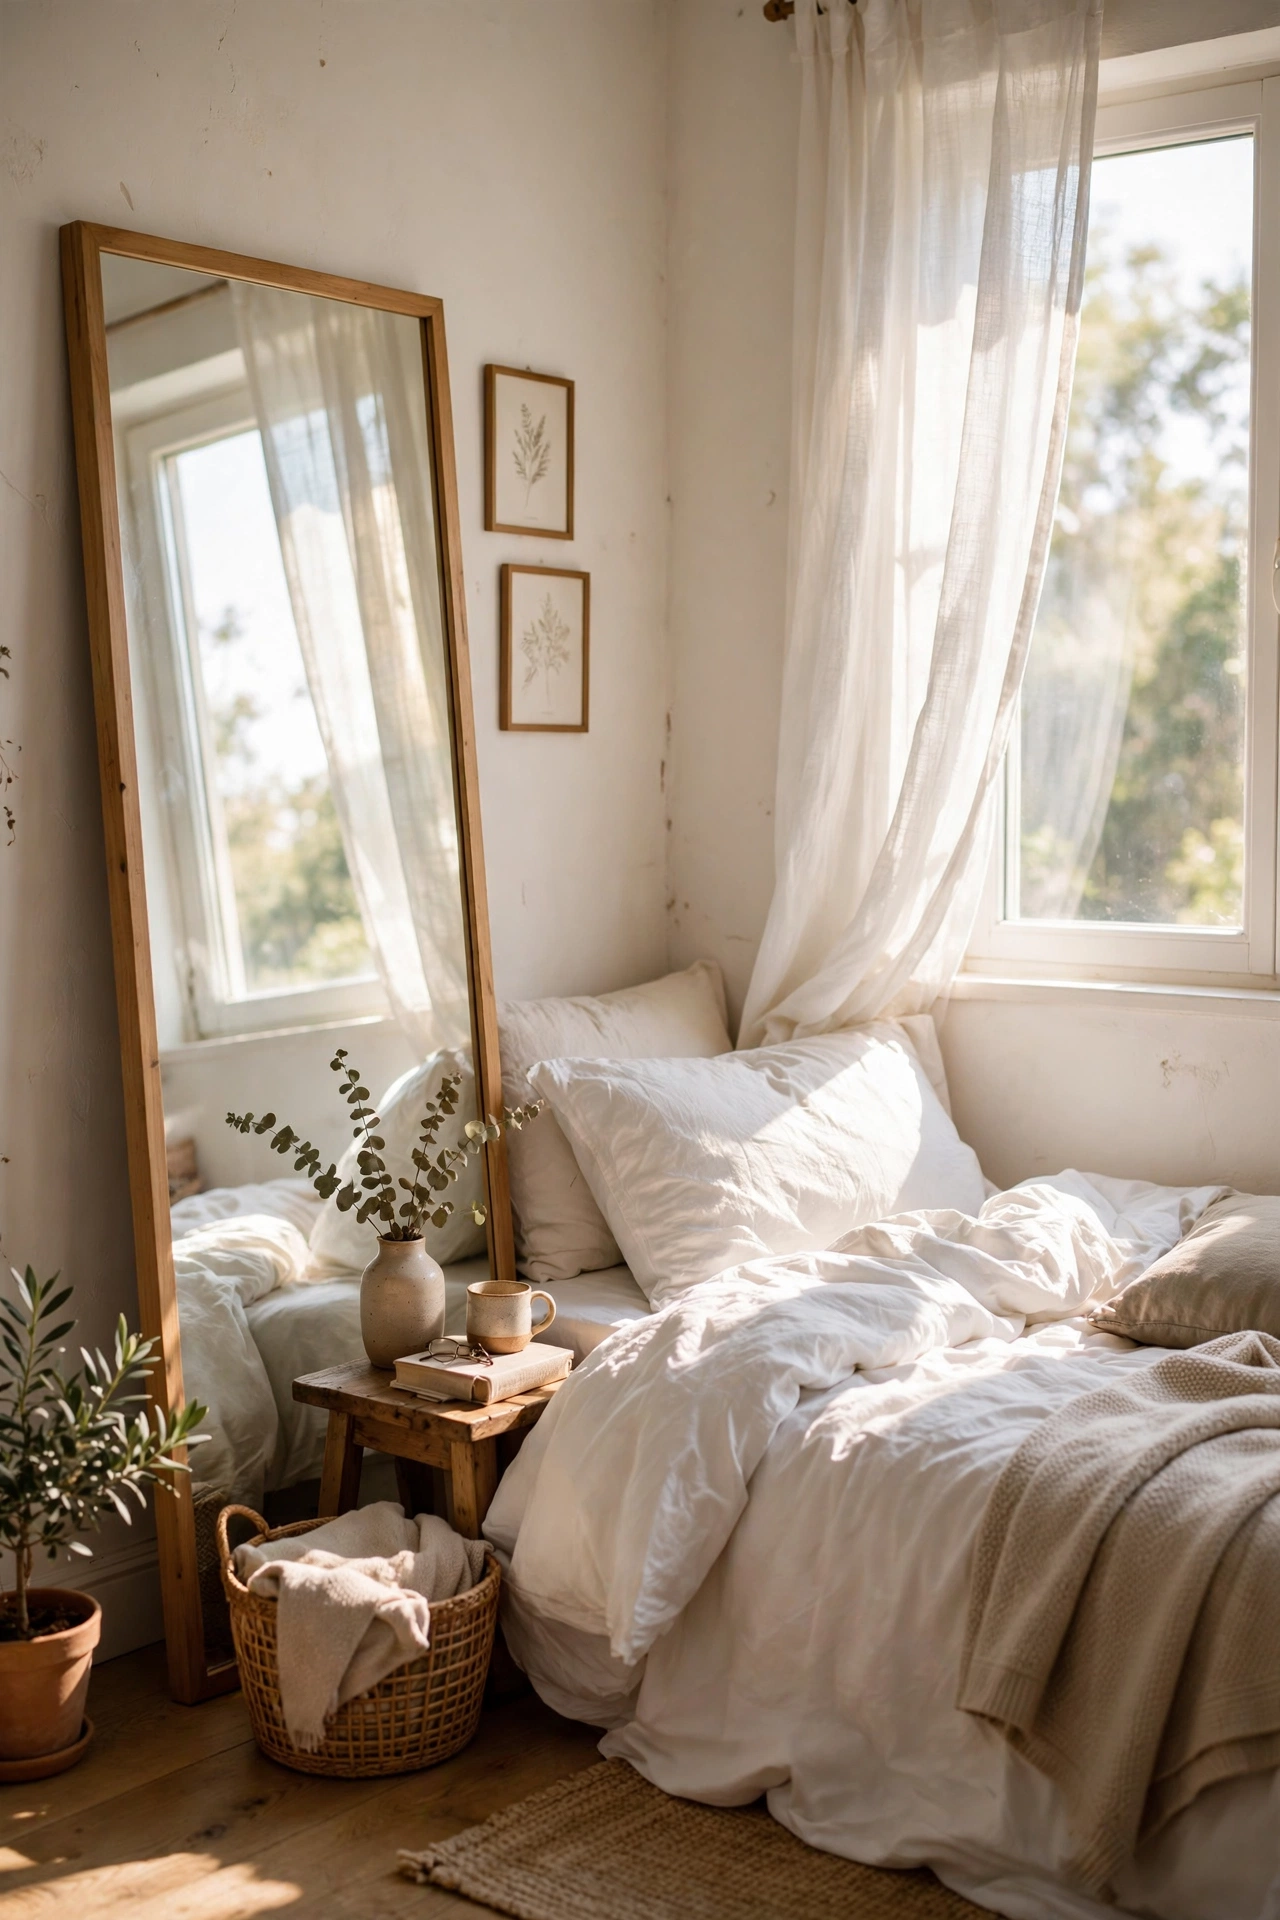
One big mirror can make a small bedroom feel nearly twice as bright. I leaned a $30 full-length mirror against the wall opposite my window, and it bounces daylight deep into the room where no lamp ever reached. Lean it at a slight angle for stability, and secure the top with a wall strap if you have kids or a wobbly floor. I tried a small round mirror first and it did almost nothing. Going big was the whole trick. Position it to reflect the window, not the bed, so you get light without glare at night. The room feels airier every single morning.
Cost: ~$25-35 | Time: 15 minutes
6. Floating Nightstand Shelves
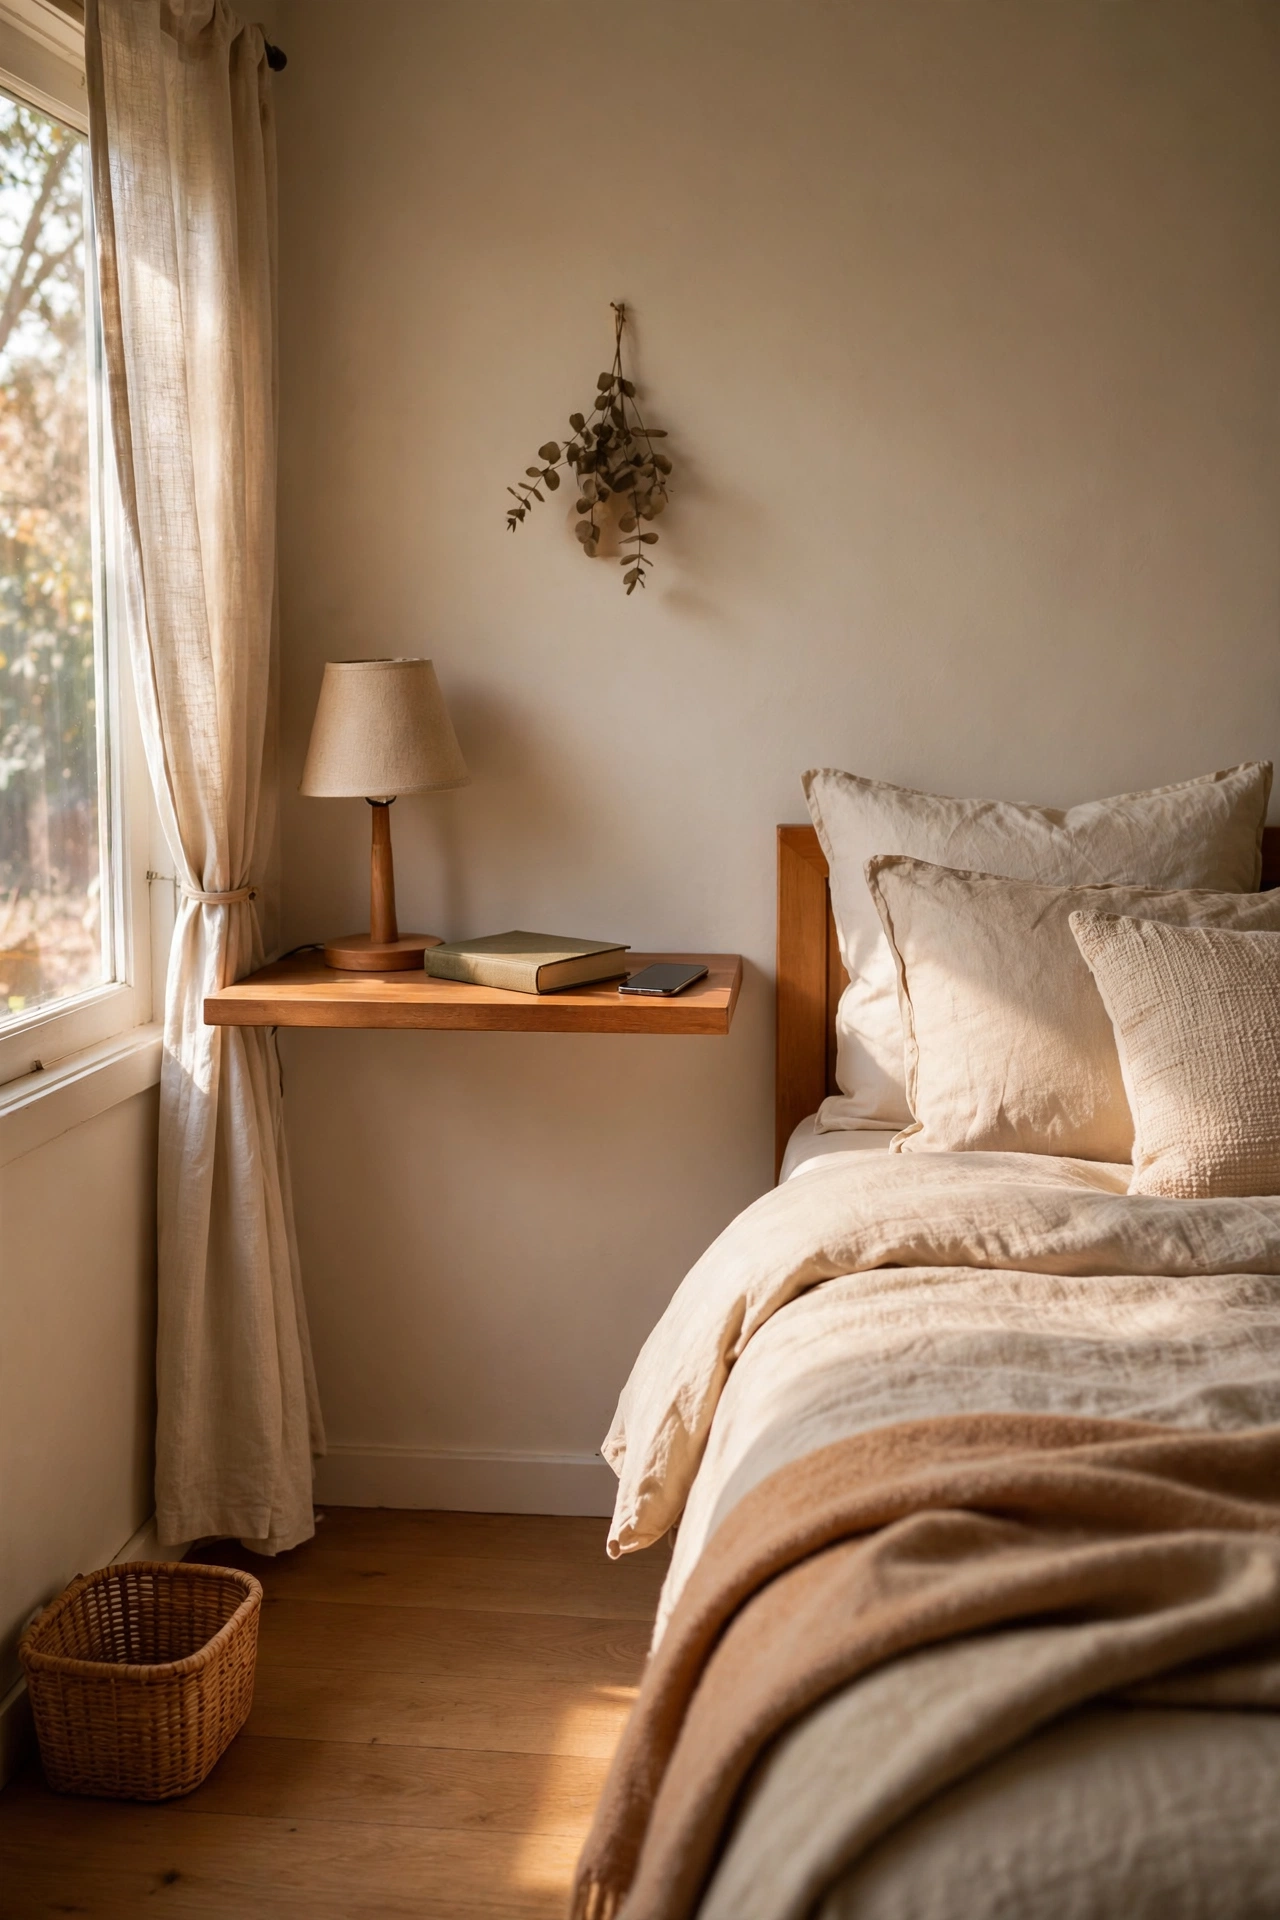
A bulky nightstand eats precious inches beside the bed, so I replaced mine with a $12 floating shelf at mattress height. It holds my lamp, phone, and book with room to spare, and the floor underneath stays clear, which makes the whole room easier to clean. Mark the height while sitting in bed so the shelf lands where your hand naturally reaches. Use a level and solid wall plugs, because a sagging shelf is worse than no shelf. I mounted my first one too high and kept knocking my water over. Dropping it two inches fixed everything.
Cost: ~$10-16 | Time: 30 minutes
Pro tip: Take a photo of your room from the doorway before you start, then compare after each change. I discovered my “messy” room was actually fine, the problem was one dark corner. The photo showed me what my eyes had missed, and a $12 lamp fixed it.
7. Bed Pushed Into the Corner
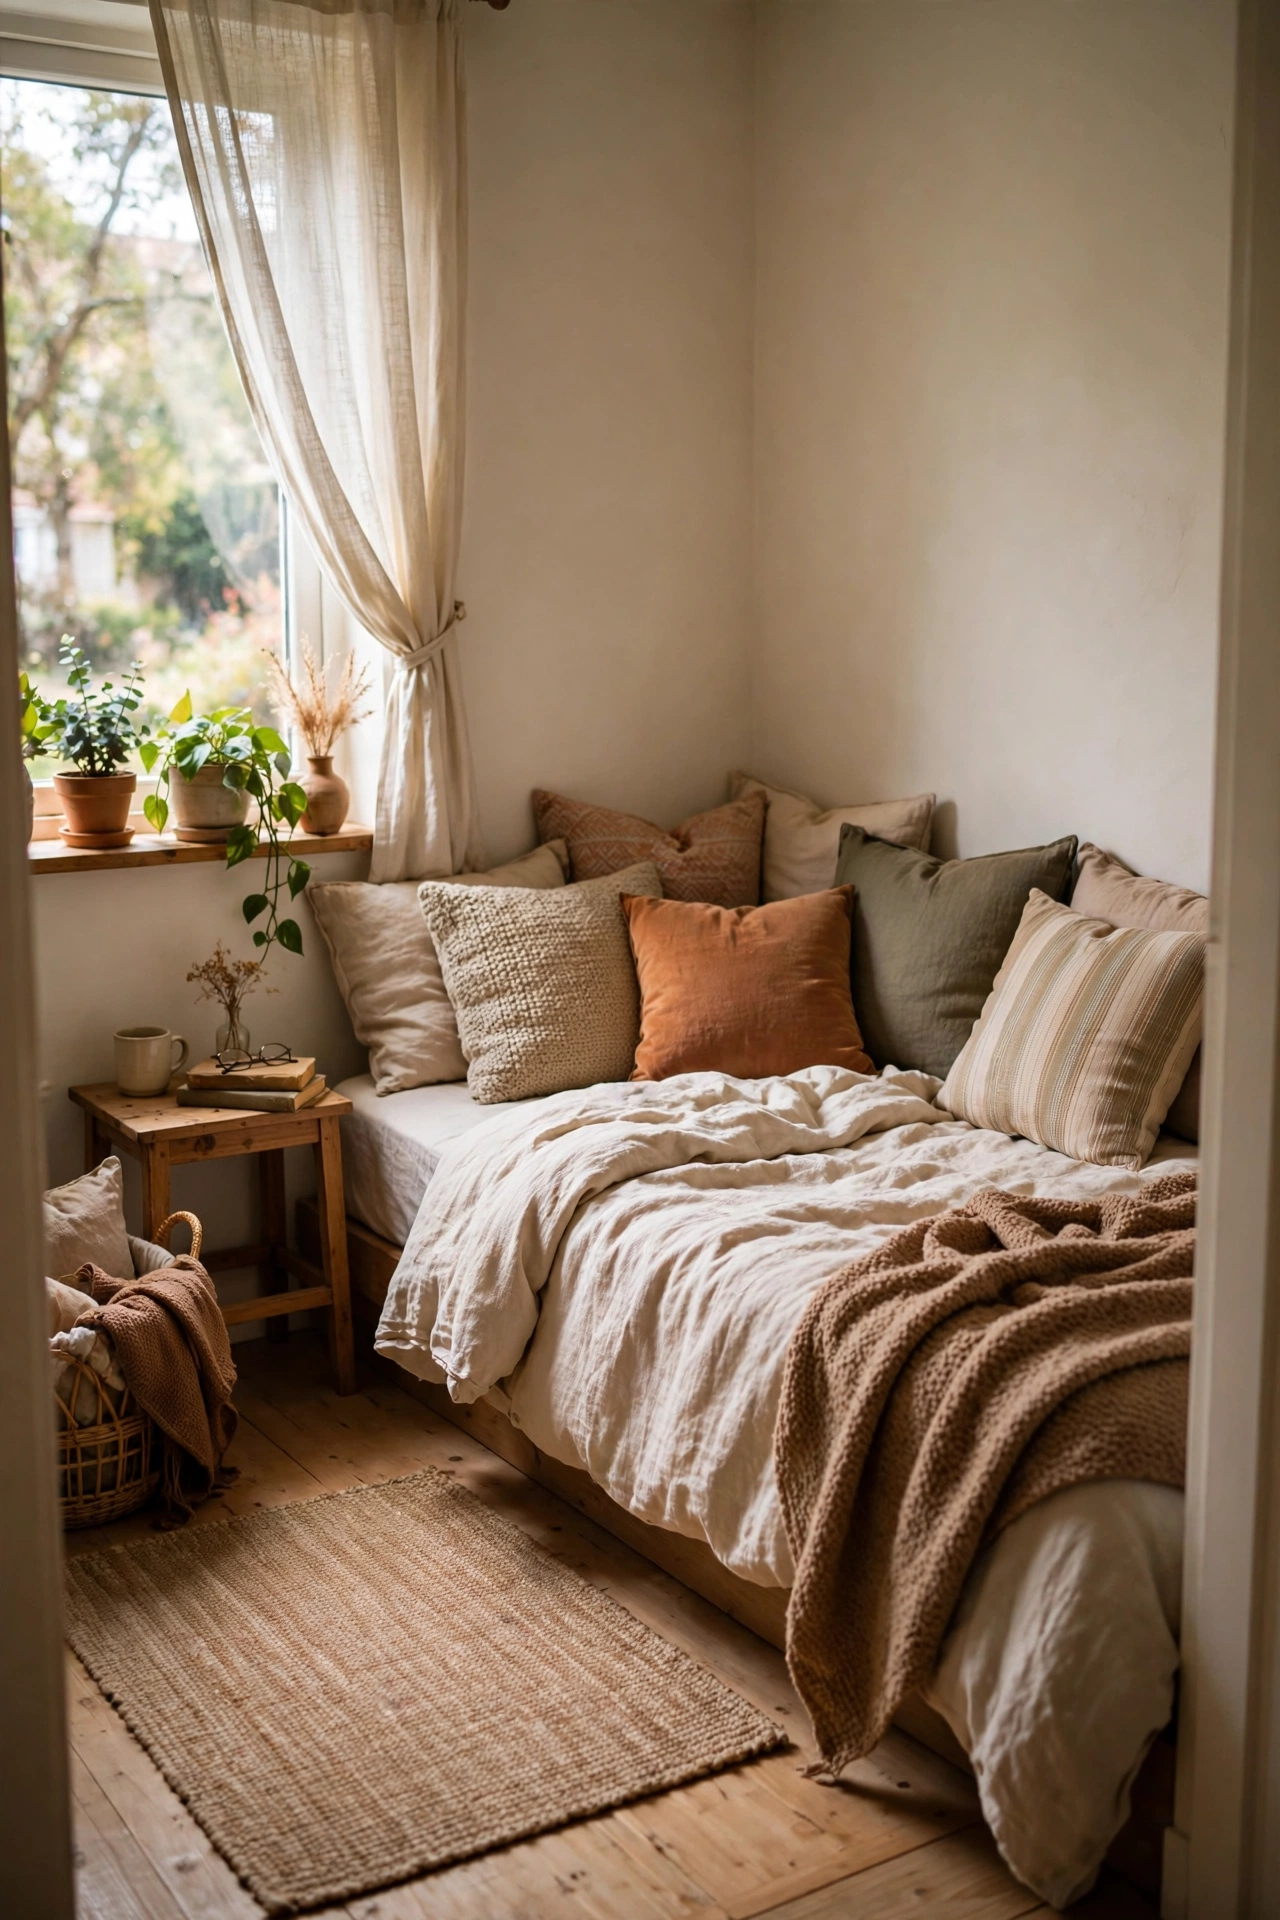
Floating a bed in the middle of a tiny room wastes space on both sides. Pushing my bed into the corner gave me back nearly two feet of usable floor, and it made the bed feel cosier, like a built-in nook. Put the headboard against the longest wall and leave one side open for getting in and out. I worried it would look like a student dorm, but a row of cushions along the wall side turned it into a daybed look by day. Try it for a weekend before you commit: I moved mine back once, then moved it to the corner again for good.
Cost: ~$0 | Time: 20 minutes
8. Storage Shelf Above the Doorframe
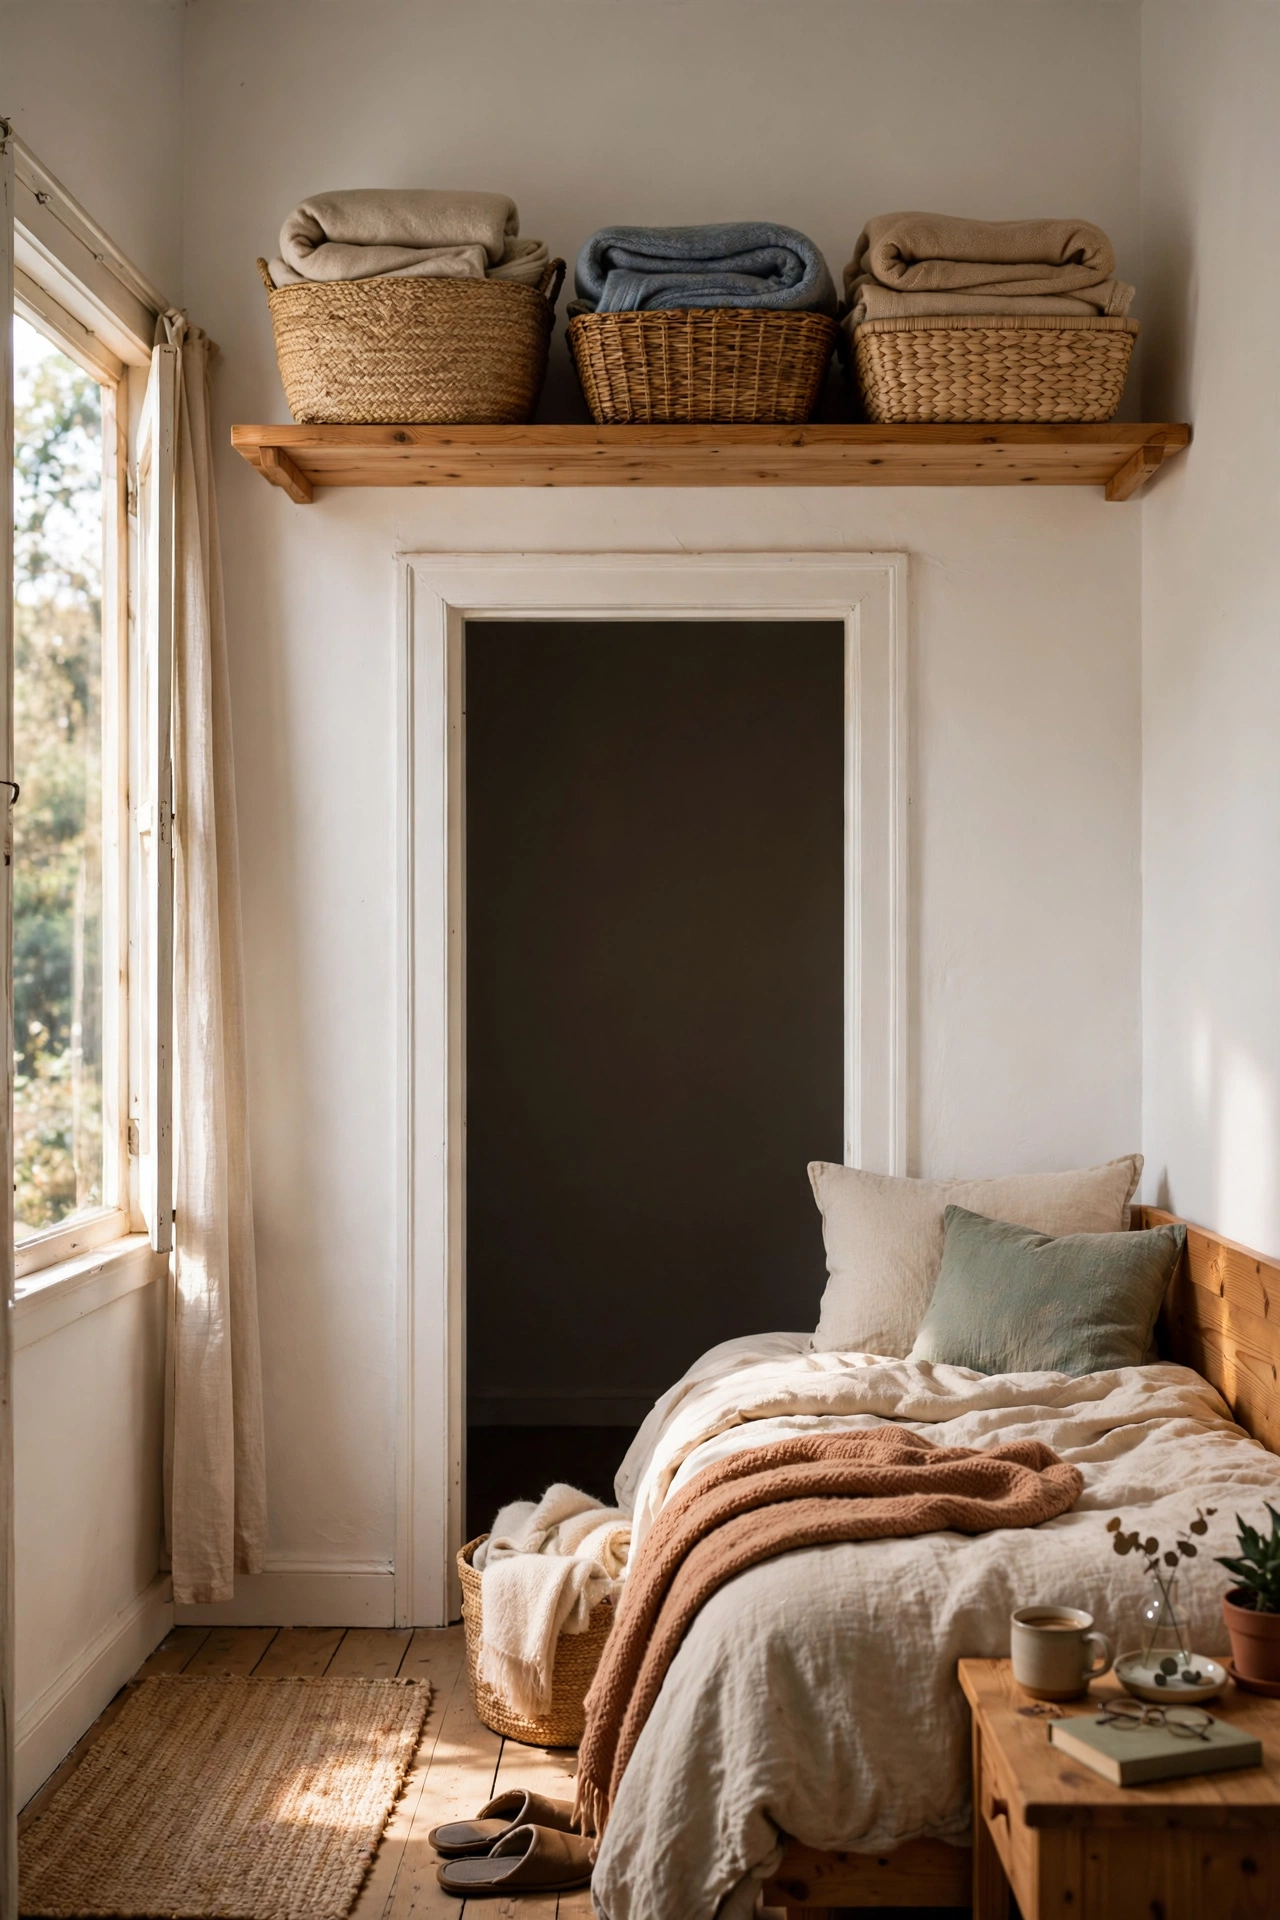
The wall above your bedroom door is dead space with a view of nothing, which makes it perfect storage. I mounted a $14 pine shelf above the doorframe and it holds my least-used things: spare pillows, the guest duvet, and a box of cables. Keep it to lightweight items, because this is not the shelf for heavy books. I overpacked mine at first and the brackets groaned alarmingly. Two lighter boxes solved it. A few matching baskets up there keep it looking tidy from below, and nobody notices the storage at all.
Cost: ~$12-20 | Time: 30 minutes
9. Lidded Storage Ottoman
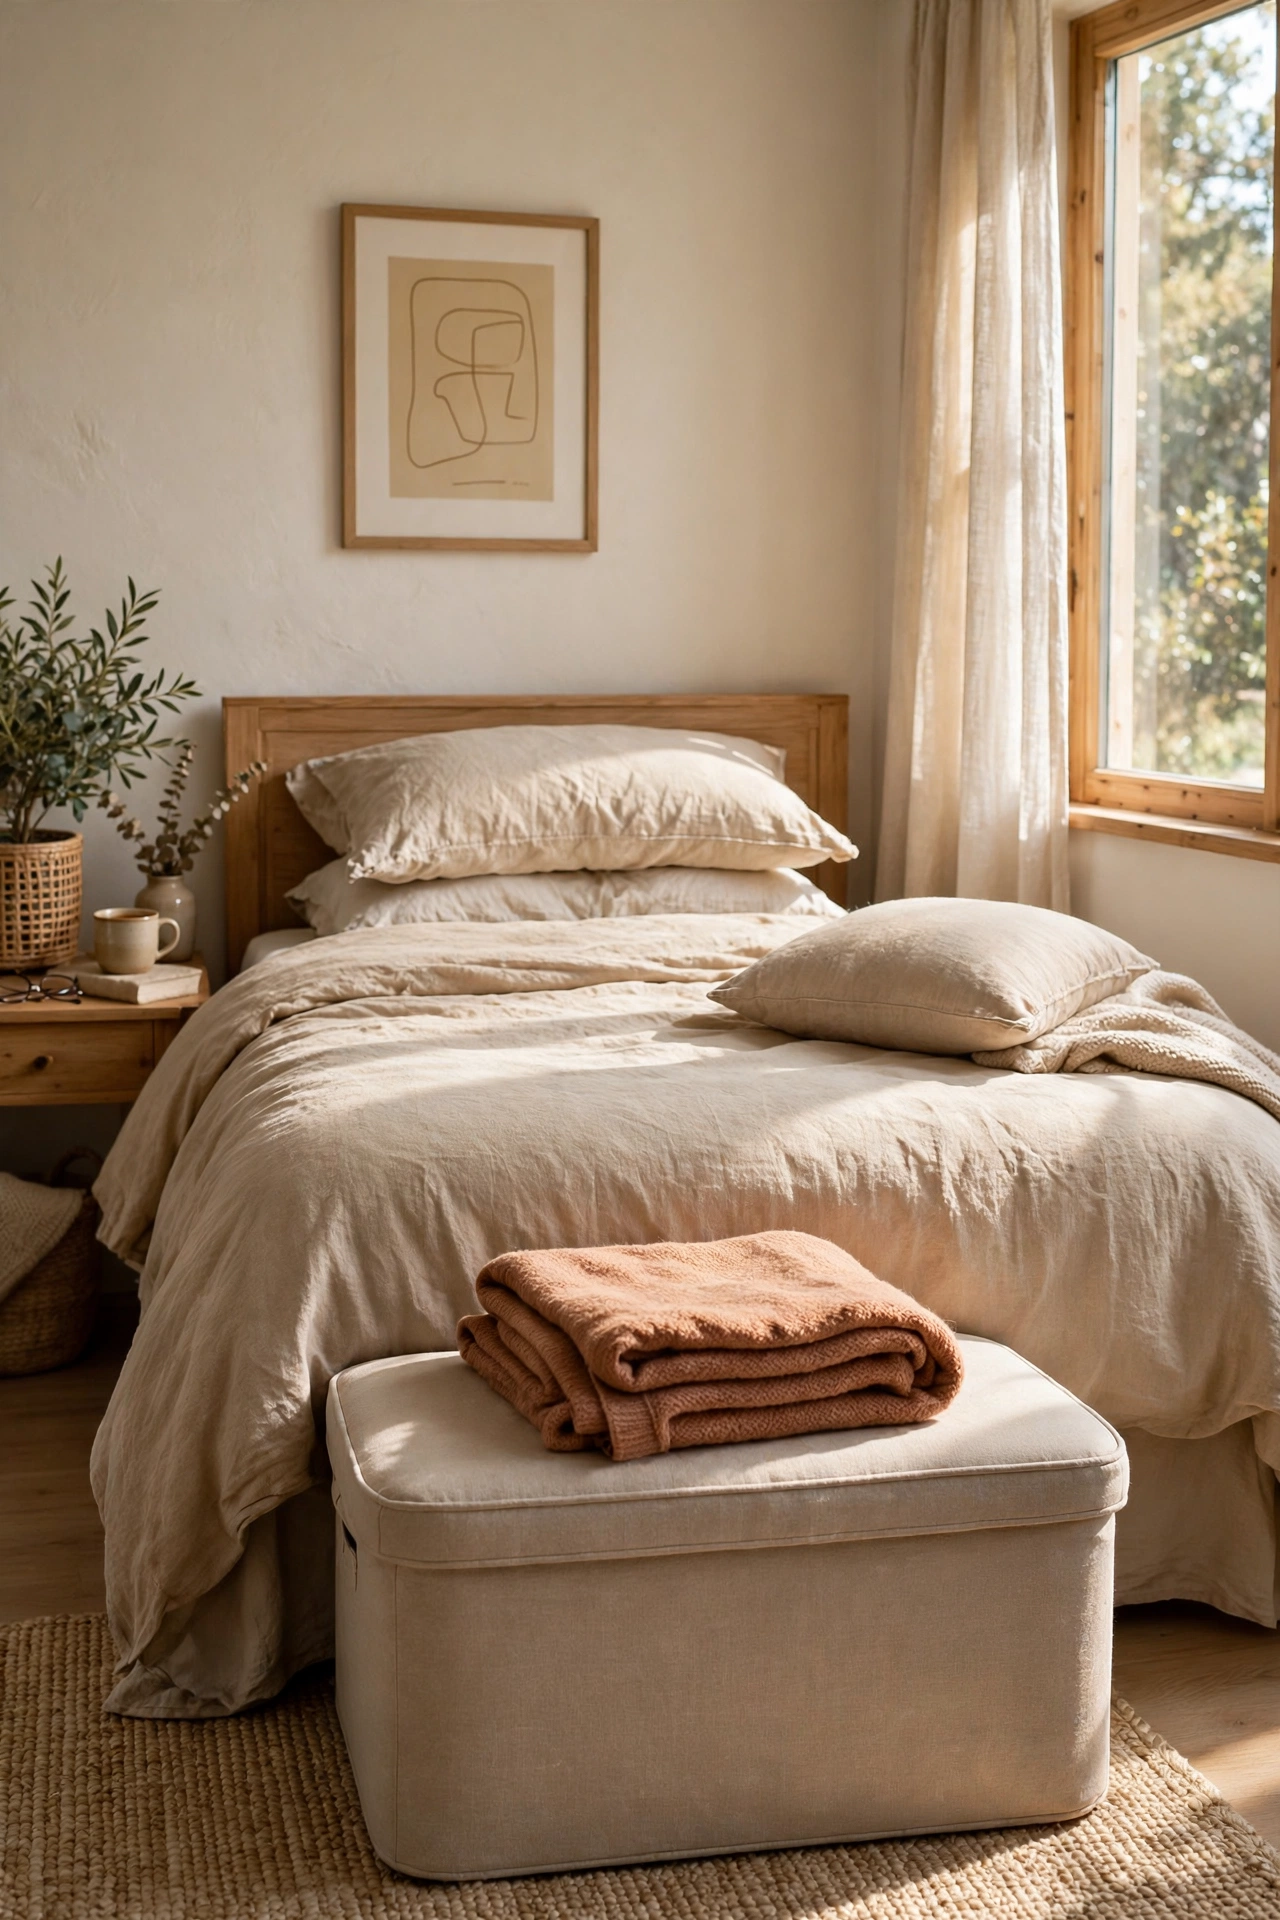
A storage ottoman is three pieces of furniture in one: a seat, a side table, and a hidden box for all the bits that never have a home. I found mine for $28 at a discount store and it swallows my spare blankets, wrapping paper, and the chargers I can never find. Test the lid hinge in the shop, because a lid that slams shut will pinch fingers and annoy you daily. Mine doubles as my vanity stool and my spare chair when friends visit. I made the mistake of buying one without a proper lid first, and the top slid off every time I sat down. The lidded version earns its floor space.
Cost: ~$25-35 | Time: 10 minutes
Pro tip: Measure twice, buy once, especially for small rooms. I keep a note on my phone with my room’s exact dimensions, bed clearance, and door swing. It takes ten seconds to check and has stopped me buying three wrong-sized pieces of furniture this year alone.
10. Narrow Freestanding Clothes Rail
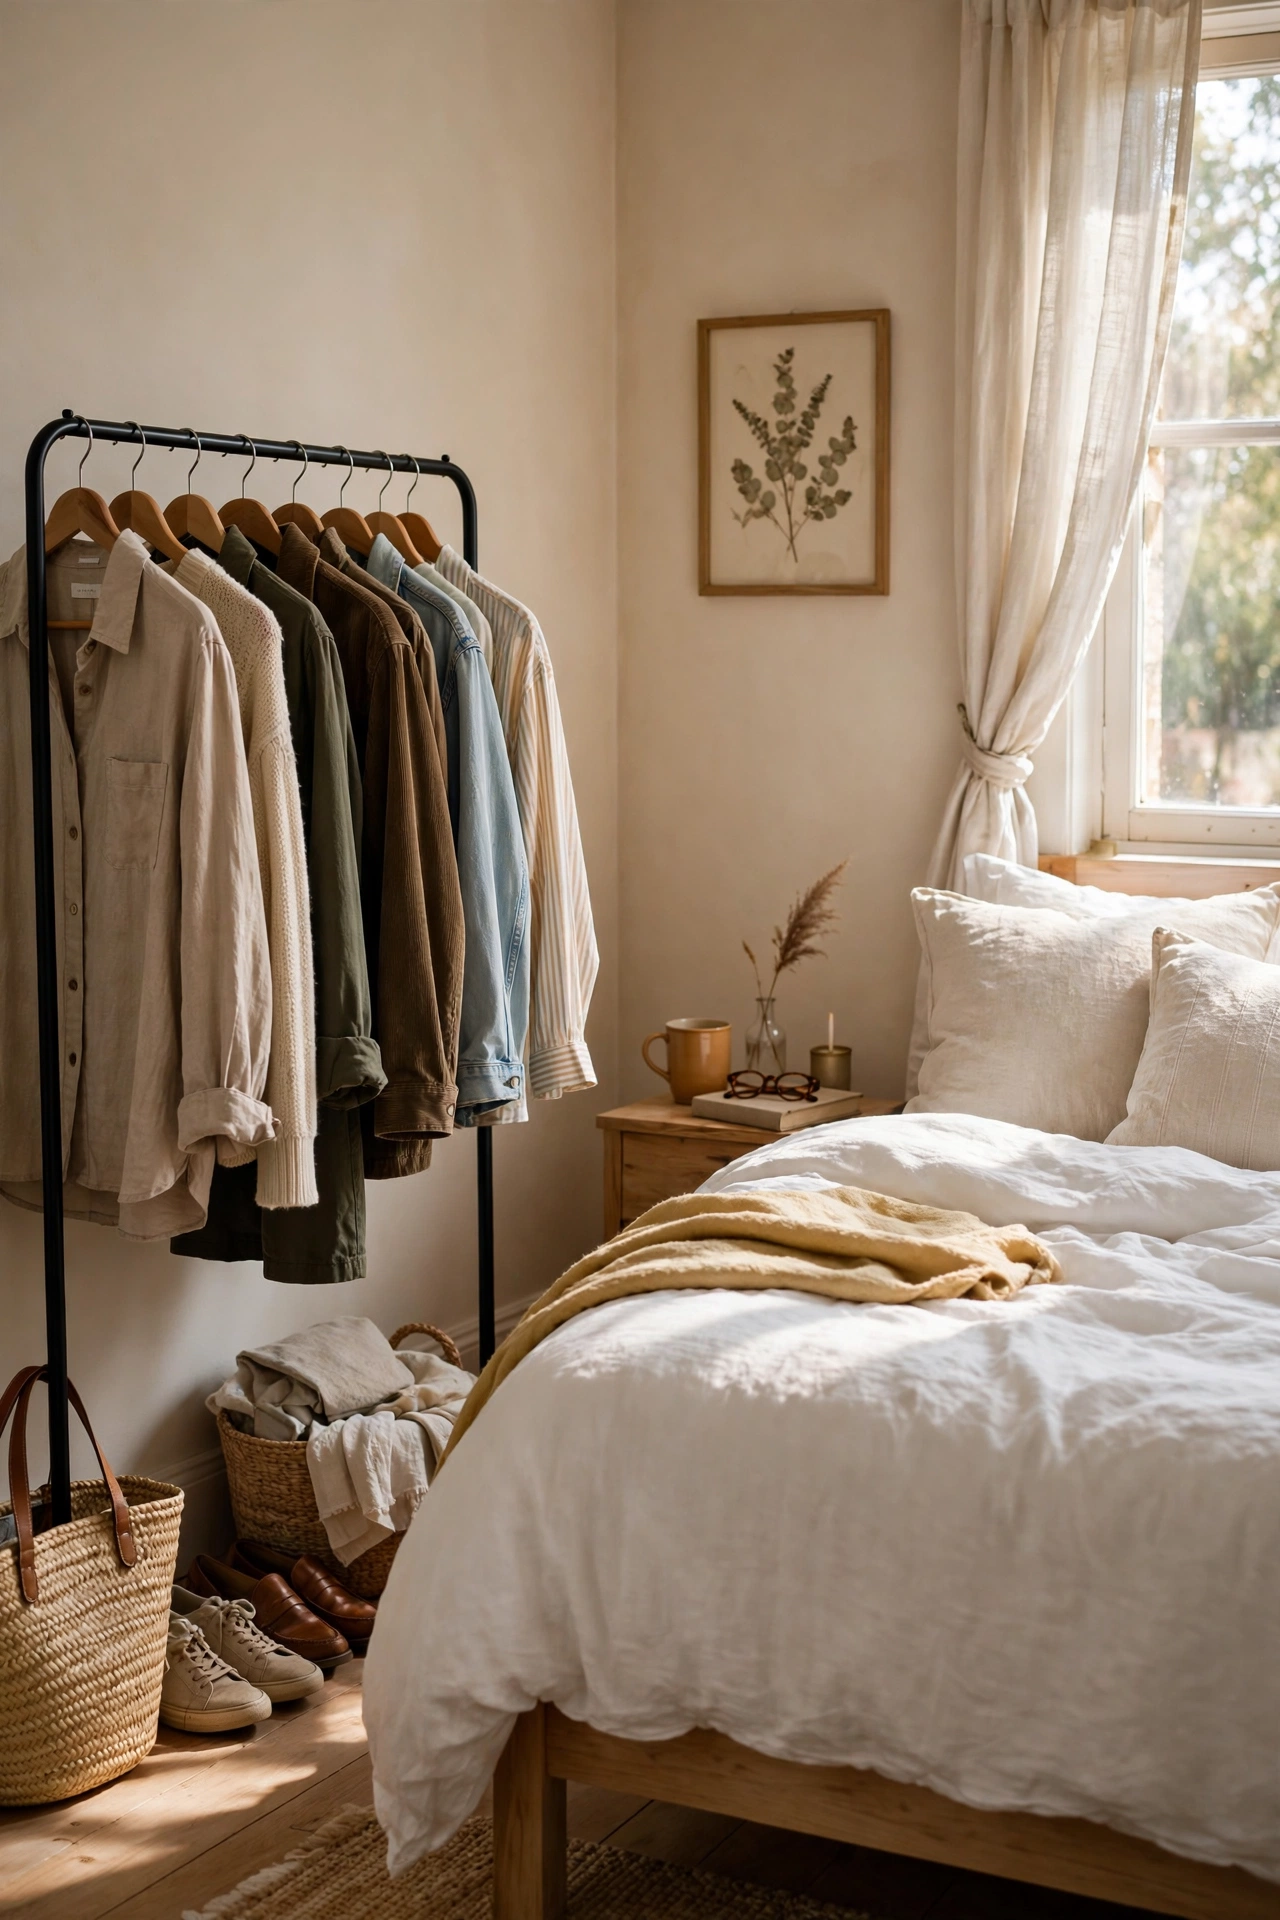
If your wardrobe is bursting, a slim clothes rail adds hanging space without a bulky second wardrobe. I placed a $22 narrow rail in the dead corner by the window, and it holds my week’s outfits, which actually made mornings faster. Keep it to one row and a tight colour palette so it reads as a display, not a drying rack. My first rail was a double-wide bargain and it swallowed the corner whole. Swapping to the slim version kept the function and the room. A rail also forces a useful habit: when it is full, something has to go.
Cost: ~$20-28 | Time: 15 minutes
11. Headboard With Built-In Shelves
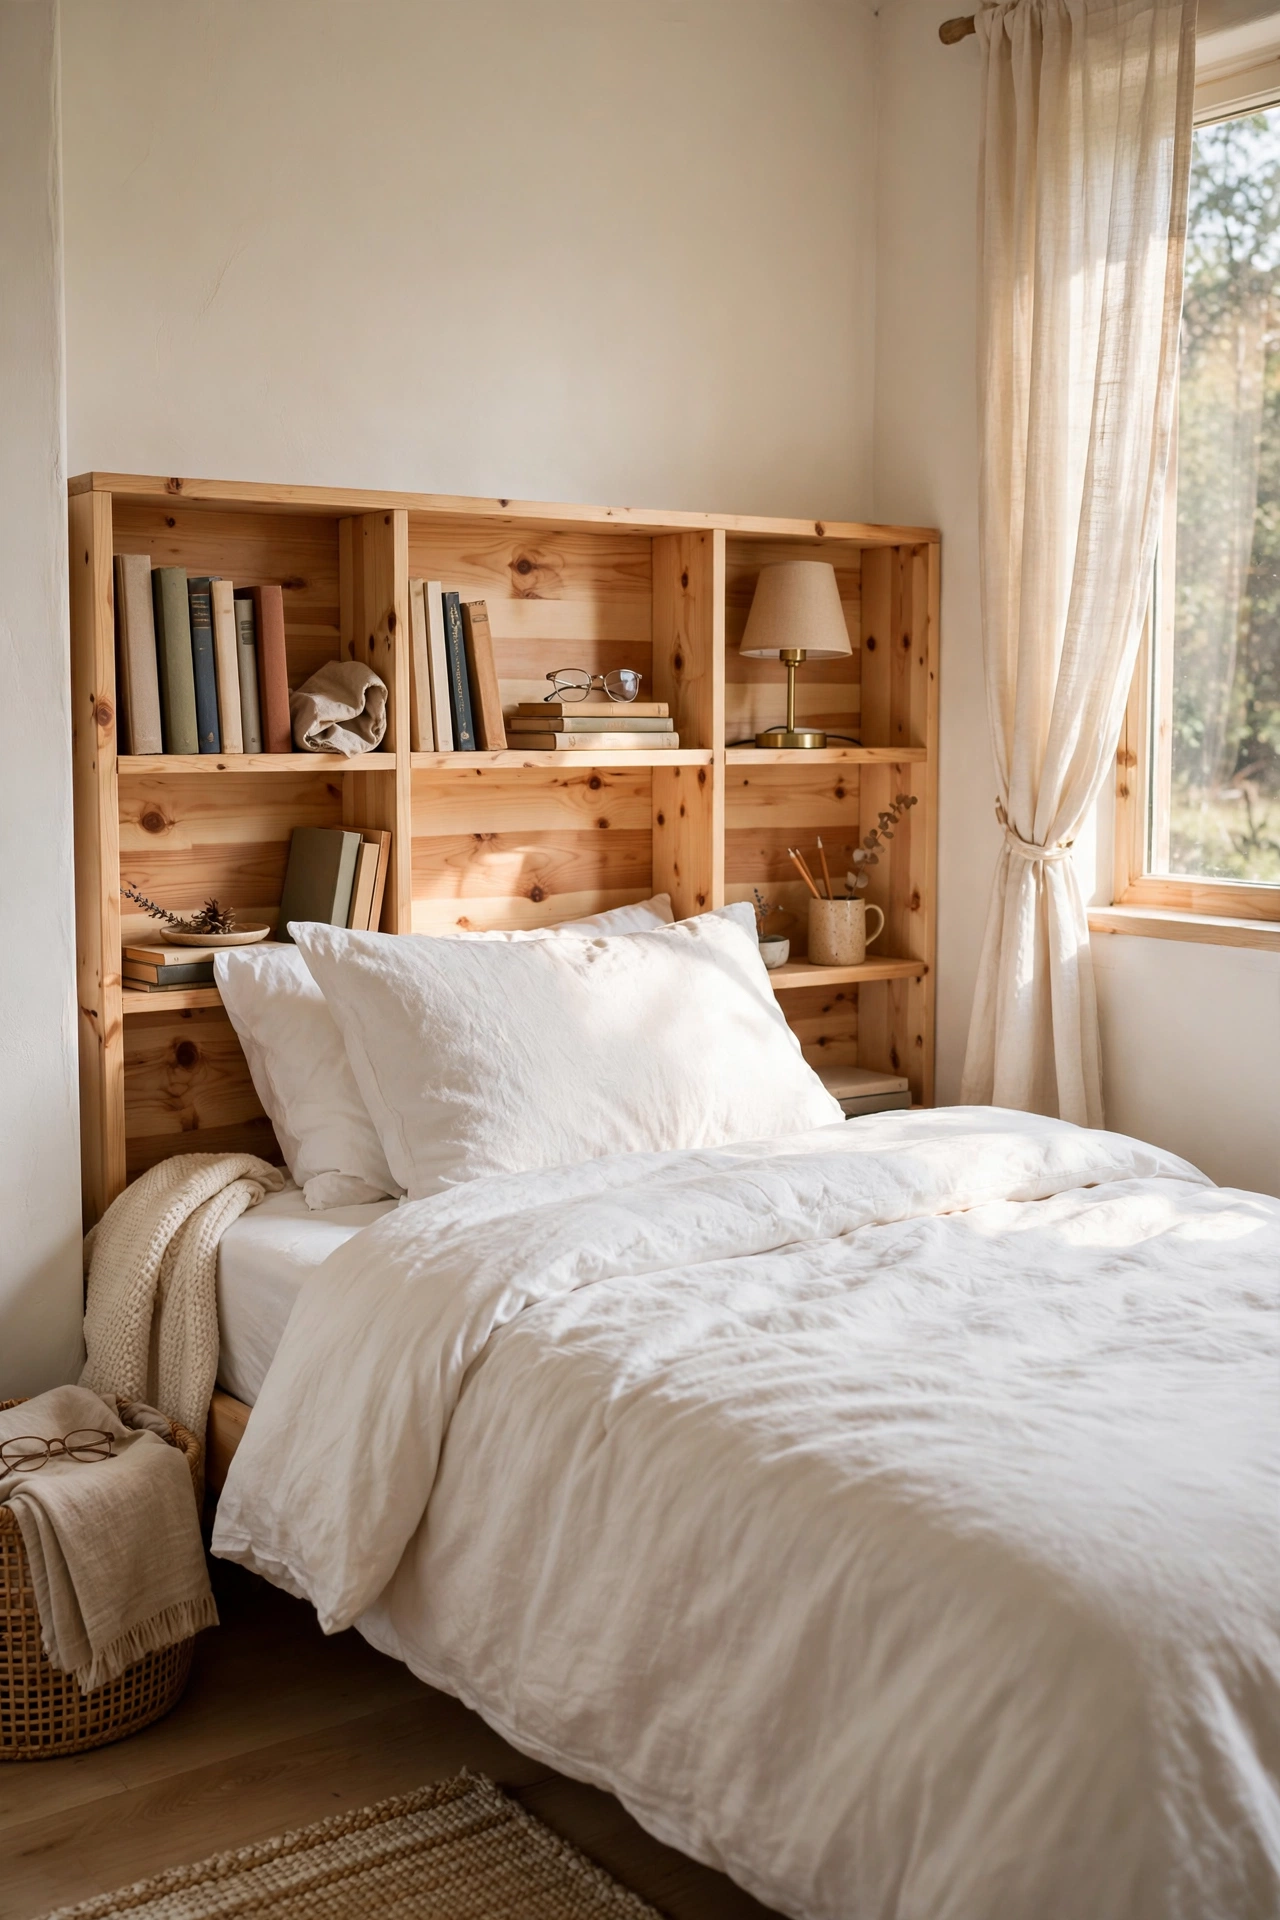
A headboard with shelves replaces your nightstands entirely, which is gold in a room where every inch matters. I built a simple one from two $10 pine boards and brackets, giving myself a shelf each side for books, glasses, and a lamp. Sand and seal the wood first, because rough pine snags bedding. Keep the shelves shallow, about six inches, so you do not bonk your head sitting up. I learned that the hard way with a ten-inch shelf and a bruised forehead. At six inches it holds everything I need and my nightstands are gone for good.
Cost: ~$20-28 | Time: 1 hour
12. Warm White Walls to Open the Space
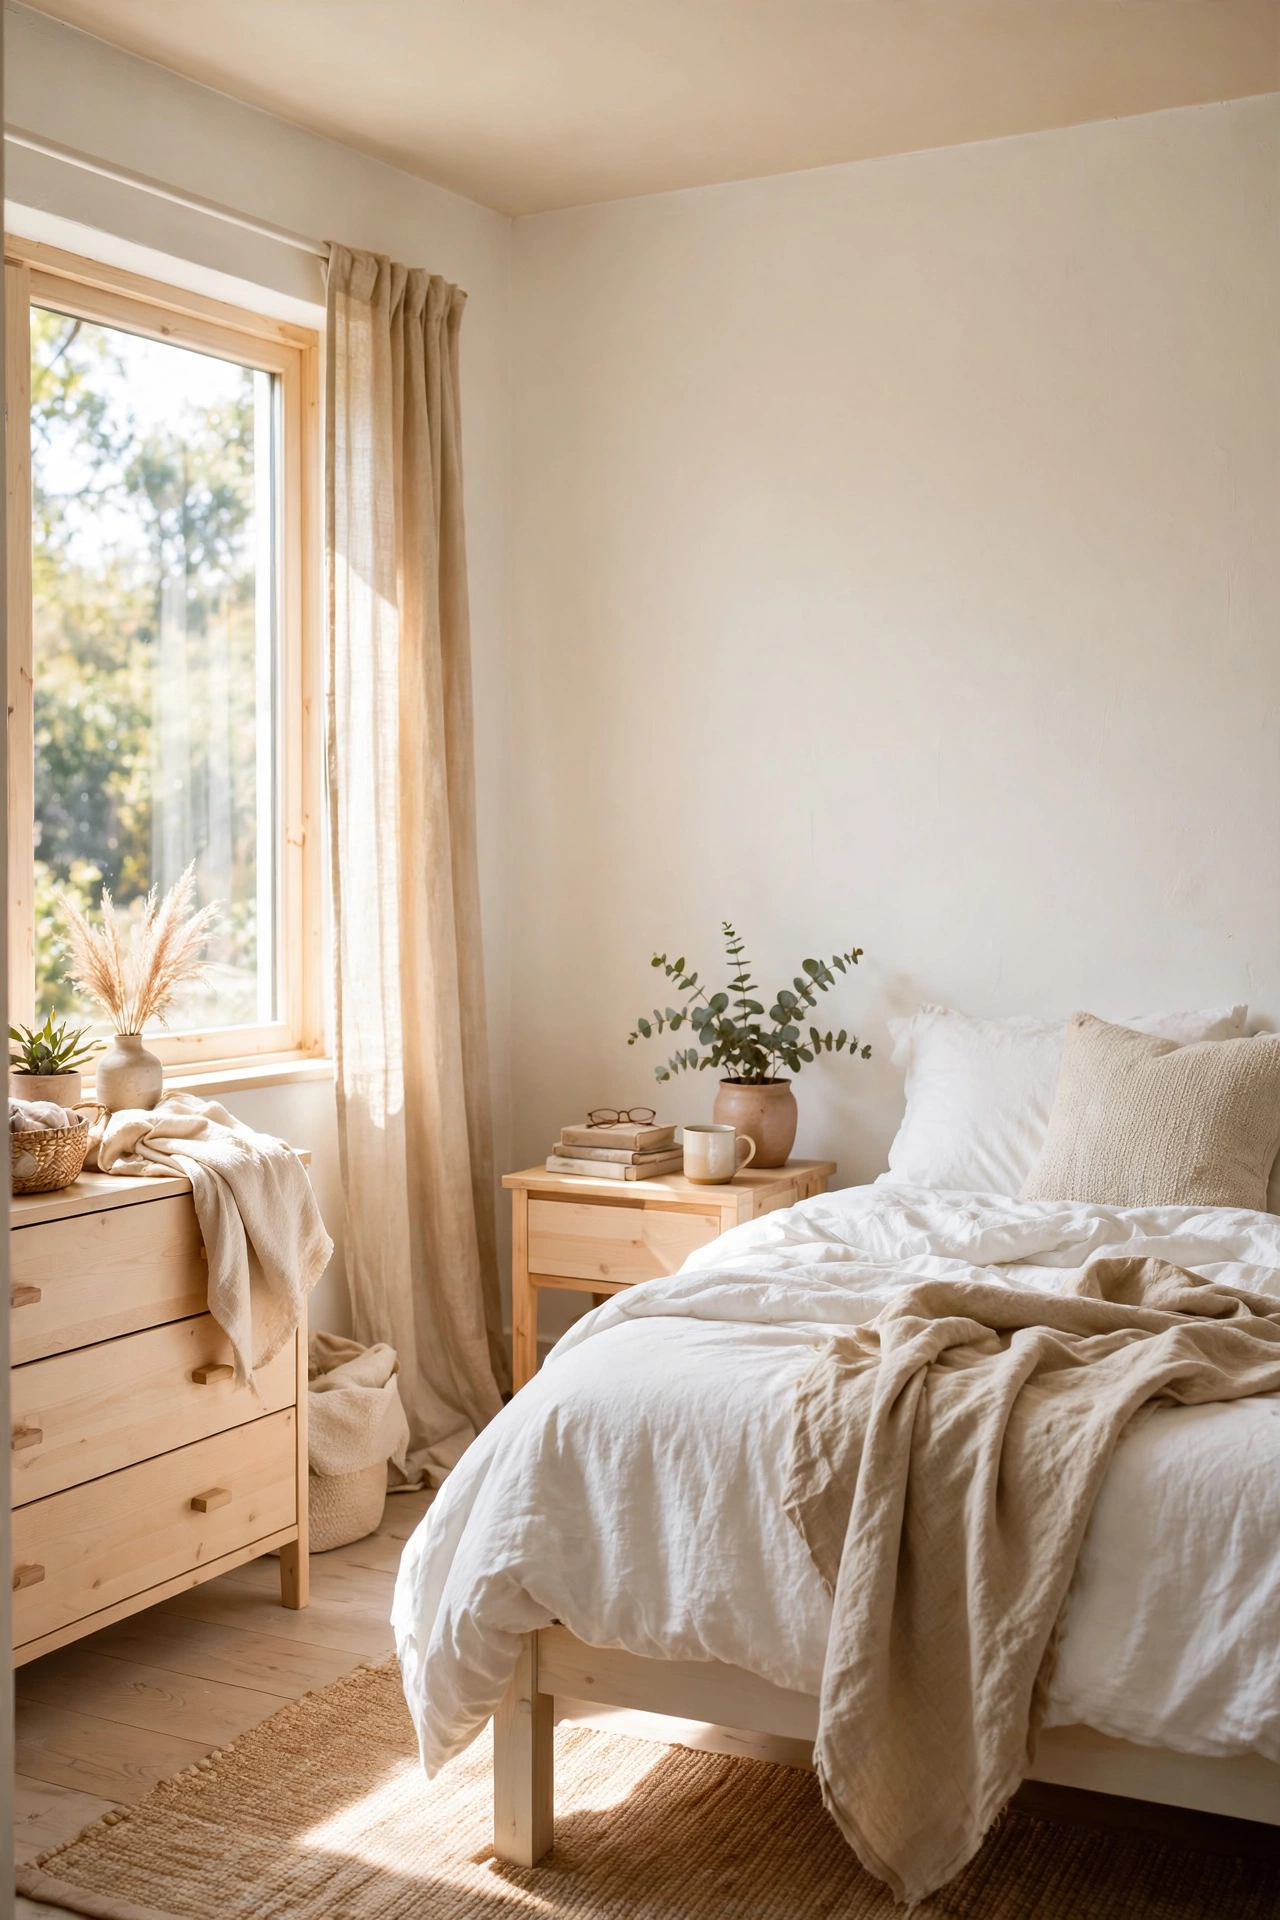
Dark or busy walls close a small room in like a lid. I repainted my bedroom in a warm white for $30 of paint, and it looked a full foot wider the moment the second coat dried. Test a swatch on the wall and check it morning and evening, because some whites go blue in daylight. I picked one with a whisper of cream and it glows softly at night under the lamps. Do not paint the ceiling a different colour; keeping it the same white lifts the whole room. My old sage walls were pretty in photos but made the room feel like a cave. (see also: 15-warm-white-bedroom-decor-ideas-on-a-budget/) shows the exact shade family I used, and it is still my favourite backdrop.
Cost: ~$25-35 | Time: 3 hours
Pro tip: Paint is the cheapest square footage you can buy. One tin covered my whole box room for $30, and light walls make rooms photograph larger too. If you rent, peel-and-stick wallpaper on one wall gives the same lift without risking your deposit.
13. Furniture With Visible Legs
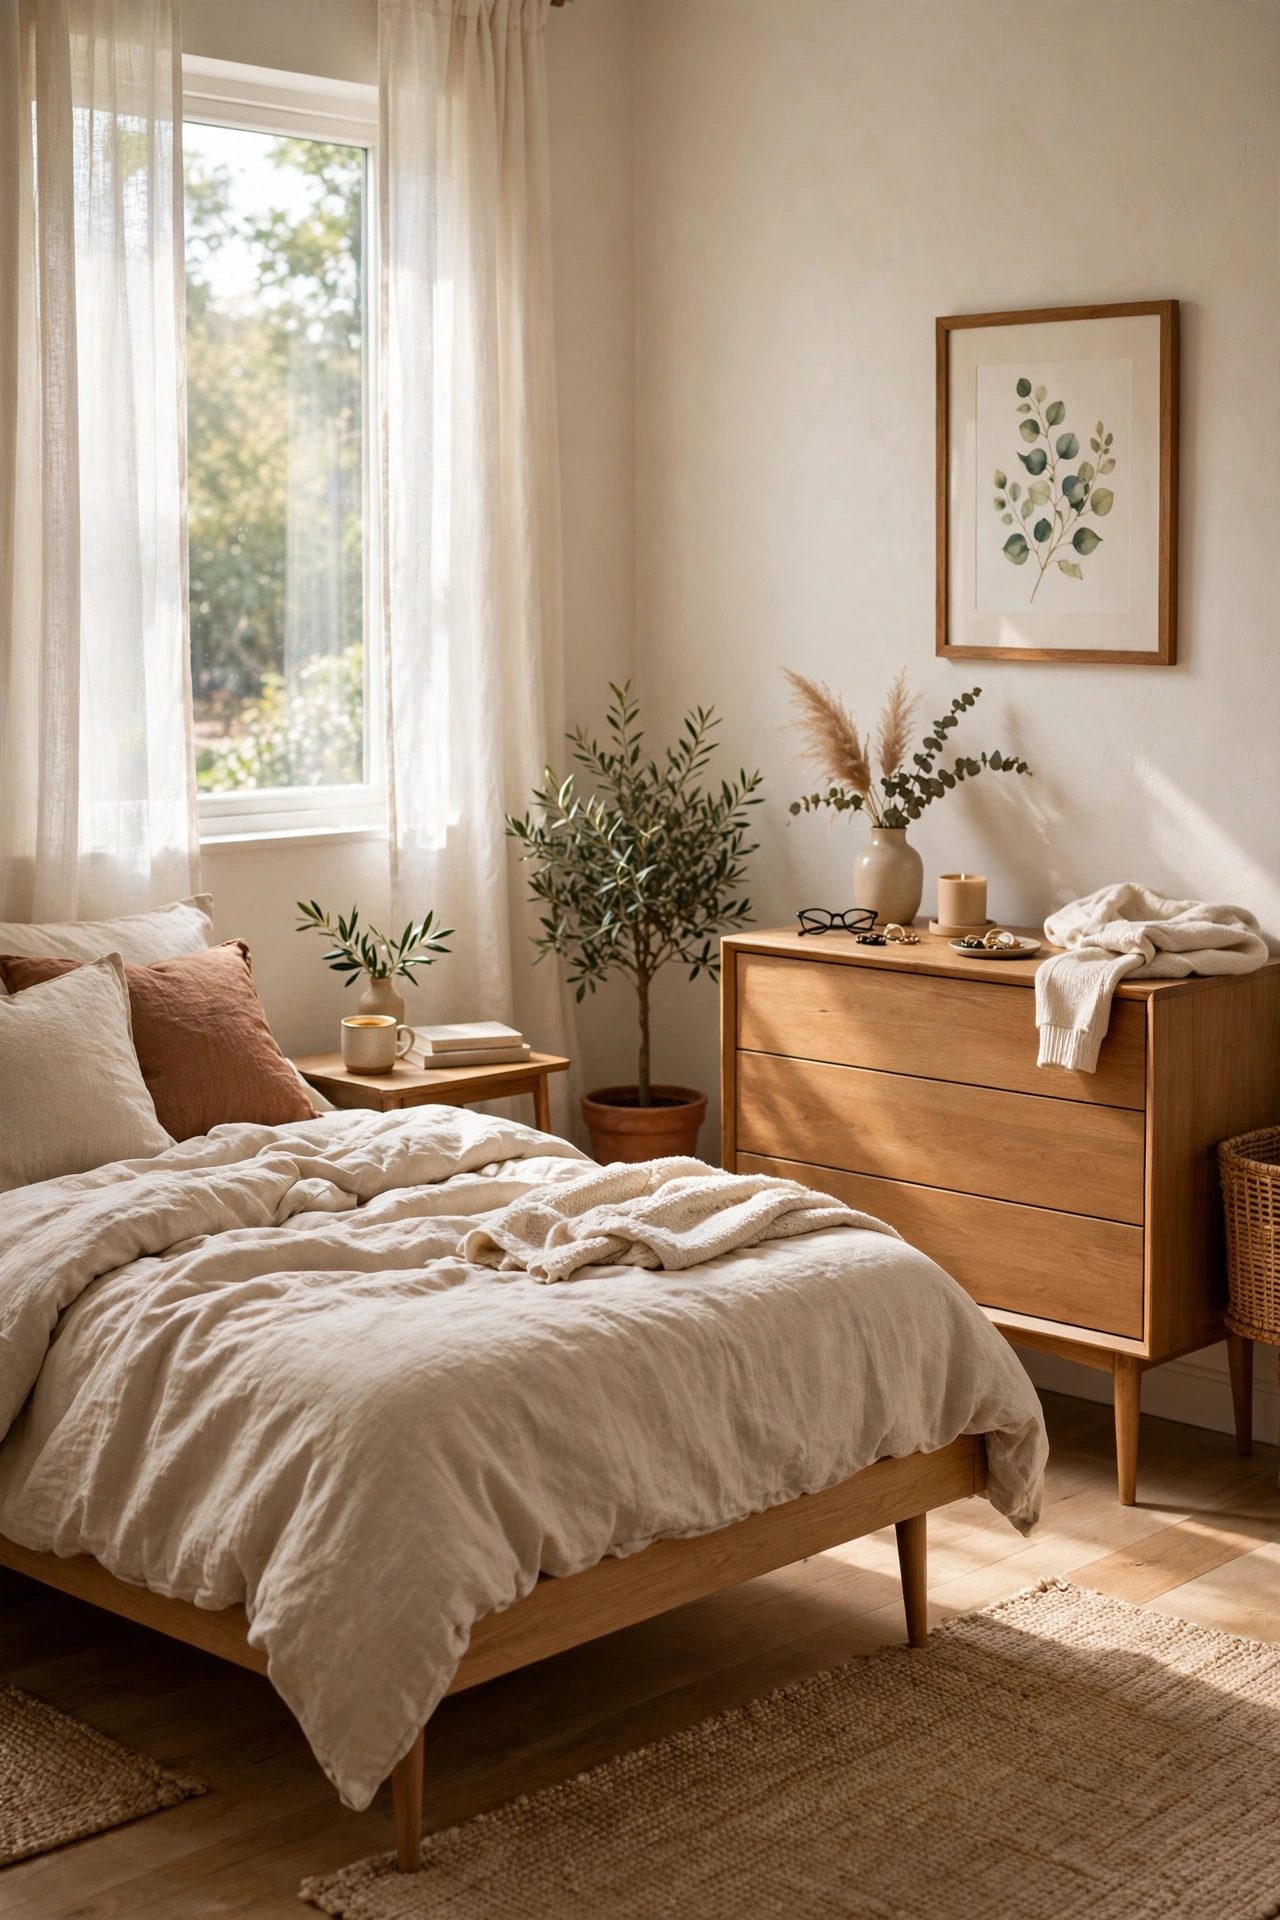
Furniture that sits flat on the floor looks heavy in a small room. Swapping to pieces with visible legs lets you see floor underneath, and your brain reads that as more space. I raised my dresser on $8 furniture legs and swapped my bed frame for a leggy one, and the floor suddenly felt continuous instead of chopped up. Keep the under-furniture zone clear, because the trick only works if you can see the floor. I stuffed boxes under there at first and killed the effect. Two inches of visible floor around each piece is all it takes.
Cost: ~$8-20 | Time: 30 minutes
14. Hanging Bedside Caddy
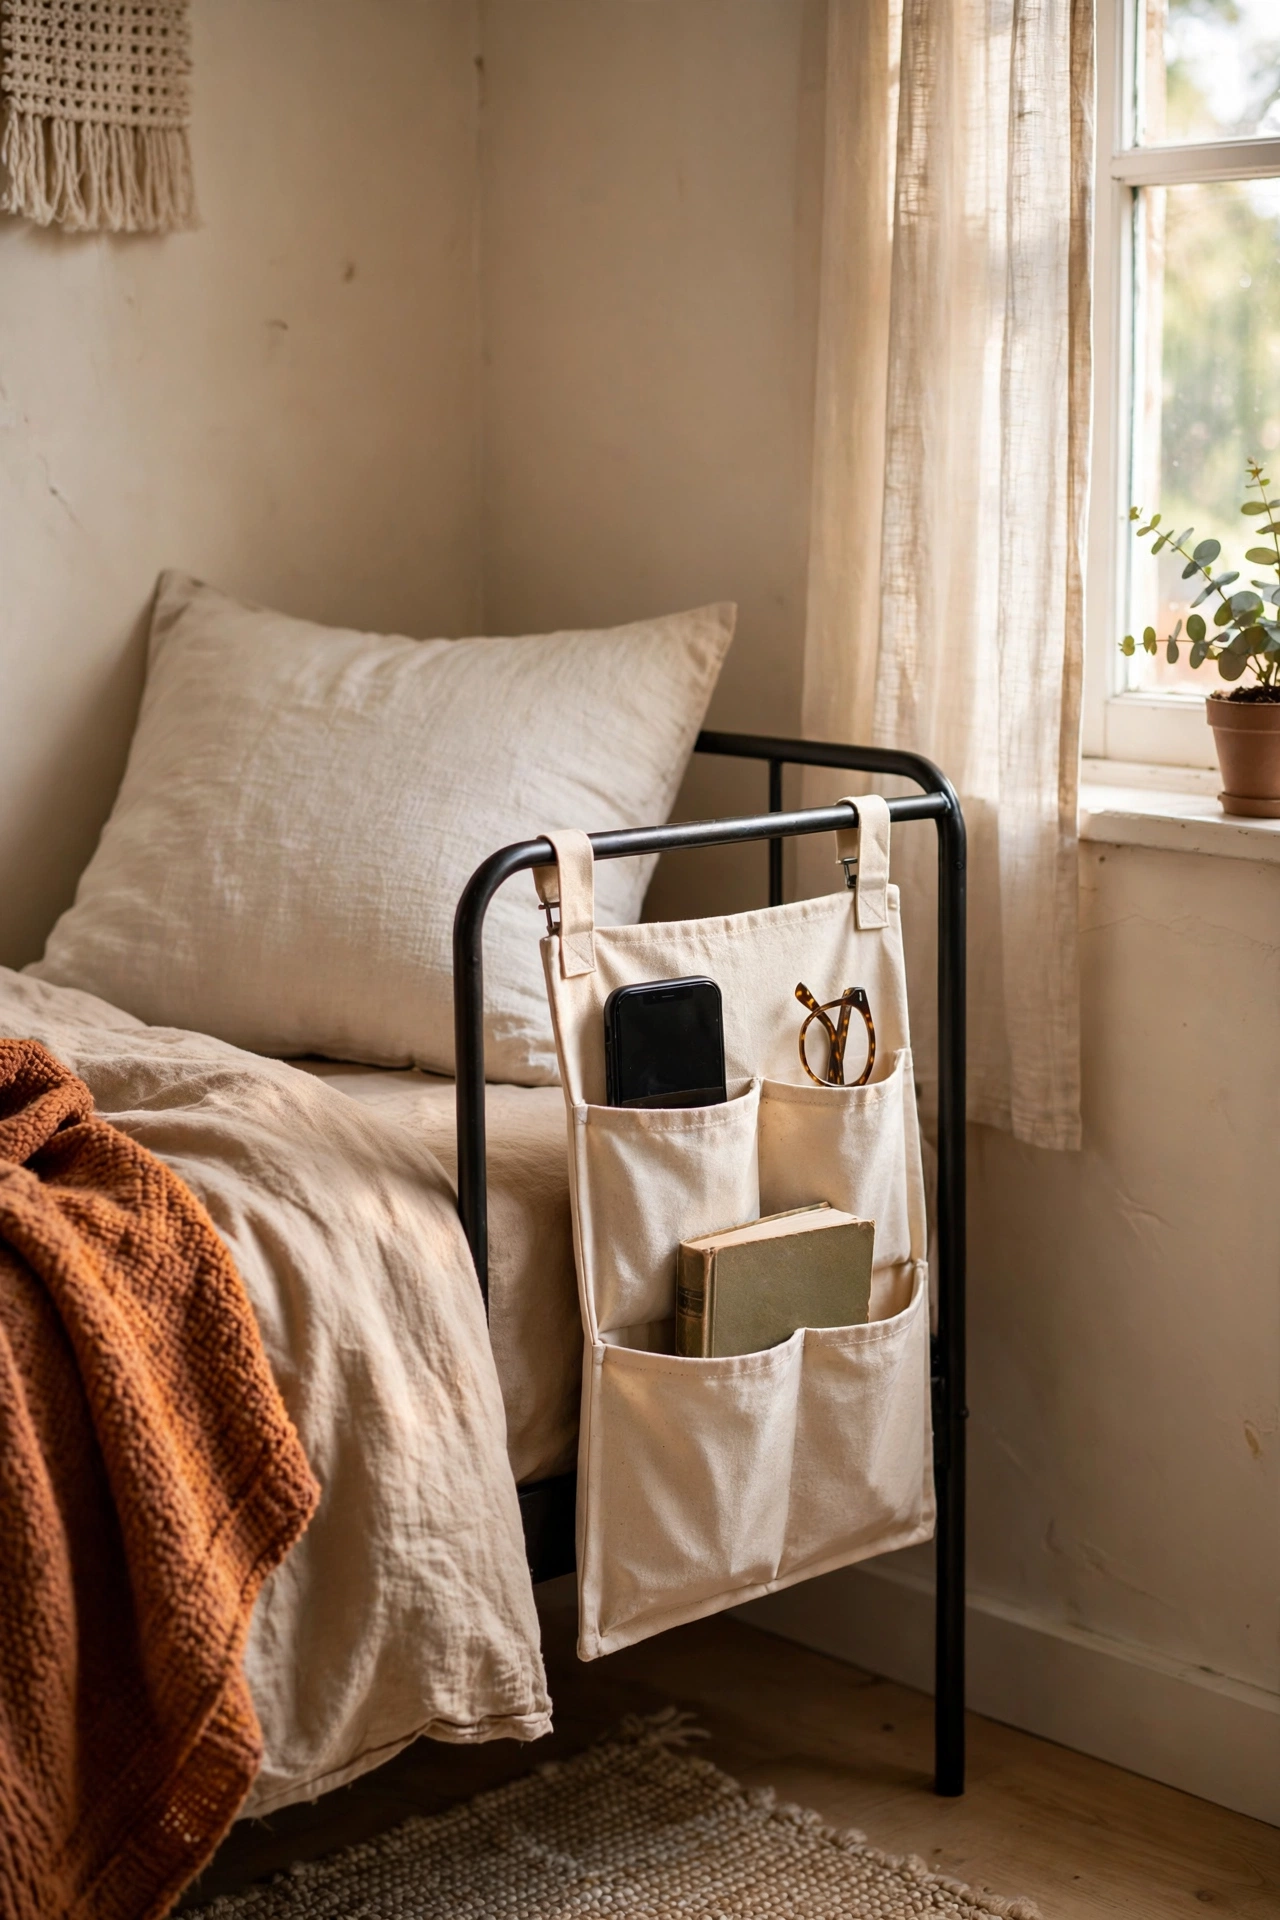
When there is no room for a nightstand at all, a hanging caddy saves the day. I bought a $9 fabric caddy that hooks over my bed frame, and it holds my phone, glasses, lip balm, and the book I am pretending to finish. Hang it on the wall side of the bed so it never swings into your sleeping space. I tried a tray-style caddy first and it dumped everything the first time I rolled over. The deep-pocket fabric version stays put. It takes up zero floor space and costs less than lunch.
Cost: ~$8-12 | Time: 5 minutes
15. Baskets on Top of the Wardrobe
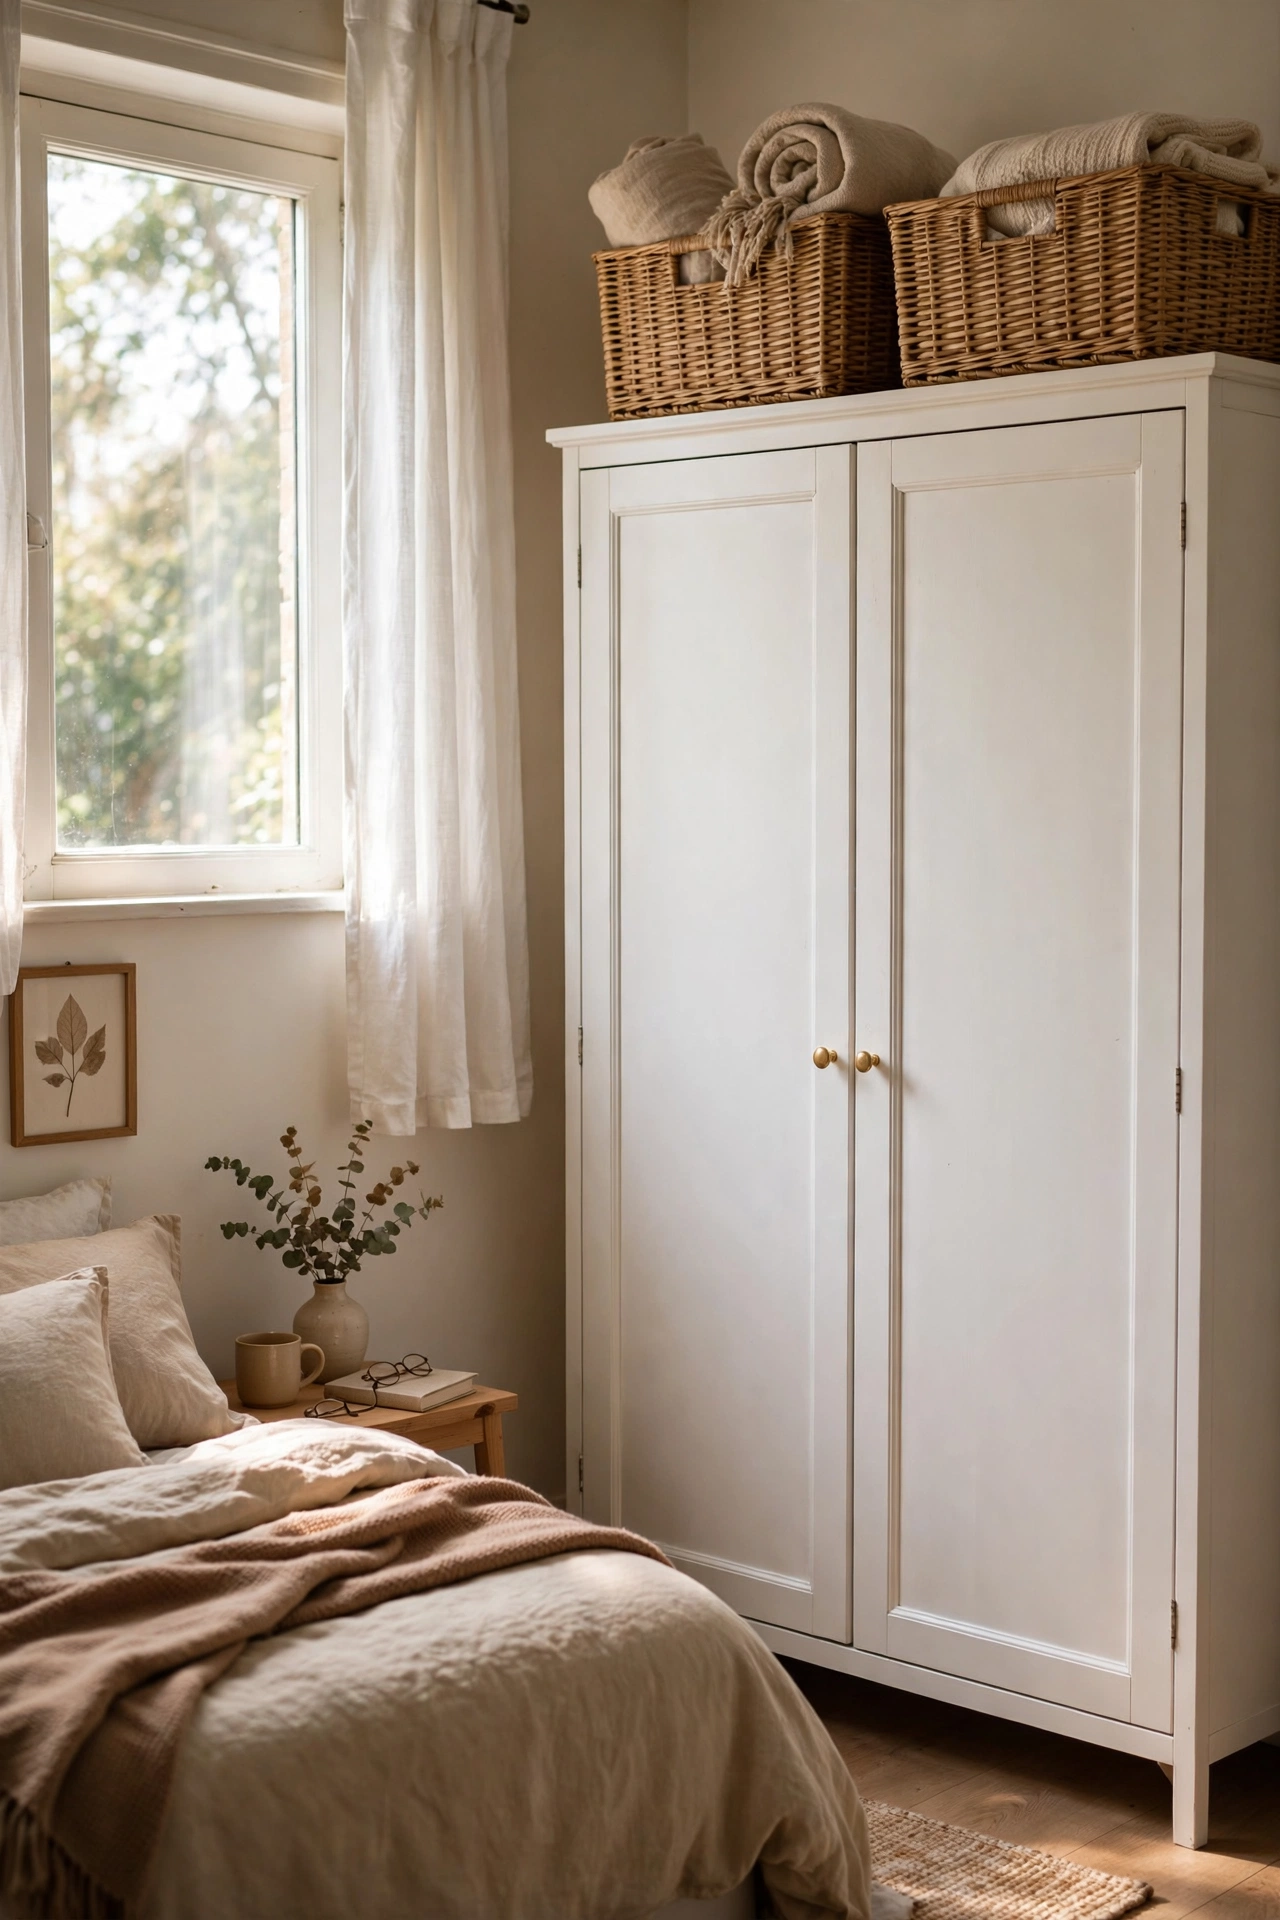
The top of your wardrobe is a whole shelf you are probably ignoring. I added two matching baskets up there for $12 total, and they hold my scarves, swimwear, and the cables I only need twice a year. Use baskets, not loose piles, because loose piles slide off and look chaotic from the bed. Keep a small step stool nearby or you will never use them. I left mine loose-stacked at first and a pillow avalanche woke me at 2am. Basketed, labelled, and stepped, it is now my favourite hidden storage.
Cost: ~$10-16 | Time: 10 minutes
Pro tip: Audit your stuff before buying storage. I pulled everything out of my wardrobe, donated a third, and discovered I did not need the extra drawers I was about to buy. Decluttering is free, and it makes every storage idea on this list work twice as hard.
16. Slim Rolling Cart Between Furniture
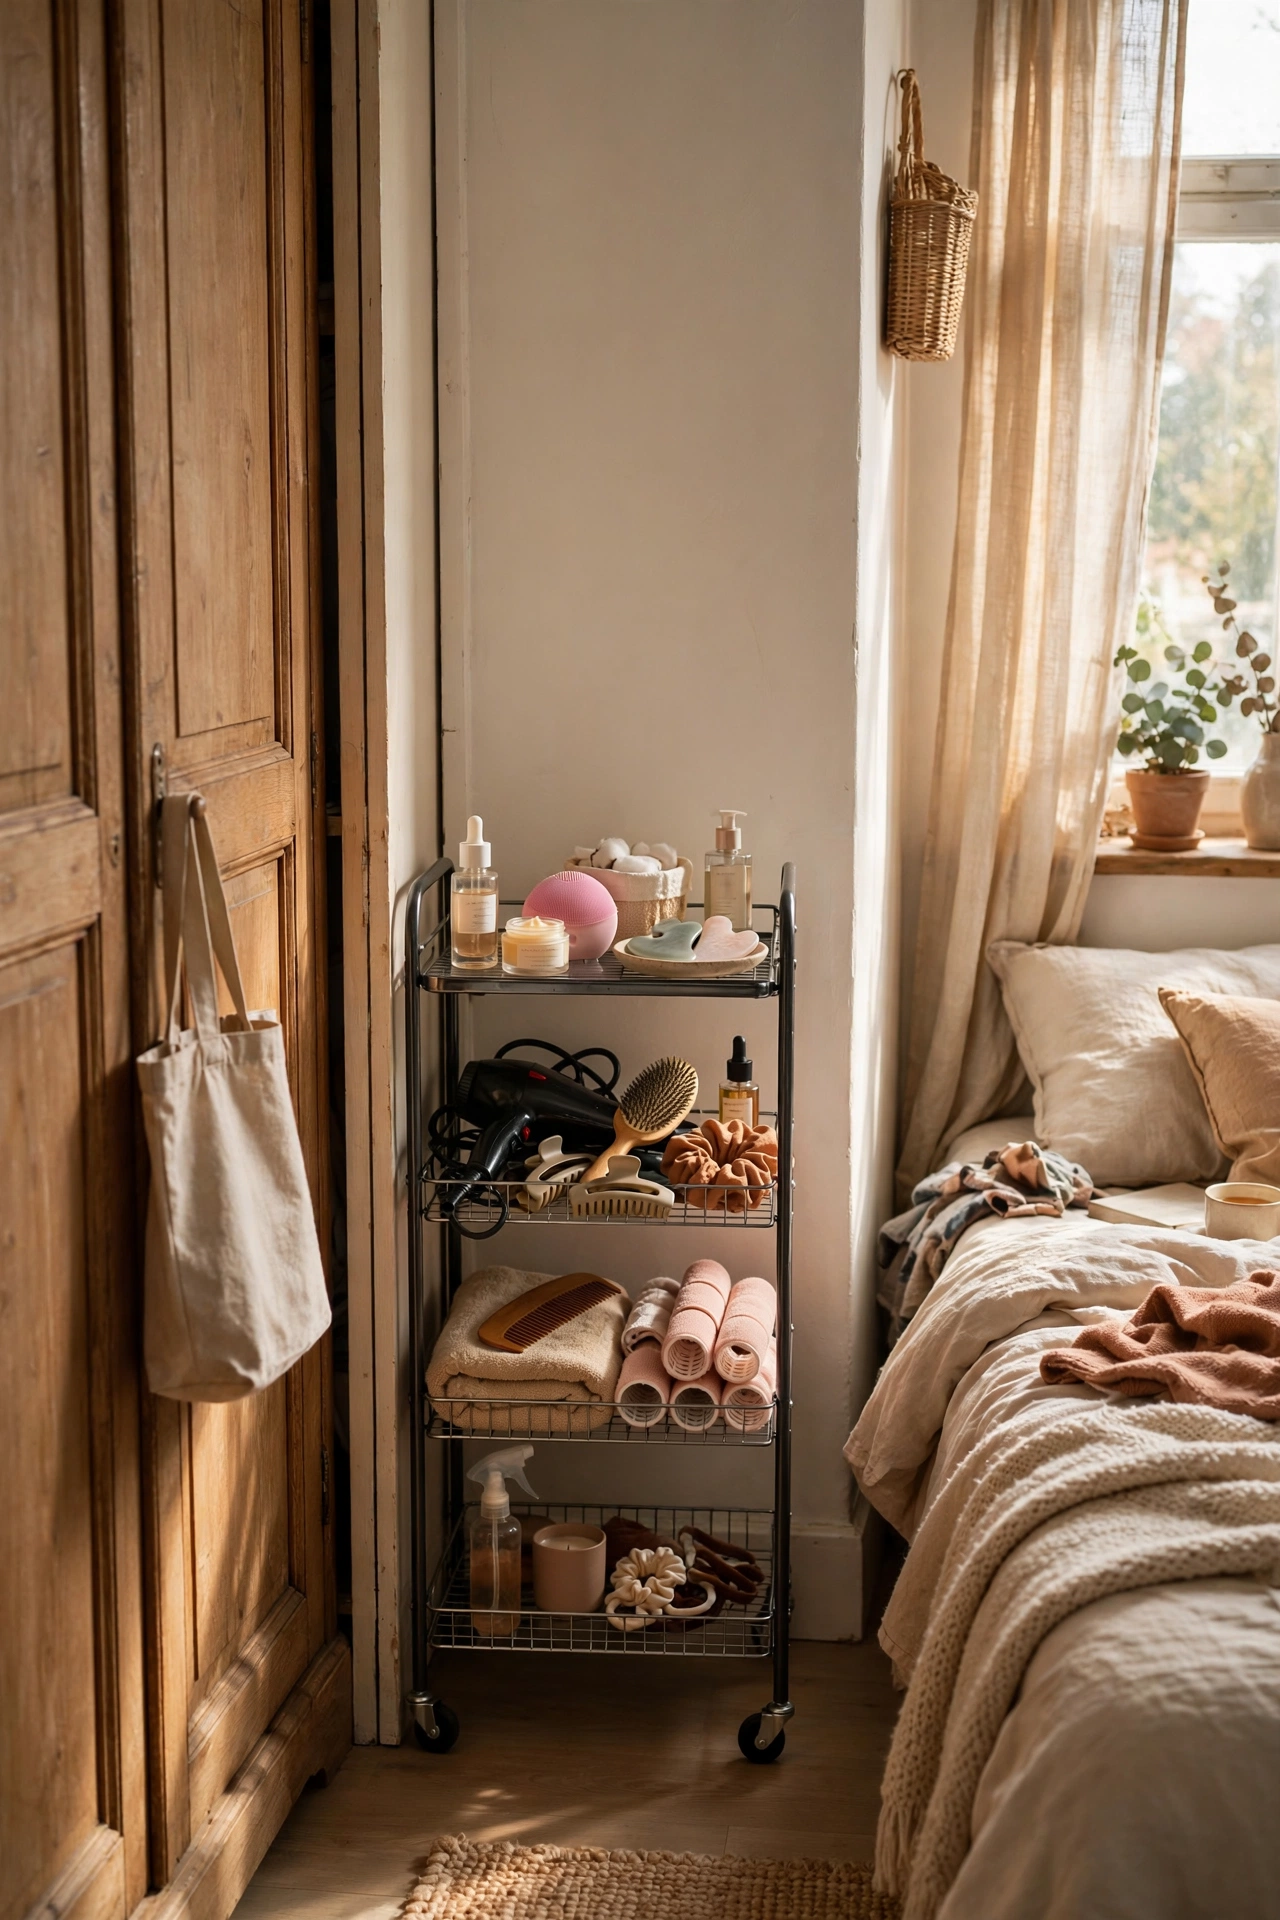
Those awkward six-inch gaps between furniture are storage gold. I slid a $16 slim rolling cart into the gap between my wardrobe and the wall, and it holds my skincare, hair tools, and a tiny first-aid kit. Measure the gap before you order, because carts come in five, seven, and nine inch widths and guessing wrong is an easy mistake. I guessed first and had to swap sizes. The wheels matter too: lock the front two so it does not roll out when you pull a drawer. It is the most-used storage in my room now.
Cost: ~$14-20 | Time: 10 minutes
17. Raised Bed With Storage Underneath
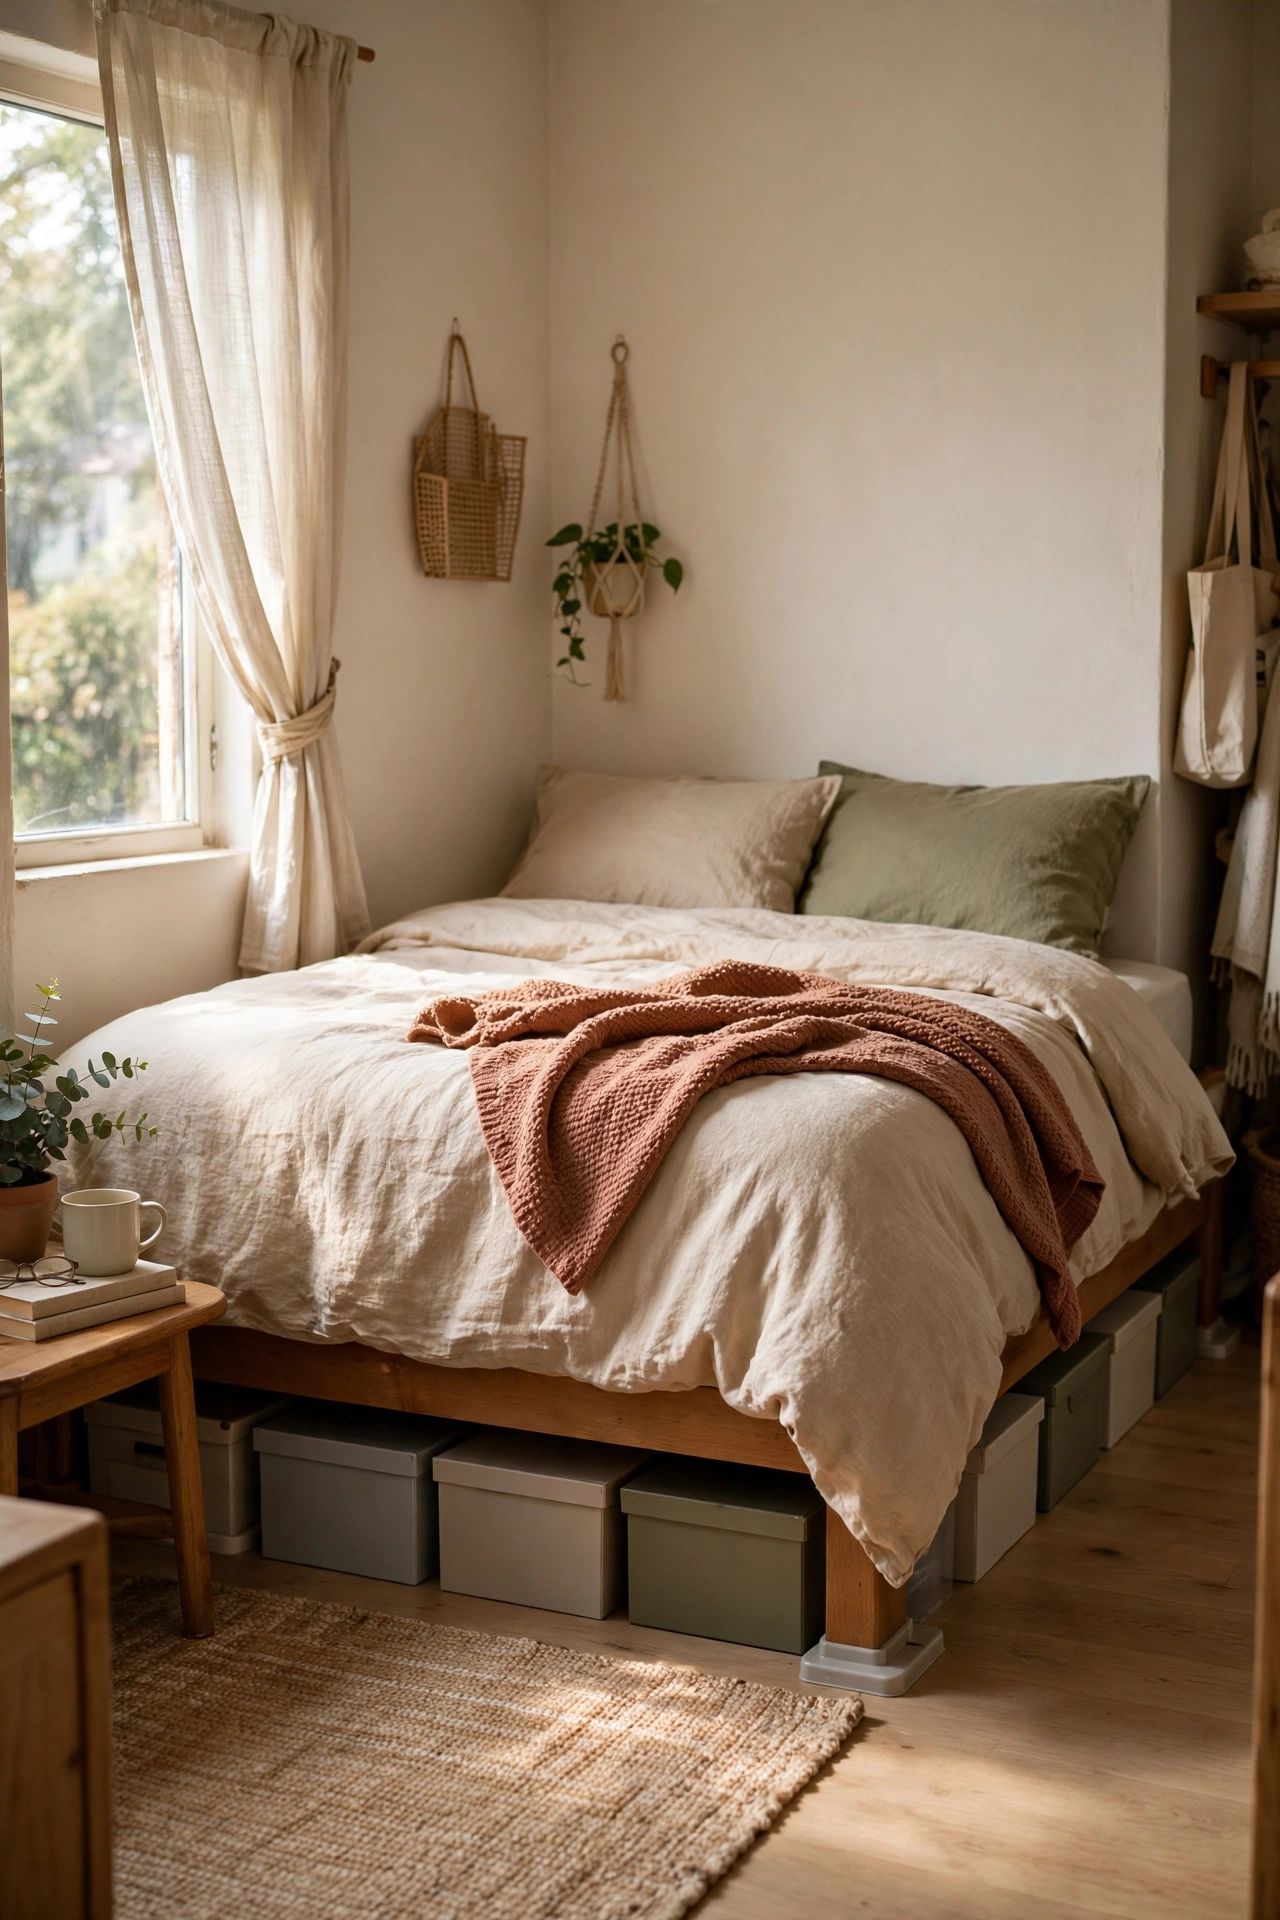
Raising your bed even a few inches creates a cavern of storage most people never use. I lifted my bed frame on $20 risers and gained a ten-inch storage zone that holds four flat boxes of shoes and winter coats. Use solid wood or metal risers rated for your bed’s weight, never stacked books or bricks. I tried bricks first and the bed wobbled alarmingly. Proper risers lock in and feel rock solid. Keep the boxes low and labelled. (see also: 23-small-bedroom-ideas-that-maximize-every-corner/) has the full corner-by-corner system if you want to go further. My under-bed zone now holds what used to fill a whole wardrobe.
Cost: ~$18-28 | Time: 30 minutes
18. Single Pendant Light Instead of Table Lamps
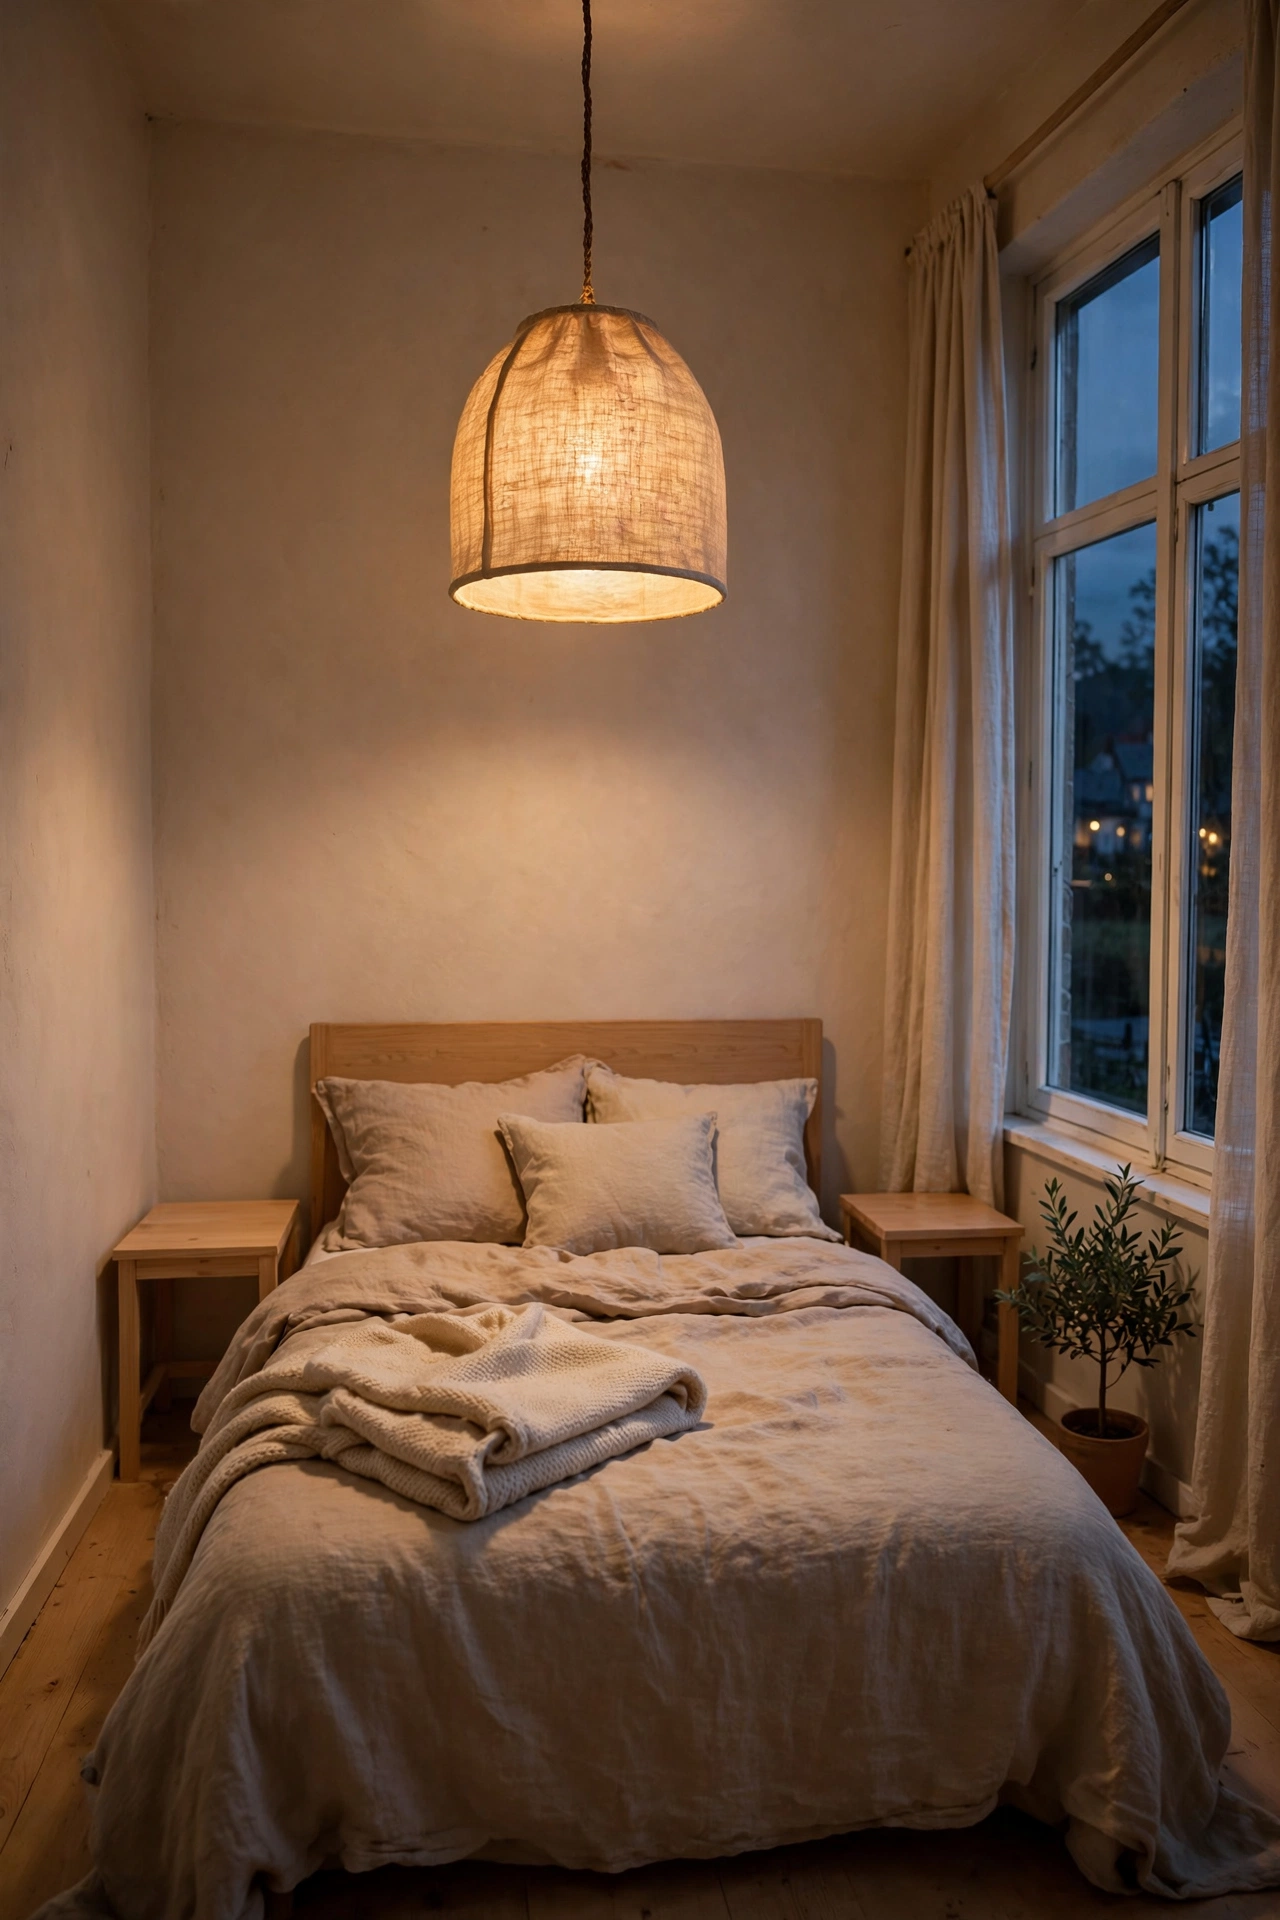
Table lamps need tables, and tables need floor space. I swapped both bedside lamps for one $18 pendant hung over the bed, wired through a simple plug-in swag kit since I rent. Hang it about thirty inches above the mattress so it lights your book without glaring in your eyes. Pair it with a warm 2700K bulb for evening glow. My first bulb was cool white and the room felt like a hospital corridor. The warm swap took two minutes and changed everything. One light, zero table space, and both nightstands are free for actual stuff now.
Cost: ~$15-22 | Time: 30 minutes
Pro tip: Light each corner, not just the centre. A small room with one overhead light always feels smaller, because the corners go dark and your eye reads darkness as walls. One pendant plus a $10 clip light in the darkest corner made my room feel noticeably larger.
19. Narrow Hook Rail Behind the Door
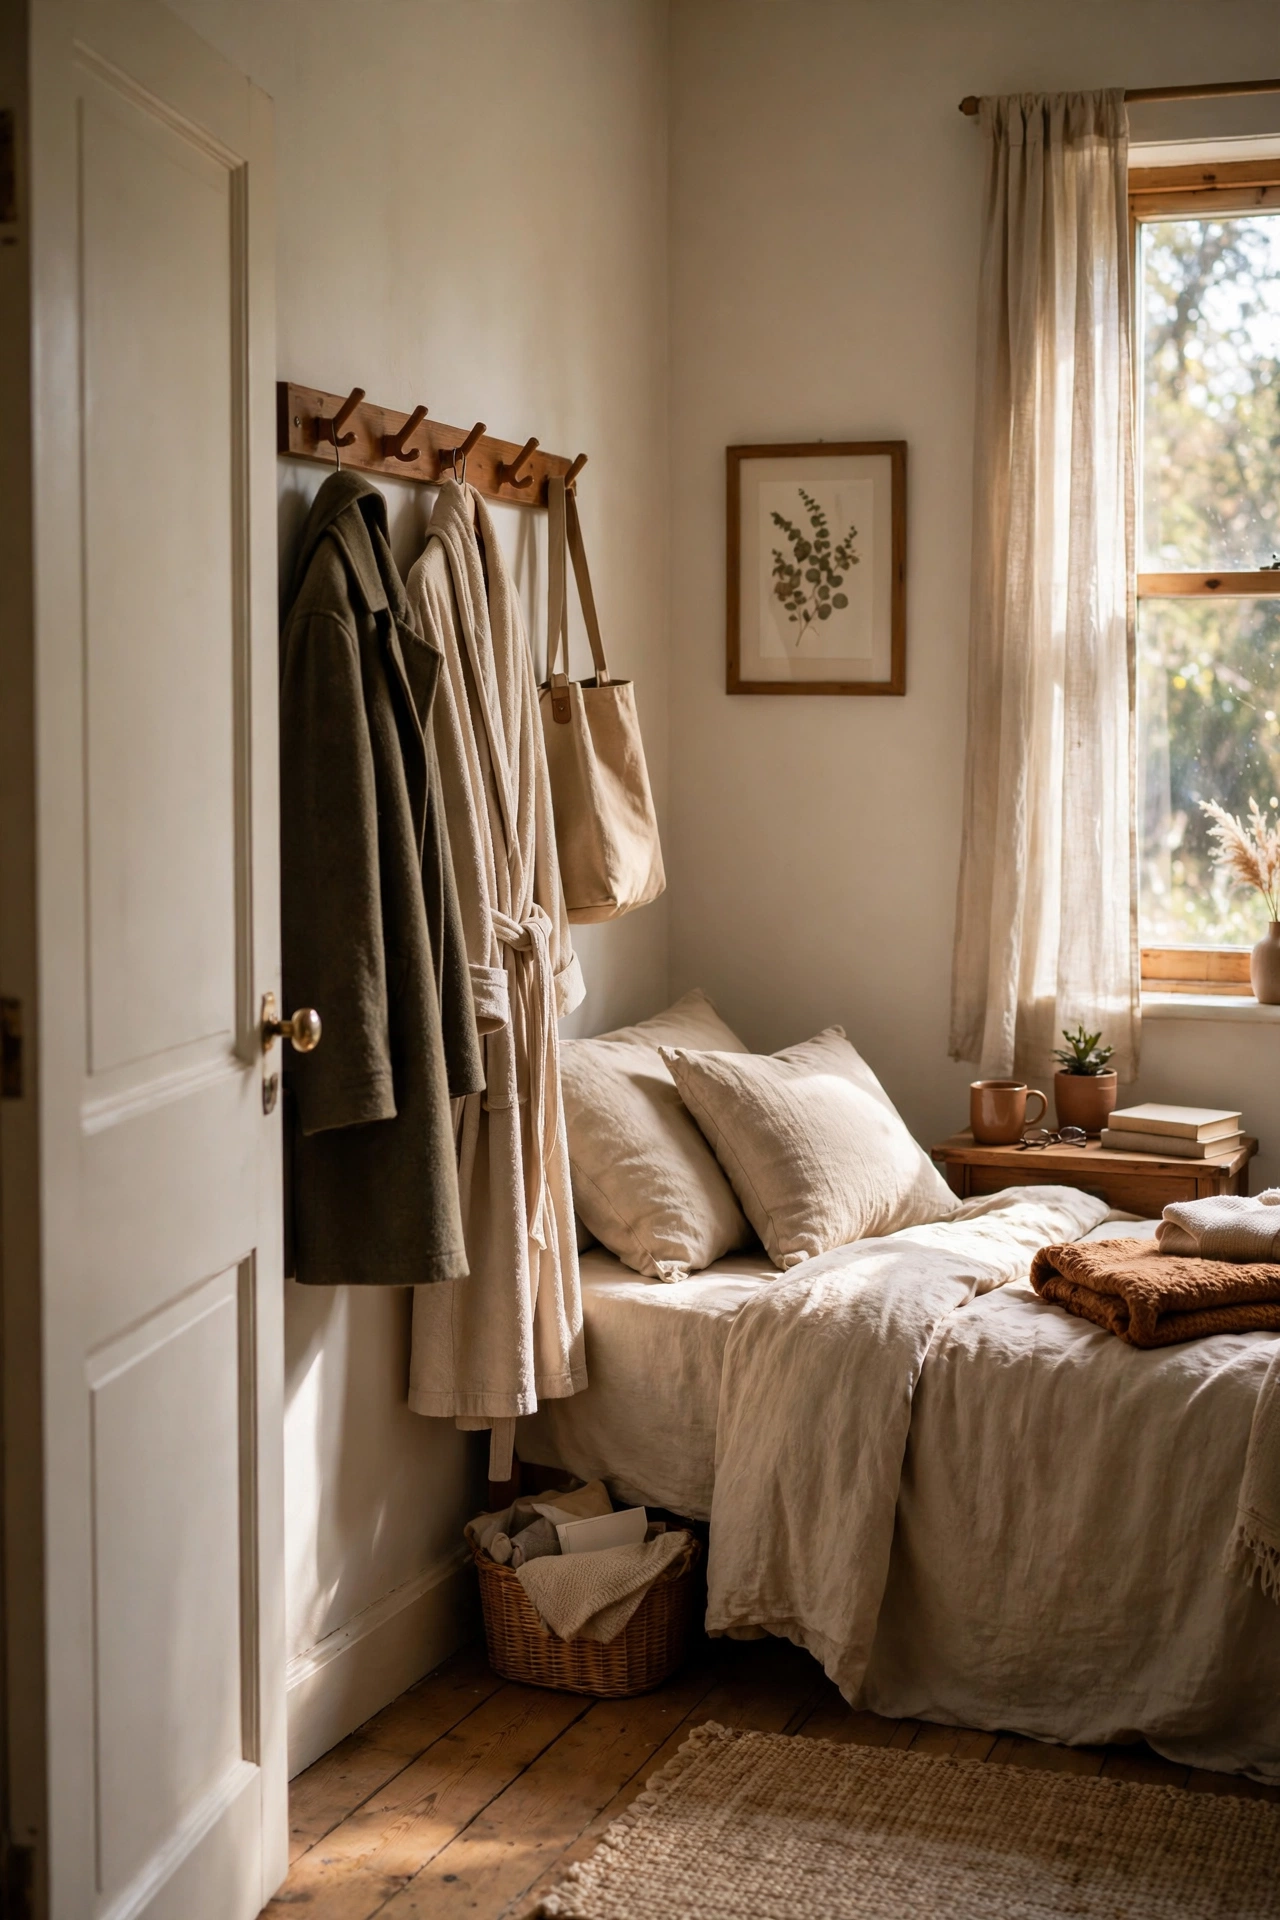
A slim hook rail on the wall behind the door catches the things that usually end up on the floor. I mounted a $8 five-hook rail and it holds tomorrow’s outfit, my dressing gown, and my bag, which cleared the chair that used to be my floordrobe. Mount it at a height where coats hang without pooling on the floor; about five feet works for most. I hung my first rail too low and everything dragged. Moving it up six inches fixed it in ten minutes. (see also: 19-cozy-boho-bedroom-ideas/) shows how to style the rail so it looks intentional, not like a cloakroom. It is the cheapest idea on this list and the one I use every single day.
Cost: ~$6-10 | Time: 20 minutes
These nineteen ideas turned my box room from a storage unit into a room I enjoy. Pick the three that solve your biggest headaches, then save this idea for later.
