21 Bedroom Decor Ideas Under $25 on a Tight Budget
If you are hunting for bedroom decor ideas under $25 that actually look good, you are in the right place. I decorated my entire bedroom last year without spending more than $25 on any single item, and honestly, most things cost under $10. The secret is not buying cheap stuff that looks cheap, it is knowing which small changes make the biggest visual difference. Every idea below costs $25 or less, and I have noted the real price I paid at stores like Target, the dollar store, and my local thrift shop.
The prices are real, the steps are simple, and most of these take under an hour. Work through the ideas in any order, start with whatever bothers you most about your room, and skip anything that does not fit. Let’s prove that a tight budget is not a barrier to a bedroom you love.
1. Peel-and-Stick Wallpaper Accent Wall
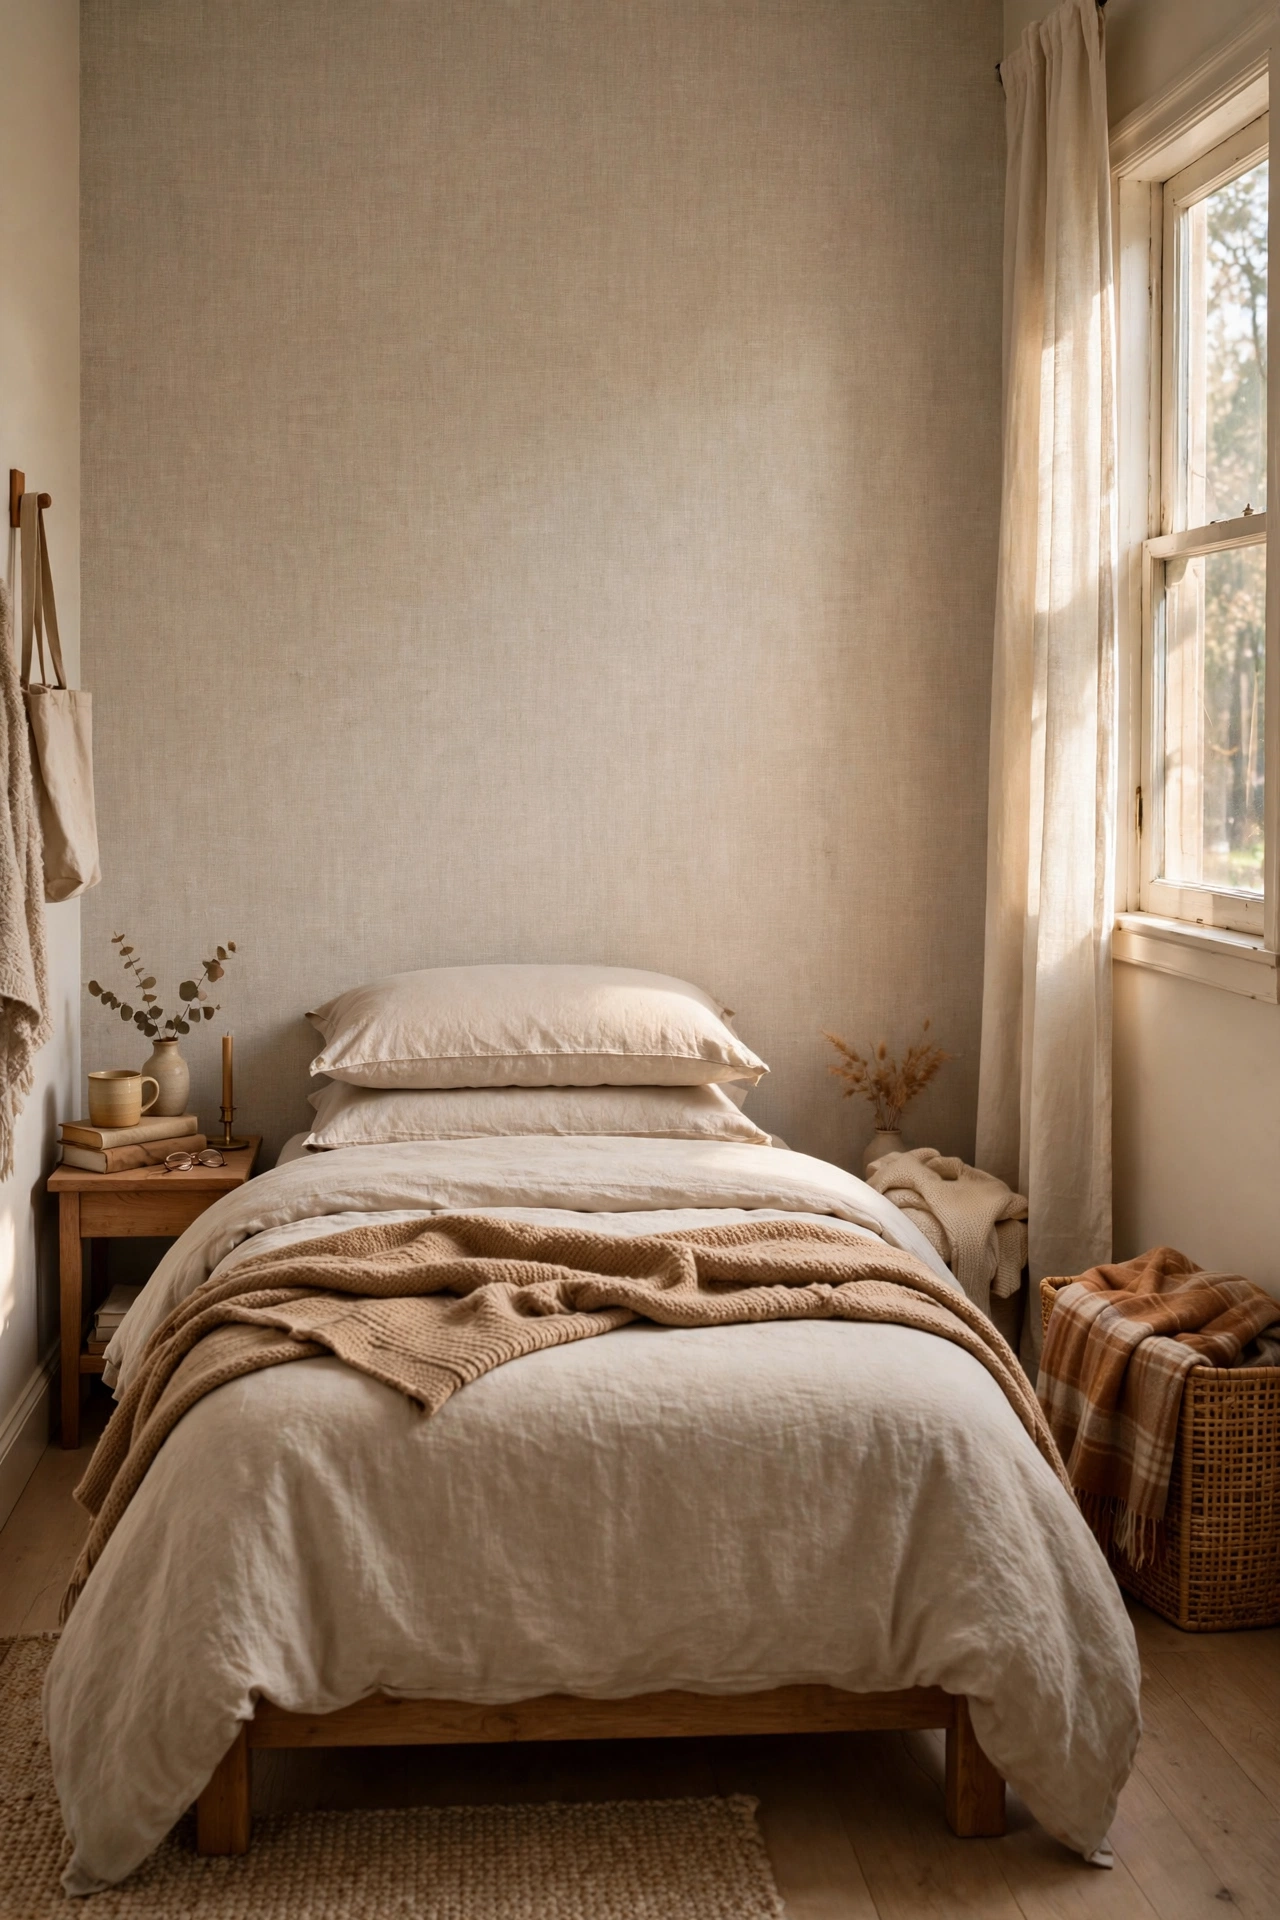
One roll of peel-and-stick wallpaper behind your bed makes a bigger difference than almost anything else on this list. I found a subtle linen-look roll for $18 at a home store, and it covered the whole wall behind my queen bed with a little left over. Start at the top corner and smooth downward with a credit card, working out bubbles as you go. My first panel went up crooked, so peel it back and reposition, since the whole point of removable paper is that you get do-overs. Measure your wall first, because running out mid-project is the worst.
Cost: ~$15-22 | Time: 1-2 hours
2. Thrifted Frames with a Gold Spray Paint Refresh
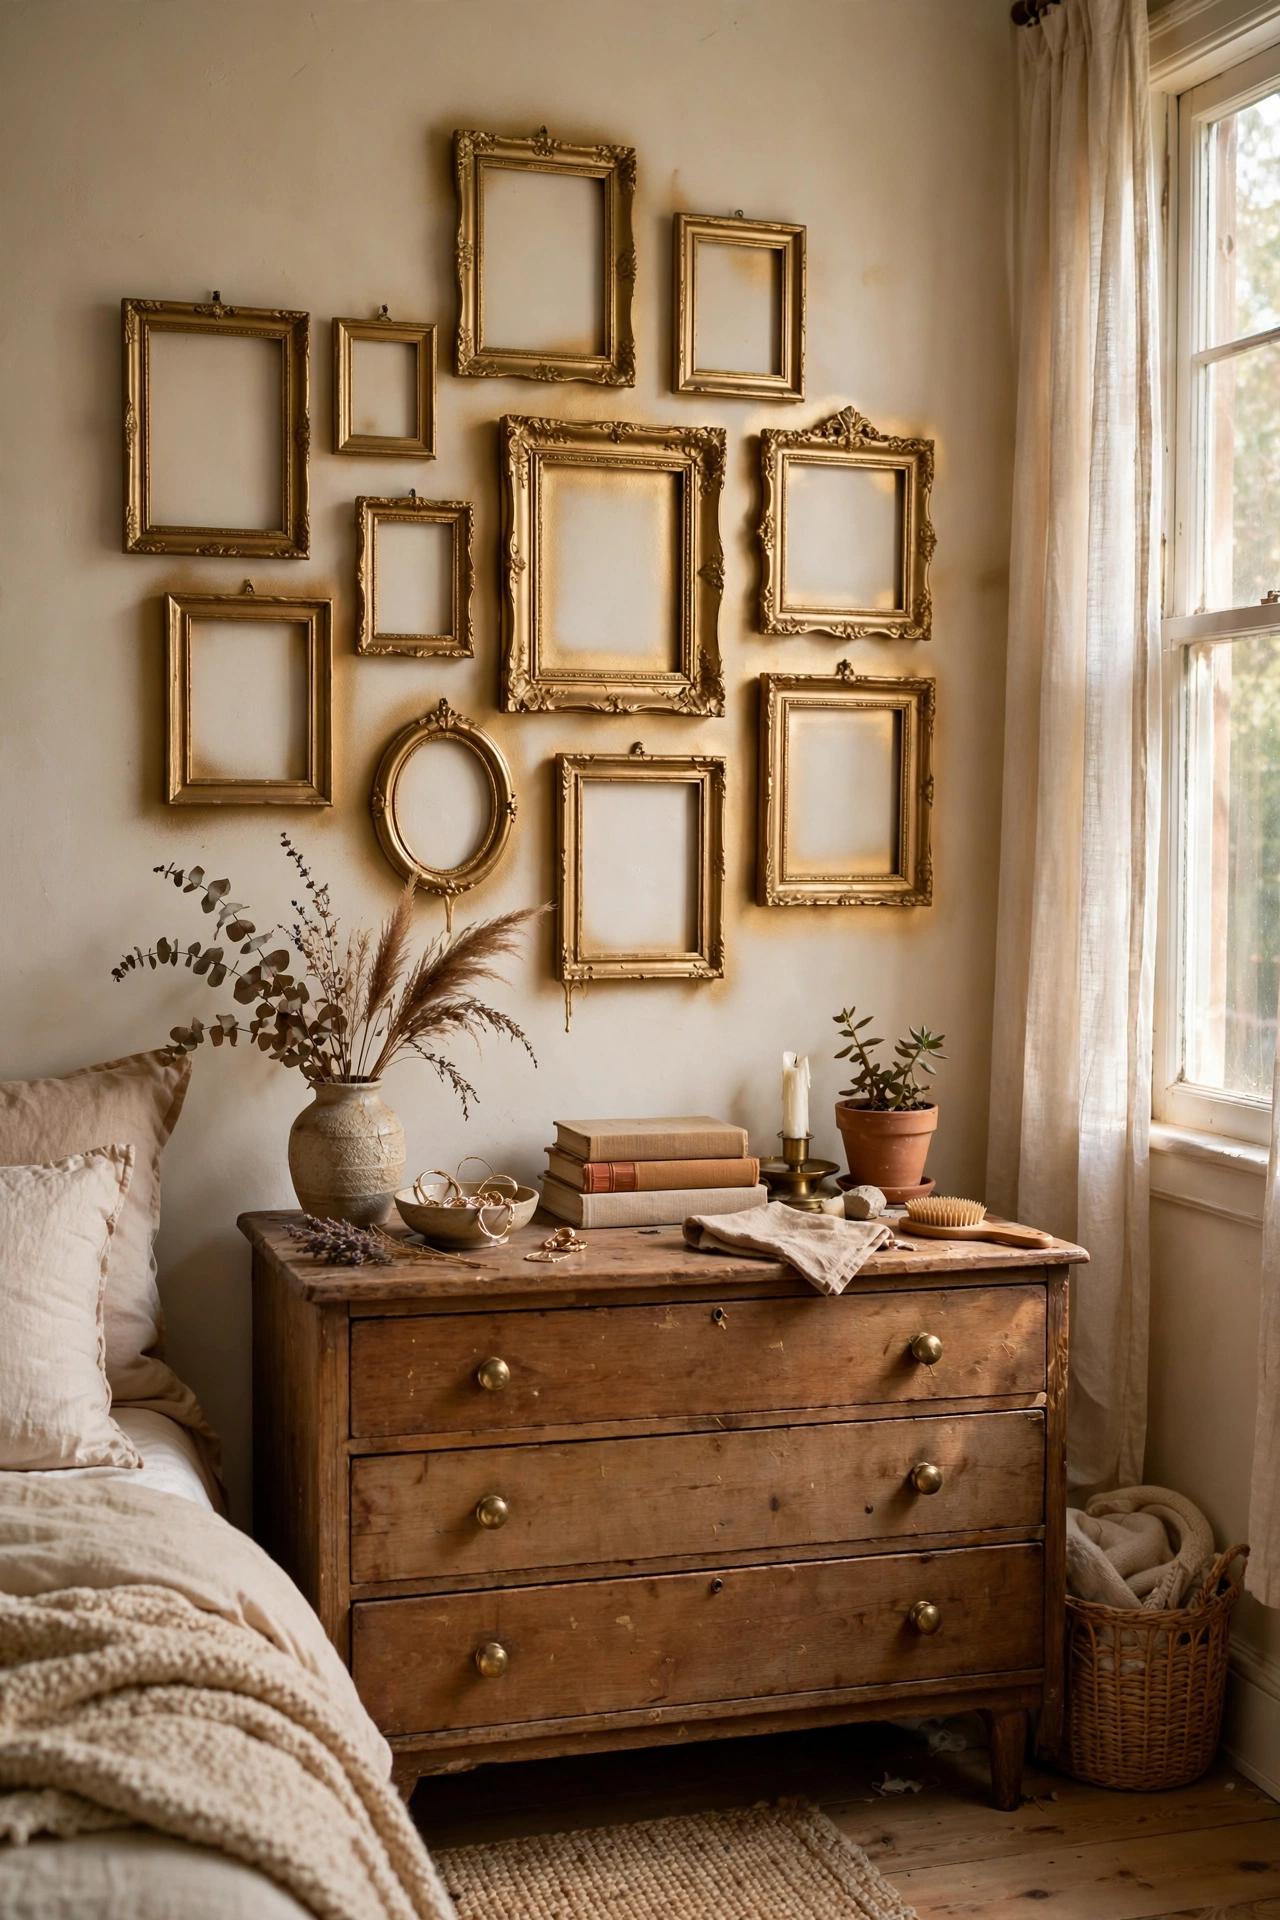
Grab a handful of mismatched frames from a thrift store, usually $1 to $2 each, and unite them with one can of gold spray paint. I did six frames for $4 in paint and about $9 in frames, and they look like a curated set now. Sand lightly, wipe clean, then spray in thin coats outside or in the garage. My mistake was spraying too close on the first frame, and it dripped, so hold the can about a foot away and keep it moving. Fill them with free printables or black-and-white photos for a gallery wall that cost less than a pizza.
Cost: ~$10-15 | Time: 1 hour plus drying time
3. DIY Abstract Canvas Art
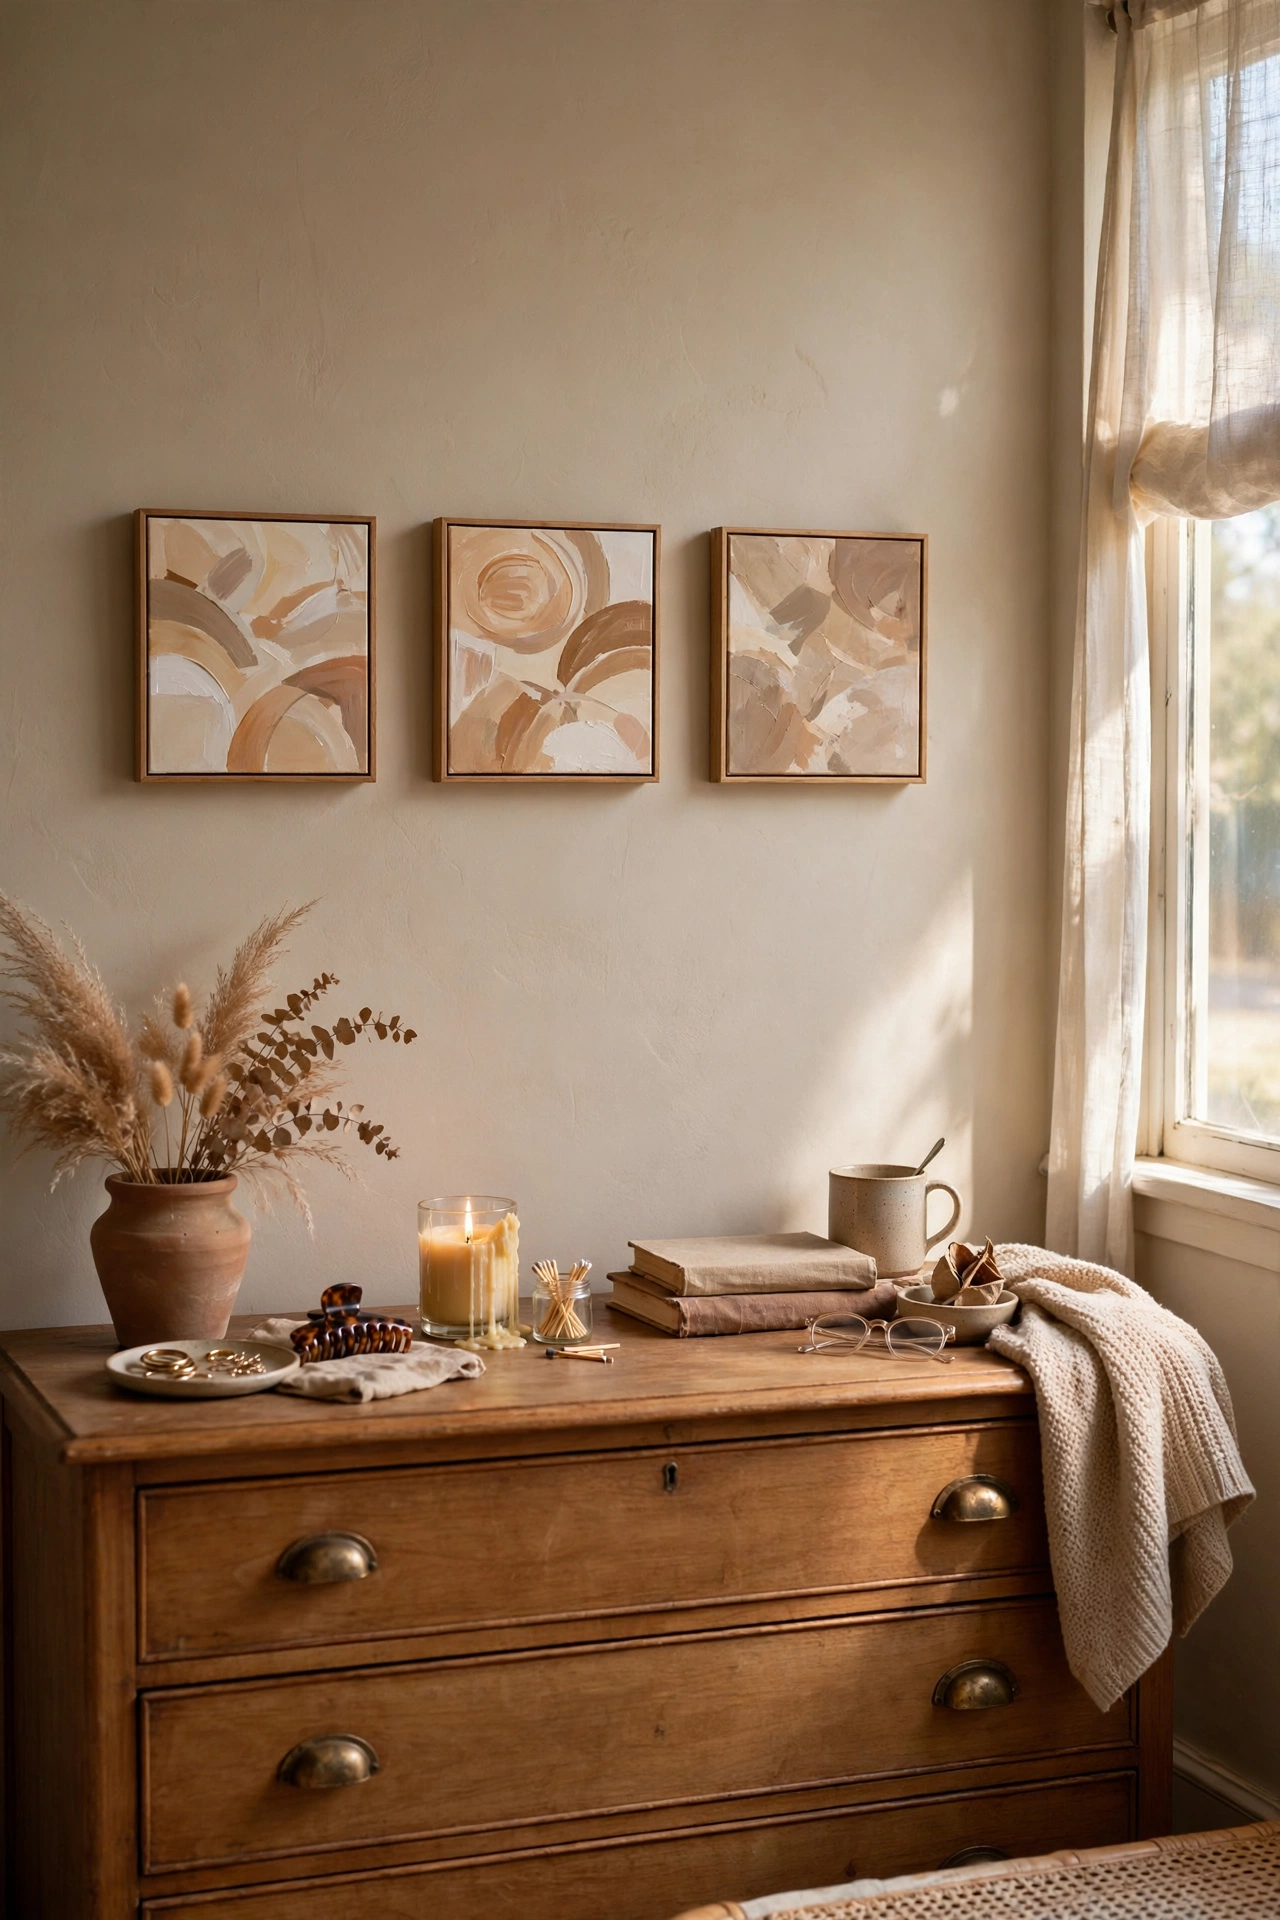
Buy a two-pack of small canvases for $8 and a basic acrylic paint set for $6, and you can make wall art that actually looks good. I watched a ten-minute abstract tutorial and painted three pieces in one afternoon, all in warm neutrals that match my bedding. Use a big brush and just two or three colors so it stays simple. My first canvas looked muddy because I mixed too many colors, so limit your palette. Hang them in a row above the dresser, and nobody will believe you made them yourself. Similar beginner projects are in (see also: diy-wall-art-ideas-for-beginners/).
Cost: ~$12-15 | Time: 1 afternoon
4. Fresh Pillowcases, Not New Pillows
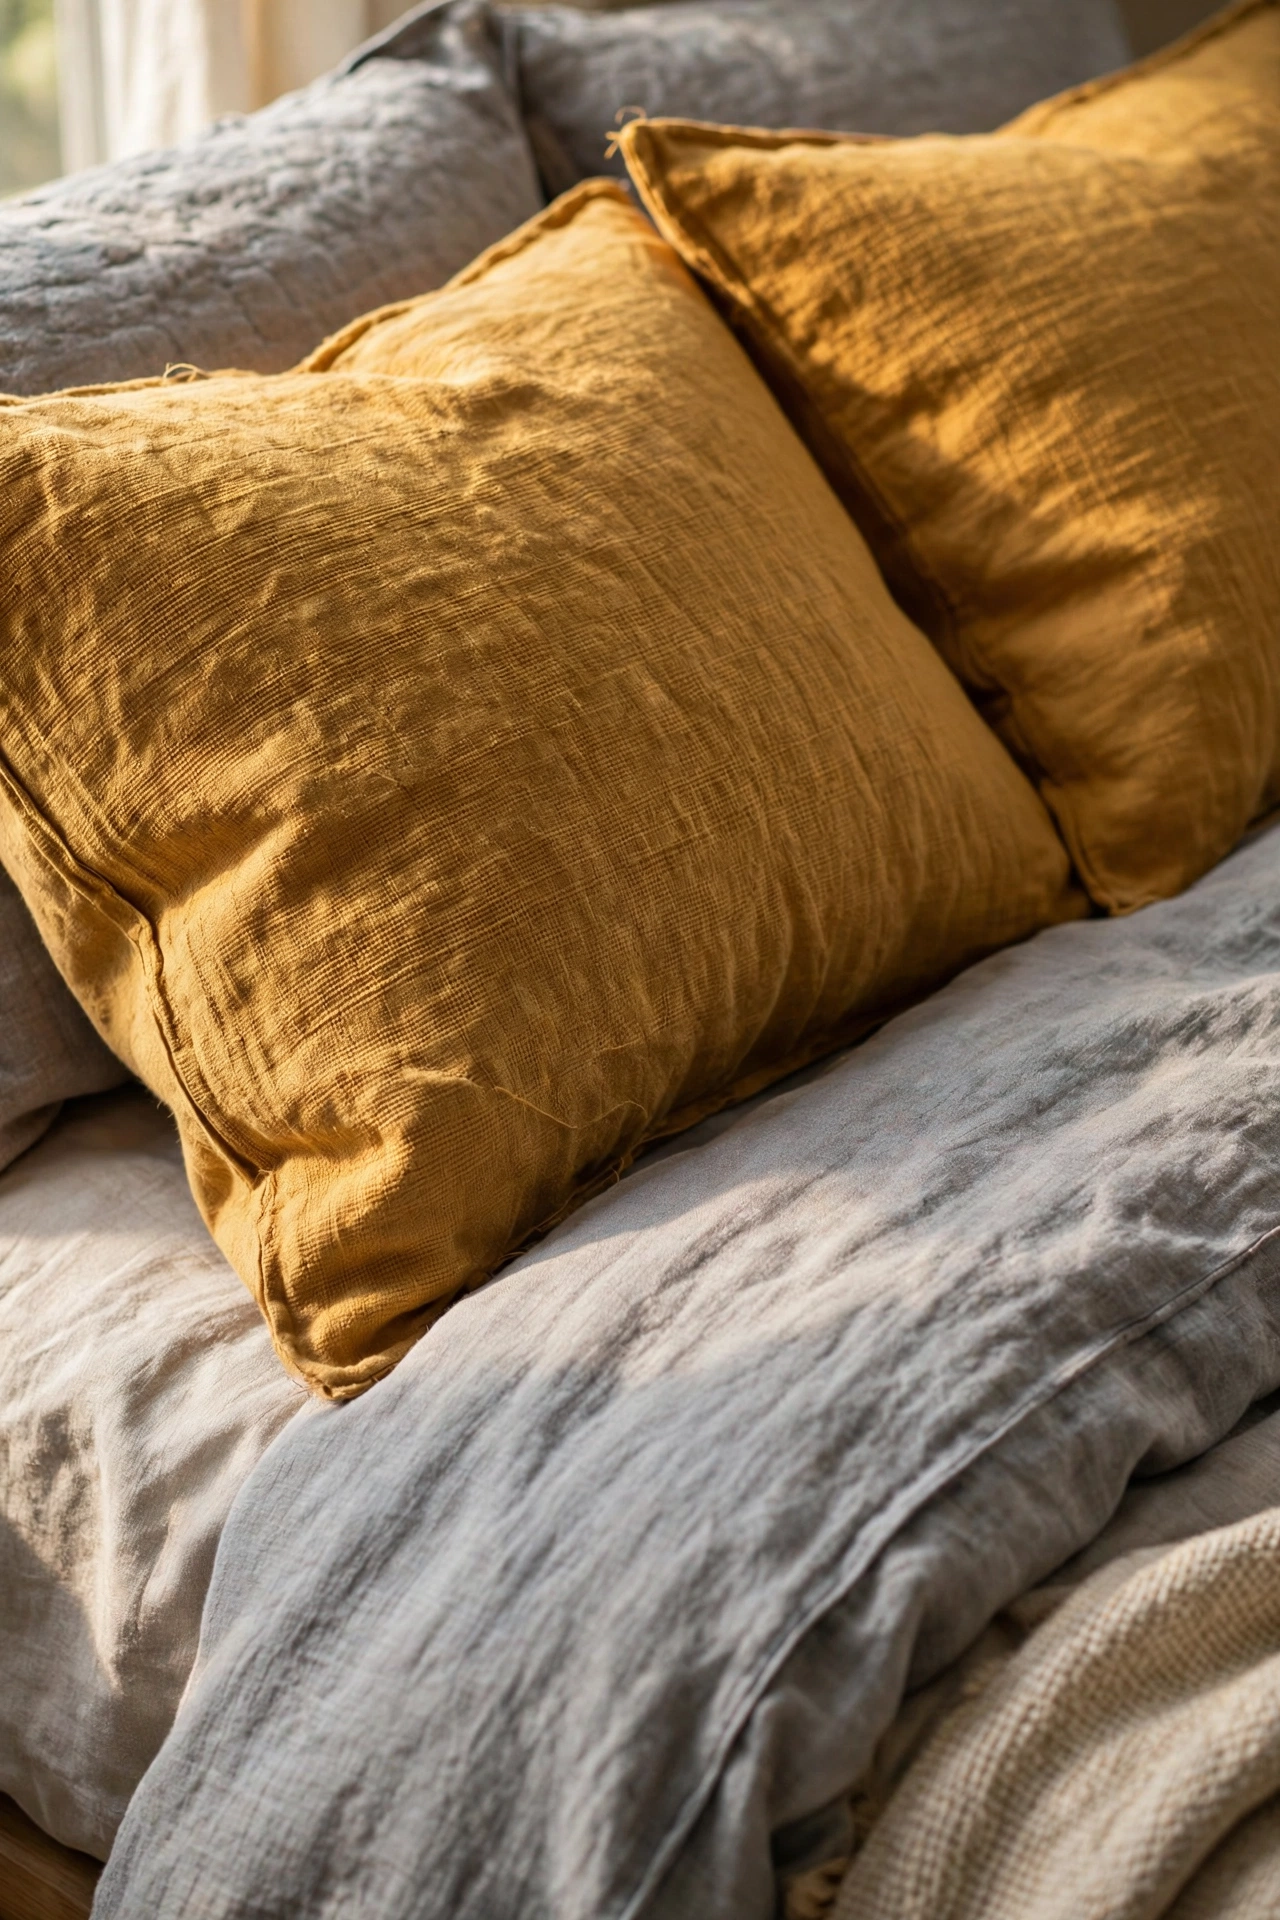
Skip the $40 decorative pillows and just buy new pillowcases for the pillows you already own. I grabbed two textured cotton cases for $10 at a discount store, and my bed looked brand new. Choose a color that pops against your duvet, like mustard against gray or cream against navy. Iron them before putting them on, because fresh pillowcases wrinkle straight out of the package. My trick is buying one size up if I want that plush hotel look, then stuffing the pillow in tight. This is the fastest $10 refresh I know.
Cost: ~$8-12 | Time: 15 minutes
5. Fairy Lights in a Glass Jar
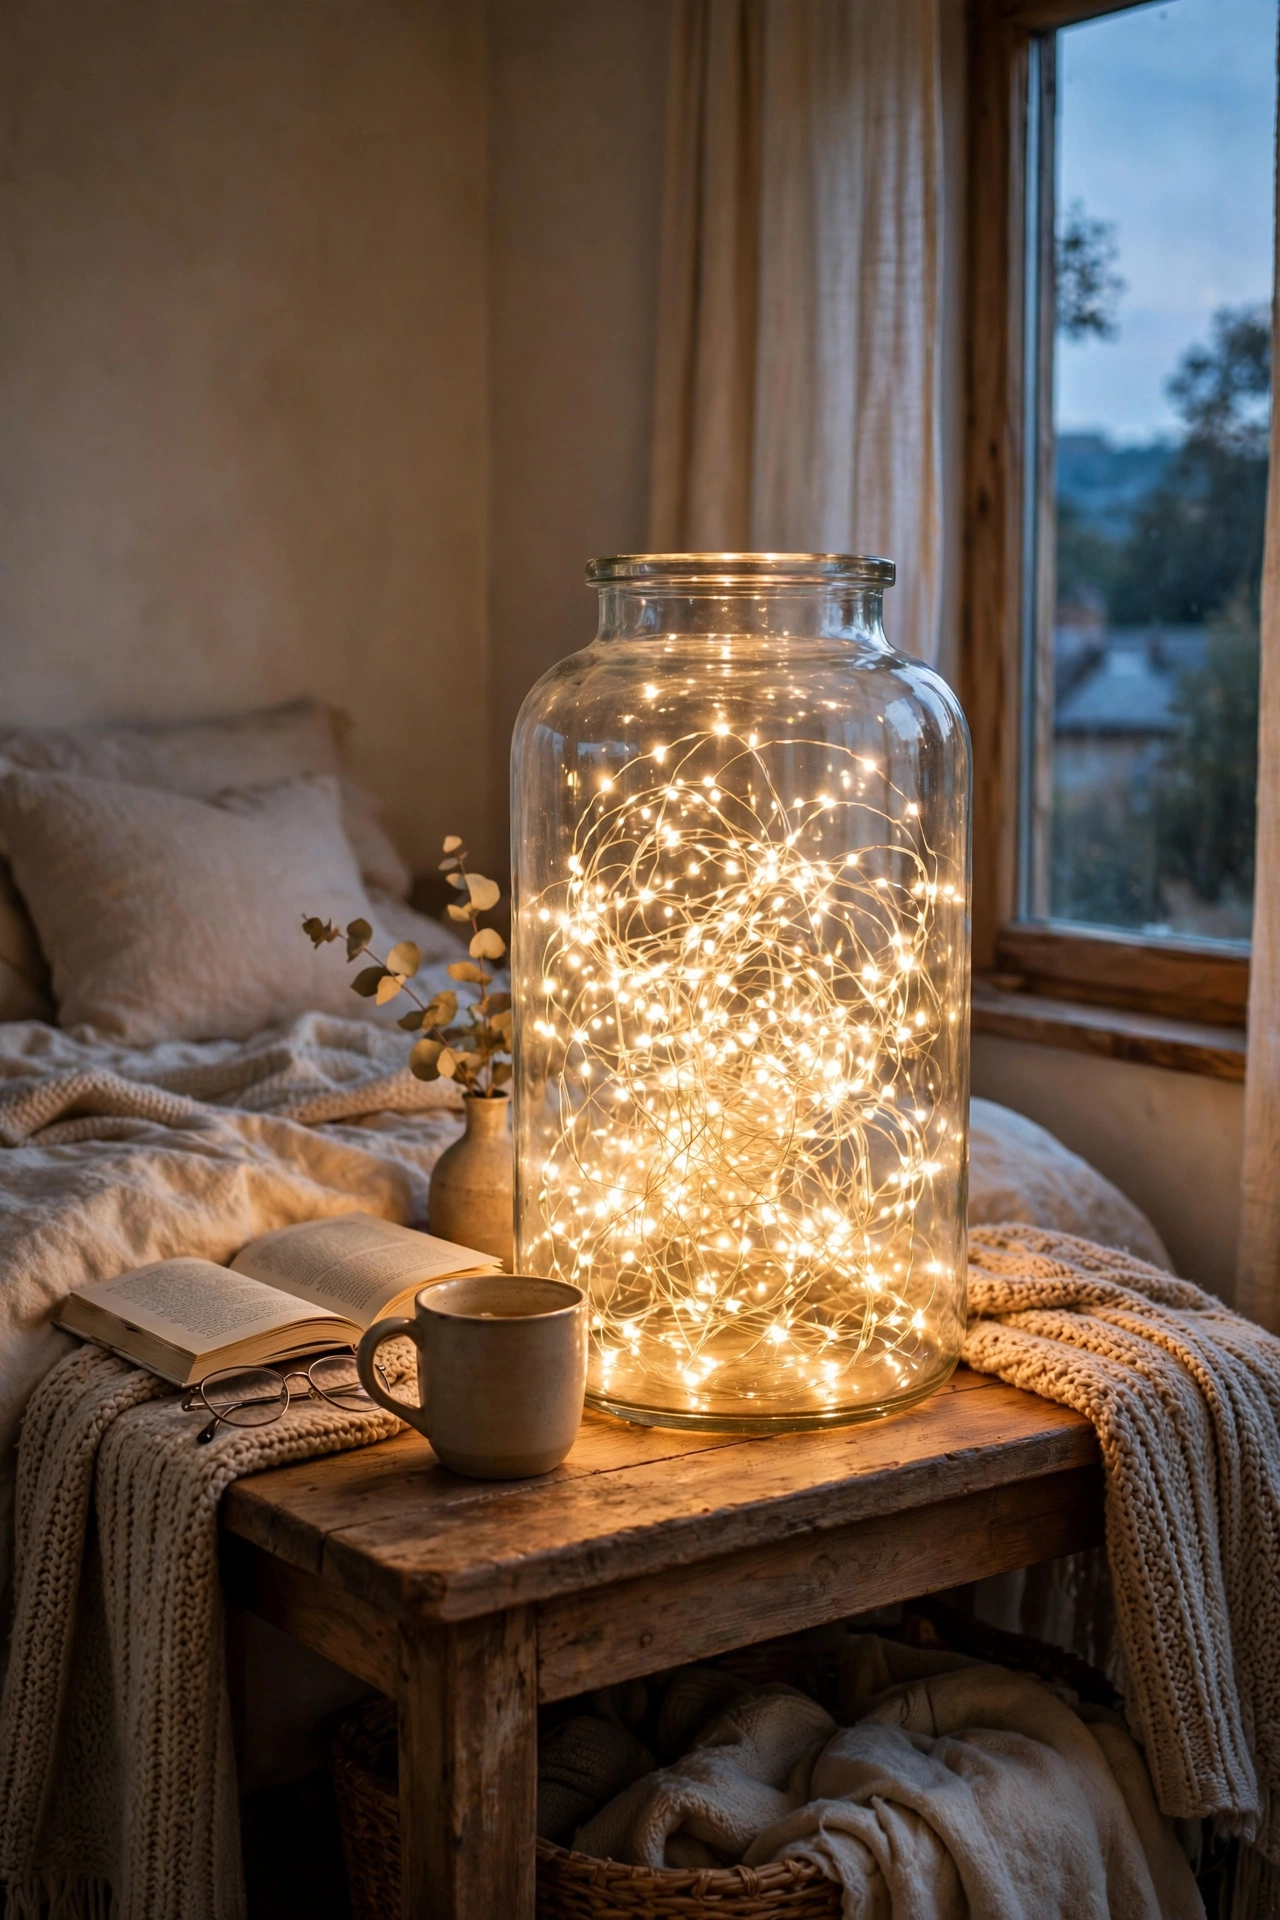
Drop a string of battery fairy lights into a big glass jar, and you have a glowing accent for your nightstand. I used a $3 jar from a thrift store and a $5 strand of warm white lights from a craft shop. Coil the lights loosely inside so they fill the jar evenly instead of clumping at the bottom. Set it on your dresser or nightstand for instant coziness at night. My first attempt used cool white lights, and it looked clinical, so make sure the package says warm white. Swap the batteries every few months, or get a plug-in strand if there is an outlet nearby.
Cost: ~$6-10 | Time: 10 minutes
6. Free Printable Art in Thrifted Frames
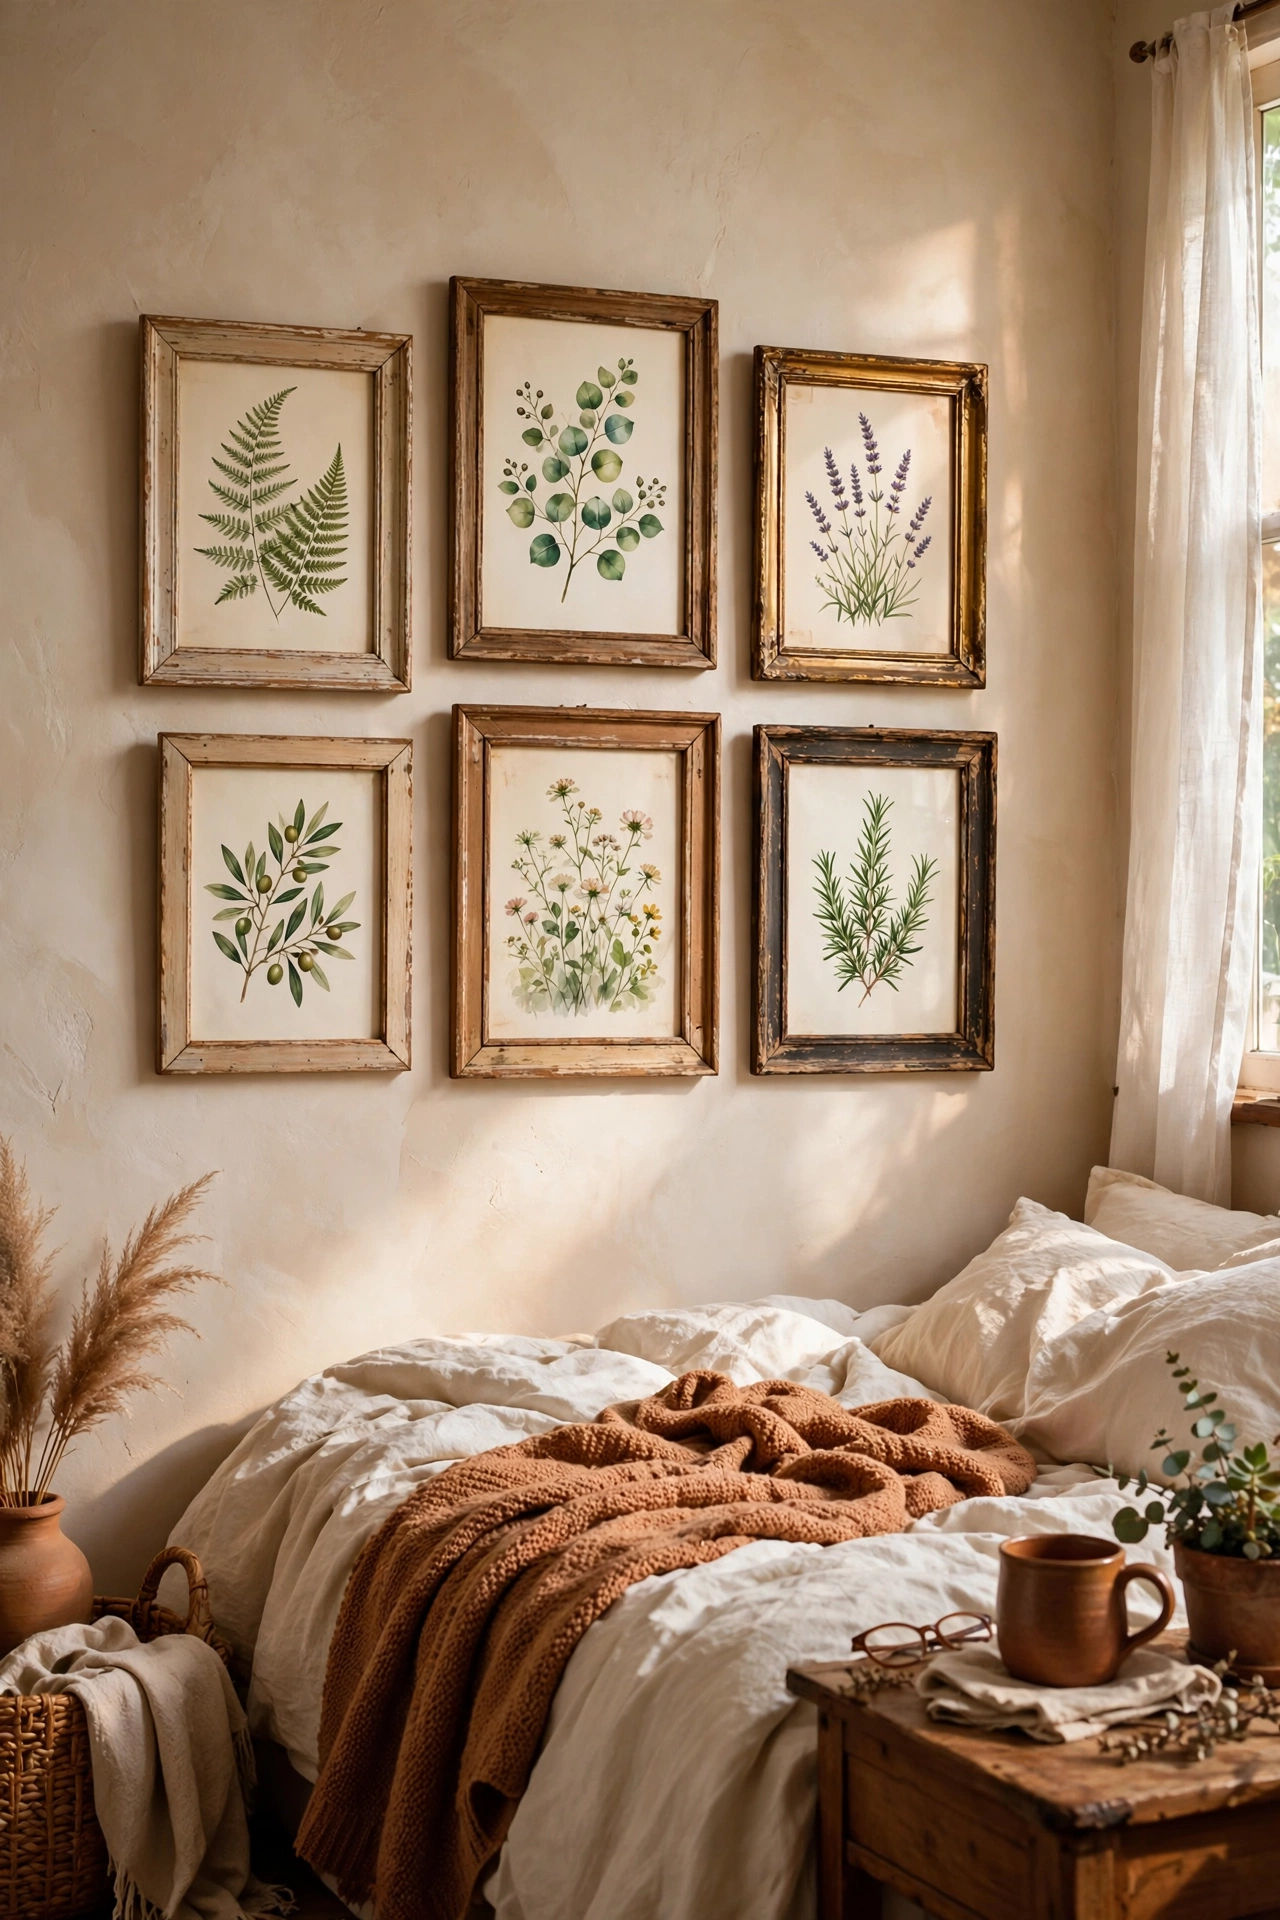
Download free printable art, print it at home or a library, and frame it in thrifted frames for a gallery wall under $15. I printed four botanical prints for $2 at the library and framed them in $1 frames from a thrift shop. Stick to one theme, like plants or abstract shapes, so mismatched frames still look planned. Print in black and white if your printer is low on color ink, because monochrome always looks classy. My mistake was mixing five different art styles, and it looked chaotic until I narrowed it to one. Measure your frames before printing so the sizes match.
Cost: ~$6-12 | Time: 1 hour including printing
7. Furniture Rearrange for a Brand New Layout
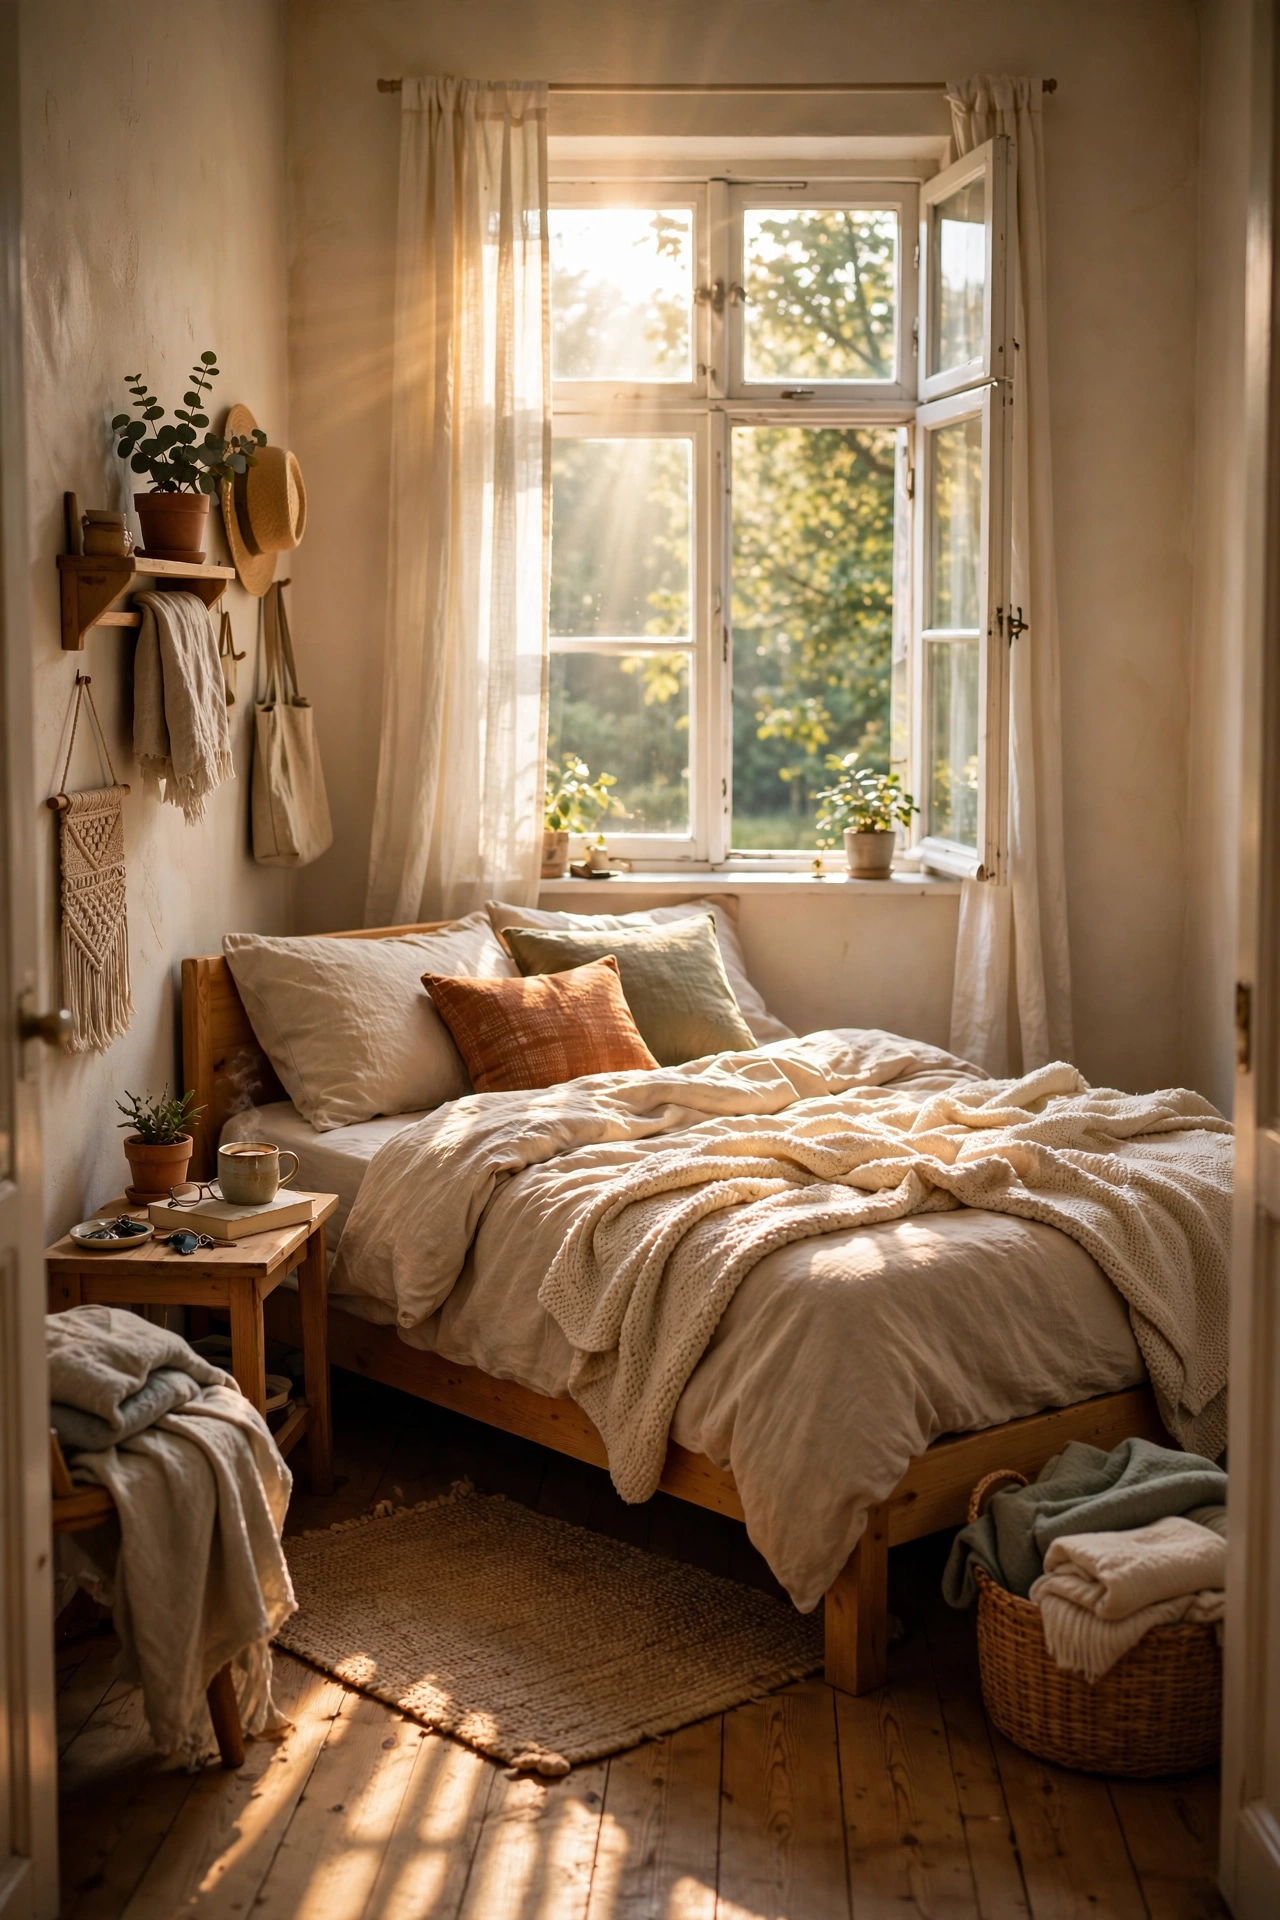
Move your furniture around, and your bedroom feels brand new for exactly zero dollars. I spent a Saturday morning shifting my bed to the opposite wall, and the room looked so different my roommate thought I bought new stuff. Sketch the layout on paper first so you are not dragging a dresser three times. Vacuum under everything while it is moved, because you will be shocked what is under there. My mistake was not measuring the new spot, and the dresser blocked the closet door for a day. Try the bed under the window if you never have, since morning light there is wonderful.
Cost: ~$0 | Time: 2-3 hours
8. Curtain Panel No-Sew Headboard
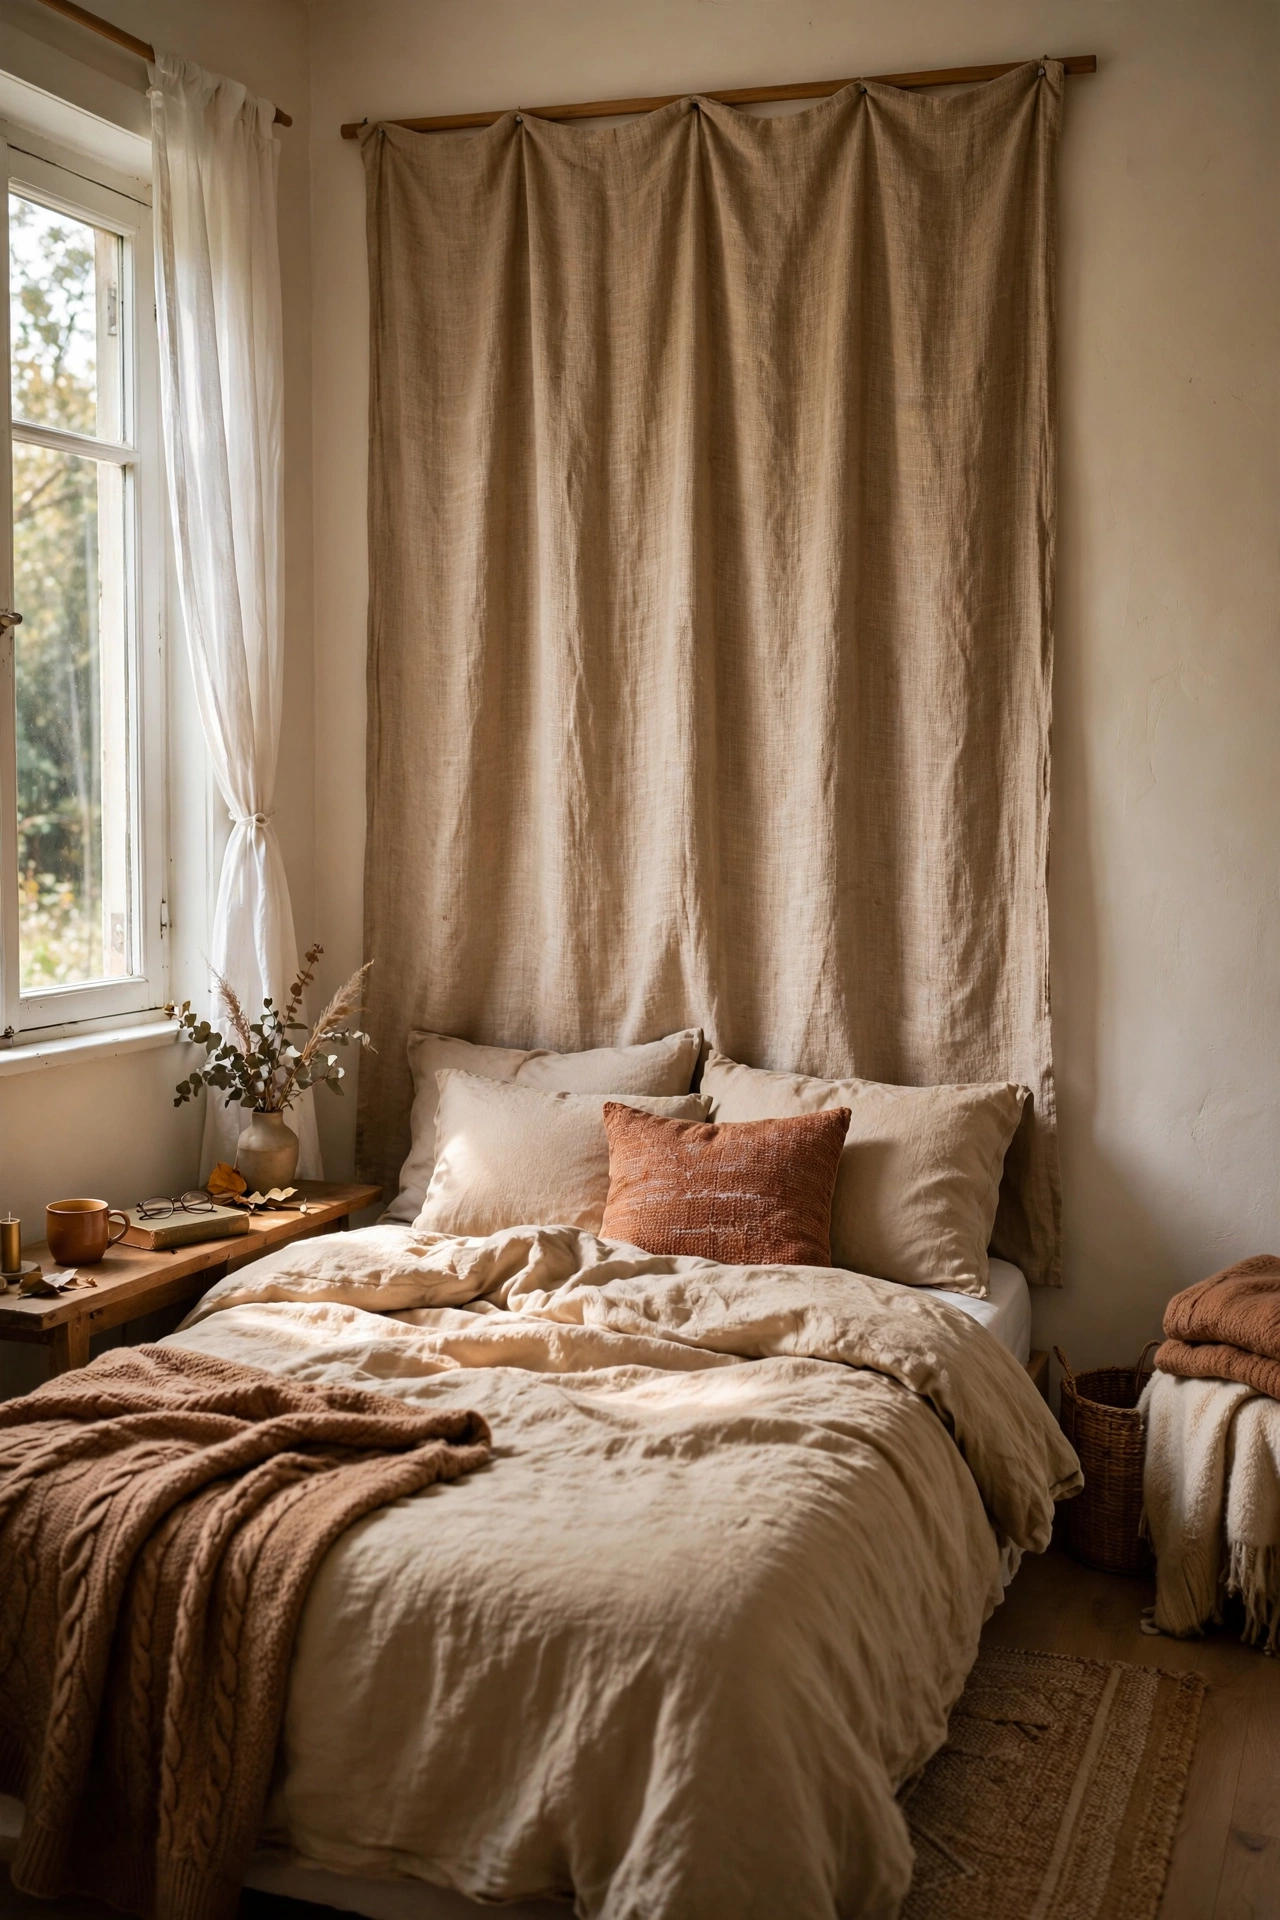
Hang a pretty curtain panel behind your bed as a headboard, no sewing required. I bought a $14 textured panel on clearance and hung it from a $5 tension rod mounted on the wall behind my bed with two small hooks. Let it puddle slightly on the floor for a soft, relaxed look, or hem it with iron-on tape. Choose a pattern you love, because it becomes the focal point. My first panel was too narrow for my queen bed, so get one wider than your mattress. This trick works great in rentals since it leaves no big holes.
Cost: ~$15-20 | Time: 30 minutes
9. Contact Paper Dresser Drawer Refresh
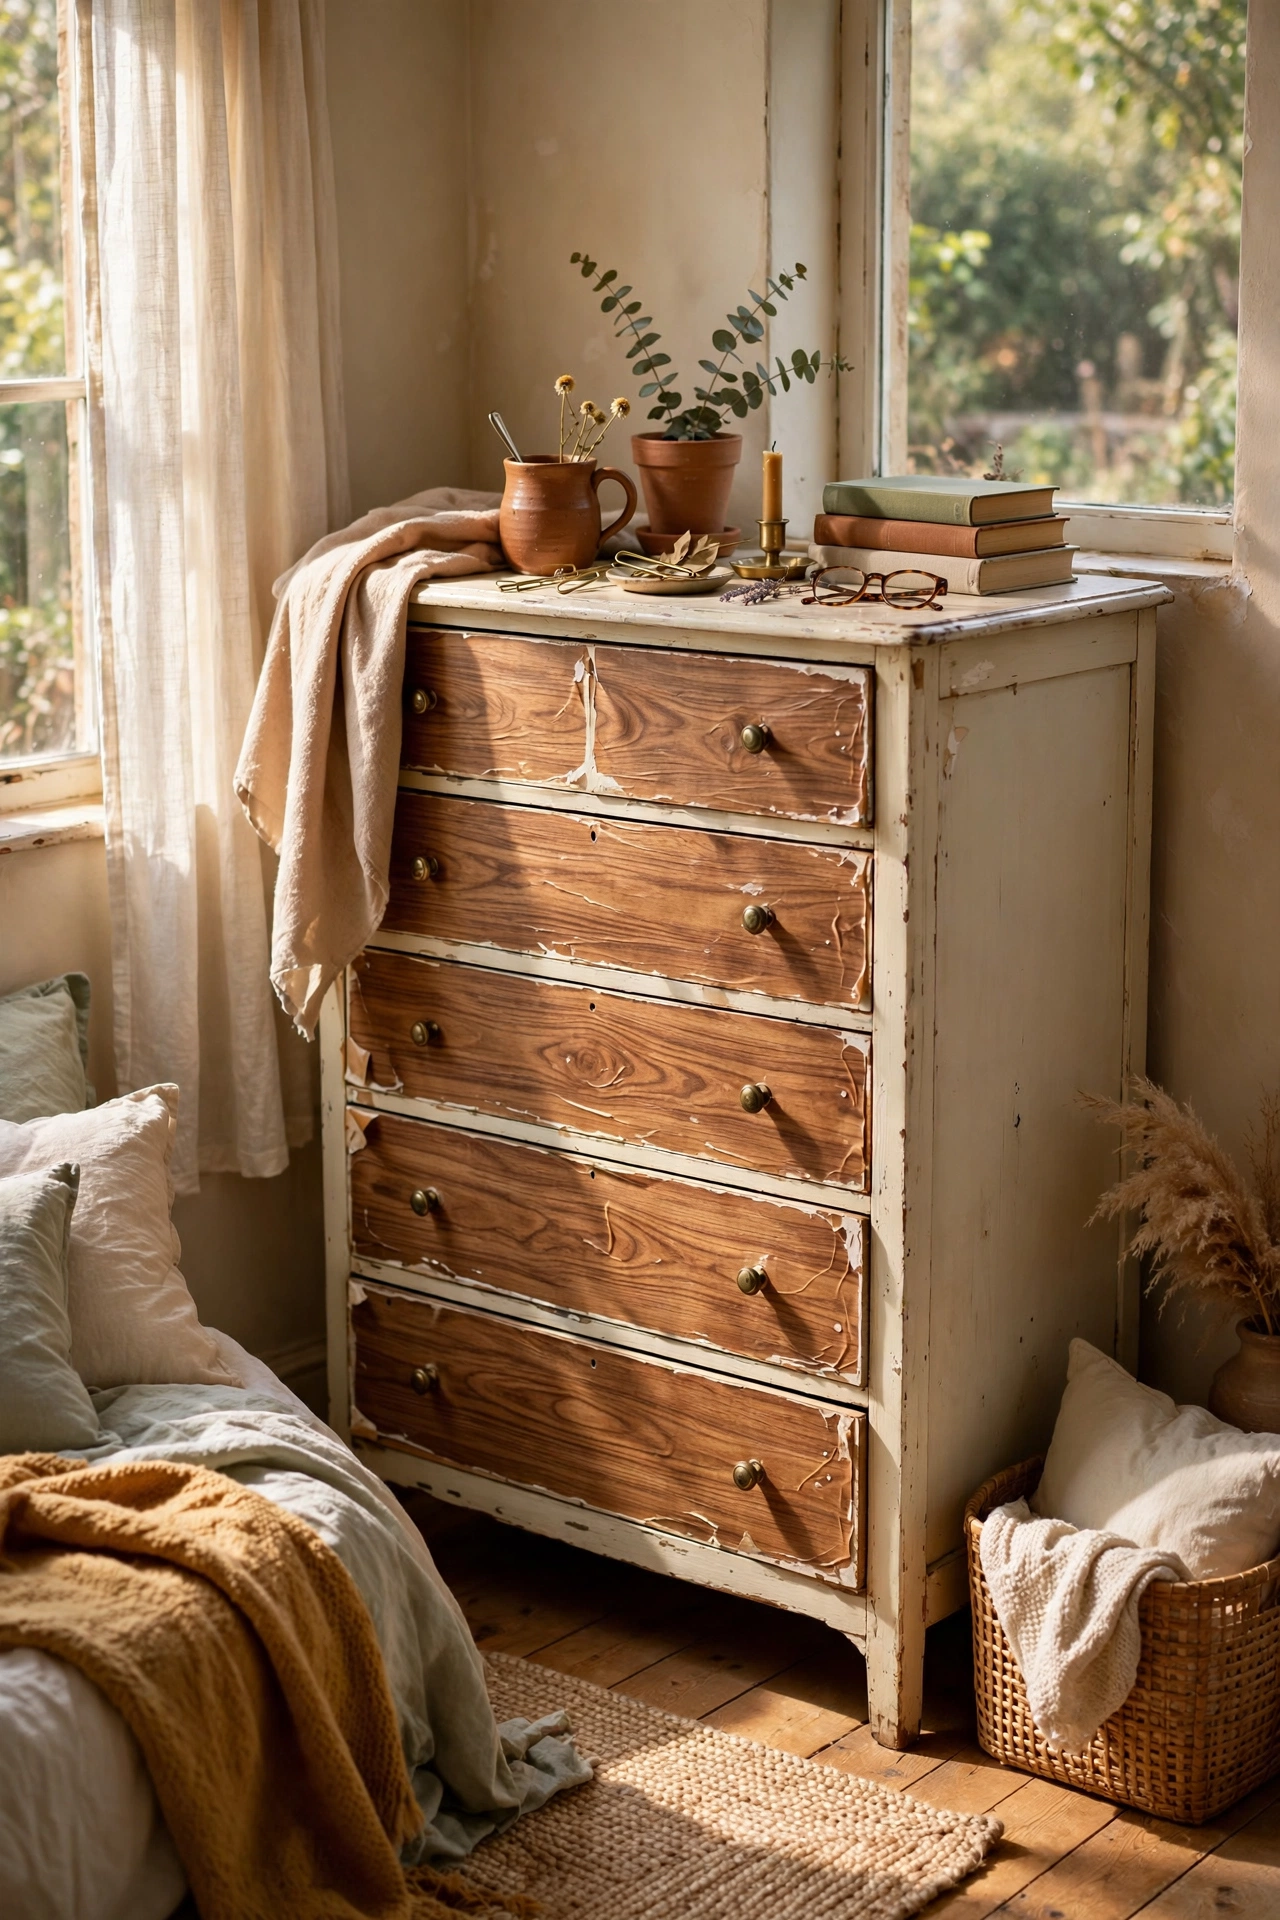
Line your dresser drawer fronts with patterned contact paper for a custom furniture look at $8 a roll. I covered six drawers with one roll of faux wood grain paper, and the dresser looks like a different piece. Remove the drawers, clean them well, then apply slowly, smoothing with a credit card. My first drawer had bubbles everywhere because I rushed, so peel back and redo instead of living with them. Use a hair dryer on low to help the paper curve around edges. If you mess up a piece, it peels right off, which is the beauty of contact paper.
Cost: ~$6-10 | Time: 1 hour
10. Washi Tape Wall Pattern
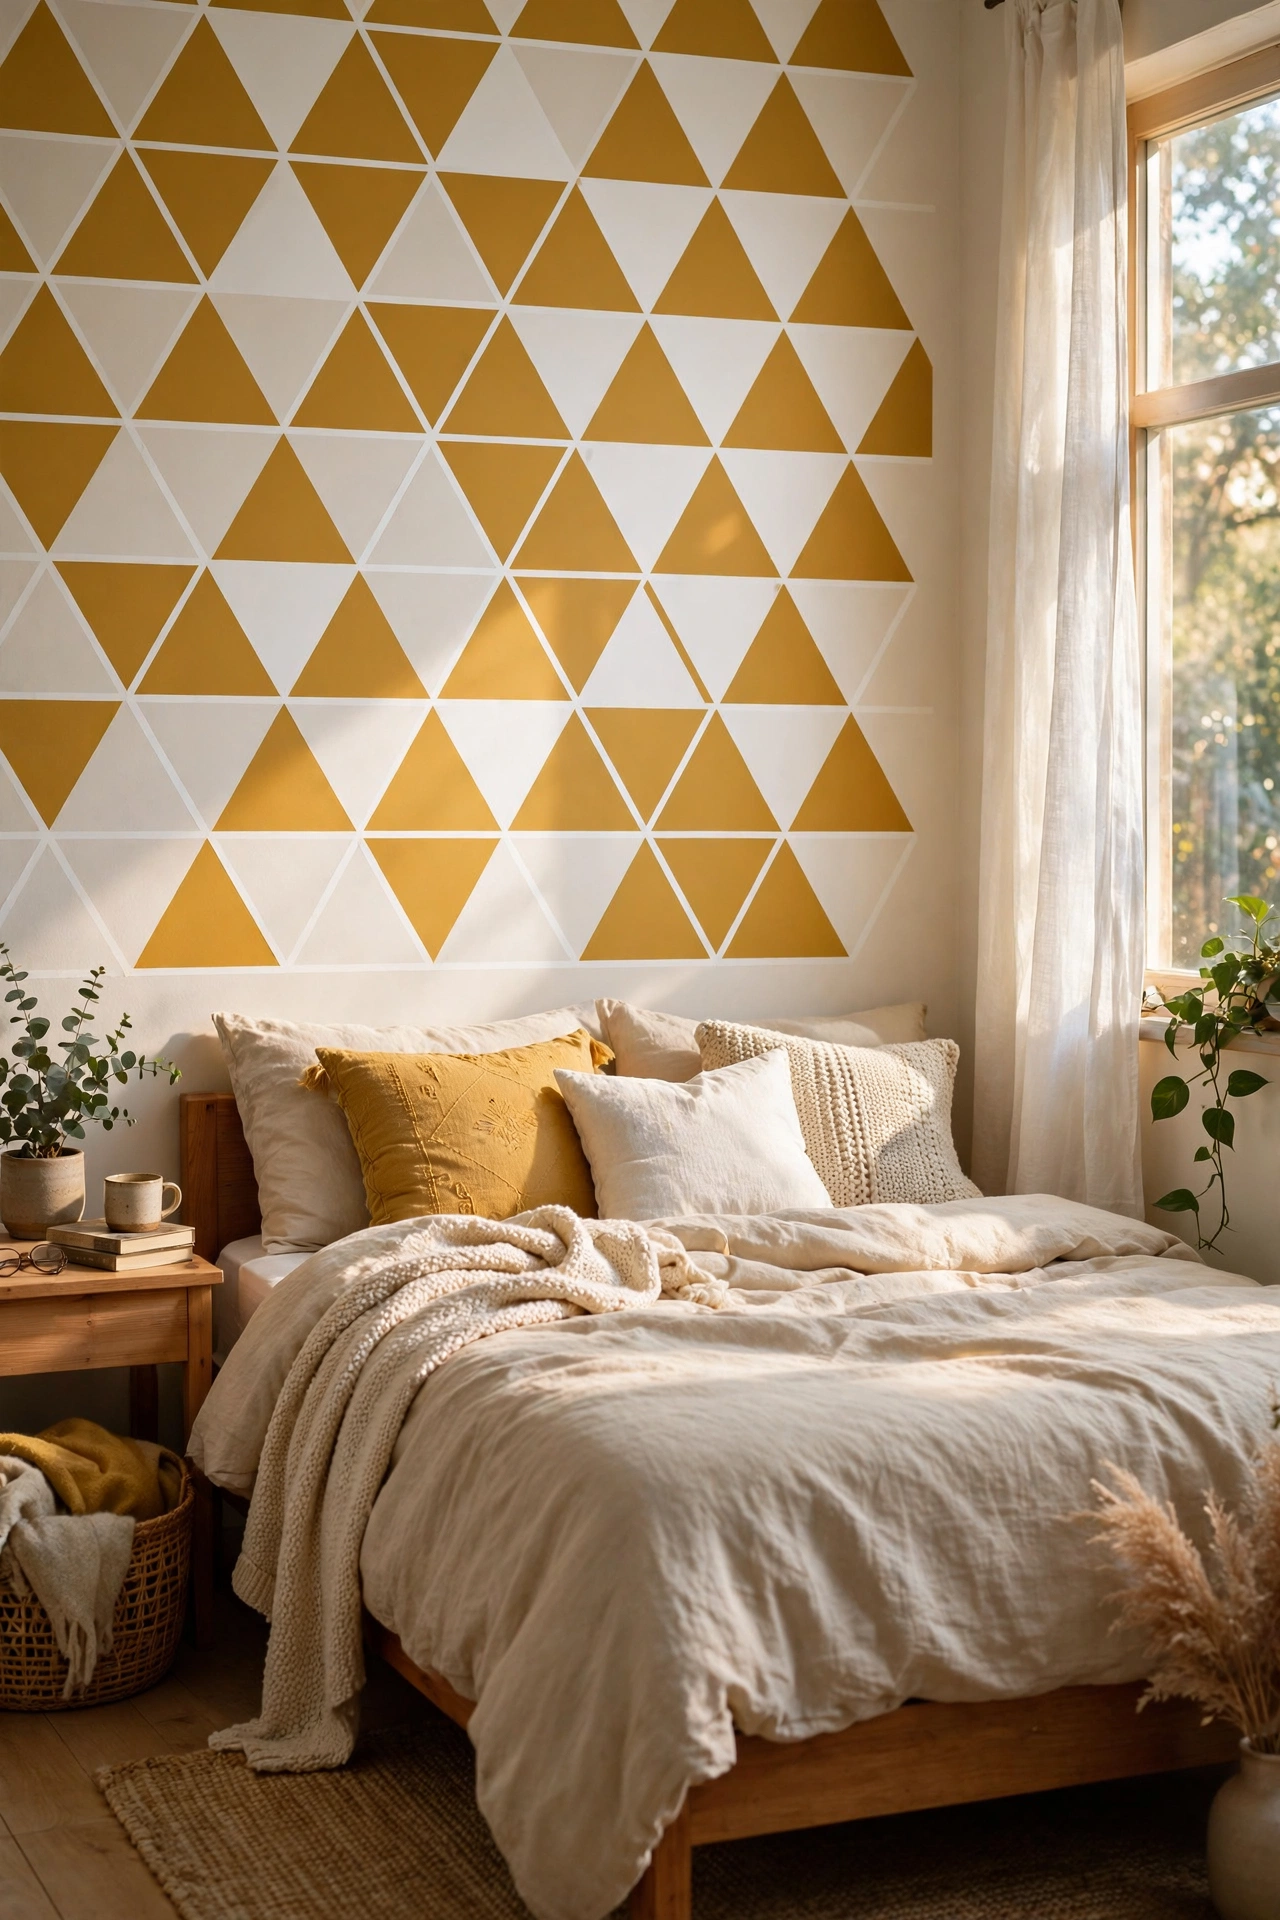
Create a geometric accent wall with washi tape, which costs about $4 a roll and peels off clean. I made a simple triangle pattern above my bed using two rolls in mustard and white. Plan the design with painter’s tape first, then replace it with washi for the final look. Press each strip firmly, because loose edges curl within a week. My first row went crooked, so use a level or a phone app to keep lines straight. This is perfect for dorms and rentals, and you can change the pattern whenever you get bored.
Cost: ~$6-10 | Time: 1-2 hours
11. Grocery Store Eucalyptus in a Vase
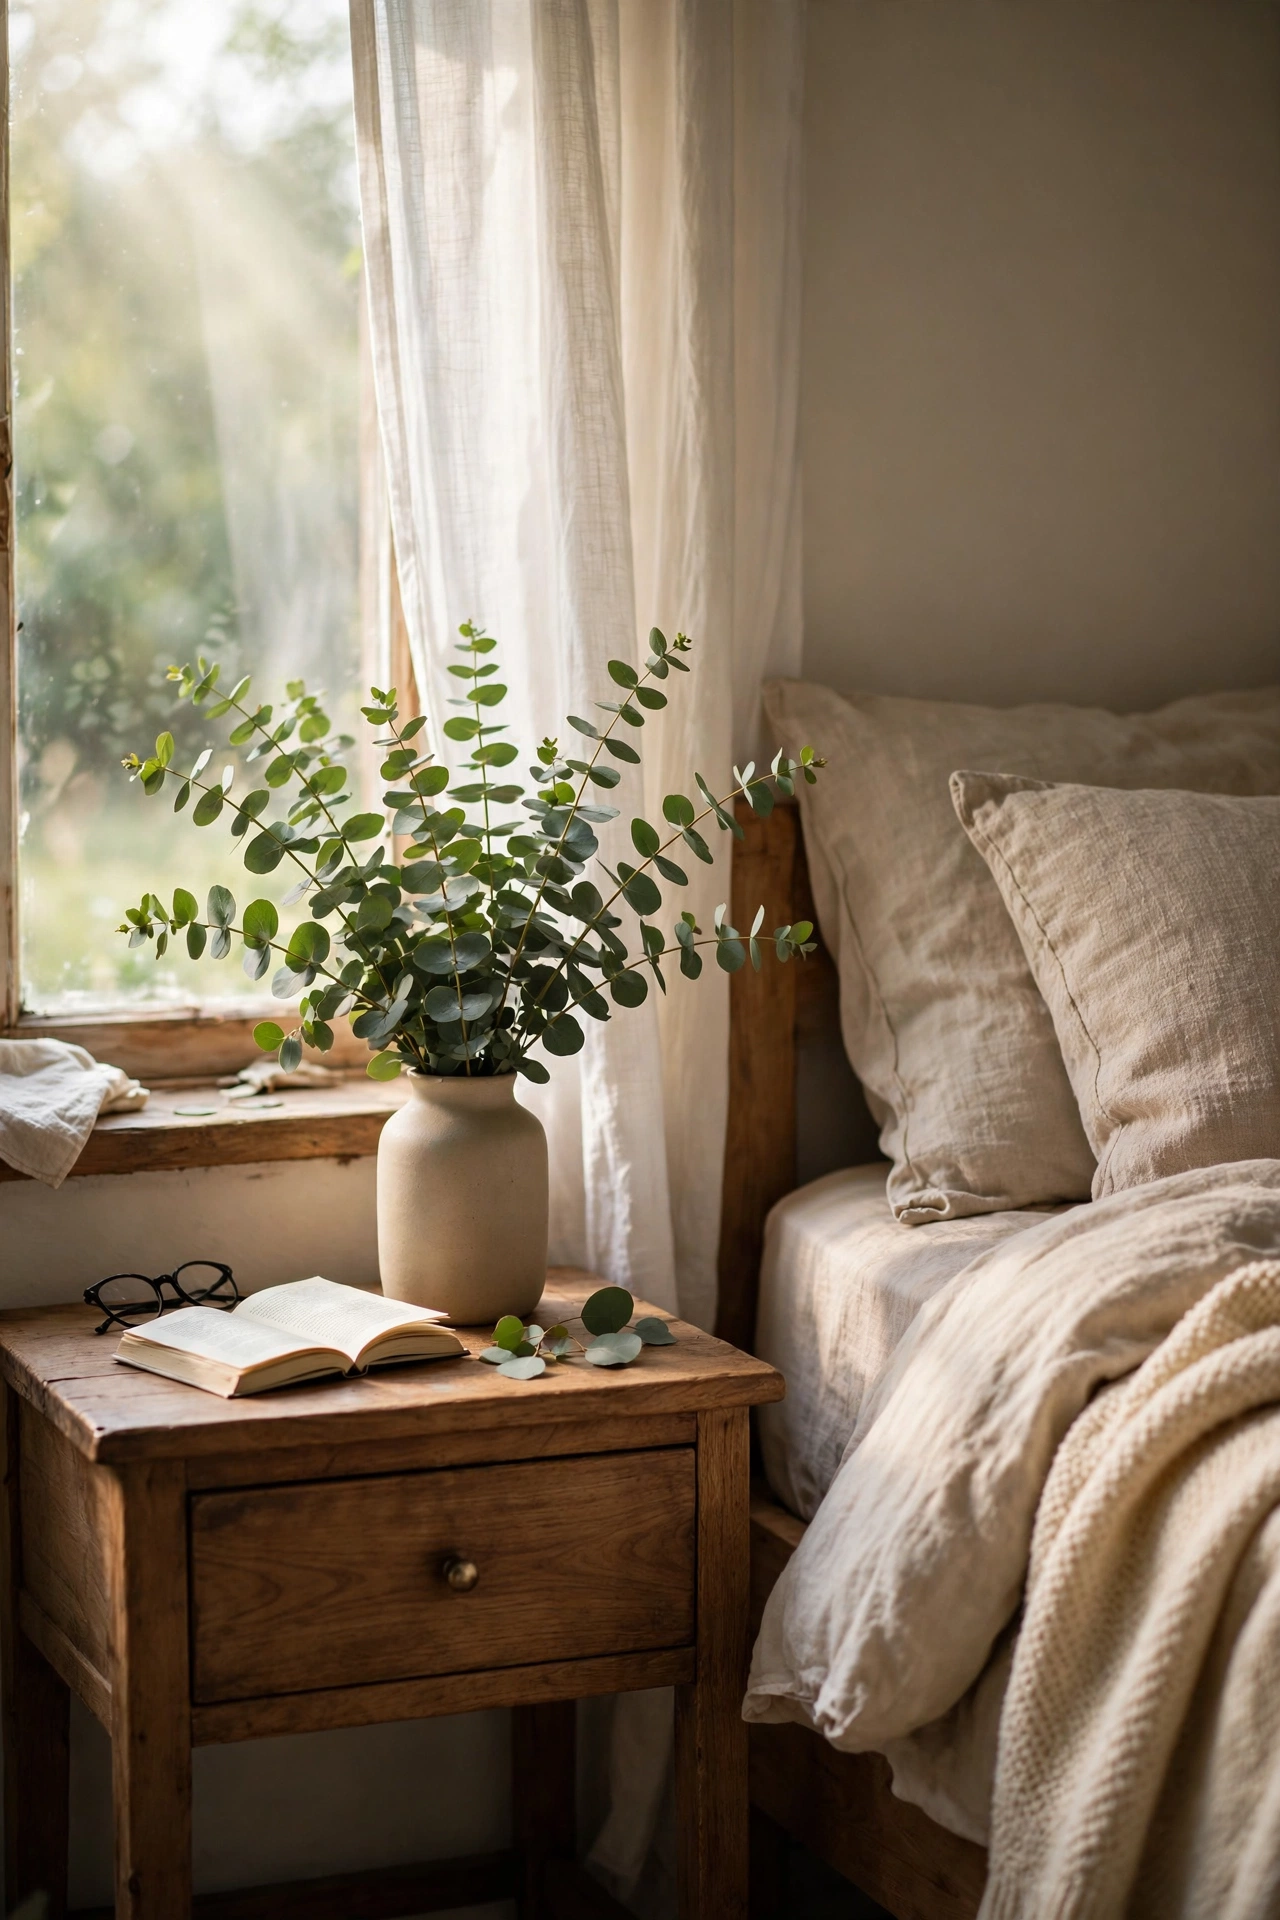
Buy a $5 bunch of eucalyptus from the grocery store, stick it in a vase you already own, and your nightstand looks styled. I do this every few weeks, and it makes the whole room smell amazing. Trim the stems at an angle and change the water every three days so it lasts two weeks or more. Let it dry out naturally afterward, because dried eucalyptus looks great for months. My mistake was buying a huge bunch for a tiny vase, and it toppled over twice, so match the bunch size to your vase. Baby eucalyptus has the prettiest round leaves.
Cost: ~$4-7 | Time: 10 minutes
12. Budget Candle Trio for Cozy Evenings
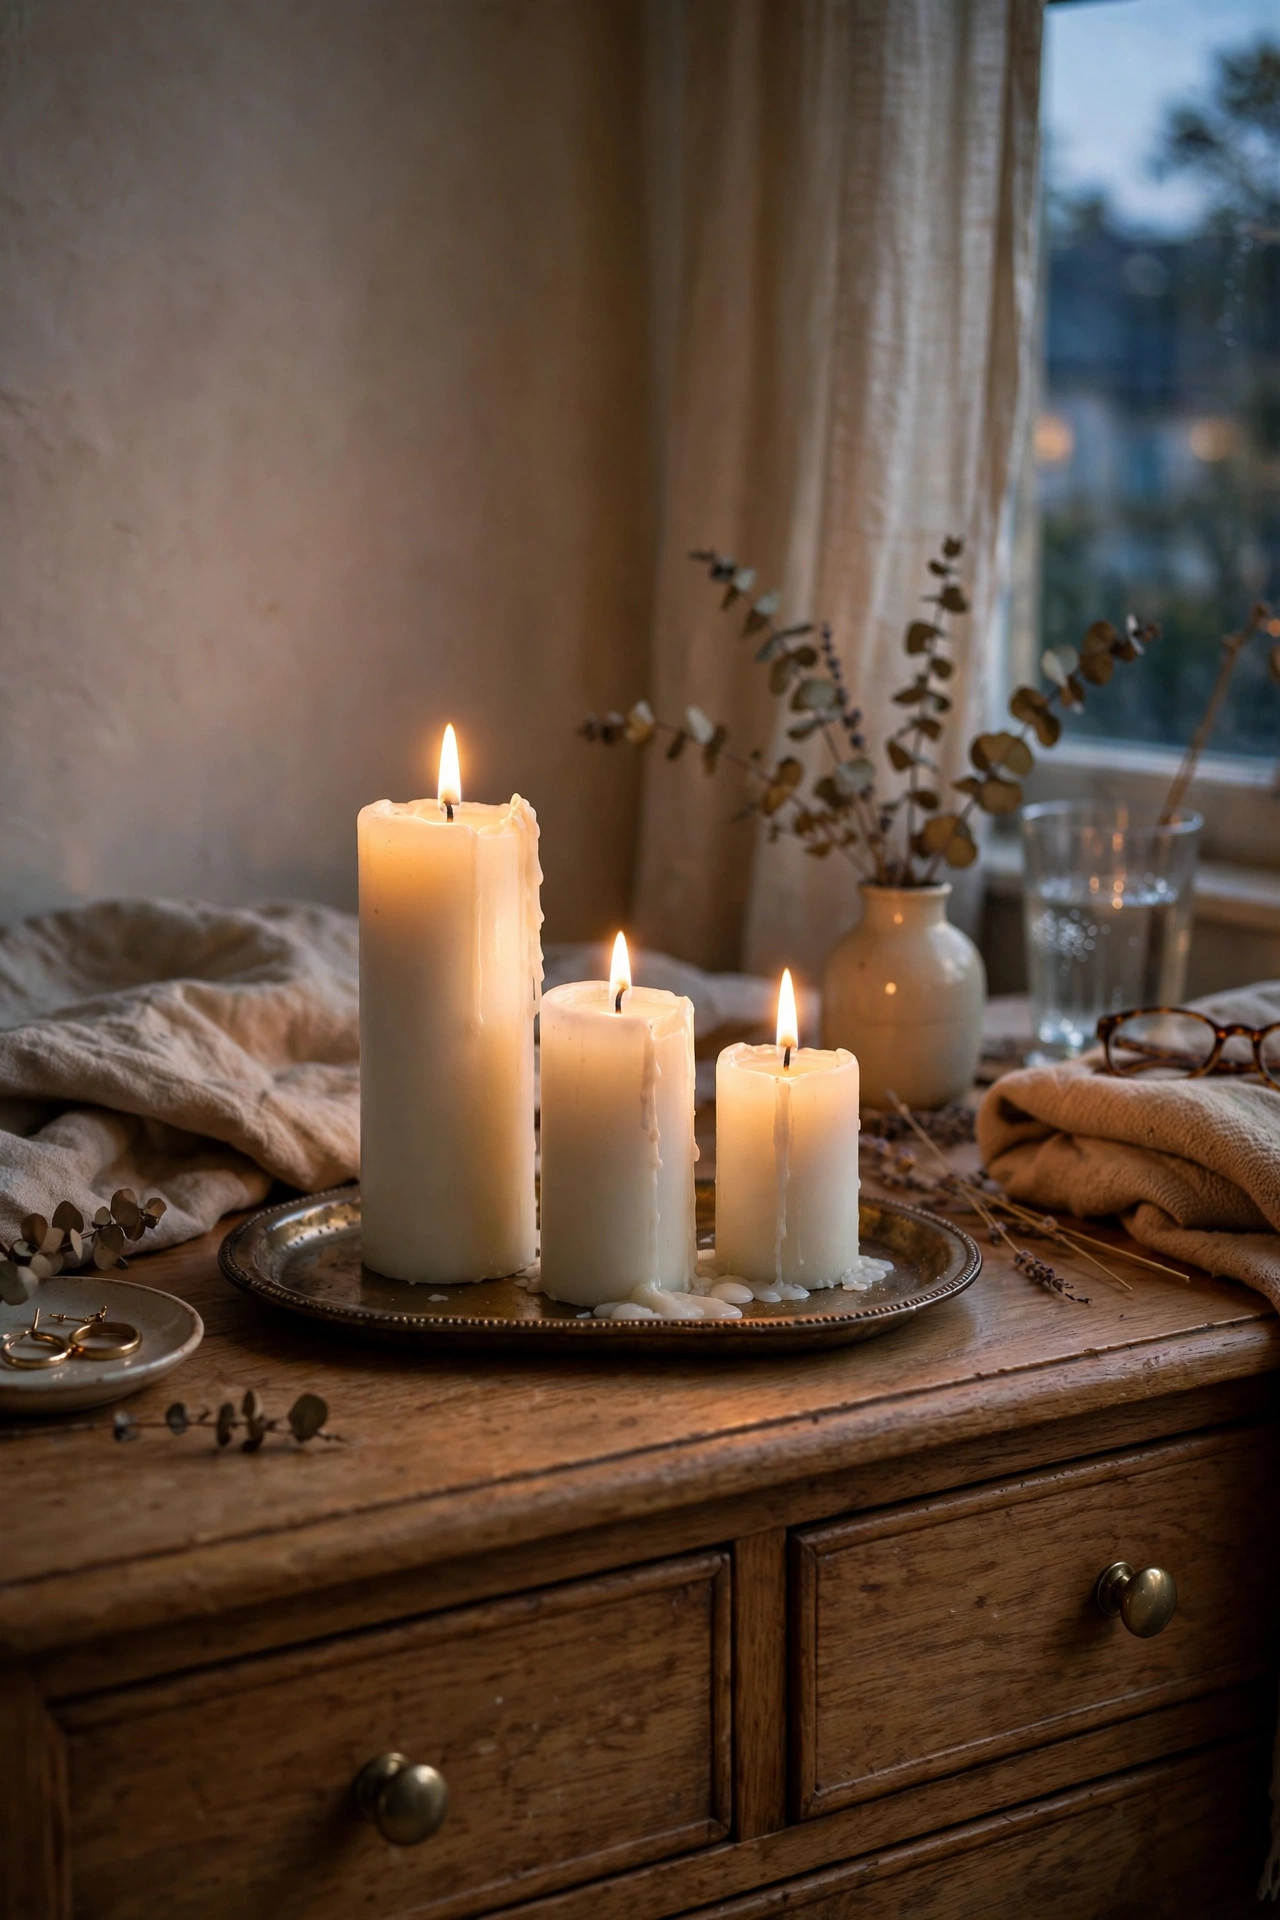
Group three inexpensive candles on your nightstand or dresser, and your evenings instantly feel cozier. I bought a trio of soy candles for $12 at a discount store, all in warm scents like vanilla and sandalwood. Vary the heights so the grouping looks intentional, and always use a tray or plate underneath. My mistake was lighting a candle right next to my curtains once, so keep flames a full foot from anything flammable. Trim the wicks to a quarter inch before each burn, because it stops the soot that blackens walls. Never leave them burning when you leave the room.
Cost: ~$8-14 | Time: 10 minutes to arrange
13. DIY Tassel Garland
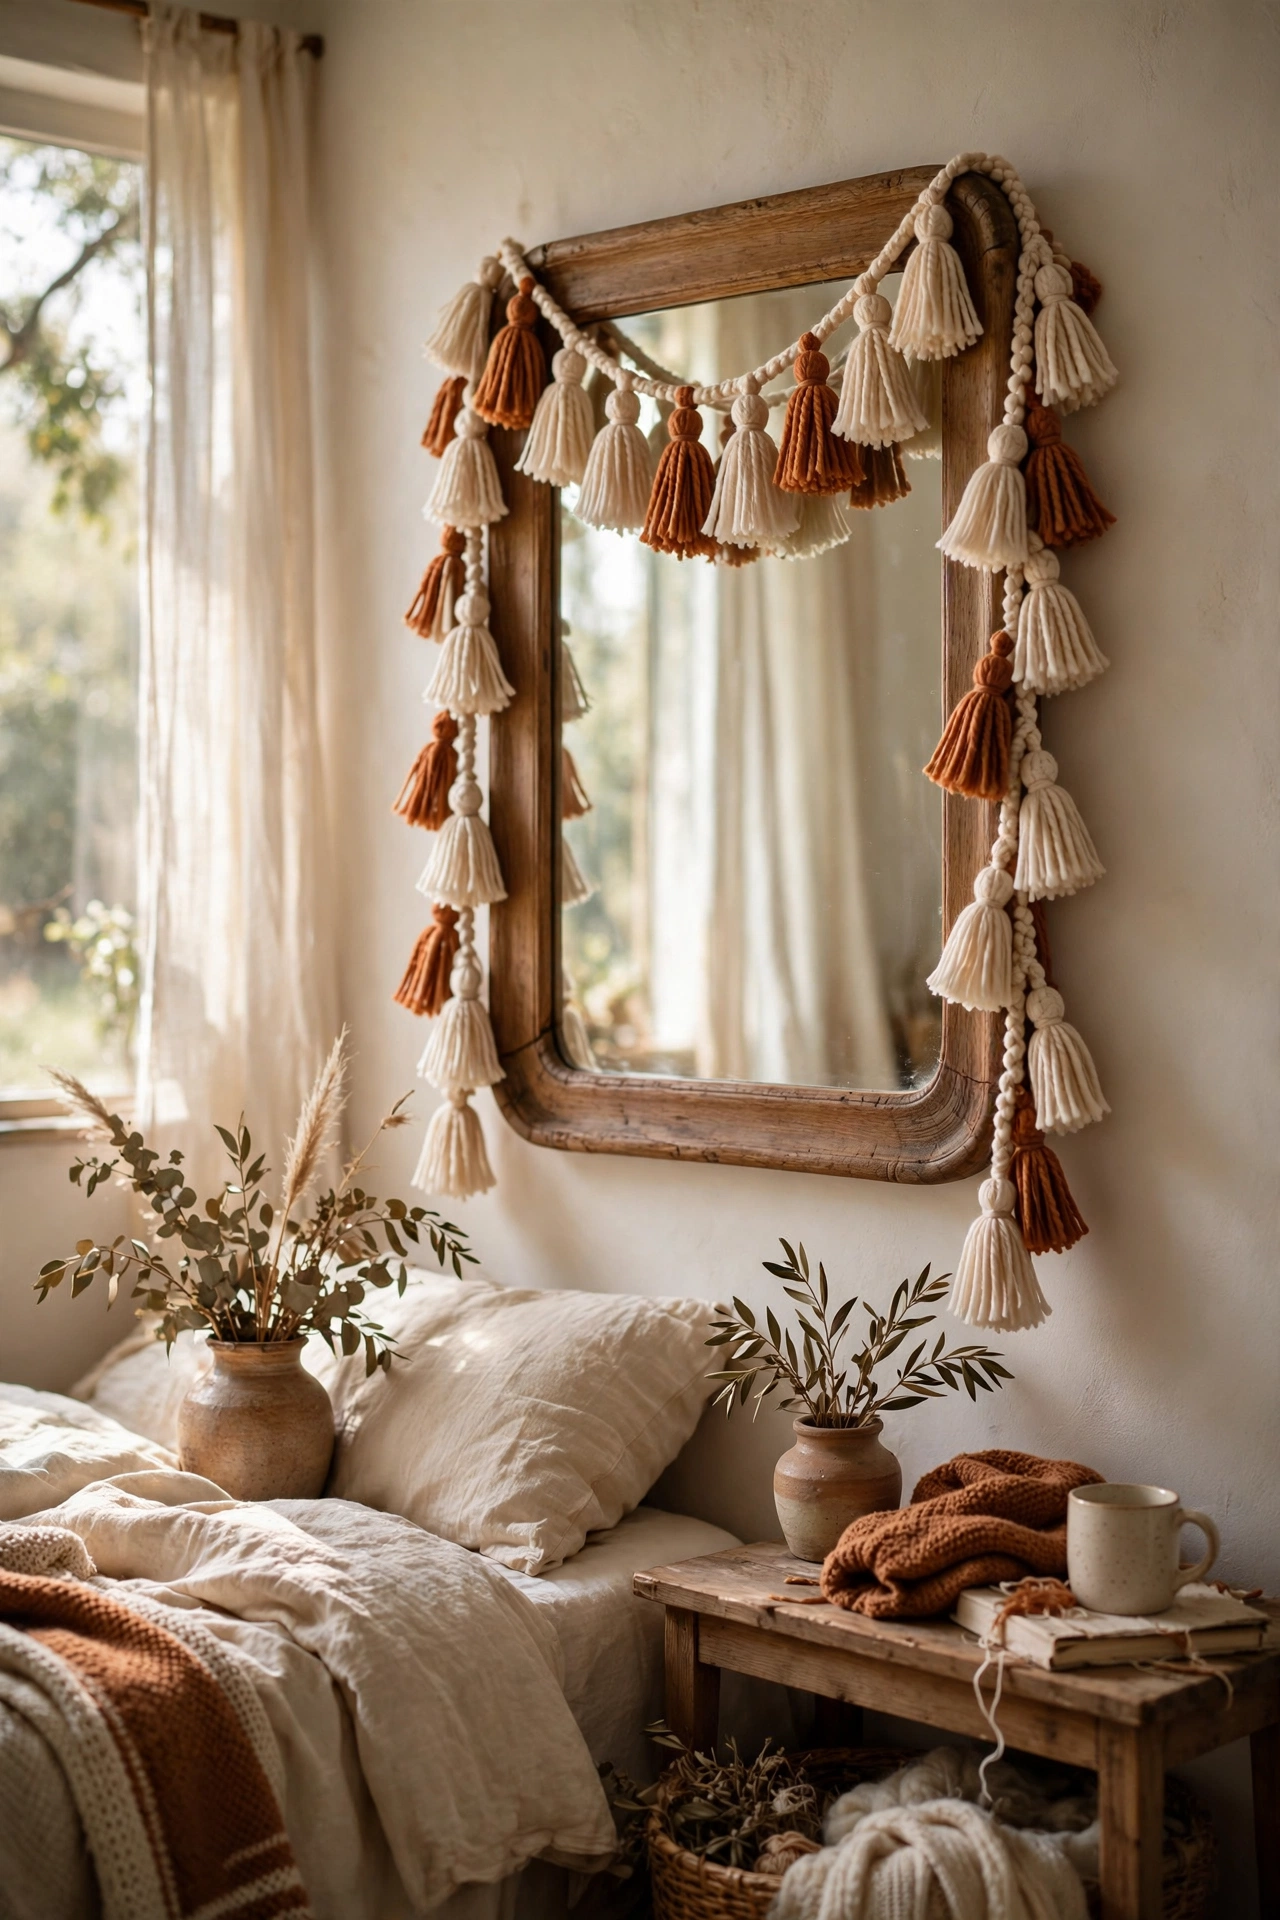
Make a tassel garland from embroidery floss or yarn for about $6 in supplies, and drape it over your mirror or headboard. I made one in cream and rust floss while watching TV, and it took about an hour for a six-foot strand. Wrap the floss around a book, tie off the top, cut the bottom, and repeat. My first tassels were uneven, so use the same book for every one to keep them identical. Hang it with small removable hooks. This little handmade touch adds color and texture for almost nothing.
Cost: ~$4-8 | Time: 1 hour
14. Styled Bedside Book Stack
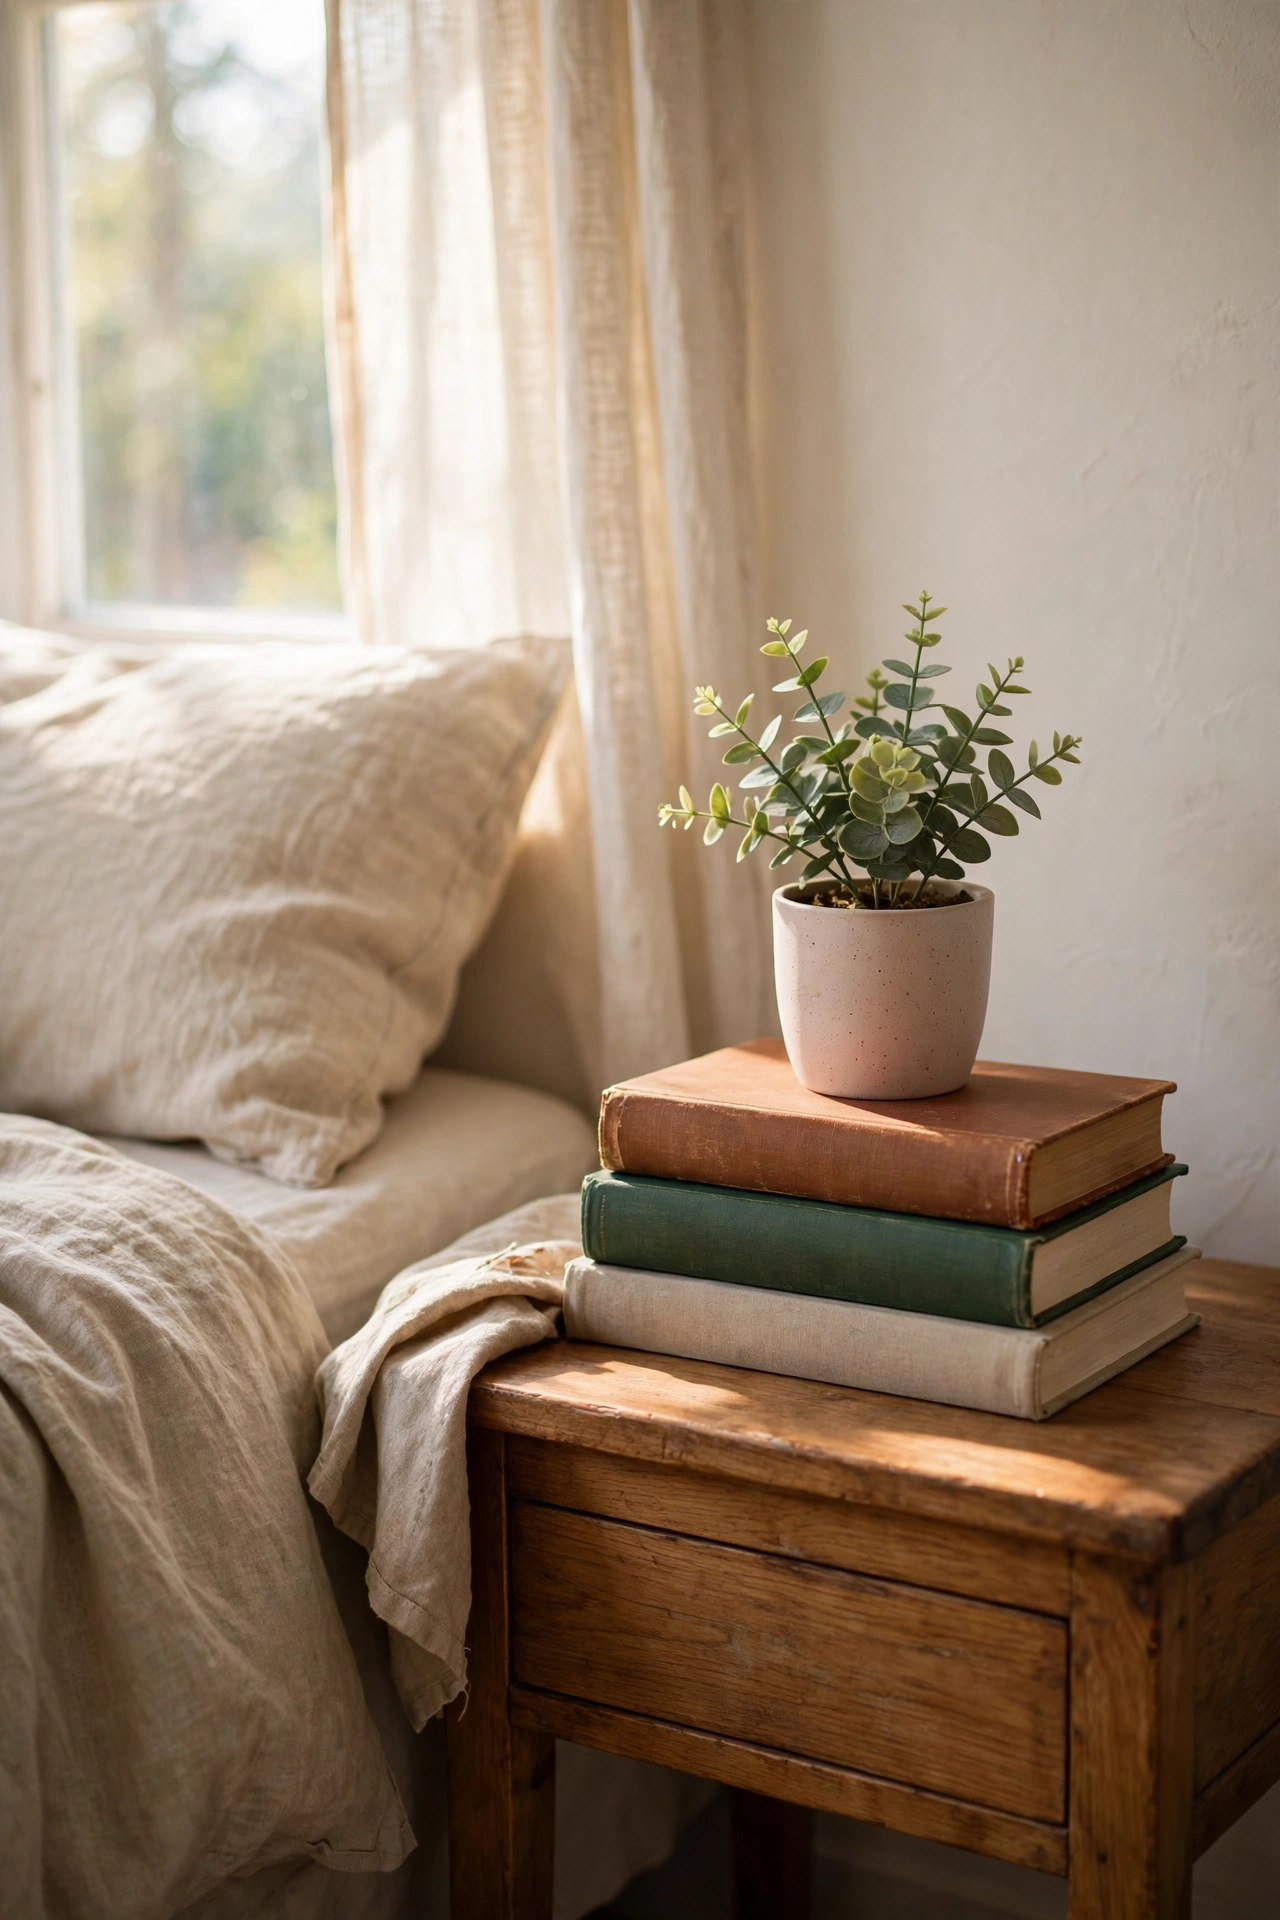
Stack three or four books on your nightstand, largest on the bottom, and top it with a small plant or candle. I used books I already owned, so this cost me zero dollars, and it looks like a styled shelf. Remove the dust jackets if they clash, since plain spines look better. My mistake was stacking them too high, and the whole tower fell over at 2 a.m., so keep it to four books max. Rotate in a new book when you finish one, which keeps the styling fresh without spending anything.
Cost: ~$0 | Time: 10 minutes
15. Thrifted Ceramic Vase Cluster
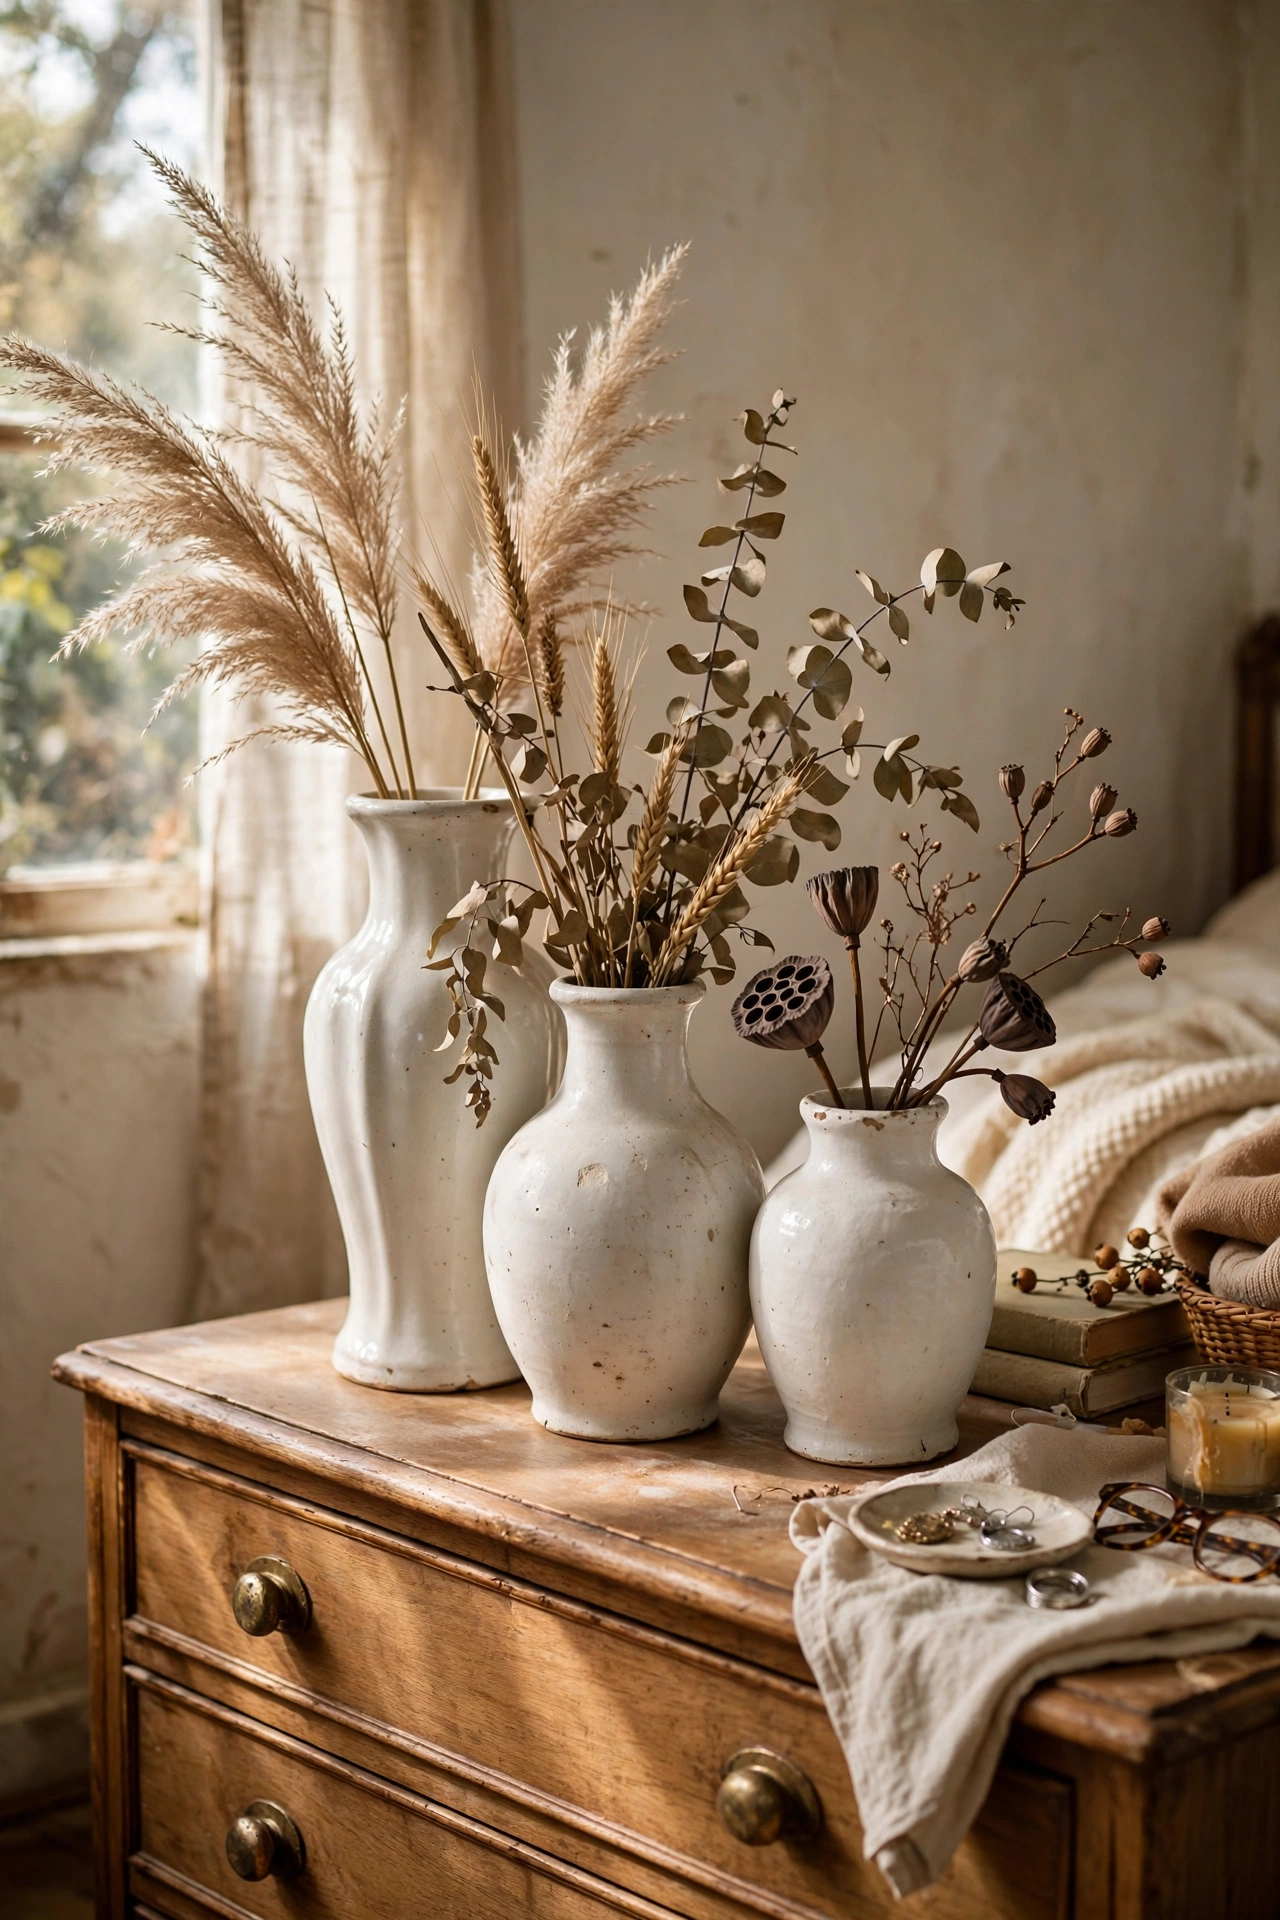
Group three thrifted ceramic vases of different heights on your dresser for a styled look under $12. I found mine for $2 to $4 each, all in white and cream, which keeps the grouping calm. Odd numbers always look better than even, so stick to three or five. My mistake was scattering them around the room, and they disappeared visually, so cluster them tight with the tallest in back. Check for chips before buying, since a cracked vase is not worth any price. A few stems of dried flowers in the tallest one finishes it off. Thrifted ceramics like these are also in (see also: thrifted-bedroom-decor-that-look-expensive/).
Cost: ~$6-12 | Time: 20 minutes to arrange
16. New Lampshade on Your Old Lamp
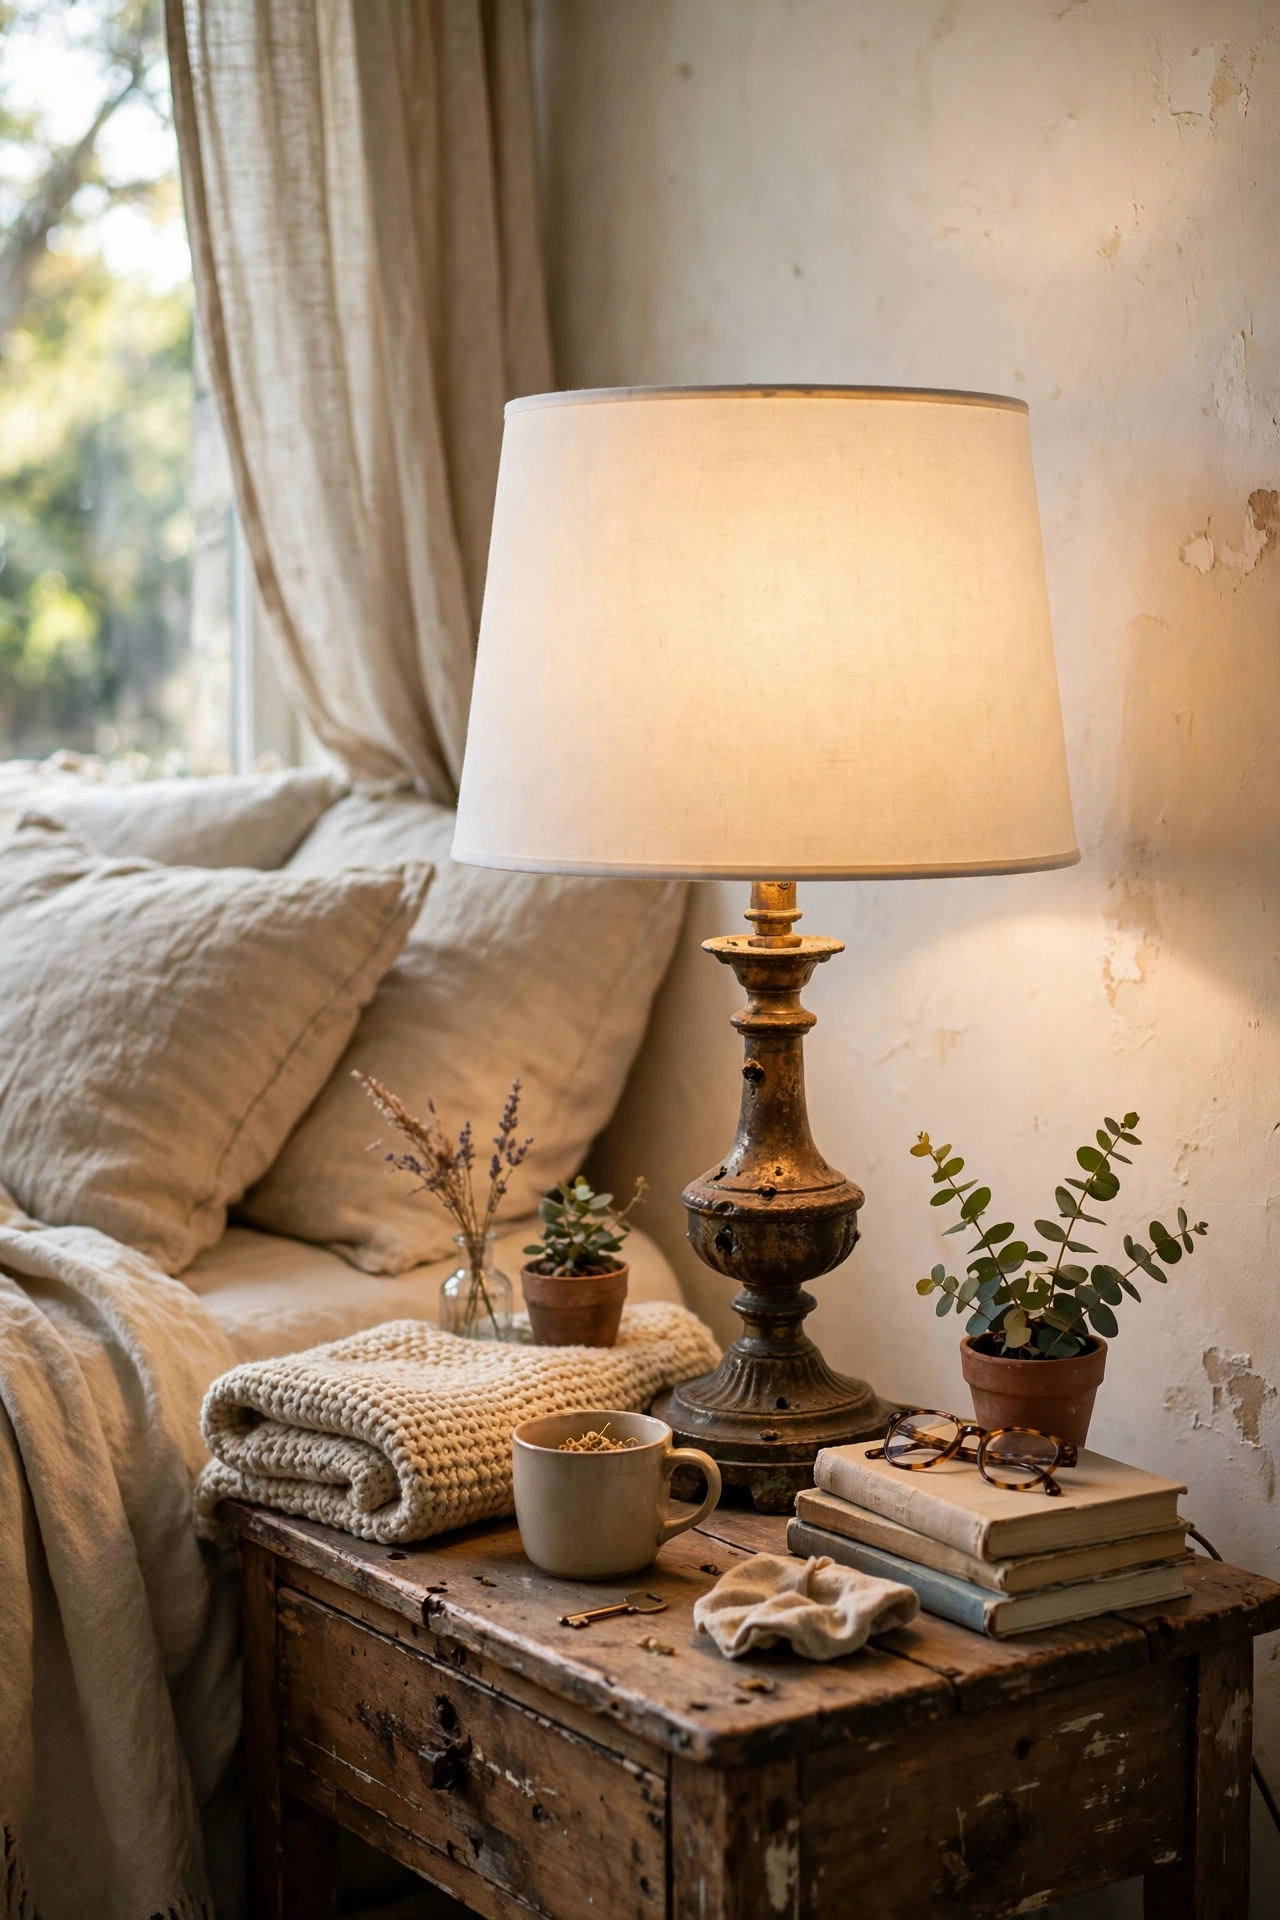
Keep your old lamp base and just replace the shade, which costs $10 to $18 instead of $40 for a whole new lamp. I swapped a dated beige shade for a white drum shade from a discount store, and the lamp looks completely different. Measure your old shade’s top and bottom diameter before shopping, because the wrong size looks silly. My first shade was too small, and the bulb poked out the bottom, so bring the measurements on your phone. A lighter shade also brightens the room, since dark shades swallow light.
Cost: ~$10-18 | Time: 15 minutes
17. Dollar Store Mirrors to Bounce Light
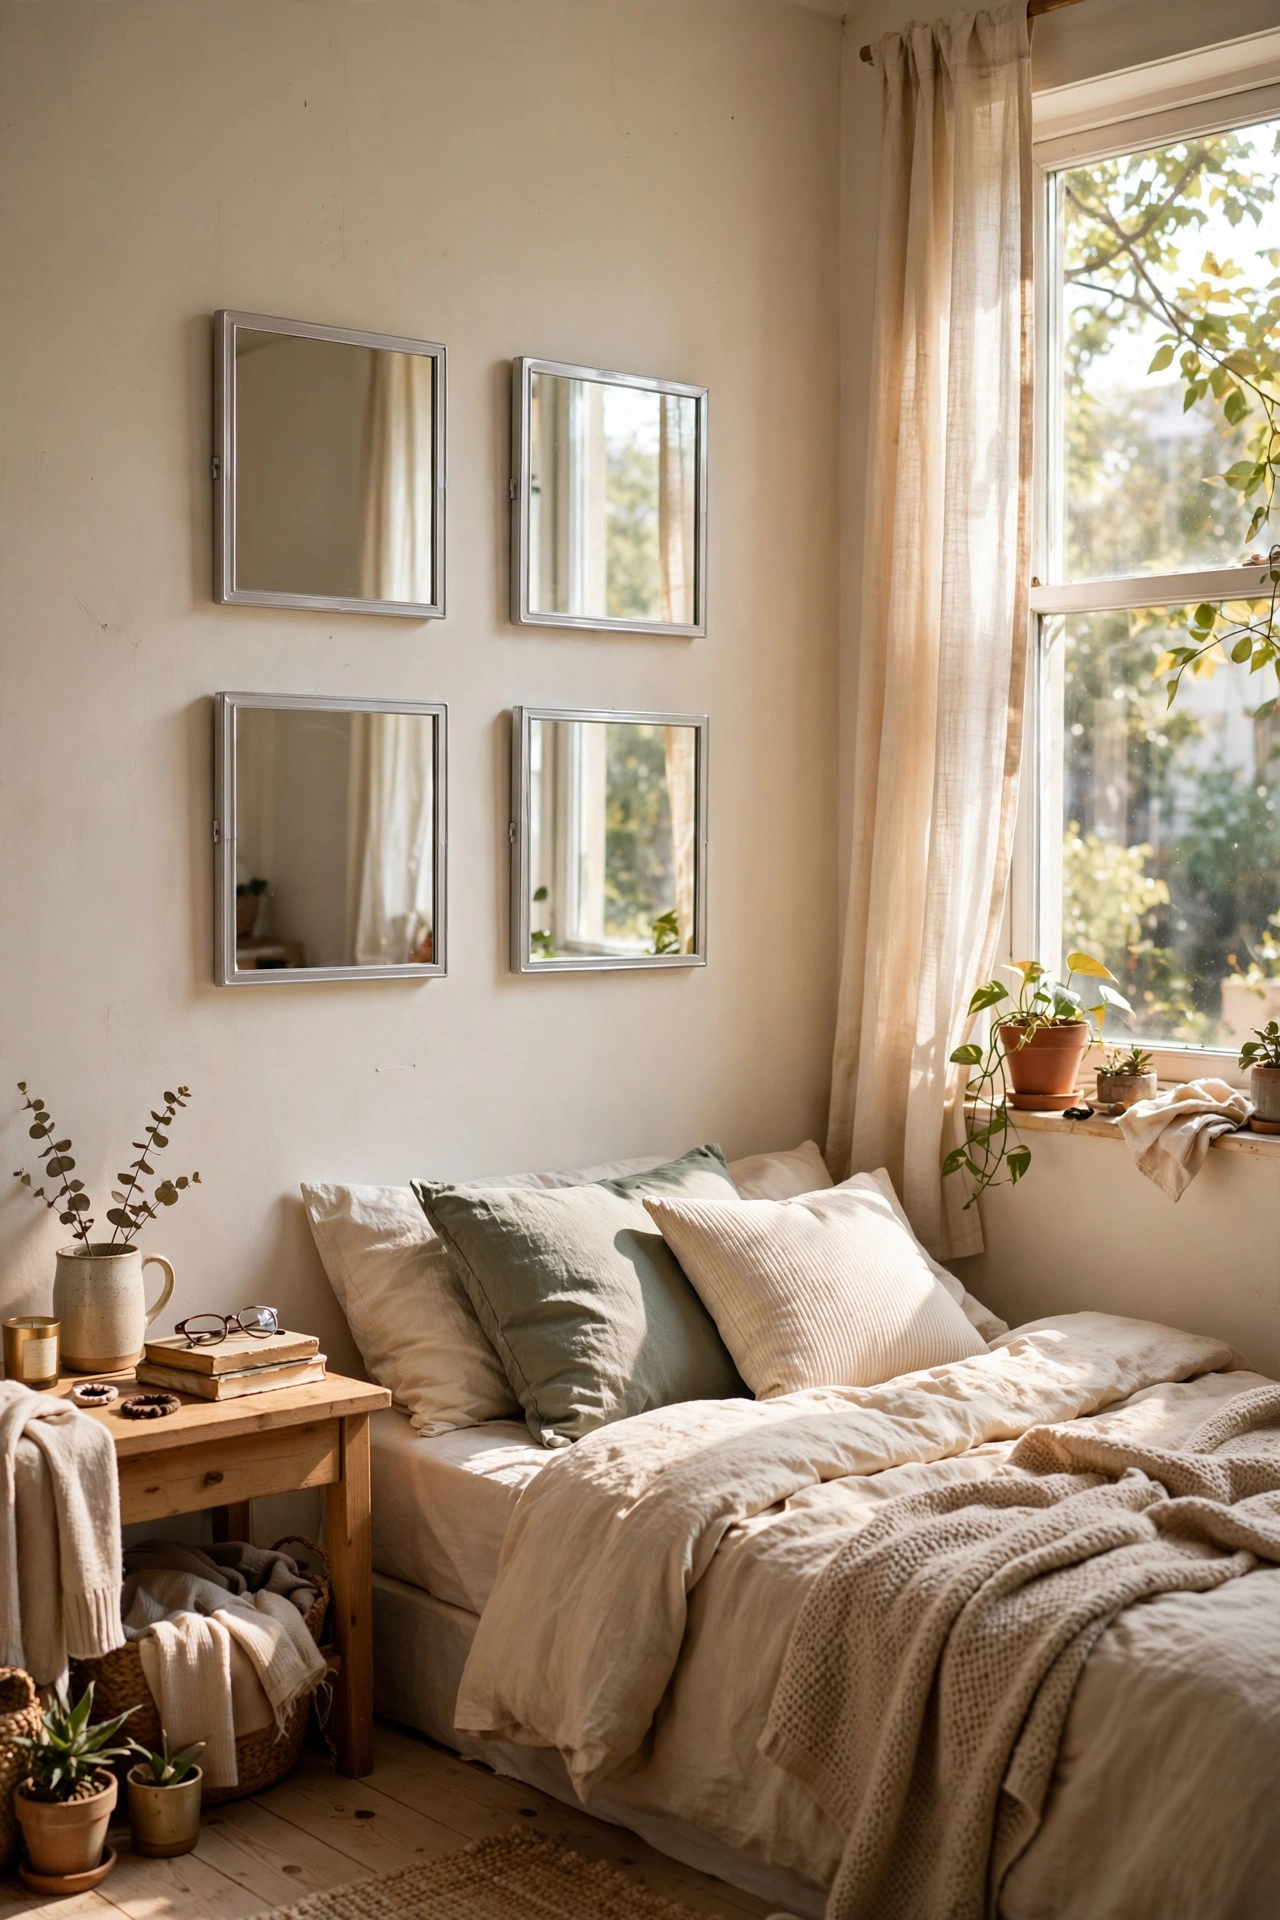
Hang a few dollar store mirrors on the wall opposite your window, and your room gets brighter for $5 total. I bought four small square mirrors for $1.25 each and arranged them in a grid. They bounce daylight deep into the room, which makes everything feel bigger. My mistake was hanging them where they reflected my messy closet, so check the reflection before you commit. Use the adhesive strips they come with, but add a dab of mounting putty too, since cheap adhesive fails in humidity. Wipe them with glass cleaner first, because they always have a factory film.
Cost: ~$4-6 | Time: 30 minutes
18. Cork Board Mood Board
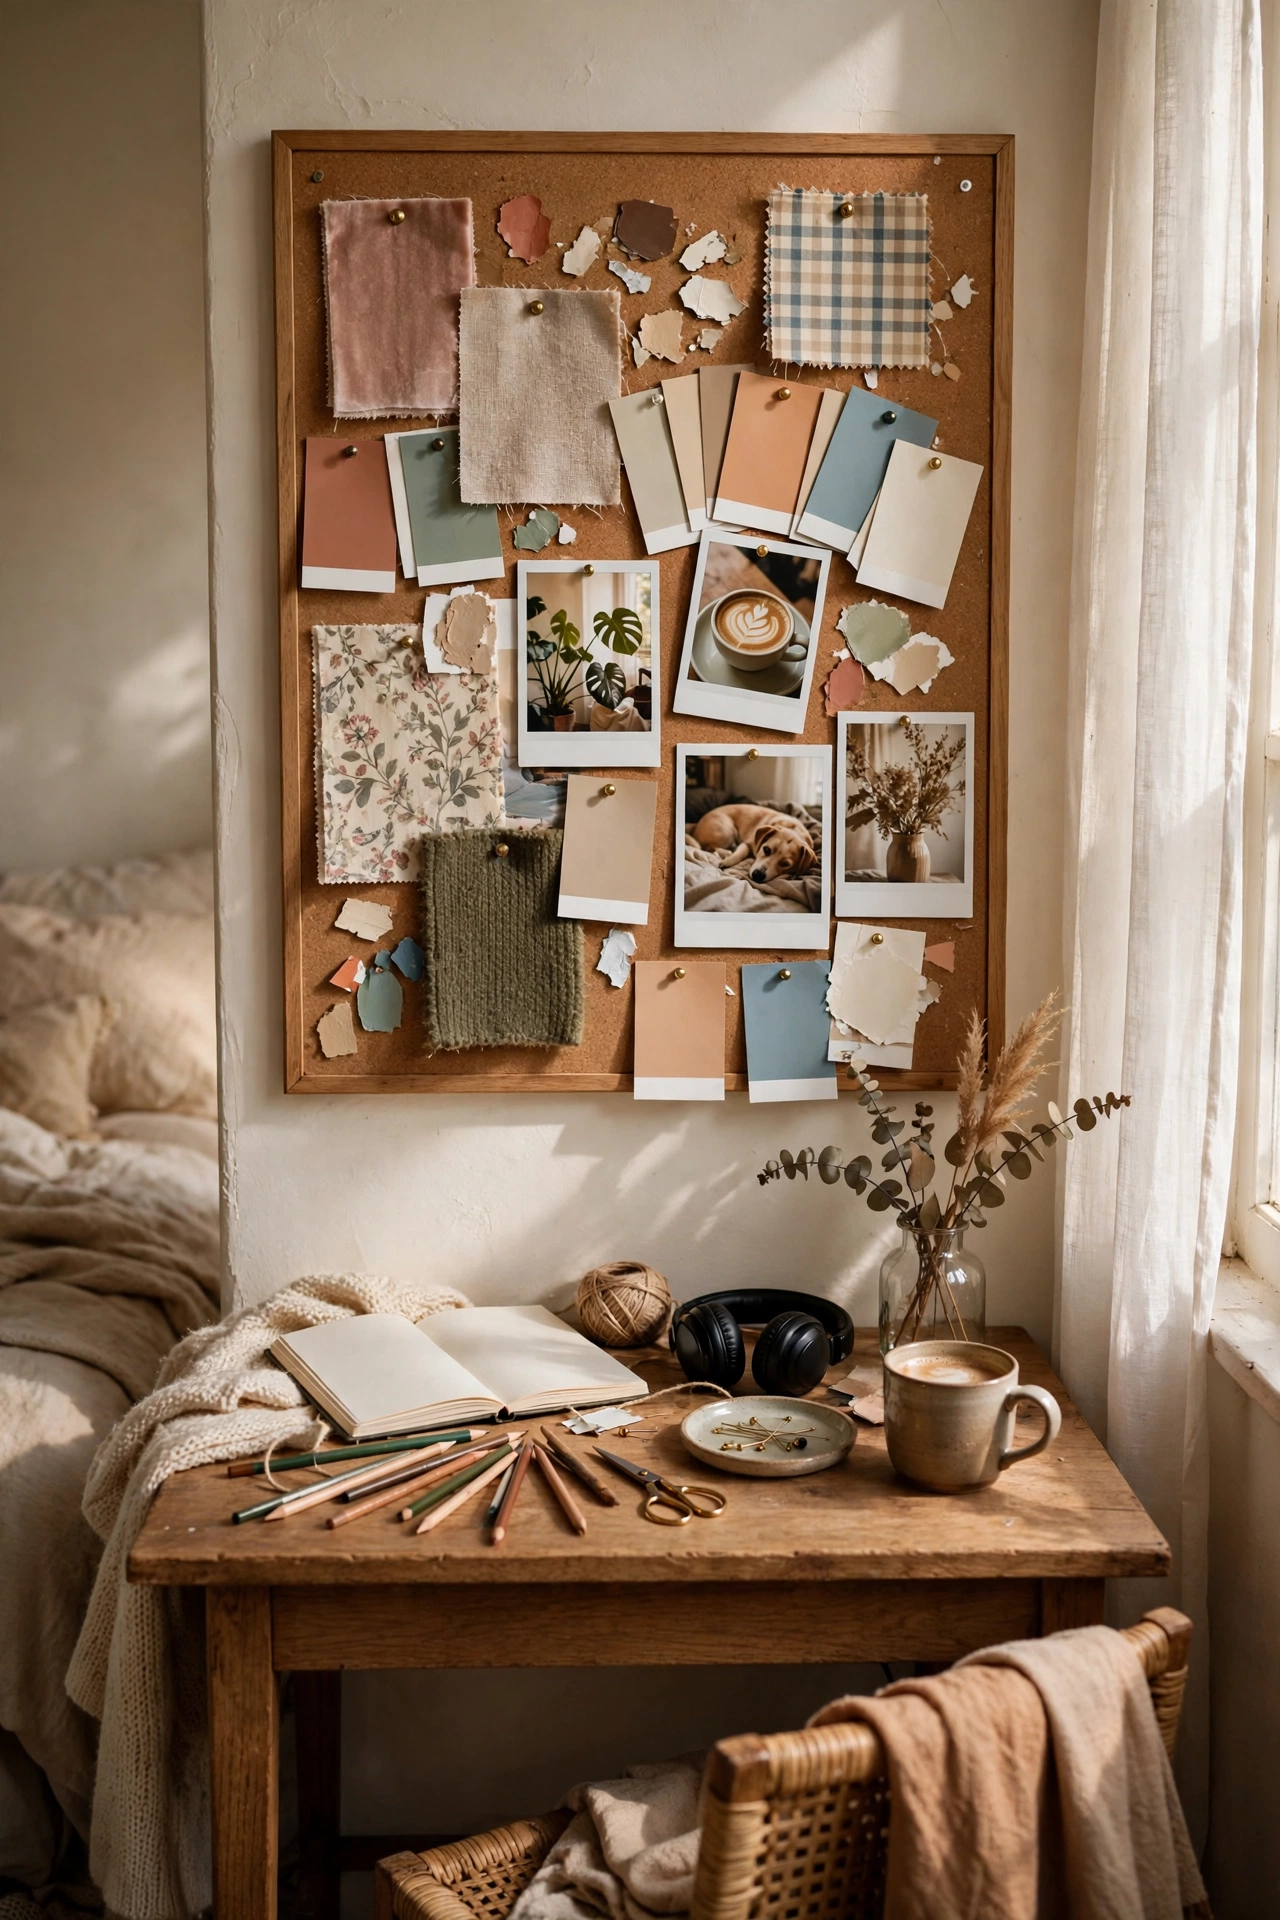
Pin fabric swatches, paint chips, photos, and magazine cutouts to a $8 cork board for a personal art piece. I hung mine above my desk area, and it is my favorite thing in the room because it is completely mine. Arrange everything on the floor first, then pin the big pieces before filling gaps. My mistake was pinning things randomly, and it looked messy, so leave some breathing room between items. Swap pieces seasonally, which keeps it fresh for free. Spray paint the frame gold if it looks cheap, and nobody will guess the price.
Cost: ~$6-10 | Time: 1 hour
19. Clearance Aisle Throw Blanket
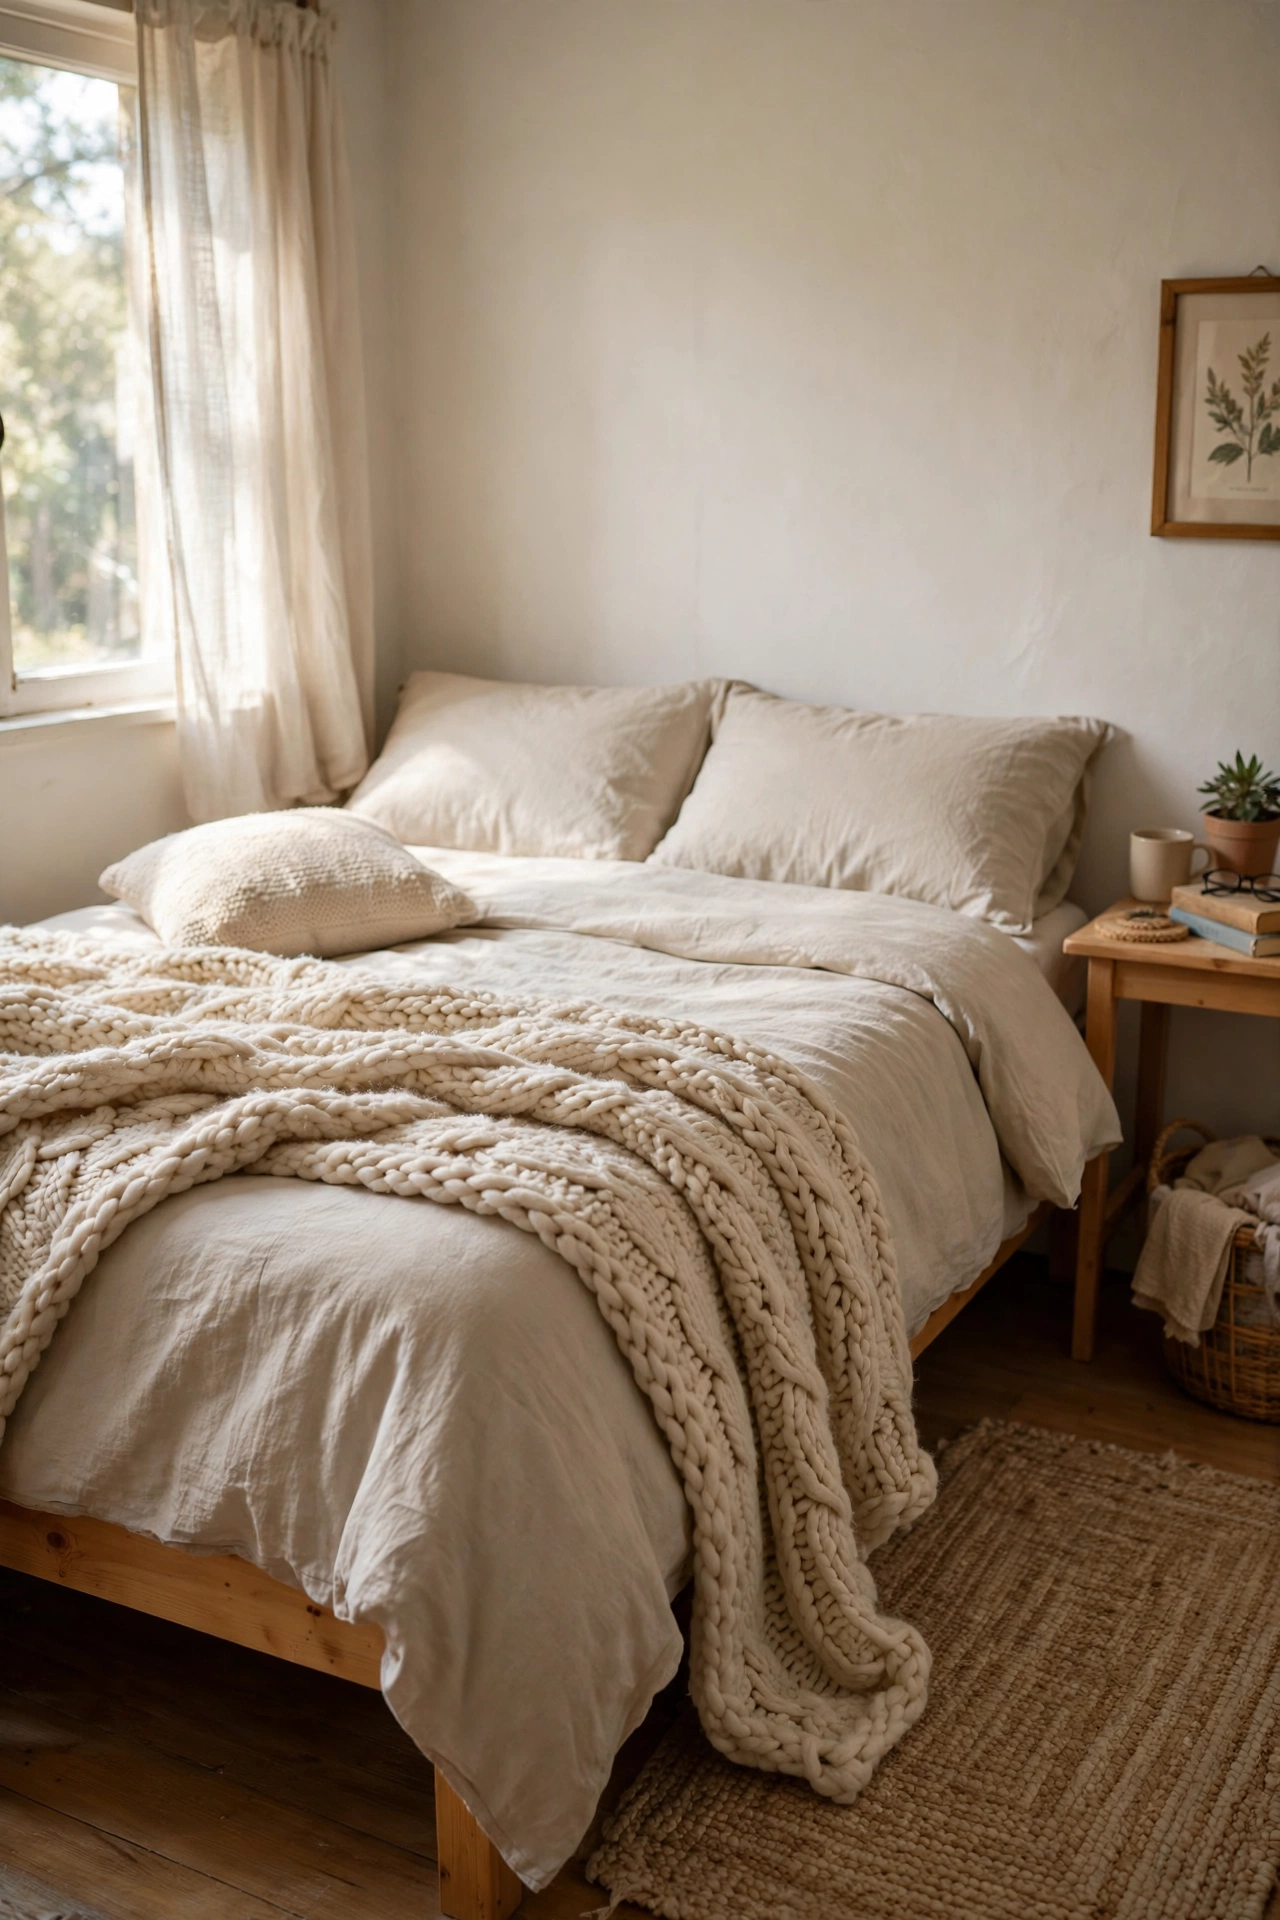
Check the clearance aisle for throw blankets, where I regularly find $25 throws marked down to $8. I scored a chunky knit throw in cream for $7, and it lives on my bed all winter. Feel the fabric before buying, because some clearance throws are scratchy. My mistake was grabbing one that shed all over my dark sheets, so shake it hard in the store. Wash it once before using, since clearance items sit in bins for months. Drape it over the foot of the bed or your reading chair. For more cozy ideas at slightly higher budgets, see (see also: 23-bedroom-decor-ideas-under-50-for-a-cozy-retreat/).
Cost: ~$5-10 | Time: 20 minutes with a wash
20. Sample Pot Accent Wall
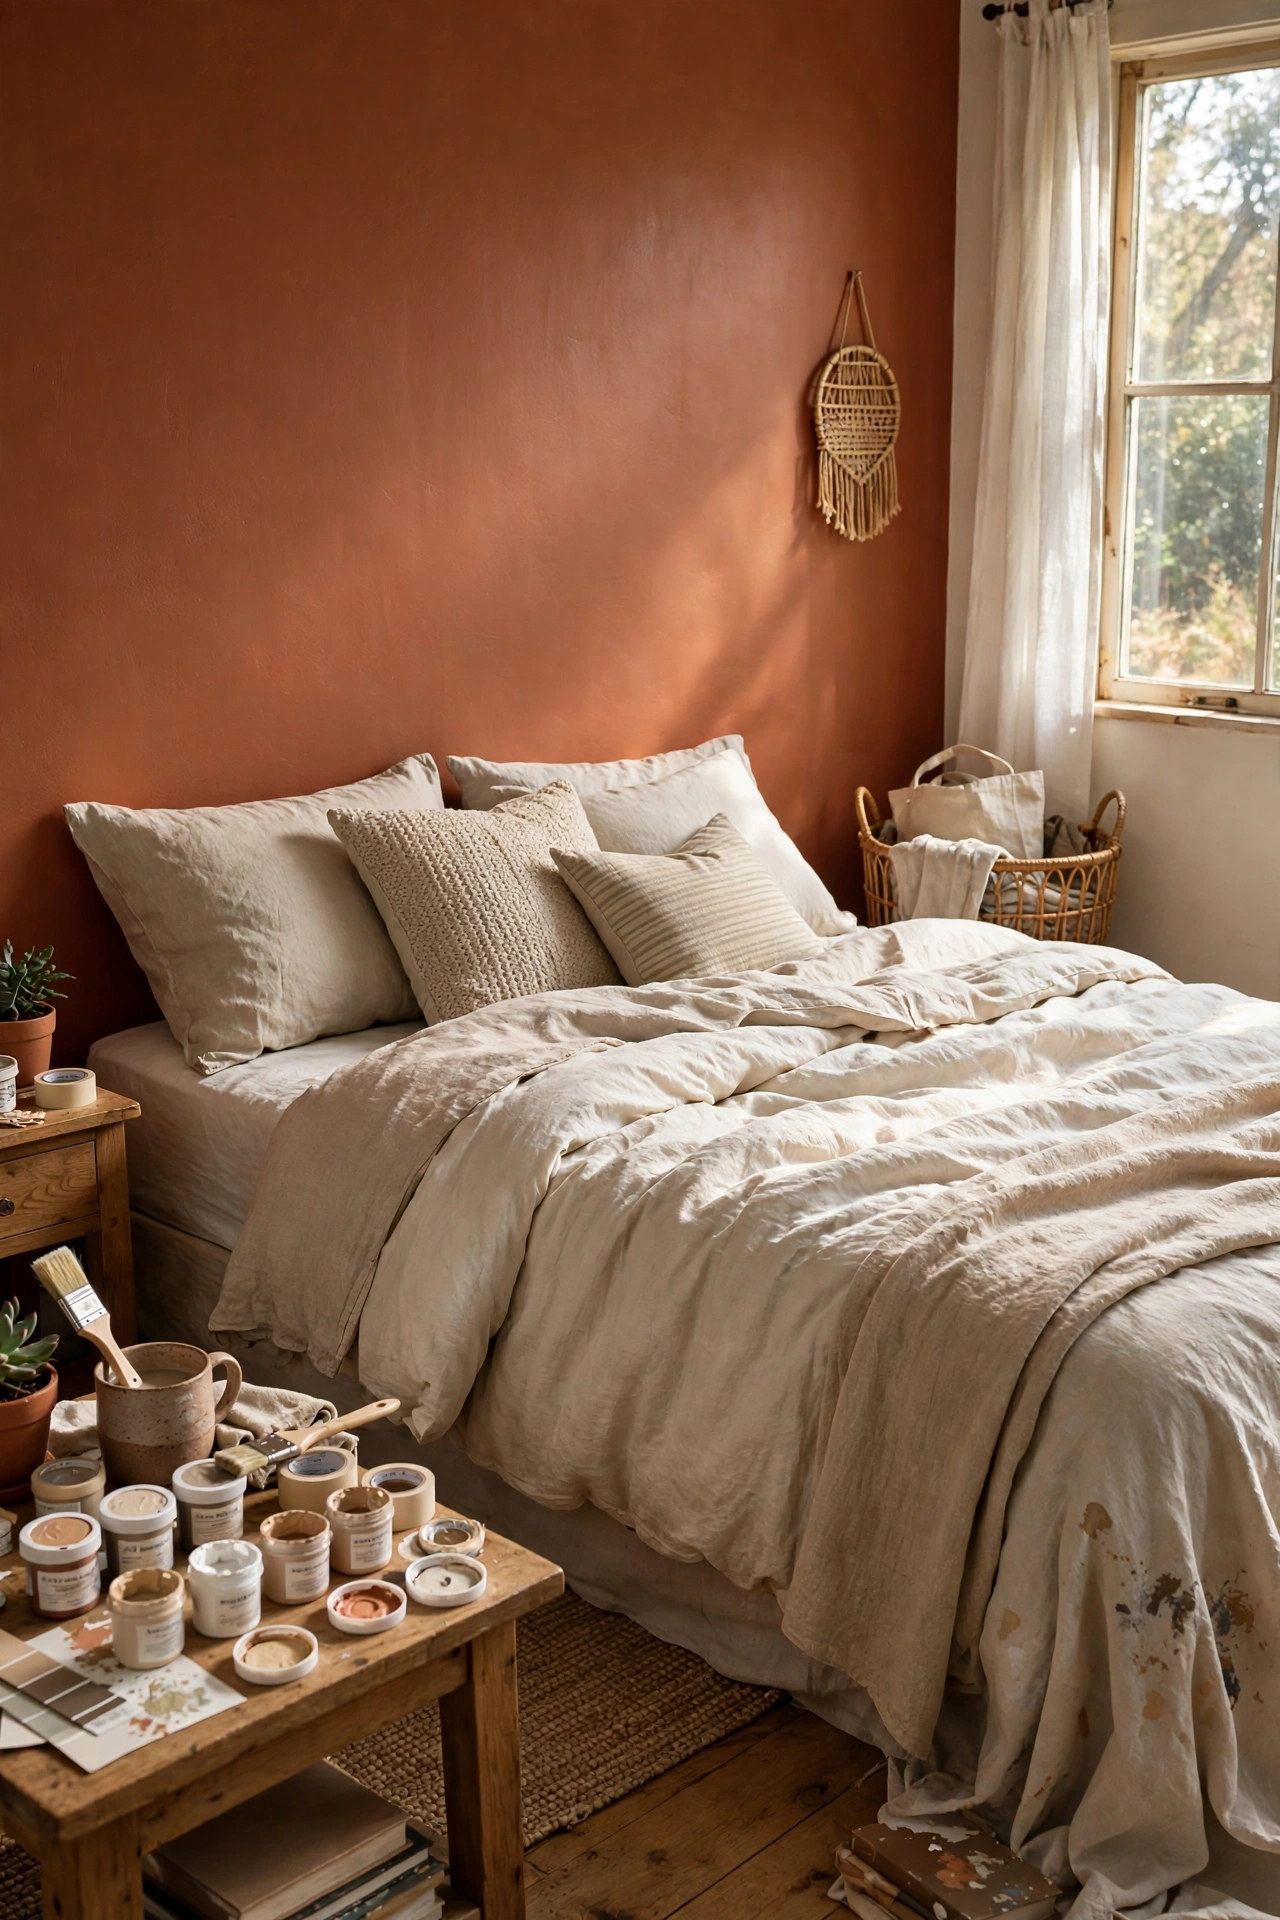
Buy two or three paint sample pots for $5 each and paint one accent wall behind your bed. I used a warm terracotta sample color, and two pots covered the whole wall with careful rolling. Tape the edges with painter’s tape and use a small roller for even coverage. My mistake was skipping the tape, and my edges looked wobbly for weeks until I touched them up. Sample pots are real paint in small sizes, so the finish looks professional. This is the cheapest way to add real color, and it takes one afternoon.
Cost: ~$10-15 | Time: 1 afternoon
21. Fabric No-Sew Bed Skirt
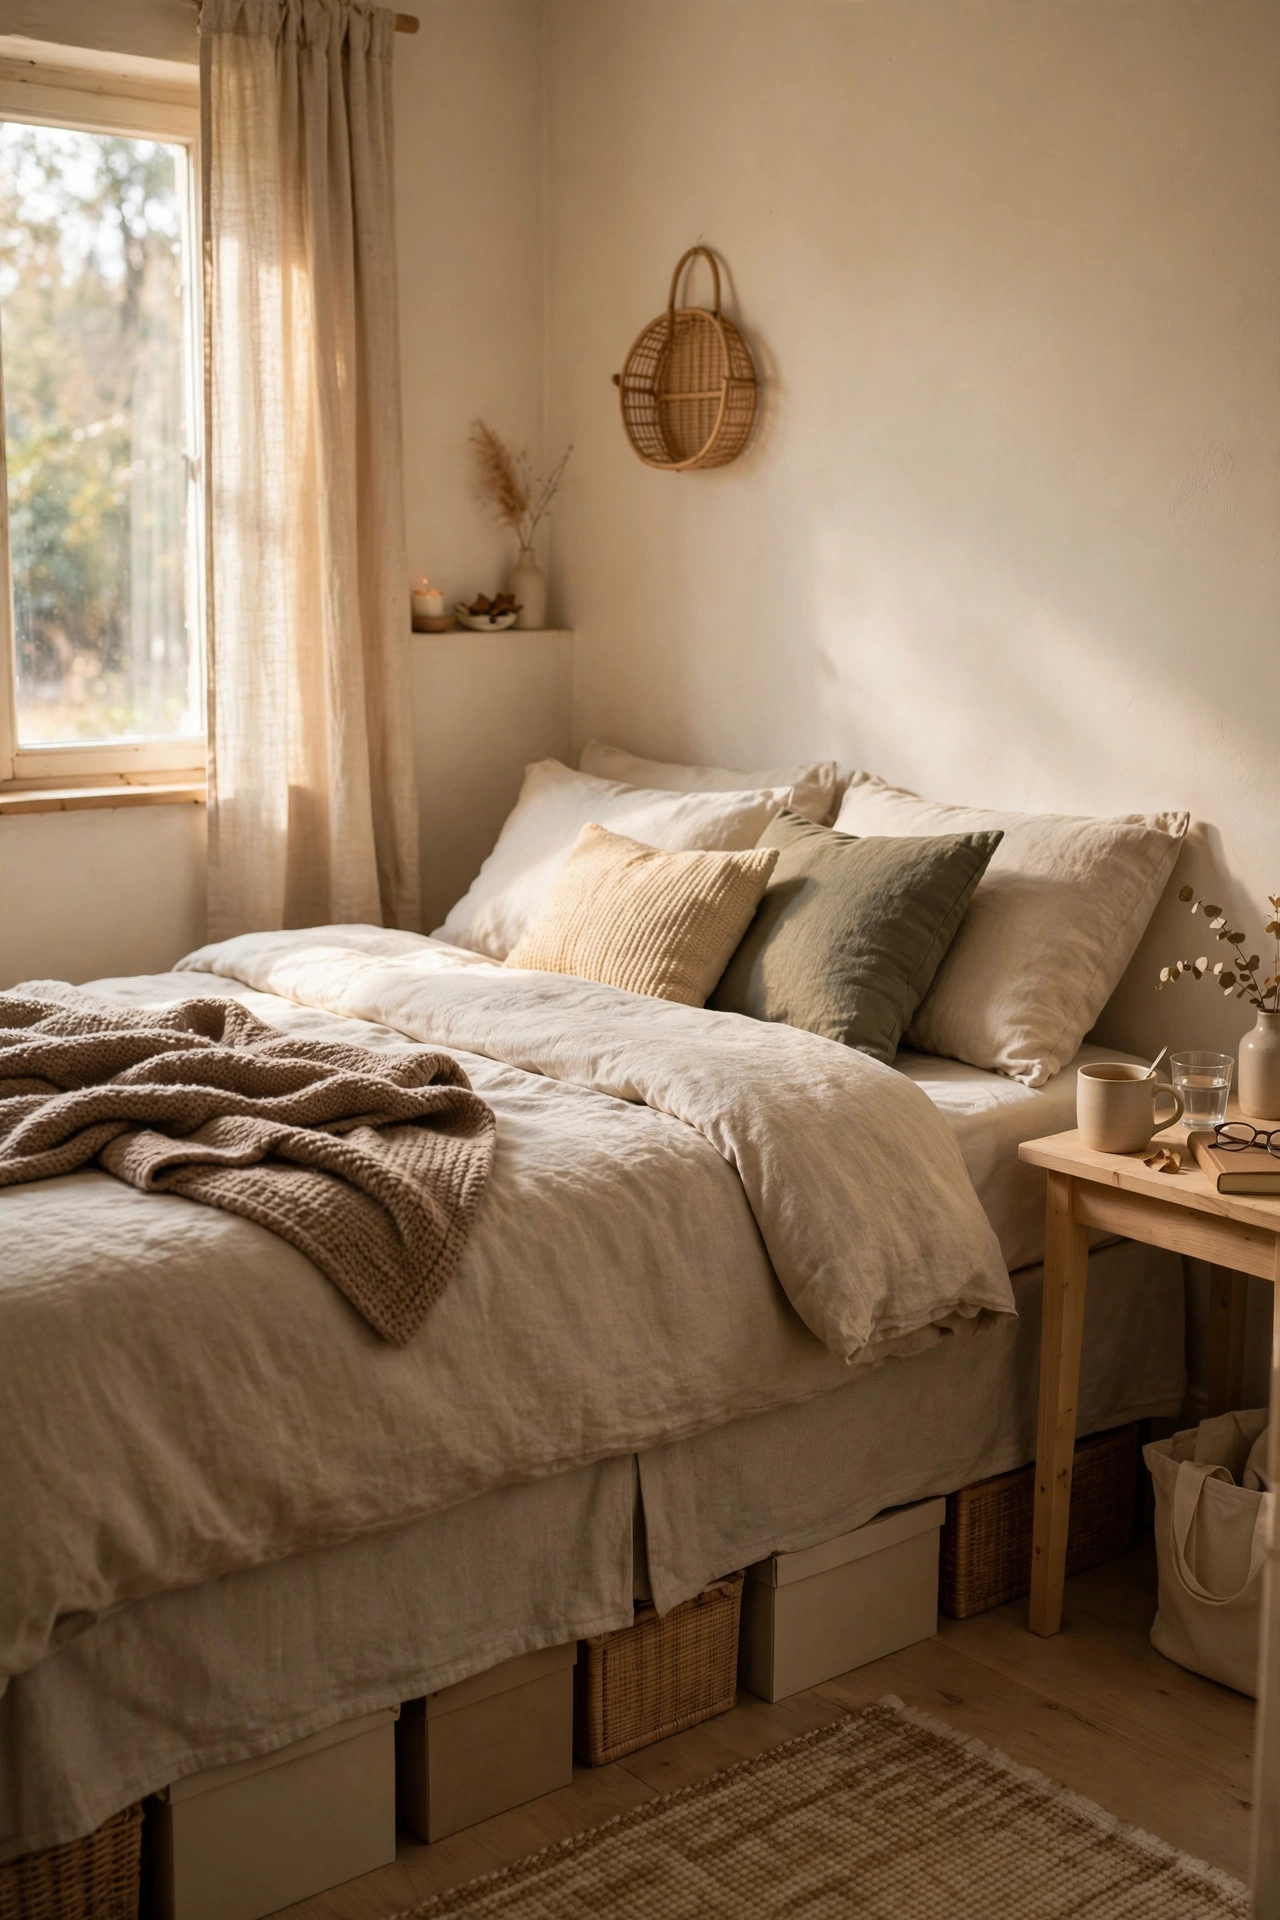
Make a bed skirt from two yards of $4-per-yard fabric and iron-on hem tape, no sewing needed. I spent $9 total, and it hides all the under-bed storage boxes I was tired of seeing. Measure from the box spring to the floor, add two inches, and cut the fabric to length. My mistake was cutting it too short the first time, and it floated above the floor looking silly, so measure twice. Tuck the top edge under the mattress to hold it in place. Choose a solid color that matches your bedding so it disappears visually.
Cost: ~$8-12 | Time: 1 hour
Quick Answers
Q: What is the cheapest way to make my bedroom look better?
A: Rearranging your furniture costs nothing and makes the biggest free difference. After that, new pillowcases, a clearance throw, and printable art in thrifted frames give the most visual change per dollar. Focus on one wall or the bed, since a strong focal point makes the whole room feel updated.
Q: Can I really decorate a whole bedroom for under $25 per item?
A: Yes, if you mix thrifted finds, clearance deals, and small DIYs. Every idea in this post costs $25 or less, and many cost under $10. The trick is layering several cheap changes together, because five $8 upgrades transform a room more than one $40 item.
Q: Which budget bedroom upgrade makes the biggest difference?
A: Paint or peel-and-stick wallpaper on one wall changes the room more than anything else under $25. After that, fresh bedding touches like pillowcases and a throw refresh the biggest surface in the room. Lighting comes third, since warm fairy lights or a new shade change how the whole space feels at night.
If one of these under-$25 ideas caught your eye, save this idea for later so you have it ready the next time you are standing in a thrift store wondering what to grab.
