23 Rustic Kitchen Ideas That Don’t Break the Bank
23 Rustic Kitchen Ideas That Don’t Break the Bank
When I bought my first home, the kitchen was the saddest room in it: flat white cupboards, a stained worktop, and lighting that made everything look grey. I had no budget for a renovation, so I went hunting for rustic kitchen ideas that cost almost nothing and could make the space feel warm anyway. Rustic style turned out to be the perfect partner for an empty wallet, because dents, knots, and rough edges are not flaws in this look, they are the whole point. Every idea below is cheap, most are weekend projects, and all of them bring that cosy farmhouse feeling home.
The moment everything clicked was a rainy Saturday at a car boot sale, when I found a battered pine shelf for three pounds. The seller laughed when I asked if it was worth anything, and said her gran had it for decades. I sanded it that afternoon, hung it with two cheap brackets, and my plain kitchen suddenly looked like it had a past. That shelf is still the prettiest thing in the room, and it taught me that rustic charm is bought with imagination, not money.
1. Swap Upper Cabinets for Reclaimed Wood Shelves
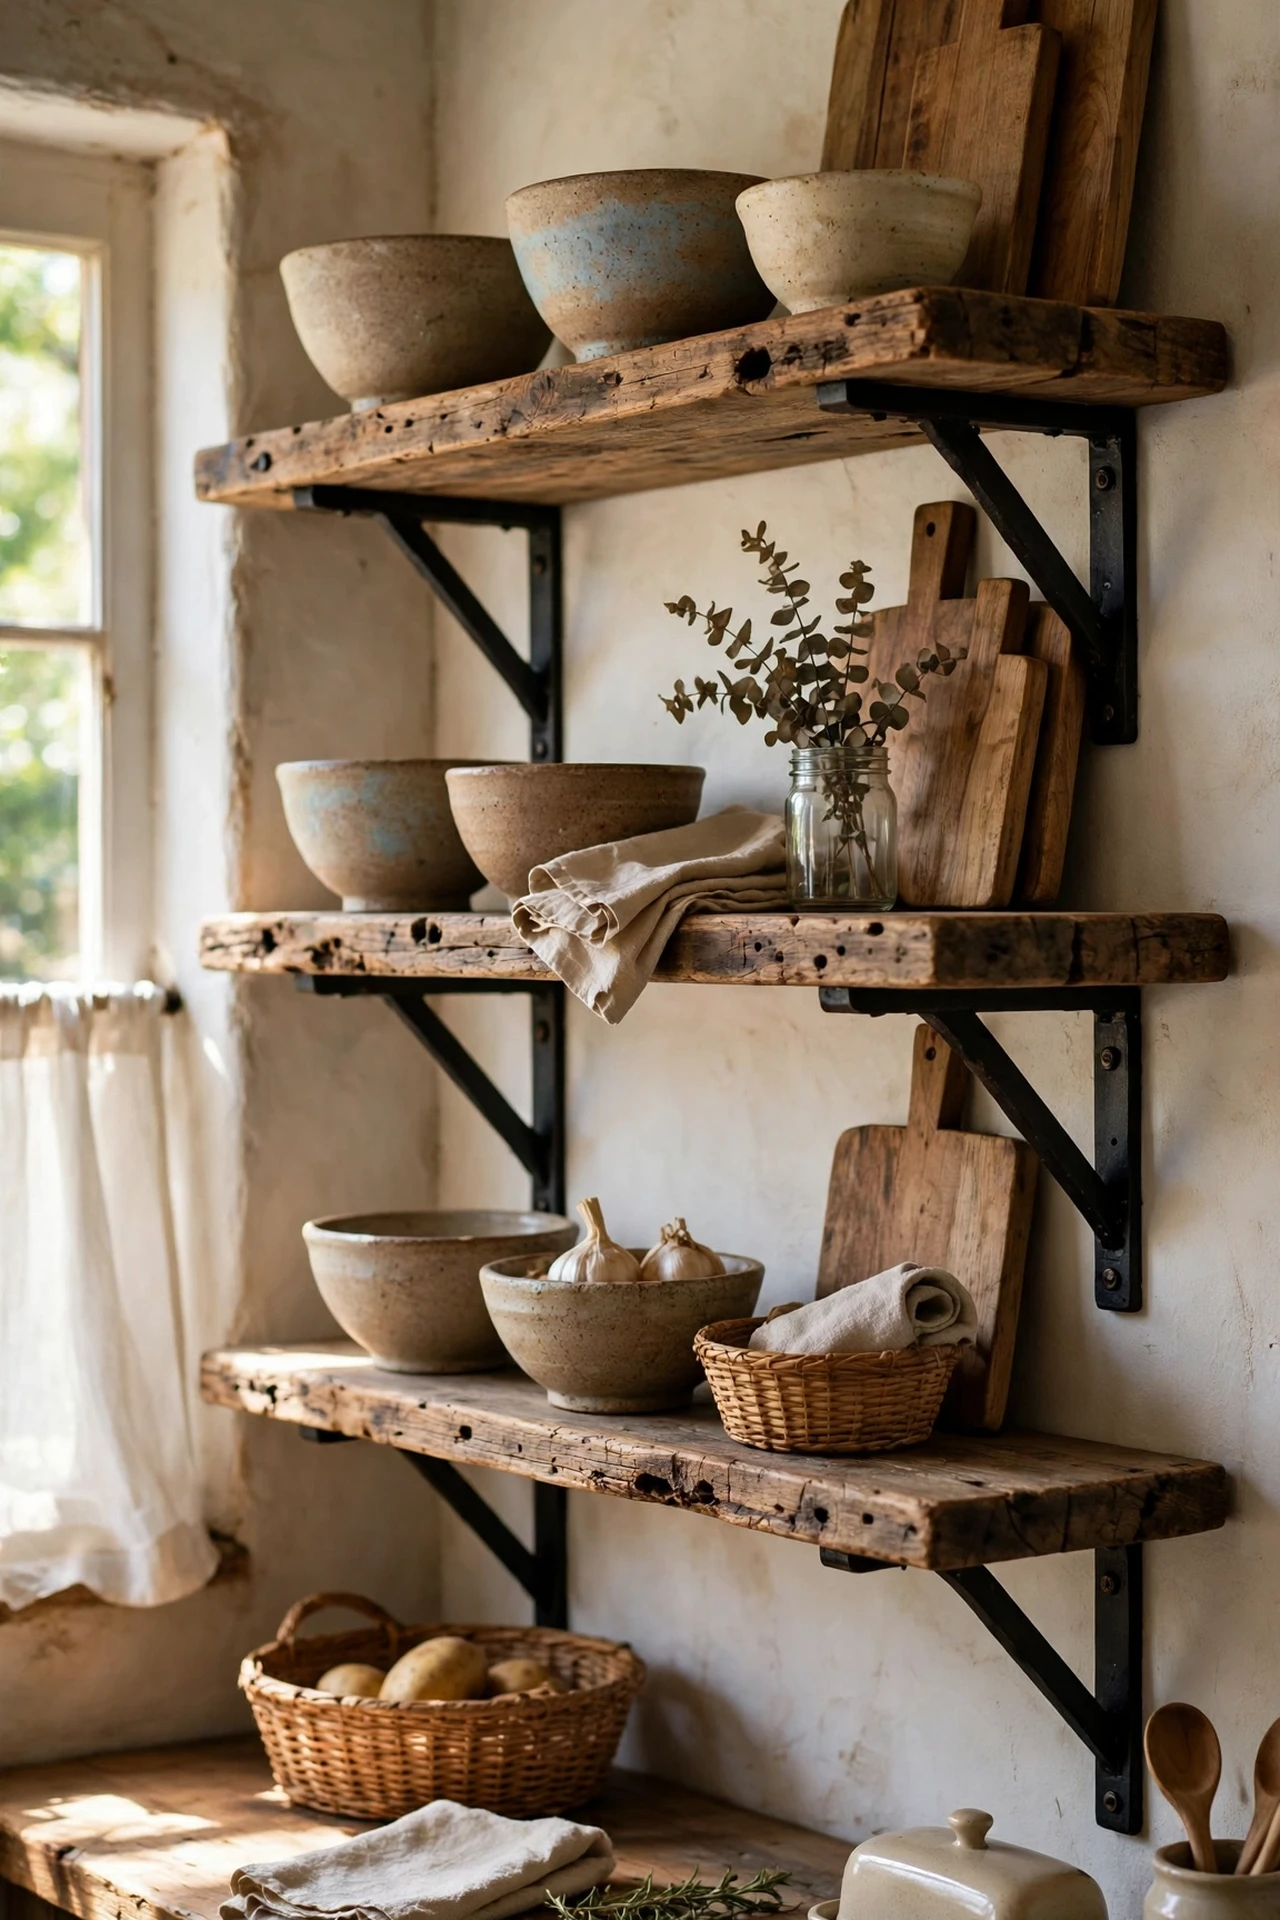
Taking down a pair of tired upper cabinets and replacing them with reclaimed wood shelves is the single fastest way to get rustic character. Sand each board until it is smooth to the touch, seal it with a clear matte varnish or food-safe oil, then mount it on heavy-duty brackets screwed into wall studs. I tried this with old scaffold boards from a demolition yard, and the grain looked a century old in the best way. The mistake to avoid is skipping the stud finder: shelves loaded with crockery pull straight out of plasterboard. Once up, style them sparsely with stoneware and wooden bowls, and the kitchen breathes again.
Cost: ~$25 | Time: 60 minutes
2. Butcher Block Worktop on a Budget
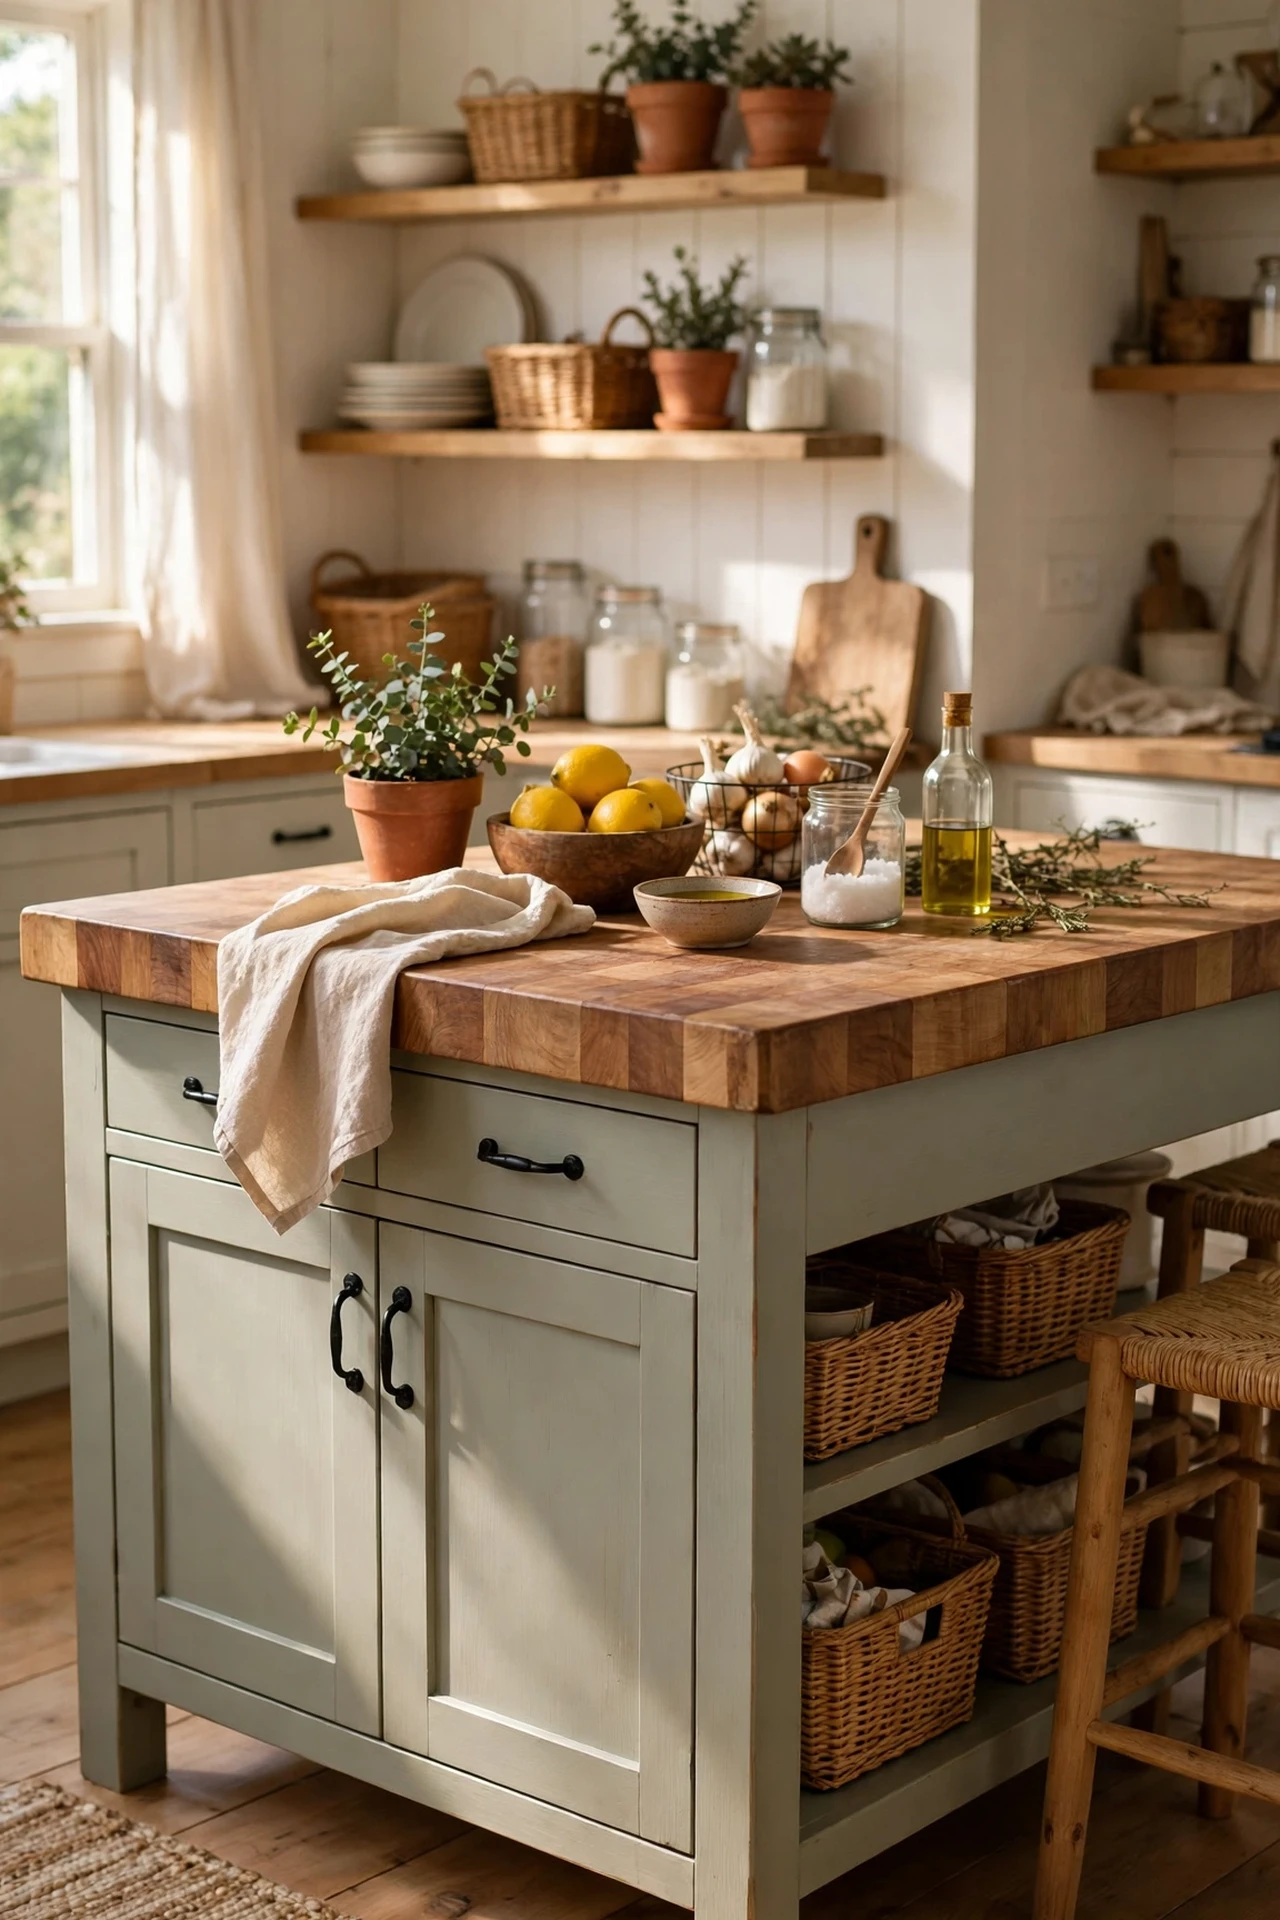
A butcher block worktop brings instant farmhouse warmth, and you do not need a full kitchen’s worth. Replace just one run of worktop, or top an existing island with a solid beech offcut from a timber merchant. Measure twice, cut once with a jigsaw or circular saw, sand the edges smooth, and finish with several coats of food-safe mineral oil. I tried a $45 offcut on my old island base, and it looked like a bespoke piece. The mistake to avoid is leaving the end grain unsealed near the sink: water soaks in and stains it dark within weeks. Oil it monthly after that, and it only gets prettier.
Cost: ~$60 | Time: 90 minutes
3. Salvage-Yard Farmhouse Sink
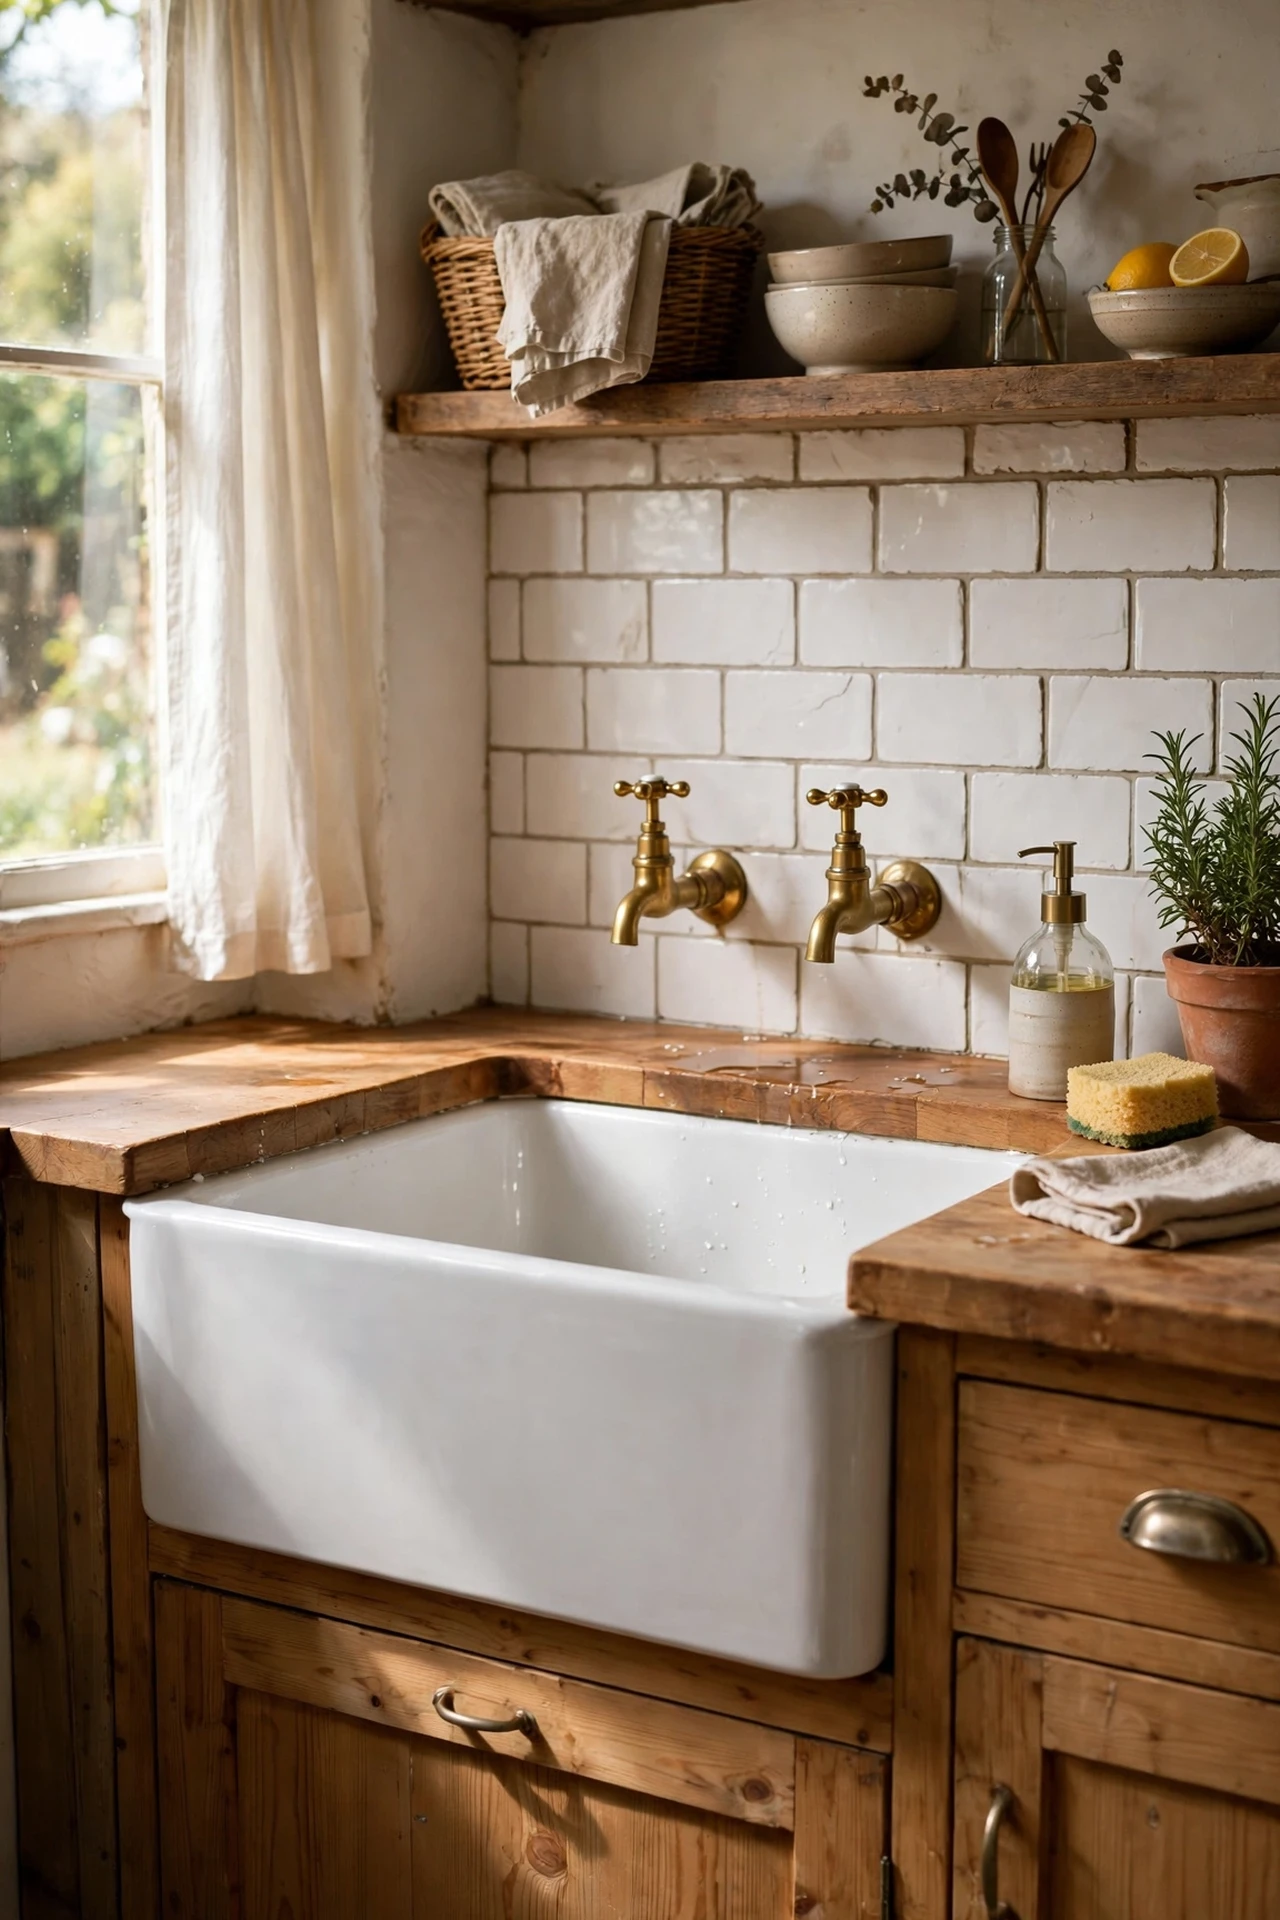
A deep farmhouse sink is the poster child of rustic kitchens, and salvage yards are full of them for a fraction of retail price. Search architectural salvage listings for a cast-iron or fireclay Belfast sink, check for cracks and chips around the rim, and scrub it with bicarbonate of soda before fitting. I tried a $60 salvage sink in my rental kitchen, and visitors assumed I had renovated. The mistake to avoid is falling for a cracked one: hairline cracks near the drain leak slowly and ruin the cabinet below. Weigh the joy of an original against the guarantee of a new reproduction if you are nervous. Either way, the apron front steals the show.
Cost: ~$80 | Time: 120 minutes
4. Mason Jar Pantry Storage
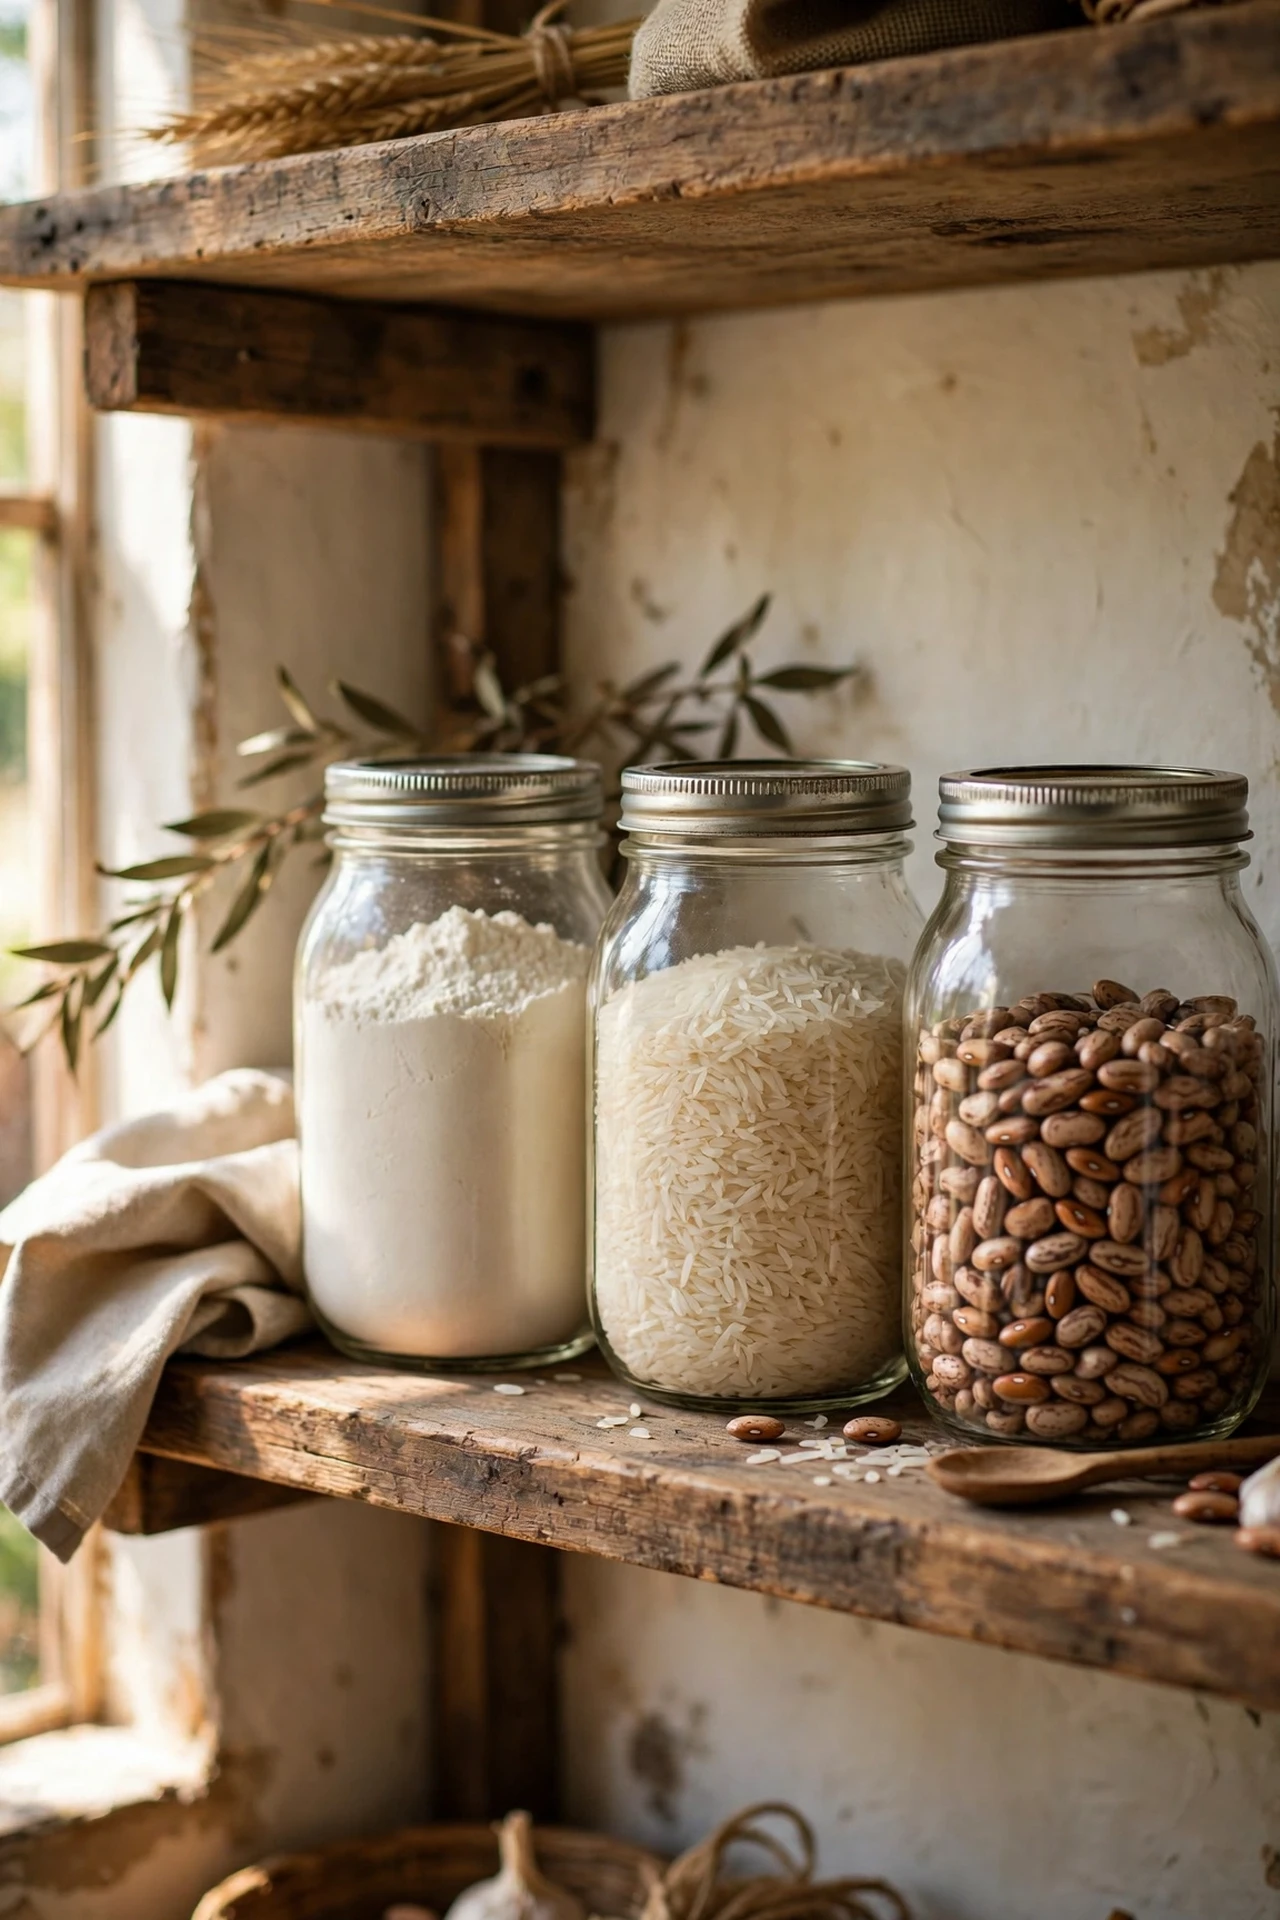
Mason jars turn a messy pantry into a rustic display for the price of a pizza. Decant flour, rice, oats, and dried beans into large jars, label each one with a chalk-pen tag, and line them up on open shelves or a deep windowsill. I tried this with a dozen jars from a discount store, and my pantry went from chaos to something I actually wanted to photograph. The mistake to avoid is buying jars in different sizes at random: uniformity is what makes it look intentional. Stick to two sizes, wide-mouth for easy scooping. It is pantry organisation that doubles as decoration.
Cost: ~$12 | Time: 30 minutes
5. Reclaimed Wood Kitchen Island
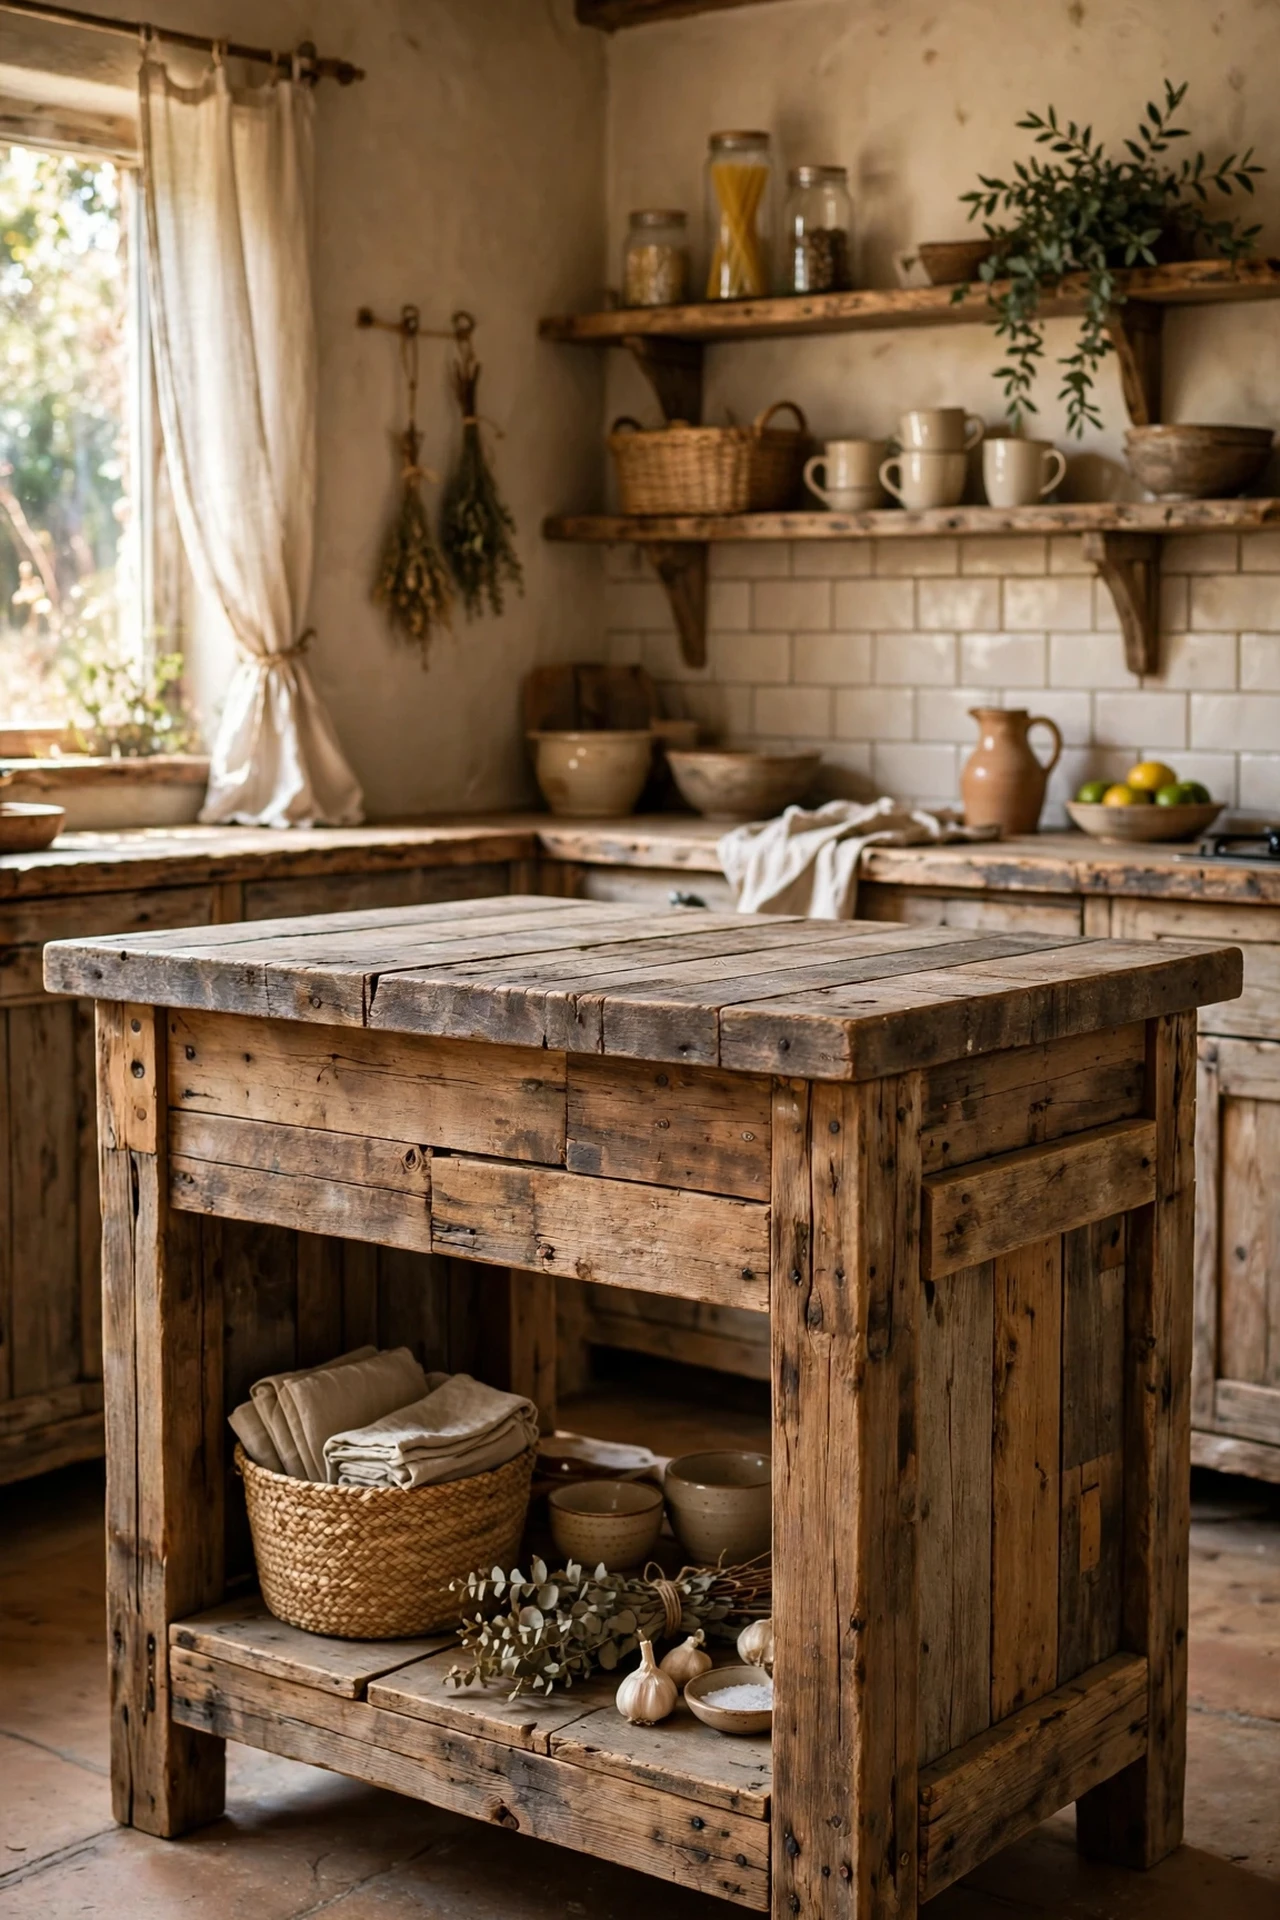
A reclaimed wood island anchors a rustic kitchen like nothing else, and building one is simpler than it looks. Start with a sturdy secondhand table or a pair of old dressers, top it with scaffold boards or a salvaged door laid flat, then add castors if you want it moveable. I tried building one from a $30 charity-shop dresser and three scaffold planks, and it became the spot where everyone gathers. The mistake to avoid is making it too tall: standard worktop height is about 90cm, and anything higher is miserable for chopping. Sand everything smooth where hands rest, seal the top, and you have a farmhouse centrepiece for the price of a takeaway.
Cost: ~$40 | Time: 180 minutes
6. Chalkboard Menu Wall
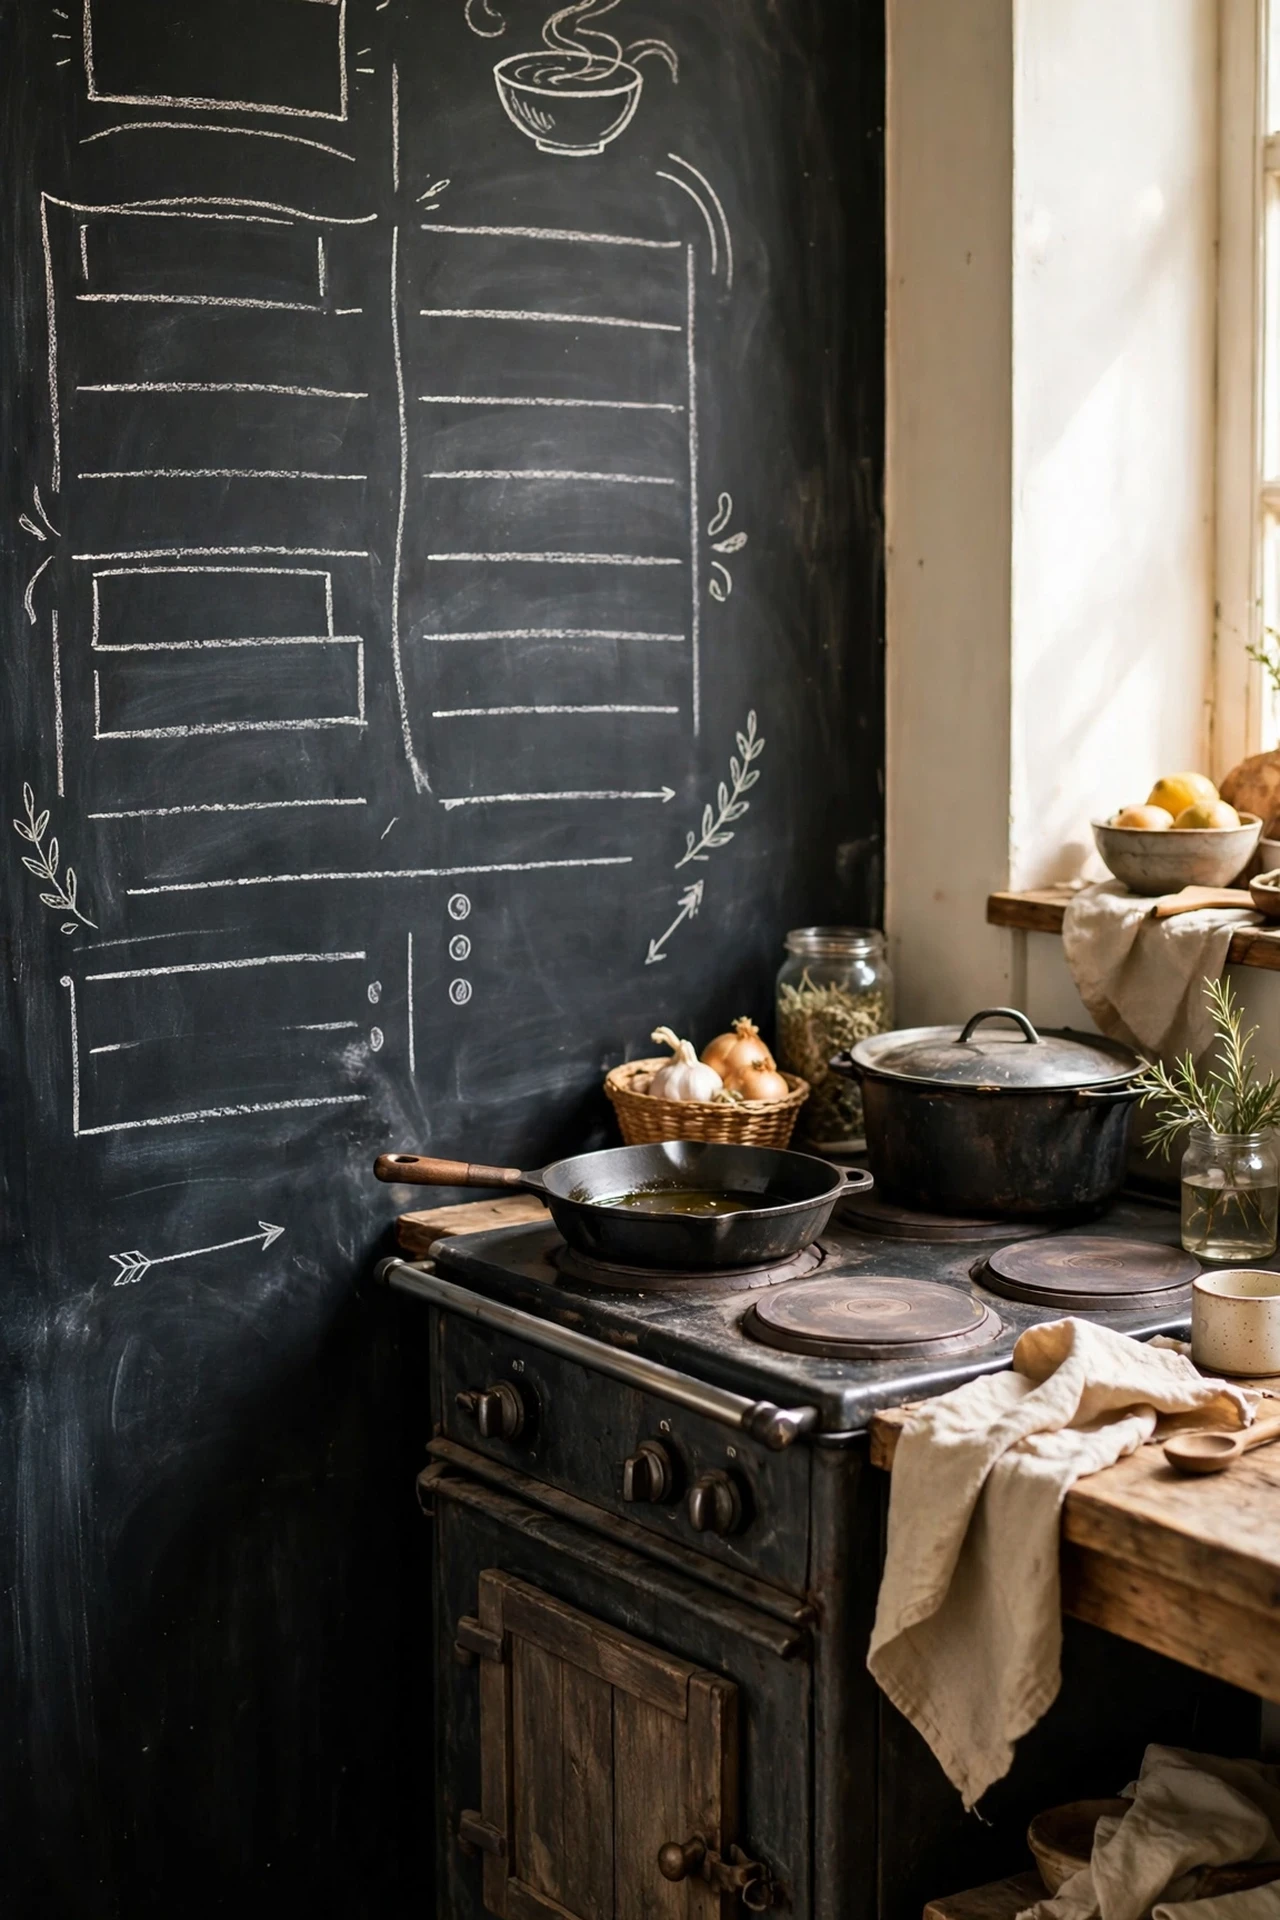
A chalkboard wall brings the charm of a country café to your kitchen for almost nothing. Paint a section of wall or the inside of a pantry door with two coats of chalkboard paint, let it cure for three full days, then prime it by rubbing chalk all over and wiping off. I tried a menu board beside my cooker, and the weekly meal plan scribbled there made me feel oddly like a professional chef. The mistake to avoid is writing before the cure is complete: the paint stays tacky and your first menu becomes permanent. Use liquid chalk pens for crisp lettering that wipes away cleanly.
Cost: ~$8 | Time: 45 minutes
7. Vintage-Style Pendant Lights
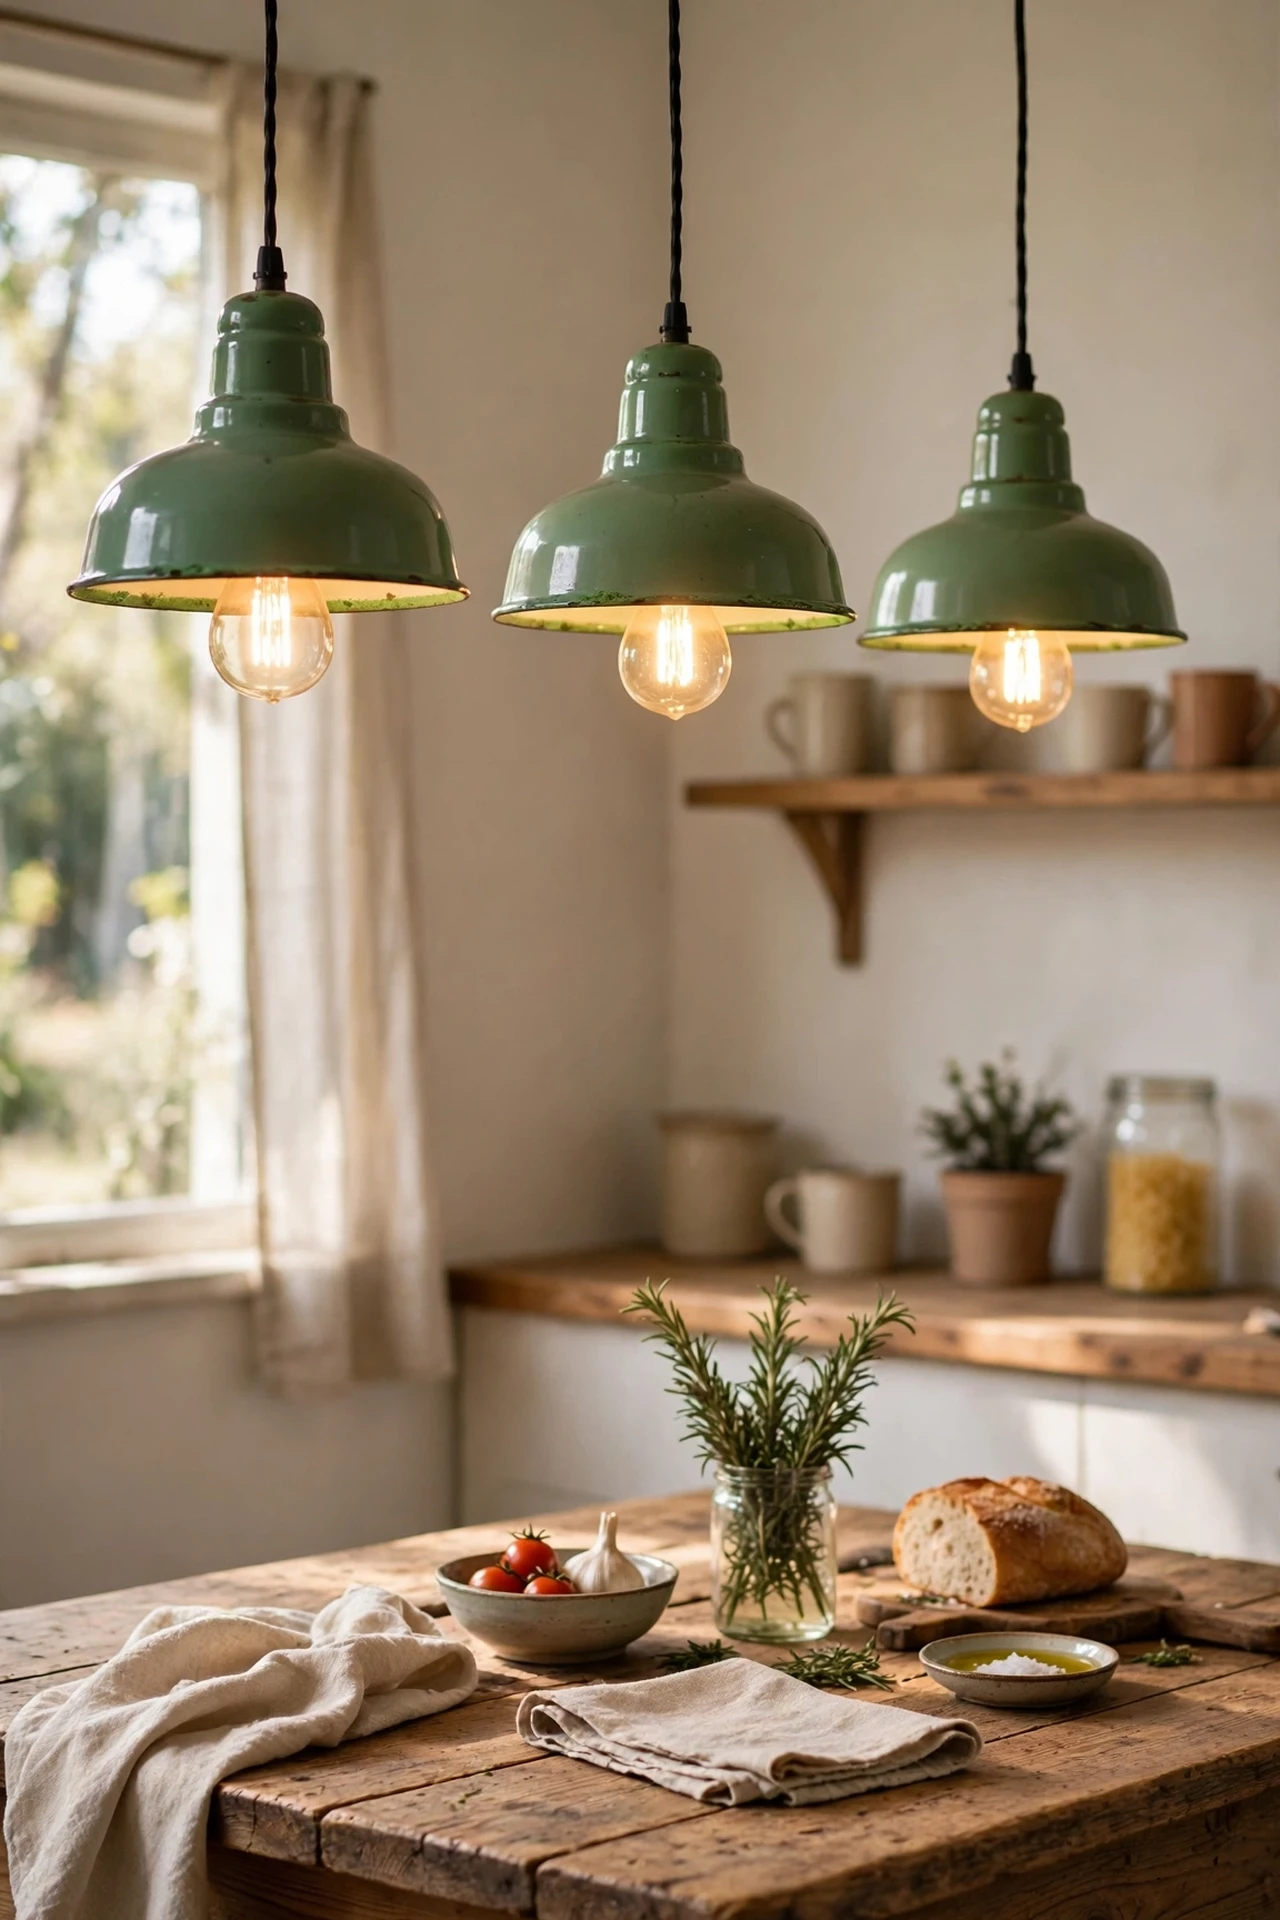
Vintage-style pendant lights with exposed bulbs give a rustic kitchen its glow without an electrician’s bill. Choose enamel or seeded-glass shades, hang them low over the island or table, and fit warm-toned Edison bulbs for that amber farmhouse light. I tried three green enamel pendants over my table, and the kitchen felt like a French bistro at night. The mistake to avoid is hanging them too high: pendants should sit about 75cm above the surface or the light floats away uselessly. If your wiring is old, a plug-in pendant with a long cord works just as well and needs no rewiring.
Cost: ~$30 | Time: 40 minutes
8. Burlap Café Curtains
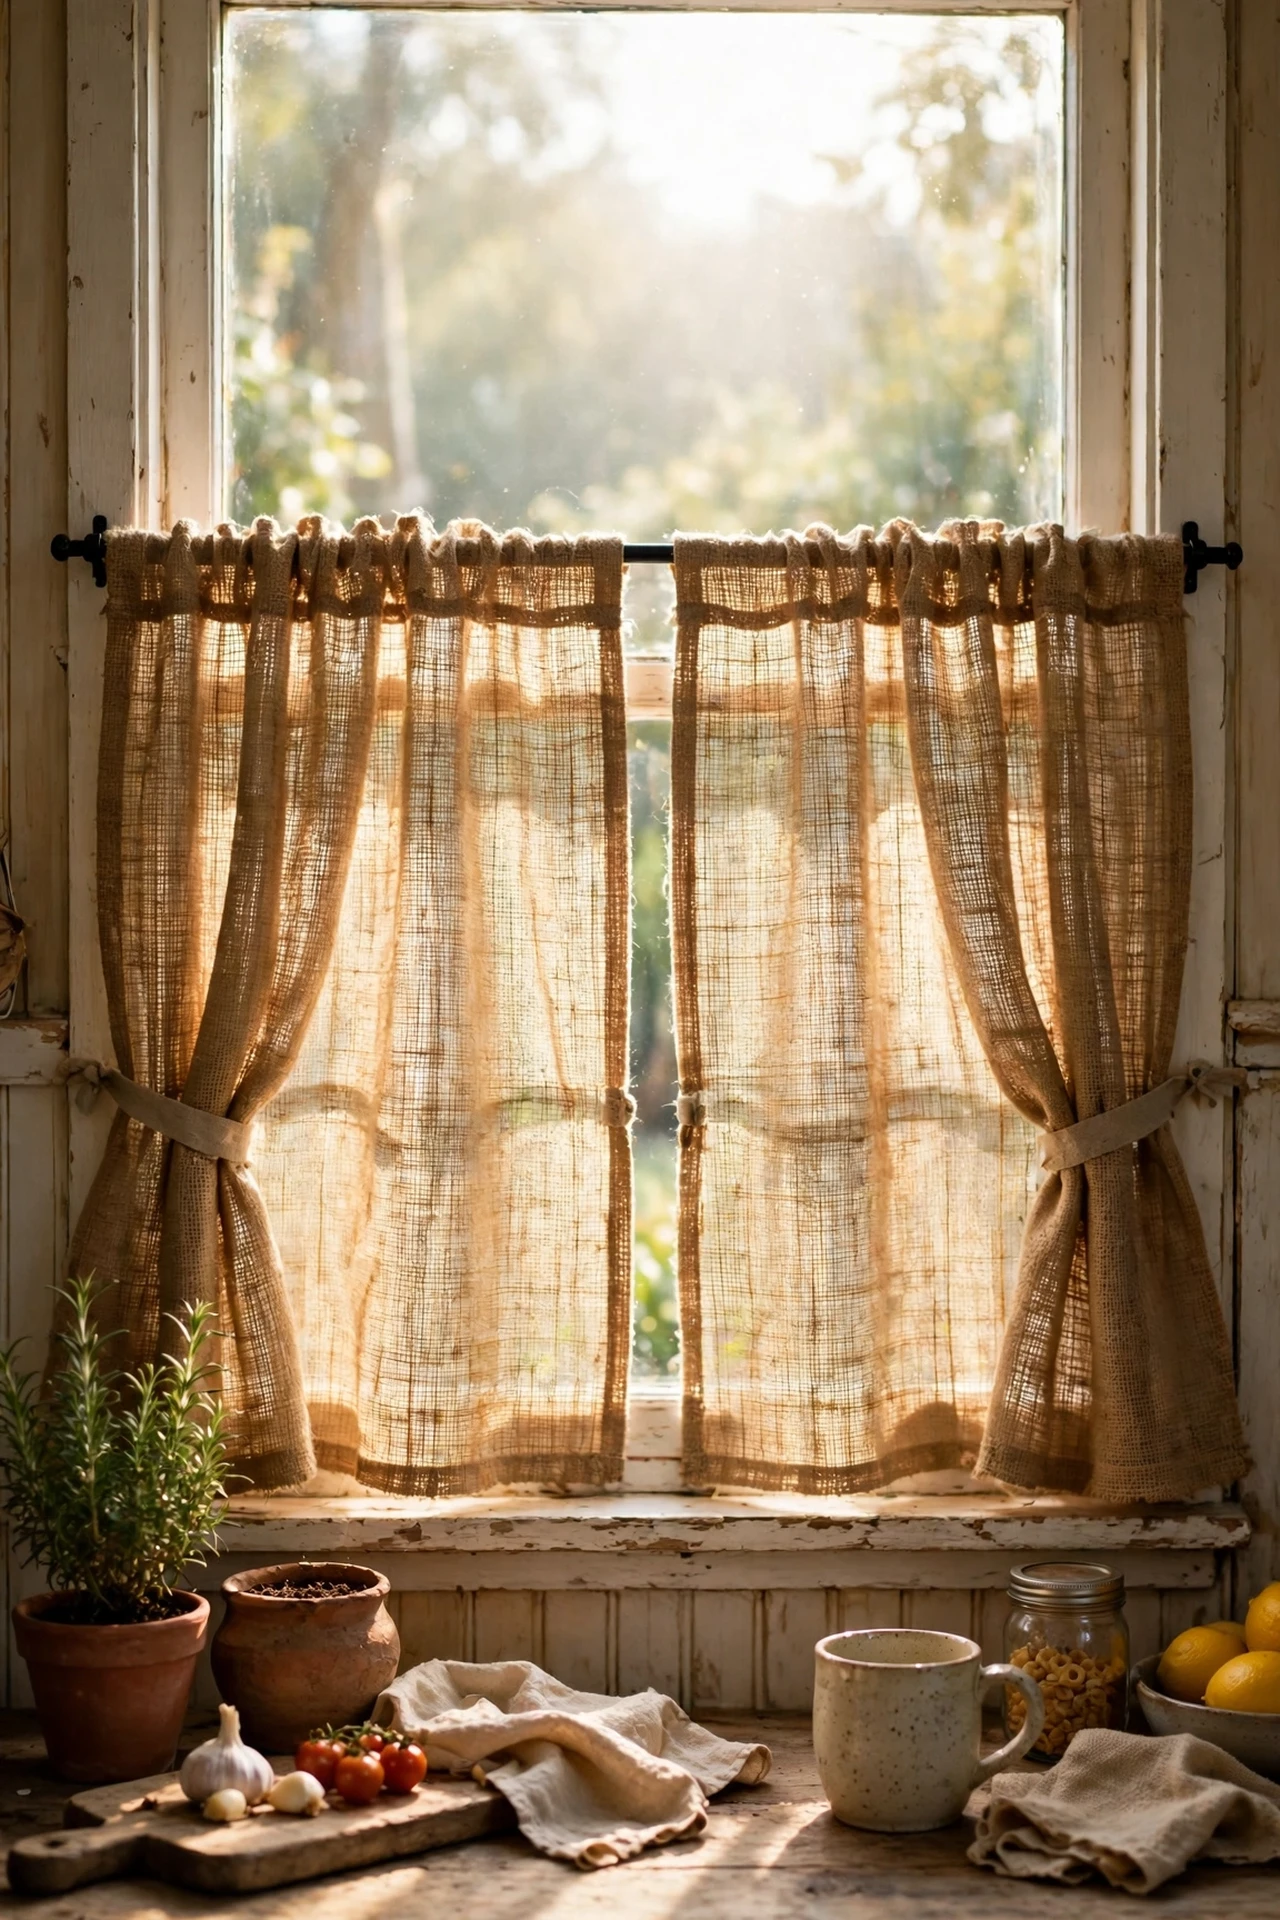
Burlap café curtains are pure rustic romance, and a roll of burlap costs less than a ready-made pair. Cut panels to half-window height, hem the edges with iron-on tape if you cannot sew, and thread them on a slim tension rod. I tried these on my back-door window, and the morning light filtering through the weave was ridiculously pretty. The mistake to avoid is skipping a pre-wash: burlap sheds and smells like a feed store until you rinse it. Pair them with a simple wooden rod for extra charm, and your windows suddenly have countryside manners.
Cost: ~$10 | Time: 25 minutes
9. Old Farmhouse Table as Island
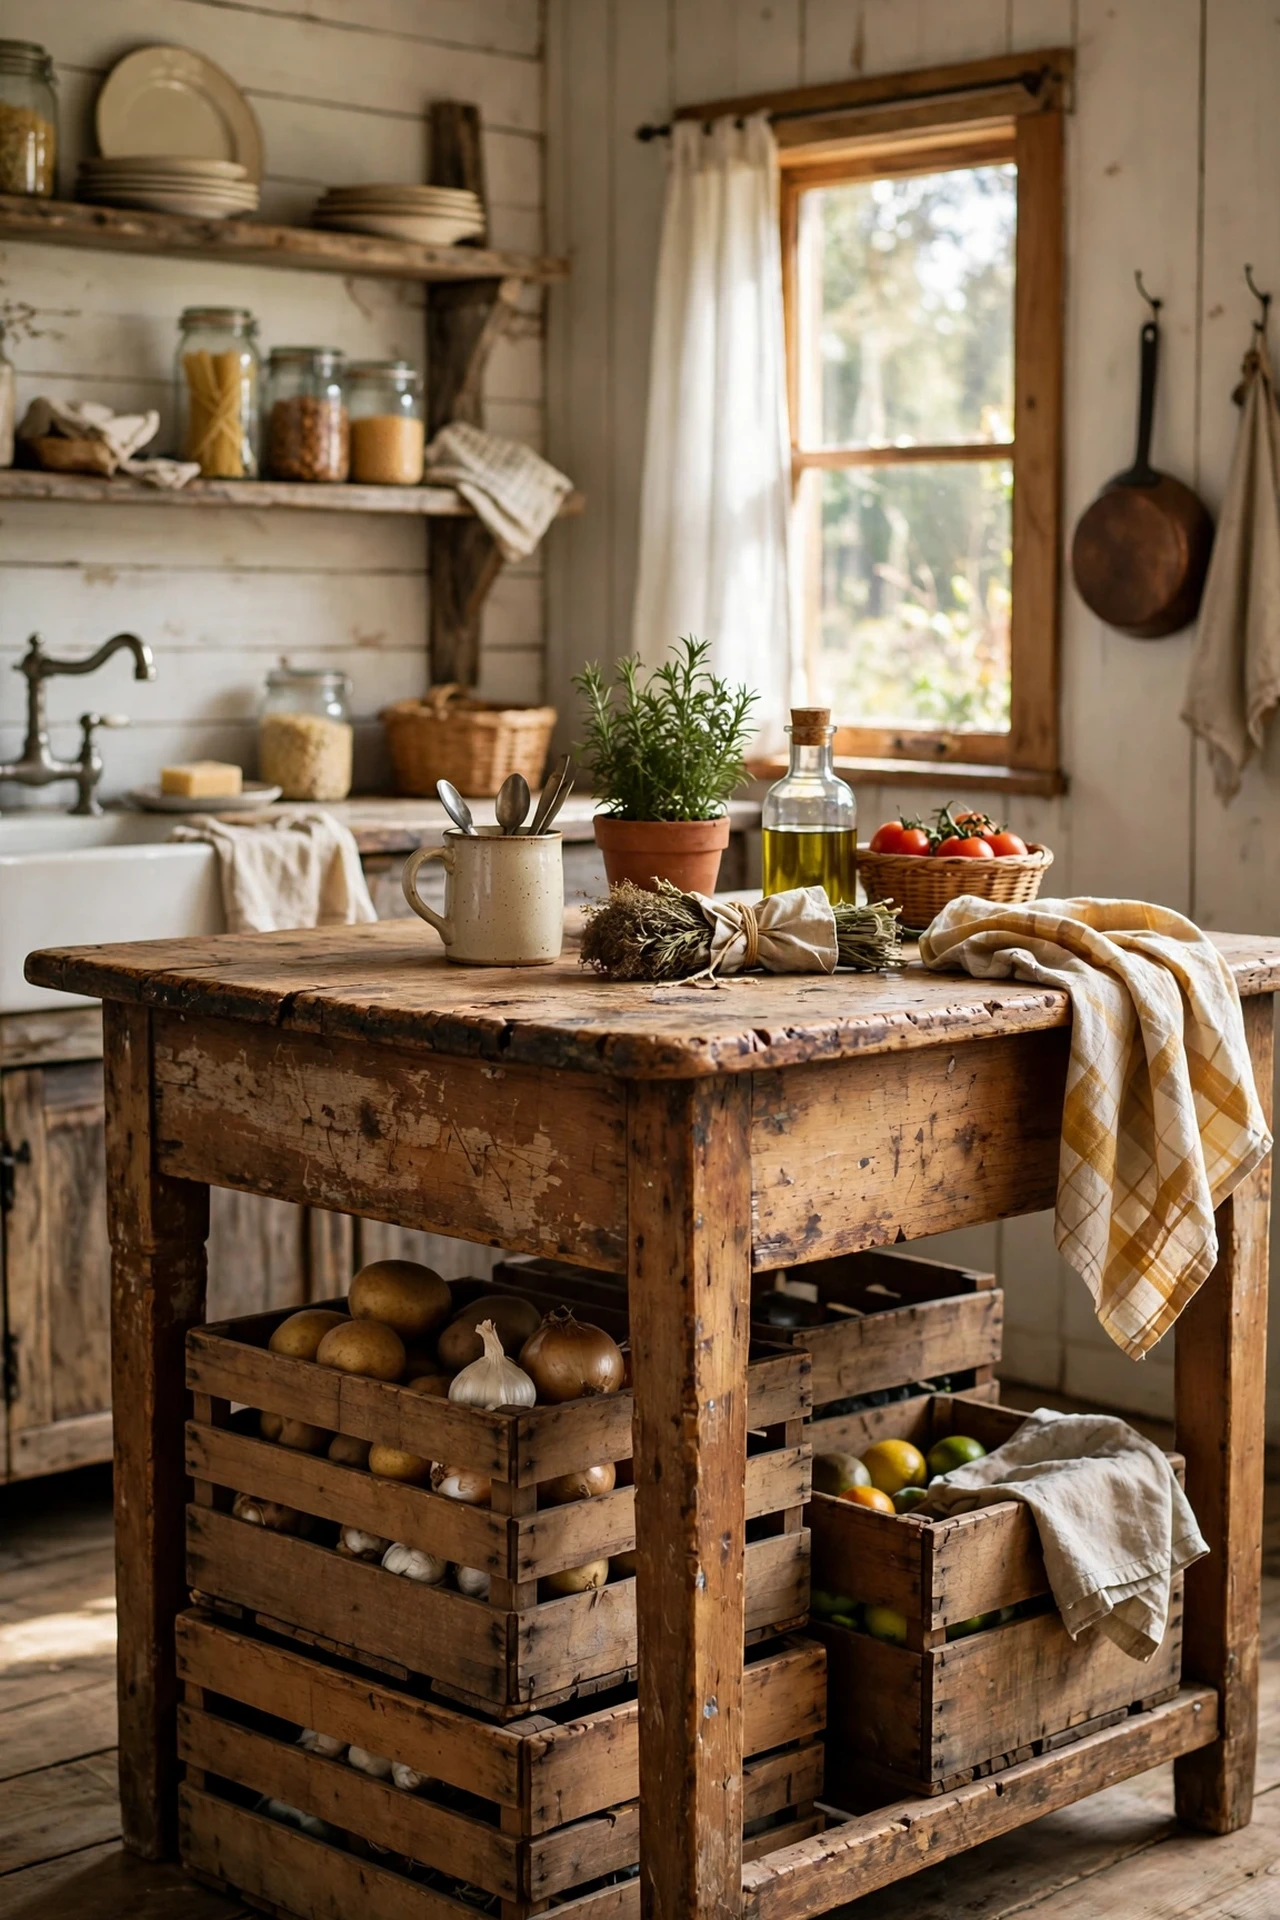
An old farmhouse table makes a better kitchen island than most flat-pack ones, and charity shops are full of them. Look for solid wood with a sturdy frame, sand and oil the top, then add a lower shelf or a couple of crates underneath for storage. I tried a scratched pine table as my island, and the dings and rings just added to its story. The mistake to avoid is a wobbly frame: sit on the corner before you buy, because a rocking island will drive you mad. A coat of dark wax deepens the colour and hides a multitude of sins.
Cost: ~$50 | Time: 20 minutes
10. Copper Pots on a Wall Rail
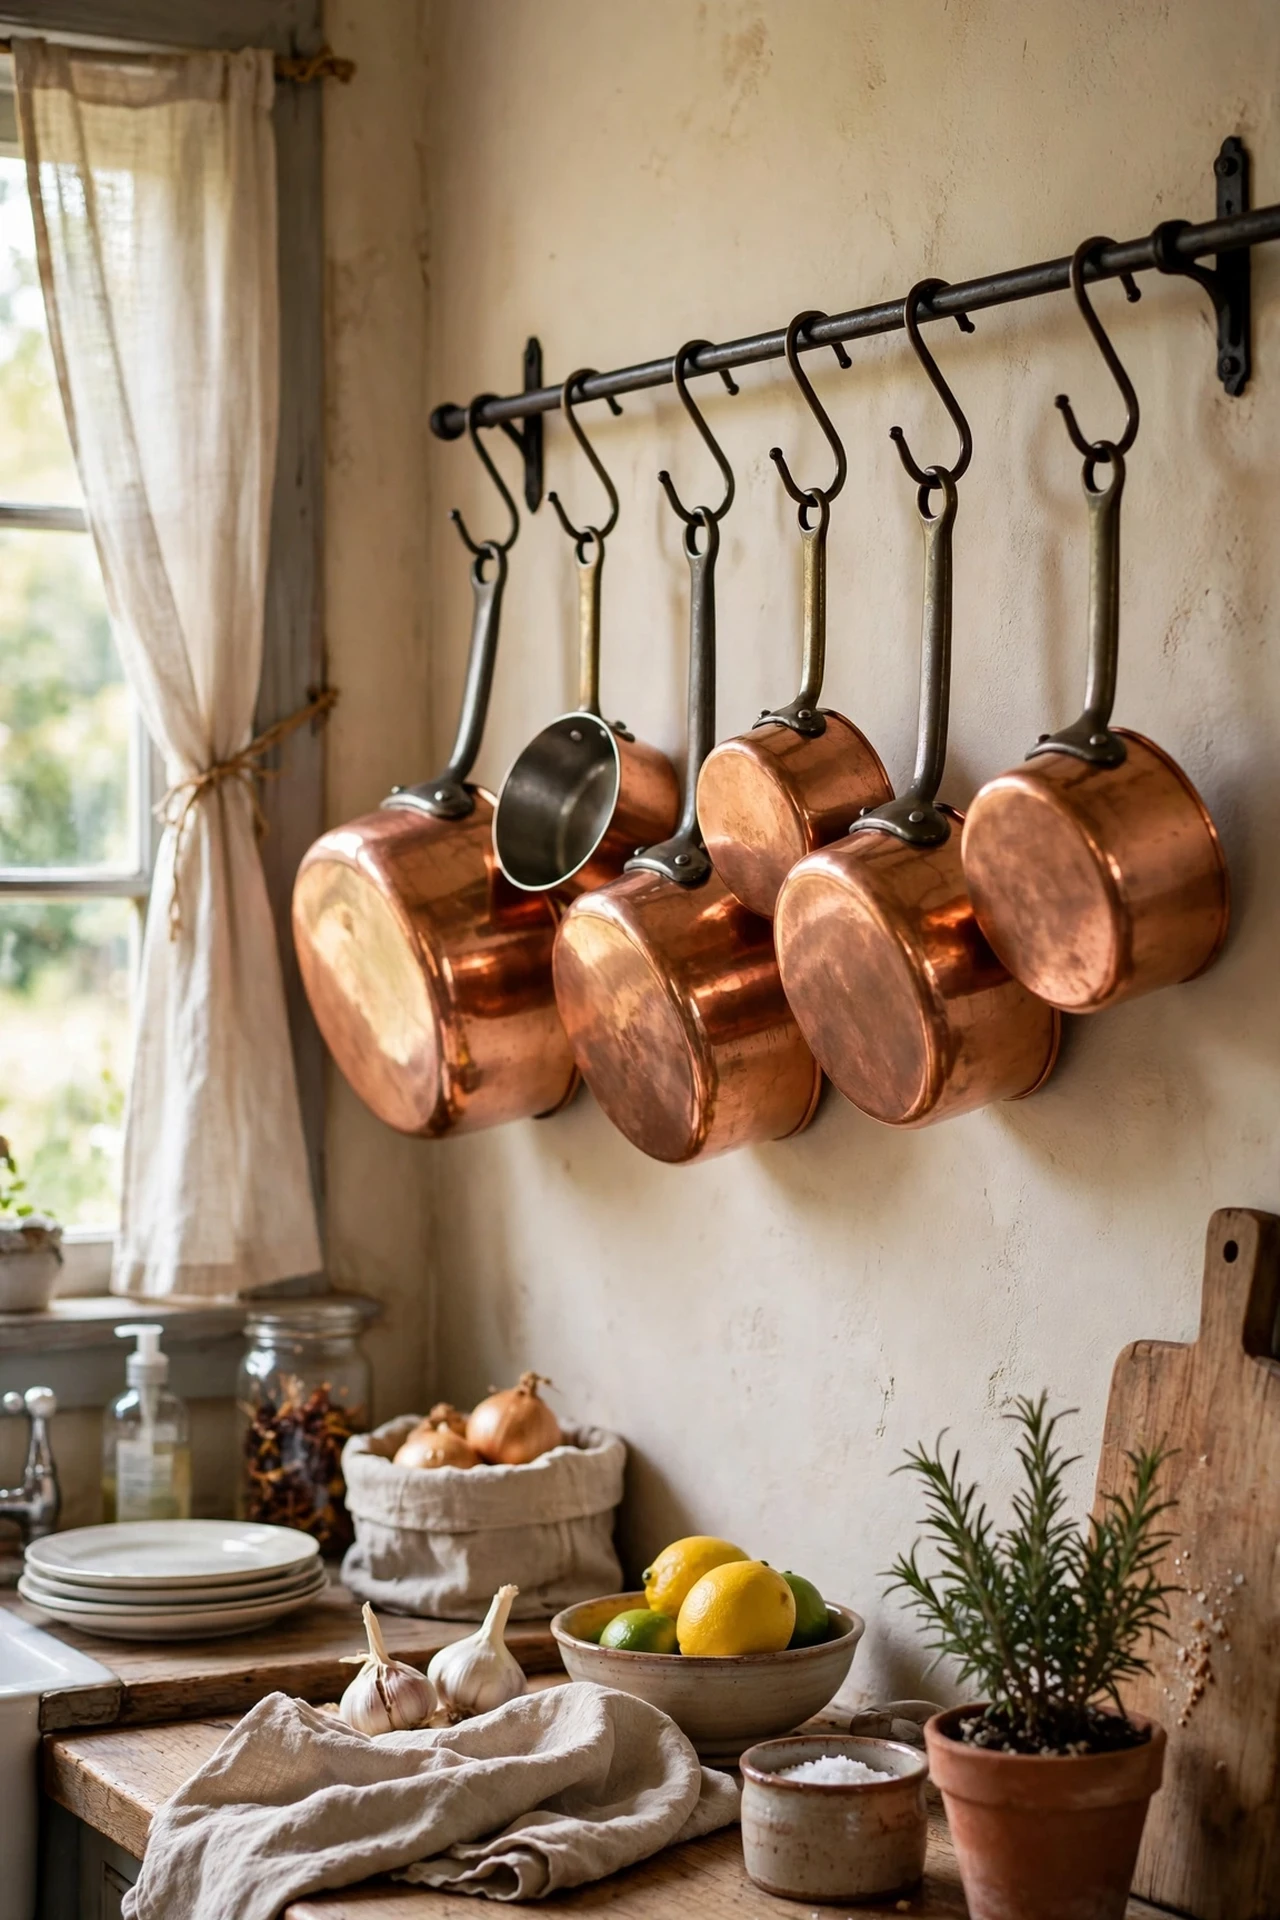
Hanging copper pots on a simple wall rail is rustic theatre, and it frees up cupboard space too. Fix a sturdy rail or a length of iron pipe to the wall with proper anchors, hang S-hooks along it, and arrange your pots by size. I tried this with three copper pans from a flea market, and guests kept asking if they were family heirlooms. The mistake to avoid is weak fixings: copper is heavy, and a rail that rips out of the wall takes the plaster with it. Polish occasionally with lemon and salt if you like shine, or let them go dark for a moodier look.
Cost: ~$15 | Time: 30 minutes
11. Shiplap Backsplash Boards
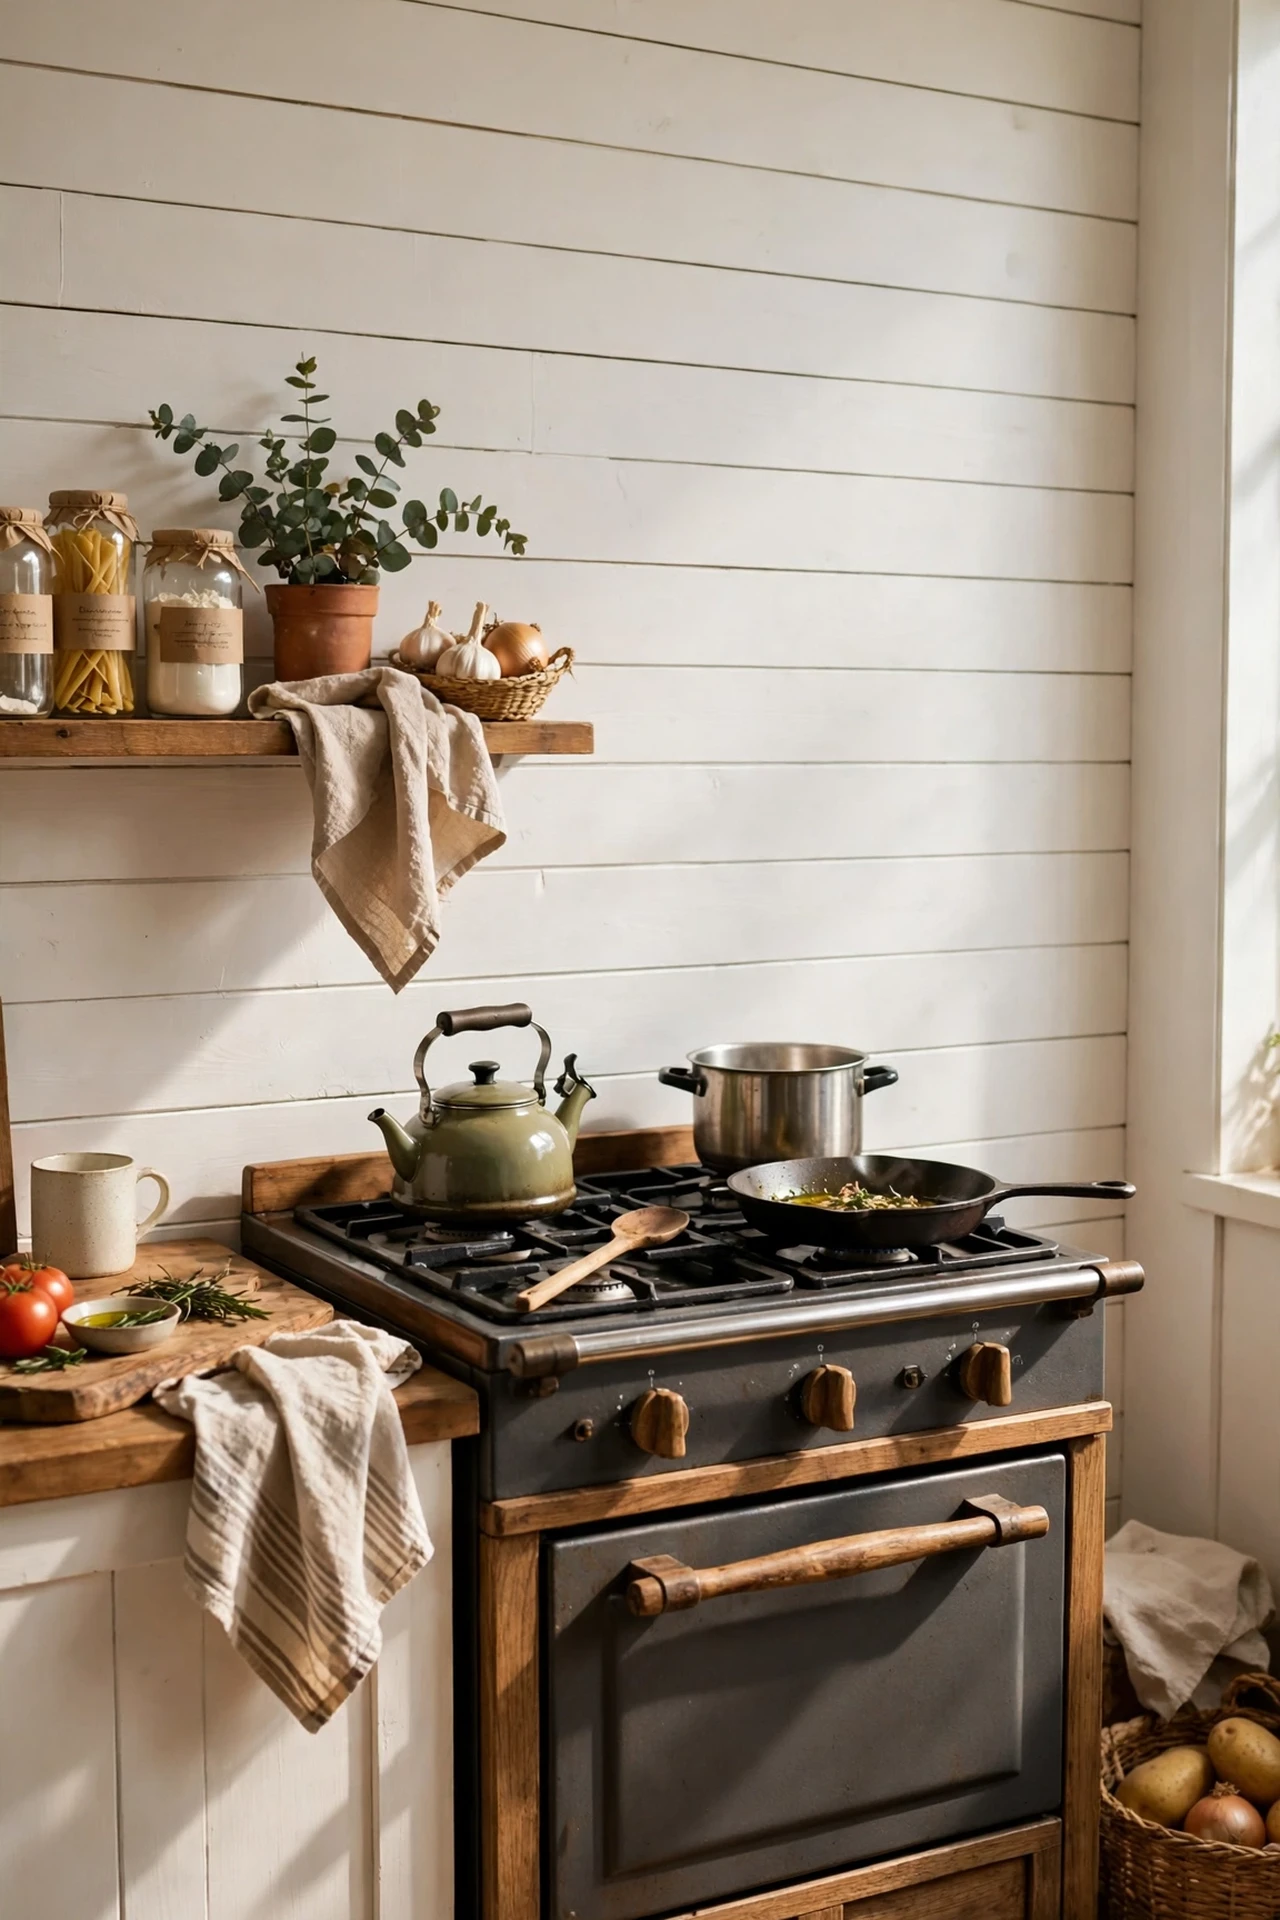
A shiplap backsplash adds instant farmhouse texture behind your cooker for the price of a few boards. Cut thin pine boards to fit, leave small gaps between them for that classic shadow line, and fix them with adhesive and a few panel pins. I tried peel-and-stick shiplap panels in my last kitchen, and visitors tapped them in disbelief. The mistake to avoid is raw wood near the hob: grease splatters soak in, so seal everything with two coats of kitchen-grade satin varnish. Horizontal boards make a small kitchen feel wider, which is a handy bonus.
Cost: ~$35 | Time: 120 minutes
12. Galvanised Metal Storage Bins
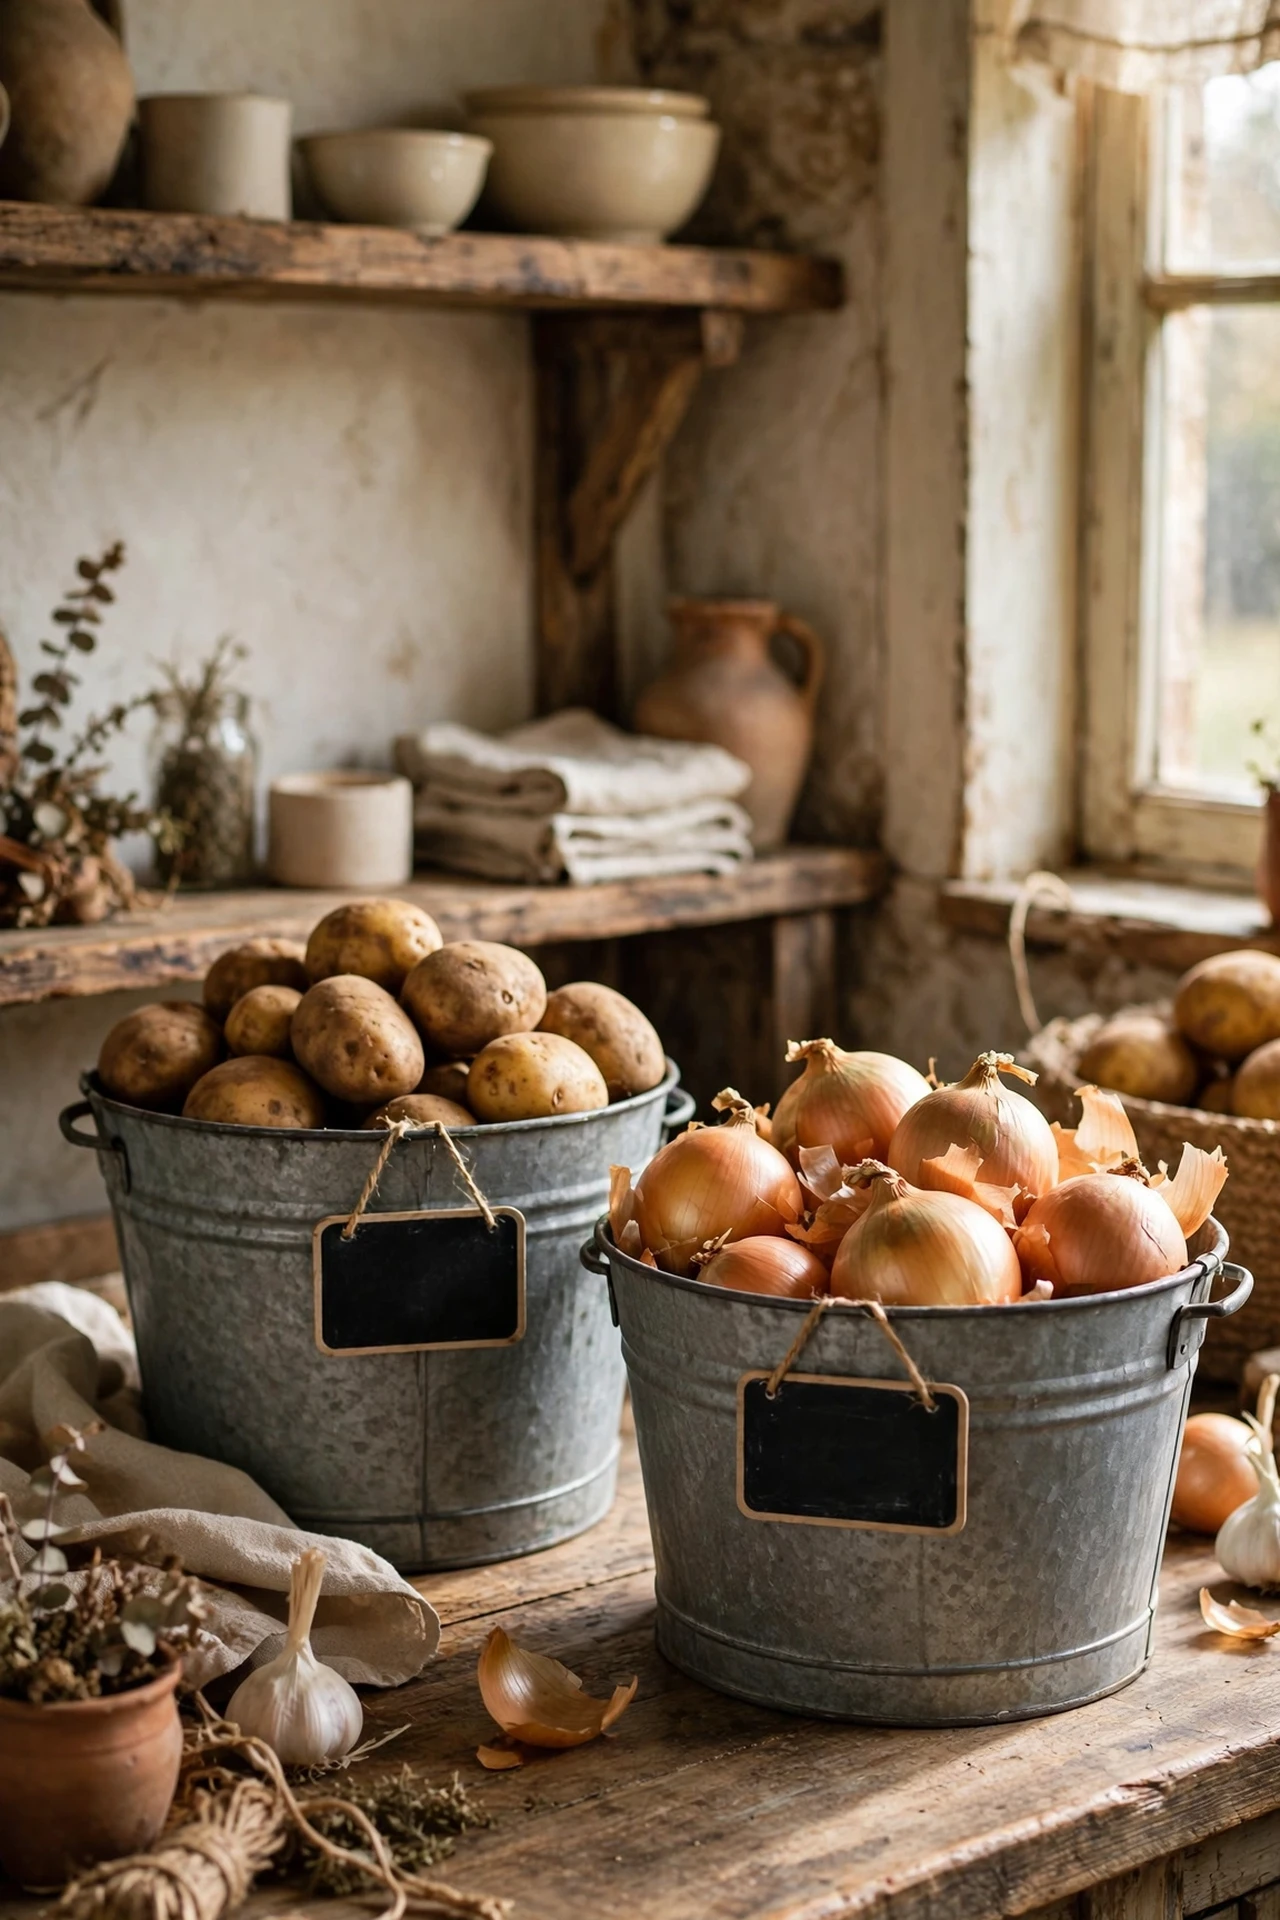
Galvanised metal bins bring that rustic farm-shop feel to potatoes, onions, and clutter alike. Buy a few in different sizes, drill a couple of ventilation holes if you store root vegetables, and chalk-label the fronts. I tried a big galvanised bucket for potatoes under my counter, and it looked so good people assumed it was decorative. The mistake to avoid is storing onions and potatoes together: the gases from onions make potatoes sprout faster. Keep them in separate bins and both last weeks longer. They wipe clean with a damp cloth and never seem to age.
Cost: ~$18 | Time: 10 minutes
13. Terracotta Herb Garden on the Windowsill
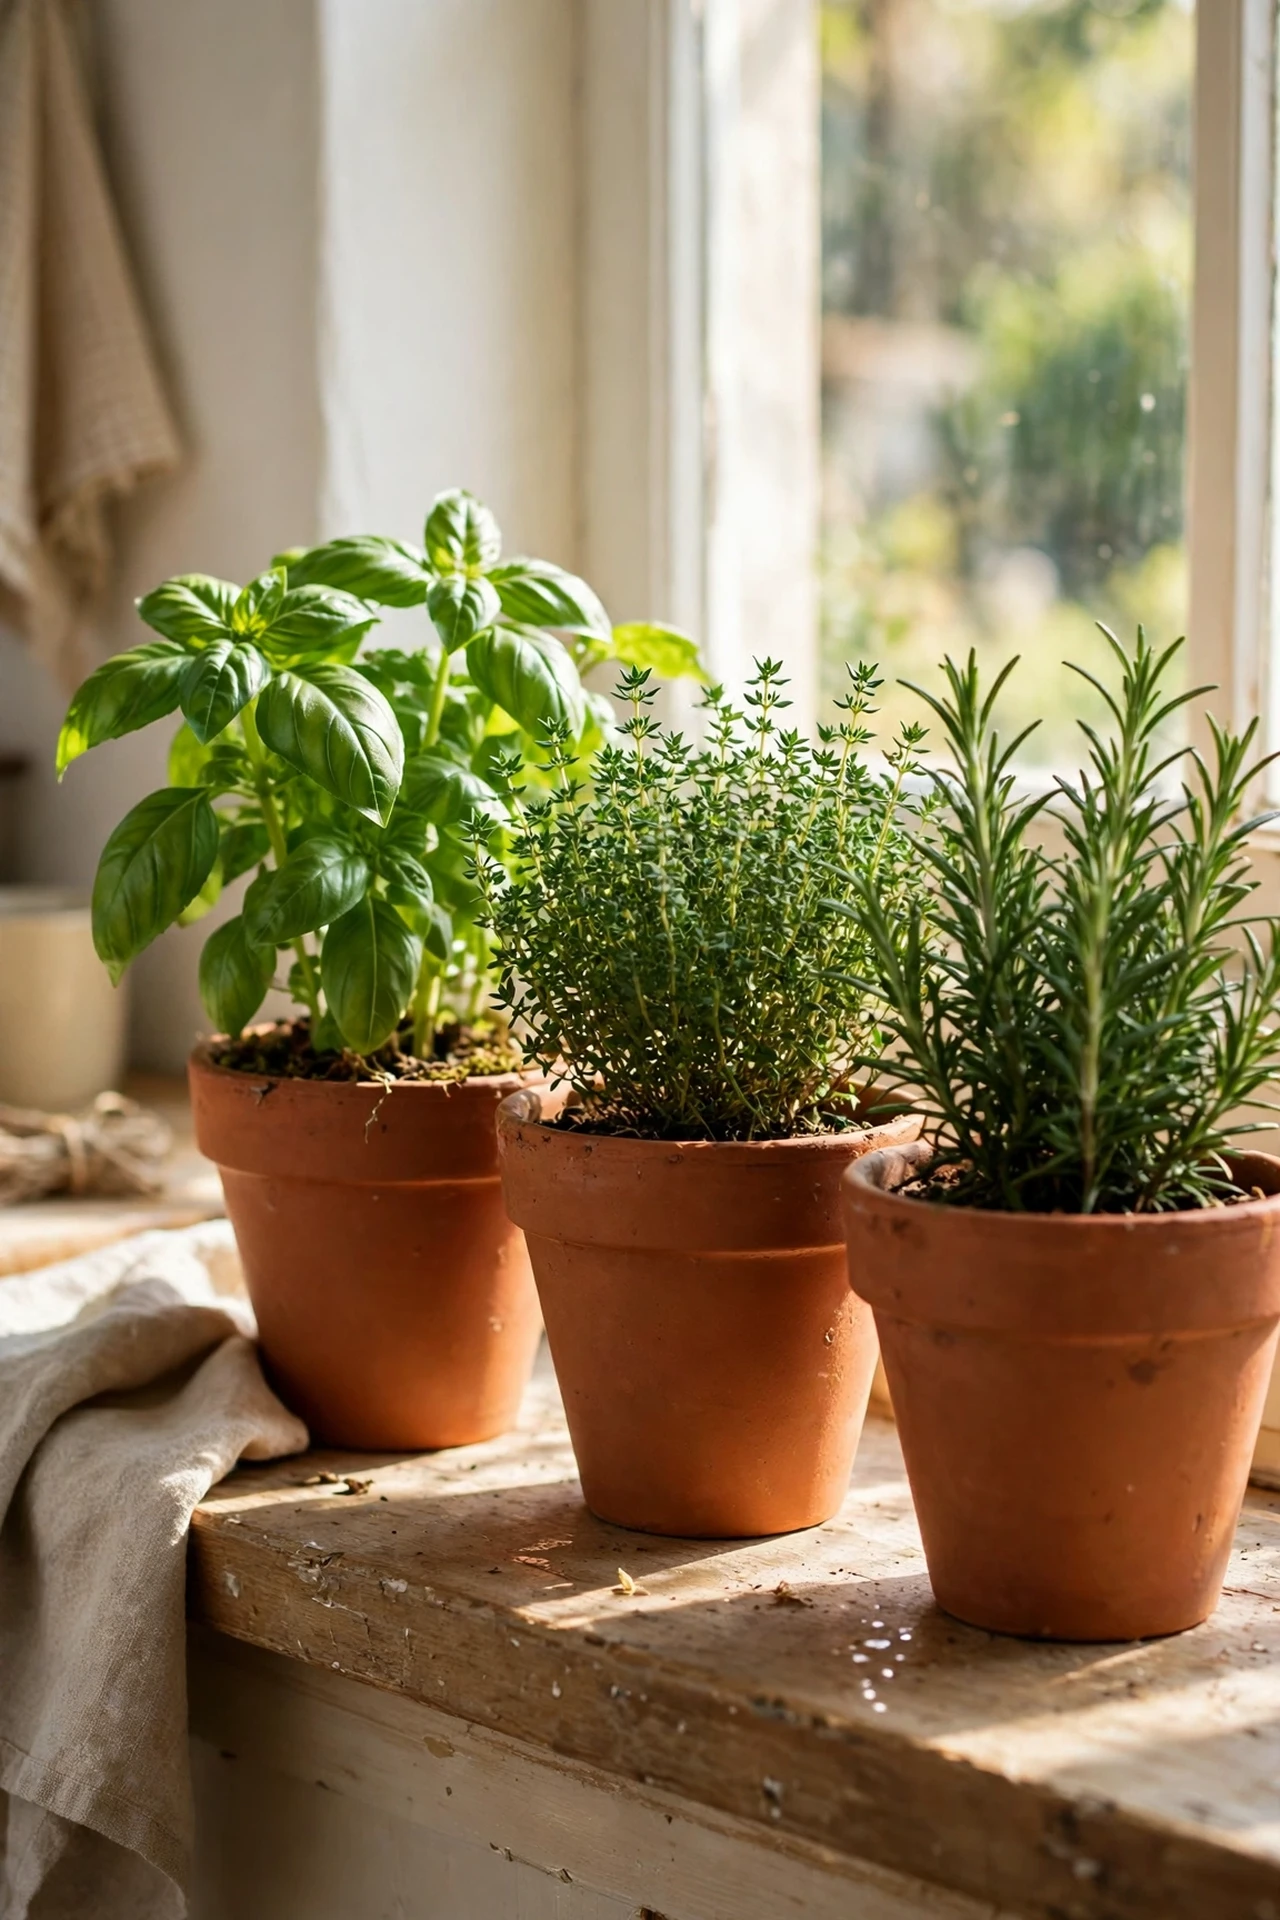
A row of terracotta pots with fresh herbs on the windowsill is rustic, fragrant, and genuinely useful. Choose pots with drainage holes, fill with a free-draining compost mix, and plant basil, thyme, rosemary, and chives, each labelled with a wooden marker. I tried growing basil from seed on my sill, and snipping fresh leaves into pasta felt absurdly luxurious. The mistake to avoid is drowning them: herbs hate wet feet, so water only when the top inch of soil is dry. A south-facing sill keeps them happiest, and terracotta’s warm orange suits rustic kitchens perfectly.
Cost: ~$14 | Time: 20 minutes
14. Chalk-Painted Cupboard Refresh
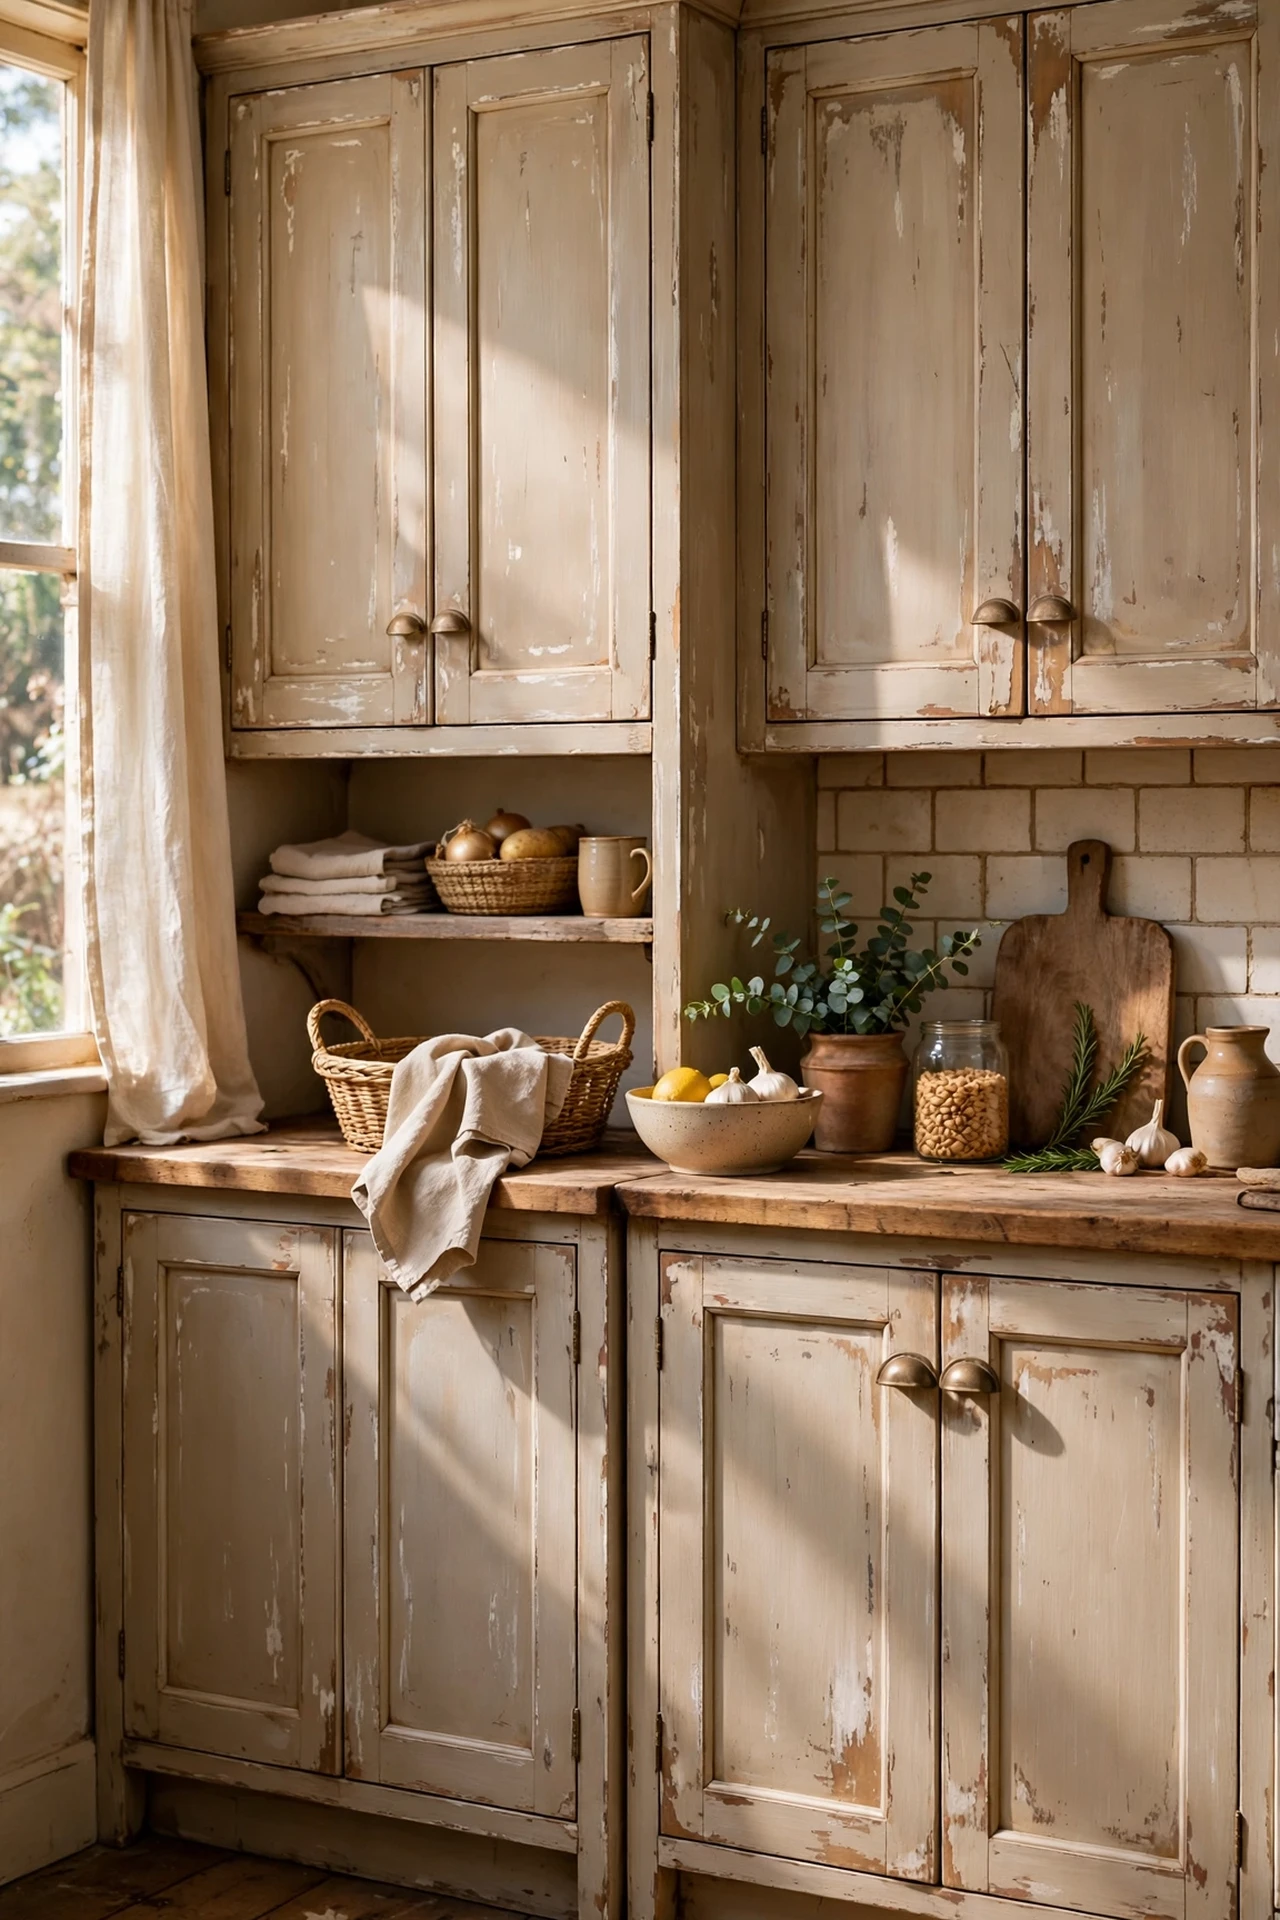
Chalk paint is the rustic decorator’s best friend: it sticks to almost anything and distresses beautifully. Clean your cupboard doors with sugar soap, brush on two thin coats of chalk paint in a warm neutral, then sand the edges lightly for a worn look and finish with clear wax. I tried this on my orange-pine cupboards, and the transformation was honestly shocking for under fifty dollars. The mistake to avoid is skipping the wax: unwaxed chalk paint marks if you look at it funny. Work in thin coats rather than one thick one, and brush marks become part of the charm.
Cost: ~$45 | Time: 240 minutes
15. Wire Baskets for Veg Storage
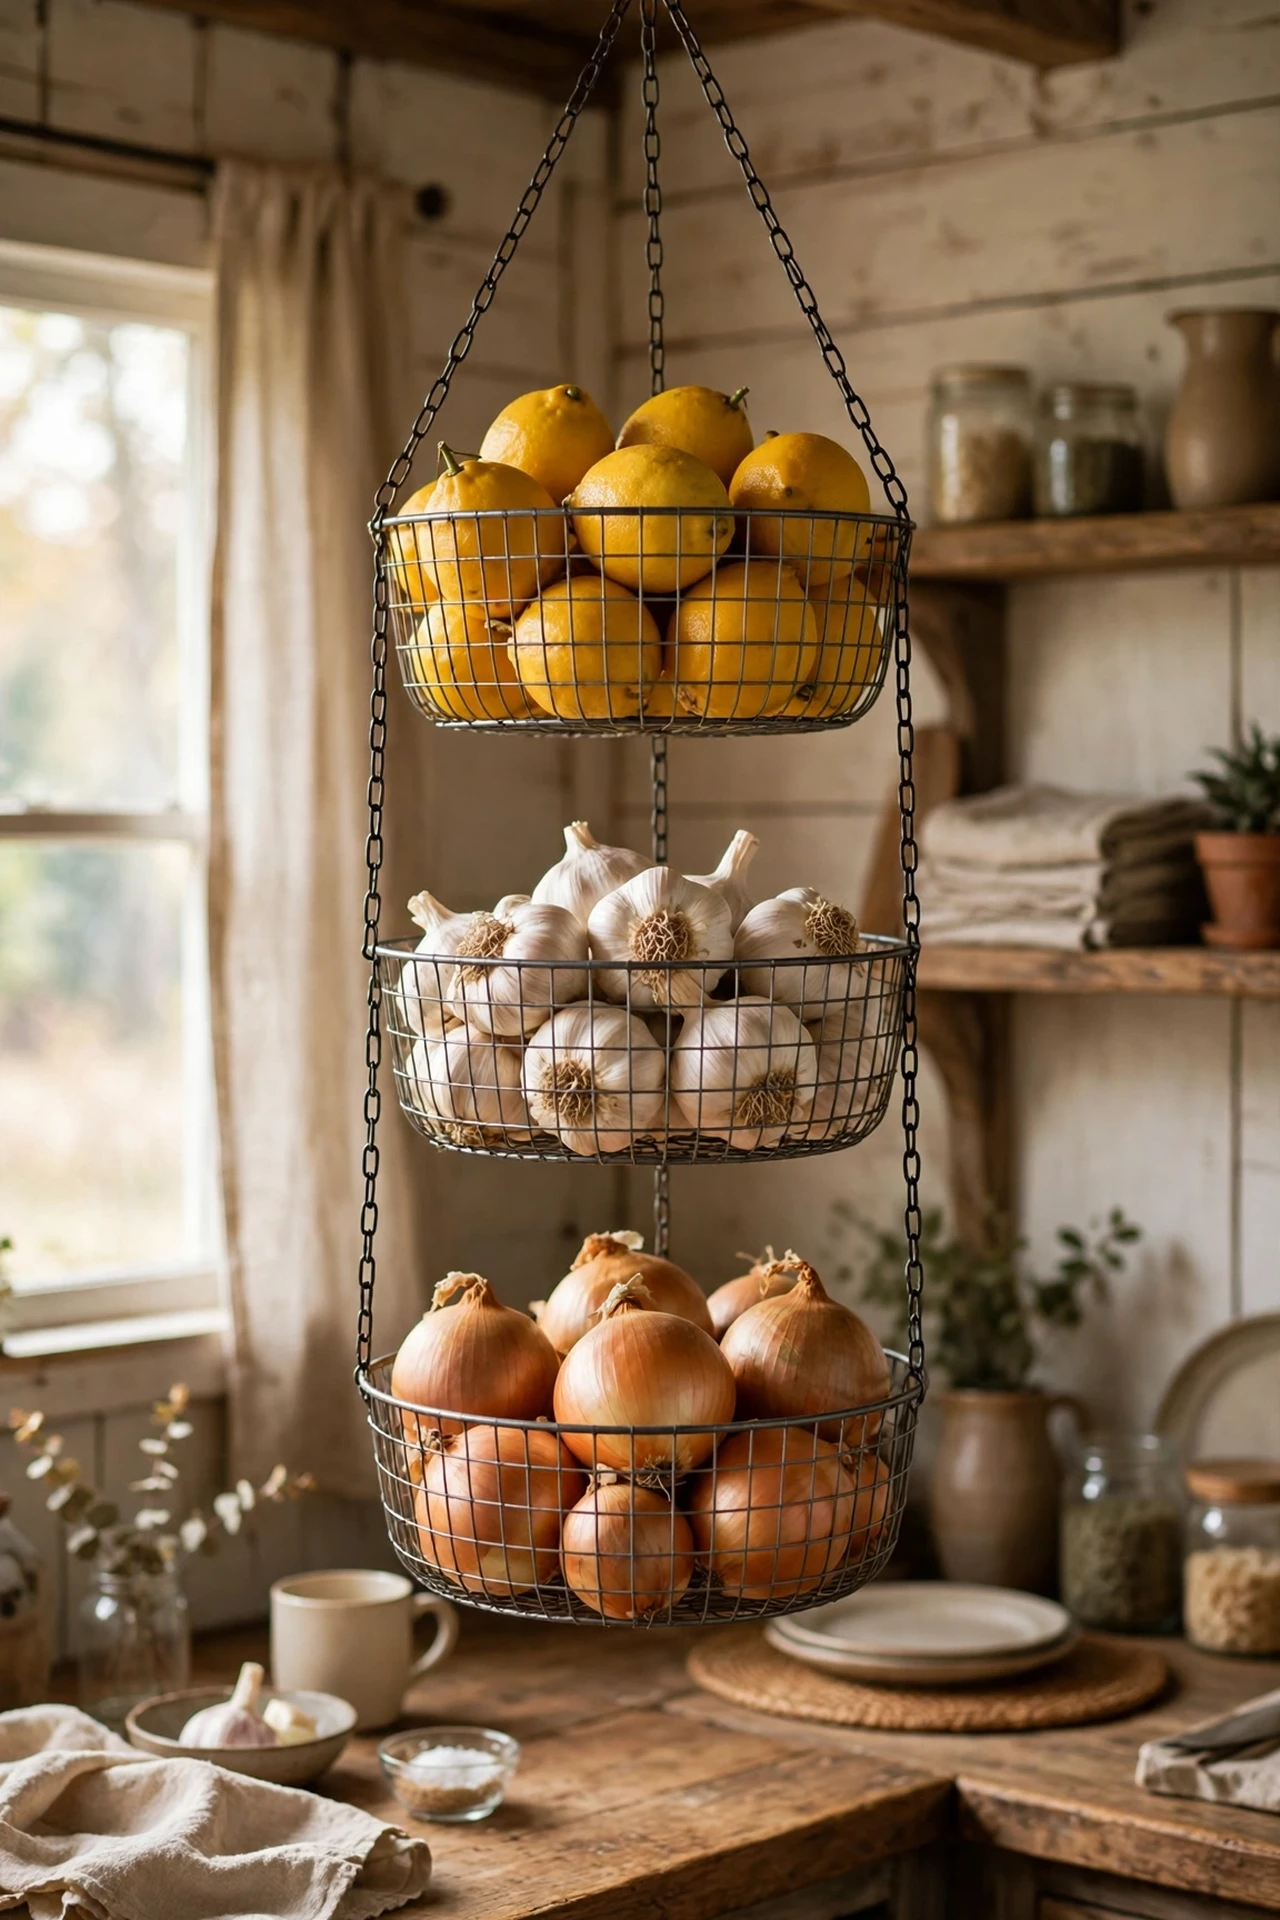
Wire baskets are the rustic way to keep fruit and vegetables visible and ventilated. Stack two or three on the worktop or hang a tiered set from a bracket, and let the produce be the decoration. I tried a three-tier hanging basket for onions, garlic, and lemons, and it freed an entire cupboard shelf. The mistake to avoid is piling everything in one deep basket: the bottom layer bruises and rots unseen. Shallow layers with air around each piece keep everything fresh longer. Copper or dark-metal baskets suit the rustic look best and cost very little.
Cost: ~$16 | Time: 15 minutes
16. Faux Wooden Ceiling Beam
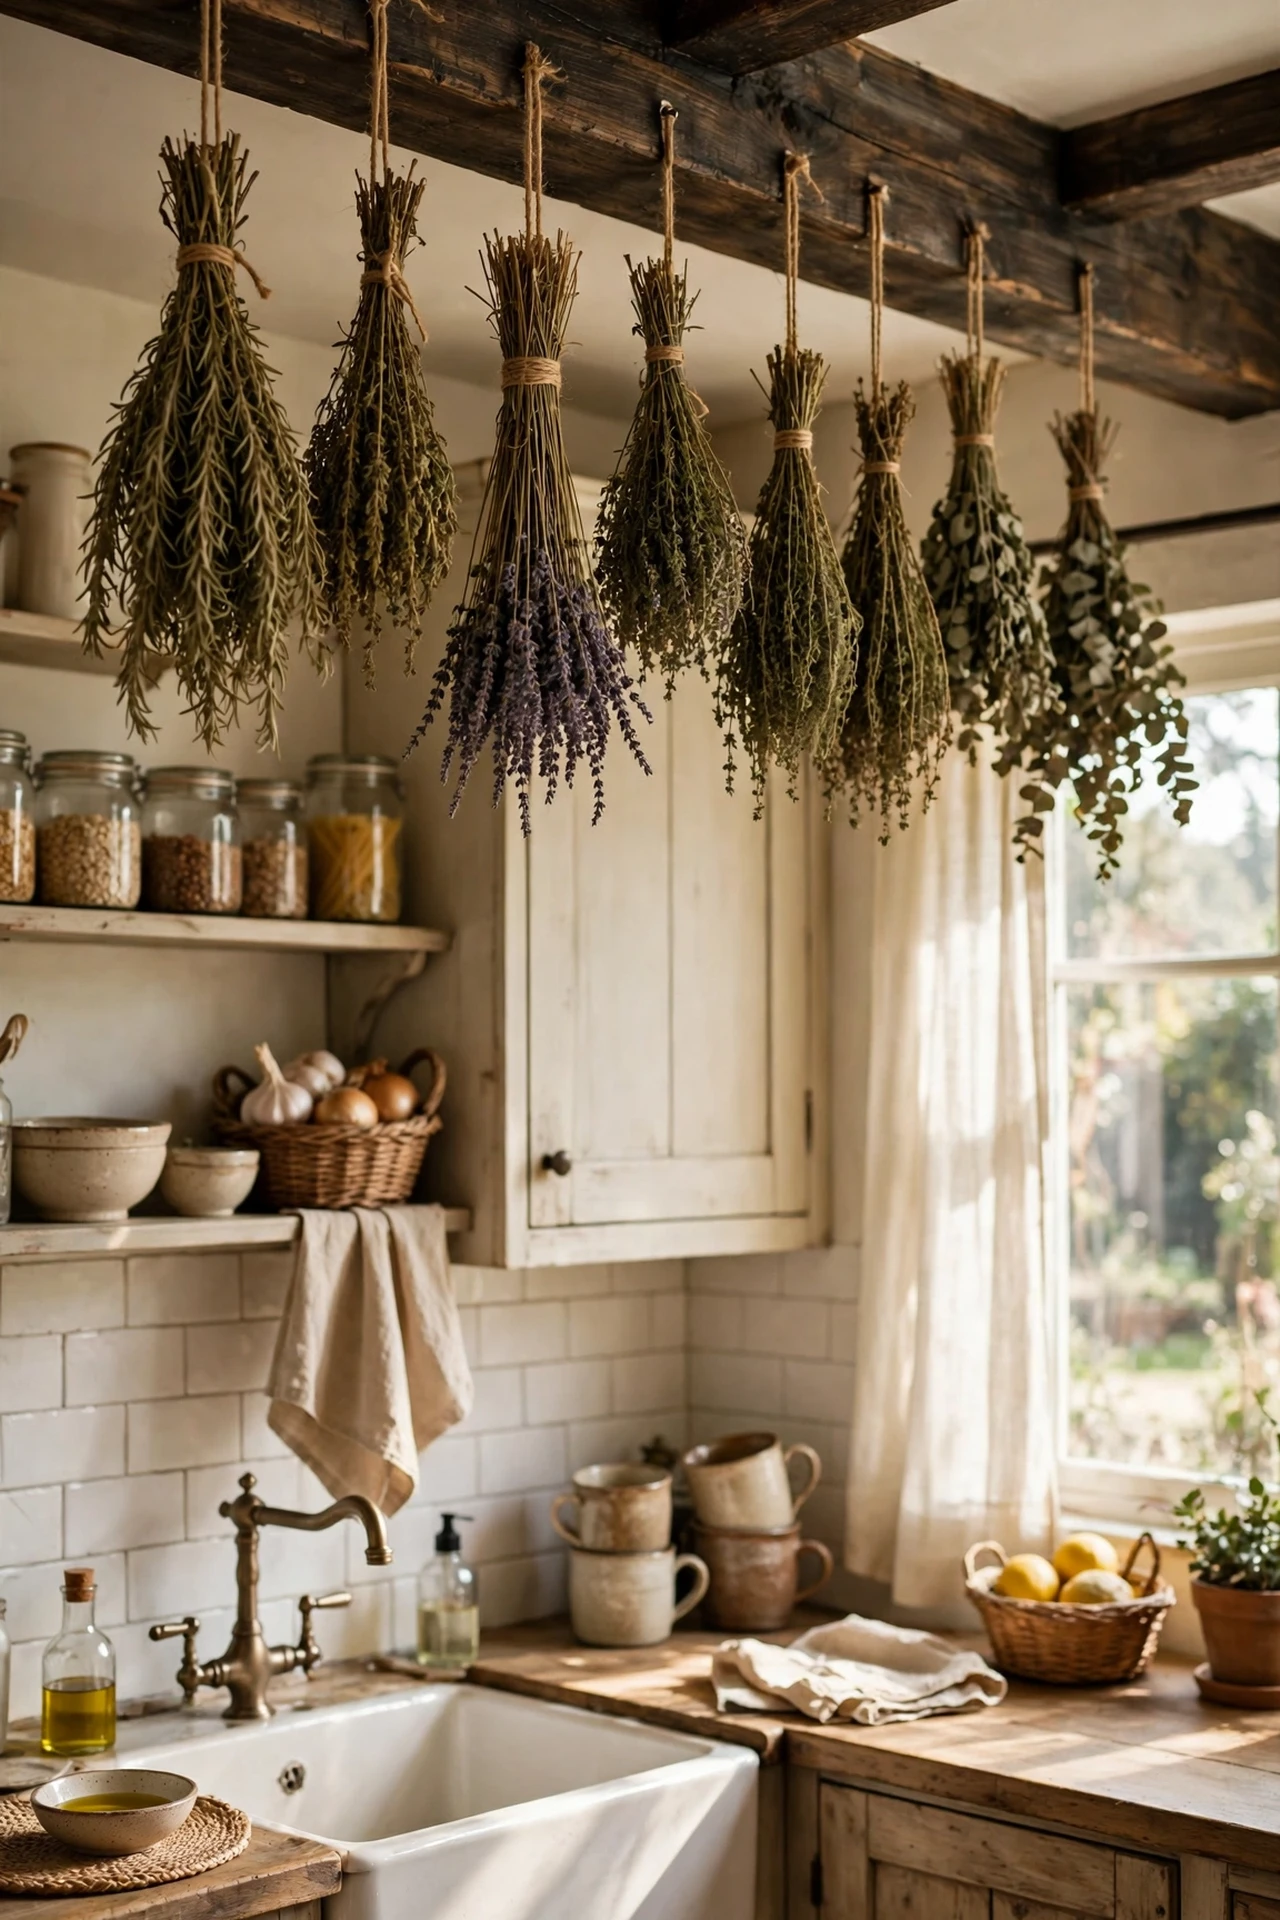
A wooden beam across the ceiling gives rustic drama for the price of a takeaway. Box in a lightweight beam with three pine boards glued and pinned into a U-shape, stain it dark, and fix it to ceiling joists. I tried a faux beam over my dining nook, and the room instantly felt like an old farmhouse. The mistake to avoid is hanging it from plasterboard alone: beams are heavier than they look, so find the joists with a detector and screw into those. Hang a pendant or dried herbs from it and it looks structural and storied.
Cost: ~$25 | Time: 90 minutes
17. Vintage Cutting Board Gallery Wall
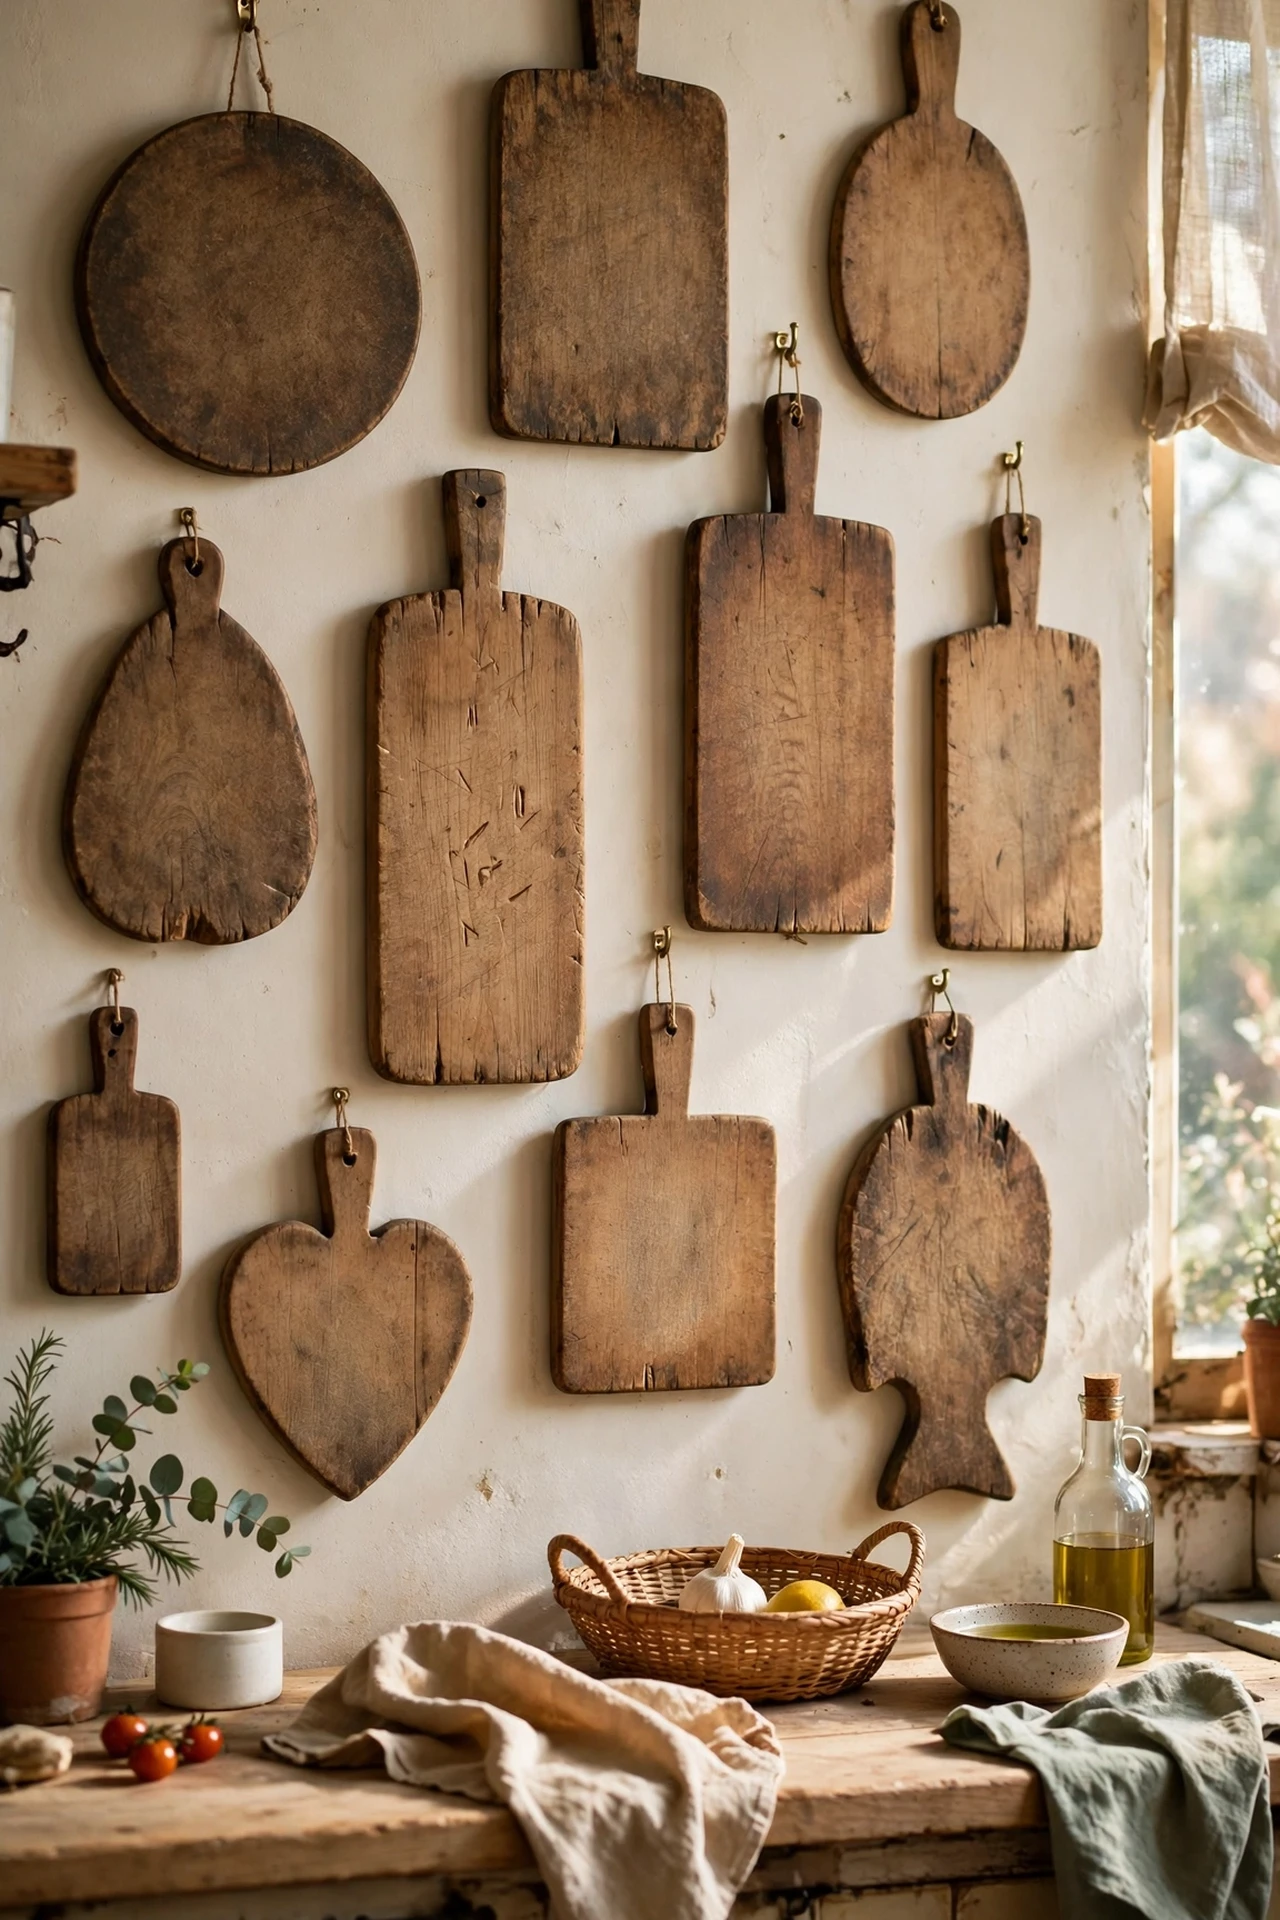
A wall of vintage cutting boards is rustic art you can actually use. Collect wooden boards in different shapes and sizes from charity shops, scrub them with lemon and salt, oil them with mineral oil, and hang them with small brass hooks or picture ledges. I tried seven boards on my kitchen wall, and it became the most photographed corner of my home. The mistake to avoid is hanging boards you still want to chop on: display boards stay clean and pretty, work boards stay in the drawer. Mix round, paddle, and rectangular shapes for the best composition.
Cost: ~$20 | Time: 40 minutes
18. Pressed Tin Backsplash Panels
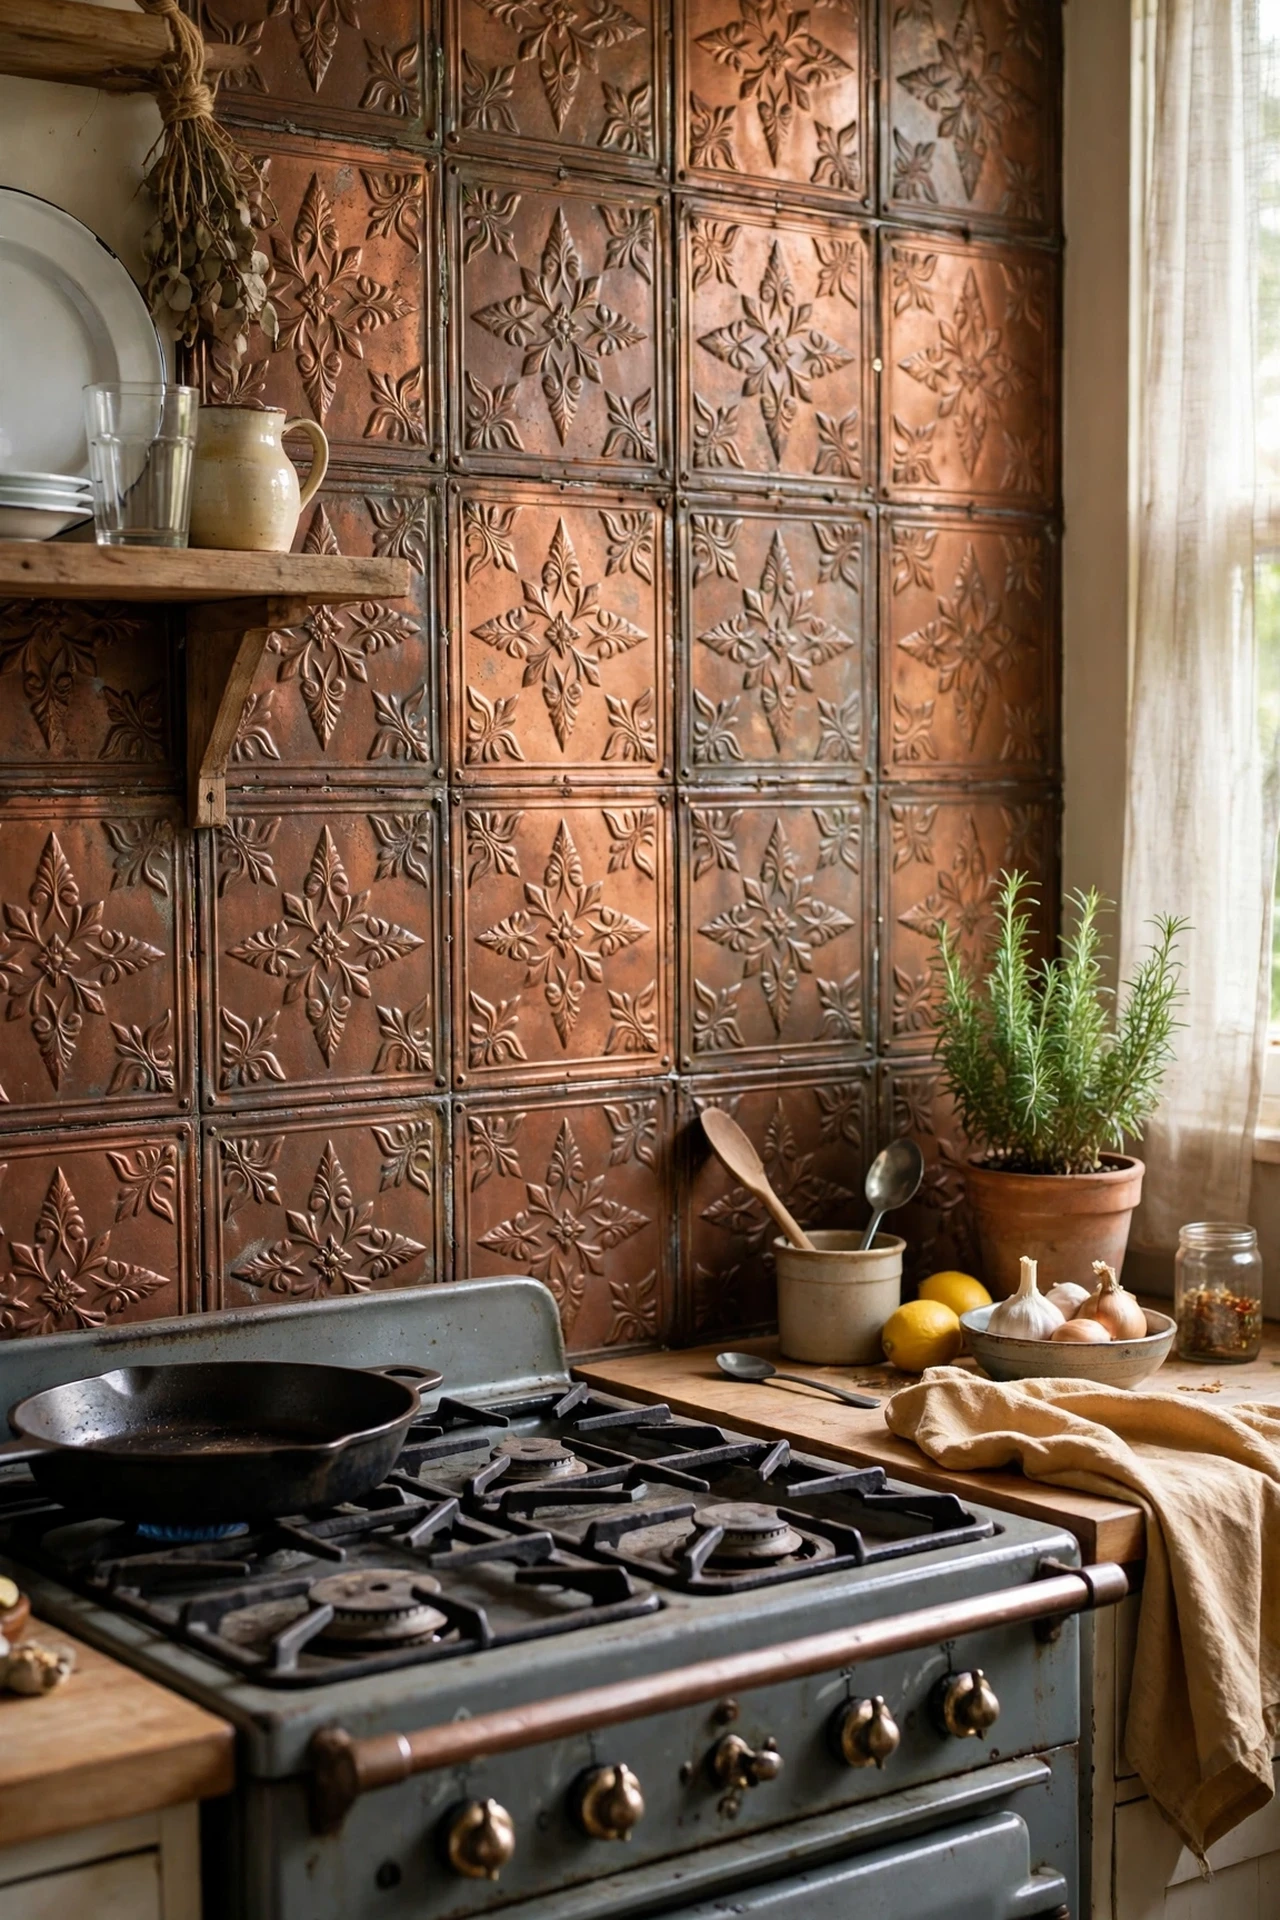
Pressed tin panels give a Victorian farmhouse backsplash for a fraction of real tile. Cut lightweight tin-look panels to size with tin snips, stick them up with construction adhesive, and caulk the edges neatly. I tried faux-tin panels behind my cooker, and the embossed pattern caught the light beautifully. The mistake to avoid is cheap plastic panels with an obvious repeat: stand back at the shop and check the pattern does not look stamped and fake from two metres away. Warm metallic finishes like aged copper or pewter suit rustic kitchens far better than chrome.
Cost: ~$30 | Time: 75 minutes
19. Vintage Kilim-Style Runner Rug
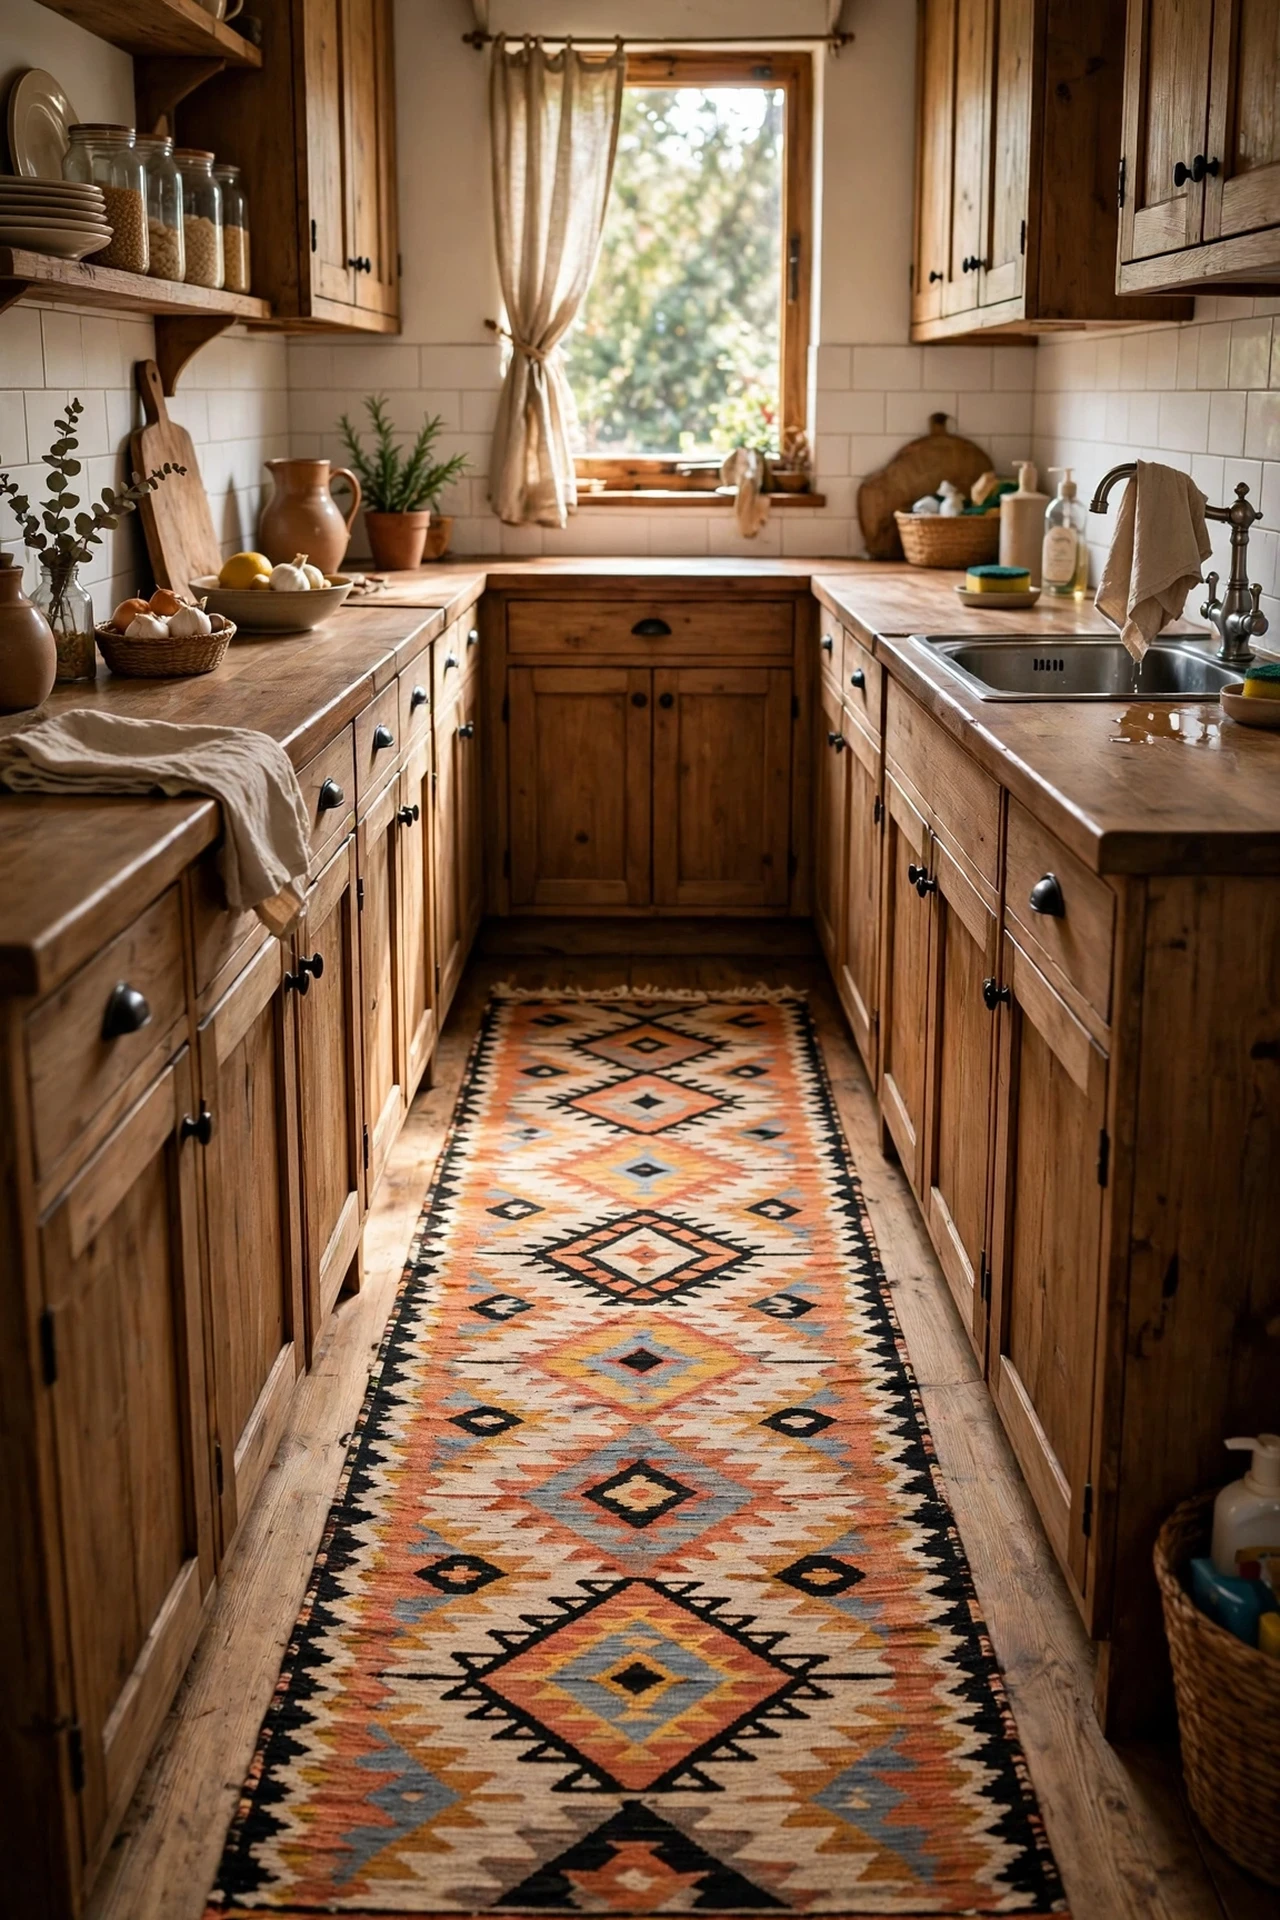
A runner rug softens a hard kitchen floor and adds rustic pattern for very little money. Choose a flat-weave kilim-style runner that washes easily, place it in front of the sink or cooker where your feet land most, and add a non-slip underlay. I tried a $25 kilim runner in my galley kitchen, and the whole room felt warmer underfoot and to the eye. The mistake to avoid is a thick shaggy rug: it trips you, traps crumbs, and goes manky near the sink. Flat-weave, machine-washable, and dark enough to forgive spills is the rustic kitchen formula.
Cost: ~$35 | Time: 5 minutes
20. Stoneware Crocks for Utensils
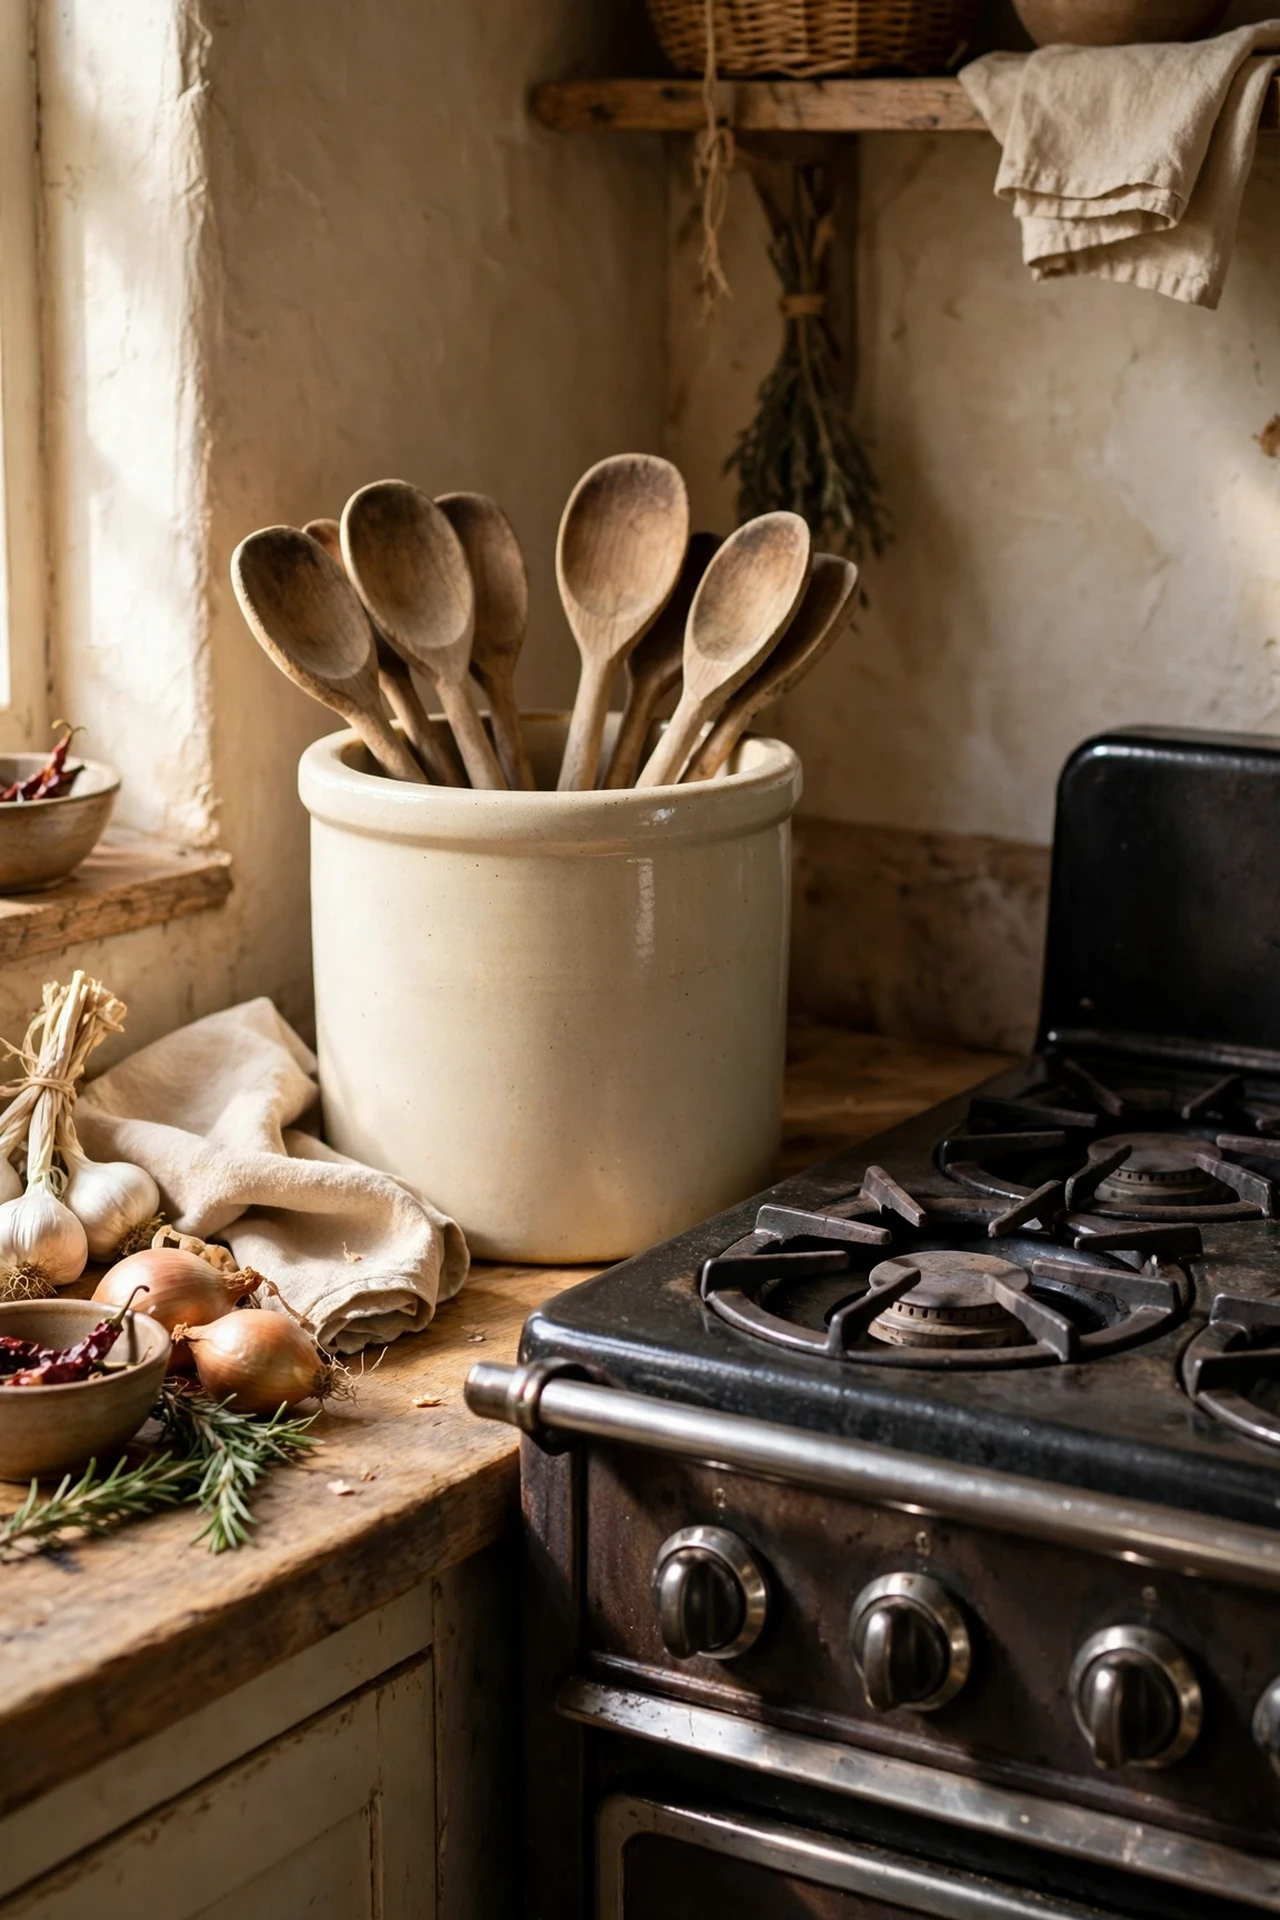
Stoneware crocks keep wooden spoons and whisks within reach while looking effortlessly rustic. Choose a tall, heavy crock that will not tip, in a cream or oatmeal glaze, and cluster your most-used tools inside. I tried a big farmhouse crock beside my cooker, and it made even my cheap utensils look like they belonged in a country kitchen. The mistake to avoid is a crock that is too shallow: tall tools topple out the moment you reach for one. Fill the base with dried beans for extra stability if needed, and wipe the rim weekly where flour dust settles.
Cost: ~$22 | Time: 5 minutes
21. Sliding Barn Door Pantry Cover
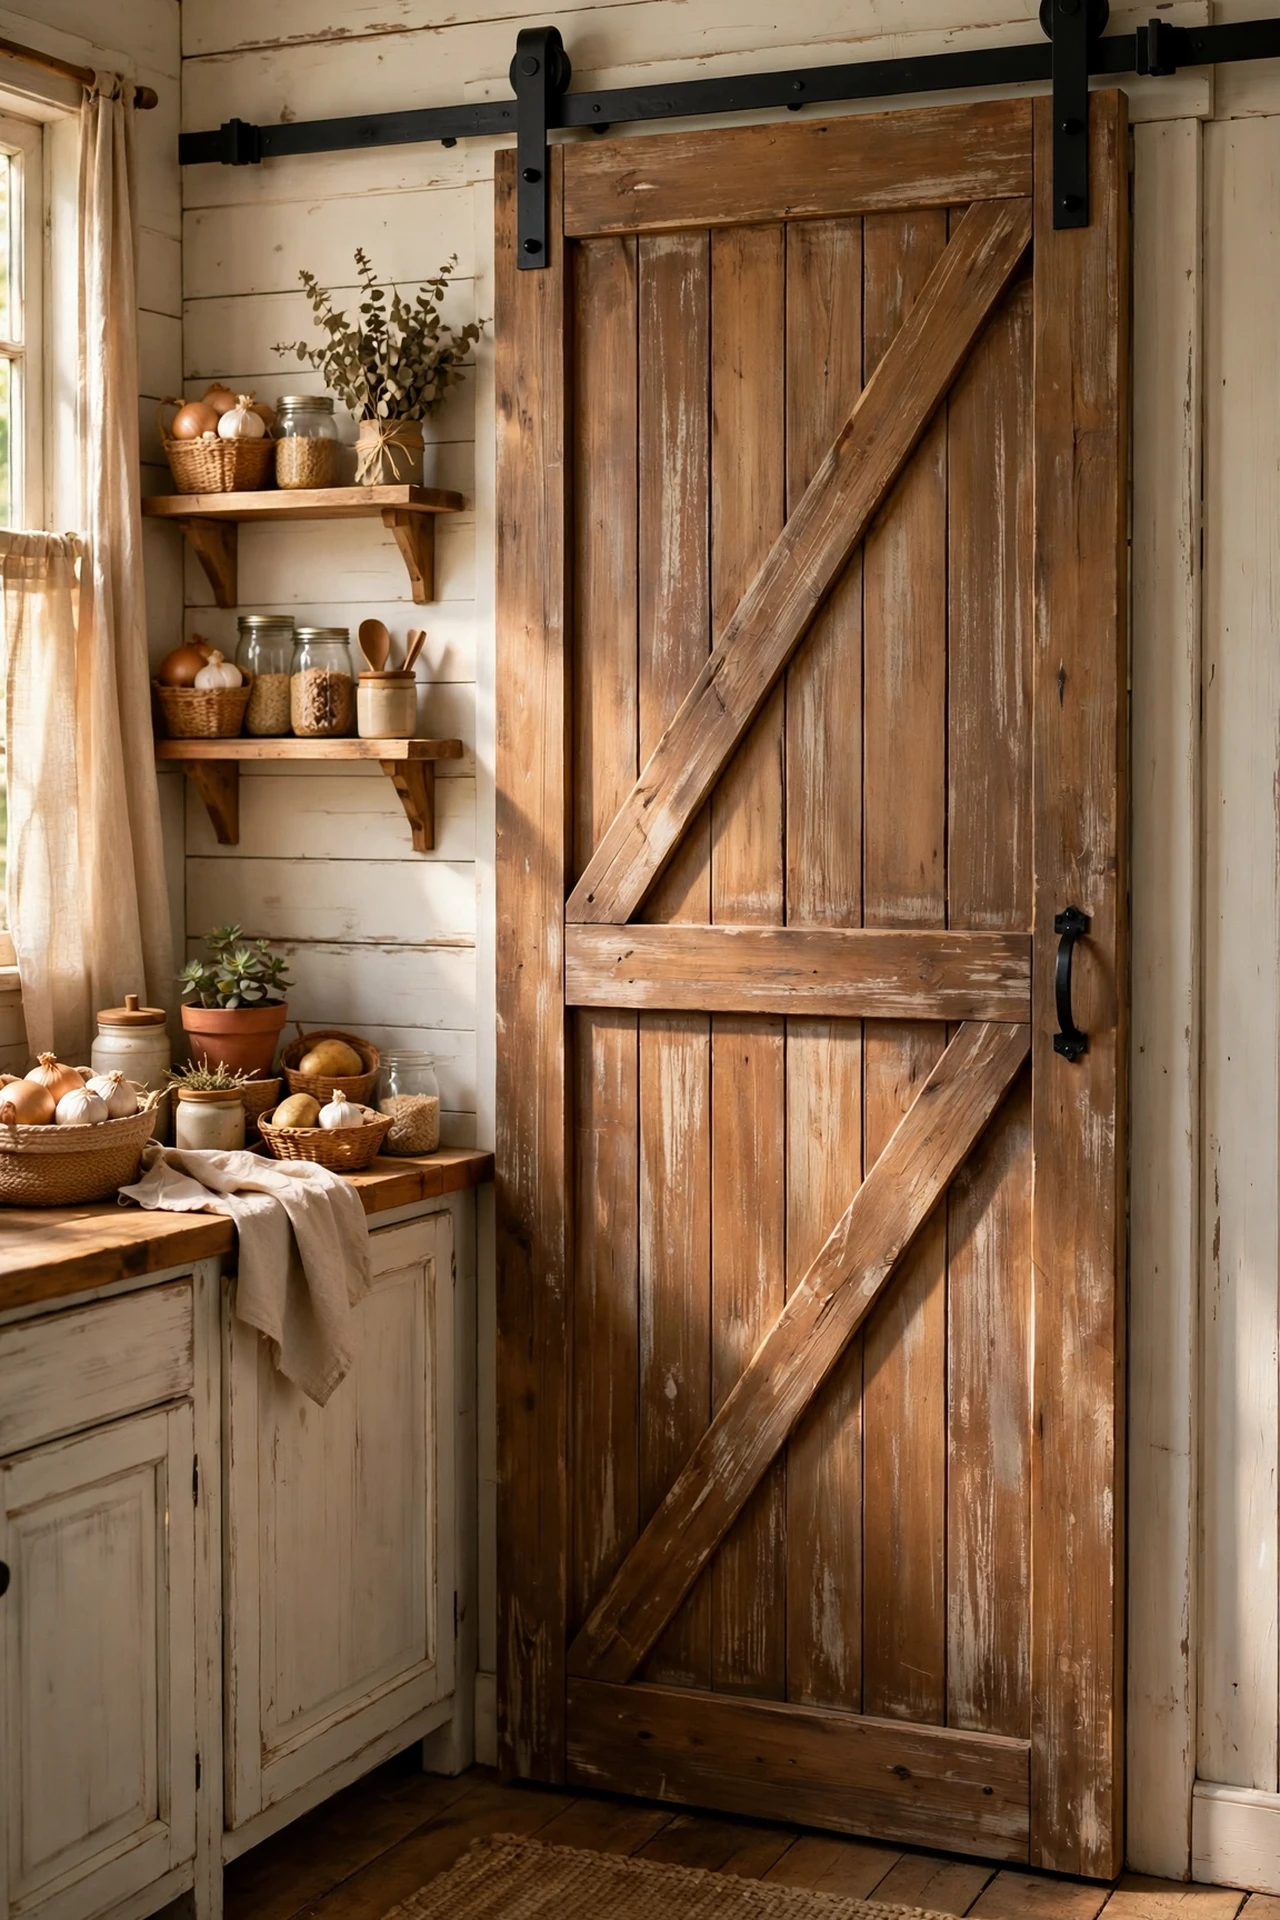
A sliding barn door turns an open pantry or awkward alcove into a rustic feature. Mount a simple track above the opening, hang a ledged-and-braced door made from tongue-and-groove boards, and add a black iron handle. I tried this on my under-stairs pantry, and the door became the kitchen’s talking point. The mistake to avoid is a door that is too light: it swings in draughts and feels cheap. Solid pine boards give it satisfying heft. Leave a small gap at the floor so it glides freely, and soft-close fittings stop it slamming at midnight.
Cost: ~$55 | Time: 150 minutes
22. Edison Bulb Task Lighting
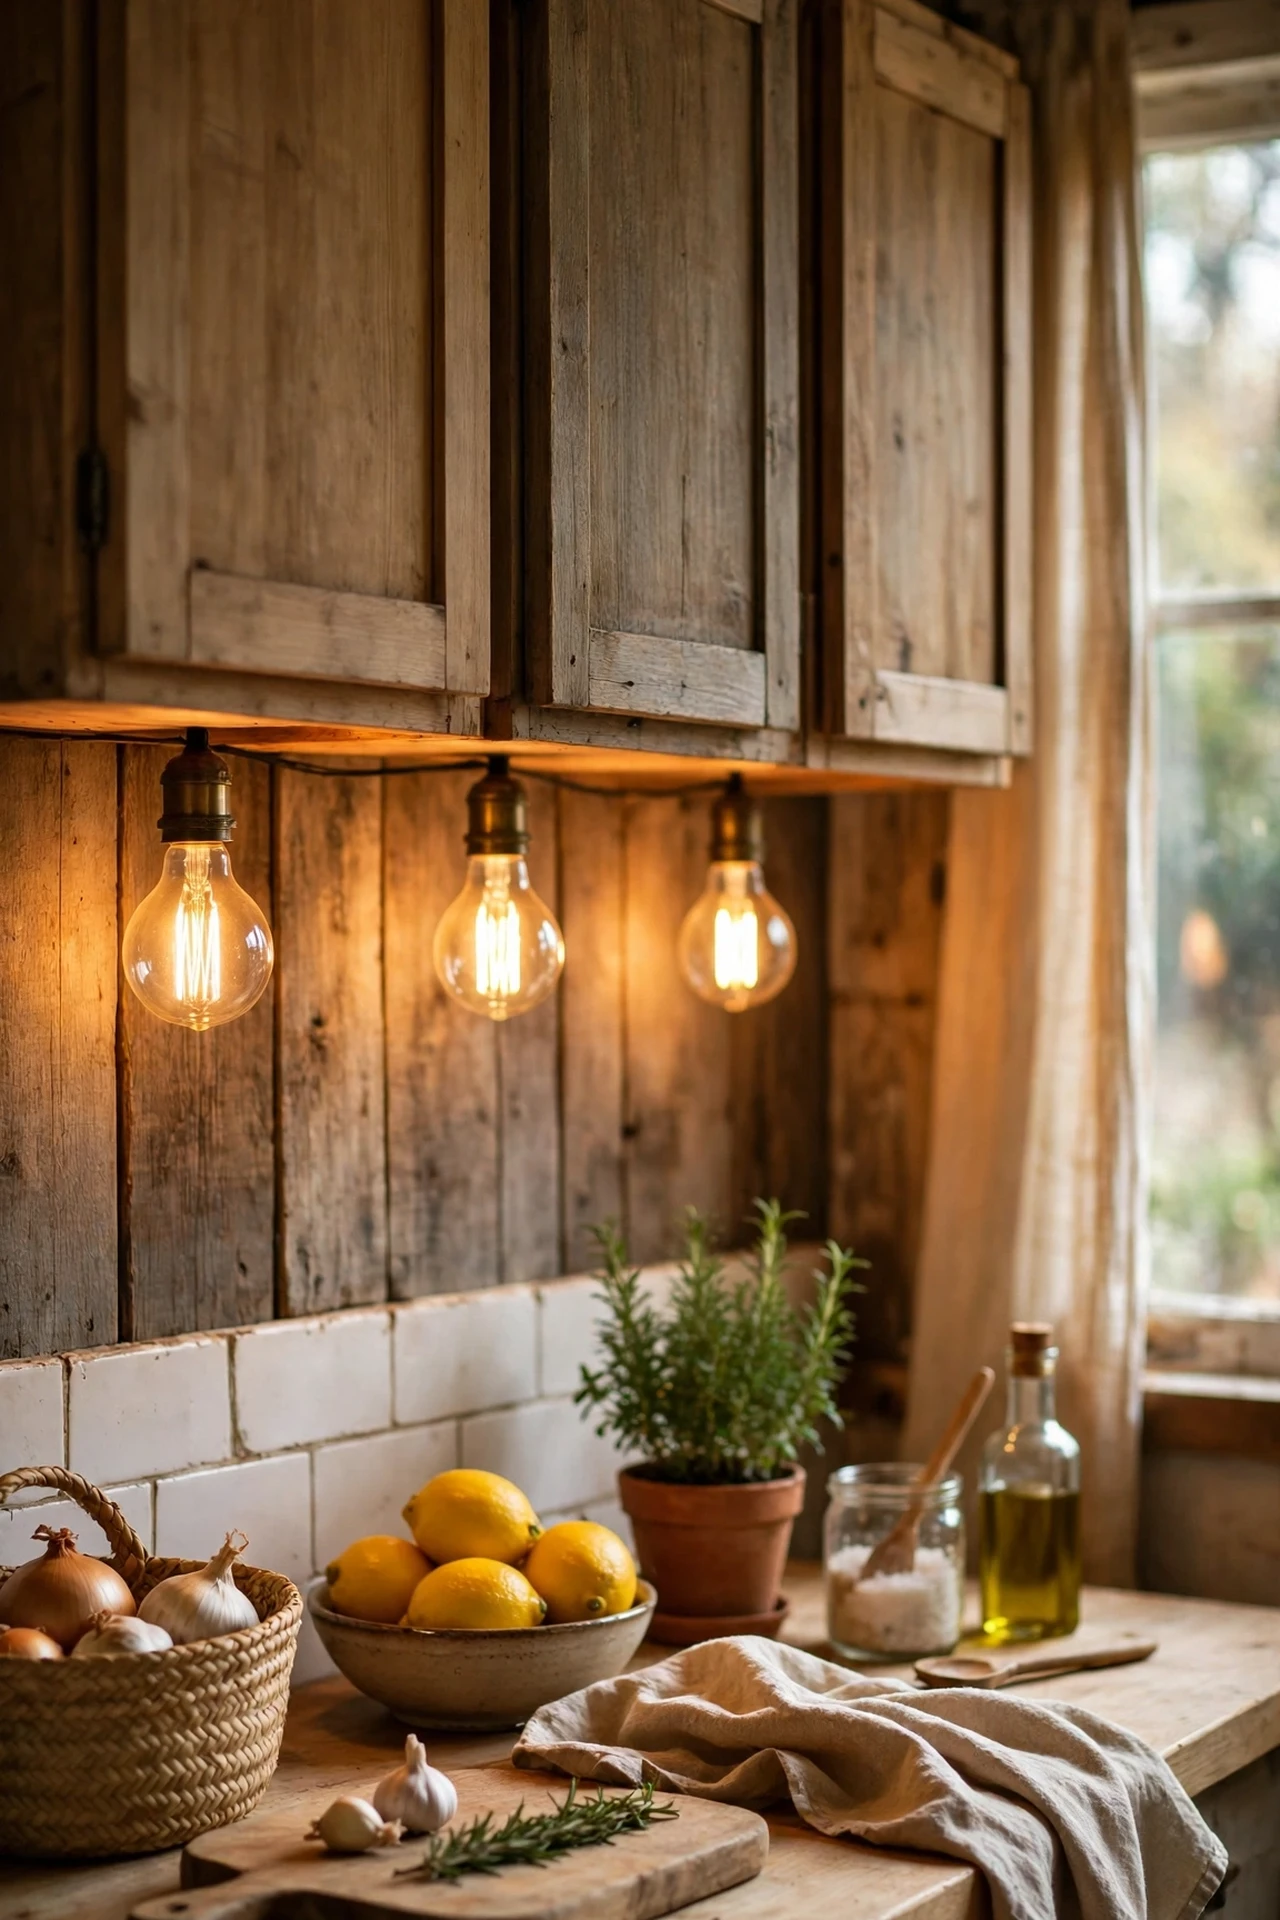
Edison bulbs strung under wall cabinets give warm, rustic task lighting for pennies a month to run. Fix a slim LED strip or a row of screw-in puck lights under the cabinets, or string a cable of vintage-style bulbs along the underside. I tried warm Edison-style LEDs under my shelves, and chopping vegetables finally stopped feeling like surgery. The mistake to avoid is cool-white bulbs: they turn a rustic kitchen clinical in seconds. Look for 2700K warm white on the box. Hide the cable with small clips, and the glow feels built-in rather than added on.
Cost: ~$18 | Time: 20 minutes
23. Weathered Wood Spice Rack
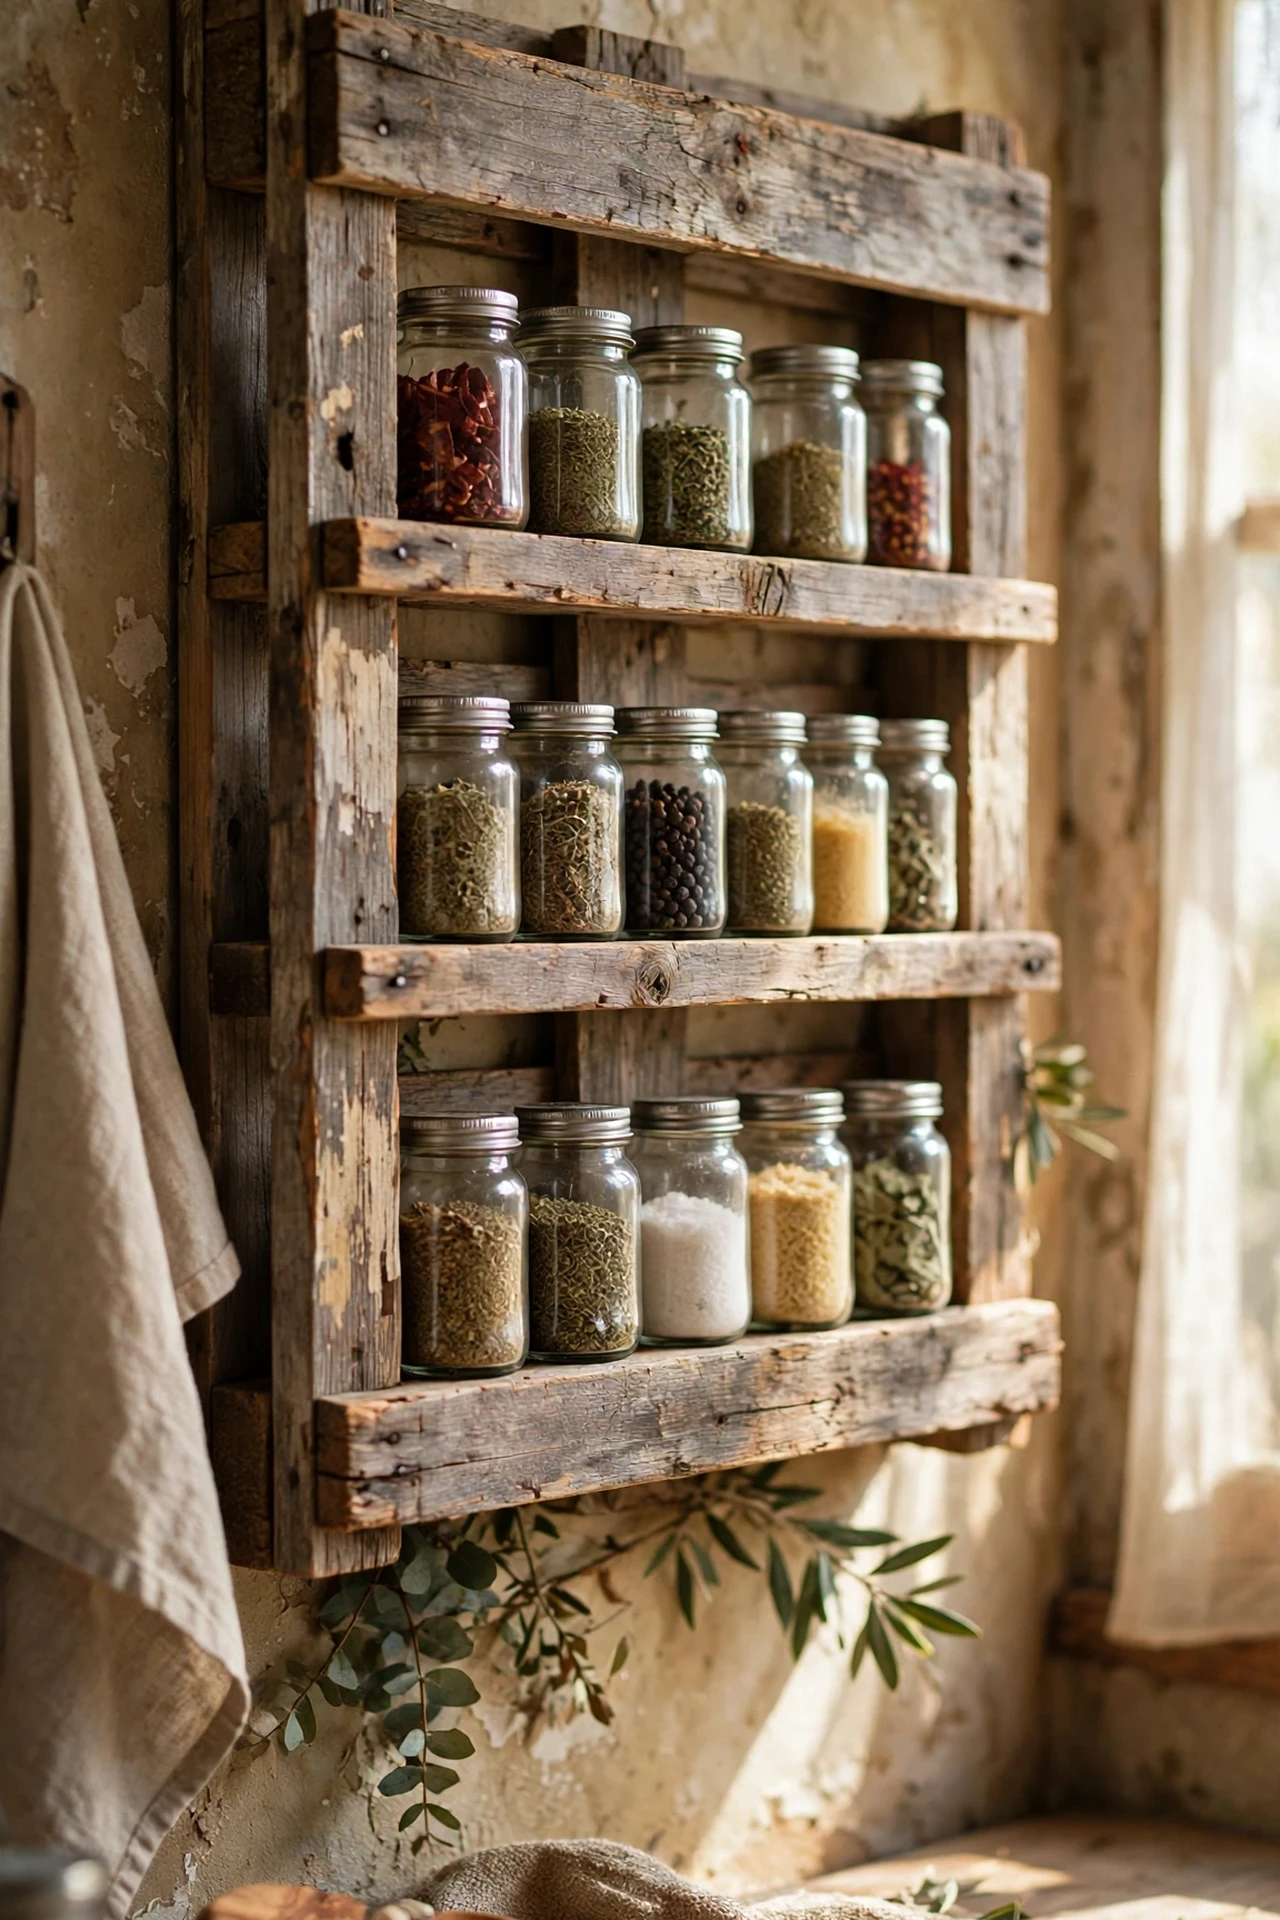
A weathered wood spice rack keeps your flavours visible and adds rustic texture to a bare wall. Build a simple rack from a pallet board with two or three slim shelves, sand it just enough to remove splinters, and line up matching jars for the prettiest effect. I tried alphabetising my spices on a pallet-wood rack, and cooking became noticeably faster. The mistake to avoid is placing it above the cooker: heat and steam kill flavour and make labels peel. A cool wall beside the prep area is ideal, and matching jars are what sell the look.
Cost: ~$12 | Time: 45 minutes
More budget kitchen inspiration: 21 Farmhouse Kitchen Decor Ideas on a Budget and 17 Kitchen Storage Ideas That Cost Almost Nothing.
Pin this one to your kitchen board — you will want it when your cabinets look tired and your bank balance says no.
Rustic kitchens were never about money, they were about warmth, wood, and things made to last. Start with one idea this weekend, and let the room grow its character one bargain at a time.
