25 Thrift Store DIY Ideas on a Budget
My rule for the thrift store is simple: never pay full price for anything I can fix, paint, or repurpose for less. Over the years I have turned charity shop shelves into a whole flat’s worth of furniture and decor, and these thrift store diy ideas are the projects that gave me the most for the least. Every single one starts with something second-hand and costs under thirty dollars to finish, because the whole point is stretching every dollar as far as it will go. Bring a tape measure, check every joint, and do not be afraid of the ugly duckling shelf.
A quick word on thrift pricing before you start. I never pay more than five dollars for a small decor item or twenty for a piece of furniture, because the project cost has to stay low for the maths to work. Charity shops often discount furniture on certain days, and the bric-a-brac shelf is where the real bargains hide. If a piece is solid and the right size, buy it; paint and hardware fix almost everything else. Skip anything with a wobble you cannot see the cause of, or upholstery that smells.
Under $5 Thrift Flips
1. Spray-Painted Frame Gallery Wall
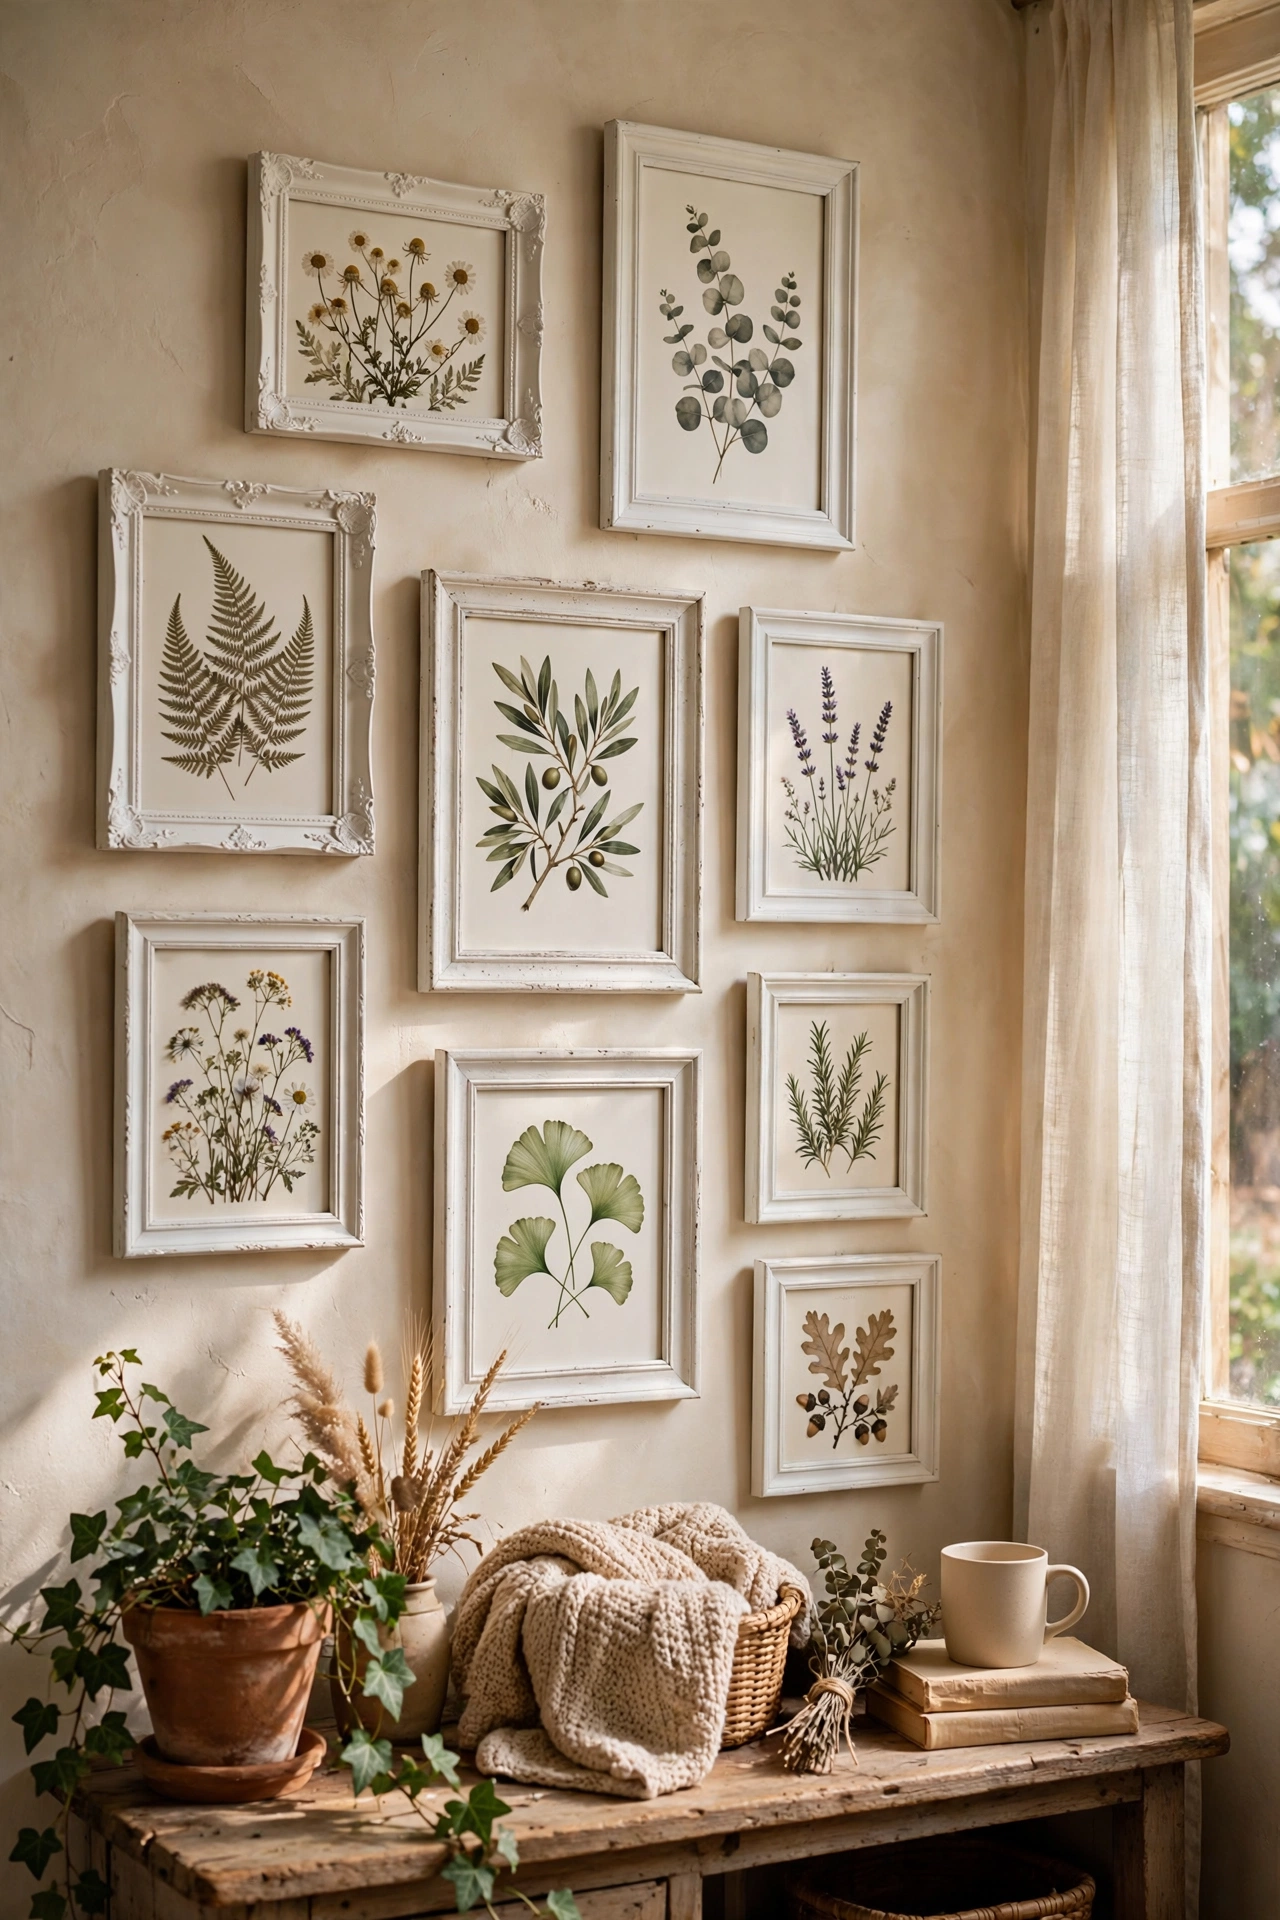
Ugly charity shop frames in odd sizes become a proper gallery wall with one can of spray paint. Pick up six to ten frames in wood or plastic, any finish, for a pound or two each, and spray them all the same colour: matte black, soft white, or antique gold. Fill them with free printable art, pages from old books, or your own photos. I painted mismatched frames from three different shops in the same warm white and they look like a bought set. My mistake was skipping the light sanding on a glossy plastic frame, and the paint scratched off within weeks, so scuff every frame first.
Cost: ~$8-14 total | Time: 2 hours plus drying
2. Baking-Soda Texture Painted Vases
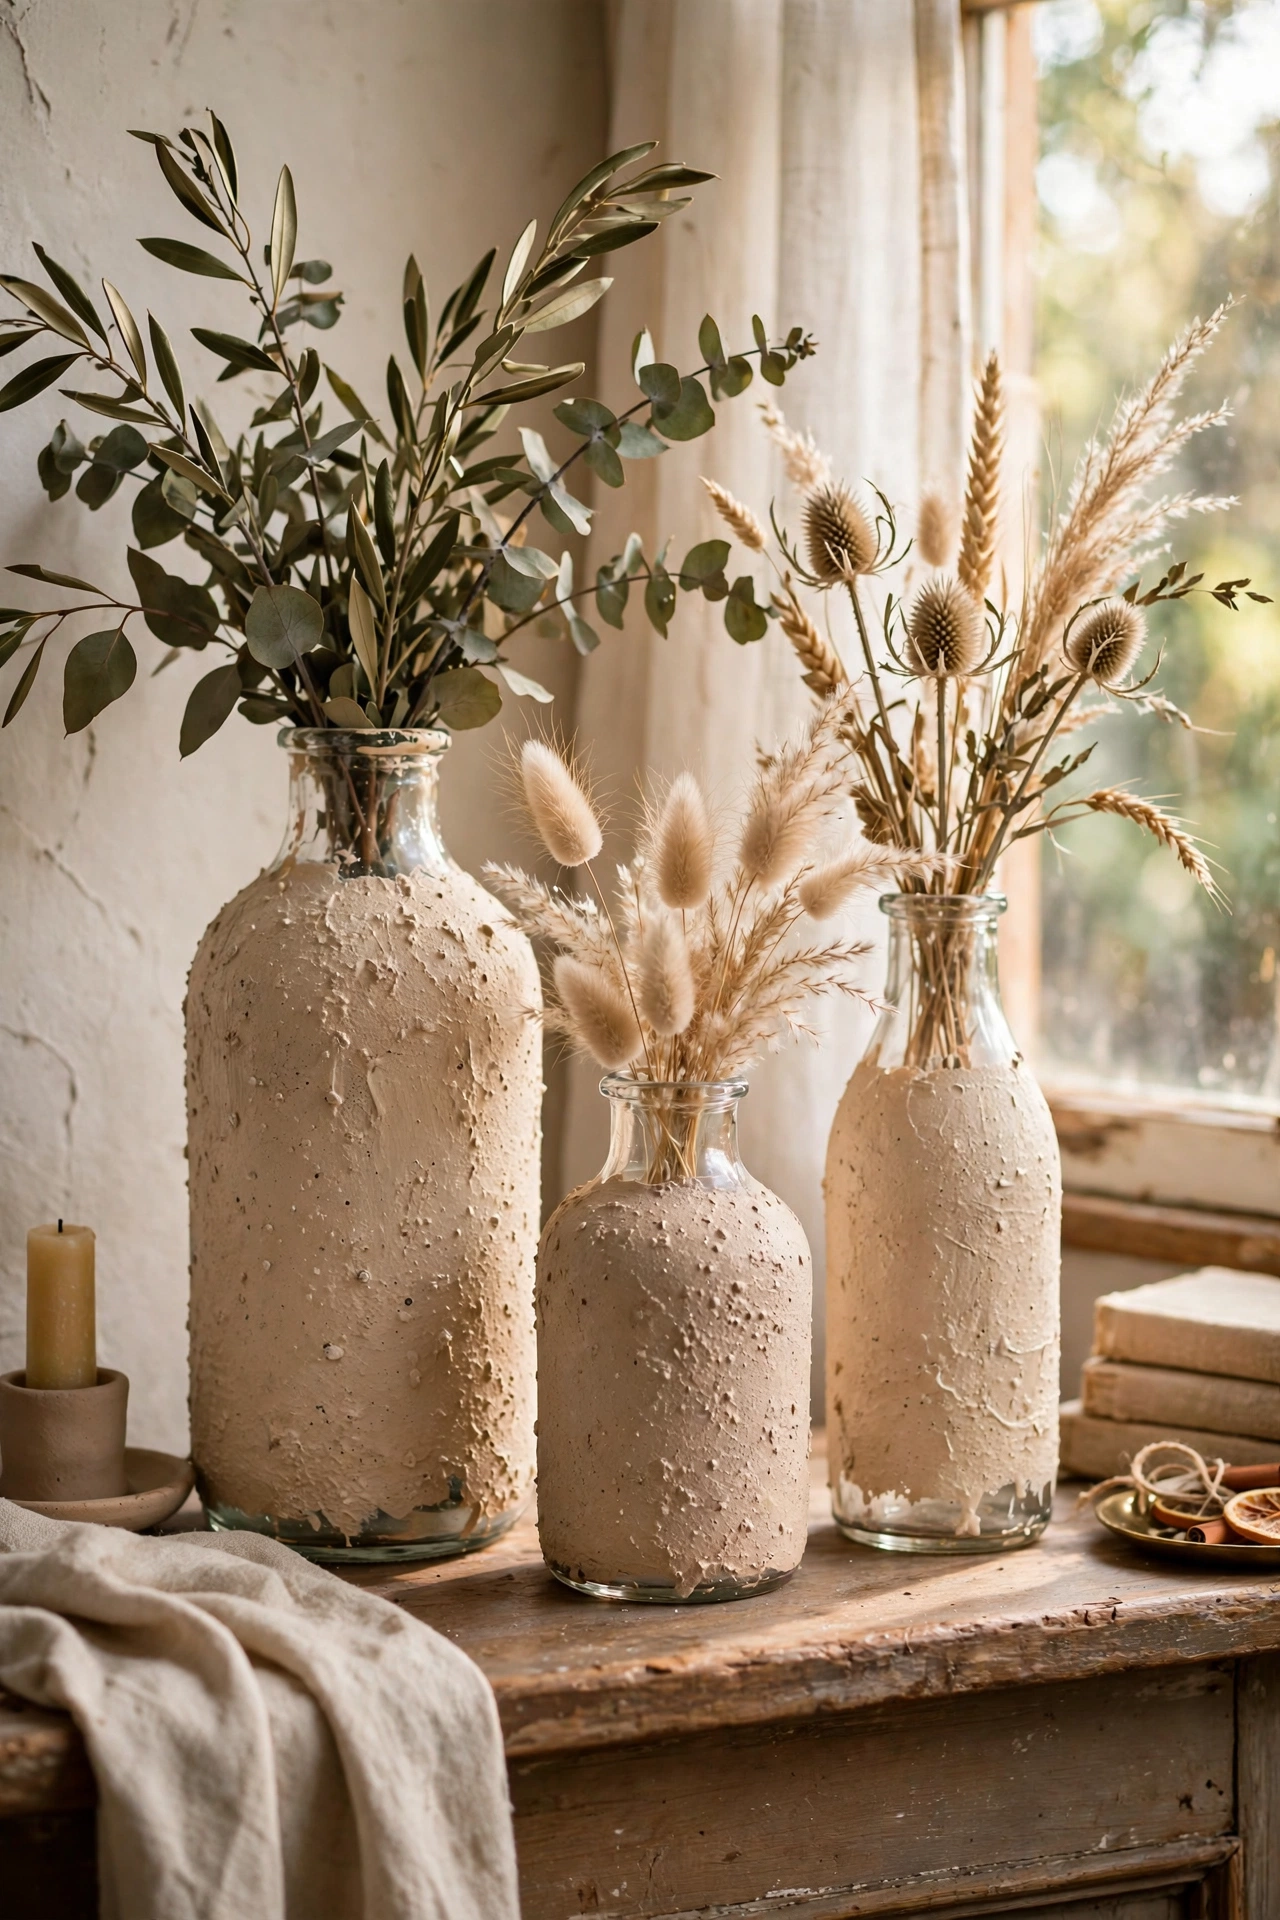
That shelf of dated glass vases at the charity shop is a goldmine if you know the baking soda trick. Mix a spoonful of baking soda into matte emulsion or chalk paint, brush it onto a glass vase in two coats, and the finish dries with a convincing handmade ceramic texture. I turned three shiny green vases into stoneware-look pieces that sit on my mantel, and nobody guesses their origin. My mistake was using gloss paint on the first attempt, which slid off the glass, so use matte paint only. Sand the dried finish lightly for an aged, artisan feel.
Cost: ~$5-8 | Time: 40 minutes plus drying
3. Picture Frame Turned Serving Tray
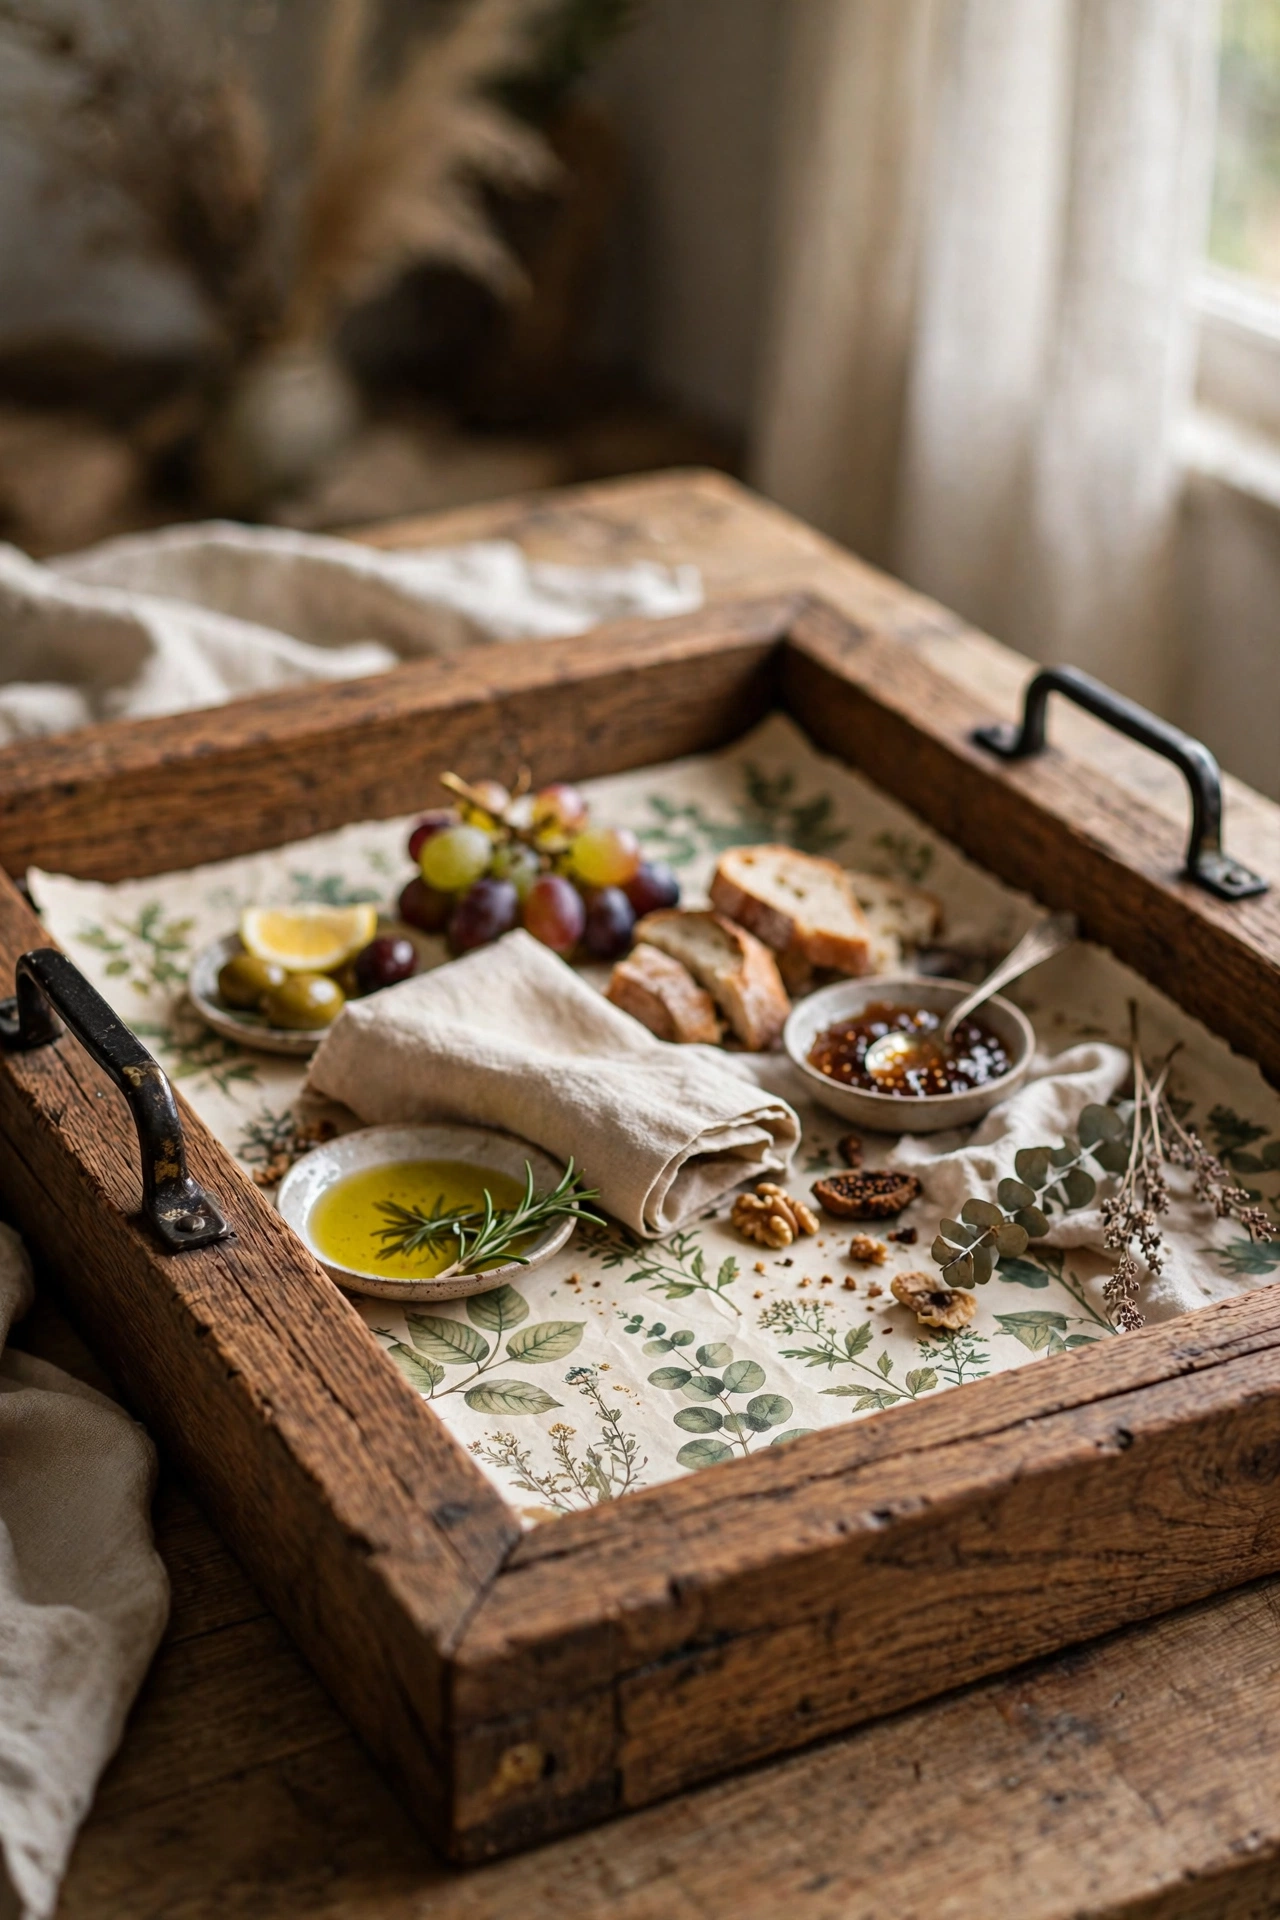
A deep charity shop frame with the glass removed makes a beautiful serving tray. Choose a frame at least two inches deep, clean it well, and paint or stain it to suit your kitchen. Cut a piece of pretty paper, wallpaper, or fabric to fit the back panel and seal it with two coats of clear varnish, then screw small handles onto the sides. I made mine from a heavy oak frame and lined it with leftover botanical wallpaper. My mistake was using unsealed paper, and the first coffee ring stained it, so varnish generously. It doubles as a vanity tray in the bedroom.
Cost: ~$6-10 | Time: 45 minutes plus drying
4. Mismatched Teacup Candles

Chipped or single teacups nobody wants are perfect candle vessels, and they cost pennies. Melt soy wax flakes in a double boiler, hold a pre-waxed wick centred with a peg or pencil, and pour the wax slowly into the cup. I made a set of six in different patterns for a dinner party, and they looked far more special than shop candles. My mistake was pouring the wax too hot on the first one, and the cup cracked, so let the wax cool until it just starts to skin over. Scent the wax with a few drops of essential oil for a proper homemade gift.
Cost: ~$4-7 | Time: 30 minutes plus cooling
5. Tin Can Herb Planters
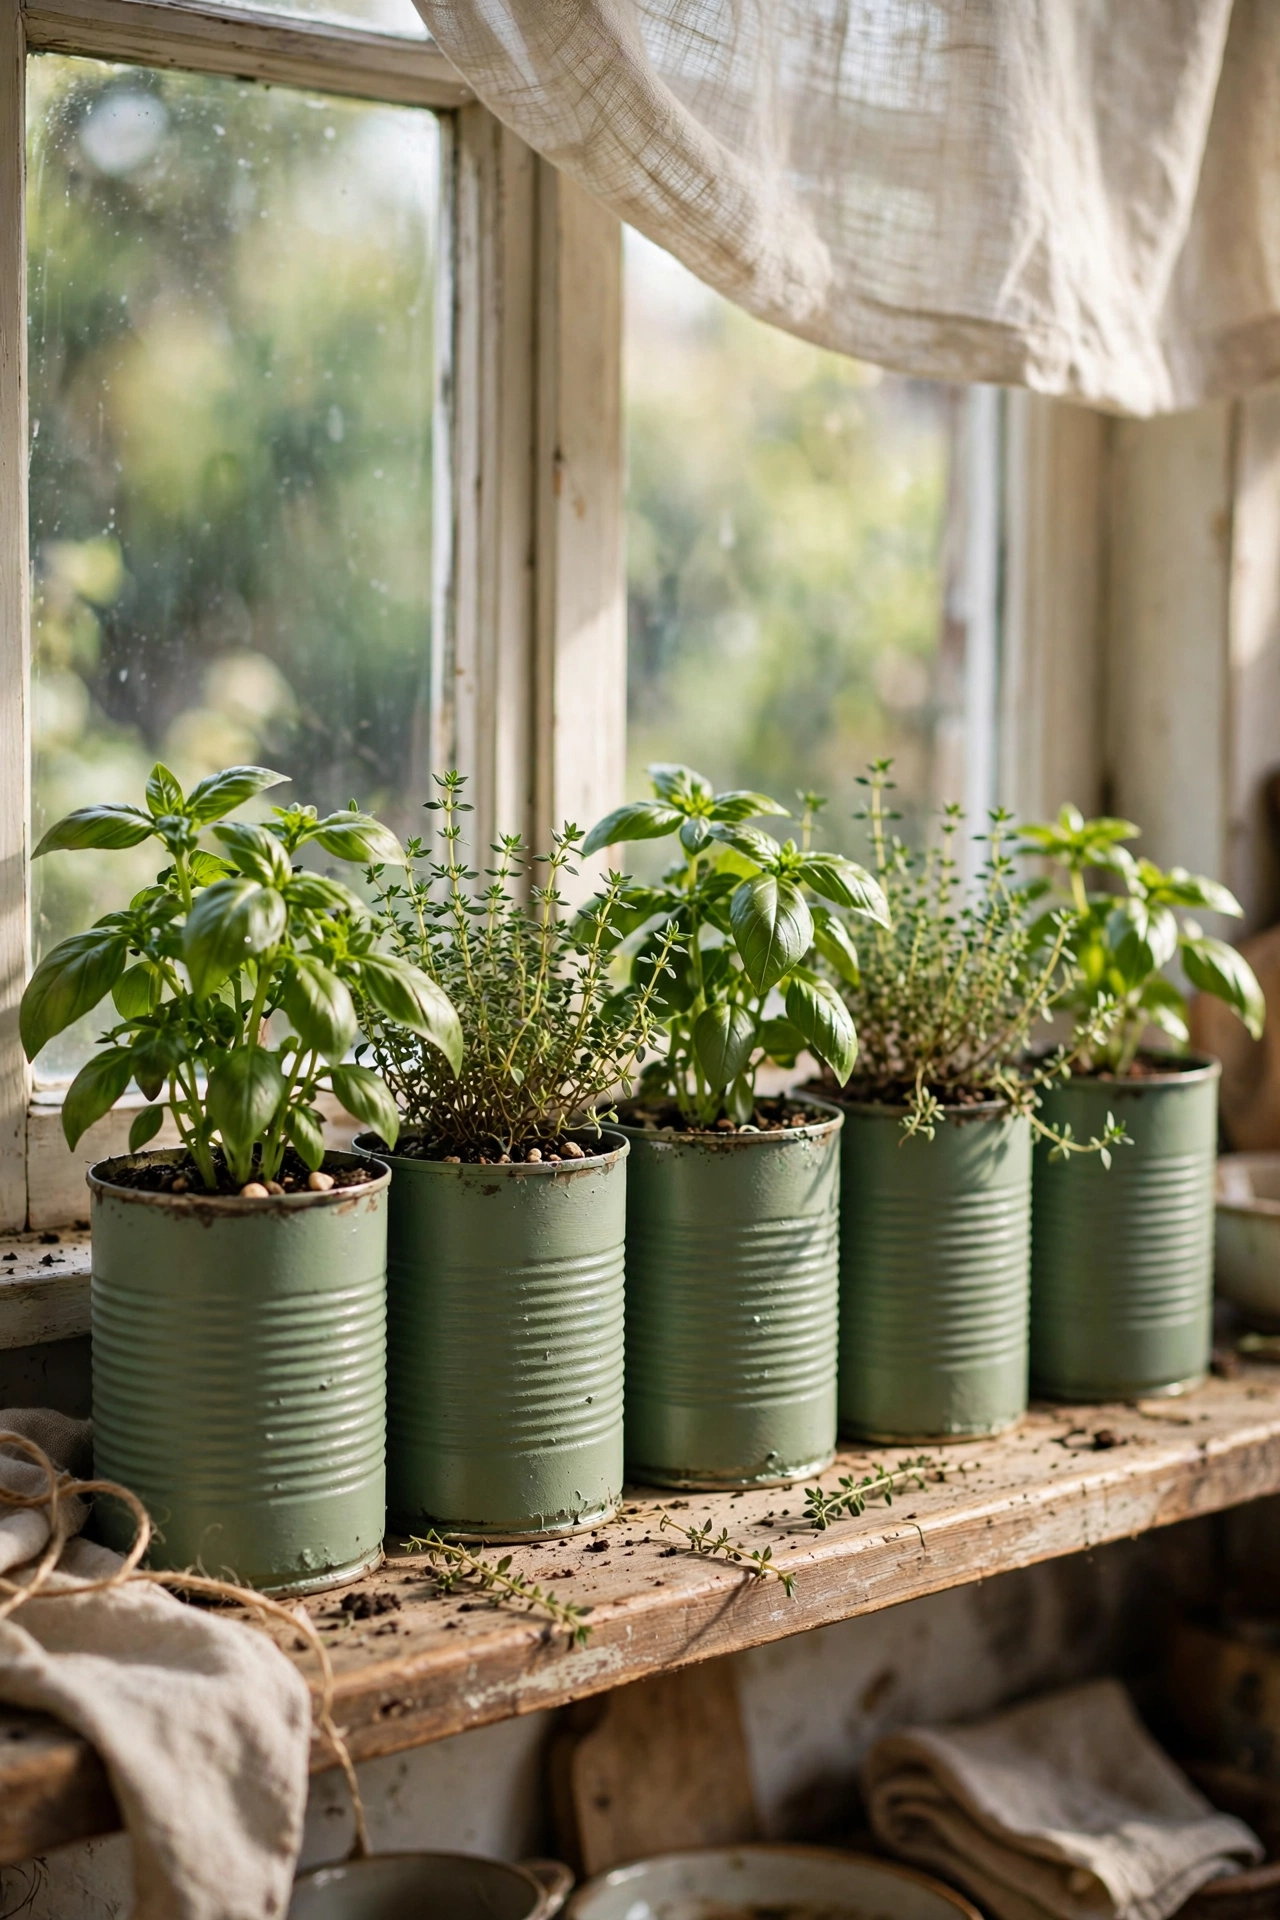
Empty tin cans from the kitchen become a matching herb garden with paint and a little effort. Peel the labels, wash the cans well, and punch drainage holes in the bottom with a nail. Spray them in one colour for a clean look or leave the metal bare for industrial style. I painted mine in sage green and lined them up on my kitchen windowsill, and the herbs have thrived for months. My mistake was forgetting drainage holes on the first batch, and the basil rotted within two weeks, so do not skip that step. A paper label tied with string finishes them nicely.
Cost: ~$3-5 | Time: 30 minutes plus drying
6. Wooden Spoon Rack to Kitchen Mug Holder
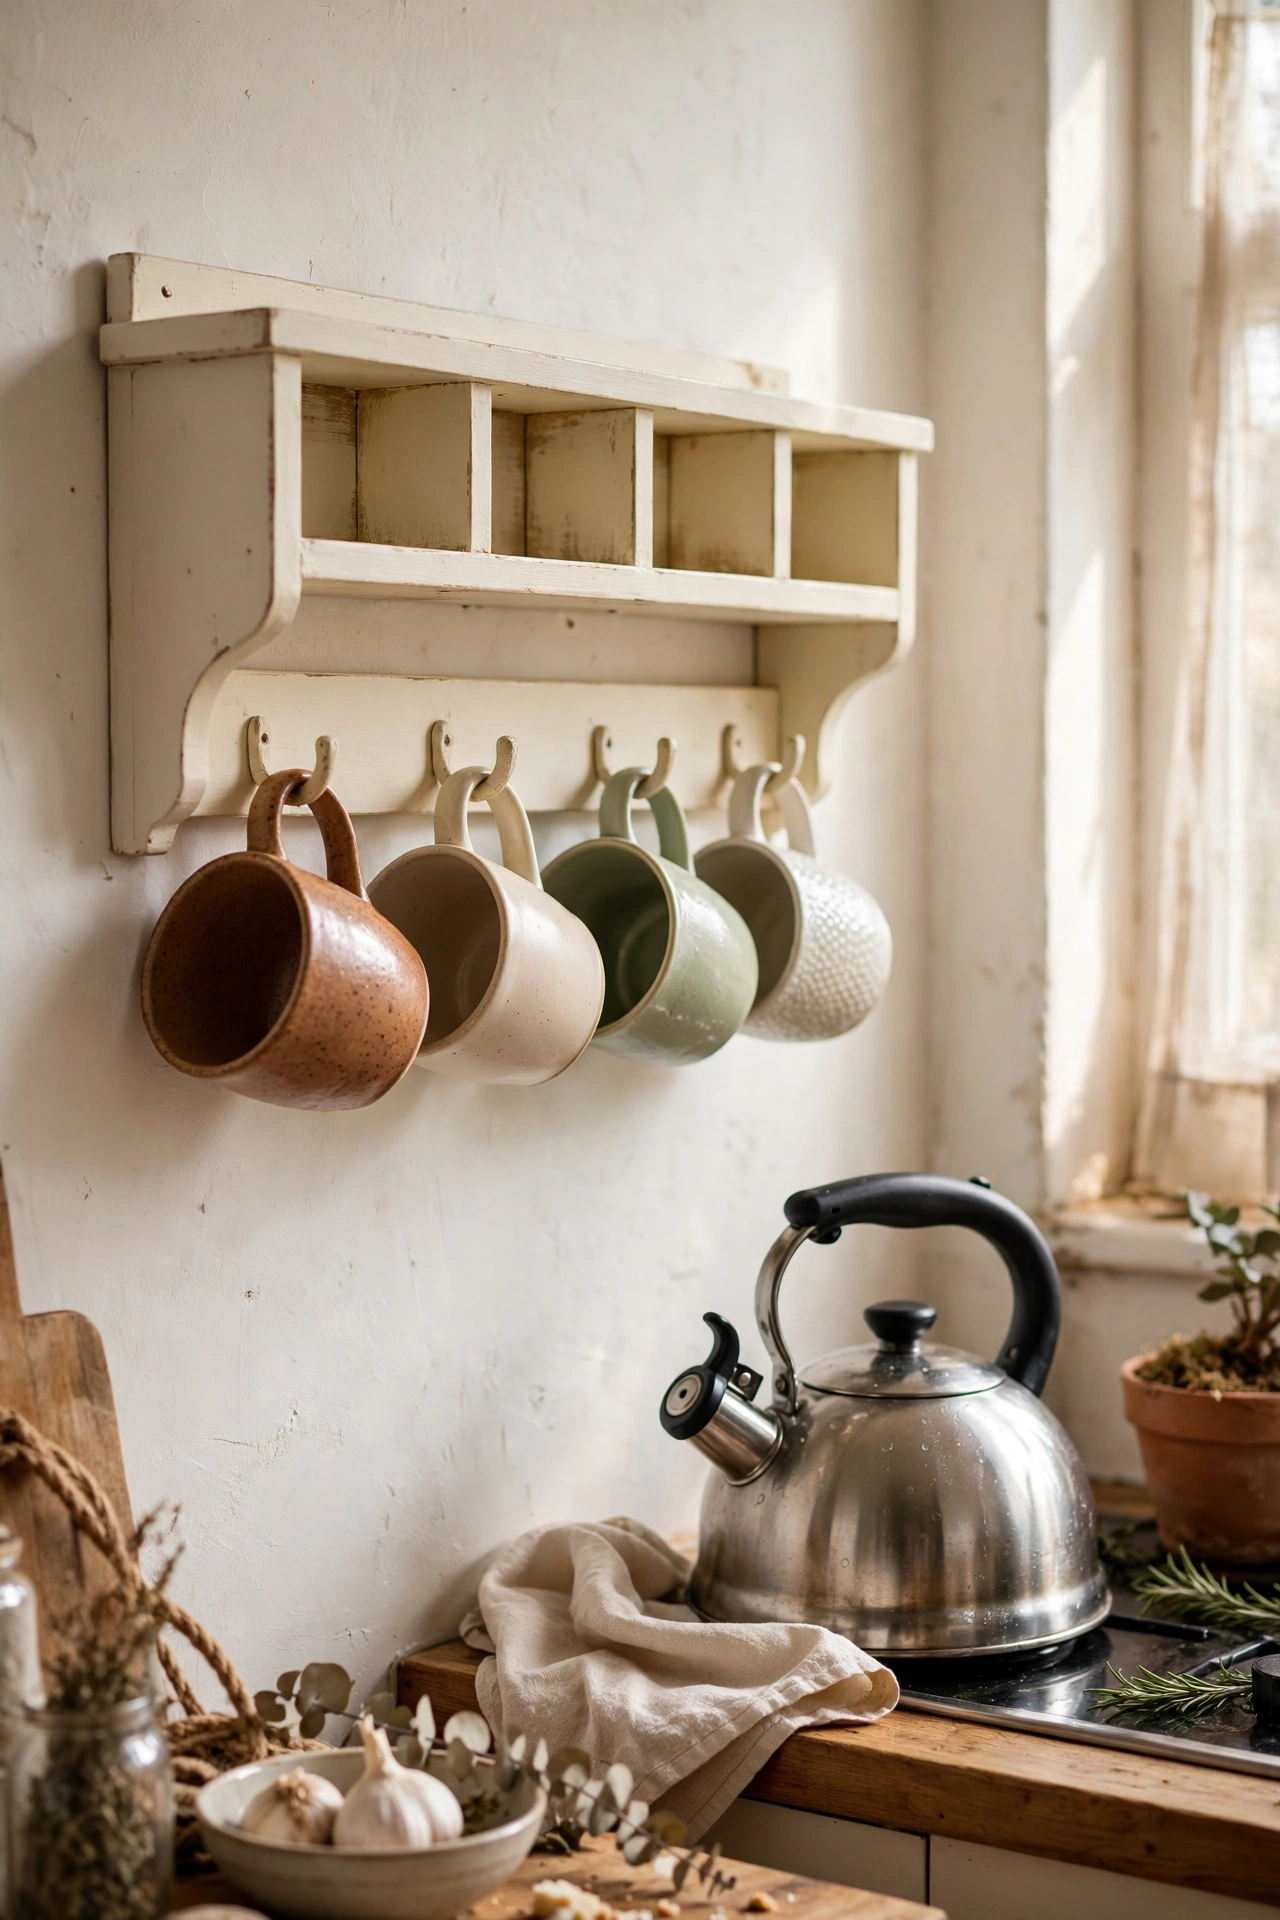
Those wooden spoon racks with pegs that clutter charity shops are one sanding session away from being a charming mug holder. Sand off the varnish, paint or stain it in a colour that suits your kitchen, and screw it to the wall near the kettle. I found mine for a pound, painted it cream, and it now holds six mugs within arm’s reach of the teapot. My mistake was mounting it with picture hooks first, and a full mug pulled it off the wall, so use proper wall plugs and screws. It keeps the worktop clear too.
Cost: ~$4-8 | Time: 30 minutes plus drying
7. Book Page Framed Wall Art
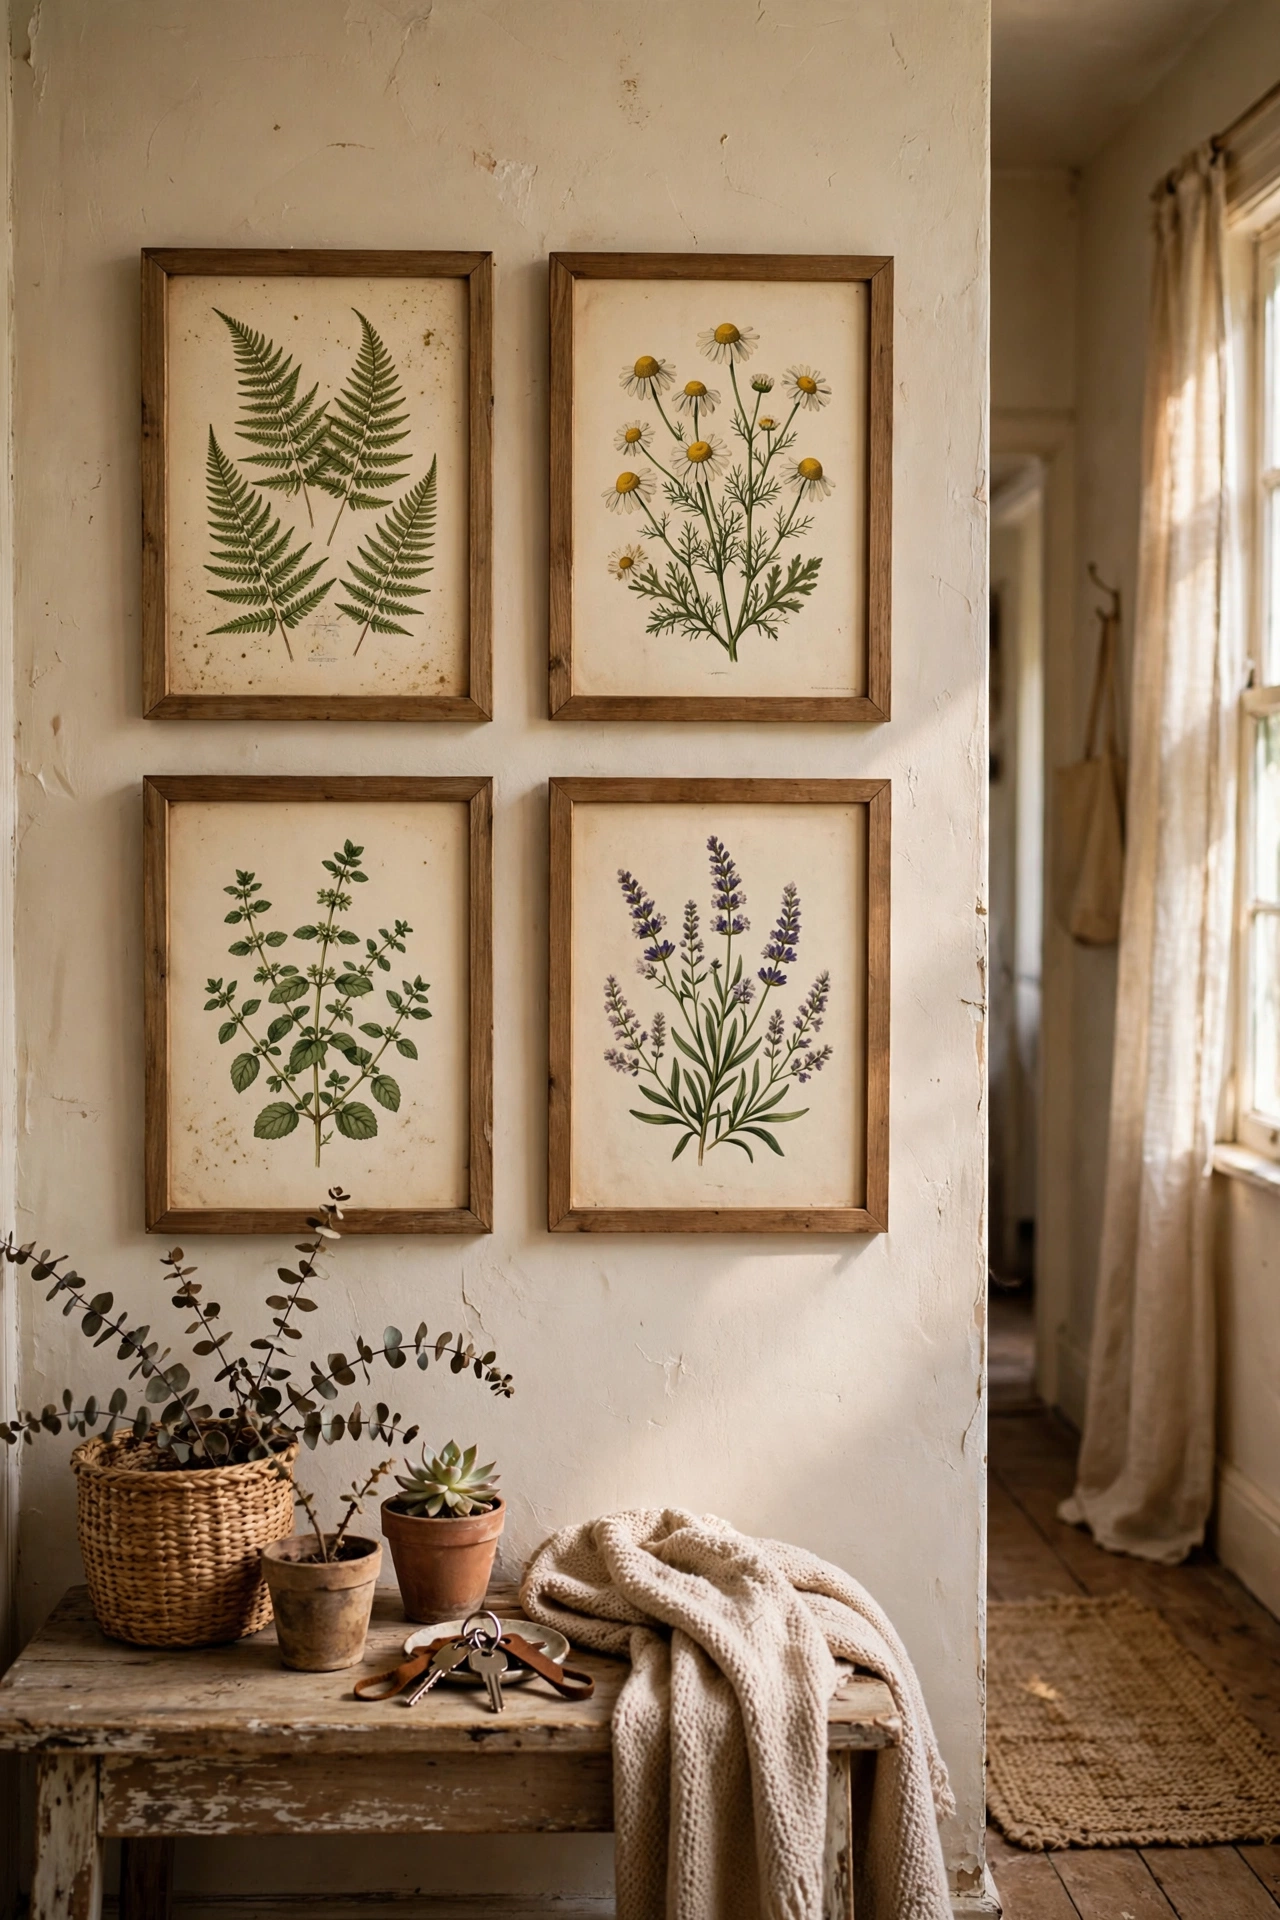
Old books with beautiful illustrations or typography cost almost nothing and frame up beautifully. Look for books with botanical prints, maps, or interesting type, carefully remove the pages, and frame them in cheap charity shop frames. I framed four botanical prints from a damaged gardening book and hung them in a grid in my hallway. My mistake was using pages printed on both sides without checking, and the text showed through the thin paper, so hold each page up to the light first. A set of matching frames makes them look like a proper collection.
Cost: ~$3-6 | Time: 20 minutes
Furniture Rescues That Cost Less Than Takeaway
8. Chalk-Painted Wooden Chair Set
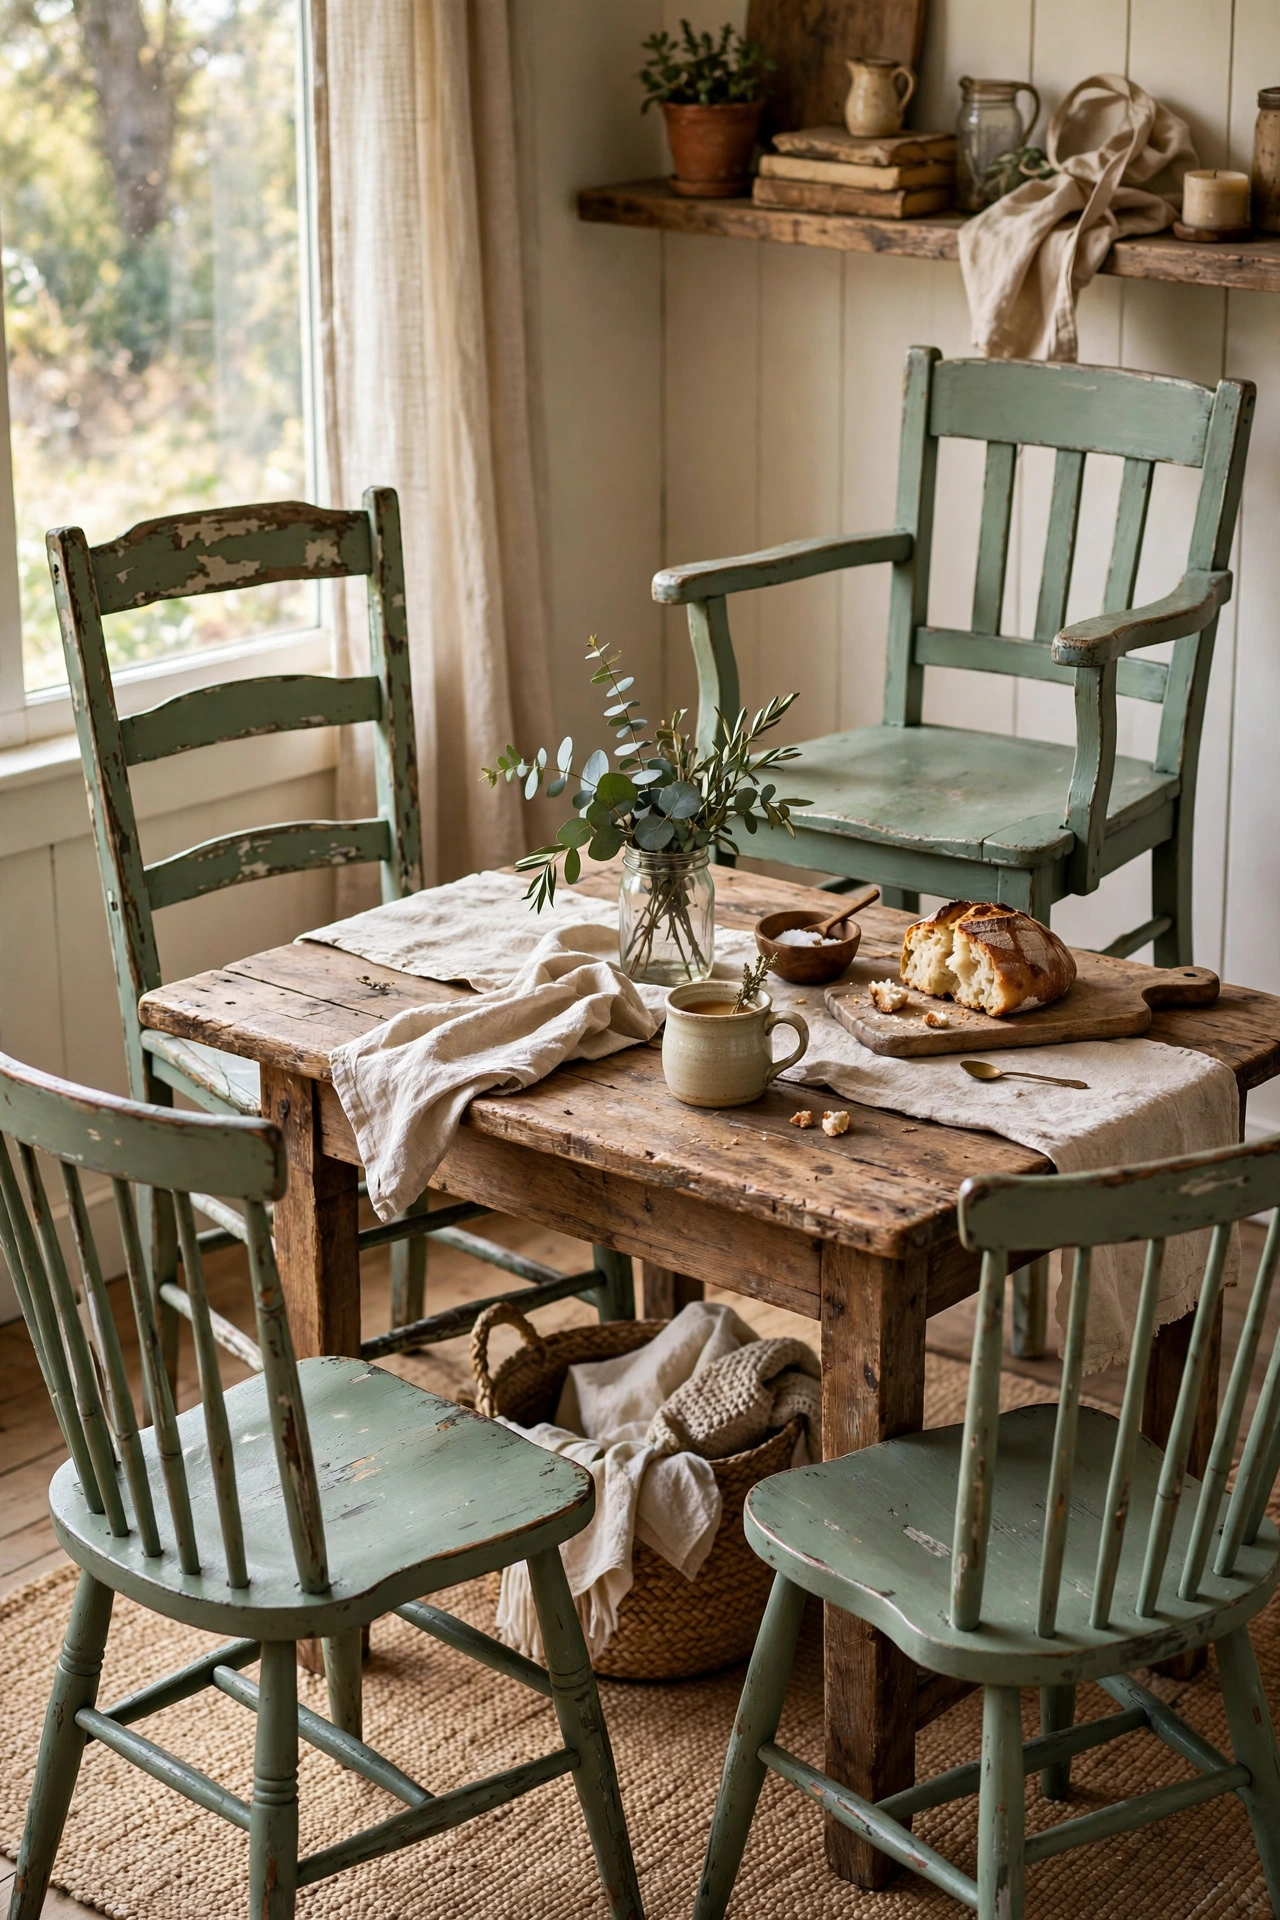
Solid wooden chairs that look tired are the best thrift furniture deal, because chalk paint needs no sanding or primer. Clean the chairs with sugar soap, brush on two coats of chalk paint in a colour you love, and seal with clear wax for durability. I painted four mismatched chairs in the same sage green and they finally look like a set around my dining table. My mistake was skipping the wax on the first chair, and the paint chipped within a month of daily use, so wax the seats especially well. New chairs would have cost ten times more.
Cost: ~$12-25 | Time: 3 hours plus drying
9. Thrifted Dresser with Fresh Paint and New Knobs
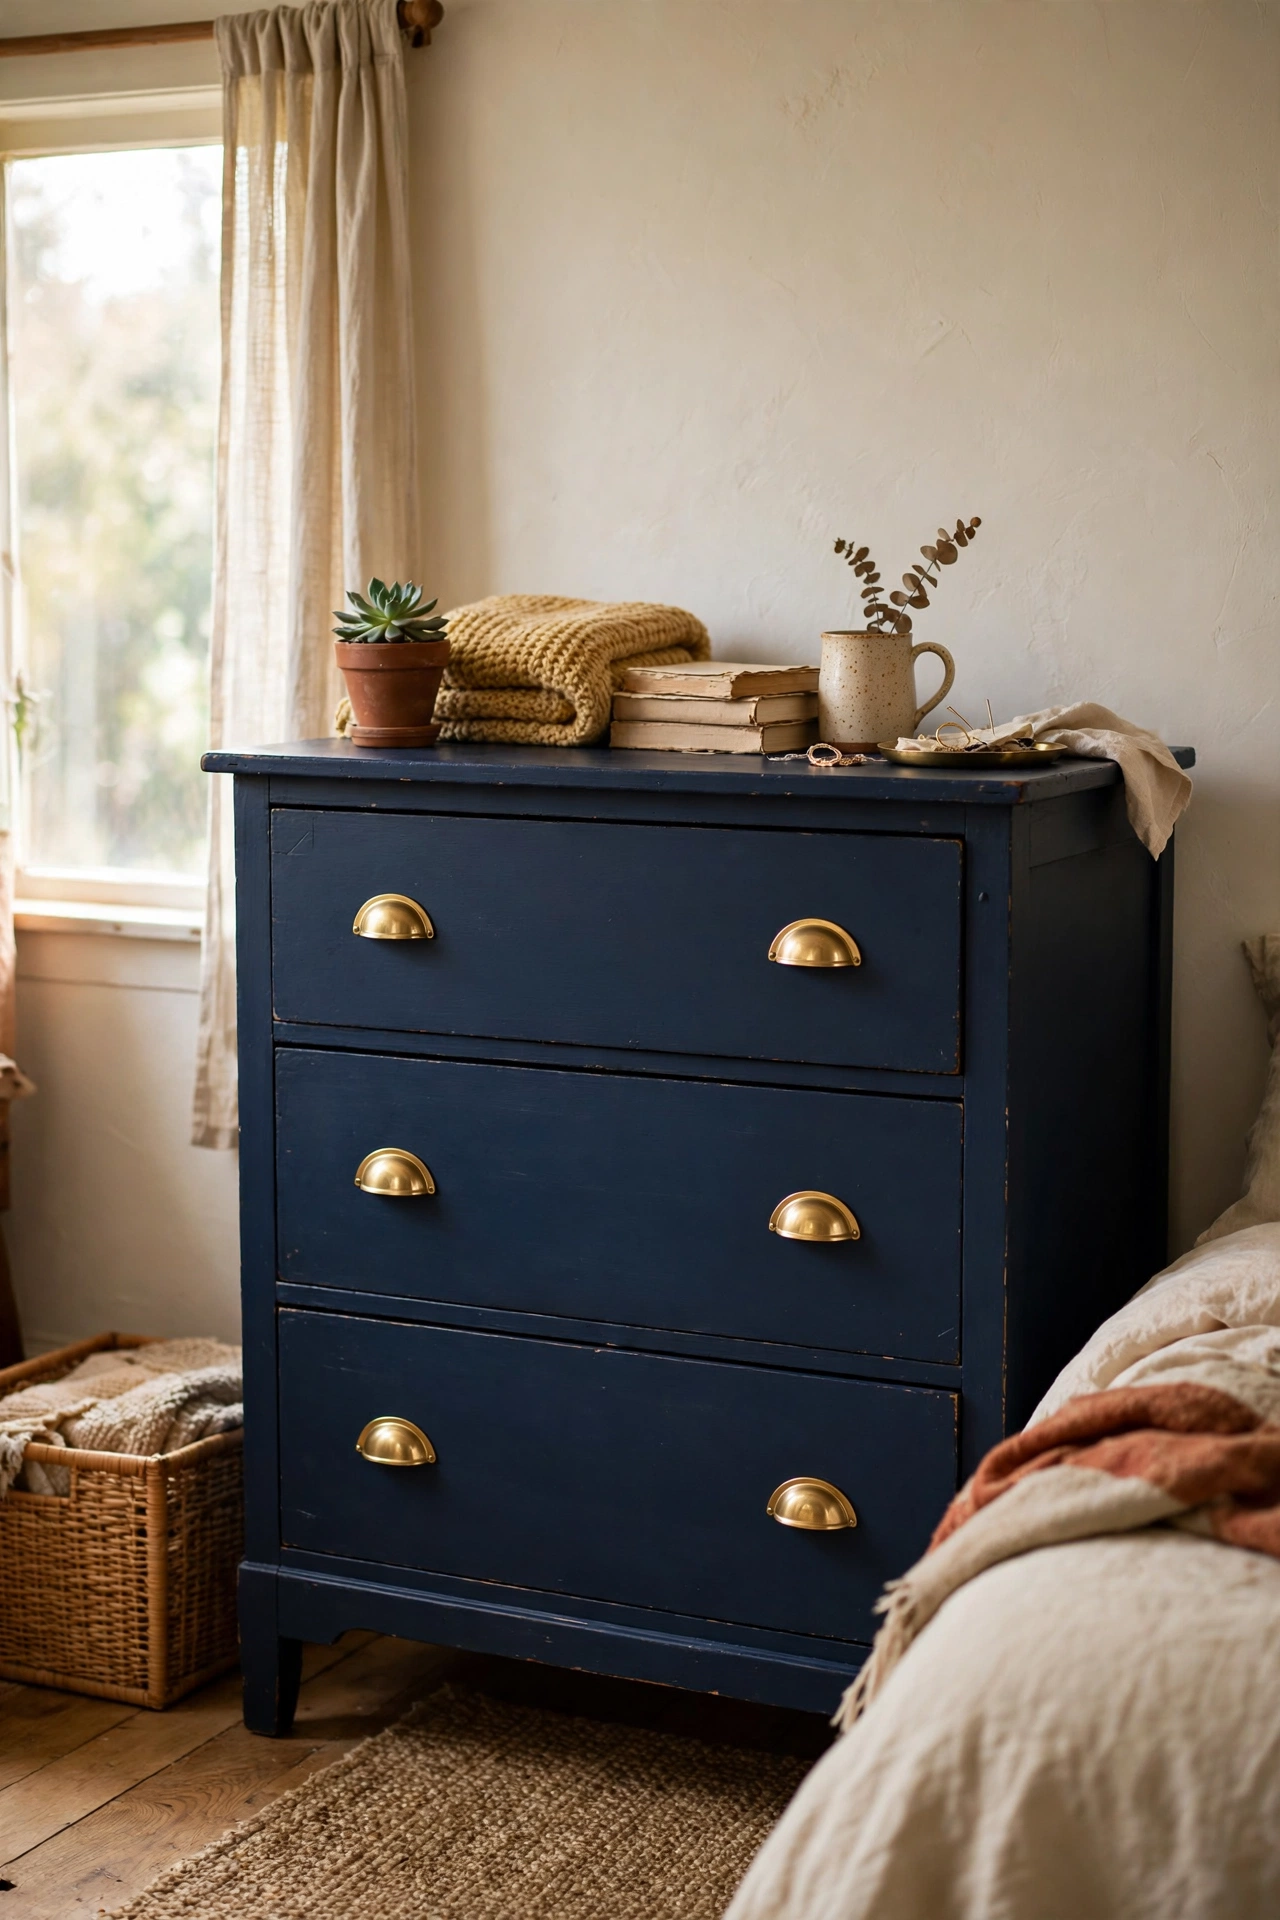
A solid wood dresser with dated handles is one of the highest-value thrift flips. Remove the drawers and hardware, paint the body in two coats of furniture paint, and fit new knobs or cup pulls, which cost a few pounds for a full set online. I bought a scratched pine dresser for fifteen pounds, painted it navy, added brass cup pulls, and it looks like a designer piece. My mistake was painting the drawer runners, and the drawers stuck for weeks, so mask the runners before you paint. Measure the hole spacing before ordering new handles.
Cost: ~$15-30 | Time: 4 hours plus drying
10. Side Table Flip with Chalk Paint
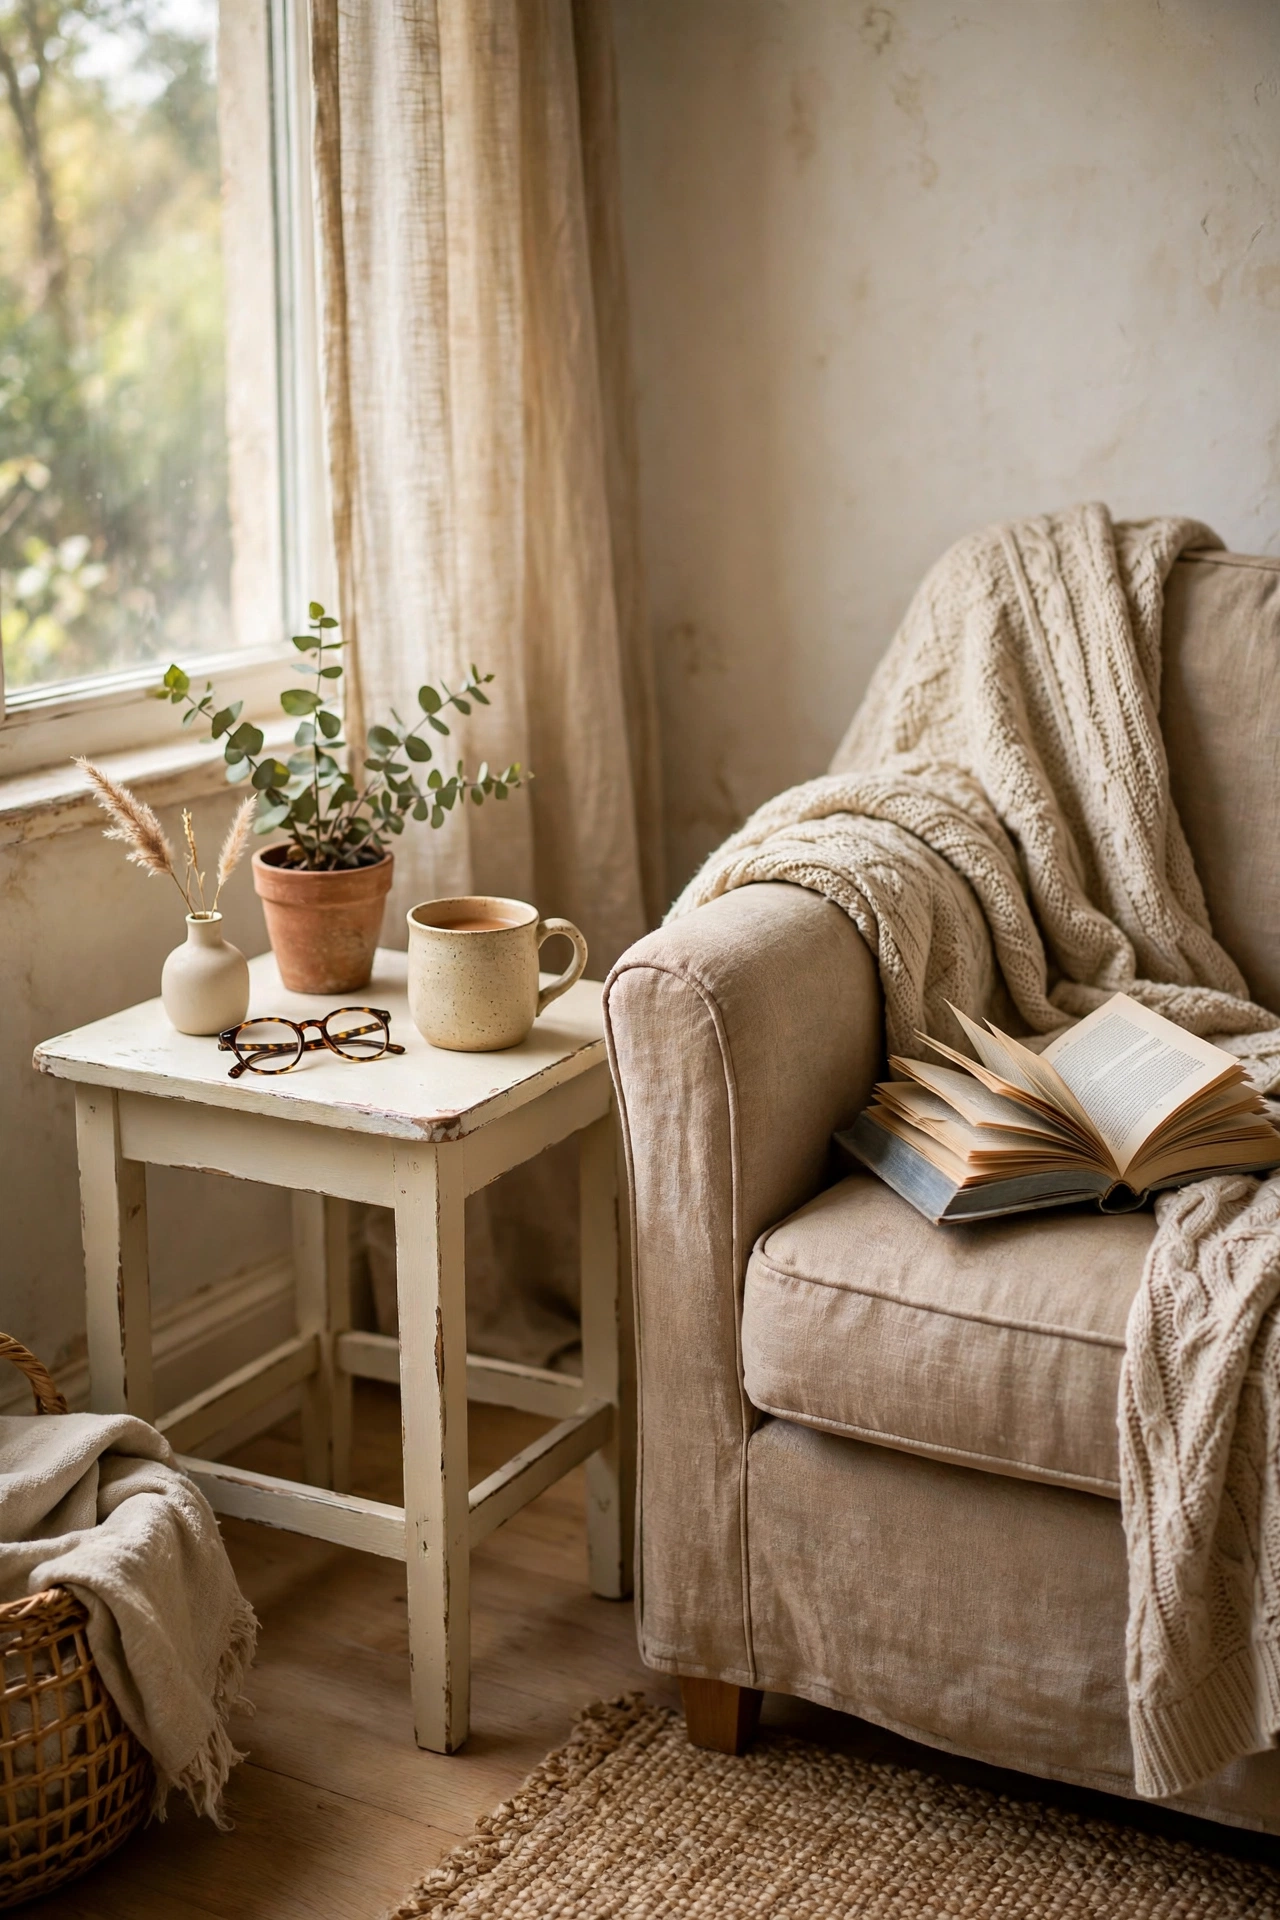
Wobbly-looking side tables are often perfectly solid once you tighten the legs, and chalk paint does the rest. Check every joint and screw before you buy, tighten what you can, then clean and paint in two coats. I found a little oak side table with water rings all over the top, painted it cream, and it now sits beside my reading chair. My mistake was not filling a small chip on the edge before painting, and the paint highlighted it instead of hiding it, so use wood filler on any dents first. A twenty-minute flip that looks completely new.
Cost: ~$10-18 | Time: 2 hours plus drying
11. Old Bookshelf to Kitchen Pantry Storage
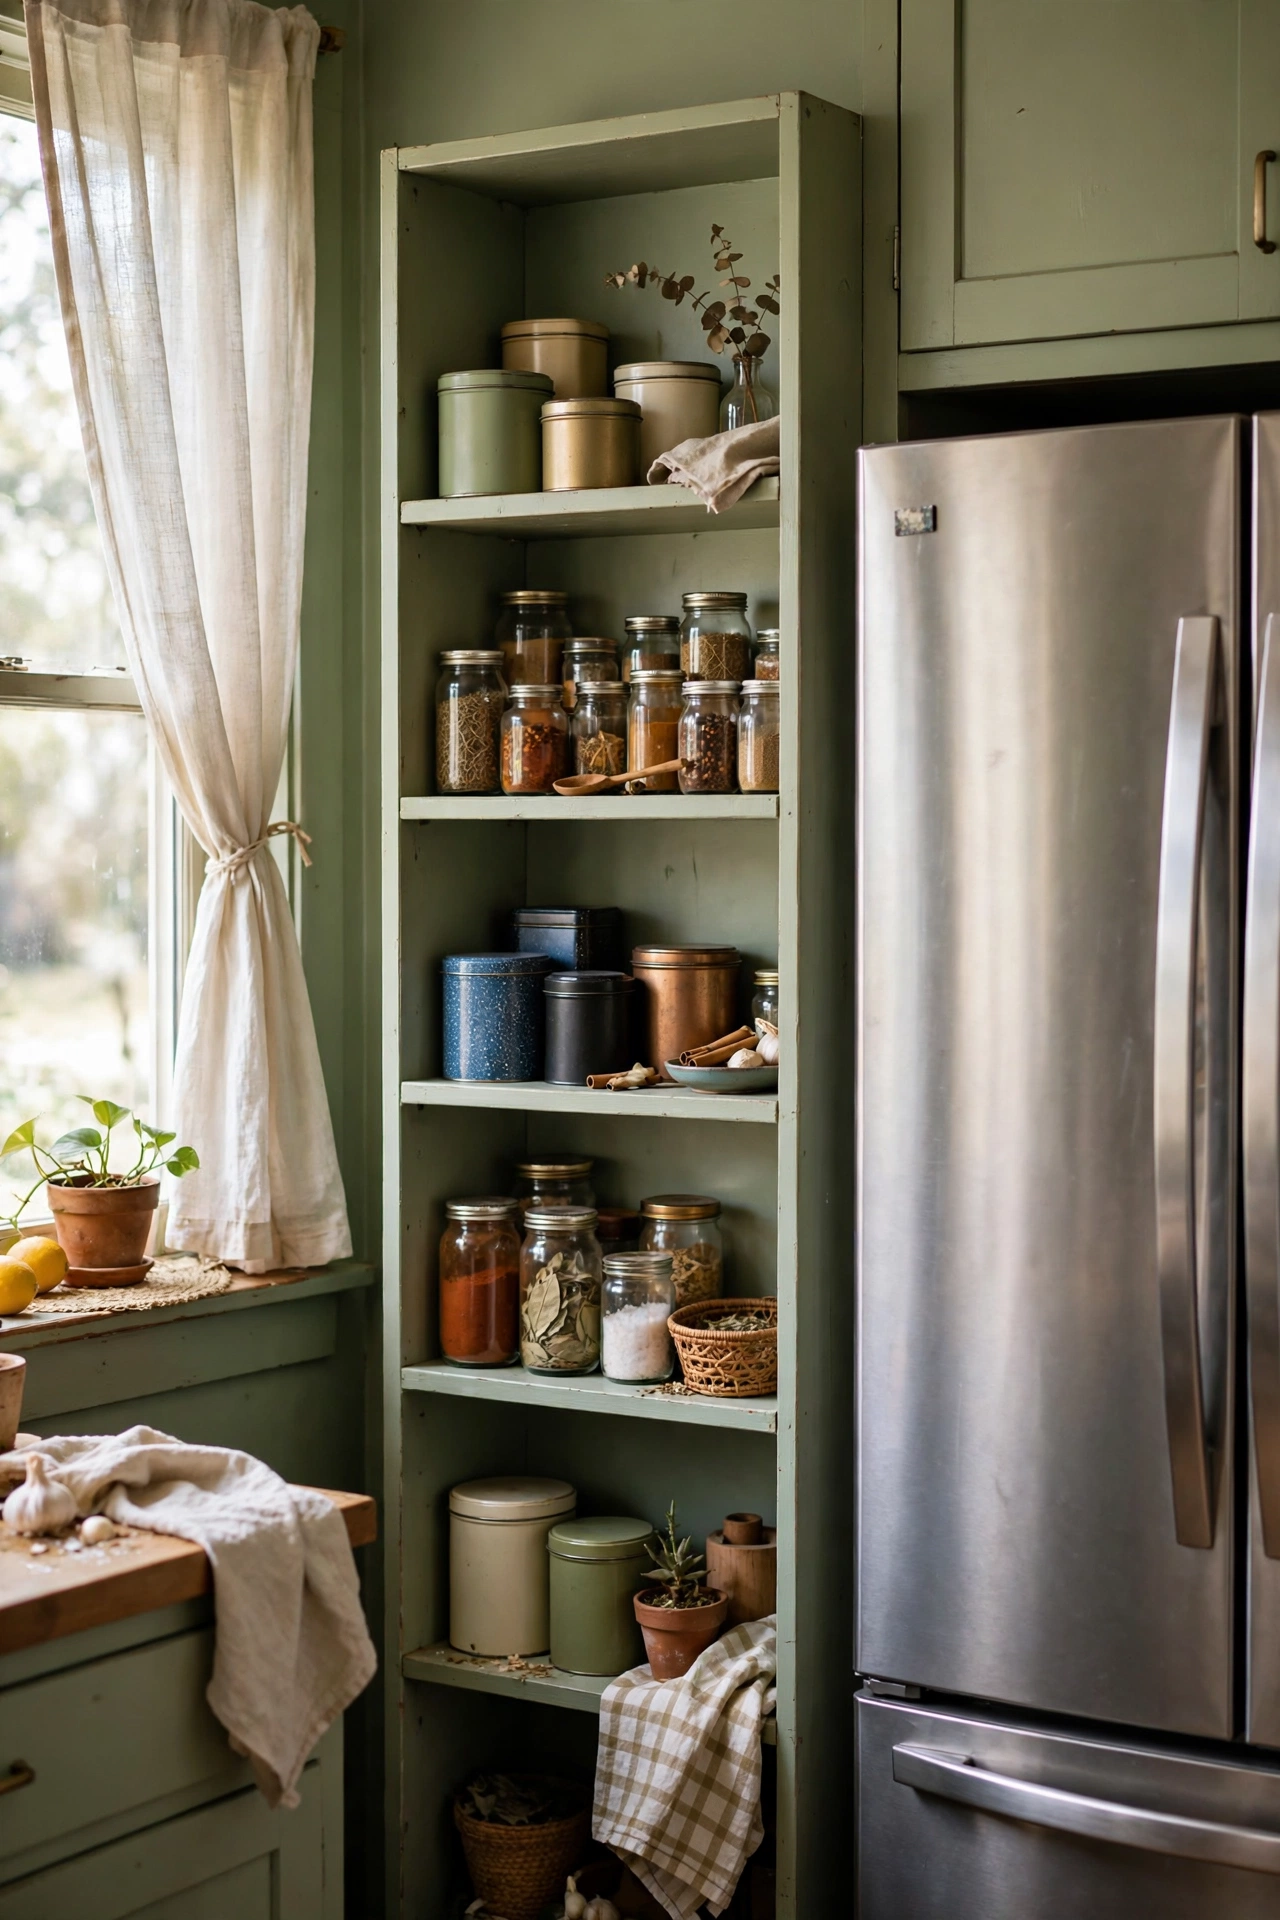
A tall narrow bookshelf makes brilliant pantry storage for a fraction of fitted units. Clean it thoroughly, paint it to match your kitchen, and line the shelves with wipeable contact paper. I turned a five-pound bookcase into a tea, tin, and spice station beside my fridge, and it holds more than my old wall cupboard did. My mistake was not anchoring it to the wall, and it felt unsteady once loaded with tins, so fix a bracket to the wall before you stock it. Baskets on the shelves hide the clutter and keep everything tidy.
Cost: ~$12-20 | Time: 2 hours plus drying
12. Thrifted Mirror with a Painted Frame
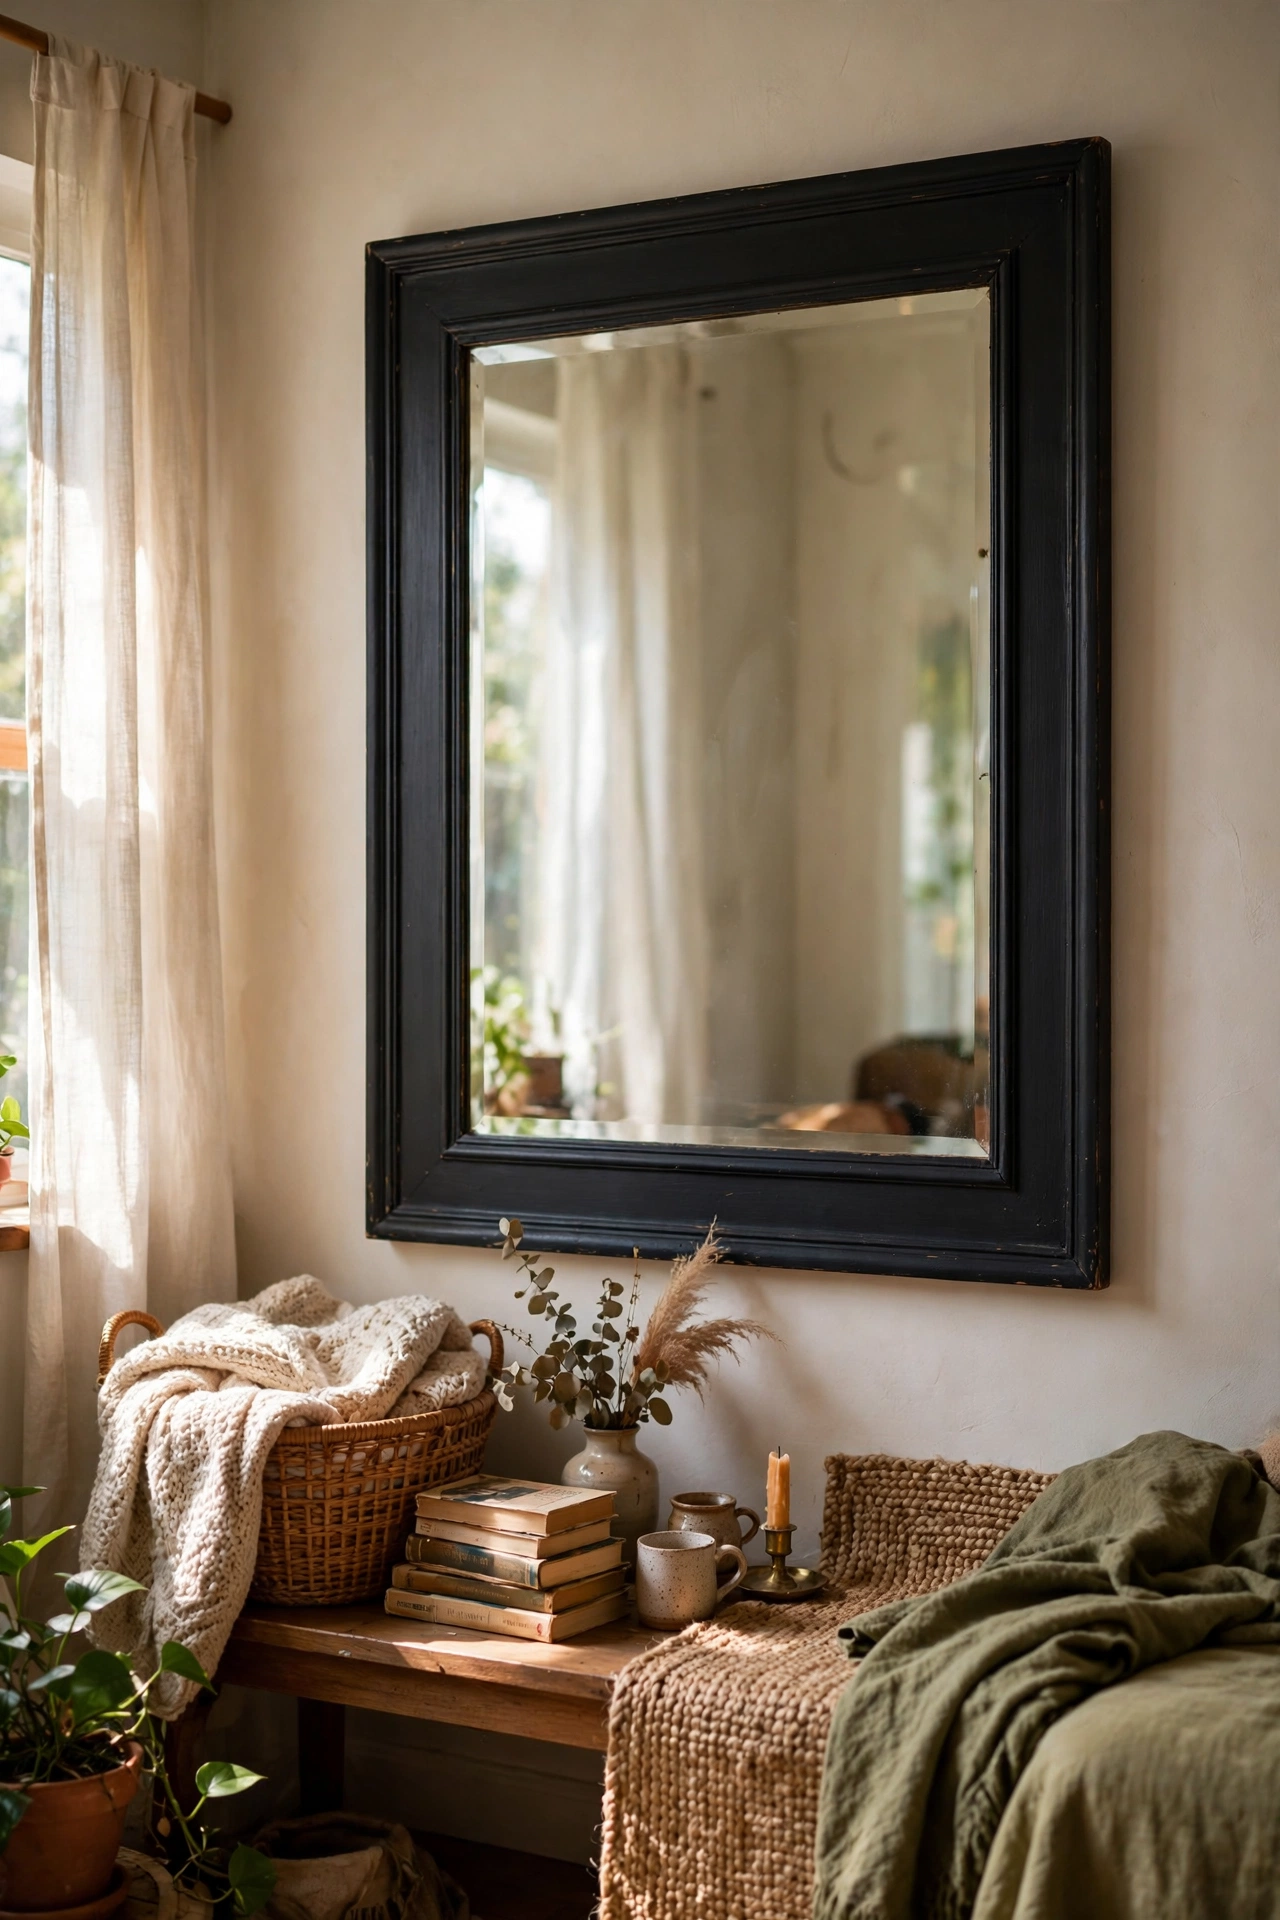
Big mirrors turn up in charity shops for a fraction of the shop price, usually with an ugly frame that puts people off. That is exactly what you want. Paint the frame in a bold colour or antique gold, and the mirror suddenly looks intentional. I found a huge gilt-look mirror with a chipped brown frame, painted it matte black, and it anchors my living room wall. My mistake was not taping the mirror edge properly, and I spent an hour scraping paint off the glass, so tape carefully and use a craft knife for a clean line. Hang with proper fixings.
Cost: ~$8-15 | Time: 1.5 hours plus drying
13. Coffee Table Stain Refresh
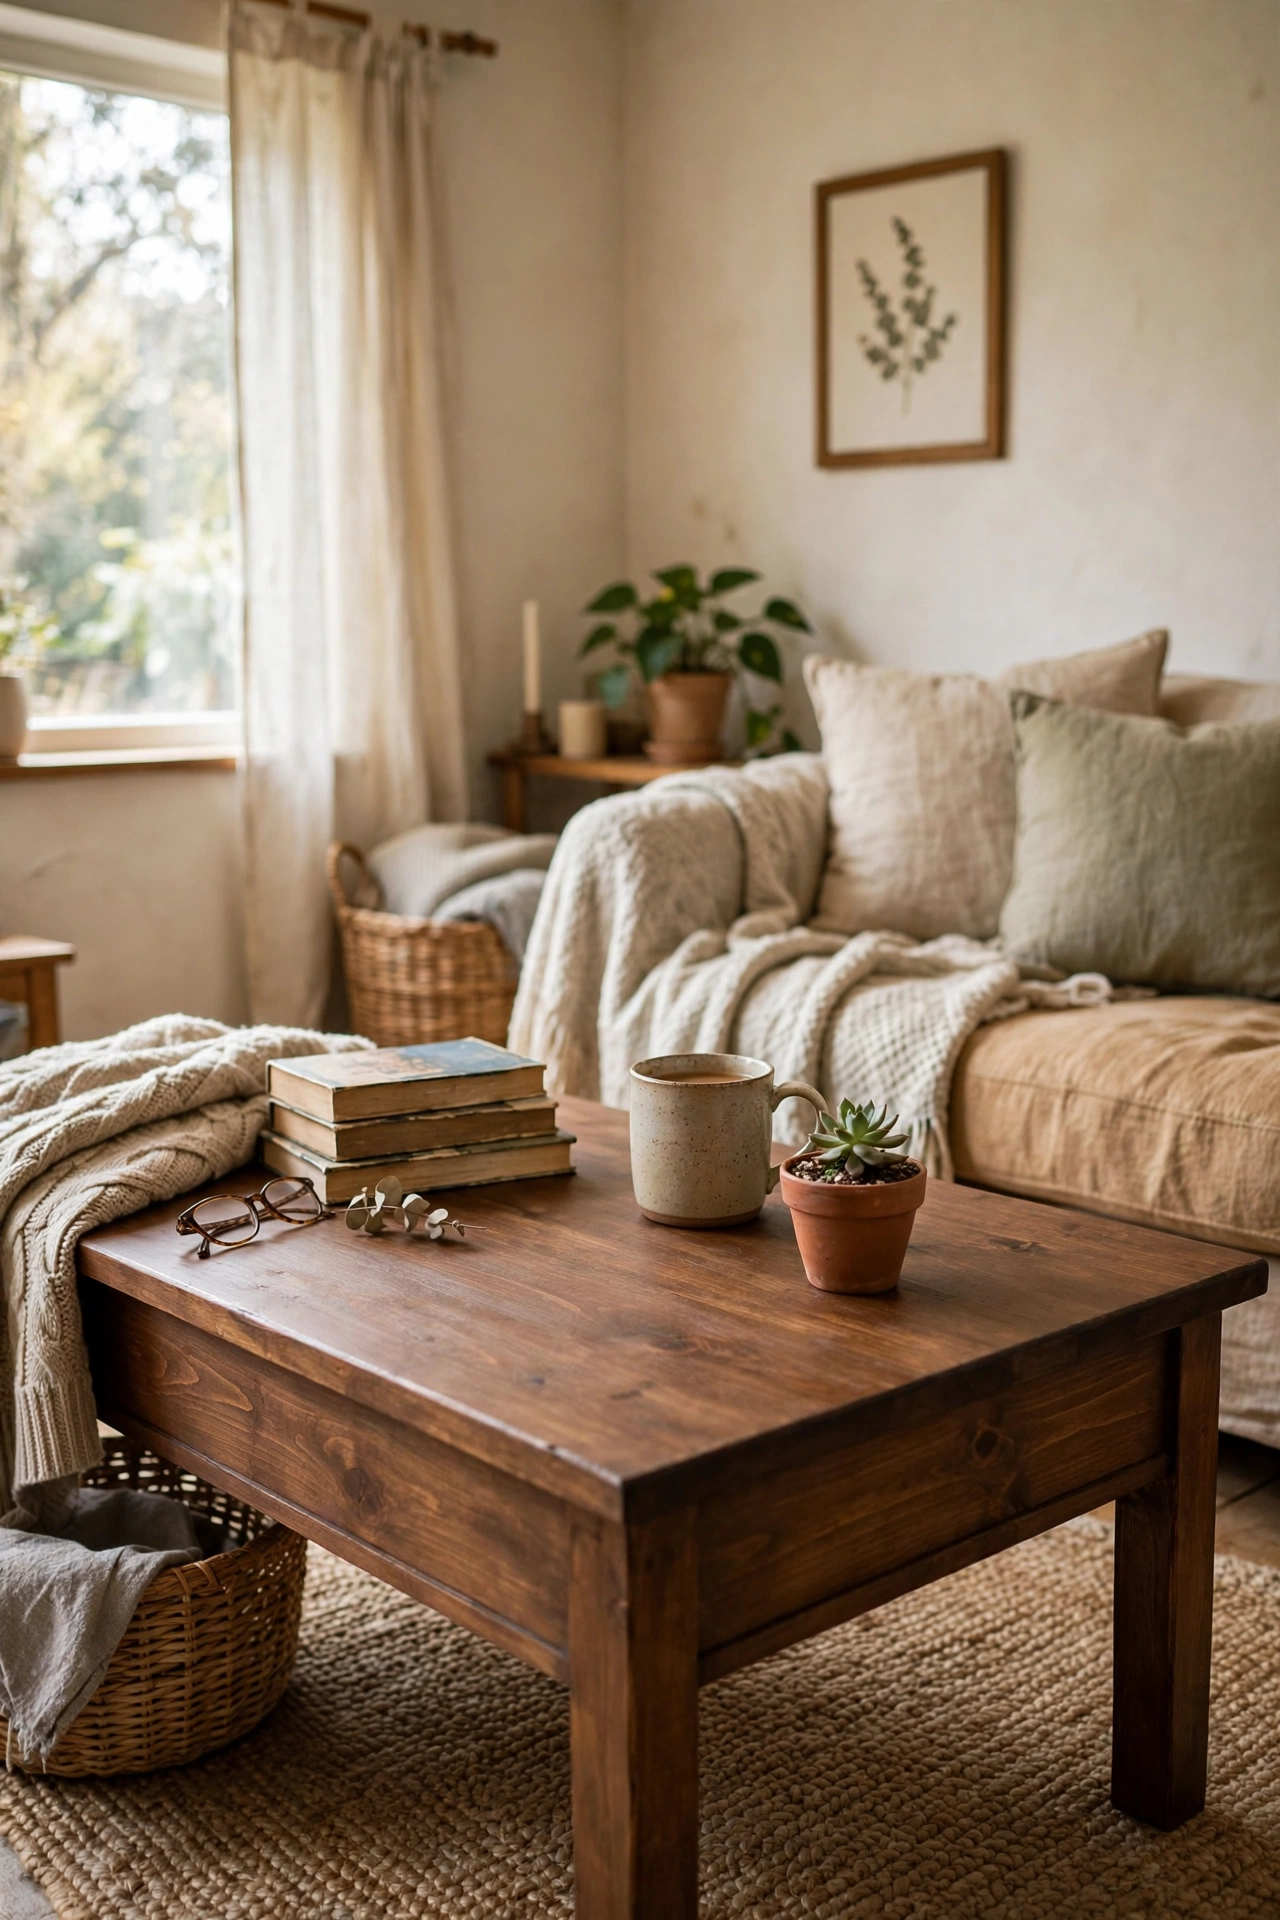
A scratched coffee table top can look new again with a light sand and fresh stain. Sand the top back to bare wood with medium then fine sandpaper, wipe off the dust, and apply wood stain with a cloth in the direction of the grain. I refreshed a ten-pound pine coffee table with a walnut stain and it now matches my much more expensive sideboard. My mistake was staining in a cold garage, and the finish went cloudy, so work somewhere above fifteen degrees. Seal with two coats of clear matte varnish so mugs do not leave rings.
Cost: ~$10-16 | Time: 2 hours plus drying
Thrifted Textile Sewing (and No-Sew) Wins
14. Thrifted Curtains to Cushion Covers
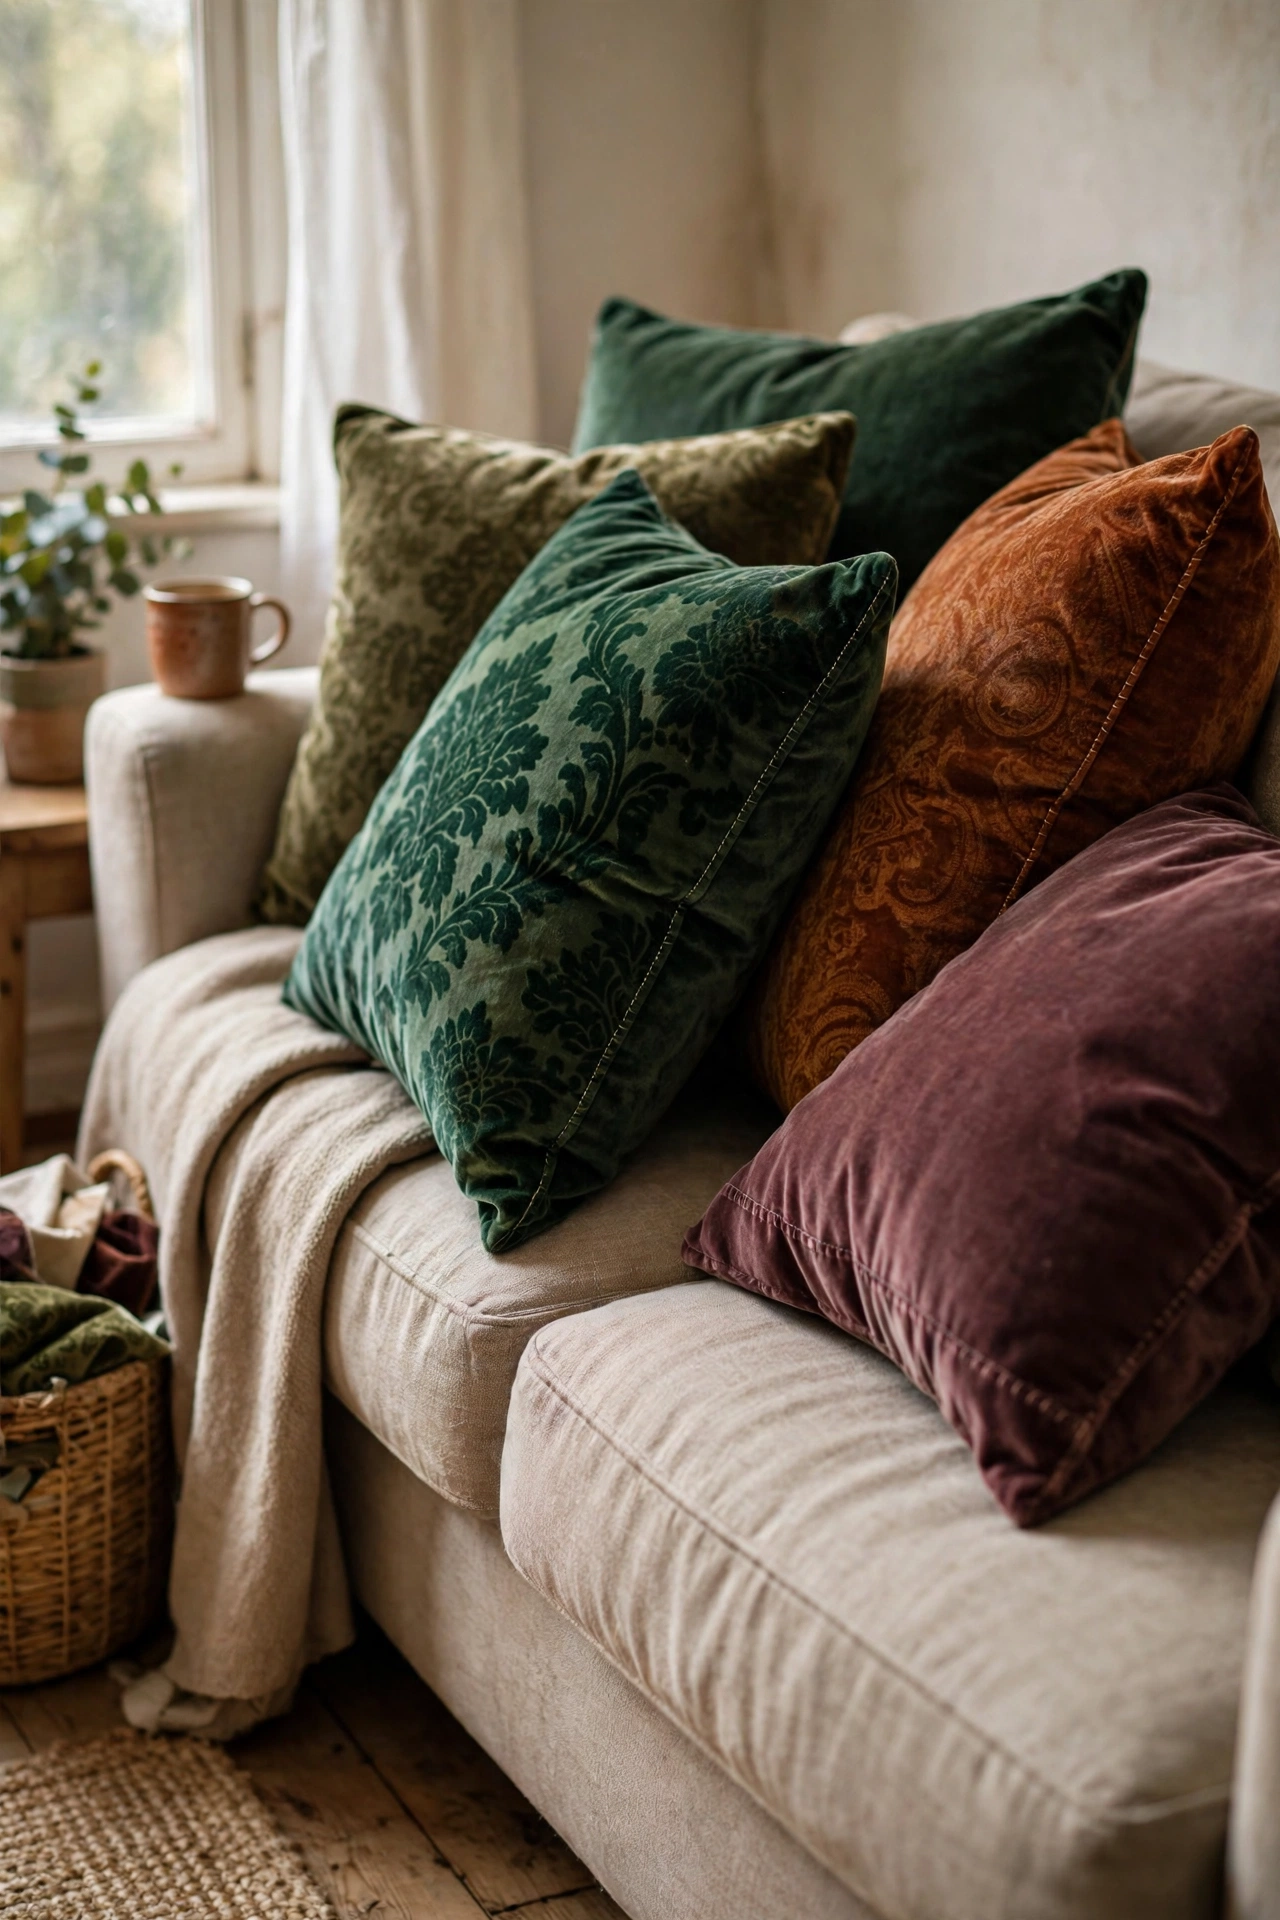
Heavy charity shop curtains in good fabric are the cheapest way to get quality cushion covers. A pair of lined curtains gives you metres of fabric for the price of a coffee. Cut envelope-style covers to fit your cushion pads, sew three sides or use iron-on hemming tape for a no-sew version, and turn them inside out. I made four covers from one pair of velvet curtains and they look like they came from a homeware shop. My mistake was not washing the curtains first, and they smelled faintly of the shop for weeks, so wash everything before you cut.
Cost: ~$6-10 | Time: 1 hour
15. Old Blanket to Throw Pillows
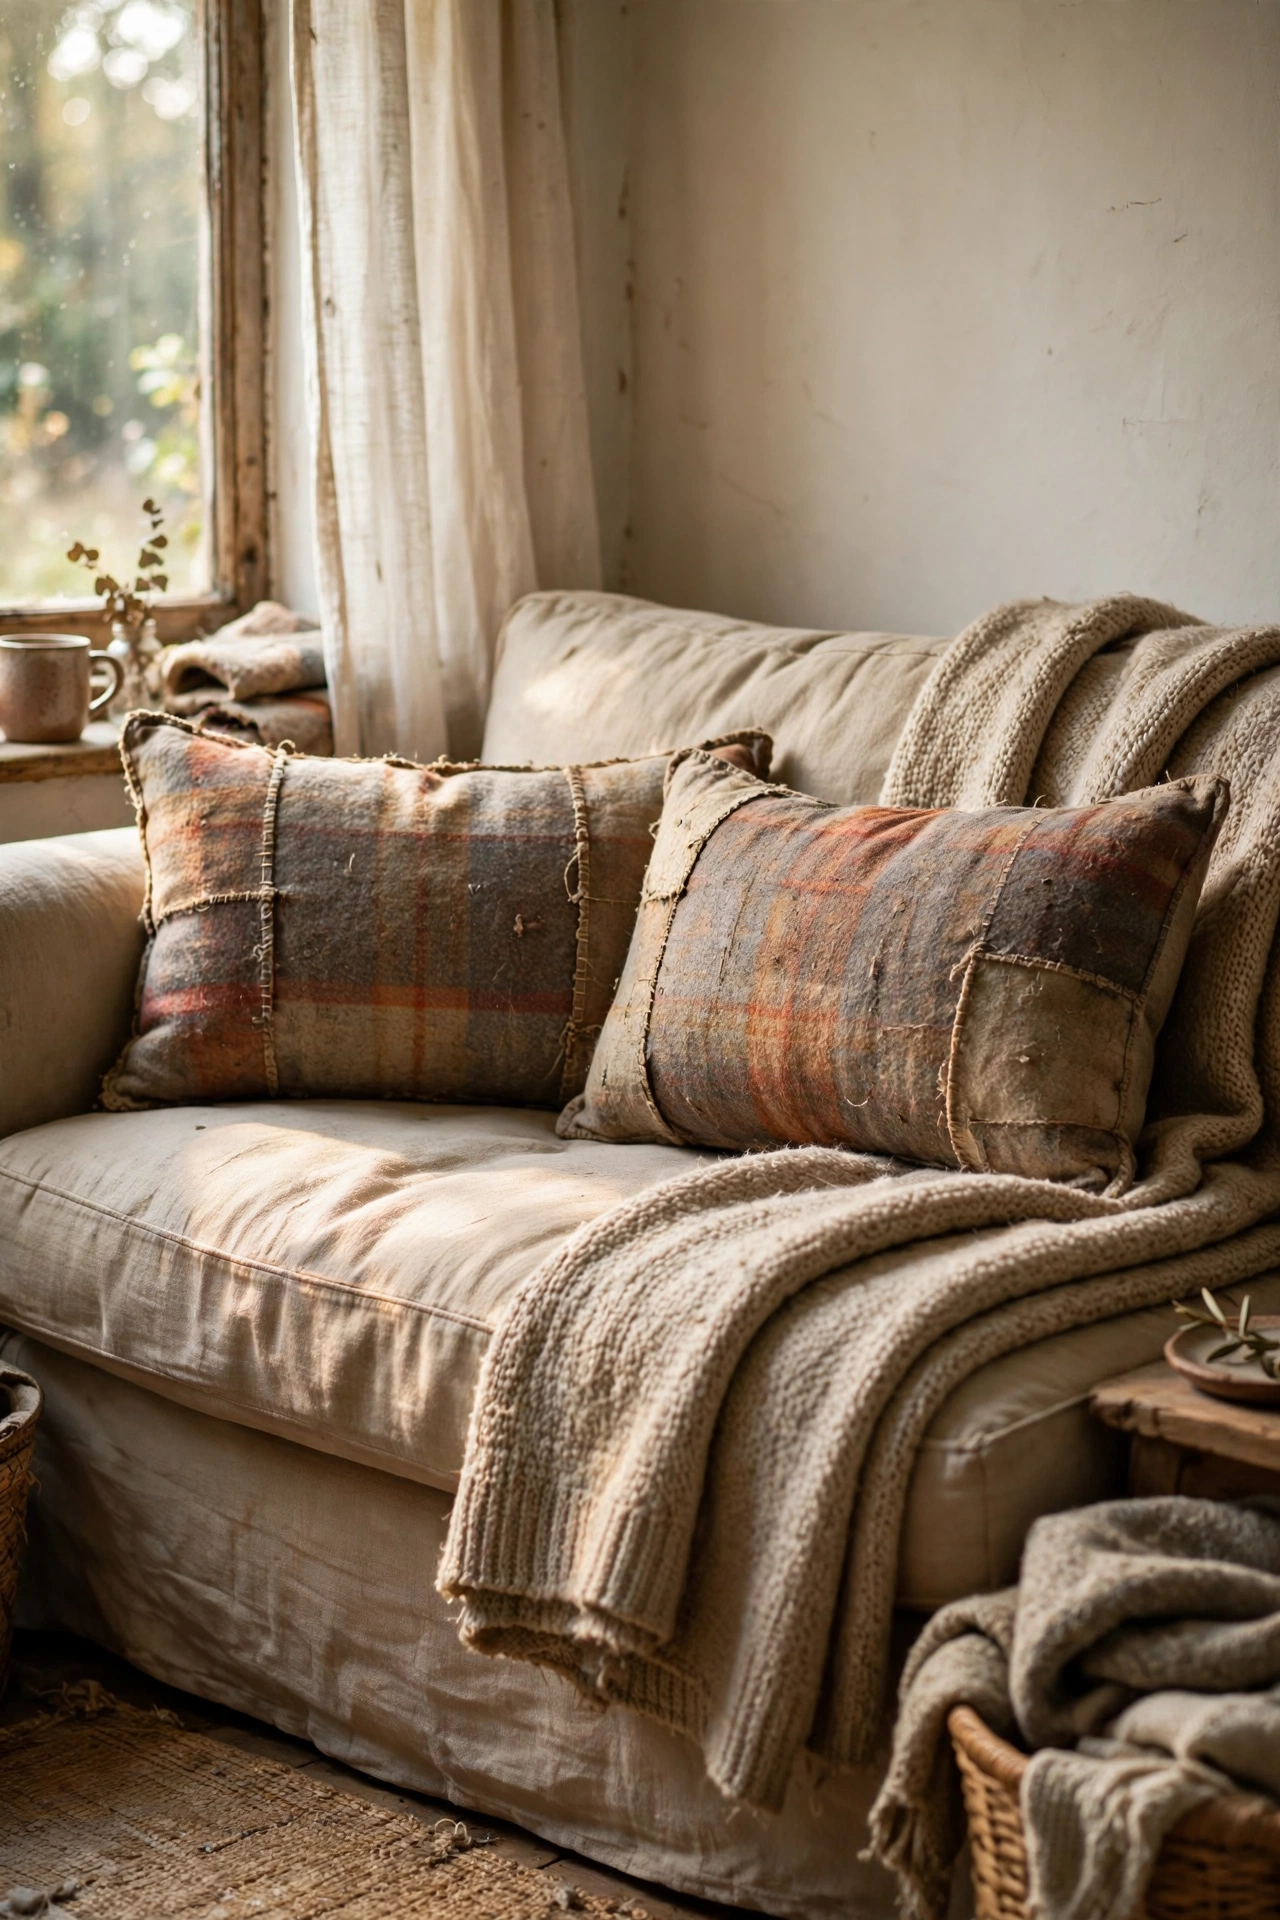
A soft wool or fleece blanket with a stain or worn edge still has plenty of good fabric for pillows. Cut around the damaged areas, make simple envelope covers, and stuff them with the cut-off scraps for extra filling. I turned a moth-nibbled corner of a charity shop blanket into two lumbar pillows for my sofa, and the worn wool looks beautifully lived-in. My mistake was cutting the pieces too small the first time, and the covers would not close, so add two inches to your cushion pad measurements. These wash well and only get softer.
Cost: ~$5-8 | Time: 45 minutes
16. Tablecloth to Table Runner Set
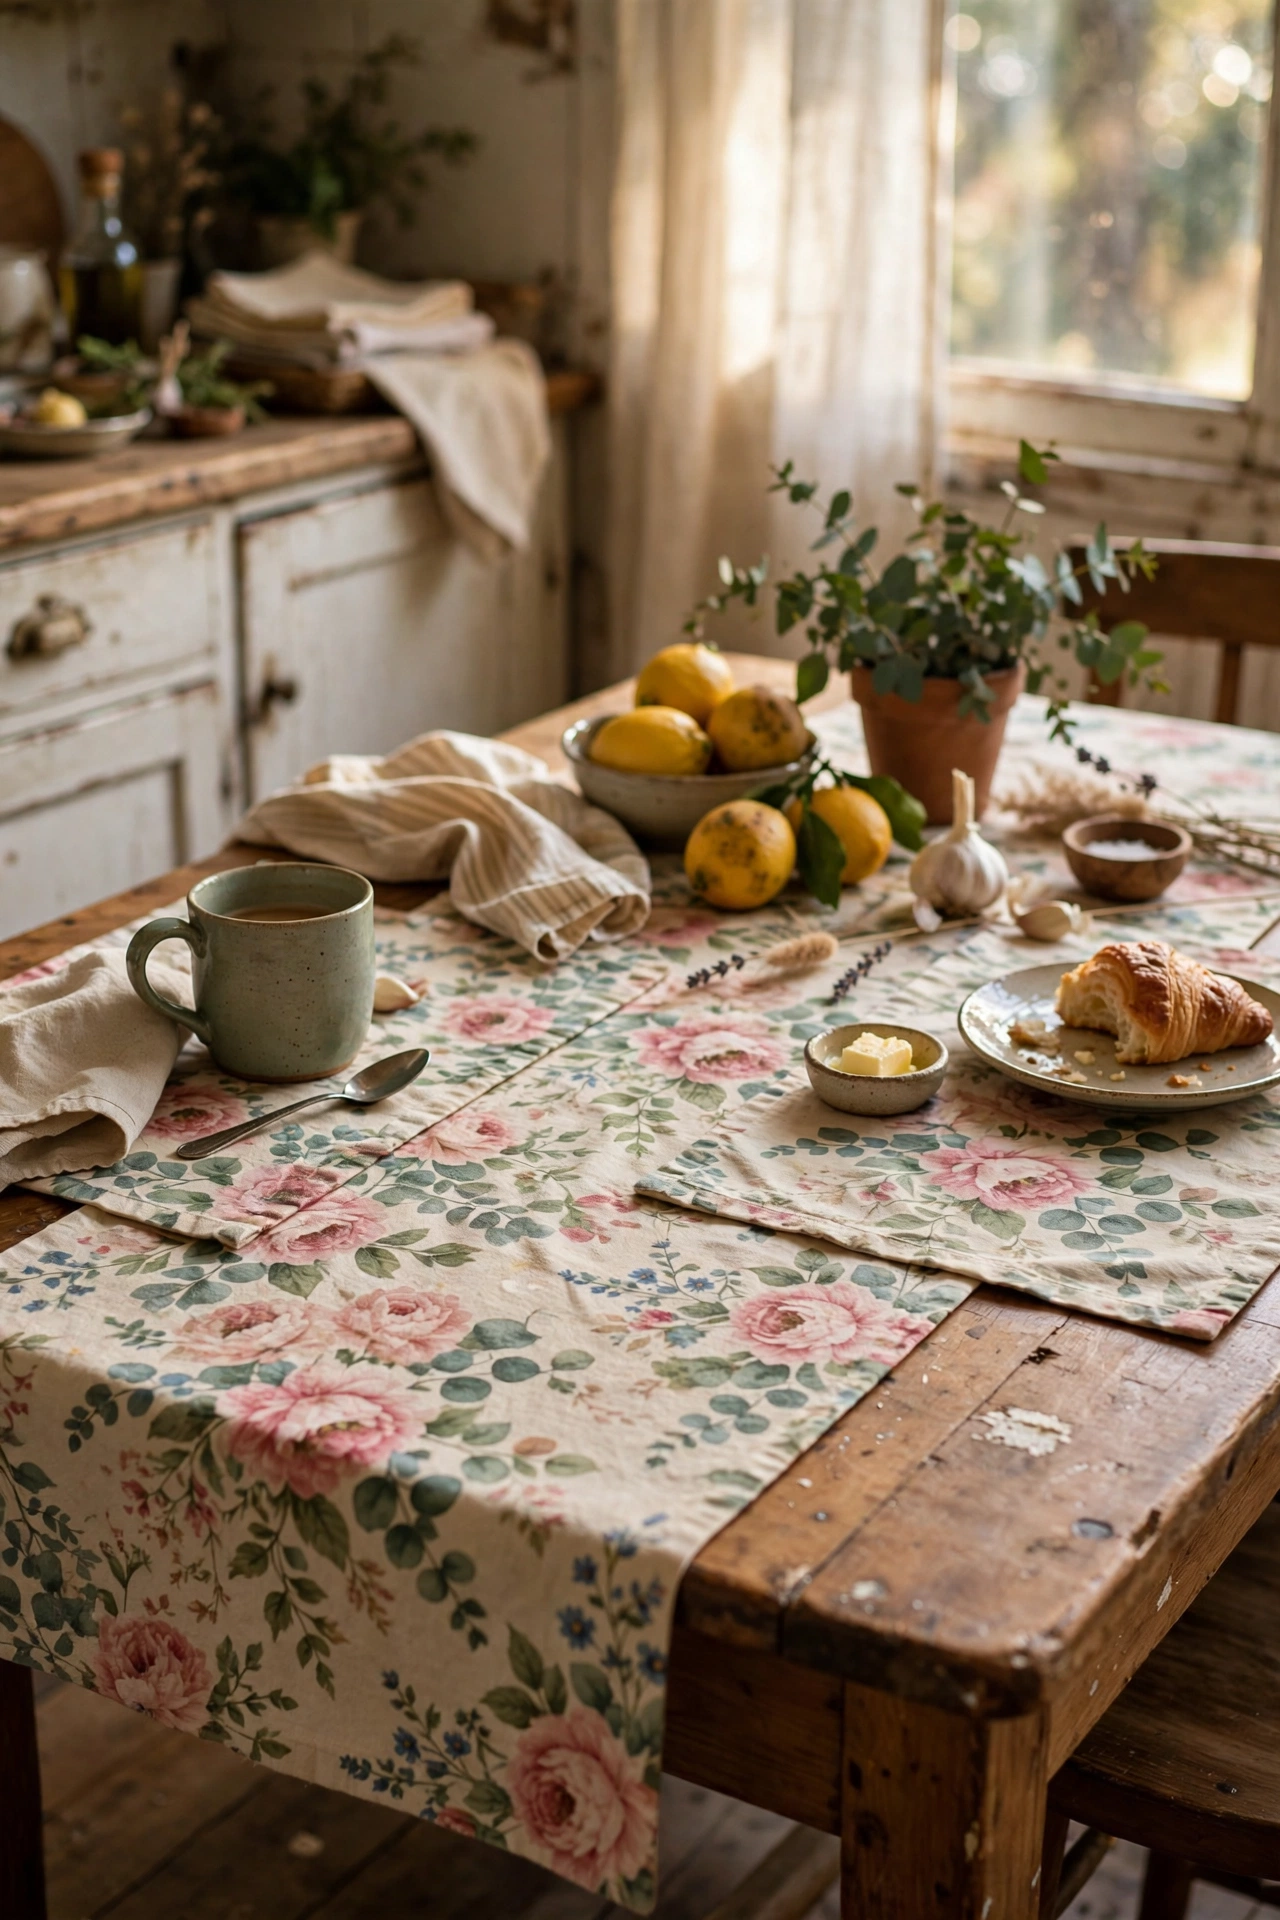
Oversized charity shop tablecloths in pretty prints are too good to leave behind. Cut a long strip down the middle for a runner and use the side pieces for matching placemats, hemming the cut edges with iron-on tape or a simple straight stitch. I made a runner and four placemats from one floral tablecloth, and they match my kitchen perfectly. My mistake was cutting before measuring the table, and the runner hung too short on one side, so measure your table length and add the drop you want on each end before you cut.
Cost: ~$4-7 | Time: 30 minutes
17. Woollen Jumper to Cosy Vase Covers
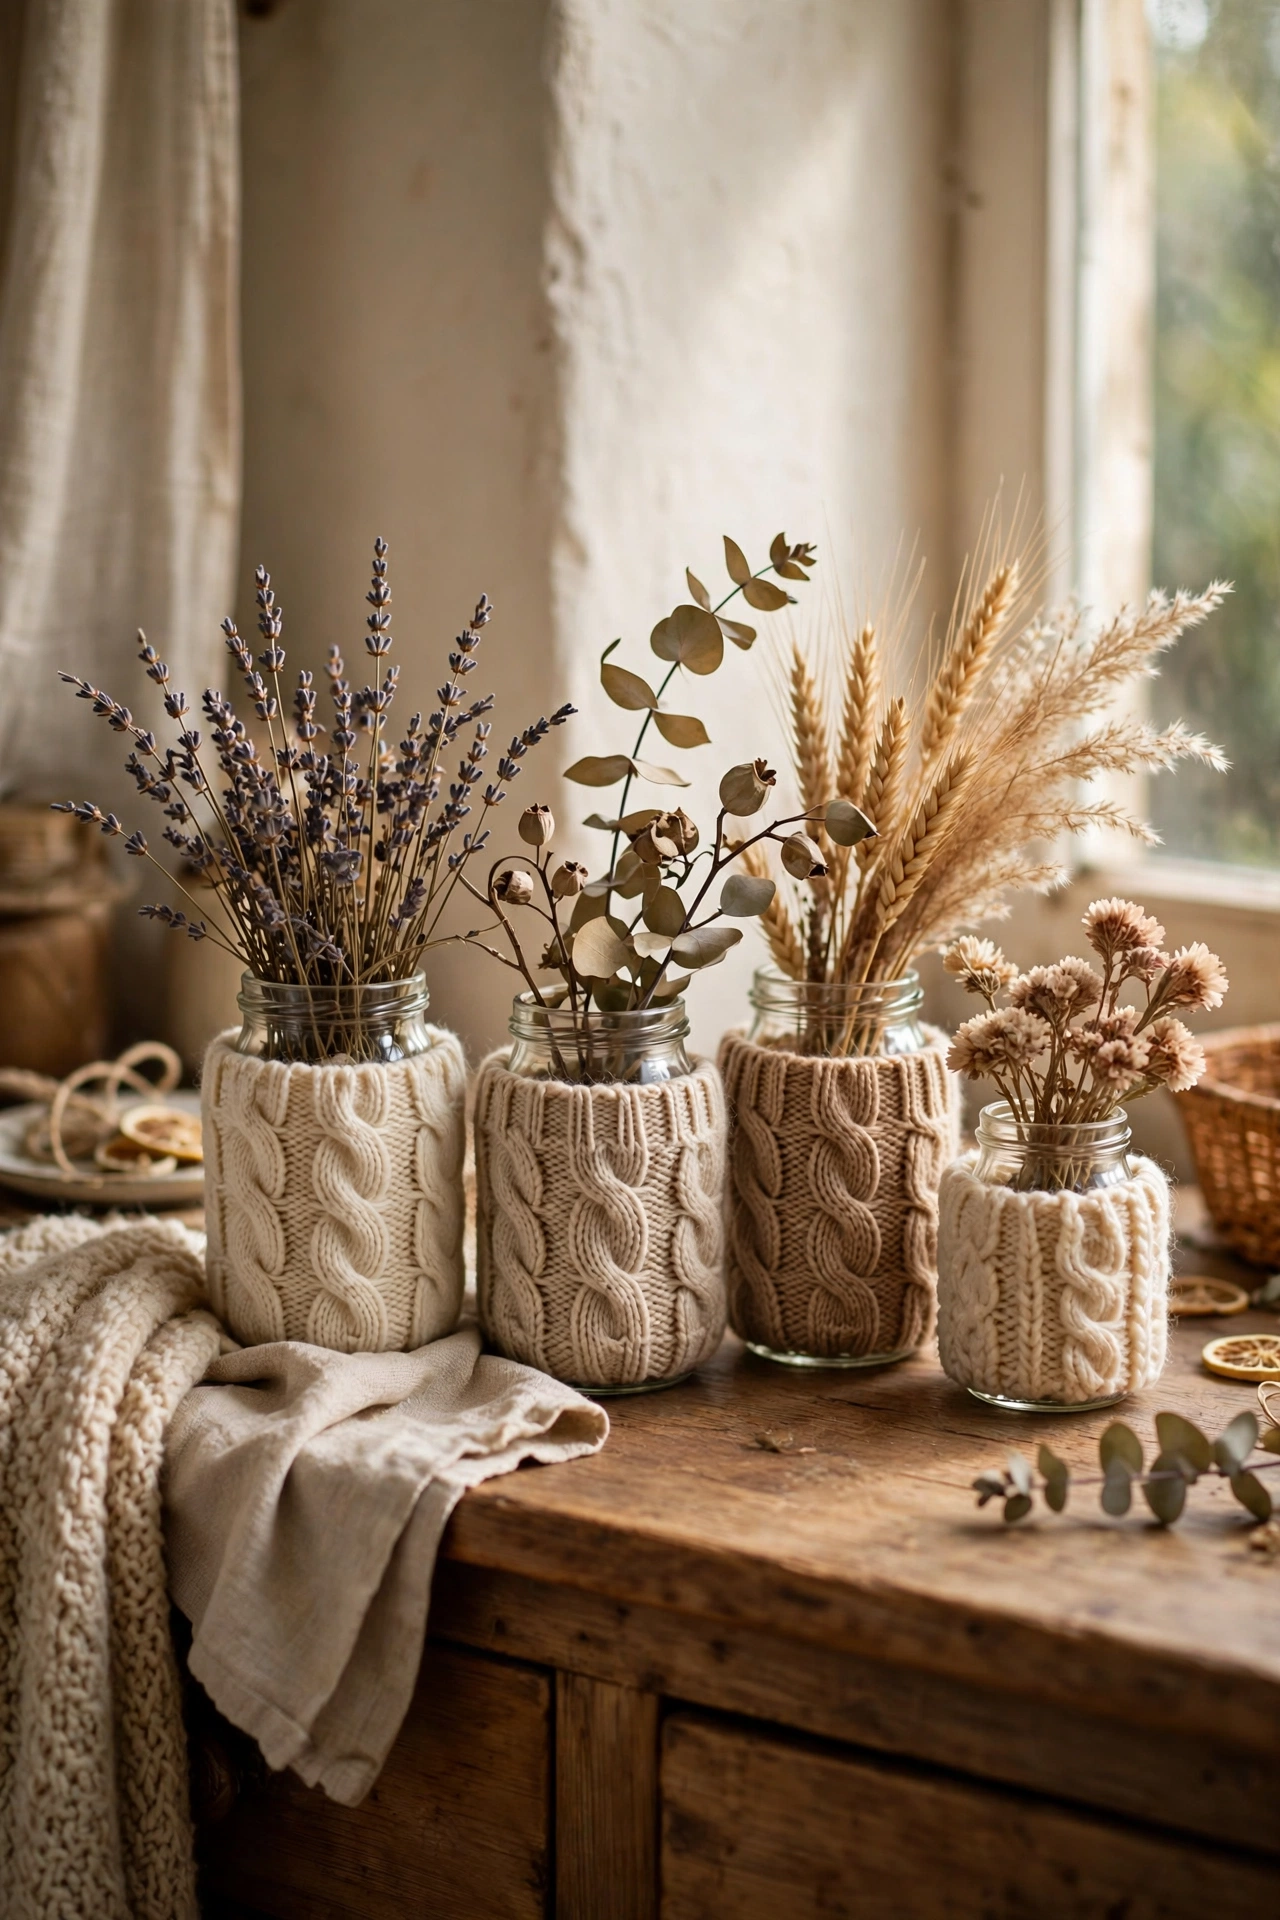
A felted or shrunken woollen jumper makes the cosiest vase covers for winter. Cut the sleeves off at the shoulder, slide a small vase or jar inside each sleeve, and fold the cuff over the top edge for a finished look. I used an old cable-knit jumper and the texture looks wonderful with dried stems. My mistake was using a vase that was too tall, and the sleeve rode up, so choose squat jars or cut the sleeve shorter. Tie a piece of twine around the middle for extra charm, and group two or three together.
Cost: ~$3-6 | Time: 20 minutes
18. Duvet Cover to No-Sew Window Curtains
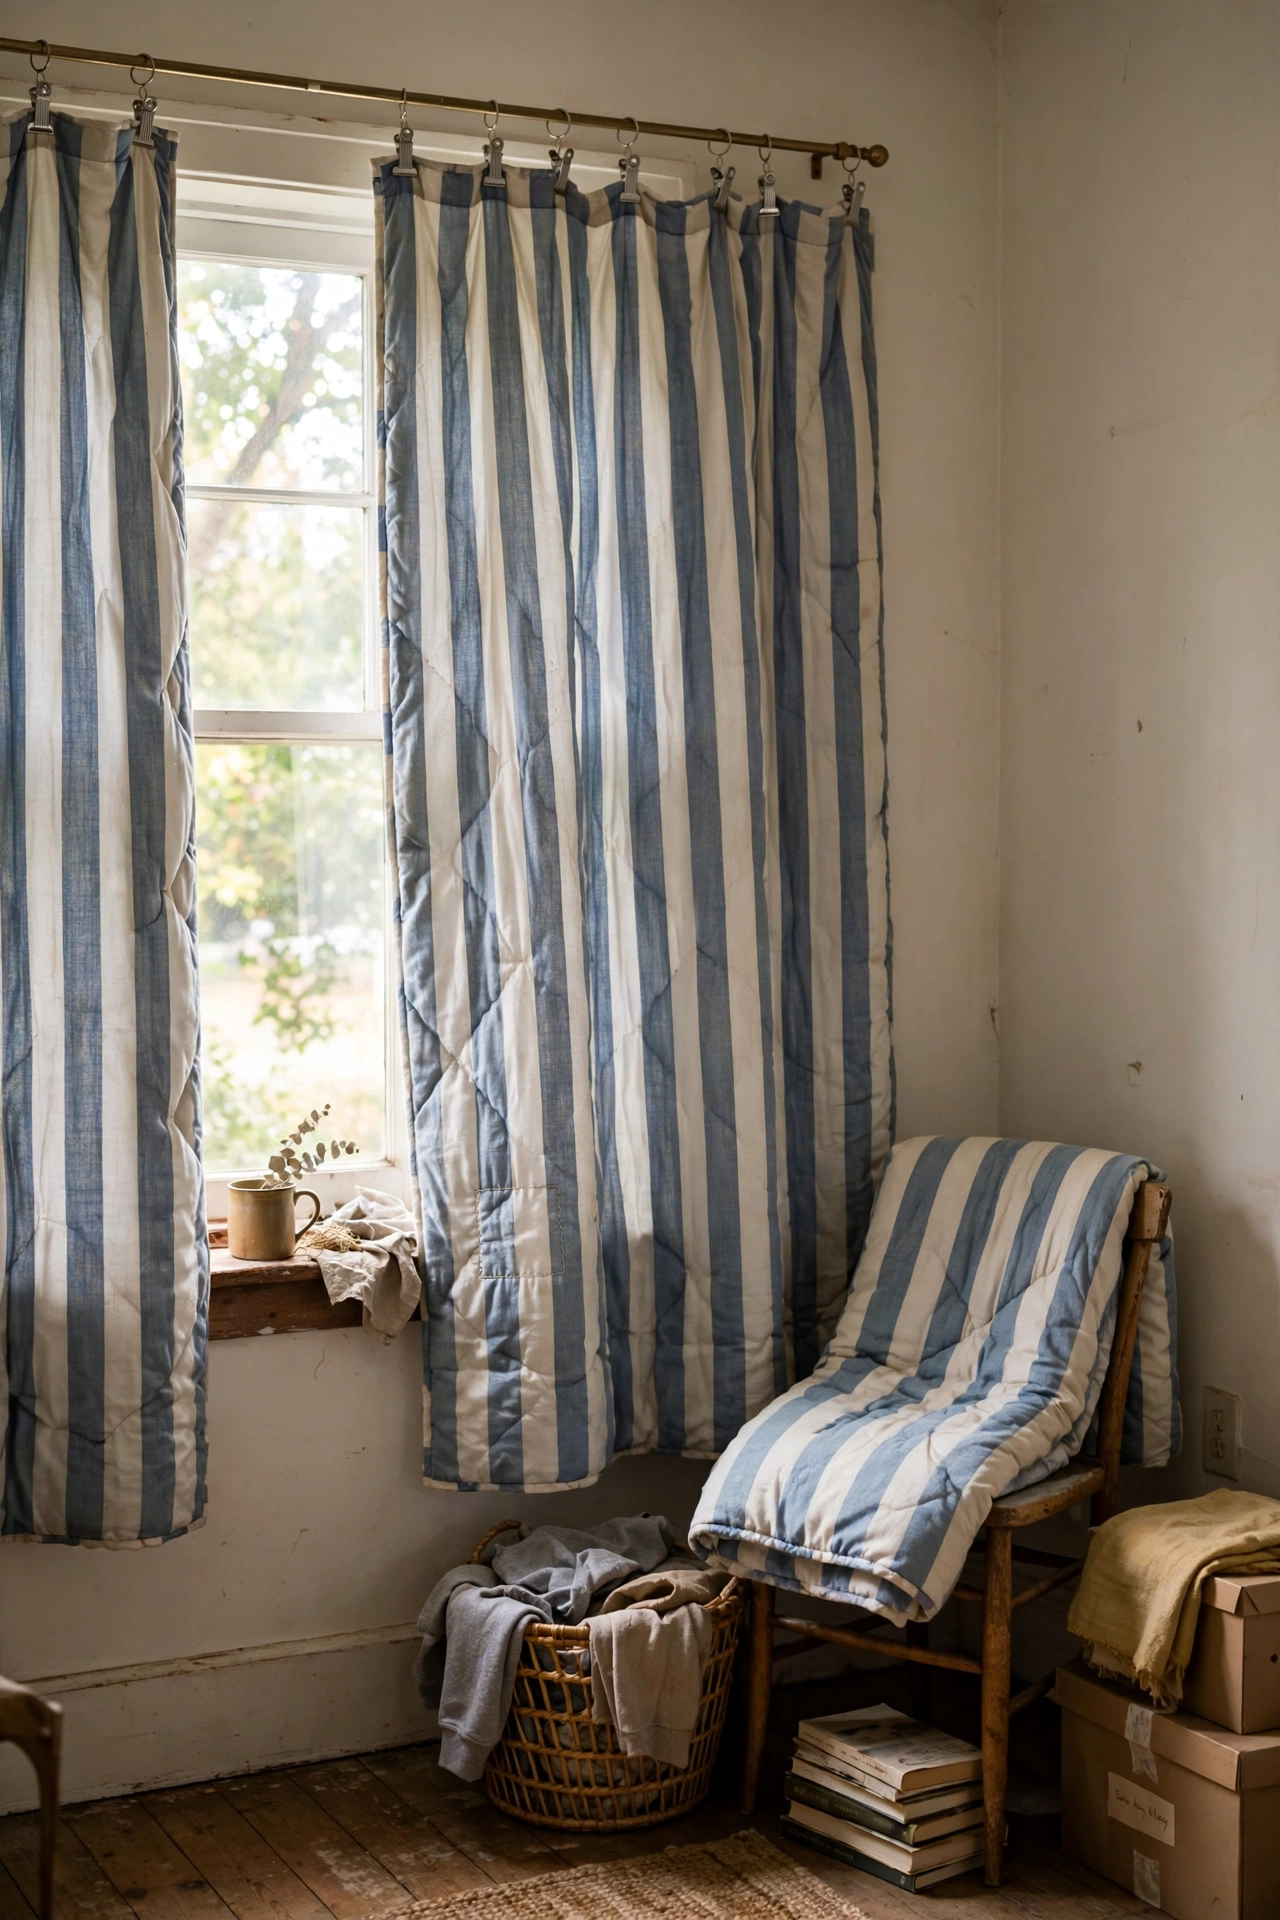
A charity shop duvet cover in a pretty print gives you two curtain panels for the price of one. Cut the duvet cover in half down the middle, hem the cut edge with iron-on hemming tape, and hang each panel with clip rings on a tension rod or curtain wire. I made curtains for my spare room from a striped duvet cover and they look properly made. My mistake was not ironing the panels before hanging, and they looked creased for weeks, so press them well first. Wash the duvet cover before you cut, as second-hand bedding always needs it.
Cost: ~$6-12 | Time: 45 minutes
Decor and Storage from the Bric-a-Brac Shelf
19. Glass Jar and Bottle Storage Set
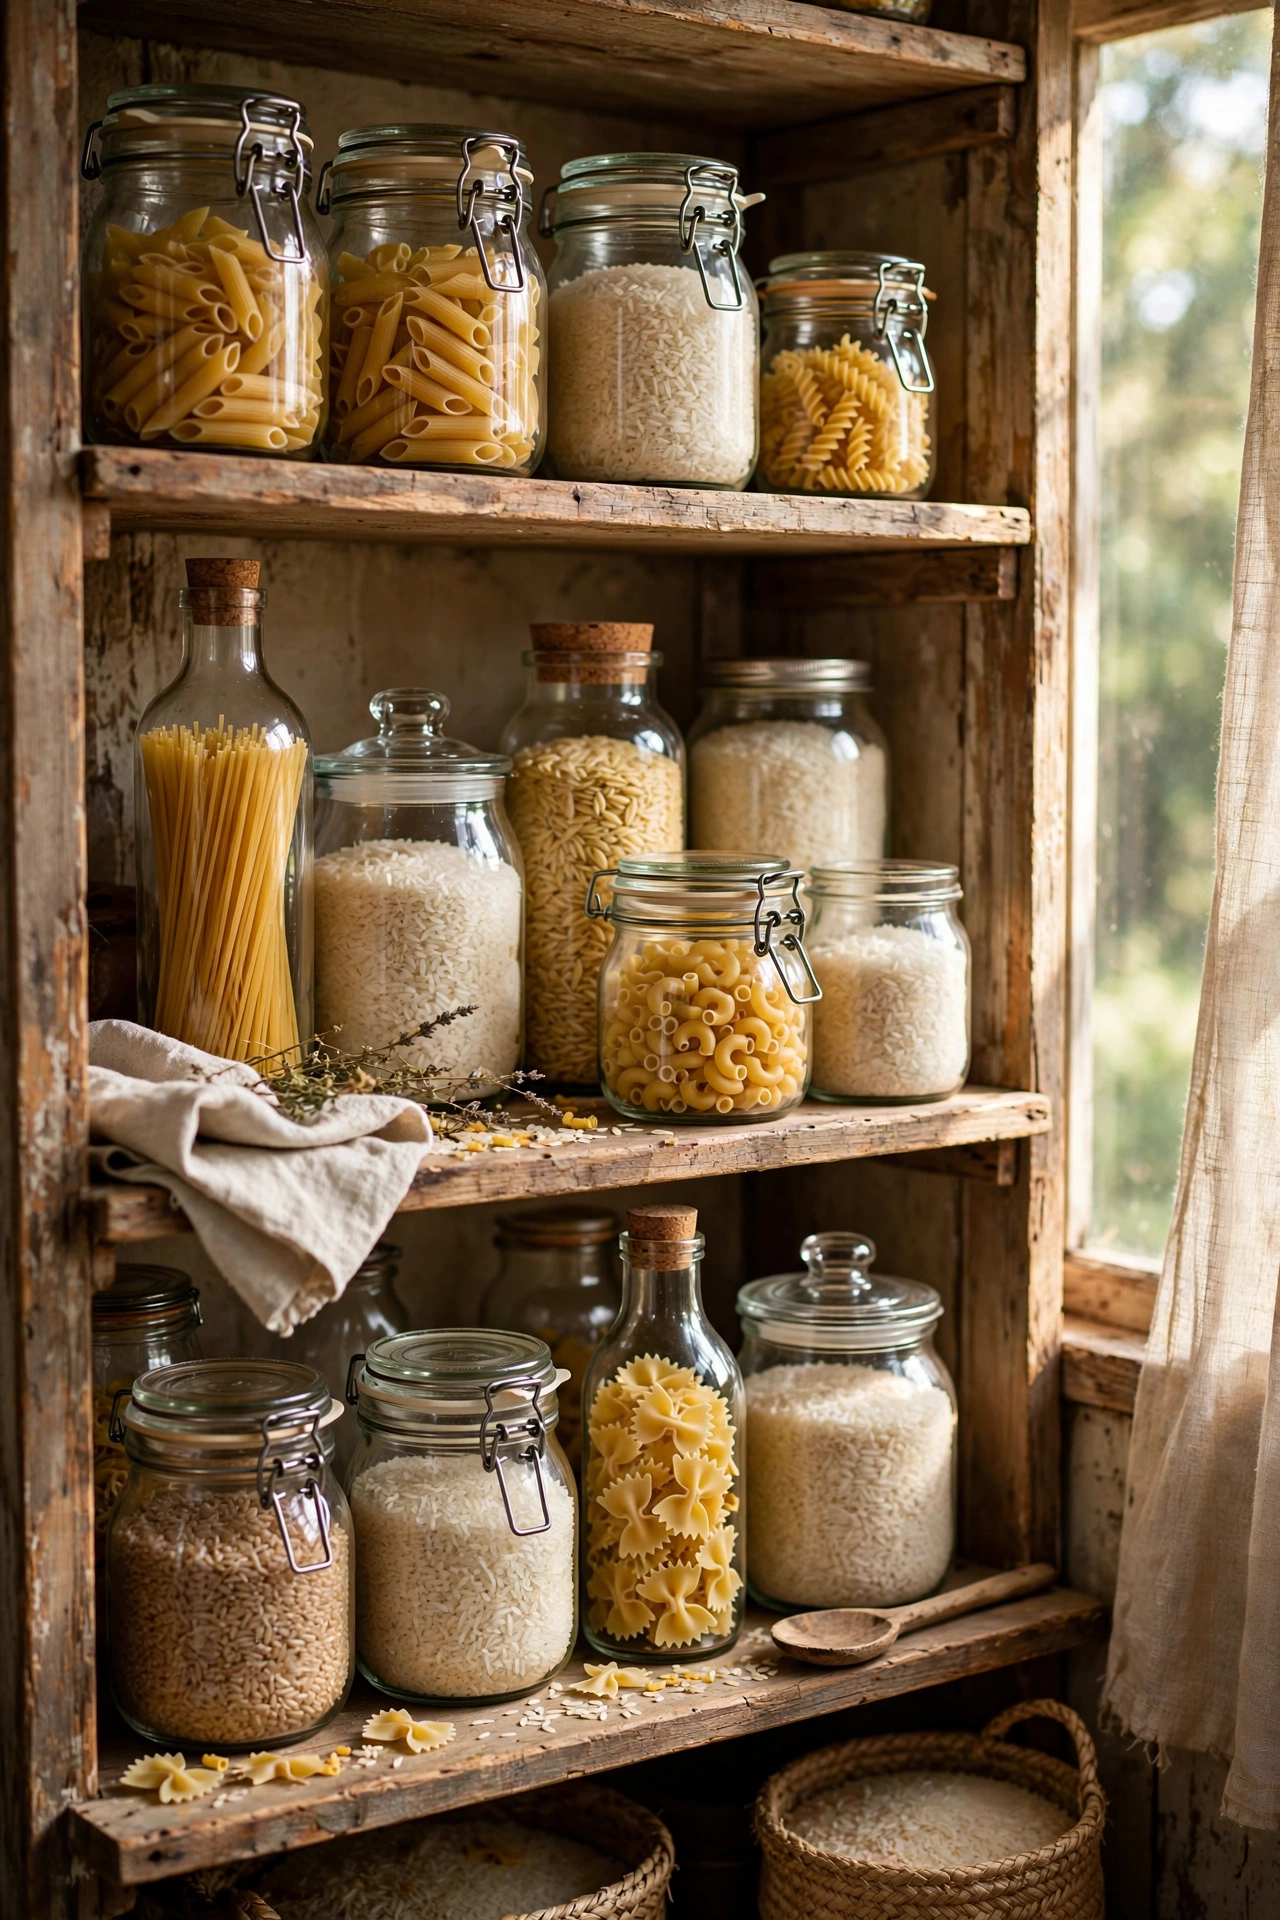
Matching storage jars cost a fortune new, but charity shops sell interesting glass jars and bottles for pennies. Gather a set in similar shapes, remove the labels with hot soapy water, and use them for pasta, rice, and baking supplies. I built a whole matching pantry set for under five pounds, and the mismatched vintage shapes look better than a shop set. My mistake was using jars with chipped rims for food, which is not safe, so check every rim carefully and keep chipped ones for cotton wool and pegs instead.
Cost: ~$4-8 | Time: 30 minutes
20. Spray-Painted Thrifted Baskets
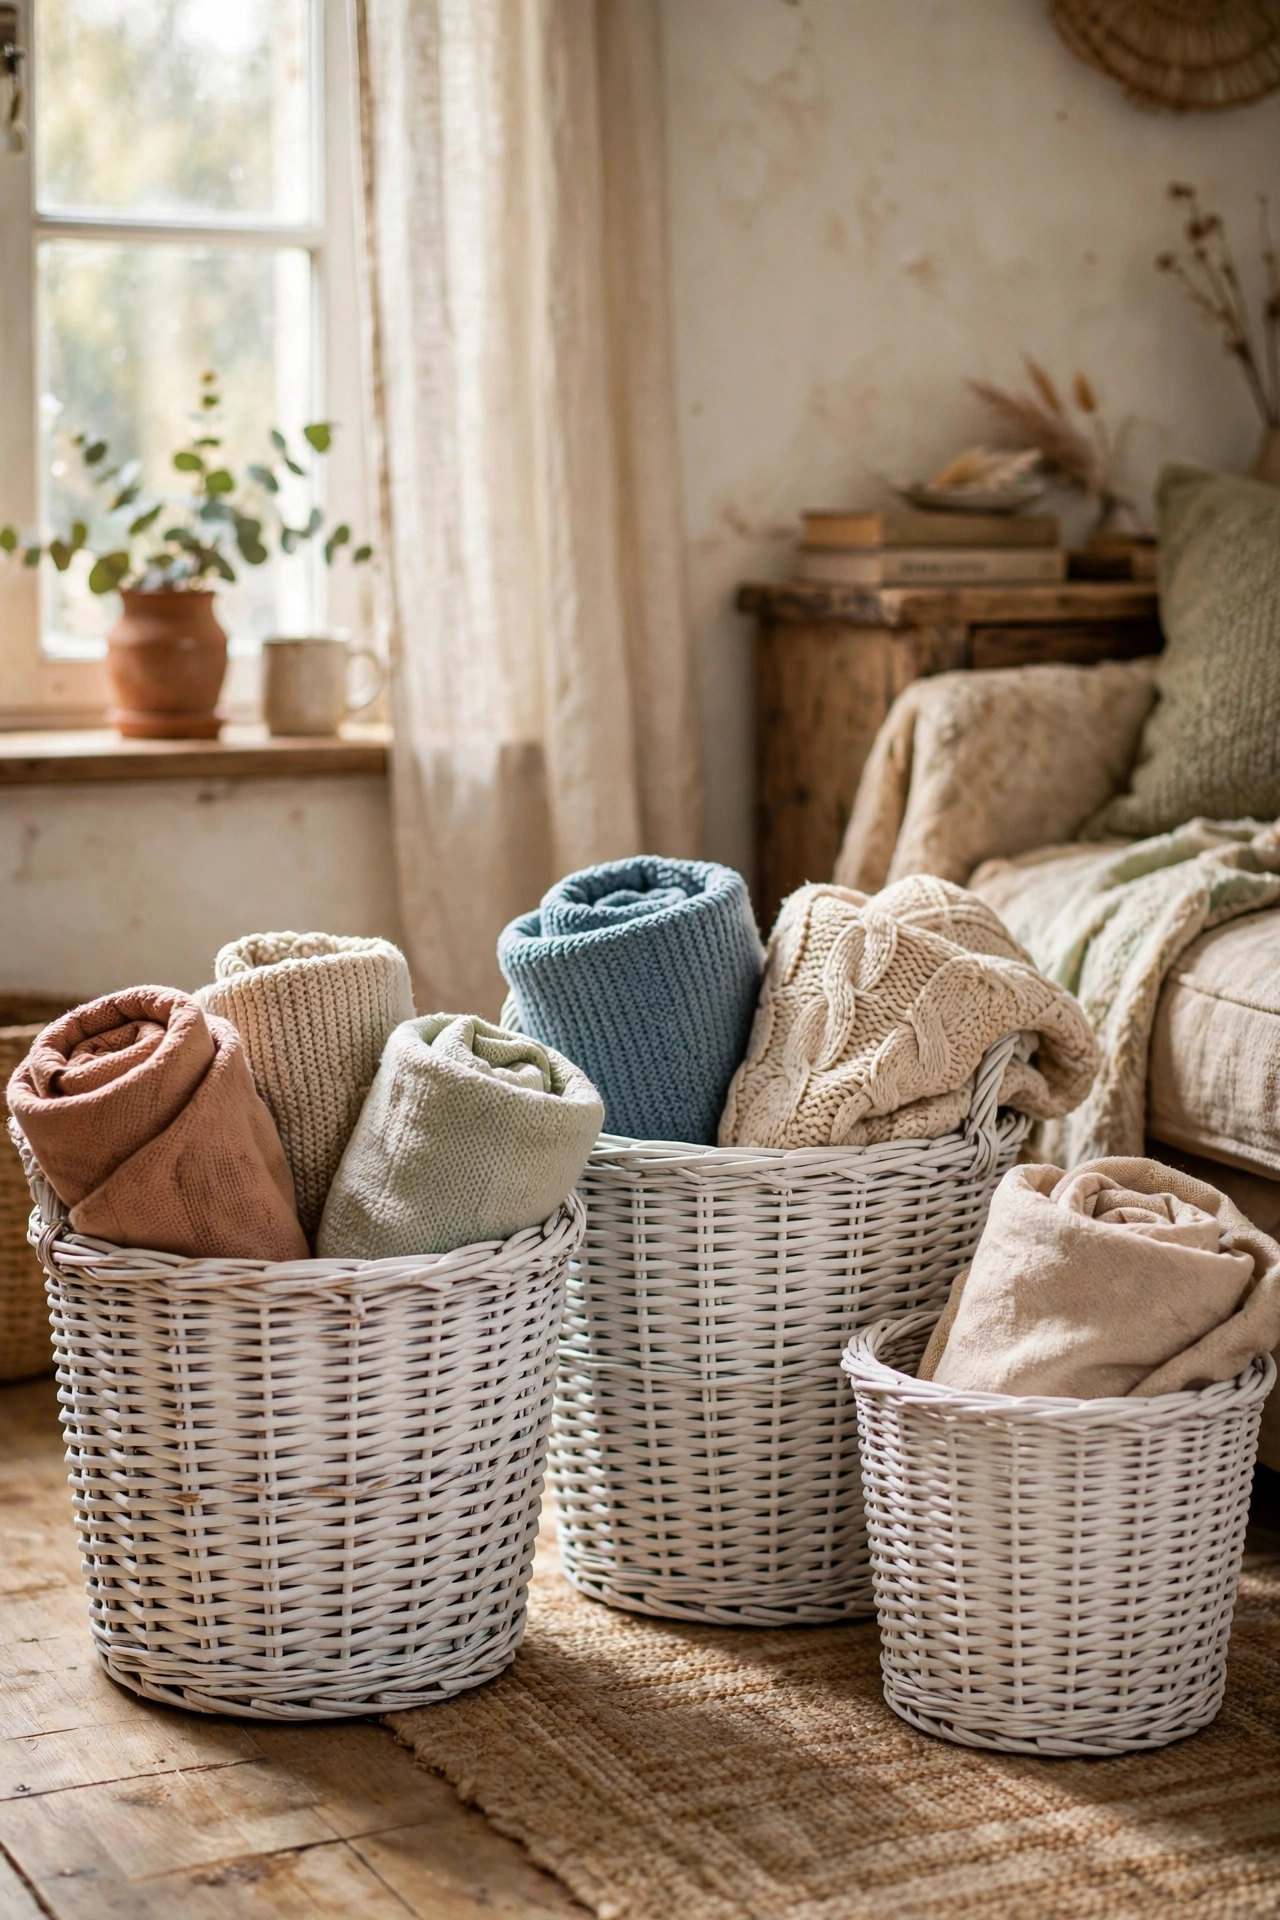
Wicker baskets in dated honey tones become modern storage with a coat of spray paint. Choose sturdy baskets with a tight weave, clean them with a stiff brush, and spray in matte white, black, or sage, turning the basket to coat every angle. I painted a set of three mismatched baskets the same soft white and they now hold throws and magazines in my living room. My mistake was spraying too close on the first one, and the paint dripped and pooled, so keep the can moving about a foot away. Two light coats beat one heavy one.
Cost: ~$6-10 | Time: 40 minutes plus drying
21. Mismatched Plate Wall Display
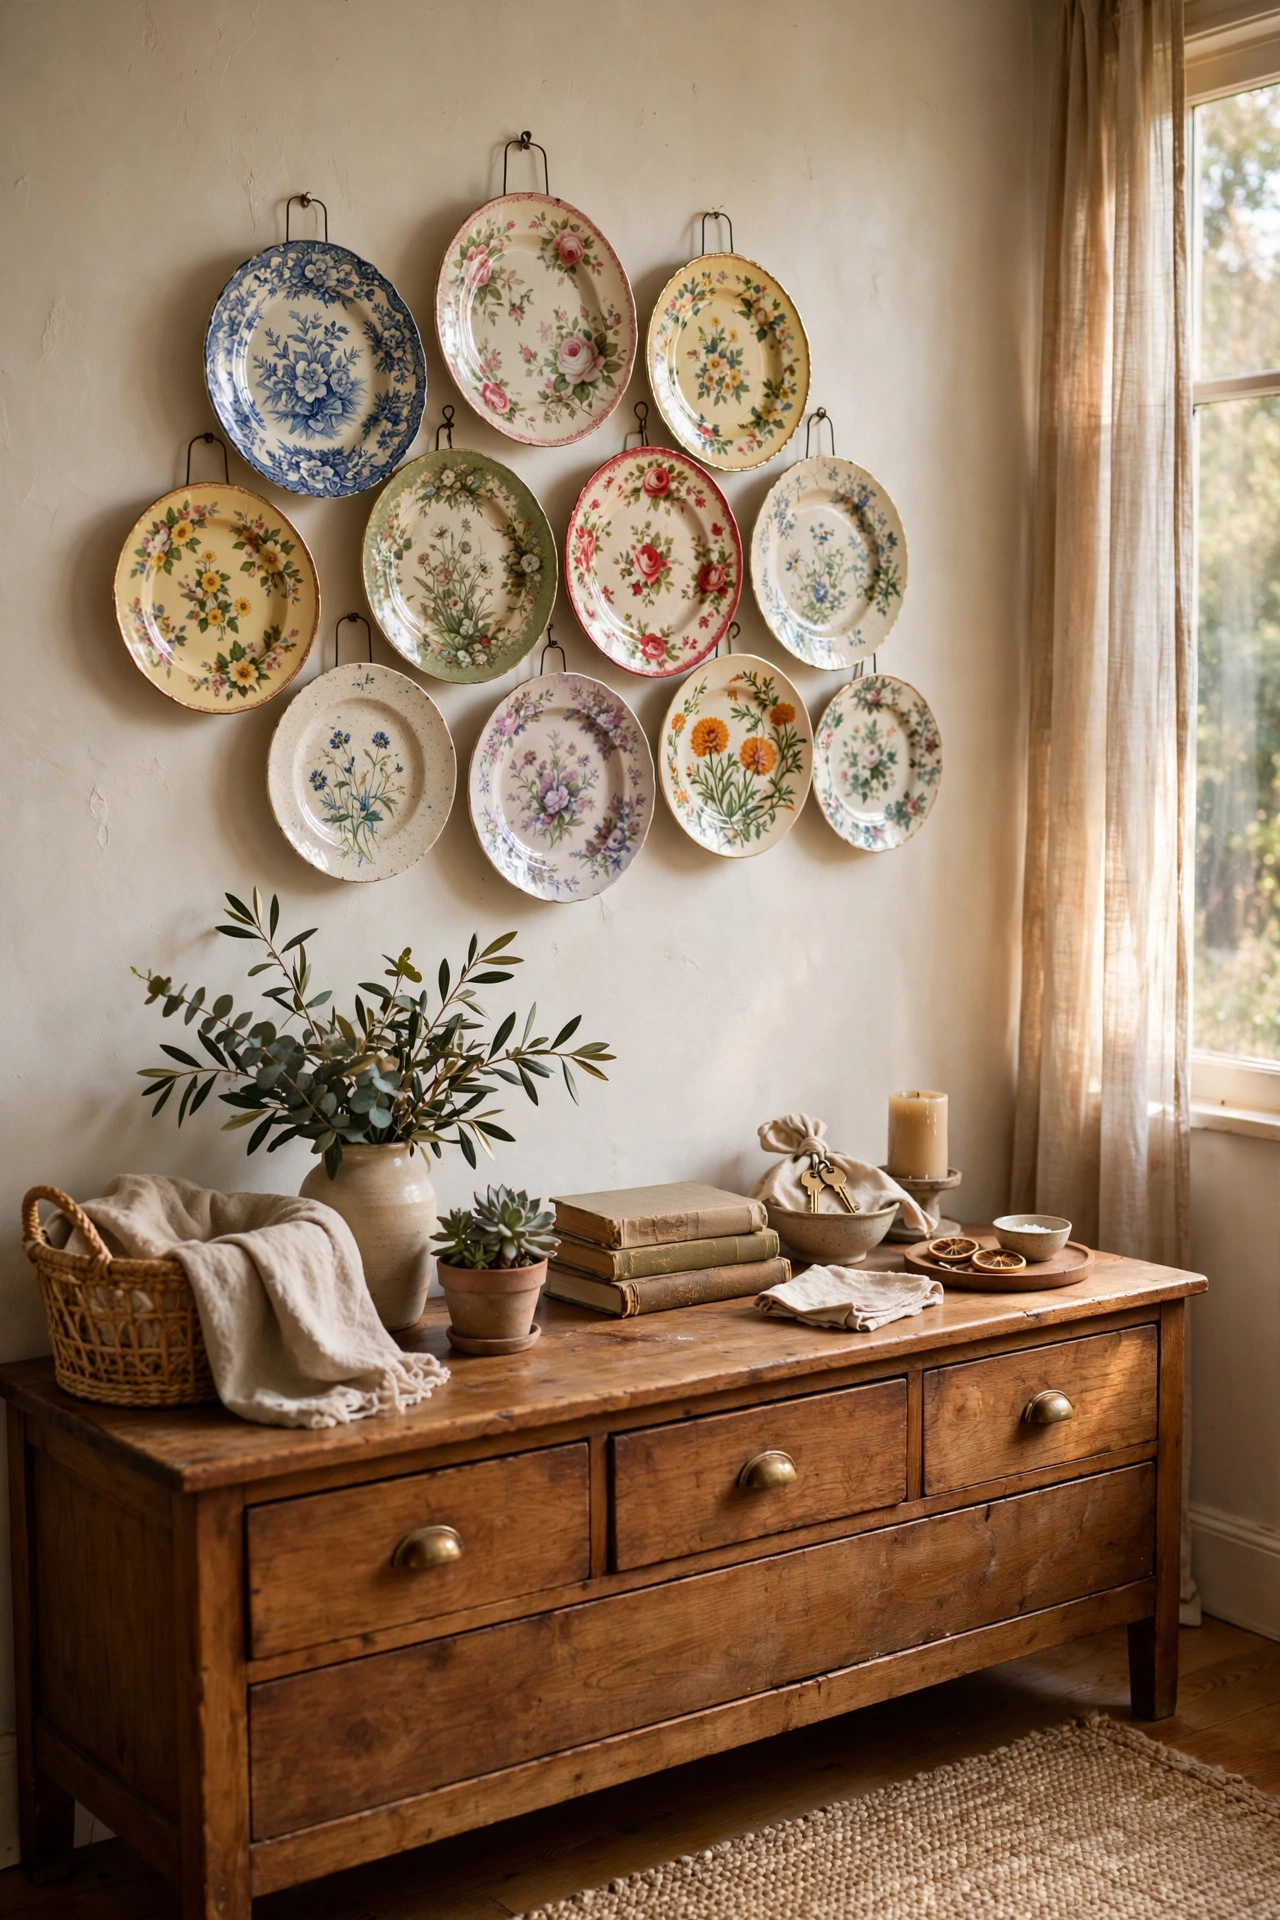
Pretty plates that are too nice to use make a charming wall display, especially in mixed patterns. Gather six to twelve plates in complementary colours, plan the layout on the floor, and hang them with adhesive plate hangers or small nails through wire plate hangers. I hung a cluster of floral plates above my sideboard and it is my favourite wall in the house. My mistake was hanging them too high, and they felt disconnected from the furniture, so keep the bottom of the display about fifteen centimetres above the furniture. Step back often to check the balance.
Cost: ~$5-10 | Time: 30 minutes
22. Wooden Crate Wall Shelves
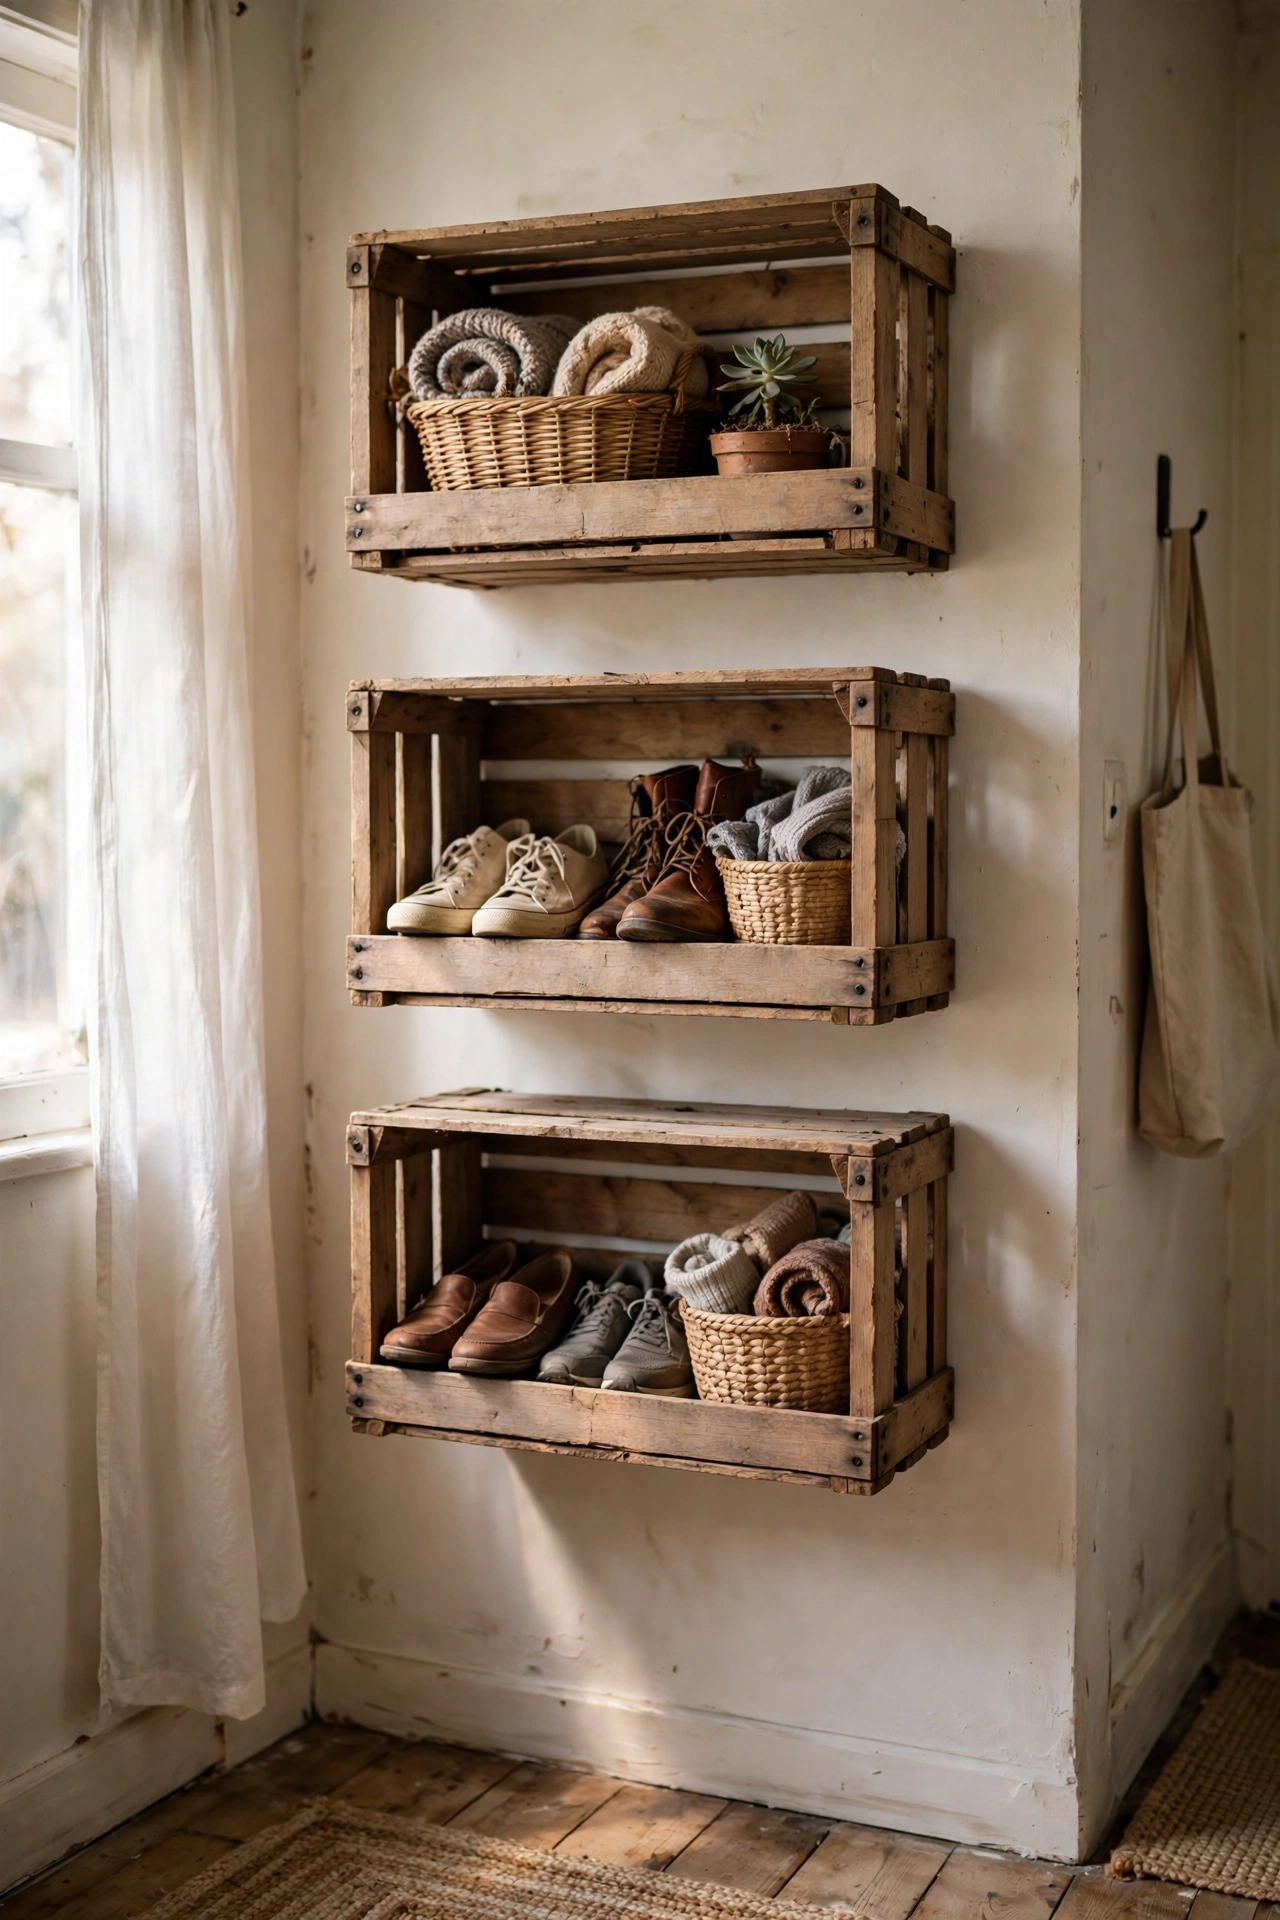
Sturdy wooden crates screwed to the wall make deep, characterful shelves for a few pounds. Sand and paint or stain the crates, then fix them to wall studs with long screws through the back panel, checking they are level before you tighten. I mounted three crates in my hallway for shoes and bags, and they hold more than the expensive unit they replaced. My mistake was using short screws into plasterboard on the first crate, and it pulled away from the wall, so find the studs or use proper plasterboard anchors. Style with baskets and folded throws.
Cost: ~$8-14 | Time: 1 hour
23. Old Drawer Turned Wall Shelf
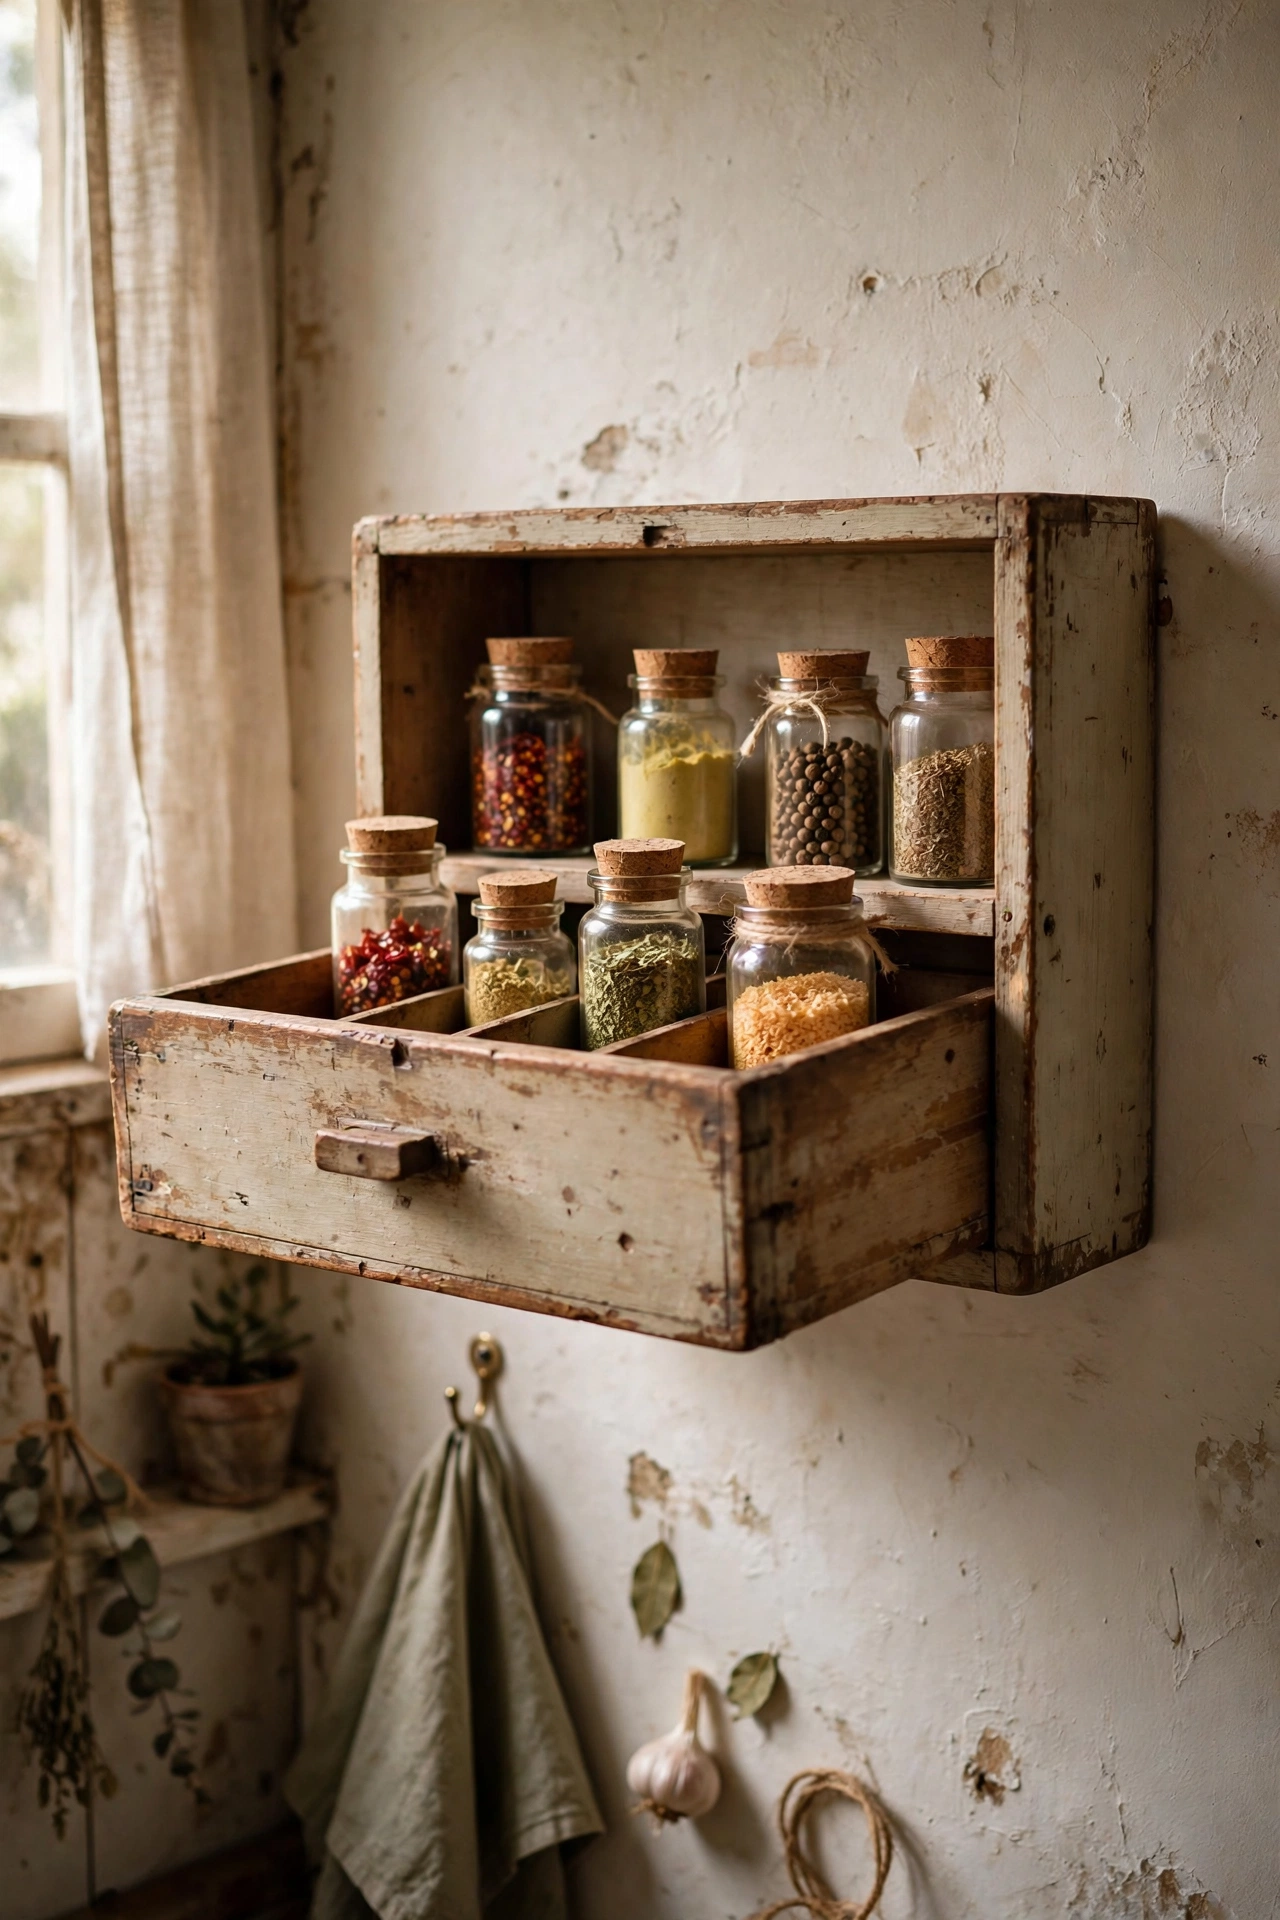
A single deep drawer from a broken dresser makes a perfect shadow-box shelf. Clean it well, paint the outside and line the inside with pretty paper or paint it a contrasting colour, then mount it to the wall with brackets or screws through the back. I found a drawer at a salvage yard and turned it into a spice shelf in my kitchen. My mistake was overloading it before the fixings were properly set, and it tilted forward, so load it gradually and check it stays level. It is ideal for small collections and trailing plants.
Cost: ~$4-8 | Time: 45 minutes
24. Thrifted Suitcase Side Table
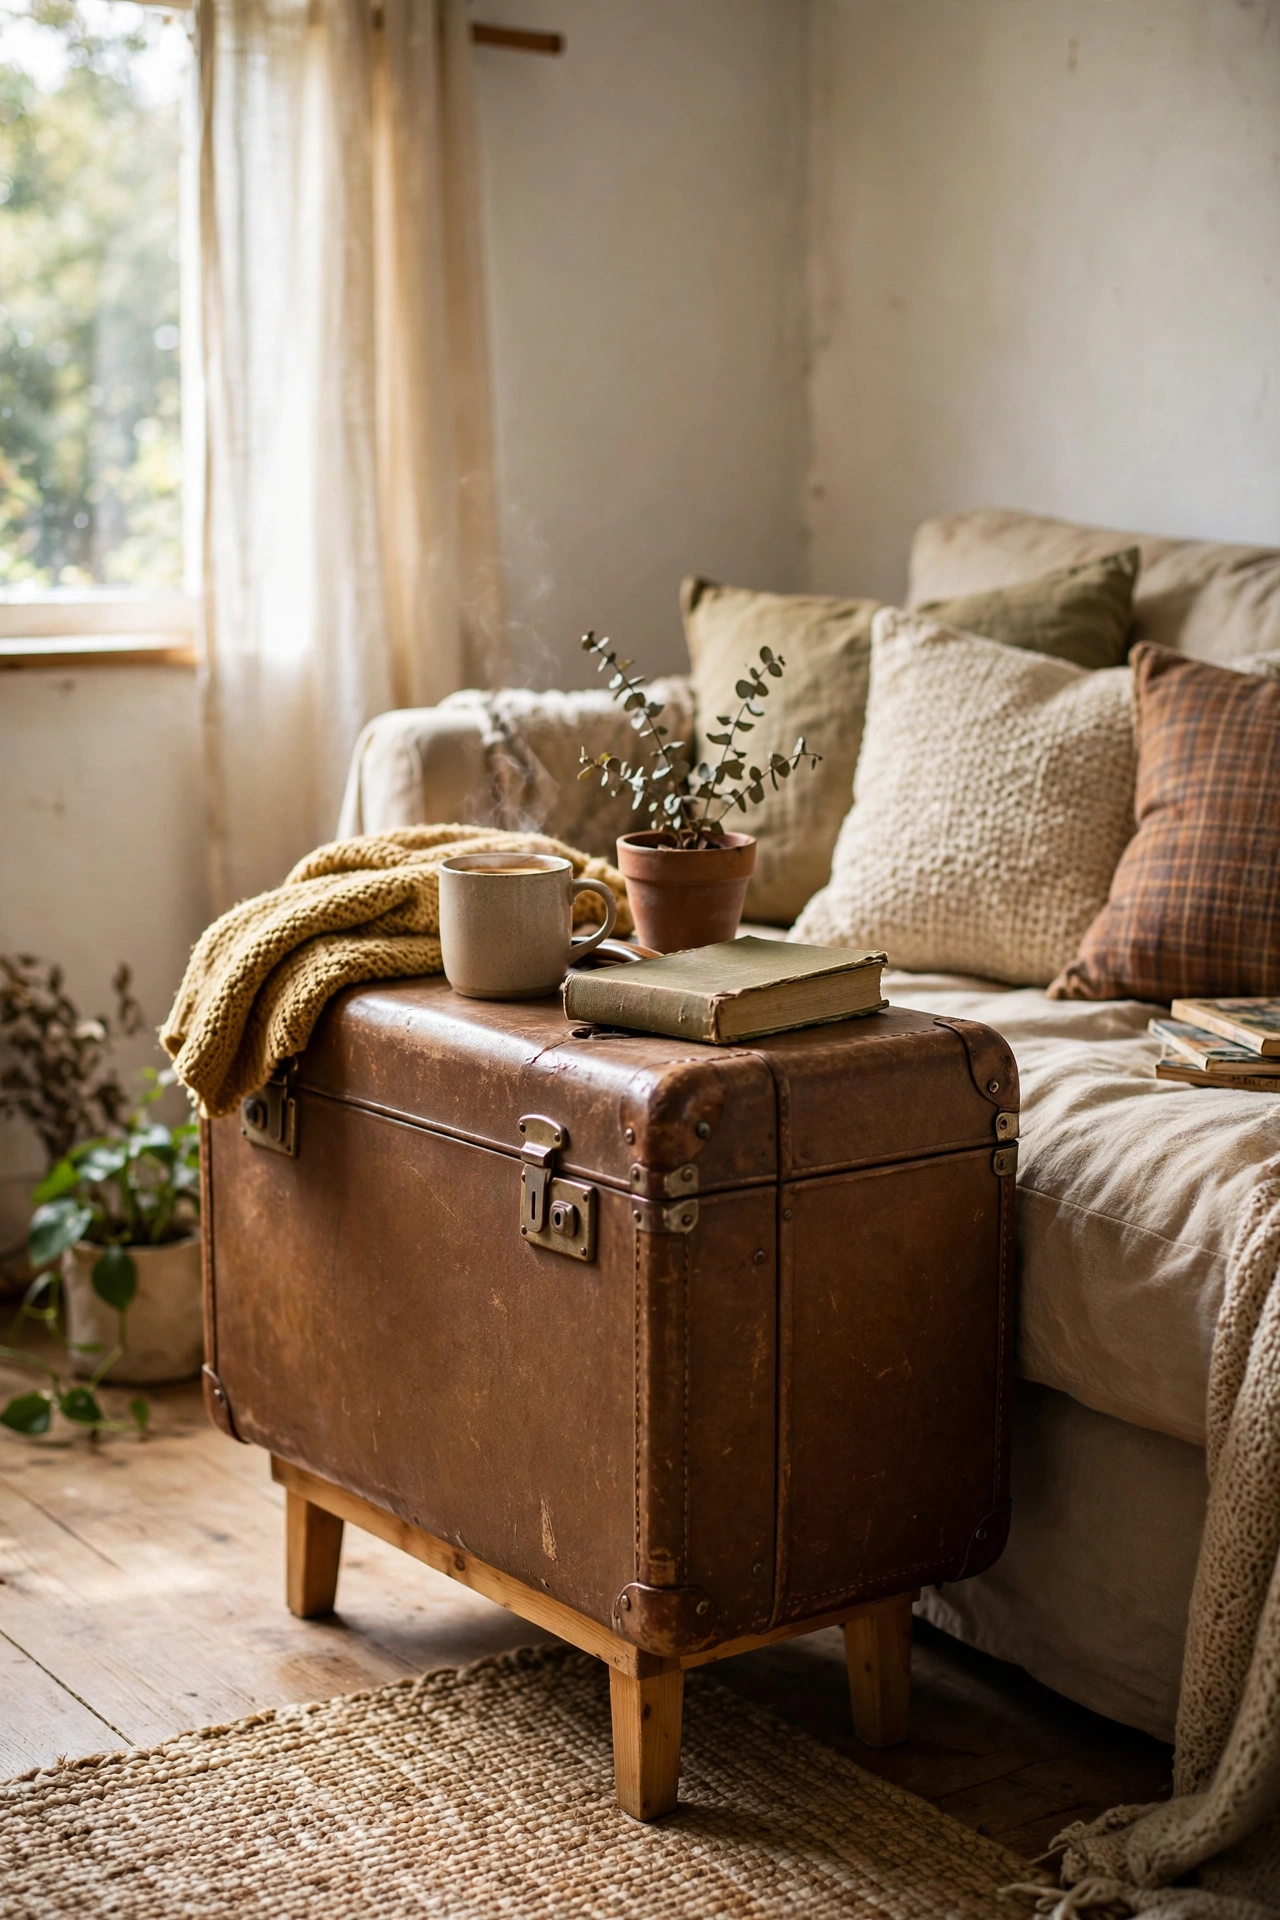
A vintage-look suitcase stacked on a small stool or crate legs makes a side table with hidden storage. Find a hard-sided suitcase with working clasps, clean it inside and out, and either stack it on a low stool or screw on short wooden legs. I use mine beside the sofa for board games and blankets, and guests always ask about it. My mistake was choosing a suitcase with a musty lining, which took weeks of airing and bicarbonate to fix, so sniff before you buy and skip anything damp. Keep the clasps working so the storage stays usable.
Cost: ~$12-20 | Time: 1 hour
25. Shade Swap for a Thrifted Lamp Base
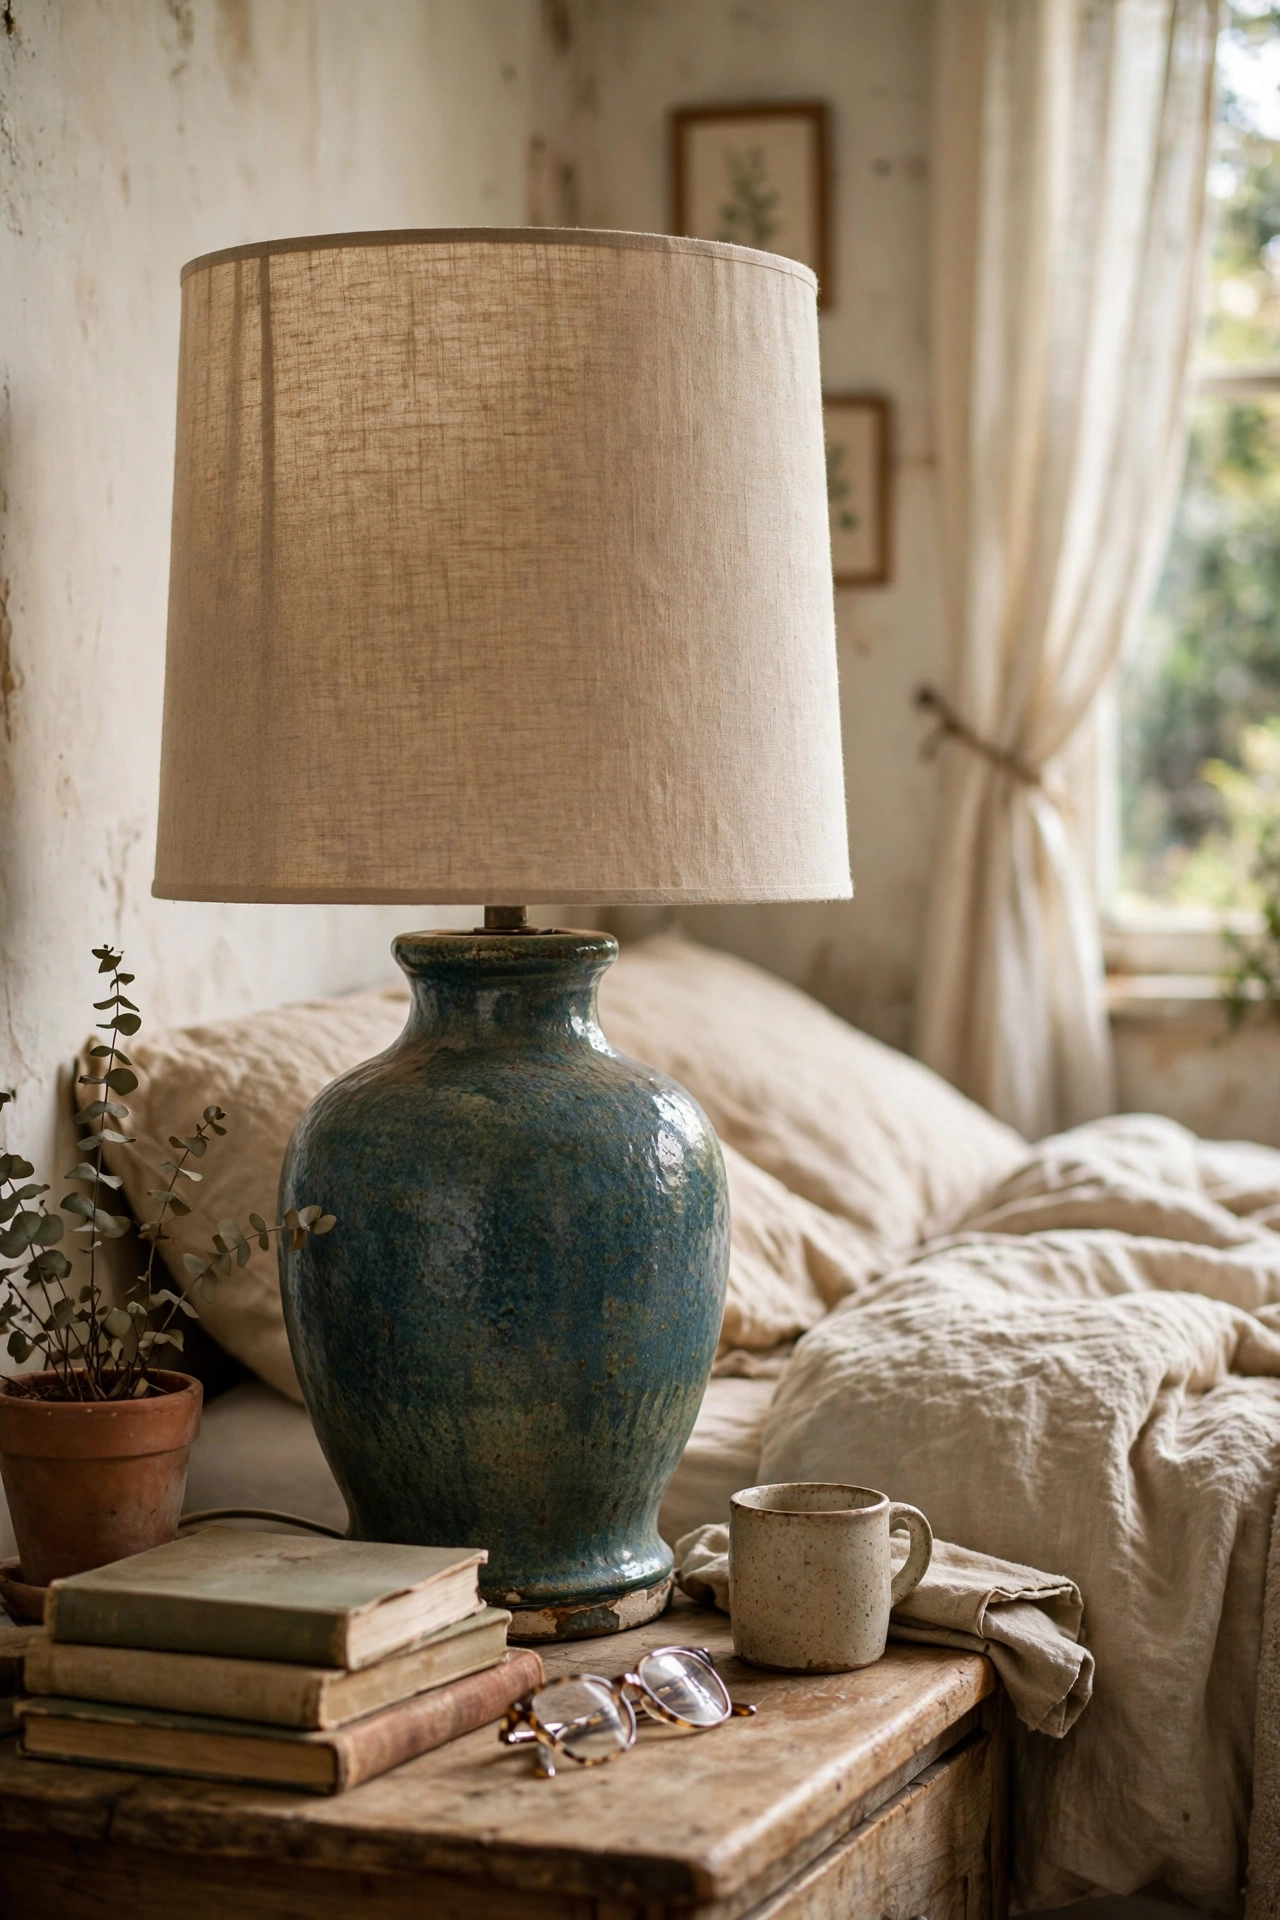
You do not need to rewire a lamp to transform it; swapping the shade changes everything. Charity shops sell lamp bases for a few pounds, and the trick is finding a shade that fits: measure the harp or check the shade fitter type before you buy. I paired a heavy ceramic base with a tall drum shade in natural linen and it looks like a forty-pound lamp. My mistake was buying a shade I loved that was far too wide for the base, and it looked top-heavy, so match the shade width roughly to the base height. A new bulb completes the refresh.
Cost: ~$5-10 | Time: 20 minutes
Save this one for your next thrift run.
Keep the thrifty momentum going: (see also: thrift-store-home-decor-ideas) (see also: 21-dollar-store-decor-ideas-that-look-expensive) (see also: 15-easy-diy-home-decor-projects-for-beginners-under-25)
Quick Questions
Q: What should I look for at the thrift store for DIY projects?
A: Look for solid wood furniture with good bones, interesting glassware, picture frames, baskets, and textiles in natural fabrics. Check every joint for wobbles, test drawers, and inspect for damage before you buy. The best finds are items that are ugly but sturdy, because paint, hardware, and new fabric fix almost everything else. Skip anything with a musty smell, chipped rims on food items, or structural damage you cannot see the cause of.
Q: How much should I spend on thrift store DIY supplies?
A: Set a firm ceiling before you shop. I cap small decor items at five dollars and furniture at twenty, because the project only makes sense if the finished piece costs far less than buying new. Remember to budget for paint, hardware, and fixings too, which can add another five to ten dollars per project. If the thrift price plus supplies creeps near the new price, leave it on the shelf.
Q: What thrift store items should I avoid for decor projects?
A: Avoid upholstered items that smell or show stains, as odours are hard to remove. Skip anything with wobbly joints you cannot explain, cracked ceramics for food use, and lamps with frayed or damaged cords unless you plan a full rewire. Particleboard furniture rarely survives a flip, so favour solid wood. When in doubt, walk away; another charity shop will have something better next week.
