25 Spice Rack Ideas That Save Counter Space
Spices end up everywhere when they have no proper home, and before long they eat the whole counter. These Spice Rack Ideas That Save Counter Space move your jars onto walls, doors, drawers, cabinets, and even the side of the fridge, so your counters stay clear for actual cooking. We walk through the kitchen zone by zone, starting at the wall and ending at the fridge, and every idea costs little and takes under an hour. Pick the zones that hurt most in your kitchen and start there.
We start on the wall, where empty vertical space does the heavy lifting.
1. Hang a Wall-Mounted Spice Rack Near the Stove
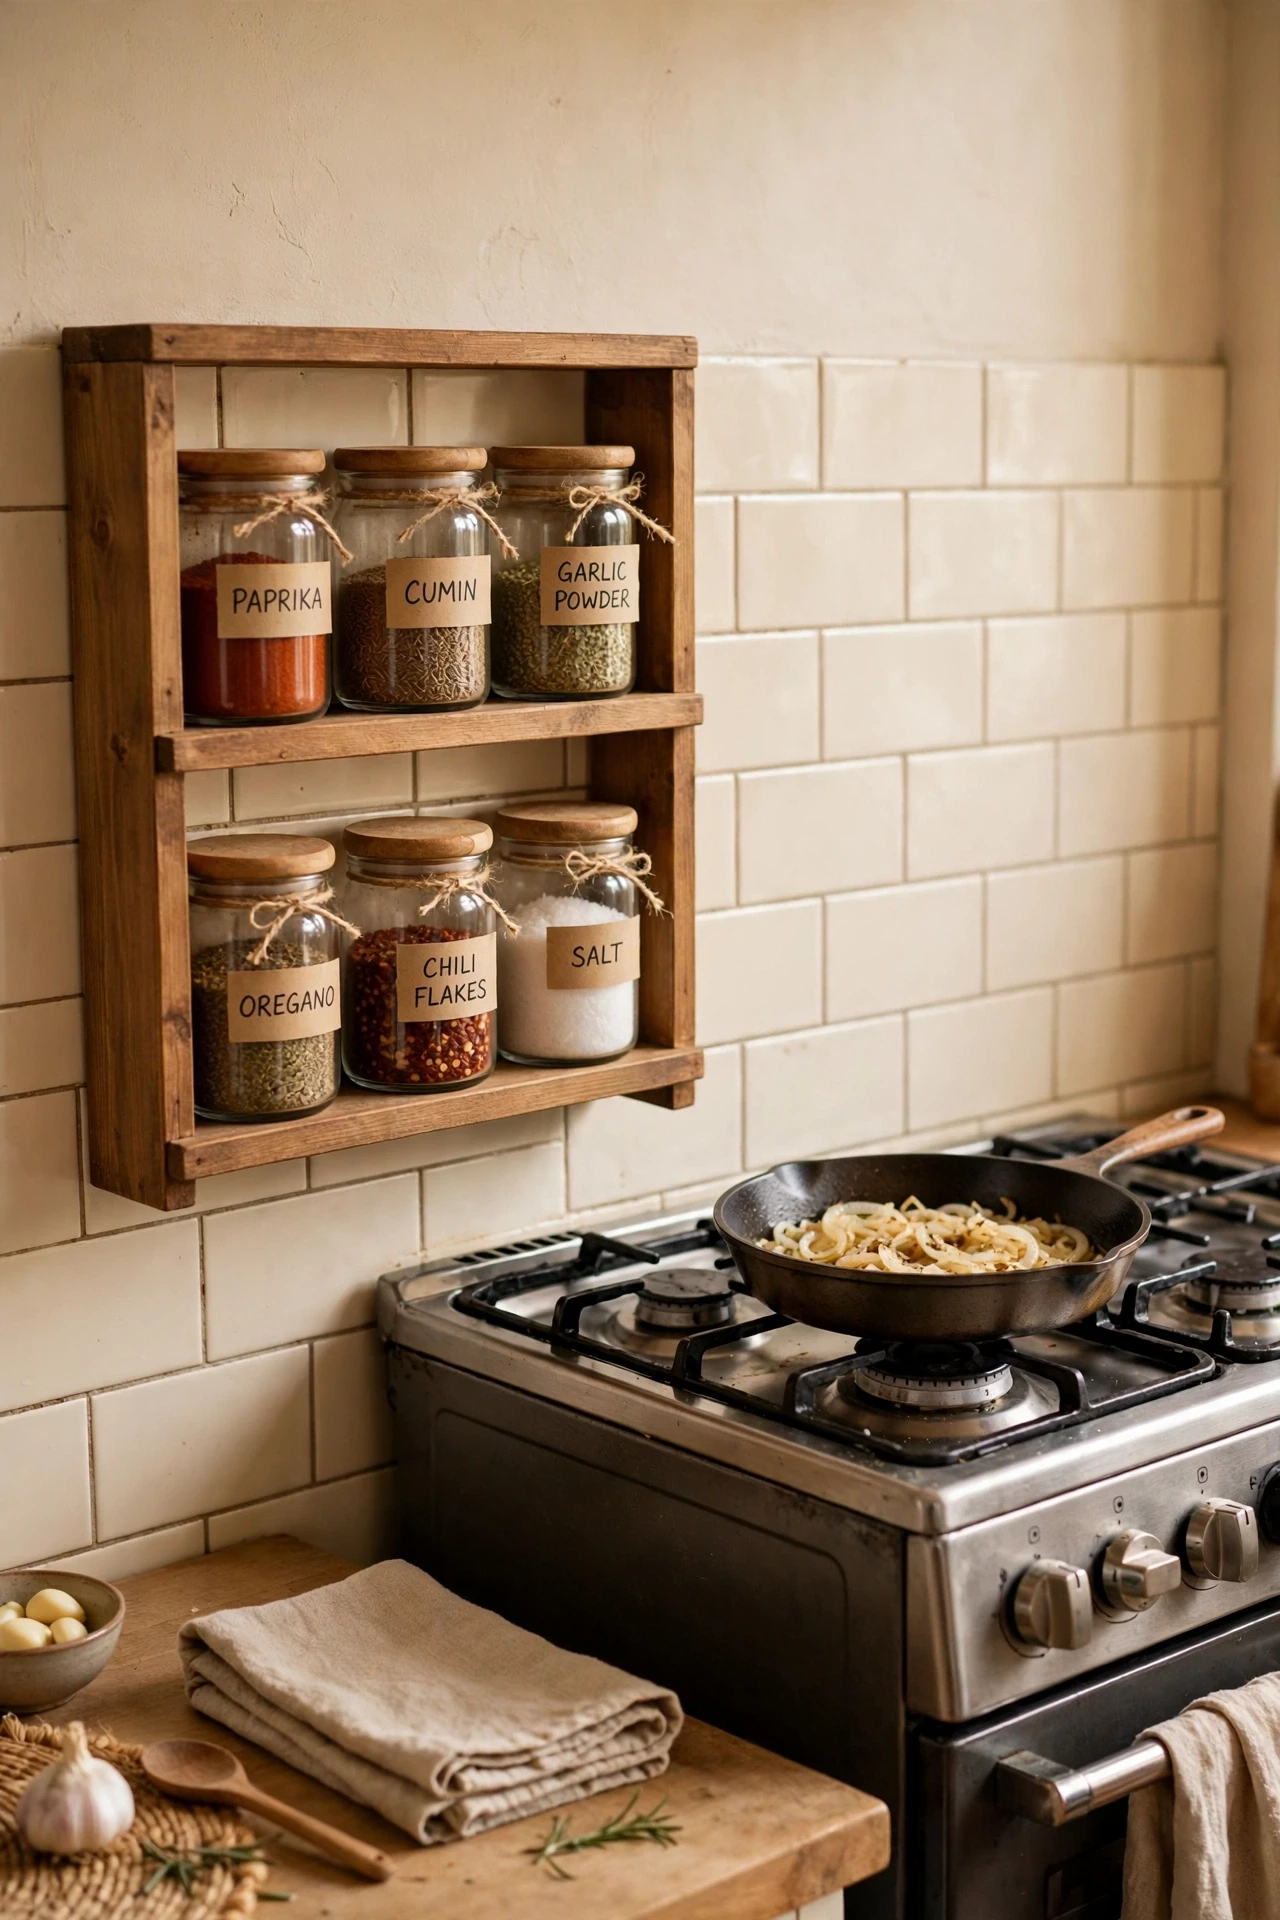
A wall-mounted rack puts your most-used spices at eye level right beside the stove, so you stop digging through a crowded cabinet in the middle of cooking. Pick a spot within arm’s reach of the hob but away from direct steam, mark the screw holes with a pencil, and fix the rack with wall plugs if your wall is plasterboard. Decant your spices into matching jars so the rack looks tidy and the labels stay readable, then sort them by how often you cook with them. I tried this with a cheap wooden rack above my prep area, and dinner stopped feeling like a treasure hunt. The mistake to avoid is hanging it directly over the hob, since heat and steam dull spices fast.
Cost: ~$12 | Time: 25 minutes
2. Mount Magnetic Spice Tins on a Metal Strip
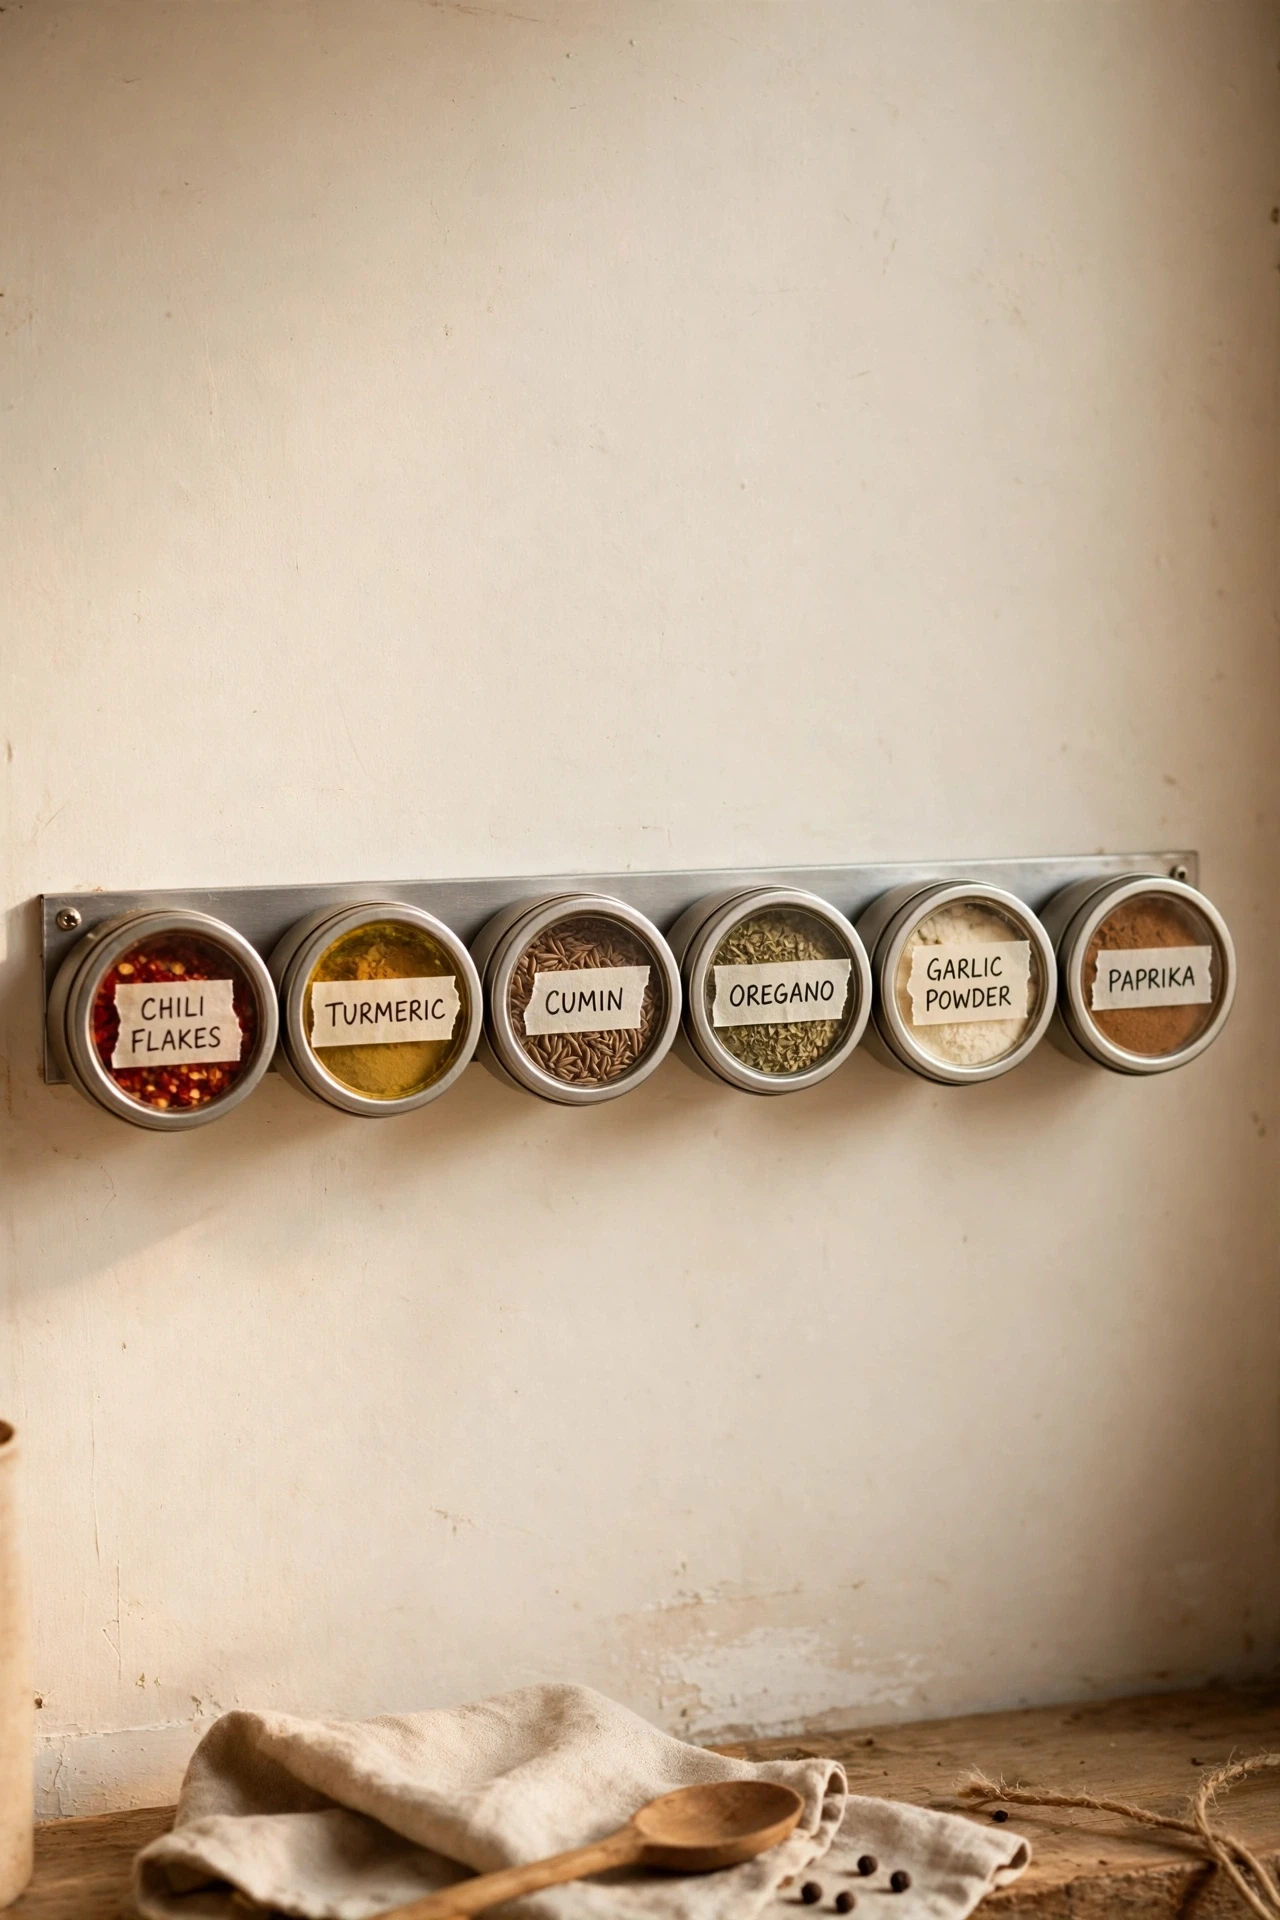
Magnetic spice tins on a steel strip turn a blank stretch of wall into a spice display that takes zero counter space. Screw a flat metal strip to the wall at eye level, fill small magnetic tins with your spices, and label the lids clearly so you can read them from below. Stick the tins to the strip in cooking order, with everyday spices at the front and rare ones at the end. I tried this in a rental kitchen where I could not drill big holes, and two small screws held the whole strip. The mistake to avoid is buying weak magnets, since a tin full of peppercorns sliding off the wall gets old very fast.
Cost: ~$15 | Time: 30 minutes
3. Install Floating Shelves for Spice Jars Above the Counter
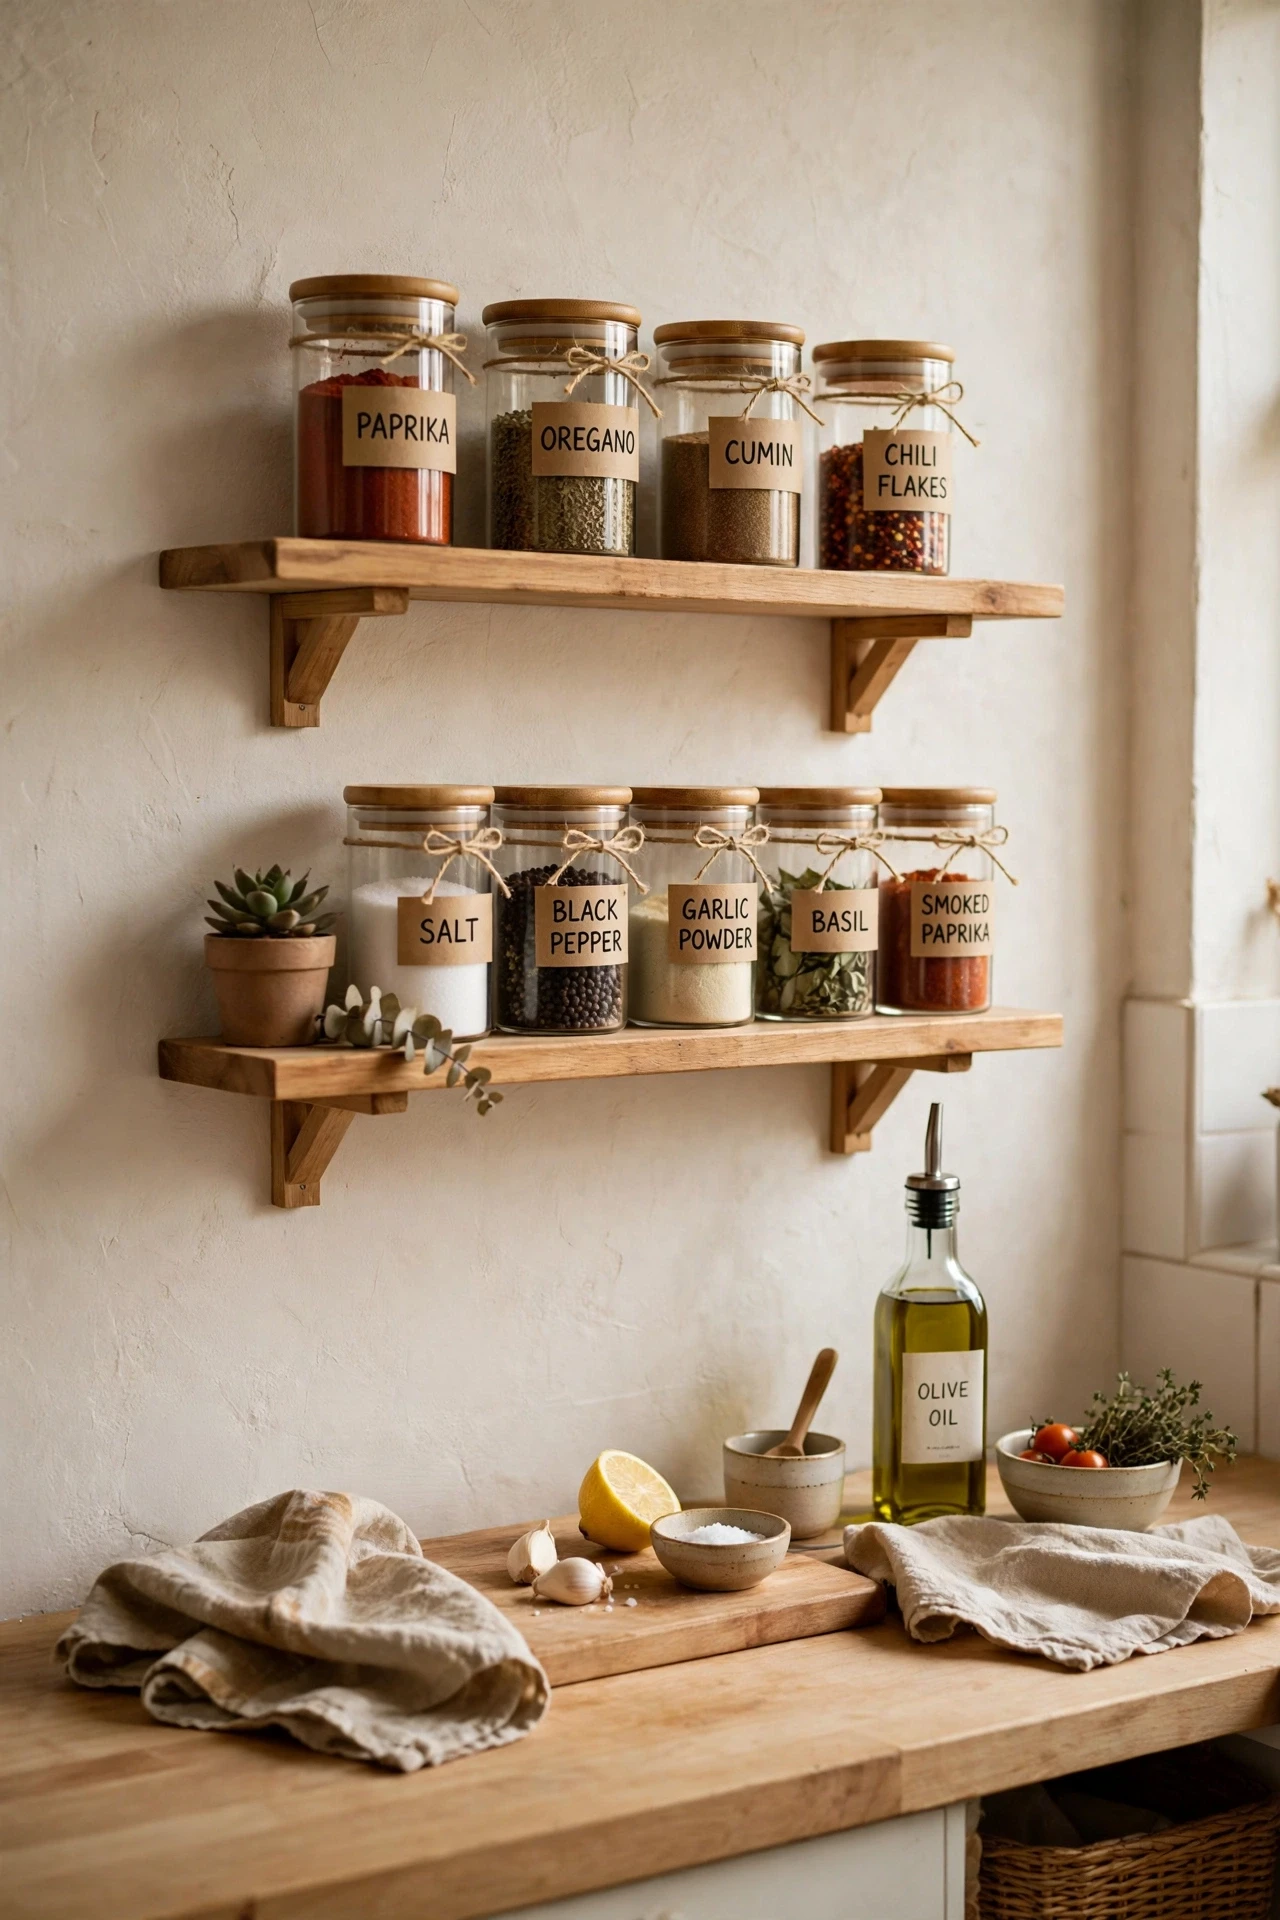
Two short floating shelves above the counter hold a surprising number of spice jars while keeping them visible and easy to grab. Measure the space between your counter and the upper cabinets, fit shelves that leave room to lift a jar out, and anchor them into studs or with strong wall plugs. Line the jars up with labels facing out and group them by cuisine, so curry spices sit together and baking spices sit together. I tried this in a kitchen with almost no cabinet space, and it freed an entire shelf elsewhere. The mistake to avoid is overloading the shelves, since a shelf packed edge to edge becomes just as hard to use as a crowded cabinet.
Cost: ~$18 | Time: 40 minutes
4. Hang a Pegboard Panel for Spice Jars and Tools
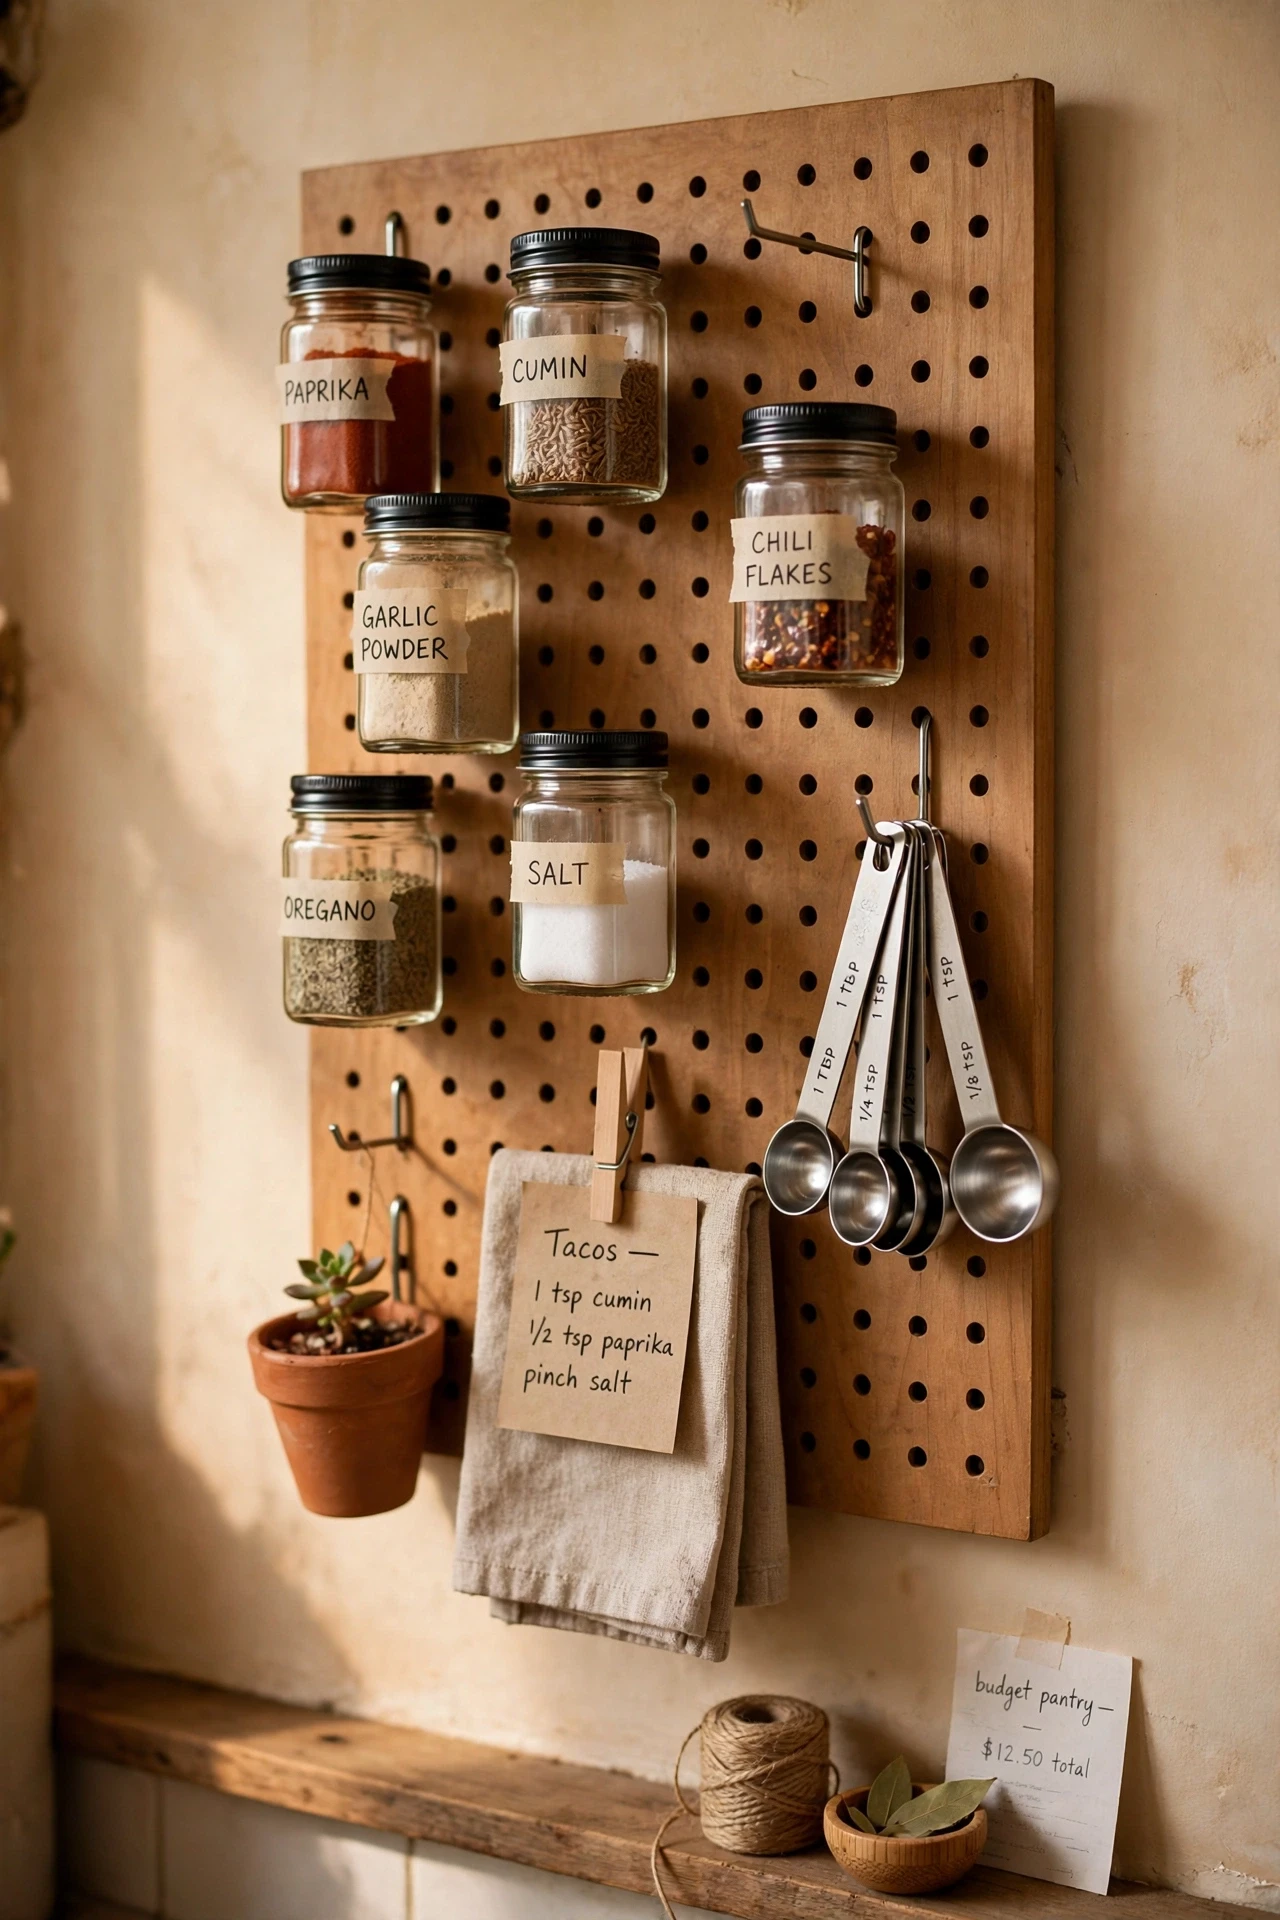
A small pegboard panel gives spices a flexible home, because hooks and little shelves can move whenever your collection changes. Cut or buy a board to fit a free wall section, mount it securely, and hang small baskets or jar holders from pegboard hooks. Add a couple of hooks for measuring spoons and kitchen shears, so the panel earns its space twice over. I tried this beside my stove and rearranged the layout three times before it felt right, which is the whole point. The mistake to avoid is hanging heavy jars on thin hooks, since they bend and drop things at the worst moment.
Cost: ~$14 | Time: 35 minutes
5. Screw Small Ledge Shelves Inside a Wall Nook
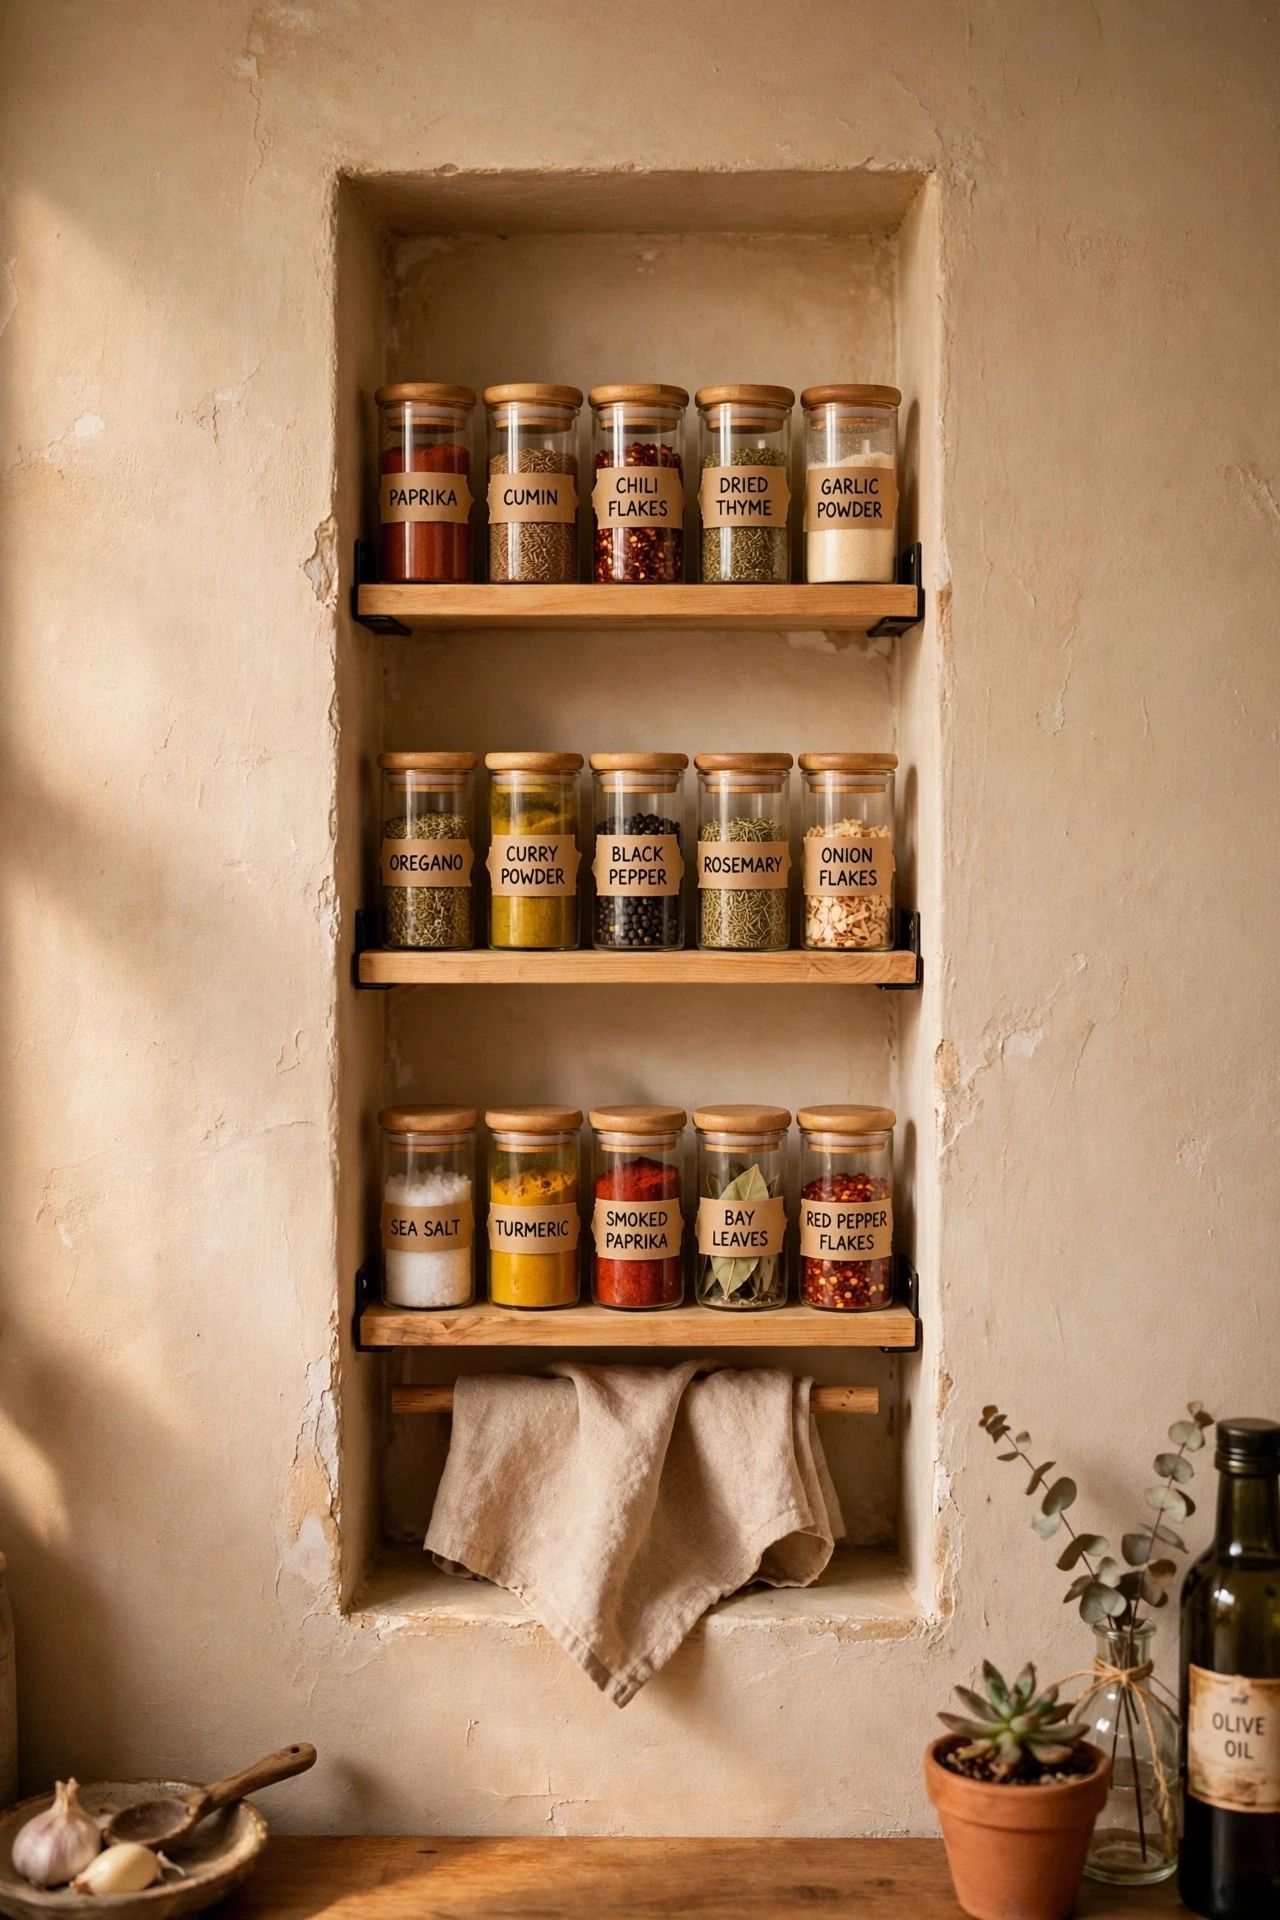
Shallow ledge shelves fit into awkward wall nooks and gaps that are too narrow for a full cabinet, turning dead space into spice storage. Measure the nook, cut or buy ledges just deep enough for one jar, and screw them in with the front lip facing up so jars cannot slide off. Place the spices you reach for daily at hand height and the rest higher up. I tried this in the gap beside my fridge, a strip of wall I had ignored for years, and it swallowed twelve jars. The mistake to avoid is making the ledges too deep, since jars hidden behind other jars never get used.
Cost: ~$10 | Time: 30 minutes
Next, the door: the back of a pantry door is storage hiding in plain sight.
6. Hang an Over-Door Wire Rack on the Pantry Door
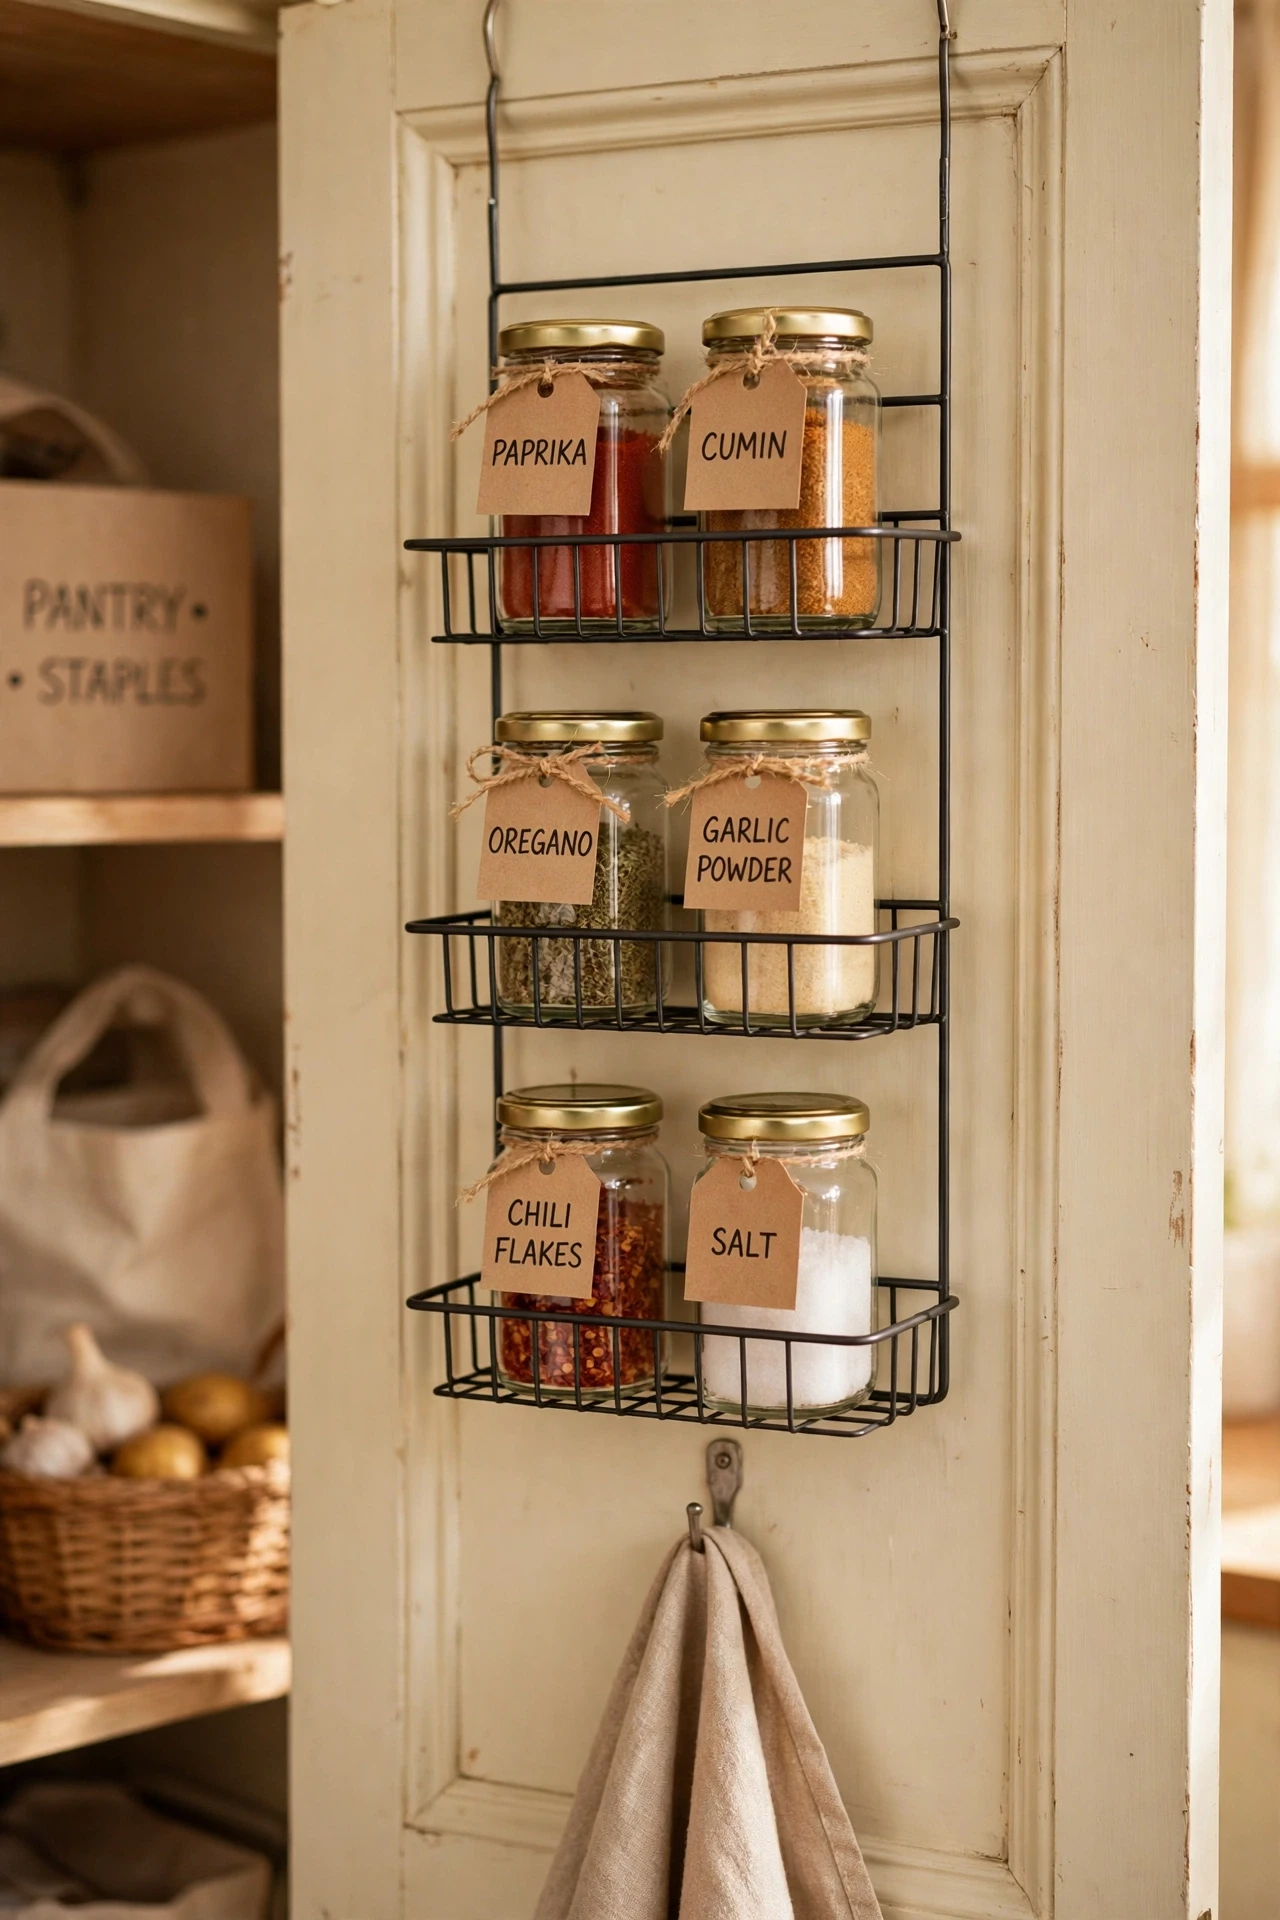
An over-door wire rack hangs on hooks over the top of the pantry door, adding three or four shelves of spice space without a single screw. Hook it over the door, check that the door still closes fully, and load the lightest jars on top and the heaviest at the bottom. Keep the rack shallow so it does not bump the shelves inside the pantry when the door swings. I tried this in a tiny kitchen where every cabinet was full, and it cleared my counter in one evening. The mistake to avoid is overloading it, since a door that will not shut properly will annoy you far more than a messy counter ever did.
Cost: ~$11 | Time: 10 minutes
7. Mount a Slim Rack on the Inside of the Pantry Door
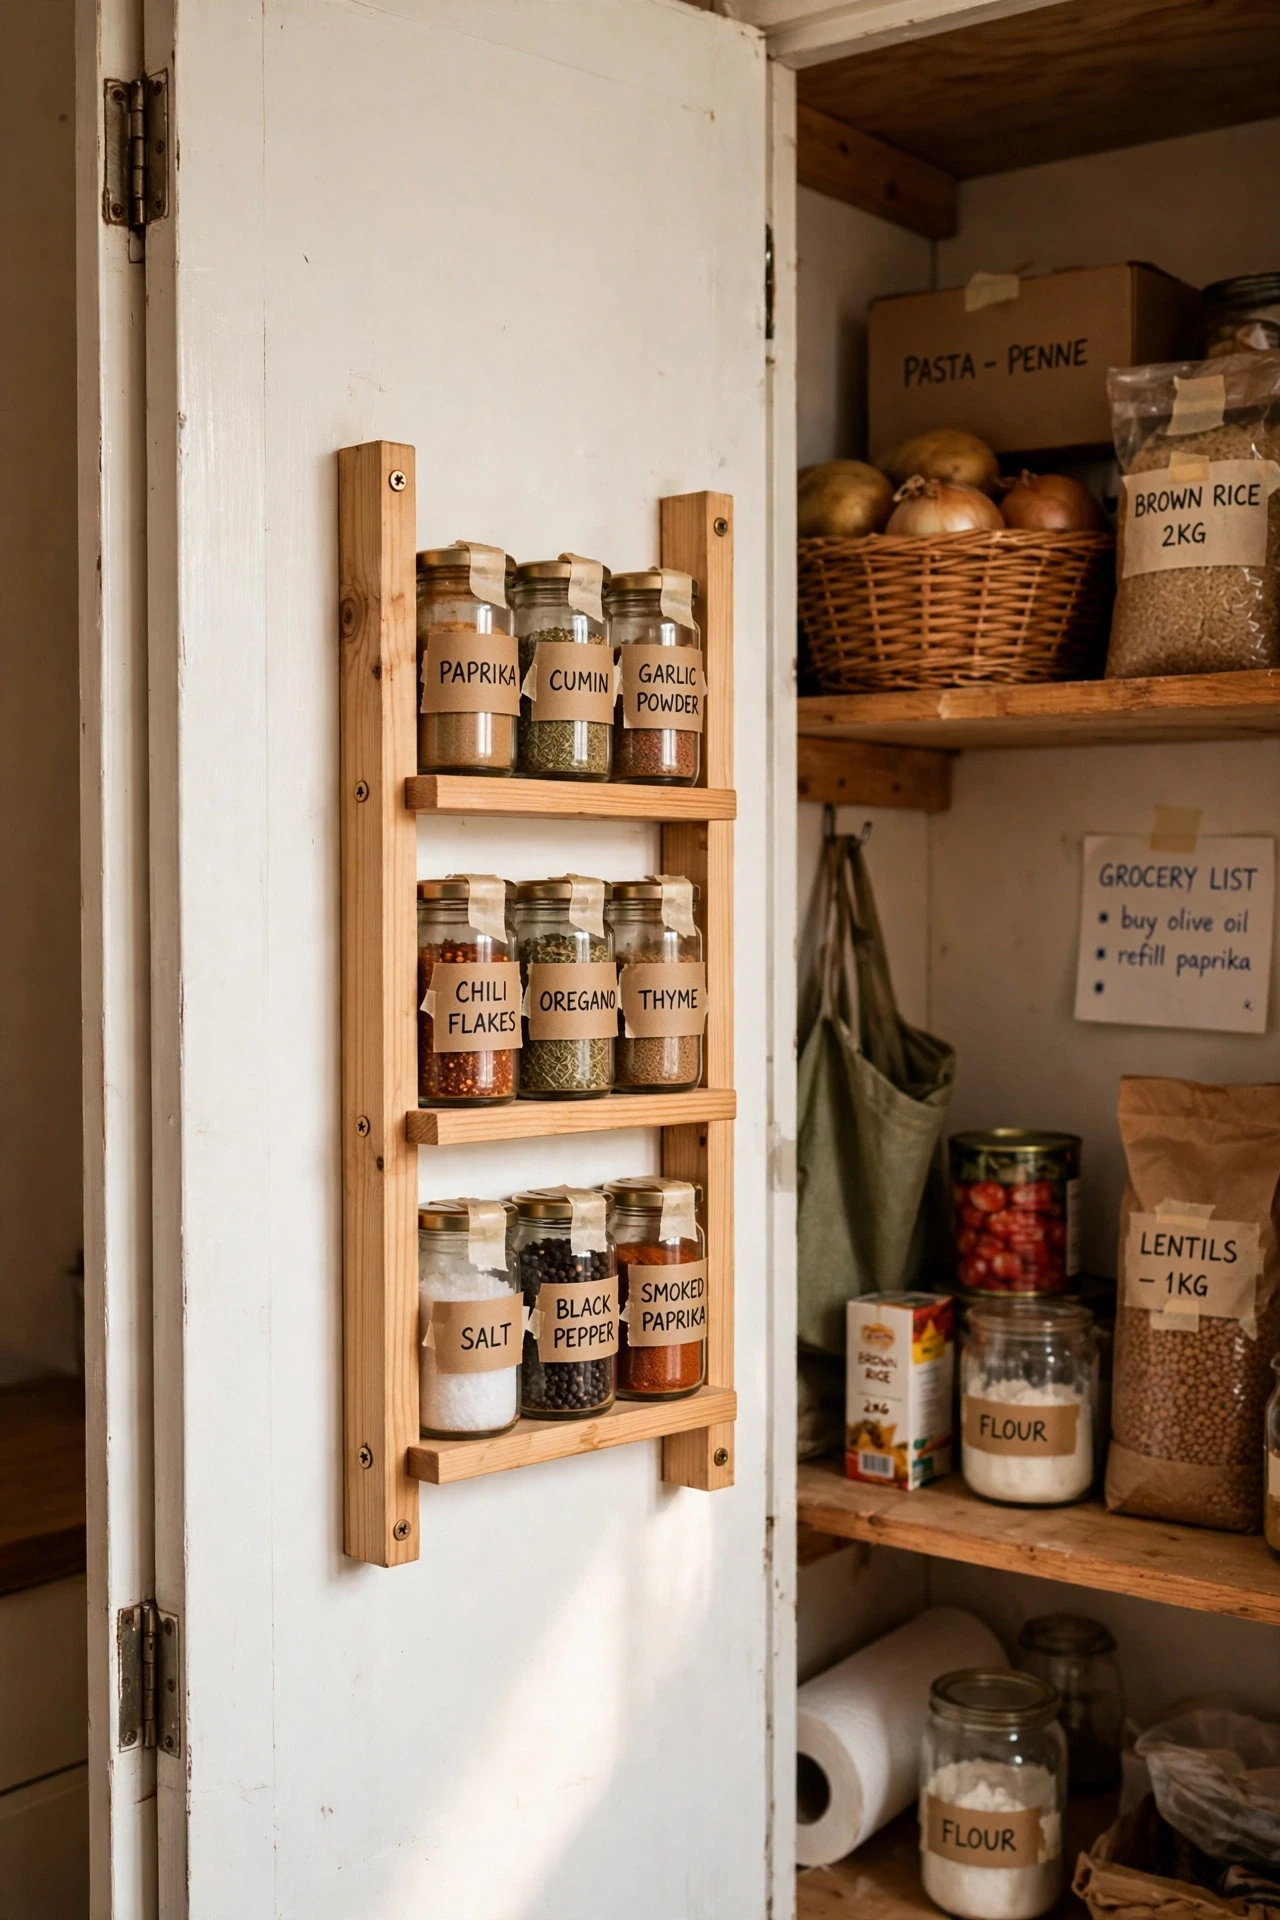
A slim rack screwed to the inside of the pantry door uses space that is otherwise completely wasted, and it keeps spices hidden when the door is shut. Measure the door thickness and the clearance inside the pantry, then screw the rack in with short screws that cannot poke through the front. Fill it with your everyday spices so you see them every time you open the door. I tried this with a rack meant for a bathroom door, and it fit perfectly once I checked the measurements twice. The mistake to avoid is using screws that are too long, since they will split the door face and ruin the finish.
Cost: ~$9 | Time: 20 minutes
8. Clip Spice Jars to a Door-Mounted Magnetic Board
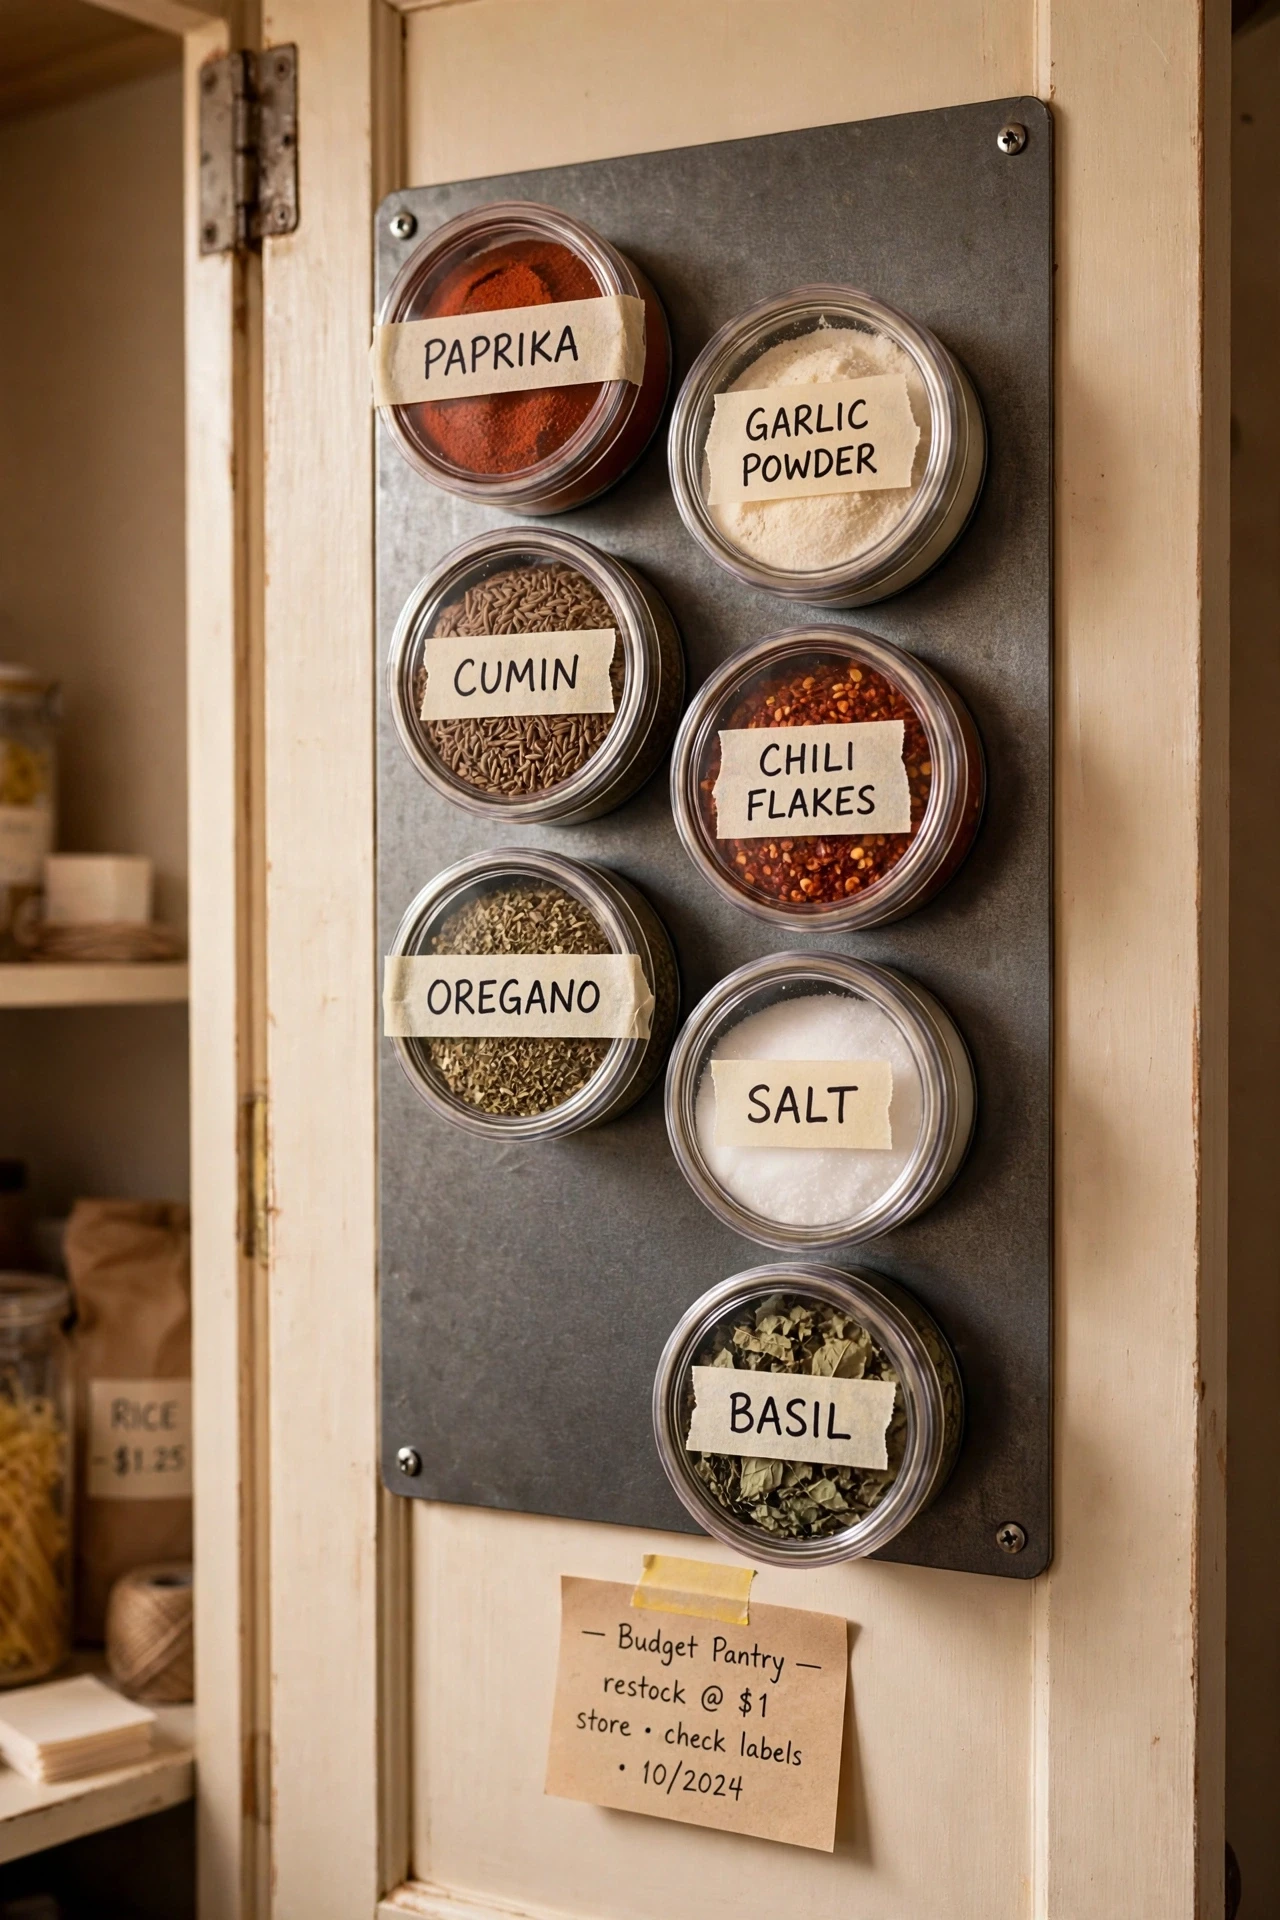
A magnetic board on the pantry door holds small magnetic spice tins flat against the door, so they never rattle around in a drawer. Screw or stick a thin steel sheet to the inside of the door, fill magnetic tins with spices, and label the lids in large print. Arrange the tins by meal type, with breakfast spices at the top and dinner spices below. I tried this when my cabinet shelves were already packed, and the door suddenly held twenty spices. The mistake to avoid is using a board that is too heavy for the door hinges, since a sagging door causes more trouble than the storage is worth.
Cost: ~$13 | Time: 25 minutes
9. Hang a Clear Pocket Organizer on the Pantry Door for Spice Packets
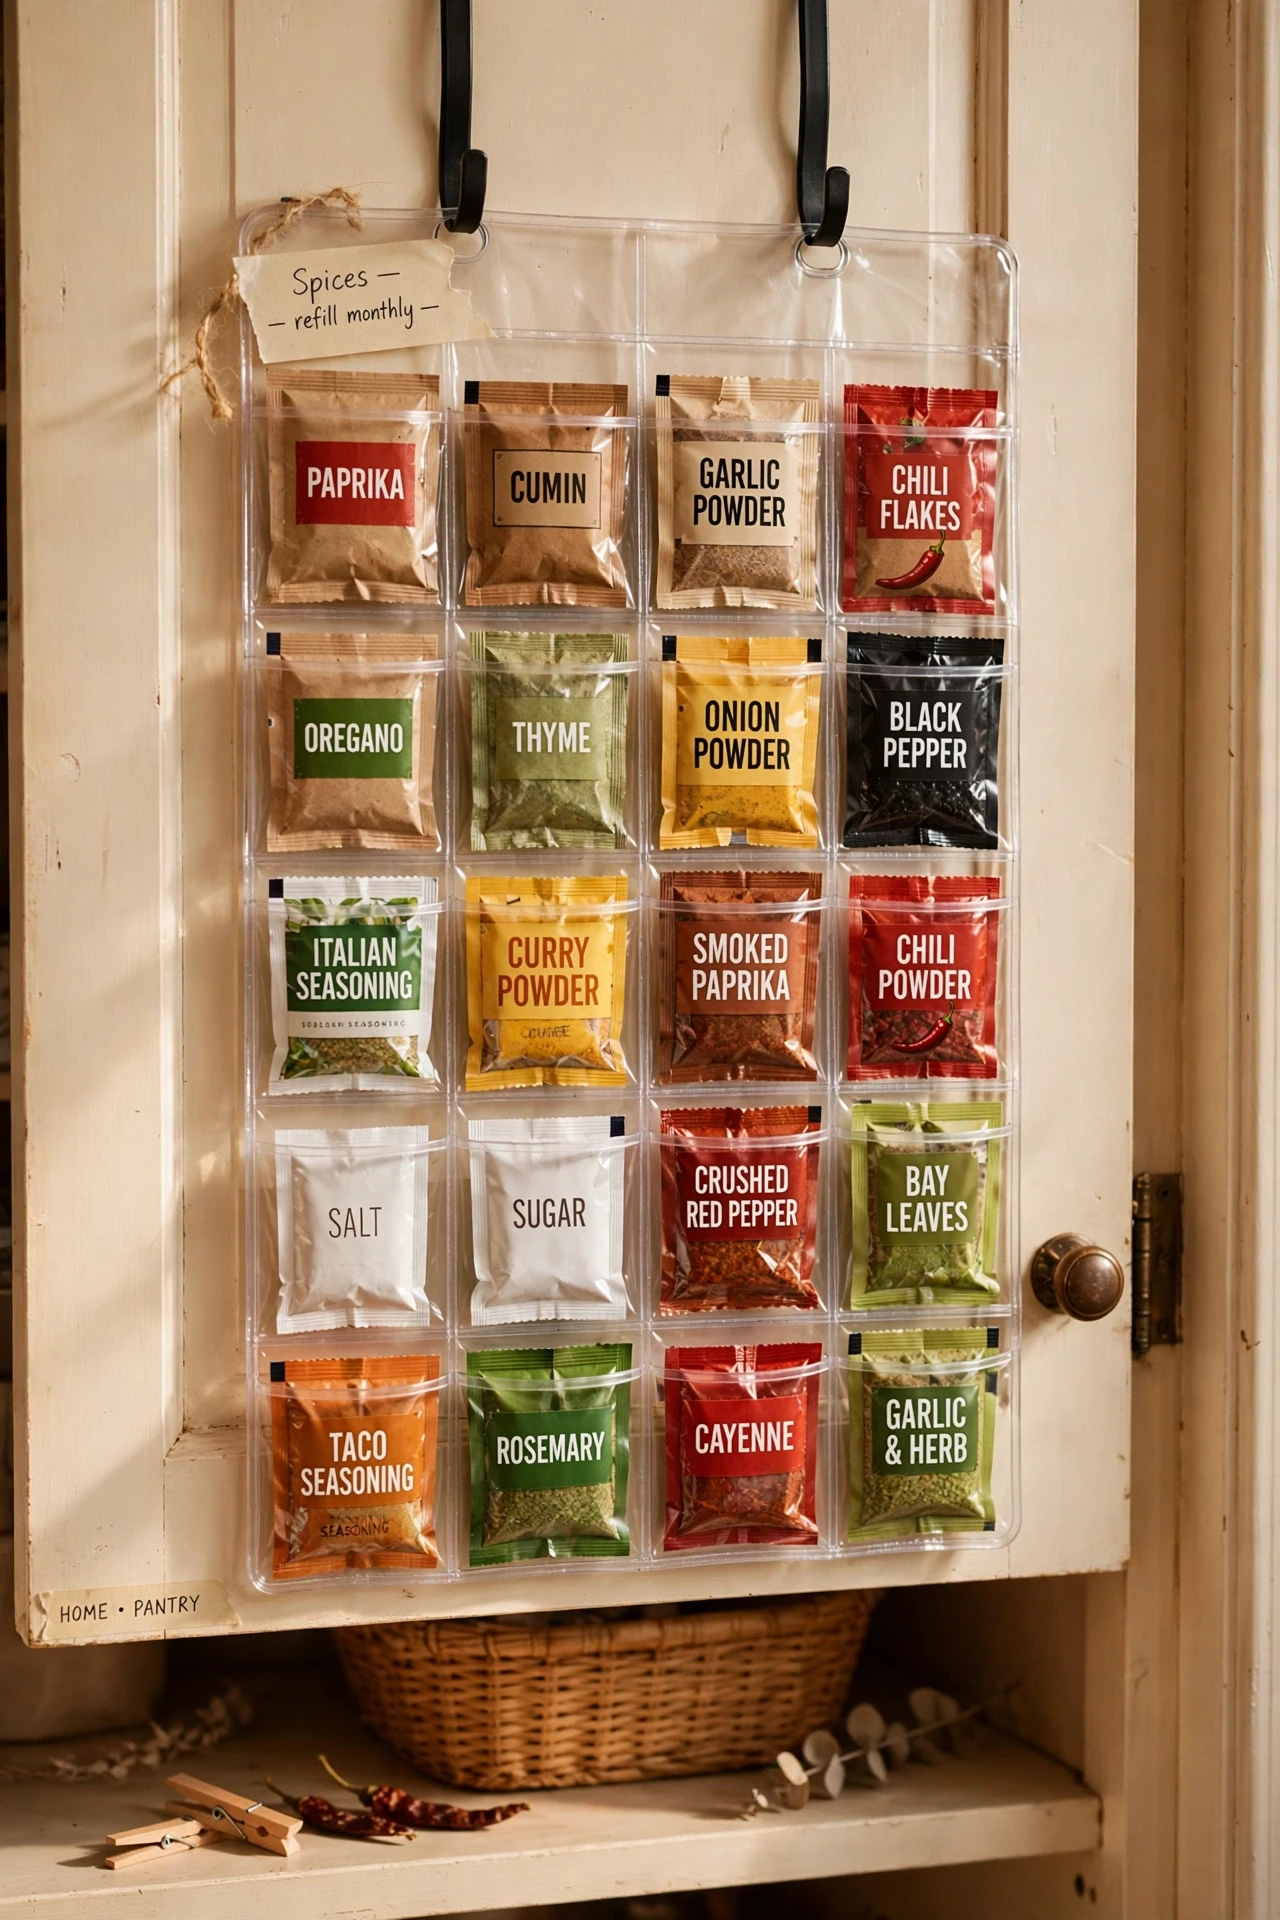
A clear pocket organizer on the pantry door is perfect for spice packets, sachets, and small refill bags that never fit neatly in jars. Hang it over the door or on hooks, sort packets by type into the pockets, and label the rows if you have a big collection. The clear pockets mean you can see what is running low without emptying anything. I tried this for taco seasoning, gravy mixes, and stock cubes, and they finally stopped sliding to the back of a drawer. The mistake to avoid is stuffing two packets into one pocket, since that is how packets get forgotten and expire.
Cost: ~$6 | Time: 15 minutes
Now into the drawers, where spices stay hidden but easy to find.
10. Lay Spice Jars Flat in a Shallow Drawer With Labels on Top
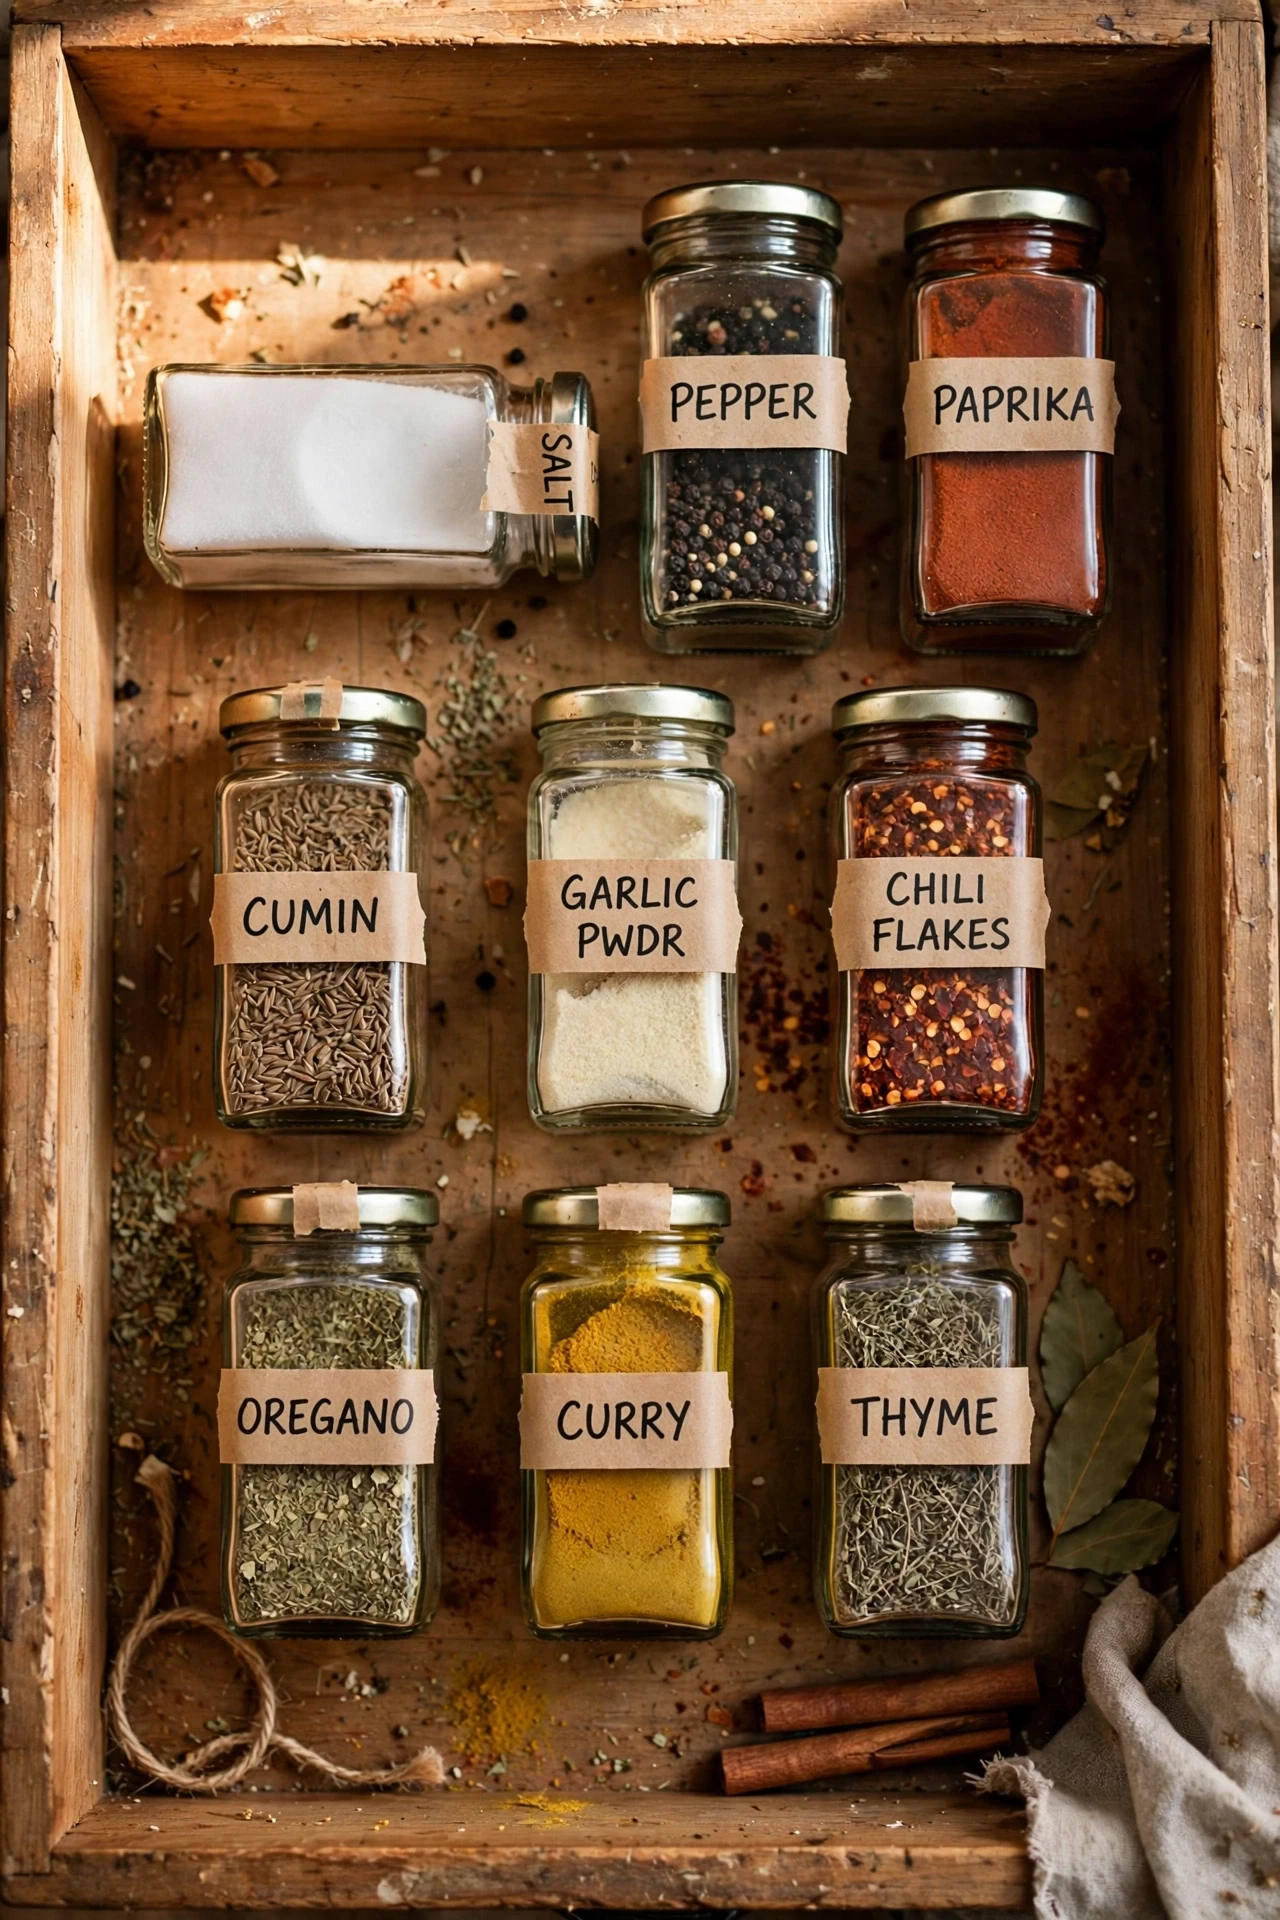
Laying spice jars flat in a shallow drawer with the label on the lid turns the drawer into a spice chart you can read at a glance. Line the drawer with non-slip liner, lay the jars on their sides in rows, and write the spice name on each lid in clear letters. Sort alphabetically or by use, and keep the drawer near the stove for quick cooking. I tried this in a drawer beside my hob, and finding cumin went from a hunt to a glance. The mistake to avoid is using jars with loose lids, since a jar that spills sideways inside a drawer makes a mess you will remember.
Cost: ~$8 | Time: 30 minutes
See also: 17 Kitchen Drawer Organization Ideas on a Budget
11. Use a Drawer Insert Tray to Keep Spice Jars Upright
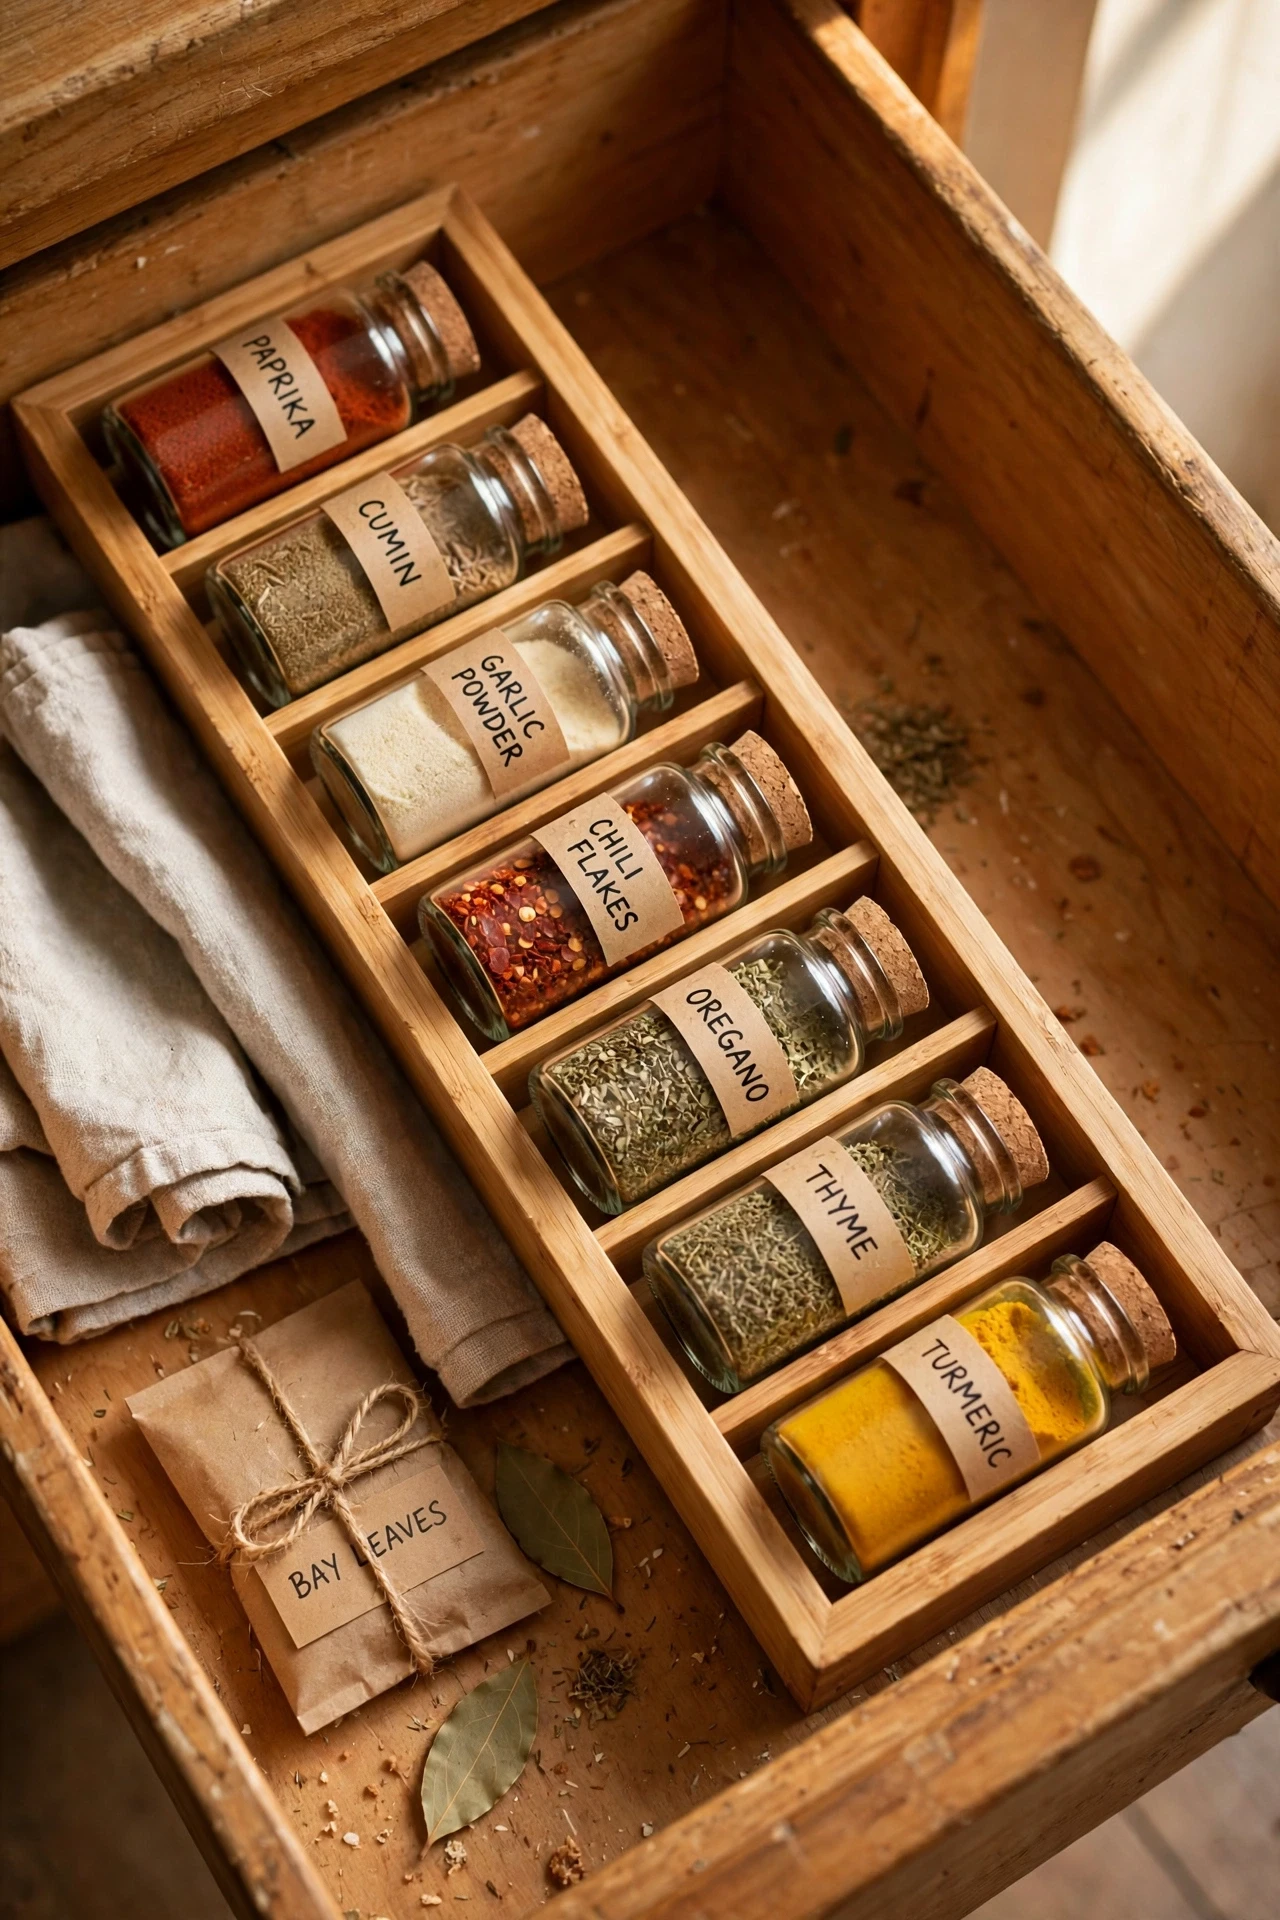
A drawer insert tray with angled slots holds spice jars upright and tilted, so every label is visible without lifting jars out. Measure your drawer, buy or cut a tray to fit snugly, and place the jars with the labels facing up. Put the spices you cook with weekly at the front and the rare ones at the back. I tried this after years of jars rolling around loose in a drawer, and the difference was immediate. The mistake to avoid is buying a tray before measuring, since a tray that slides around inside the drawer defeats the whole purpose and drives you mad.
Cost: ~$12 | Time: 20 minutes
12. Line a Drawer With Small Tins and a Printed Index Card
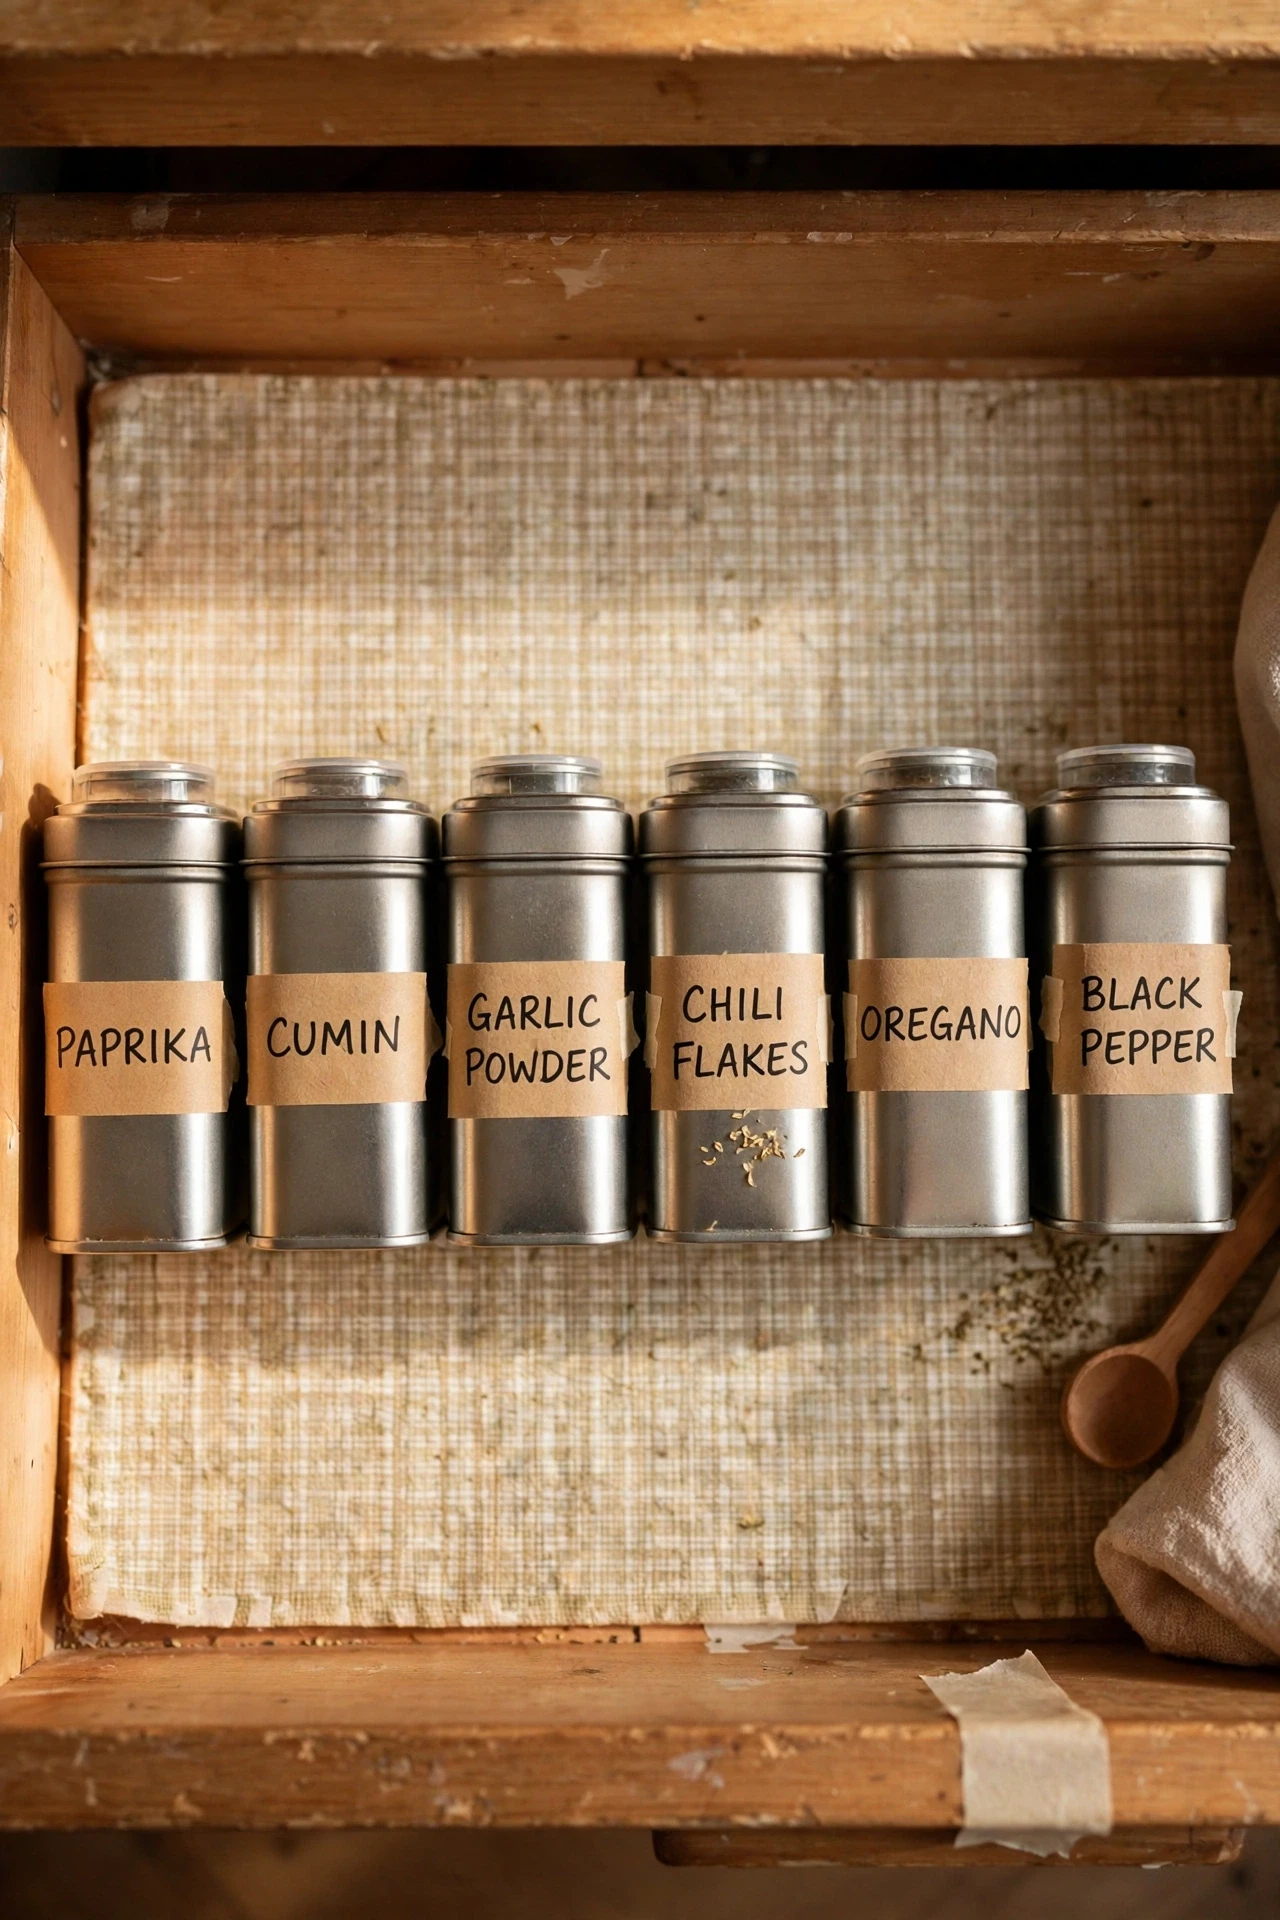
Small uniform tins lined up in a drawer, paired with a simple index card taped inside the drawer front, make a spice system anyone in the house can follow. Fill matching tins, label each lid, and lay them in neat rows with the index card listing what goes where. When a tin runs low, the card tells you exactly what to refill. I tried this with cheap metal tins and a hand-written card, and my partner finally stopped asking where the paprika lives. The mistake to avoid is skipping the labels because you think you will remember, since six brown powders all look identical after a month.
Cost: ~$14 | Time: 35 minutes
13. Convert a Deep Drawer Into Tiered Spice Steps With a Riser
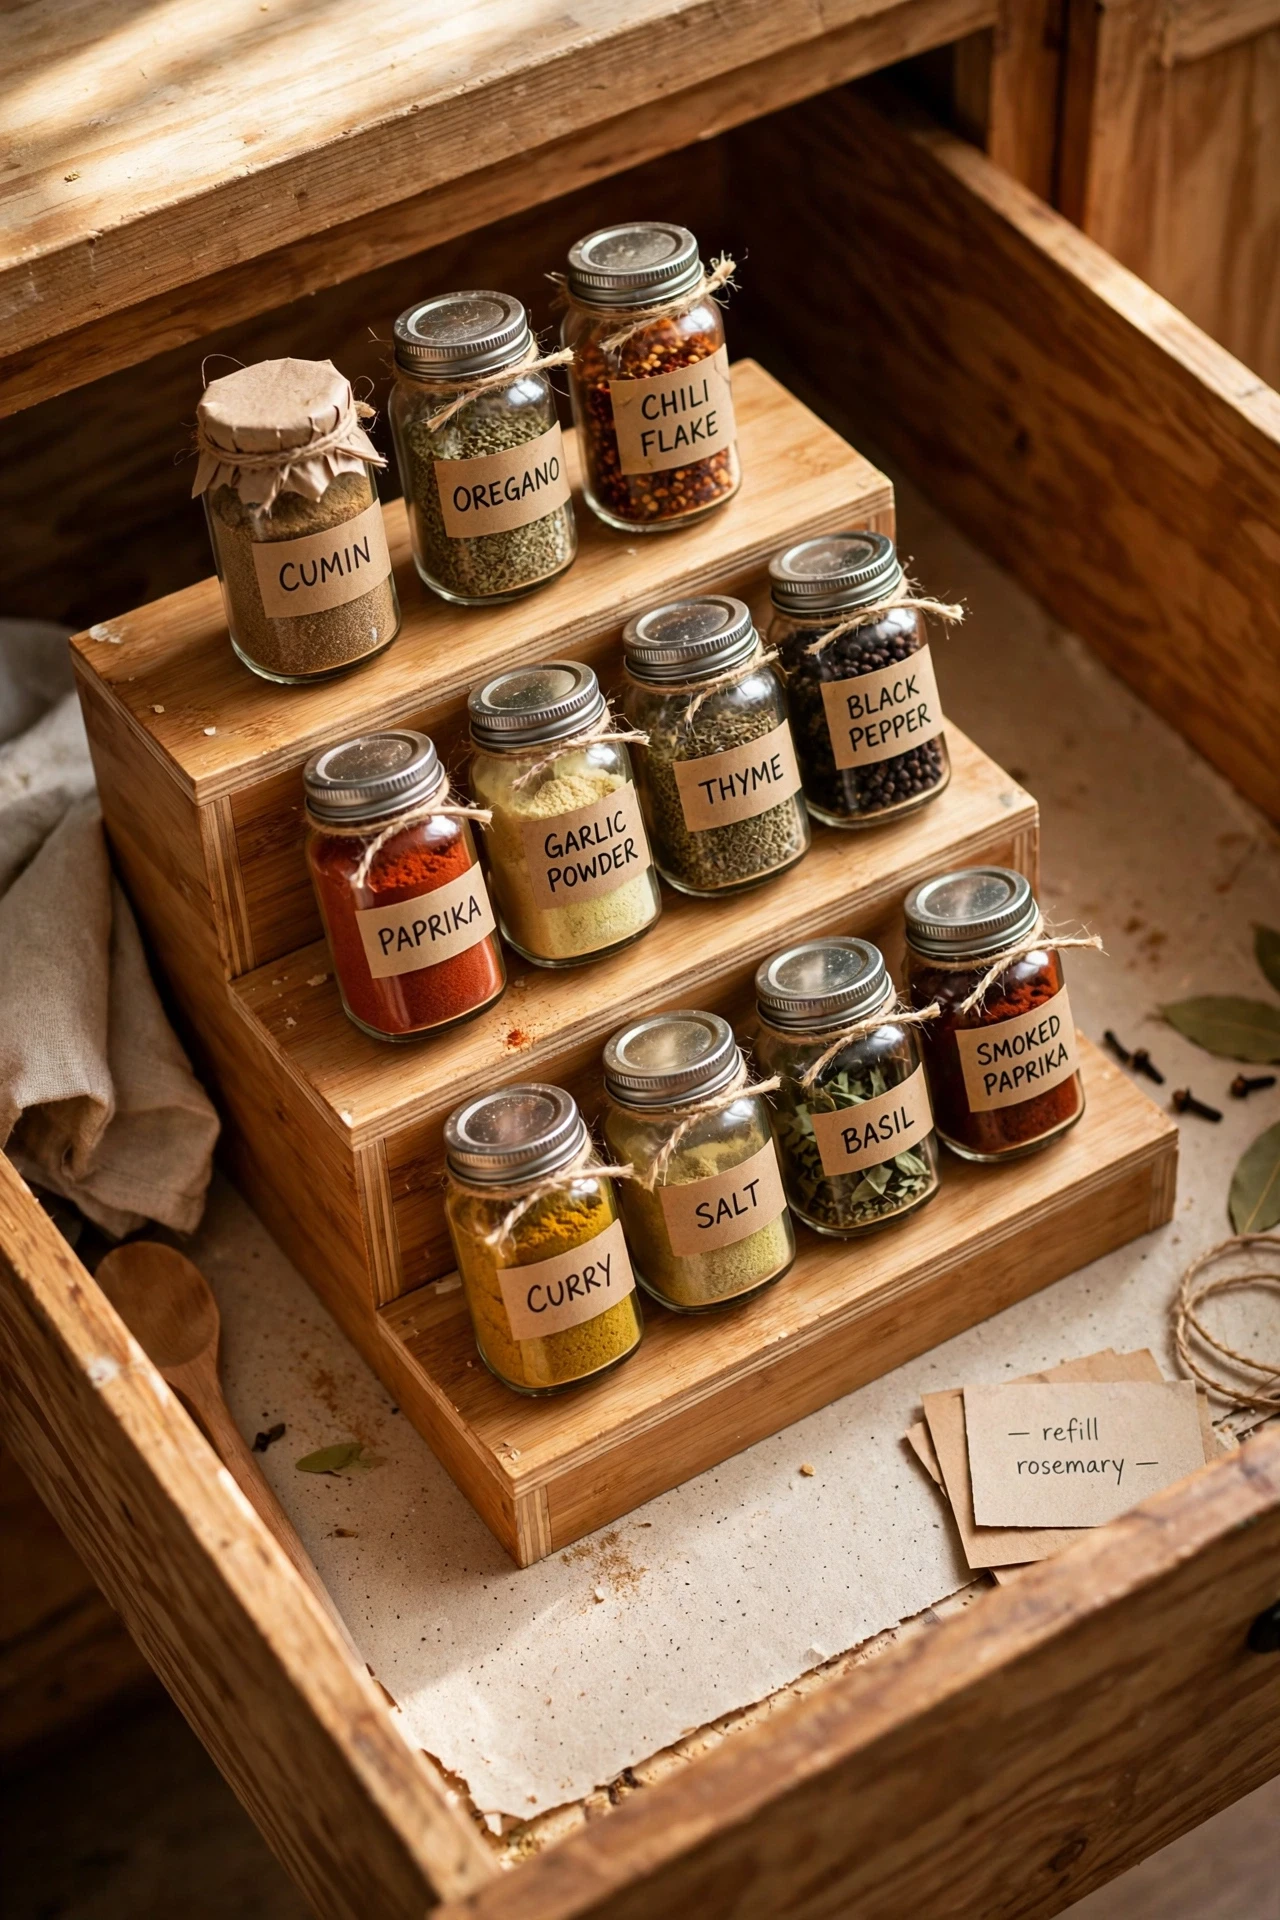
A small stepped riser inside a deep drawer lifts the back rows of spice jars above the front rows, so nothing hides behind anything else. Place the riser at the back of the drawer, set the tallest jars on the top step, and keep the shortest jars at the front. Label the lids so you can read them from above while standing at the counter. I tried this in a deep drawer that had become a spice graveyard, and jars I had forgotten about came back into use. The mistake to avoid is stacking jars two deep on one step, since the back jar becomes invisible again and the system quietly fails.
Cost: ~$10 | Time: 20 minutes
Inside the cabinets, a few cheap inserts can double what fits.
14. Add a Pull-Out Spice Rack Inside a Narrow Cabinet
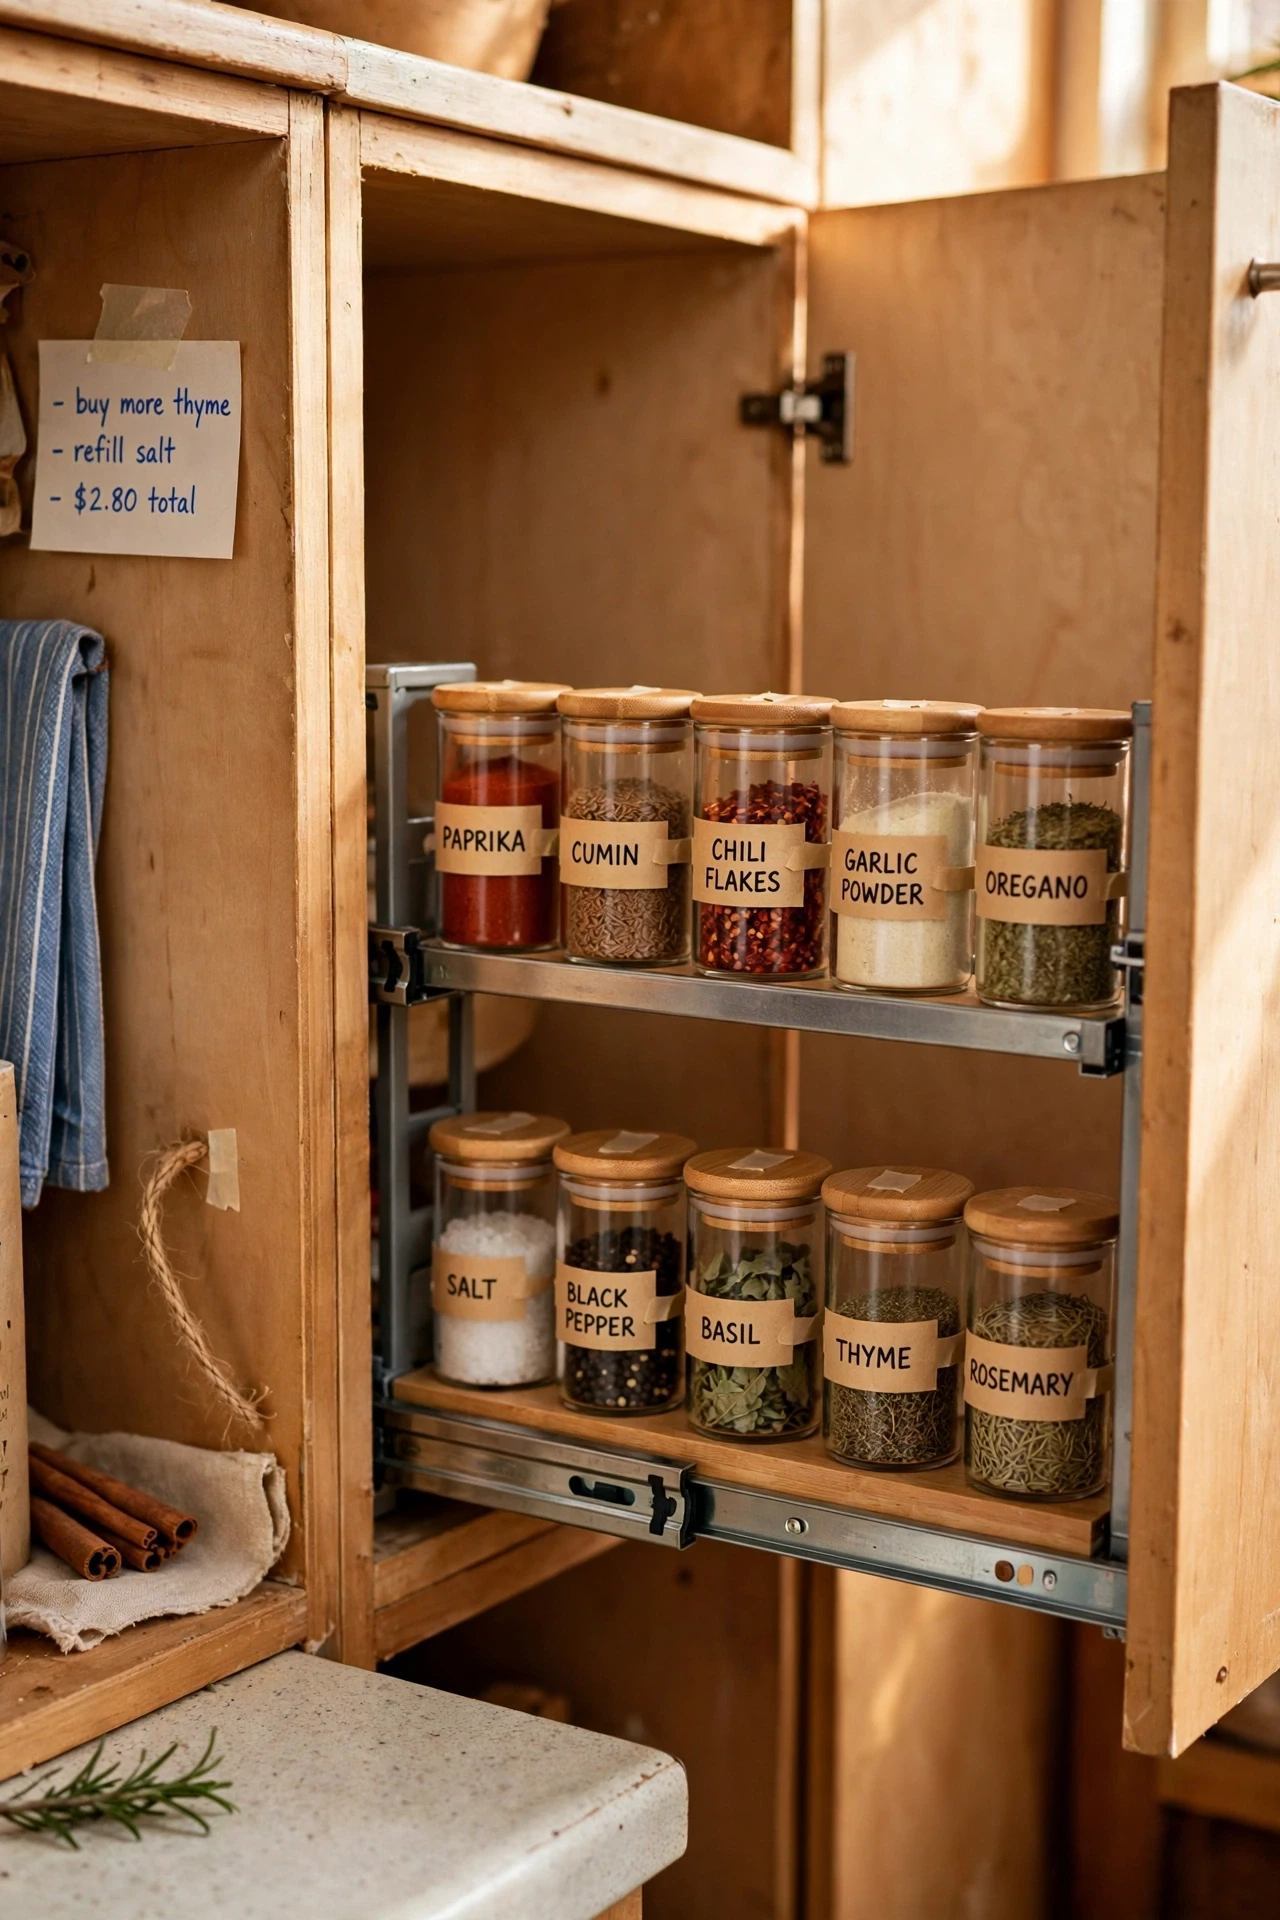
A pull-out spice rack fitted inside a narrow cabinet turns a hard-to-reach gap into a slide-out spice shelf you can actually use. Measure the cabinet width and depth, screw the sliding rails to the base, and load jars with labels facing out. Keep the rack near the stove if you can, since spices you grab mid-recipe should not require a walk across the kitchen. I tried this in a six-inch gap beside my oven that had held nothing but a baking tray, and it now holds eighteen jars. The mistake to avoid is overfilling the rack, since a rack that sticks when pulled will soon be left shut.
Cost: ~$16 | Time: 45 minutes
15. Stack Tiered Shelf Risers Inside a Cabinet
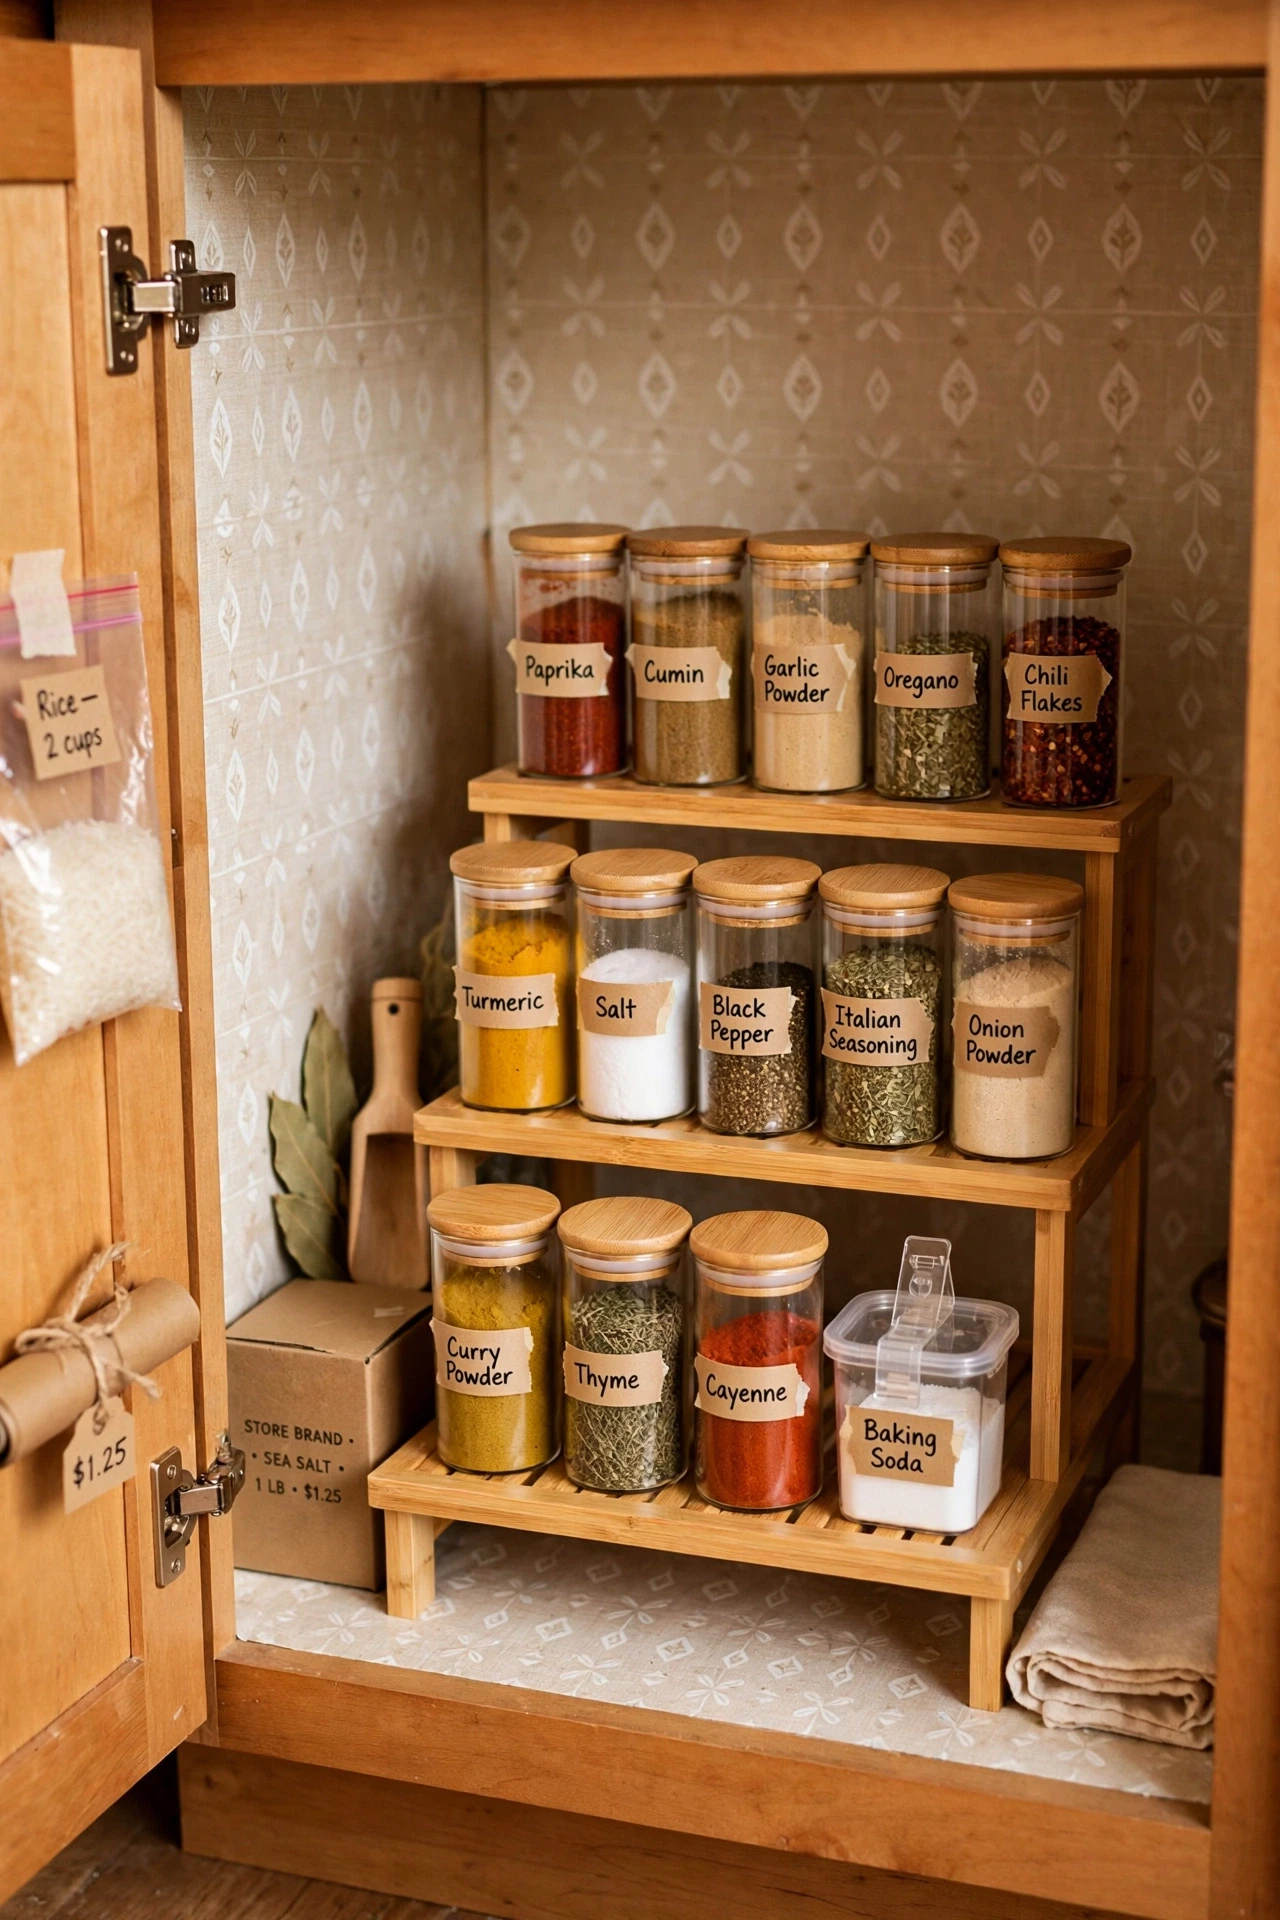
Tiered shelf risers inside a cabinet create steps that lift back jars above front jars, ending the classic problem of spices lost at the back. Place one or two risers on the cabinet shelf, set the jars in rows from low at the front to high at the back, and label every lid. Group by cooking style so you grab one cluster at a time instead of hunting jar by jar. I tried this in my most chaotic cabinet, and the back row finally got used instead of expiring quietly. The mistake to avoid is buying risers taller than your cabinet shelf gap, since a riser you cannot fit is just another thing to store.
Cost: ~$11 | Time: 15 minutes
16. Hang Spice Jars Under a Cabinet Shelf With Magnetic Lids
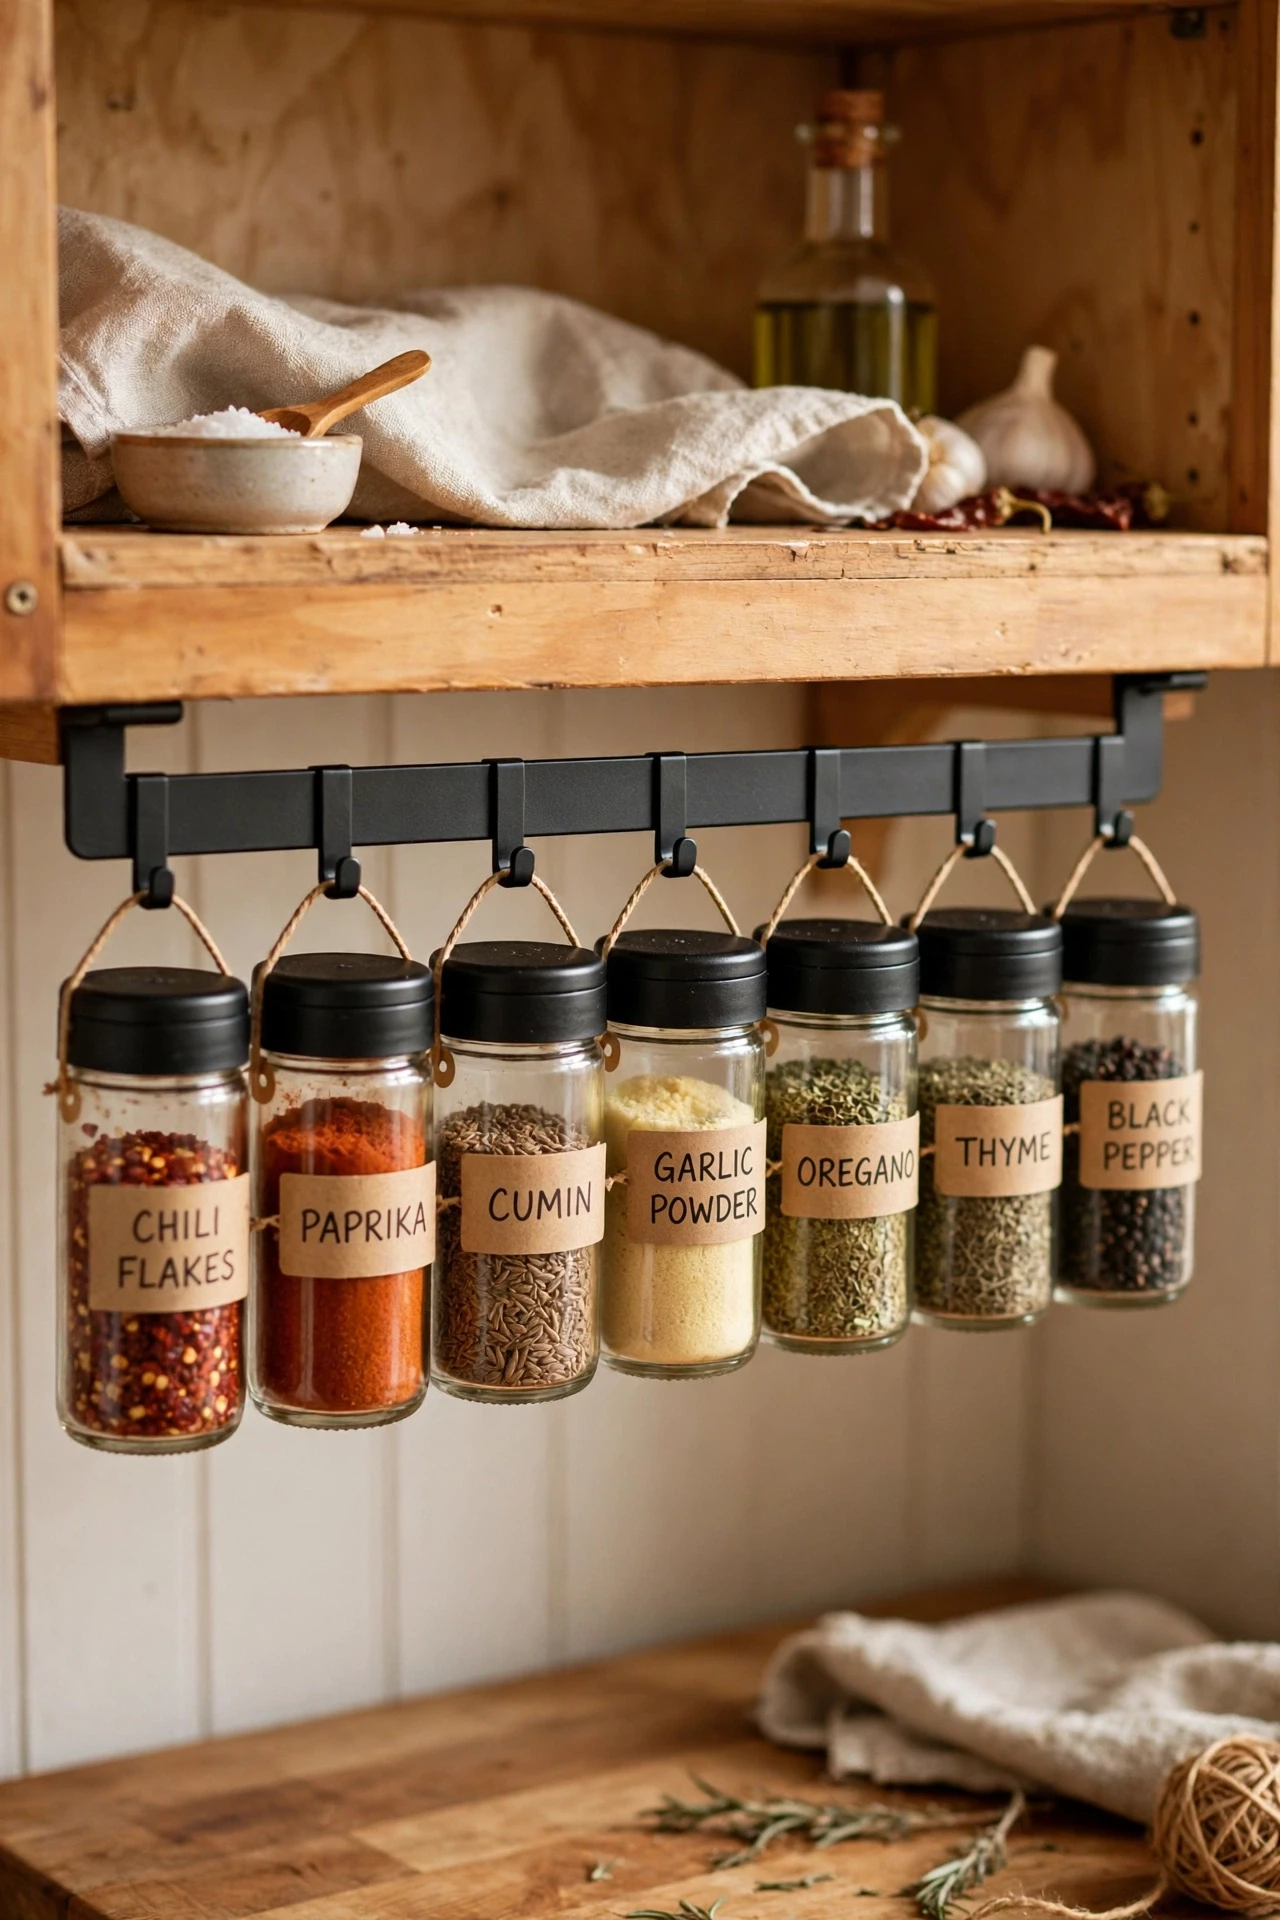
Magnetic-lid jars stuck to a metal strip under a cabinet shelf use the empty air below the shelf, a spot most kitchens waste entirely. Stick a thin steel strip to the underside of the shelf, fill jars with metal lids, and twist them onto the strip so they hang upside down. Keep everyday spices here and the rest elsewhere, since reaching overhead for a rare spice gets tiring. I tried this under the shelf above my coffee station, and it felt like finding a free shelf. The mistake to avoid is hanging glass jars with weak magnets over a walkway, since a falling jar of chilli flakes is a cleanup nobody wants.
Cost: ~$15 | Time: 25 minutes
17. Turn a Lazy Susan Into a Spinning Spice Station
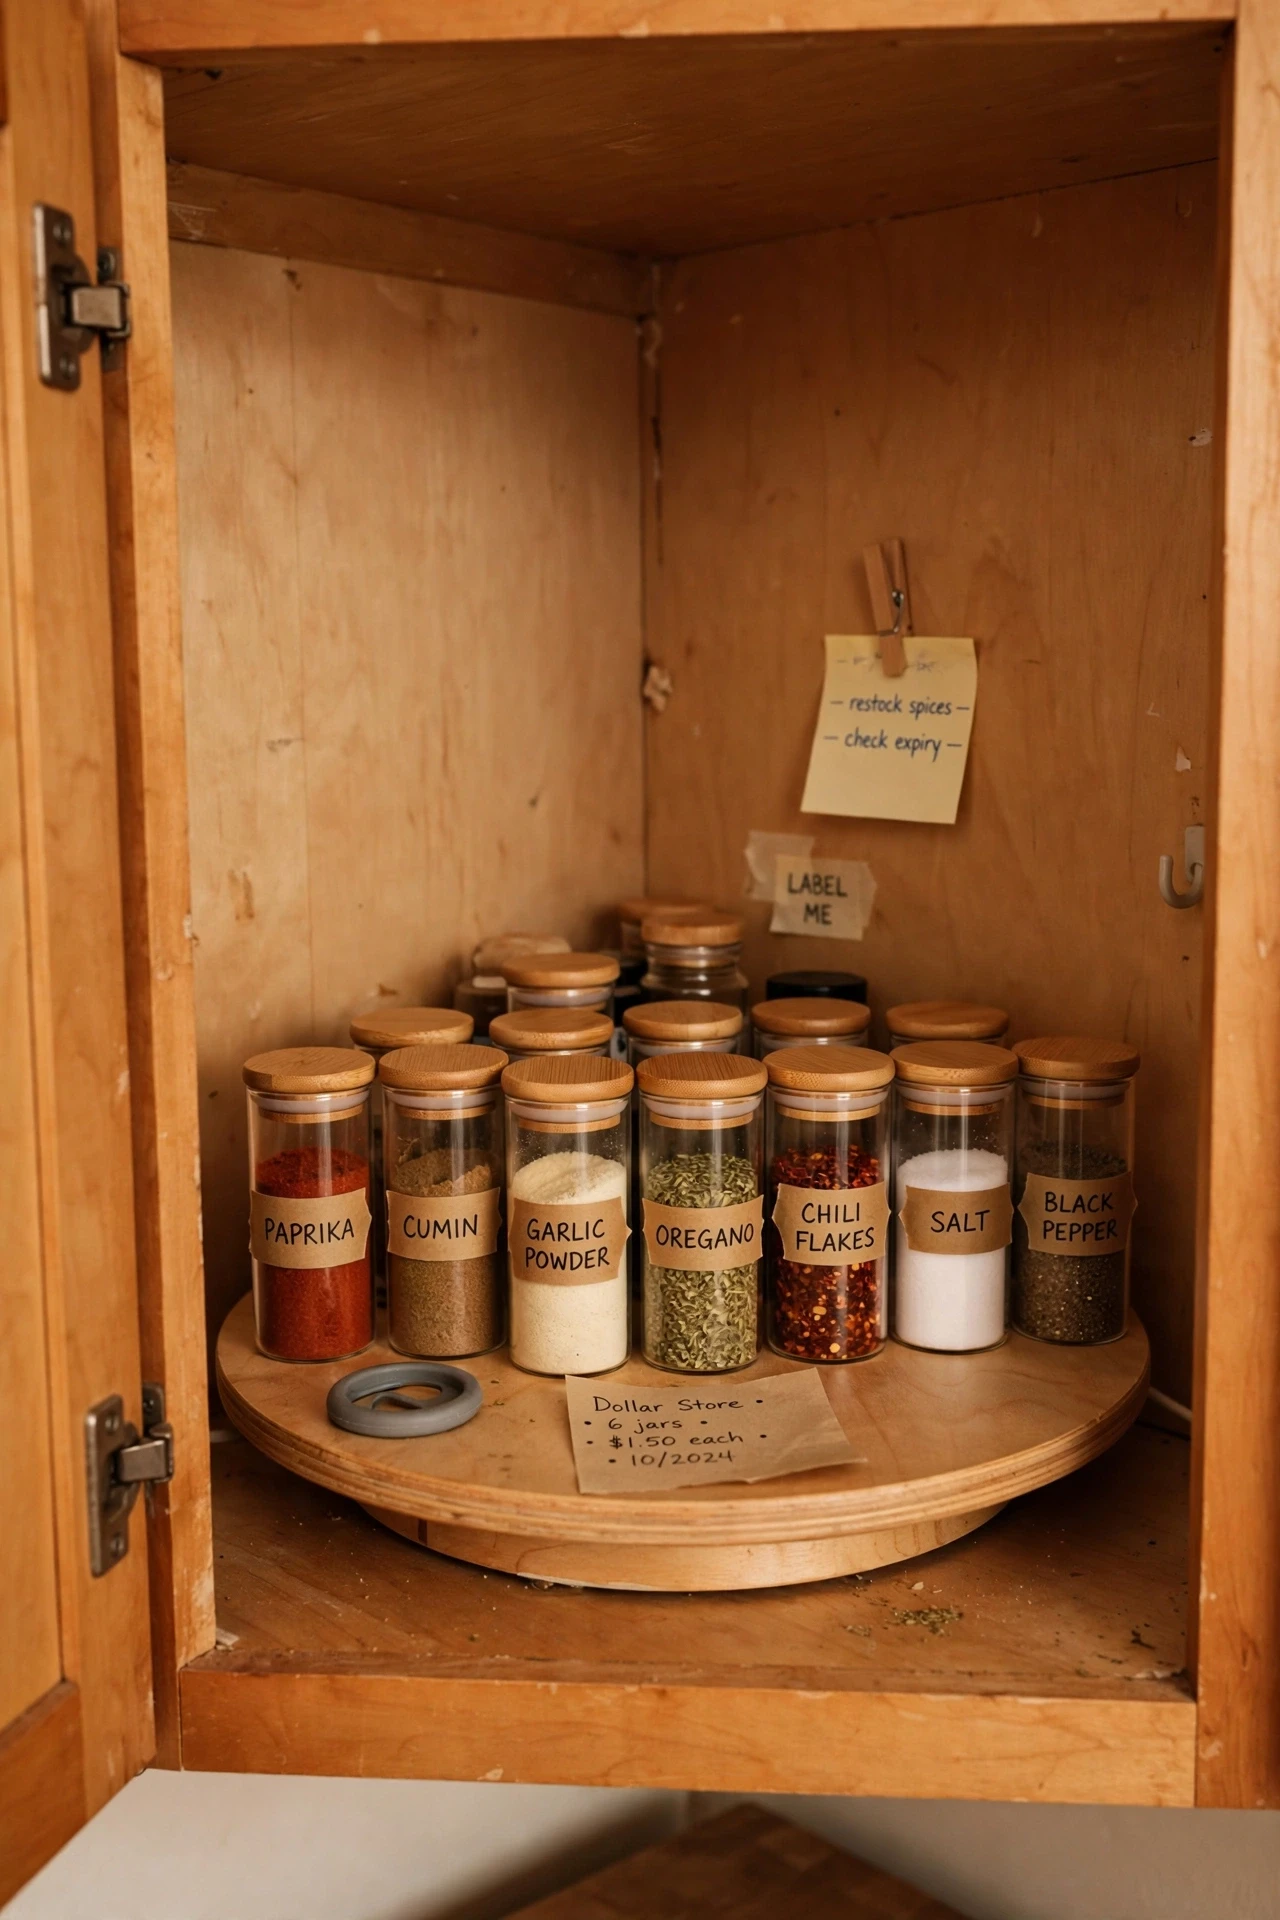
A lazy Susan inside a cabinet turns a dark corner shelf into a spinning spice station where one turn brings any jar to the front. Place the turntable on the shelf, load jars around the edge with labels facing out, and spin it slowly to find what you need. Put the most-used spices on the outer edge and taller bottles in the middle if the shelf height allows. I tried this in a corner cabinet that had been a black hole for years, and I finally used up spices I had bought twice by accident. The mistake to avoid is cramming jars so tightly that the turntable cannot spin, since a stuck lazy Susan is worse than a plain shelf.
Cost: ~$9 | Time: 10 minutes
See also: 21 Small Kitchen Organization Ideas That Stay Tidy
18. Store Spices in Matching Jars on a Cabinet Turntable
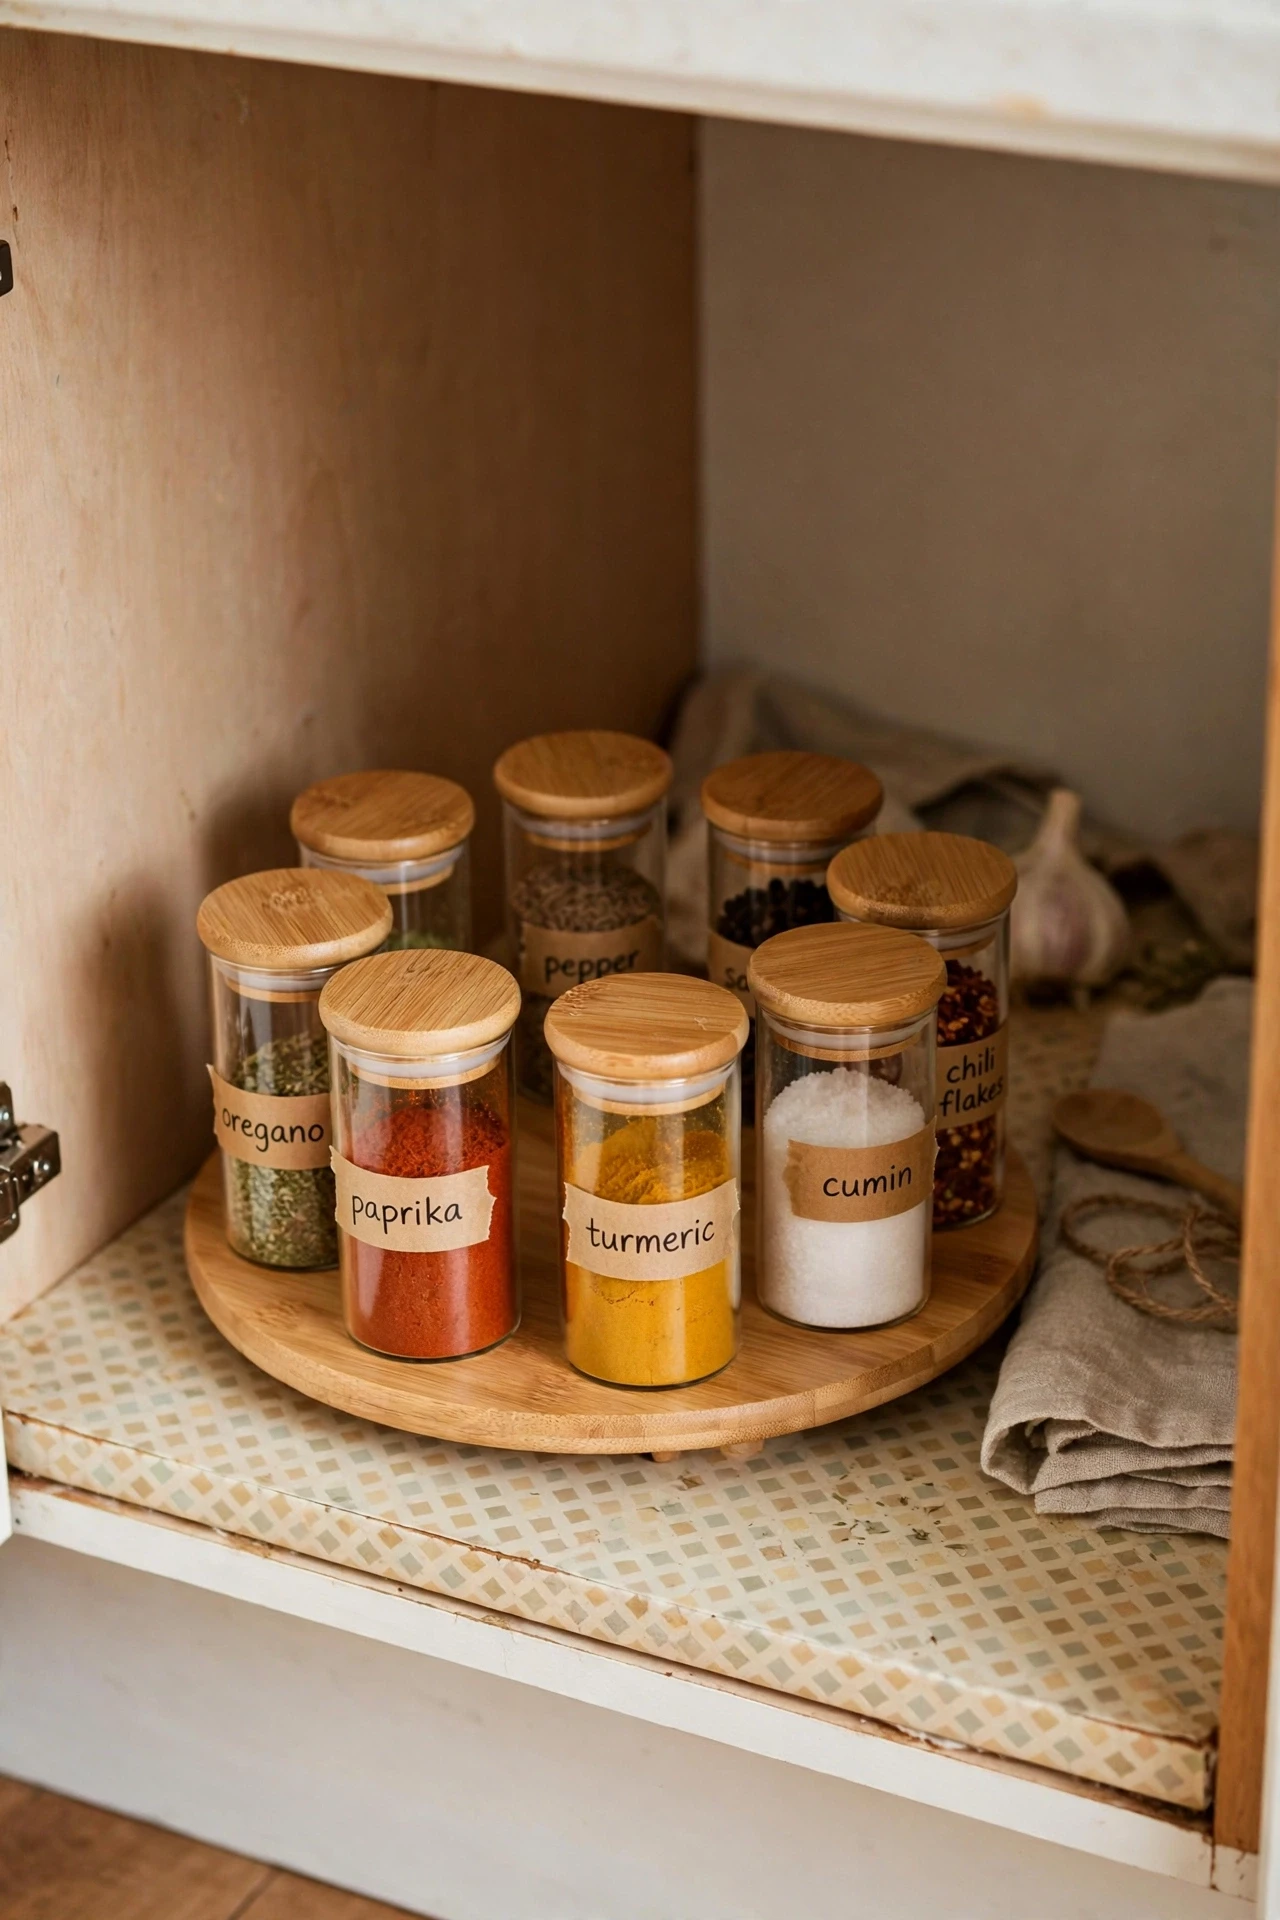
Matching jars on a small cabinet turntable look tidy and make refills simple, because every jar holds the same amount and fits the same slot. Decant spices into uniform jars, label them clearly, and place the turntable on a low shelf you can reach without a step stool. Sort the jars by frequency of use, with daily spices on the outside ring. I tried this after getting tired of odd-sized jars toppling over, and the cabinet finally stayed neat for months. The mistake to avoid is decanting spices you rarely use into big jars, since large jars of rarely used spices just eat the space you saved.
Cost: ~$17 | Time: 40 minutes
Back on the counter, the rule is simple: only the daily spices earn a spot.
19. Keep a Small Rotating Carousel for Everyday Spices Only
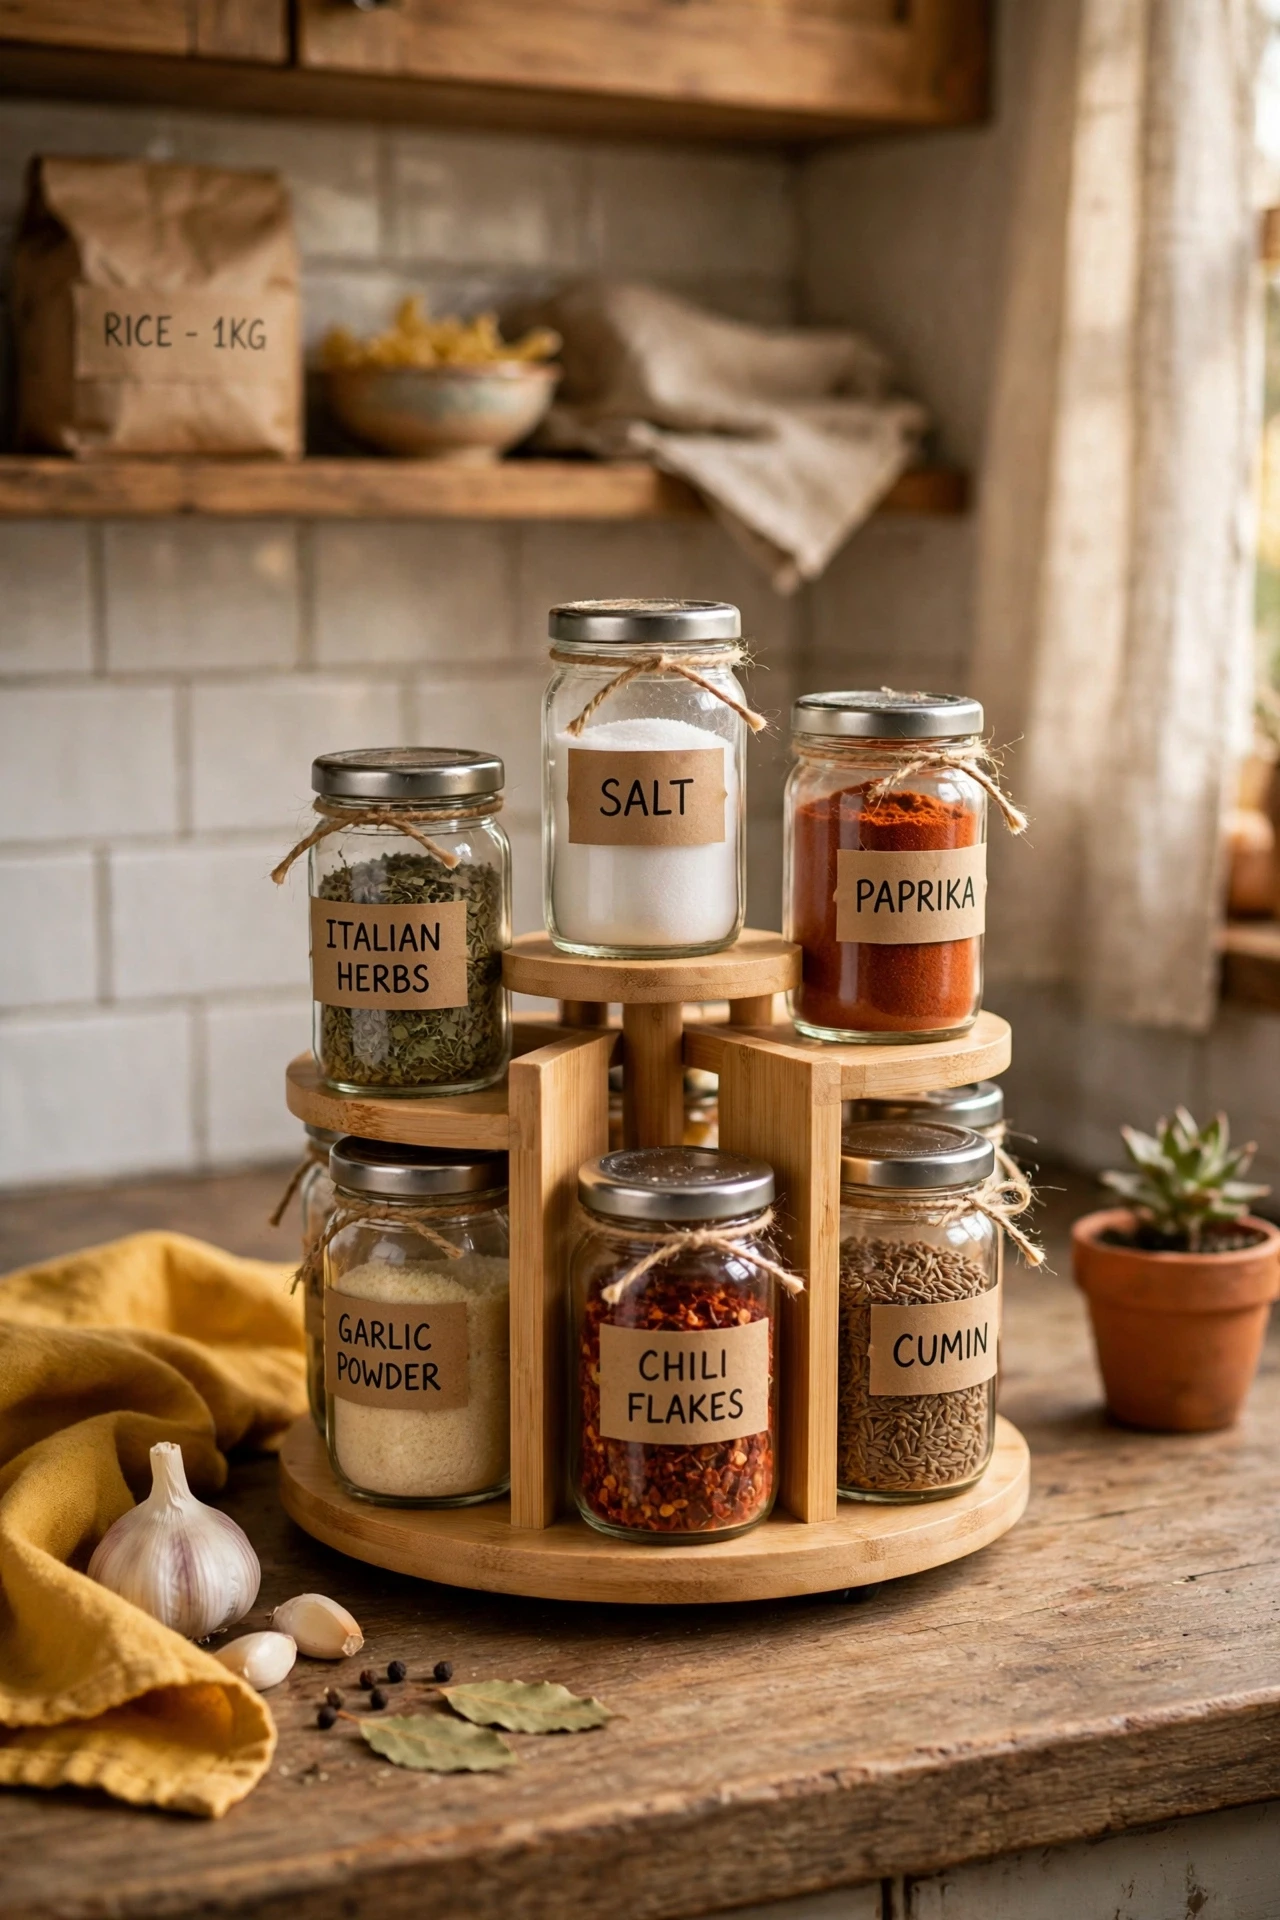
A small rotating carousel on the counter works beautifully if it holds only the five or six spices you use almost daily, and nothing else. Pick a carousel that fits your counter corner, fill it with salt, pepper, garlic powder, and your other daily staples, and spin it to grab what you need. Store every other spice elsewhere, or the carousel grows into another clutter pile. I tried this with a strict six-jar rule, and it stayed tidy for the first time ever. The mistake to avoid is letting the carousel collect extras, since one stray bottle invites three more and the counter is crowded again within a week.
Cost: ~$13 | Time: 15 minutes
20. Use a Tiered Corner Stand for Spices Beside the Stove
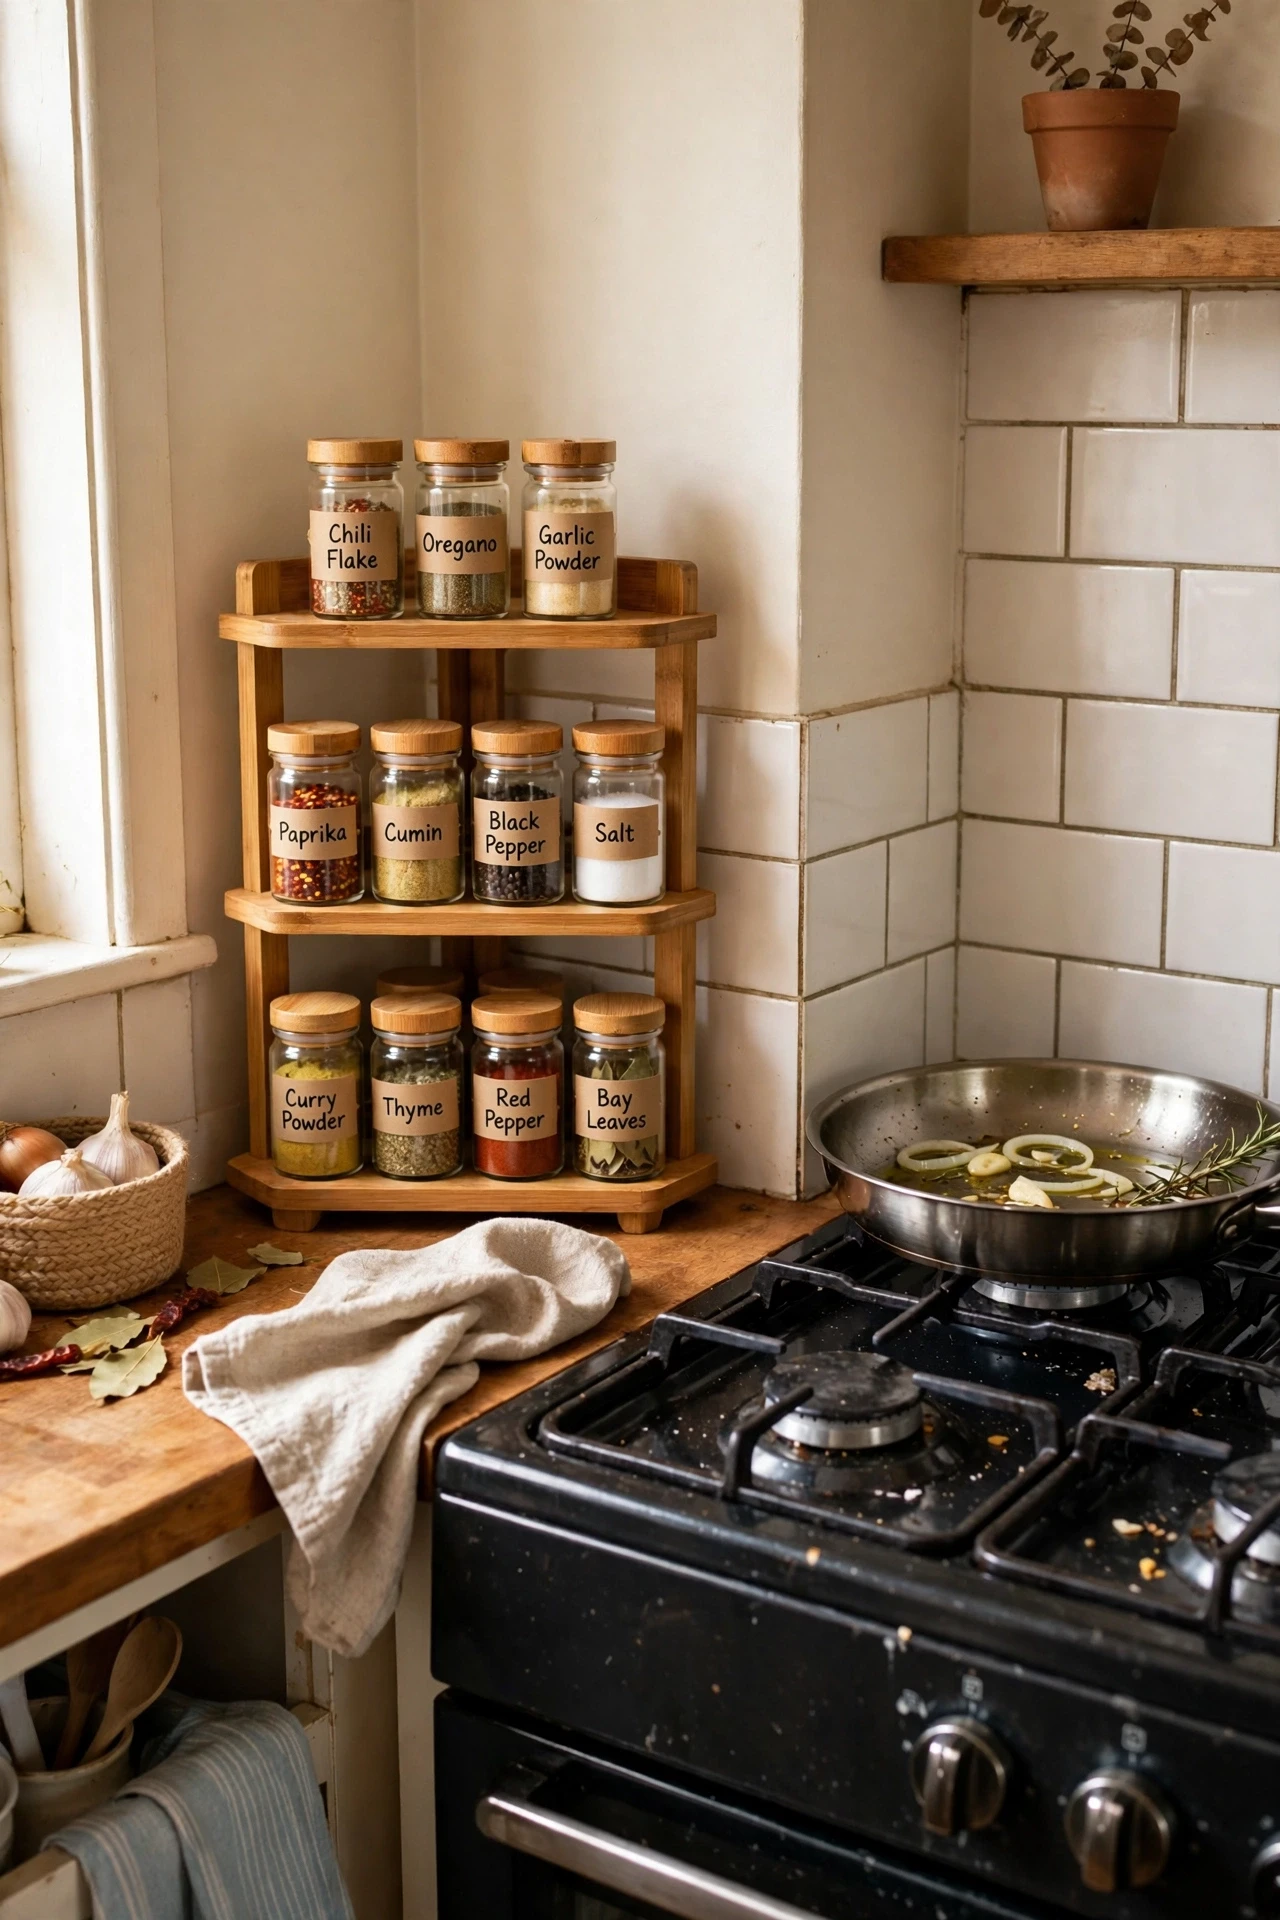
A tiered corner stand tucks into the dead corner beside the stove and holds spices in rising steps, so even the back jars stay visible. Place the stand in the corner, put short jars at the front and tall ones at the back, and keep the stand close enough to reach while cooking. Wipe it weekly, since corners near the stove collect grease faster than anywhere else. I tried this in a corner that had held nothing but a stray oil bottle, and it now holds my whole weeknight spice set. The mistake to avoid is placing the stand where steam hits it constantly, since damp labels peel and spices clump.
Cost: ~$12 | Time: 10 minutes
21. Decant Daily Spices Into a Slim Countertop Caddy
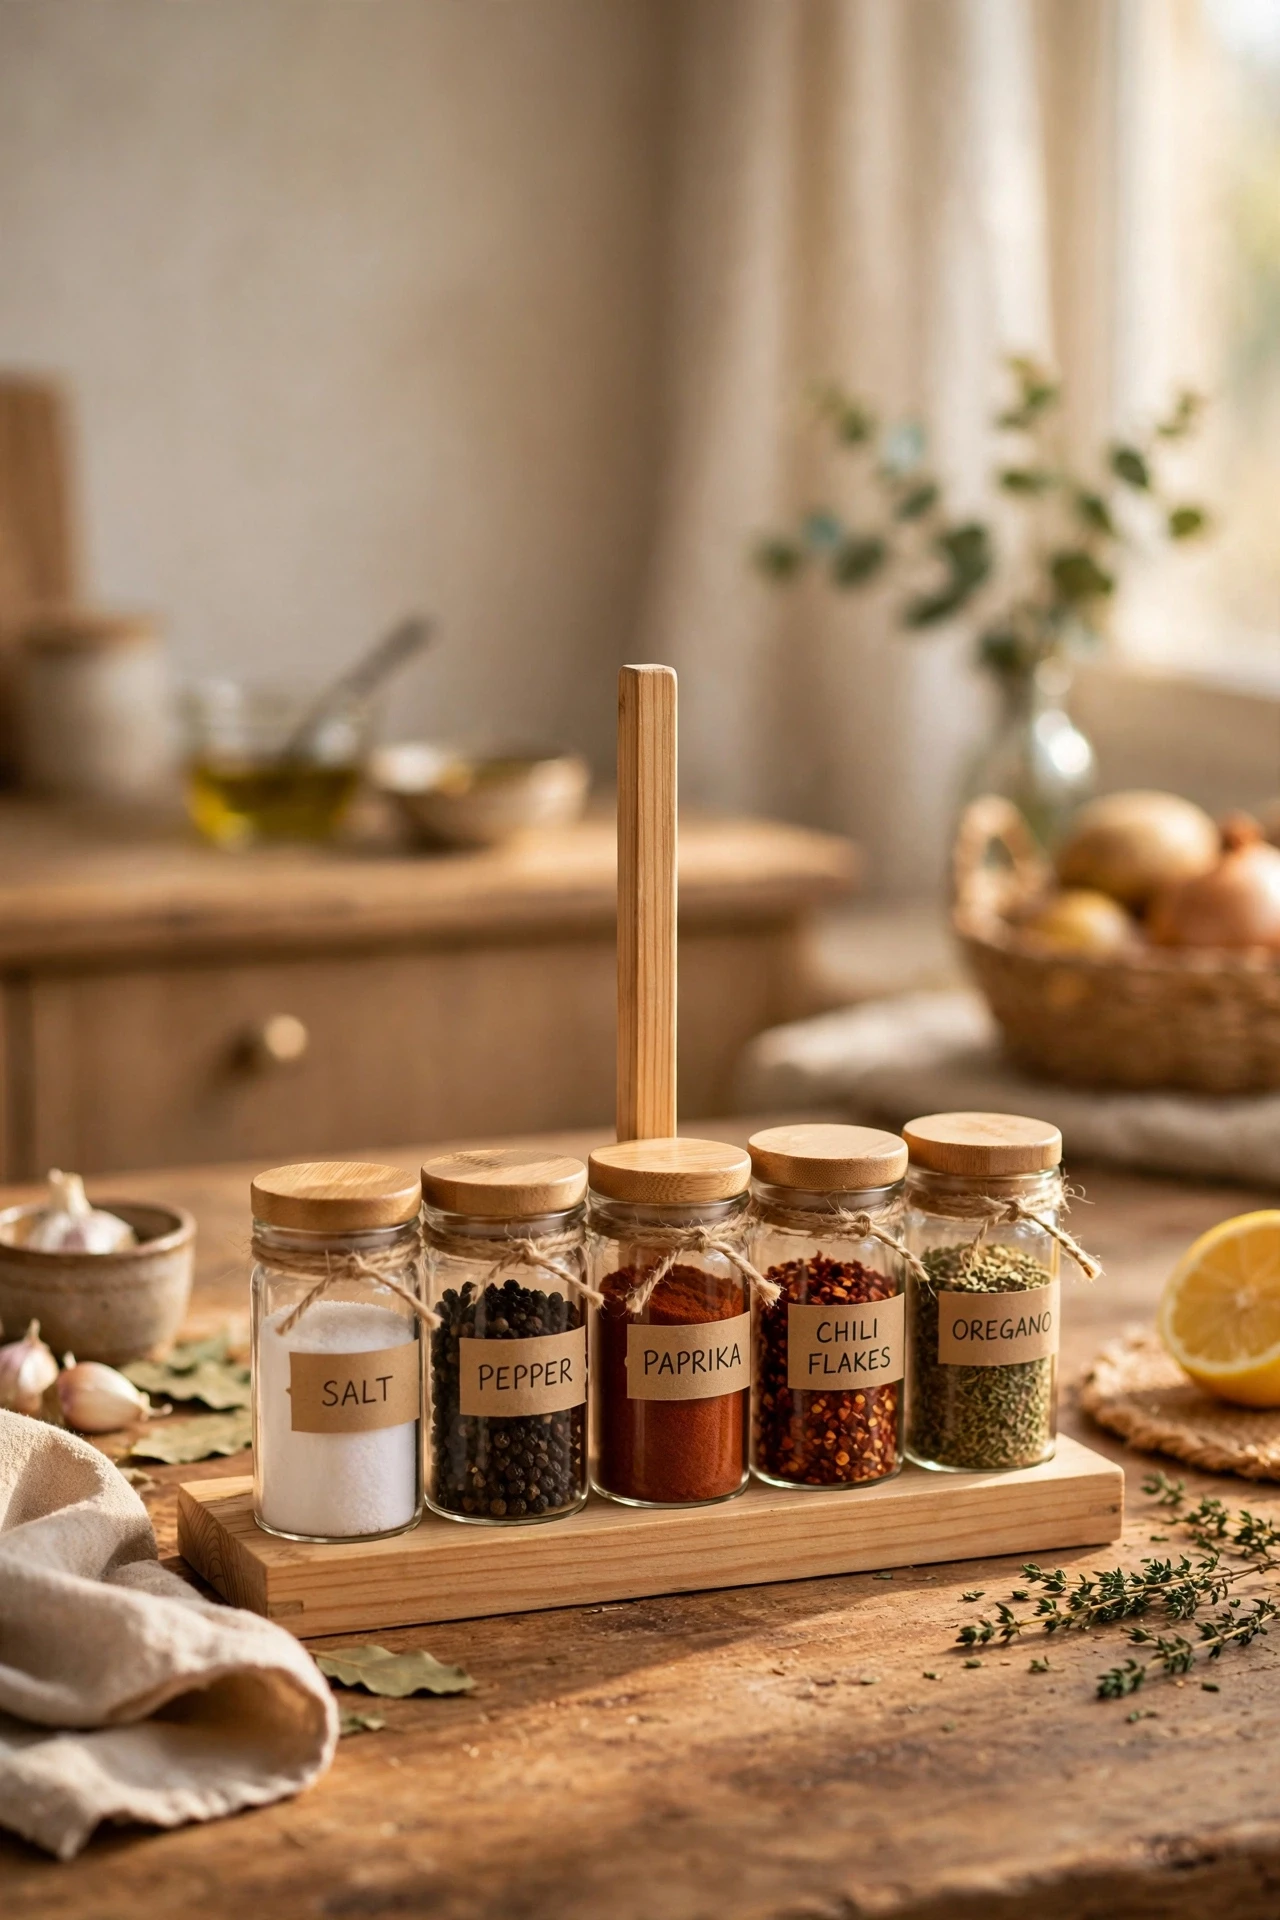
A slim countertop caddy with a handle holds your daily spices in one grab-and-carry unit that moves from counter to stove and back. Choose a caddy narrow enough to sit beside the hob without blocking prep space, fill it with small matching jars, and label each one. Carry it to the stove when cooking and return it to its spot after, so the counter never stays cluttered. I tried this during a week of cooking every night, and the handle made the whole routine feel easier. The mistake to avoid is filling the caddy with spices you use once a month, since those belong in storage, not in your daily path.
Cost: ~$11 | Time: 20 minutes
22. Park a Wooden Spice Drawer Box at the End of the Counter
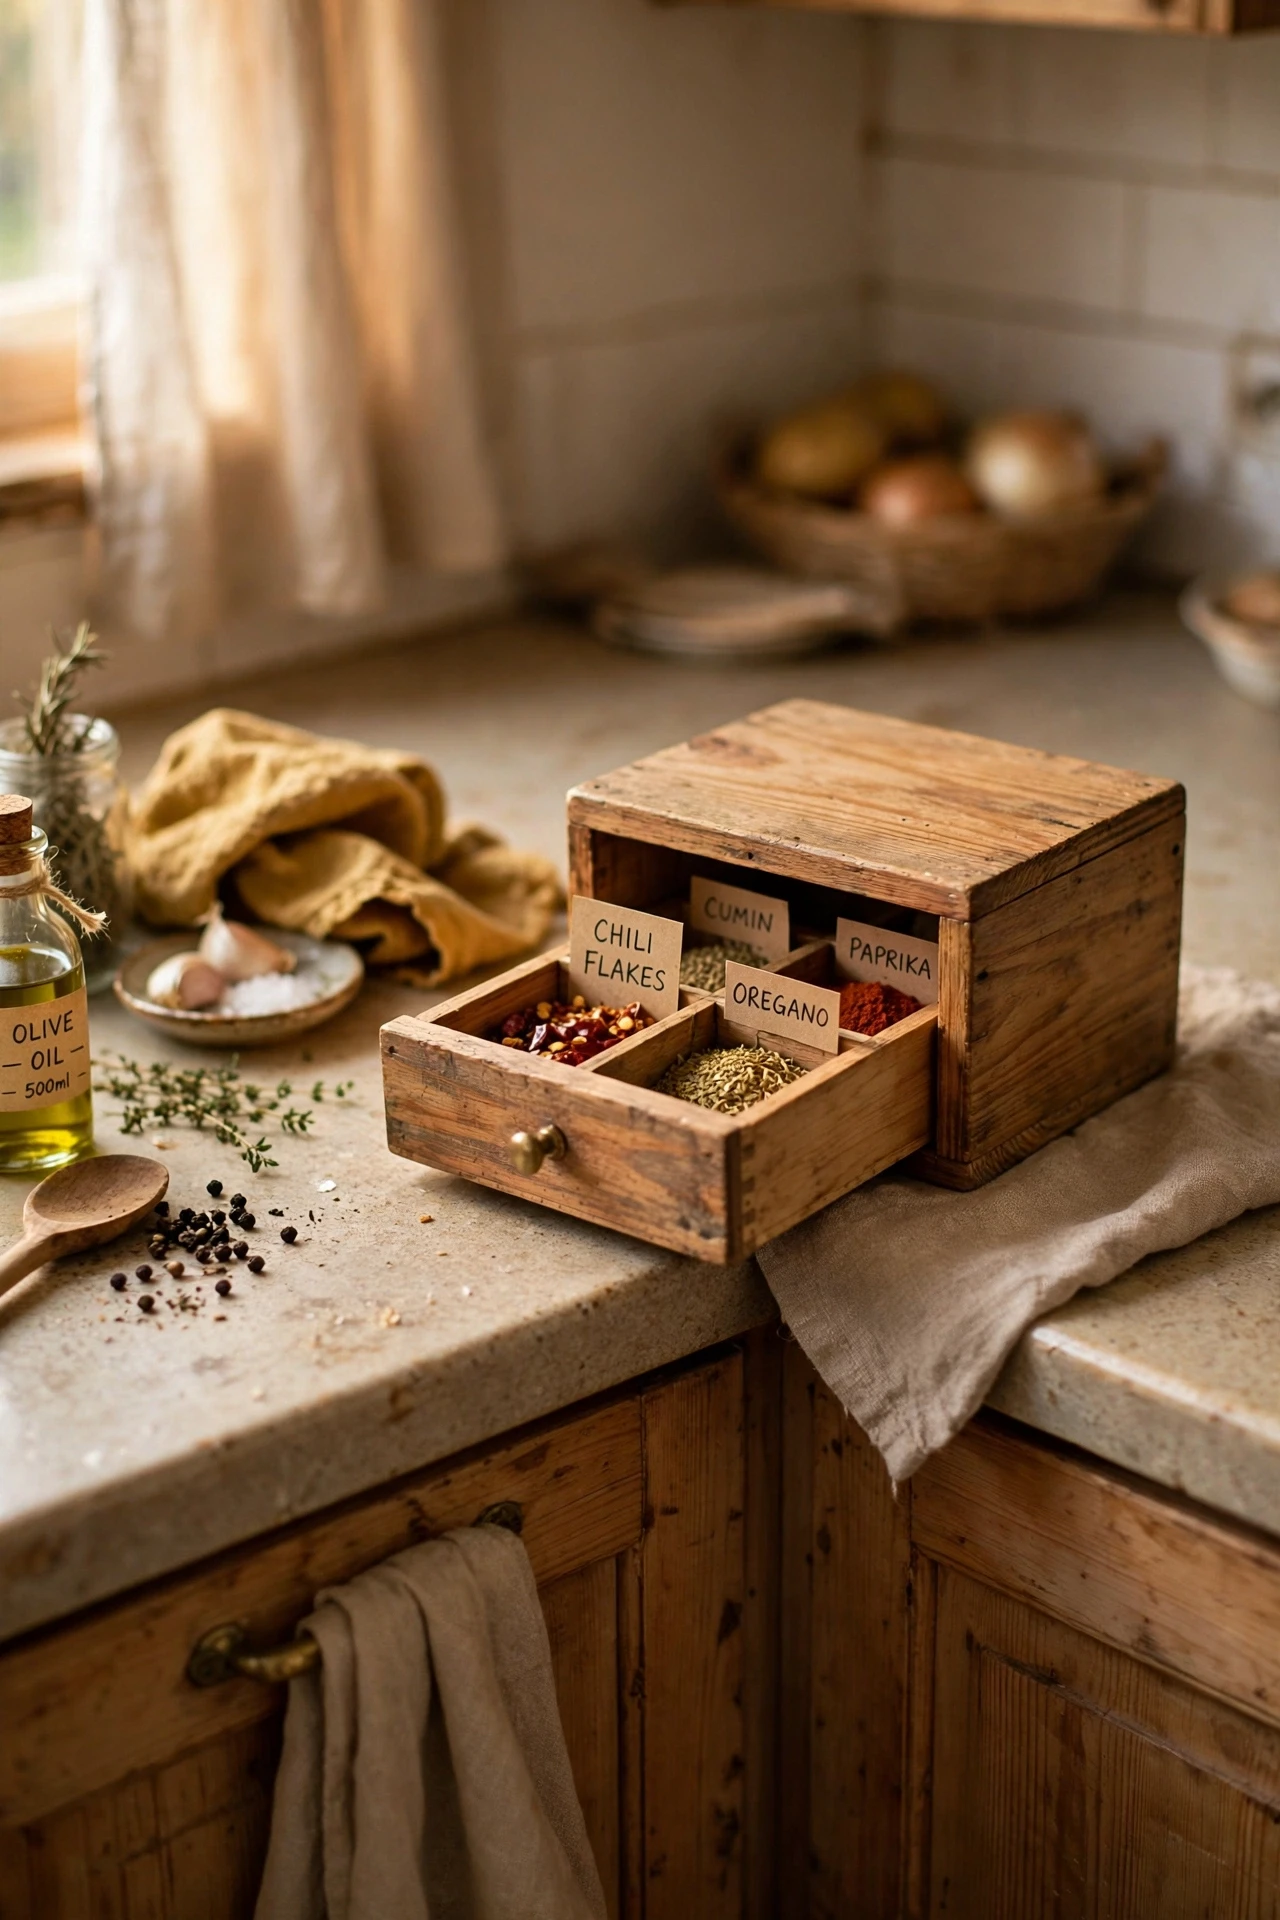
A small wooden box with a drawer, parked at the end of the counter, hides spice jars behind a tidy front while keeping them within reach. Slide the box into a spot that does not block your main prep area, fill the drawer with jars laid on their sides, and label the lids. Keep the top of the box clear or use it for one small plant, not for more clutter. I tried this at the far end of my counter, and guests thought it was a decorative box, not storage. The mistake to avoid is pushing the box against the wall so far that the drawer cannot open fully, since a half-open drawer is just a new annoyance.
Cost: ~$16 | Time: 15 minutes
Finally, the side of the fridge, the most overlooked strip in the kitchen.
23. Stick Magnetic Spice Jars on the Side of the Fridge
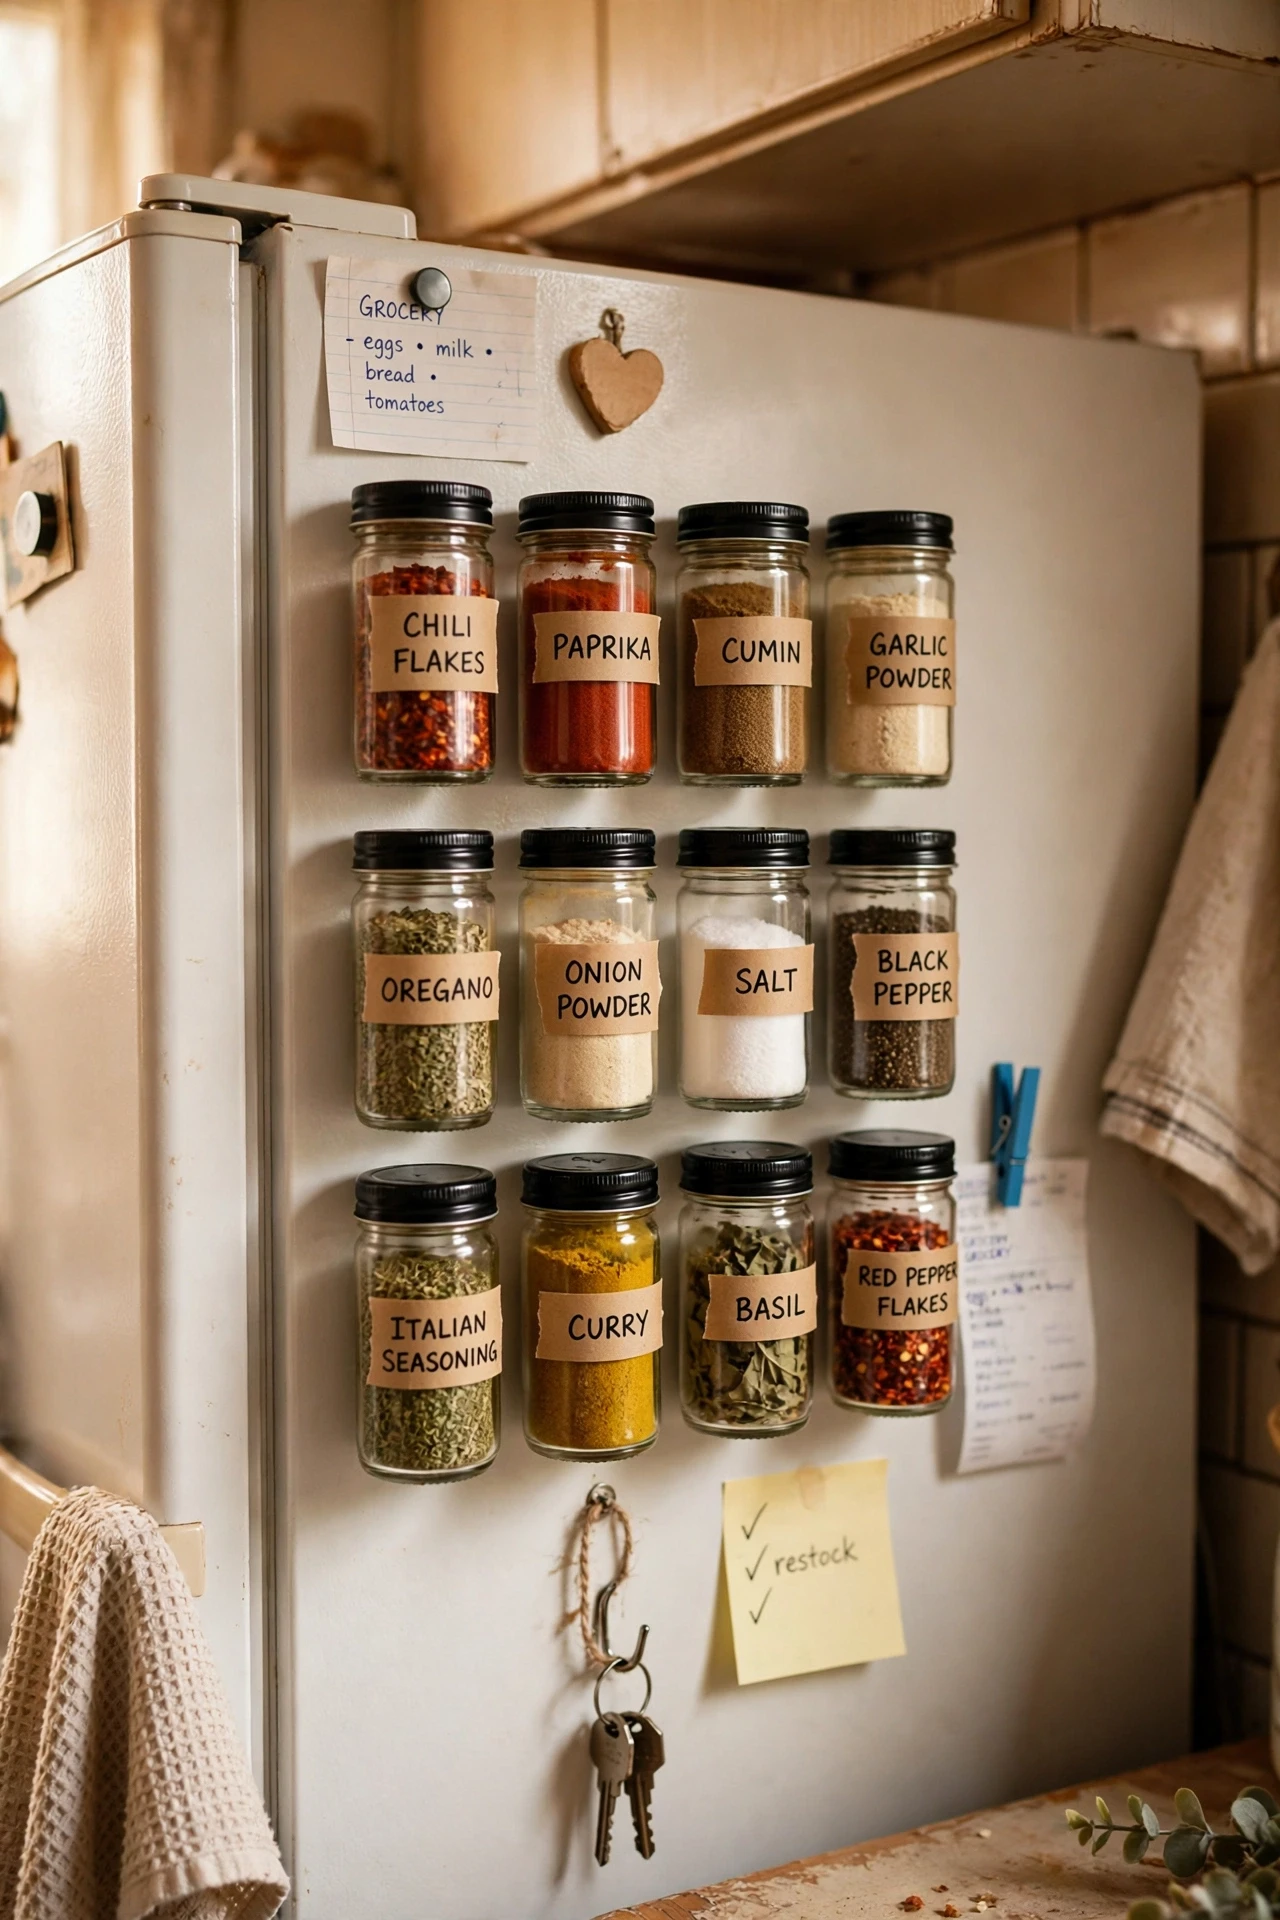
Magnetic spice jars stuck directly to the side of the fridge use a surface that is otherwise blank, and they cost no counter or cabinet space at all. Buy jars with strong magnets in the lids or bases, fill them, and label the front so you can read them while standing at the counter. Arrange them in rows by use, and keep the most-used jars at eye level. I tried this on the fridge side facing my prep area, and it became my favourite spice spot within days. The mistake to avoid is sticking jars on the fridge door itself, since the door swings and shakes them loose over time.
Cost: ~$14 | Time: 20 minutes
24. Hang a Magnetic Metal Board on the Fridge Side for Spice Tins
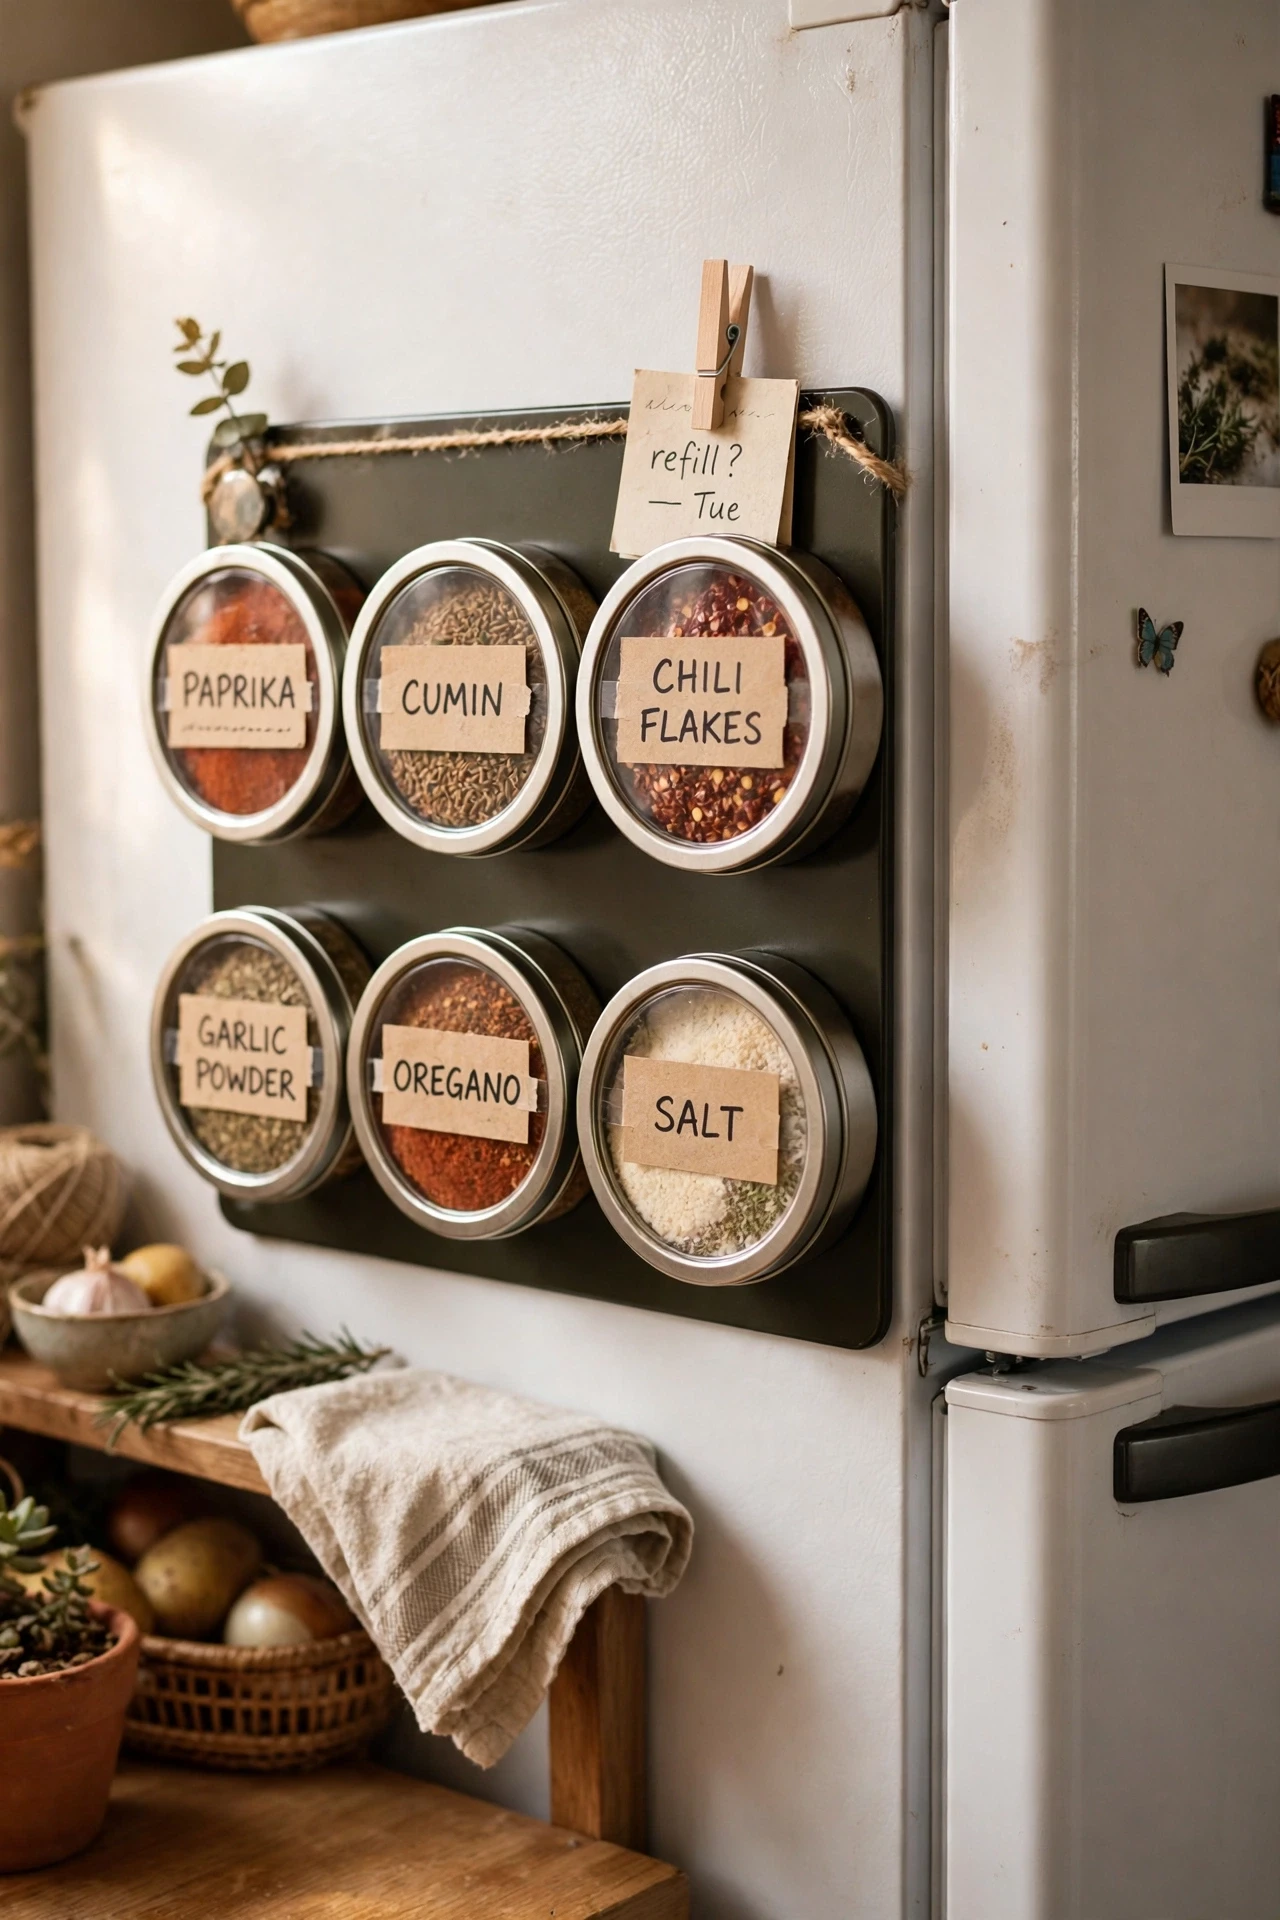
A magnetic metal board hung on the fridge side gives small spice tins a neat grid to live on, and you can rearrange it whenever your cooking changes. Hang the board with strong magnets or adhesive strips rated for its weight, fill flat spice tins, and label each tin on the front. Sort the tins by cuisine so you can grab a whole row for one meal. I tried this with a board cut to fit the fridge side exactly, and it looked like part of the kitchen rather than an afterthought. The mistake to avoid is using adhesive that cannot hold the loaded board, since a board sliding down the fridge side takes tins with it.
Cost: ~$13 | Time: 25 minutes
25. Clip a Slim Magnetic Shelf to the Fridge Side for Tall Bottles
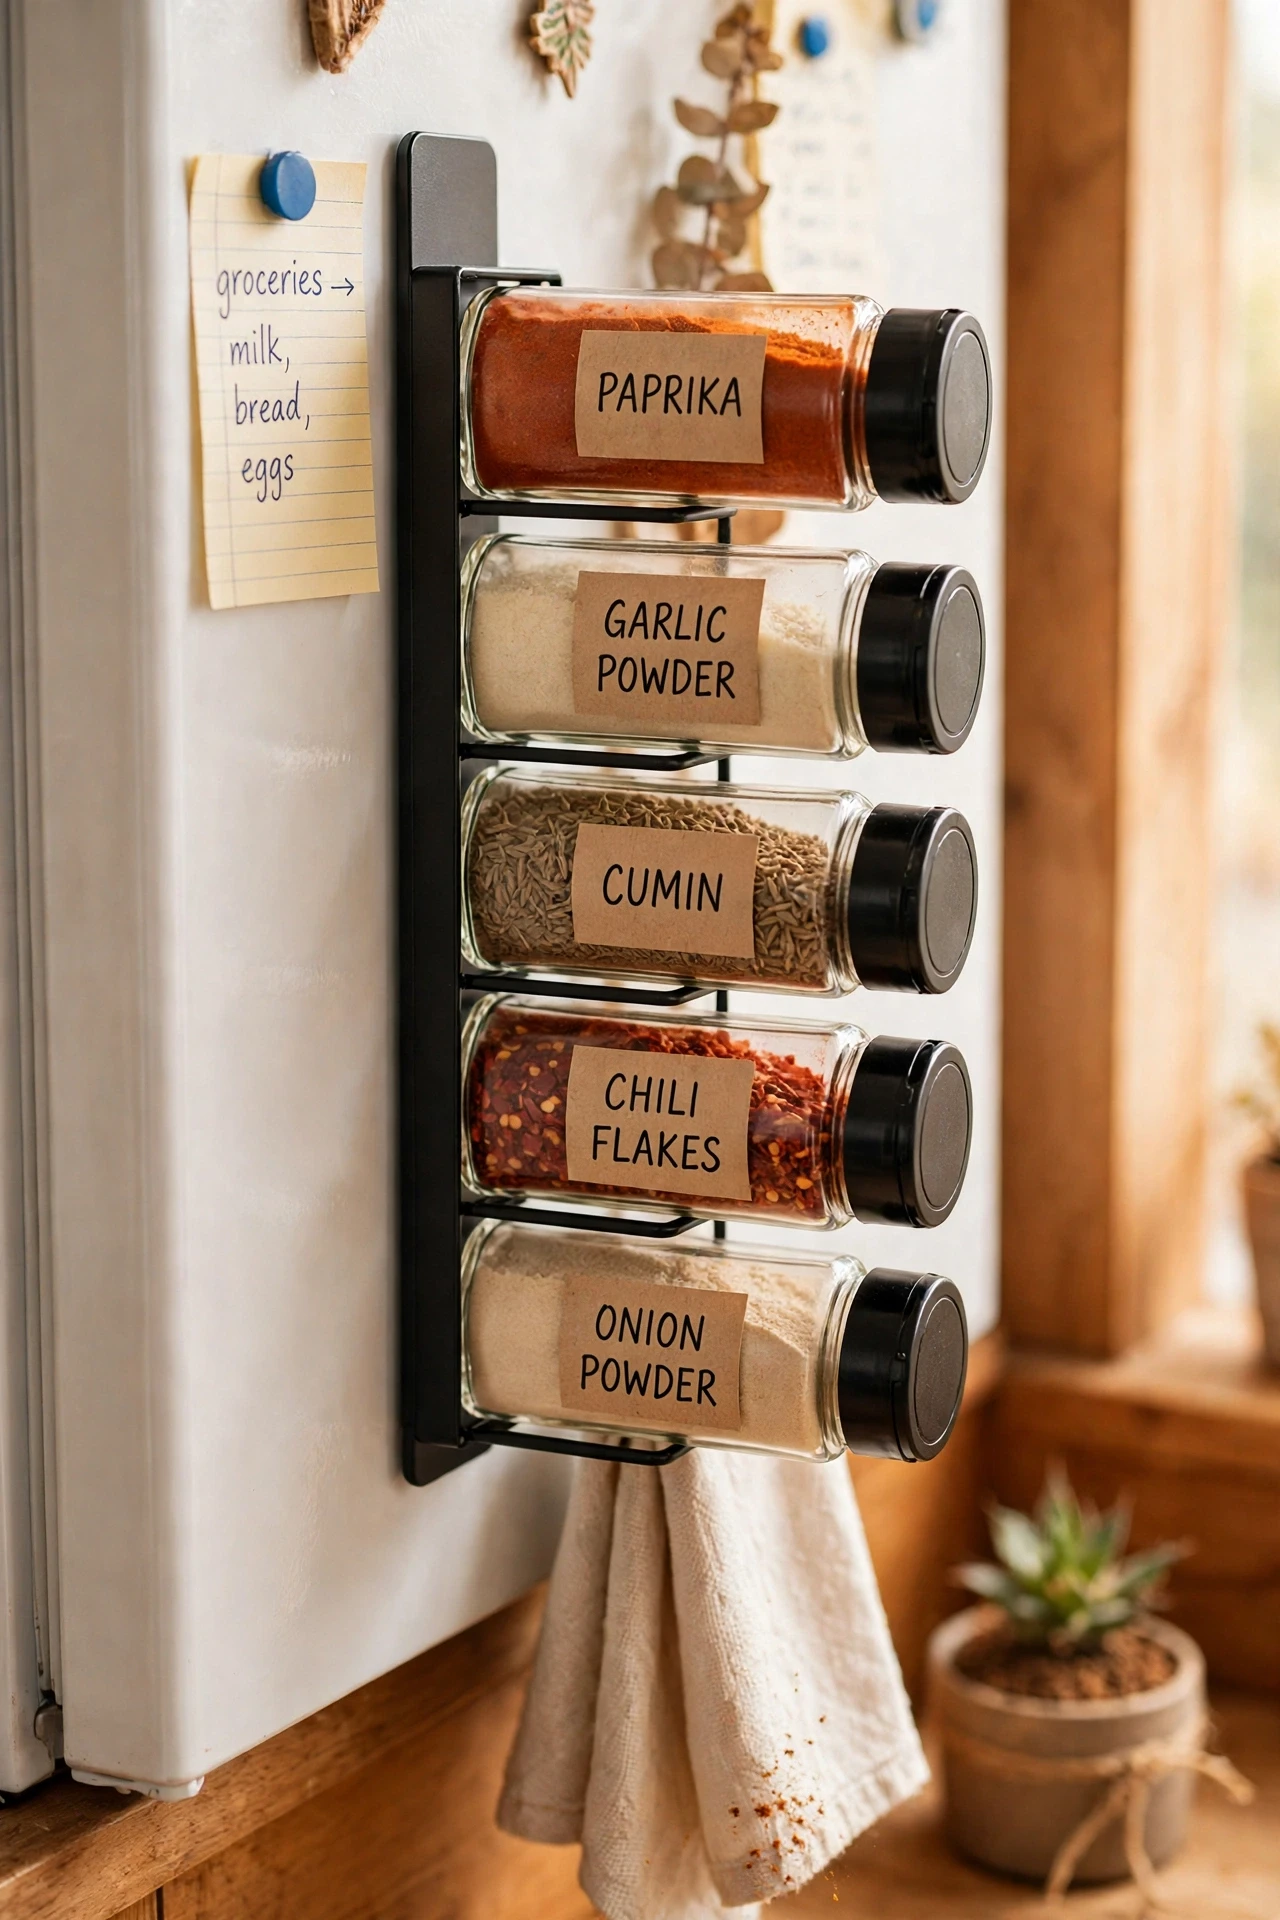
A slim magnetic shelf clipped to the fridge side holds tall spice bottles and oils that do not fit in flat tins, finishing off the fridge-side storage zone. Choose a shelf with strong magnets and a raised lip, attach it at a comfortable height, and load it with tall bottles only. Keep the shelf away from the fridge door hinge so nothing catches when the door opens. I tried this for tall bottles of soy sauce and chilli oil that had always crowded my counter, and they finally had a proper home. The mistake to avoid is loading the shelf with heavy bottles beyond what the magnets hold, since a shelf that slides down slowly is worse than no shelf at all.
Cost: ~$12 | Time: 15 minutes
See also: 25 Small Kitchen Organization Ideas on a Budget
Save this idea for your next kitchen tidy-up if your spice jars are currently spread across the counter.
Walk your kitchen zone by zone and your spices will stop eating the counter. Start with the wall or the door, since those fixes take minutes and free space fast, then move into drawers and cabinets when you have an hour. Keep only daily spices on the counter, and give everything else a labelled home somewhere else. Your counters will stay clear, your cooking will feel calmer, and you will stop buying paprika you already own.
