23 Kitchen Organization Ideas for Small Kitchens
If you searched for kitchen organization ideas budget, this list is for you. A small kitchen does not need a remodel to feel bigger, it needs cheap systems that put everything within reach and keep counters clear. Every idea below costs little, uses things you can buy on a tight budget, and works in a kitchen where space is short. Pick the ideas that fix your worst trouble spots first, and do one or two a weekend until the whole room feels easier.
1. Clear One Counter Zone and Keep It Empty
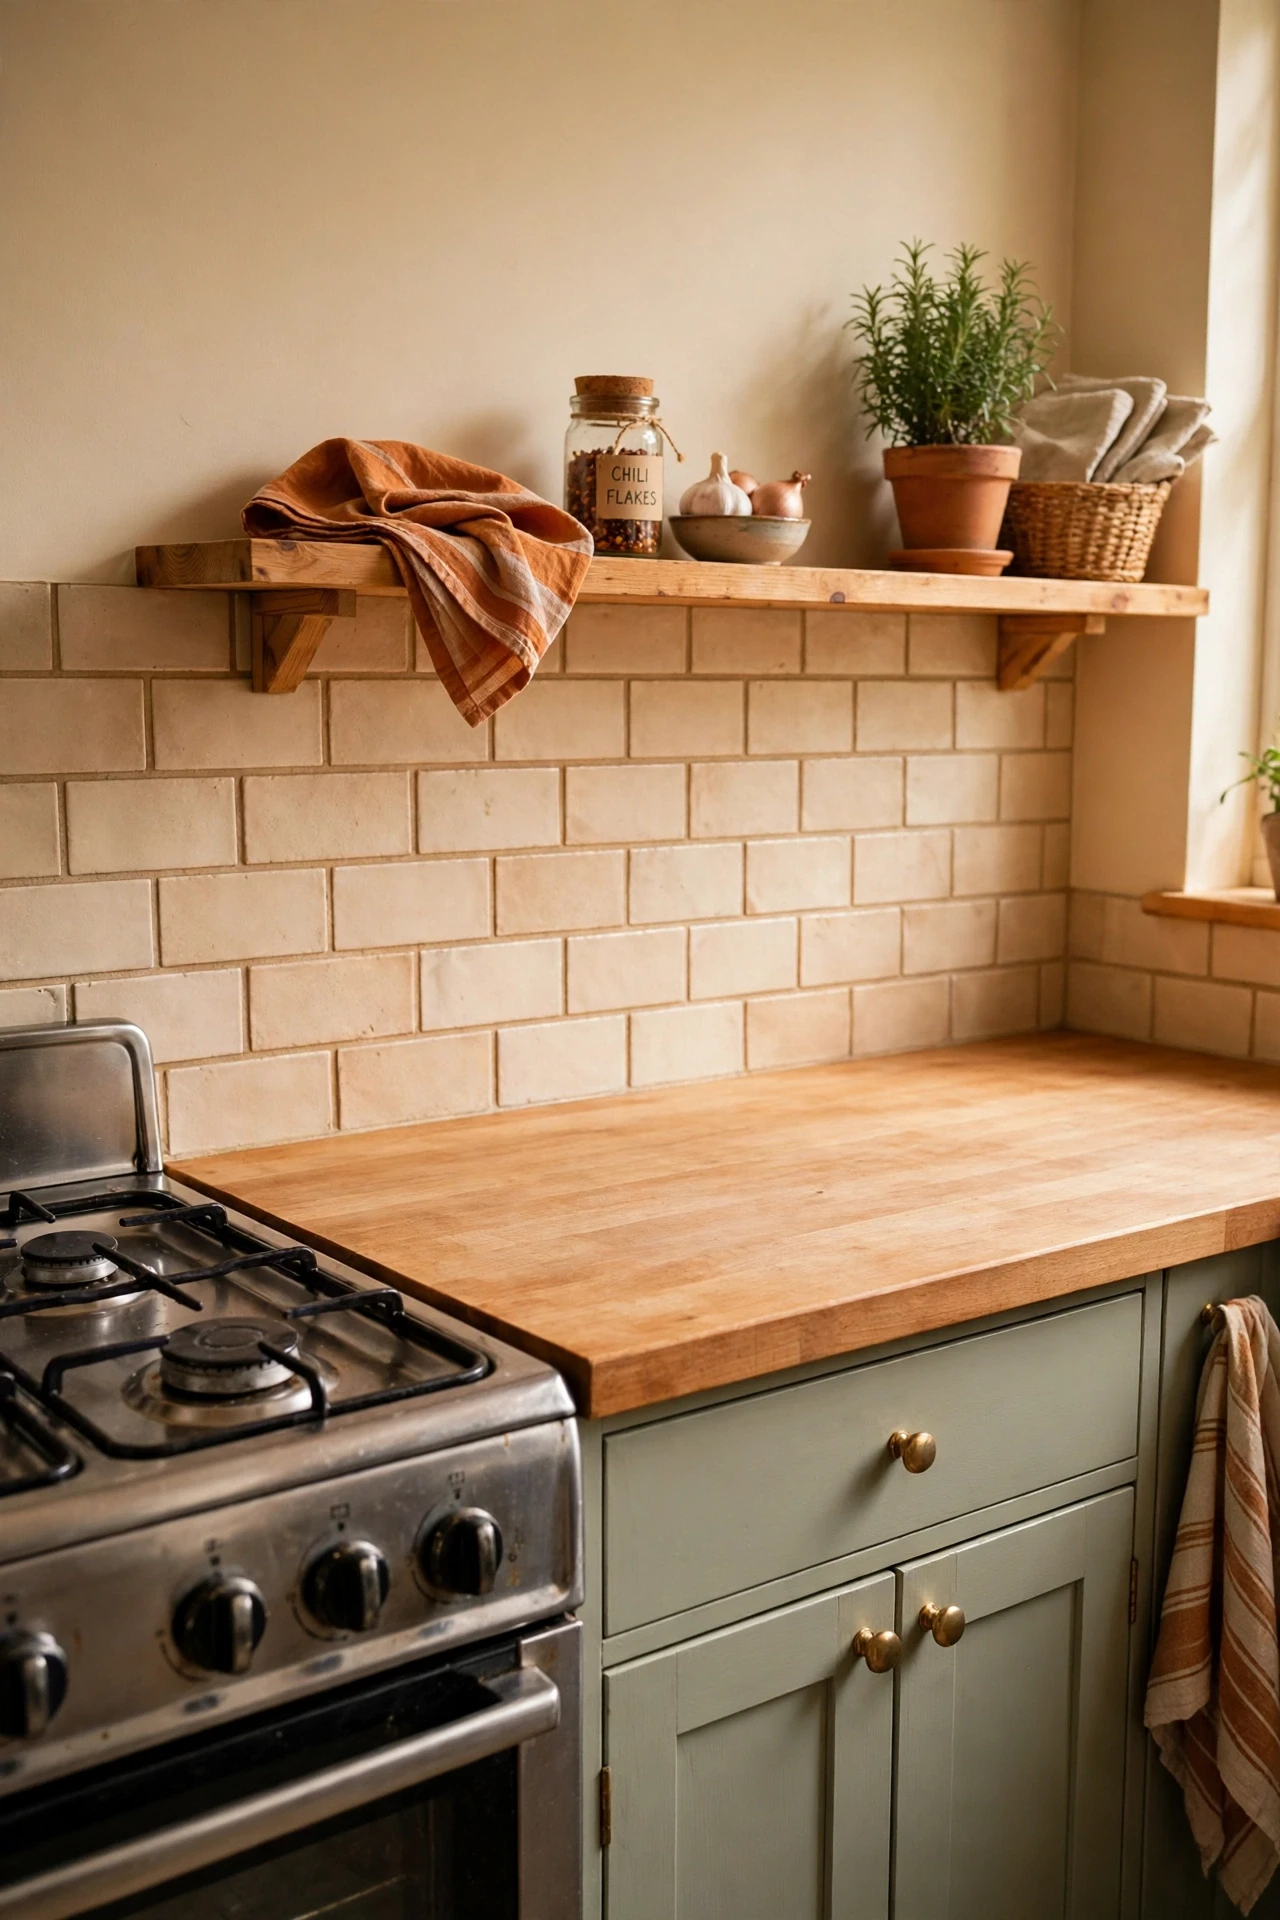
Pick one stretch of counter, even just two feet beside the stove, and declare it a no-storage zone where nothing lives permanently. Move everything off it, wipe it down, and only use it for active prep, then clear it again after cooking. This one empty zone makes the whole kitchen feel bigger, because you always have somewhere to chop, mix, and set things down. I tried this beside my sink, and it became the spot I reached for first every time I cooked. The mistake to avoid is letting the mail and keys creep back onto it, since one stray pile invites another and the zone disappears within days.
Cost: ~$0 | Time: 15 minutes
2. Use the Inside of Cabinet Doors for Measuring Tools
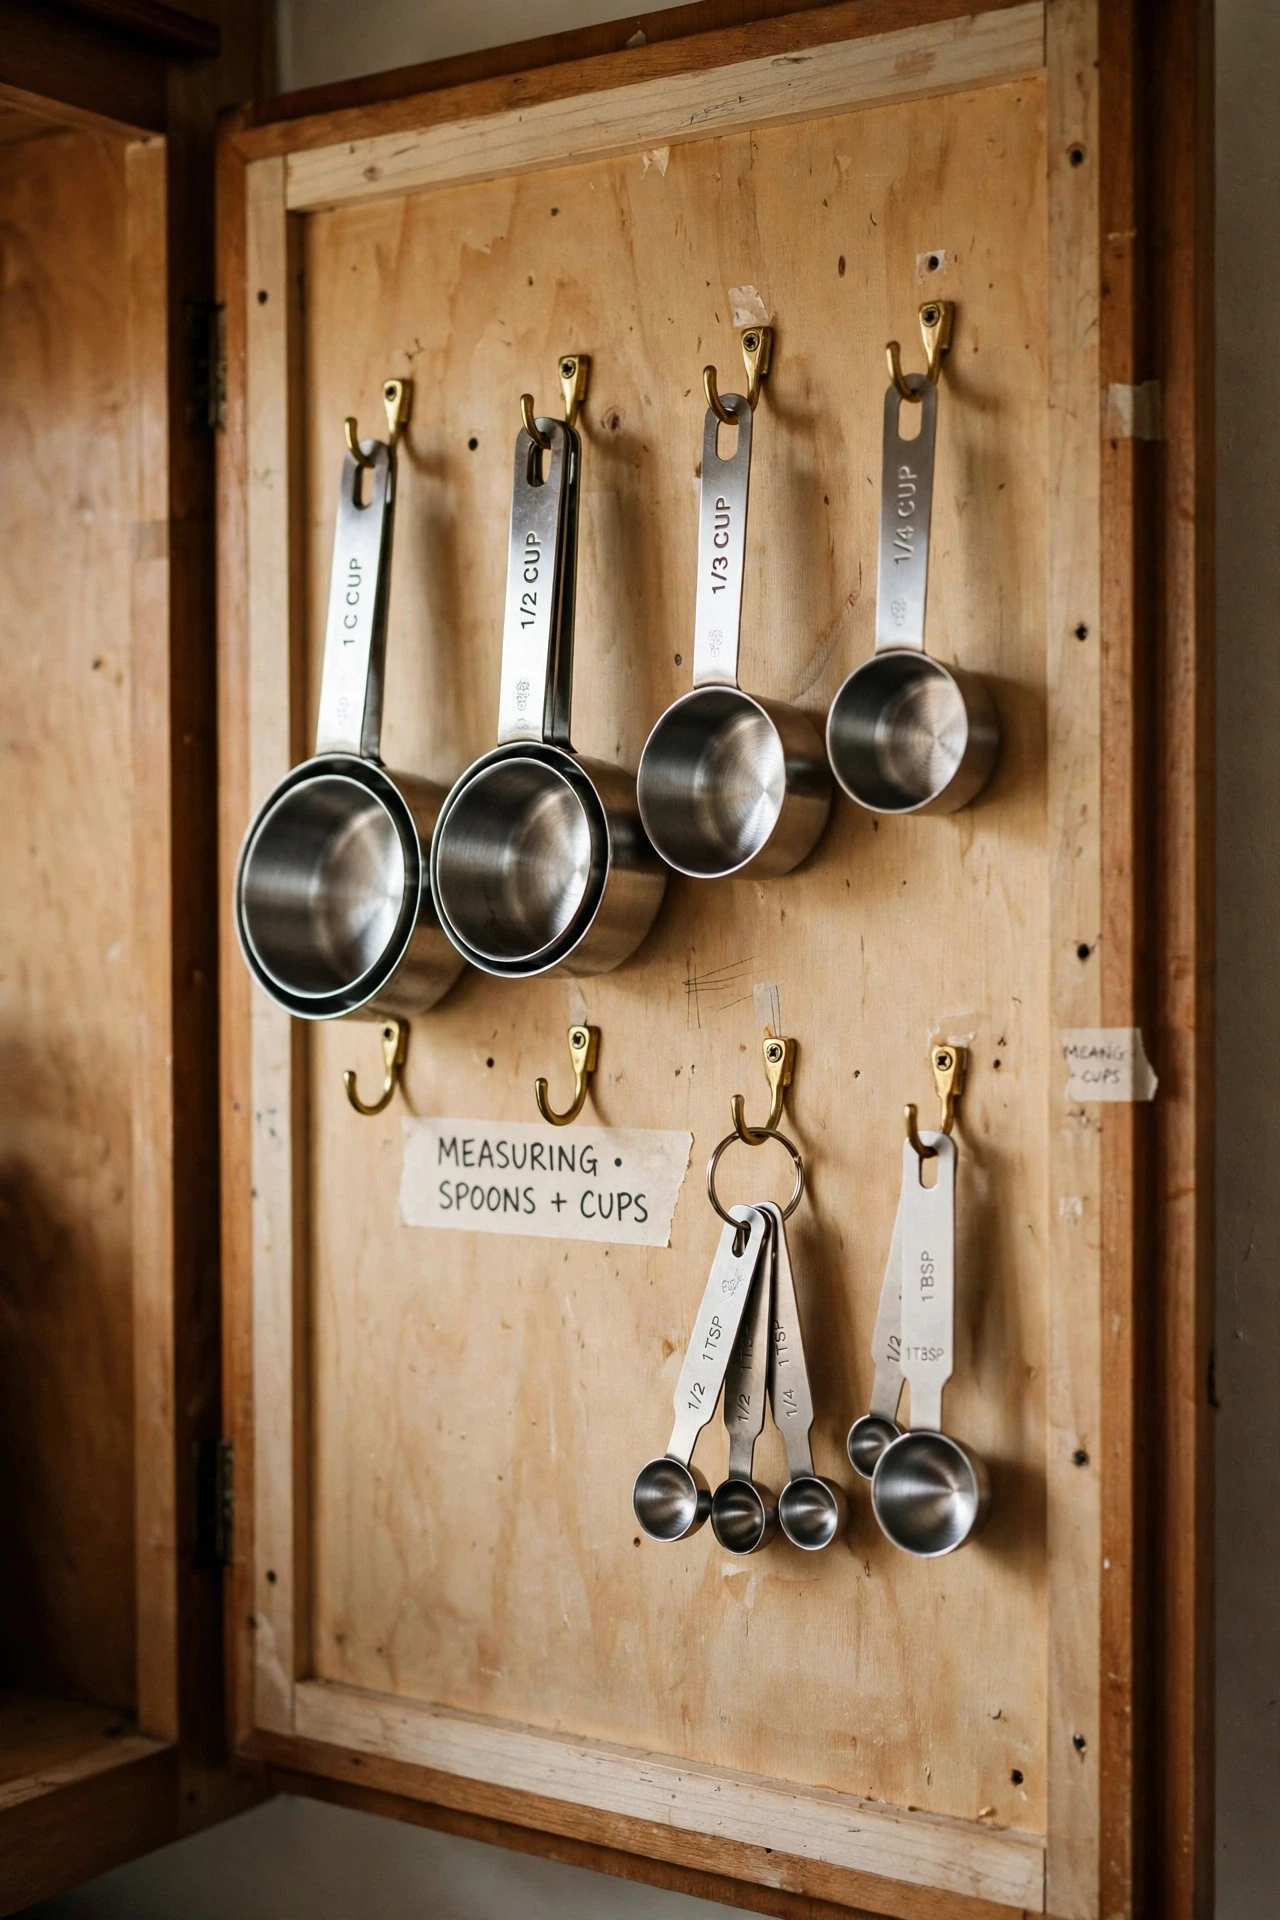
The inside of a cabinet door holds measuring cups, spoons, and small tools on hooks or adhesive strips, using space that is otherwise completely wasted. Stick small hooks inside the door at a height you can reach, hang the cups by their handles, and keep the spoons on a ring. Choose a door near the stove or prep area so the tools are close when you cook. I tried this on the door under my sink, and my measuring cups finally stopped rattling around in a drawer. The mistake to avoid is hanging heavy items on weak adhesive, since a hook that drops a cup into the cabinet at midnight is a rude surprise.
Cost: ~$4 | Time: 15 minutes
3. Add Shelf Risers to Double Cabinet Space
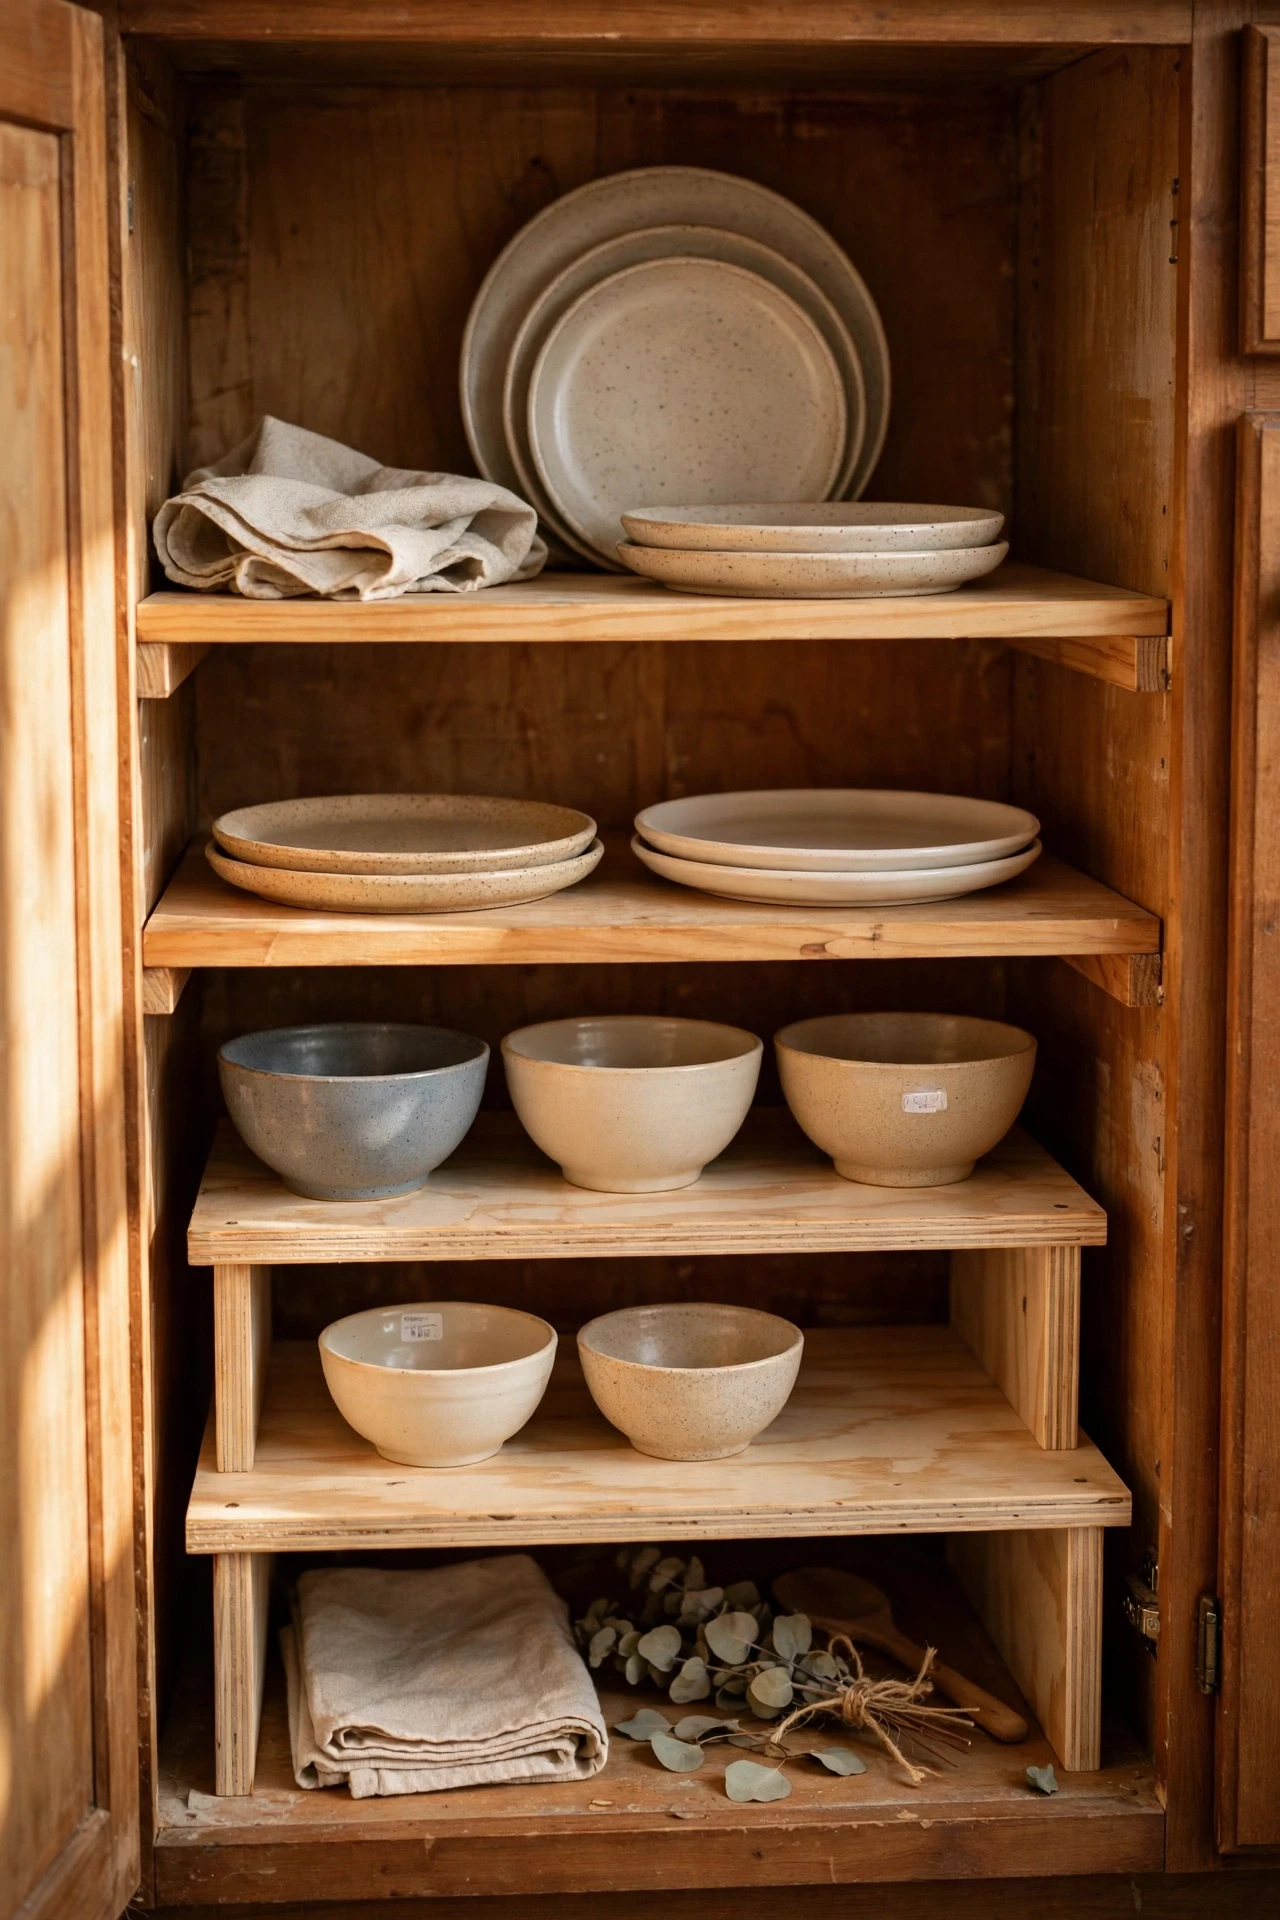
Shelf risers inside cabinets create a second level for plates, bowls, and mugs, so the air above short stacks stops going to waste. Place a riser on the cabinet shelf, put tall items behind it and short items on top, and leave enough headroom to lift things out easily. Measure the shelf gap before buying, since risers come in different heights. I tried this in my plate cabinet, and it held a third more dishes without any new furniture. The mistake to avoid is stacking plates too high on the riser, since a tall stack on a raised shelf is hard to lift safely and chips easily.
Cost: ~$10 | Time: 15 minutes
4. Group Cooking Tools by Task in Small Bins
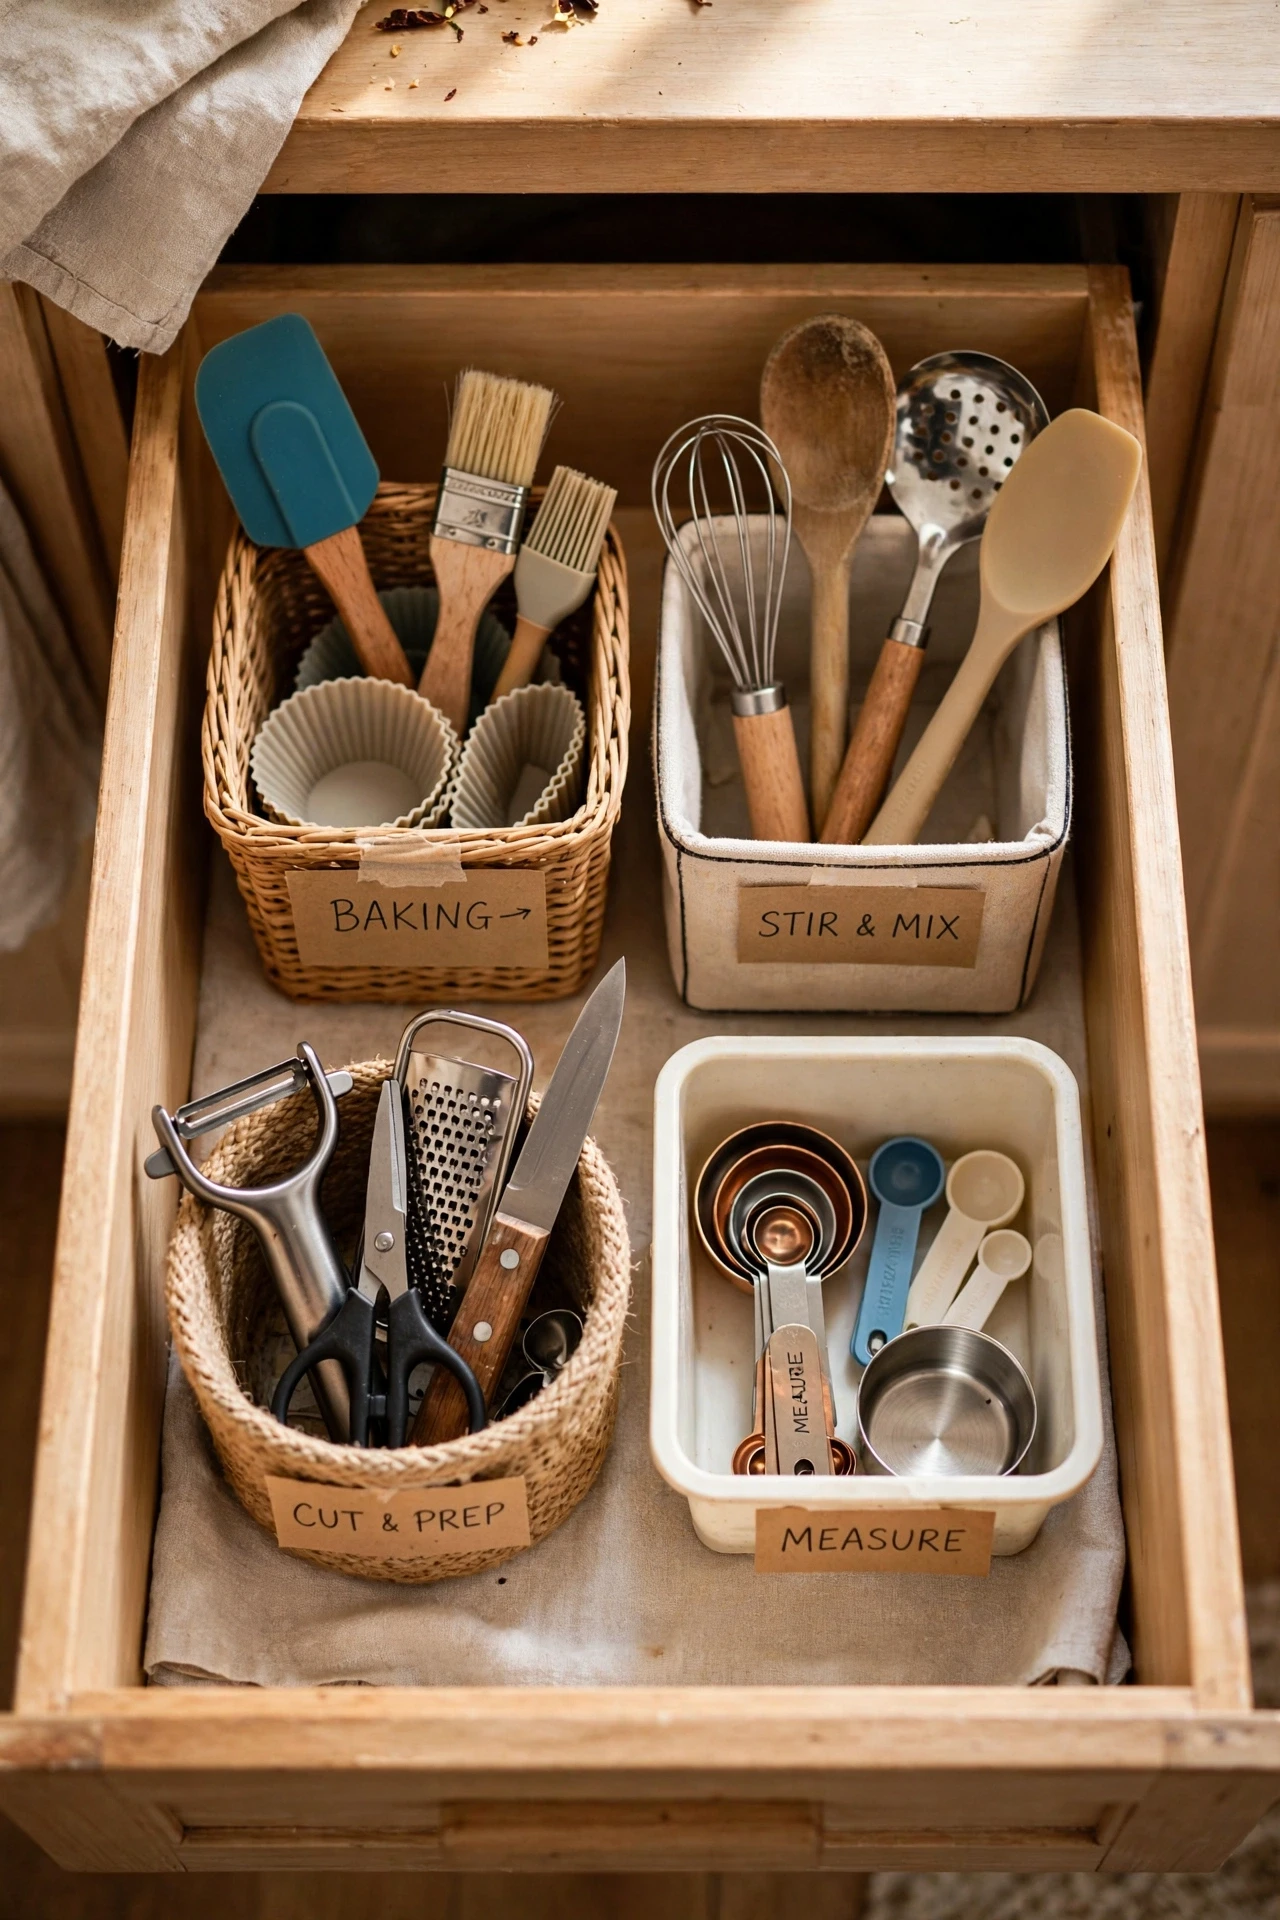
Grouping cooking tools by task, baking in one bin, grilling in another, coffee in a third, means you grab one bin instead of hunting through a drawer. Choose small bins that fit your drawer or shelf, sort your tools by the job they do, and label each bin clearly. Keep the bins you use daily at the front and the rare ones at the back. I tried this with three cheap bins in a deep drawer, and weeknight cooking got noticeably faster. The mistake to avoid is sorting by tool type instead of by task, since all your spatulas together does not help when you need everything for baking at once.
Cost: ~$8 | Time: 25 minutes
5. Hang Pans on a Wall Rail Instead of Stacking Them
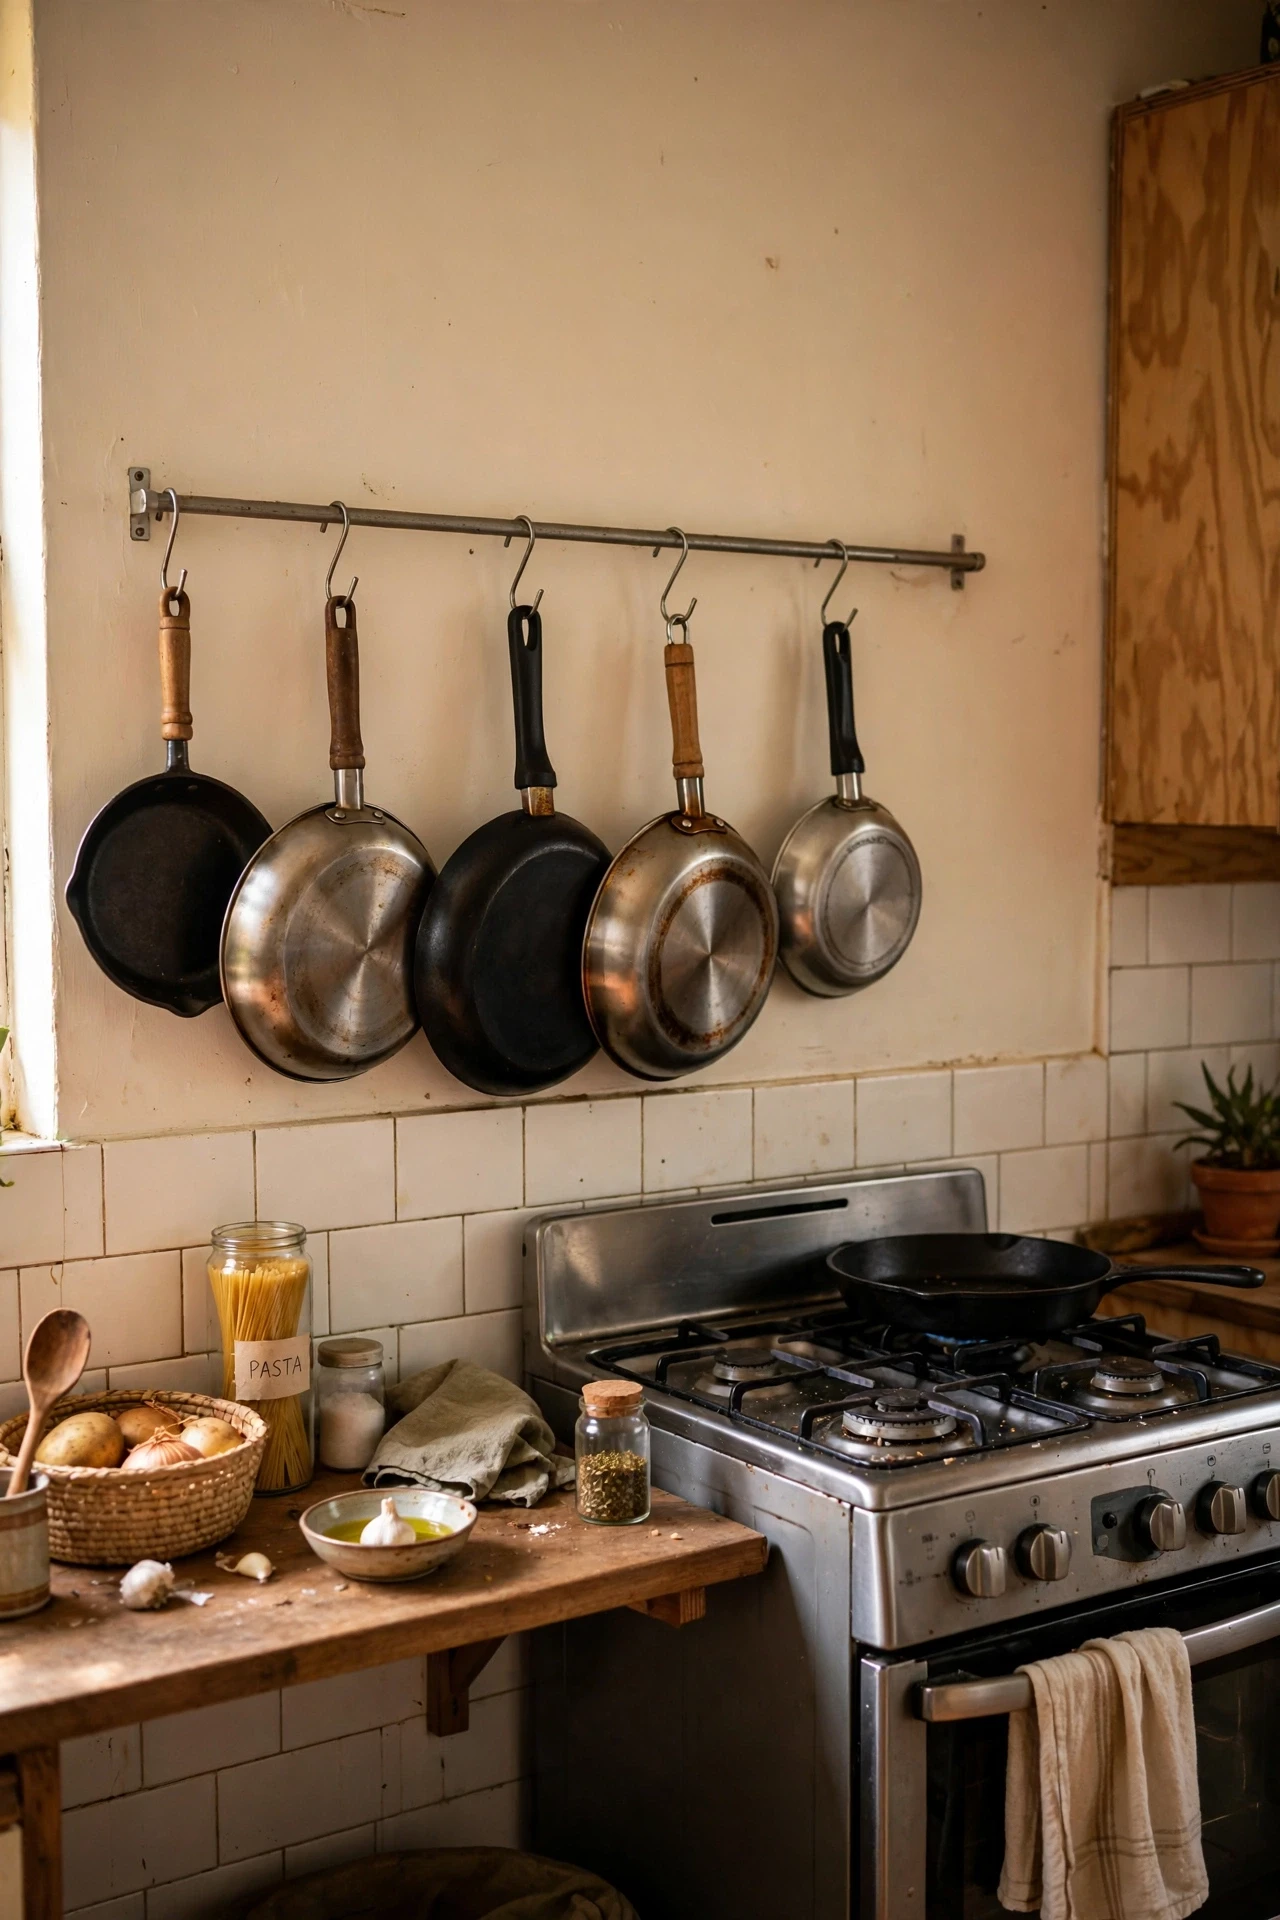
A wall rail with sturdy hooks holds frying pans and saucepans in a row, ending the noisy stack that scratches pans and hides the one you want. Screw the rail into studs or use strong wall anchors, hang pans by their handles, and leave space between them so they do not bang together. Put the rail near the stove so pans go straight from hook to hob. I tried this on the wall beside my cooker, and I stopped dreading the pan drawer entirely. The mistake to avoid is hanging cast iron on a weak rail, since heavy pans pull cheap rails out of the wall and leave damage behind.
Cost: ~$14 | Time: 30 minutes
Common mistake: Buying storage boxes before decluttering. New bins just hide the clutter you already have, so pull out duplicates and broken tools first, then buy only what the remaining items actually need.
6. Store Lids Upright in a File Organizer

A cheap file organizer or dish rack stood inside a cabinet holds pot lids upright like files, so you can flip to the one you need without unstacking a pile. Place the organizer on a low shelf, slide one lid into each slot, and sort them by size with the biggest at the back. Keep the matching pots nearby so lids and pots stay paired. I tried this after years of lids sliding around in a drawer, and the clatter finally stopped. The mistake to avoid is forcing lids that are too wide into narrow slots, since bent organizer wires scratch lids and make them harder to pull out.
Cost: ~$5 | Time: 10 minutes
7. Label Every Bin, Even If You Live Alone
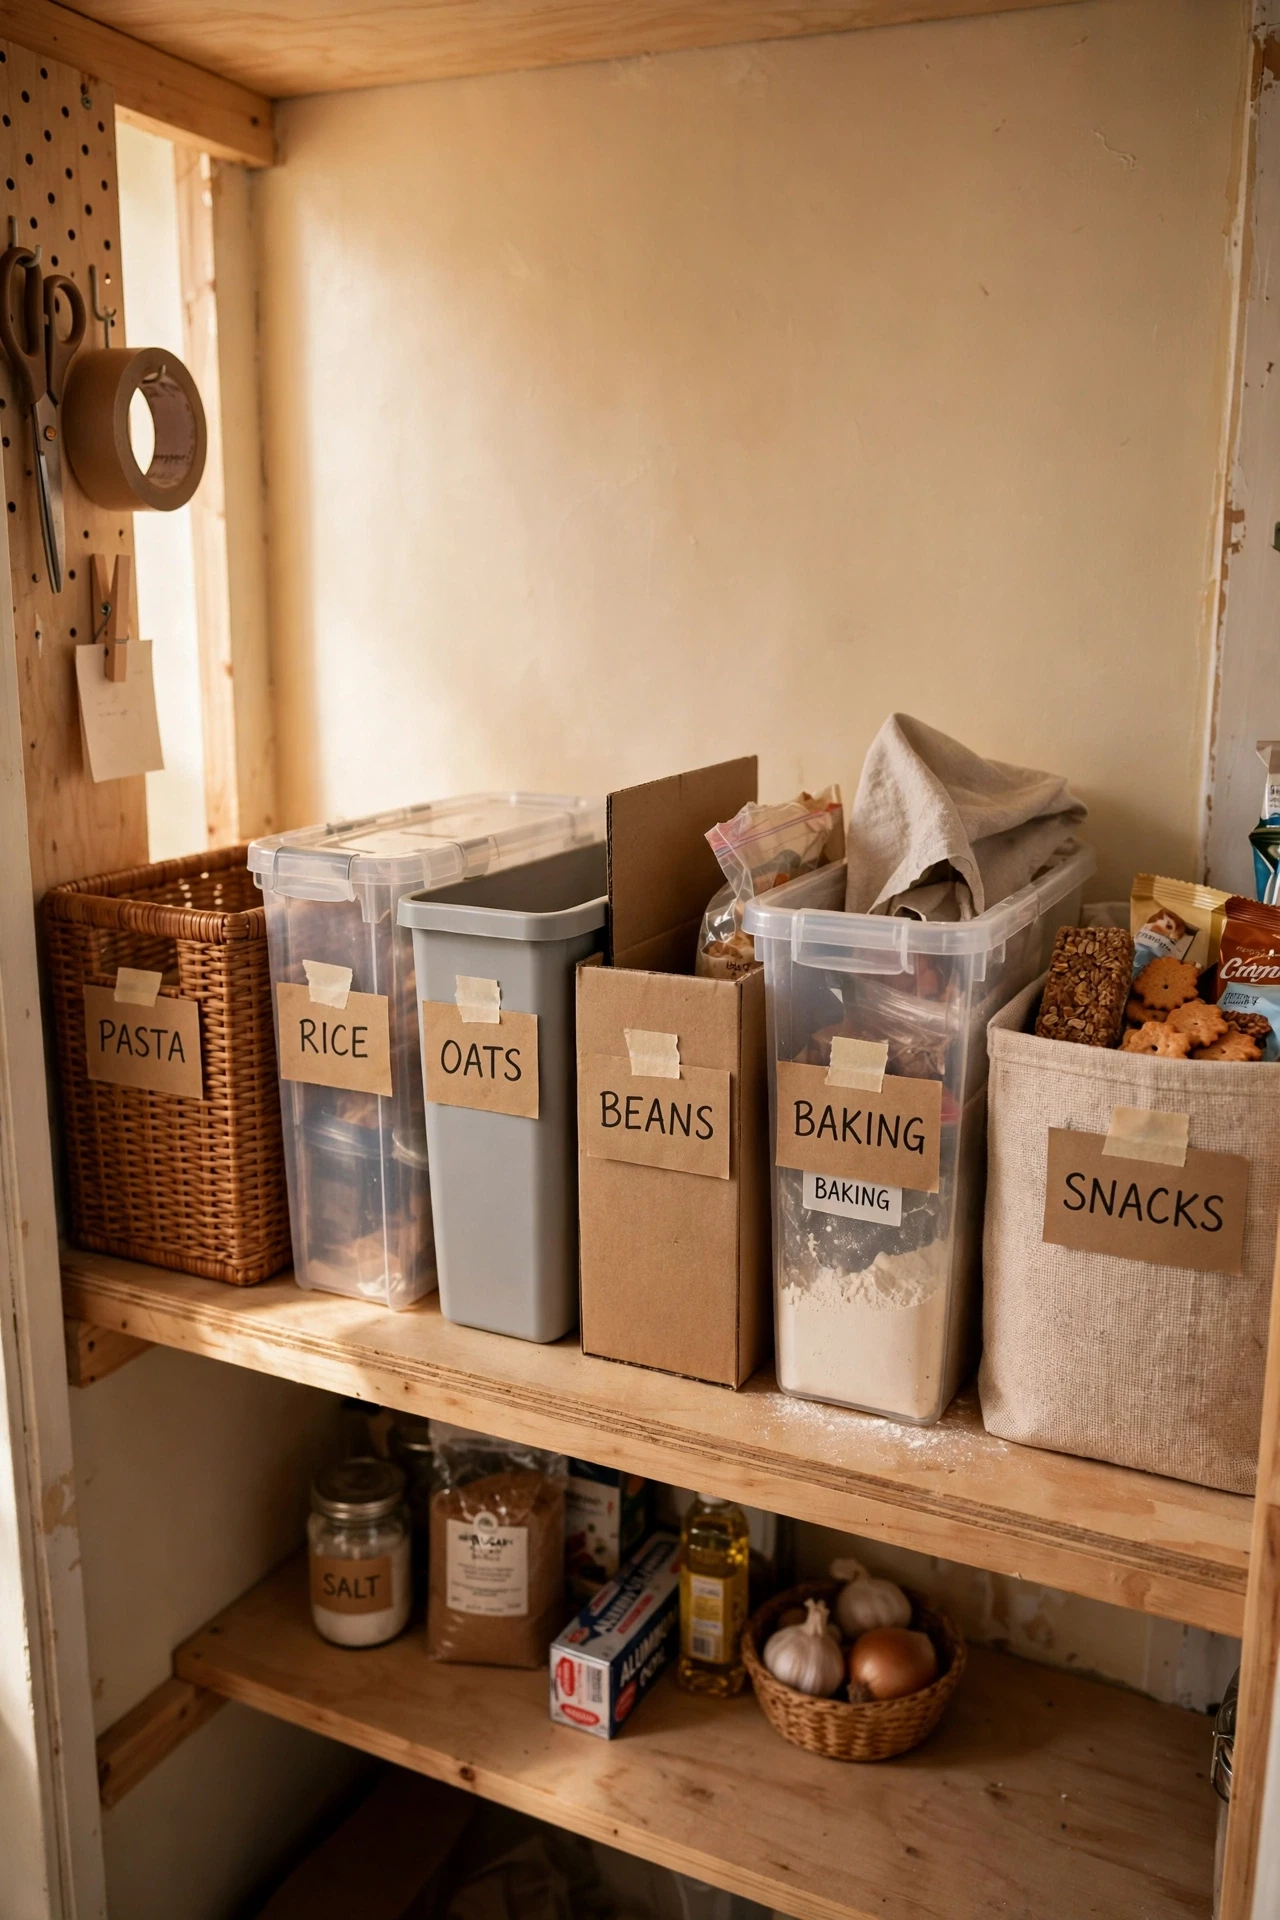
Labels on bins feel unnecessary until a bin becomes a mystery box, so label every bin with what belongs inside it, even if you live alone. Use masking tape and a marker, or a cheap label maker, and write short clear words like baking, snacks, or cleaning. Put the label where you can read it without pulling the bin out. I tried this across my pantry and stopped opening three bins to find one thing. The mistake to avoid is labelling bins with vague words like stuff or misc, since a vague label is permission for the bin to become junk again within a month.
Cost: ~$3 | Time: 20 minutes
8. Keep Daily Dishes Near the Sink, Not in a High Cabinet
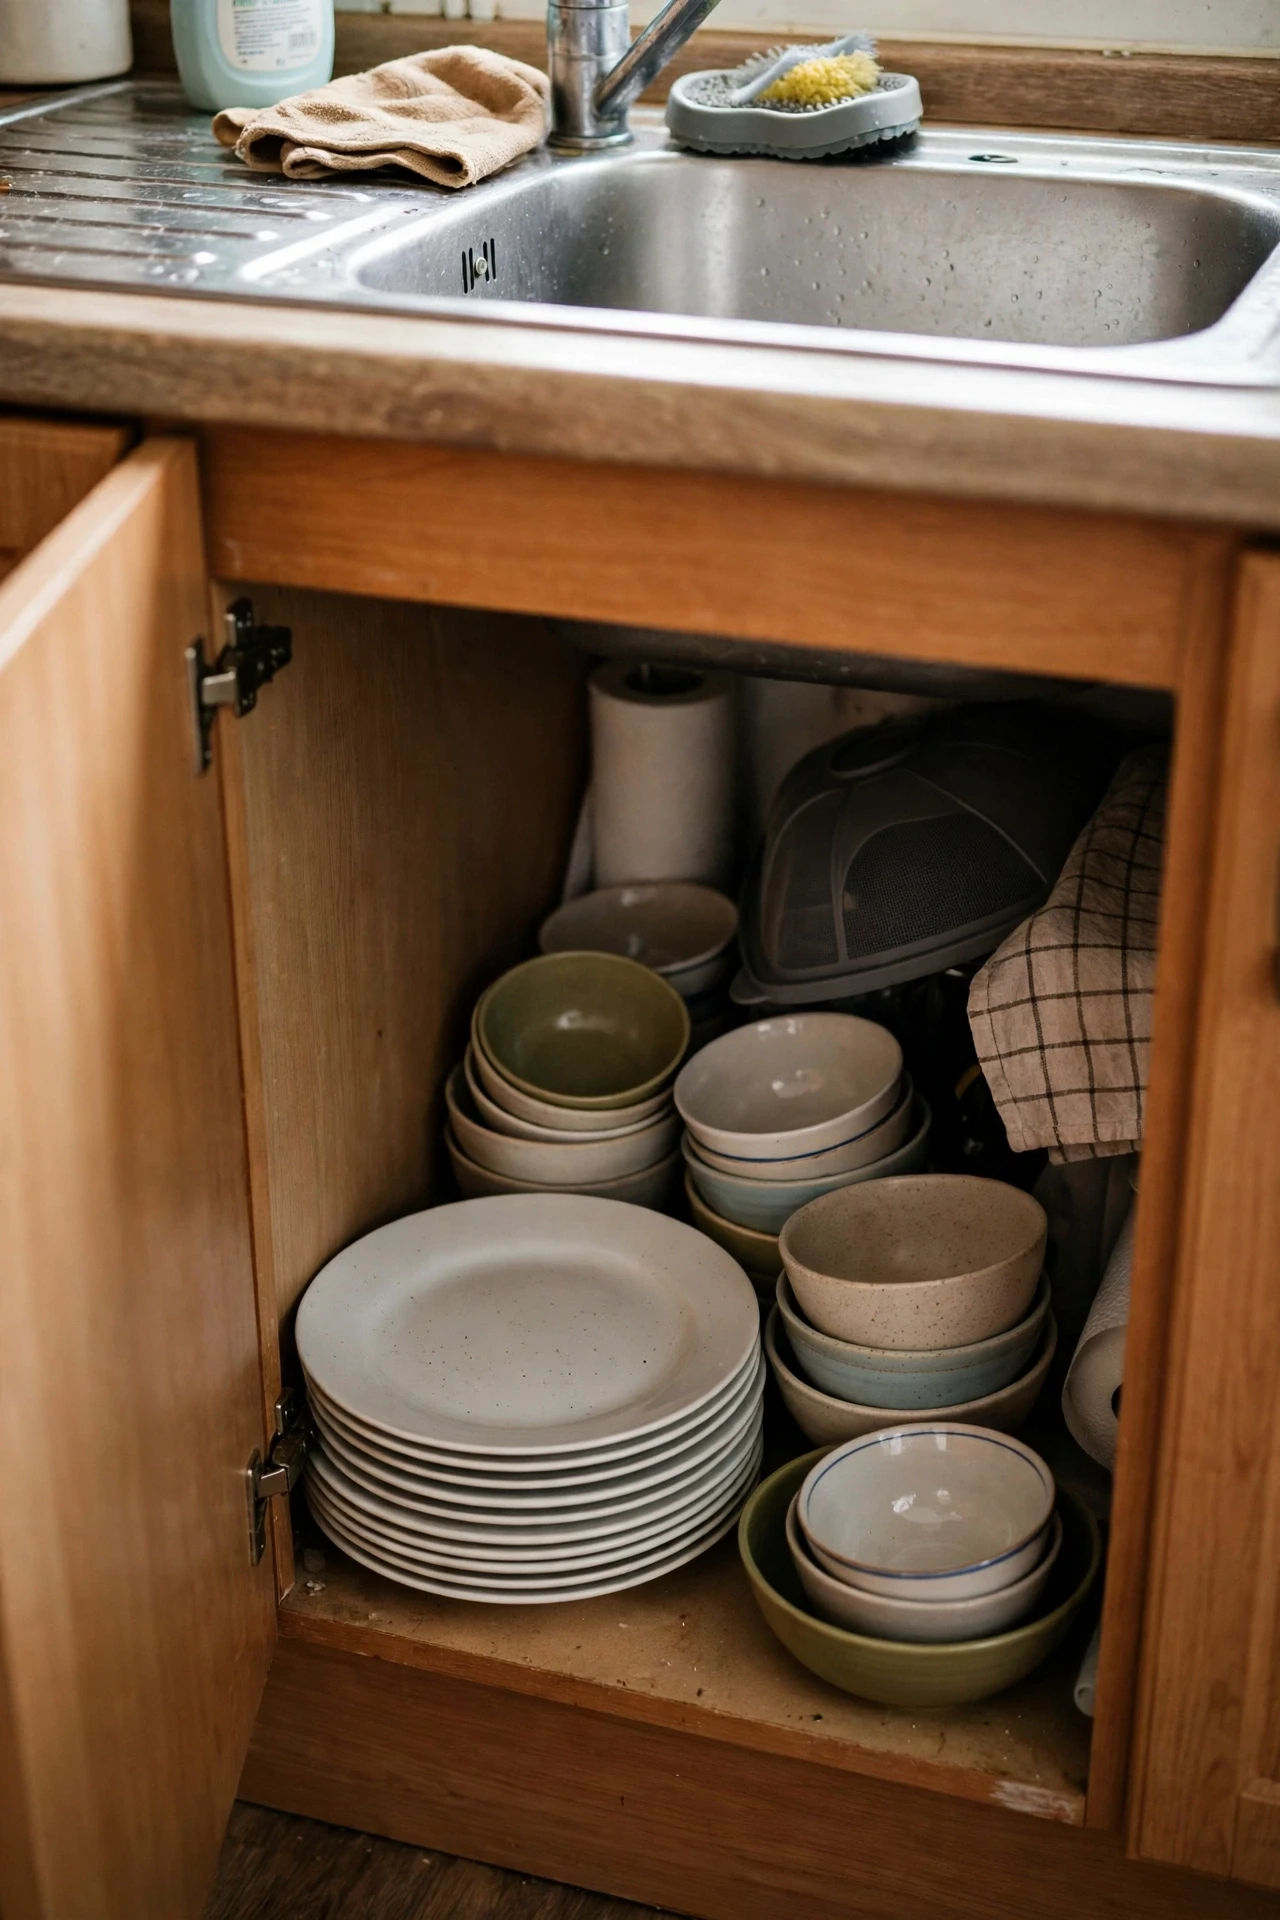
Daily plates, bowls, and glasses belong in the cabinet nearest the sink or dishwasher, not in a high cabinet that needs a step stool. Move your everyday dishes to the lowest, closest shelf, and shift rarely used serving dishes higher up or elsewhere. This one move cuts daily reaching and makes unloading the dishwasher far faster. I tried this after watching myself climb onto a chair for a cereal bowl every morning, and it felt silly that I had waited so long. The mistake to avoid is keeping every dish in the prime spot, since guests-only plates do not deserve the easiest shelf in a small kitchen.
Cost: ~$0 | Time: 20 minutes
See also: 17 Kitchen Drawer Organization Ideas on a Budget
9. Use a Lazy Susan for Oils and Sauces

A lazy Susan in a cabinet or on a shelf turns oils, vinegars, and sauces into a spinning row where one turn brings any bottle to the front. Place the turntable on a low shelf, load bottles around the edge with labels facing out, and keep tall bottles in the middle if the shelf height allows. Group cooking oils together and sauces together so you grab one cluster at a time. I tried this in a deep corner cabinet that had been a black hole, and I stopped buying soy sauce I already owned. The mistake to avoid is packing bottles so tightly that the turntable cannot spin, since a stuck lazy Susan is worse than a plain shelf.
Cost: ~$8 | Time: 10 minutes
10. Decant Pantry Staples Into Matching Clear Containers
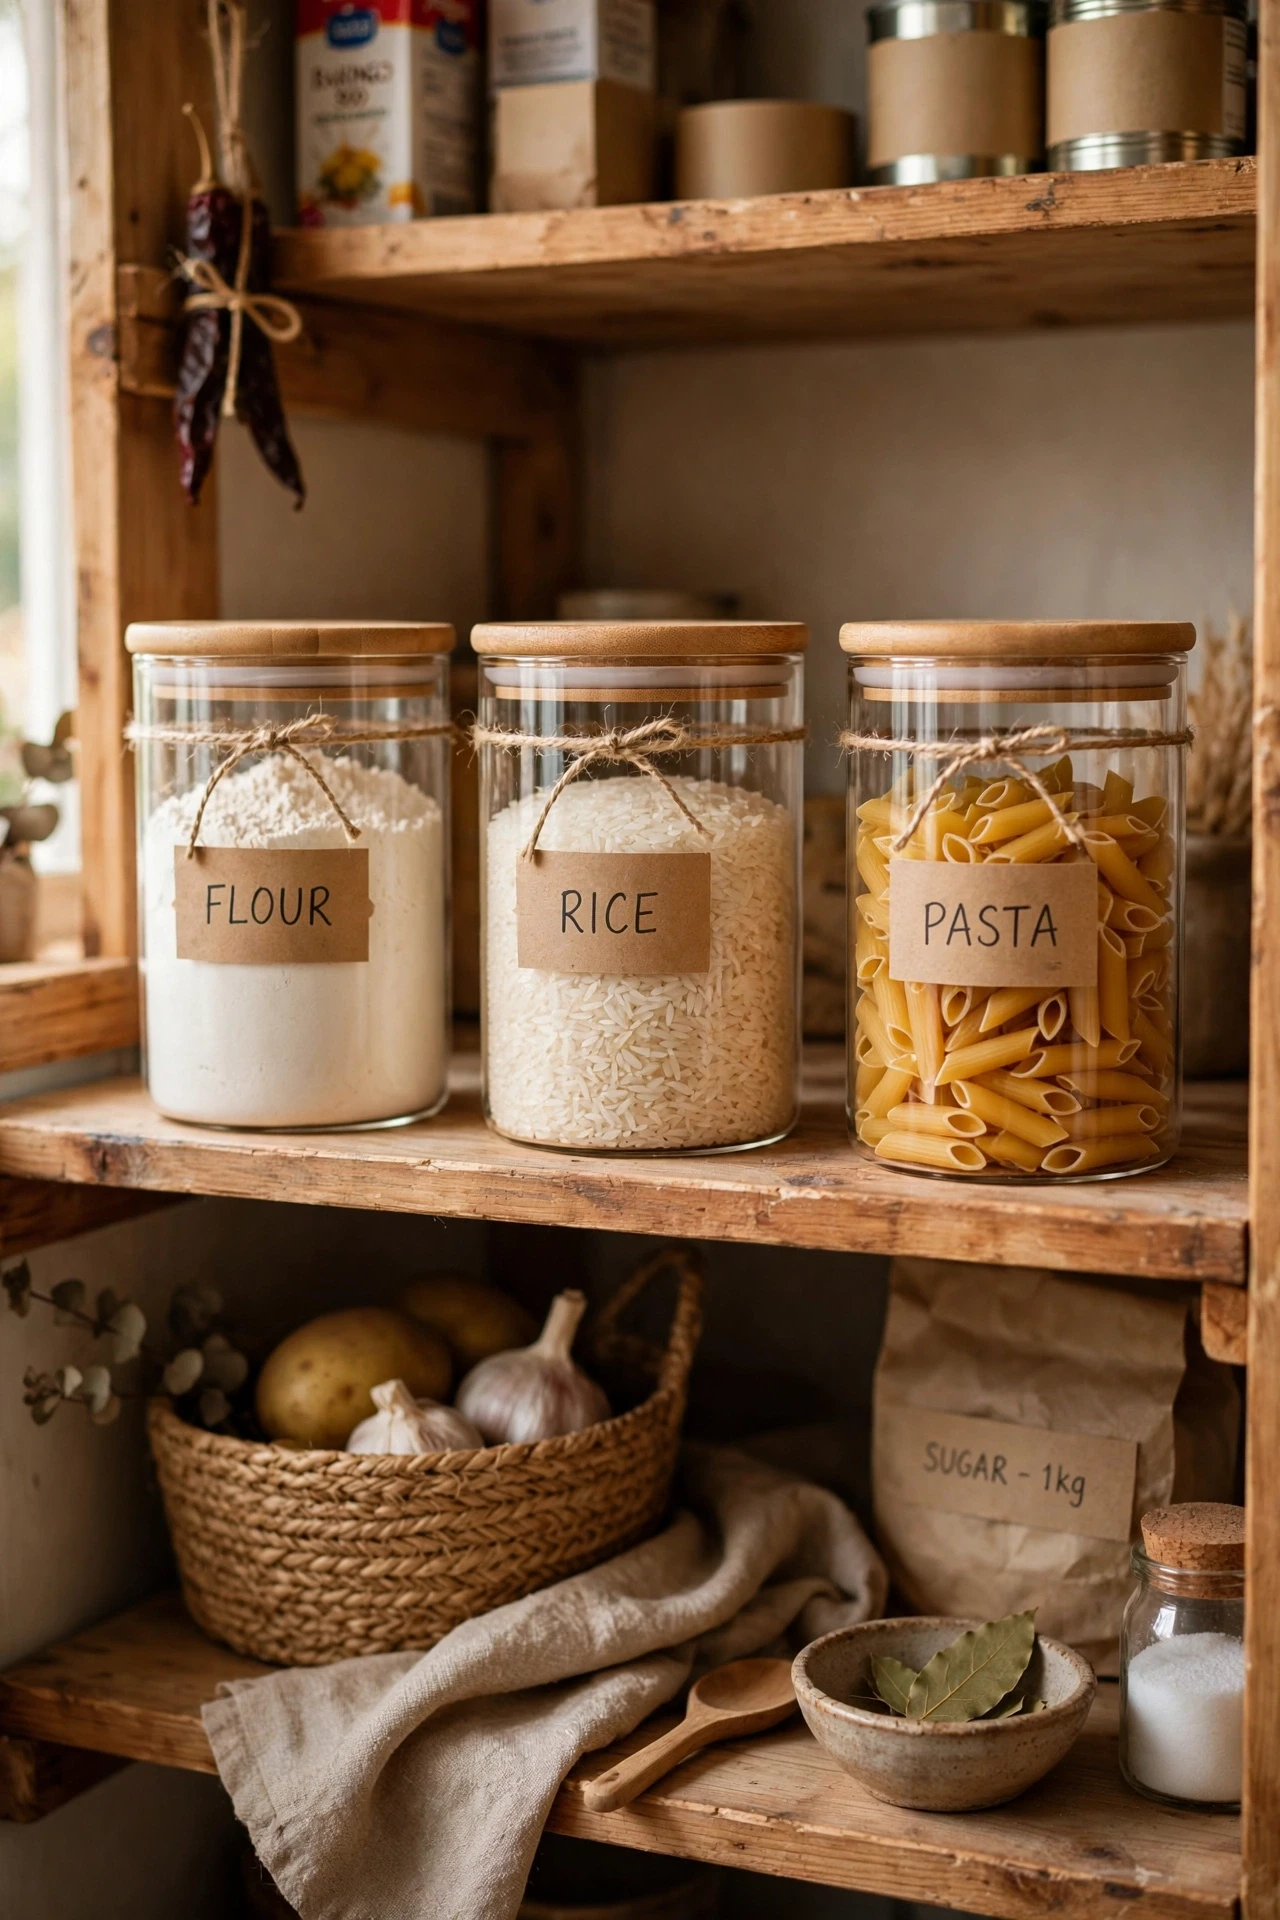
Decanting flour, rice, pasta, and sugar into matching clear containers makes the pantry readable at a glance and keeps food fresher than torn bags do. Choose containers that fit your shelf depth, label each one with the contents and the date you filled it, and line them up with labels facing out. Keep the containers you use daily at eye level and the rest lower down. I tried this with a set of cheap clip-lid jars, and my pantry finally looked like a shop shelf instead of a bag pile. The mistake to avoid is decanting everything at once, since buying twenty containers before you know the sizes you need wastes money and shelf space.
Cost: ~$18 | Time: 45 minutes
Common mistake: Storing heavy items up high. Flour, cast iron, and big appliances belong on low shelves, because lifting them down is tiring and dropping them is dangerous, so save high shelves for light things you rarely need.
11. Hang a Tension Rod Under the Sink for Spray Bottles
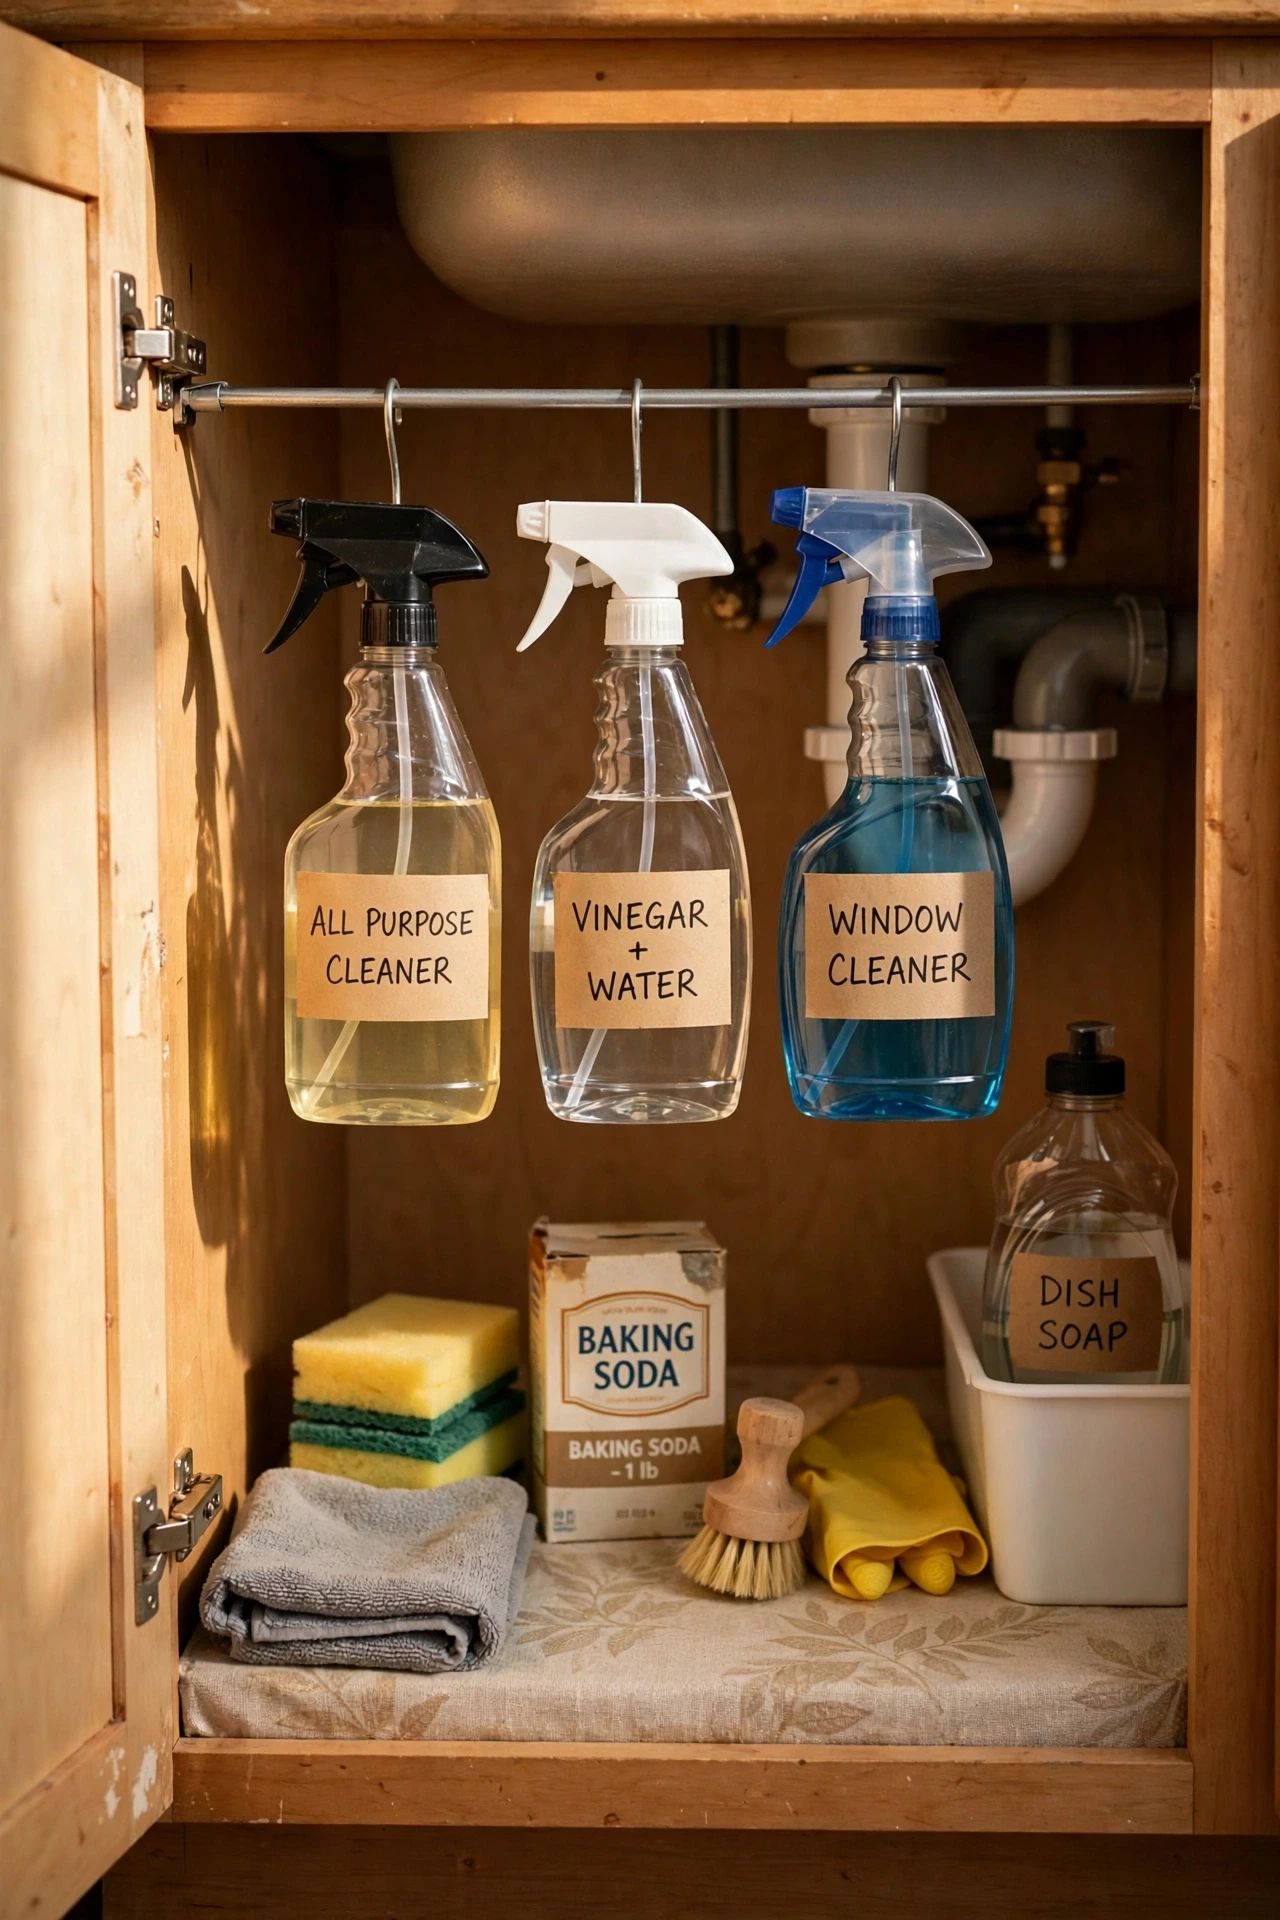
A tension rod fitted across the cabinet under the sink creates a hanging rail for spray bottles, freeing the floor of the cabinet for bins and cleaning supplies. Wedge the rod across the cabinet, hang spray bottles by their triggers, and place a small bin below for cloths and sponges. Measure the cabinet width first, since rods come in different lengths. I tried this in a cabinet that had been a tangle of bottles, and the floor space underneath doubled overnight. The mistake to avoid is hanging bottles so low that they block the cabinet door, since a door that will not close properly will annoy you every single day.
Cost: ~$4 | Time: 10 minutes
12. Sort the Junk Drawer Into Four Small Trays

Four small trays inside the junk drawer, one for batteries, one for tools, one for tape and pens, and one for odds and ends, turn chaos into a system you can actually keep. Empty the drawer completely, throw out anything broken or dead, and place the trays so they fit snugly without sliding. Return each item to its tray right away, instead of tossing it in loose. I tried this on a Sunday afternoon, and the drawer has stayed tidy for months because every item finally has a named spot. The mistake to avoid is adding a fifth tray for random things, since a random tray is just the junk drawer all over again in smaller form.
Cost: ~$6 | Time: 30 minutes
13. Store Cutting Boards Upright Like Books
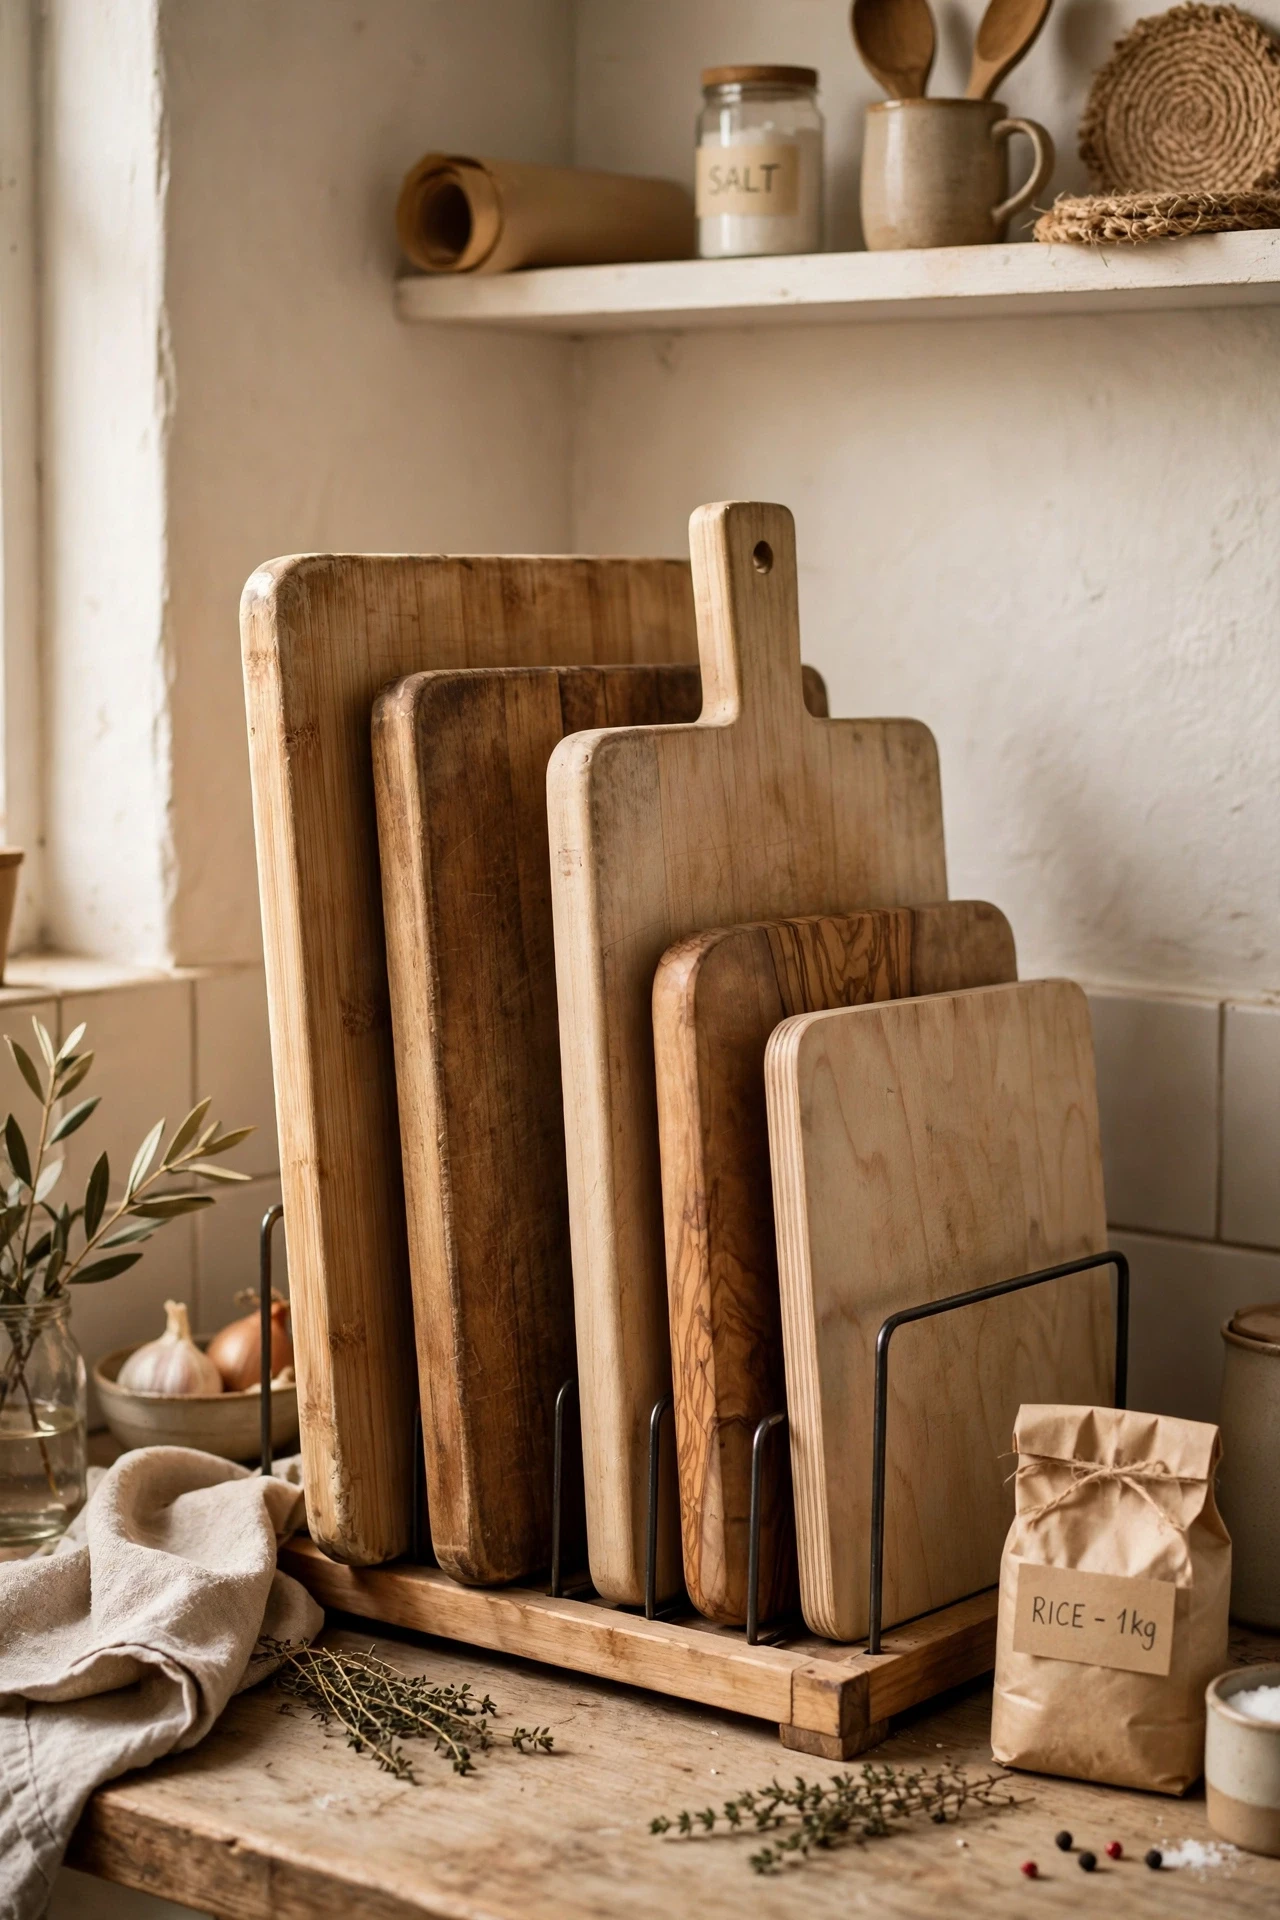
Cutting boards stored upright like books, in a rack or a file organizer, are easy to pull out one at a time and dry properly between uses. Stand them in a narrow rack inside a cabinet or beside the sink, sort them by size, and keep the board you use daily at the front. Wipe them dry before standing them up so moisture does not sit between boards. I tried this after years of boards stacked flat and sliding everywhere, and grabbing the right board became instant. The mistake to avoid is stacking wet boards flat on top of each other, since trapped moisture warps wood and leaves a smell you cannot wash out.
Cost: ~$7 | Time: 10 minutes
14. Use a Magnetic Strip for Knives to Free a Drawer
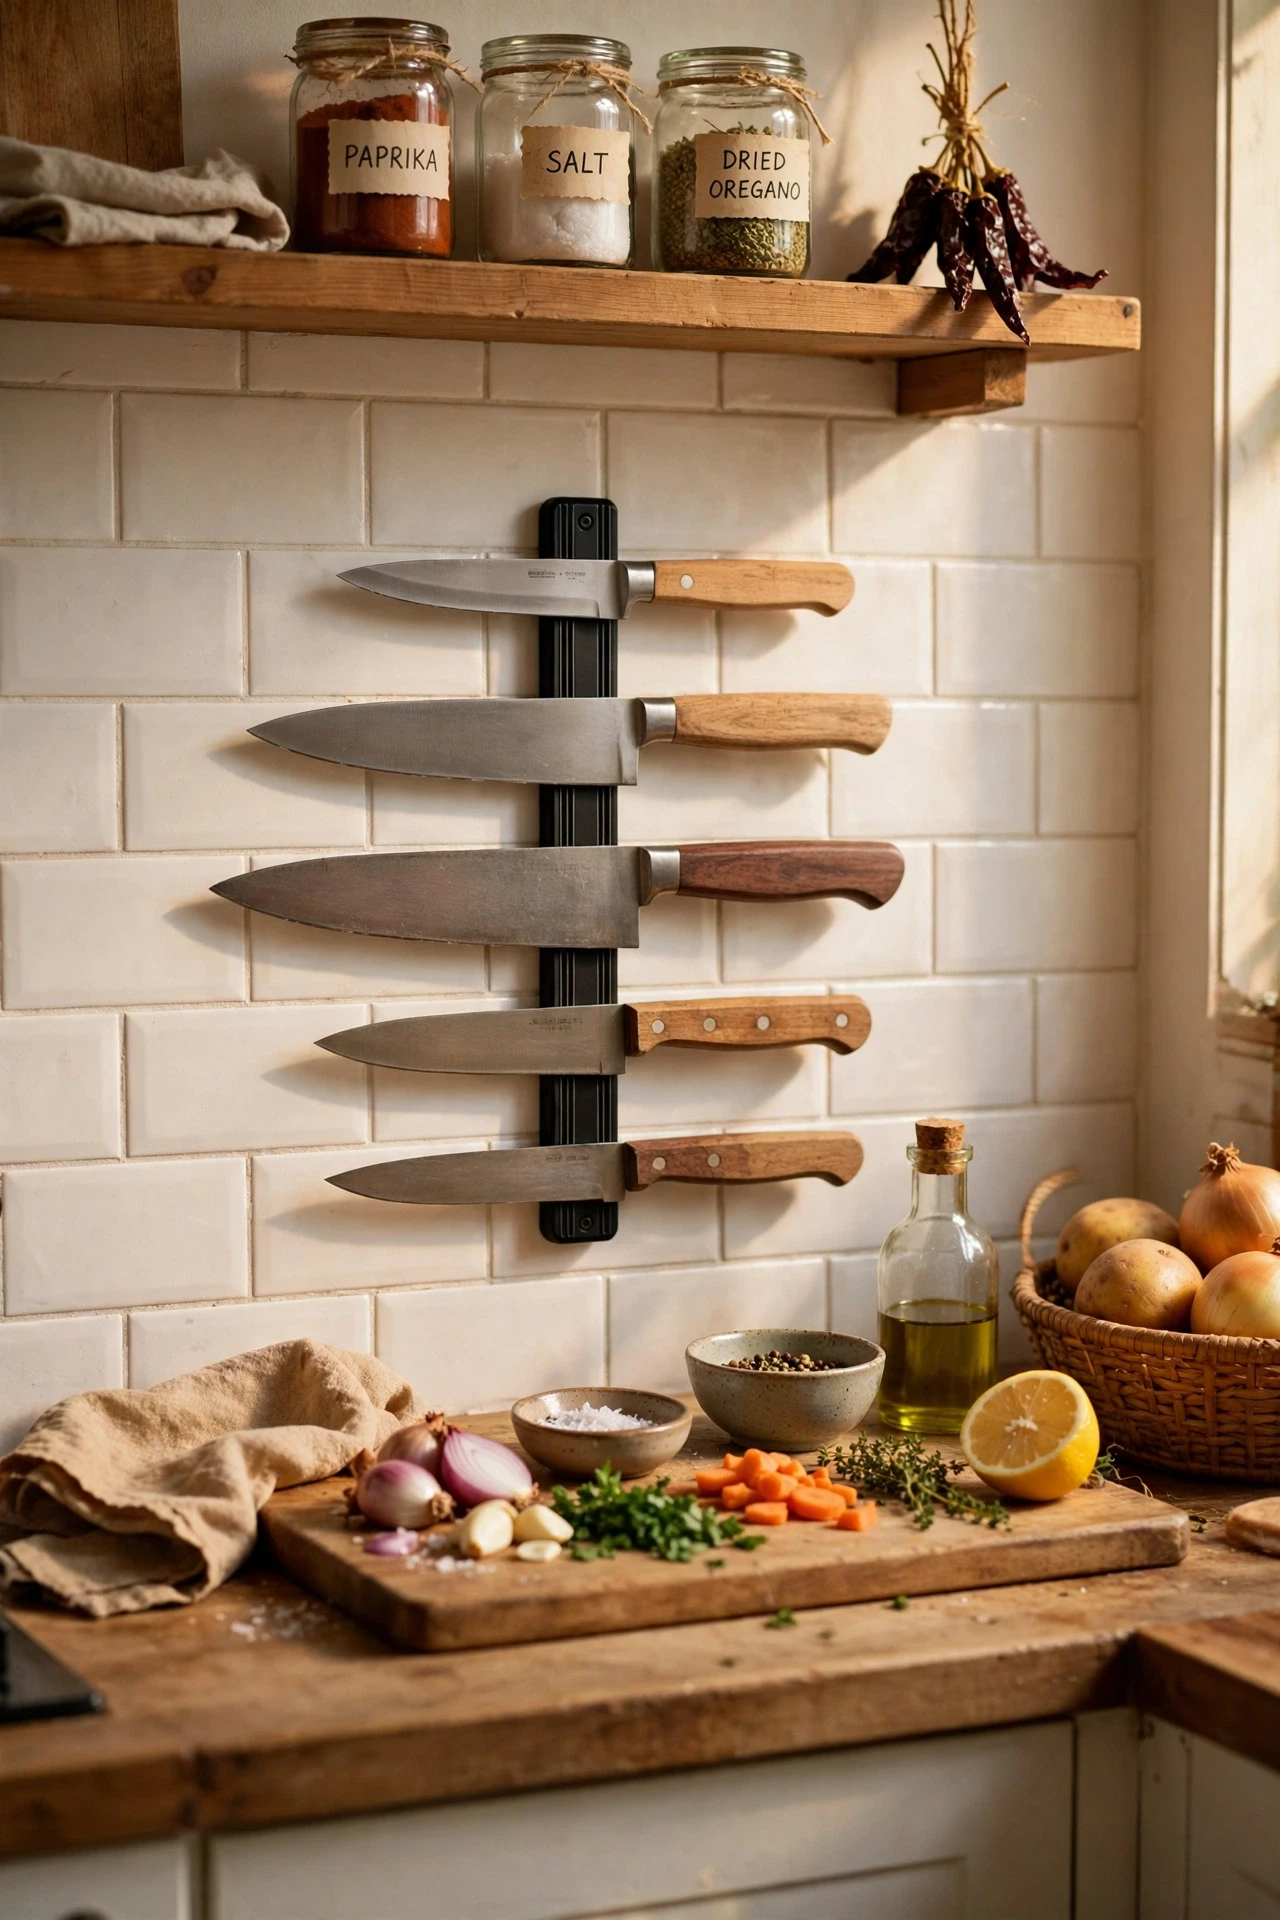
A magnetic knife strip on the wall frees an entire drawer and keeps knives visible, sharp, and easy to grab while cooking. Screw the strip into studs at a safe height away from where children reach, and place knives with the blades facing up and handles easy to grip. Keep the strip near your prep area so knives travel a short distance. I tried this after my knife drawer became a jumble of loose blades, and cooking felt safer immediately. The mistake to avoid is mounting the strip above the stove, since steam and grease dull blades and make the handles slippery to grab.
Cost: ~$15 | Time: 25 minutes
15. Put a Small Bin on the Counter for Cooking Scraps
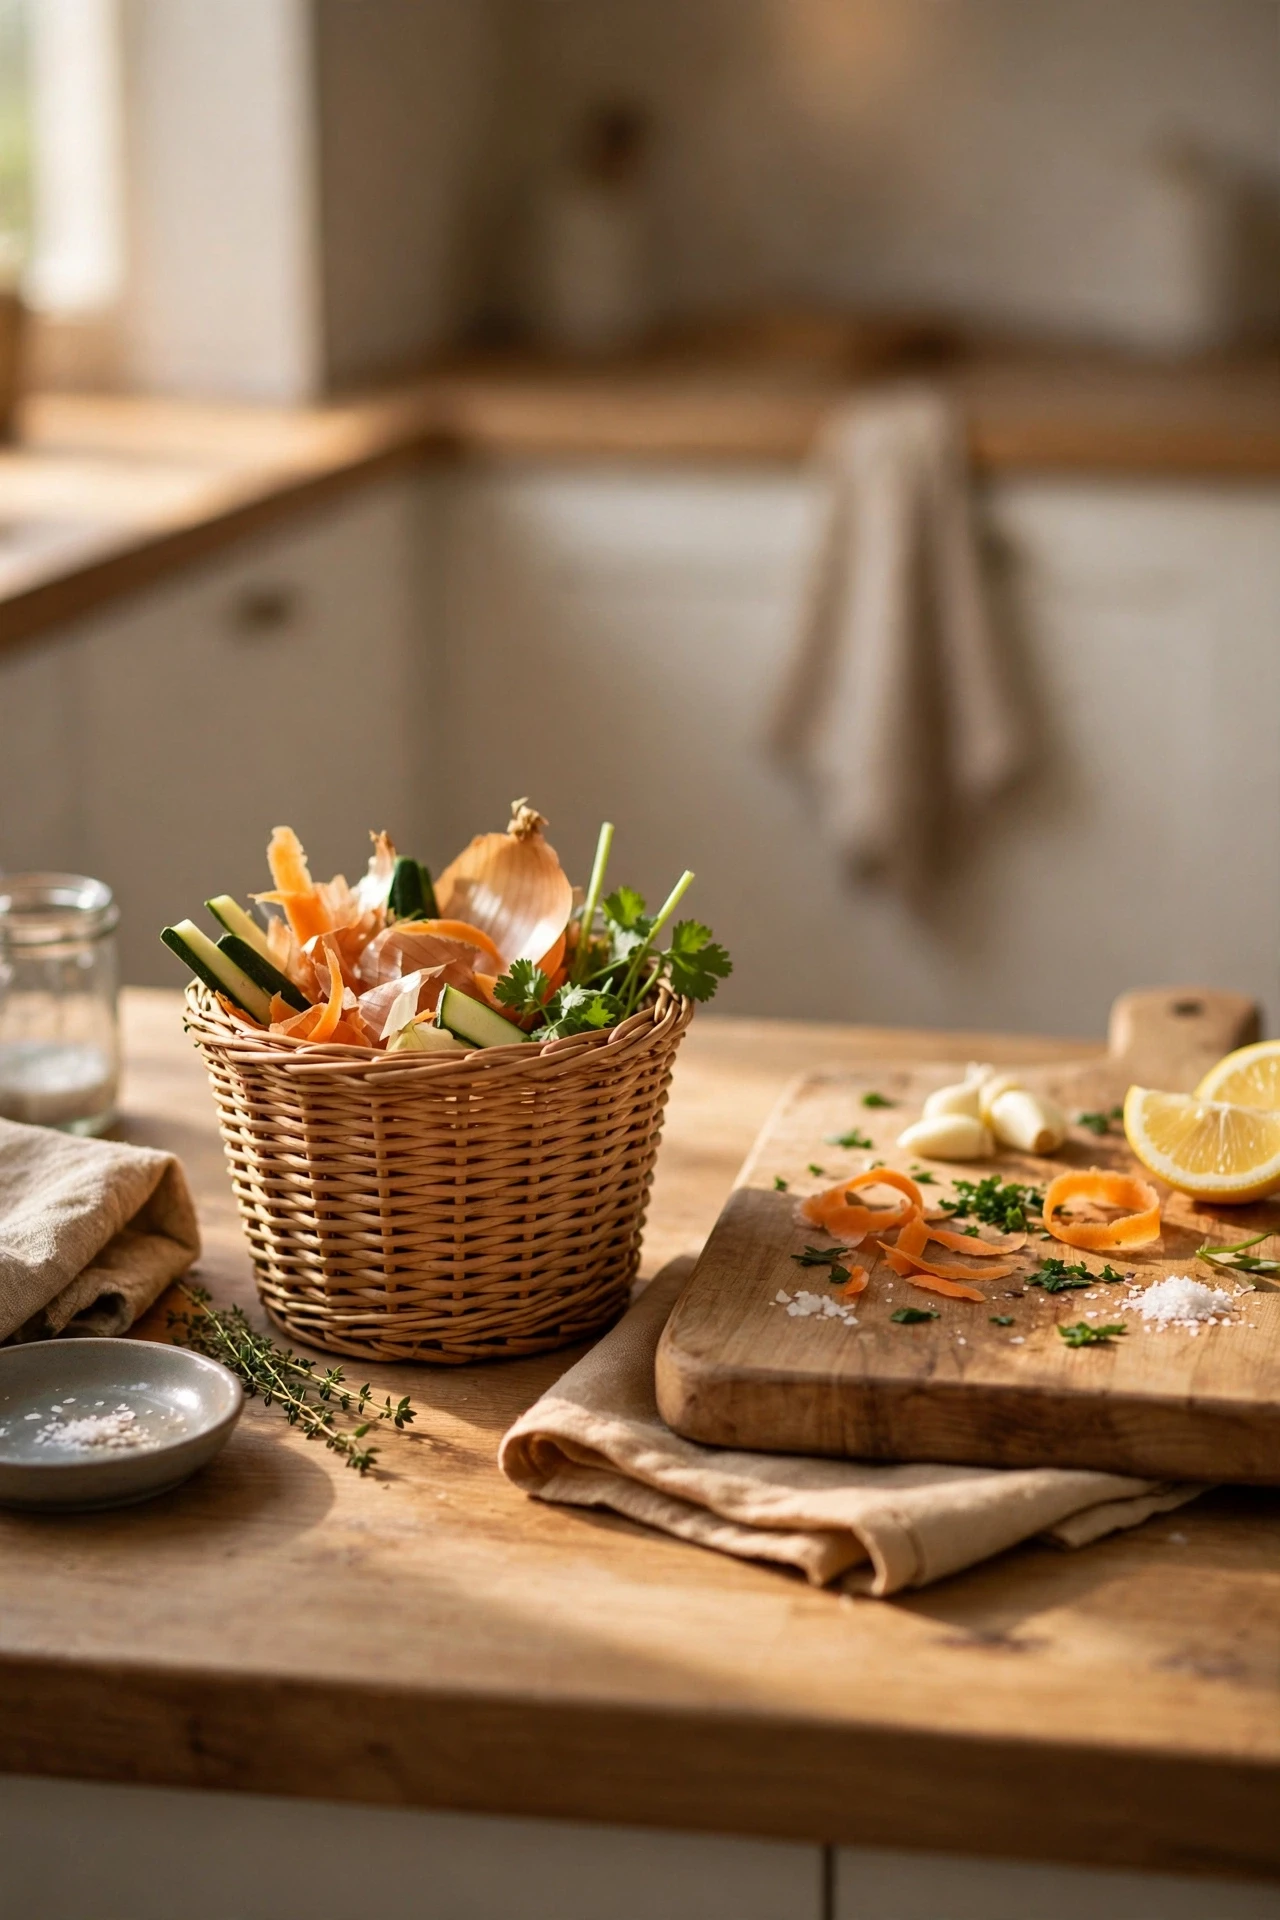
A small bin or bowl on the counter for peelings and scraps saves dozens of trips to the main bin while you prep, and keeps the work surface clear. Place it beside your chopping board, toss scraps in as you work, and empty it into the main bin or compost when you finish. Choose a bin with a lid if smells bother you, and wash it after each cooking session. I tried this during a big Sunday cook, and prep felt twice as fast because I stopped walking back and forth. The mistake to avoid is leaving the scrap bin out overnight, since it smells by morning and attracts fruit flies in warm weather.
Cost: ~$5 | Time: 5 minutes
Common mistake: Organizing once and never maintaining it. A kitchen drifts back to clutter without a tiny weekly reset, so pick ten minutes each week to return stray items to their homes before the drift becomes a full reorganization project.
16. Stack Mixing Bowls With a Towel Between Each One
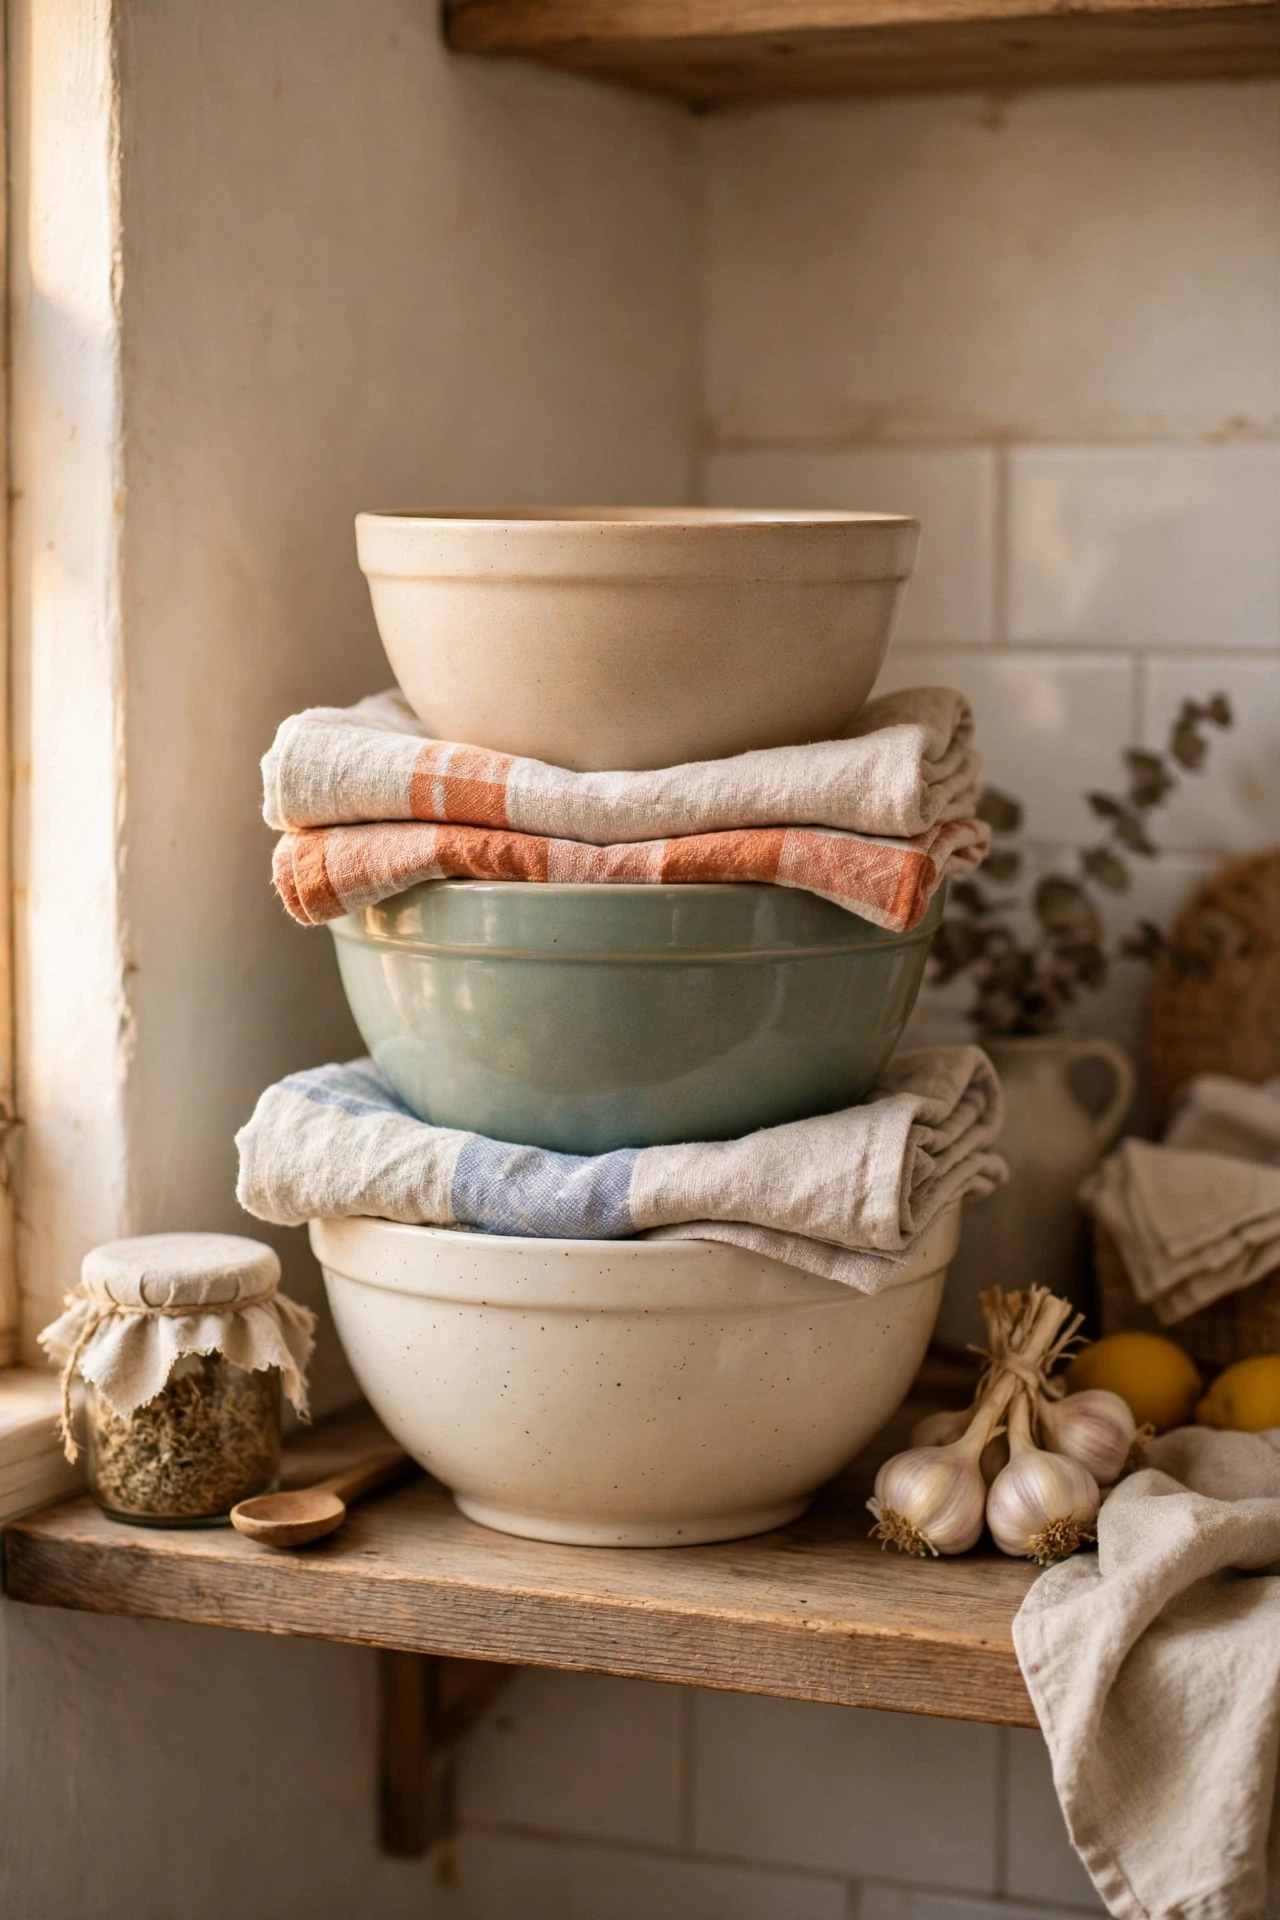
Stacking mixing bowls with a small towel or paper liner between each one stops scratching and makes the stack easier to lift apart. Nest the bowls from largest to smallest, tuck a towel between each layer, and store the stack on a low shelf you can reach without stretching. Keep measuring cups inside the top bowl to use the empty space. I tried this after my metal bowls started showing scratches from sliding against each other, and the stack has stayed quiet and scratch-free since. The mistake to avoid is stacking glass bowls without any padding, since glass on glass chips at the rims and the damage only shows up later.
Cost: ~$0 | Time: 10 minutes
17. Use Drawer Dividers for Cutlery and Gadgets

Drawer dividers split a cutlery drawer into neat lanes for forks, knives, spoons, and gadgets, so nothing slides into a pile when the drawer opens. Measure the drawer, fit adjustable dividers or a tray that fills the space, and sort each lane by item type. Keep the gadgets you use daily at the front and the rare ones at the back. I tried this with a cheap bamboo tray, and the drawer finally stayed tidy instead of sliding back into chaos each week. The mistake to avoid is buying dividers before measuring, since a tray that slides around inside the drawer is just another loose item rattling about.
Cost: ~$12 | Time: 20 minutes
See also: 21 Small Kitchen Organization Ideas That Stay Tidy
18. Keep Baking Supplies Together in One Tote
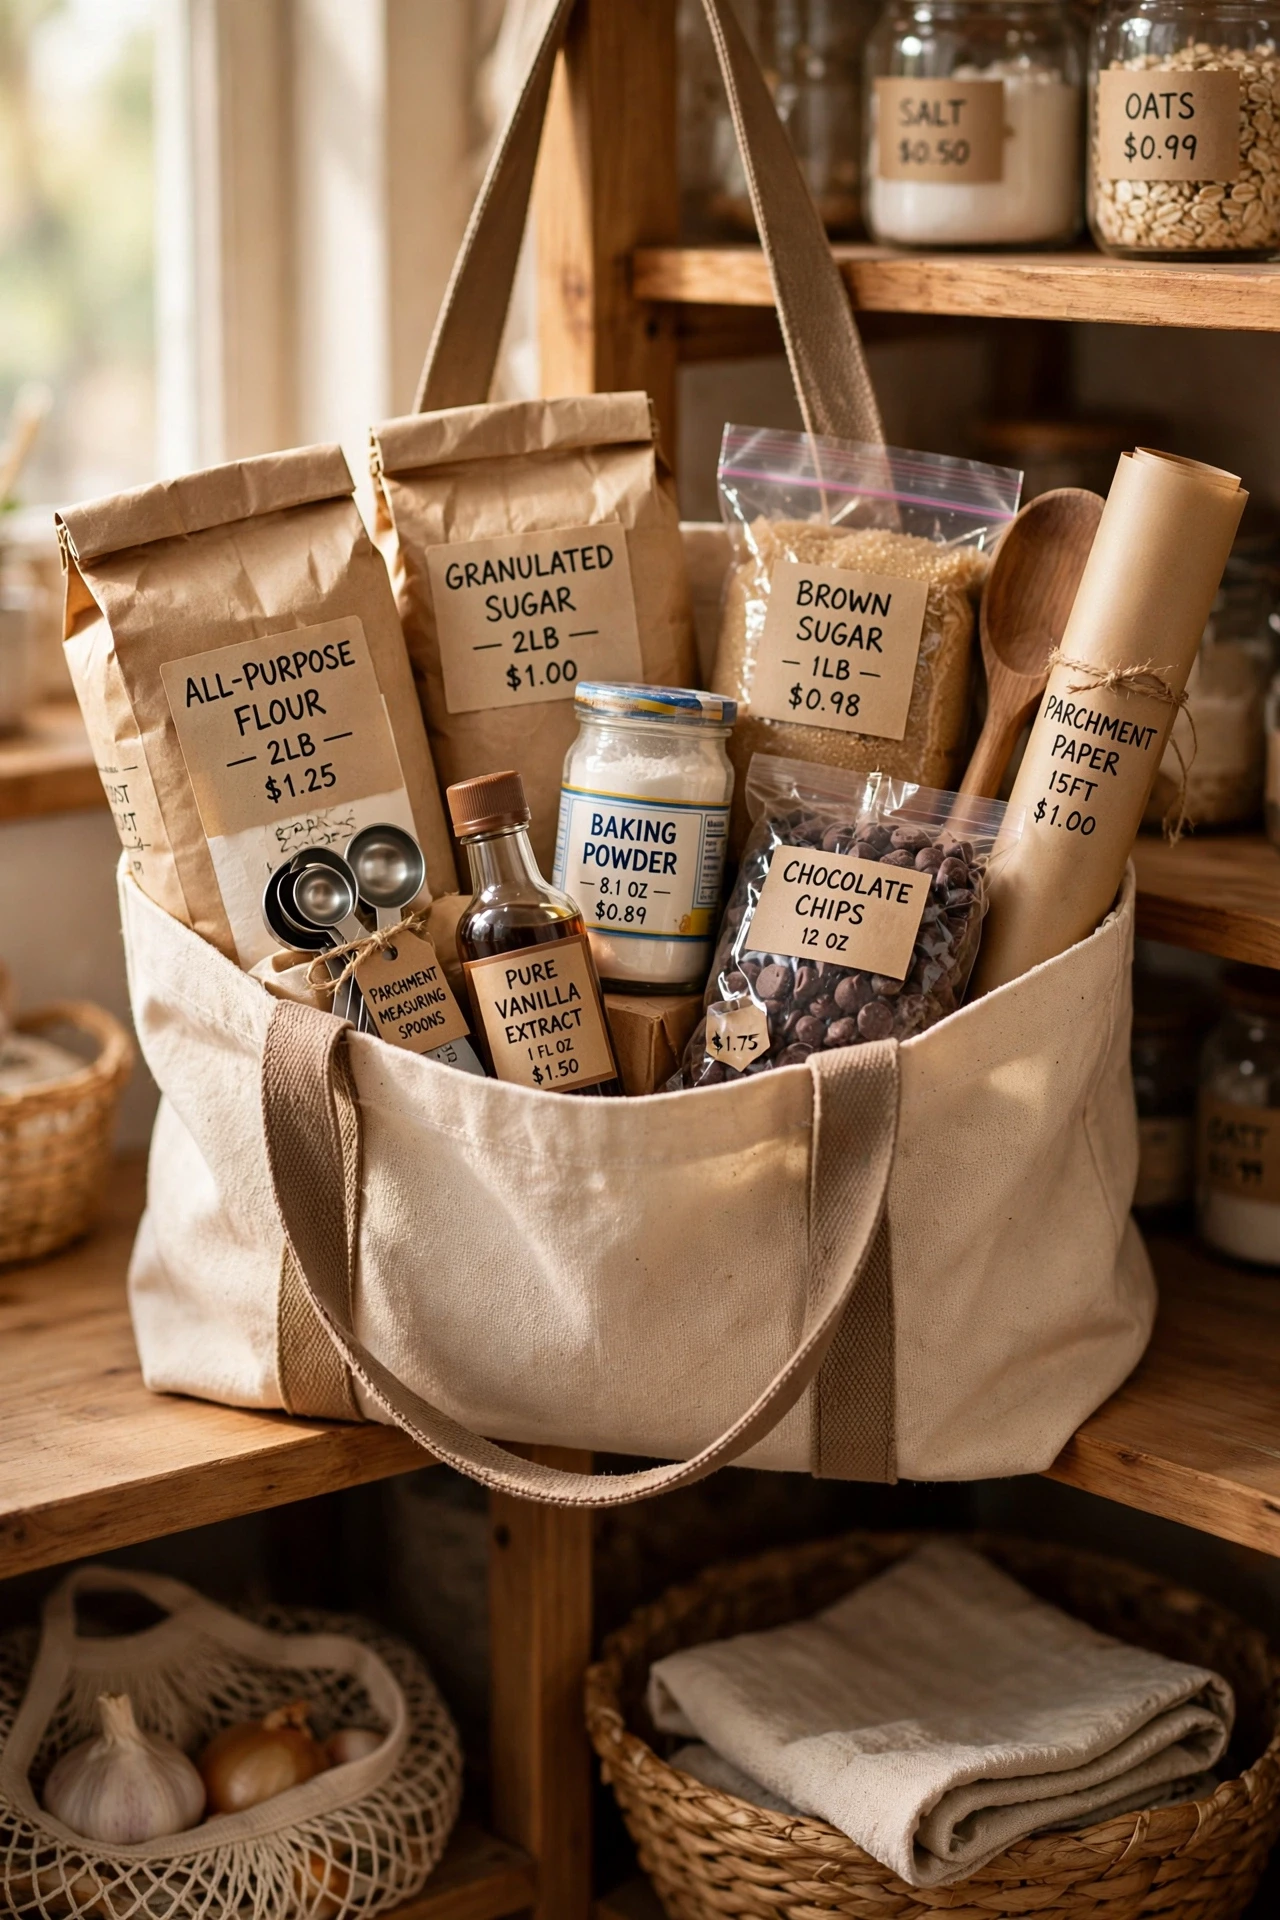
A single tote for baking supplies, flour, sugar, baking powder, measuring cups, and a whisk, means baking starts with one grab instead of a hunt through three cabinets. Choose a tote that fits your pantry shelf, fill it with your baking basics, and label it clearly. Keep it on a shelf you can reach without a step stool, since baking should not need a ladder. I tried this before a month of weekend baking, and it turned baking from a chore into something I actually looked forward to. The mistake to avoid is letting non-baking items sneak into the tote, since one stray bottle soon invites three more and the tote loses its purpose.
Cost: ~$7 | Time: 20 minutes
19. Store Snacks at Eye Level in One Basket
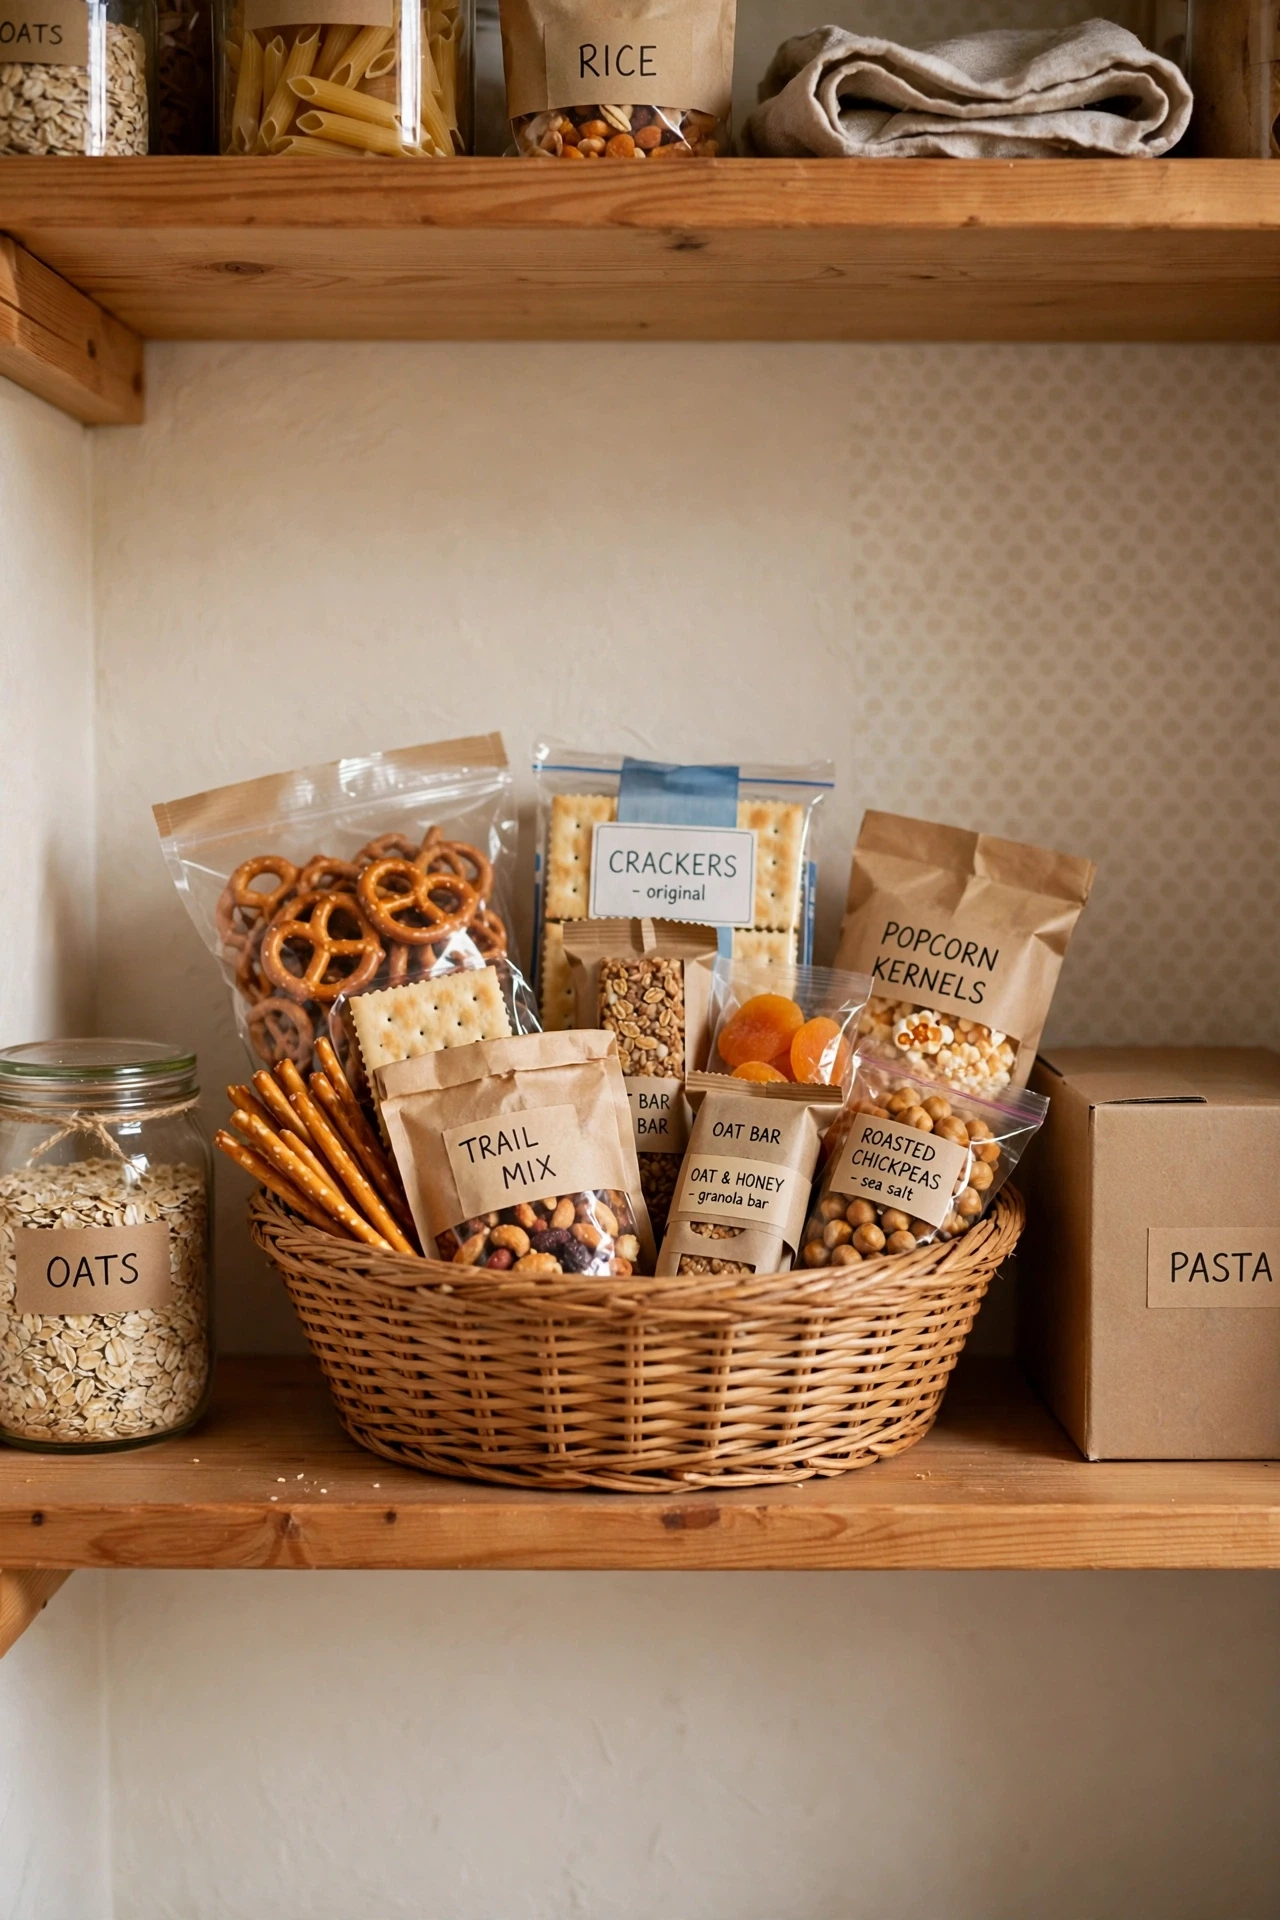
One basket for snacks at eye level in the pantry keeps snacking simple and stops packets from spreading across every shelf. Pick a basket that fits the shelf, fill it with the snacks your household actually eats, and put it where everyone can reach it without moving other things. Refill it once a week from a larger store elsewhere, so the basket never overflows. I tried this for my family, and the pantry stayed tidy because snacks finally had one obvious home. The mistake to avoid is filling the basket with snacks nobody eats, since a basket of ignored food is just clutter wearing a nicer container.
Cost: ~$6 | Time: 10 minutes
20. Hang Mugs on Hooks Under a Shelf
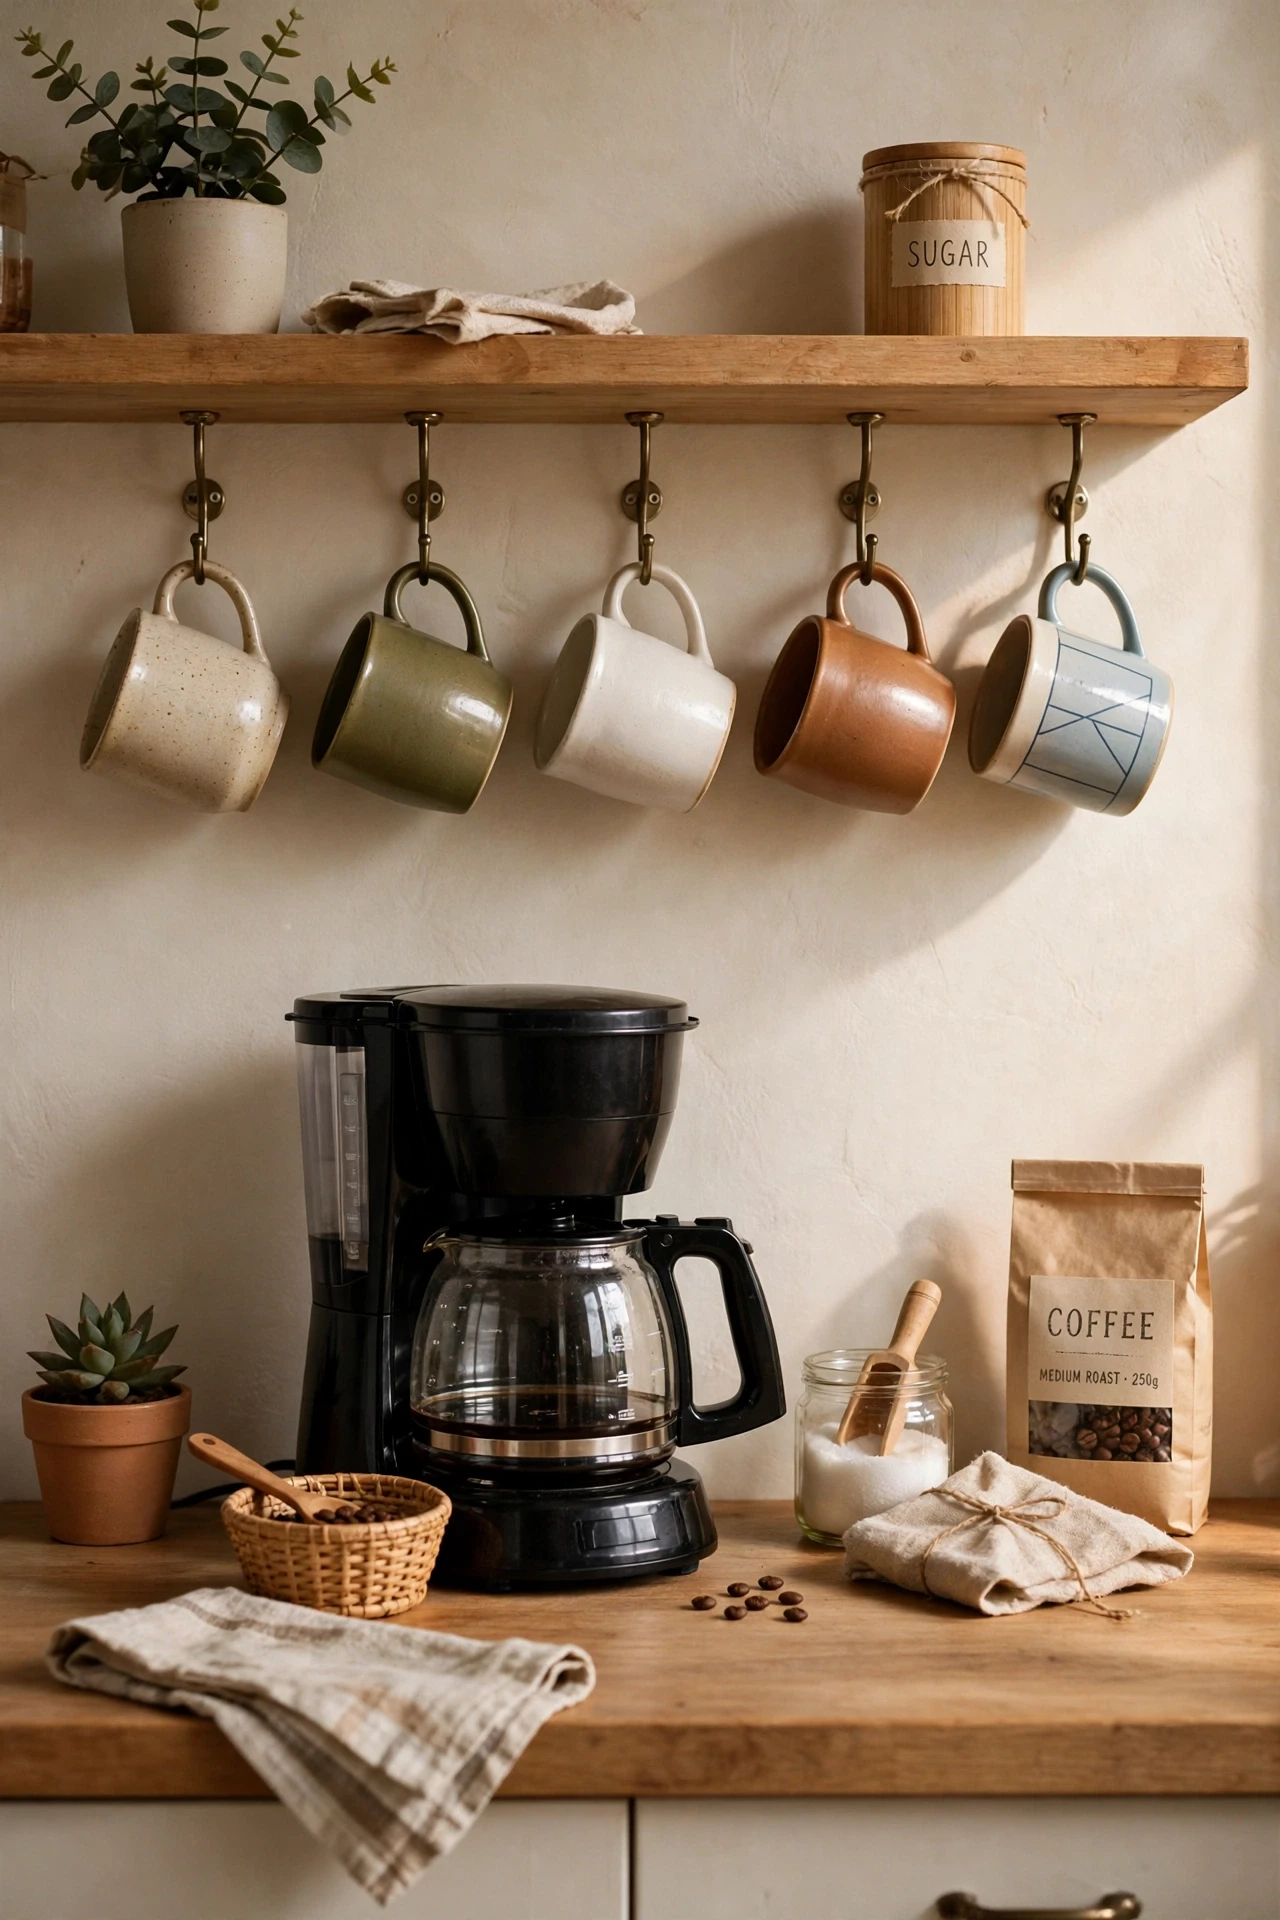
Hooks screwed under a shelf or inside a cabinet hold mugs by their handles, freeing shelf space and keeping favourite mugs easy to grab. Screw small cup hooks into the underside of a sturdy shelf, space them so mugs do not knock together, and hang your most-used mugs there. Keep heavy stoneware mugs on the lowest hooks so they are easy to lift. I tried this under the shelf above my coffee maker, and my morning routine got simpler overnight. The mistake to avoid is screwing hooks into a thin shelf that cannot hold the weight, since sagging shelves and falling mugs make a mess nobody enjoys cleaning.
Cost: ~$5 | Time: 20 minutes
Common mistake: Keeping duplicates you never use. Three spatulas, four peelers, and two broken blenders eat a small kitchen alive, so keep the best one of each tool, donate the rest, and enjoy the drawer space that suddenly appears.
21. Do a Ten-Minute Weekly Kitchen Reset
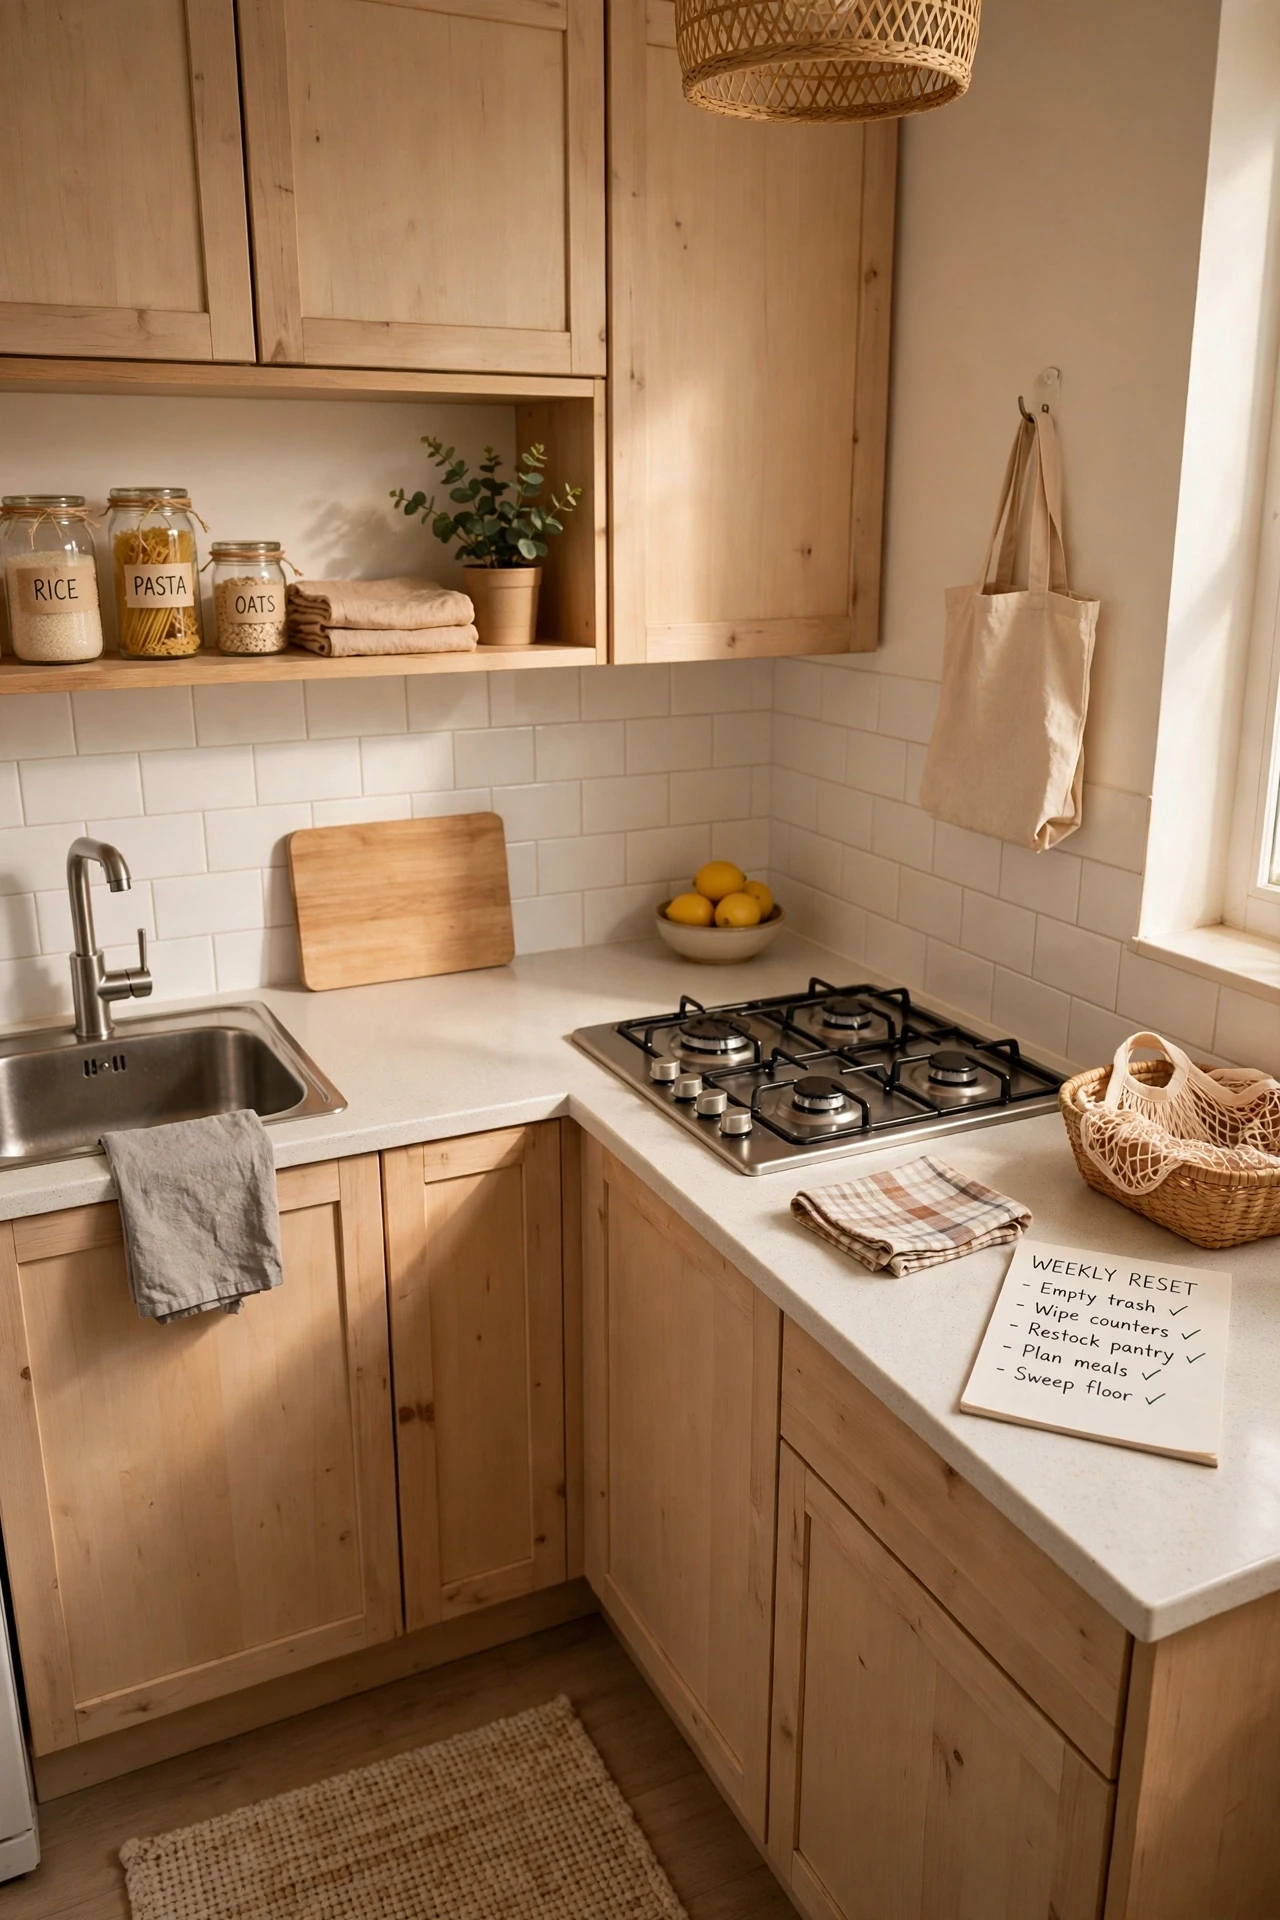
A ten-minute weekly reset, returning stray items to their homes, wiping one shelf, and checking the donation box, keeps a small kitchen from sliding back into chaos. Pick a regular time, set a timer, and work through the counters, the junk drawer, and one cabinet. Small weekly fixes beat big seasonal overhauls, because clutter never gets a chance to build up. I tried this on Sunday evenings, and my kitchen stayed at a steady level of tidy all year instead of swinging between neat and messy. The mistake to avoid is skipping the reset when you are busy, since busy weeks are exactly when clutter builds fastest and the reset matters most.
Cost: ~$0 | Time: 10 minutes
22. Use the Top of Cabinets for Rarely Used Items Only
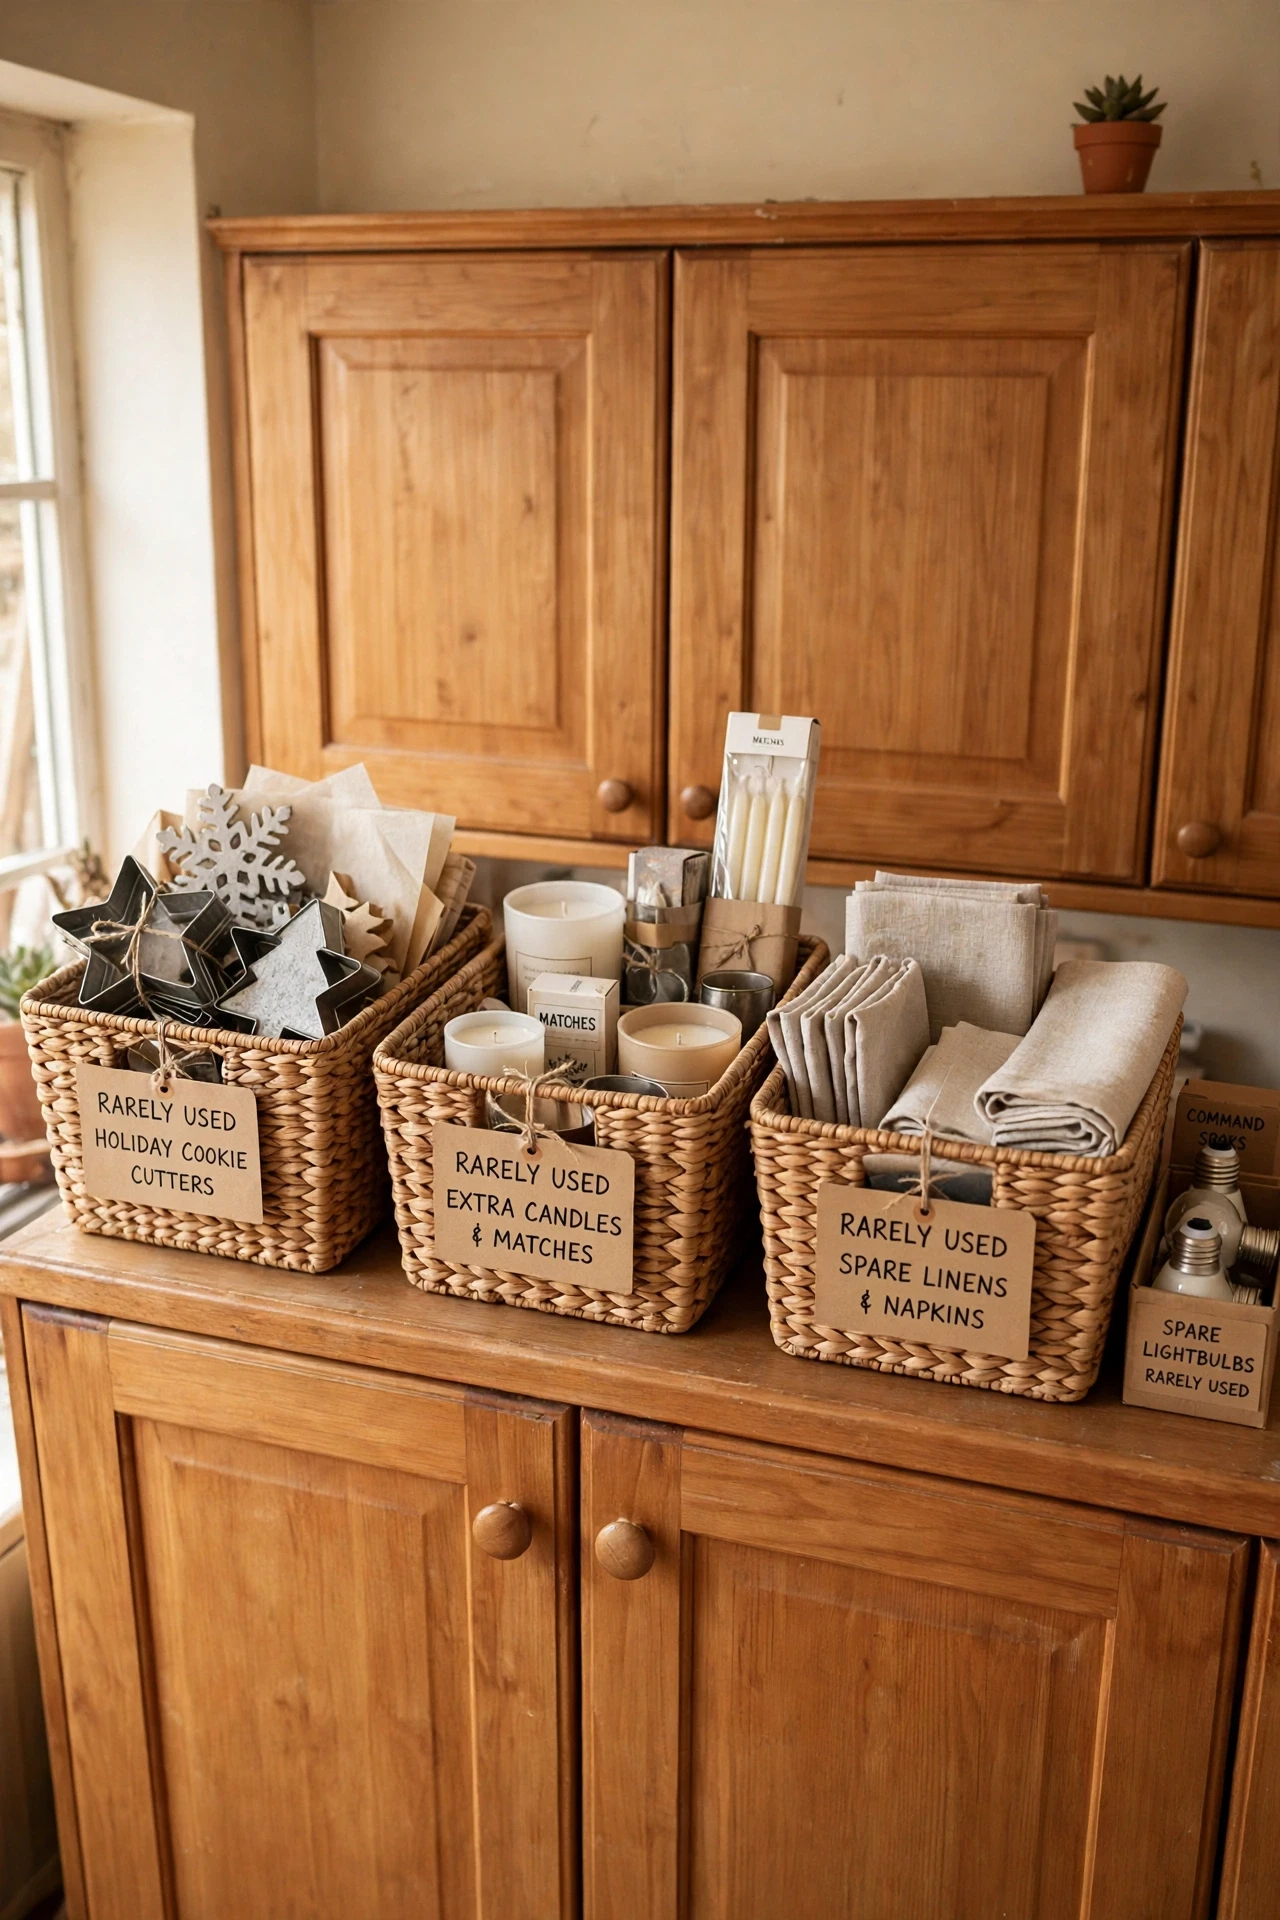
The top of kitchen cabinets is useful storage only for items you rarely need, like a turkey roaster, a big punch bowl, or seasonal serving dishes. Place those items in labelled bins up top, wipe the area first, and keep a step stool nearby for the few times a year you need them. Everything you use weekly stays lower down, where it belongs. I tried this after years of keeping daily items up high, and daily cooking got easier the same week. The mistake to avoid is storing anything greasy or open up there, since the tops of cabinets collect grease and dust faster than any other spot in the kitchen.
Cost: ~$6 | Time: 25 minutes
23. Keep a Donation Box by the Kitchen Door for Duplicates
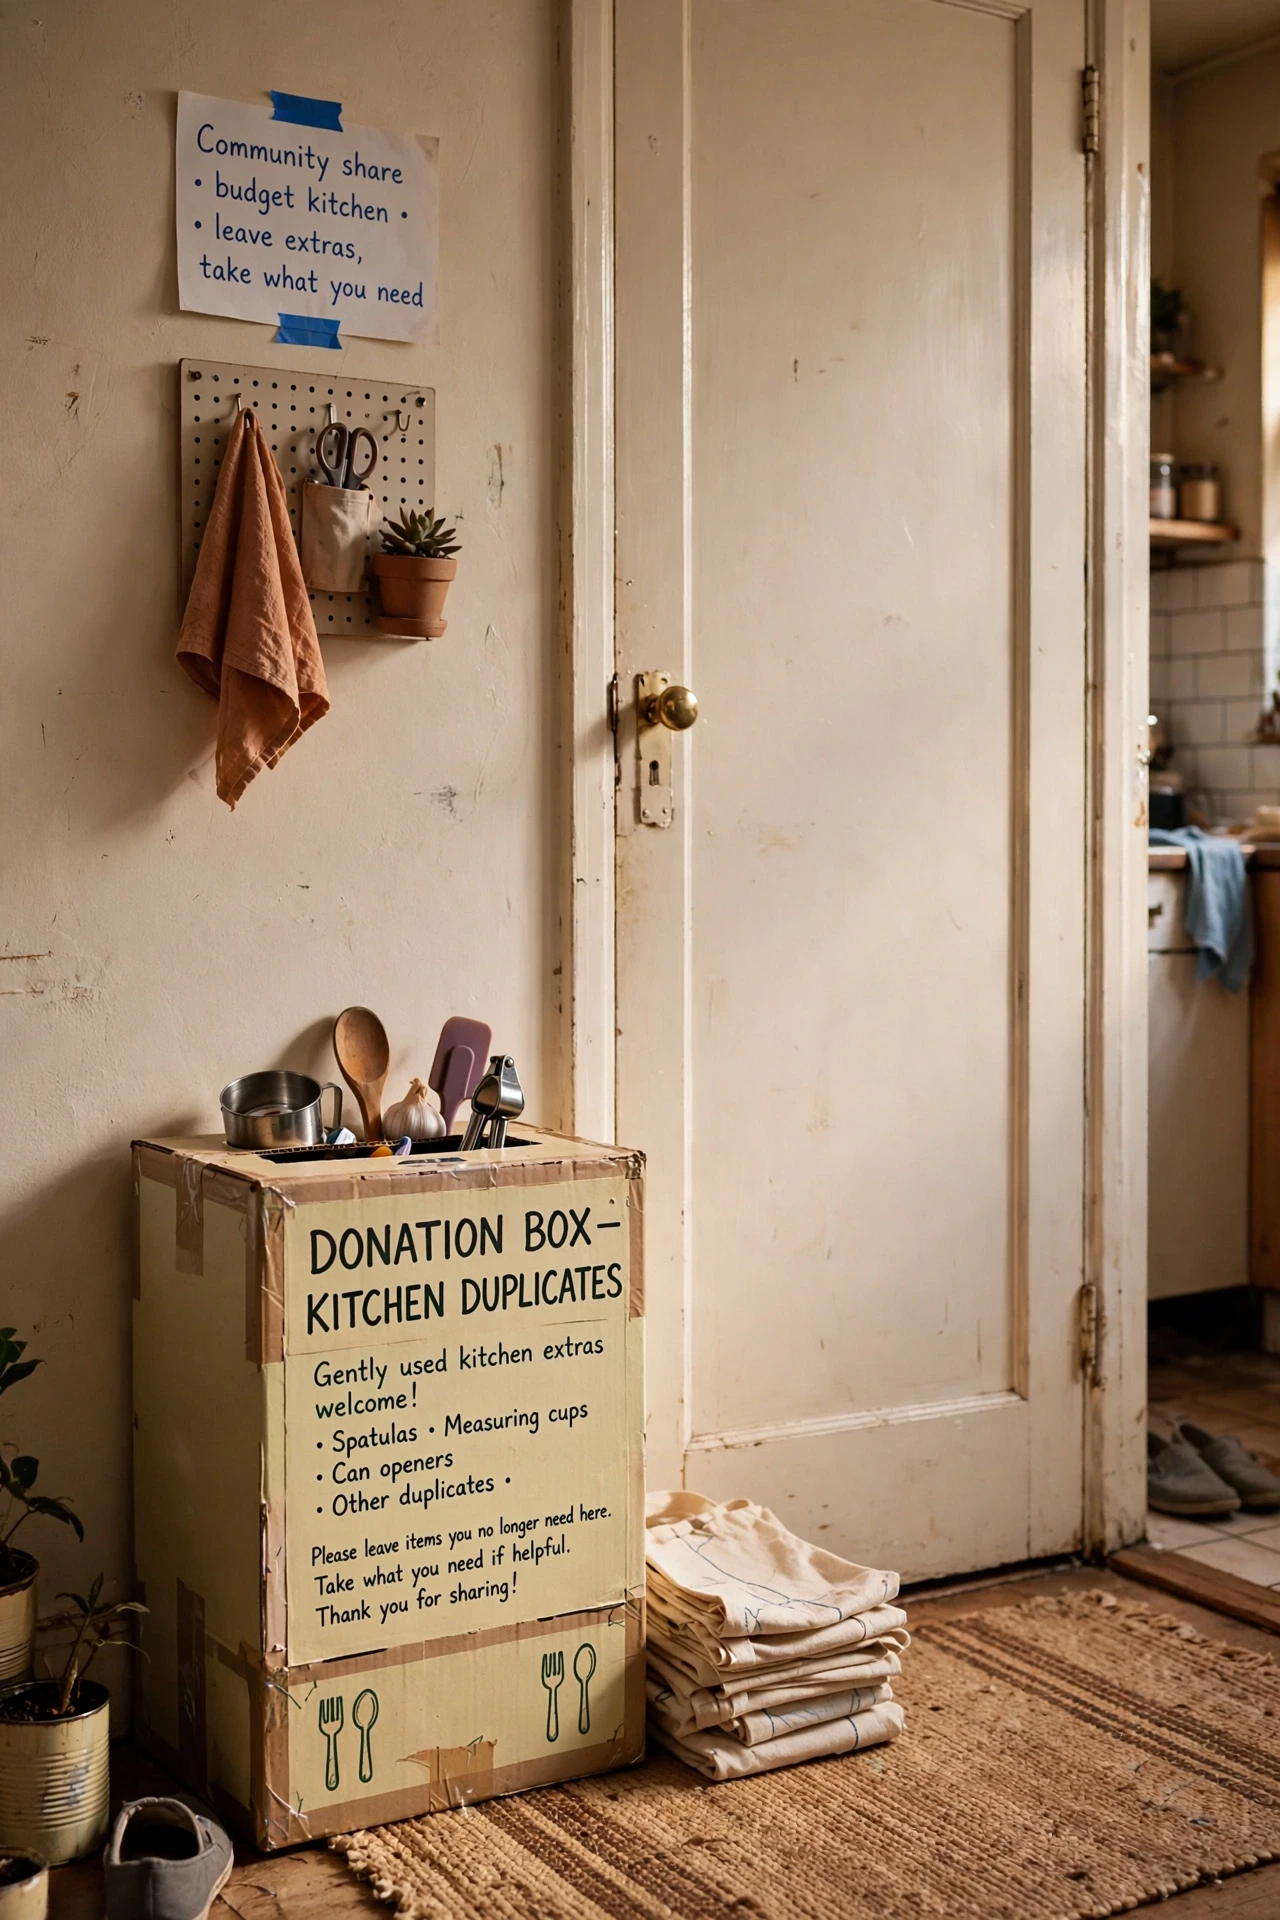
A donation box by the kitchen door catches duplicates and gadgets you no longer use the moment you notice them, instead of letting them sit for years. When you find a second peeler or a gadget you never touch, drop it in the box right away. Take the box to a charity shop when it fills, and replace it immediately so the habit survives. I tried this beside my back door, and my drawers slowly emptied of things I had kept out of guilt, not need. The mistake to avoid is letting the full box sit by the door for months, since a box that never leaves just becomes another piece of clutter in the kitchen.
Cost: ~$1 | Time: 5 minutes
See also: 25 Small Kitchen Organization Ideas on a Budget
Save this idea for your next kitchen clear-out if your counters are crowded and your cabinets feel impossible.
A small kitchen feels bigger when every item has a cheap, obvious home and the counters stay mostly clear. Start with the empty counter zone and the labelled bins, since those two fixes change daily life fastest, then work through cabinets, drawers, and doors one weekend at a time. Keep the weekly reset going, and the system will hold. Your kitchen will cost little to organize, and it will work better every single day.
