19 Apartment Kitchen Ideas That Maximize Storage
When your kitchen is the size of a generous wardrobe, every centimetre has to work. These apartment kitchen ideas are all about squeezing storage out of dead space — inside doors, above cabinets, in the gaps between appliances — without spending much or annoying your landlord.
None of these need drilling or permanent changes, and most cost less than a takeaway. Here’s the cost at a glance for a starter storage haul:
- Over-door wire rack with baskets — about $18
- Two stackable shelf risers — about $11
- Magnetic spice tins, set of 12 — about $15
- Slim rolling gap cart — about $22
- Set of clear stacking bins with labels — about $16
That’s a full storage overhaul for under $85. For the general small-kitchen companion list, see my 19 apartment kitchen ideas on a dime and small kitchen storage ideas next.
1. Over-Door Rack for Spices
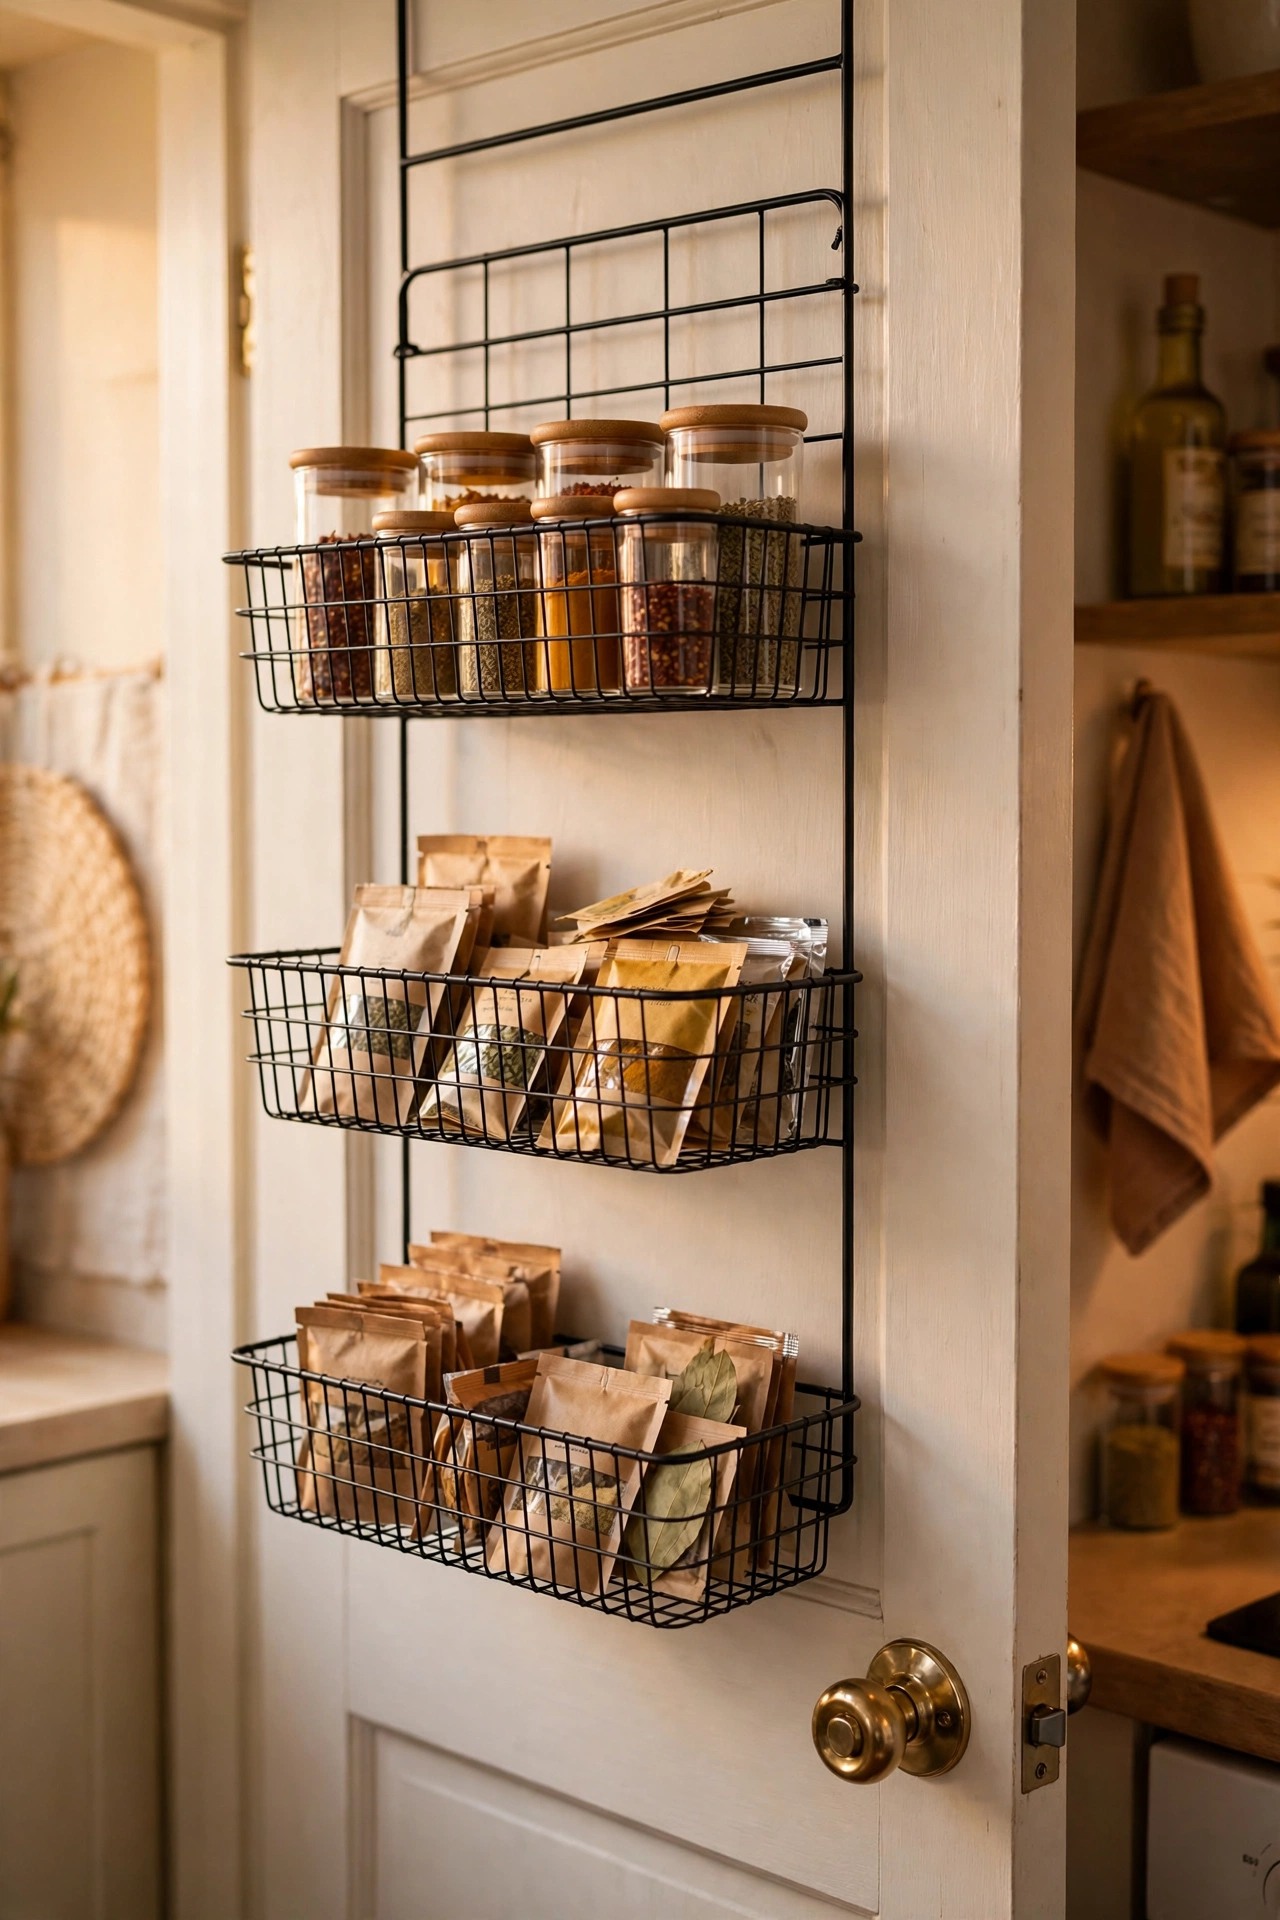
The back of the pantry or kitchen door is a full wall of storage most flats ignore. A wire over-door rack with tiered baskets holds spices, small jars and packets in plain sight. Hang it, check the door still closes, then load heaviest items at the bottom. It adds the equivalent of two shelves without touching a wall. The visibility is the real win — you stop buying duplicate cumin because you can actually see the cumin. I tried this and the one mistake to avoid is buying a rack deeper than the door frame clearance; measure the gap between door and frame first or it will scrape every time it closes.
Cost: ~$18 | Time: 10 minutes
2. Tension Rods as Pan Lid Dividers
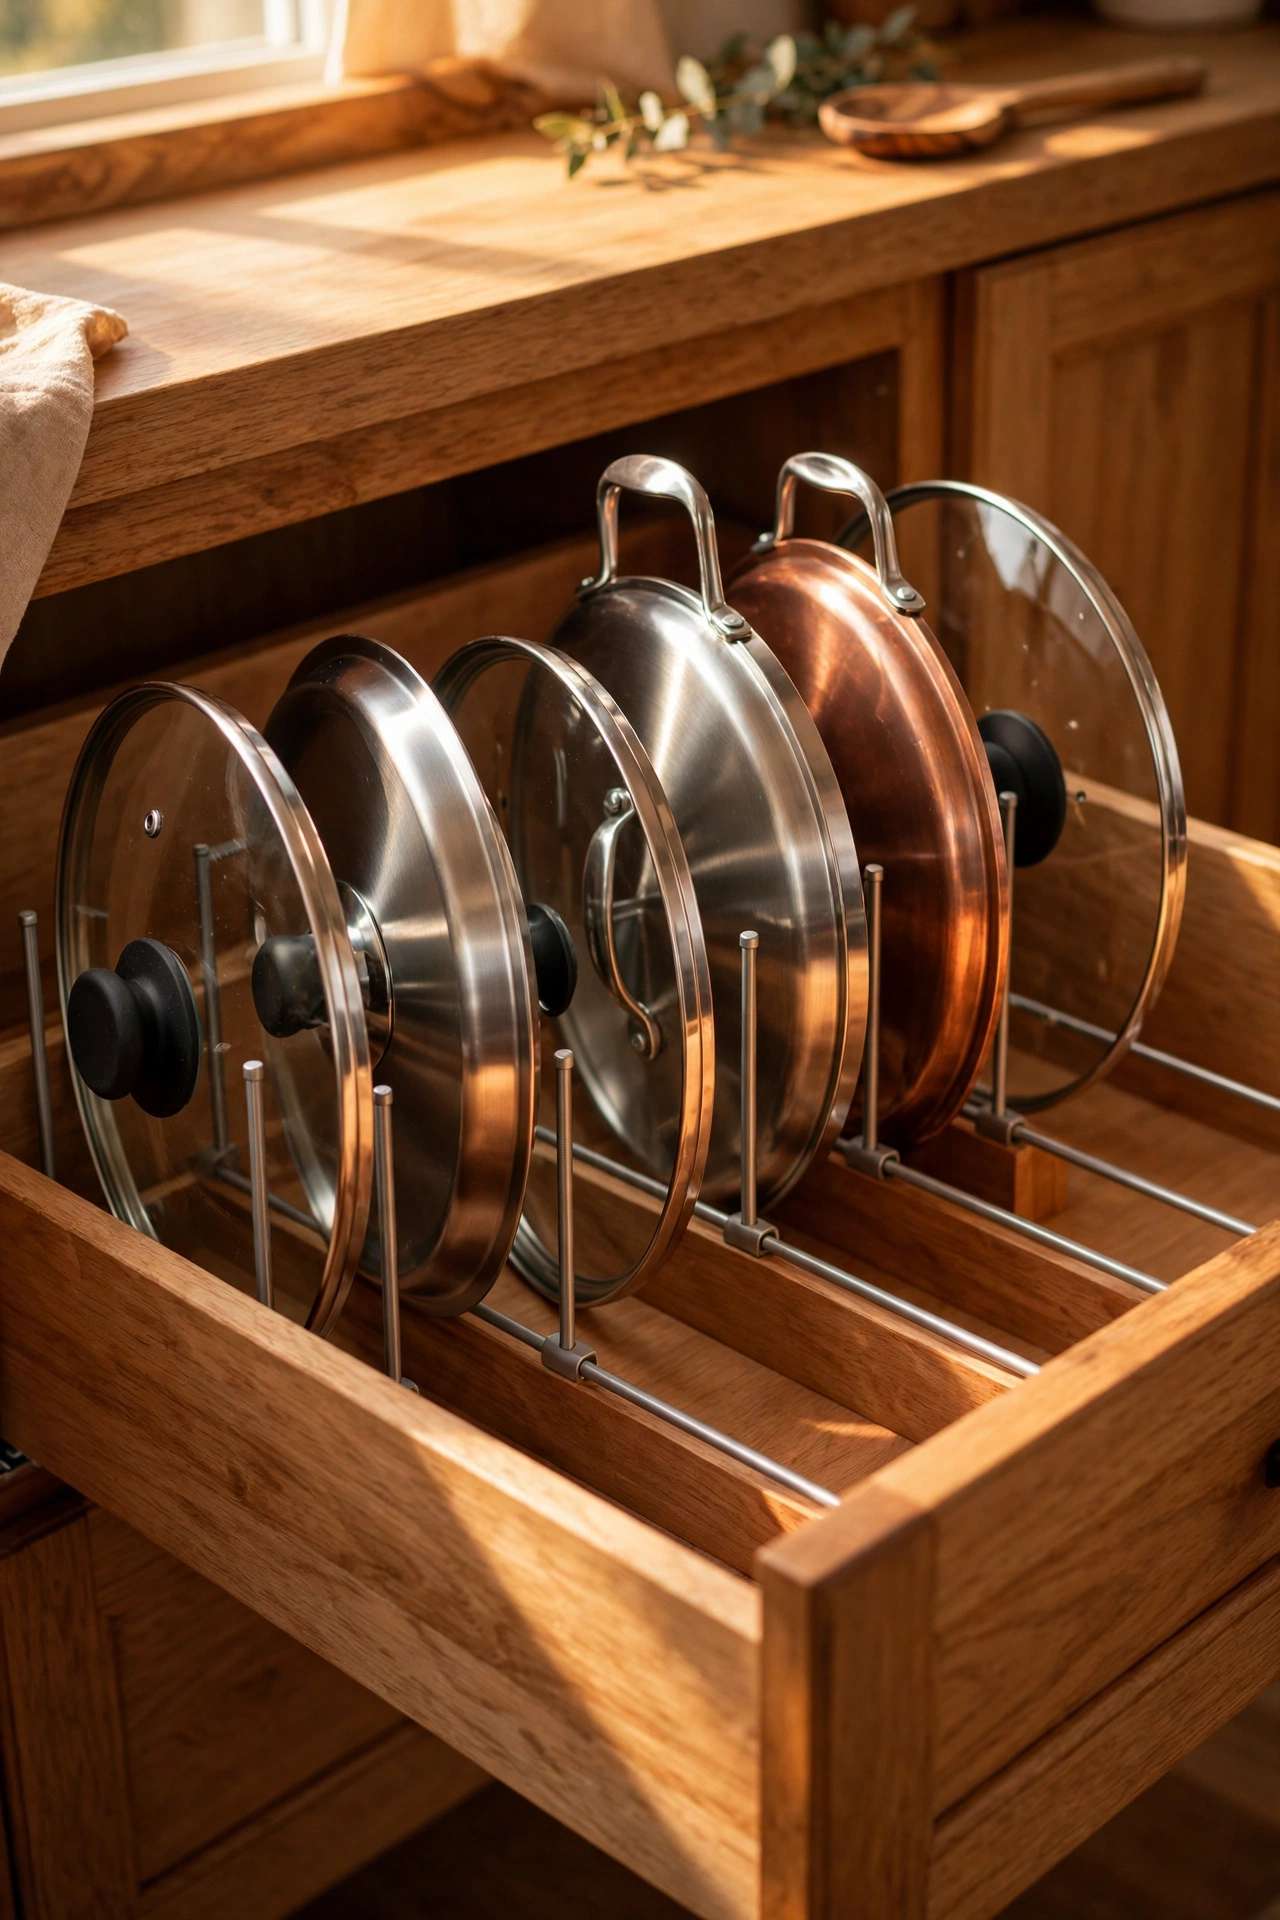
Pan lids are the gremlins of kitchen storage — they slide, clatter and jam. Two short tension rods fitted vertically inside a deep drawer or cabinet create slots that hold lids upright like files. Twist to fit, no tools needed. Arrange lids by size and suddenly the drawer closes first time, every time. It also works for chopping boards and baking trays stood on end. I tried this and the one mistake to avoid is placing the rods too far apart; lids should fit snugly enough to stay put but loosely enough to lift out one-handed. Test with your largest lid first.
Cost: ~$10 | Time: 15 minutes
3. Stackable Can Risers
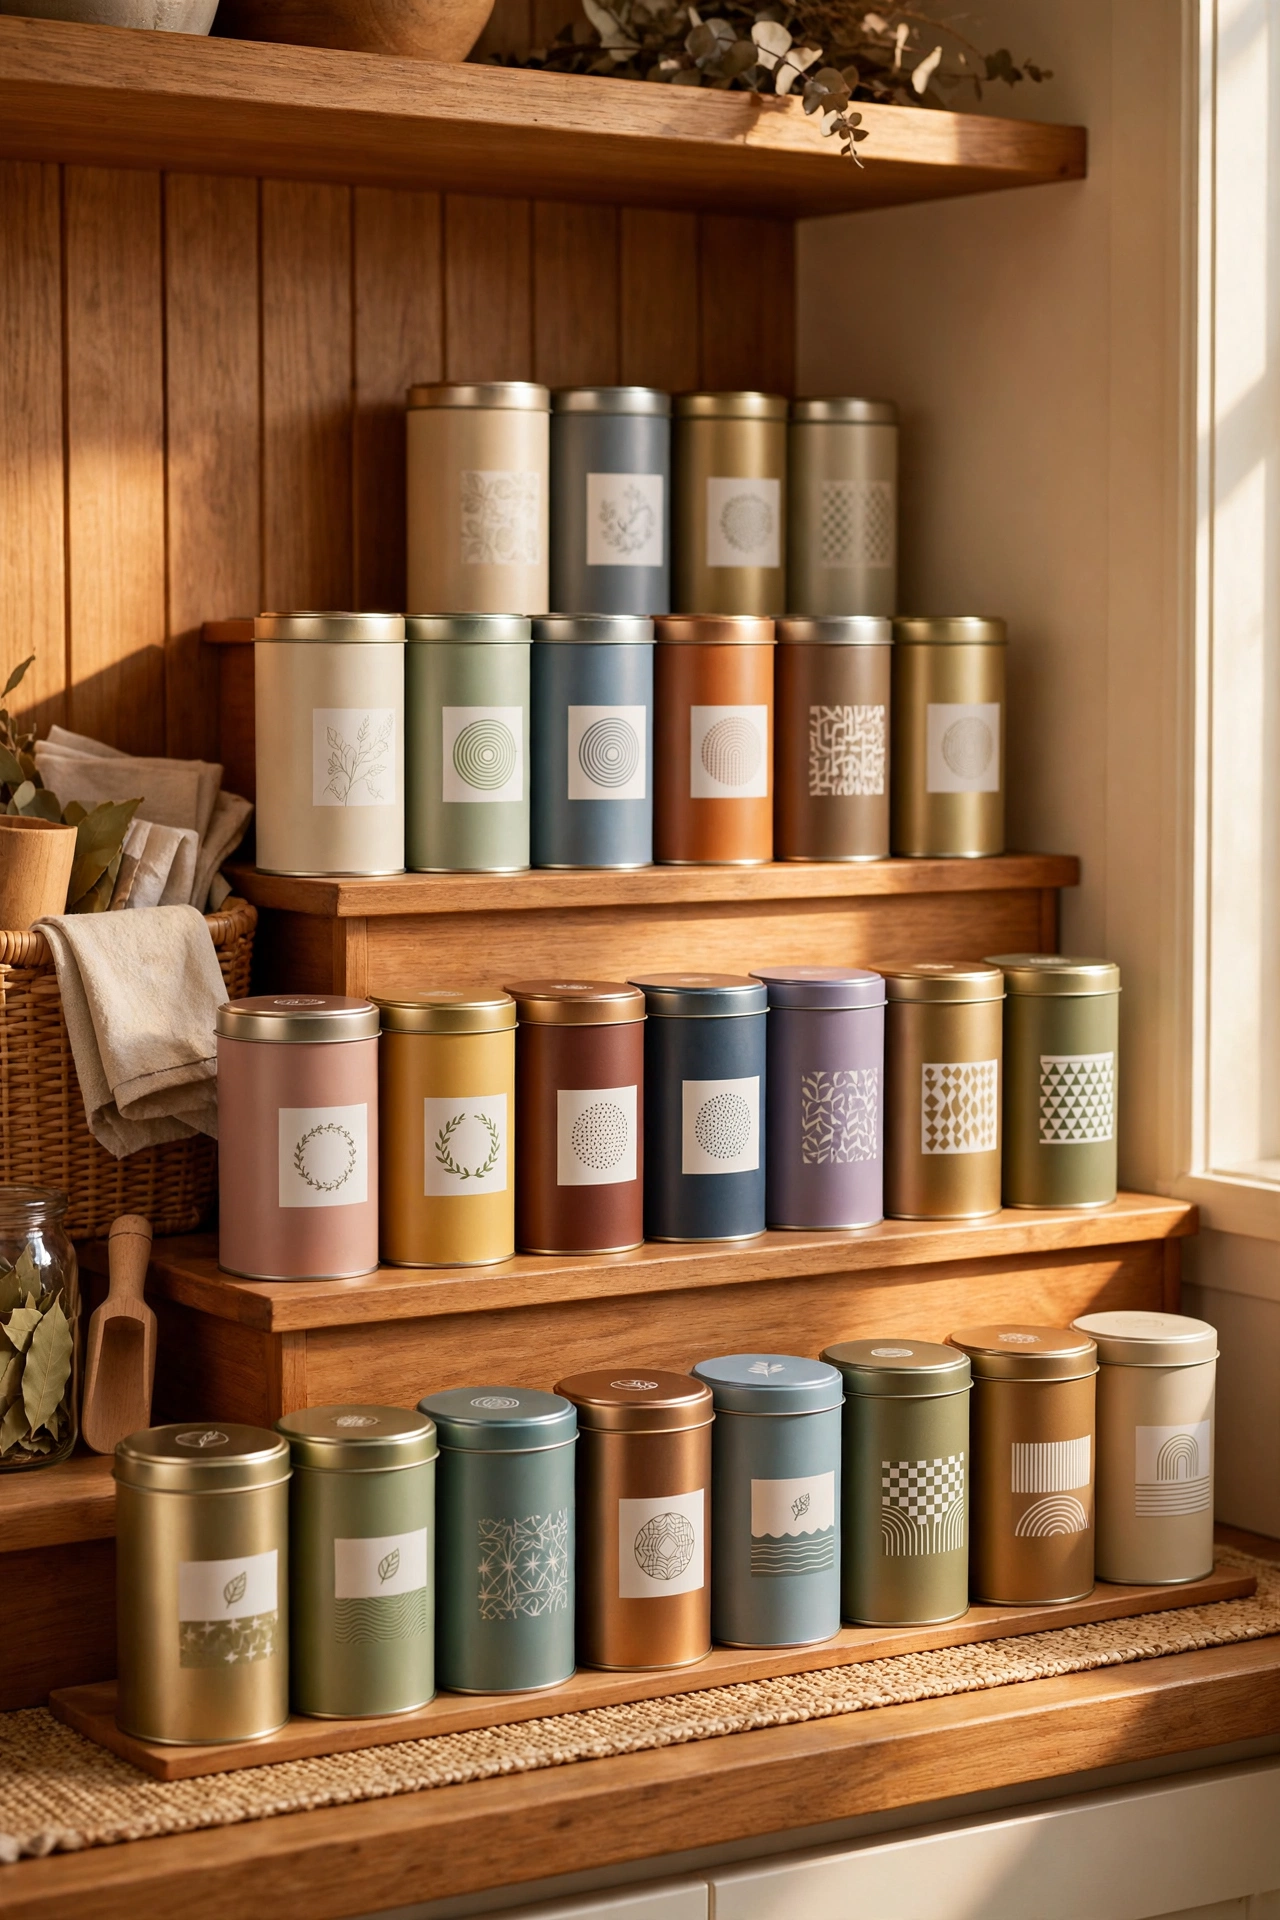
Tiered can risers turn a single pantry shelf into stadium seating for tins — every label visible, nothing hiding behind anything else. The stepped design means the back row sits higher, so you can read it over the front row. They’re freestanding and move with you. Use them for tins, jars and even spice packets. The end of the “mystery tin from 2019” era. I tried this and the one mistake to avoid is buying risers wider than your shelf depth; measure front to back, not just side to side, or they’ll jut out past the shelf edge.
Cost: ~$11 | Time: 10 minutes
4. Under-Sink Tiered Organiser
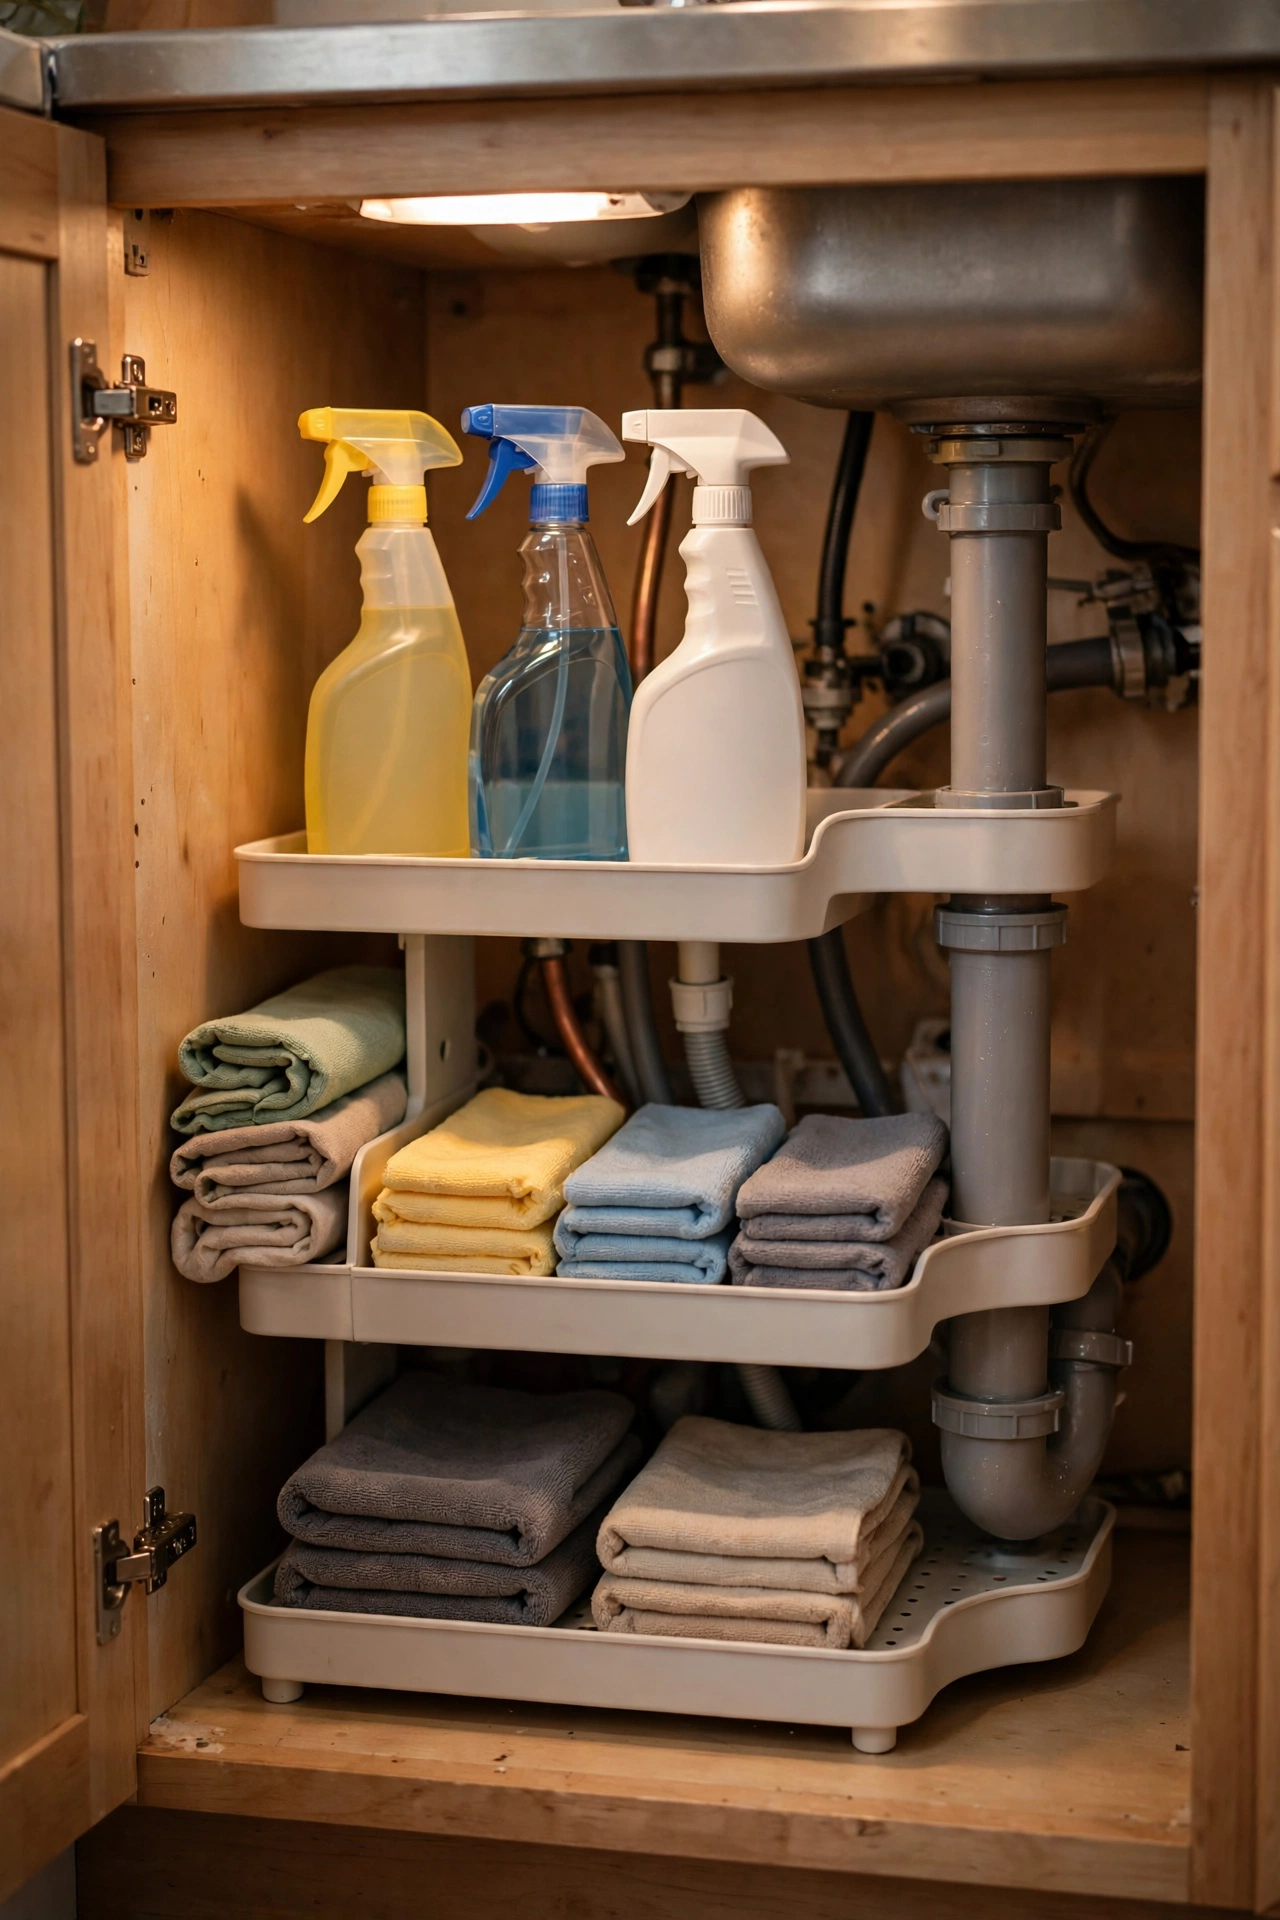
The under-sink cupboard is prime storage ruined by pipes. A tiered organiser designed to fit around the plumbing turns the chaos into ordered rows: cleaning sprays on the top tier, cloths and sponges below, bin bags in the middle. Pull-out designs are worth the small premium because you can actually reach the back. Measure around your pipes before buying — U-shaped organisers fit most layouts. I tried this and the one mistake to avoid is storing anything that leaks directly above the cleaning cloths; one burst bottle ruins the whole system. Keep liquids in a tray.
Cost: ~$20 | Time: 25 minutes
5. Magnetic Spice Tins on the Fridge
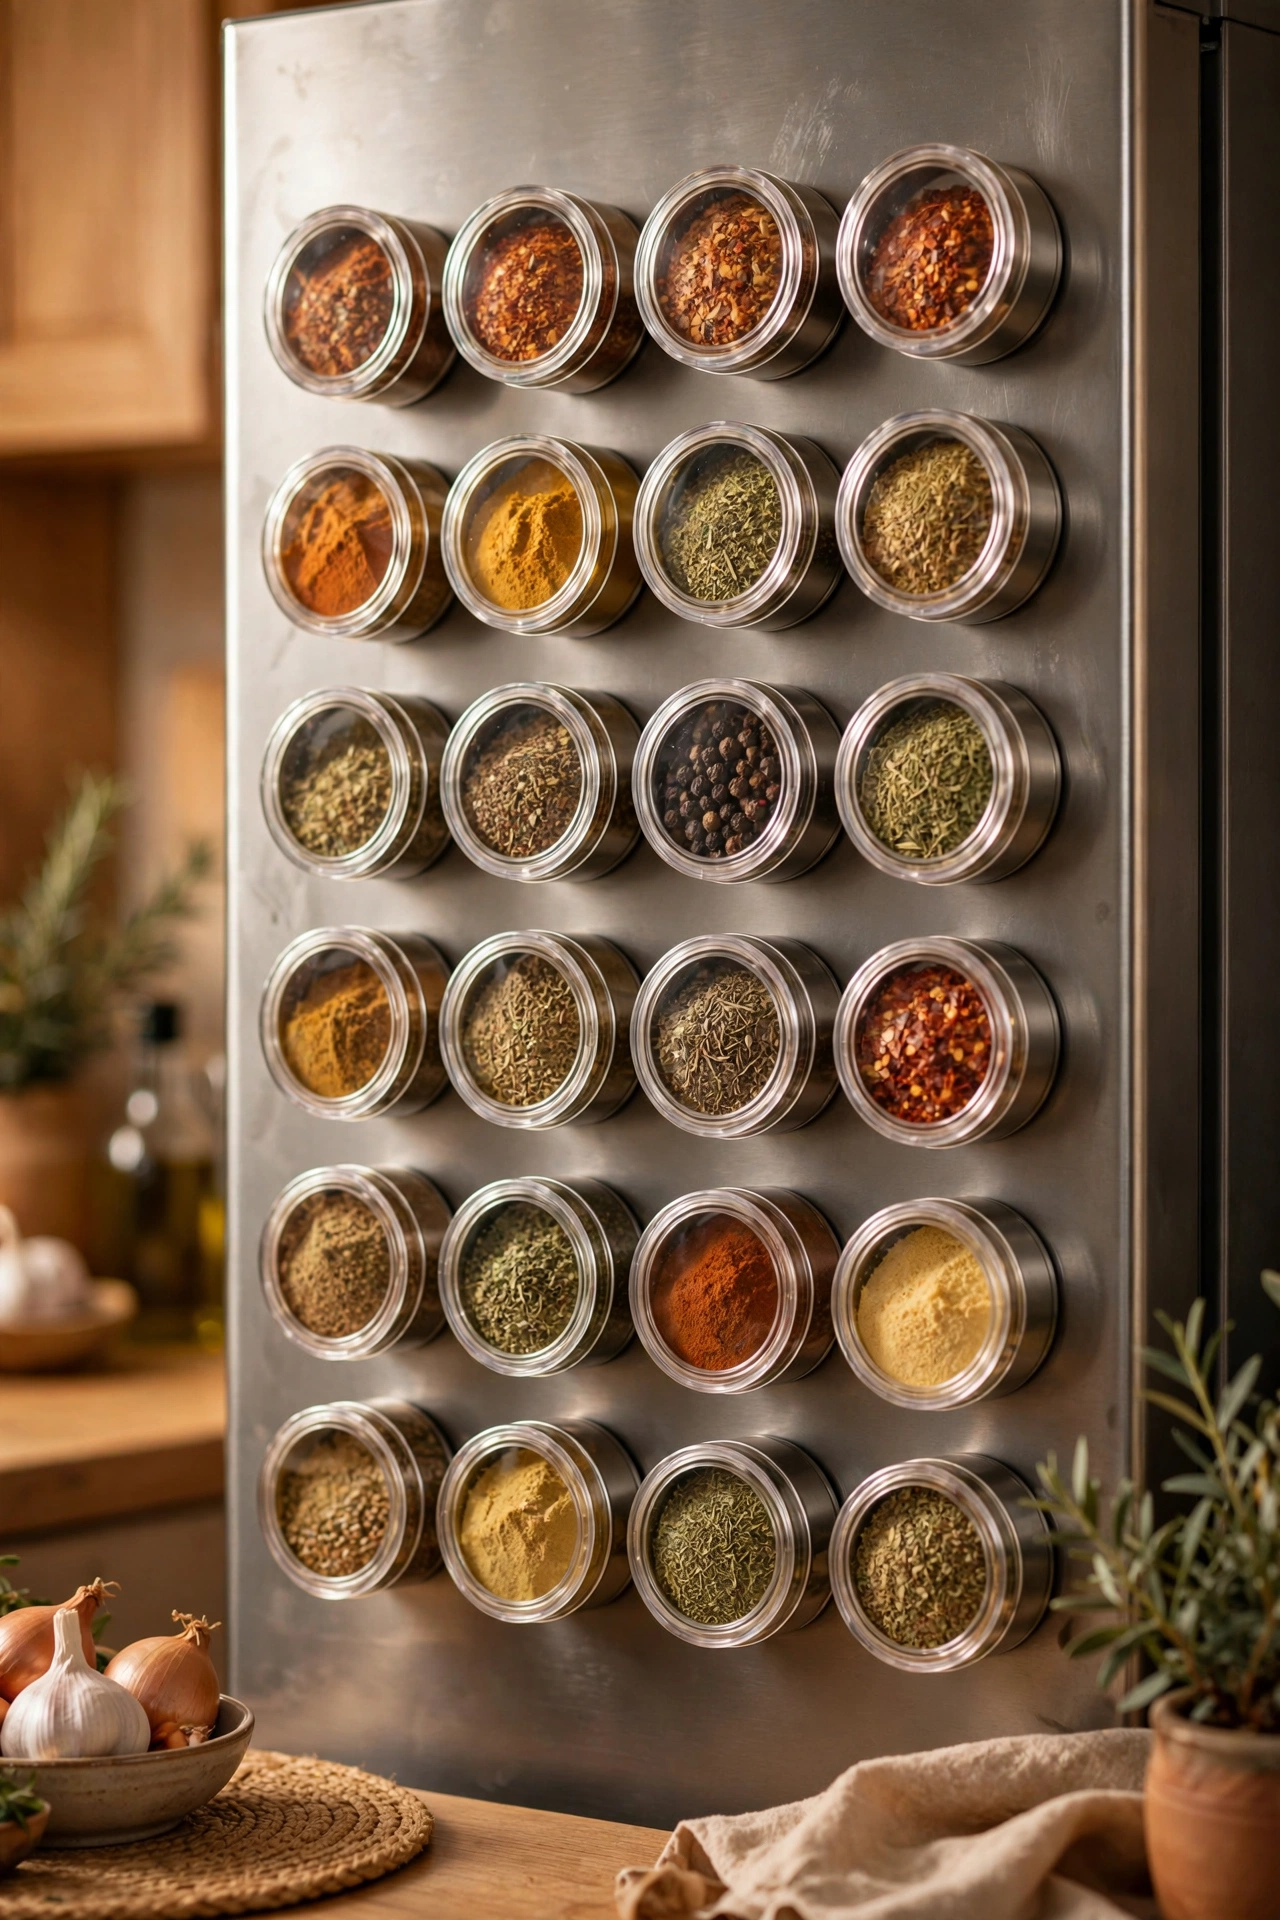
The side of the fridge is a magnetic wall begging to be used. Small magnetic tins with clear lids hold spices, and you can see and reach them while cooking without opening a single cupboard. Fill, label the lids, and stick them in a grid. It frees an entire shelf and looks brilliant — like a professional spice wall. The tins are airtight enough for ground spices used within a few months. I tried this and the one mistake to avoid is placing them on the fridge door itself; the constant swinging loosens the magnets over time. The static side panel is the right spot.
Cost: ~$15 | Time: 30 minutes
6. Wall-Mounted Fold-Down Table
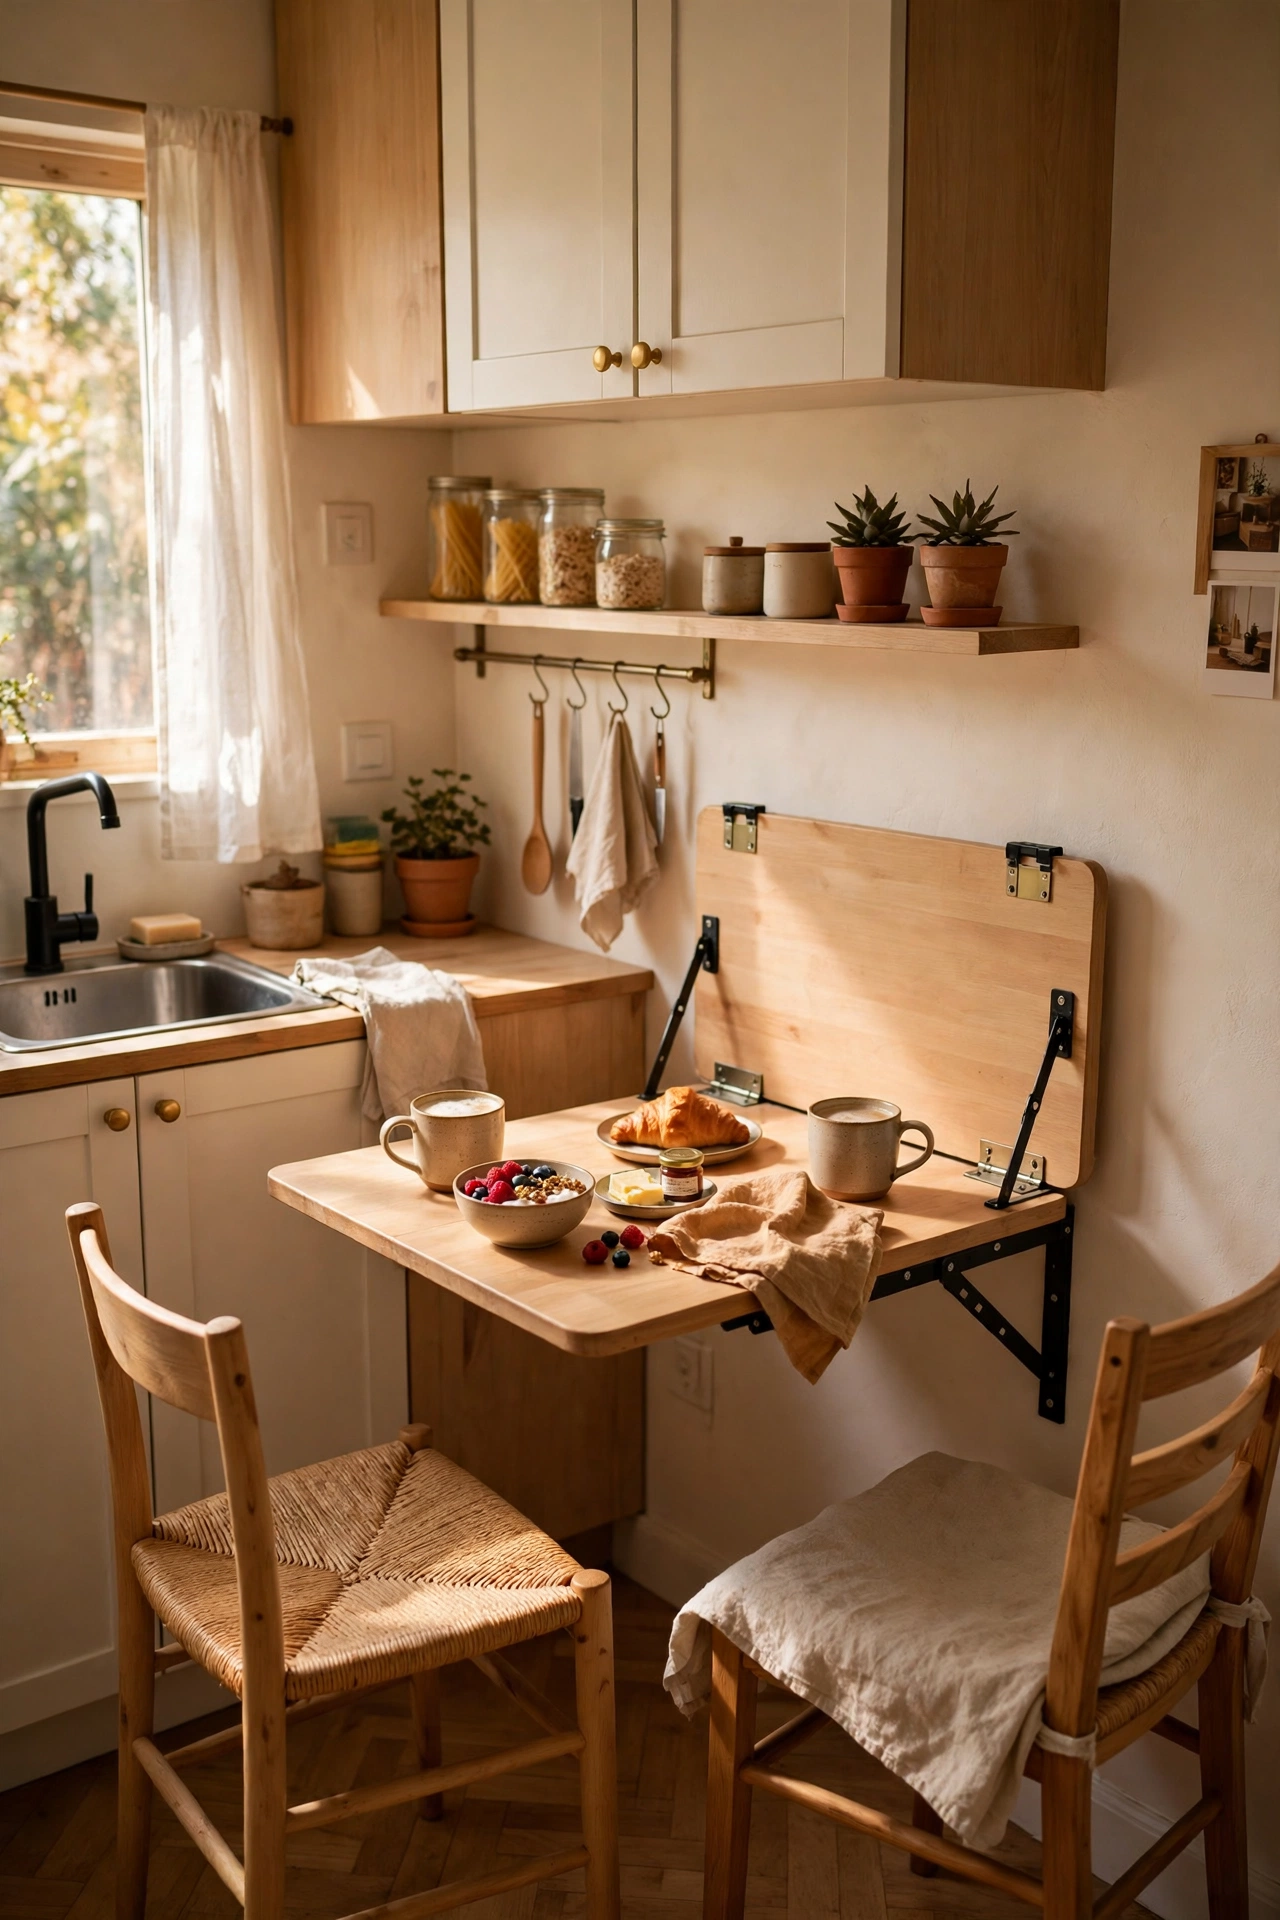
A fold-down wall table gives you a dining spot or extra prep surface that vanishes when you don’t need it. The bracket-mounted kind folds flat against the wall; the freestanding leaning kind needs no fixing at all — ideal for renters. Use it for breakfast, homework, laptop work, then fold it away and reclaim the floor. Choose one rated for the weight you’ll put on it. I tried this and the one mistake to avoid is mounting it (or leaning it) where the folded-down clearance blocks a walkway; check the swing and the folded footprint before you commit to the position.
Cost: ~$42 | Time: 30 minutes
7. Hanging Rail for Pots and Pans
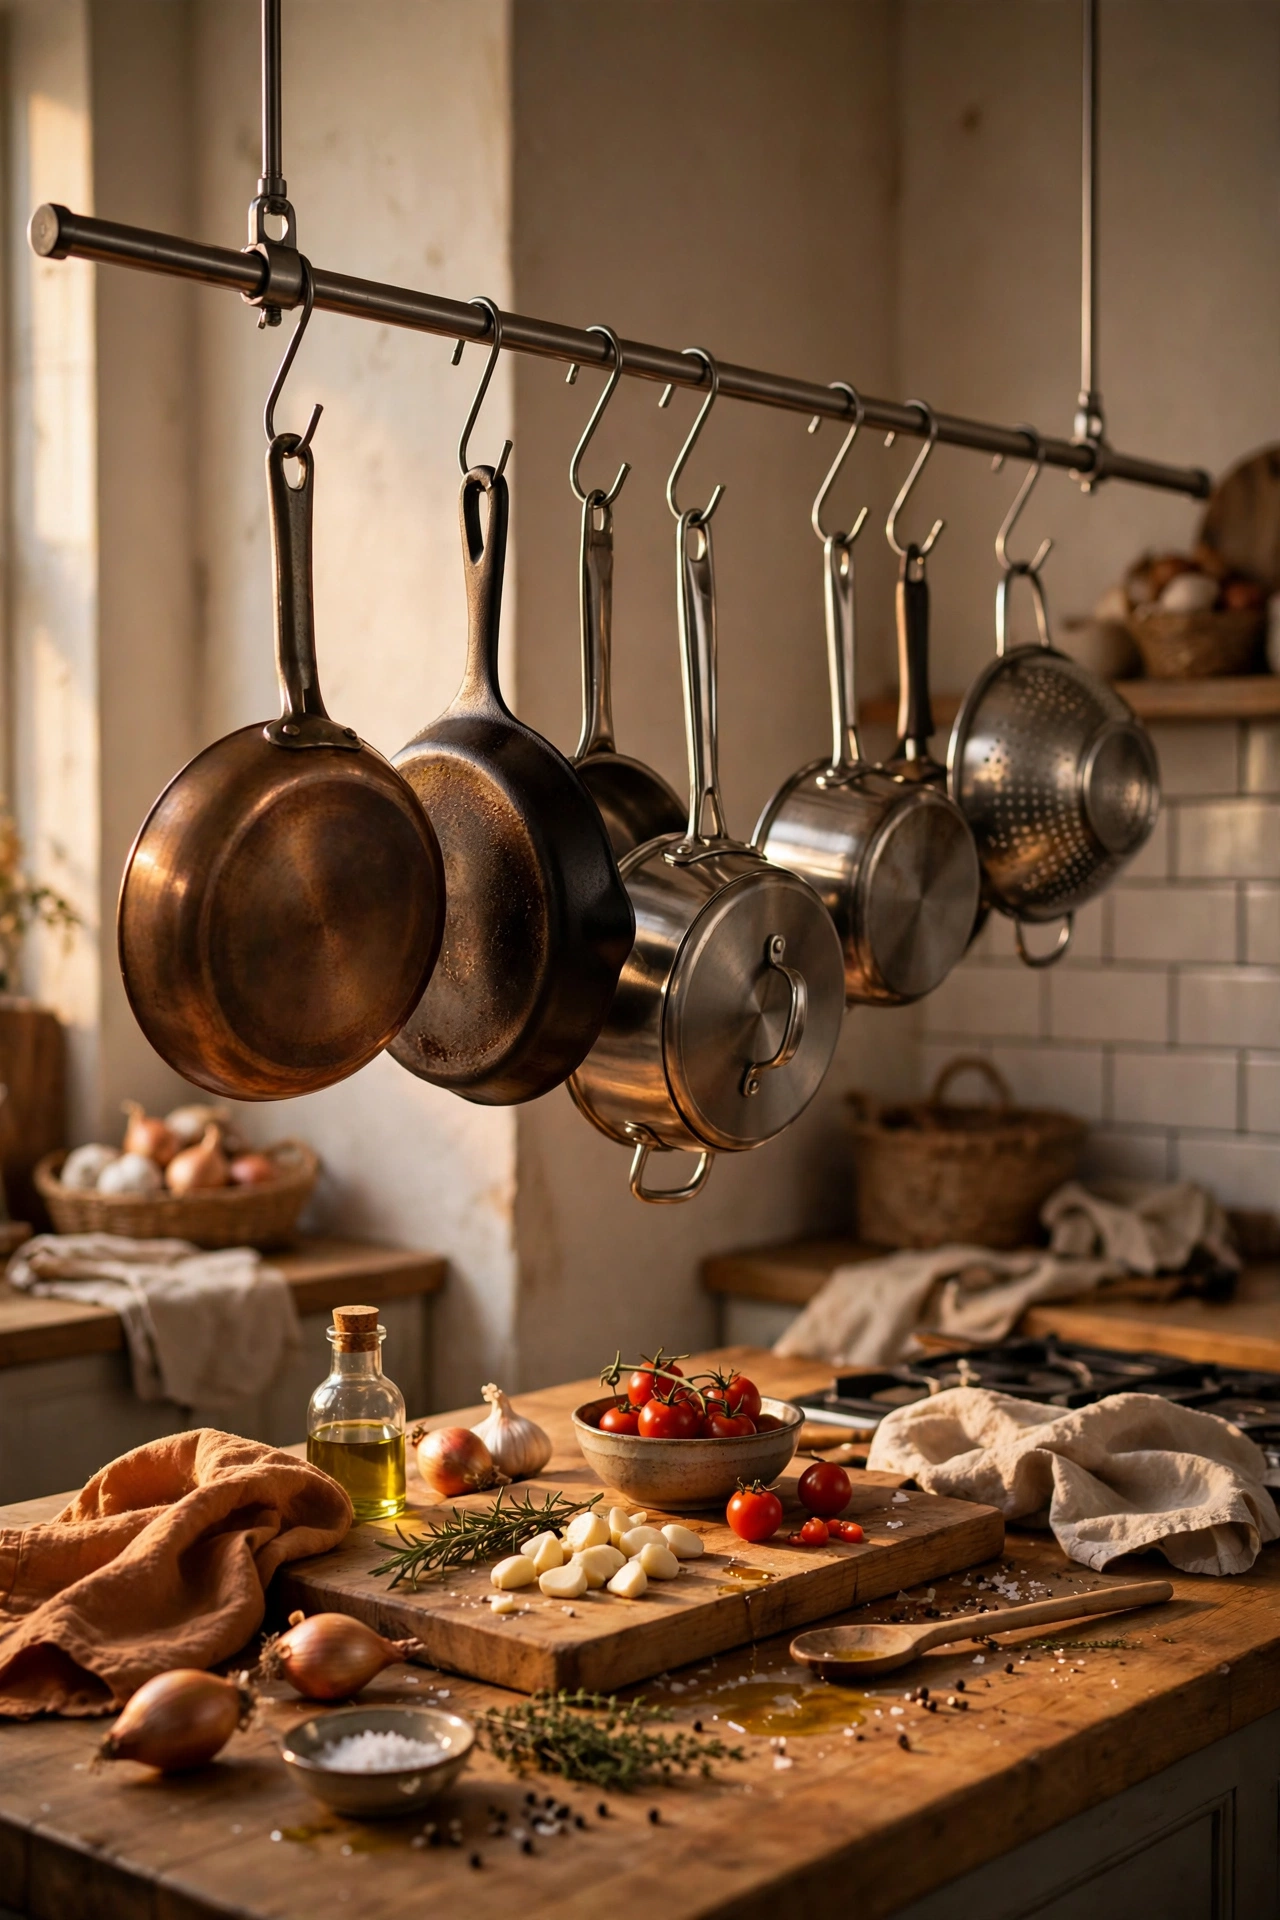
A ceiling- or wall-mounted rail with S-hooks gets bulky pots and pans out of the cupboards entirely. The tension-mounted kind wedges between floor and ceiling with no drilling — perfect for rentals. Hang the everyday pans where you can grab them; it frees a whole base cabinet and looks like a proper cook’s kitchen. Keep the rail away from the main walkway to avoid head bumps. I tried this and the one mistake to avoid is hanging every pan you own; the rail should hold the working set of five or six. The rarely-used stockpot can live on top of the wardrobe.
Cost: ~$24 | Time: 30 minutes
8. Inside-Door Wrap and Foil Holders
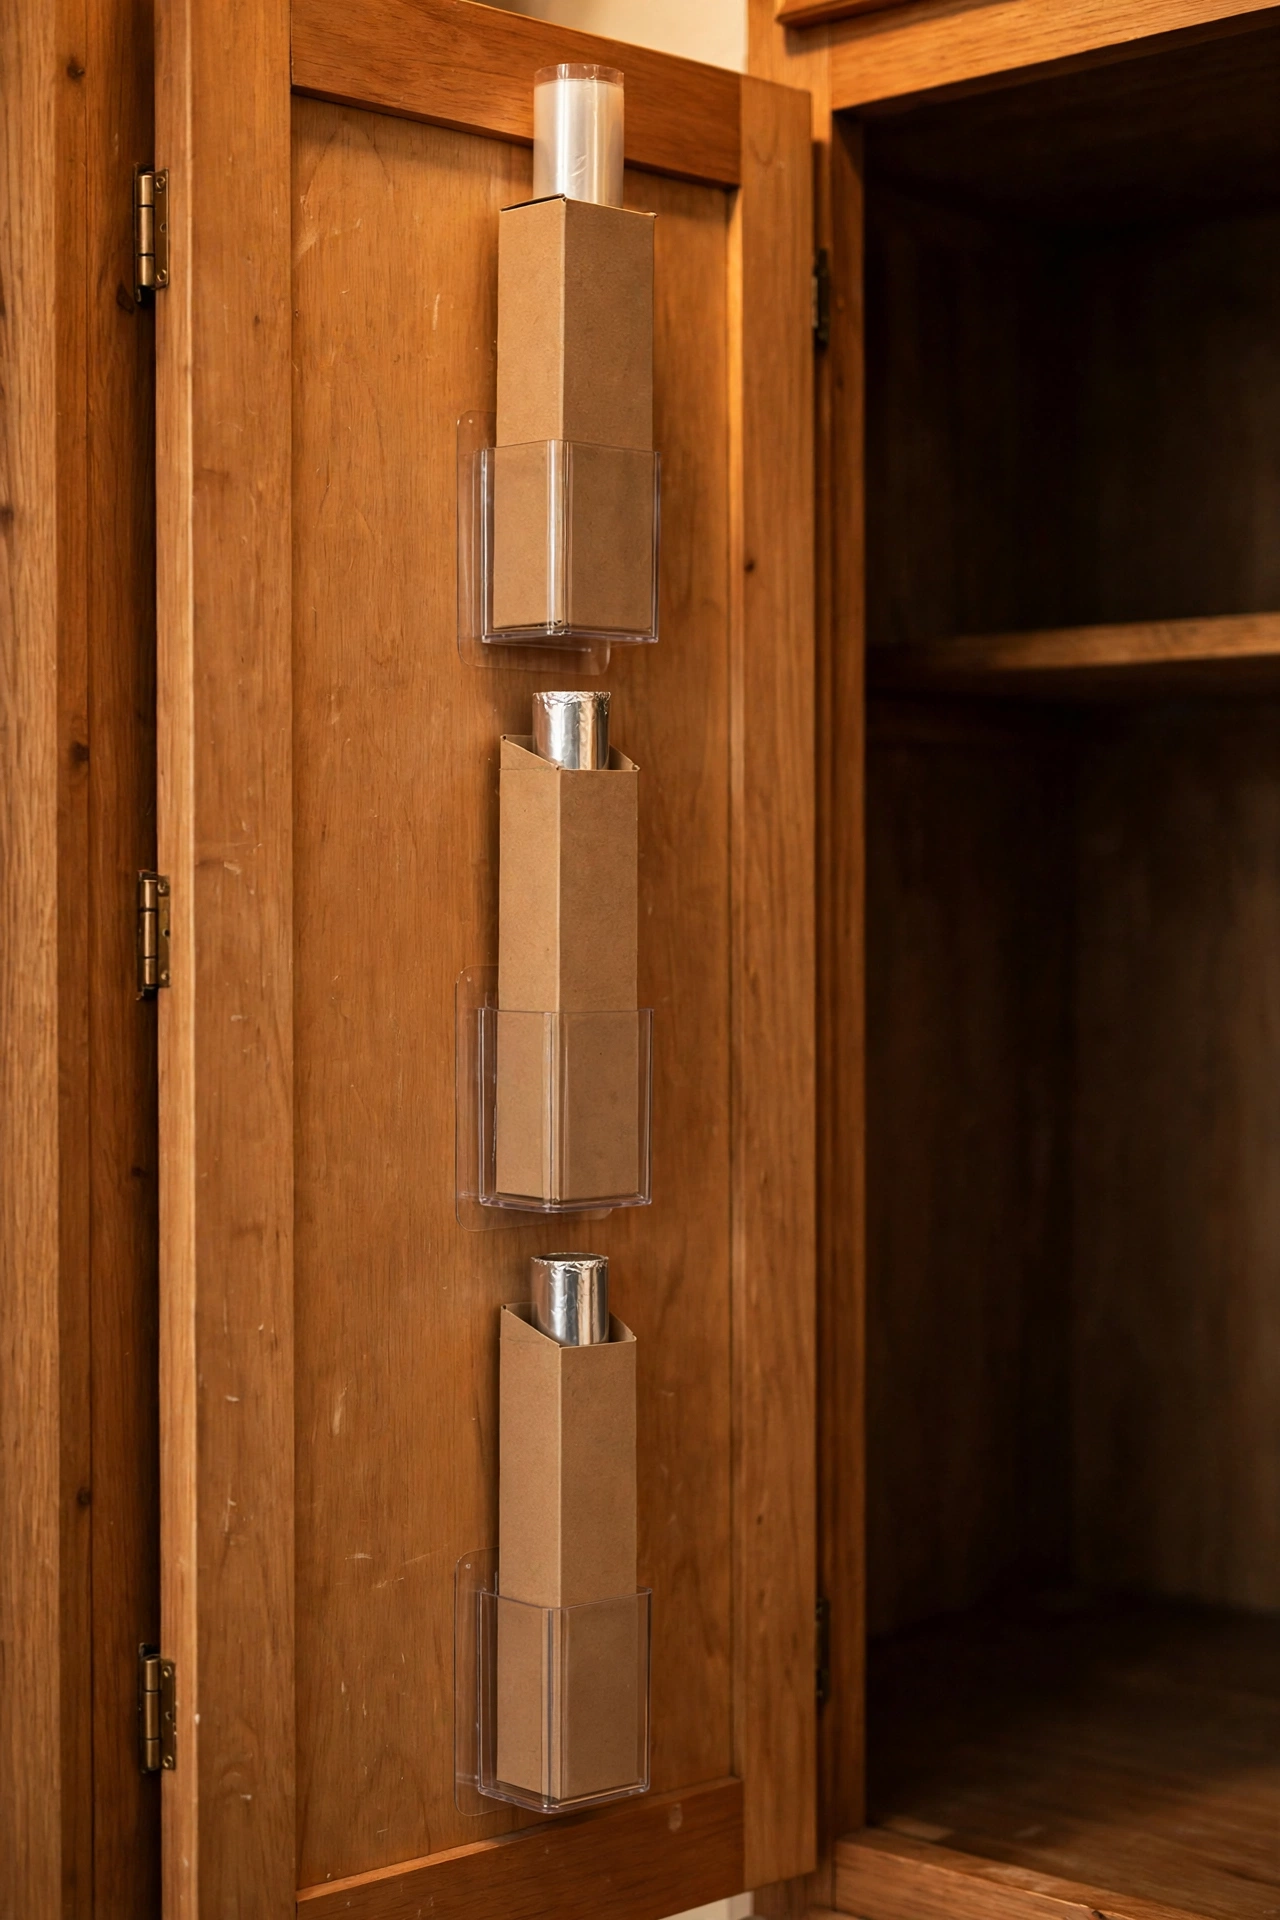
Cling film, foil and baking paper boxes are awkwardly long and always in the way. Slim adhesive holders on the inside of a tall cupboard door keep them vertical, visible and one-handed accessible. Stick two holders side by side for the full set. It reclaims the drawer they used to jam. Check the door closes with them fitted before loading. I tried this and the one mistake to avoid is sticking them where the boxes foul the shelf when the door swings shut; hold the door nearly closed and watch the clearance as you position them.
Cost: ~$9 | Time: 15 minutes
9. Slim Pull-Out Between Fridge and Wall
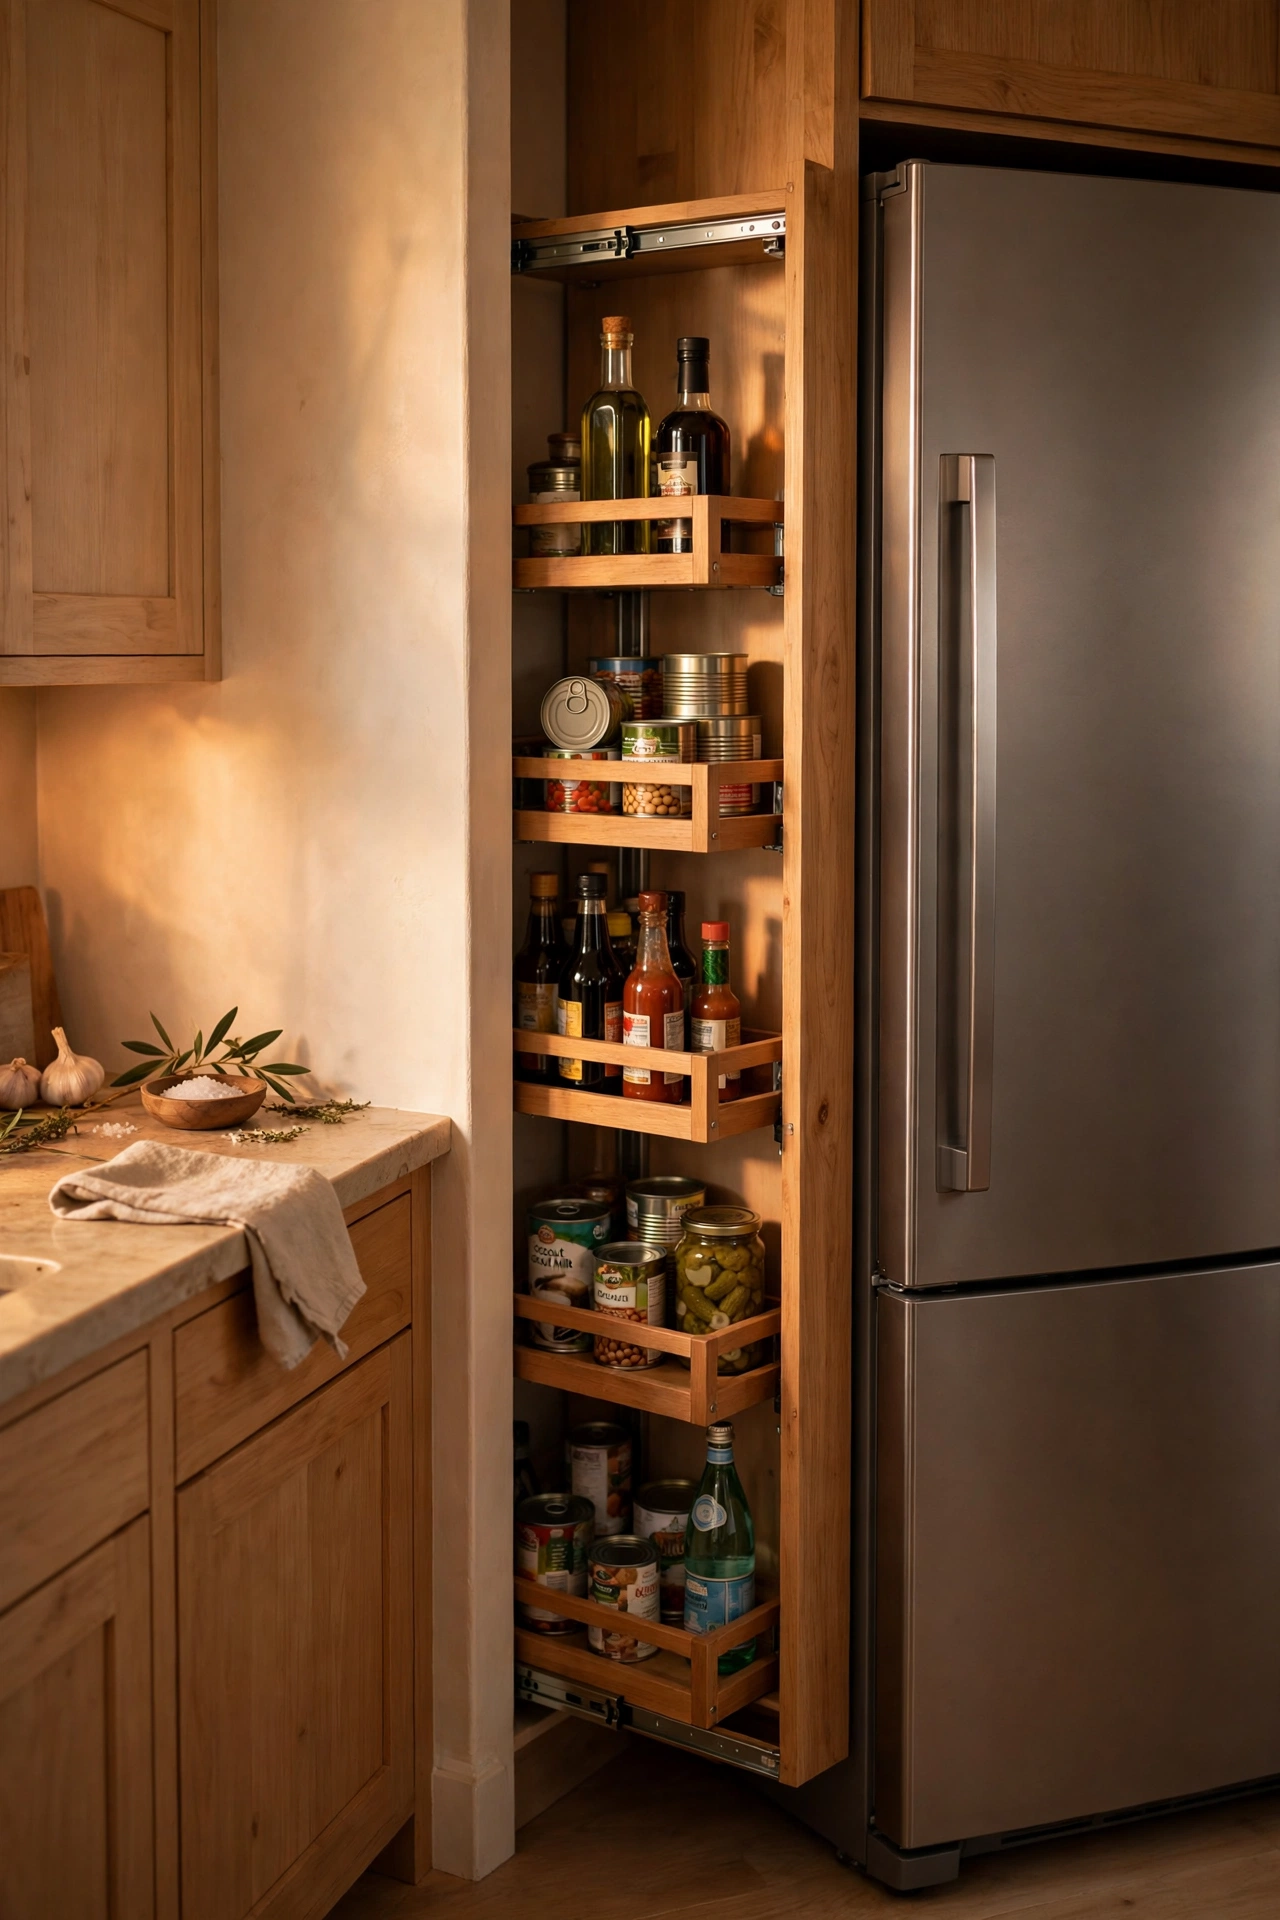
The gap beside the fridge — often 10 to 20cm of nothing — fits a slim pull-out tower with shelves for bottles, tins and packets. It slides out like a drawer and disappears when pushed back. Measure the gap at top, middle and bottom, as walls lean; buy to the smallest measurement. The top surface becomes a landing spot for the fruit bowl. It’s astonishing how much a 15cm-wide tower holds. I tried this and the one mistake to avoid is forgetting the fridge needs ventilation space; leave a couple of centimetres of air around the fridge sides or the motor works overtime.
Cost: ~$28 | Time: 20 minutes
10. Stacking Baskets in Deep Cabinets
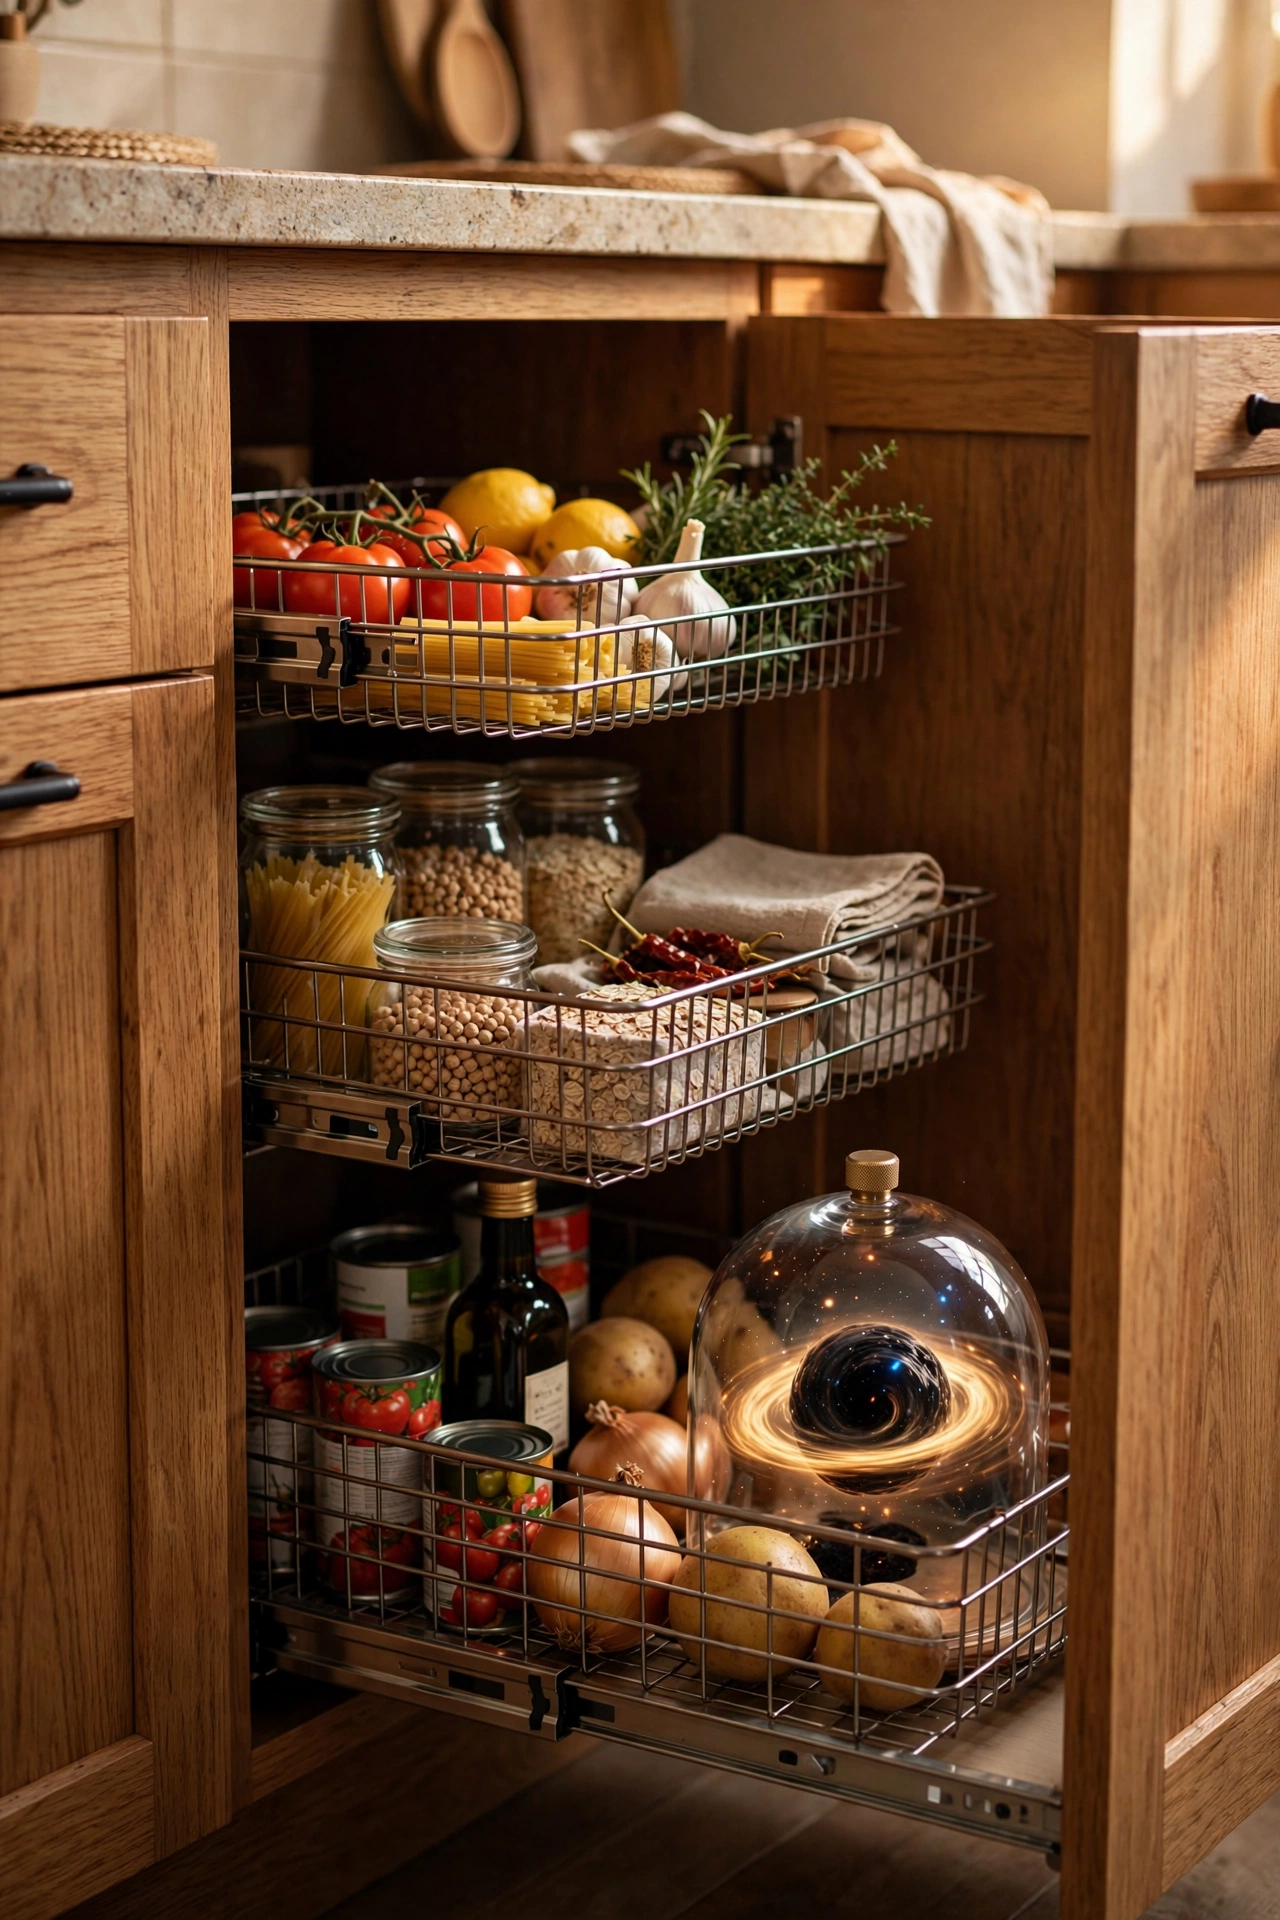
Deep base cabinets become black holes, but stackable wire or plastic baskets turn them into drawers you can lift out. Sort by category — baking in one, snacks in another — and pull the whole basket out to see everything. The stacking uses the full height instead of just the floor of the cabinet. Label the fronts if you’re feeling organised. They move with you to the next flat. I tried this and the one mistake to avoid is buying baskets without checking the cabinet door opening; baskets must fit through the door, not just inside the cabinet. Measure the opening, not the interior.
Cost: ~$16 | Time: 15 minutes
11. Over-Sink Cutting Board for Extra Counter
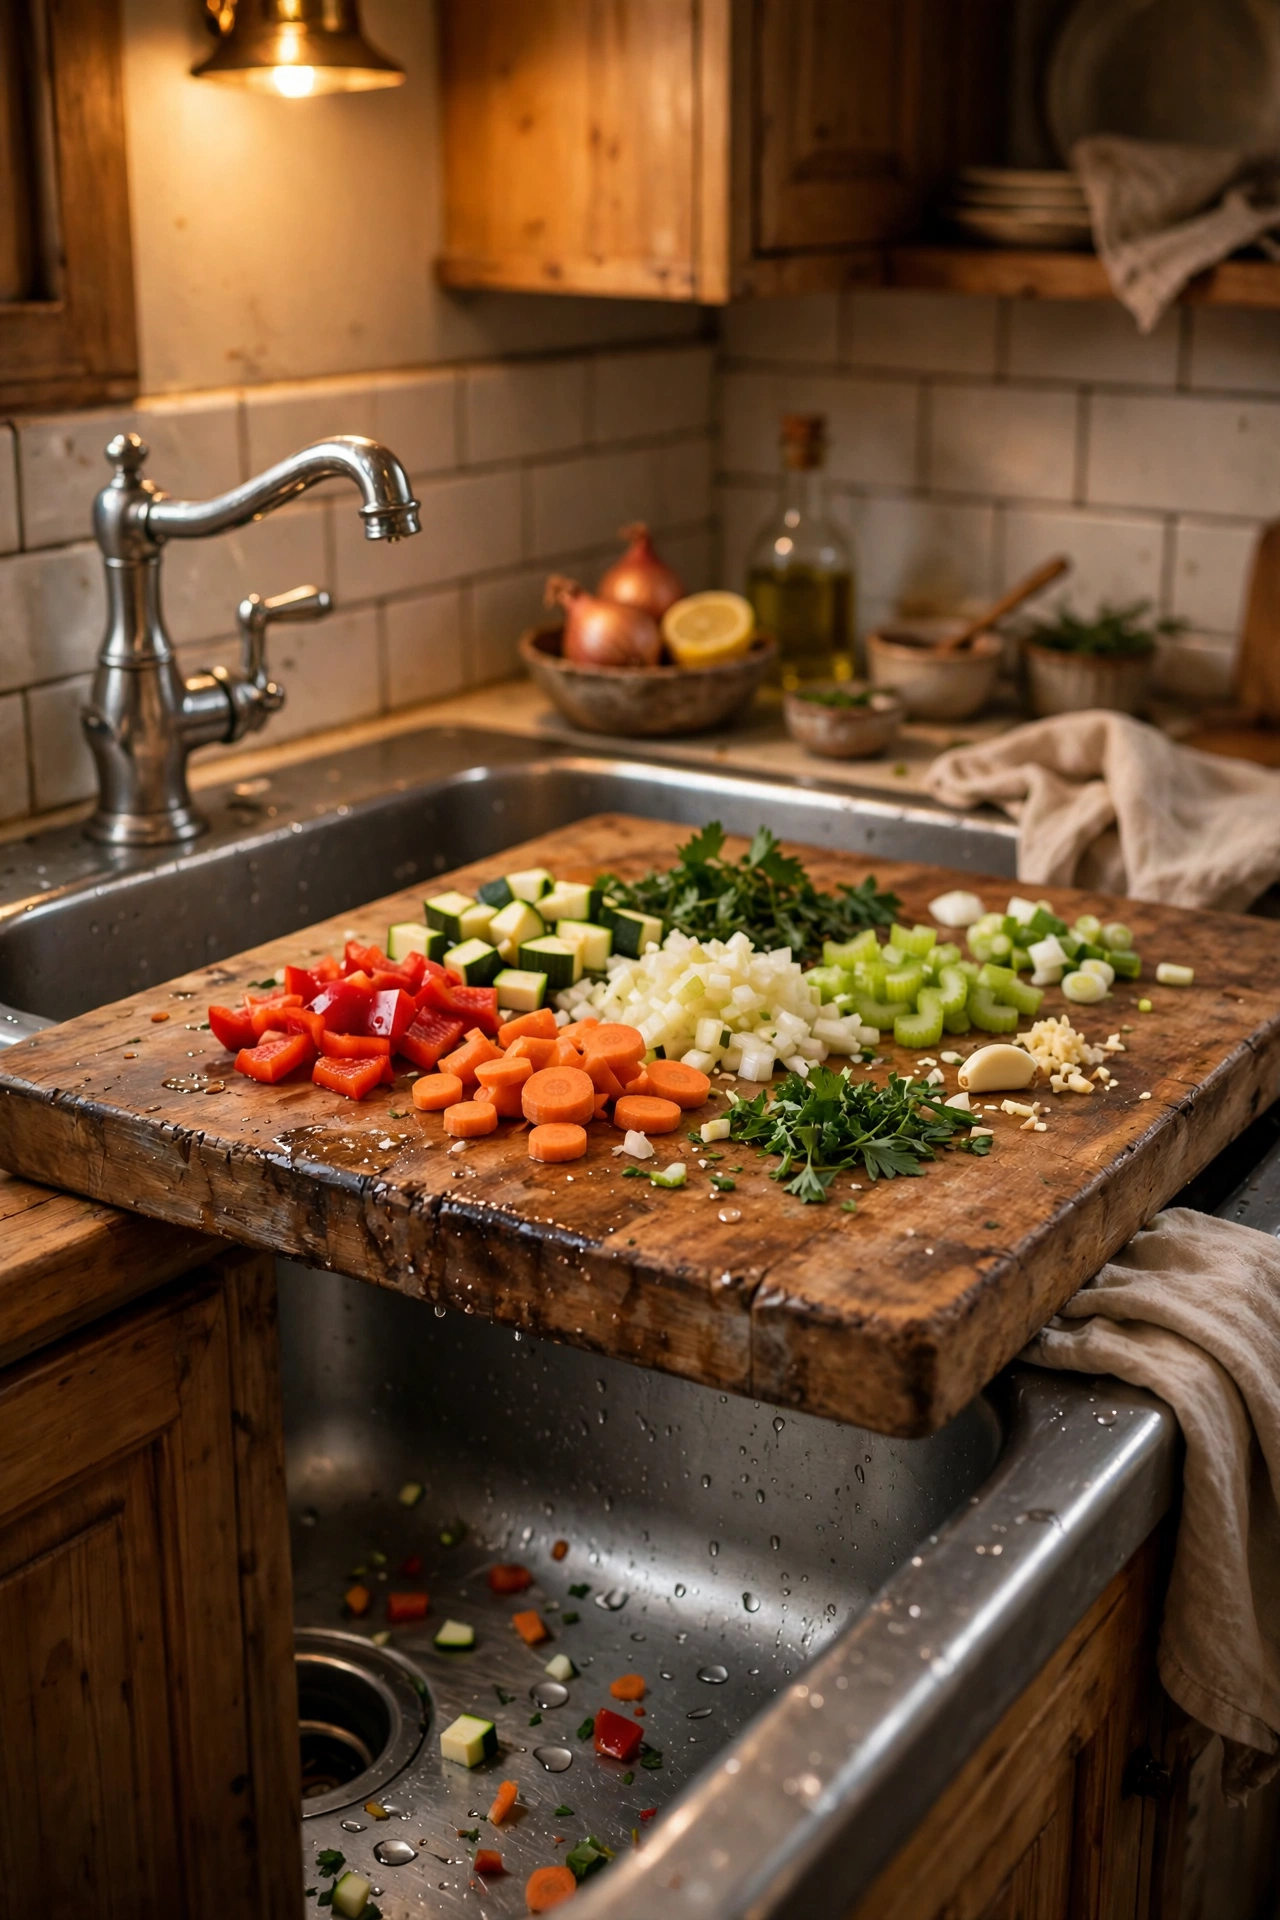
A sturdy board that sits across the sink instantly adds a square foot of prep space exactly where small kitchens need it. Use it for chopping veg, then slide it aside to rinse. Wooden ones double as serving boards. Choose one with a lip or handles so it sits securely and lifts off easily. It’s the cheapest square footage you’ll ever buy. I tried this and the one mistake to avoid is using a warped board; it rocks, which is dangerous with a knife. Test it flat on the counter first — if it wobbles empty, it wobbles dangerously under a knife.
Cost: ~$18 | Time: 5 minutes
12. Tension-Pole Corner Shelves
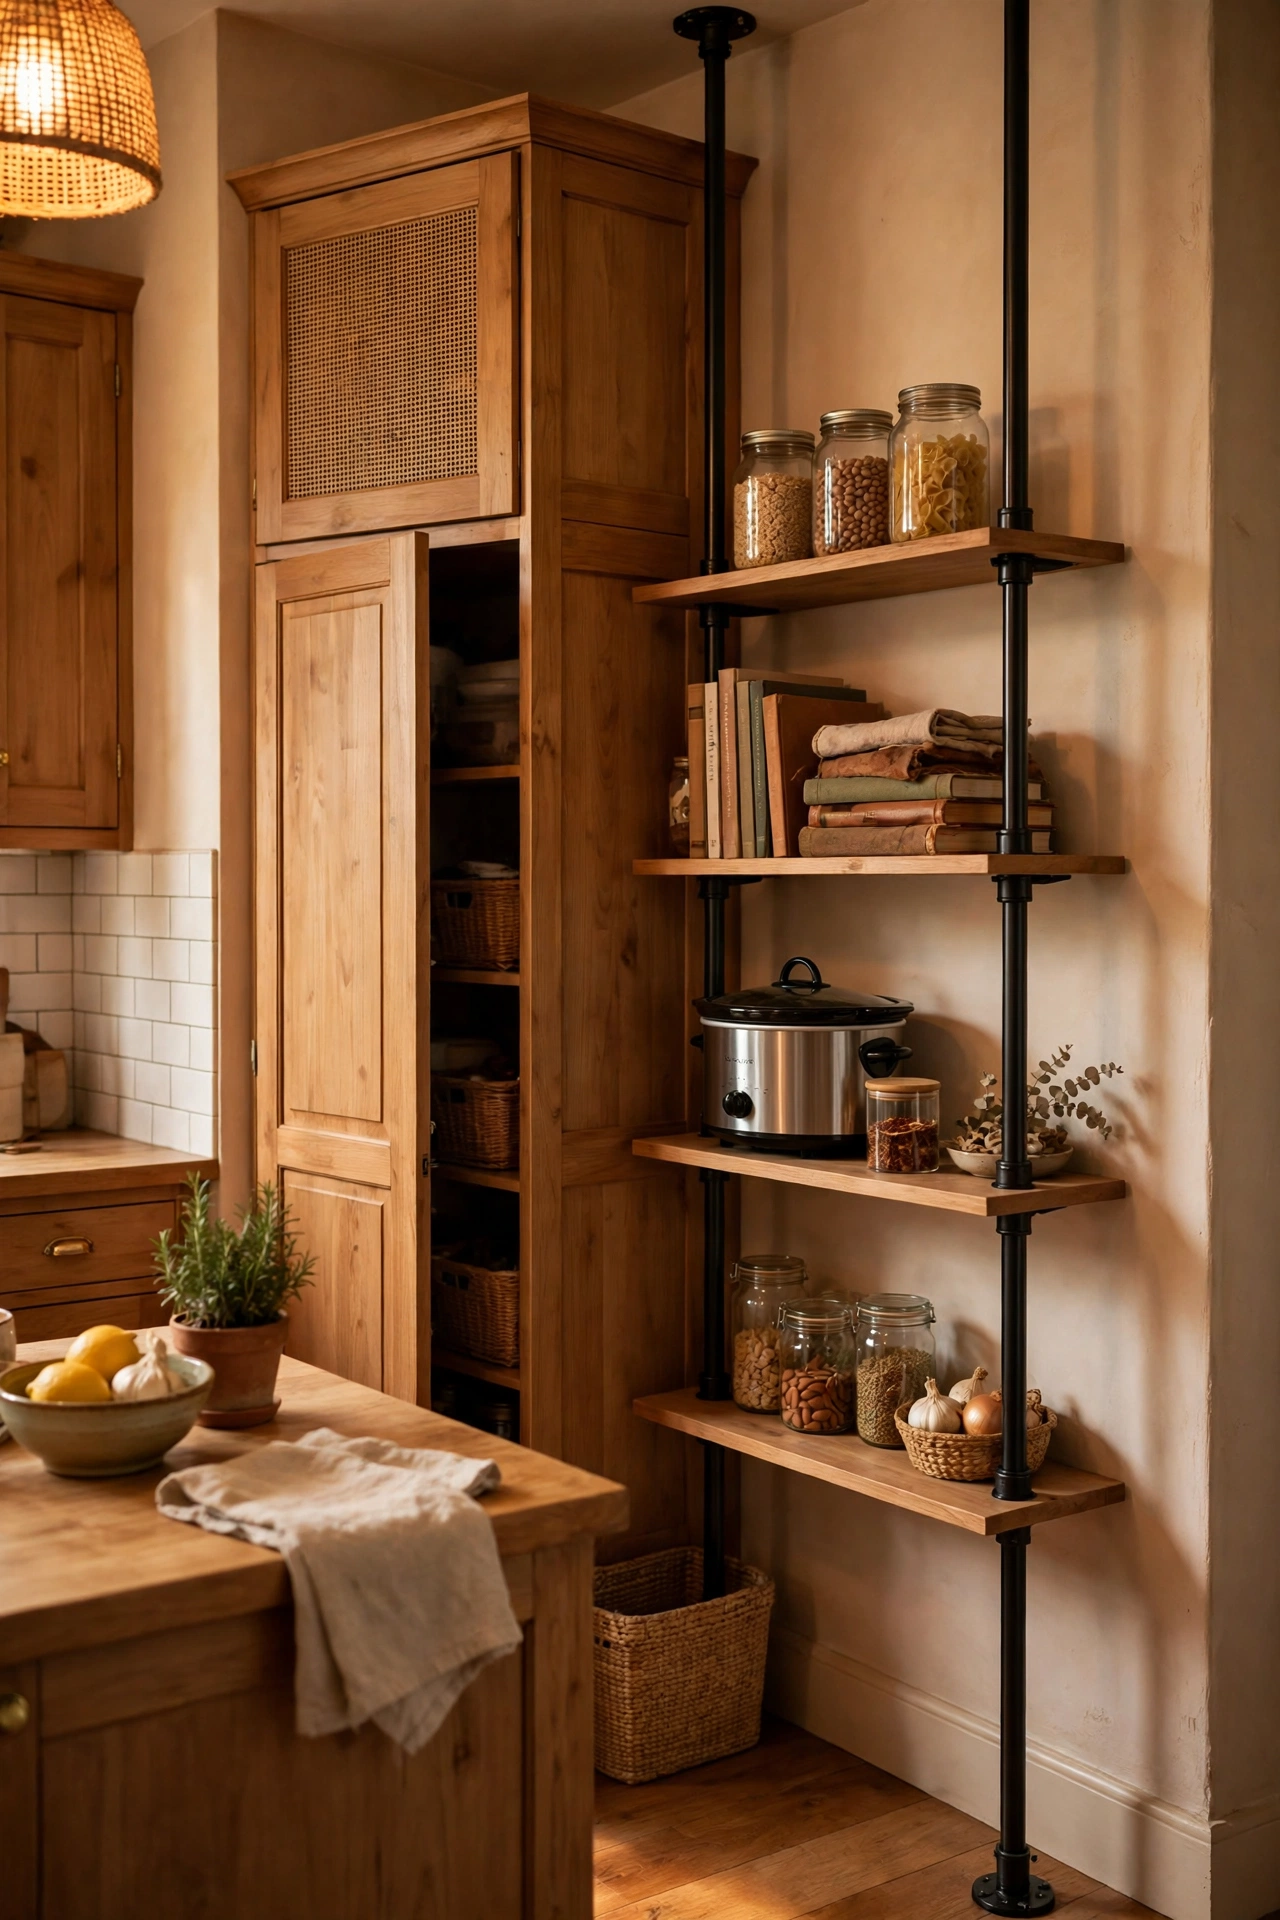
A floor-to-ceiling tension pole with adjustable shelves turns an empty corner into a pantry tower with no drilling. Wedge it in place, clip the shelves at useful heights, and load with jars, cookbooks and the slow cooker. Corners are dead space in most flats; this makes them the hardest-working spot in the room. Keep heavy items low for stability. I tried this and the one mistake to avoid is overtightening the pole against a plasterboard ceiling; firm is enough. Cranking it can crack the plaster, which is a deposit deduction waiting to happen.
Cost: ~$32 | Time: 40 minutes
13. Under-Cabinet Wine Glass Rack
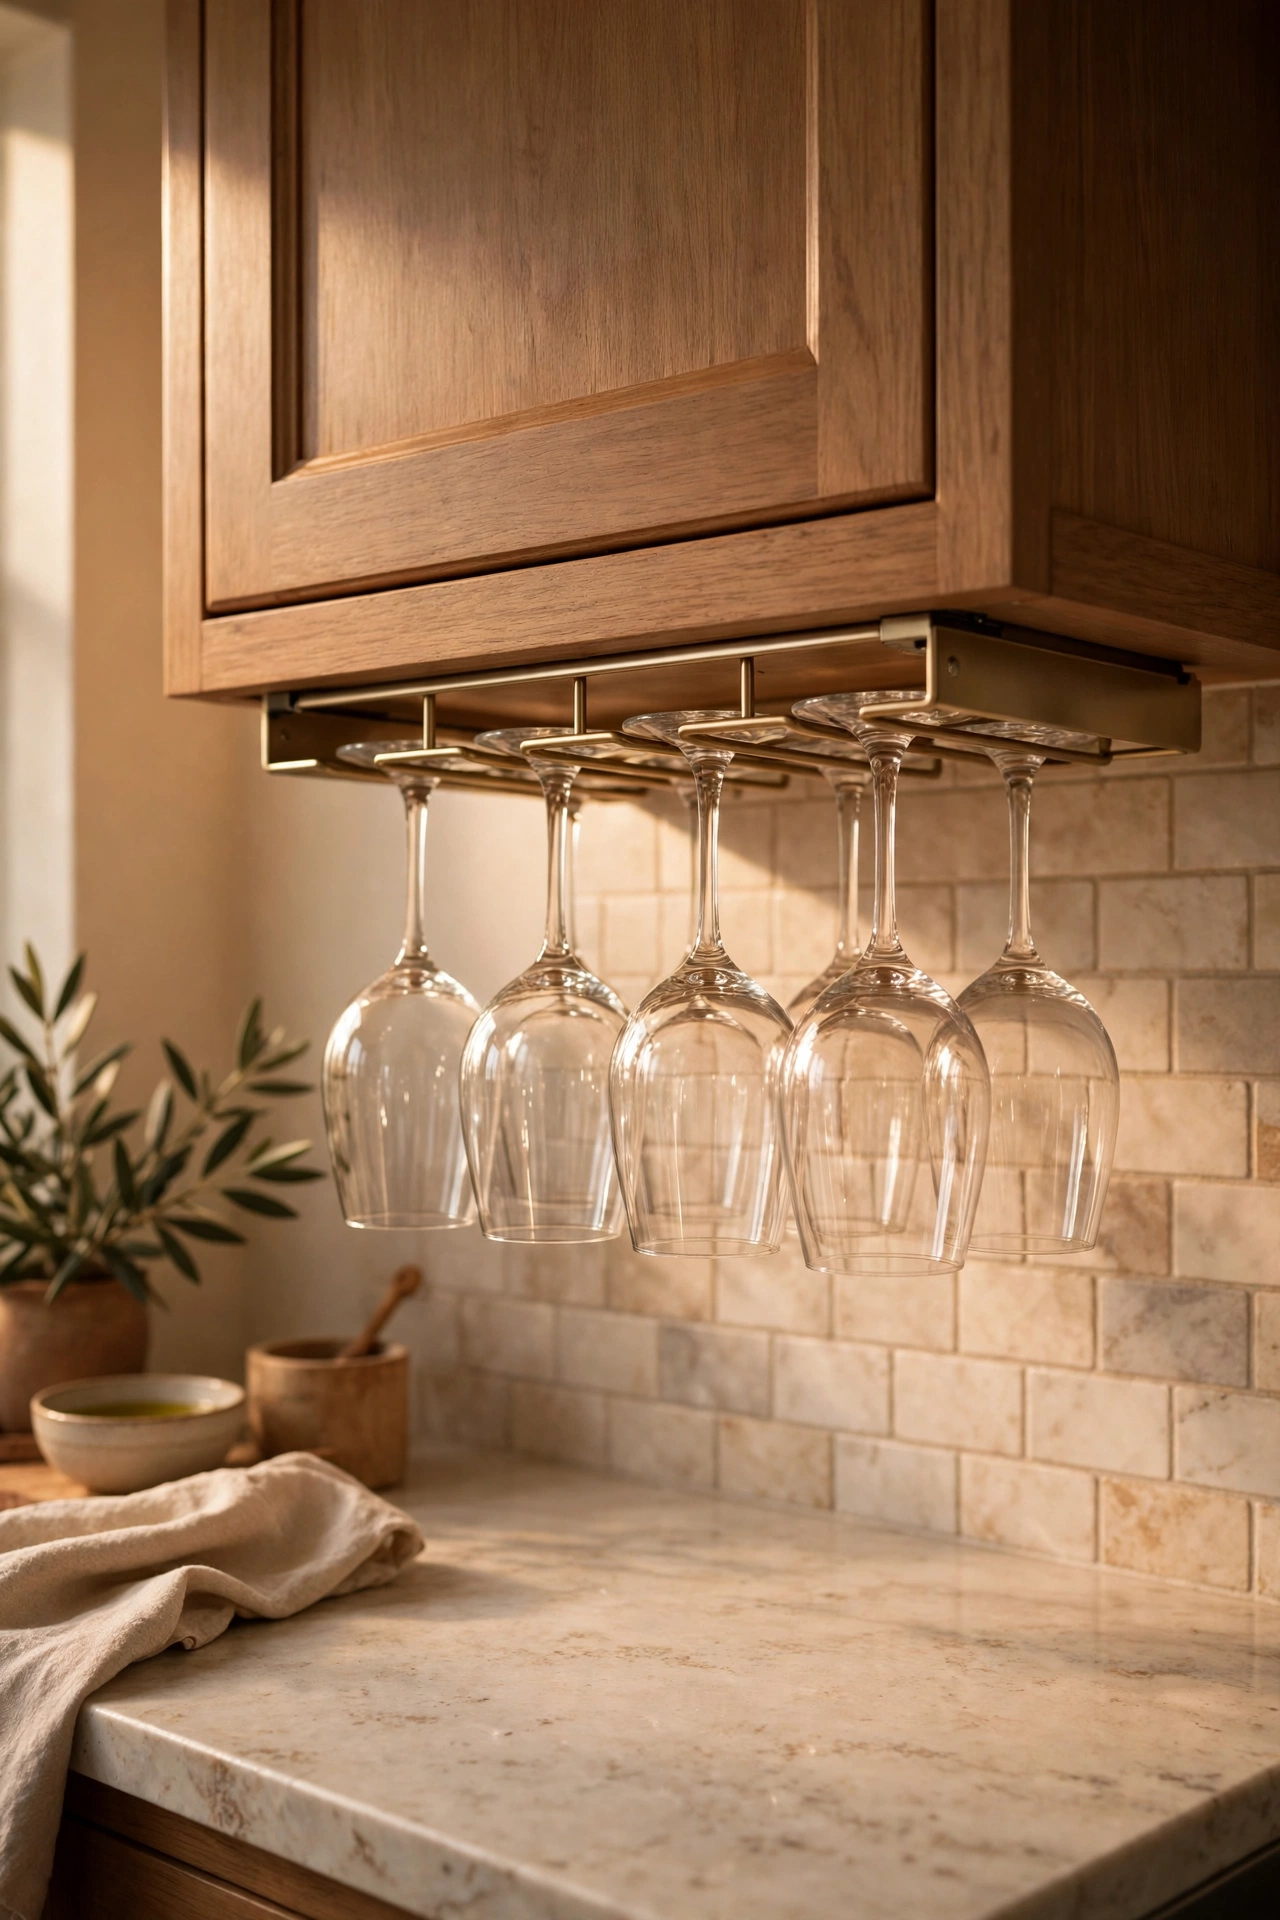
A slide-in rack under a wall cabinet hangs wine glasses by their stems, freeing a shelf and keeping them chip-free. The screw-in kind is sturdiest, but adhesive-mounted versions hold lighter sets fine in rentals. Glasses hang safely out of the way and look rather elegant. Measure your glass stems against the rack slots before buying — not all racks fit all glasses. I tried this and the one mistake to avoid is hanging it over the main prep zone; one enthusiastic chop and a swinging glass is a disaster. Hang it over a quieter stretch of counter.
Cost: ~$13 | Time: 20 minutes
14. Drawer Dividers for Utensils
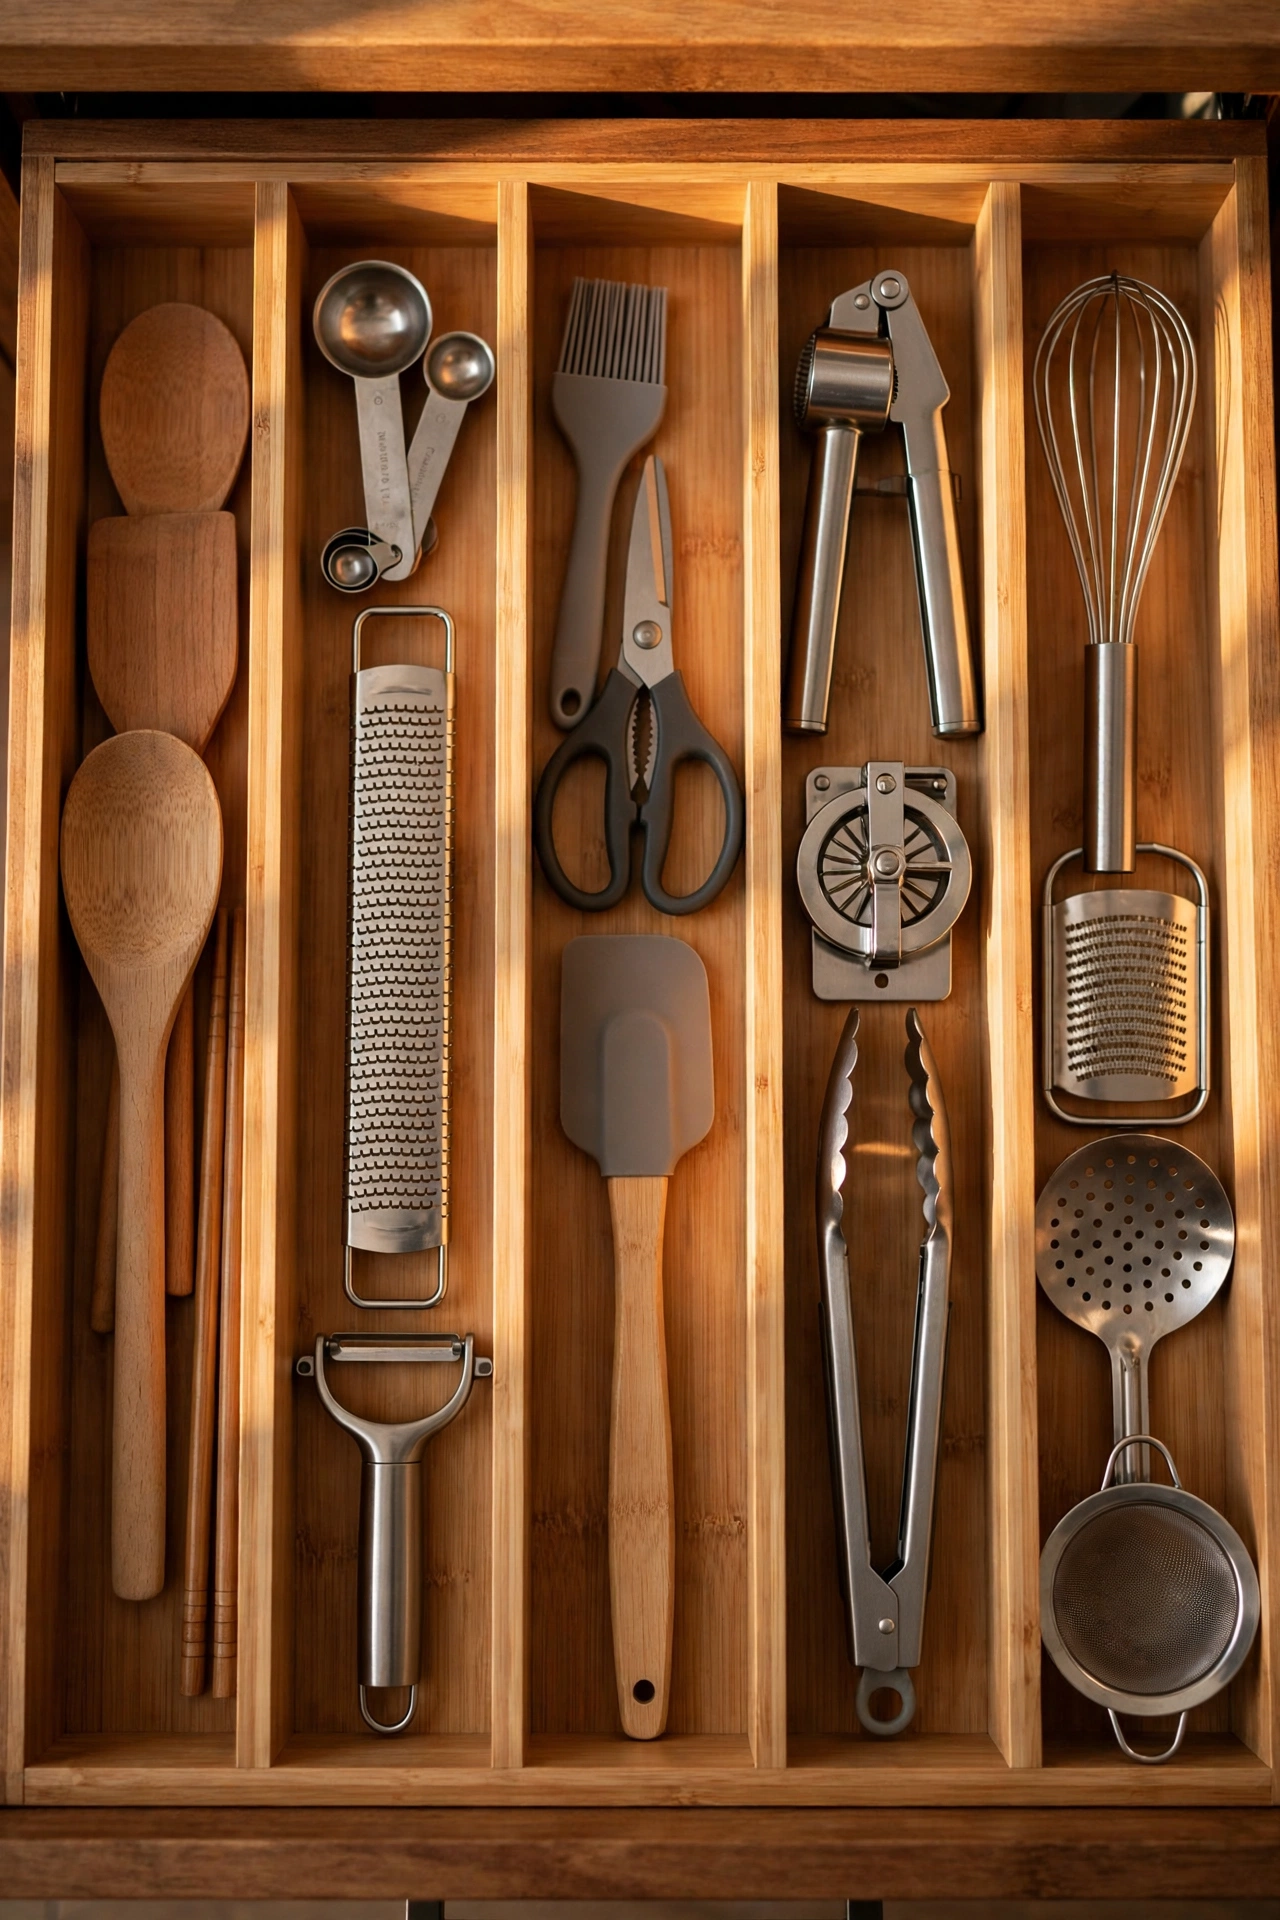
A jumbled utensil drawer wastes time and space. Spring-loaded or cut-to-fit dividers split it into lanes — big tools, small tools, gadgets — so everything has a home and you can see it all at a glance. The bamboo expandable kind fits any drawer and looks good. Sort ruthlessly first; dividers can’t organise clutter, only categorise what you actually keep. Save this one for later — it’s the job to do the next rainy Sunday when the drawer finally defeats you. I tried this and the one mistake to avoid is buying dividers before decluttering; measure the keepers, not the current chaos, or you’ll buy the wrong sizes.
Cost: ~$12 | Time: 30 minutes
15. Vacuum-Seal Bag Storage System
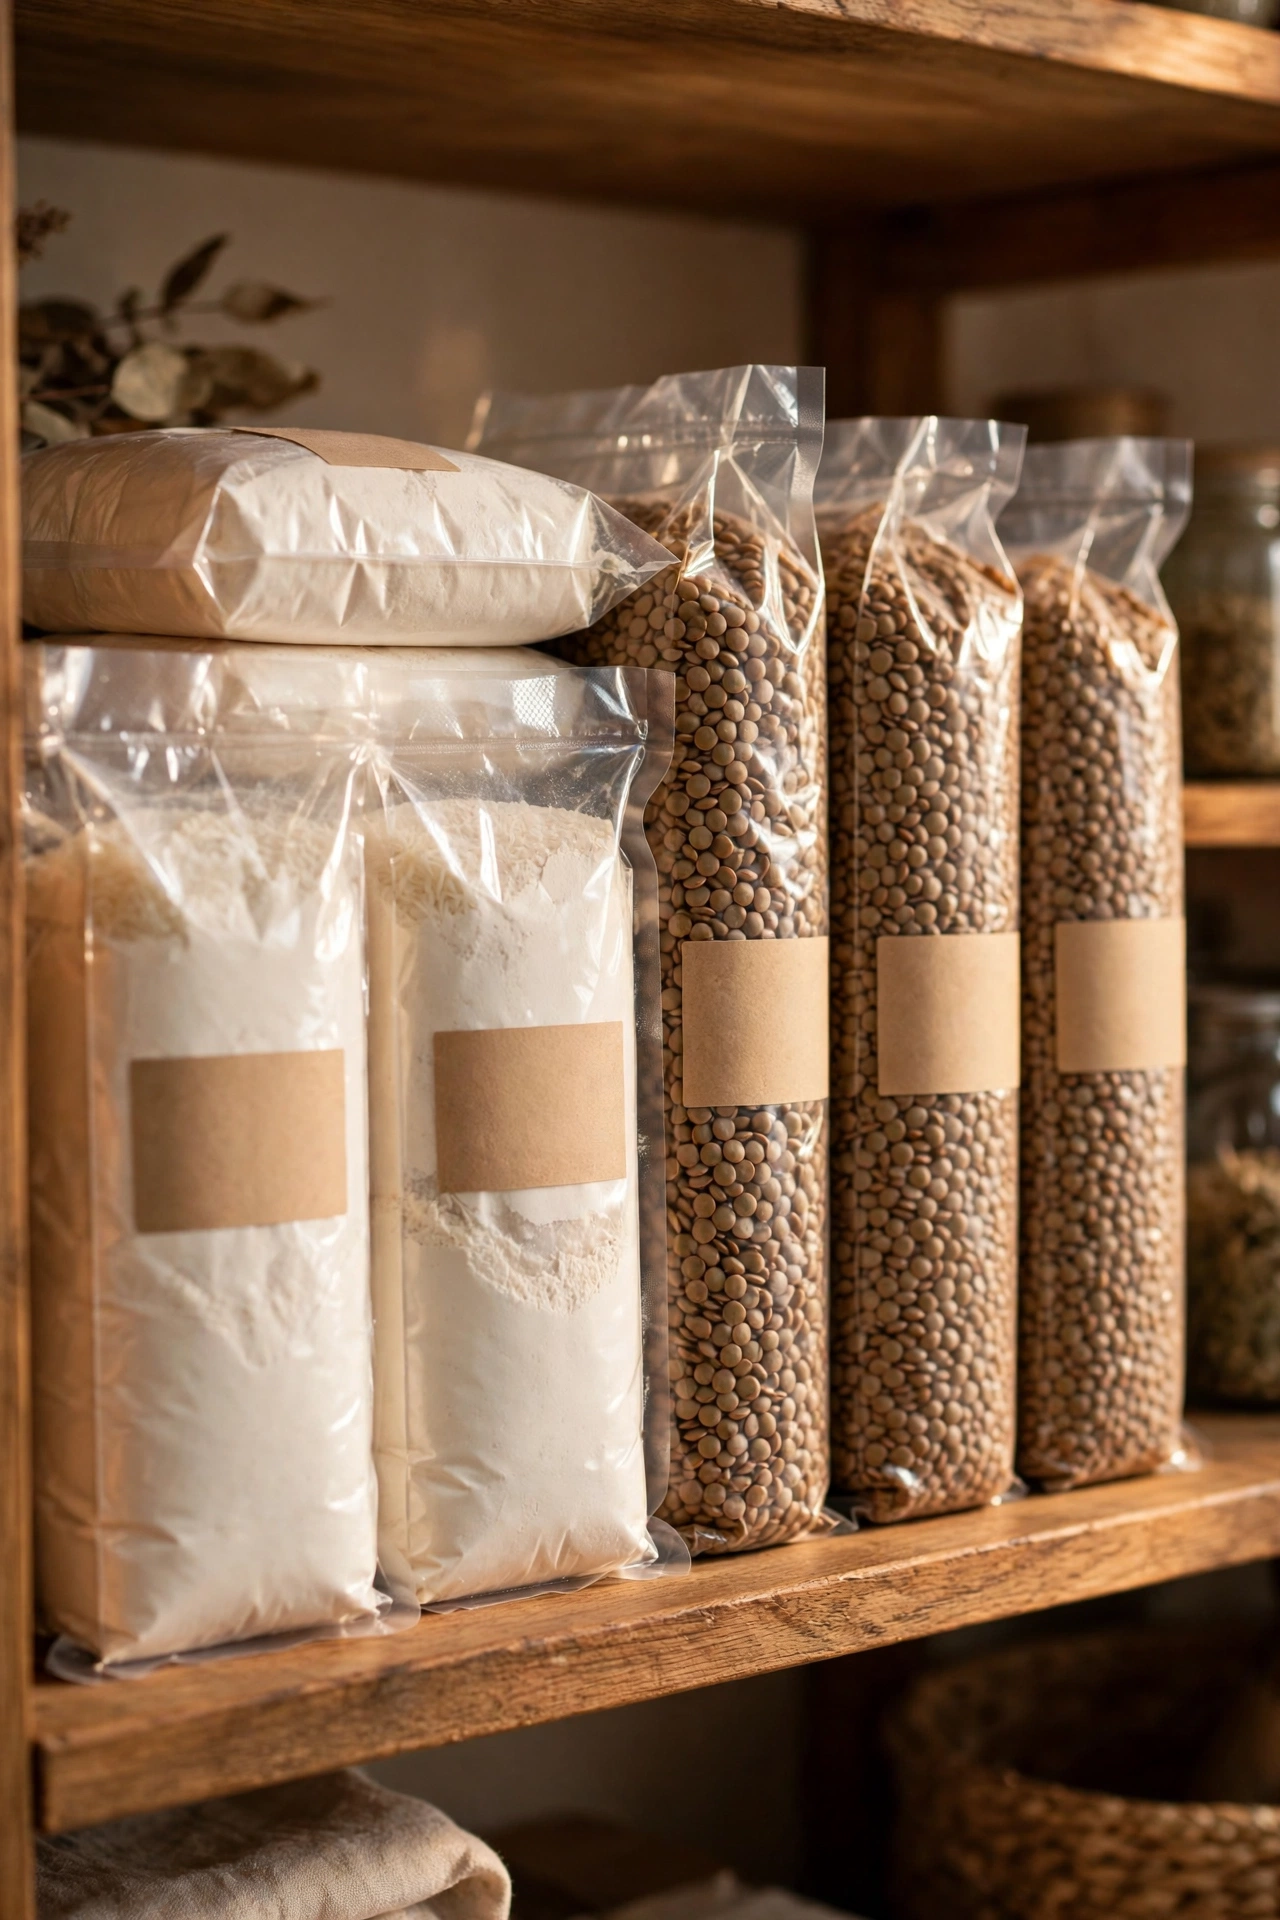
Vacuum-sealed bags shrink bulky dry goods — and the spare duvet’s worth of seasonal kitchen textiles — to flat packs that slide into the thinnest gaps. For food, use them for bulk buys of rice, flour and lentils; they keep things fresher and stack like books. A hand pump costs very little and needs no machine. Label every bag, because vacuum-sealed mystery powder is nobody’s friend. I tried this and the one mistake to avoid is vacuum-sealing anything sharp or pointed without wrapping it first; one stray skewer and the bag — and the seal — is done.
Cost: ~$14 | Time: 30 minutes
16. Rolling Island with Storage
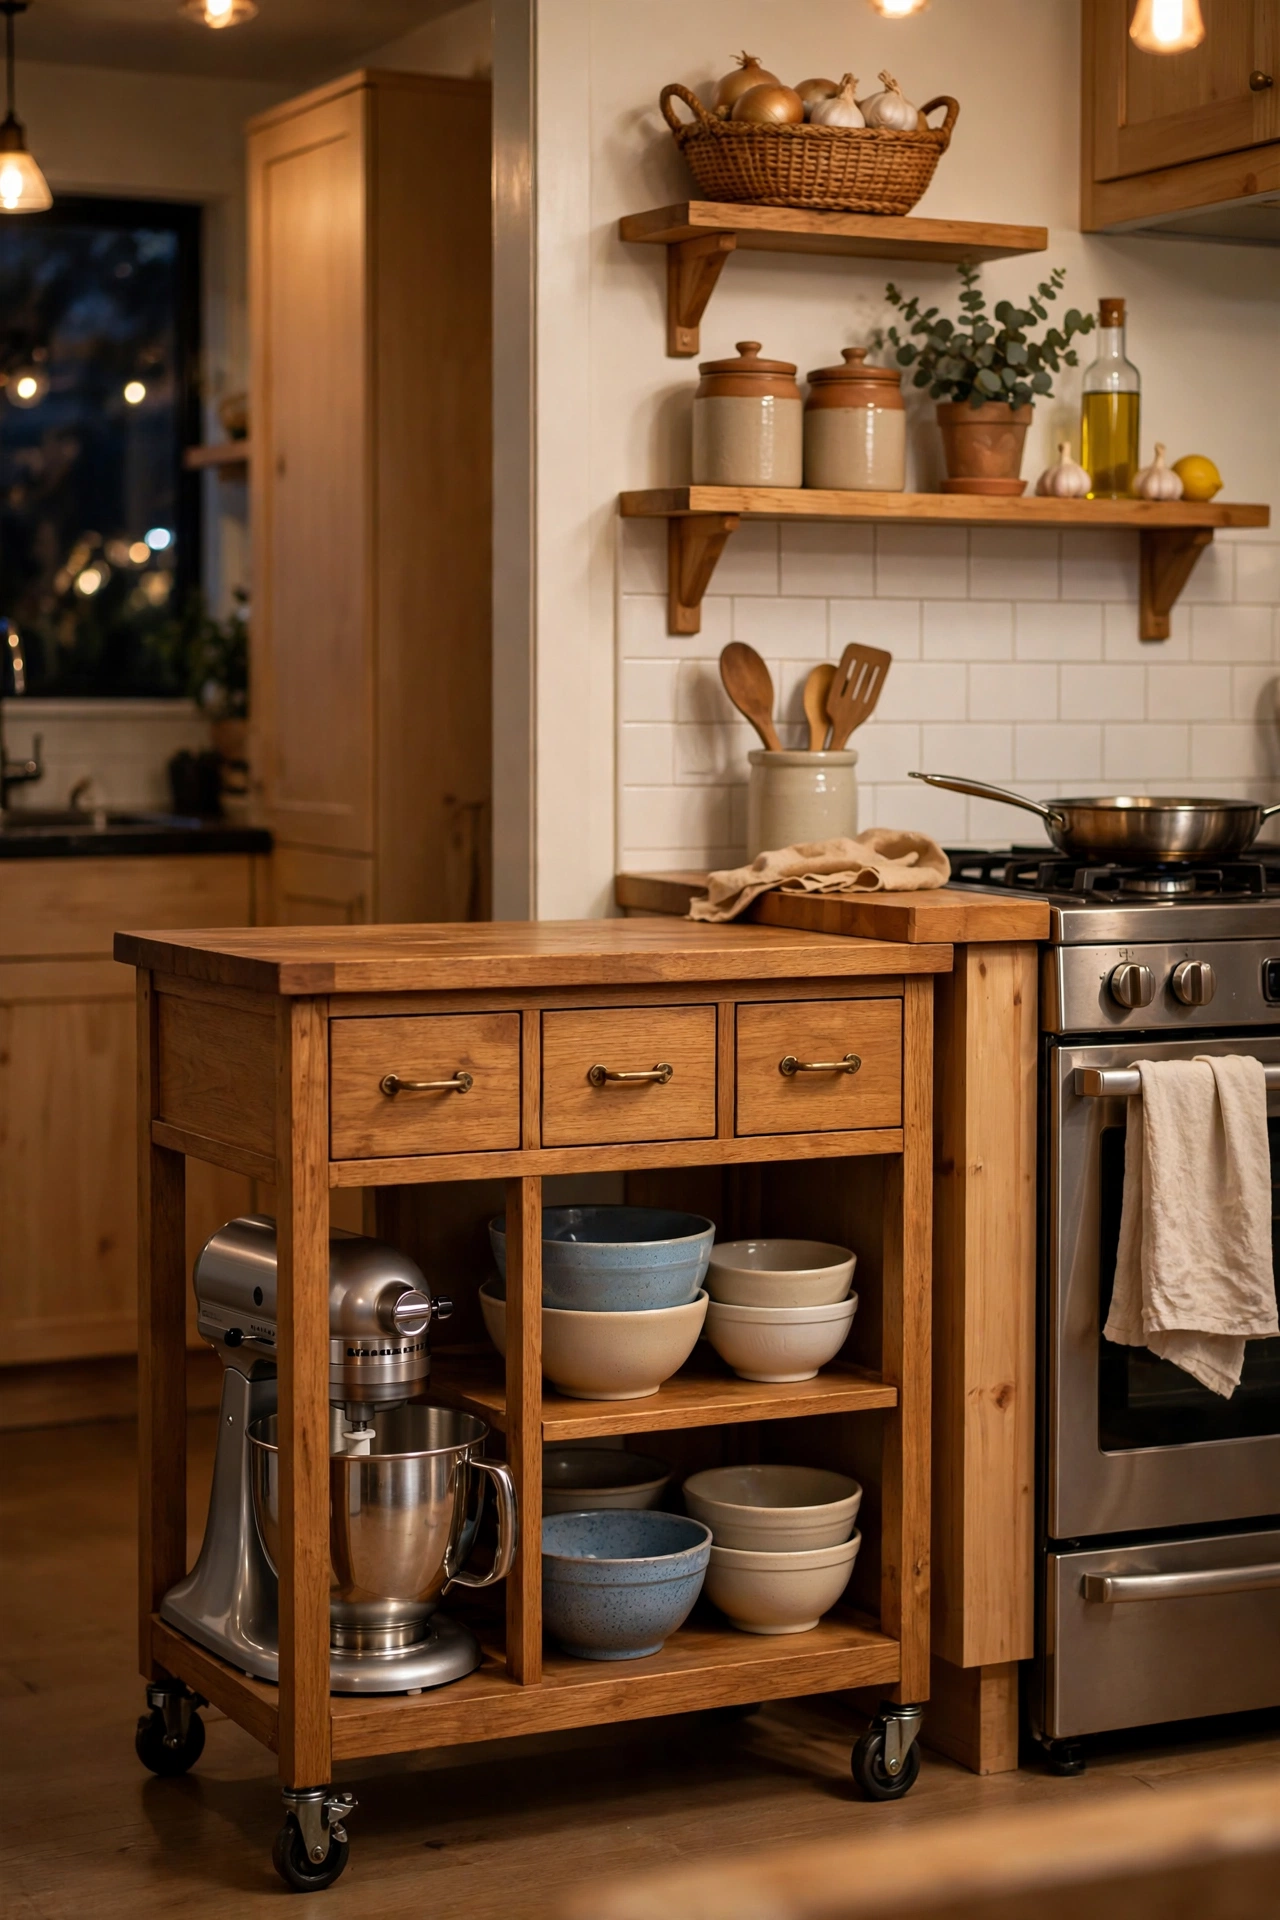
A small rolling island with shelves or drawers is the apartment equivalent of extra cabinets. It gives you prep space, stores the mixer and the baking trays, and wheels aside when you need the floor. Choose one with a solid top and locking castors. The open-shelf kind doubles as display for pretty bowls. It’s the single biggest storage-and-surface upgrade a small kitchen can get. I tried this and the one mistake to avoid is buying one taller than your existing worktops; mismatched heights are uncomfortable to work across. Match your counter height within a couple of centimetres.
Cost: ~$55 | Time: 45 minutes (assembly)
17. Pegboard Wall Organiser
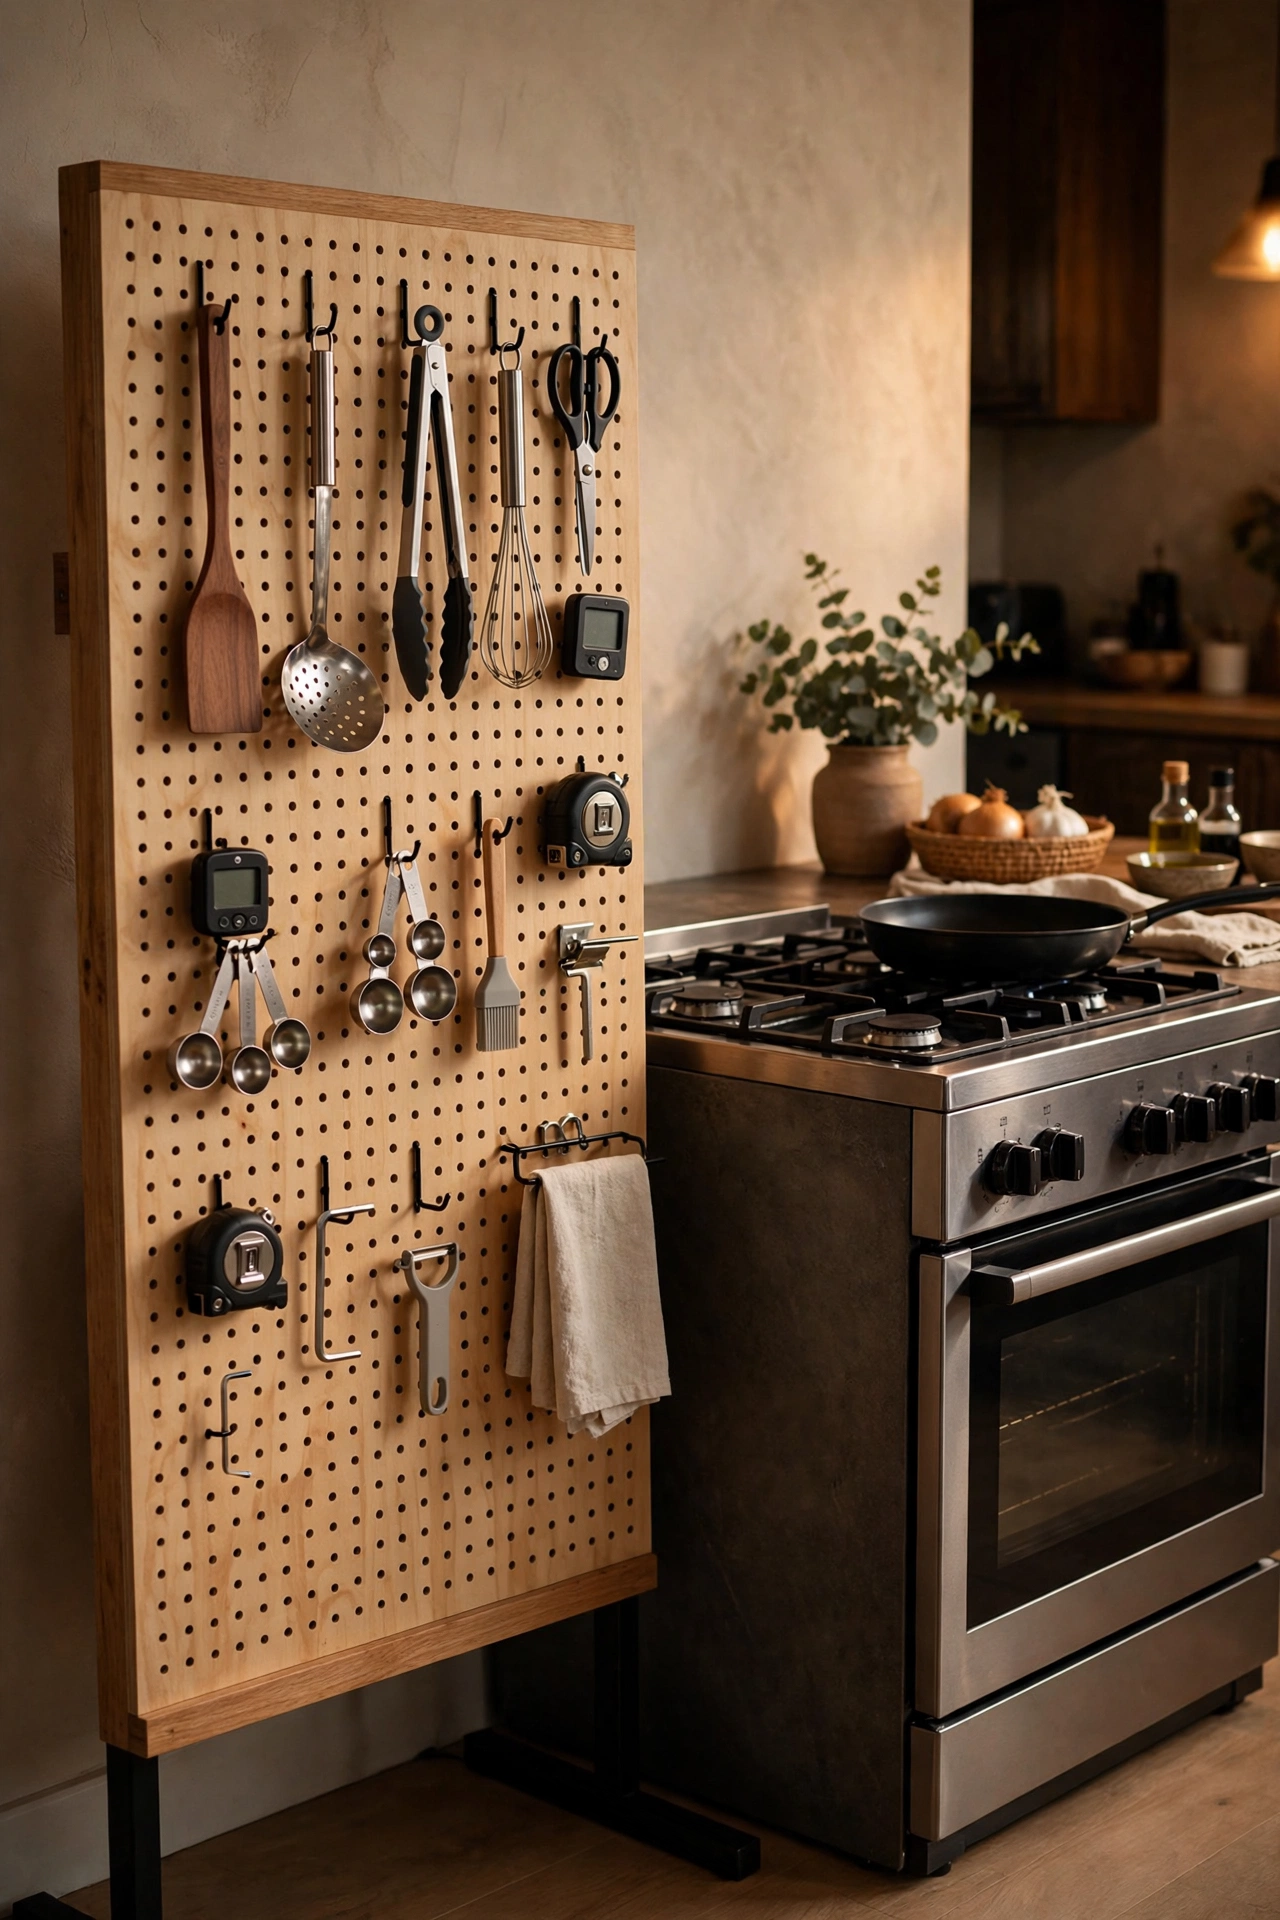
A pegboard panel turns a blank wall into endlessly rearrangeable storage for utensils, small pans, scissors and gadgets. The freestanding kind leans against the wall with no fixing — ideal for renters. Hooks move in seconds as your needs change. Paint it to match the kitchen or leave it natural. It’s particularly good beside the cooker for the tools you grab mid-recipe. I tried this and the one mistake to avoid is overloading it until it looks like a hardware shop; leave a third of the board empty and it reads as design, not desperation.
Cost: ~$21 | Time: 25 minutes
18. Shelf Risers for Mugs
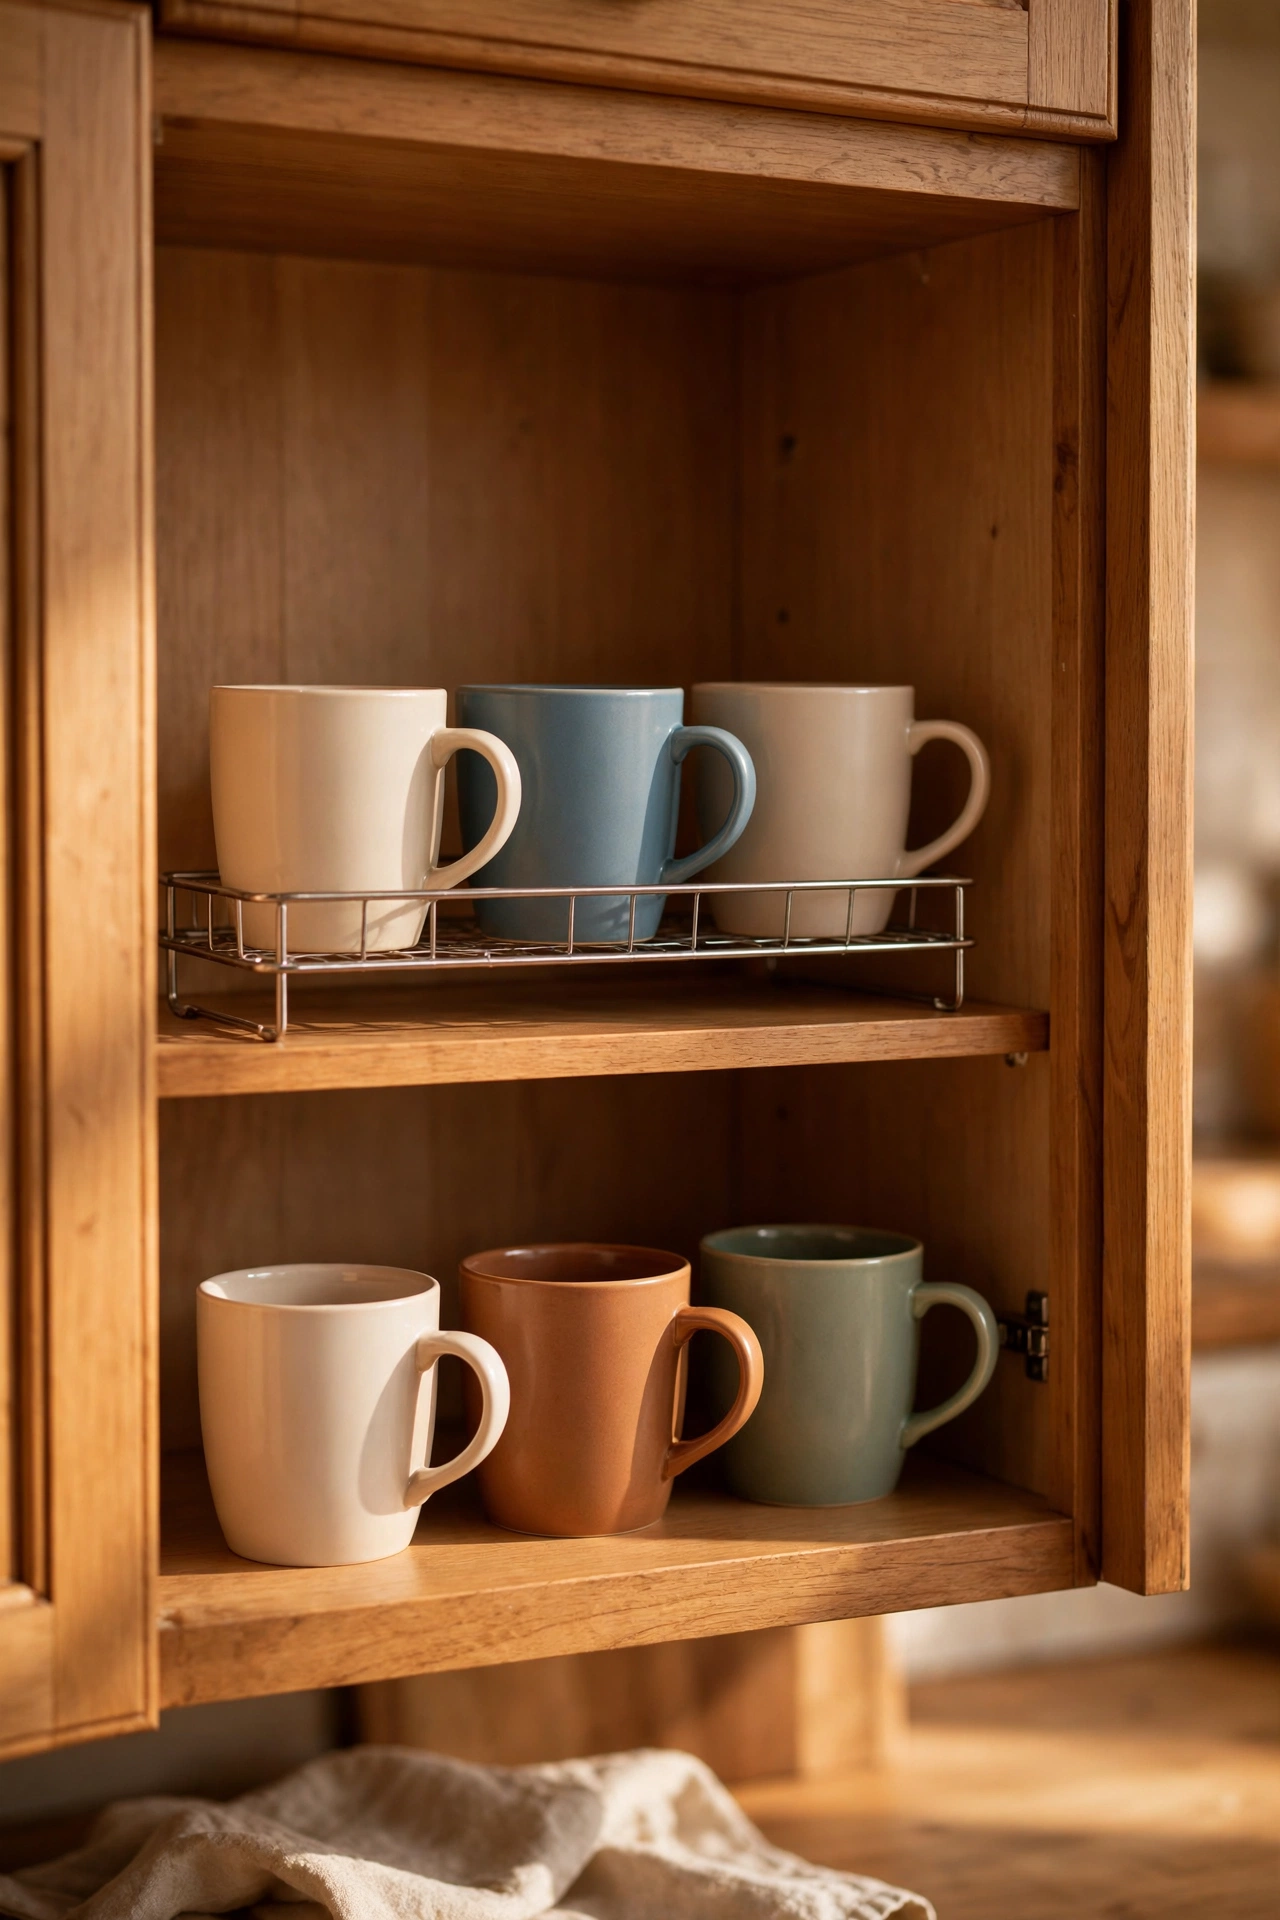
Mugs stacked two-high waste the air above them and chip each other’s rims. A small shelf riser inside the cabinet doubles the mug level: everyday mugs below, occasion mugs above, no stacking, no chips. The wire kind is cheap and sturdy. It also works for small bowls and ramekins. Such a small thing, such a daily difference. I tried this and the one mistake to avoid is stacking mugs on the riser itself; the riser is for one level only. Two levels total, then stop — a tower of risers is a collapse waiting to happen.
Cost: ~$8 | Time: 5 minutes
19. Clear Stacking Bins with Labels
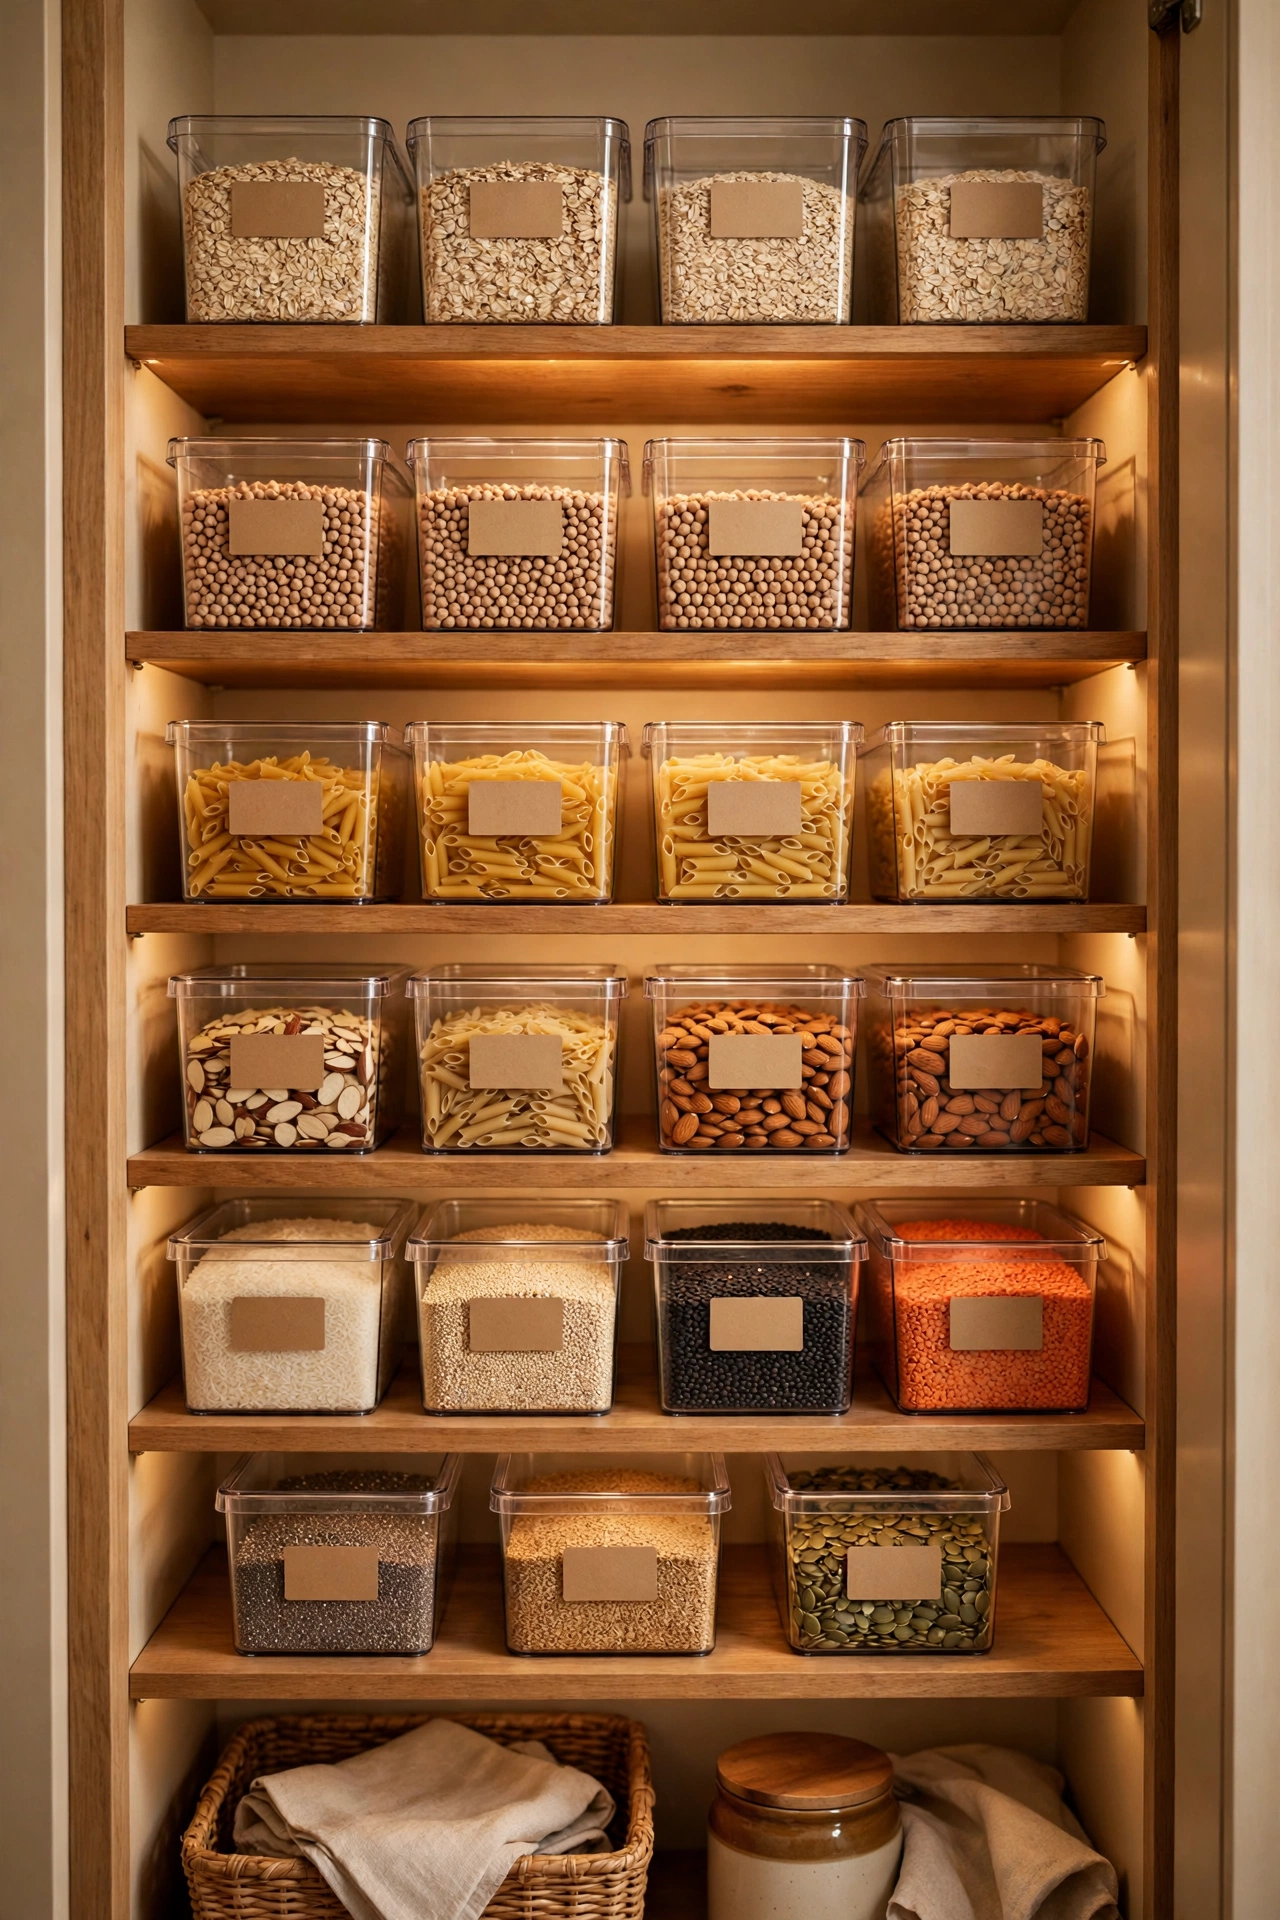
Clear stackable bins with proper labels are the finishing touch: you can see what’s inside, they stack to use full shelf height, and the labels mean everyone puts things back correctly. Use them in the pantry for packets, in the fridge for condiments, under the sink for refills. Buy one size in quantity rather than mixed sizes — uniformity stacks better. A label maker is nice; a marker and masking tape works fine. I tried this and the one mistake to avoid is labelling vaguely; “stuff” helps nobody. “Baking – opened” and “Baking – unopened” is the level of specificity that actually works.
Cost: ~$16 | Time: 30 minutes
Nineteen ideas, zero holes drilled, and a kitchen that finally holds everything it needs to. Start with the door backs and the dead gaps — that’s where the free space is hiding. For keeping it all working long-term, my pantry organization ideas on a budget build the systems on top of the storage.
