23 Small Bedroom Ideas That Maximize Every Corner
When I moved into my first flat, the bedroom barely fit a double bed and a wobbly chest of drawers. I spent months tripping over shoes and living out of laundry baskets before I finally understood how small bedroom ideas actually work: you stop fighting the size and start using the height, the corners, and the hidden gaps you have been ignoring. My whole first makeover cost about $120, mostly charity-shop finds and a tin of paint, and the room ended up feeling twice as big.
Every idea below is something I have actually tried in my own room, with the real price and the real time it took. None of them need serious DIY skills, and most need no tools beyond a drill and a spirit level. Work through them in any order. If you only do five, start with the mirror trick, the under-bed drawers, and the high curtain rod, because those three alone will change how the room feels.
1. Floating Wall-Mounted Nightstands
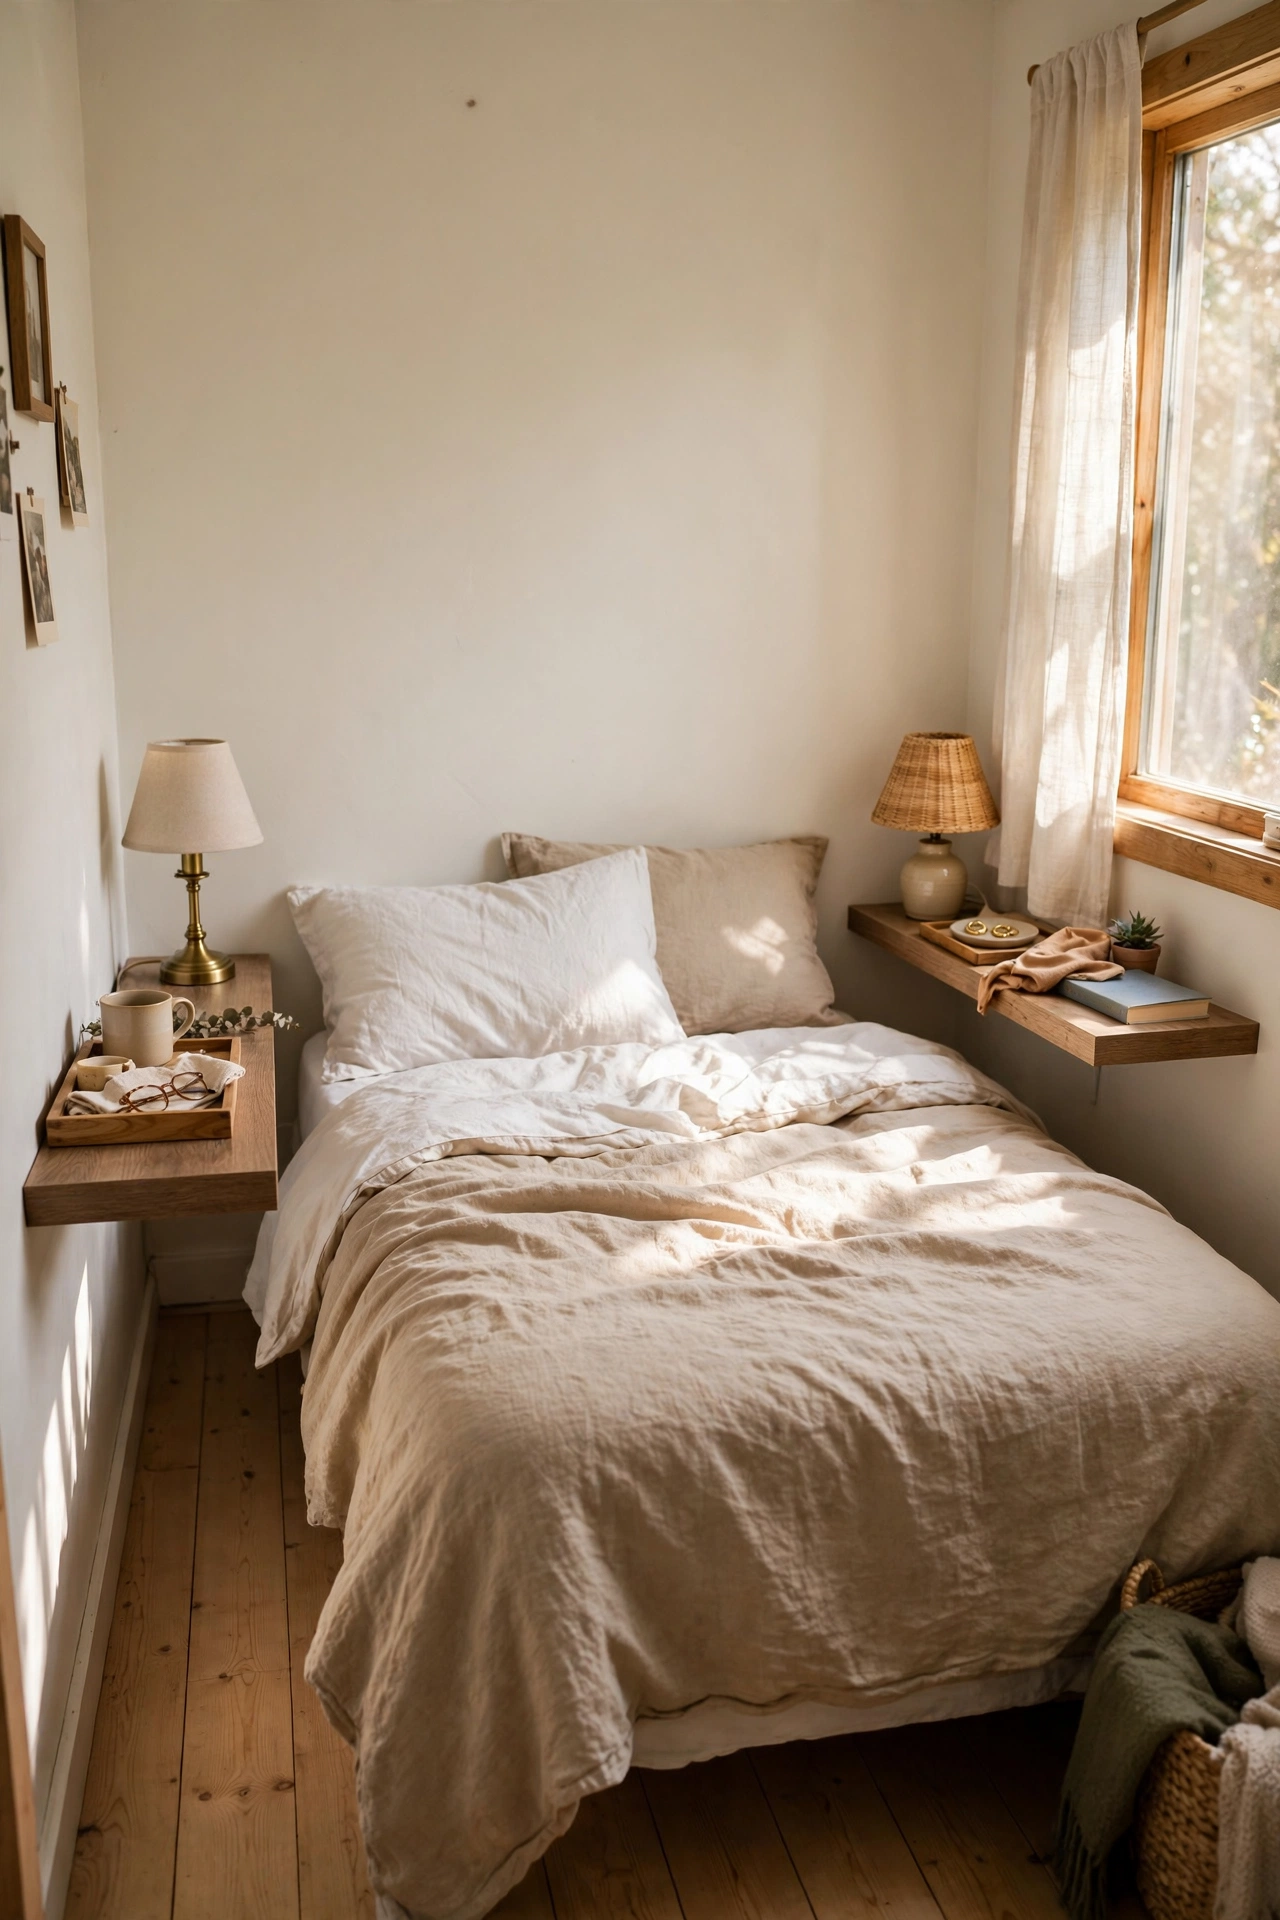
A standard nightstand swallows nearly a square metre of floor, which a tiny bedroom simply cannot spare. I ripped out my bulky bedside tables and fitted two floating wall-mounted nightstands instead, simple oak-look shelves fixed at mattress height on either side of the bed. Mark the height with the mattress in place, drill into the studs, and use proper wall anchors so each shelf holds a lamp and a book without sagging. Style them lightly: one lamp, one small tray, nothing else. My first shelf went up crooked because I skipped the spirit level, and it annoyed me for weeks. Rehung properly, they cost a fraction of real nightstands and leave the floor beautifully clear.
Cost: ~$15-25 | Time: 45 minutes
2. Floor-to-Ceiling Corner Shelves
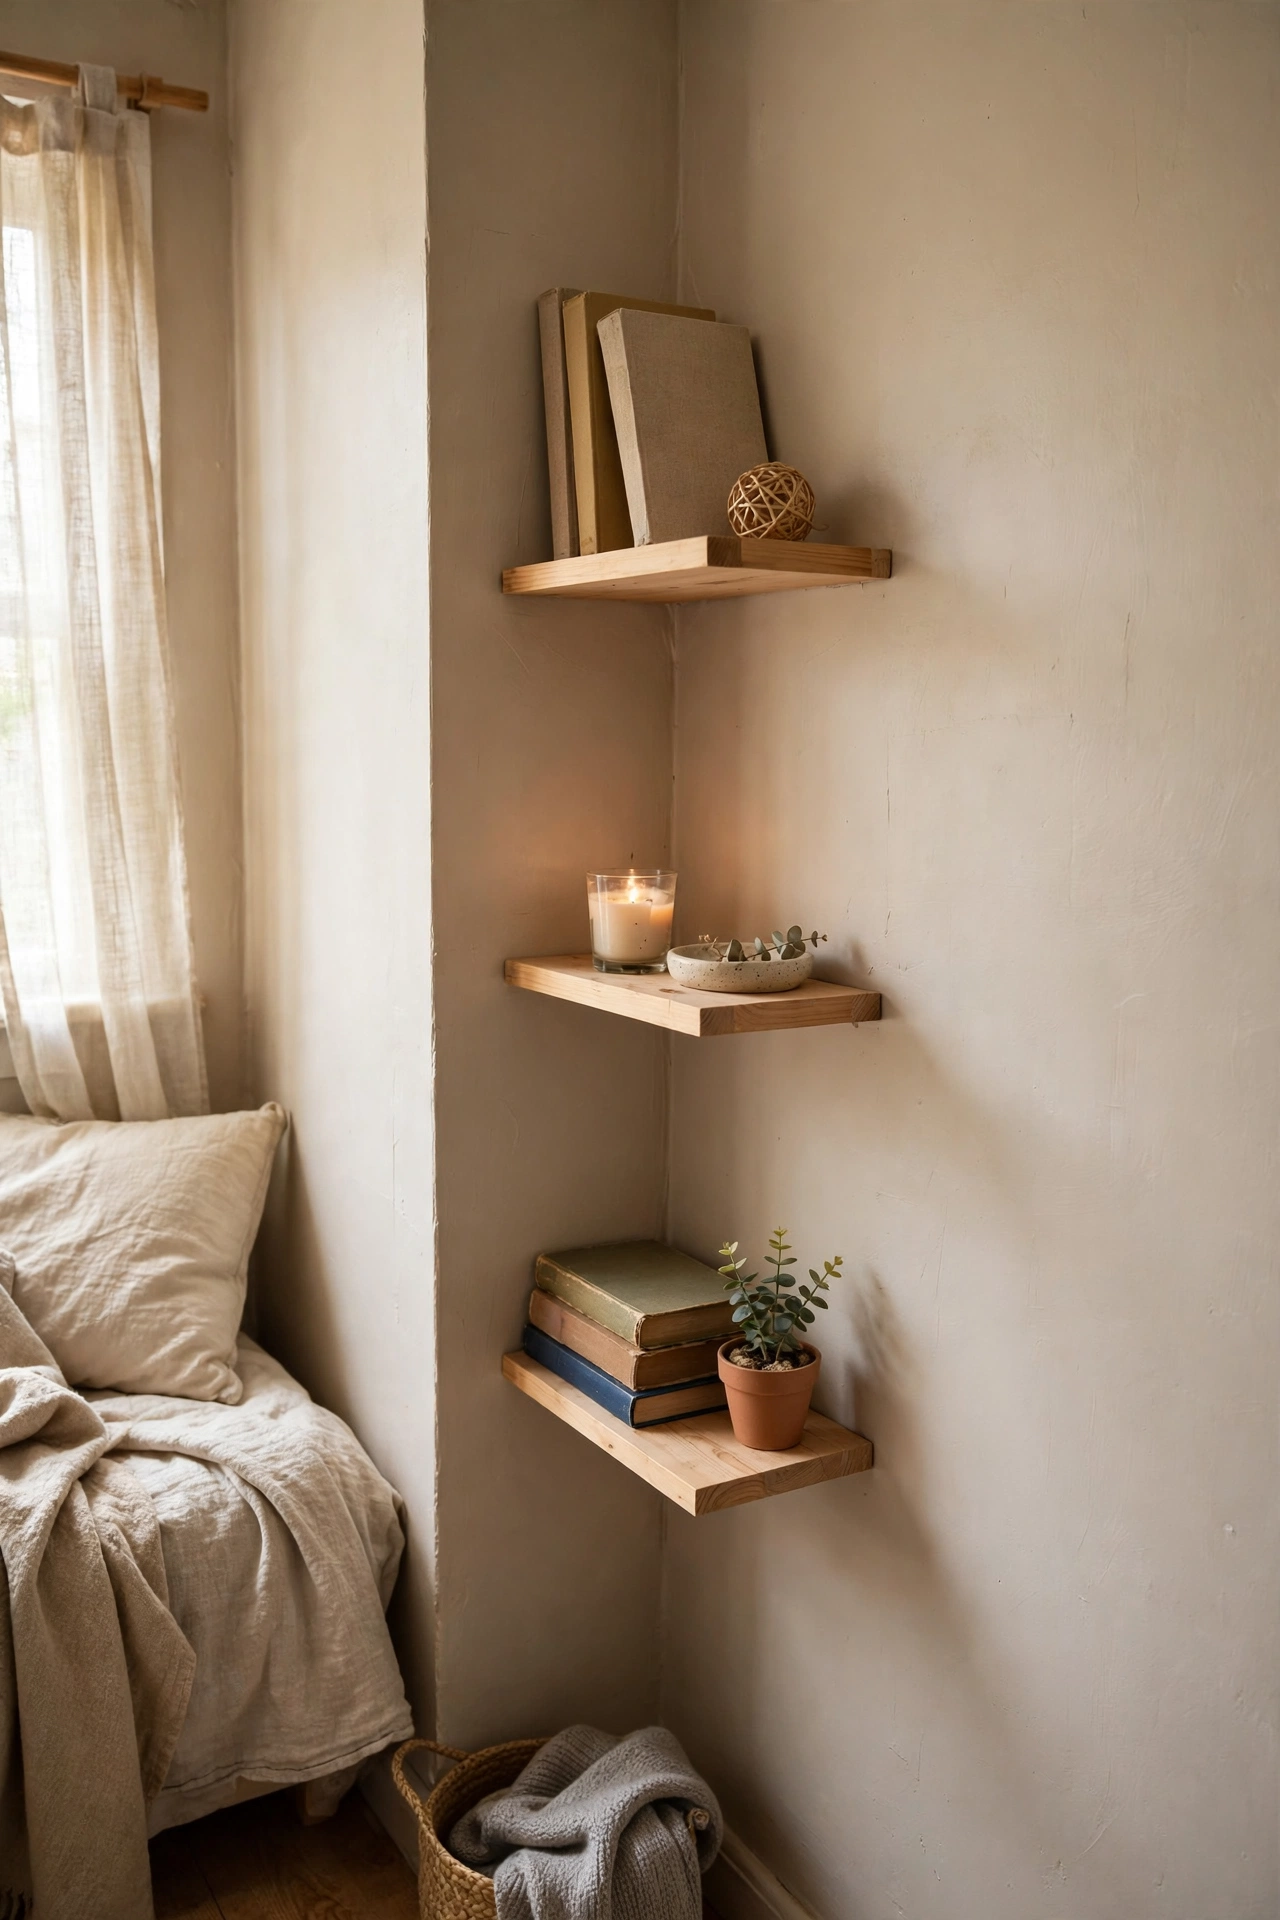
The corners of a small bedroom are usually dead space, so I turned mine into floor-to-ceiling storage with three floating corner shelves. I bought cheap pine boards, cut them to fit the corner angle, and fixed them with L-brackets into both walls for strength. The bottom shelf holds books, the middle one a small plant and a candle, and the top one the things I rarely need. Paint them the same colour as the wall so they visually disappear. My first attempt used brackets that were too short and the shelves wobbled dangerously. Longer brackets solved it. Three shelves cost me under $25 and freed an entire drawer elsewhere.
Cost: ~$18-25 | Time: 1 hour
3. Rolling Under-Bed Storage Drawers
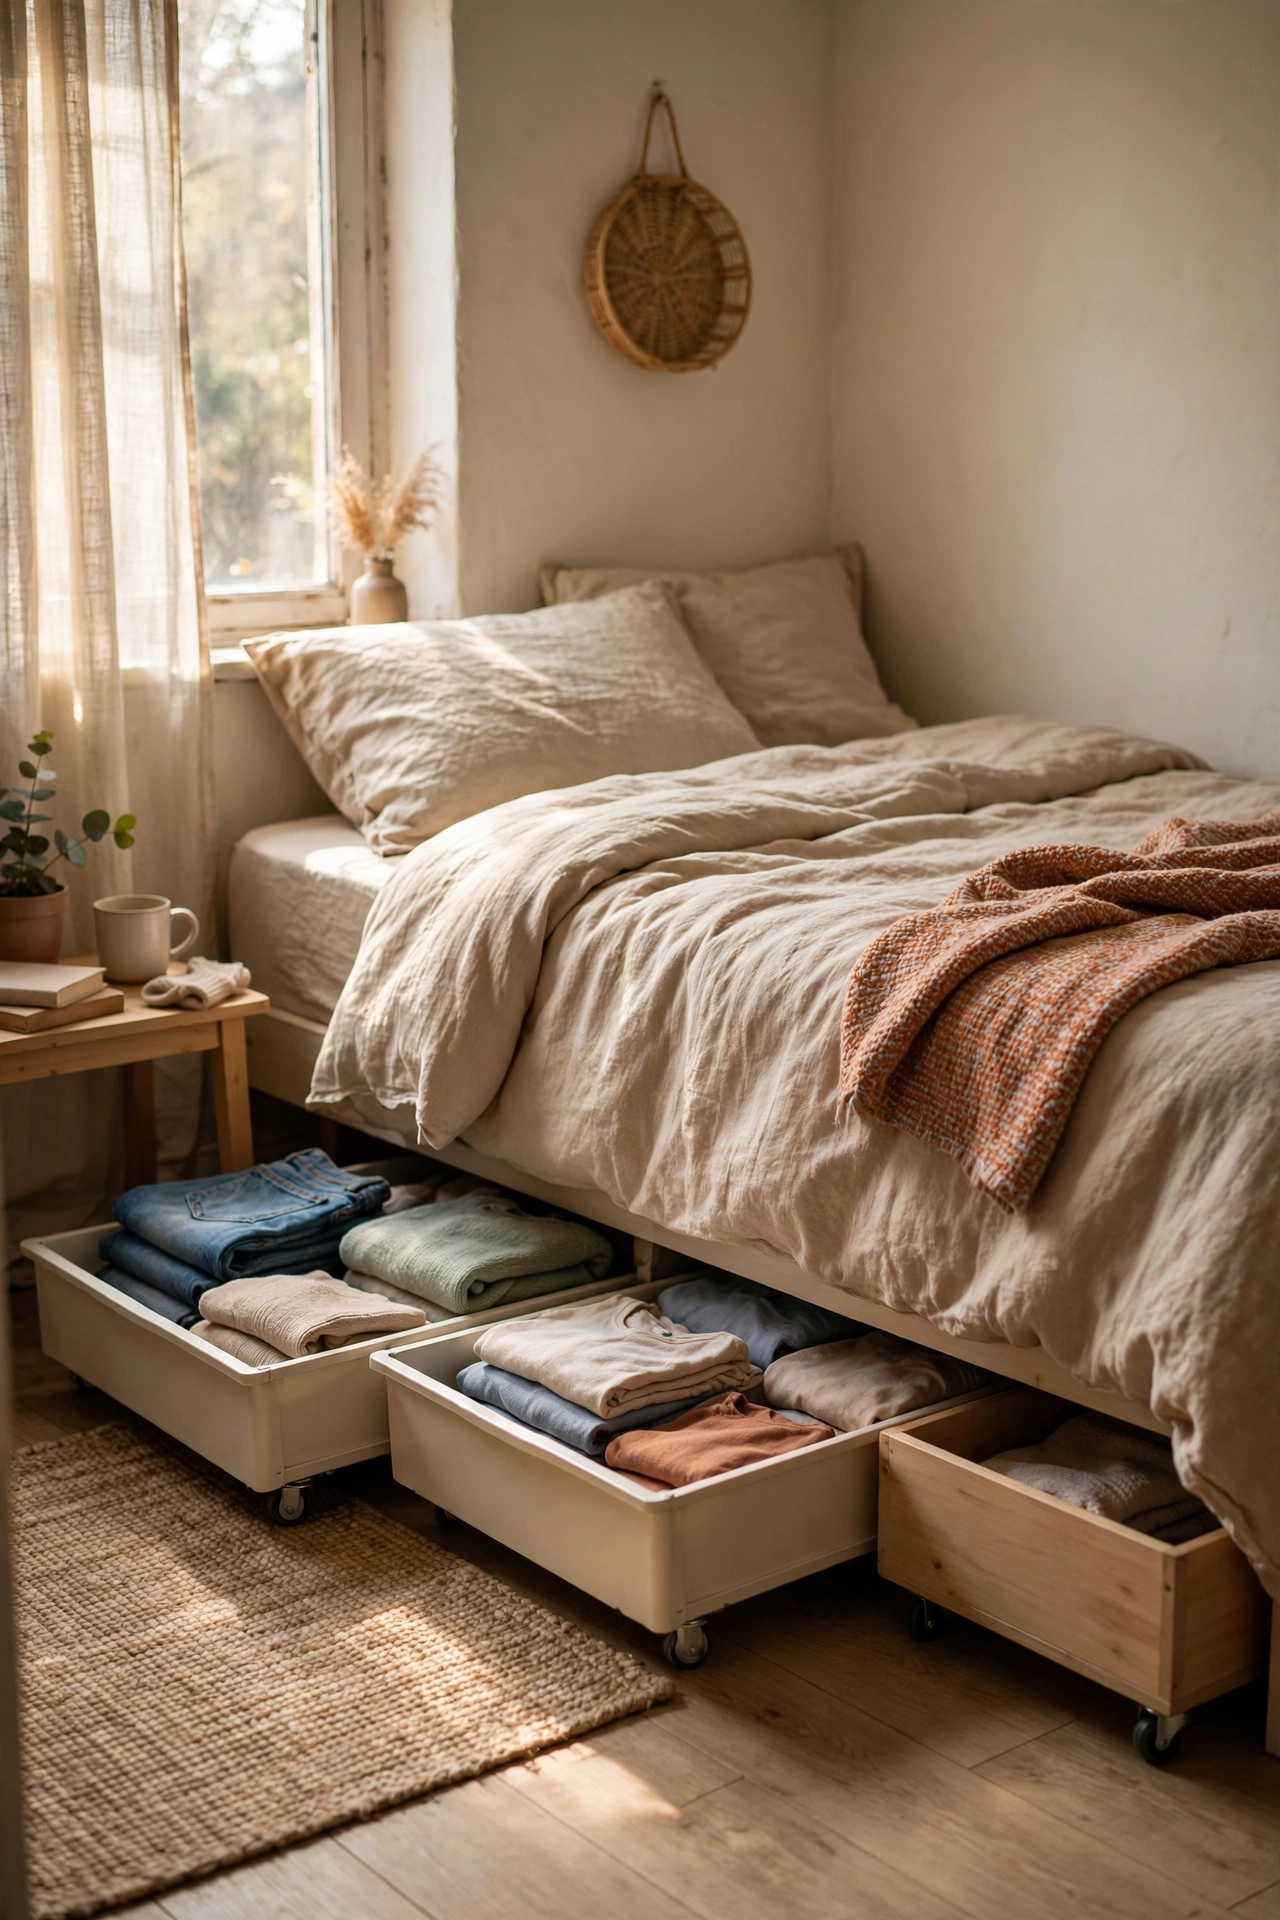
The space under my bed was collecting dust bunnies until I slid in two low rolling drawers and gave every stray item a home. I measured the clearance first, then bought flat under-bed boxes on castors that fit with a finger of room to spare. One drawer holds out-of-season clothes in vacuum bags, the other holds spare bedding and gift wrap. Stick a small label on the front edge of each so you never have to drag both out. I made the mistake of buying boxes a centimetre too tall on my first try and had to saw the castors off. Measure twice. This is the single biggest storage win in any small bedroom.
Cost: ~$25-40 | Time: 20 minutes
4. Over-the-Door Pocket Organiser
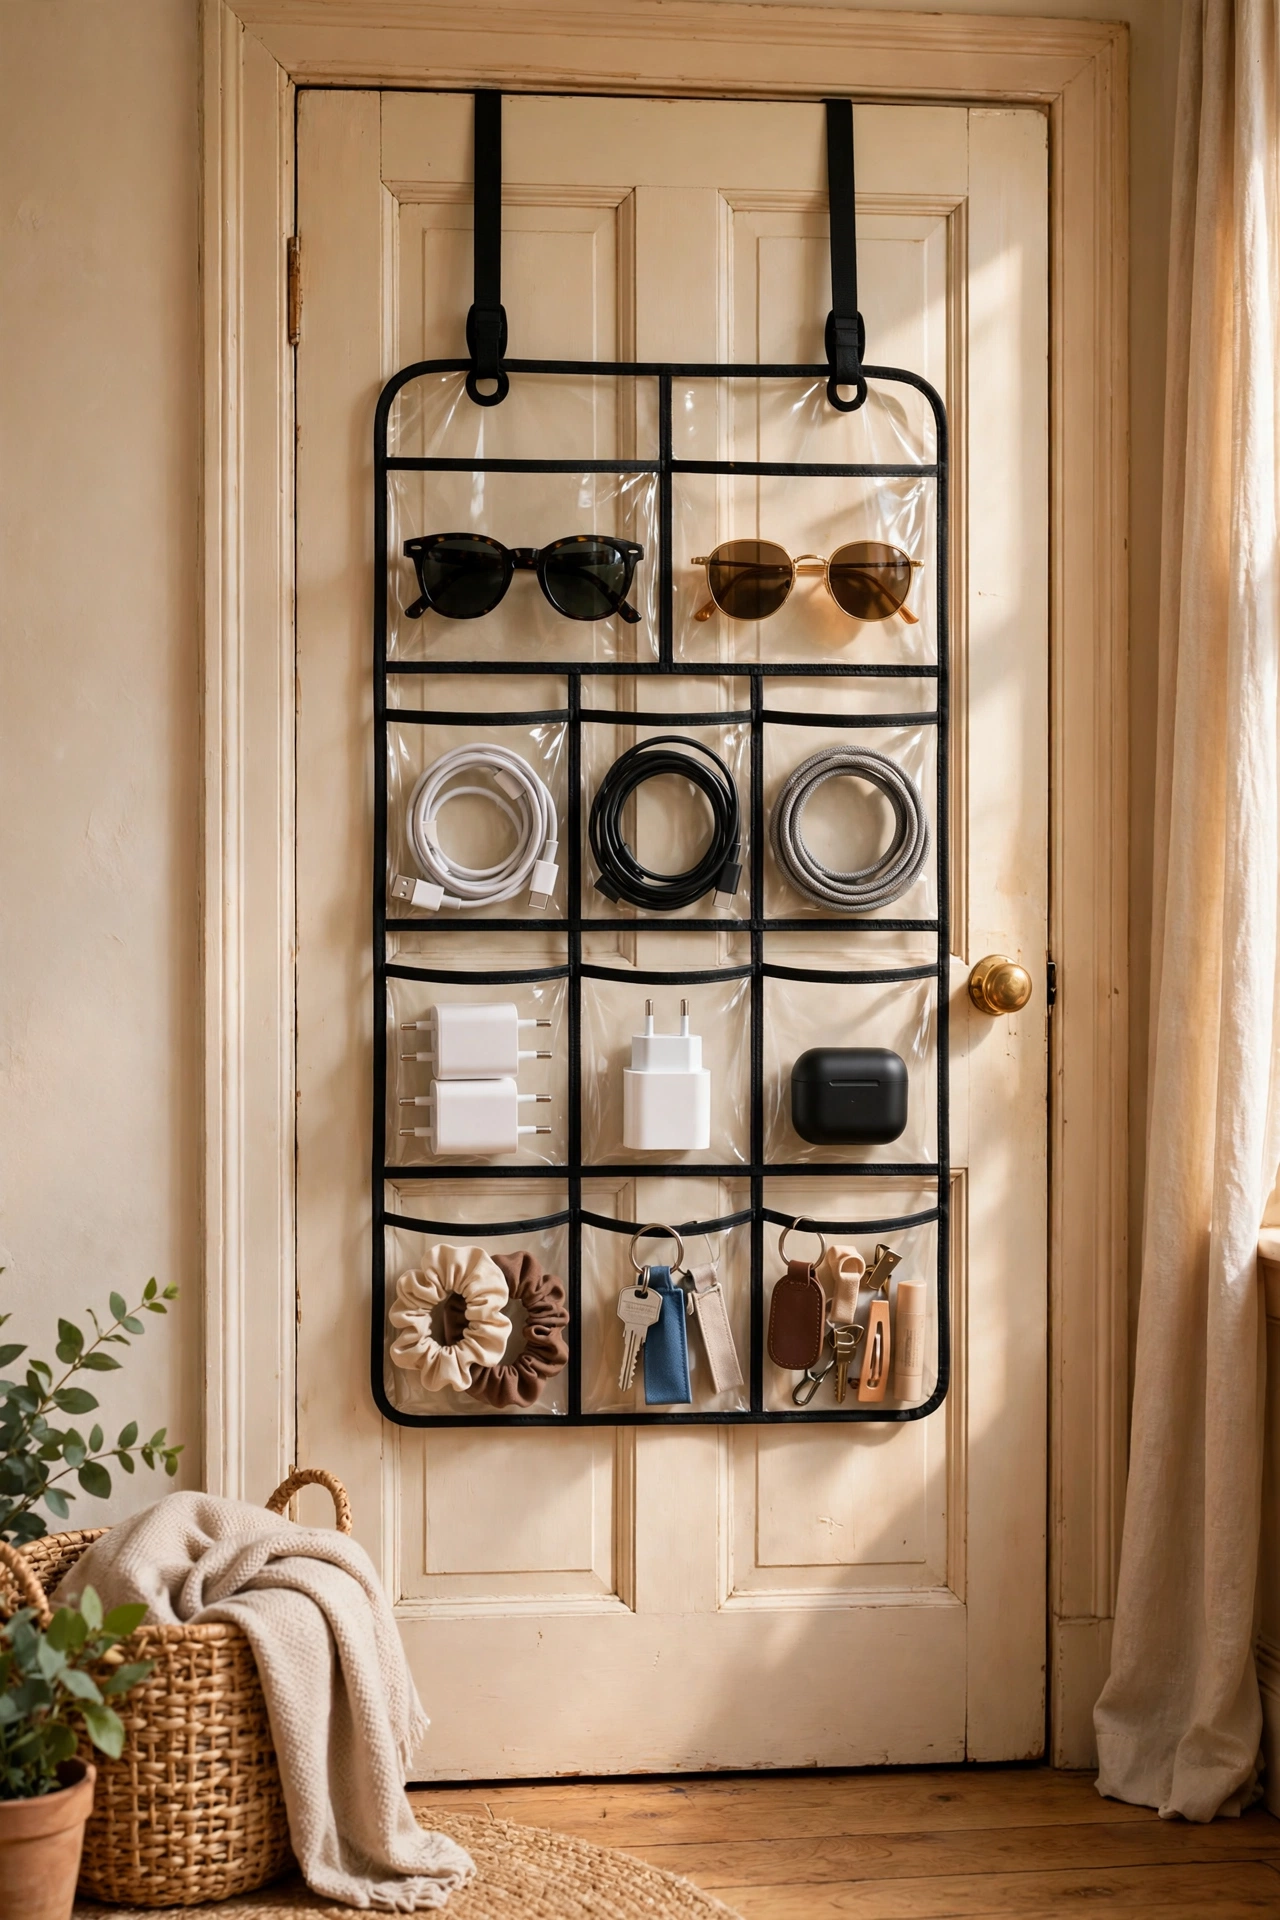
My bedroom door was doing nothing but swinging, so I hung a clear pocket organiser over it and gained sixteen pockets of storage for zero floor space. It now holds my sunglasses, chargers, rolled belts, spare batteries, and all the little things that used to cover my dresser. Choose one with sturdy metal hooks rather than plastic so the door still closes properly. Hang it on the inside of the door if you want it invisible, or the outside for grab-and-go mornings. I tried a fabric shoe organiser first and it sagged within a month. The clear vinyl version has lasted two years and I can see everything at a glance.
Cost: ~$10-15 | Time: 10 minutes
5. Slim Tall Bookshelf in the Corner
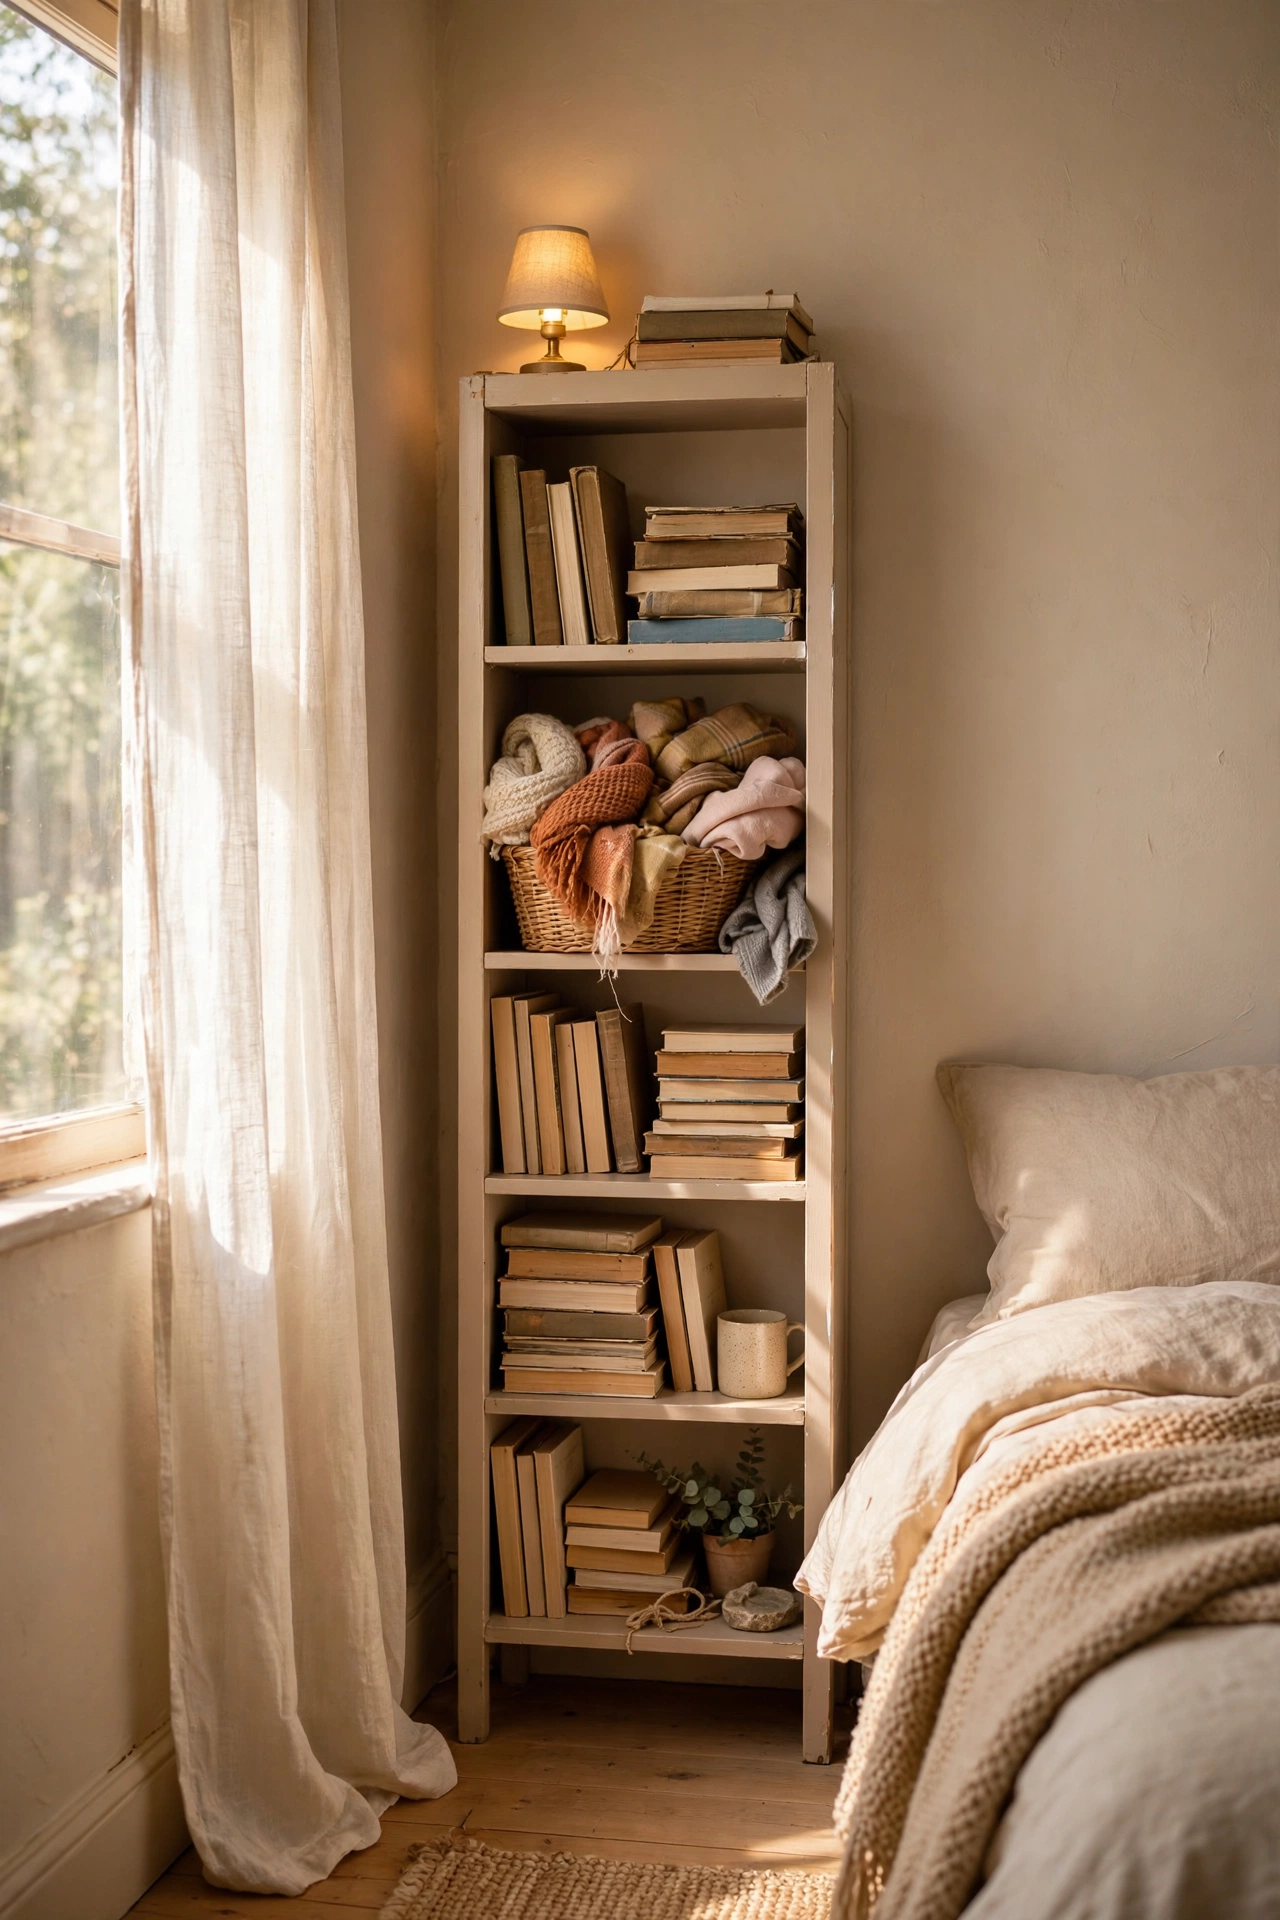
A corner bookshelf that is tall and narrow stores more than a wide dresser ever could in a small bedroom. I found a 30-centimetre-wide pine bookcase at a charity shop for $15 and tucked it into the dead corner beside my wardrobe. Sand it lightly, paint it wall colour, and it practically vanishes while holding a full shelf of books, a basket of scarves on the bottom shelf, and a tiny lamp on top. Anchor it to the wall so it cannot tip. I skipped the anchoring at first and it leaned alarmingly when I loaded the top shelf. One bracket and a screw fixed it. Fifteen dollars for what feels like a whole extra cupboard.
Cost: ~$15-22 | Time: 1 hour
6. Large Mirror Opposite the Window
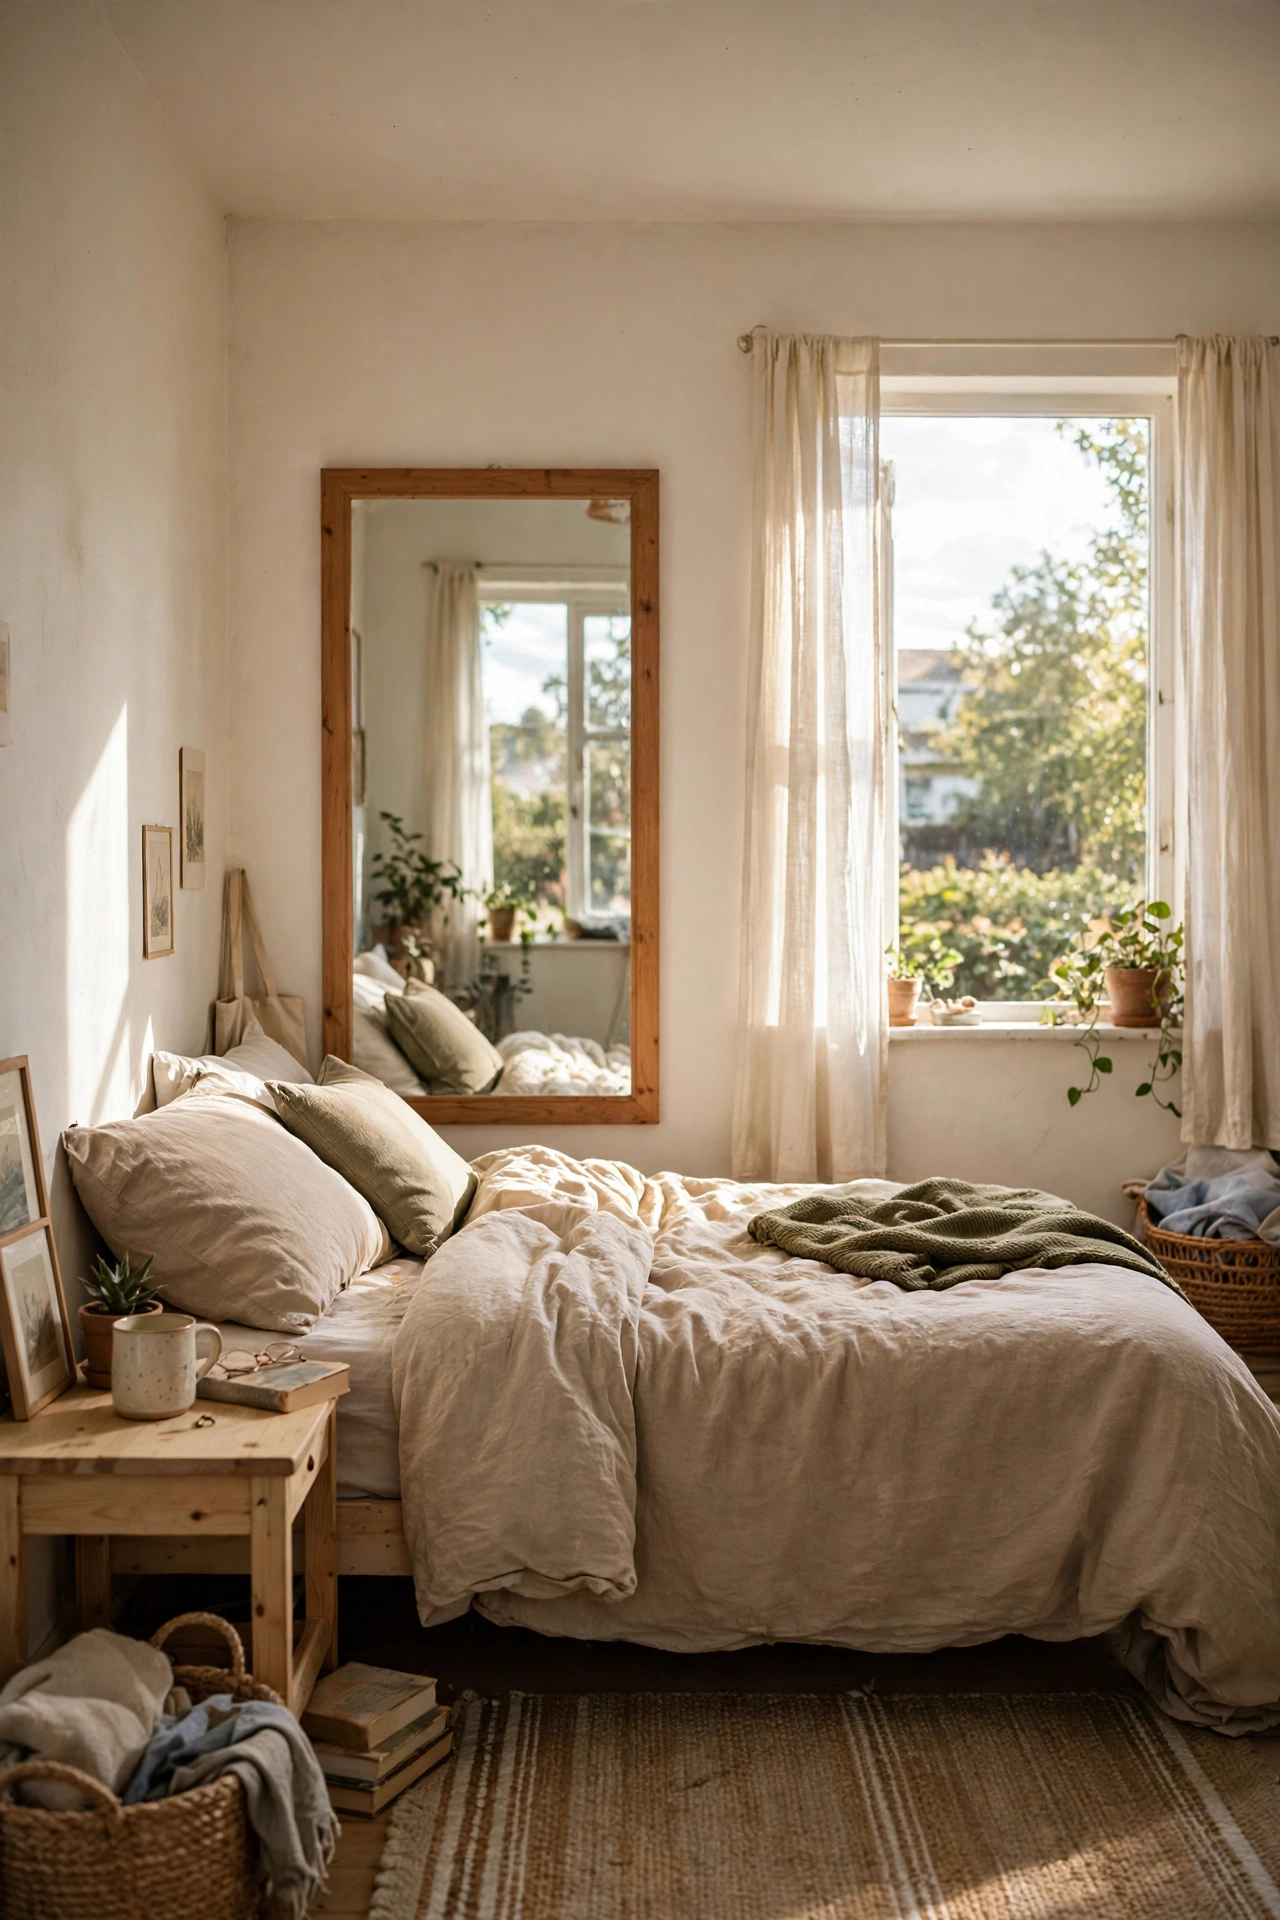
This is the oldest small-room trick in the book and it works embarrassingly well. I hung the biggest mirror I could find, a $20 charity-shop find in a plain wood frame, directly opposite my bedroom window. It bounces daylight deep into the room and visually doubles the space. Hang it so it reflects the brightest part of the window, not the ceiling, and keep the frame slim and light. My first placement faced a blank wall and just doubled the blankness, which taught me the positioning matters more than the size. Clean it properly too, because a dusty mirror kills the effect. One mirror, twenty minutes, and the room feels half as big again.
Cost: ~$18-30 | Time: 20 minutes
7. Fold-Down Wall-Mounted Desk
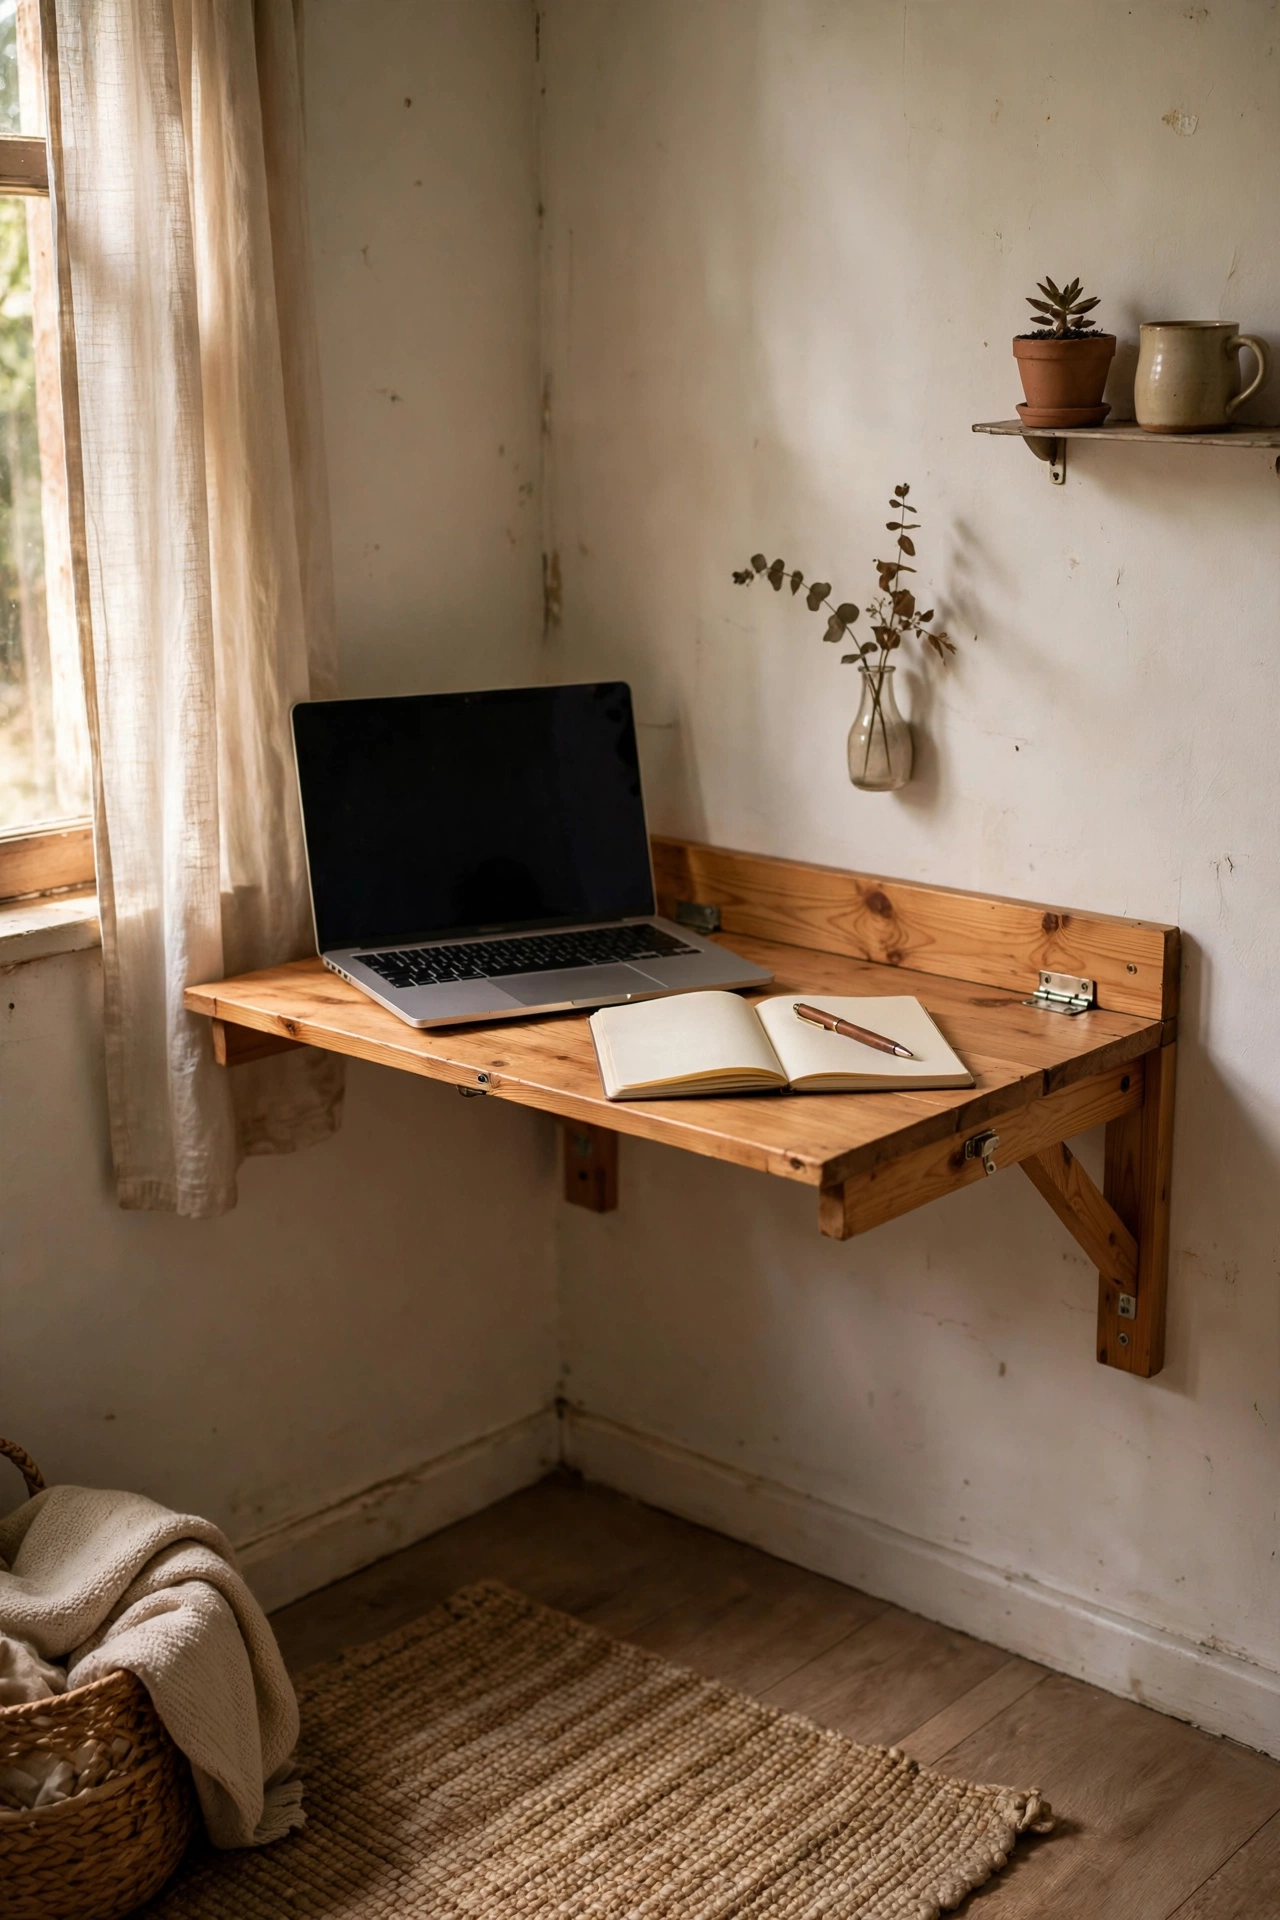
Working from a small bedroom used to mean a desk permanently eating a corner, until I fitted a fold-down wall desk that disappears after work. I mounted a drop-leaf table bracket on the wall, added a pine top, and now it folds flat against the wall like a picture frame when I am done. Fold it down for a laptop, fold it up for floor space. Make sure you fix it into studs because a laptop plus elbows is heavy. My first bracket pulled out of plasterboard within a week and I had to remount it properly with toggle bolts. Now it holds my full setup and vanishes every evening. It is a desk and half a room of clear floor.
Cost: ~$30-45 | Time: 1 hour
8. Curtain Rod Hung High and Wide
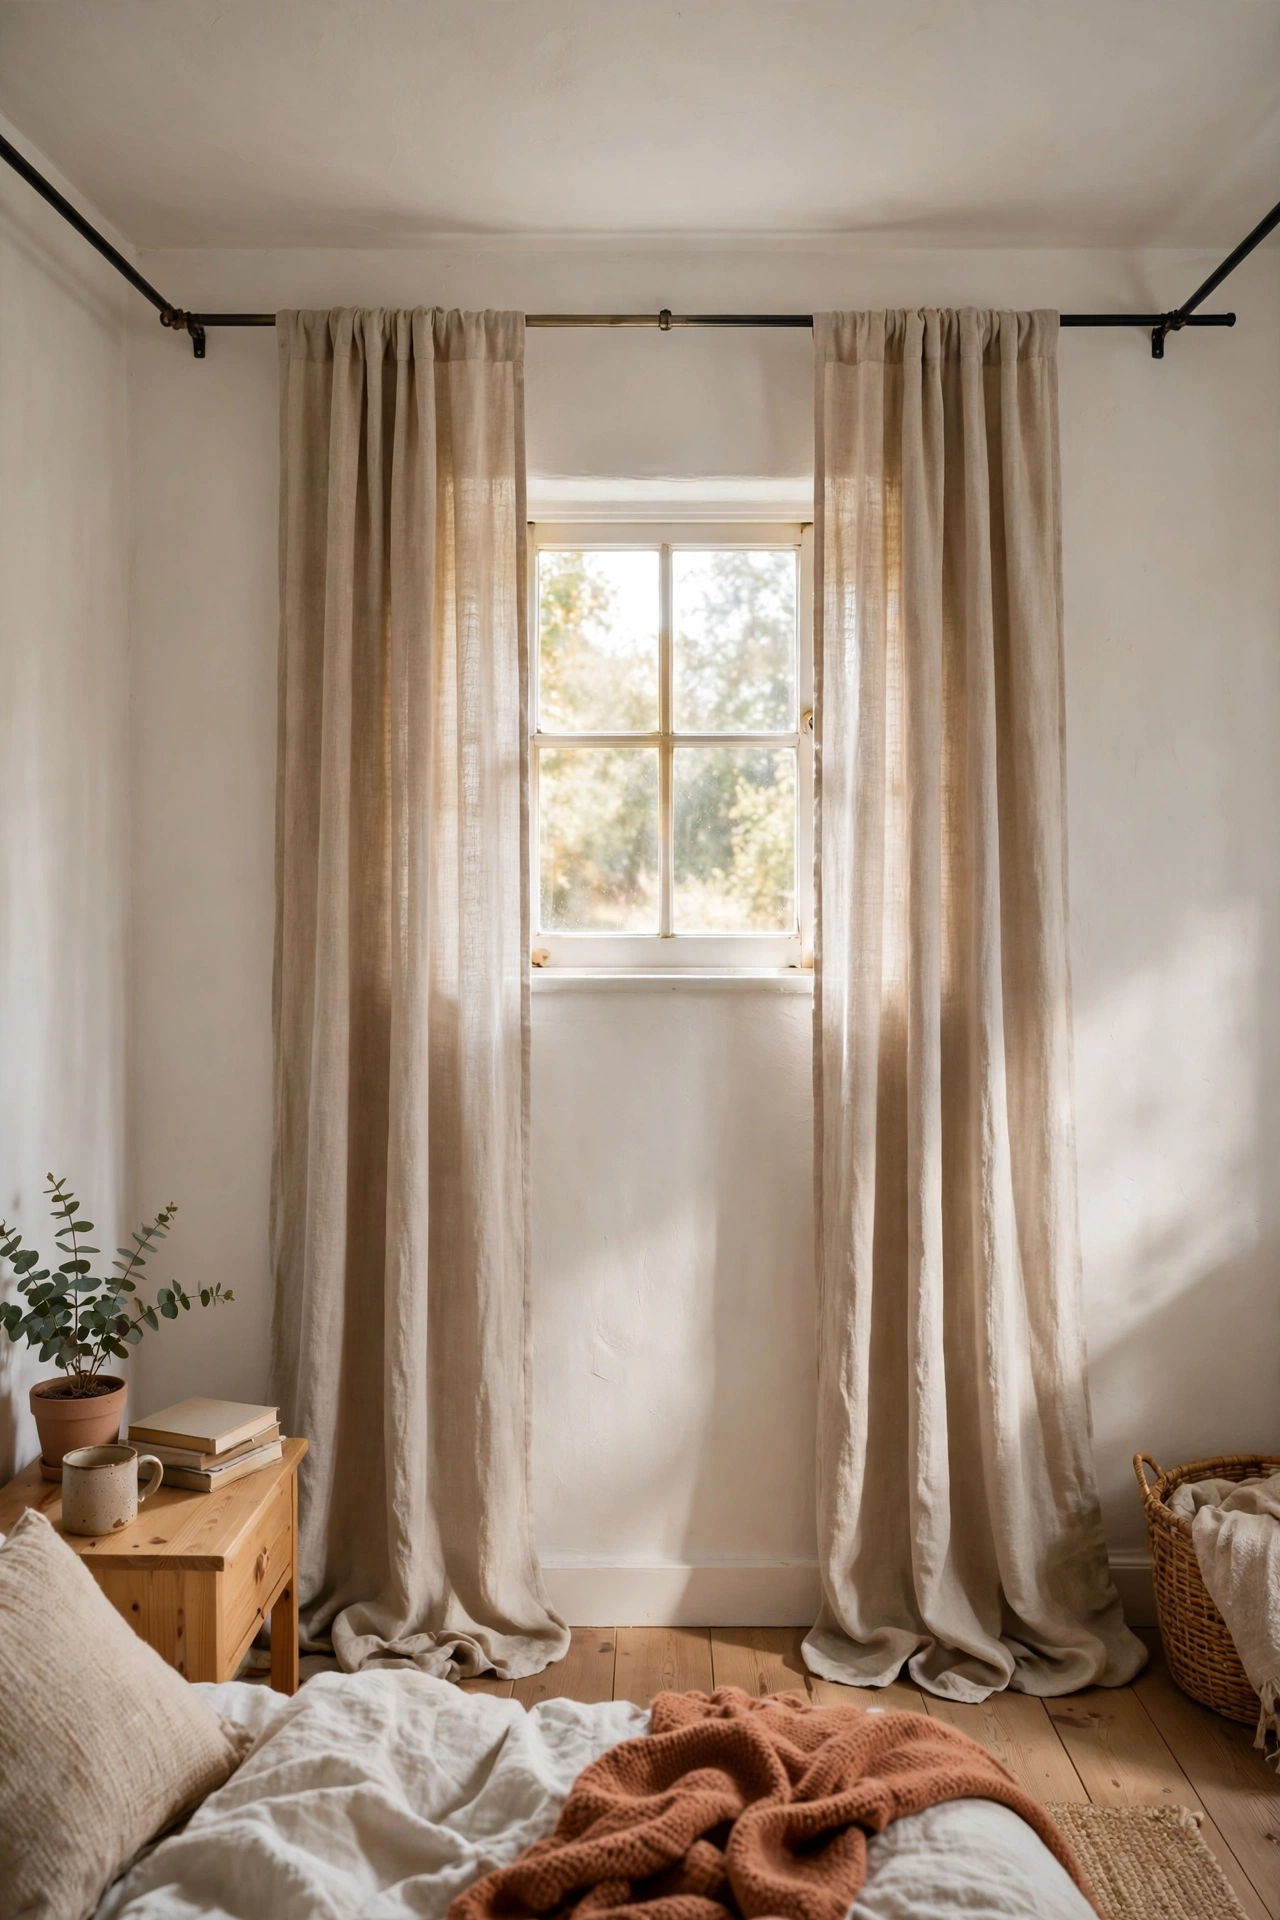
Hanging the curtain rod close to the ceiling and a full foot wider than the window frame is the cheapest visual trick I know for a small bedroom. I moved my rod up to just below the ceiling and extended it on both sides, then hung simple linen-look panels that just kiss the floor. The window suddenly looks twice as wide and the ceiling feels higher, even though nothing structural changed. Use a sturdy rod because wide spans sag in the middle. My first cheap rod bowed within a month and I replaced it with a thicker one. The whole change cost $28 and took half an hour, and guests keep asking if I got a bigger window.
Cost: ~$22-35 | Time: 30 minutes
9. One Light Colour on Every Wall
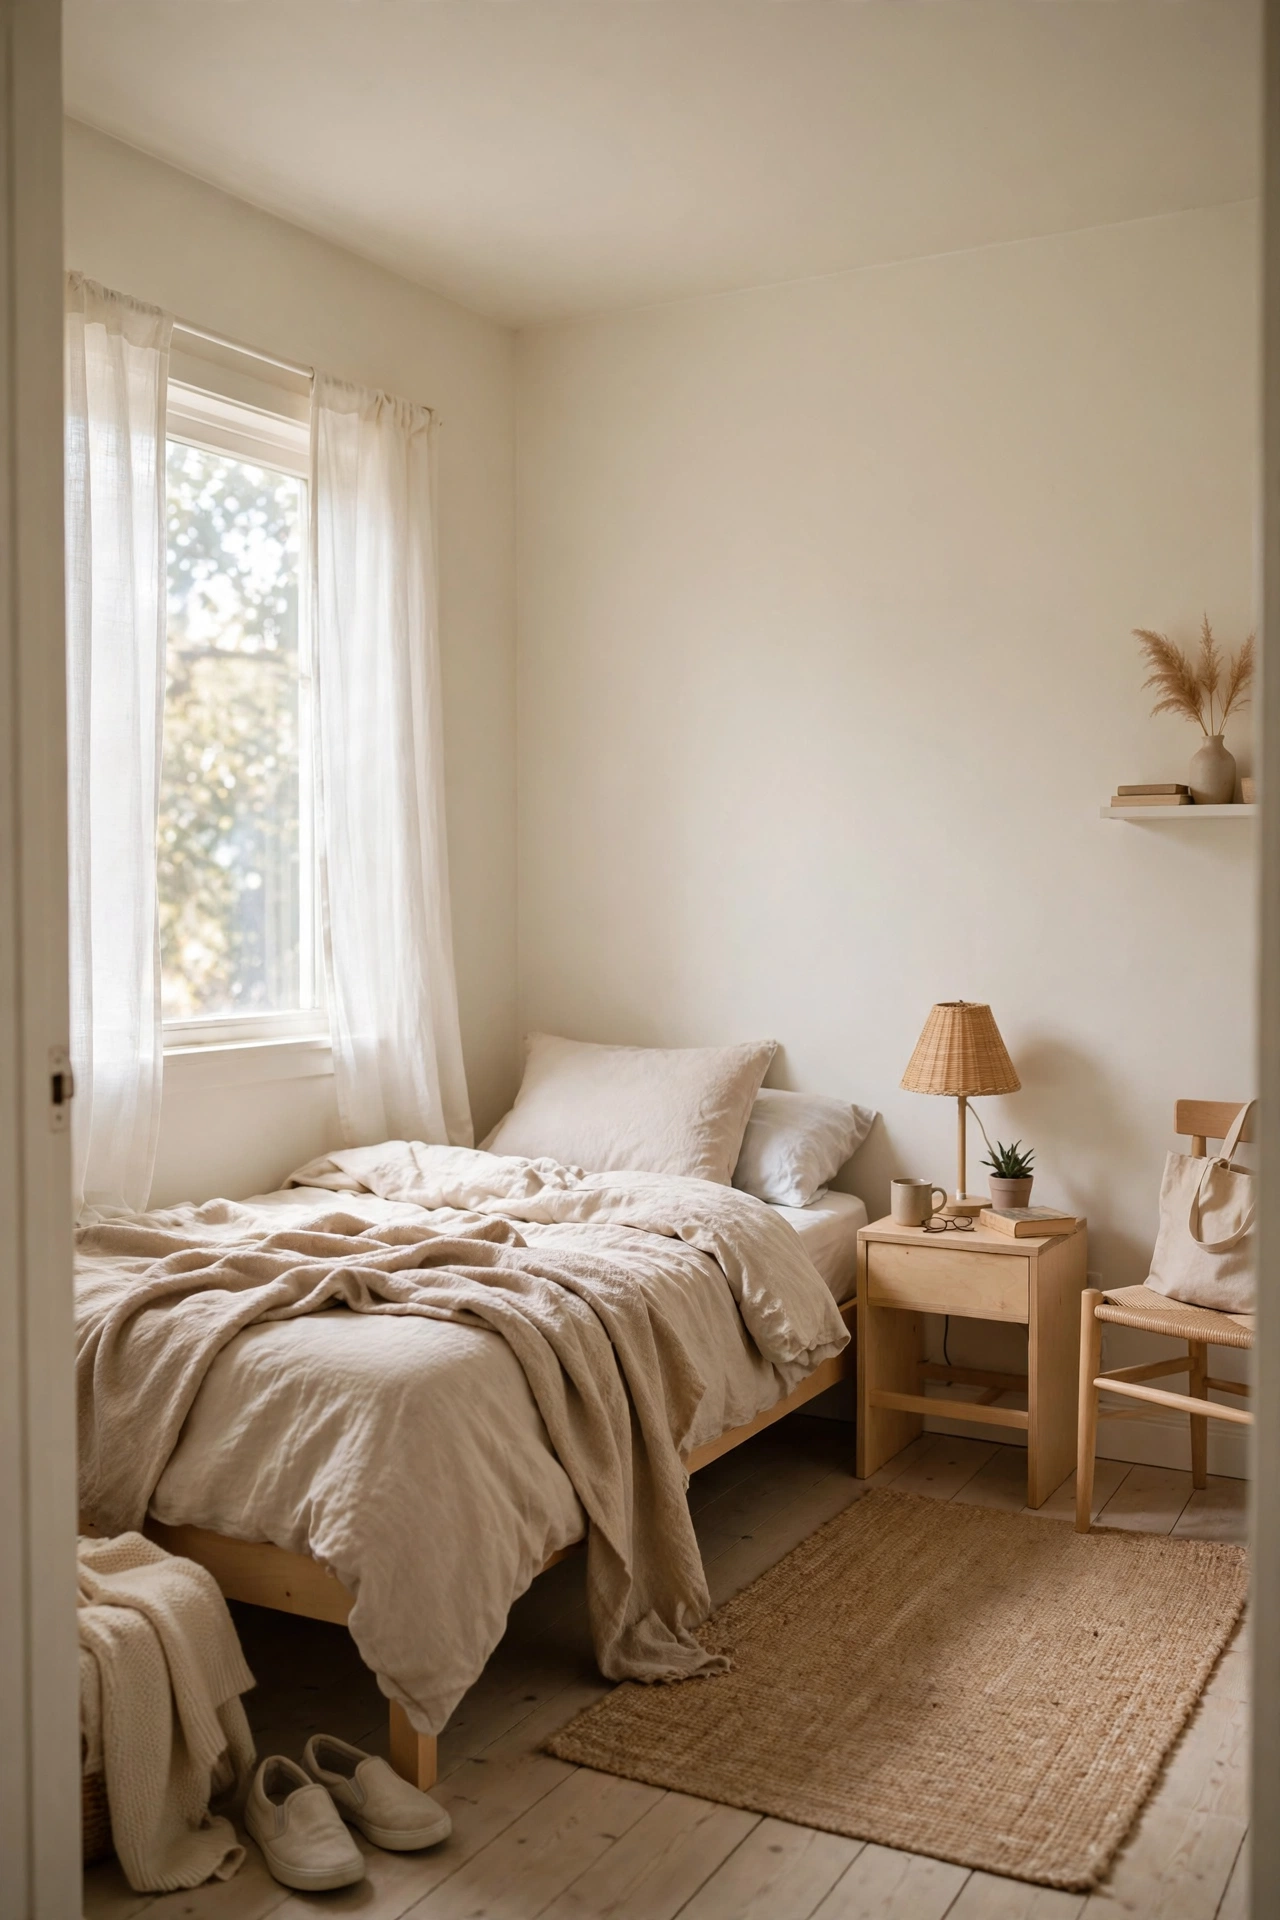
Chopping a small bedroom into different colours chops it visually into even smaller pieces. I painted every wall the same pale warm white, ceiling included, and the room instantly felt like one calm, larger box instead of four cramped walls. One colour also means you buy one tin of paint and finish in a day. Pick a warm white rather than a stark one so it does not feel clinical, and test a swatch at night under your lamps. My first pick looked grey and gloomy after dark. The warmer shade fixed it. A single tin cost me $22 and covered the whole room, and it made every other idea on this list look better.
Cost: ~$20-28 | Time: 3 hours
10. Lift-Up Storage Bed Base
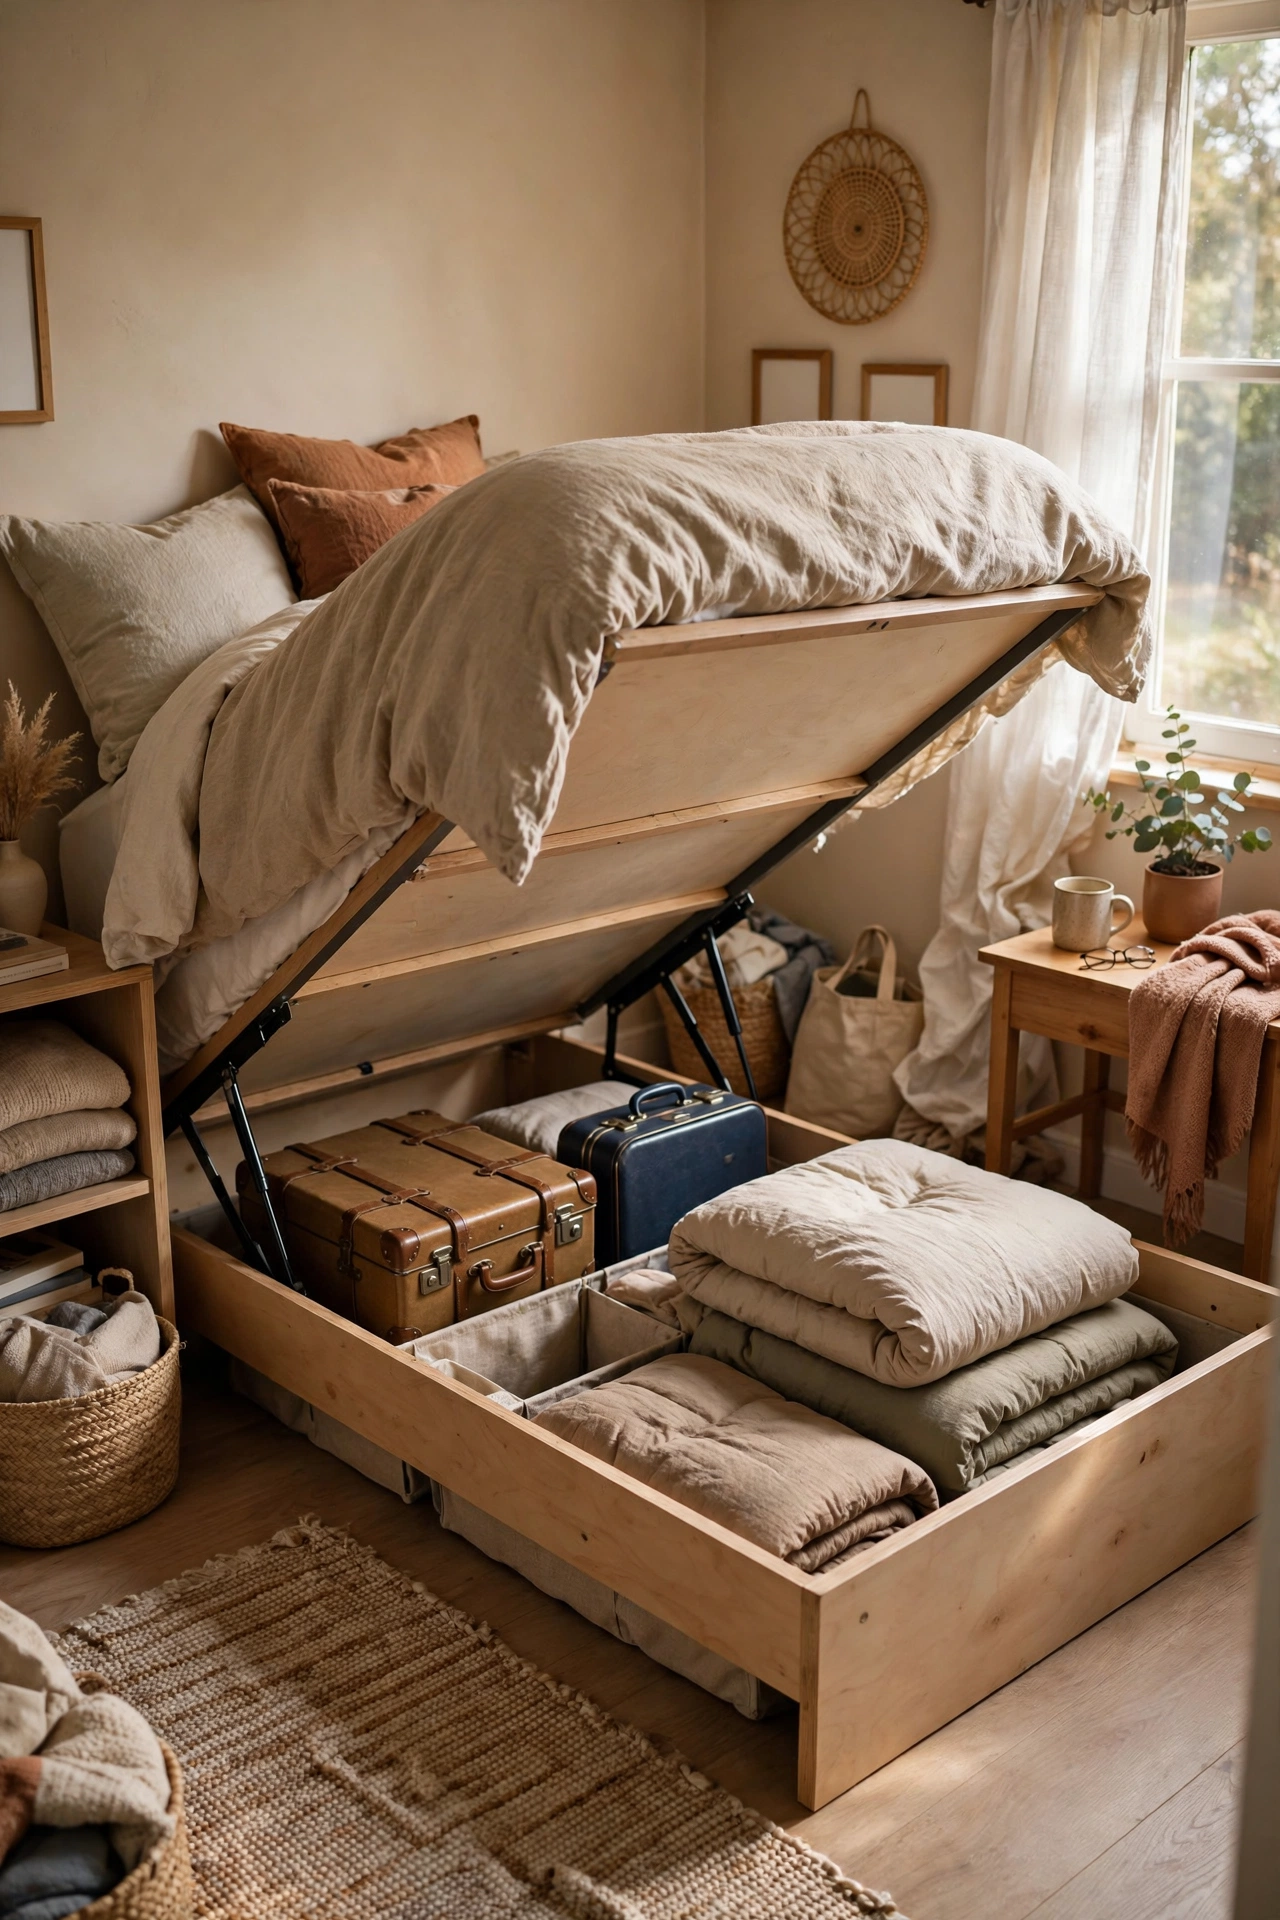
If you can only make one big purchase for a small bedroom, make it a lift-up storage bed. Mine cost $180 secondhand and swallowed two suitcases, winter coats, and every spare duvet in the house. The hydraulic base lifts the whole mattress with one hand, revealing a cavern bigger than a wardrobe. Measure your room before buying because the lid needs clearance to open fully. I nearly bought one that would have hit my wardrobe door. Check the hydraulics work smoothly too, because a stiff base stays shut and unused. It replaced a chest of drawers entirely, so the room gained a metre of clear floor overnight.
Cost: ~$150-250 | Time: 1 hour to assemble
11. Pegboard Wall for Jewellery and Bits
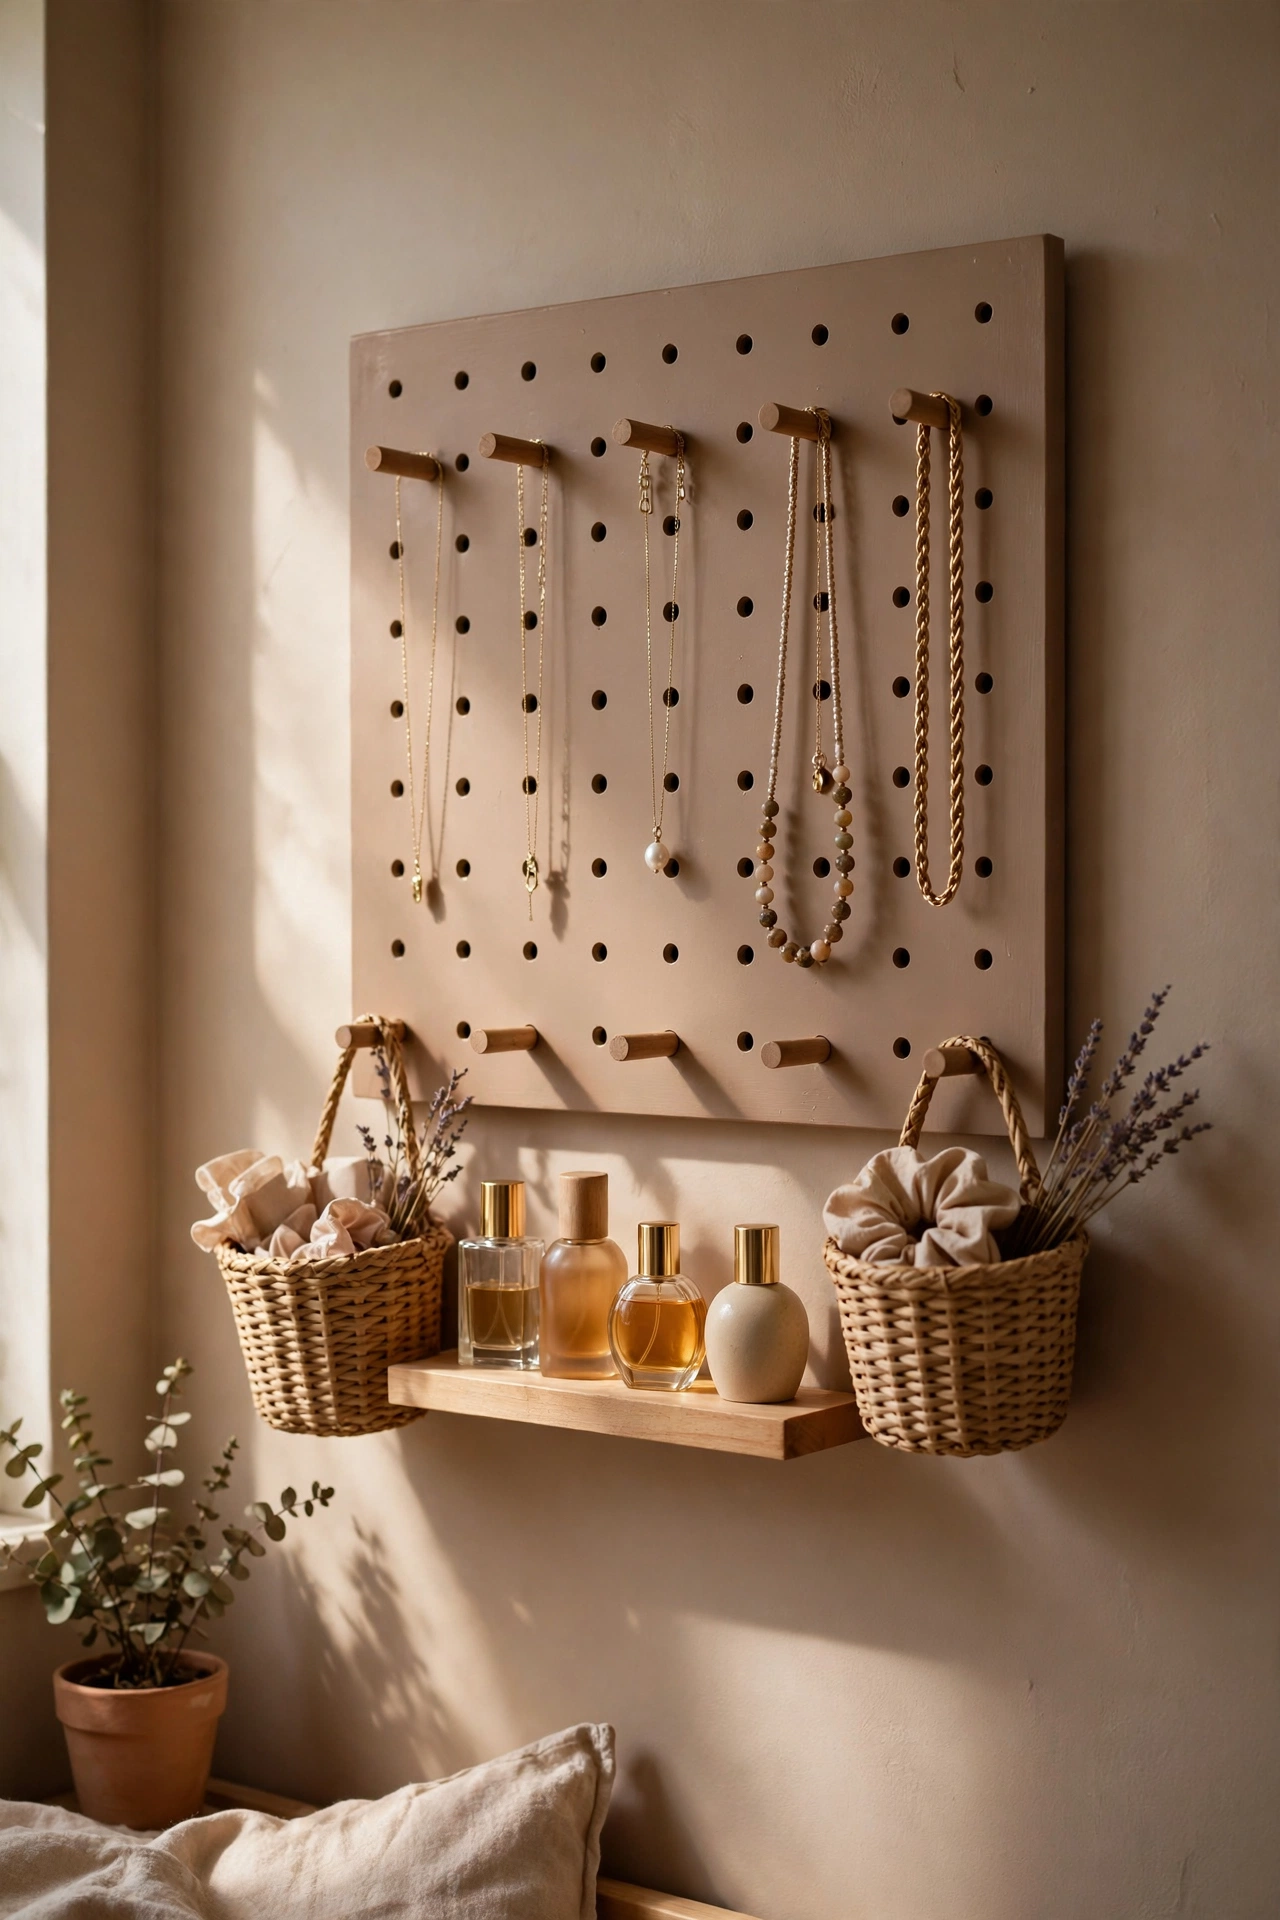
Small items cause the most clutter in a small bedroom, so I gave mine a home on a pegboard panel beside my dresser. I bought a $12 pegboard, painted it wall colour, and hung it with hooks for necklaces, a shelf for perfume, and small baskets for hair bits. Everything is visible and off the surfaces. Arrange the hooks before you hang anything heavy, and keep the layout loose because you will rearrange it. My first version was over-planned and I never used half the hooks. The messy, lived-in arrangement works better. It turned my most chaotic corner into something that looks almost styled.
Cost: ~$12-20 | Time: 40 minutes
12. Bedside Caddy Instead of a Table
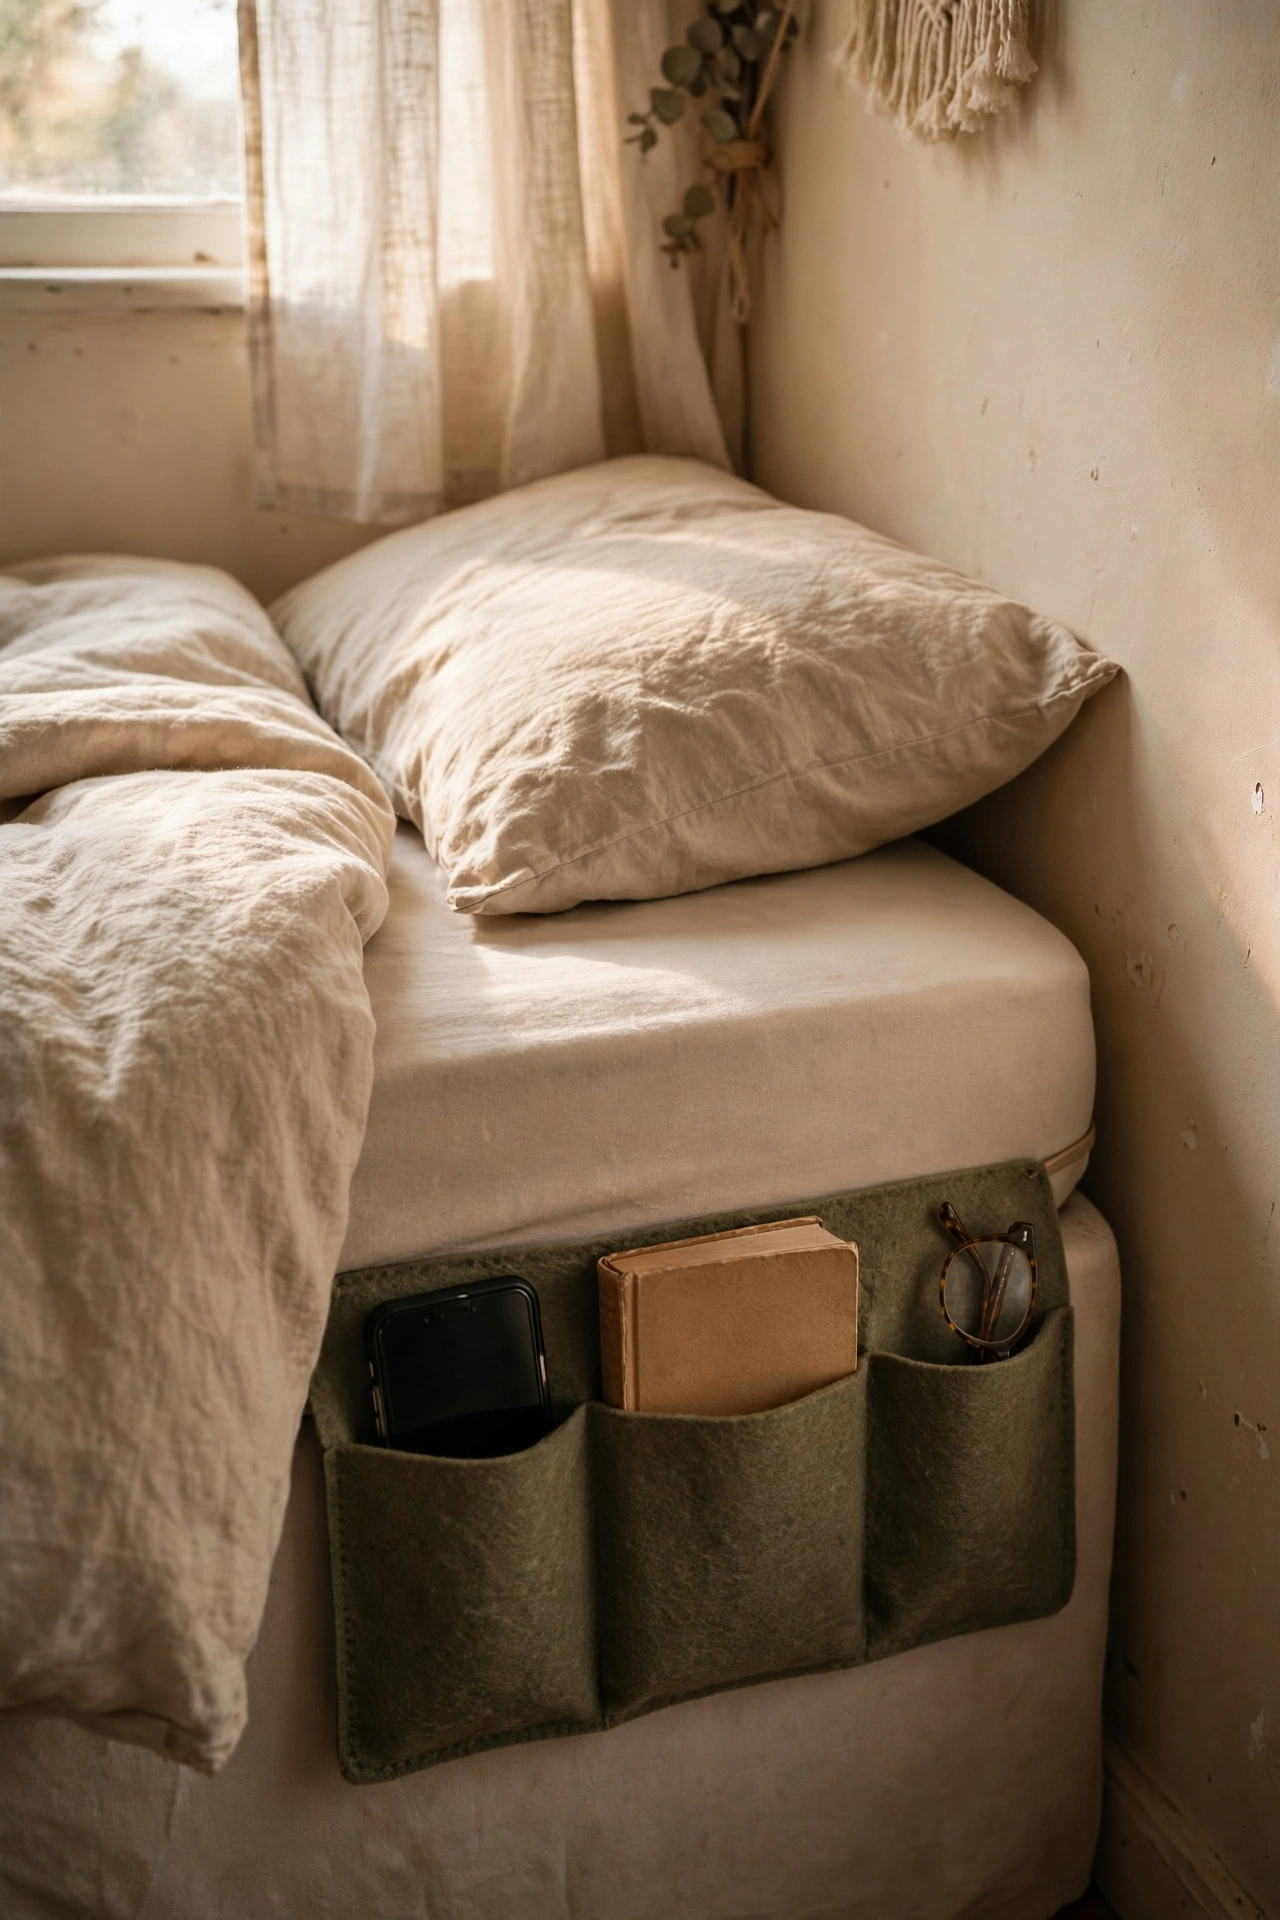
When there is genuinely no room for any nightstand, a bedside caddy is the answer. I bought a felt pocket organiser that slides under the mattress and hangs down the side, with deep pockets for my phone, book, glasses, and a water bottle. It costs about $10 and takes up literally zero floor space. Choose one with stiff pockets so your phone does not slide out at 3am, which happened to me twice with a floppy fabric version. The felt one holds its shape. It is not glamorous, but in a room where every centimetre counts it beats stacking things on the floor, and it travels well for small guest rooms too.
Cost: ~$8-14 | Time: 5 minutes
13. Narrow Console Dresser for Tight Gaps
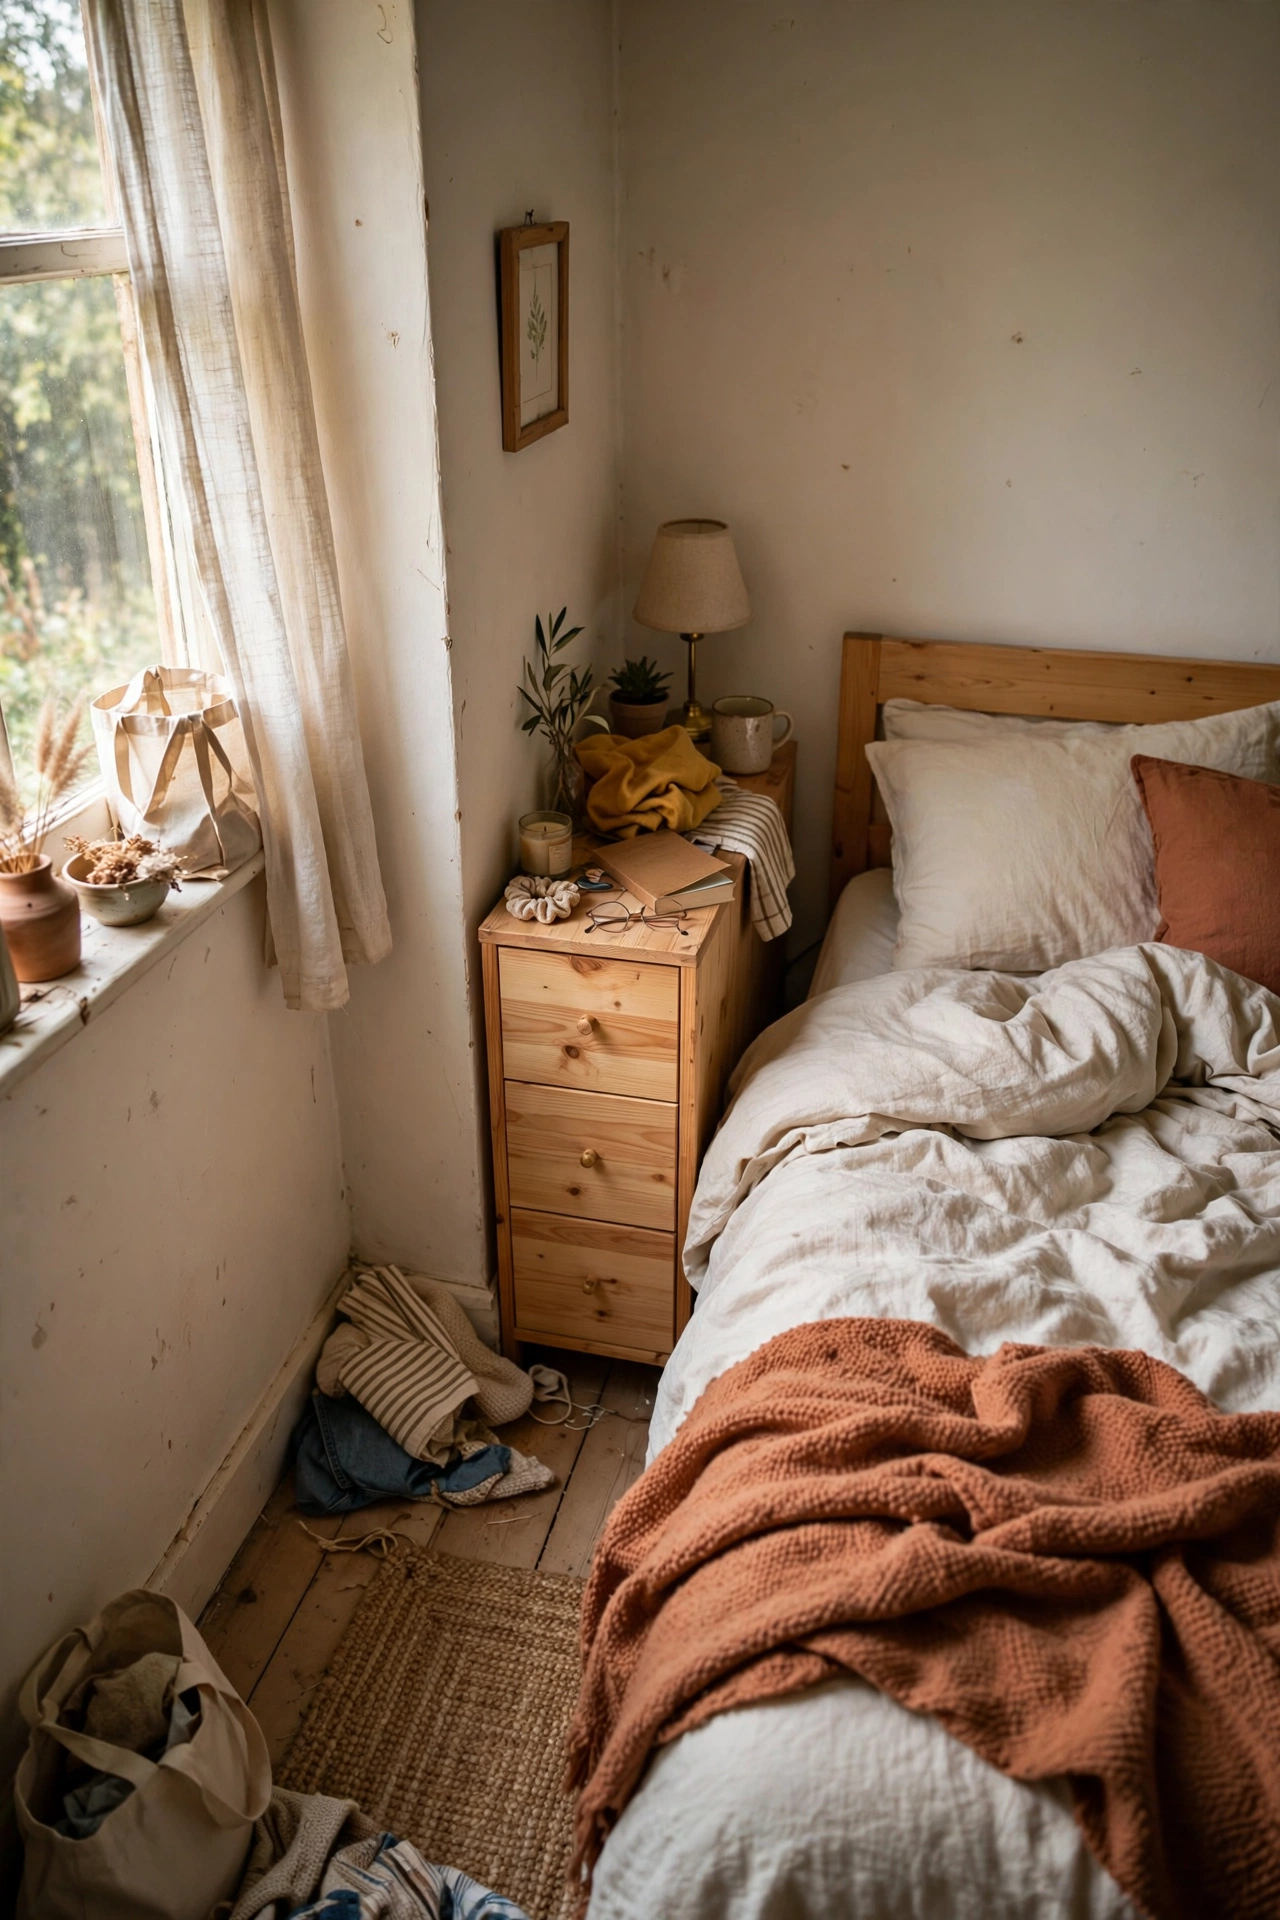
That awkward 40-centimetre gap between the bed and the wall was wasted until I slid a narrow console dresser into it. I found a slim pine chest, only 35 centimetres deep, at a flea market for $25, and it holds all my folded jumpers in six shallow drawers. Shallow drawers are actually better because nothing gets lost at the back. Sand the top smooth and it doubles as a second bedside surface for a lamp. I measured three times before buying because the gap was so tight. It fits with two centimetres to spare. That dead strip of floor now stores a whole wardrobe section.
Cost: ~$22-35 | Time: 30 minutes
14. Plug-In Wall Sconces by the Bed
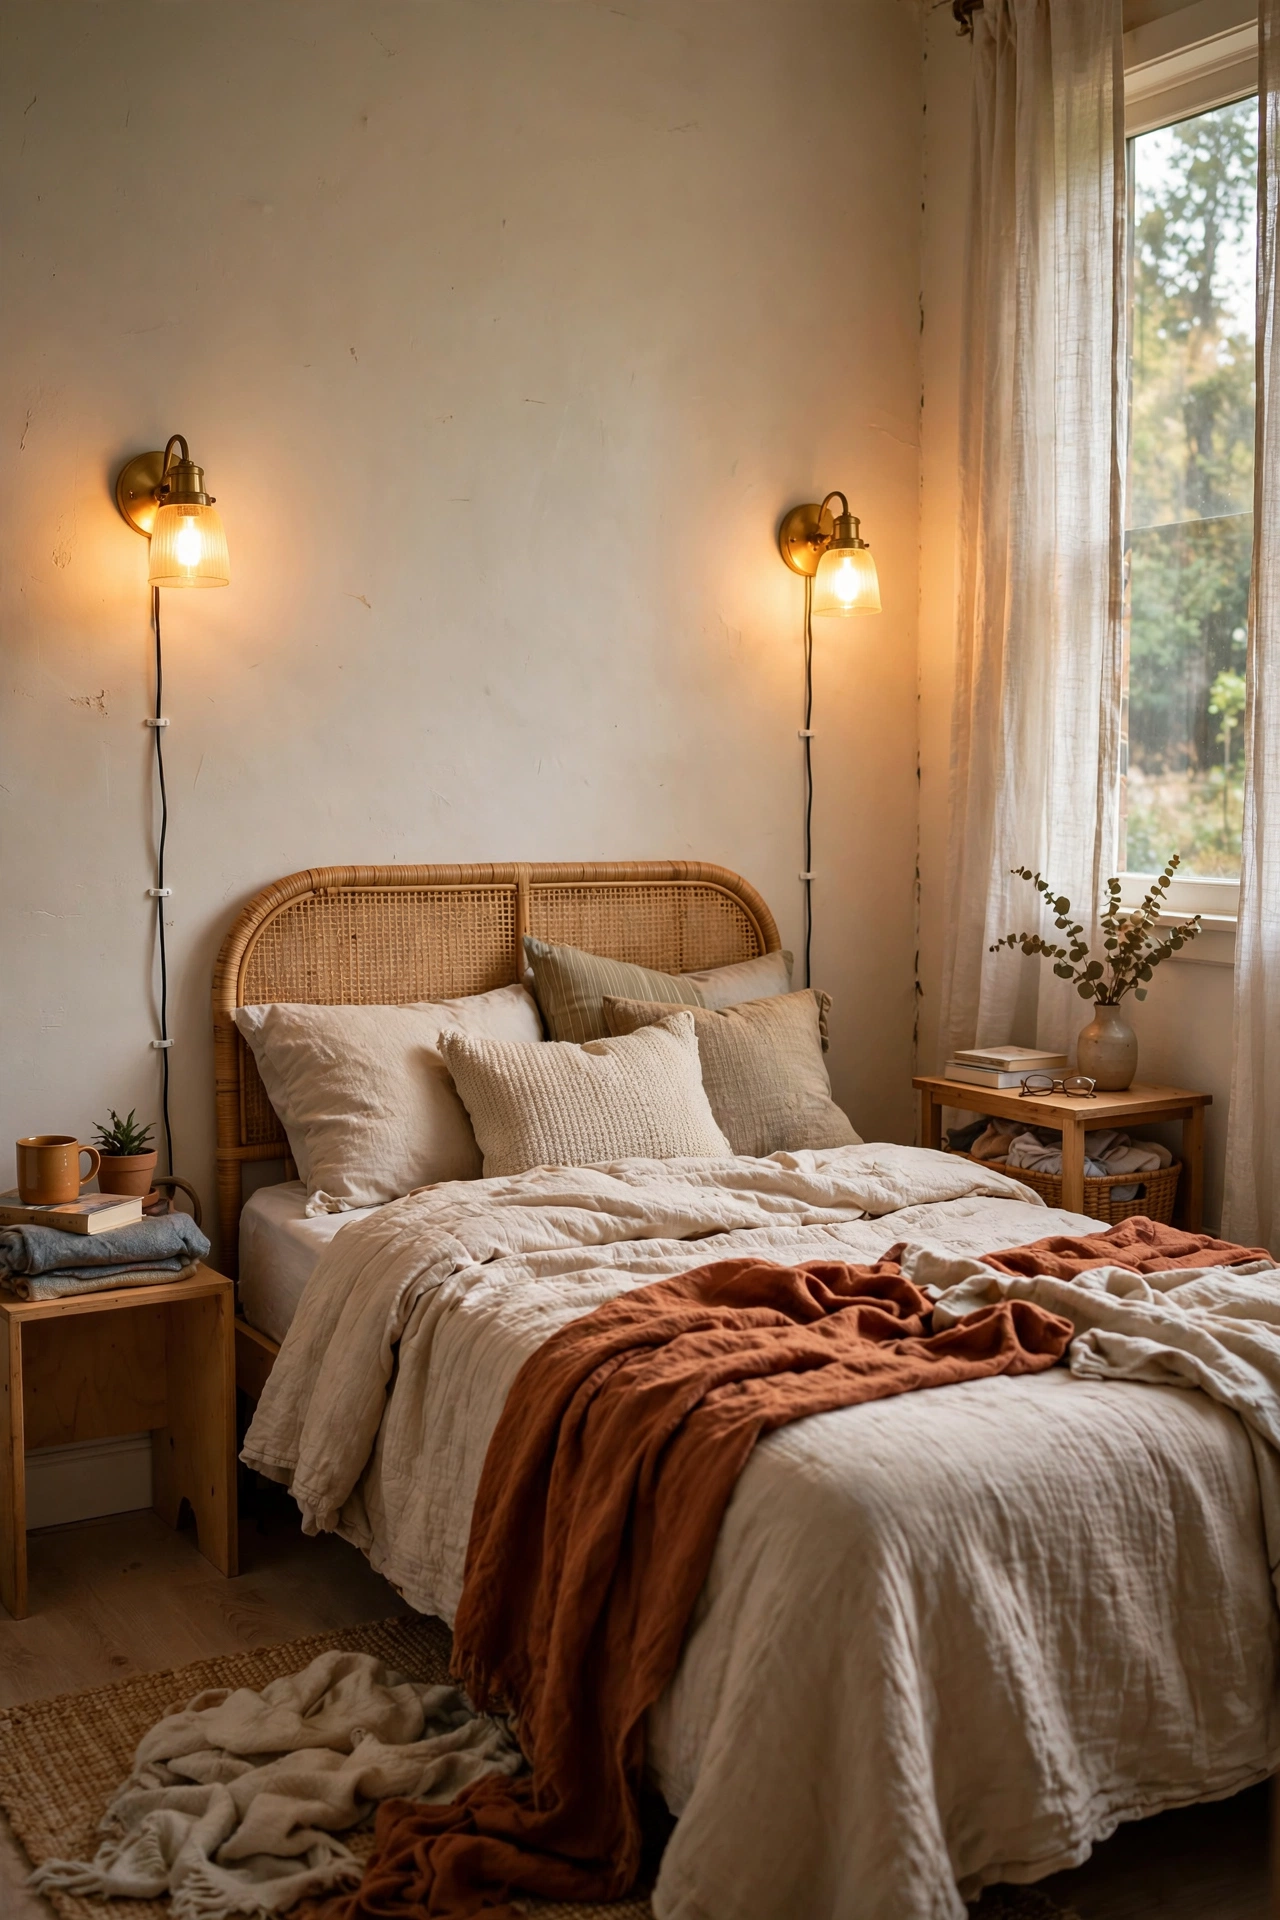
Table lamps need tables, which need floor, so I skipped all of that and fitted plug-in wall sconces above each side of the bed. They cost $18 each, need no electrician, and the cord tucks neatly down the wall with a cord cover. Position them at shoulder height when you sit up in bed so the light falls on your book, not in your eyes. My first placement was too high and lit the ceiling instead of the page. Moving them down six inches fixed it. Freeing the nightstand surface entirely means my floating shelves hold only what I love. It is the lighting upgrade that also buys back space.
Cost: ~$30-45 | Time: 30 minutes
15. Flat Linen Baskets Under the Window
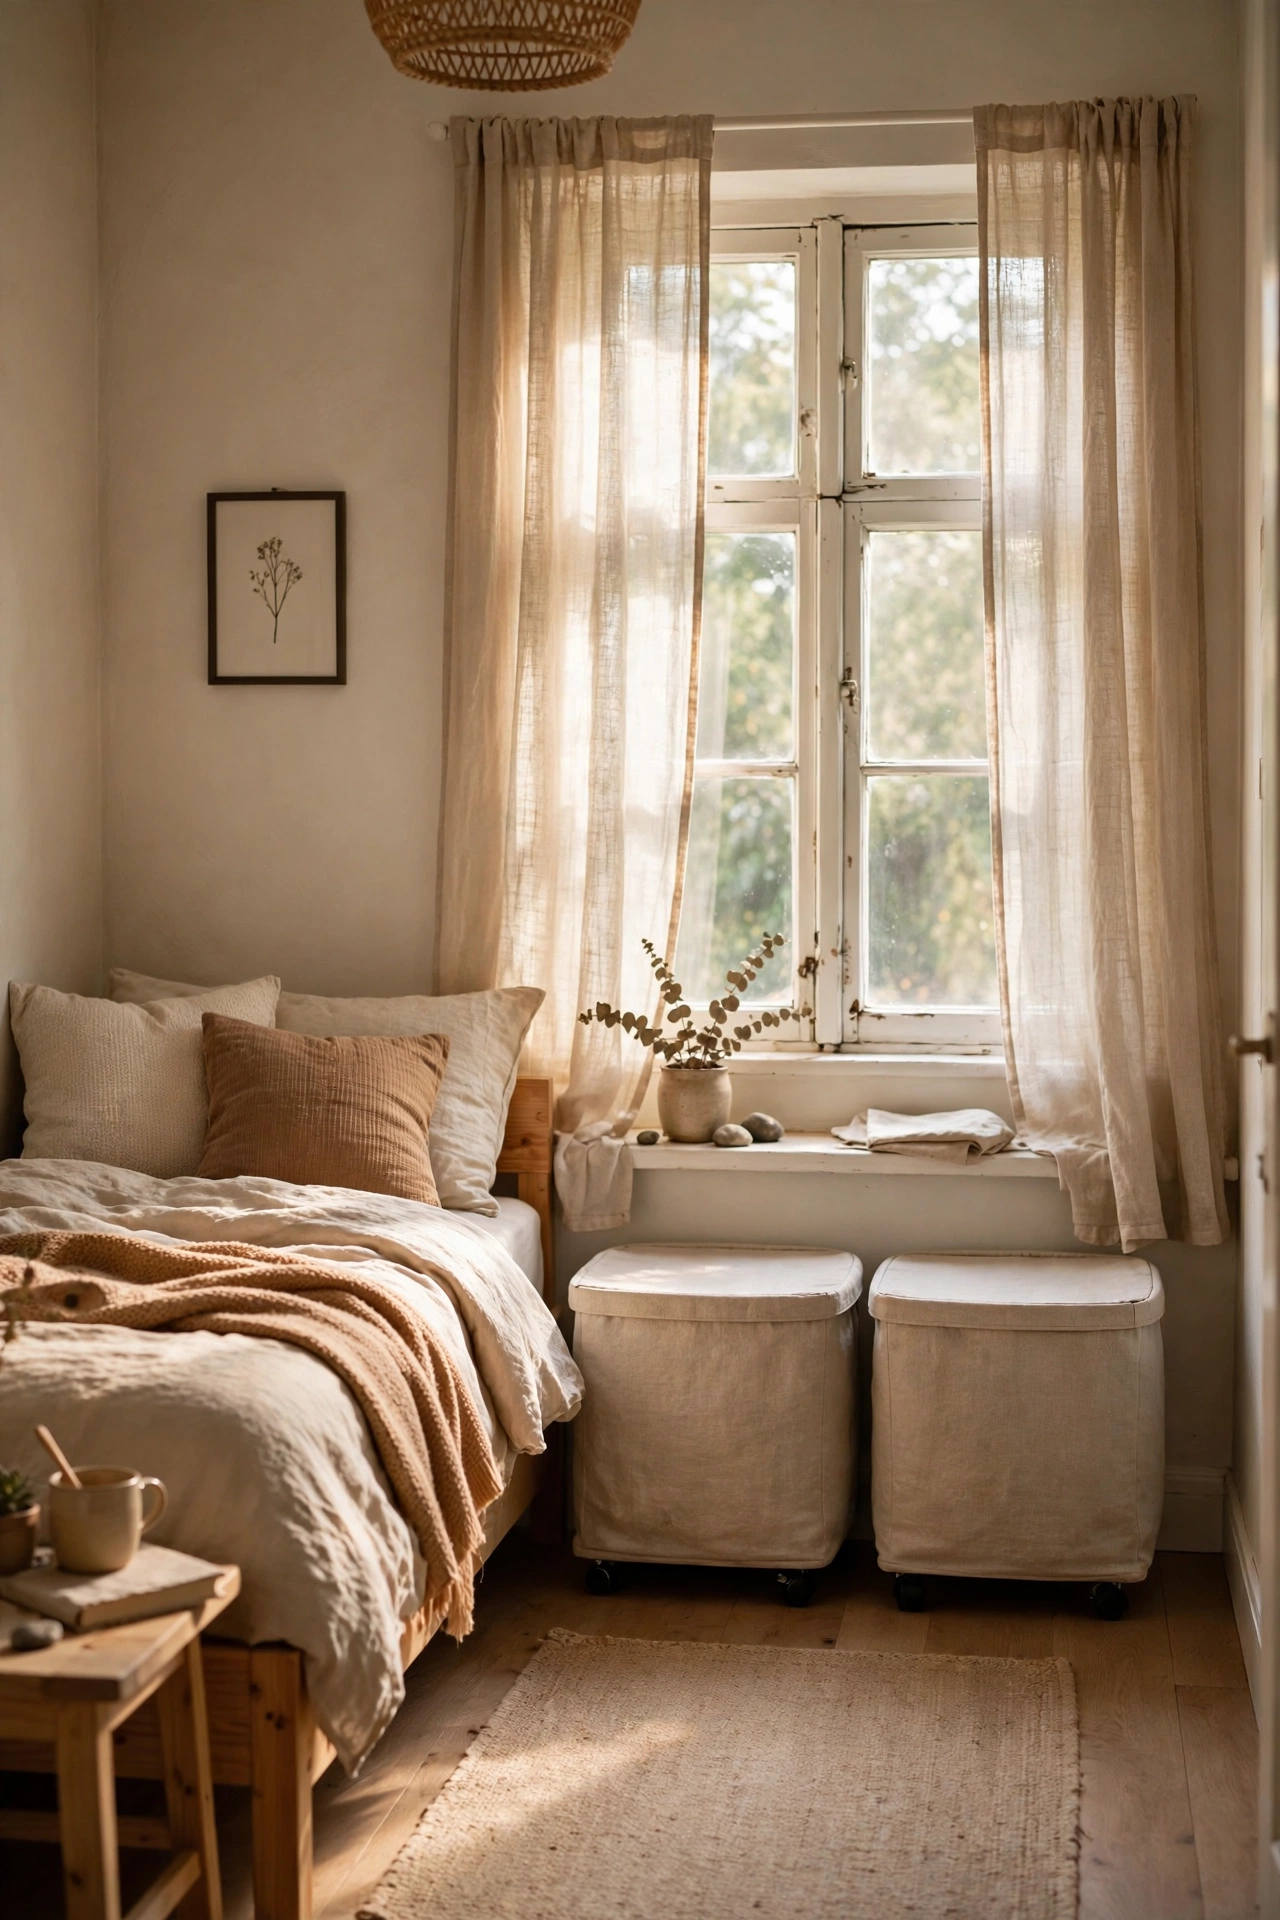
The strip of floor under the window is prime wasted space in most small bedrooms. I lined it with two flat linen baskets on low wheels, which hold my laundry-in-progress and spare throws while looking tidy. The wheels matter because you will pull them out constantly, and baskets without wheels scrape and tip. Pick ones with lids so the contents stay hidden. My first lidless baskets looked like laundry piles with handles. The lidded versions read as intentional storage. They cost $16 each and turned the most awkward metre of my room into its tidiest feature.
Cost: ~$28-38 | Time: 10 minutes
16. Headboard with Built-In Shelf Ledge
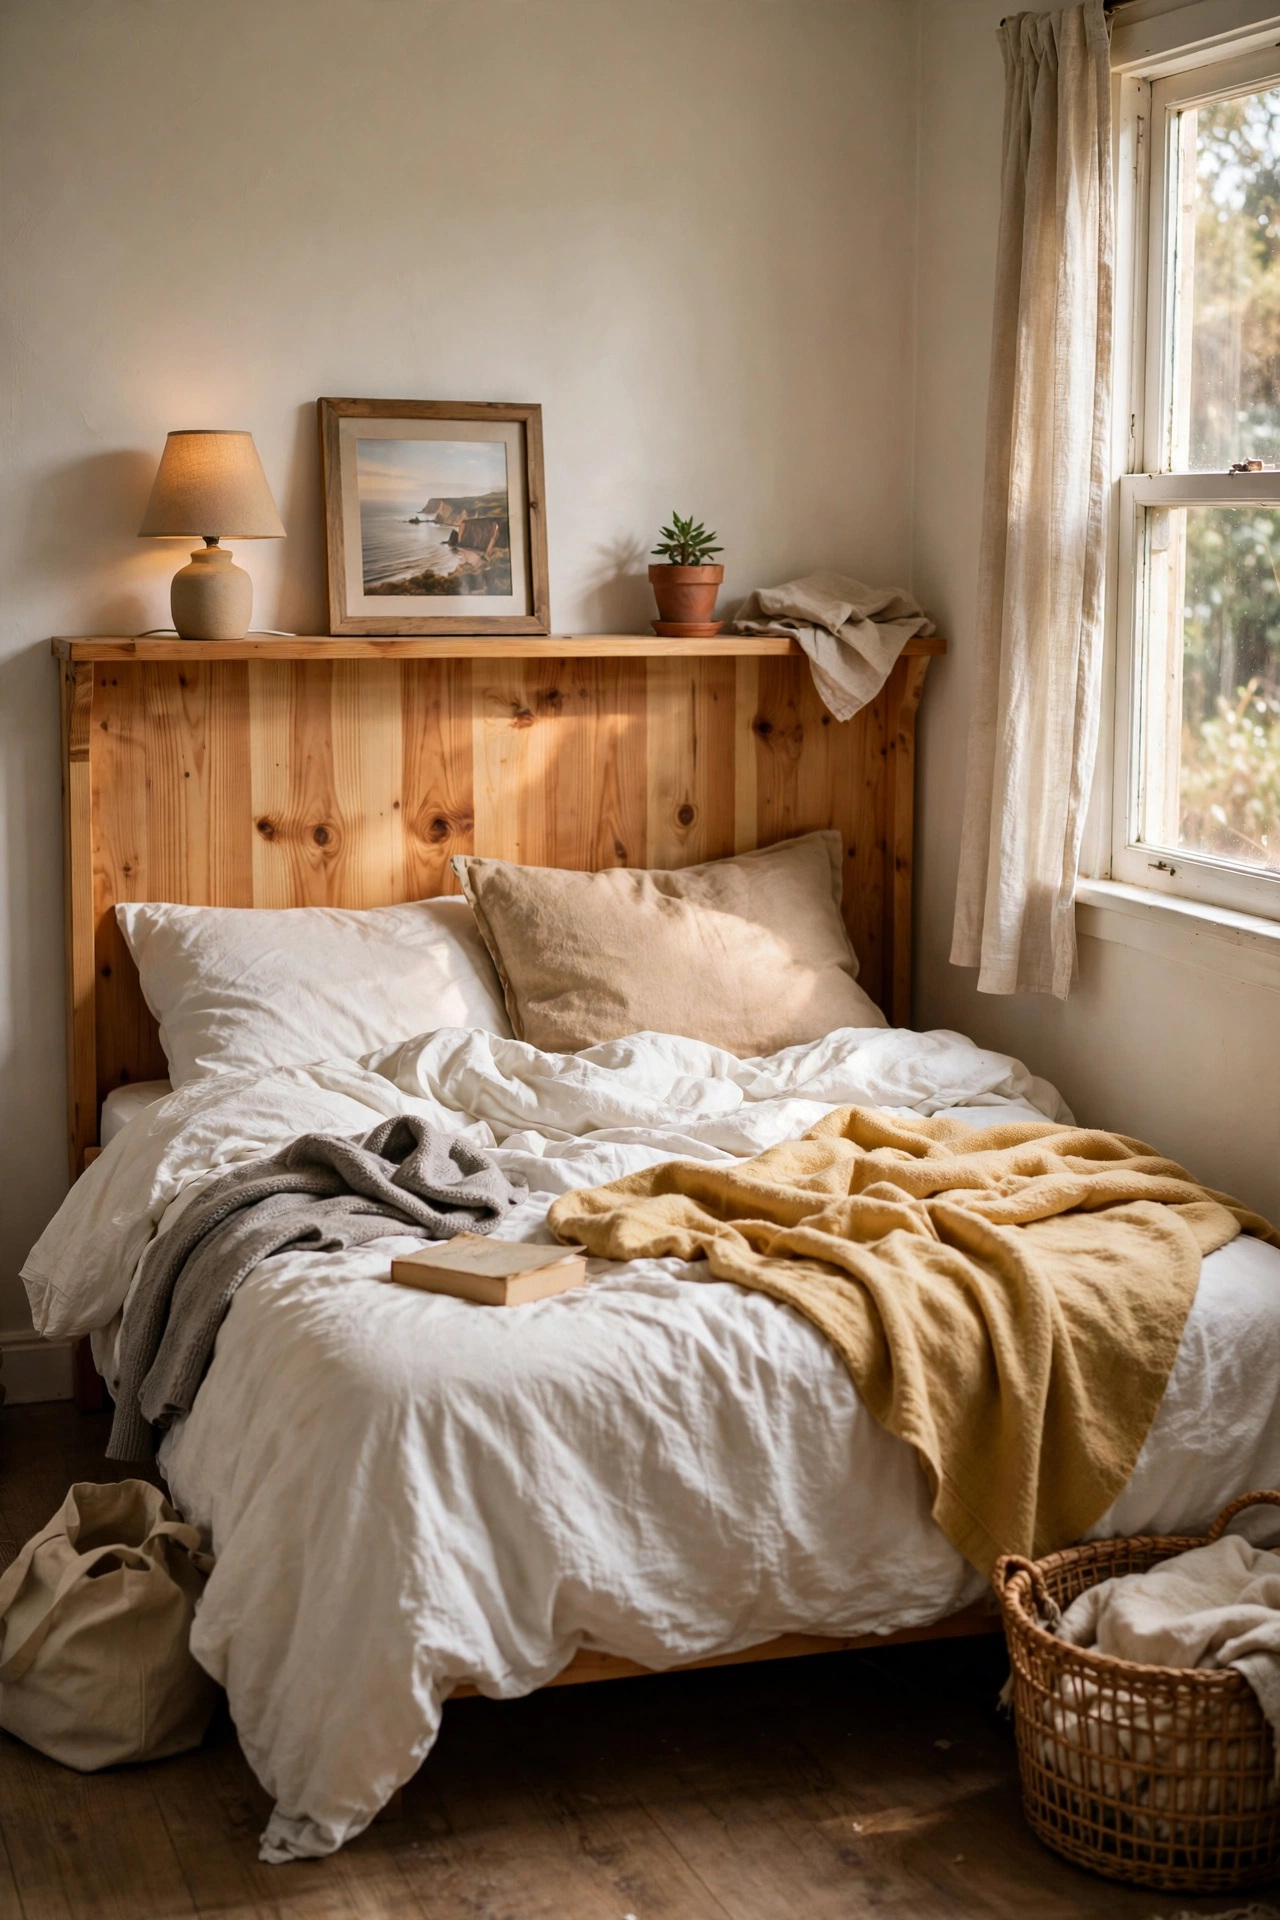
A headboard that is also a shelf kills two pieces of furniture in one. I built a simple pine headboard with a 15-centimetre-deep ledge along the top, which now holds my alarm clock, a small lamp, and a framed photo. No nightstands needed at all. Sand every edge smooth because you will lean against it, and fix it firmly to the wall or the bed frame so it cannot shift. My first version was freestanding and creaked every time I sat up. Wall-fixing solved it. The whole build cost about $30 in pine boards and looks like a proper piece of furniture.
Cost: ~$25-40 | Time: 2 hours
17. Hanging Pendant Light Over the Bedside
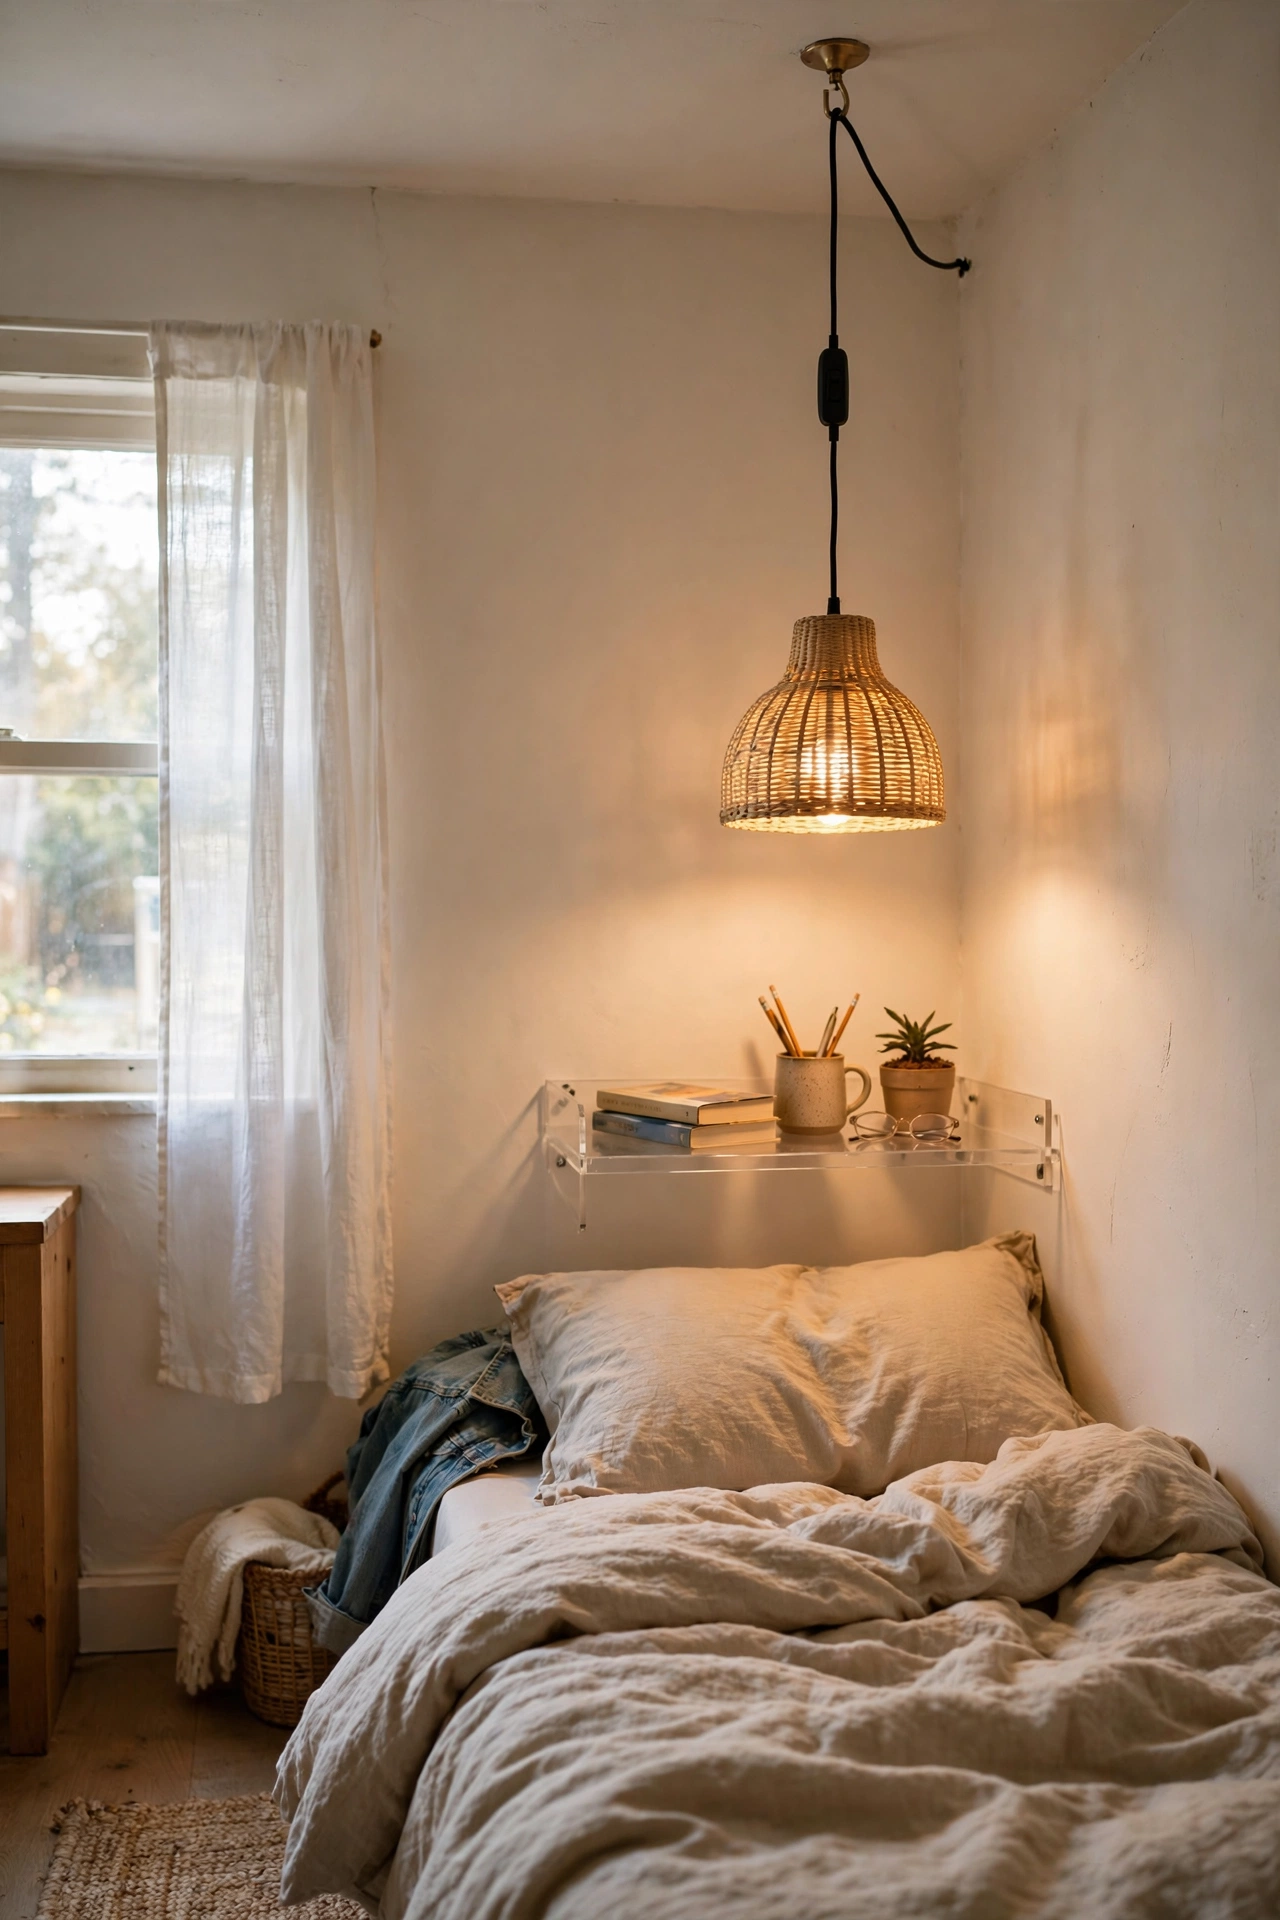
Swapping my bedside table lamp for a hanging pendant freed the whole shelf surface and looks far more considered. I hung a simple plug-in pendant from a ceiling hook, dropping it to just above head height beside the bed, and covered the cord with a fabric sleeve. Choose a warm bulb and a shade that directs light downward for reading. My first pendant hung too low and I kept knocking it when sitting up. Raising it fifteen centimetres fixed it. The pendant cost $22 and took twenty minutes to hang. It is now the detail visitors ask about, and my bedside shelf holds only a book and water.
Cost: ~$18-28 | Time: 20 minutes
18. Rolling Cart as a Movable Nightstand
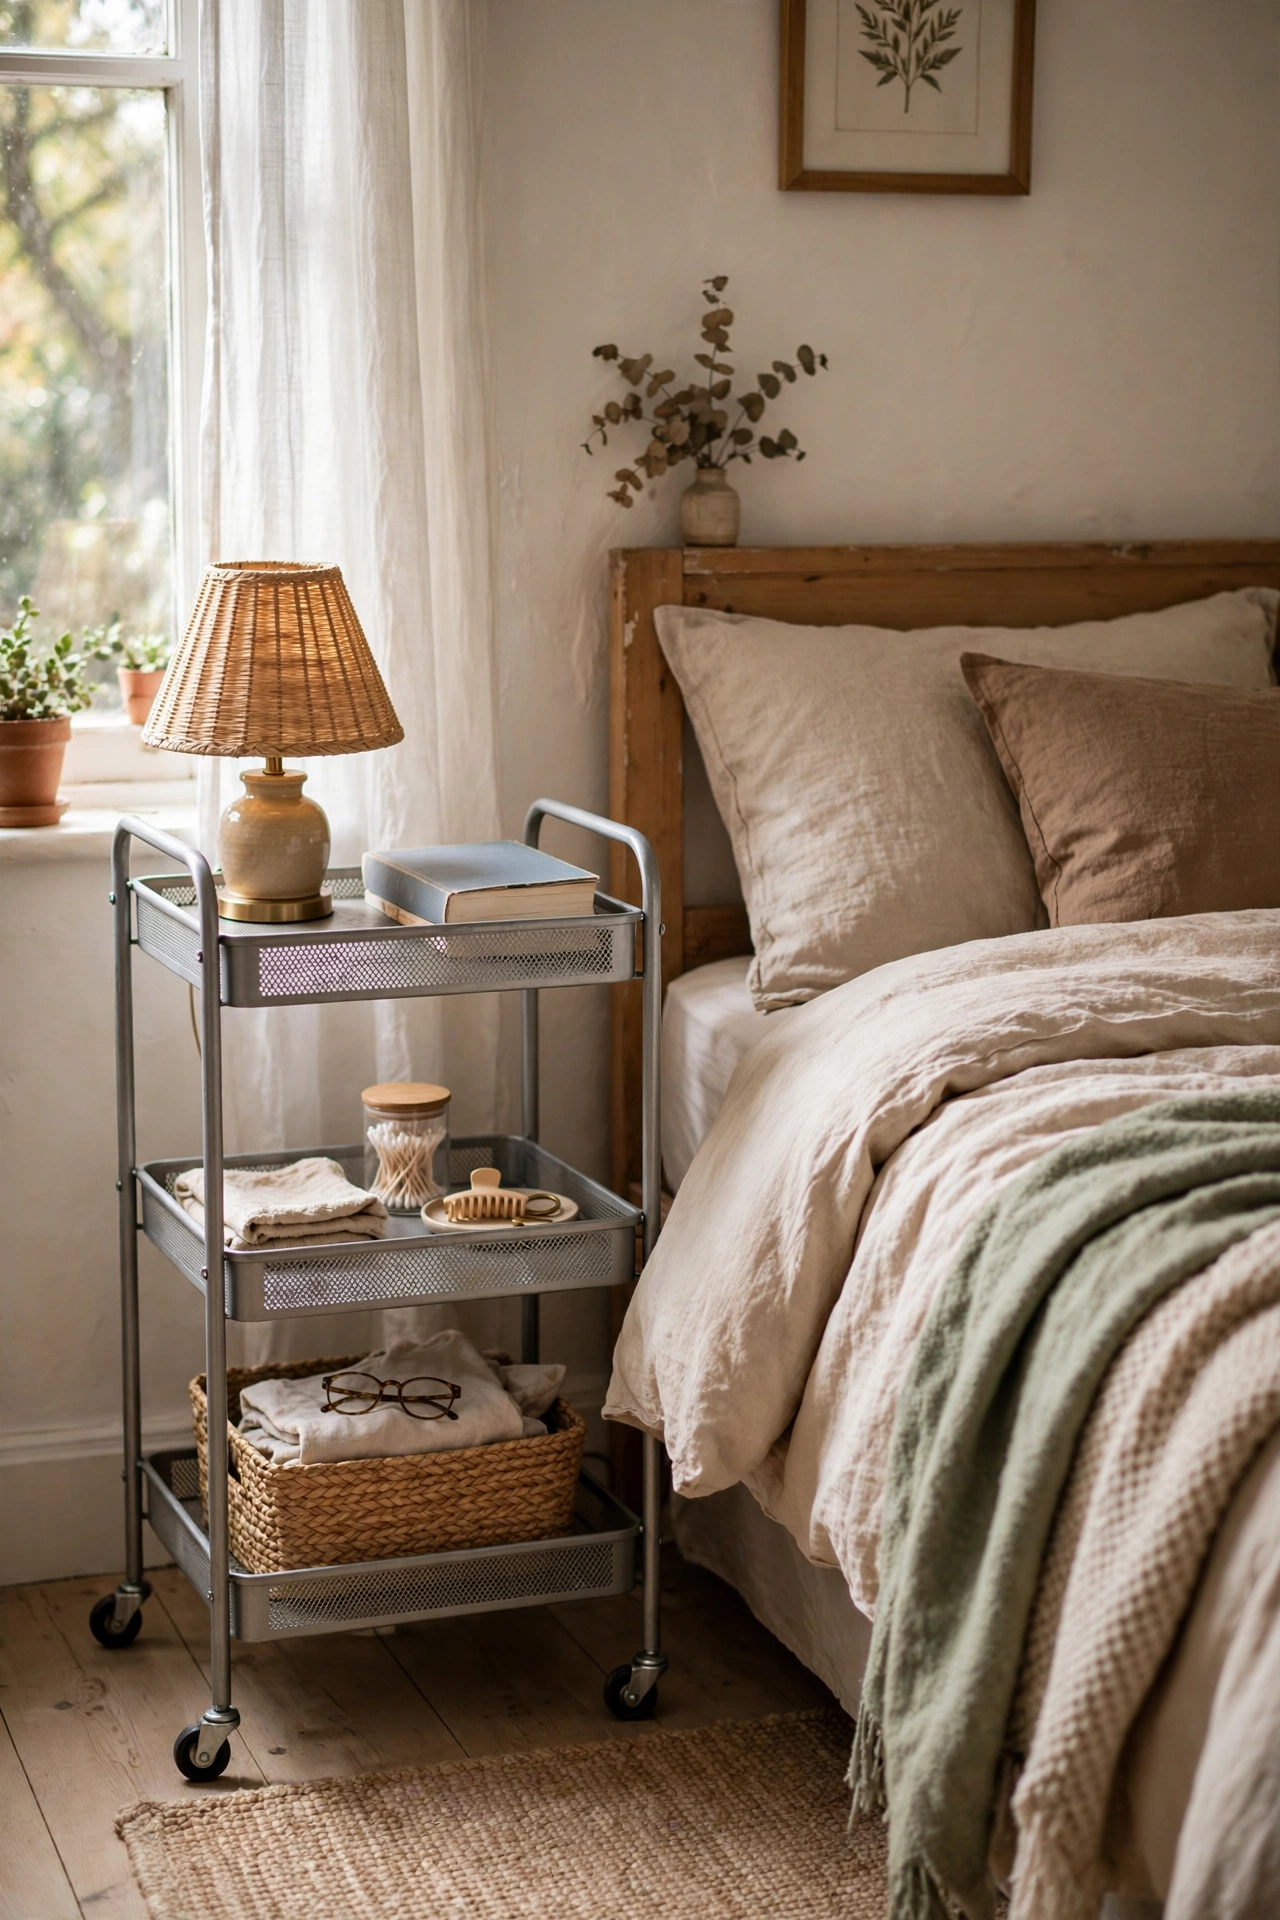
A three-tier rolling cart makes a brilliant nightstand for a small bedroom because it moves wherever you need it. I bought a metal utility cart for $25 and parked it beside the bed: top tier for lamp and book, middle for chargers, bottom for tissues and spare pillowcases. When I need floor space, I roll it into the wardrobe. Line the tiers with felt so things do not rattle. My first cart had no liners and every drawer pull sounded like a toolbox. The felt fixed it. It holds more than any nightstand its size and costs half as much.
Cost: ~$20-32 | Time: 15 minutes
19. Hook Rail on the Back of the Door
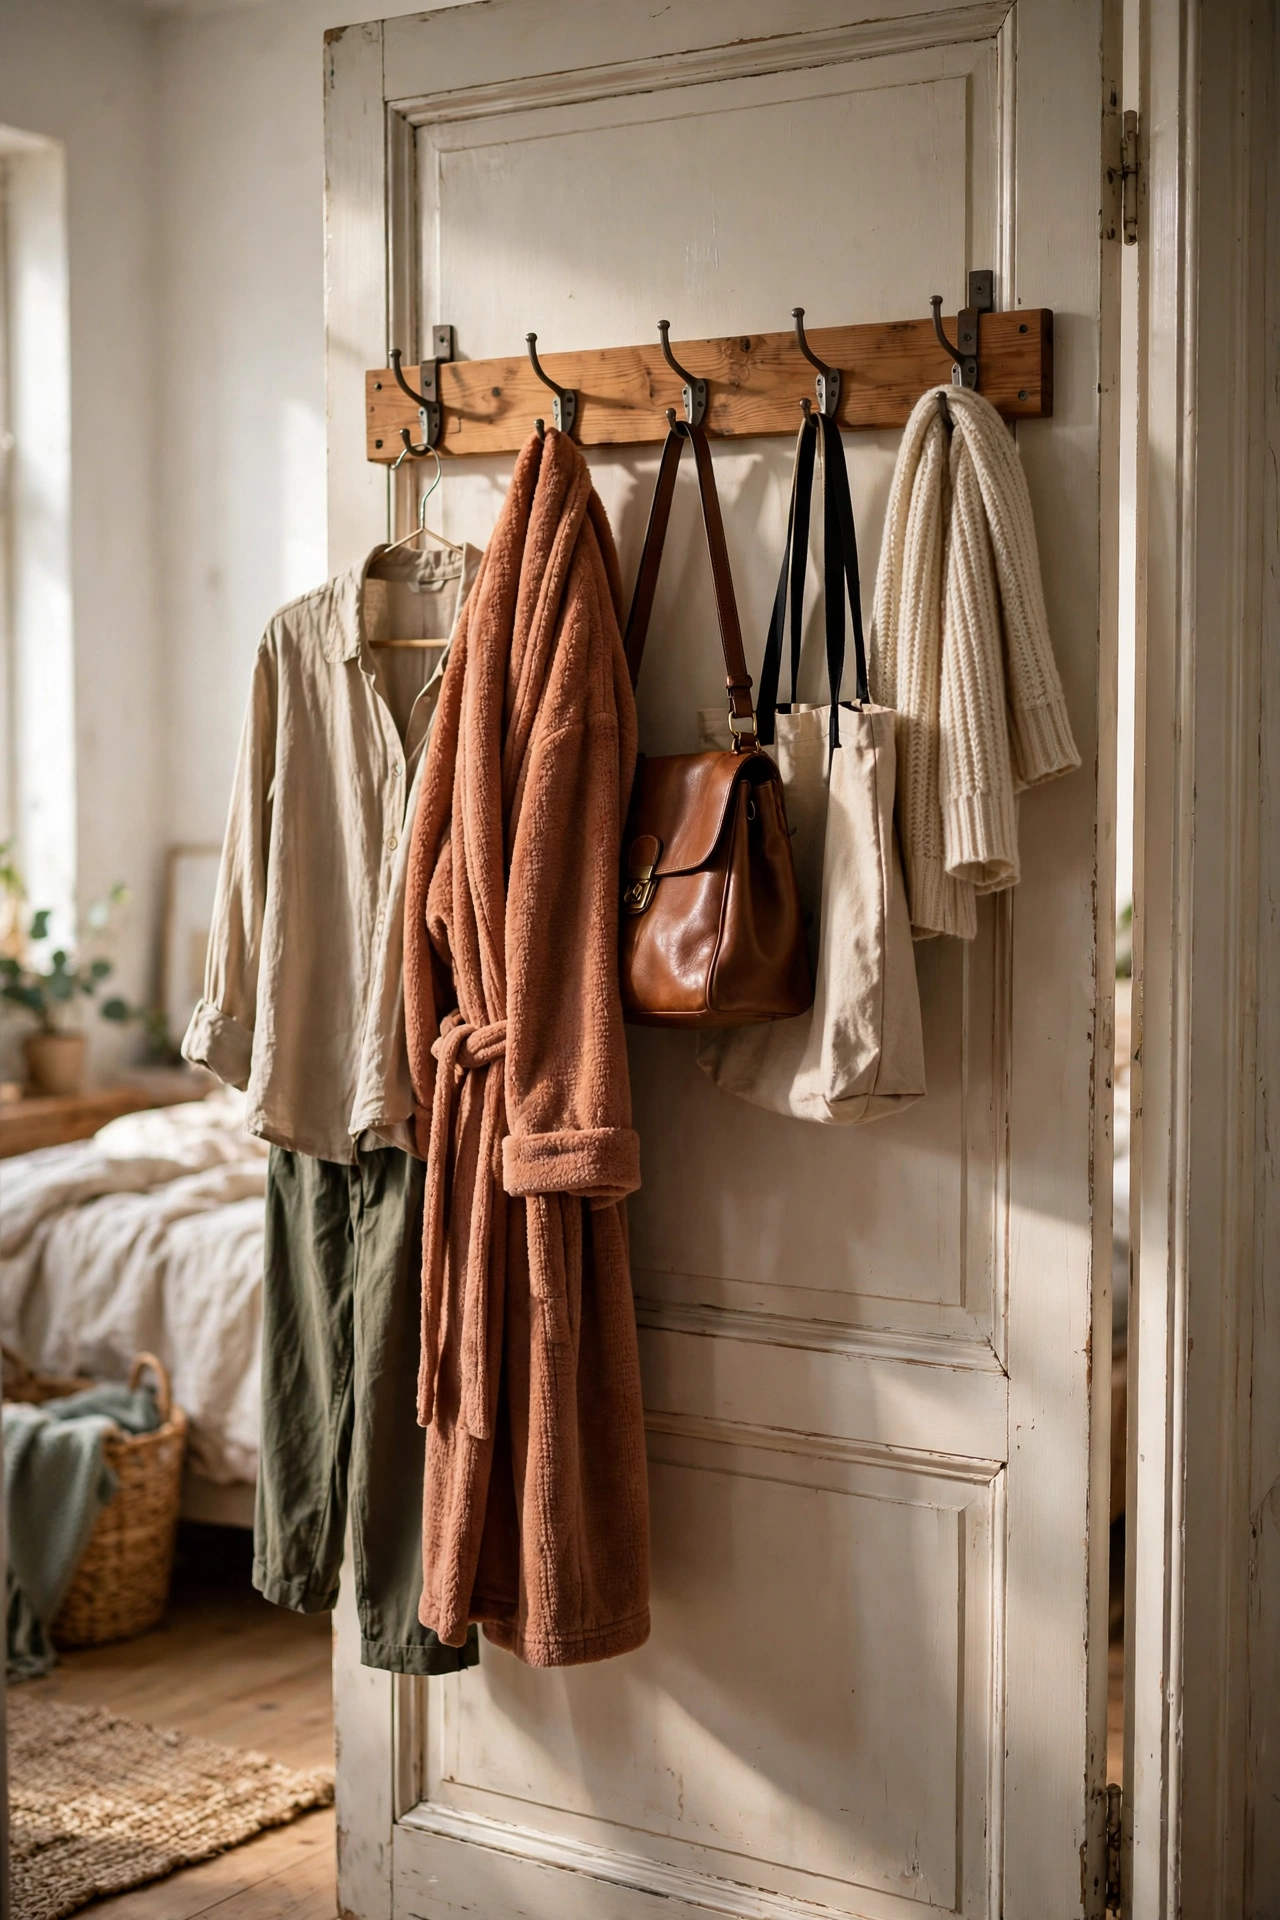
The back of the bedroom door holds a surprising amount if you give it a proper hook rail. I screwed a wooden rail with five sturdy hooks to the back of my door, and it now holds tomorrow’s outfit, my dressing gown, and my handbag off every surface. Use short screws so they do not poke through the door face, and spread the hooks so coats do not bunch. My first rail had hooks too close together and everything slid into one heap. Wider spacing fixed it. It cost $9 and took fifteen minutes, and it ended the era of the chair covered in clothes.
Cost: ~$8-14 | Time: 15 minutes
20. Vertical-Stripe Wallpaper on One Wall
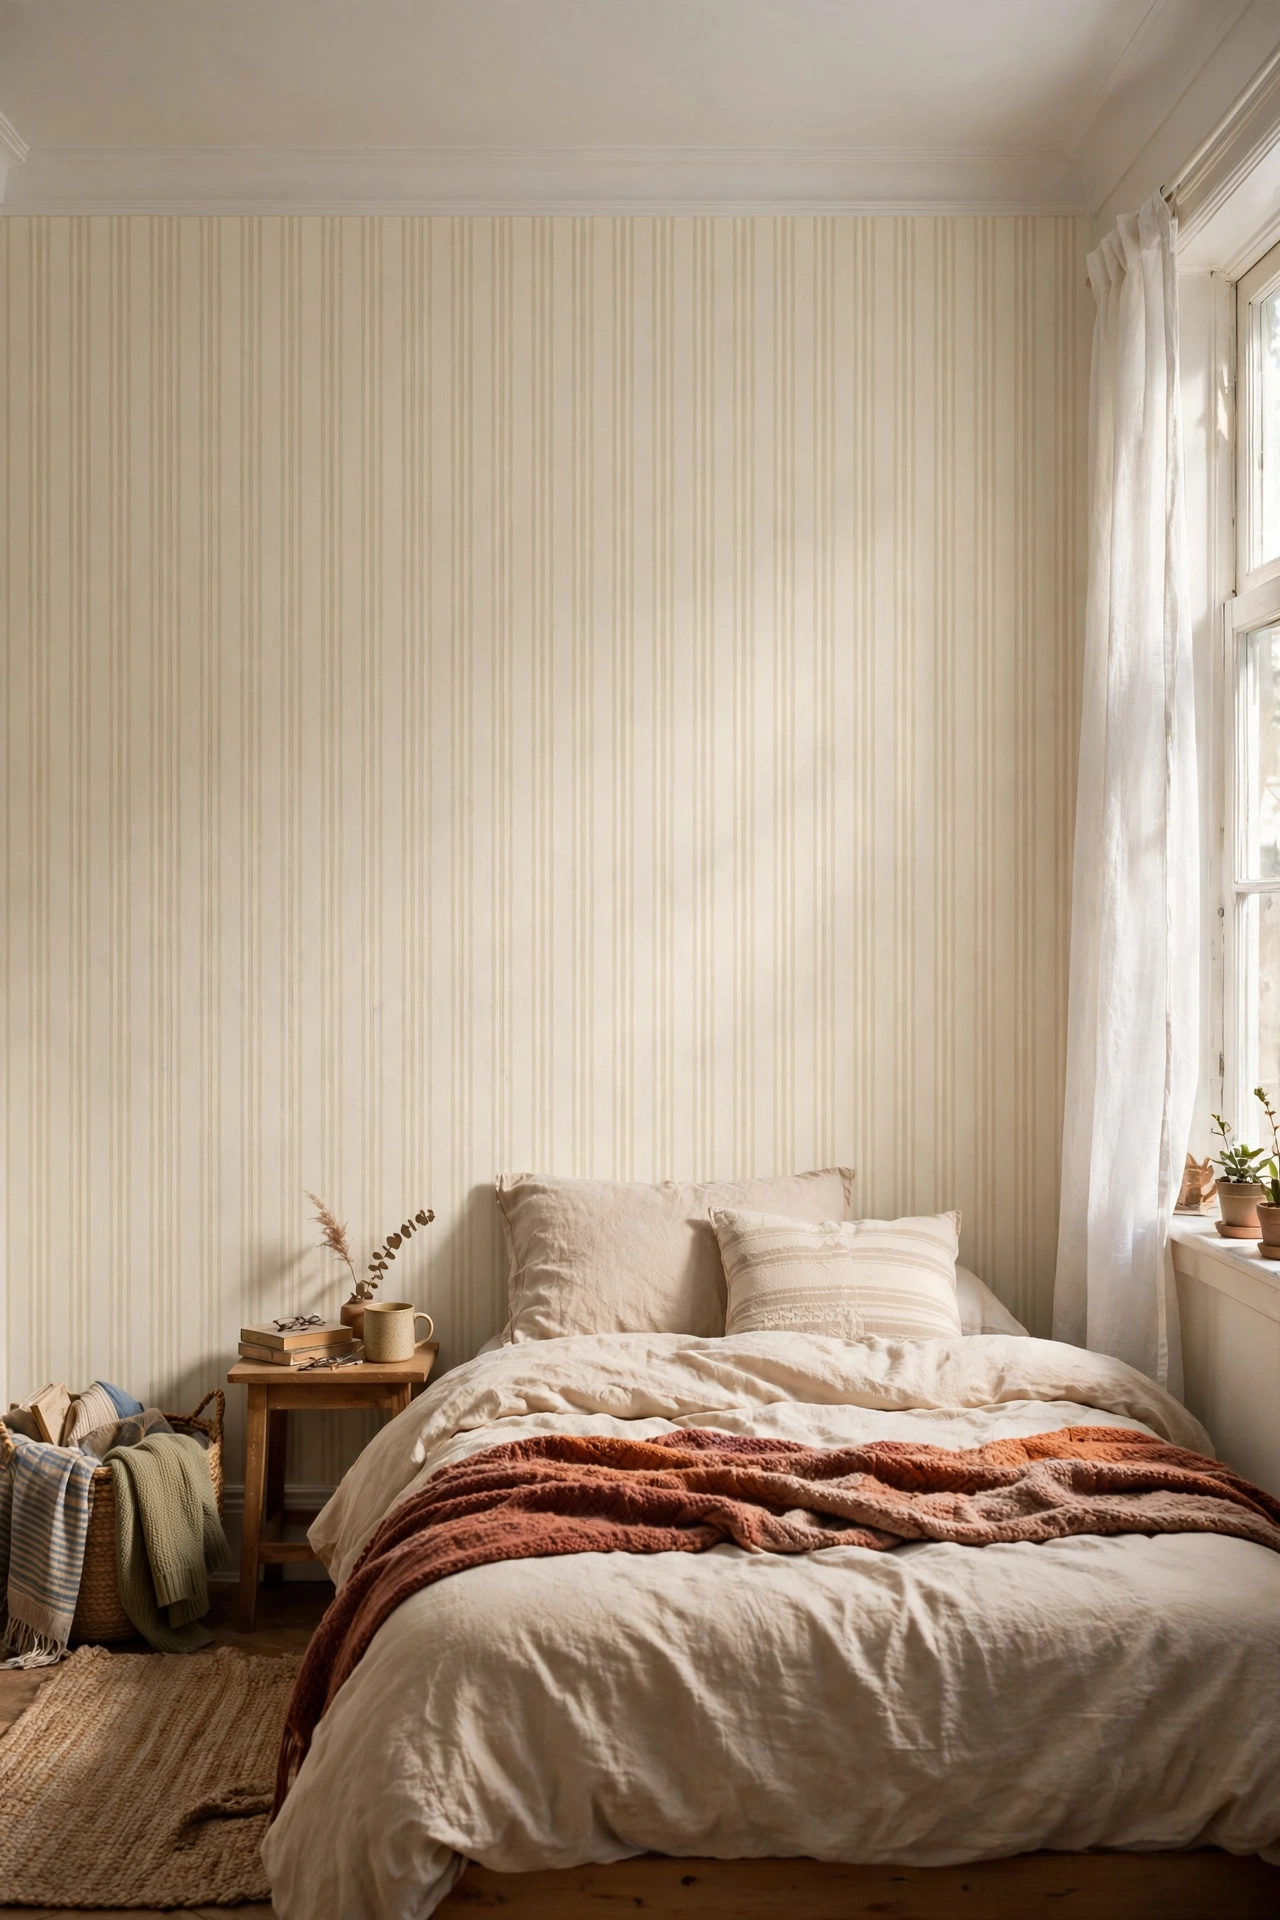
Vertical stripes are the oldest visual trick for making walls feel taller, and one wallpapered wall transformed my boxy bedroom. I used a peel-and-stick paper with soft cream stripes on the wall behind the bed, which cost $35 for the single wall. Keep the stripes subtle and the palette pale, because bold stripes in a small room feel busy fast. Line up the pattern carefully at the seams, since stripes show every mistake. My first strip went on crooked and I had to peel and redo it. Once straight, the ceiling genuinely looks higher. Renters can peel it off, which is the whole point.
Cost: ~$30-45 | Time: 1 hour
21. Matching Light Bedding Set
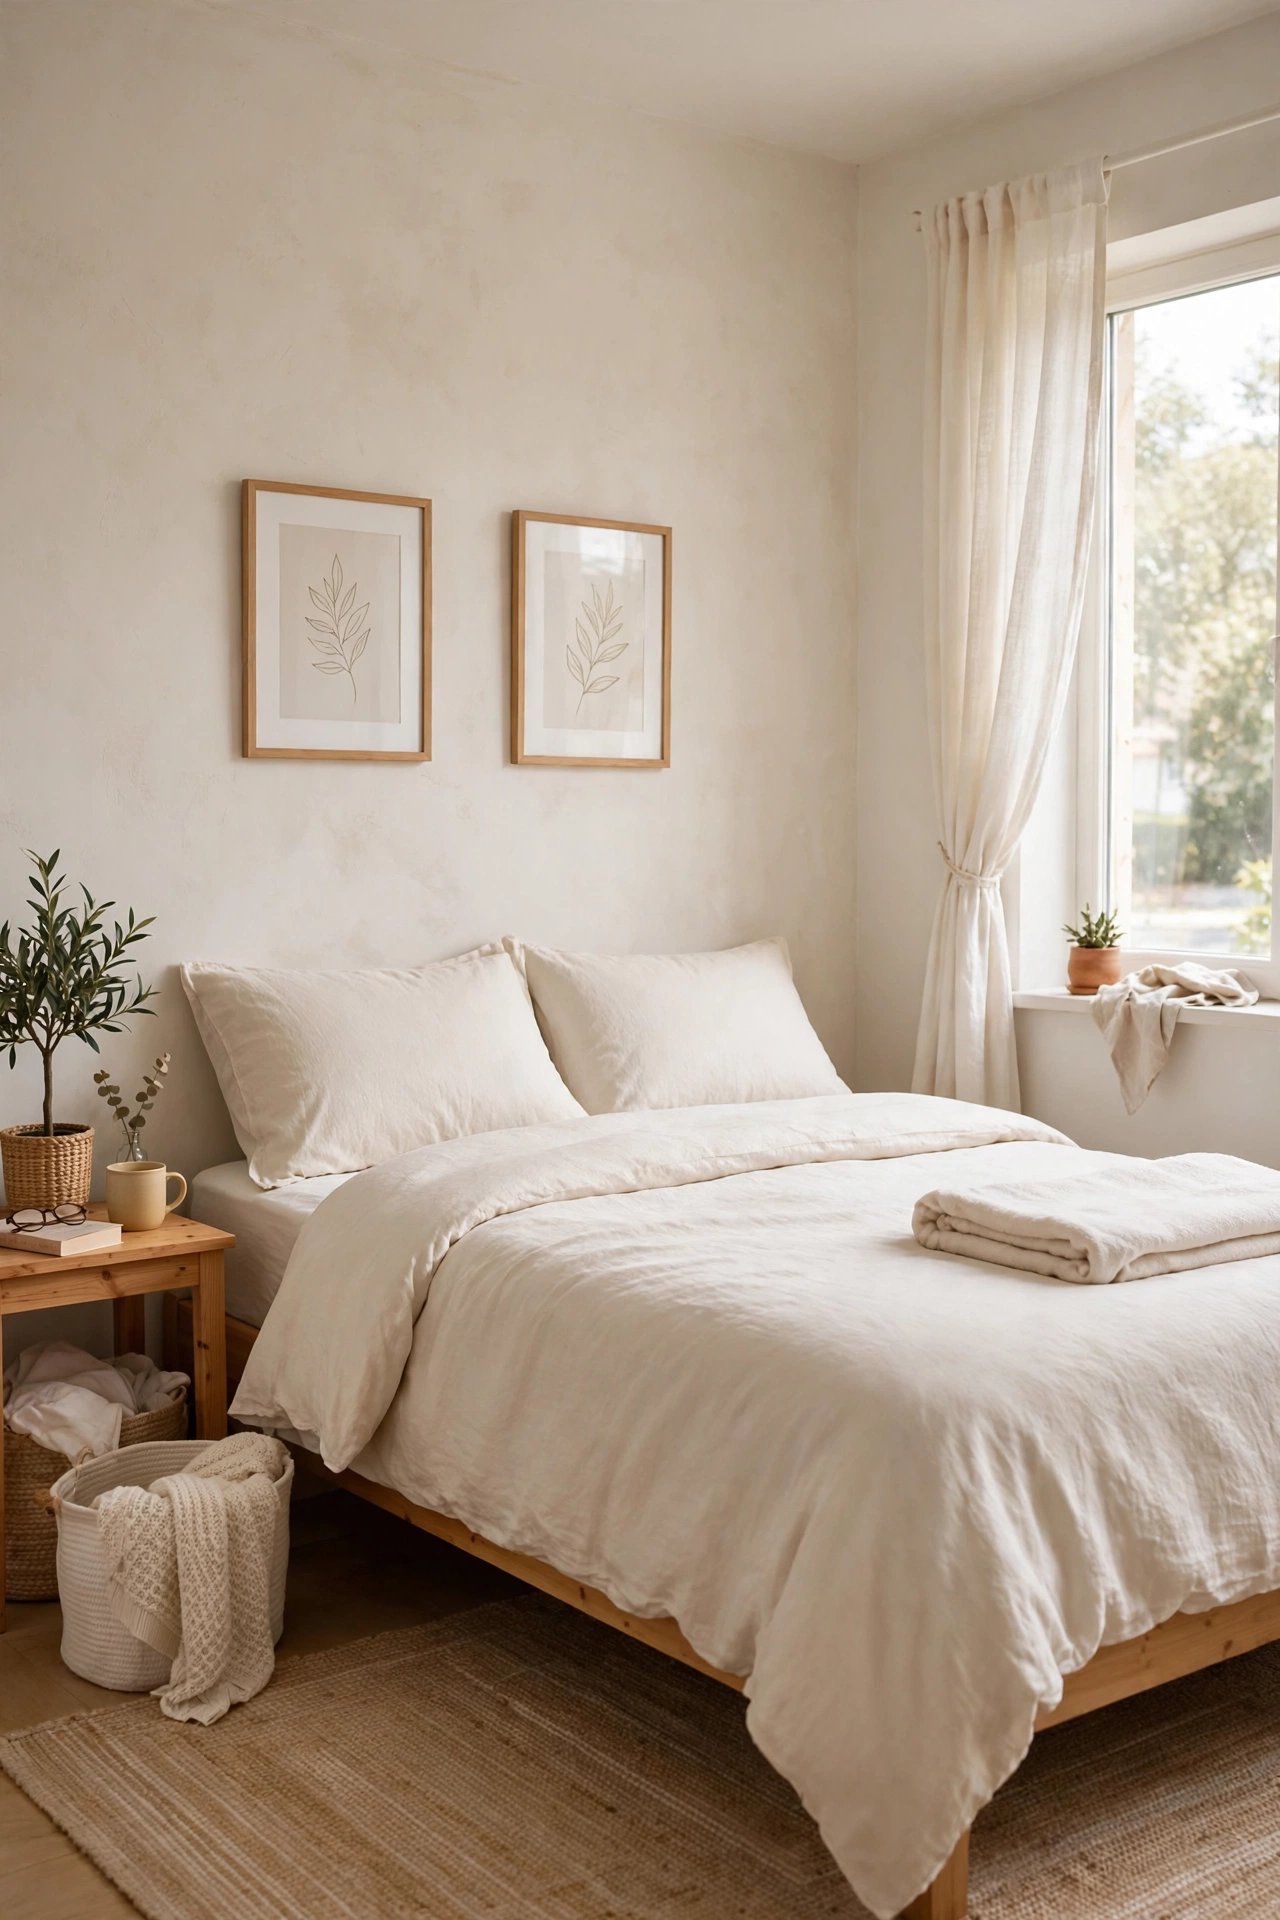
Mismatched bedding chops a small bed into visual fragments, while one matching light set makes it read as a single calm block. I switched to a full pale bedding set, duvet cover, pillowcases, and a folded throw all in the same warm white, and the bed suddenly looked bigger and the room calmer. Wash everything together so the whites age evenly. My old mix of patterns made the bed look smaller than it was. The matching set cost $38 and took ten minutes to put on. It is the fastest win on this list, and it makes the whole room photograph beautifully.
Cost: ~$30-45 | Time: 10 minutes
22. Drawer Dividers Inside the Dresser
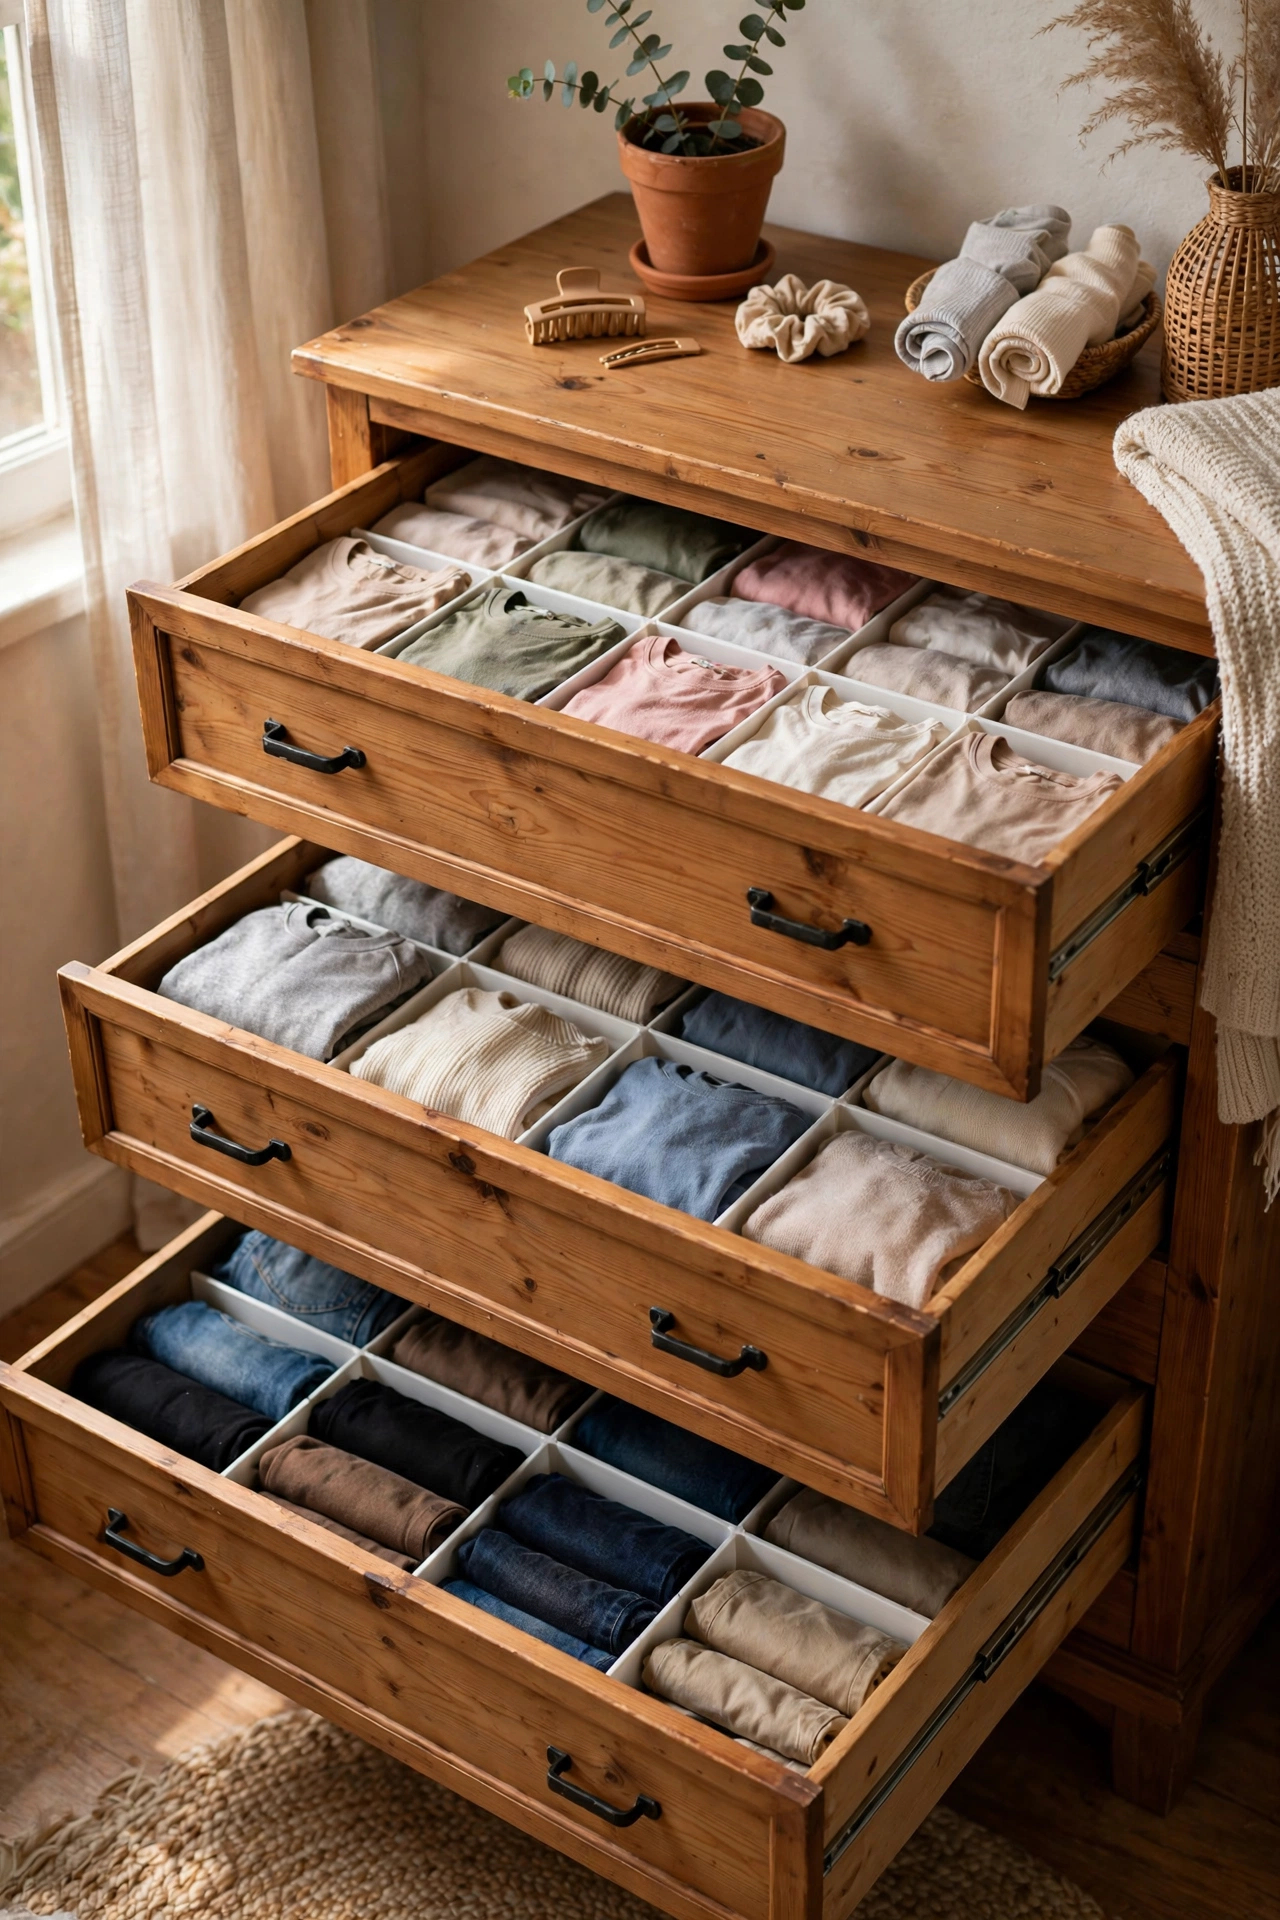
A dresser without dividers is just a box of chaos, so I fitted adjustable dividers into every drawer and doubled my usable storage. The dividers cost $14 for a set, slot together with no tools, and turn one deep drawer into neat rows for socks, underwear, and tops. Measure your drawer depth before buying because dividers come in fixed heights. My first set was too tall and the drawers would not close. The right size took ten minutes to fit. I can now see everything at a glance instead of digging, which means I actually wear what I own.
Cost: ~$12-18 | Time: 15 minutes
23. Curtain Panel Hiding an Open Alcove
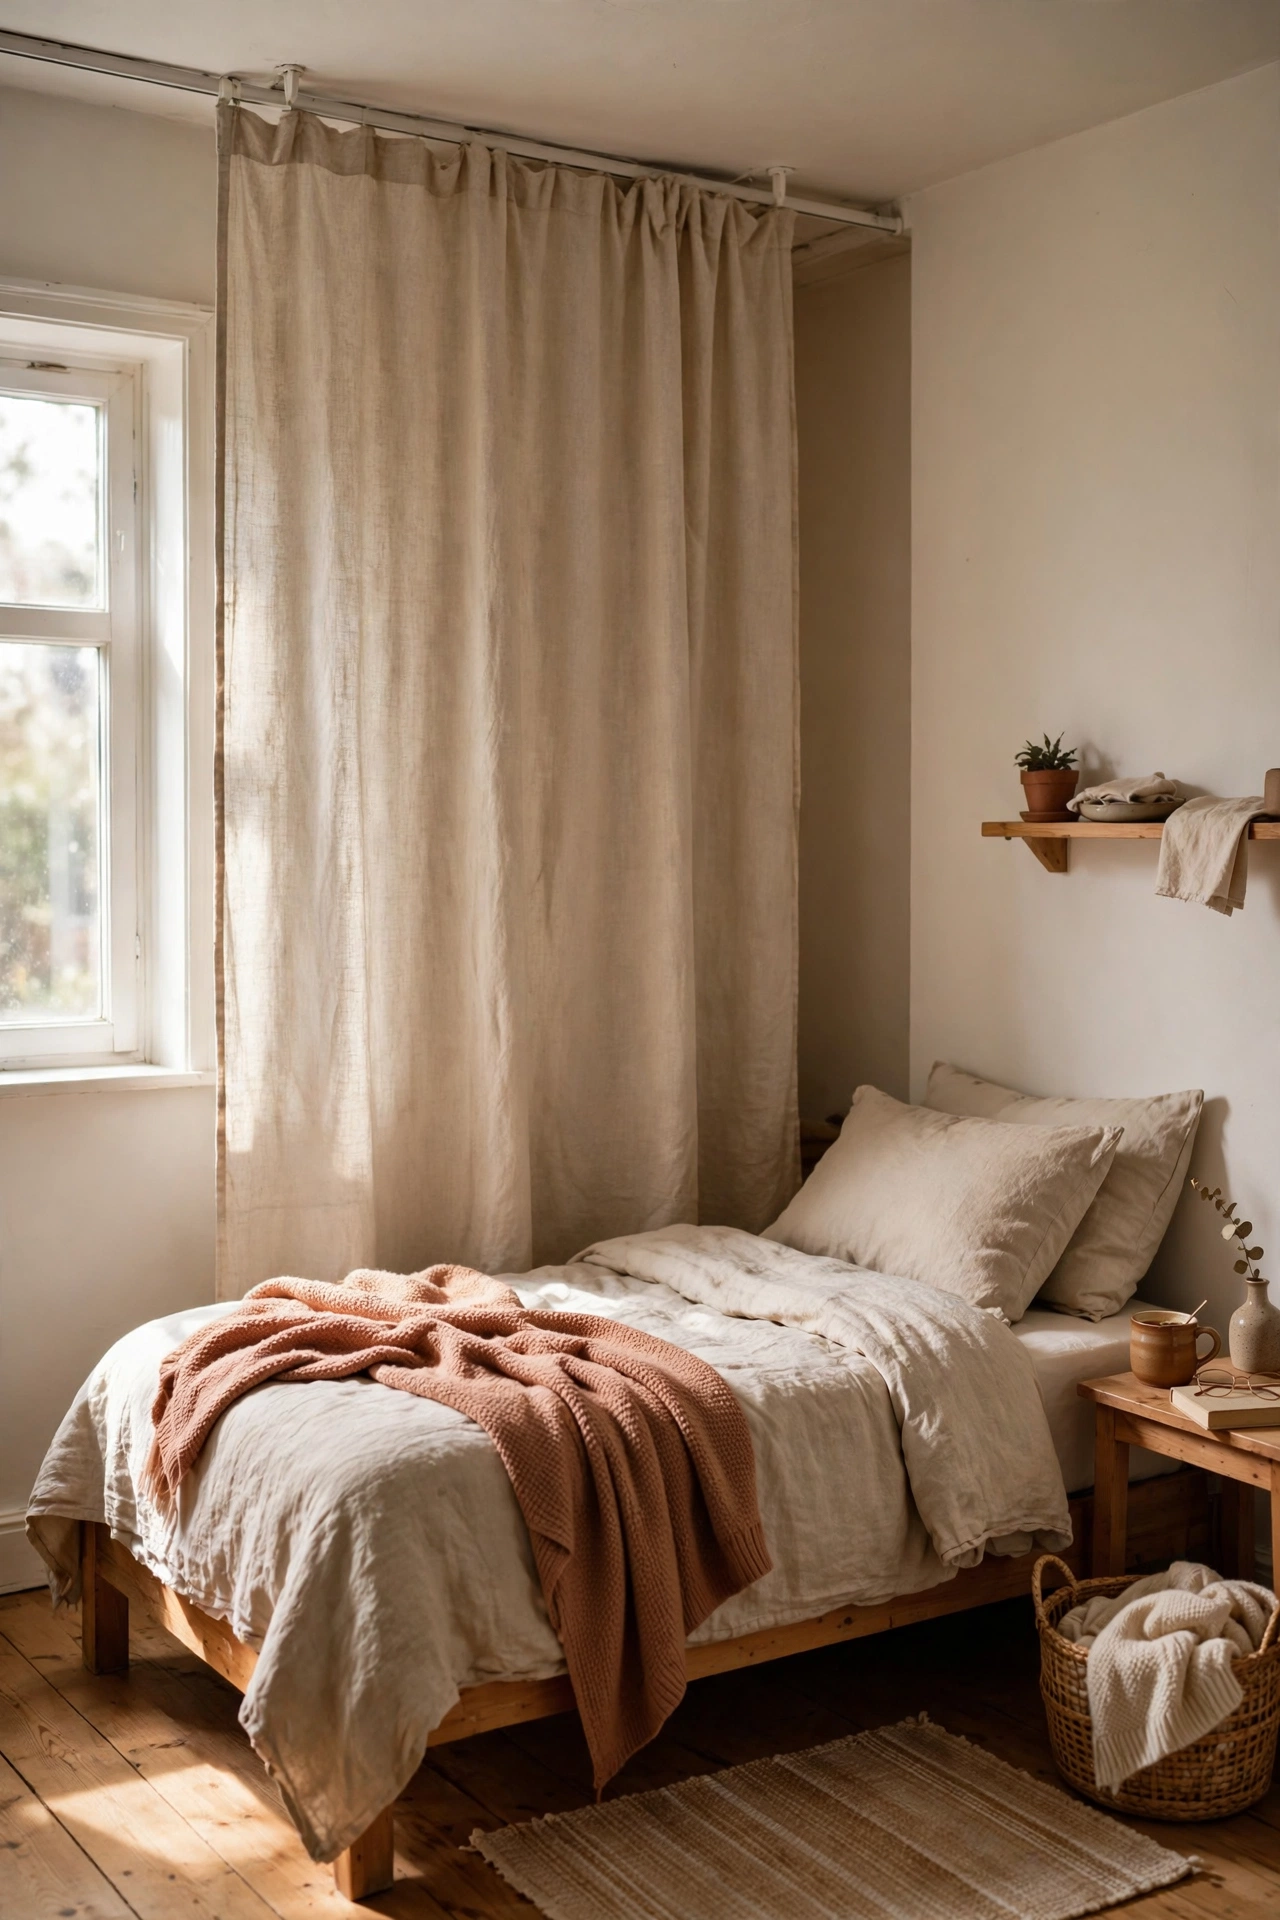
My bedroom had an awkward open alcove that collected clutter, so I hid the whole thing behind a ceiling-mounted curtain panel. I fitted a $12 ceiling track across the alcove opening, hung a simple linen-look curtain, and the mess vanished behind soft fabric. The alcove now holds my ironing board, cleaning supplies, and a storage tower, completely invisible. Keep the curtain the same tone as the walls so it reads as a wall, not a hiding place. My first curtain was patterned and drew the eye straight to it. The plain version disappears. Twelve dollars for what looks like a built-in wardrobe.
Cost: ~$10-20 | Time: 30 minutes
Quick questions, answered
What is the cheapest way to make a small bedroom feel bigger?
Start with the mirror, the curtain rod, and the paint. A big mirror opposite the window, a rod hung high and wide, and one light colour on every wall cost under $75 together and change the proportions of the room before you buy a single piece of furniture.
Where should I add storage first in a tiny bedroom?
Go under the bed and up the walls. Under-bed drawers swallow the bulky stuff, and wall-mounted shelves and nightstands free the floor. Doors and corners come next: over-door organisers and corner shelves use space that is currently doing nothing.
Can I do these ideas in a rented bedroom?
Most of them, yes. The curtain rod, mirror, baskets, rolling cart, bedside caddy, and dividers need no drilling. For the floating shelves and pegboard, use heavy-duty removable strips or ask your landlord, since small rooms benefit so much from getting furniture off the floor.
📌 Pin this post now so you can save this idea for later, then start with just one corner this weekend.
Keep the small-space momentum going with these next: (see also: 17-charcoal-gray-bedroom-decor-ideas-on-a-budget/) (see also: 21-thrifted-bedroom-decor-that-look-designer/) (see also: 17-warm-white-living-room-ideas-that-feel-calm-and-collected/)
