23 Dollar Tree Kitchen Decor Hacks on a Budget
Three years ago I rented a flat with the ugliest kitchen I had ever cooked in — honey-oak cabinets gone orange with age, a backsplash of beige tiles last fashionable in 1994, and a landlord whose tenancy agreement said, in bold, no painting, no drilling, no changes. My decorating budget for the entire kitchen was forty dollars, which would not have covered a single tin of decent paint anyway. So I got creative instead. What actually worked was embarrassingly simple: peel-and-stick backsplash tiles that fooled everyone, matching jars that made open shelves look intentional, a two-dollar curtain that hid the world’s saddest window, and gold spray paint on the cabinet handles that the landlord never once noticed. By the time I moved out, that kitchen was the room guests complimented most — and I had spent less than the cost of one takeaway a week. These are the twenty-three hacks I would do again tomorrow, all renter-friendly and all from the dollar store.
1. Peel-and-Stick Backsplash Tiles
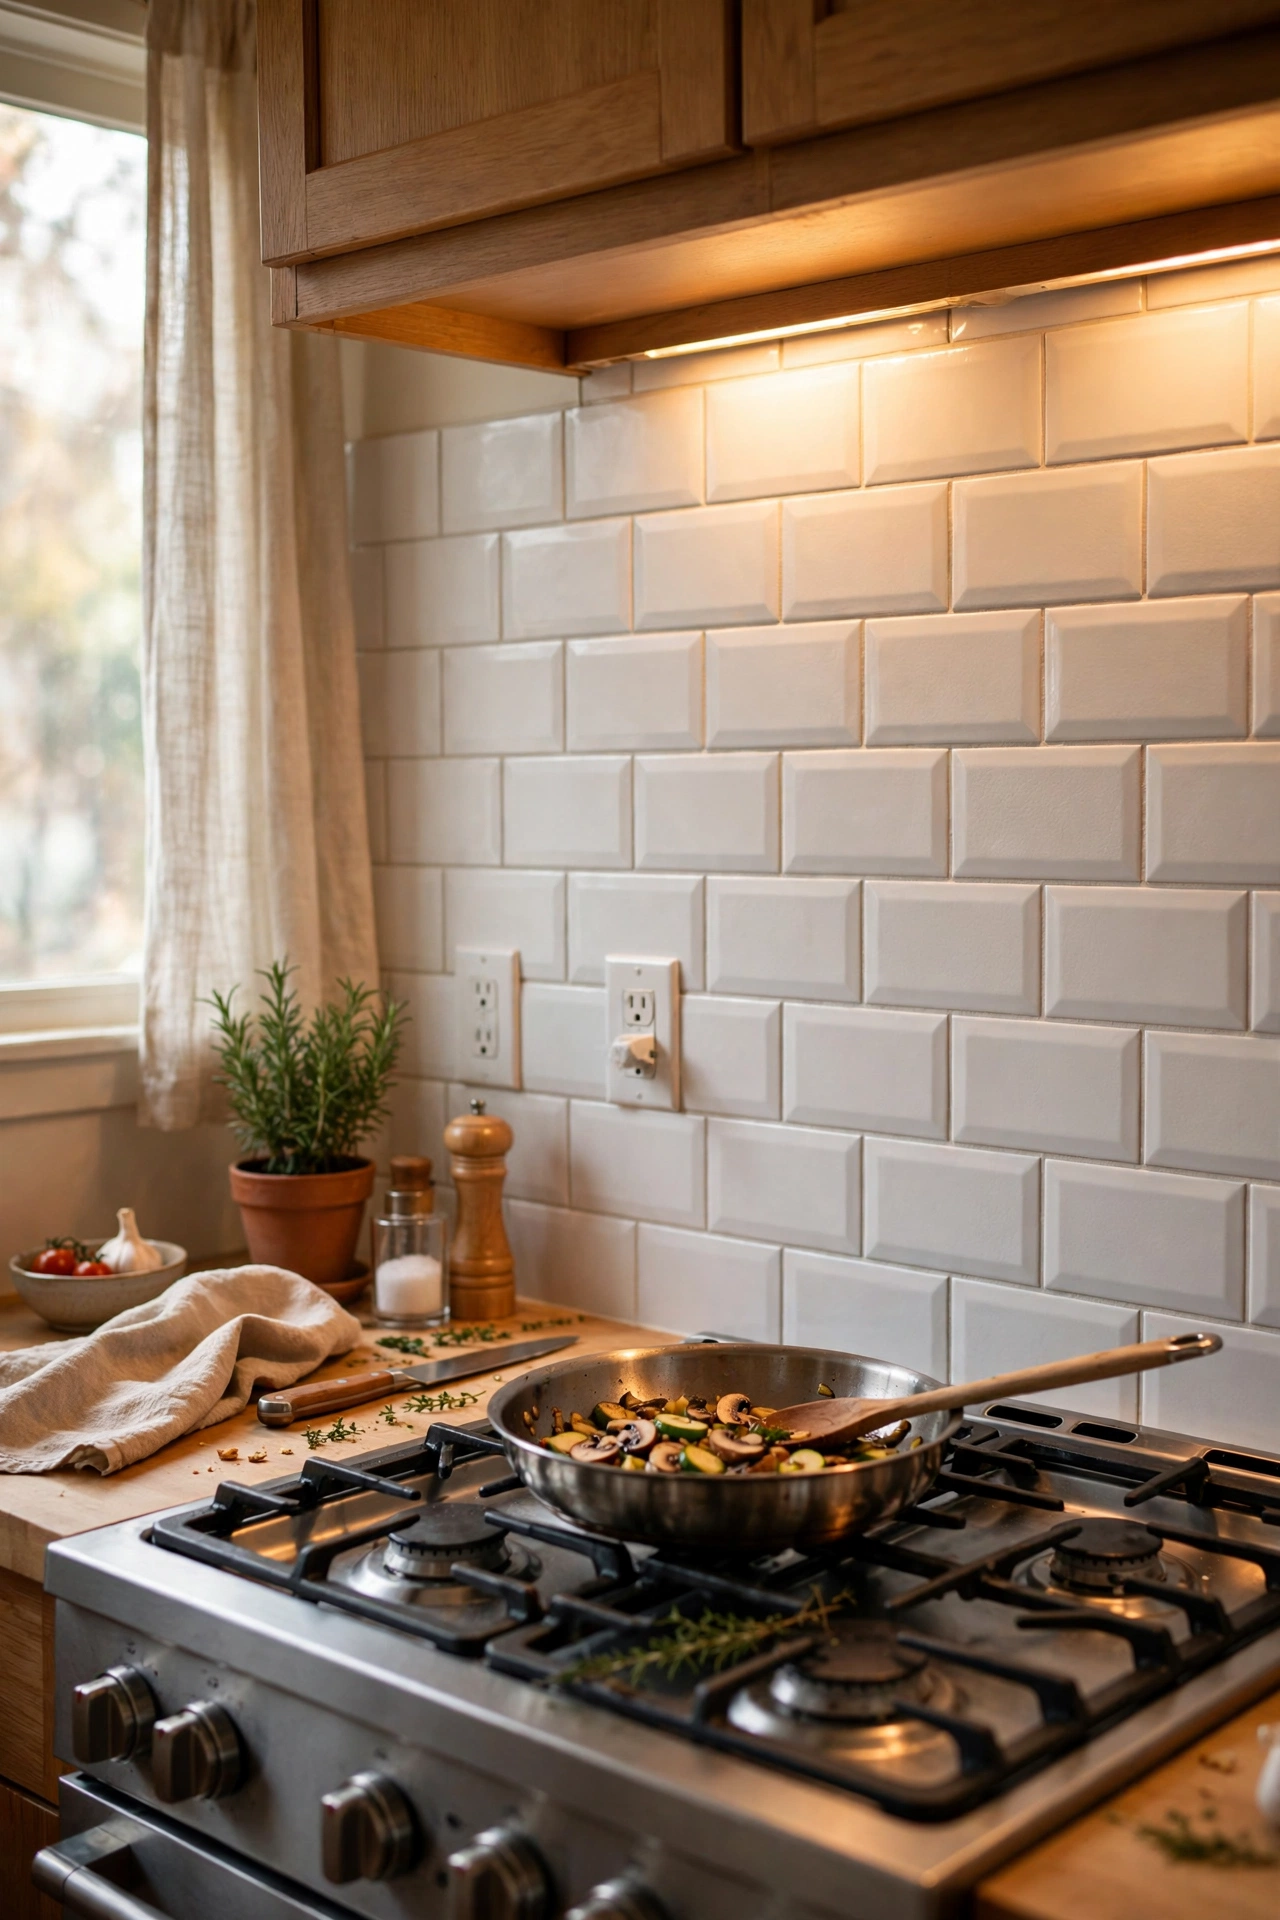
A peel-and-stick backsplash is the highest-impact kitchen hack on this list. My beige 1994 tiles disappeared under white subway-look adhesive tiles, and visitors assumed I had retiled. Step one: clean the existing tiles thoroughly with sugar soap, because grease is what makes adhesive fail. Step two: start from the centre and work outwards, pressing each tile firmly and smoothing from the middle to push out air. Step three: use a craft knife and metal ruler for neat cuts around sockets, and seal the edges with a thin bead of clear silicone. I did my whole cooker wall in an afternoon. One mistake to avoid: the glossy plastic-looking patterns — the matte subway and stone looks are the convincing ones.
Cost: ~$12 for the wall | Time: 2 hours
2. Styled Open Shelving With Matching Jars
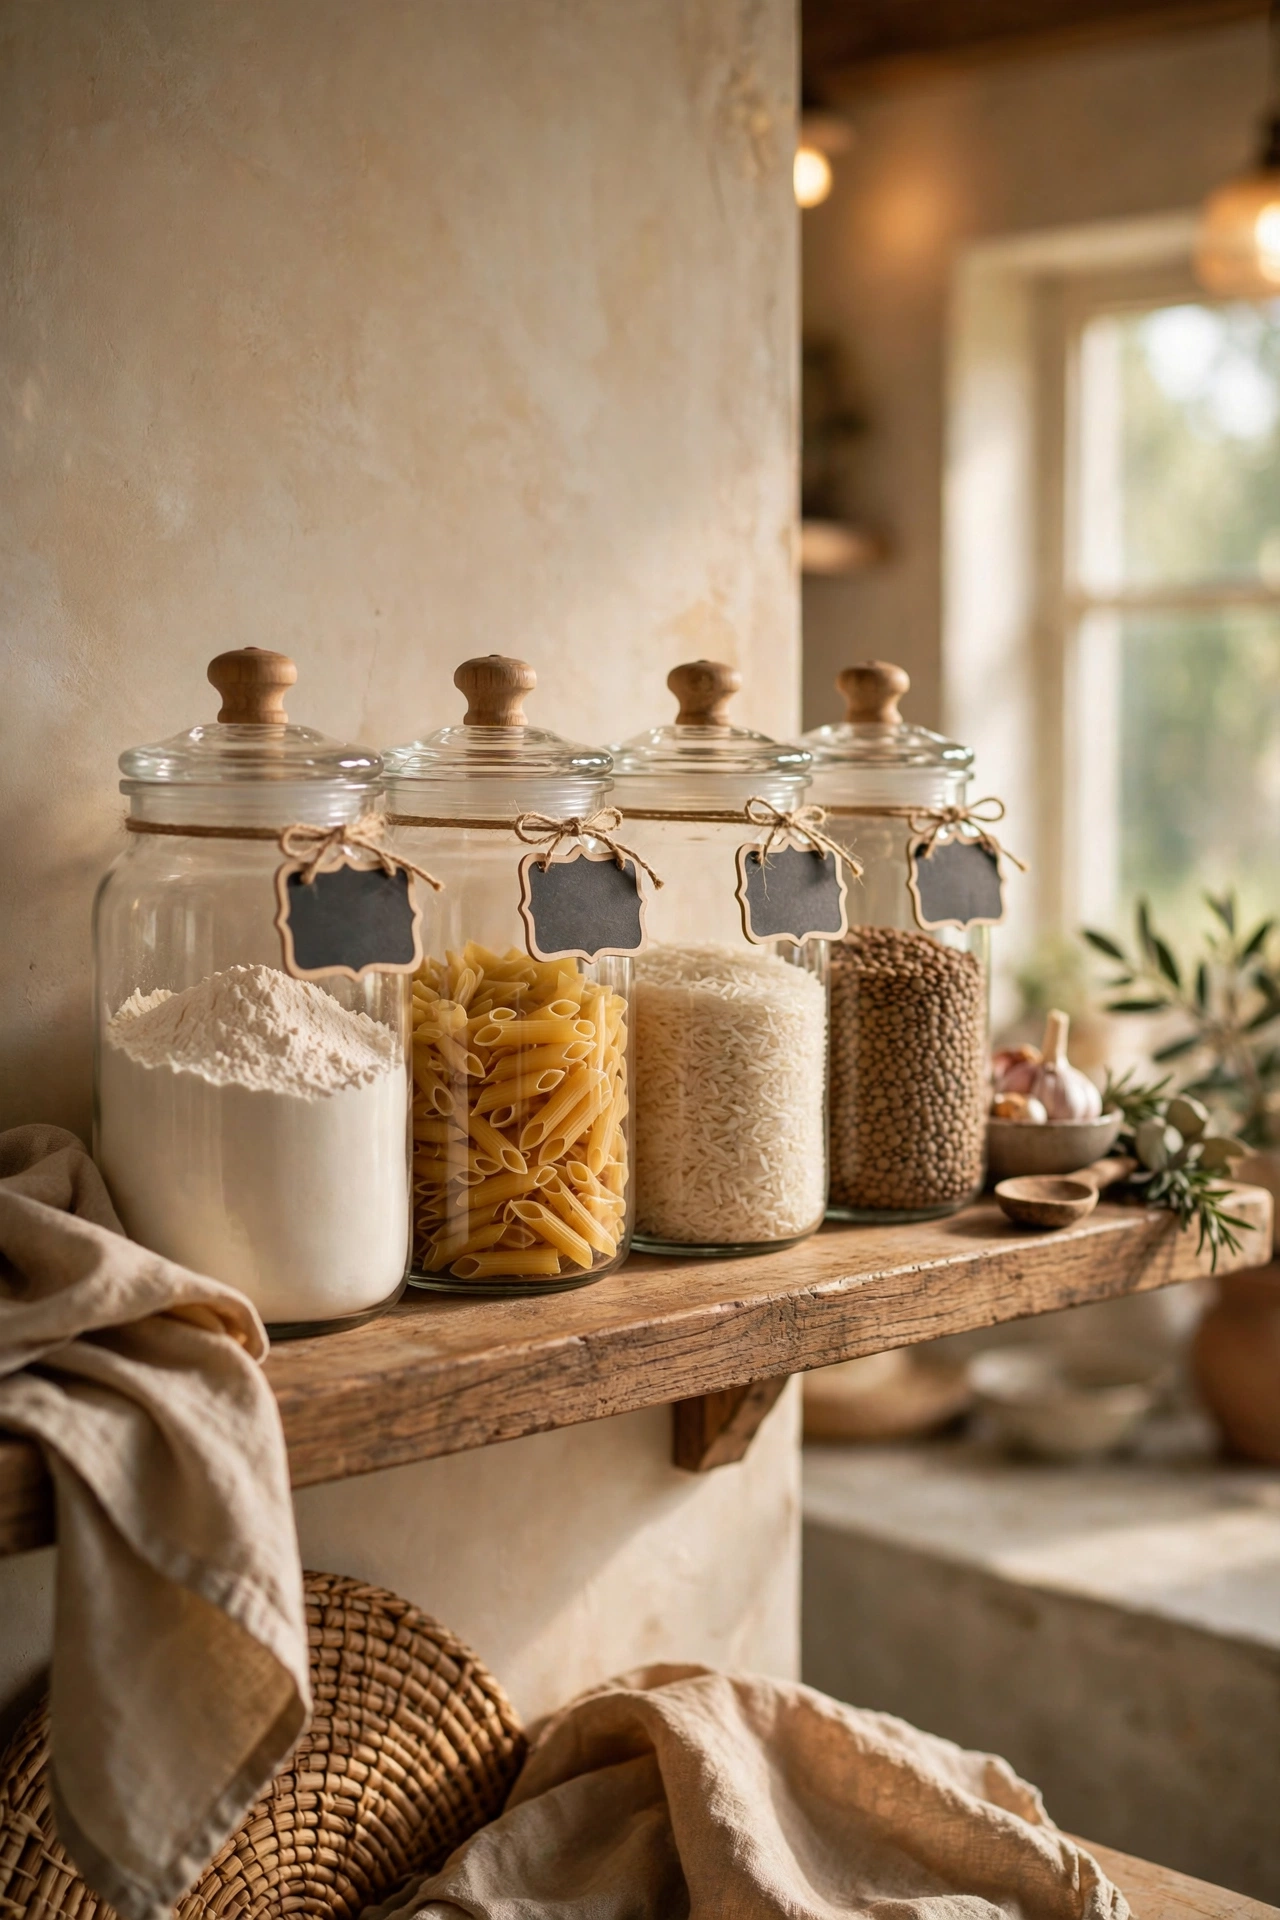
If you have even one open shelf, matching jars turn it from clutter into styling. I decanted flour, pasta, rice, and lentils into identical glass jars with lids, and my shelf went from chaotic to catalogue. Step one: buy jars in two or three graduated sizes so the shelf has rhythm rather than monotony. Step two: decant the dry goods and label each jar with a chalk pen or kraft tag, which is the detail that makes it look deliberate. Step three: leave breathing room between groups — a styled shelf is half empty by design. I tried this in my own rental kitchen first on a single shelf, then did every shelf in the place. One mistake to avoid: decanting things you rarely use, because stale flour in a pretty jar is still stale flour.
Cost: ~$8 for six jars | Time: 30 minutes
3. The Café Curtain Swap
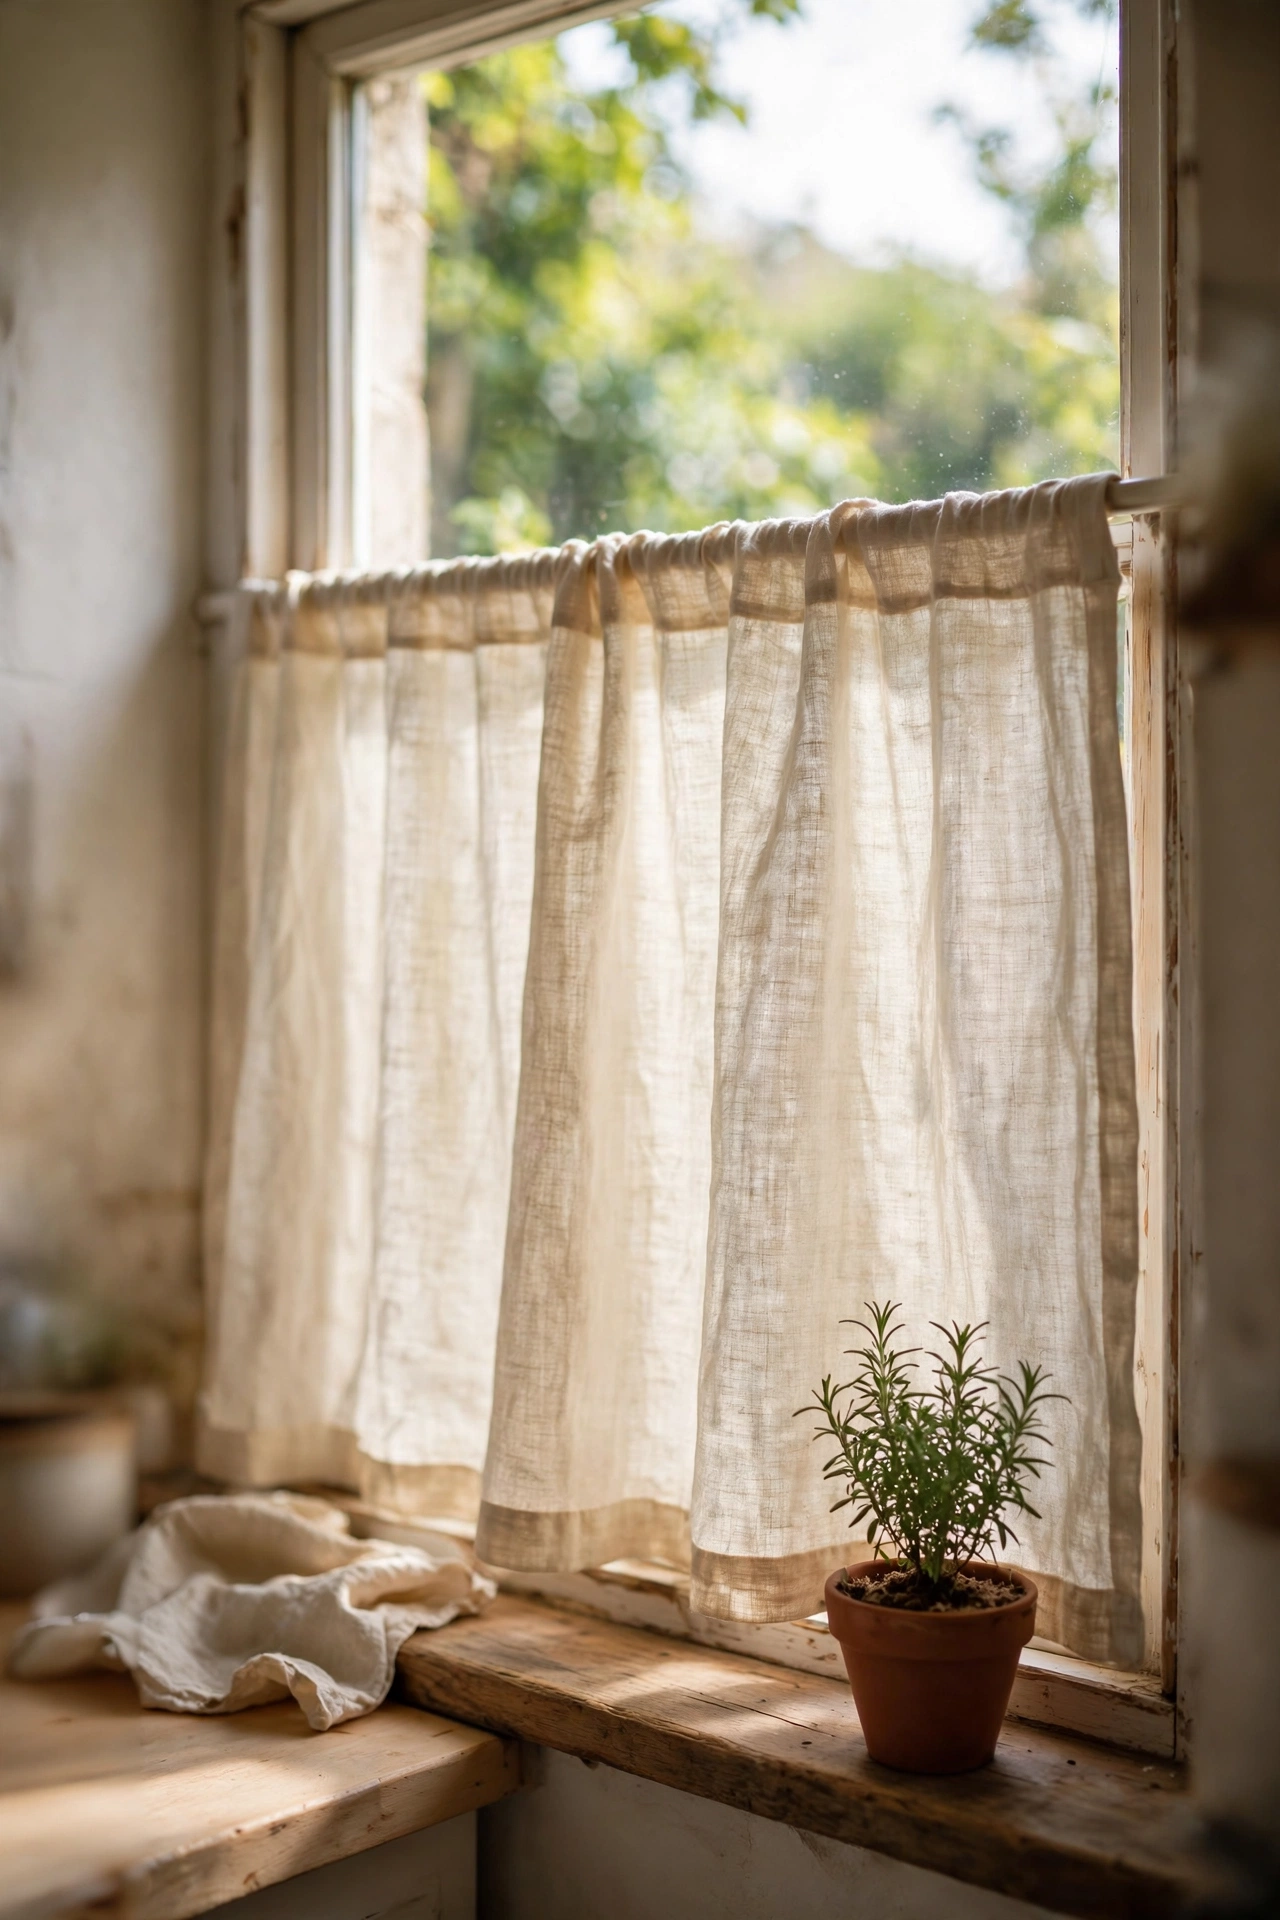
A café curtain — covering just the lower half of the window — is the kindest thing you can do for an ugly kitchen window. It hides the bins and the brick wall outside while letting daylight flood in above. Step one: measure the lower half of your window and buy a tension rod, which needs no drilling and no landlord permission. Step two: choose a natural linen-look fabric in cream or oatmeal, avoiding anything shiny. Step three: hang the curtain so it just covers the lower half, and steam out the packaging creases. My kitchen window faced a brick wall and this two-dollar curtain made it charming. One mistake to avoid: full-length curtains in a kitchen — they collect cooking grease and get in the way of the sink.
Cost: ~$4 | Time: 20 minutes
4. Gold-Sprayed Cabinet Hardware
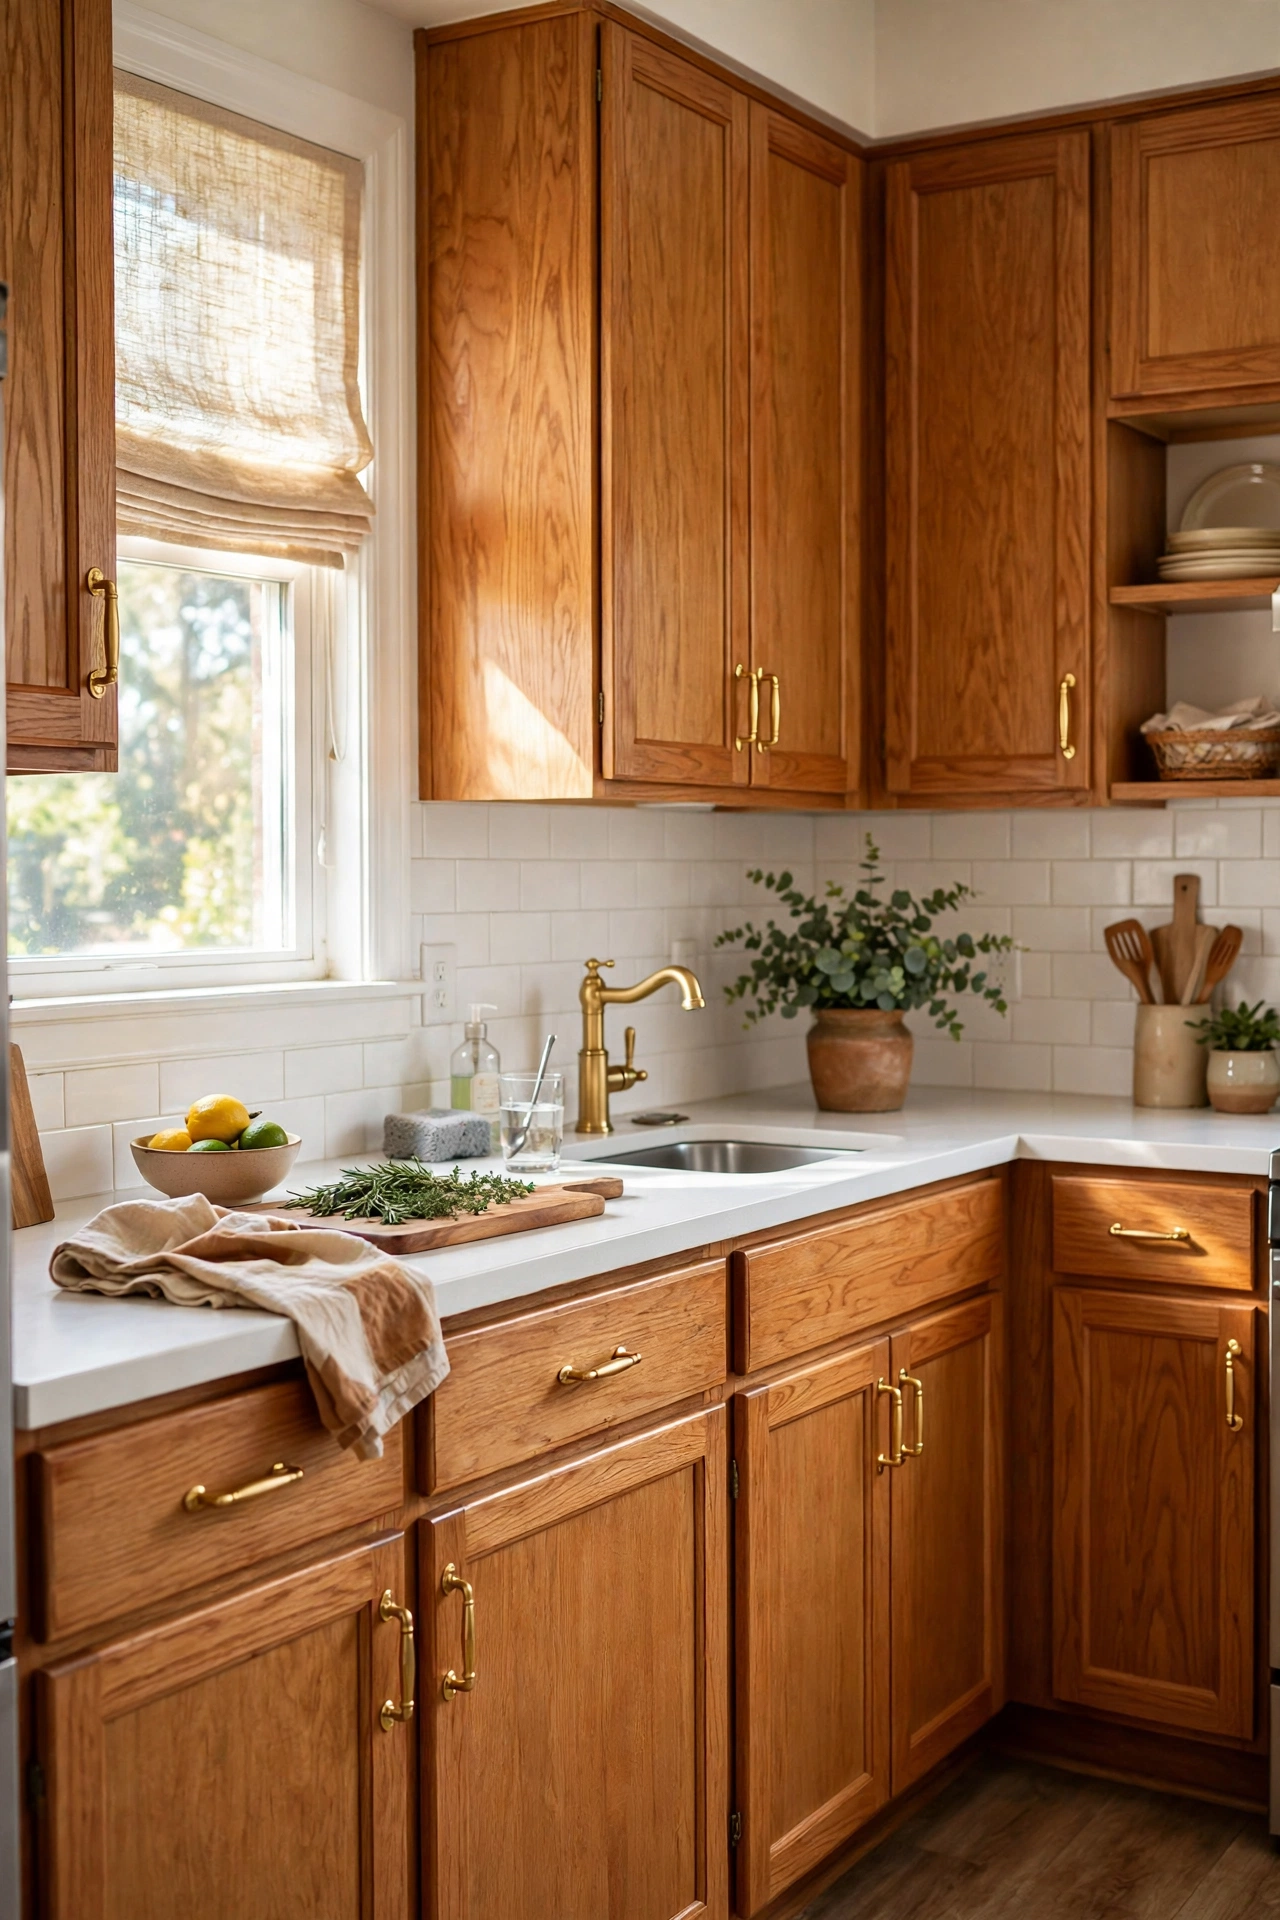
Spraying dated cabinet handles gold is the oldest rental trick in the book because it works so well. My orange-oak kitchen had sad brass-effect handles from the eighties; one coat of gold spray paint made them look like a deliberate design choice. Step one: remove every handle and clean off years of kitchen grease with sugar soap. Step two: spray light, even coats outdoors or in a ventilated space, letting each coat dry fully. Step three: screw them back on and stand back, because the whole kitchen lifts. The landlord never noticed, and honestly the kitchen looked better than when I moved in. One mistake to avoid: spraying them while attached to the doors — you will get gold mist on the cabinets and regret it for the rest of the tenancy.
Cost: ~$6 for spray paint | Time: 1 hour plus drying
5. Chalkboard Pantry Labels
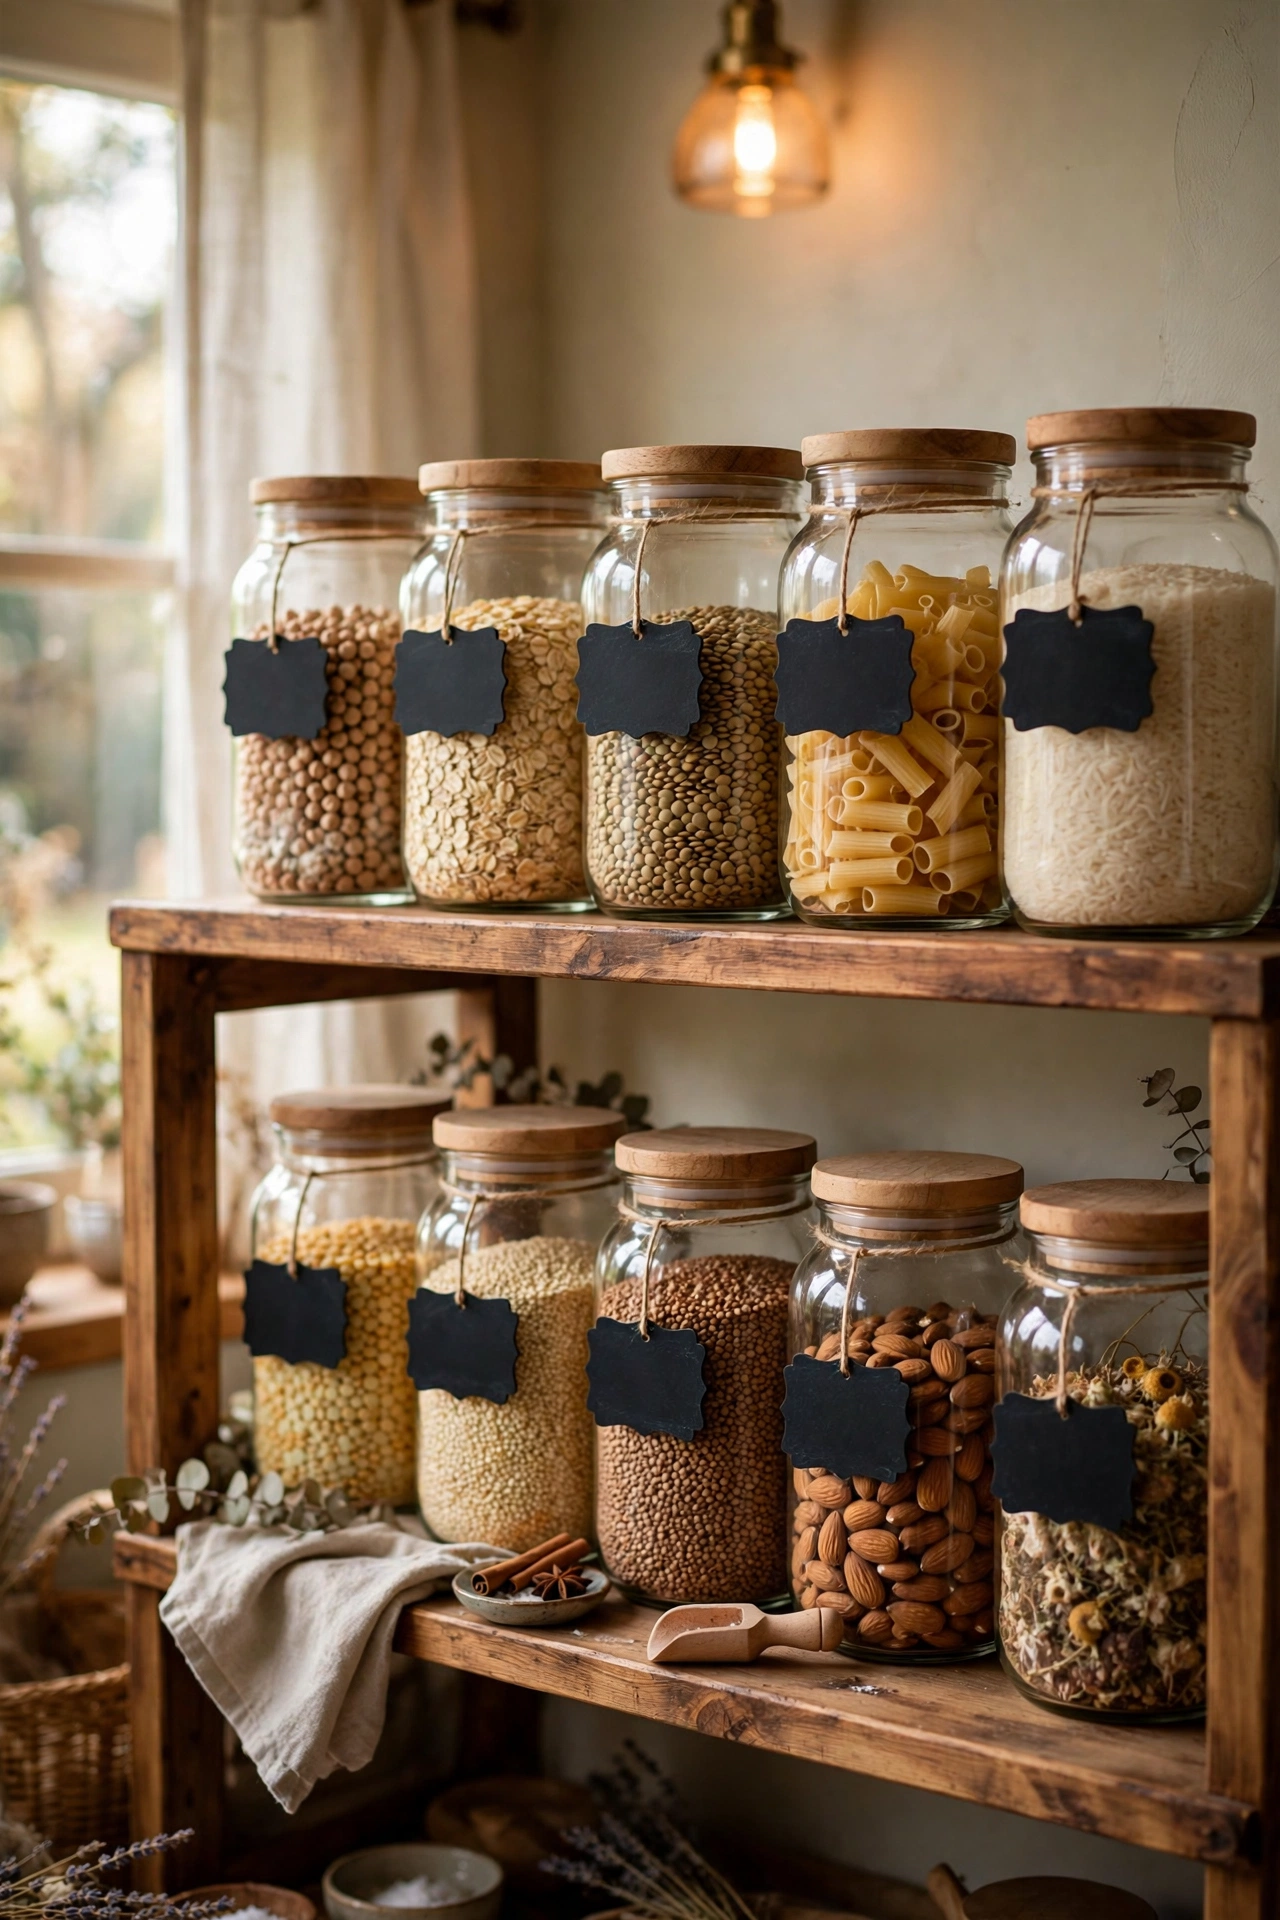
Chalkboard labels on jars and canisters are the small detail that makes a kitchen feel organised and personal at once. Step one: buy a sheet of adhesive chalkboard labels and a chalk pen, which writes far more neatly than actual chalk. Step two: wipe each jar clean and dry before sticking, pressing out every bubble. Step three: write the contents in your best handwriting — flour, sugar, coffee — and let the pen dry fully before handling. I labelled everything in my pantry and suddenly opening the cupboard felt satisfying instead of stressful. One mistake to avoid: using real chalk, which smudges the moment you touch the jar; chalk pens are the upgrade that makes this work.
Cost: ~$3 | Time: 25 minutes
6. Under-Cabinet LED Strip Lights
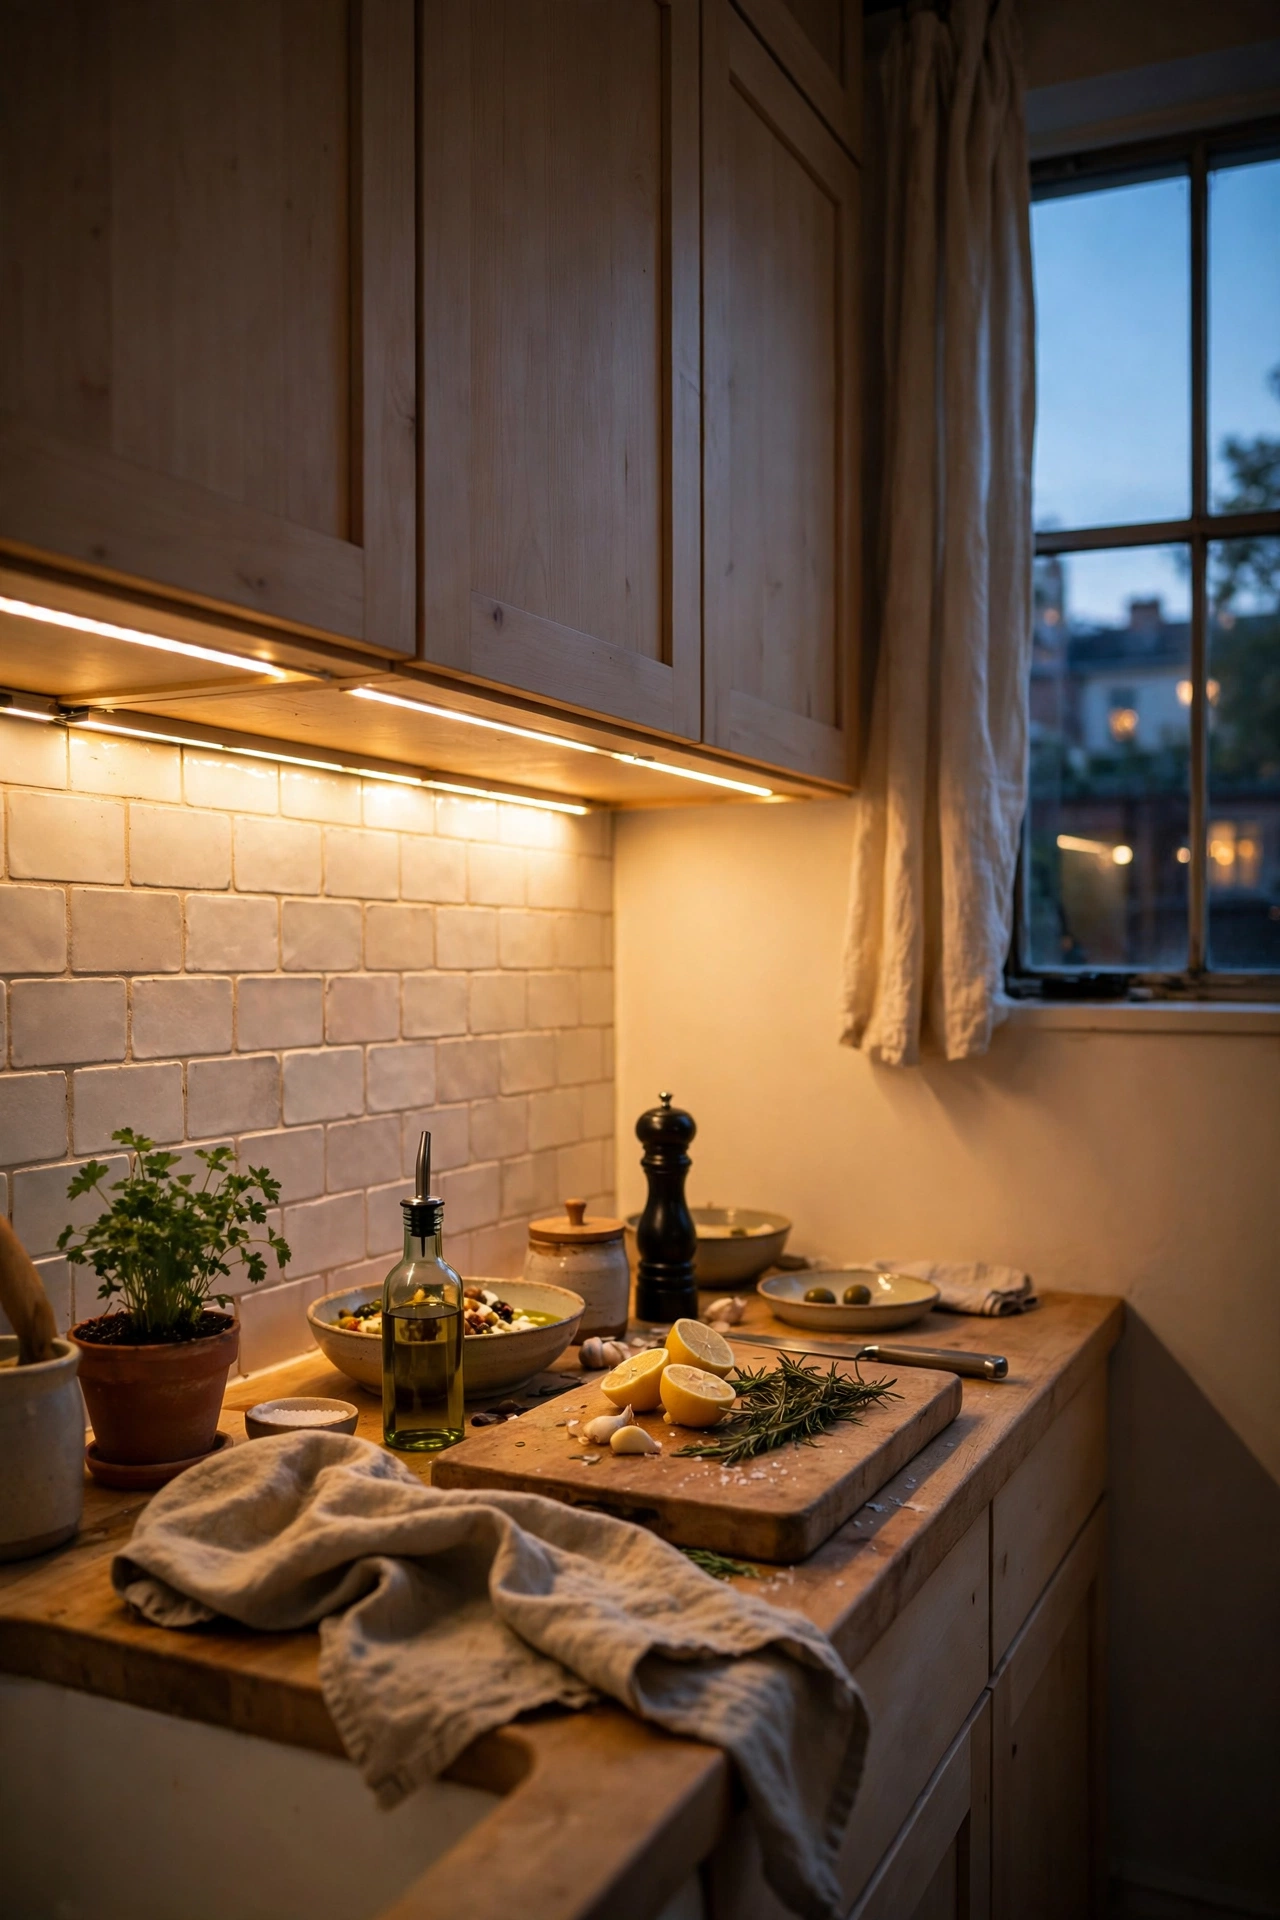
Battery-powered LED strips under the wall cabinets change a kitchen more than almost anything else on this list. Task lighting makes the worktop usable and the whole room glows warmly in the evening. Step one: measure your cabinet runs and buy enough strip length, choosing warm white over cool white every time. Step two: clean the cabinet undersides so the adhesive backing grips properly. Step three: stick the strips towards the front edge of the cabinets so the light washes down the backsplash rather than blinding you. I put these in my rental and cooked under them every evening for two years on the original batteries. One mistake to avoid: cool-white strips, which make food look grey and the kitchen feel like a laboratory.
Cost: ~$5 per strip | Time: 20 minutes
7. A Styled Mug Rail
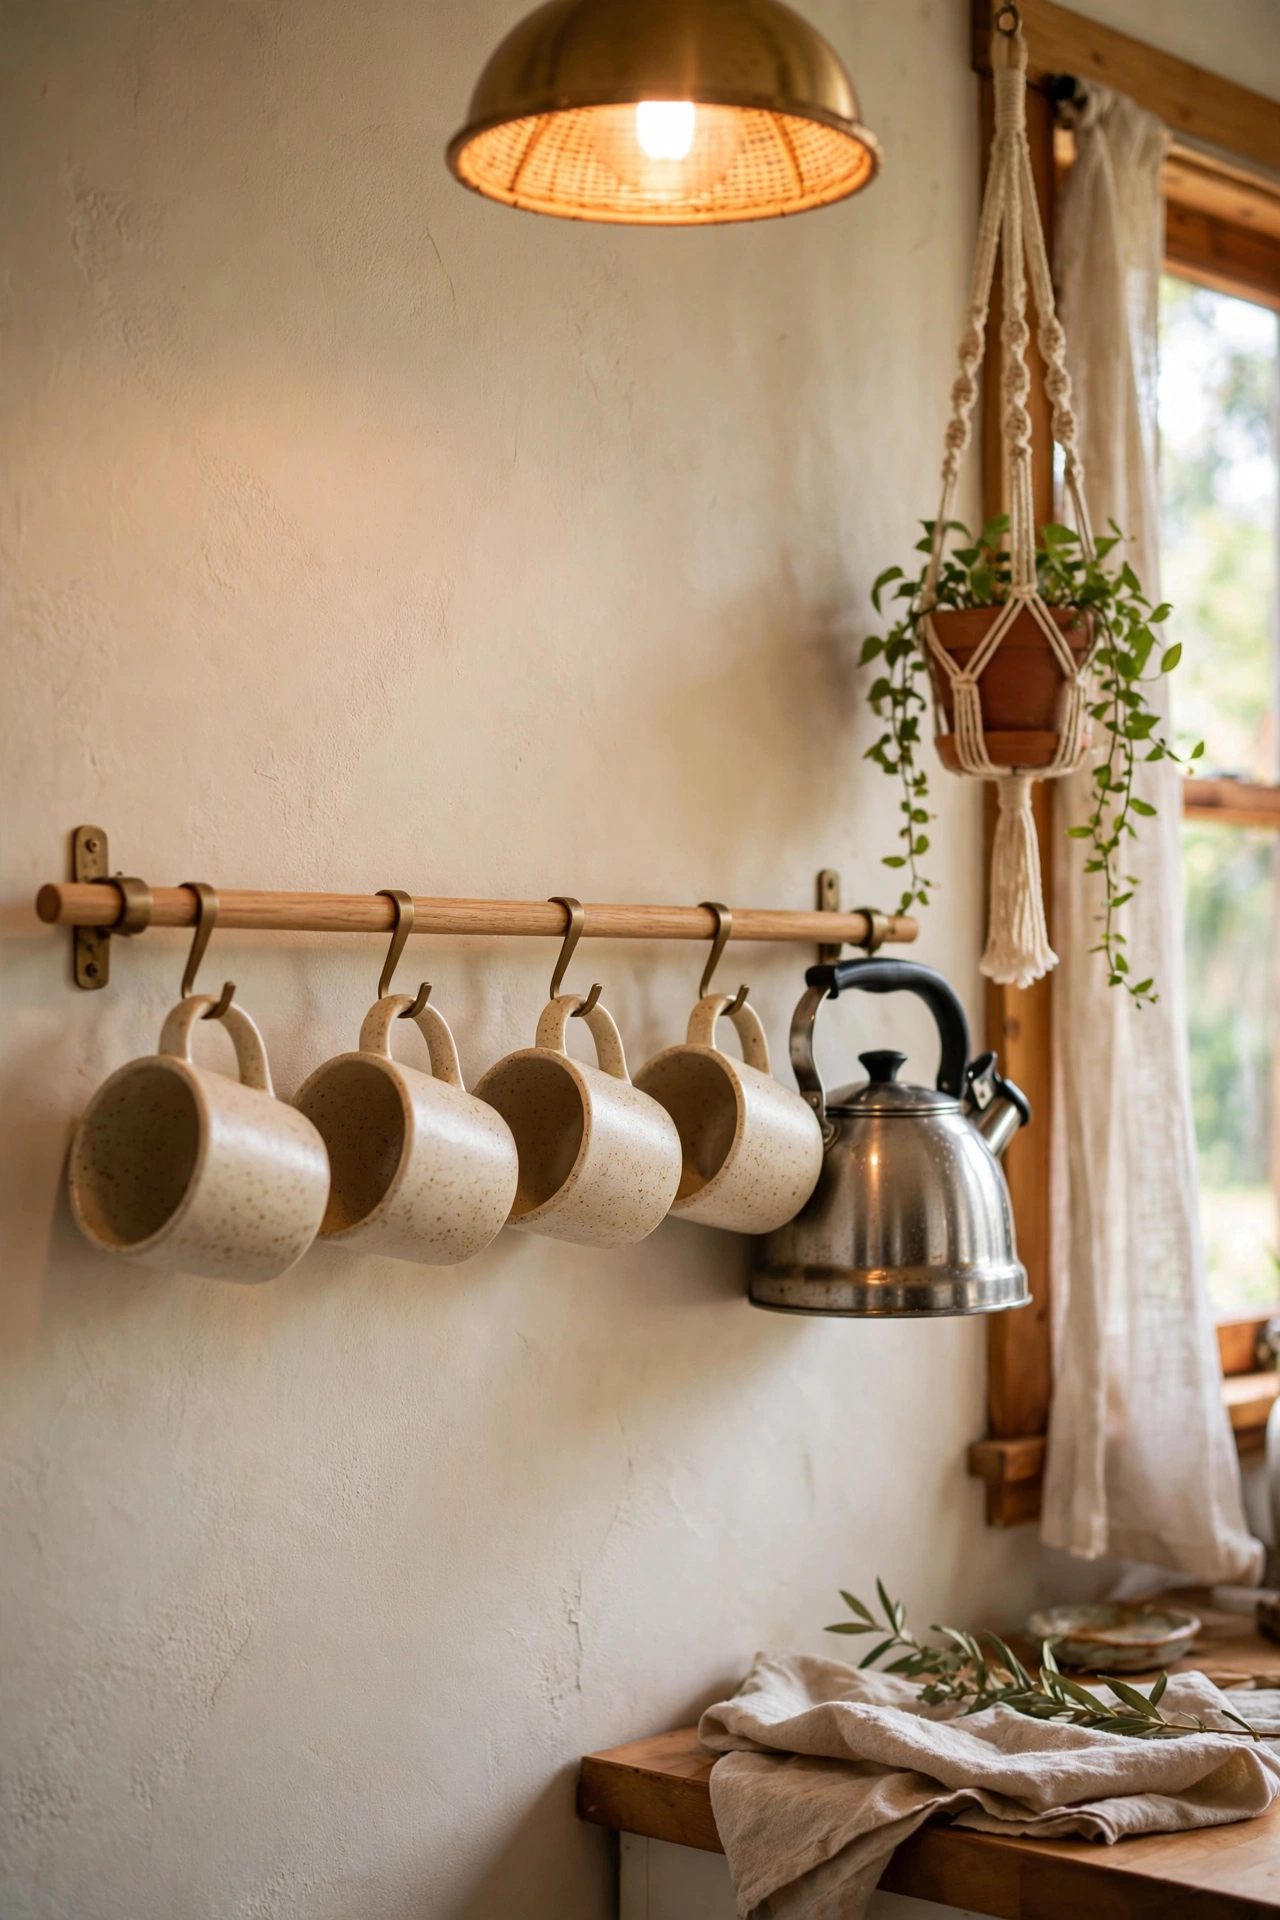
A row of matching mugs hanging on hooks under a shelf or on a wall rail turns everyday crockery into decor. Step one: fix a simple rail or a row of adhesive hooks under a wall cabinet — no drilling needed with the right hooks. Step two: hang four to six mugs in the same colour family, because matching is what makes it look styled rather than stored. Step three: leave one hook empty or hang a small plant, since a little breathing room reads as intentional. I hung my speckled stoneware mugs on a rail by the kettle and it became the most photographed corner of my kitchen. One mistake to avoid: hanging every novelty mug you own — curate the rail like a display and keep the funny ones in the cupboard.
Cost: ~$6 for rail and hooks | Time: 25 minutes
8. The Fruit-Bowl Vignette
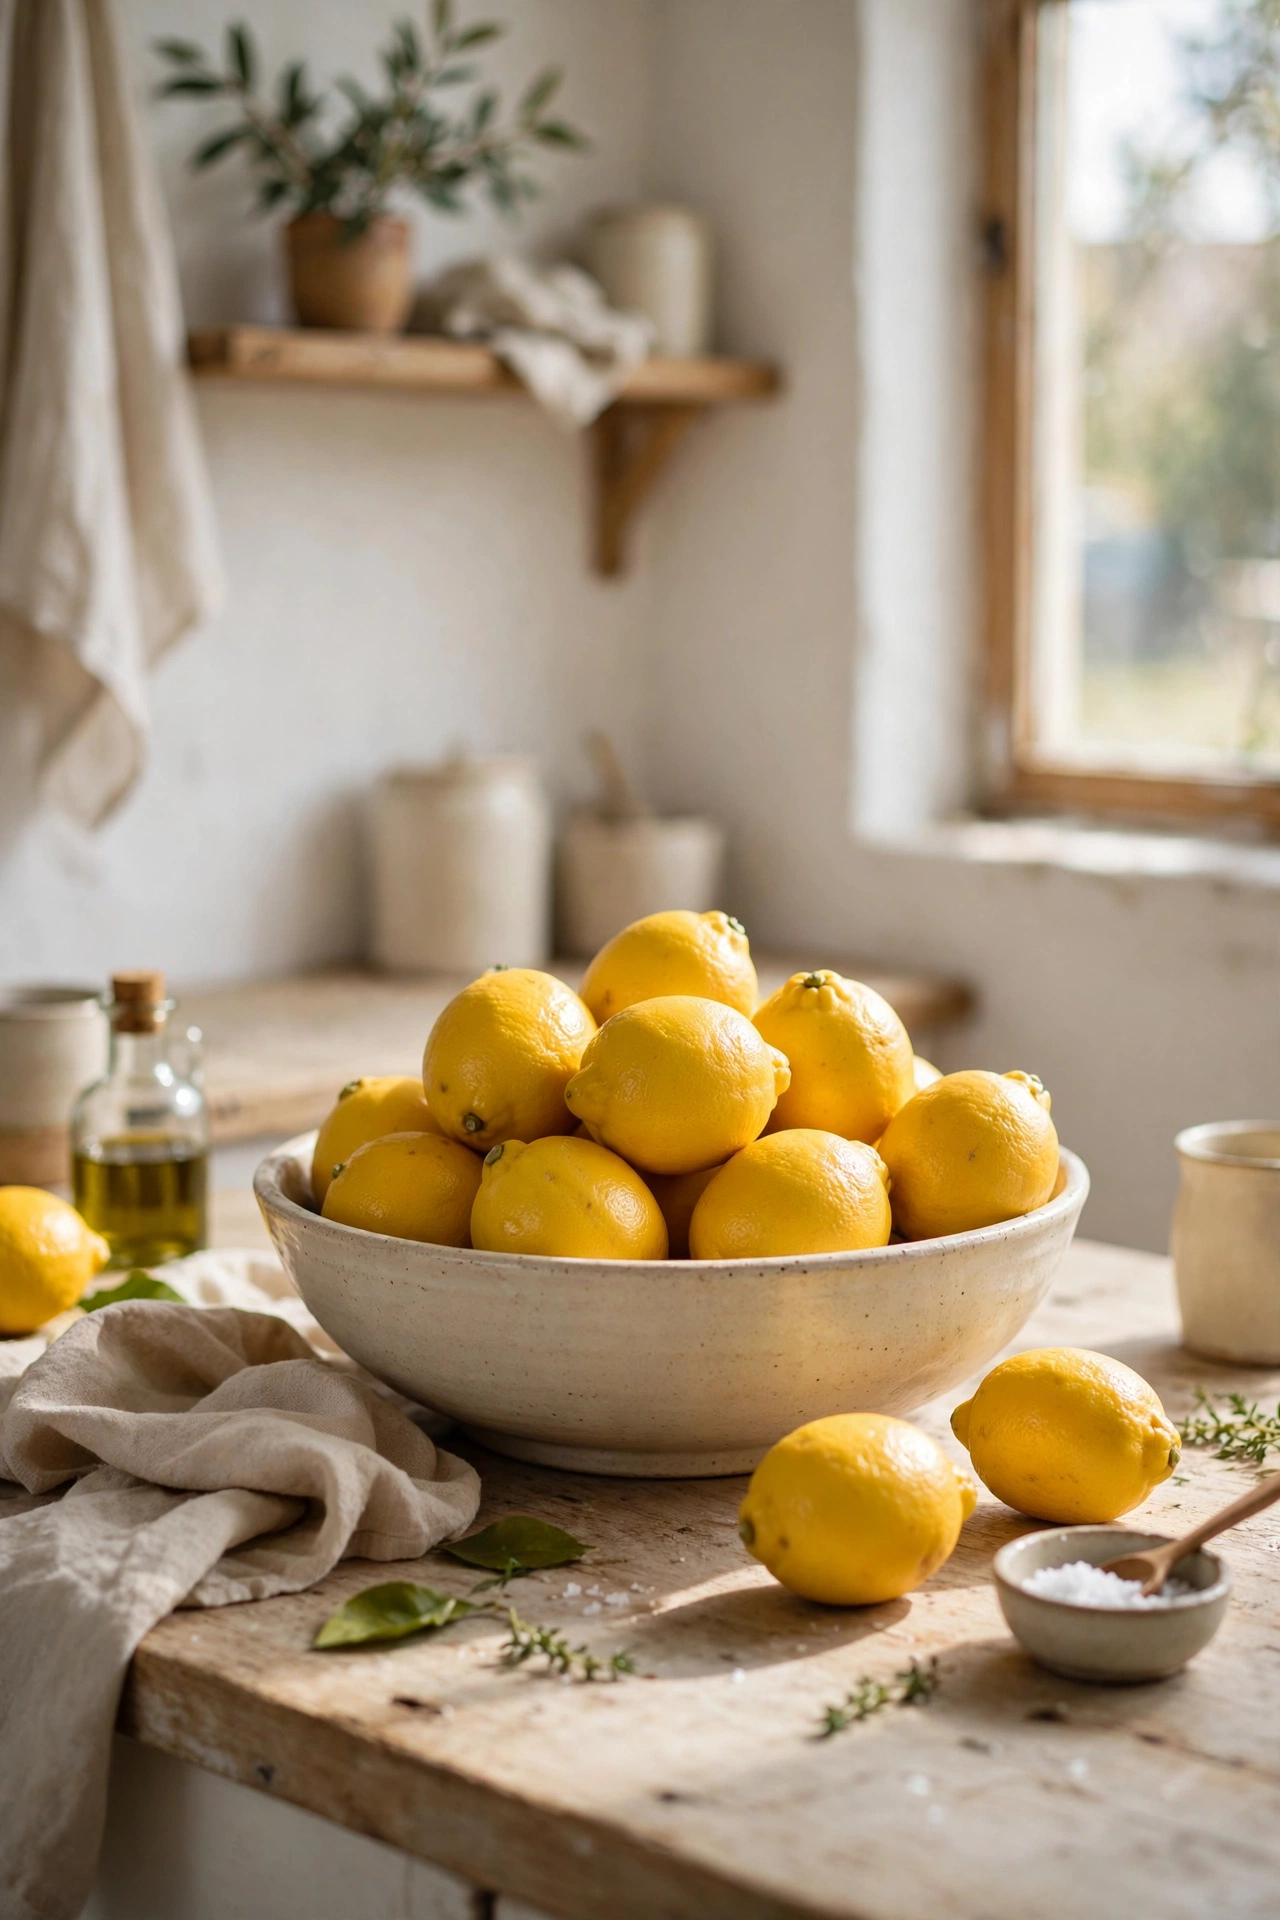
A proper fruit bowl is the easiest kitchen styling there is — colour, life, and shape in one object. Step one: choose a wide, shallow bowl rather than a deep one, because fruit piled in a deep bowl bruises and hides. Step two: fill it with a single type of fruit in season — lemons, apples, oranges — since a monochrome bowl looks styled while a mixed jumble looks like shopping. Step three: place it where you will actually eat from it, because a fruit bowl that gets used stays fresh and one that is purely decorative goes sad. I keep a bowl of lemons on my counter year-round and it is the cheapest centrepiece I own. One mistake to avoid: fake fruit, which fools nobody and collects dust — real fruit or nothing.
Cost: ~$4 for the bowl | Time: 5 minutes
9. Decant Everything Into Matching Canisters
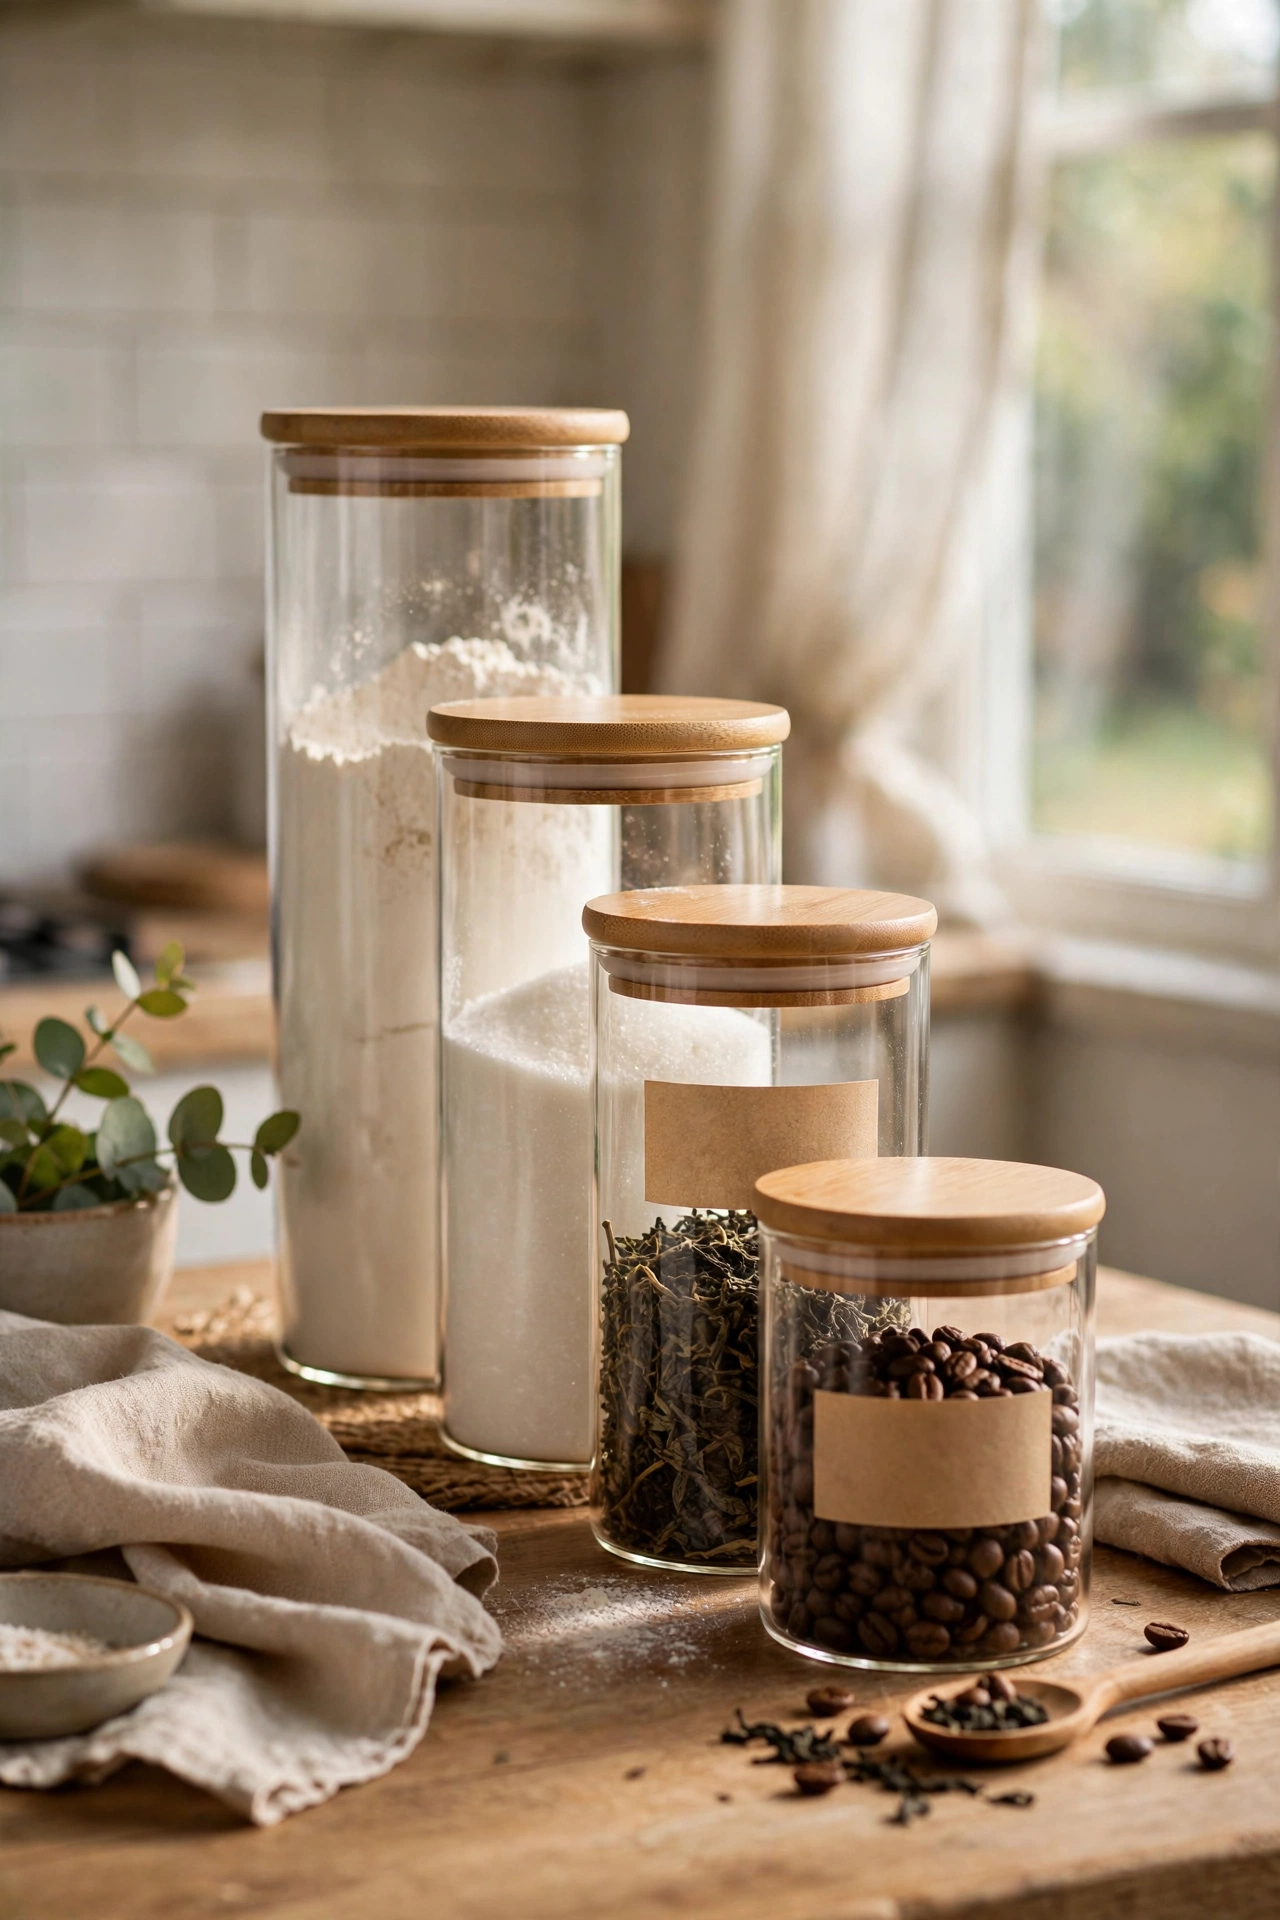
Matching canisters on the worktop make even a cluttered kitchen look pulled together, because the eye reads repetition as order. Step one: buy three to five canisters in graduated sizes with proper lids. Step two: decant the daily essentials — coffee, tea, sugar, flour — so the pretty containers hide the branded packaging. Step three: line them up with the tallest at the back, labels facing forward, with a little space between each. My worktop went from a jumble of packets to a styled row in twenty minutes. One mistake to avoid: buying canisters with lids that do not seal, because stale coffee in a beautiful jar is still a disappointment every morning.
Cost: ~$8 for four | Time: 20 minutes
10. A Windowsill Herb Garden in Glass Jars
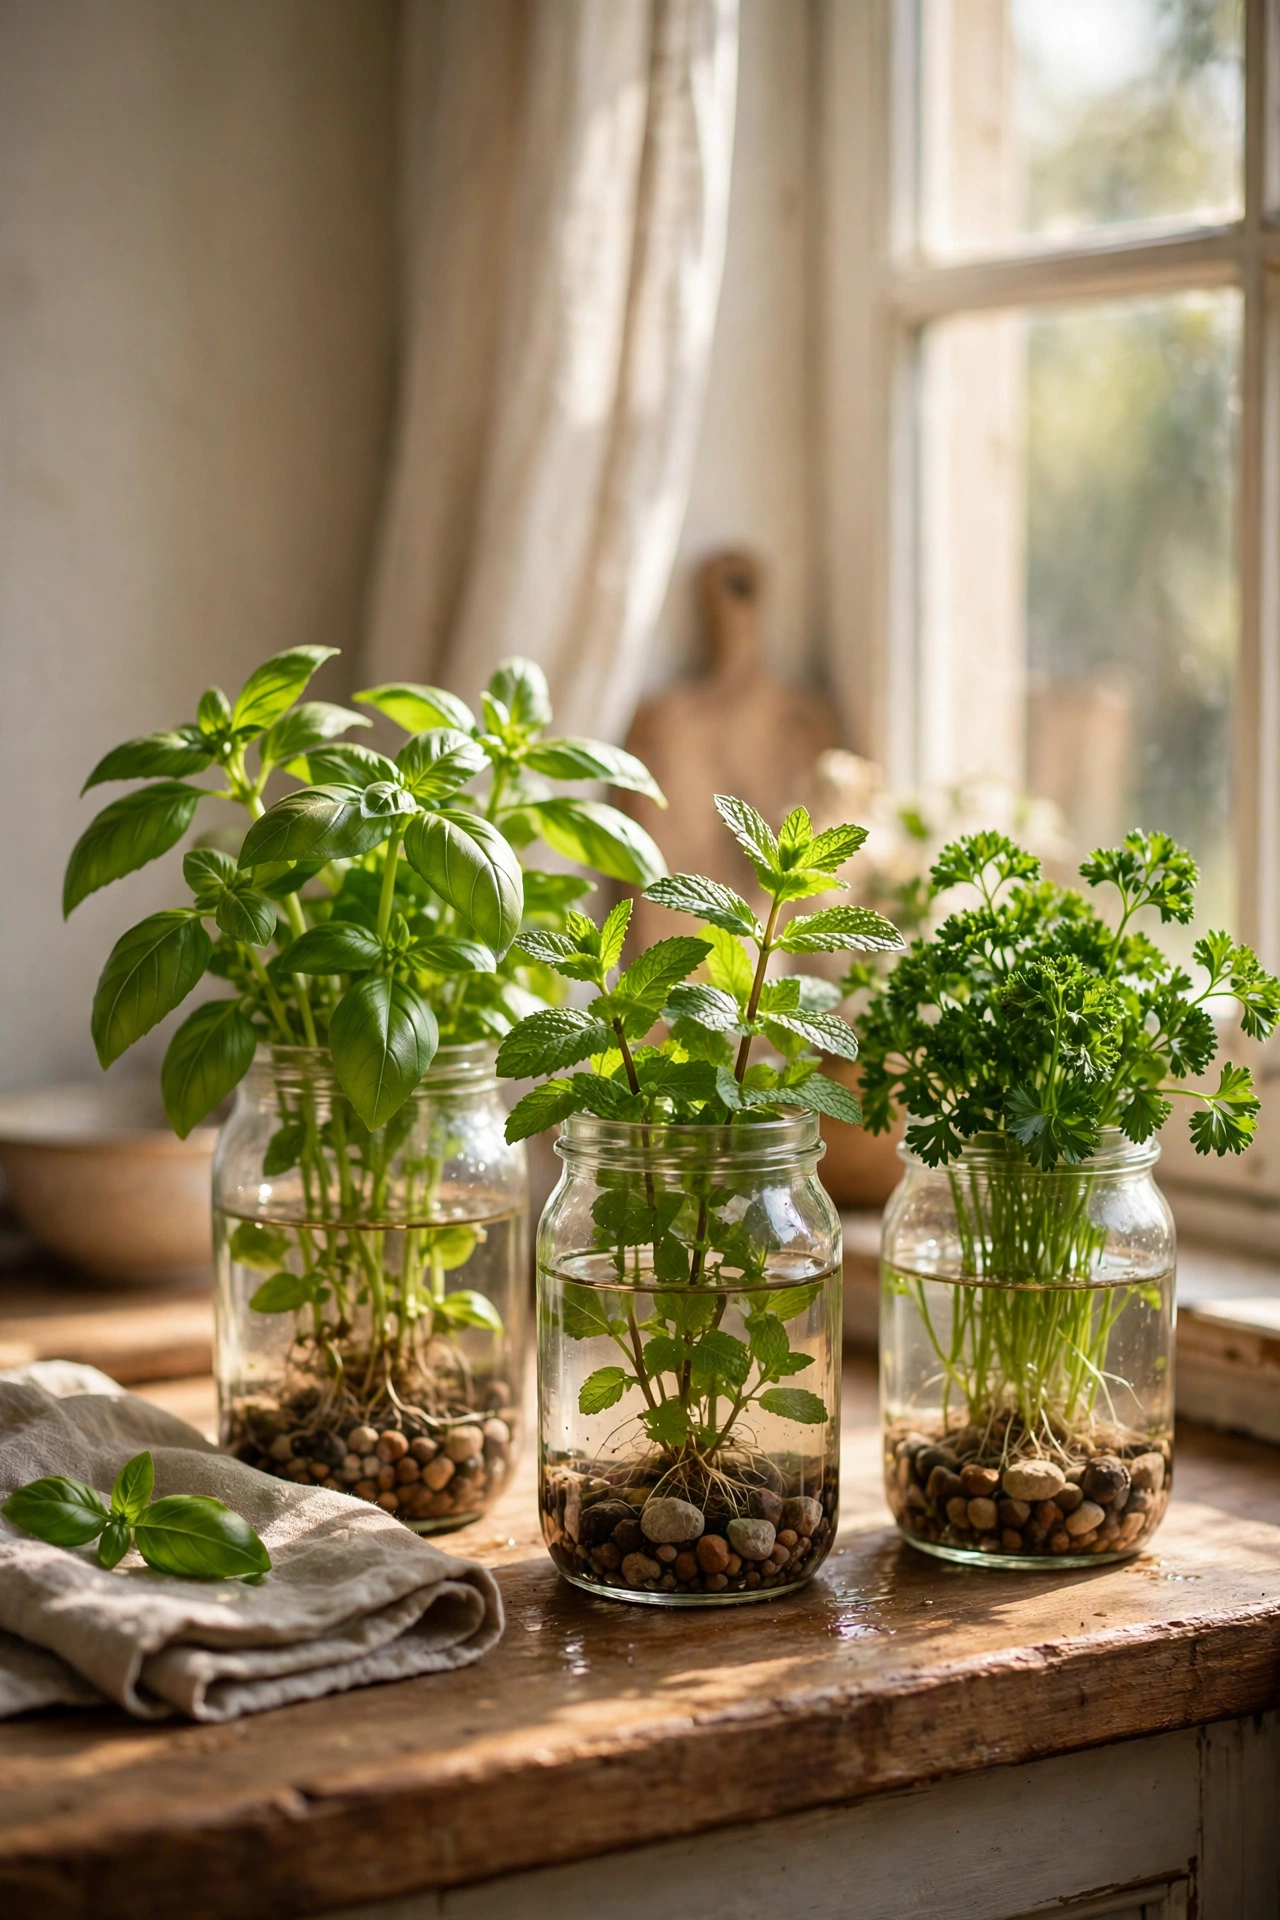
Fresh herbs on the windowsill are decoration you can eat, which is the best kind. Step one: buy small glass jars or use clean jam jars, because glass shows the roots and looks intentional. Step two: plant basil, mint, and parsley — the three you will actually cook with — in proper potting compost. Step three: water from the bottom and pinch the tops regularly to keep them bushy rather than leggy. I grew basil on my rental windowsill all summer and snipped it straight into pasta. One mistake to avoid: supermarket potted herbs planted as they come — split them into smaller clumps first, because they are always overcrowded and die within weeks otherwise.
Cost: ~$6 for three | Time: 30 minutes
11. Linen-Look Dish Towels on Display
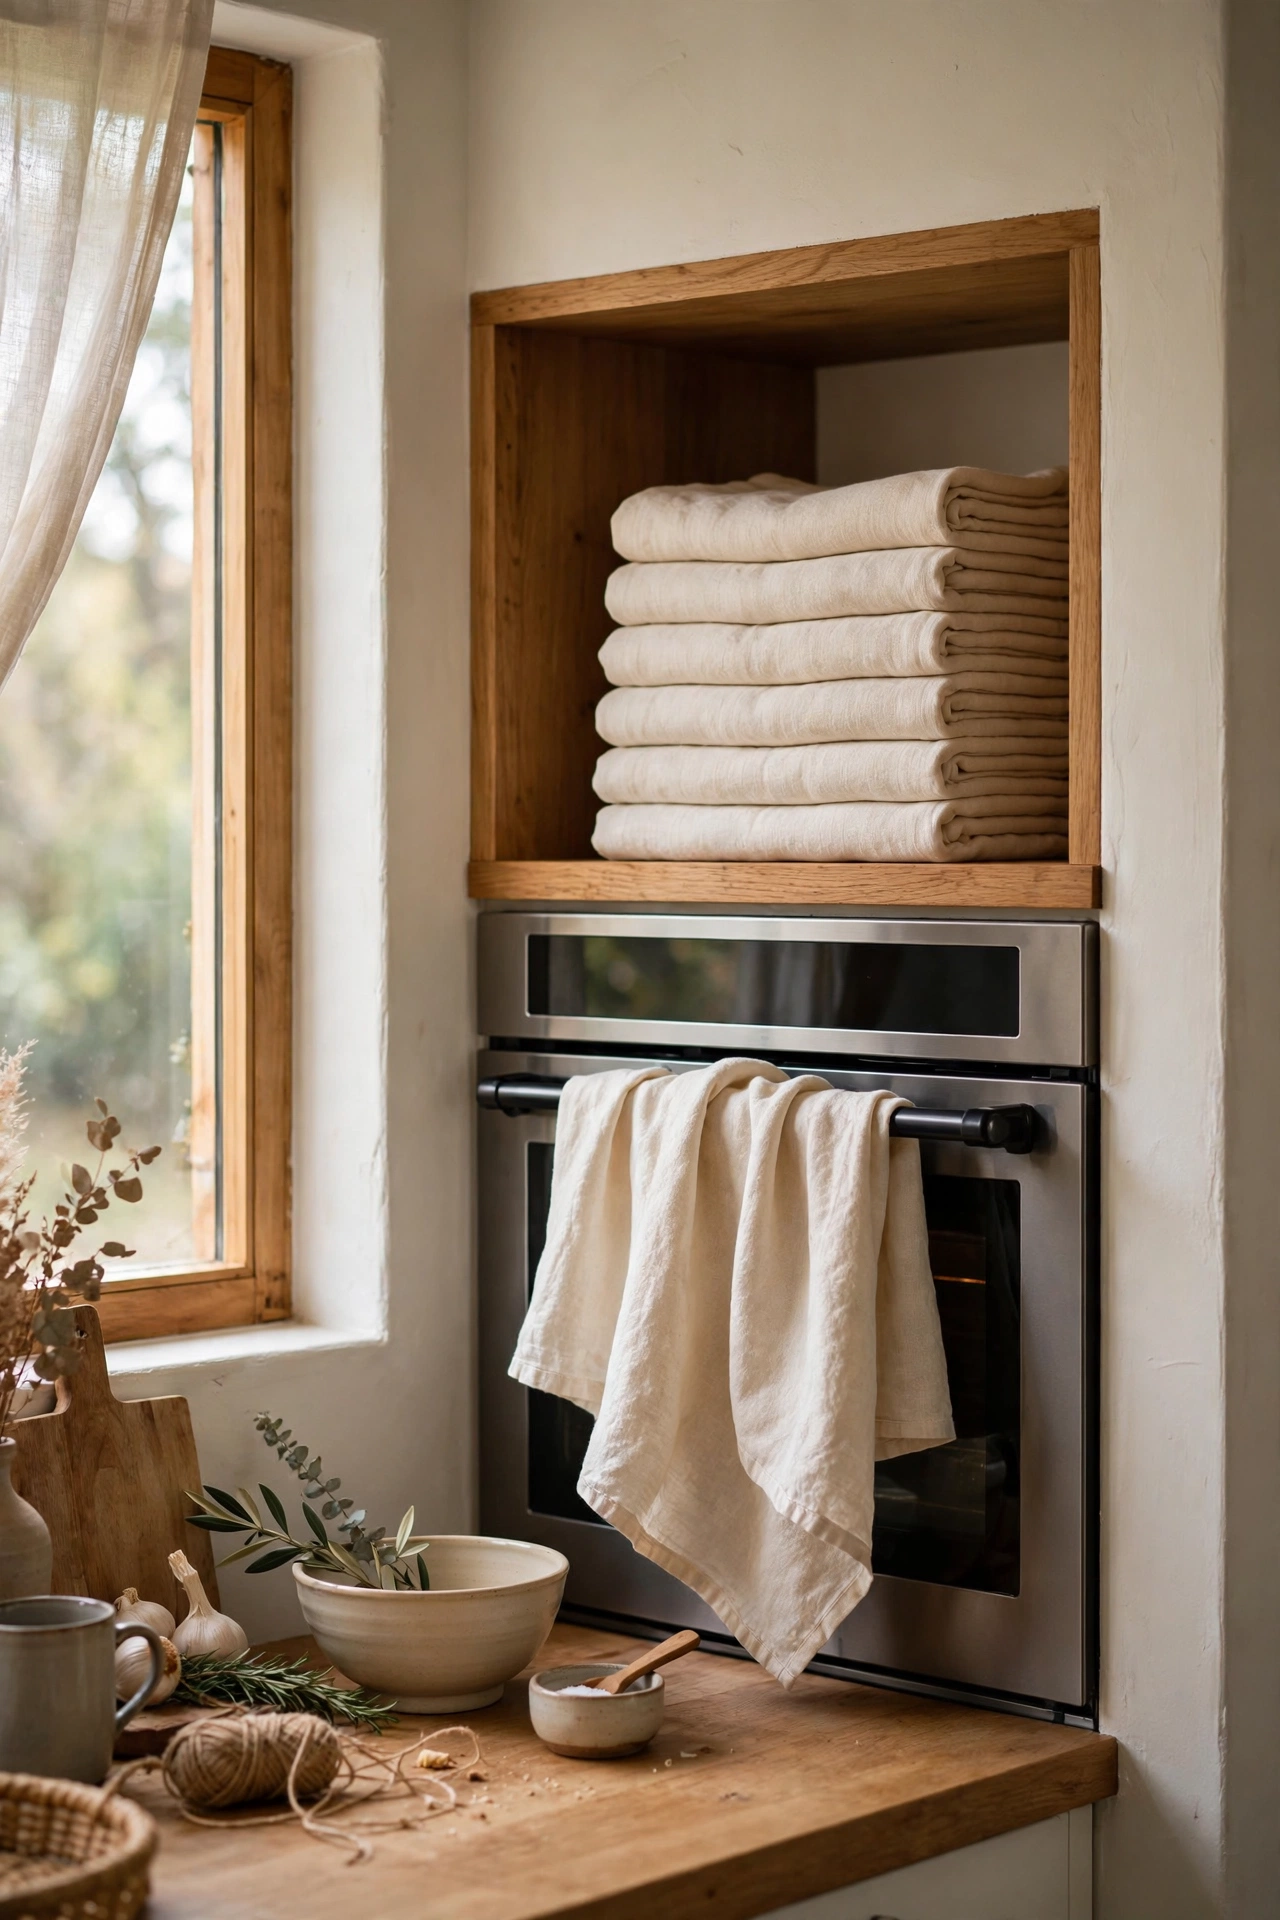
Dish towels are always visible in a kitchen, so they might as well be pretty. A folded stack of linen-look towels in natural tones looks like styling; a single damp novelty towel looks like laundry. Step one: buy four to six towels in the same natural colour family — cream, oatmeal, sage. Step two: fold them uniformly and stack them on an open shelf or hang one neatly over the oven handle. Step three: keep one in use and the rest as the display stack, rotating them through the wash. I switched to matching towels and my kitchen instantly looked calmer. One mistake to avoid: the free promotional towels everyone accumulates — retire them to cleaning rags where they belong.
Cost: ~$6 for four | Time: 10 minutes
12. Leaning Wooden Cutting Boards
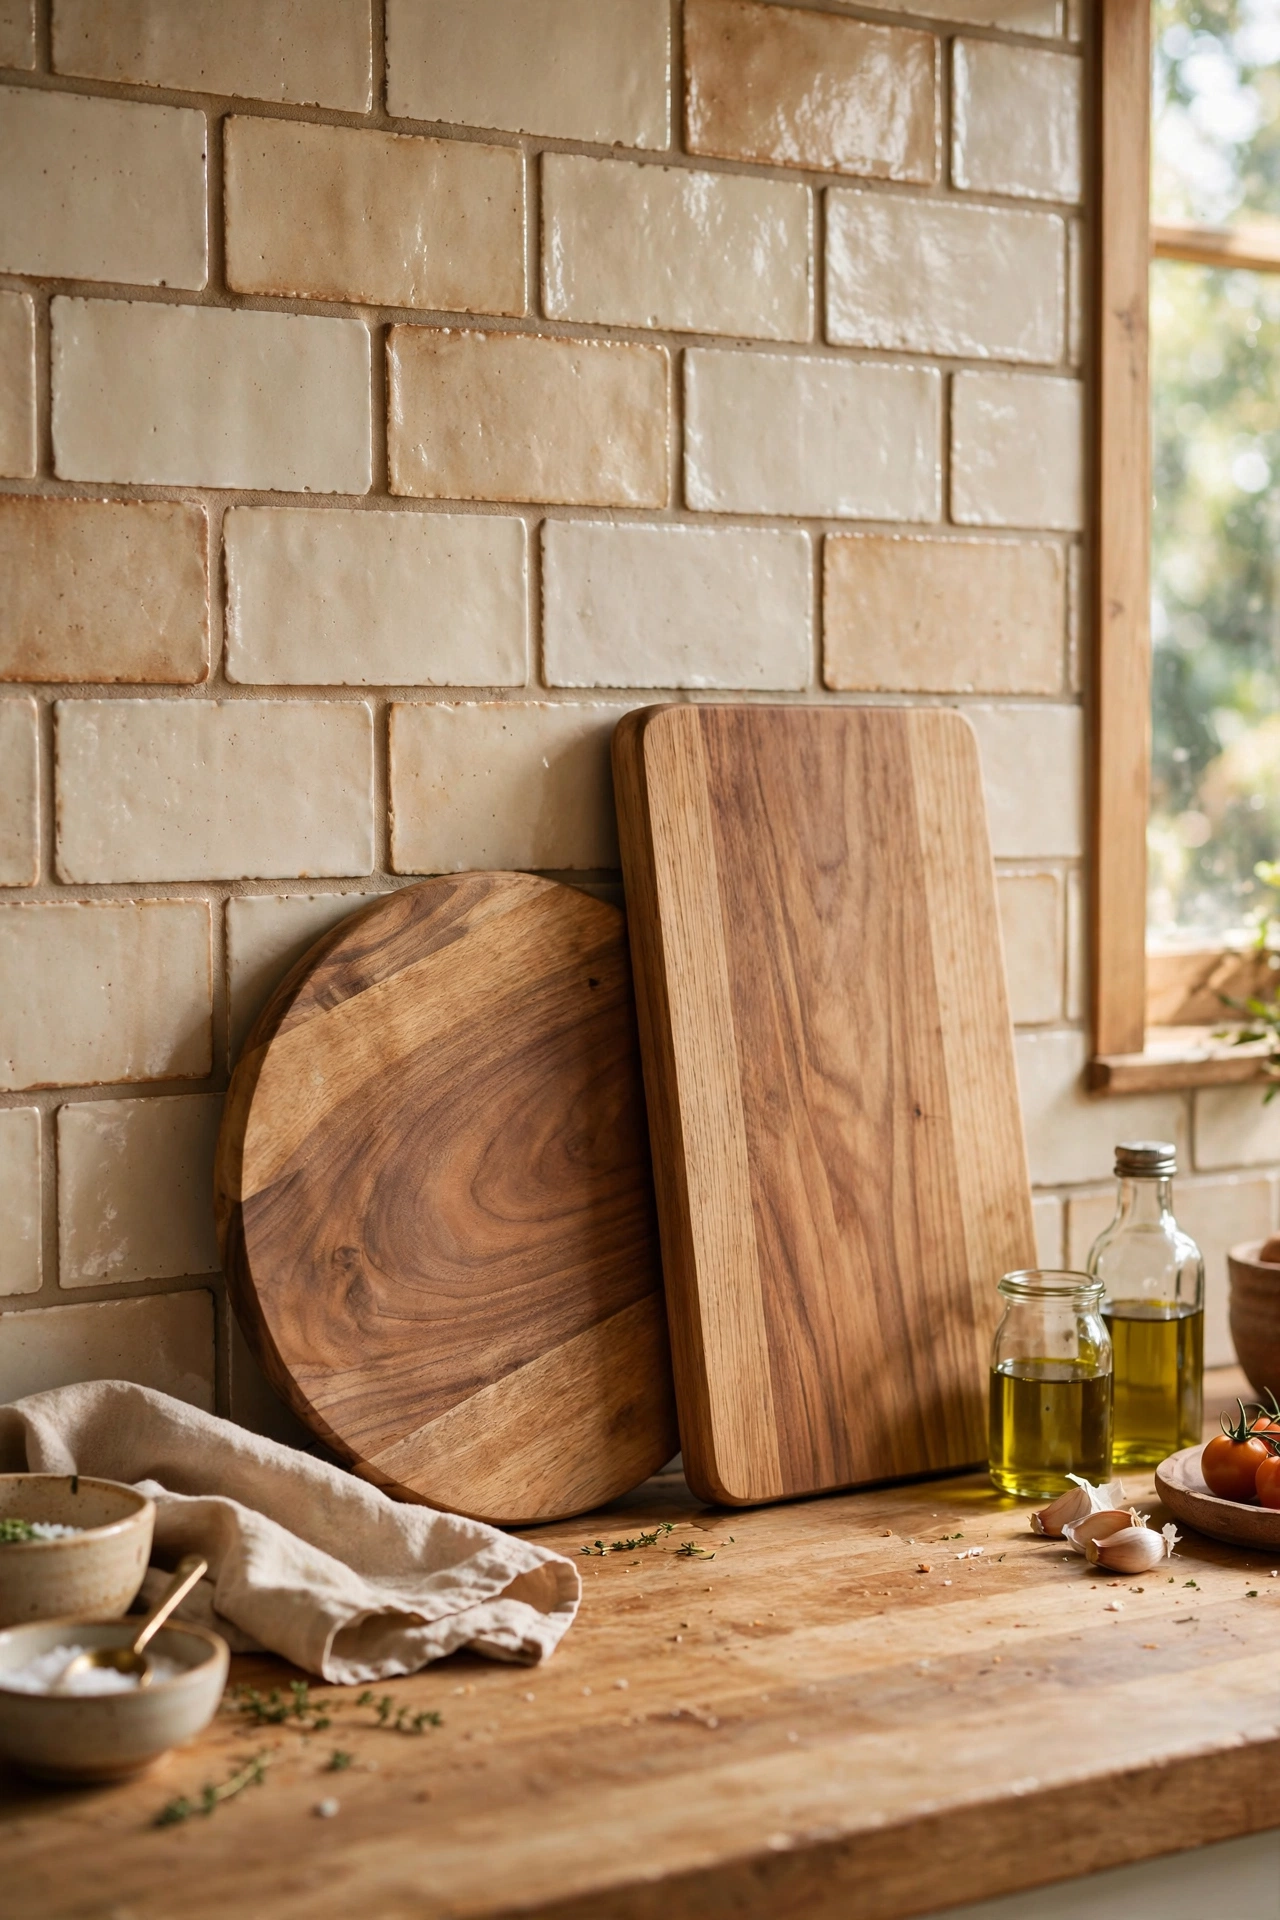
A couple of wooden cutting boards leaned against the backsplash add warmth and texture for almost nothing. Wood softens all the hard surfaces in a kitchen — tile, steel, stone — and boards are useful too. Step one: buy two or three boards in different shapes — one round, one rectangular — in a natural wood tone. Step two: lean the largest against the backsplash behind the cooker or by the sink, layering the smaller one in front. Step three: oil them occasionally with food-safe mineral oil so the wood stays rich rather than drying out. I have had the same boards for years and they have only grown more beautiful. One mistake to avoid: plastic boards for display — they are for chopping, not for showing; wood only on the lean.
Cost: ~$8 for two | Time: 5 minutes
13. A Runner Rug in the Galley
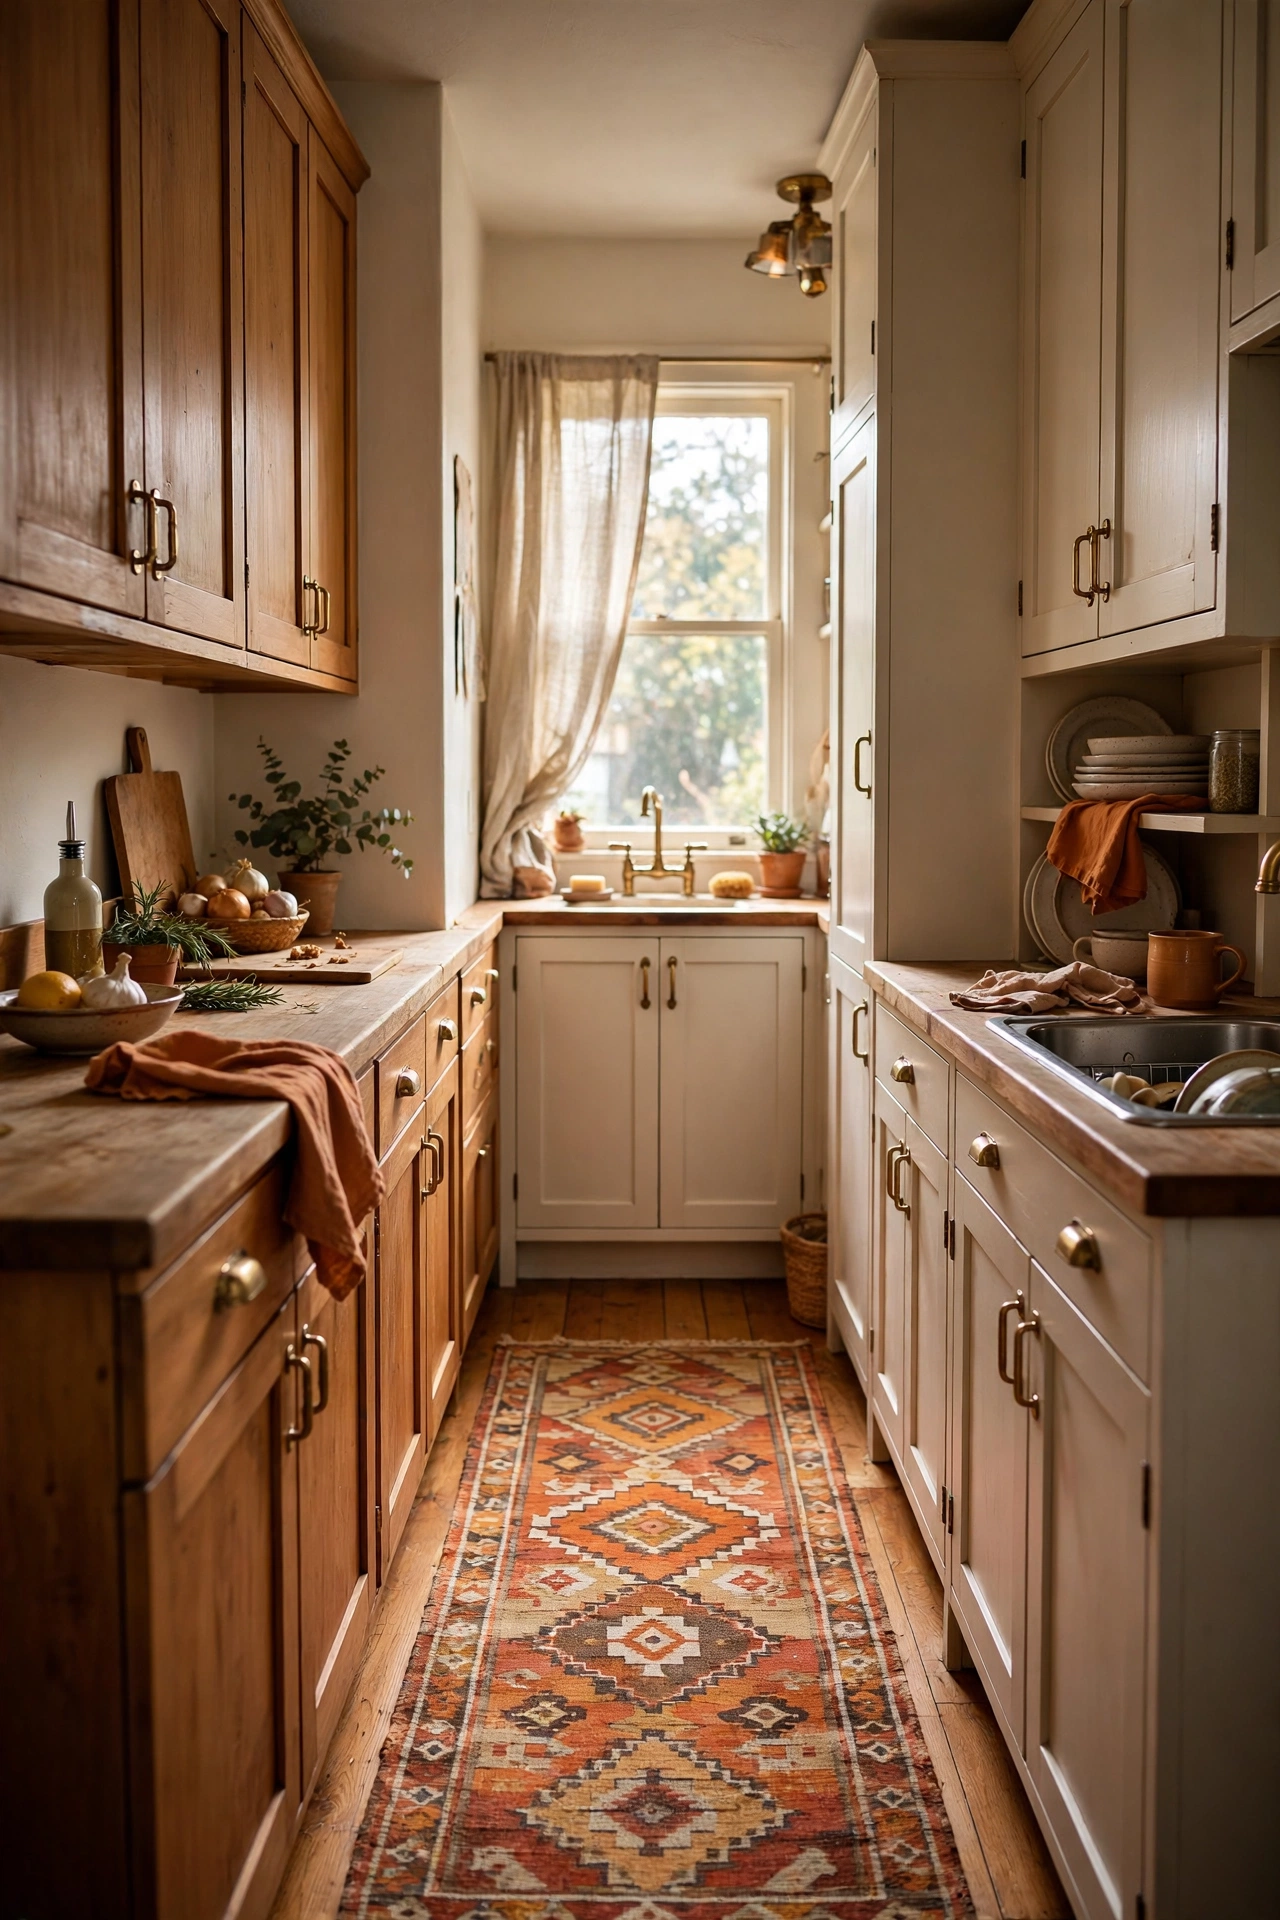
A runner rug softens a hard kitchen floor and adds the pattern and colour the room is usually missing. Kitchens are full of hard surfaces, and one textile changes the whole feel underfoot. Step one: measure your galley or sink run and choose a low-pile, washable runner — kitchen rugs must survive spills. Step two: pick a pattern with some colour but not too light, since kitchen floors take a beating. Step three: lay it with equal floor showing at each end, and shake it out weekly. I put a two-dollar-look runner in my galley kitchen and it made the whole room feel warmer instantly. One mistake to avoid: a thick shaggy rug, which traps crumbs and becomes a tripping hazard around the cooker.
Cost: ~$10 | Time: 10 minutes
14. Framed Recipe Art
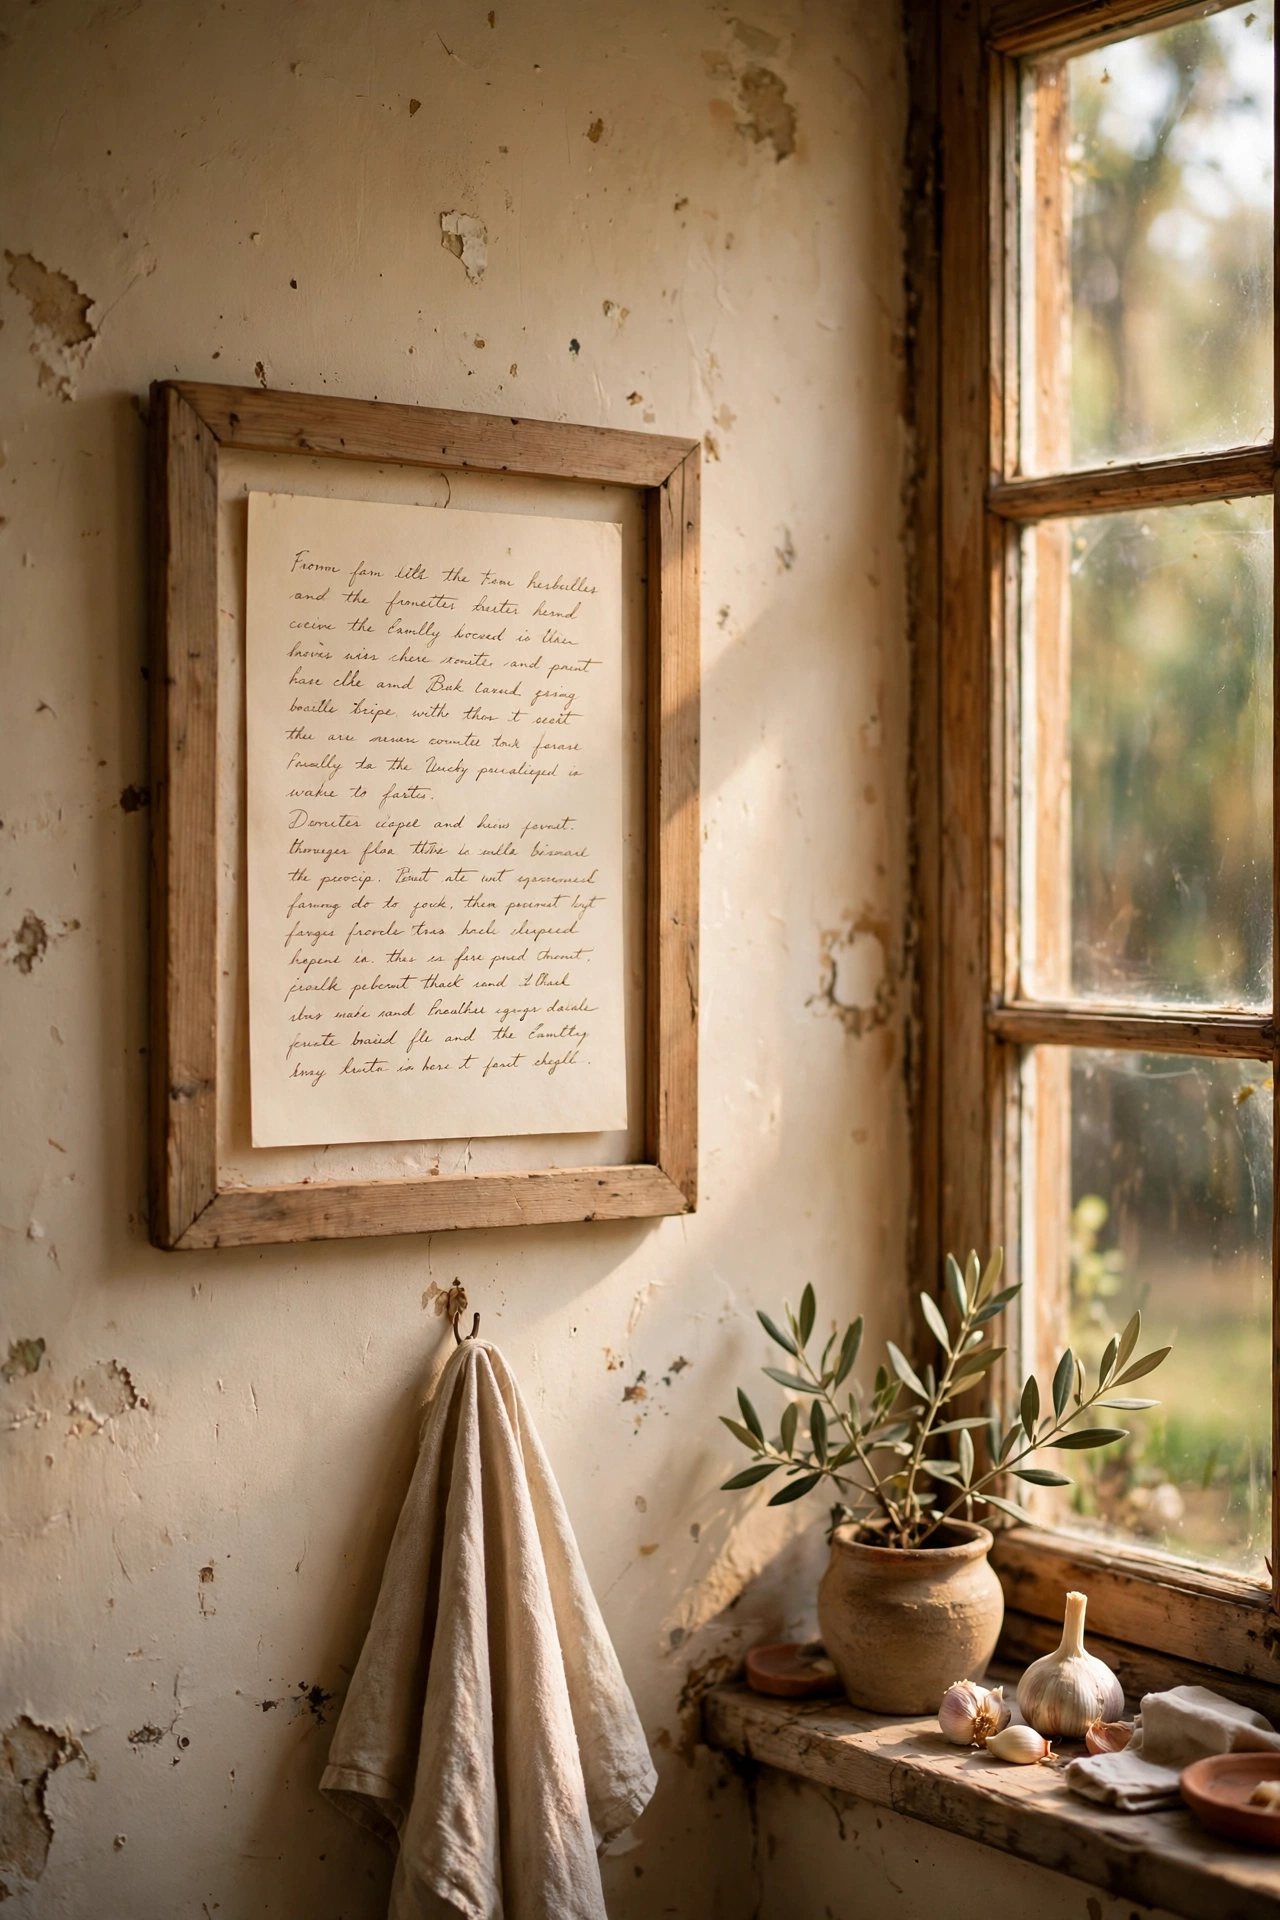
One framed print in a kitchen makes it feel like a room rather than a workstation. A family recipe in a simple frame is personal, free, and always a conversation starter. Step one: write out a favourite family recipe by hand or print it in a nice font on cream card. Step two: frame it in a simple wood or black frame from the dollar store. Step three: hang it where it will not get splashed — beside the window or on a free wall, never right behind the hob. I framed my grandmother’s scone recipe and guests always stop to read it. One mistake to avoid: hanging paper art where steam hits it daily, because it will cockle within weeks — pick a dry spot.
Cost: ~$3 | Time: 20 minutes
15. String Lights Along the Open Shelf
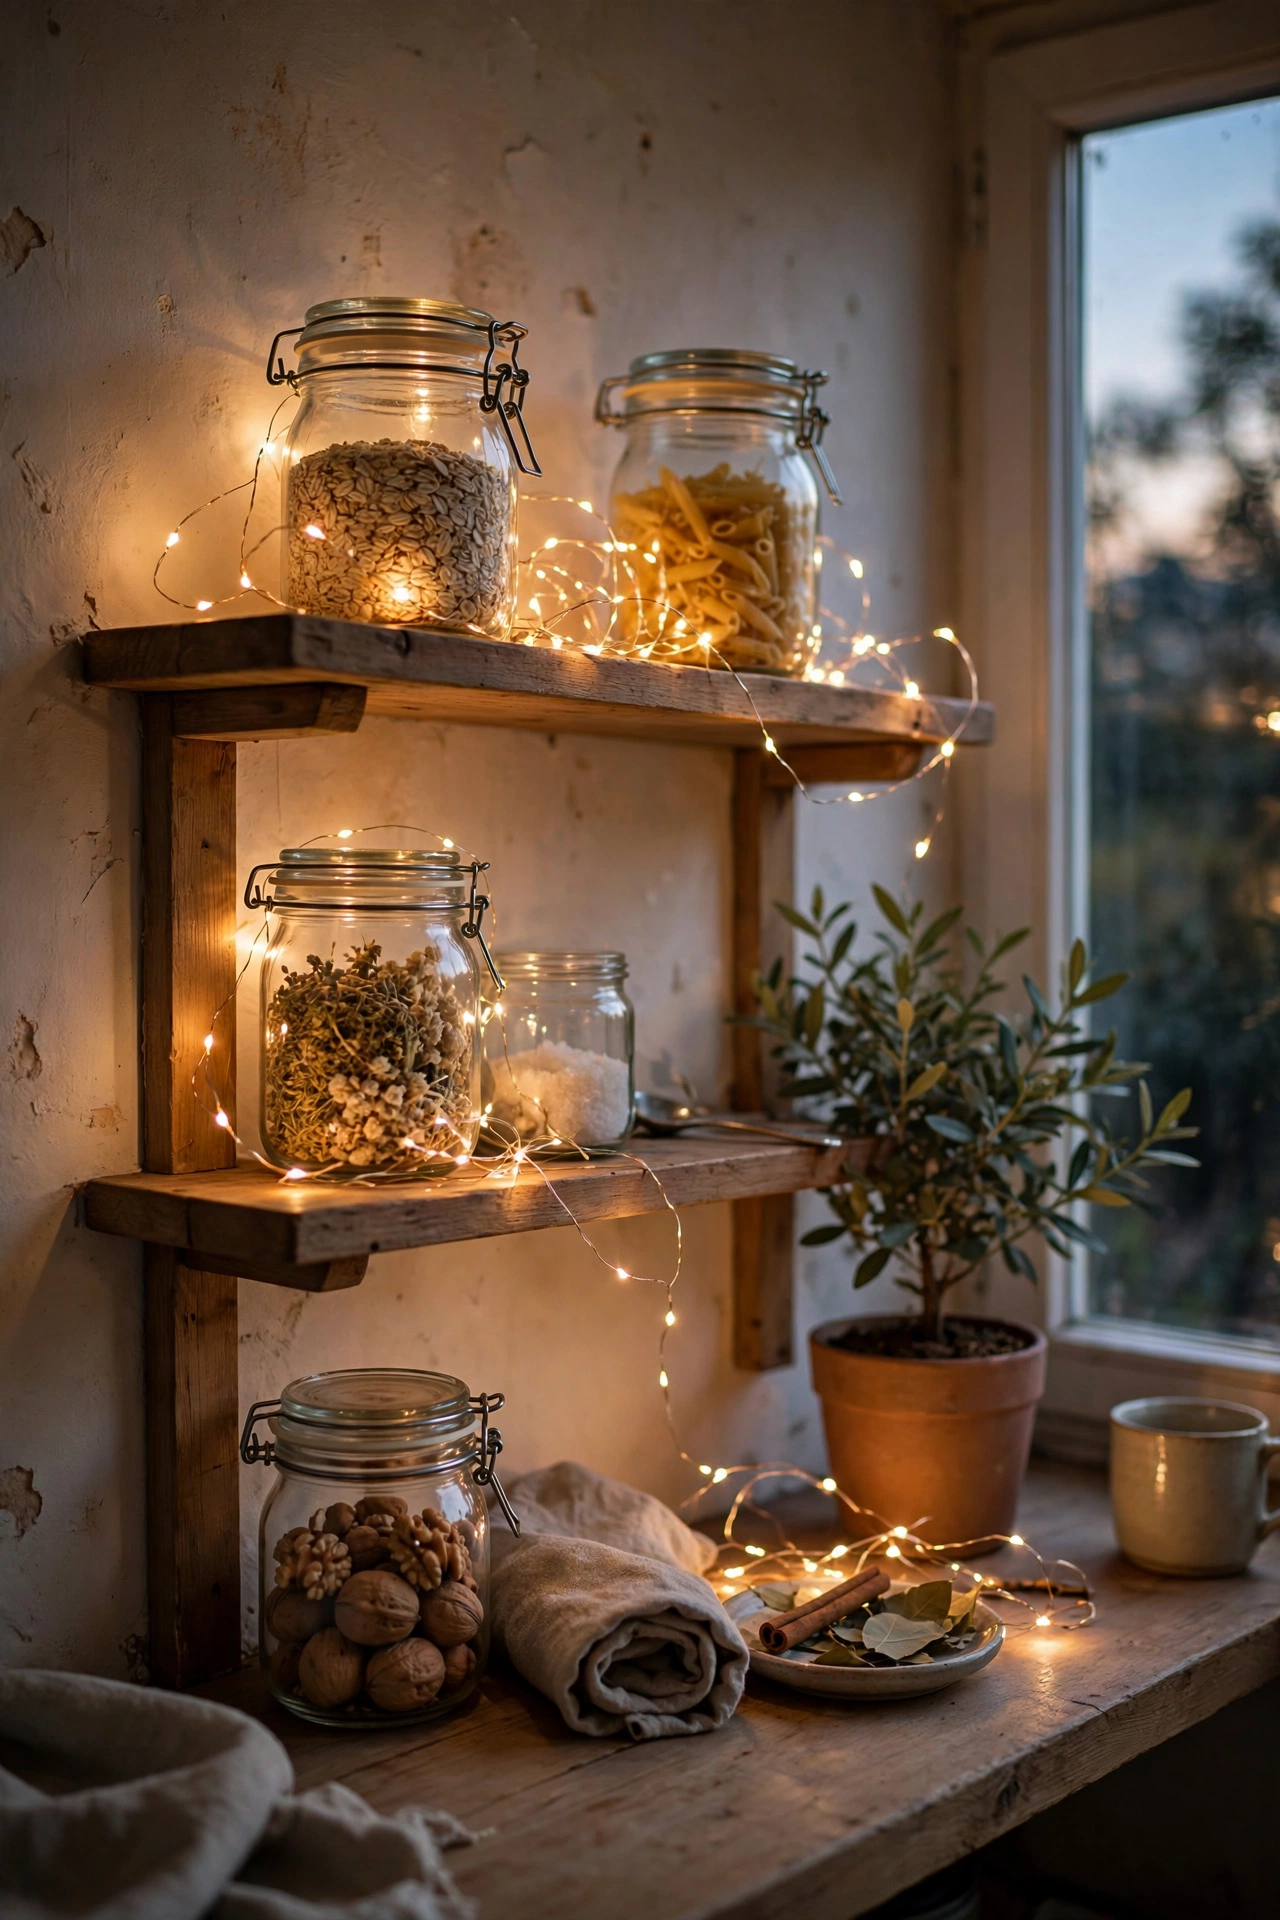
A strand of warm fairy lights along an open shelf turns the kitchen magical in the evening. It costs almost nothing and takes ten minutes, and the effect is completely disproportionate. Step one: buy a battery-operated strand of warm-white micro lights — warm white only, cool white kills the mood. Step two: weave the strand loosely along the shelf edge or around the jars, hiding the battery pack behind a canister. Step three: switch them on at dusk, or buy the timer version that does it for you. I ran these along my kitchen shelf every winter and the room felt like a cabin. One mistake to avoid: multicolour or flashing modes — steady warm white is the only setting that looks like decor rather than a party.
Cost: ~$4 | Time: 10 minutes
16. A Styled Tiered Tray
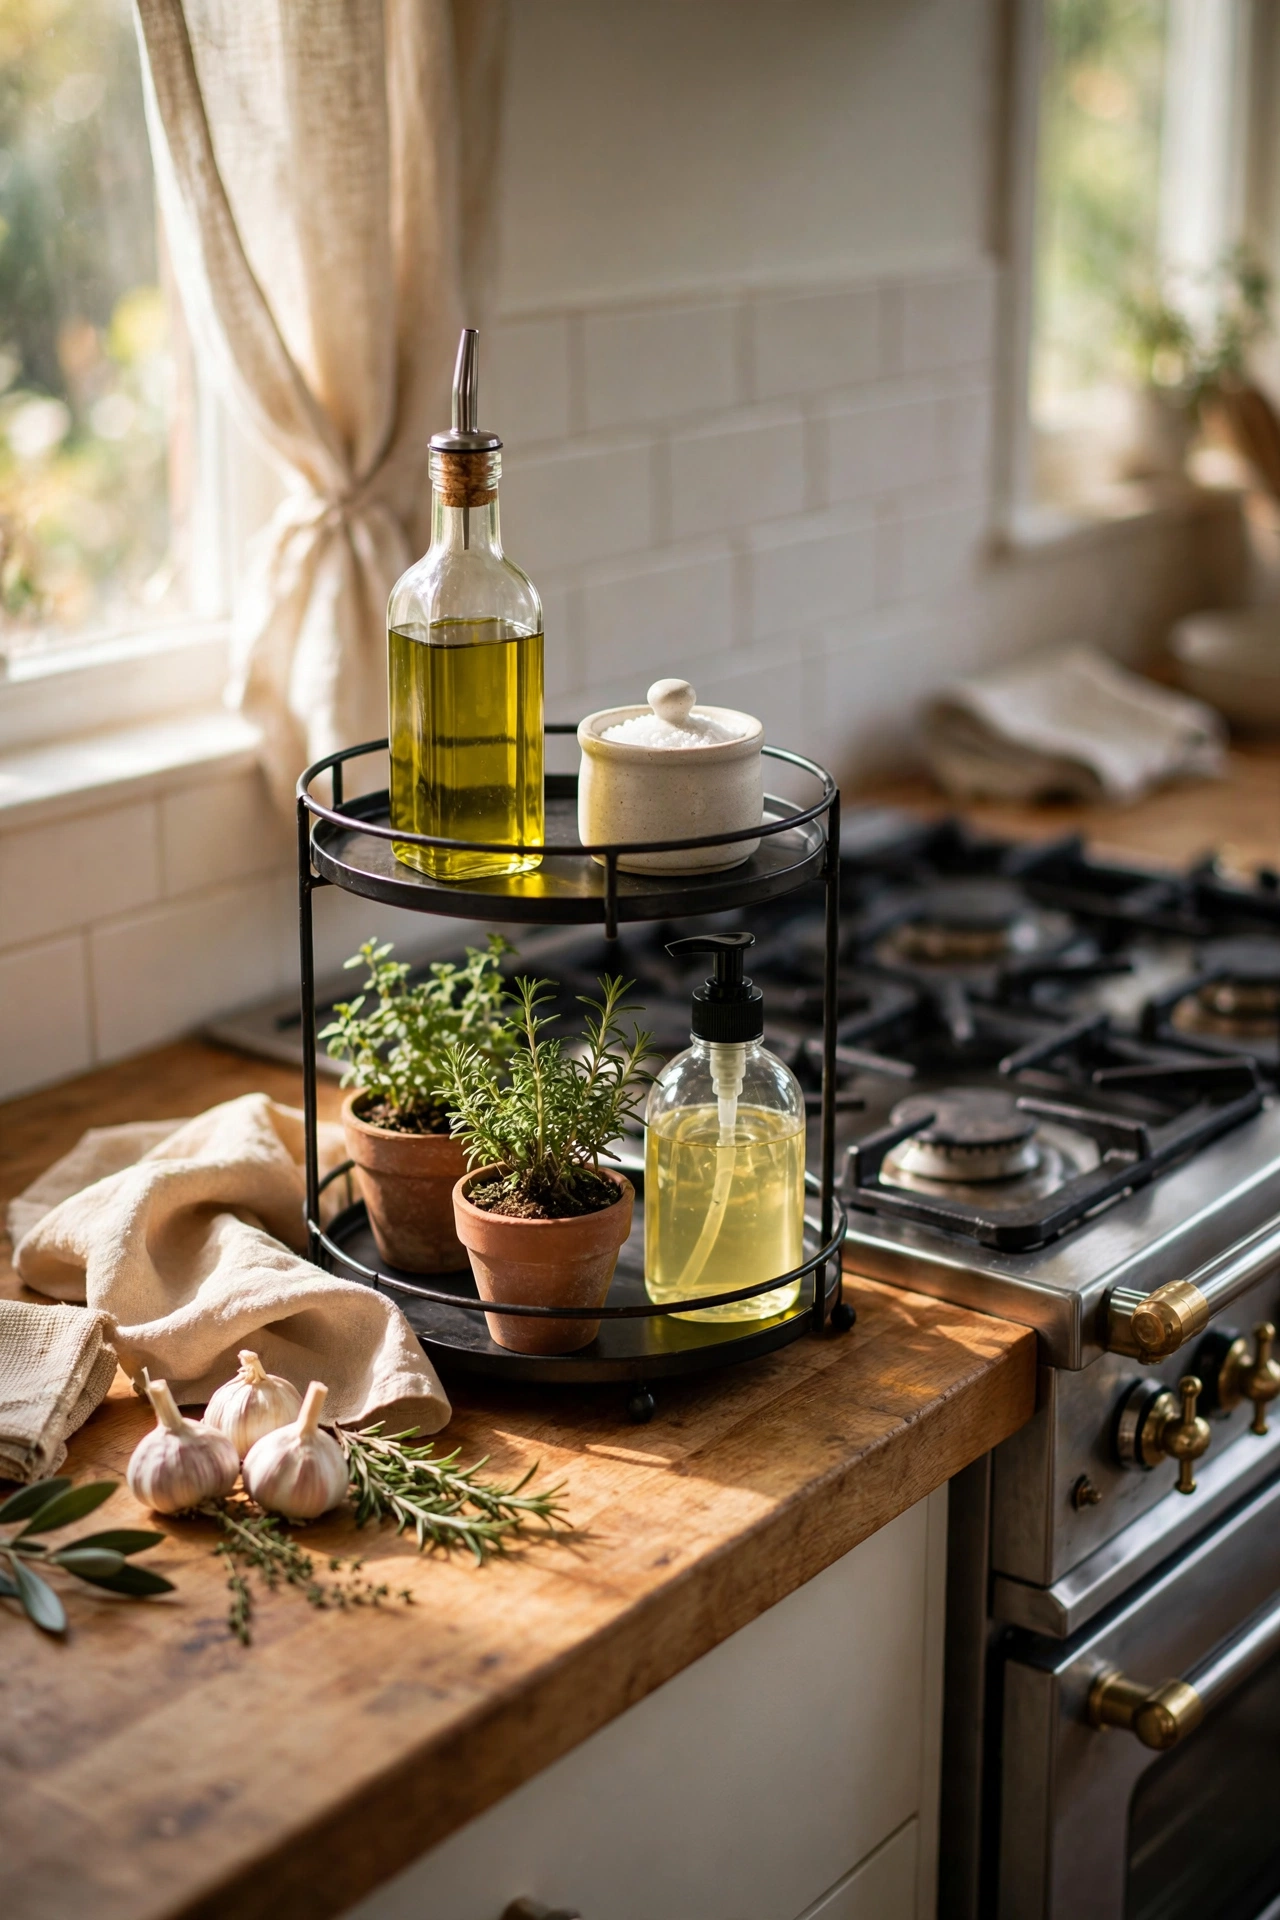
A two-tier tray on the worktop corrals the daily drift — salt, oil, the soap — into one styled object instead of scattered clutter. Step one: buy a simple two-tier metal or wood tray. Step two: group the everyday essentials on it — olive oil, salt cellar, a small plant, the washing-up liquid decanted into a nicer bottle. Step three: keep it to one tray per worktop, because the point is containing clutter, not creating a new display surface for more of it. I styled one by my cooker and the whole worktop suddenly looked intentional. One mistake to avoid: letting the tray become a dumping ground for post and keys — it is for kitchen things only, or it stops working.
Cost: ~$5 | Time: 15 minutes
17. Greenery on Top of the Cabinets
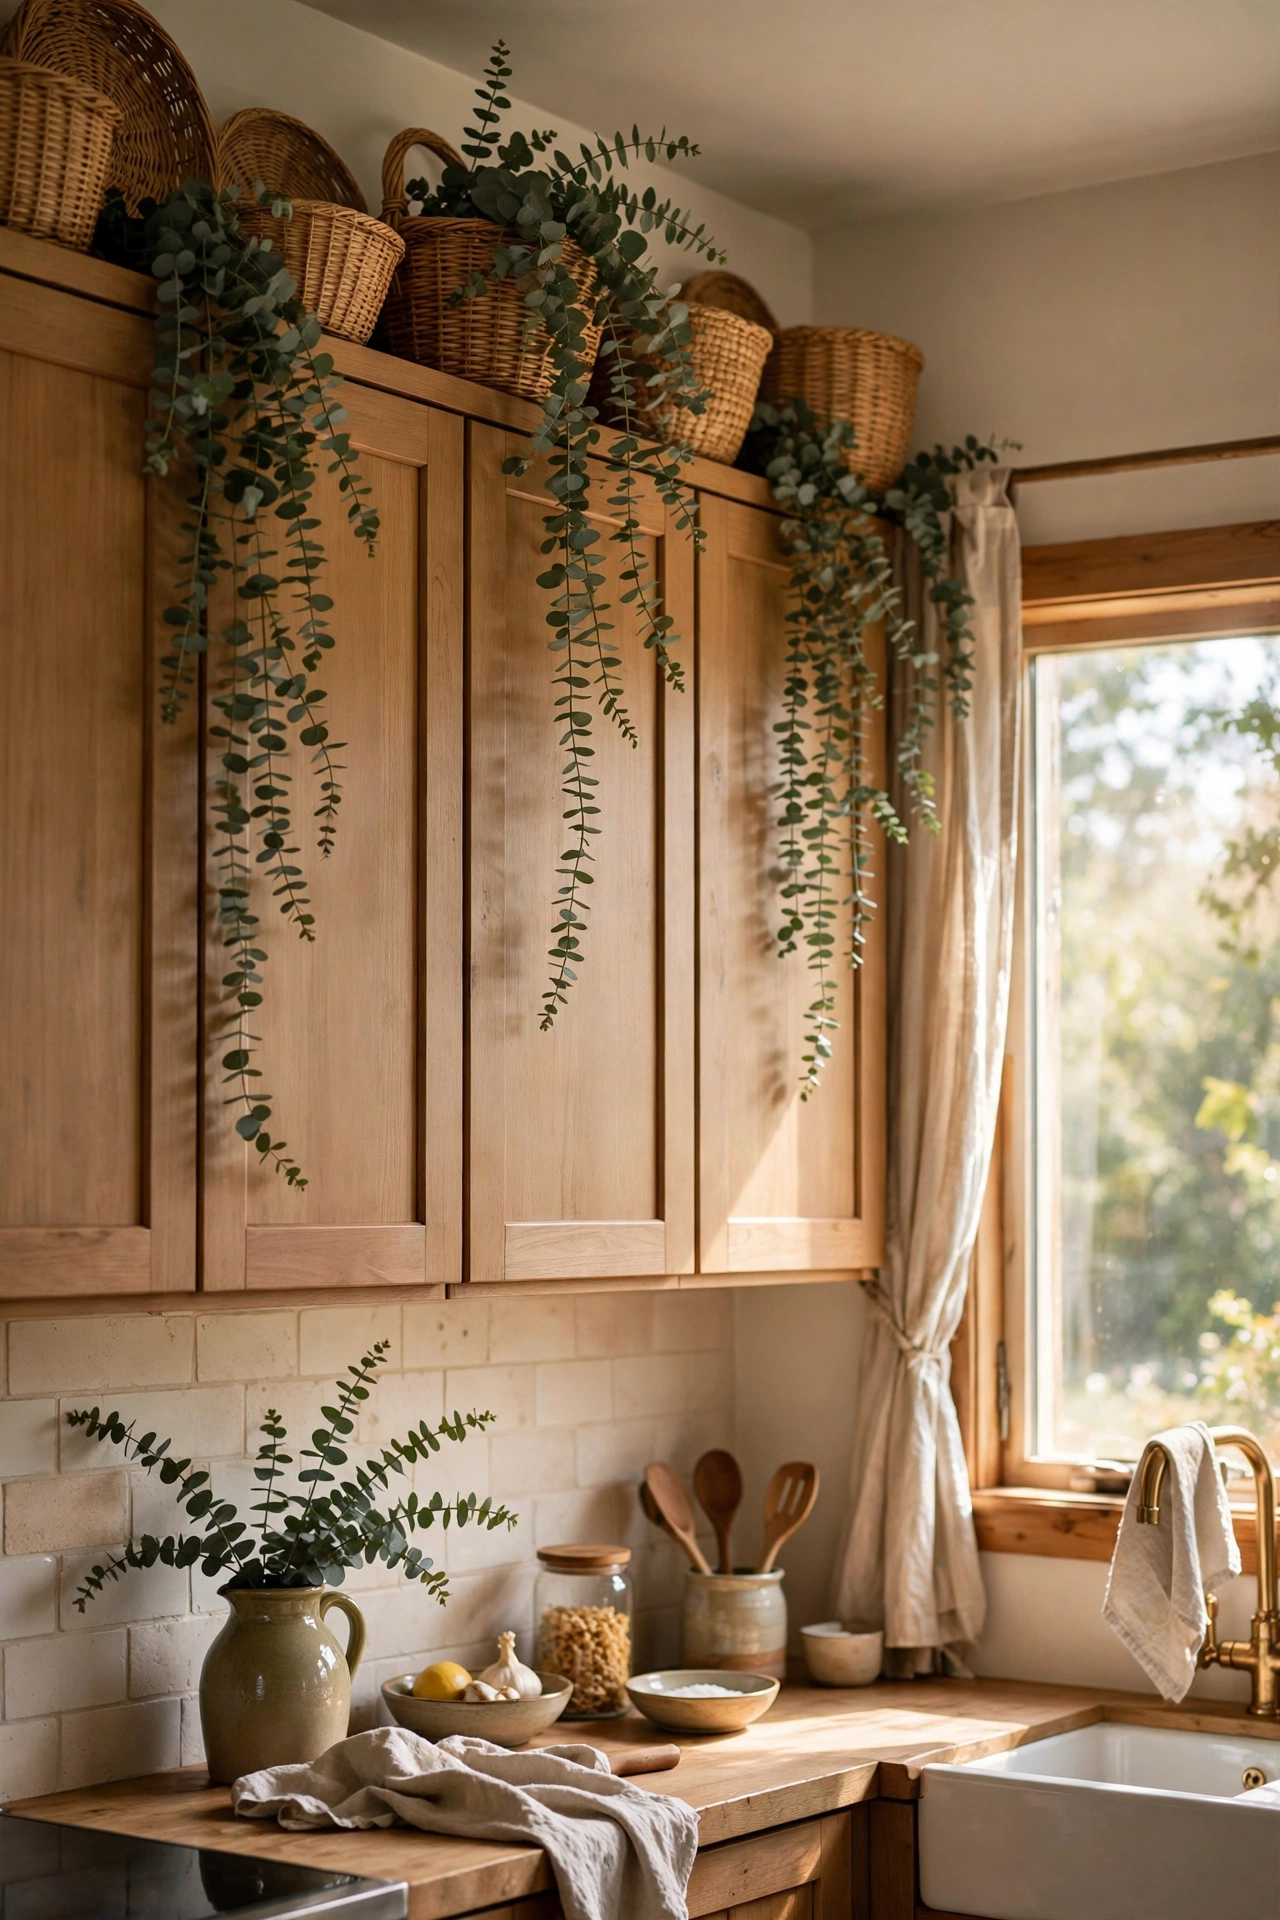
The dead space above wall cabinets is free display real estate most people ignore. A row of trailing plants or baskets up there draws the eye up and makes the kitchen feel taller. Step one: check what fits — measure the gap, since some kitchens have barely any clearance. Step two: place trailing faux or dried greenery, woven baskets, or a row of matching jars up there. Step three: keep it simple and dust it twice a year, because greasy dust is the downside of high kitchen styling. I lined mine with baskets and trailing eucalyptus and the kitchen felt twice as tall. One mistake to avoid: cluttering it with random boxes and appliances — above the cabinets is display space, not storage, or it reads as mess from below.
Cost: ~$8 | Time: 20 minutes
18. A Matching Utensil Crock
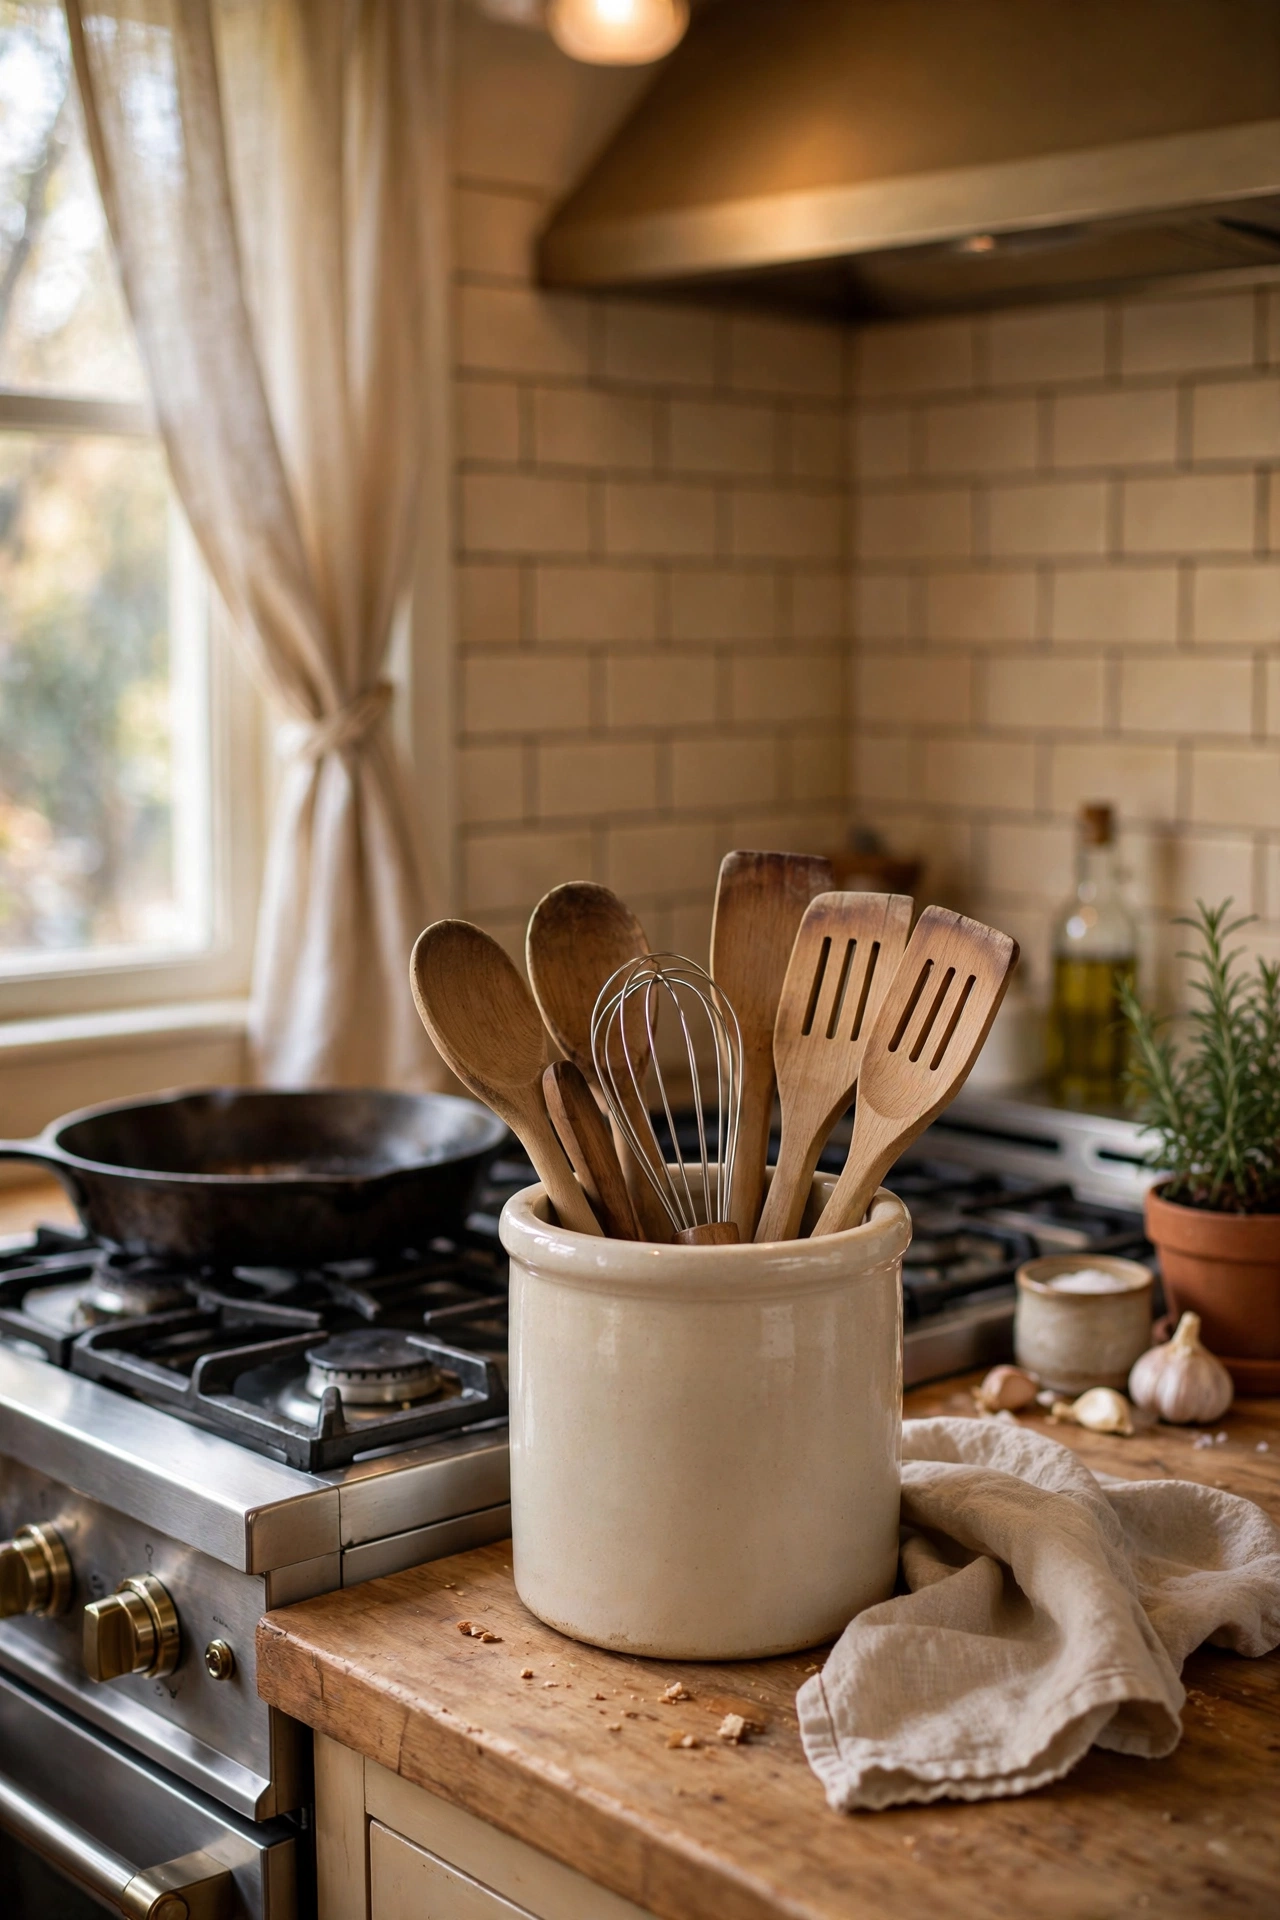
One handsome crock holding your cooking utensils beats a drawer of tangled tools and looks like styling into the bargain. Step one: buy a sturdy ceramic or stoneware-look crock wide enough not to topple — top-heavy crocks are a menace. Step two: decant your most-used wooden spoons, spatulas, and whisks into it, keeping the plastic and novelty tools in the drawer. Step three: place it by the cooker where you actually reach for tools, because a crock across the kitchen is decoration, not function. I switched to a single cream crock and my utensil drawer finally closed properly. One mistake to avoid: overfilling it — if you cannot see what you are grabbing, it is a lucky dip, not storage.
Cost: ~$4 | Time: 10 minutes
19. The Amber Soap-and-Candle Sink Vignette
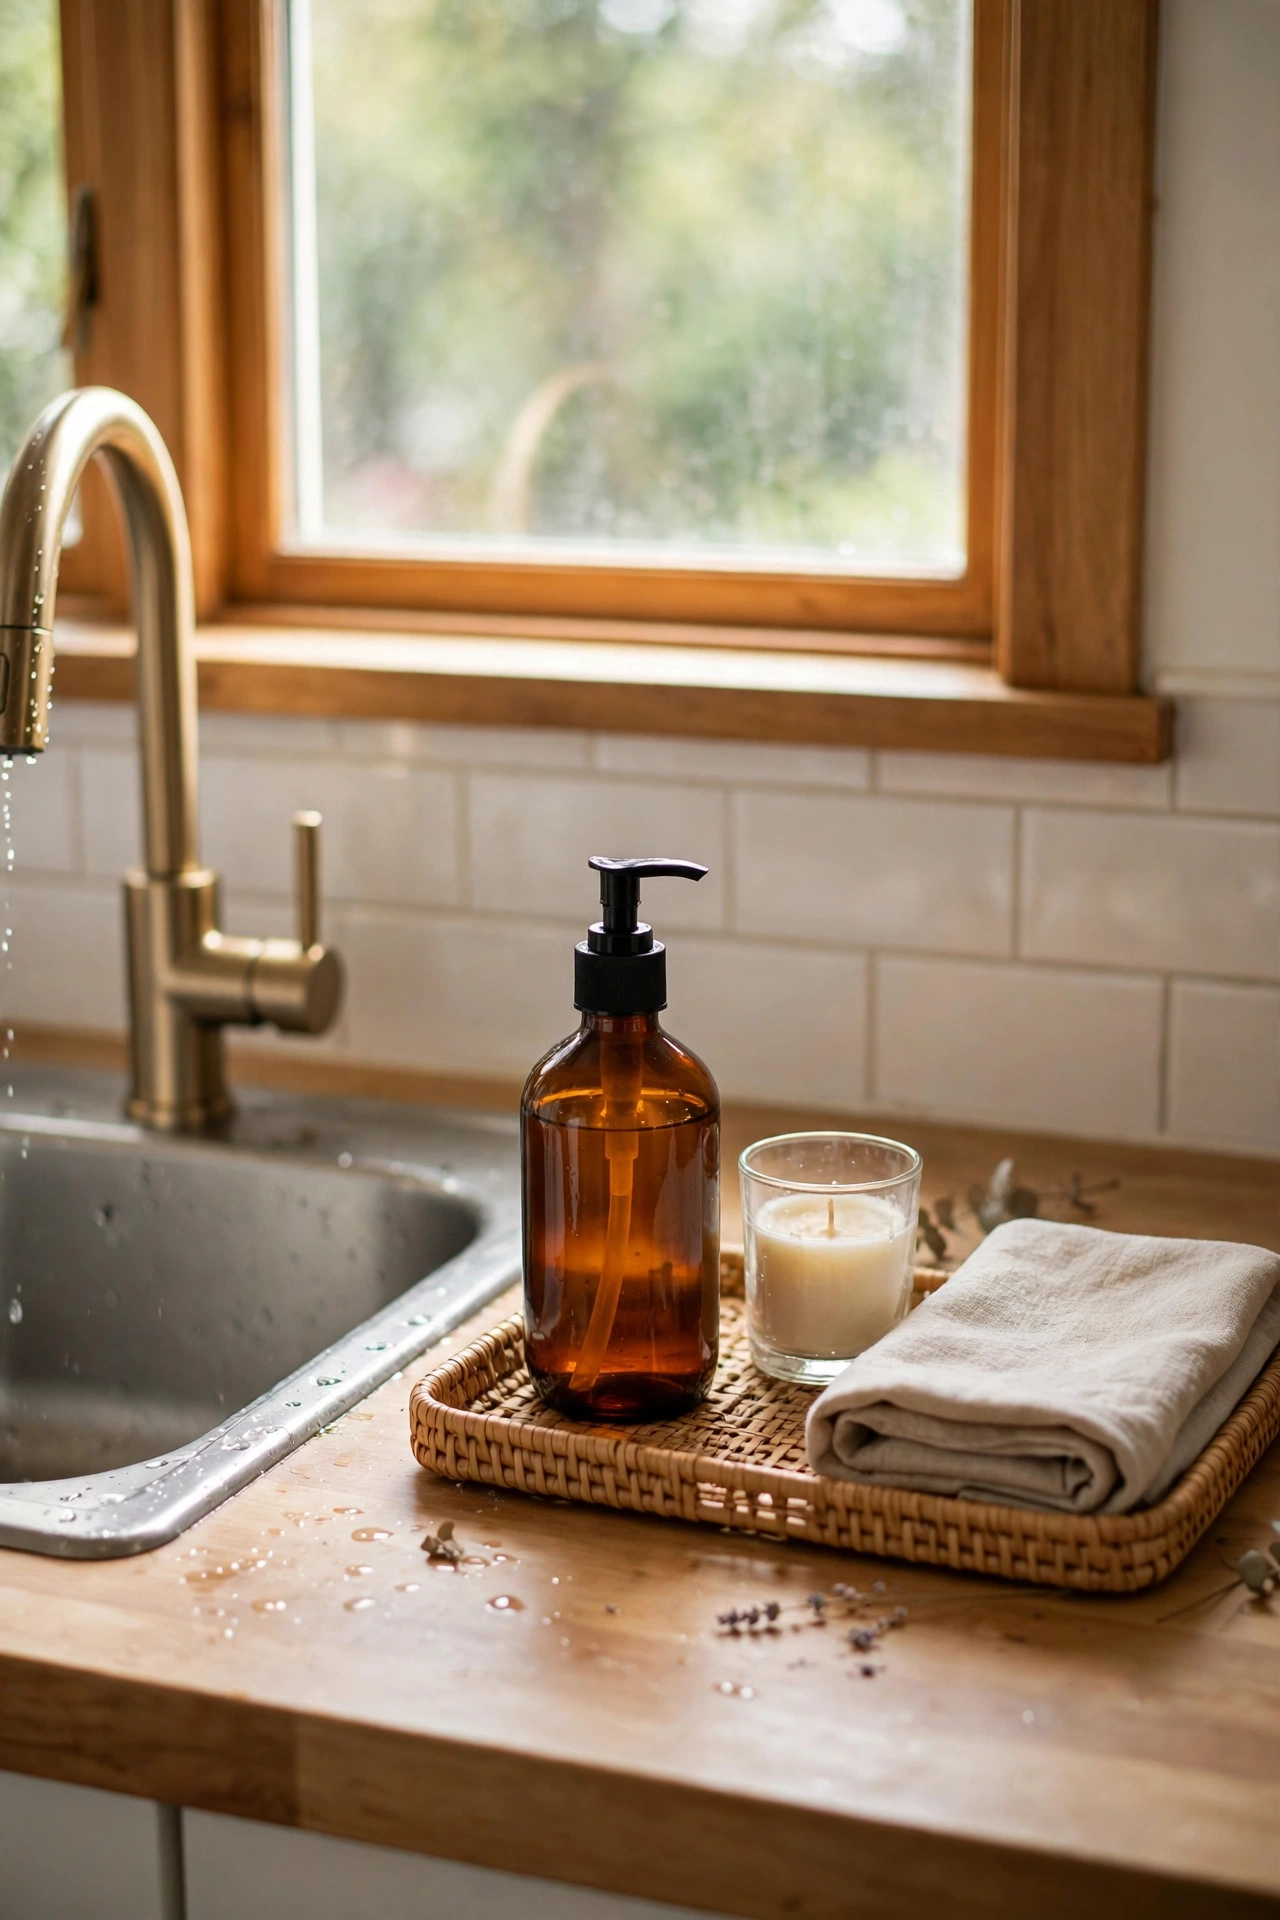
The sink area is the most-used spot in the kitchen and usually the ugliest, thanks to branded washing-up bottles. Decanting soap into an amber-look pump bottle and adding a candle fixes it in minutes. Step one: buy an amber-look pump bottle and fill it with your usual washing-up liquid. Step two: add a small tray or folded linen towel under the bottle and soap dish to define the zone. Step three: place a small candle or reed diffuser beside it for the finished look. I did this in my rental and washing up felt fractionally less miserable every single time. One mistake to avoid: a strongly scented candle right by the food prep area — unscented or very subtle only, or it fights with dinner.
Cost: ~$5 | Time: 10 minutes
20. A Plate Wall With Removable Hooks
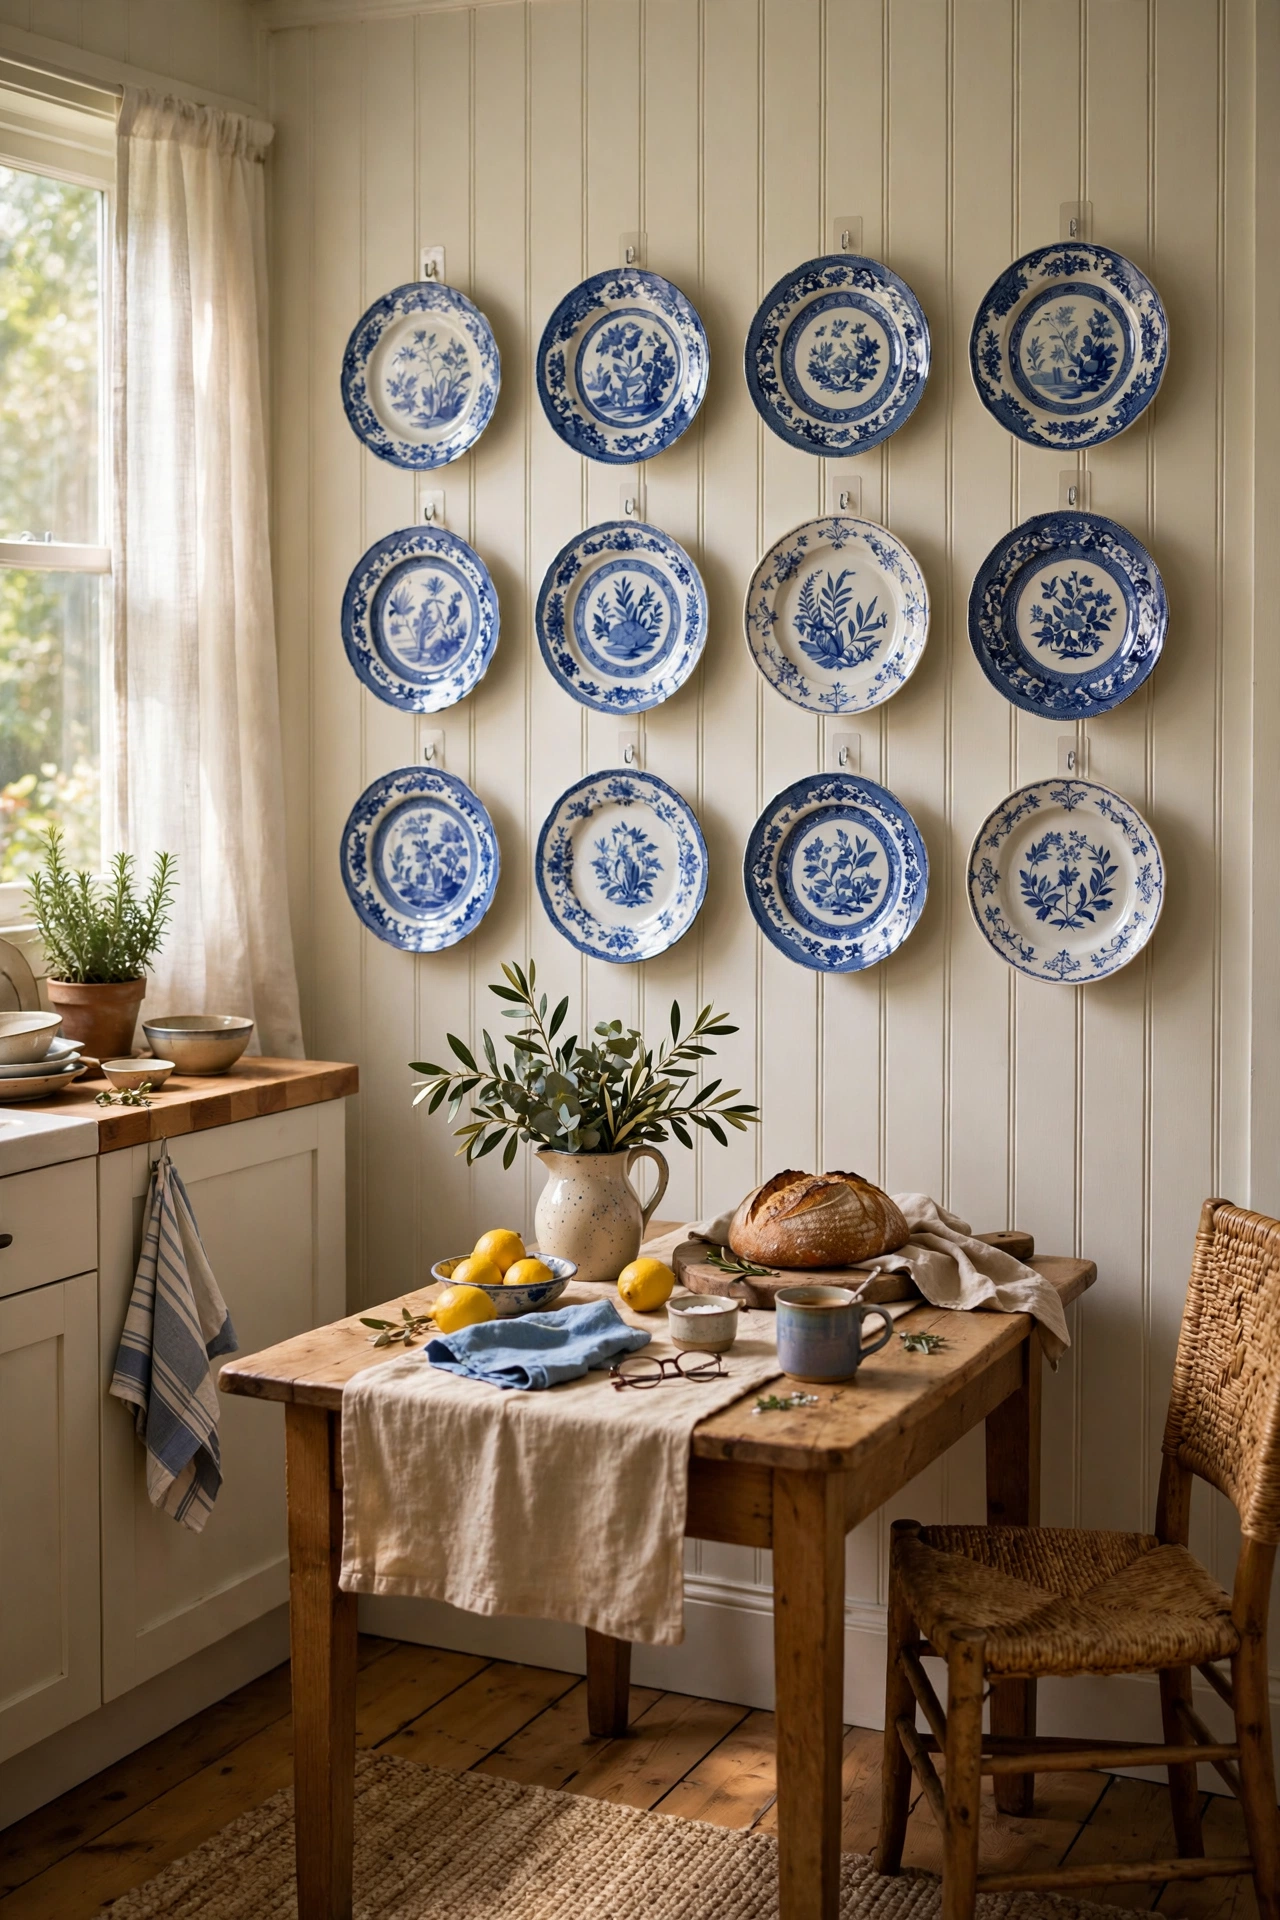
A wall of decorative plates is classic kitchen decor and completely renter-friendly with removable hooks. Step one: collect four to six plates in a colour family — charity shops and the dollar store both have them. Step two: stick removable plate hooks or strong removable adhesive discs on the back of each, checking the weight rating. Step three: arrange them on the floor first, then transfer the layout to the wall with even spacing. I built a blue-and-white plate wall in my rental dining corner and it looked like a country cottage. One mistake to avoid: hanging your everyday plates — use decorative ones, because you will not want to unhook your dinner plate every evening.
Cost: ~$8 for plates and hooks | Time: 45 minutes
21. Peel-and-Stick on the Dishwasher Panel
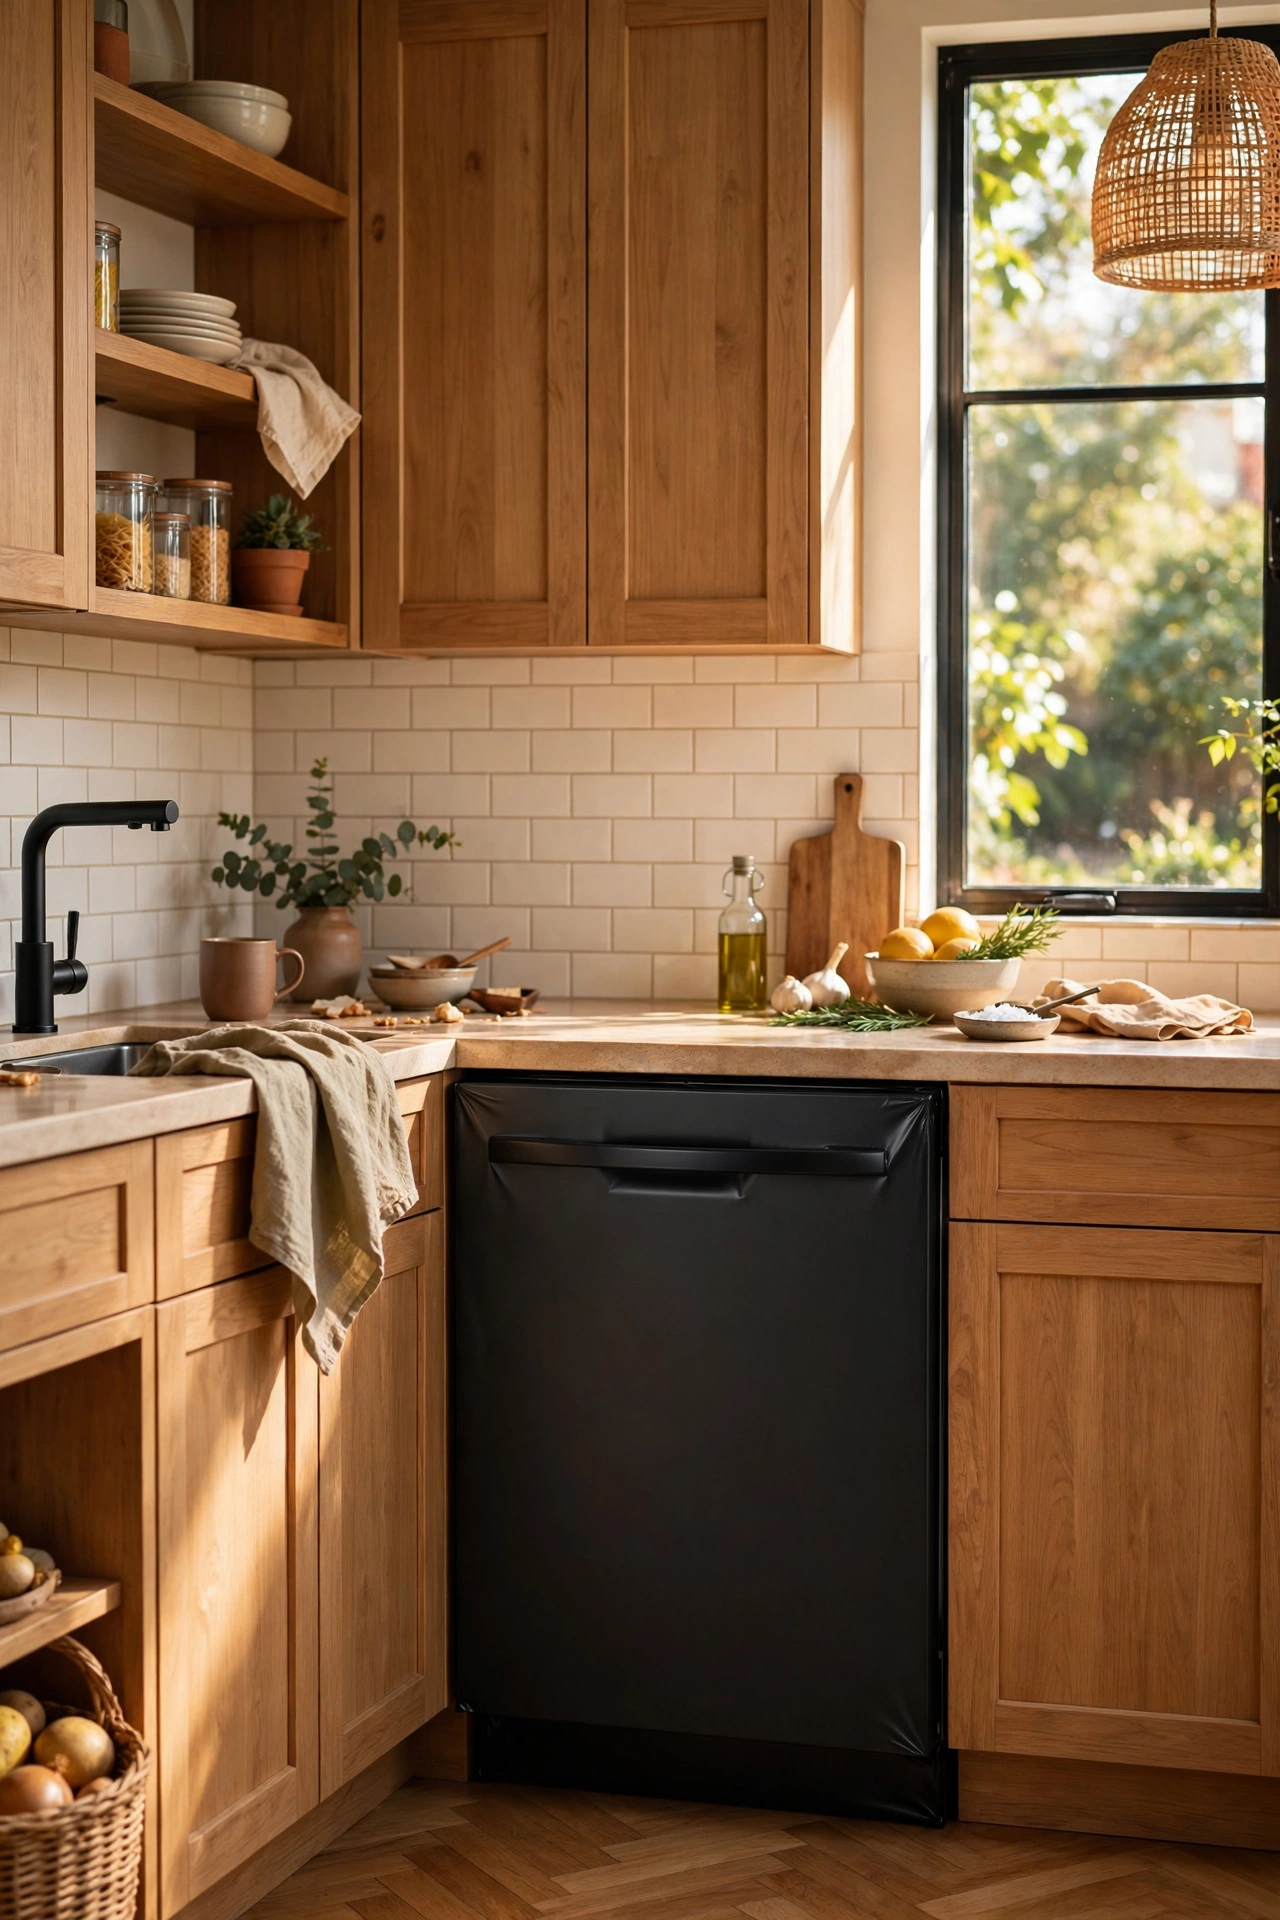
If your dishwasher front is dated or mismatched, adhesive film gives it a new face in half an hour. A matte black or stainless-look panel makes an old white dishwasher disappear into the kitchen. Step one: measure the dishwasher front carefully and buy enough adhesive film, choosing matte over gloss. Step two: clean the panel thoroughly and apply the film from the top down, smoothing with a credit card as you go. Step three: trim around the handle and edges with a craft knife for a neat finish. I wrapped mine in matte black and the whole kitchen looked more modern instantly. One mistake to avoid: cheap glossy wood-grain film, which looks like a sticker — solid matte colours are the convincing choice.
Cost: ~$5 | Time: 30 minutes
22. A Coffee-Station Corner
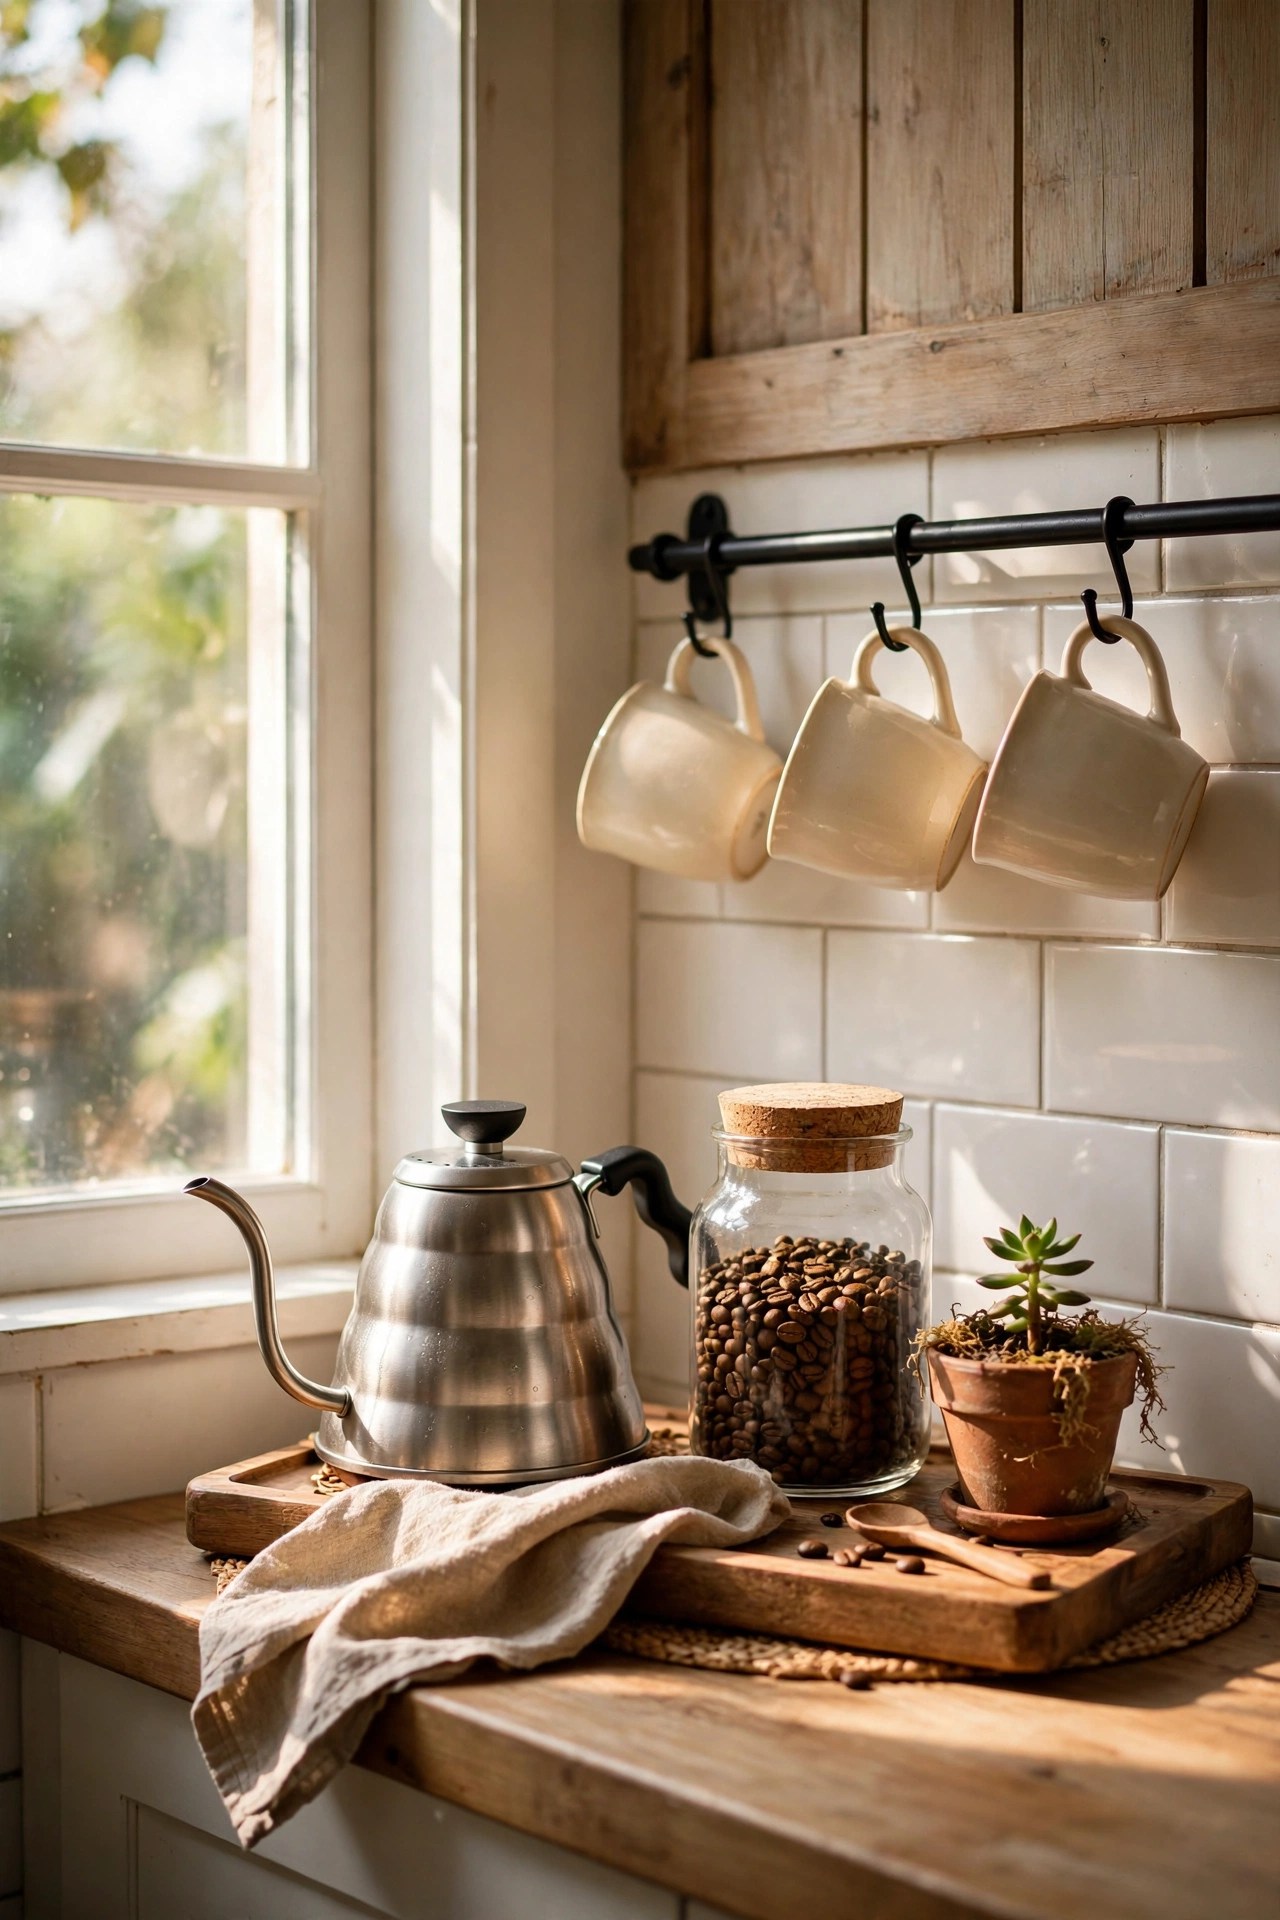
Grouping your coffee things into one defined station makes the morning routine feel like a ritual and the kitchen look styled. Step one: clear one corner of worktop or one shelf and lay down a small tray to define the zone. Step two: arrange the kettle or coffee maker, a jar of beans, matching mugs on the rail above, and a small sugar bowl. Step three: add one pretty thing that serves no purpose — a tiny plant, a framed print — because that is what makes it a station rather than storage. I set mine up by the window and it became my favourite corner of the flat. One mistake to avoid: spreading coffee things across three cupboards — the station only works if everything lives in the one spot.
Cost: ~$6 for tray and jars | Time: 20 minutes
23. A Seasonal Tablescape on the Island
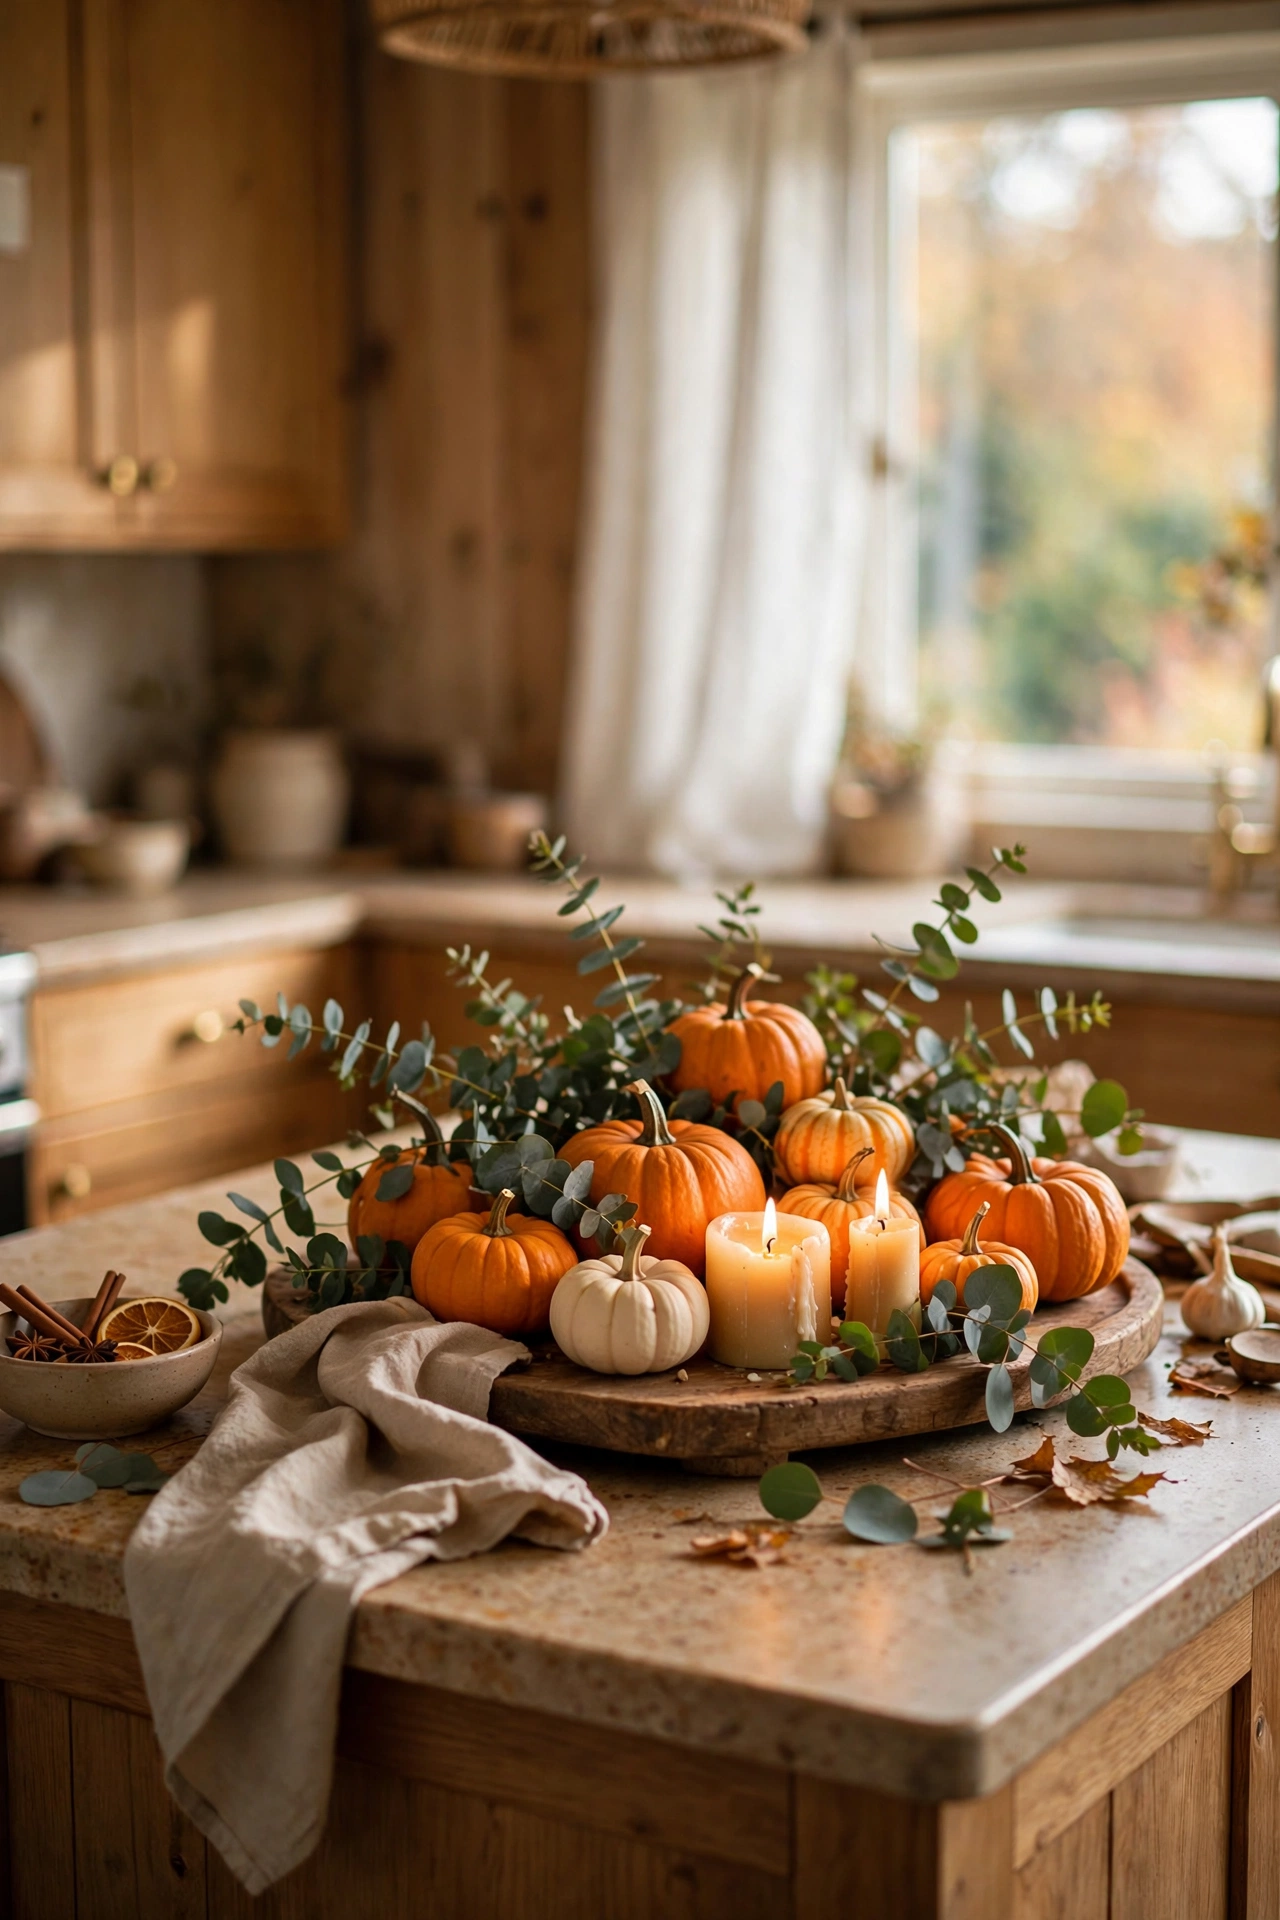
If you have an island or a stretch of clear counter, one seasonal arrangement keeps the kitchen feeling current all year. Step one: start with a tray or runner as the base so the arrangement reads as one intentional group. Step two: build around the season — pumpkins and eucalyptus in autumn, greenery and candles in winter, lemons and herbs in summer. Step three: swap just the seasonal elements when the season changes, keeping the tray and base pieces year-round. I change mine four times a year and it takes twenty minutes each time. One mistake to avoid: building it so large you lose your prep space — the kitchen still has to work as a kitchen, so keep the arrangement to one end.
Cost: ~$8 per season | Time: 20 minutes
The Renter’s Kitchen Promise
Twenty-three hacks, well under a hundred dollars for the lot, and not a single one needs landlord permission. My ugly rental kitchen taught me that style is mostly about cohesion — matching jars, consistent colours, good lighting — rather than expensive materials. Start with the backsplash and the lighting, because those two change the room most, then layer in the small styling until the kitchen feels like yours. Ugly cabinets and all.
Save this post for later so you have the full list on your next dollar store trip.
More kitchen ideas on a budget: (see also: 21-high-end-dupes-from-the-dollar-store-worth-grabbing) (see also: 23-what-to-buy-at-dollar-tree-for-home-decor-and-what-to-skip) (see also: 17-best-dollar-store-kitchen-finds-under-5)
