15 Dollar Store Bathroom Finds That Look Expensive
Bathrooms are the easiest room in the house to make look expensive on a tiny budget, because small rooms need small changes. The best dollar store bathroom finds are the ones that mimic what you see in hotel bathrooms — matching dispensers, glass jars, folded towels in baskets — and every one of them costs less than a fancy coffee. I have redone my own bathroom twice using almost nothing but these finds, and guests always assume the budget was ten times bigger.
Apothecary-Style Jars for Cotton Balls and Swabs
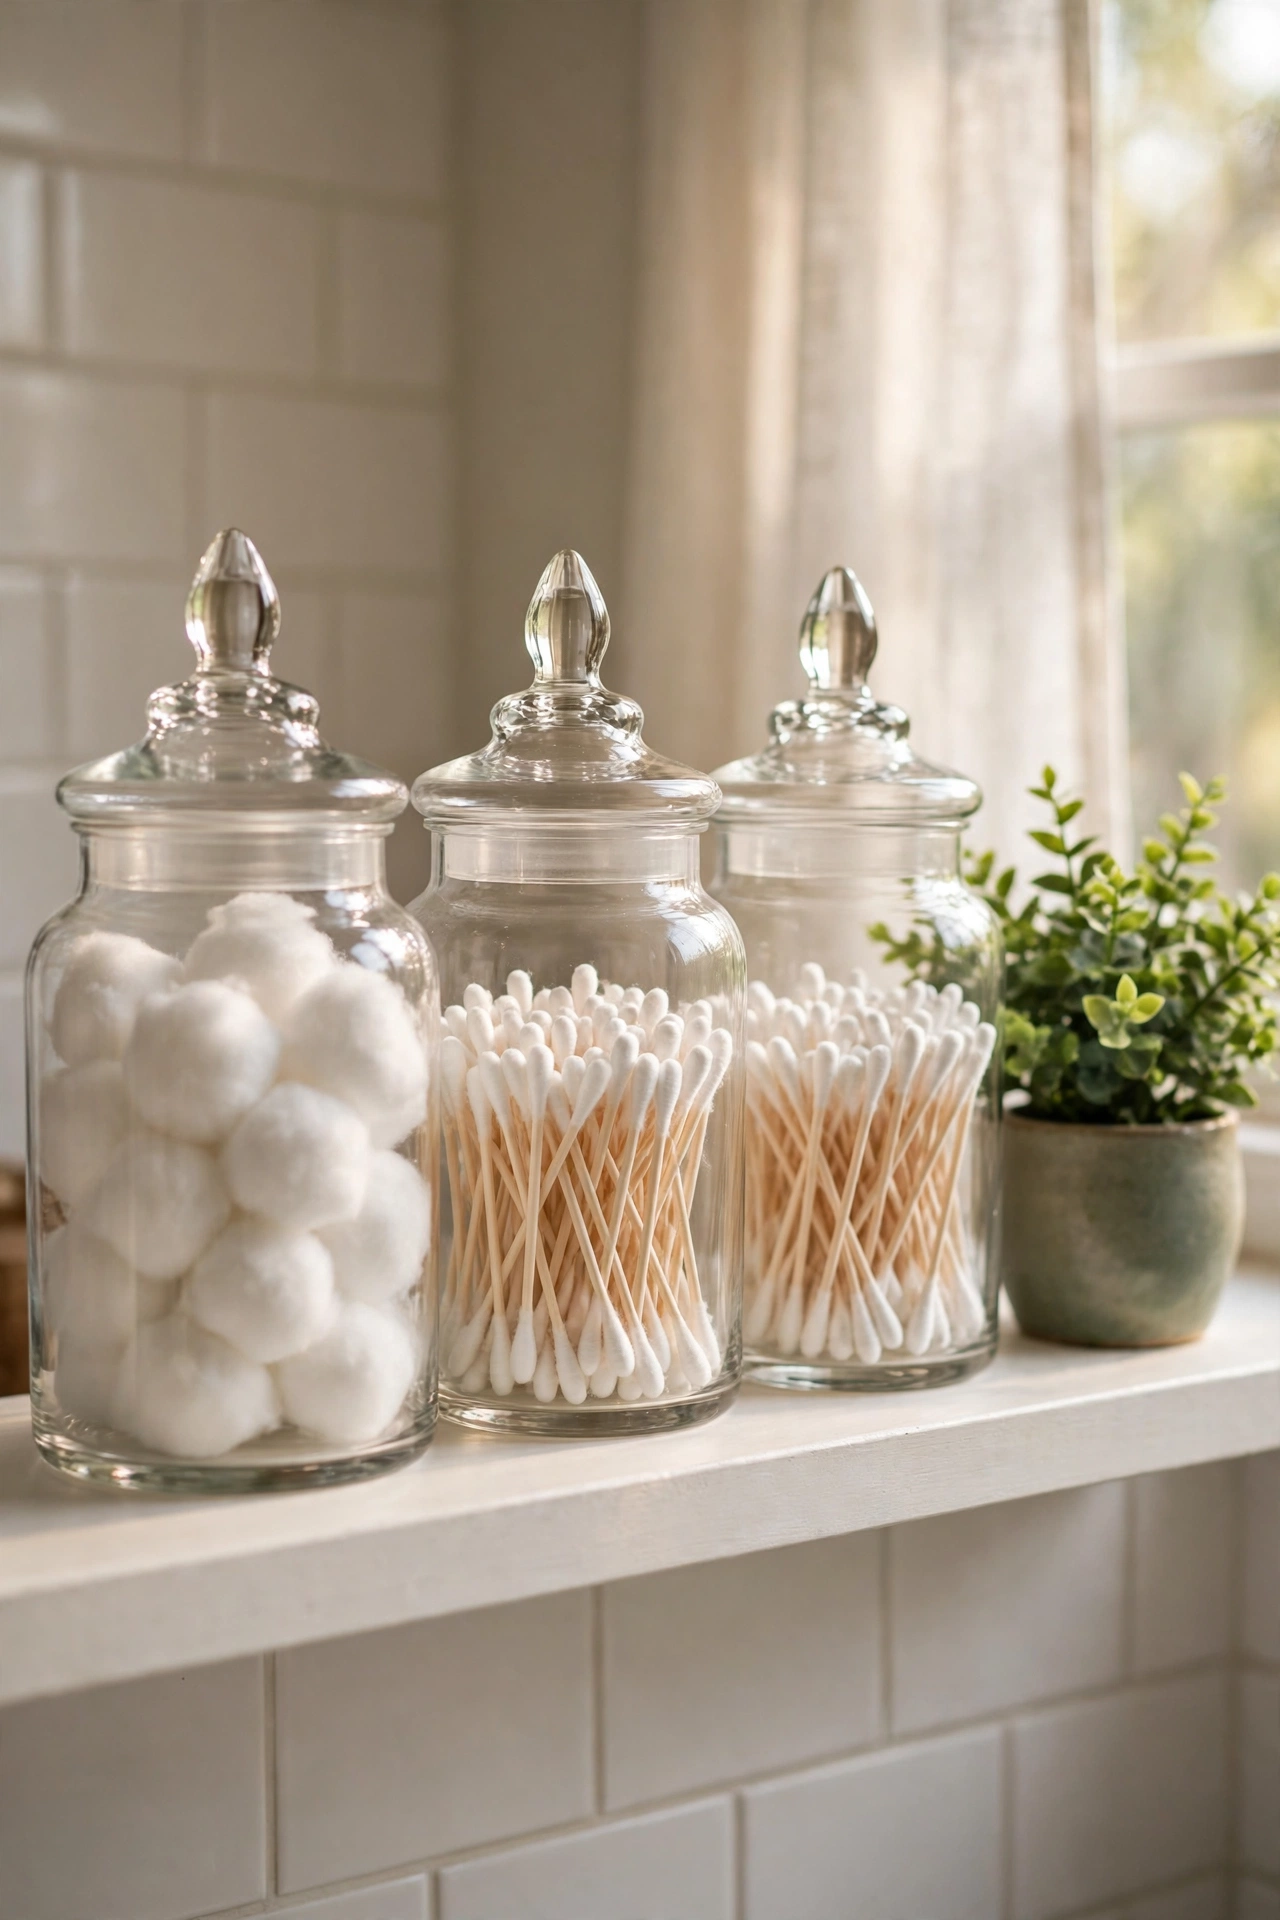
Glass canisters with lids — the kind sold as kitchen storage — look like proper apothecary jars on a bathroom shelf. Step one: buy two or three in matching heights. Step two: wash and dry them thoroughly, then fill one with cotton balls and one with cotton swabs. Step three: line them up on the vanity or a shelf with a small plant beside them. I tried this in my own bathroom and it instantly cleared the visual clutter of rattling plastic packaging. One mistake to avoid: don’t fill them to the brim; jars packed tight look like storage, while jars filled two-thirds look styled. Leave some breathing room at the top.
Cost: ~$6 for three · Time: 15 minutes
Woven Baskets for Rolled Towels
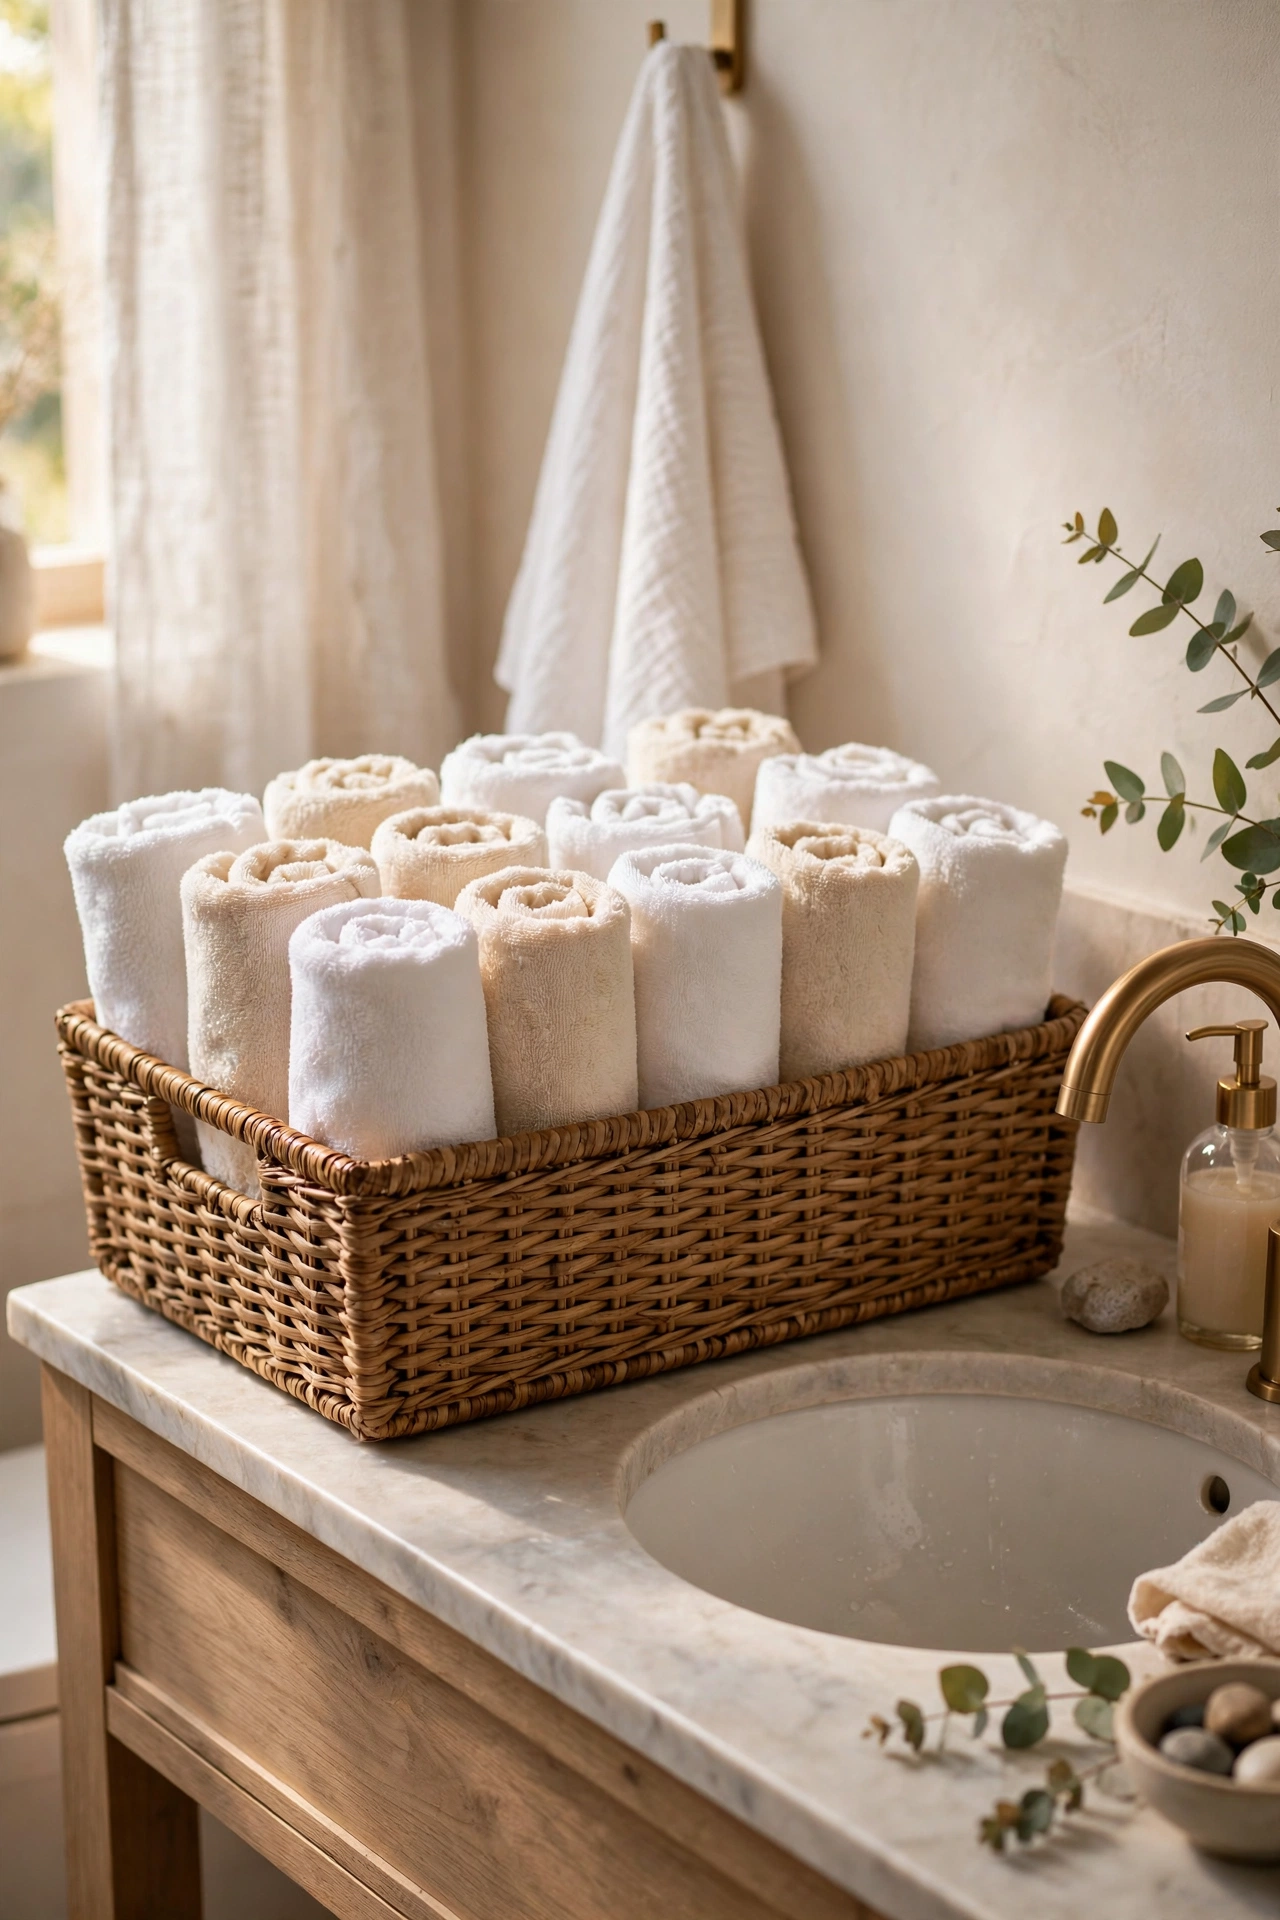
Rolling hand towels and standing them in a woven basket is the oldest hotel trick in the book, and it works at home too. Step one: pick a basket wide enough to hold three or four rolled towels — rectangular ones fit shelves best. Step two: roll your towels tightly, tucking the loose end underneath. Step three: stand them upright in the basket and place it on the vanity, shelf, or beside the tub. I tried this in my own bathroom and it made my mismatched old towels look like a deliberate set. One mistake to avoid: don’t mix ten different colours in one basket; it reads as a laundry pile. Stick to two coordinating shades and the whole thing looks intentional.
Cost: ~$5 · Time: 10 minutes
Frosted-Look Window Film for Privacy
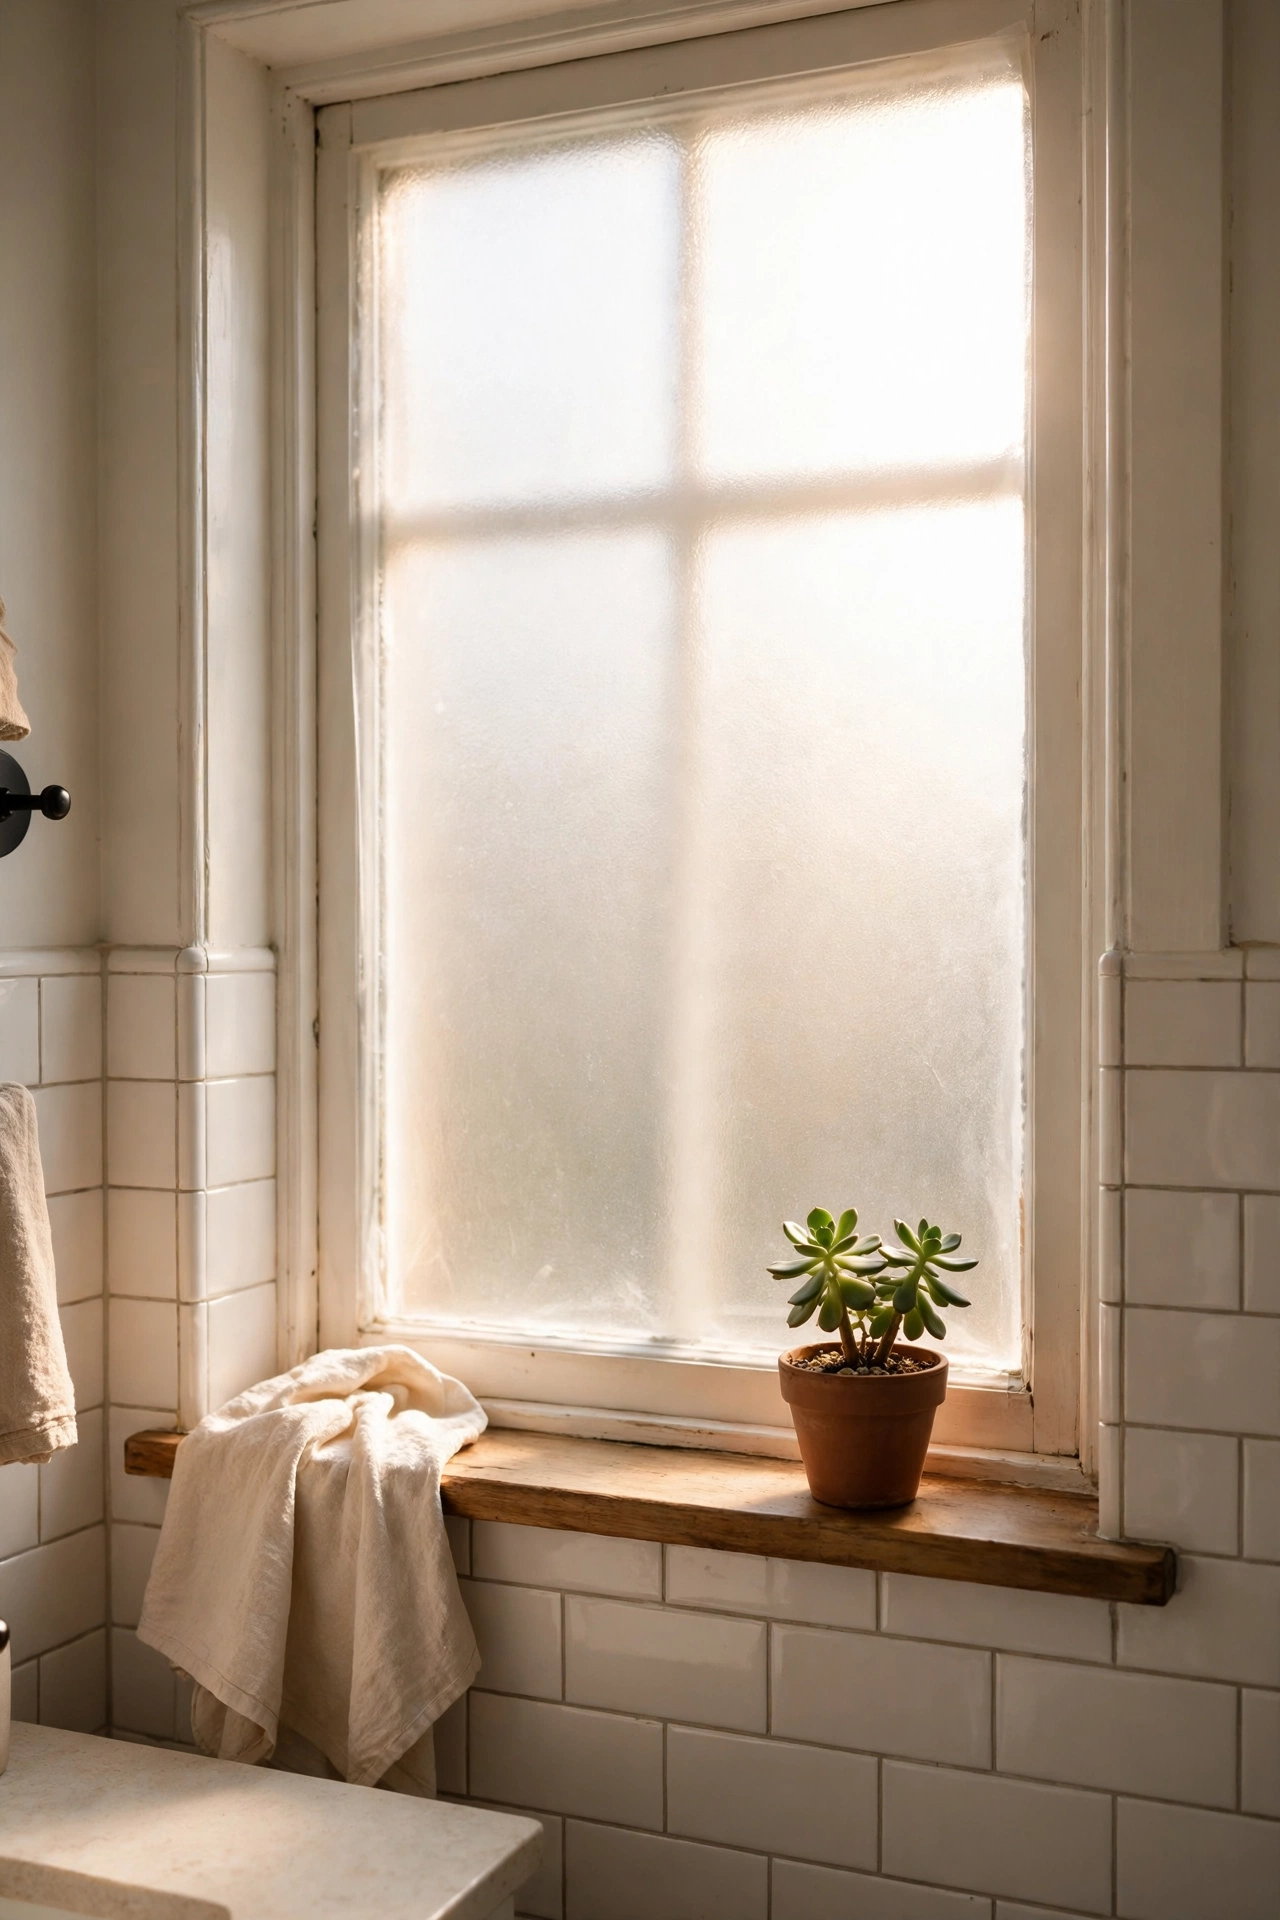
Static-cling window film gives a bathroom window the frosted-glass look of a much pricier renovation. Step one: measure the window and cut the film about 2cm larger on each side. Step two: spray the glass with soapy water and smooth the film on with a credit card, working from the centre out. Step three: trim the edges with a craft knife for a clean finish. I tried this in my own bathroom and it let in full daylight while blocking the view — the room felt twice as bright as with the old net curtain. One mistake to avoid: rushing the smoothing step leaves bubbles you will see every day; take five slow minutes here and it will look professionally fitted.
Cost: ~$4 · Time: 25 minutes
Wooden Bath Caddy Across the Tub
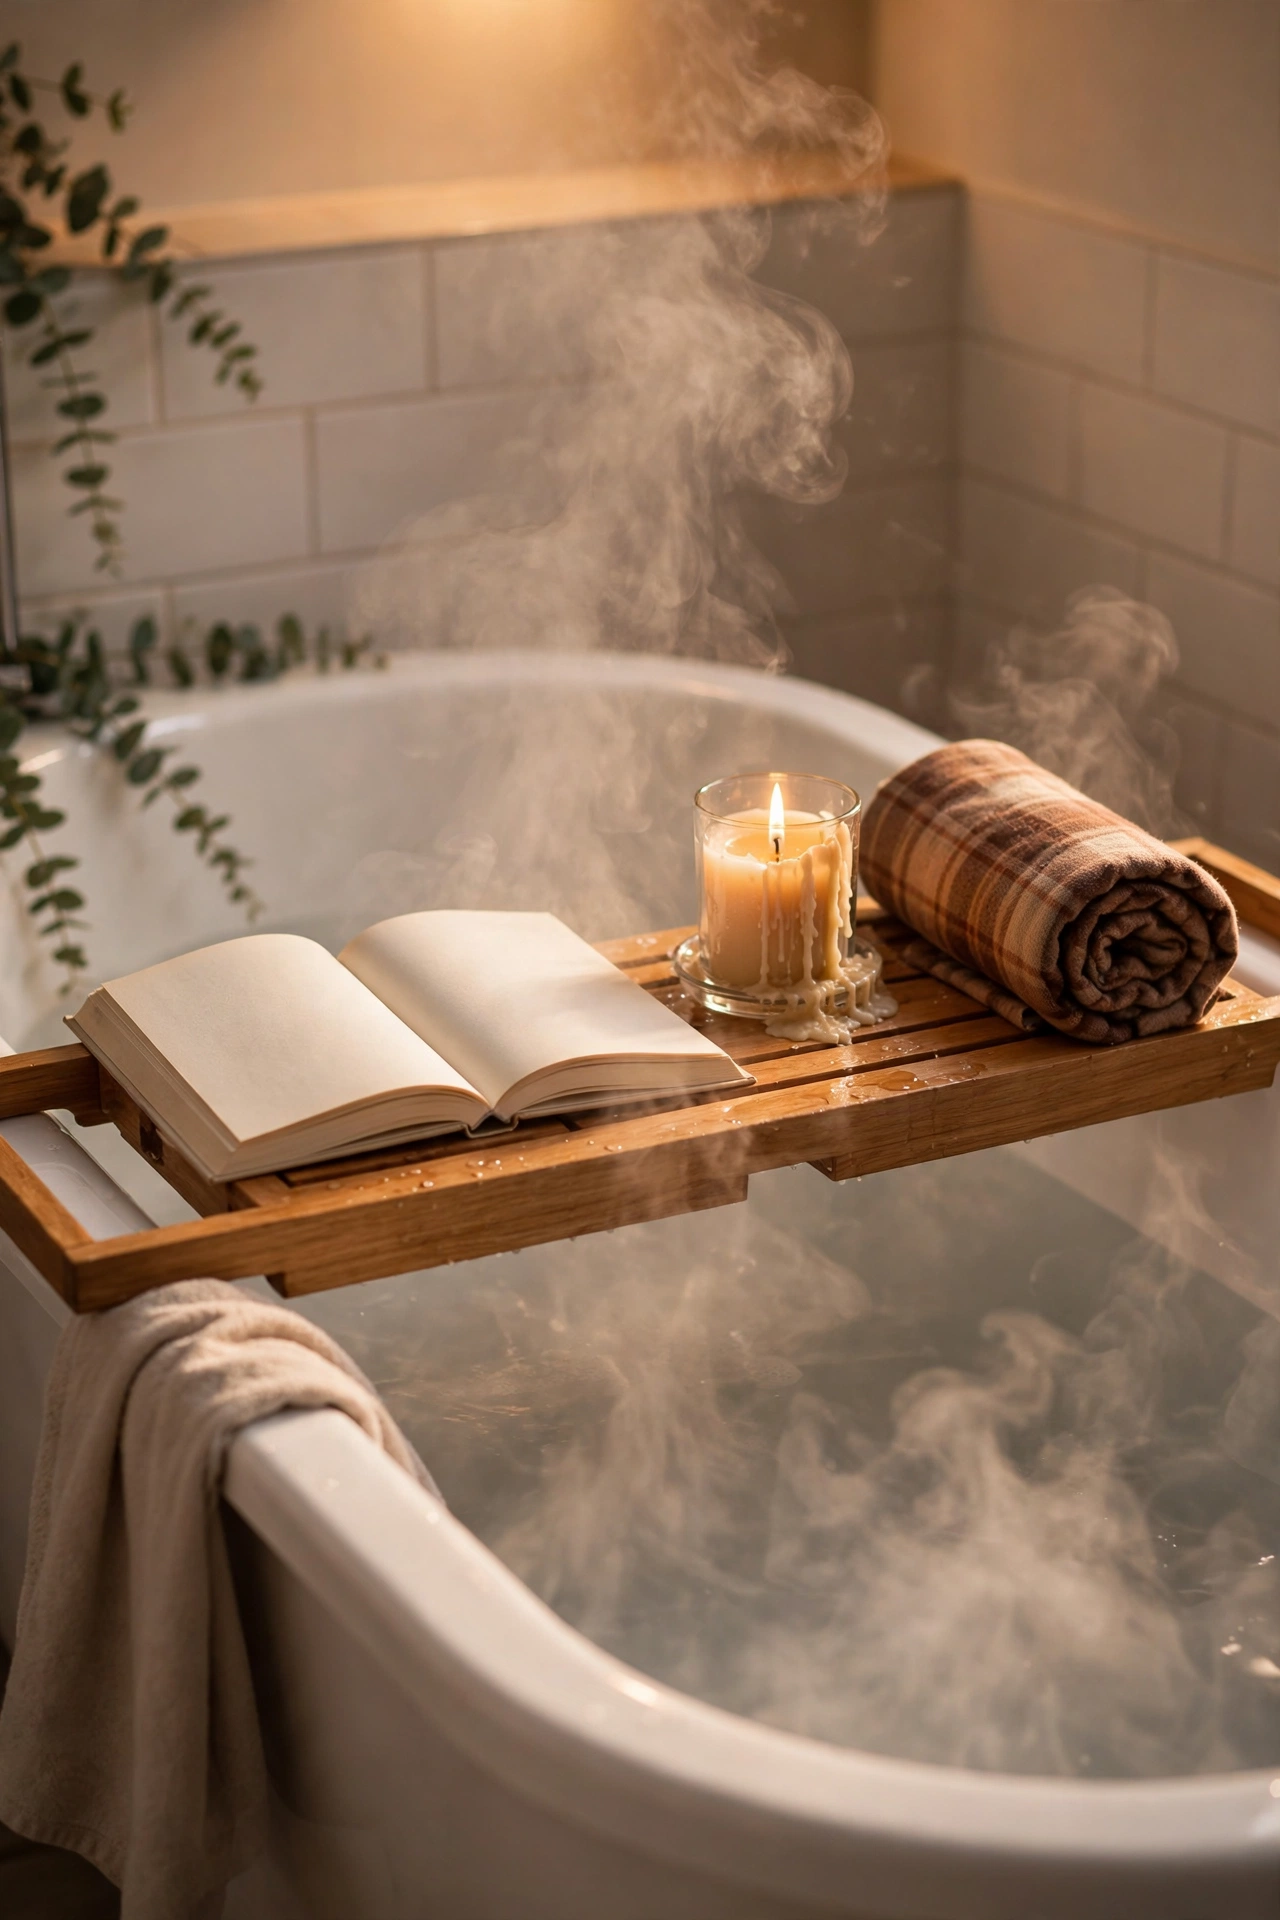
A simple wooden bath caddy turns an ordinary tub into a spa setup. Step one: choose a caddy with extendable arms so it fits your tub width — test the fit before you buy. Step two: sand any rough spots lightly and wipe it clean. Step three: style it with a book, a candle, and a rolled flannel for the full effect. I tried this in my own bathroom and bath time genuinely changed — having a proper place for a book meant I finally used the tub instead of just showering. One mistake to avoid: leaving it across the tub between baths warps the wood in the steam; hang it on a hook after each soak so it dries straight.
Cost: ~$7 · Time: 10 minutes
Tiered Tray for the Vanity
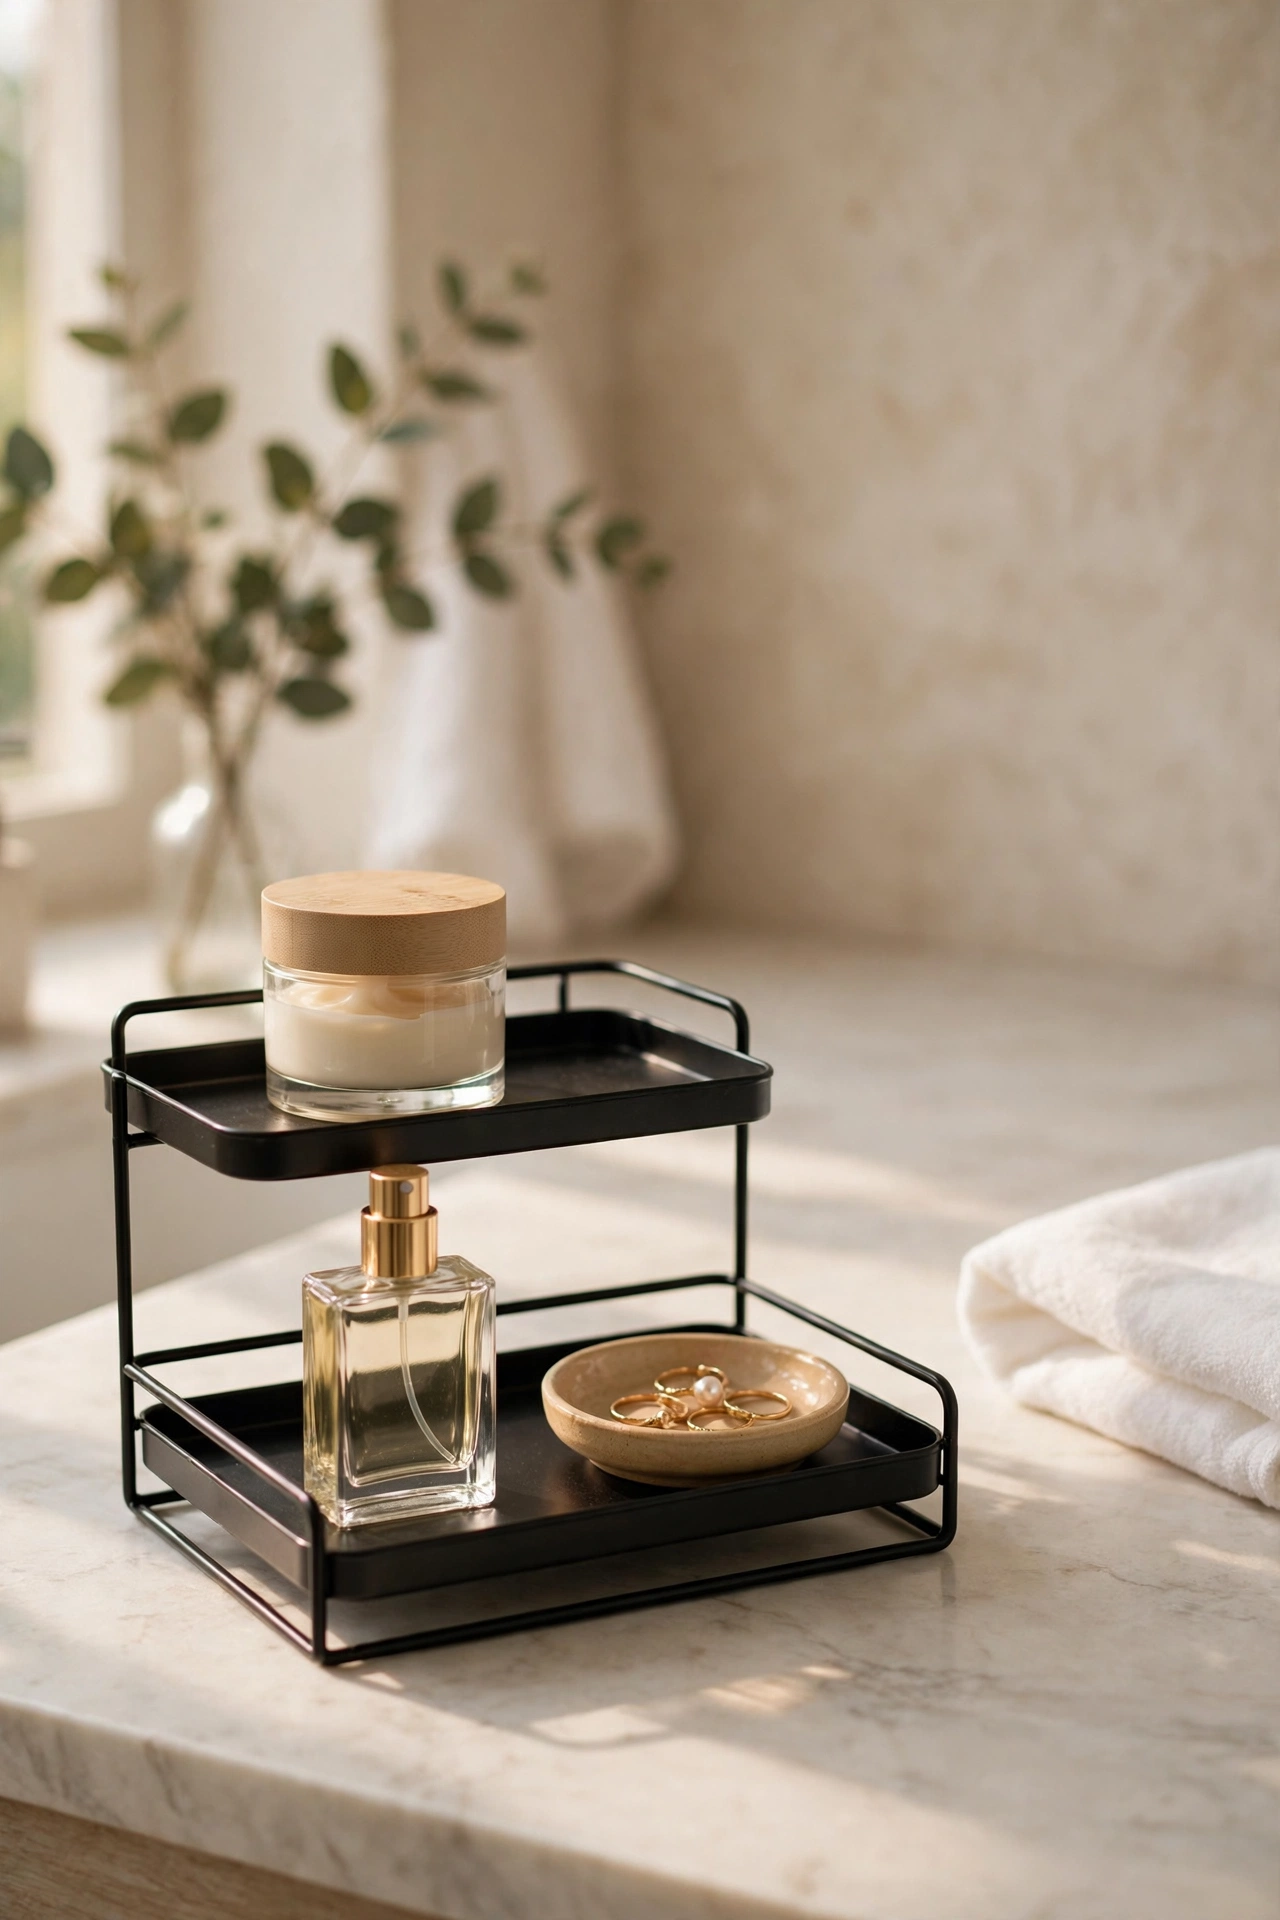
A two-tier metal tray gathers all the little bottles and jars into one organised display. Step one: buy a tiered tray in black or gold — both finishes read expensive. Step two: group your daily items on it: moisturiser, perfume, a small dish for rings. Step three: leave some empty space on each tier so it looks curated rather than crowded. I tried this in my own bathroom and the vanity went from cluttered counter to boutique display in ten minutes. One mistake to avoid: putting every product you own on it defeats the purpose; decant daily essentials only and keep the rest in the cabinet. The tray is a display, not a cupboard.
Cost: ~$6 · Time: 10 minutes
Spray-Painted Soap Dispenser
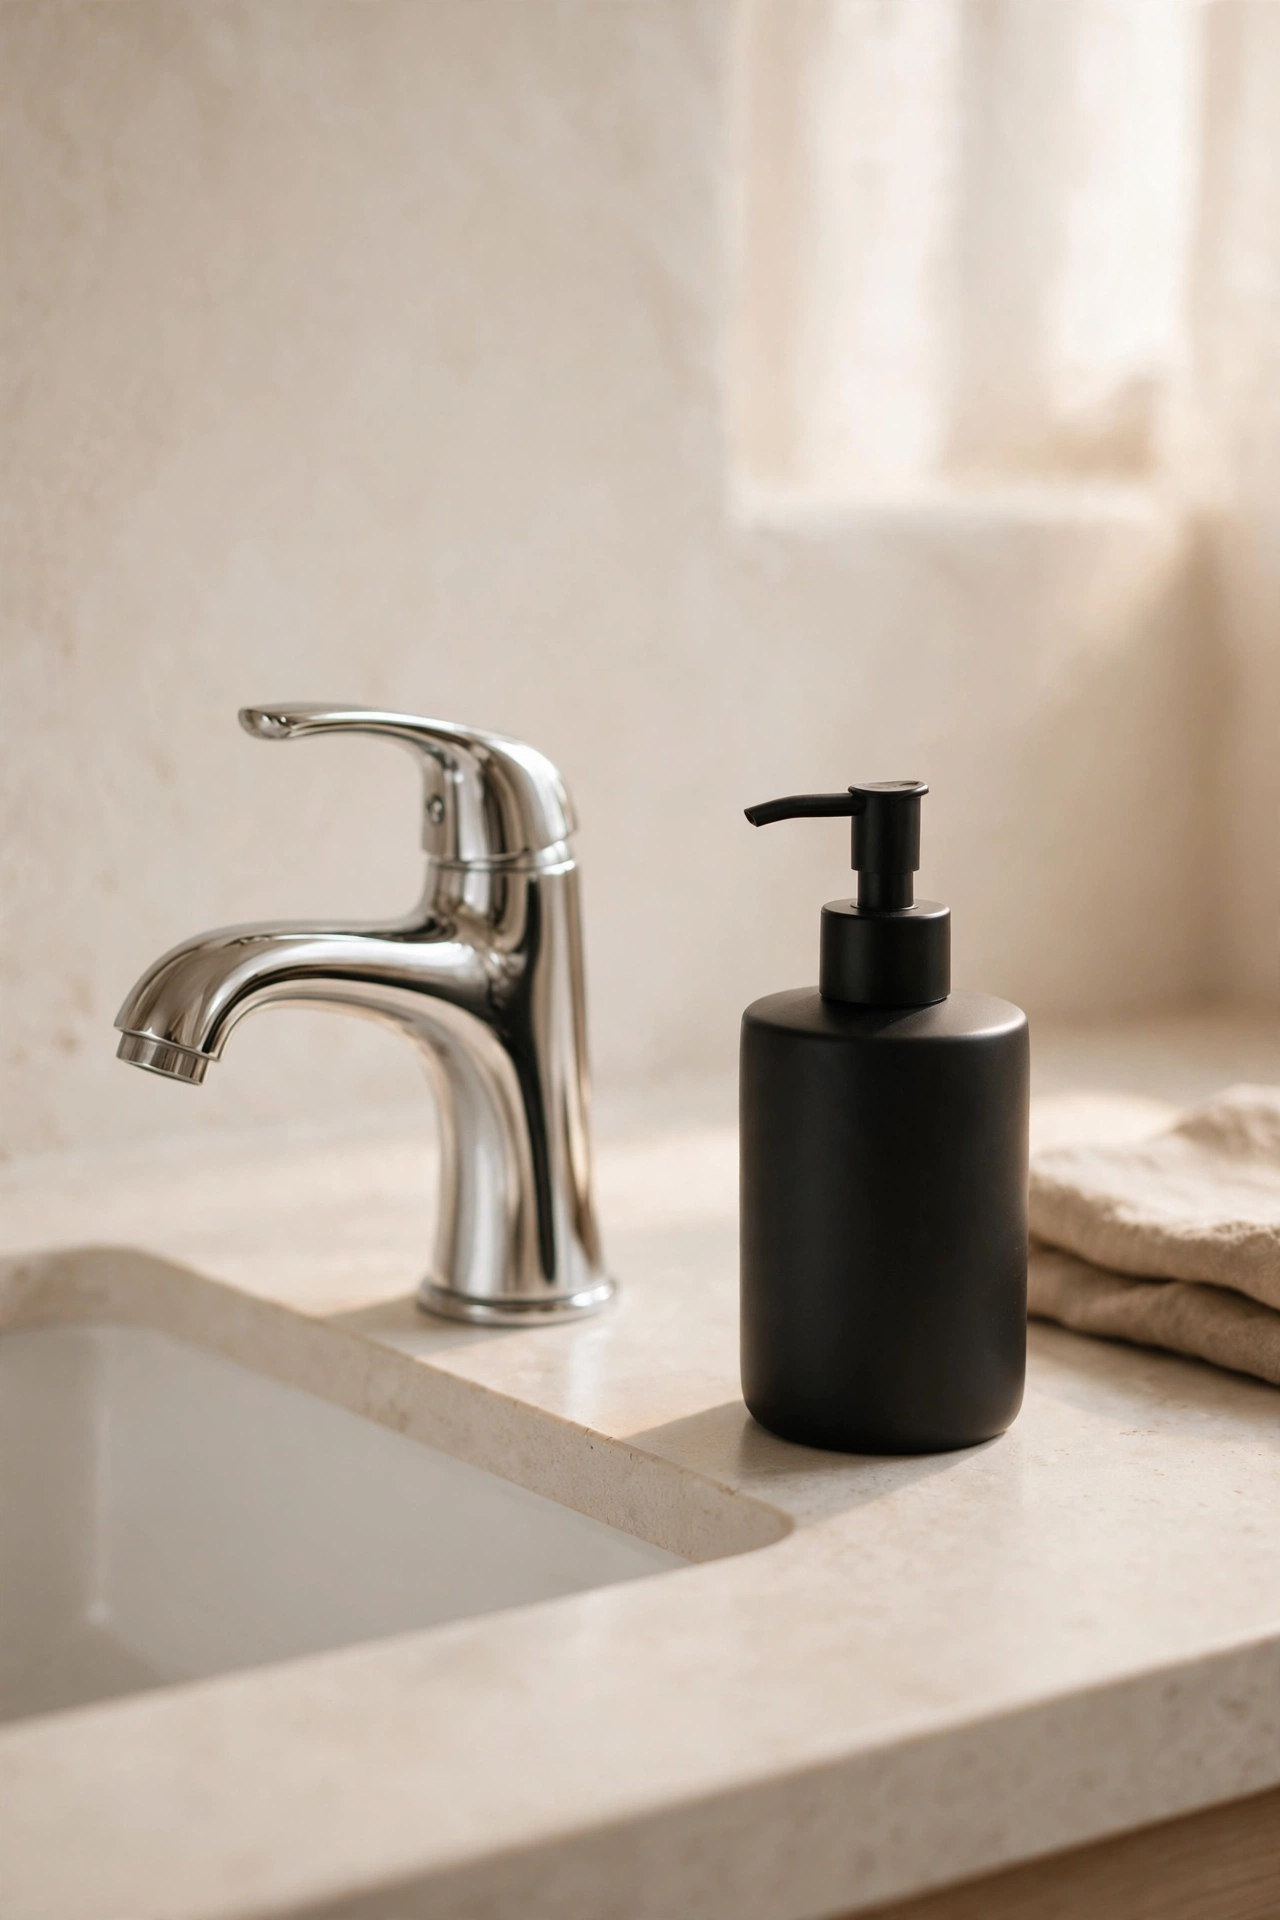
The plain plastic pump bottles look cheap, but one coat of spray paint changes everything. Step one: buy a simple pump bottle with a clean shape. Step two: remove the pump, clean the bottle, and spray two thin coats of matte black or brushed gold, letting each dry. Step three: refill it with your regular hand soap and put it by the sink. I tried this in my own bathroom and the matte black dispenser now matches my taps — visitors think it came as a set. One mistake to avoid: spraying the pump mechanism too will clog it; mask the pump with tape and only paint the bottle. Replace the tape, not the pump.
Cost: ~$4 · Time: 30 minutes
Faux Eucalyptus in a Tall Vase
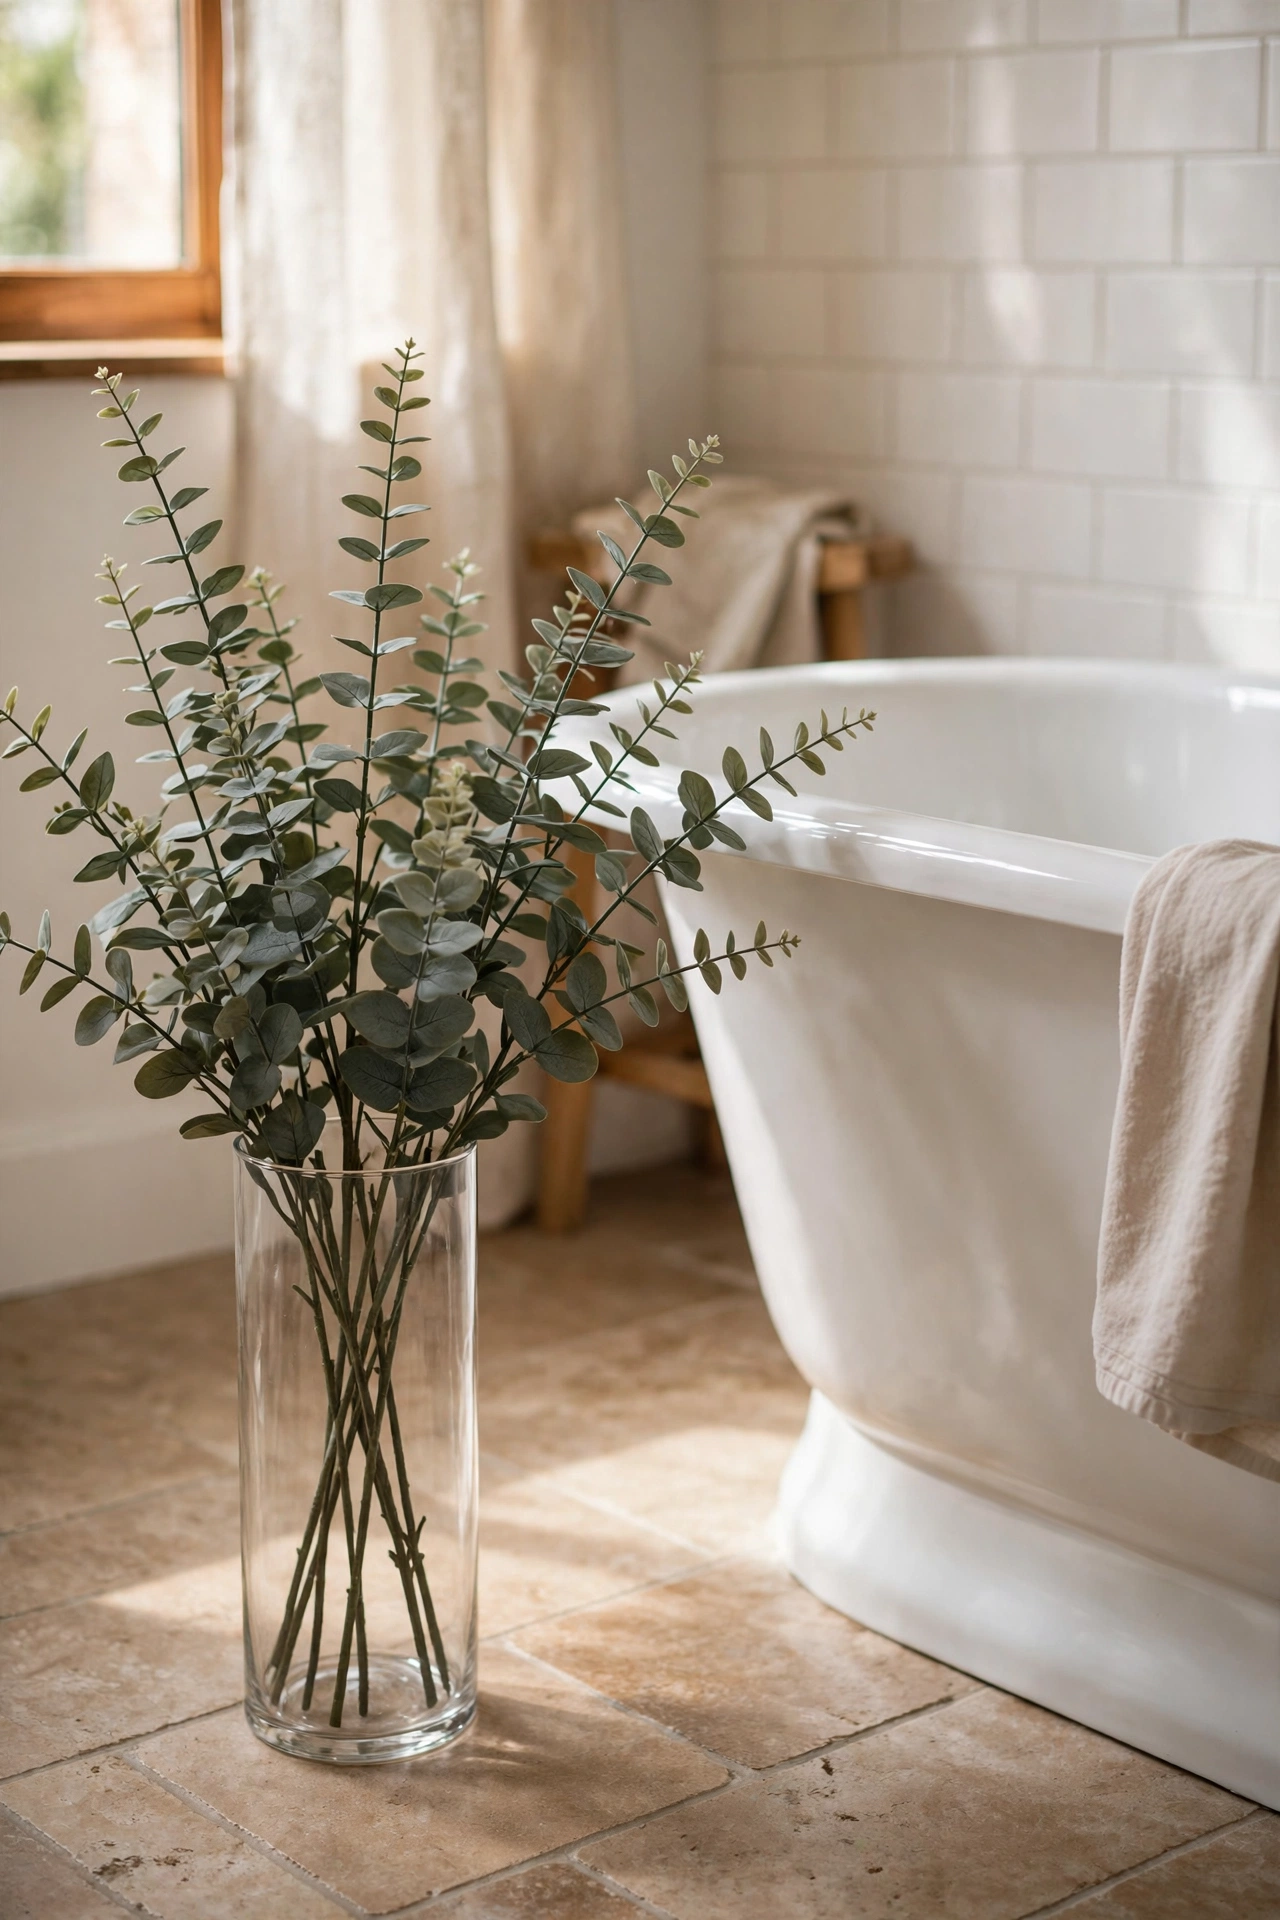
A bunch of faux eucalyptus stems in a tall glass vase adds that fresh, spa-like greenery that real plants struggle to survive in bathrooms. Step one: buy two or three bunches of dusty-green eucalyptus stems. Step two: trim them to staggered heights with wire cutters. Step three: arrange them loosely in a tall vase on the floor beside the tub or on a shelf. I tried this in my own bathroom and the eucalyptus scent of a real plant is the only thing missing — visually nobody can tell. One mistake to avoid: the shiny plastic stems are the giveaway, so choose the matte, slightly grey-green ones with thin leaves. Shiny leaves scream fake from across the room.
Cost: ~$8 · Time: 10 minutes
Suction Hooks for Shower Organisation
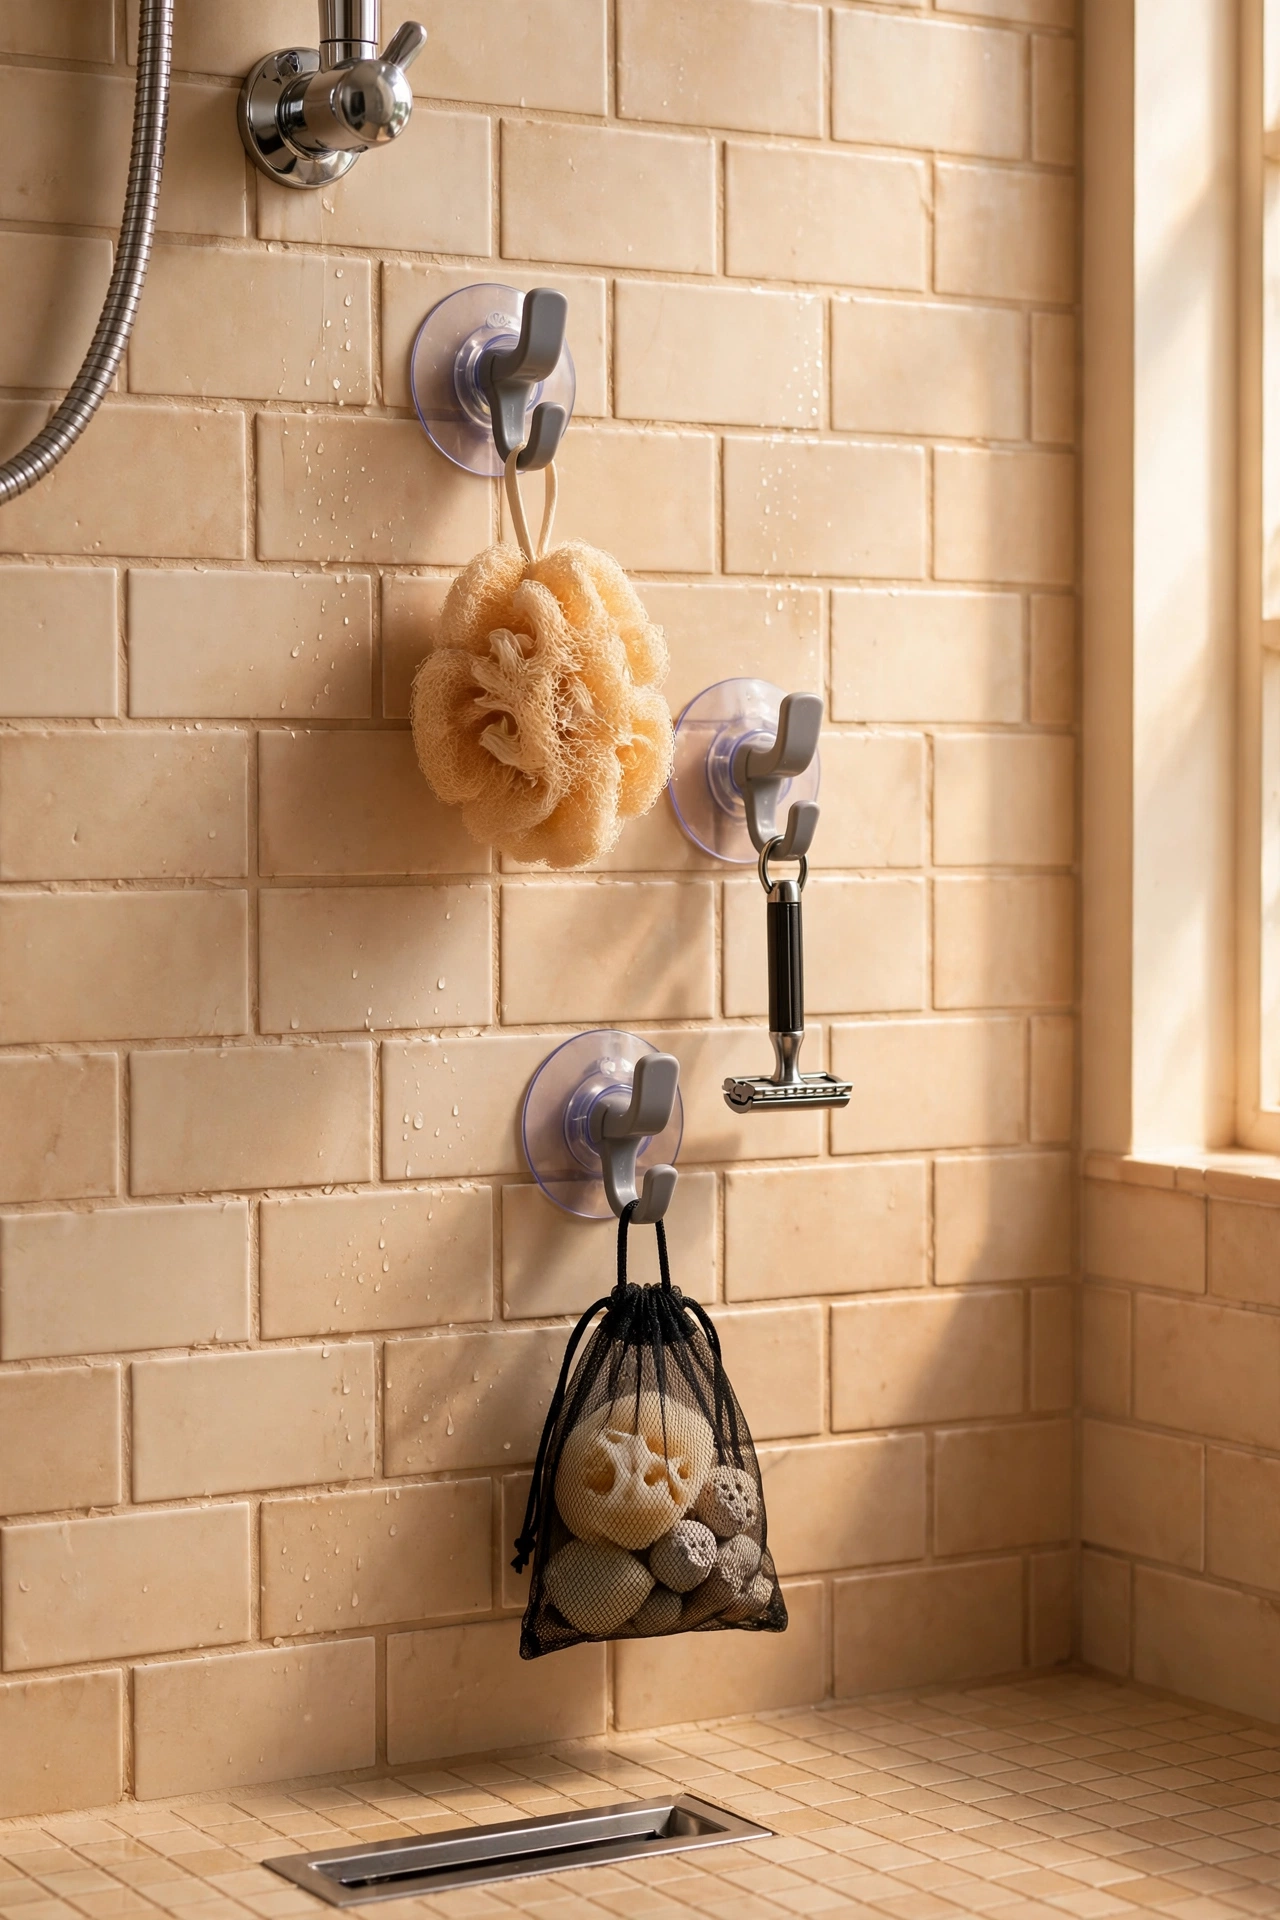
Heavy-duty suction hooks on the shower wall give every bottle a home without drilling a single hole. Step one: clean the tile or glass with rubbing alcohol and let it dry. Step two: press each hook firmly and twist to lock — give them an hour before hanging anything. Step three: hang a loofah, a razor, and a small mesh bag for the kids’ toys. I tried this in my own bathroom and the shower floor went from bottle graveyard to clear in minutes. One mistake to avoid: hanging heavy full-size bottles on one hook each will send them crashing at 6am; distribute the weight across several hooks and they hold for months.
Cost: ~$5 for a pack · Time: 15 minutes
Small Crate Shelves Beside the Mirror
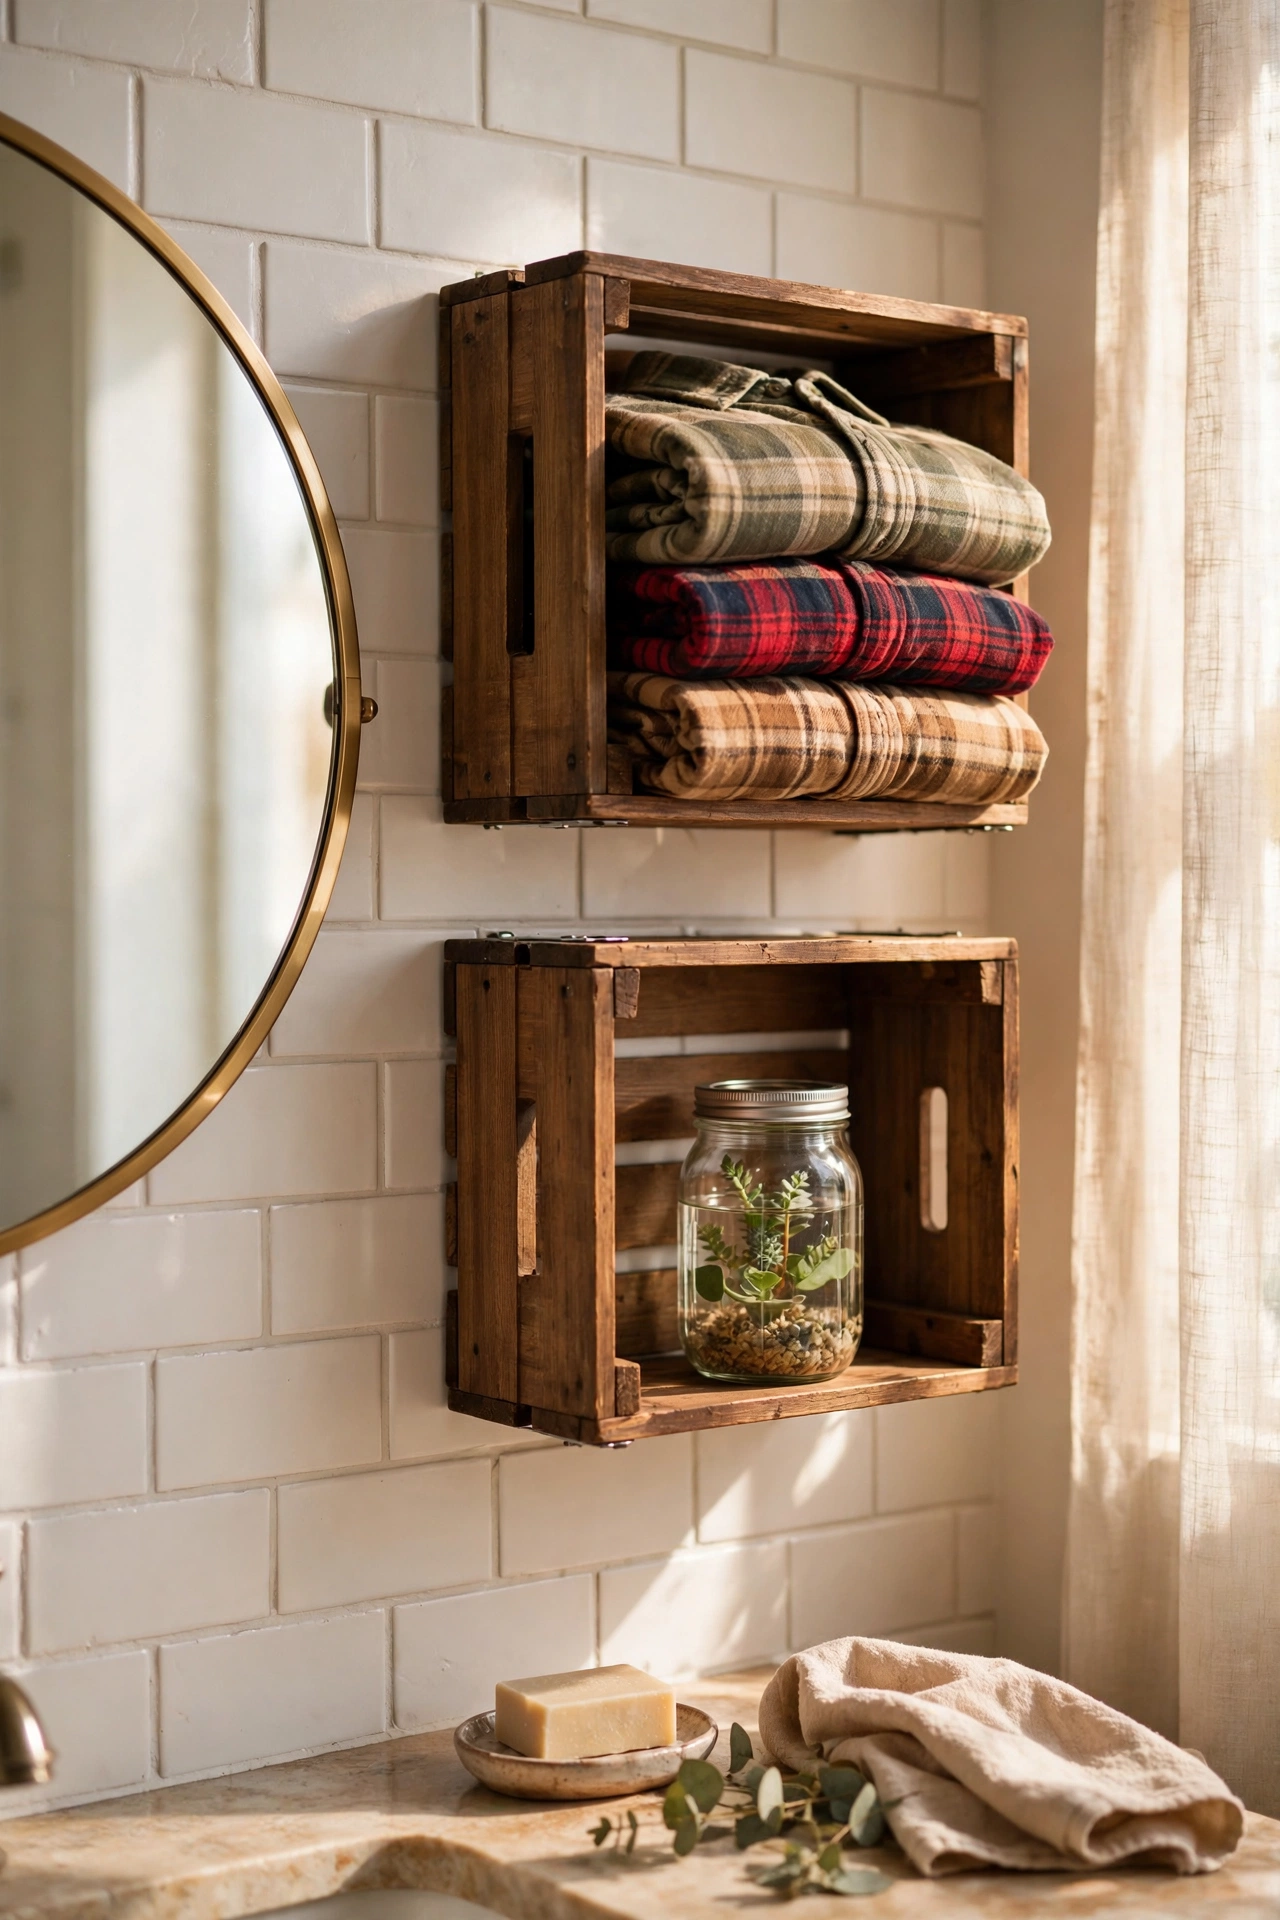
Two small wooden crates mounted on the wall beside the mirror become open shelving for the price of a sandwich. Step one: sand the crates lightly and stain them to match your bathroom wood tones. Step two: fix them to the wall with proper wall plugs — bathroom walls need solid fixings. Step three: style one with folded flannels and the other with a jar and a small plant. I tried this in my own bathroom and it added the storage I was missing without a bulky cabinet. One mistake to avoid: skipping the wall plugs because the crates feel light; bathroom humidity loosens weak fixings over time. Do the plugs properly once and forget about it.
Cost: ~$9 for two · Time: 45 minutes
Matching Pump Bottles for Shampoo and Conditioner
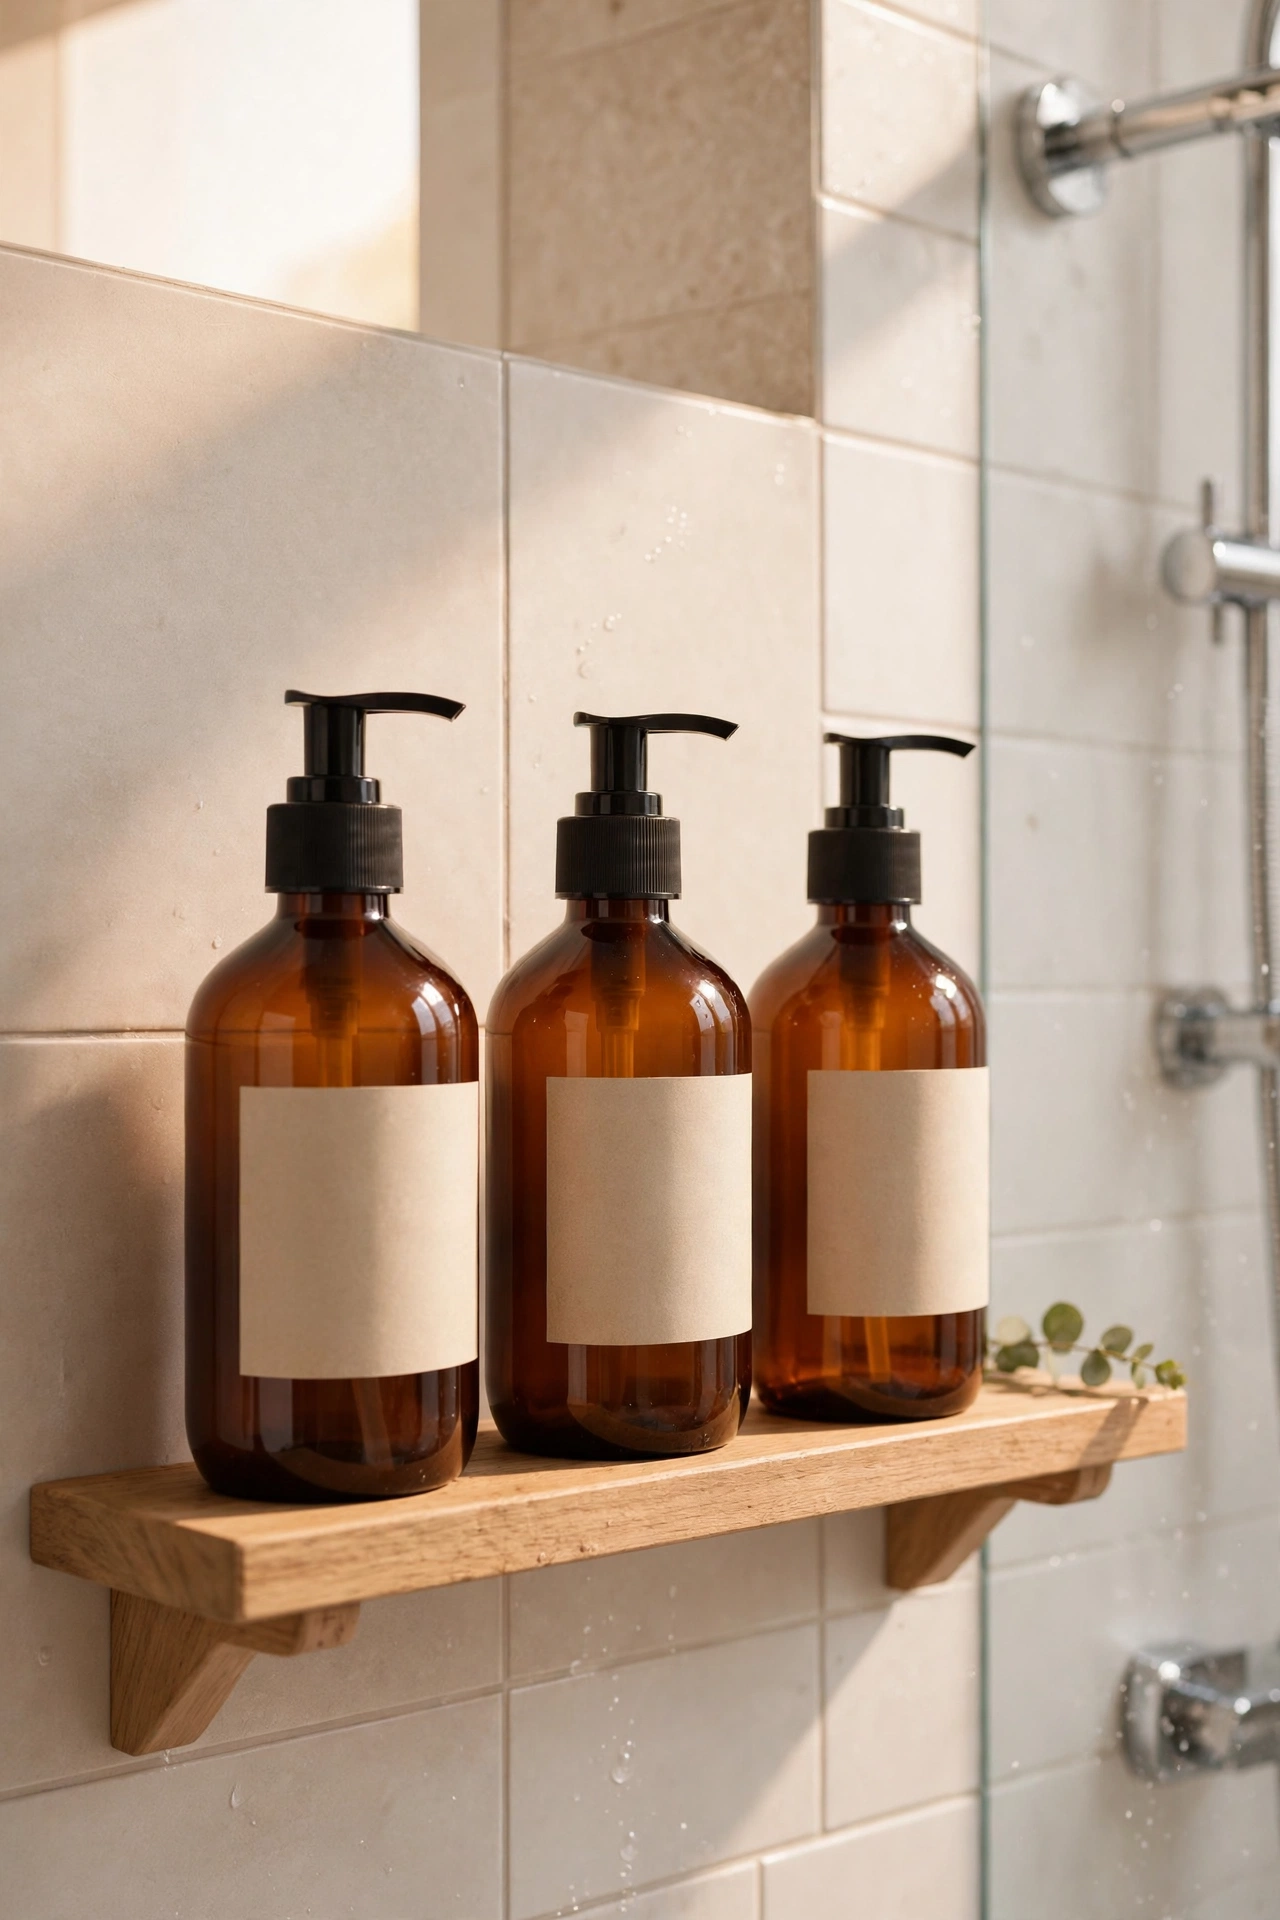
Decanting shampoo, conditioner, and body wash into matching pump bottles is the single fastest way to make a shower look high end. Step one: buy three identical pump bottles — amber or frosted white both look smart. Step two: label them simply with a waterproof label maker or small chalk labels. Step three: line them up on the shower shelf or a corner caddy. I tried this in my own bathroom and the mismatched branded bottles I had collected over the years disappeared — the shower suddenly looked like a hotel. One mistake to avoid: don’t buy bottles with narrow necks if your conditioner is thick; you will fight the pump every morning. Wide-mouth bottles refill easily and pump smoothly.
Cost: ~$7 for three · Time: 20 minutes
Candle Cluster by the Tub
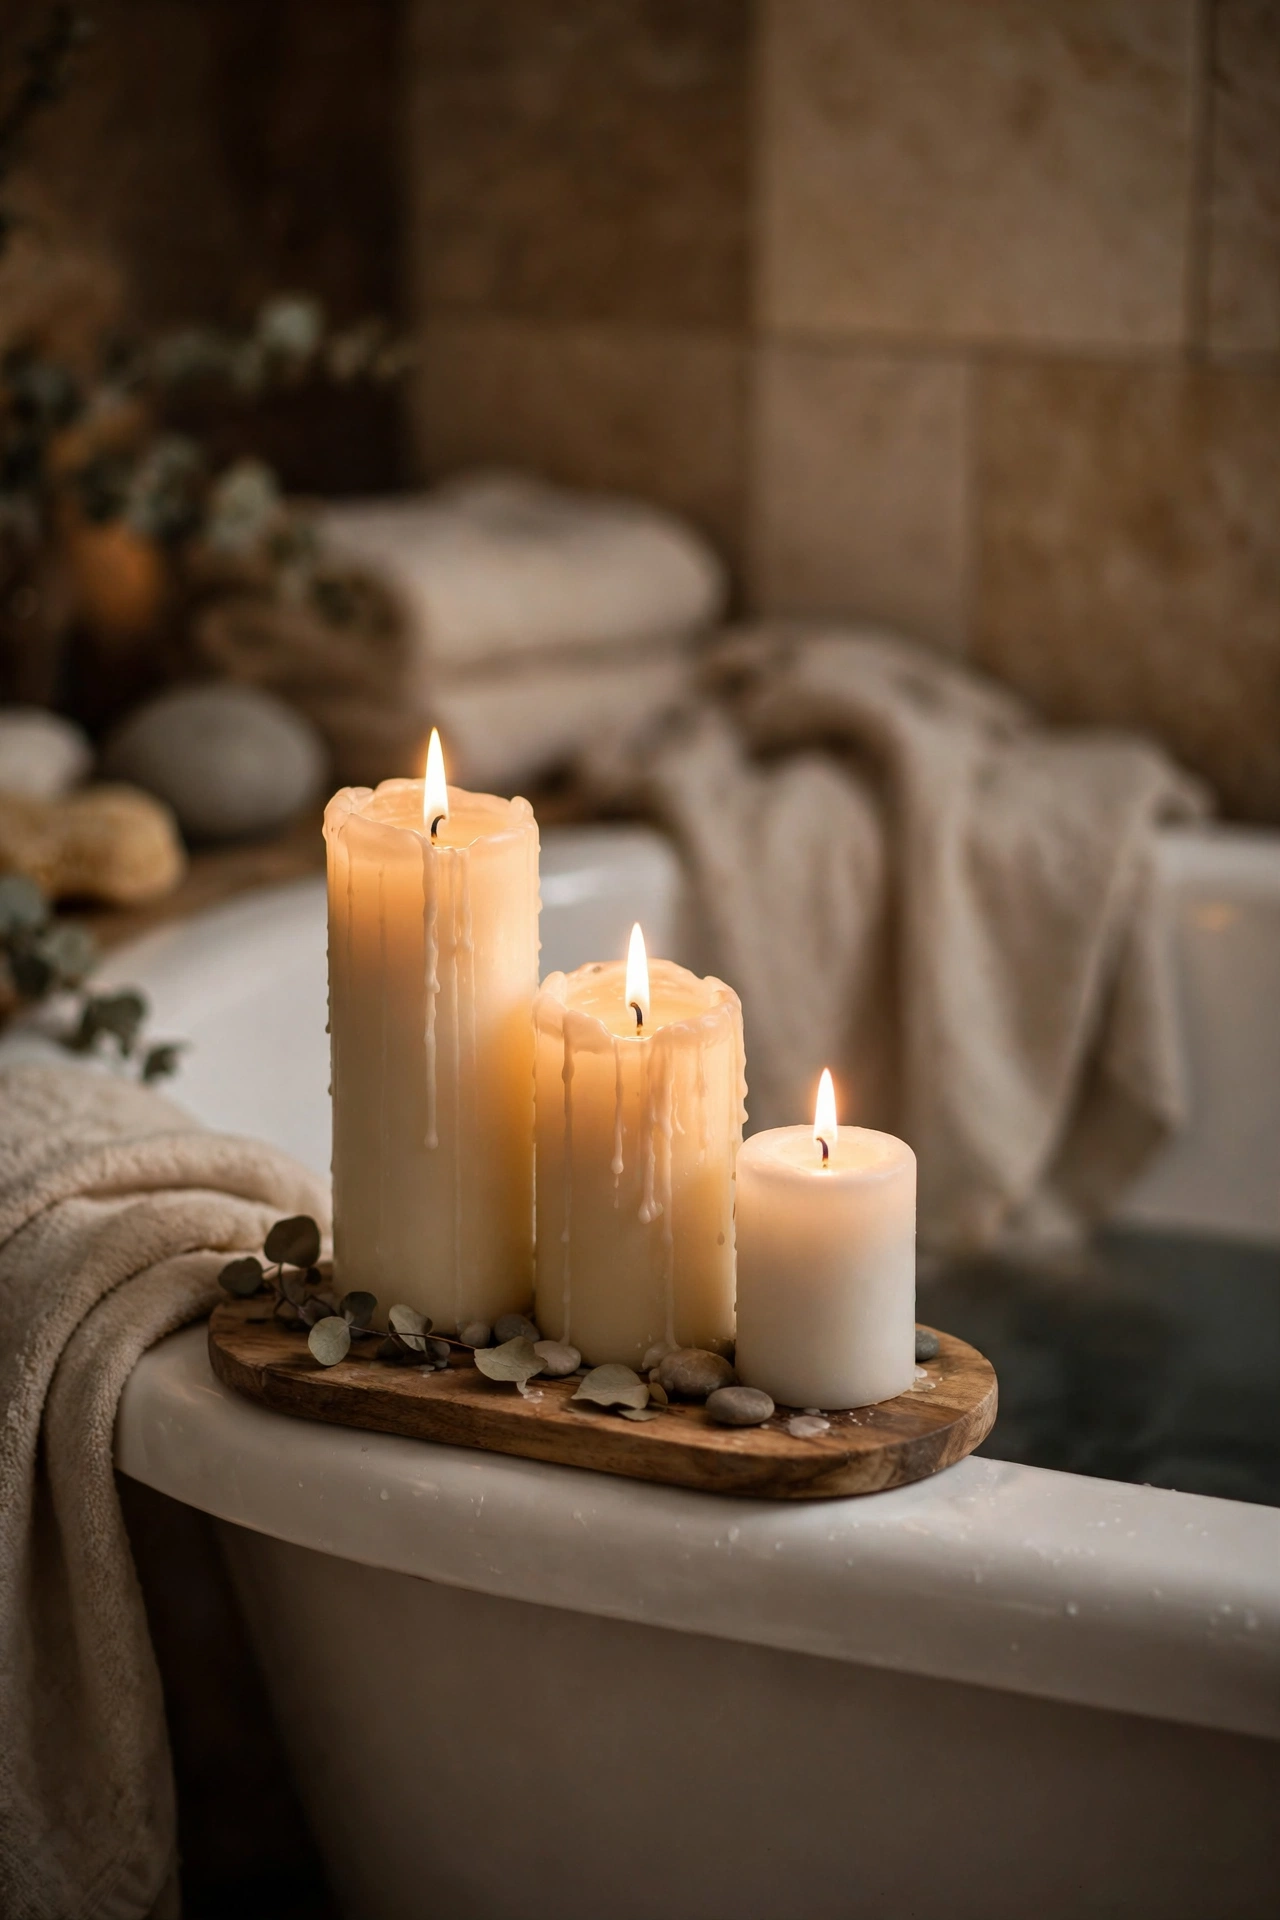
Three candles in different heights grouped on the bath edge or a stool create the spa atmosphere instantly. Step one: choose candles in one scent family and neutral colours — white, cream, or soft grey. Step two: place the tallest at the back and the shortest at the front on a small tray to catch wax. Step three: light them for baths and wipe the tray after so it stays clean. I tried this in my own bathroom and the ritual of lighting the candles is what actually made me use the tub more. One mistake to avoid: scented candles in a tiny unventilated bathroom can be overpowering; go for lightly scented or unscented ones and let the glow do the work.
Cost: ~$6 · Time: 10 minutes
Layered Bath Mats as a Runner
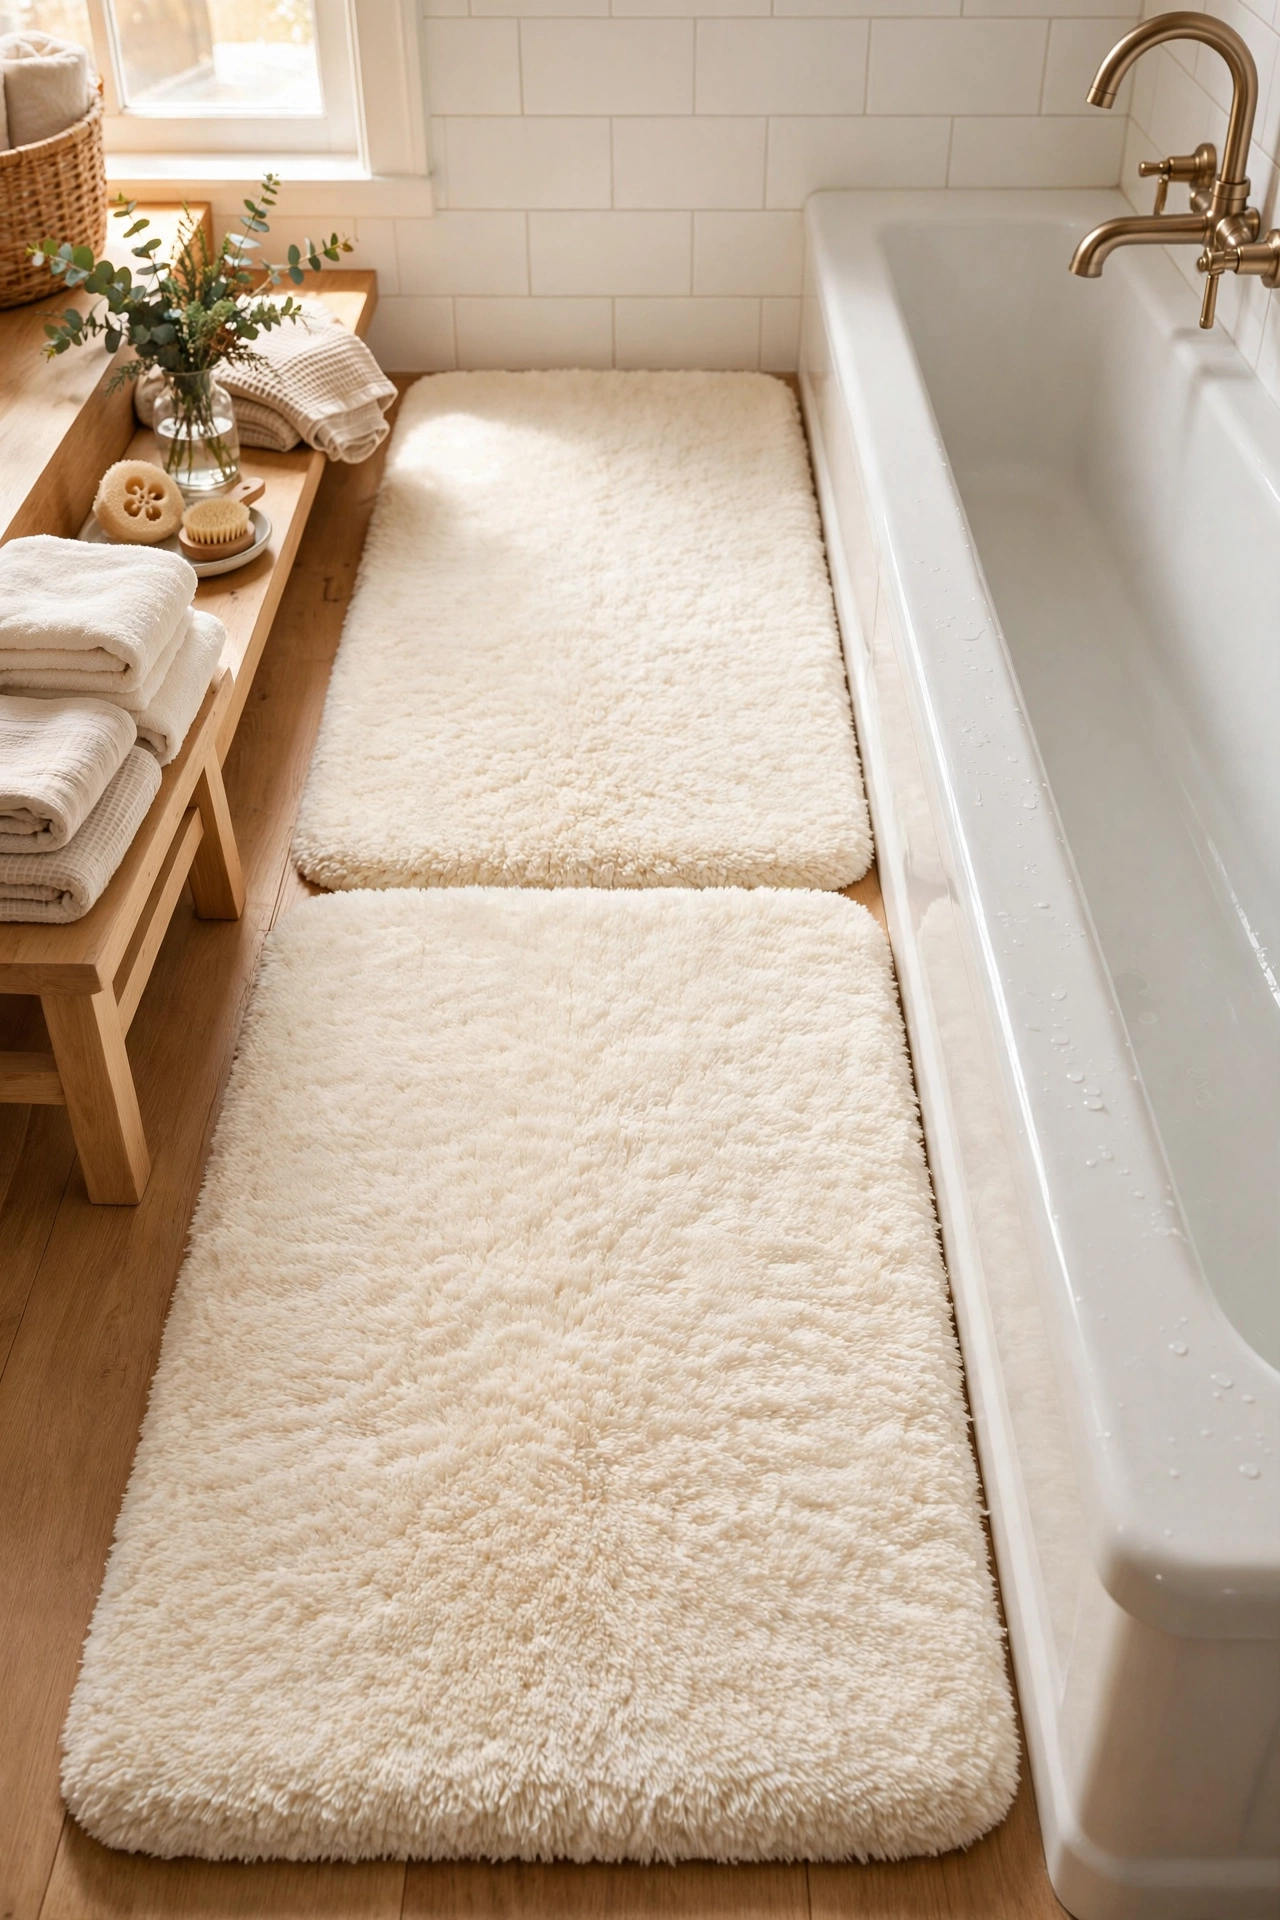
Two matching bath mats laid end to end along the tub or vanity read as one long runner. Step one: buy two identical mats in a plush texture and a neutral colour. Step two: butt them tightly together with the pile brushed the same way. Step three: keep them clean and fluffy with a weekly shake-out. I tried this in my own bathroom and the runner effect made the narrow floor feel like a proper spa walkway. One mistake to avoid: mixing two different mats in the name of saving money breaks the illusion — identical is the whole trick. Buy the pair together so the dye lots match.
Cost: ~$10 for two · Time: 10 minutes
Lined Rope Hamper for Laundry
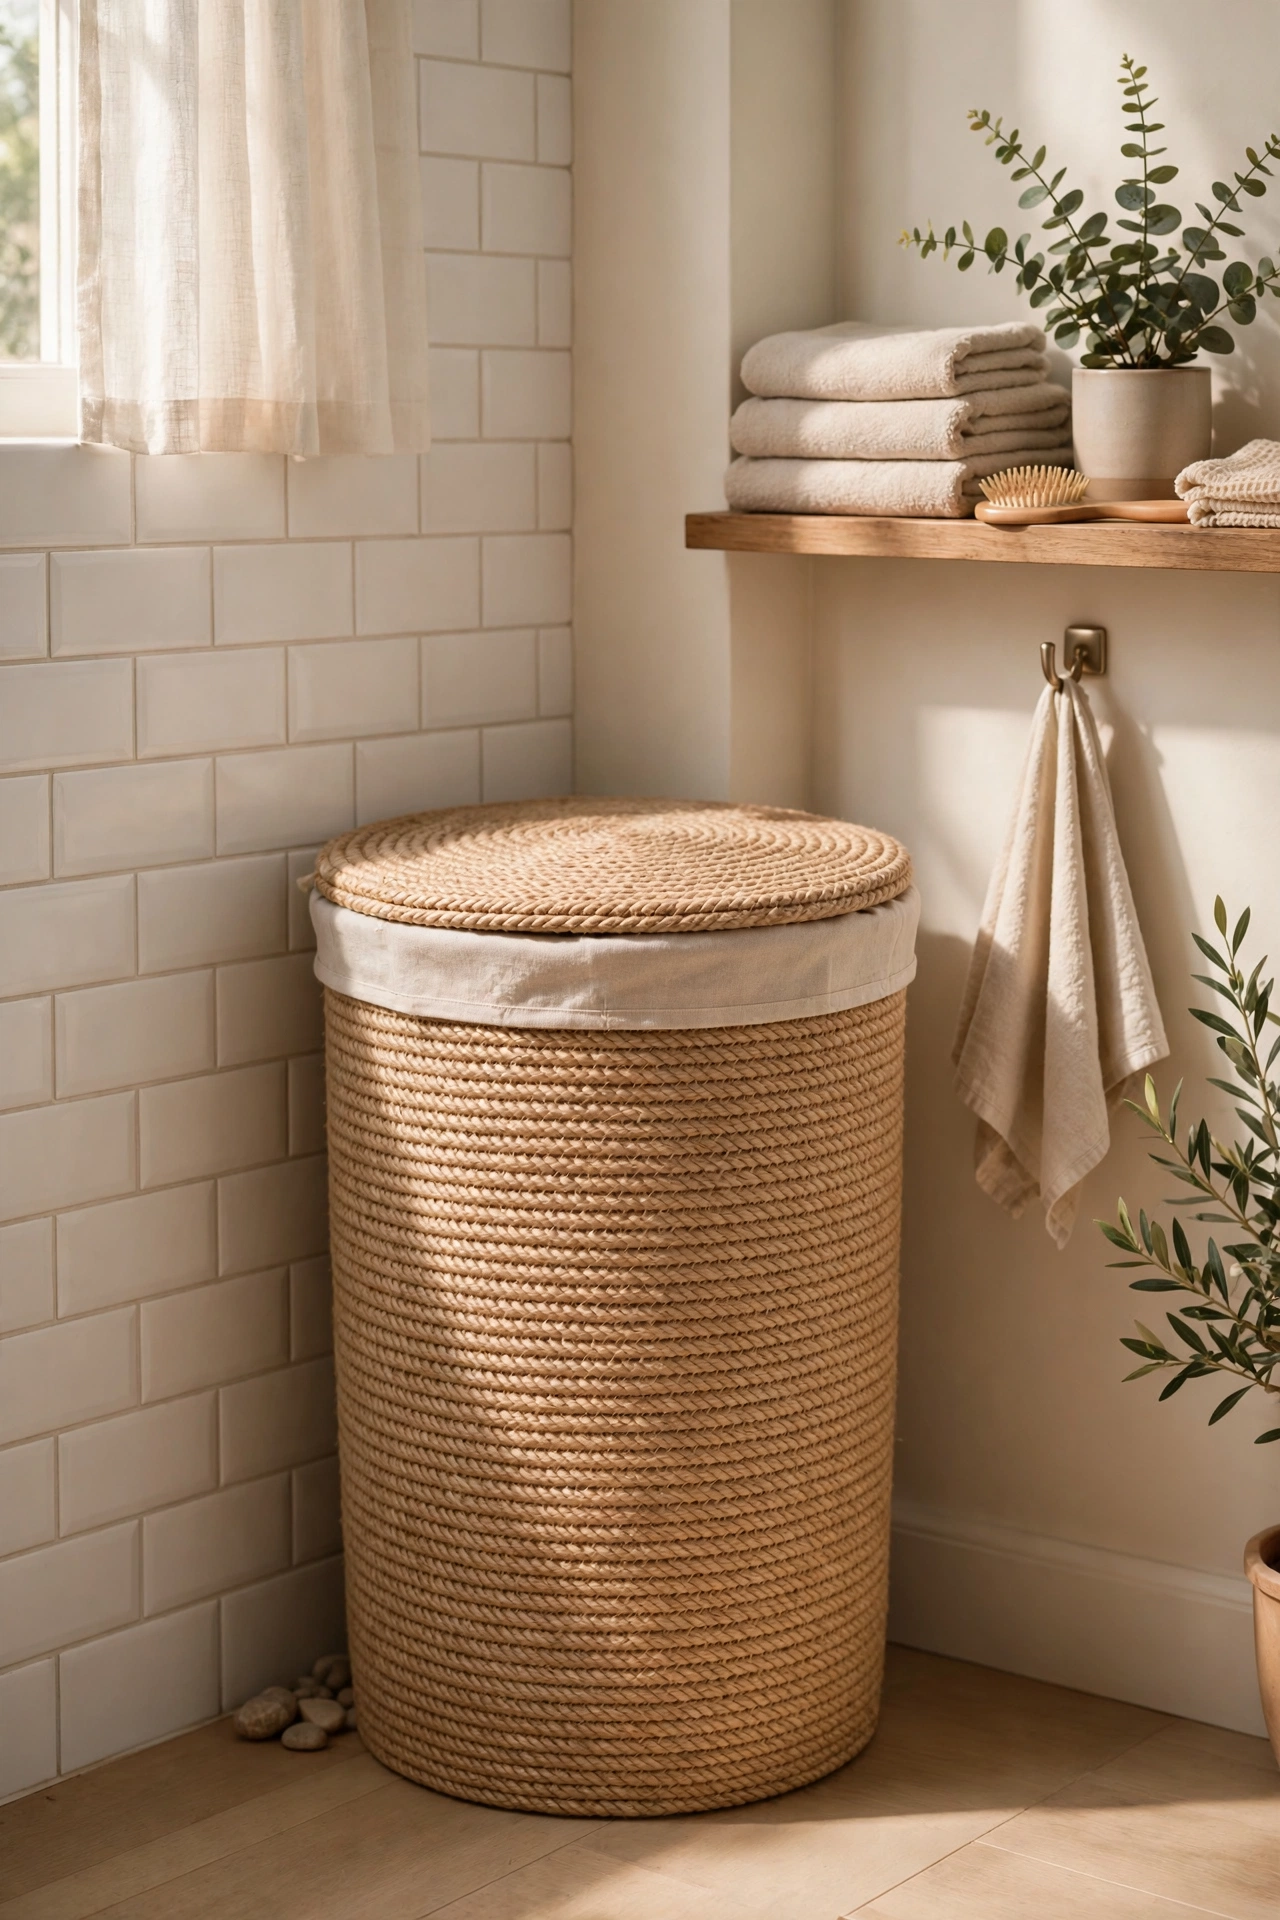
A rope-look laundry hamper with a fabric liner upgrades the corner where the old plastic basket used to sit. Step one: choose a hamper tall enough to hide a week’s worth of laundry. Step two: keep the liner in place with the drawstring so damp clothes don’t touch the weave. Step three: position it in the corner or inside a cupboard if space is tight. I tried this in my own bathroom and the corner went from eyesore to texture feature overnight. One mistake to avoid: overfilling it until the liner sags and the lid won’t close — empty it on laundry day like clockwork and it always looks tidy.
Cost: ~$8 · Time: 5 minutes
Wooden Drying Rack as a Towel Ladder
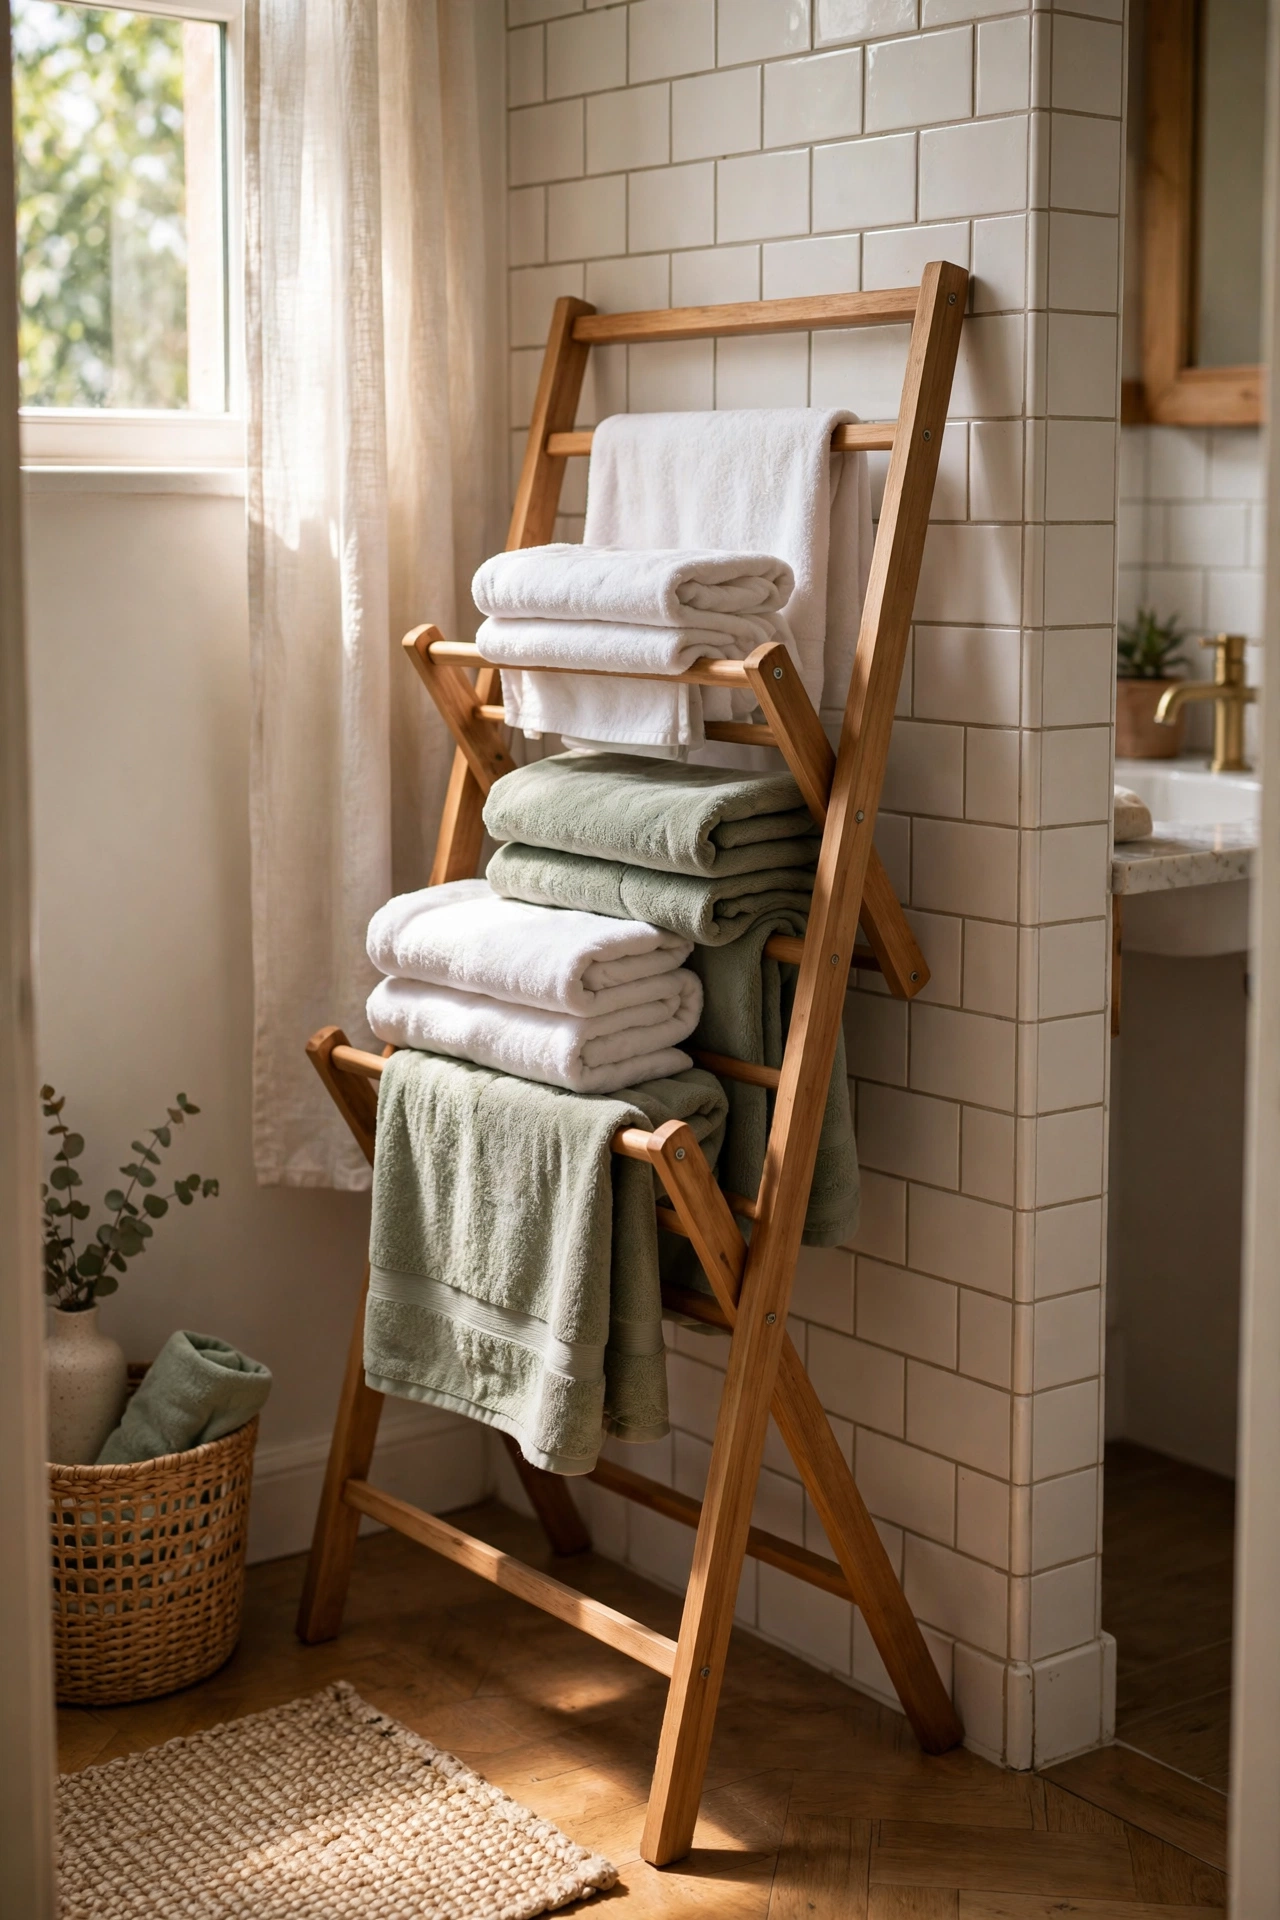
A folding wooden drying rack leaned against the wall works as a towel ladder for a fraction of the price of the real thing. Step one: open the rack into an A-frame and check it stands steady. Step two: drape your best towels over the rungs, alternating colours. Step three: place it on the wall opposite the door where it doubles as decor. I tried this in my own bathroom and it holds four towels in the footprint of one — brilliant for a small space. One mistake to avoid: putting soaking-wet towels straight on it in a steamy bathroom can mark the wood; hang damp towels elsewhere first, then move them to the ladder when just damp.
Cost: ~$9 · Time: 10 minutes
Mirrored Tray for Perfume and Skincare
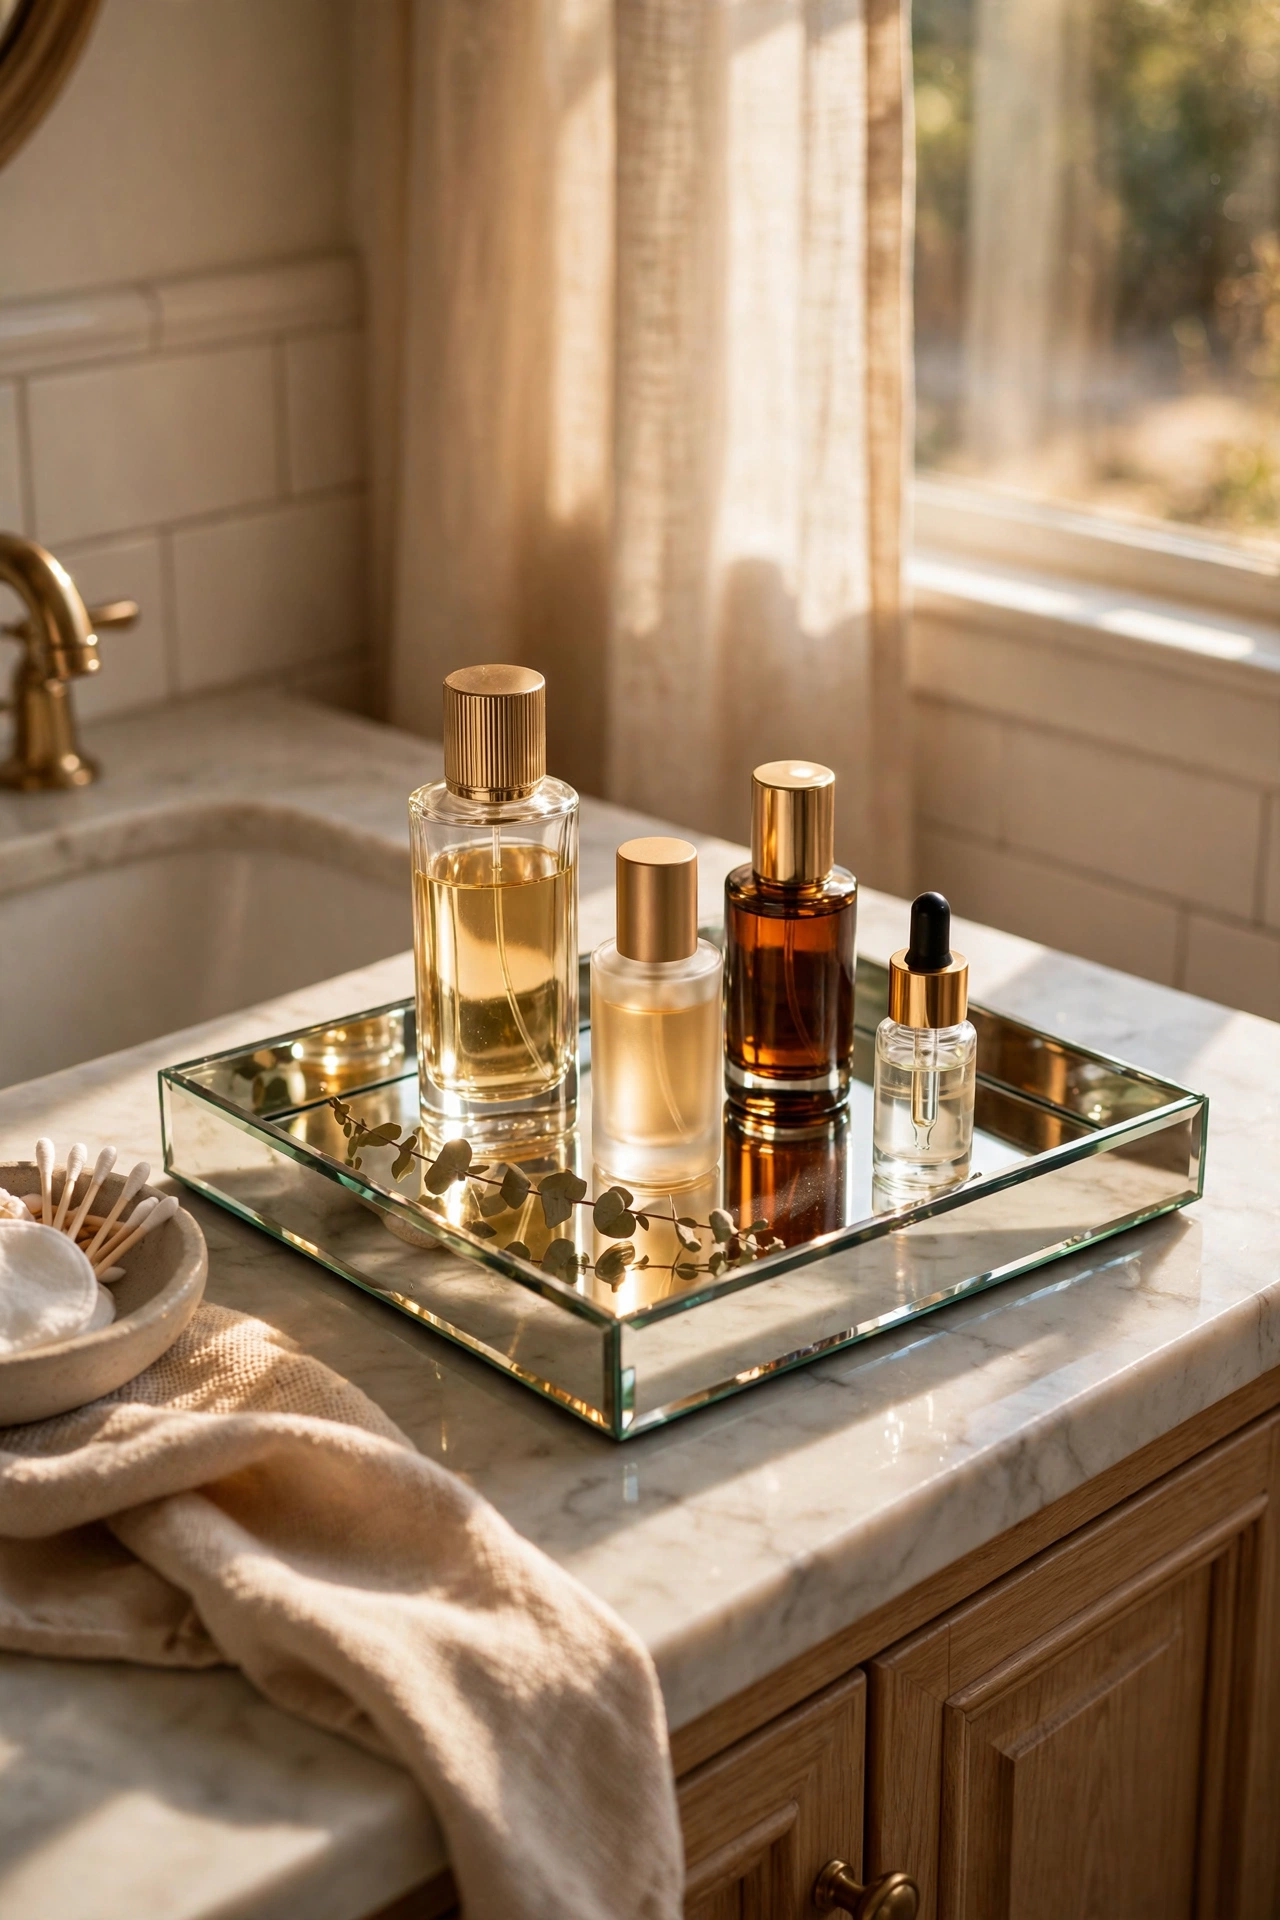
A mirrored tray on the vanity bounces light around and makes every bottle on it look more expensive. Step one: buy a rectangular mirrored tray with a raised edge. Step two: arrange your prettiest bottles on it — perfume, a serum, a small vase. Step three: wipe the mirror weekly so it keeps reflecting properly. I tried this in my own bathroom and the tray caught the window light in a way that lit up the whole corner. One mistake to avoid: overcrowding it with half-empty bottles ruins the effect; the tray should hold five or six beautiful things, not your entire skincare collection. Edit ruthlessly.
Cost: ~$6 · Time: 10 minutes
Dollar Store Bathroom Decor: Quick Questions
Do dollar store bathroom accessories survive the humidity?
Mostly yes — favour plastic, glass, metal, and resin, and seal any untreated wood before use. My dollar store baskets and dispensers have lasted over a year because I run the extractor fan during every shower. Ventilation matters more than the price tag; even pricey accessories warp in a constantly damp room. (see also: 21-dollar-tree-bathroom-decor-hacks-on-a-budget)
How do I make cheap plastic dispensers look expensive?
Decant into matching bottles and hide the branding — that is the entire trick. Buy identical pump bottles in amber, frosted white, or matte black, add simple waterproof labels, and line them up together. Matching sets read as designed, while a row of different branded bottles reads as clutter no matter what they cost. A quick spray-paint coat on the bottle, with the pump masked, takes it one step further.
What should I never buy at the dollar store for a bathroom?
Skip uncoated MDF shelves, paper storage boxes, and the thinnest shower curtains — they warp, go soggy, or tear within weeks in a humid room. Also avoid heavily scented candles in tiny unventilated bathrooms, where the fragrance builds up fast. Everything else works if you seal wood and keep the room ventilated. (see also: 15-dollar-store-basket-organization-ideas-that-hide-clutter)
Can I really style a whole bathroom for under fifty dollars?
Easily, with a plan: matching dispensers, a couple of glass jars, one towel basket, and a mirrored tray come to roughly thirty to forty dollars. The expensive look comes from coordination — one metal finish, two colours, everything grouped — not from individual prices. Hotels have used this formula forever, and it works at home too. (see also: 15-dollar-store-decor-ideas-that-look-high-end)
If any of these dollar store bathroom finds caught your eye, save this post for later so you have the full shopping list ready before your next store trip — future you will be glad you did.
Pick the three ideas that bug you most about your current bathroom — the cluttered vanity, the sad shower shelf, the dark window — and do those this weekend. Small rooms reward small changes, and yours will feel like a different space by Sunday evening.
