21 Dollar Store Kitchen Finds on a Budget
My kitchen used to be the room I avoided photographing. Mismatched containers, a junk drawer that never closed, and shelves that looked tired no matter how often I tidied them. Then I discovered that dollar store kitchen finds could fix nearly all of it for less than the cost of one takeaway coffee per project. This list is the result of months of testing: 21 finds that genuinely hold up in a working kitchen, each one costing a couple of pounds at most. Pick two or three to start with — you will be surprised how different the room feels by the weekend.
1. Glass Canister Sets for Dry Goods
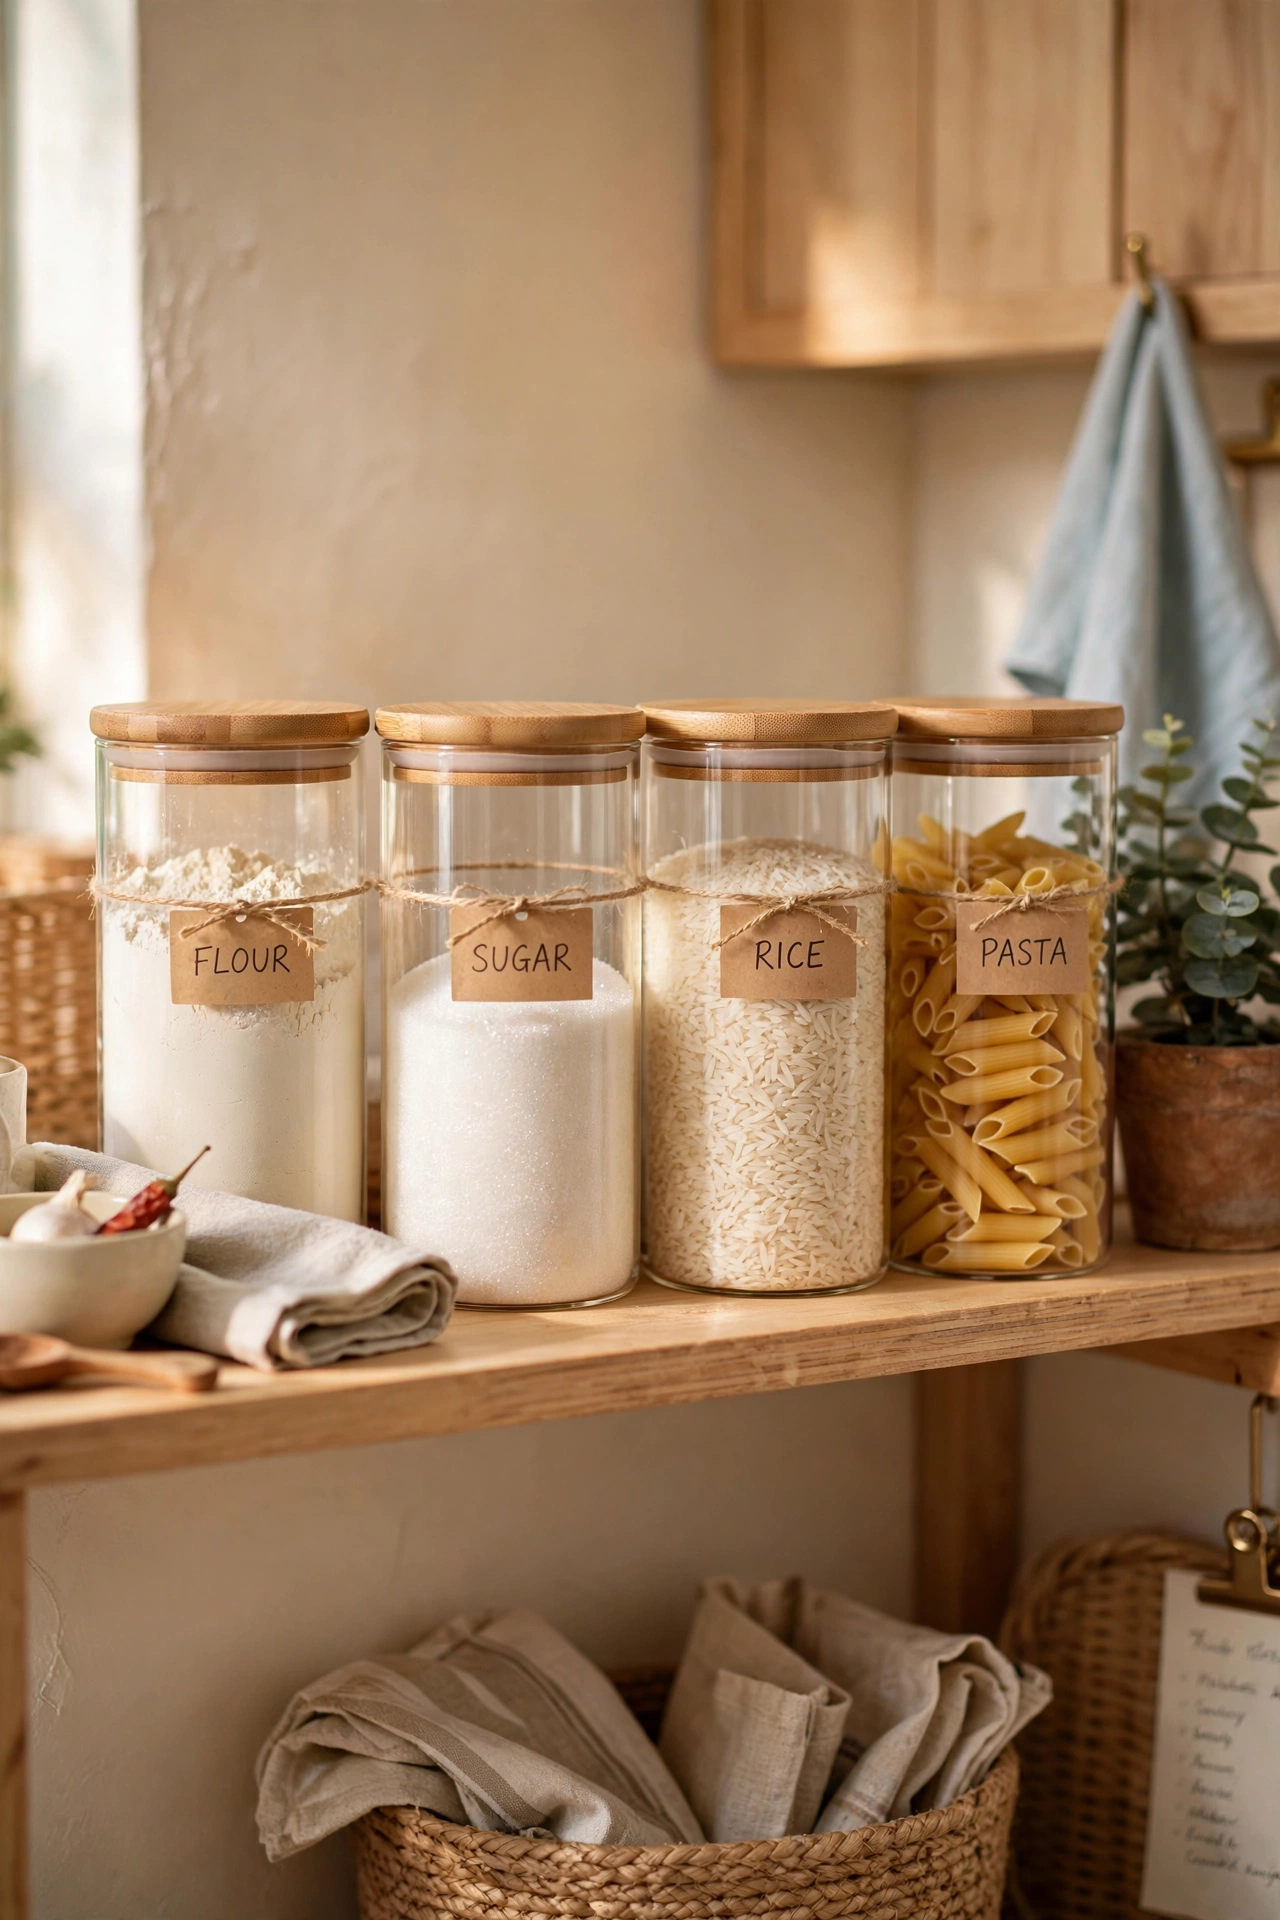
Cost: ~$4 · Time: 20 minutes
Those tall glass canisters with the bamboo-look lids are one of the best pound-for-pound upgrades in the whole store. Decant your flour, sugar, rice and pasta into them and the shelves instantly look calmer. The trick is to transfer everything on the same day so you don’t end up with half your pantry in jars and half in bags. I tried this in my own pantry and made the mistake of skipping labels — a week later I was cooking with self-raising flour in a savoury recipe and wondering why the sauce tasted odd. Now I stick a simple chalk label on each lid before filling.
2. Wire Shelf Risers for Cupboards
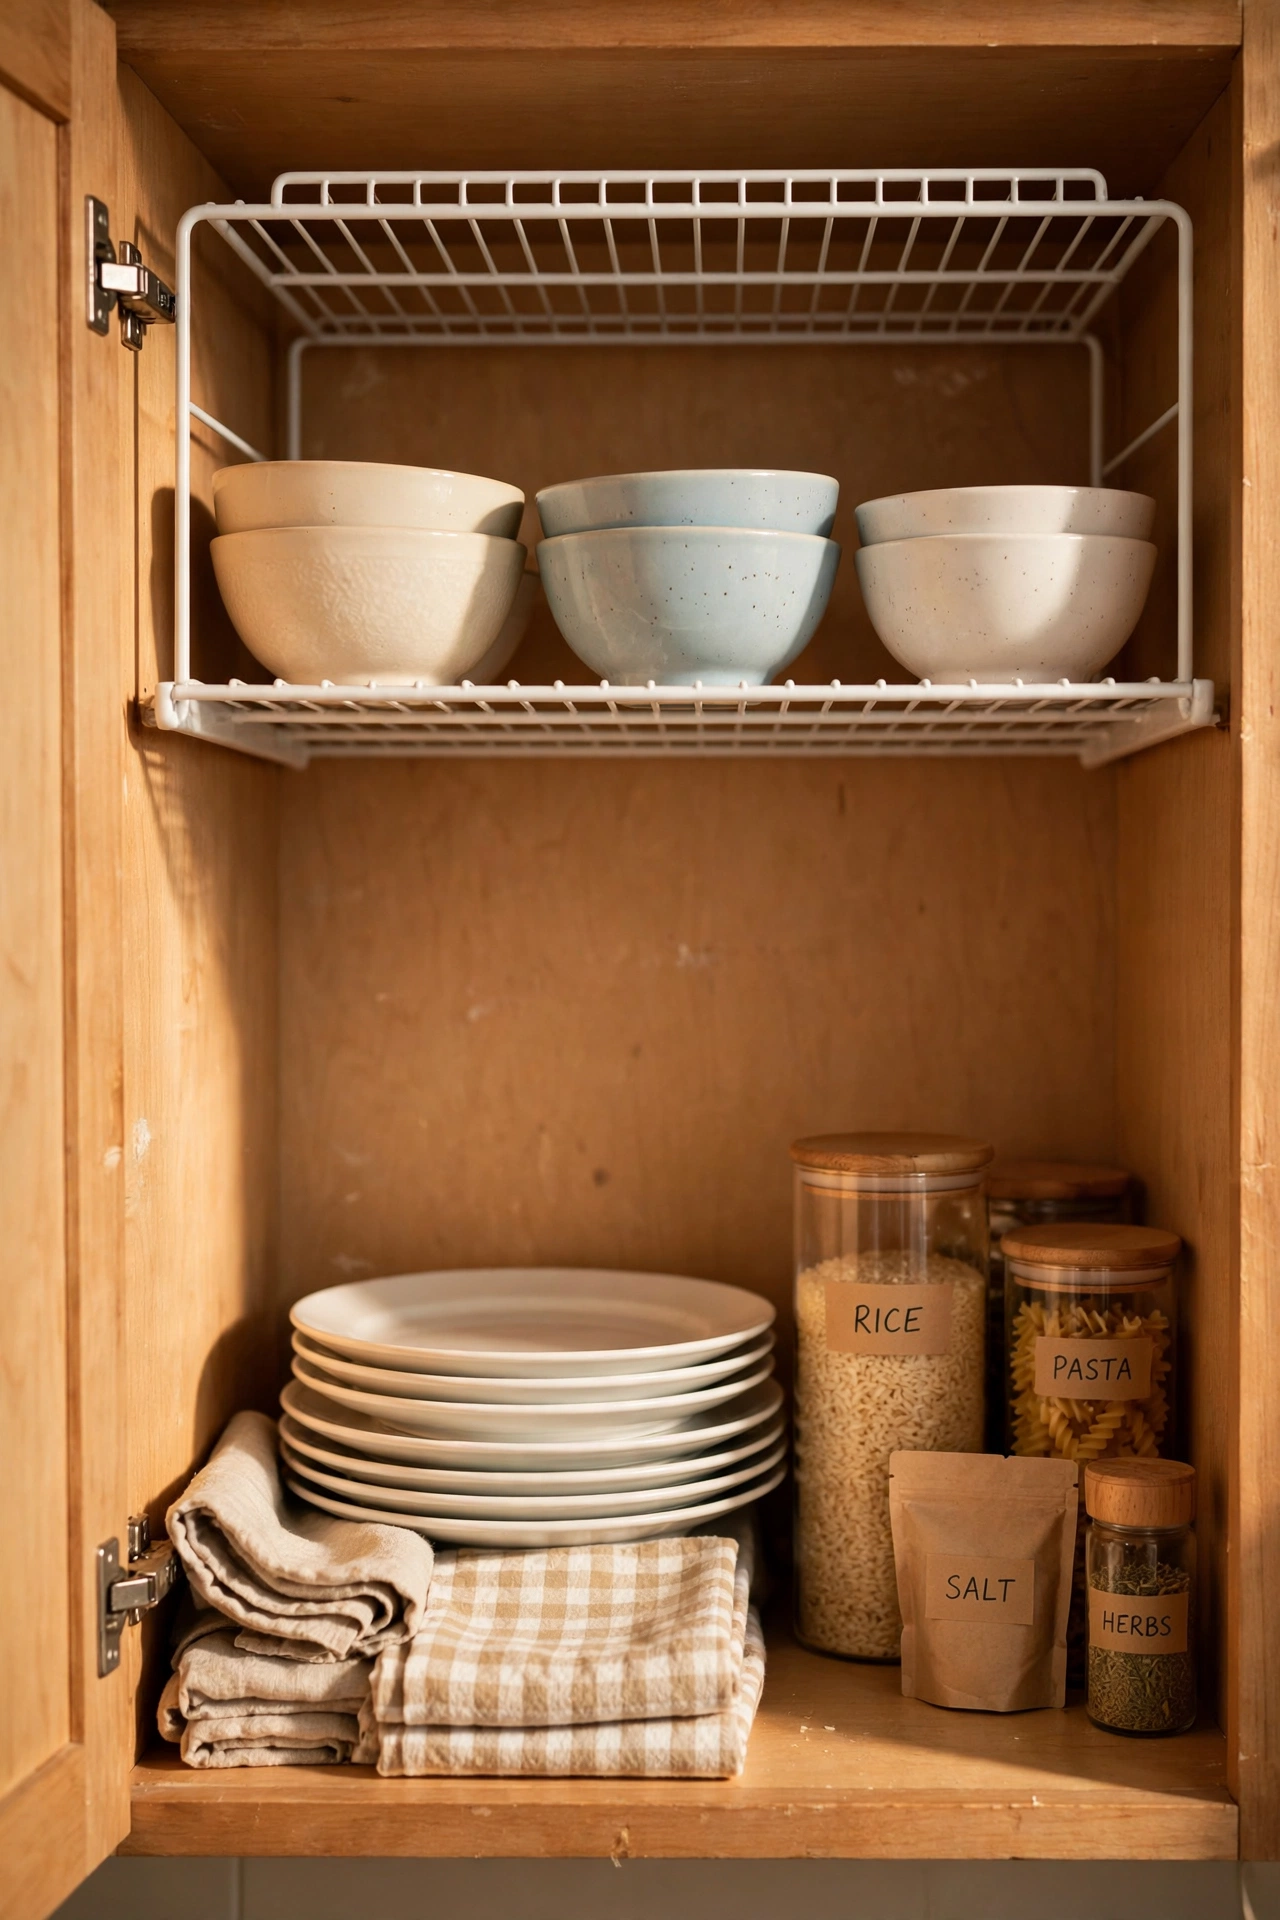
Cost: ~$2 · Time: 10 minutes
A shelf riser doubles the usable space inside a cupboard by giving you a second level for mugs or bowls. Measure your shelf height first, because the risers come in two sizes and the taller one won’t fit under some fixed shelves. Slide them in, stack plates below and bowls above, and that dead vertical space suddenly works for you. I grabbed three for my crockery cupboard and stopped the daily wobble of a leaning tower of bowls. One mistake to avoid: don’t use them in a cupboard where you store heavy cast iron — they are sturdy, but they have limits.
3. Adhesive Shelf Liners with a Pattern
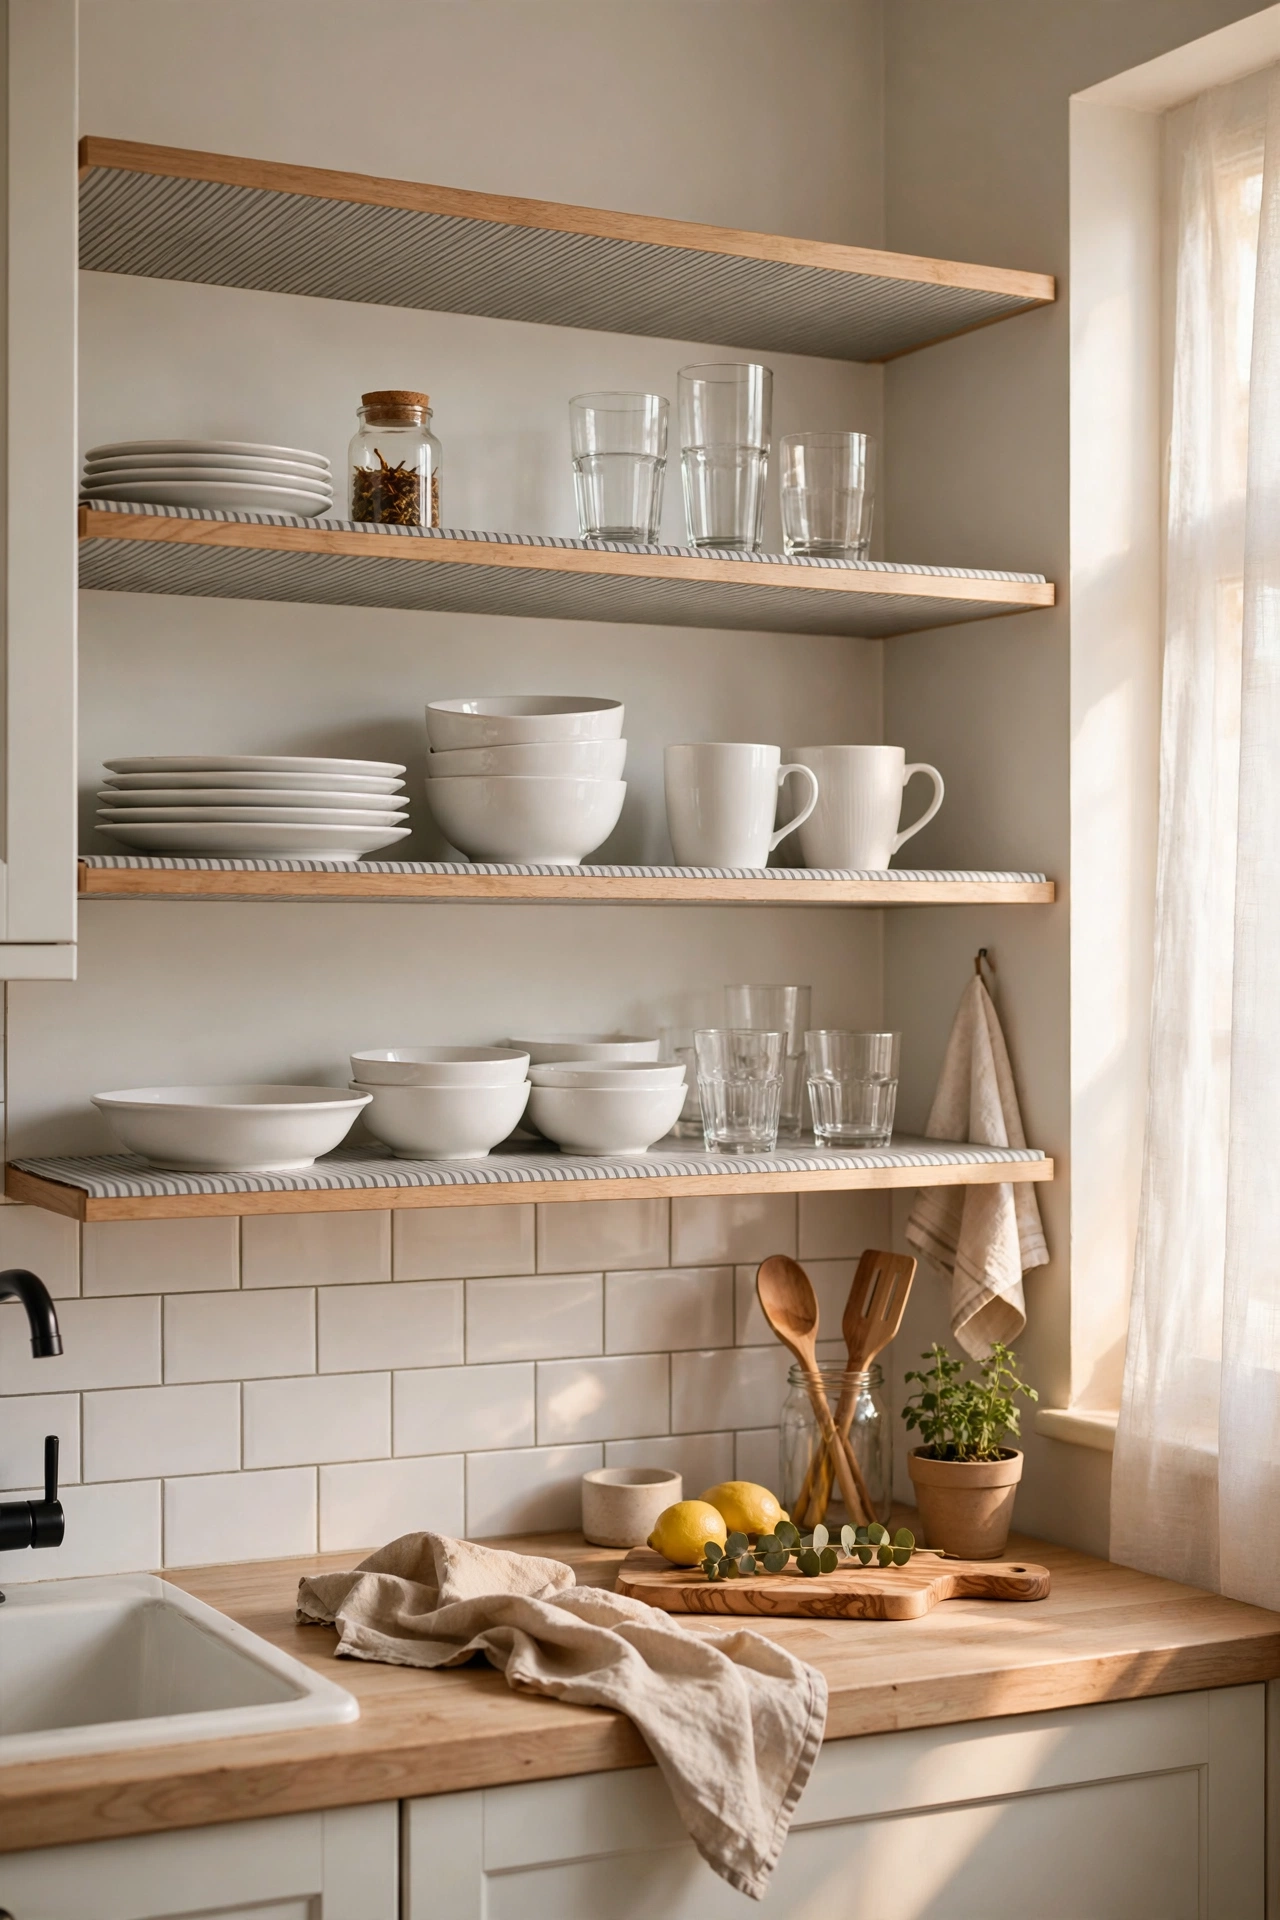
Cost: ~$3 · Time: 45 minutes
Peel-and-stick shelf liner in a subtle pattern — a small gingham or a soft grey stripe — makes open shelves and the insides of glass-fronted cupboards look intentional rather than scruffy. Cut each piece slightly oversized, peel back a corner, and smooth it down with a credit card as you go to push out bubbles. I lined the shelves of my open kitchen shelving and guests assumed I’d had the whole thing refitted. The honest truth is I had to redo one shelf because I rushed the measuring; measure twice, cut once, and it takes an afternoon at most.
4. Magnetic Spice Tins for the Fridge Side
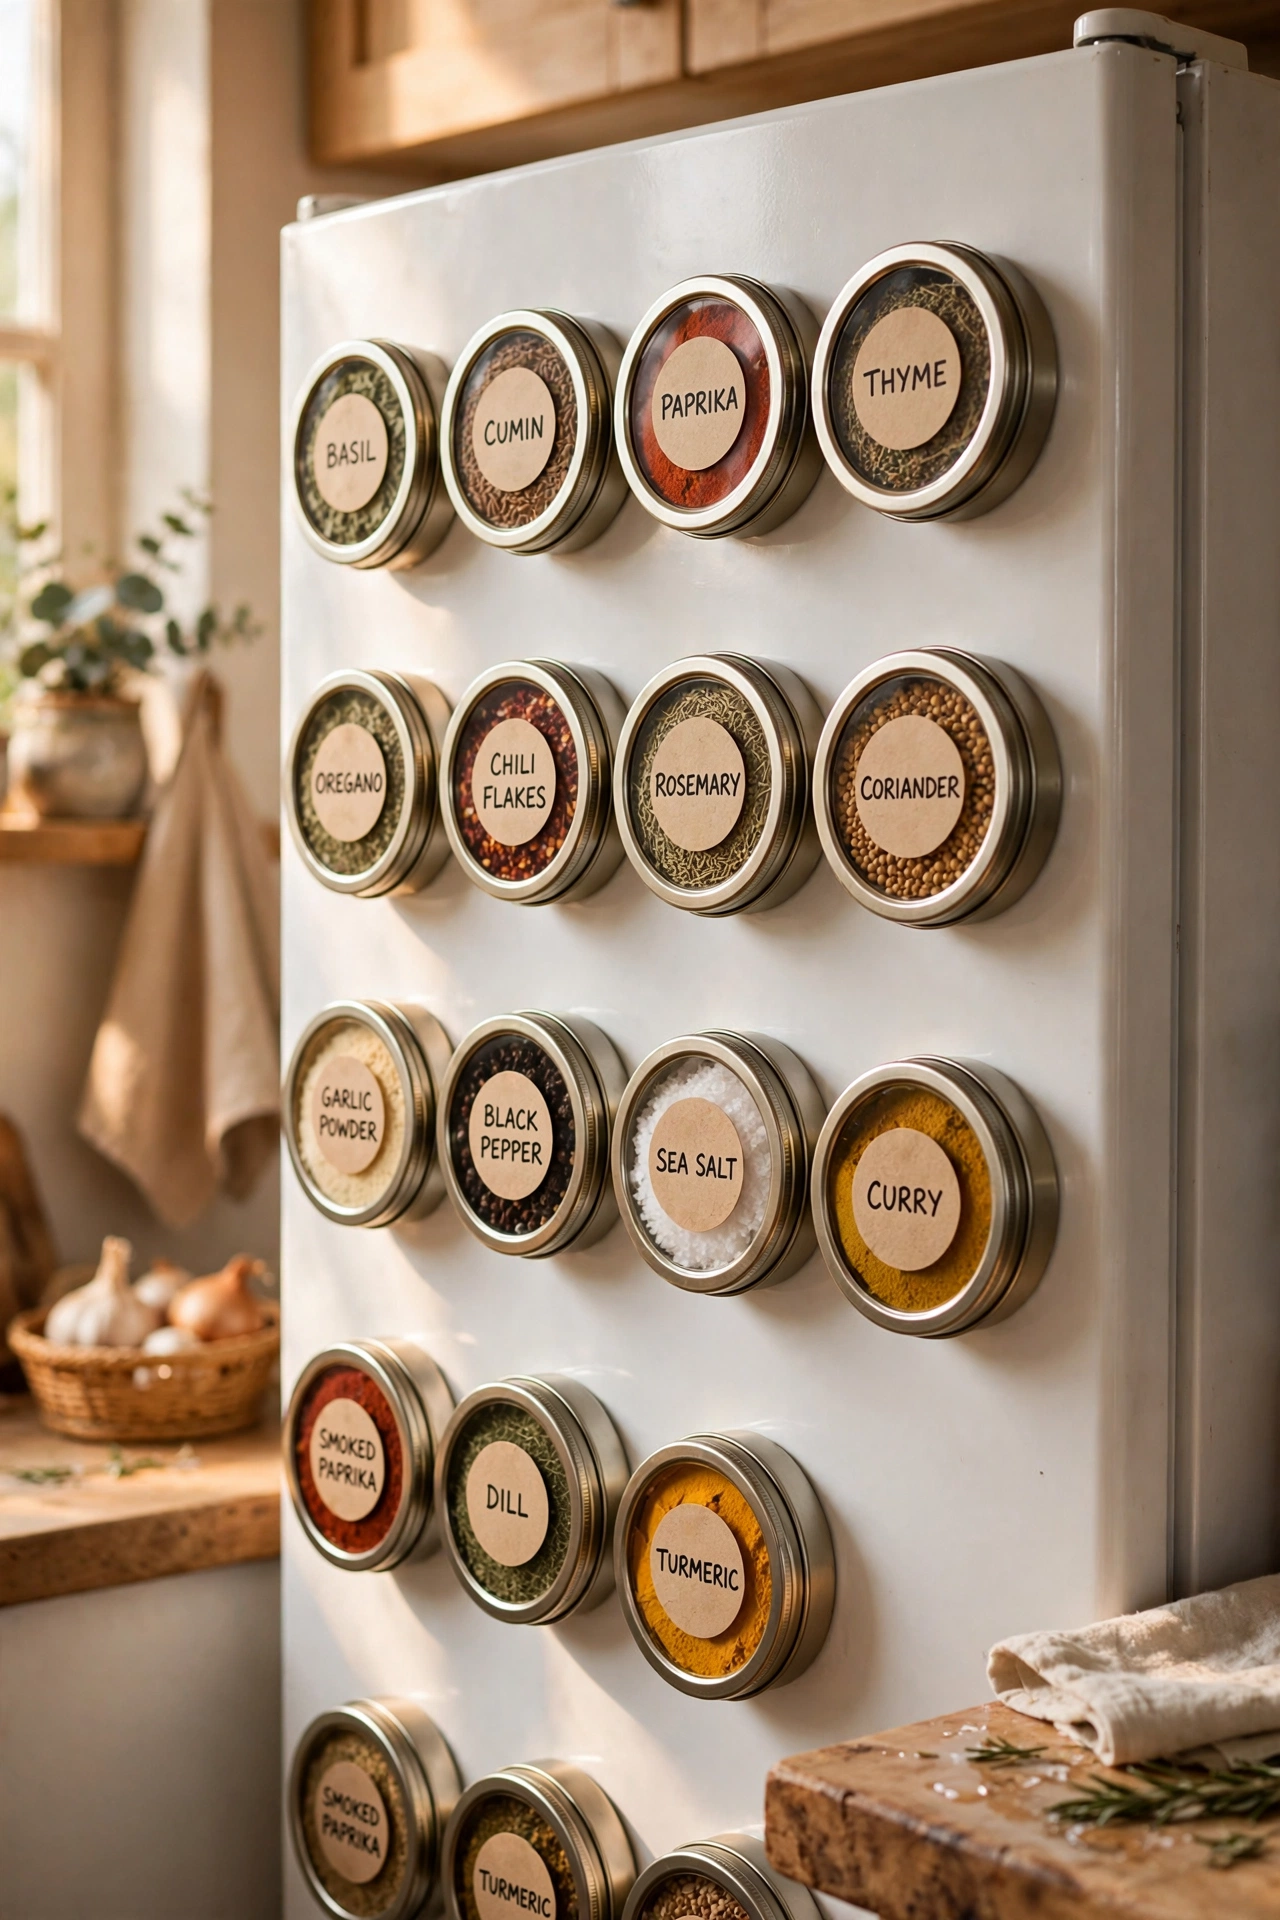
Cost: ~$4 · Time: 30 minutes
Small round tins with magnetic backs stick to the side of your fridge or any metal surface and free up an entire cupboard shelf. Fill them with your everyday spices, add a label to each lid, and arrange them in neat rows. I tried this in my own kitchen and the biggest win wasn’t the space — it was actually using spices I’d forgotten I owned because they were visible again. Buy the tins in one trip so the sizes match; I mixed two batches and the odd ones out annoyed me every time I opened the fridge door. (see also: 17-best-dollar-store-kitchen-finds-under-5)
5. Bamboo-Look Drawer Dividers
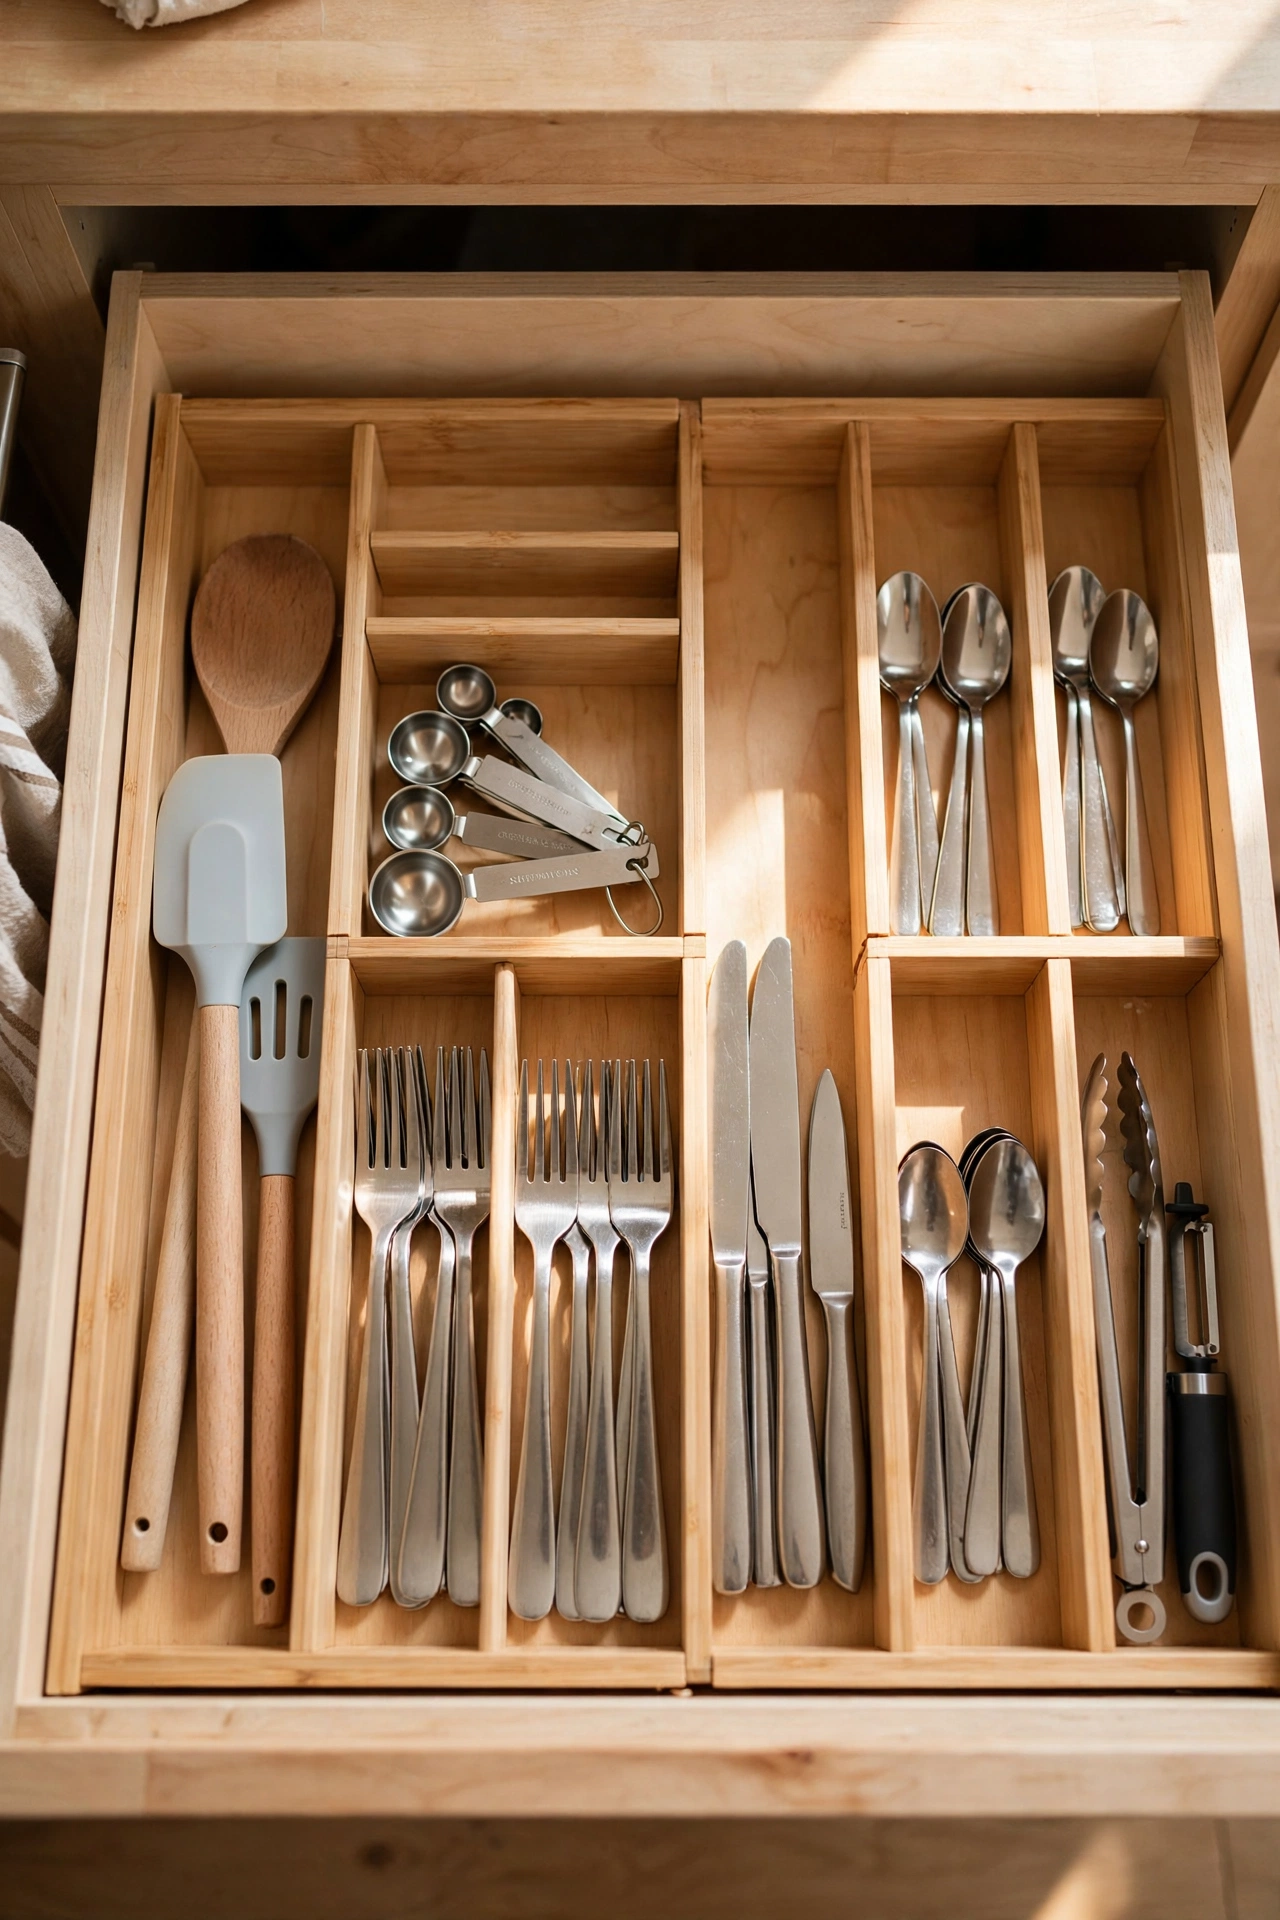
Cost: ~$3 · Time: 15 minutes
Those expandable drawer dividers turn a chaotic utensil drawer into something that looks like a showroom drawer. Pull everything out, wipe the drawer, slot the dividers in, and only put back what you actually use. I found three potato mashers in mine, which tells you everything about how that drawer got out of hand. One mistake to avoid is forcing a divider into a drawer that’s slightly too narrow — it will bow and never sit right. Measure first, then shop.
6. Tiered Serving Tray for the Counter
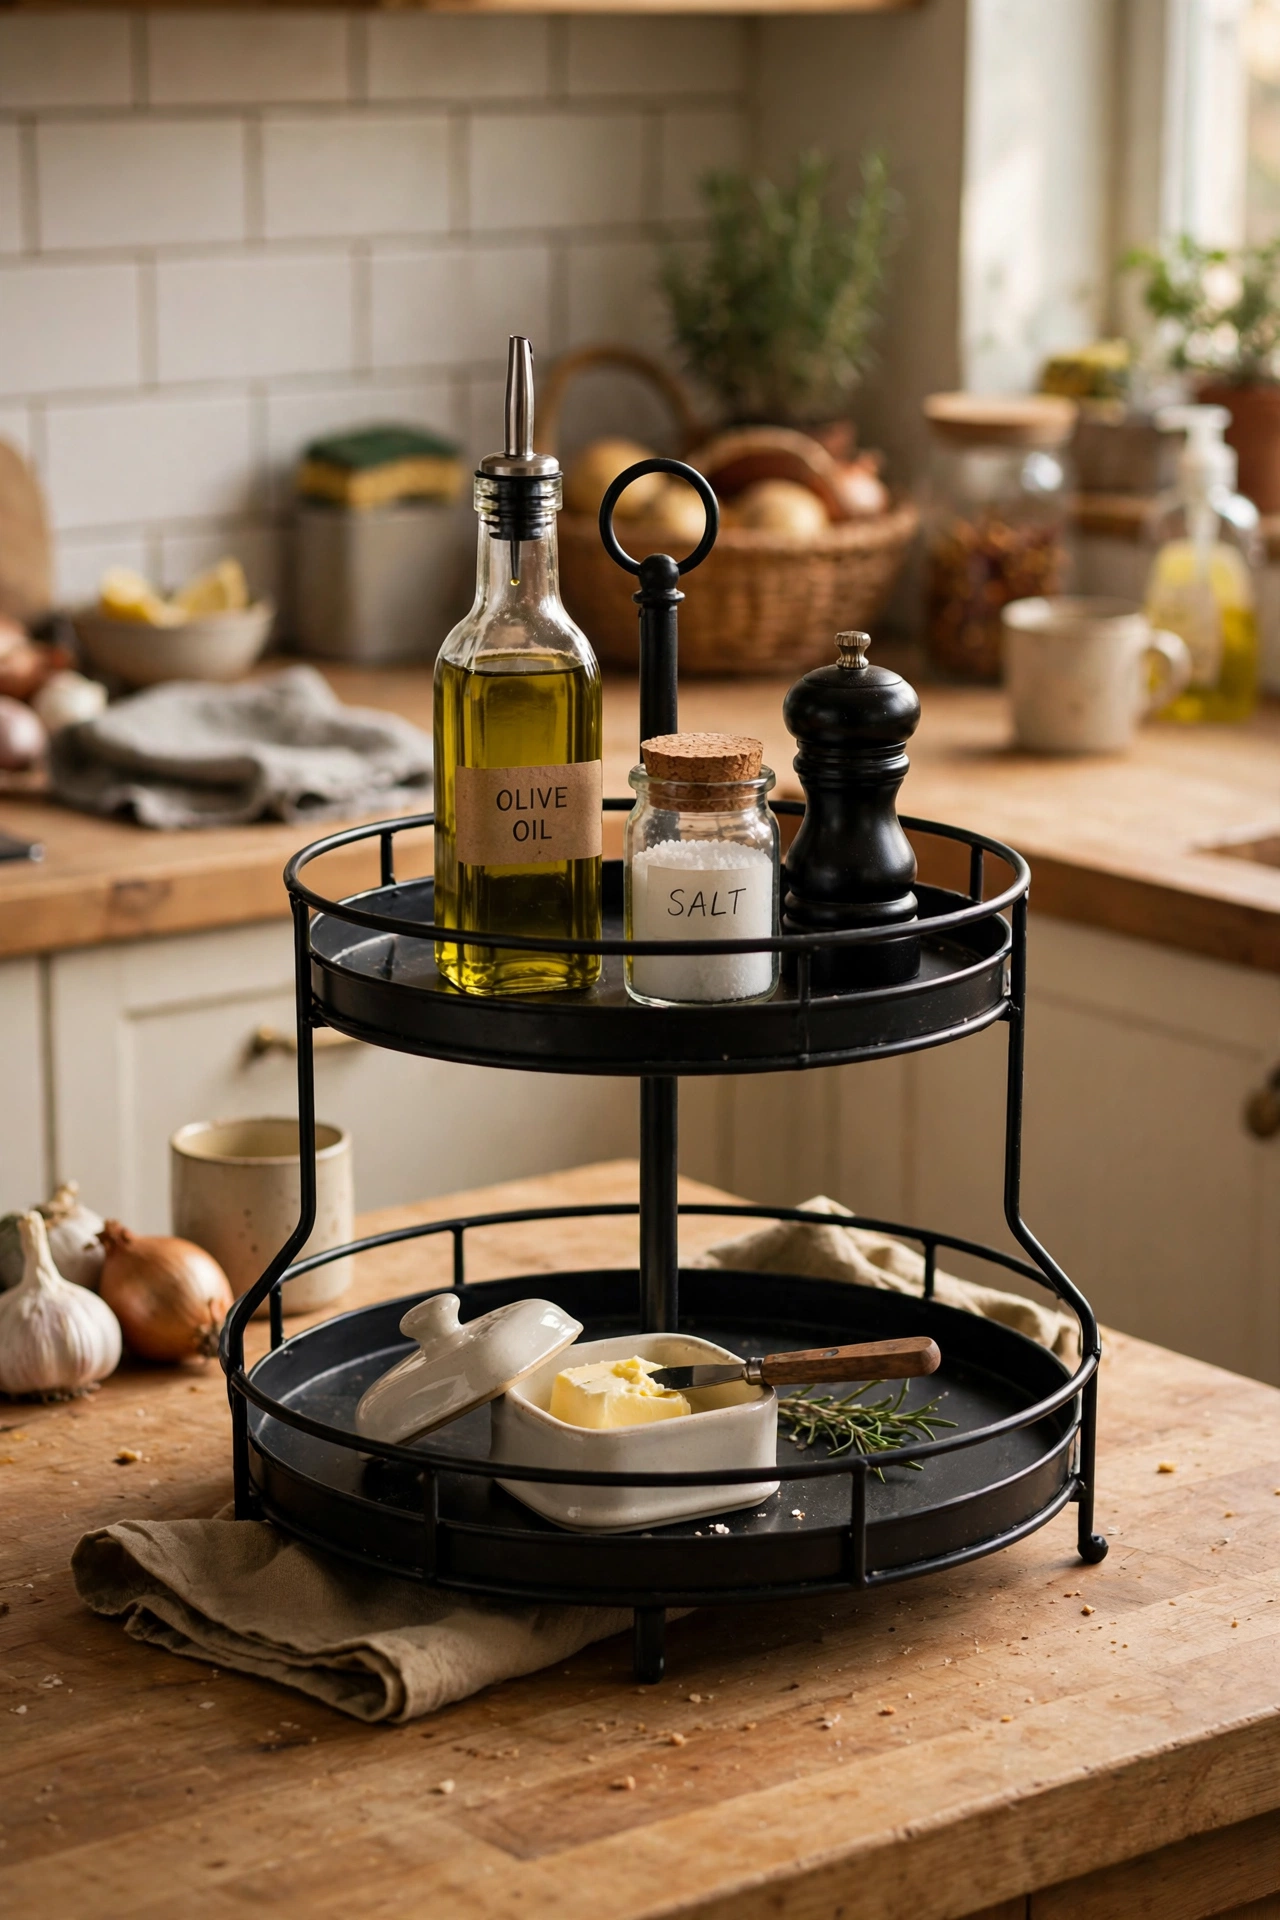
Cost: ~$5 · Time: 10 minutes
A two-tier metal tray corals all the counter clutter — oil, salt, pepper, the butter dish — into one tidy footprint. Group items by height with the tallest at the back, and leave a little breathing room between them so it reads as styled rather than crammed. I keep mine next to the cooker and wipe it down weekly; the tray means I clean one surface instead of chasing crumbs around four separate bottles. If your kitchen is small, this is the single fastest way to make the counter feel bigger.
7. Mason Jars for Pantry Storage
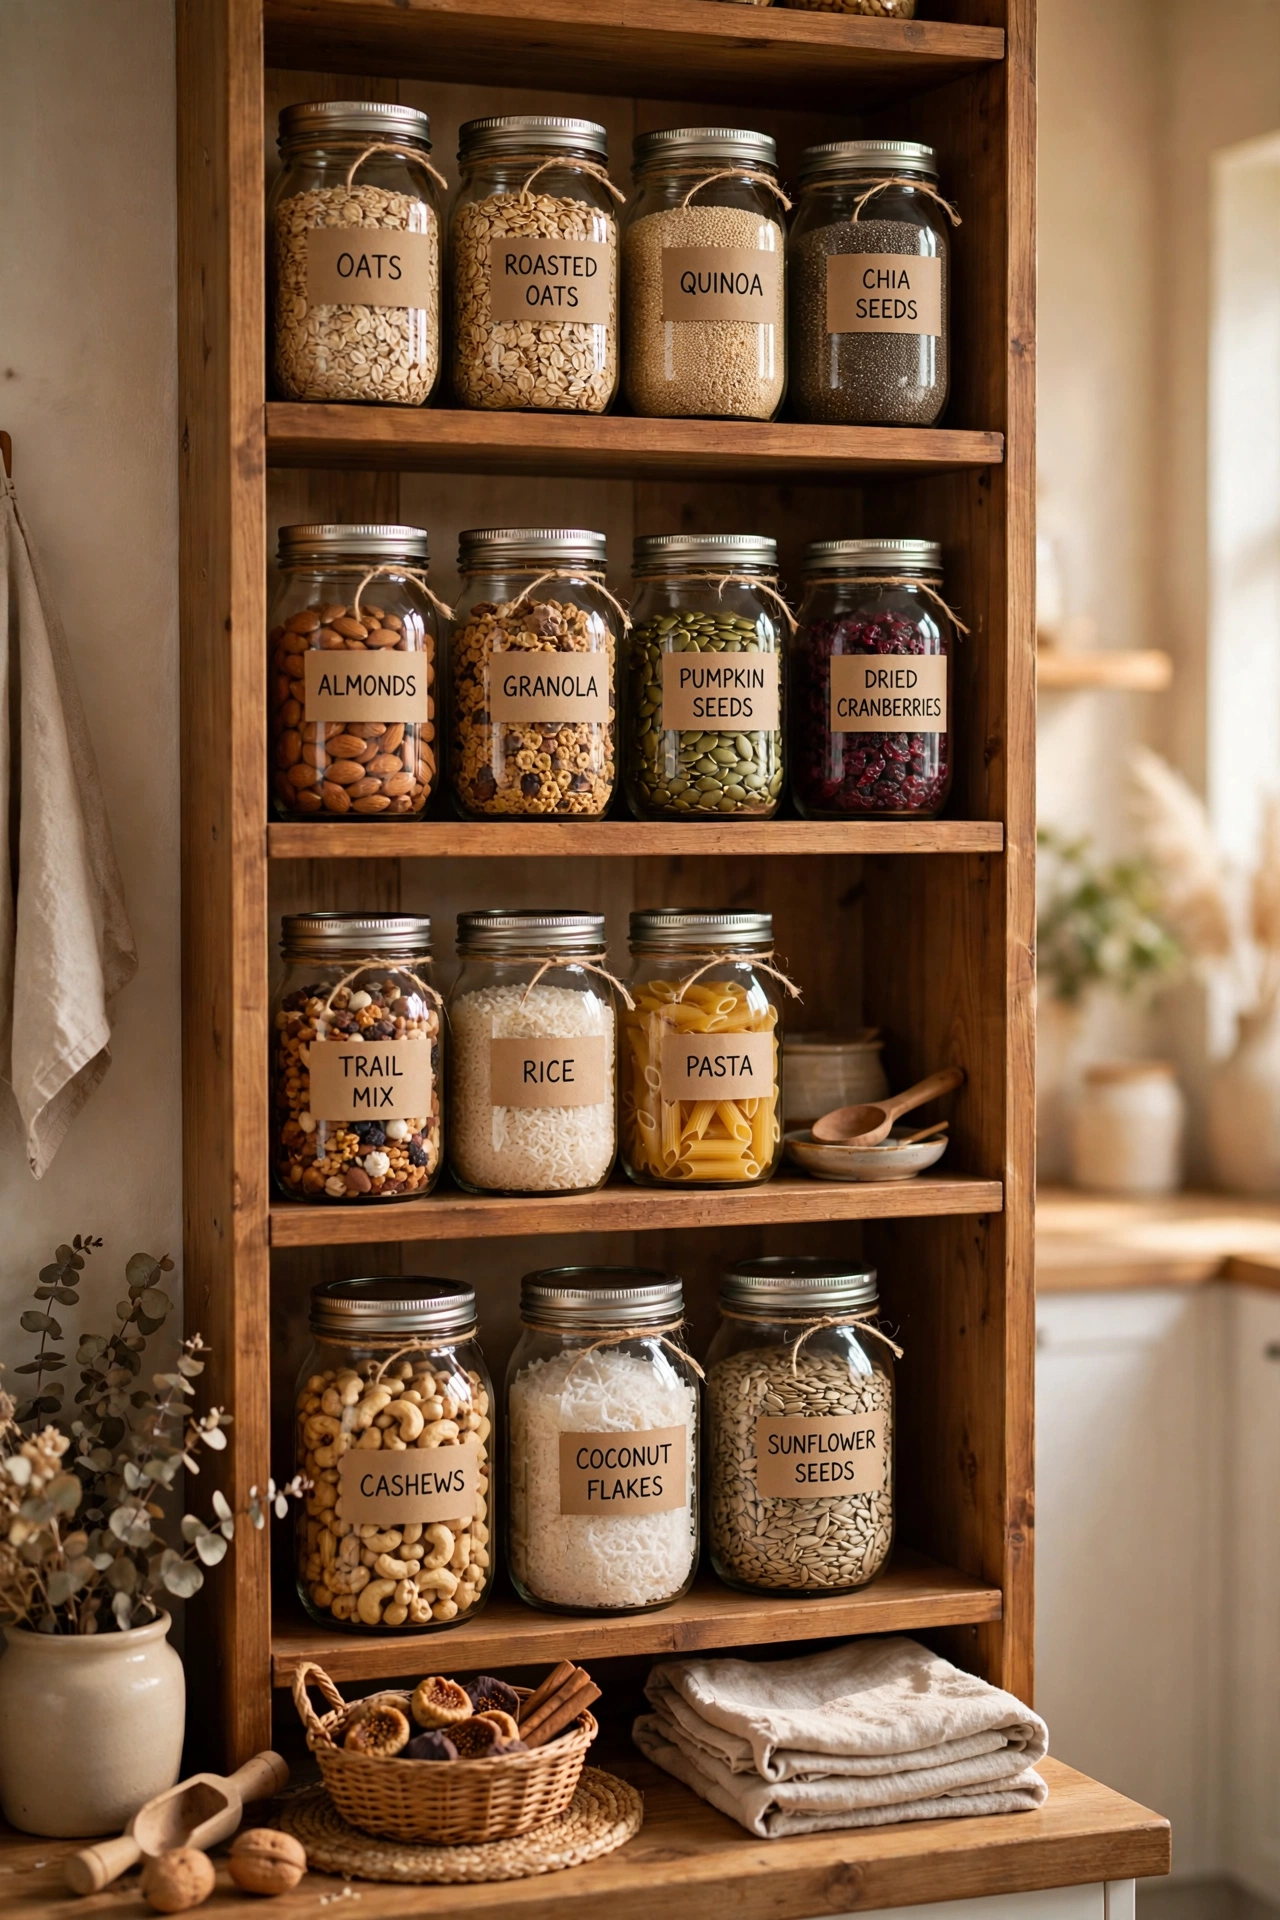
Cost: ~$3 · Time: 20 minutes
Mason jars are the workhorse of budget pantries. Use the smaller ones for snacks and baking bits, the larger ones for cereals and grains. Pour dry goods in through a funnel to avoid the rim mess I always used to make, and keep the metal lids on tight — they seal better than most people expect. I tried this in my own kitchen and the jars paid for themselves within a month just by keeping crackers fresh longer. Screw a strip of them under a shelf if you want them off the counter entirely, but check the screws hold before loading them up.
8. Over-the-Door Pantry Rack
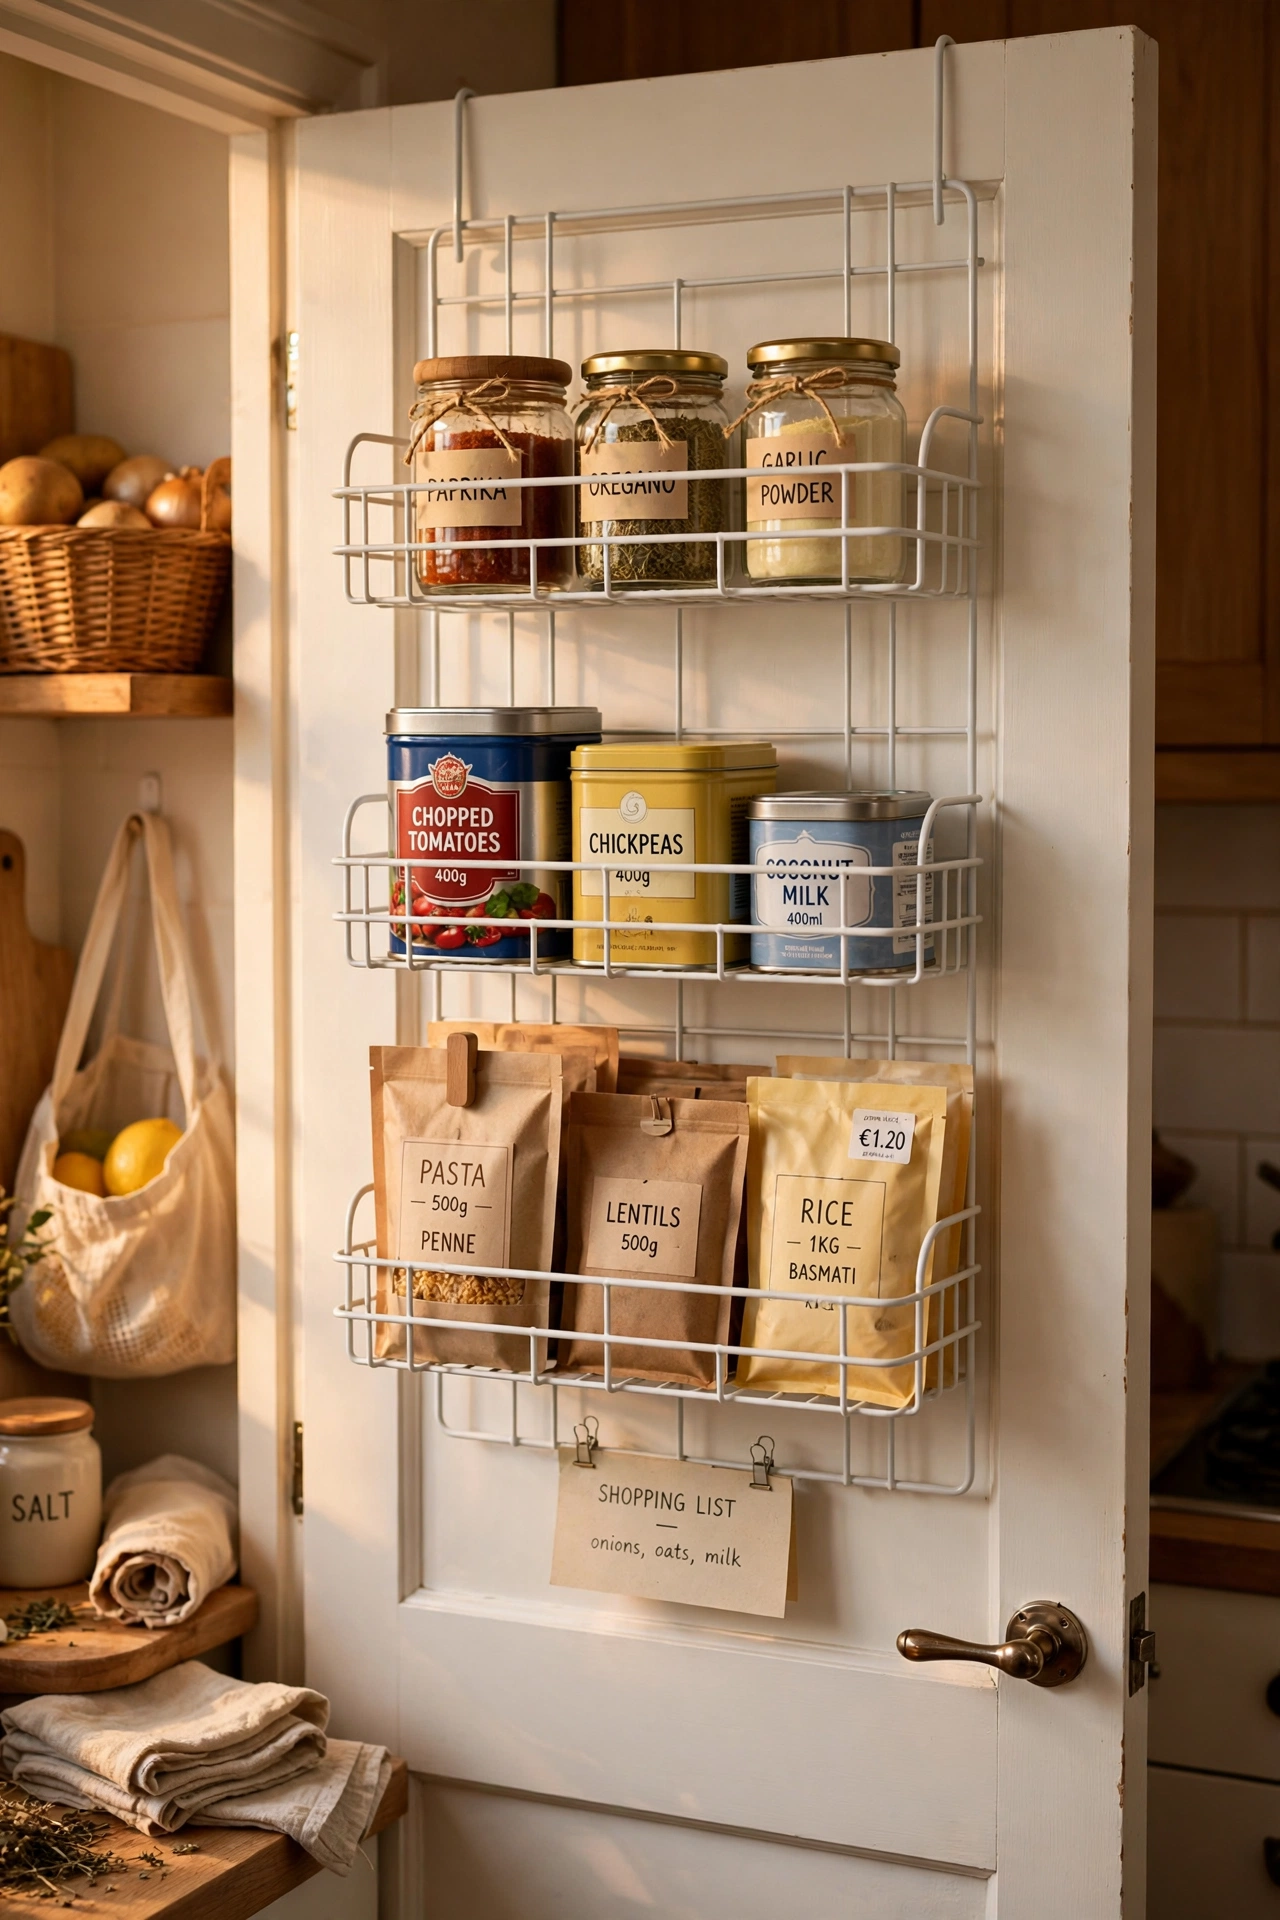
Cost: ~$5 · Time: 15 minutes
An over-the-door wire rack adds a full extra shelf system to a pantry door with no drilling. Hook it over, tighten the brackets, and load it with tins, packets and small jars. Keep the heaviest items low so the door still swings freely — I loaded mine top-heavy the first time and the door wouldn’t stay shut, which rather defeated the purpose. This is the find I recommend most to friends in rented flats, because it comes down without a trace when you move out. (see also: 23-dollar-tree-kitchen-decor-hacks-on-a-budget)
9. Ceramic-Look Utensil Crocks
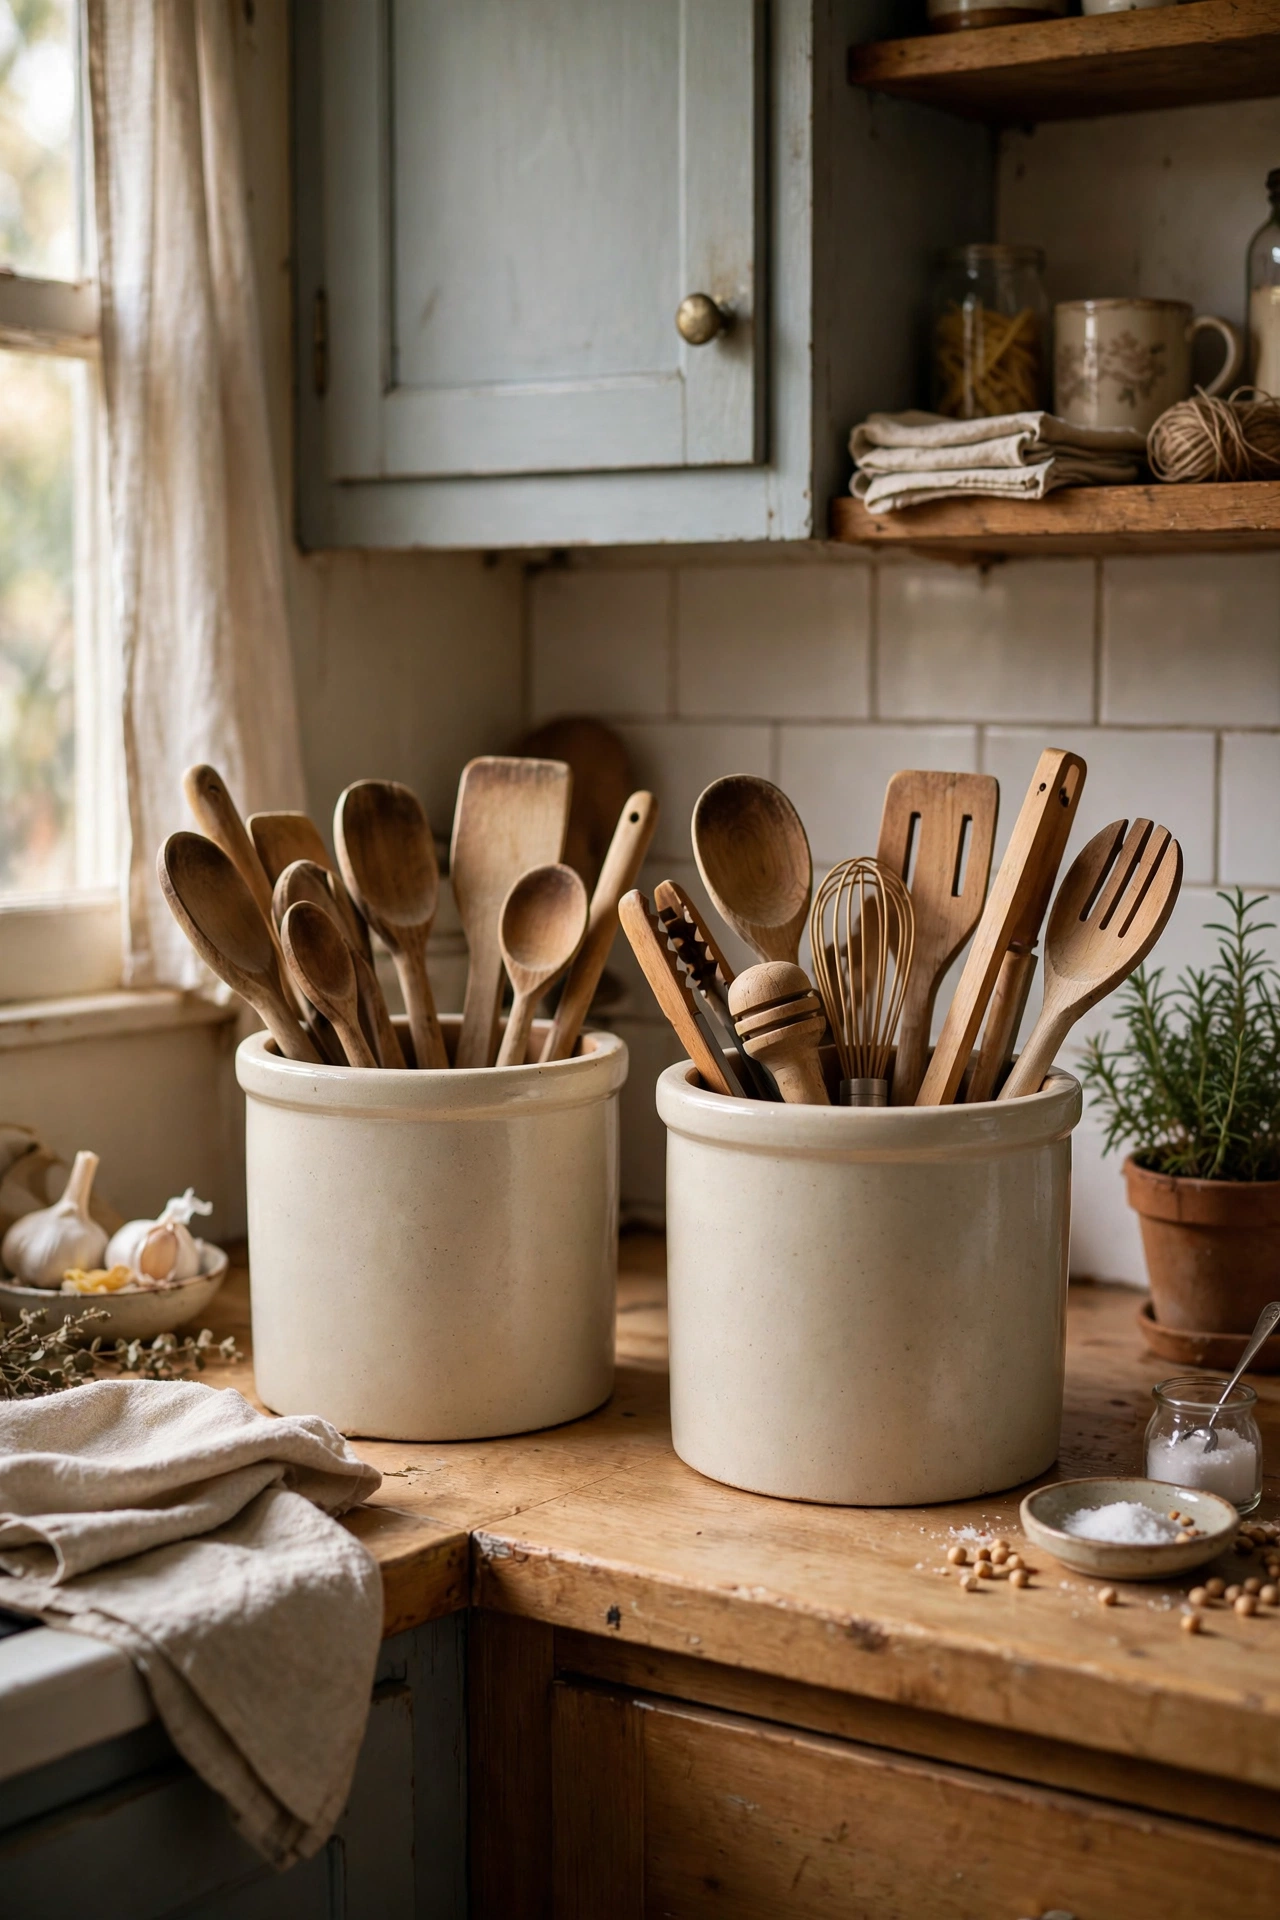
Cost: ~$2 each · Time: 10 minutes
Two matching crocks on the counter — one for cooking utensils, one for wooden spoons — replace the jumbled drawer entirely. Choose a neutral glaze colour so they sit quietly beside everything else, and don’t overfill them; if you can’t see each handle, you have too many. I cut my utensil collection in half when I switched to crocks and honestly never missed the spares. Wipe the rims weekly because cooking splatter finds them fast.
10. Collapsible Dish Drying Rack
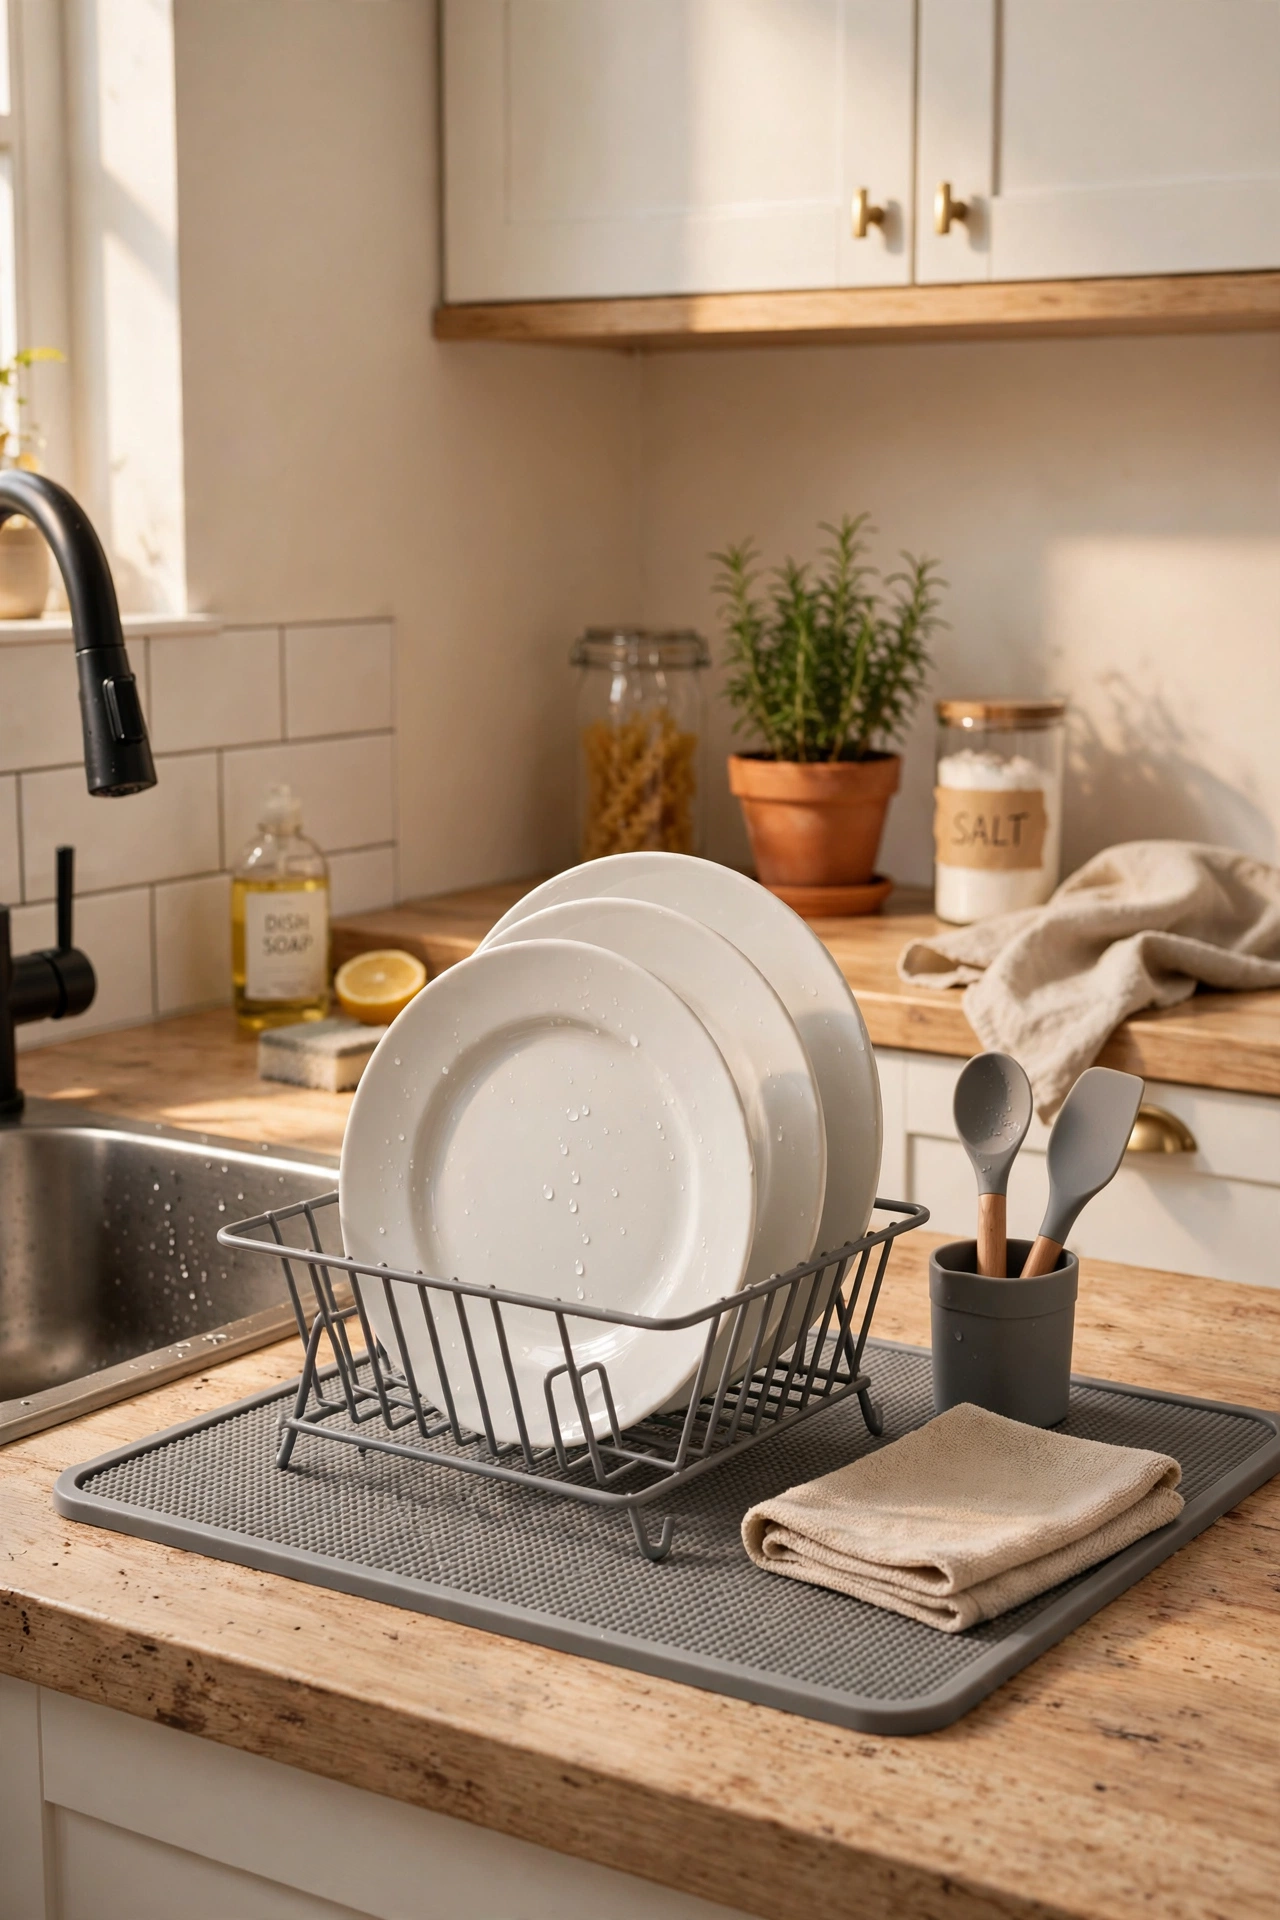
Cost: ~$4 · Time: 5 minutes
A compact rack that folds flat is perfect for small kitchens where a permanent drainer eats half the draining board. Set it up when you wash up, fold it away when you are done, and stand it upright behind the bin. I tried this after years of a bulky rack hogging the counter and the freed space felt like an extension. One mistake to avoid: don’t fold it while it’s still wet and shut it in a cupboard — it needs ten minutes of air first or it goes musty.
11. Silicone Baking Mats
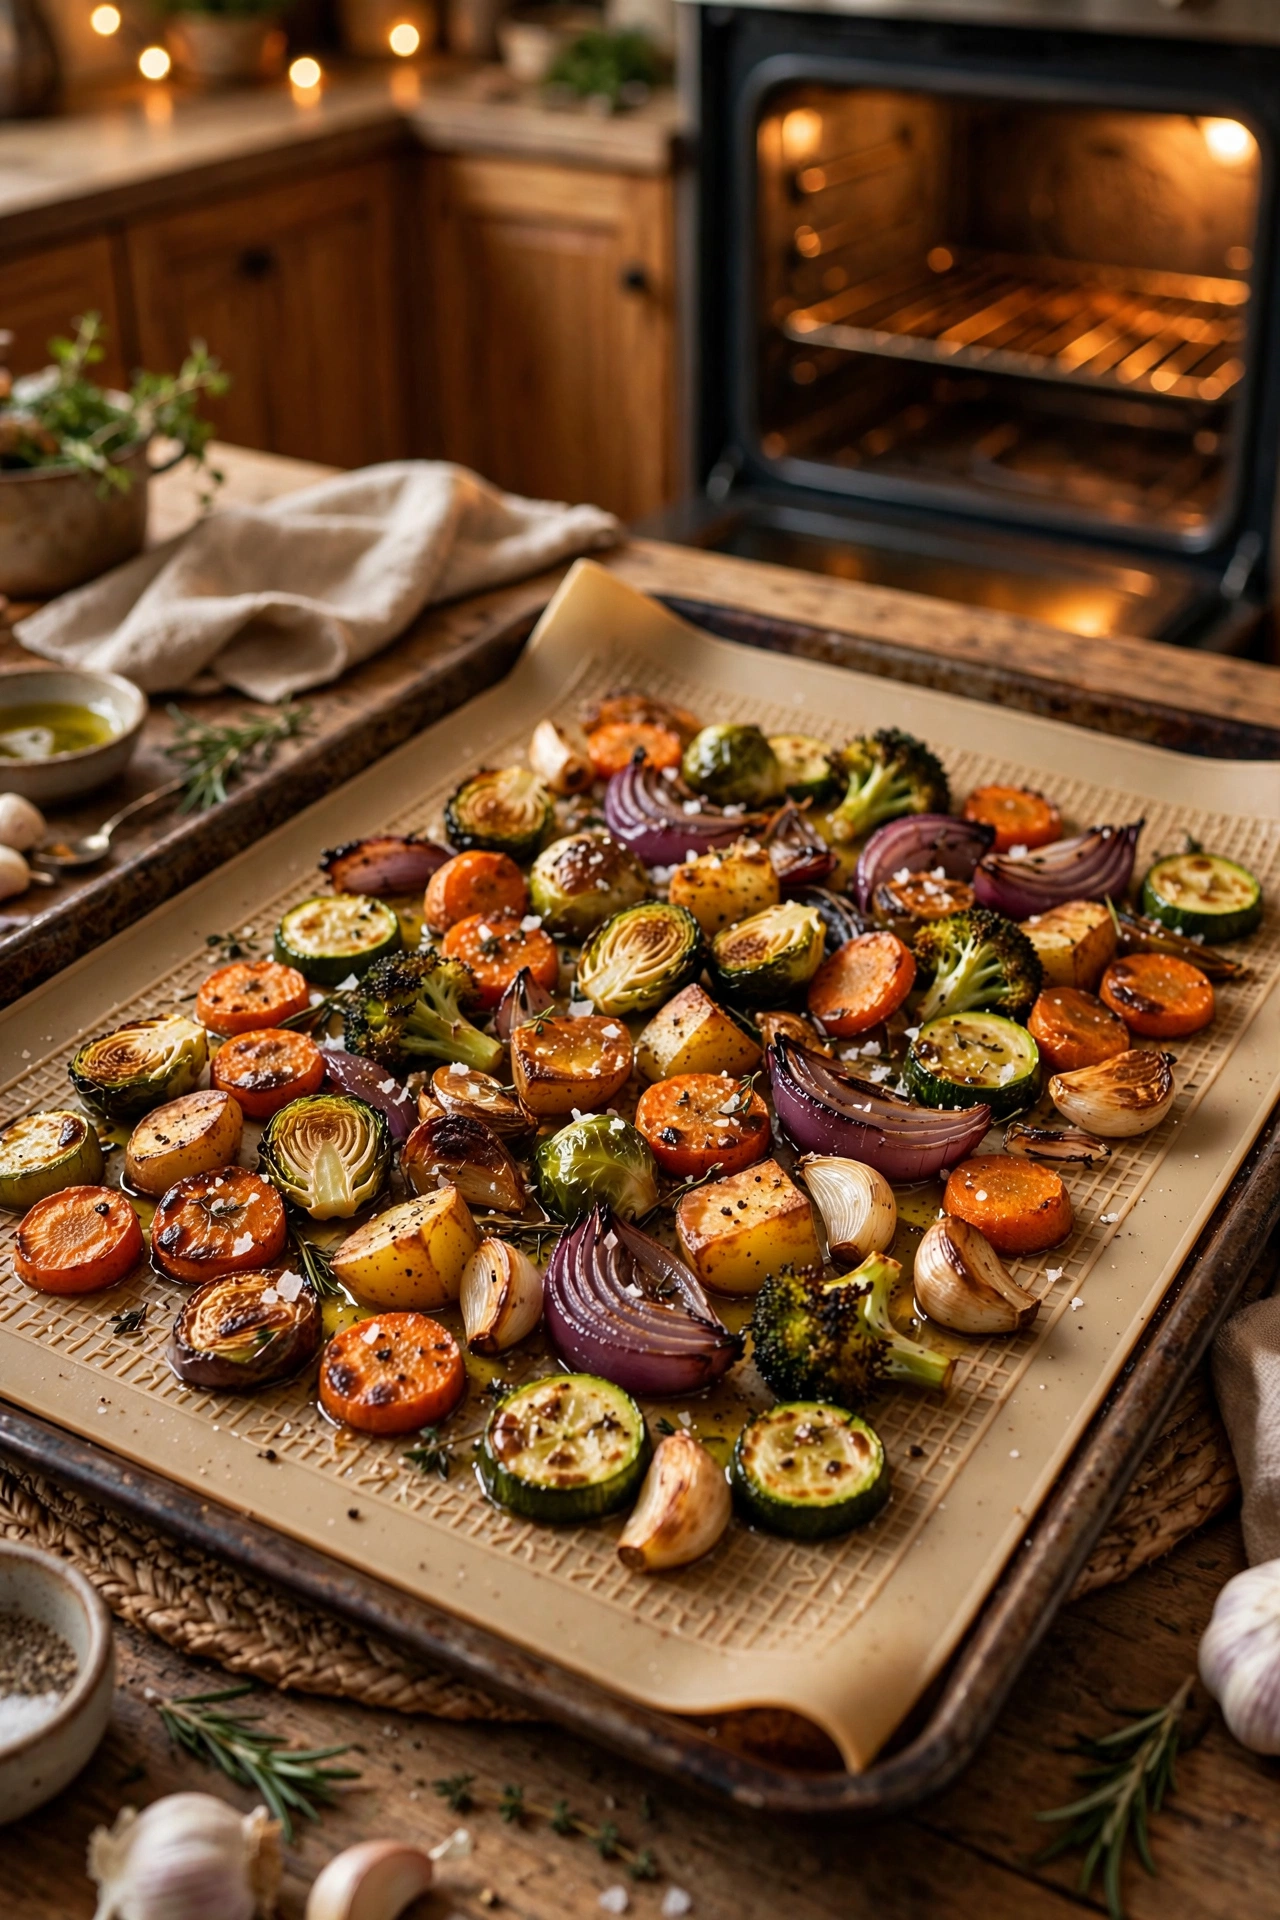
Cost: ~$3 · Time: 5 minutes
Reusable silicone mats replace rolls of baking parchment and they last for years. Lay one on your tray before roasting vegetables or baking biscuits, and nothing sticks. Rinse them in warm soapy water rather than the dishwasher to keep them in good shape — I warped my first one on a hot cycle and it never lay flat again. They also make brilliant non-slip drawer liners; one mat cut to size solved my sliding cutlery tray problem.
12. Wooden Cutting Boards as Decor
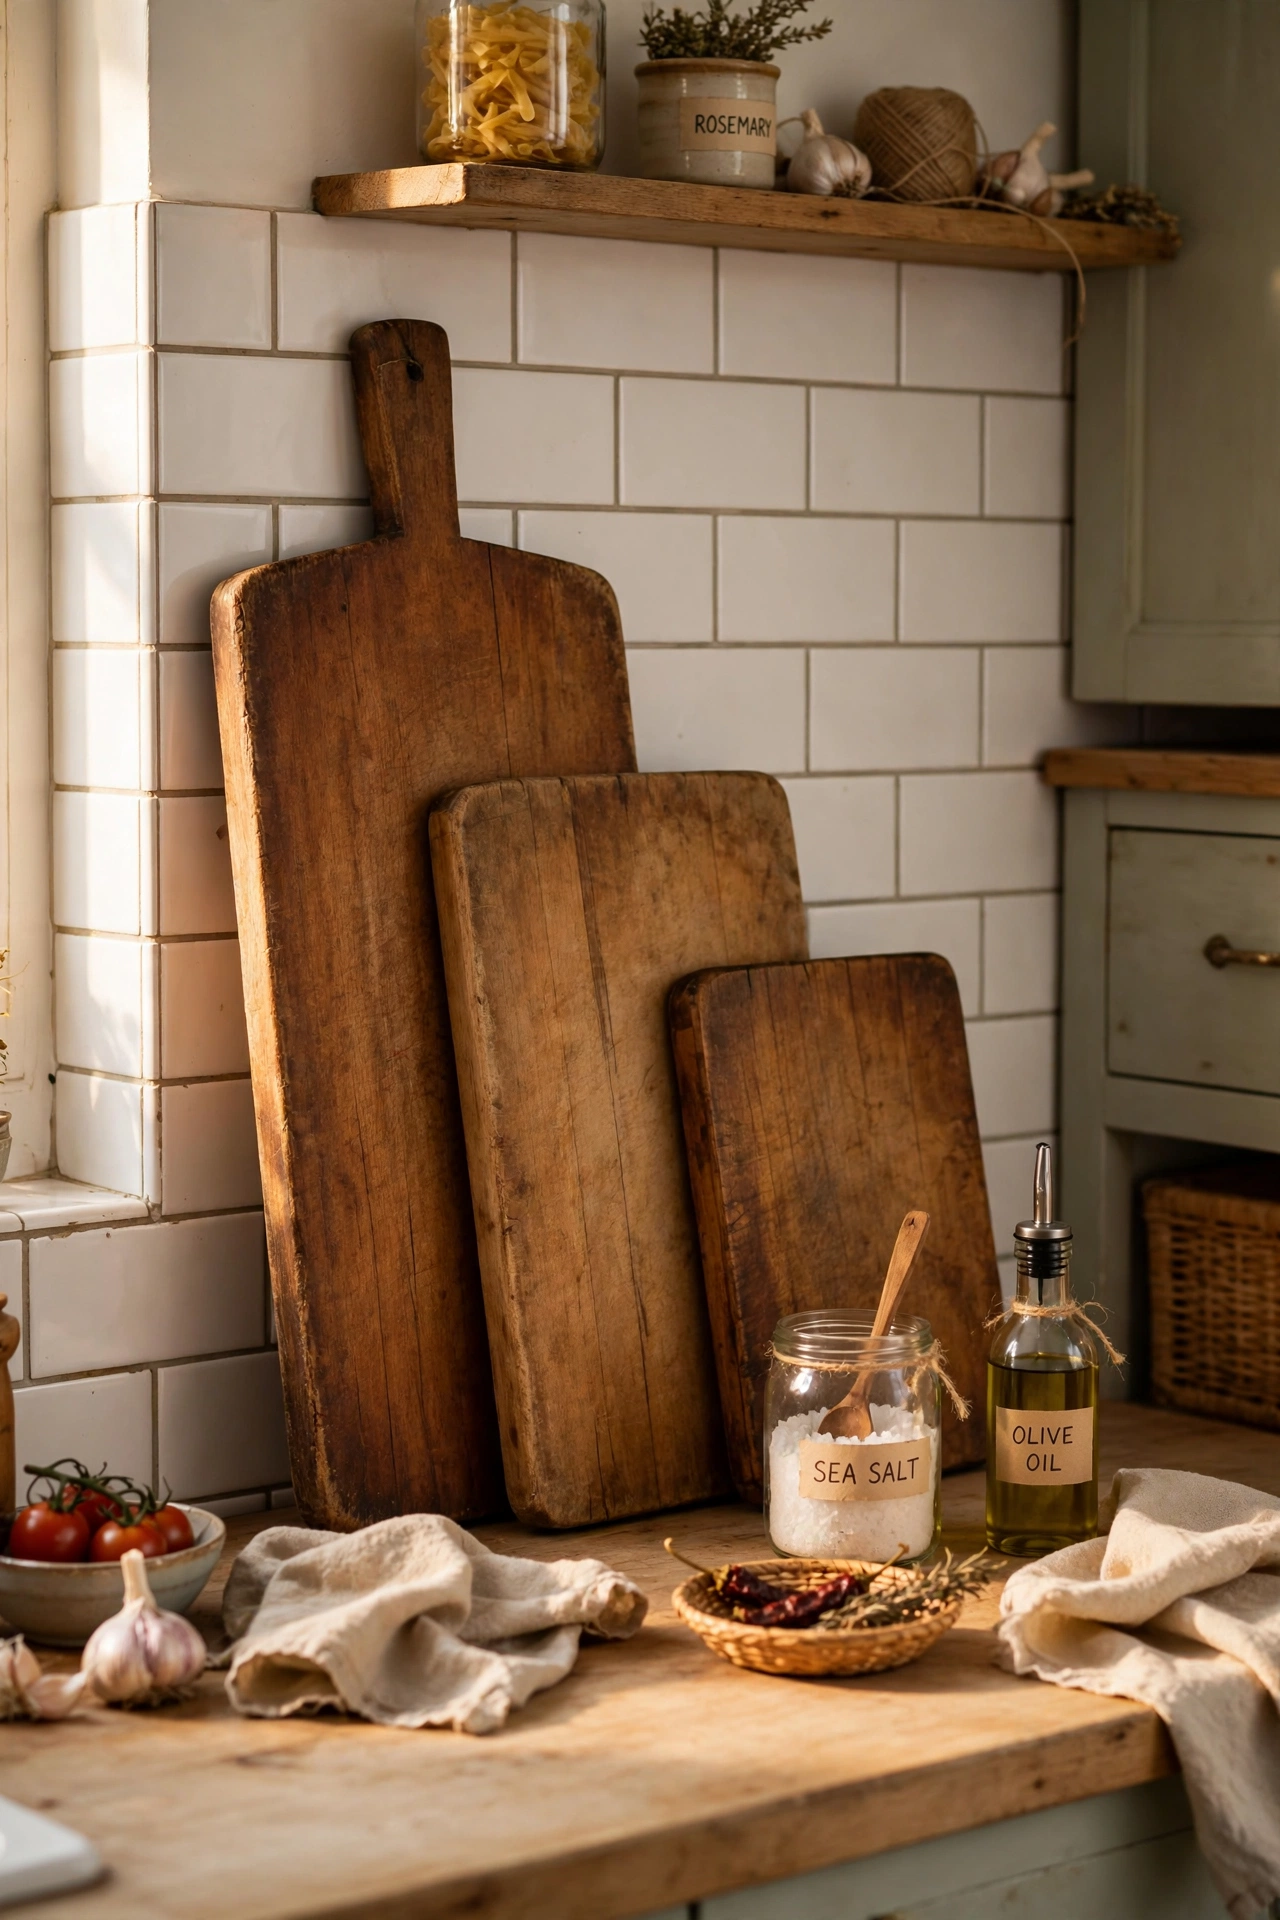
Cost: ~$3 · Time: 10 minutes
Lean two or three wooden boards of different sizes against the splashback and the whole worktop looks styled. Pick boards with visible grain rather than the pale uniform ones — the variation is what makes them look good. Oil them occasionally with food-safe mineral oil so they don’t dry out and crack. I keep one purely decorative board that never touches food, and one honest workhorse that gets the daily chopping. The decorative one has survived three years because it never meets a knife.
13. Flour-Sack Tea Towels
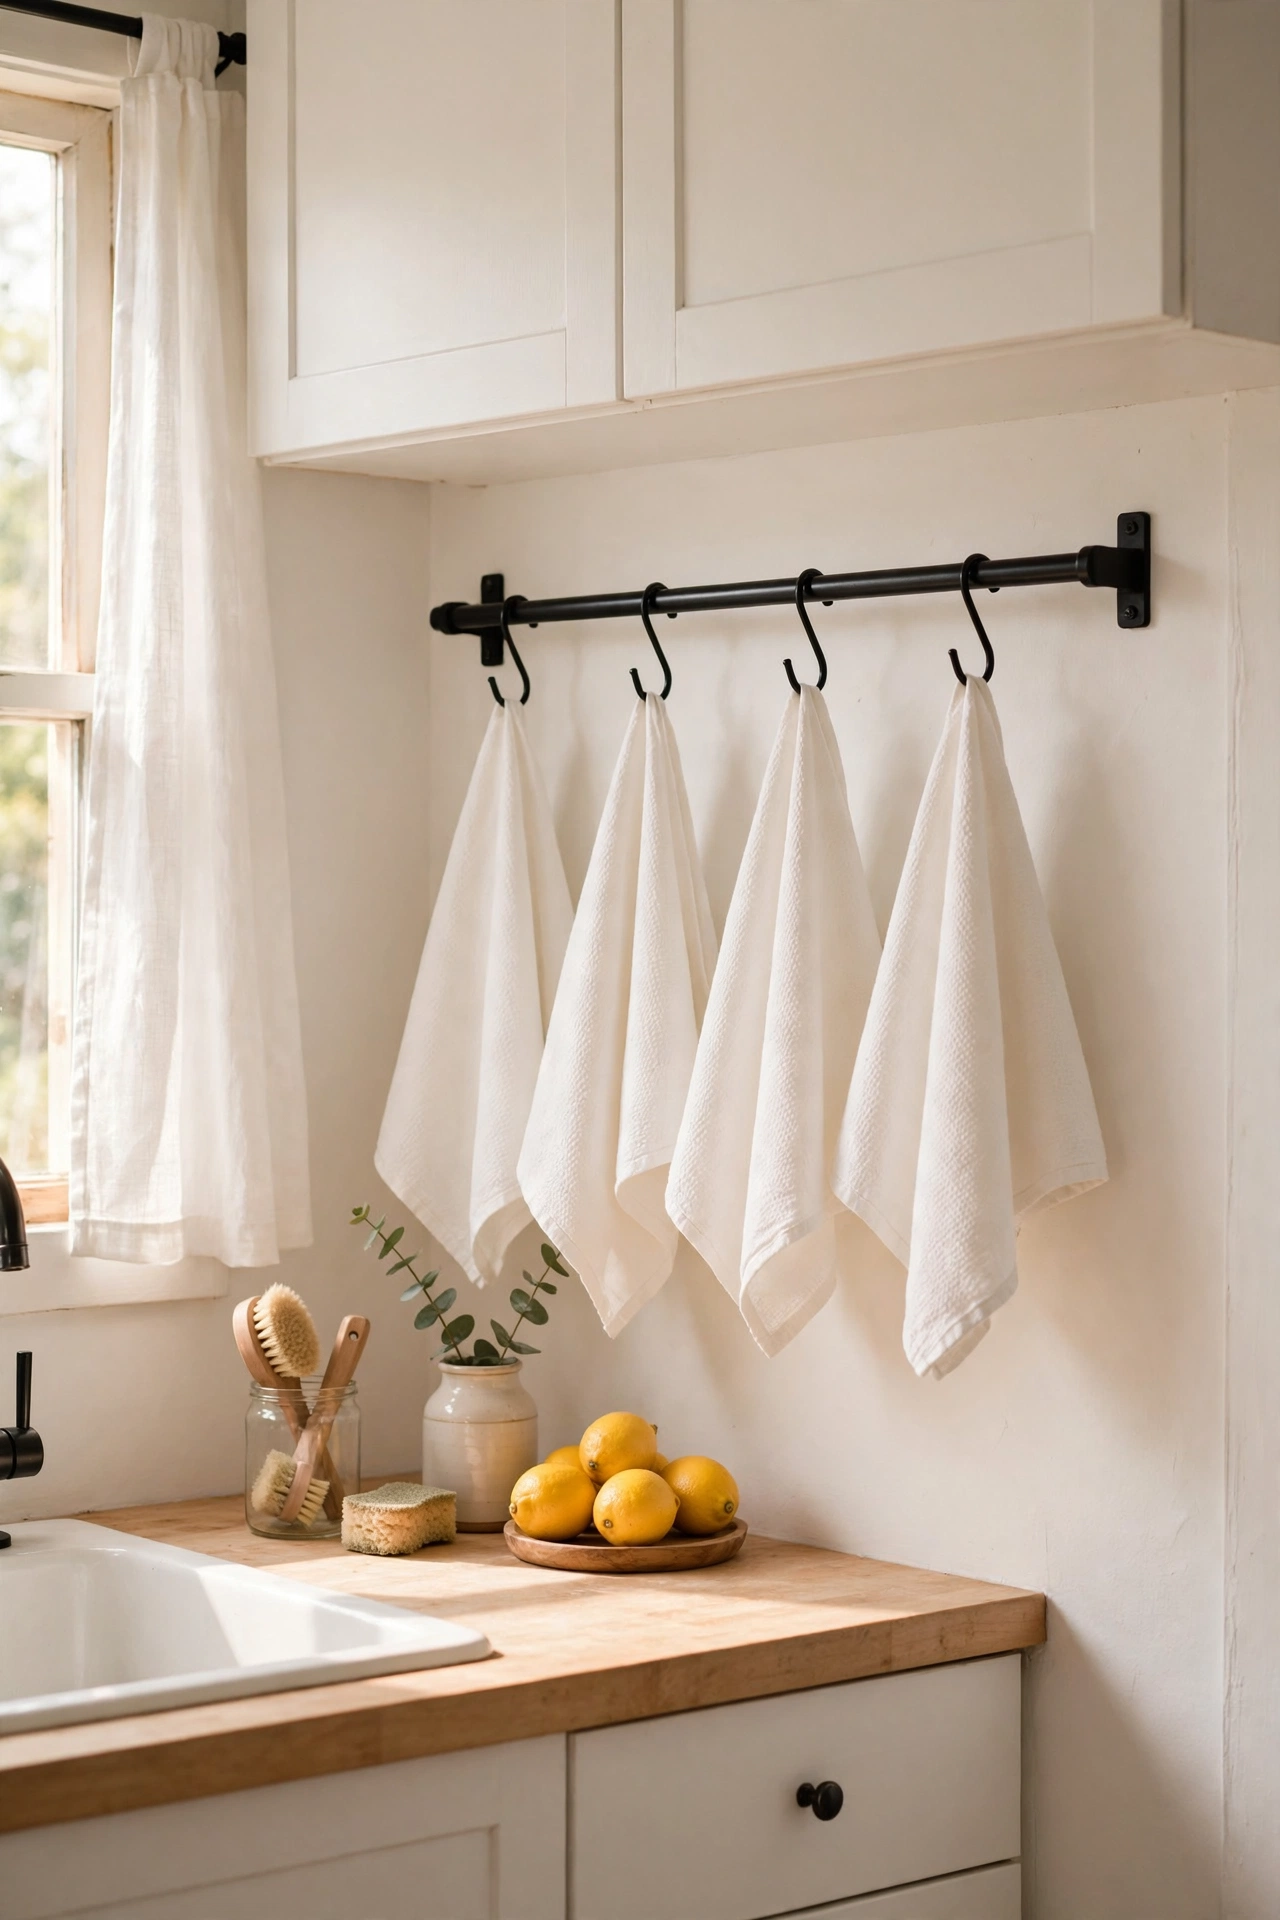
Cost: ~$2 for a pack · Time: 5 minutes
A bundle of plain flour-sack towels hung on a rail or folded over the oven handle reads as deliberately minimal, and they dry dishes better than most fancy tea towels. Buy the plain white packs and avoid the ones with printed slogans — they date fast and clash with everything. I rotate mine through the week and keep the stained ones for cleaning; it is a small system but it keeps the kitchen looking crisp. Wash them hot and they soften beautifully over time.
14. Stand-Alone Paper Towel Holder
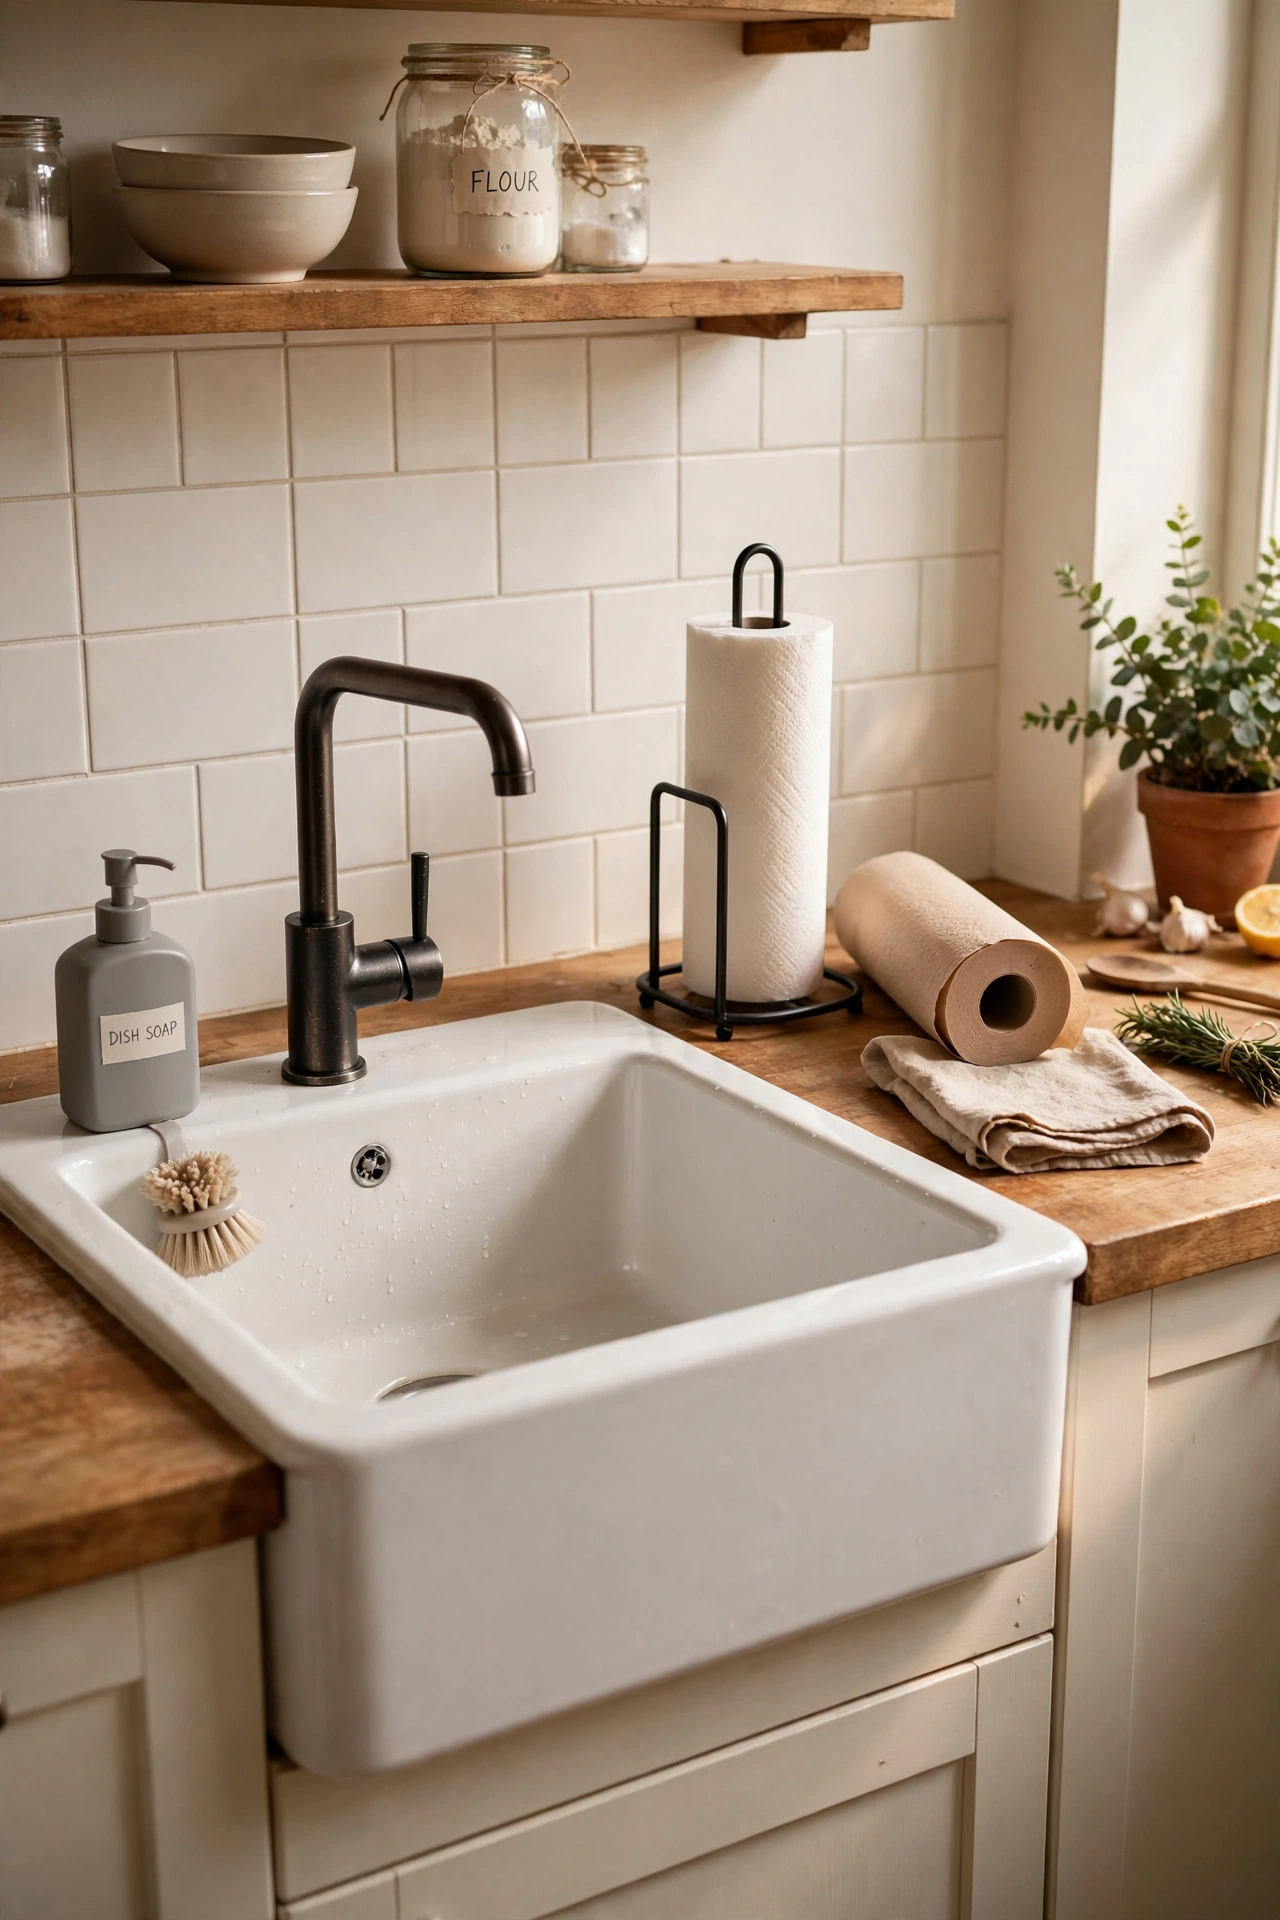
Cost: ~$2 · Time: 5 minutes
A simple weighted holder for paper towels costs almost nothing and ends the era of the roll rolling around the counter. Look for one with a rubberised base so it doesn’t slide when you tear off a sheet one-handed. I tried the cheapest version first and it tipped over constantly; the slightly heavier design from the same shelf solved it completely. Tuck it beside the sink and it becomes invisible in the best way — you only notice it when it’s missing.
15. Suction-Cup Sink Caddy
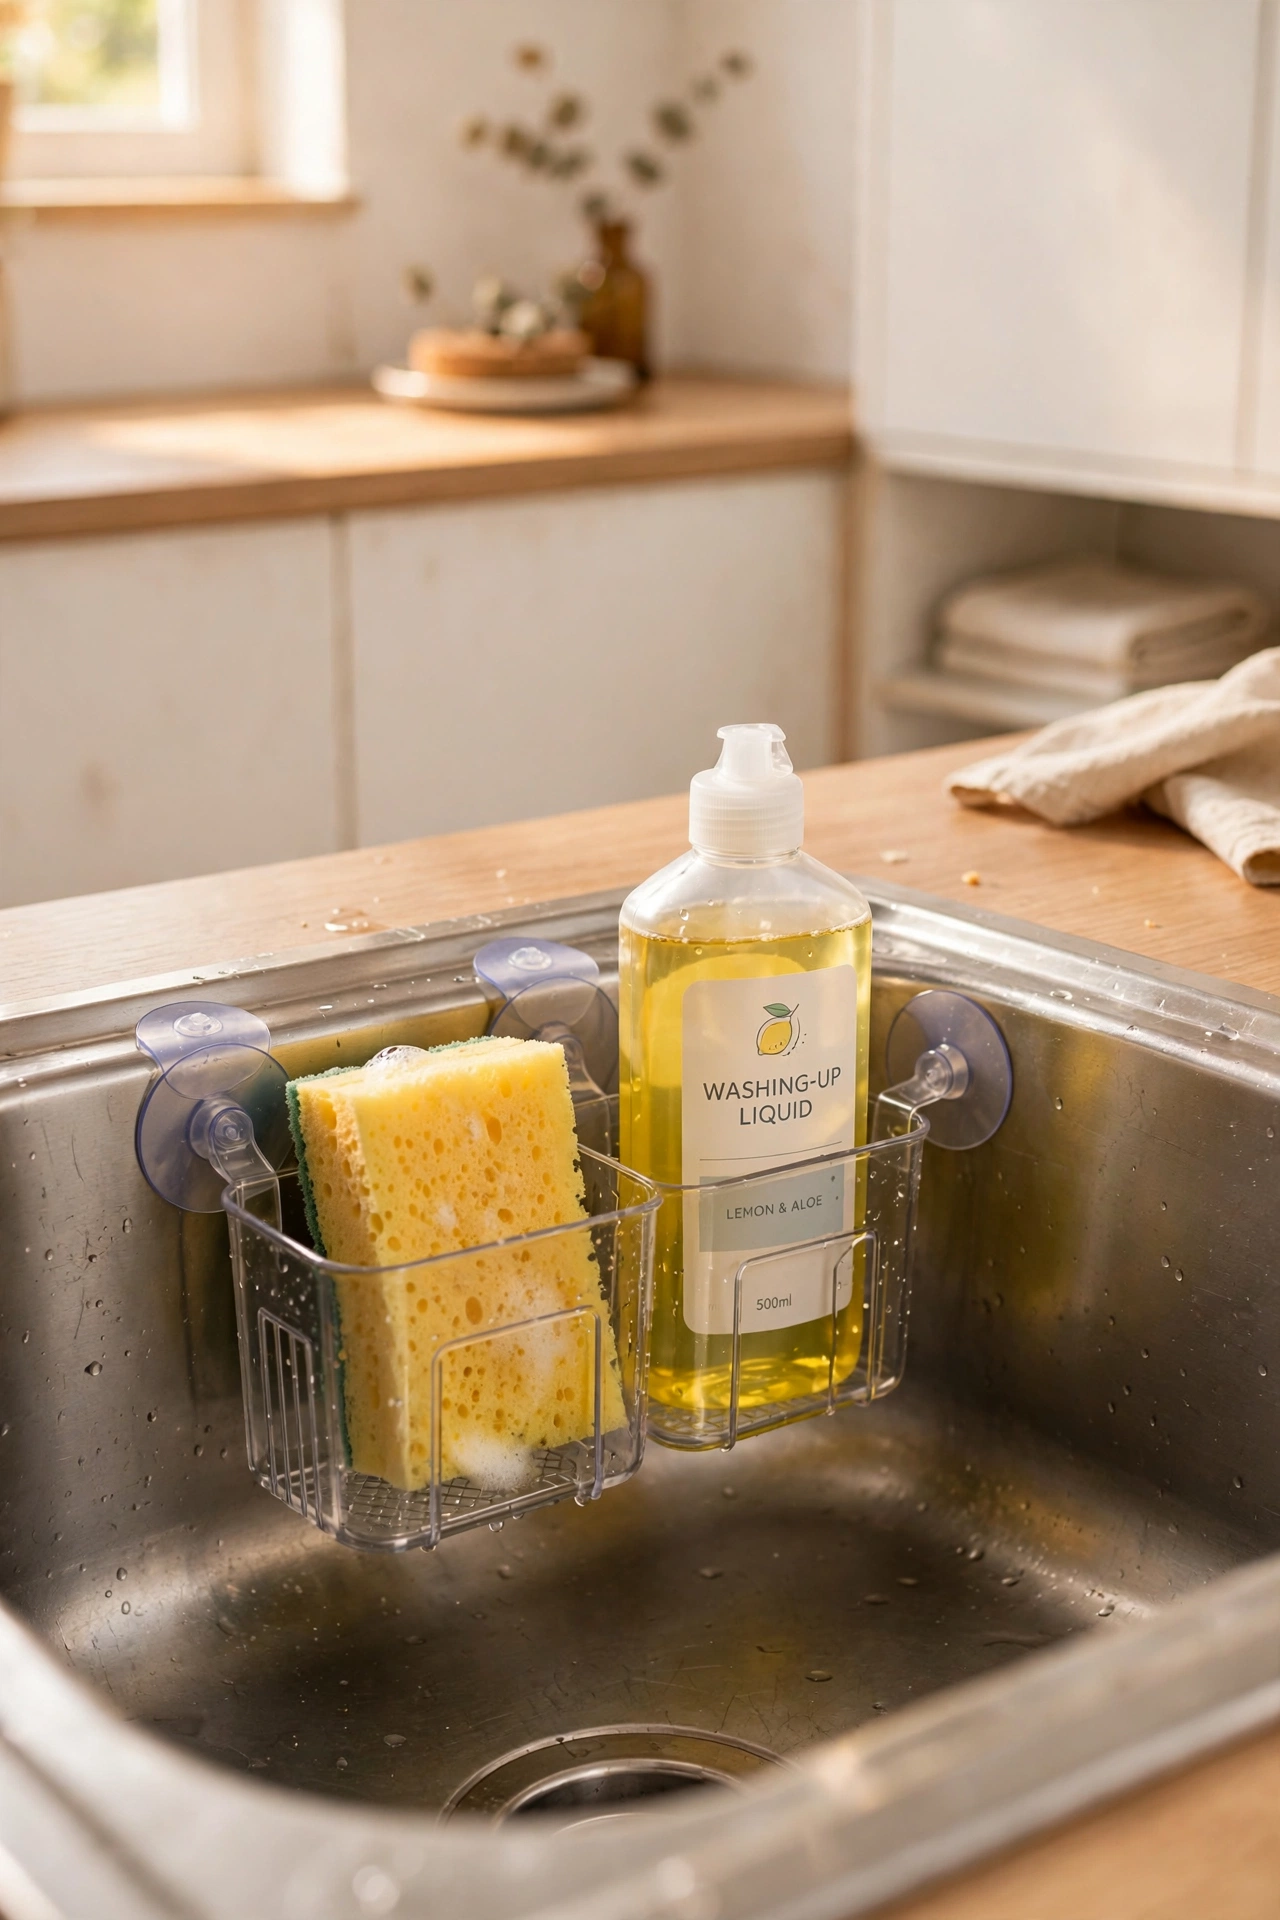
Cost: ~$2 · Time: 10 minutes
A suction-cup caddy stuck to the inside of the sink keeps washing-up liquid and the sponge off the counter and lets everything drain properly. Clean the surface with a splash of vinegar first so the cups grip — they fail on greasy tile, which is the most common reason people think they don’t work. I moved my sponge into one of these and the sour-sponge smell disappeared within days because it finally dried between uses. Check the cups monthly and re-press them before they slide.
16. Nested Measuring Cup Sets
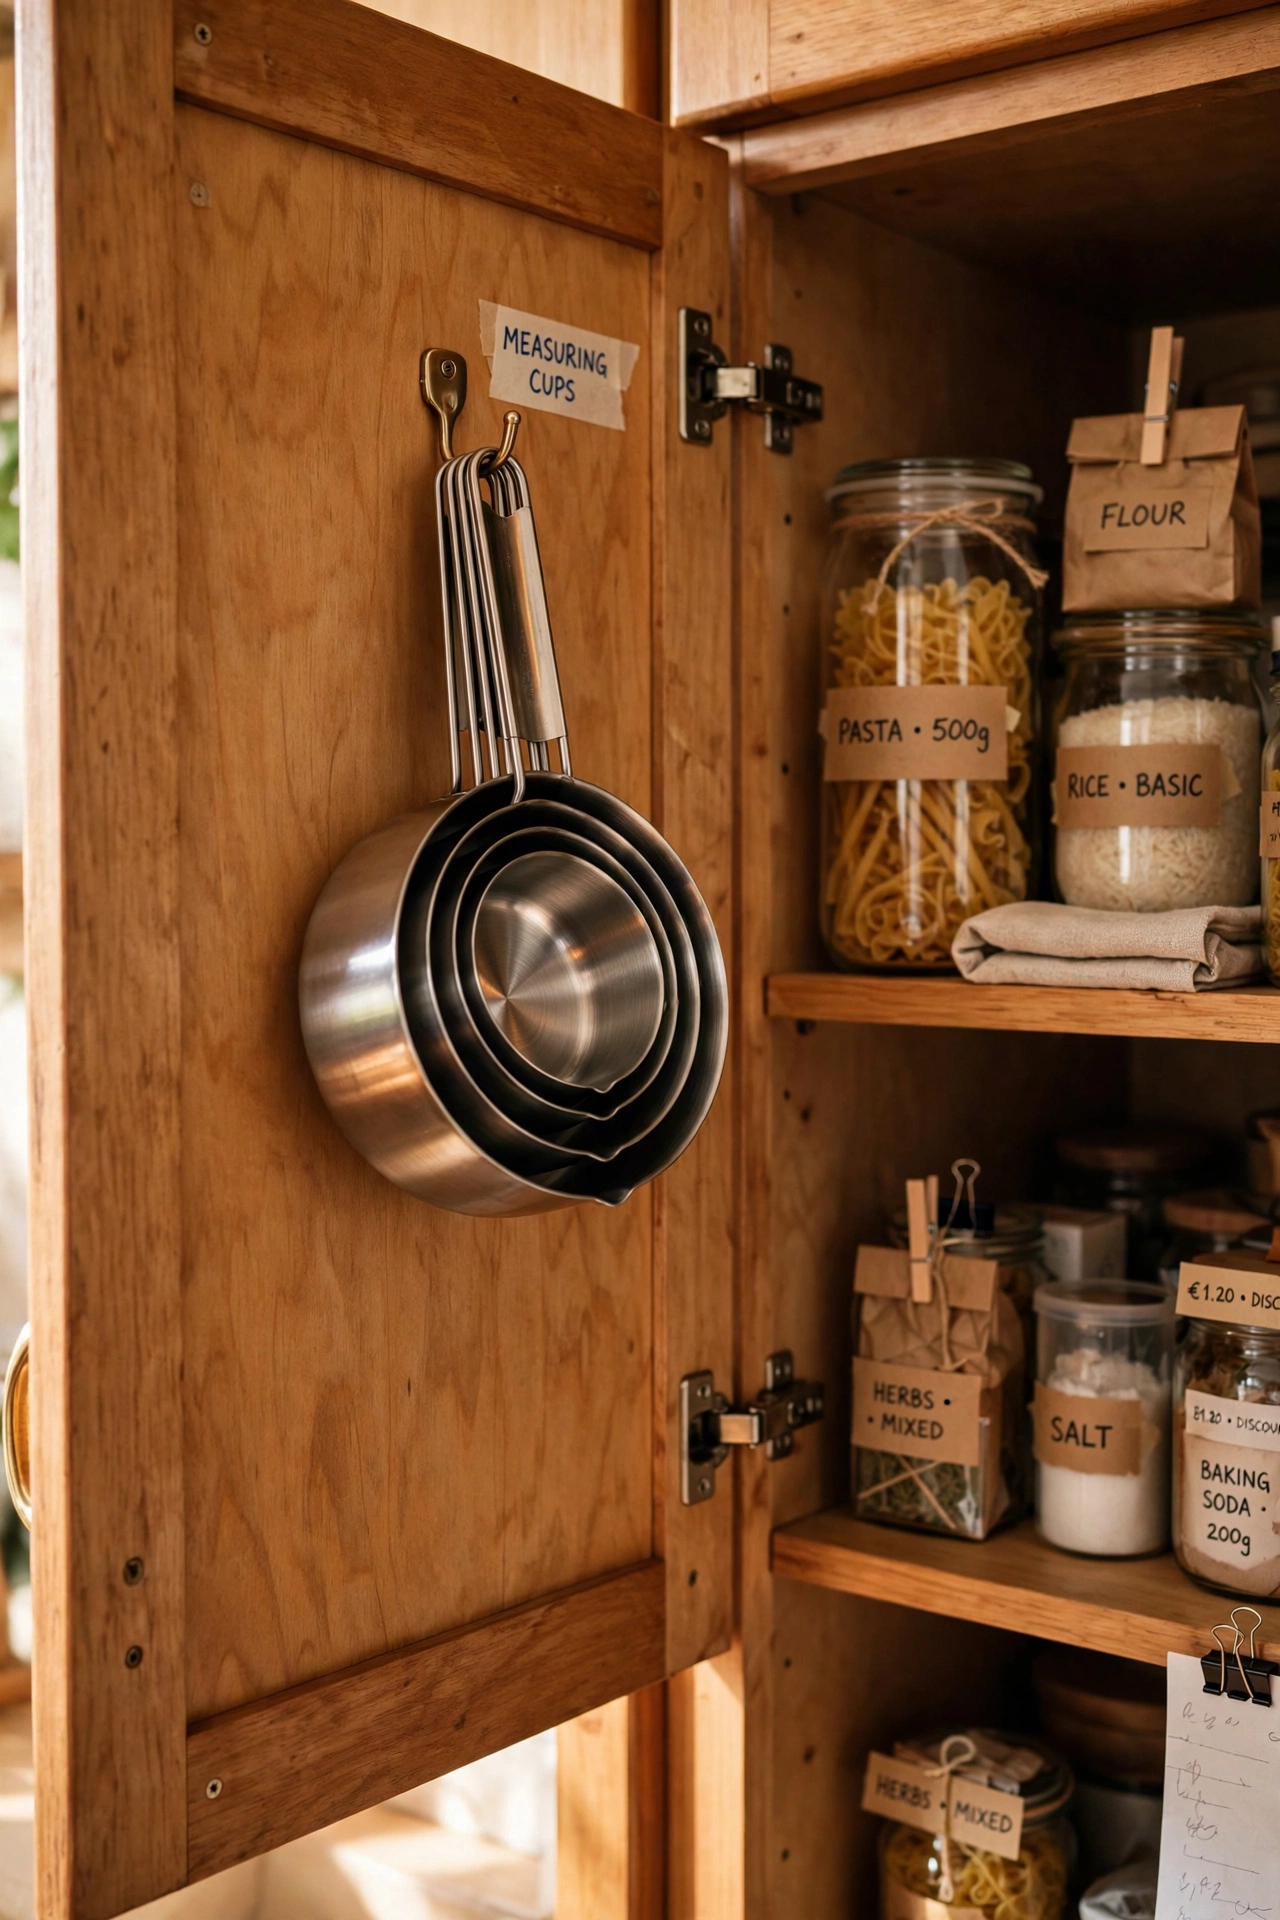
Cost: ~$2 · Time: 5 minutes
A fresh set of nested measuring cups with clear markings replaces the stained, scratched set everyone keeps too long. The trick is to buy the metal-look ones rather than thin plastic — they read as proper kitchen kit and survive daily use. Hang them from a hook inside a cupboard door so they are always to hand. I tried this in my own kitchen and realised my old cups had faded markings I’d been guessing at for years; my baking improved overnight, which is embarrassing to admit.
17. Reusable Produce Storage Bags
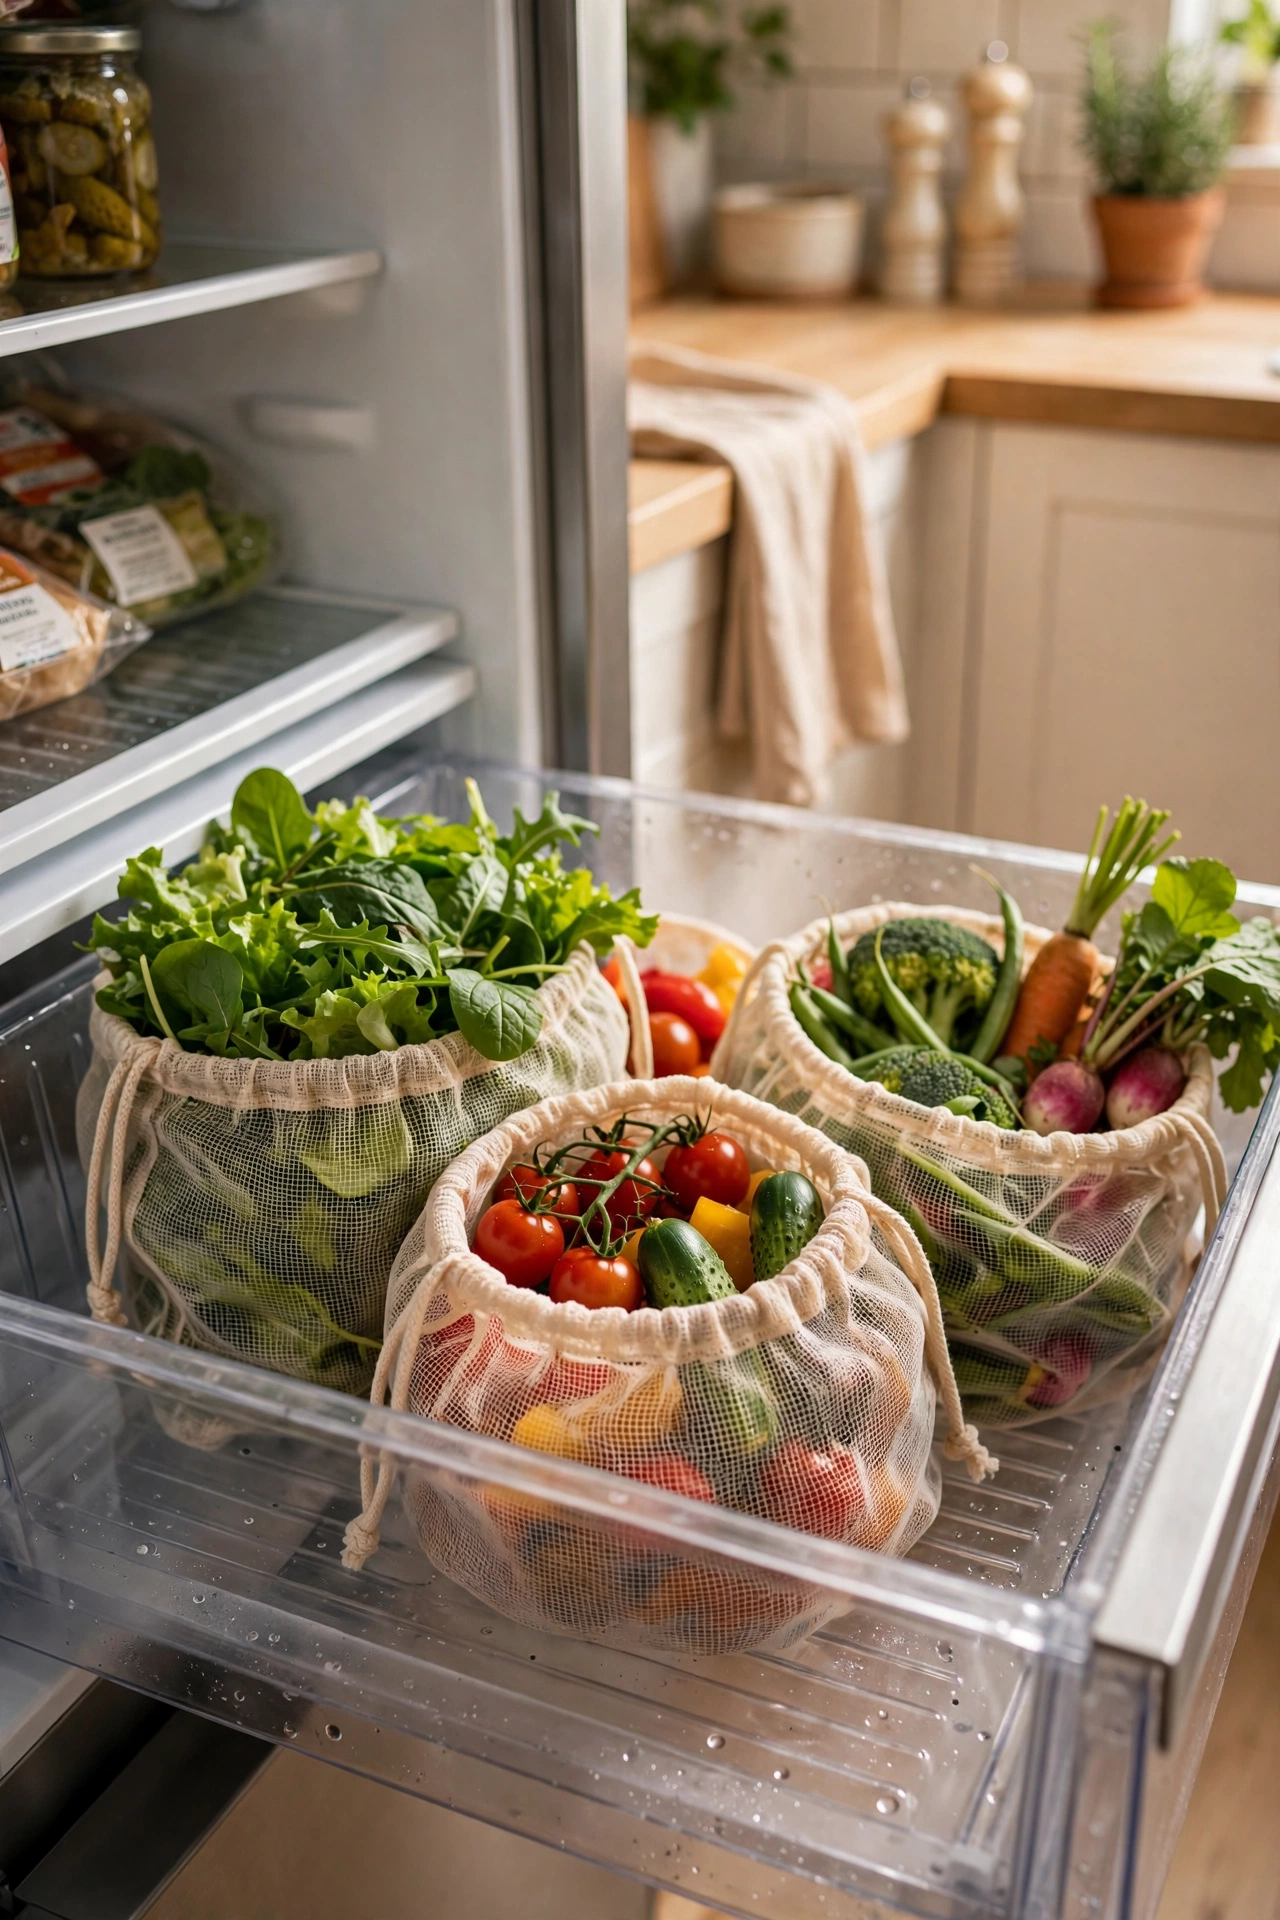
Cost: ~$3 · Time: 10 minutes
Mesh produce bags from the dollar store work just as well as the expensive ones for keeping salad leaves and herbs fresh. Dampen the bag slightly for leafy greens, leave it dry for mushrooms, and store everything in the crisper drawer. I started using these instead of cling film and cut my plastic wrap use by half within a month. One mistake to avoid is overpacking them — air needs to circulate or the greens go slimy faster, not slower.
18. Lazy-Susan Turntable for the Pantry
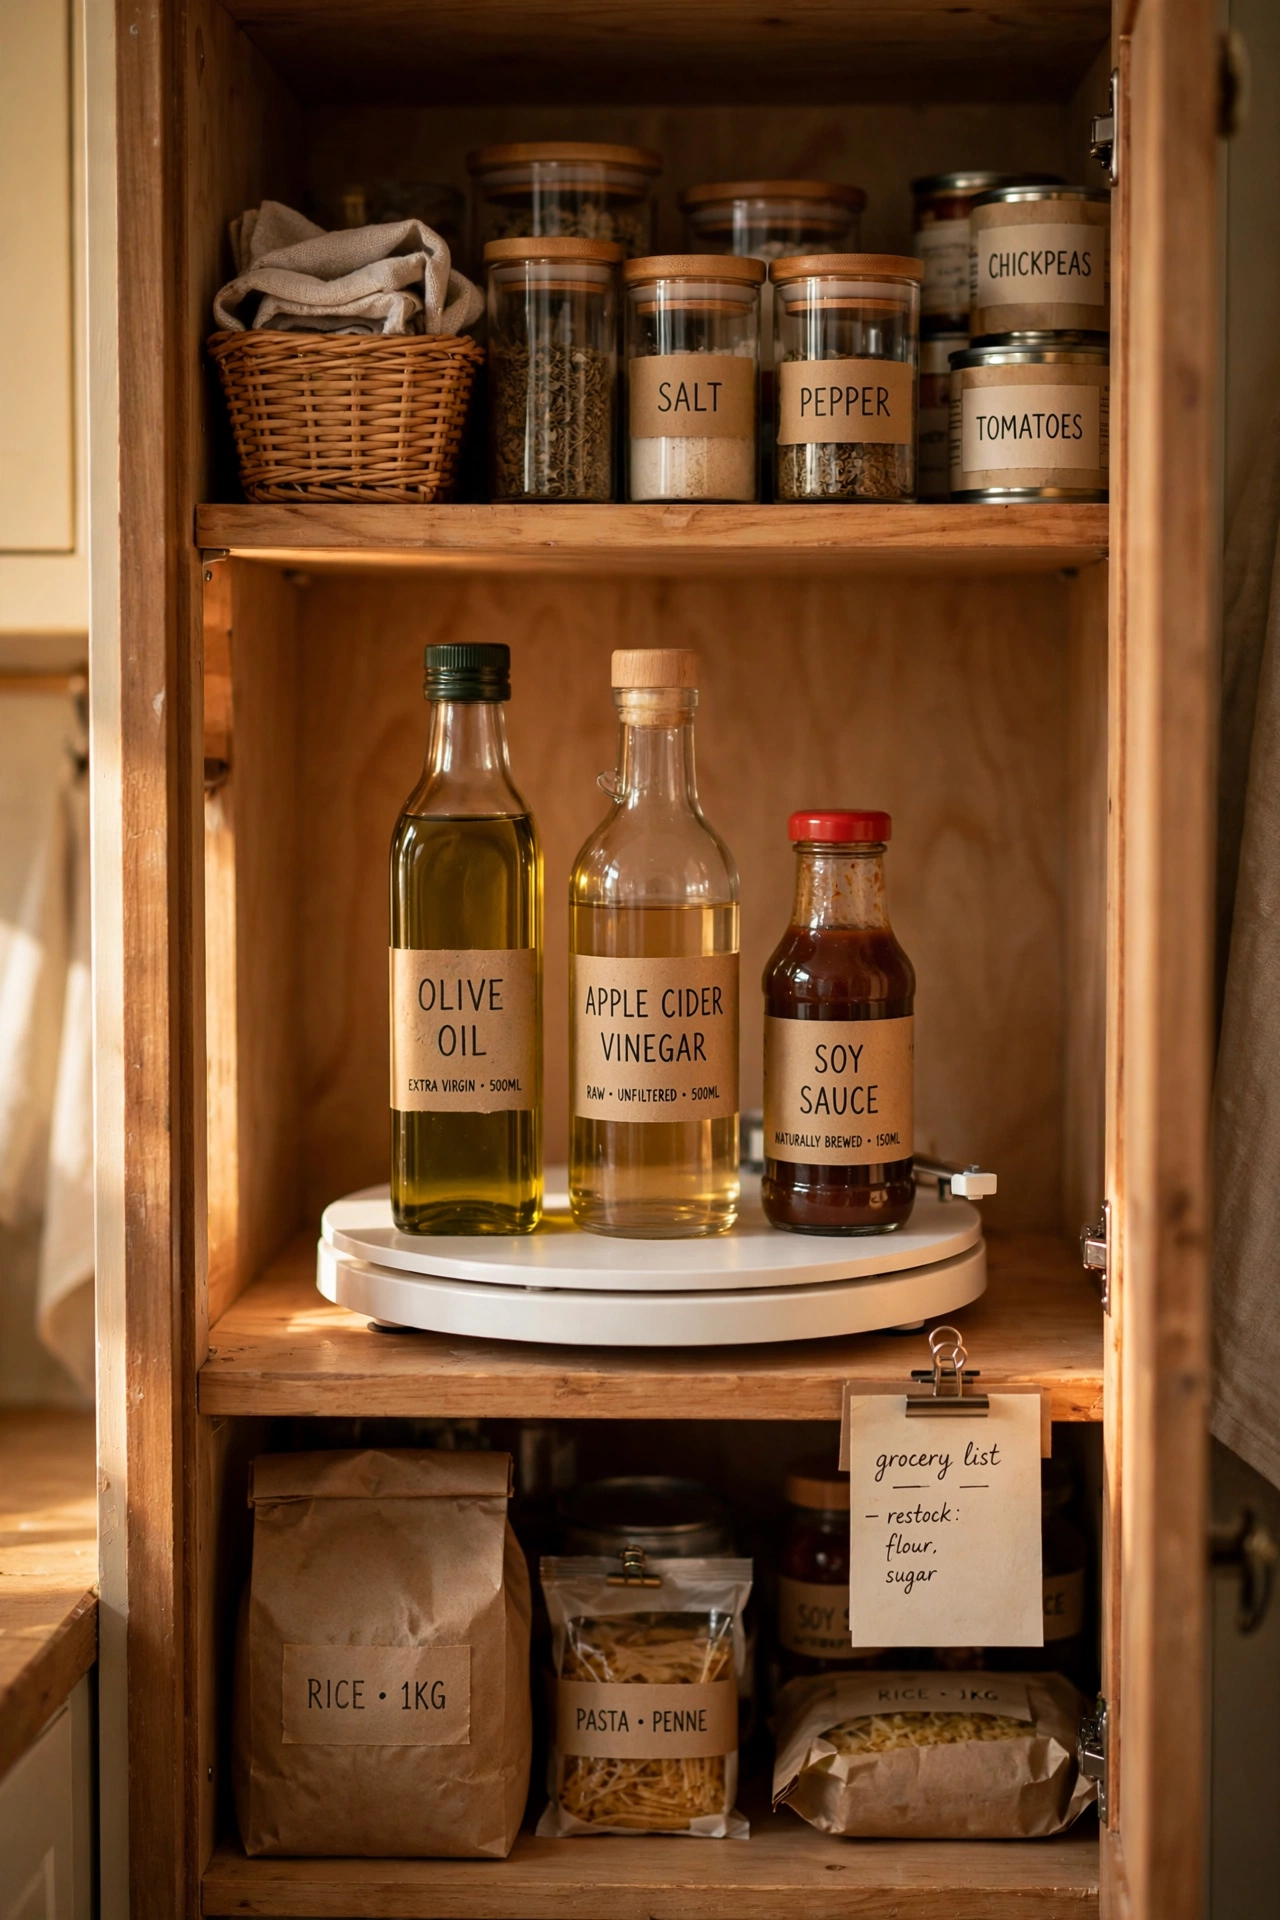
Cost: ~$3 · Time: 10 minutes
A small turntable in a deep pantry cupboard ends the ritual of pulling out six jars to reach the one at the back. Put oils, vinegars and sauces on it and give it a spin. I added one to my most annoying corner cupboard and it felt like gaining a new shelf. Wipe it down monthly because drips collect under the bottles. If your cupboard doors are narrow, measure the diameter first — the standard size fits most, but tight corners need the smaller one.
19. Under-Cabinet Mug Hooks
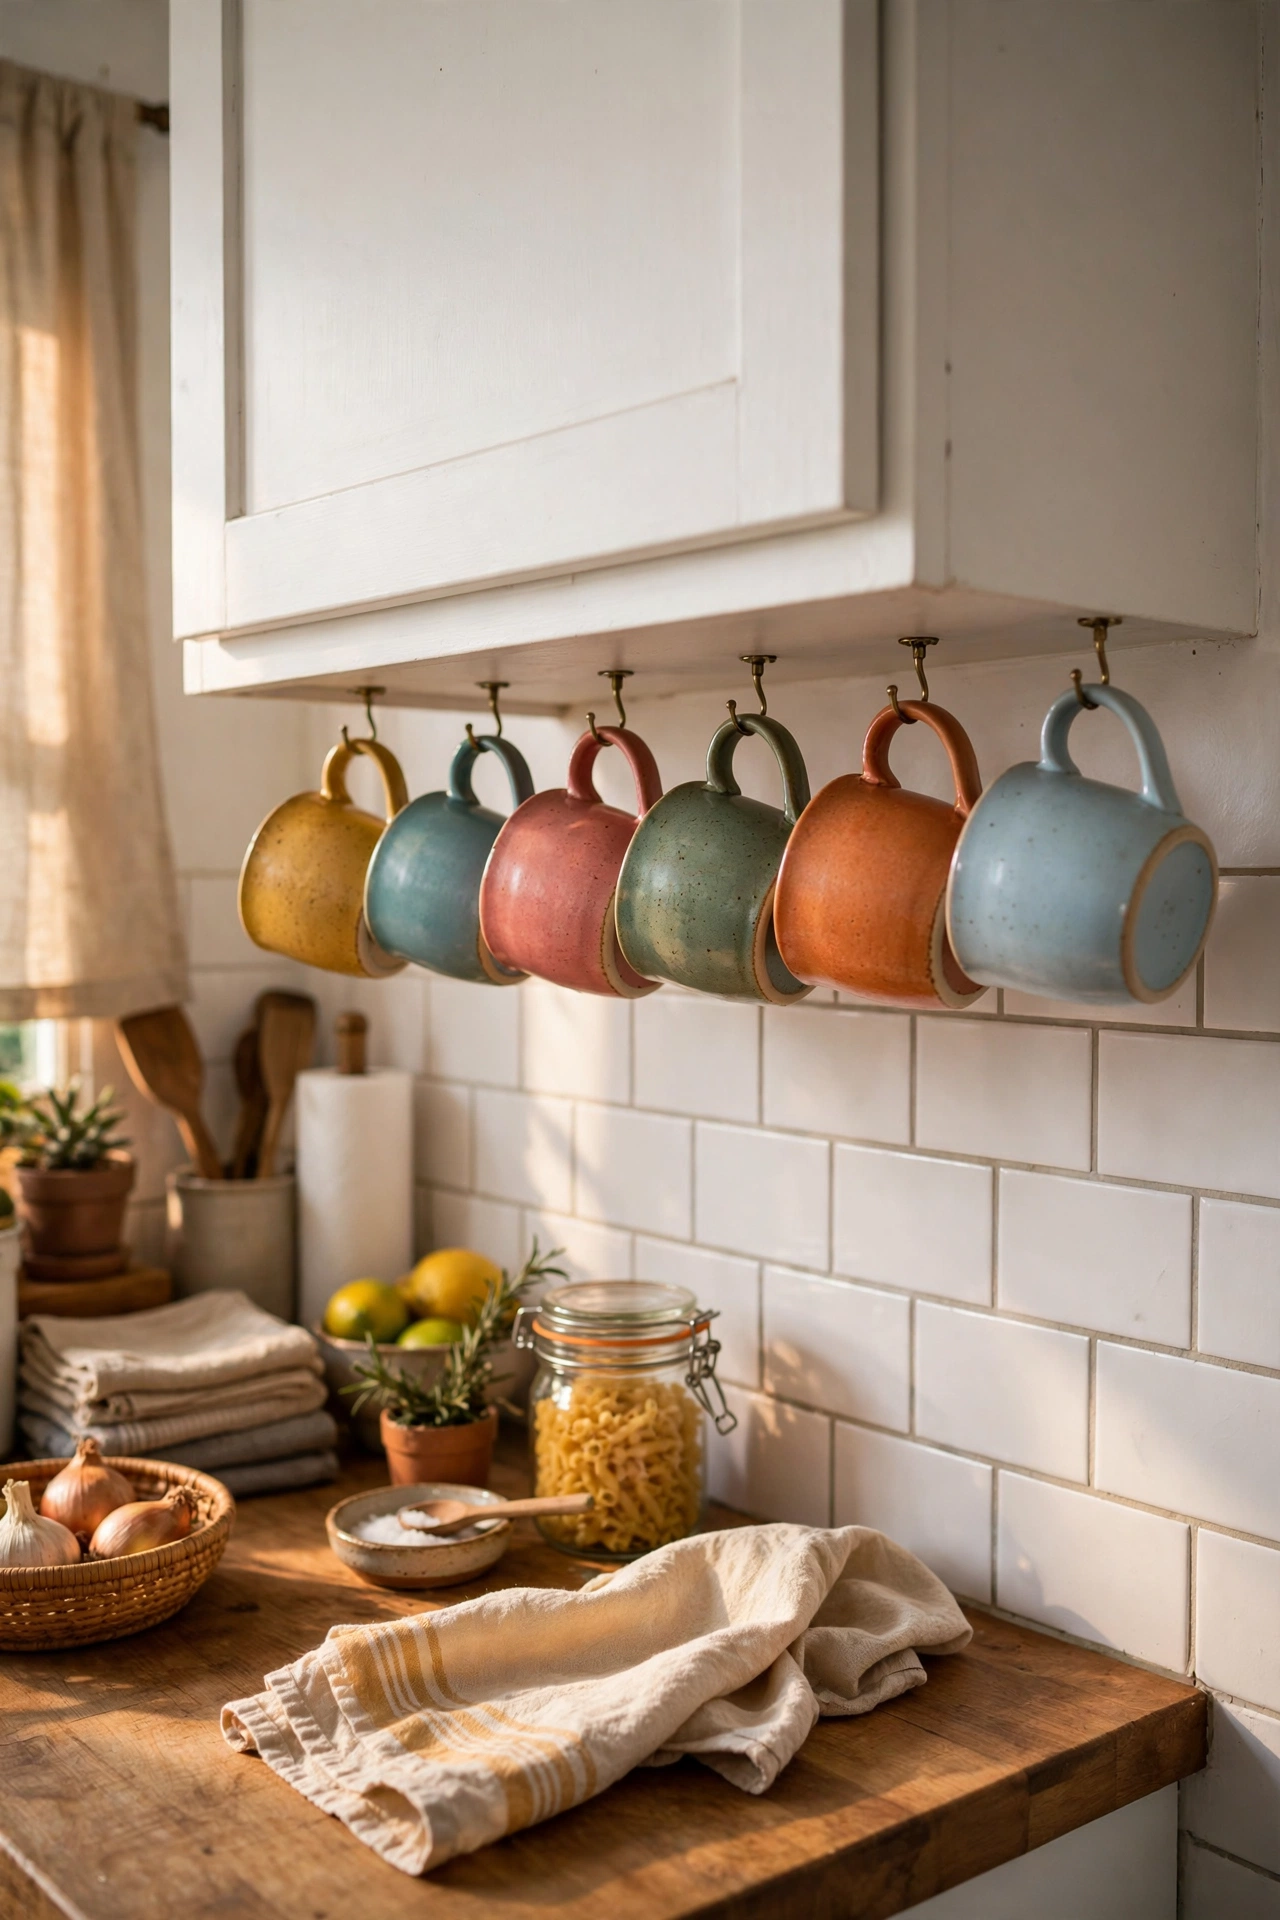
Cost: ~$2 · Time: 15 minutes
Screw-in hooks under a wall cabinet turn dead air into a hanging row of mugs and free up a whole shelf. Space them evenly, pre-drill a pilot hole with a nail if the cabinet base is hard, and hang your favourite mugs where you can see them. I did this with six mugs and suddenly my morning routine had a little display moment. Don’t hang anything heavier than a mug — these hooks are for cups, not cast iron pans, and they’ll pull out if you push them.
20. Washing-Up Dish Tub
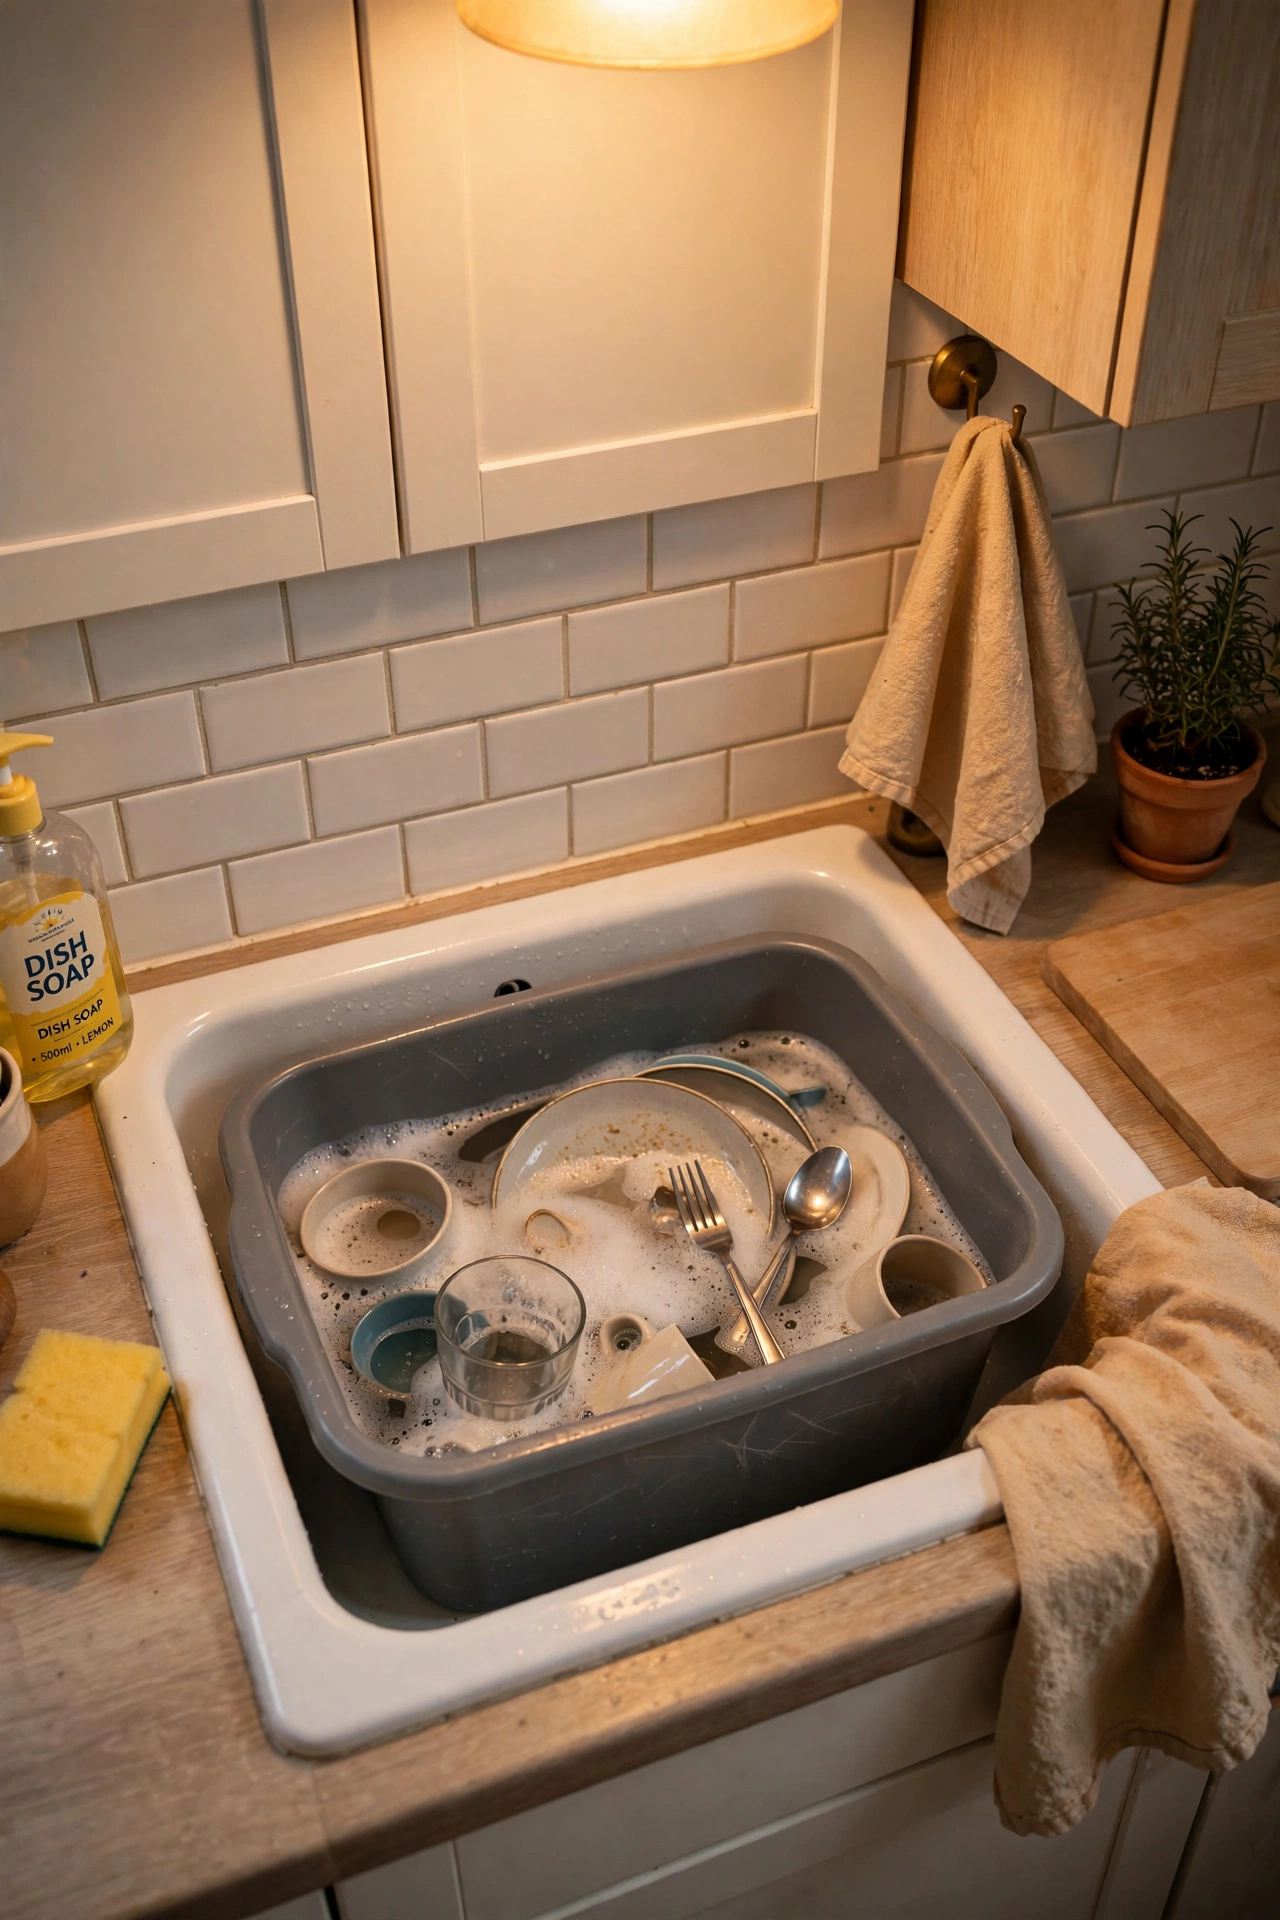
Cost: ~$2 · Time: 5 minutes
A simple plastic tub in the sink saves water and keeps the basin clean when you are soaking pans. Fill the tub instead of the whole sink, and use it as a caddy to carry dishes from the table in one trip. I resisted this for years thinking it was old-fashioned, then tried it and realised it was just practical. Choose a rectangular one that fits your sink properly — the round ones waste space and slosh. Rinse it after each use and it stays fresh.
21. Chalkboard Labels for Every Jar
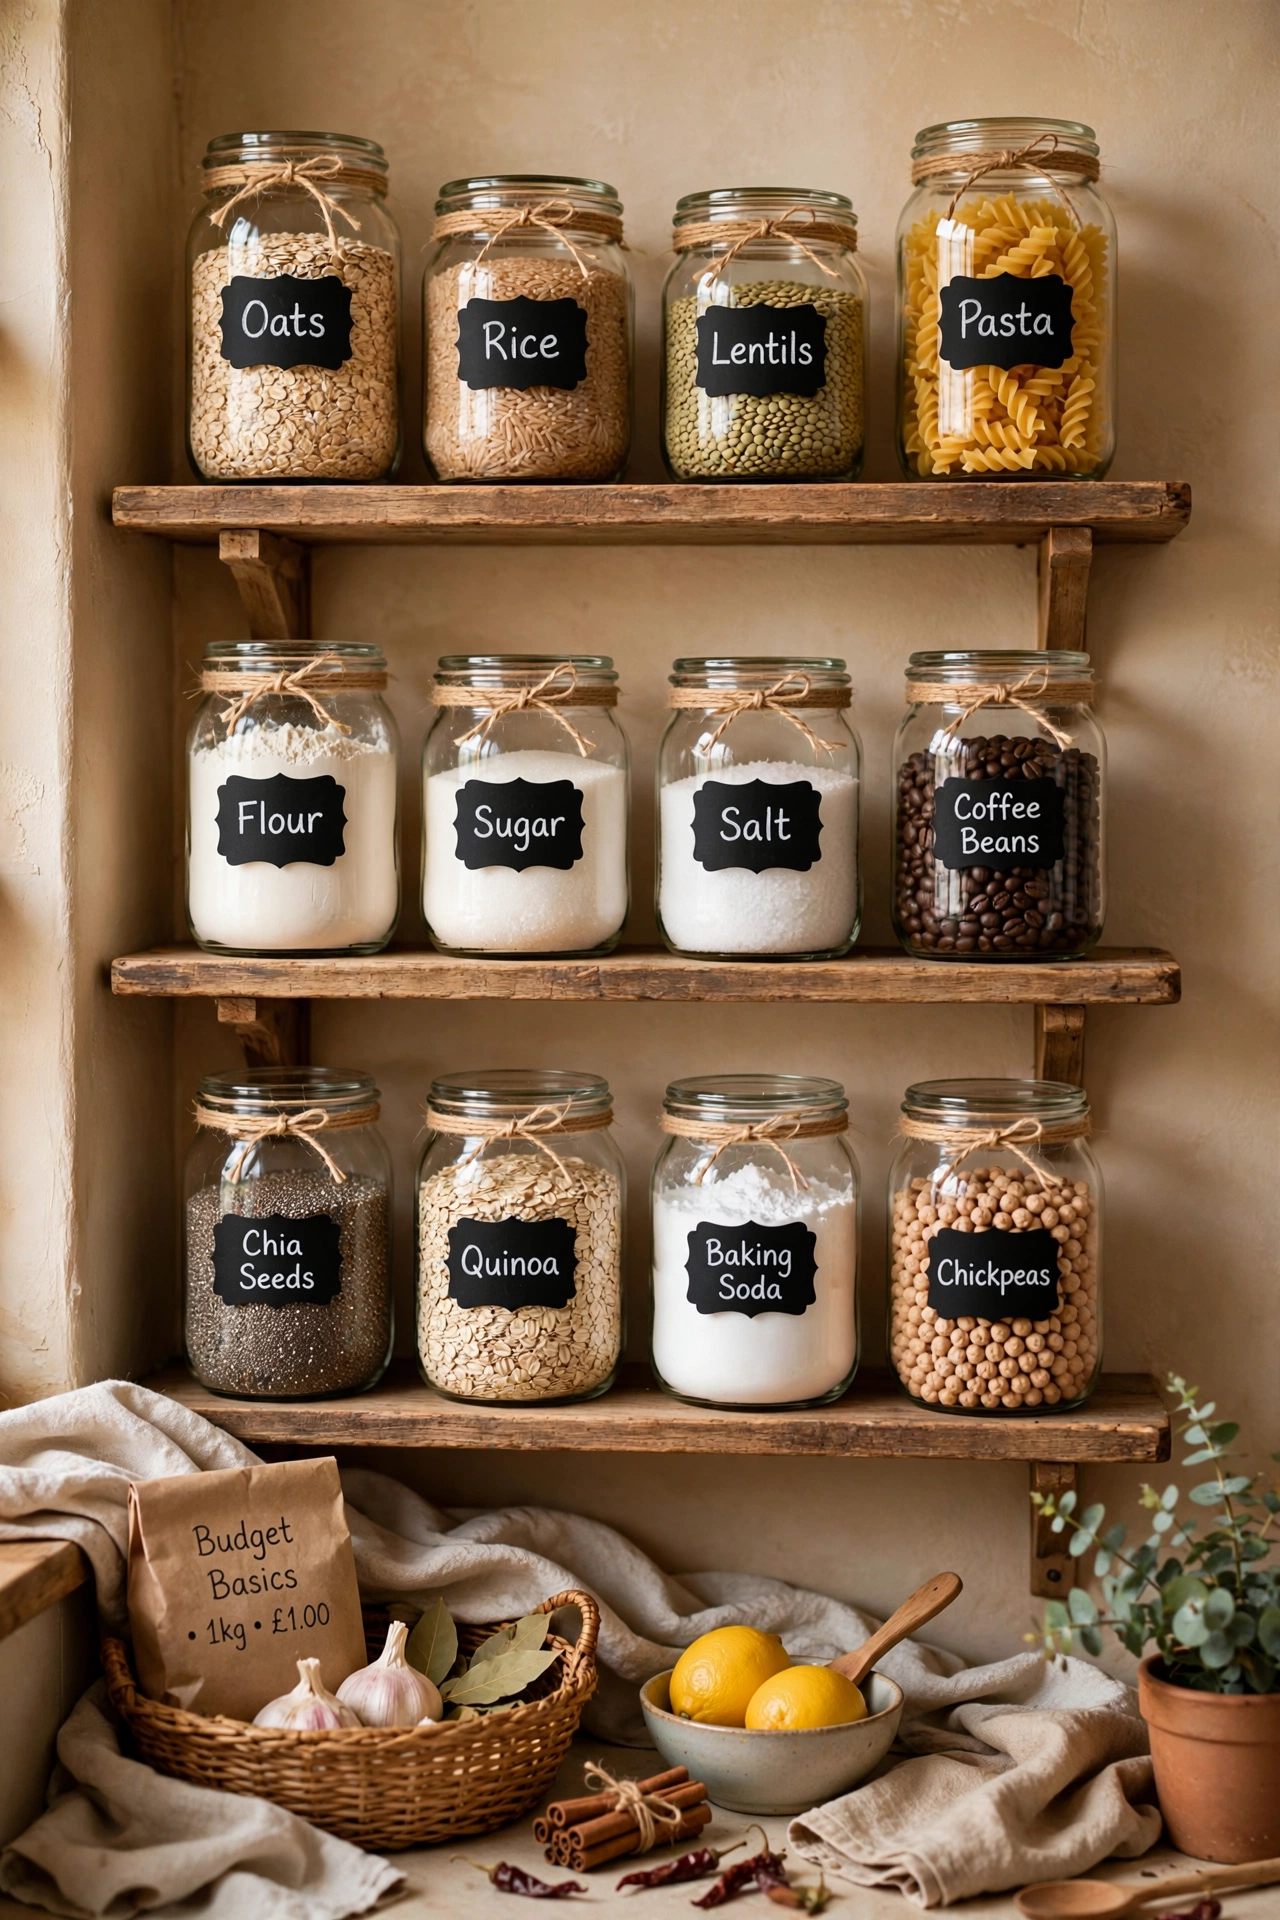
Cost: ~$2 · Time: 30 minutes
A sheet of chalkboard labels and a chalk pen ties the whole pantry project together. Label every jar, tin and basket so the system survives contact with the rest of the household. Write the name and the date you filled it — the date part is what separates a pretty pantry from a functional one. I relabel mine every few months as contents change, and the pen wipes off with a damp cloth.
If this list gave you a starting point, pin it or bookmark the page and work through it one weekend at a time — a calm, organised kitchen is built from small wins, not one big spend. (see also: 23-dollar-tree-kitchen-decor-hacks-on-a-budget)
Save this idea for later: screenshot your three favourite finds and take the list with you on your next dollar store run.
