17 Dollar Store Wall Decor Ideas That Look Expensive
Here is a confession: my guests never believe my hallway gallery wall came from the dollar store. That is the real power of good dollar store wall decor — when it is hung with intention, nobody can tell what it cost. I spent a month hunting my local dollar stores for wall pieces that genuinely look expensive, and I filled the whole house with them for less than the price of one framed print from a home store. These are my 17 favourites, with exactly how I would hang each one.
Matching Gallery-Wall Frame Sets
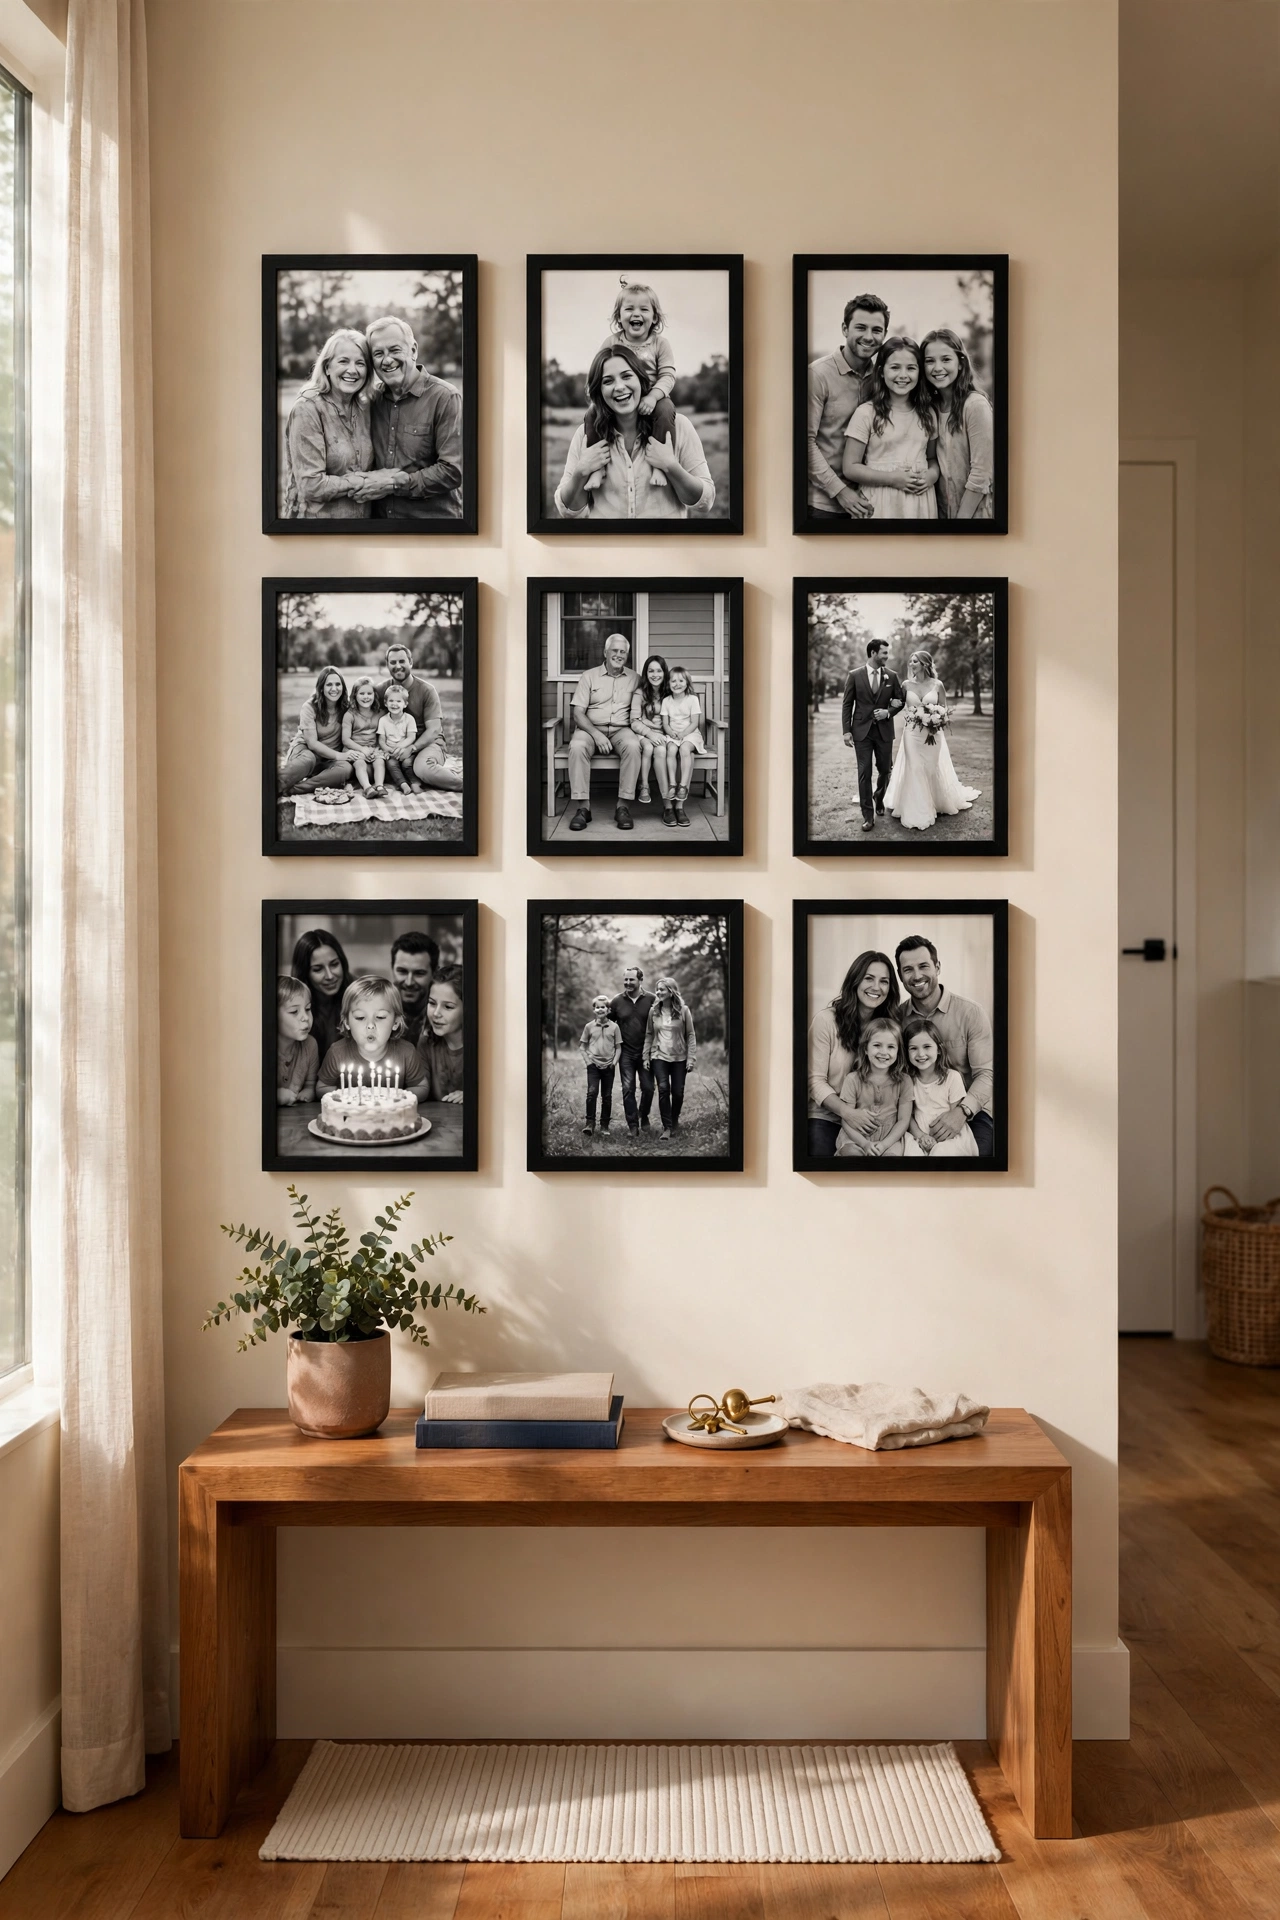
The single biggest trick for making cheap frames look pricey is buying them in matching sets. Most dollar stores sell the same 8×10 frame in black, white, and natural wood — grab six to nine identical ones and you have a gallery wall kit for a fraction of one framed print. Lay the arrangement on the floor first and take a phone photo so you can recreate it on the wall. Cut paper templates the size of each frame, tape them up with painter’s tape, and adjust the spacing until it feels even. I tried this in my own hallway and the paper-template step saved me at least six unnecessary nail holes. One mistake to avoid: mixing finishes that are “close enough” — they never are. Cost: ~$12 · Time: 1 hour
Pro tip: Hit every frame with one coat of matte-black spray paint (about $4 a can) and even mismatched frames will read as one curated set.
Large Canvas Art Prints
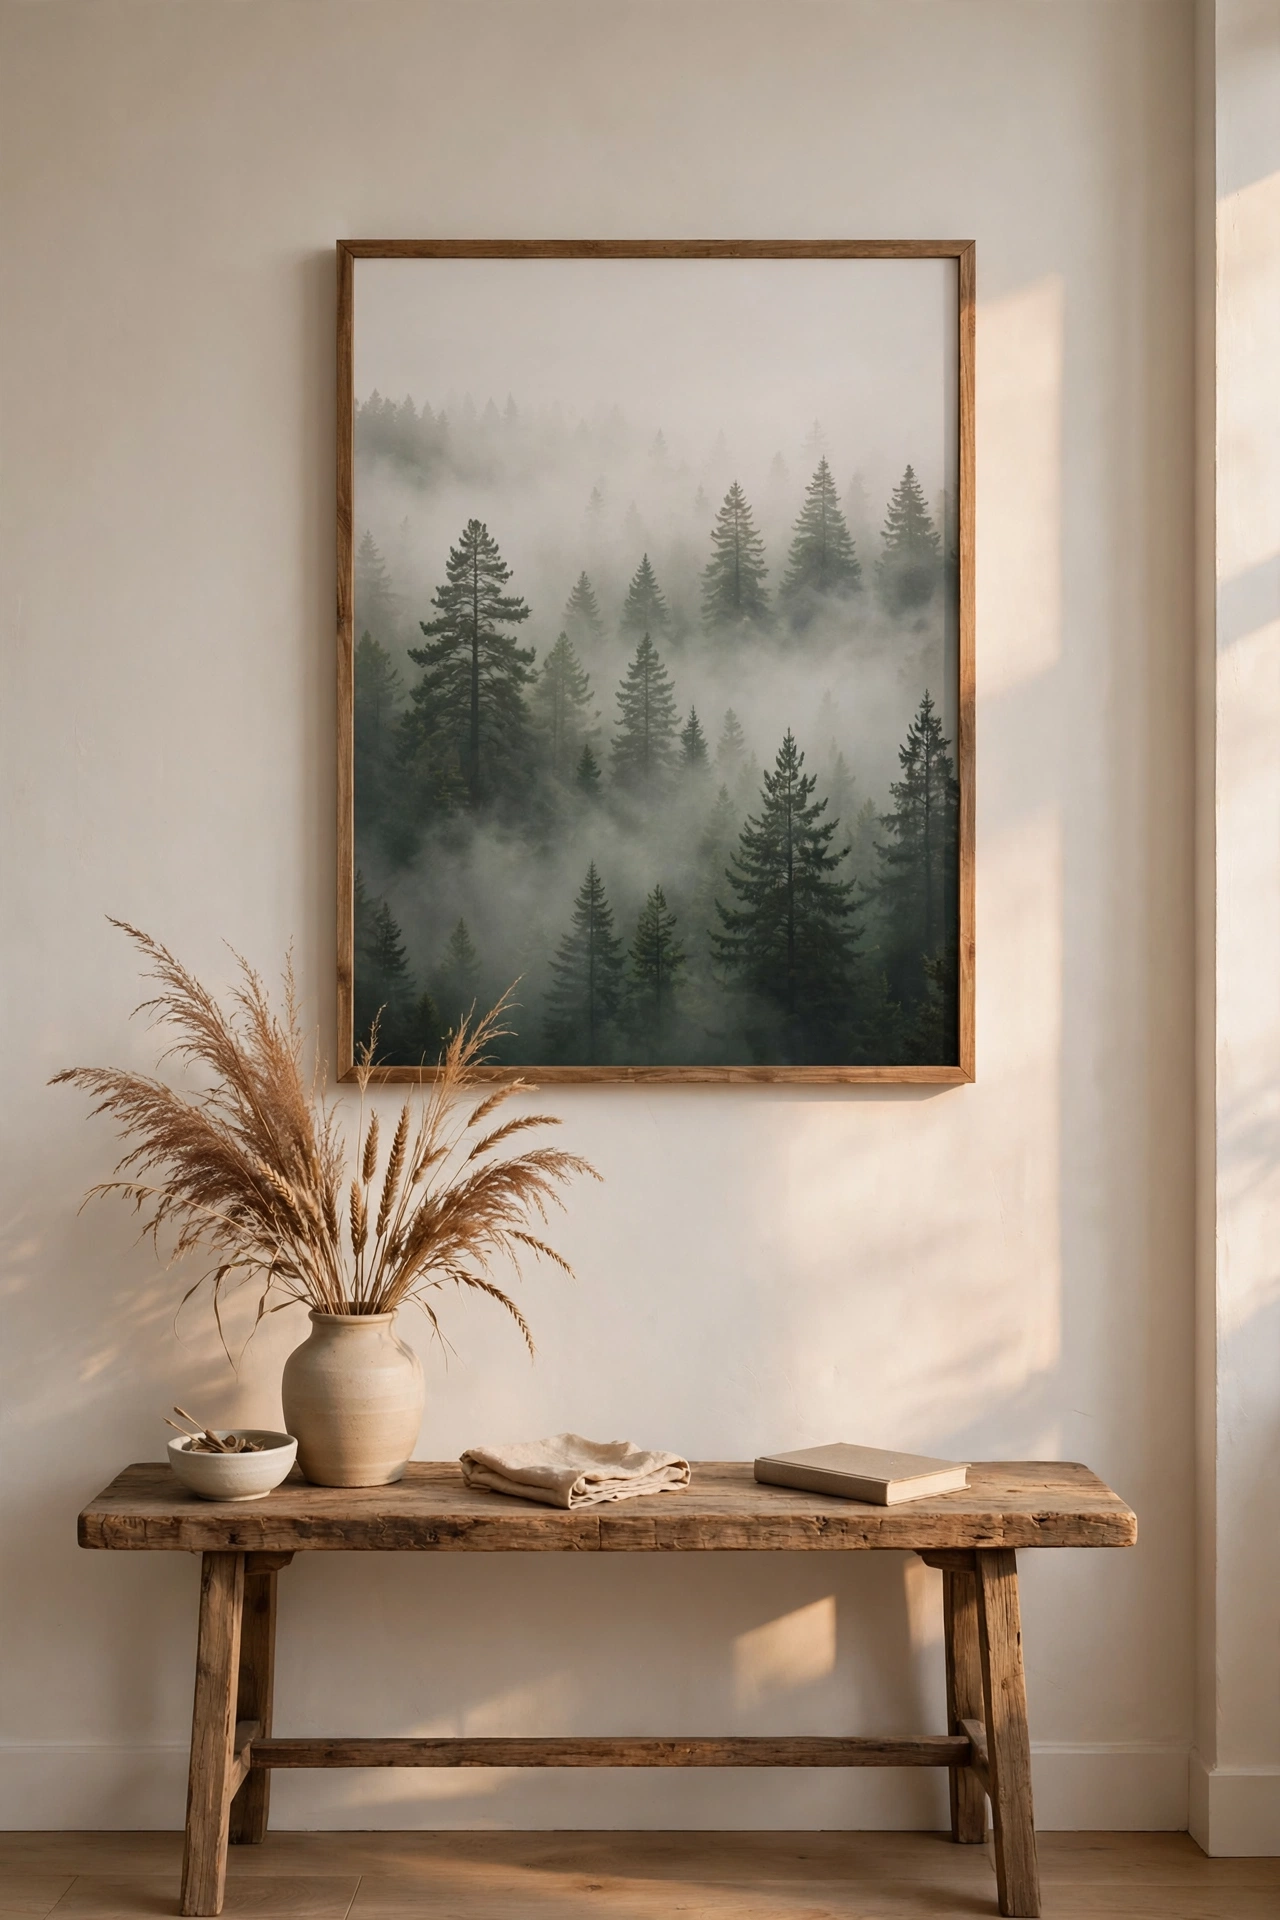
Dollar stores now carry surprisingly large canvas prints — 16×20 pieces with abstract landscapes and botanical designs that would cost thirty dollars or more elsewhere. The frames are usually the weak point, so either leave the canvas bare for a modern gallery look or remount the print on a sturdier backing. Look for pieces with a limited colour palette of two or three tones; they always look more expensive than busy, rainbow-style prints. Hang one large piece alone above a console table rather than filling the whole wall — restraint is what sells the “expensive” illusion. I bought a moody forest canvas for my living room and three separate visitors asked which gallery it came from. Cost: ~$8 · Time: 20 minutes
Woven Macrame Wall Hanging
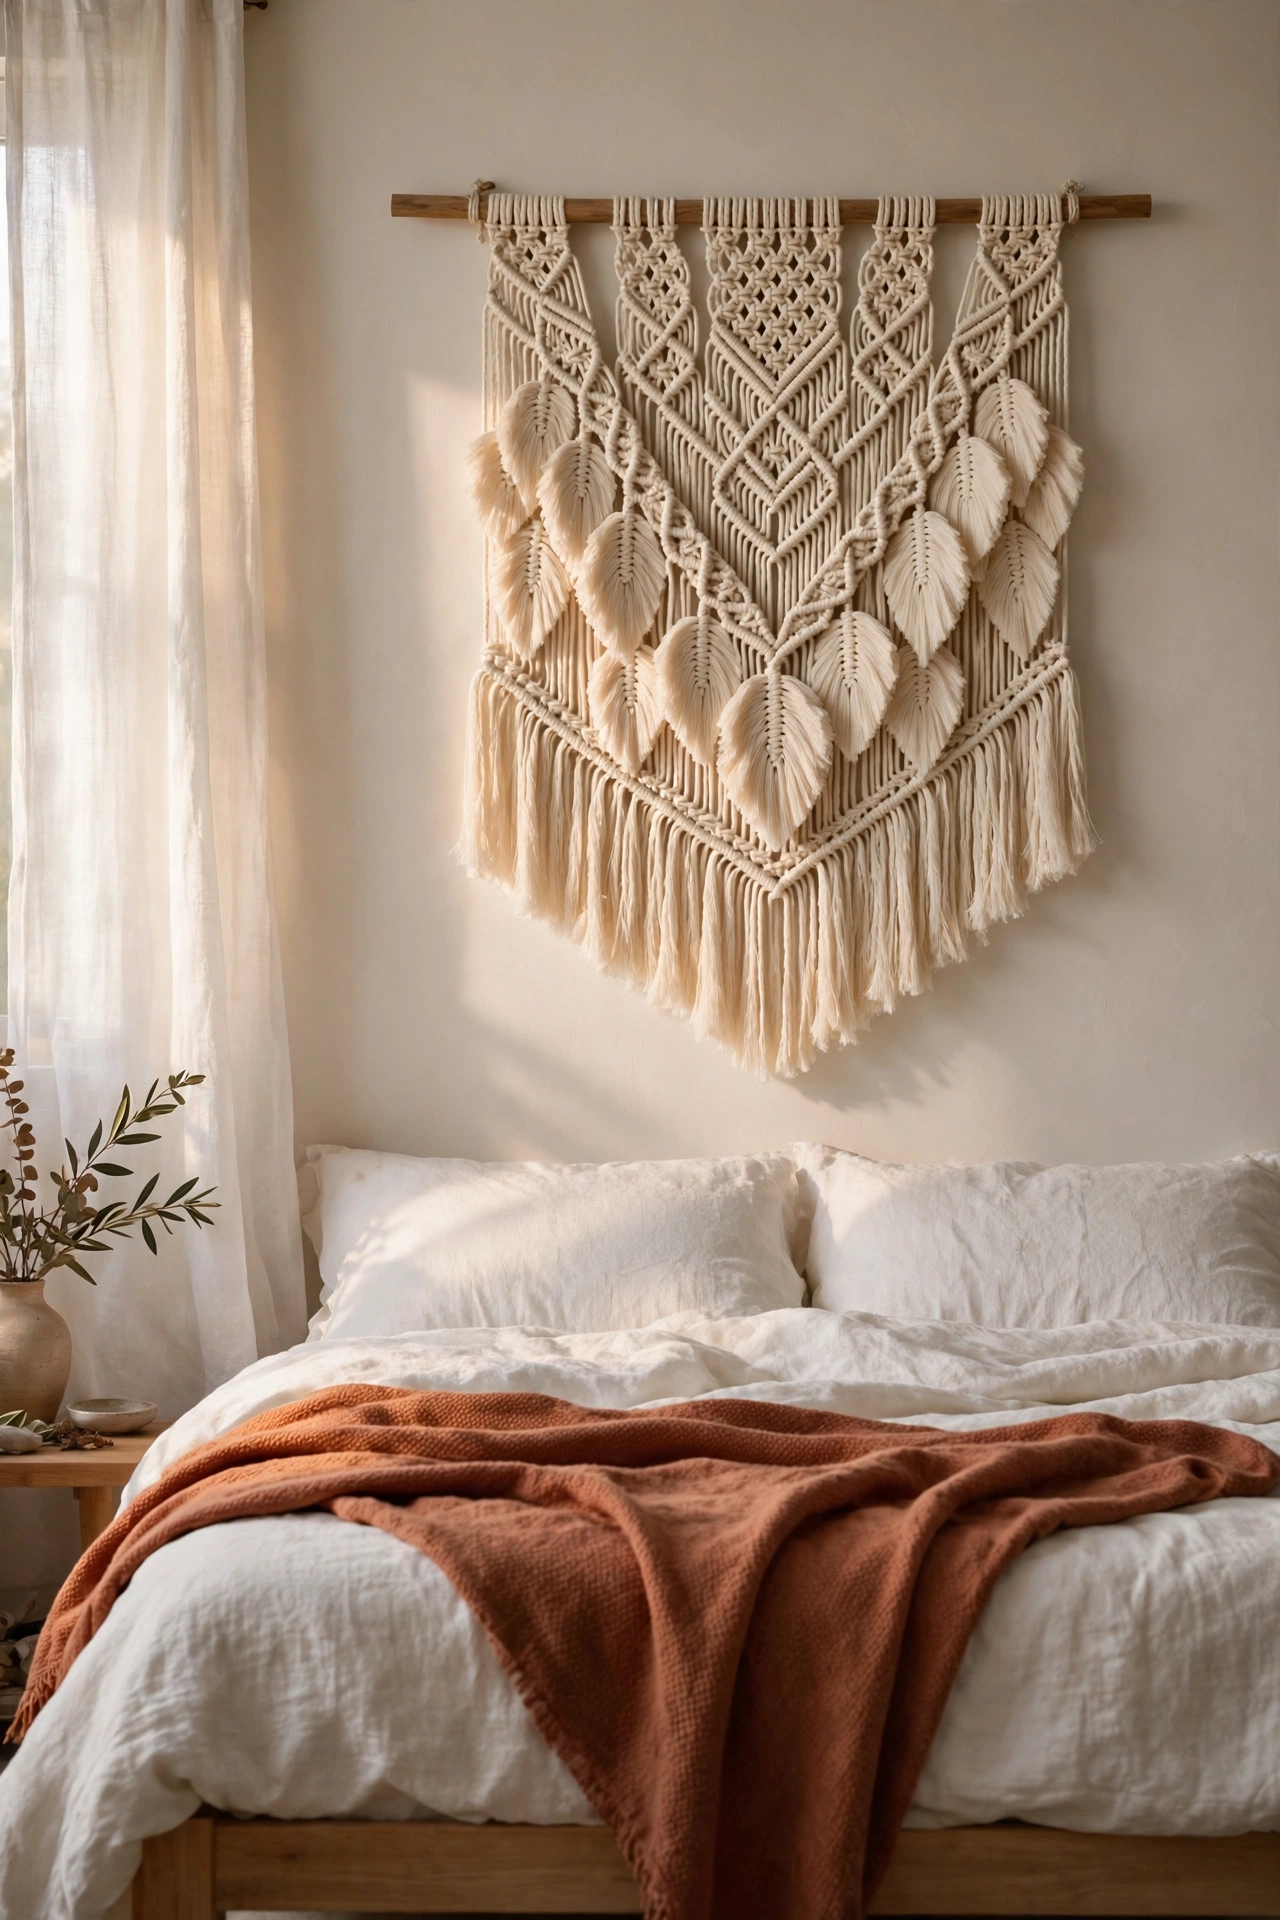
Macrame wall hangings were a boutique-store staple for years, and the dollar store versions have genuinely caught up. Look for ones with tight, even knots and wooden dowels that are straight rather than warped — quality varies, so check before you buy. Hang it on a single nail or a removable hook if you rent, centred over a bed or sofa. To make it look fuller, gently steam or brush out the fringe so it falls soft and even. I tried this in my own bedroom and fluffing the bottom fringe made a five-dollar piece look triple the price. One mistake to avoid: hanging it in a sunny spot where the cotton will yellow in a few months. Cost: ~$6 · Time: 15 minutes
Pro tip: Layer a small macrame hanging in front of a larger one, offset to the side, for the kind of styled depth that expensive interiors blogs charge hundreds for.
Clustered Round Mirrors
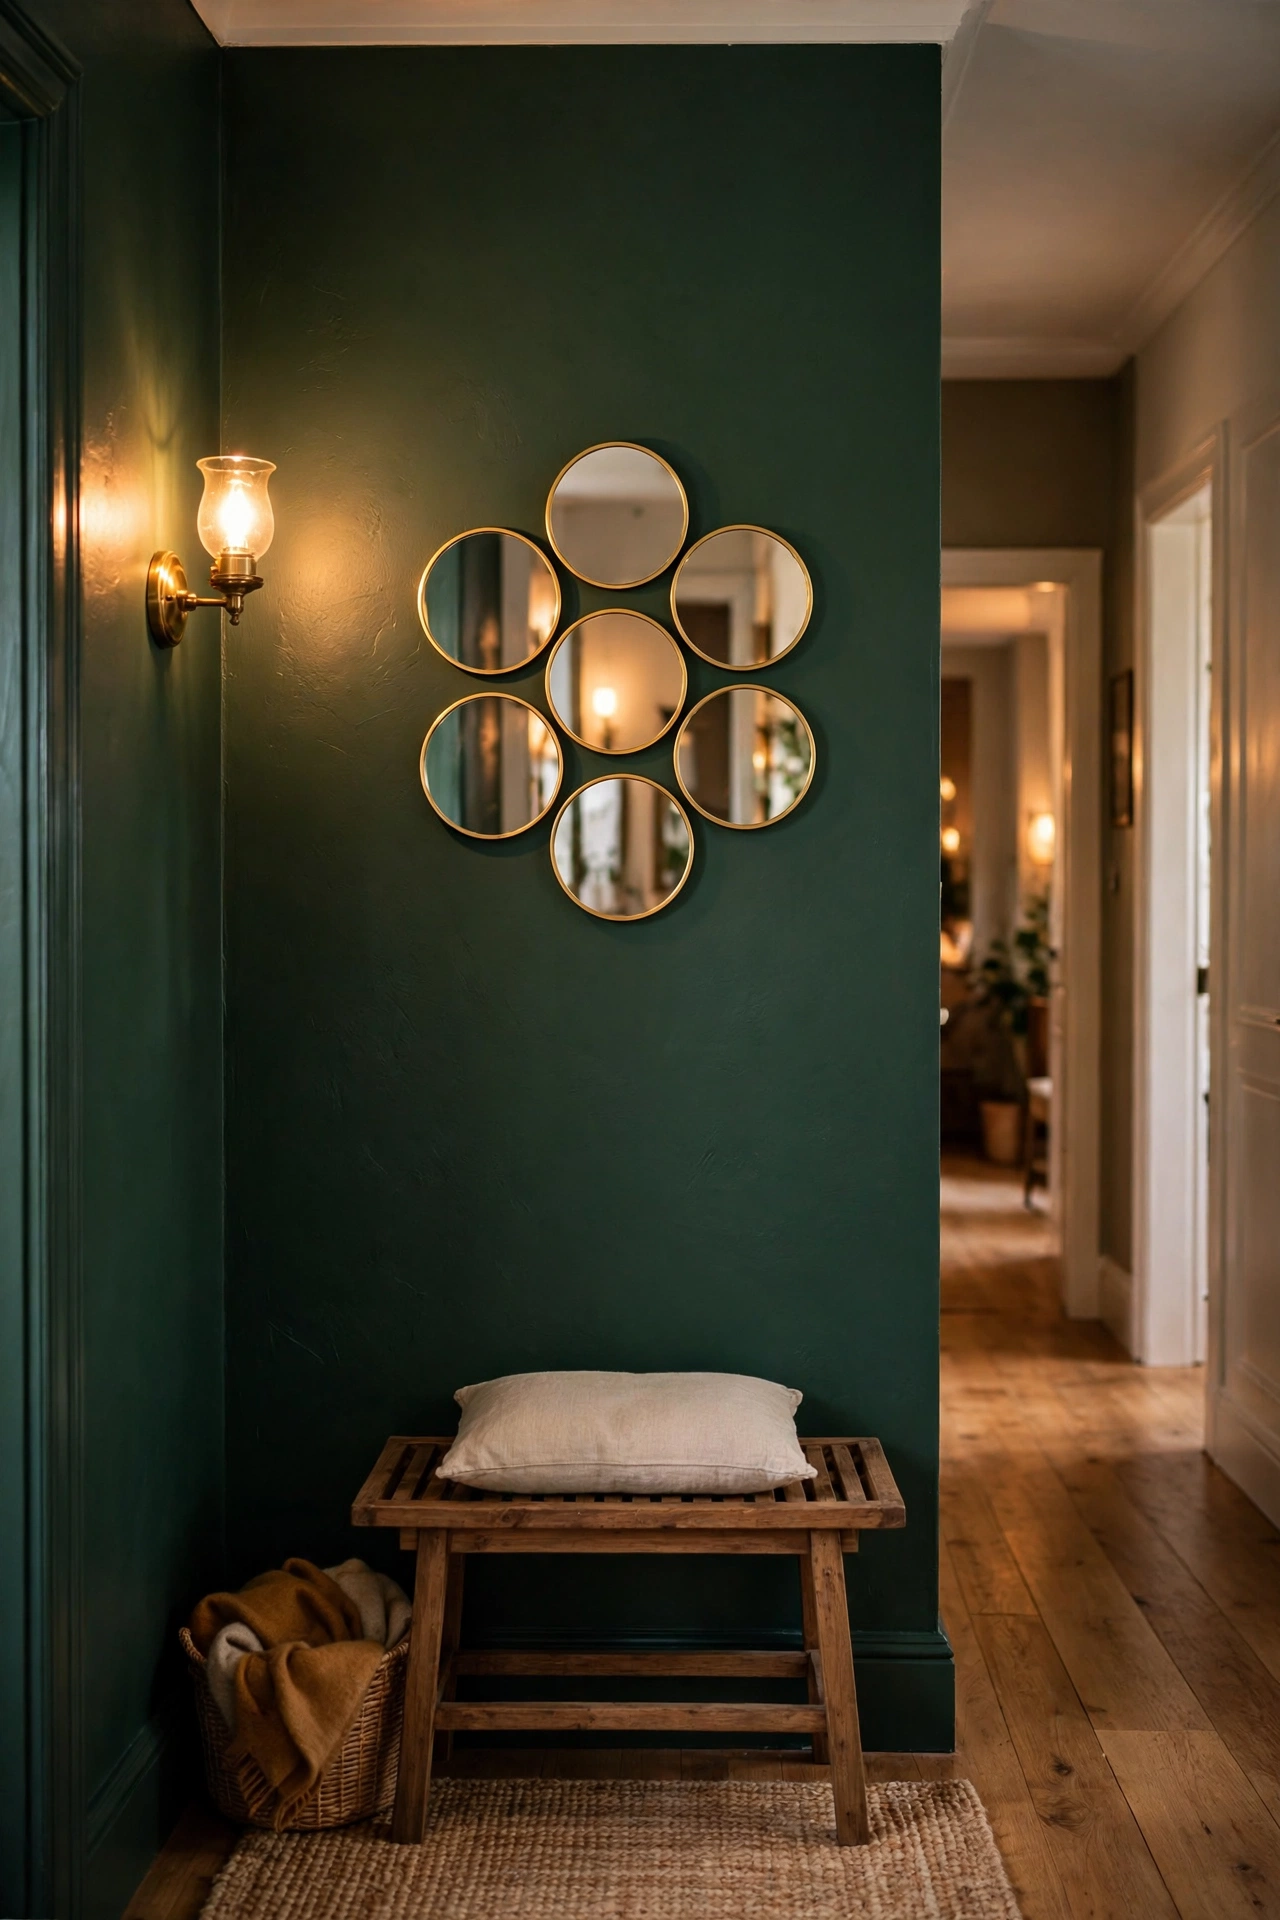
A cluster of small round mirrors is one of the oldest designer tricks for bouncing light around a room, and dollar stores sell plain round mirrors in several sizes for almost nothing. Buy five to seven mirrors in two sizes and arrange them in a loose honeycomb or scattered cluster on a dark wall, where the reflection pops hardest. Use strong adhesive mounting strips rather than nails so you can reposition without patching holes. Keep the gaps consistent — about two inches between edges — and the cluster will look intentional instead of random. I did this on my entryway wall and it doubled the perceived size of a very narrow corridor. Cost: ~$10 · Time: 45 minutes
Decorative Plate Wall Display
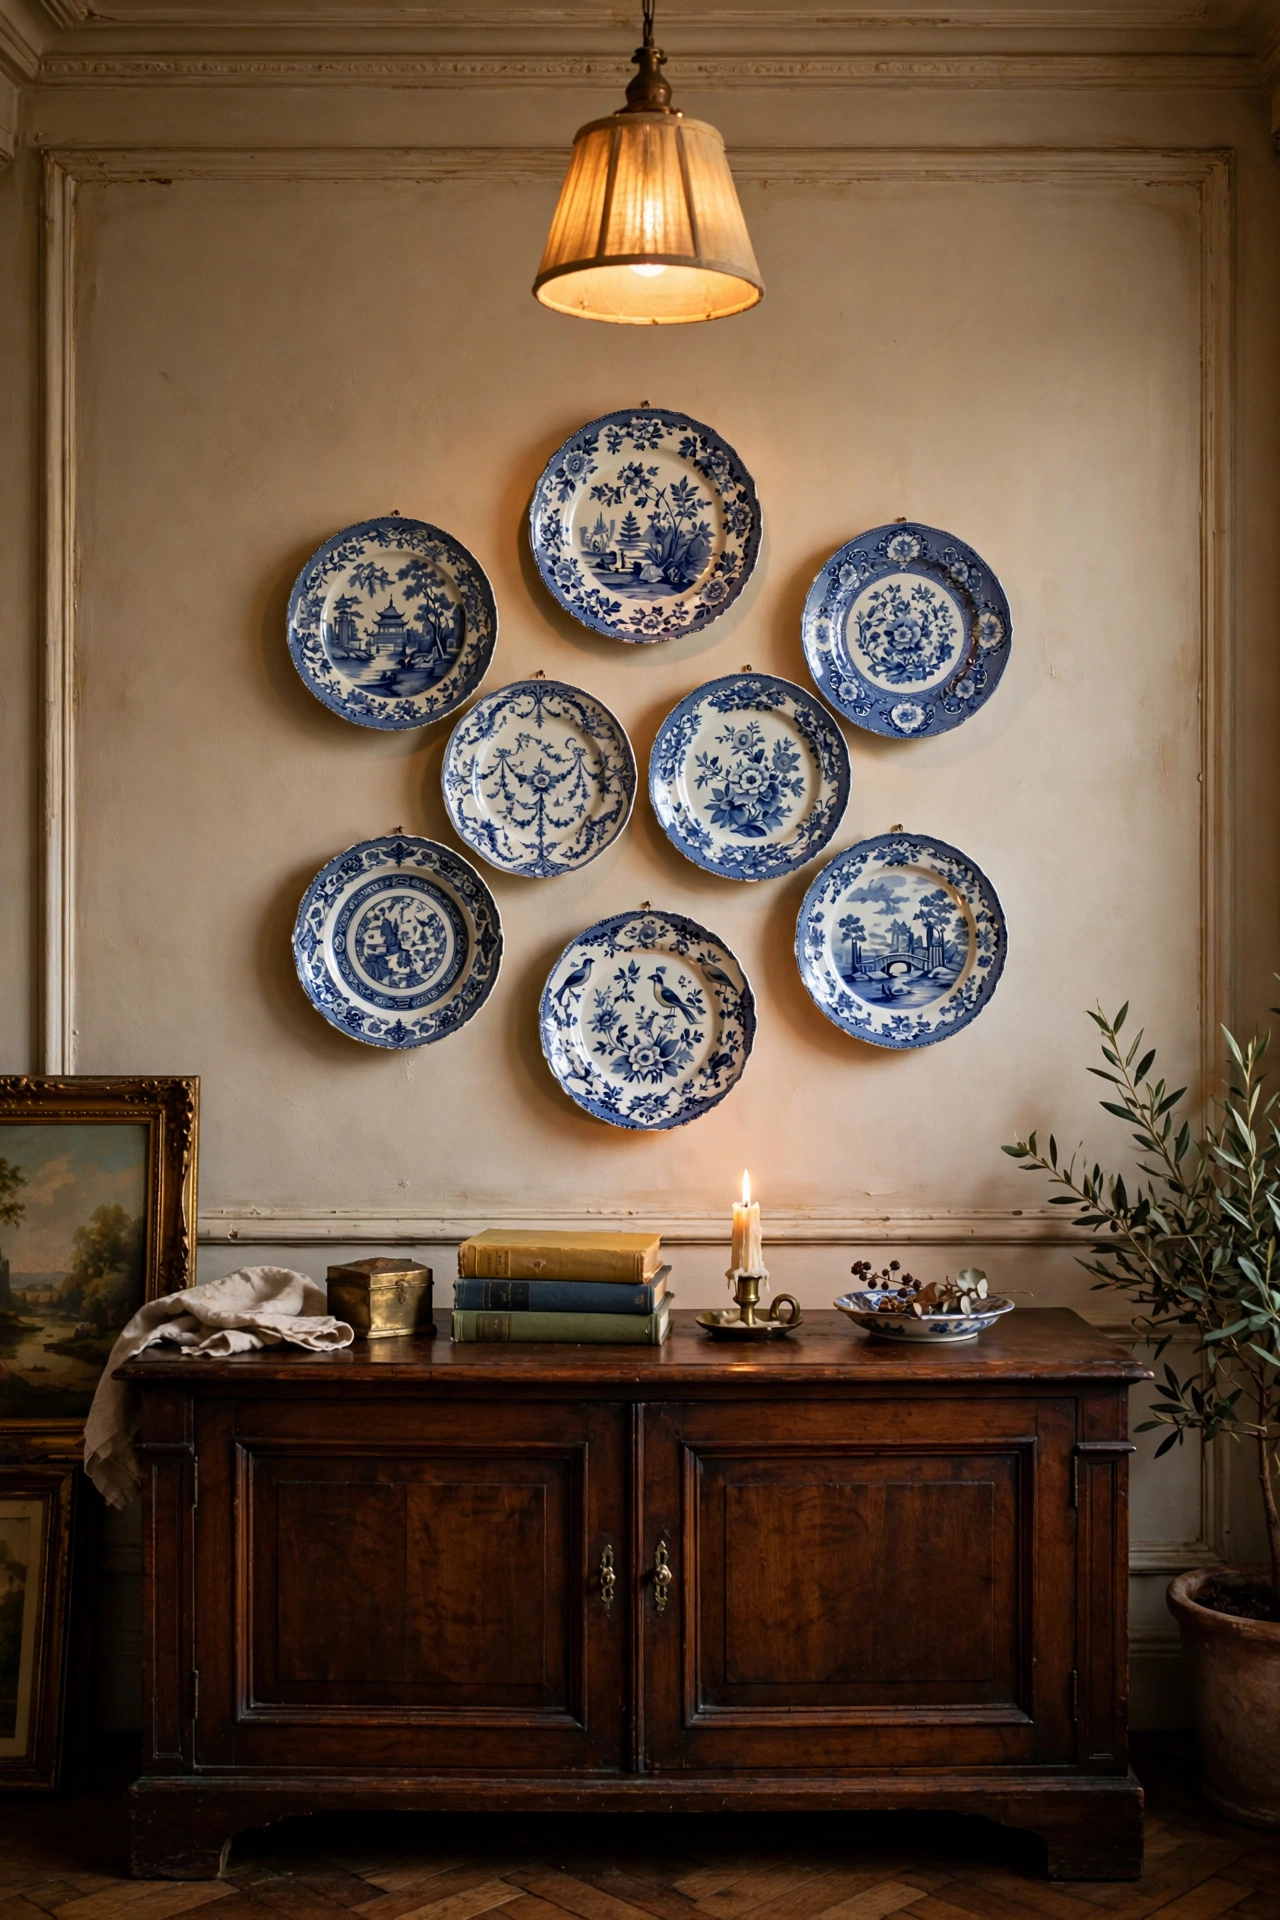
Decorative plates on a wall instantly read as collected and personal, and dollar stores carry patterned plates that mimic much pricier ceramic designs. Choose a colour family — blues, greens, or warm terracottas — and buy five to eight plates in graduated sizes. Use plate hangers or sturdy adhesive disc hangers, never just propped on nails, so they sit flush and safe. Arrange them in a loose oval or a tidy grid above a sideboard; symmetry suits formal rooms, an organic scatter suits bohemian ones. I tried this in my dining room and paired the plates with a small (see also: 23-dollar-store-living-room-finds-worth-grabbing) console styling session underneath. One mistake to avoid: hanging them in the kitchen where cooking grease will dull the finish. Cost: ~$9 · Time: 1 hour
Pro tip: Mix in one or two real vintage plates from a charity shop — the slight irregularity makes the whole display look genuinely collected rather than bought in one trip.
Peel-and-Stick Wall Decals
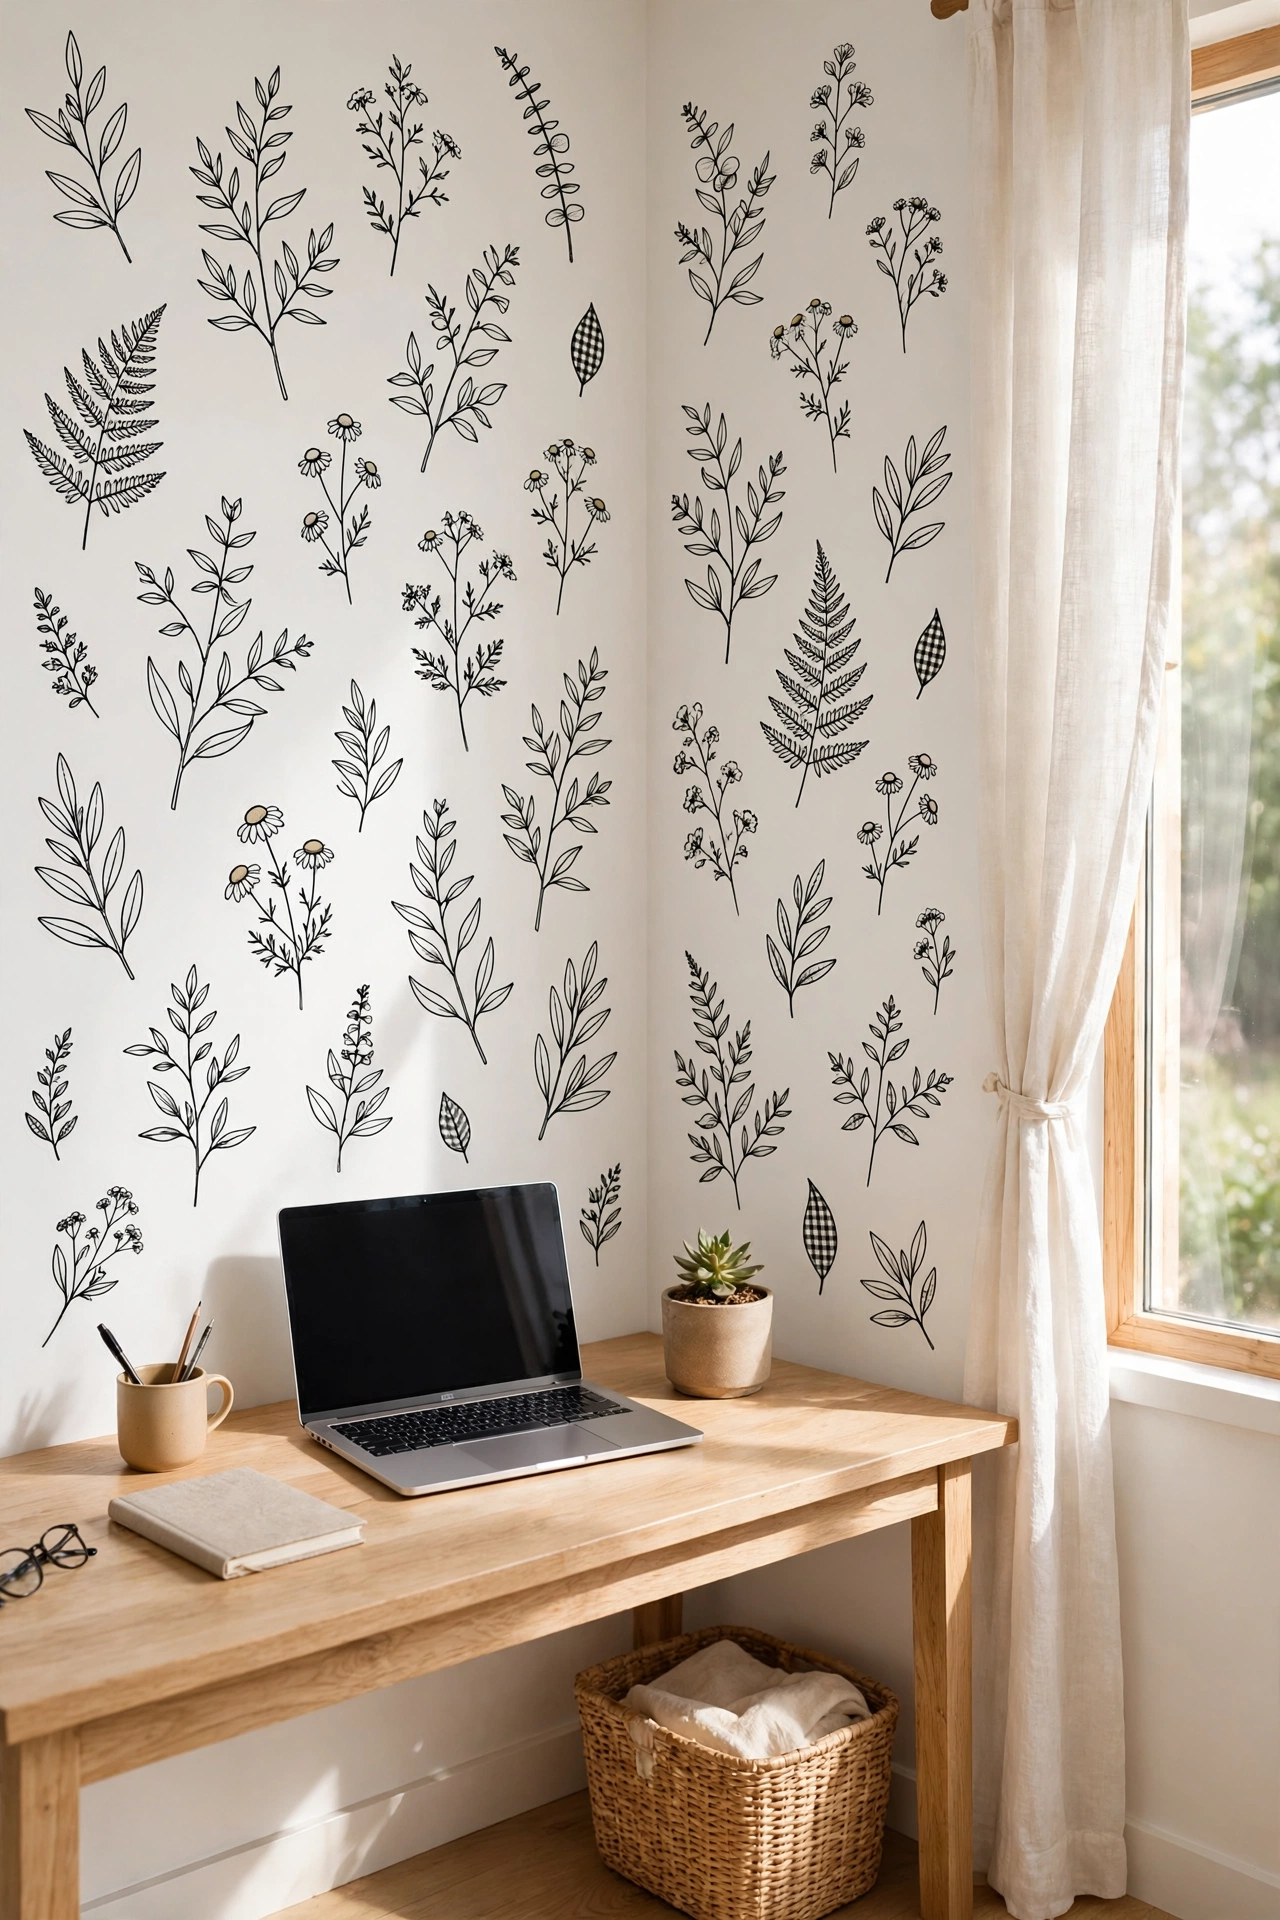
Peel-and-stick decals have come a long way from nursery stickers — the current dollar store ranges include botanical line art, geometric patterns, and faux shiplap planks that look convincingly real from a few feet away. Clean the wall with a dry cloth first, because dust is the main reason decals peel at the edges. Start applying from one edge and smooth outward with a credit card to push out air bubbles. Work in daylight so you can spot crooked lines before you press them down firmly. I used botanical decals to fake a feature wall behind my desk and renters ask me about it constantly. One mistake to avoid: repositioning the same decal more than twice, which weakens the adhesive. Cost: ~$5 · Time: 40 minutes
Floating Shelf Vignette
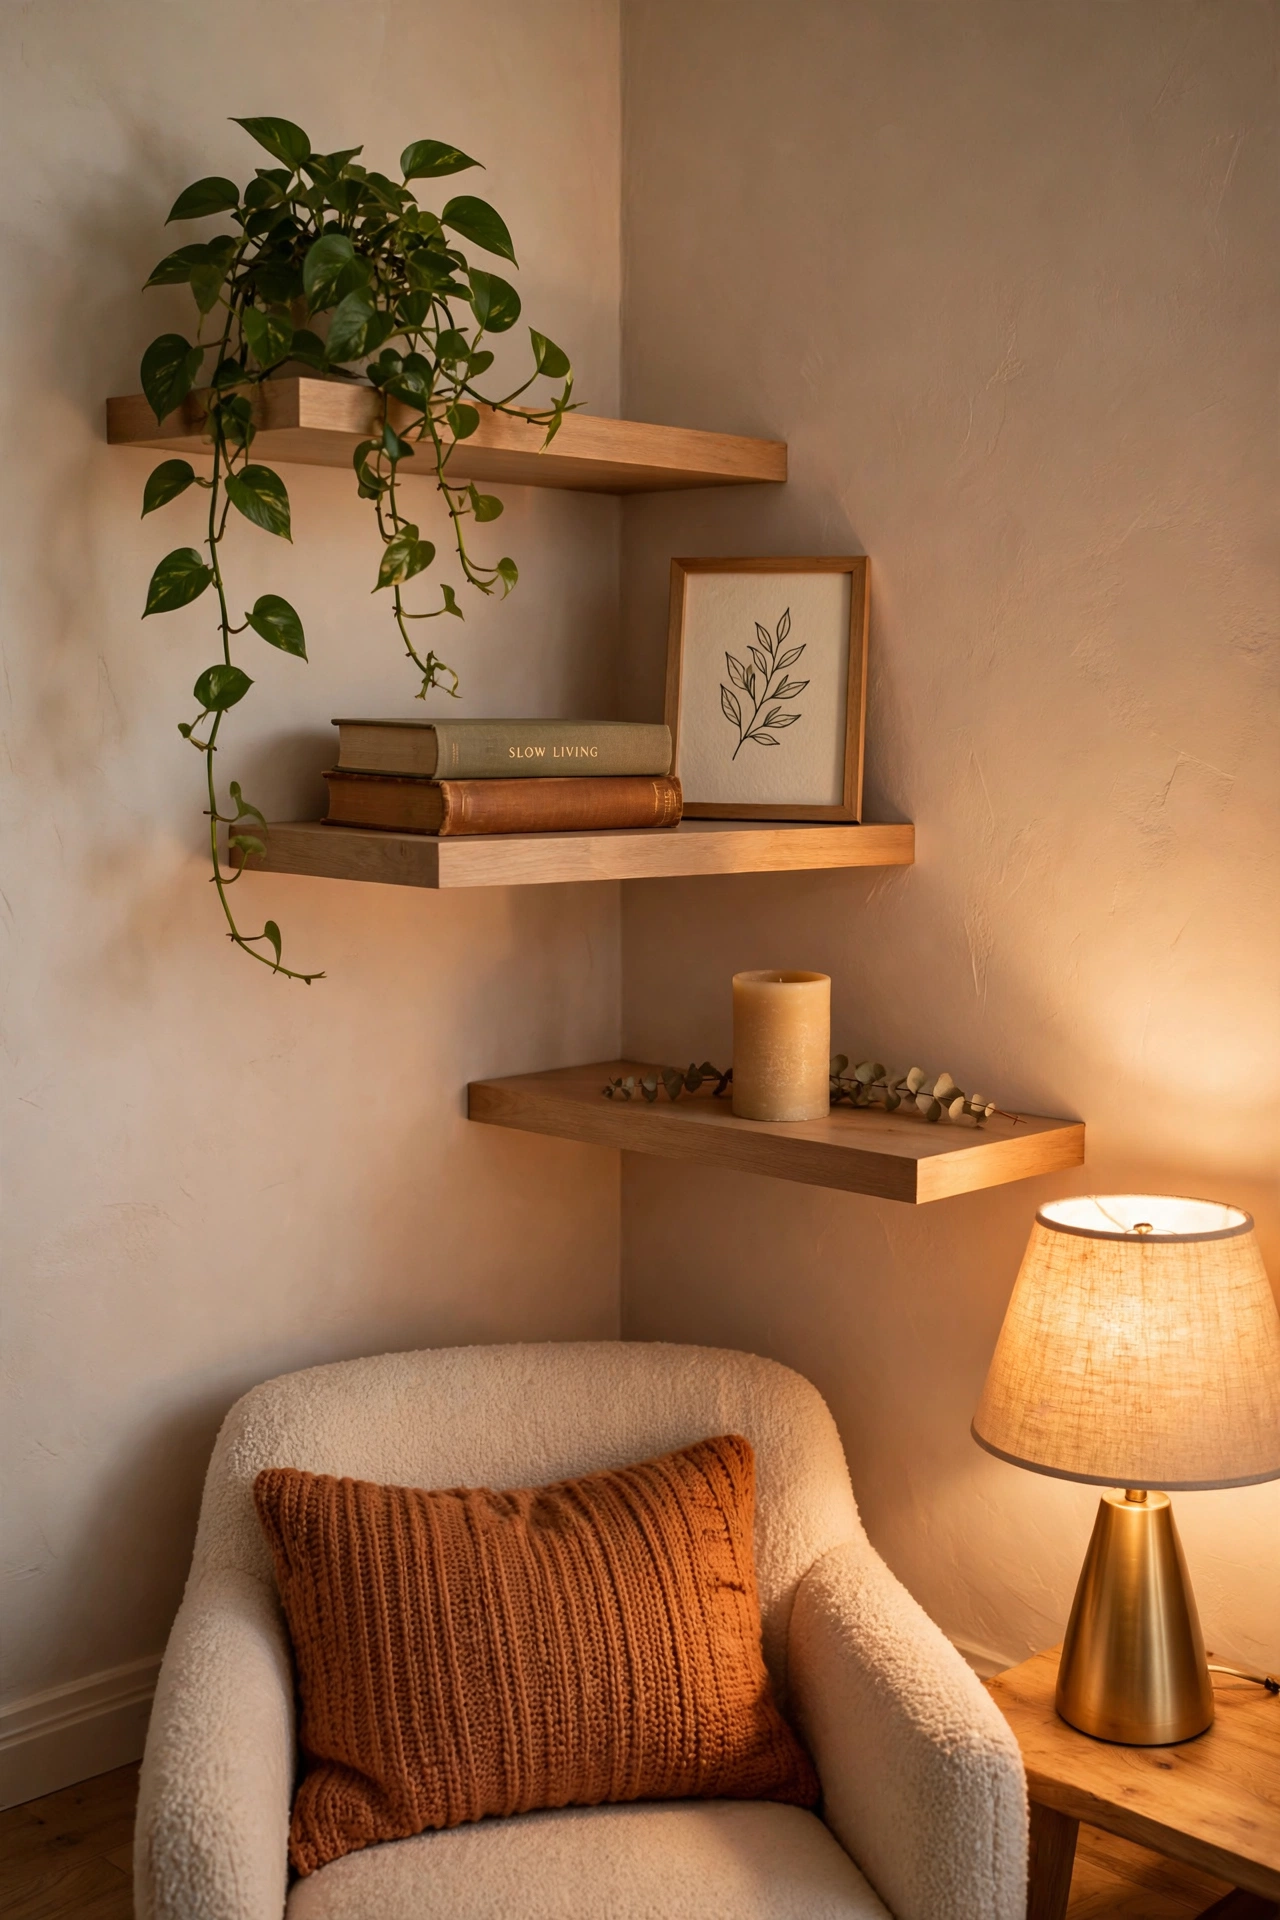
Two or three floating shelves turn a blank wall into a styled display, and dollar store shelves with hidden brackets cost a few dollars each. Mount them at staggered heights — roughly 12 inches apart — and check they are level before you load anything on them. Style each shelf with an odd number of items: a small plant, a stack of two books, one taller object like a candle. Leave some breathing room; a crowded shelf looks cluttered, not curated. I tried this in my own reading corner and the trick that worked was leaving the top shelf slightly emptier than the bottom two. One mistake to avoid: overloading a single shelf — cheap brackets have weight limits, so spread the load. Cost: ~$14 · Time: 1 hour
Pro tip: Stain or paint plain pine shelves with a walnut wood finish and they will match furniture that cost twenty times more.
Distressed Wood Plank Signs
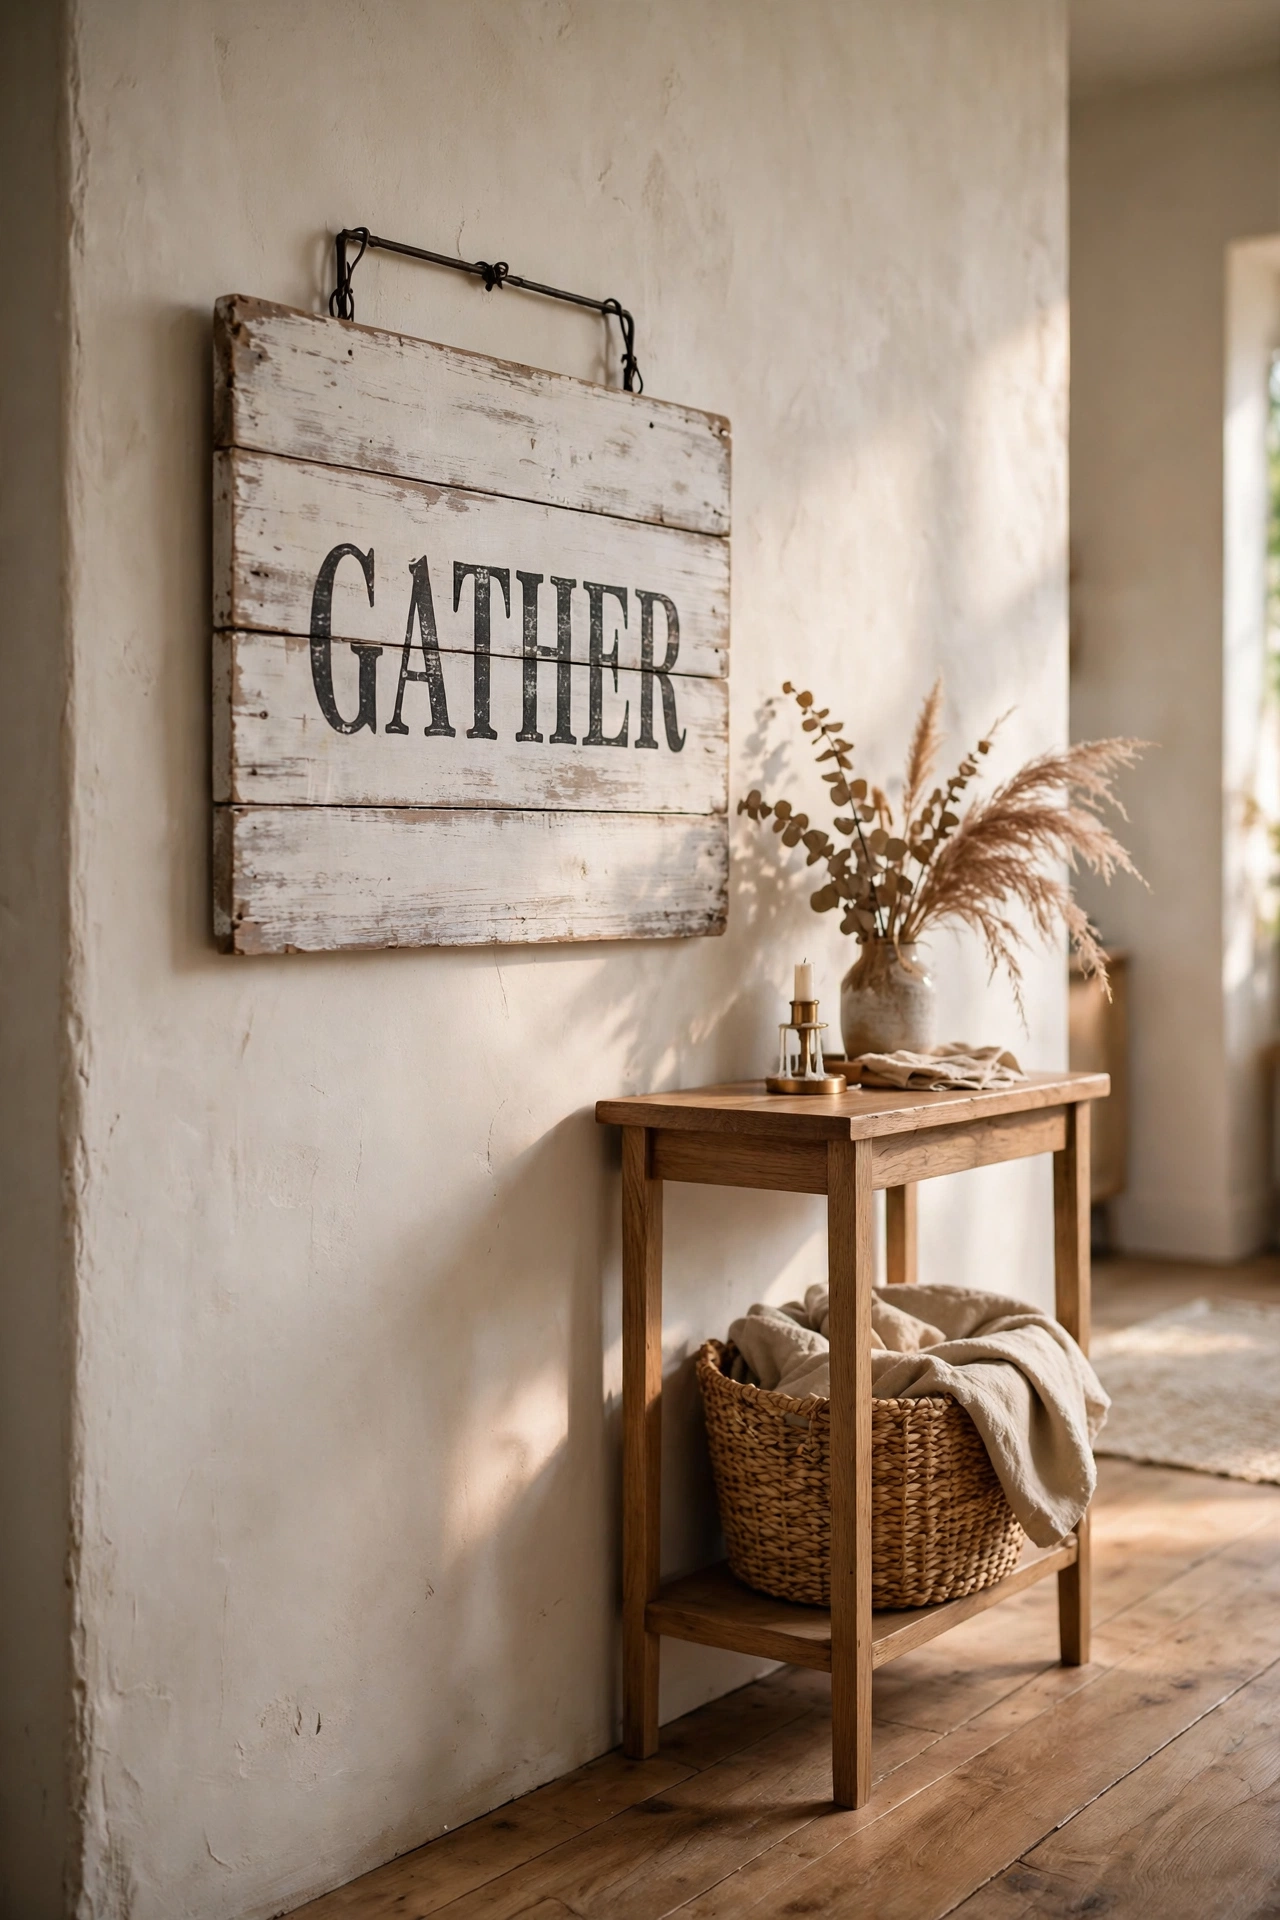
Rustic wood signs with quotes and farmhouse lettering are a dollar store staple, and the good ones have genuinely convincing distressed finishes. Pick signs where the lettering is crisp and the “wear” looks like actual wear, not random paint blobs — the realistic ones always look pricier. Hang them at eye level in hallways or layer a smaller one on an entryway console against the wall. If the wording feels too generic, flip it around: many signs have a plain distressed back you can customise with your own stencil. I bought one that said “Gather” and painted over the word with my family name in the same font style. Cost: ~$4 · Time: 15 minutes
Mini Wreath Wall Grouping
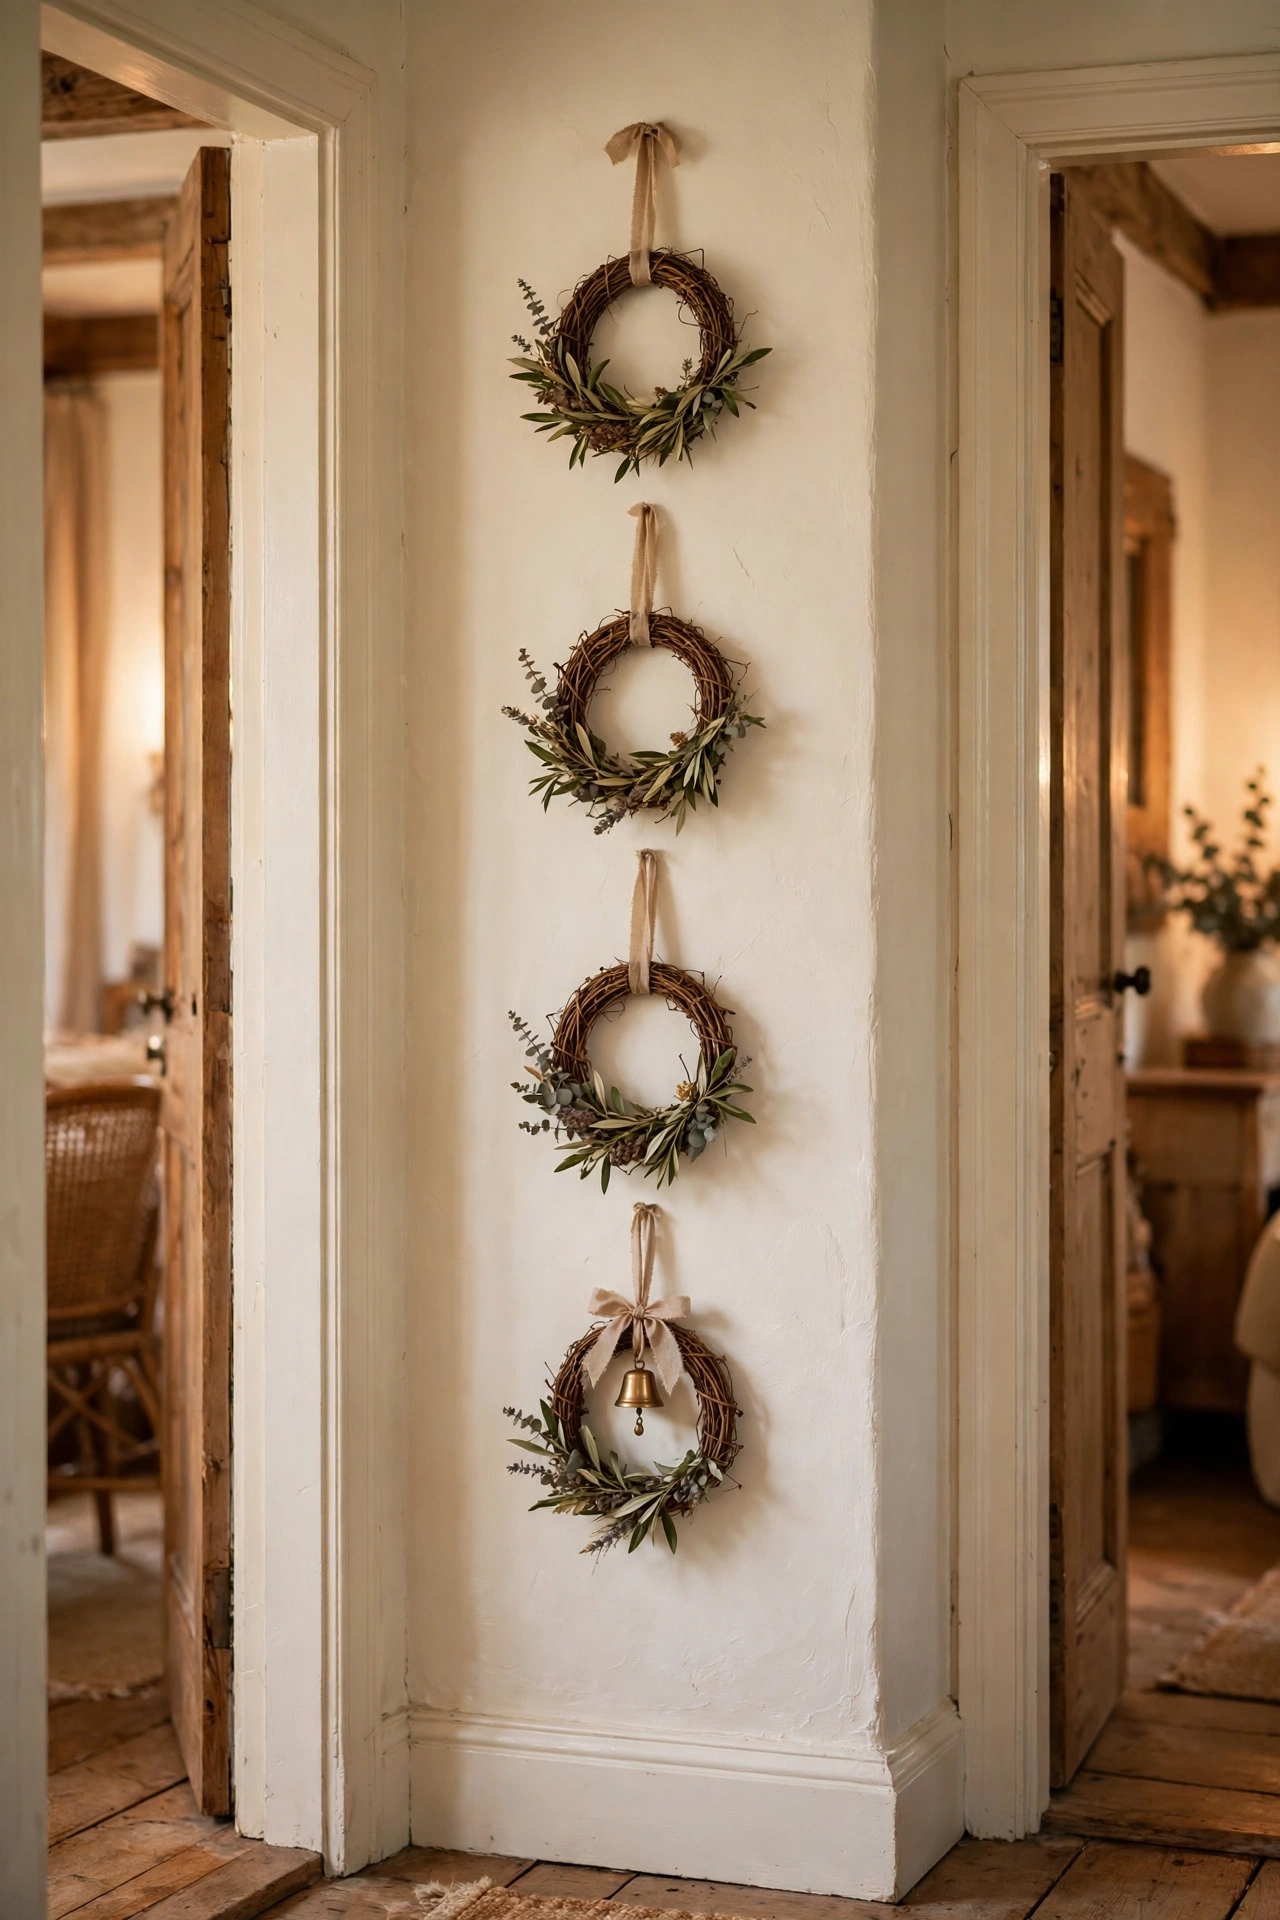
Small grapevine or faux-greenery wreaths, hung in a row or grid, make one of the prettiest cheap wall displays I know. Dollar stores sell mini wreaths in packs, and a set of four hung in a vertical column fills a narrow wall beautifully. Hang each from a small nail or a clear hook, and tie a short ribbon loop at the top of each wreath so they hang straight. Keep them identical for a formal look, or vary the greenery slightly for a cottage feel. I tried this in my own hallway between two doorways and added a tiny brass bell to the bottom wreath for winter. One mistake to avoid: hanging them in direct sun, which fades faux greenery to a sad grey-green. Cost: ~$8 · Time: 30 minutes
Pro tip: Hot-glue a few dried flowers or a sprig of faux eucalyptus to each wreath and they will look hand-crafted rather than mass-produced.
Oversized Farmhouse Wall Clock
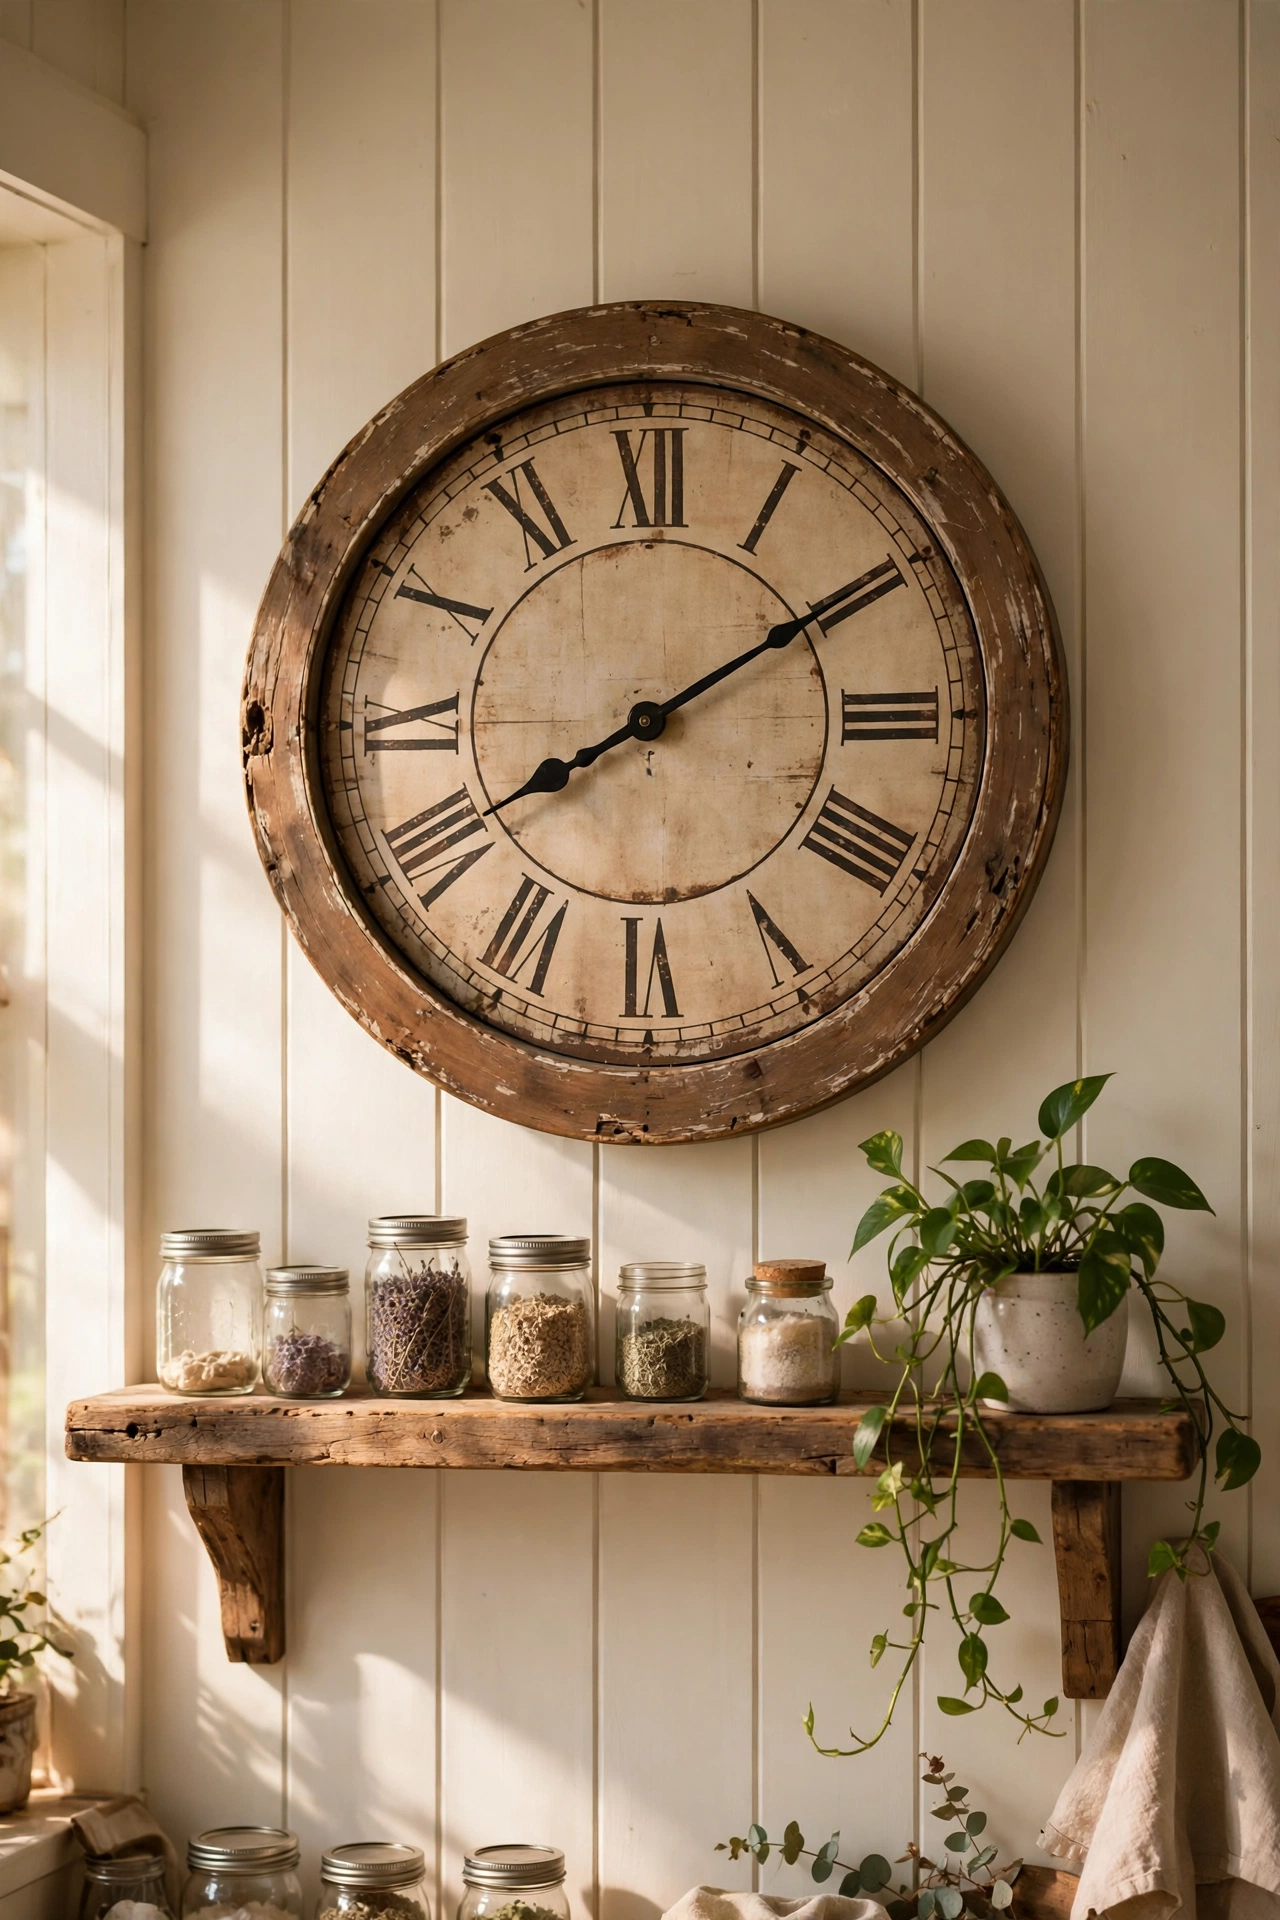
A big wall clock anchors a room the way art does, and dollar stores occasionally stock oversized farmhouse-style clocks that look remarkably like the expensive versions. Check that the hands move smoothly and the ticking is quiet before you buy — a loud tick ruins the effect. Hang it centred above a mantel, sofa, or dining table, roughly six to eight inches above the furniture. If the finish looks flat, a light dry-brush of white paint on the raised edges gives it that weathered, high-end look. I replaced a tiny clock in my kitchen with one of these and the whole wall suddenly felt designed. Cost: ~$10 · Time: 20 minutes
Grid-Style Photo Frame Collage
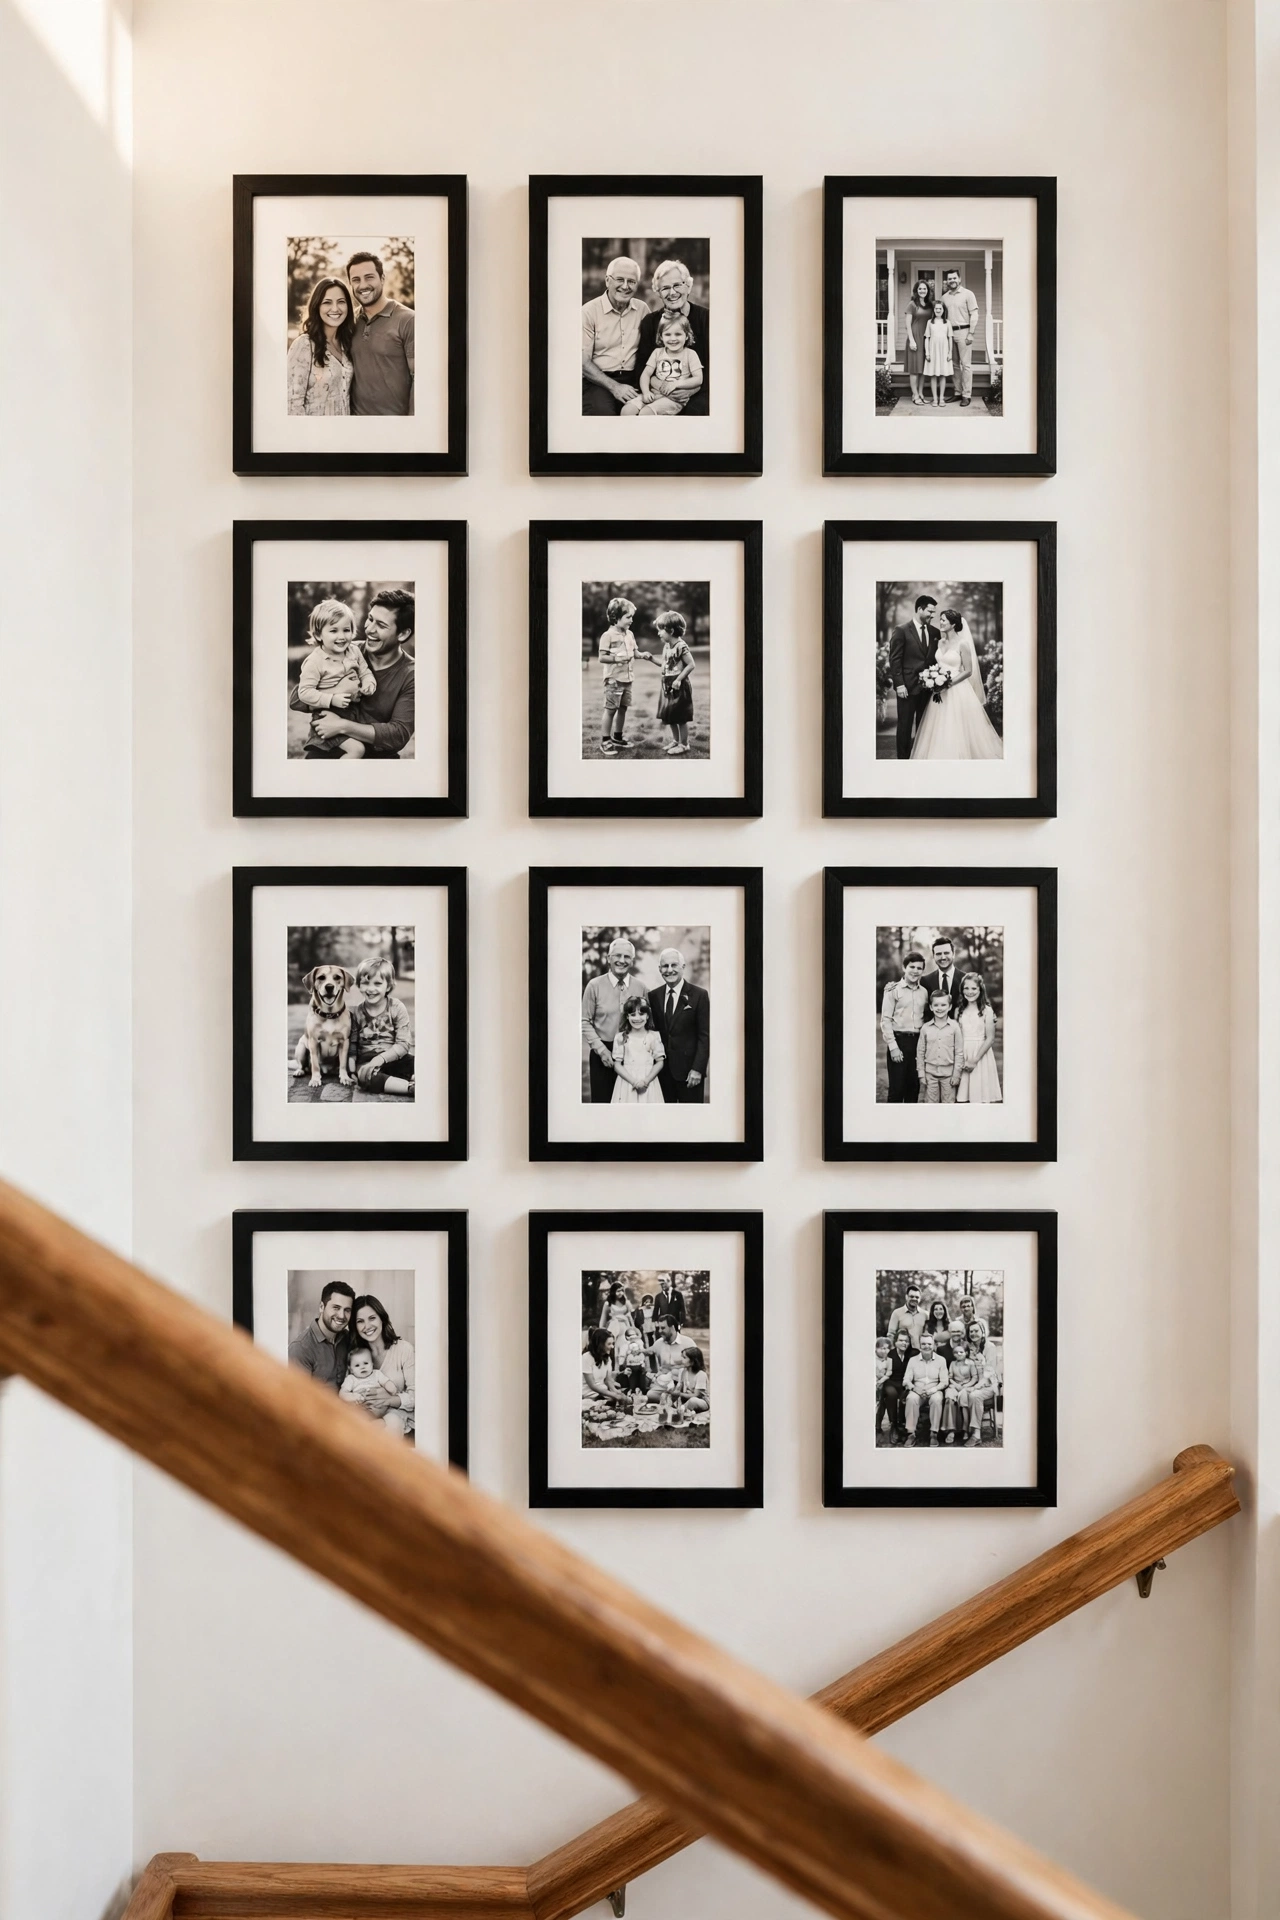
A tight grid of identical frames is the most foolproof gallery wall there is, and it is pure dollar store territory. Buy nine to twelve of the exact same frame — 5×7 or 8×10 works best — and print your photos in black and white for a cohesive, editorial look. Measure and mark the wall with a level so every frame sits in a perfect grid; two-inch gaps between frames look sharp and modern. Hang the centre row at eye level and work outward. I did this with family photos in my stairwell and used (see also: 17-dollar-store-wall-decor-ideas-that-look-expensive) as my layout reference for spacing. One mistake to avoid: mixing colour and black-and-white photos in the same grid — it breaks the uniformity that makes it look expensive. Cost: ~$15 · Time: 1.5 hours
Pro tip: Print photos with a white border (use a free phone app) and the cheap frames will suddenly look like gallery matting.
Metal Script Word Art
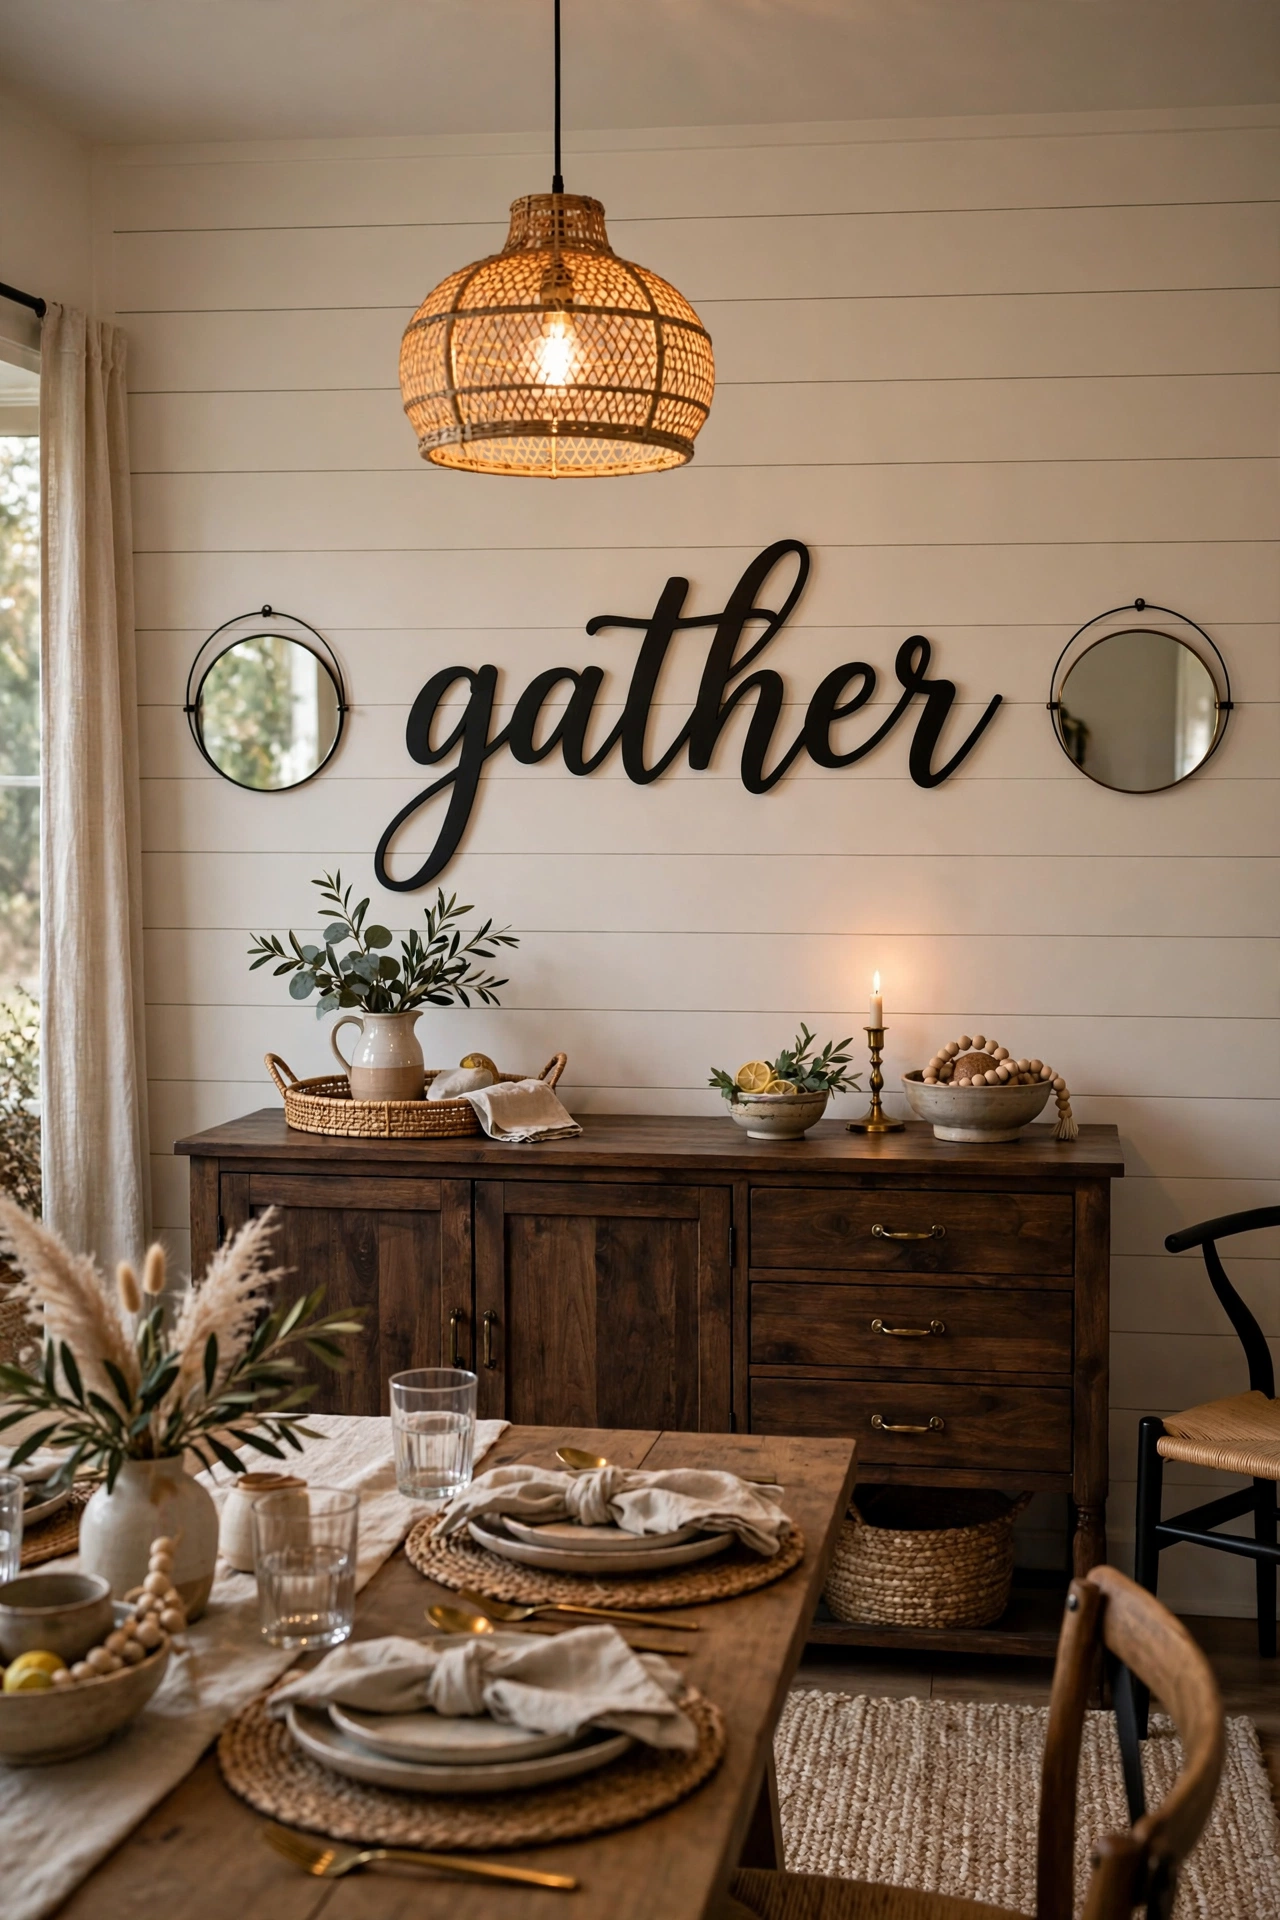
Metal script words — “family”, “home”, “blessed”, that sort of thing — are a dollar store classic that genuinely works when styled well. The trick is scale: buy the largest size available and hang it where it has breathing room, like centred on a wide empty wall or above a headboard. Mount it with small clear hooks or picture wire so the metal floats slightly off the wall, which casts a soft shadow and adds depth. Pair it with one other element, like a wreath or a mirror, rather than leaving it floating alone. I hung a large “gather” script in my dining room and guests always assume it was custom-made. Cost: ~$7 · Time: 20 minutes
Lantern Wall Sconces
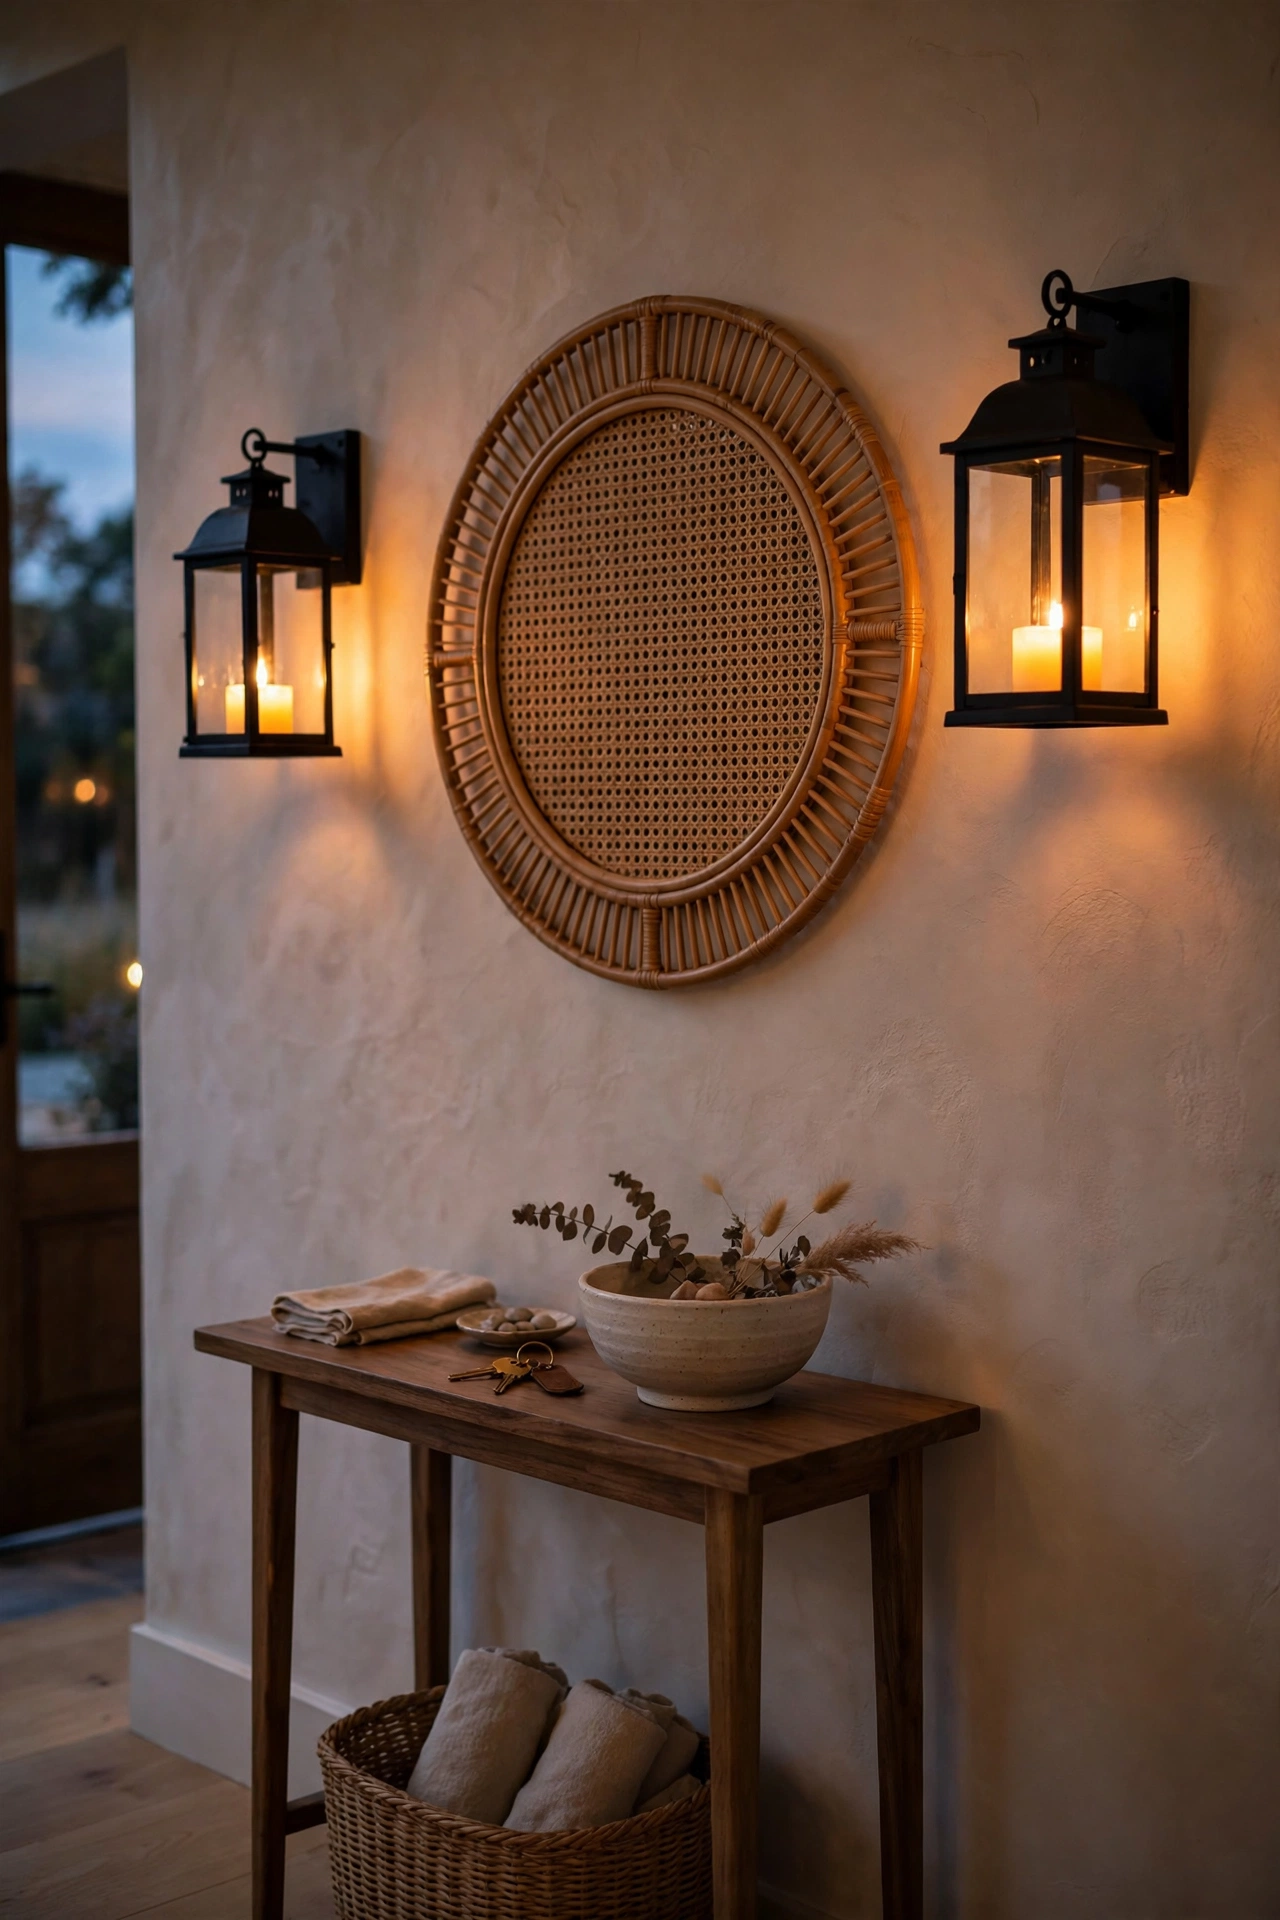
Wall-mounted lantern sconces add the kind of warm, flickering light that makes a room feel expensive, and dollar stores sell both the lanterns and the battery tea lights to fill them. Mount two lanterns flanking a mirror or a piece of art using sturdy wall hooks rated for their weight. Pop in warm-white LED tea lights on a timer so they glow every evening without you thinking about it. Keep the glass clean — dusty lanterns dim the glow and cheapen the look. I tried this in my own entryway, flanking a round mirror, and the evening glow genuinely makes the house feel like a boutique hotel. One mistake to avoid: using cool-white LEDs, which look clinical instead of cosy. Cost: ~$10 · Time: 30 minutes
Pro tip: Spray the lantern frames matte black or antique gold and they will match hardware finishes that cost far more.
Fabric Tapestry Hanging
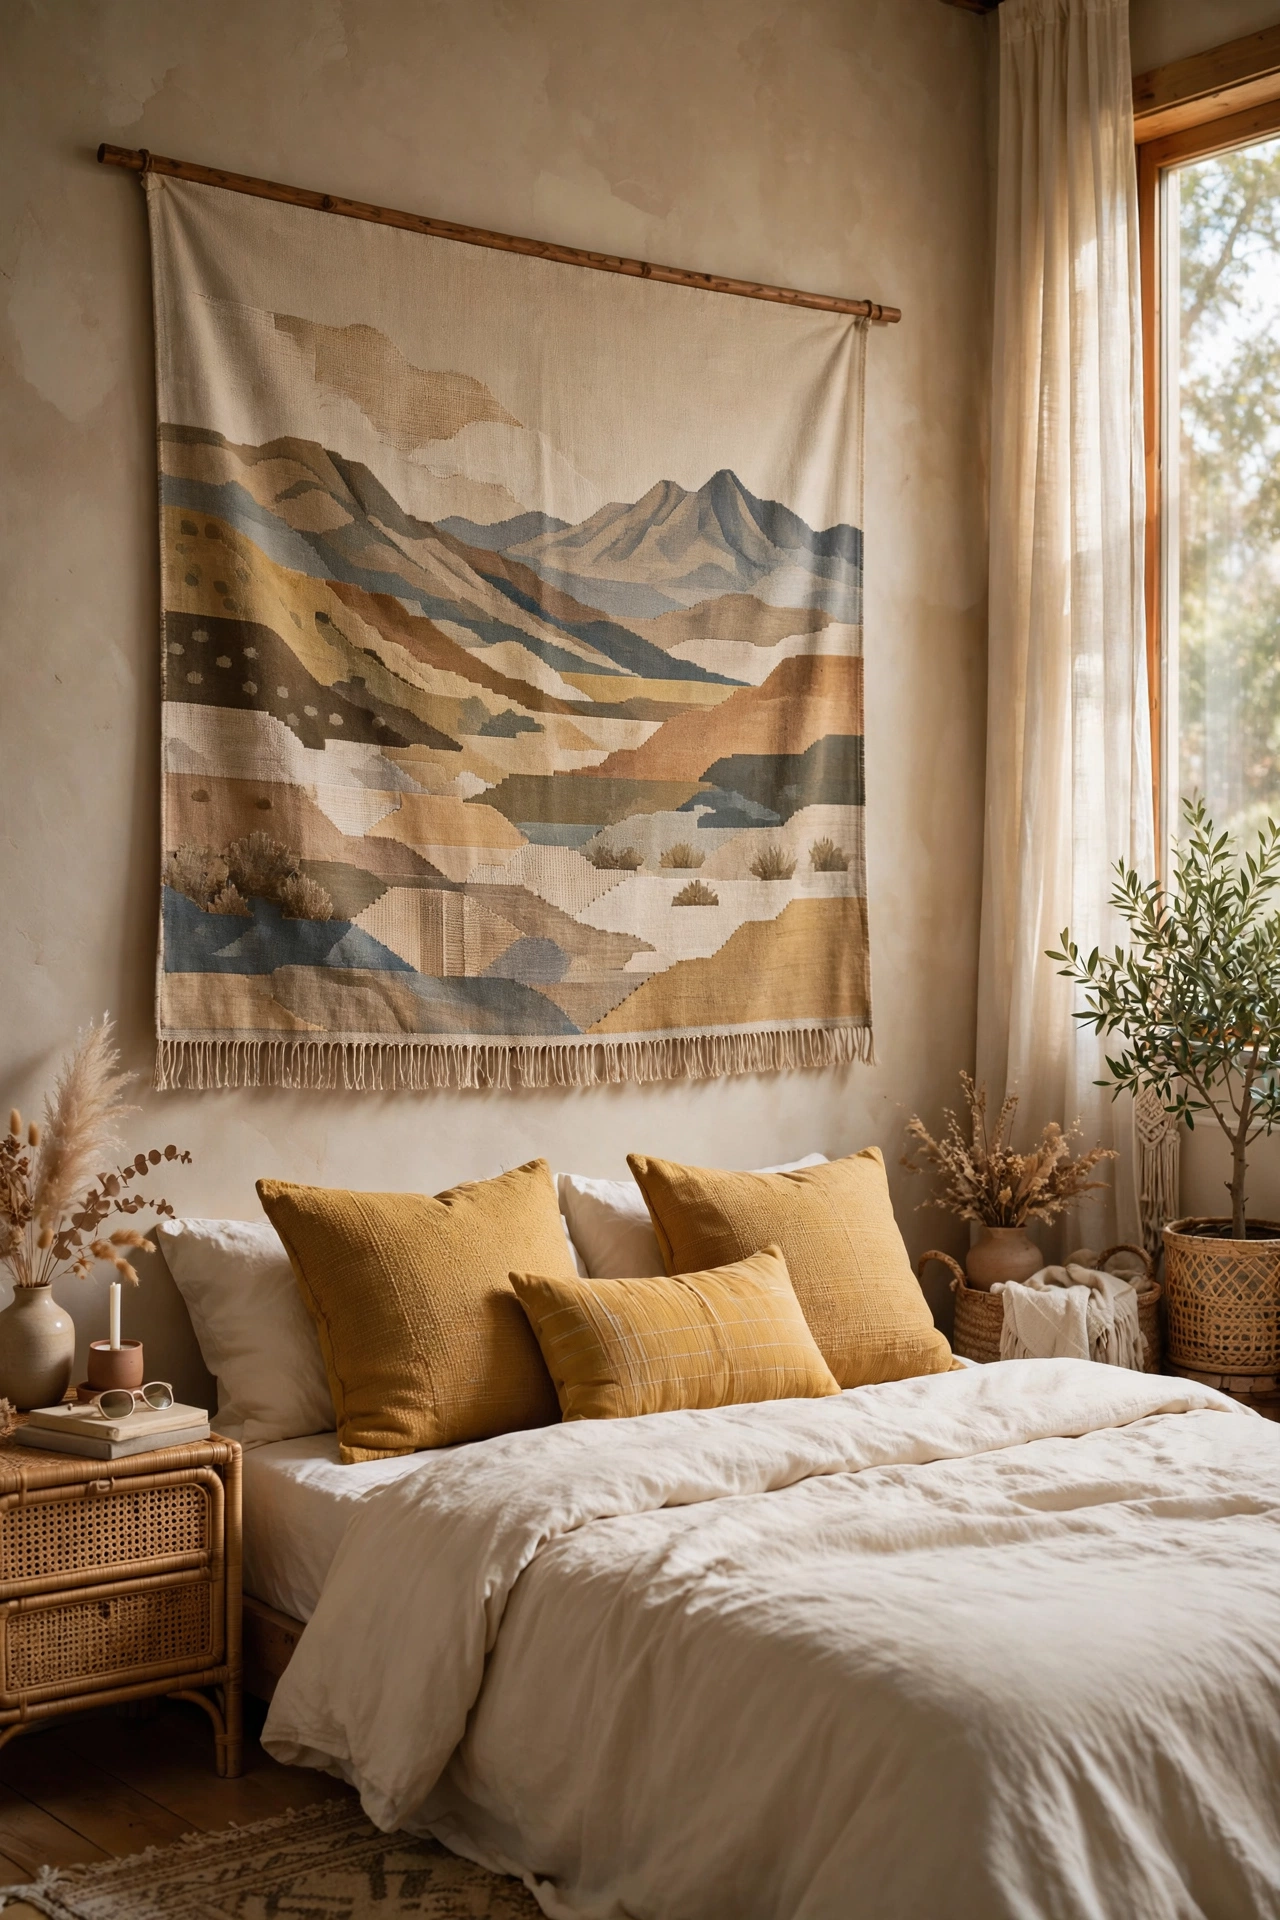
A fabric tapestry is the cheapest way to cover a large empty wall, and dollar store versions in mandala, landscape, and abstract prints cost a fraction of boutique ones. The secret to making it look expensive is how you hang it: stretch it taut on a wooden dowel or clip it into a simple frame rather than tacking it up loosely. Iron or steam out every crease before hanging — wrinkles are the one thing that screams cheap. Centre it over a bed or a sofa and let it act as a headboard substitute. I hung a landscape tapestry behind my guest bed and visitors assumed it was a commissioned textile piece. Cost: ~$9 · Time: 30 minutes
Framed Cork Memo Board
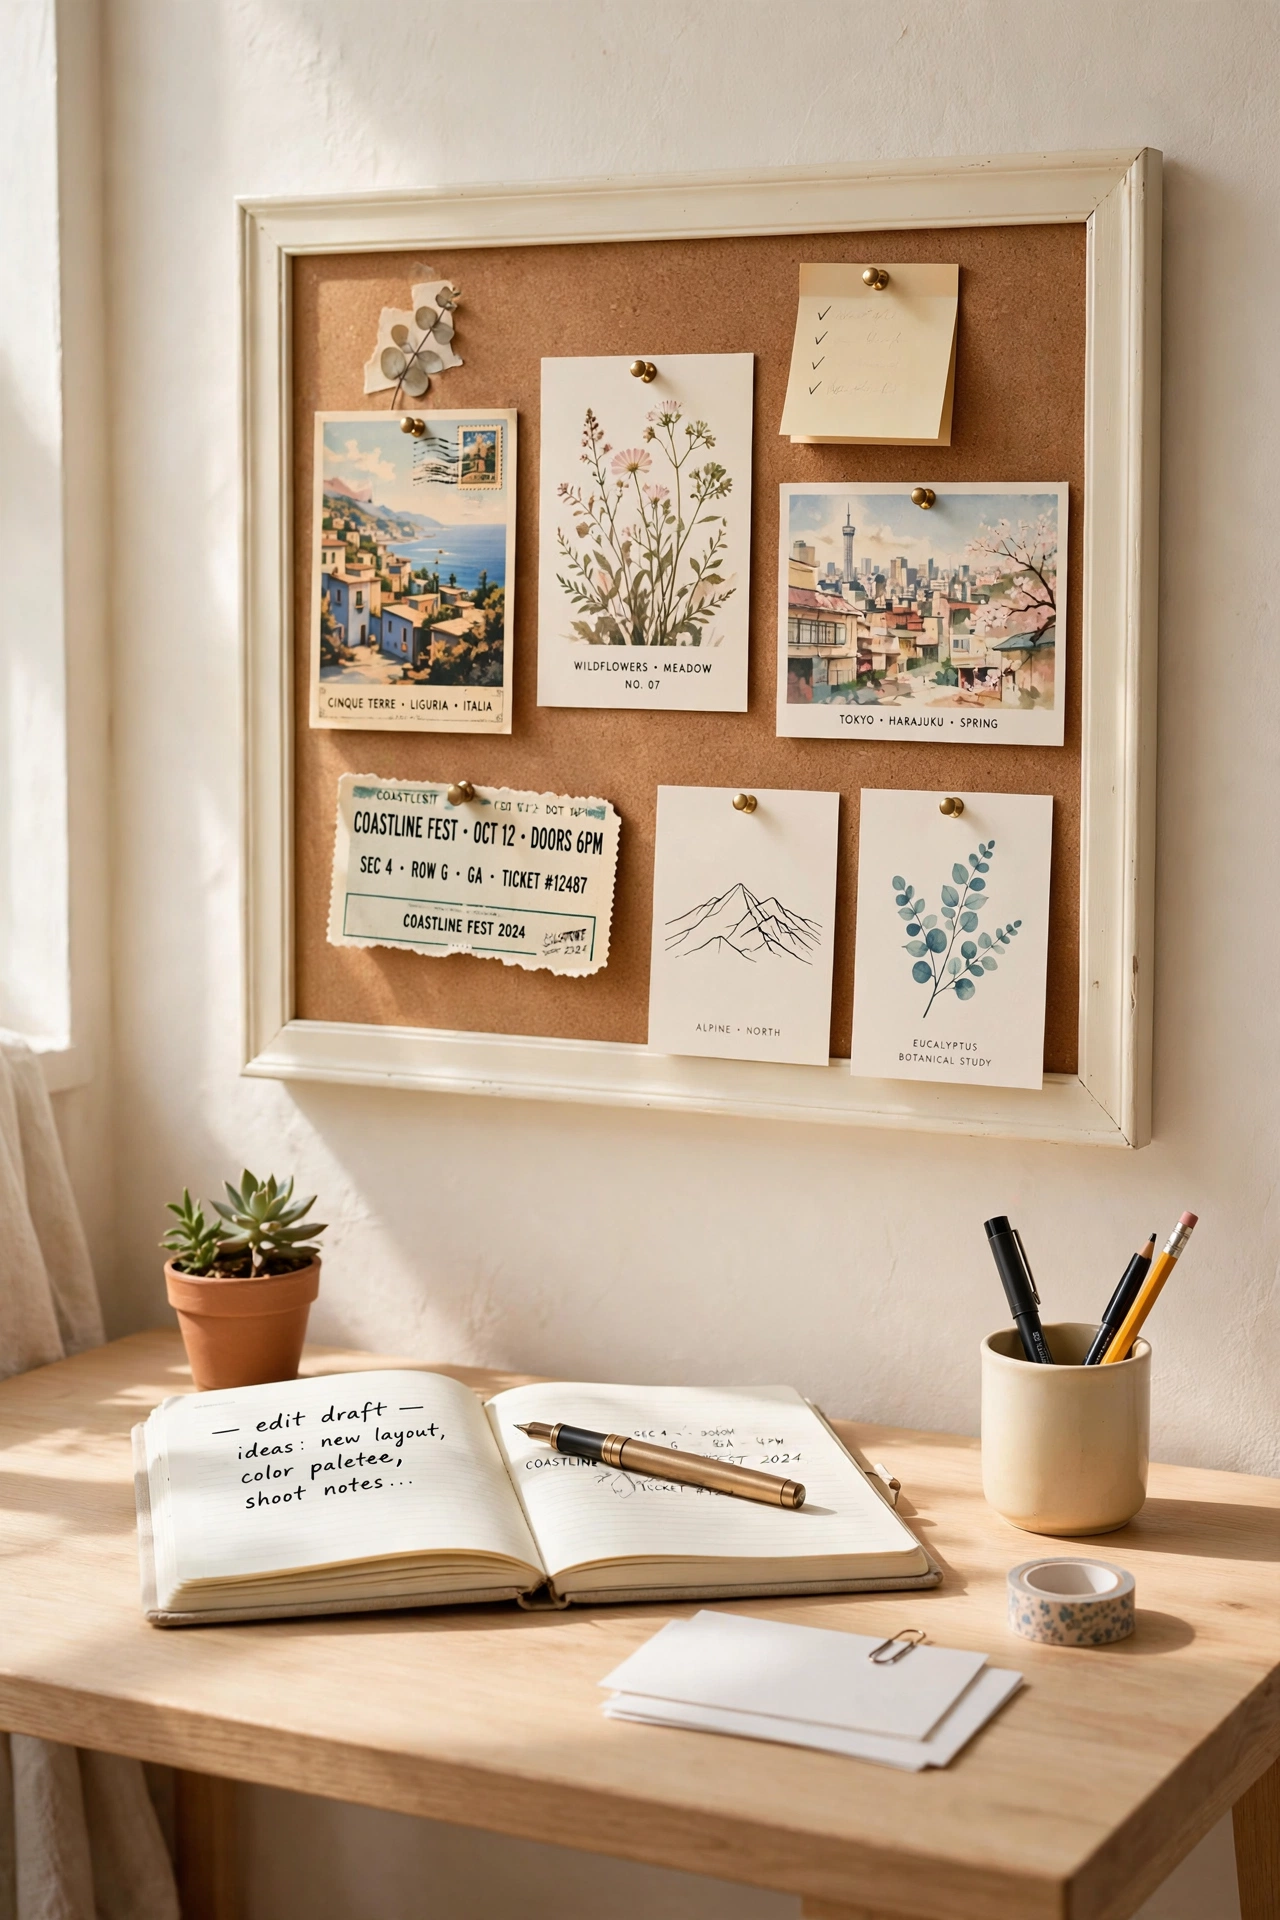
A framed cork board is both wall decor and genuinely useful, which is why this one earns its place. Dollar stores sell framed cork boards in several sizes — pick one with a proper wooden frame rather than raw cork edges. Paint the frame to match your room, then style the board itself: pin up postcards, ticket stubs, and one or two small art prints in a loose, intentional arrangement. Hang it in a home office, kitchen, or hallway where it will actually get used. I tried this in my own kitchen and painted the frame the same cream as my cabinets so it blends in beautifully. One mistake to avoid: overfilling it until it looks like a notice board at a community centre — edit ruthlessly. Cost: ~$6 · Time: 25 minutes
Pro tip: Cover half the cork with a strip of linen fabric for a two-tone look that hides pin holes and looks far more finished.
Vintage-Style Framed Maps
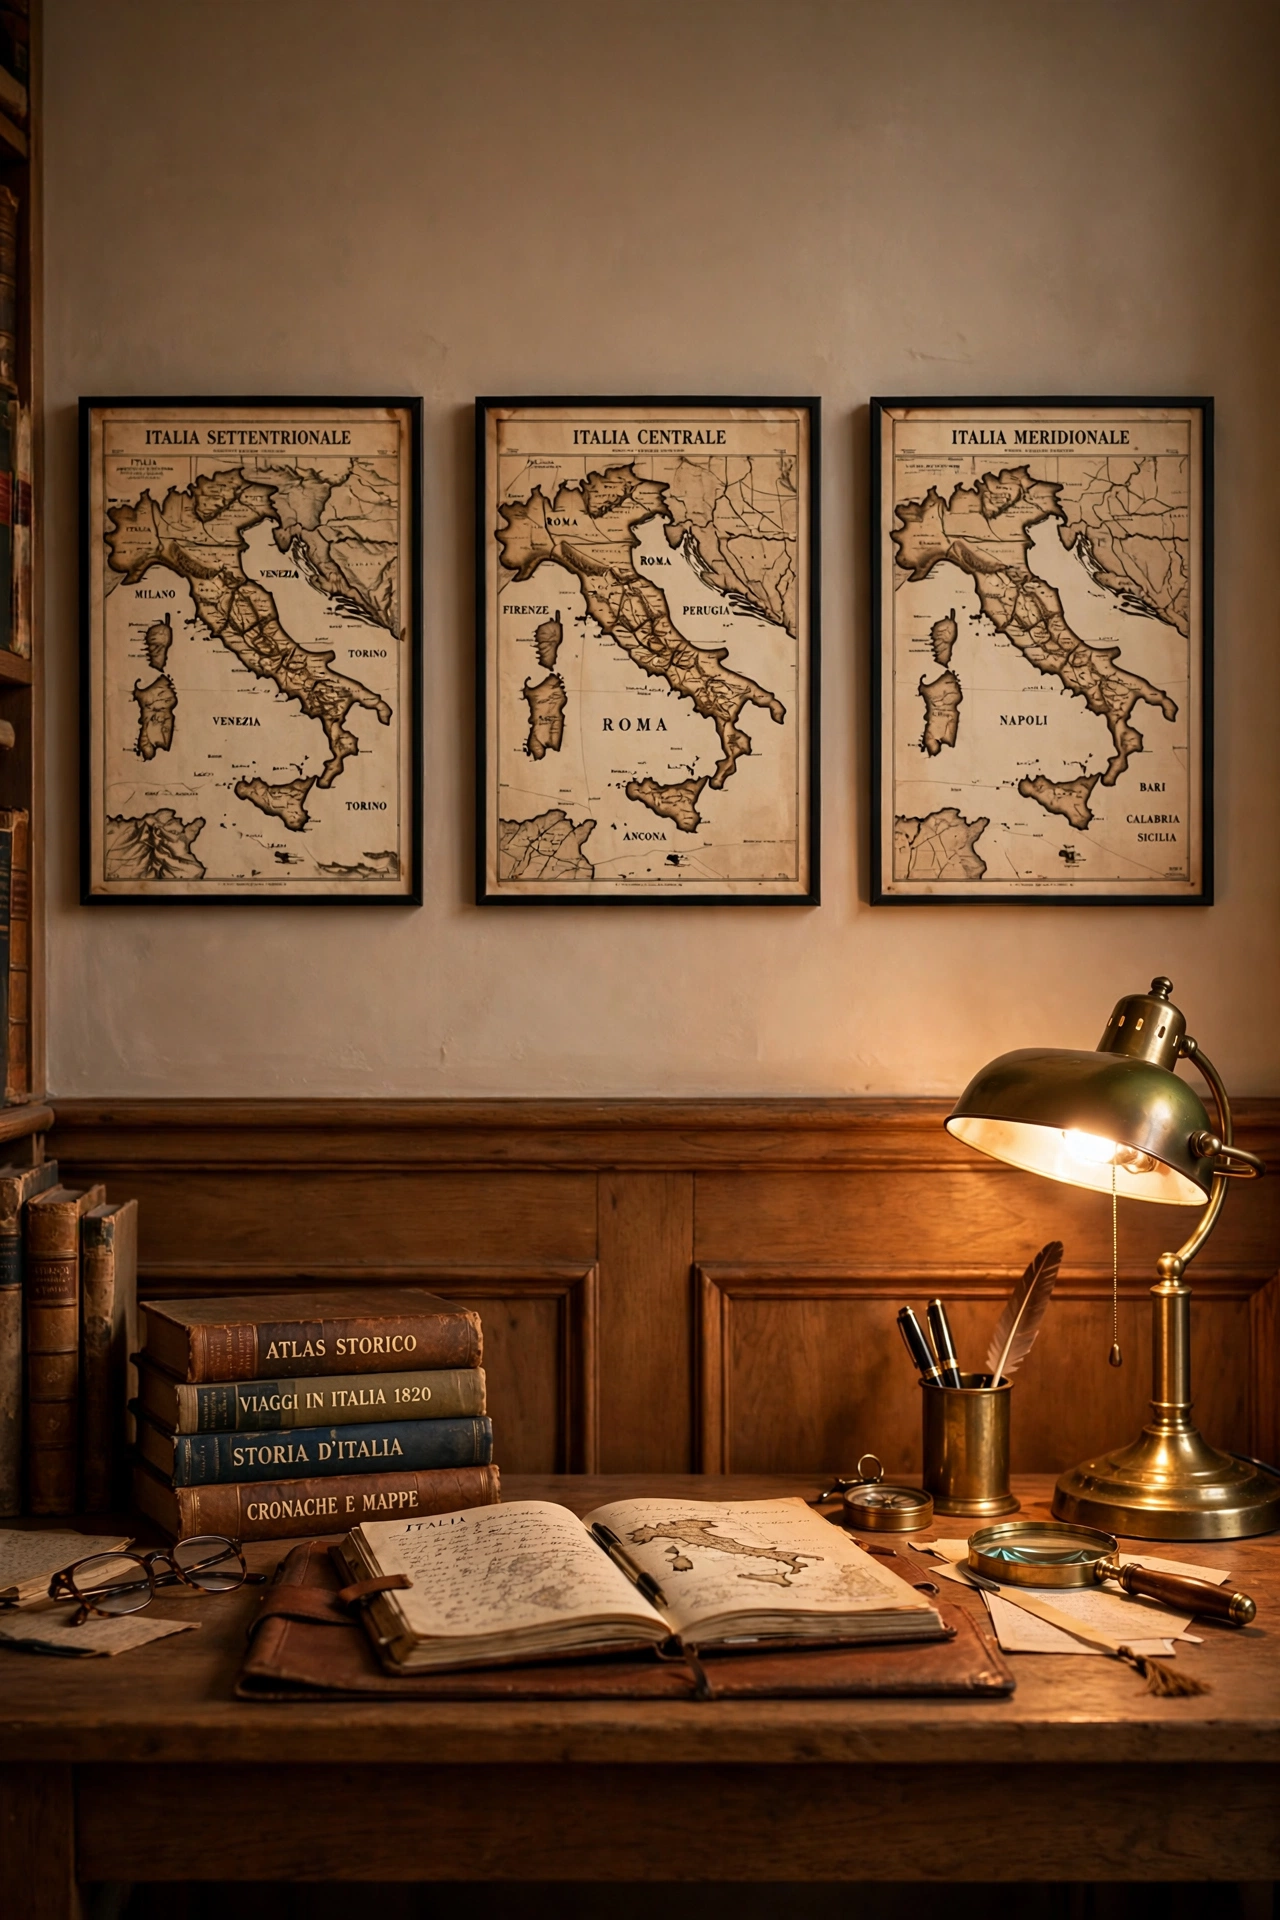
Vintage-style maps and travel prints are a timeless wall choice, and dollar stores often stock map-themed prints, atlases, and even individual map pages. Tear pages from a cheap atlas and frame them in matching dollar store frames for a fraction of what map art costs in home stores. Choose maps with muted, sepia tones rather than bright modern colours for the most expensive look. Hang a set of three in a row above a desk, or frame one large map as a statement piece. I framed pages from a thrifted atlas of Italy above my desk, and the aged paper texture does half the styling work. Cost: ~$8 · Time: 40 minutes
Pegboard Art Display Wall
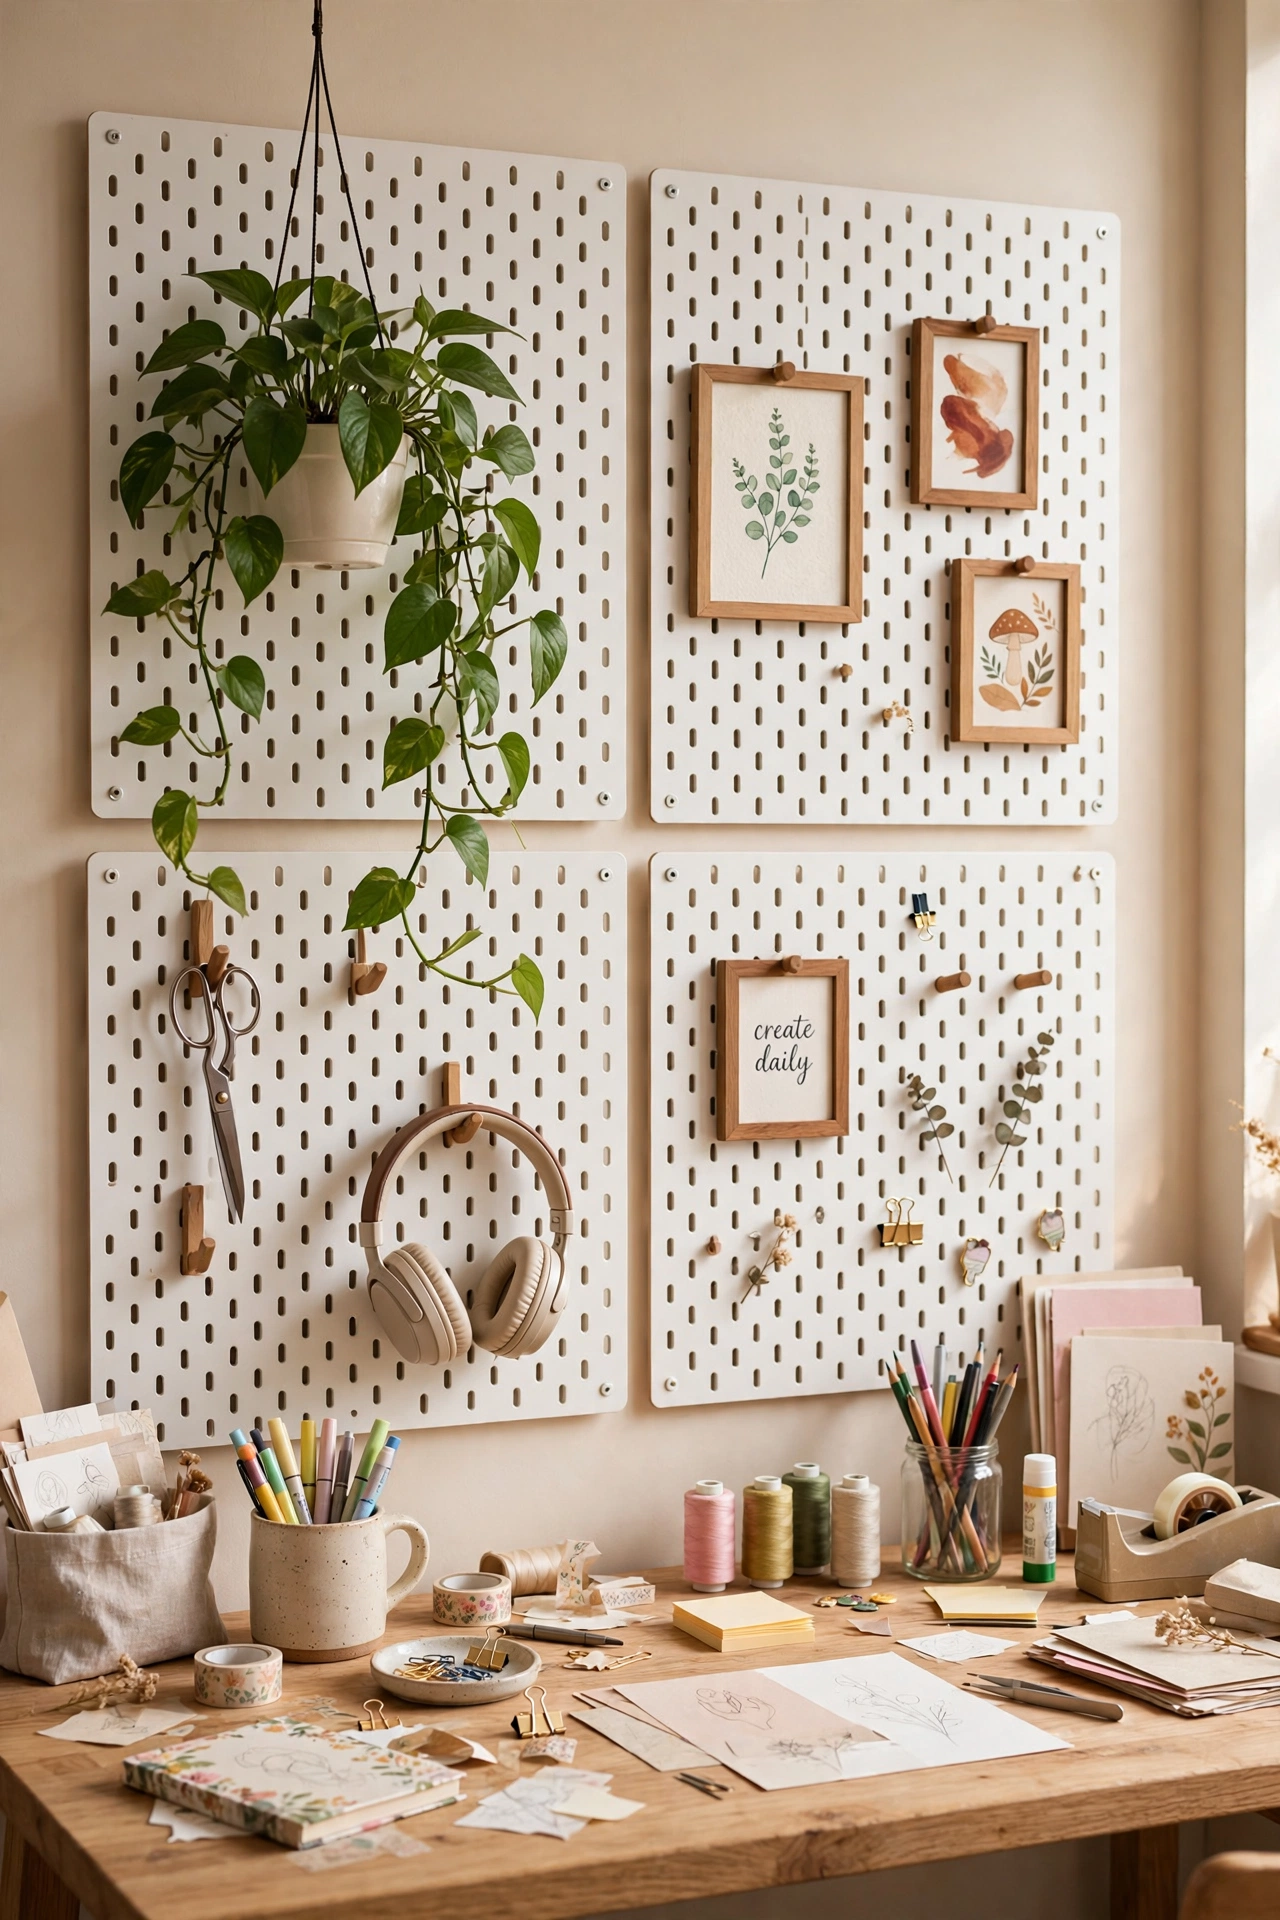
A pegboard wall is the most versatile idea on this list — part art display, part organisation, and endlessly rearrangeable. Dollar stores sell small pegboard panels and hook sets that you can tile into a larger display. Mount two to four panels in a grid on a home office or craft room wall, securing them into studs or using heavy-duty wall anchors. Style them with a mix of small framed prints, hanging plants, and a few functional hooks for headphones or keys. The beauty is that you can rearrange the whole display in minutes whenever you fancy a change. I built one above my desk using (see also: 25-dollar-store-organization-ideas-for-every-room) principles and it is now my favourite spot in the house. One mistake to avoid: leaving hooks half-empty — fill every hook or the board looks unfinished. Cost: ~$14 · Time: 1 hour
Save this idea for later and pin it to your home decor board — your walls will thank you when the inspiration strikes.
My Favourite Budget Wall, All Done
That is all seventeen. Every one of these cost me under fifteen dollars, and every one of them gets compliments from people who assume I spent ten times more. The real lesson from my month of dollar store hunting is simple: matching finishes, intentional spacing, and one good focal piece will always beat an expensive frame hung carelessly. Start with one wall this weekend and see how far a few dollars can go.
