21 Open Shelving Kitchen Ideas Styled for Less
I took my upper cabinets off on a Saturday morning, powered by coffee and pure impatience, and spent the whole afternoon staring at a bare wall wondering what I had done. Open shelving kitchen ideas styled for less looked so effortless in photos, but my wall looked like a construction site. Three weeks of trial and error later, it clicked: open shelves are not about owning pretty things, they are about arranging everyday things beautifully. My dishes did not change. The way I grouped them did, and suddenly the kitchen felt airy, intentional, and genuinely personal. Here are the 21 ideas that took me from panicked to proud.
Shelves by the Sink
1. Everyday Dishes Front and Centre
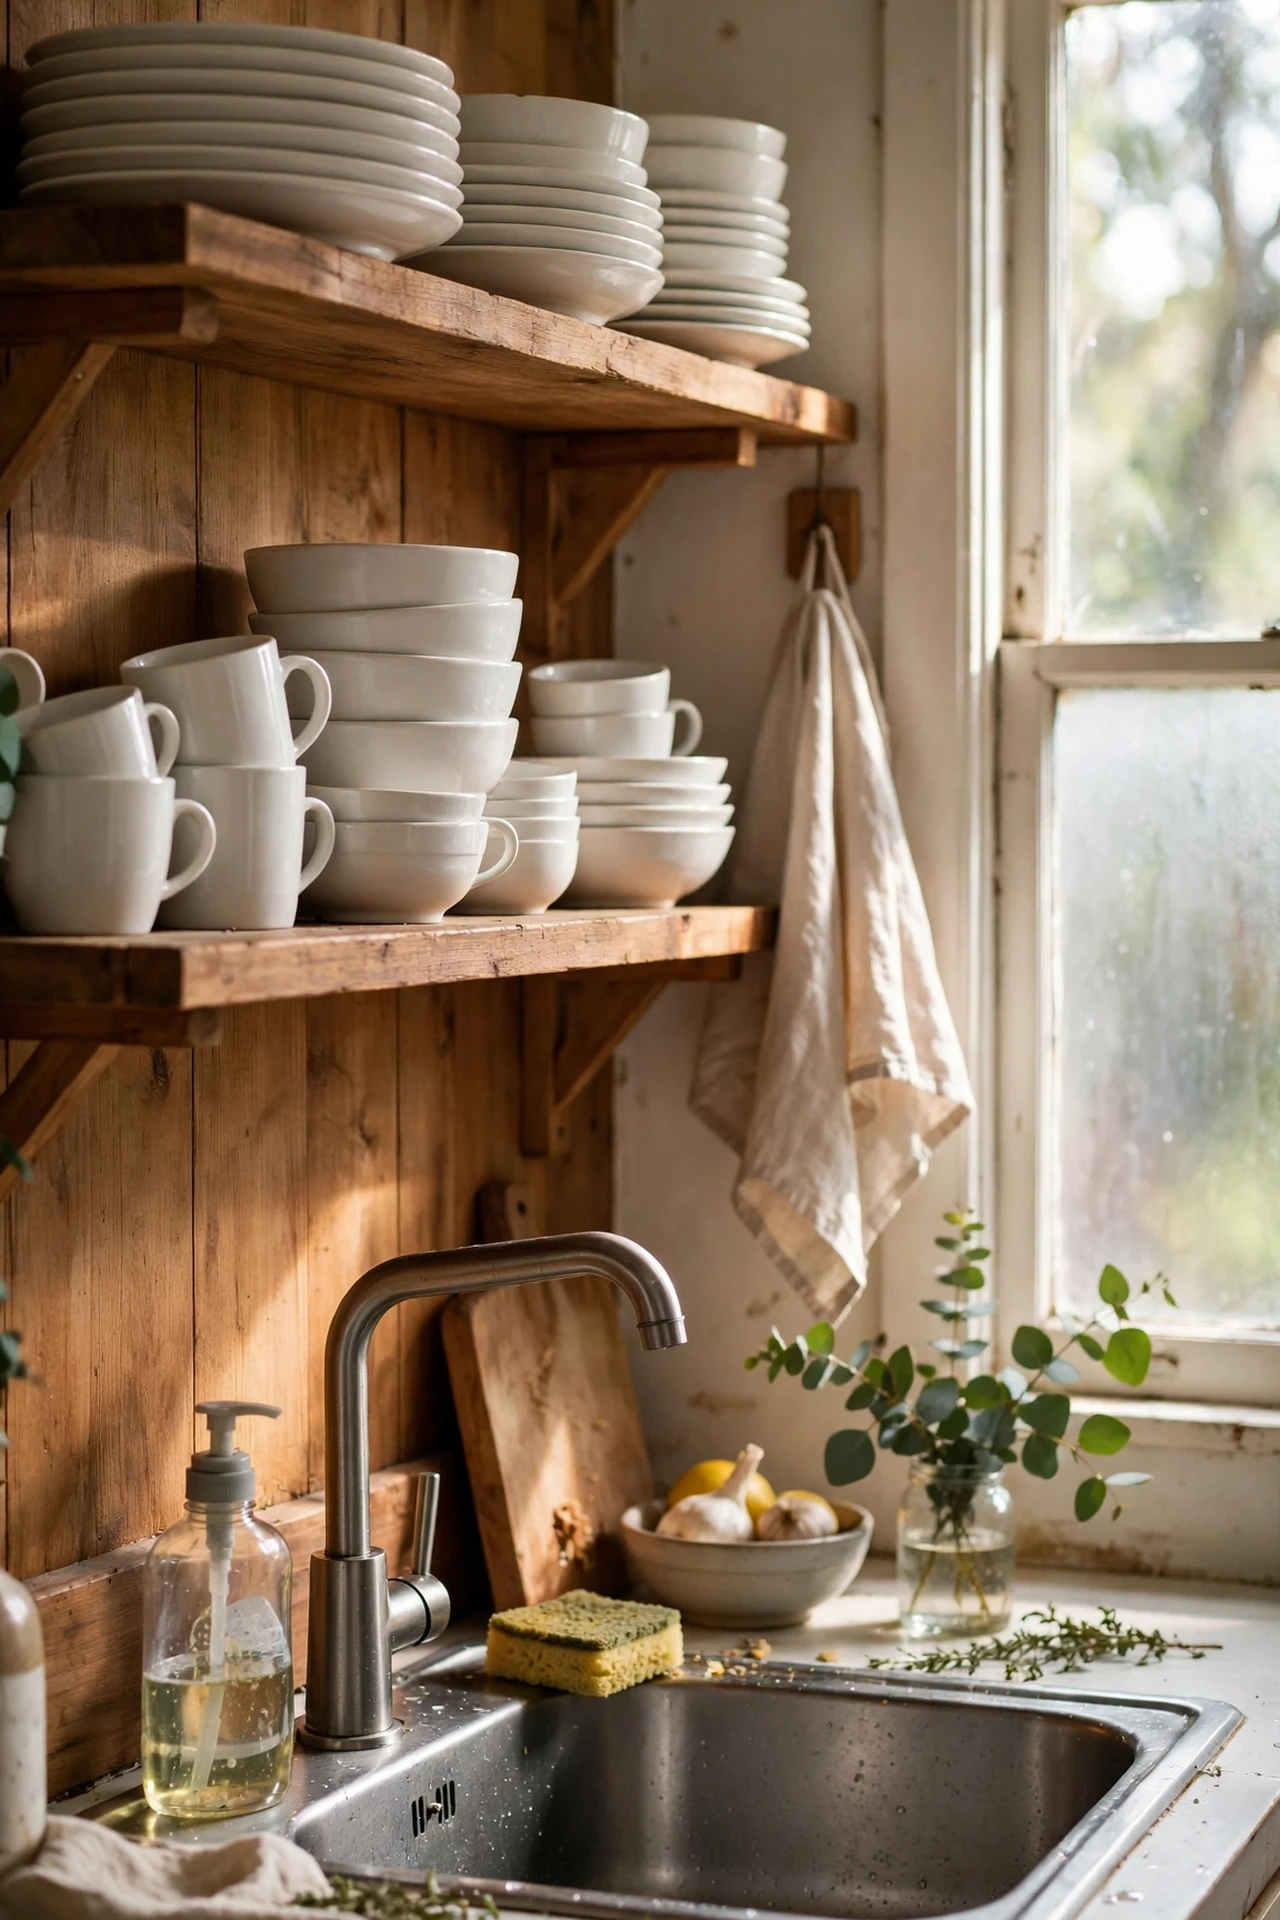
Your most-used plates and bowls belong on the shelf you can reach without thinking. Stack matching sets in tidy piles right above your main work zone, because the things you grab daily should never be decorative clutter. I tried this with my white everyday dishes, and the shelf started looking like a ceramics display just by being consistent. The mistake to avoid is hiding your best pieces at the back; if a mug has a chip, move it to the back row or donate it. Grouped by shape and size, even basic supermarket crockery reads as styled.
2. Glassware Lined Up Like a Bar
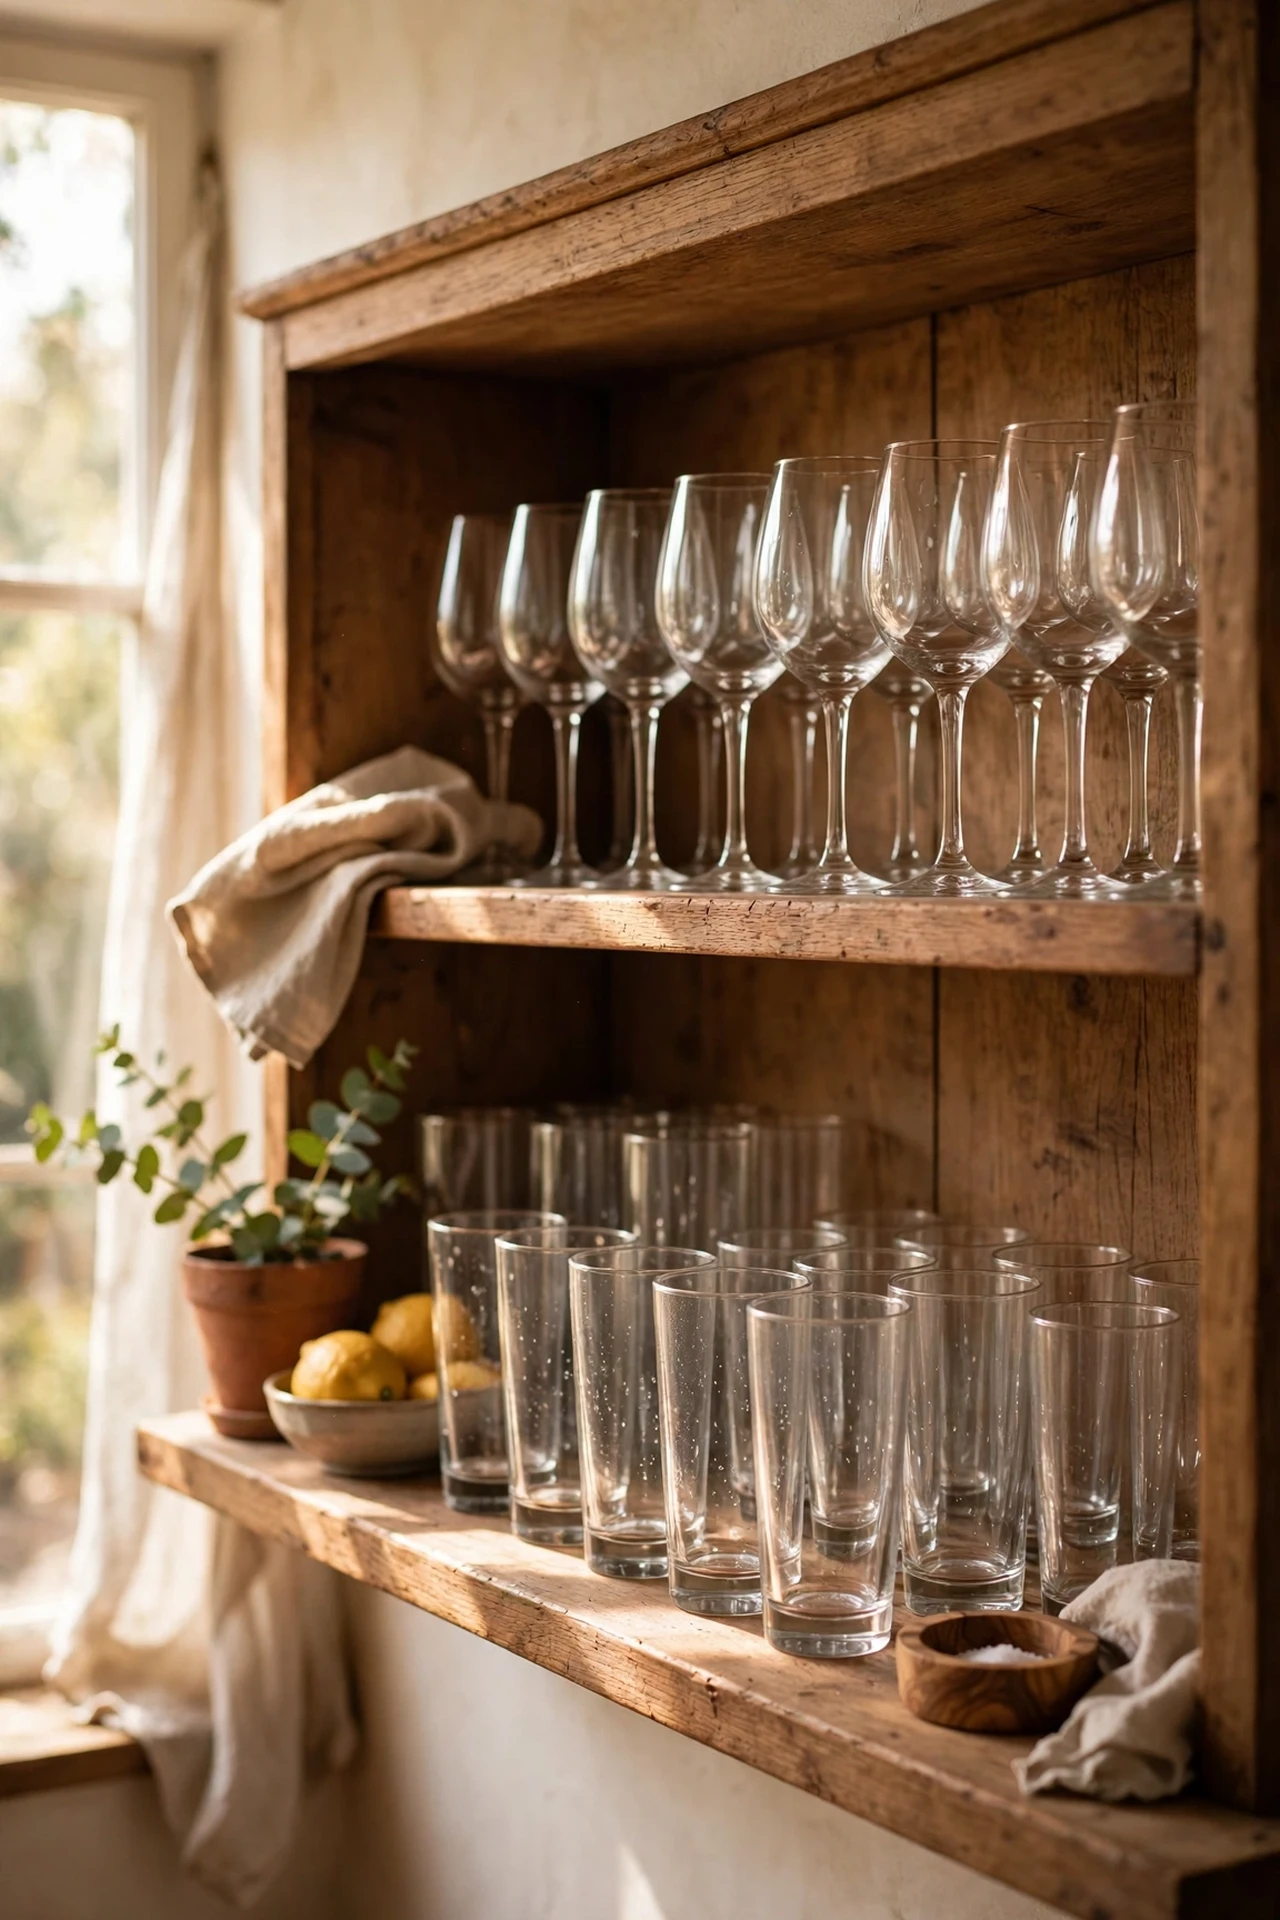
Glasses stored upside down in straight rows turn open shelves into a little home bar, and it costs you nothing. Line tumblers and wine glasses together, tallest at the back, and leave a little breathing room so nothing looks crammed. I tried this beside my sink, and guests now reach for glasses without asking where things live. The mistake to avoid is mixing every random promotional glass into the row; keep odd freebies elsewhere. Three tidy rows of matching glass catch the light beautifully and make the whole shelf sparkle.
3. A Wooden Dish Rack on the Shelf
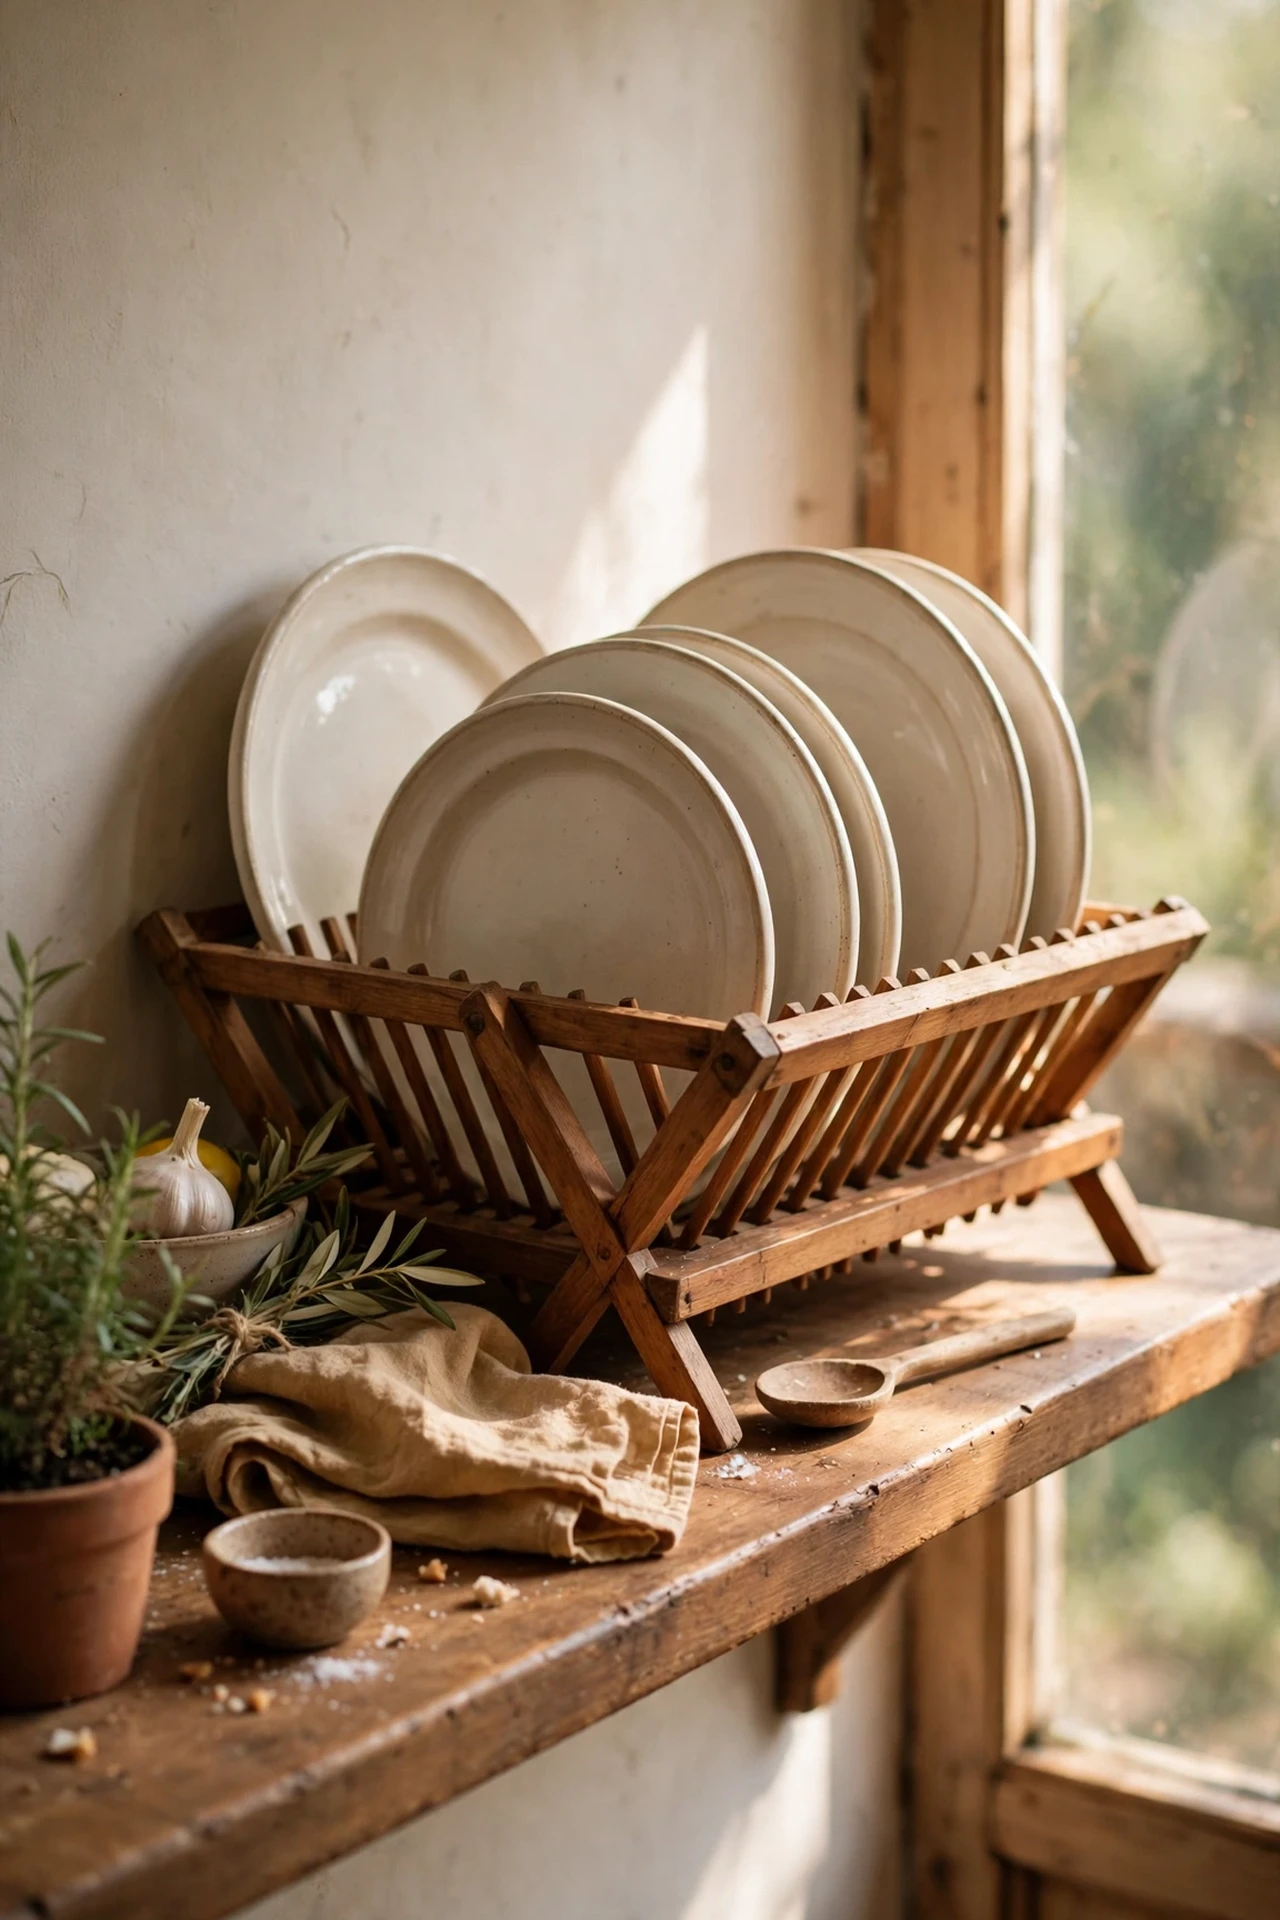
A simple wooden dish rack sitting right on the shelf keeps everyday plates upright and looking arranged instead of stacked and forgotten. Buy a cheap rack or make one from dowels, and let the vertical lines add rhythm to your display. I tried a folding bamboo rack from a discount shop, and the plates suddenly had posture. The mistake to avoid is overloading it until the plates lean dangerously; five or six per rack is the sweet spot. It is the cheapest styling upgrade that also earns its keep practically.
4. Cutting Boards as a Backdrop
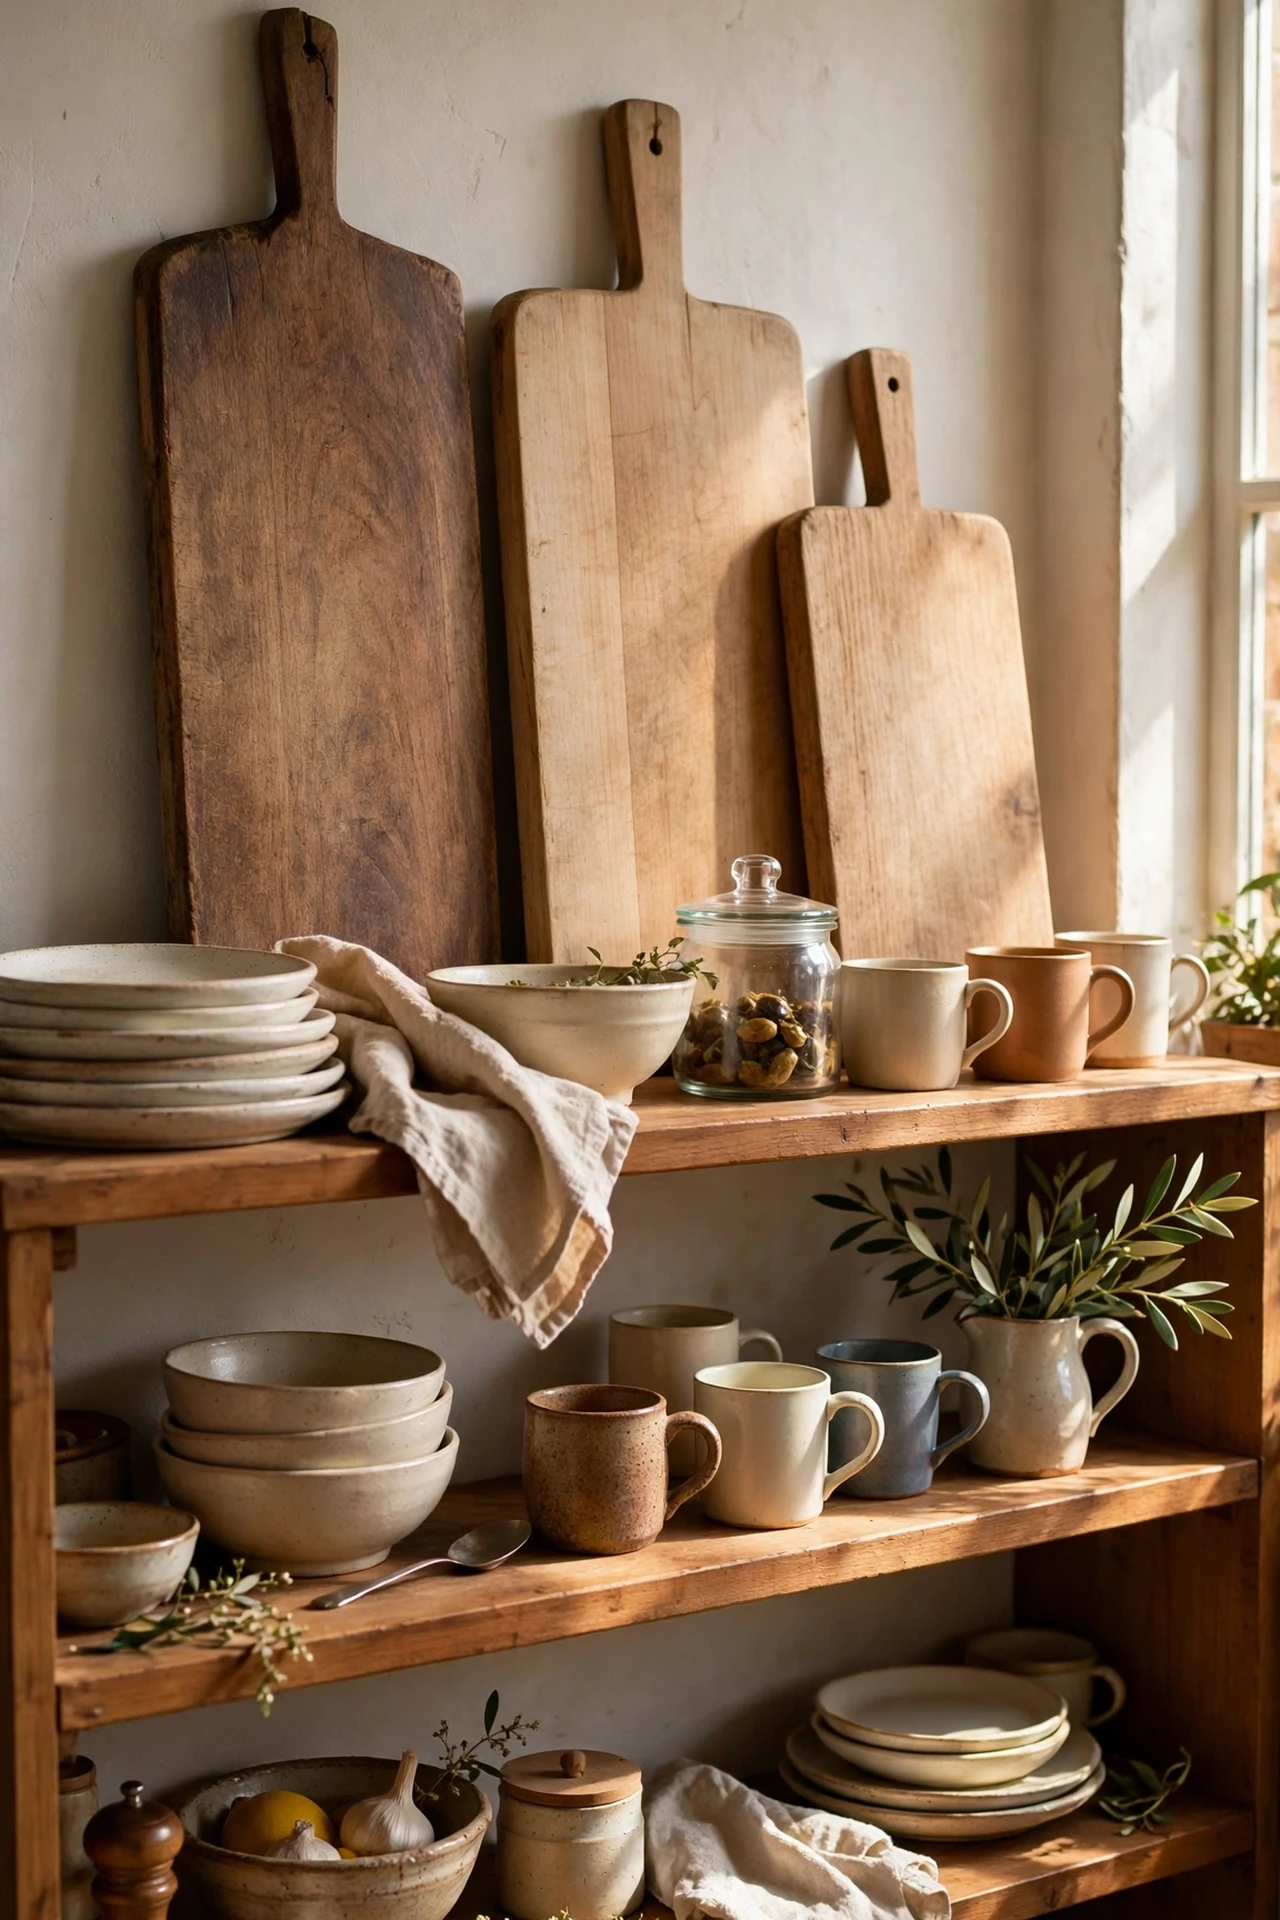
Lean your prettiest wooden cutting boards upright against the wall behind the shelf contents and you have an instant layered backdrop. Start with the largest board at the back and work forward, so the wood tones warm up the whole arrangement. I tried this with three secondhand boards, and they added more texture than any ornament ever could. The mistake to avoid is laying them flat where they vanish; standing them up is what makes them work. Rotate the front board seasonally for a fresh look at zero cost.
5. Open Mug Rails Under the Shelf
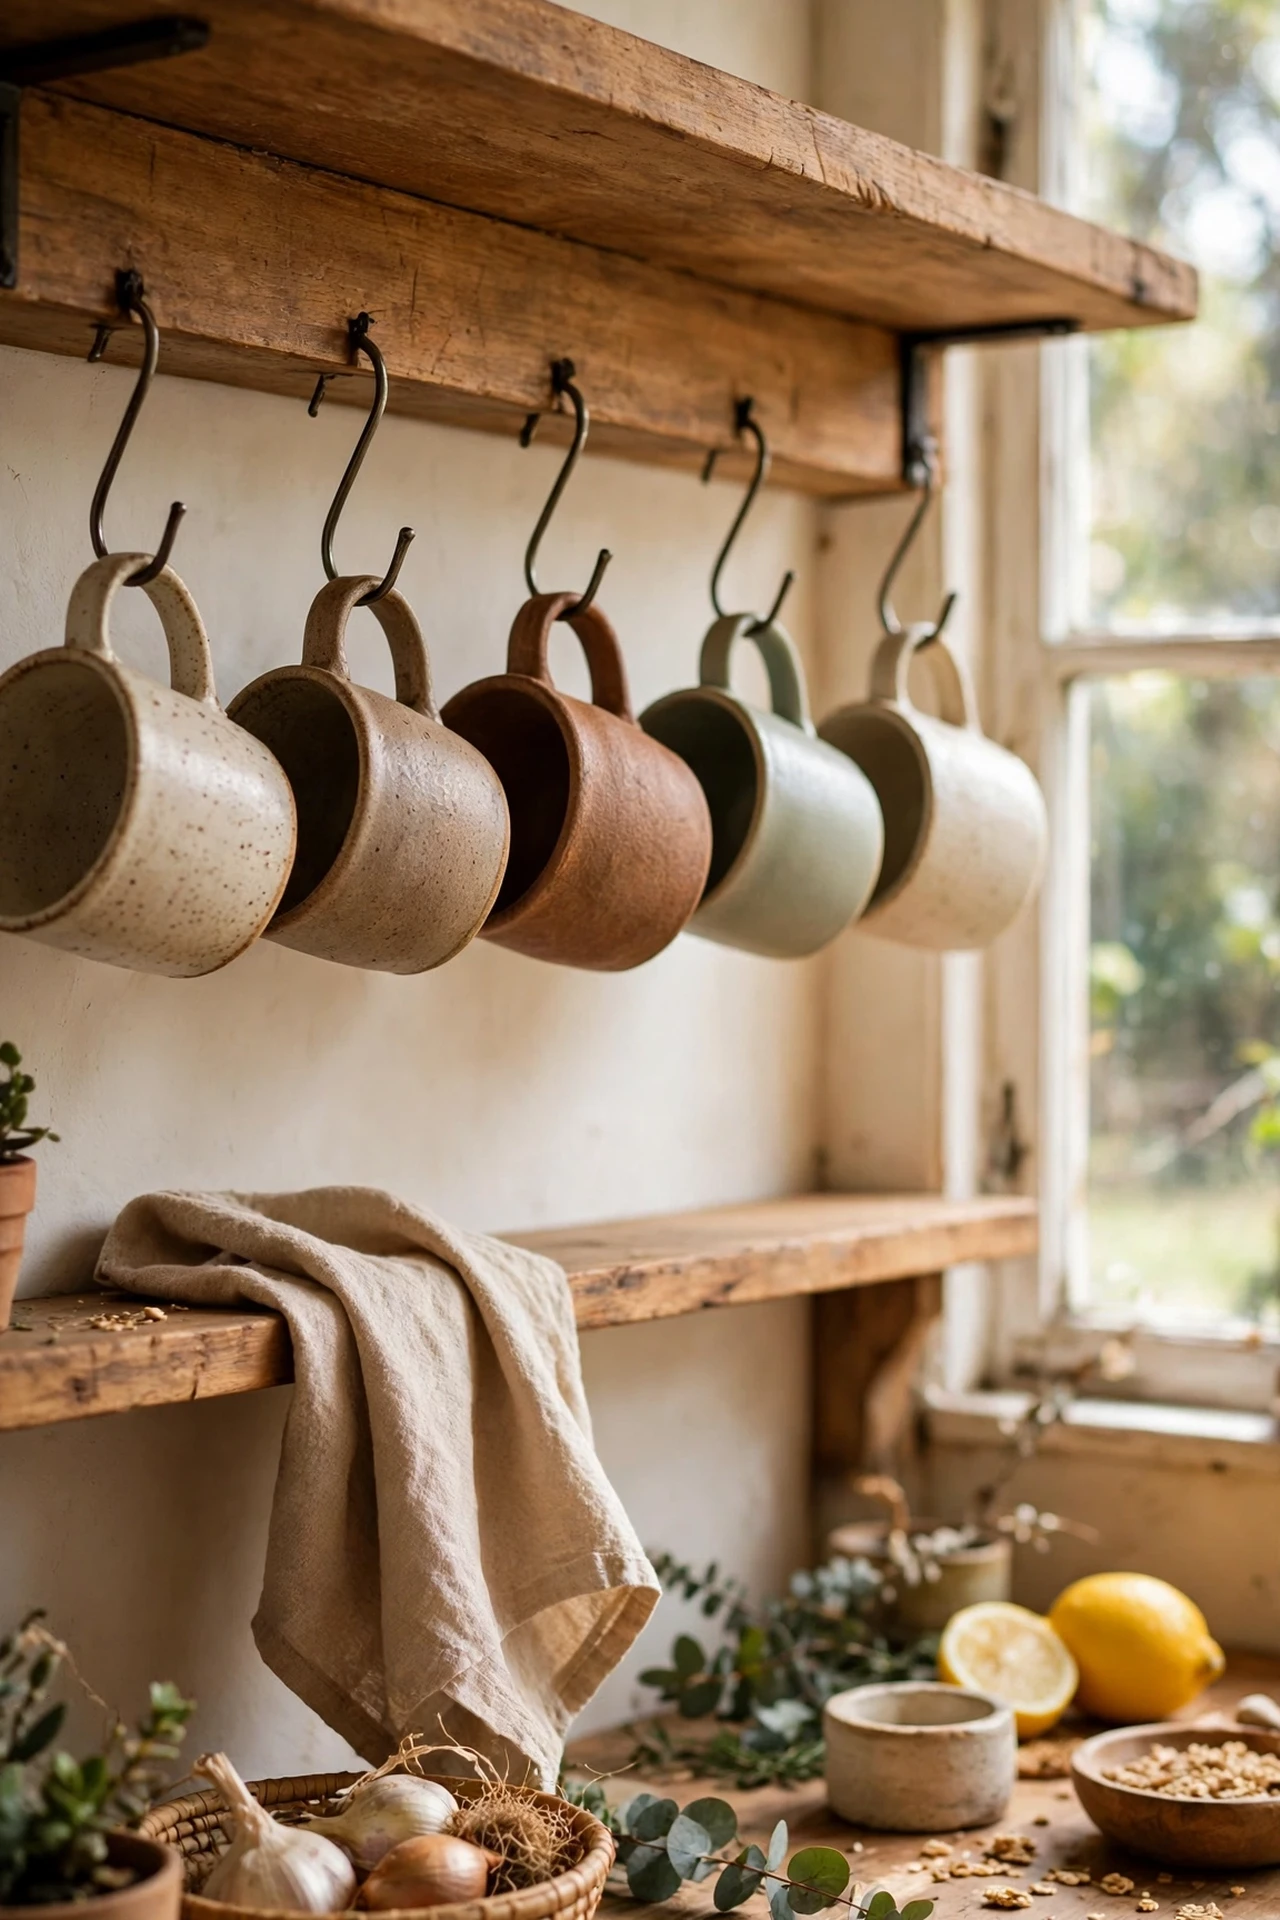
Hook a row of S-hooks onto the underside of a shelf and hang your favourite mugs below it, doubling the storage in the same footprint. Keep the mugs matching or tonal so it reads as a collection rather than a jumble. I tried a row of cream and sage mugs under my sink-side shelf, and it became the most commented-on corner of my kitchen. The mistake to avoid is hanging every mug you own; curate it down to your six prettiest. It frees shelf space above while adding a lovely hanging detail.
6. One Small Plant by the Window End
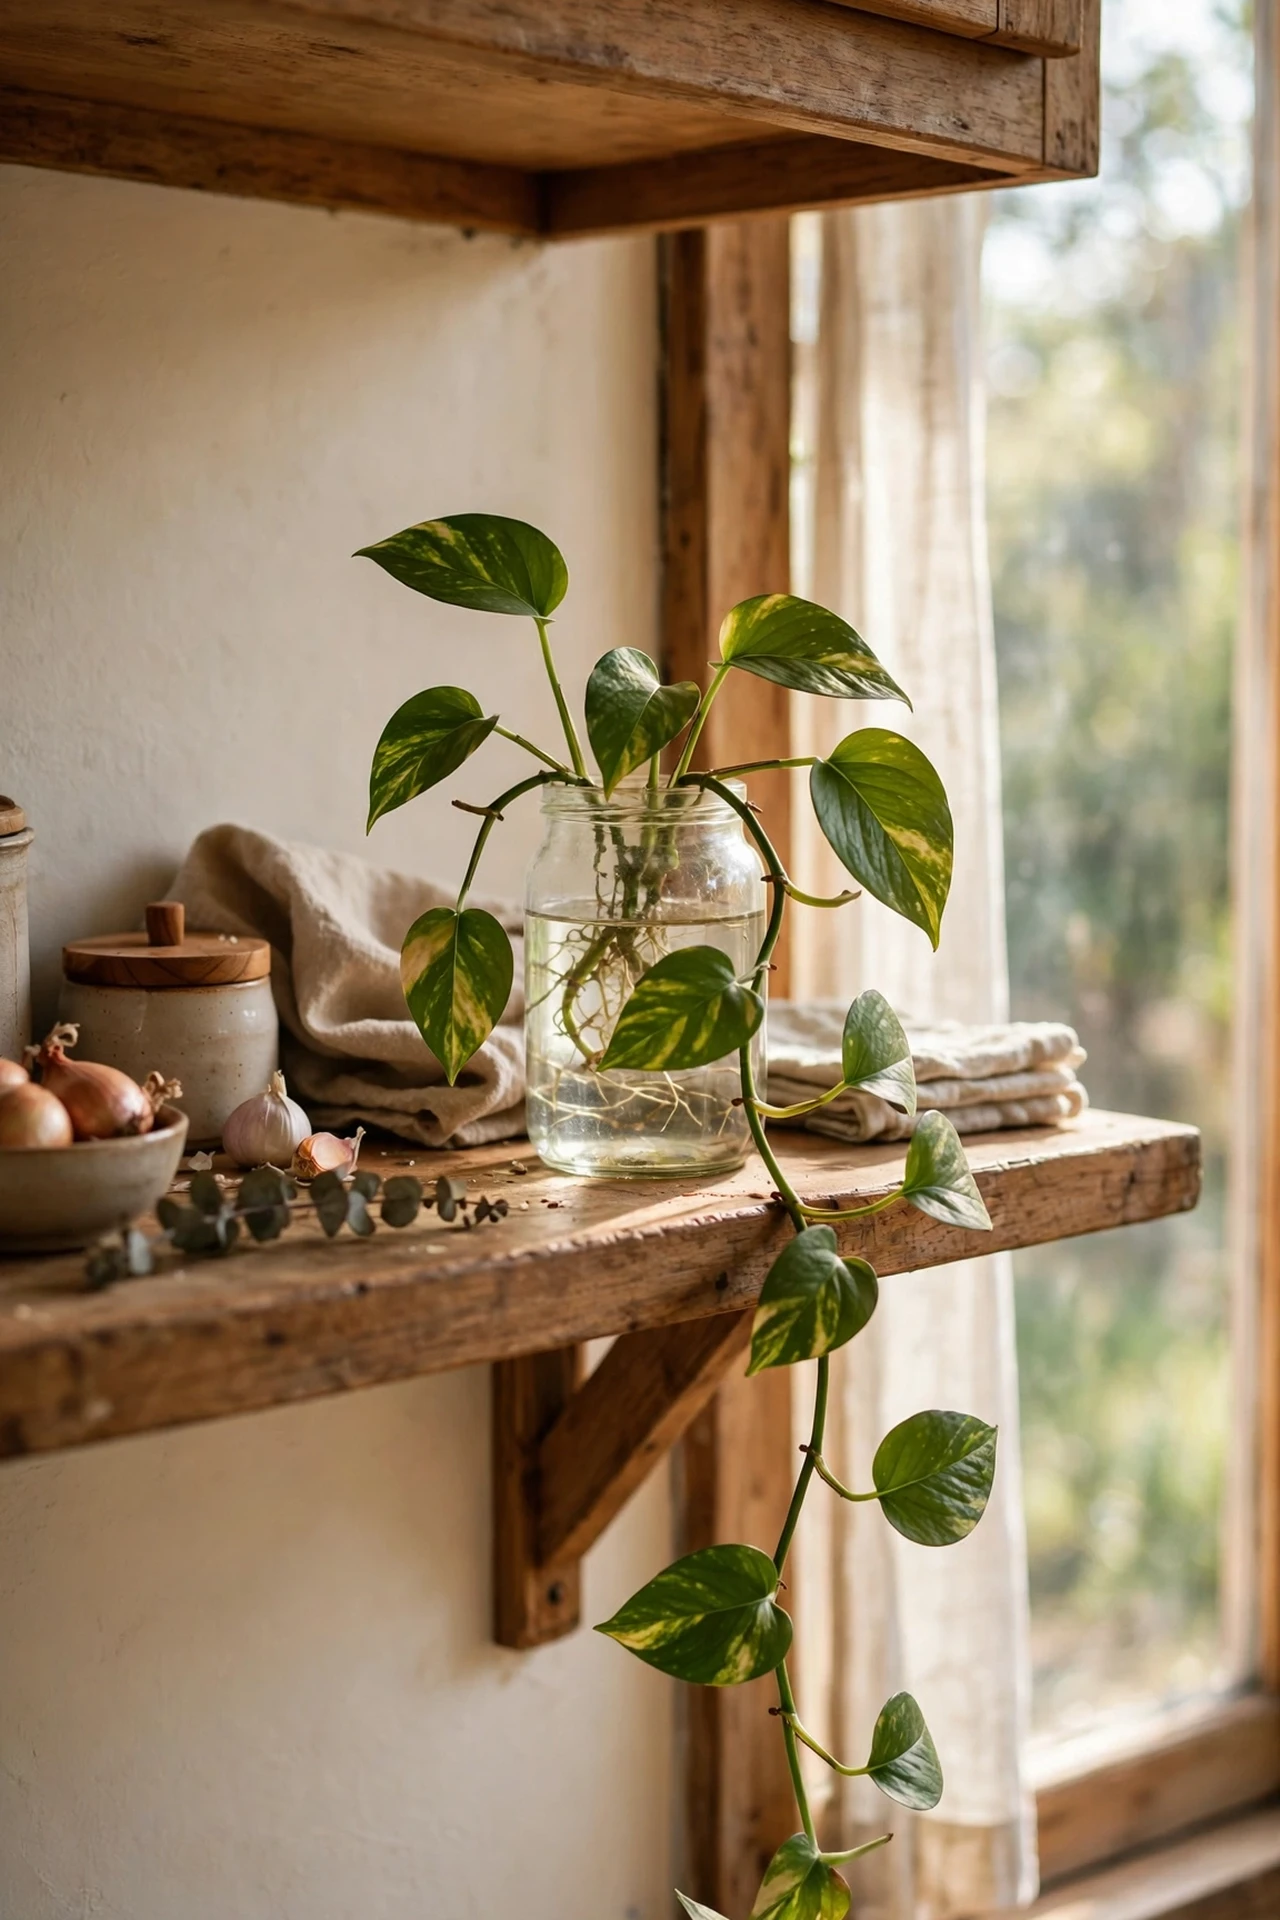
A single small trailing plant at the end of the shelf softens all the straight lines and adds life for almost no money. Pothos and trailing herbs thrive near the kitchen window, and the greenery makes plates and glassware look more expensive by contrast. I tried a tiny spider plant in a jam jar, and it survived two years of neglect while making the shelf look styled. The mistake to avoid is drowning it with daily watering out of guilt; once a week is plenty. One plant is a styling accent; five becomes a greenhouse.
7. Dish Soap in a Pretty Dispenser
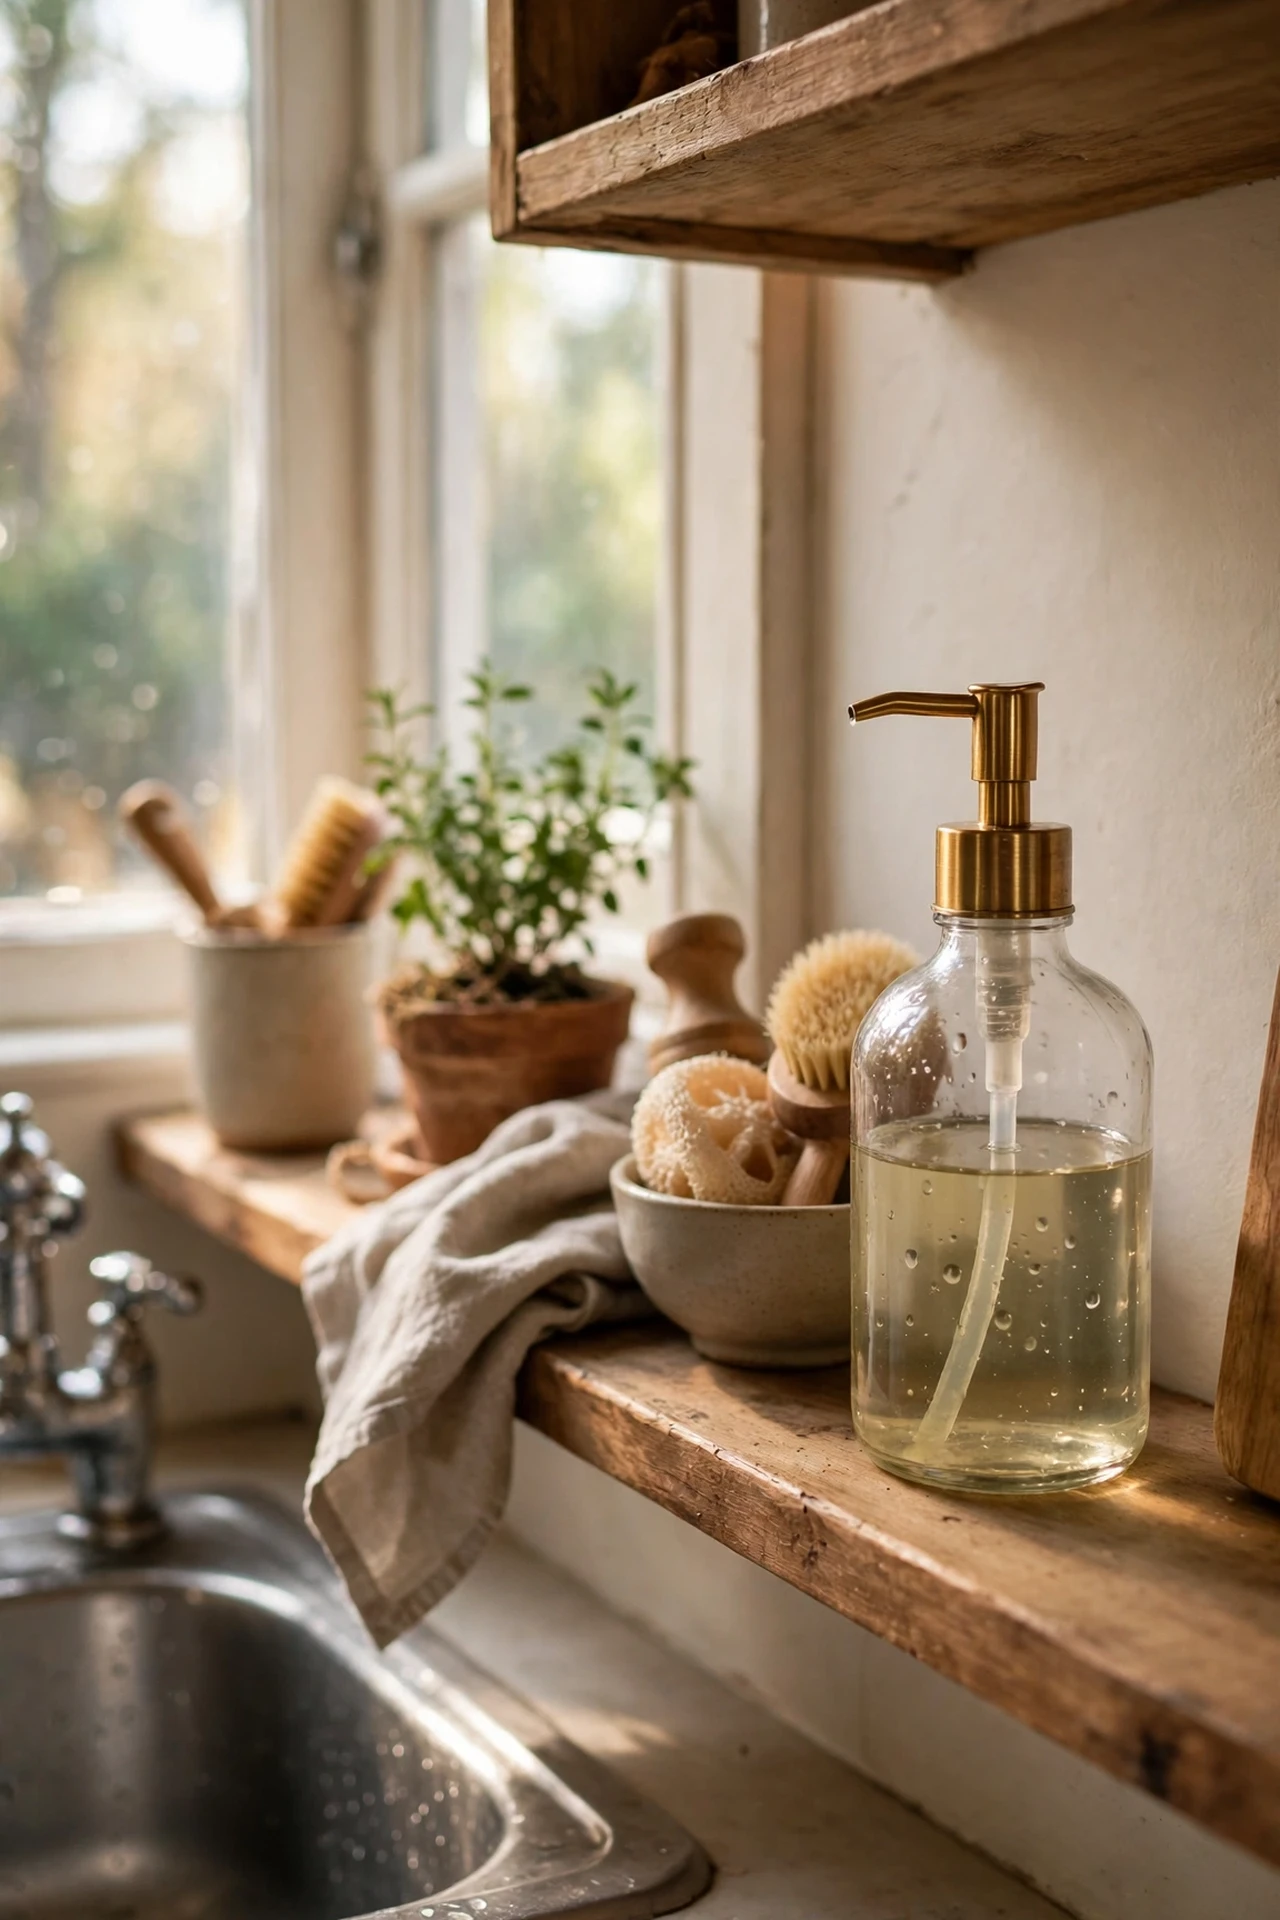
Decant washing-up liquid into a glass or ceramic dispenser and the sink shelf stops screaming supermarket branding at you. Refill from the big bottle kept under the sink, and add a small tray underneath to catch drips. I tried this with a thrifted glass pump bottle, and the whole sink zone looked calmer overnight. The mistake to avoid is buying the fancy refillable soap brands; the cheap bottle in a nice dispenser looks identical. Pair it with a folded linen hand towel and the area feels deliberately designed.
Floating Shelf Styling
8. The Rule of Odd Groupings
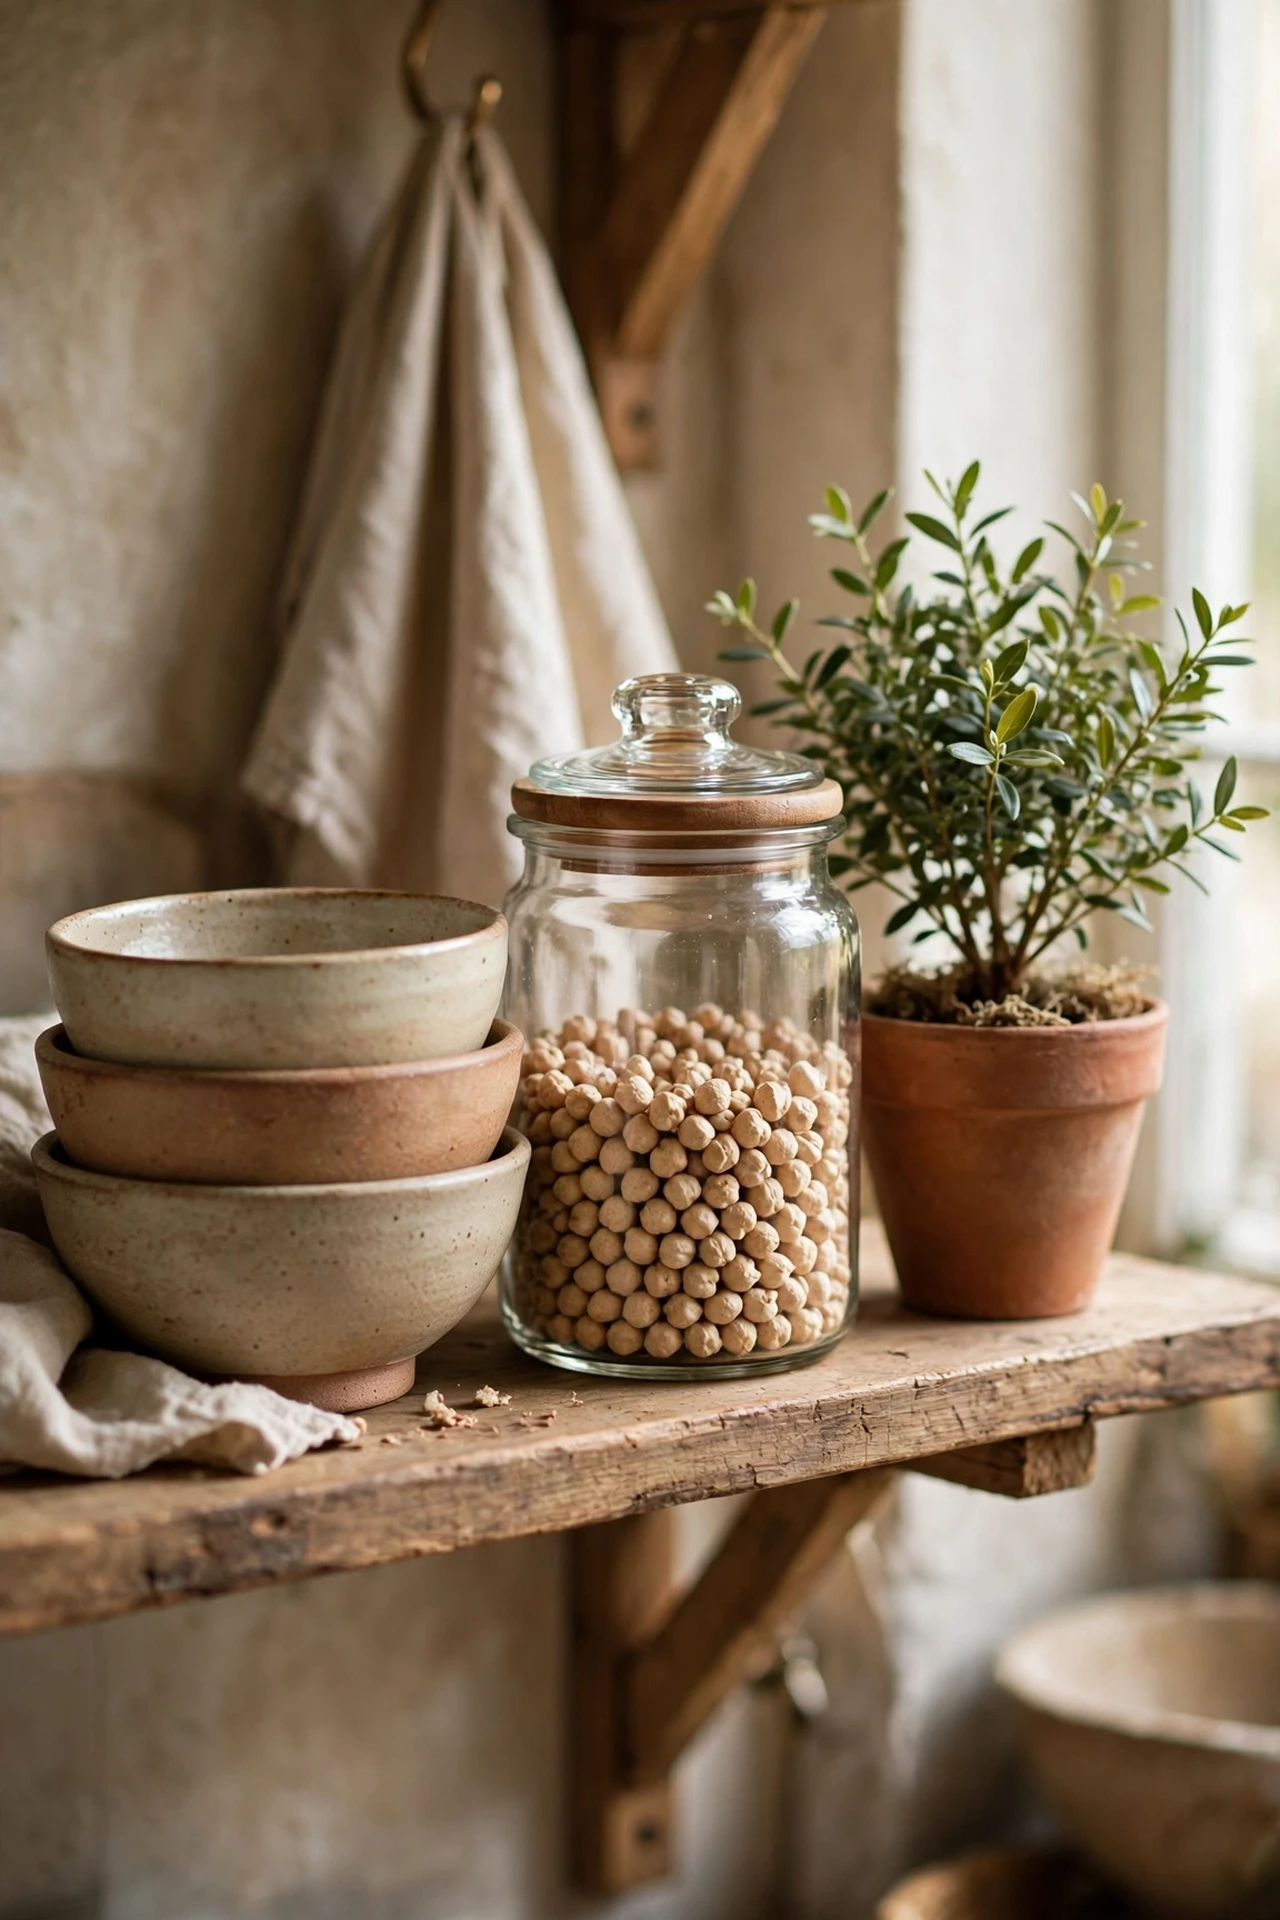
Group shelf objects in threes or fives instead of pairs, because odd numbers look styled while even numbers look arranged. A stack of bowls, a jar, and a small plant in a trio reads as intentional without trying too hard. I tried forcing pairs everywhere at first, and the shelf looked like a shop display rather than a home. The mistake to avoid is overthinking the count; just nudge things together until your eye relaxes. It is the single oldest styling trick in the book, and it works every single time.
9. Neutral Crockery, One Accent Colour
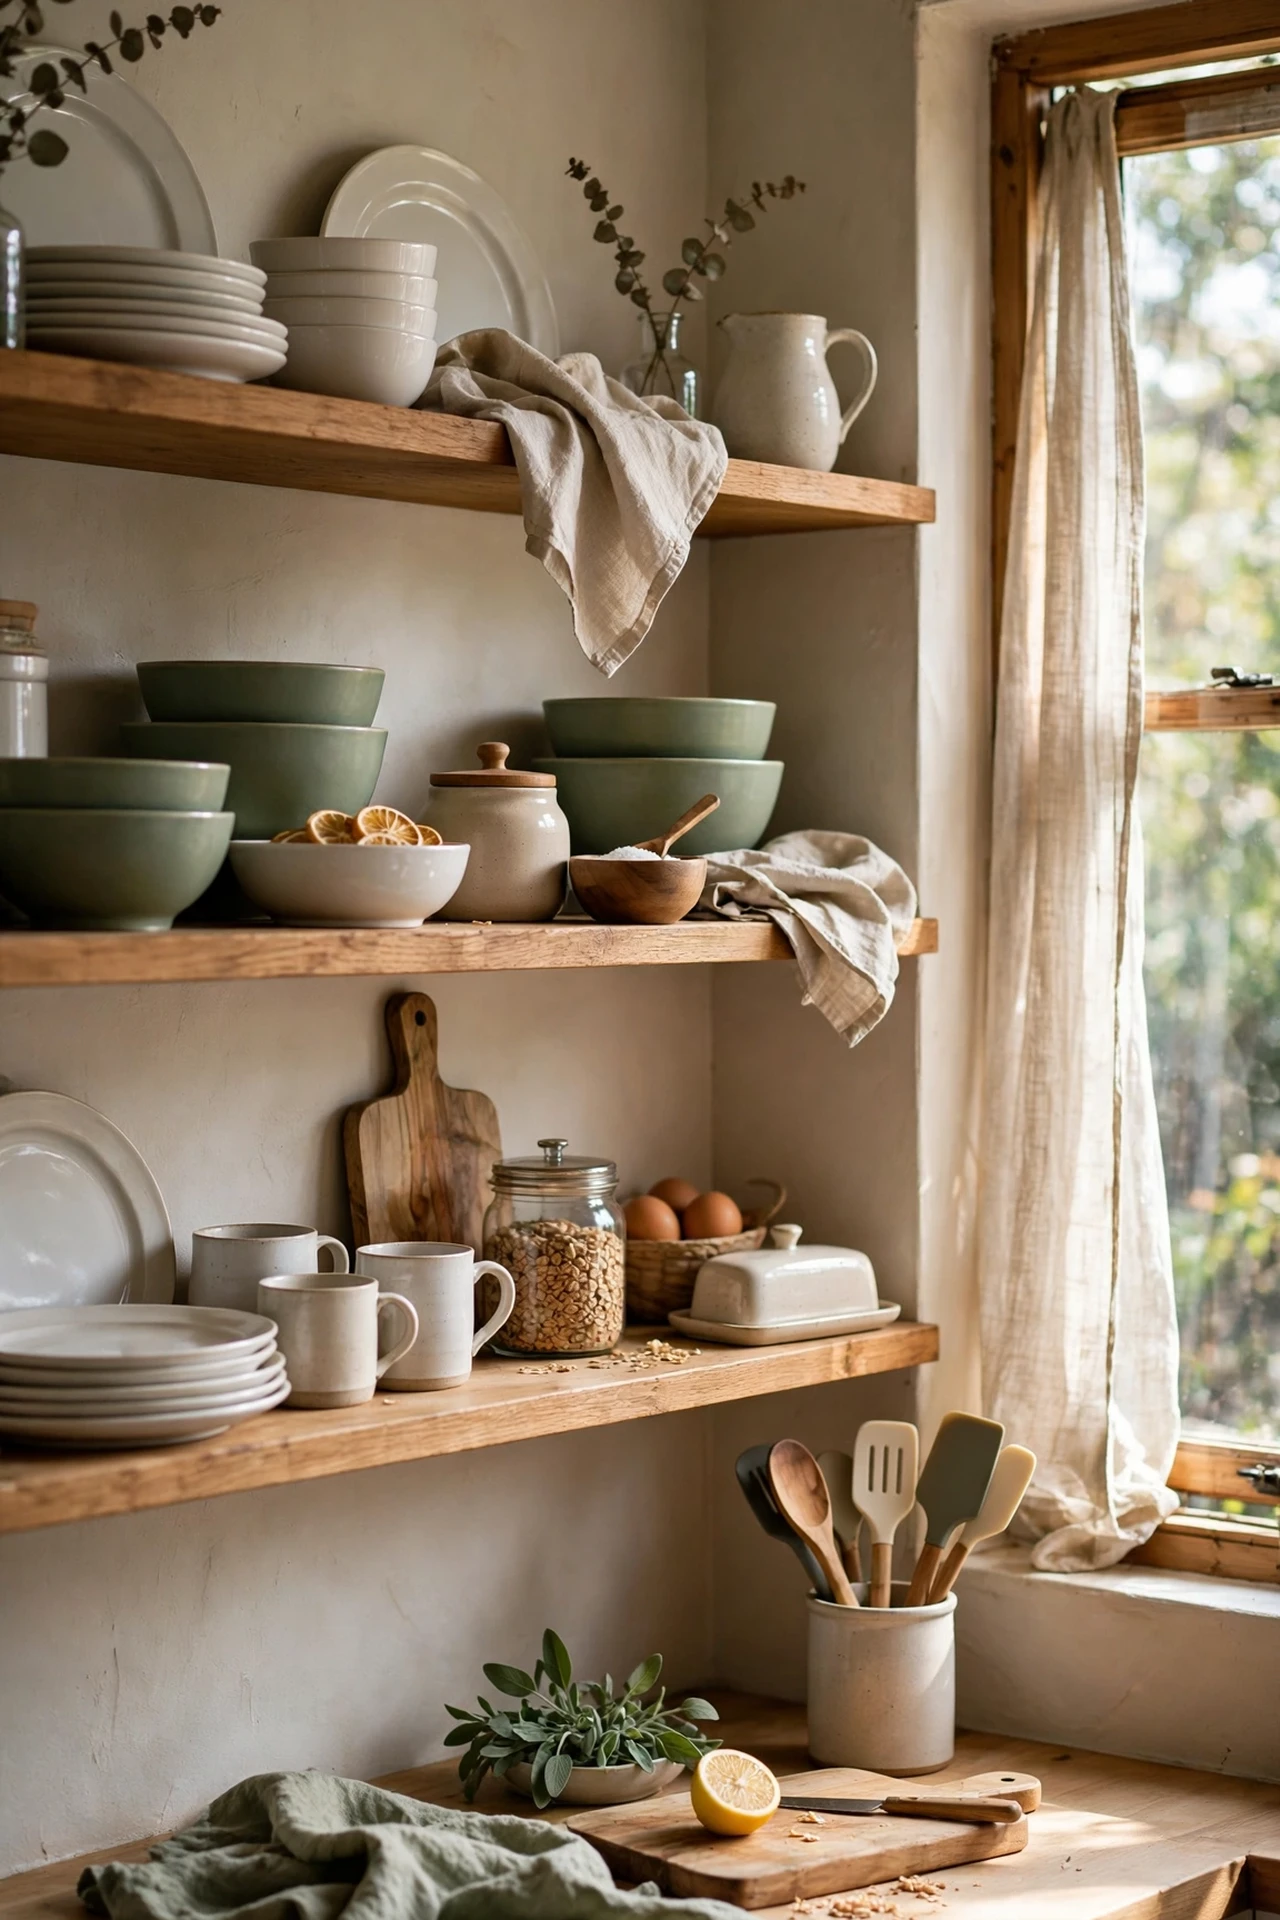
Keep ninety percent of the shelf neutral — whites, woods, clear glass — and let one accent colour pop through in just a few pieces. That restraint is what separates expensive-looking shelves from busy ones. I tried this with sage green scattered through my white dishes, and the shelves finally looked calm instead of chaotic. The mistake to avoid is going half-neutral, half-rainbow; commitment to one accent is the whole point. It also means you can change the colour story with a few cheap pieces whenever you fancy.
10. Clear Jars for Dry Goods
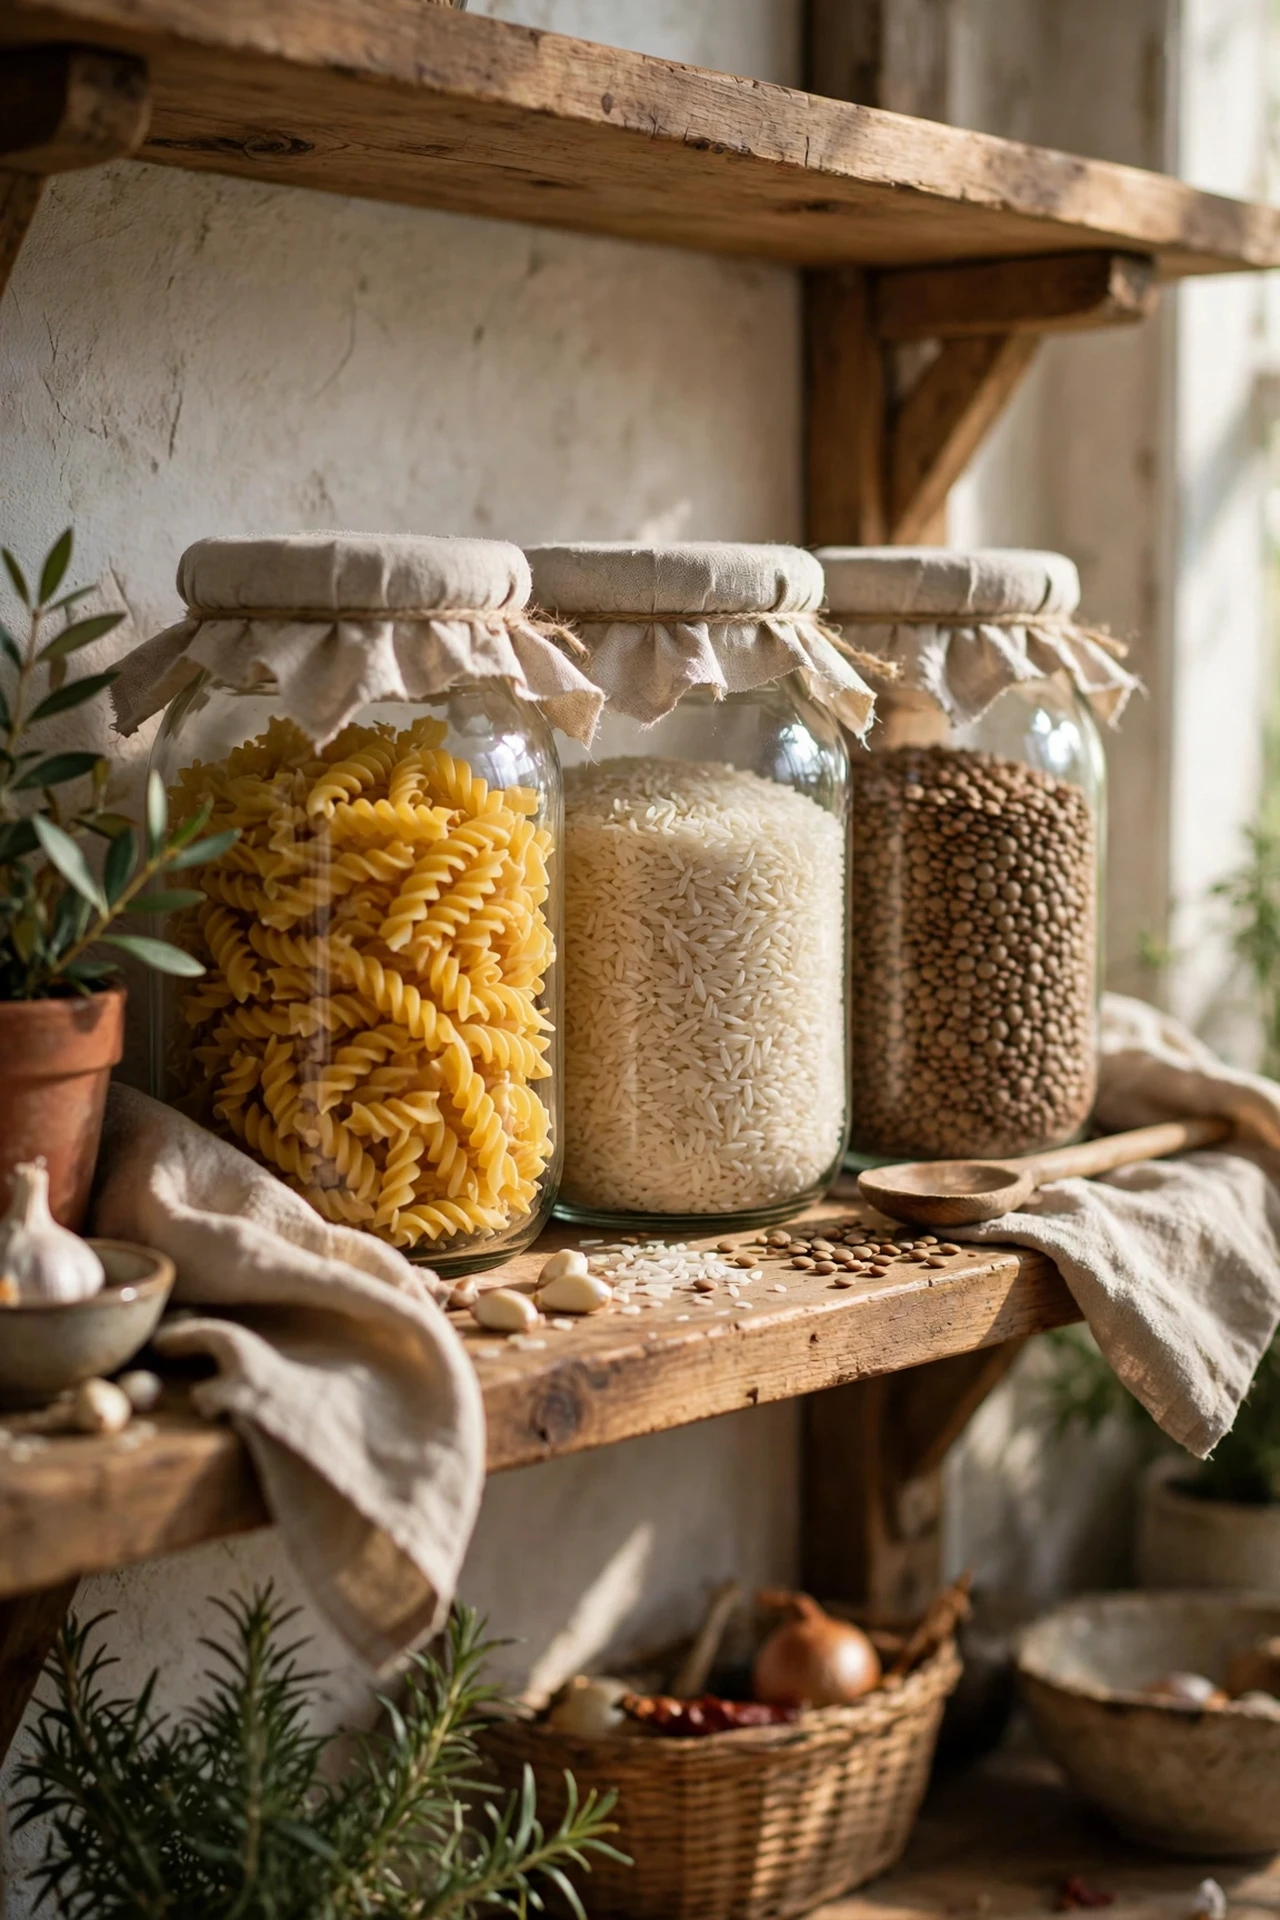
Move pasta, rice, flour, and lentils into clear glass jars, and your ingredients become the decoration. Buy jars secondhand or from pound shops, and add simple labels so you can still tell everything apart. I tried this with a shelf of dry goods by the cooker, and the rainbow of grains looked better than any ornament. The mistake to avoid is leaving half-empty bags behind; the whole point is the jars replacing the packaging. Check your sizes against what you actually buy, because a jar that never fits your pasta is just decoration. For more inspiration, see (see also: pantry-organization-ideas-for-small-pantries).
11. Stacked Bowls with Space Around Them
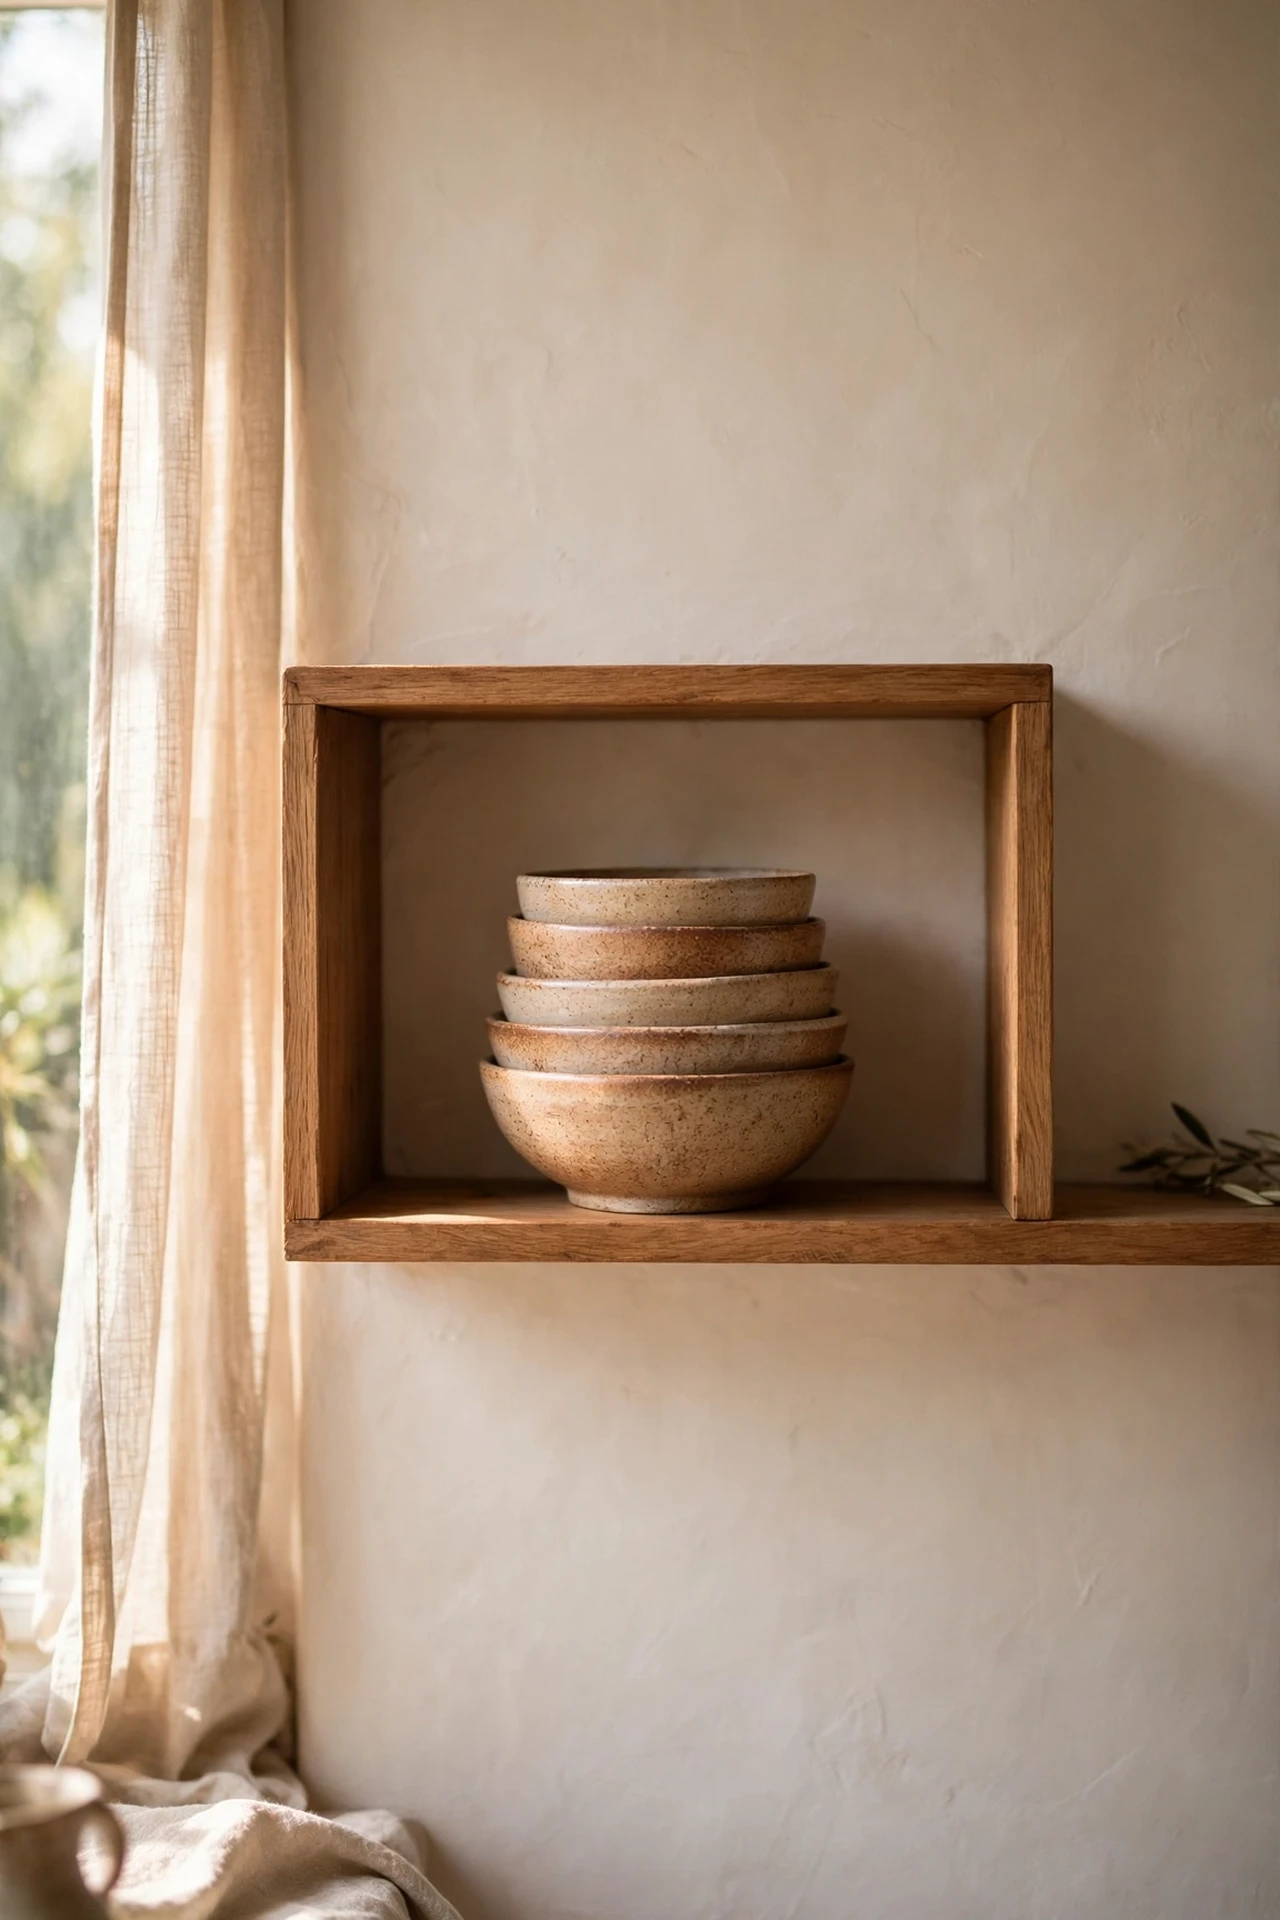
Leave genuine empty space around a stack of bowls instead of filling every centimetre, because negative space is what makes shelves look styled rather than stored. Let the stack stand alone with room to breathe on either side. I tried filling my shelves edge to edge, and it read as a warehouse; pulling out a few pieces changed everything. The mistake to avoid is treating every gap as a problem to solve. A shelf that breathes looks twice as expensive as a crammed one, and it costs you nothing to remove things.
12. Vintage Finds as Statement Pieces
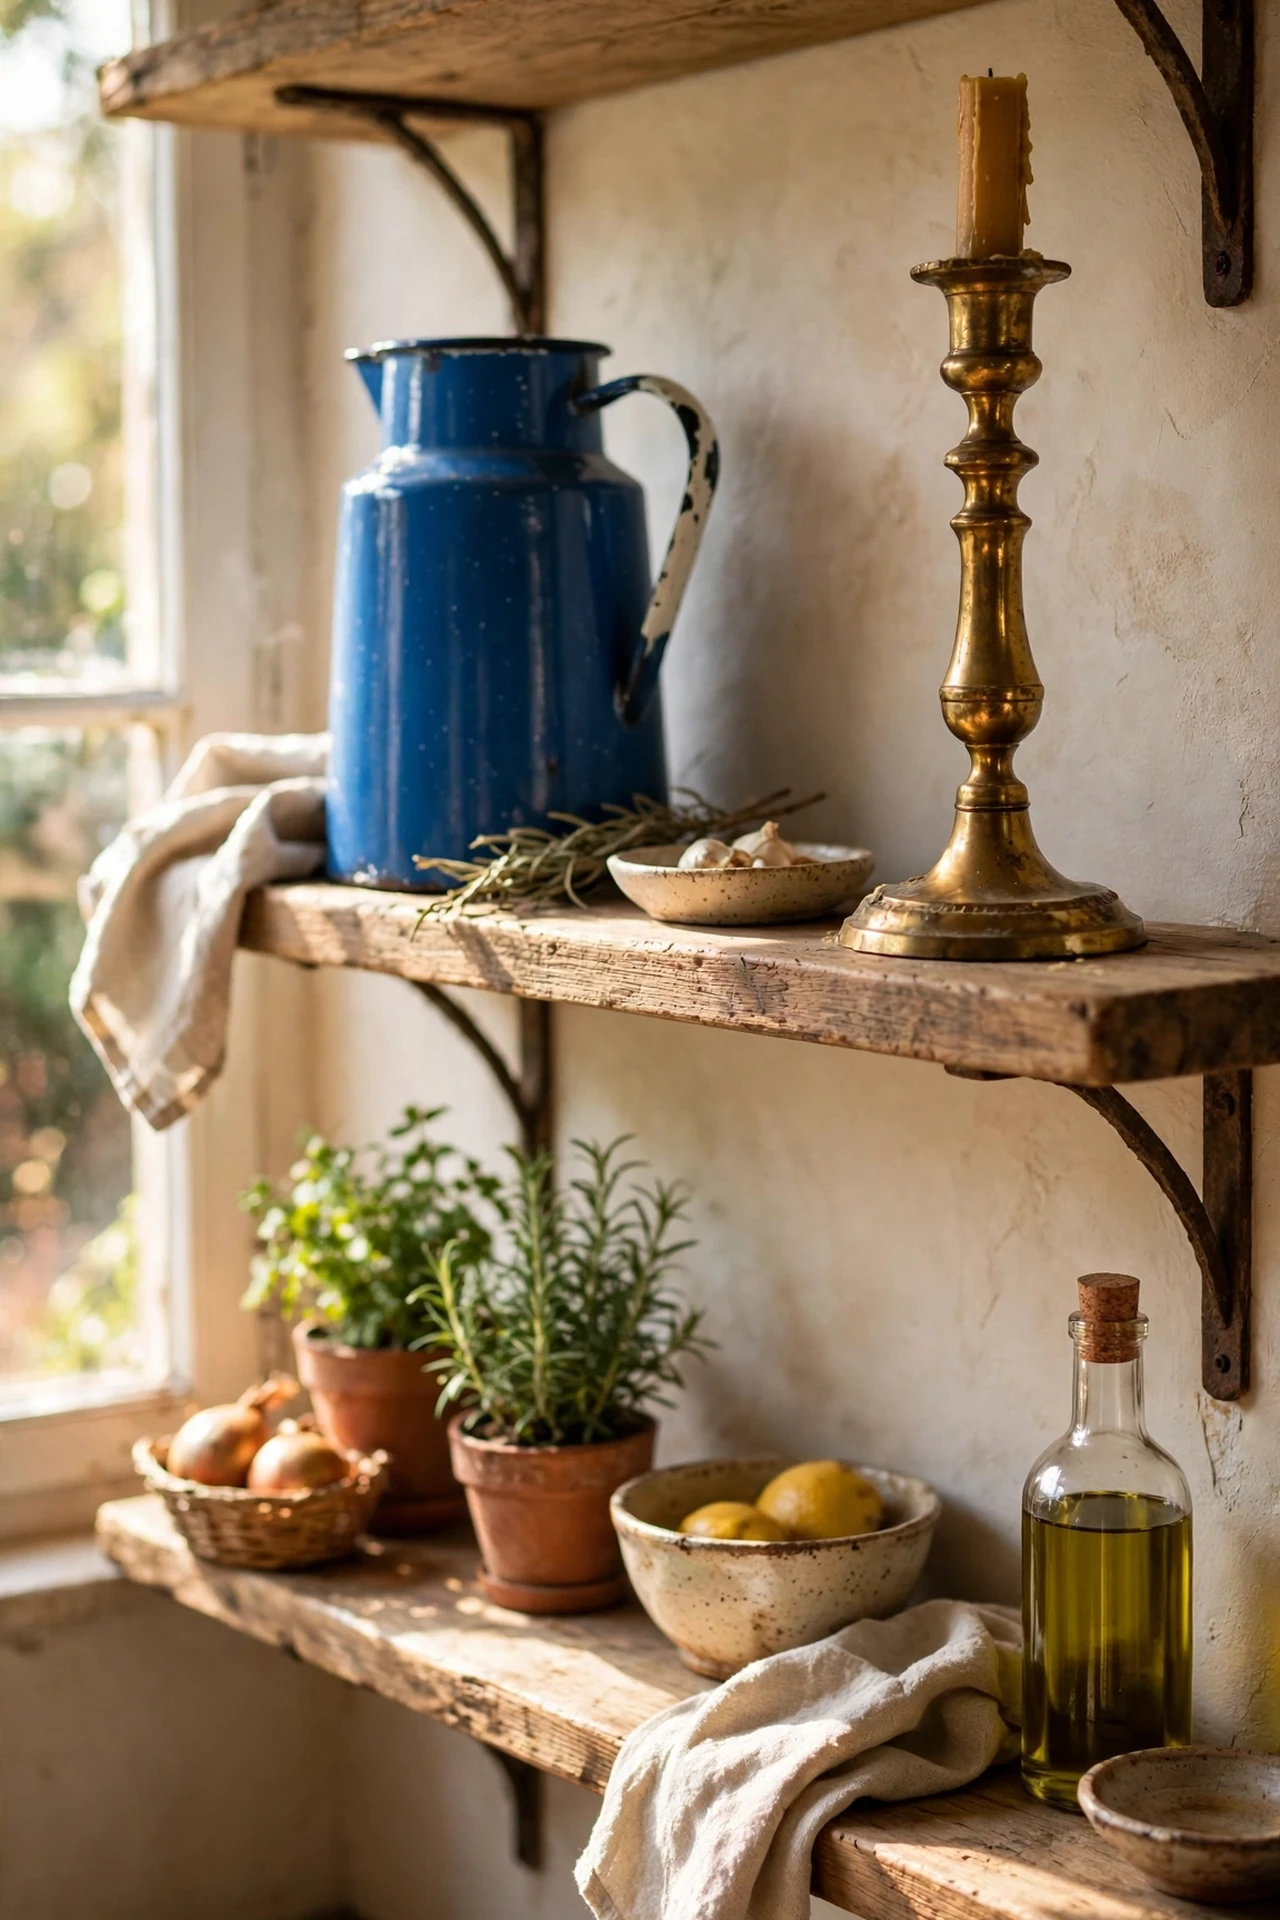
One or two charity-shop treasures — a brass candlestick, a patterned jug, an old scale — give your shelves a story that new decor never can. Hunt for pieces with patina and personality, and let them sit at shelf ends like bookends. I tried a £3 blue enamel jug, and it is the single most admired thing on my shelves. The mistake to avoid is filling the shelf with twenty small knick-knacks; restraint lets the vintage piece sing. Wash them well, style them sparingly, and they look like heirlooms.
13. Cookbooks as Colour Blocks
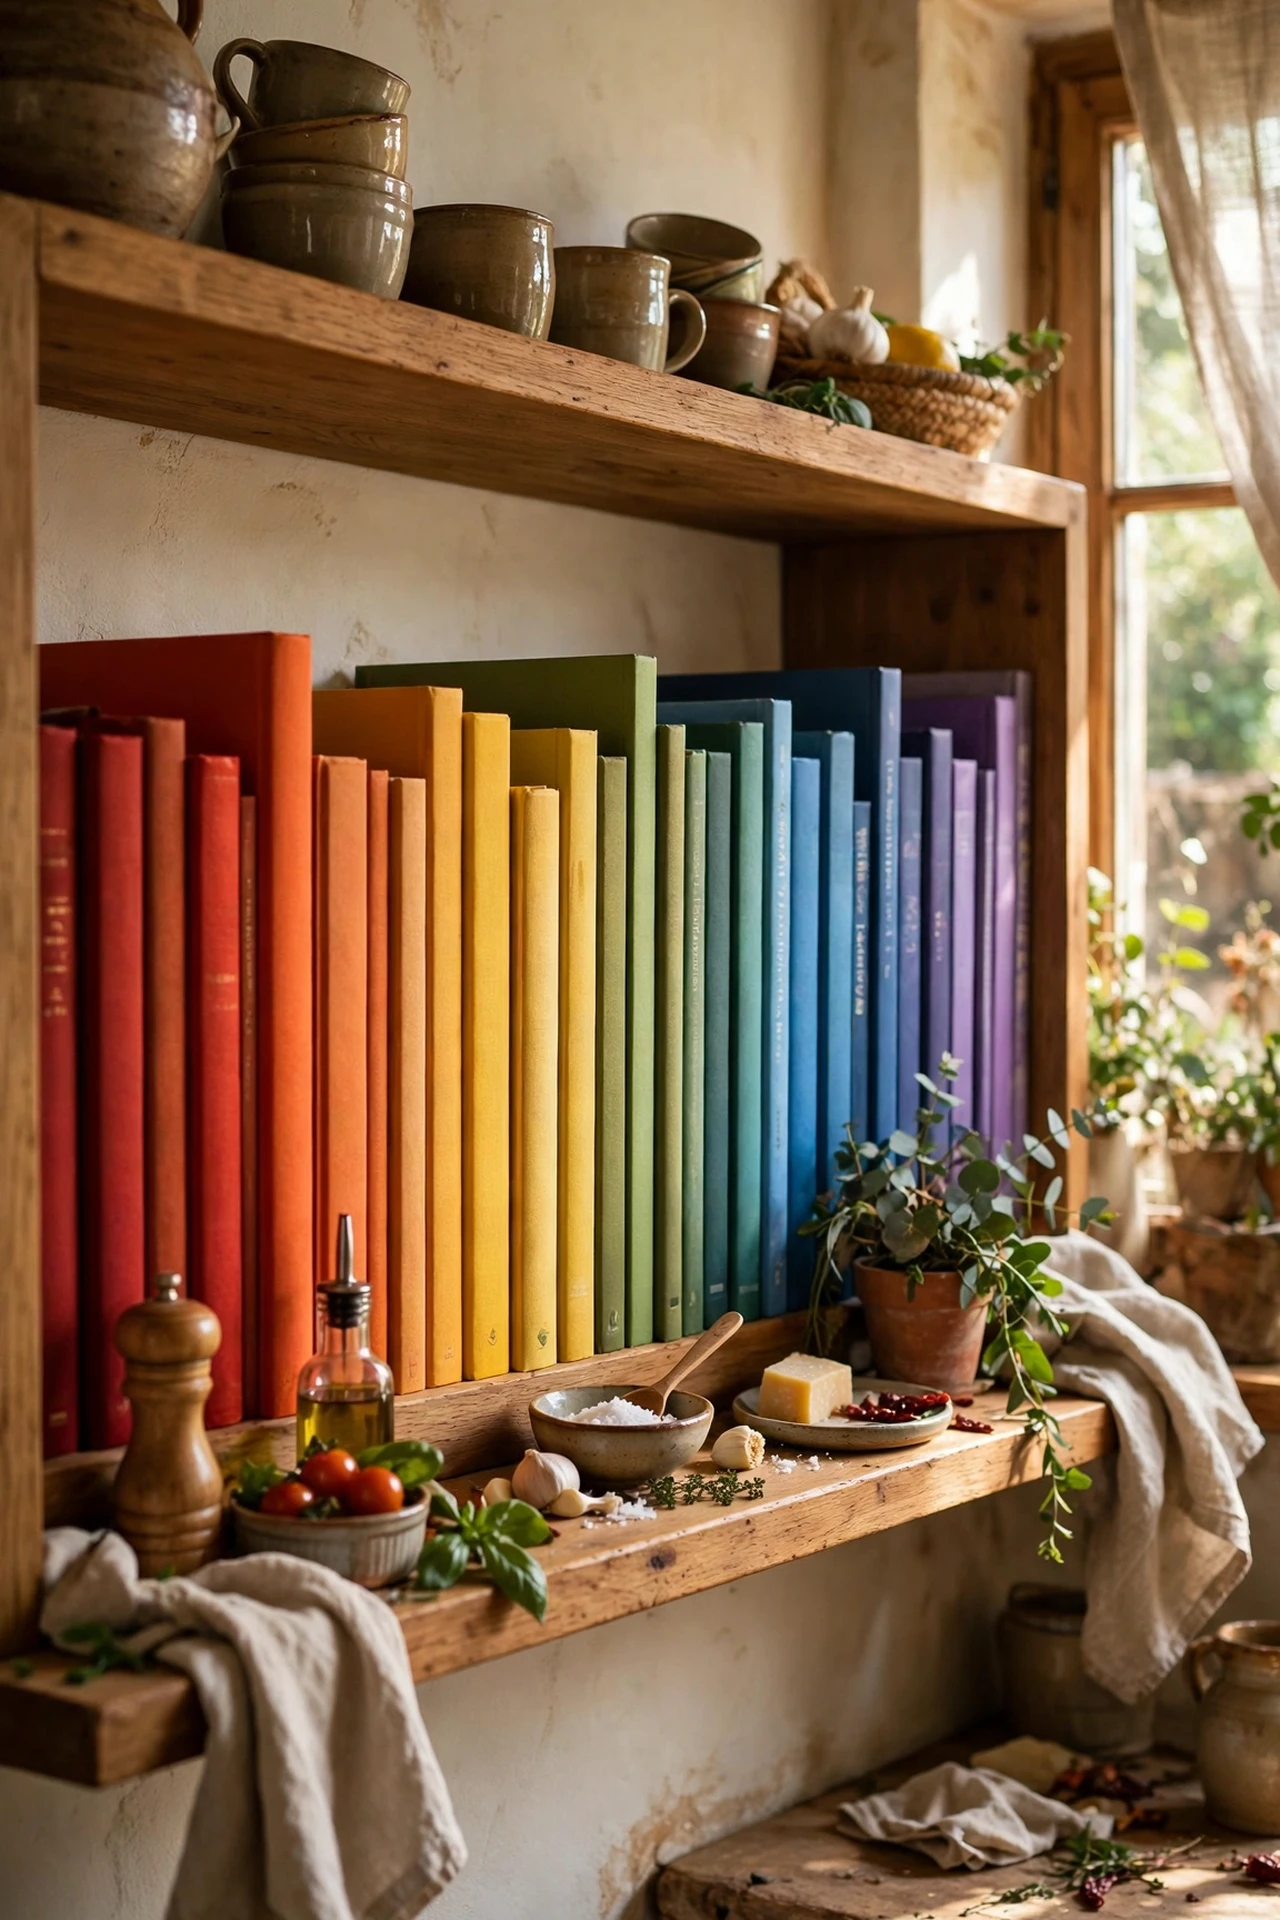
Line up your cookbooks spine-out in a loose colour order and they become a built-in art installation. Stack some horizontally and stand some vertically for rhythm, with a heavy bookend holding the row. I tried arranging mine from dark to light, and the shelf suddenly had a designer gradient. The mistake to avoid is only keeping the pretty books; use the cookbooks you actually cook from, smudges and all. Real, loved books look better than pristine ones nobody touches.
14. Warm Fairy Lights Along the Back
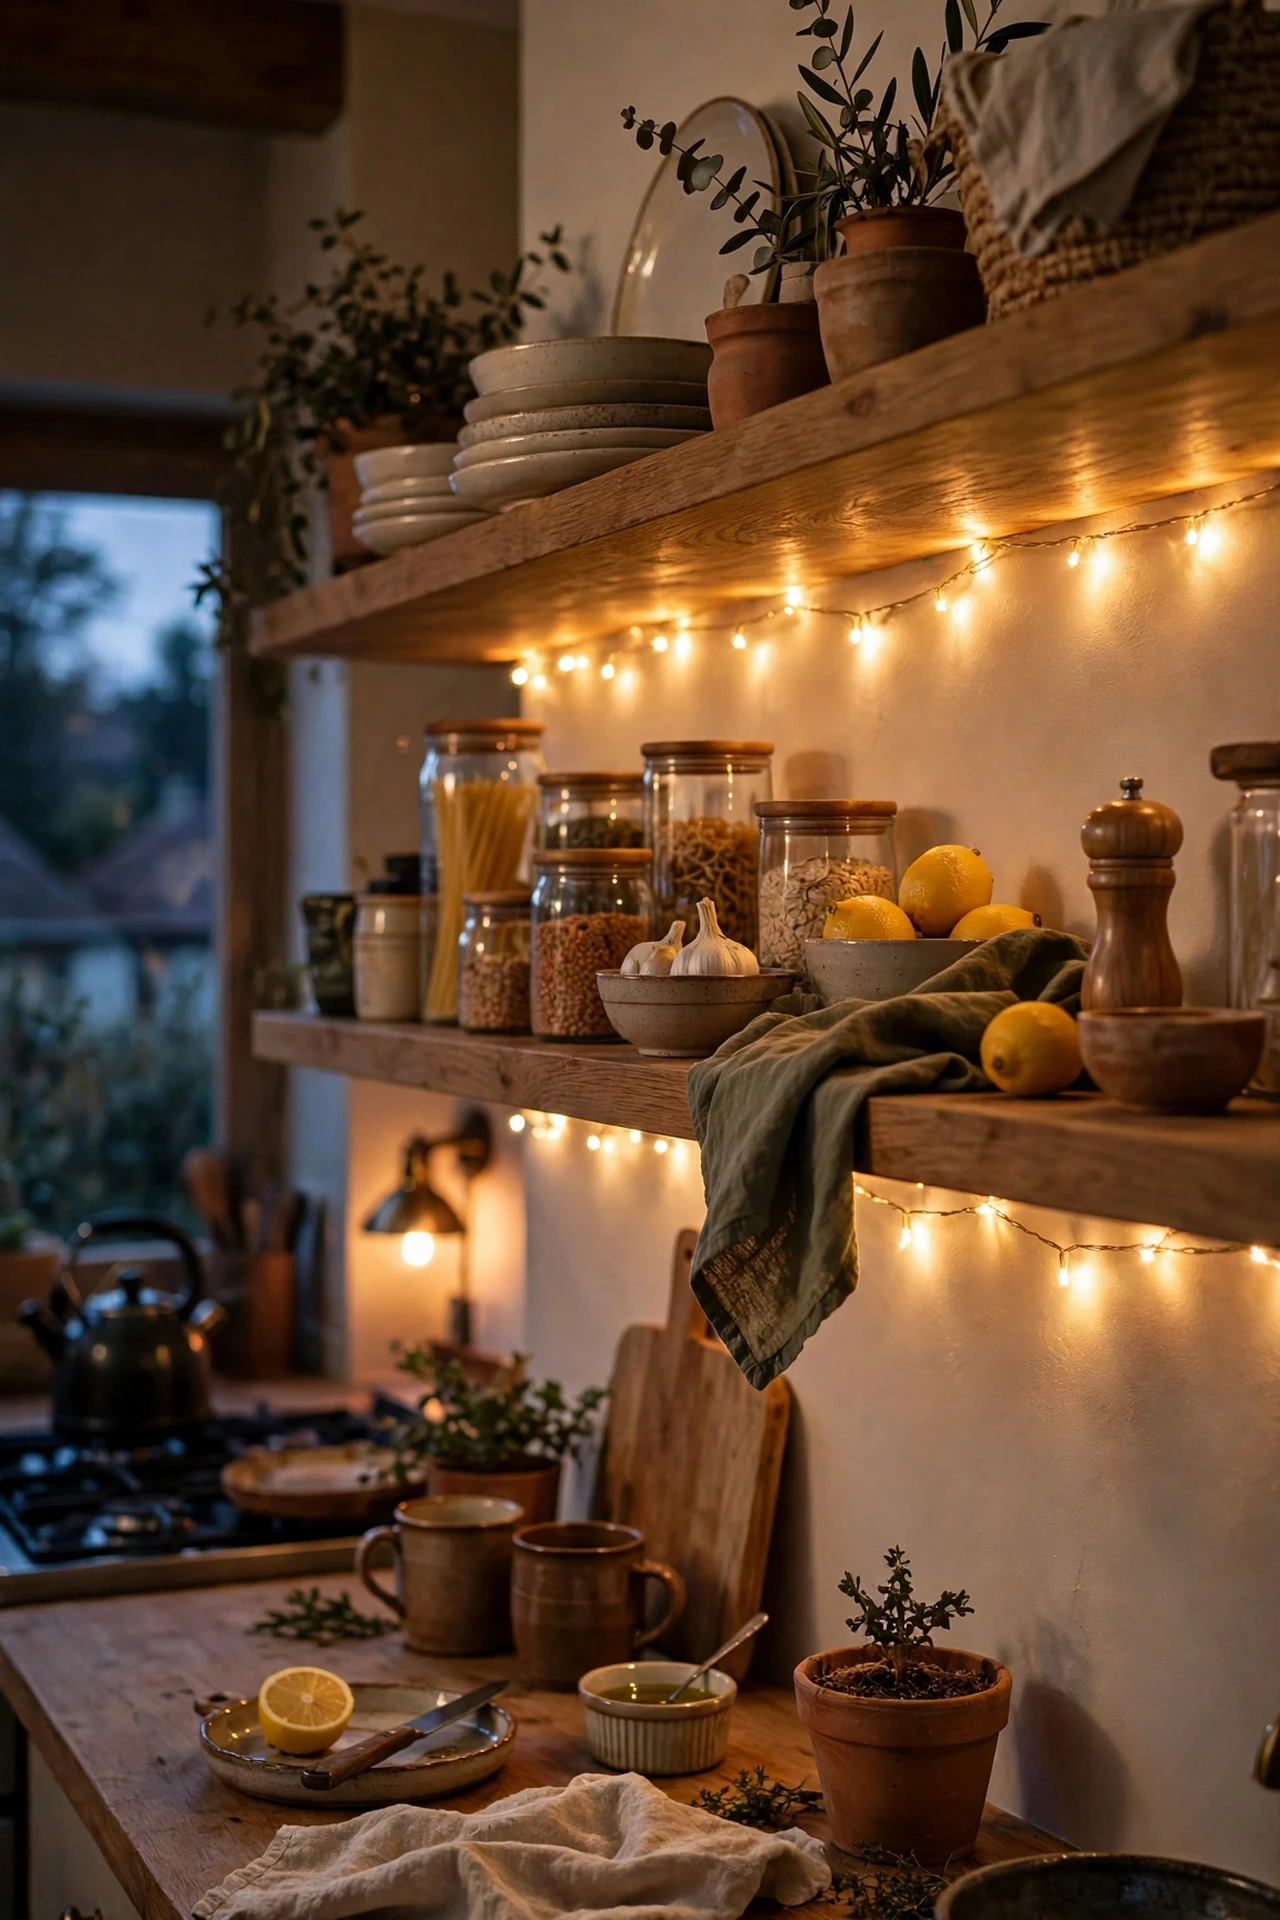
Run a string of battery-operated fairy lights along the back edge of a shelf and your evening kitchen glows like a holiday market. Warm white lights tucked behind dishes create depth and a gorgeous soft glow after dark. I tried this before Christmas and kept it all year because the shelf became my favourite thing at night. The mistake to avoid is using cool-white lights; they make food and wood look blue and clinical. Stick to warm tones, hide the battery pack, and let the sparkle do the styling.
Budget Shelf Builds
15. Scaffold Boards as Rustic Shelves
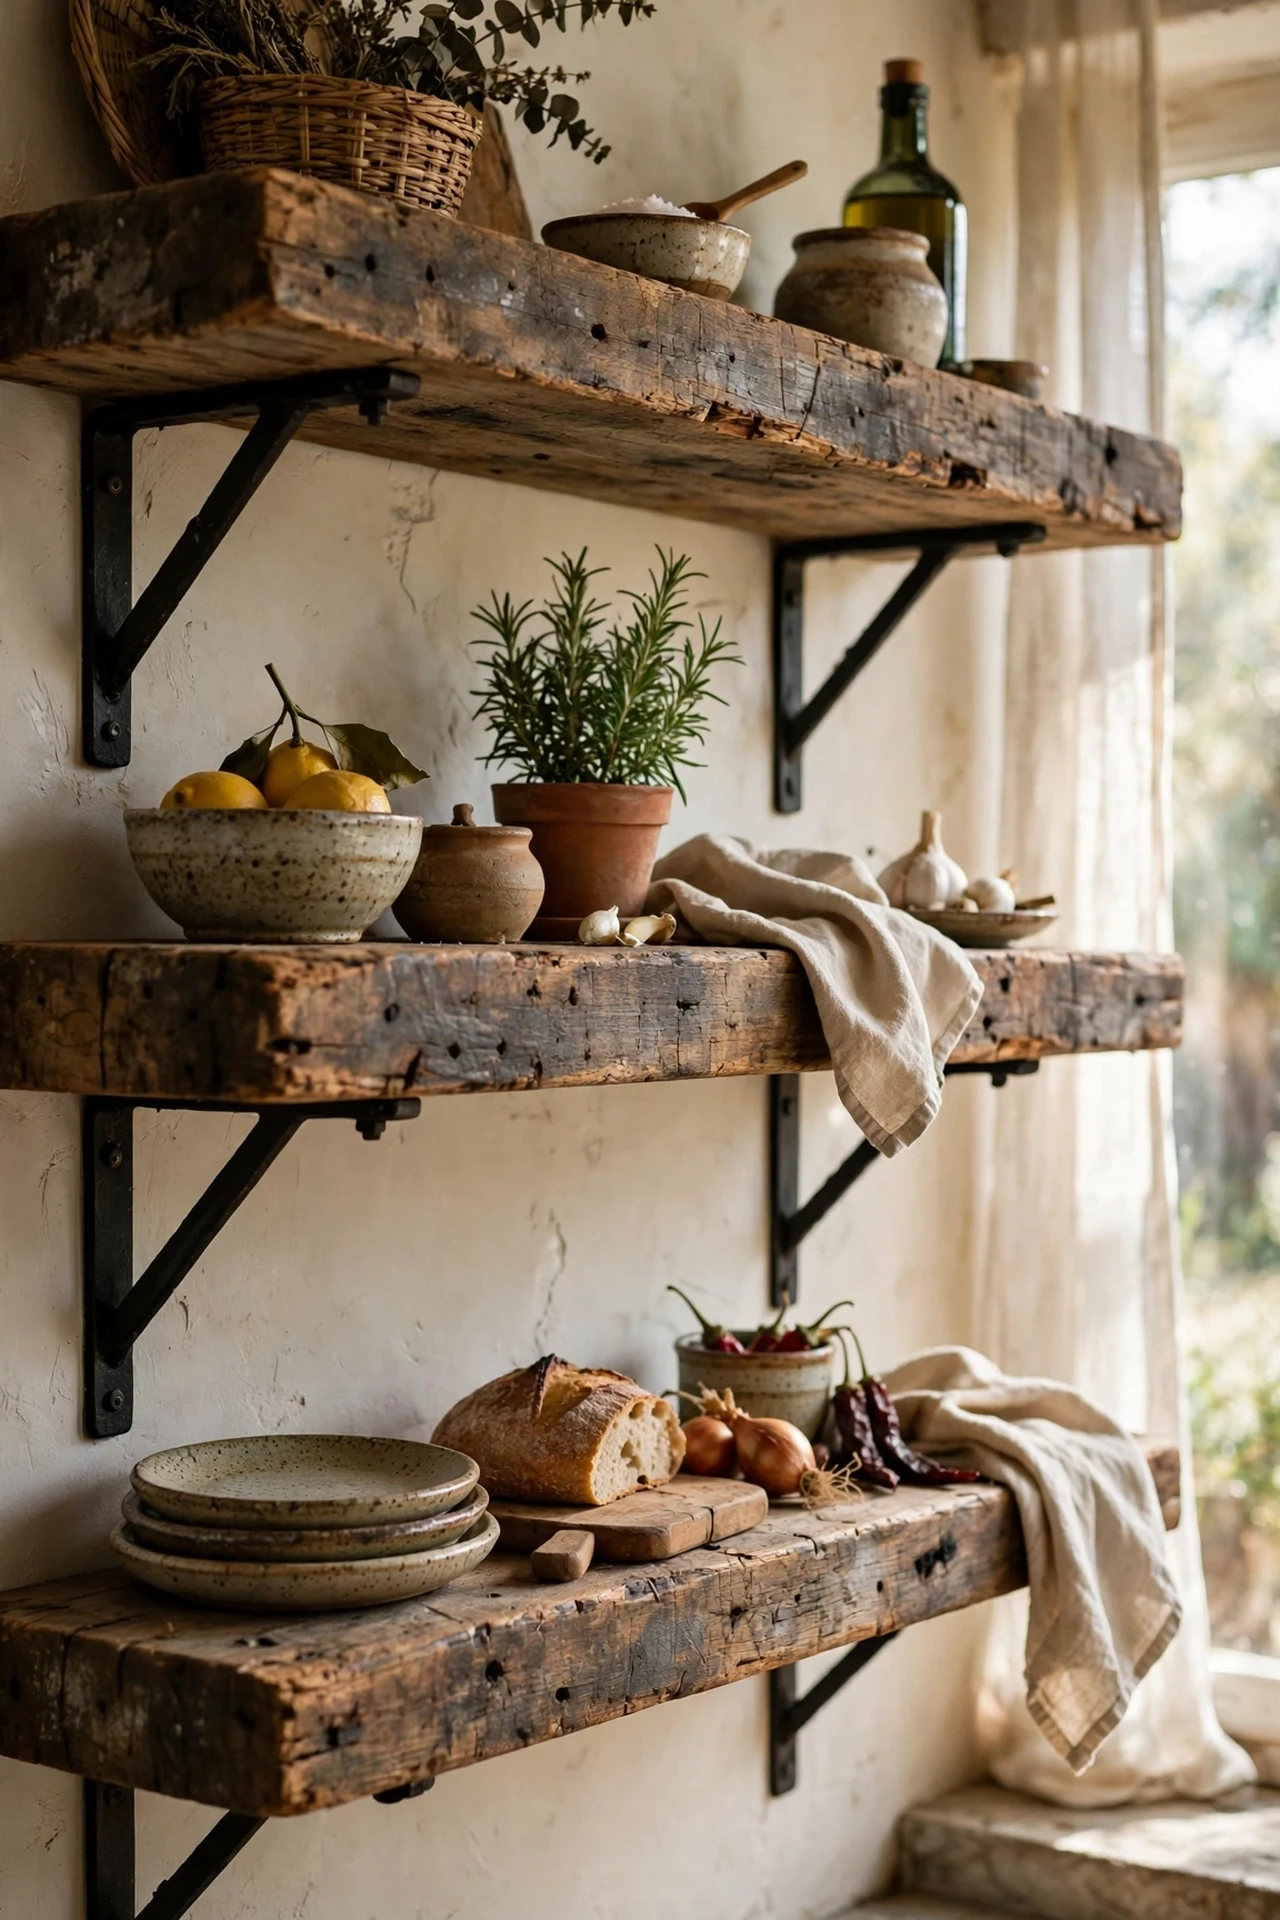
Secondhand scaffold boards make wonderfully chunky open shelves for a fraction of fitted-shelf prices. Sand them smooth, seal with food-safe oil, and mount them on cheap iron brackets from the hardware shop. I tried two boards for under £25 total, and they look like something from a farmhouse catalogue. The mistake to avoid is skipping the sanding; rough boards shed splinters onto your dishes. The deep grain hides dust and wear, which is a genuine gift in a busy kitchen.
16. Upcycled Brackets with Character
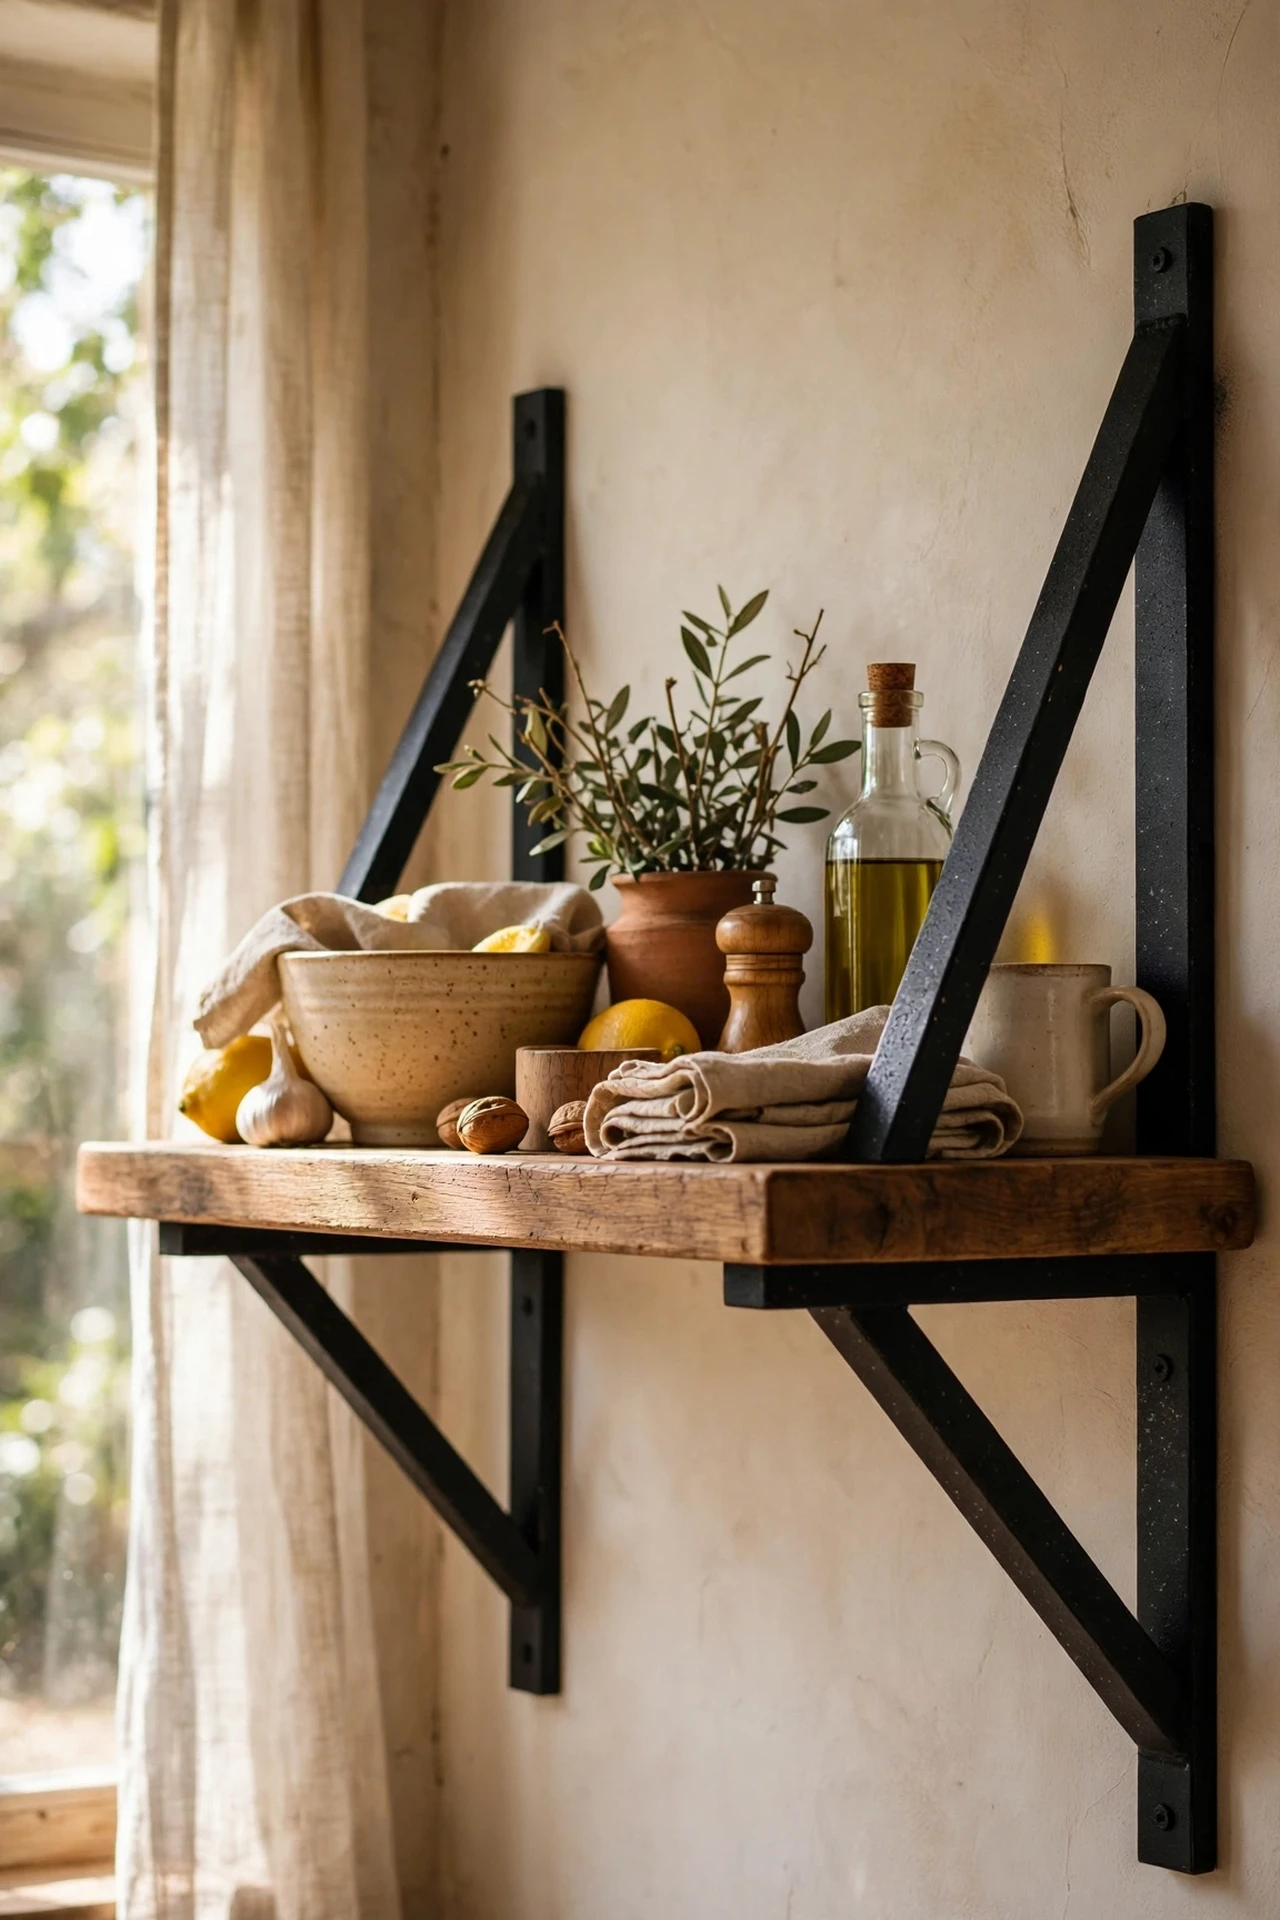
Spray-paint mismatched metal brackets in one colour — matte black or brass — and they look like a deliberate design choice rather than leftovers. Source them cheaply from salvage yards or online marketplaces, then mount shelves at exactly the height your things need. I tried this with five different brackets unified in black paint, and nobody believes they did not come as a set. The mistake to avoid is mounting them unevenly; one crooked bracket undoes all the camouflage. Always check with a spirit level, twice.
17. A Tension-Rod Second Row
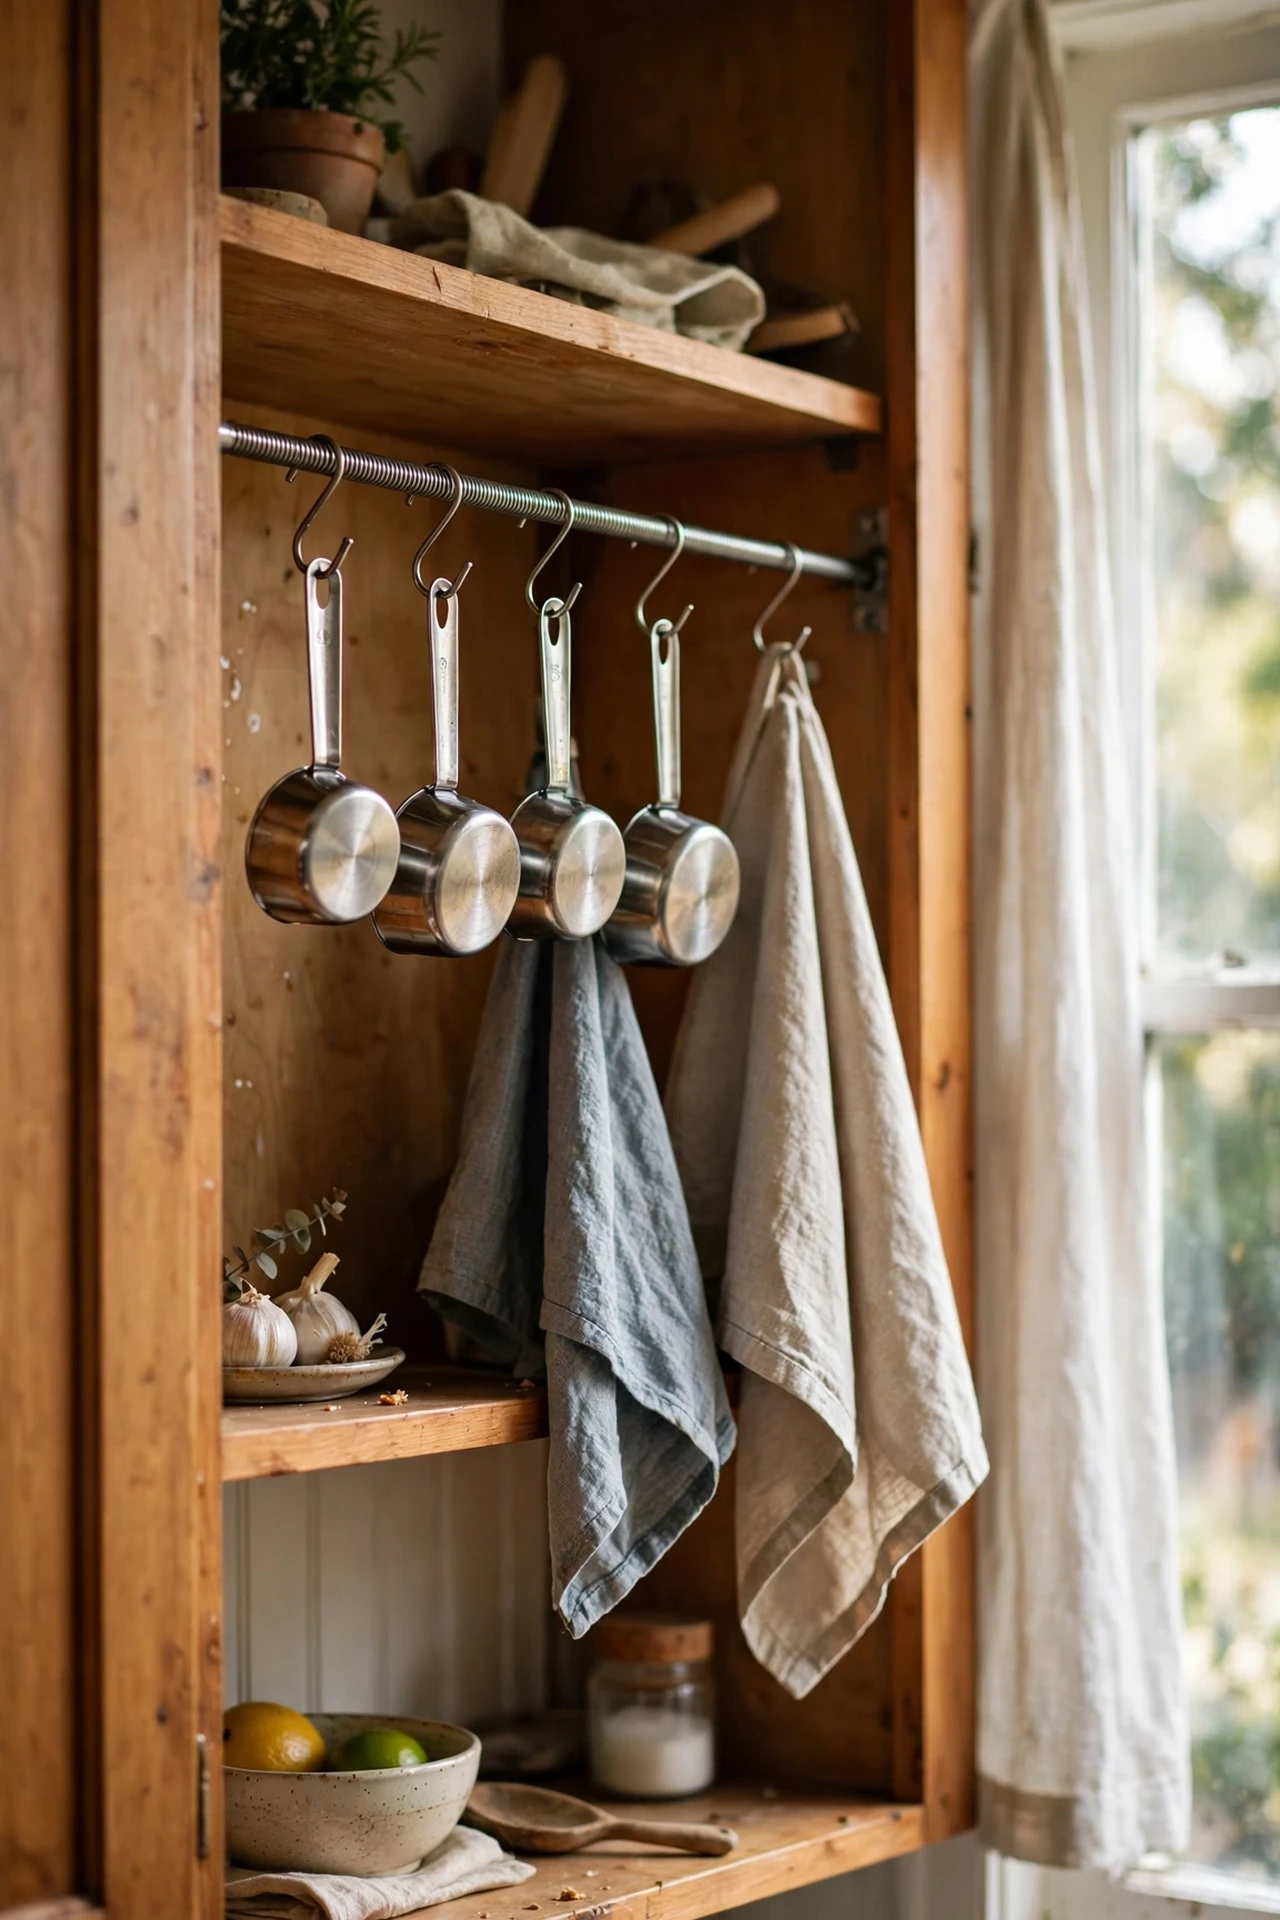
Fix a tension rod inside a wide shelf bay and hang lightweight items — measuring cups, small pans, tea towels — from it, creating a second storage row without drilling. Choose a rod rated well above the weight, and test it before trusting it with anything breakable. I tried this in a wide gap over my cooker, and the hanging utensils look like a professional rail. The mistake to avoid is overloading one rod; two rods spread the weight and look better anyway. It is drilling-free storage that renters can take with them.
18. Peel-and-Stick Tile Behind the Shelves
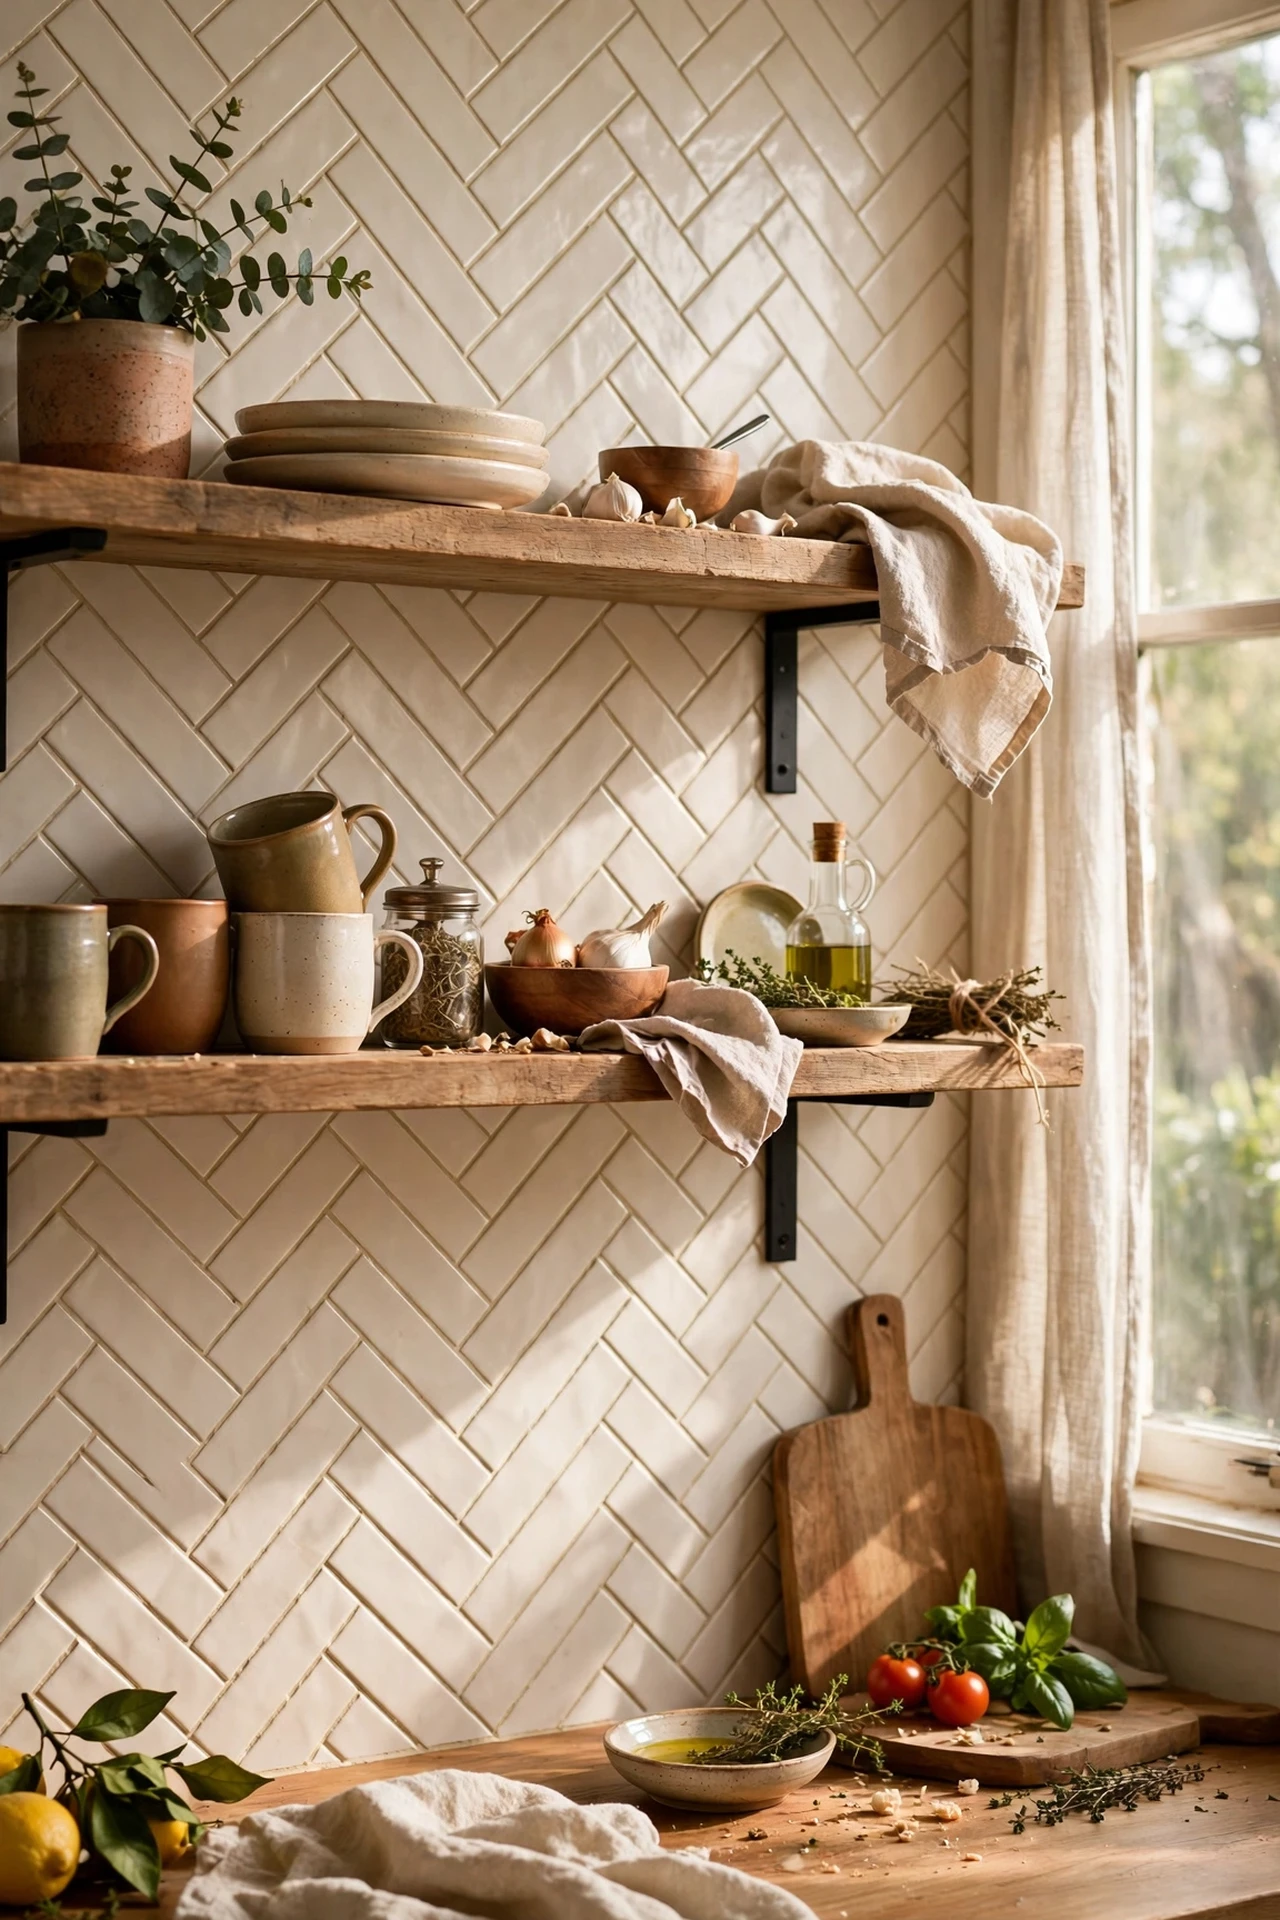
Stick self-adhesive tiles on the wall behind your open shelves and the whole display gets a backdrop that looks far more expensive than it was. Measure carefully, start from the centre, and press each tile firmly to avoid bubbles. I tried a herringbone peel-and-stick behind mine, and visitors assume it was professionally tiled. The mistake to avoid is choosing a pattern that fights with your dishes; keep it quiet so the shelf contents shine. These are renter-friendly and peel off without damage when you move — see (see also: peel-and-stick-kitchen-backsplash-ideas-renters-swear-by) for the full rundown.
19. Under-Shelf LED Strips
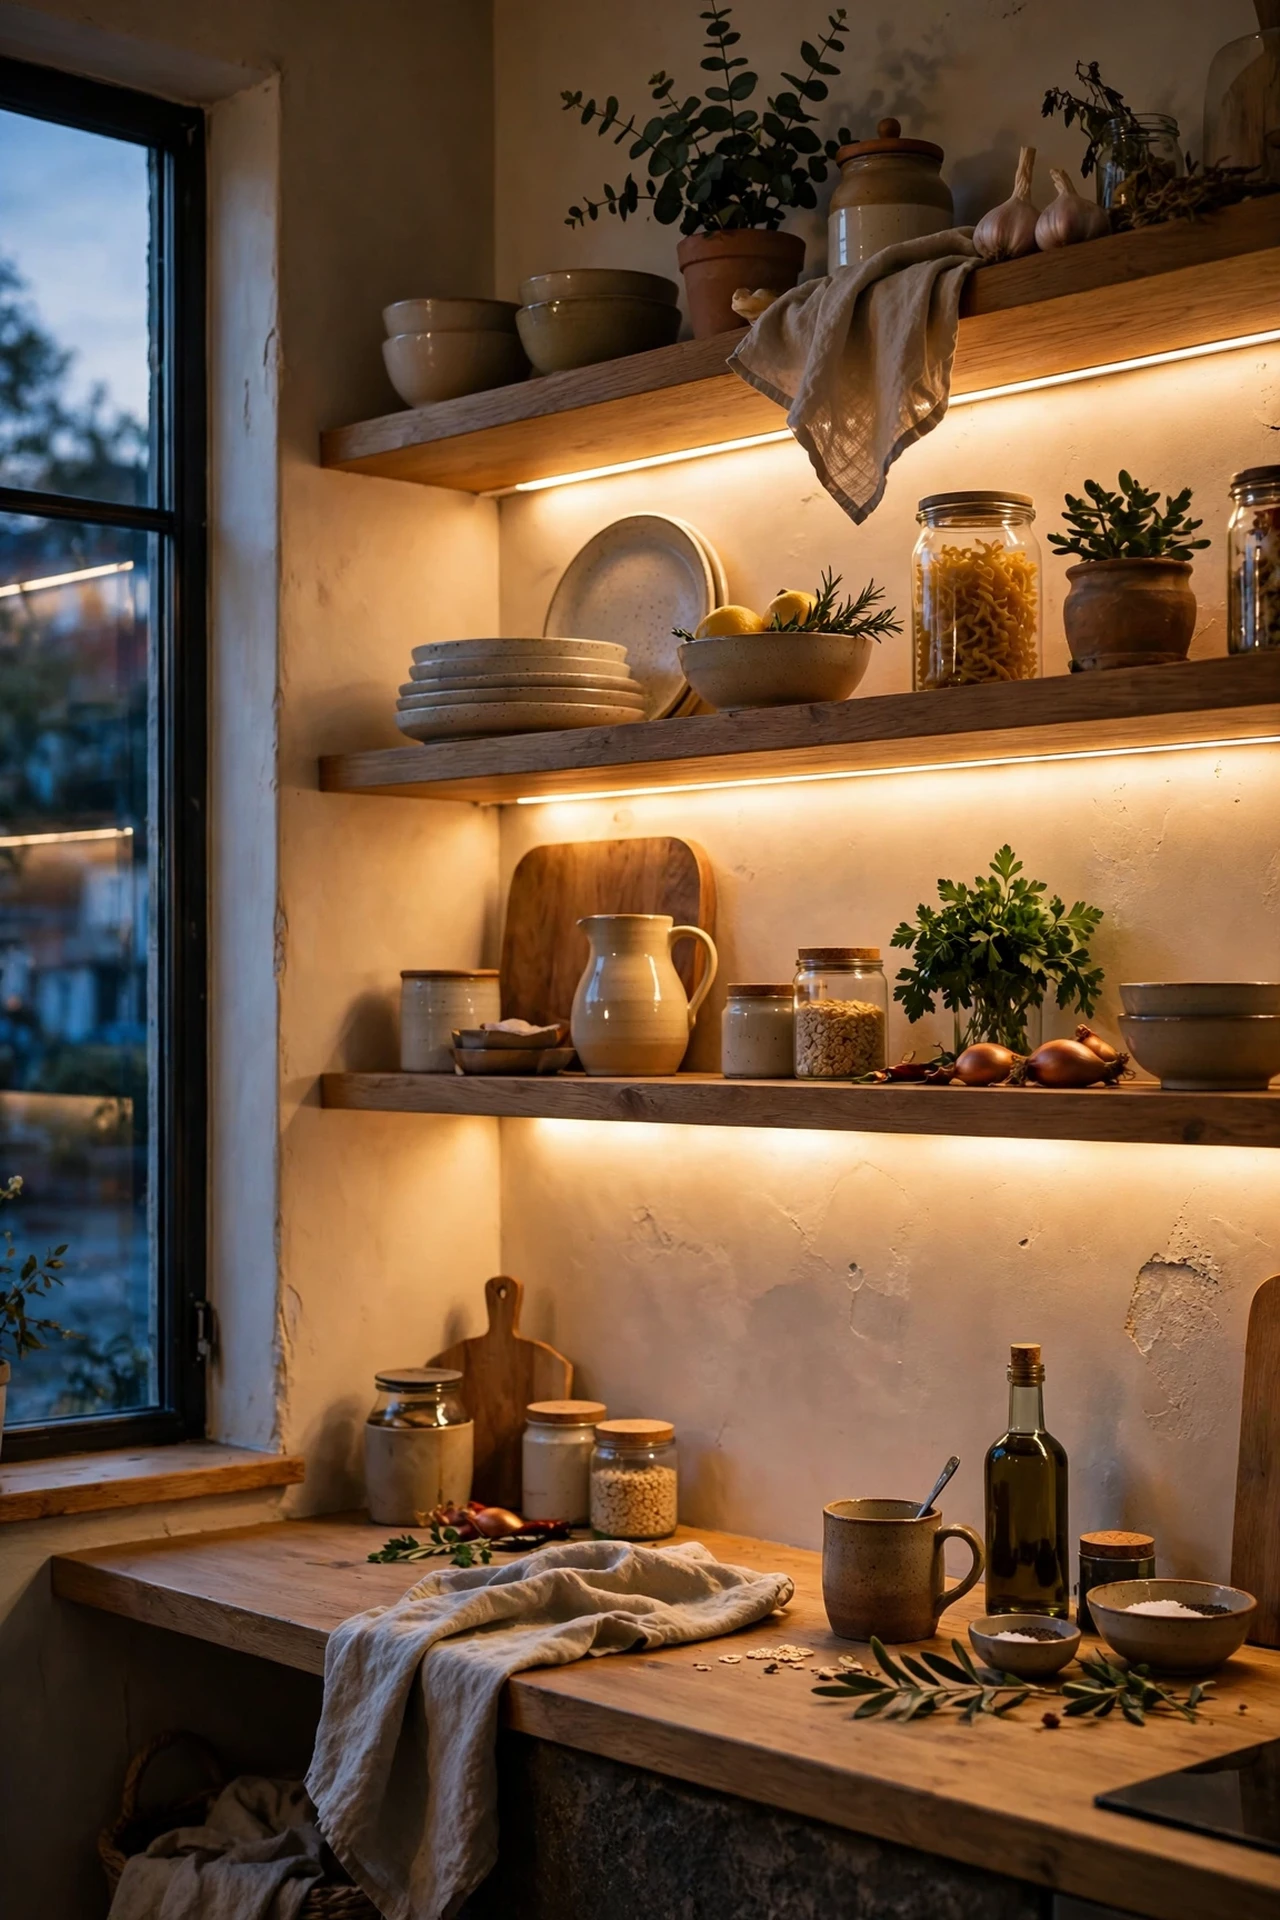
Stick battery or USB LED strips under each shelf and your dishes get lit like a gallery display for the price of a takeaway. Warm white strips angled slightly back create glow without glare, and motion-sensor ones feel wonderfully fancy. I tried this under two shelves, and the evening kitchen feels like a completely different room. The mistake to avoid is placing the strips where you can see the bare diodes; tuck them toward the back so you only see the light, not the source. It doubles as genuinely useful task lighting too.
20. Corner Shelves from Offcuts
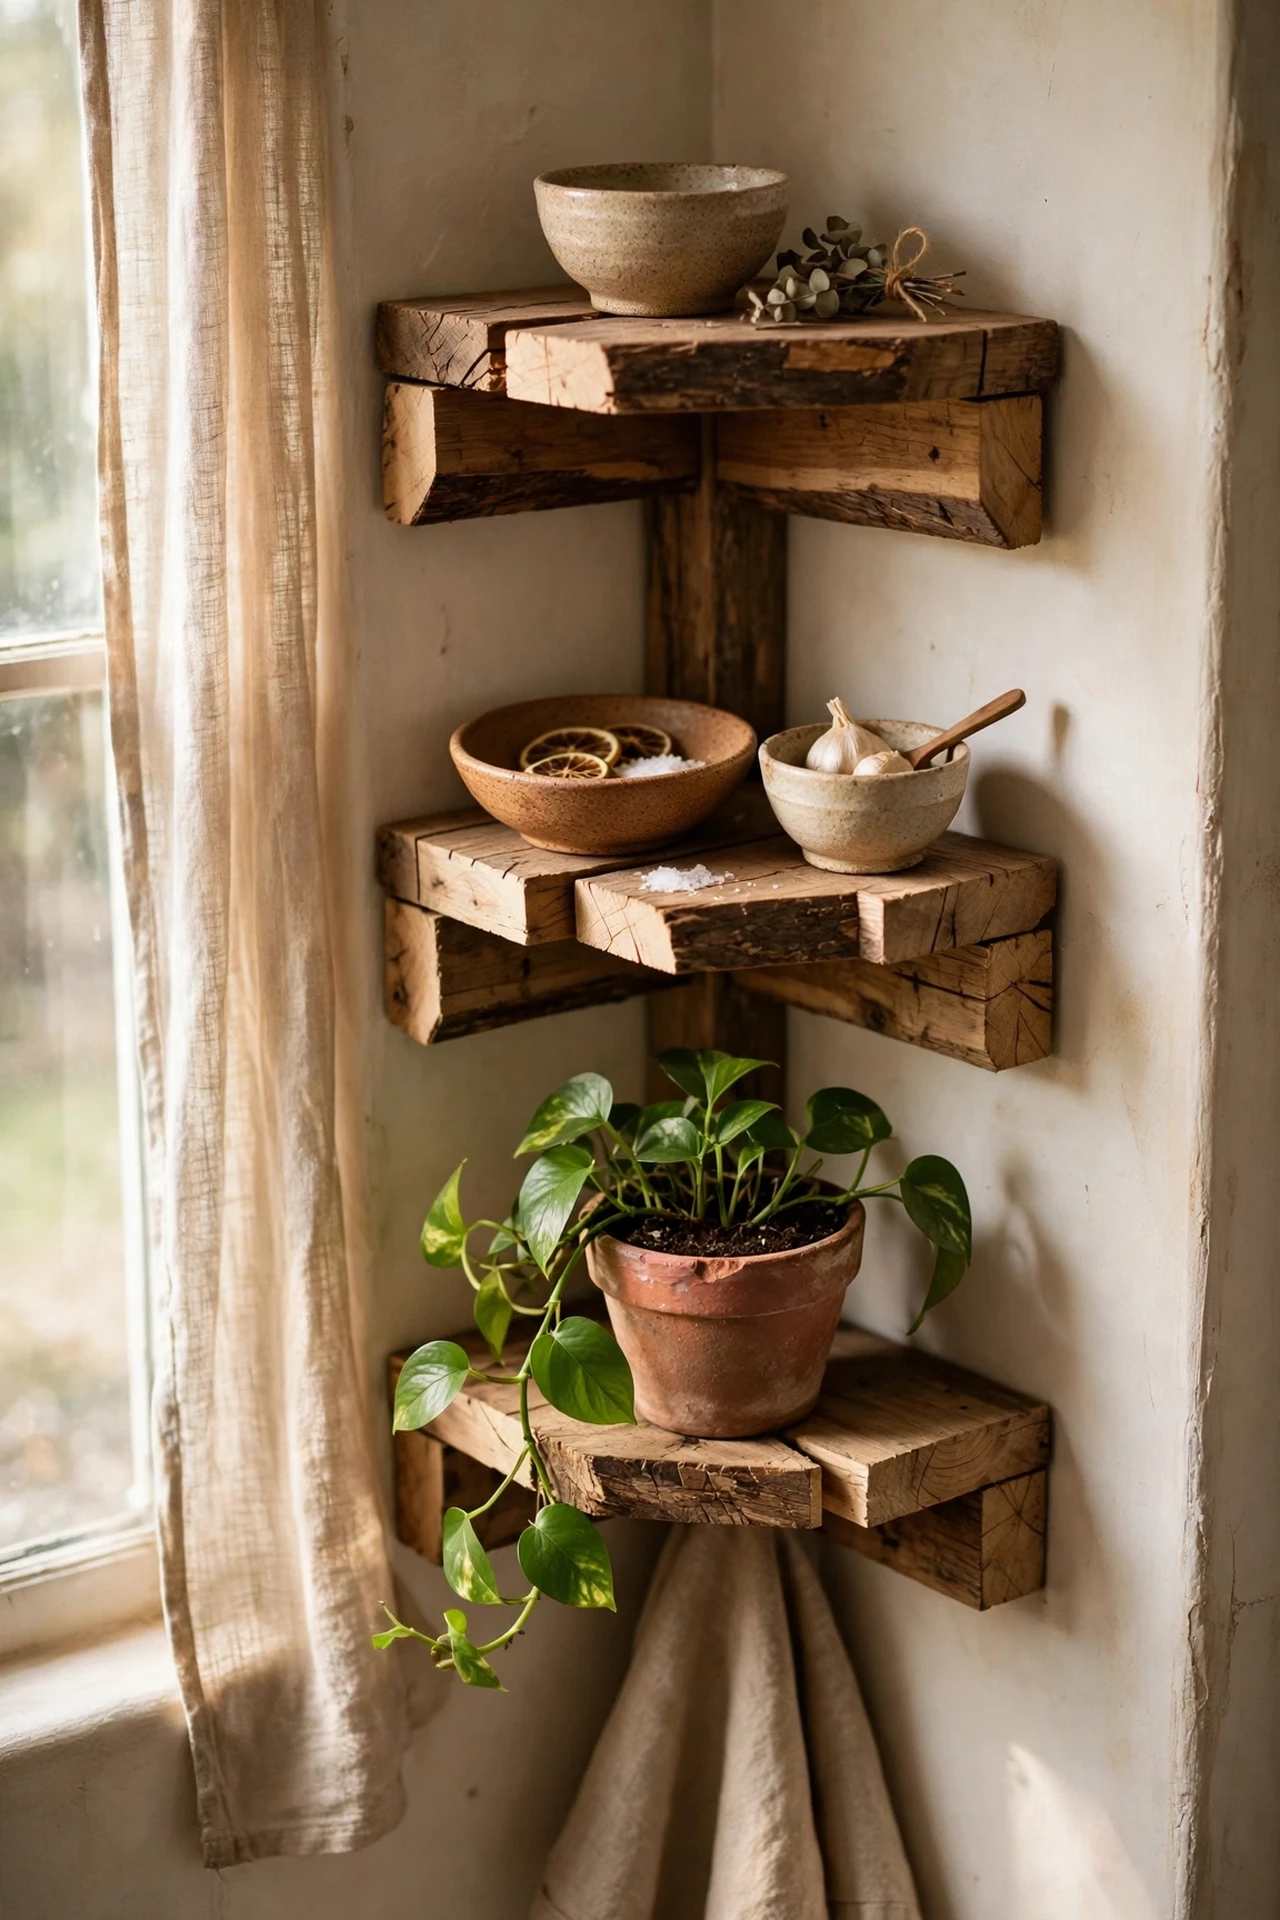
Turn leftover timber offcuts into small corner shelves that squeeze storage from dead wall space. Cut two small triangles or squares, bracket them into the corner, and style with a plant or your prettiest bowls. I tried this in a useless corner by the extractor, and it became the most photographed inch of my kitchen. The mistake to avoid is building them too deep; shallow corner shelves look delicate, deep ones look like an afterthought. Paint them to match the wall and they virtually disappear, leaving the styling to float.
21. Dollar-Store Trays as Shelf Organisers
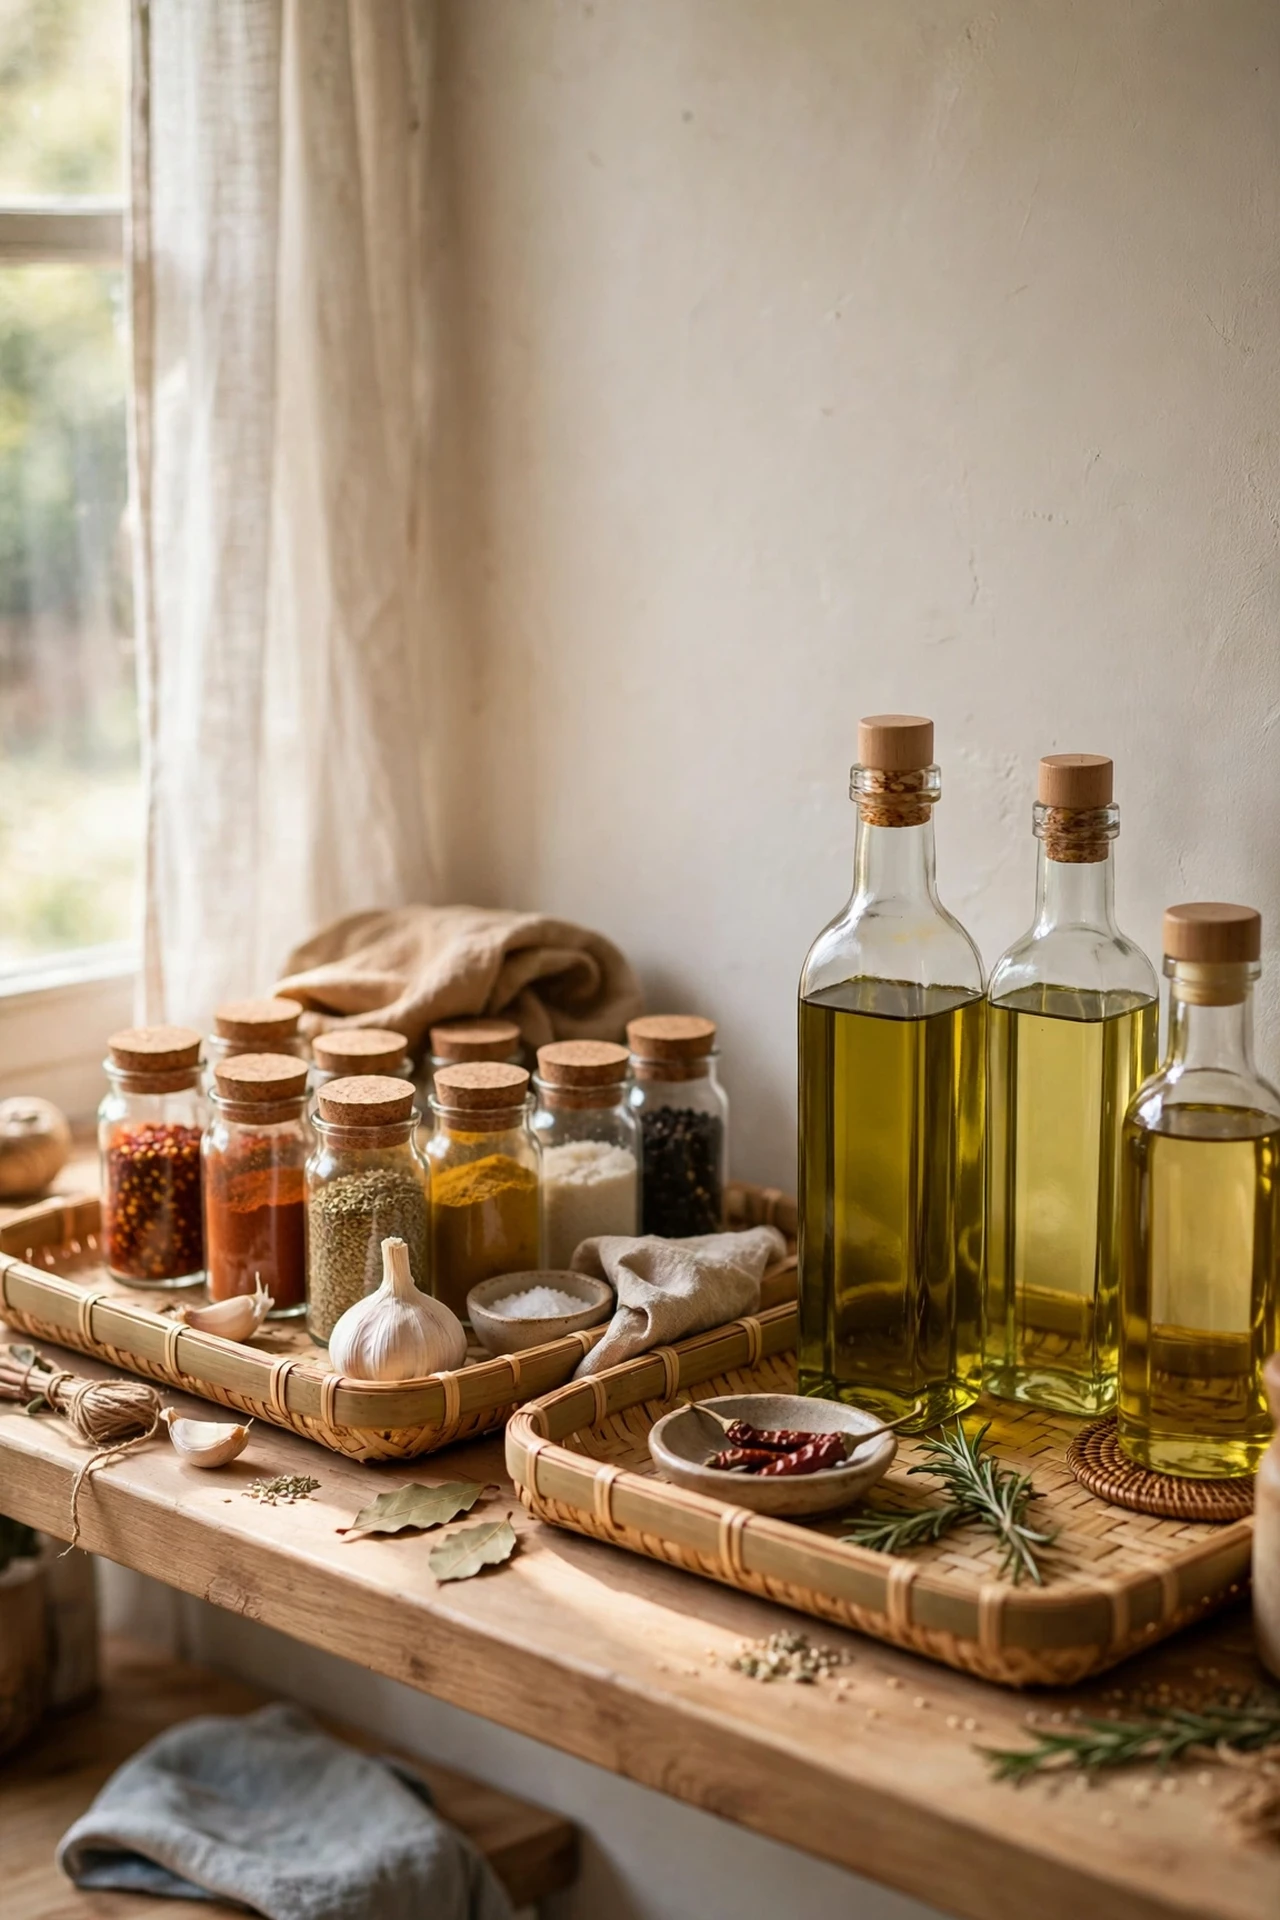
Line cheap trays up on a deep shelf to corral spices, oils, and small jars into tidy zones that look styled rather than shoved. Spray the trays one colour or leave them be, and group items by use so everything is easy to grab. I tried three trays on my widest shelf, and the visual calm was instant. The mistake to avoid is using trays that are too tall; they hide everything behind them. Low edges contain the clutter while showing off the contents — for more bargain wins, browse (see also: dollar-store-kitchen-organization-ideas-worth-every-penny). Save this idea for your next kitchen refresh, because organised shelves stay pretty long after styling day.
My open shelves have survived two years, one kitchen flood, and countless curious guests pulling at the brackets, and they still make me smile every morning. Start with one shelf and let the rest follow; the styled look comes from living with them, not from a single big shopping trip.
