21 Halloween Living Room Decor Ideas on a Budget
Halloween decorating has a budget problem: the stores want you to spend $200 on plastic skeletons you’ll store for eleven months. I refuse. My Halloween living room decor costs under $30 every year, looks genuinely stylish (not like a party store exploded), and most of it gets reused or composted after. The secret is leaning into moody and cozy rather than gory and plastic — candlelight, black accents, natural textures, and a few well-placed pumpkins. These 21 ideas will get your living room Halloween-ready for pocket change.
1. Dollar Tree Pumpkin Cluster
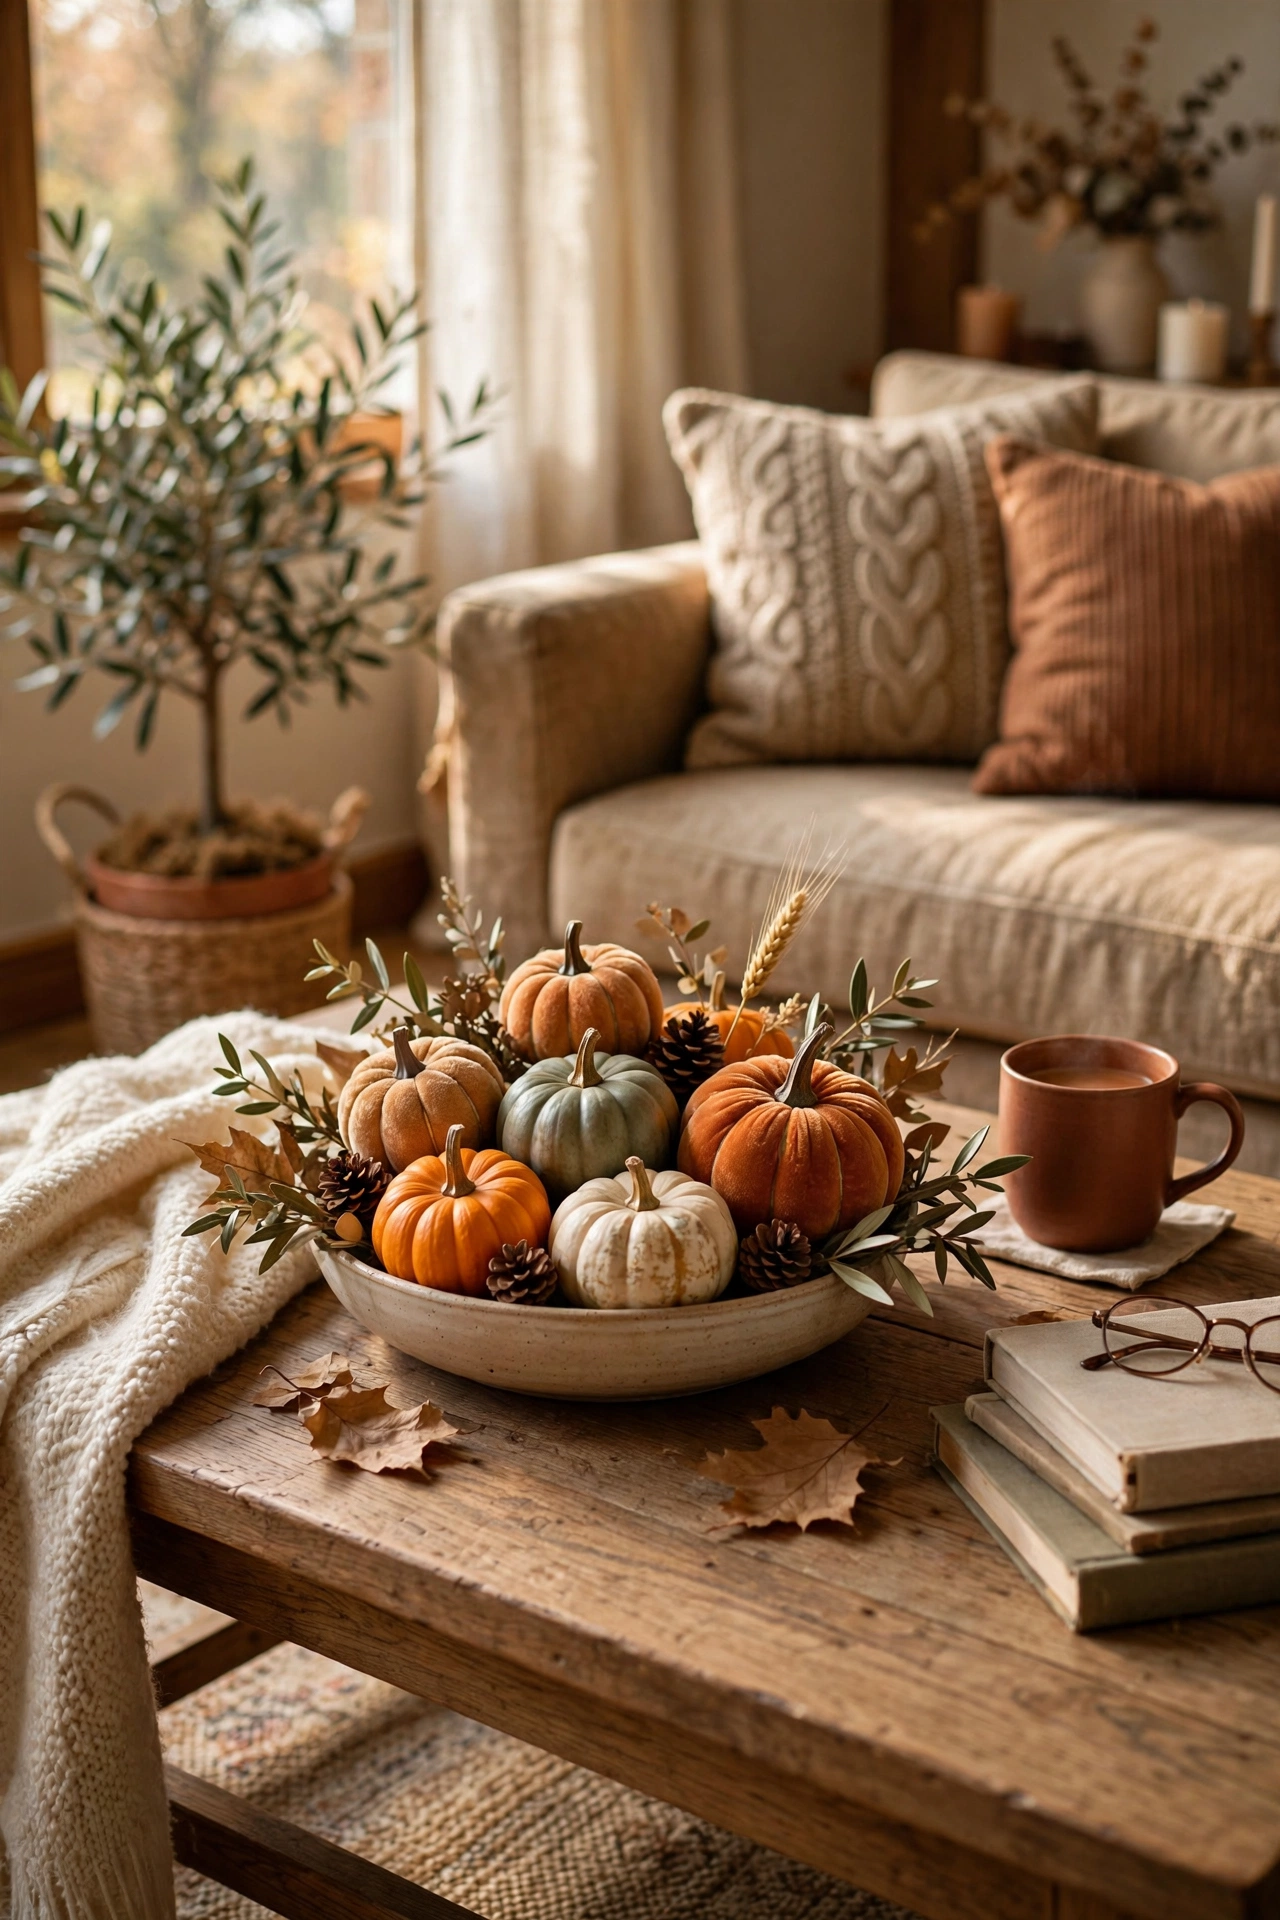
A cluster of small pumpkins — real mini pumpkins at $1 each from the grocery store, or Dollar Tree faux ones at $1.25 — grouped on the coffee table or mantel is the fastest Halloween signal there is. I mix real and faux in a low bowl, varying the sizes. Odd numbers, touching each other, not lined up in a row. It reads as harvest, not Halloween-store. Tuck a little faux greenery or dried wheat between the pumpkins — the green breaks up all that orange and makes the cluster look gathered rather than placed. Three sprigs is plenty.
2. Cheesecloth Ghost Figures
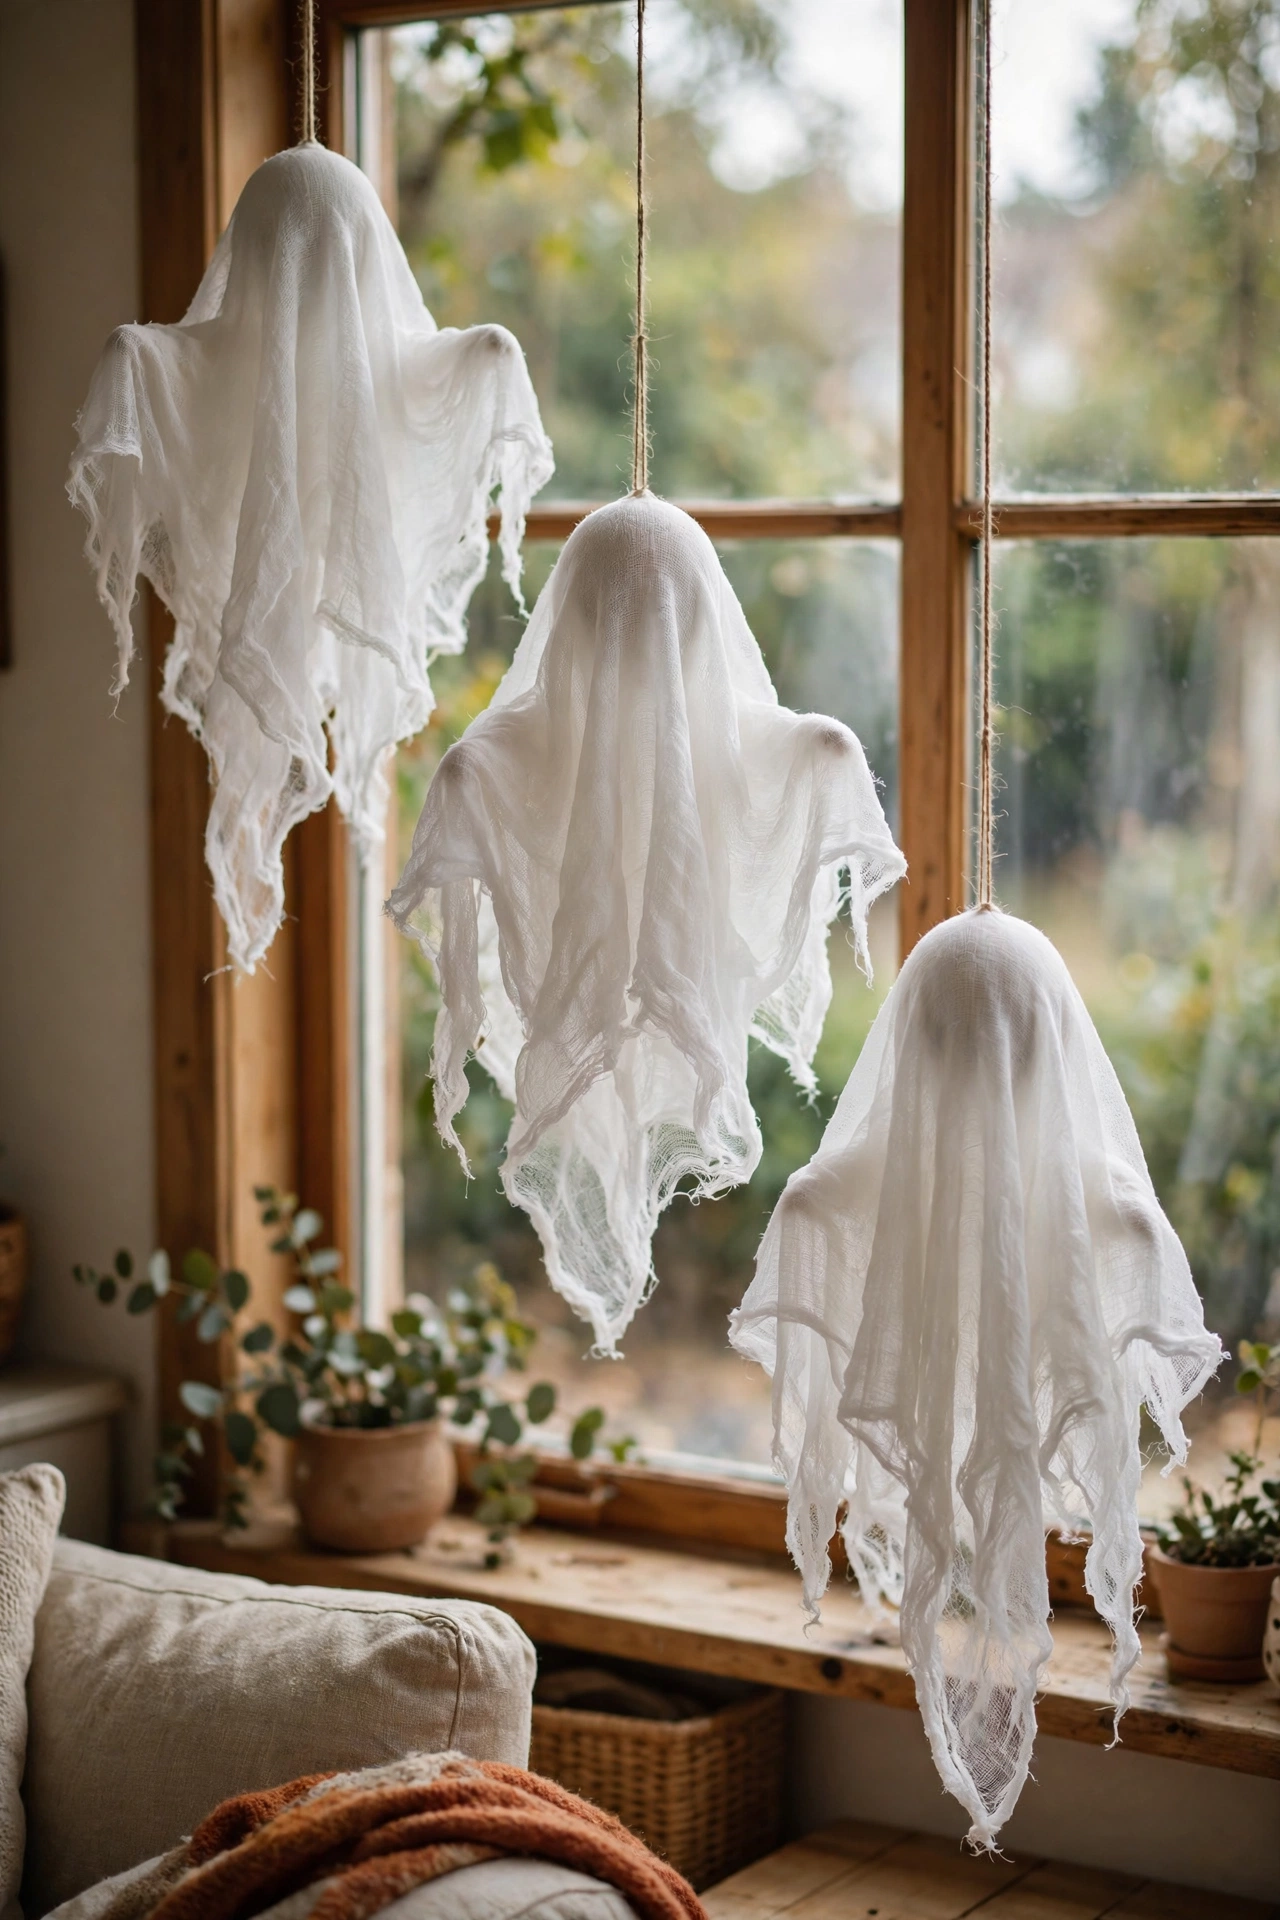
Drape white cheesecloth ($4 a pack at the craft store) over a balloon on a bottle, let it stiffen with a little fabric stiffener or diluted glue, then pop the balloon. You get a floating ghost for about $2. I hang three at different heights in the window — from outside they look fantastic, from inside they’re charmingly spooky. Kids love making these; it’s a craft and decor in one. Use LED tea lights inside instead of real candles — cheesecloth and open flame are a bad combination. The flickering LED ones give the same glow with zero fire risk, which matters when kids are around.
3. Black Pillow Cover Swap
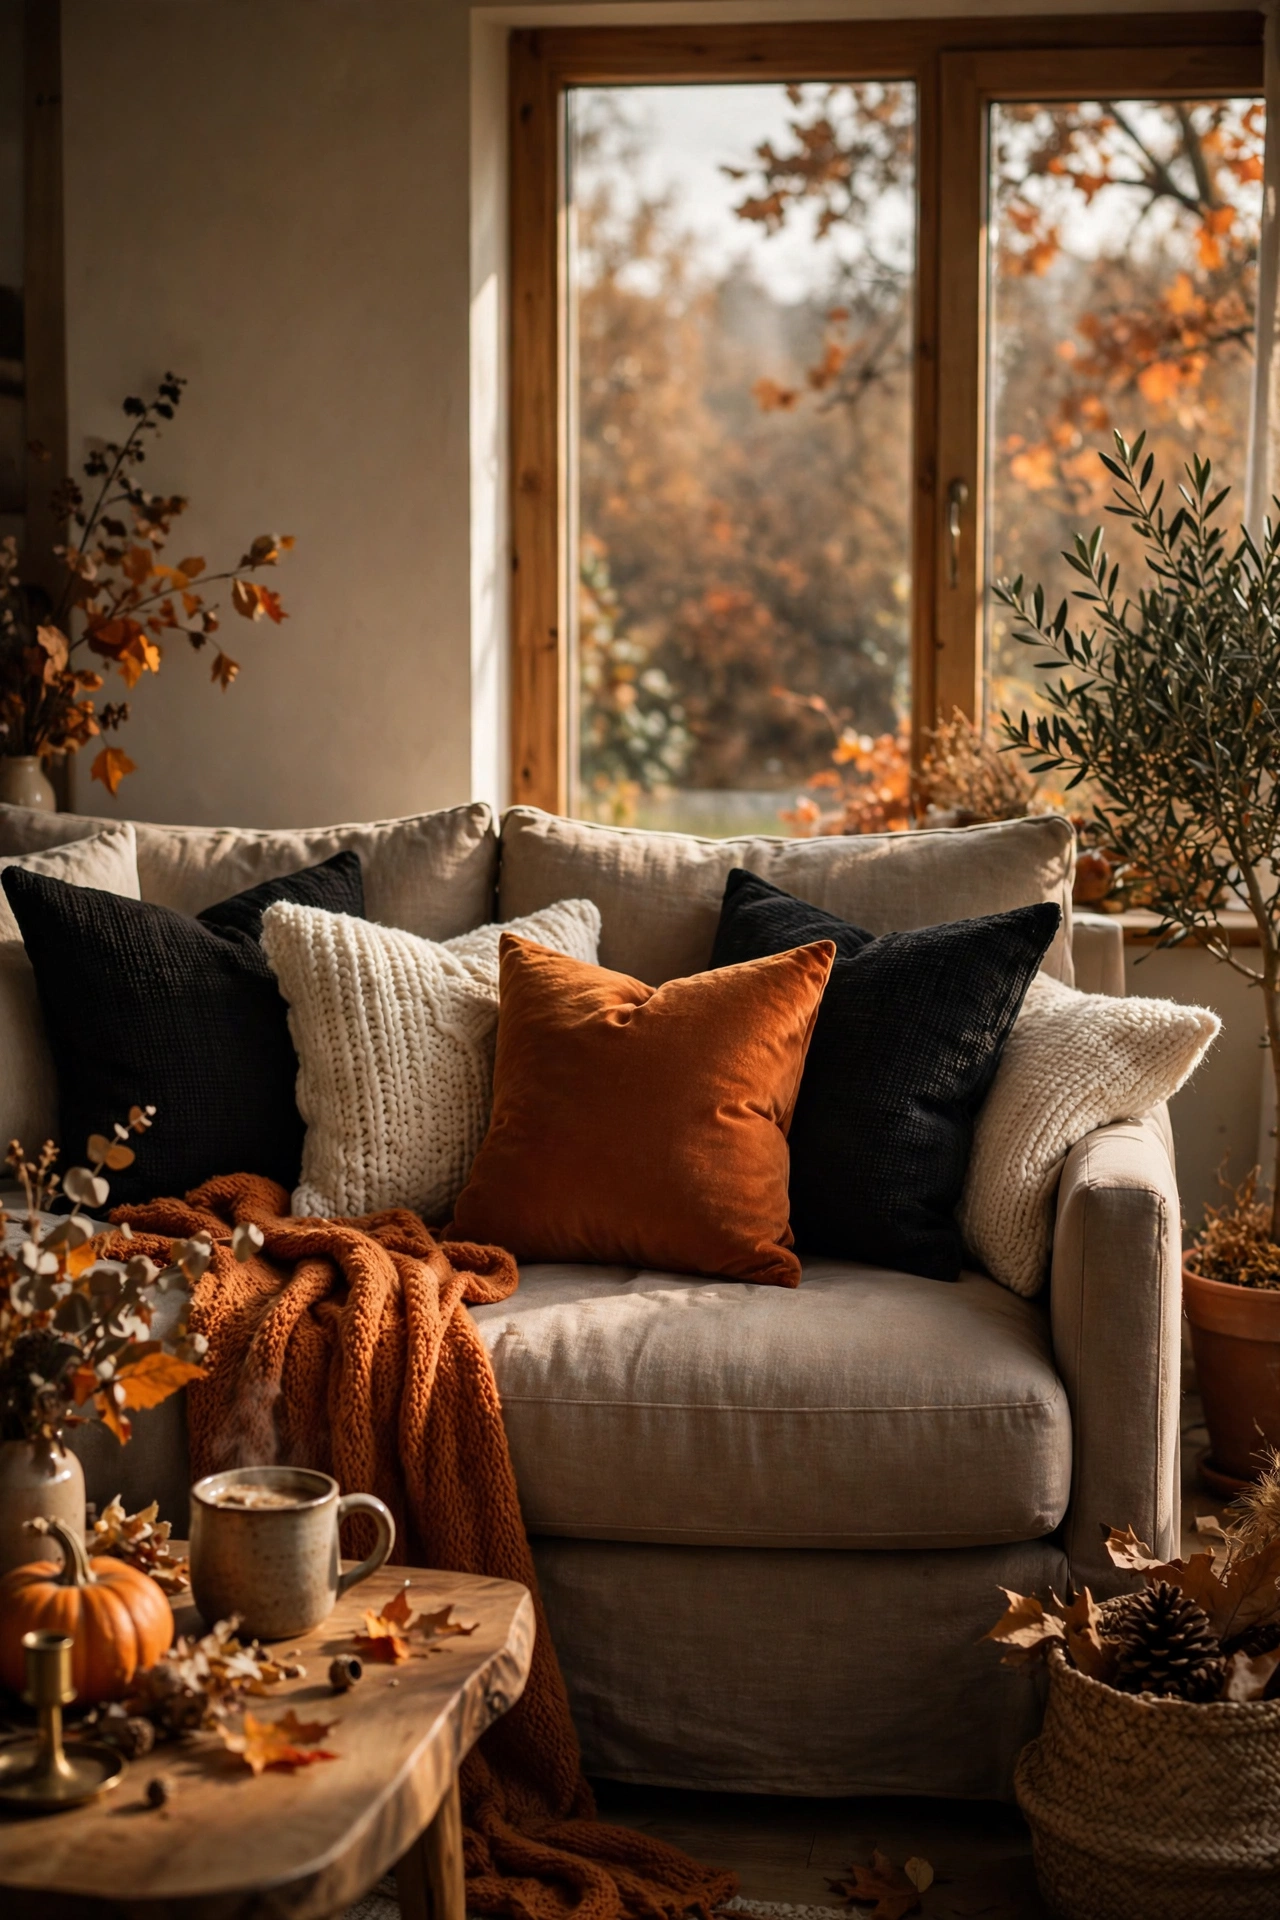
Swap two of your regular pillow covers for black ones ($6 each at IKEA) and the whole sofa goes moody for October. I keep black covers in my seasonal box year-round — they also work for a chic New Year’s look. Pair with your existing orange or cream pillows and the room reads Halloween without a single plastic bat. Store the black covers with your Halloween bin, not your regular linens — you will actually remember you own them next October. Mine lived in the linen closet for two years before I learned this.
4. Paper Bat Wall Swarm
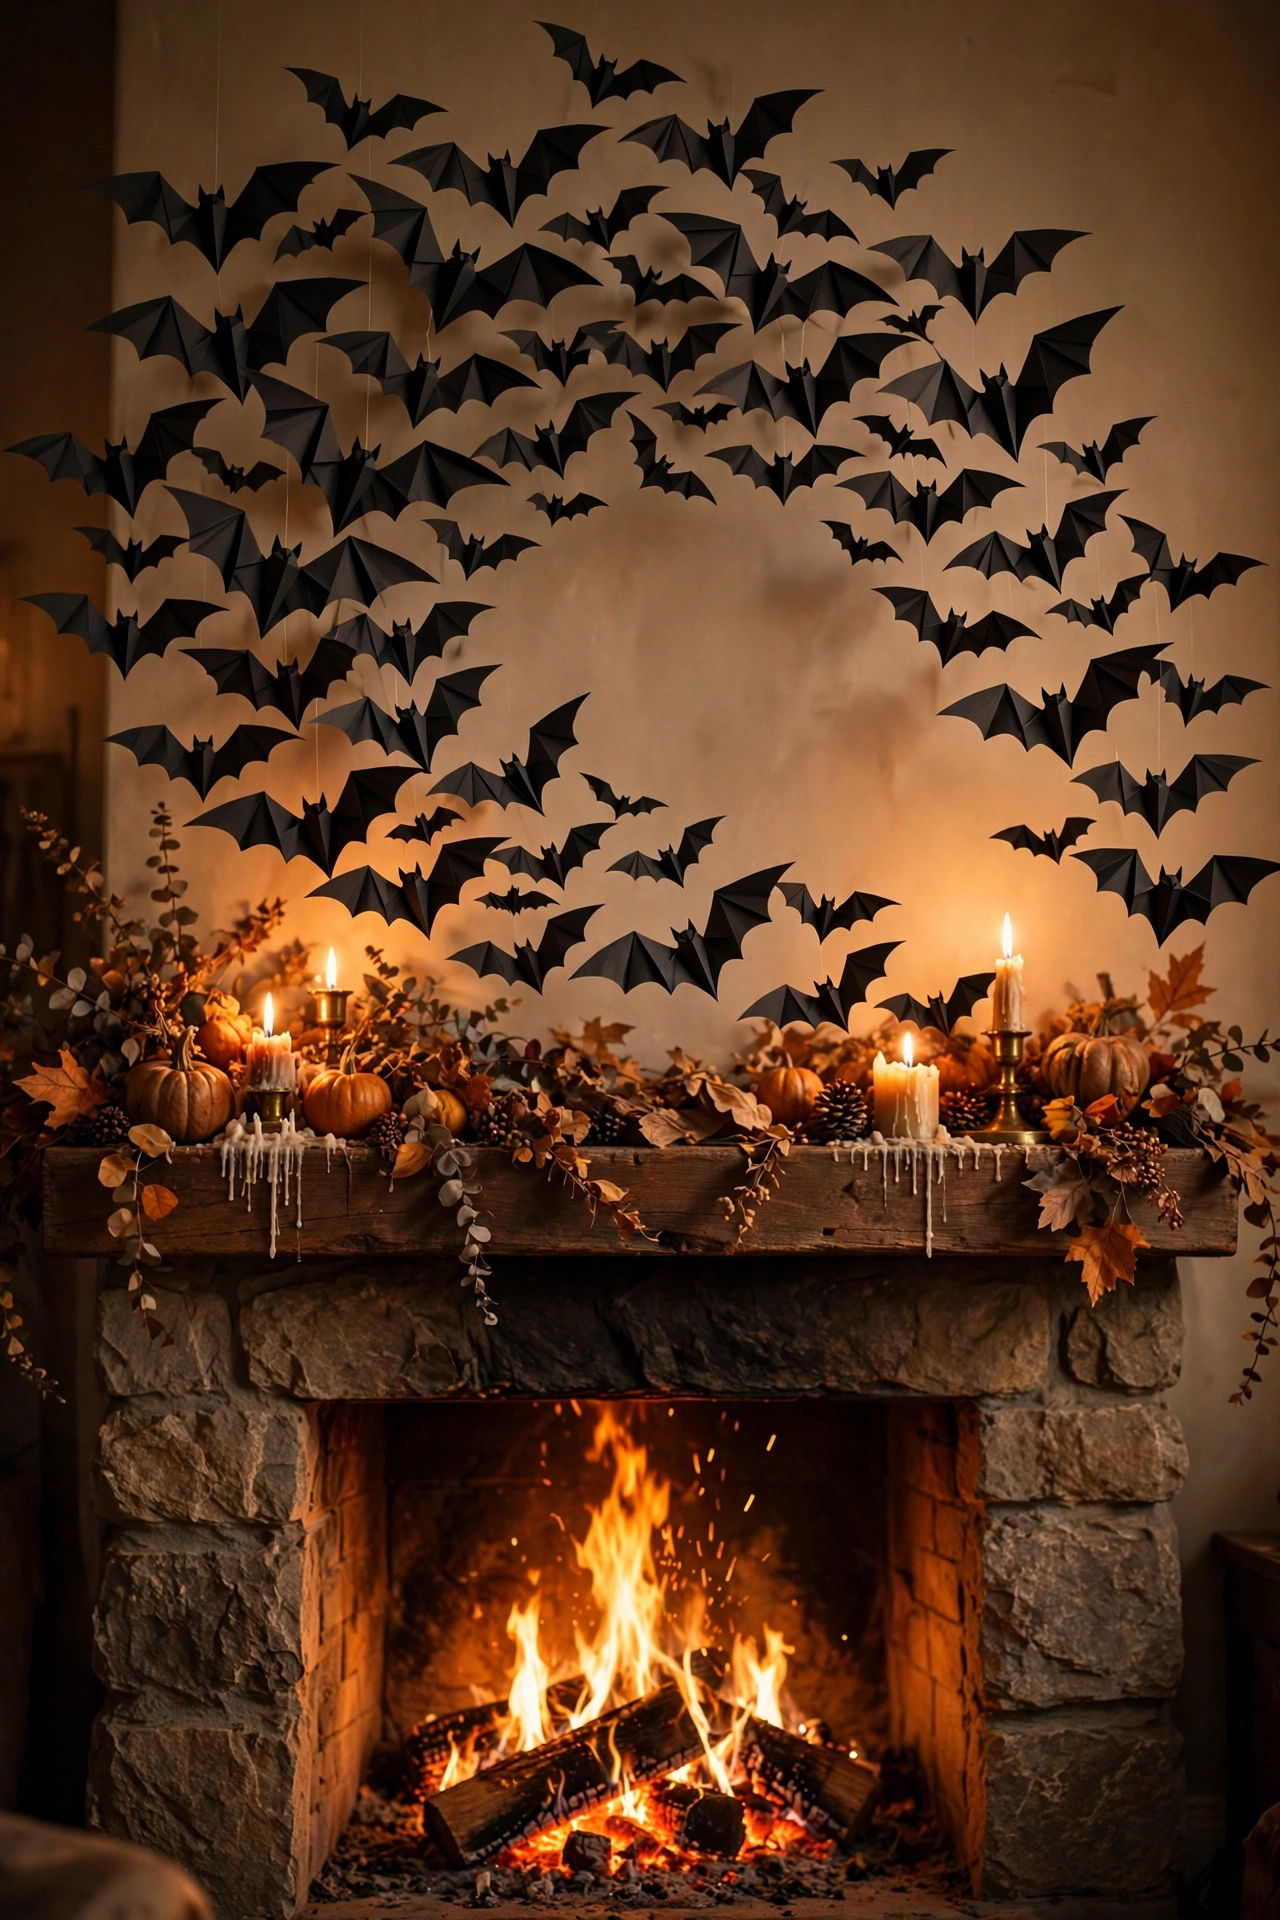
Cut bat shapes from black construction paper ($2), fold the wings slightly for dimension, and stick them to the wall with painter’s tape dots in a sweeping swarm pattern. I do about 30 bats arcing over the mantel — it takes twenty minutes and looks incredible in photos. The fold is what sells it; flat bats look like stickers, folded bats look alive. Start the swarm small near the mantel and let it spread outward and up — bats flying in one direction look intentional, bats scattered randomly look like an accident. Direction tells the story.
5. Thrifted Candlesticks, Black Candles
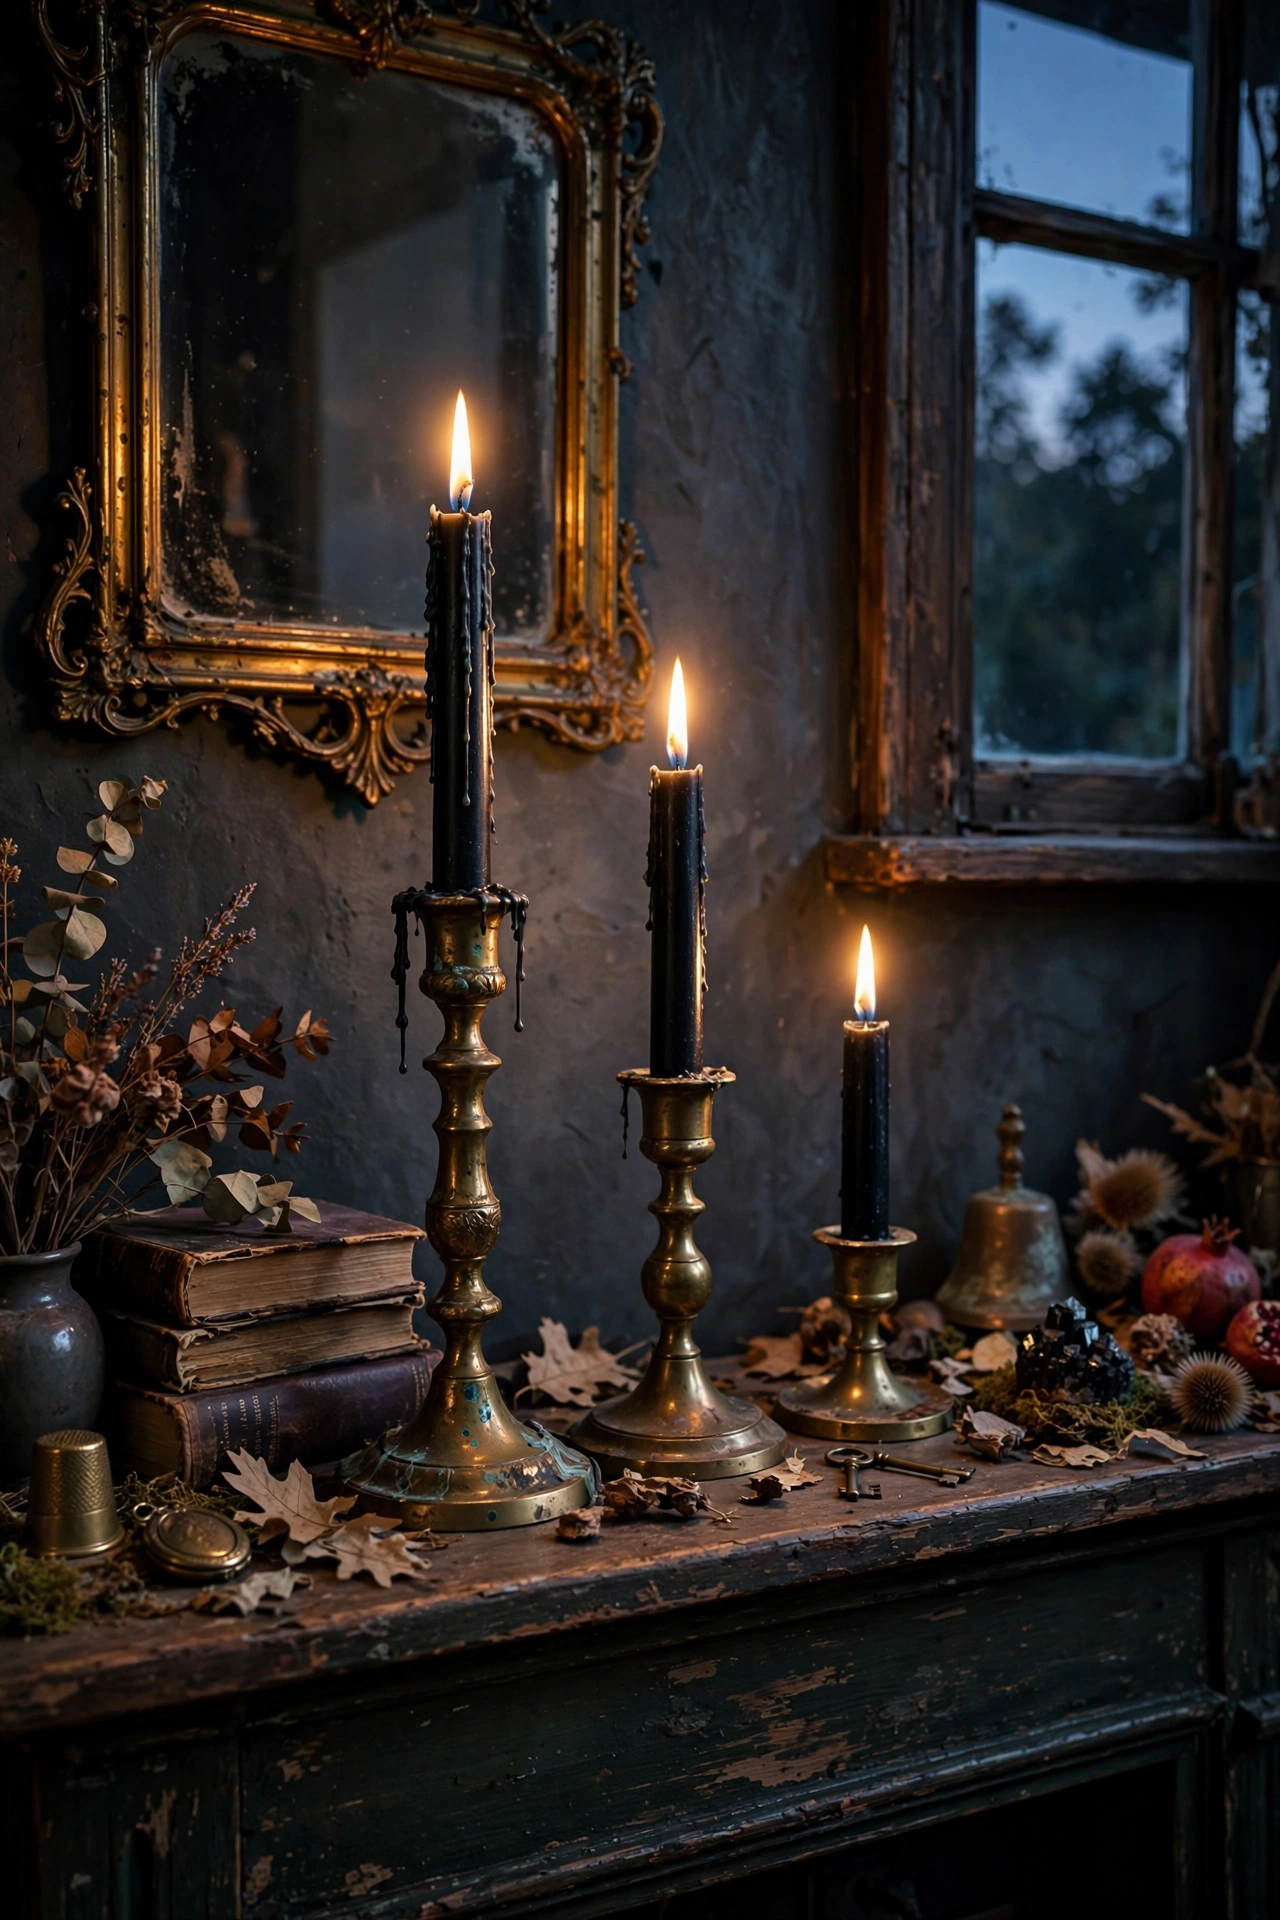
Brass candlesticks from the thrift store ($2-$4 each) with black taper candles ($1.25 at Dollar Tree) are peak moody Halloween — elegant, gothic, and cheap. I line five down my mantel of varying heights. Light them in the evening and the whole room goes full haunted-manor. The black wax drips look intentional and amazing. Let the black wax drip — do not wipe it. The drips are the whole aesthetic, and they pop right off the brass when you freeze the candlesticks for an hour after the season.
6. Burnt-Orange Throw Swap
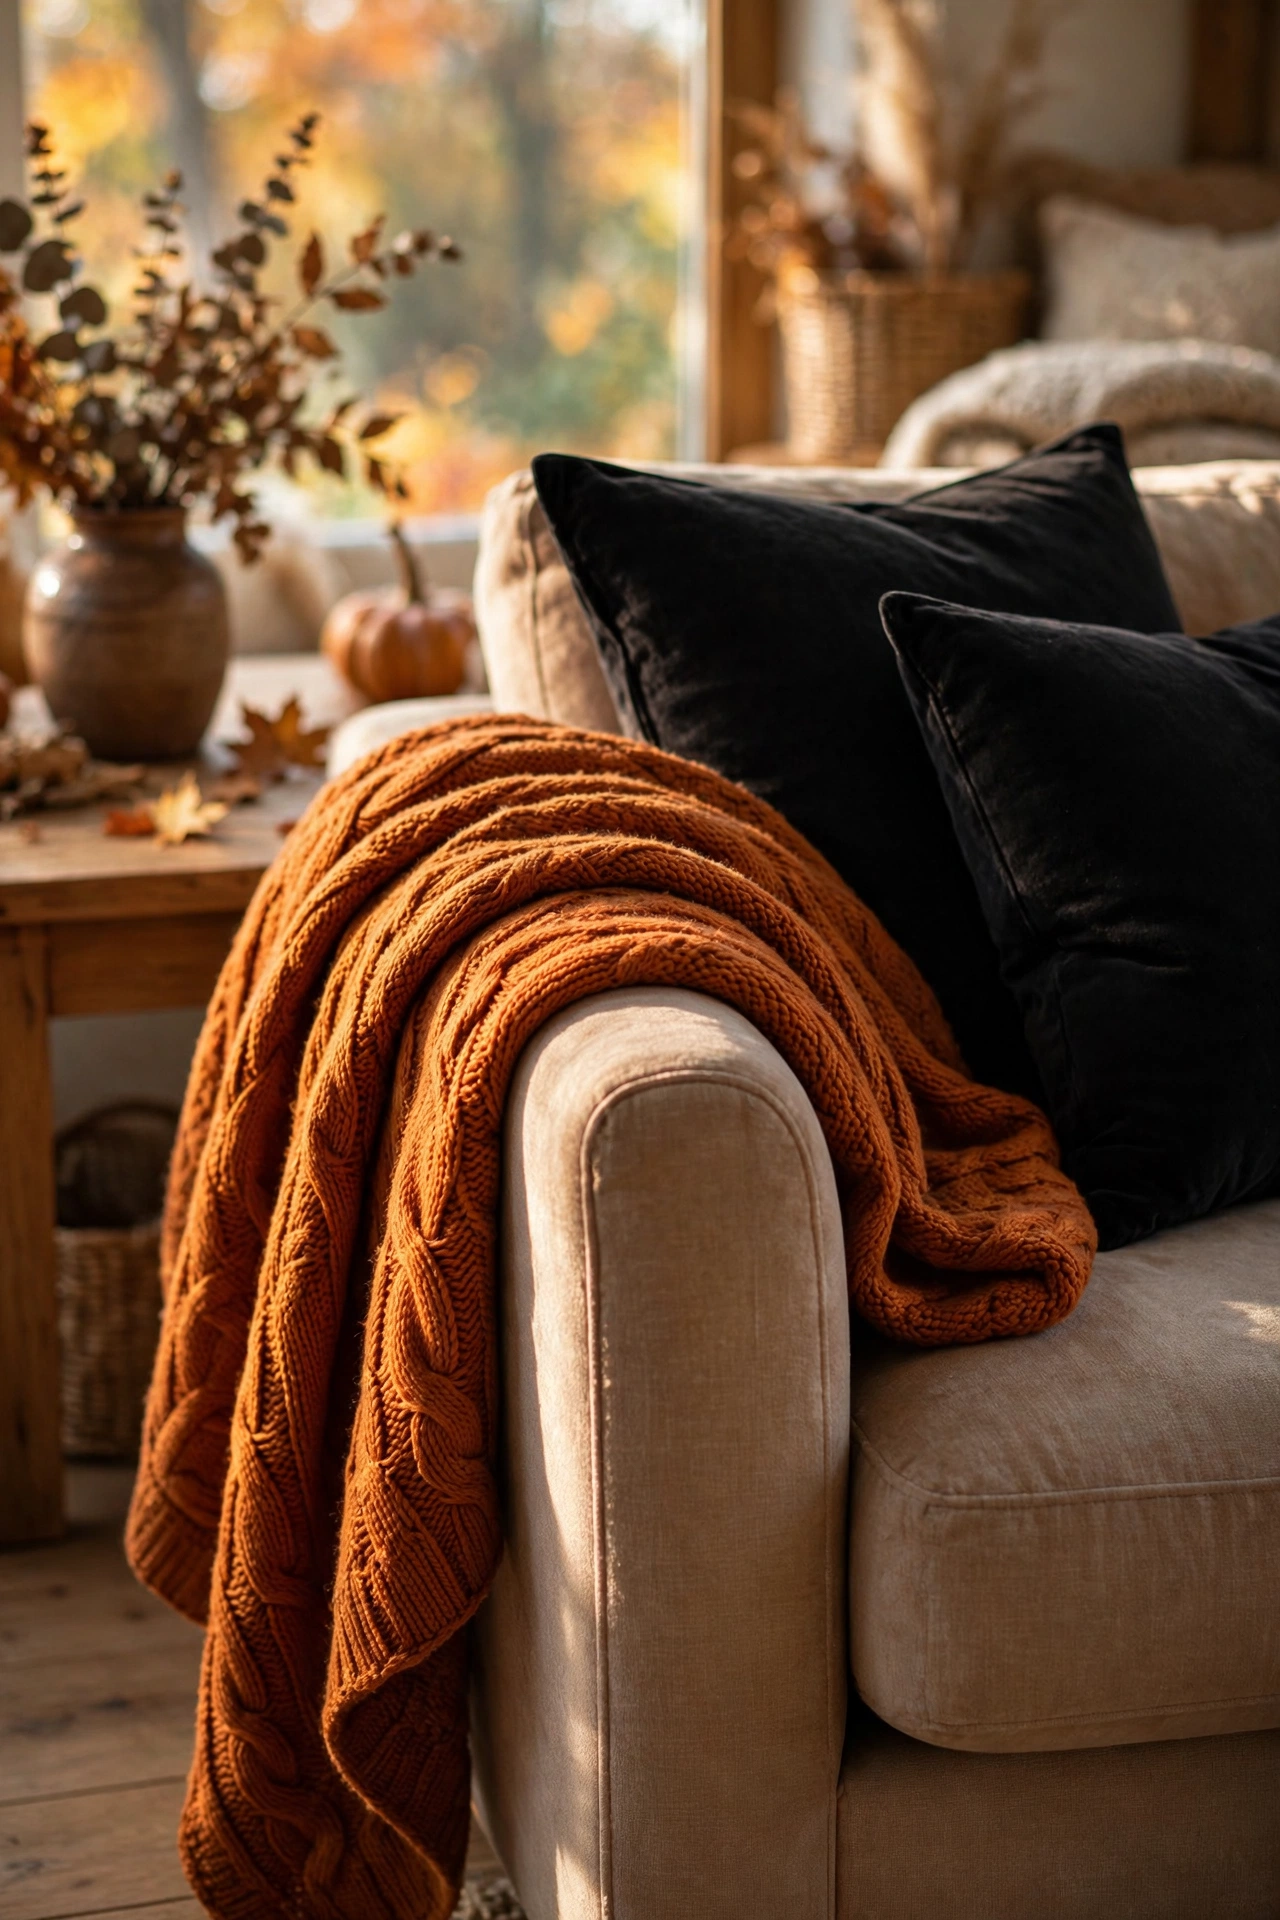
Swap your regular throw for a burnt-orange or rust one ($12 on clearance) and the room shifts to fall instantly. It’s the textile equivalent of the pumpkin cluster — one warm autumnal note that says October. I drape mine over the sofa arm where the black pillows are; orange and black without trying too hard. Fold it in thirds over the sofa arm rather than draping it flat — the folded edge shows off the knit texture and it stays put instead of sliding onto the floor by noon.
7. Free Printable Spooky Art
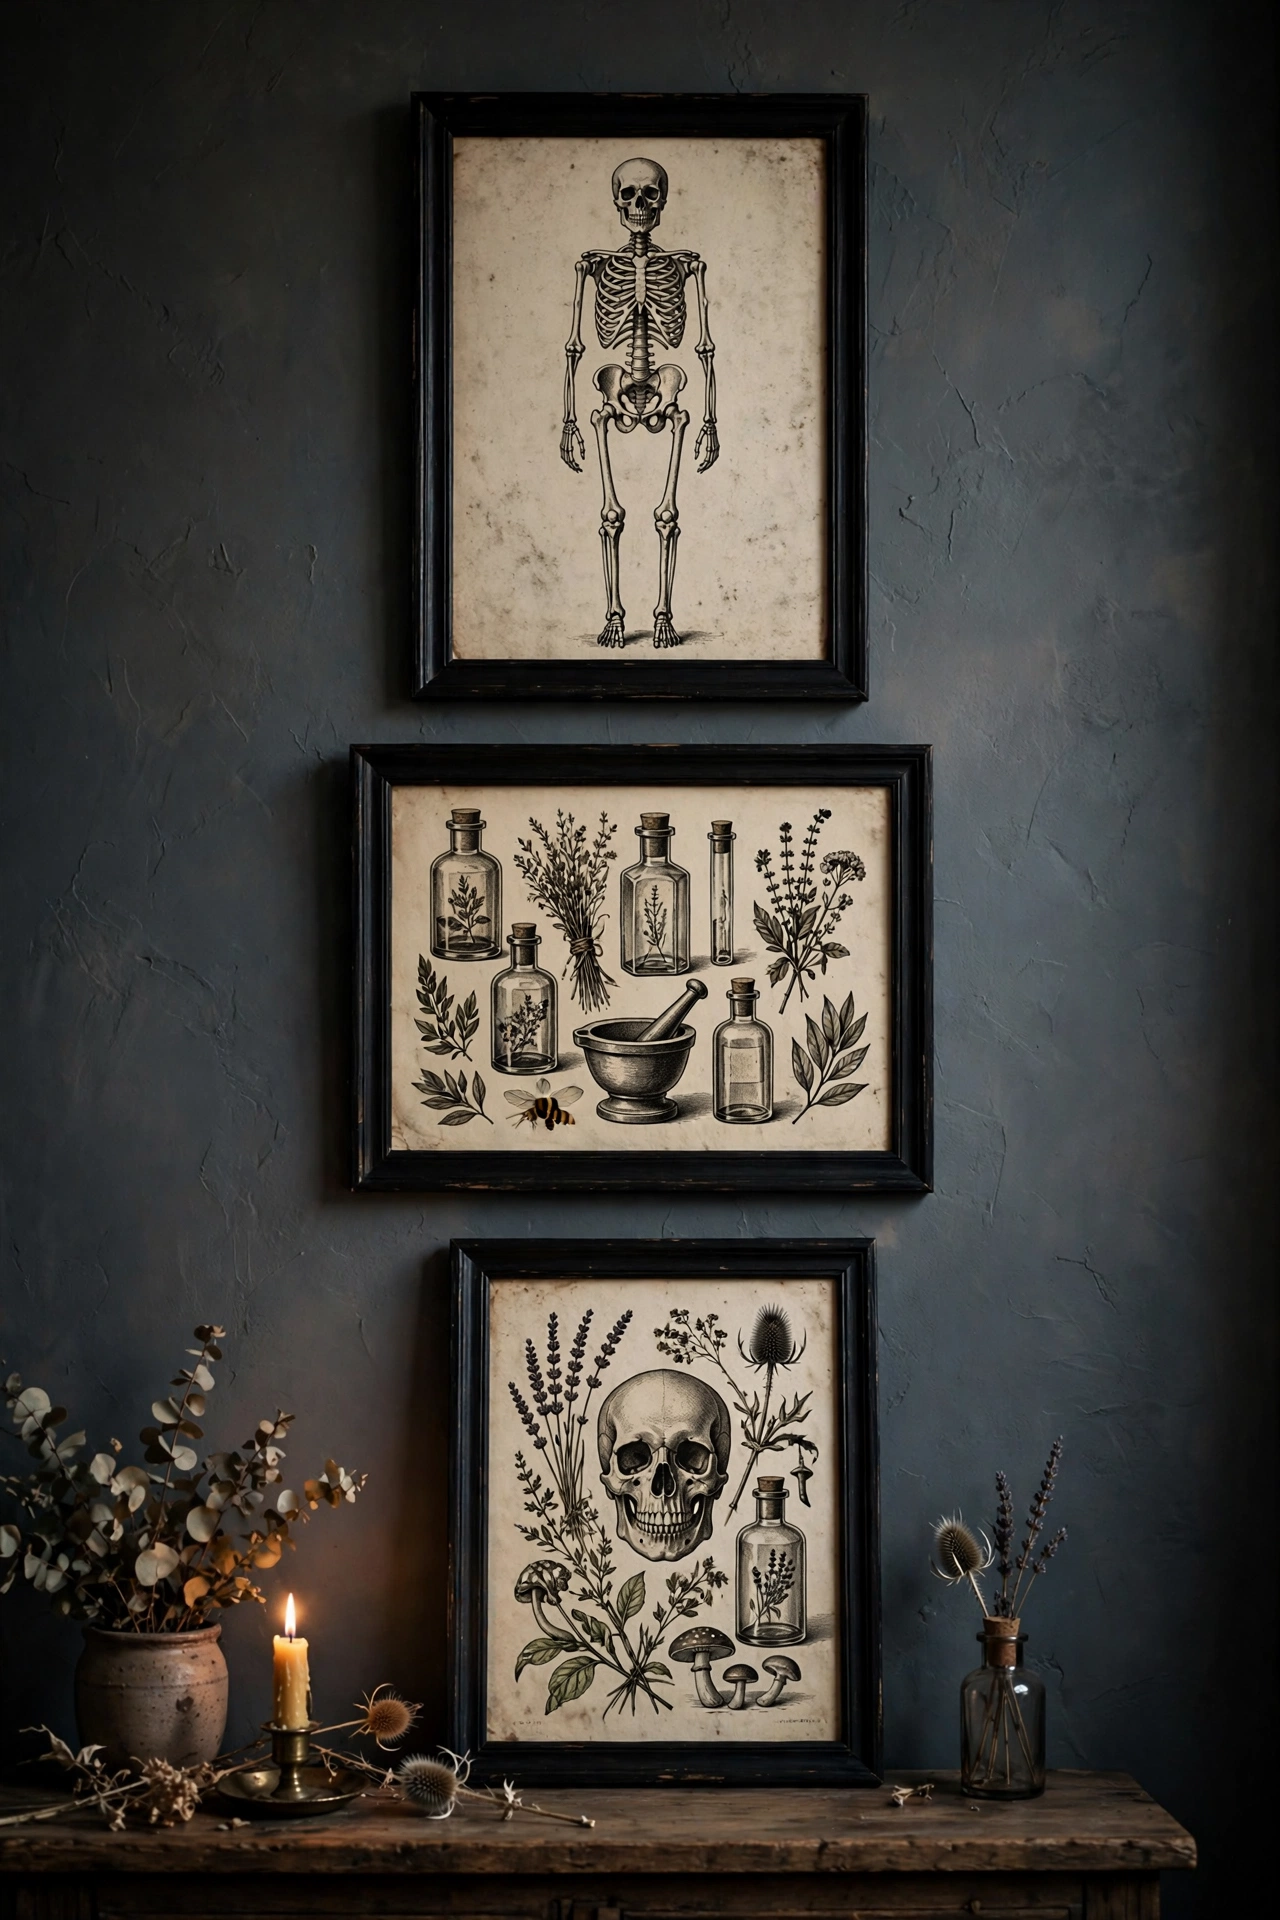
There are thousands of free vintage Halloween printables online — old apothecary labels, Victorian skeletons, spooky botanicals. I printed four at the library ($2 total) and swapped them into my existing frames for October. It takes ten minutes and it’s the highest-effort-looking, lowest-effort decor move there is. Swap back in November. Look for printables from actual vintage sources — old seed catalogs, Victorian natural history prints. The aged paper texture in the scan is what makes them look expensive instead of printed.
8. Pumpkin Vase Centerpiece
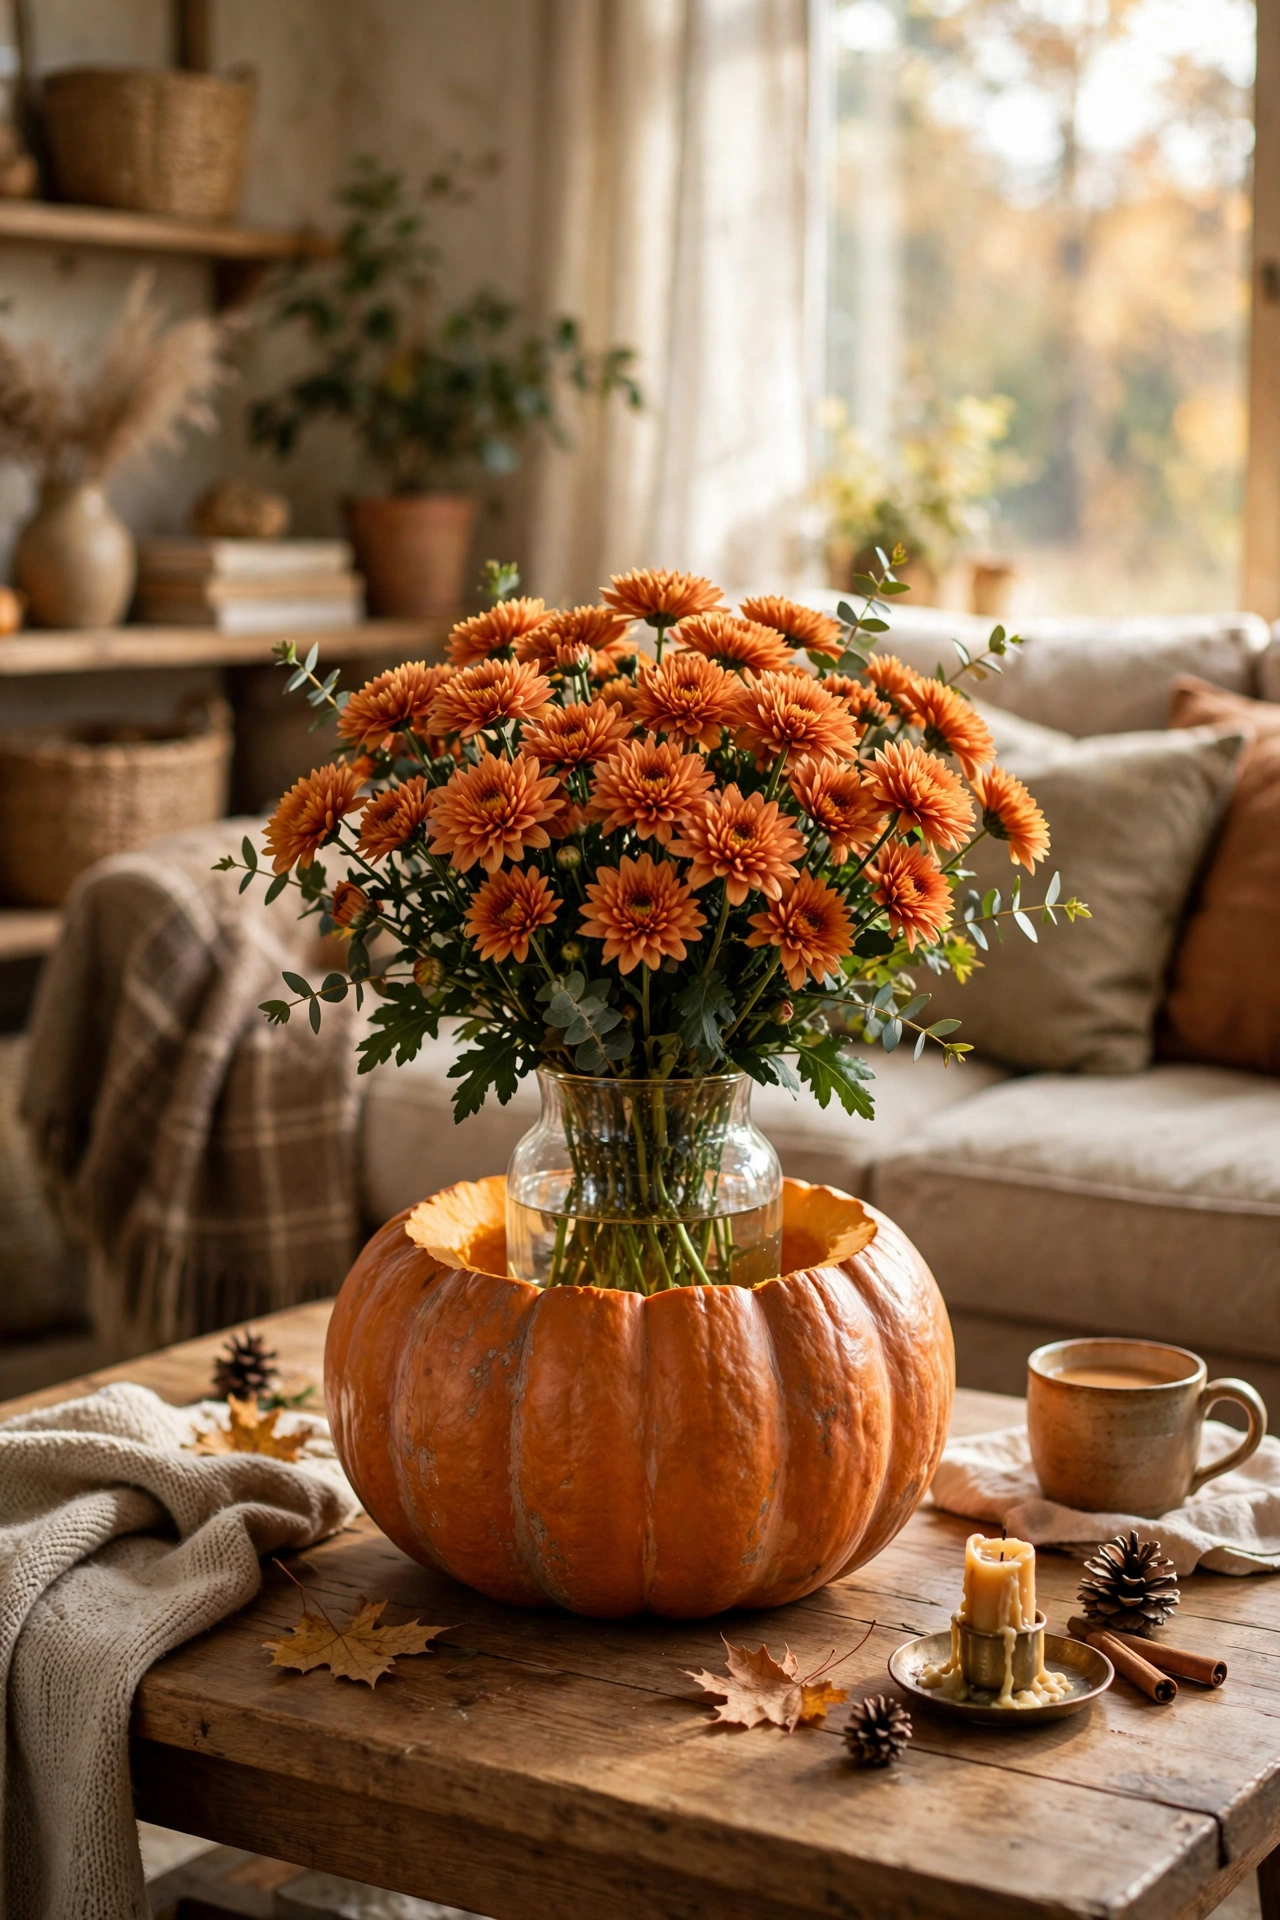
Hollow out a medium pumpkin, drop in a $1.25 Dollar Tree glass vase, and fill with grocery-store mums or dried wheat. It’s a centerpiece that costs under $8 and looks like it came from a fall wedding. I make one every October for the coffee table. The pumpkin lasts about two weeks indoors — make a second one for Halloween week itself. Scoop the pumpkin walls to about an inch thick — too thick and the vase sits too high, too thin and the pumpkin collapses early. An ice cream scoop is the perfect tool, oddly enough.
9. Orange Fairy Light Jars
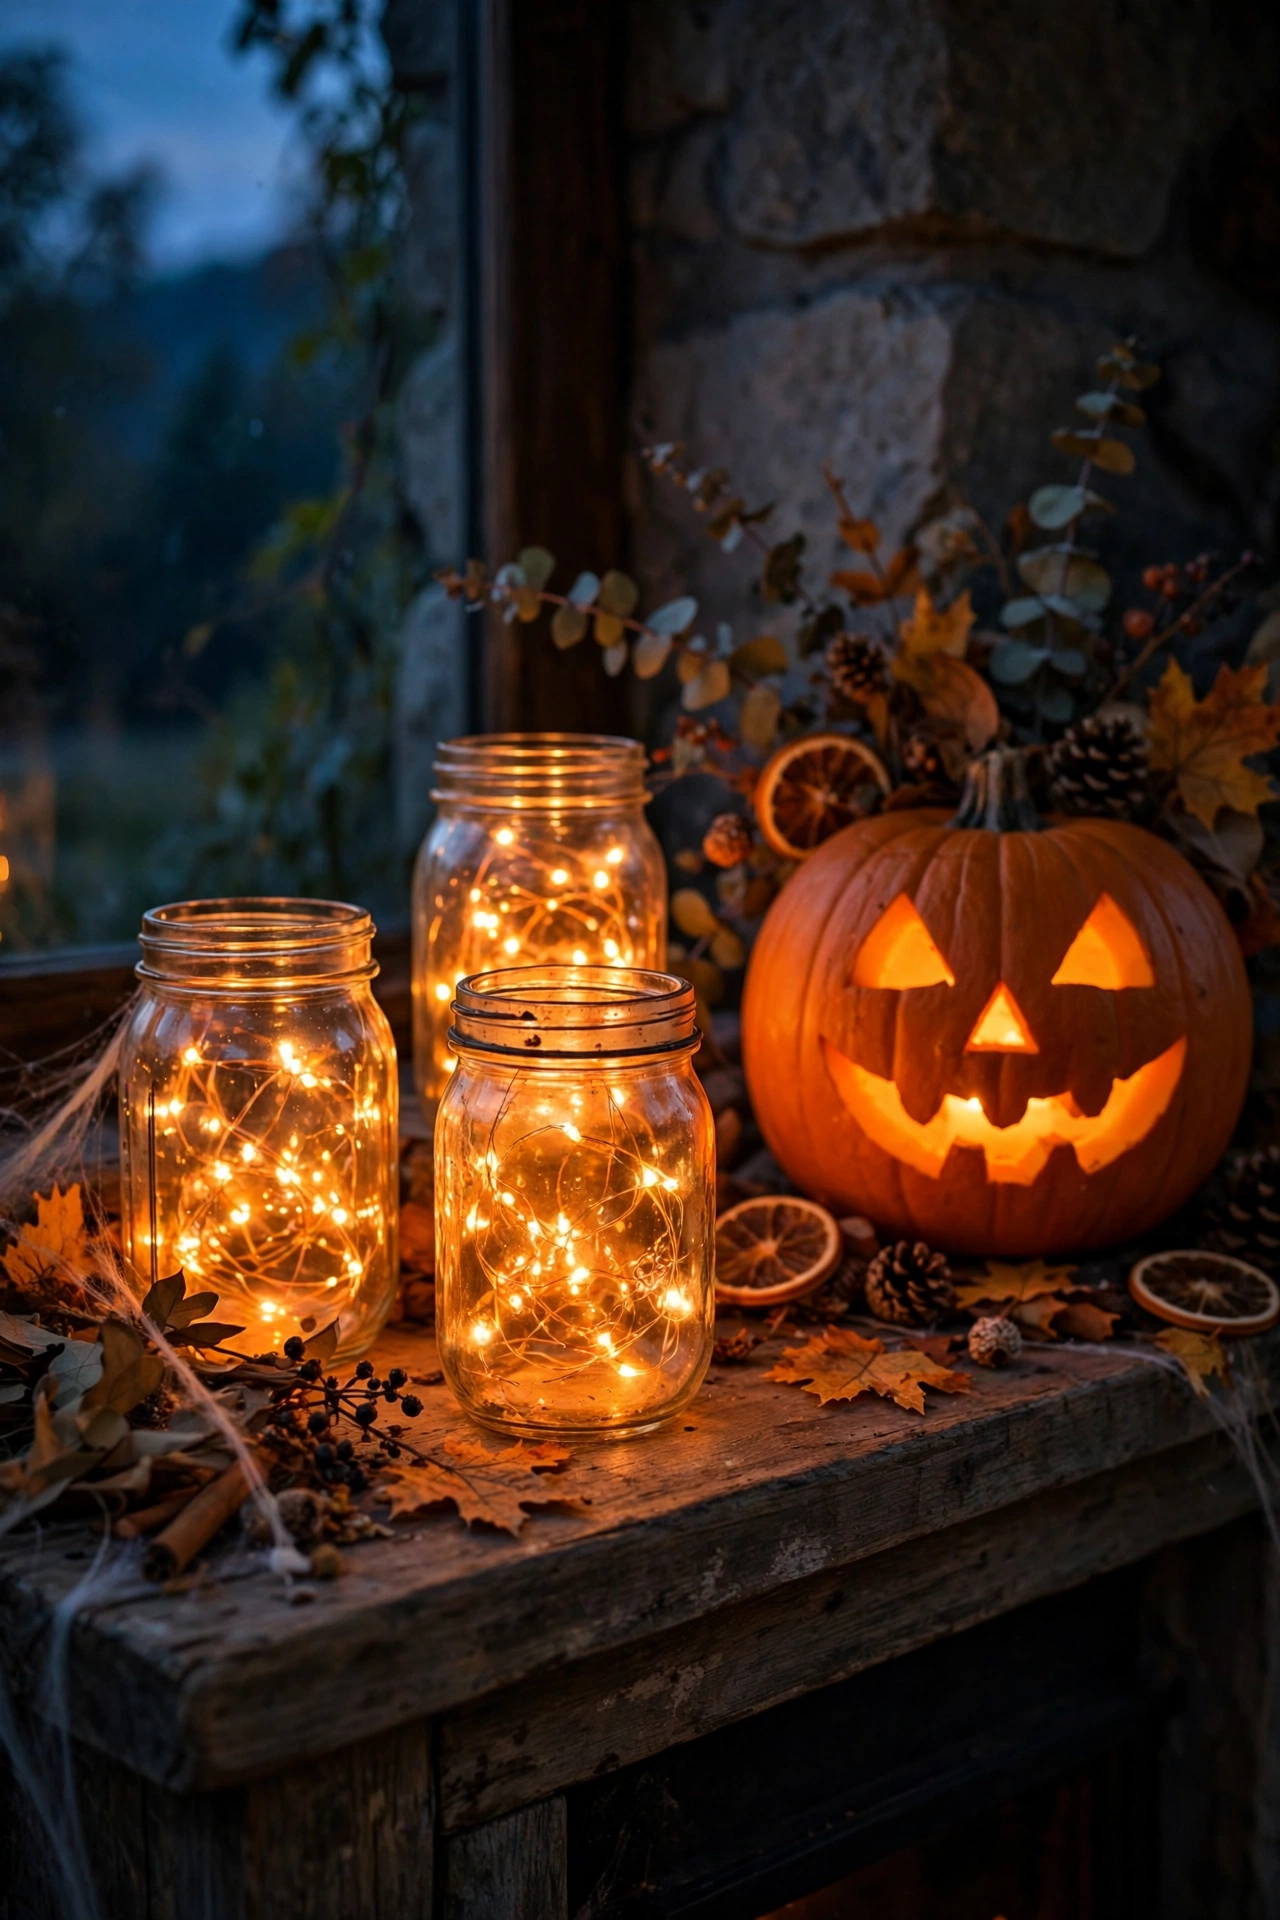
Orange-tinted fairy lights ($5) coiled in mason jars on the mantel and shelves give you jack-o’-lantern glow without carving a single pumpkin. Mine have timers so they light up at dusk automatically. Three jars scattered around the room is plenty — it’s accent lighting, not a runway. Warm orange, not neon; check the color before you buy. Hide the battery pack behind the jar — a visible plastic box ruins the magic. A little museum putty holds it to the back of the jar, invisible from every angle that matters.
10. Black Cat Silhouettes
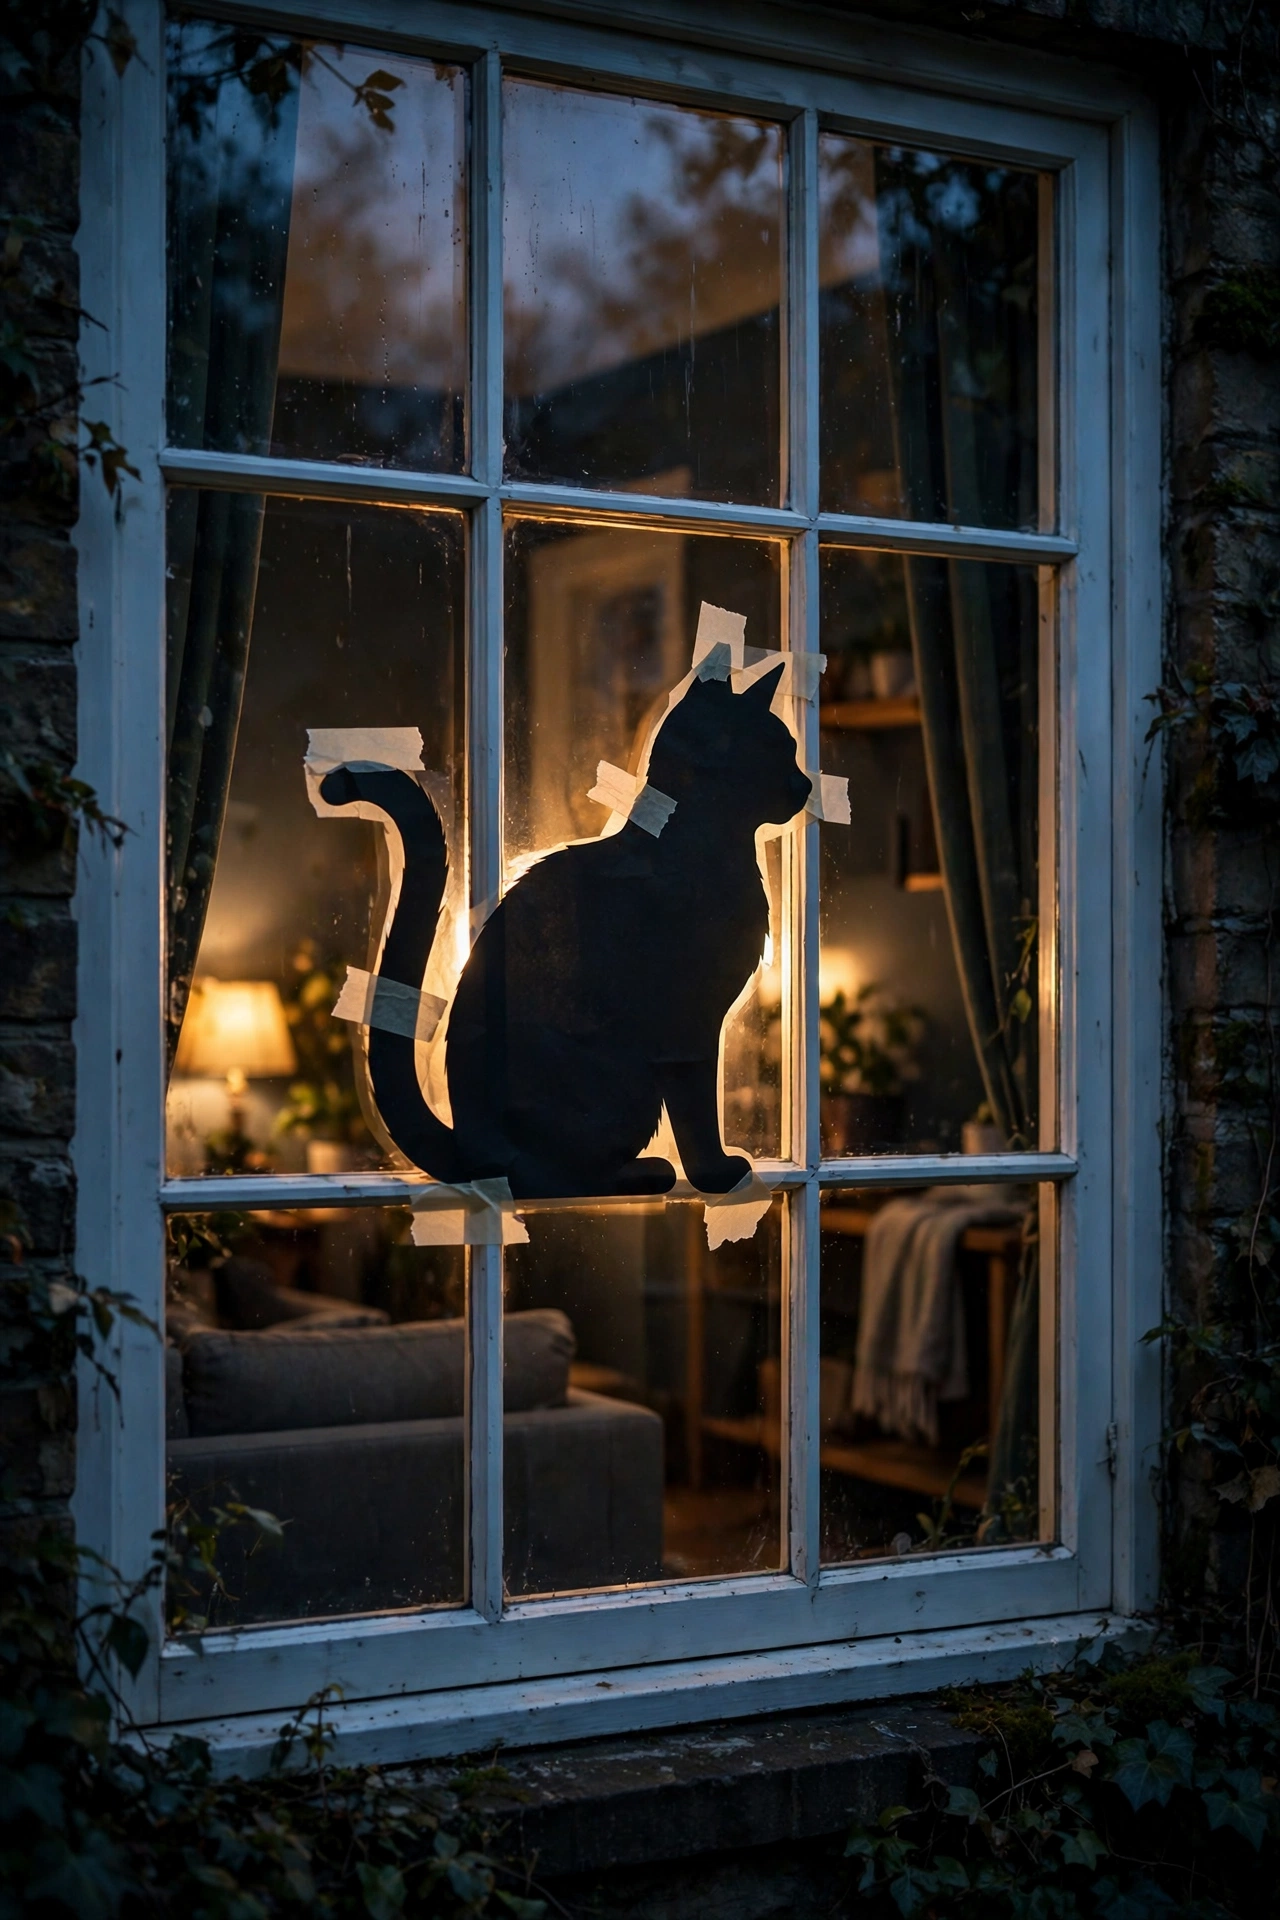
Cut a black cat silhouette from cardstock (free templates online), tape it inside your front window facing out, and backlight it with a small lamp. From the street it’s a perfect spooky silhouette; from inside it’s barely noticeable. I do this every year and the neighborhood kids love it. Costs nothing, delights everyone. Cut a second silhouette — a bare tree or a flying witch — for the other window. One cat is cute; a whole scene is a neighborhood landmark. The kids on my street plan their route around our windows now.
11. $1.25 Spiderweb Tablecloth
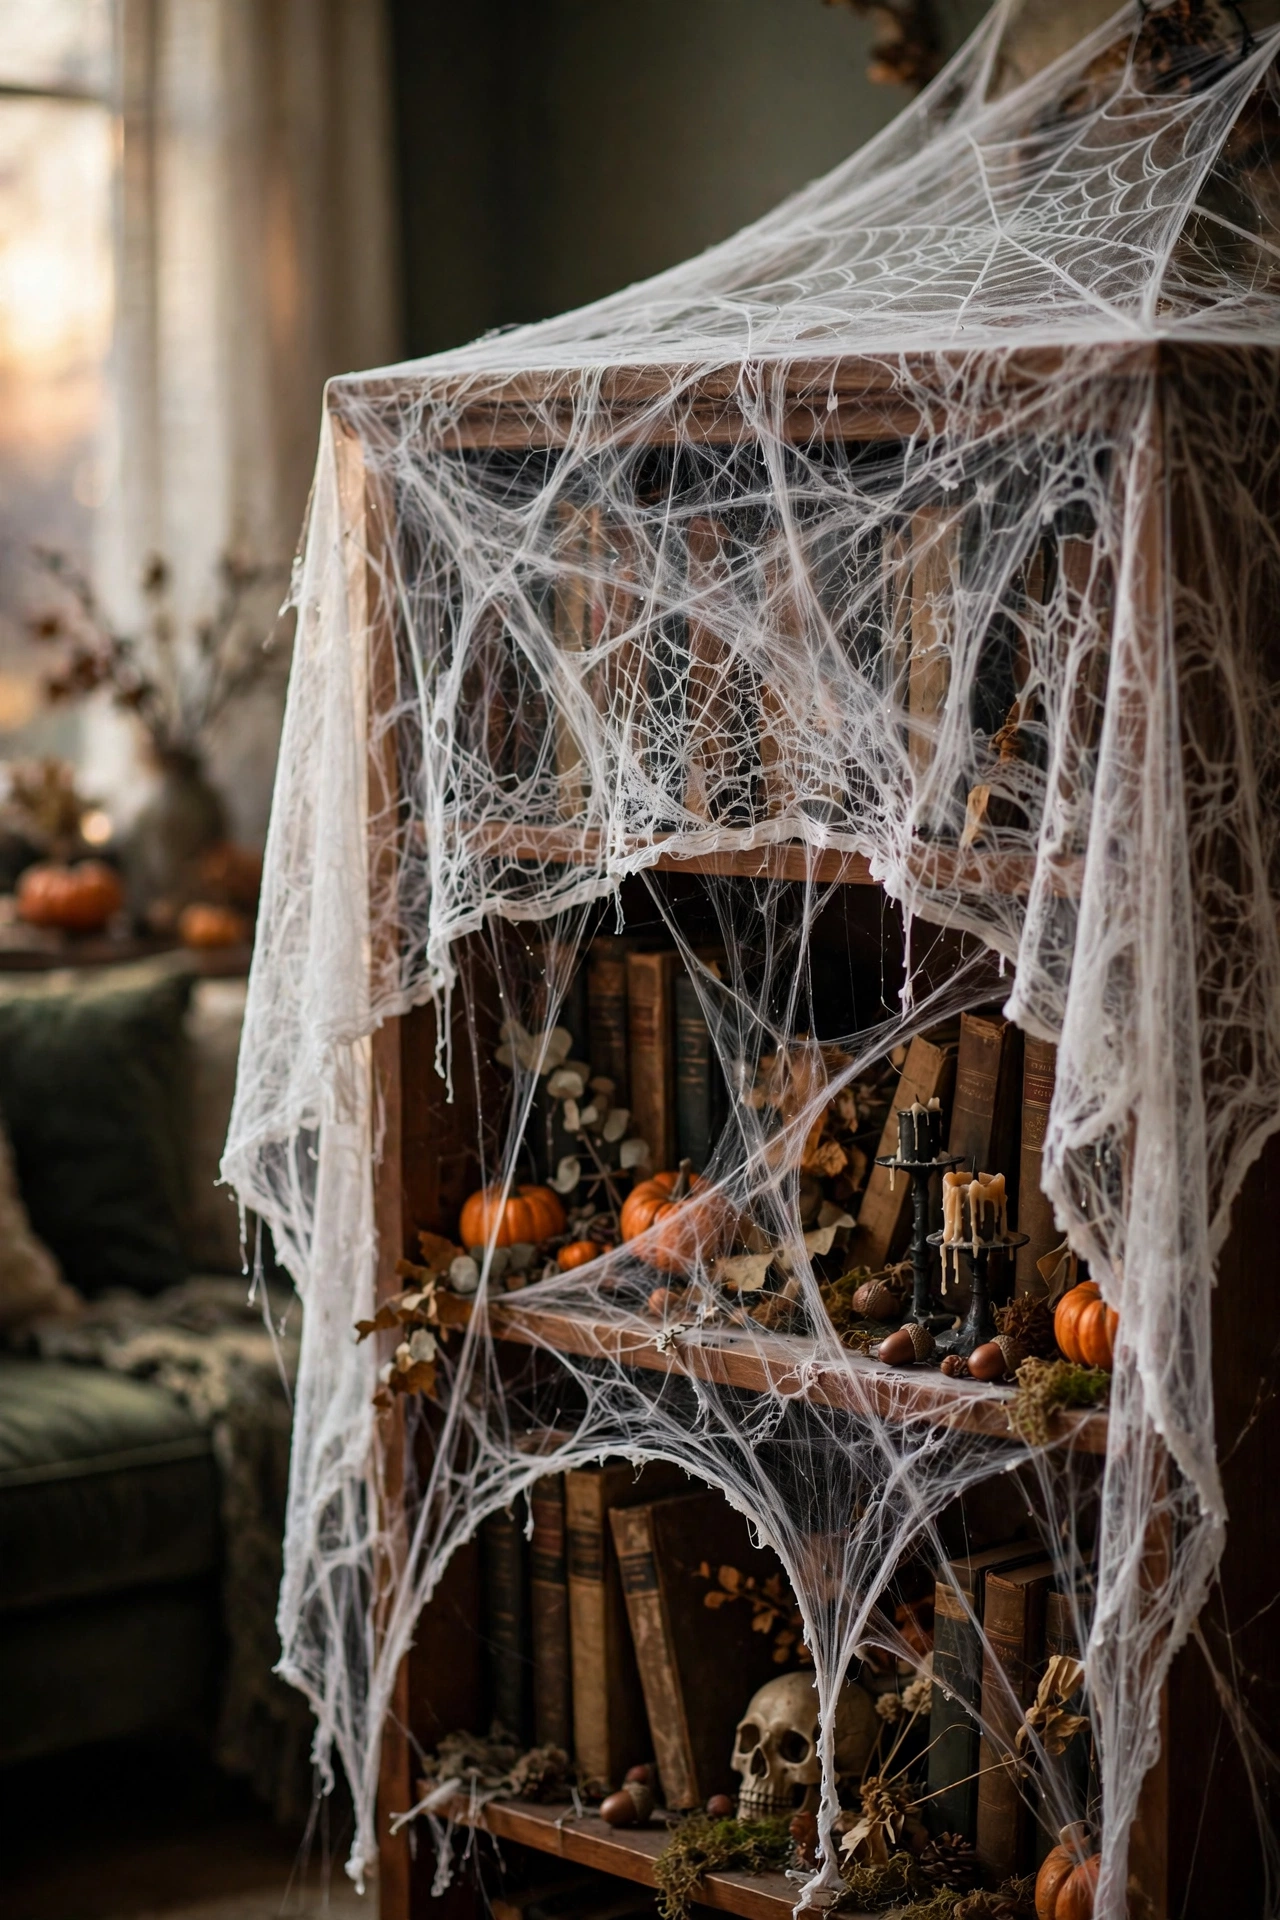
The Dollar Tree spiderweb tablecloth — that stretchy white webbing — draped over a side table or the mantel is $1.25 of instant haunted house. I stretch one over my bookshelf, pulling it thin so it looks like real cobwebs rather than a solid sheet. The trick is stretching it more than feels right; restraint with the material makes it look authentic. Layer two tablecloths for a denser web in the center and wispy edges — the variation looks far more like real cobwebs. One pack is $1.25; two packs is still pocket change.
12. Dried Corn Stalk Bundle
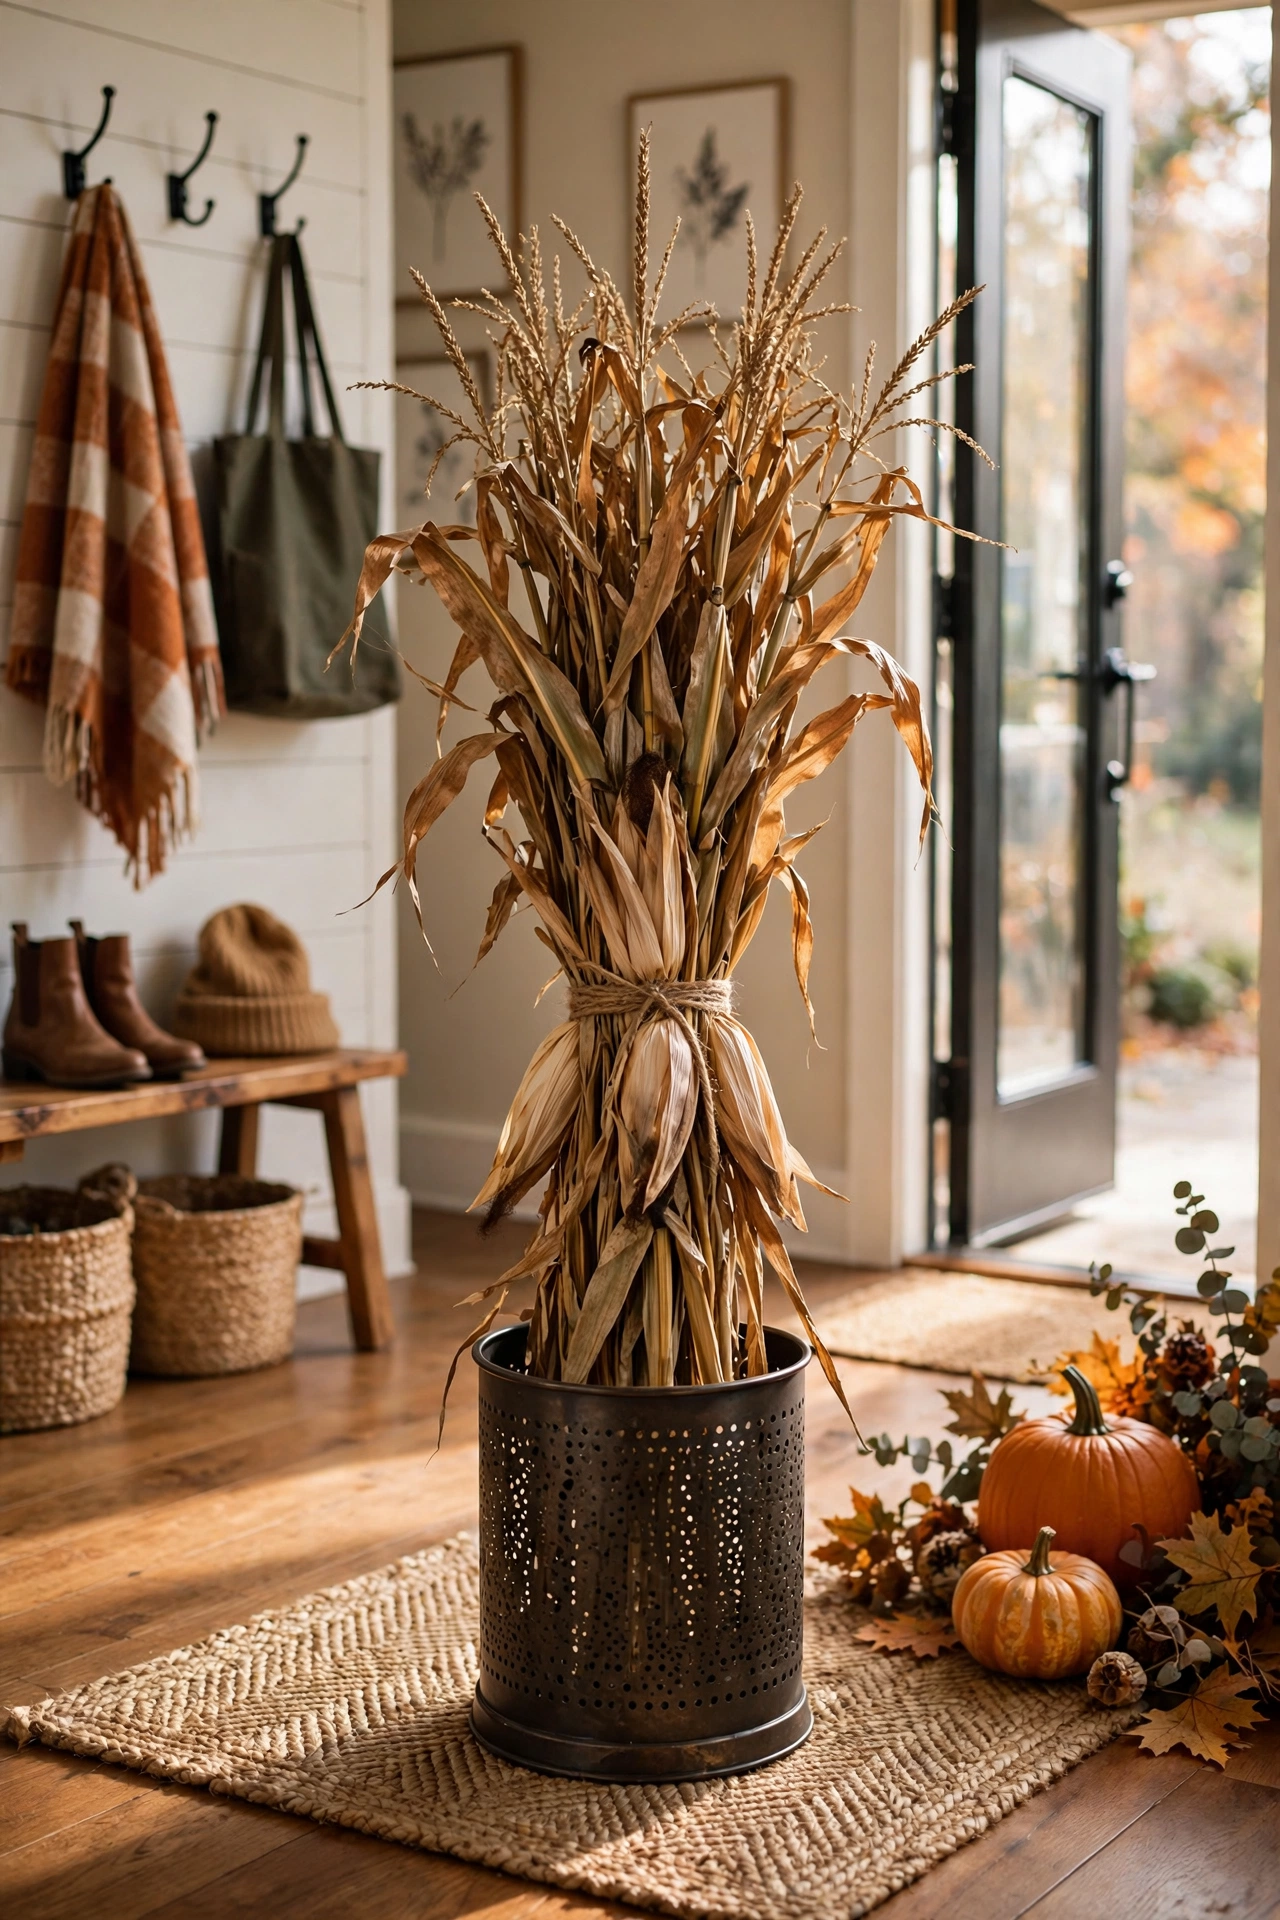
A bundle of dried corn stalks ($5 at the farmer’s market or garden center) tied with twine and stood in an umbrella stand by the door is pure harvest Halloween. Mine flanks the living room entry all October. They’re tall, textural, and free if you know anyone with a garden. Shake them outside first — field dust is real. Spray the stalks lightly with hairspray — it stops the shedding that drives everyone crazy. One coat, outside, and your floors stay clean all October.
13. Apothecary Candy Jars
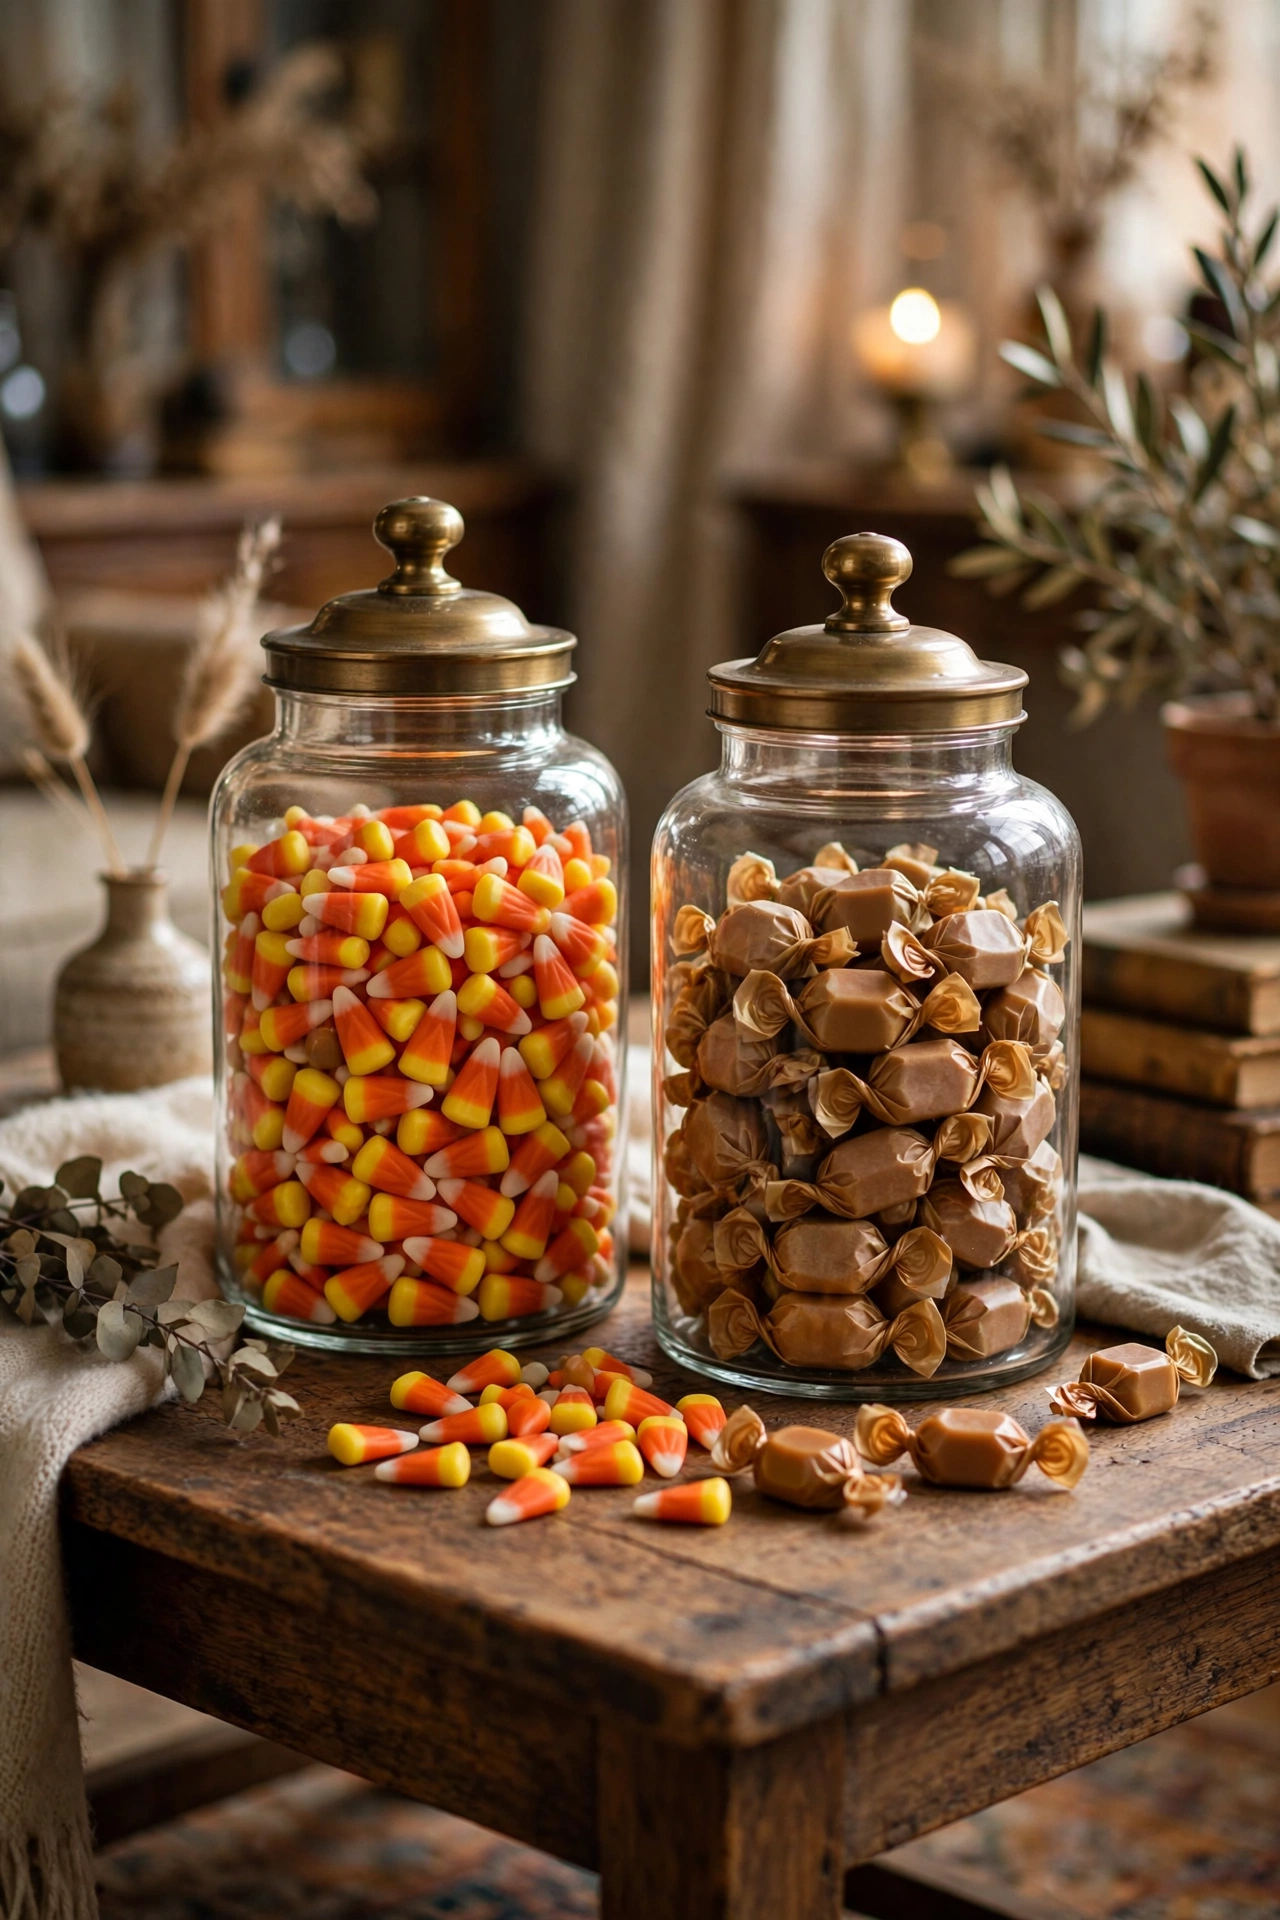
Dollar Tree glass canisters ($1.25 each) filled with candy corn, wrapped caramels, and chocolate pumpkins are decor you can eat. I line three on the coffee table — they look like vintage apothecary jars and guests actually use them. Refill as needed (you will need to). It’s the rare decoration that gets better the more people touch it. Put the jars where guests naturally pause — the coffee table, the entry console. Candy that requires a special trip does not get eaten; candy at elbow height disappears by the dozen.
14. Candlelight-Only Evenings
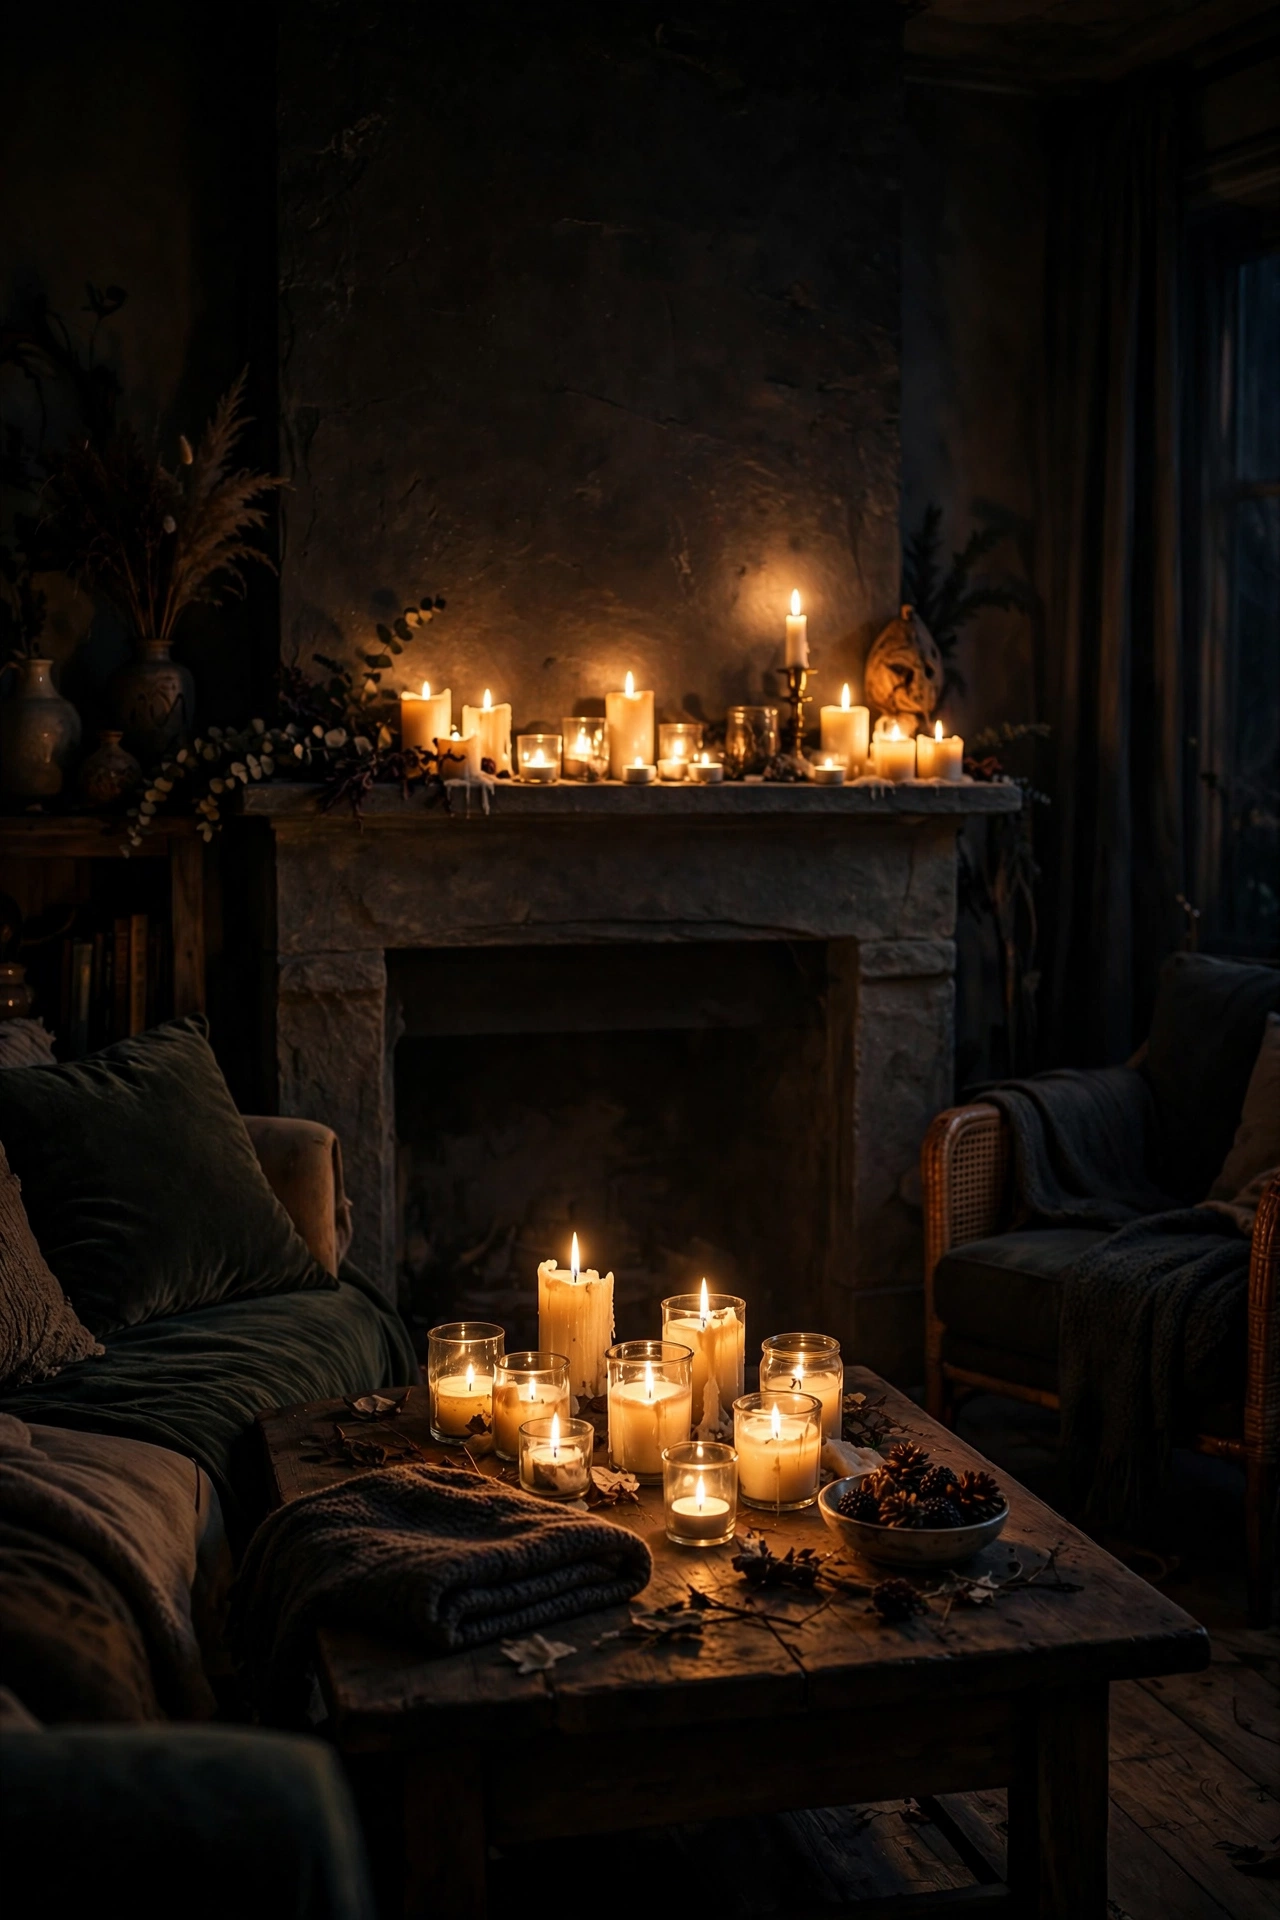
The cheapest Halloween atmosphere is free: turn off the overhead lights for the last two weeks of October and live by candlelight and lamps. I cluster every candle I own on the mantel and coffee table, light them all at dusk, and the room transforms. Flickering light on the walls is inherently spooky — no decorations required. Just candles and darkness. Cluster the candles in odd numbers — three, five, seven. Even numbers look like place settings; odd numbers look like atmosphere. It is a tiny detail your eye registers without knowing why.
15. $10 Halloween Mantel
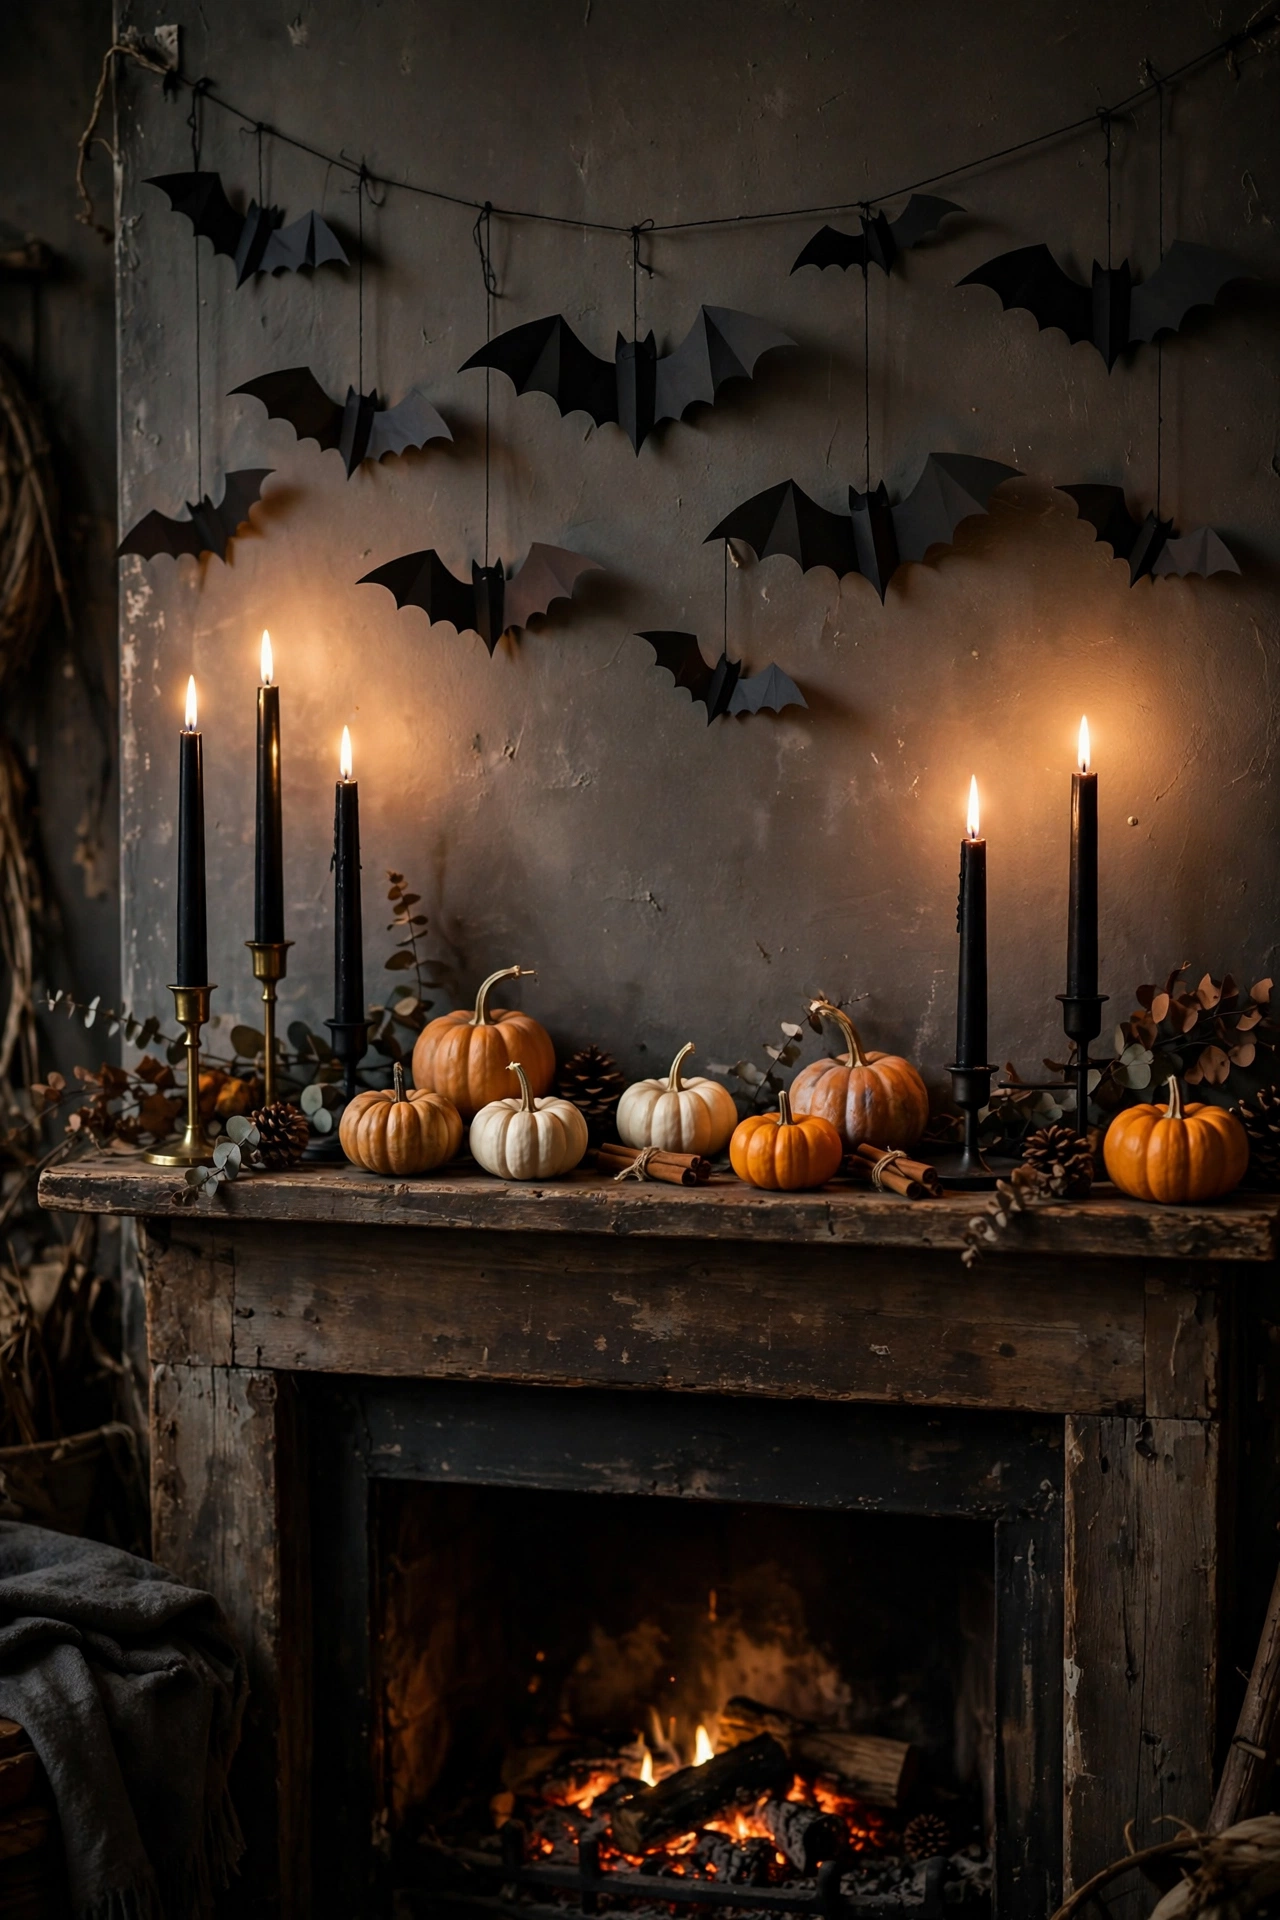
My annual mantel formula: black taper candles in thrifted holders ($5), three mini pumpkins ($3), and the paper bat swarm above ($2 in paper). Ten dollars, twenty minutes, done. The mantel is the Halloween focal point — get it right and the rest of the room just needs to not clash. Keep the palette to black, orange, and cream. Do the mantel first, before the rest of the room — it is the focal point and it sets the palette. Everything else just has to not clash with it, which is a much easier brief.
16. Stacked Pumpkin Topiary
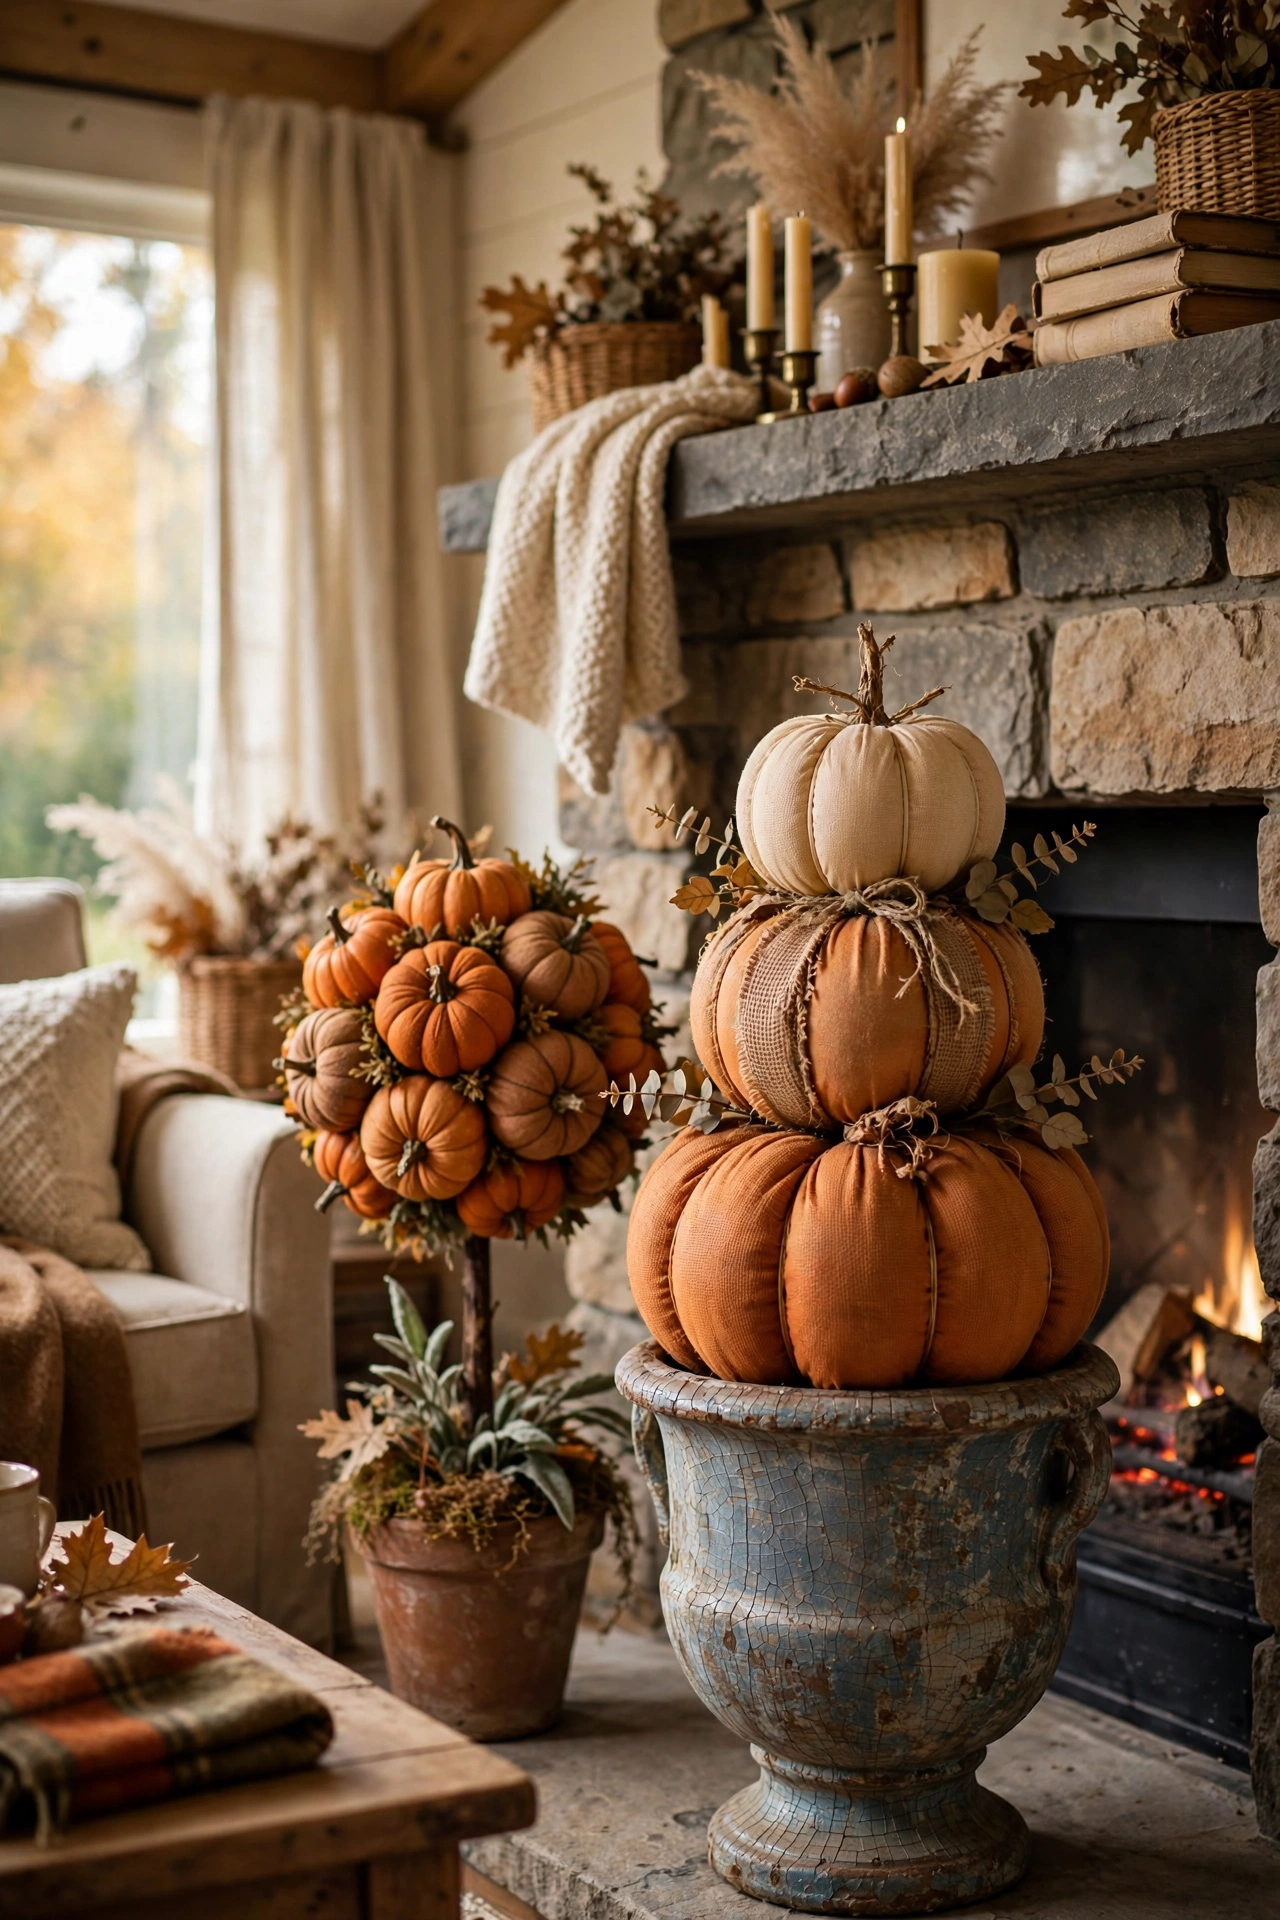
Stack three faux pumpkins ($1.25-$5 each at Dollar Tree) largest on bottom in a $3 thrifted urn or planter, and you have a pumpkin topiary for the hearth or entry. I hot-glue them together so the stack survives the month (the glue peels off the faux pumpkins after). It looks like the $40 version from the home store. Real pumpkins work too but get heavy — keep the big one on the bottom. Wedge a little Spanish moss between the pumpkins — it hides the glue and the gaps, and it adds that haunted-garden texture. A $4 bag covers the whole project with plenty left over.
17. Window Silhouette Scenes
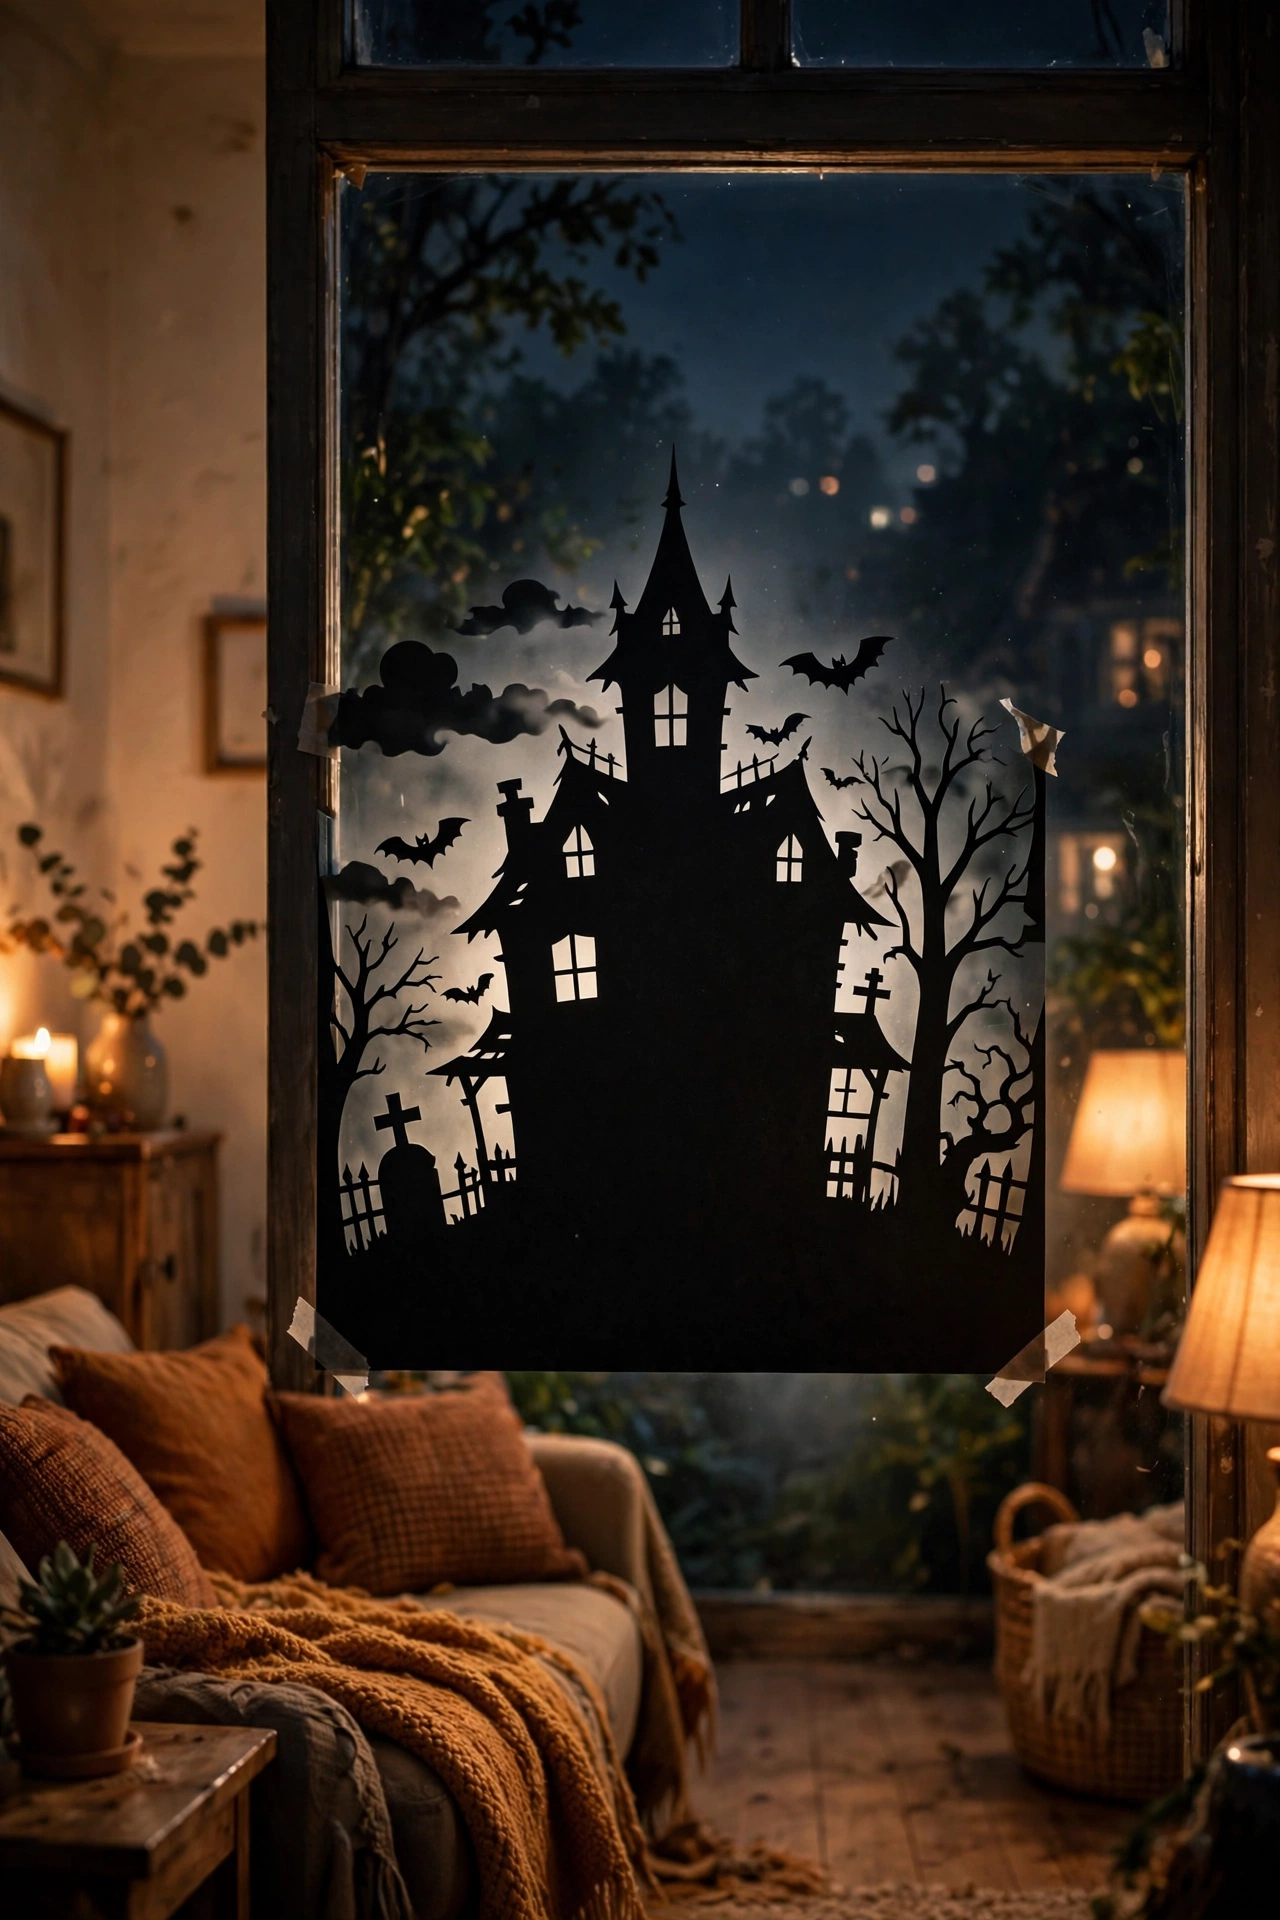
Black cardstock silhouettes — a haunted house, bare trees, a witch on a broomstick — taped inside the living room windows create a shadow-puppet show after dark. I cut a simple haunted house scene (free template, twenty minutes with scissors) and backlit it with the porch light. From the street it’s the best-decorated house on the block; it cost me $2 in cardstock. Use removable poster putty, not tape — tape peels paint when you take the scene down in November. The putty holds all month and releases cleanly. Future-you says thanks.
18. Black-and-White Minimalist Halloween
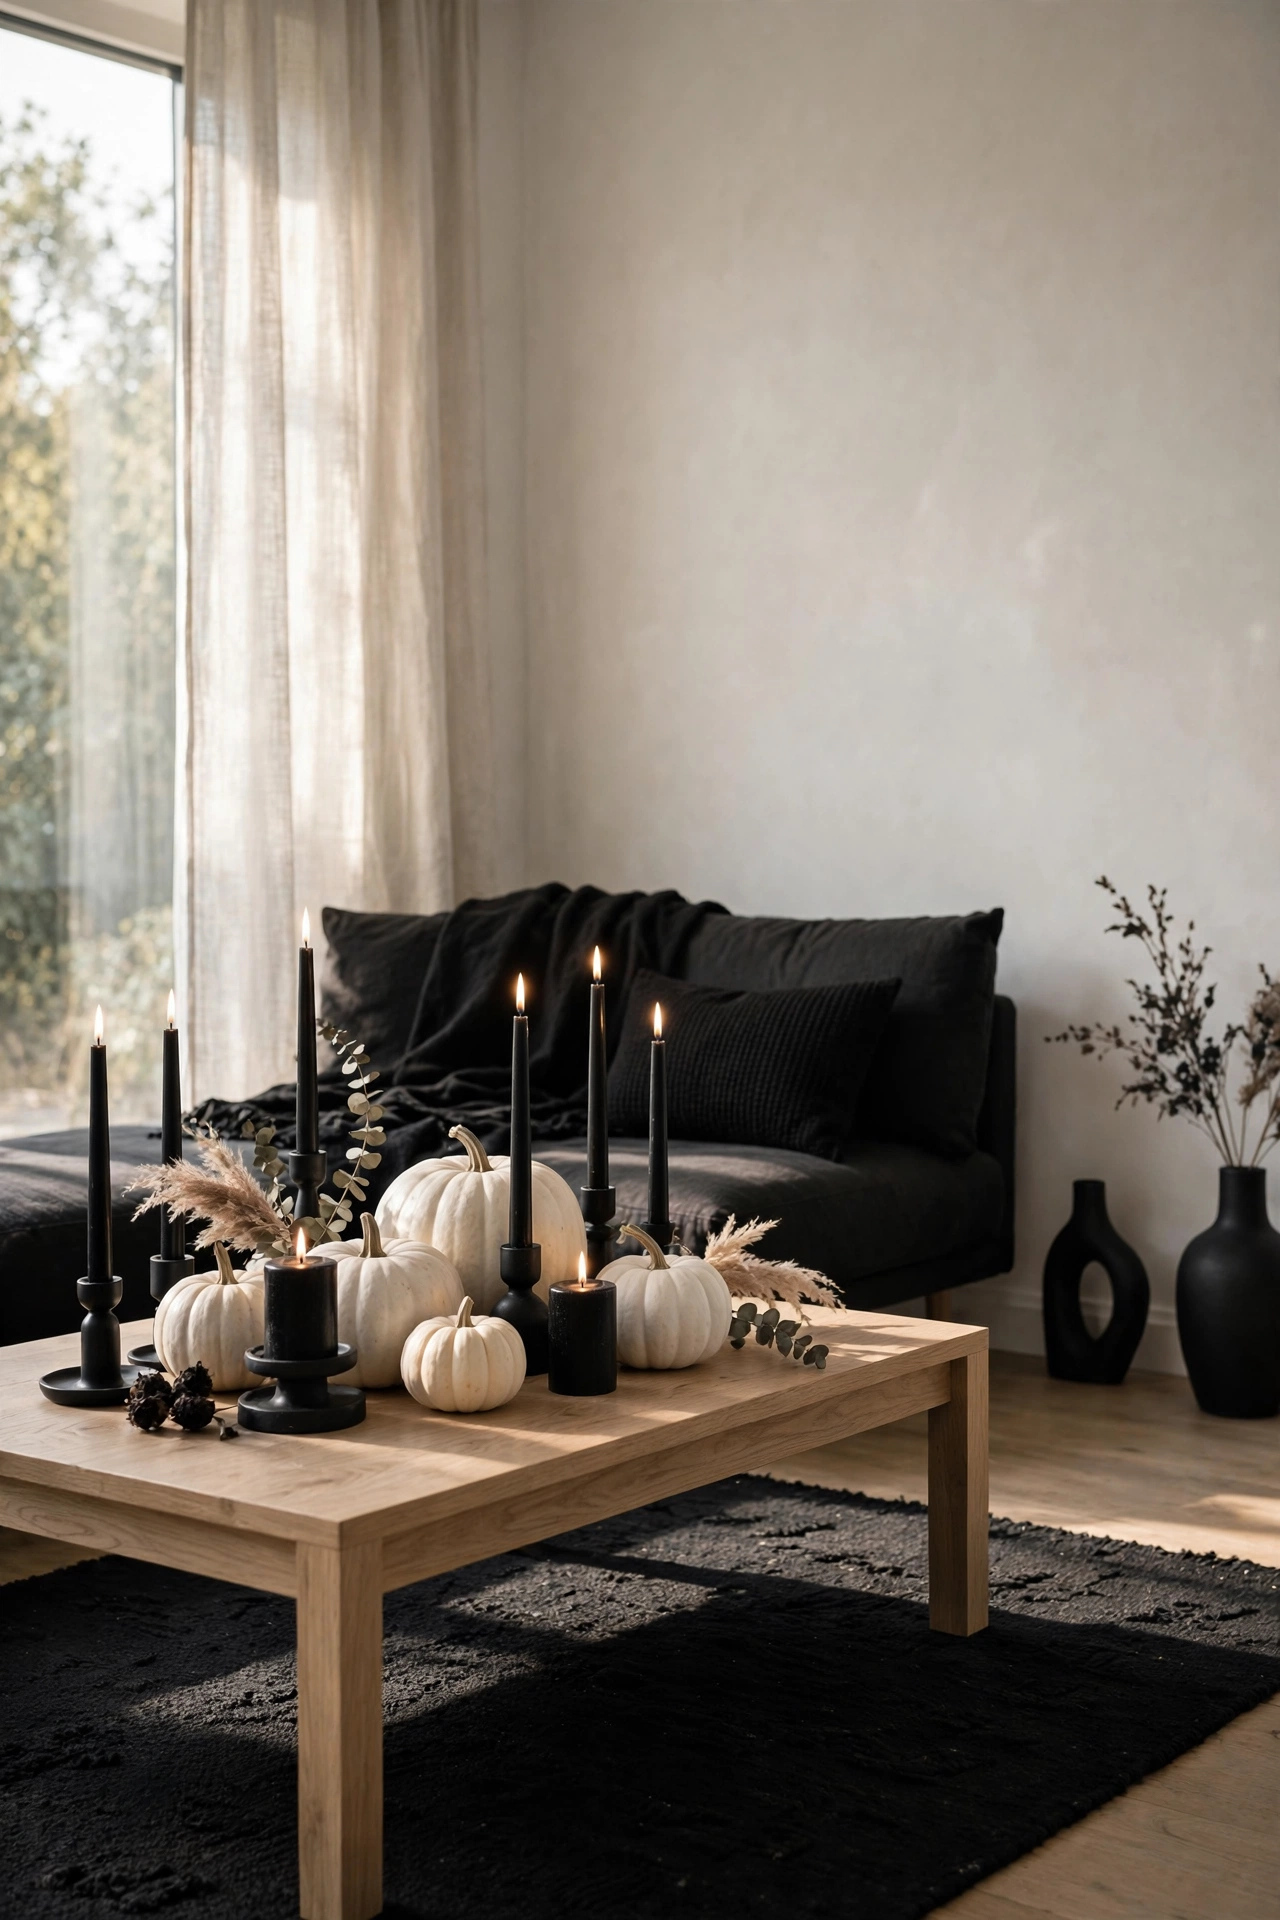
Skip orange entirely: black and white Halloween is chic, modern, and uses things you already own. Black candles, white pumpkins (real ones are $3 at the grocery store), black-and-white art swapped into your frames. My living room did this theme two years ago and it was the most complimented October ever. Minimalist spooky beats maximalist plastic. White pumpkins are real — they are called ghost pumpkins and most grocery stores carry them in October. They last for weeks and you do not have to paint anything.
19. Cozy-Fall Base, Spooky Accents
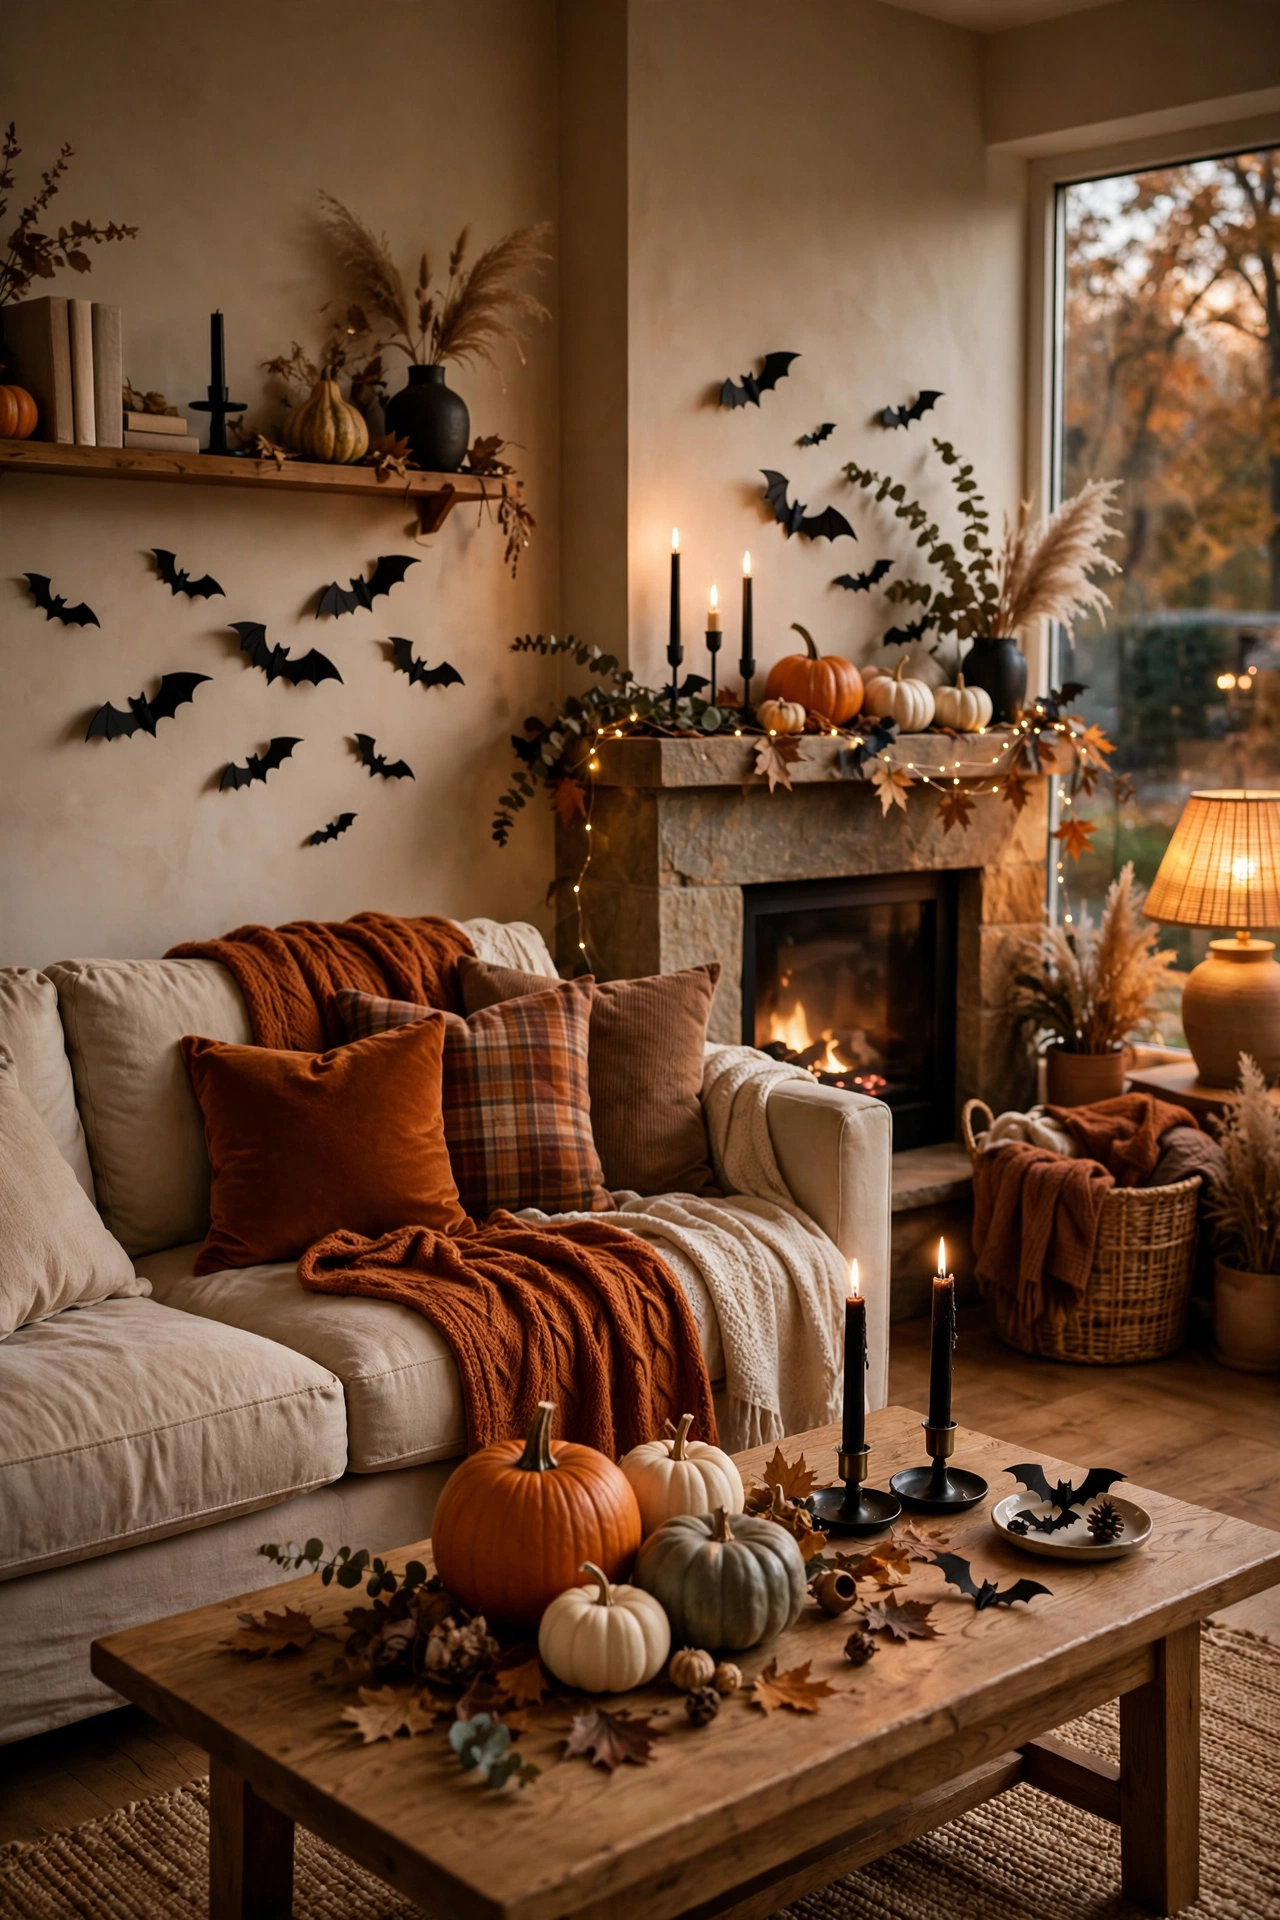
The smartest approach: decorate for fall (pumpkins, throws, candles — cozy stuff you’ll enjoy all season), then add five spooky accents for the last two weeks of October. Bats on the wall, black candles, the ghost in the window. On November 1st, the spooky stuff comes down in ten minutes and you’re left with beautiful fall decor through Thanksgiving. Two holidays, one decorating session. Keep the spooky box separate from the fall box — on November 1st you grab one bin, not two, and the whole de-Halloweening takes ten minutes. Systematize the spooky.
20. Thrift-Frame Spooky Portraits
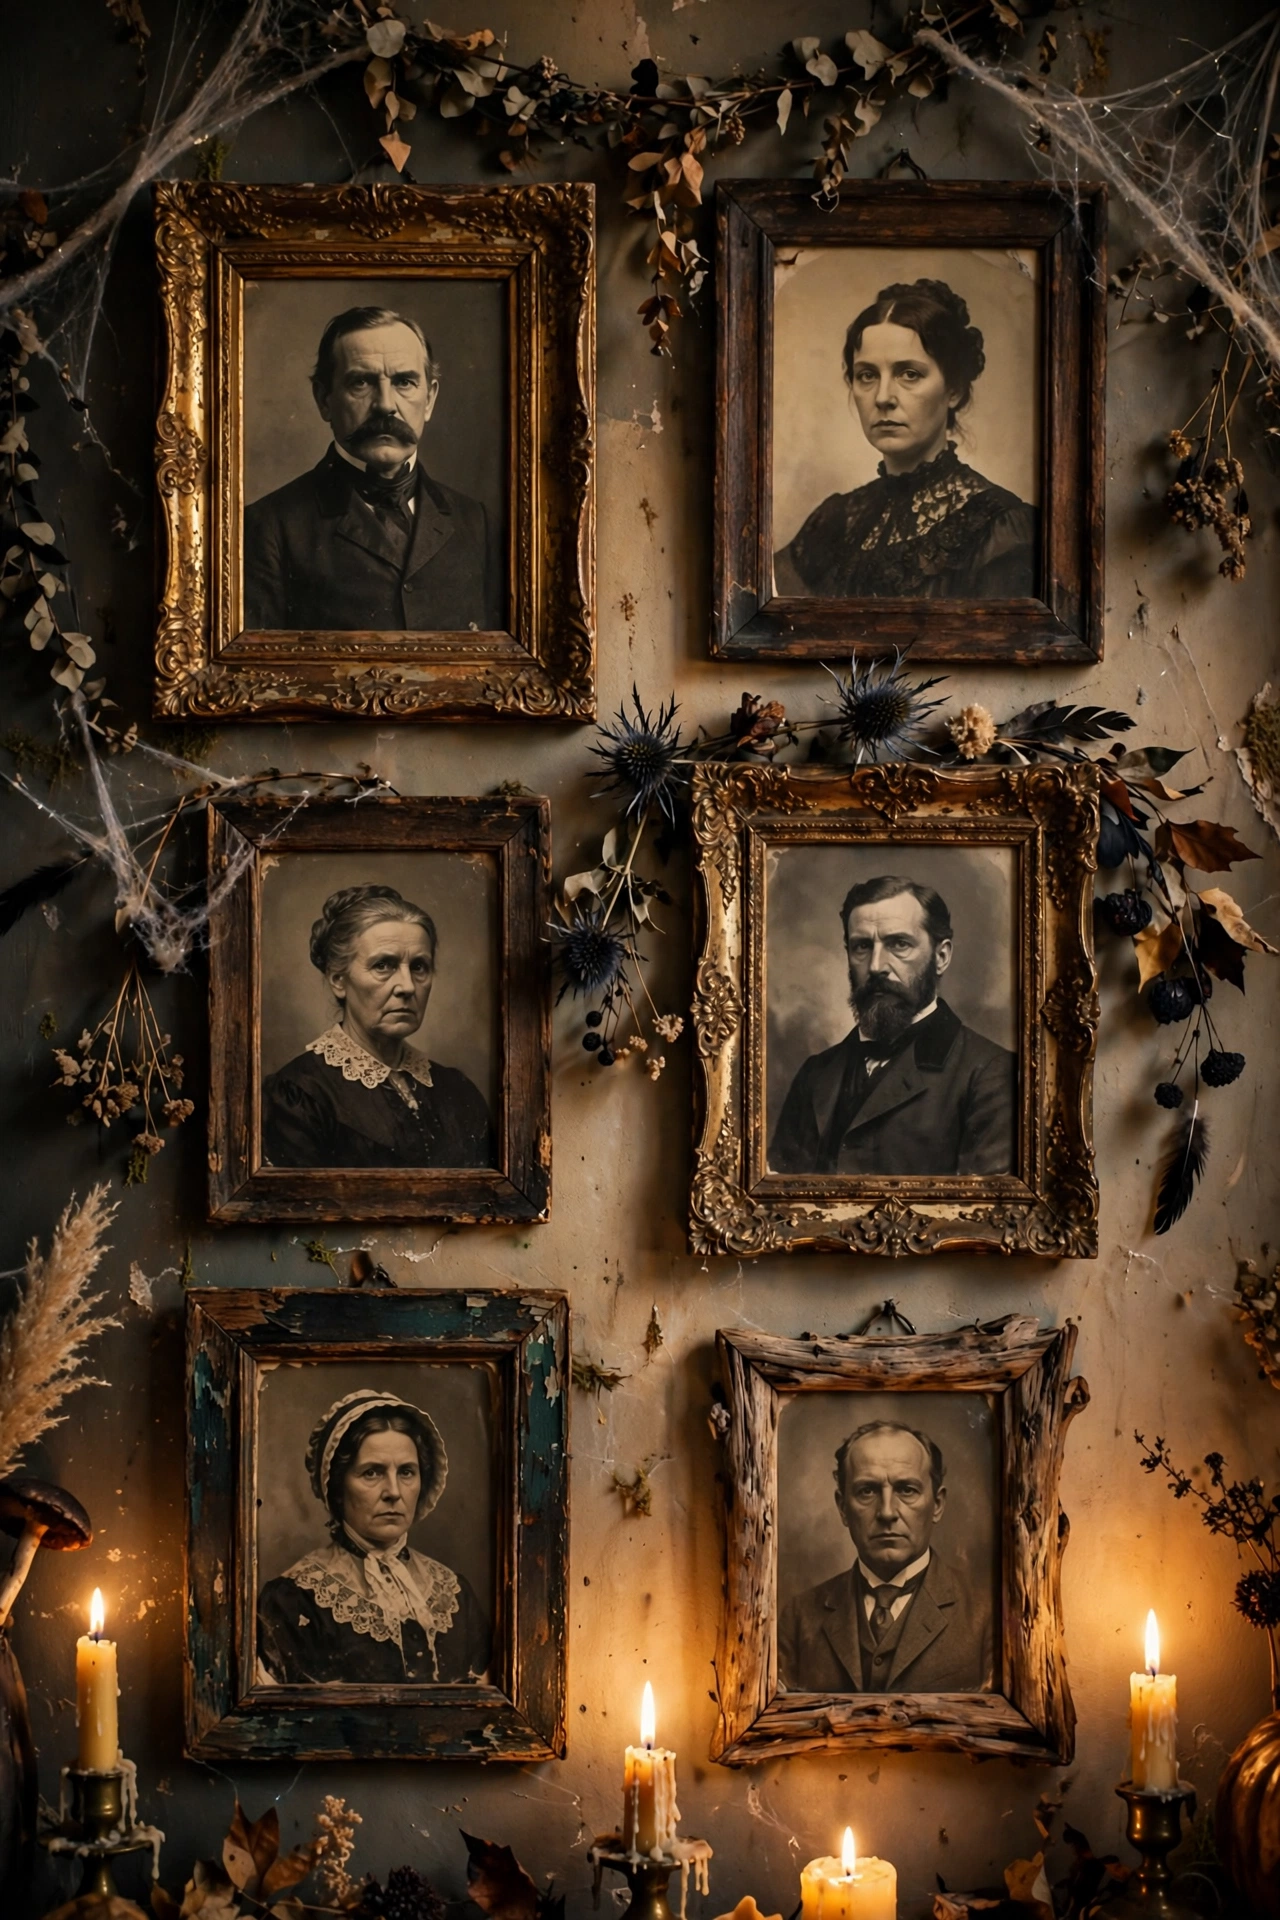
Buy creepy thrift-store portraits ($2-$4 — the stern Victorian ones are perfect), and you’ve got haunted gallery walls. I hung three solemn ancestors over my console for October, and guests did double-takes all month. The more serious the portrait, the funnier and spookier it is. After Halloween, they go back in the seasonal box. Look for the sternest, most disapproving portraits you can find — the comedy is in the contrast. My scariest ancestor is a man who looks deeply disappointed in everyone, and he is perfect.
21. Entryway-to-Living Flow
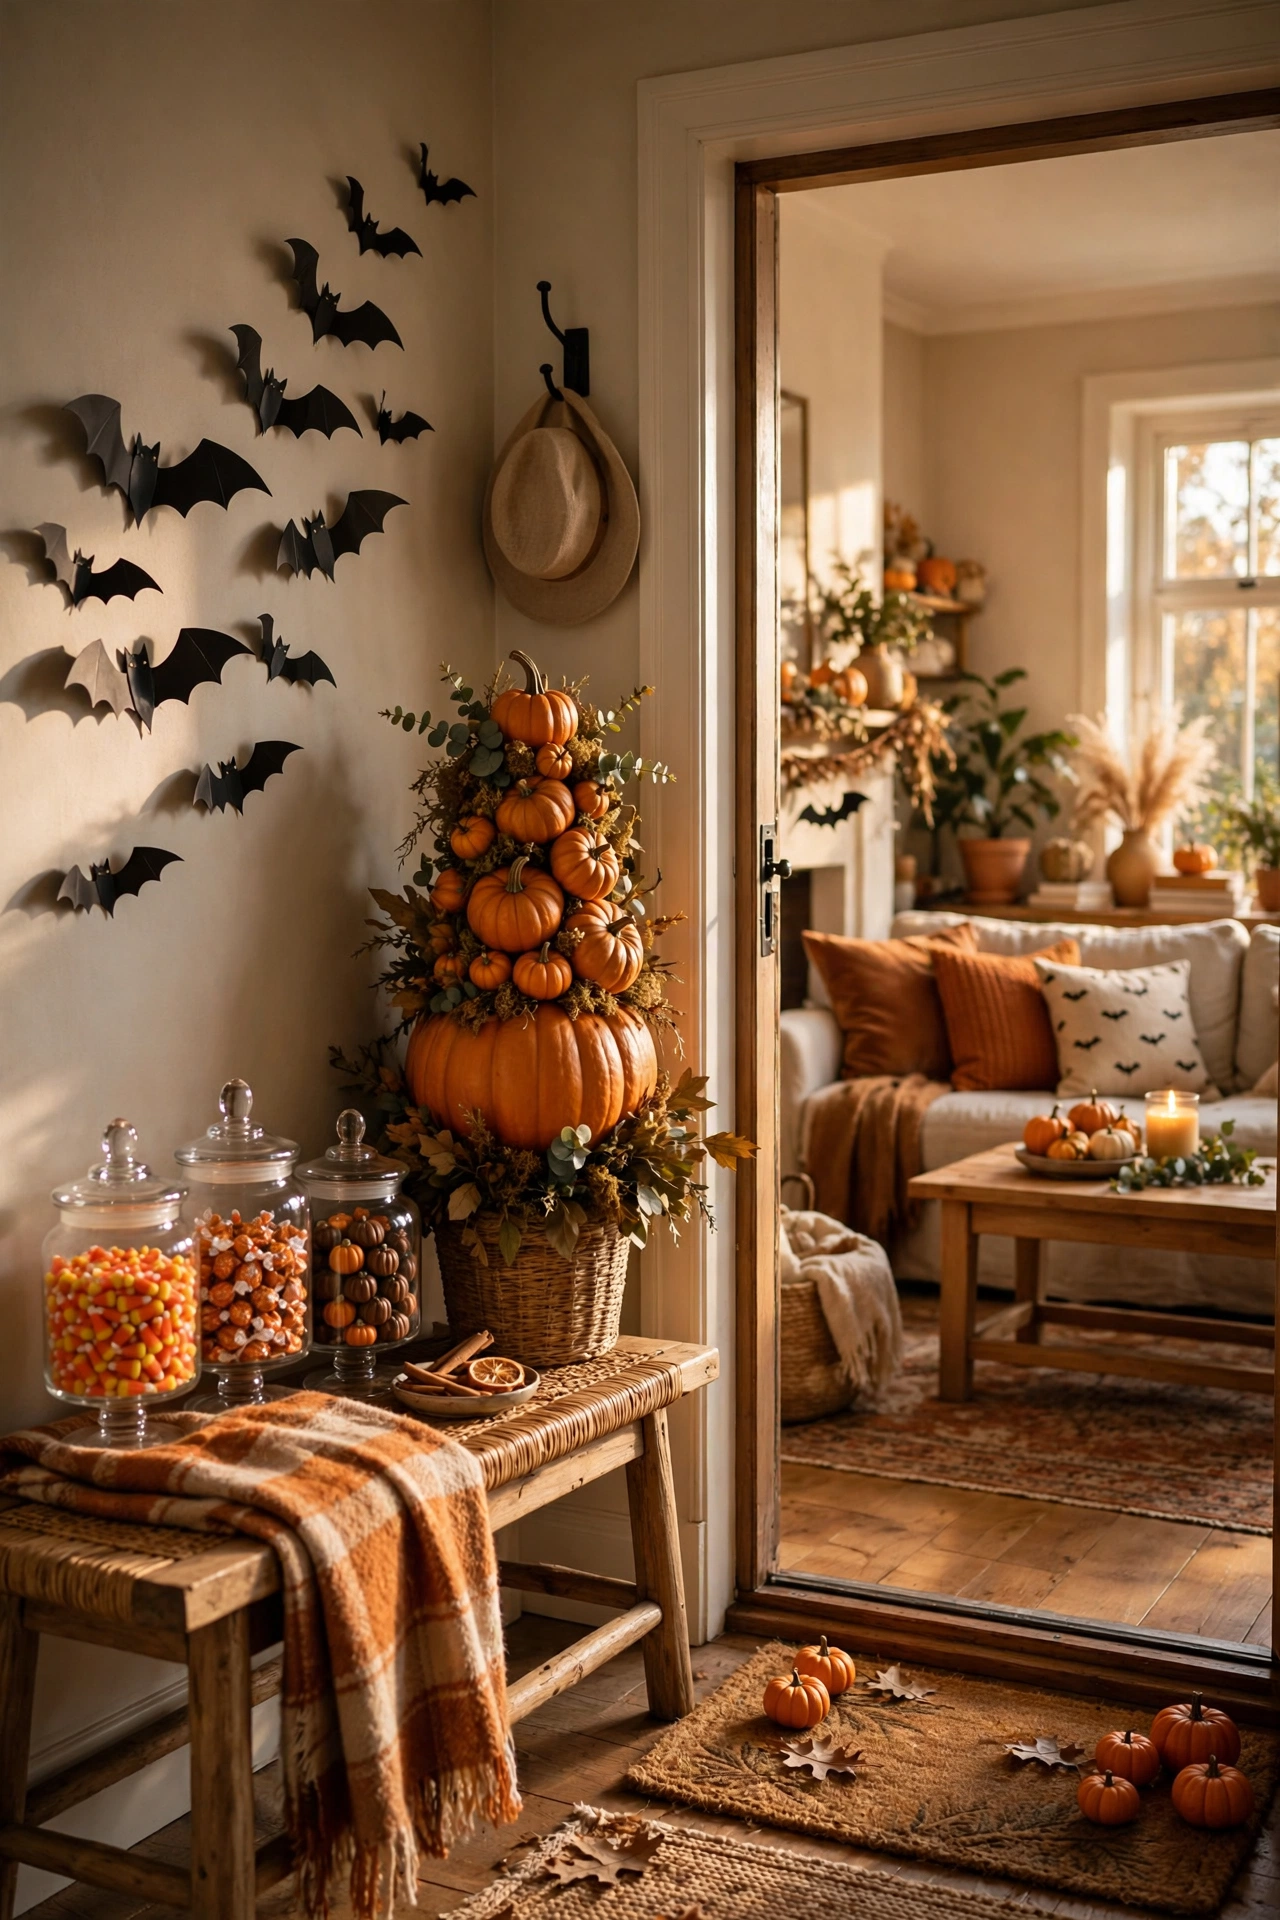
Don’t let the Halloween stop at the living room door — carry two or three elements into the entryway so the theme flows. I put the pumpkin topiary by the front door, a bat or two on the entry wall, and the candy jars where guests see them first. Three touchpoints between the door and the sofa, and the whole home feels intentional instead of decorated-in-one-room. Repeat one element in both spaces — the same black candle, the same mini pumpkins. Repetition is what makes two separate areas read as one intentional theme rather than two decorating accidents.
Quick Answers
When should I put up Halloween living room decor?
Fall base layers (pumpkins, warm throws, candles) can go up in late September and stay through Thanksgiving. The spooky stuff — bats, ghosts, black candles — lands best in the last two weeks of October. Staggering it this way means you decorate once and just add the scary layer later, which feels festive rather than exhausting.
How do I do Halloween without it looking tacky?
Limit your palette to three colors (black, orange, and cream is foolproof), choose natural materials over plastic, and lean moody rather than gory. One well-done focal point — the mantel — plus restraint everywhere else reads as stylish. Tacky happens when every surface screams; stylish happens when the room whispers and one spot shouts.
What’s a realistic budget for a full Halloween living room look?
$25 to $30 if you shop Dollar Tree, thrift stores, and your own yard. My breakdown most years: $8 on candles, $5 on mini pumpkins, $4 on paper and cardstock, $5 on fairy lights, and the rest from things I already own. The expensive Halloween decor at big-box stores is almost entirely markup on the same ideas.
Where do I store it all after Halloween?
One labeled bin — that’s the rule. Faux pumpkins nest inside each other, paper bats store flat between tissue paper, candles go in a shoebox so they don’t warp. If your Halloween decor doesn’t fit in one bin, you have too much. The bin lives on the closet shelf eleven months a year, and setup next October takes under an hour.
📌 Pin your favorite idea before you go — October comes fast, and you’ll want this list when the Halloween aisle appears overnight.
Keep the fall going with (see also: 15-fireplace-mantel-ideas-for-the-living-room-that-cost-almost-nothing) for mantel-specific styling, or (see also: 23-living-room-decor-ideas-under-25-that-look-designer) for year-round budget ideas.
Halloween decorating doesn’t require a haunted-house budget — it requires a point of view. Moody over gory, natural over plastic, candlelight over everything. For under $30 and one free afternoon, your living room can be the cozy-spooky spot everyone wants to hang out in all October. And on November 1st? The bats come down, the pumpkins stay, and you’re already decorated for Thanksgiving. That’s not just budget decorating — that’s smart decorating.
