23 Living Room Decor Ideas Under $100 That Look Designer
I will let you in on a secret: most “designer” living rooms are just regular rooms with better styling. The furniture is not magic. It is the layering, the lighting, and the confidence to mix cheap with chic. These living room decor ideas under $100 are my proof, because every single one costs less than a nice dinner out, and each one borrows a trick straight from professional designers.
I have tried all of these in my own home or in friends’ homes, and I noted the real cost and time for each so there are no surprises. Some take ten minutes, some take a weekend afternoon, but none will empty your wallet. Read through, pick three that speak to you, and start there. A designer look is just a series of small good decisions.
1. Oversized Art From a Shower Curtain
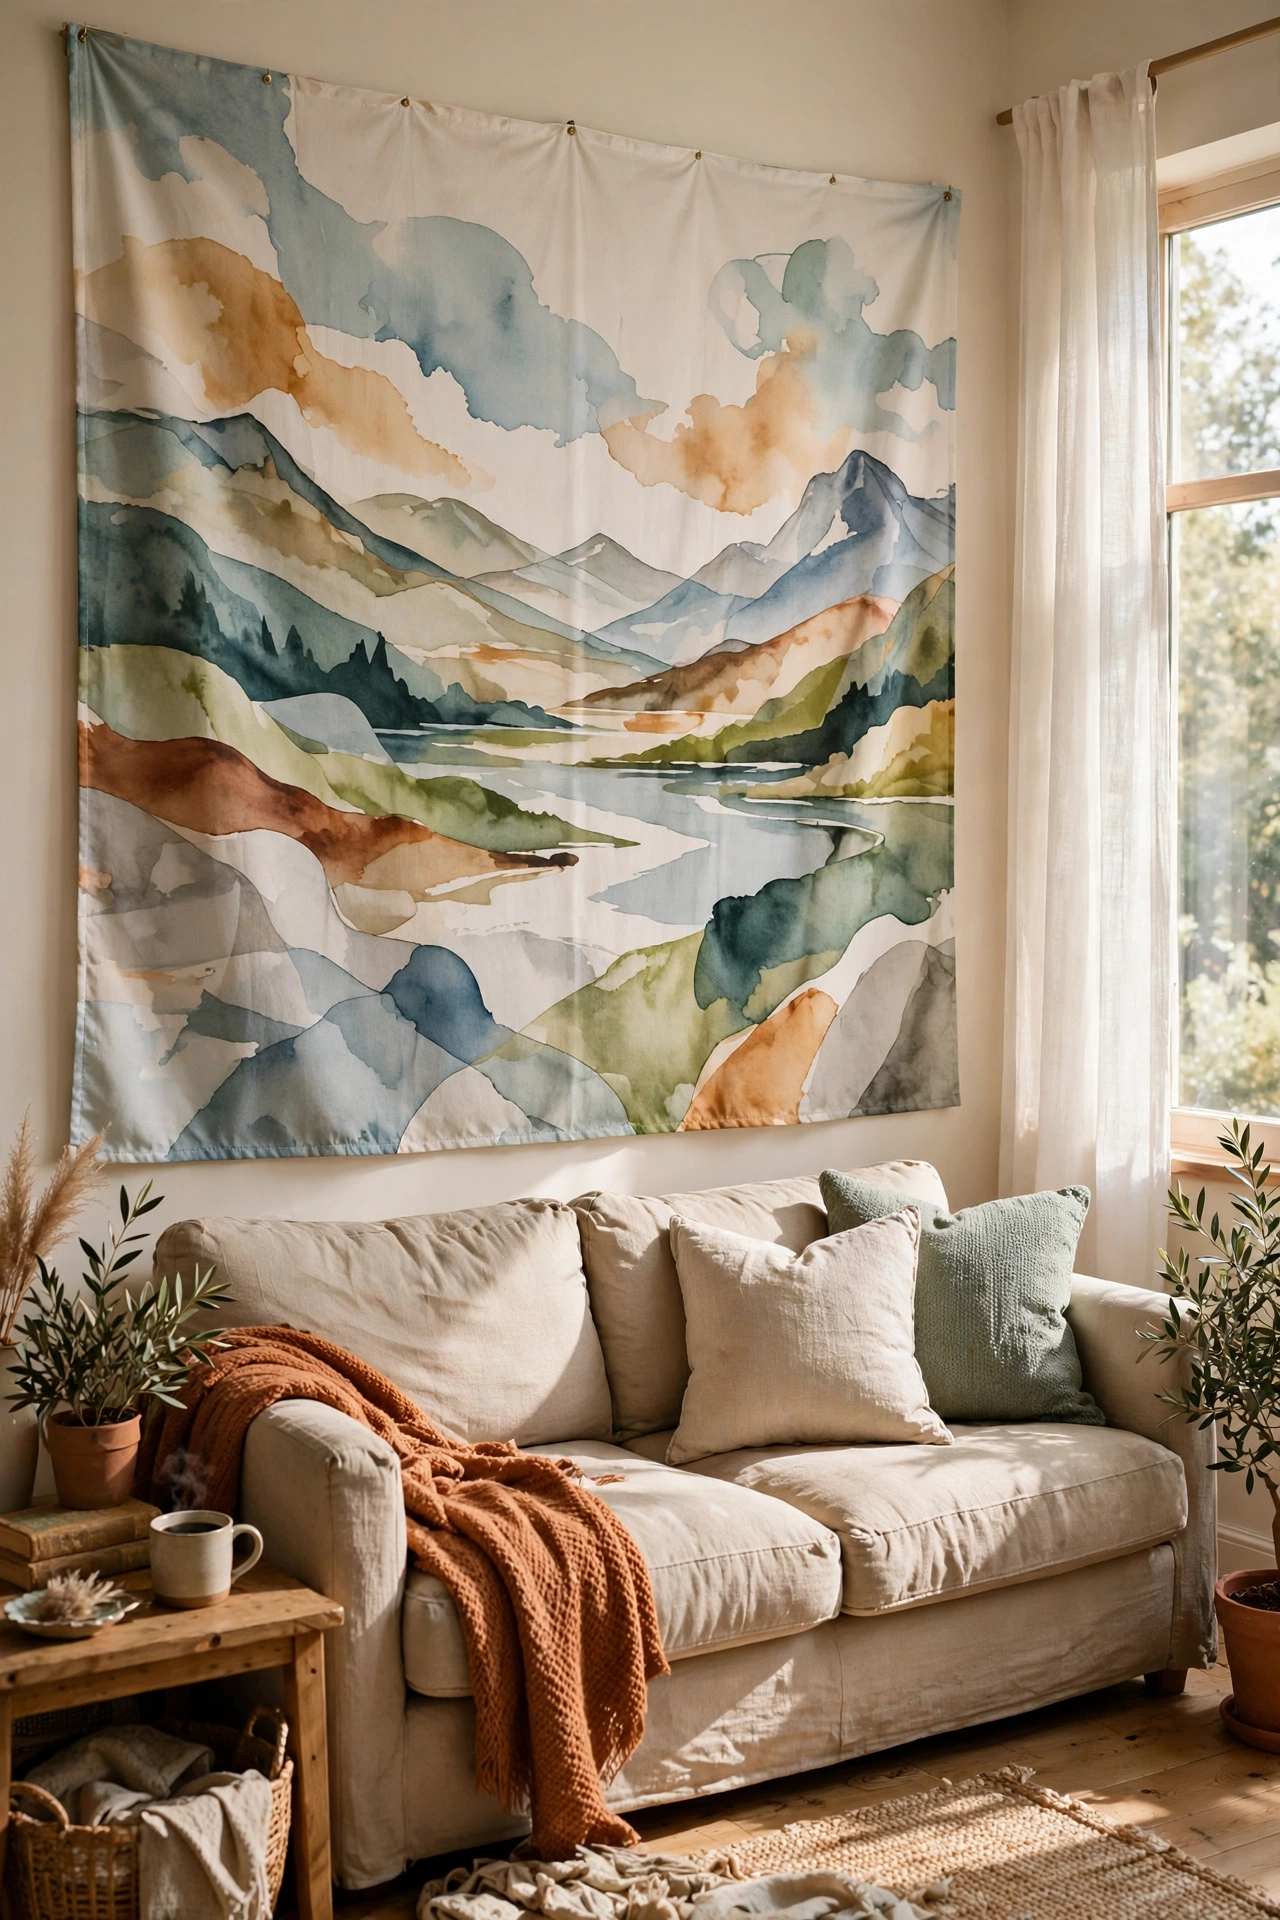
A fabric shower curtain with a beautiful print can become enormous wall art for under $20. I bought a curtain with an abstract landscape print, stretched it over a simple wooden frame I built from cheap lumber, and stapled it tight around the back. It covers a huge blank wall and looks like a gallery canvas. Choose a curtain with an all-over pattern rather than an obvious bathroom motif. I hung mine with two nails and a wire, and guests assume it is an original painting. The scale is what sells it; big art always looks expensive.
Cost: ~$18–25 | Time: 1 hour
2. The Rule of Three on Shelves
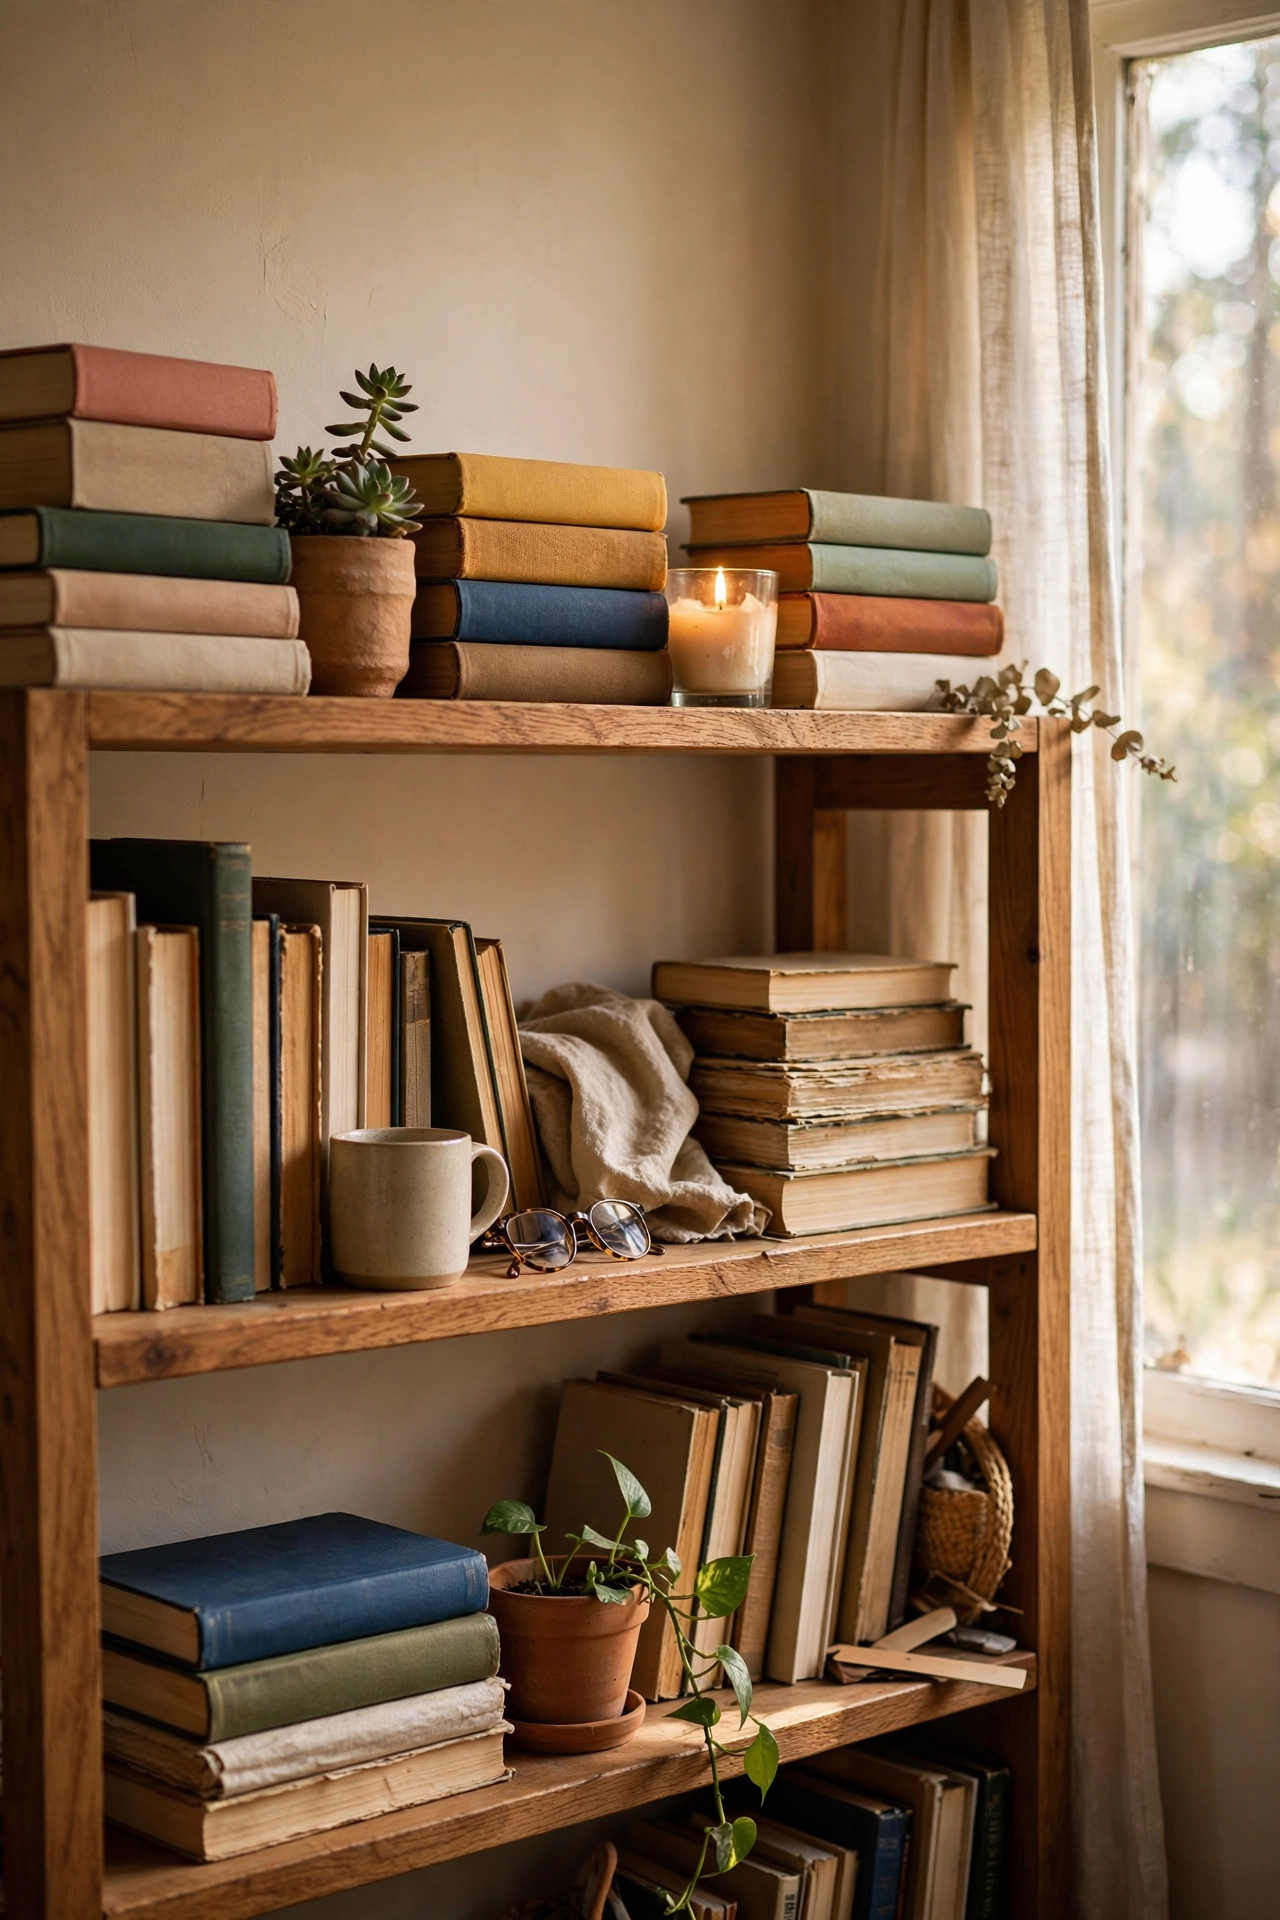
Designers style shelves in odd-numbered groups, and you can copy that trick for free. I restyled my bookshelf by grouping objects in threes: a stack of books, a candle, and a small plant on each shelf, with breathing room between groups. Remove everything first and start with a blank shelf, then add back only what earns its place. My shelf went from cluttered to catalogue-worthy in twenty minutes. The mistake most people make is lining things up like soldiers; groups of three with varied heights look collected and calm.
Cost: $0 | Time: 20 minutes
3. Painted Arch Behind the Sofa
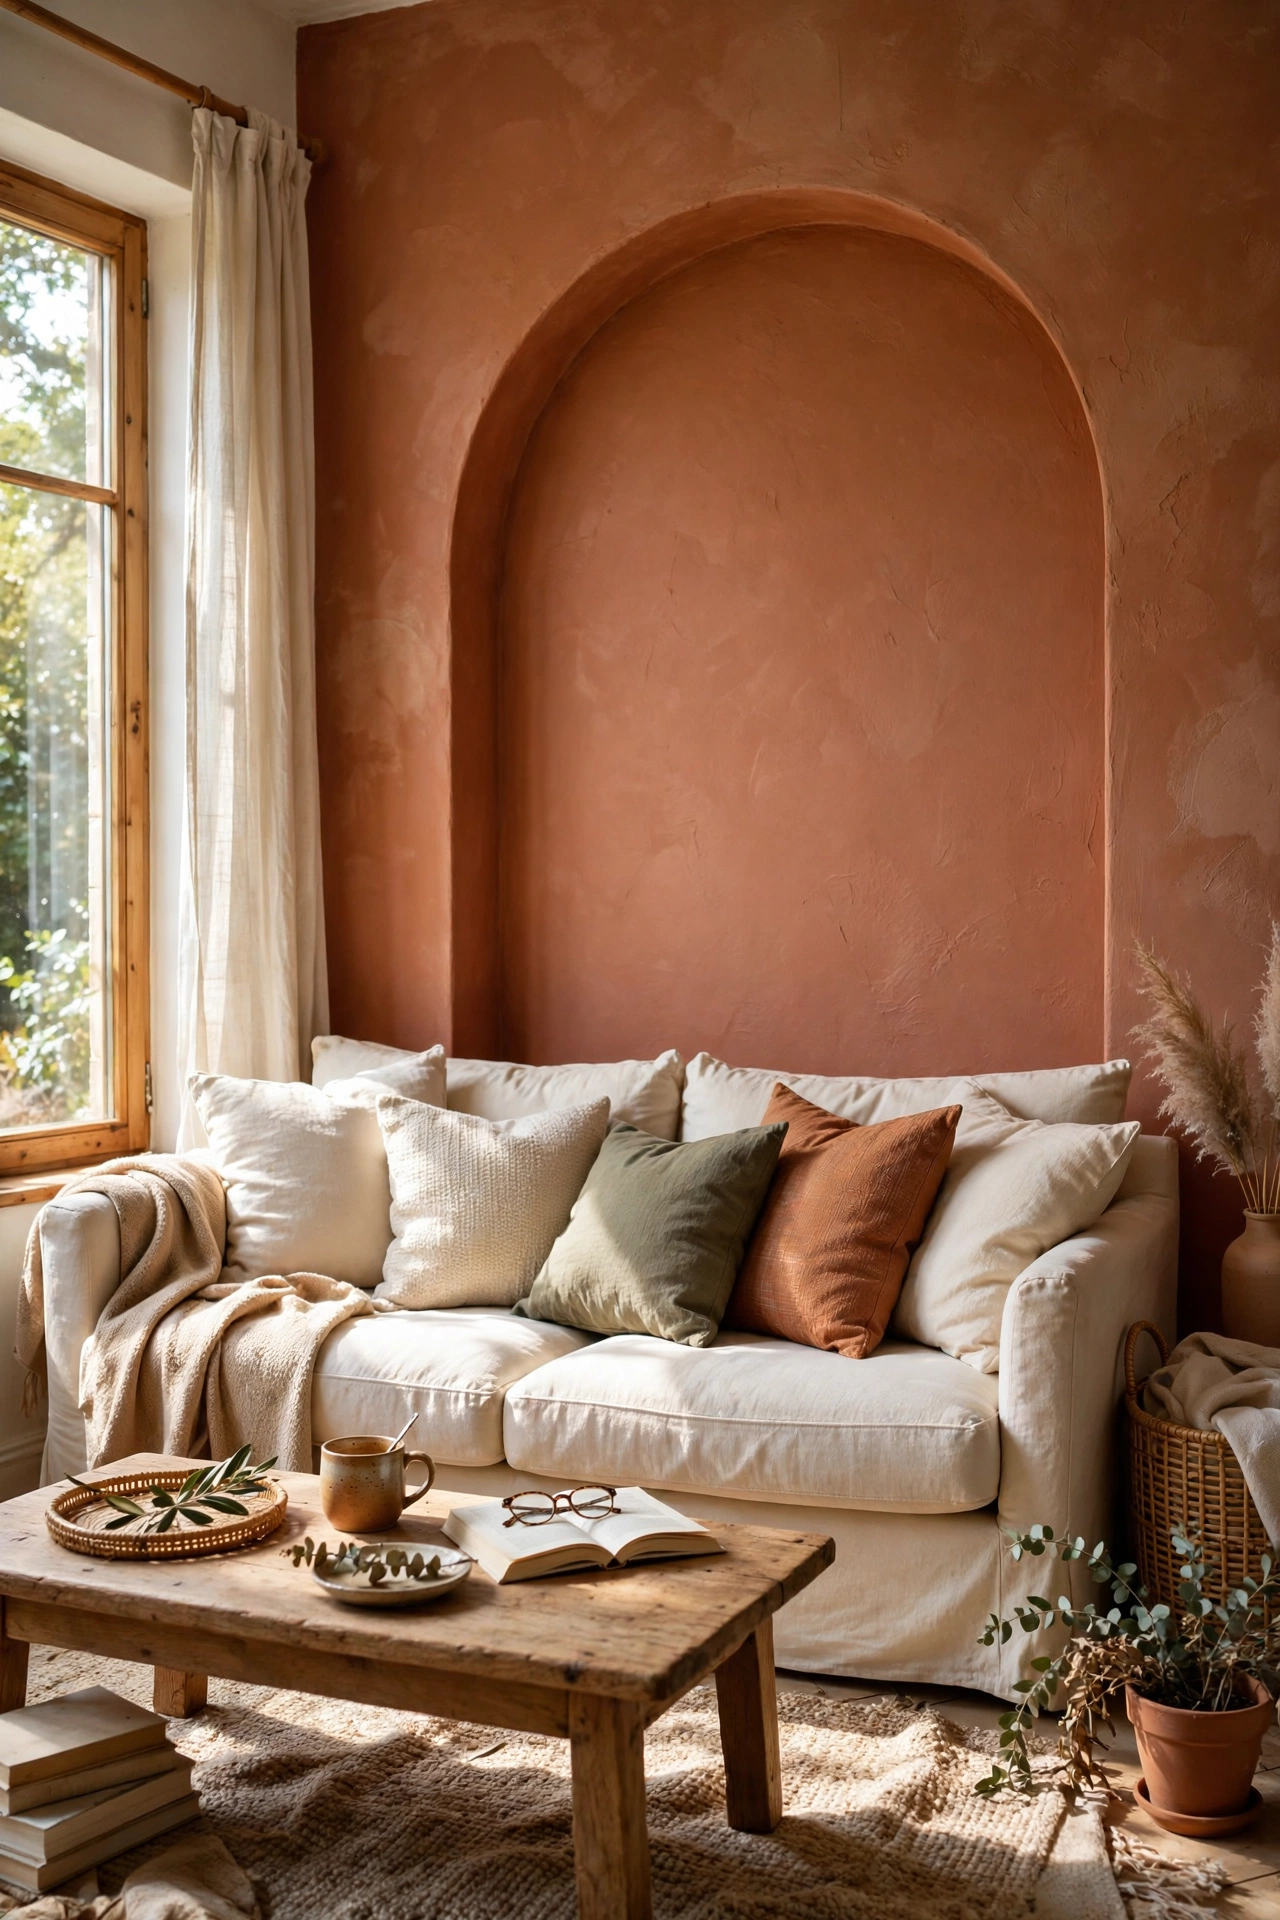
A painted arch on the wall behind your sofa is the designer trick all over social media, and it costs one sample pot of paint. I painted a large arch in warm terracotta behind my sofa using a $6 sample pot, tracing the curve with a nail, string, and pencil. Two thin coats, and it looked like a custom mural. It defines the seating area and adds architecture where there was none. I was terrified of freehanding the curve, but the string-and-pencil compass method makes it foolproof.
Cost: ~$6–10 | Time: 2 hours
4. Matching Lampshades, Mismatched Bases
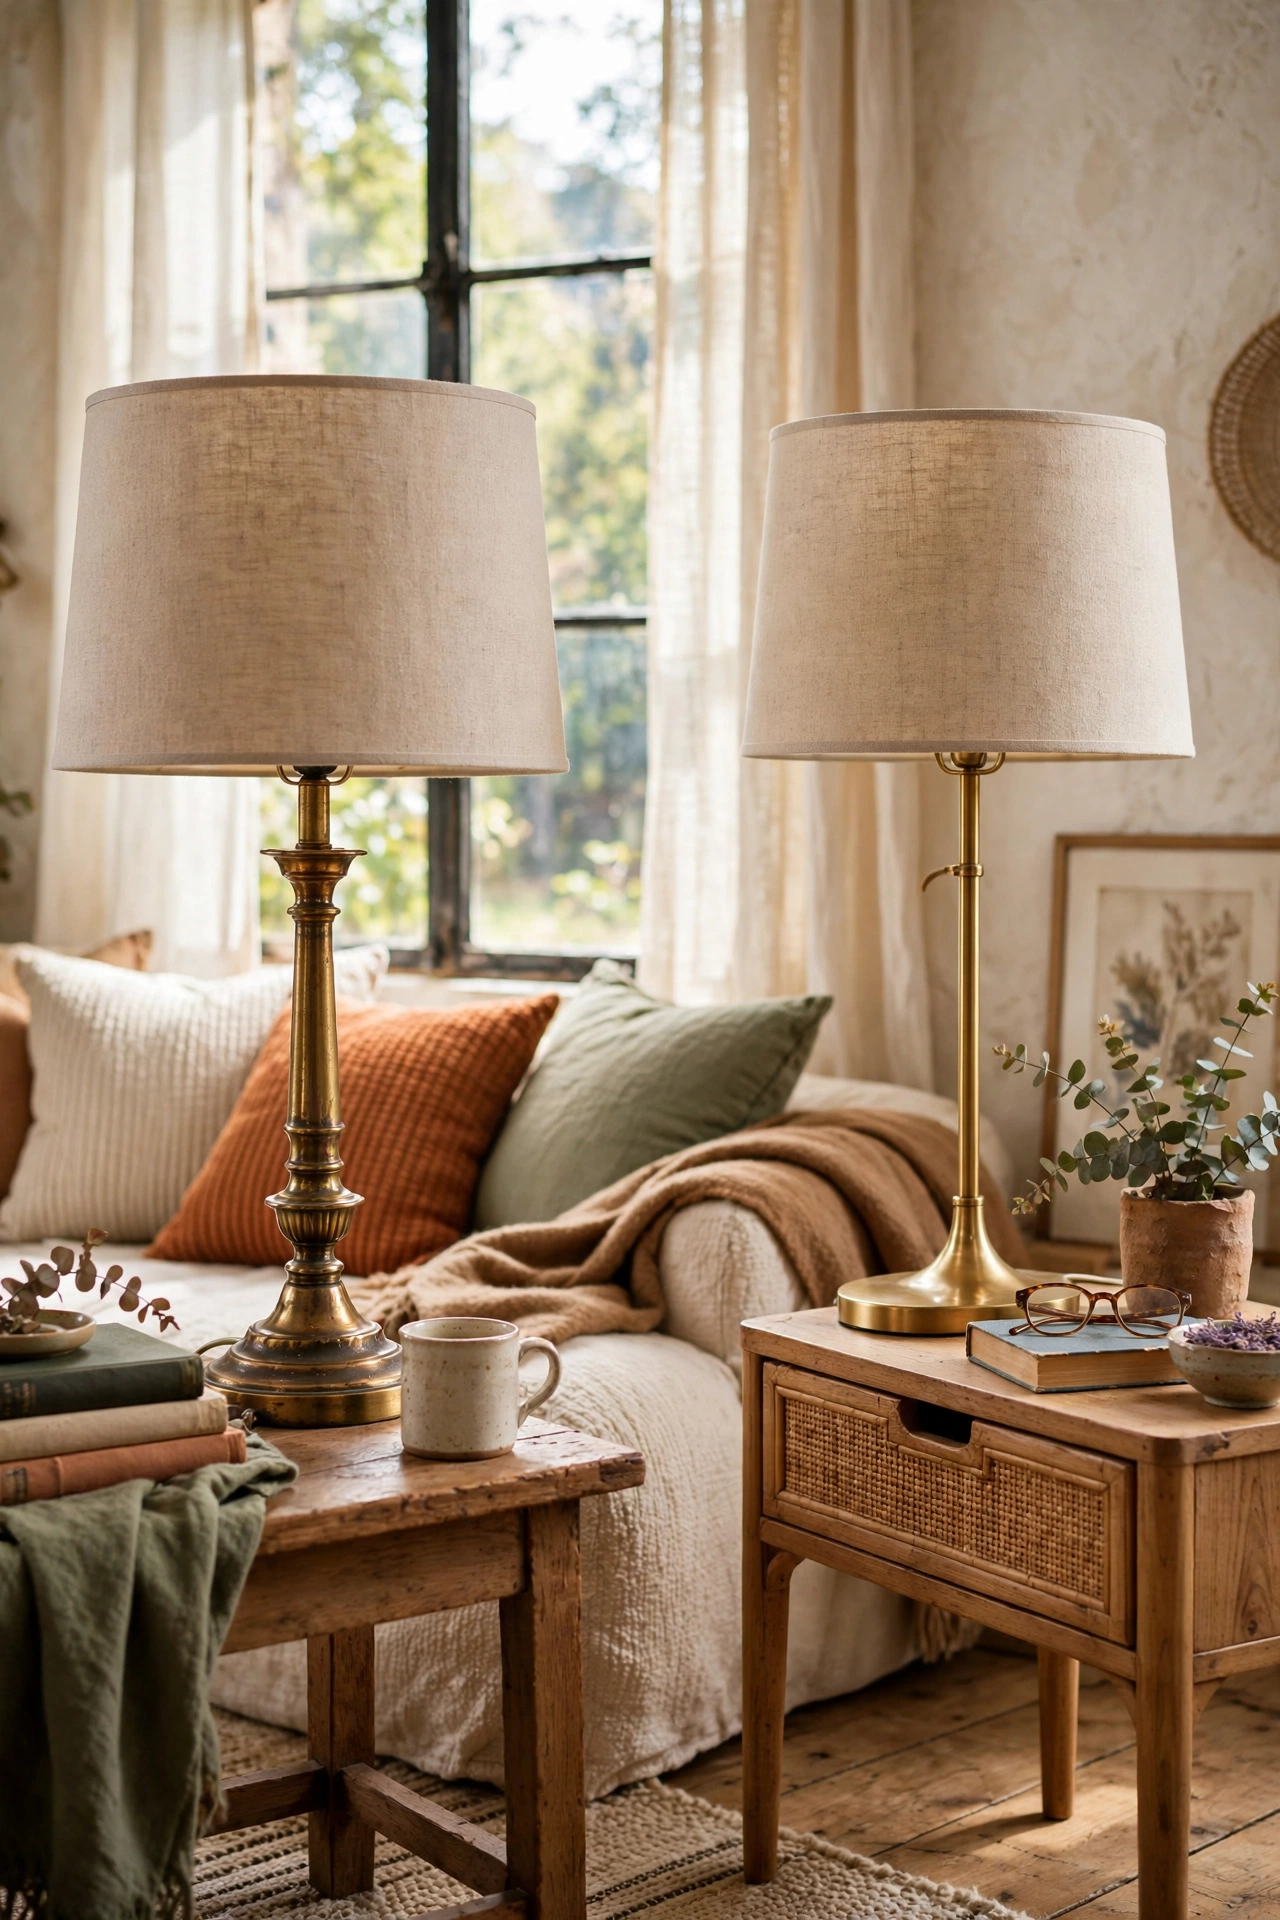
Two identical lampshades on different thrifted bases look like a designer pair. I found two brass lamps for $10 each at different thrift stores, then bought two matching linen drum shades for $15 each. The matching shades unify them completely. Place them symmetrically on either side of the sofa or on matching side tables. Nobody will ever know the bases came from different decades and different shops. Symmetry is the oldest designer trick, and matching shades are how you fake it cheaply.
Cost: ~$50 | Time: 30 minutes
5. Coffee Table Books You Actually Style
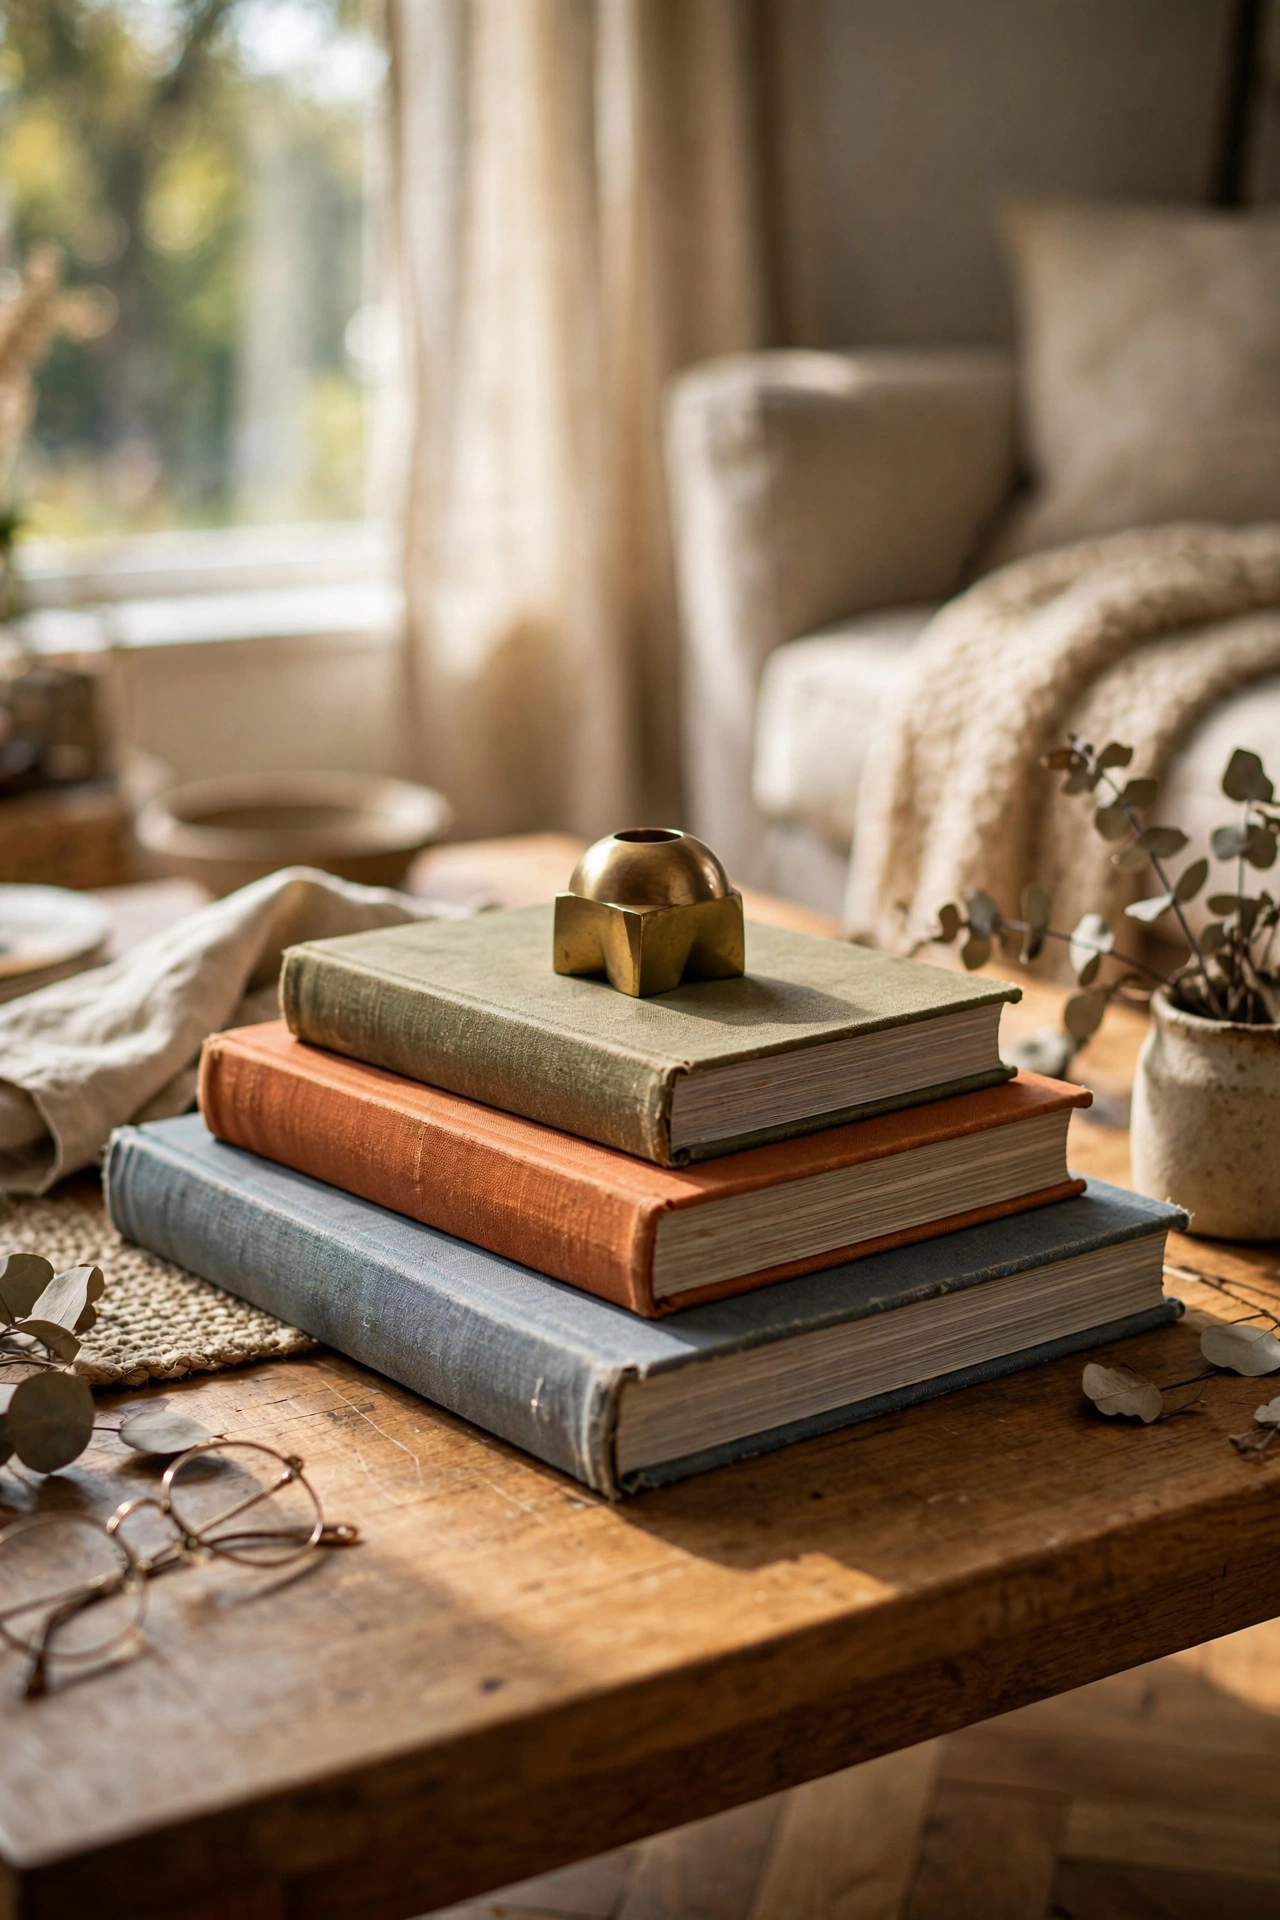
Three large books stacked with intention look like a stylist did it. I bought oversized art books at a library sale for $2 each, stacked them largest to smallest on the coffee table, and topped the pile with a small brass object. The trick is varying the cover colours so they complement your room. I keep a small tray beside the stack for the remote so the styling survives real life. A styled coffee table is the first thing guests see, and this one cost me $6.
Cost: ~$6 | Time: 10 minutes
6. Floor-Length Curtains in Linen Look
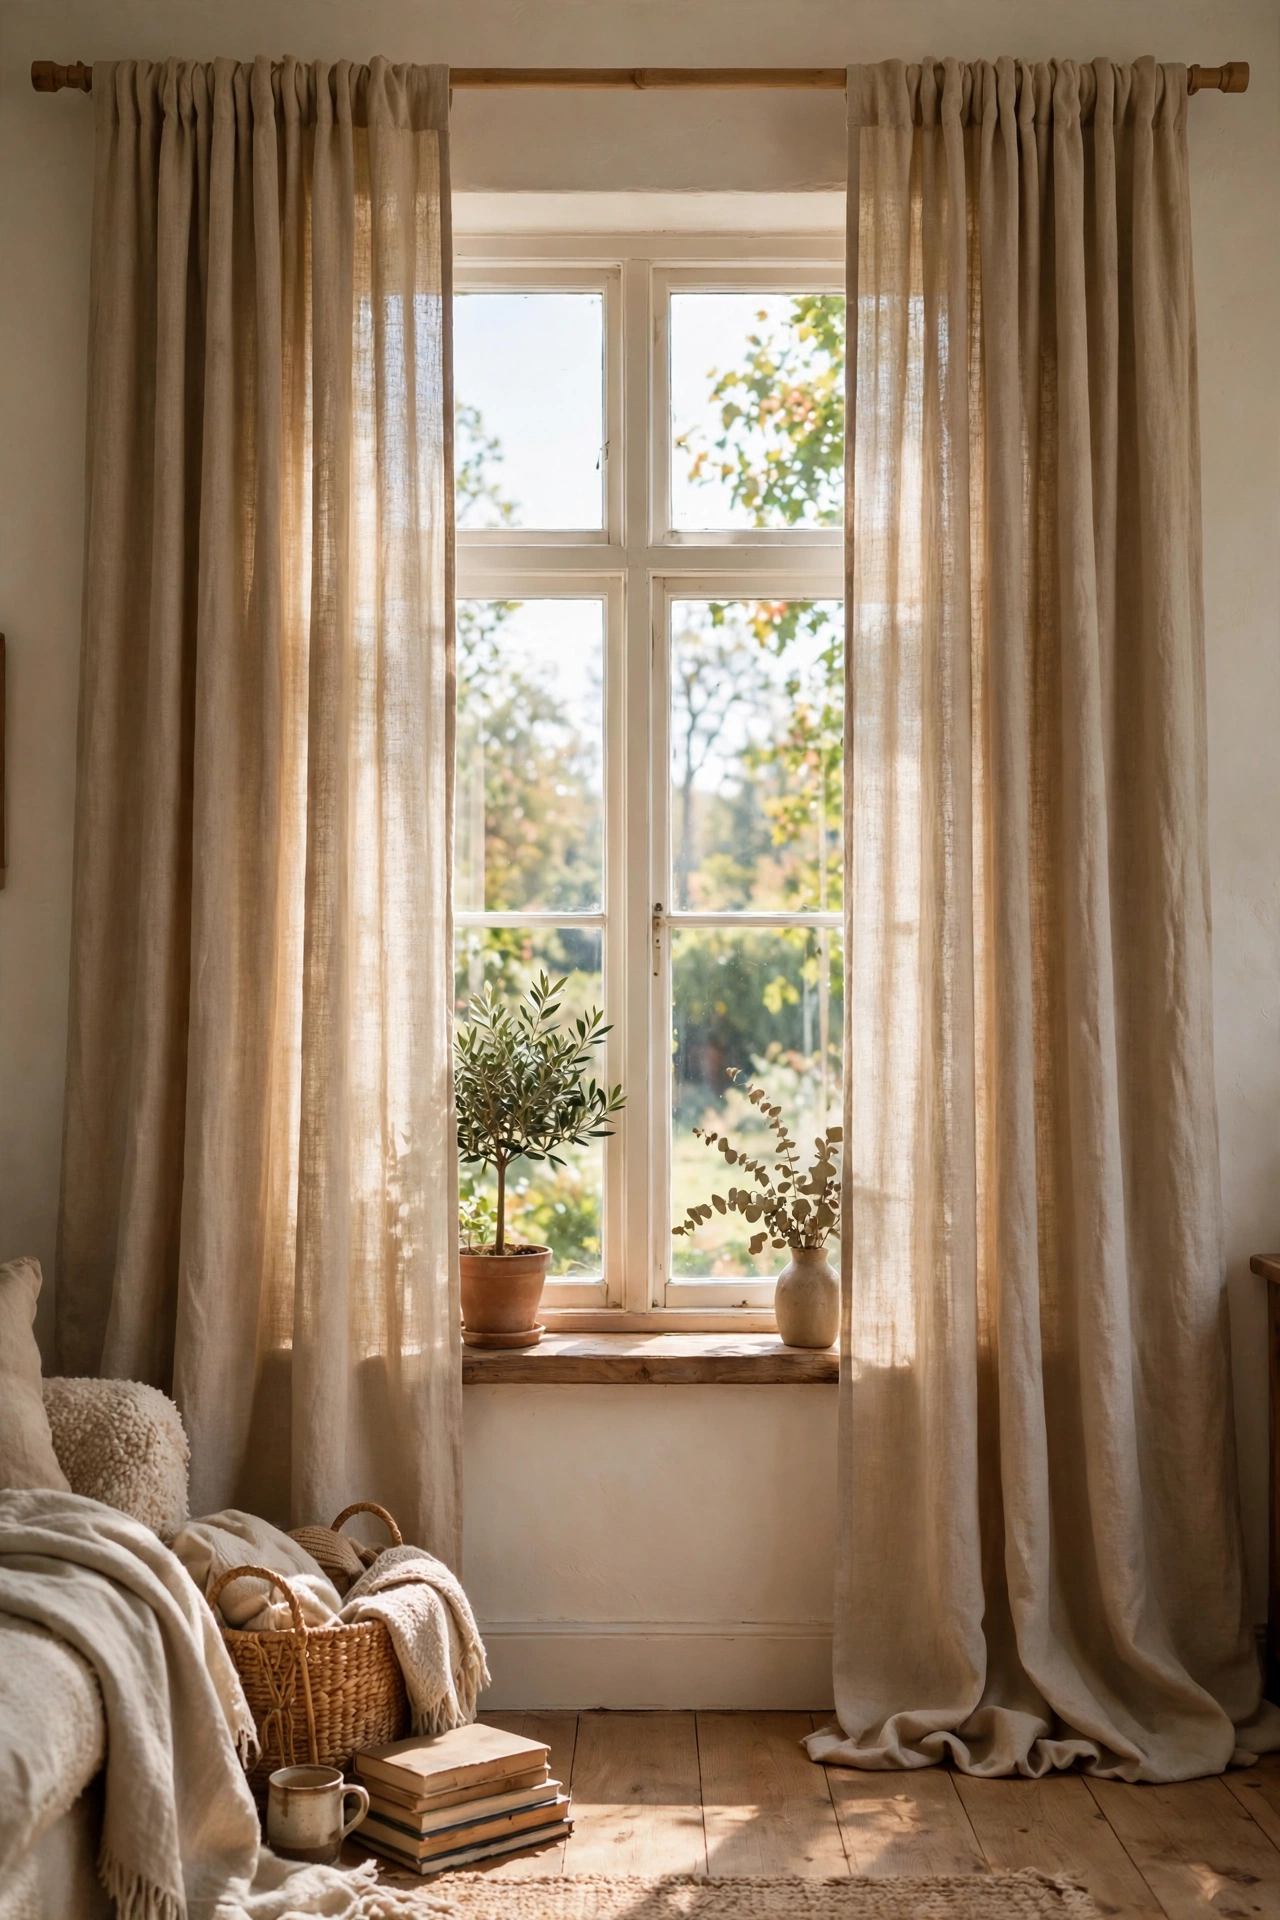
Linen-look curtains hung to the floor make windows look custom and expensive. I bought four panels for $40 total from a discount store, hung them high and wide, and steamed out every wrinkle. The linen texture catches light beautifully and moves softly. Always buy long enough to just brush the floor; short curtains are the fastest way to make a room look cheap. I measured twice and still bought the wrong length the first time, so measure from the rod, not the window frame.
Cost: ~$40 | Time: 1 hour
Pro tip: Designers always style in layers: something tall, something medium, something small. Apply that to every surface in your room, from the mantel to the coffee table, and everything will suddenly look intentional.
7. A Gallery Ledge Instead of Hung Frames
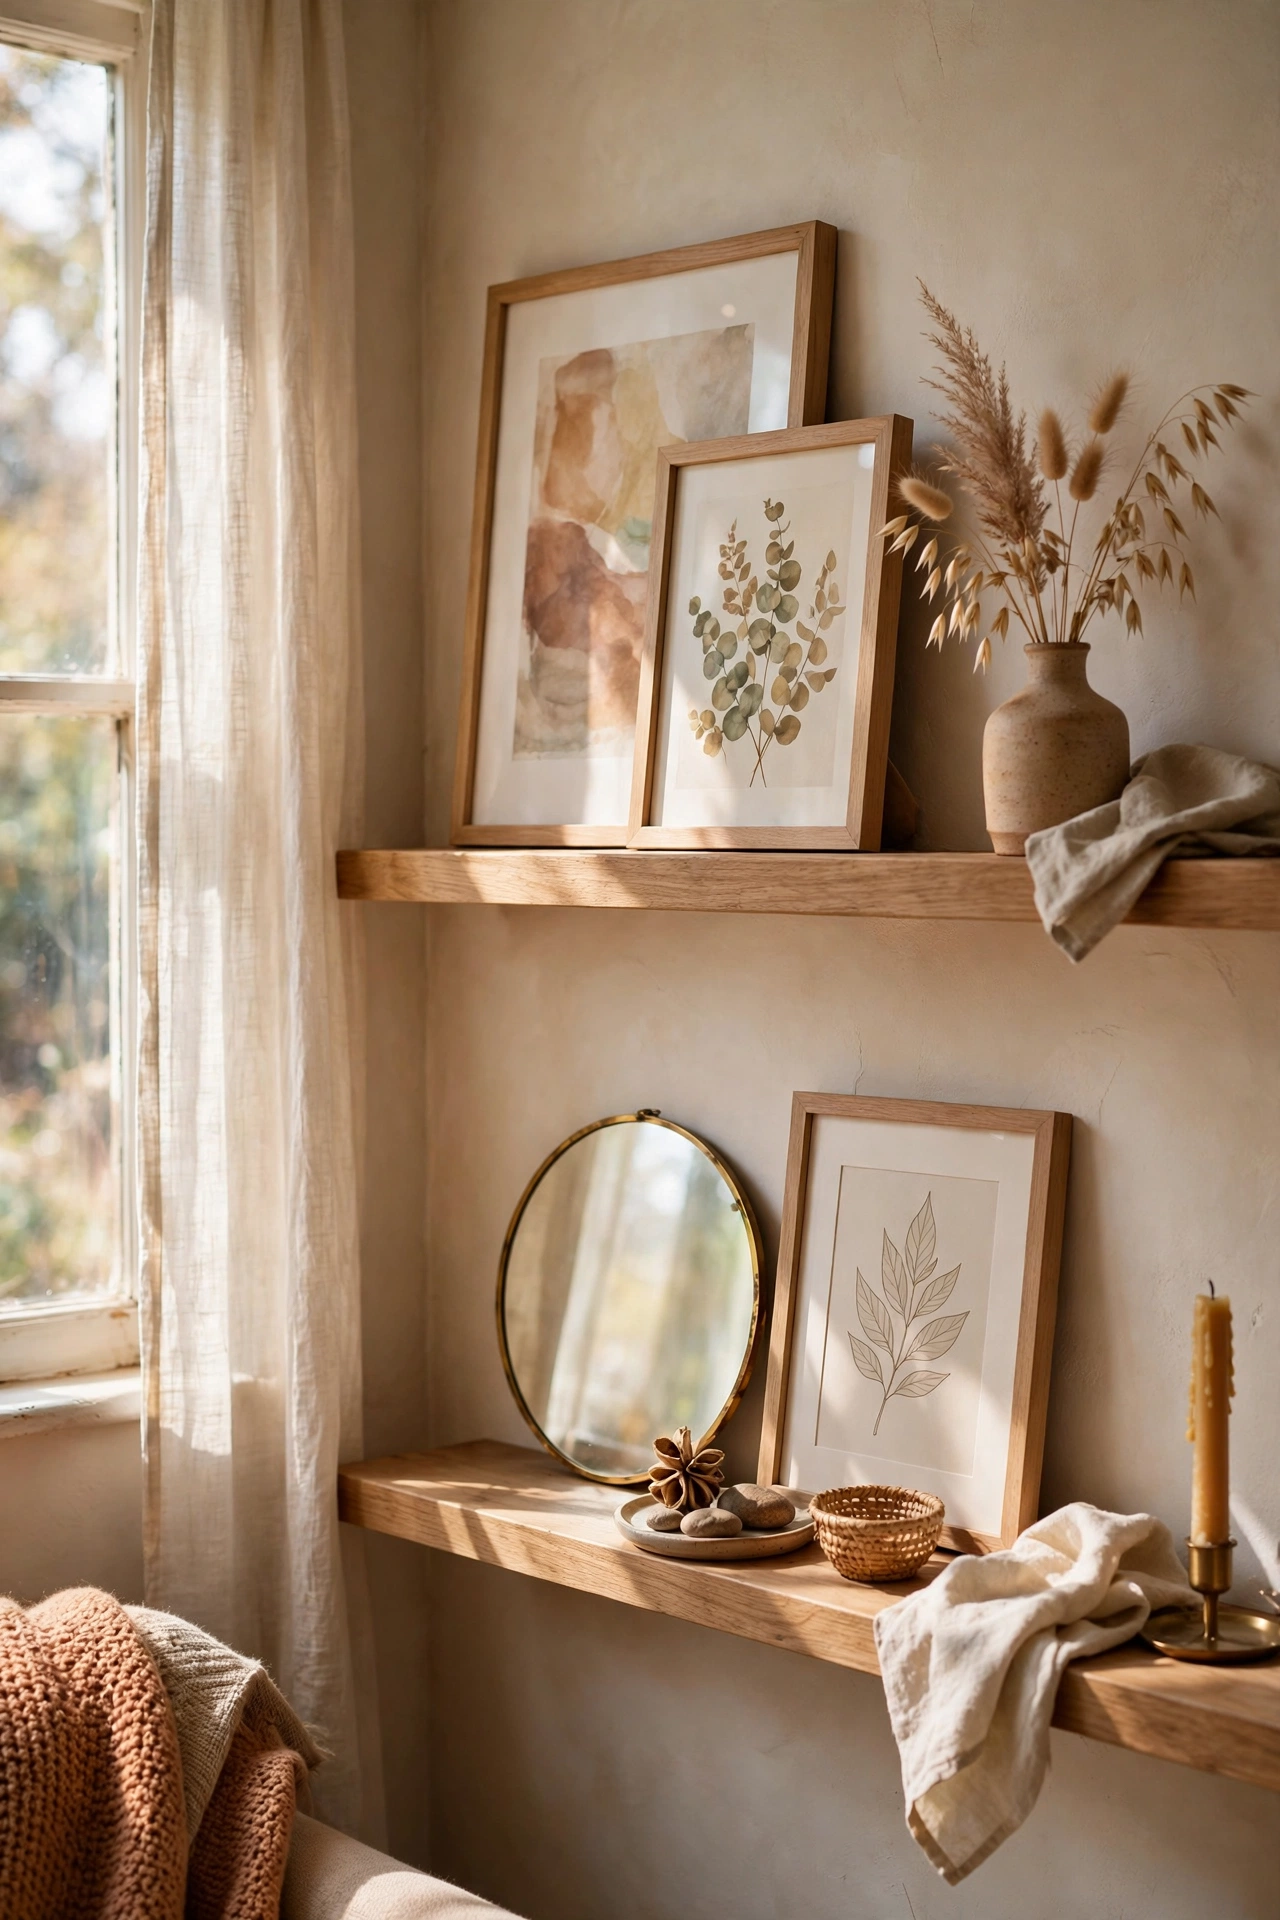
Picture ledges give you a gallery look with half the effort and none of the measuring. I mounted two long ledges for $30 and leaned a mix of framed prints, small canvases, and a mirror along them. Layer larger pieces at the back and smaller ones in front. The beauty is you can swap and rearrange in seconds. I restyle mine seasonally, which keeps the room feeling fresh. One caution: anchor ledges into studs, because a loaded ledge is heavier than it looks.
Cost: ~$30–40 | Time: 1 hour
8. Spray-Painted Thrift Store Vases
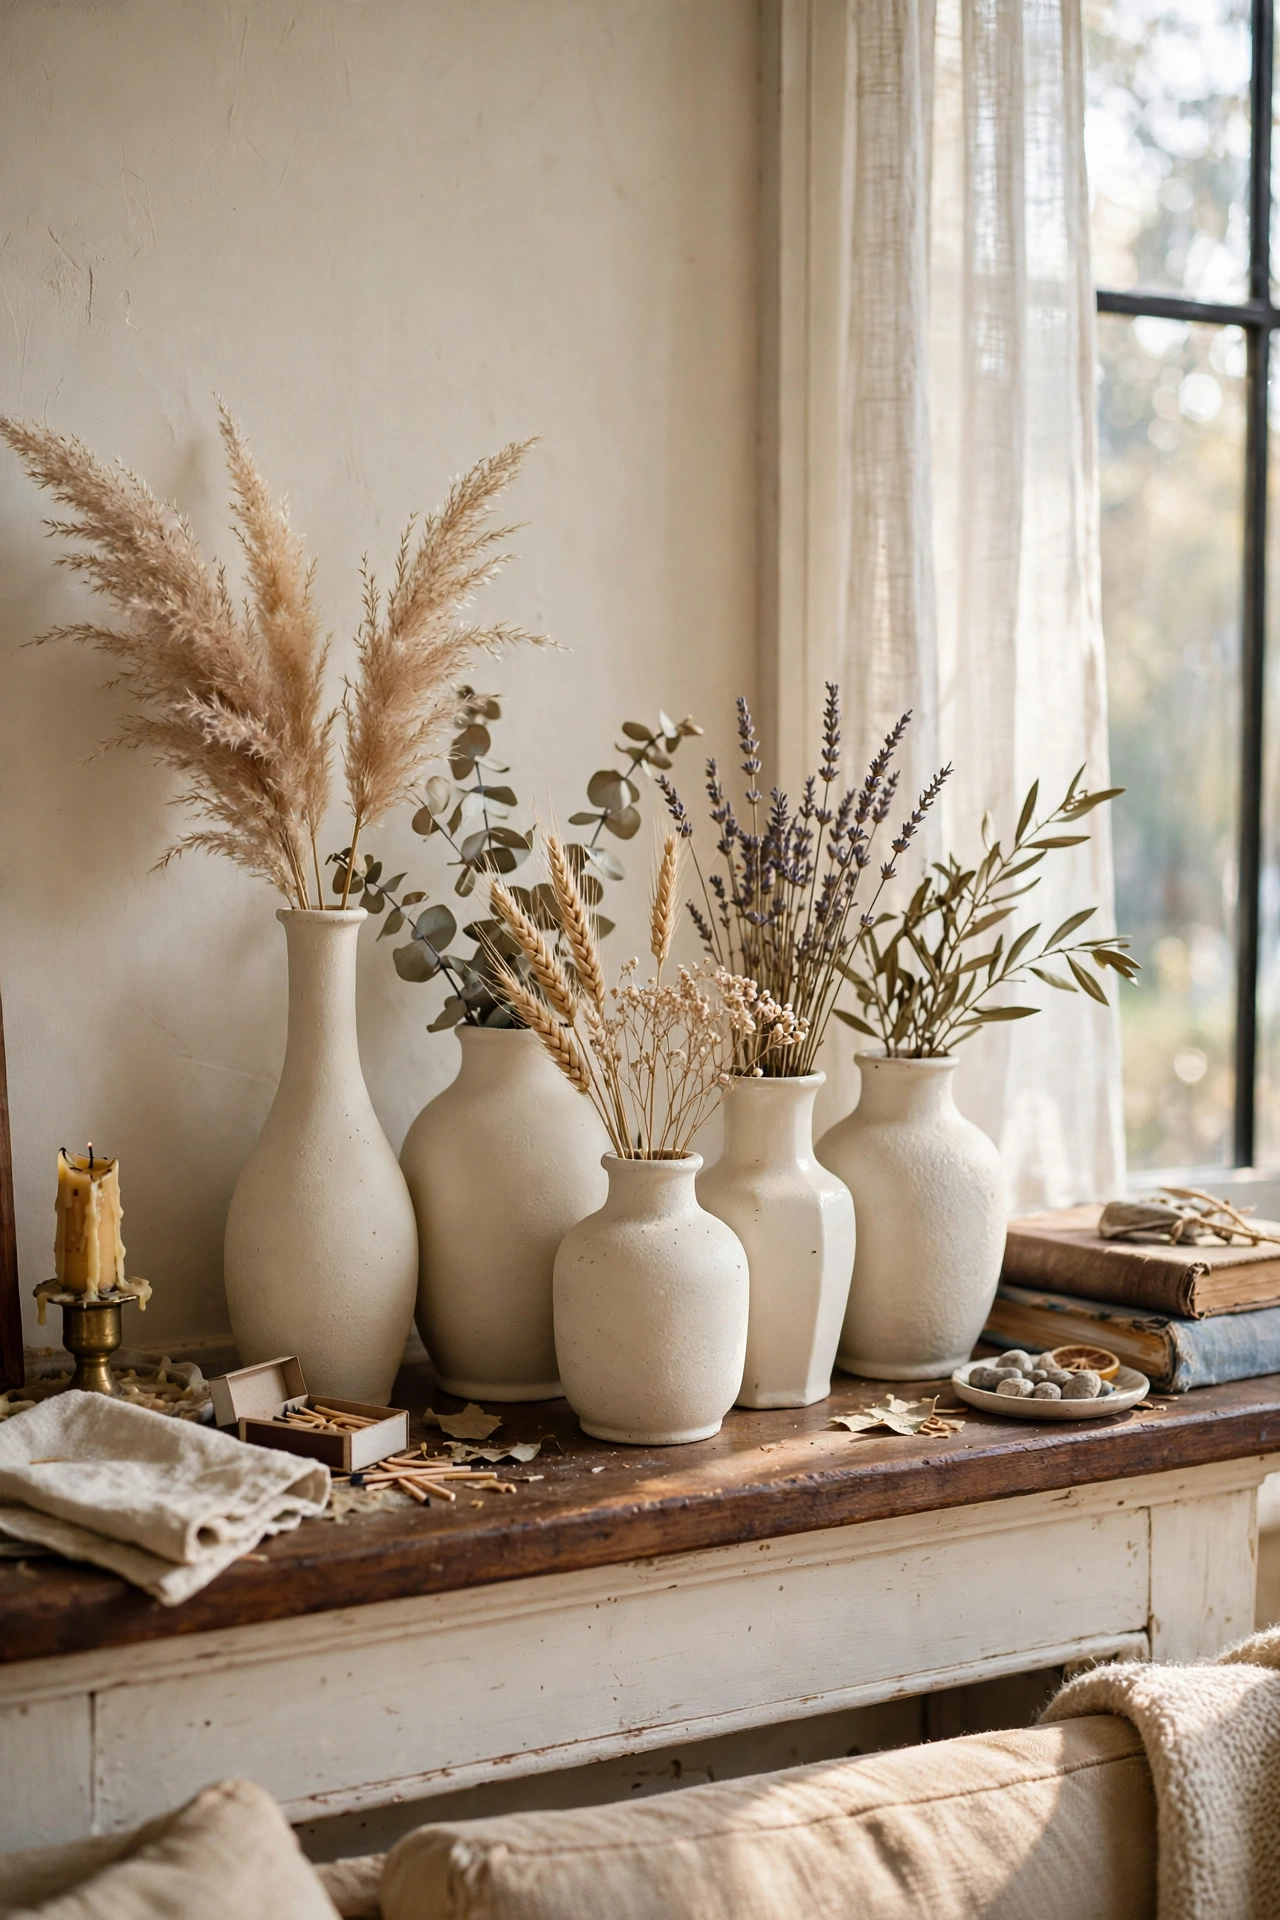
Ugly thrift store vases become sculptural objects with matte spray paint. I bought five odd vases for $8 total and sprayed them all in matte cream, and they now look like a collected ceramic set worth hundreds. Use light, even coats and let each coat dry fully. Group them in odd numbers with varied heights. The uniform colour is what makes random shapes look deliberate. I keep mine on the mantel and change which ones are displayed with the seasons. It is my favourite five-dollar trick.
Cost: ~$12 | Time: 1 hour
9. The Five-Pillow Sofa Formula
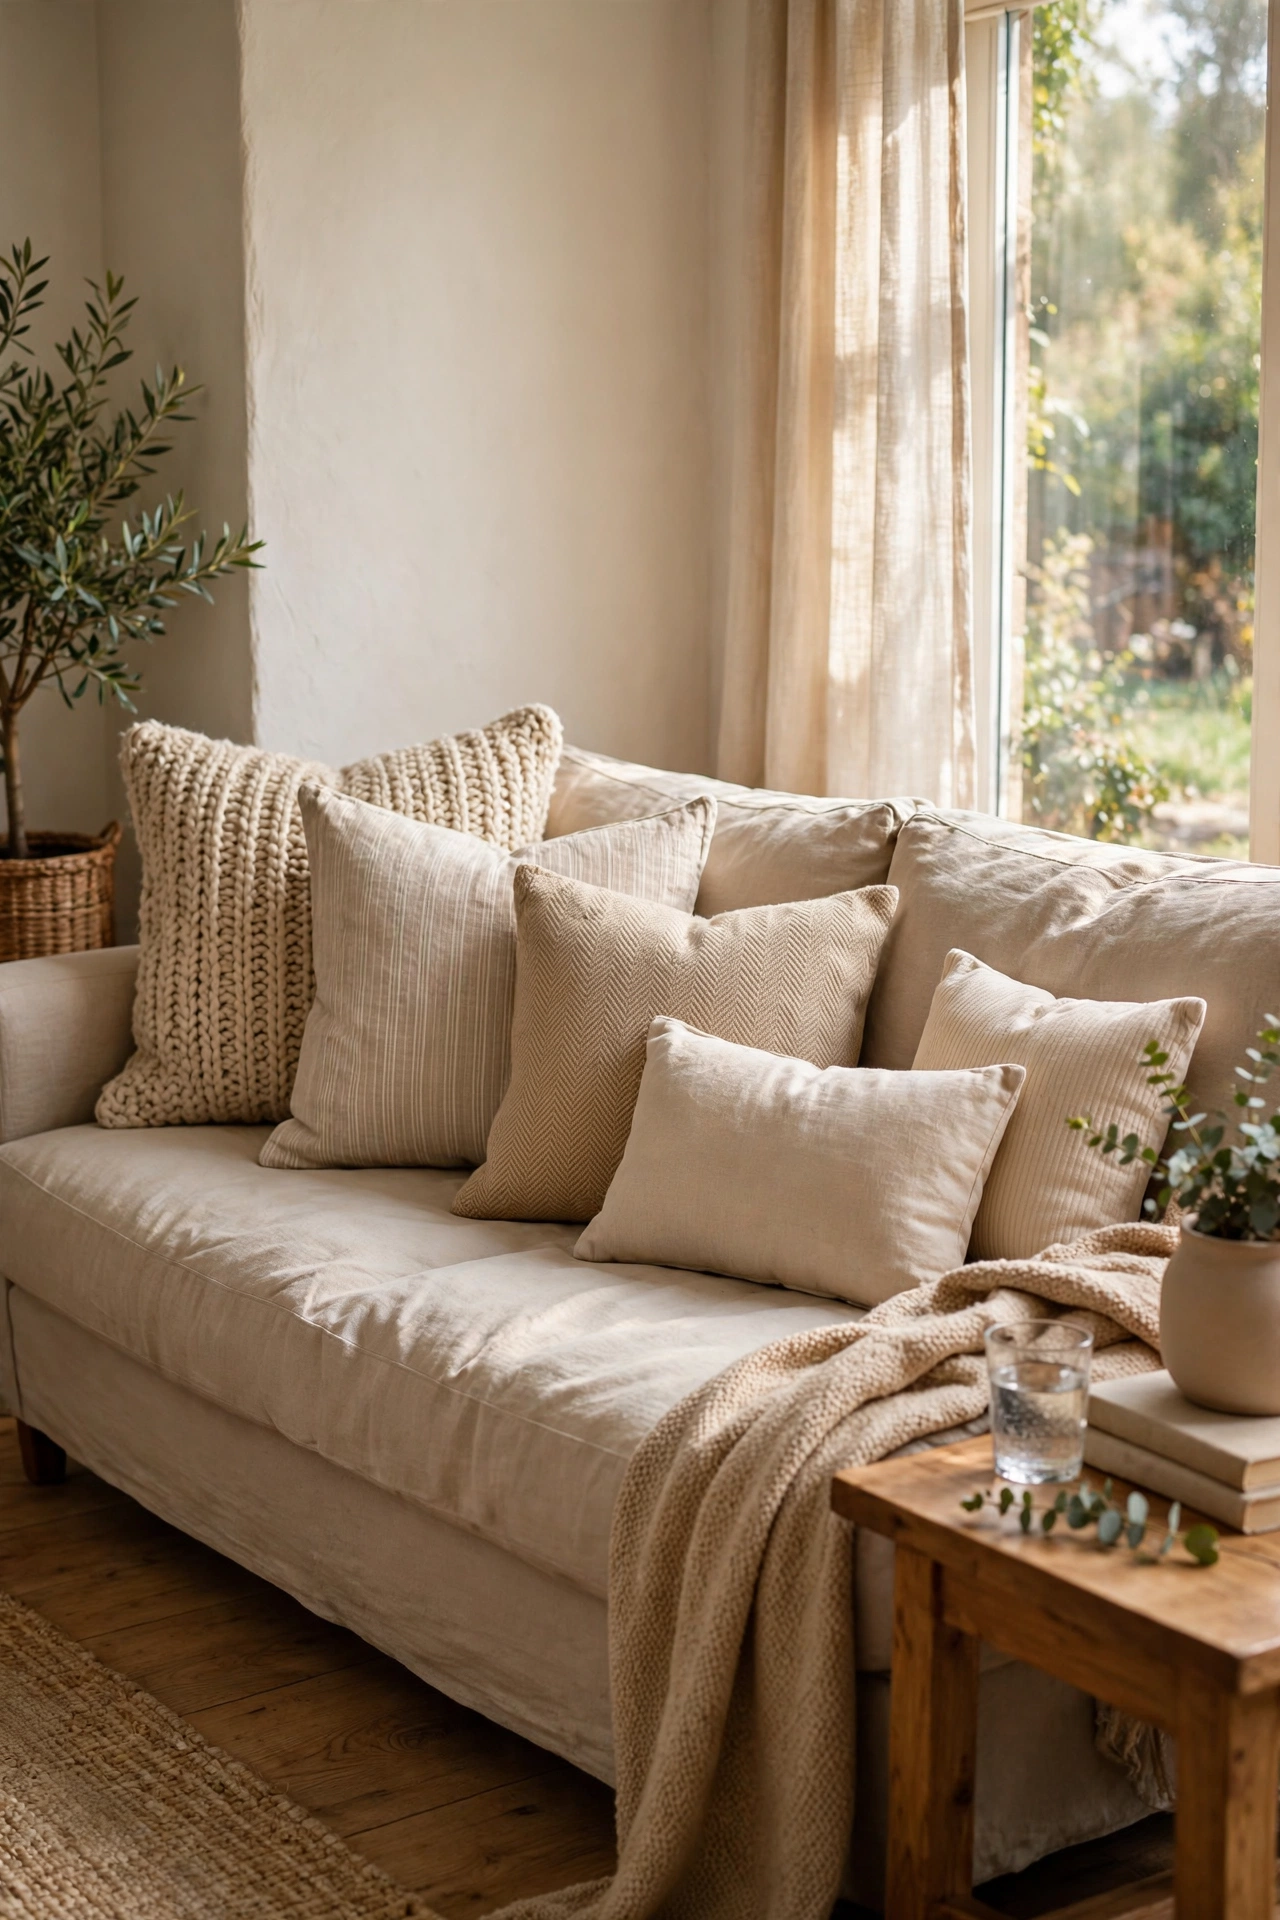
Designers use a formula: two large, two medium, one lumbar. I bought five pillow covers in coordinating tones for $35 total, stuffed them with the inserts I had, and arranged them large at the back corners, mediums in front, lumbar in the centre. Stick to three colours maximum and mix two textures. My sofa went from flat to magazine-ready. The first time I tried this I used five identical pillows and it looked like a waiting room. Variety in size is the secret.
Cost: ~$35 | Time: 20 minutes
10. A Large Mirror to Double the Light
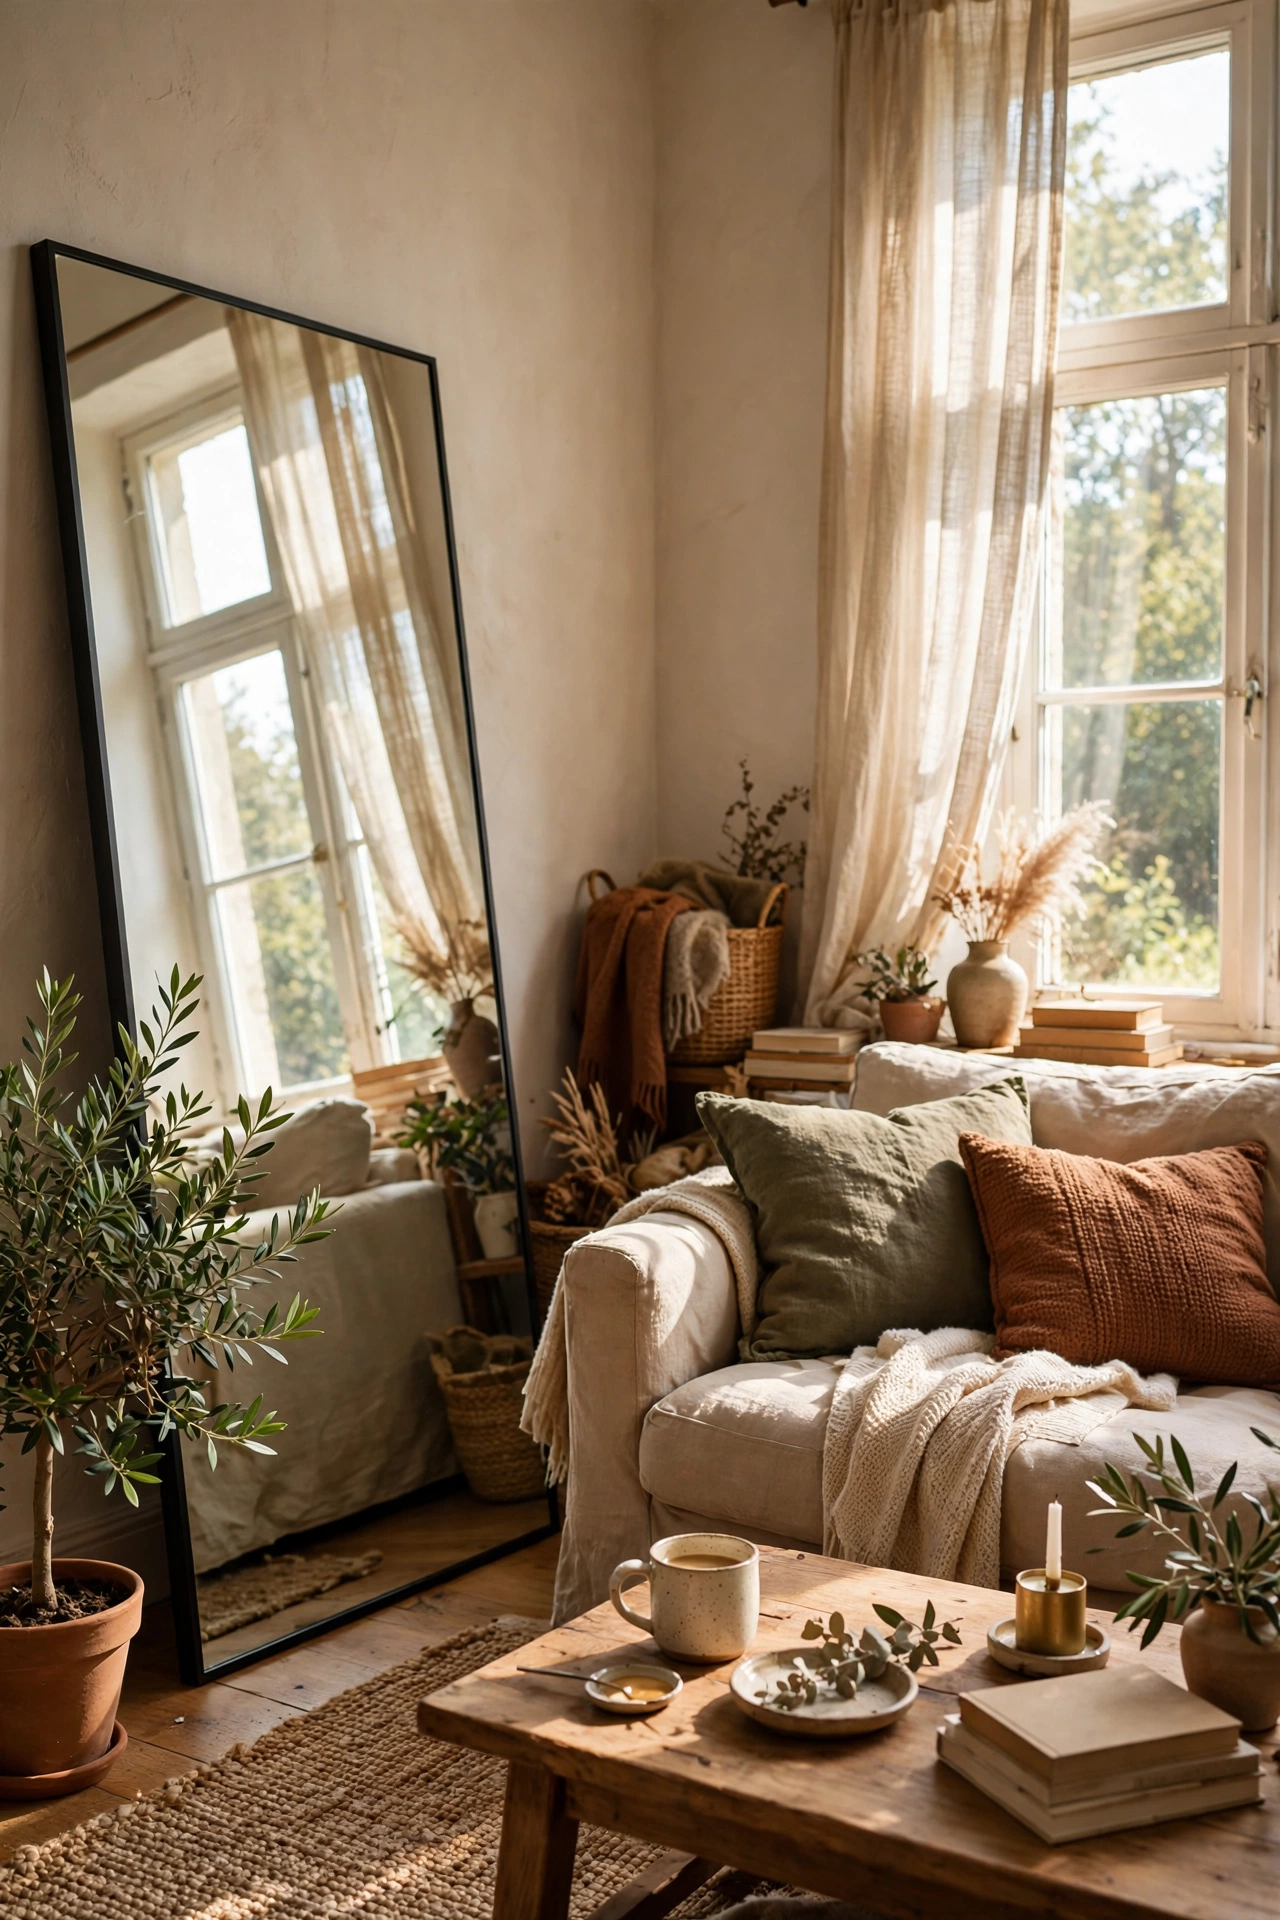
A big mirror opposite a window doubles your natural light and makes the room feel twice as large. I found a large leaning mirror for $60 at a discount home store and placed it across from my biggest window. Lean it rather than hanging it for a relaxed designer feel, and make sure it reflects something pretty, not the television. My north-facing living room felt dark for years, and this one change fixed it. It is the closest thing to adding a window without construction.
Cost: ~$60–80 | Time: 15 minutes
11. Styled Bar Cart in the Corner
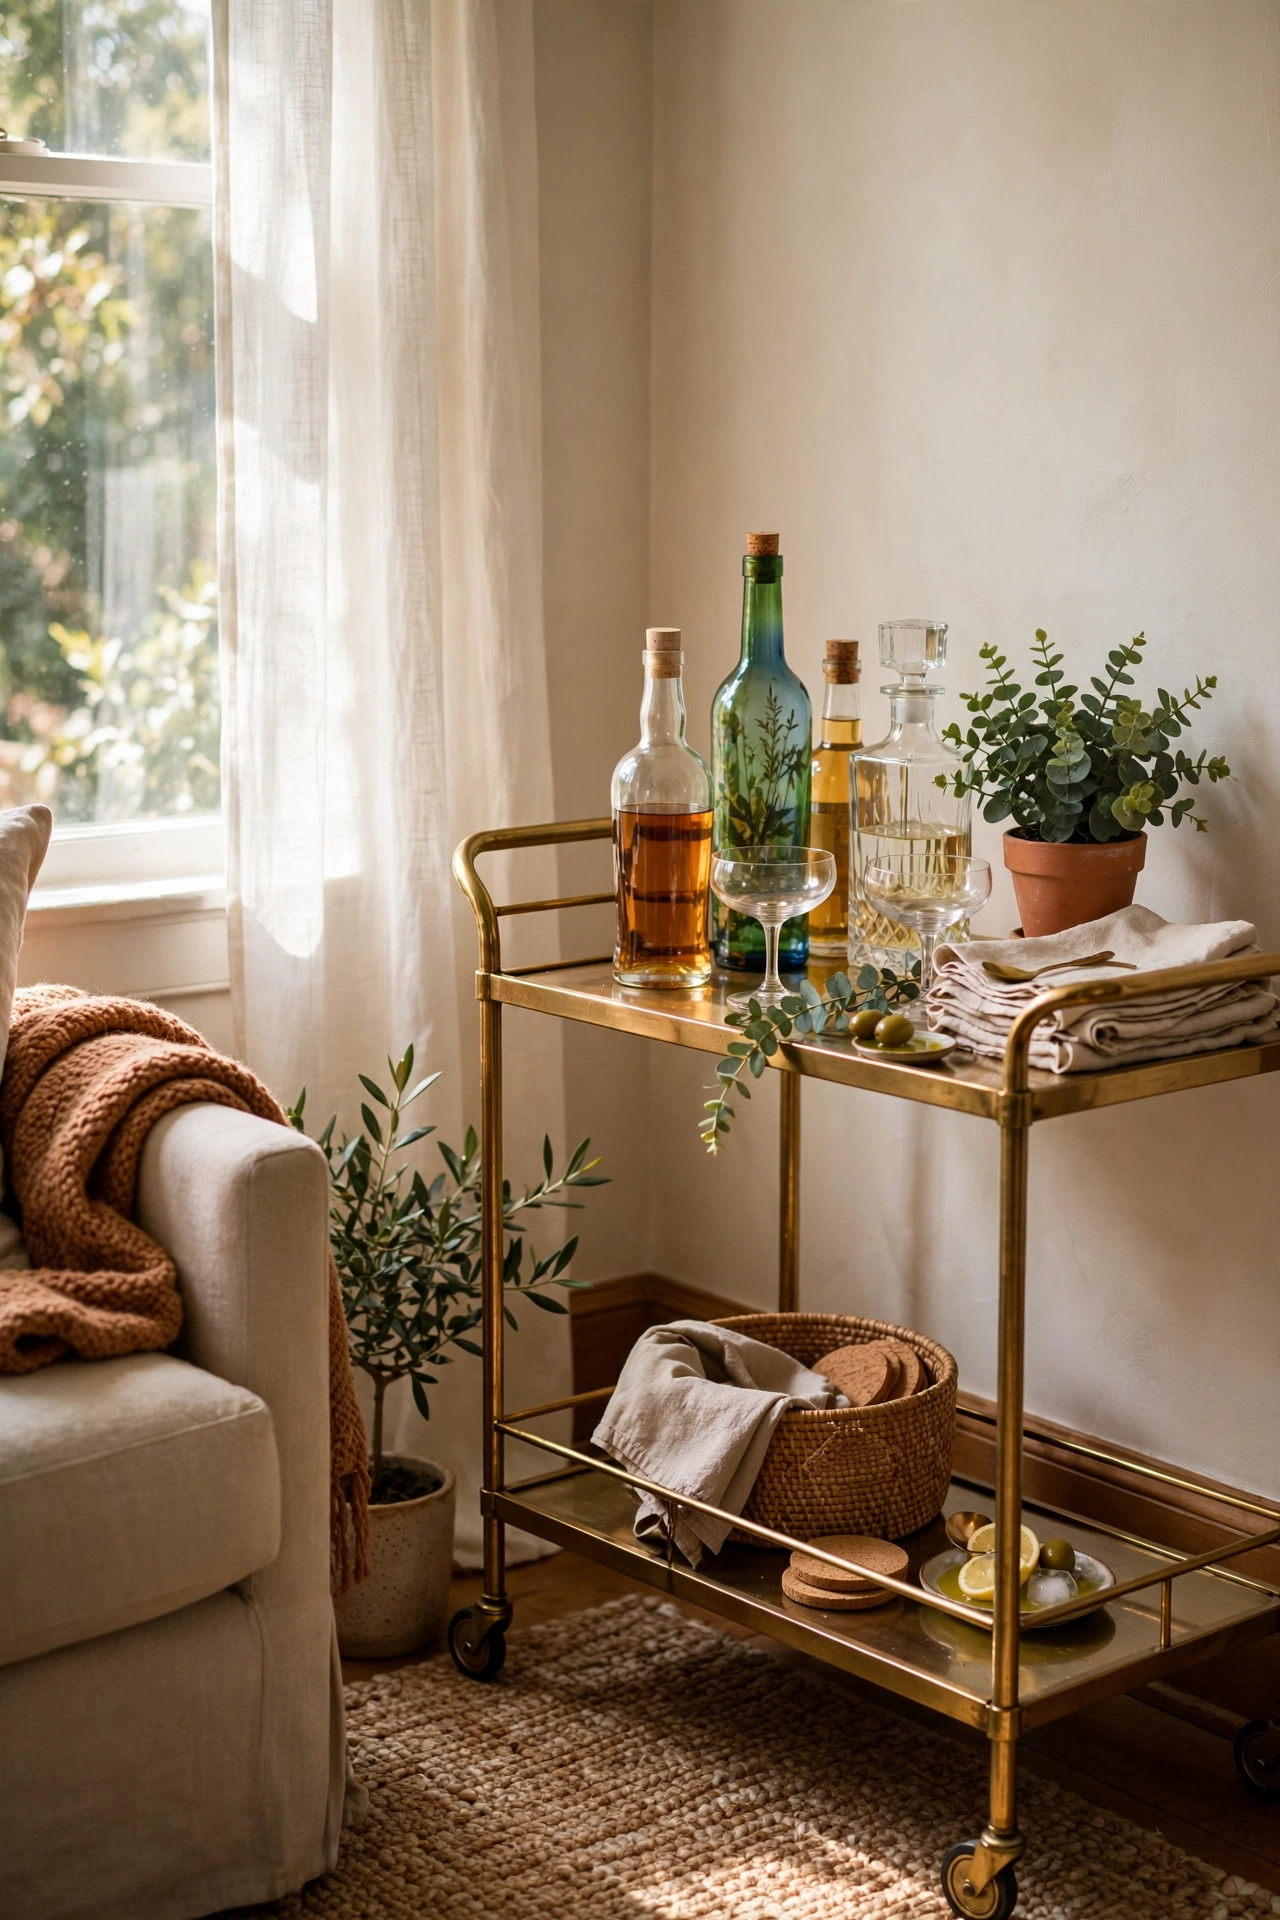
A bar cart styled with intention looks like a prop from a design shoot. I found a brass cart at a thrift store for $25, polished it up, and styled the top with two pretty bottles, a small plant, and a stack of cocktail napkins. Keep it minimal; a crowded cart looks like clutter. I do not even drink much, but the cart makes the corner feel considered and grown-up. Roll it out when guests come over for instant entertaining cred.
Cost: ~$25–35 | Time: 30 minutes
12. Painted Furniture in One Bold Colour
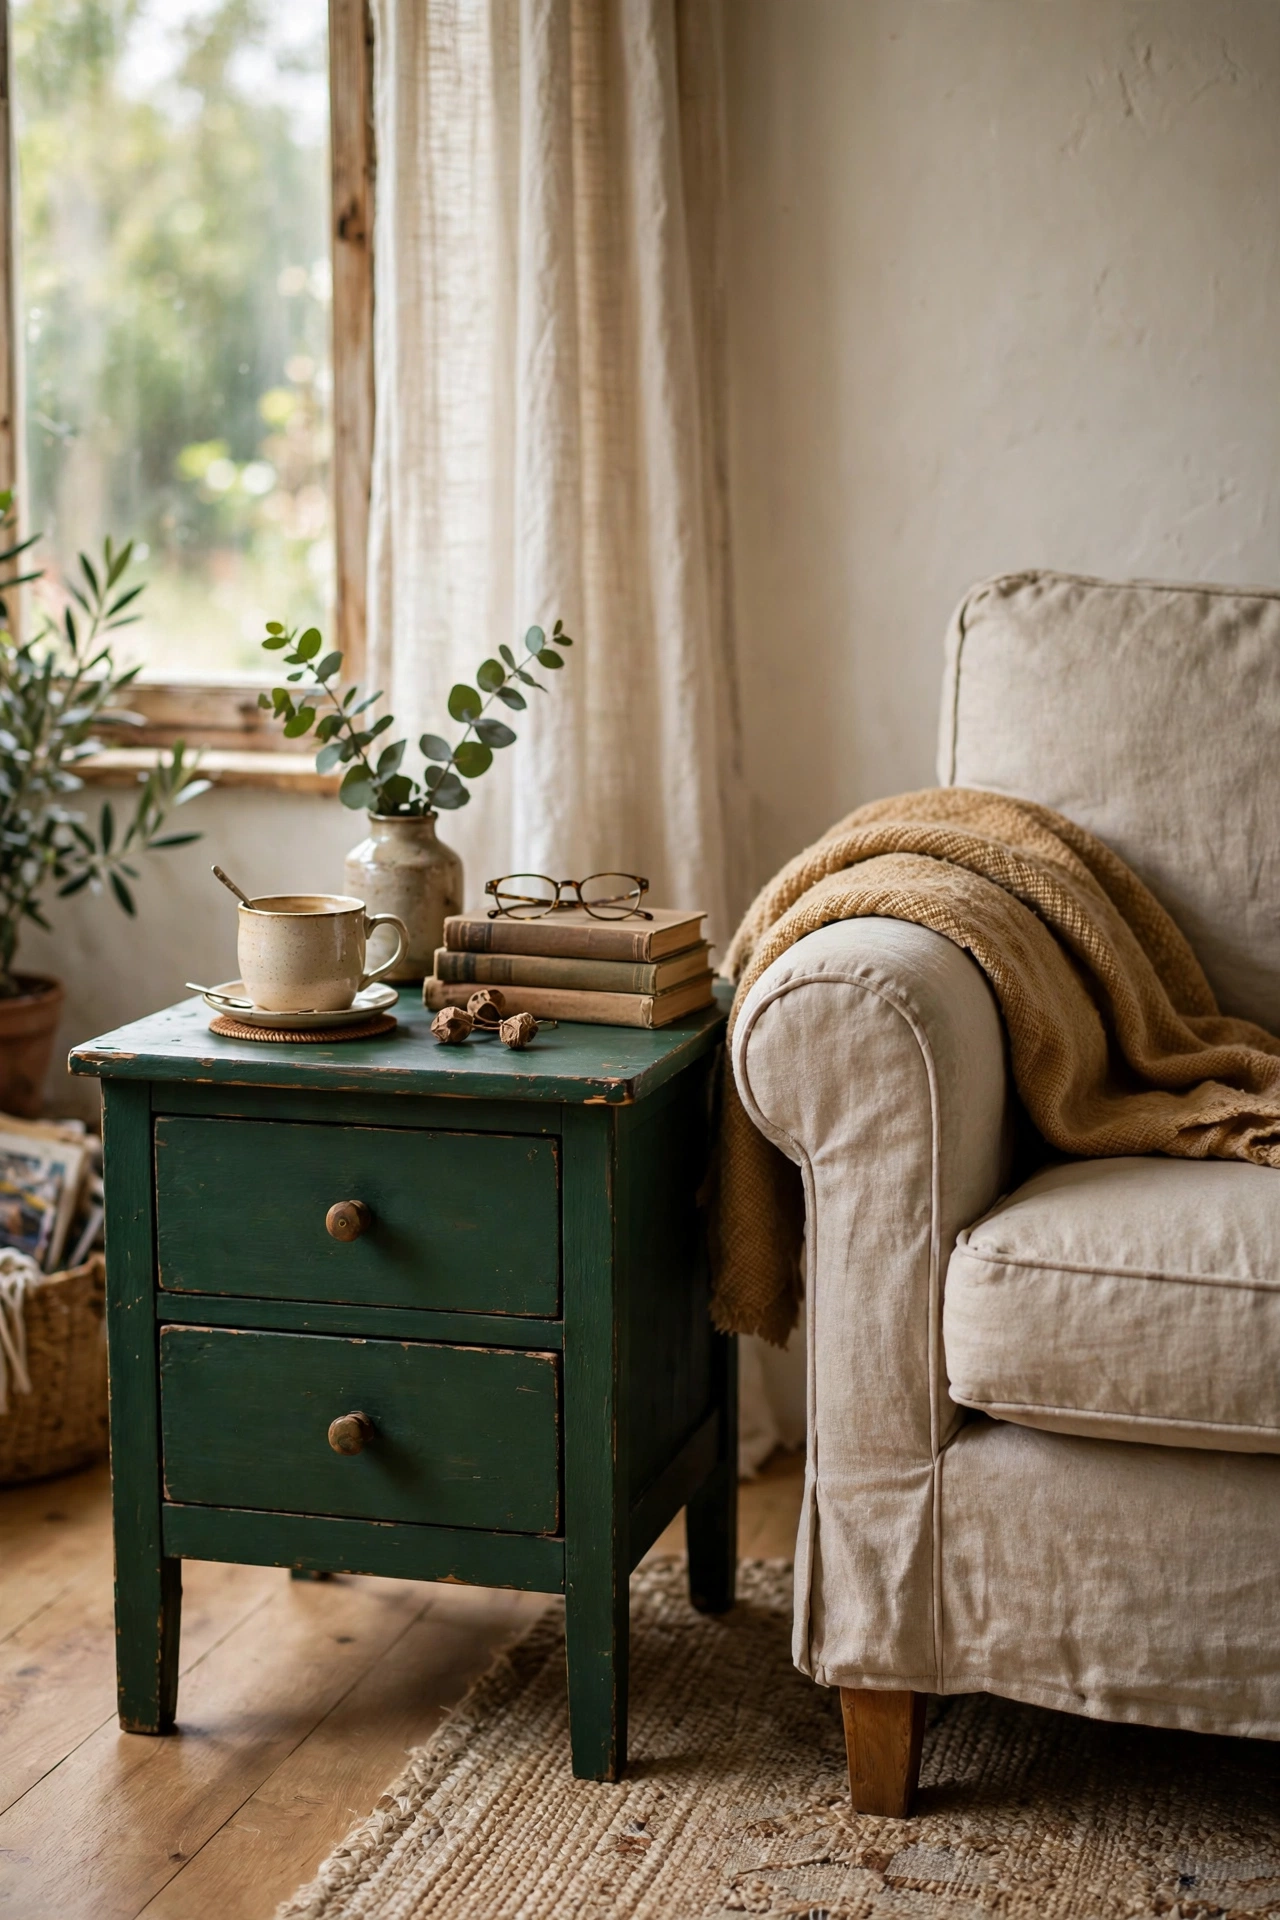
One piece of furniture painted in a rich colour becomes the designer moment of the room. I painted a $15 thrifted side table in deep forest green with a $12 quart of cabinet paint, and it looks like a boutique find. Sand lightly, use a good primer, and apply two thin coats with a foam roller for a smooth finish. Let it cure for a full week before heavy use. That one green table gets more compliments than everything else in my living room combined.
Cost: ~$27 | Time: 3 hours
Pro tip: Every designer room has something black in it, even a mostly light room. A black frame, a dark vase, or black lamp bases add depth and keep light rooms from feeling washed out. It is the cheapest contrast you can buy.
13. Layered Lighting at Three Heights
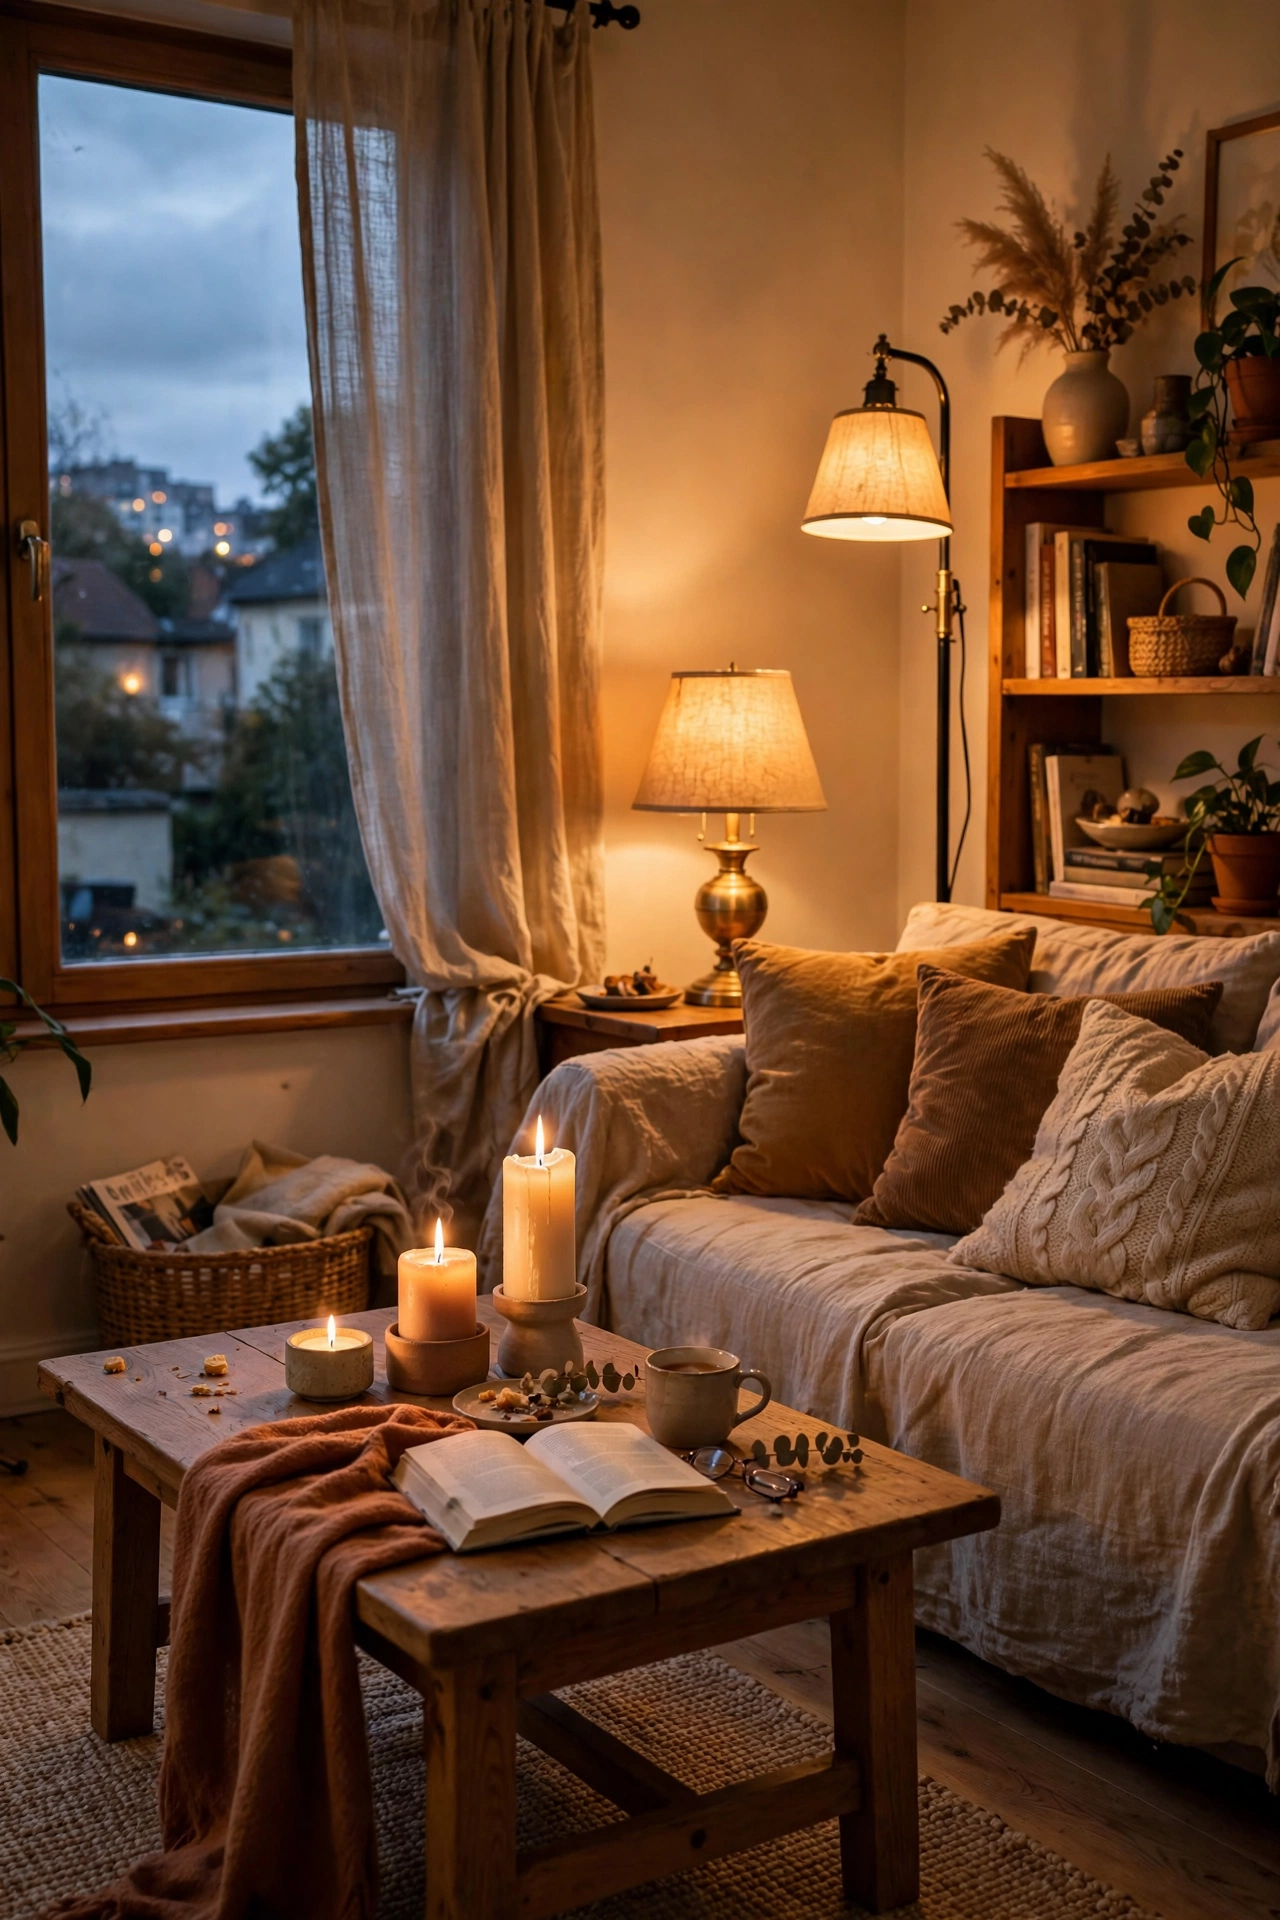
Designer rooms never rely on one overhead light; they layer light at three heights. I added a $20 floor lamp behind the reading chair, kept my table lamps at sofa height, and put battery candles on the mantel up high. Use warm bulbs everywhere for consistency. The room now glows instead of glares. I did this gradually over a month, one lamp at a time, and each addition made the evenings noticeably better. Lighting is the highest-impact money in decorating.
Cost: ~$20–45 | Time: 30 minutes
14. A Textured Throw Collection
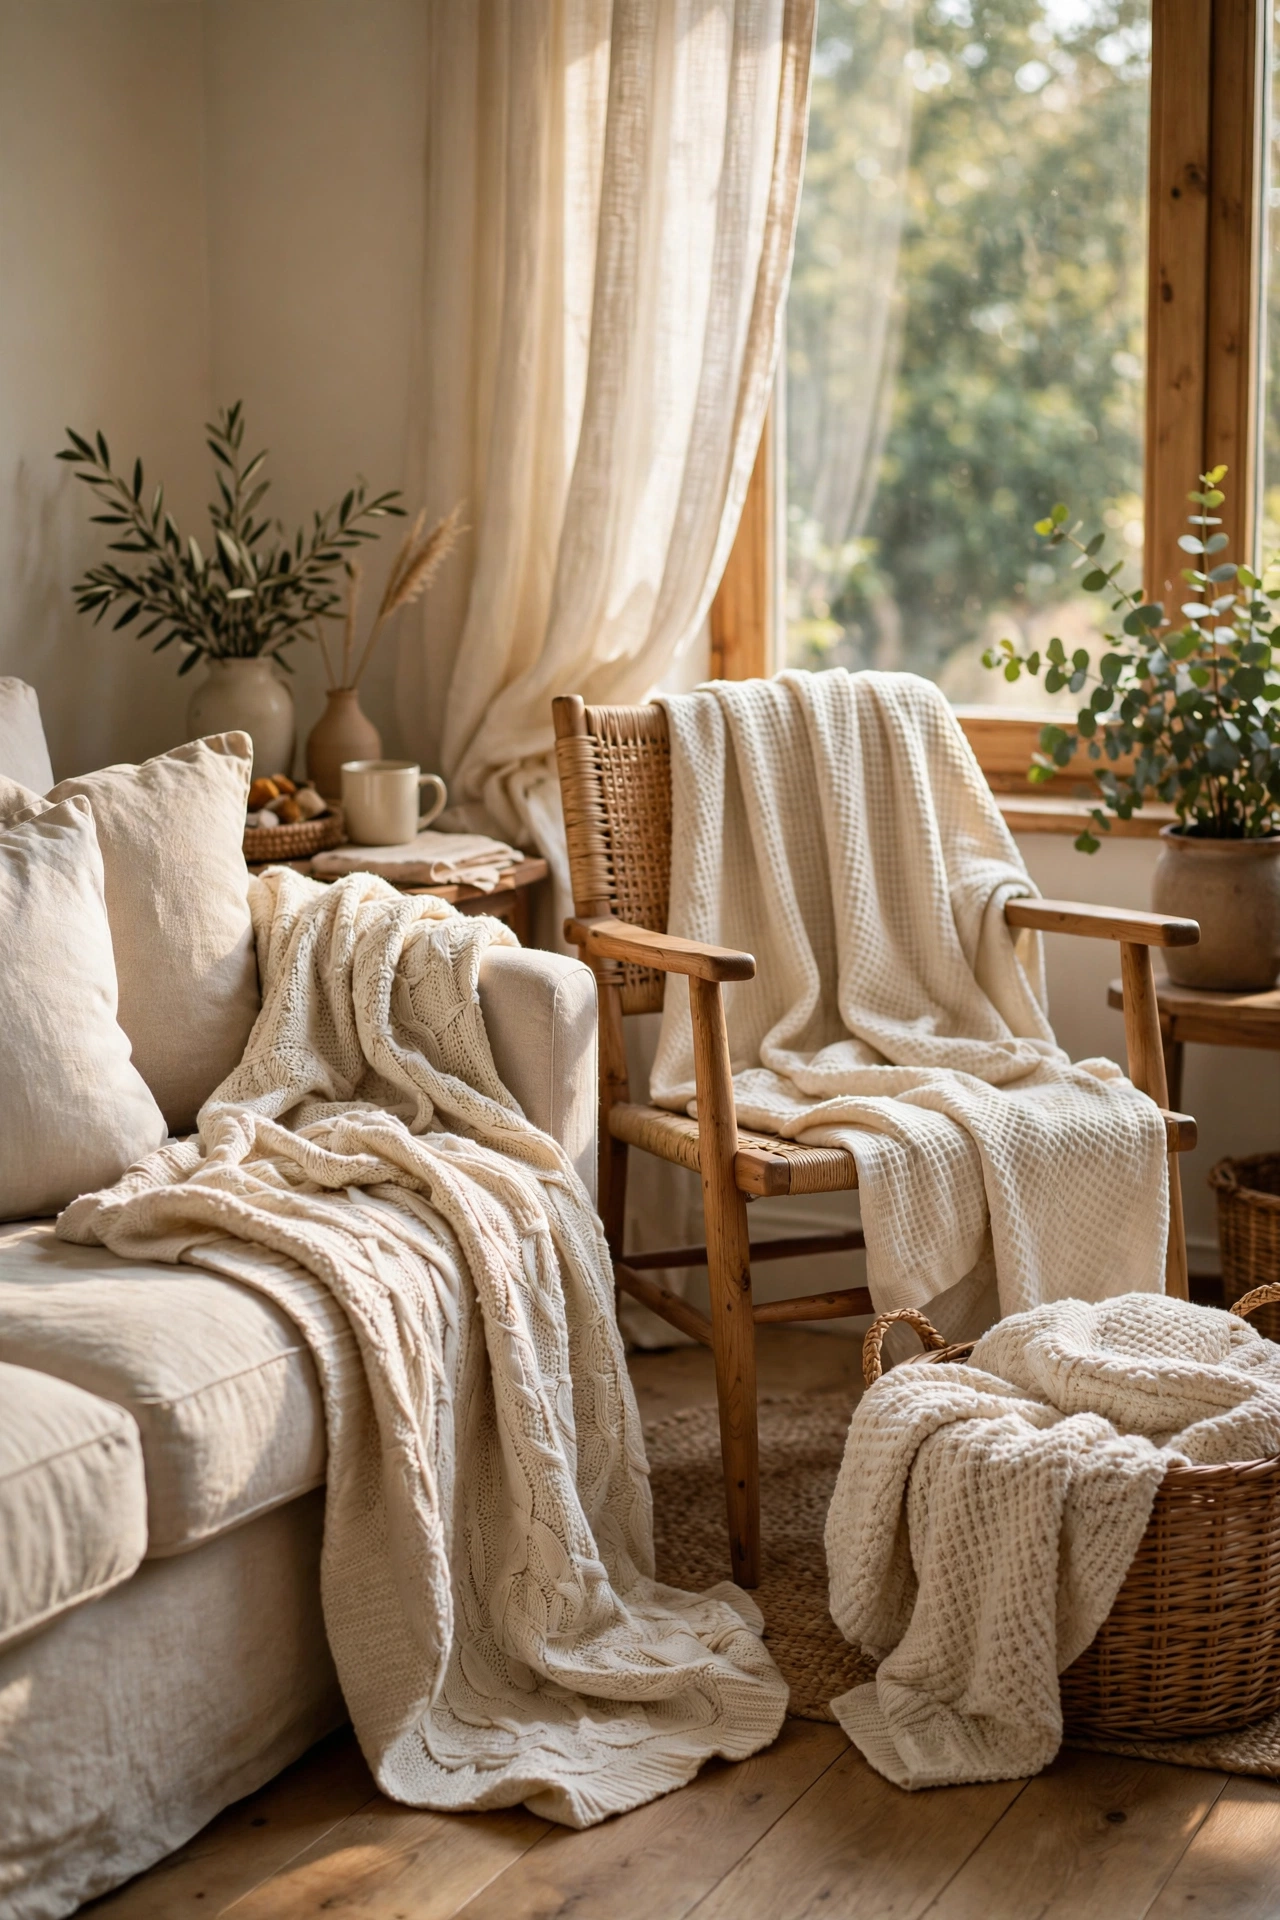
Three throws in different textures draped around the room read as luxury. I collected a waffle weave, a chunky knit, and a soft fleece for $45 total, and placed one on the sofa arm, one on the chair, and one in the basket. Stick to one colour family so they coordinate. The texture variety is what makes it look rich. I used to have one sad throw that migrated around the house; committing to a little collection changed the whole feeling of the room.
Cost: ~$45 | Time: 10 minutes
15. Framed Fabric as Art
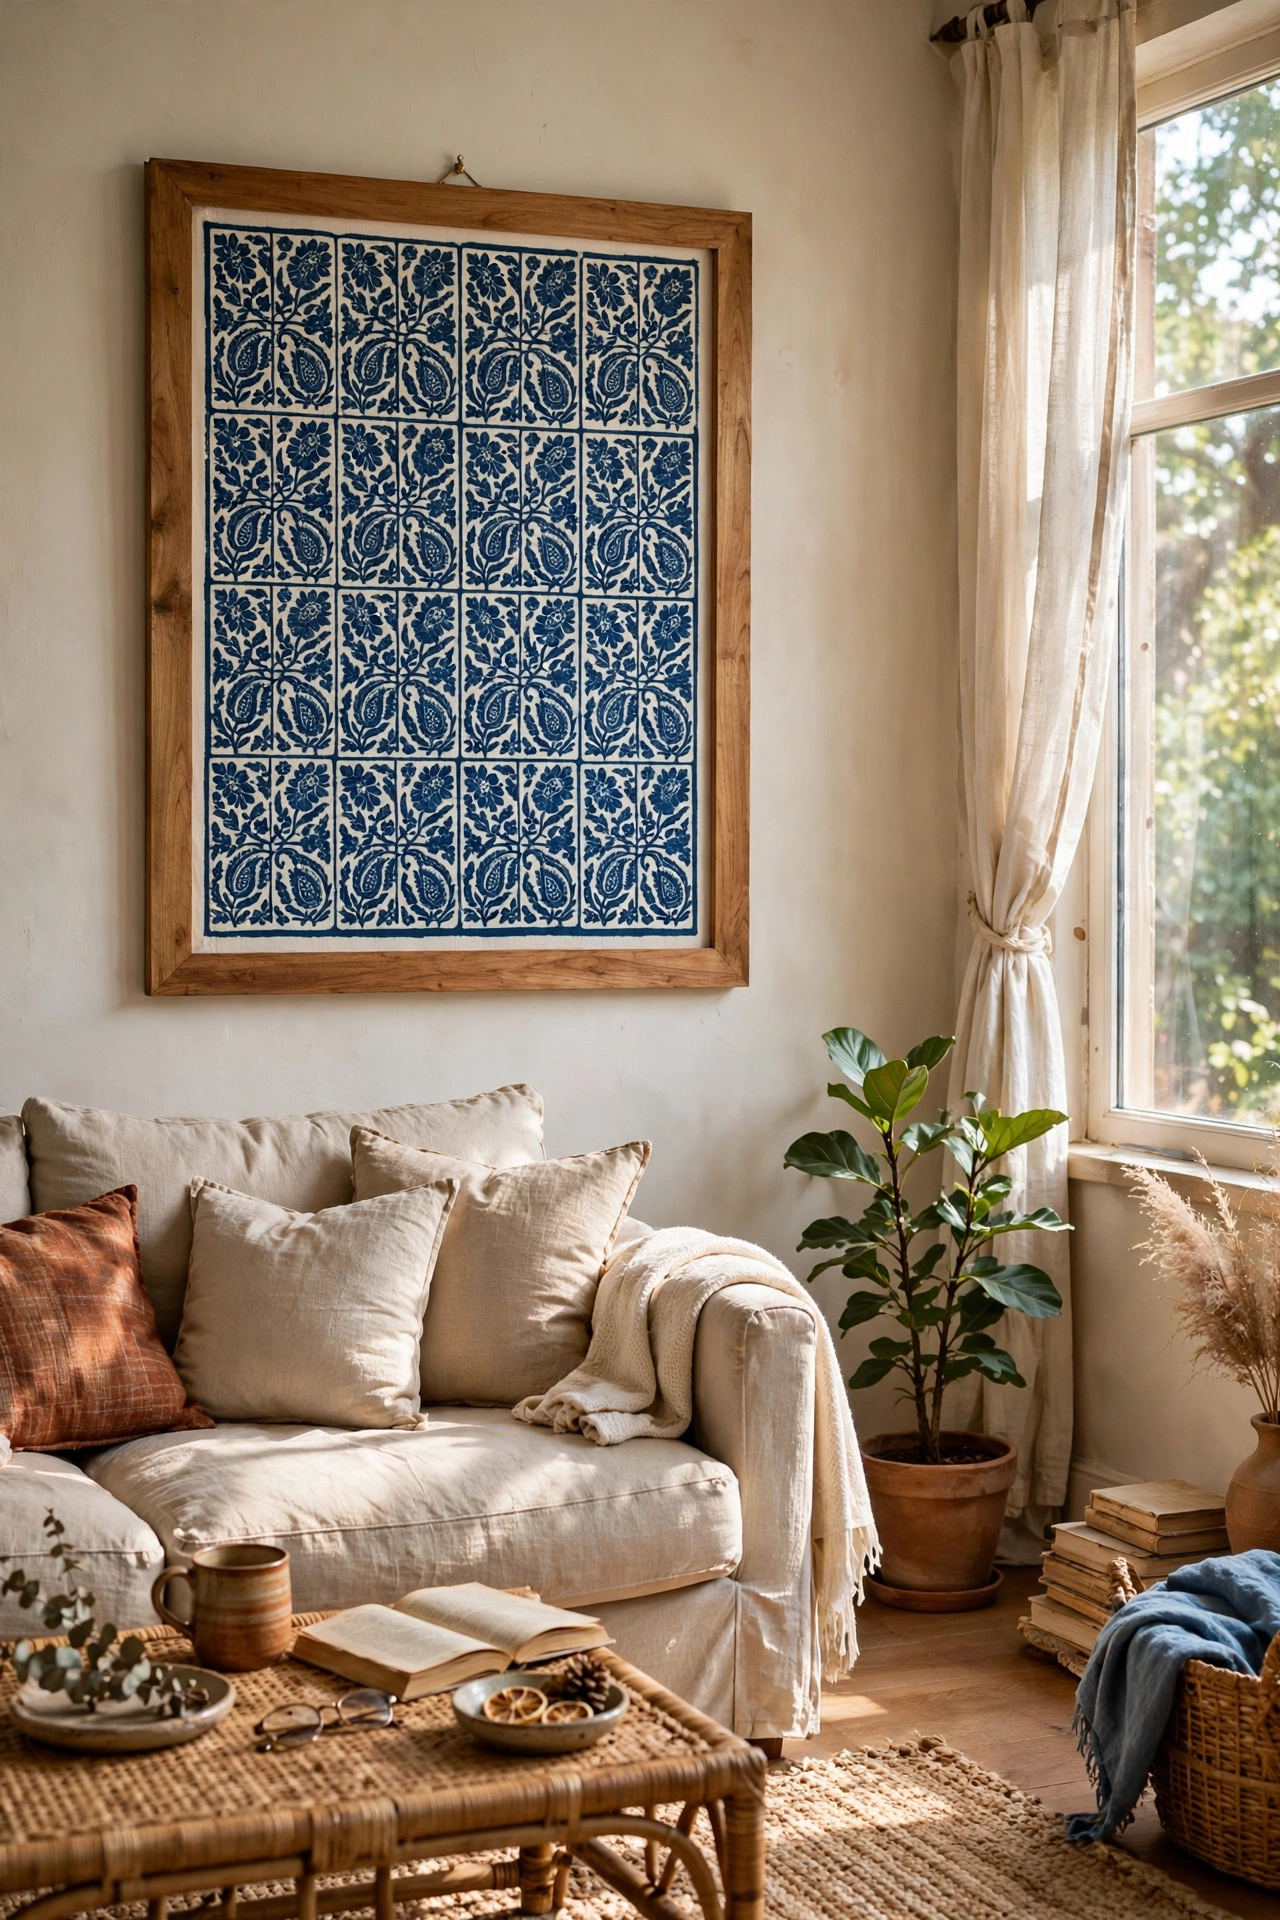
Beautiful fabric in a frame looks like expensive textile art. I bought half a metre of block-print fabric for $9, stretched it over the backing board of a $10 frame, and hung it as a pair with a second pattern. Pull the fabric drum-tight and secure it with tape on the back. The texture and pattern give walls a richness that flat prints cannot. I chose an indigo print that picks up the blue in my rug, and the whole room ties together now.
Cost: ~$19 | Time: 30 minutes
16. The Styled Bookshelf Edit
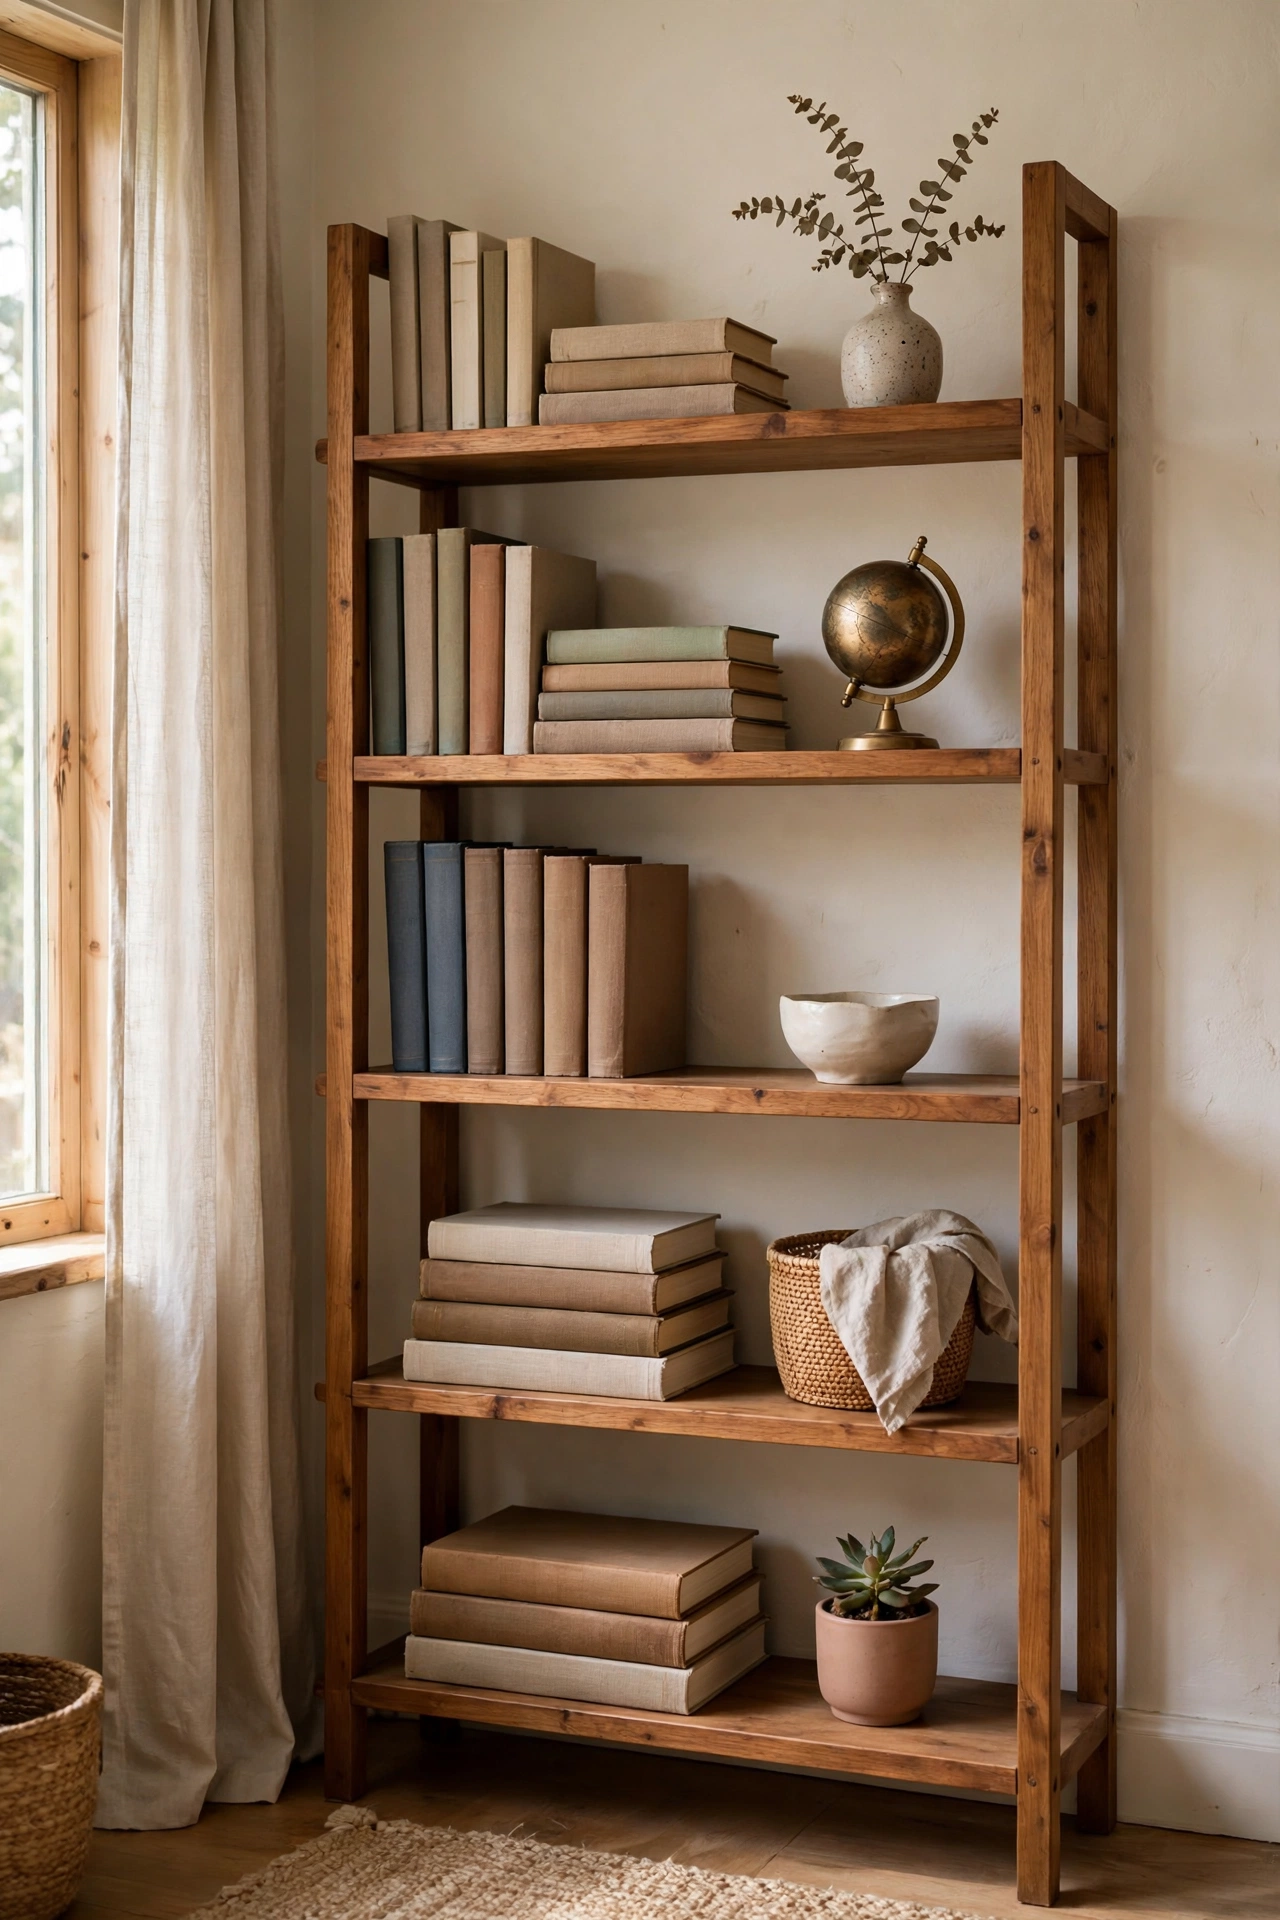
Editing your bookshelf like a stylist costs nothing and changes everything. I removed half the books from my shelf, grouped the rest by size with some stacked horizontally, and added one object per shelf: a vase, a framed photo, a small plant. Leave empty space; it is the empty space that makes shelves look designed. My shelf held twice as much before and looked half as good. Be ruthless. Box up the overflow for another room or donate it. I keep a small ‘maybe’ box for the overflow, and half of it ends up donated within a month anyway.
Cost: $0 | Time: 1 hour
17. Peel-and-Stick Moulding Panels
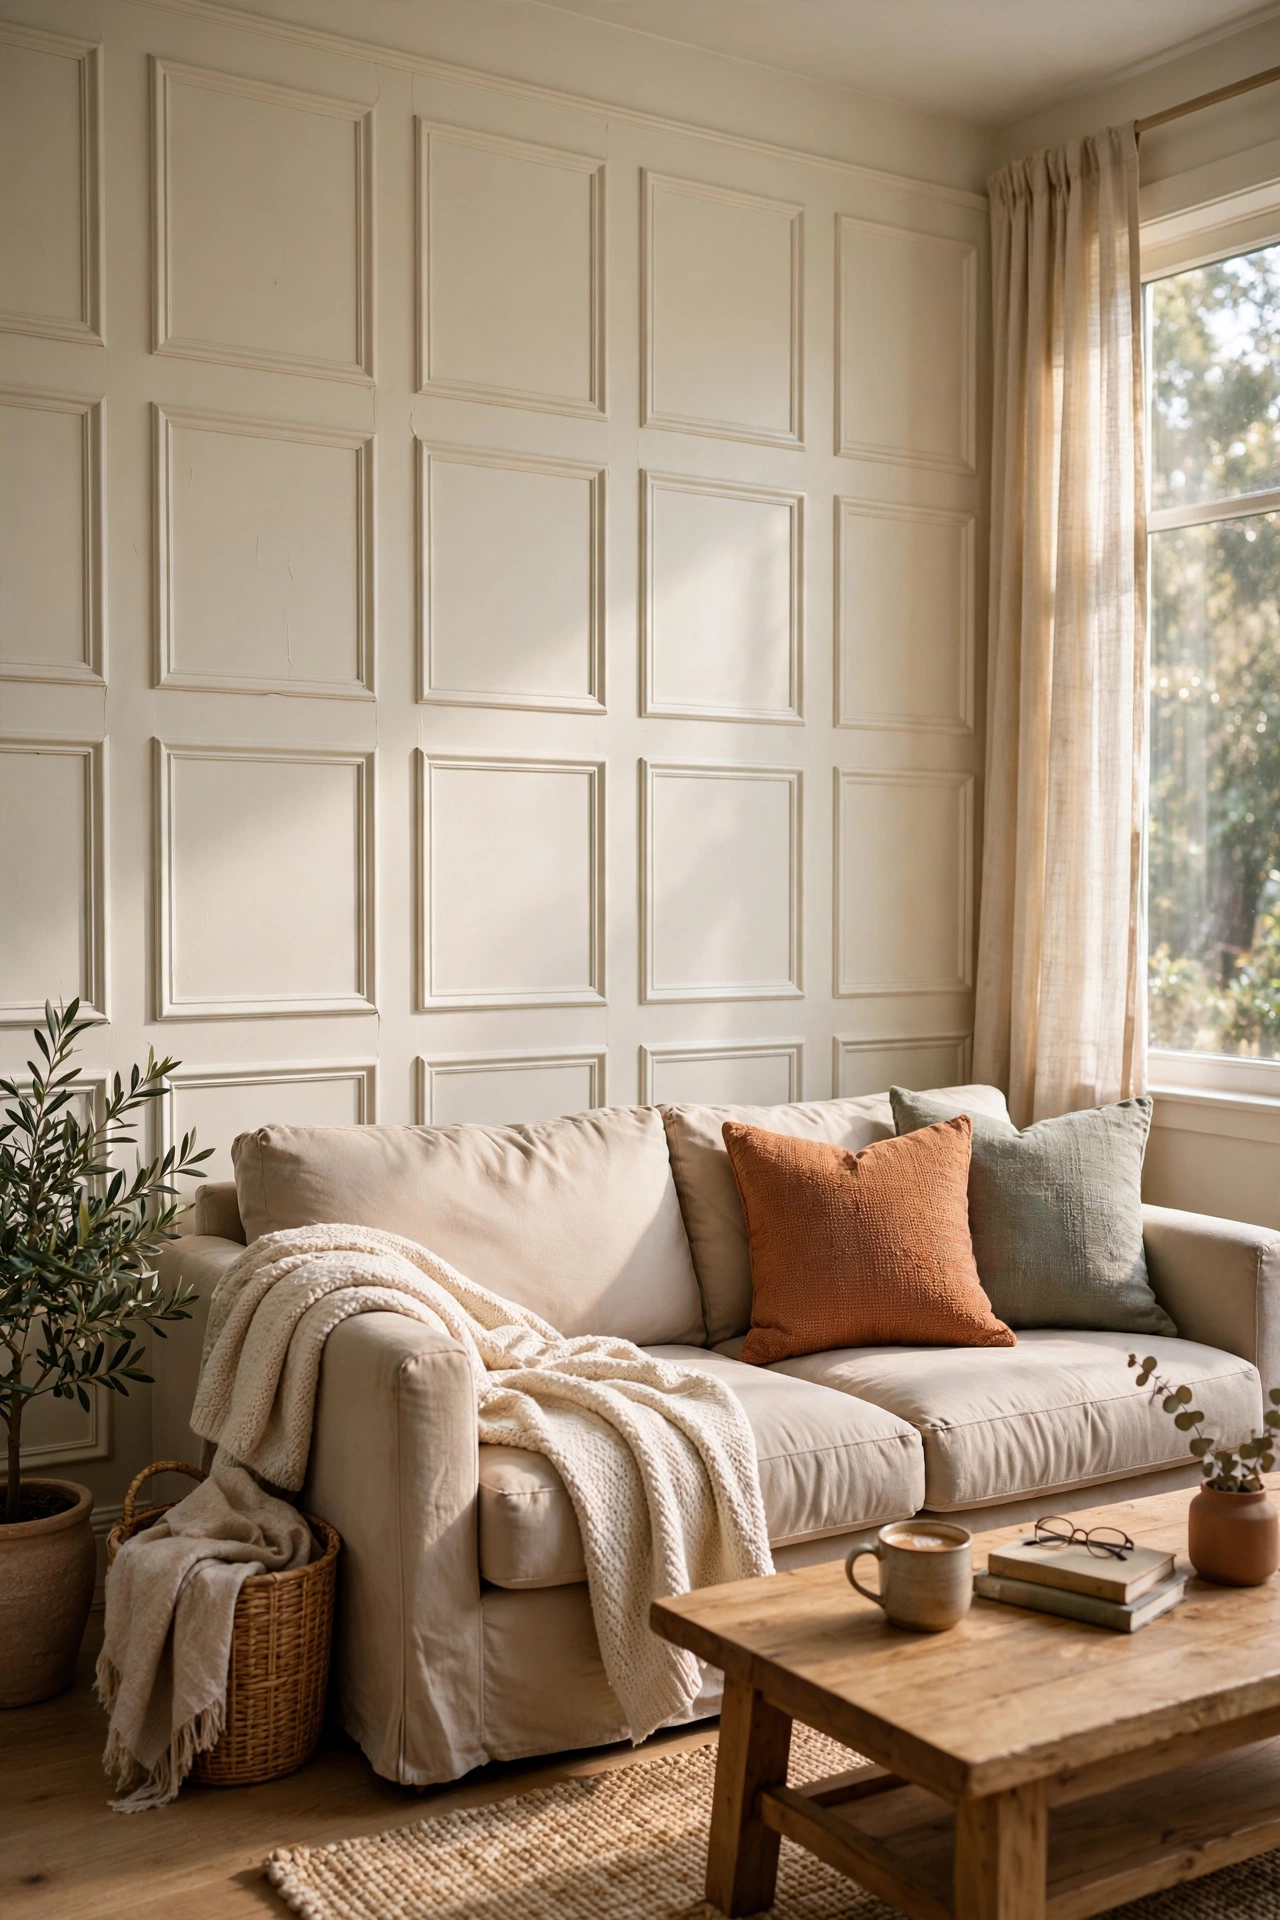
Peel-and-stick wall moulding gives flat walls the panelled look of a Parisian apartment. I bought a kit for $55 and applied box moulding panels to the wall behind my sofa, following the included template. Measure carefully and use a level for every piece. Paint the moulding the same colour as the wall for a subtle, expensive look. I was nervous about the adhesive, but two years later every piece is still firmly attached. It is the most transformative thing I have done to these walls.
Cost: ~$55 | Time: 3 hours
18. A Statement Plant in a Nice Pot
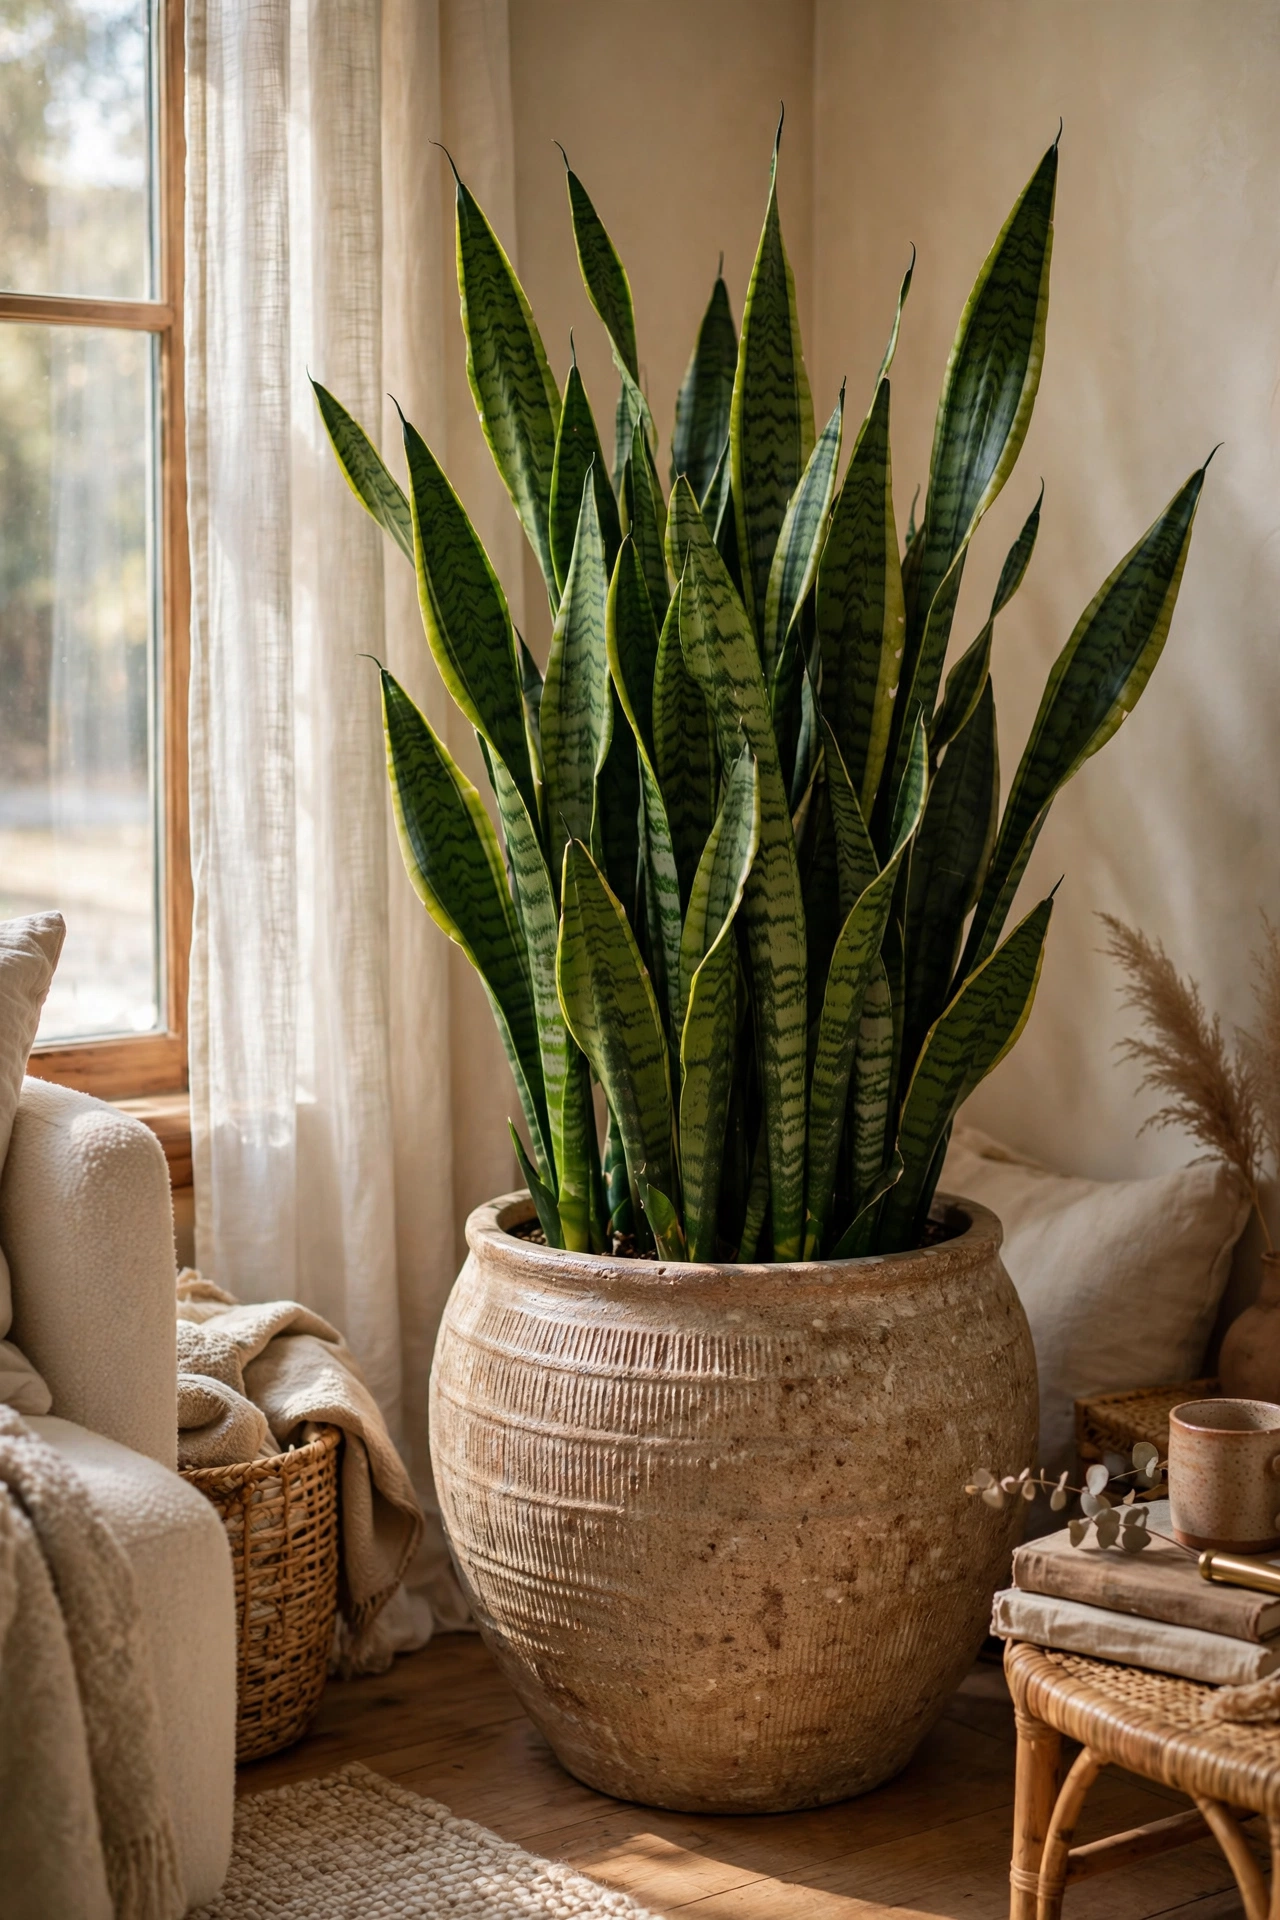
One large plant in a beautiful pot looks more designed than five small plants in plastic. I bought a fiddle leaf fig for $30 and a $25 ceramic pot, and the corner it fills now looks like a magazine corner. The pot matters as much as the plant; a gorgeous pot makes even a humble pothos look intentional. Choose a plant that suits your light and be honest about your watering habits. I killed two fiddle leafs before switching to a snake plant, and the snake plant in that same pot looks just as good.
Cost: ~$55 | Time: 20 minutes
Pro tip: Designers repeat materials around a room at least three times. If you introduce brass, put it on the mantel, the side table, and the bookshelf. Repetition is what makes a room feel pulled together instead of random.
19. Coordinated Curtain and Pillow Fabric
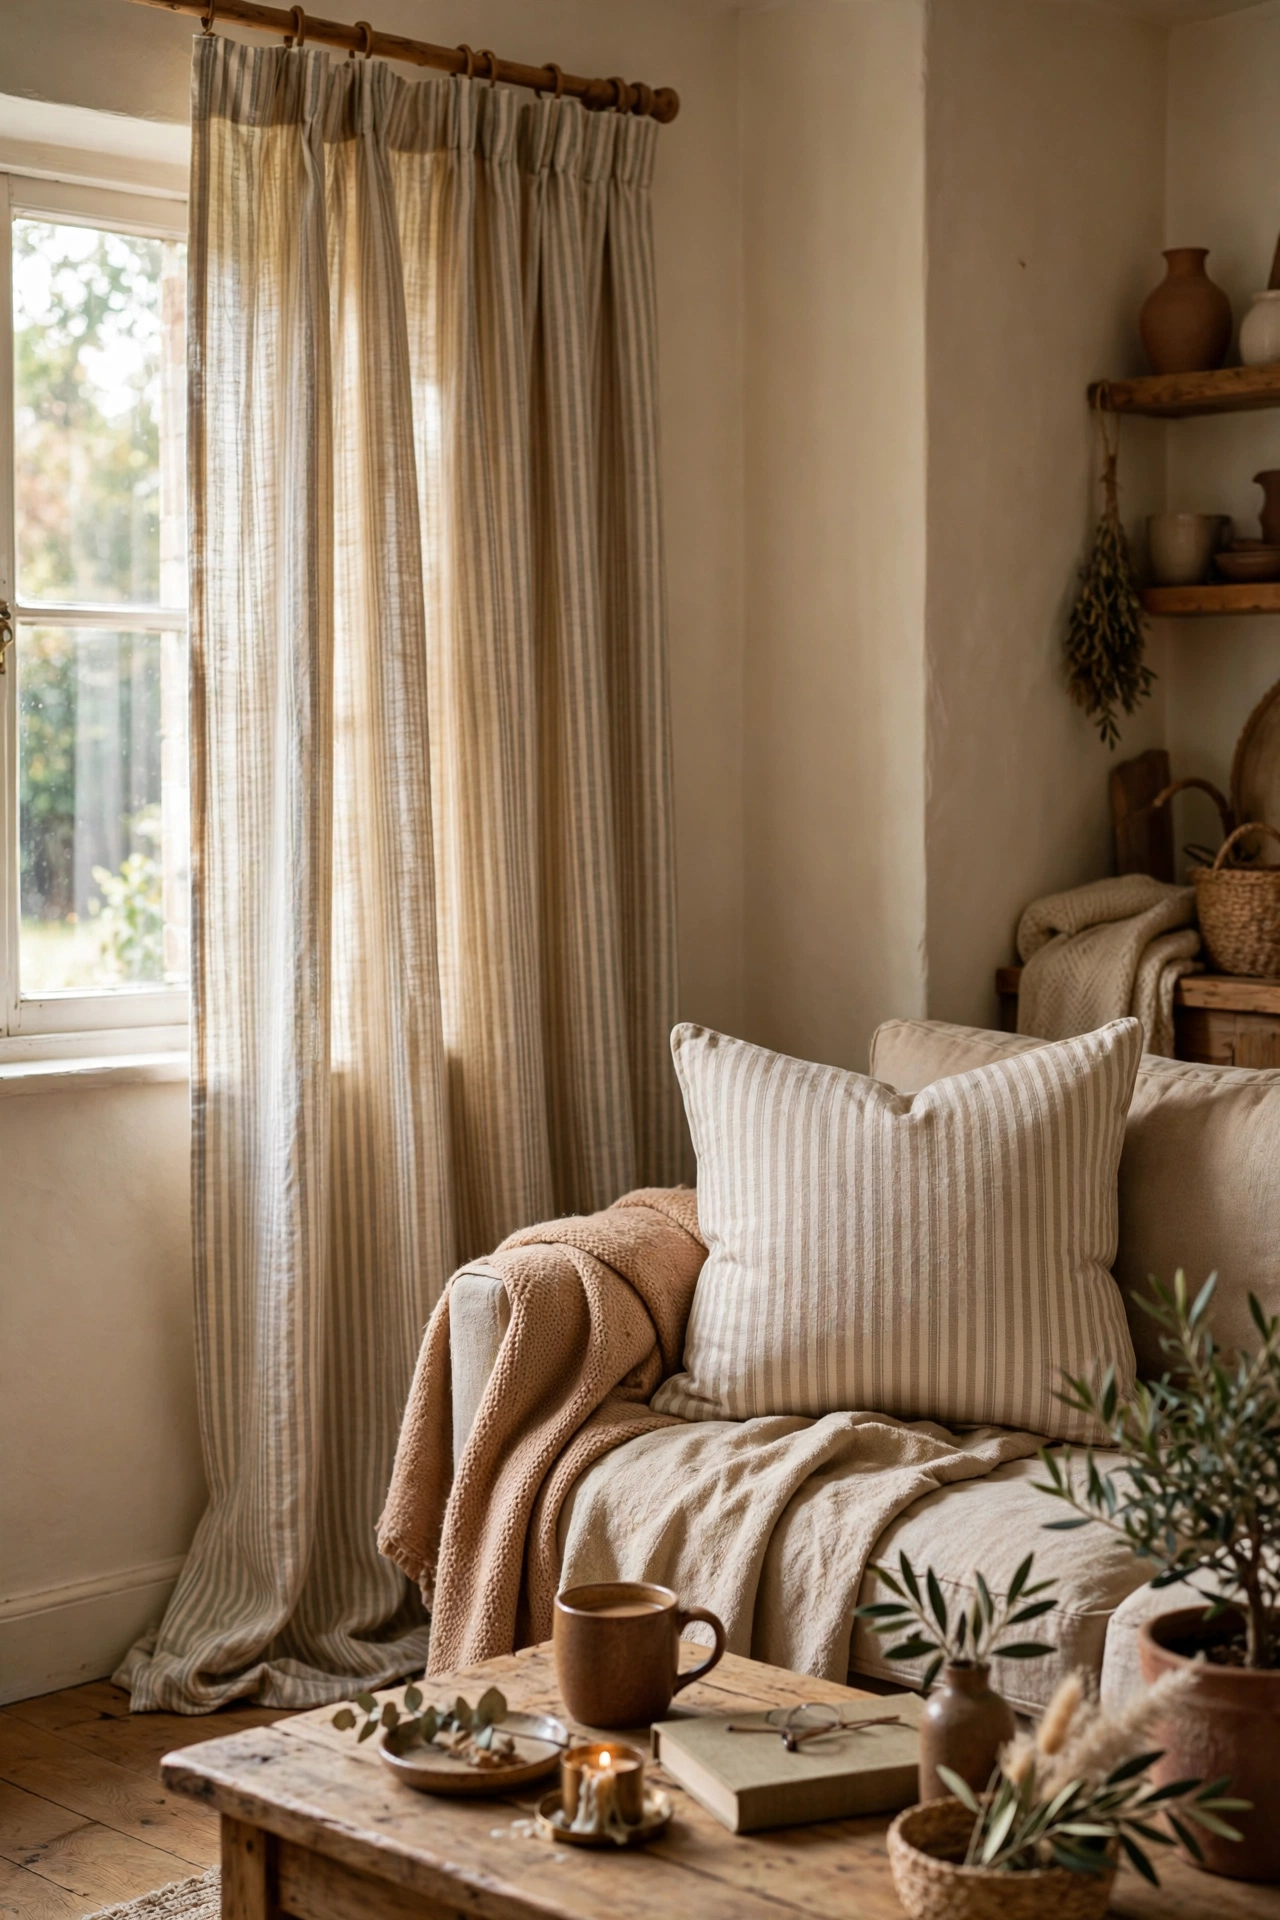
Using the same fabric for curtains and one pillow ties a room together like a professional scheme. I bought extra yardage of my curtain fabric for $20 and made two simple envelope pillow covers. You do not need to sew much; envelope covers are just rectangles with overlapping backs. The repetition of the pattern makes the room feel designed rather than assembled. I chose a subtle stripe, and the coordination is noticeable in the best quiet way. If sewing scares you, iron-on hemming tape works just as well for simple envelope covers.
Cost: ~$20 | Time: 1 hour
20. A Vintage Rug, Even a Small One
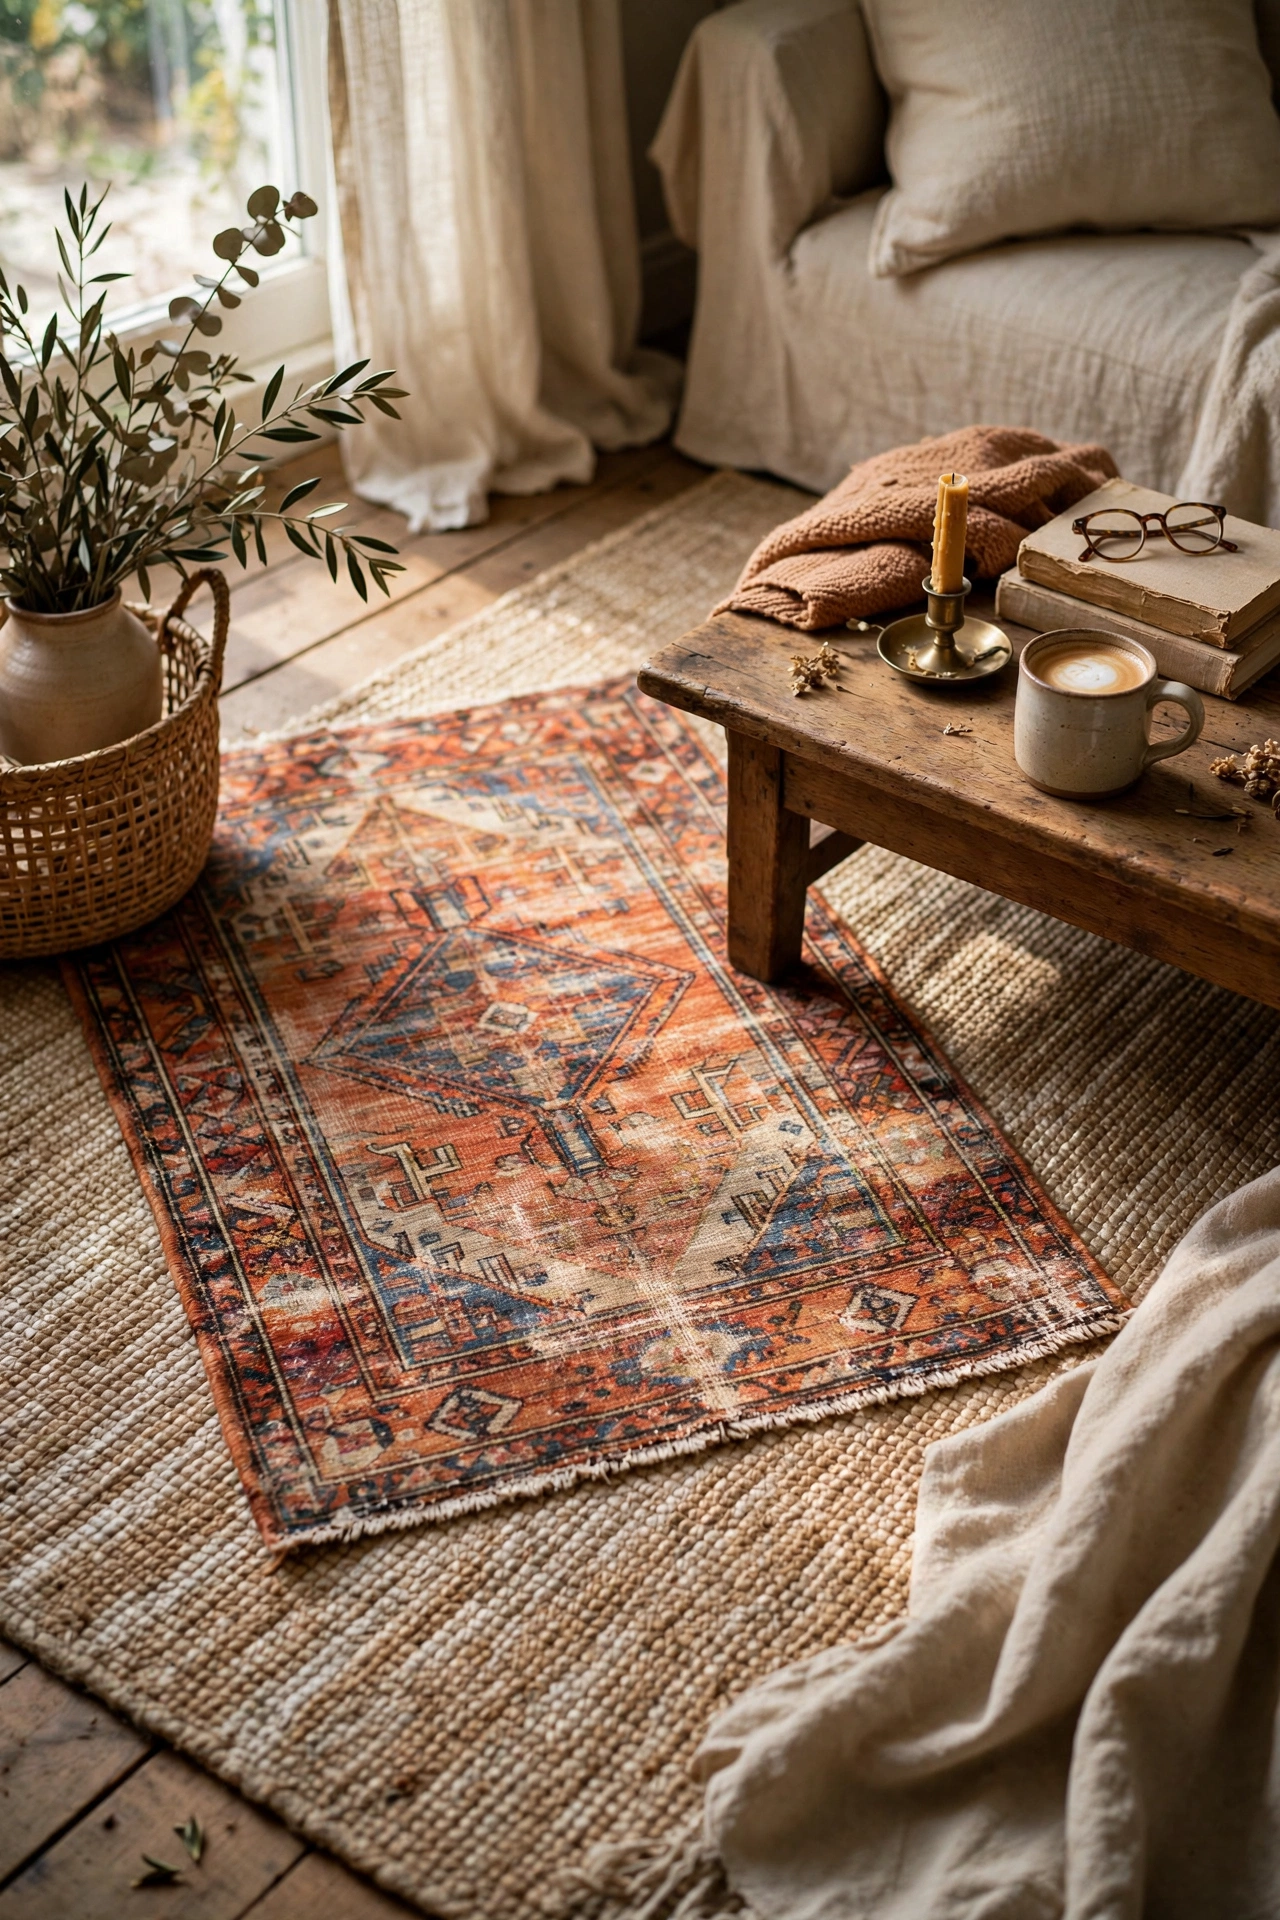
A small vintage-style rug layered or placed in front of the sofa adds instant character. I found a 3×5 distressed rug for $70 online and placed it angled over my larger neutral rug. The pattern and age give the floor a story. If $70 is too much, check estate sales where small rugs go for a fraction. Make sure the colours relate to something else in the room. My rug’s faded red picks up the terracotta in my pillows, and that one echo makes the whole room feel intentional.
Cost: ~$40–70 | Time: 15 minutes
21. Black Accents for Depth
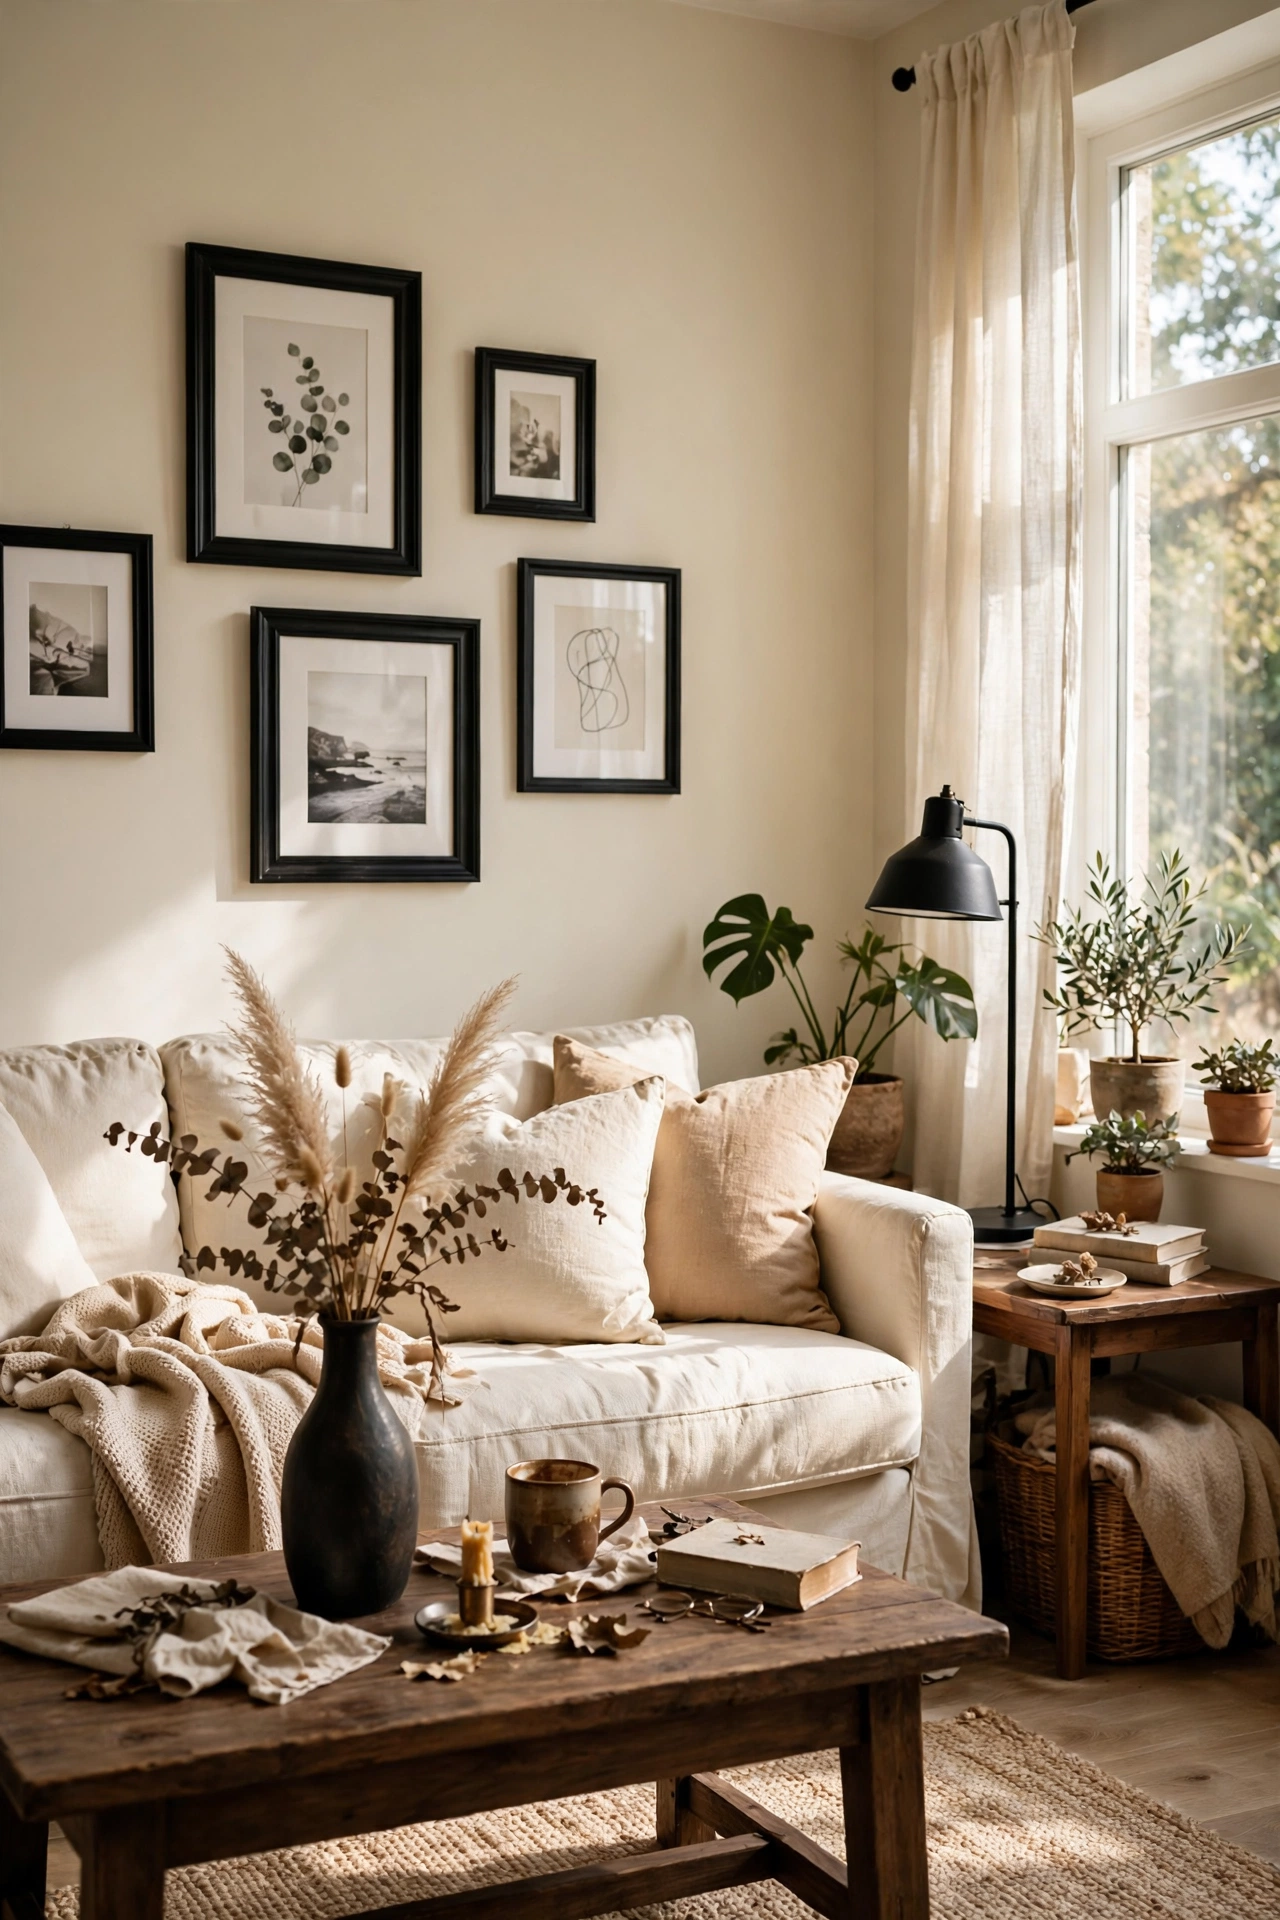
A few black accents keep a light room from floating away. I spray-painted two thrifted frames matte black for $4, added a black ceramic vase for $12, and swapped in black lamp finials I already owned. The dark notes ground the room and make the light colours look brighter by contrast. Distribute the black in at least three spots so it feels balanced. My all-cream living room felt bland until the black arrived; now it feels crisp and finished. Start with one black piece and live with it a week before adding more; restraint is the whole trick.
Cost: ~$16 | Time: 45 minutes
22. The Edited Entry Console
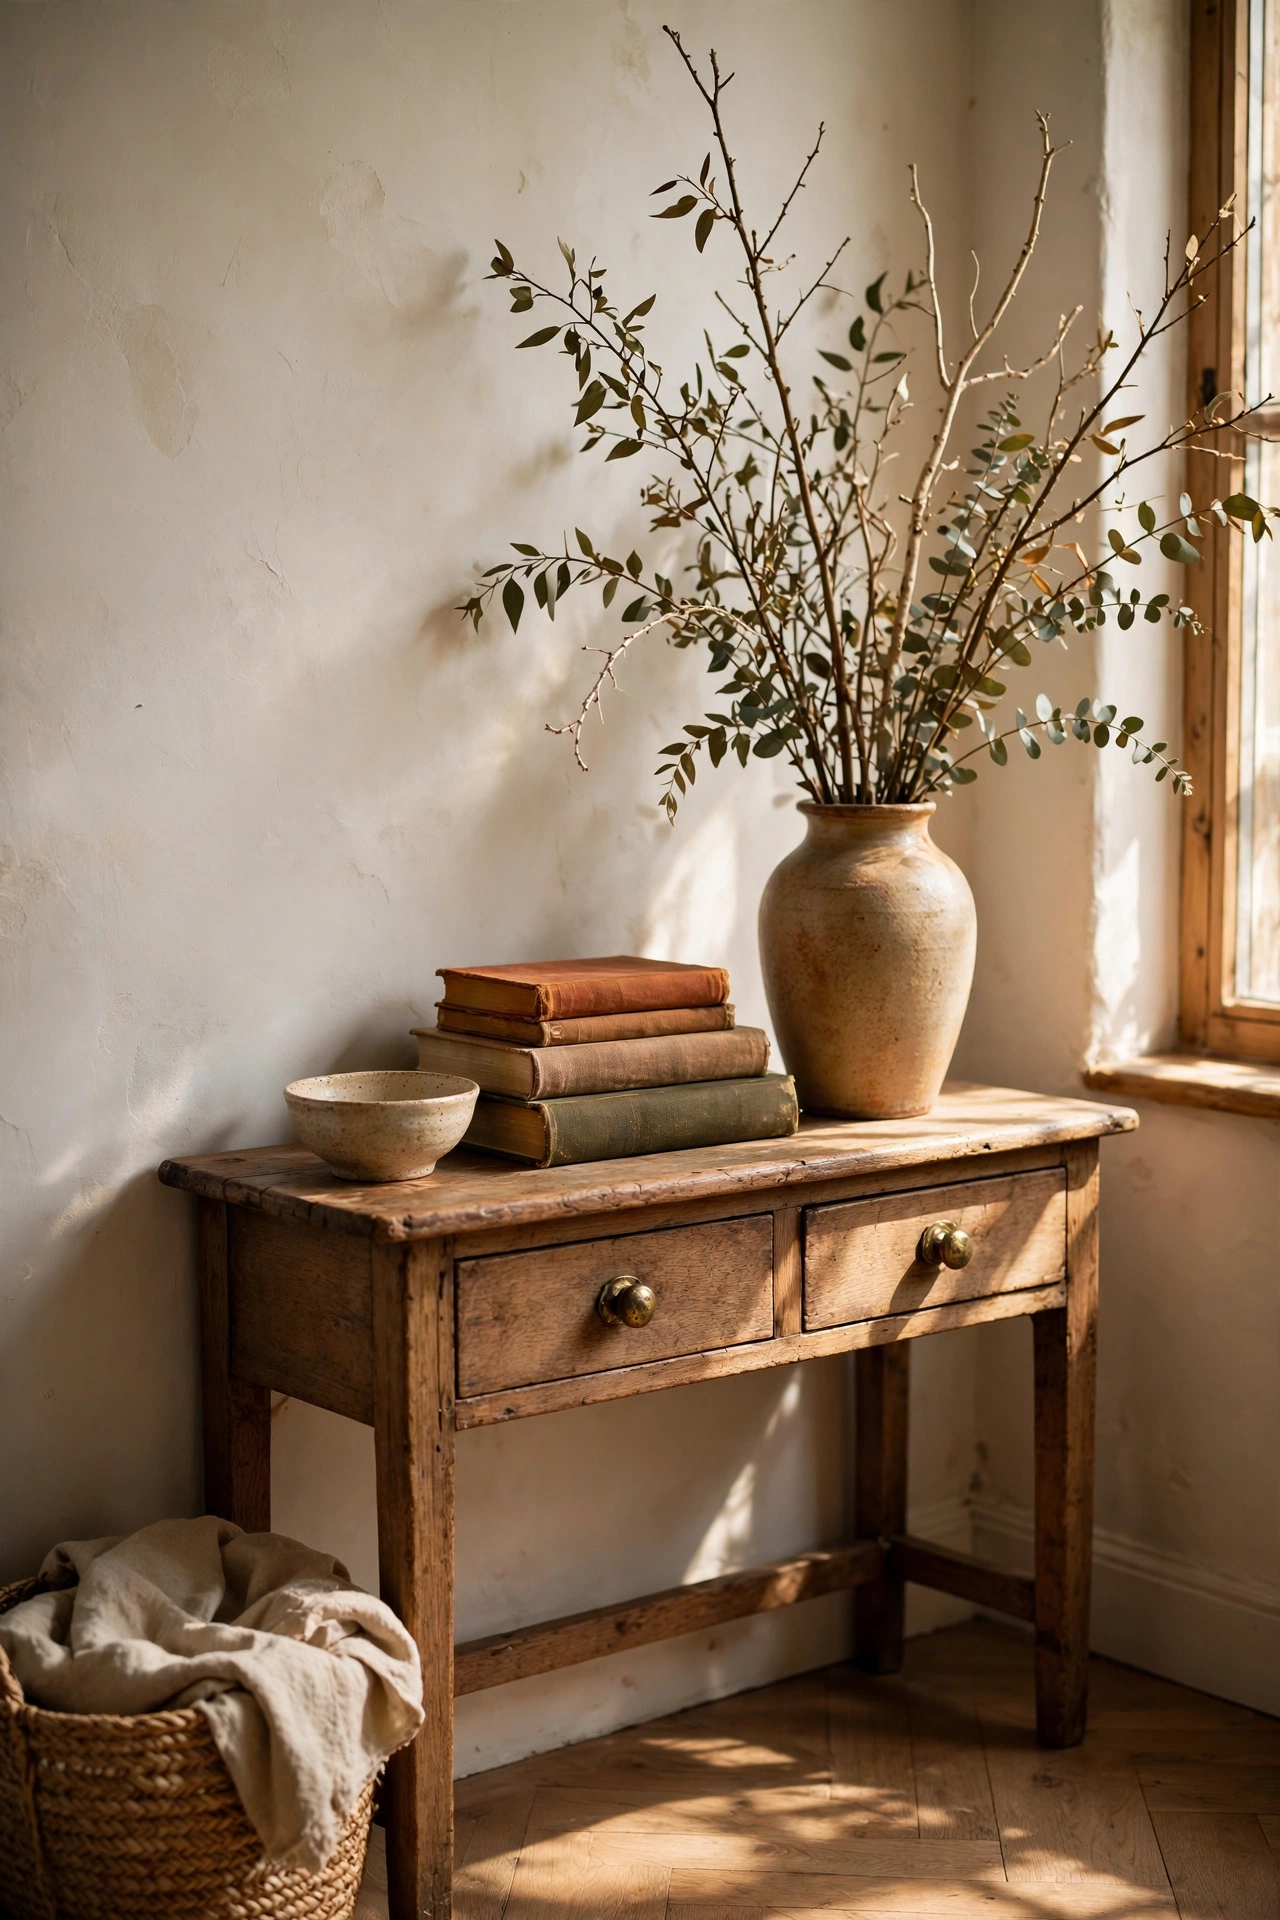
The console or surface you see when entering the living room sets the tone, so style it like a vignette. I cleared my entry console and styled it with a tall vase of branches, a stack of two books, and a small bowl for keys. Three objects, three heights, done. It cost me nothing because I shopped the house. This little scene is the first thing guests see, and it tells them the rest of the house is cared for. I refresh the branches seasonally to keep it alive.
Cost: $0–15 | Time: 20 minutes
23. Fresh Flowers, Always
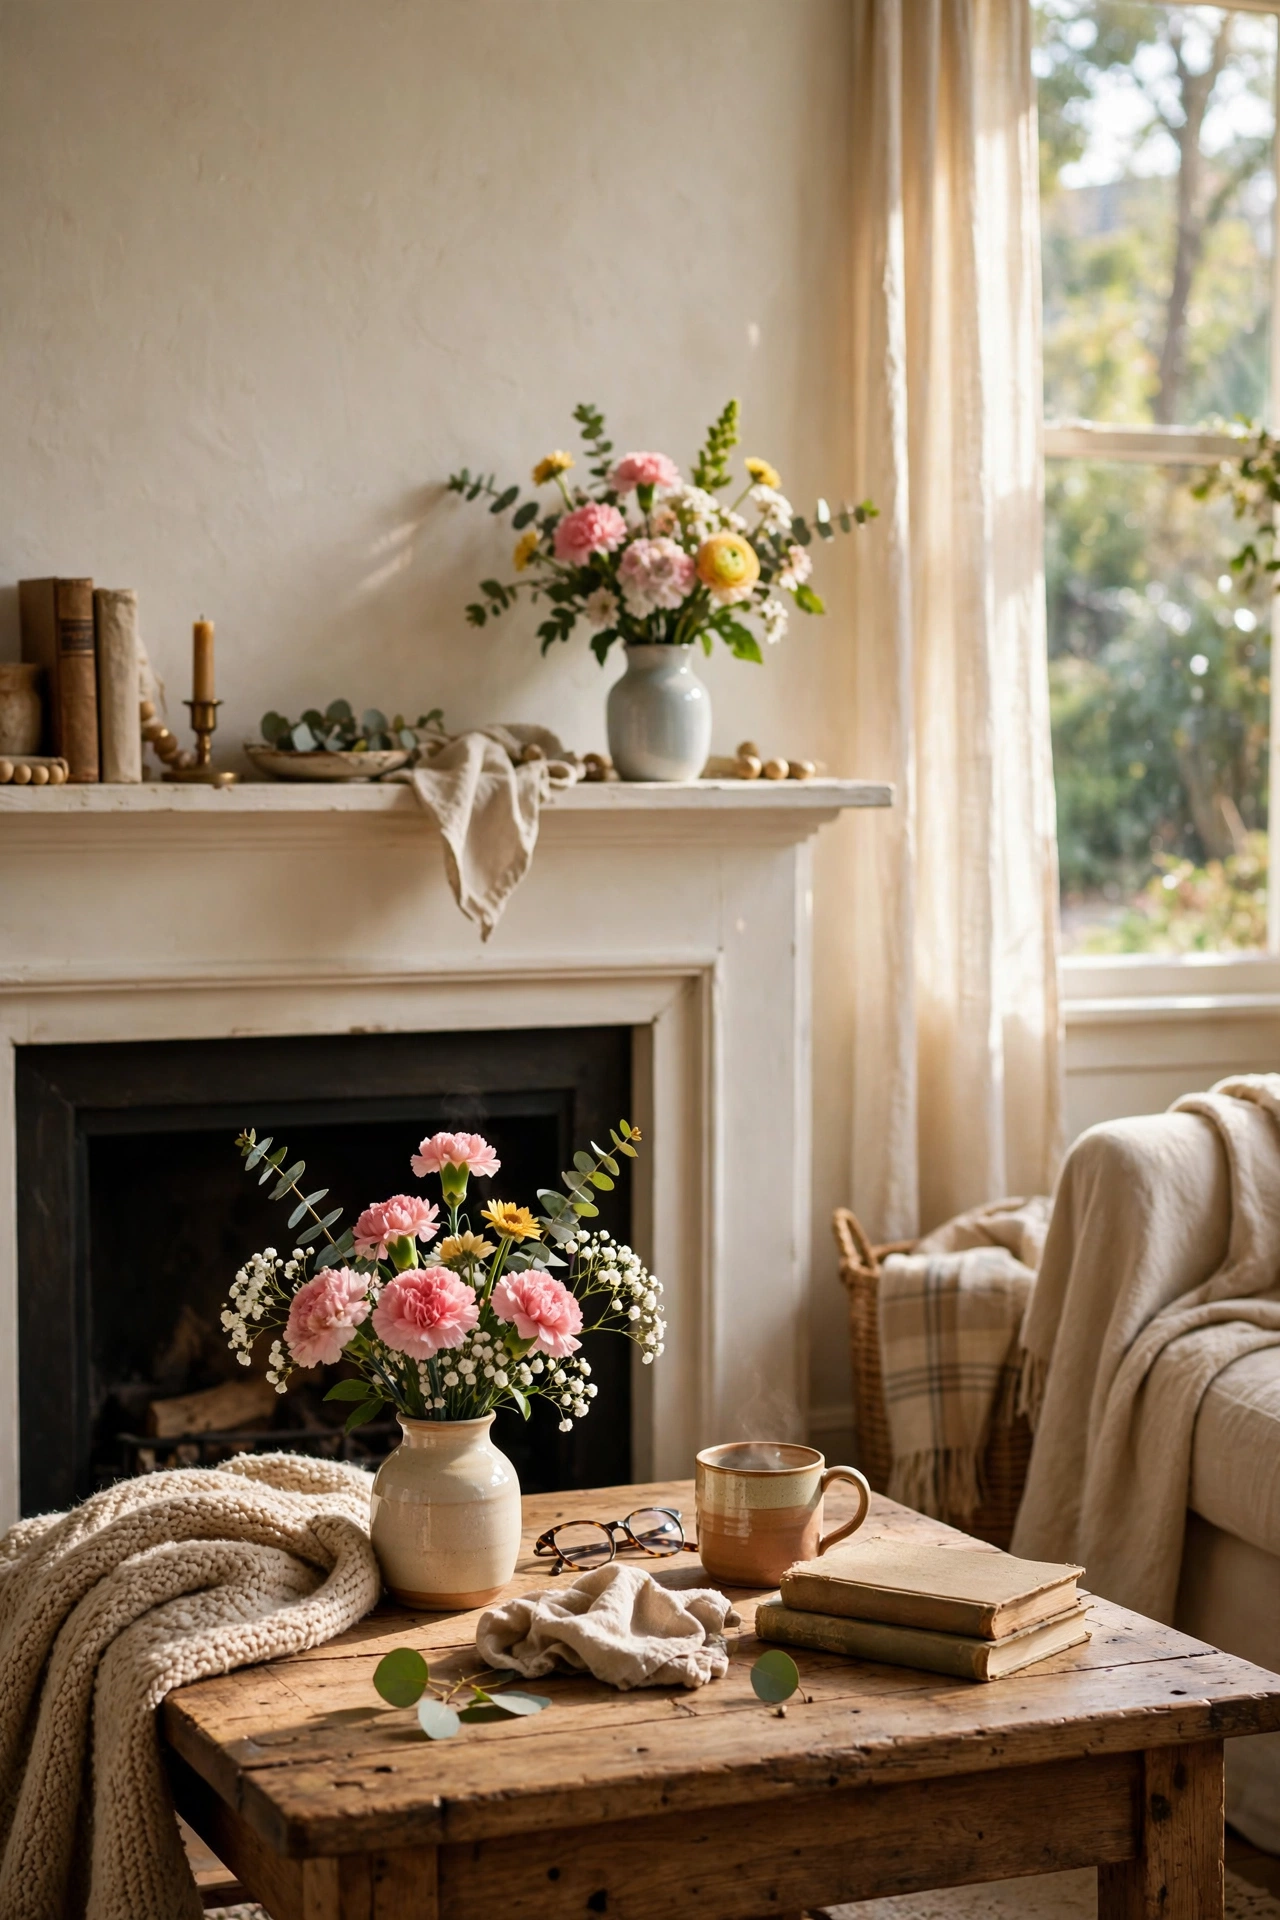
A $5 grocery store bouquet is the oldest designer trick in the book. I buy one bunch a week, split it between two small vases, and place them on the coffee table and the mantel. Trim the stems at an angle, remove lower leaves, and change the water every two days to make them last. Fresh flowers make a room feel alive and cared for in a way nothing else does. It is $20 a month, and honestly it is the best decorating money I spend.
Cost: ~$5/week | Time: 10 minutes
Keep the designer momentum going with (see also: 23-living-room-decor-ideas-under-25-worth-every-penny) and (see also: 21-living-room-wall-decor-ideas-that-cost-almost-nothing). Spotted your favourite trick? Save this idea to your dream home board before you forget which one it was.
