19 Dollar Tree Centerpiece Ideas for Every Season
A good centrepiece makes the whole table feel dressed, and it doesn’t need to cost more than a sandwich. This dollar tree centerpiece collection covers every season of the year, so your table always looks intentional — whether it’s a Tuesday dinner or the big holiday meal.
Each idea below names its season, so you can jump straight to what you need. And if you love seasonal styling, my patio finds worth grabbing will sort your outdoor table too.
1. Spring Tulip Mason Jar Trio (Spring)
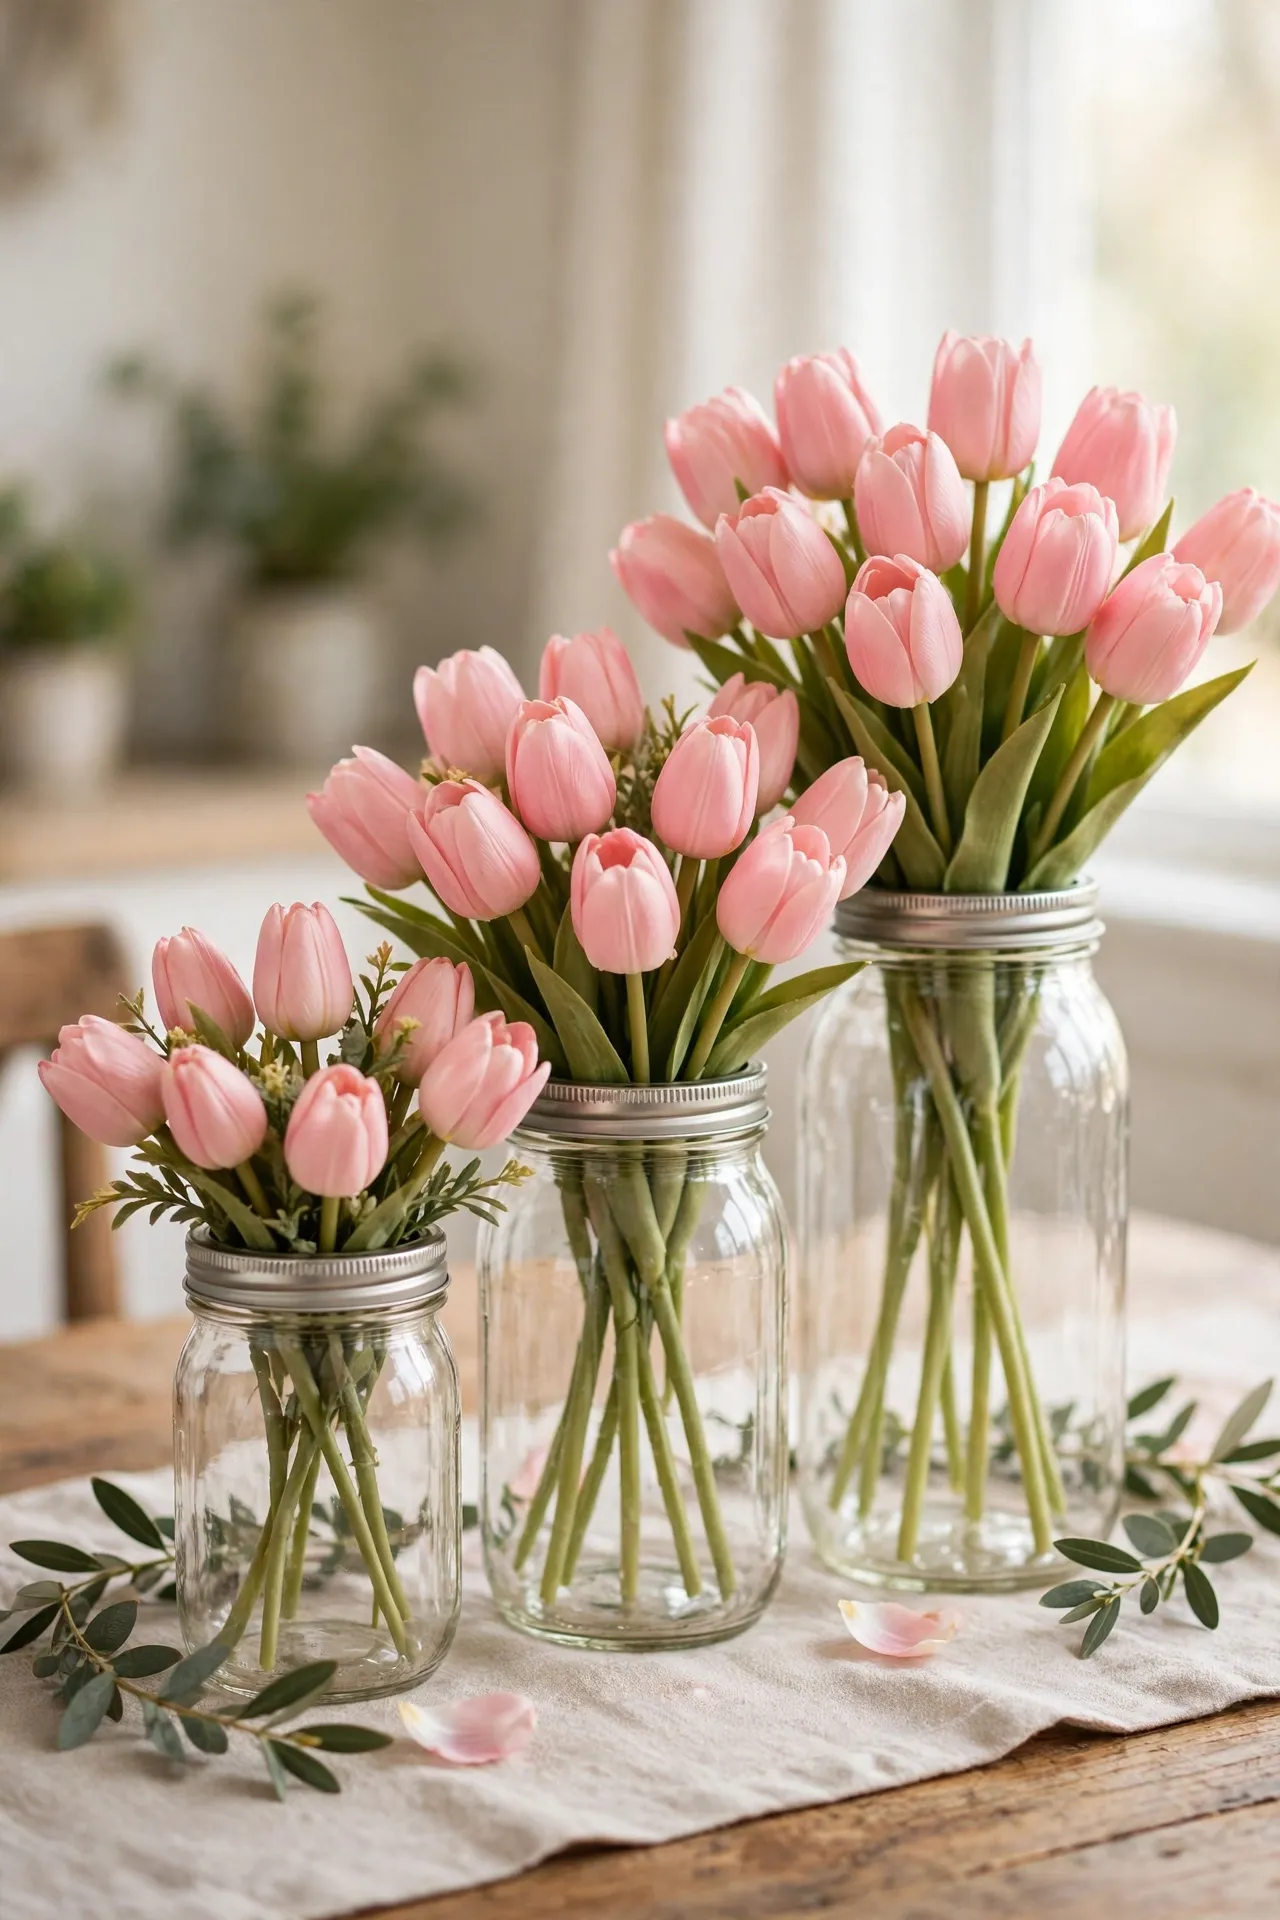
Three mason jars with faux tulips in different heights make the freshest spring centrepiece. Fill the jars with water (it makes the faux stems look real), trim the stems to stagger the heights, and tie a ribbon around each neck. Pro tip: choose tulips in one colour family — three shades of pink beats a rainbow every time. I tried this and the one mistake to avoid is overcrowding the jars; five stems per jar looks lush, ten looks like a florist’s bin.
Cost: ~$7 | Time: 15 minutes
2. Easter Egg Topiary Trees (Spring)
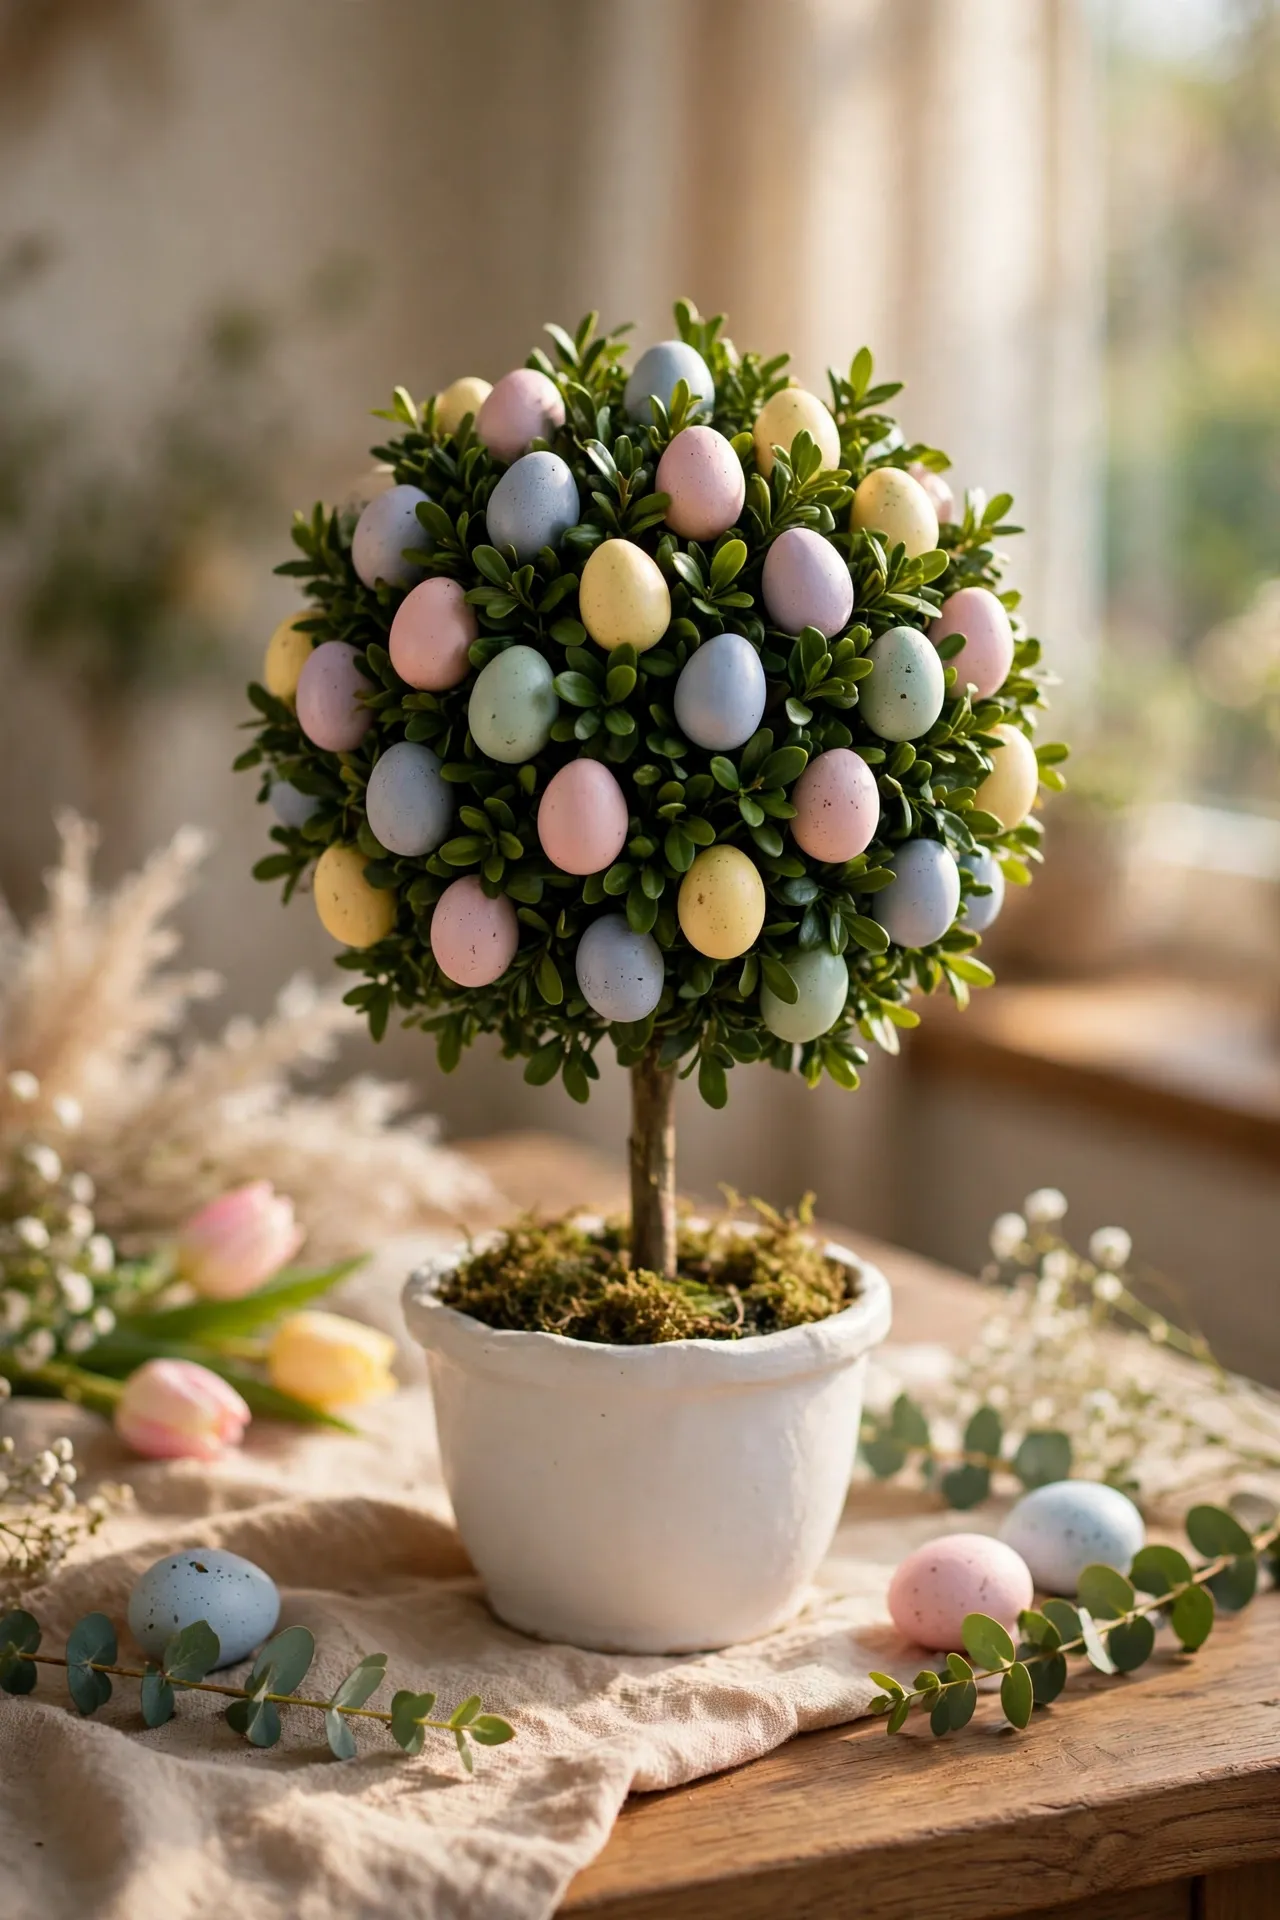
Glue pastel eggs to a foam cone, stick it on a small pot, and you have an Easter topiary that looks straight from a garden centre. Work from the bottom up, overlapping the eggs like shingles, and top it with a bow. Let the glue cure fully before moving it. I tried this and the one mistake to avoid is using a glue gun on low heat; the eggs pop off within a day.
Cost: ~$6 | Time: 40 minutes
3. Lemon and Greenery Bowl (Summer)
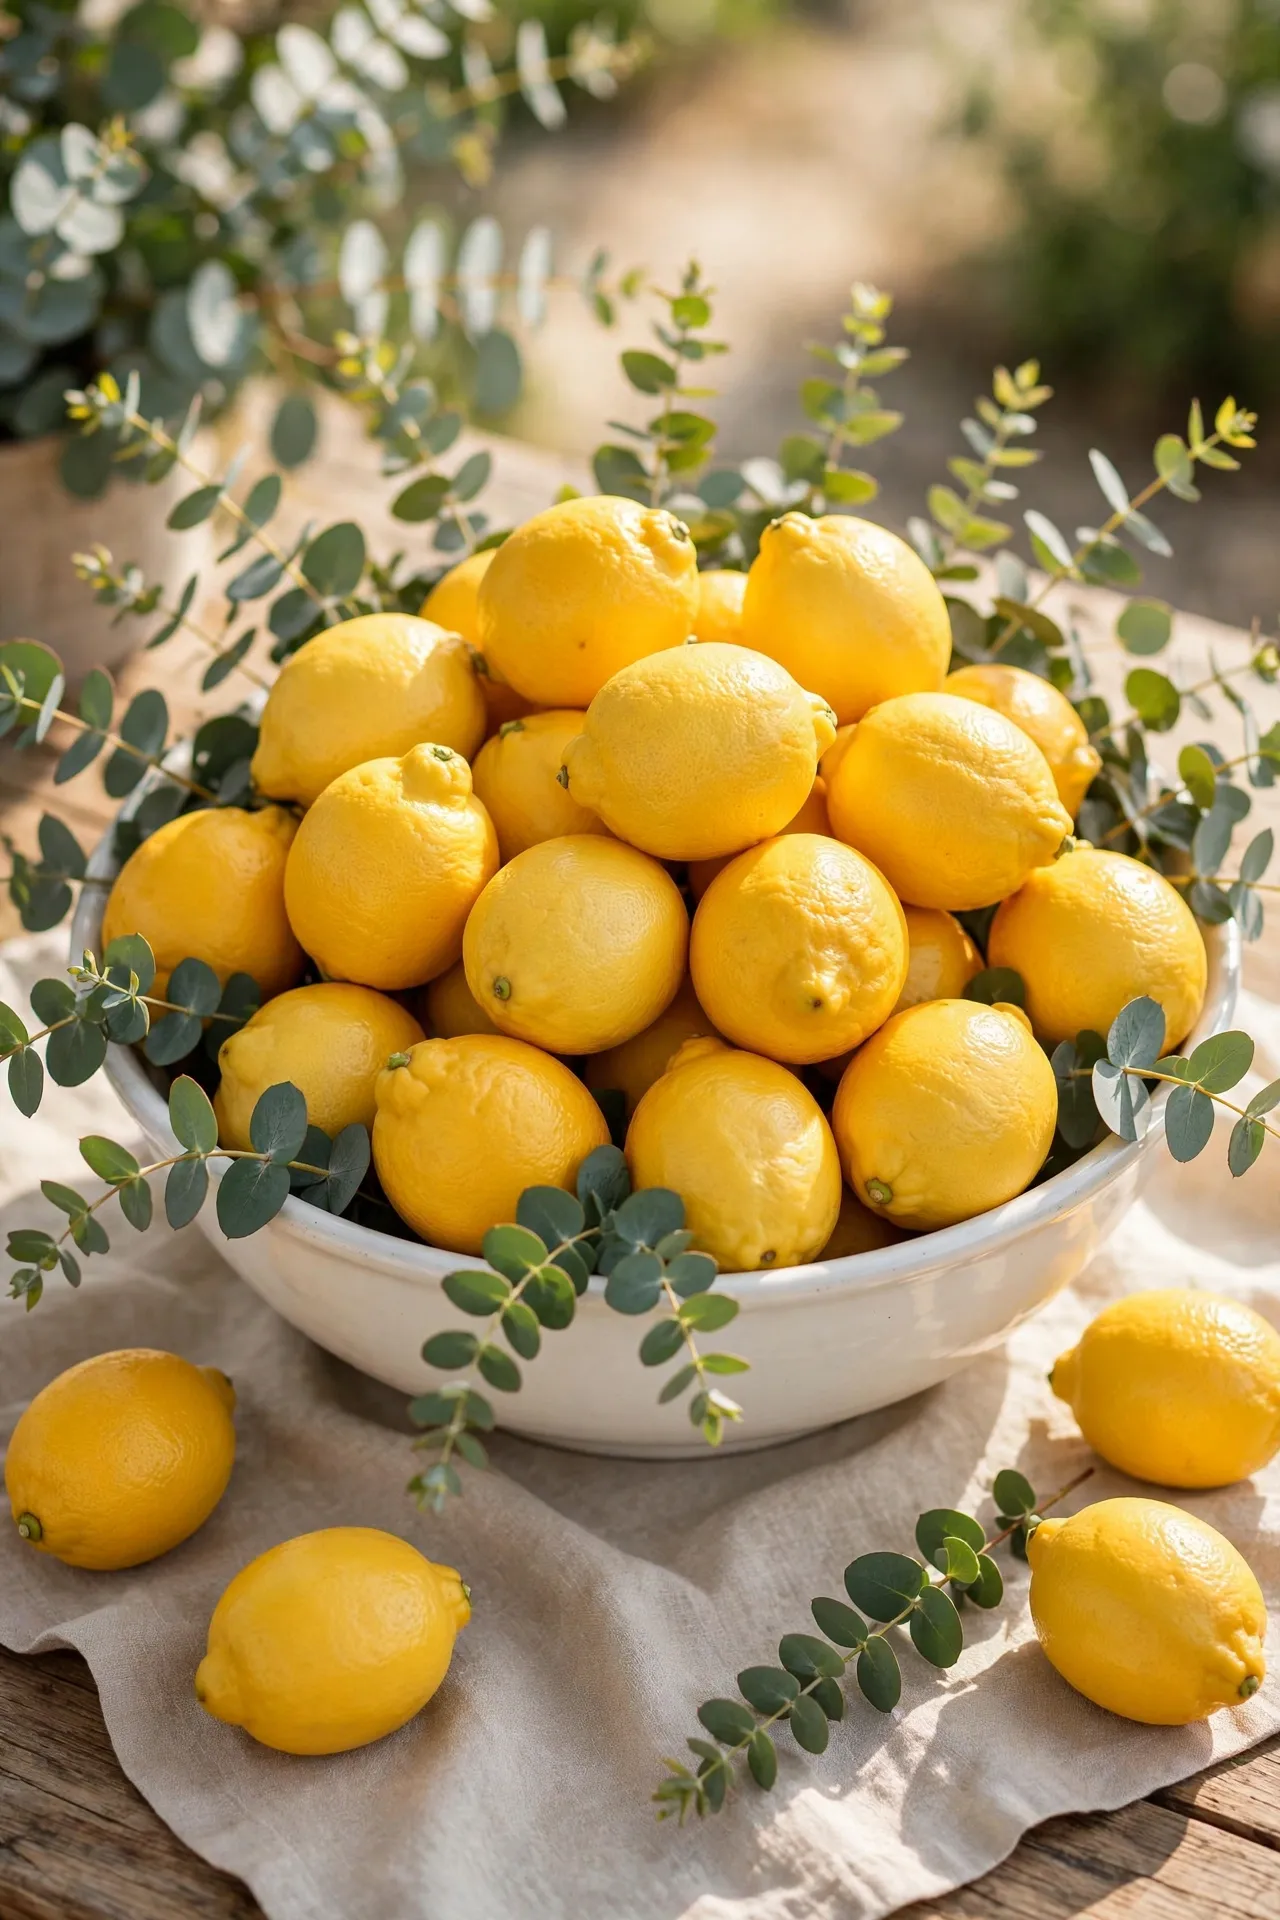
A wide bowl piled with lemons and tucked sprigs of greenery is the easiest summer centrepiece ever invented. Wash the lemons so they shine, mound them generously, and tuck eucalyptus sprigs between them. It smells wonderful and costs almost nothing. Pro tip: use real lemons — they last two weeks and you can cook with them after. I tried this and the one mistake to avoid is a shallow bowl; the lemons roll off the moment anyone bumps the table.
Cost: ~$6 | Time: 10 minutes
4. Seashell Hurricane Vases (Summer)
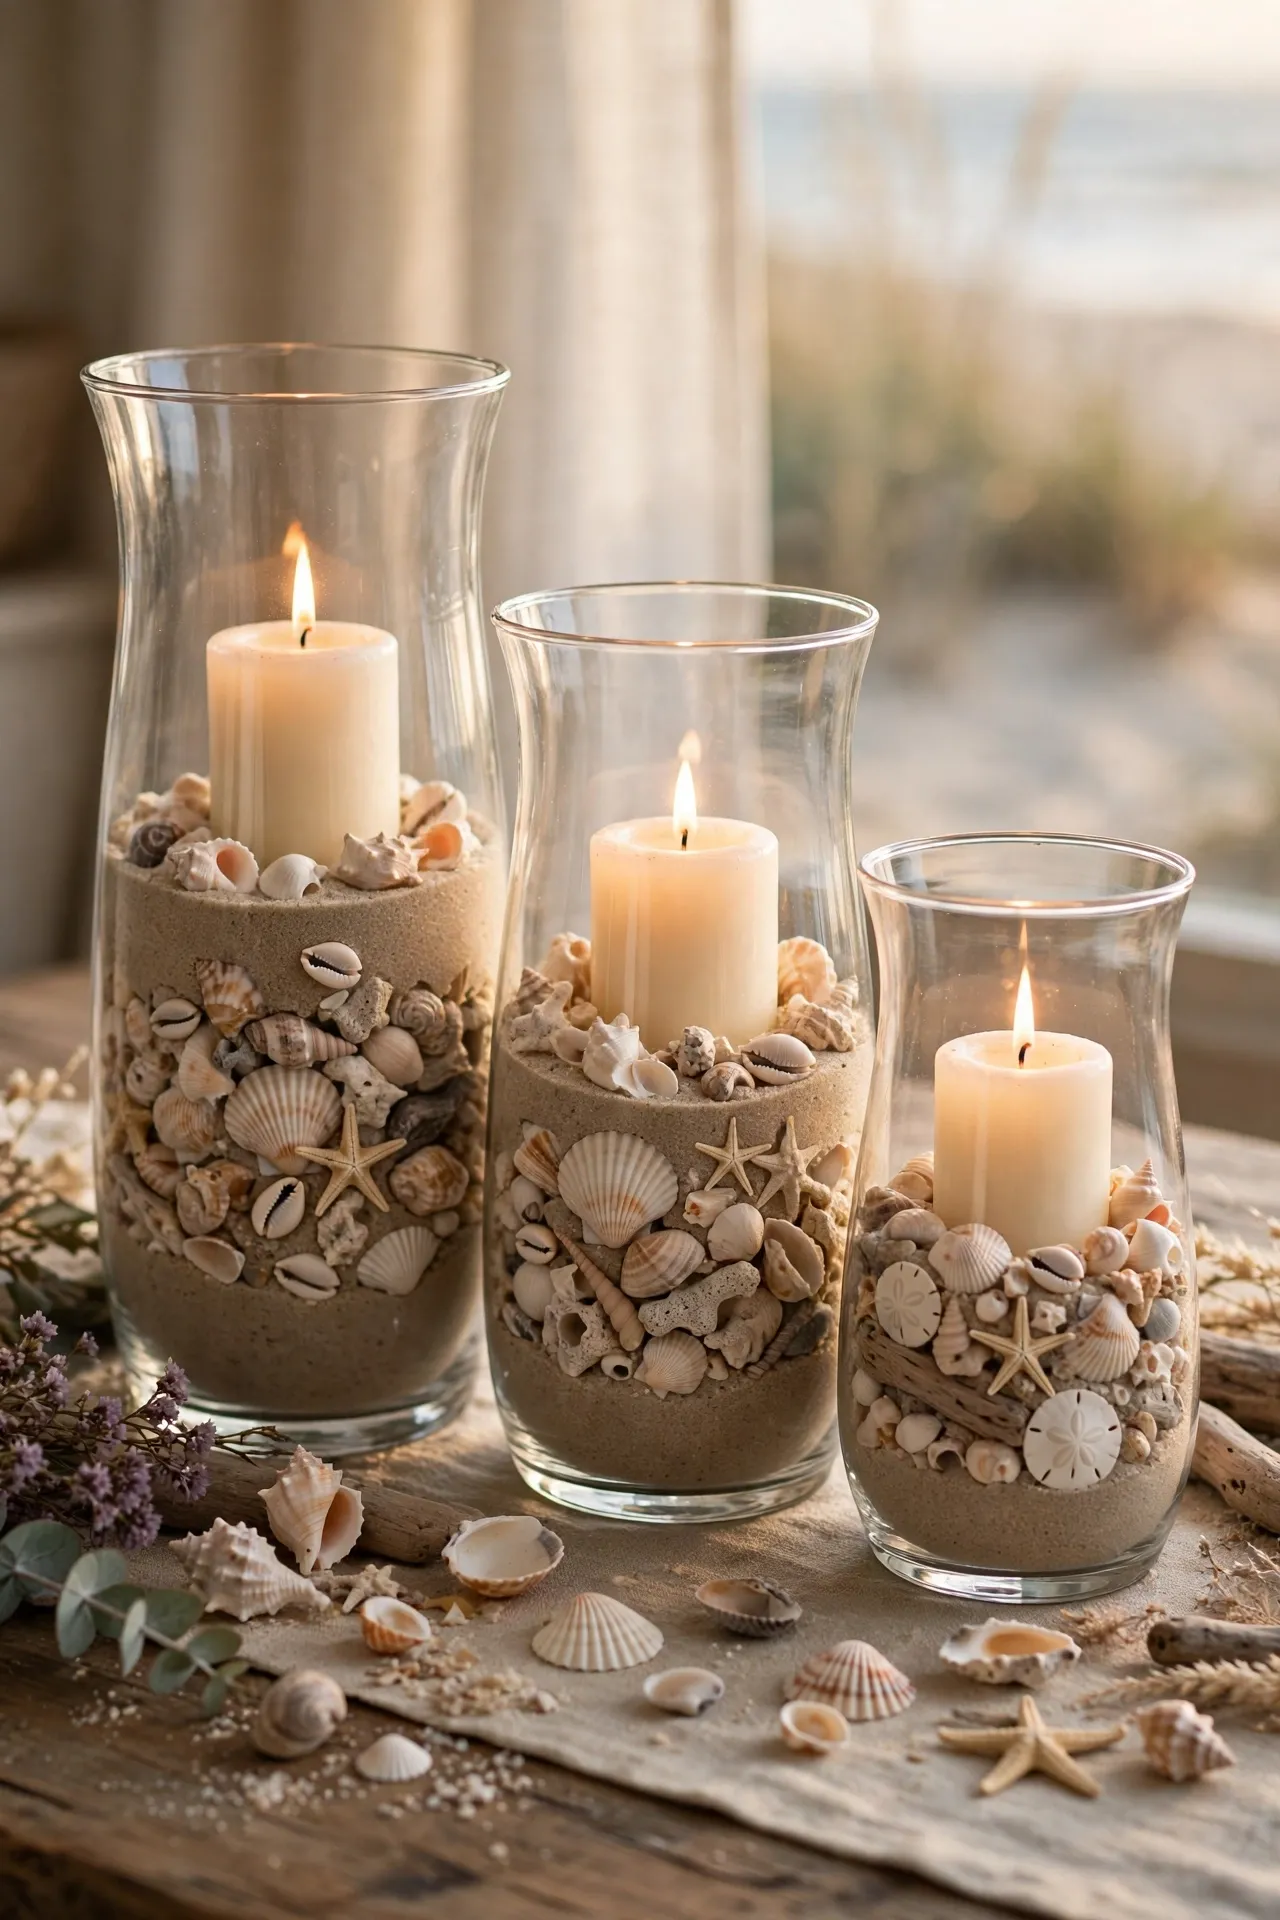
Fill glass hurricane vases with sand, shells, and a pillar candle for instant coastal calm. Layer the sand first, arrange the shells so they show through the glass, and nestle the candle in the centre. It works on a patio table just as well. I tried this and the one mistake to avoid is using scented candles with the shells; the fragrance clashes with the beachy look and smells odd.
Cost: ~$8 | Time: 20 minutes
5. Sunflower Pitcher Arrangement (Summer)
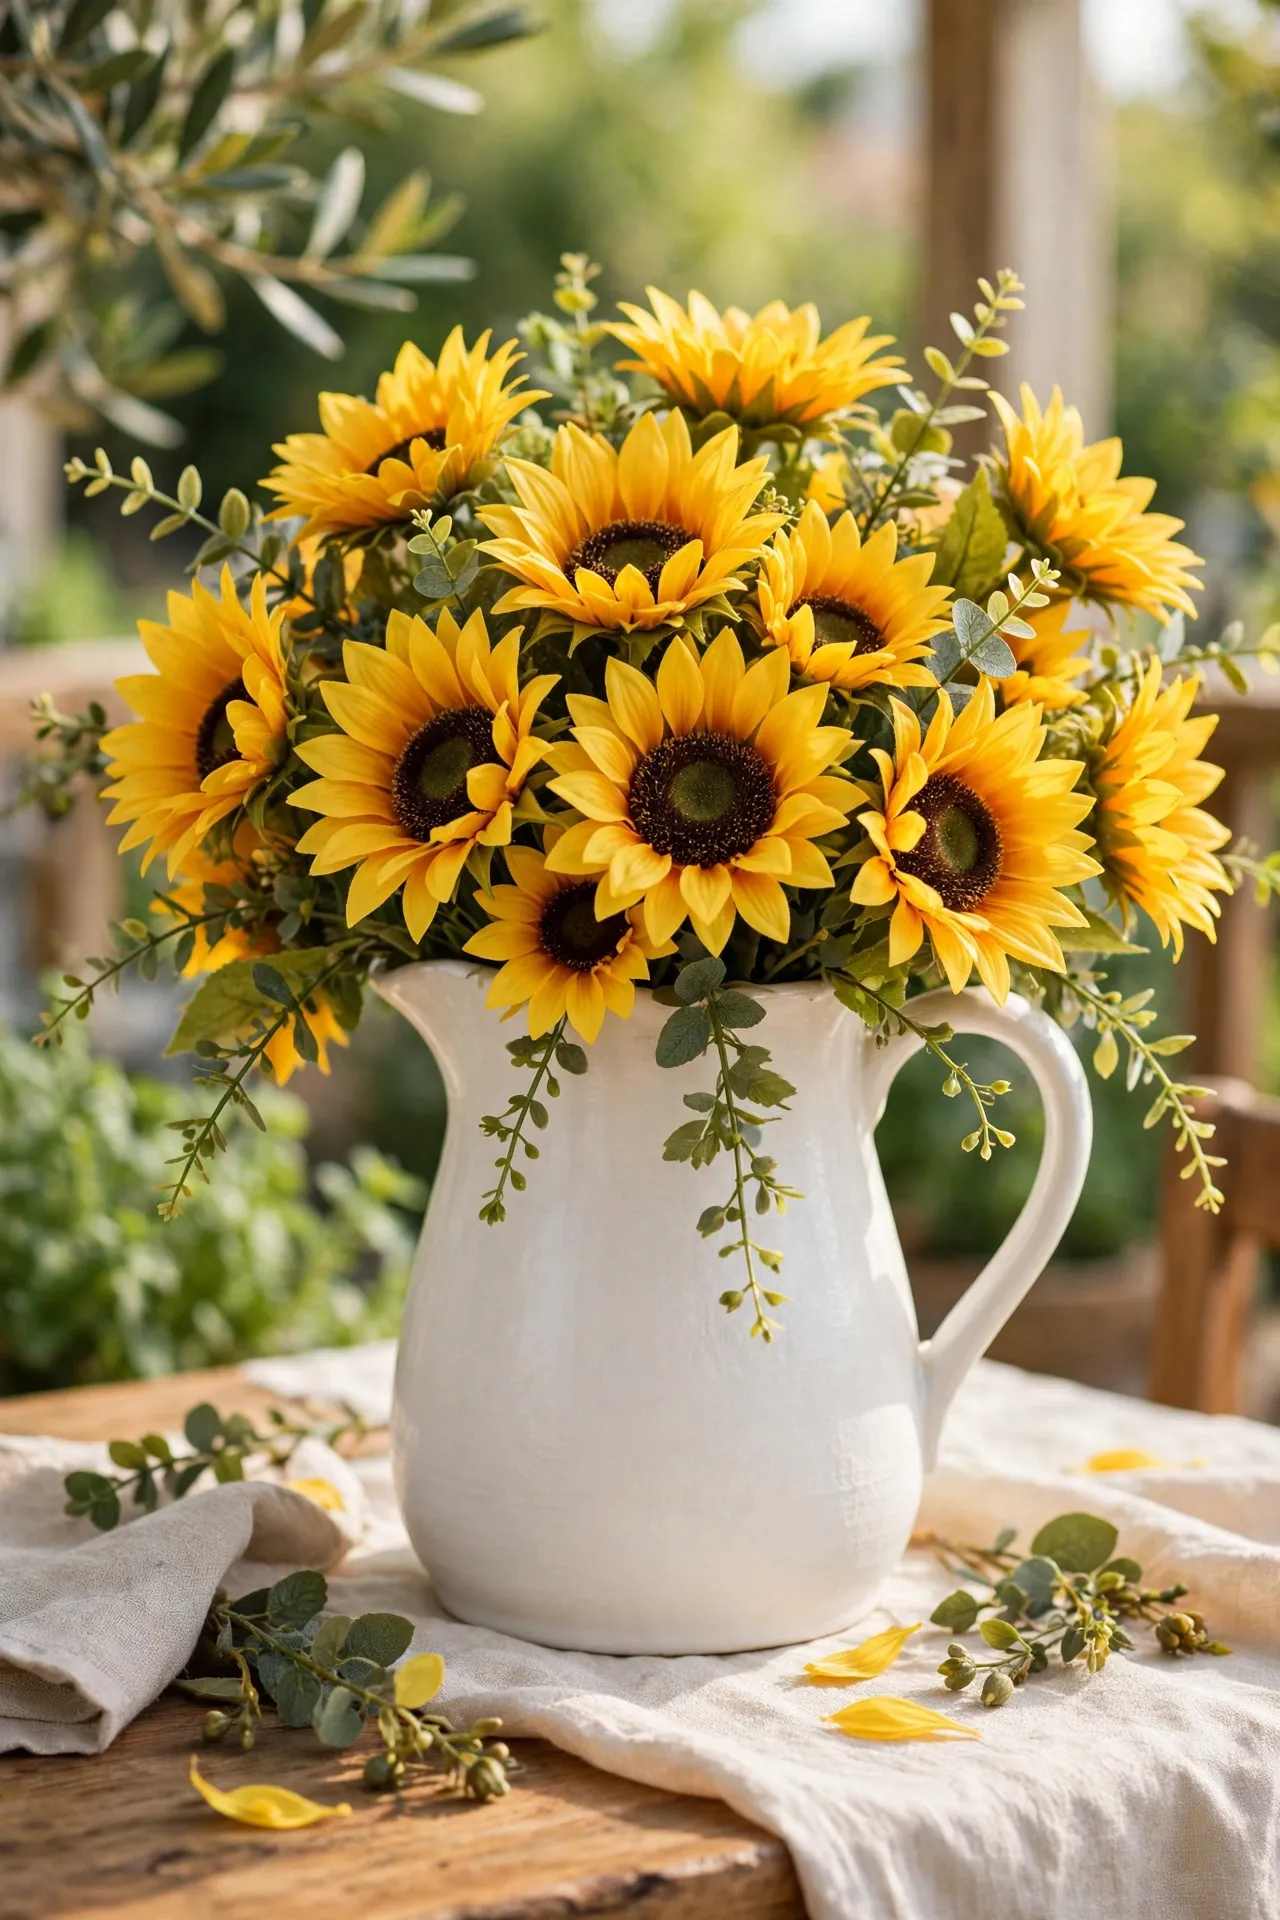
A simple pitcher stuffed with faux sunflowers is pure summer joy. The pitcher matters — a white ceramic-look one makes the yellow pop. Trim the stems so the flowers sit just above the rim, and turn the pitcher so the handle faces away. I tried this and the one mistake to avoid is leaving the plastic stems visible; wrap them in twine or tuck them deep into the pitcher.
Cost: ~$6 | Time: 10 minutes
6. Harvest Wheat Bundle (Autumn)
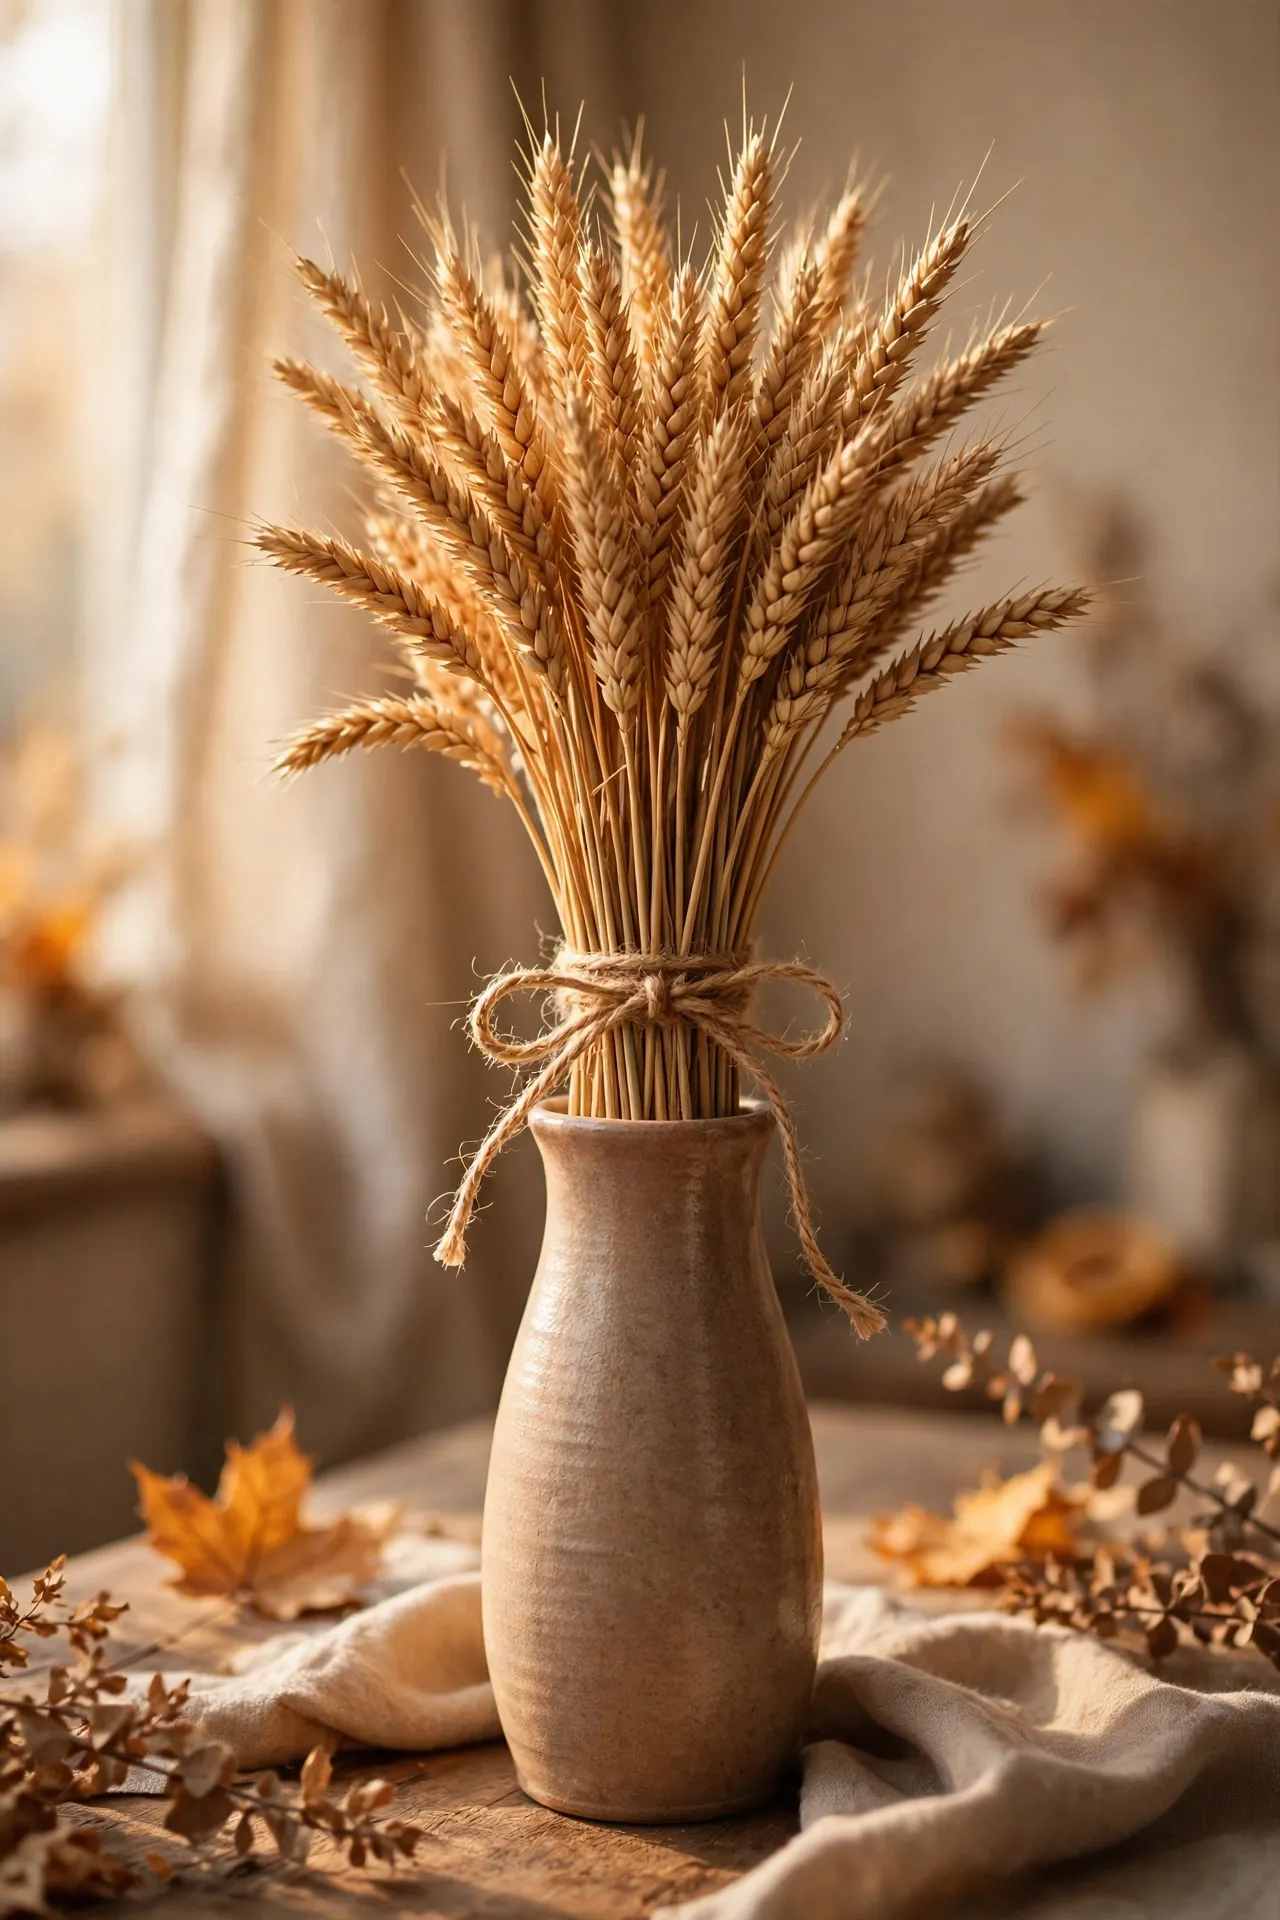
Tie a bundle of dried wheat with twine and stand it in a tall vase for the simplest autumn centrepiece. The golden tones warm up the whole table. Fan the stems out at the top, and keep it away from open flames — dried wheat is extremely flammable. Pro tip: spray it lightly with hairspray to stop the grains shedding all over the tablecloth. I tried this and the one mistake to avoid is placing it near a draught; it sheds constantly in moving air.
Cost: ~$4 | Time: 10 minutes
7. Mini Pumpkin Cluster Tray (Autumn)
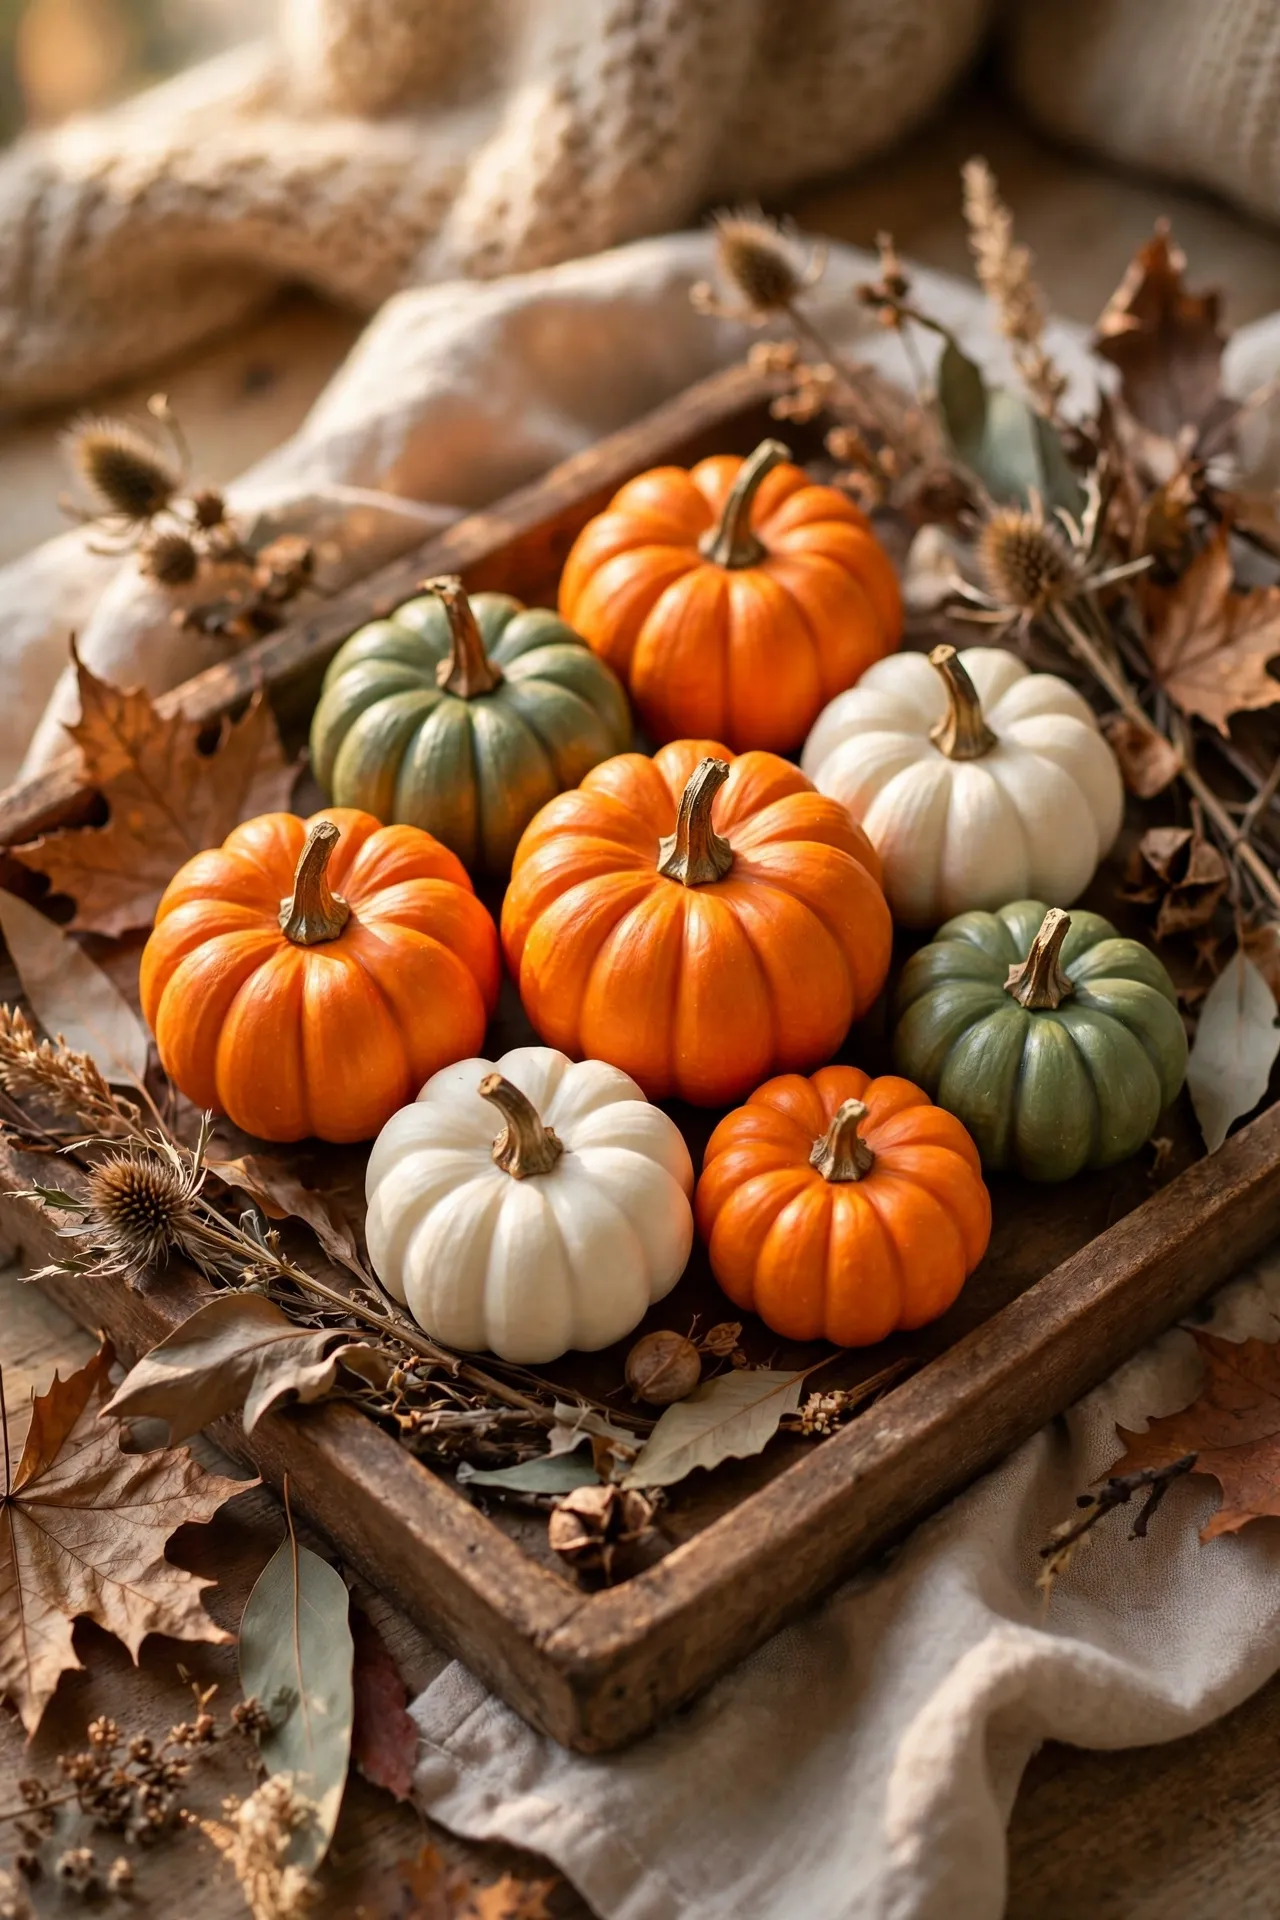
Arrange mini faux pumpkins in orange, white, and green on a wooden tray with some dried leaves, and autumn has arrived. Odd numbers look best — five or seven pumpkins. Vary the sizes and tuck moss between them to fill the gaps. I tried this and the one mistake to avoid is mixing in real mini pumpkins with faux; the real ones rot and stain the tray.
Cost: ~$8 | Time: 15 minutes
8. Plaid Runner and Pinecone Bowl (Autumn)
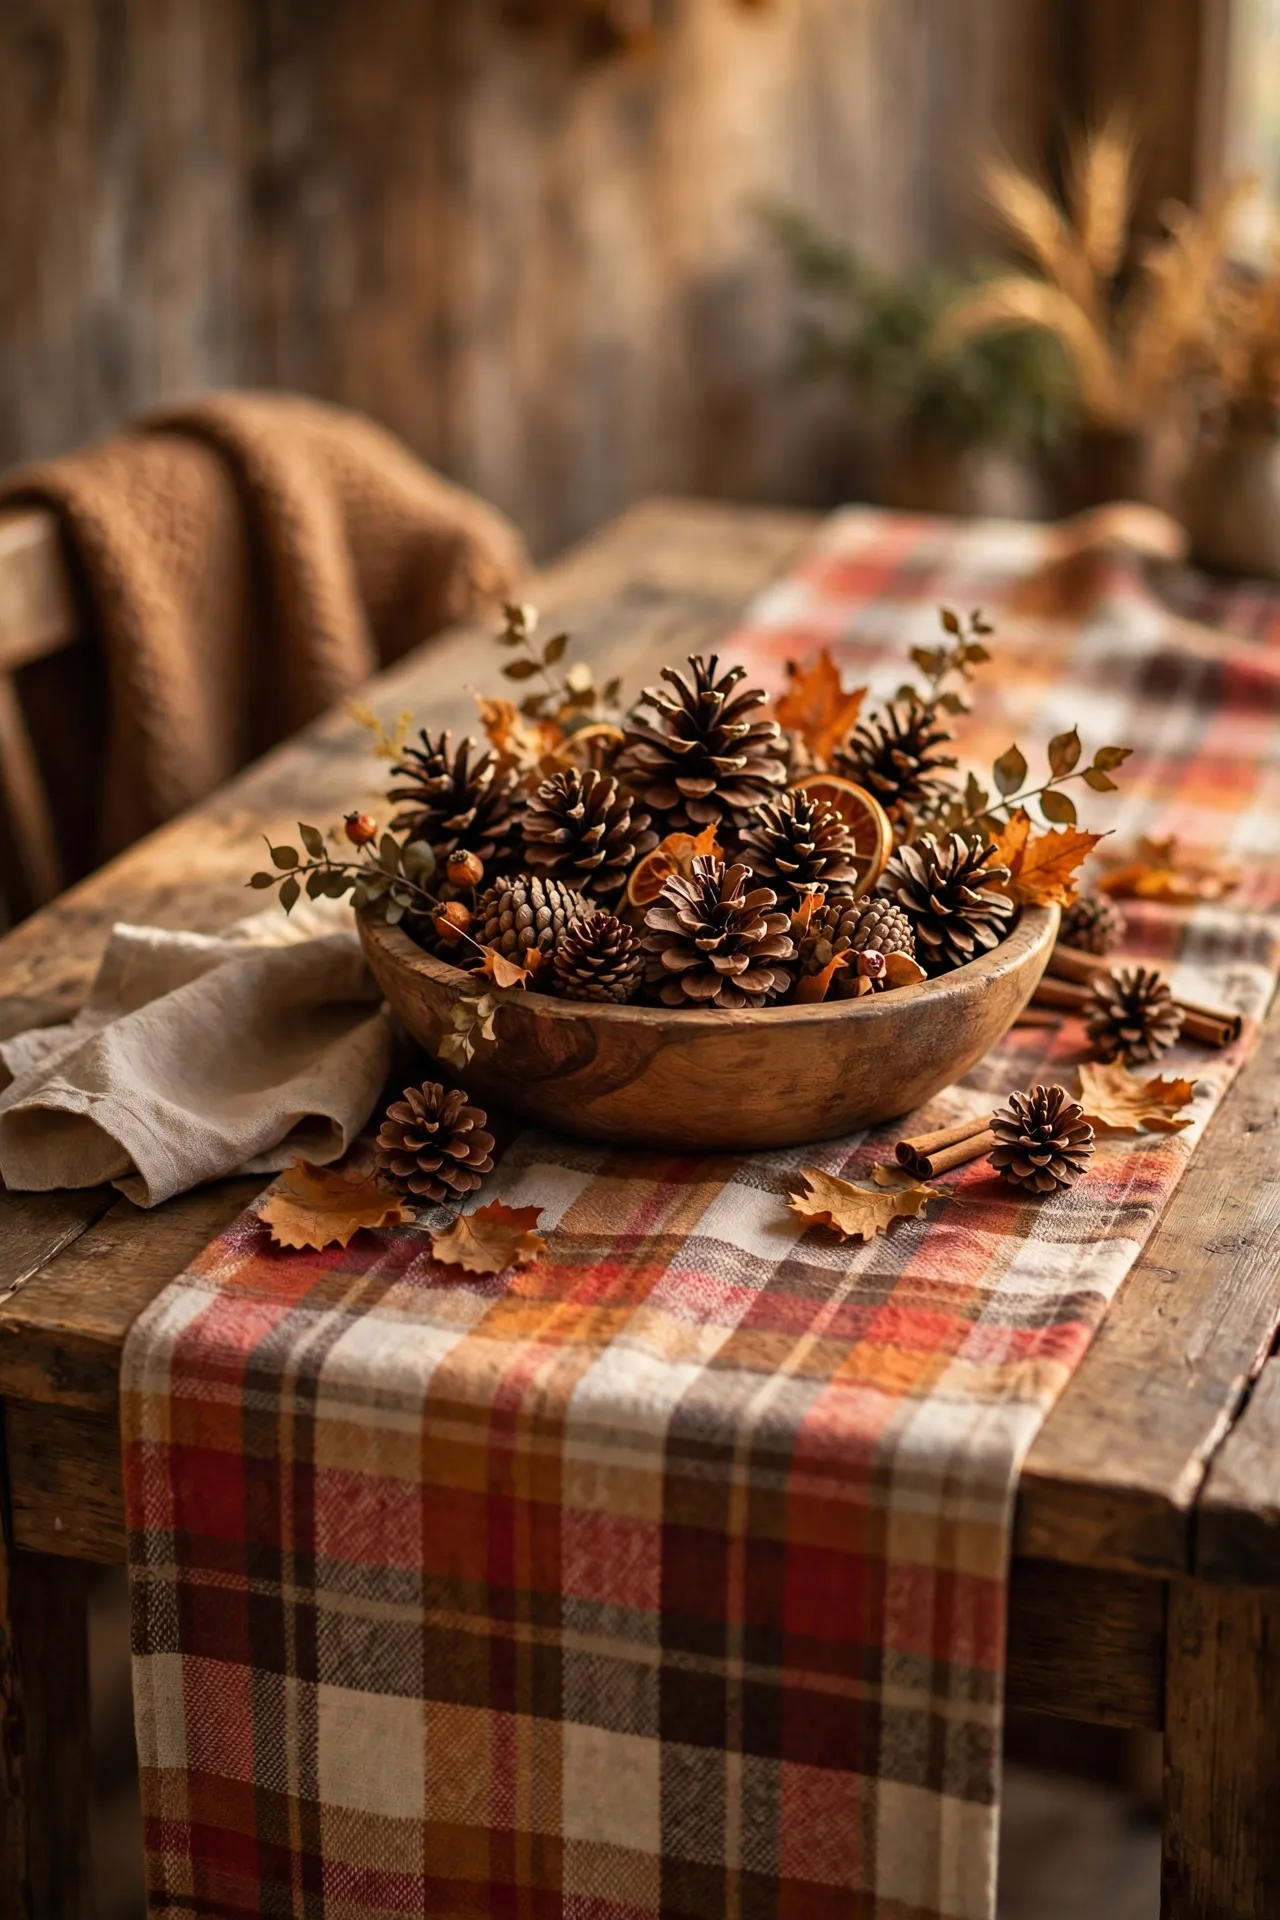
Lay a plaid scarf or runner down the table and centre a bowl of pinecones on it — cosy autumn in sixty seconds. The plaid does most of the work. Add a couple of pillar candles for evening warmth. I tried this and the one mistake to avoid is pinecones straight from the garden; bake them low in the oven first to kill any tiny residents.
Cost: ~$5 | Time: 10 minutes
9. Thanksgiving Cornucopia Basket (Autumn)
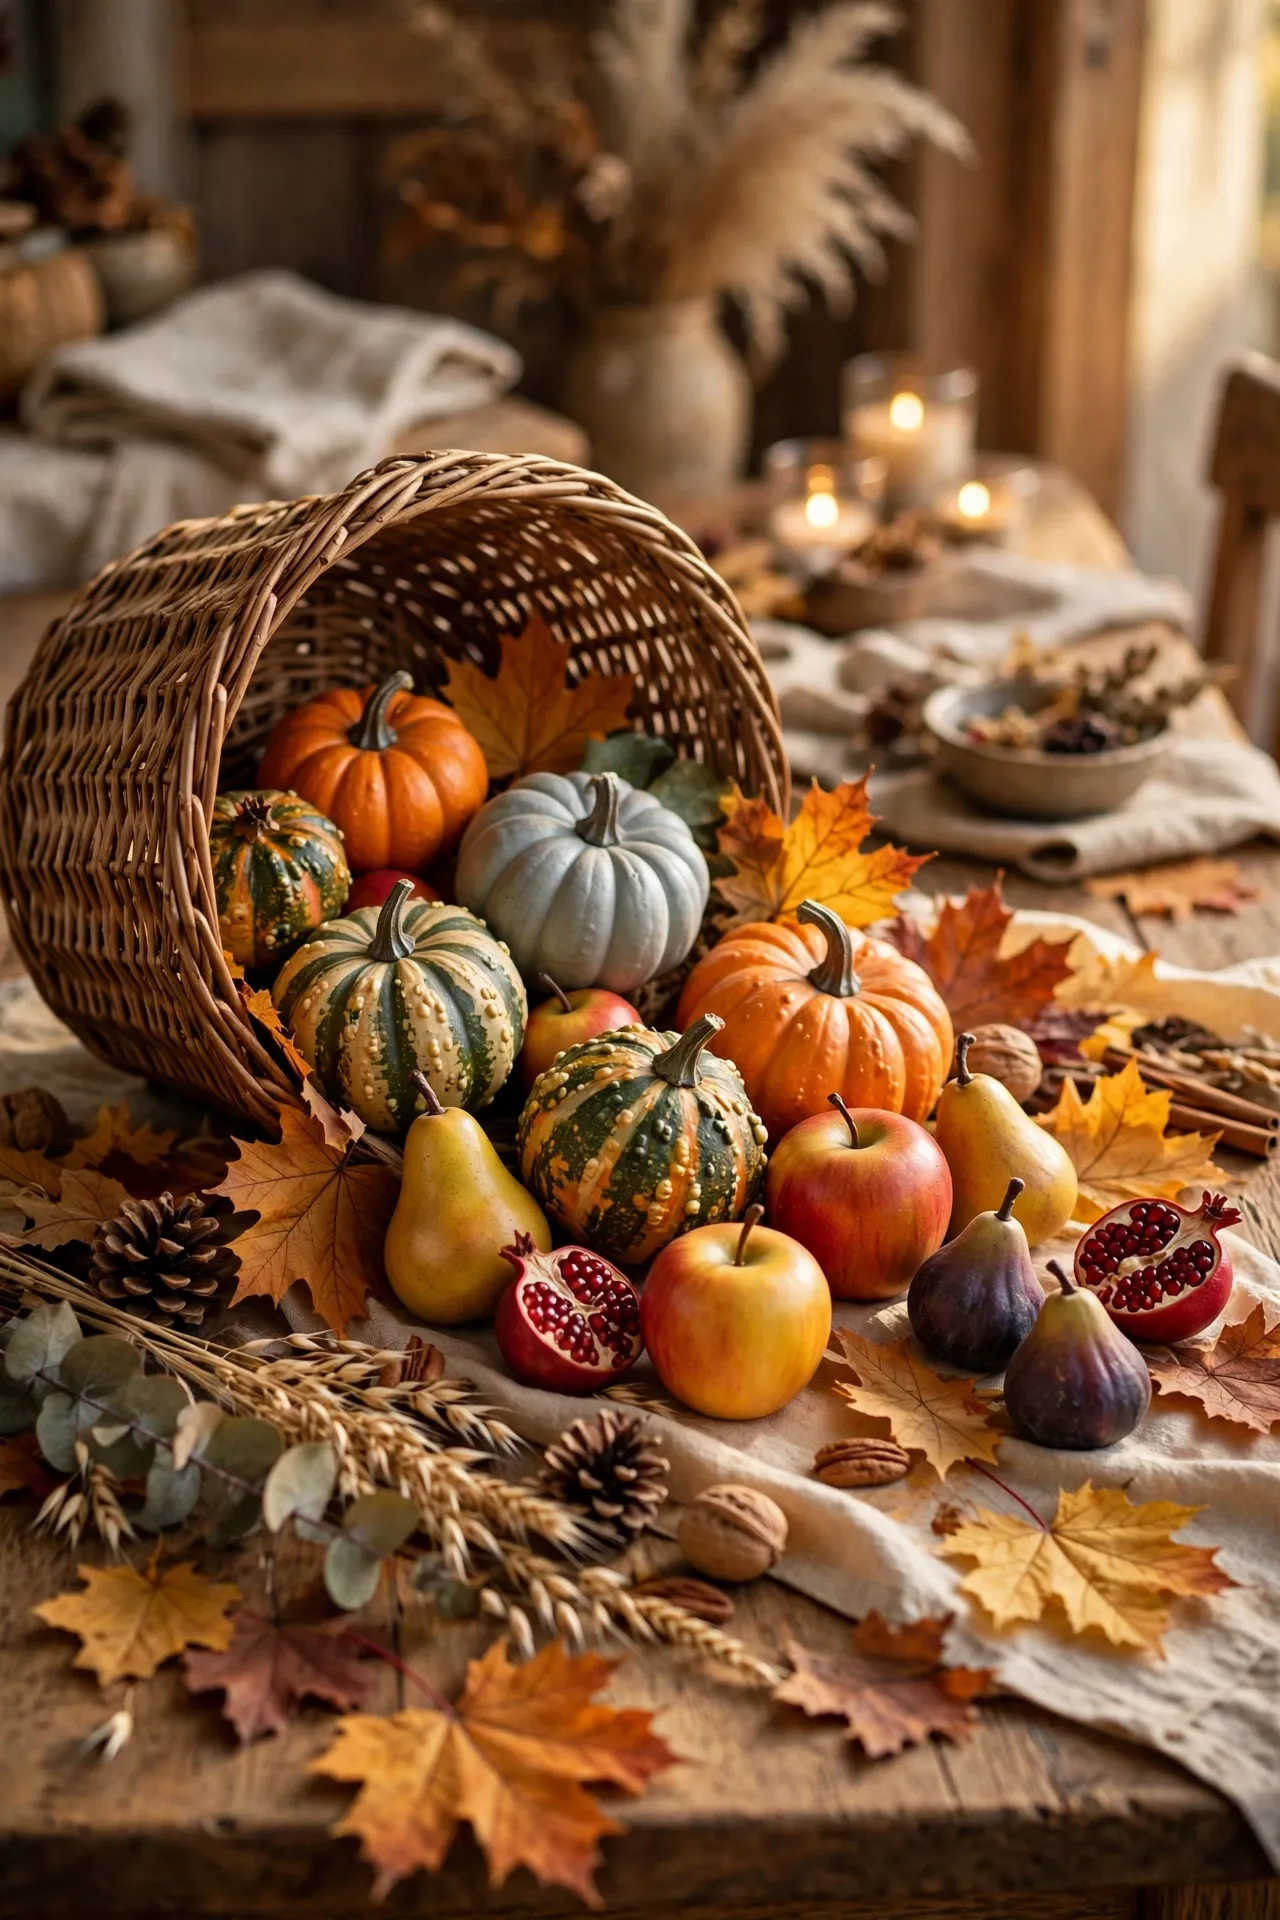
Tip a basket on its side and spill faux fruit, gourds, and leaves from the opening for a classic cornucopia. Anchor the basket so it doesn’t roll, then build the spill outward in a triangle shape. It looks abundant and traditional. Pro tip: put a towel inside the basket first — it gives the fruit something to grip and stops the whole thing sliding. I tried this and the one mistake to avoid is overfilling; a restrained spill looks elegant, a mountain looks messy.
Cost: ~$10 | Time: 25 minutes
10. Evergreen and Candle Garland (Winter)
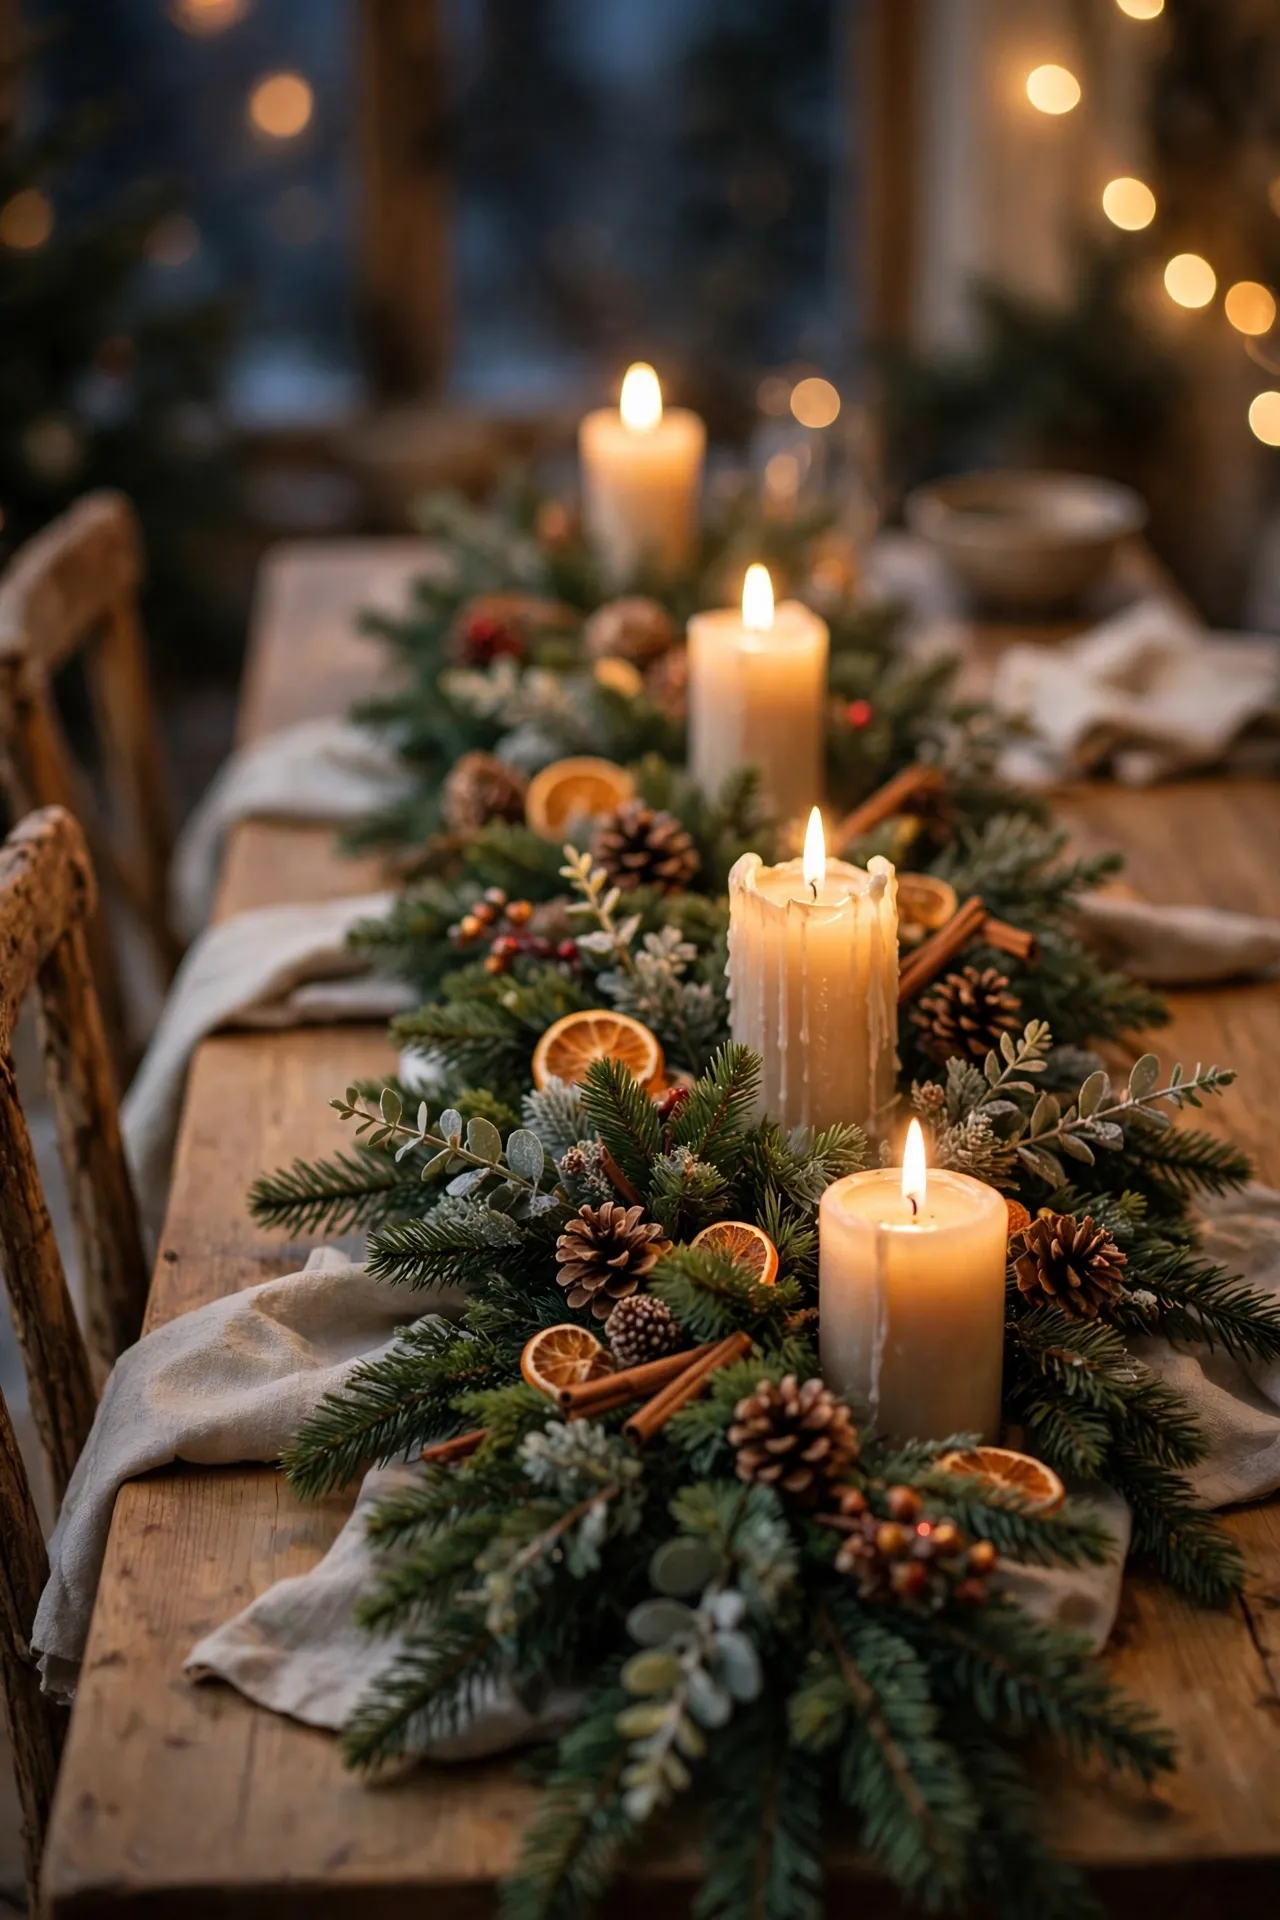
Run a faux evergreen garland down the centre of the table and nestle pillar candles and pinecones into it. The garland is the base; everything else is garnish. Fluff each branch so it looks full, and keep candles clear of the faux needles. I tried this and the one mistake to avoid is real candles touching faux greenery; use LED pillars if the garland is at all flammable-looking.
Cost: ~$10 | Time: 20 minutes
11. Red Berry Wreath Centrepiece (Winter)
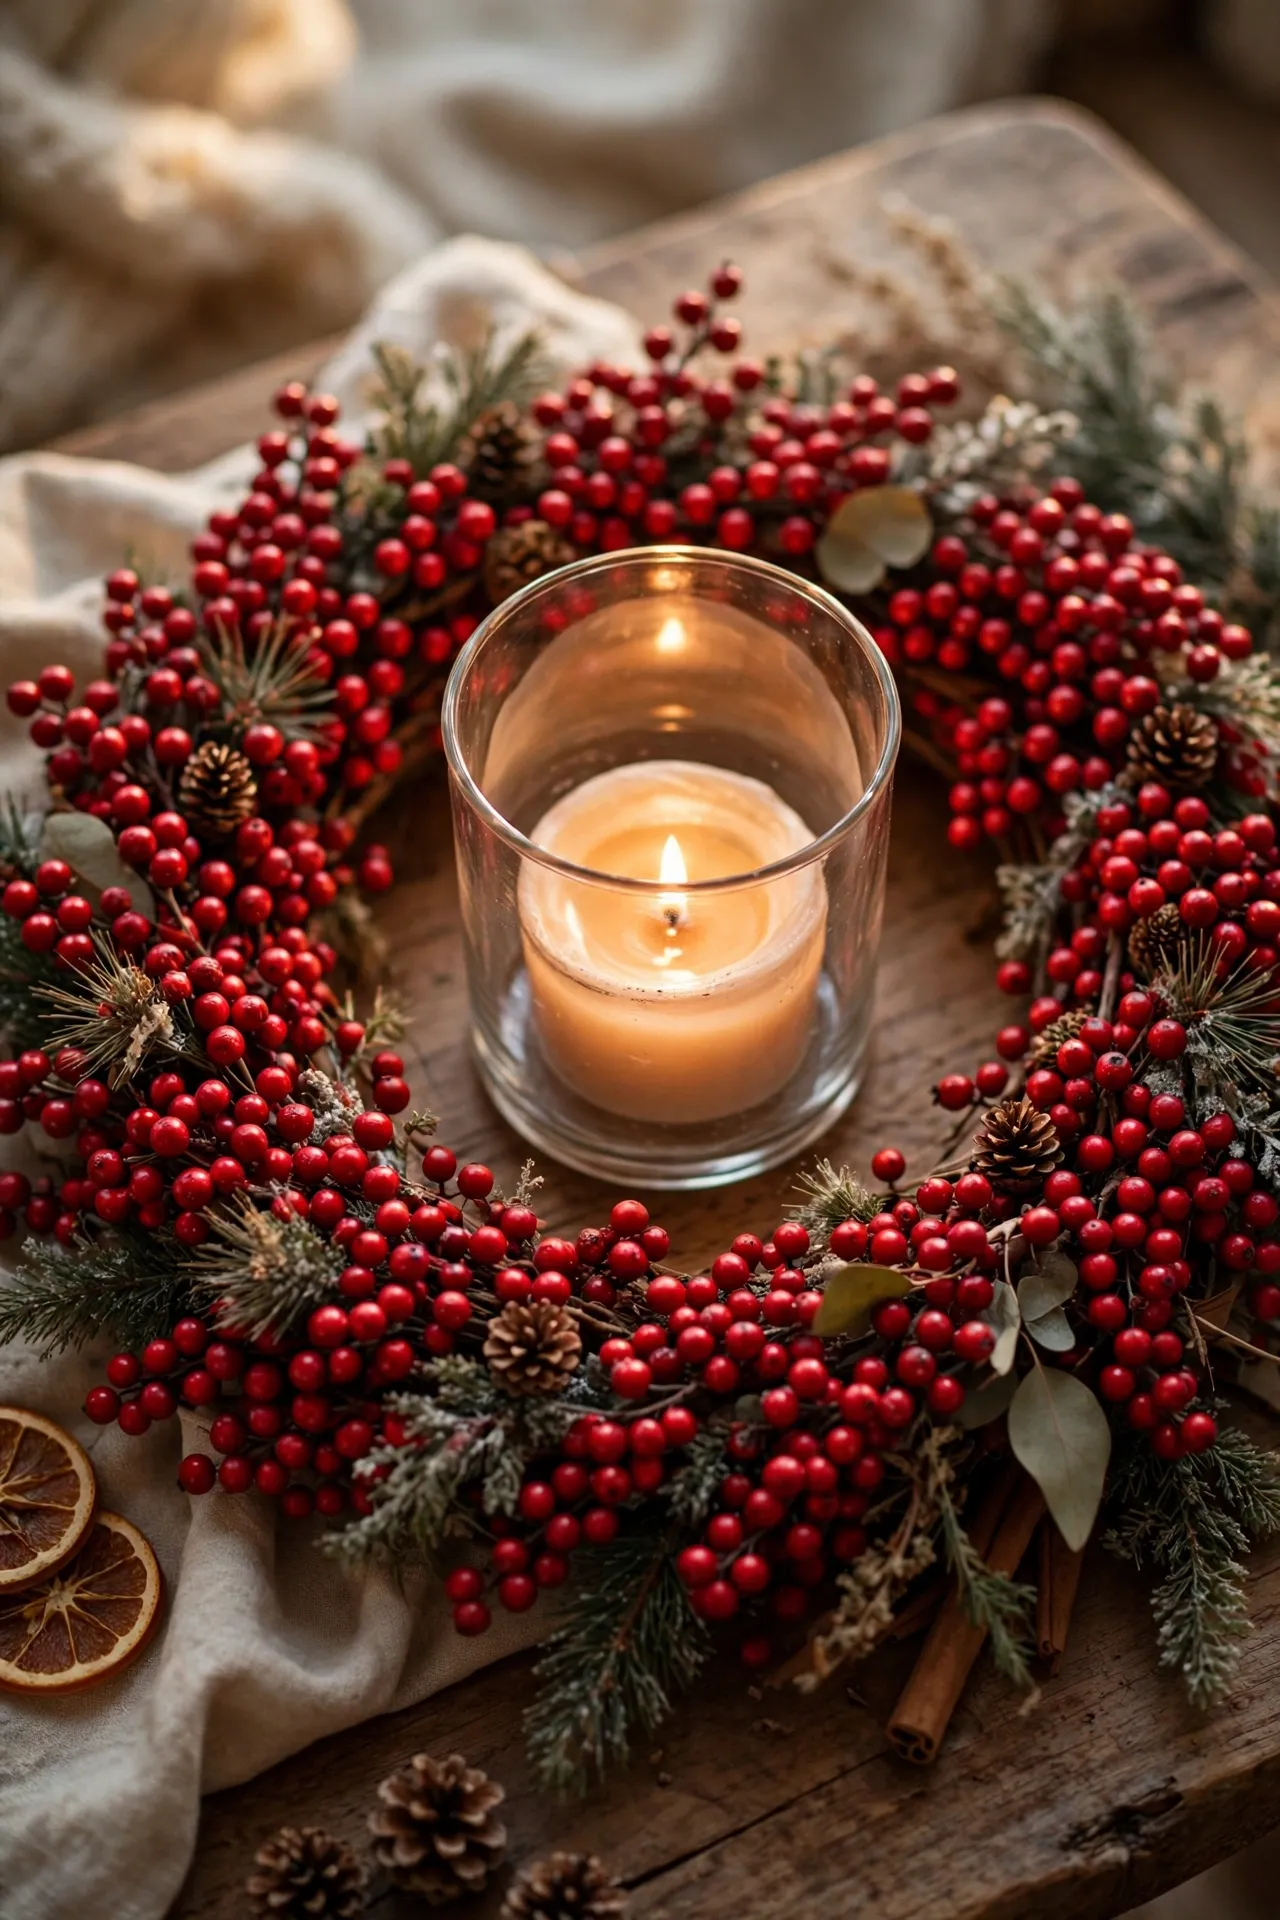
Lay a berry wreath flat and put a hurricane vase with a candle in the middle — a wreath centrepiece in two moves. The wreath frames the candle beautifully. Choose a wreath slightly wider than your vase. I tried this and the one mistake to avoid is a wreath with a strong scent competing with dinner; unscented is safer at the table.
Cost: ~$8 | Time: 5 minutes
12. Snowy Pinecone Cloche (Winter)
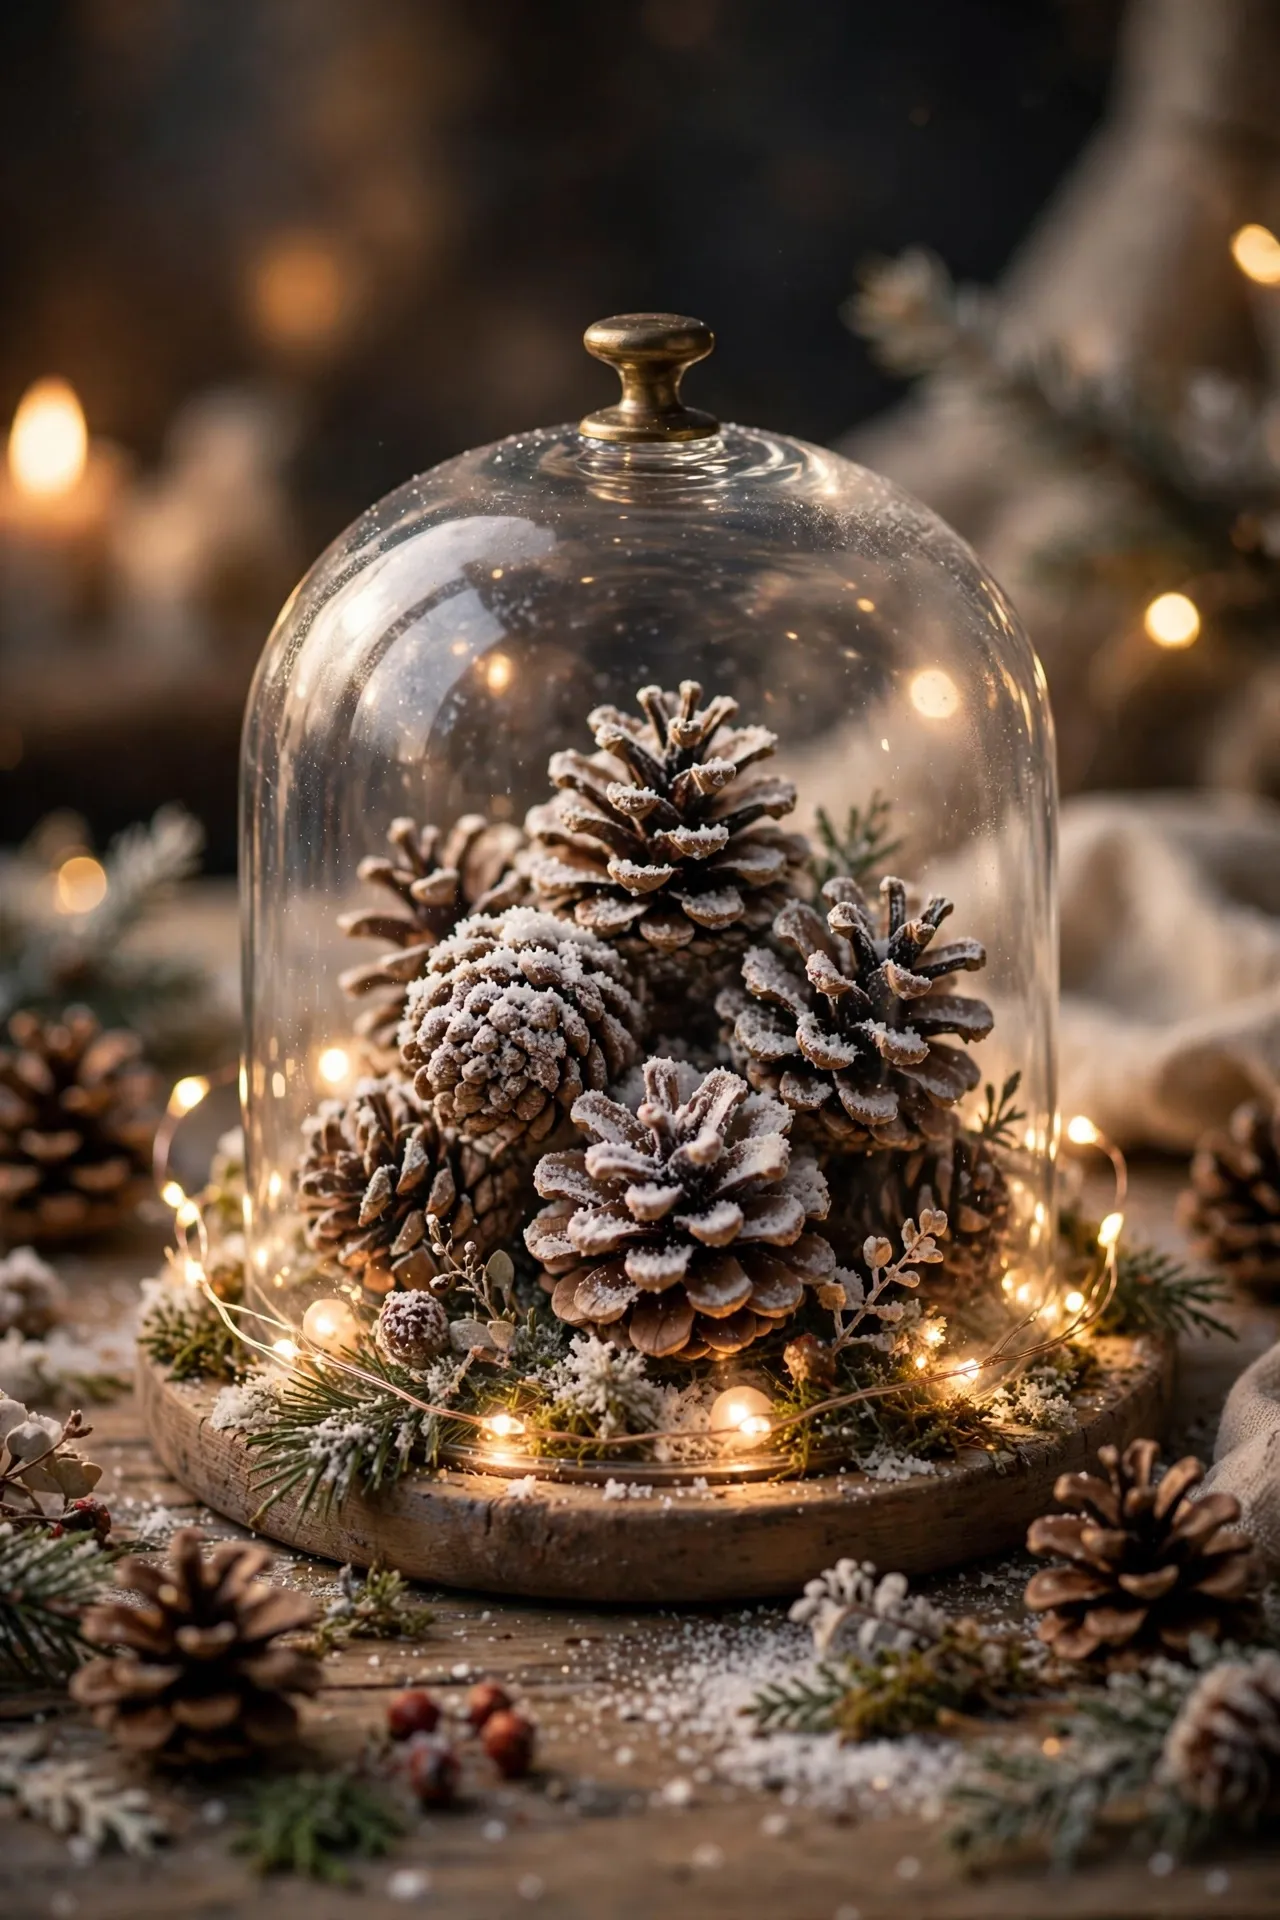
Dust pinecones with fake snow spray, pile them under a glass cloche, and you have a winter wonderland on the table. The cloche keeps the “snow” contained and makes it look precious. Add a string of tiny fairy lights around the base. Pro tip: spray the pinecones outside — the fake snow drifts everywhere and sticks to everything. I tried this and the one mistake to avoid is over-spraying; a light dusting looks like frost, a heavy coat looks like a snowball.
Cost: ~$7 | Time: 20 minutes
13. Valentine Heart Topiary (Valentine’s)
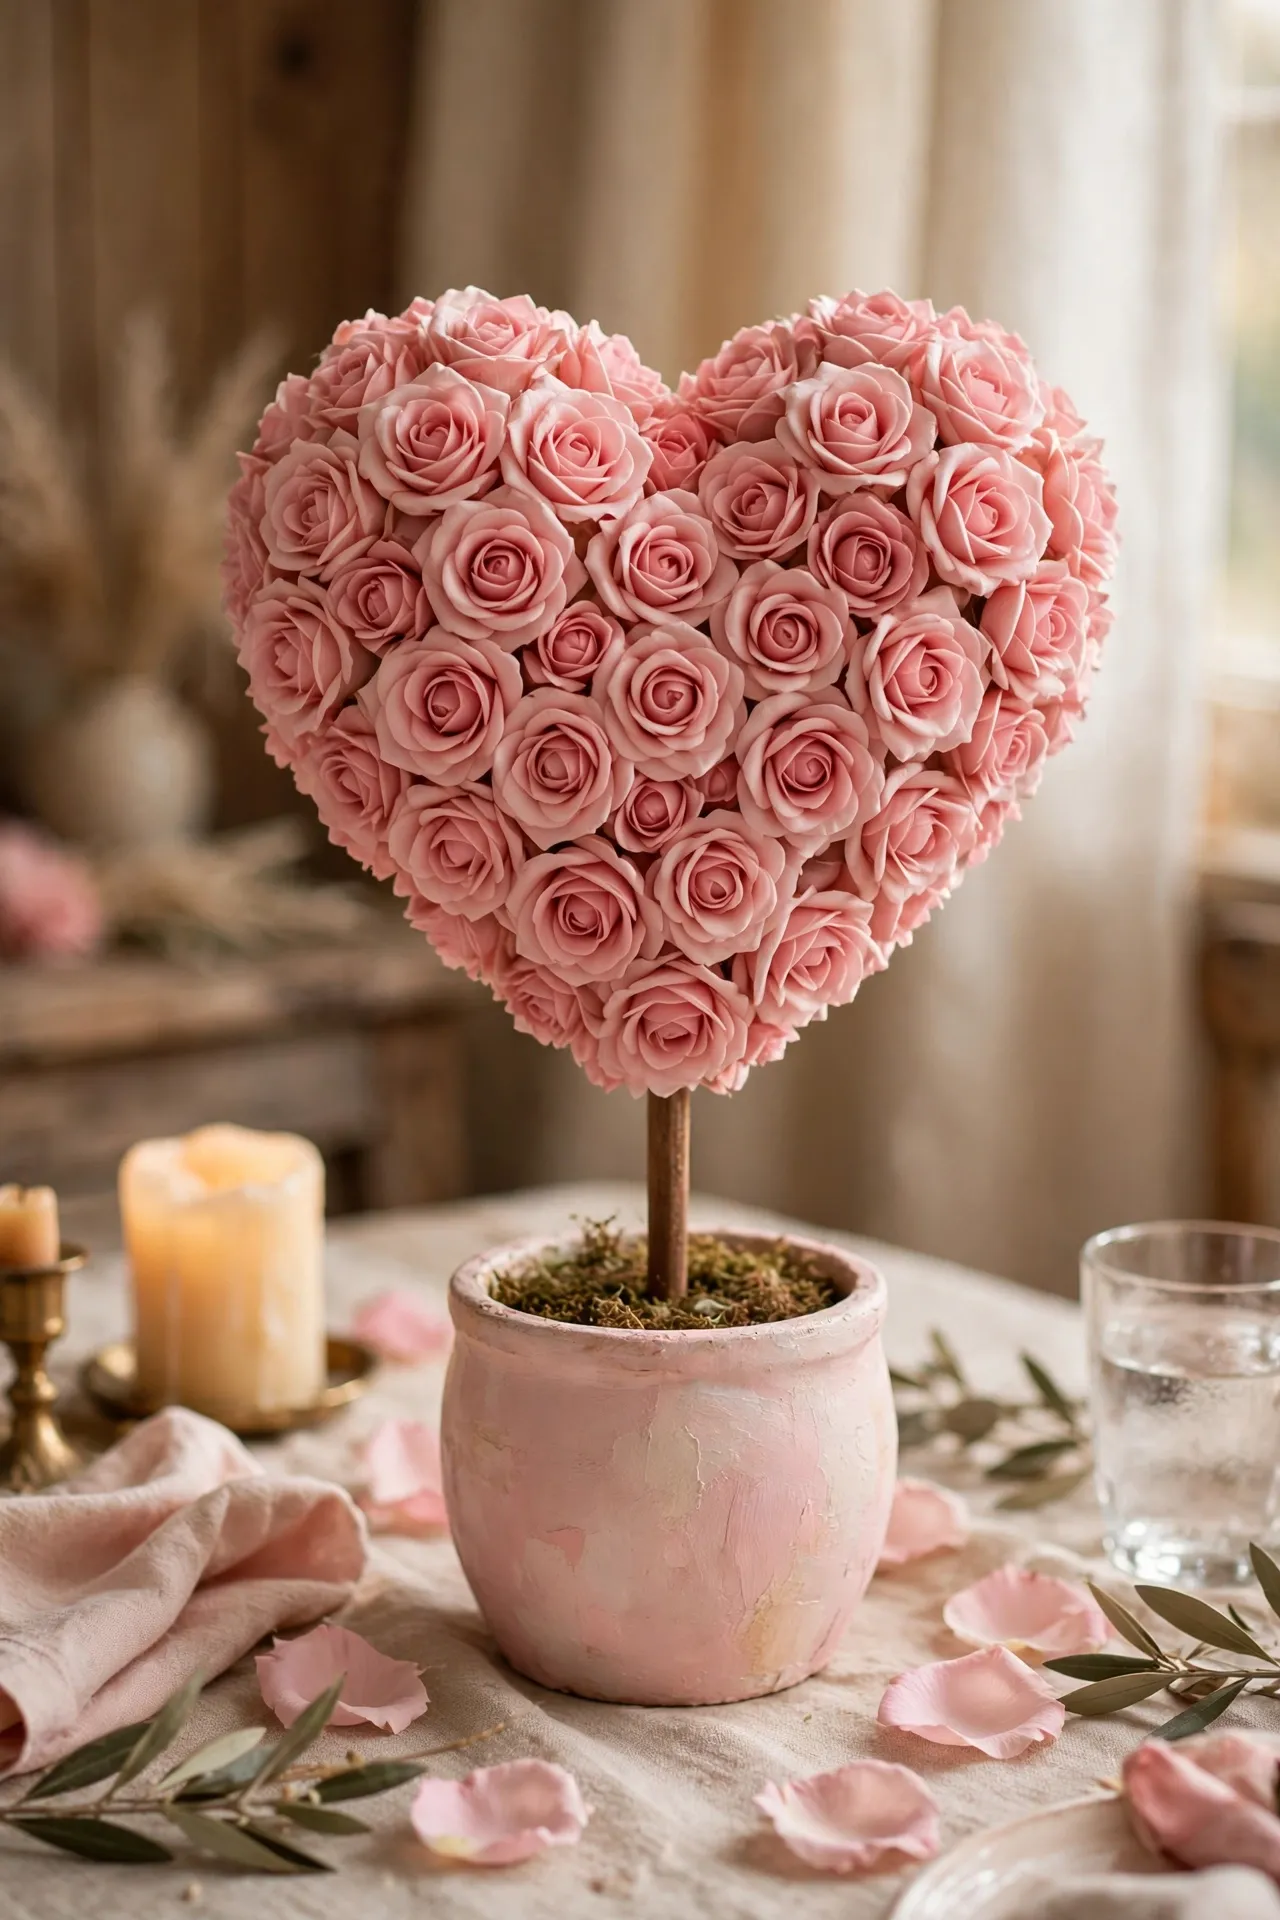
Cover a heart-shaped foam form with faux roses for a Valentine’s topiary that beats a wilted bouquet. Glue the blooms close together so no foam shows, mount it on a dowel in a painted pot, and add a bow. It lasts for years. I tried this and the one mistake to avoid is cheap roses with visible plastic centres; spend the extra minute picking fuller blooms.
Cost: ~$8 | Time: 45 minutes
14. Pink and Gold Candle Trio (Valentine’s)
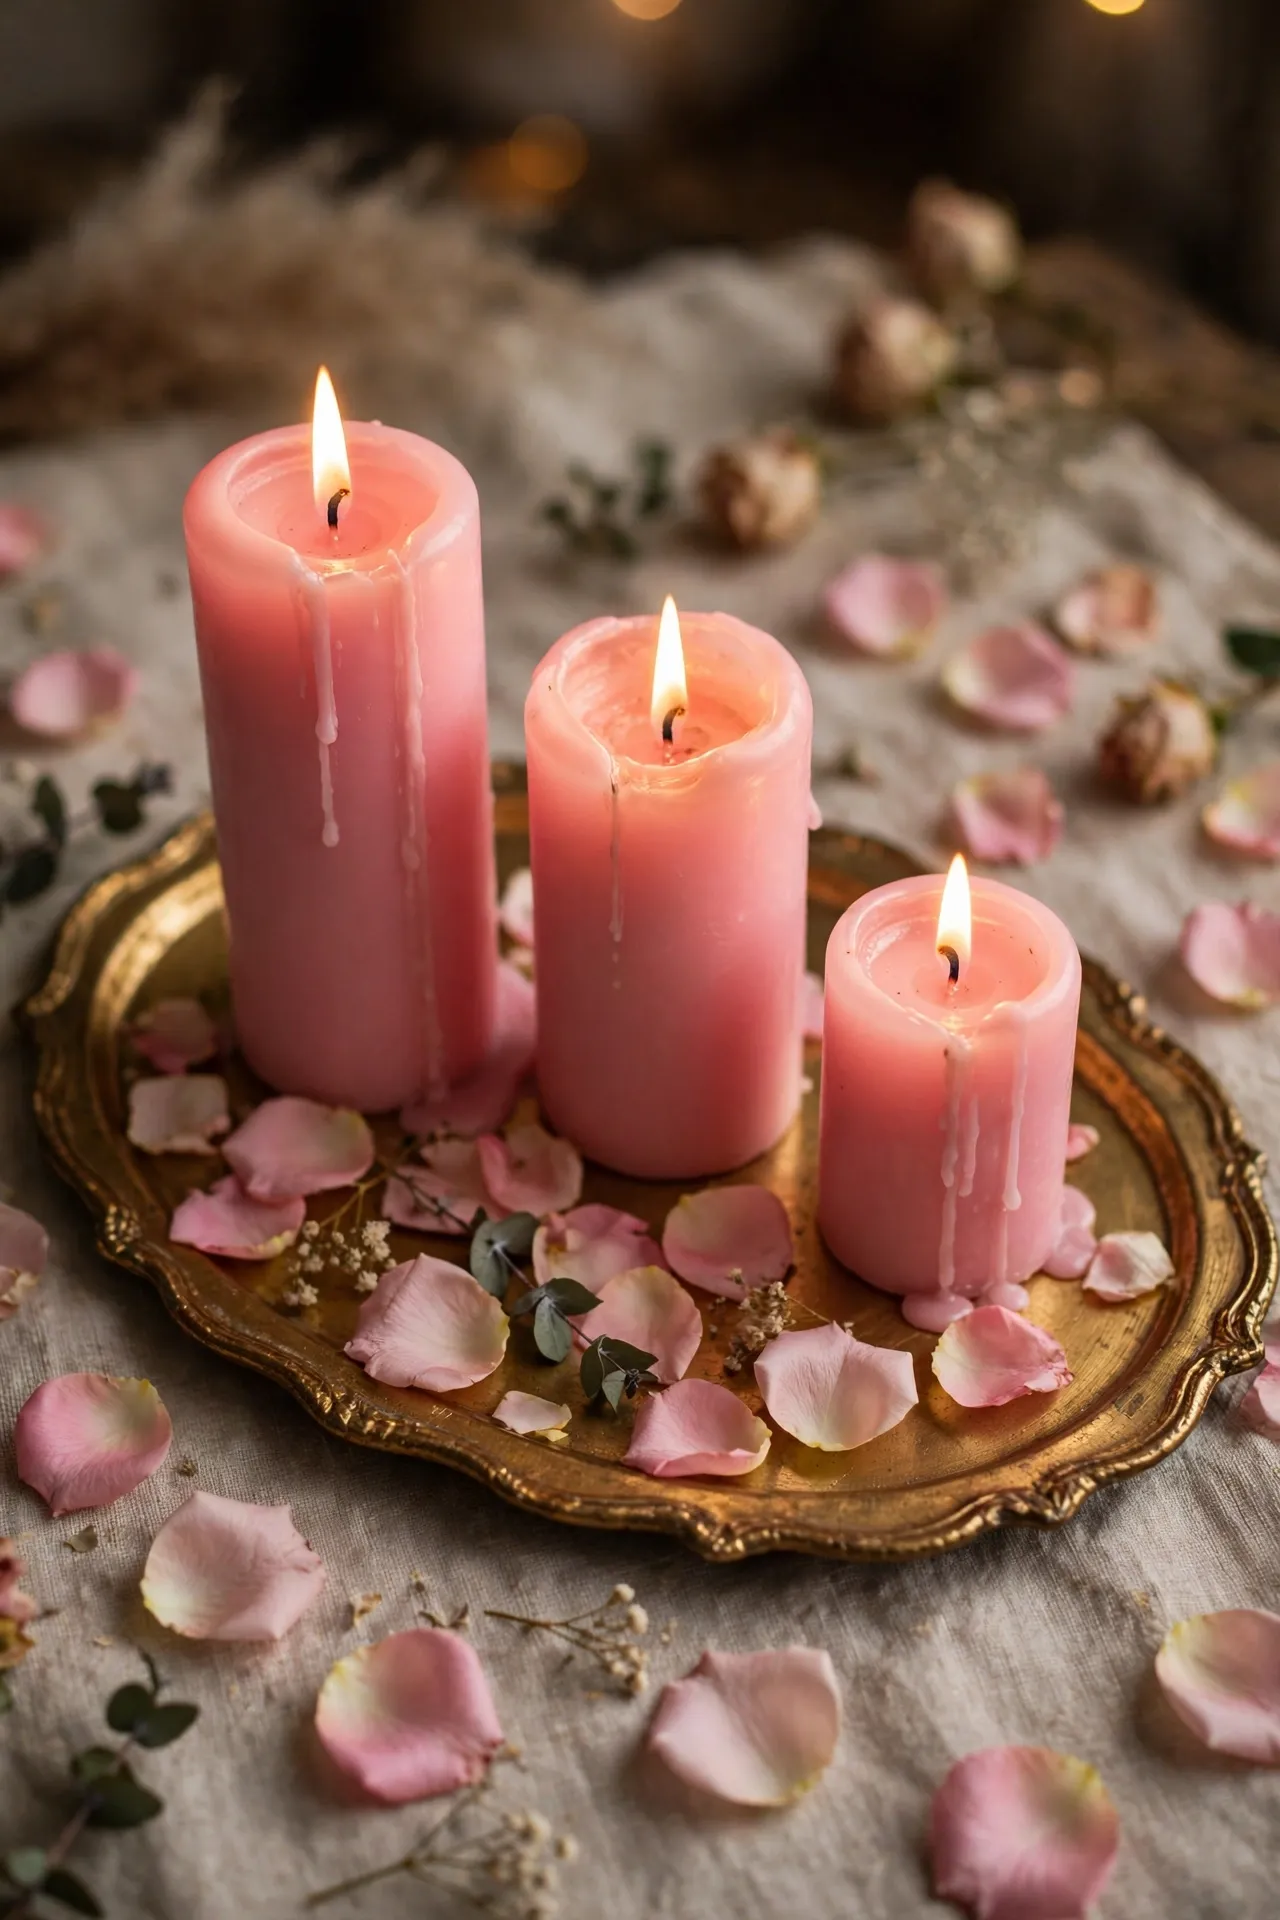
Three pink candles on a gold-look tray with scattered rose petals is Valentine’s without the clichés. Vary the candle heights, keep the petals fresh (or use good faux ones), and dim the overhead lights. Save this one for later — you’ll thank yourself when February sneaks up on you again. I tried this and the one mistake to avoid is real petals on a light tablecloth; they stain, so use a tray or runner underneath.
Cost: ~$7 | Time: 10 minutes
15. Daffodil Teacup Posies (Spring)
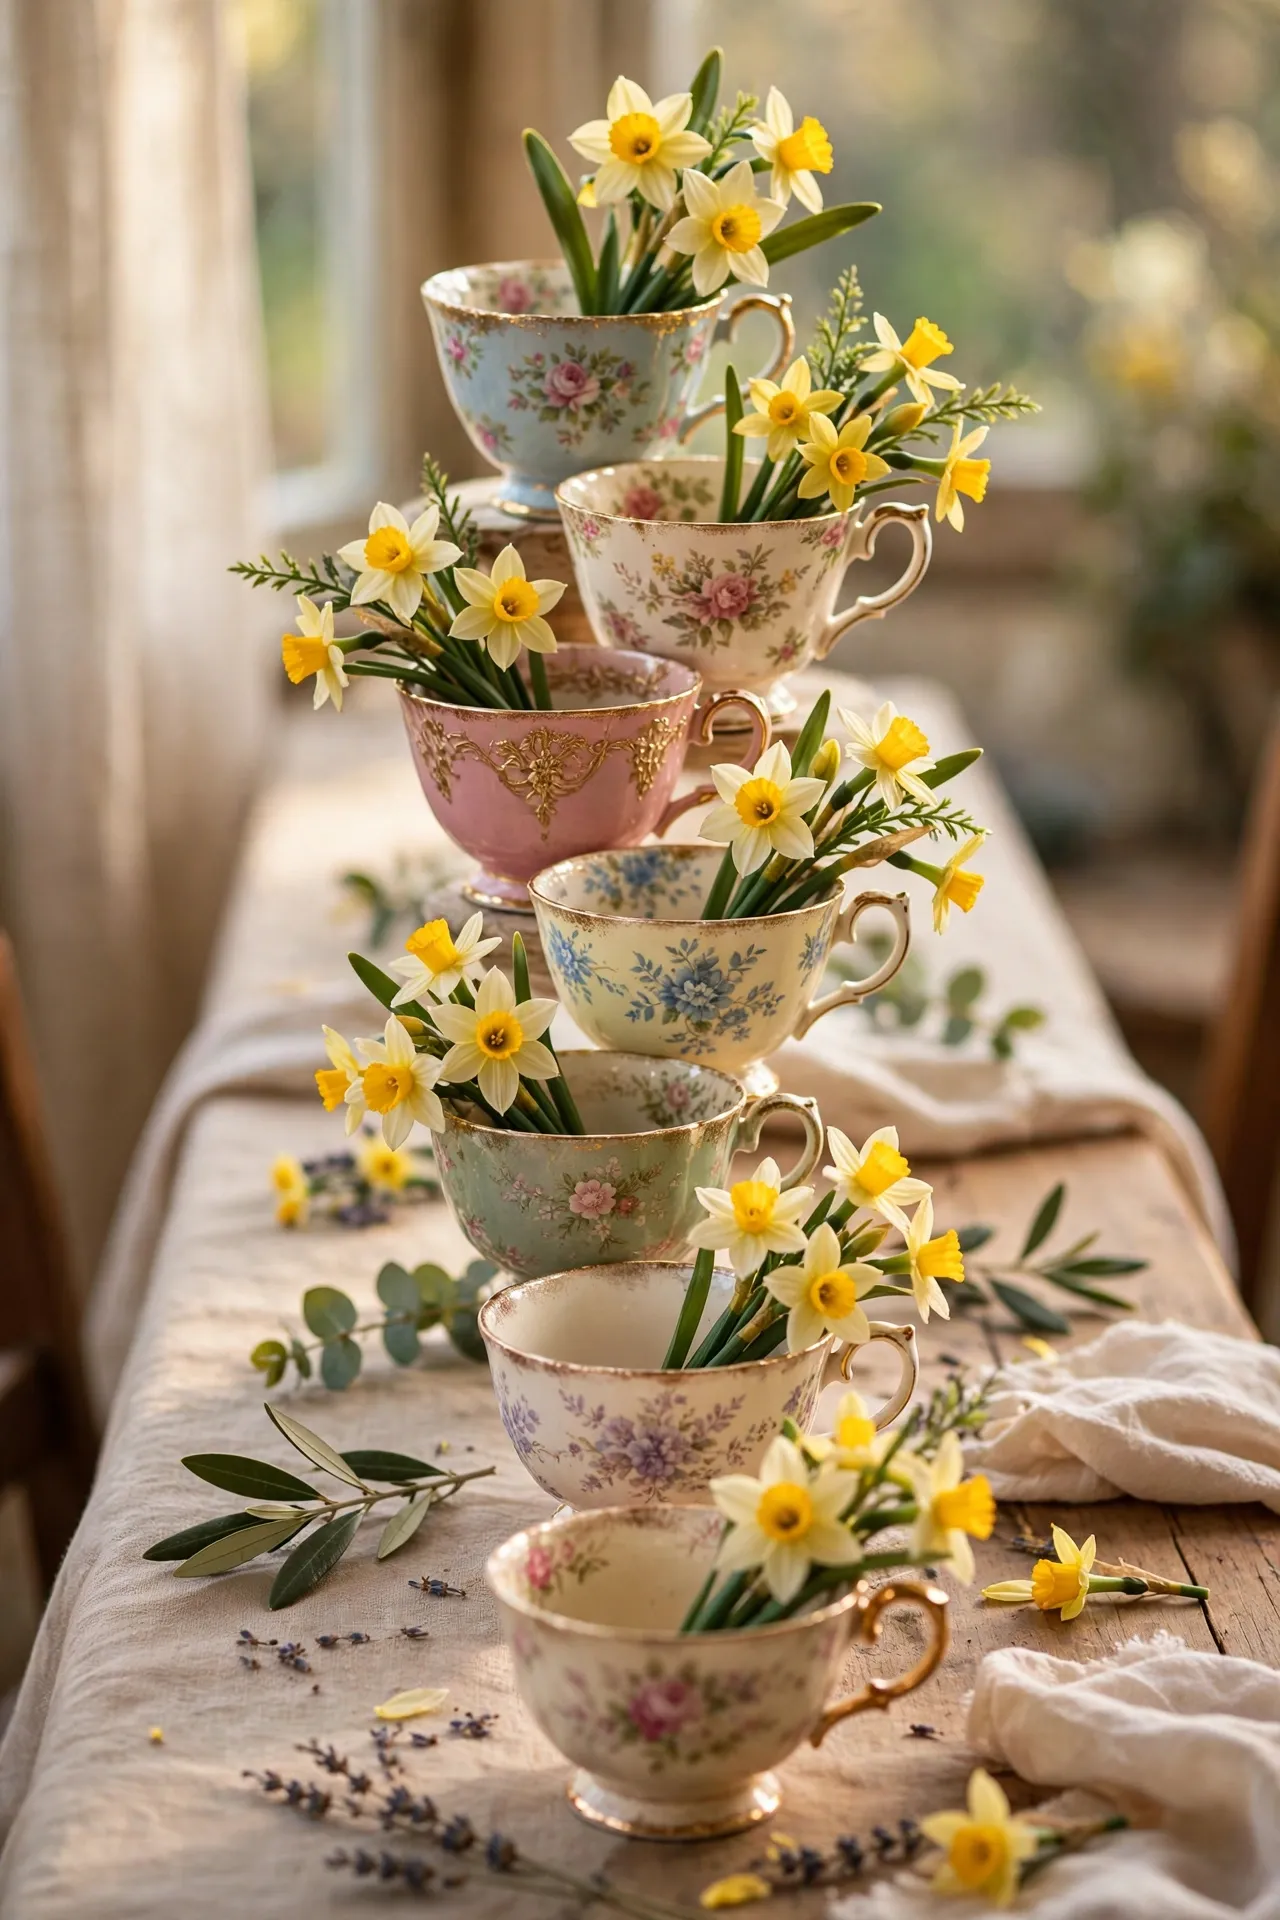
Pop small faux daffodil bunches into mismatched teacups for the sweetest spring table. The teacups can be charity-shop finds or dollar store ones — the flowers are the star. Line three or five down the table. Pro tip: add a pebble to each cup first — it steadies the stems and stops the cups tipping. I tried this and the one mistake to avoid is cups with cracks; water seeps through and marks the table.
Cost: ~$6 | Time: 15 minutes
16. Fourth of July Lantern Trio (Summer)
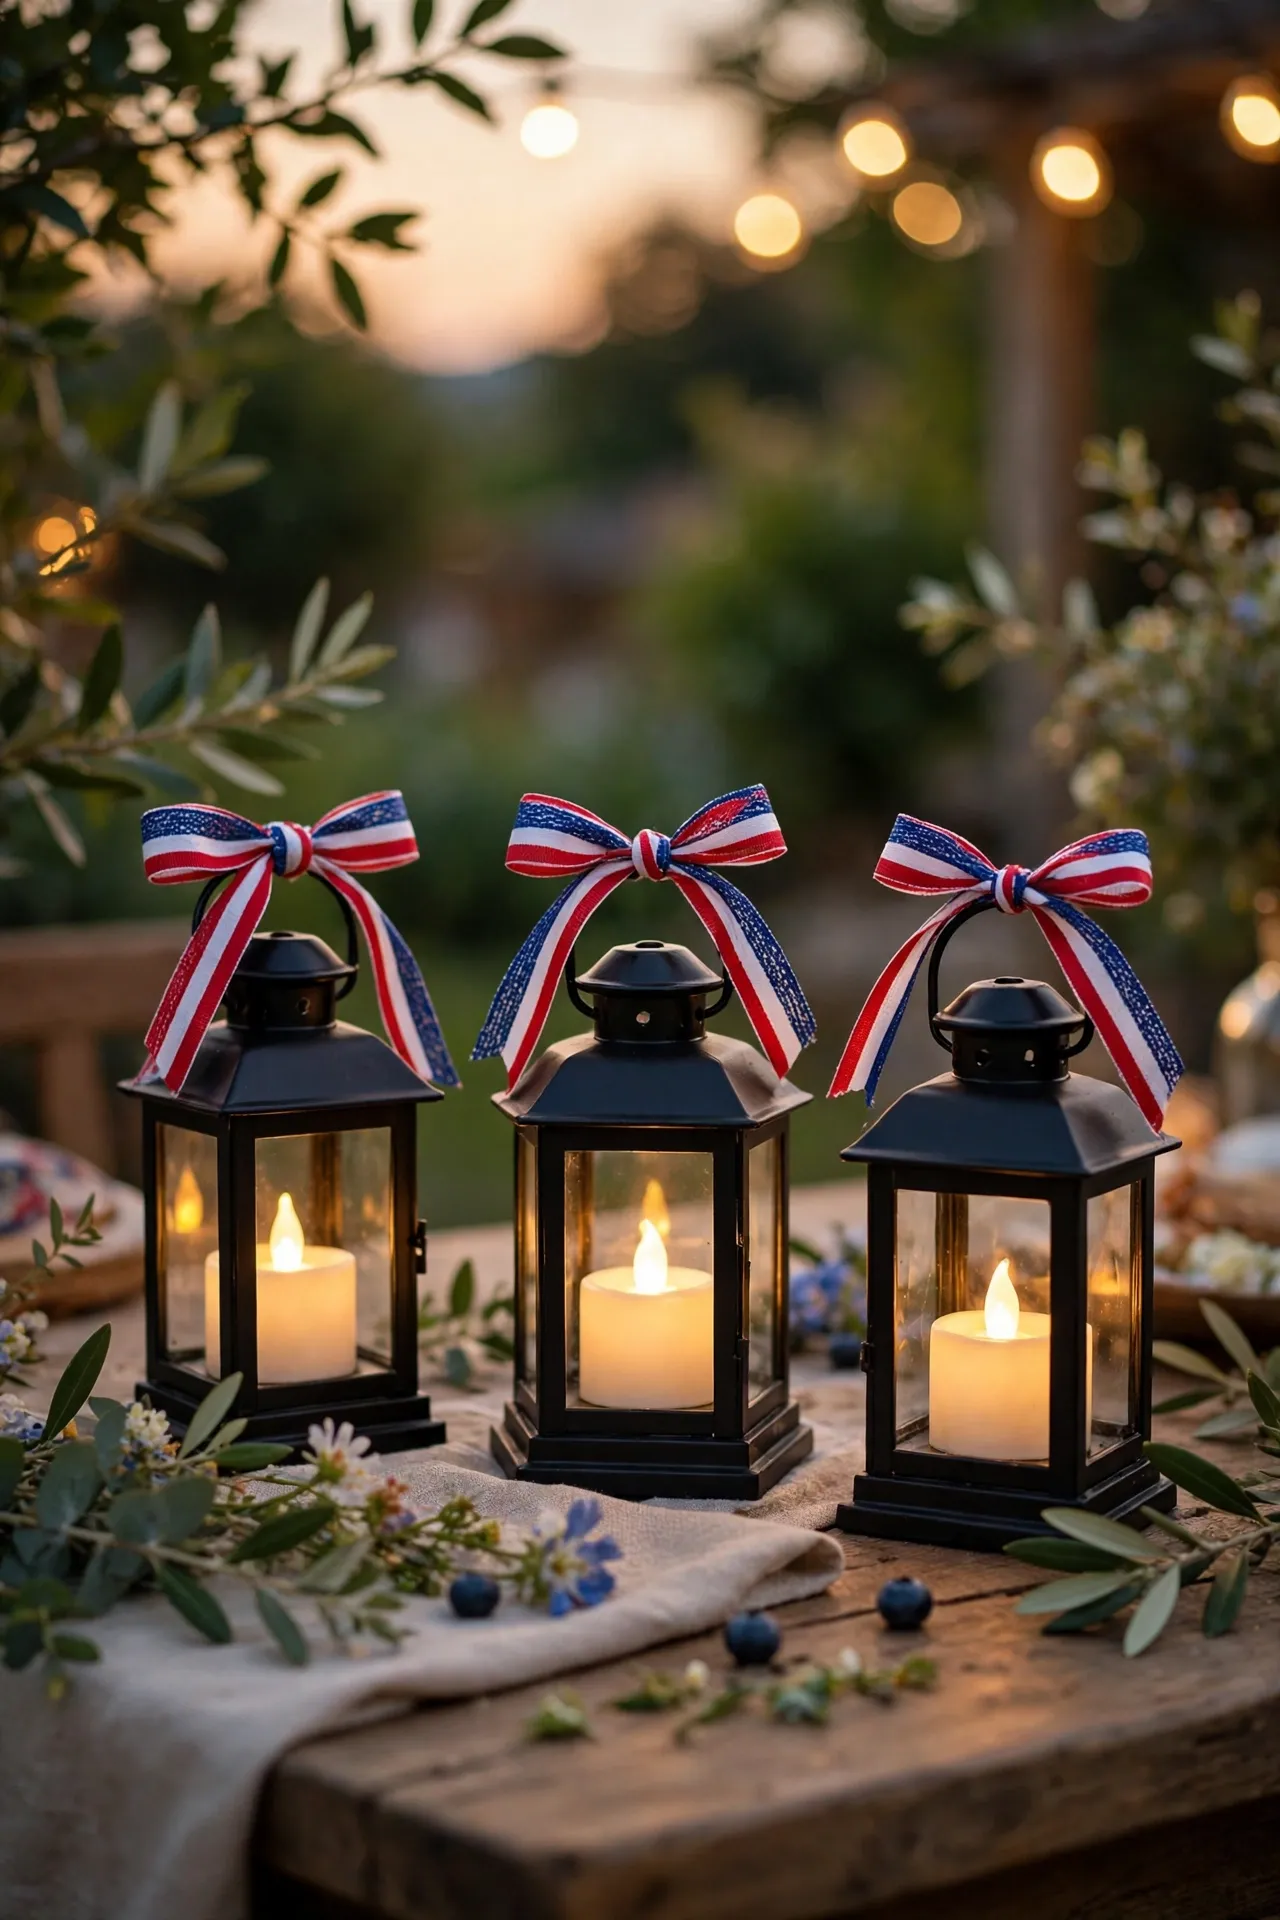
Three small lanterns with LED candles, tied with red, white, and blue ribbon, make a festive summer centrepiece. The LED candles mean no fire worry around kids. Line them down the table with some scattered stars. I tried this and the one mistake to avoid is real candles in small lanterns; the glass gets hot and little fingers get curious.
Cost: ~$9 | Time: 15 minutes
17. Halloween Pumpkin Lantern (Autumn)
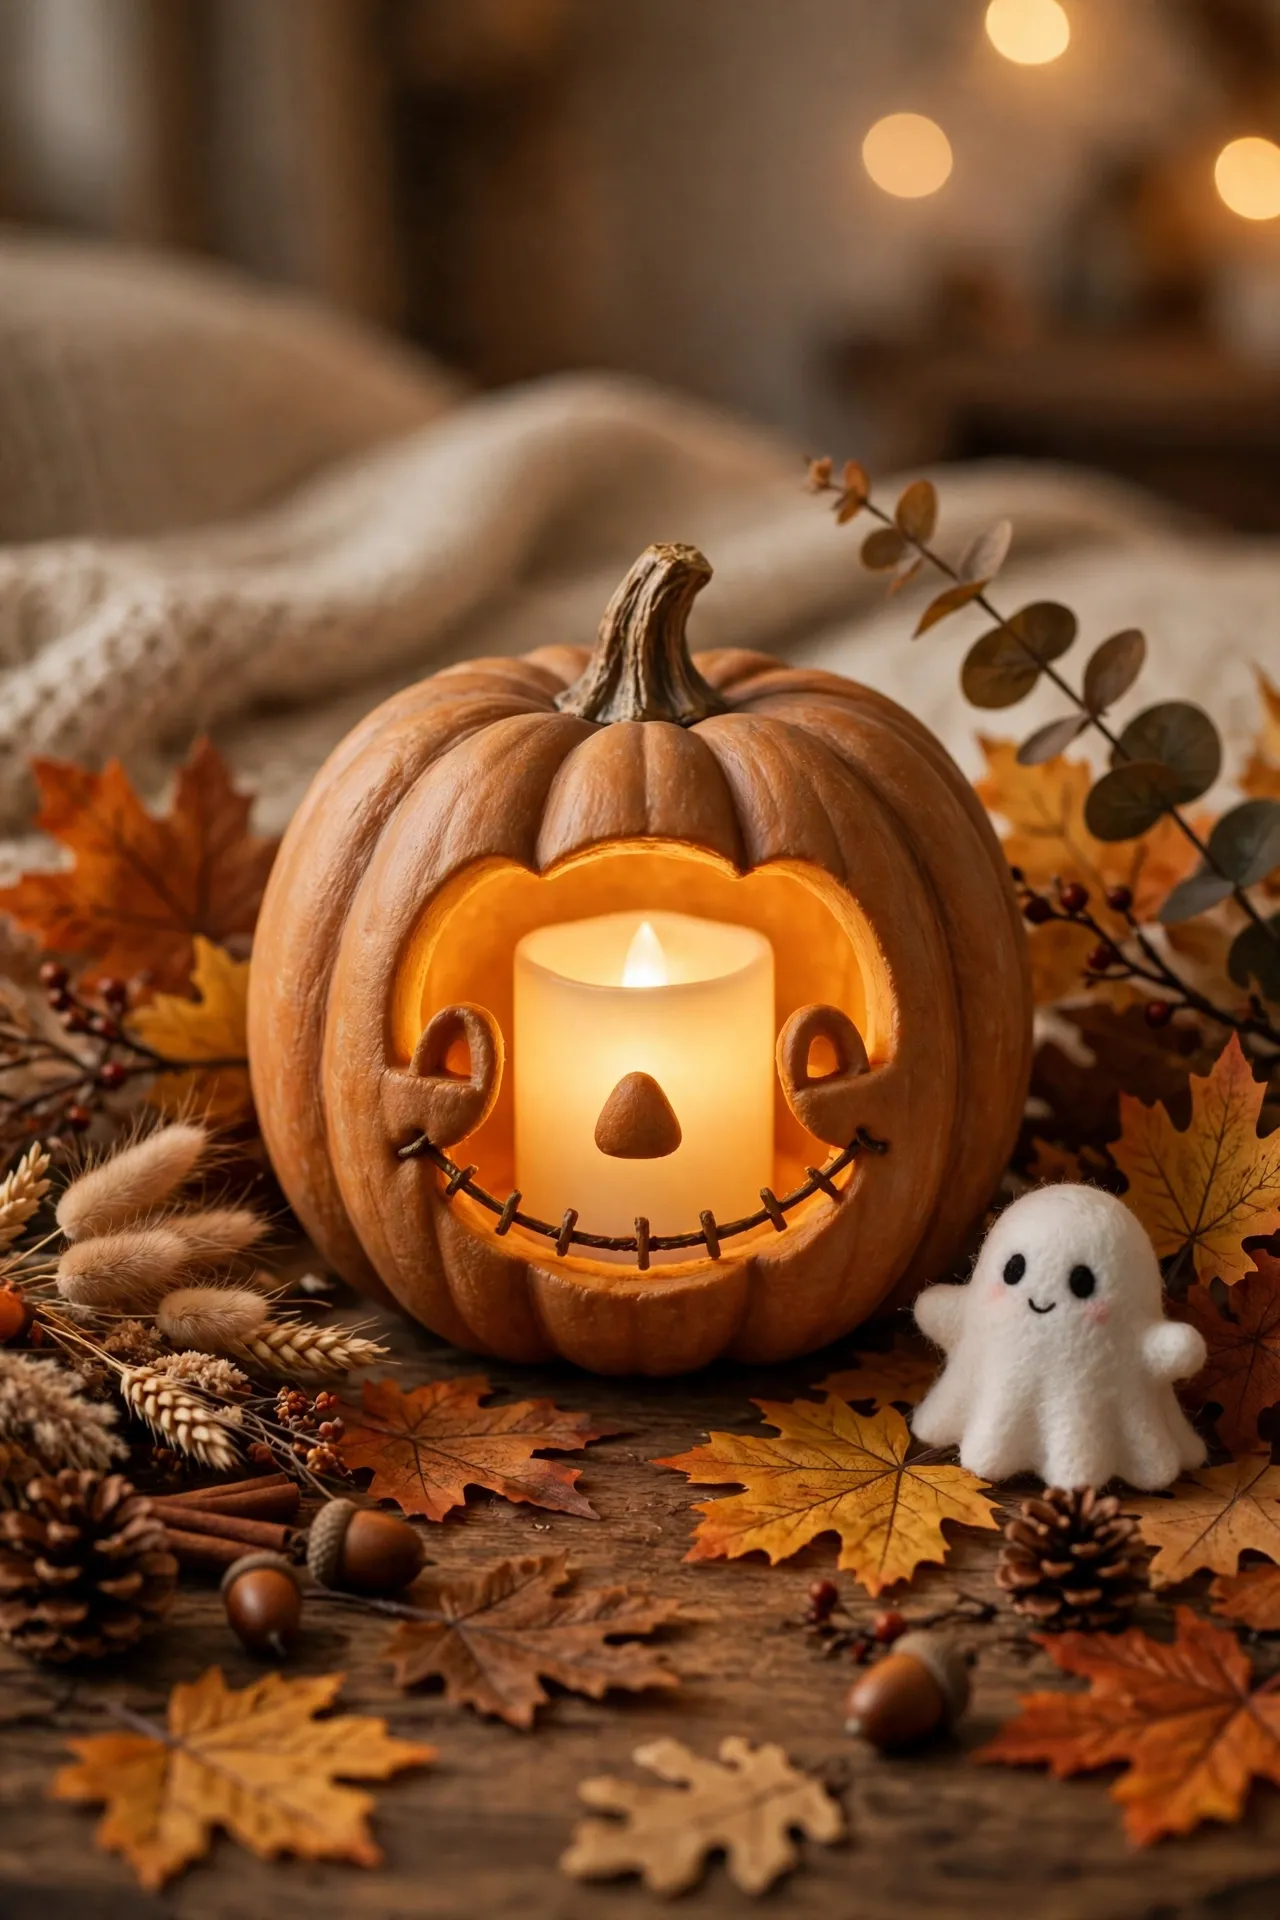
Carve a faux pumpkin — or use a pre-cut one — and put an LED candle inside for a Halloween centrepiece that lasts all month. Faux pumpkins carve easily with a craft knife and never rot. Scatter some faux autumn leaves around the base. I tried this and the one mistake to avoid is a real flame inside a faux pumpkin; the plastic melts and the smell is awful.
Cost: ~$6 | Time: 30 minutes
18. Christmas Ornament Bowl (Winter)
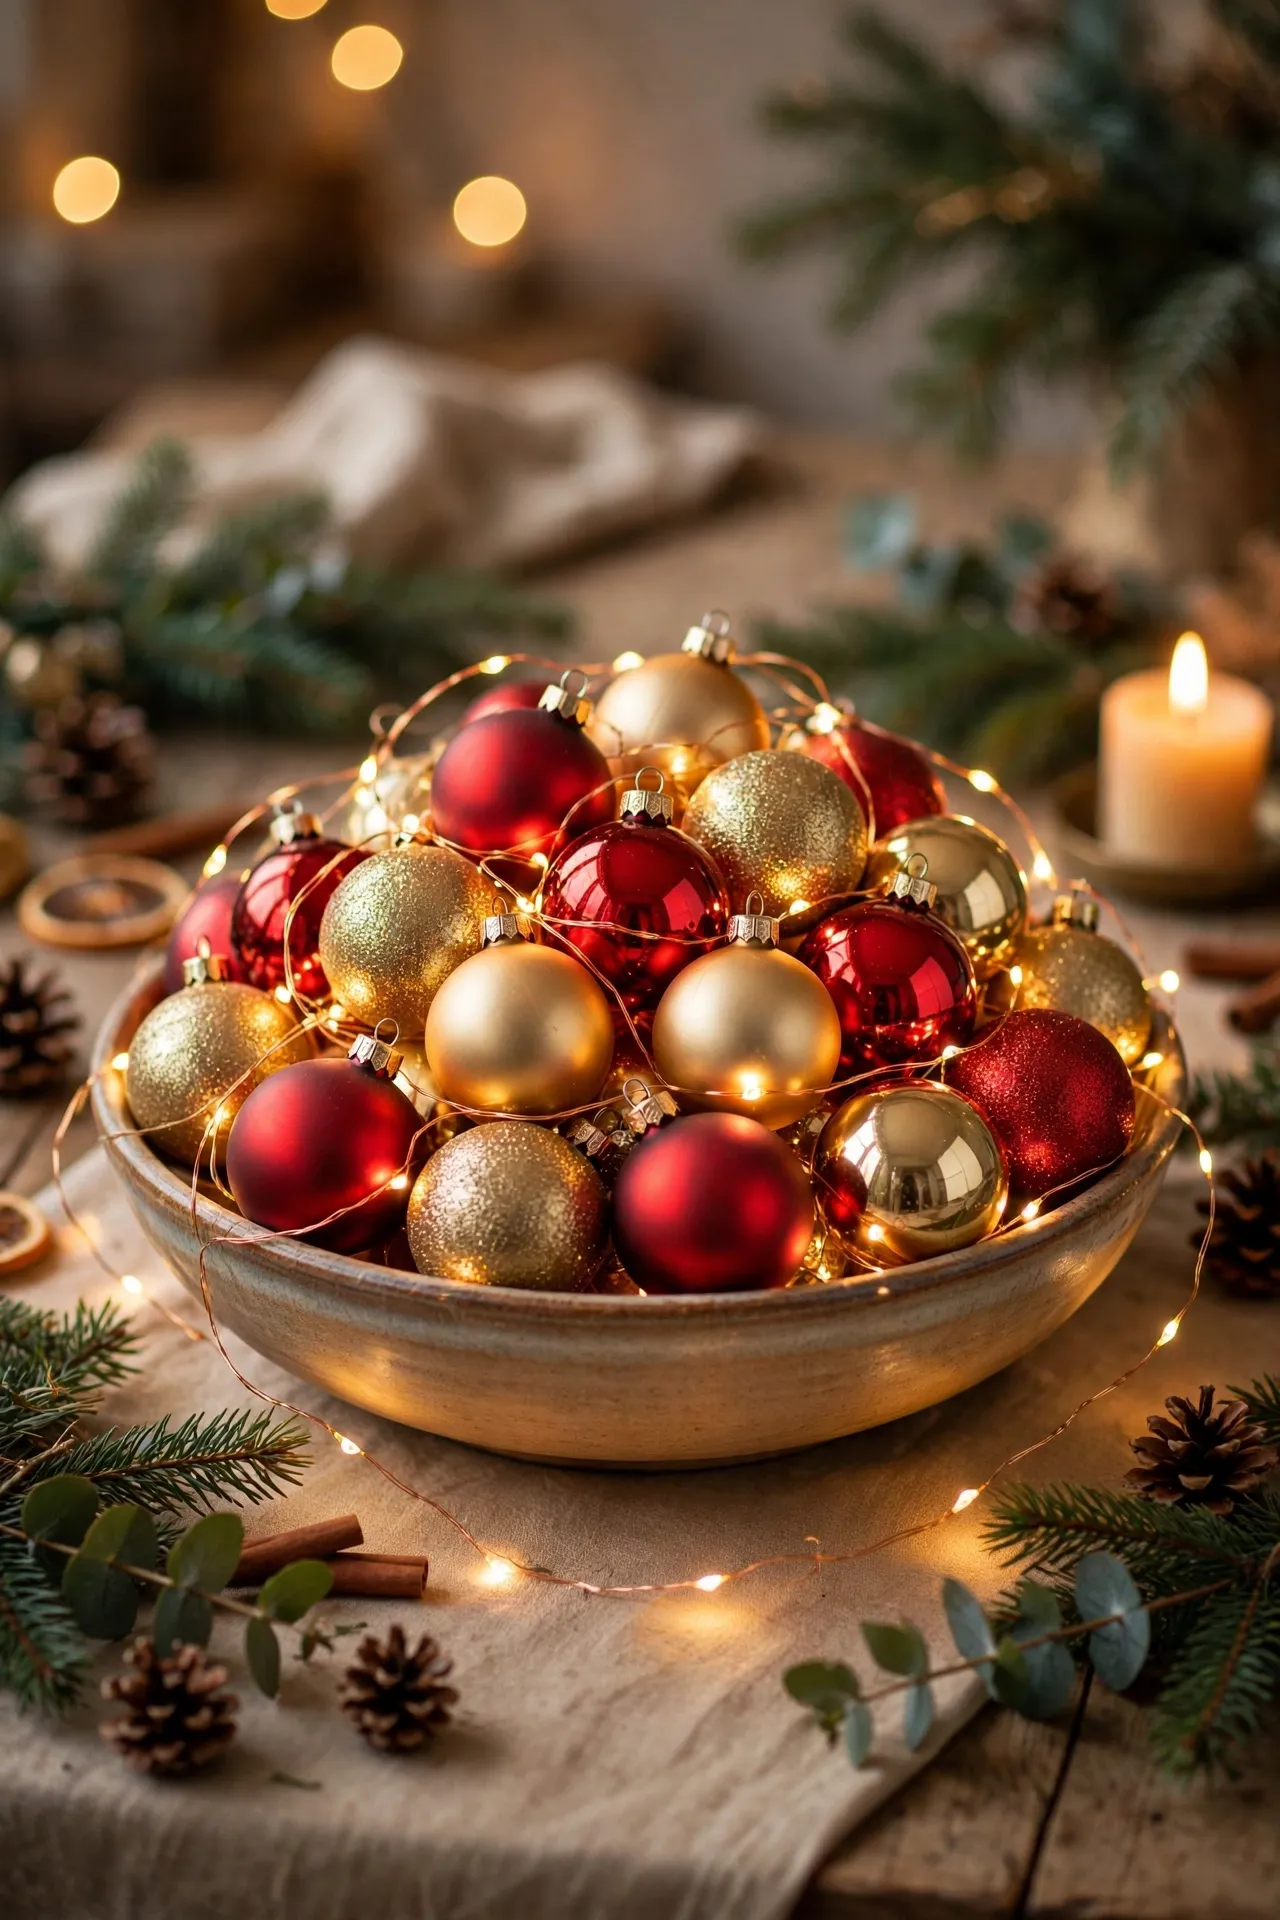
Fill a wide bowl with shatterproof ornaments in your colour scheme and top with a string of fairy lights. It’s the fastest Christmas centrepiece there is. Mix matte and shiny for depth, and mound them high. Pro tip: put crumpled tissue in the bottom first — you need fewer ornaments to get that full, mounded look. I tried this and the one mistake to avoid is glass ornaments on a table with kids; shatterproof exists for a reason.
Cost: ~$8 | Time: 10 minutes
19. New Year Gold and Black Glam (Winter)
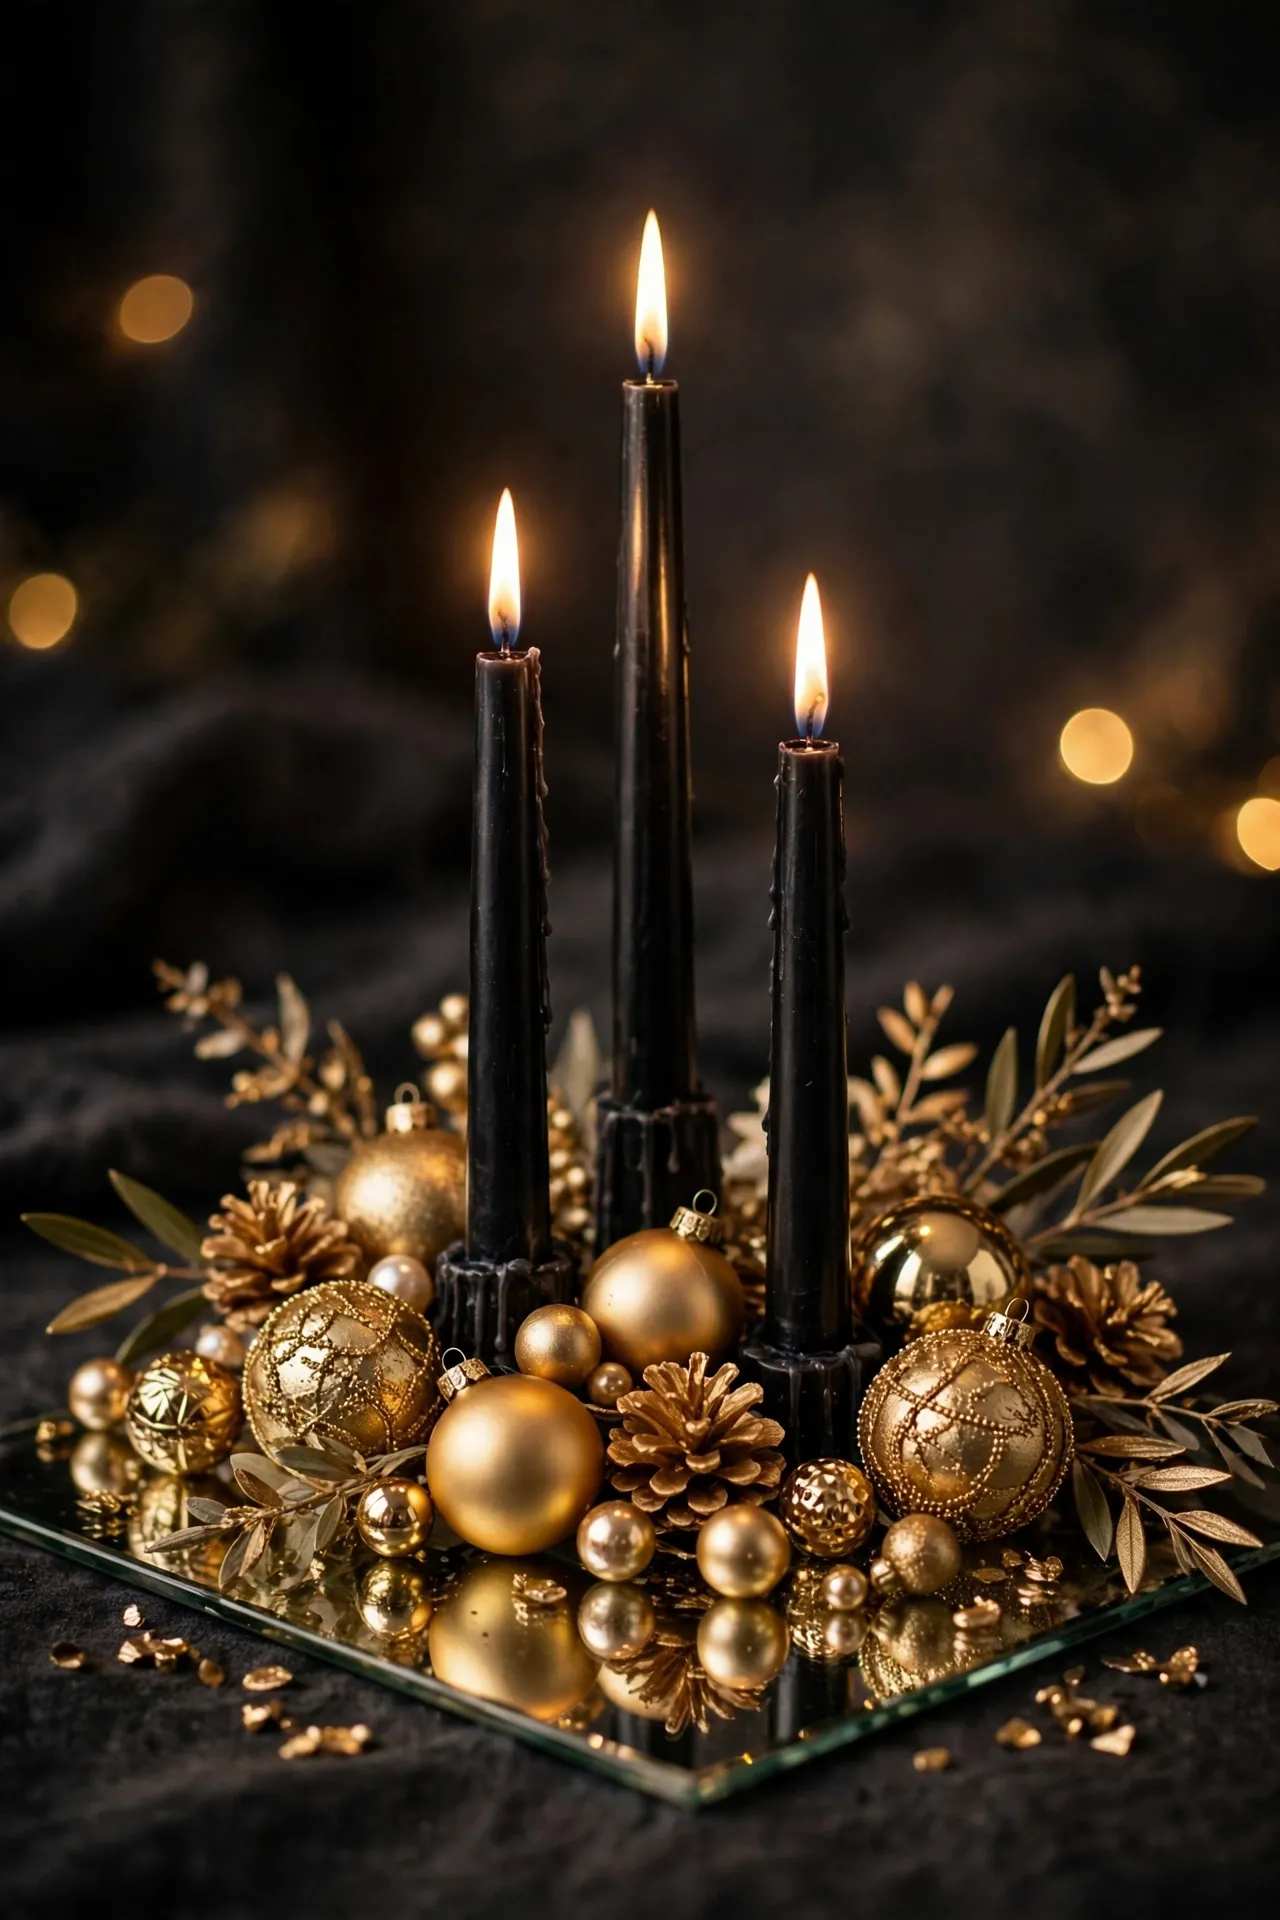
Black candles, gold ornaments, and a mirrored tray make a New Year’s centrepiece with real drama. The dark-and-gold palette photographs beautifully. Add a small clock or “cheers” sign if you like. I tried this and the one mistake to avoid is going overboard with glitter; a little sparkle reads as glam, a lot reads as a craft explosion.
Cost: ~$9 | Time: 15 minutes
Nineteen centrepieces, four seasons, one very reasonable receipt. For everyday table styling between holidays, my designer-look decor ideas keep the table pretty all year round.
