23 Apartment Kitchen Ideas on a Budget
When I moved into my flat, the kitchen had honey-oak cabinets, a chipped laminate worktop, and a light fitting that belonged in a dentist’s waiting room. My landlord would not replace anything, and my budget was laughably small — so I spent a year hunting down cheap apartment kitchen ideas that actually make a difference without touching the plumbing or risking my deposit. These 23 are the ones that worked: renter-friendly, mostly reversible, and all gentle on the wallet. If your kitchen feels tired and rented, start here — you will be surprised what a weekend and a few pounds can do.
Cheapest picks if you’re really skint:
- Tension rod under the sink — ~$6
- Chalkboard paint panel on the fridge — ~$8
- S-hook rail for utensils — ~$10
- Windowsill herb garden from supermarket cuttings — ~$12
- Matching decant jars from the discount shop — ~$12
1. Peel-and-Stick Backsplash Tiles
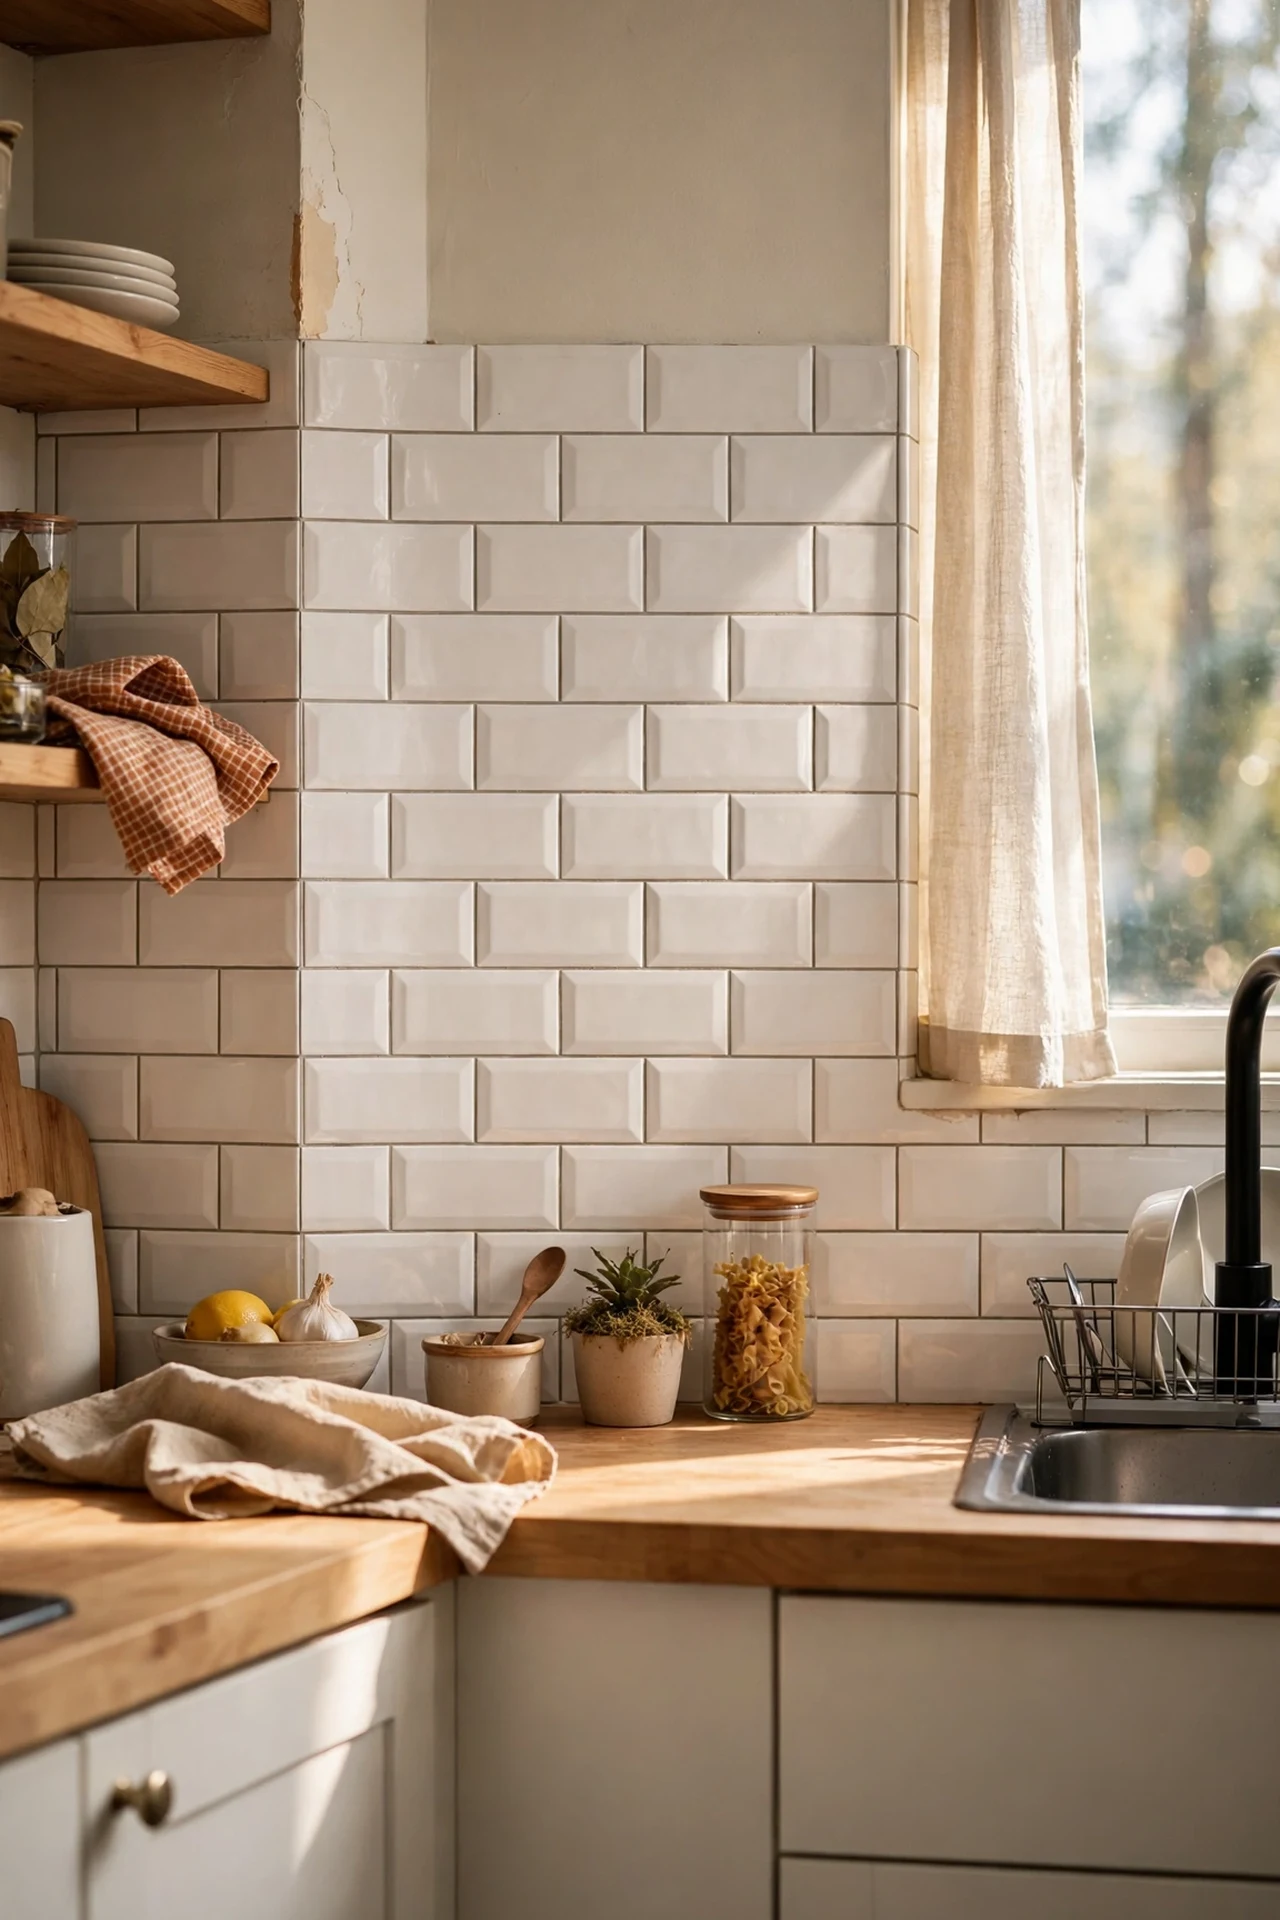
The single fastest way to kill the dated look is a peel-and-stick backsplash — no grout, no tiler, no landlord argument. Measure your splashback area first and buy about ten percent extra, because you will misjudge a cut somewhere and regret not having a spare. Clean the wall with sugar soap so the adhesive actually grips, then work from the centre outward, pressing each tile firmly and smoothing out air bubbles with a credit card. Start behind the hob and let the pattern lead your eye. I tried this on a Sunday afternoon and the whole wall took under two hours; the mistake to avoid is starting at the edge, which leaves you with an awkward sliver of a tile right in the middle.
Cost: ~$25 | Time: 2 hours
2. Swap the Cabinet Hardware for Matte Black Pulls
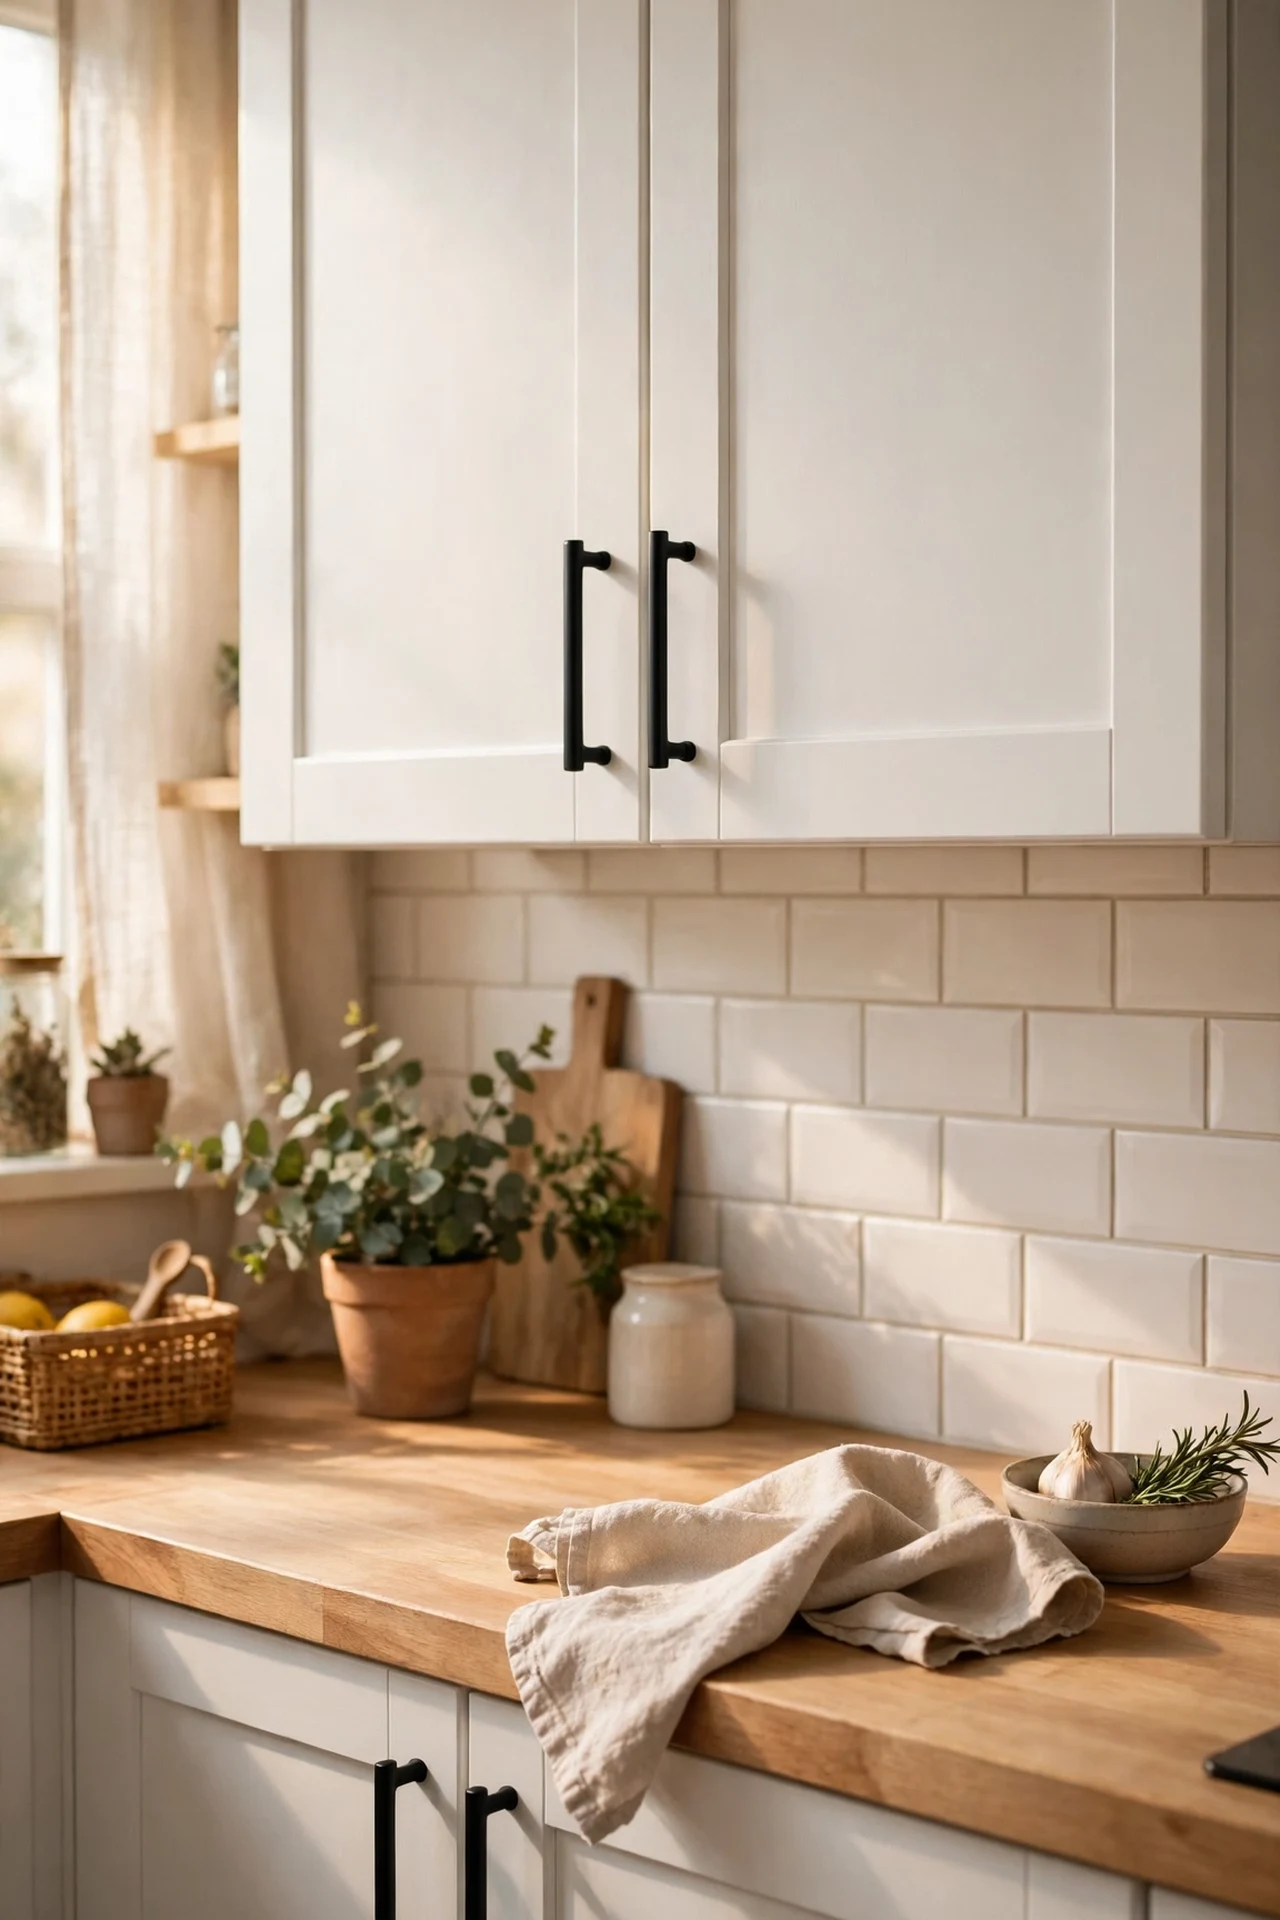
Those shiny brass-effect knobs that came with every rented flat in 2004 are doing your kitchen no favours. Replacing them with matte black pulls costs a fraction of new doors and changes the whole personality of the cabinetry overnight. Count every door and drawer, then order all the pulls at once so the finish matches — put the old hardware in a labelled bag so you can refit it when you move out. You need nothing but a screwdriver; unscrew, align the new pull, tighten, and move on. I tried this first because it felt low-risk, and honestly the kitchen looked so different I kept opening the wrong cupboards for a week. The mistake to avoid is buying pulls with the wrong hole spacing, so measure one before you order.
Cost: ~$30 | Time: 1 hour
3. Take the Doors Off One Cabinet for Open Shelving
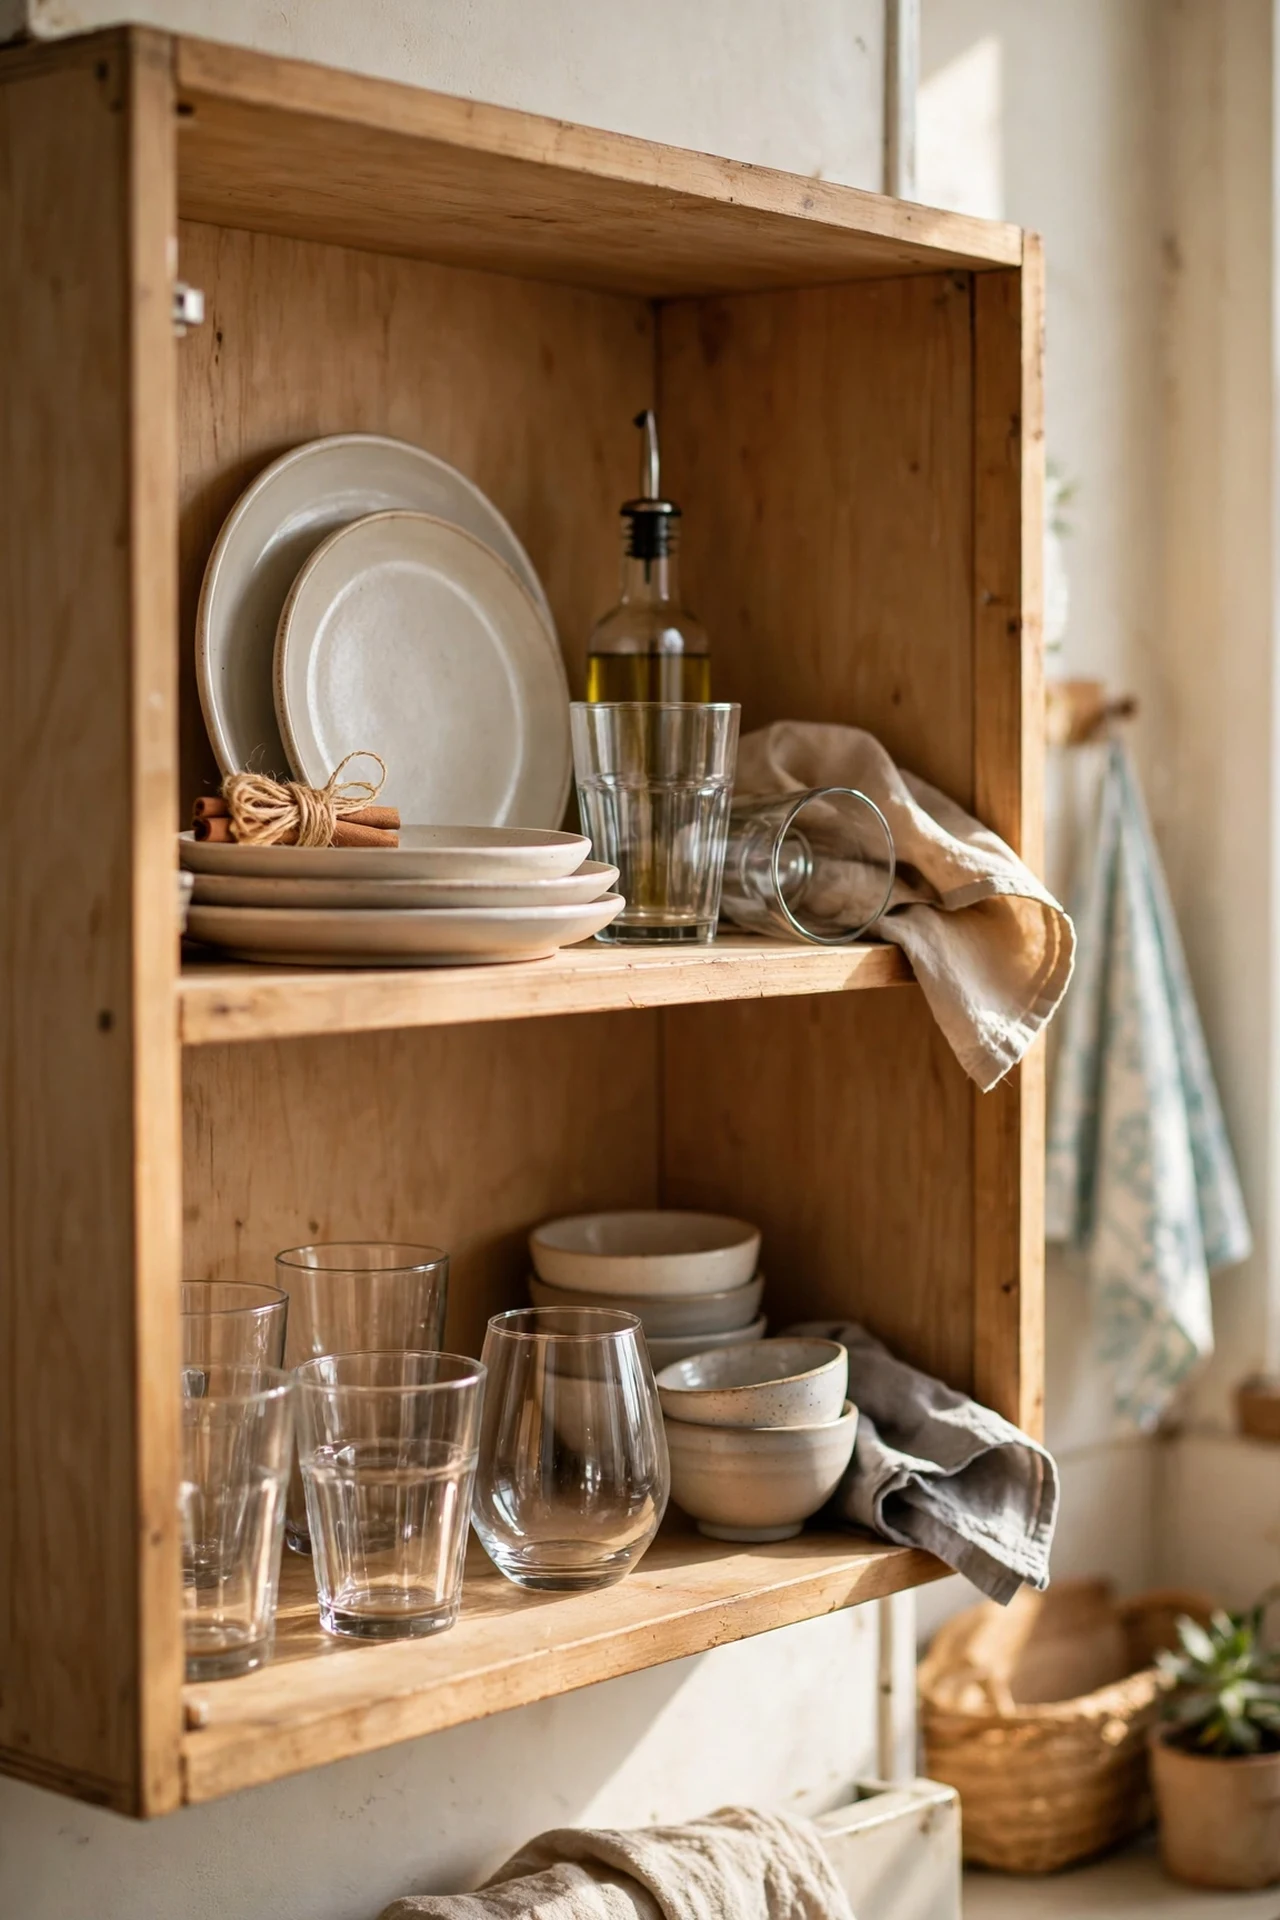
Open shelving is everywhere on Pinterest for a reason: it makes a small kitchen feel bigger and gives you a free display shelf. You do not need to buy shelves — just remove the doors from one wall cabinet, ideally the one near the stove, and suddenly you have the look for zero cost. Unscrew the hinges carefully and store the doors flat somewhere safe (under the bed works) wrapped in old sheets so they survive until move-out day. Fill any hinge holes with wood filler and touch up with a sample pot of paint. Then style the shelf with your prettiest plates and glasses, heaviest items at the bottom. I tried this with my most-used cabinet and reaching for mugs got noticeably easier — the mistake to avoid is choosing the cabinet above the hob, where grease will coat everything.
Cost: ~$5 | Time: 1 hour
4. Add Floating Shelves Beside the Window
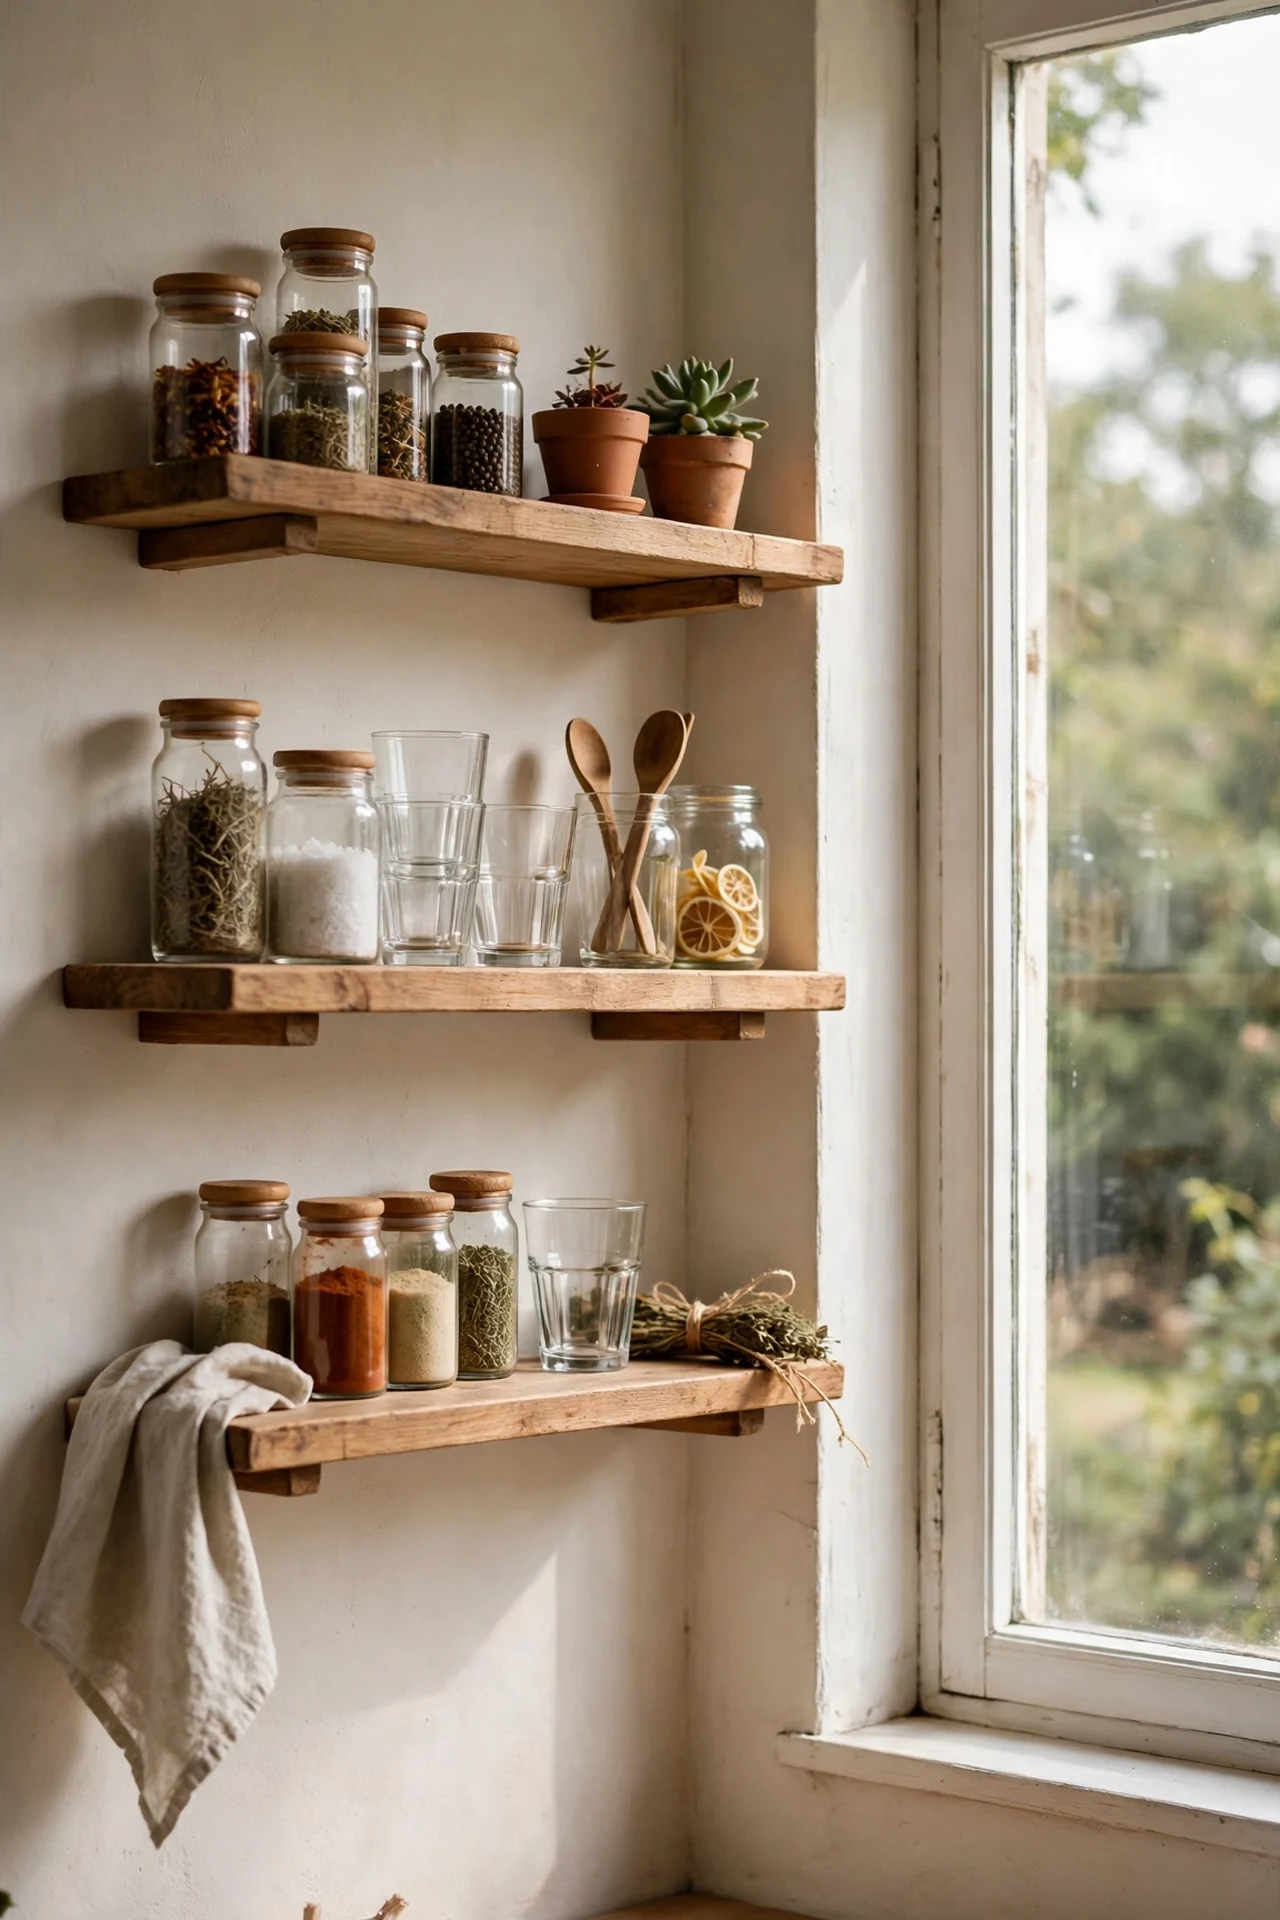
If your wall cabinets make the kitchen feel like a cave, a pair of floating shelves beside the window opens everything up and adds storage where it is actually useful. Buy two solid wood-look shelves with hidden brackets rated for kitchen weight — cheap ones sag, and a sagging shelf of jam jars is nobody’s friend. Mark your drill holes with a spirit level, use proper wall plugs for your wall type (masonry plugs for brick, toggles for plasterboard), and test each bracket with a firm tug before loading it. Style them with daily-use items so they stay practical: olive oil, spices, the good glasses. I tried this and my counter instantly felt bigger, since half the clutter moved up the wall. The mistake to avoid is over-styling with things you never touch — dust settles, and you will clean them far less than you think.
Cost: ~$35 | Time: 1.5 hours
Pro tip: Before you drill into any rented wall, run a stud and pipe detector over the spot — hitting a water pipe costs more than every idea on this list combined.
5. Stick Under-Cabinet LED Strips for Instant Warmth
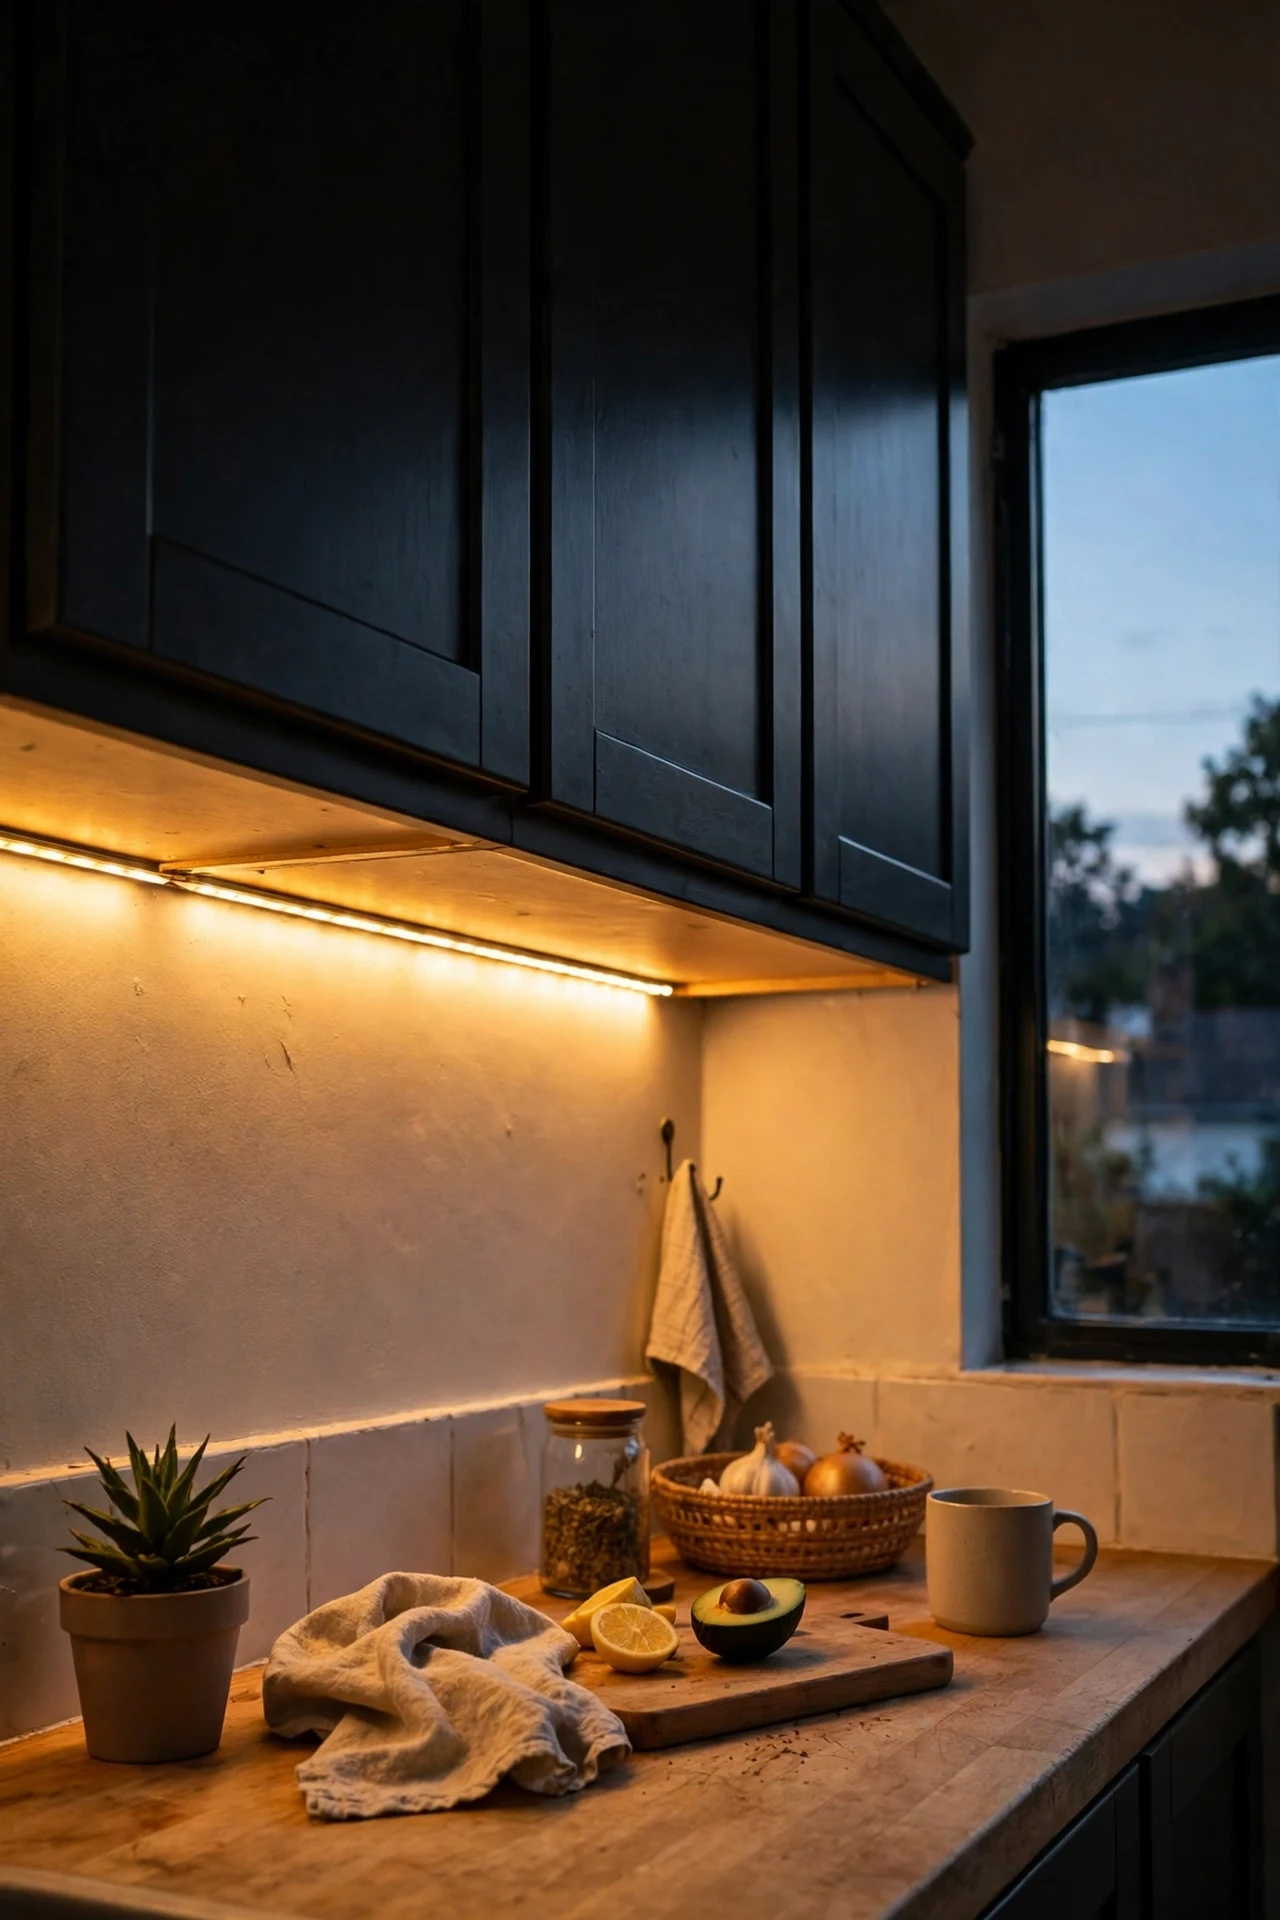
Overhead fluorescents make every kitchen look like a service station, but warm LED strips under the wall cabinets give you proper task lighting and a cosy evening glow for the price of a takeaway. Go for self-adhesive 2700K strips — warm white flatters food and faces far better than daylight white. Wipe the underside of the cabinets first so the tape holds, stick the strips toward the front edge so the light washes down the backsplash, and run the cable neatly to the nearest socket with cable clips. Most kits come with a remote or a plug-in dimmer, which is worth using. I tried this and chopping vegetables at night went from miserable to genuinely pleasant; the mistake to avoid is buying the cool-white version, which makes the whole room feel like an office.
Cost: ~$18 | Time: 45 minutes
6. Refresh the Worktop with Contact Paper
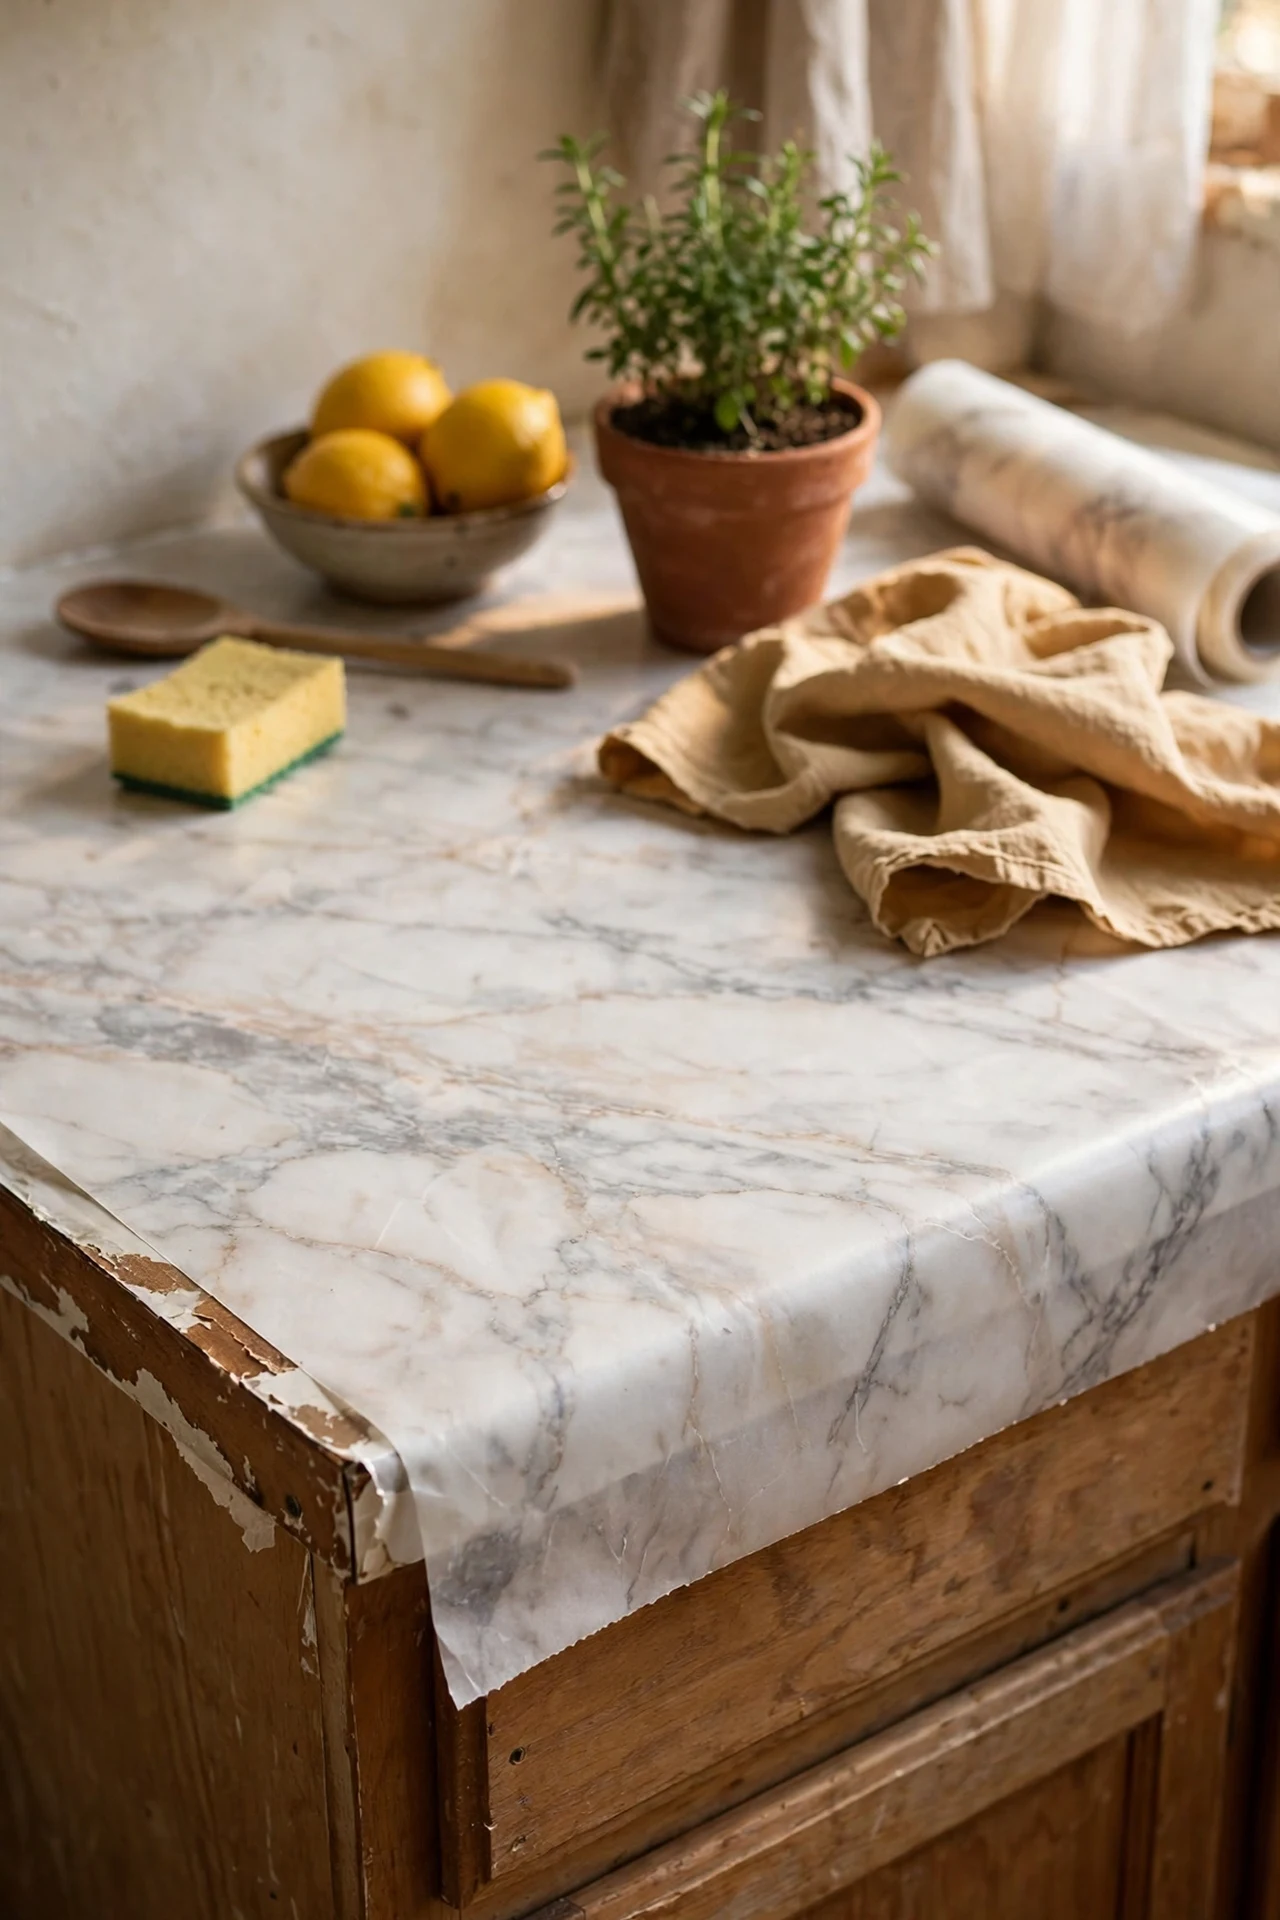
If your laminate worktop is stained, scorched, or just aggressively beige, marble-effect contact paper is the classic budget cover-up — and done carefully, it genuinely looks convincing in photos and from two steps back. Buy the thickest vinyl you can find; the cheap thin stuff tears on the roll and shows every bump. Clean and dry the worktop completely, peel the backing back a few inches at a time, and smooth it down with a felt squeegee working from the centre outward to push air out. Wrap the edges underneath rather than cutting flush, which stops peeling. I tried this on my old worktop and guests genuinely asked if I had replaced it; the mistake to avoid is skipping the heat test — always use a trivet, because hot pans will bubble vinyl.
Cost: ~$20 | Time: 2 hours
7. Paint Just the Lower Cabinets a Deep Colour
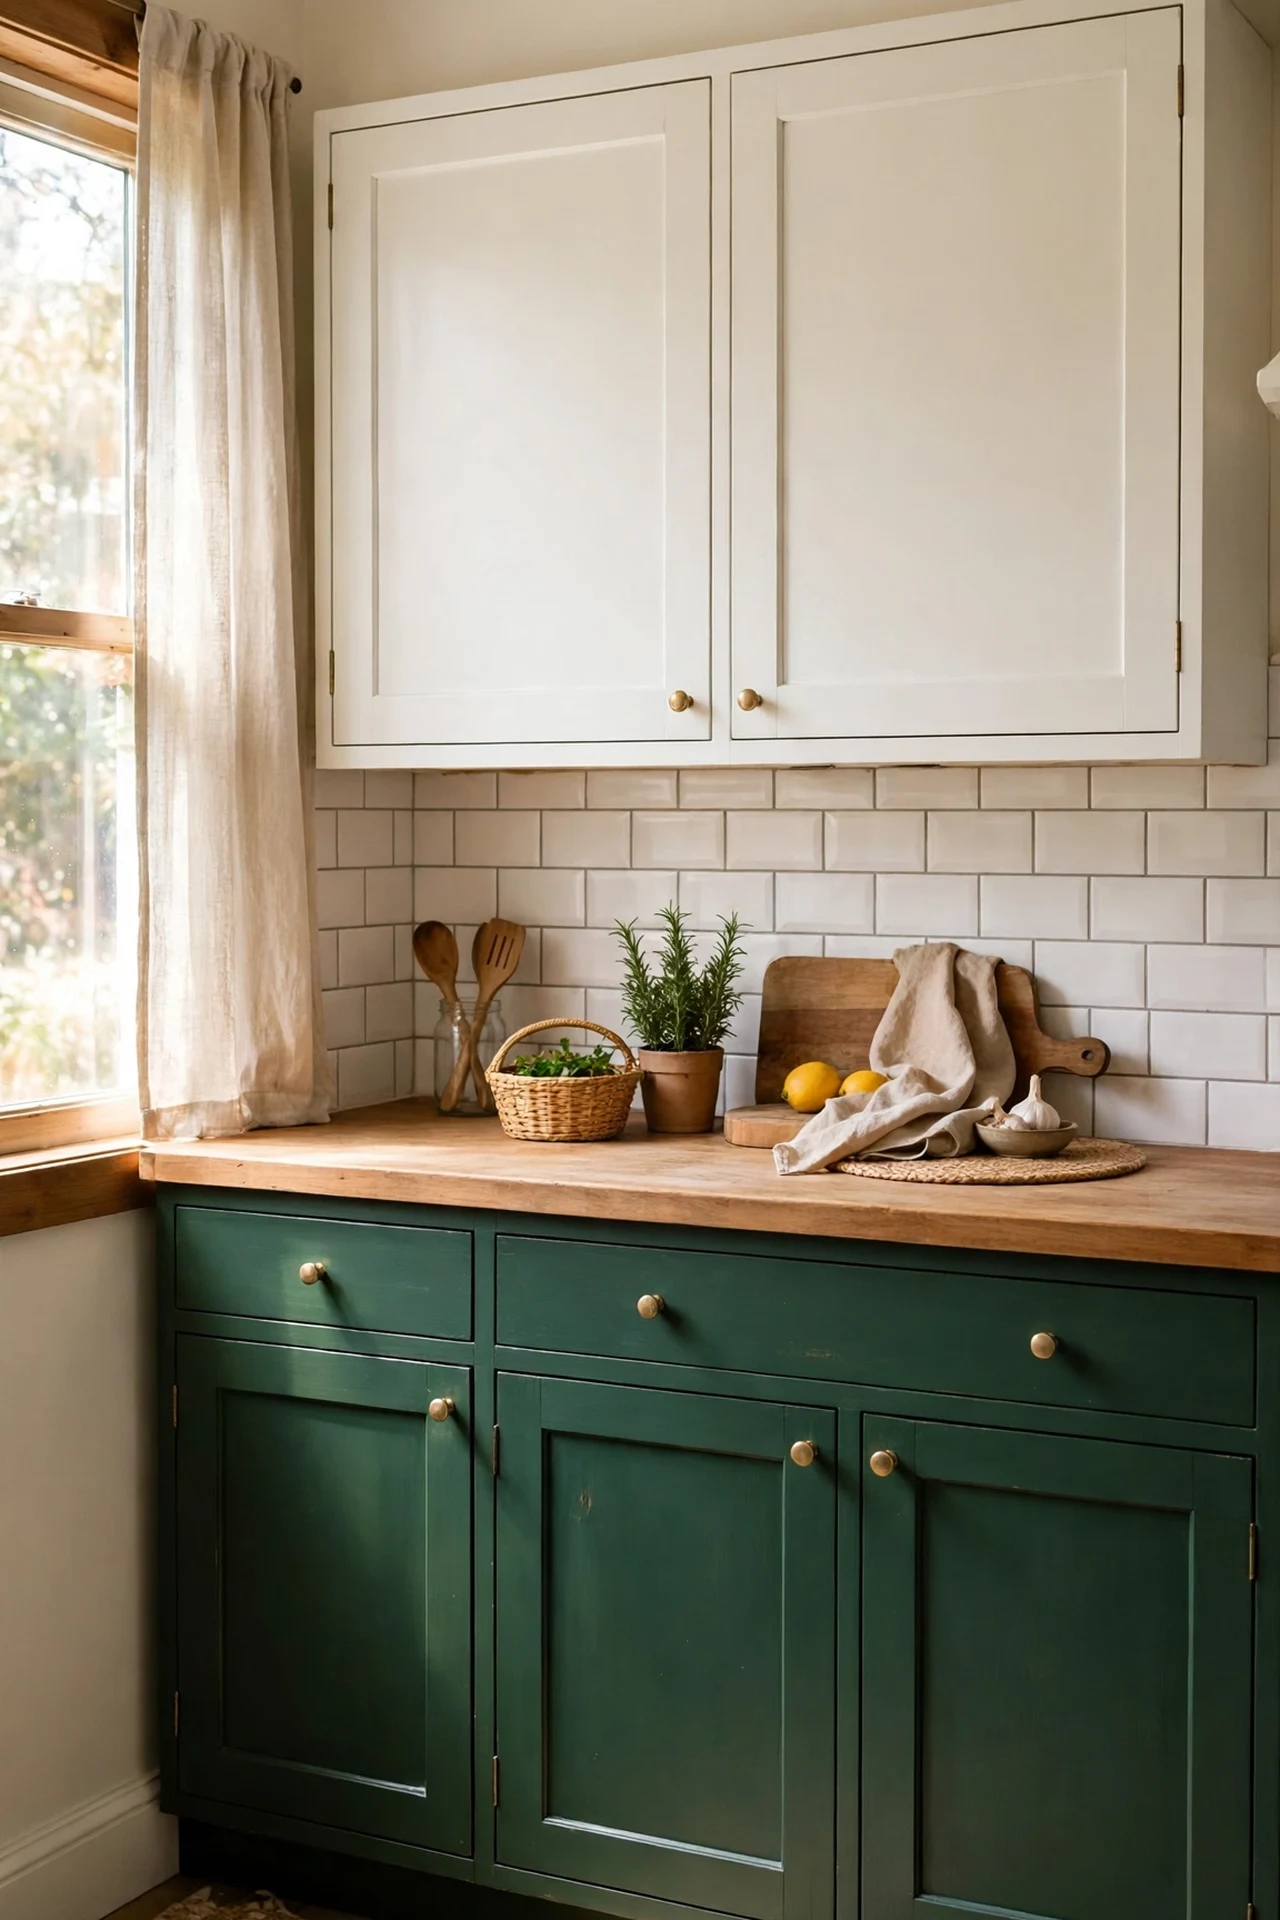
Painting only the lower cabinets gives you the two-tone designer look at half the effort, and the dark base grounds the room while hiding every scuff from bins and feet. Pick a wipeable satin or semi-gloss paint in something like deep green or navy, which reads expensive on a budget. Remove the doors and hardware, clean everything with degreaser — kitchen grease will ruin paint adhesion if you skip this — then apply one coat of bonding primer and two thin coats of colour, sanding lightly between coats. Rehang after a full cure day. I tried this after getting a quote for replacement doors and laughed at the price difference; the mistake to avoid is painting in one thick coat, which drips and takes weeks to harden.
Cost: ~$40 | Time: 1 weekend
8. Mount a Magnetic Knife Strip on the Wall
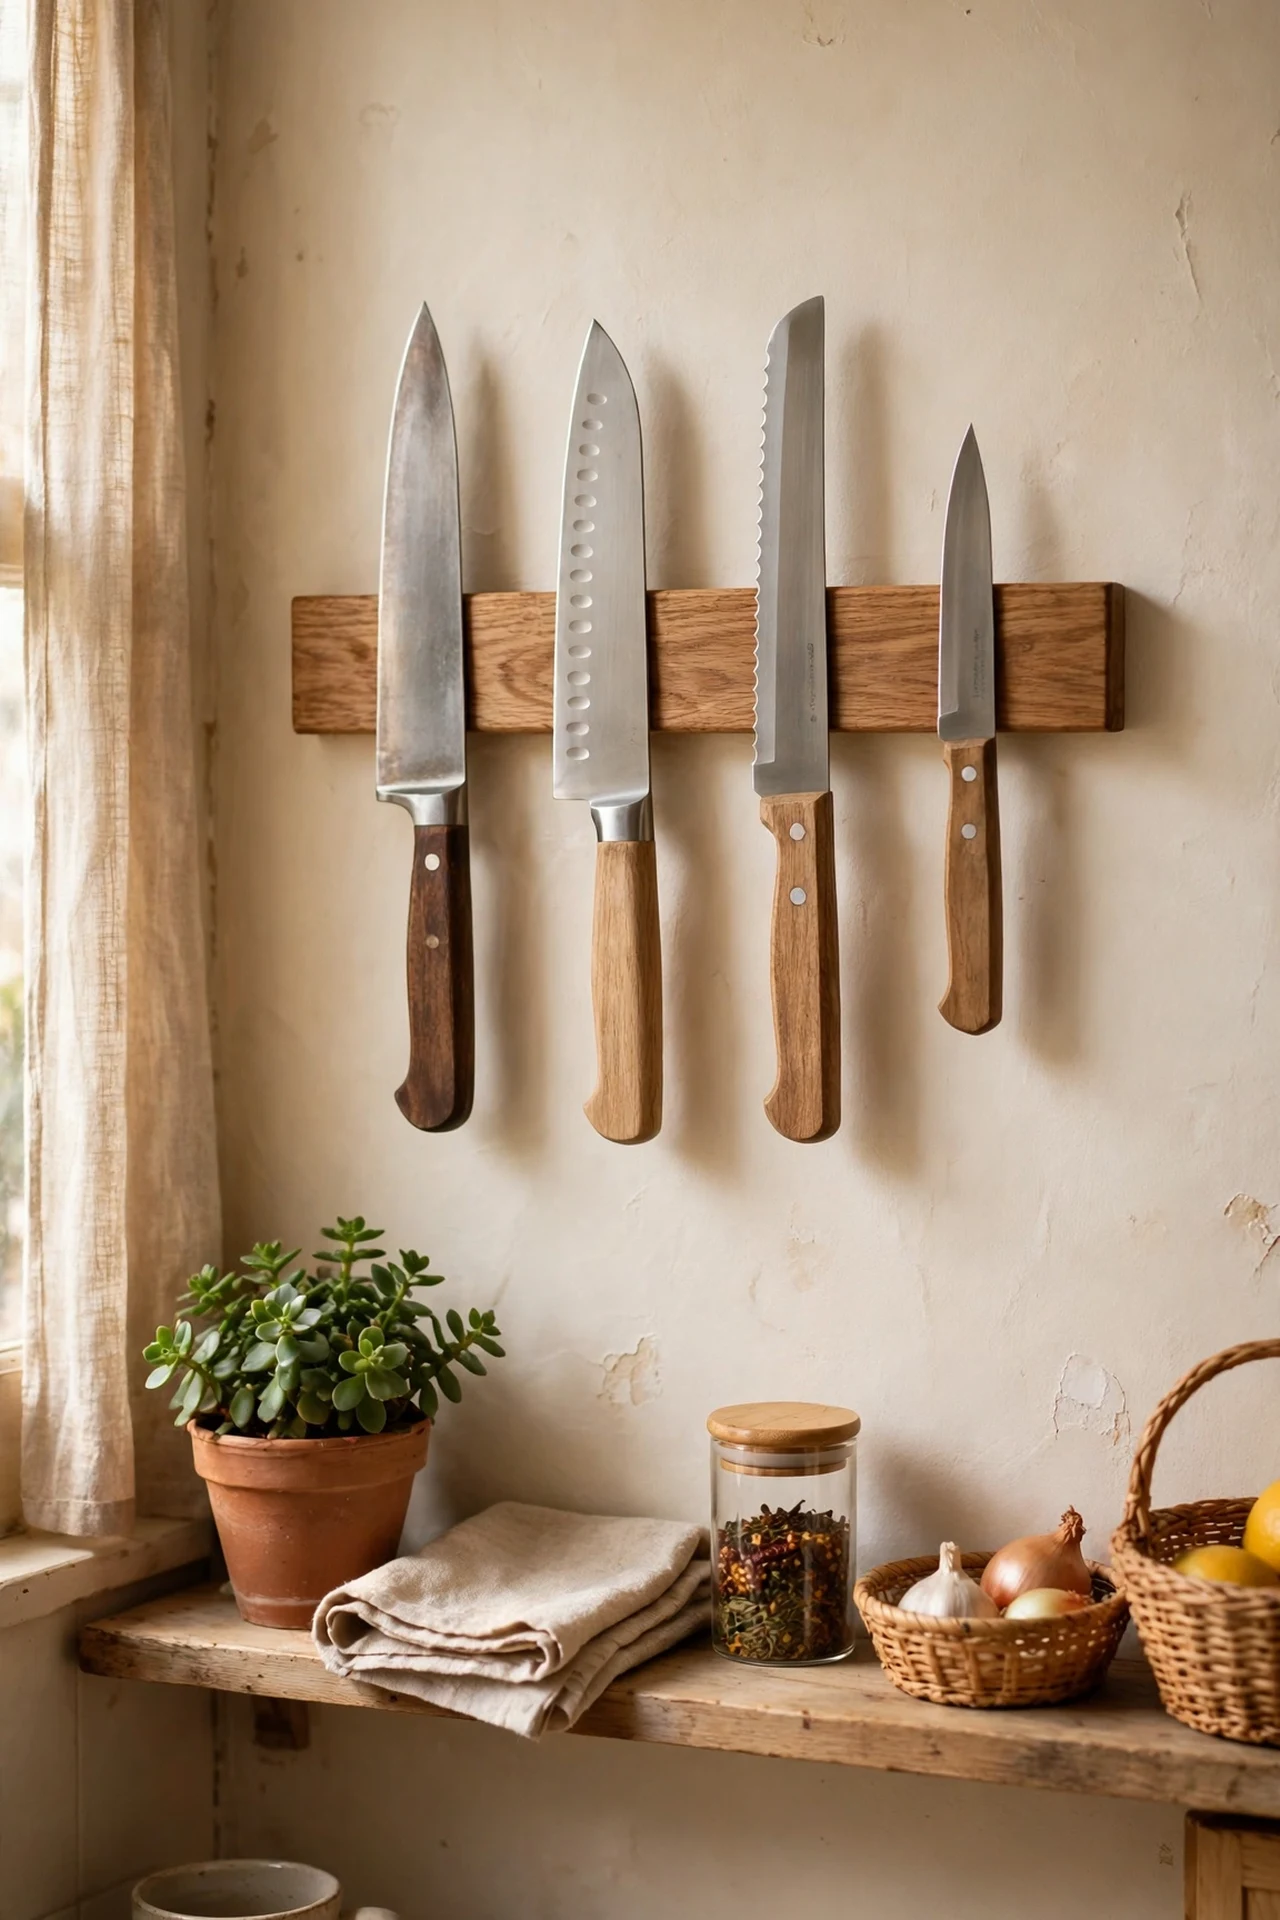
A wooden magnetic knife strip clears an entire knife block off your counter and makes your knives look like a chef’s display — plus it keeps blades sharp because they are not rattling in a drawer. Mount it on the wall beside your prep area at a height where the handles are easy to grab but out of small children’s reach. Use the screws provided with proper wall plugs, and give it the tug test before hanging anything sharp. Slide knives on and off sideways rather than pulling straight, which protects the edge and the strip. I tried this and my drawers finally closed properly for the first time in months; the mistake to avoid is sticking it to a tiled wall with adhesive alone — tiles and glue are a gamble, so screw it in properly.
Cost: ~$15 | Time: 30 minutes
9. Hang a Rail with S-Hooks for Utensils
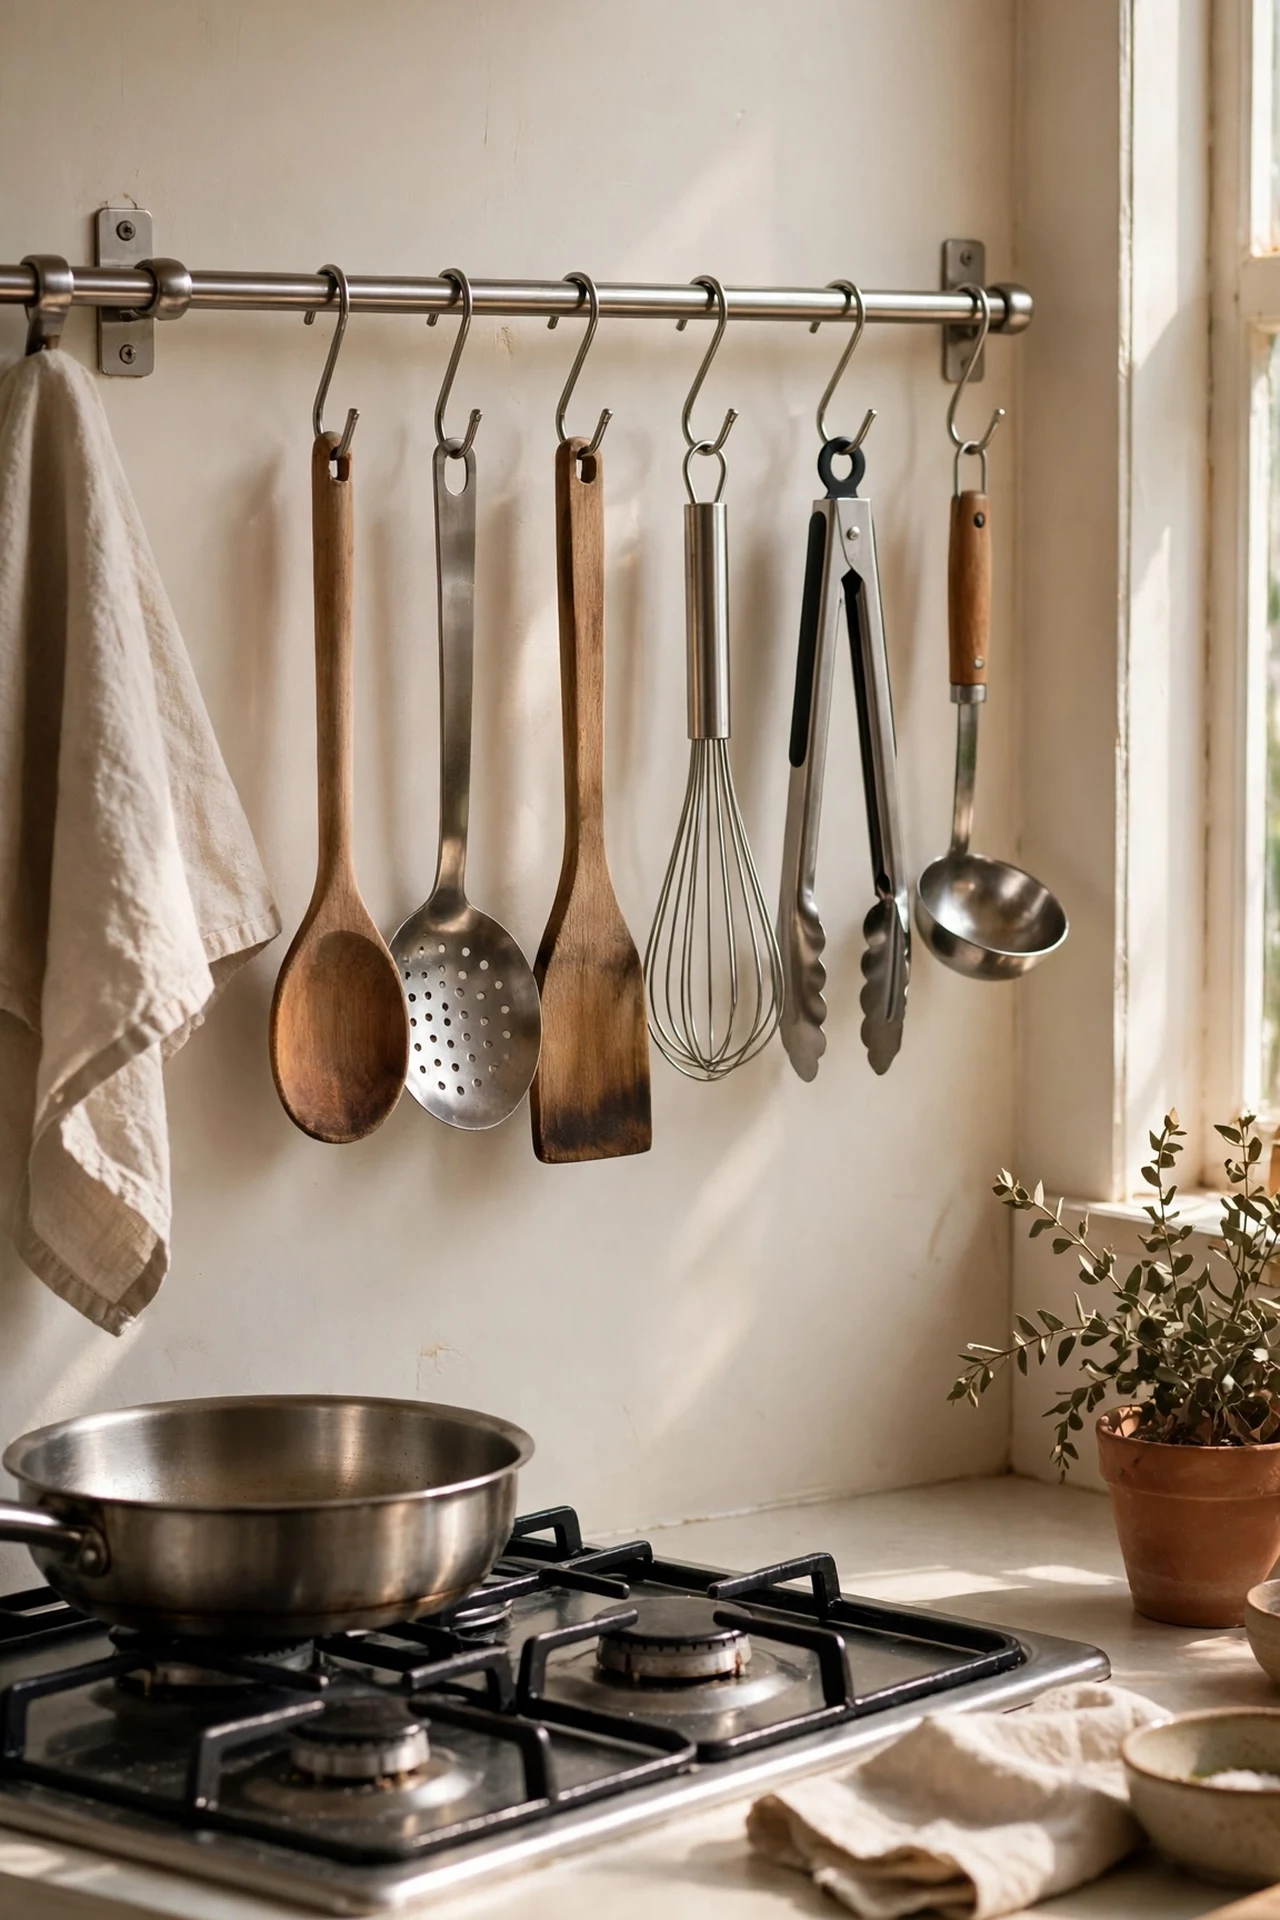
Restaurant kitchens hang their tools on the wall, and a stainless rail with S-hooks brings that practical look home while freeing up a whole drawer or countertop crock. Screw the rail into the backsplash or the wall beside the hob — into studs or with proper anchors — and hang your most-used utensils, pans with hanging holes, and even a small basket for garlic. Keep it to things you reach for daily so it stays functional rather than decorative clutter. I tried this beside my cooker and my wooden spoons finally stopped hiding at the bottom of a drawer; the mistake to avoid is overloading one rail, because a crashed rail at midnight is a special kind of heartbreak. For more clever storage tricks, see these (see also: small-kitchen-organization-ideas).
Cost: ~$10 | Time: 30 minutes
Pro tip: Command-style adhesive hooks hold lightweight rails on tiles with zero drilling — perfect if your tenancy agreement forbids holes in the walls.
10. Decant Everything into Matching Jars
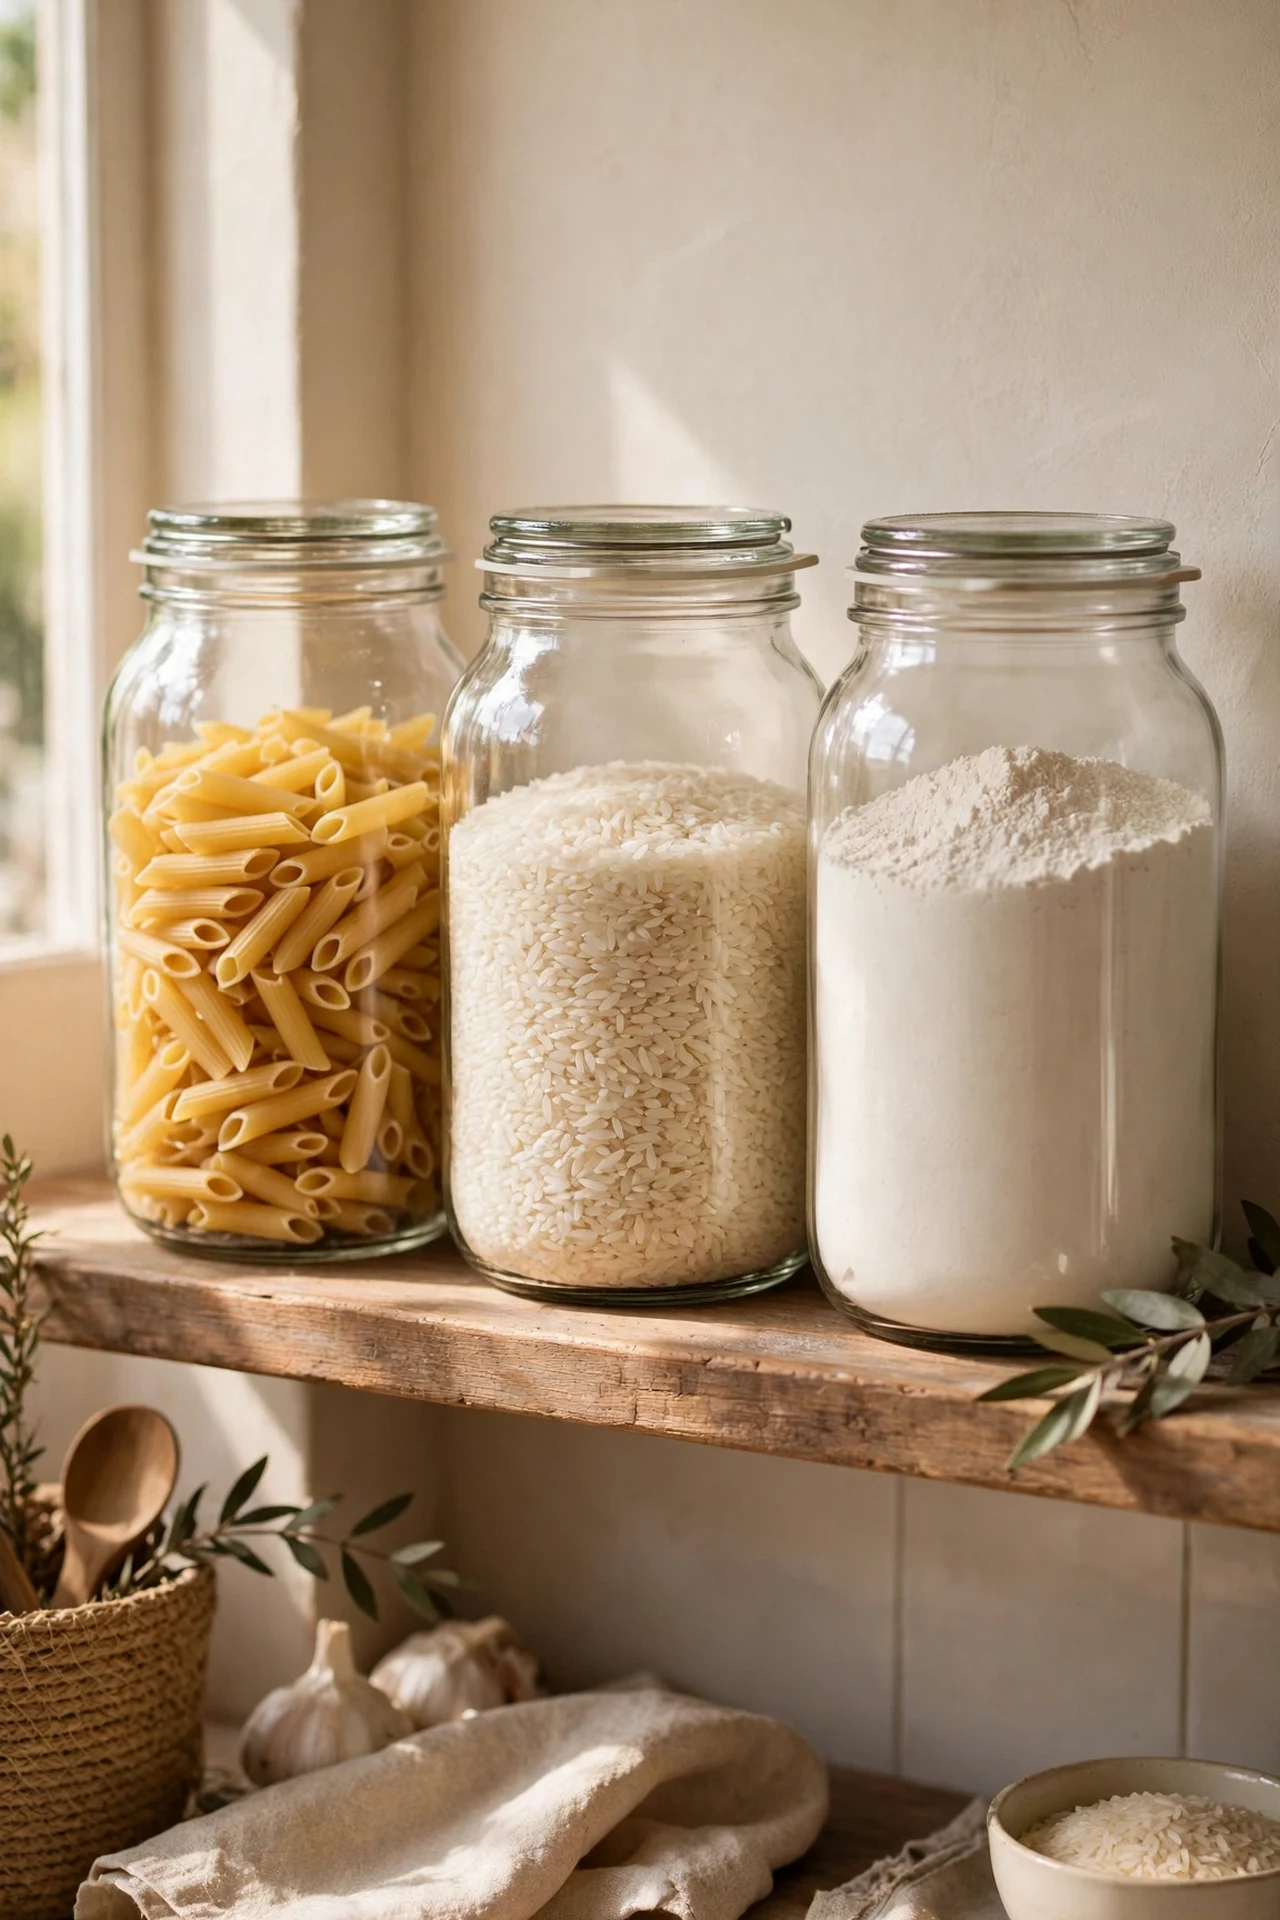
Nothing says “this kitchen has its life together” like a row of matching glass jars, and it costs almost nothing if you buy a uniform set from a discount shop. Tip your flour, rice, pasta, oats, and sugar out of their crinkly branded packaging into the jars, label each one with a simple sticker or chalk pen, and line them up where you can see them. You will waste less because you can actually see what is running low, and the whole shelf suddenly looks styled instead of chaotic. I tried this on a rainy afternoon and my cupboards felt like a different room; the mistake to avoid is decanting something you use rarely into an airtight jar you will forget about — check dates and only decant what you actually cook with.
Cost: ~$12 | Time: 1 hour
11. Use an Over-the-Sink Dish Drying Rack
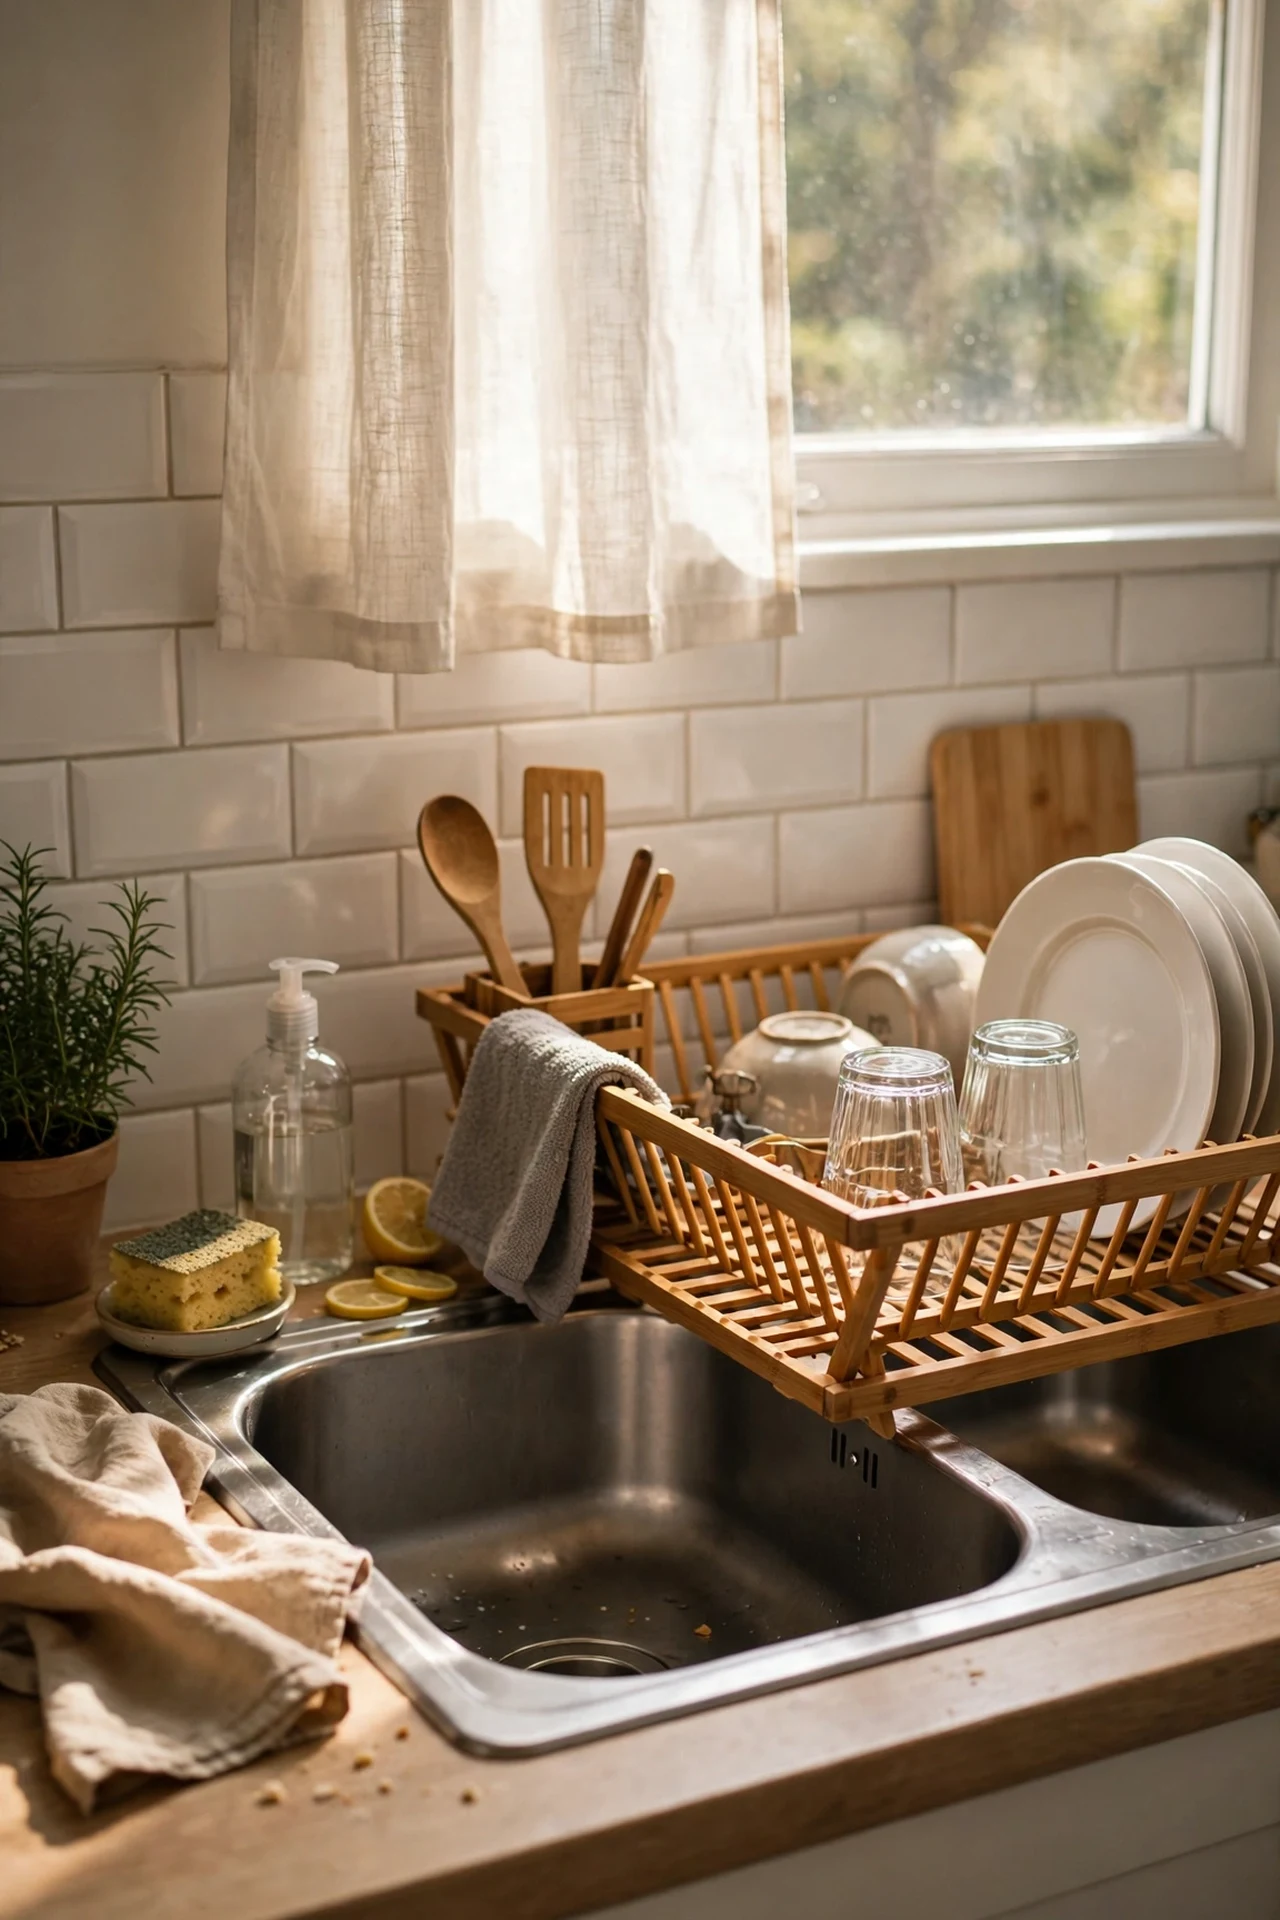
If your draining board eats half the counter, an over-the-sink rack gives you that space back and looks tidier doing it. Measure your sink first — these come in widths to straddle single or double bowls — and choose a rust-proof coated steel model with a cutlery holder and a little tray for soap. It assembles in minutes with no tools, and dishes drip straight into the sink instead of puddling on the worktop. I tried this when my counter felt like it was shrinking, and the freed-up space next to the kettle alone was worth it; the mistake to avoid is buying the flimsy bamboo version for a heavy household, because it will wobble under a full load of plates.
Cost: ~$22 | Time: 15 minutes
12. Roll In a Butcher-Block Kitchen Cart
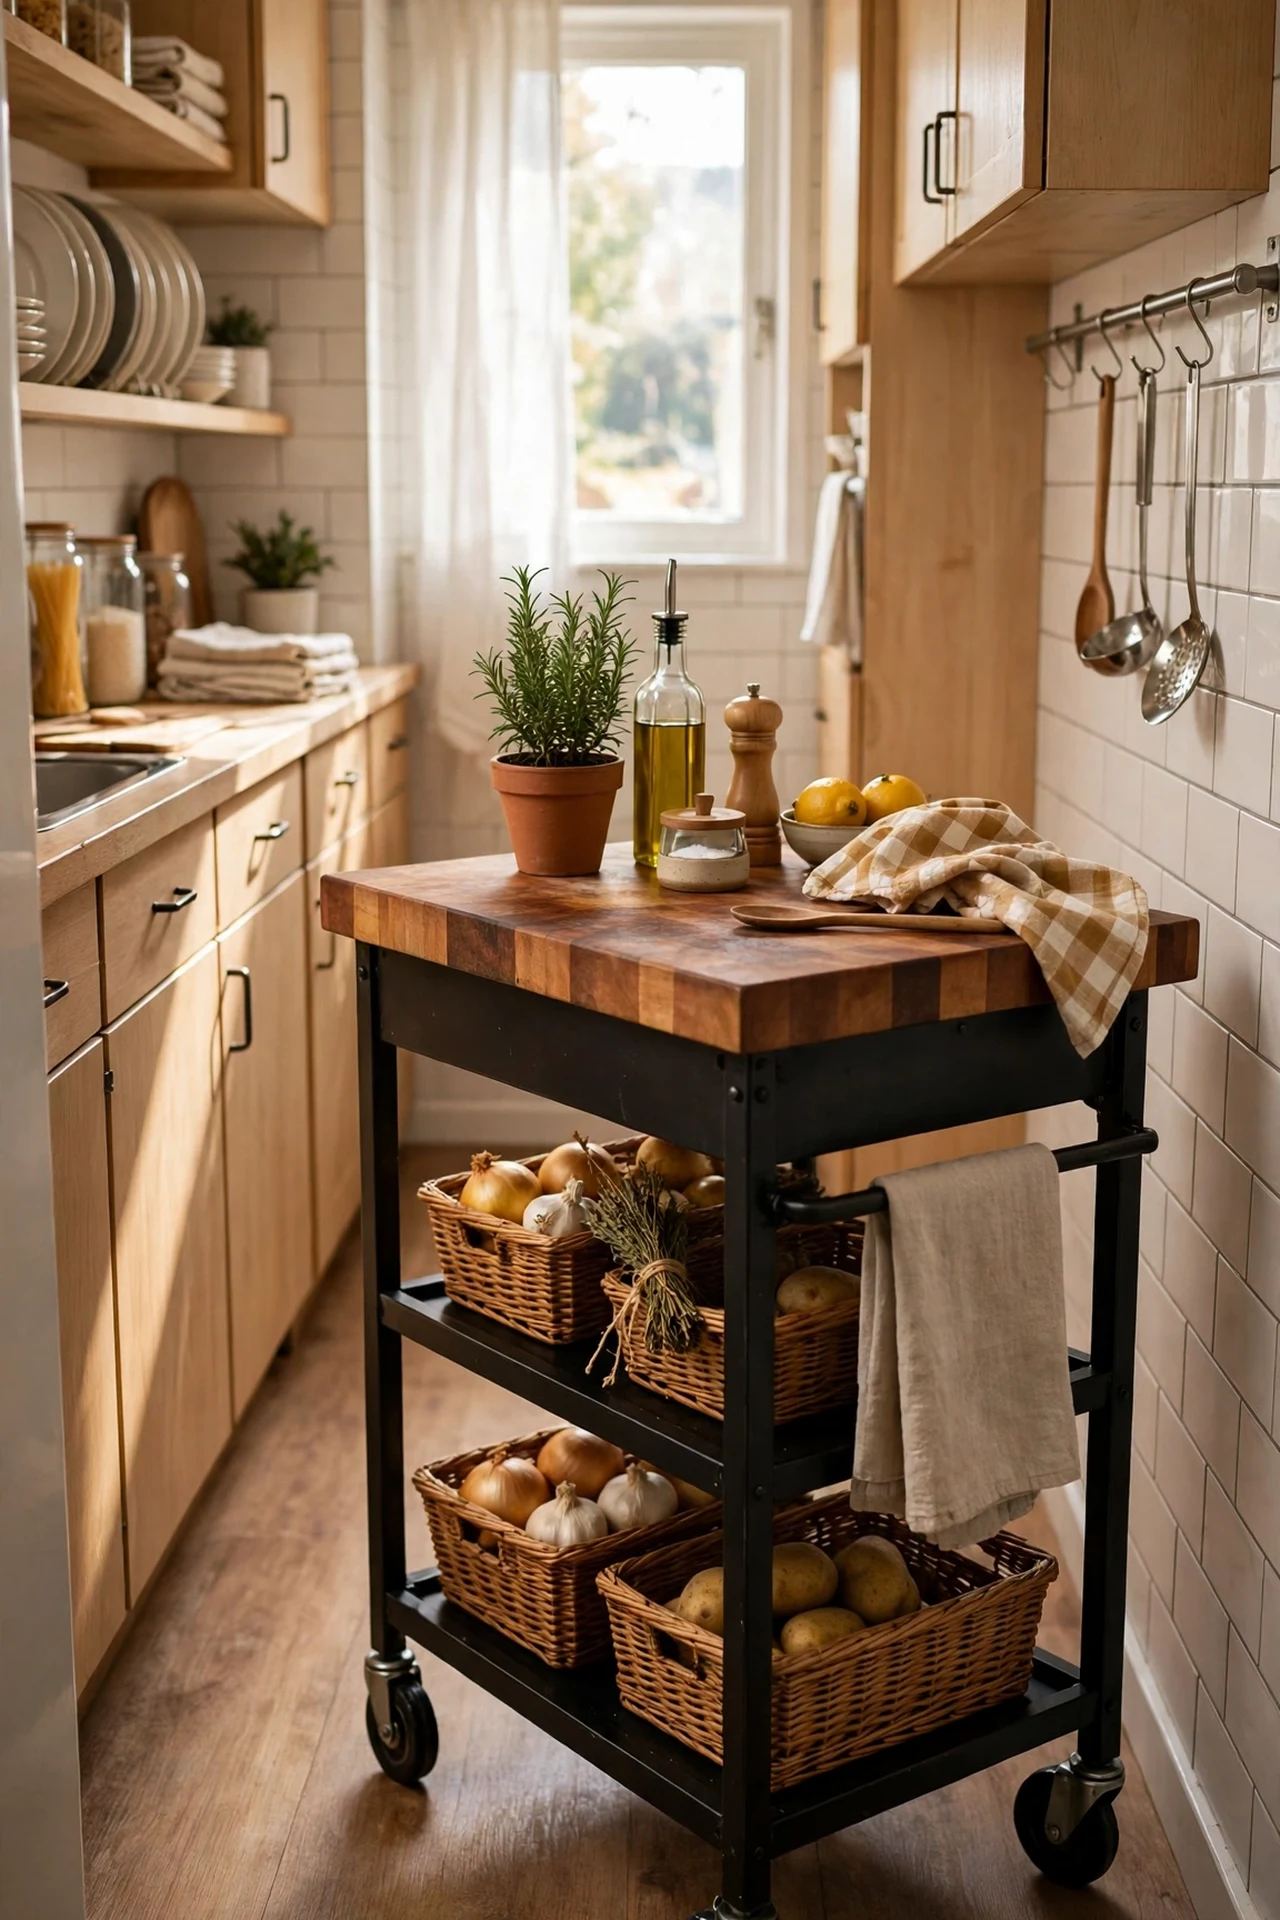
A rolling kitchen cart is the renter’s island: extra prep space, extra storage, and it wheels out of the way when you need the floor. Look for one with a solid wood top you can chop on, a lower shelf for appliances, and lockable castors so it stays put while you work. Assemble it once, position it where it does not block the oven door or fridge swing, and load the top with your daily prep items. I tried this in a galley kitchen barely wider than my shoulders and it was a revelation; the mistake to avoid is buying one without locking wheels, because a cart that drifts mid-chop is genuinely dangerous. Save this one to your kitchen board — you’ll want it when you rearrange the layout.
Cost: ~$60 | Time: 45 minutes
13. Hide Under-Sink Chaos with a Curtain
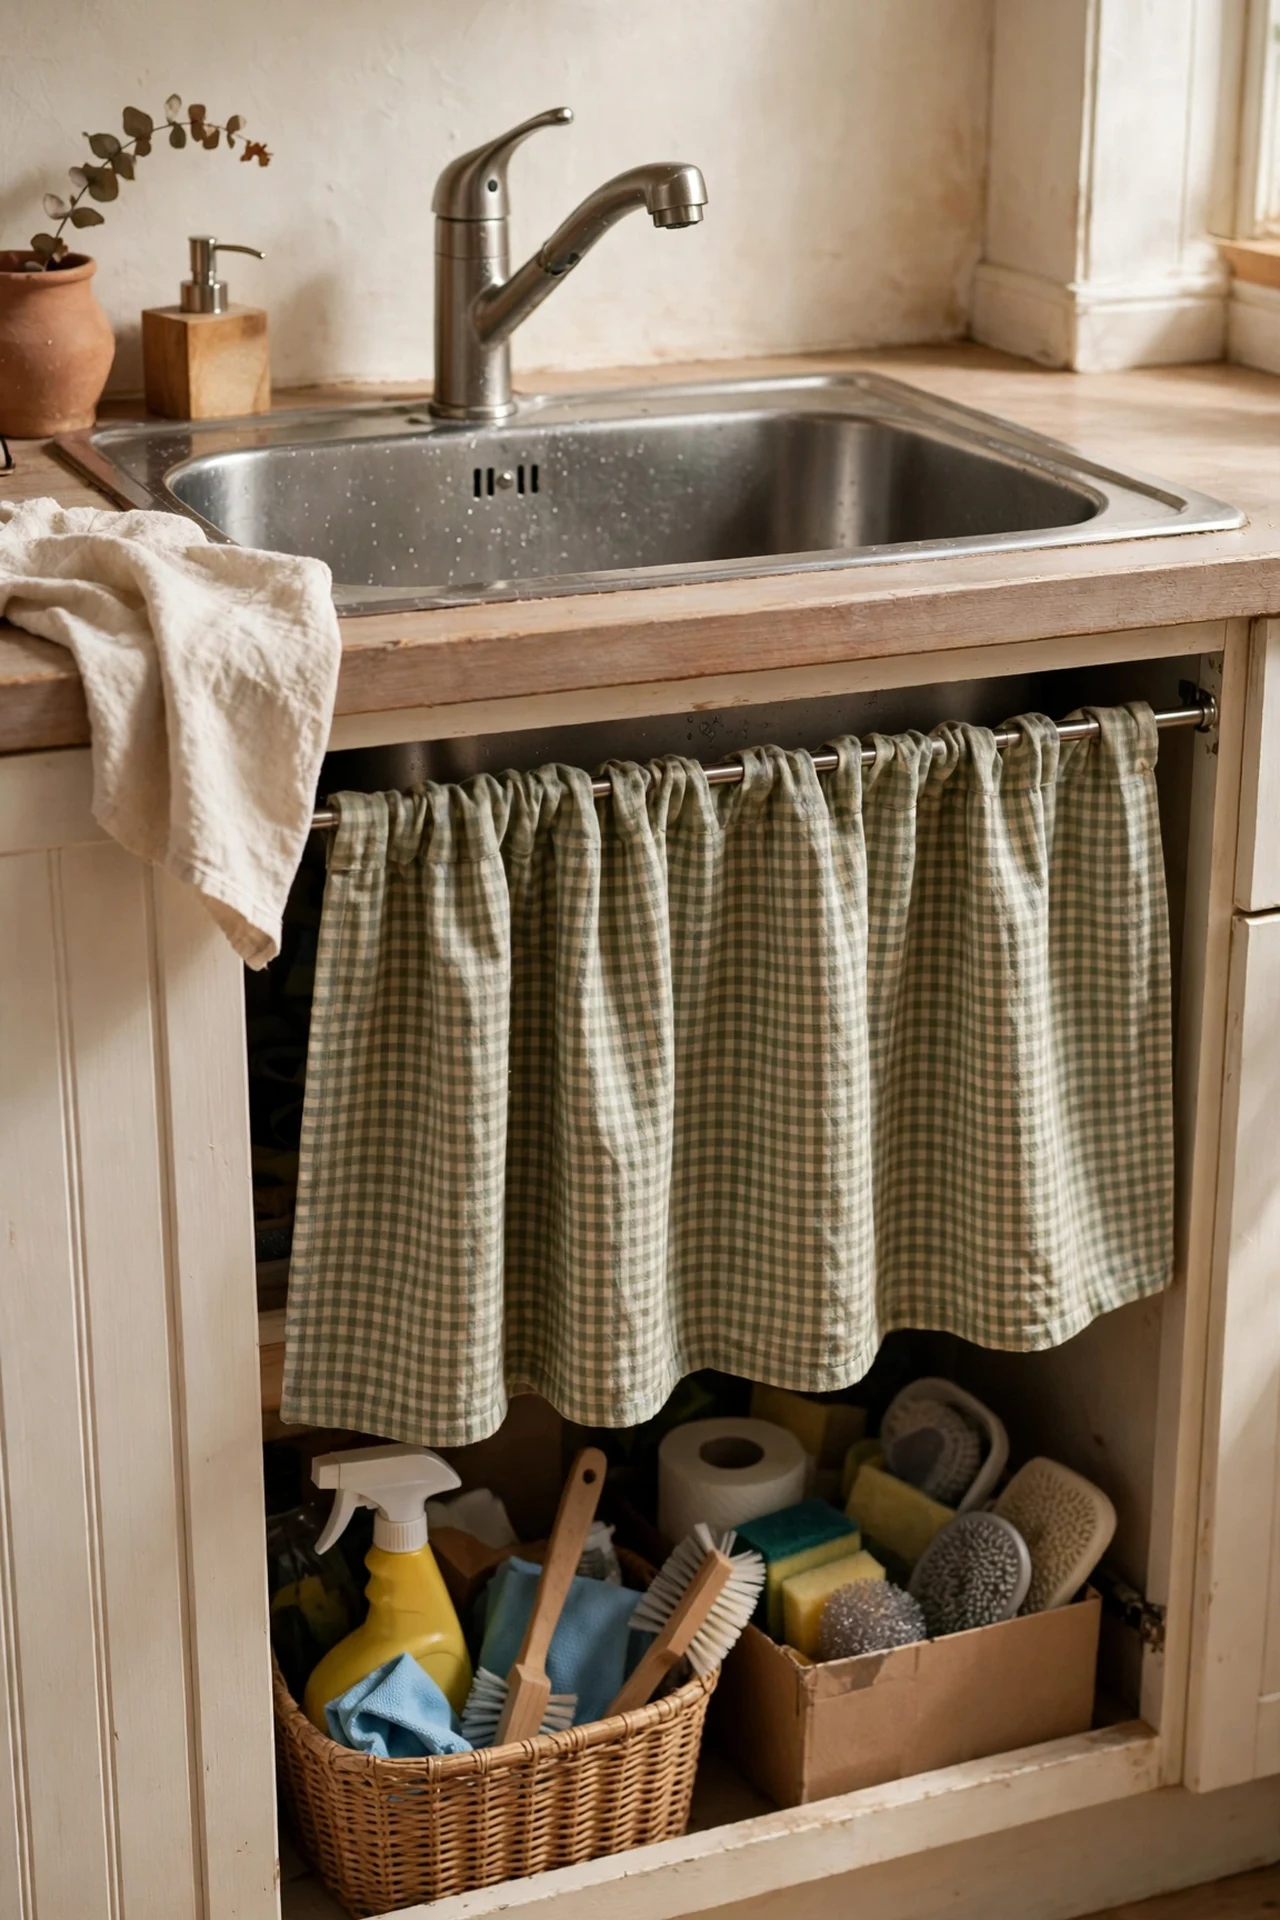
The cupboard under the sink is where cleaning products go to multiply, and a simple curtain hides the whole mess while looking deliberately styled. Fit a small tension rod inside the cabinet opening — no drilling needed — and hang a hemmed piece of fabric, a tea towel, or a café curtain. Choose something washable, because this spot gets splashed, and keep the fabric clear of any pipes that get hot. It takes ten minutes and makes the kitchen look finished even when the inside is chaos. I tried this and guests stopped opening the “wrong” cupboard; the mistake to avoid is a fabric that drags on the floor and soaks up mop water — measure so it hangs just above the skirting.
Cost: ~$8 | Time: 15 minutes
14. Lay Peel-and-Stick Floor Tiles Over Ugly Lino
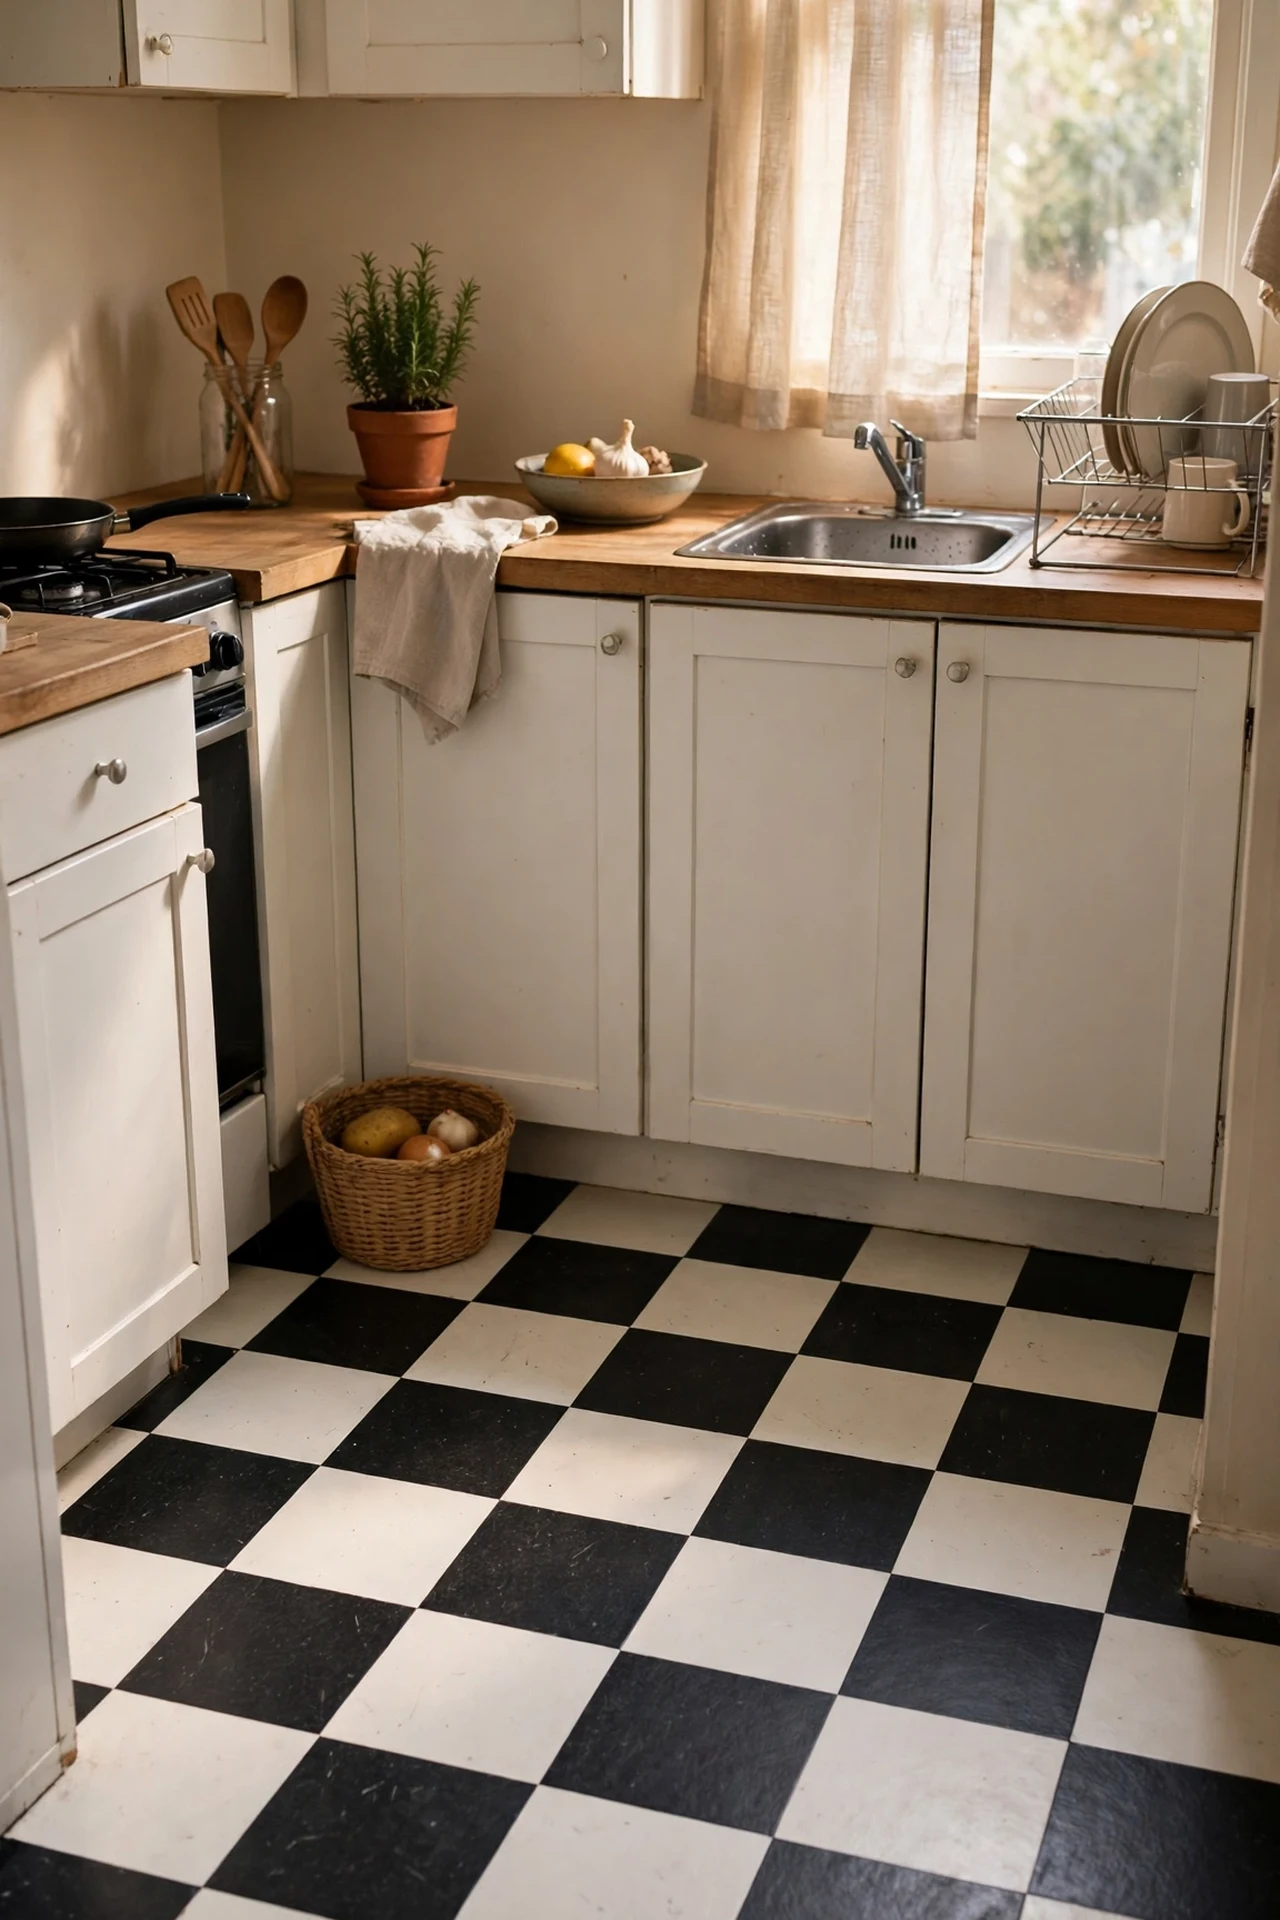
Stained lino or tired tiles can drag the whole room down, and peel-and-stick vinyl floor tiles are the renter-friendly reset — thick enough to hide the old pattern, removable when you leave. Clean the floor thoroughly, start laying from the centre of the room so the cut tiles land at the edges, and press each tile firmly with a rolling pin or your full weight. A checkerboard or herringbone pattern hides imperfect cuts beautifully. I tried this in a rental hallway-kitchen and it held up to daily mopping for over a year; the mistake to avoid is laying them over a damp or gritty floor, because grit telegraphs through and moisture kills the adhesive.
Cost: ~$45 | Time: 3 hours
Pro tip: Lay the tiles on a warm day or warm them with a hairdryer — the adhesive bonds far better when the vinyl is pliable, and the edges sit flatter.
15. Add a Lazy Susan to the Deep Corner Cupboard
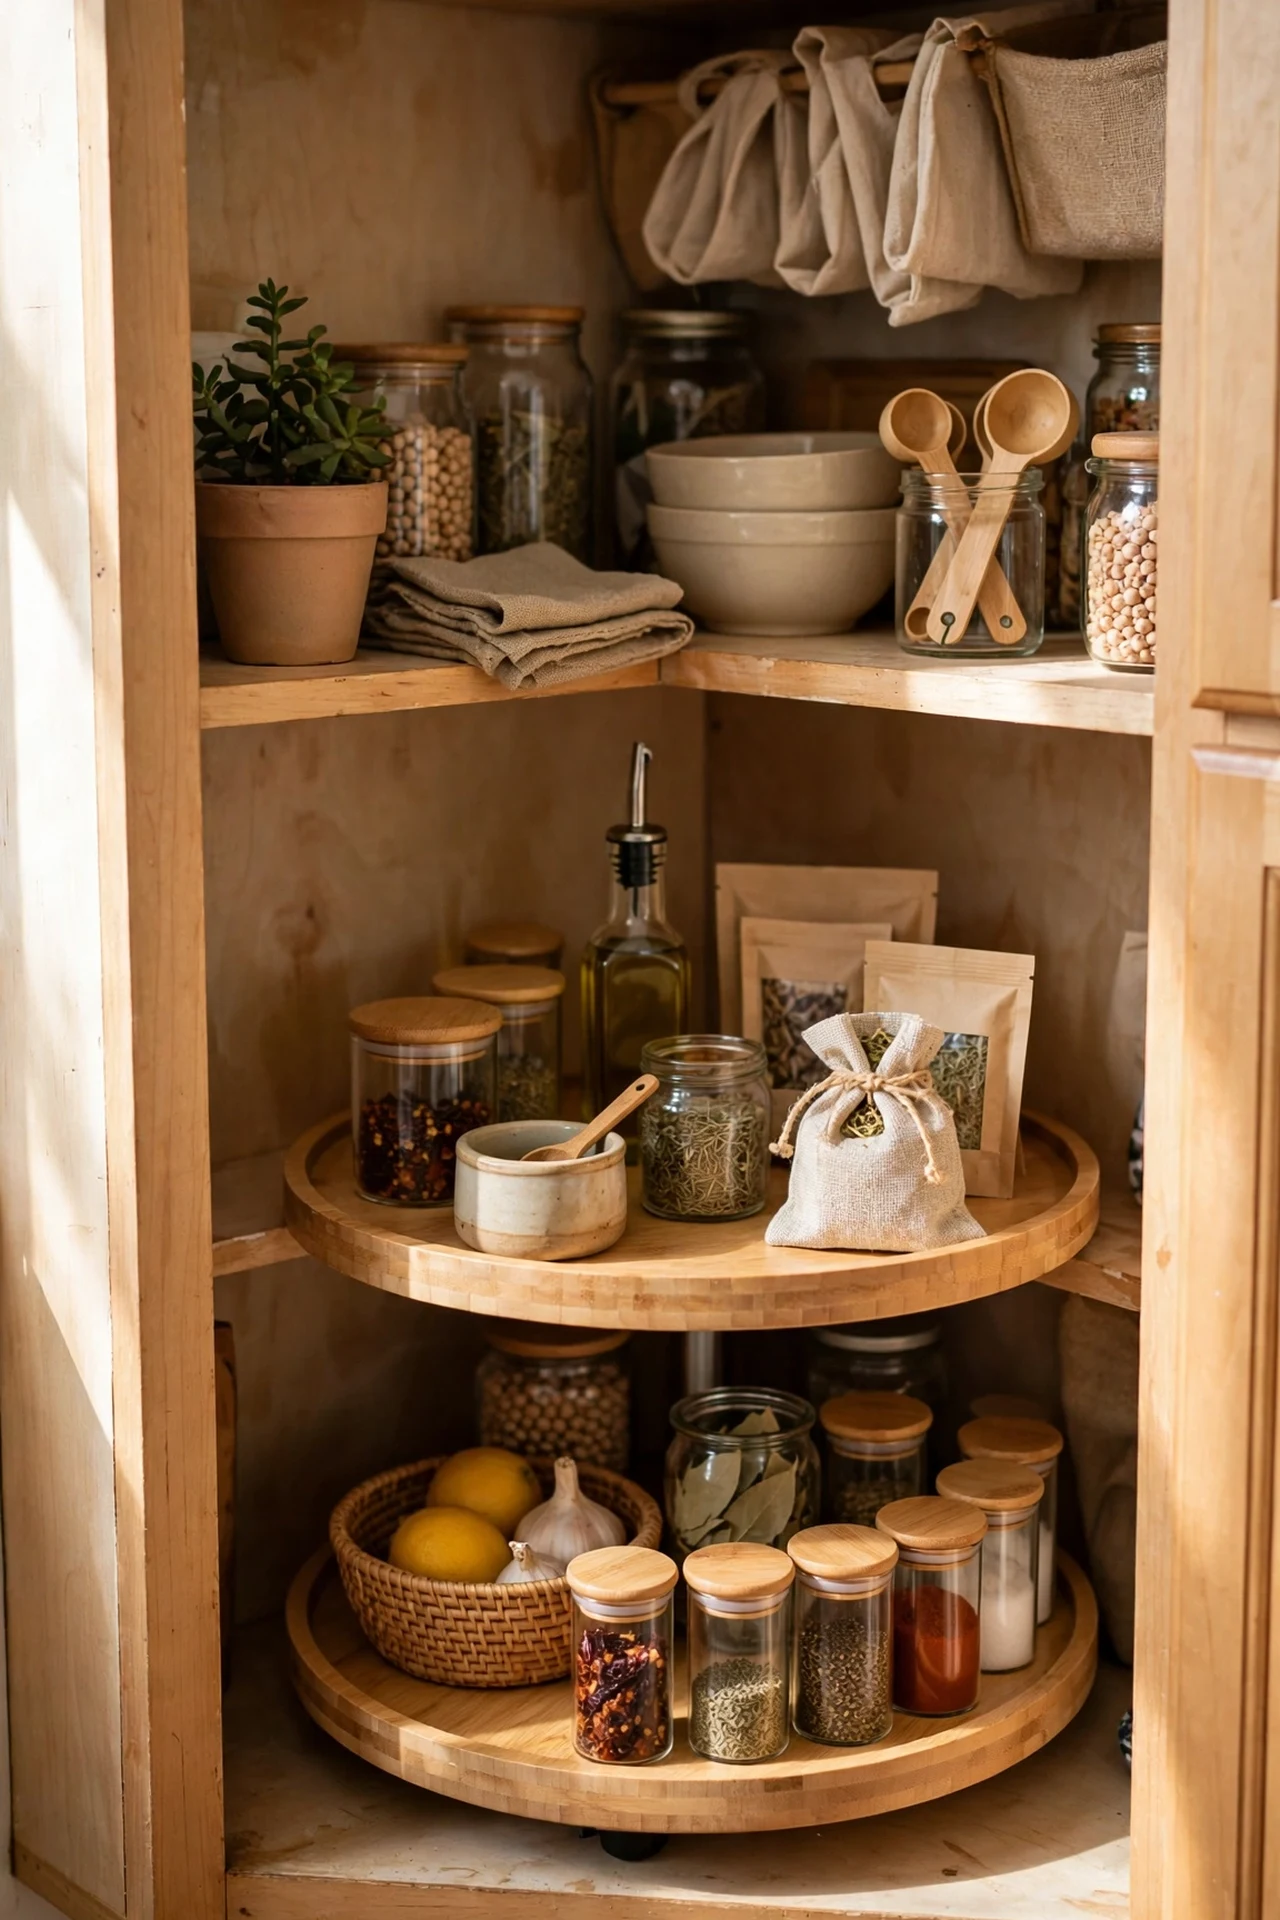
Deep corner cupboards are where tins go to die, and a two-tier turntable brings everything back into reach for the price of a pizza. Measure the shelf height and depth before you buy so the tiers actually clear the door frame, then simply set it in place — no fixings needed. Group oils and vinegars on one tier, tins and jars on the other, and give it a spin whenever you are cooking to see what you have. I tried this and found three bottles of soy sauce I did not know I owned; the mistake to avoid is buying the biggest turntable that technically fits, because you need finger room to spin it without scraping the sides.
Cost: ~$18 | Time: 10 minutes
16. Grow Herbs on the Windowsill
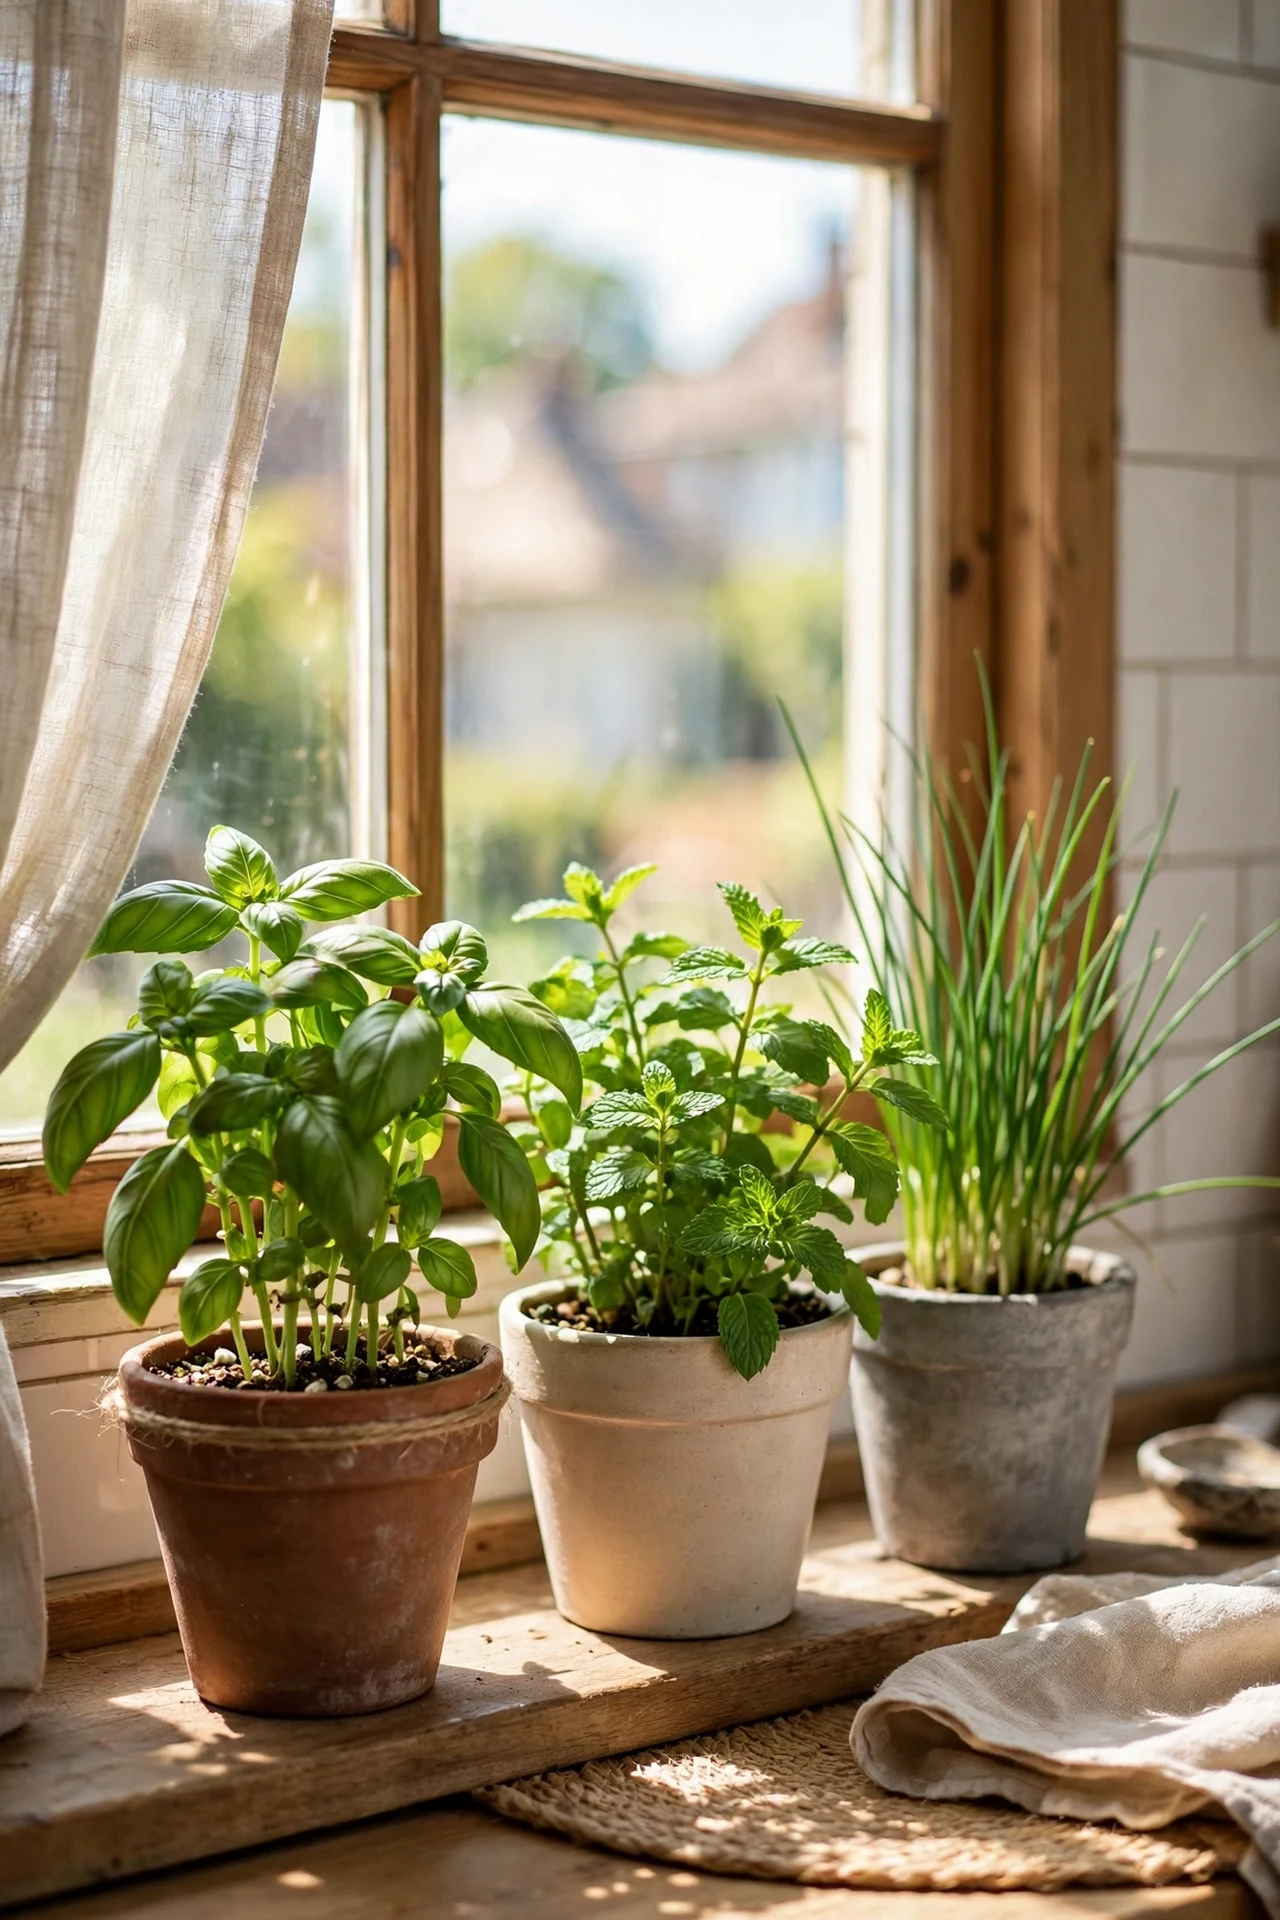
A row of living herbs on the sill is the cheapest living decor you can buy, and fresh basil beats any candle for making a kitchen smell like someone cooks there. Start with supermarket potted herbs — basil, mint, chives, and parsley are the forgiving ones — repot them into matching pots with drainage holes, and water only when the top inch of soil feels dry. Most kitchen windowsills give enough light, but rotate the pots weekly so they grow evenly. I tried this after killing two succulents and felt like a proper gardener within a month; the mistake to avoid is drowning them with daily watering, which is how nearly every windowsill herb dies.
Cost: ~$12 | Time: 20 minutes
17. Paint a Chalkboard Panel on the Fridge

A chalkboard panel turns a boring fridge front into the household command centre: shopping lists, meal plans, and the odd motivational doodle. Use a removable chalkboard vinyl panel rather than paint so your landlord never has to know — cut it to size, apply it to a clean dry fridge door, and smooth out bubbles from the centre. Season it first by rubbing chalk over the whole surface and wiping it off, which stops your first list ghosting permanently. I tried this and the “we need milk” notes finally stopped migrating to random scraps of paper; the mistake to avoid is writing with permanent markers, which no amount of scrubbing will forgive.
Cost: ~$8 | Time: 20 minutes
18. Store Bulky Items in Baskets Above the Cabinets
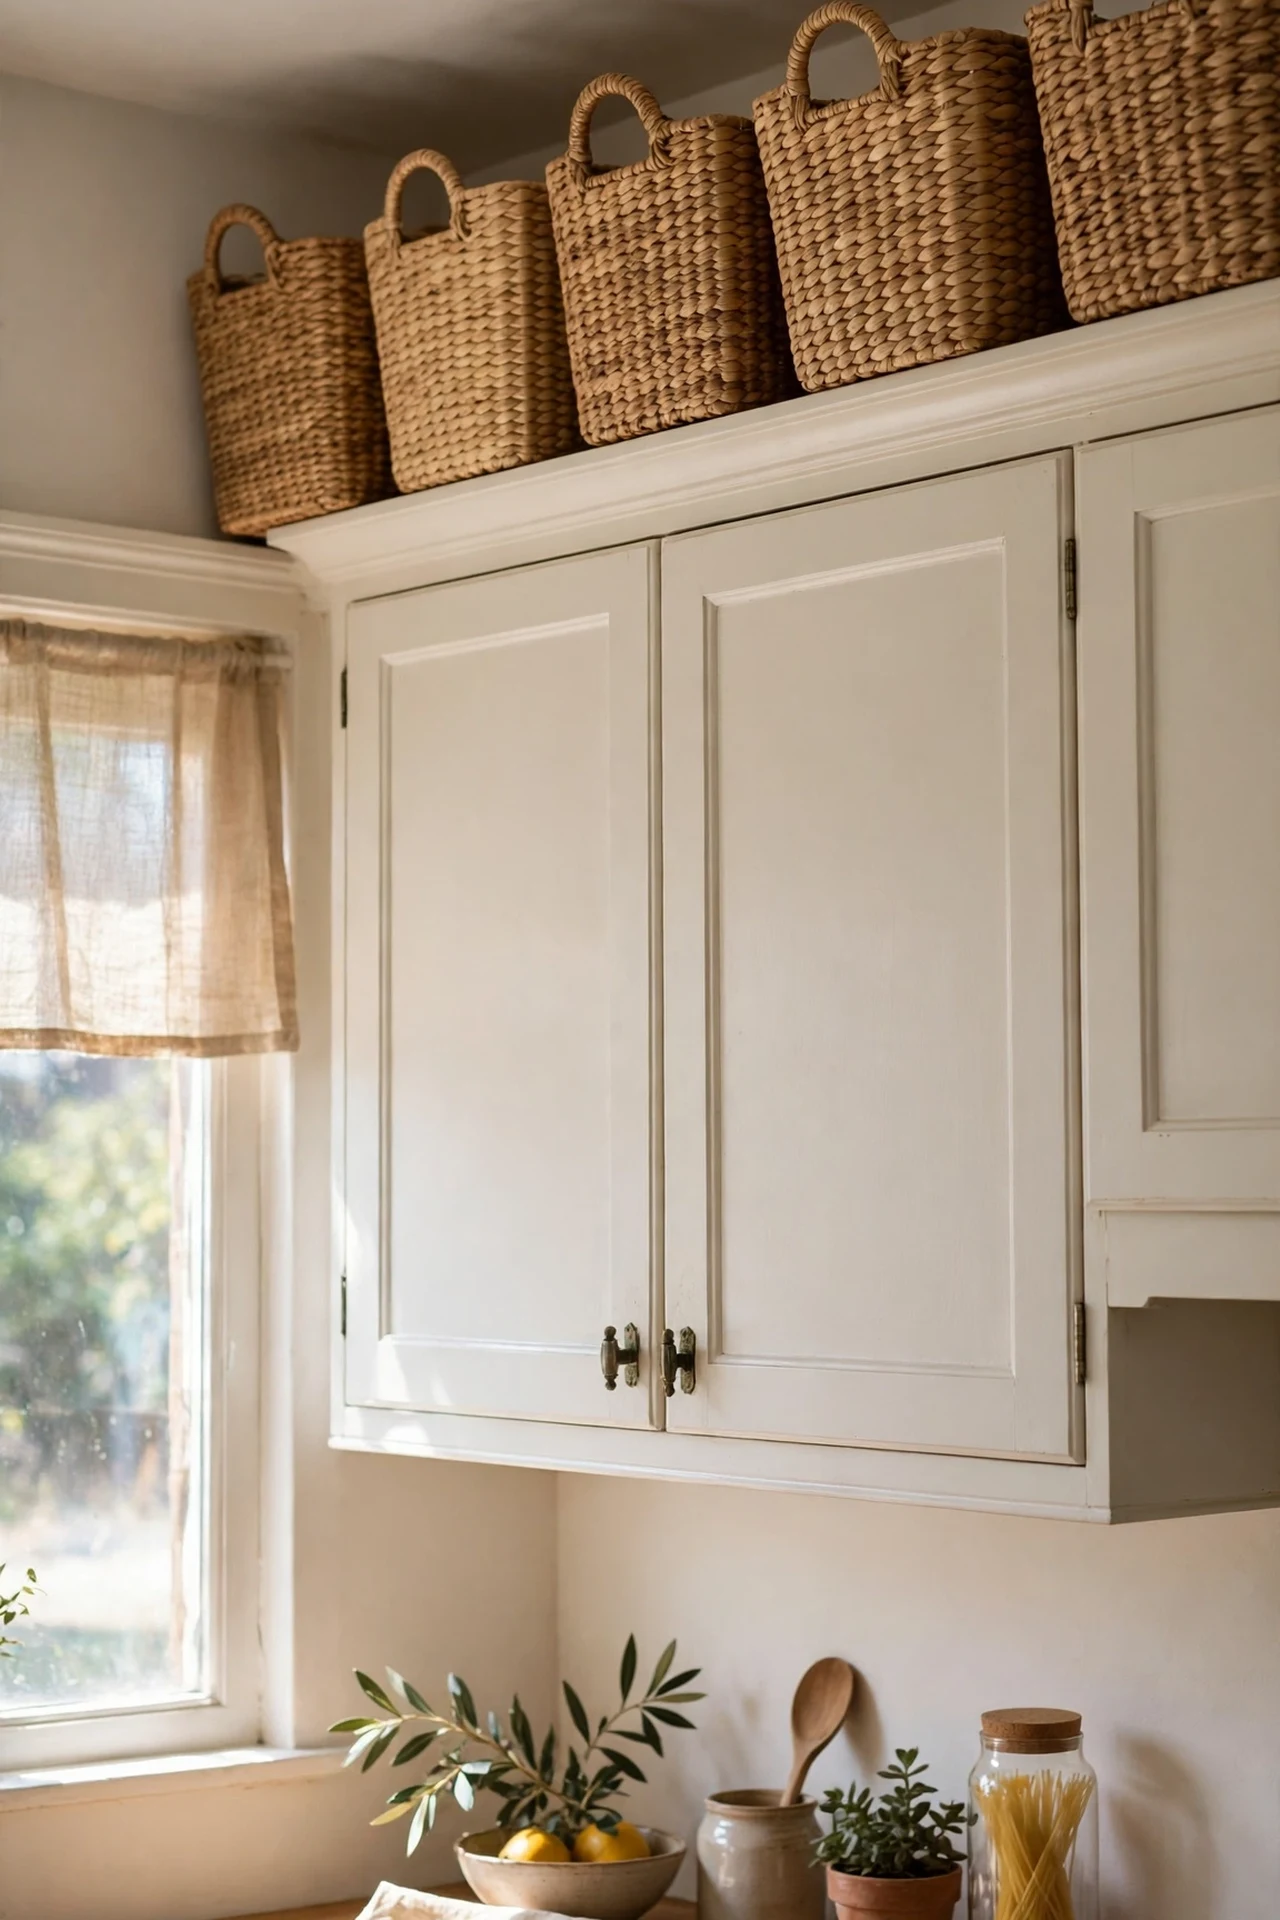
That dead space above the wall cabinets is free storage if you use it well — matching baskets up there turn it from a dust trap into a deliberate-looking display. Measure the gap first (it is usually shorter than you think), buy baskets that fit with a little breathing room, and store only things you use monthly rather than daily: the bread maker, picnic set, spare linens. Line the baskets so small items do not fall through, and wipe the tops every few months because grease rises. I tried this and my rarely-used appliances finally stopped colonising the counter; the mistake to avoid is storing anything heavy up there, because fishing a cast-iron pot down from head height is an accident waiting to happen.
Cost: ~$25 | Time: 30 minutes
19. Lay a Washable Runner to Add Colour
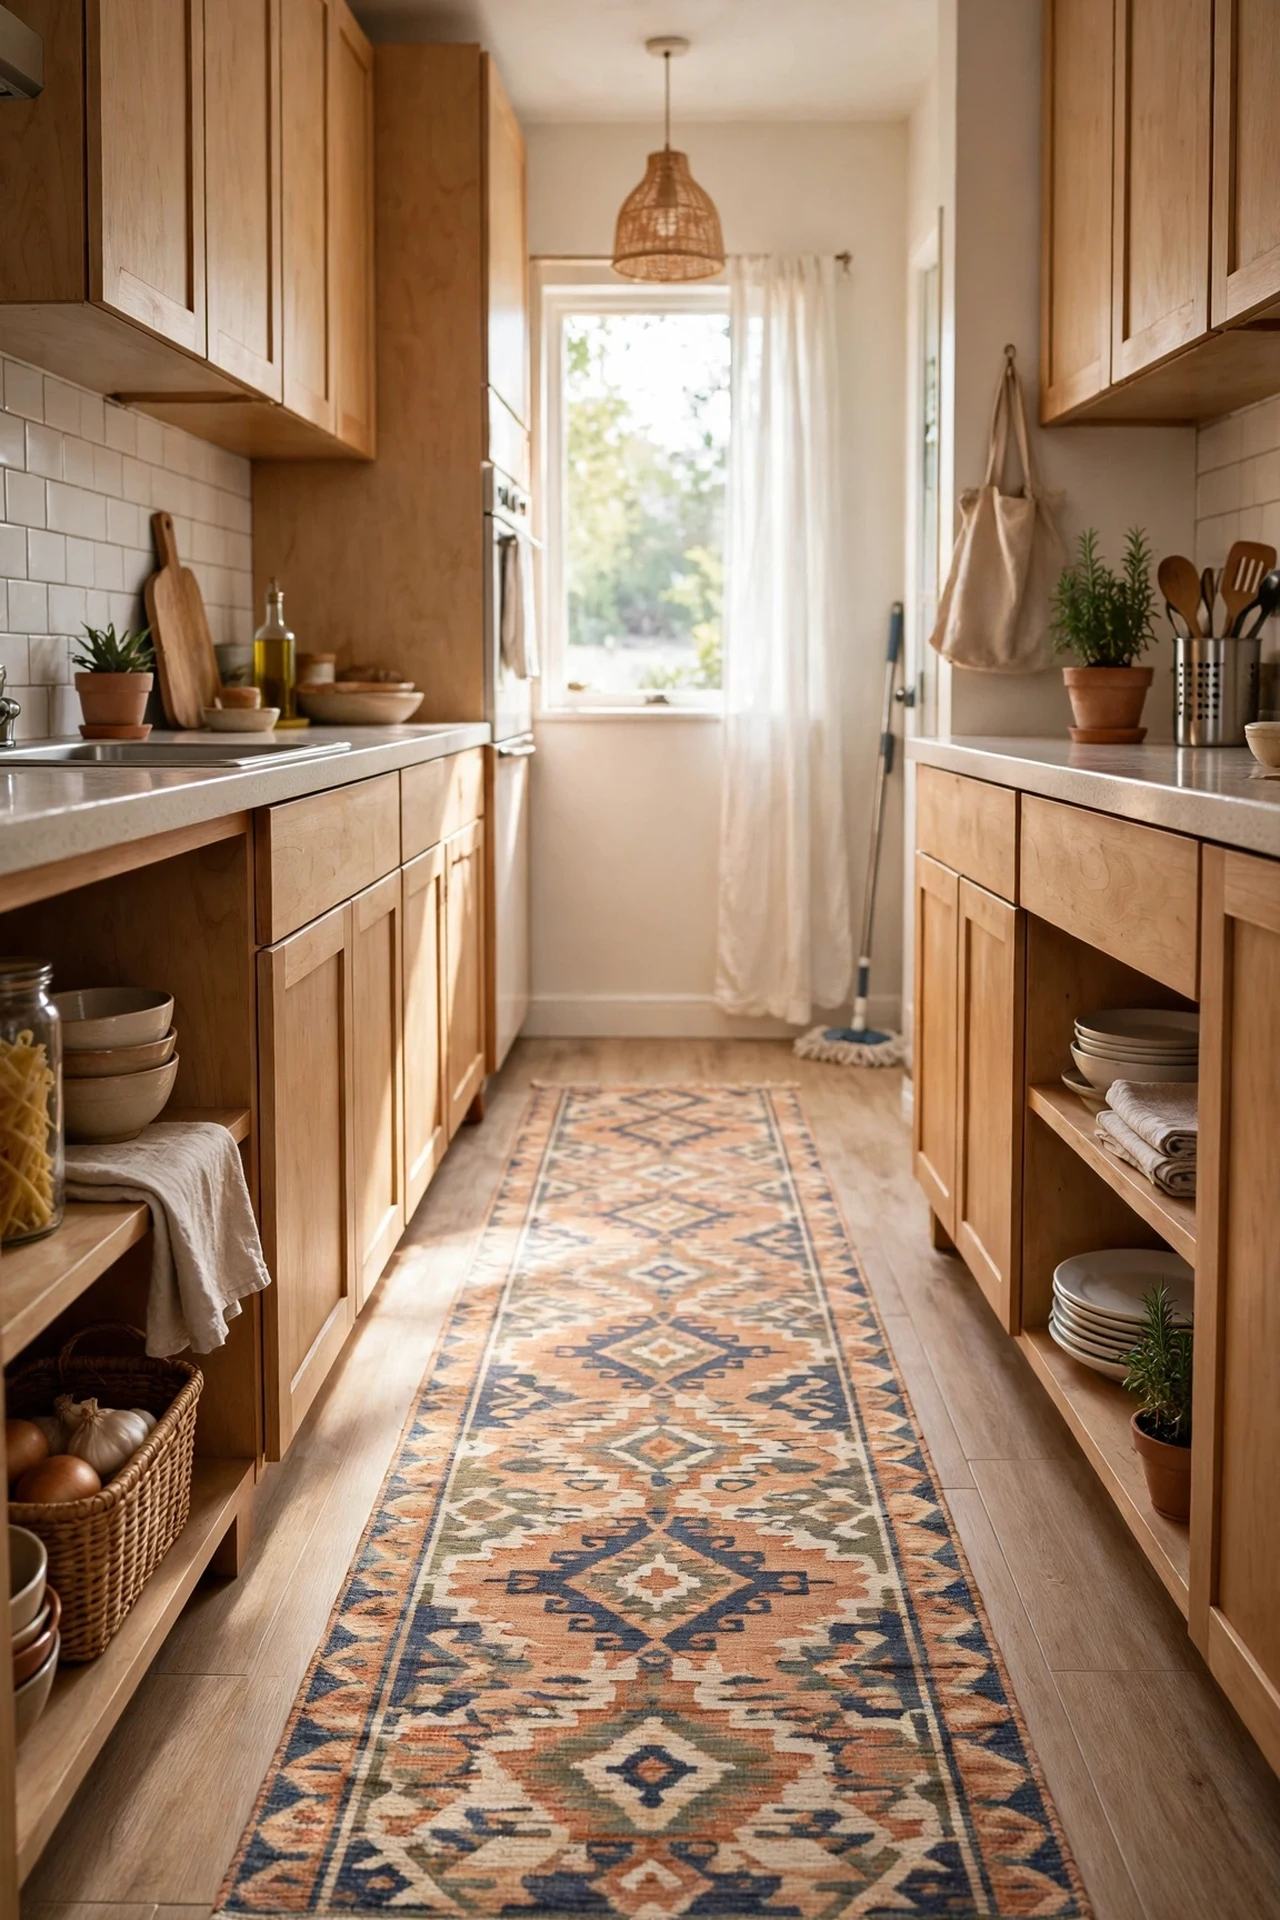
A runner down a galley kitchen adds instant warmth and pattern, and a washable one means you can stop worrying about splashes. Choose a low-pile, machine-washable runner in a pattern that hides crumbs — trust me on this — and add a thin non-slip pad underneath so it stays put on hard floors. Measure the length so it stops short of the oven door swing and does not bunch underfoot. I tried this in a narrow kitchen and the floor went from cold rental lino to the cosiest part of the flat; the mistake to avoid is a thick shaggy rug in a kitchen, which becomes a crumb museum within a week. For more wallet-friendly refreshes, browse these (see also: budget-kitchen-decor-ideas).
Cost: ~$28 | Time: 10 minutes
Pro tip: A rug pad does double duty — it stops the runner creeping and adds a layer of insulation, so your feet stay warmer on cold tile mornings.
20. Match Your Tea Towels and Oven Mitt
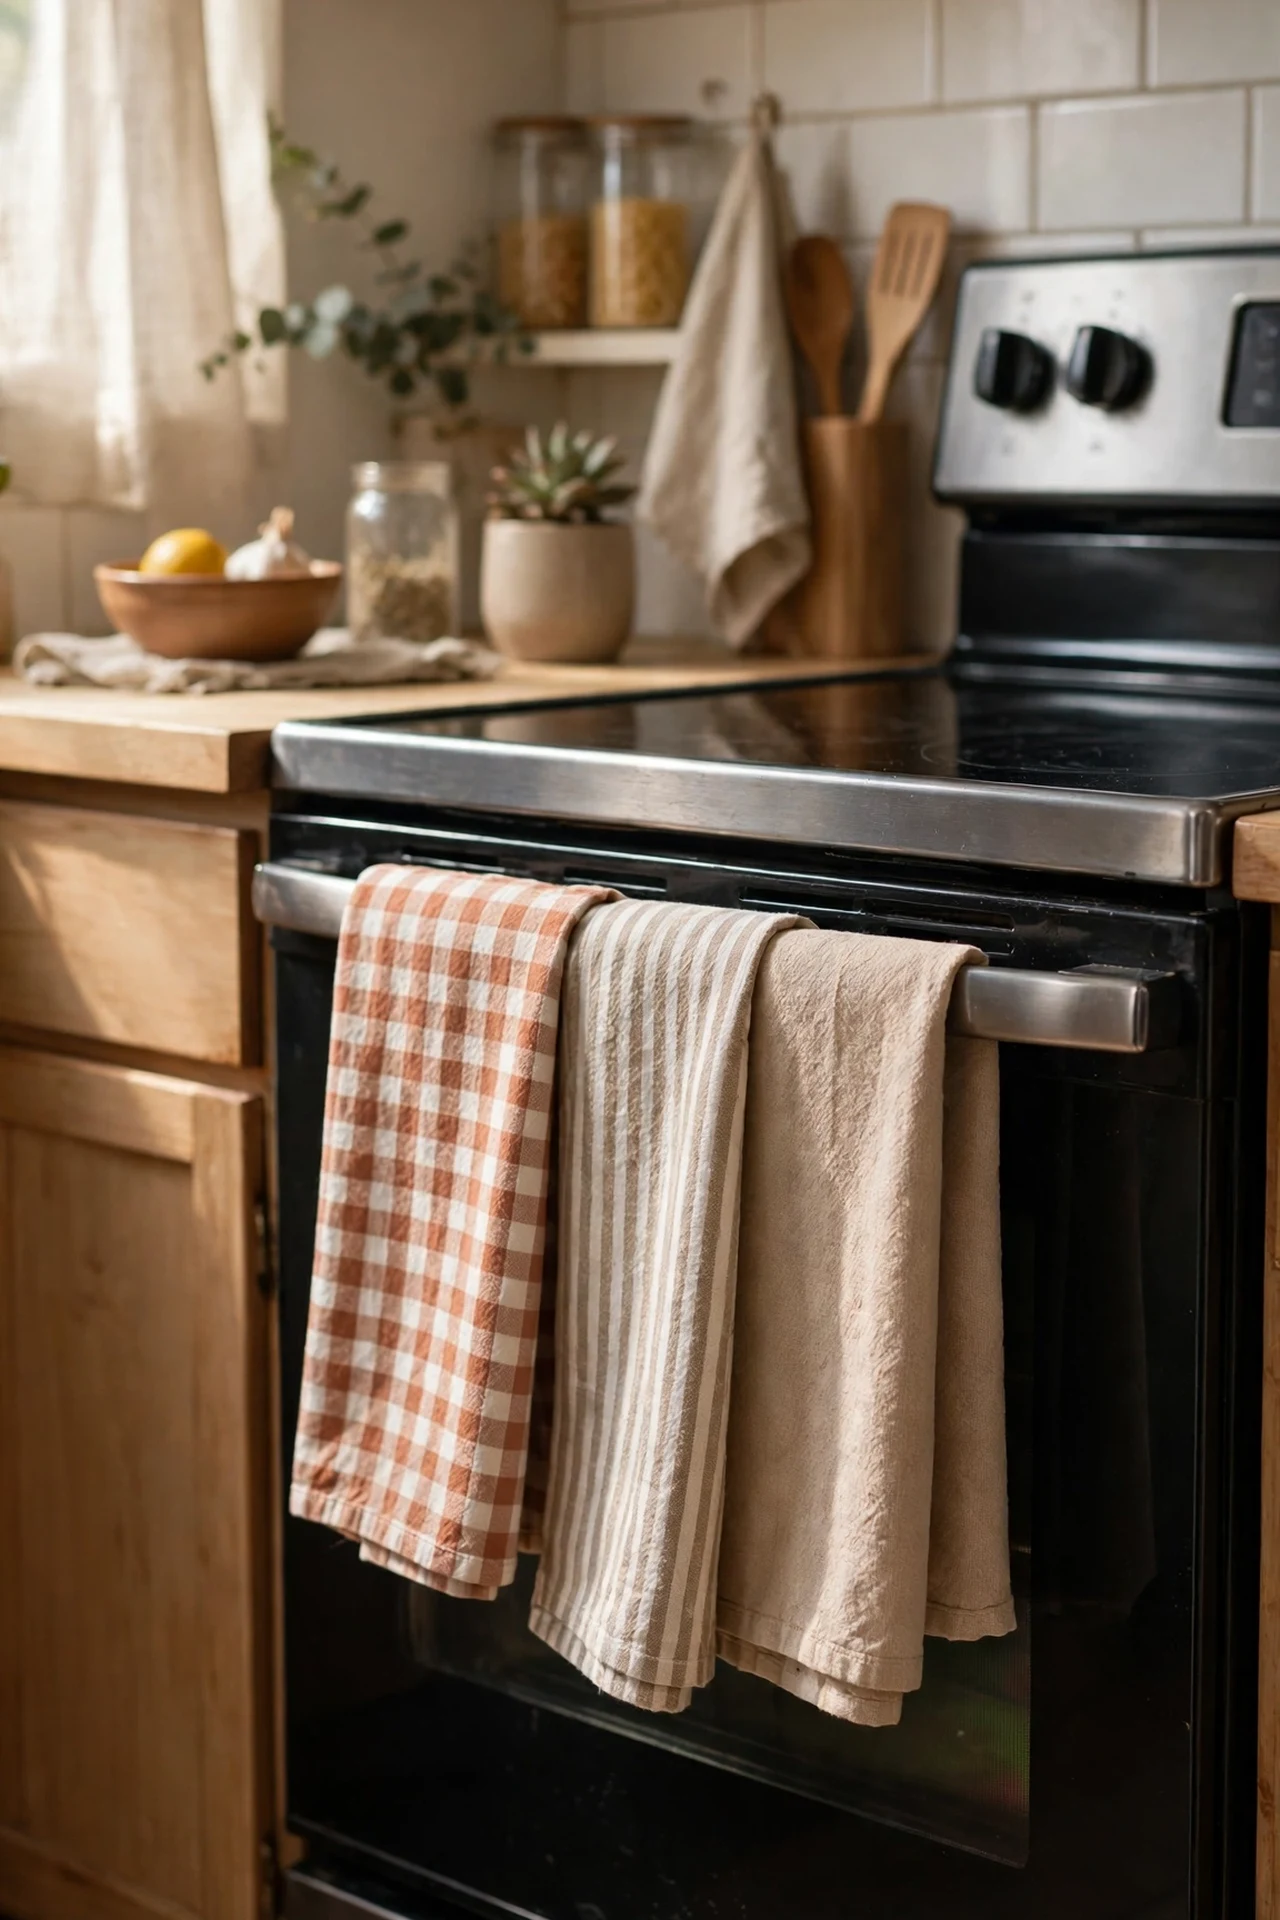
It sounds trivial, but swapping a drawer of mismatched freebie tea towels for a coordinated set is one of the cheapest visual upgrades you can make — your eye reads the whole kitchen as tidier. Pick a set in your kitchen’s accent colour, fold them the same way, and hang one over the oven handle as the “display” towel you actually use. Retire the stained ones to cleaning rags rather than binning them. I tried this after years of a towel drawer that looked like a jumble sale and could not believe the difference; the mistake to avoid is buying pretty towels you are too precious to use — they are tools, let them work, and replace them yearly.
Cost: ~$10 | Time: 5 minutes
21. Fit a Tension Rod Under the Sink for Sprays
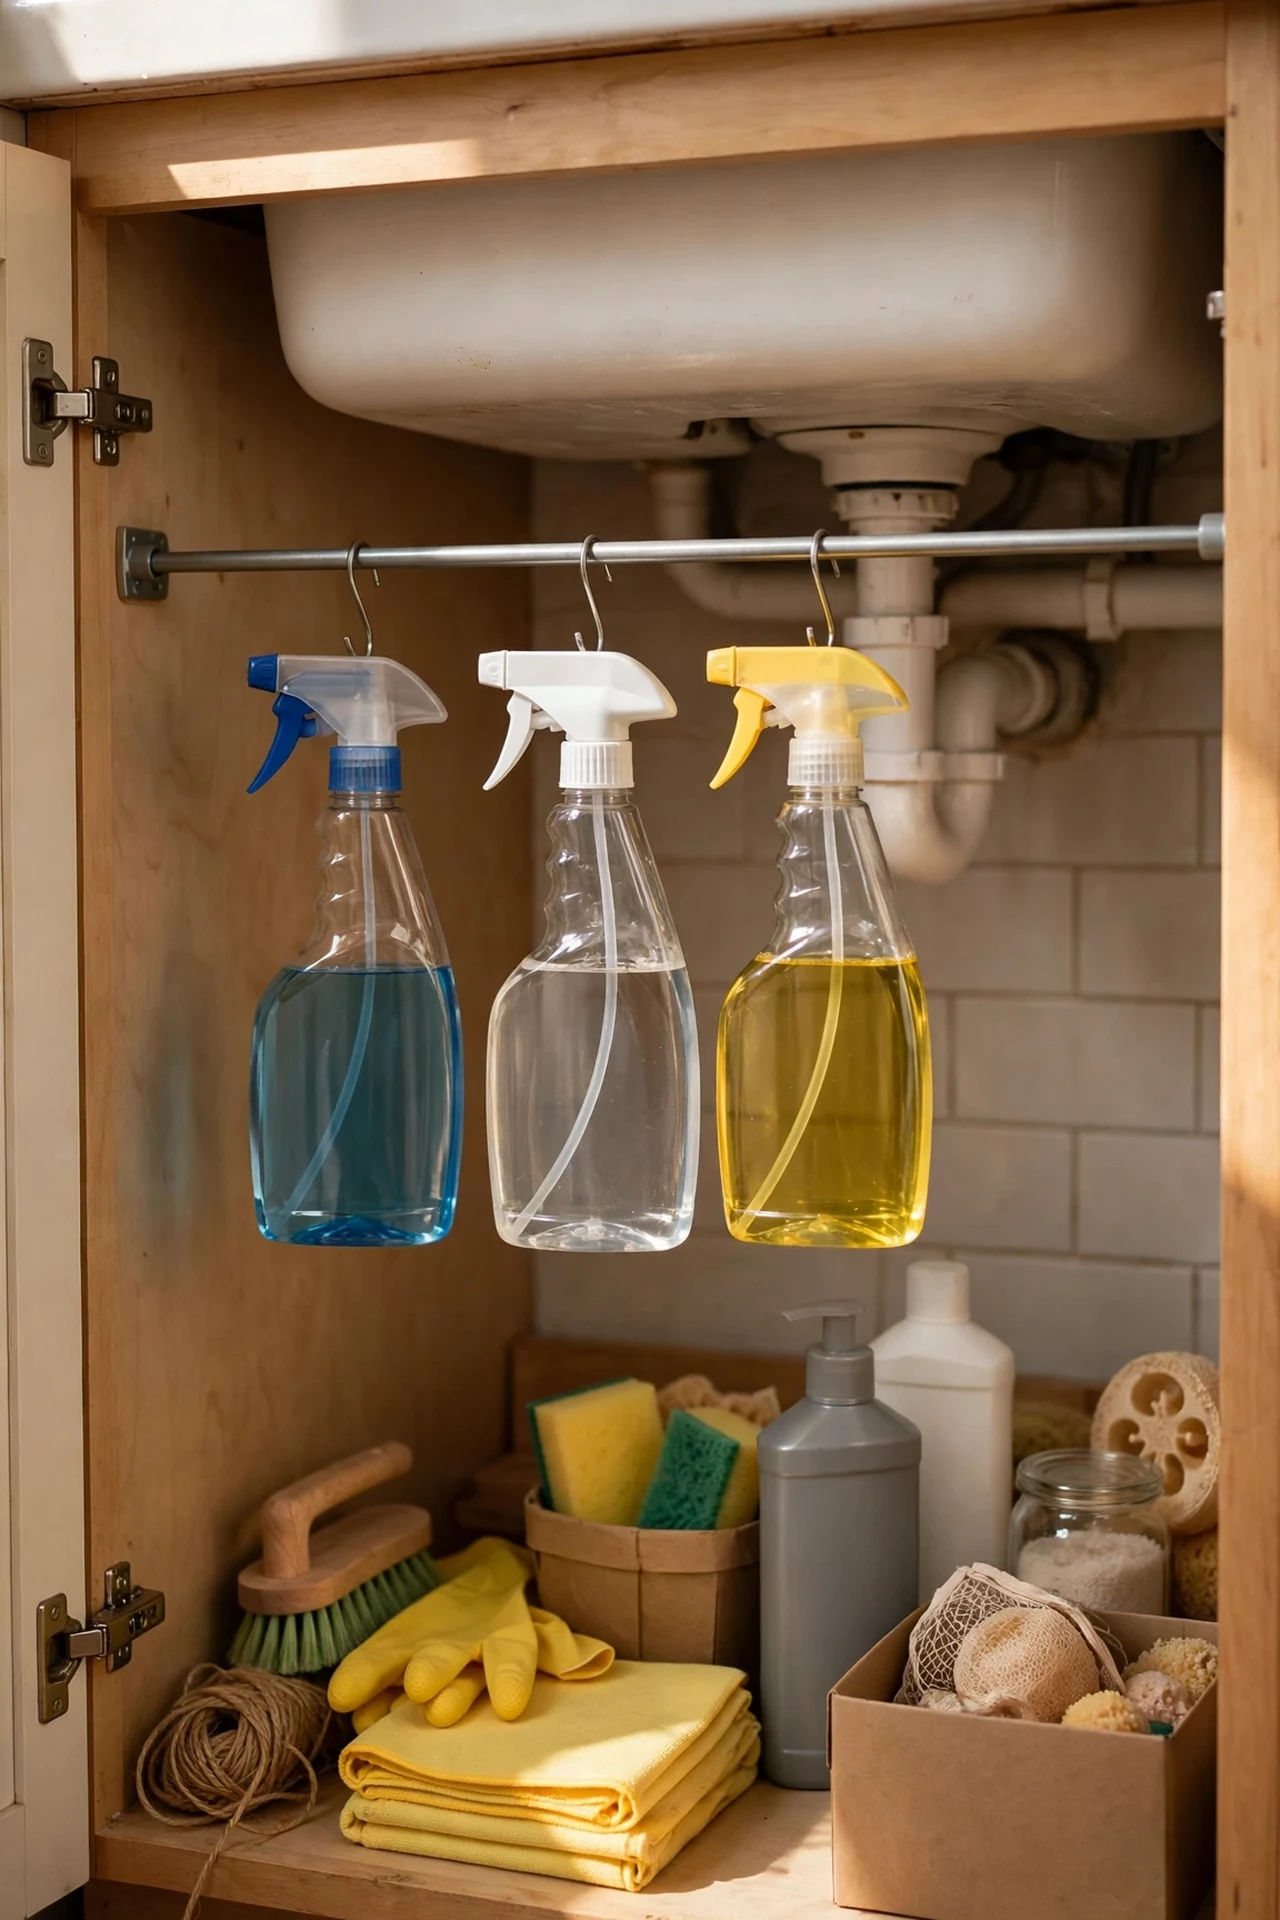
Spray bottles tumble around under every sink, so a cheap tension rod across the cabinet gives each one a hook to hang from and instantly doubles your usable space. Measure the inside width, extend the rod to fit snugly, and hang your spray bottles by their triggers so the nozzles face down and cannot leak. The floor of the cupboard is now free for washing-up liquid, sponges, and bin bags standing upright. I tried this and the under-sink cupboard went from avalanche zone to genuinely organised in five minutes; the mistake to avoid is overtightening the rod, which can bow cheap cabinet sides — snug is enough, it does not need to be heroic.
Cost: ~$6 | Time: 5 minutes
22. Stick Spice Racks Inside the Cabinet Doors
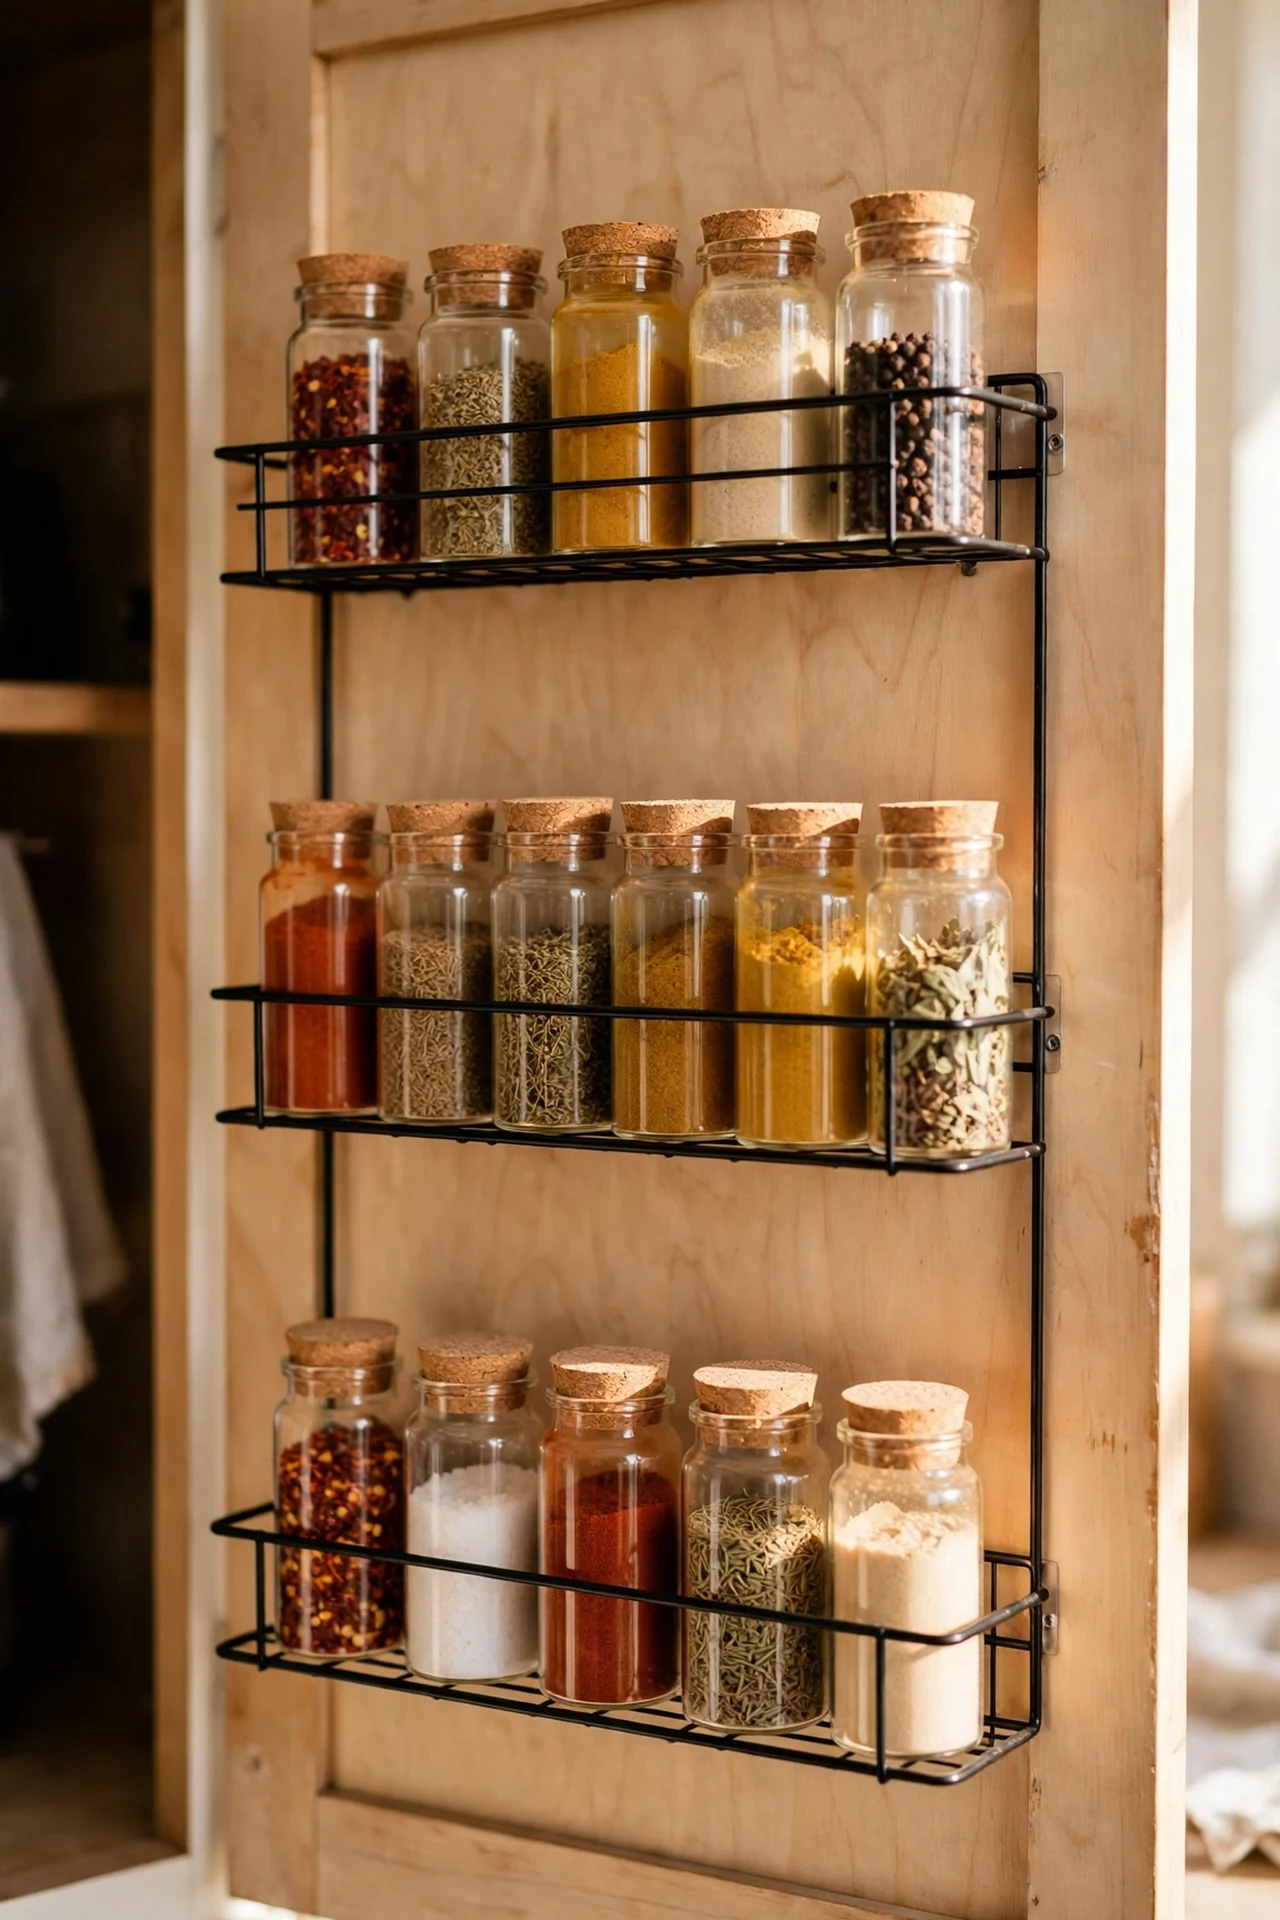
Spices disappear into dark cupboards, but slim racks stuck to the inside of a cabinet door keep every jar visible and free up a whole shelf. Use adhesive-backed tiered racks or individual magnetic tins on a metal sheet — both leave the door undamaged for move-out day. Arrange the jars alphabetically or by cuisine so you can grab what you need mid-cook, and transfer from packets into uniform jars so they sit neatly. I tried this beside the stove and my cooking got noticeably faster, since I could see everything at a glance; the mistake to avoid is loading the door with heavy glass jars on weak adhesive, so test the hold for a day before committing the full collection.
Cost: ~$14 | Time: 30 minutes
23. Style a Coffee Station on a Faux-Marble Tray

Corral your kettle, coffee, sugar, and mugs onto one tray and the counter suddenly looks styled instead of cluttered — it is the oldest stylist trick in the book and it works. Use a large faux-marble or wooden tray with a lip so nothing slides off, group everything at one end of the counter near a socket, and add one small plant or candle to make it feel intentional rather than functional. Everything you need is in one grab, and wiping the counter takes seconds. I tried this with a tray I already owned and my morning routine felt oddly luxurious; the mistake to avoid is letting the tray become a dumping ground for post and keys — the rule is coffee things only.
Cost: ~$12 | Time: 10 minutes
Every one of these ideas costs less than a night out, and most take under an hour — proof that a rented kitchen does not have to look rented. Pick the three that bother you most about your space, do them this weekend, and enjoy a kitchen that finally feels like yours.
