17 Dollar Store Organization Ideas That Actually Work
I’ve tried every organisation trick the internet swears by, and half of them fell apart within a week. But these dollar store organization ideas are the ones that actually stuck — the systems my family still uses months later. The difference? Each one solves a real, specific annoyance instead of just looking tidy for a photo.
Below, the ideas are grouped by zone so you can tackle one area at a time. Grab a basket, pick your messiest room, and start there. You can also peek at my genius dollar store storage hacks for more space-saving tricks.
Kitchen Command Centre
1. Clear Pantry Bin Labelling
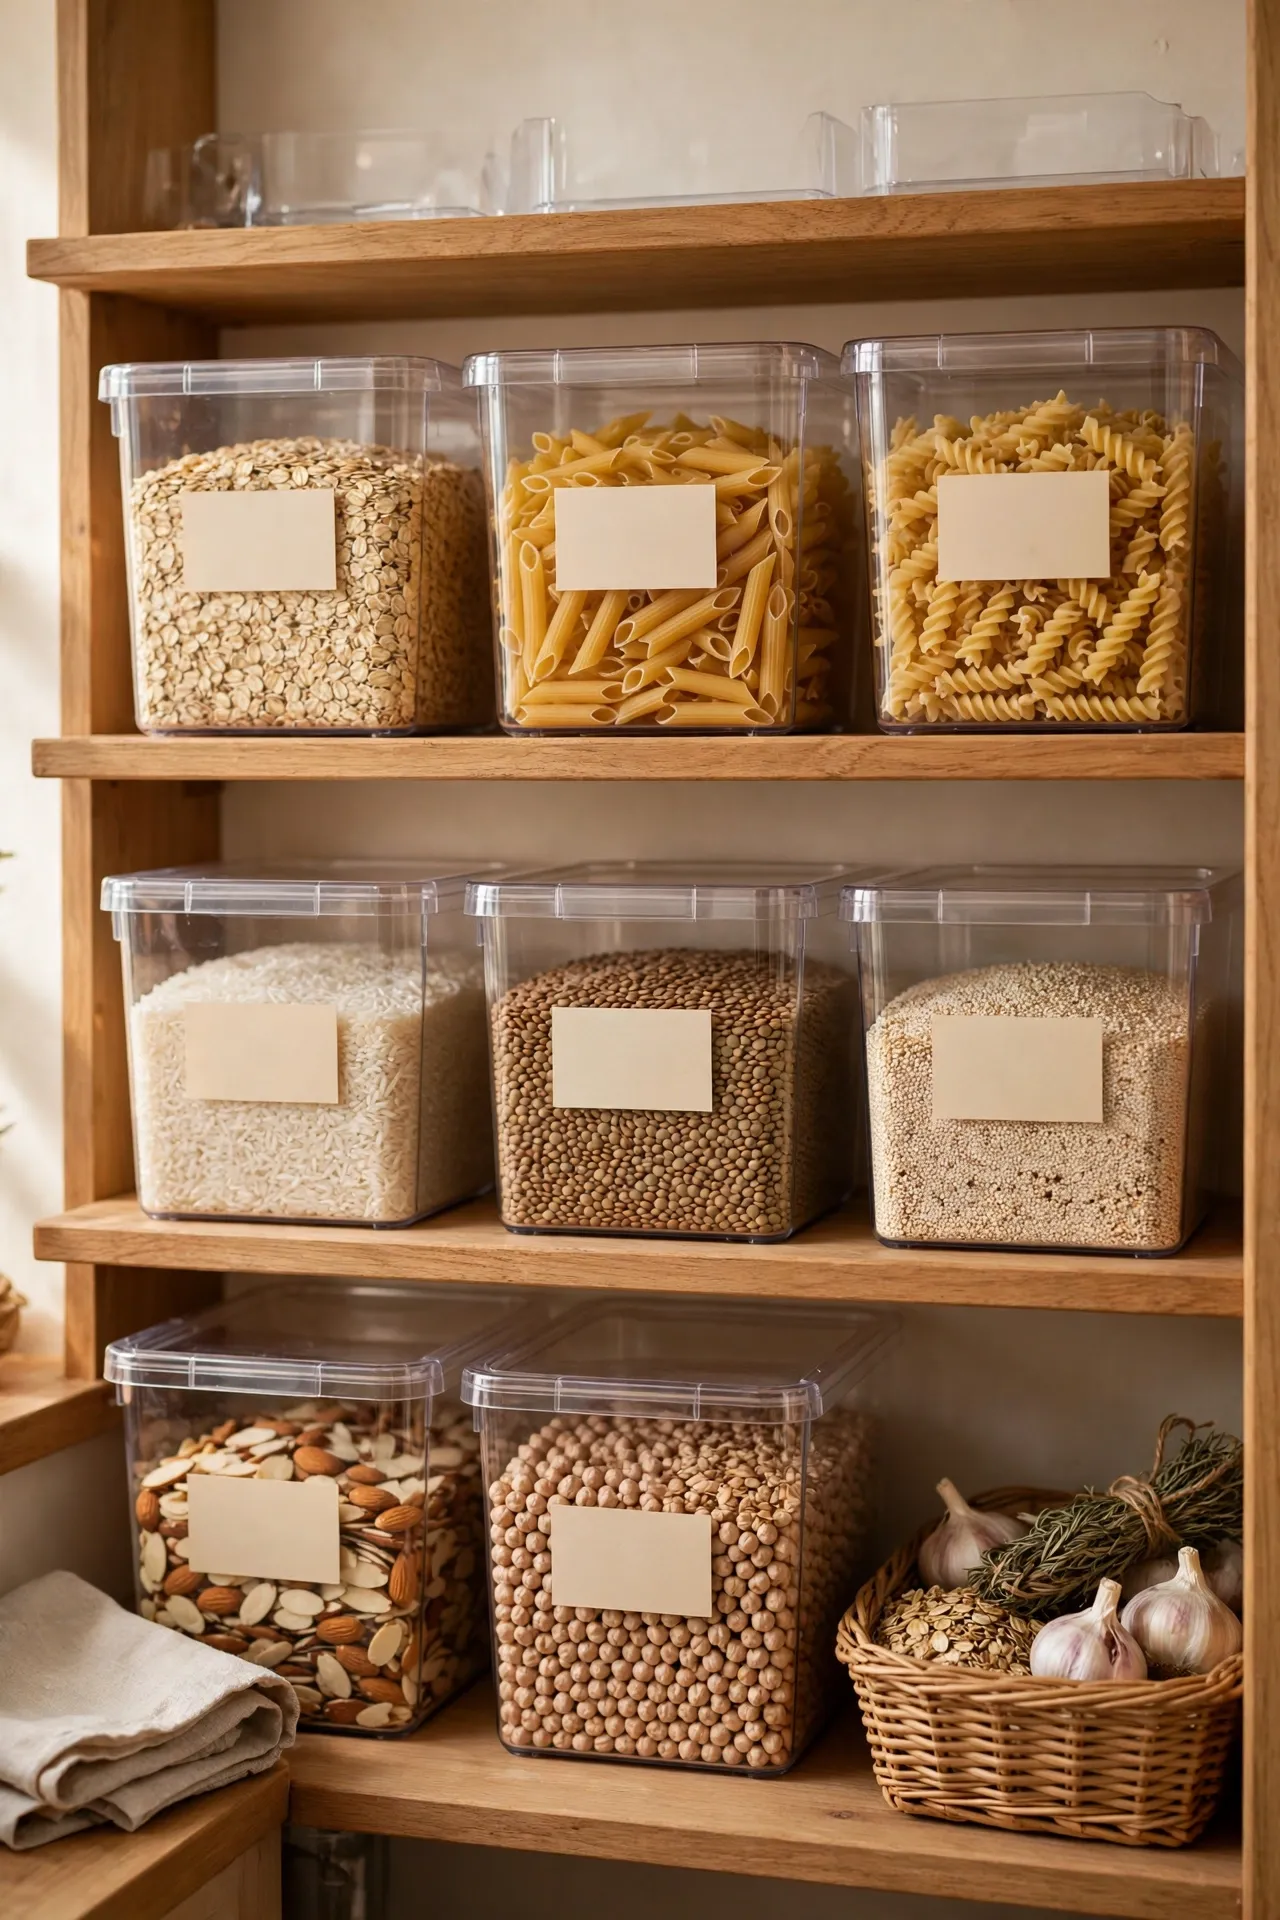
Decanting dry goods into clear bins with simple labels stops the eternal “is this flour or sugar?” guessing game. Buy bins in two or three sizes, then work shelf by shelf: empty each shelf, wipe it down, and refill the bins with the front label facing out. Use a marker on masking tape if you don’t own a label maker — it works just as well. I tried this and the one mistake to avoid is buying bins before measuring your shelves; I ended up with three that were a centimetre too tall for my pantry.
Cost: ~$10 | Time: 45 minutes
2. Under-Shelf Hanging Baskets
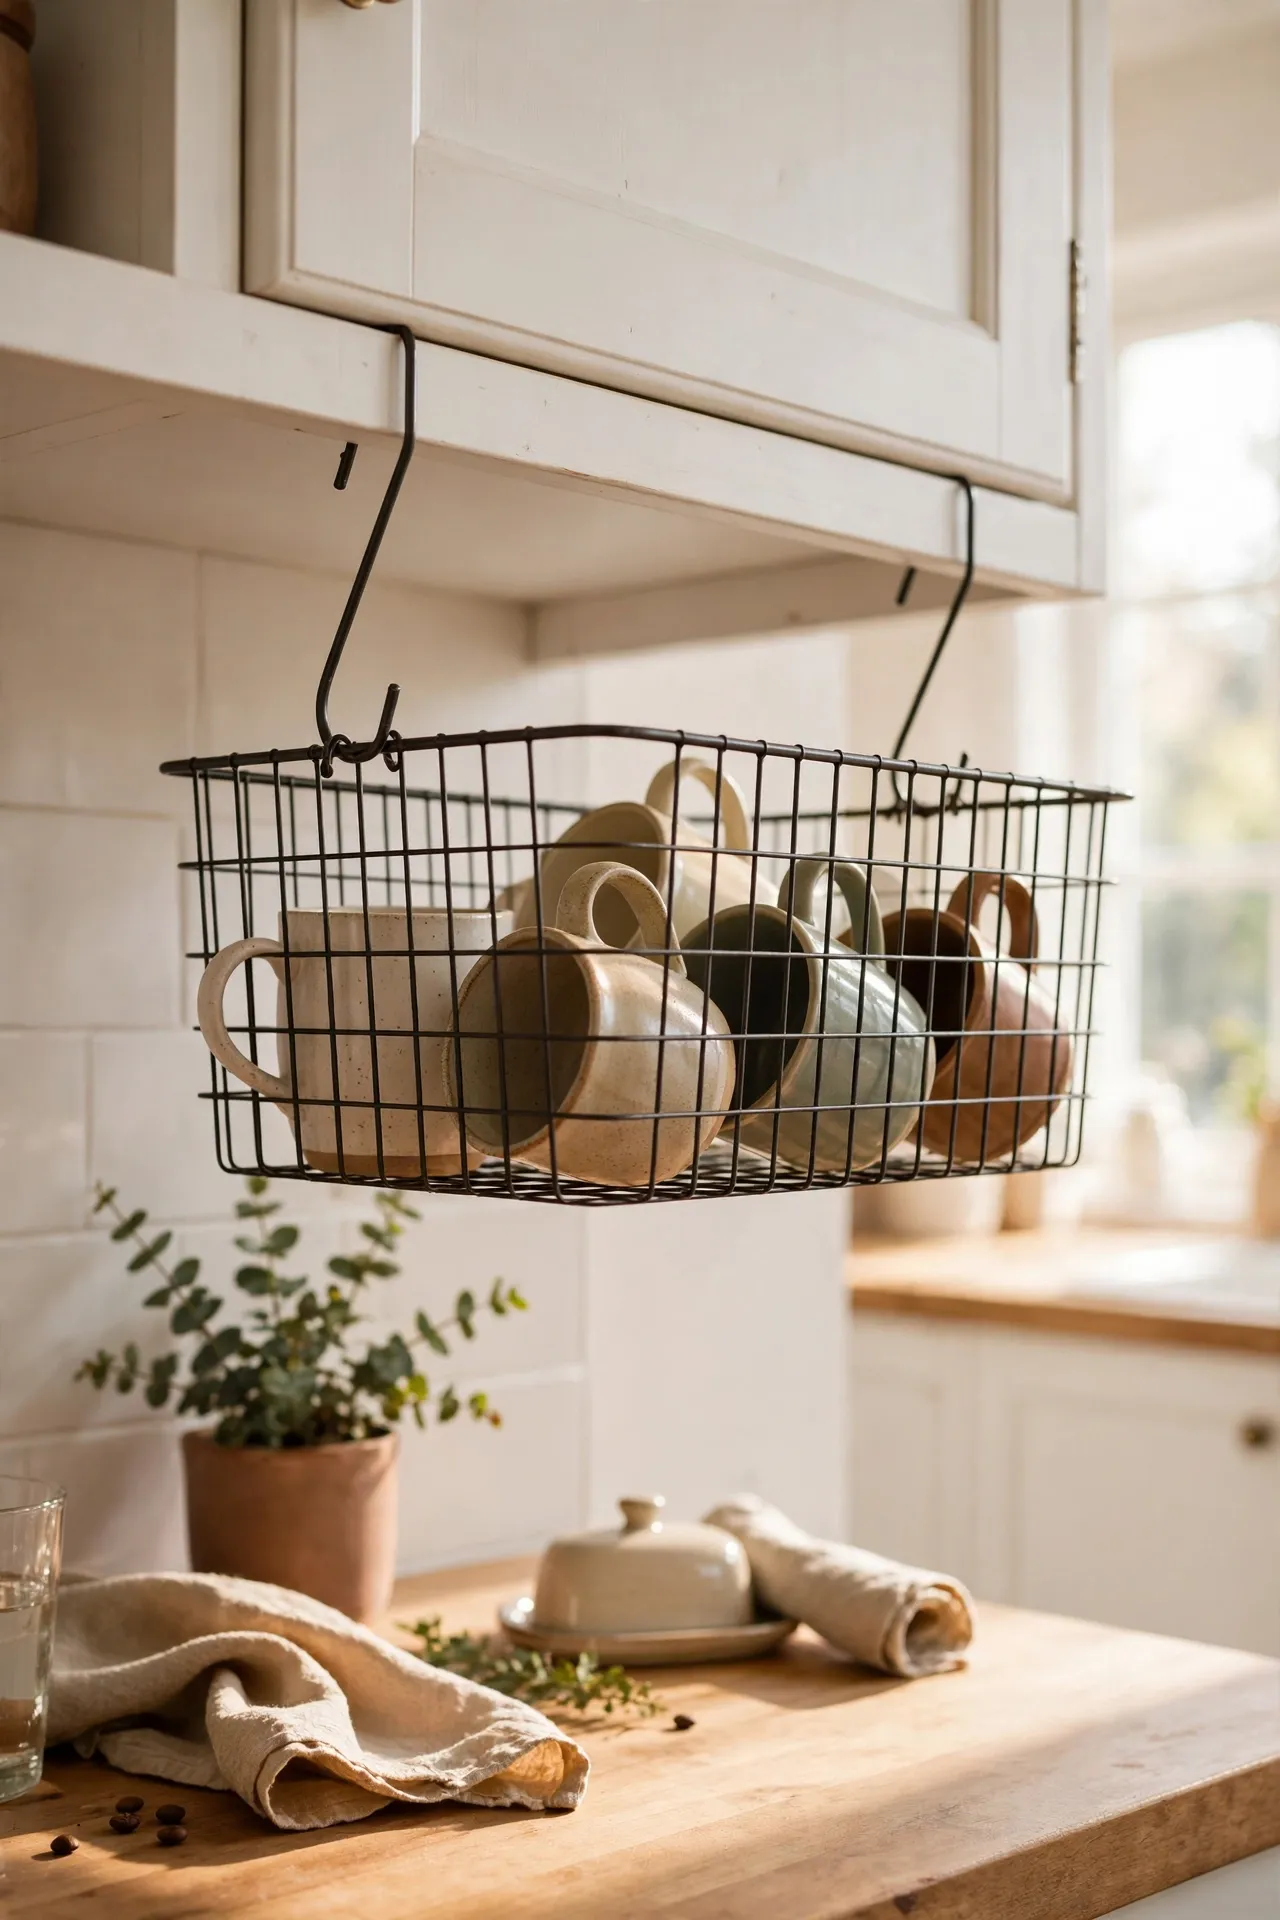
Those wire baskets that hook under existing shelves double your cabinet space without a single screw. Slide the arms over a shelf, then fill the basket with mugs, packets, or small tins. They’re brilliant for the awkward gap above your plates. Measure the shelf thickness first so the arms grip properly. I tried this and the one mistake to avoid is overloading them with heavy tins; they bow in the middle and eventually slip.
Cost: ~$4 | Time: 10 minutes
3. Lazy Susan Spice Corner
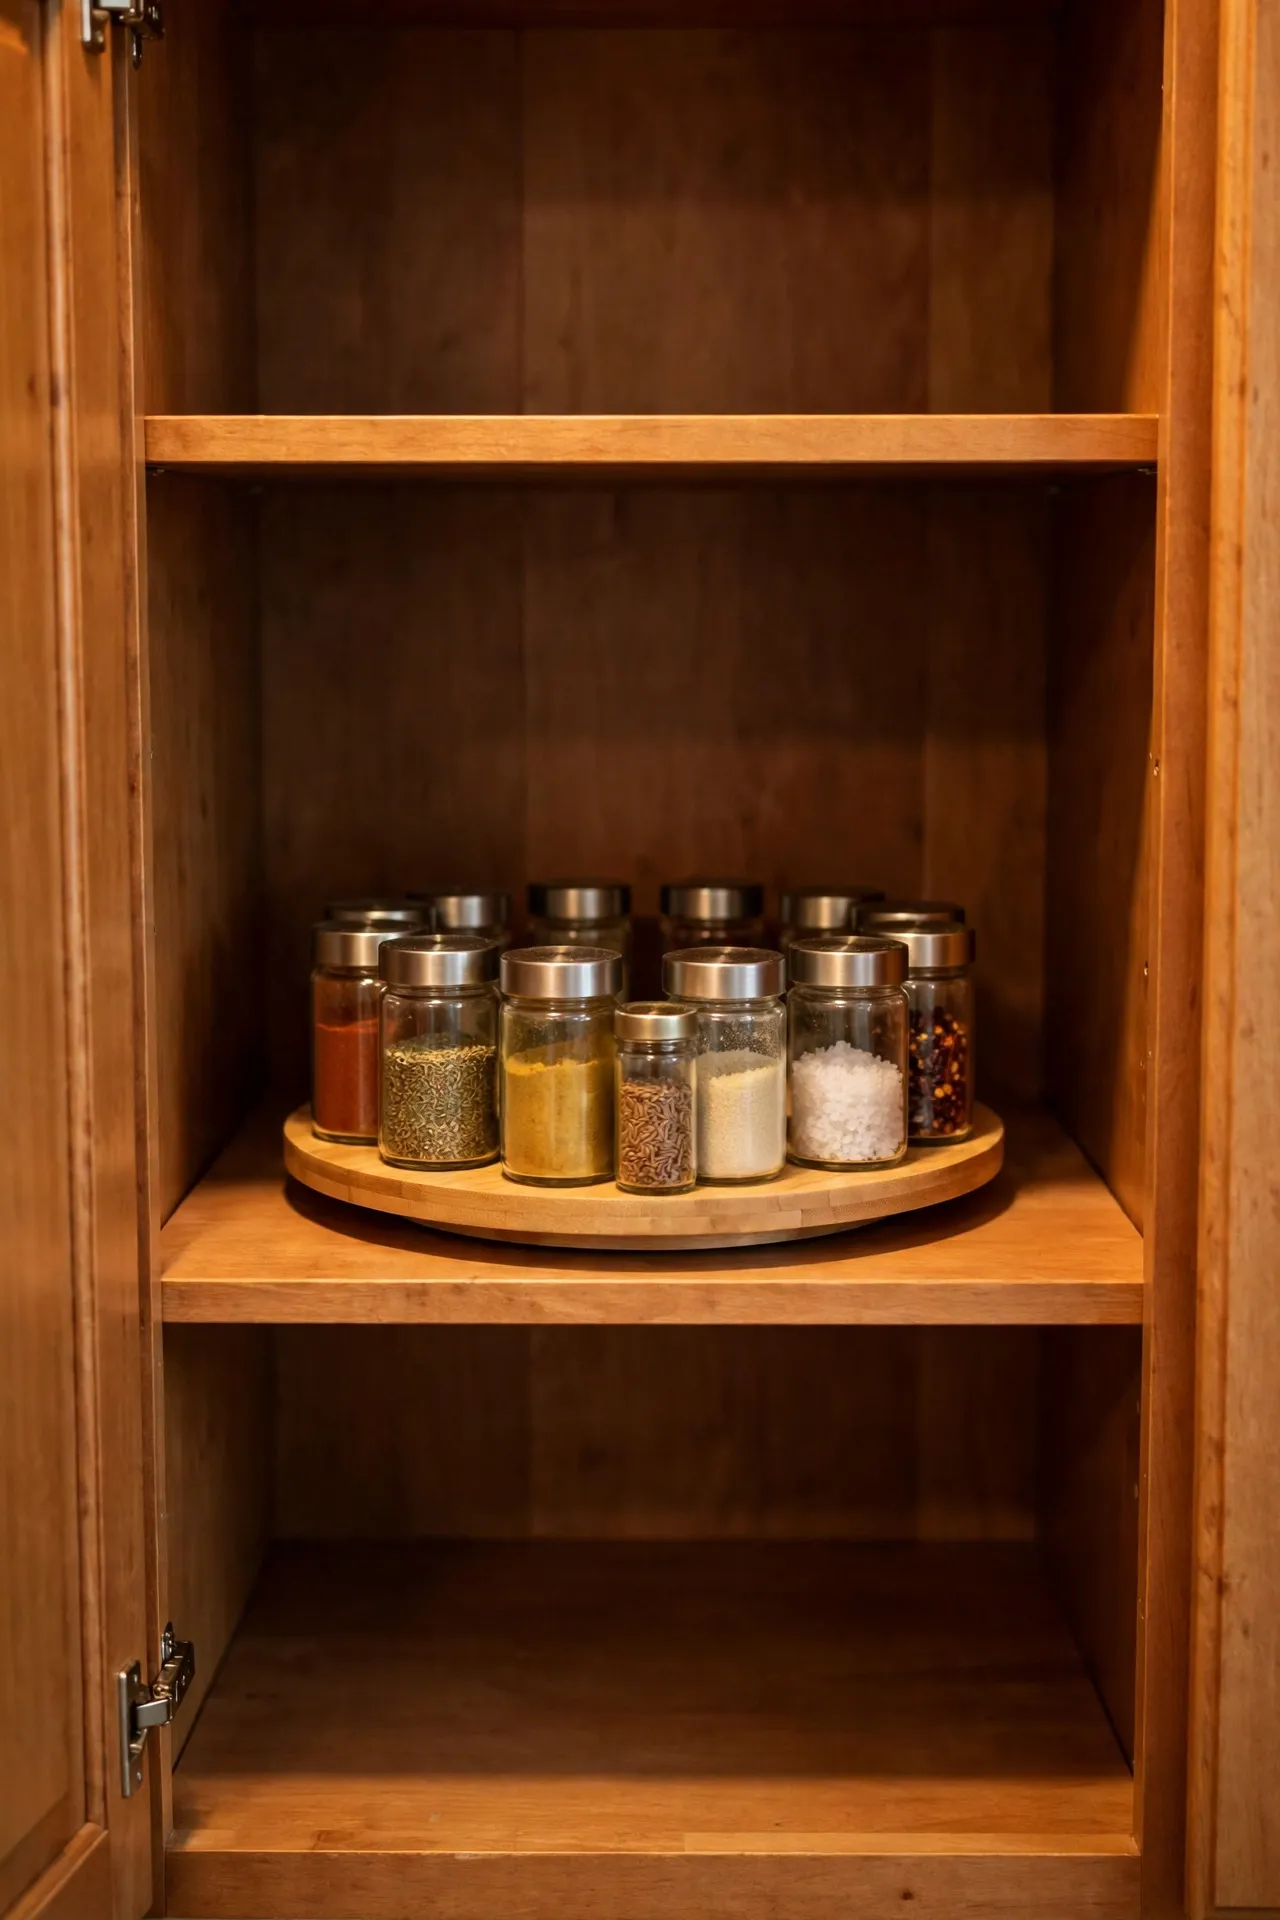
A small turntable in the spice cupboard ends the ritual of knocking over seven jars to reach the paprika. Place the tallest bottles in the centre, short ones around the edge, and give it a spin. Everything becomes reachable, and you’ll actually use the spices you forgot you owned. I tried this and the one mistake to avoid is a turntable smaller than your shelf depth — it spins fine but the bottles behind it stay trapped.
Cost: ~$3 | Time: 15 minutes
4. Tension Rod Cabinet Dividers
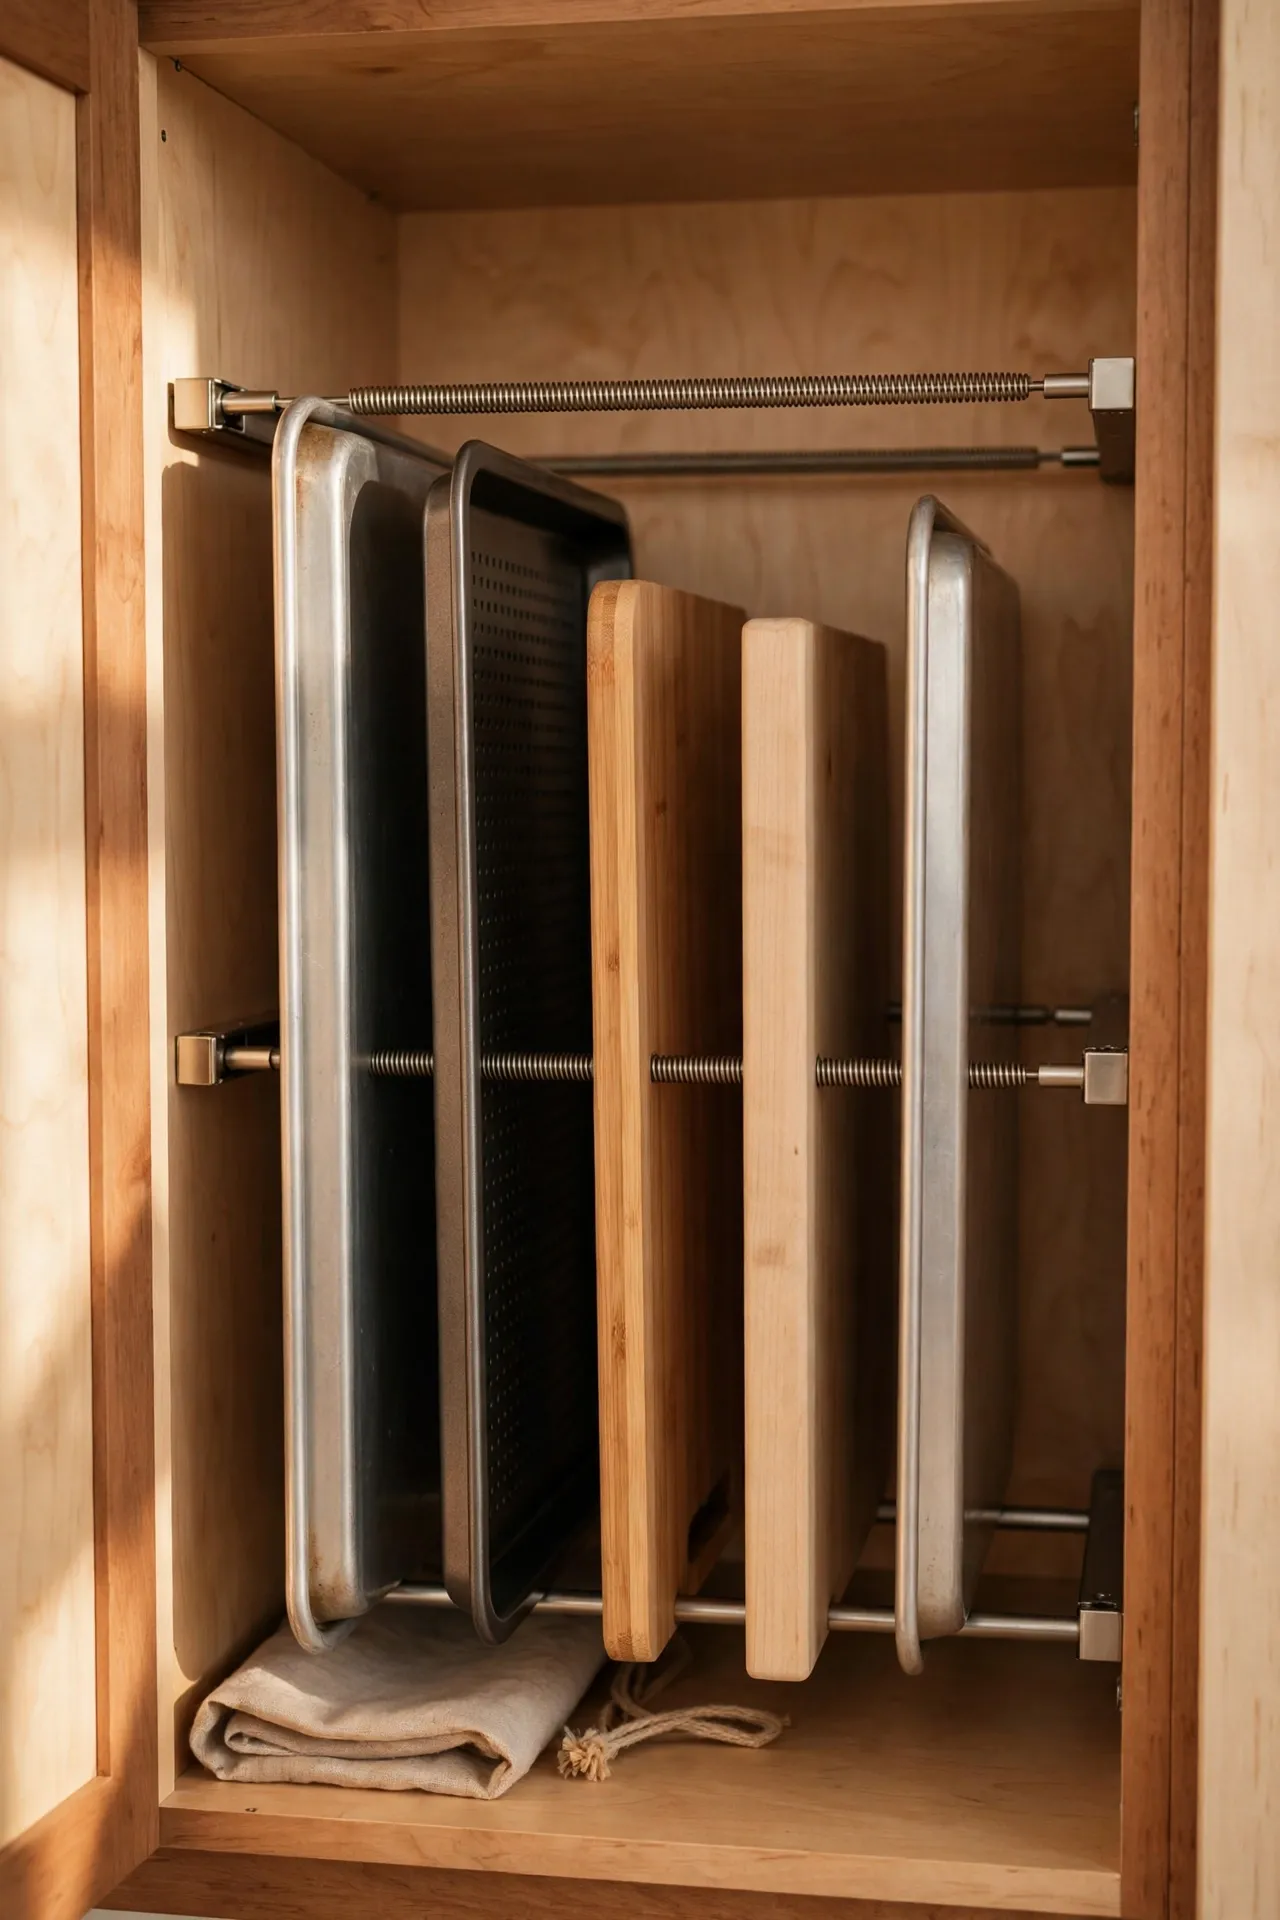
Spring-loaded tension rods stand upright inside cabinets to keep baking trays and chopping boards filed vertically instead of piled. Measure the cabinet depth, twist the rod to size, and wedge two of them in as bookends for your trays. No drilling, no brackets. I tried this and the one mistake to avoid is placing them on a dusty shelf; they creep sideways on slick dust, so wipe the surface first.
Cost: ~$5 | Time: 10 minutes
5. Magnetic Strip Knife and Tool Bar
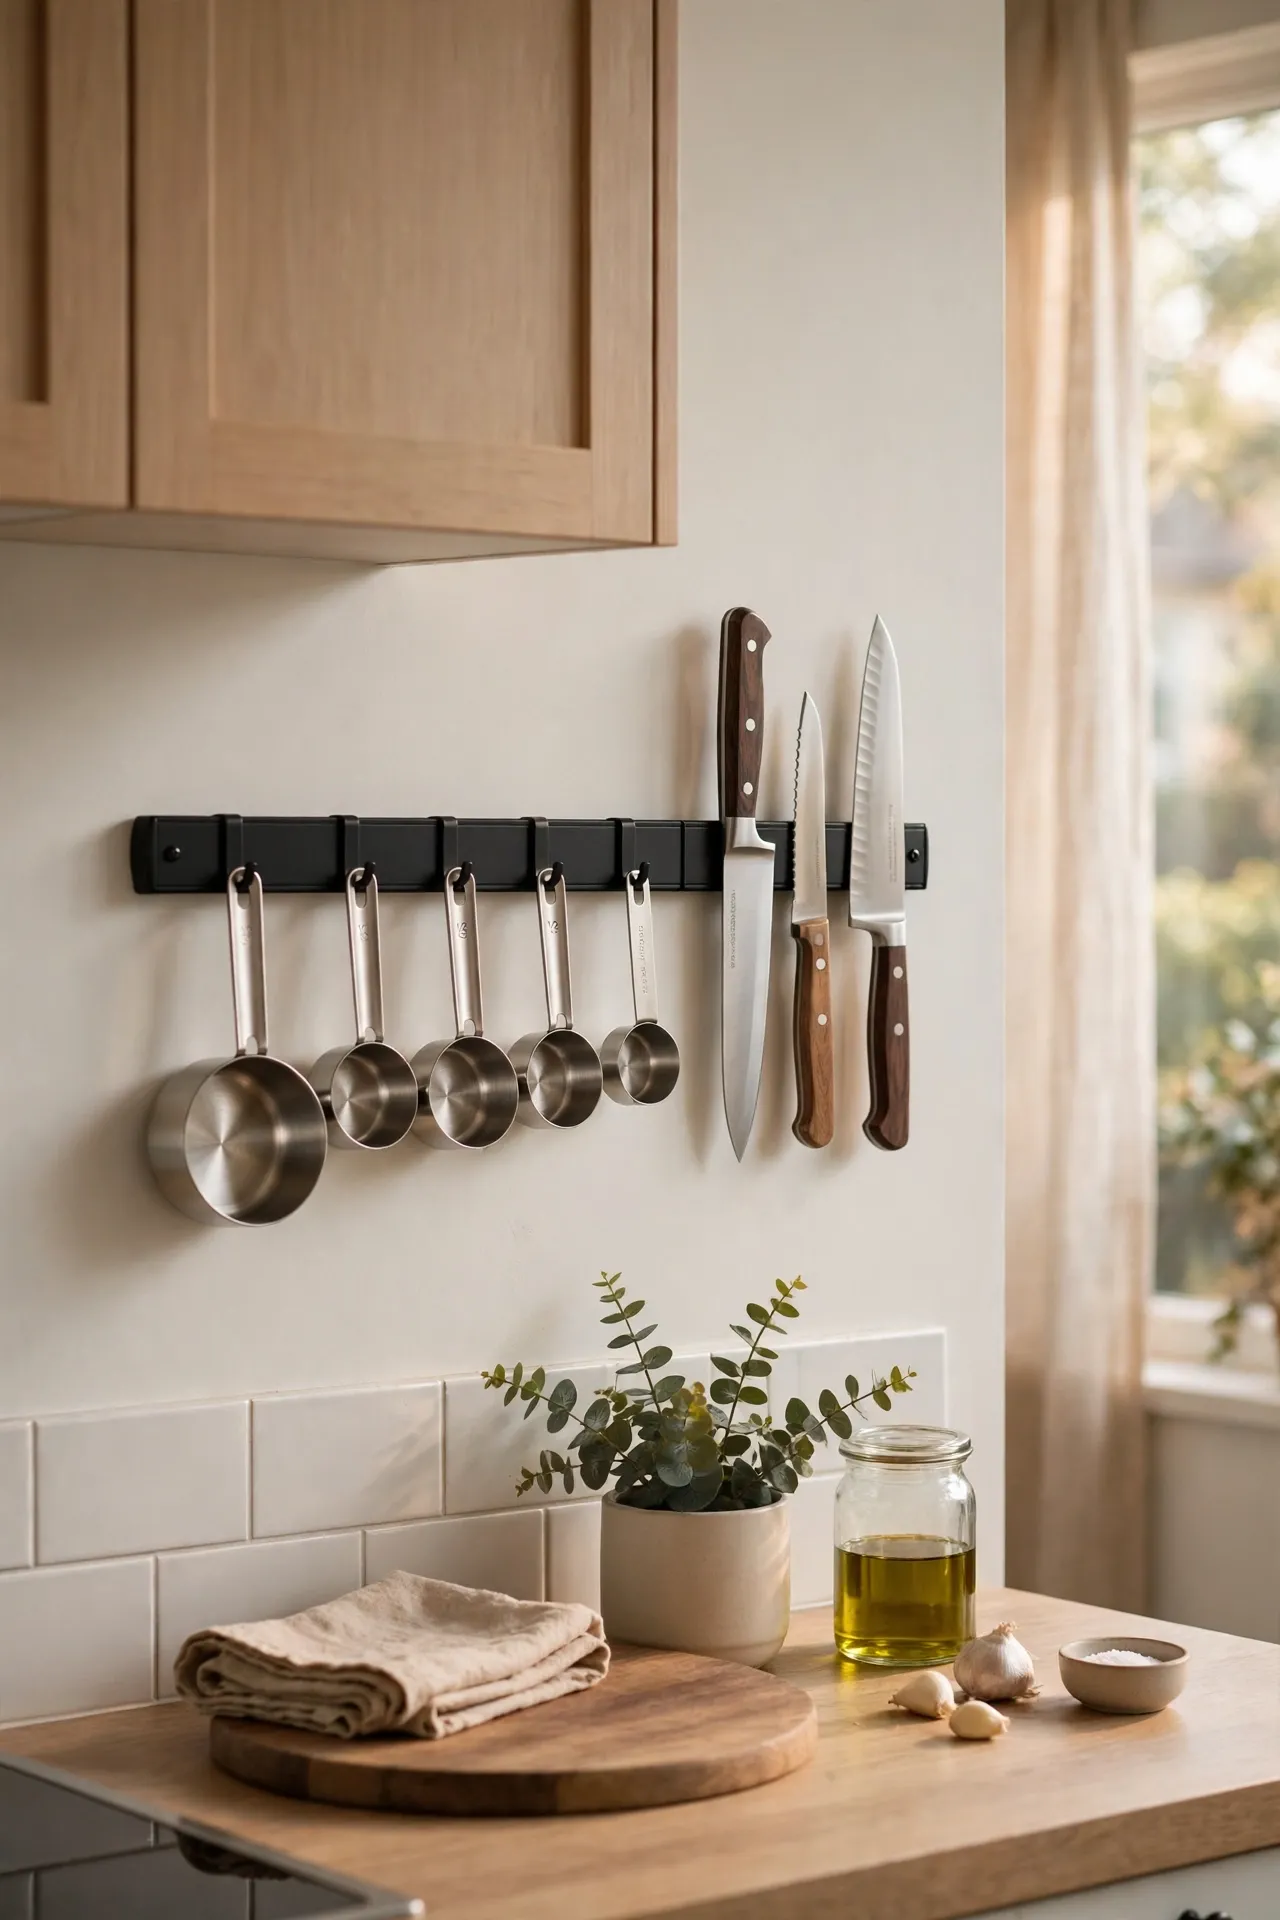
A magnetic strip on the kitchen wall frees up drawer space and keeps knives visible and safe. Mount it at shoulder height, away from little hands, and hang knives spine-first. It also works for metal measuring cups and small tools. I tried this and the one mistake to avoid is mounting it above the cooker; heat and steam dull the blades faster and the grease coating is vile.
Cost: ~$6 | Time: 20 minutes
Closet and Wardrobe Wins
6. Shower Ring Scarf Organiser
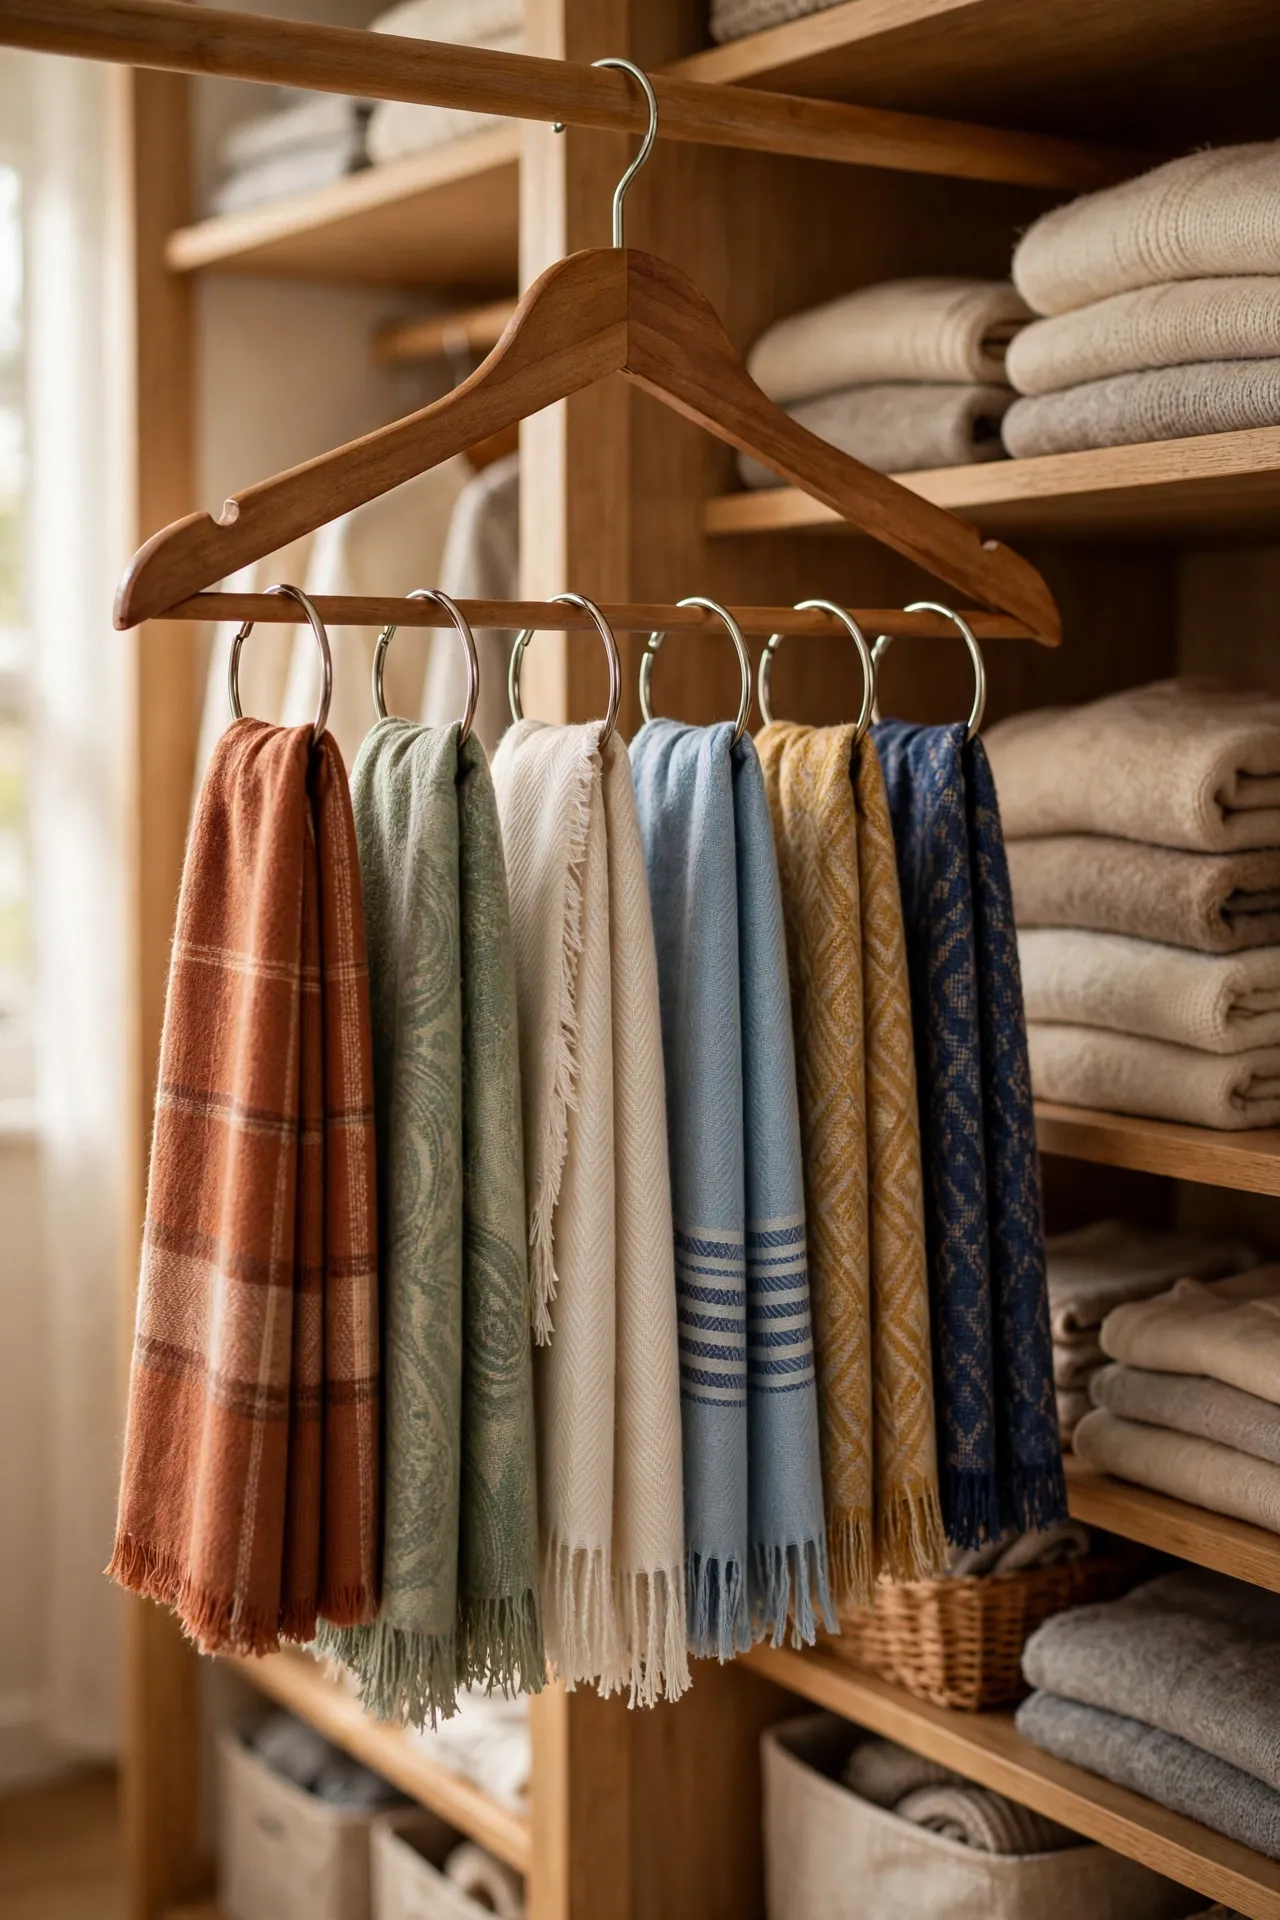
Thread shower curtain rings onto a sturdy hanger and loop one scarf through each ring — every scarf visible, none tangled. Hang it in the wardrobe where you can see it while choosing outfits. It’s the cheapest closet upgrade I’ve ever made. I tried this and the one mistake to avoid is using flimsy wire hangers; they buckle under the weight of six scarves, so use a wooden one.
Cost: ~$3 | Time: 10 minutes
7. Stackable Shoe Boxes with Photos
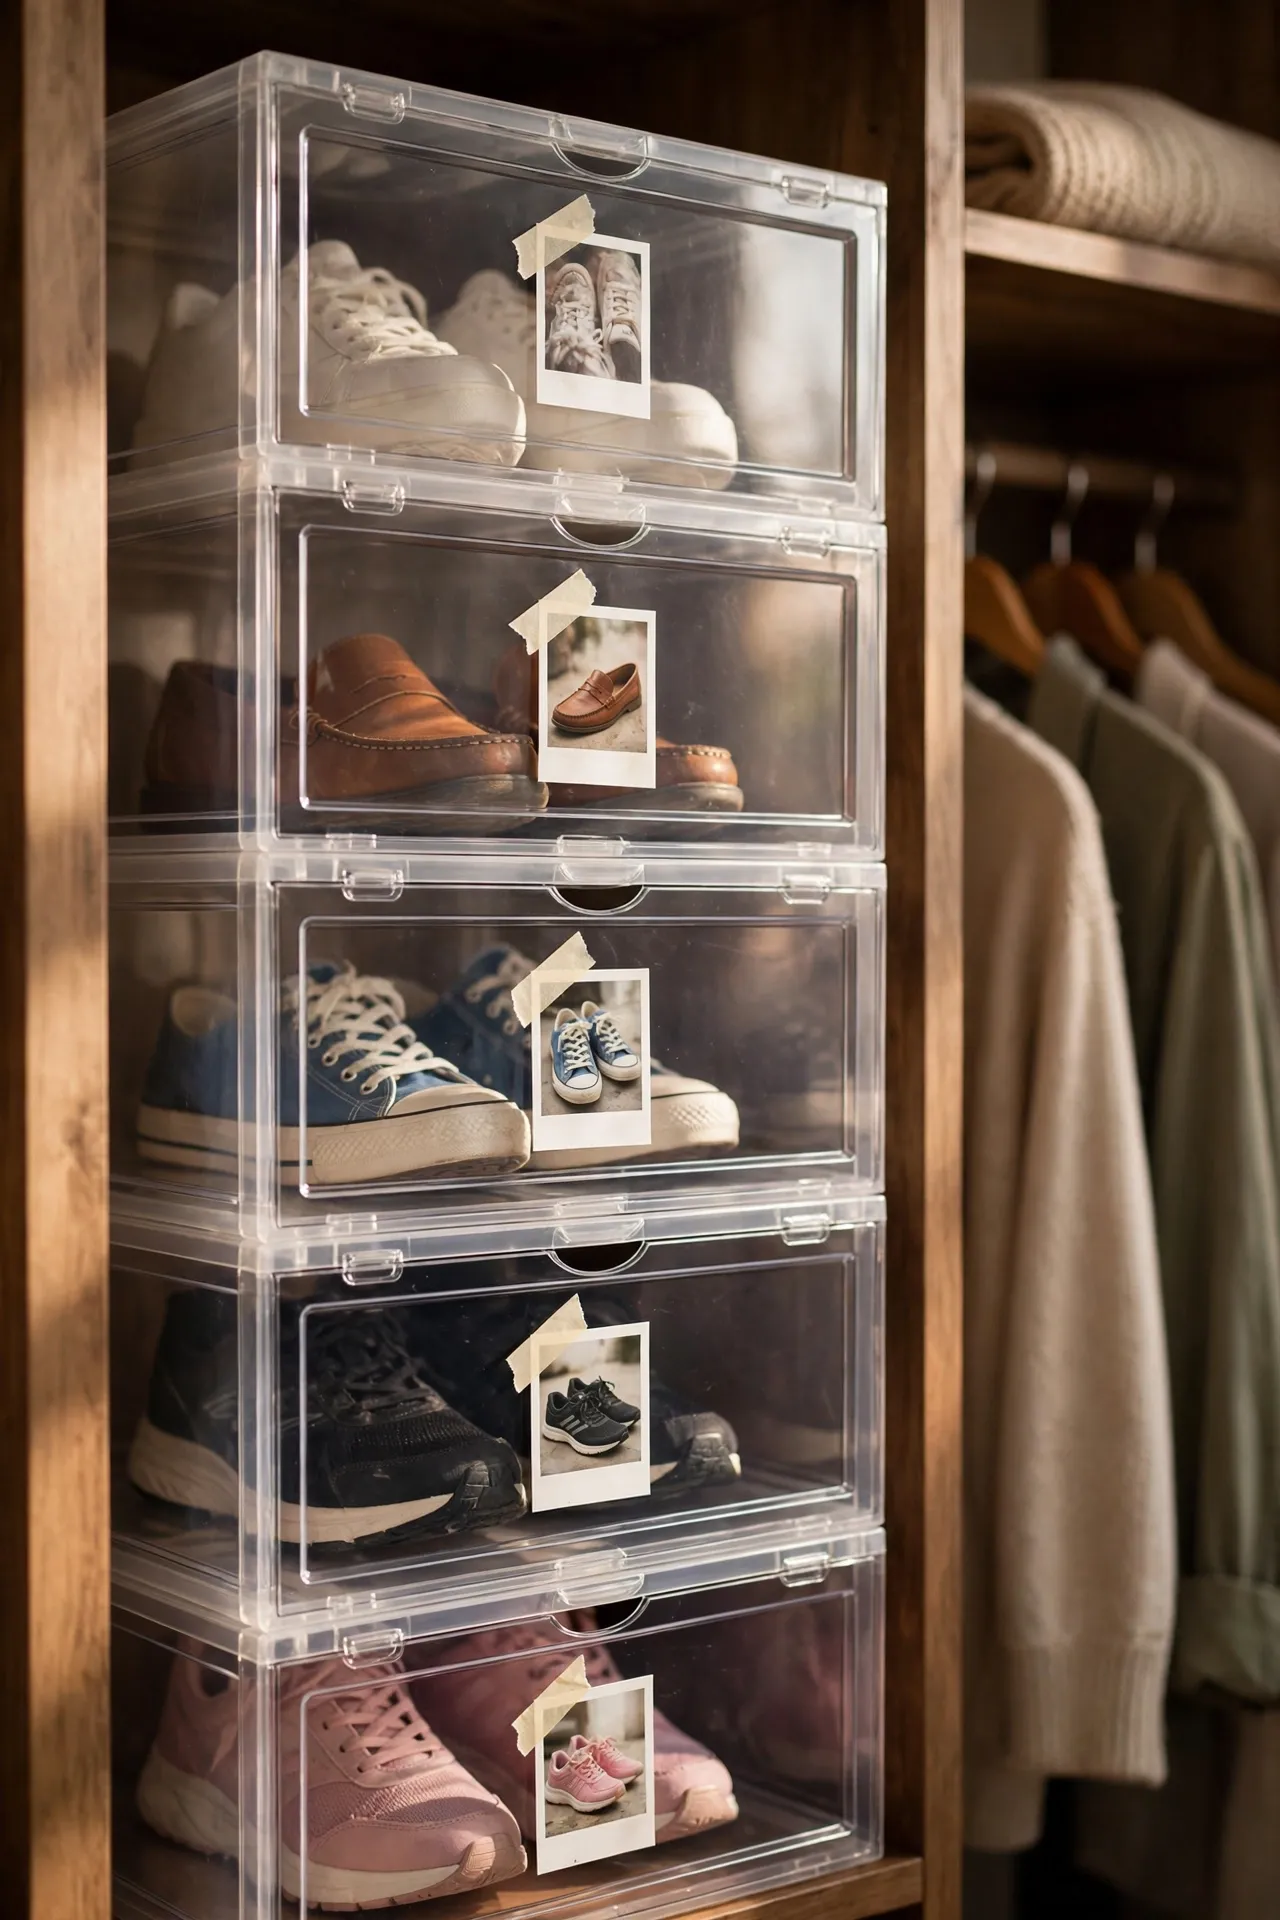
Clear stackable boxes keep shoes dust-free and visible, and a quick photo taped to the front means you never open the wrong one. Sort shoes by season, stack the boxes two or three high, and line them along the closet floor. The photo trick sounds fussy but saves real time on busy mornings. I tried this and the one mistake to avoid is stacking them four high; the bottom box bows and the lid cracks.
Cost: ~$8 | Time: 30 minutes
8. Drawer Divider Grid
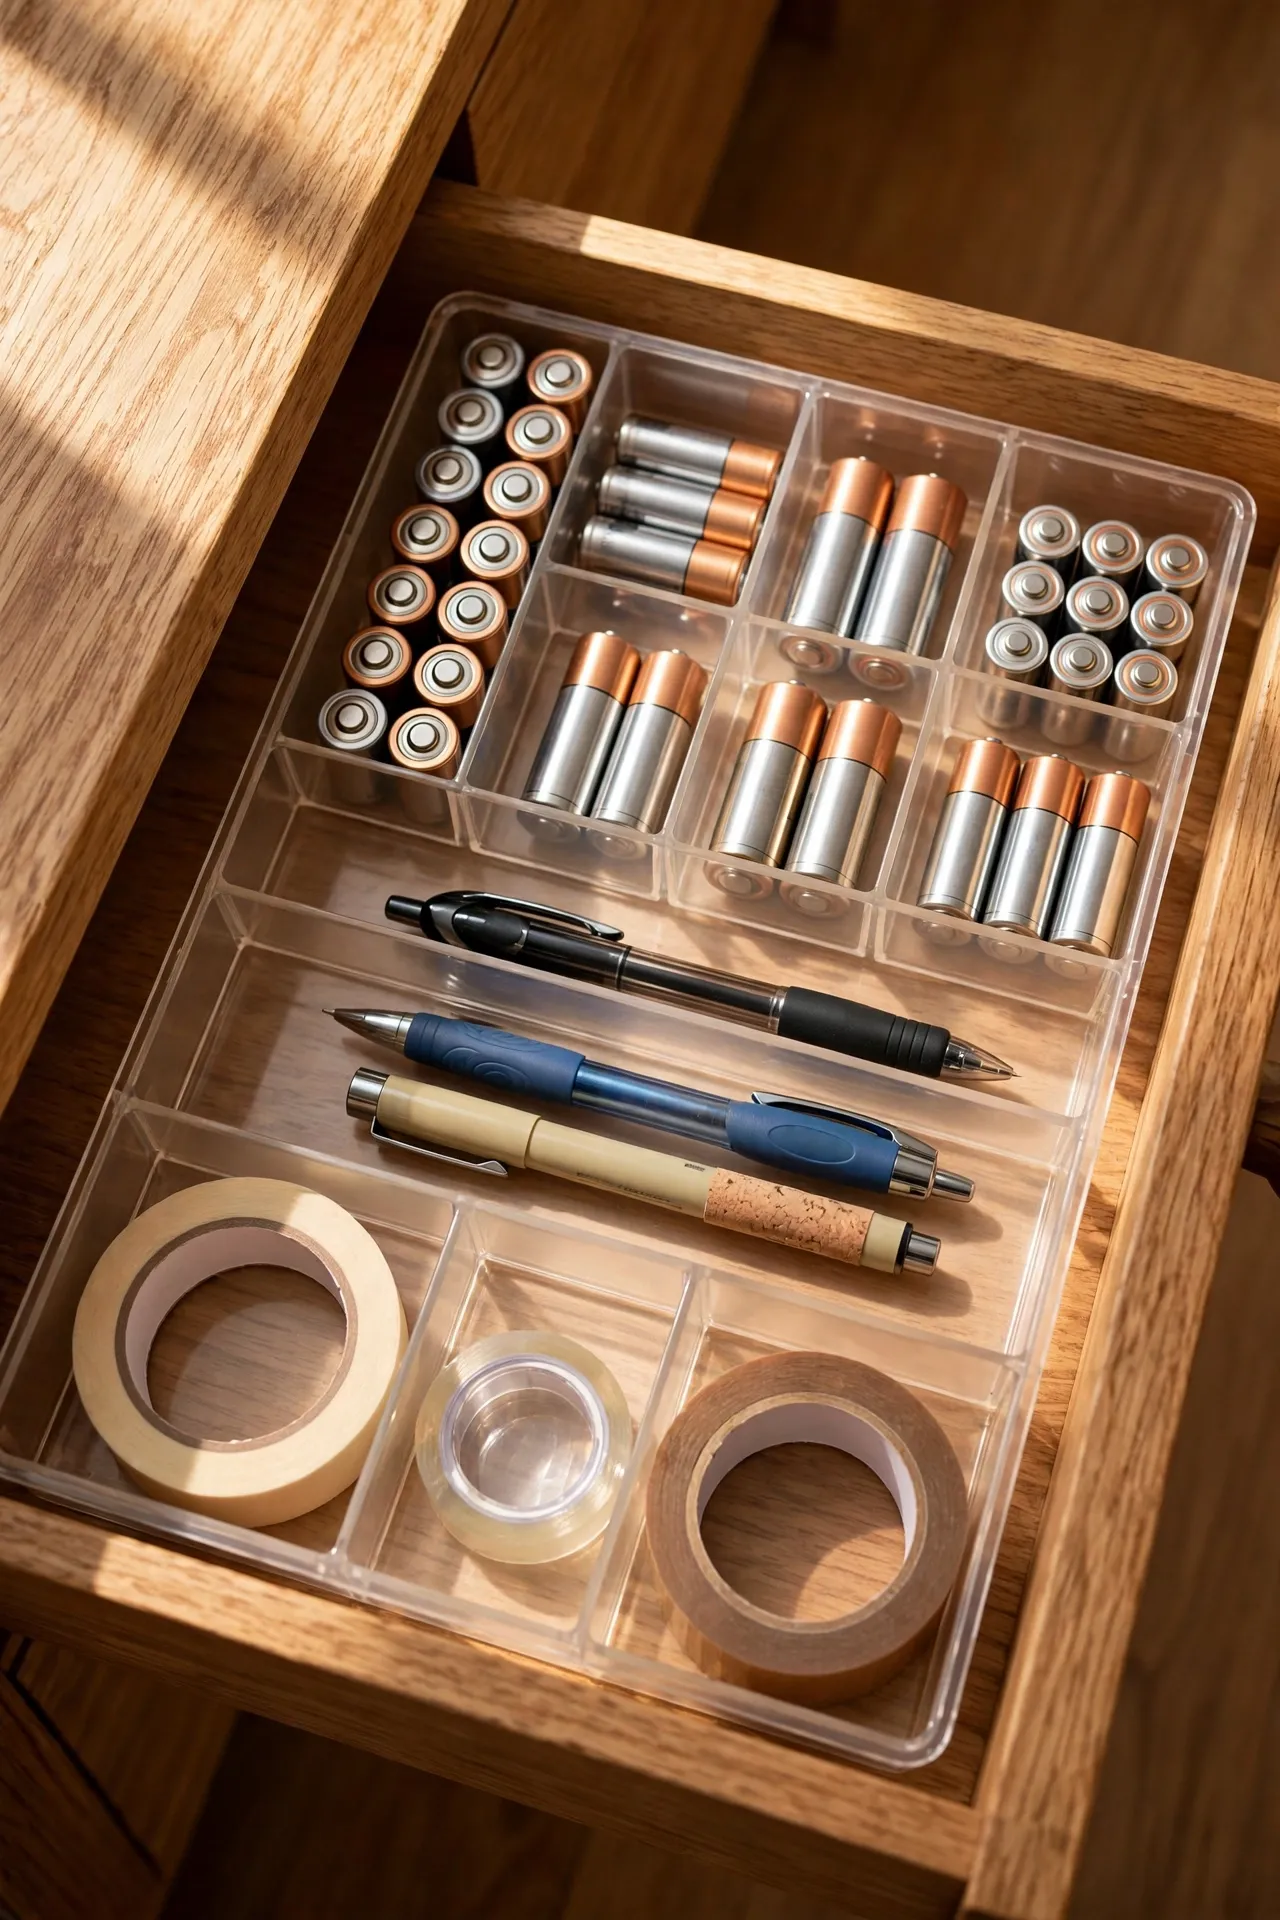
Small plastic drawer dividers turn one chaotic junk drawer into tidy compartments. Lay the grid out to match your drawer size, then assign each section a job: batteries, tape, pens, chargers. The first sort takes twenty minutes; staying organised after that takes none. I tried this and the one mistake to avoid is skipping the sort and just divvying up existing junk; purge first, then divide.
Cost: ~$4 | Time: 25 minutes
9. Over-Door Pocket Organiser for Accessories
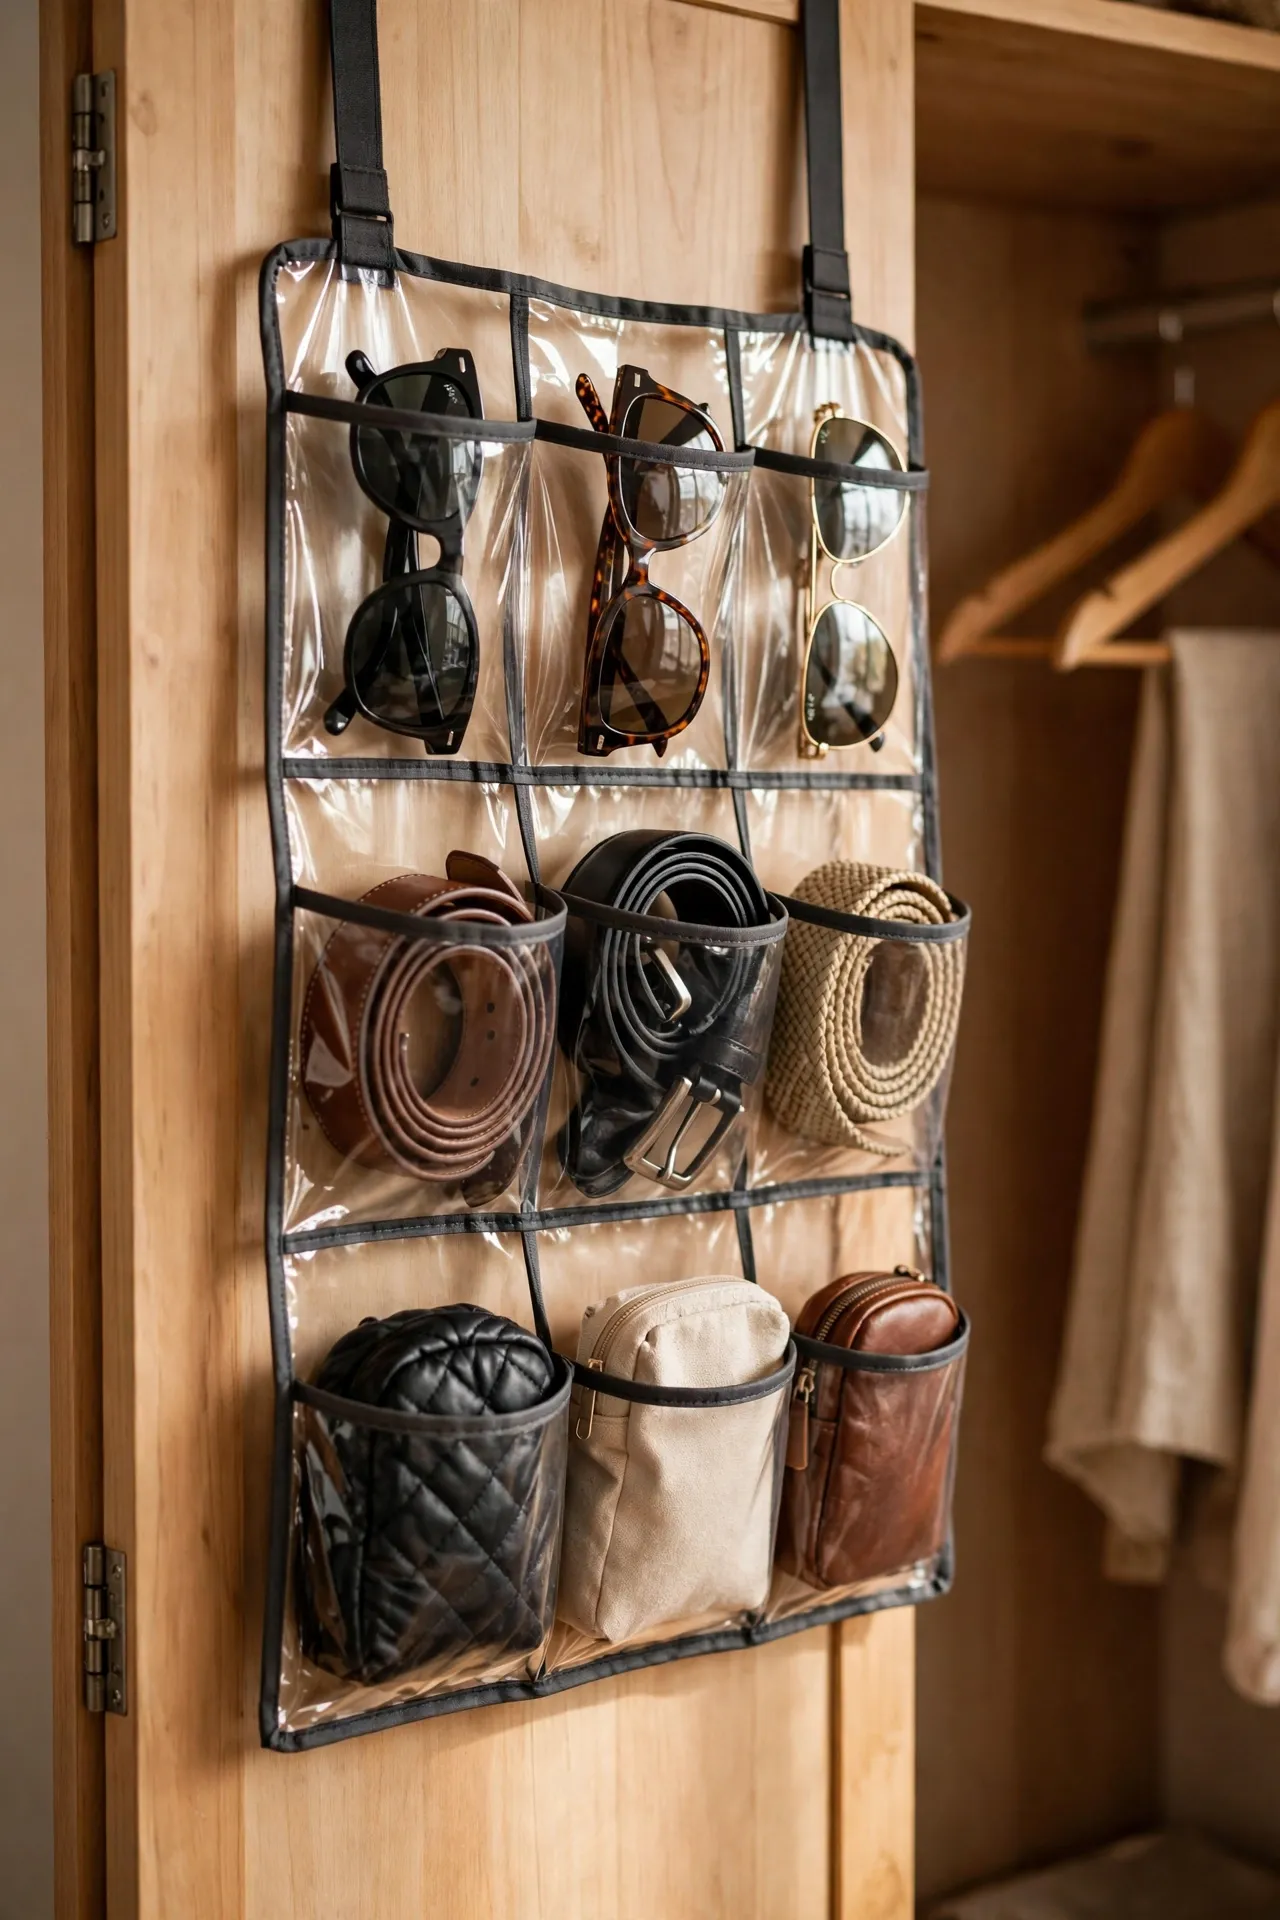
Hang a clear pocket organiser over the inside of your wardrobe door and fill the pockets with belts, sunglasses, and small bags. Every accessory becomes grab-and-go instead of buried in a drawer. Keep heavier items in the bottom pockets so the weight sits low. I tried this and the one mistake to avoid is hanging it on a door that slams; the pockets swing and everything ends up in a heap.
Cost: ~$4 | Time: 10 minutes
Bathroom and Laundry Fixes
10. Laundry Room Sorting Bins
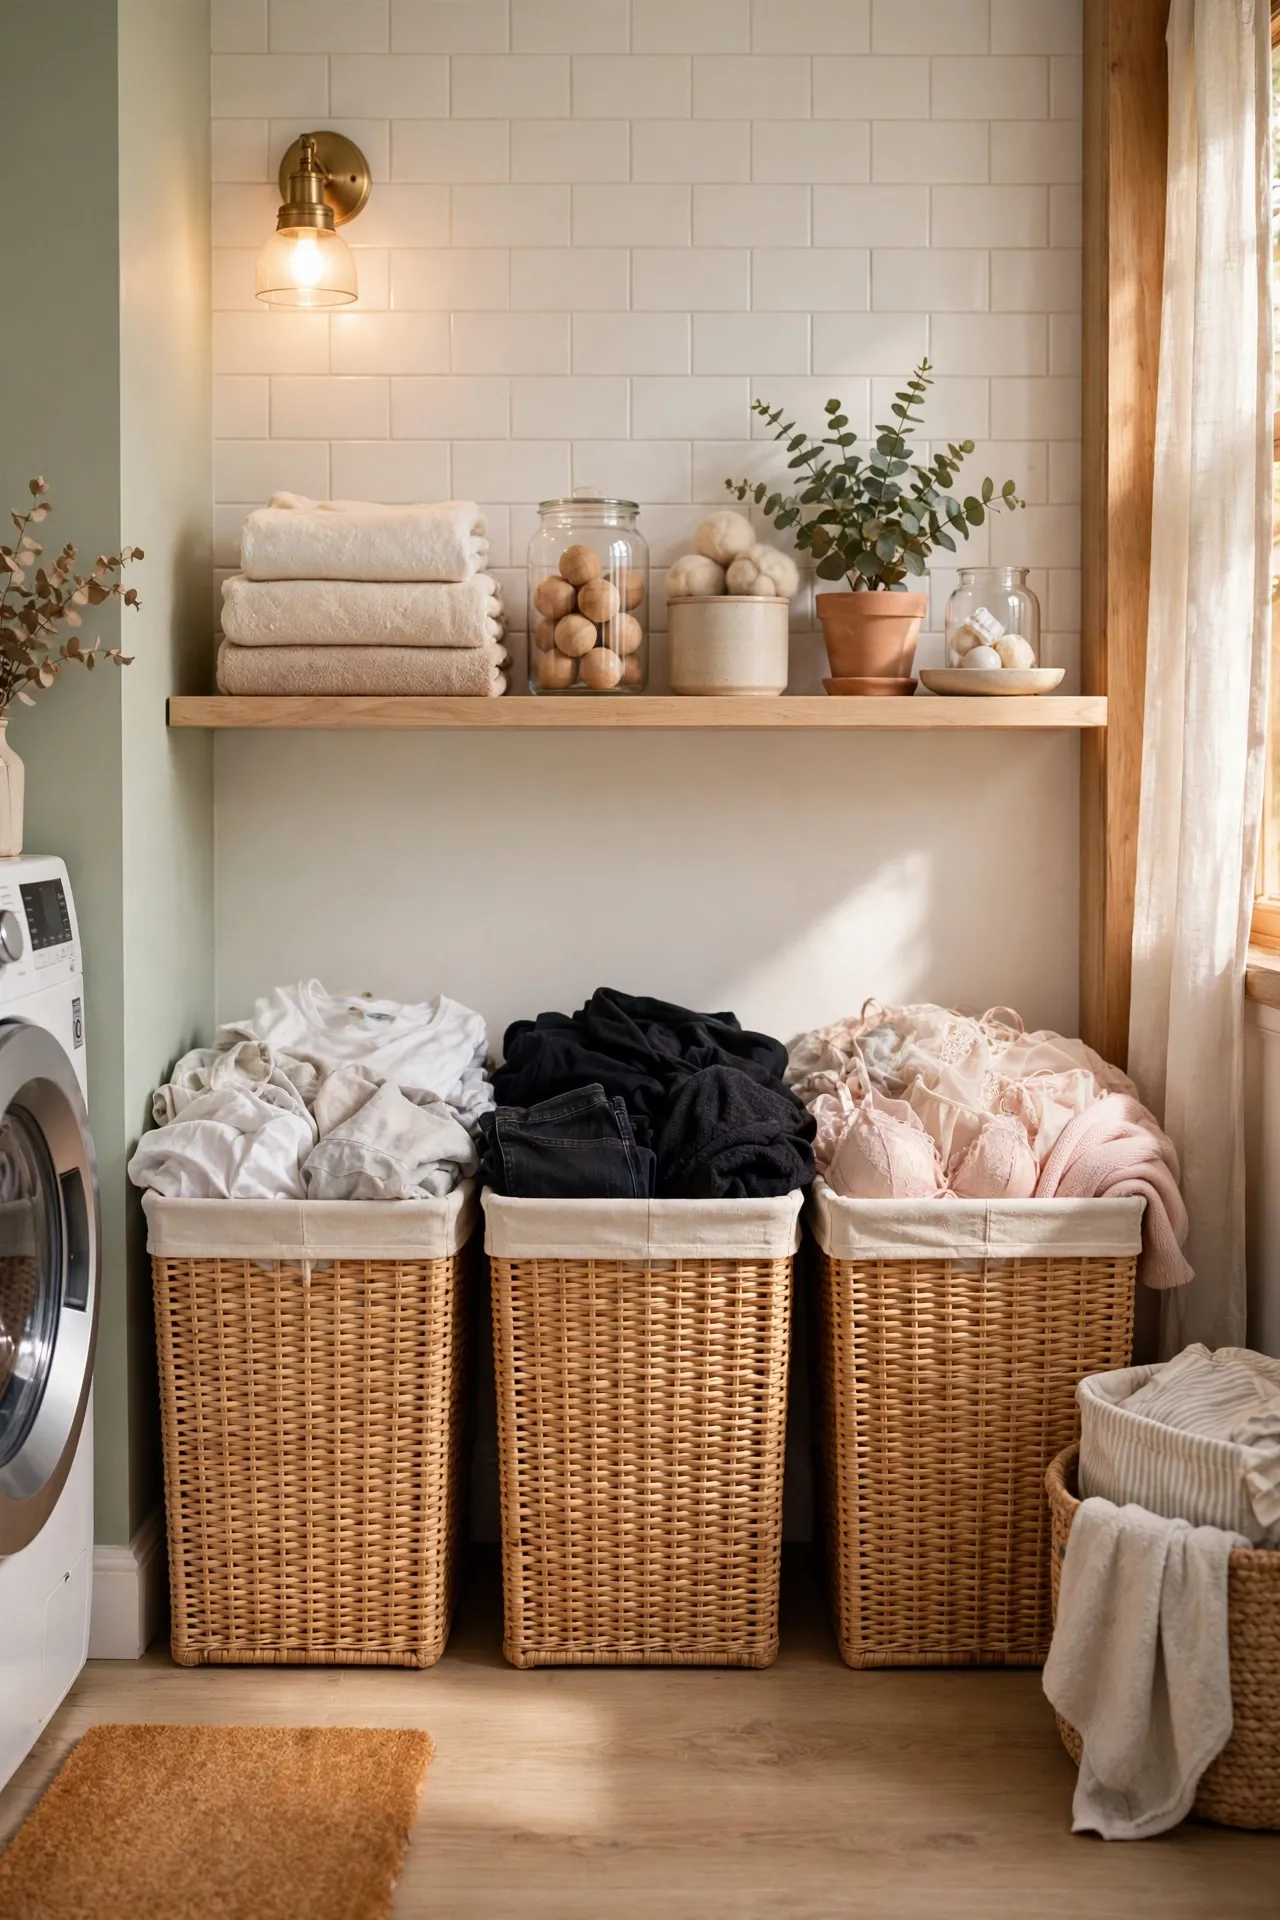
Three labelled bins — lights, darks, delicates — mean the family sorts as they go and laundry day starts half-done. Line the bins up where the dirty clothes actually land, not where you wish they’d land. Label them clearly so there’s no excuse. I tried this and the one mistake to avoid is buying bins too small; one overflowing bin defeats the system instantly.
Cost: ~$9 | Time: 10 minutes
11. Suction Cup Shower Caddy Zones
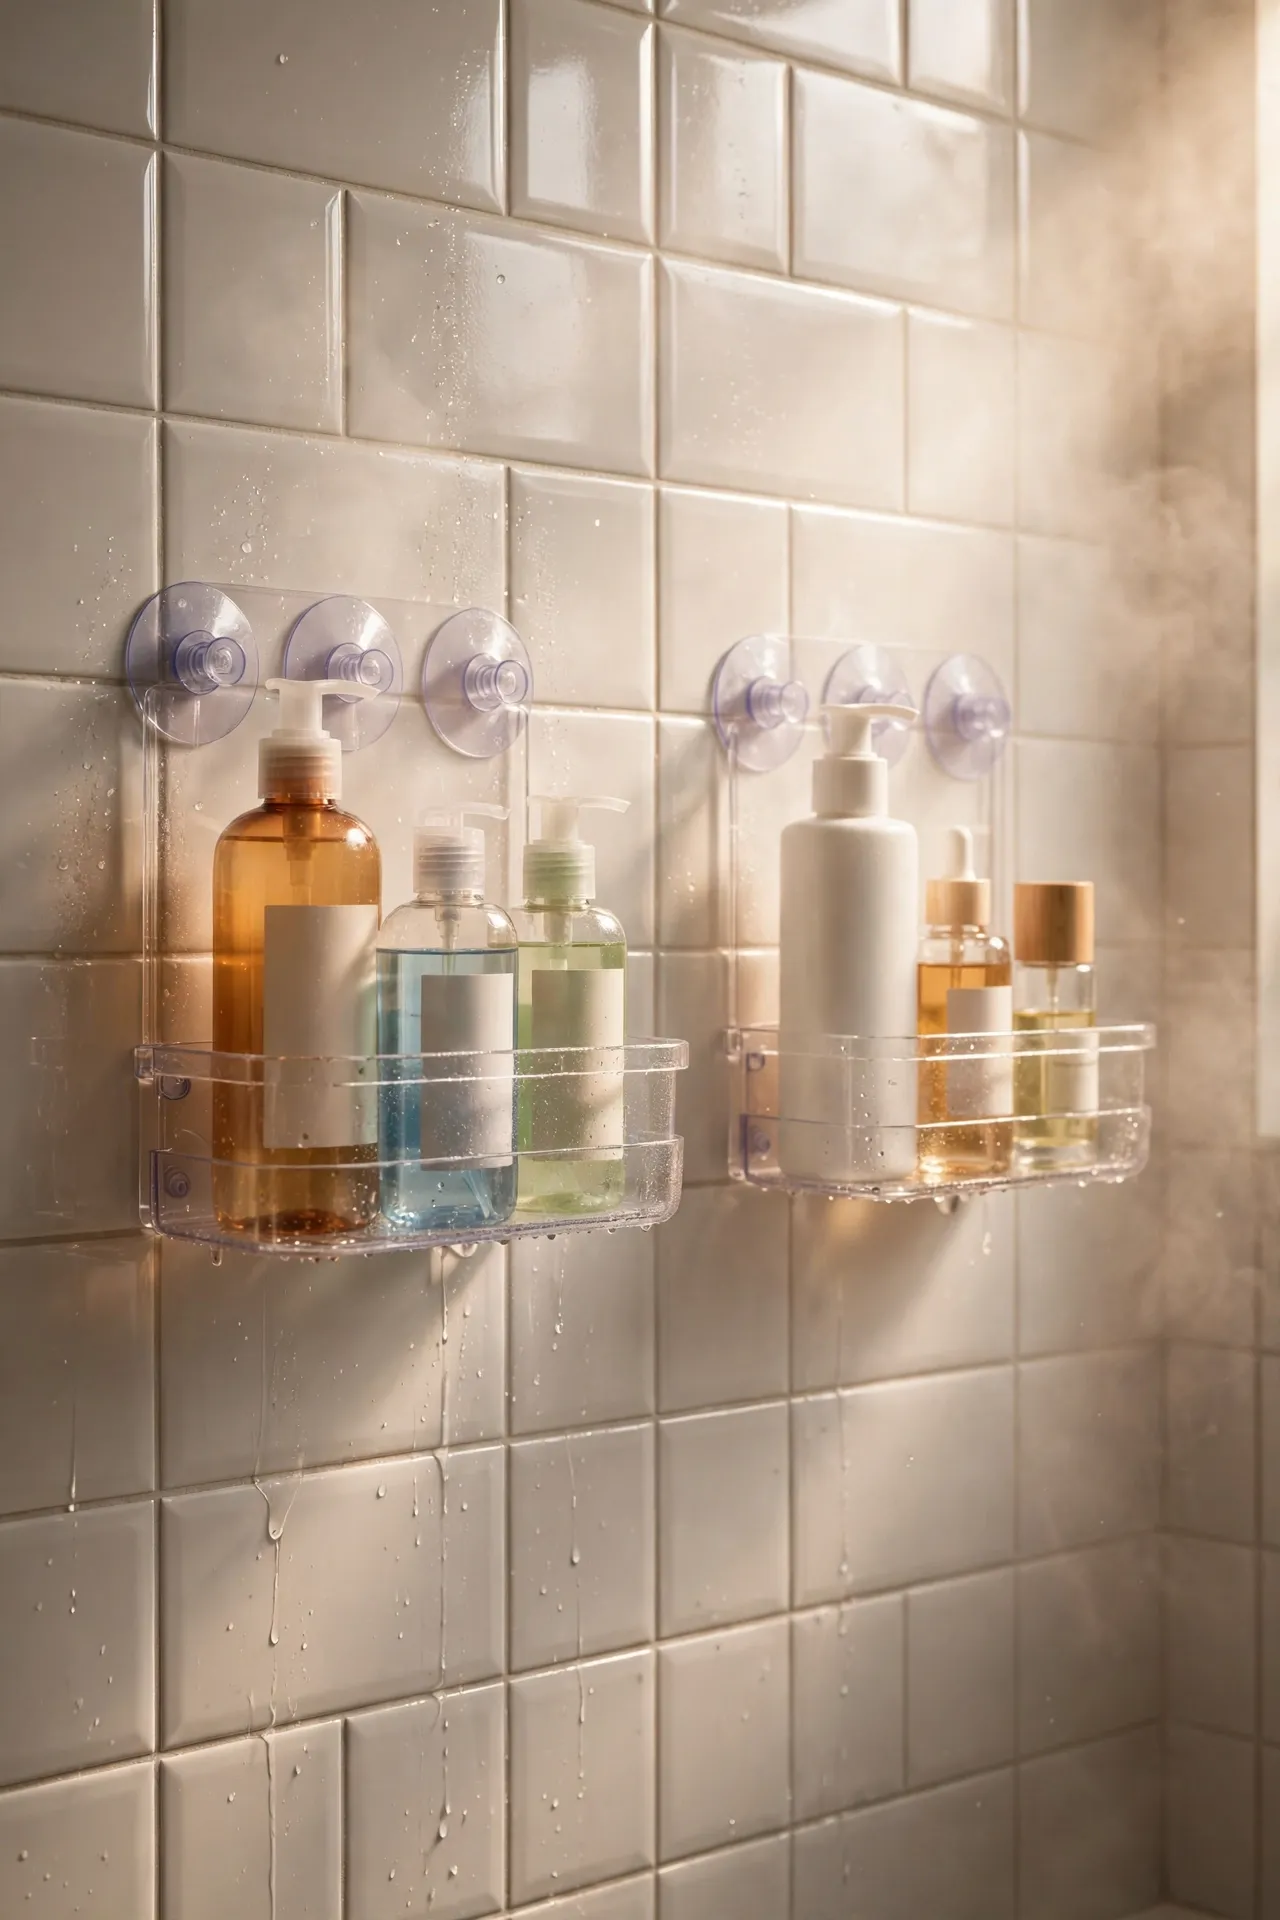
Give each person their own suction-cup caddy in the shower and the bottle avalanche stops. Stick one caddy per person at their preferred height, press out all the air, and wait a full day before loading it. It works brilliantly for kids’ bath toys too. I tried this and the one mistake to avoid is sticking them to textured tiles; they hold for a day, then crash down at 6am.
Cost: ~$6 | Time: 15 minutes
12. Under-Sink Door Rack
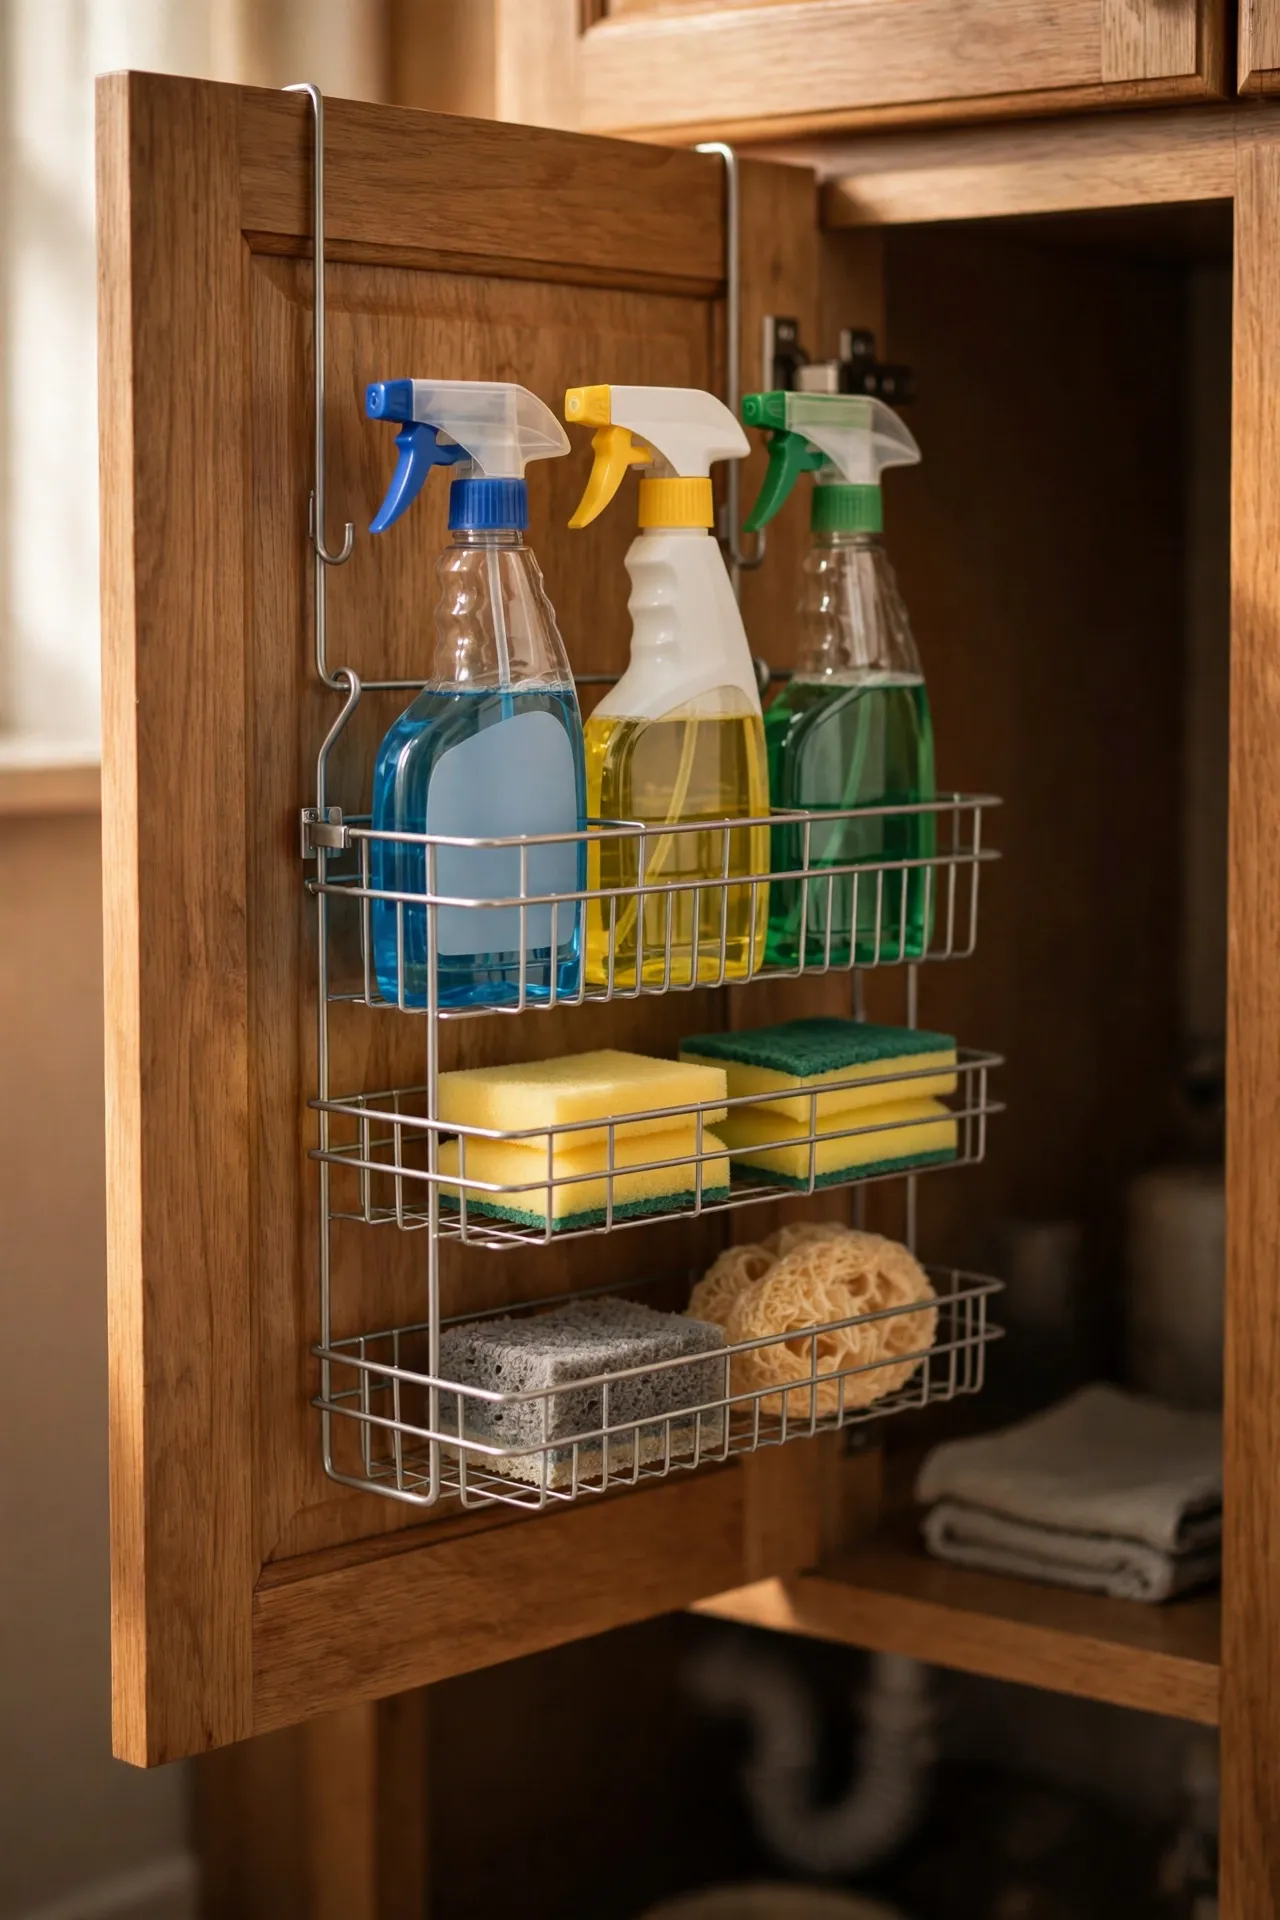
An over-the-door wire rack on the inside of your under-sink cabinet door holds spray bottles and sponges that otherwise drown in the dark. Hang it over the door, then load it light to heavy from top to bottom. Check the door still closes before you fill it. I tried this and the one mistake to avoid is hanging it on a door with pipes behind it; the rack bangs the plumbing every time you close the cupboard.
Cost: ~$4 | Time: 10 minutes
13. Towel Rolling Station
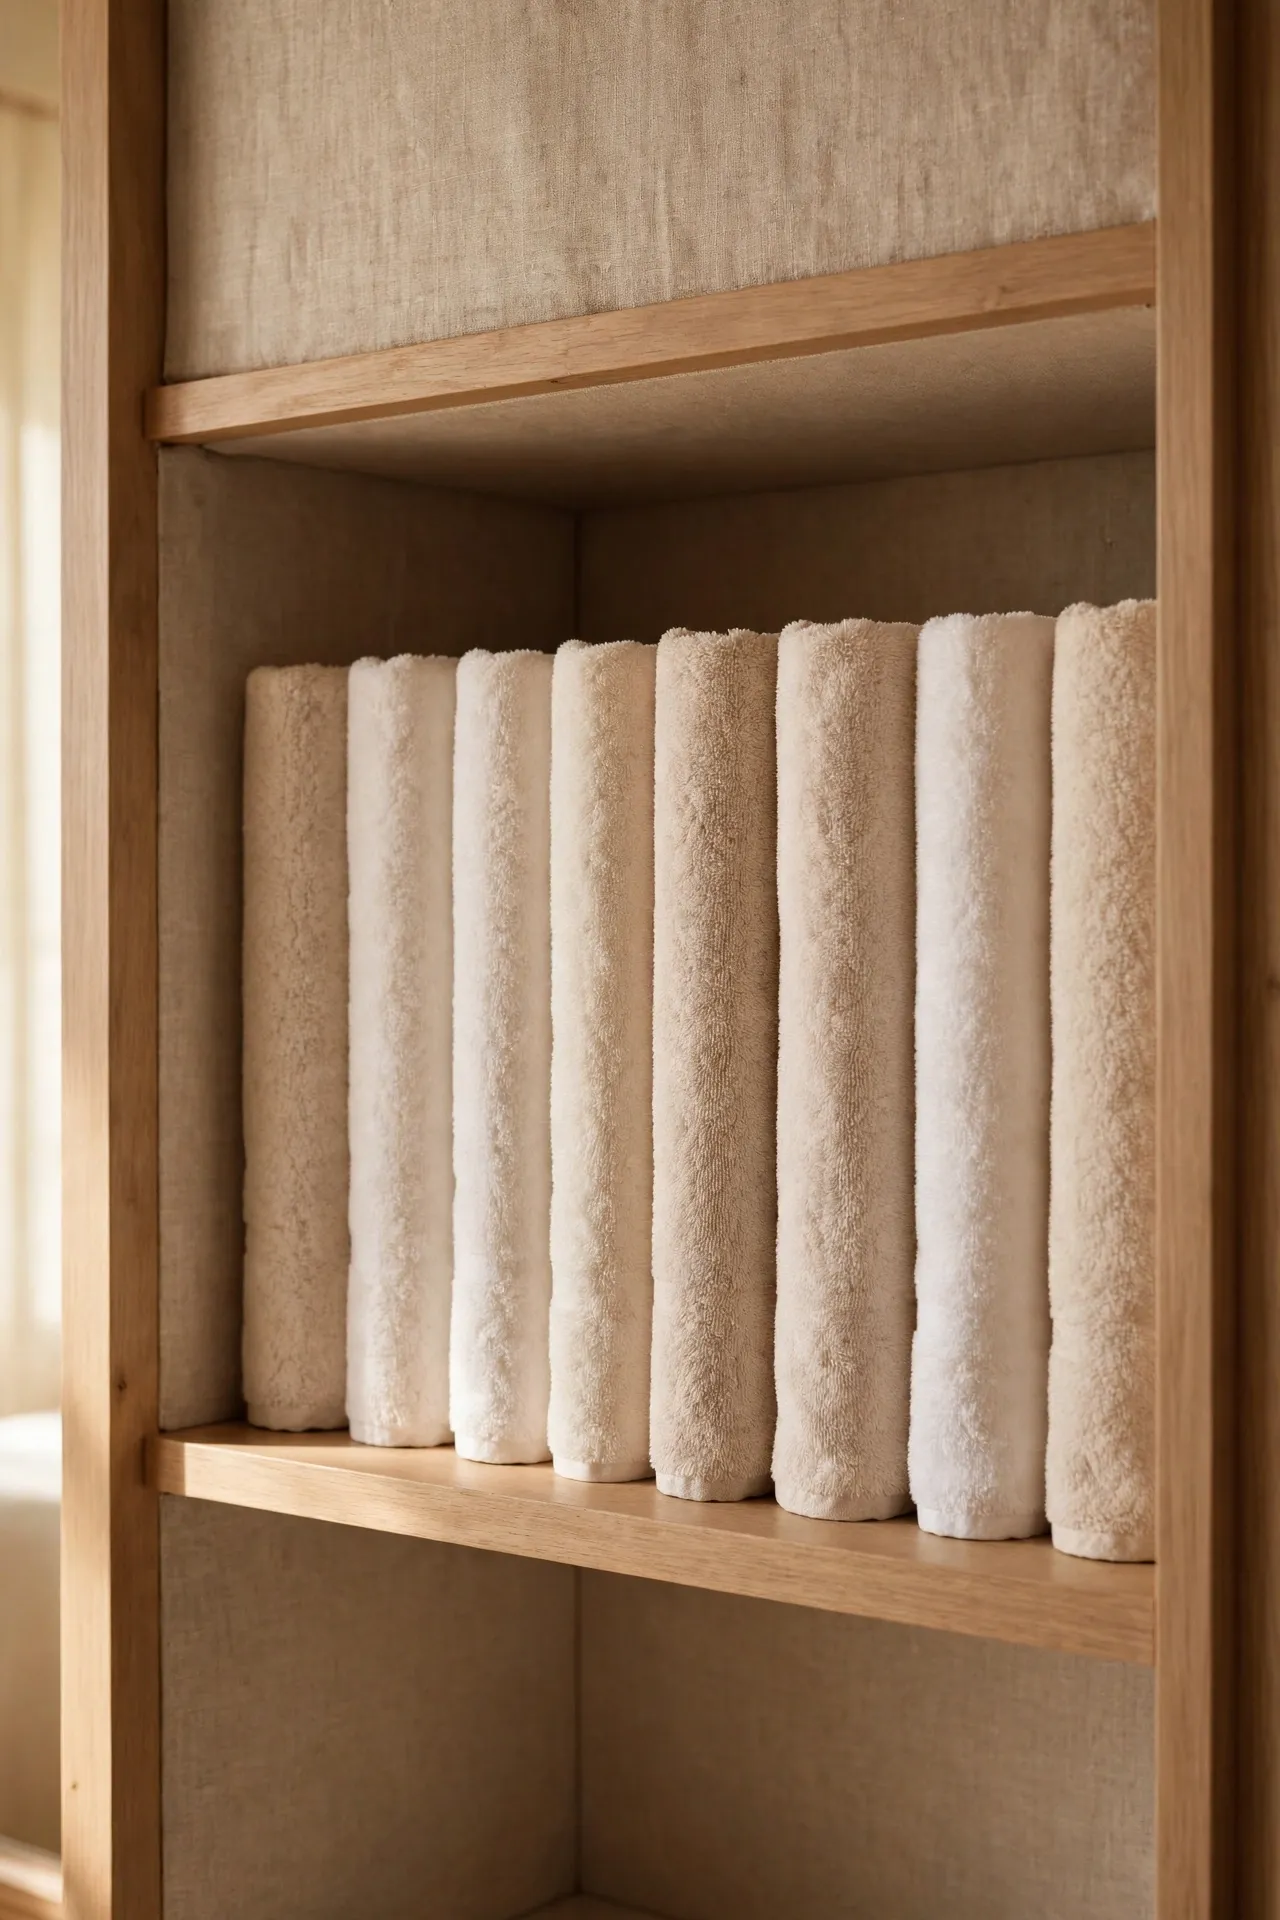
Rolling towels instead of folding them fits twice as many on a linen shelf. Fold each towel in half lengthwise, then roll tightly from one end and stand the rolls side by side like a filing system. You can see every towel at a glance. I tried this and the one mistake to avoid is rolling damp towels straight from the dryer-less line; they must be bone dry or they smell musty within days.
Cost: ~$0 | Time: 20 minutes
Desk and Paperwork Taming
14. Desktop File Sorter for Mail
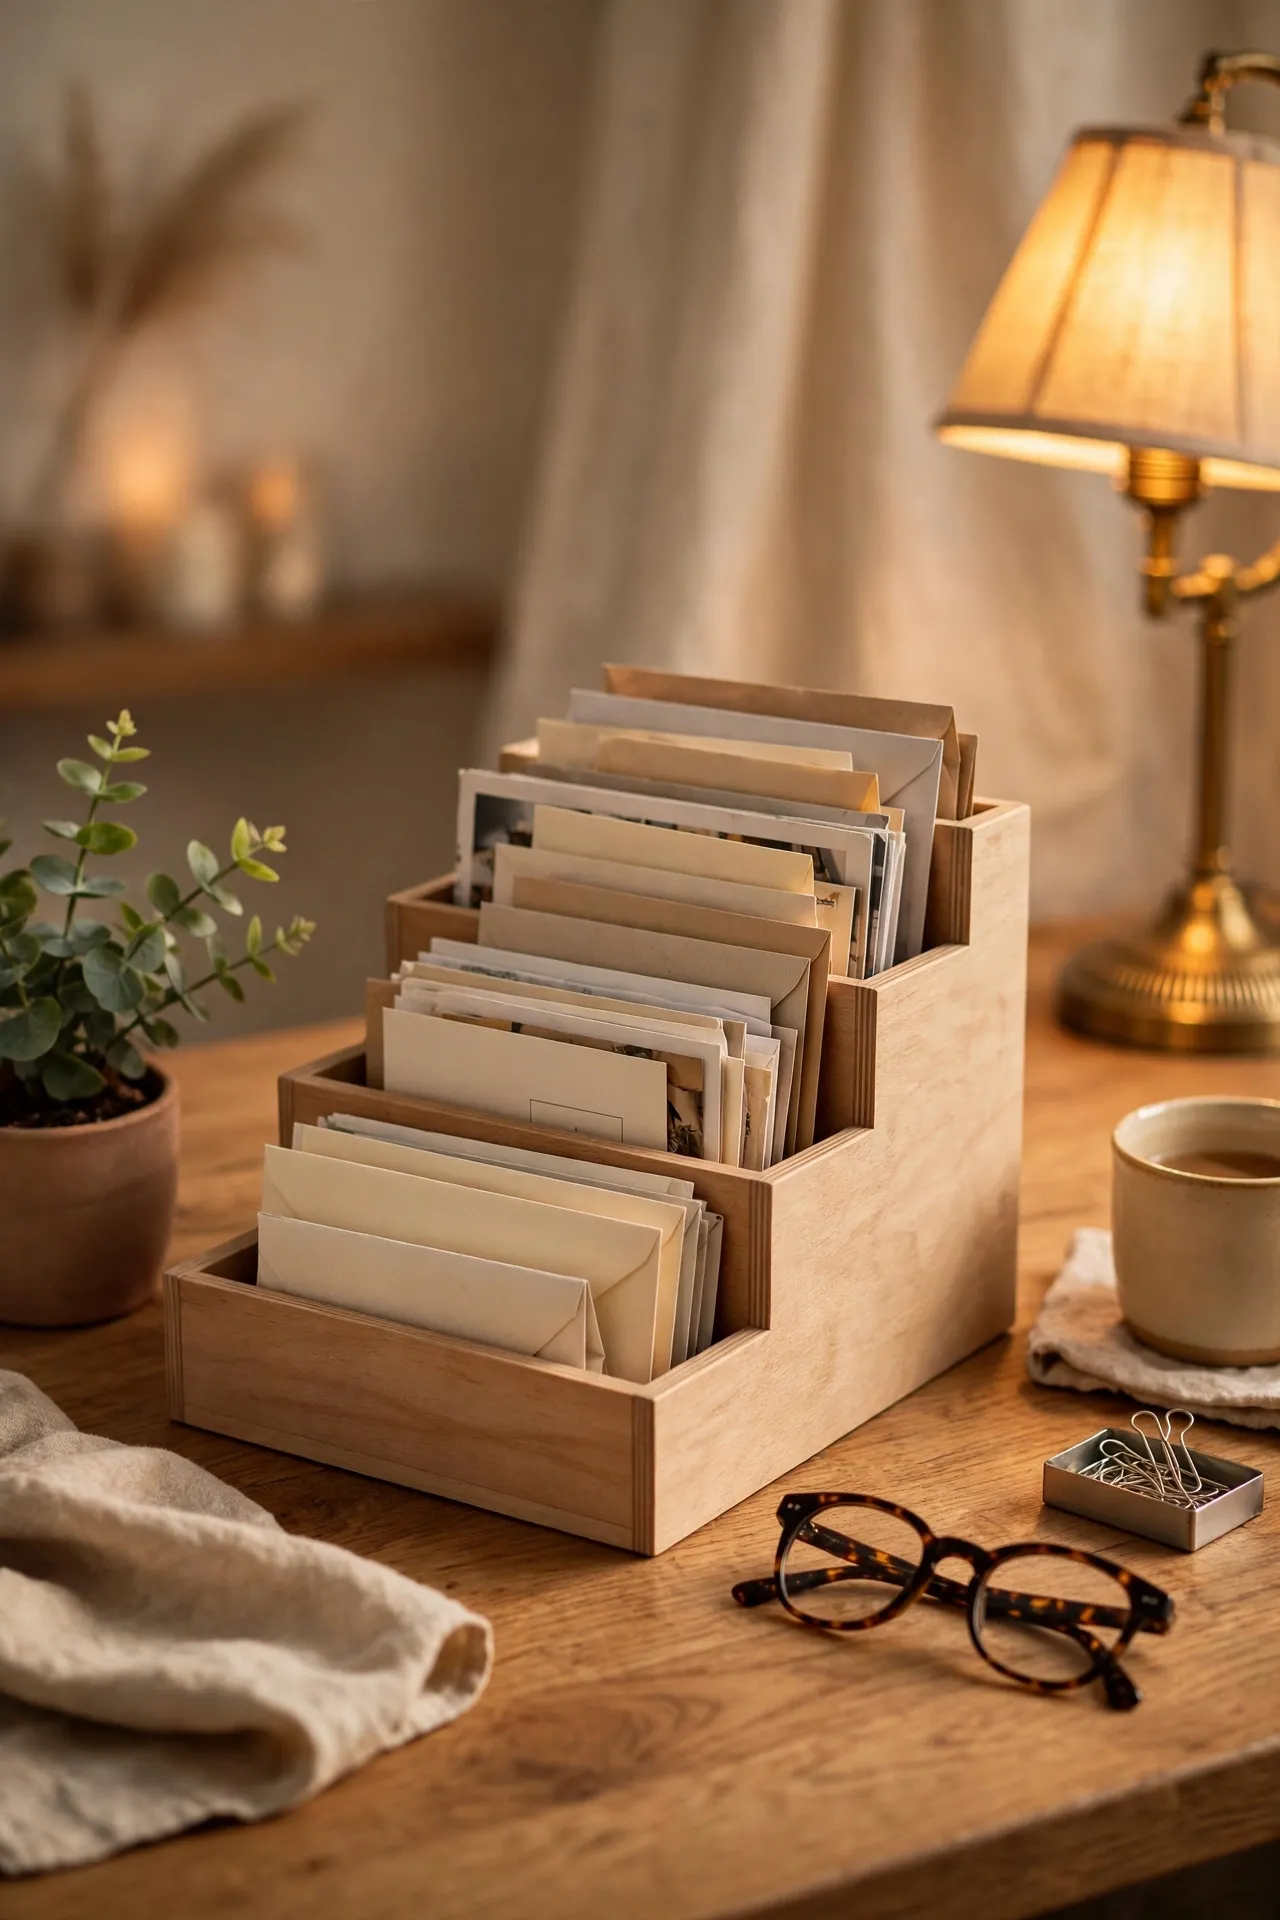
A small stepped file sorter on the desk catches incoming mail in labelled slots — bills, school letters, to-file — instead of the kitchen counter. Process each slot once a week and the pile never grows. Keep it near where the post lands. I tried this and the one mistake to avoid is adding more than four slots; too many categories and you’ll just ignore all of them.
Cost: ~$3 | Time: 10 minutes
15. Cable Management Clip Strip
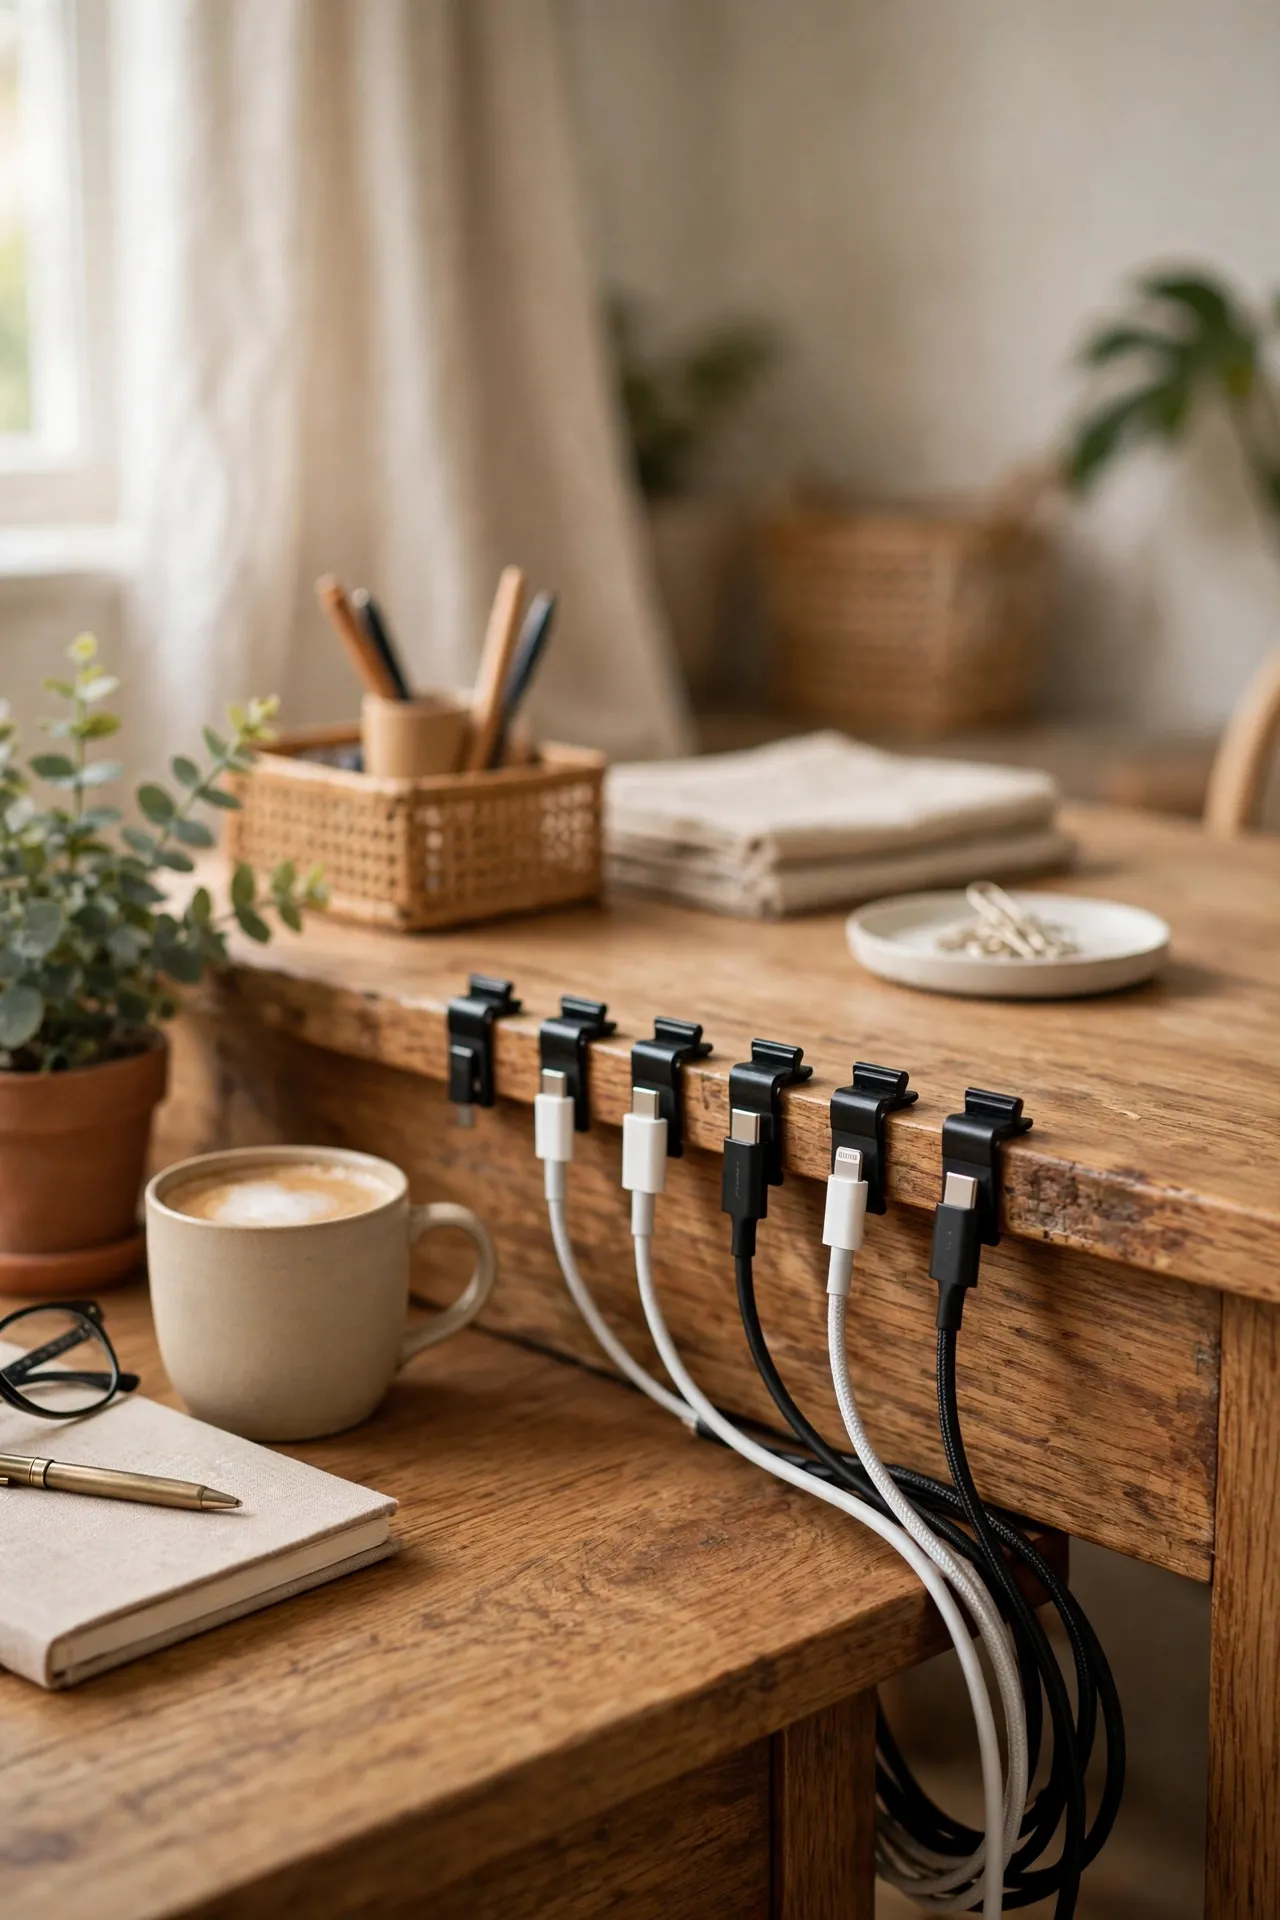
Adhesive cable clips along the back of your desk keep phone chargers and laptop cables from sliding to the floor. Stick a row of clips, thread each cable through one, and leave a little slack at the end so you can actually use them. It’s a five-minute job that ends years of crawling under the desk. I tried this and the one mistake to avoid is sticking them to a dusty desk edge; they peel off within days on dust.
Cost: ~$2 | Time: 10 minutes
16. Small Parts Drawer Tower
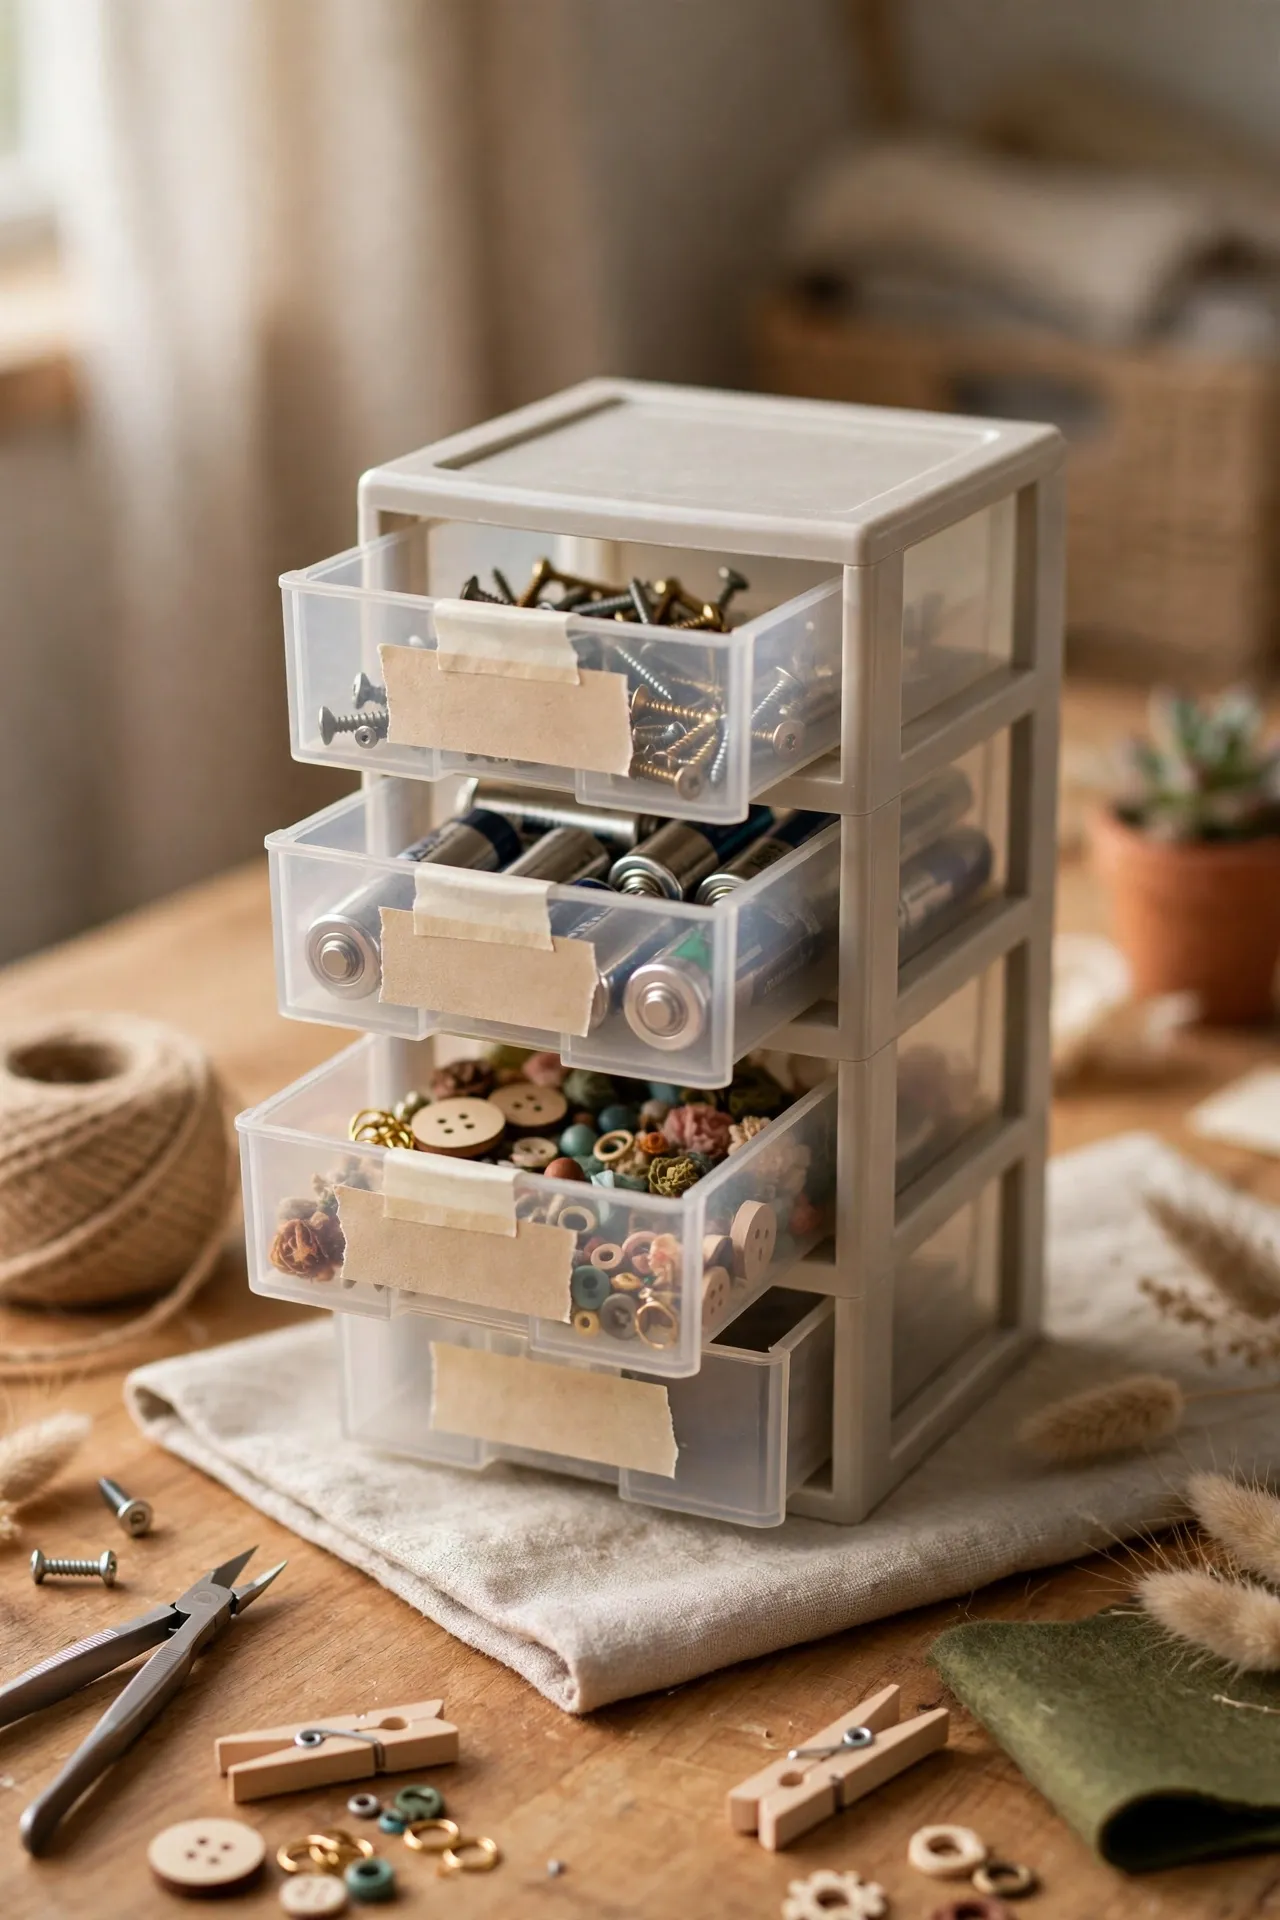
A tiny multi-drawer tower organises the small stuff — screws, batteries, sewing bits, craft supplies — that otherwise migrates into every drawer in the house. Label each drawer with a marker and keep the tower where the projects happen. I tried this and the one mistake to avoid is buying the flimsiest tower on the shelf; the drawers jam within a month, so test them in the shop first.
Cost: ~$5 | Time: 15 minutes
17. Wall-Mounted Key and Mask Station
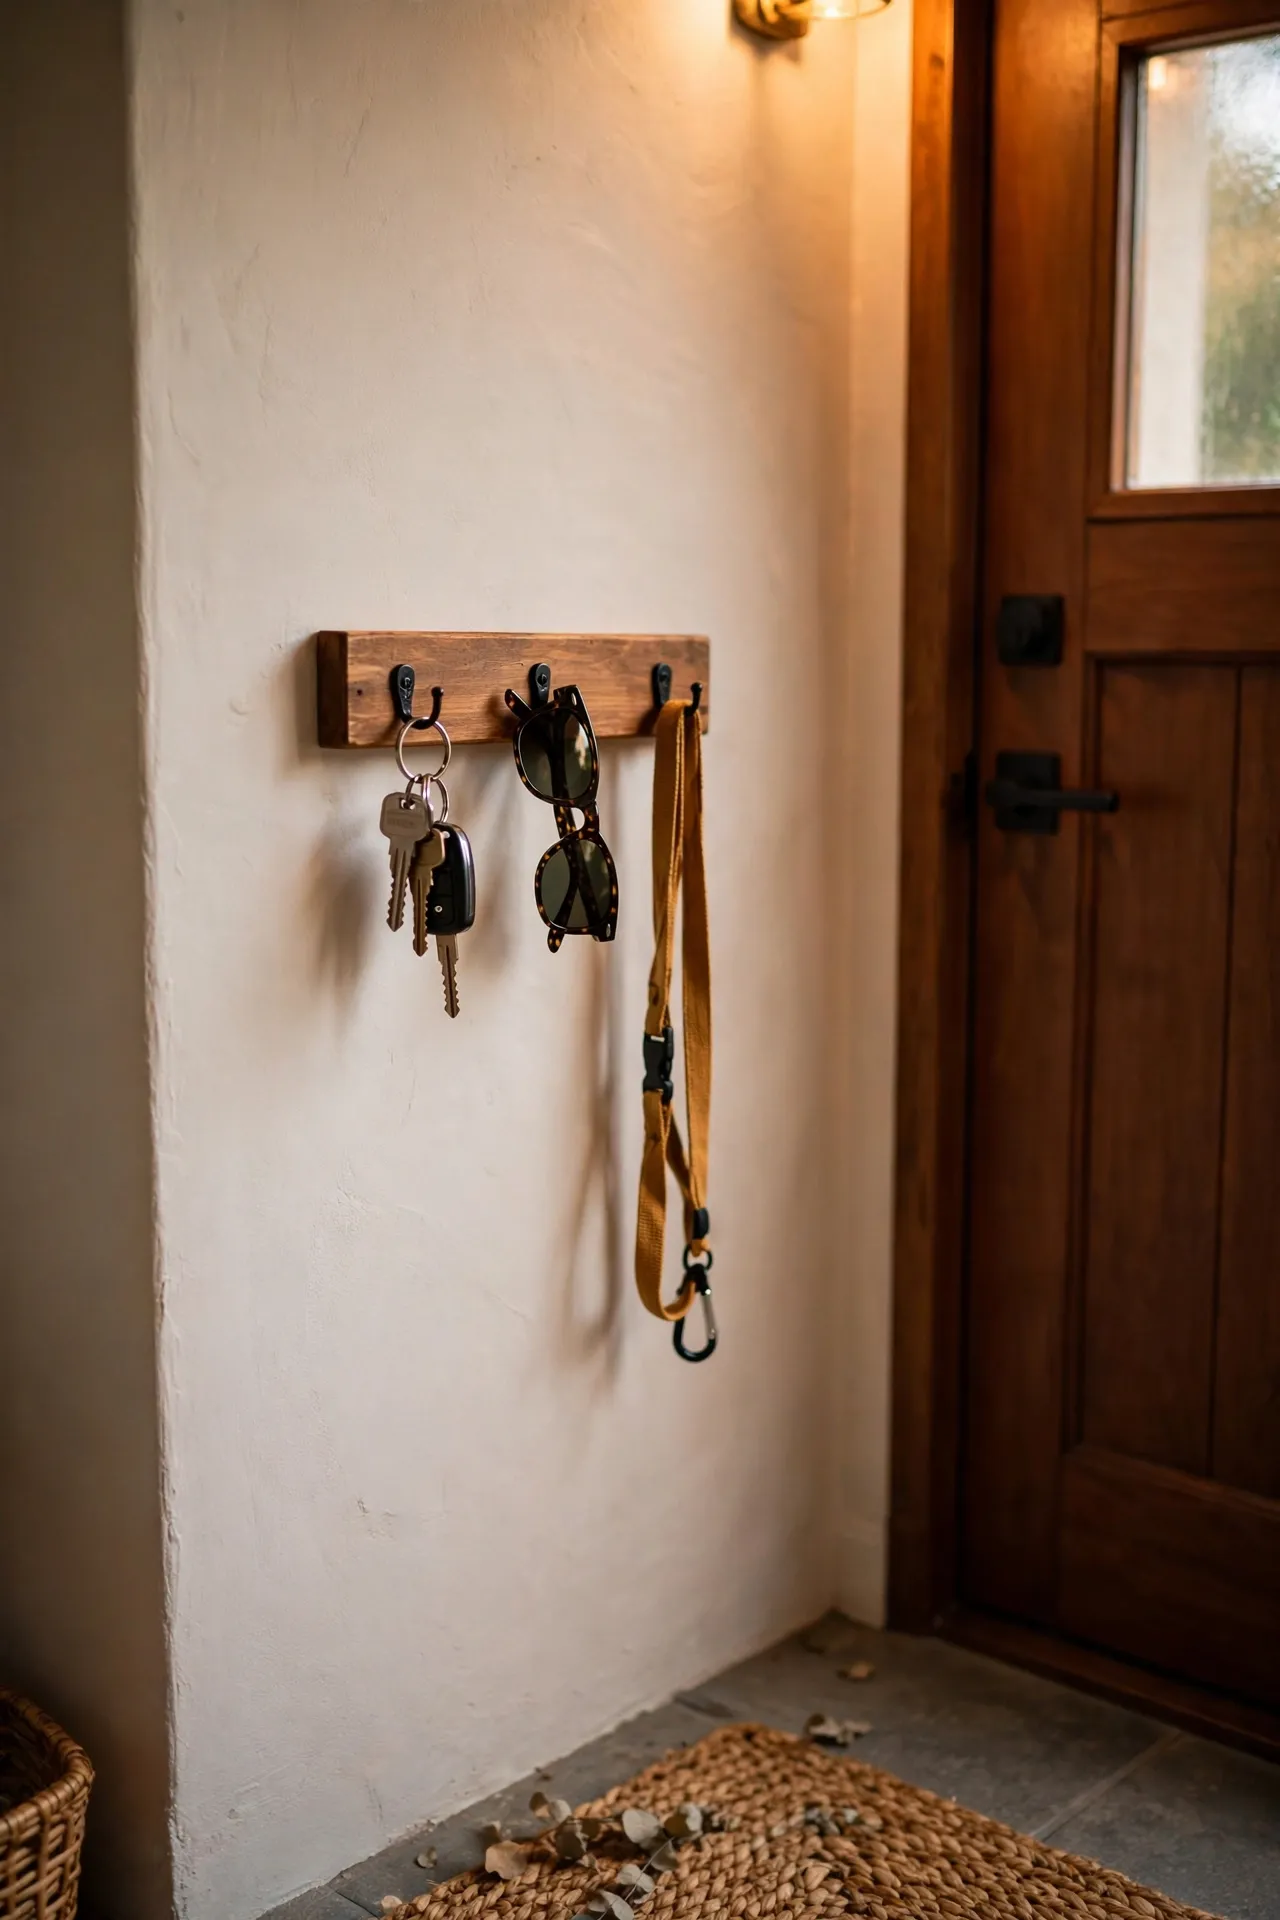
A small wall-mounted rack with hooks by the front door holds keys, sunglasses, and the bits you grab on the way out. Mount it at eye level, assign each hook an owner, and the “where are my keys?” panic disappears. Add a tiny shelf on top for the post you need to take. Save this one for later — you’ll thank yourself the first chaotic Monday morning it saves. I tried this and the one mistake to avoid is mounting it too far from the door; if it’s not on your exit path, nobody uses it.
Cost: ~$5 | Time: 20 minutes
Seventeen systems, all proven in a real house with real clutter. If the kitchen is your next battlefield, my mustard kitchen ideas and minimalist kitchen ideas will keep the style up while you organise.
