21 Dollar Tree Bathroom Decor Hacks That Look High-End
Bathrooms are small, which means every detail shows — the good and the cheap. But dollar tree bathroom decor done thoughtfully can make a tiny washroom feel like a boutique hotel powder room. I’ve grouped these 21 hacks by zone — vanity, shower, walls, and finishing touches — so you can upgrade one area at a time.
Vanity & Countertop
The vanity is where eyes land first. These six ideas make it look intentional instead of cluttered.
1. Matching Soap Dispenser Set
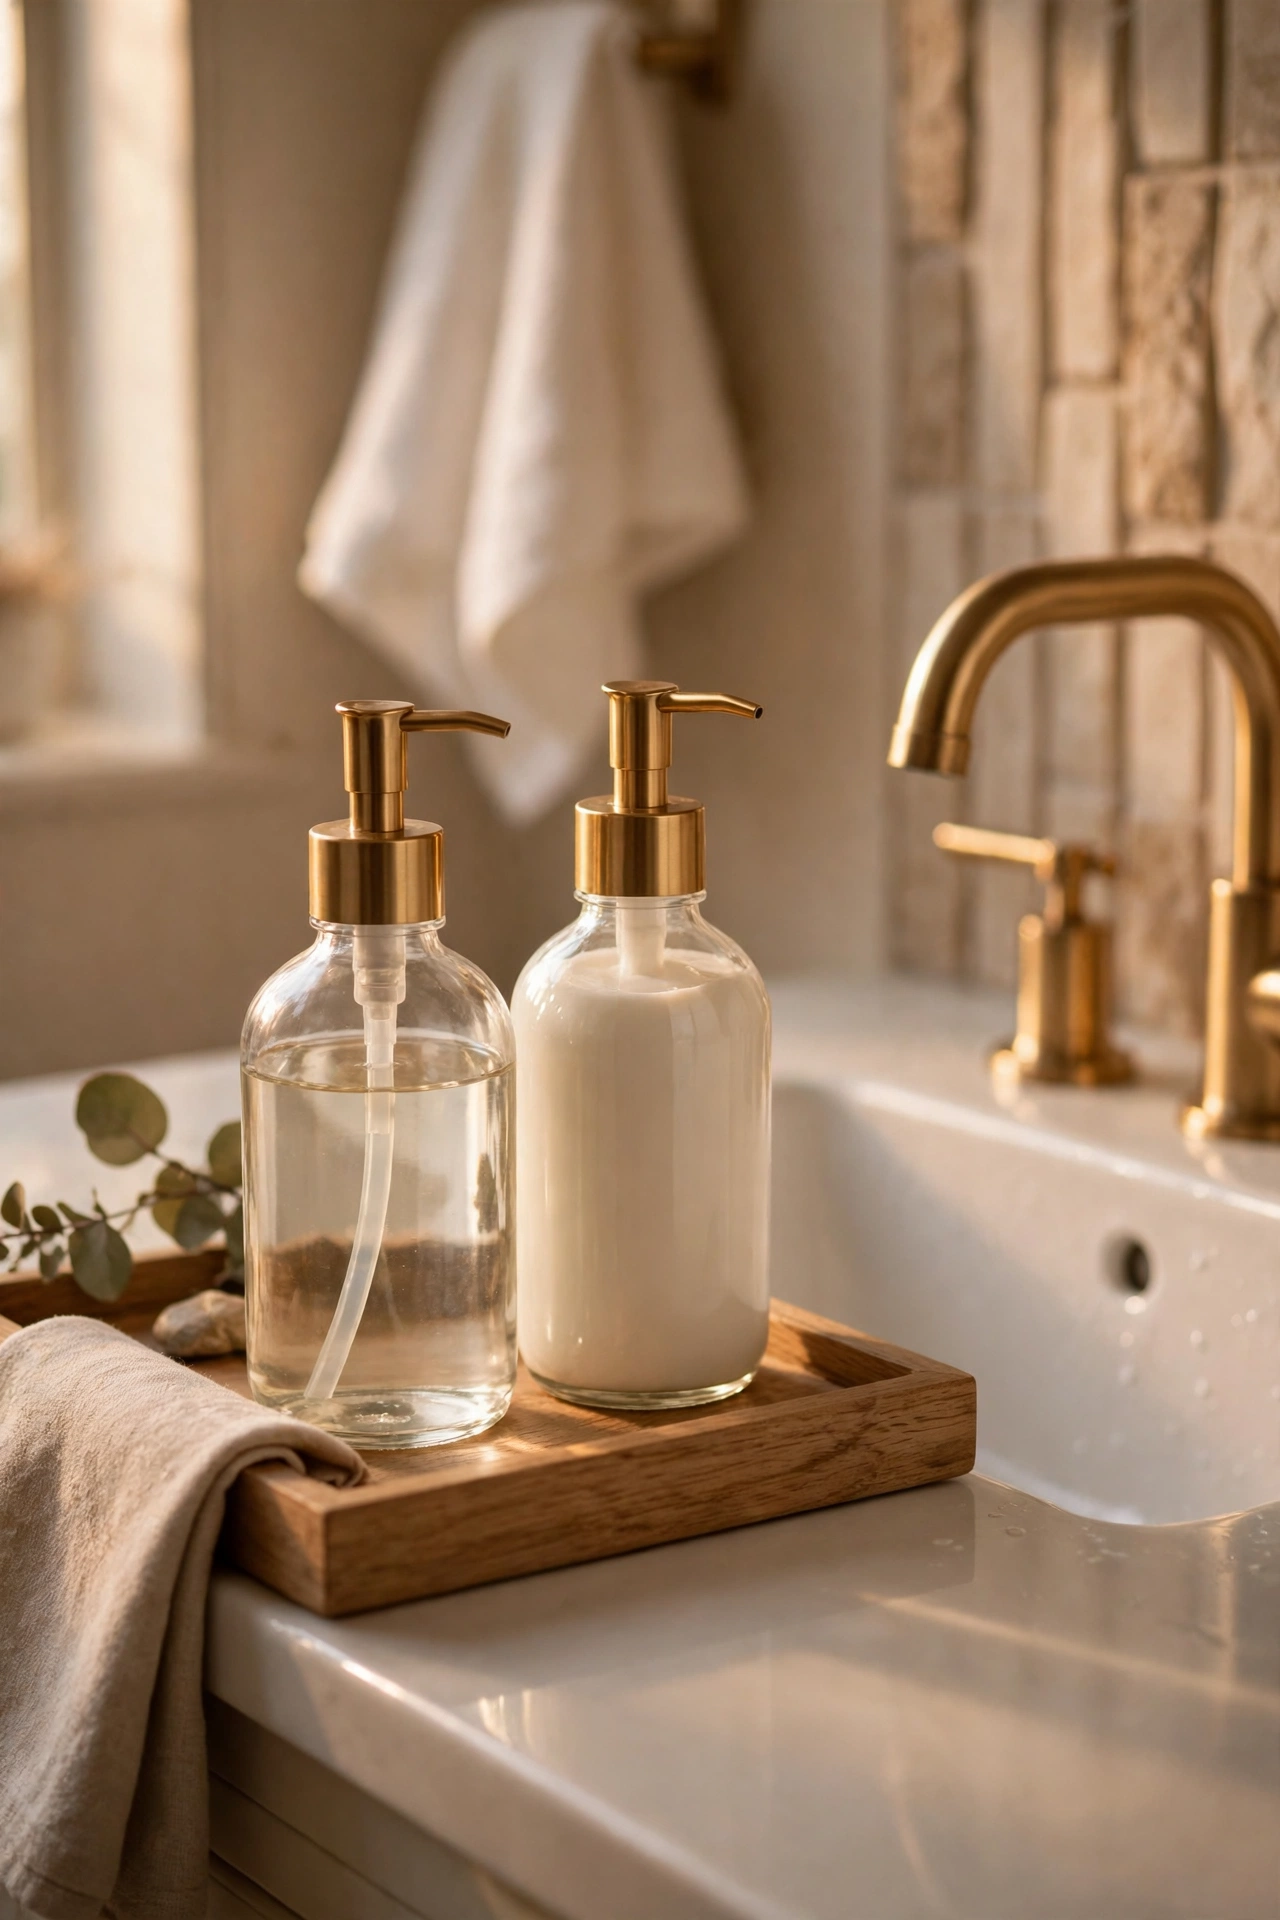
Decant hand soap and lotion into matching glass or ceramic pump bottles and the whole sink area instantly looks coordinated. Peel off any shop labels, fill them up, and set them on a small tray. I tried this and the one mistake to avoid is mismatched pump styles — one tall skinny pump next to one short fat one ruins the set effect. Buy them as a pair, or at least in the same finish. Refill both bottles at the same time — one full and one empty pump looks worse than the branded bottles you replaced.
Cost: ~$4 | Time: 10 minutes
2. Rolled Towel Display
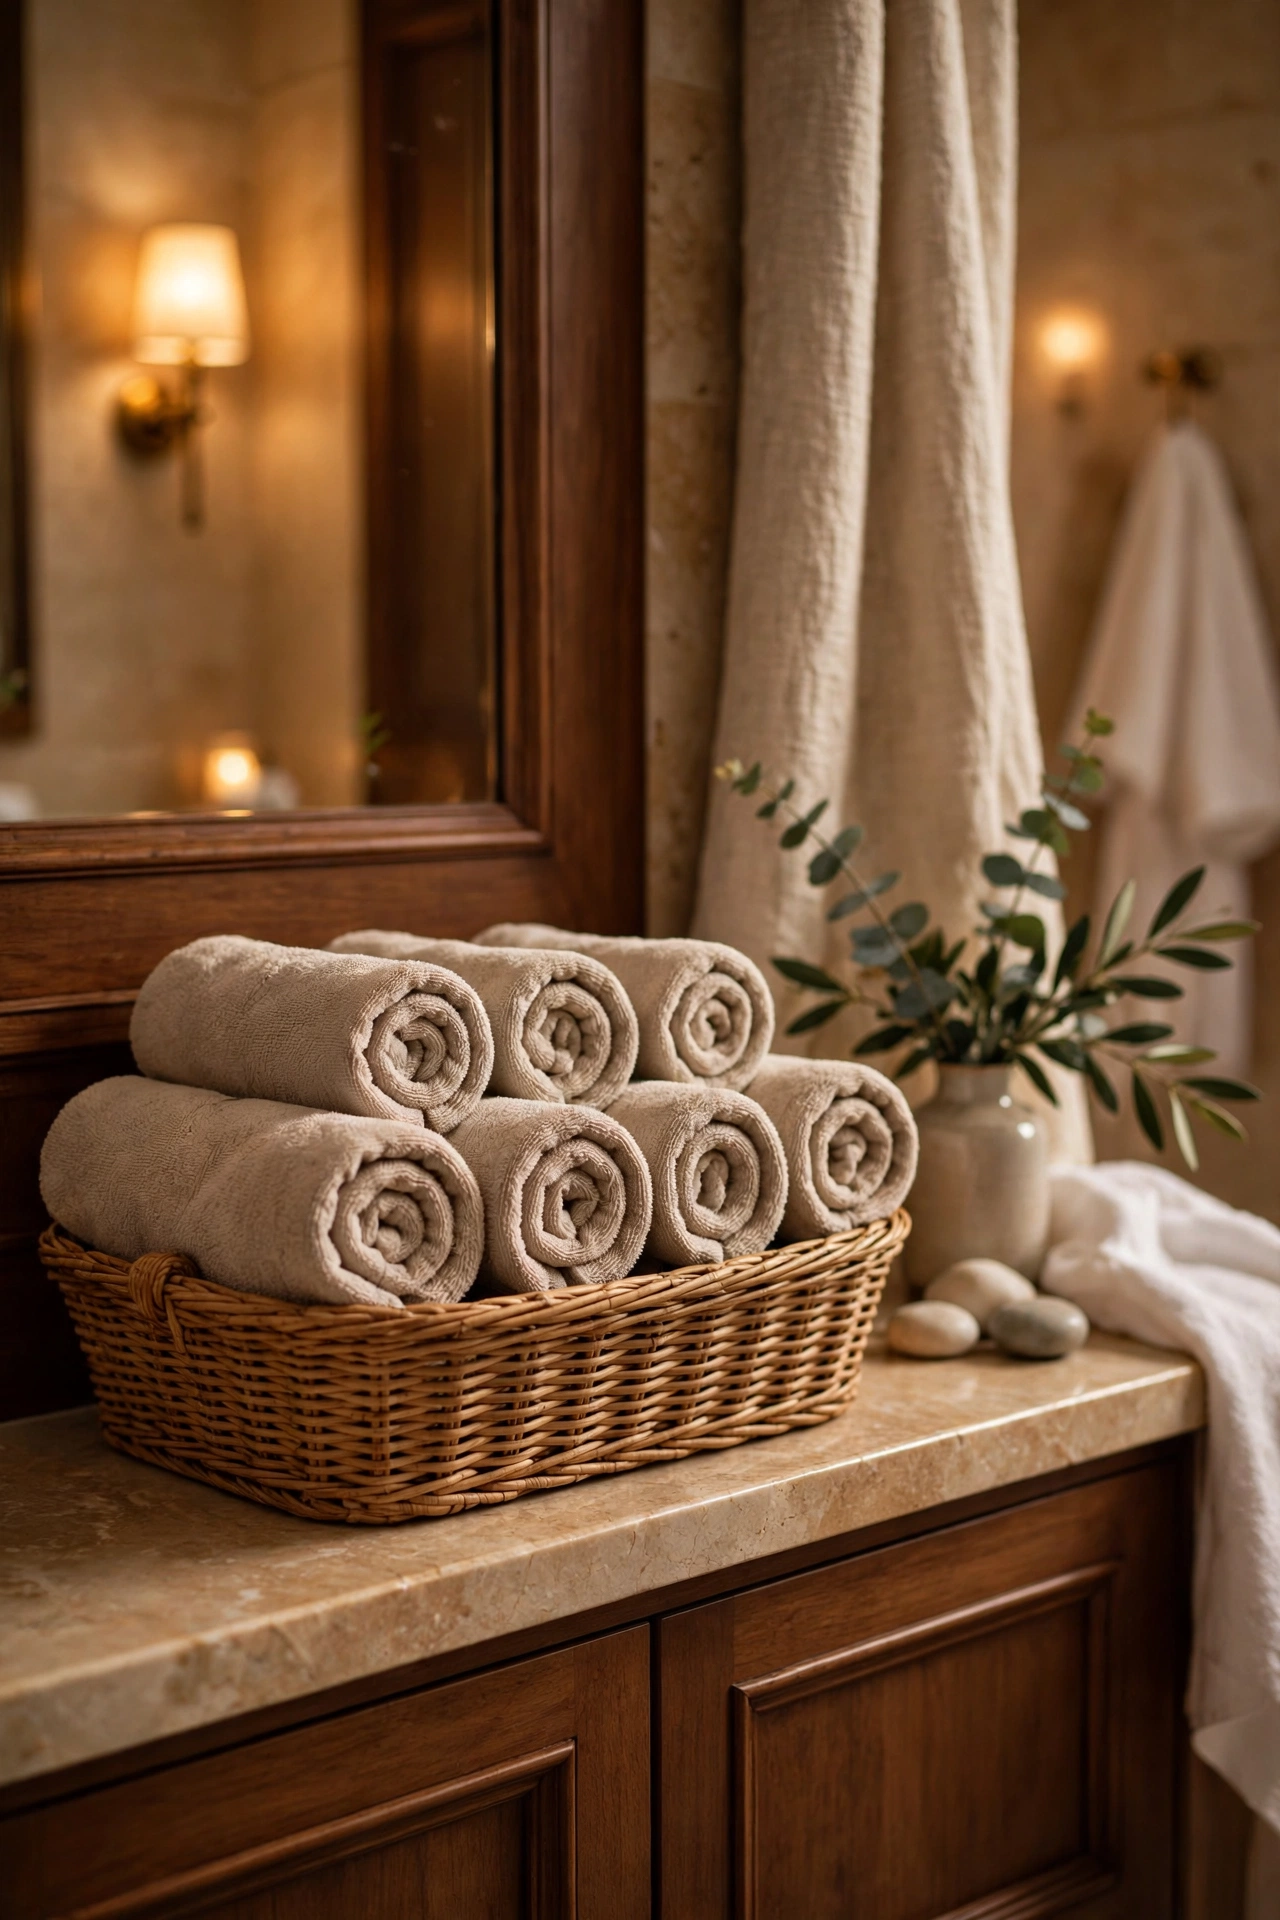
Rolling hand towels spa-style in a basket or on a shelf looks far more luxurious than folding them. Roll tightly, tuck the loose end underneath, and stack them in a pyramid or a neat row. I tried this and the one mistake to avoid is mixing towel colours in the roll display — a jumble of pink, blue and grey looks like a laundry pile. One colour, rolled uniformly, reads as a spa. Spritz the rolled towels lightly with linen spray — the spa effect is half visual, half scent.
Cost: ~$6 | Time: 10 minutes
3. Decorative Vanity Tray
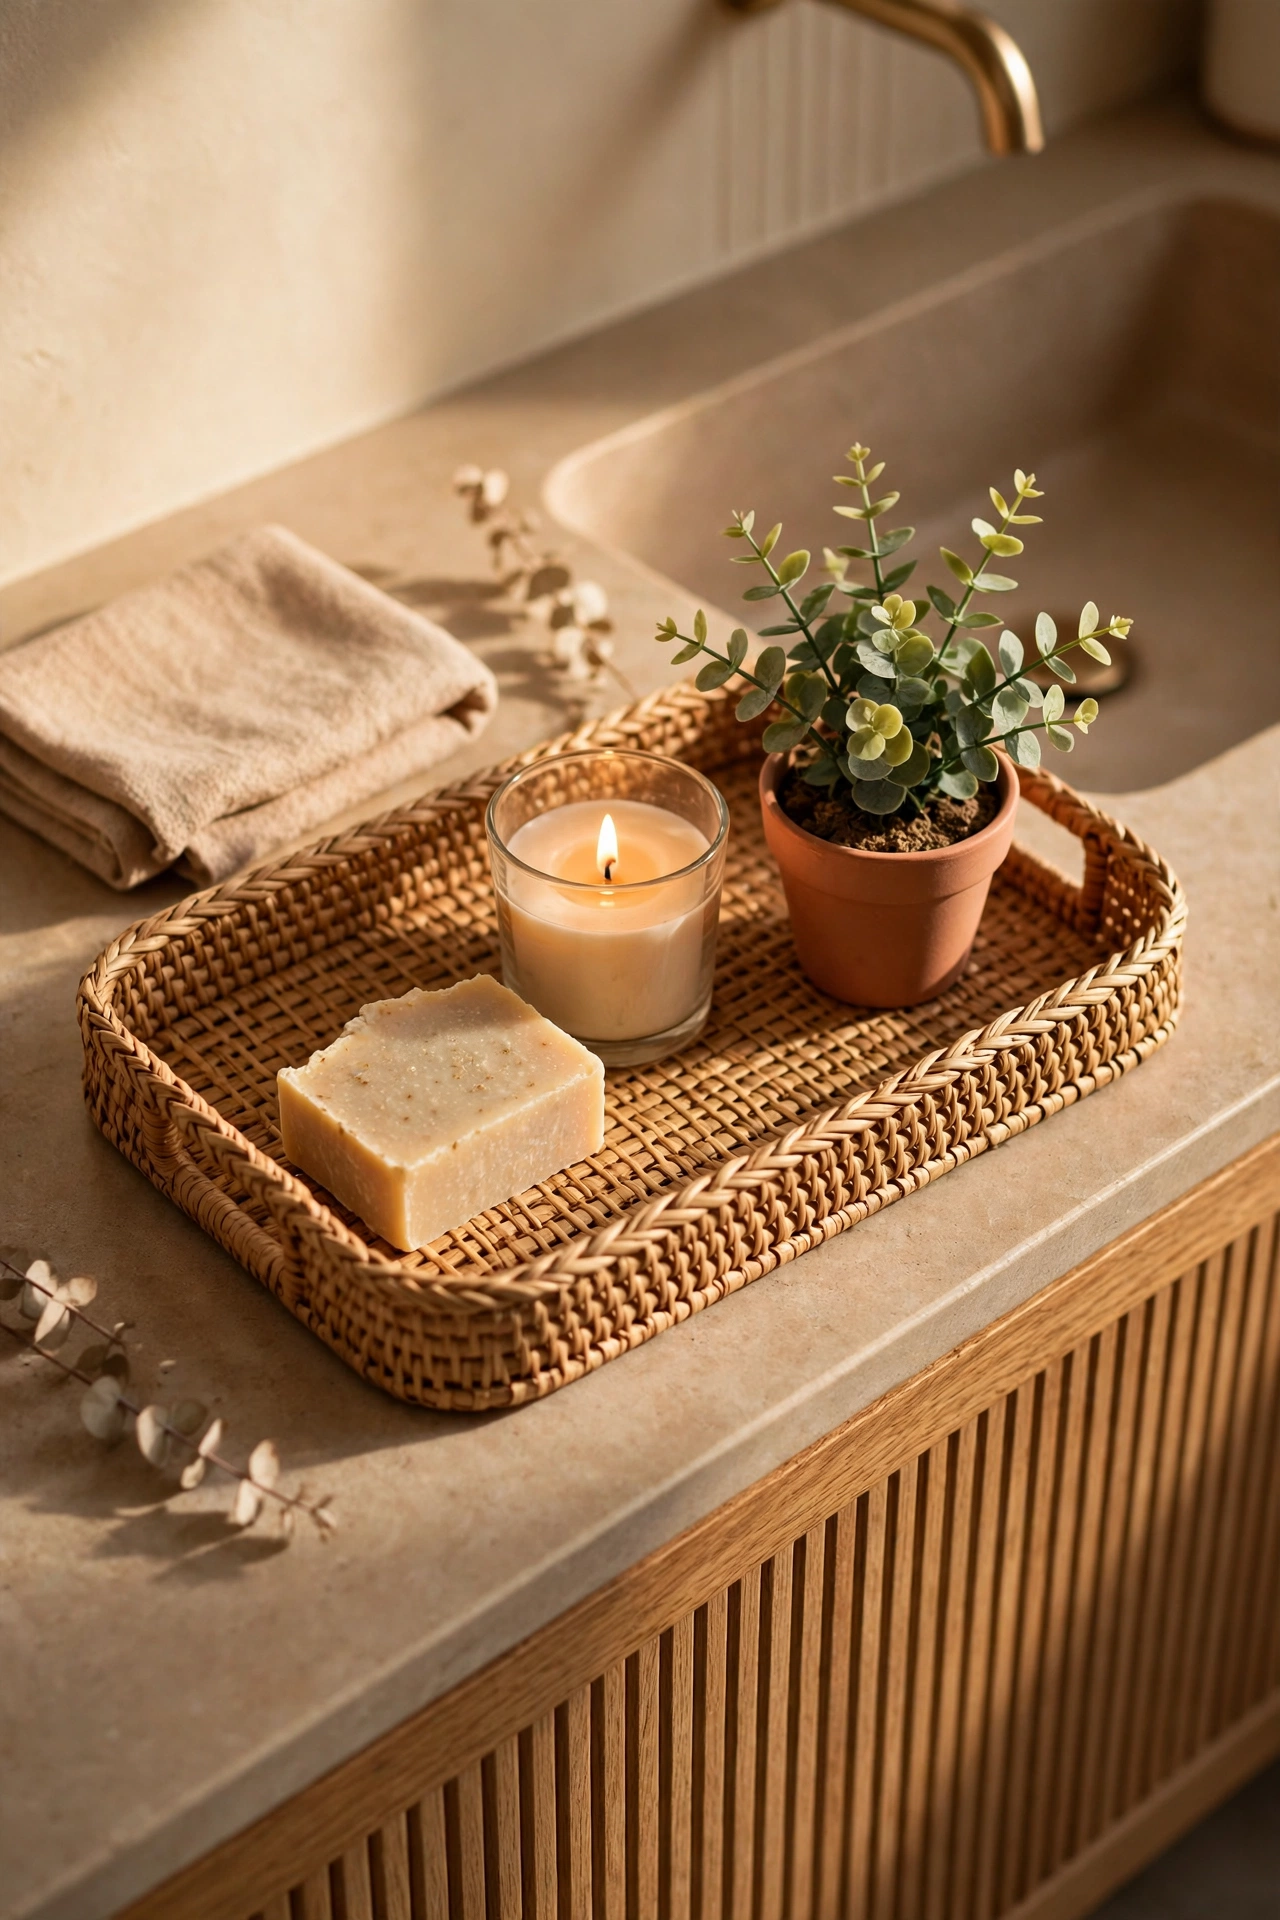
A tray under your everyday bits — soap, a small plant, a candle — turns countertop clutter into a styled vignette. Choose something with a bit of texture like woven or marble-look, and keep everything inside its borders. I tried this and the one mistake to avoid is the tray that slowly accumulates random junk; audit it weekly. A tray with a purpose stays pretty, a tray with everything becomes a junk drawer with edges. Choose a tray with a lip — bathroom bits migrate, and the raised edge keeps everything corralled.
Cost: ~$4 | Time: 5 minutes
4. Apothecary Jar Storage
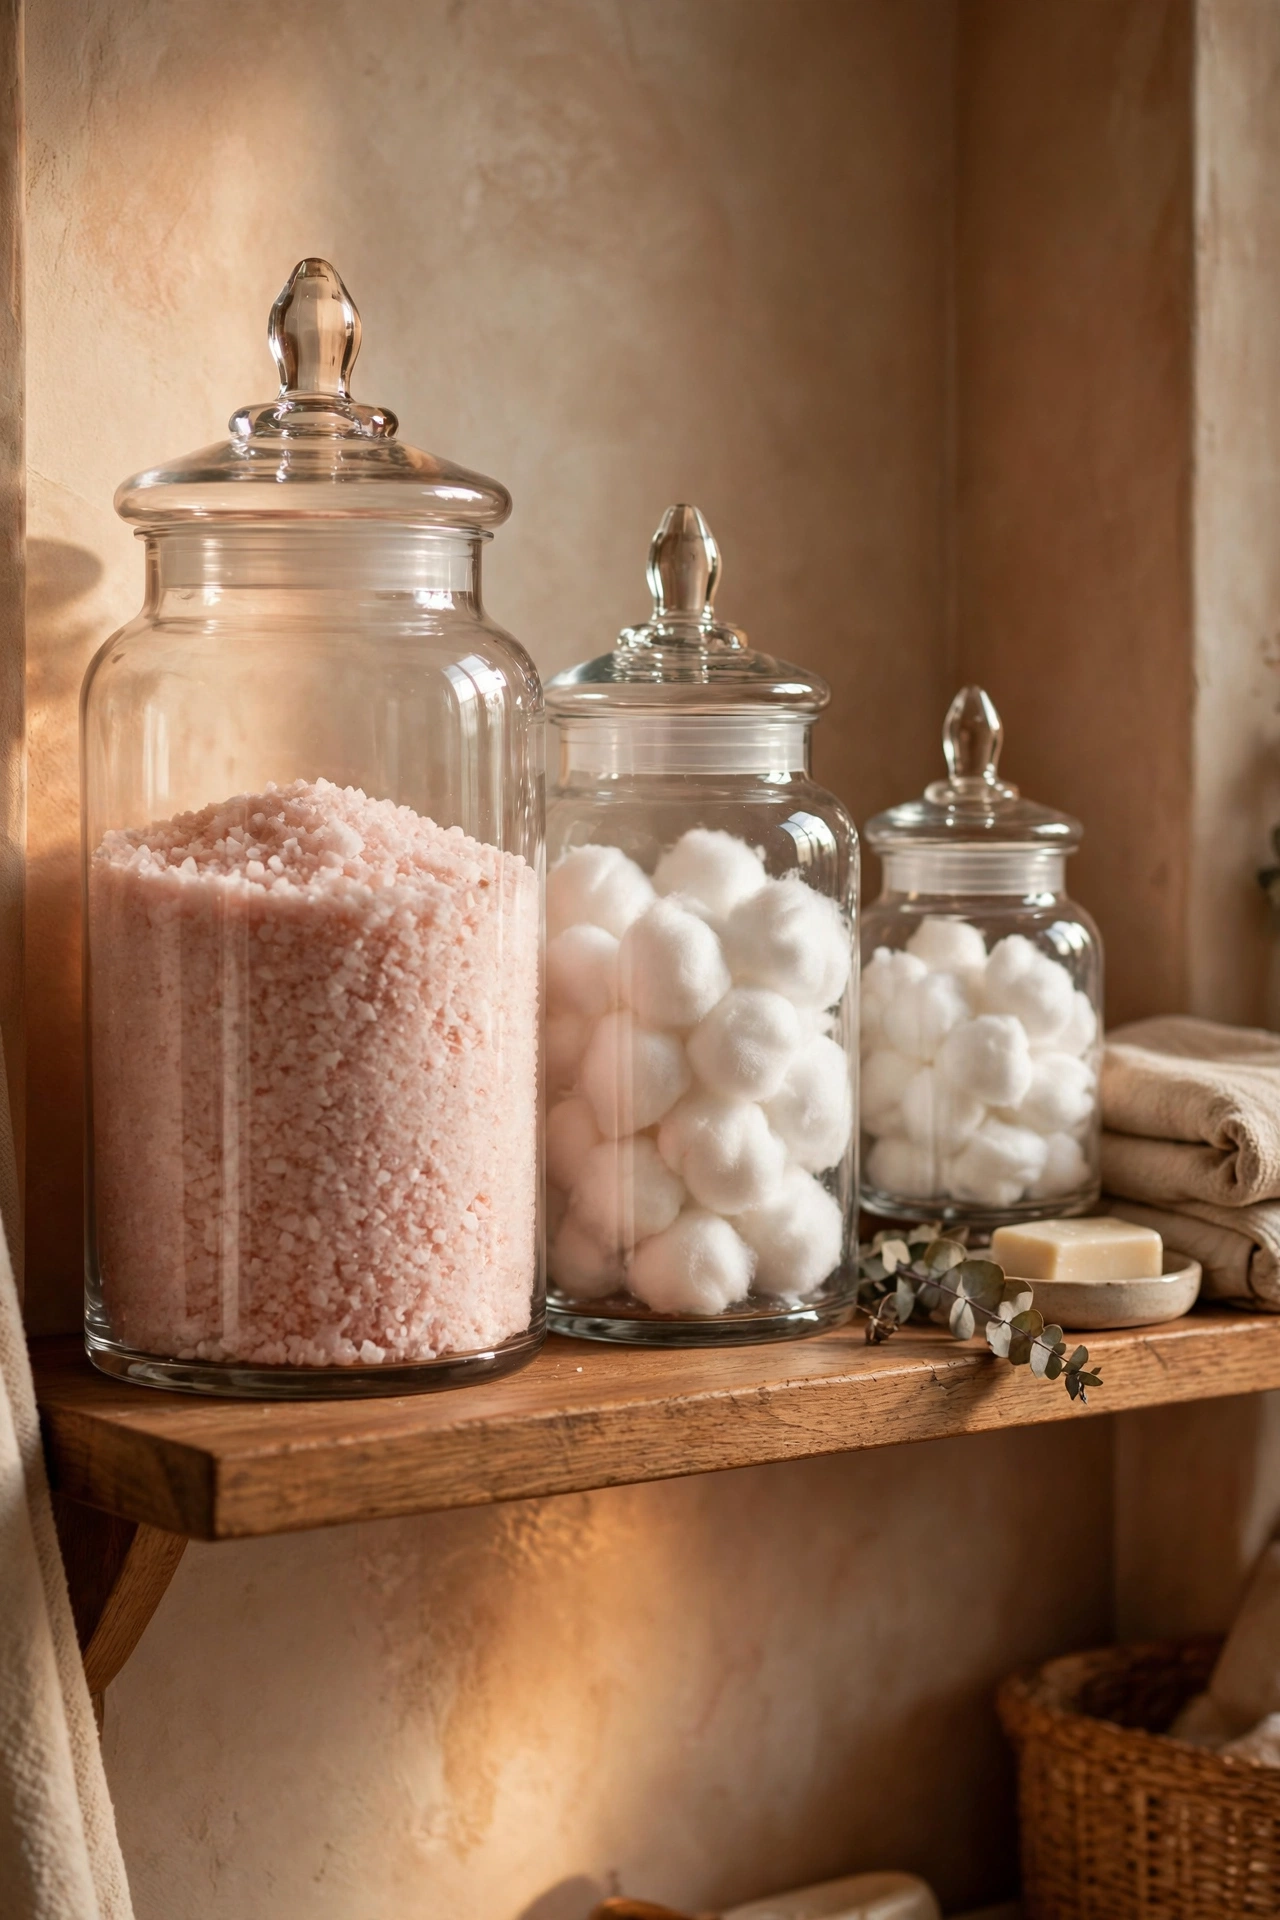
Cotton balls, bath salts and cotton buds look oddly beautiful in glass apothecary jars with lids. Line up two or three in graduating sizes on the vanity or a shelf. I tried this and the one mistake to avoid is jars without lids in a steamy bathroom — everything inside goes damp and sad. Lids on, always, in a bathroom. Layer coloured bath salts in the jars like sand art — the stripes look gorgeous and guests always comment. Group them by height for a pleasing silhouette.
Cost: ~$6 | Time: 10 minutes
5. Faux Marble Contact Paper Vanity Top
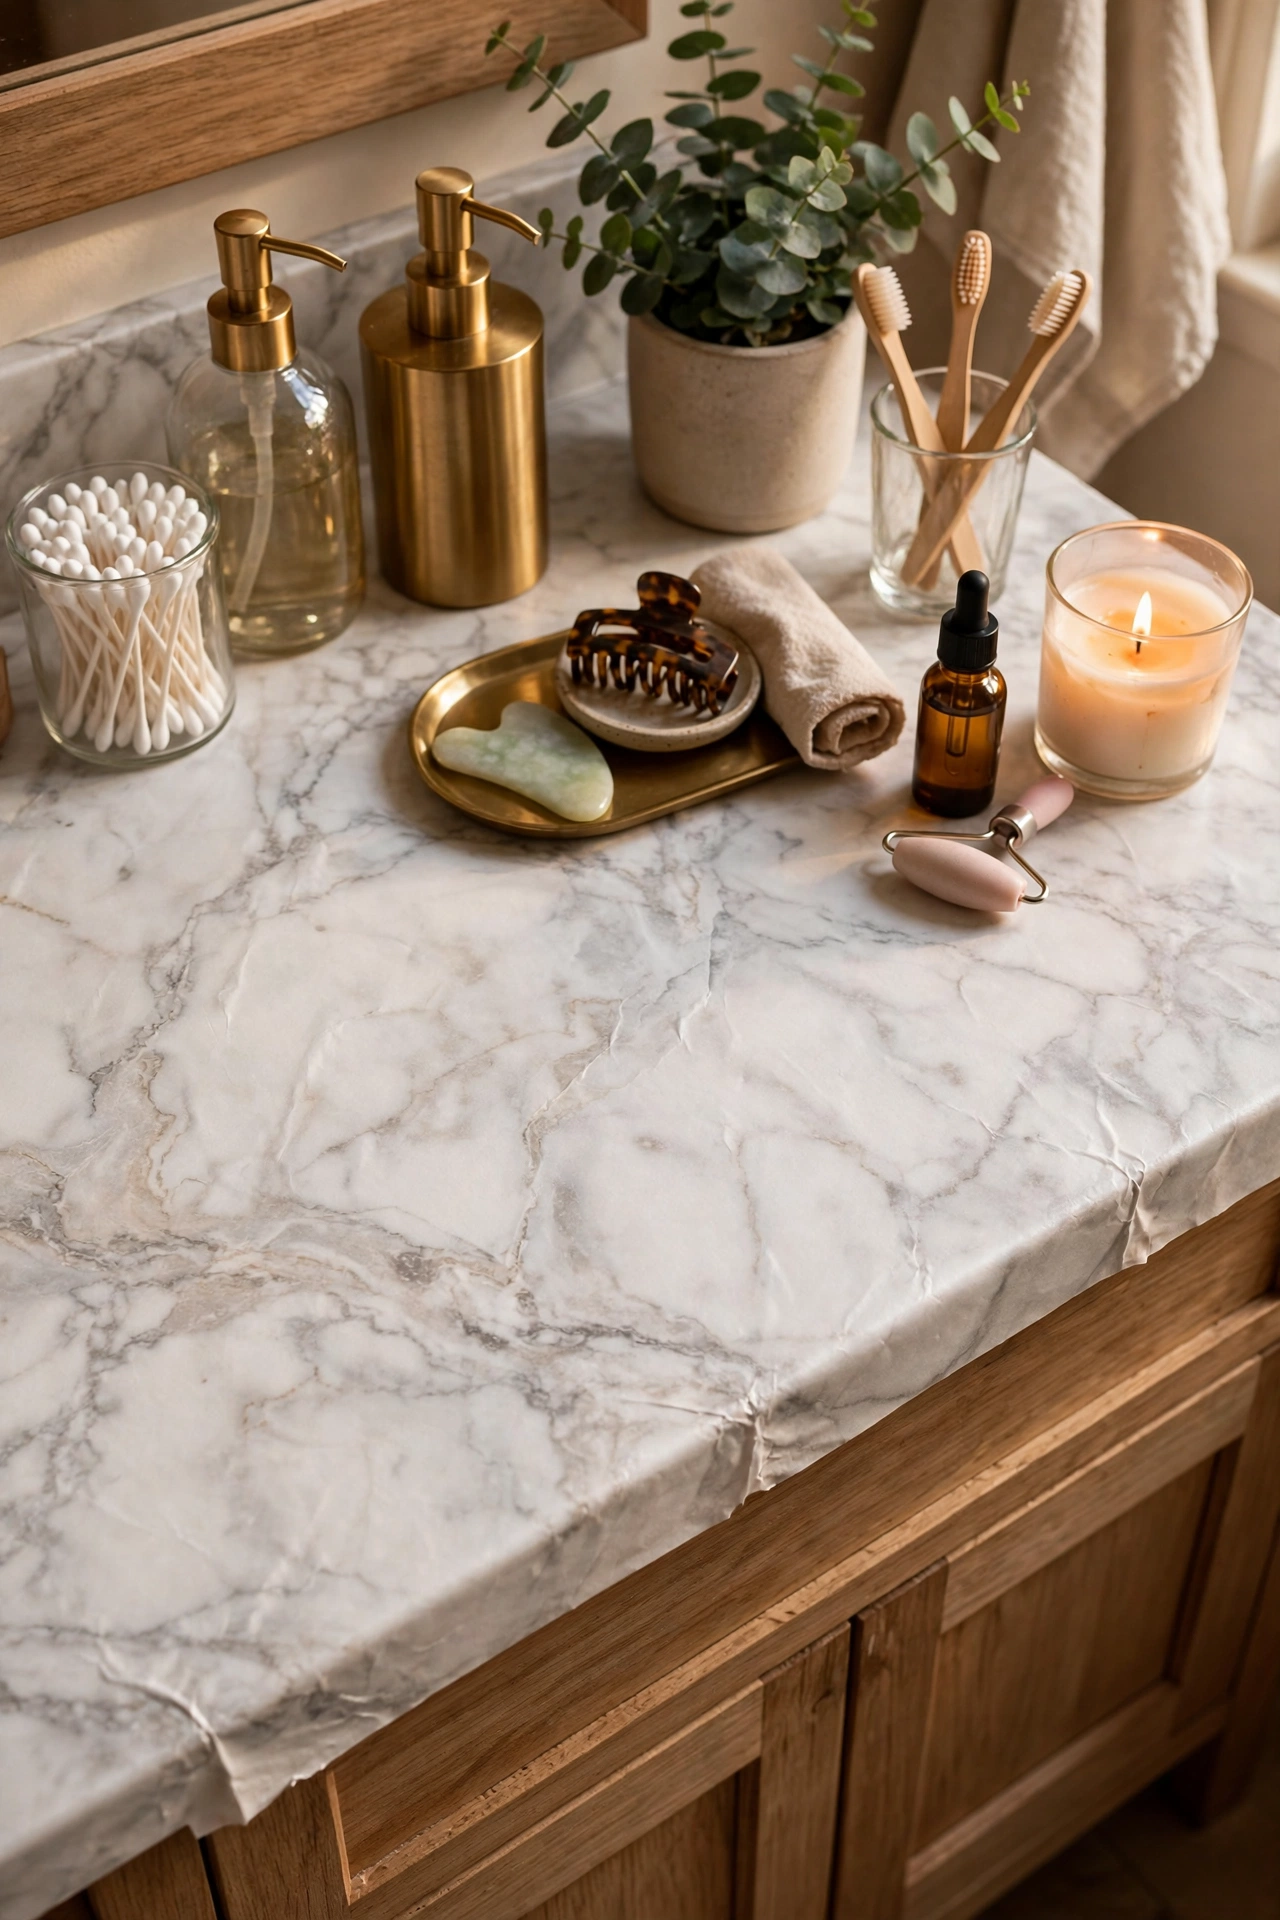
A tired laminate vanity top gets a stone look with faux marble contact paper. Clean and dry the surface, apply in small sections smoothing with a card, and seal the edges near taps with clear waterproof tape. I tried this and the one mistake to avoid is skipping the edge sealing — water creeps under unsealed edges and the paper bubbles within weeks. Seal every edge that meets water. Save this one for later — you’ll thank yourself when spring rolls around and you’re refreshing the whole house.
Cost: ~$5 | Time: 30 minutes
6. Small Eucalyptus Bundle
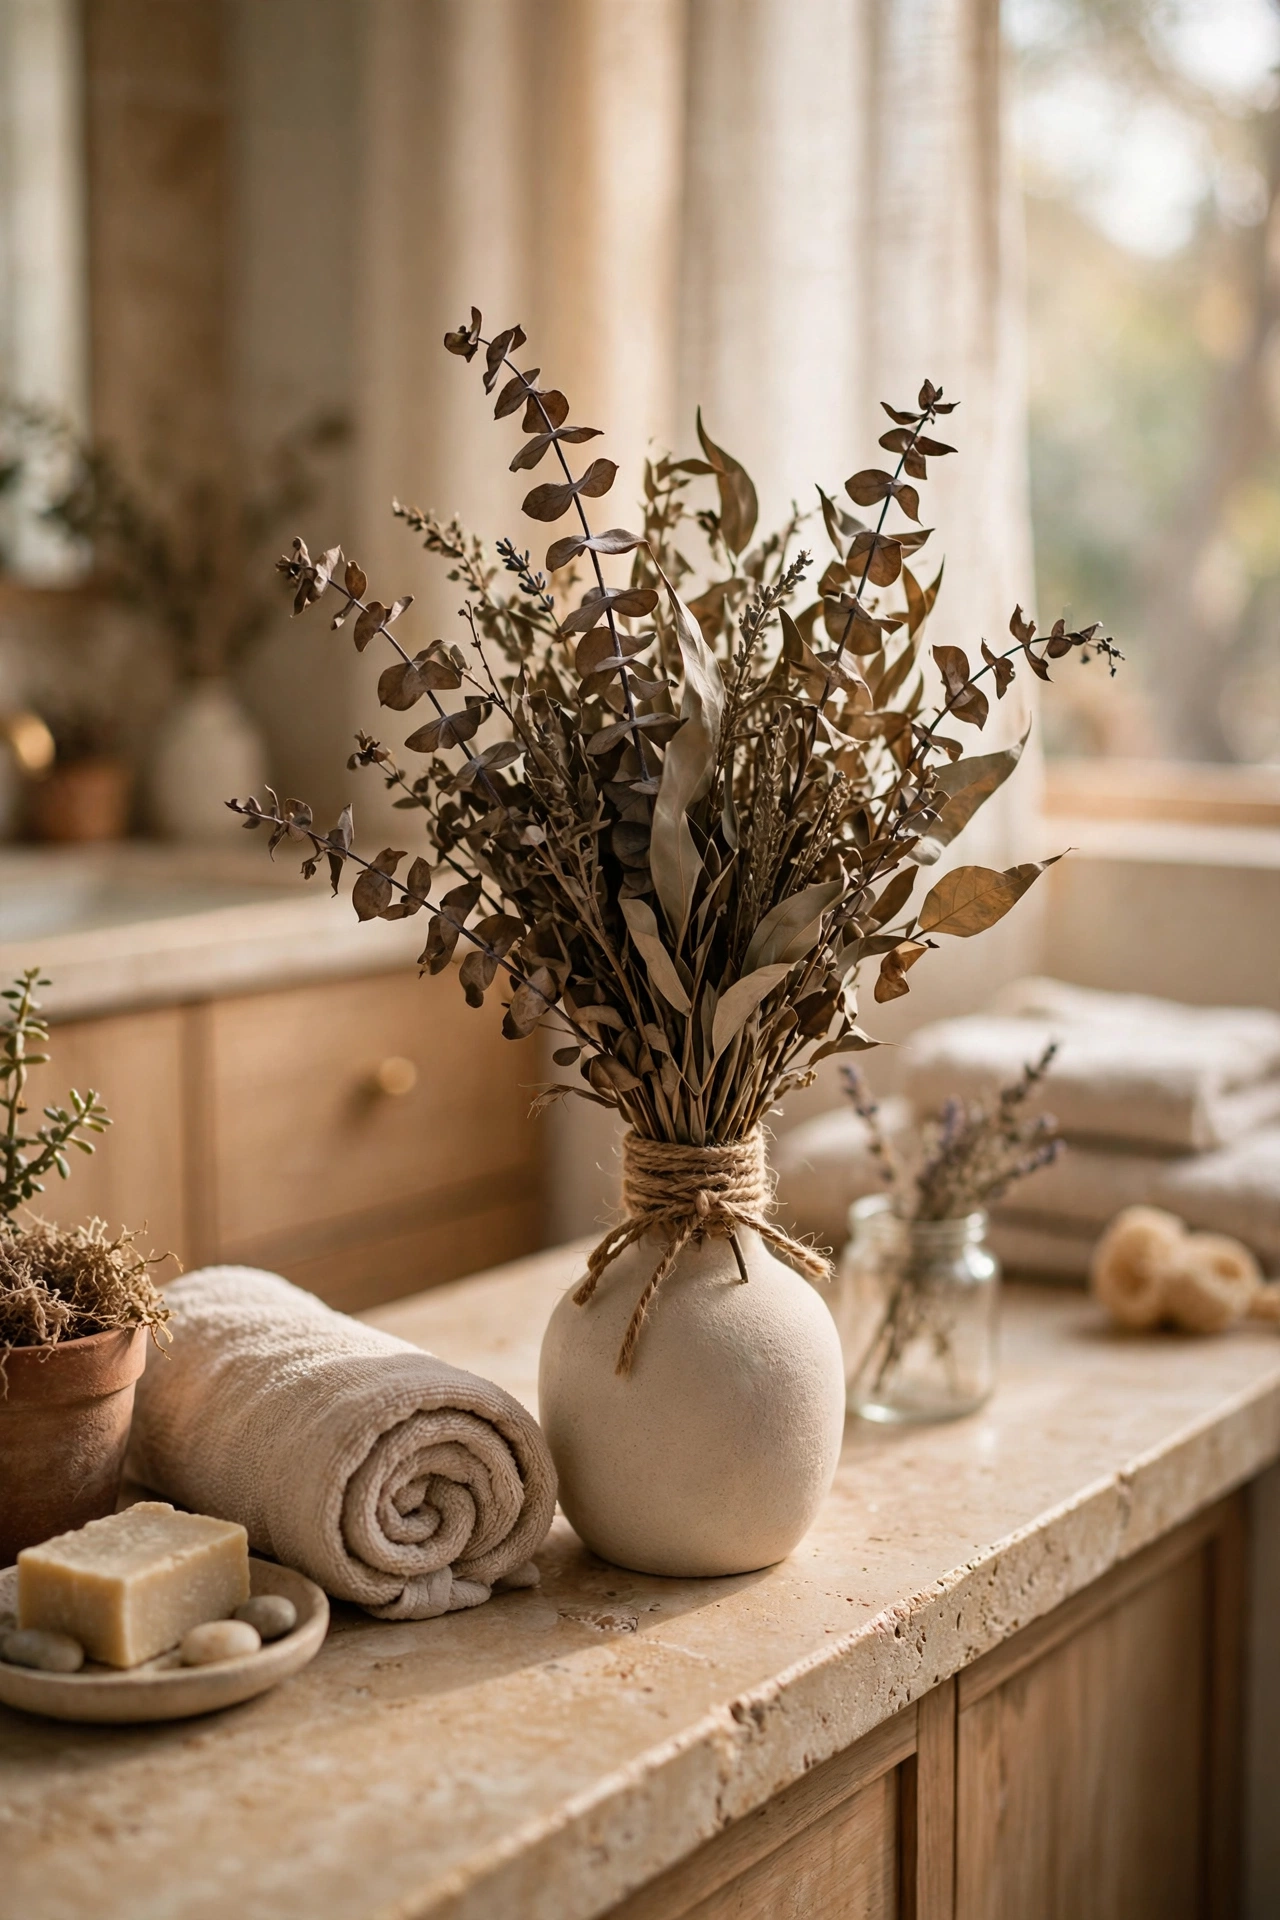
A bundle of faux or dried eucalyptus in a simple vase on the vanity adds that spa scent association and soft greenery. Tie it with twine, trim to height, and let a few stems arc naturally. I tried this and the one mistake to avoid is the dusty fake plant look — wipe the leaves monthly. Dust is what gives faux greenery away every single time. Tie the bundle with the twine in a simple bow — the little bow is what lifts it from bunch to arrangement.
Cost: ~$3 | Time: 5 minutes
Shower & Tub Zone
Five ideas for the wettest corner of the house.
7. Matching Shampoo Bottles
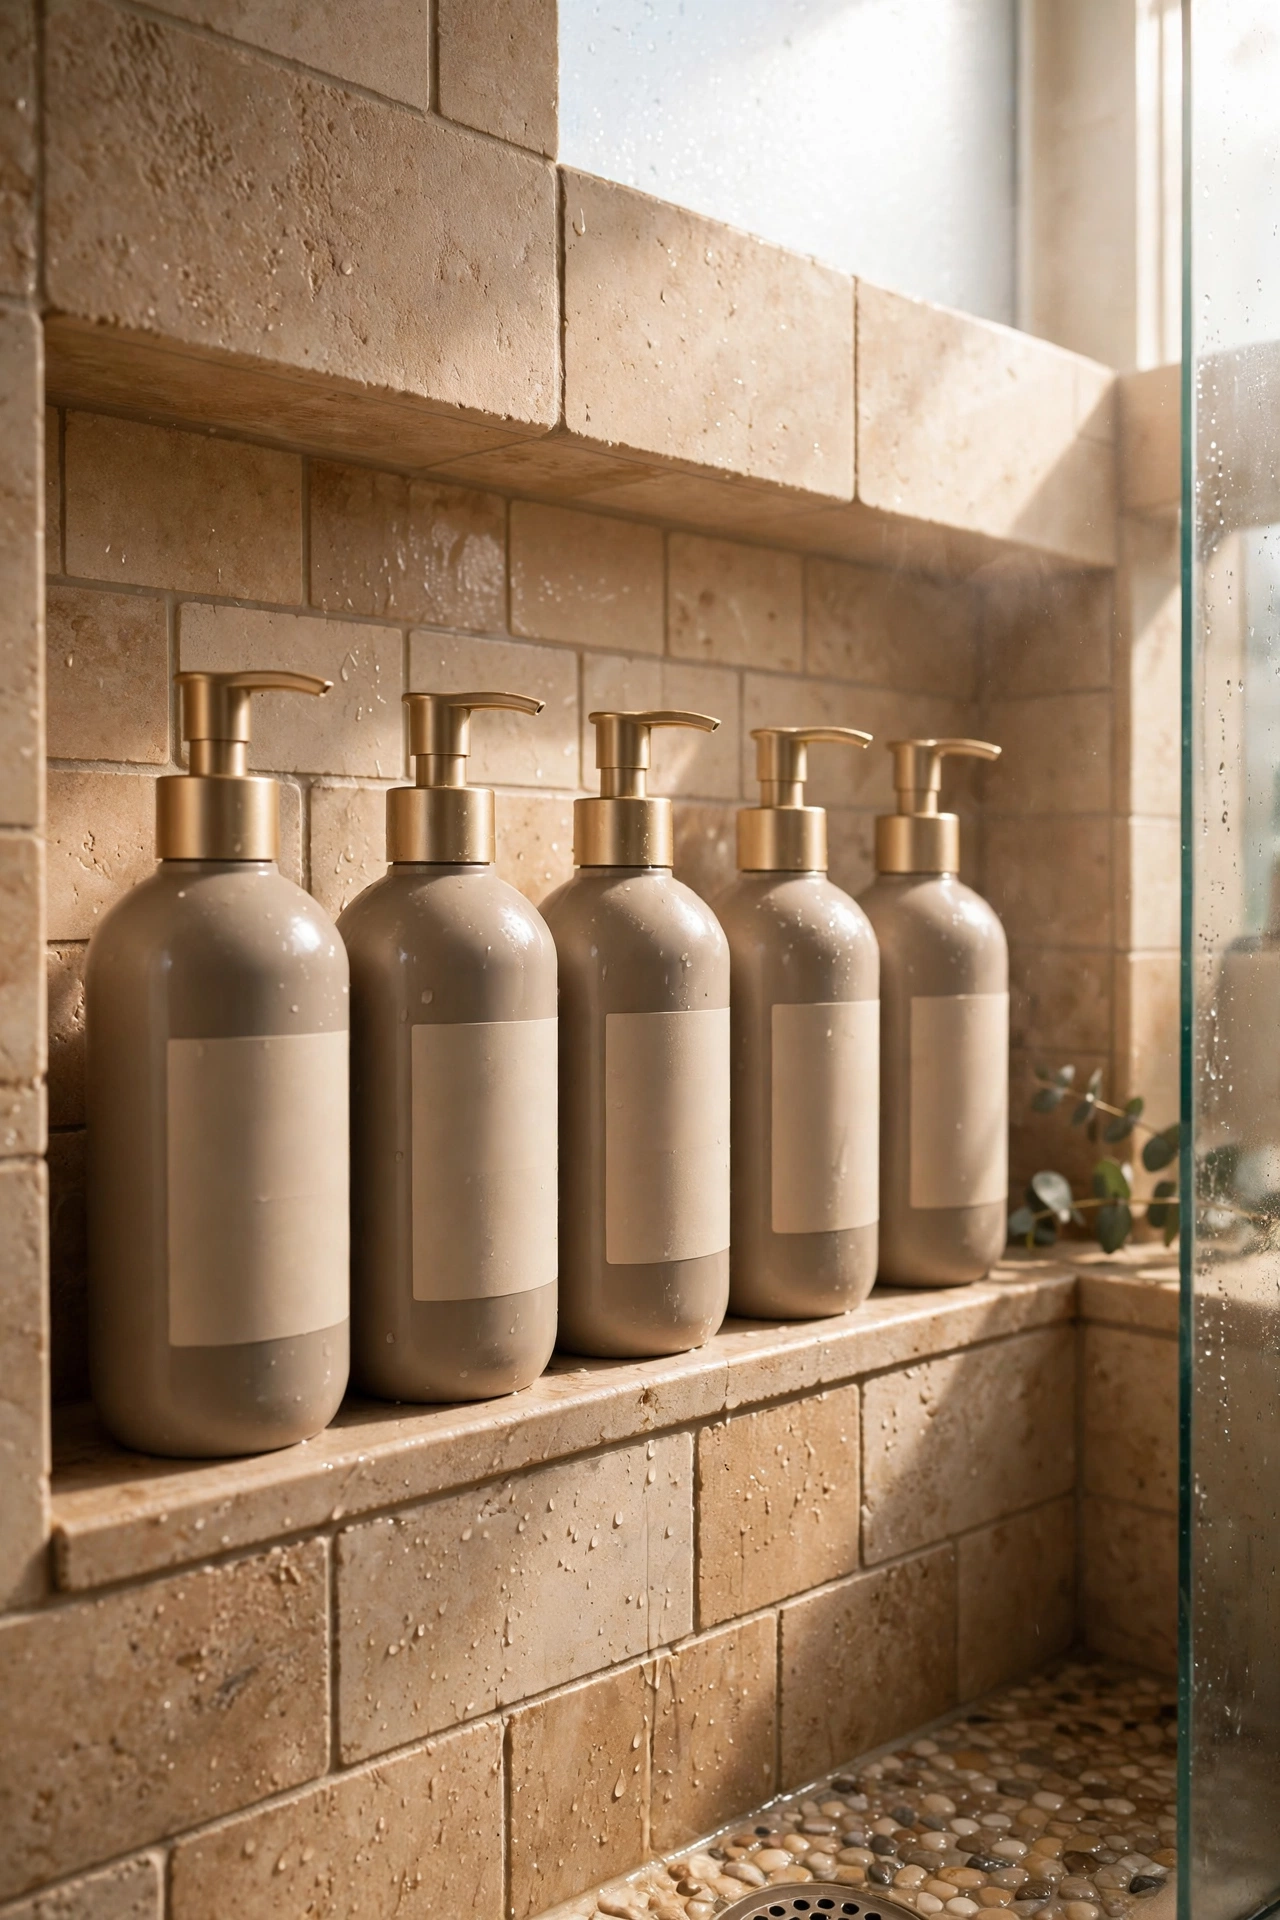
Decanting shampoo, conditioner and body wash into matching pump bottles makes the shower look like a hotel. Use waterproof labels, keep the bottles uniform, and line them up on the shelf or caddy. I tried this and the one mistake to avoid is paper labels — they dissolve into mush in a week. Waterproof vinyl labels or a paint pen directly on the bottle. Keep a spare set of bottles for guests — decanting the guest shower too is a five-star touch.
Cost: ~$6 | Time: 15 minutes
8. Tension Corner Caddy
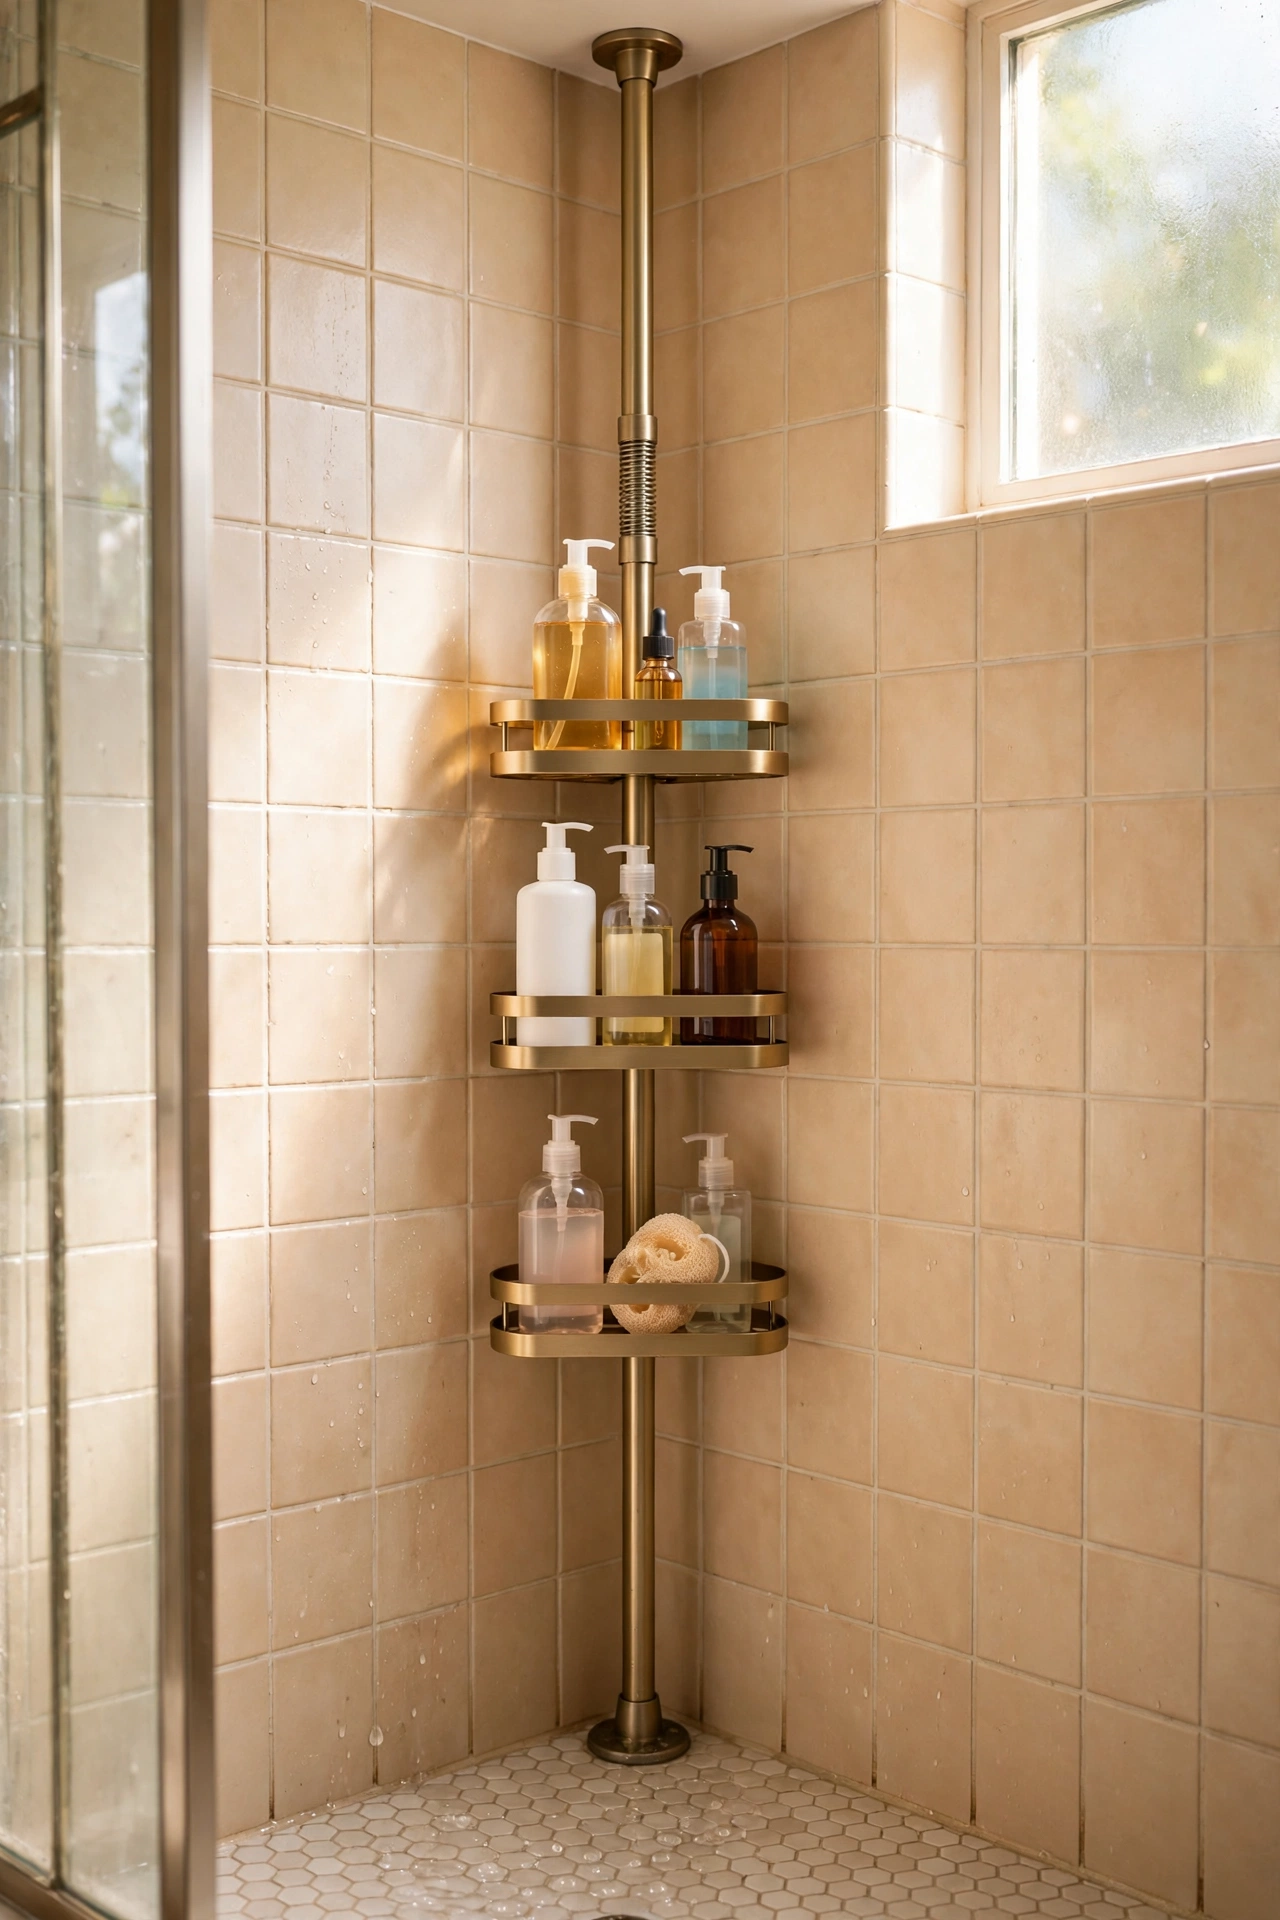
A tension-pole corner caddy holds all your bottles without a single hole in the tiles. Wedge it floor-to-ceiling, twist until immovable, and distribute weight evenly across shelves. I tried this and the one mistake to avoid is the tentative twist — a loose pole slides down mid-shower with everything on it. It should not move when you shove it hard. Test the pole’s grip on your specific tiles first — ultra-glossy tiles can be slippery and need extra tightening. It also works brilliantly in a utility room for sprays and cloths.
Cost: ~$7 | Time: 15 minutes
9. Bath Mat Layering
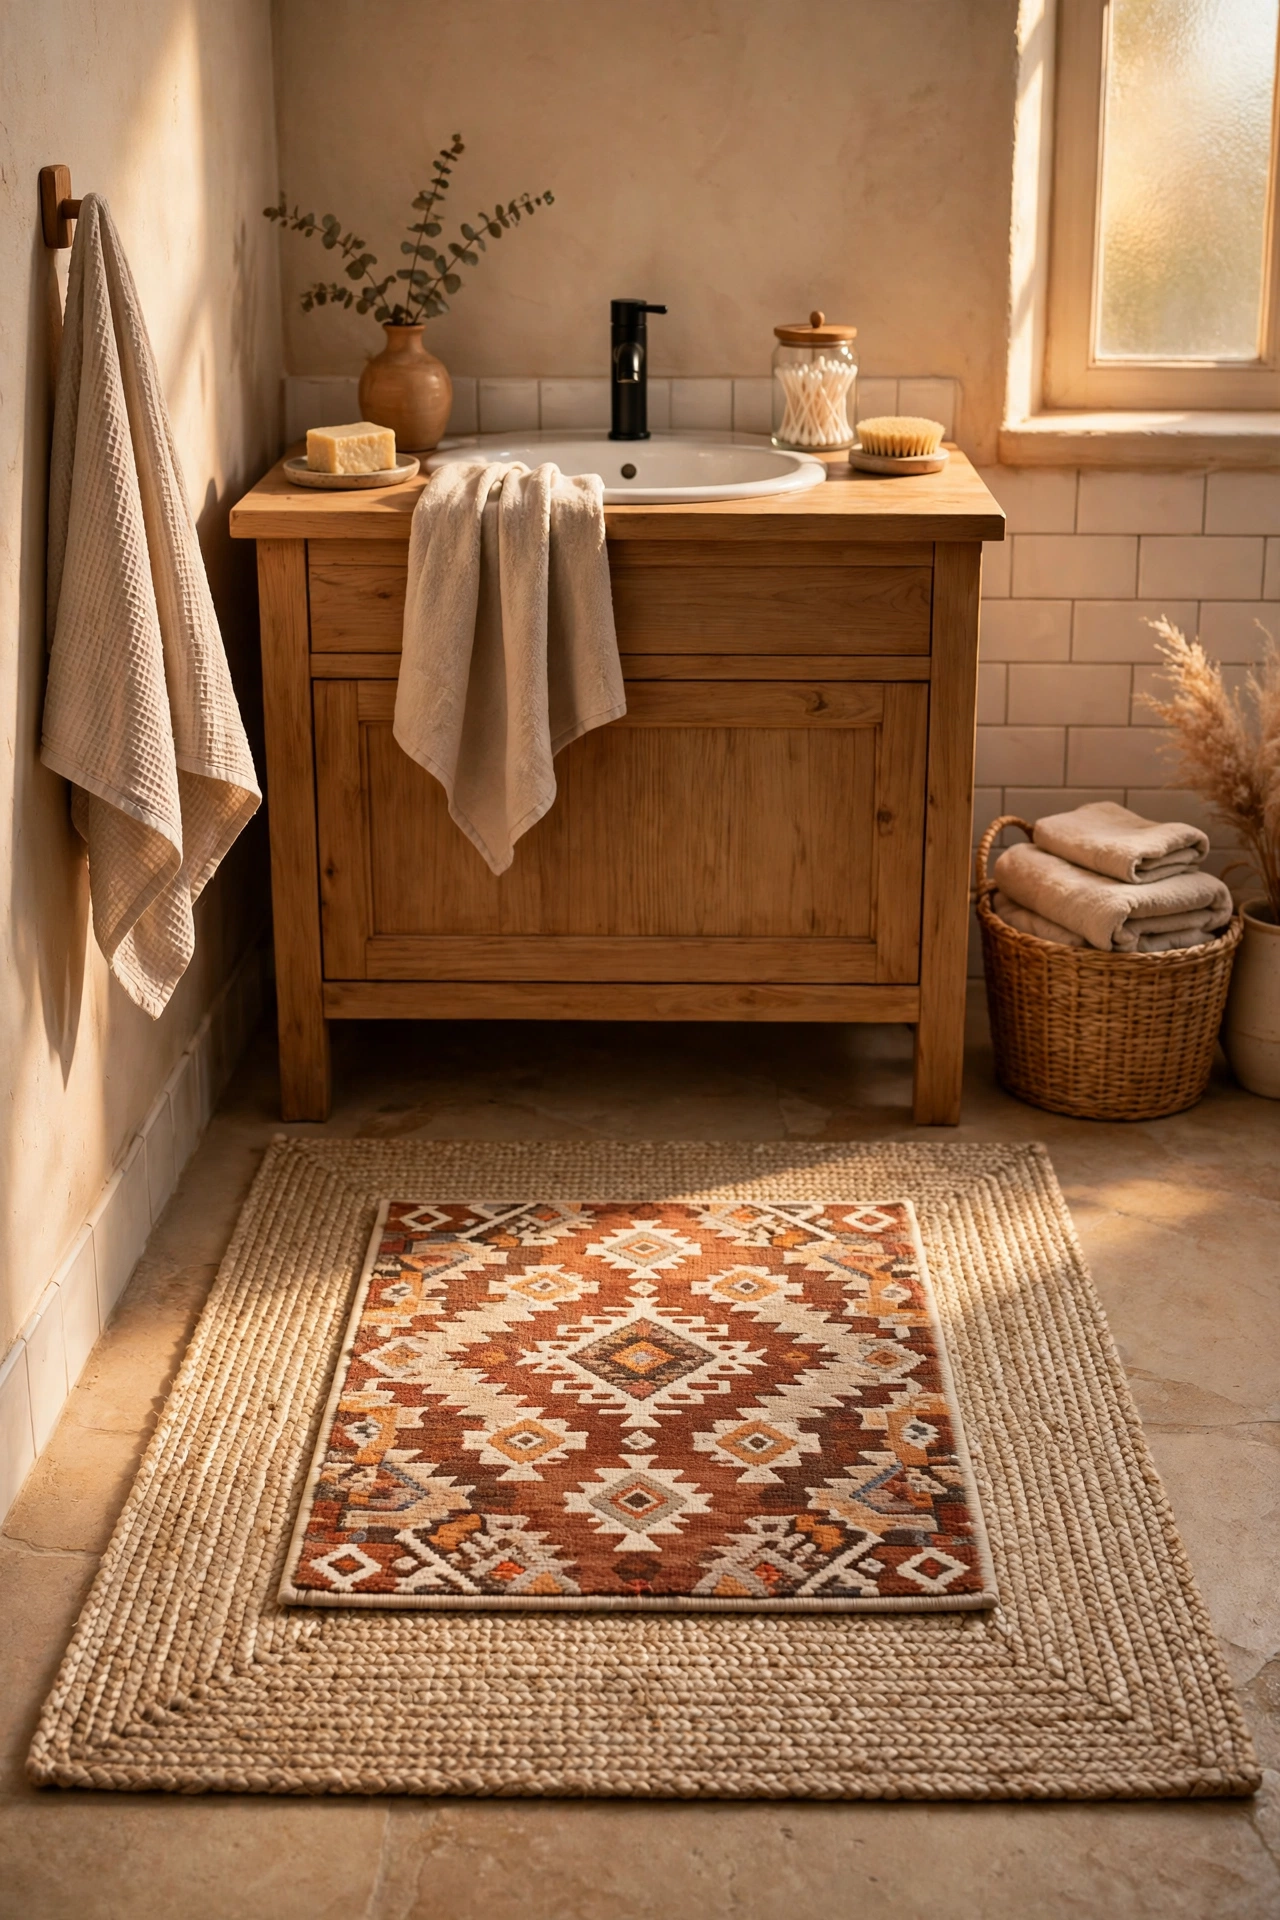
Layering a small patterned bath mat over a larger neutral one is the bathroom version of rug layering — instant boutique feel. The top mat should be clearly smaller, and both should be washable. I tried this and the one mistake to avoid is mats that slide on each other; put a non-slip pad between them or they’ll migrate across the floor. Safety first, style second. More layering ideas in (see also: 19-dollar-store-decor-ideas-worth-every-penny). Wash both mats together so they fade at the same rate — mismatched fading ruins the layered look over time.
Cost: ~$8 | Time: 5 minutes
10. Shower Curtain Upgrade
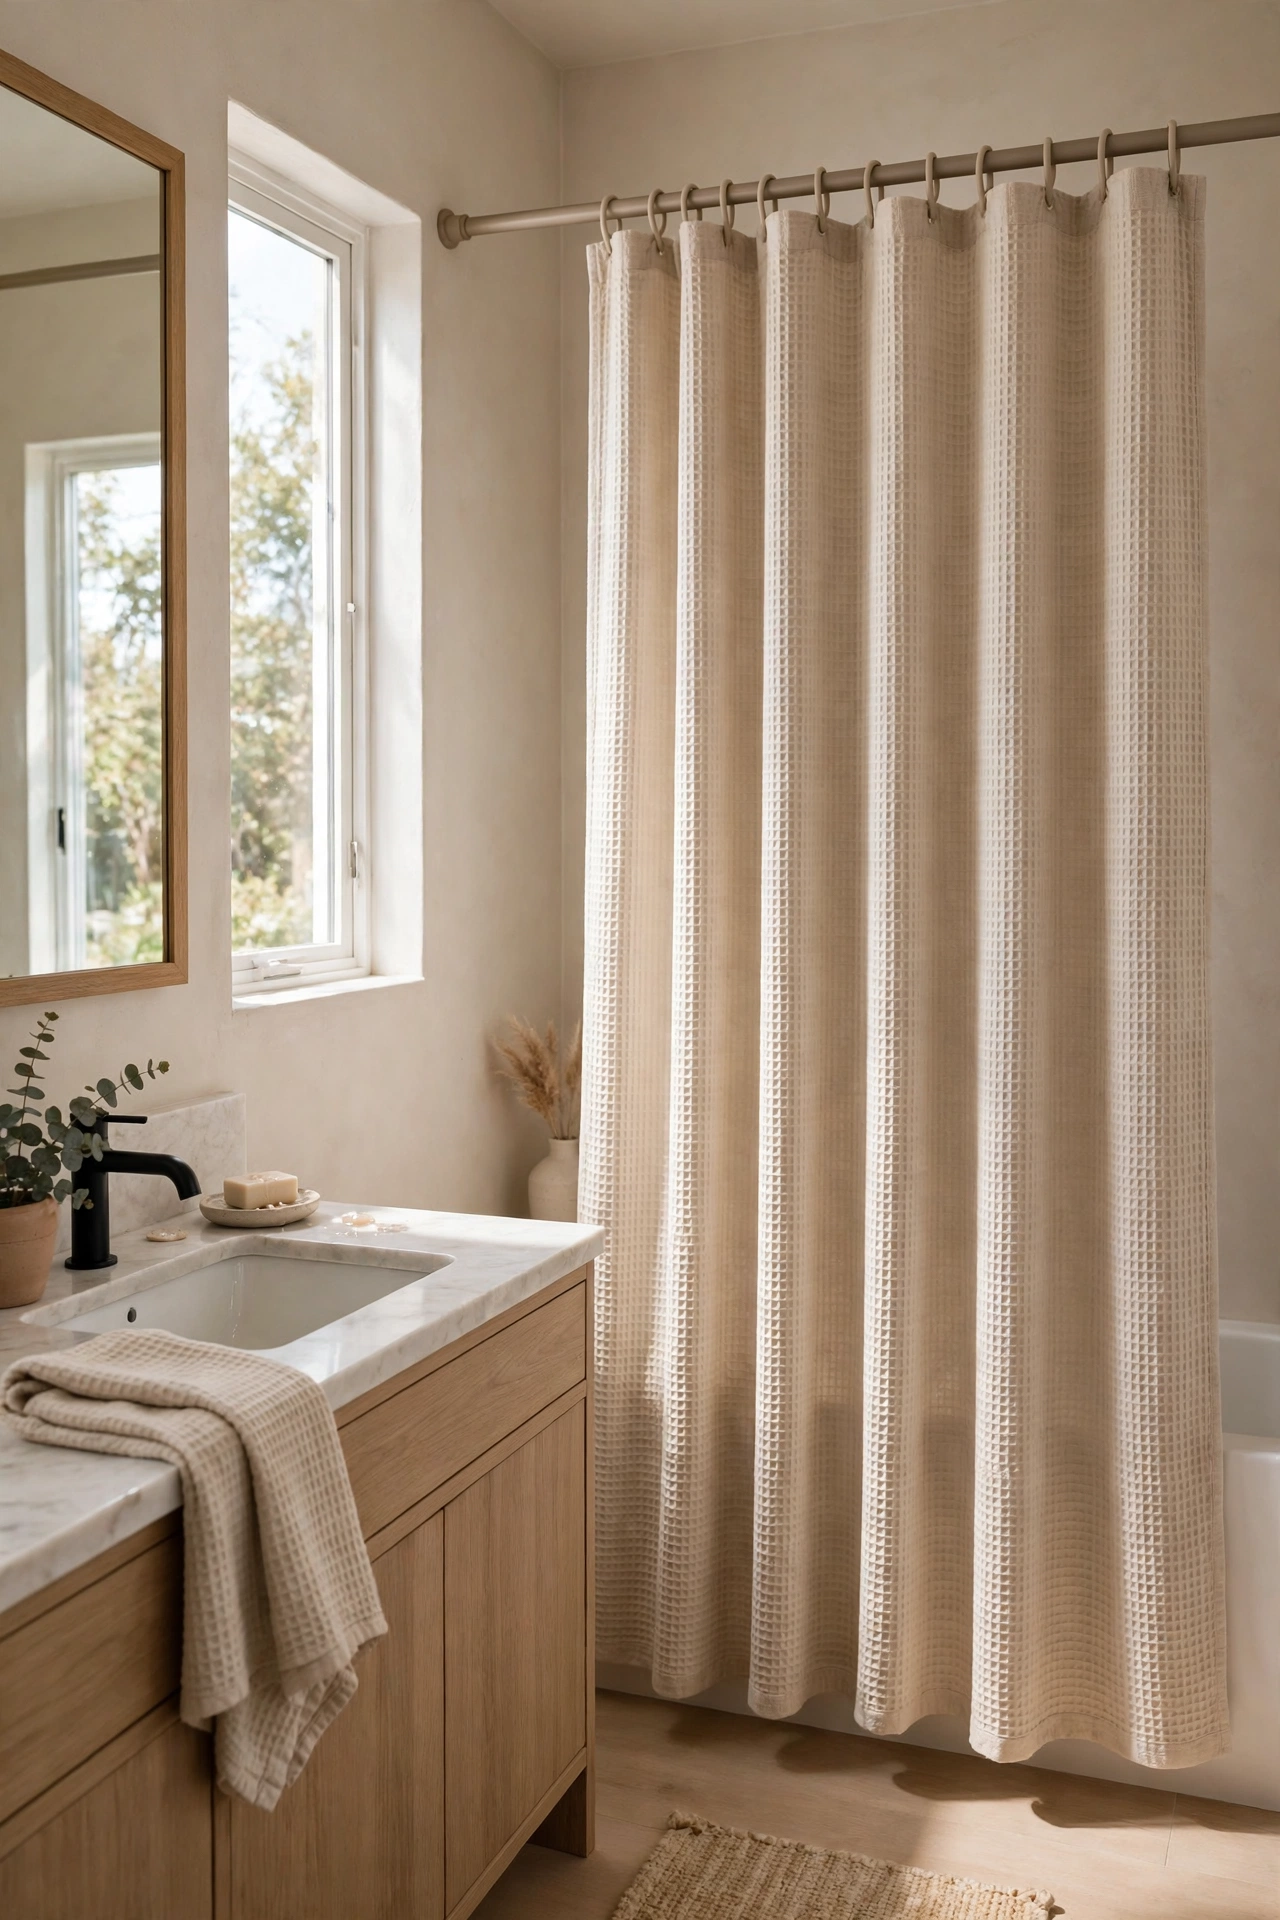
A fresh shower curtain in a waffle texture or subtle pattern updates the whole bathroom for a few pounds. Hang it with matching rings, let it fall straight, and keep the liner separate so the pretty curtain stays dry. I tried this and the one mistake to avoid is a curtain that’s too short — it should just kiss the tub edge or floor. A high-water curtain looks like it’s afraid of the bath. Add a second curtain liner behind the pretty one — the double layer hangs better and keeps water in the tub.
Cost: ~$7 | Time: 10 minutes
11. Bath Caddy Board
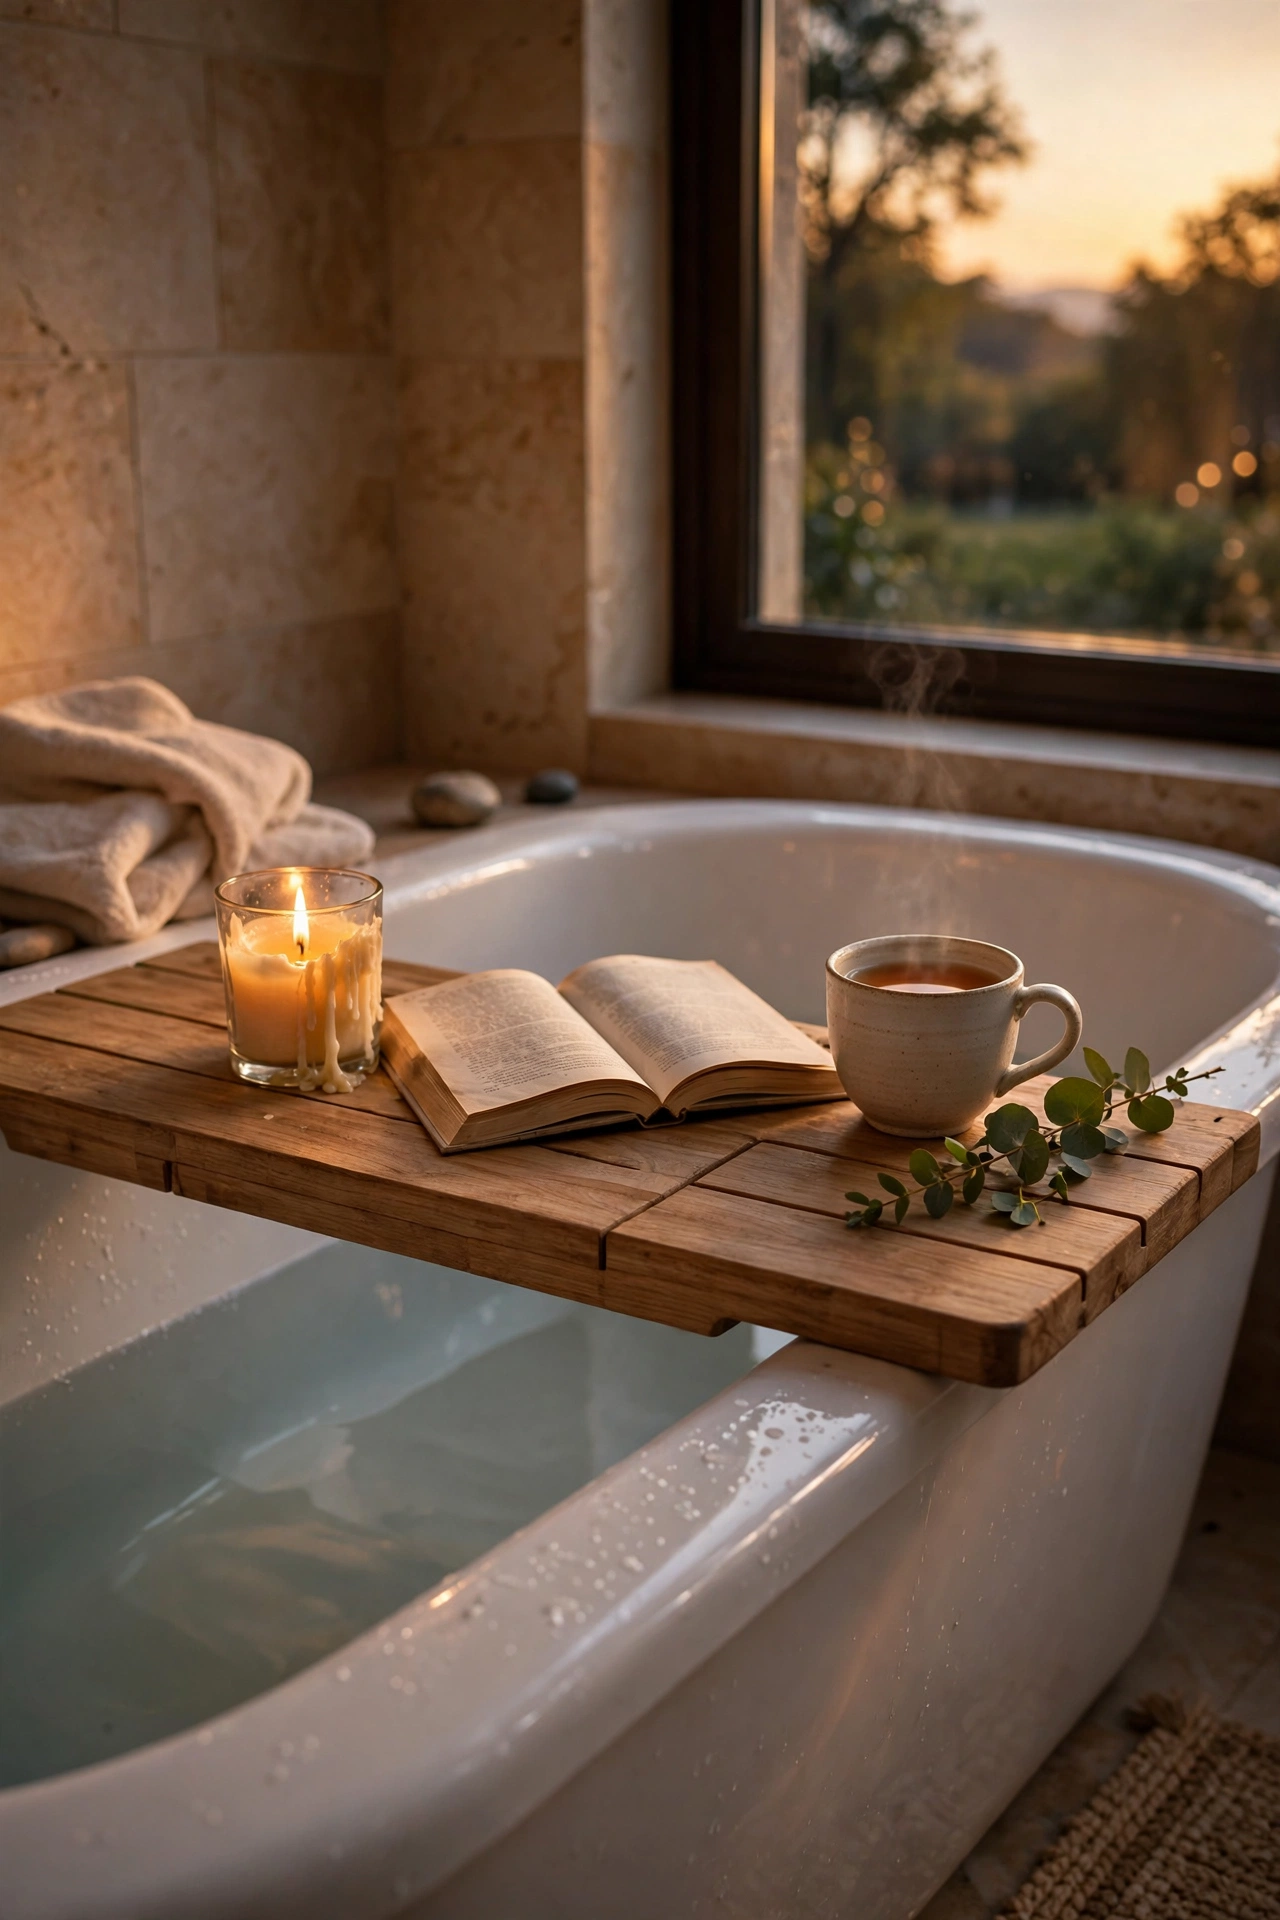
A simple wooden bath board across the tub holds a candle, a book and a cuppa — instant spa evening. Measure your tub width, choose a board that overhangs slightly on each side, and sand any rough edges. I tried this and the one mistake to avoid is an untreated board; it warps and stains. A quick coat of waterproof sealant keeps it handsome for years. Notch a small groove for a wine glass stem — the classic bath board detail is easier to cut than it looks.
Cost: ~$5 | Time: 20 minutes
Walls & Mirrors
Four ideas that make the walls work harder.
12. Framed Mirror Upgrade
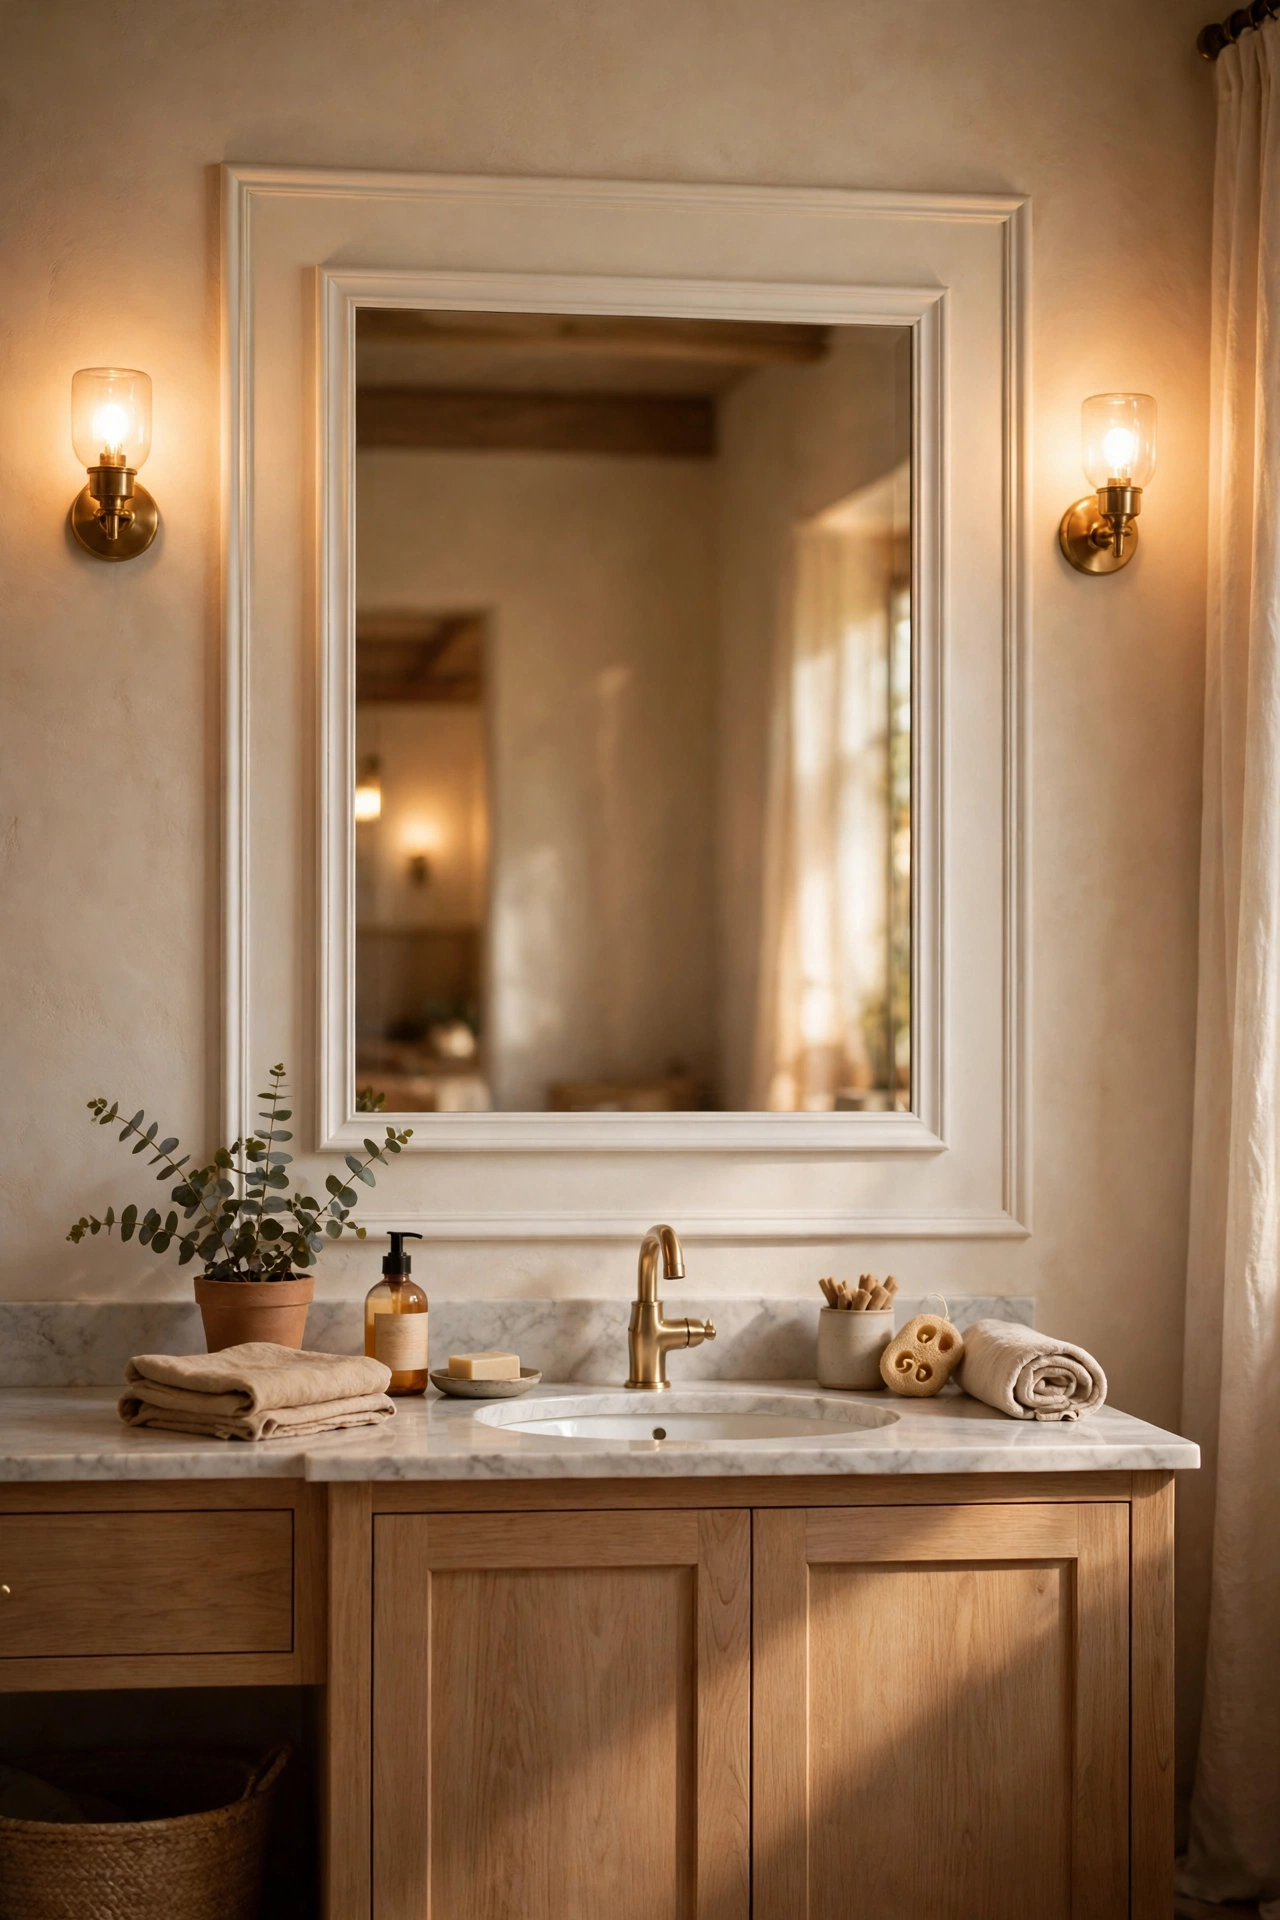
Stick a lightweight frame moulding around a plain builder-grade mirror and it looks custom. Measure the mirror, mitre or butt-join the trim, and fix with mirror-safe adhesive. I tried this and the one mistake to avoid is heavy wood trim on a stuck-on mirror — the weight can pull the whole thing off the wall. Lightweight trim only, and mirror-safe adhesive, not nails. Paint the trim before fixing it — painting in situ risks splashing the mirror, and touch-ups on glass are miserable.
Cost: ~$6 | Time: 30 minutes
13. Floating Shelf Styling
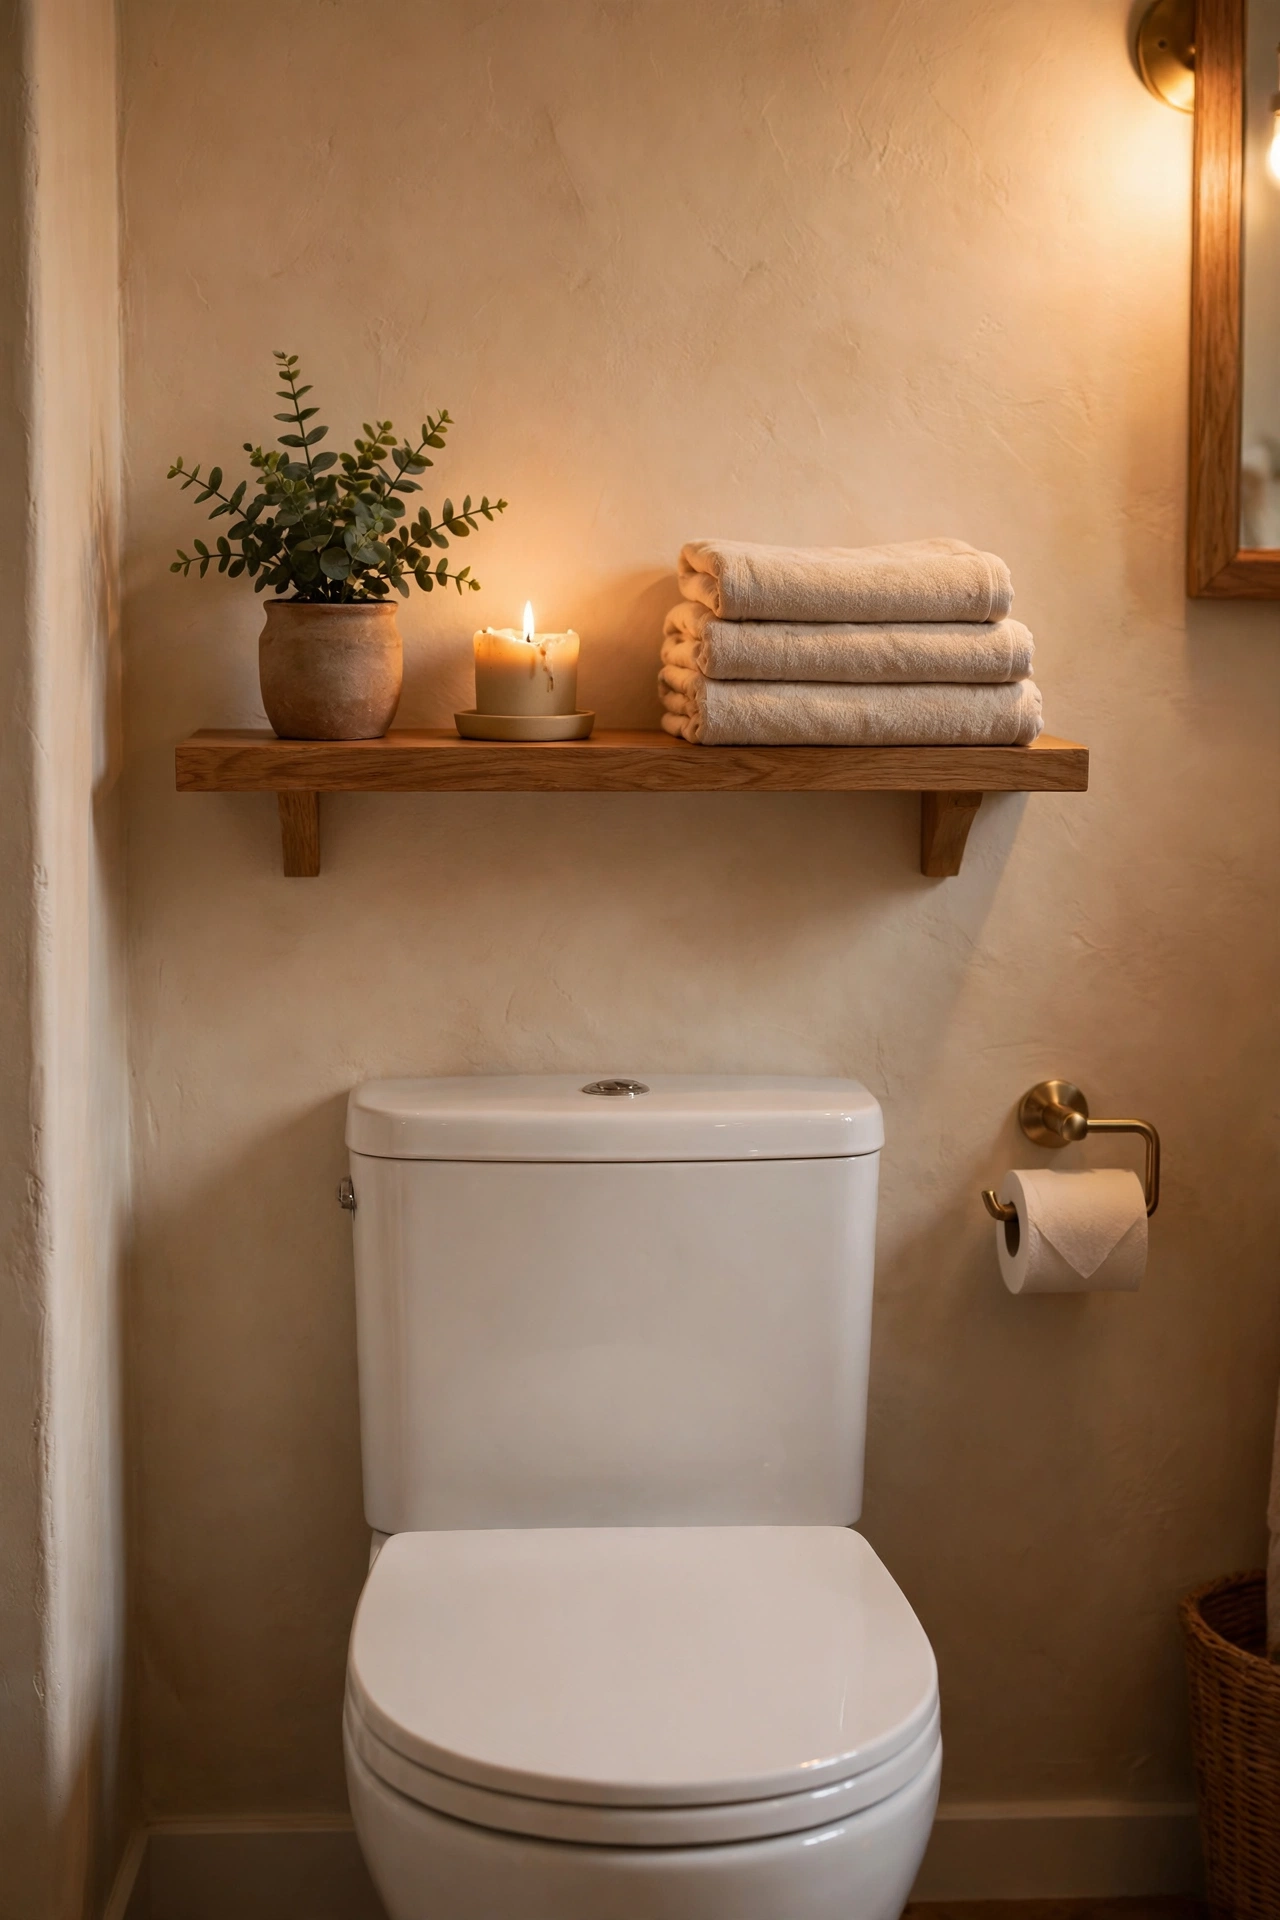
One floating shelf above the loo holds a plant, a candle and folded towels — dead wall space becomes a styled moment. Mount with proper wall plugs, style with three items max, and keep the loo roll somewhere sensible too. I tried this and the one mistake to avoid is styling without function; a shelf that’s all decor and no loo roll is form over function in the worst way. Pretty plus practical. Keep a folded spare hand towel on the shelf — the shelf earns its place by being useful, not just pretty.
Cost: ~$7 | Time: 25 minutes
14. Removable Wallpaper Accent
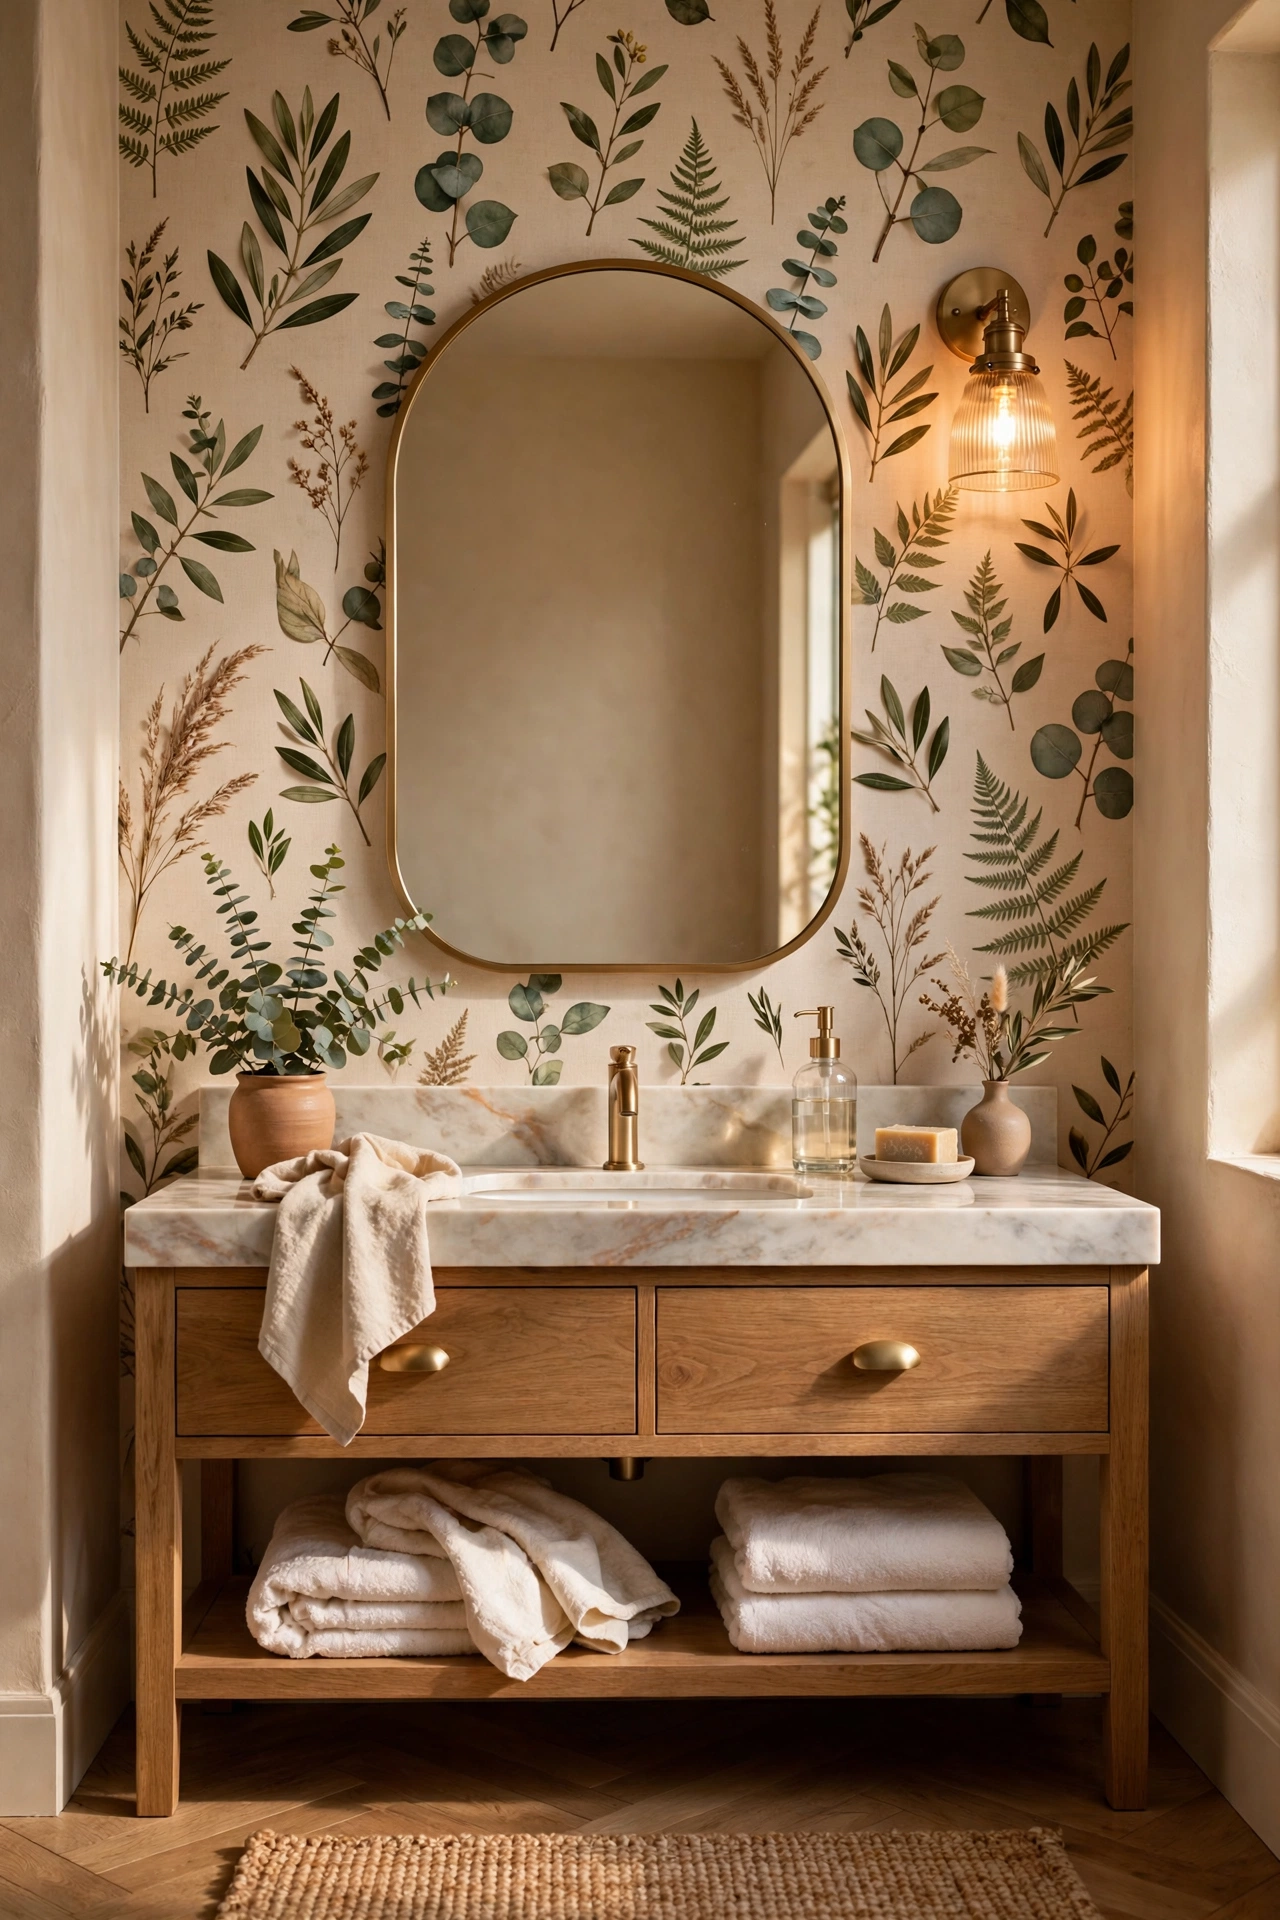
One wall of peel-and-stick wallpaper — behind the mirror or the loo — gives the bathroom a designer moment. Choose something moisture-tolerant, apply to a clean dry wall, and smooth carefully. I tried this and the one mistake to avoid is papering inside the shower zone; constant direct water defeats even good adhesive. Keep it to the dry walls. Order a sample swatch first — bathroom lighting changes colours dramatically, and screens lie about shades. Smooth from the centre outward to chase out every last bubble.
Cost: ~$8 | Time: 40 minutes
15. Gallery of Small Prints
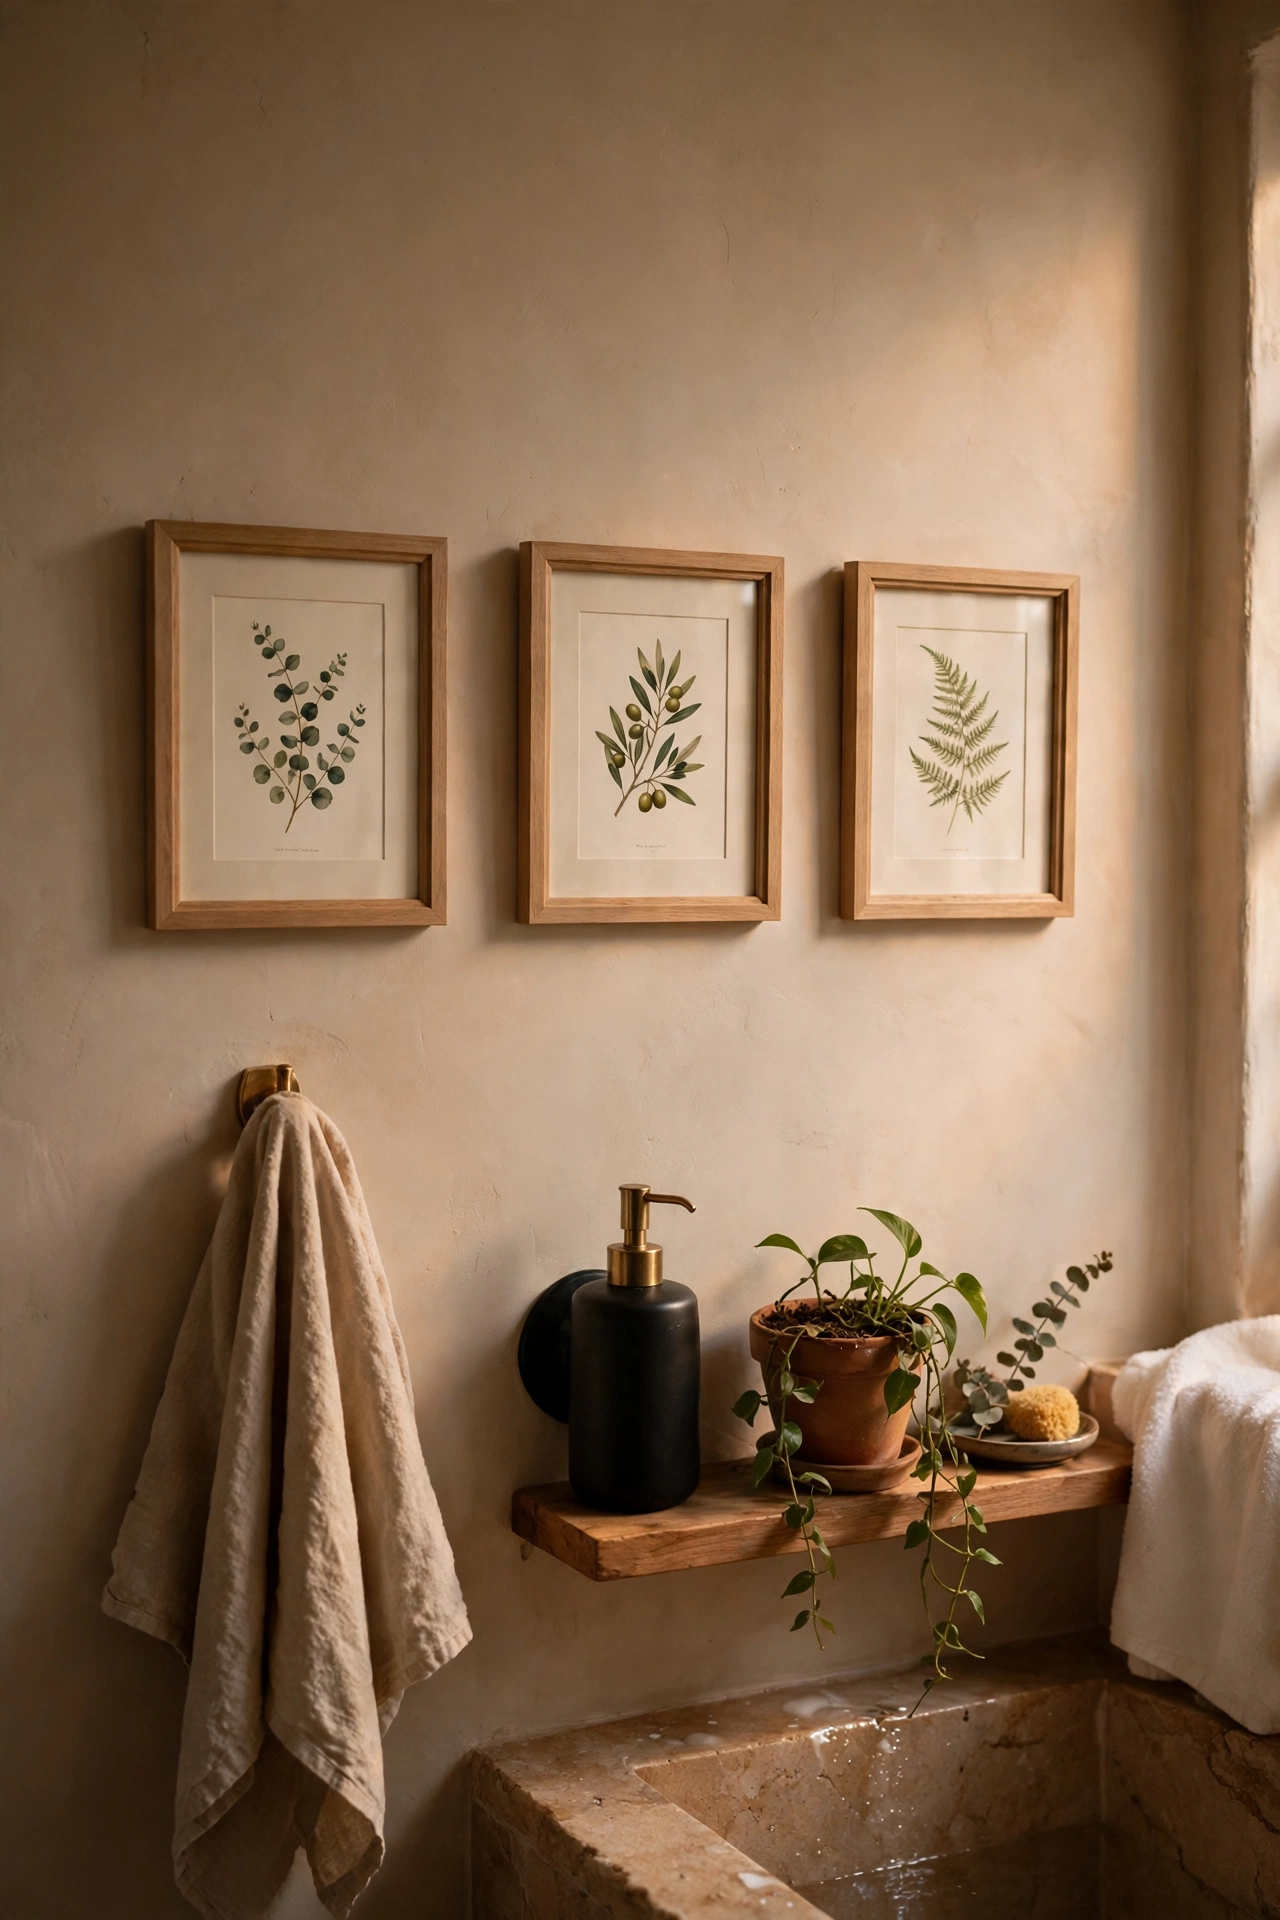
Two or three small framed prints — botanical, abstract, whatever you love — make a bathroom feel considered rather than purely functional. Use matching frames, hang them in a row, and keep them away from direct splashes. I tried this and the one mistake to avoid is unsealed paper prints in a steamy room; they’ll cockle. Sealed frames or laminated prints survive the humidity. Choose prints with a coastal or botanical theme — they suit bathrooms in a way random art never quite does.
Cost: ~$5 | Time: 20 minutes
Finishing Touches
Six small details that pull the whole room together.
16. Scented Candle Cluster
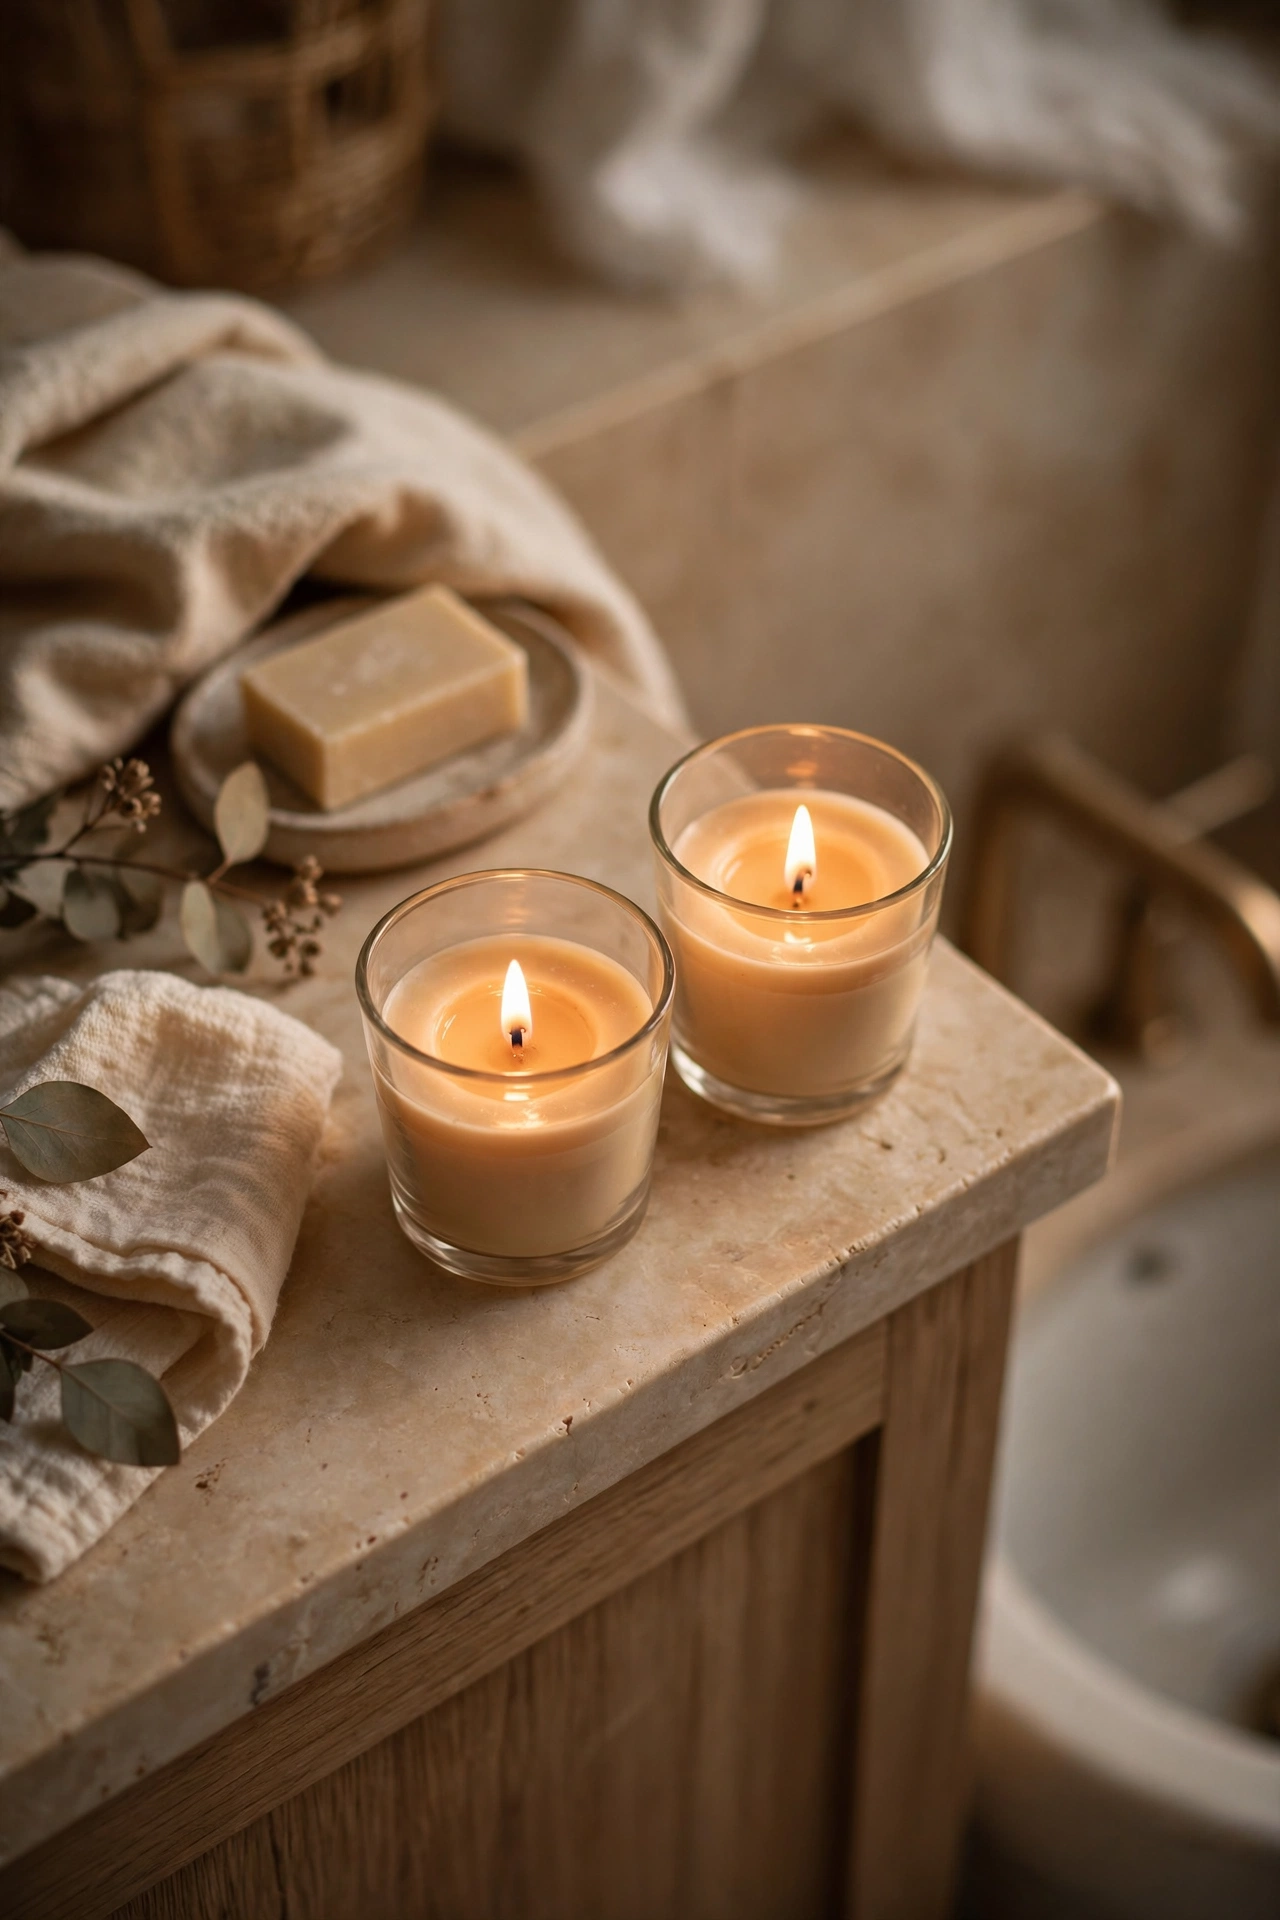
Two or three candles in glass holders on the vanity or bath edge add warmth and scent. Choose one fragrance family — don’t mix lavender with coconut — and keep them away from towels. I tried this and the one mistake to avoid is the giant novelty candle shaped like something; it dominates and dates. Simple glass holders, quality scent. Blow the candles out before the bath goes in — steam plus open flame plus reaching across water is a bad combination.
Cost: ~$4 | Time: 5 minutes
17. Woven Storage Baskets
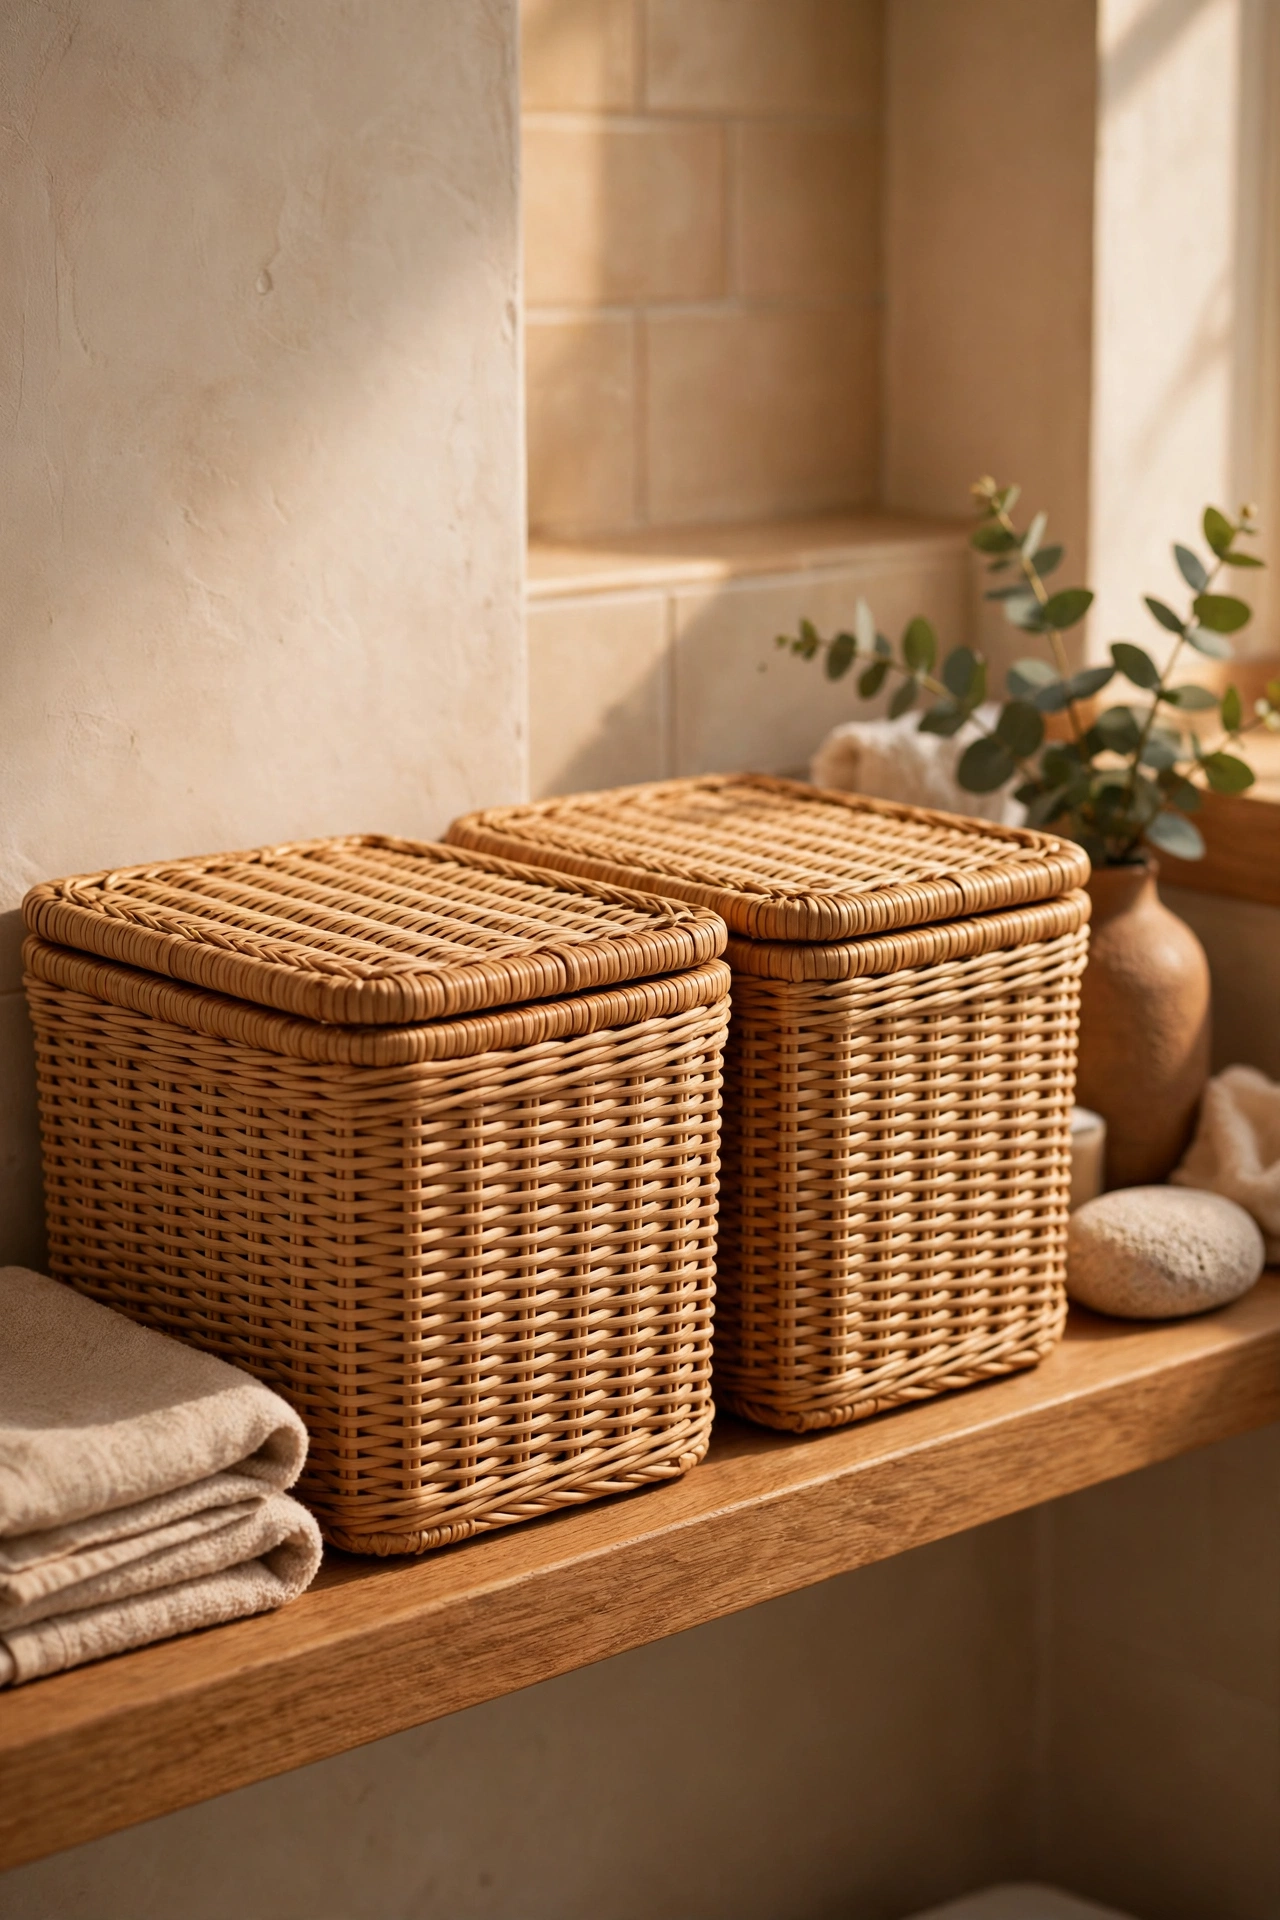
Matching woven baskets on a shelf or under the sink hide toiletries and spare loo rolls beautifully. Get them in one finish, label if needed, and keep the tops tidy. I tried this and the one mistake to avoid is baskets without any system — assign each one a category or they all become junk baskets. One job per basket. See more basket tricks in (see also: 21-genius-dollar-store-storage-hacks-youll-wish-you-knew-sooner). Tuck a dryer sheet into each basket — it keeps stored toiletries smelling fresh for months.
Cost: ~$6 | Time: 10 minutes
18. Faux Plant on the Shelf
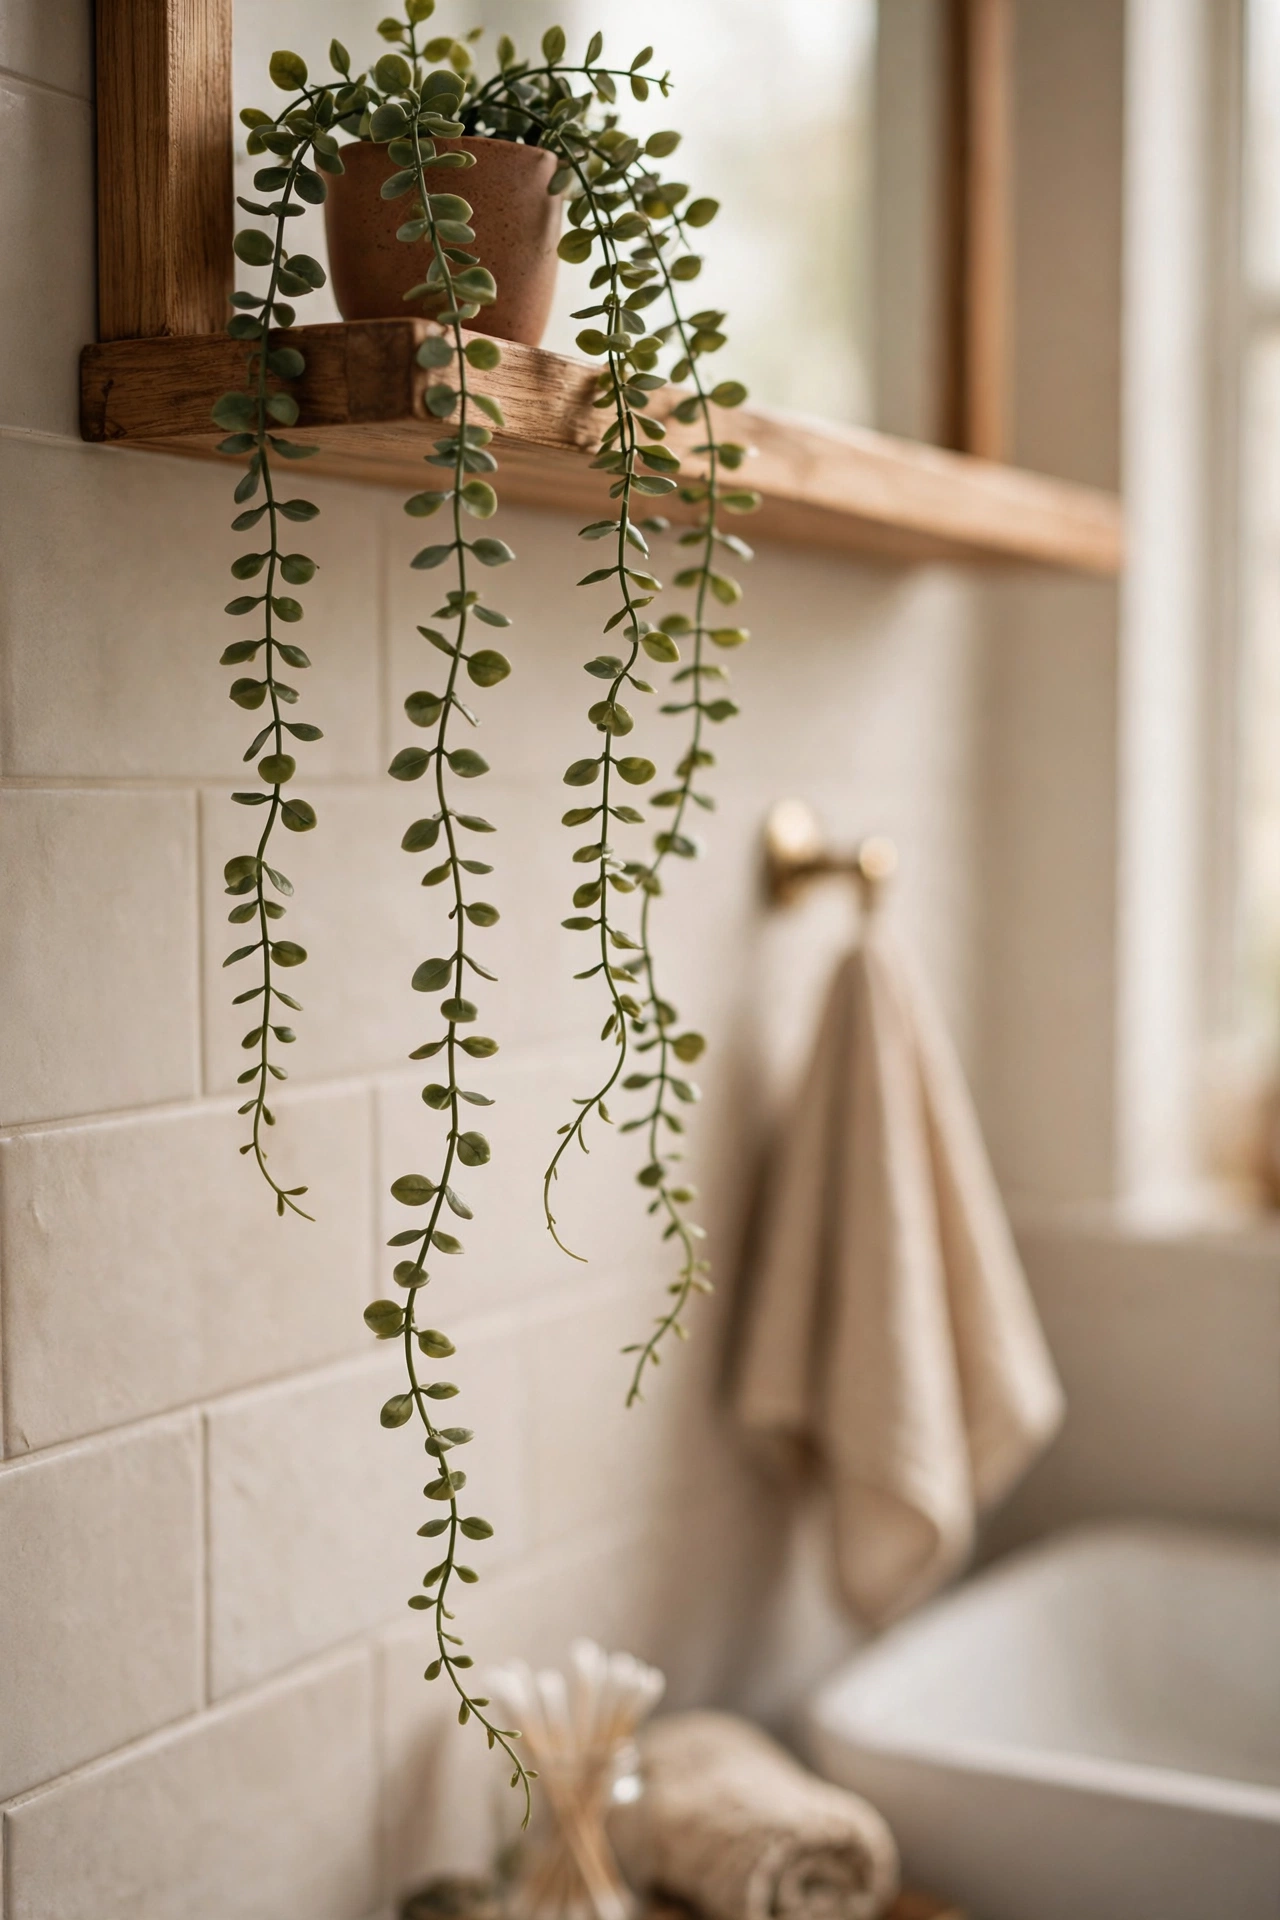
A small faux trailing plant on a high shelf softens all the hard bathroom surfaces. Let it drape naturally, dust it monthly, and nest the nursery pot inside something prettier. I tried this and the one mistake to avoid is a plant that looks too perfect — bend a few stems and vary the leaf angles. Nature is gloriously imperfect. Choose a trailing pothos-style plant — the long draping stems soften the hard lines of tiles beautifully. A trailing plant draws the eye upward, adding welcome height.
Cost: ~$4 | Time: 5 minutes
19. New Towel Hooks
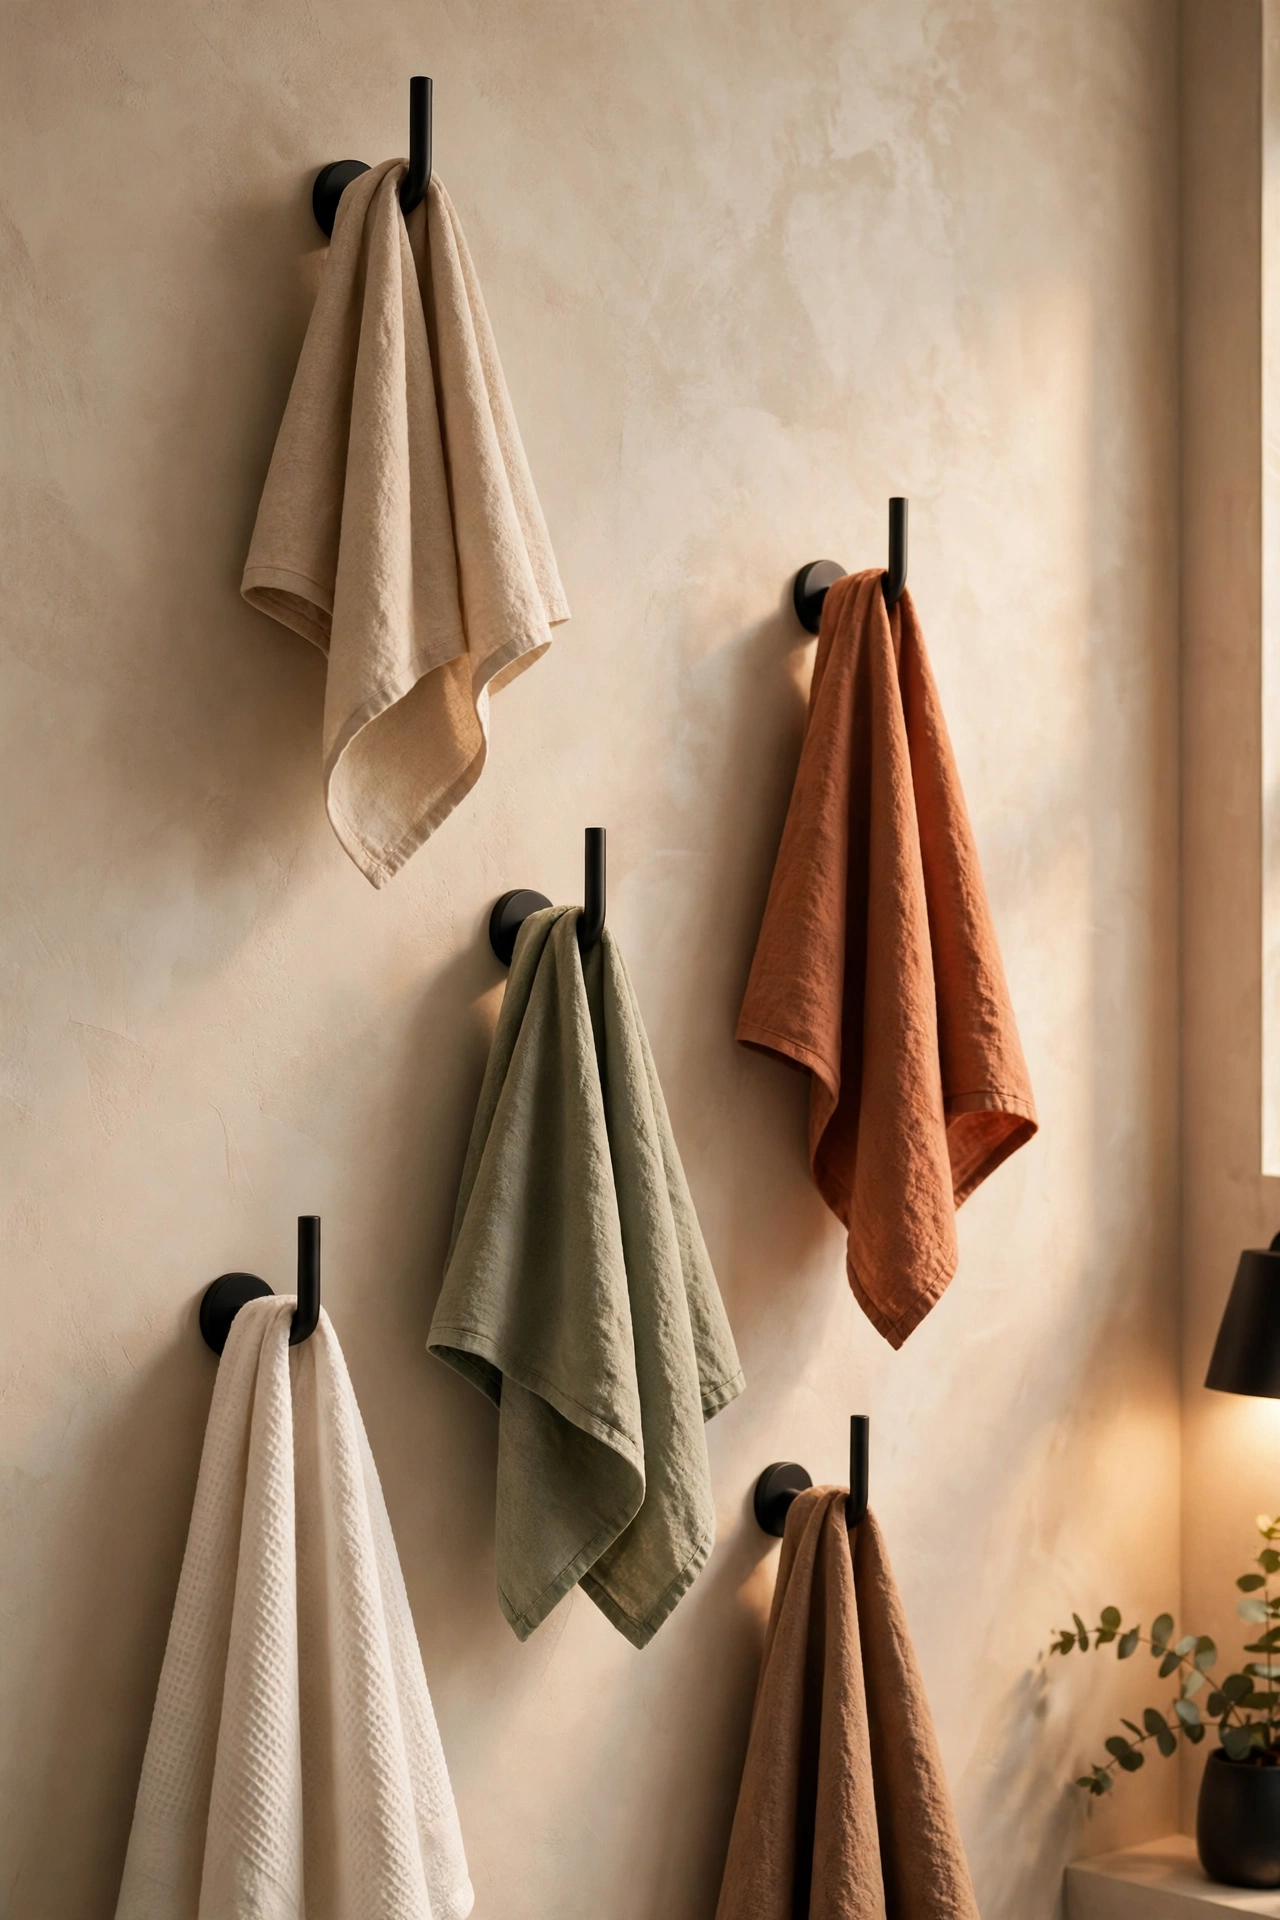
Swapping builder-grade towel bars for individual hooks — matte black or brushed gold — modernises the bathroom instantly. Mount at staggered heights for visual interest, one hook per towel. I tried this and the one mistake to avoid is hooks too close together; towels need air to dry or they go musty. Space them generously. Mount one hook lower for the children’s towels — little ones actually hang their towels up when they can reach. Hooks dry towels faster than bars too — a practical bonus.
Cost: ~$5 | Time: 20 minutes
20. Decorative Toilet Brush Holder
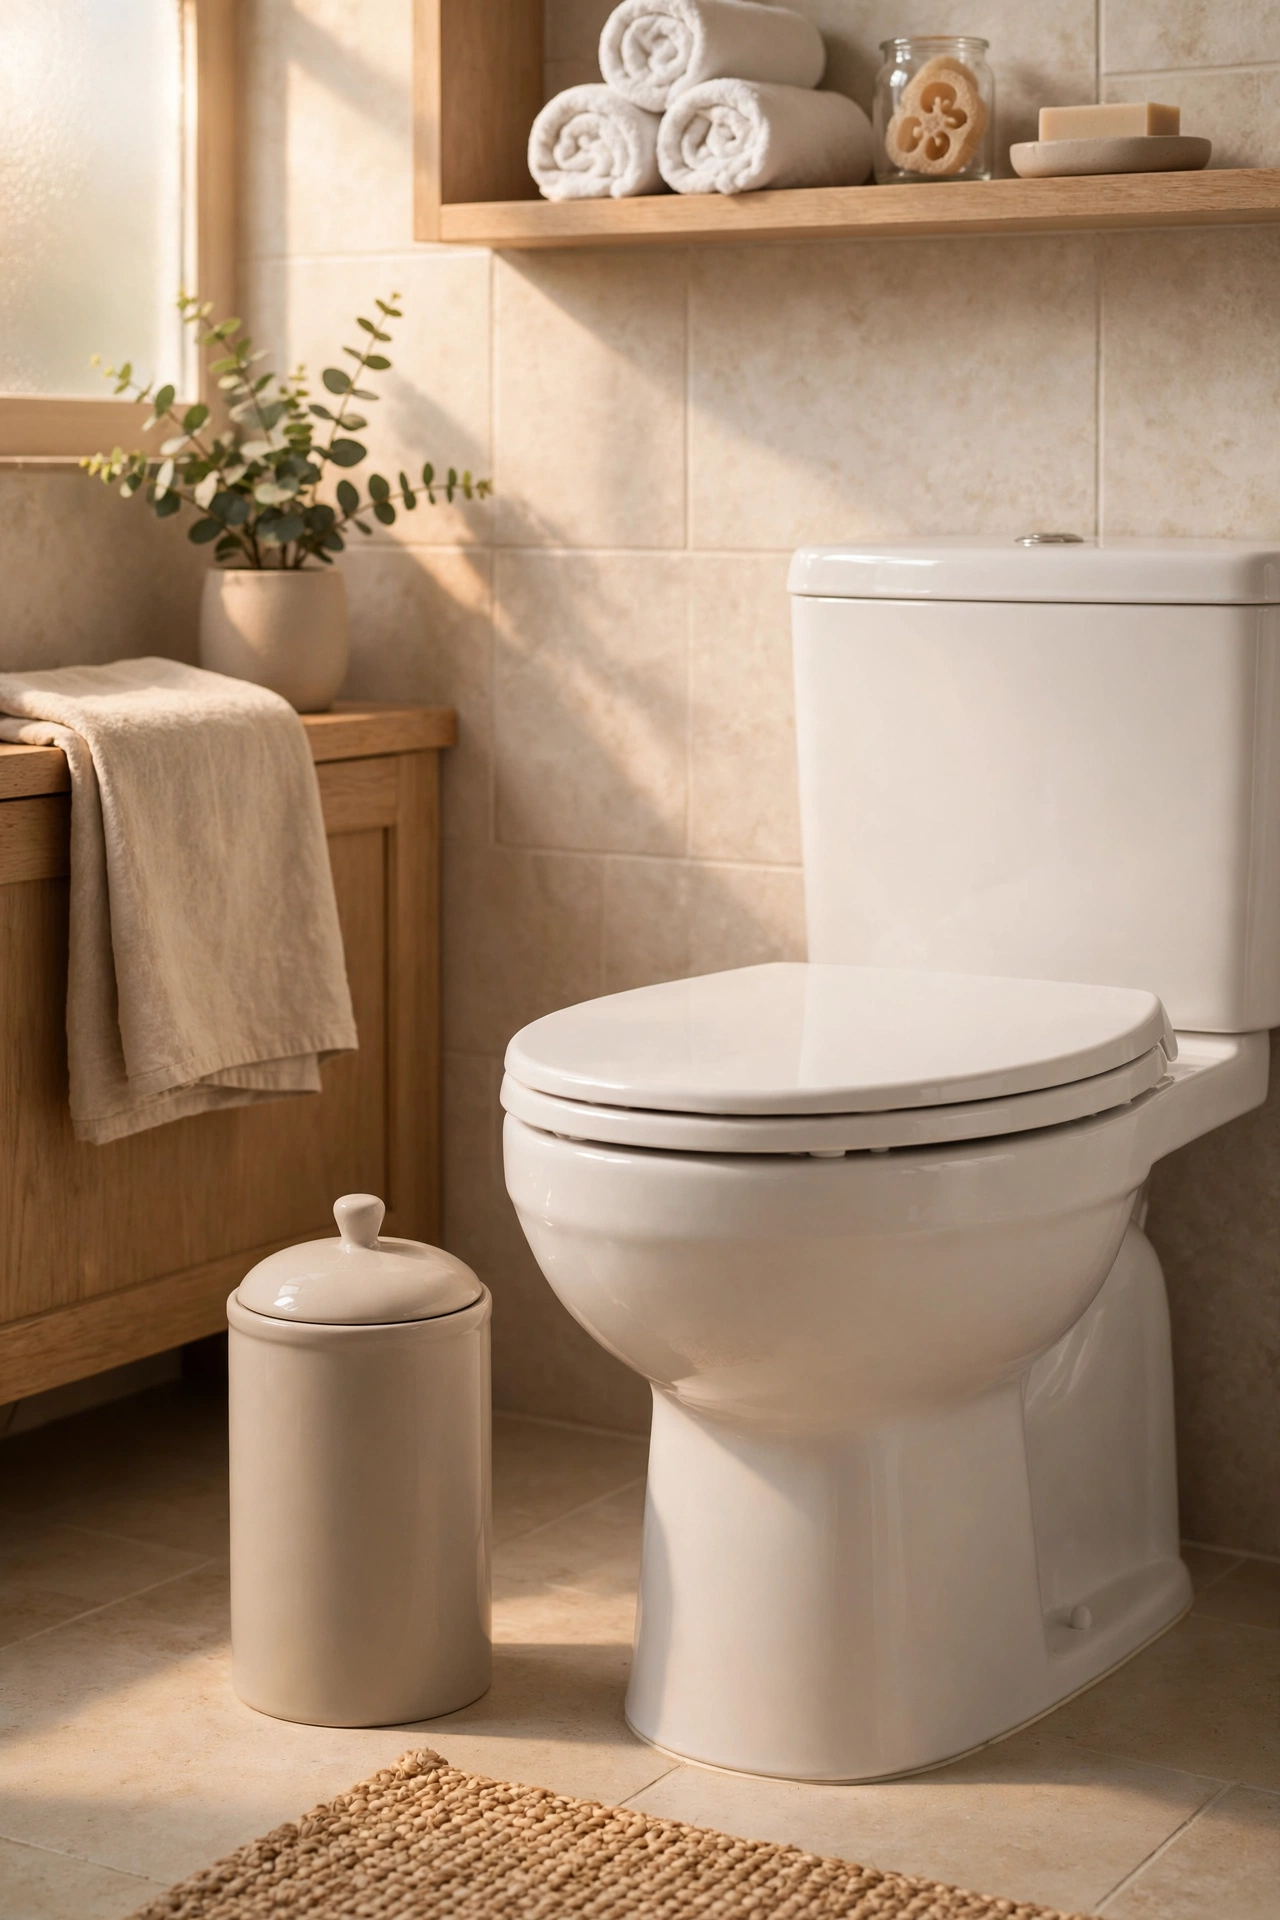
Nobody wants to think about it, but a decent-looking brush holder beats the cracked plastic one. Choose a lidded ceramic or matte-finish holder that blends with your scheme. I tried this and the one mistake to avoid is the novelty-shaped holder — funny for a week, regrettable for years. Plain, lidded, forgettable is the goal. Empty and rinse the holder monthly — standing water at the bottom goes stagnant faster than you would like. Replace the brush head yearly; the holder itself lasts for years.
Cost: ~$4 | Time: 5 minutes
21. Nightlight Glow
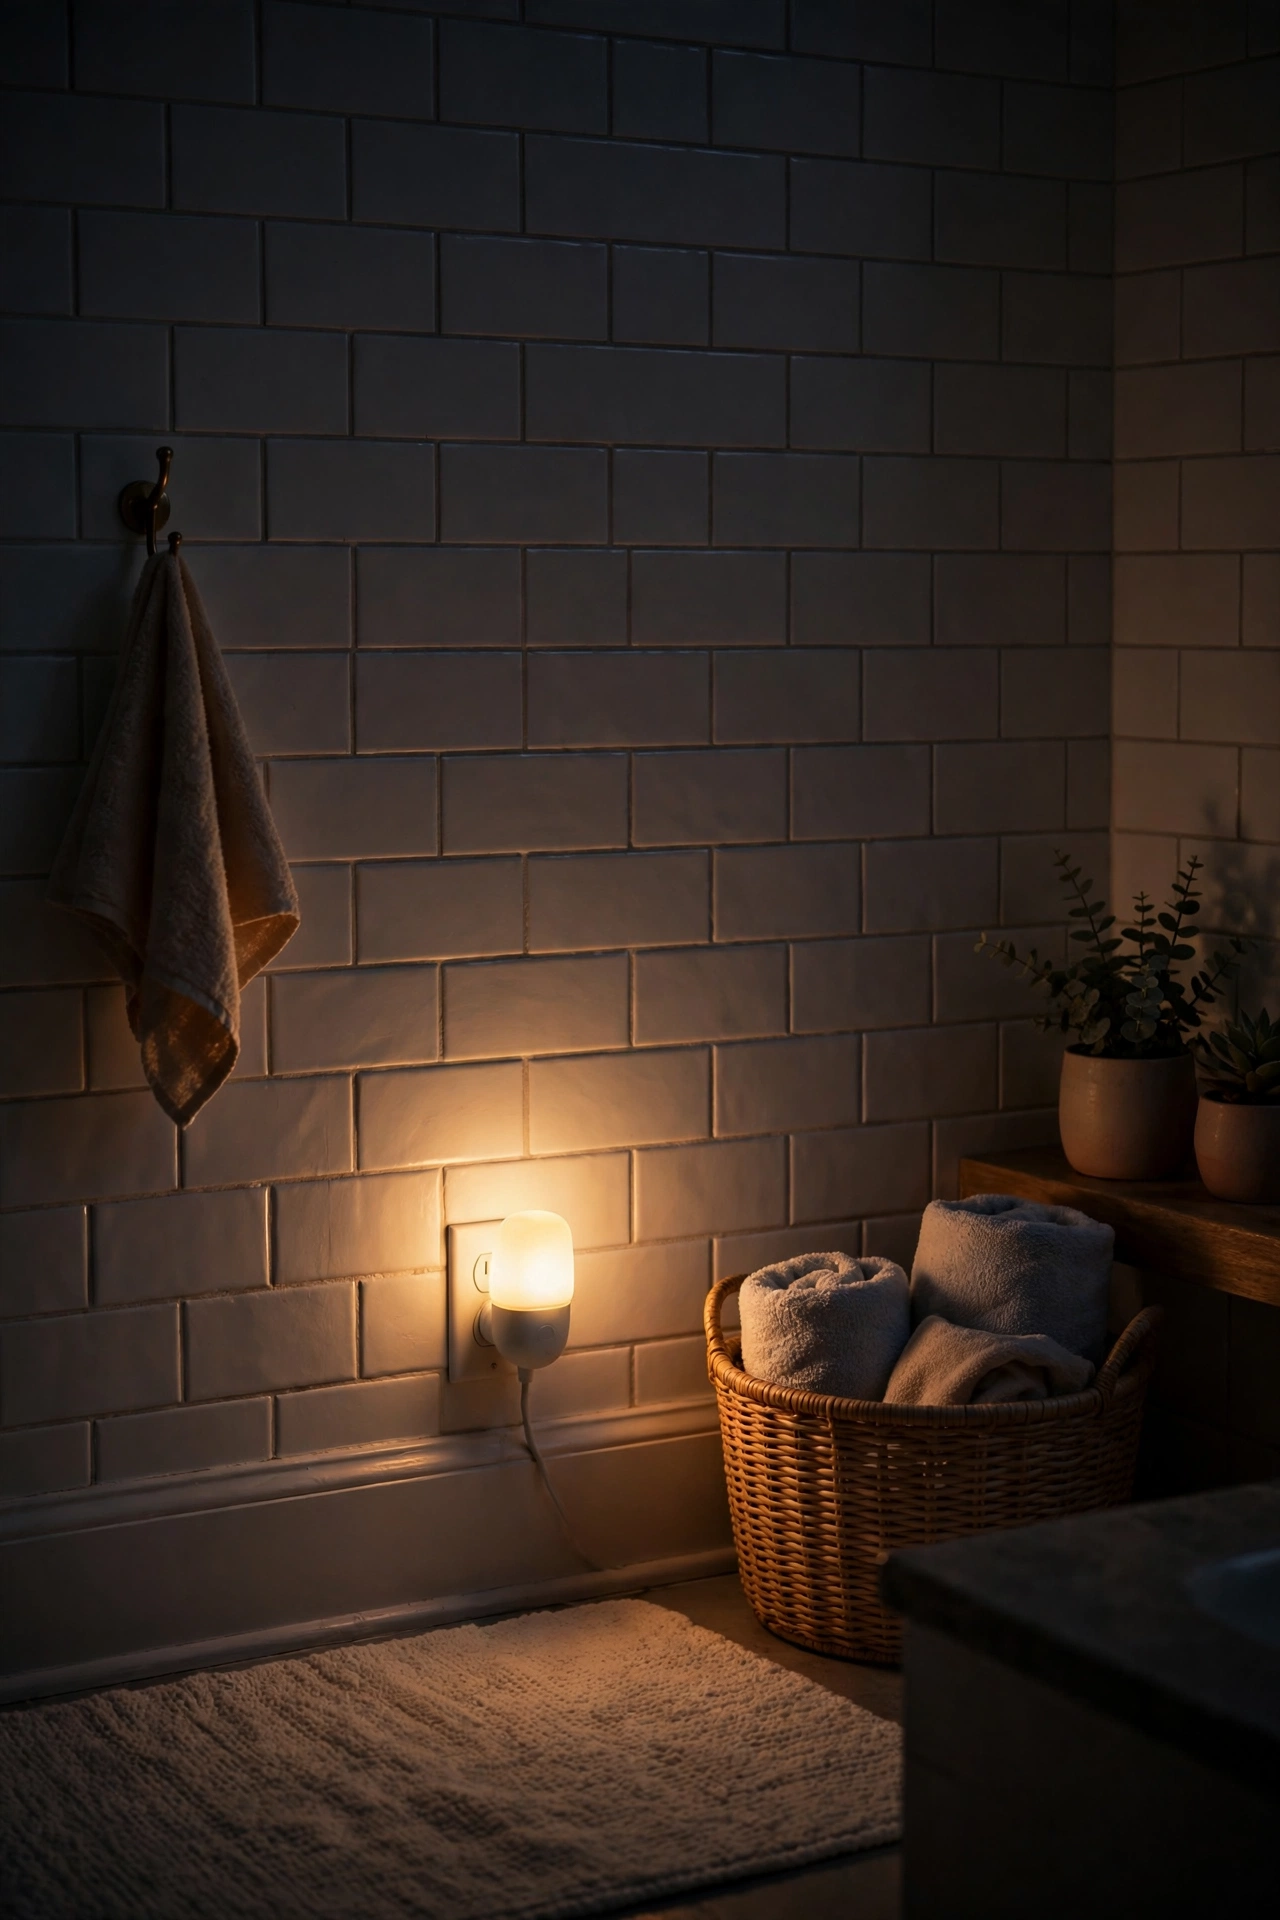
A warm plug-in nightlight means no more blinding overhead light on midnight trips. Choose a soft warm glow, plug it low on the wall, and enjoy the gentle ambience. I tried this and the one mistake to avoid is the bright white kind — it defeats the entire purpose. Warm, dim, barely-there is exactly right. Choose one with a light sensor — it glows only when the room is dark, so it is never wasting electricity. It doubles as a gentle guide for overnight guests finding the loo.
Cost: ~$3 | Time: 5 minutes
Twenty-one hacks, four zones, one very smart-looking bathroom. The thread running through all of them is matching — matching bottles, matching baskets, matching finishes. That’s the real high-end secret, and it costs almost nothing. Start with the vanity tray and the soap dispensers; the rest will follow.
