21 Genius Dollar Store Storage Hacks You’ll Wish You Knew Sooner
21 Genius Dollar Store Storage Hacks You’ll Wish You Knew Sooner
Clutter is just storage you haven’t solved yet — and dollar store storage hacks solve it for less than a pizza. Here’s the cost at a glance for all 21:
- Under $3: tension rods, labels, drawer dividers, hooks, magazine files, bag clips
- $4–$6: stacking bins, over-door organisers, lazy susans, under-bed boxes, shelf risers
- $7–$10: rolling carts, cube shelving units, vacuum bags, lidded hamper
Every one of these takes under an hour. Here are all 21:
1. Tension Rod Under-Sink Divider
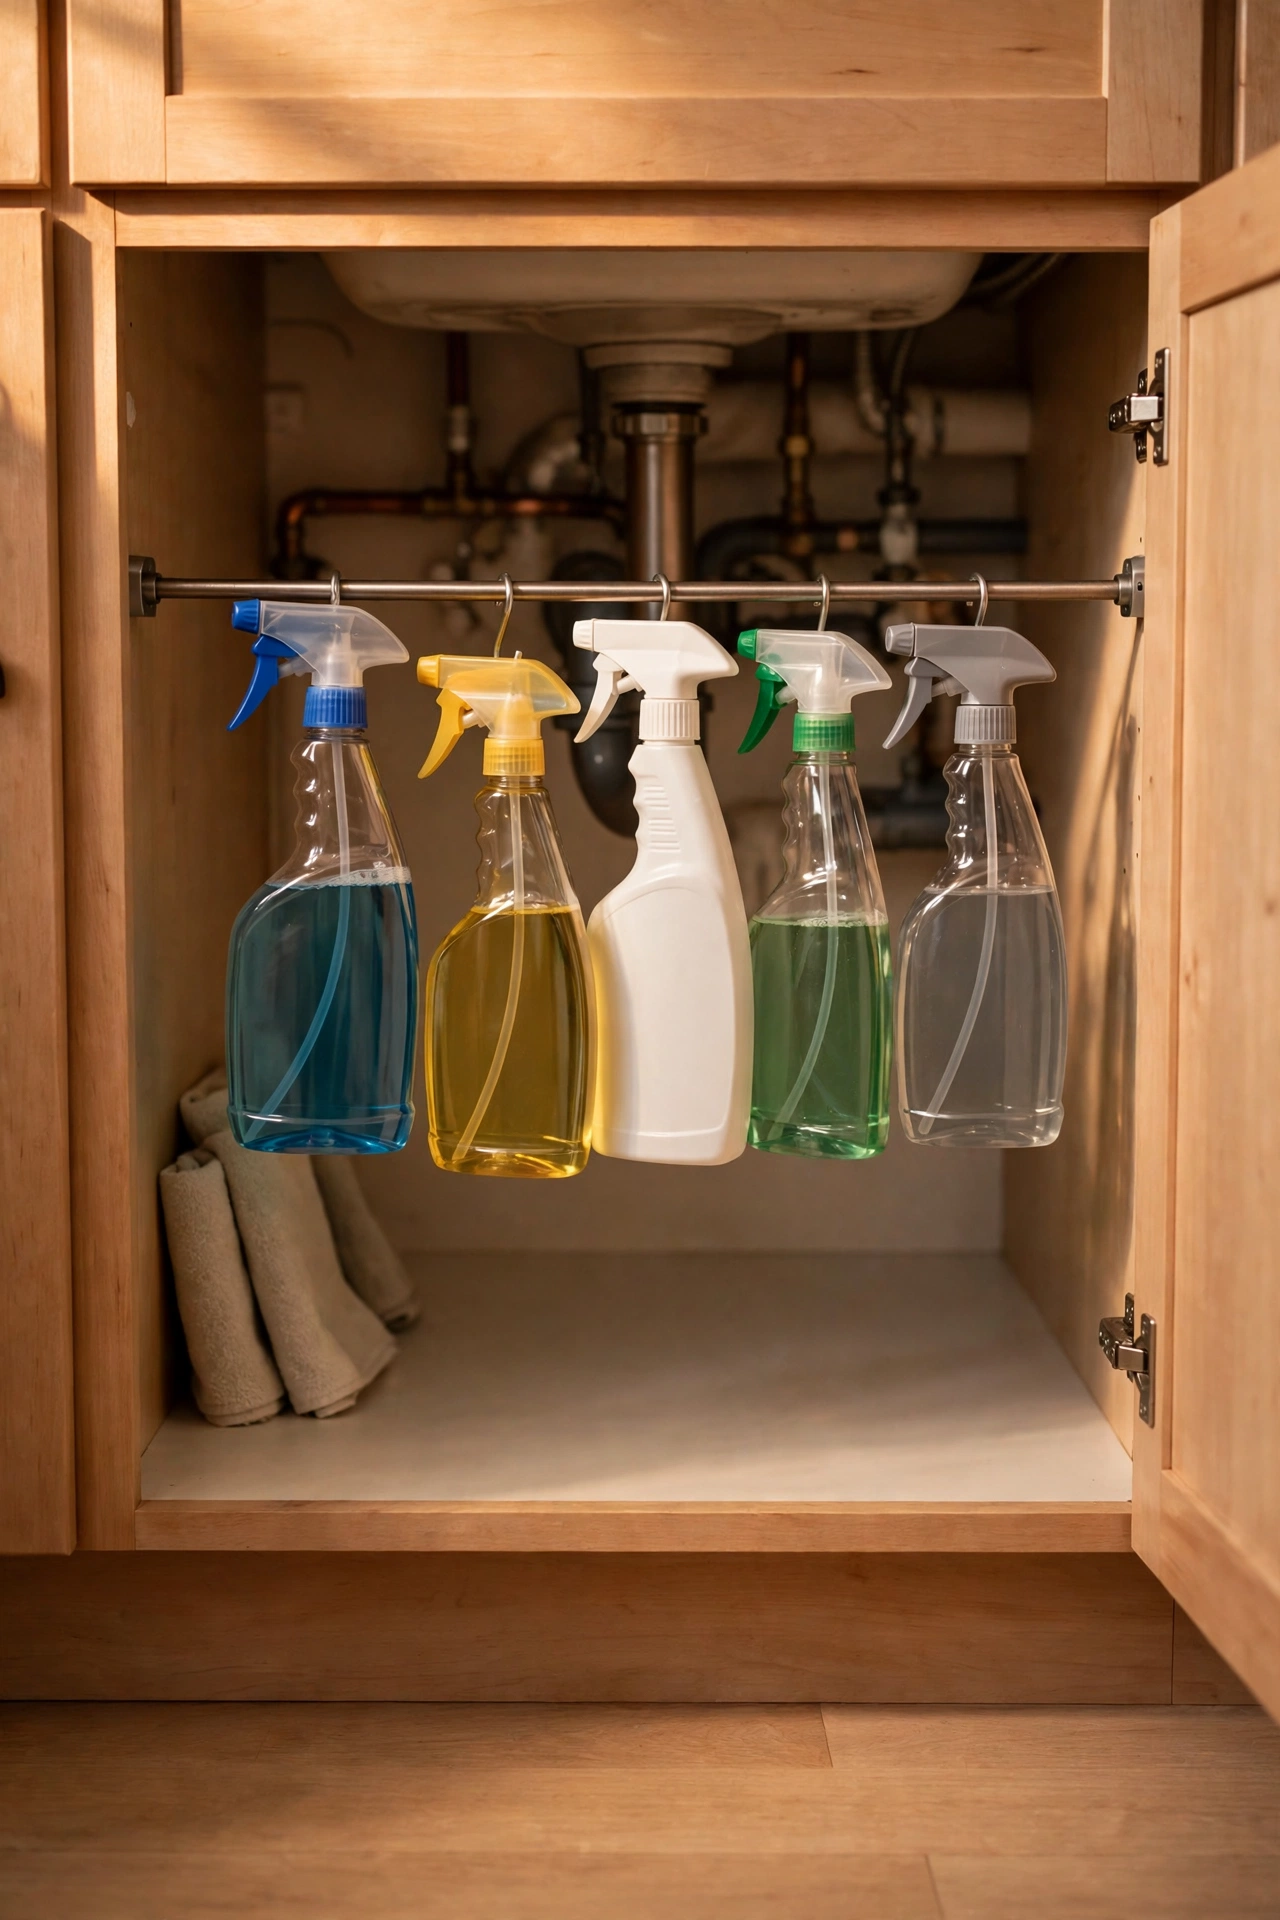
A tension rod wedged across the under-sink cabinet creates a hanging rail for spray bottles — they hang by their triggers, freeing the whole cabinet floor. Measure the cabinet width, twist the rod snug, and hang your bottles in a row. I tried this and the one mistake to avoid is a rod placed too high; bottles need clearance to hang without hitting the shelf above. Measure the bottle height first, then position the rod. Label the rod ends with what hangs there — future you will thank present you during the next under-sink clear-out.
Cost: ~$2 | Time: 10 minutes
2. Stacking Bins for the Fridge
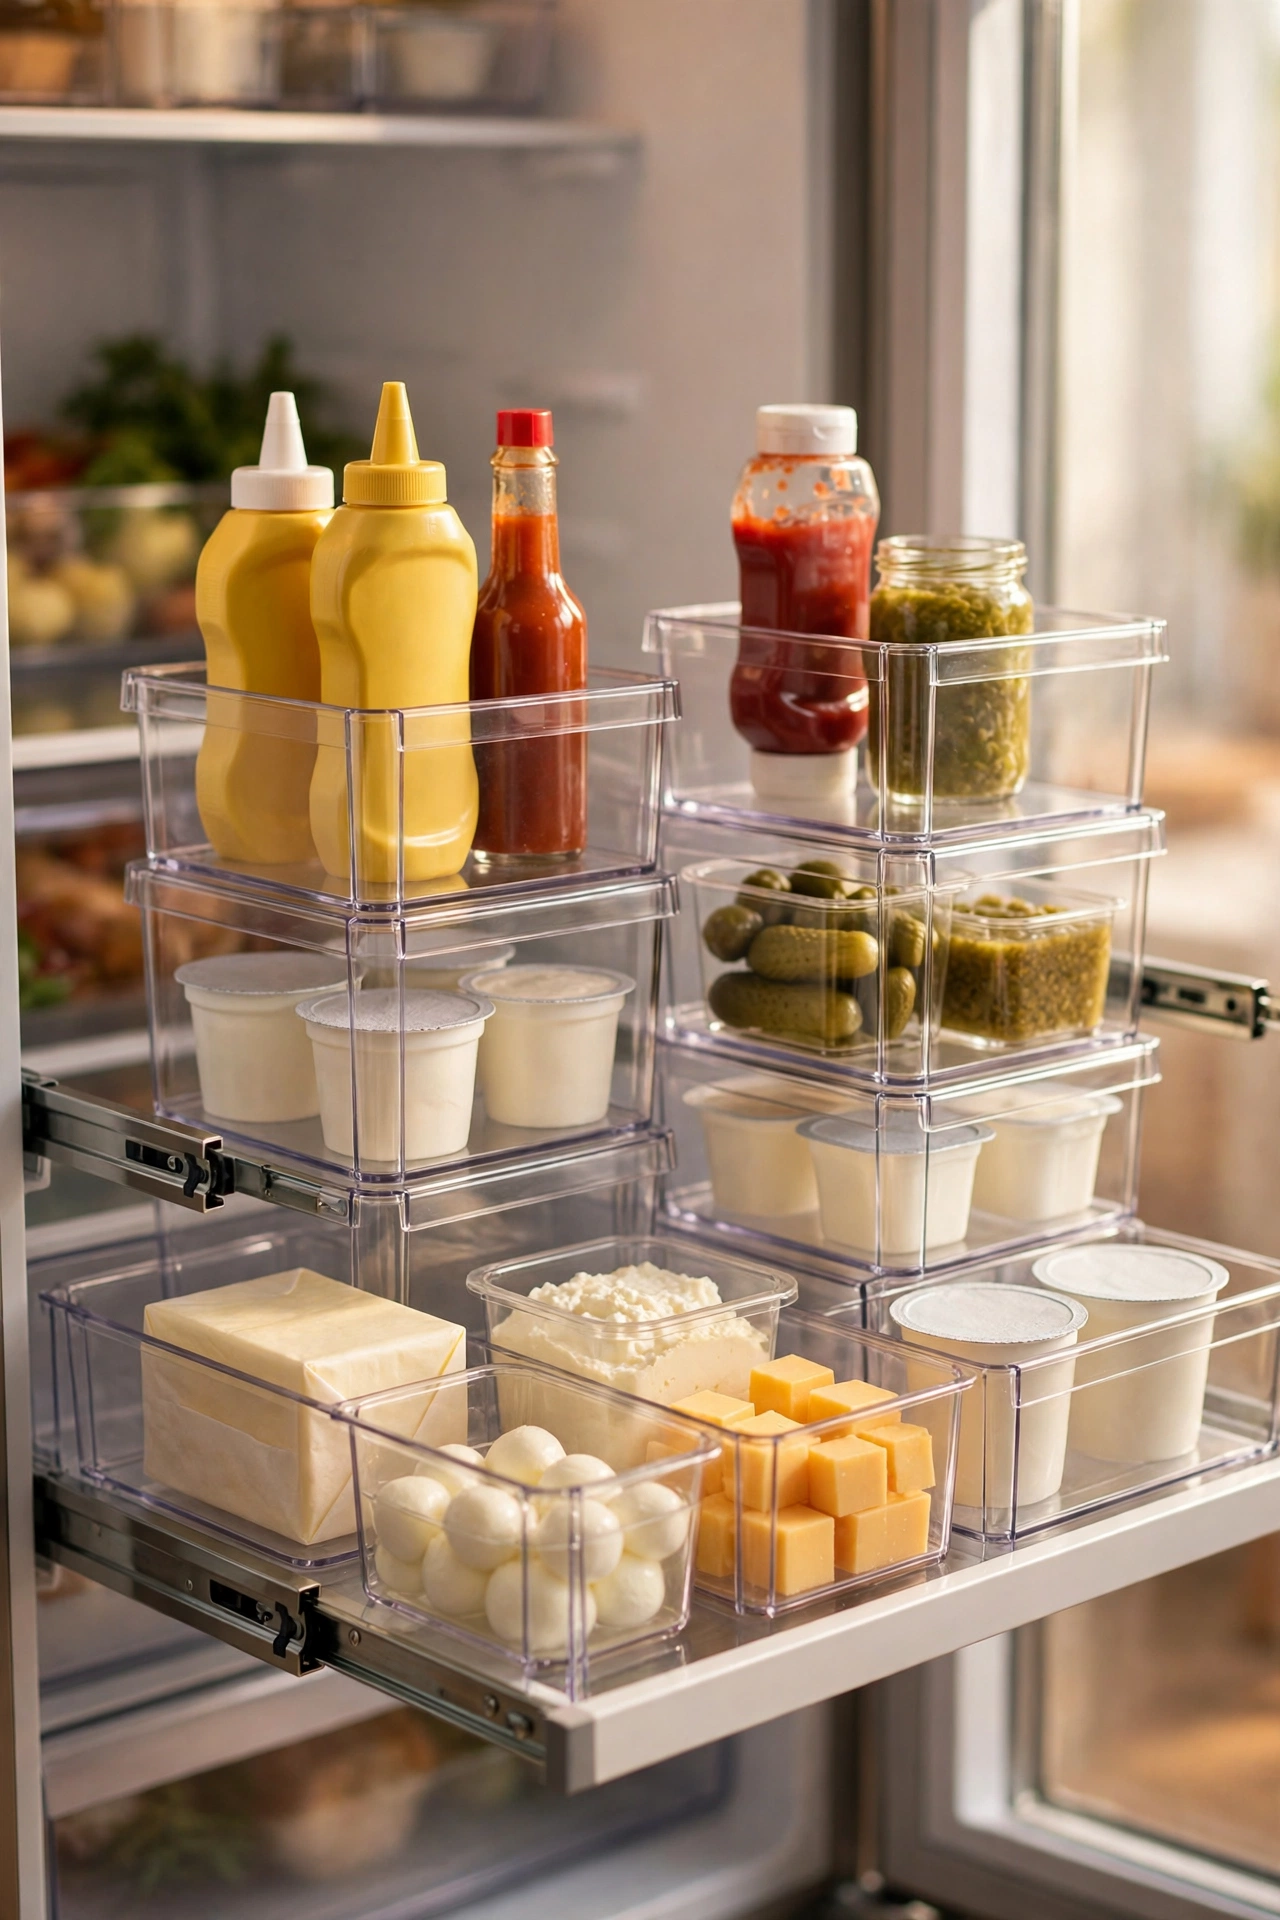
Stackable bins turn fridge shelves into drawers you can pull out and see into. Group like with like — dairy in one, condiments in another — and label the fronts if you share the fridge. I tried this and the one mistake to avoid is bins deeper than the shelf; they stop the door closing and you’ll discover it at midnight. Measure shelf depth before you shop. Stand the bins on their sides for tall bottles — the stacking design works vertically too, which doubles their uses.
Cost: ~$5 | Time: 15 minutes
3. Over-Door Pantry Organiser
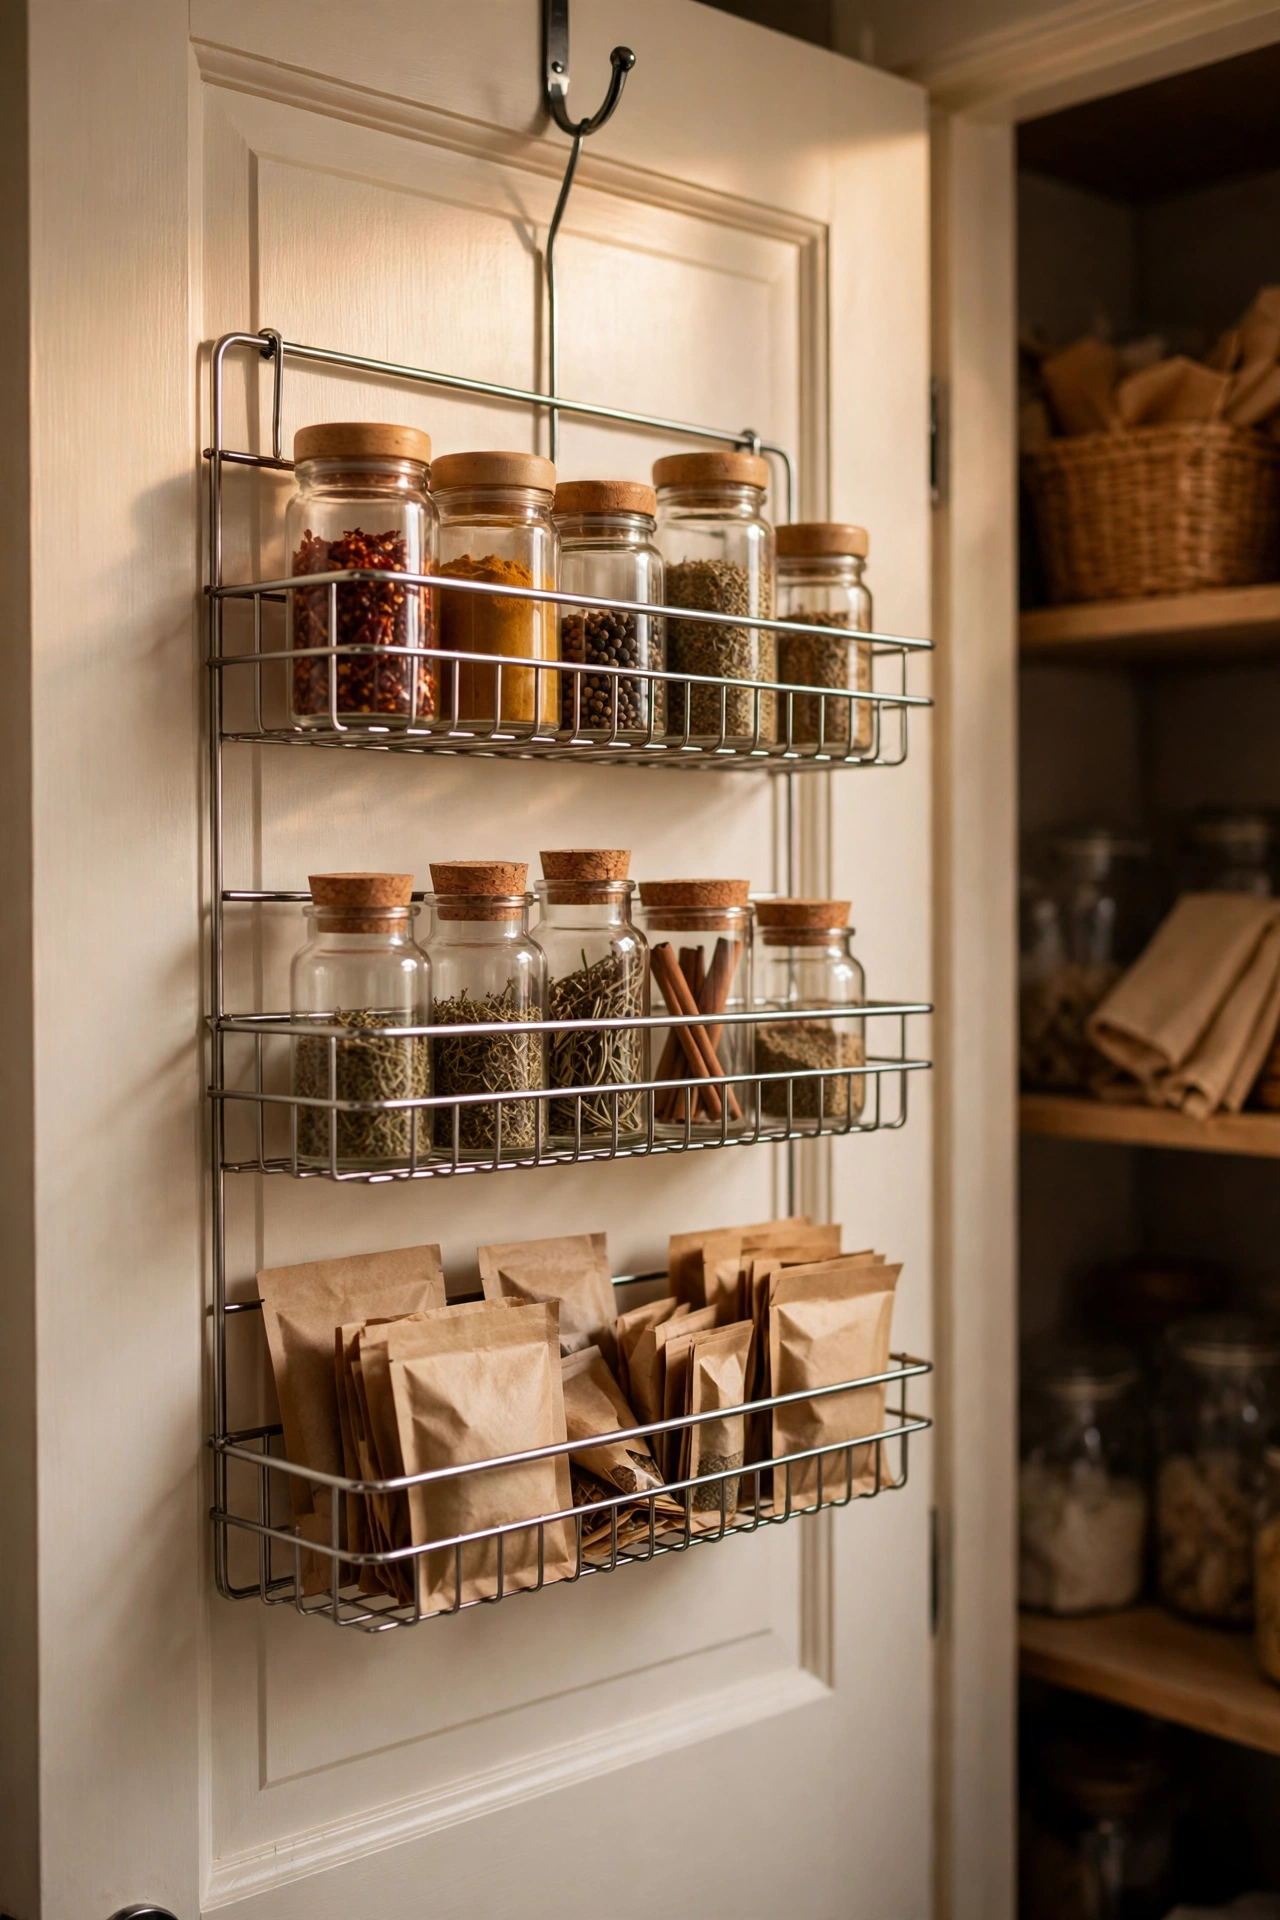
The back of a pantry door is prime real estate going to waste. A wire over-door rack holds spices, packets and small tins in full view. Hang it, load the lightest items up top, and keep daily-use things at eye level. I tried this and the one mistake to avoid is slamming the door — everything rattles and eventually something jumps ship. Close it like you mean it, gently. Stick a small motion-sensor light inside the pantry — the organiser’s contents are only useful if you can actually see them.
Cost: ~$6 | Time: 10 minutes
4. Lazy Susan in Deep Cupboards

A turntable in a deep corner cupboard means nothing gets lost at the back ever again. Set it in, load your oils and sauces, and give it a spin to find what you need. I tried this and the one mistake to avoid is overloading it past its spin; a turntable that won’t turn is just a round shelf. Leave a finger’s width of clearance around the edge. Put the turntable on a non-slip mat first — a spinning base on a slick shelf migrates every time you spin it.
Cost: ~$5 | Time: 5 minutes
5. Magazine Files for Cling Wrap
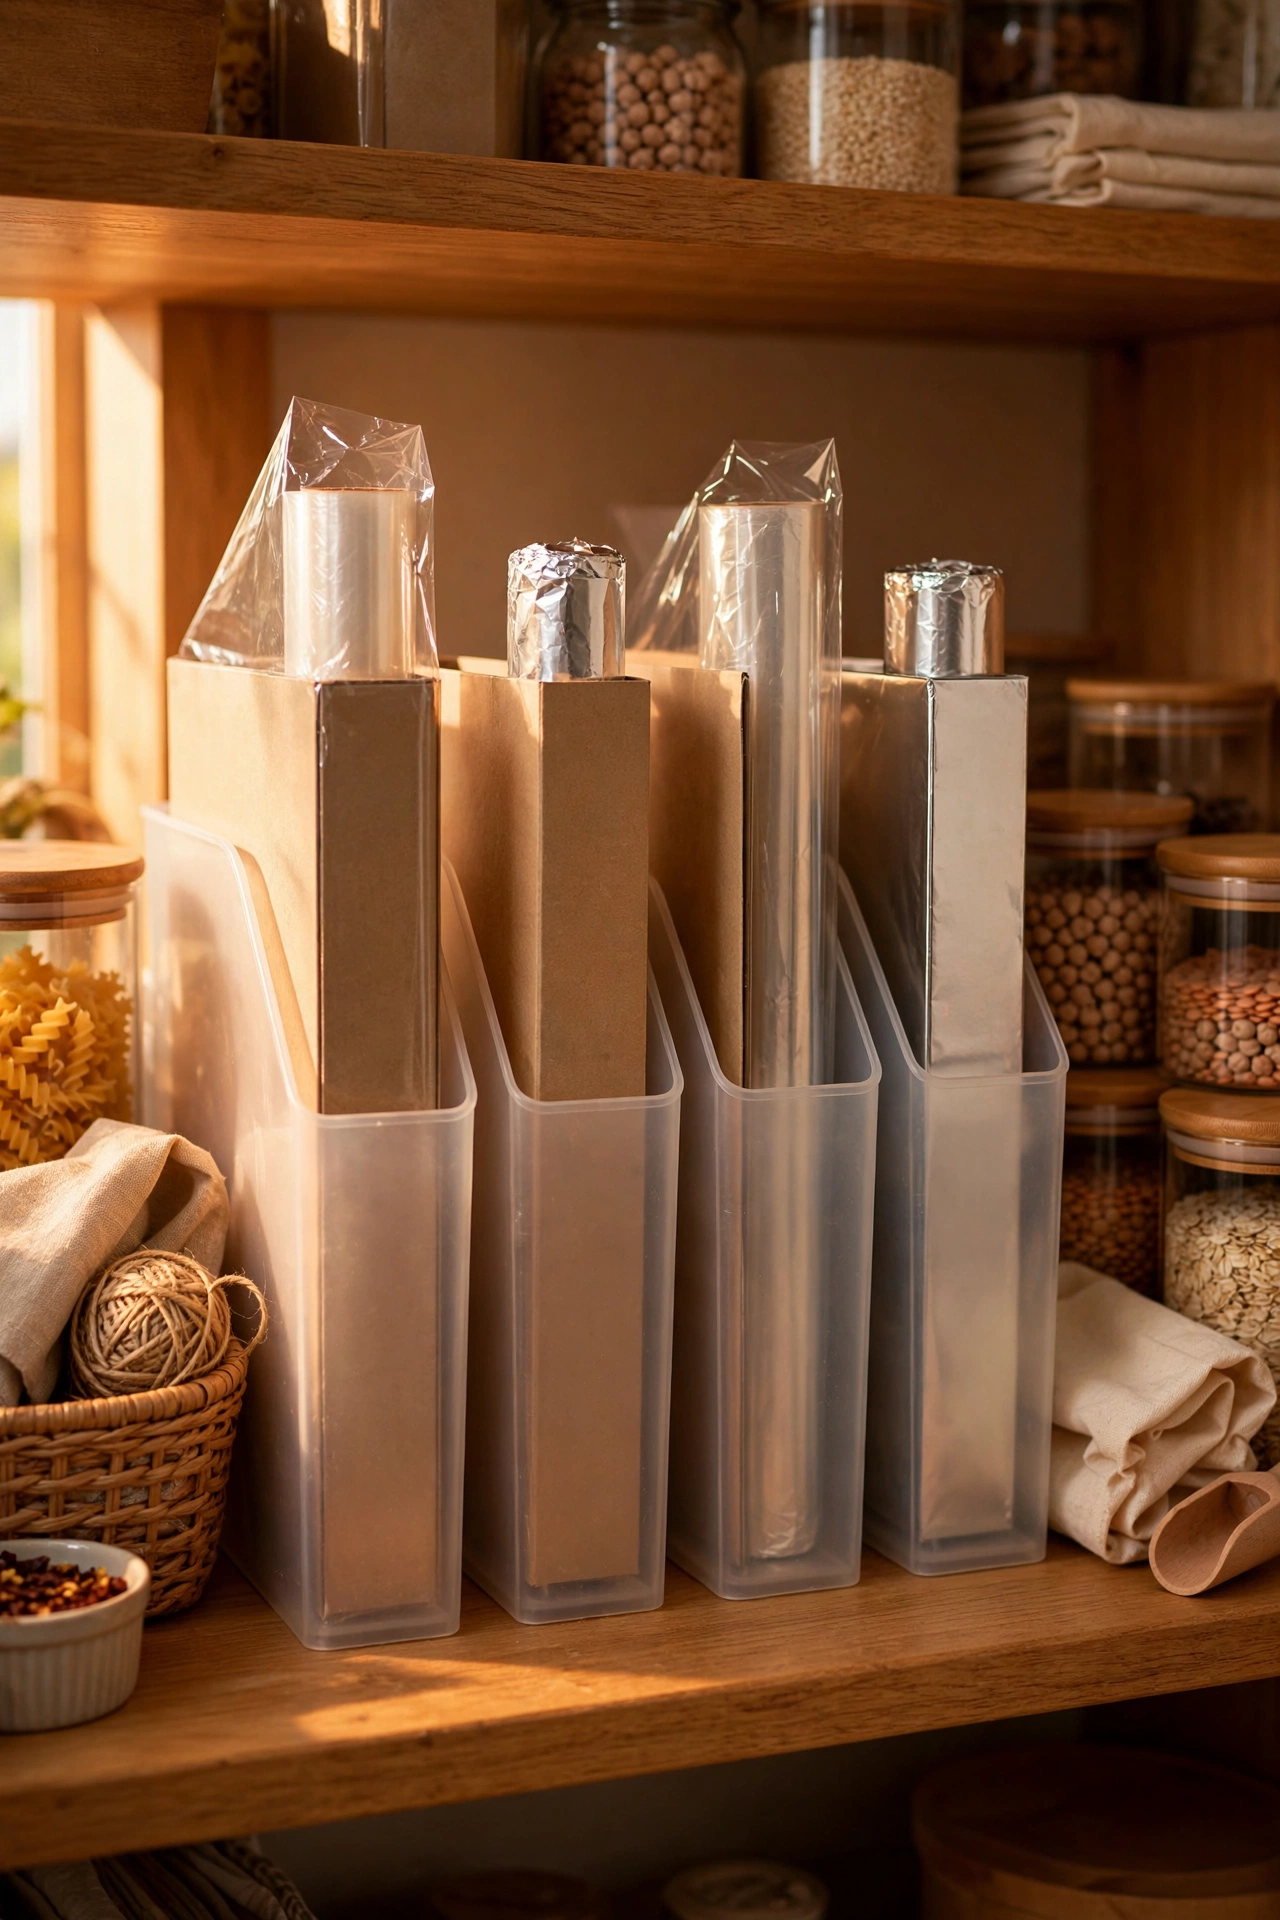
Upright magazine files are perfect for cling film, foil and baking paper — they stand the boxes on end so you can grab what you need. Slot one into a cupboard or pantry shelf, file the boxes in, and label the front. I tried this and the one mistake to avoid is the flimsy cardboard kind near the sink; one splash and they sag. Plastic files for kitchens, always. Save this one for later — you’ll thank yourself when spring rolls around and you reorganise the whole kitchen.
Cost: ~$2 | Time: 5 minutes
6. Under-Bed Storage Boxes
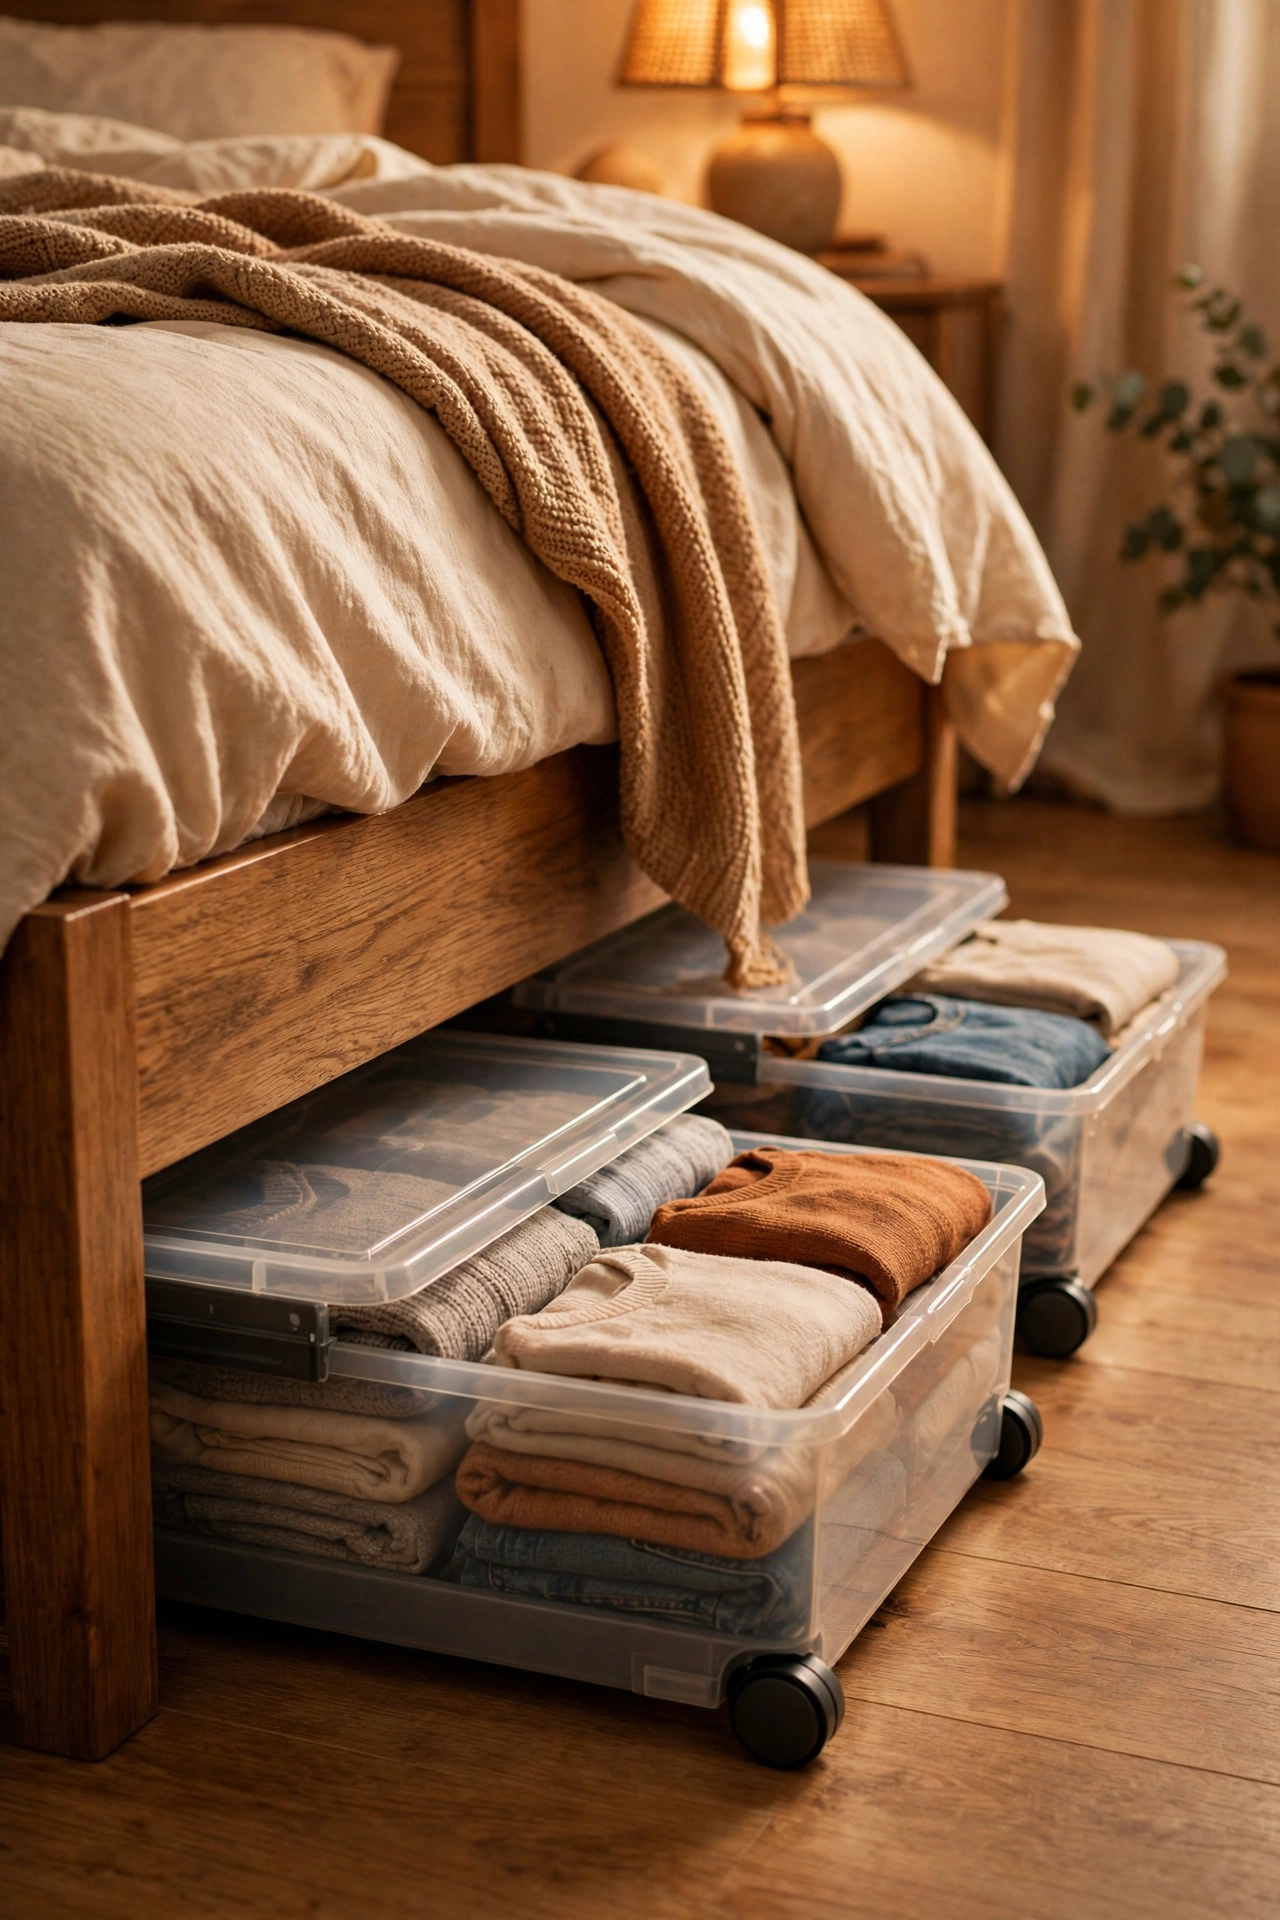
The space under your bed is a whole wardrobe you’re not using. Low, lidded boxes slide underneath holding out-of-season clothes, spare bedding or gift wrap. Choose boxes with wheels or smooth bases so they glide. I tried this and the one mistake to avoid is boxes without lids; open boxes under the bed become dust museums. Lids on, everything stays fresh. Keep the lids clipped shut with a bulldog clip in transit — under-bed boxes slid out carelessly can shower dust everywhere.
Cost: ~$8 | Time: 15 minutes
7. Shower Caddy as Cleaning Caddy
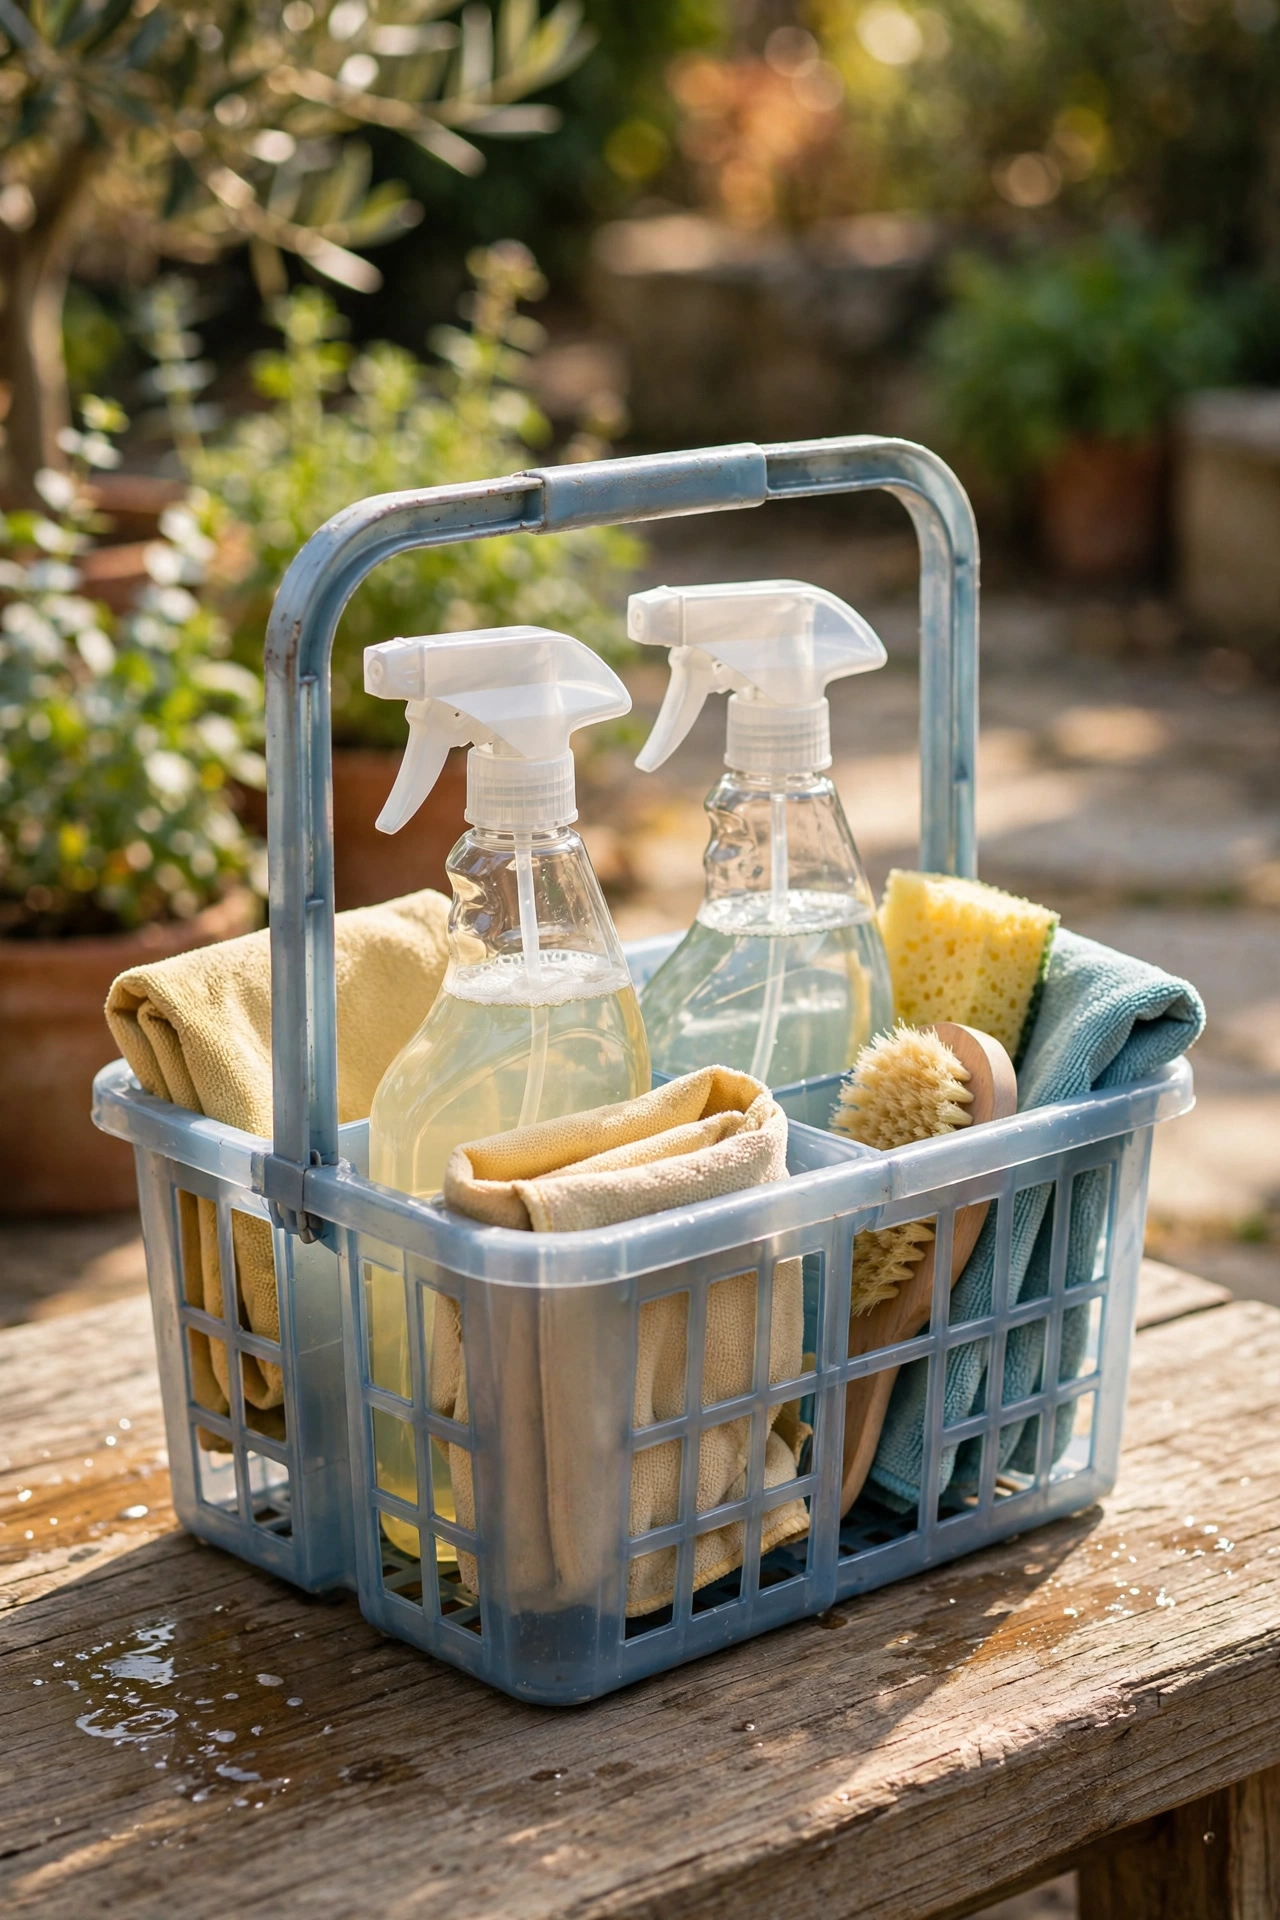
A plastic shower caddy with a handle makes a brilliant portable cleaning kit — sprays in the middle, cloths in the side pockets. Carry it room to room instead of making ten trips. I tried this and the one mistake to avoid is the caddy with tiny compartments that fit nothing; check your tallest spray bottle fits before you buy. Measure the bottle, not your optimism. Colour-code cloths by room with a strip of tape on the caddy dividers — it stops bathroom cloths migrating to the kitchen.
Cost: ~$3 | Time: 10 minutes
8. Rolling Cart for Craft Supplies
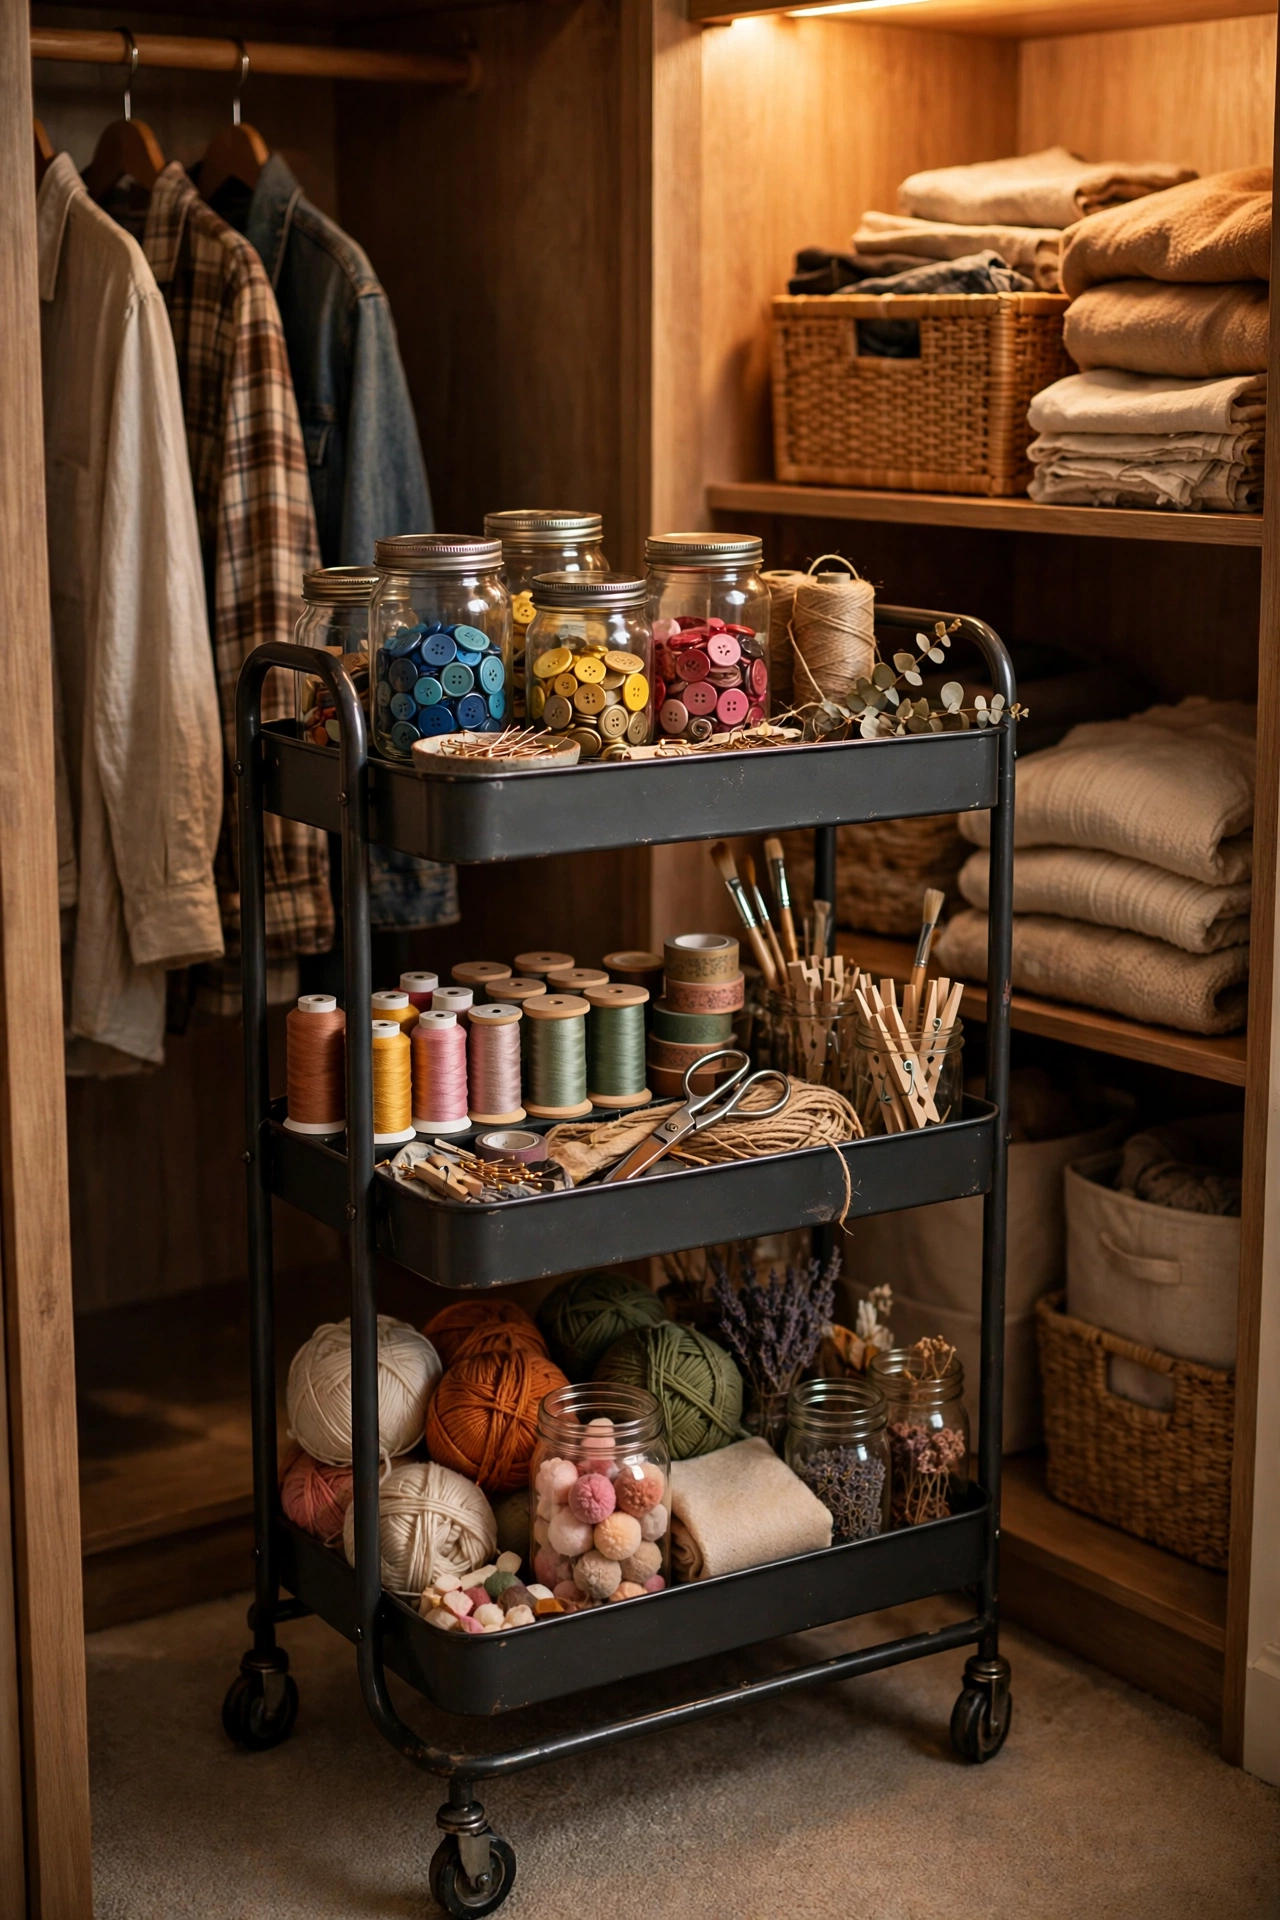
A three-tier rolling cart corrals craft supplies, wrapping paper or bathroom extras and wheels wherever you need it. Assemble per the instructions, put the heaviest items on the bottom tier, and park it in a closet when not in use. I tried this and the one mistake to avoid is overloading the top tier; it’s tippy by design. Heavy low, light high — physics is non-negotiable. For more cart ideas, see (see also: 21-dollar-store-hacks-every-renter-should-know). Lock the wheels once it is parked — an unlocked cart on a hard floor drifts at the slightest nudge.
Cost: ~$10 | Time: 25 minutes
9. Drawer Dividers for Junk Drawers
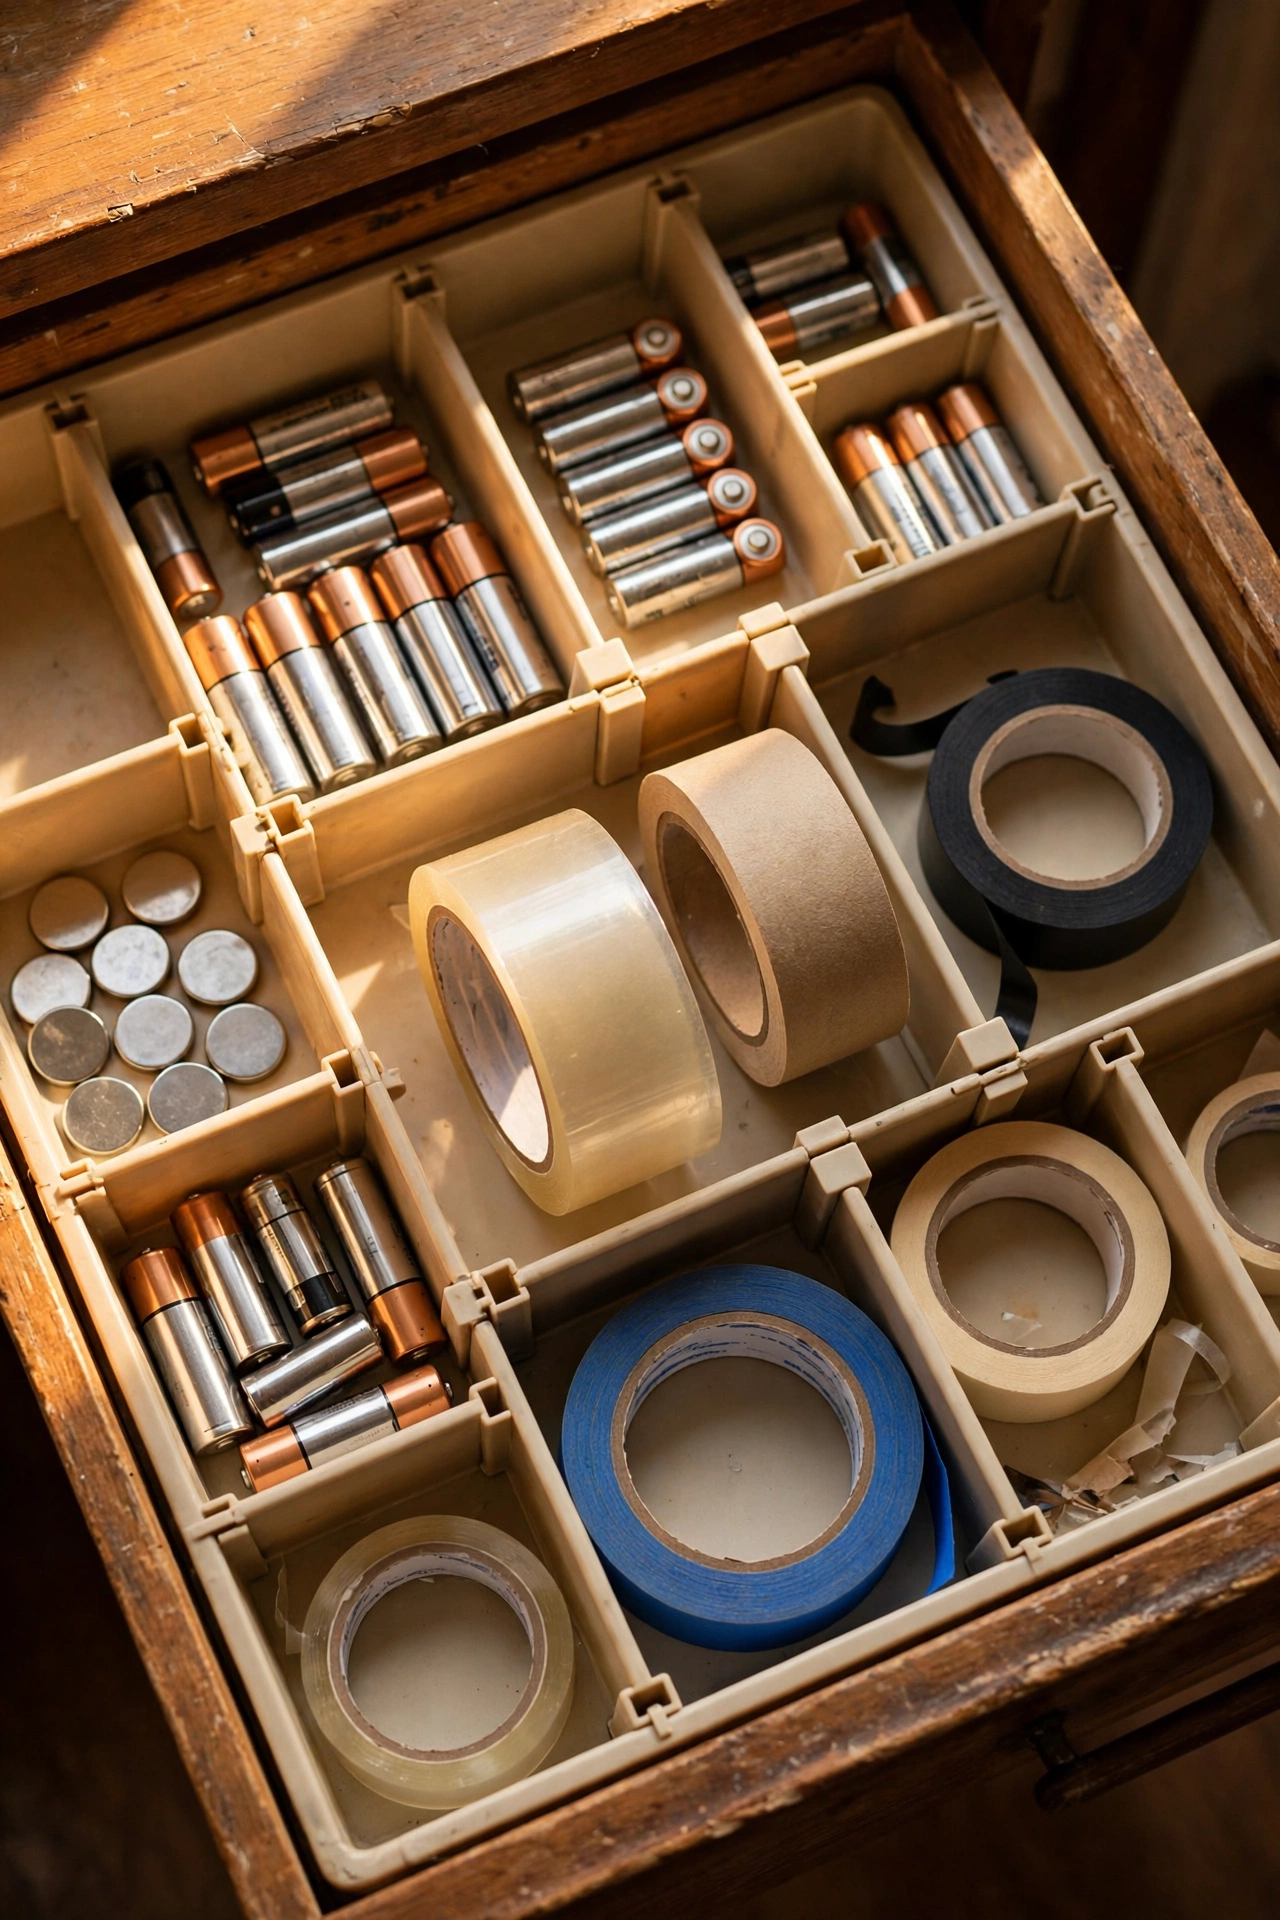
Every home has the junk drawer; dividers just make it an organised junk drawer. Adjustable dividers create zones — batteries, tape, takeaway menus — and the rule is everything gets a zone. I tried this and the one mistake to avoid is the “misc” zone; it’s where organisation goes to die. If it doesn’t fit a category, it doesn’t live in the drawer. Photograph the organised drawer once — the photo shames you into keeping it that way far better than good intentions.
Cost: ~$3 | Time: 15 minutes
10. Vacuum Bags for Bulky Bedding
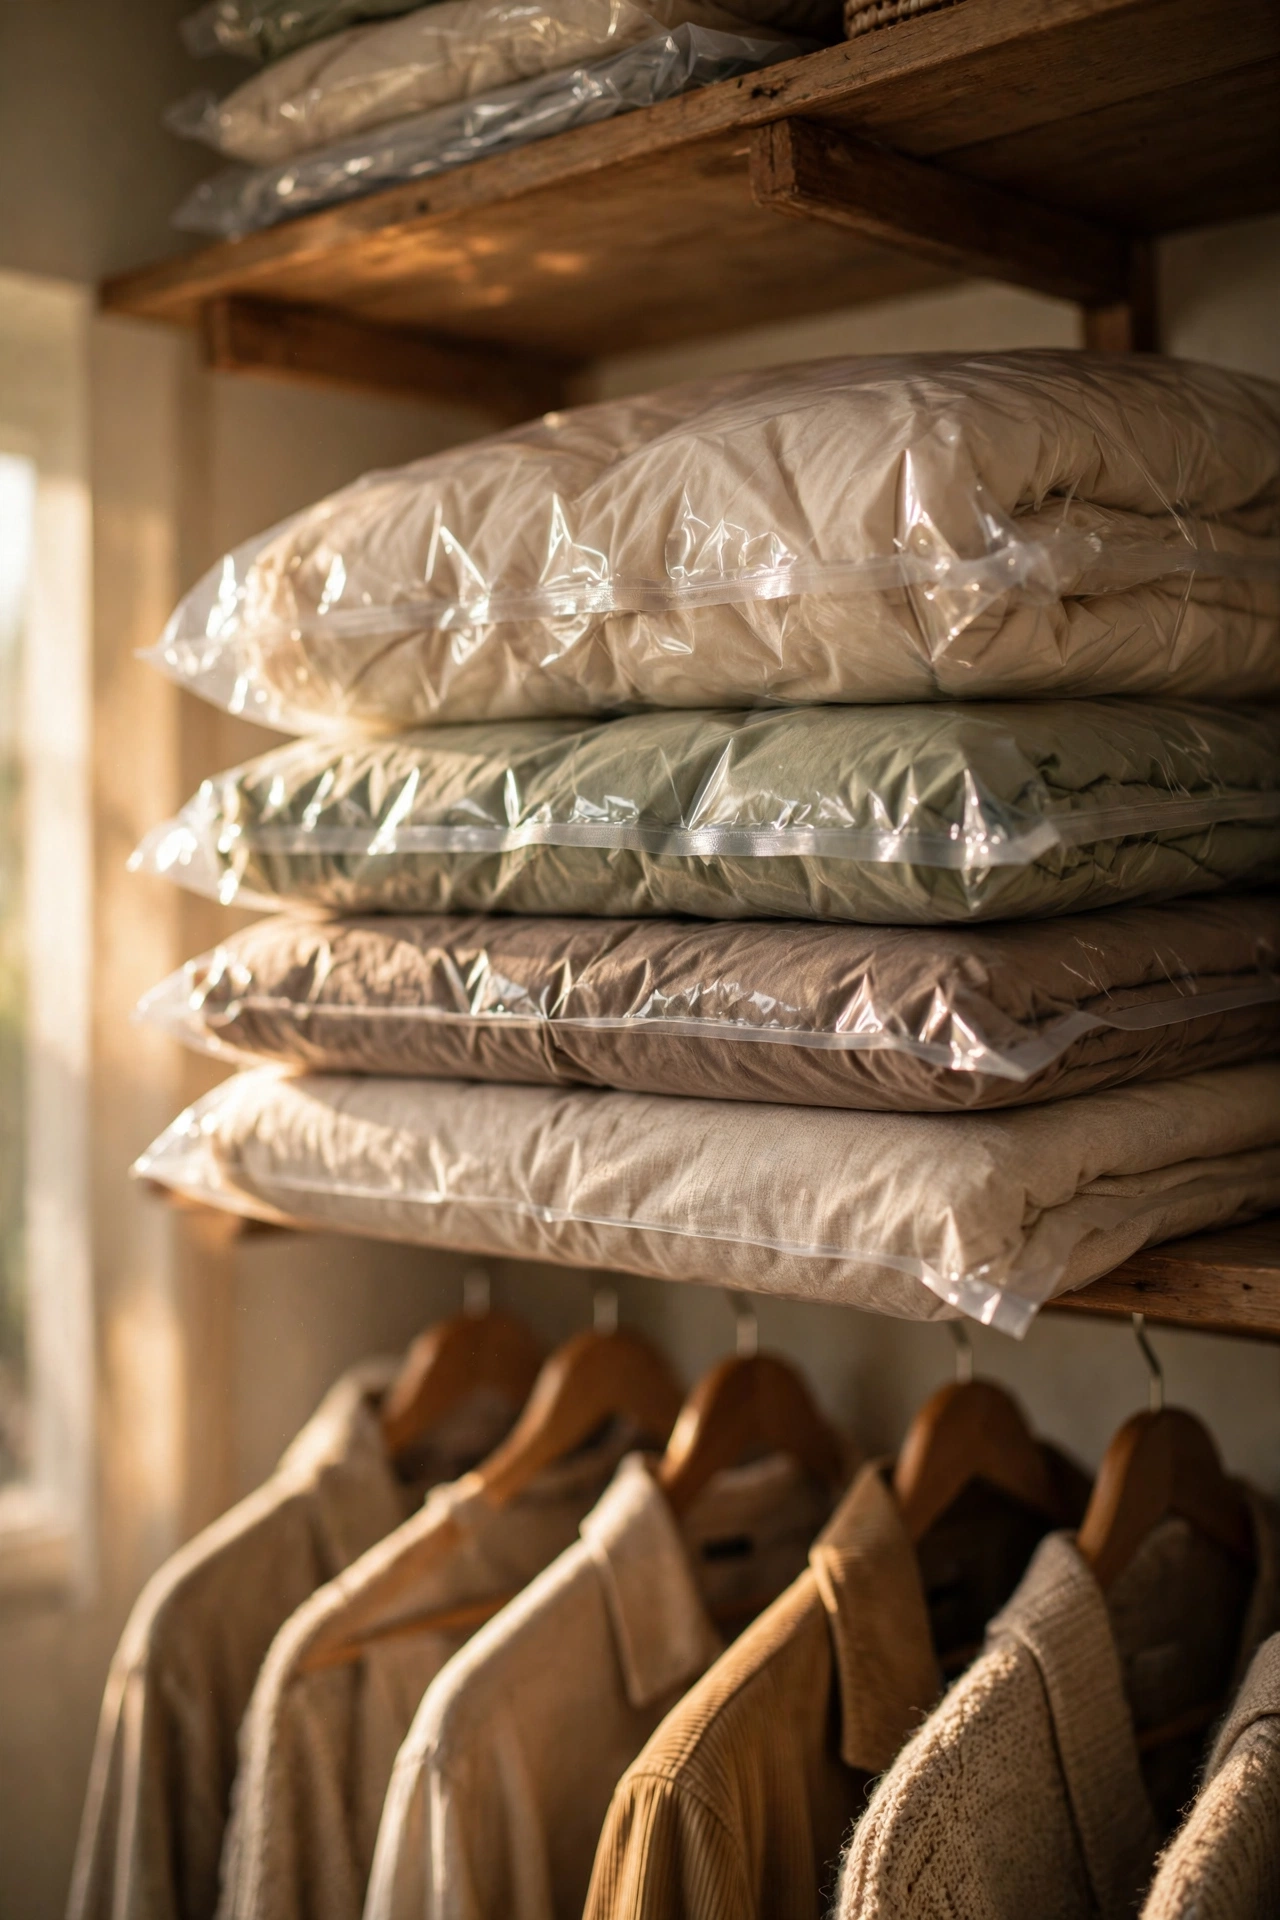
Vacuum storage bags shrink duvets and winter coats to a third of their size. Fill, seal, suck out the air with a vacuum, and slide the flat packs onto a high shelf. I tried this and the one mistake to avoid is overfilling past the max line; the seal won’t hold and the bag slowly reinflates like a sad balloon. Fill to the line, not your ambition. Squeeze the air out, then roll the bag before sealing — rolling pushes out the last pockets the vacuum misses.
Cost: ~$7 | Time: 20 minutes
11. Shelf Risers in Cupboards
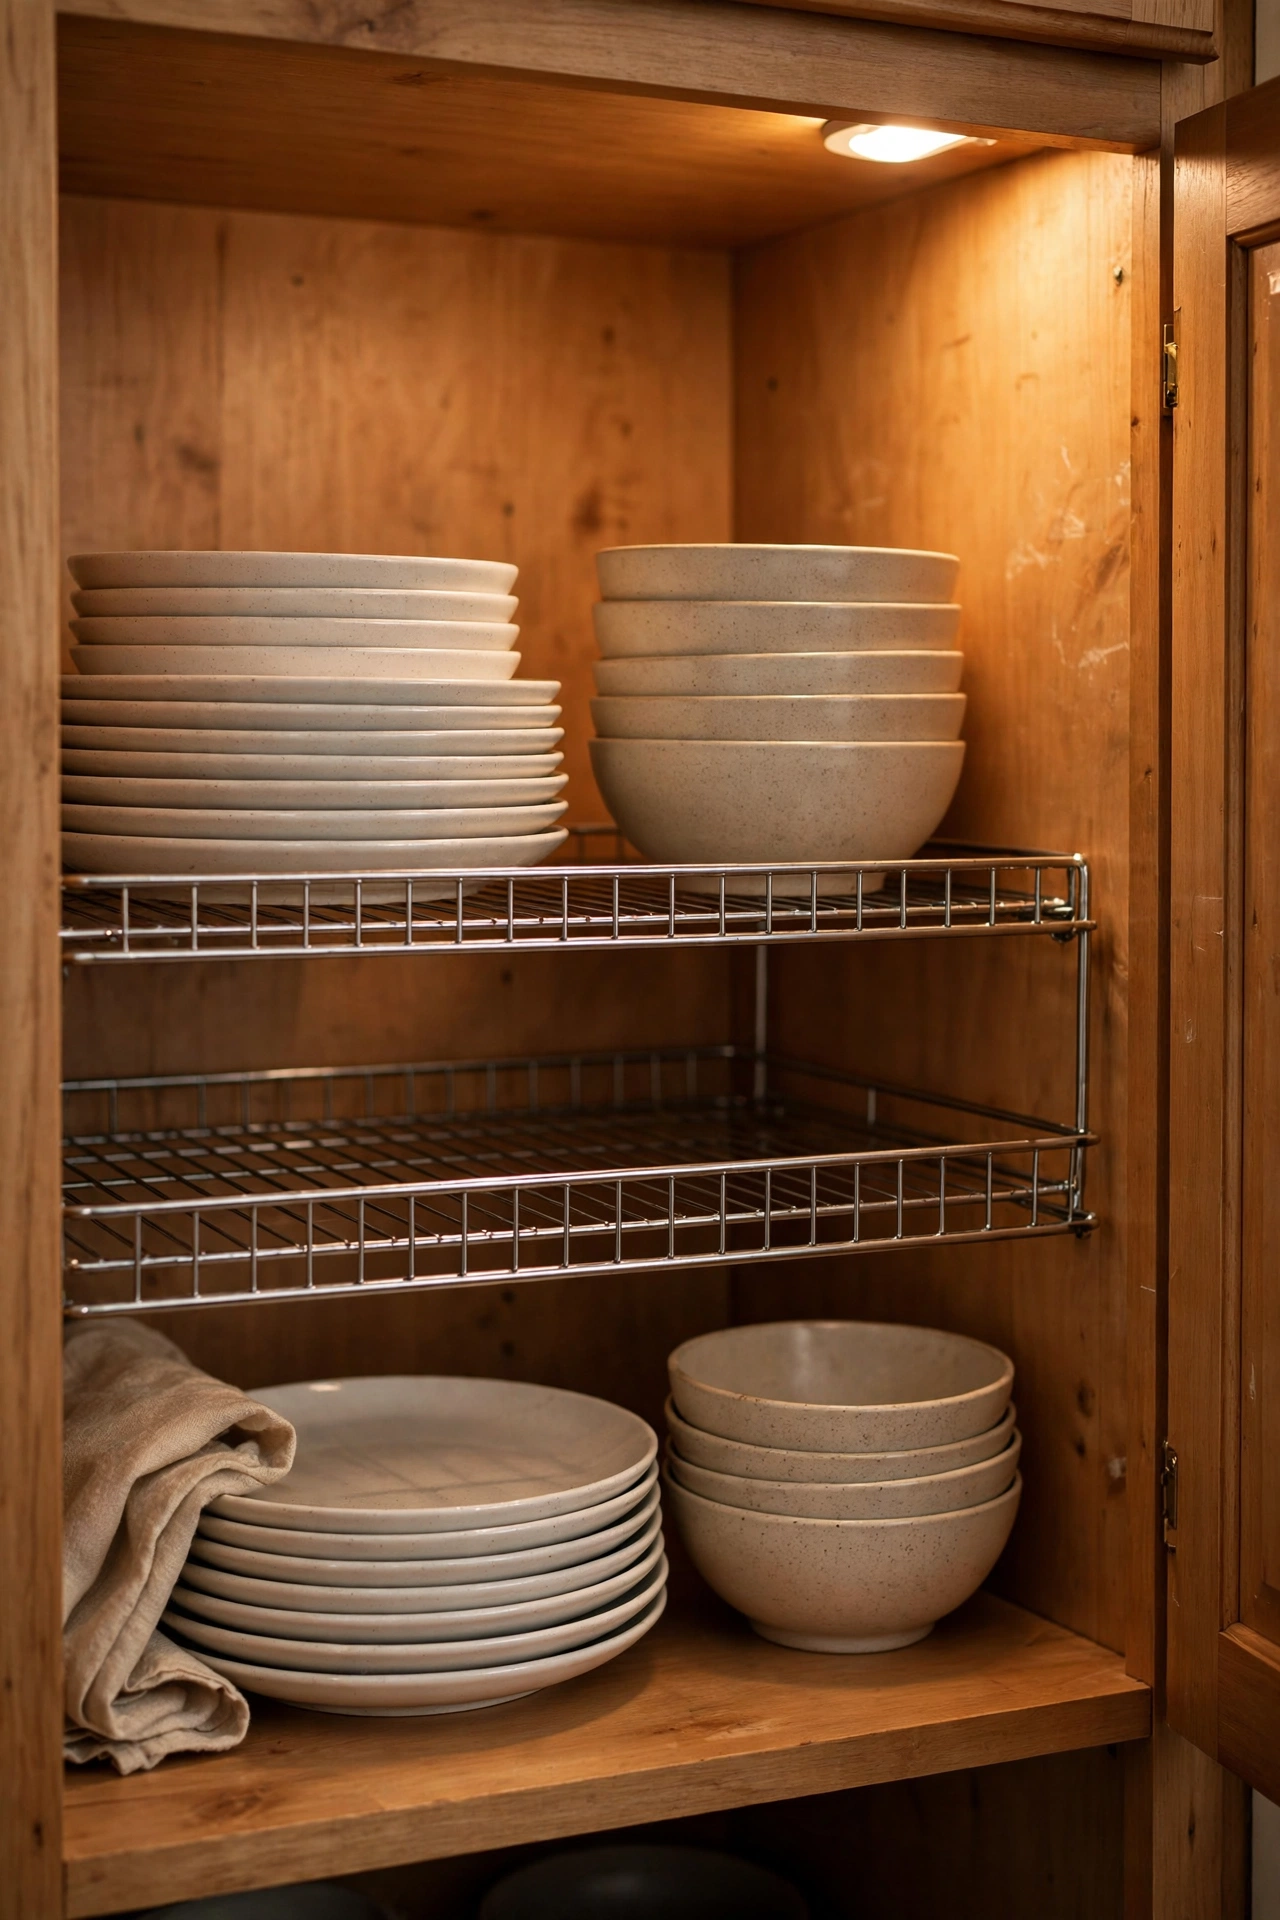
Wire shelf risers double every shelf in the kitchen — plates below, bowls above. They’re freestanding, so they move house with you. I tried this and the one mistake to avoid is stacking the heaviest items on the riser tier; they’re sturdy but not structural. Everyday crockery up top, the cast iron stays on the solid shelf. Use the riser sideways in a deep pantry for tins — the orientation trick works anywhere with wasted vertical space. They also work brilliantly in bathroom cabinets for stacking toiletries.
Cost: ~$4 | Time: 10 minutes
12. Adhesive Hooks Inside Cabinet Doors
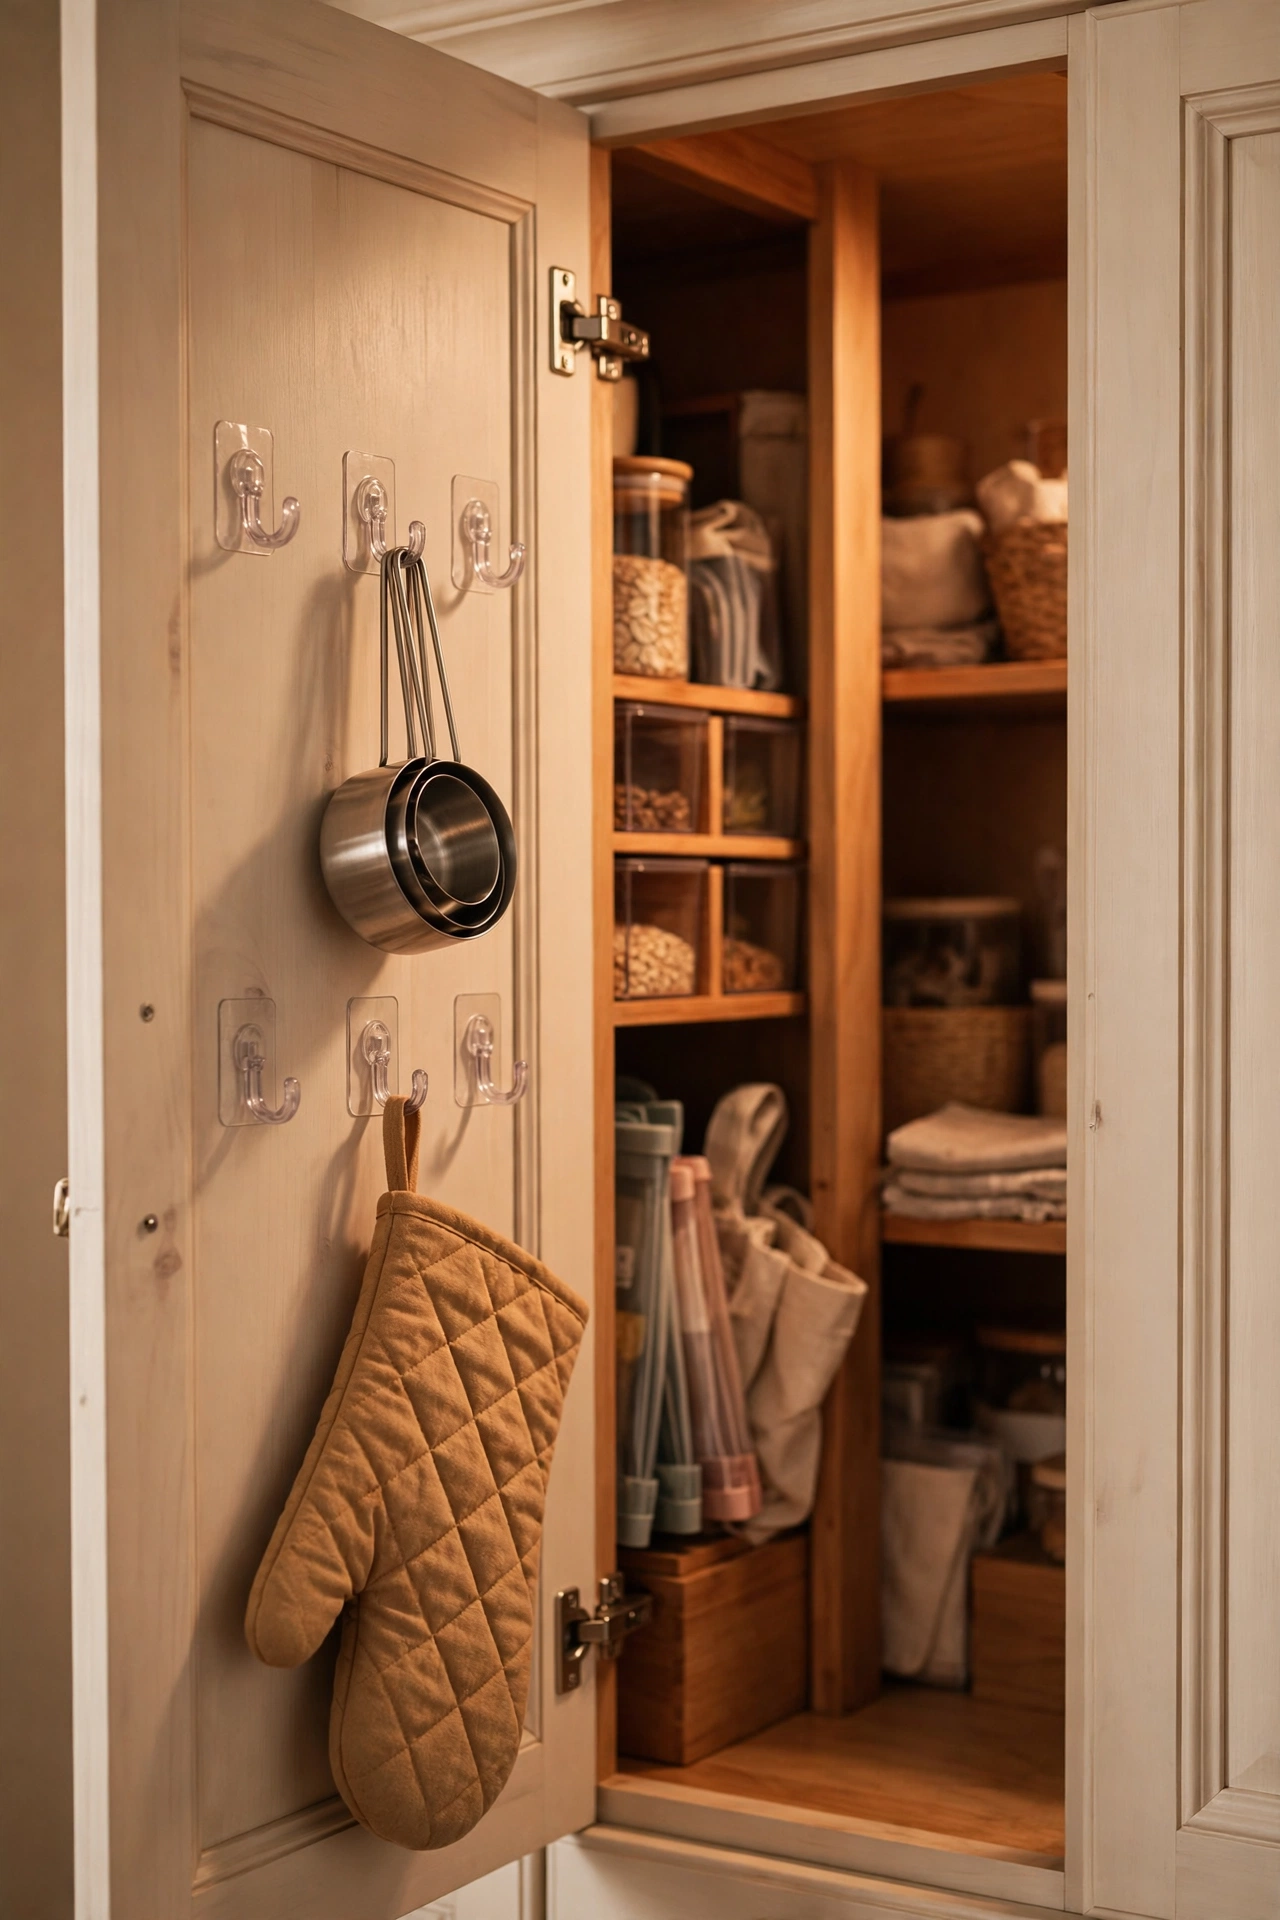
Stick hooks inside cabinet doors to hang measuring cups, oven mitts or cleaning brushes — dead space becomes storage. Clean the surface with alcohol first, press firmly, and wait 24 hours before loading. I tried this and the one mistake to avoid is loading them immediately; the adhesive needs a full day to cure. Patience now saves a crash later. Warm the hook with a hairdryer before sticking — the heat helps the adhesive bond properly to the surface. They hold a surprising amount of weight once fully cured.
Cost: ~$2 | Time: 10 minutes
13. Cube Shelving for Toys
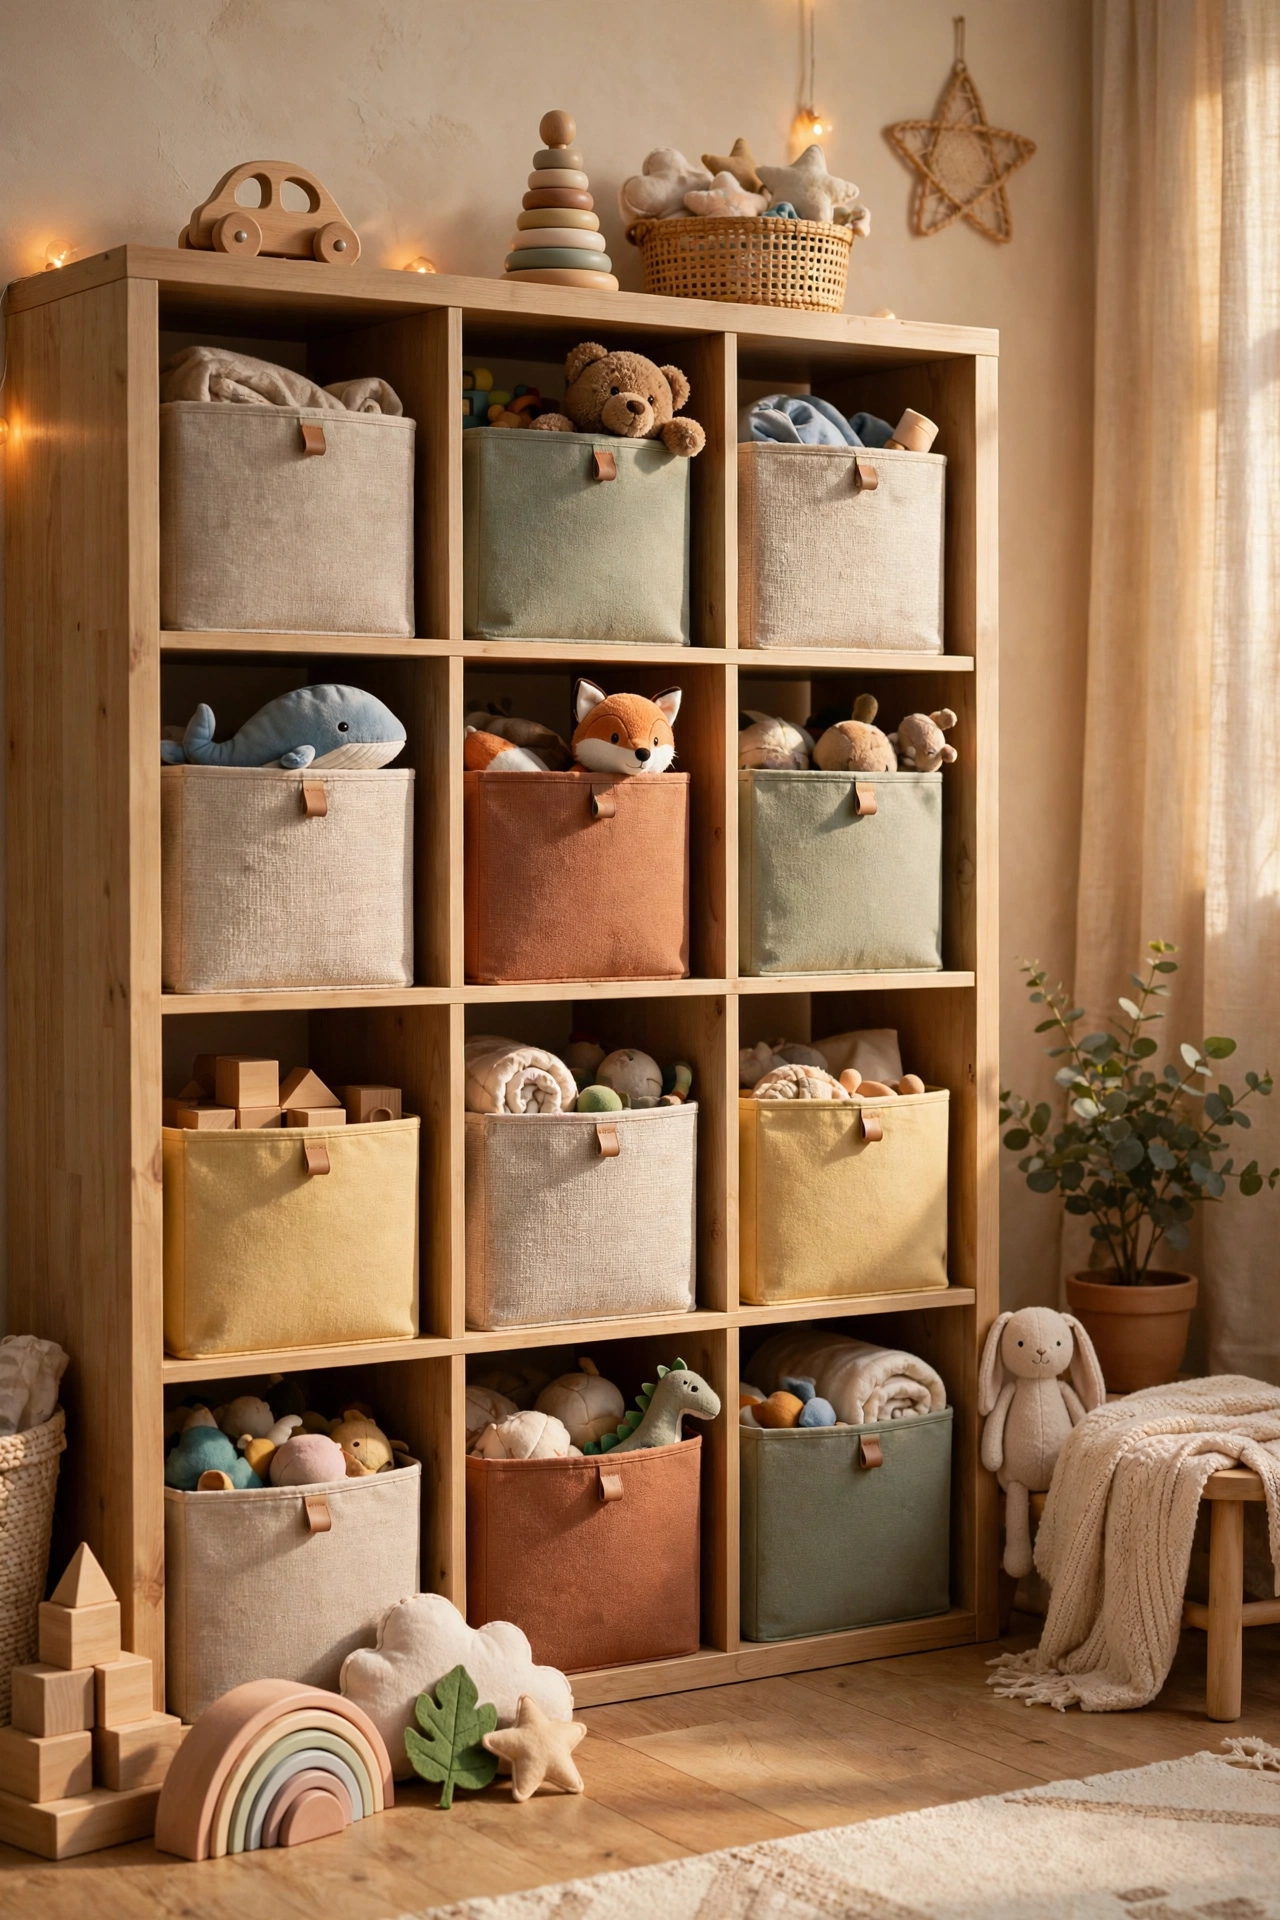
A cube shelving unit with fabric bins tames toy chaos — one bin per category, and clean-up becomes a sorting game. Anchor it to the wall for safety, label each bin with pictures for little ones. I tried this and the one mistake to avoid is skipping the wall anchor; a climbing toddler can topple an unsecured unit. Anchor first, organise second. Cut picture labels from old magazines for the bins — the collage look is charming and costs absolutely nothing.
Cost: ~$10 | Time: 40 minutes
14. Tiered Corner Shower Shelf
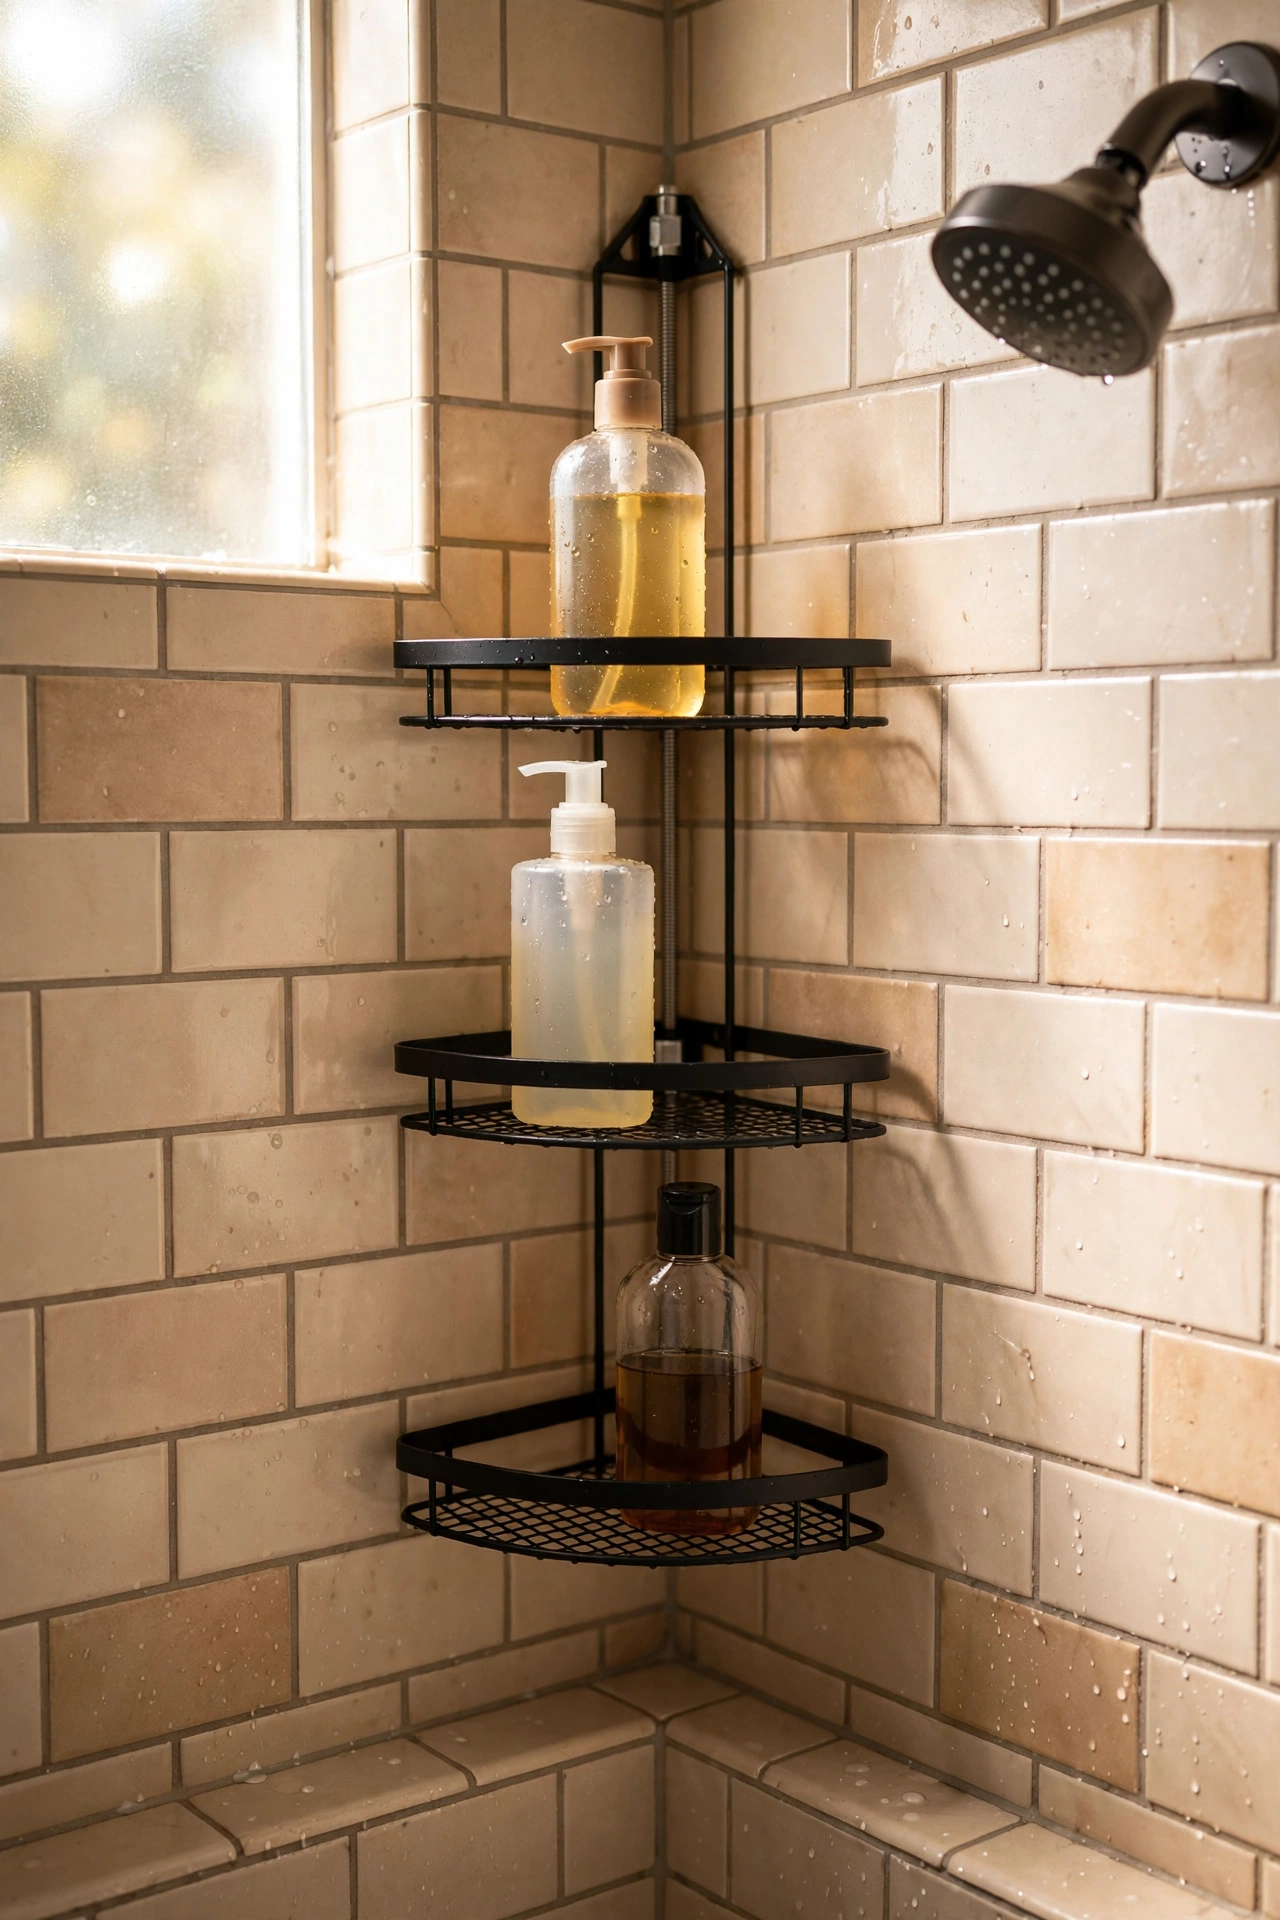
A tension corner shelf in the shower holds bottles without drilling into tiles. Wedge it firmly, distribute weight evenly, and give it a wipe-down monthly to prevent mildew. I tried this and the one mistake to avoid is the half-hearted wedge; a loose pole slides down mid-shower. Twist until it genuinely won’t budge, then twist once more. A dab of clear silicone on the pole ends stops the rubber caps marking freshly painted ceilings. A monthly wipe with limescale remover keeps it gleaming.
Cost: ~$6 | Time: 15 minutes
15. Lidded Hamper for Blankets
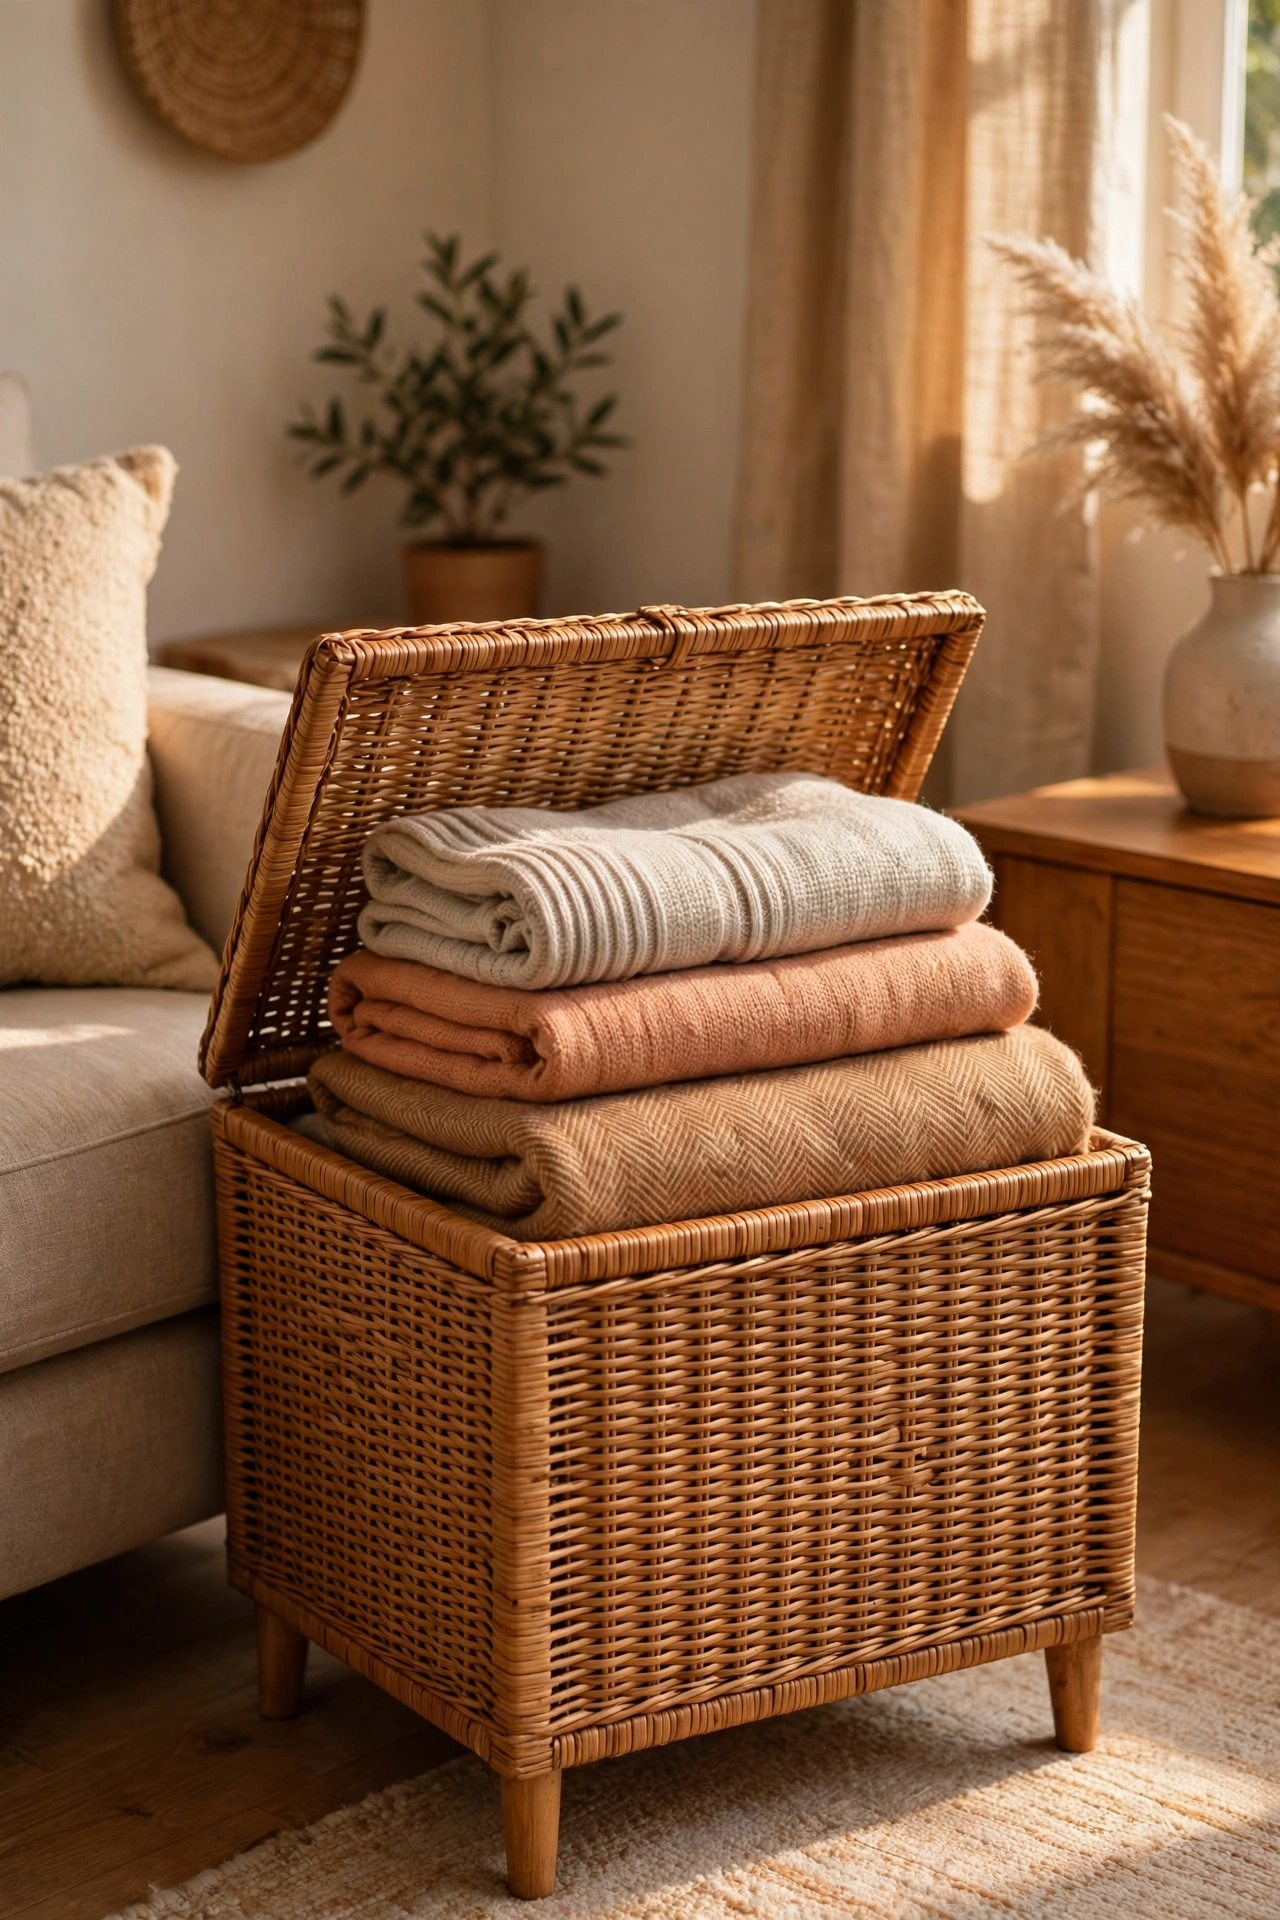
A lidded hamper in the living room swallows throw blankets and stays looking like decor. Choose one that matches your room’s palette, fold blankets loosely, and keep the lid closed — out of sight, out of mind. I tried this and the one mistake to avoid is the lidless basket; without a lid it’s just a visible pile of blankets. The lid is what makes it furniture instead of storage. Air the blankets in the hamper monthly — sealed storage can go musty, and a quick airing keeps everything fresh.
Cost: ~$8 | Time: 5 minutes
16. Bag Clips for Open Packets
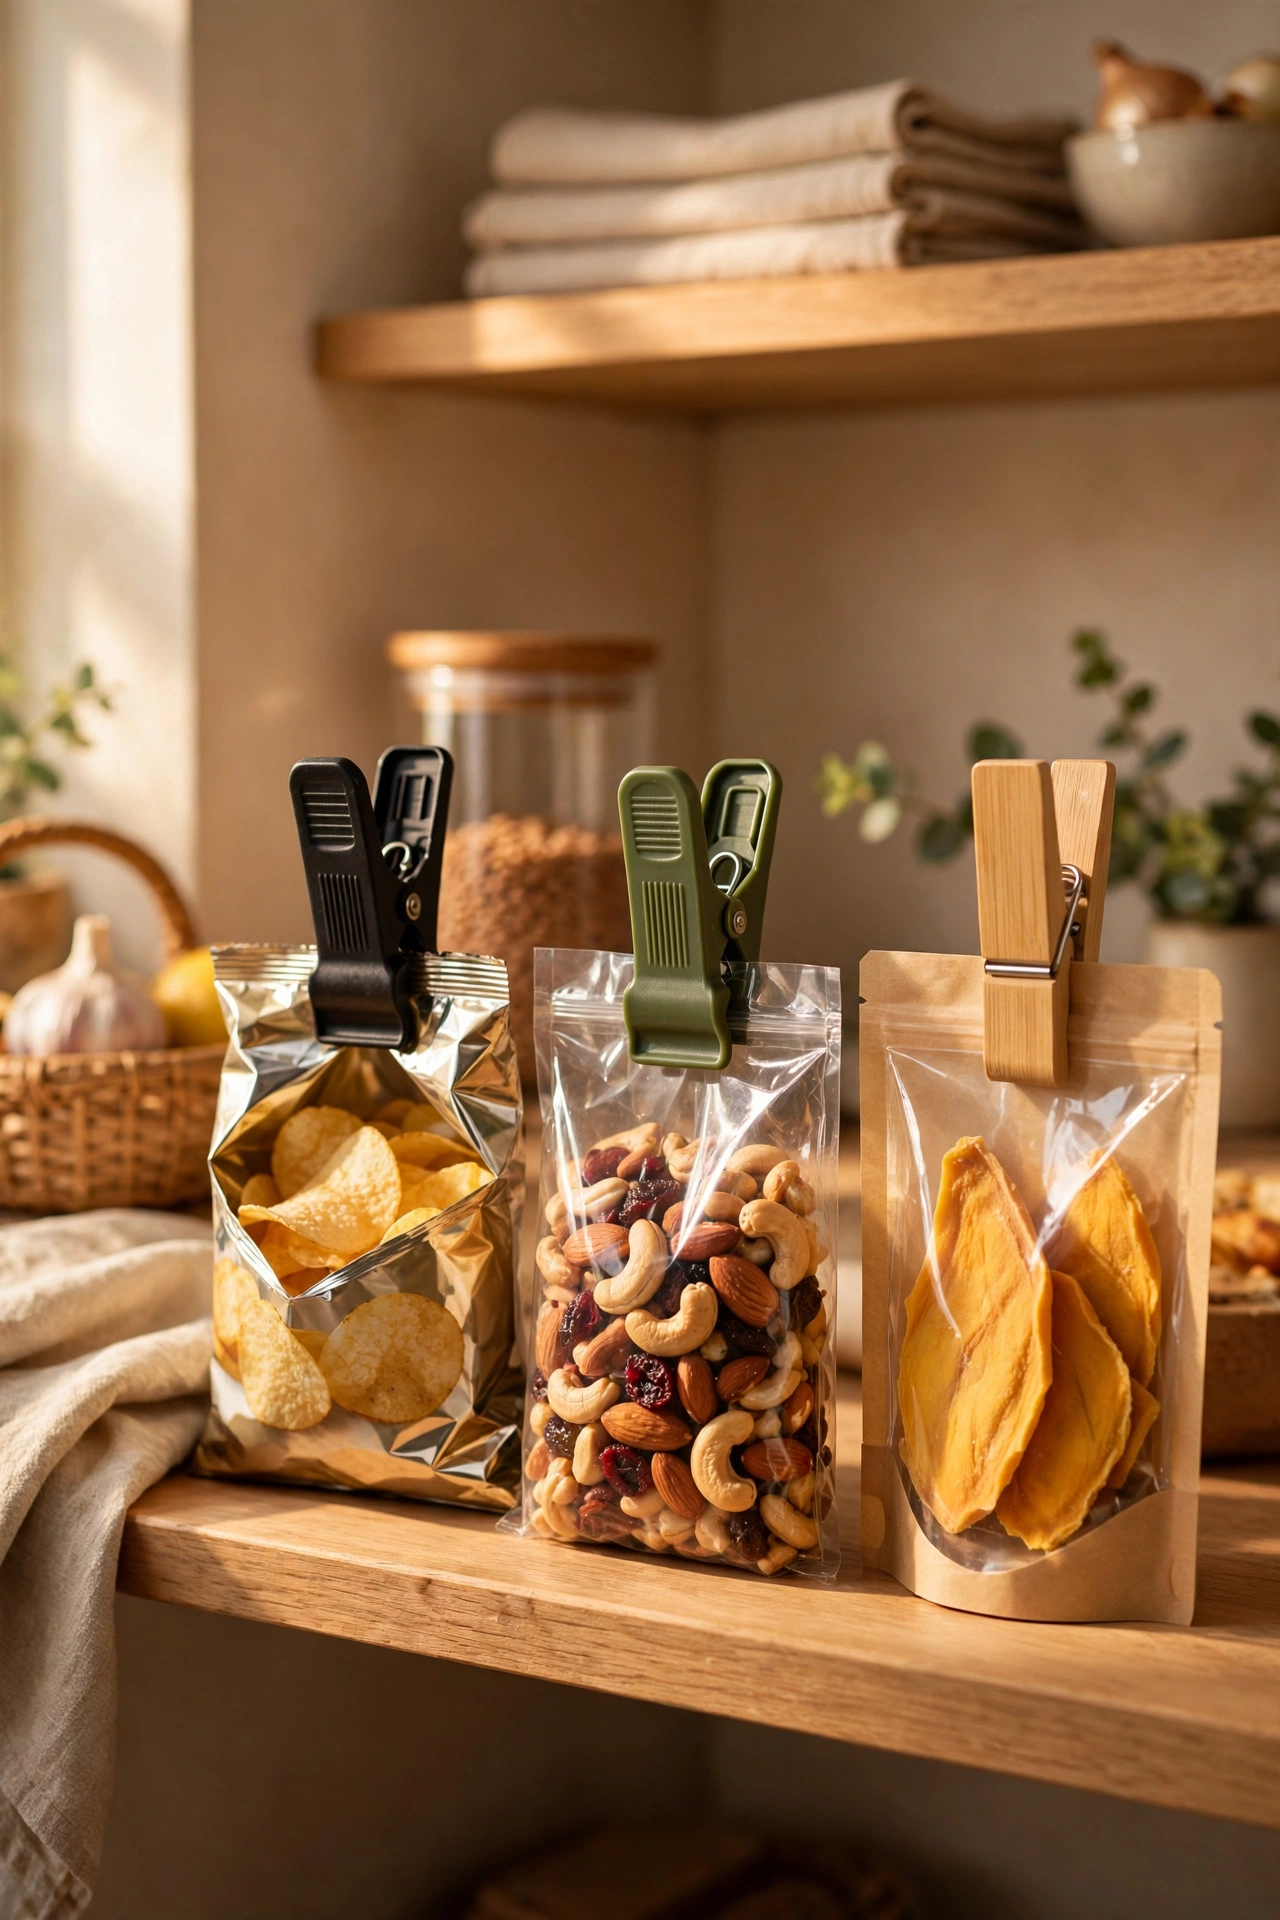
Chunky bag clips keep open packets fresh and stop the slow spill of crisps across the pantry shelf. Clip every opened bag the moment you open it — make it a reflex. I tried this and the one mistake to avoid is the tiny weak clips that pop off; get the big sturdy ones with a real spring. Weak clips are just future litter. Keep a few spare clips in the cutlery drawer too — they are brilliant for sealing frozen veg bags against freezer burn.
Cost: ~$2 | Time: 5 minutes
17. Under-Shelf Mug Hooks
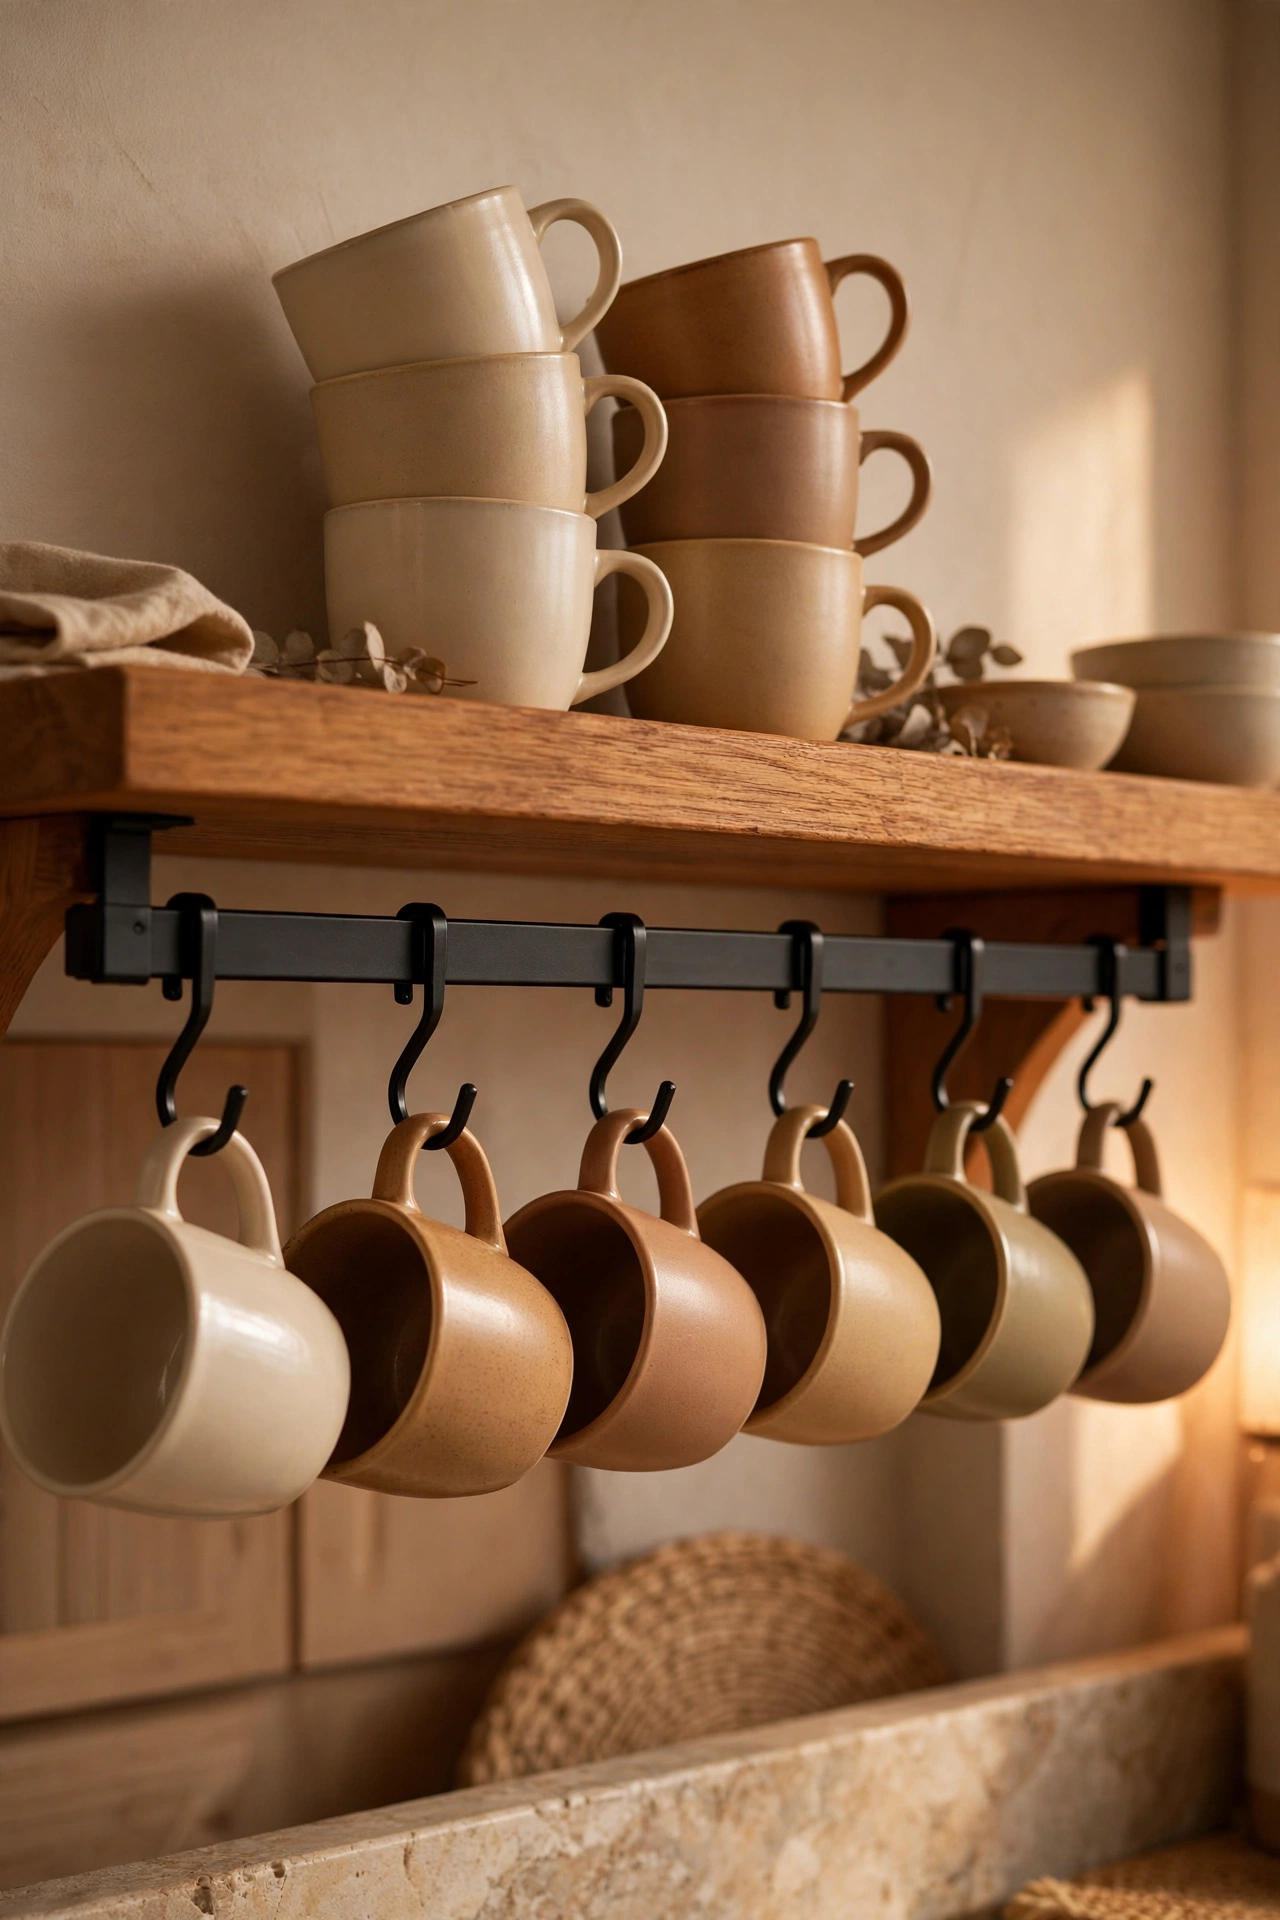
Hooks that slide onto a shelf let mugs hang underneath, freeing the shelf surface above. Slide them on, hang mugs by their handles, and enjoy the doubled capacity. I tried this and the one mistake to avoid is hanging your heaviest novelty mugs on them; they’re for everyday cups. The giant “World’s Best Dad” tankard stays on the shelf. More kitchen storage in (see also: 23-dollar-store-kitchen-finds-worth-grabbing). Hang the mugs you use least on the hooks — daily cups stay on the shelf where they are quickest to grab.
Cost: ~$3 | Time: 5 minutes
18. Cable Ties for Cord Chaos
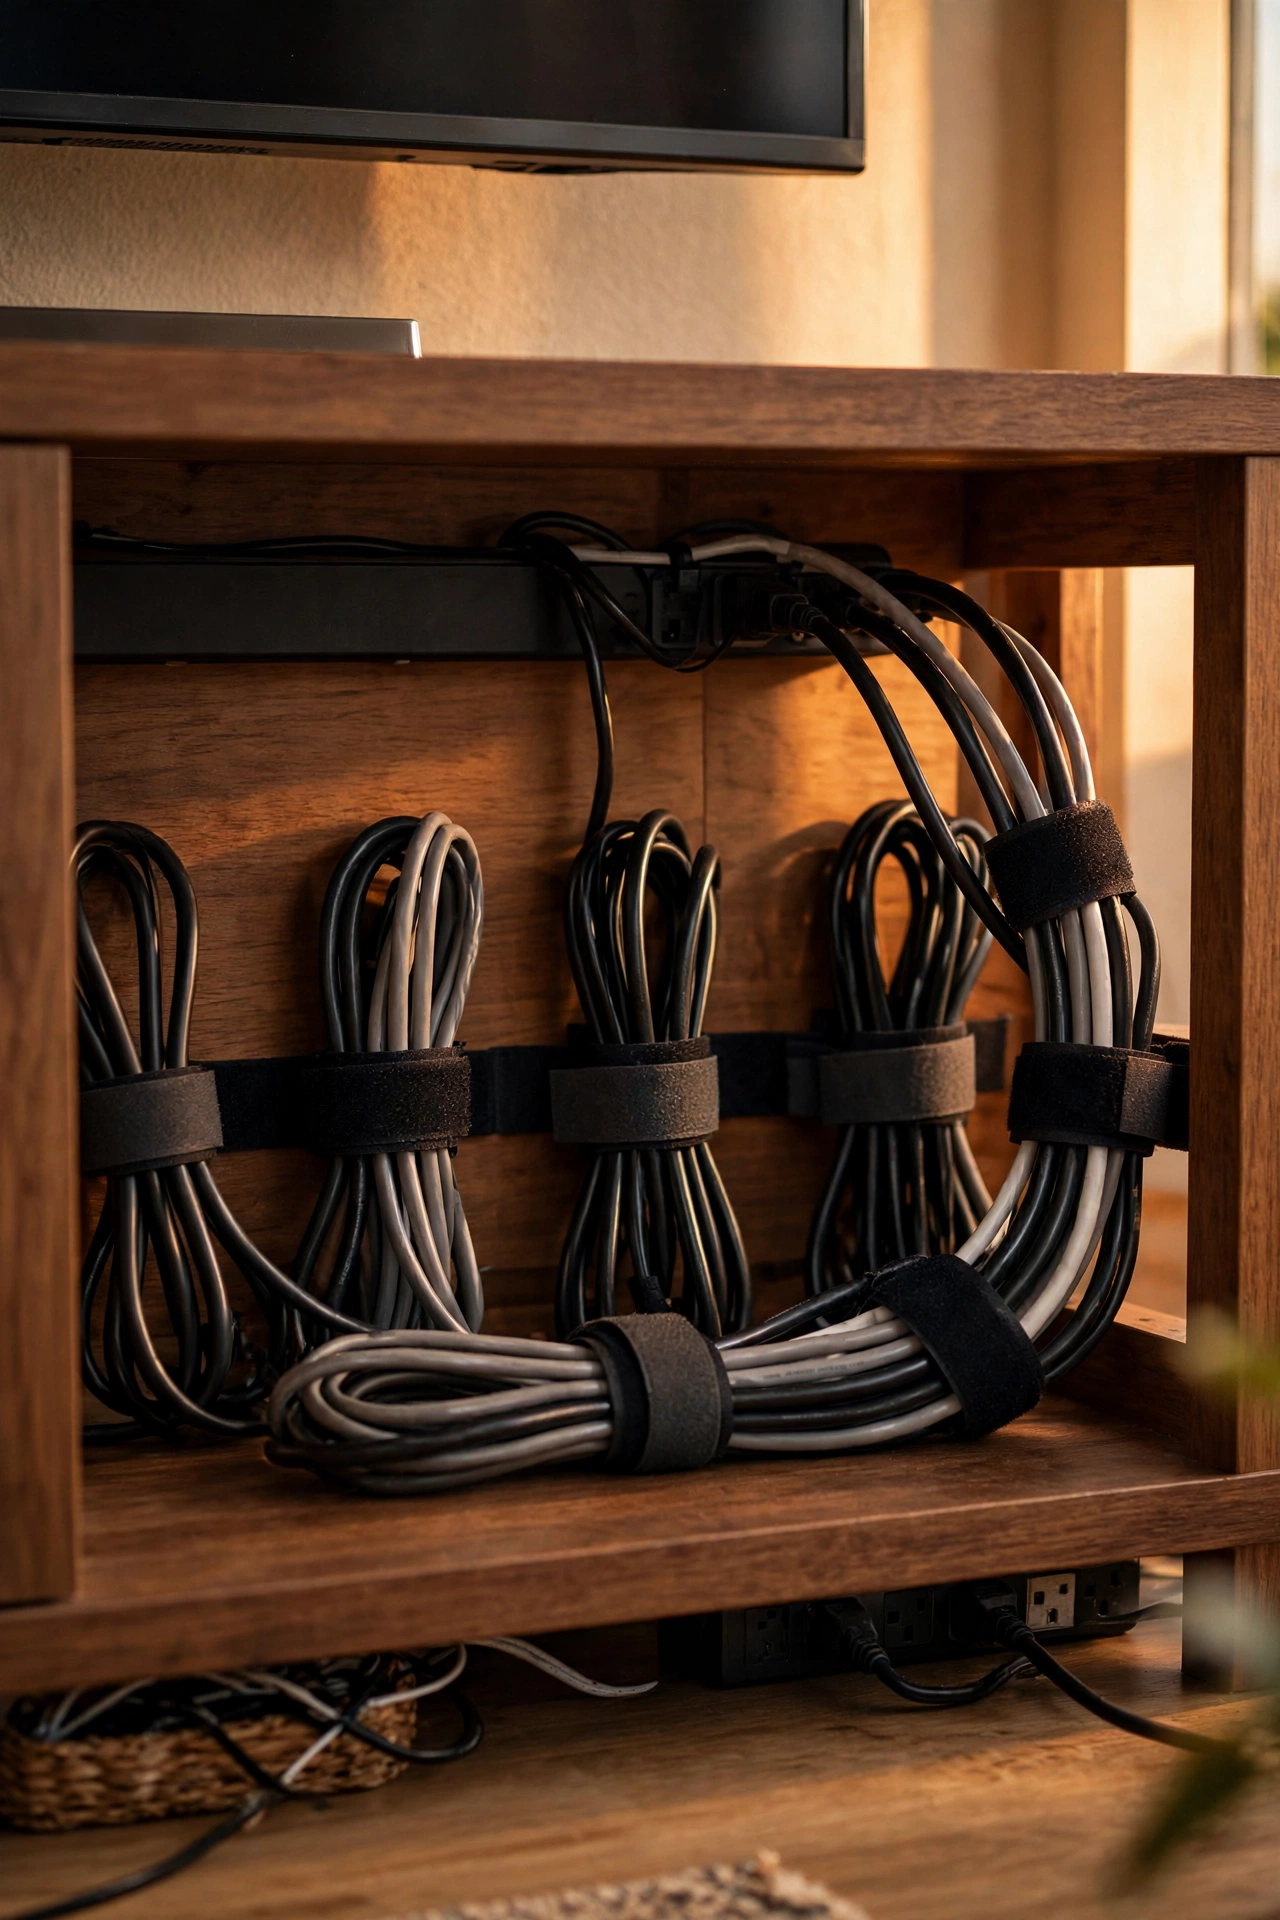
Velcro cable ties turn the spaghetti behind your TV into neat, labelled bundles. Gather each cable’s slack, wrap a tie around it, and label where it goes. I tried this and the one mistake to avoid is the permanent zip-tie kind; the day you need to unplug one cable you’ll curse them. Reusable velcro only — future you says thanks. Run the ties through a label maker once — printed labels beat mystery bundles when something stops working. Do the same behind your desk — the difference is remarkable.
Cost: ~$2 | Time: 20 minutes
19. Stackable Shoe Boxes
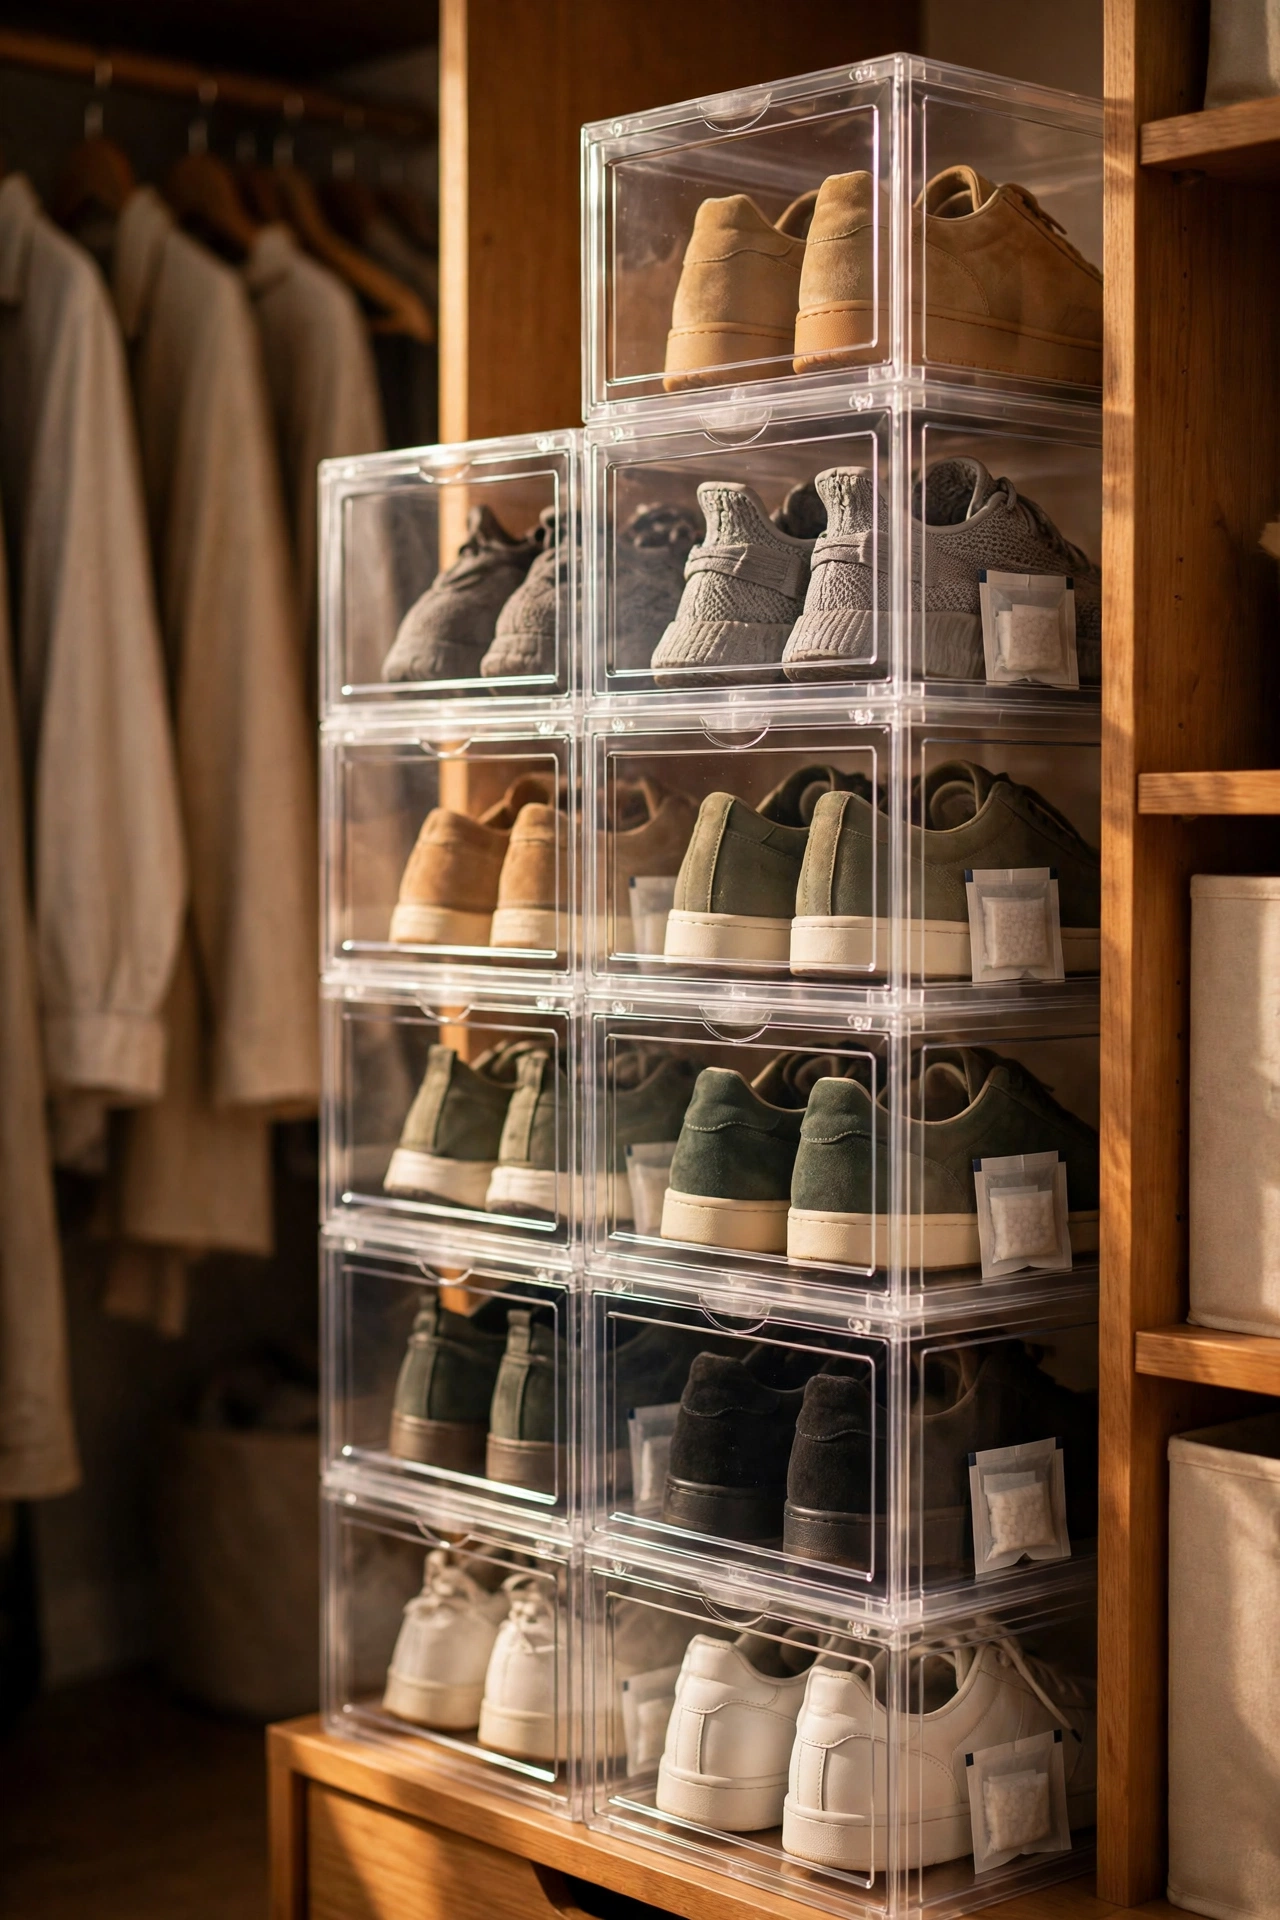
Clear stackable shoe boxes turn a closet floor pile into a visible, protected collection. One pair per box, stack them, and you can see everything without unstacking. I tried this and the one mistake to avoid is the opaque kind; if you can’t see what’s inside, you’ll never find the pair you want. Clear boxes or labels — visibility is the point. Stack them no more than four high — taller towers get wobbly and the bottom box takes all the strain.
Cost: ~$6 | Time: 20 minutes
20. Chalkboard Labels for Bins
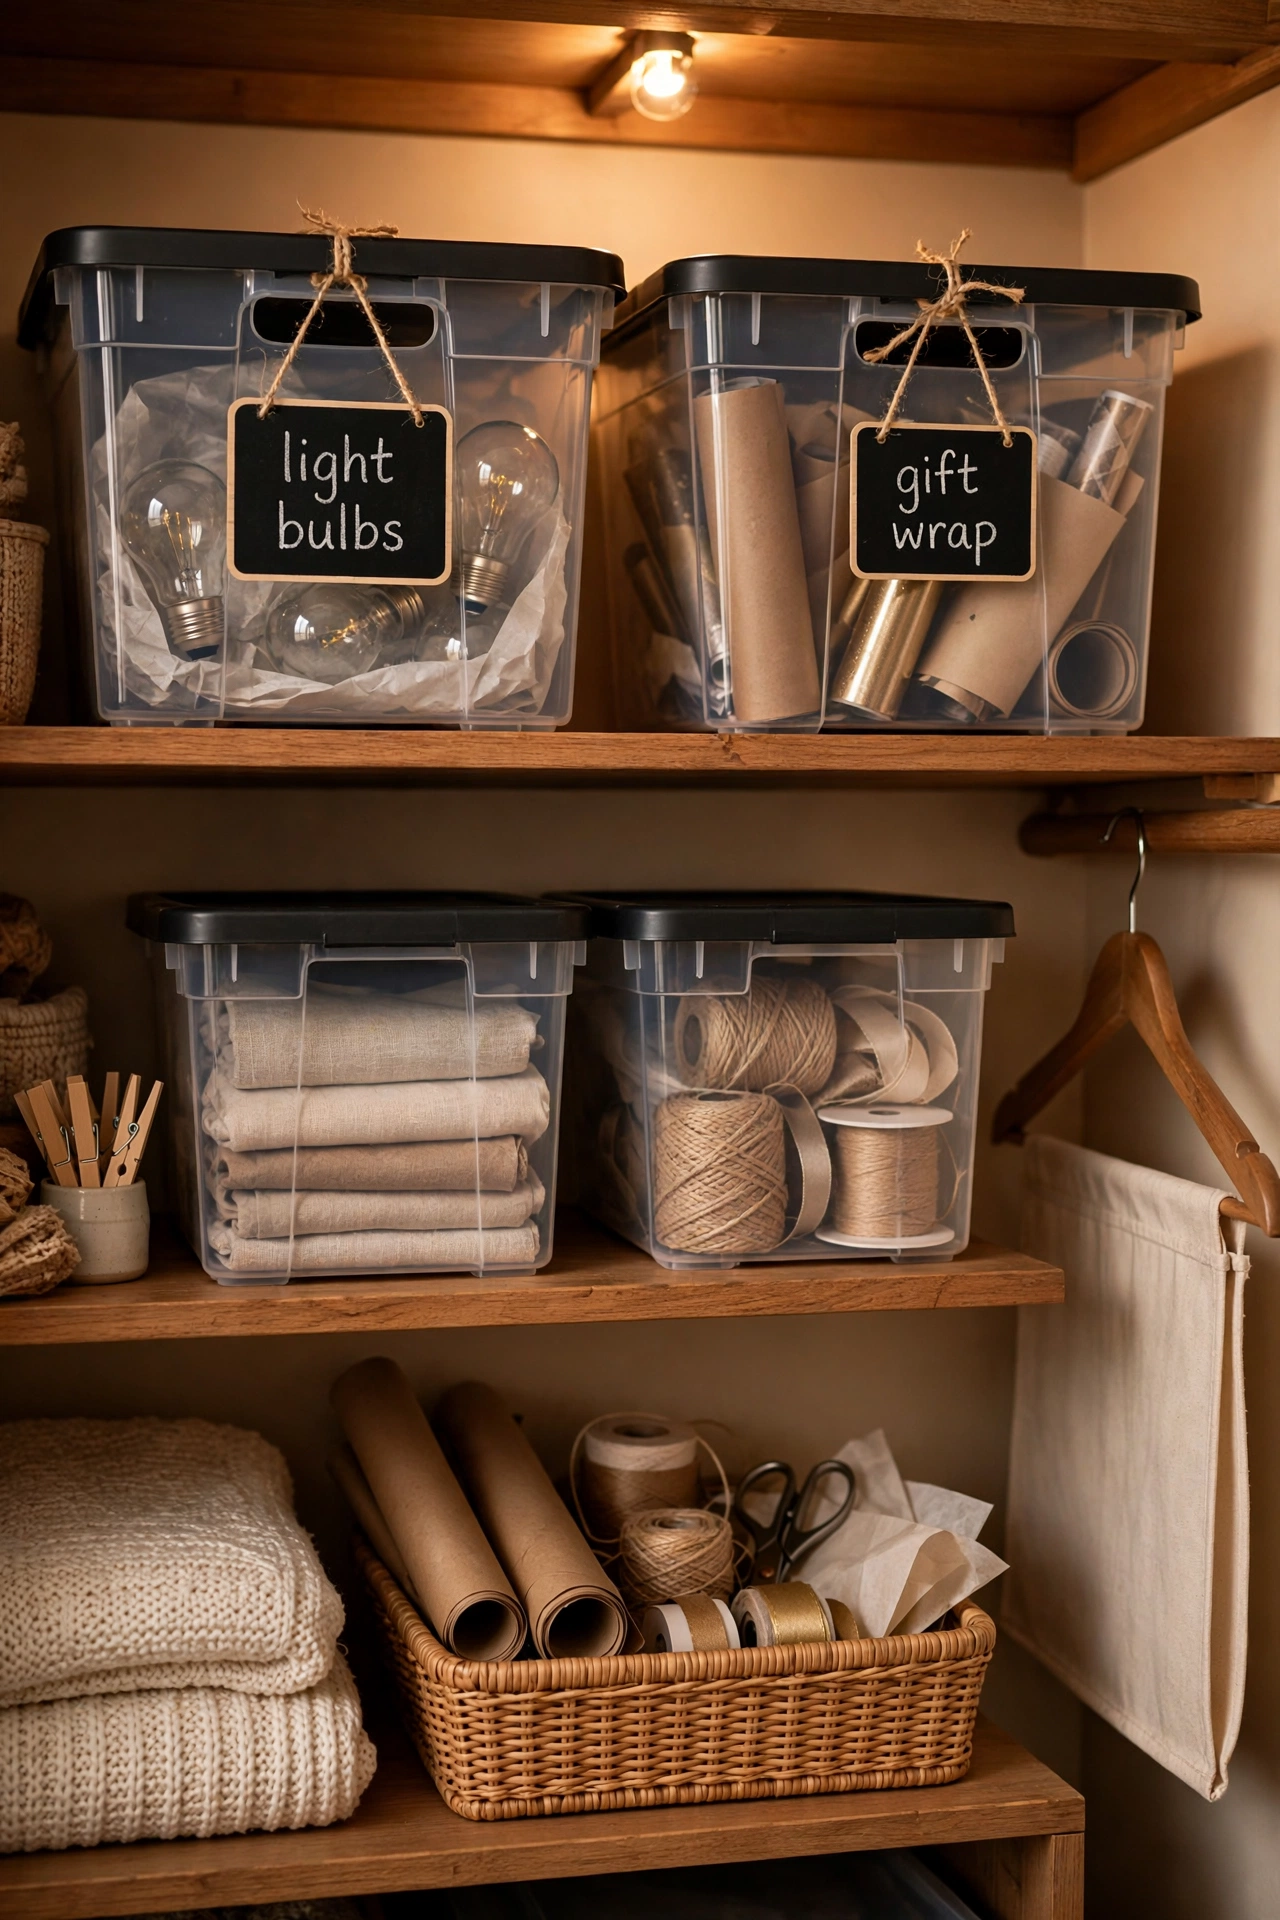
Labels on every bin and basket mean the whole household knows where things live — and where they go back. Stick them on, write with a chalk marker, and rewrite when the system evolves. I tried this and the one mistake to avoid is labelling vaguely; “stuff” and “things” help nobody. Be specific: “light bulbs”, “gift wrap”, “dog leads”. Date the labels when you set up a new system — it shows you which categories actually survive contact with real life.
Cost: ~$2 | Time: 15 minutes
21. Door-Hanging Wrapping Station
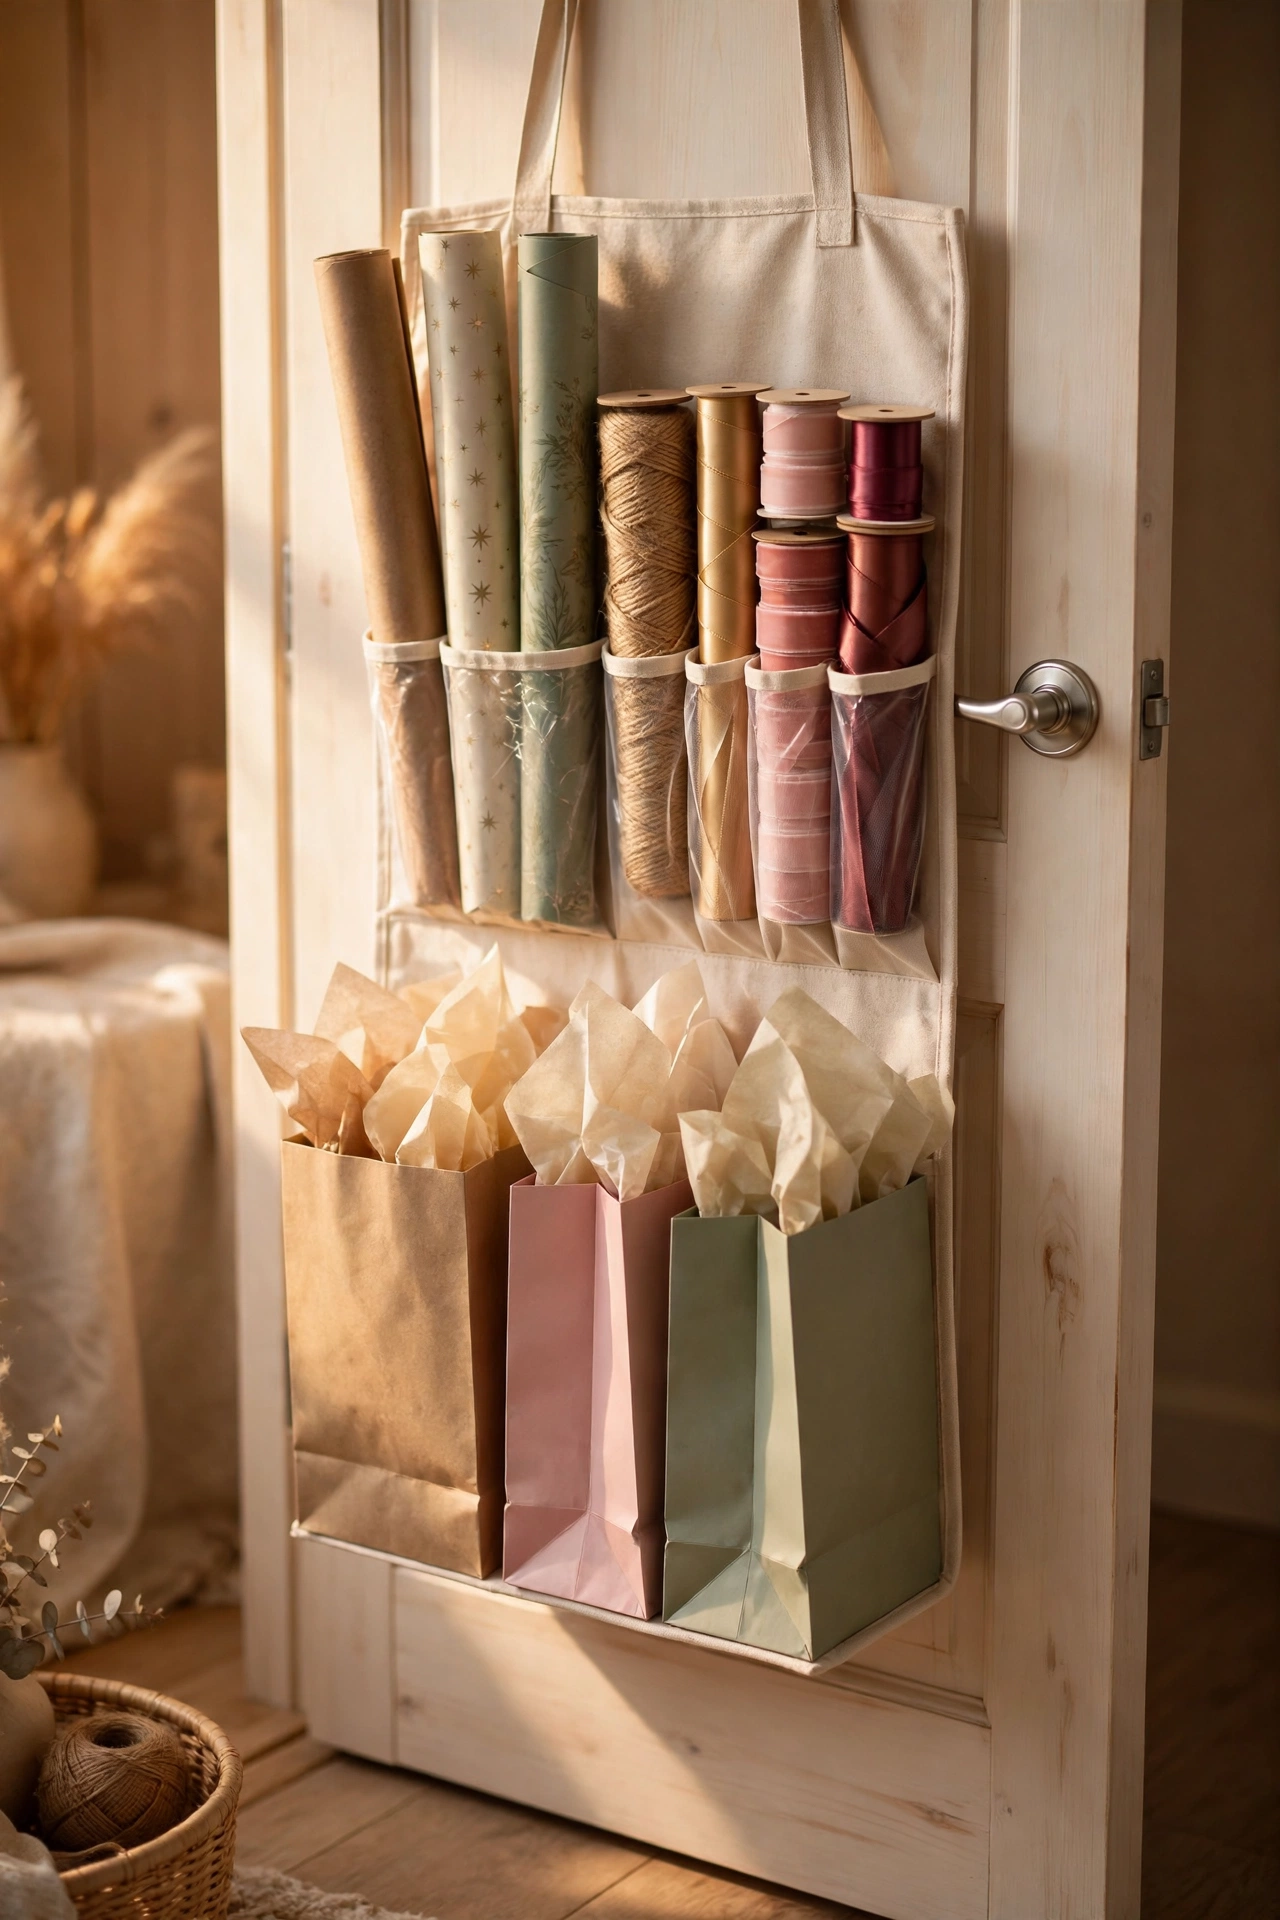
An over-door organiser on a closet door holds wrapping paper rolls, ribbon and gift bags upright and accessible. Hang it on a door you don’t use daily, slot the rolls in the tall pockets, and keep scissors in a side pocket. I tried this and the one mistake to avoid is rolls taller than the pockets; they topple out every time the door moves. Trim or fold long rolls to fit. Store the tape gun in the wrapping station pocket — hunting for tape is what makes wrapping feel like a chore.
Cost: ~$5 | Time: 10 minutes
Twenty-one hacks, and not one of them cost more than a takeaway. The real secret isn’t any single product — it’s using the dead spaces: door backs, under shelves, under beds, inside cabinet doors. Walk through your home with fresh eyes, spot the wasted inches, and put them to work.
