25 Dollar Store Laundry Room Finds Worth Grabbing
The laundry room is the hardest-working room in the house, and it runs on small, unglamorous tools. These dollar store laundry room finds are the practical kind, not the pretty kind: the bits that stop socks vanishing, keep delicates intact, and make wash day genuinely easier. Every one of them costs a few dollars and earns its place. I have bought and tested all of them, and the pro tips below are the lessons I learned the slightly annoying way.
Mesh Wash Bags for Delicates
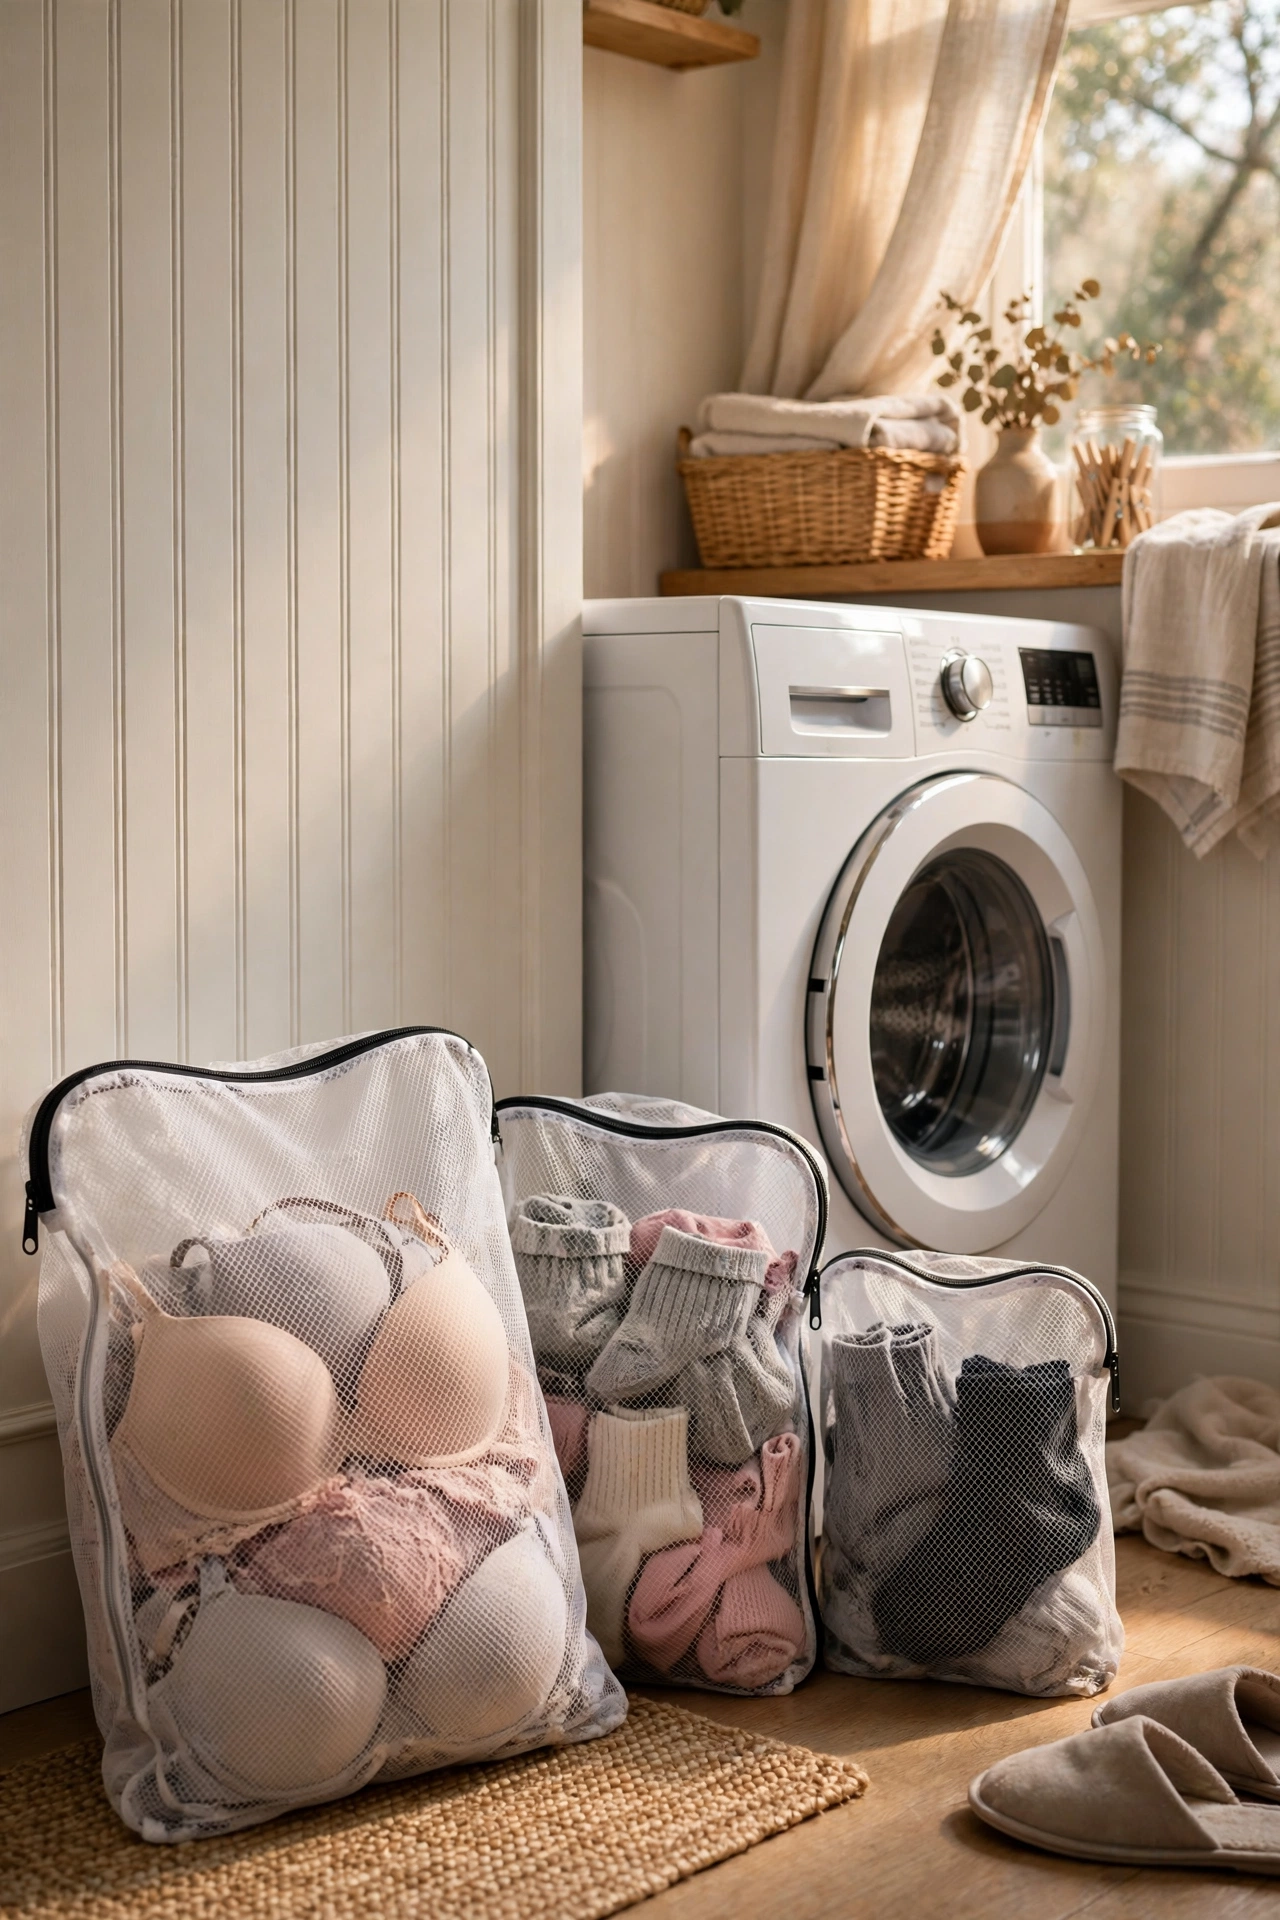
Mesh wash bags are the cheapest insurance policy your delicates will ever have. Pop bras, lace tops, baby socks, and anything with fiddly straps into a zippered mesh bag before it goes in the machine, and it comes out untangled, unstretched, and with all its hooks intact. Buy a few sizes: small for socks and underwear, large for bras and swimwear. I tried this in my own laundry routine after losing the strap off a favourite top to the agitator, and I have not lost a delicate since. Zip the bags closed properly, because an open bag is just a fancy net that catches everything else.
Pro tip: keep one bag clipped to the side of your laundry basket so delicates go straight in at undressing time instead of getting mixed into the main wash.
Cost: ~$3 for three · Time: 2 minutes to sort
Lint Bin Between the Washer and Dryer
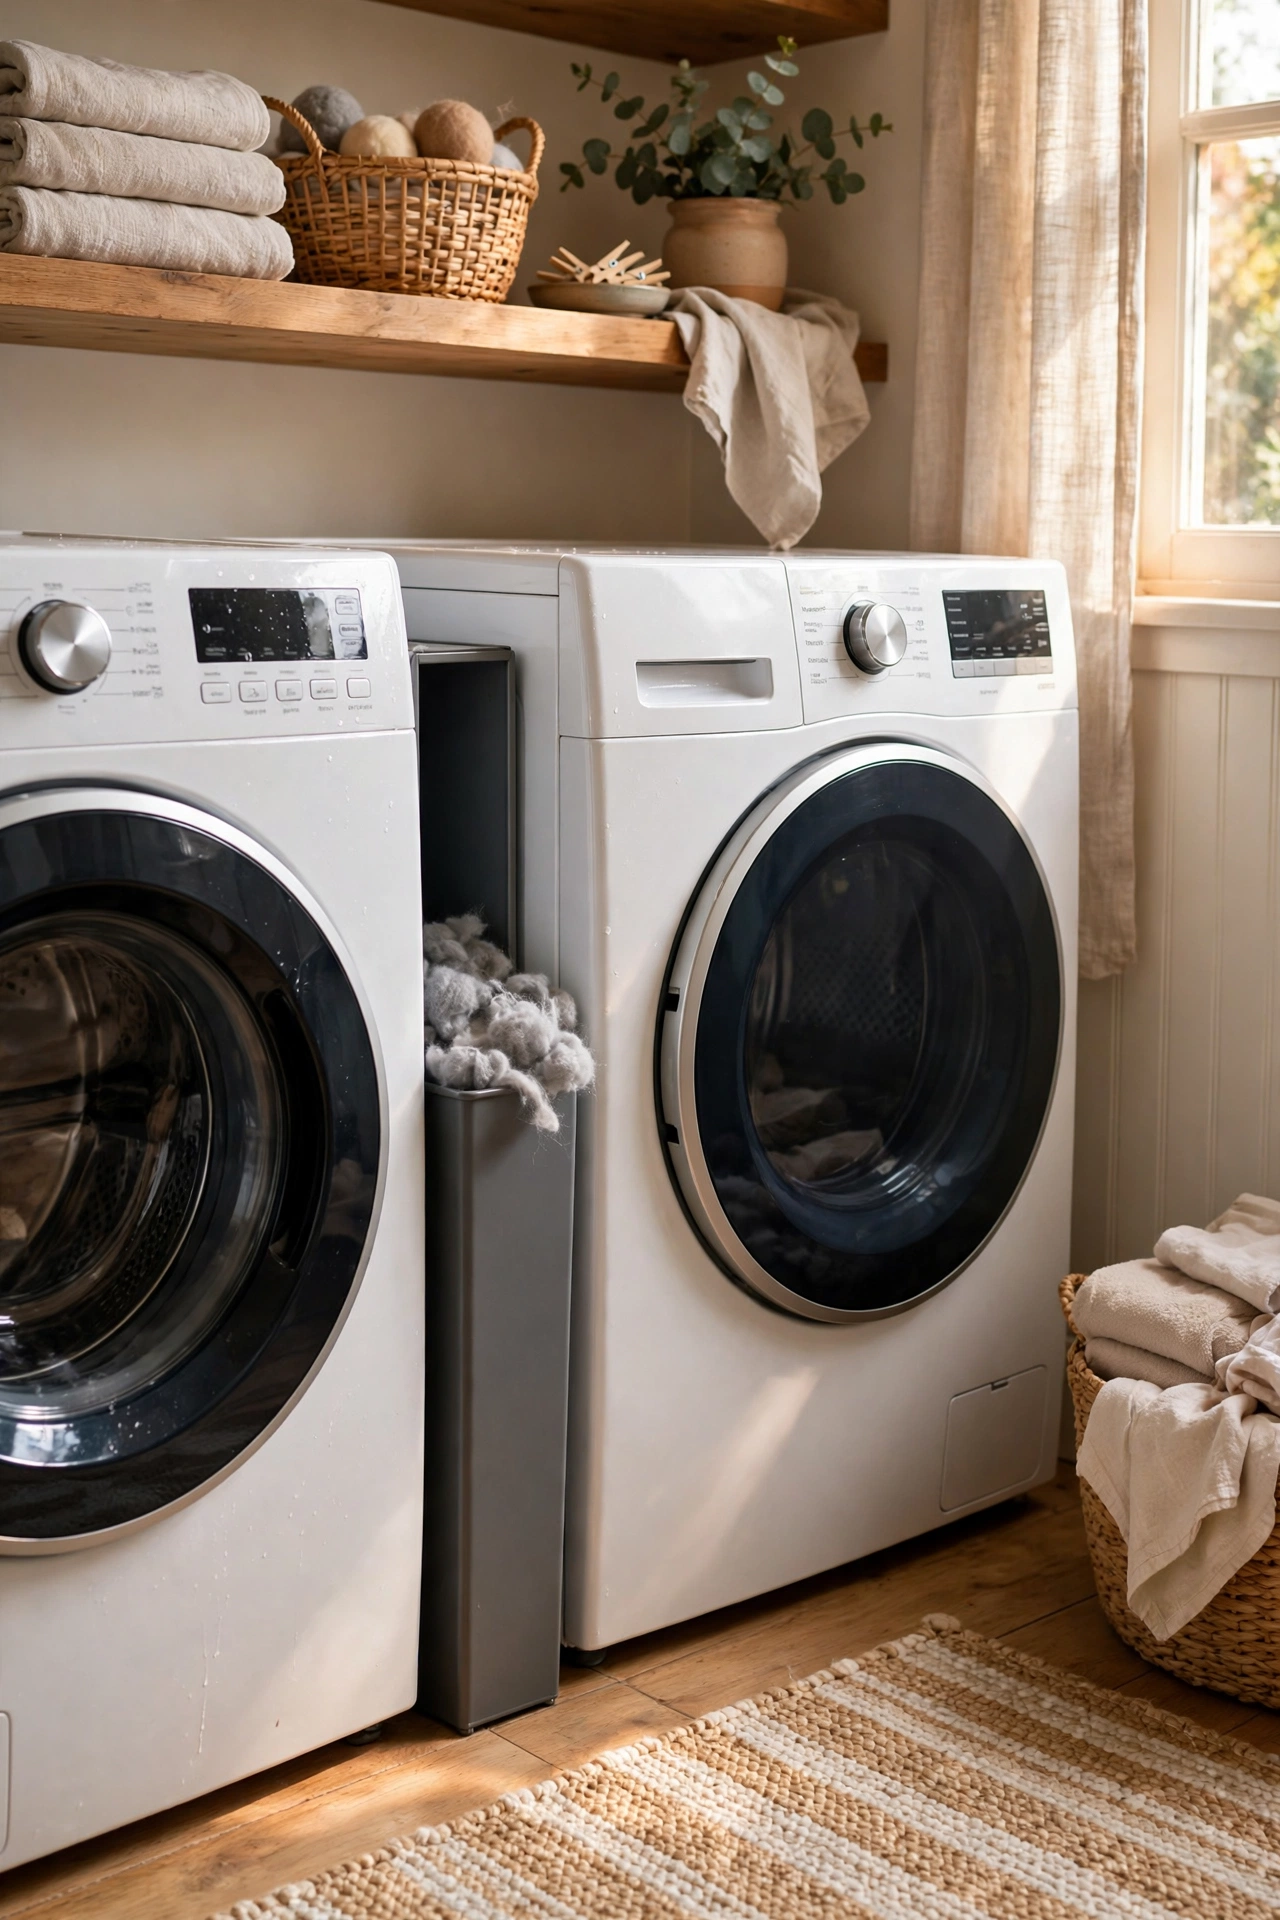
A slim bin parked between the washer and dryer gives dryer lint a home instead of the floor. Every time you clean the lint trap, drop the handful straight into the bin, and empty it into the rubbish weekly. It also catches the odd sock that escapes the dryer and the receipts that were hiding in pockets. I wedged a narrow dollar store bin in the gap beside my dryer, and the little grey lint tumbleweeds that used to roll across the laundry room floor simply stopped appearing. Line it with a small bag so emptying it is a one-second job.
Pro tip: save the lint in a paper bag if you have a fireplace or fire pit; dry lint is one of the best free firelighters there is.
Cost: ~$2 · Time: 5 minutes to set up
Collapsible Clothes Drying Rack
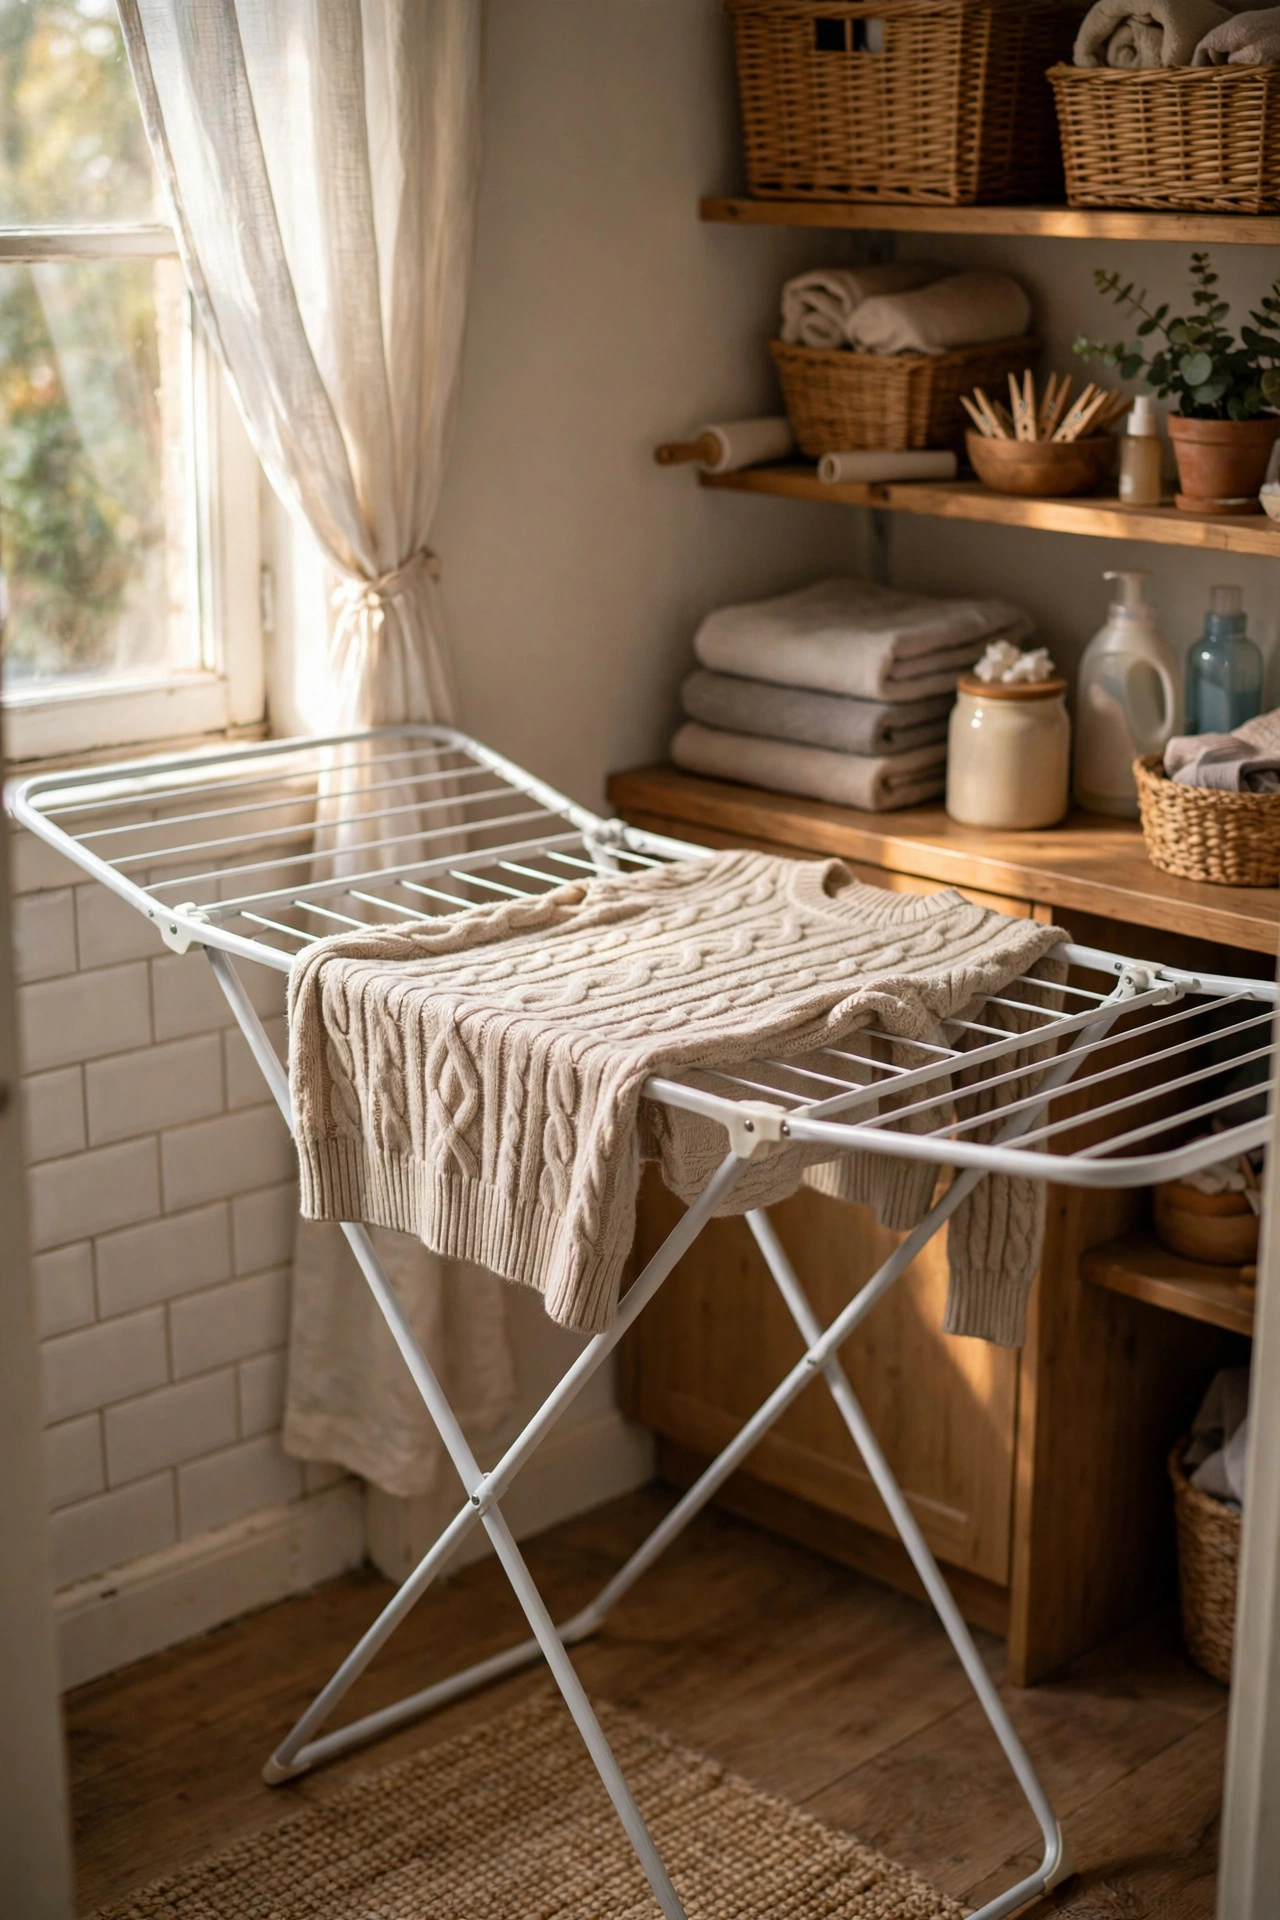
A folding drying rack is the answer for everything that should not see the inside of a dryer. Set it up in the laundry room or bathtub for sweaters, delicates, and anything that shrinks at the sight of heat, then fold it flat and slide it behind the machines when you are done. The winged ones hold a surprising amount of washing for their footprint. I tried air-drying my knitwear on one of these after a cardigan came out doll-sized, and my jumpers have kept their shape ever since. Wipe the bars dry before folding it away so it does not develop rust spots.
Pro tip: lay sweaters flat across two bars rather than hanging them, because hanging stretches wet knitwear out of shape within hours.
Cost: ~$10 · Time: 2 minutes to unfold
Sock Clips That Survive the Wash
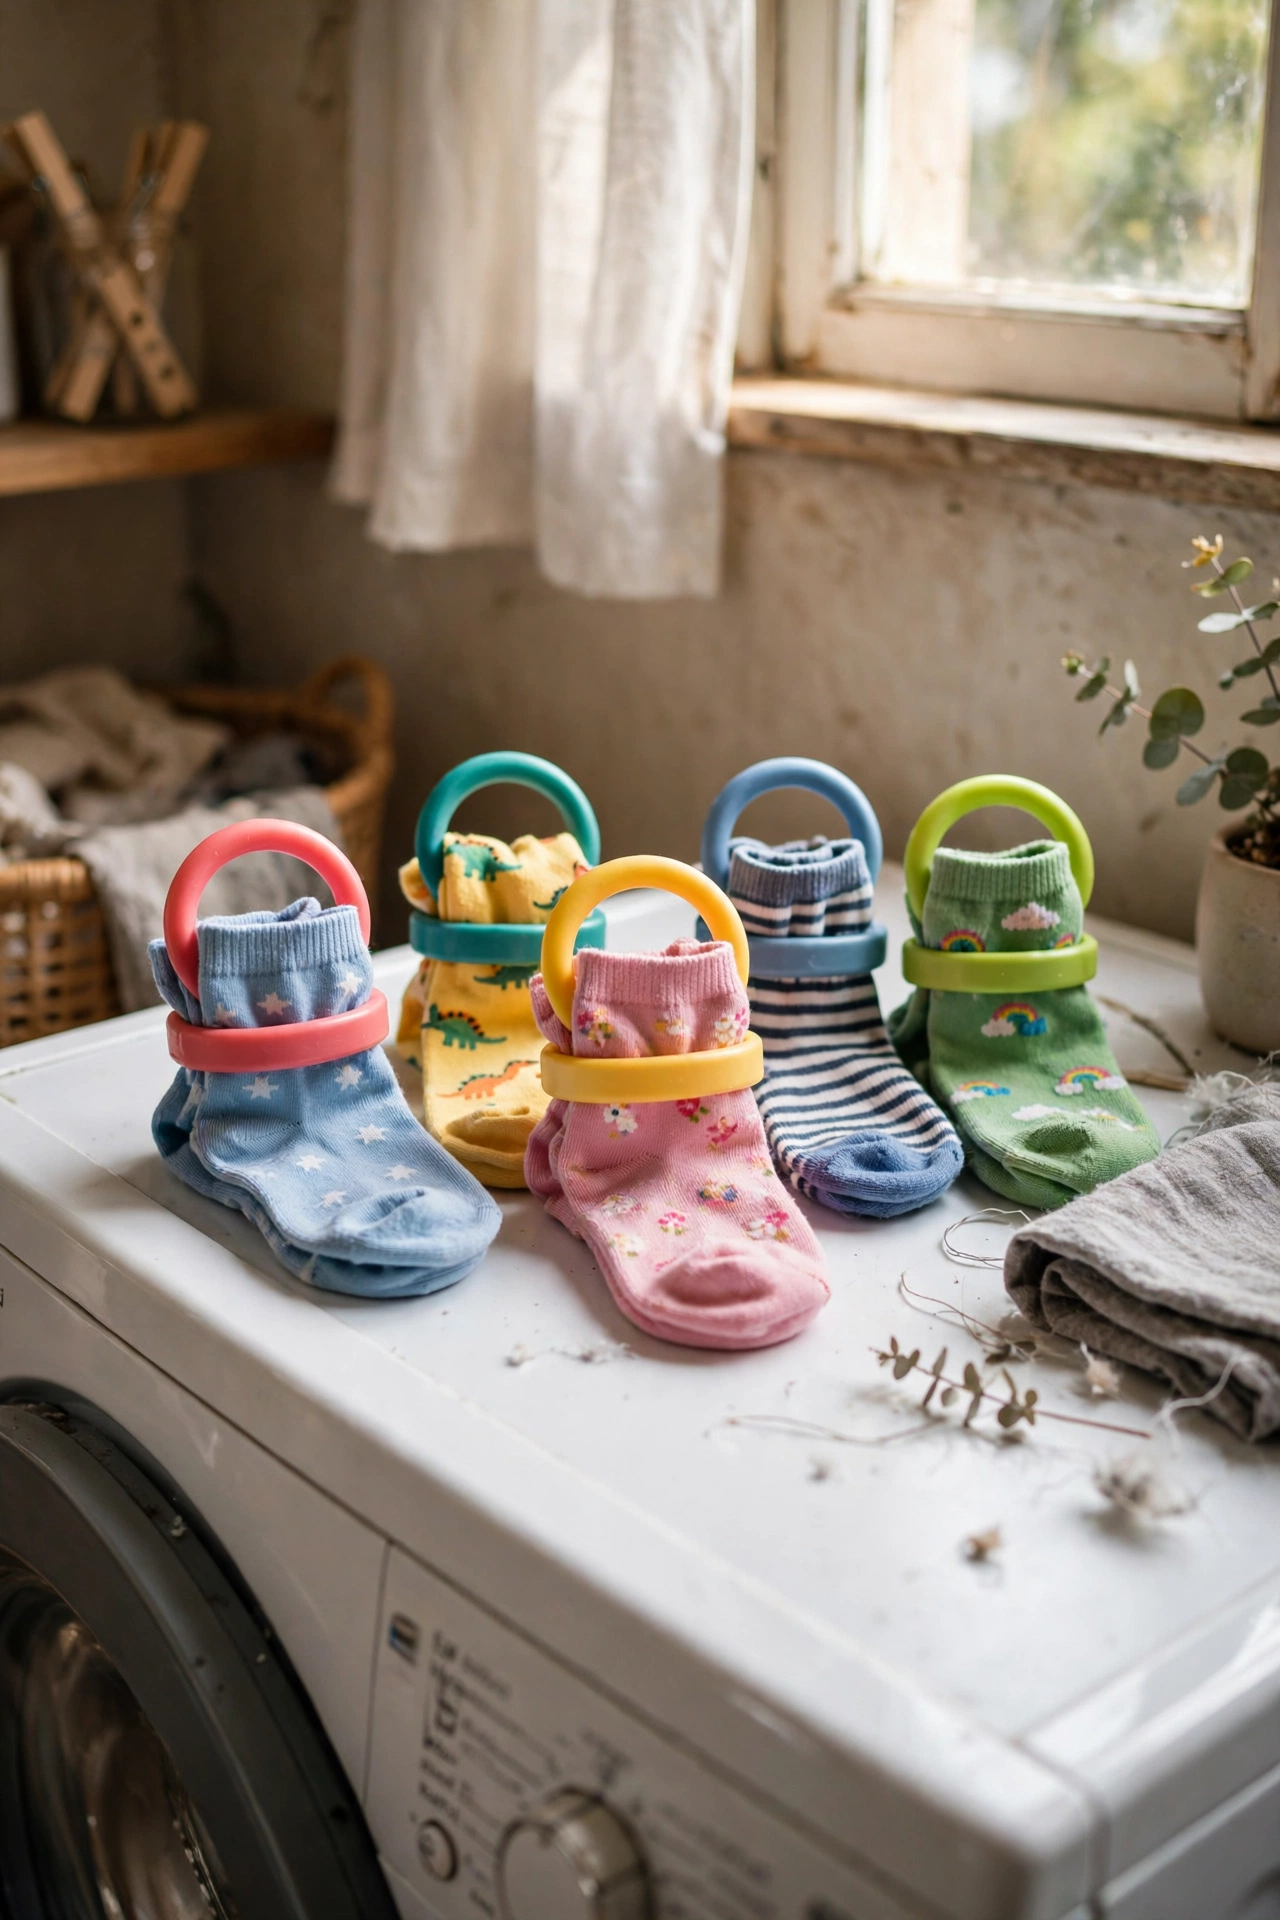
Sock clips are the tiny invention that ends the single-sock epidemic. Clip each pair together by the cuff before they go in the wash, and they go through the washer and dryer as a pair and come out as a pair. No more sorting, no more mystery singles, no more drawer of orphans. I clipped my kids’ school socks for a month as a test, and the lost-sock rate dropped to zero, which felt like a small domestic miracle. Buy the sturdy ring-style clips rather than the flimsy peg type, which snap in a hot dryer.
Pro tip: colour-code the clips by family member and you can sort a whole family’s socks at a glance straight out of the dryer.
Cost: ~$3 for a pack · Time: 1 minute per load
Padded Ironing Board Cover
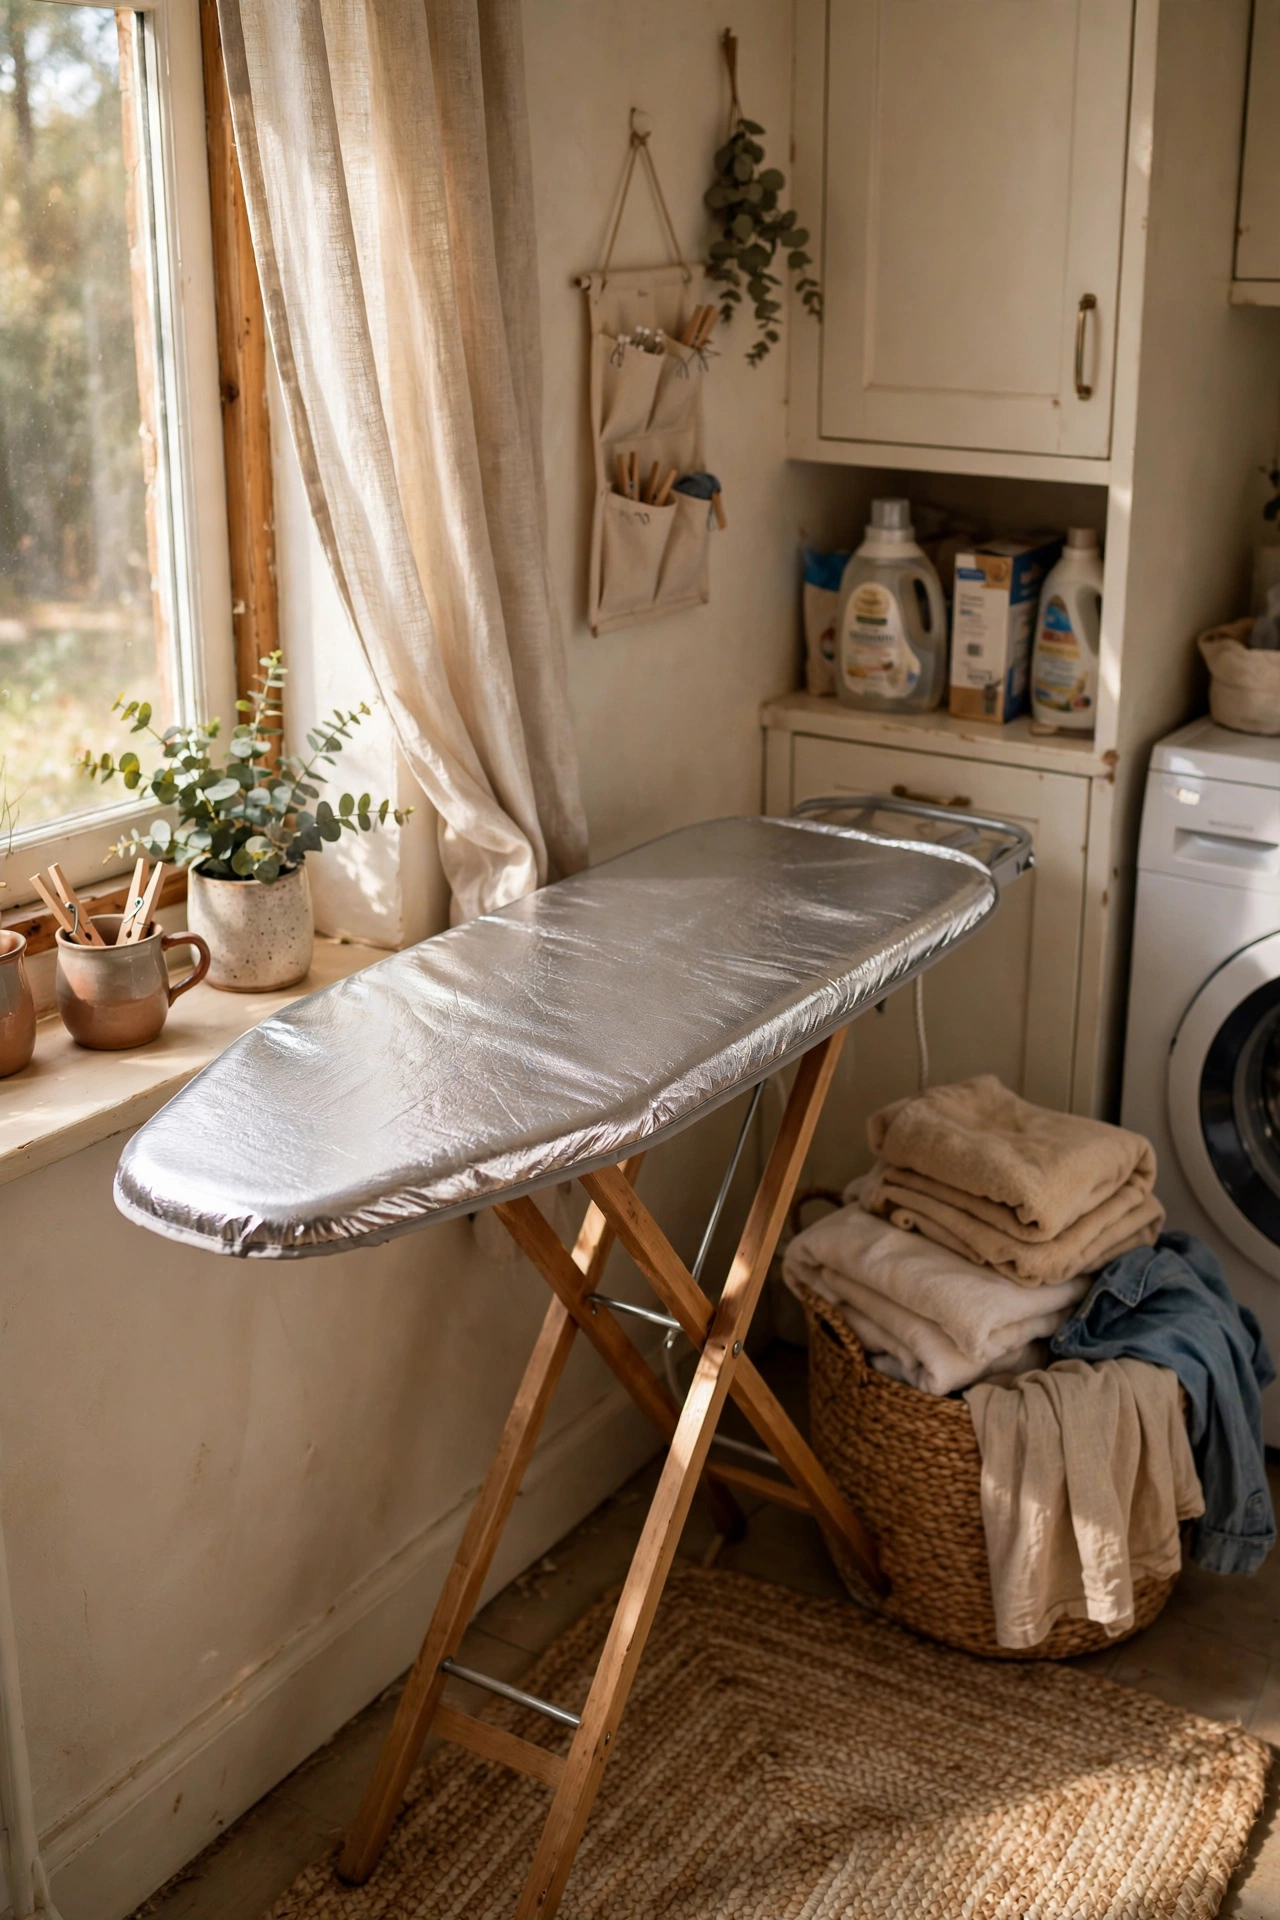
A fresh padded ironing board cover makes ironing noticeably easier and faster. The extra padding gives you a smoother surface, the reflective ones bounce heat back up so creases press out in fewer passes, and a clean cover stops old scorch marks transferring onto your clothes. Fitting one takes two minutes: pull it over the board like a fitted sheet and cinch the drawstring underneath. I replaced my scorched, lumpy old cover and immediately noticed shirts needed half the passes. One mistake to avoid: buying the wrong size leaves baggy fabric that wrinkles under the iron, so check your board’s length before you buy.
Pro tip: sprinkle a little water on the cover before ironing cotton; the damp padding creates steam from below and halves your ironing time.
Cost: ~$5 · Time: 5 minutes to fit
Rolling Folding Laundry Sorter
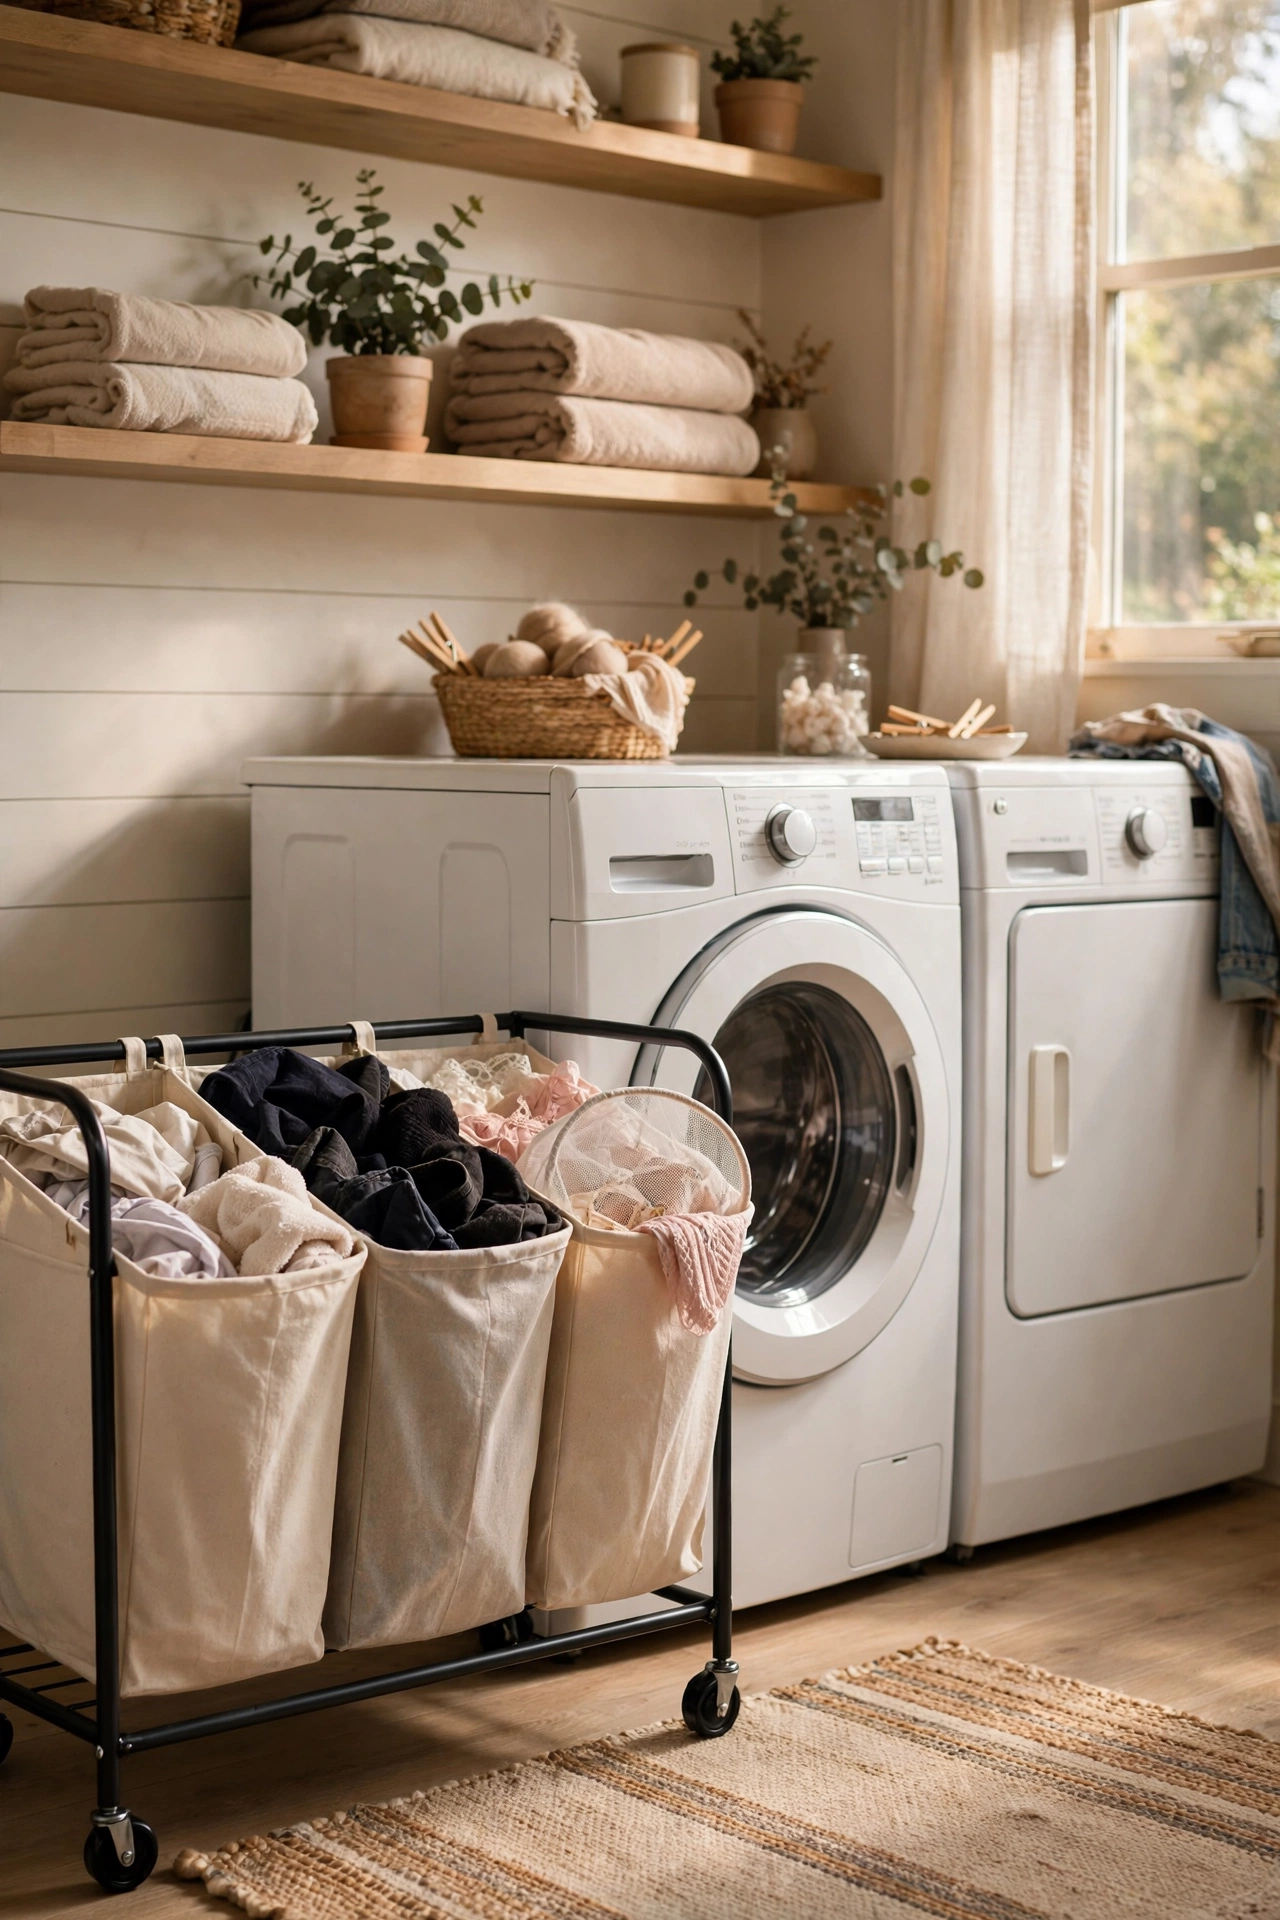
A three-bag rolling sorter turns sorting into a non-event. Set it up next to the machines with bags labelled lights, darks, and delicates, and dirty washing gets sorted as it arrives instead of in a frantic pile on wash day. The rolling frame means you can wheel the whole lot to the bedroom for folding. I tried this in my own laundry corner after years of the floor-drobe sorting method, and wash day genuinely starts itself now. The bags lift out for carrying, which is the detail that makes it better than three separate baskets.
Pro tip: add a fourth bag for “stain treat now” and you will never again discover a set stain three washes too late.
Cost: ~$12 · Time: 10 minutes to assemble
Retractable Indoor Clothesline
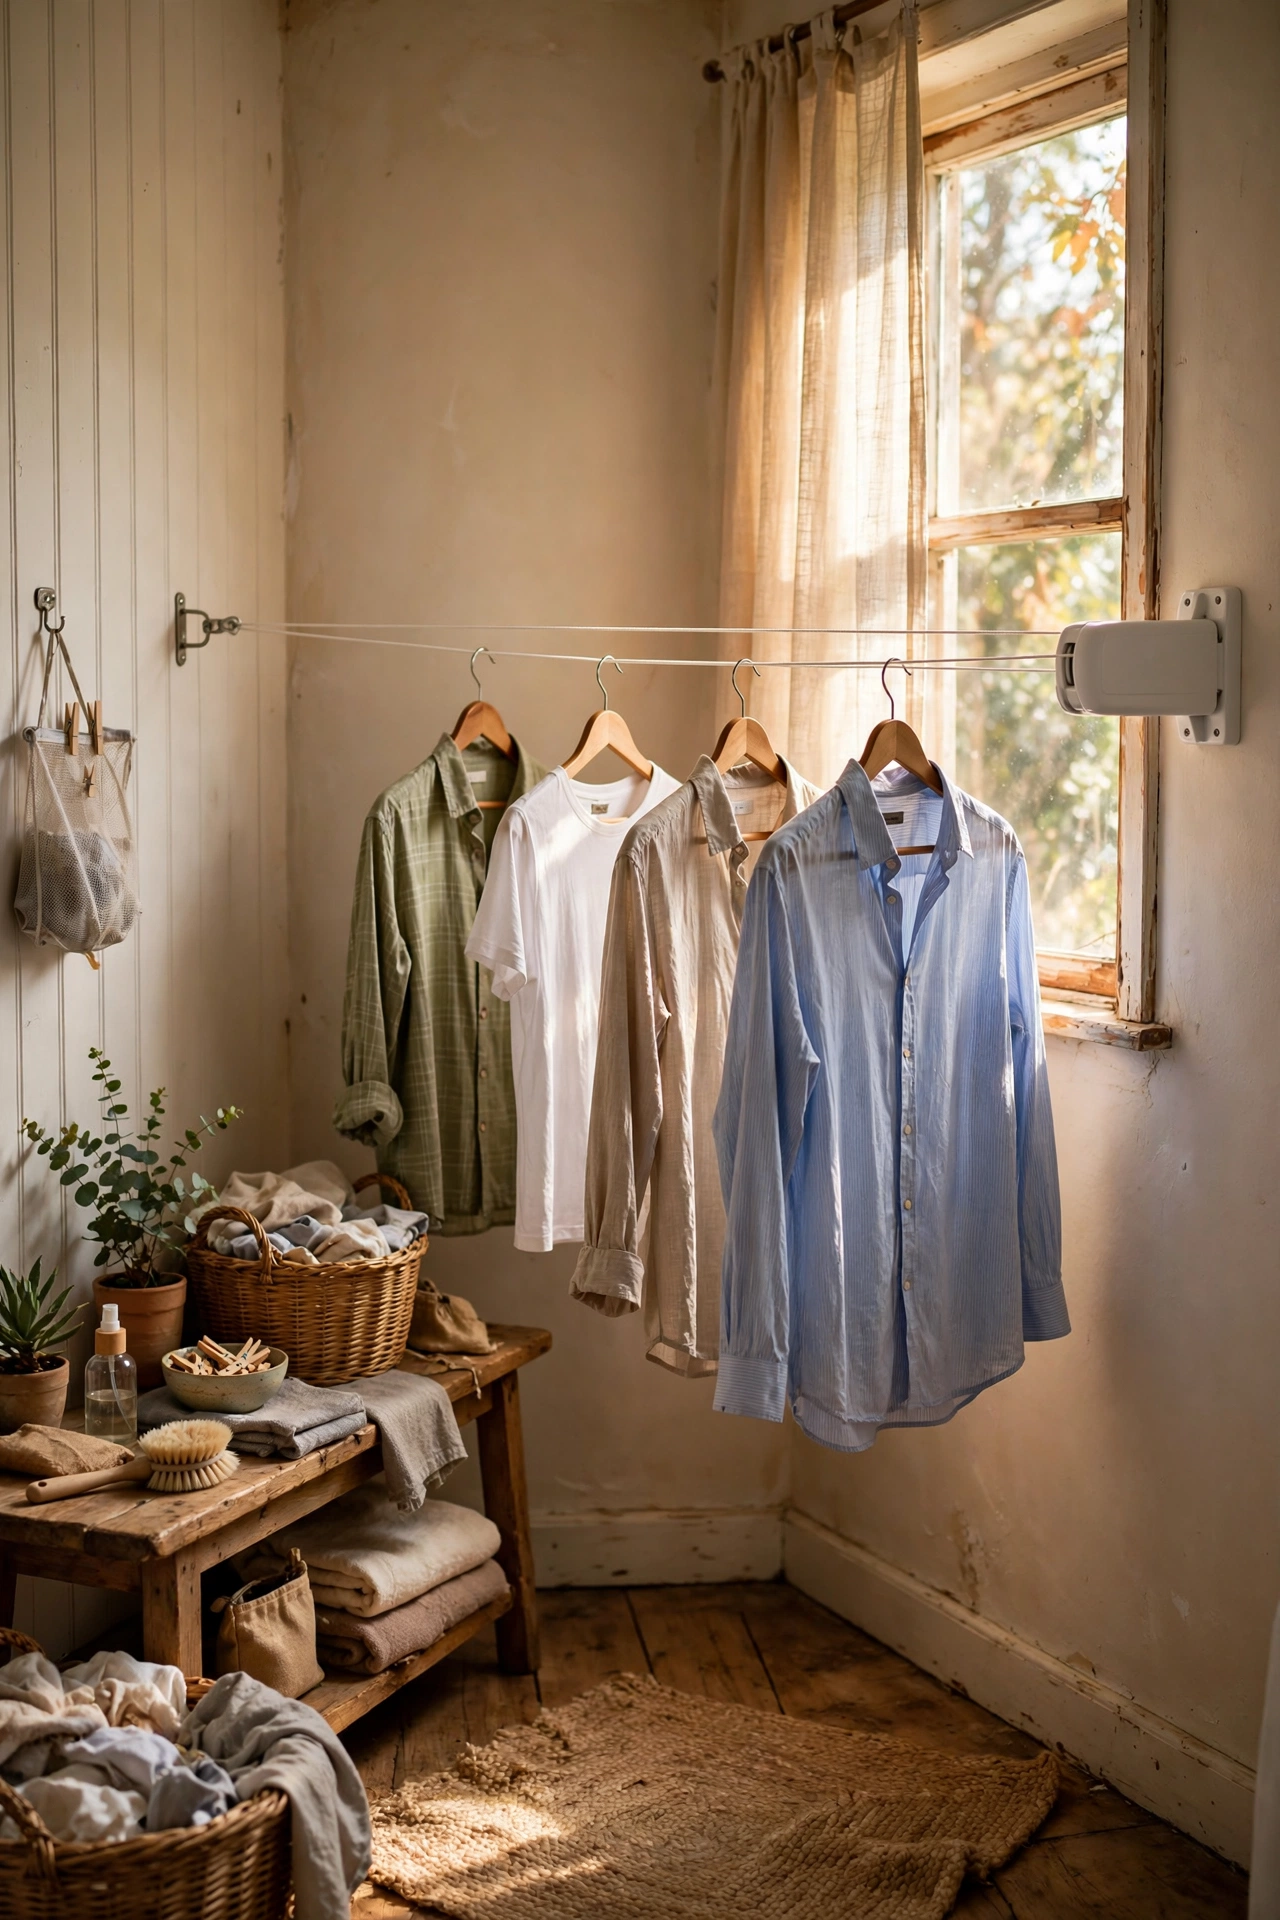
A retractable clothesline gives you metres of drying space that vanishes when you do not need it. Mount the housing on one laundry room wall and the hook on the opposite wall, pull the line across when you have washing, and retract it afterwards. It is perfect for long items like sheets and for airing out clothes that only need a refresh. I strung one across my laundry room and use it constantly for delicates and gym kit. One mistake to avoid: mounting it into plasterboard without proper anchors means the first heavy wet load rips it out of the wall, so find a stud or use heavy-duty wall plugs.
Pro tip: hang shirts on hangers directly on the line and they dry nearly crease-free, saving you ironing later.
Cost: ~$6 · Time: 20 minutes to mount
Magnetic Laundry-Day Chart
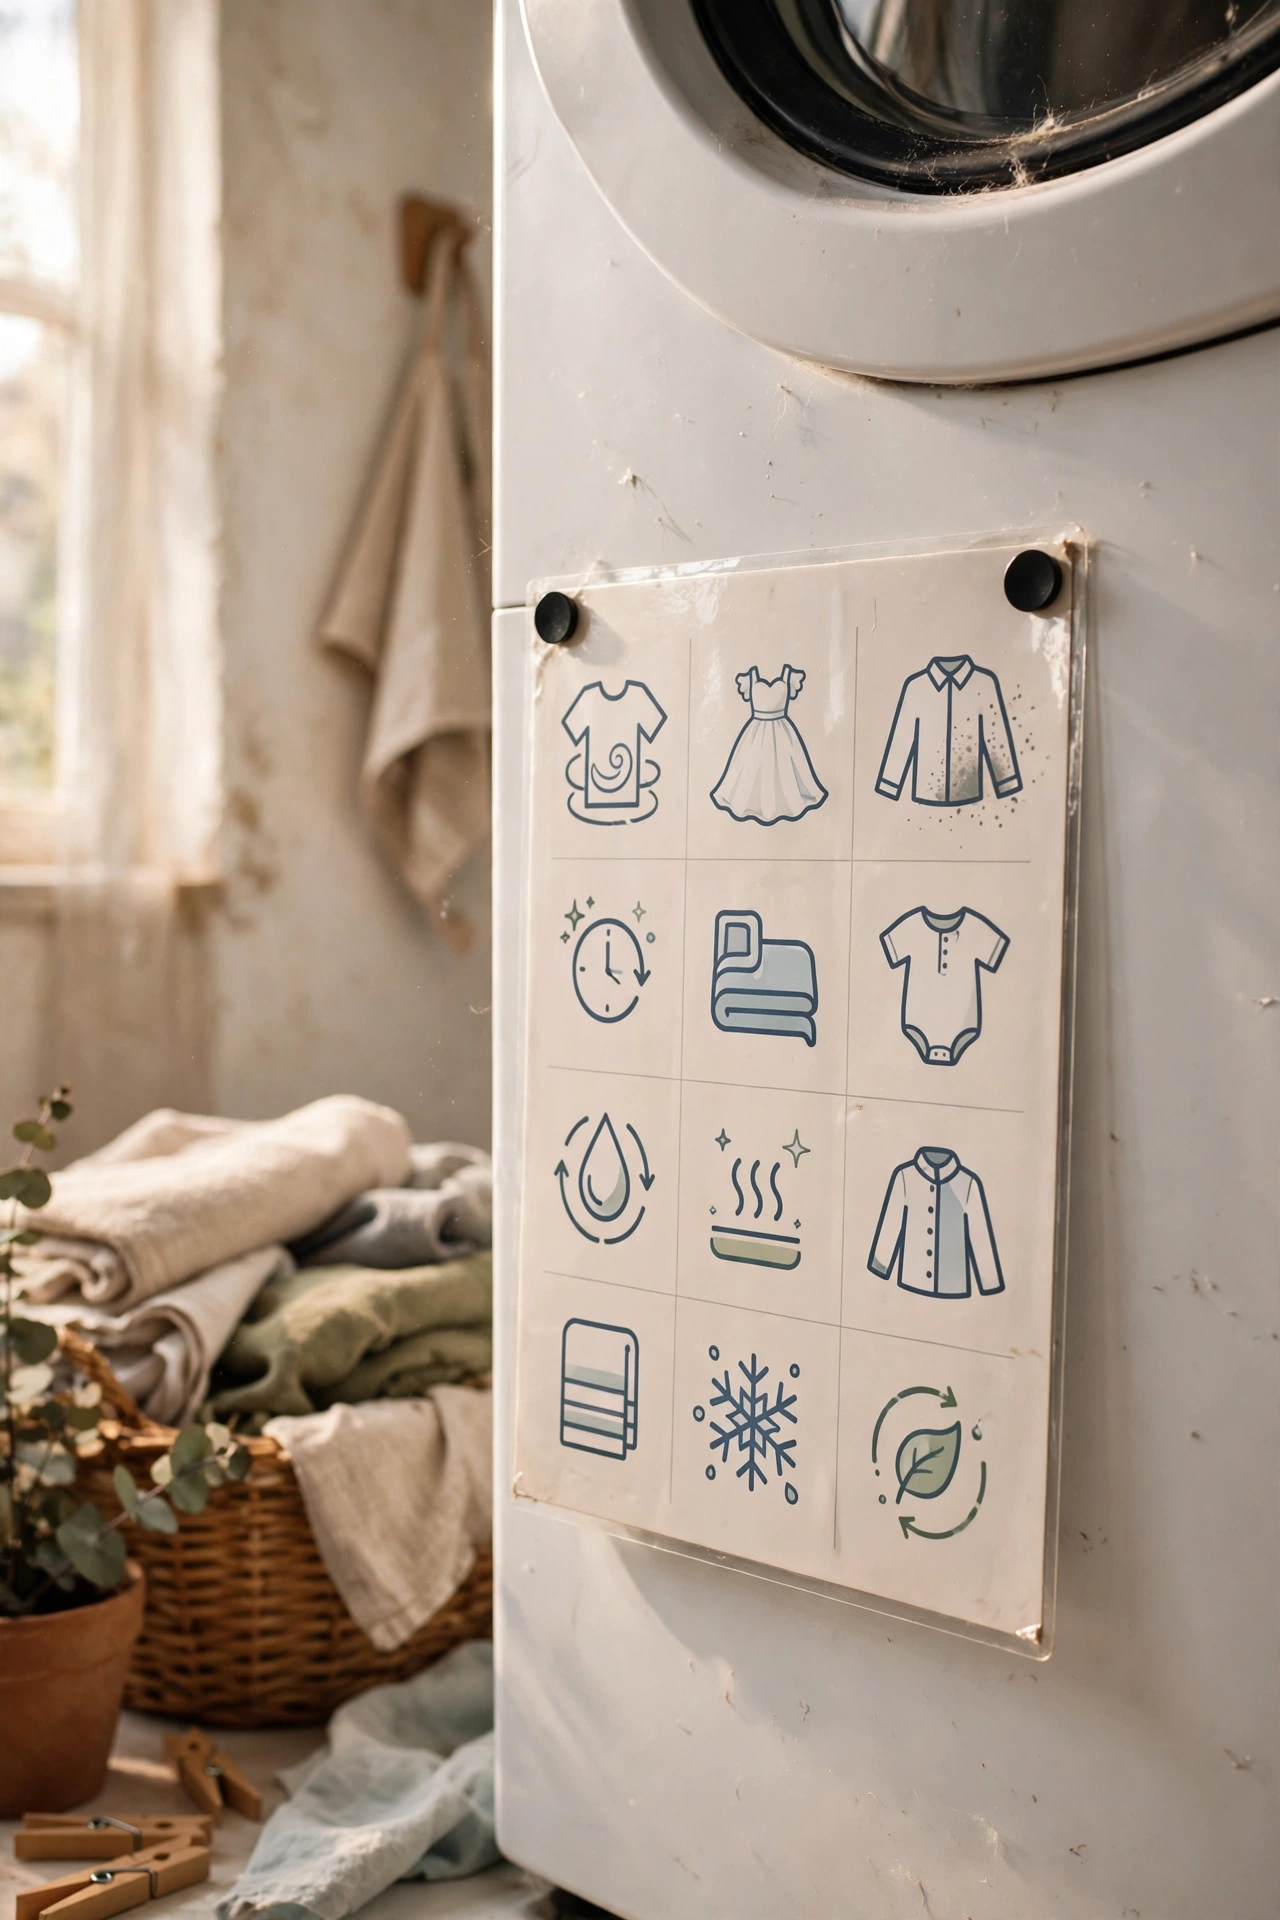
A magnetic chart on the washer stops the whole household guessing at settings. Stick a small whiteboard or printed chart to the side of the machine listing your standard cycles: hot for whites and towels, warm for colours, cold for delicates, and which items never go in the dryer. It ends the “I didn’t know” conversation forever. I made one after my favourite wool jumper met a hot wash, and every family member now washes correctly without asking. Use magnetic strips on the back of a laminated card if your machine’s side is magnetic, which most are.
Pro tip: add a “check pockets” reminder at the top of the chart; tissues and pens cause more laundry disasters than wrong temperatures.
Cost: ~$3 · Time: 15 minutes to make
Stain-Treatment Caddy
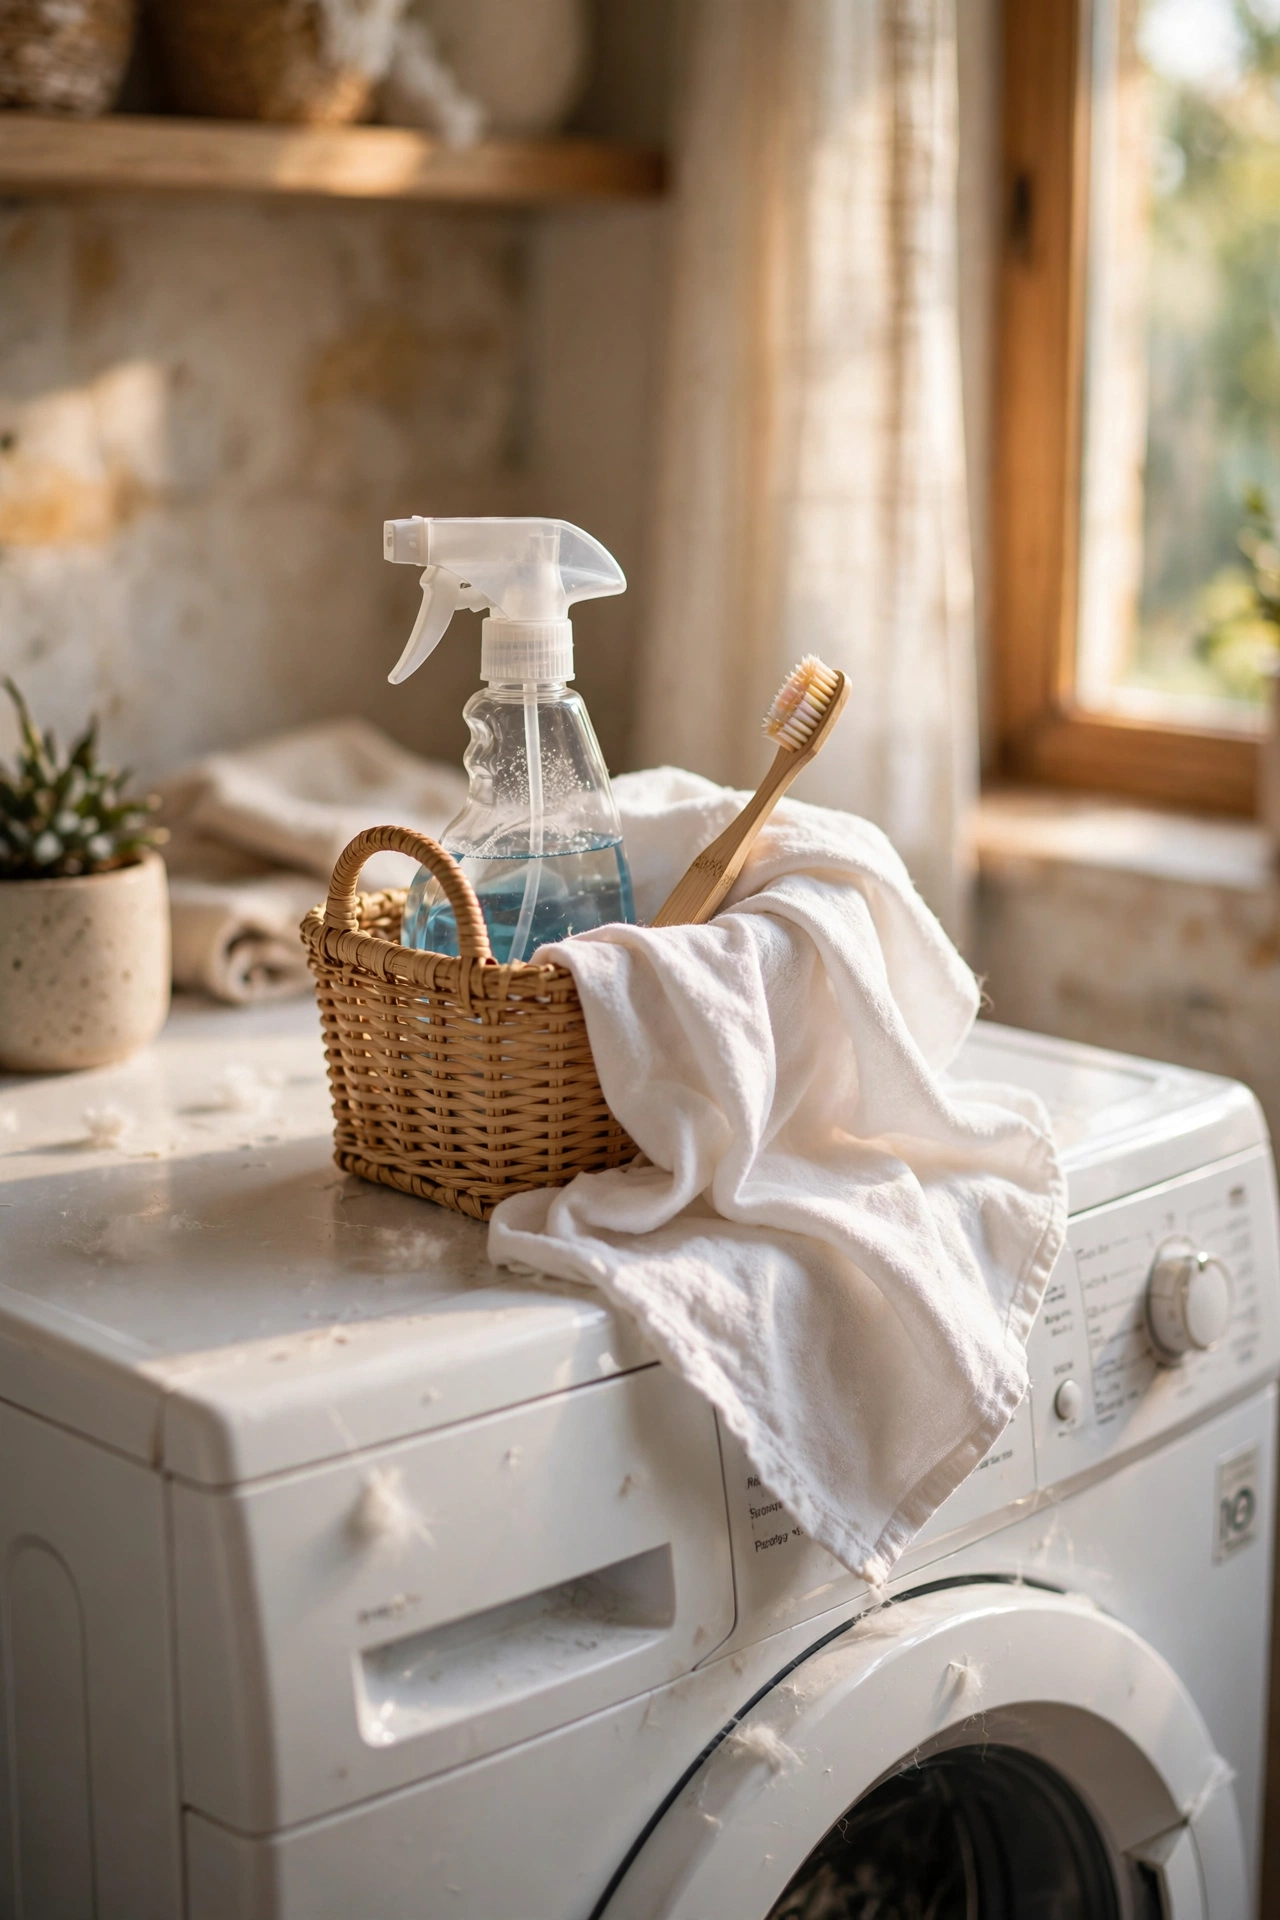
A dedicated stain caddy means you treat marks in seconds instead of “later”. Fill a small handled caddy with your stain remover, an old soft toothbrush for working it in, a white cloth for blotting, and a spray bottle of plain water. Keep it on top of the washer where you sort clothes, so a spotted shirt gets treated the moment you see it. I set one up after one too many “I’ll deal with it after dinner” stains set permanently, and my rescue rate has soared. The toothbrush is the secret weapon: gentle, precise, and perfect for working remover into fabric without spreading the stain.
Pro tip: treat stains from the back of the fabric so you push the mark out rather than driving it deeper into the fibres.
Cost: ~$5 · Time: 10 minutes to assemble
Sweater Drying Net
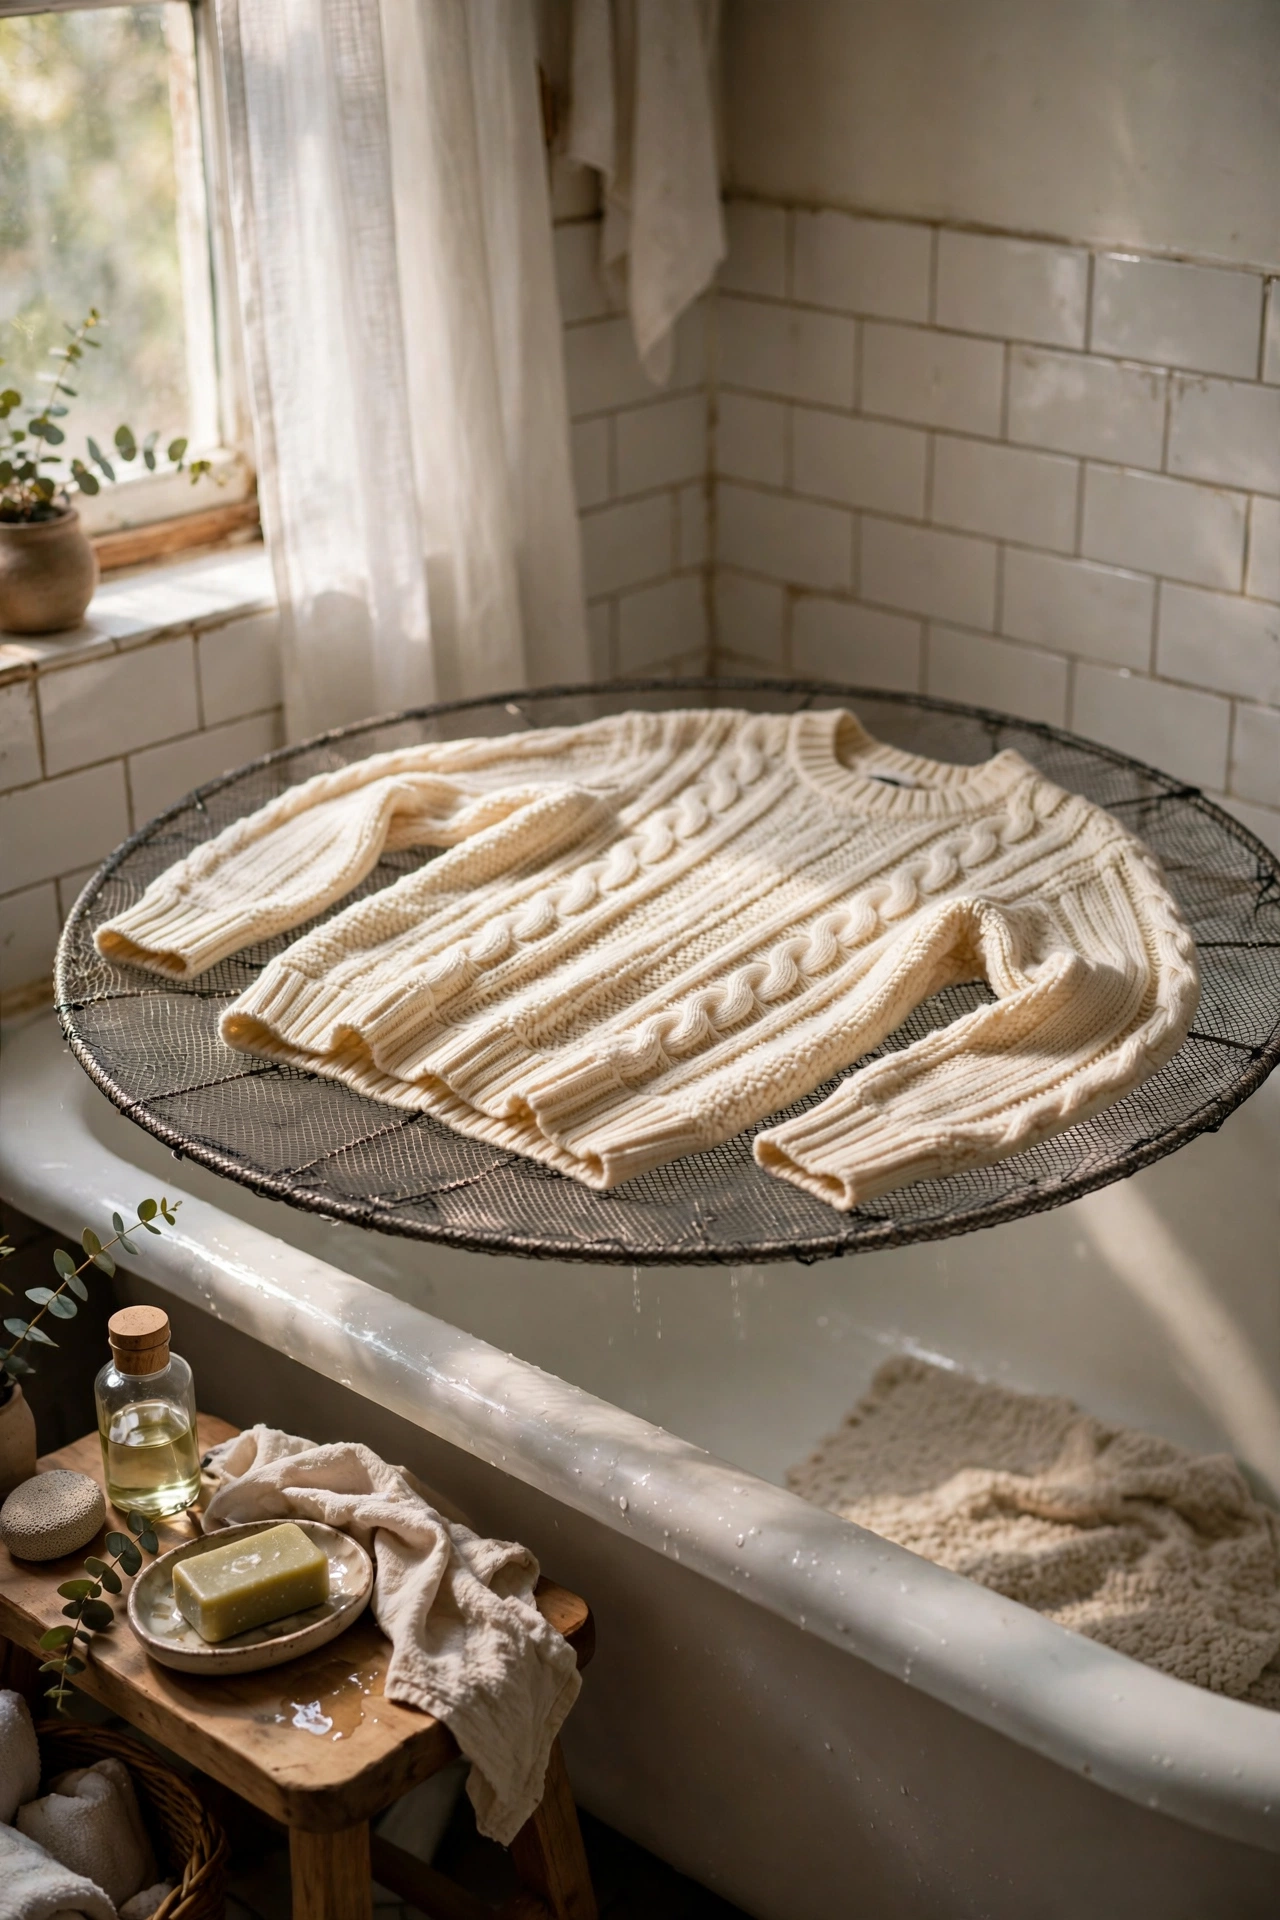
A flat mesh drying net is the only safe way to dry knitwear. Lay the sweater flat on the net, gently reshape it to its proper dimensions, and let air circulate from below as well as above so it dries evenly without stretching. The stacking ones give you three or four layers in the footprint of one. I dried a hand-knitted cardigan on one of these after years of draping jumpers over the drying rack and wondering why the sleeves grew, and the difference in shape retention was immediate. Never wring a sweater; press the water out between towels first.
Pro tip: trace your favourite sweater onto paper before its first wash and use the outline to reshape it perfectly every time it dries.
Cost: ~$4 · Time: 3 minutes per sweater
Over-Door Ironing Board Hook
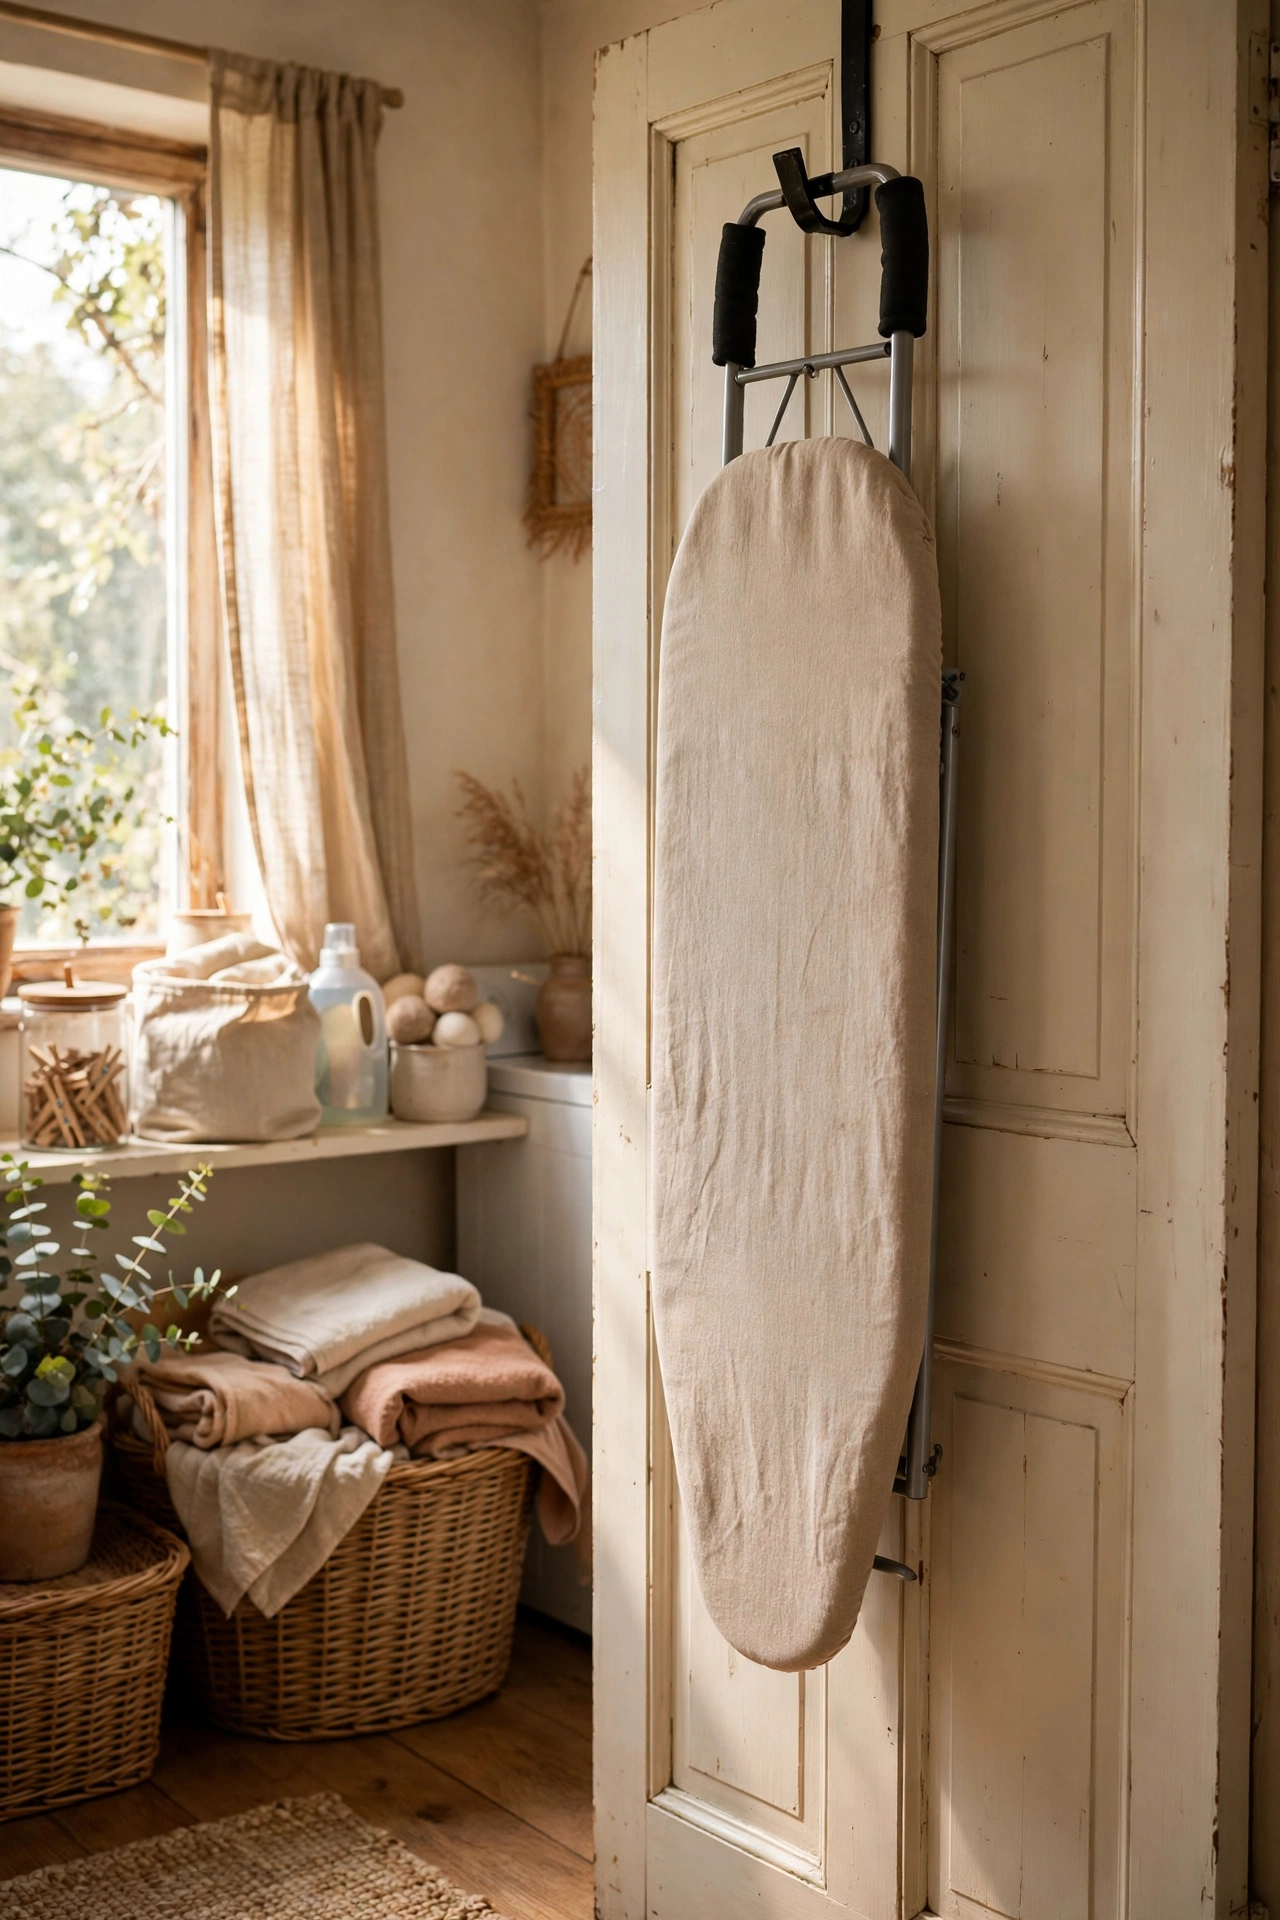
An over-door hook gets the ironing board off the floor and out of the way. Hang the board vertically on the back of the laundry room door or inside a cupboard door, and it is accessible in seconds but invisible the rest of the time. Most boards have a pointed end that sits neatly in a wide hook. I hung mine this way after tripping over it leaning in the corner for the hundredth time, and the laundry room floor has been clear ever since. Check the door still closes fully with the board hung, especially on cupboard doors with shallow clearance.
Pro tip: hang your iron’s cord wrapped around the board’s legs so the whole ironing station grabs in one trip.
Cost: ~$3 · Time: 2 minutes
Wool Dryer Balls
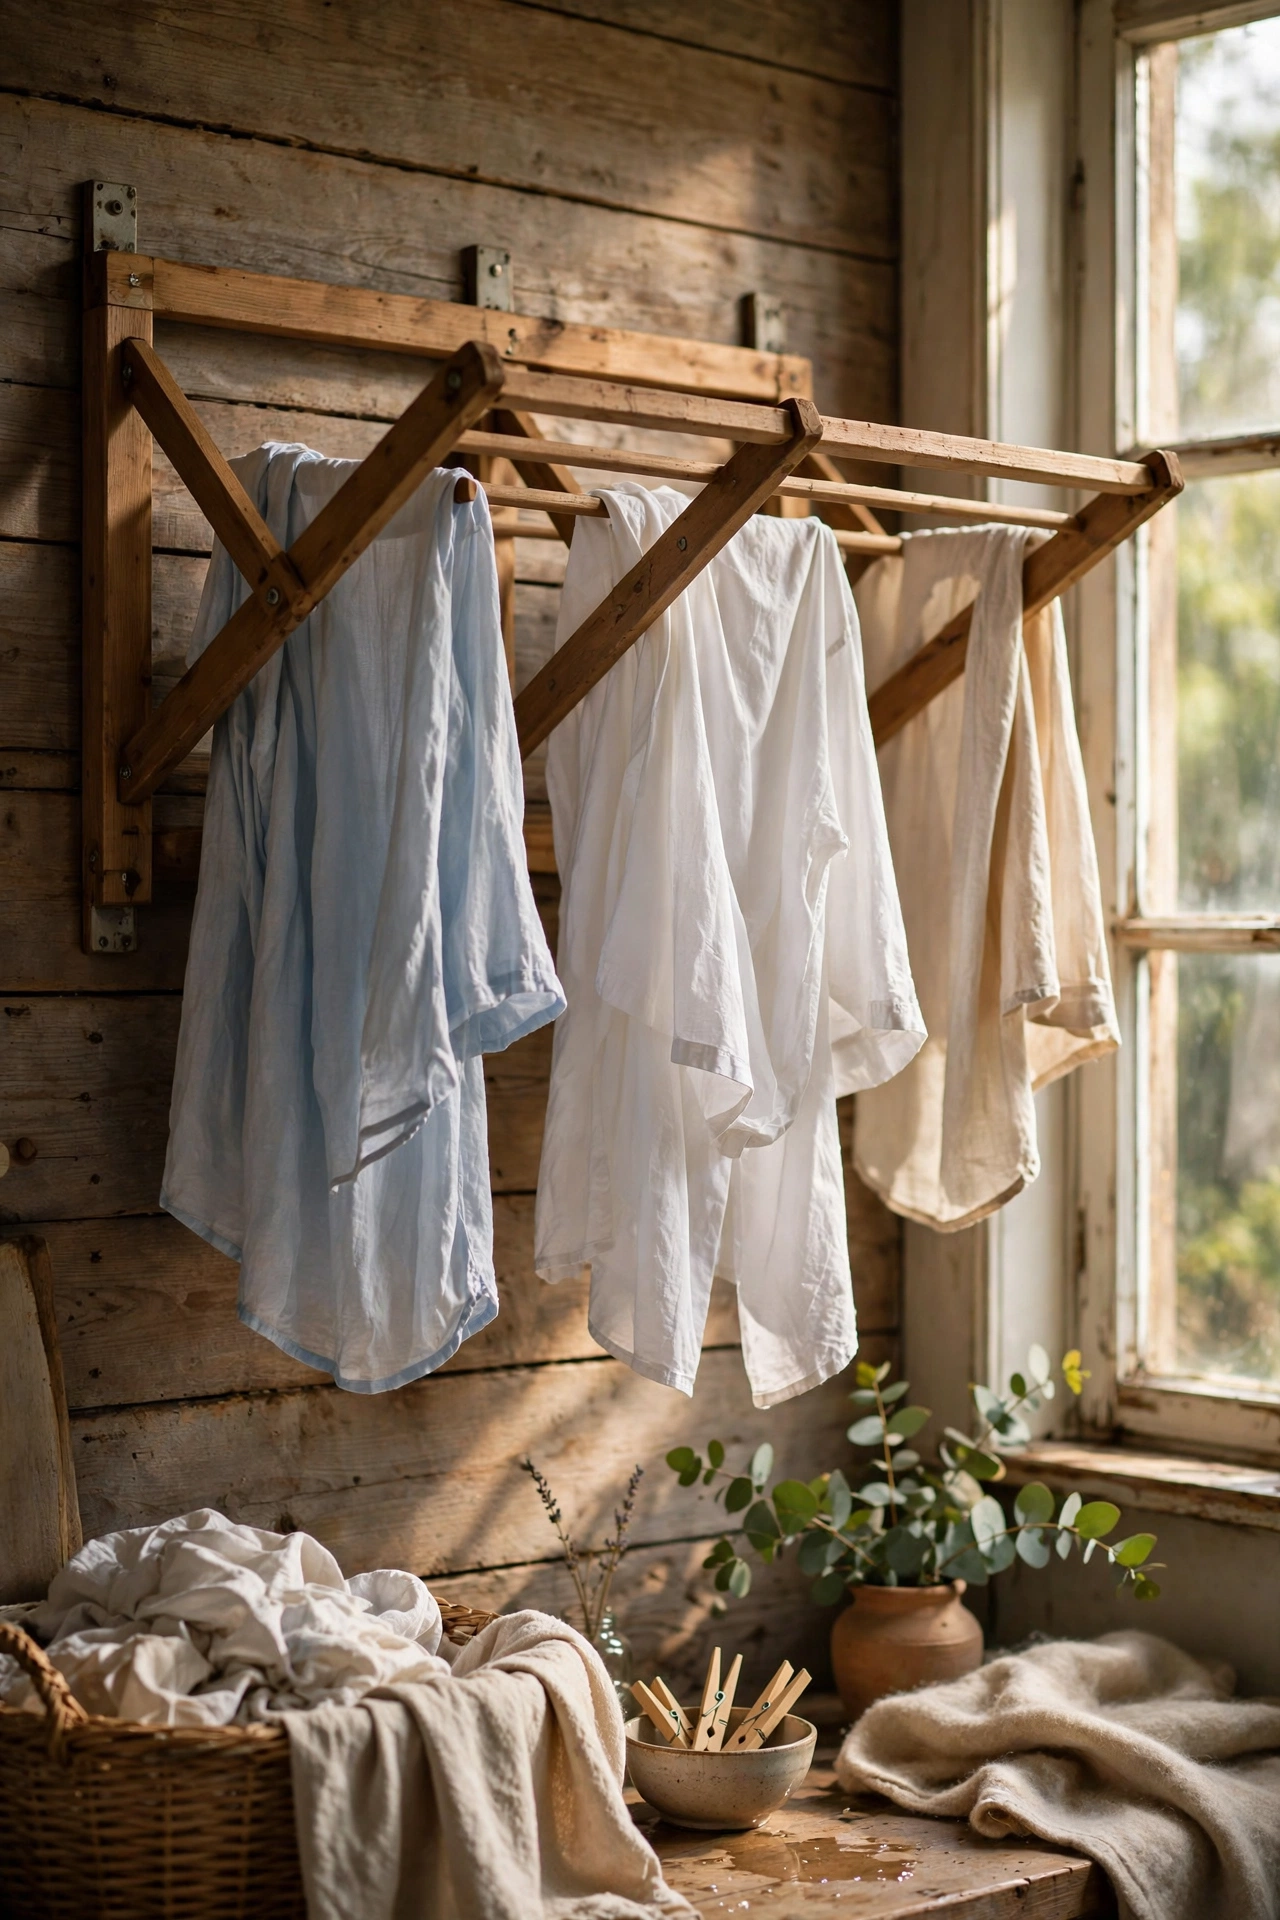
Wool dryer balls soften clothes, cut drying time, and replace disposable dryer sheets. Toss three or four into the dryer with every load; they bounce between clothes, separating them so hot air circulates better, which genuinely shortens the cycle. They last for hundreds of loads, making them one of the best value buys in the laundry aisle. I switched to these two years ago and my towels came out fluffier while my dryer ran shorter cycles. Add a drop of essential oil to each ball if you miss scented sheets, and let it soak in before the load.
Pro tip: if static is a problem in winter, toss in a damp washcloth for the last ten minutes; the moisture kills static without chemicals.
Cost: ~$4 for four · Time: 0 minutes, just toss them in
Pump Dispenser Bottles for Detergent
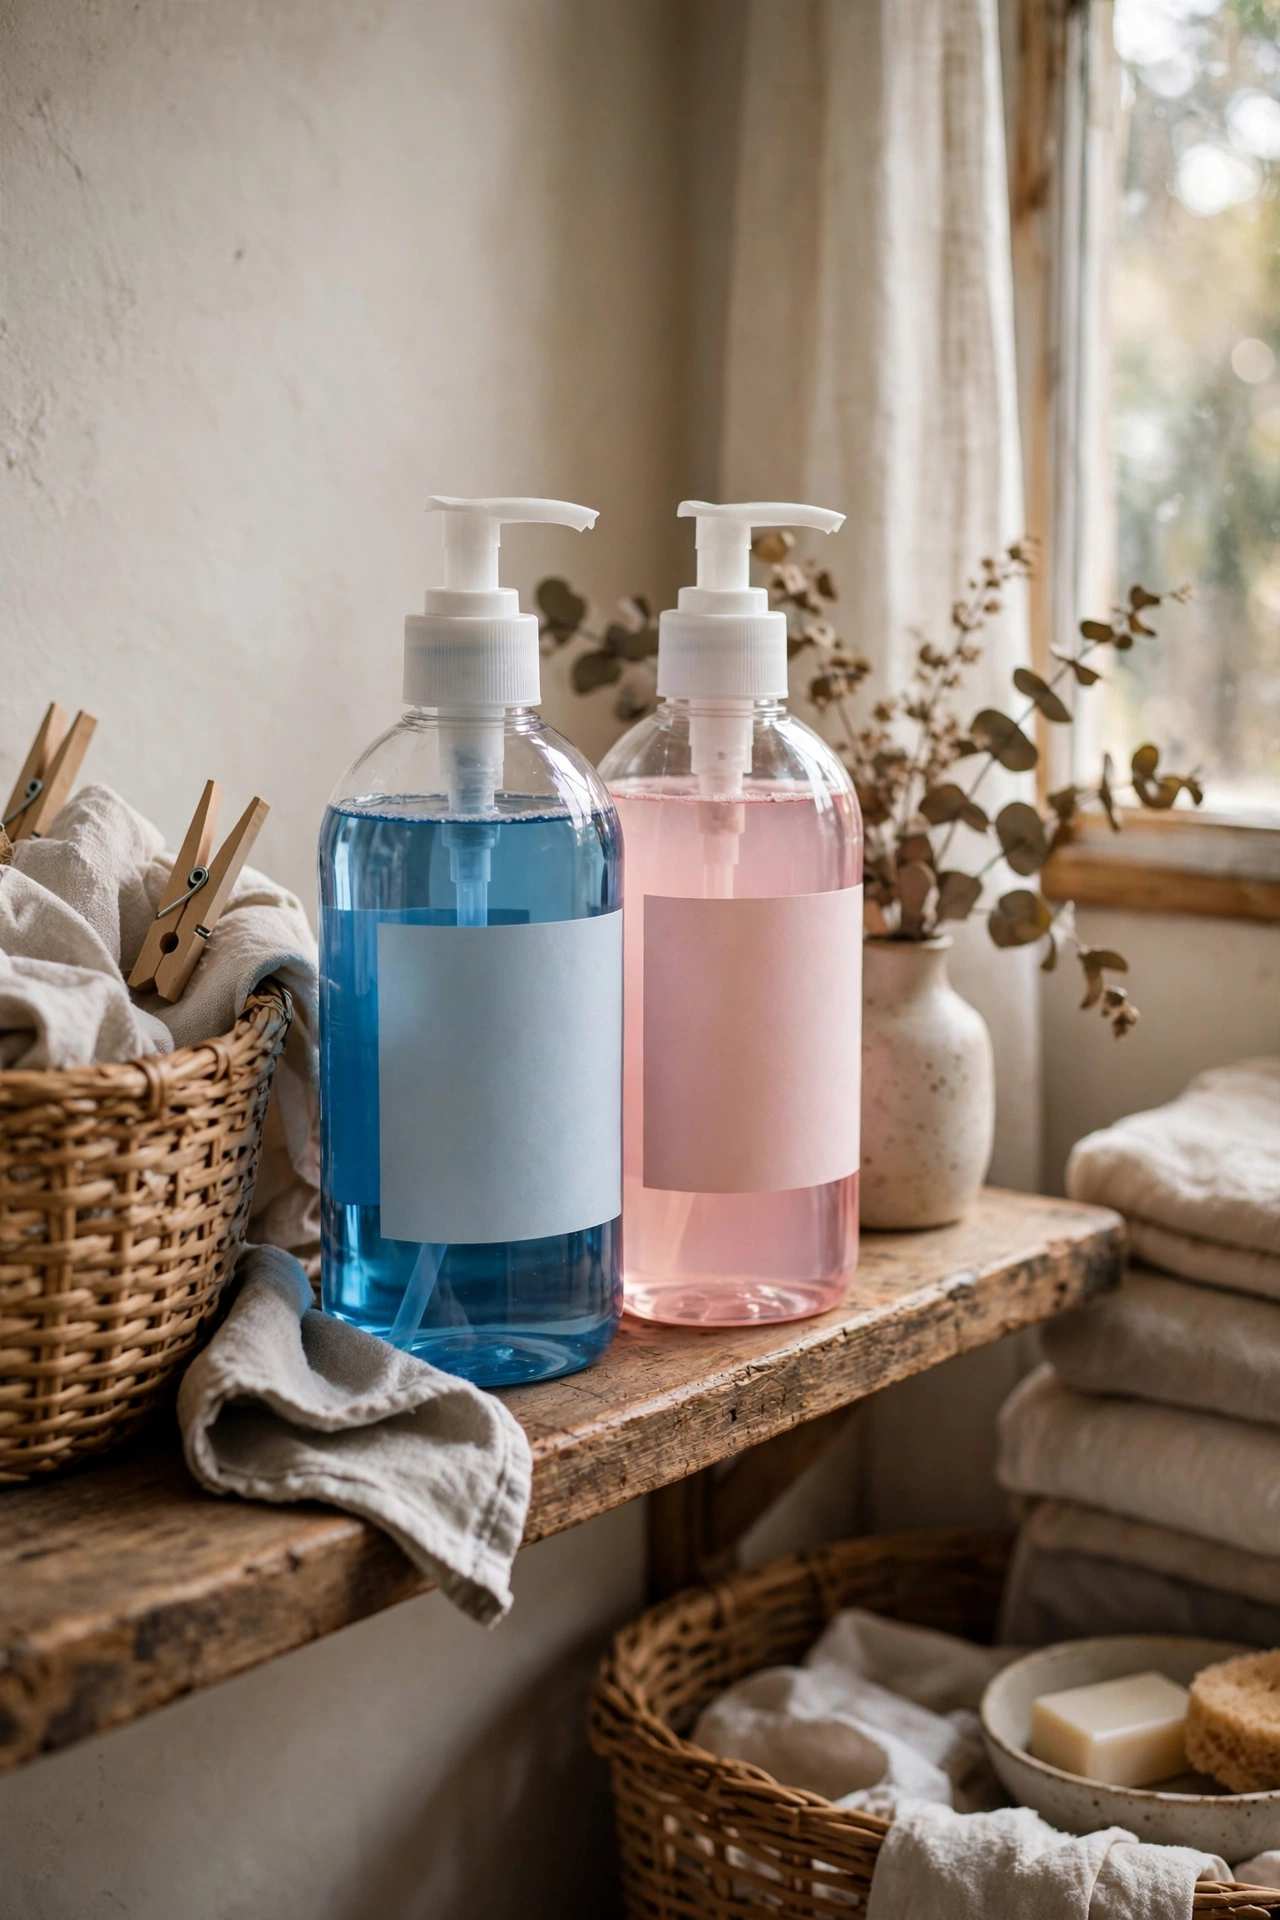
Decanting detergent into pump bottles ends the glug-and-guess measuring forever. Fill sturdy pump bottles with liquid detergent and fabric softener, label them clearly, and one or two pumps per load gives you a consistent, correct dose every time. It also stops the sticky dribbles down the side of the big detergent bottle. I switched to this system and my detergent now lasts noticeably longer, because I was definitely over-pouring before. Choose pumps with a good strong spring action, since thin detergent pumps clog and sputter with thicker liquids.
Pro tip: write the pump count per load on the label itself, so guests and teenagers dose correctly without asking.
Cost: ~$4 for two · Time: 5 minutes to fill
Lost-Sock Collection Basket
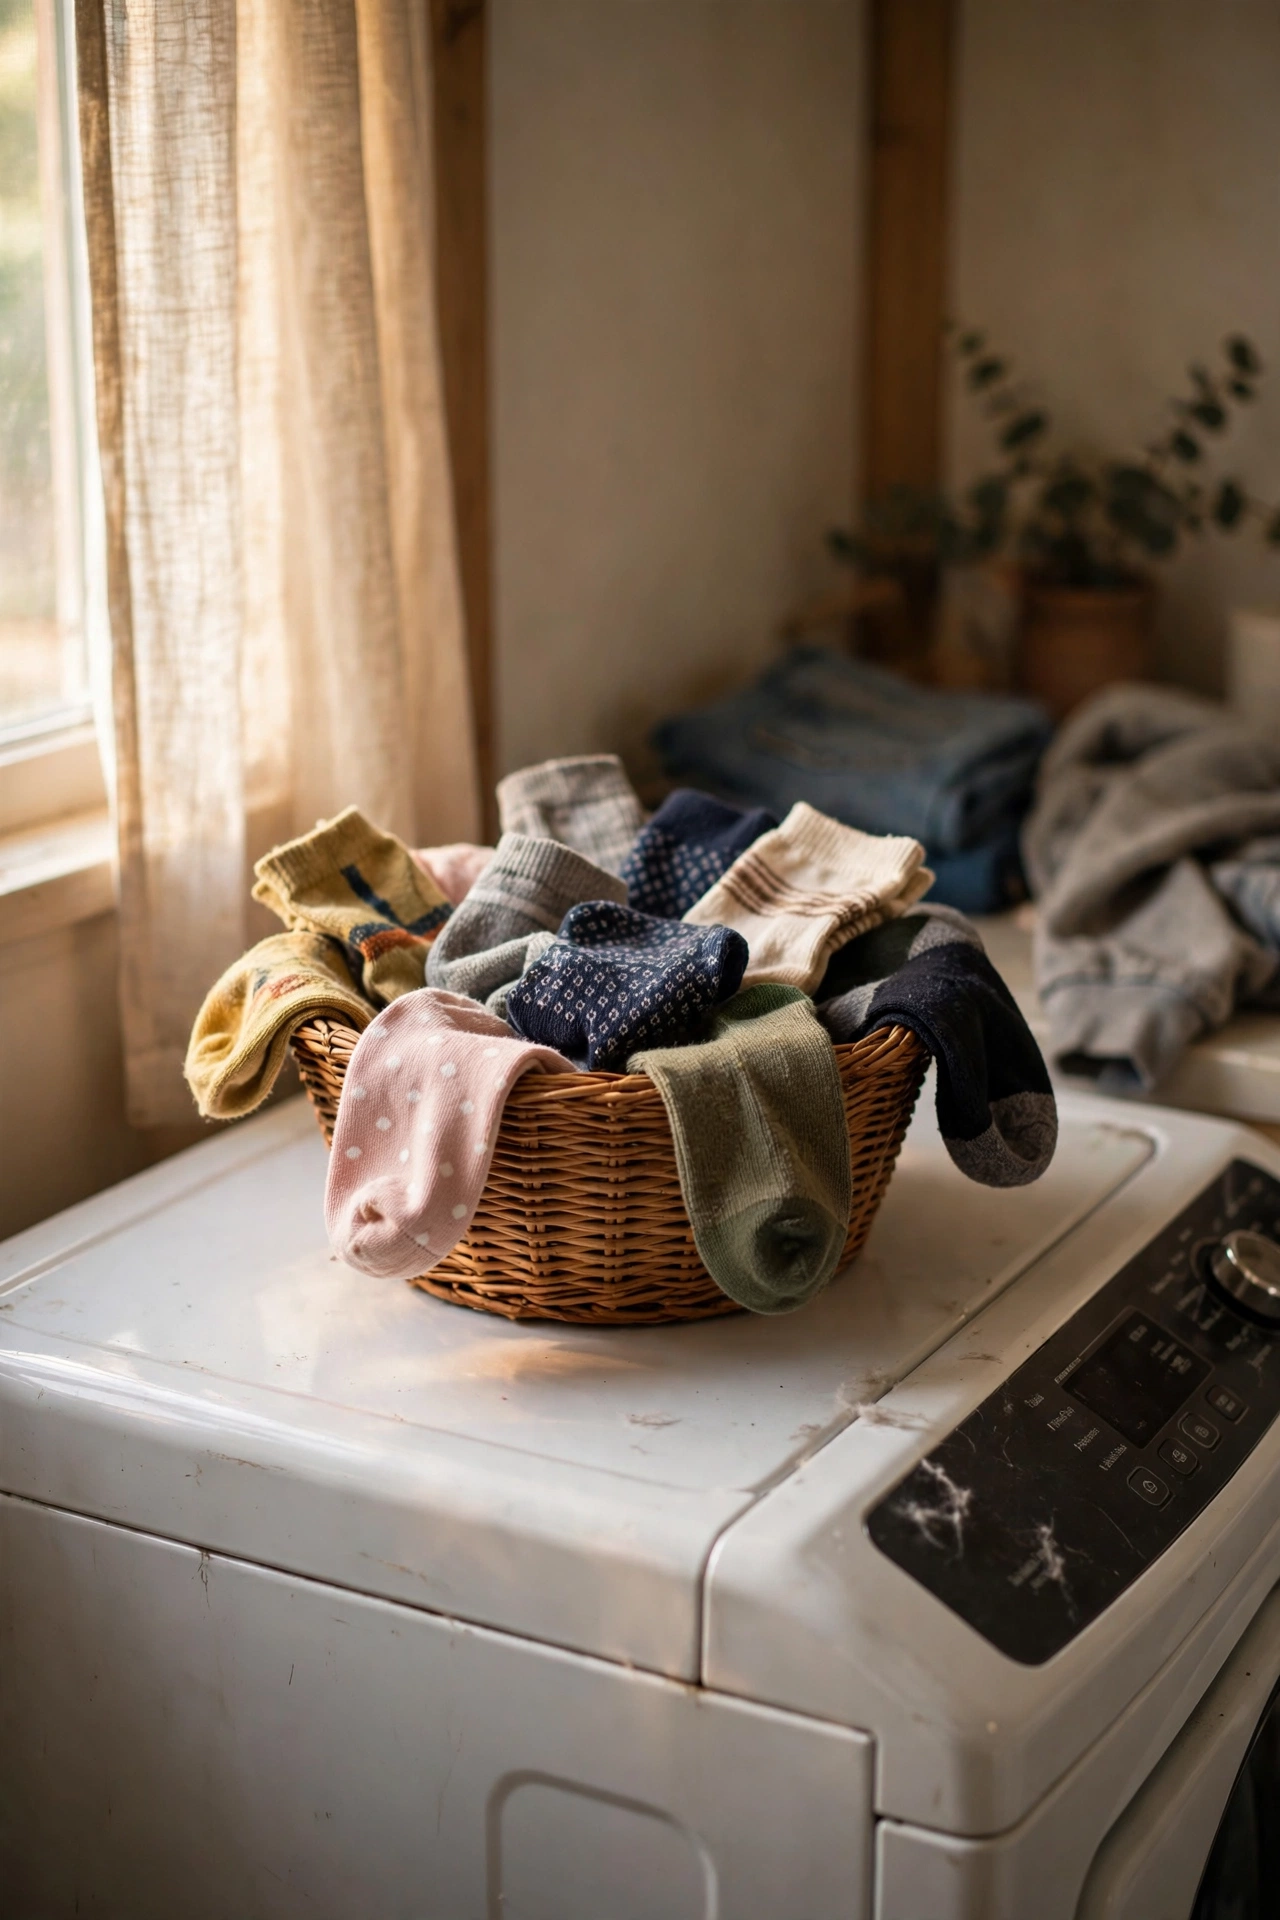
A small basket for single socks turns a drawer of orphans into a reunion station. When a lone sock comes out of the dryer, it goes in the basket instead of the sock drawer, and once a month you tip the basket out and match them up. Pairs go back to the drawer, and anything still single after two rounds gets retired to the cleaning-rag bag. I started this after finding the same lonely sock three months running, and the monthly matching session takes five minutes and feels weirdly satisfying. Keep the basket small on purpose; a big one just becomes a sock archive you never open.
Cost: ~$2 · Time: 5 minutes a month
Magnetic Dryer-Sheet Holder
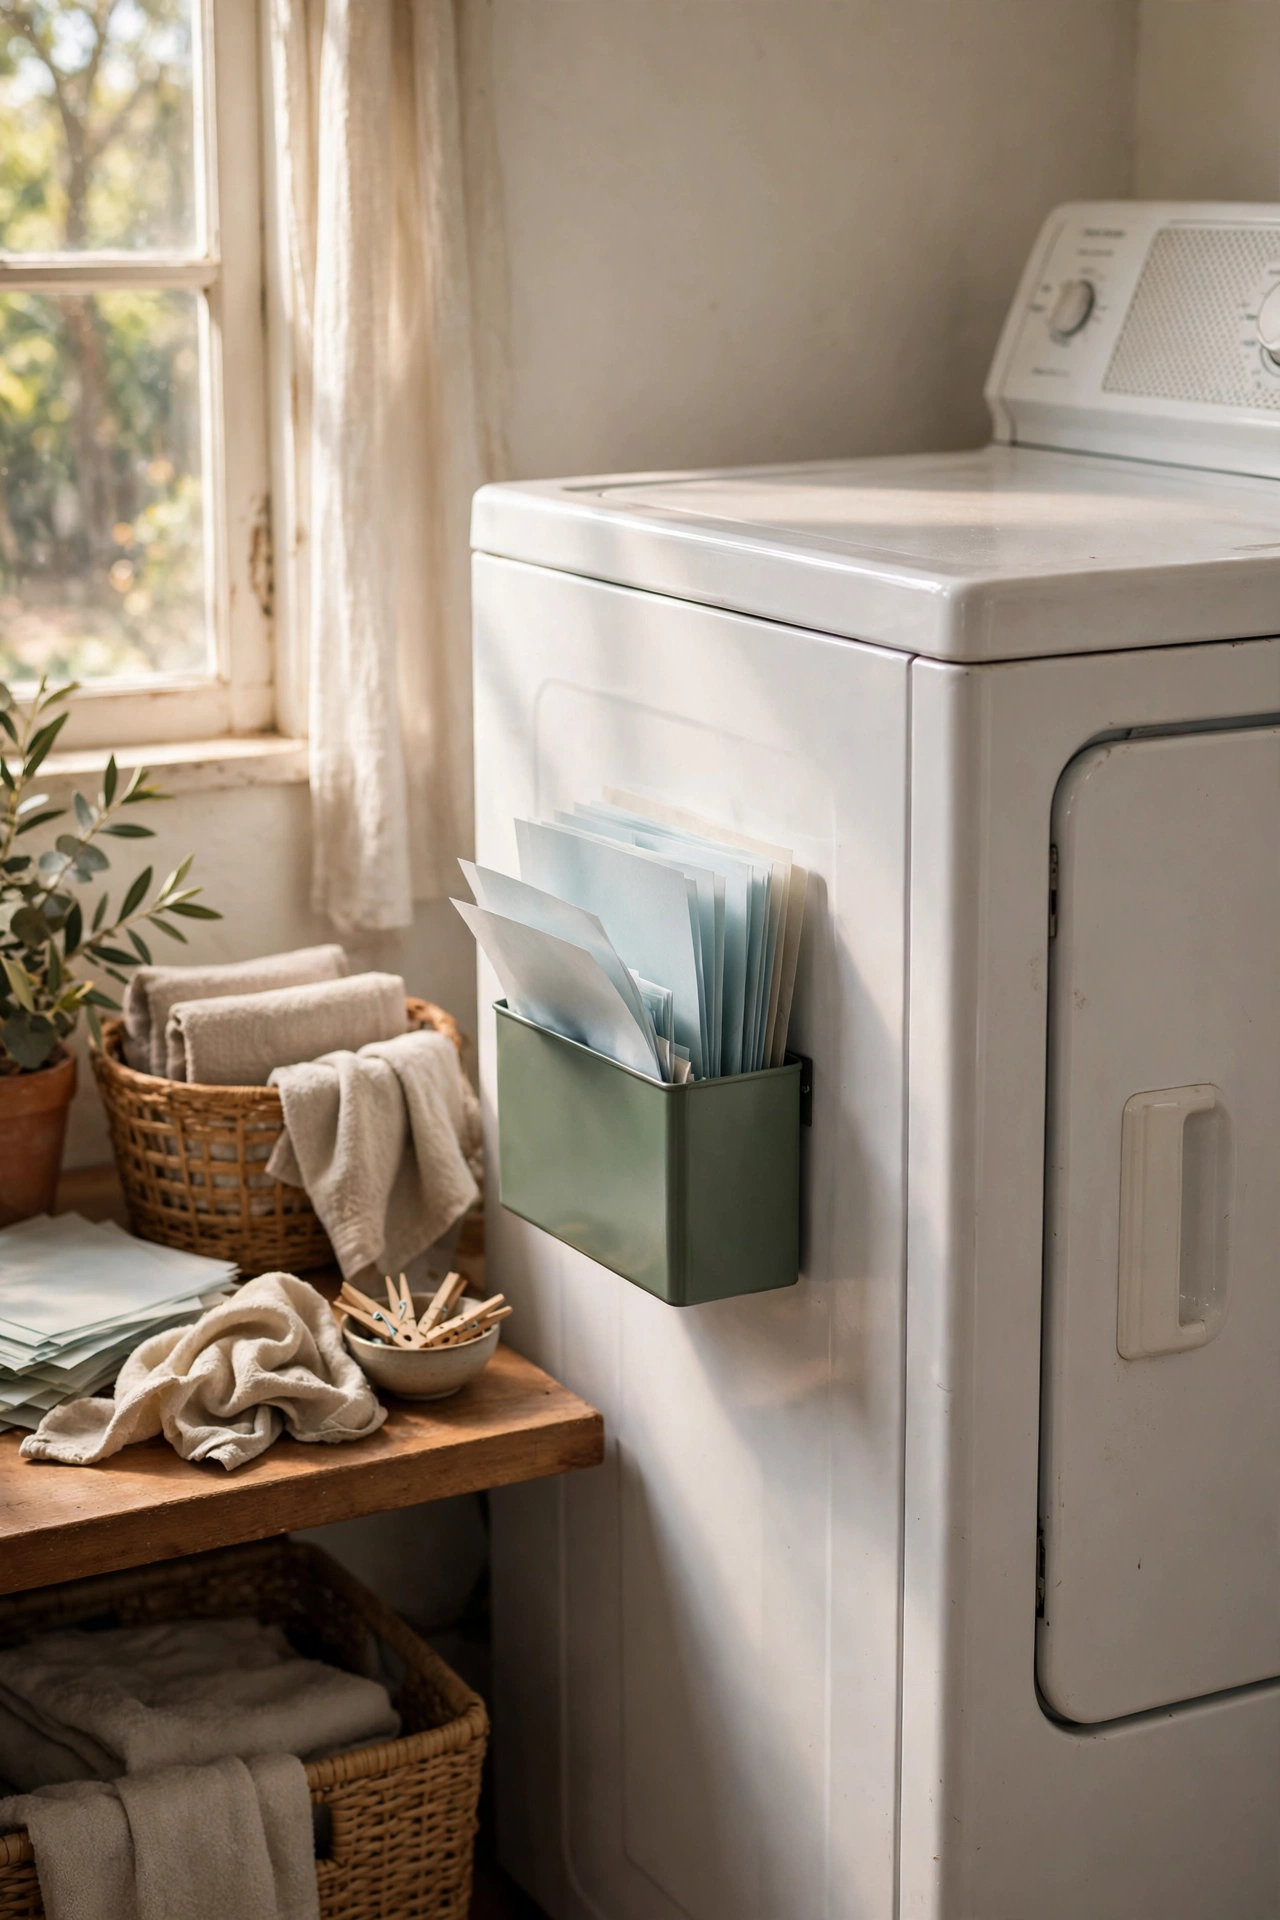
A magnetic holder on the side of the dryer keeps dryer sheets exactly where you need them. Stick a small magnetic box or pouch to the machine, fill it with sheets, and grab one as you load the dryer instead of hunting through the cupboard. It also works beautifully for scent boosters or dryer balls when they are not in use. I stuck one on my dryer and the number of loads that went in sheetless dropped to zero, because the sheets are now harder to forget than to remember. Make sure the magnet is strong enough to hold a full box; a weak one slides down the machine.
Pro tip: used dryer sheets are brilliant for dusting skirting boards and repelling dust, so keep a second life in mind before binning them.
Cost: ~$3 · Time: 2 minutes
Hanging Door Organiser for Supplies
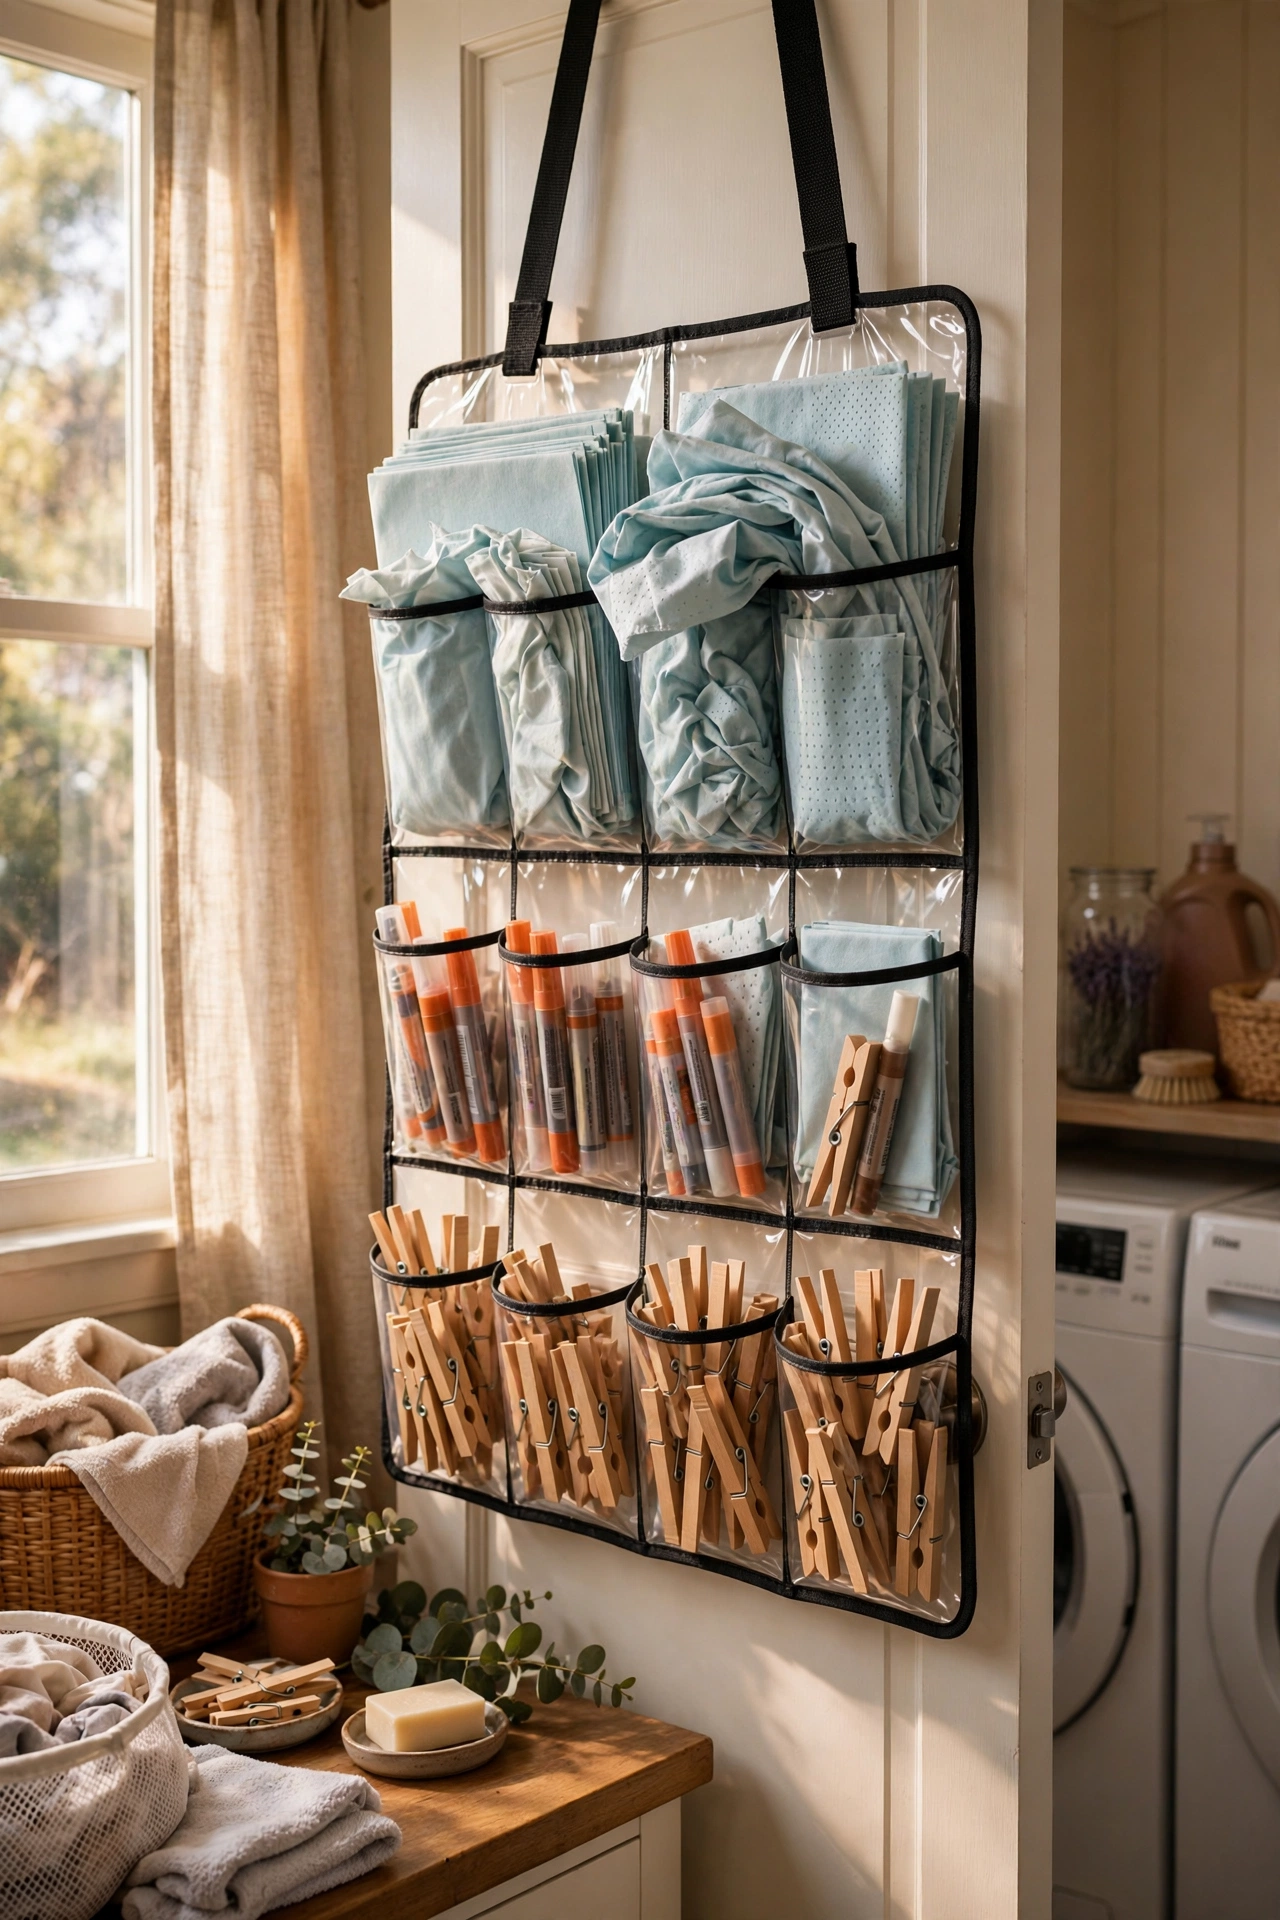
An over-door shoe organiser is secretly the best laundry supply storage ever made. Hang it on the back of the laundry room door and fill the clear pockets with dryer sheets, stain sticks, clothespins, sewing kits, and all the small bits that usually vanish into drawers. Everything is visible at a glance, and the door space was wasted before. I organised mine by task: top rows for washing supplies, middle for drying, bottom for mending. One mistake to avoid: overloading the bottom pockets with heavy bottles strains the hooks, so keep heavy items on the washer and light bits in the organiser.
Pro tip: label the top of each pocket row with a strip of masking tape until the system becomes habit; it takes two weeks to learn and then it is automatic.
Cost: ~$5 · Time: 15 minutes to fill
Refillable Spray Bottles for DIY Solutions
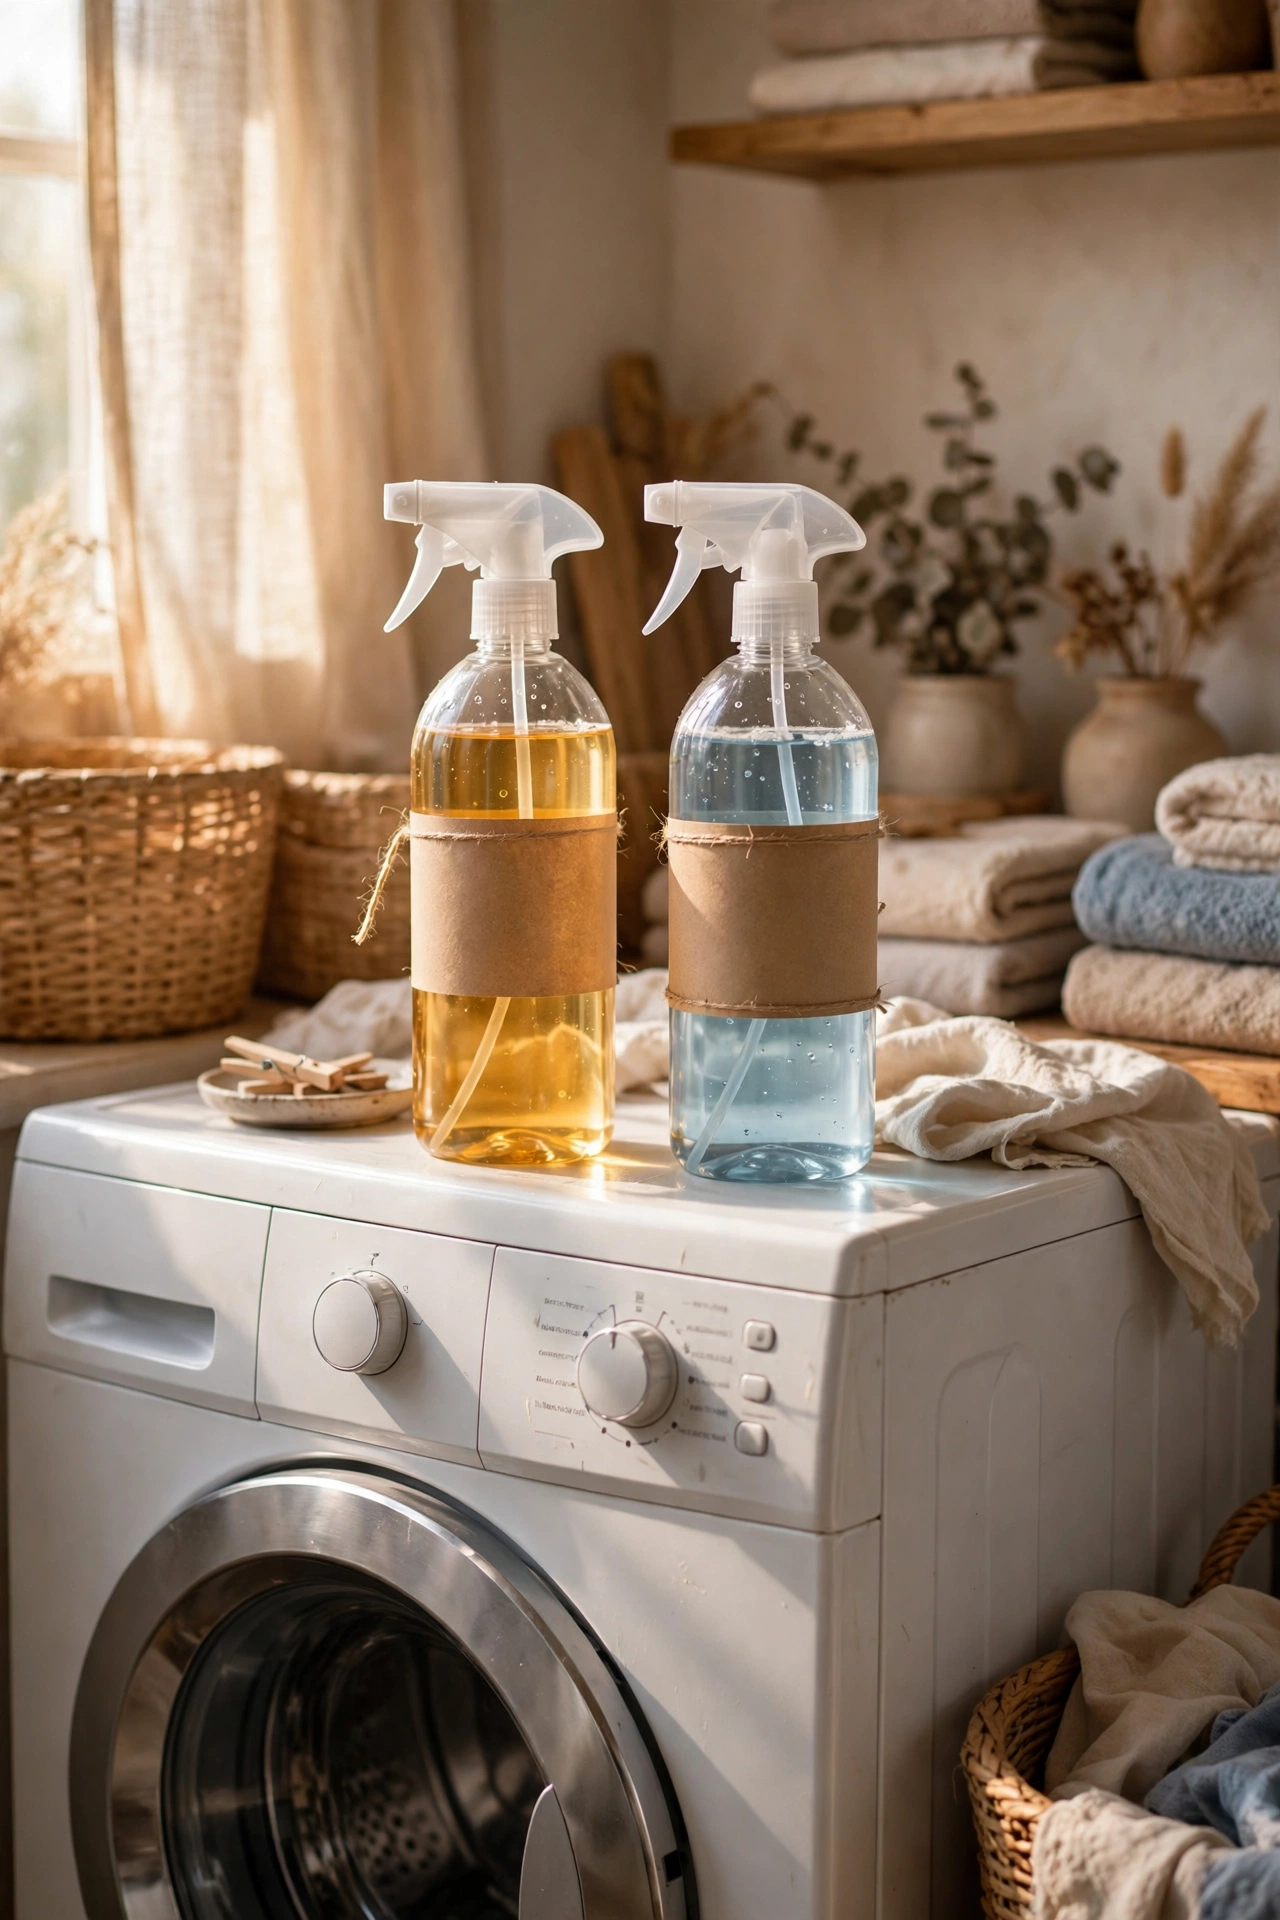
Good spray bottles are the foundation of every homemade laundry solution. Mix your own stain spray, wrinkle releaser, or freshening mist from simple ingredients, and keep them in labelled spray bottles on top of the washer. A basic mix of water with a splash of white vinegar and a drop of washing-up liquid handles most fresh stains. I keep three going: stain spray, a lavender water freshening mist for “clean but worn once” clothes, and plain water for dampening before ironing. Buy bottles with adjustable nozzles, because the fixed-mist ones clog within a month.
Pro tip: always label homemade bottles with the recipe and the date; mystery bottles get thrown away, and you will forget the ratio within a week.
Cost: ~$3 for two · Time: 10 minutes to mix
Folding Step Stool
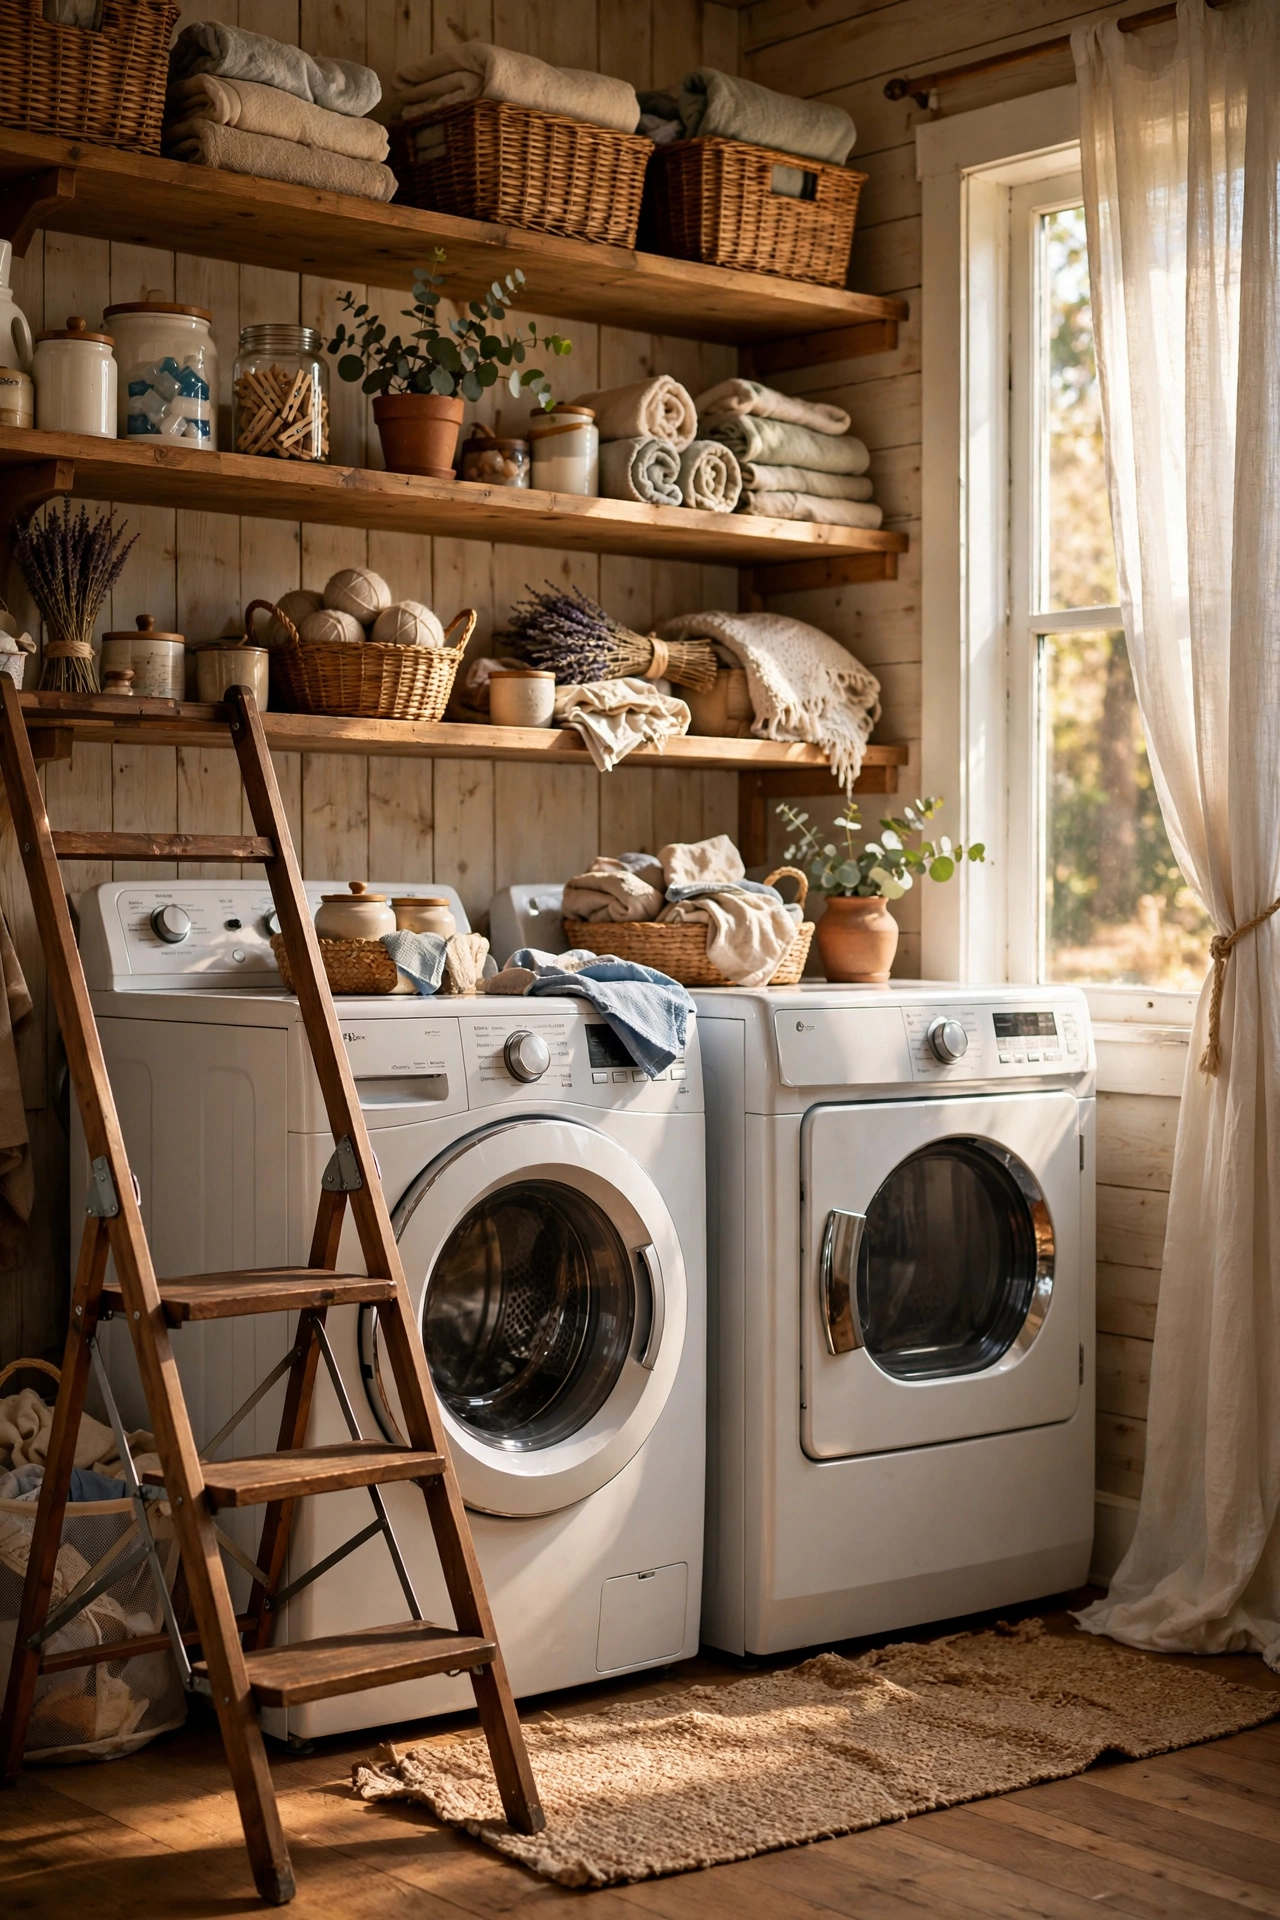
A folding step stool opens up the top shelf of your laundry room, which is otherwise dead space. Keep it folded flat beside the washer and unfold it when you need the high cupboard with the spare detergent, the seasonal supplies, or the iron you only use monthly. The sturdy plastic ones hold plenty of weight and fold to a couple of inches thick. I bought one after realising I had an entire shelf I never used because I could not reach it comfortably, and it genuinely added a shelf of storage to my laundry room. Check the weight rating before you buy; the cheapest ones flex alarmingly.
Pro tip: store the items you use least on the highest shelf, and the stool pays for itself in saved stretching and stool-dragging from the kitchen.
Cost: ~$8 · Time: 0 minutes, just unfold it
Wall-Mounted Mop and Broom Holder
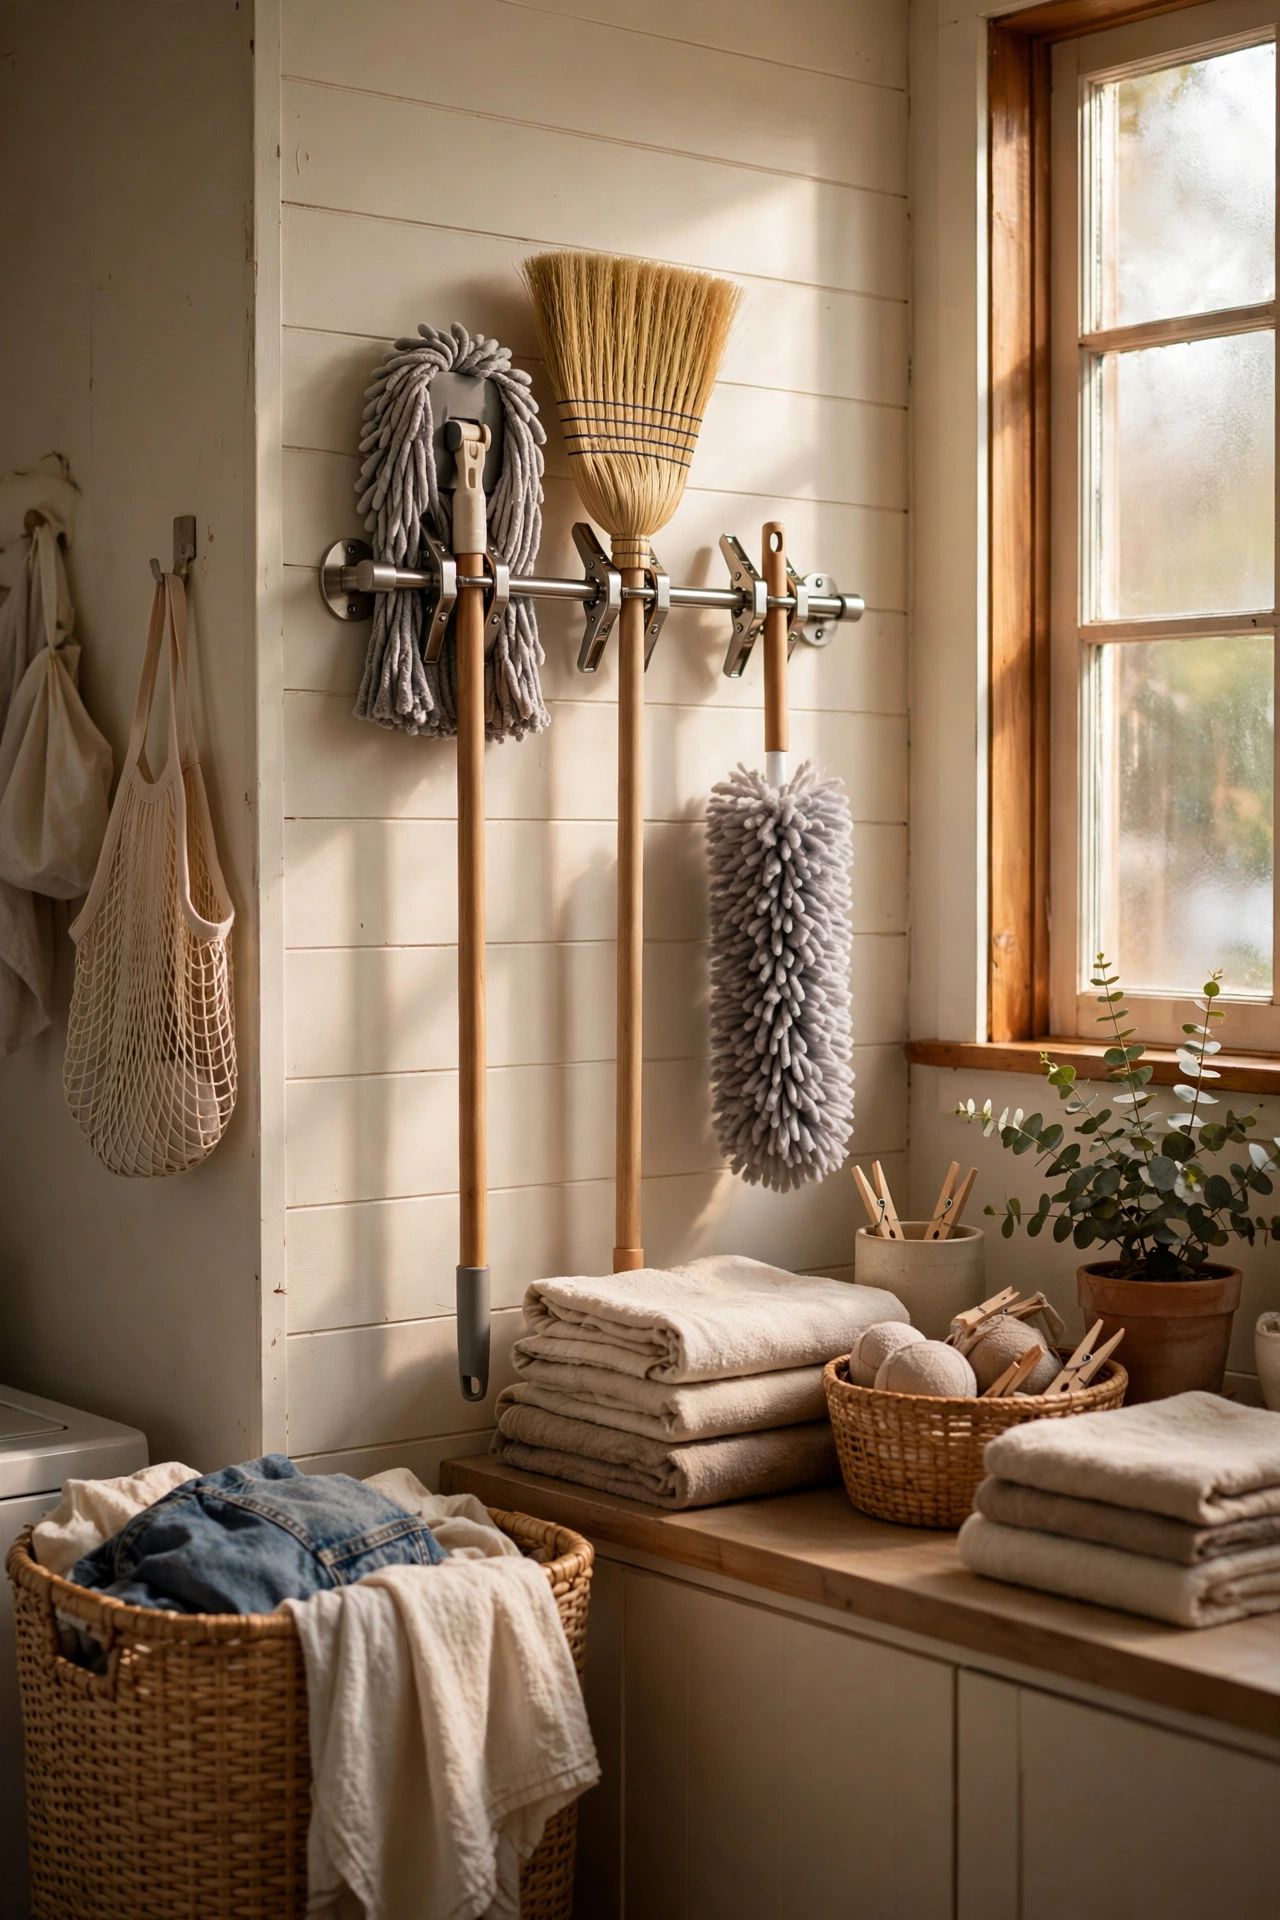
A wall-mounted grip holder gets mops, brooms, and dusters off the laundry room floor and onto the wall. Screw the rail to the wall at a comfortable height, and the spring-loaded grips hold handles of any thickness securely. No more broom avalanche when you open the cupboard. I mounted one inside my laundry cupboard door area and the floor space it freed up now holds the laundry sorter. One mistake to avoid: mounting it too high means shorter family members cannot reach the mop, which rather defeats the purpose of an organised cleaning corner, so keep it at shoulder height.
Pro tip: leave one spare grip empty for the lint roller and handheld vacuum attachments; they are the things that always end up on the floor otherwise.
Cost: ~$5 · Time: 15 minutes to mount
Stackable Supply Drawers
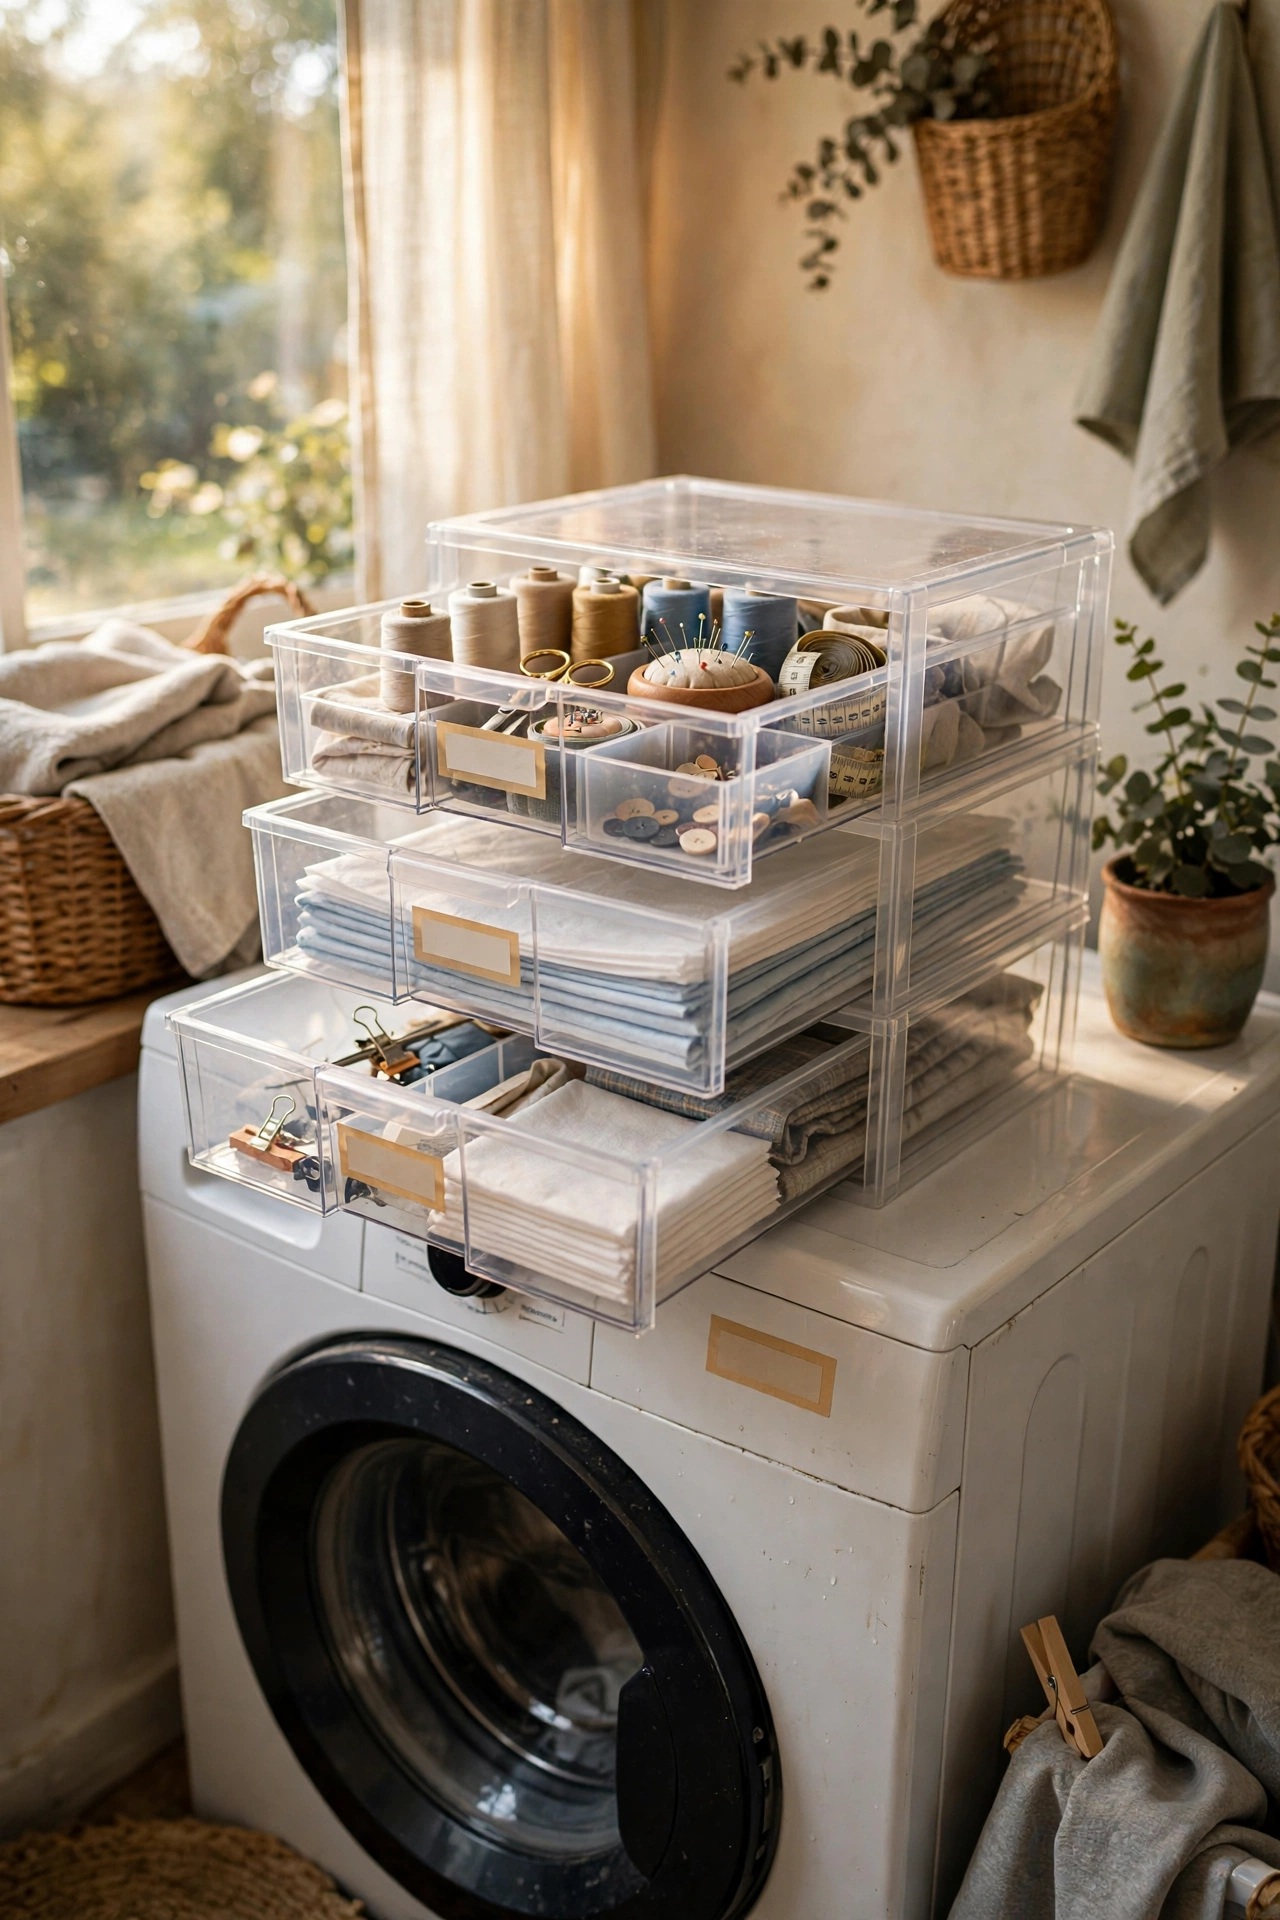
Small stackable drawers turn a jumble of laundry extras into a tidy tower. Use them for dryer sheets, stain sticks, spare buttons, sewing kits, delicates bags, and all the small things that otherwise colonise every flat surface. The drawers pull out for access and the unit takes up barely any counter space. I stacked a three-drawer unit on my washer and the top of the machine went from chaos to clear overnight. Label the drawer fronts so the whole household puts things back in the right place, because an unlabeled drawer becomes a junk drawer within a fortnight.
Pro tip: put the unit on a non-slip mat if it lives on top of the washer; the vibration walks unsecured drawers across the machine over time.
Cost: ~$6 · Time: 10 minutes to organise
Clothespin Storage Bag
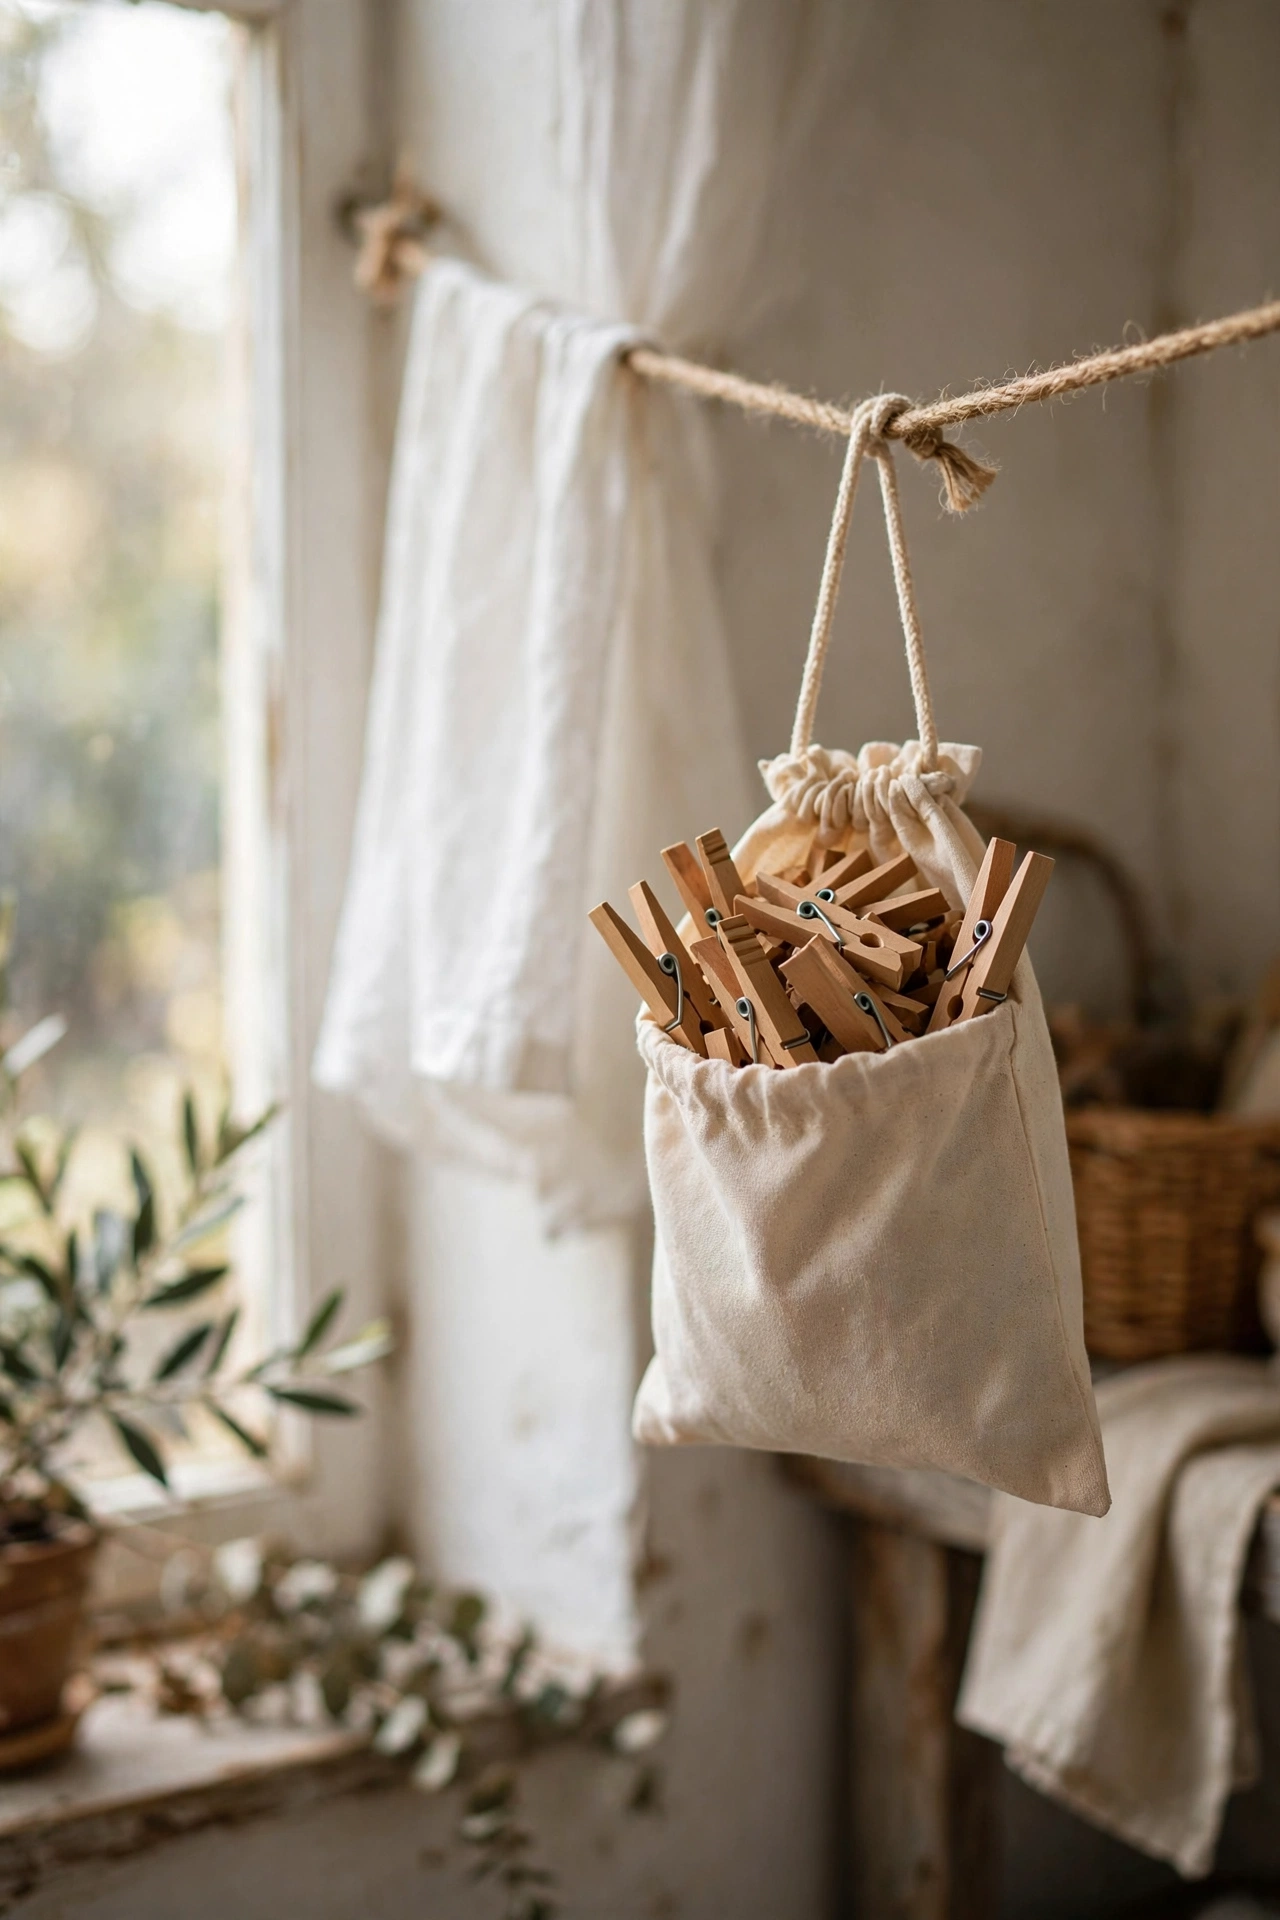
A dedicated bag for clothespins keeps them together and within reach of the line. Hang a small drawstring or zippered bag on the end of your clothesline or drying rack, and every pin goes back in the bag the moment it comes off the washing. No more hunting through pockets for pins, no more pins scattered across the garden. I hung a little canvas bag on my retractable line, and hanging washing is now a smooth one-trip operation instead of a treasure hunt. The bag also protects wooden pins from rain if you forget them outside, which I definitely never do.
Pro tip: keep a few spare pins in a second pocket of the bag for the inevitable moment one snaps mid-hang.
Cost: ~$2 · Time: 2 minutes
Detergent Measuring Cup Set
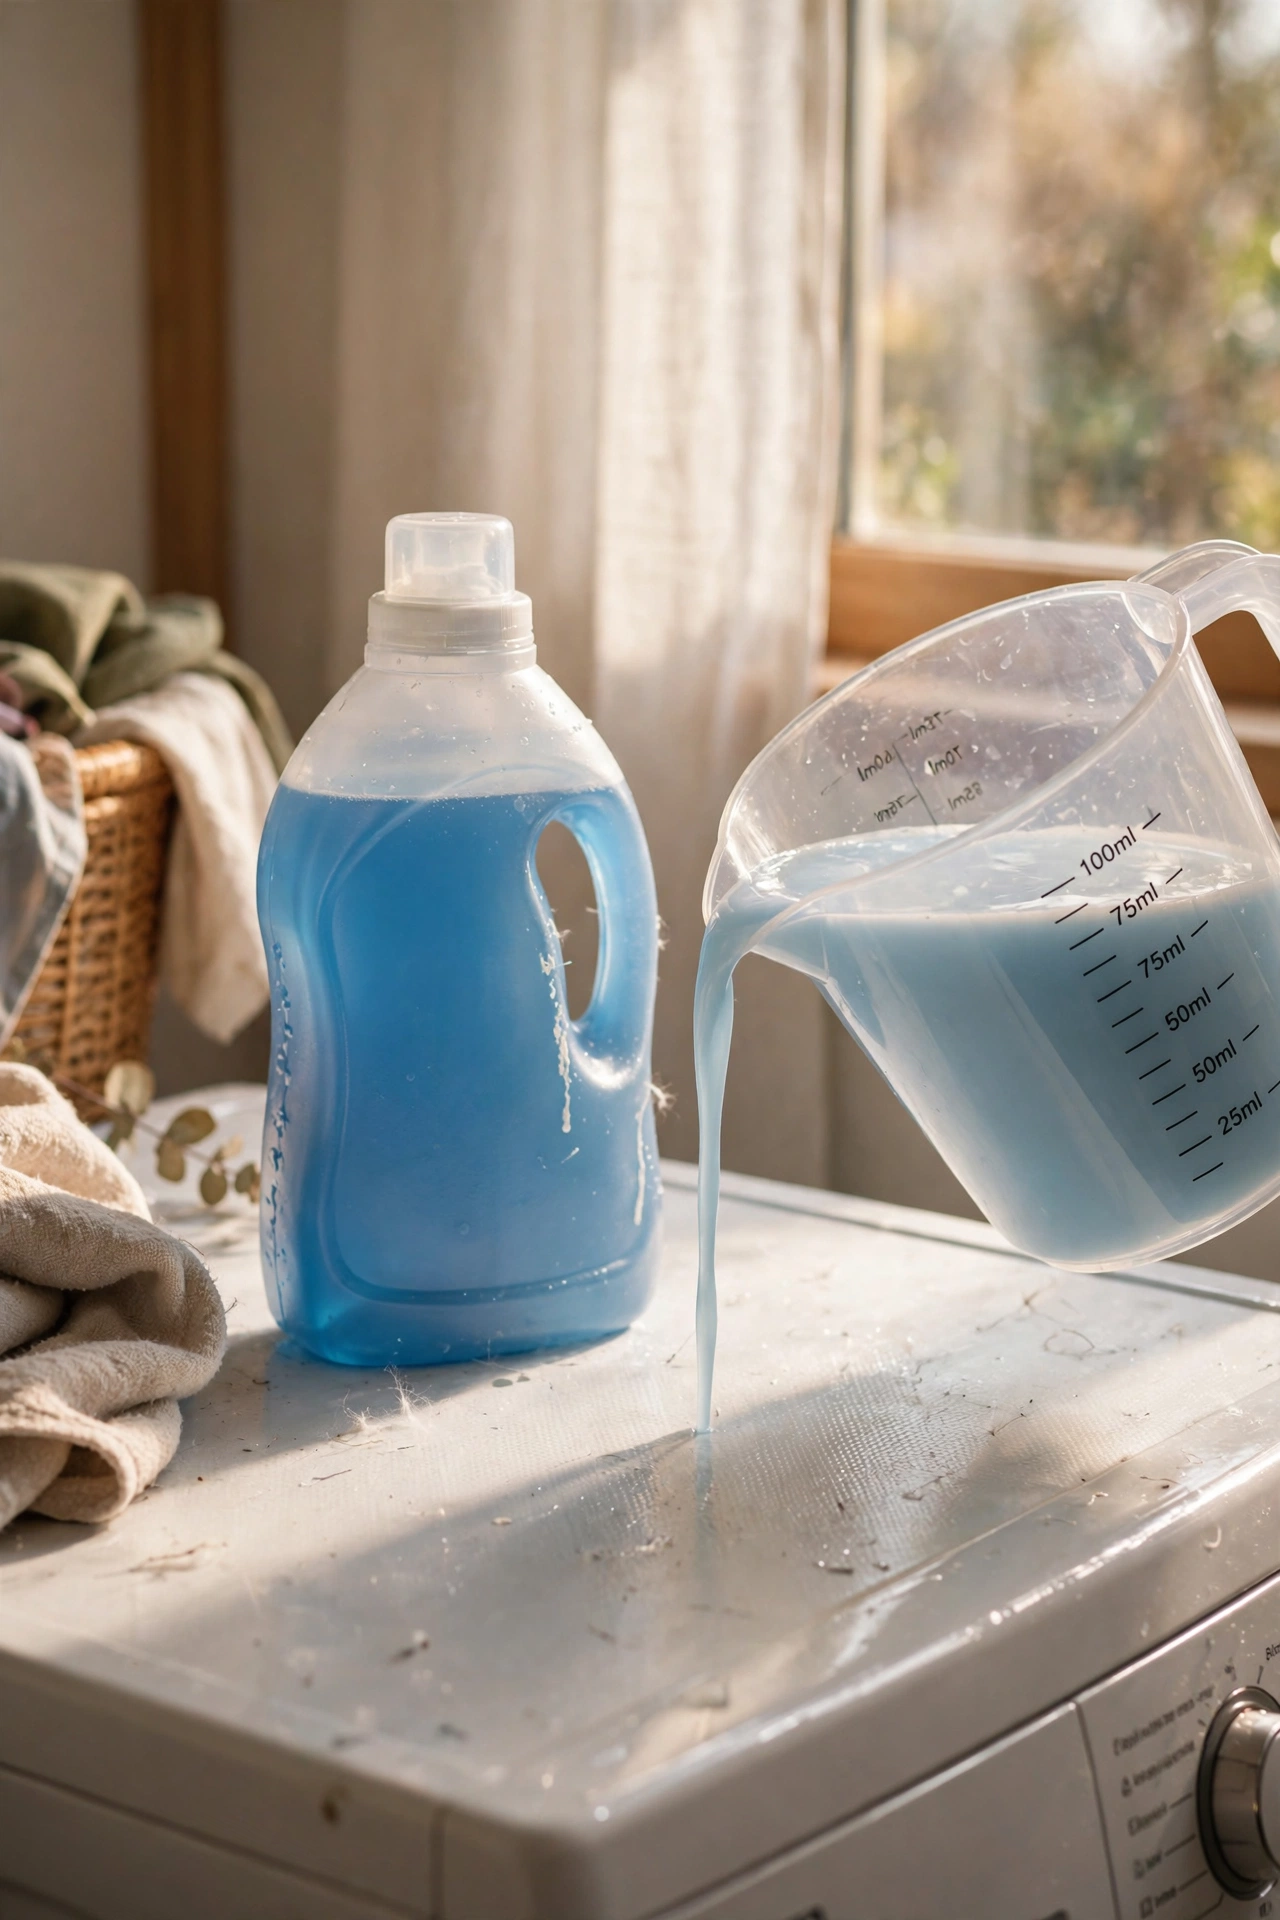
A set of marked measuring cups takes the guesswork out of detergent dosing for good. Keep a dedicated cup with your detergent, marked for small, medium, and large loads, and measure every time instead of eyeballing the cap. Consistent dosing means cleaner clothes, less residue build-up in the machine, and detergent that lasts as long as the label says it should. I started measuring properly and was slightly horrified at how much I had been over-pouring; my machine smells fresher too, since excess detergent was feeding the mildew. Rinse the cup after each use so old detergent does not cake inside.
Cost: ~$2 · Time: 1 minute per load
Colour-Catcher Laundry Sheets
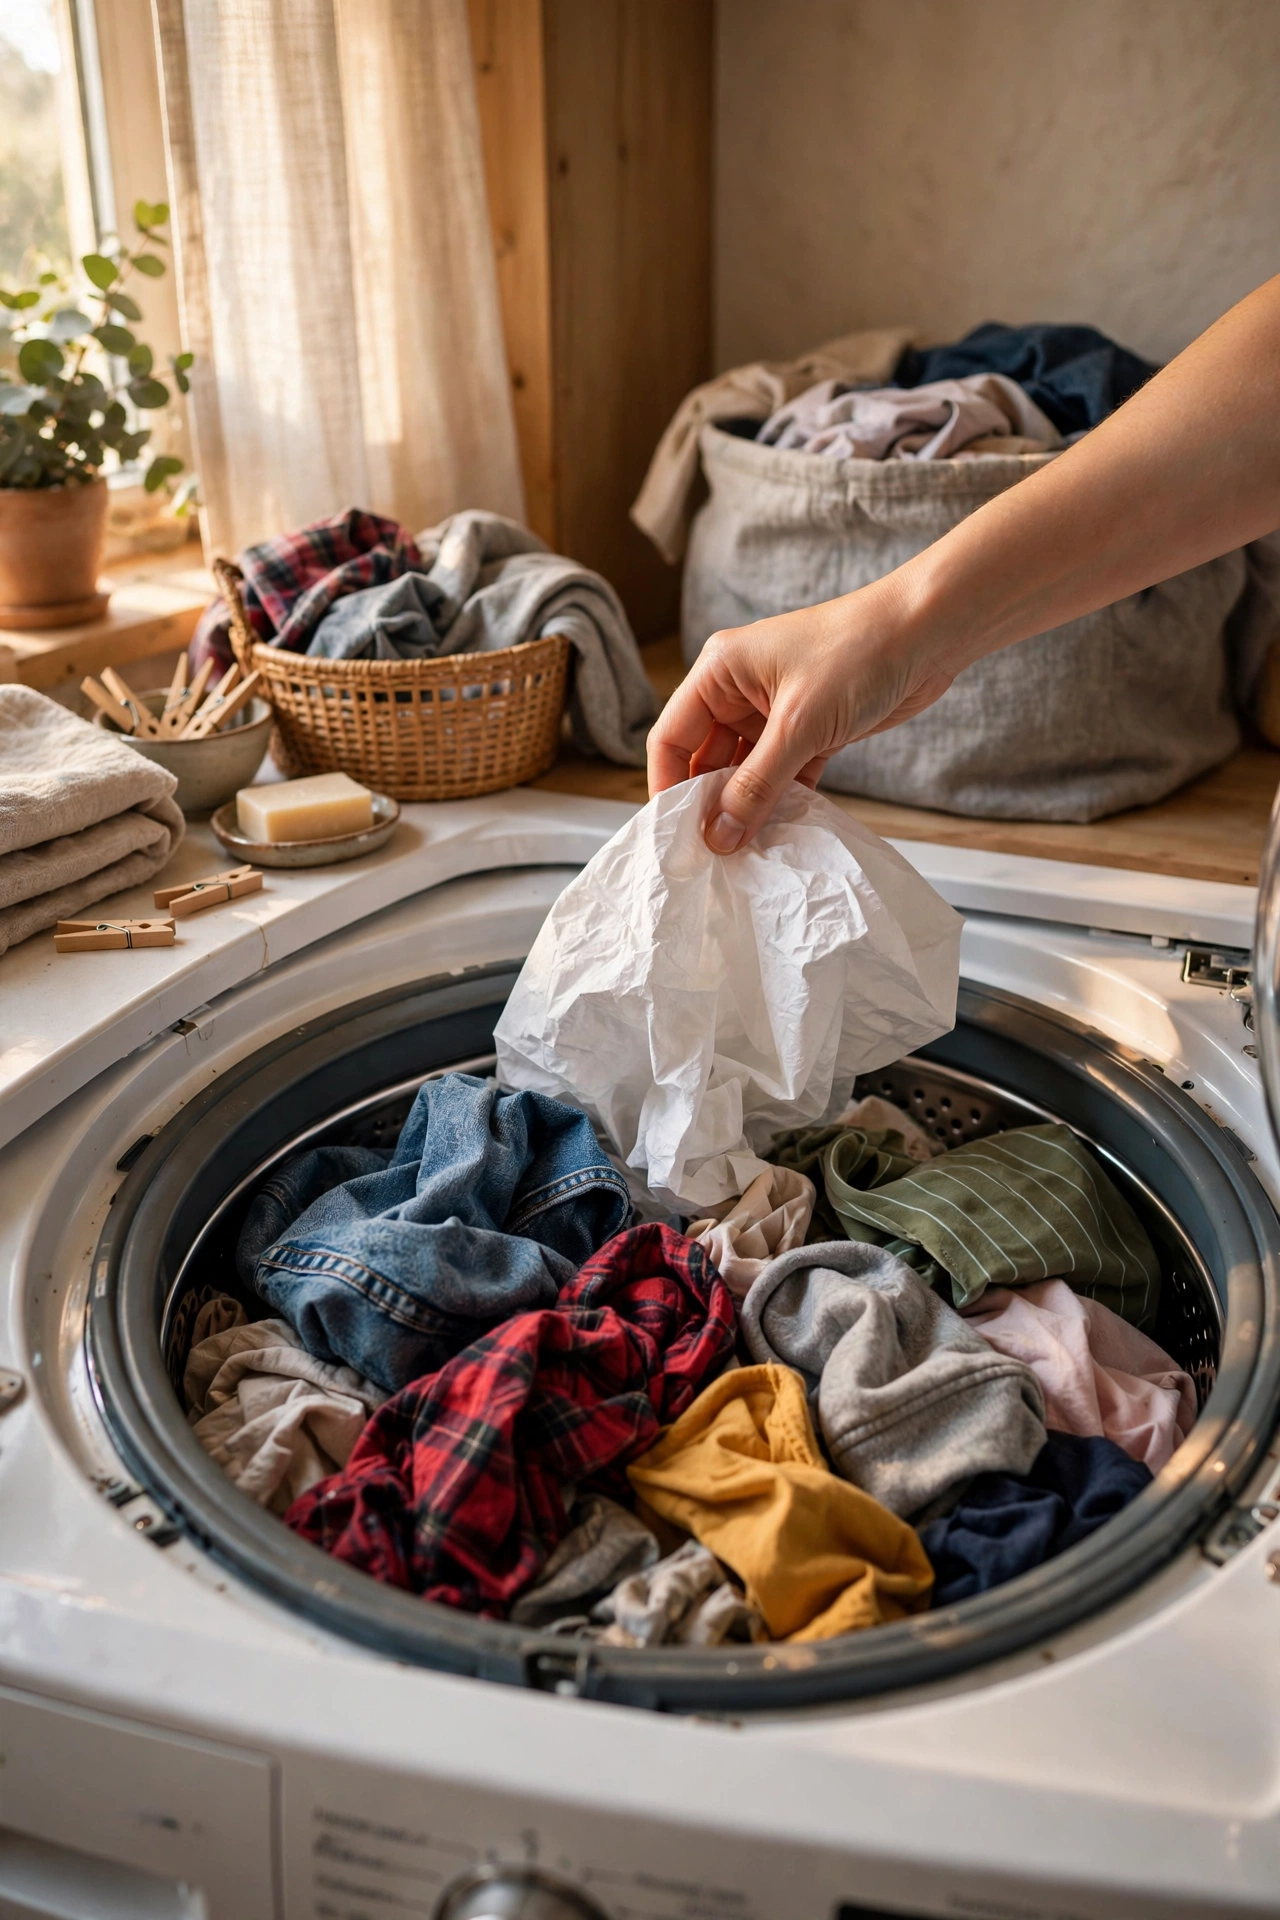
Colour-catcher sheets are the safety net that lets you wash mixed loads with confidence. Toss one in with a load containing a risky item, like new dark jeans with lighter clothes, and the sheet traps loose dye before it can settle on everything else. They are not magic, so still separate the truly risky items, but they have saved me from more than one pink-shirt disaster. I use them whenever the kids’ new clothes go in with the family wash. One sheet per load is enough; using three does not make it three times safer, it just wastes money.
Pro tip: check the sheet after the wash; if it comes out deeply coloured, that item bled a lot and should be washed separately next time.
Cost: ~$3 for a pack · Time: 0 minutes, just toss one in
Adhesive Hooks for Drying Small Items
Adhesive hooks on the laundry room wall create instant drying spots for small items. Stick a row of hooks inside a cupboard door or on the wall above the washer for hand-washed delicates, swimwear, reusable shopping bags, and the damp cloths that otherwise drape over taps. They hold surprising weight and remove cleanly when you reorganise. I lined the inside of my laundry cupboard door with six hooks, and it is now the dedicated home for everything small and damp. Press each hook firmly for thirty seconds when mounting, because a rushed stick is a hook that falls off by morning.
Pro tip: hang a small mesh bag from one hook for the pocket treasures every wash produces: hair ties, coins, and the odd Lego brick.
Cost: ~$3 for a pack · Time: 5 minutes
Folding Laundry Basket with Handles
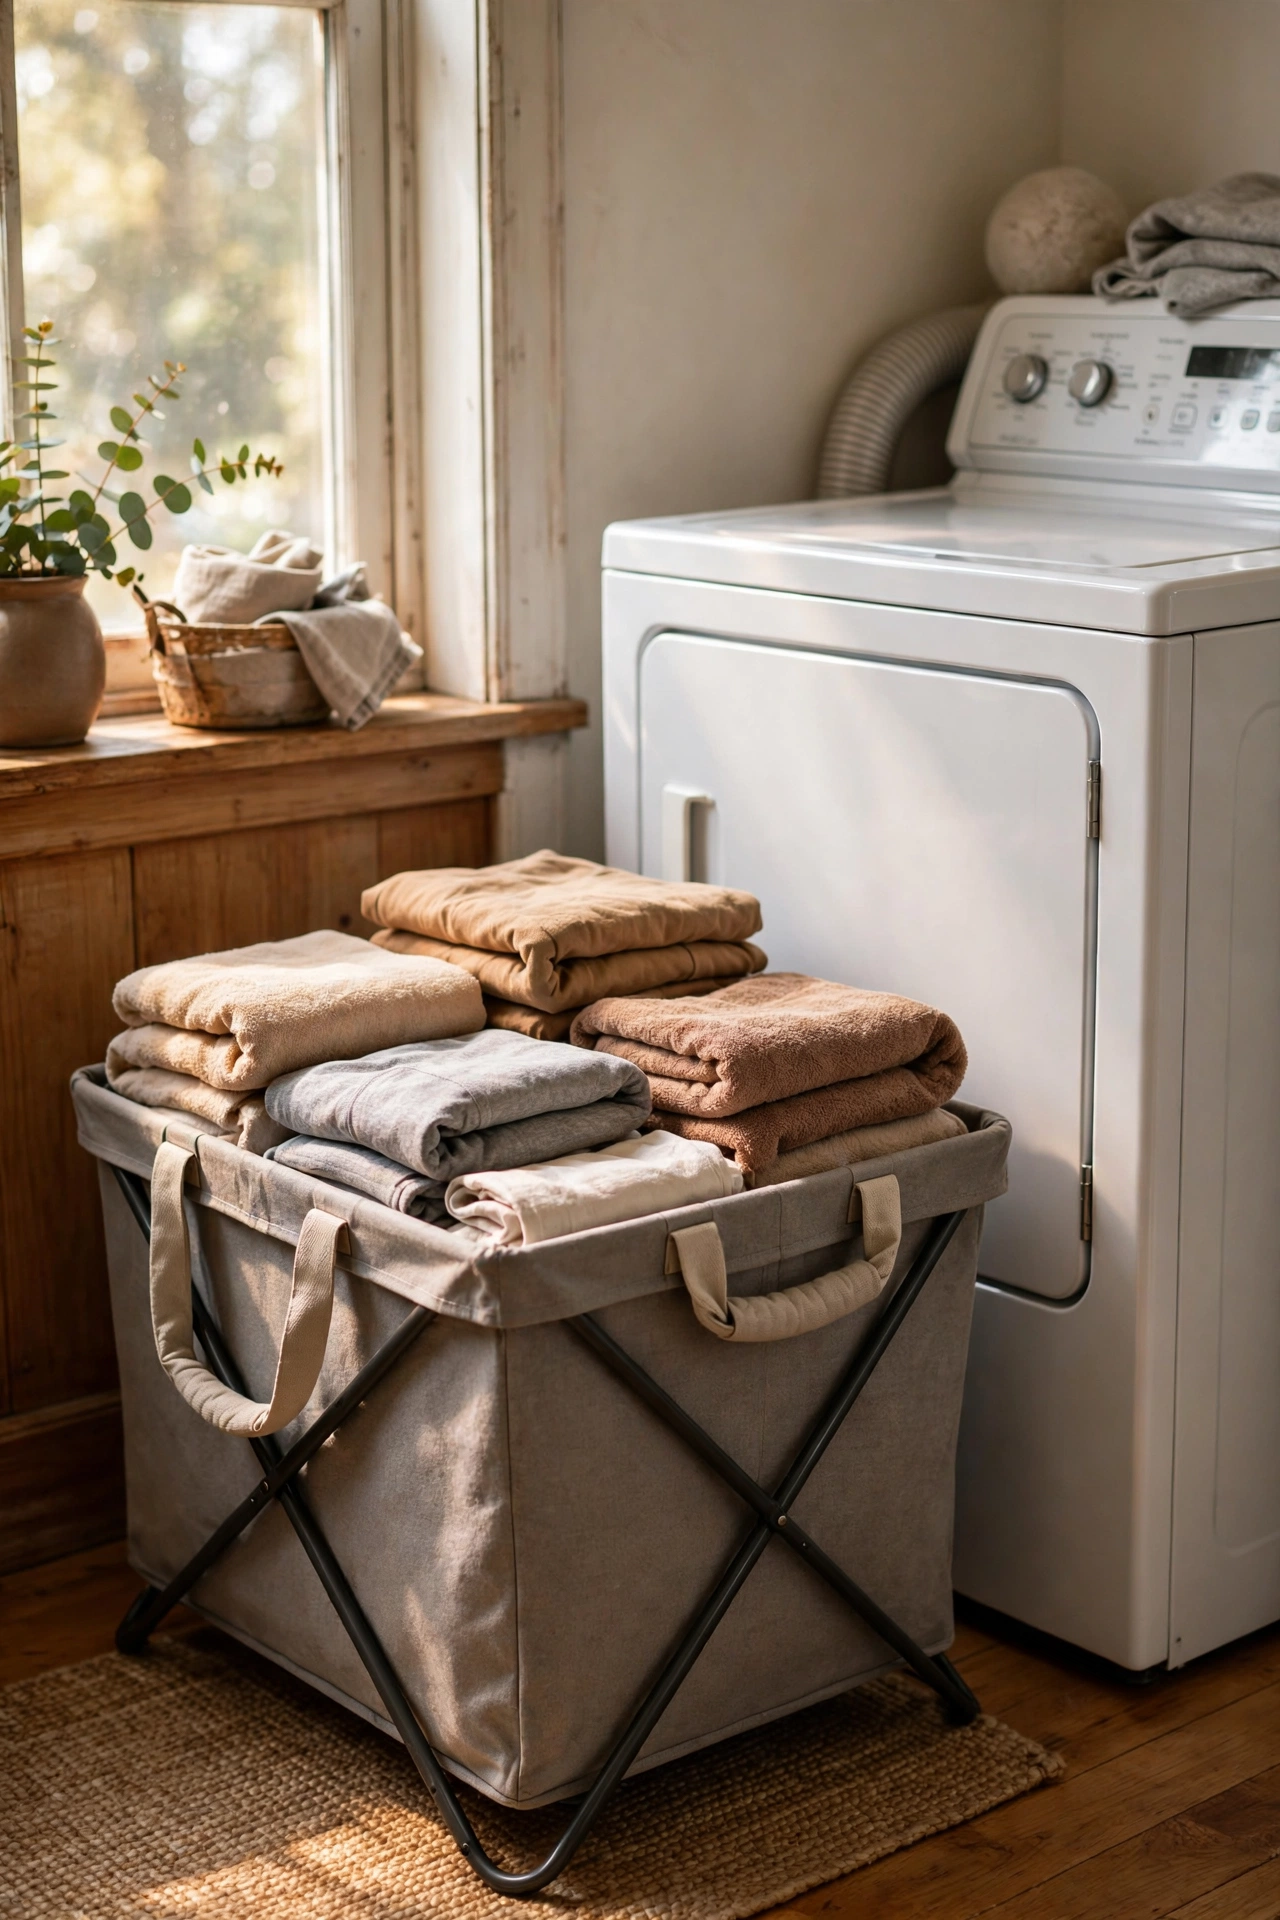
A proper folding basket with sturdy handles makes the carry from dryer to bedroom almost pleasant. Choose one with comfortable handles that do not dig into your hands, rigid enough sides that it does not collapse mid-carry, and a size that holds a full load without overflowing. The folding ones collapse flat for storage between wash days. I upgraded from a floppy bag to a proper basket and the difference in carrying comfort was absurd for such a small change. Keep one basket per bedroom and the clean washing gets delivered instead of living on the sofa for three days.
Pro tip: fold straight out of the dryer into the basket and the residual warmth presses out most creases, cutting ironing dramatically.
Cost: ~$7 · Time: 0 minutes, it replaces your old basket
Twenty-five small finds, and wash day will never feel the same. The laundry room rewards practical thinking more than any other room in the house, because every tiny improvement gets used several times a week. Grab the ones that solve your biggest annoyance first; the rest can follow on your next trip.
More dollar store wins: 21 Dollar Store Laundry Room Finds That Look Expensive and 17 Dollar Tree Wreath Ideas on a Budget.
Save this post for later so you have the full list on your next dollar store trip.
