19 Dollar Store Decor Ideas Worth Every Penny
People always ask me where I shop for home bits, and they’re expecting a boutique answer. The truth is half my flat came from the dollar store, and these dollar store decor ideas are the ones I’d genuinely recommend to anyone. I’ve grouped them by where they make the biggest impact — walls, textiles, tabletops, lighting and those little finishing touches — so you can tackle one zone at a time.
Walls That Wow
Blank walls are the fastest way to make a home feel unfinished. These five ideas fix that for the price of a takeaway.
1. Thrifted-Print Gallery Grid
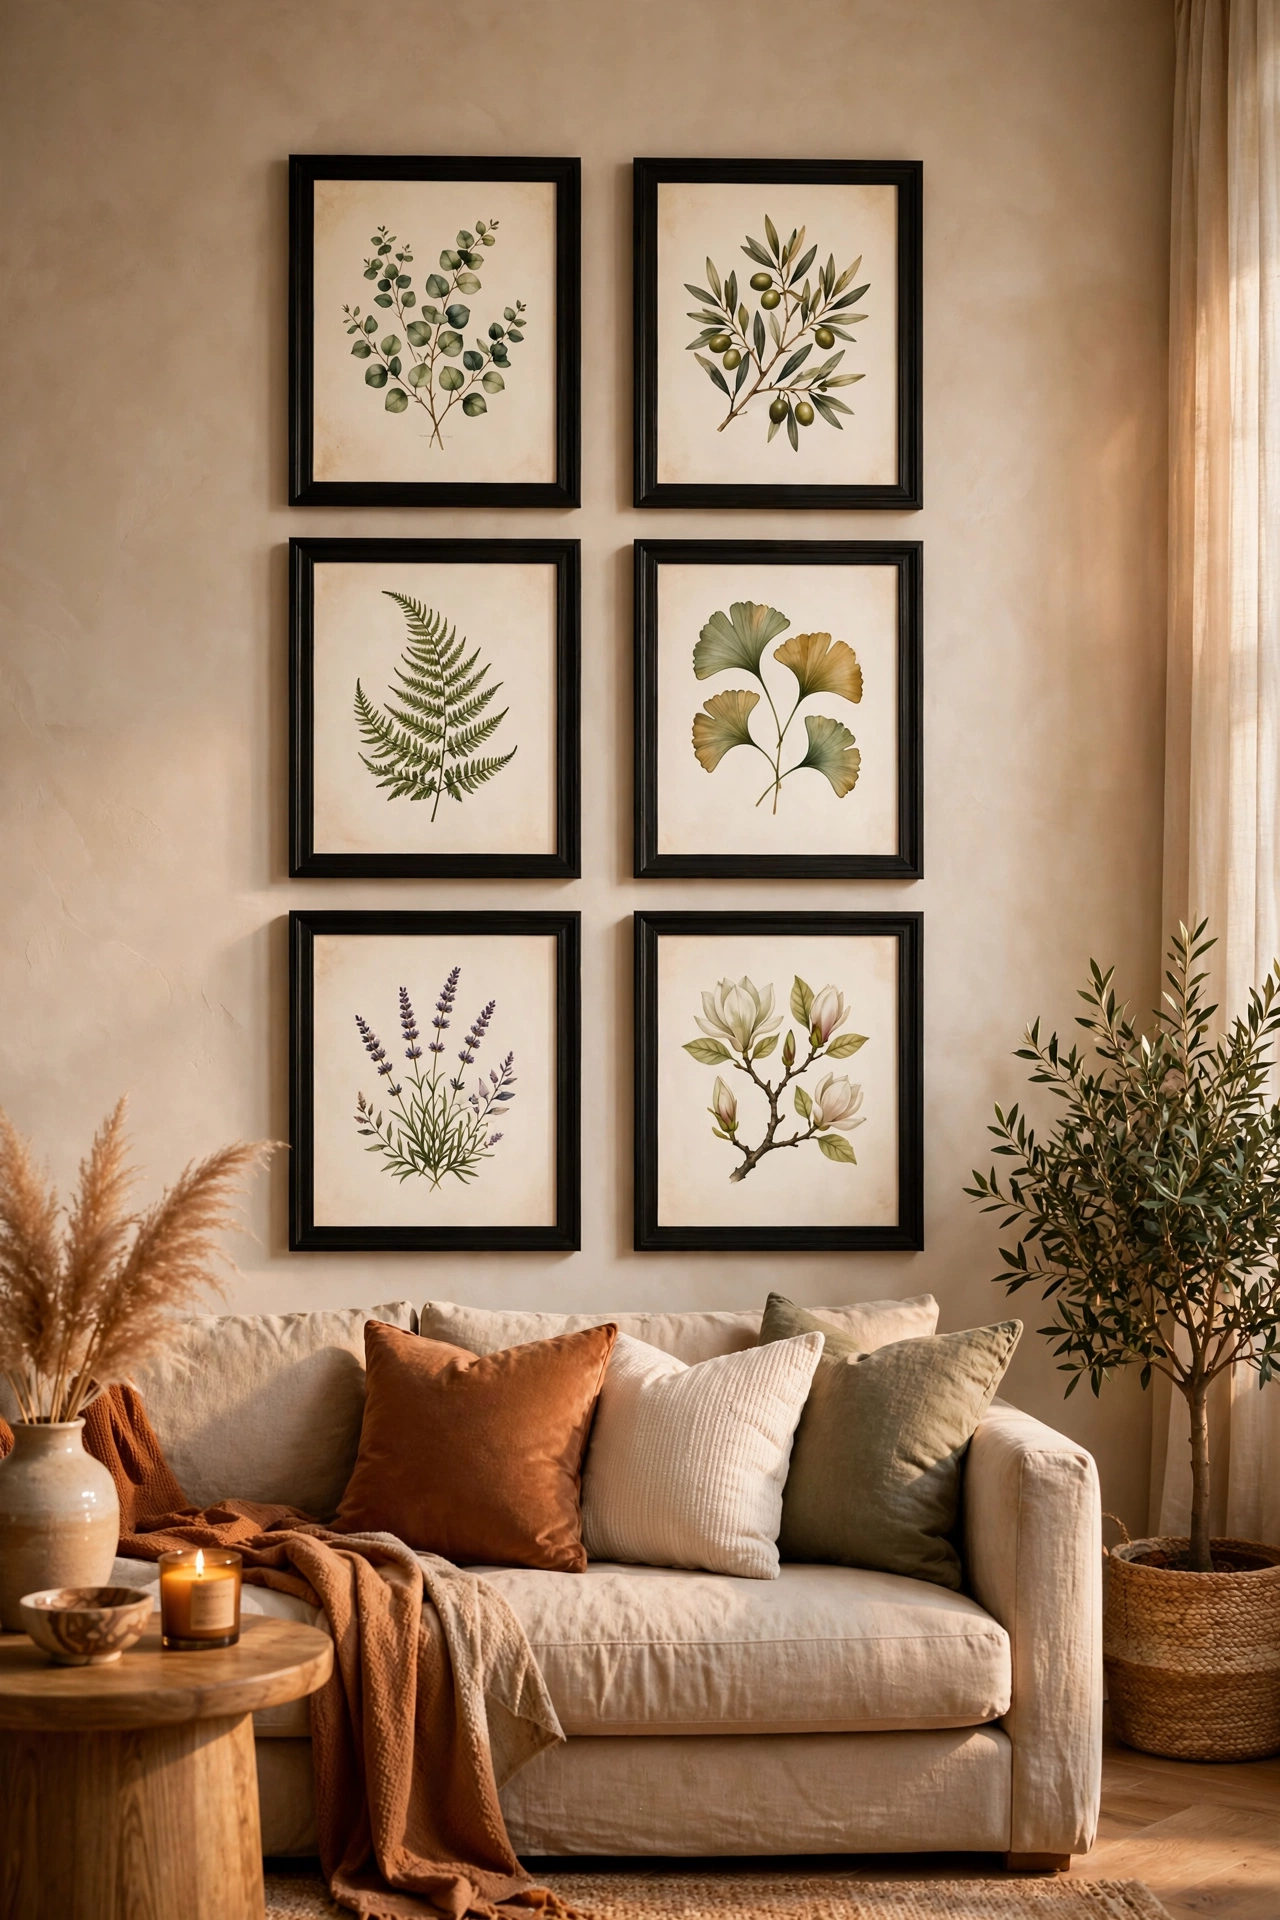
Six matching frames in a tight grid beat one big expensive artwork for visual punch, every time. Grab identical frames, print free art from public-domain archives, and hang them with 5cm gaps using a paper template taped to the wall first. The uniformity is what makes it look like a designer did it. I tried this and the one mistake to avoid is mixing frame colours in the same grid — a gallery wall of black frames looks intentional, a jumble of black, white and wood looks like a charity shop shelf. Commit to one finish.
Cost: ~$6 | Time: 40 minutes
2. Peel-and-Stick Wallpaper Accent
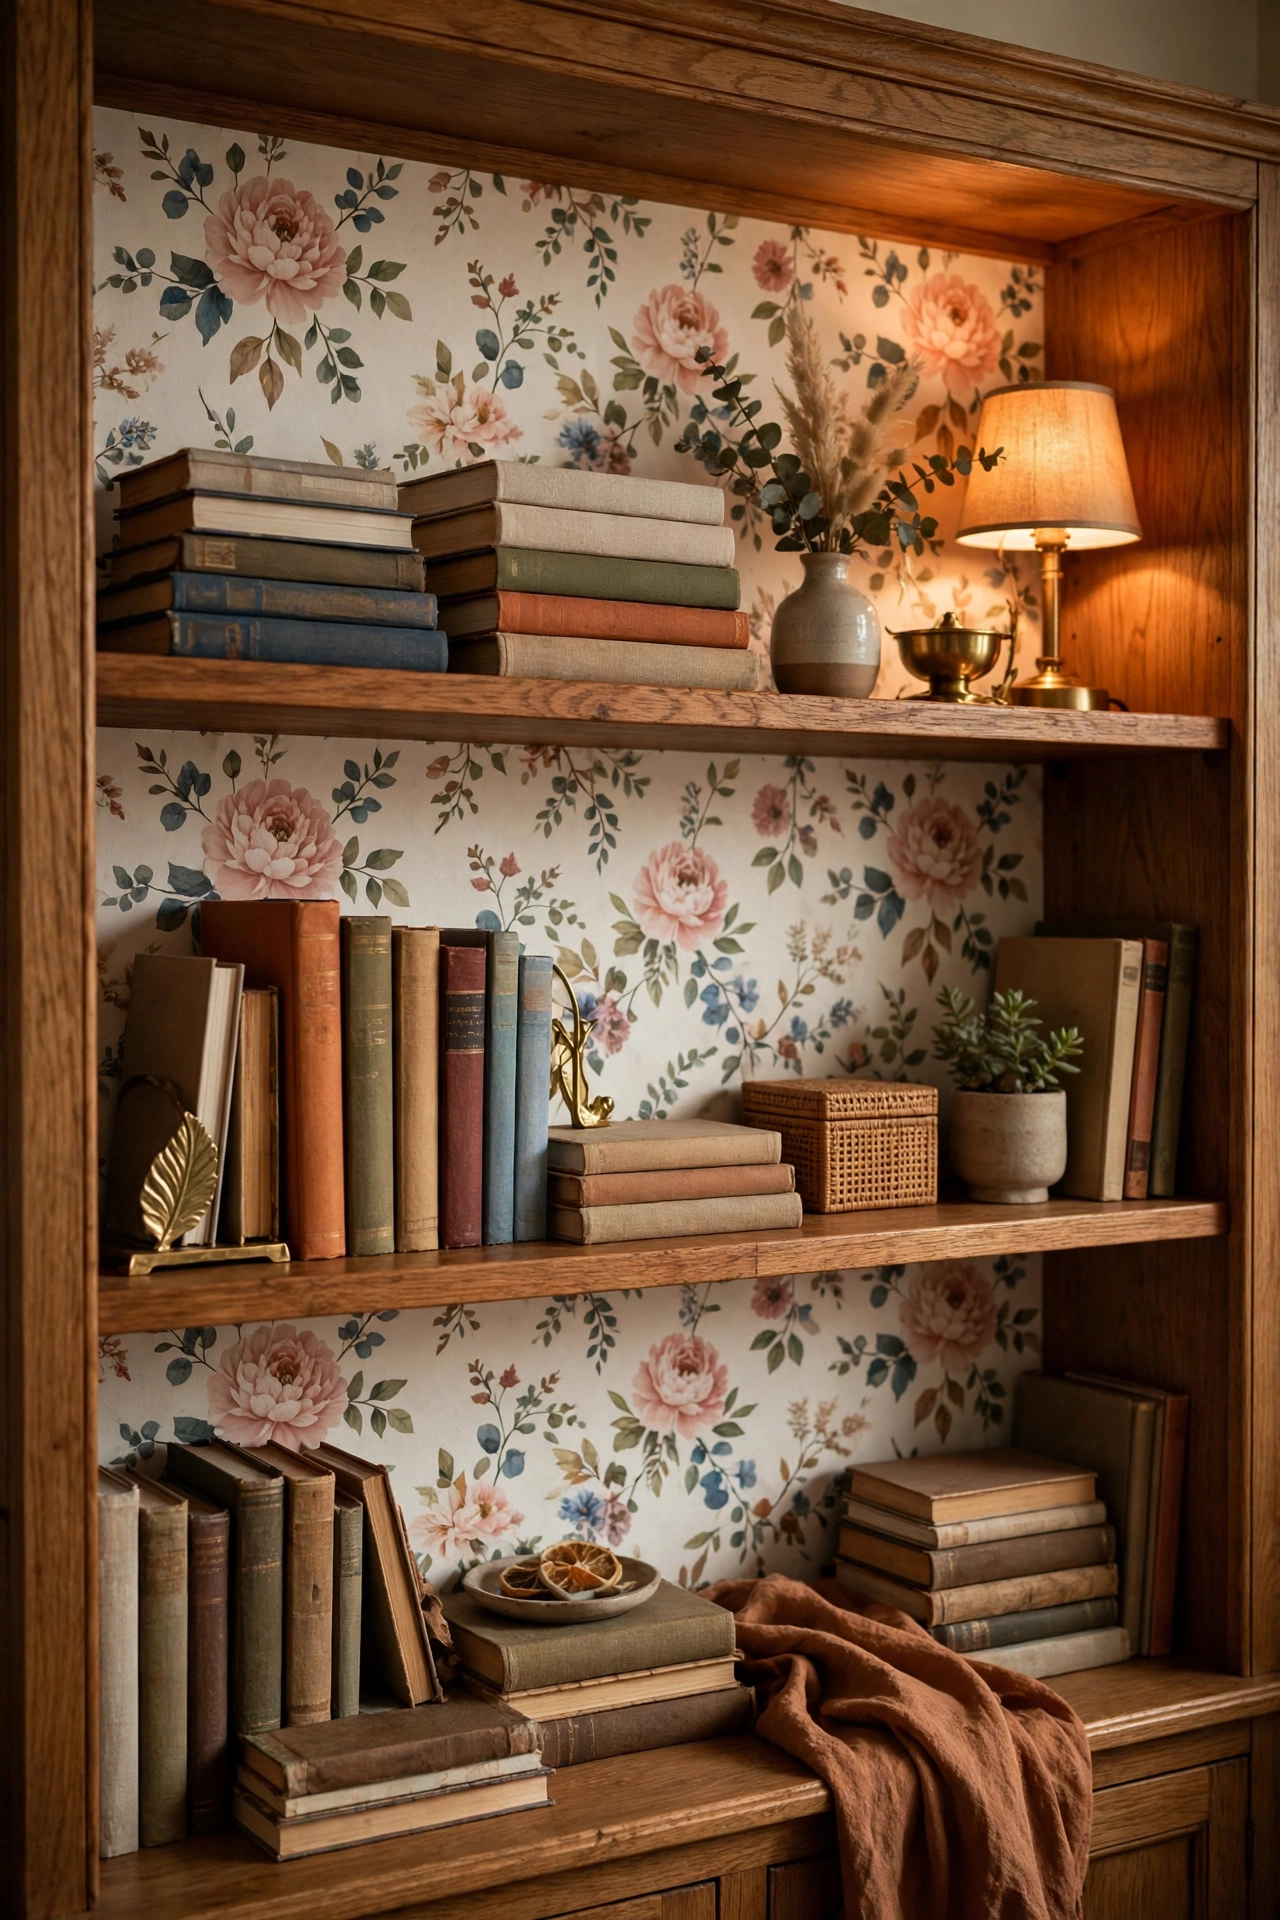
One roll of peel-and-stick wallpaper inside a bookcase back panel or a single narrow wall gives you a designer moment without a decorator’s bill. Clean the surface, peel slowly, and smooth with a soft cloth as you go — walls are forgiving, but dust bubbles aren’t. I tried this and the one mistake to avoid is starting in a corner; begin at the most visible edge so any pattern mismatch hides where nobody looks. Corners are where patterns go to die.
Cost: ~$5 | Time: 30 minutes
3. Removable Wall Decals
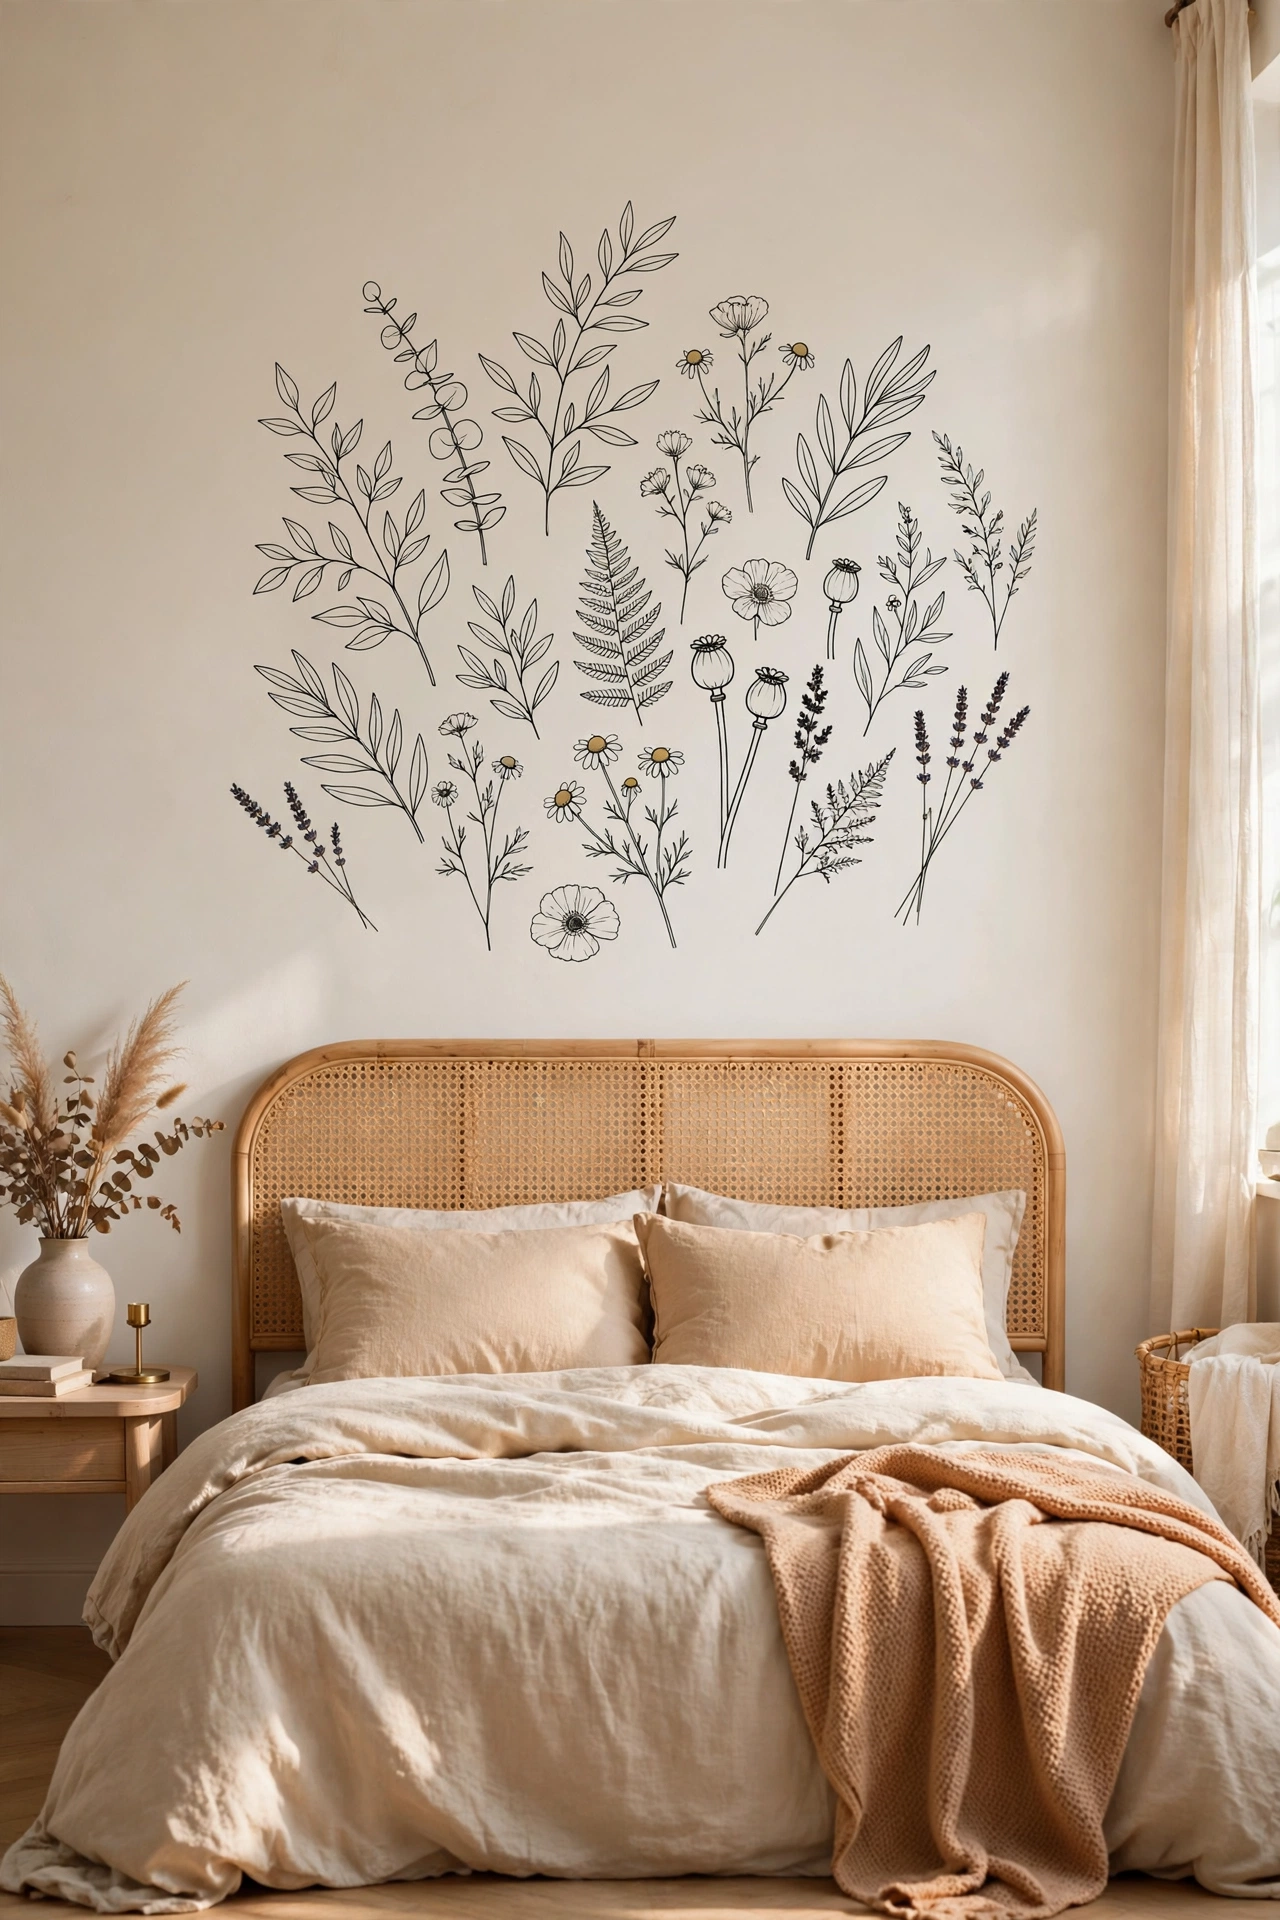
Botanical or line-art decals are the renter’s wallpaper — big impact, zero commitment. Apply them to a clean, dry wall, smooth from the centre outward, and step back every few minutes to check the composition. A cluster above a bed or sofa reads as intentional art. I tried this and the one mistake to avoid is placing them on textured walls; they lift within weeks. Smooth plaster or painted drywall only, or they’ll peel like old stickers. If a decal starts lifting at an edge, warm it with a hairdryer and press it back down — the heat reactivates the adhesive nicely.
Cost: ~$3 | Time: 20 minutes
4. Staggered Floating Shelves
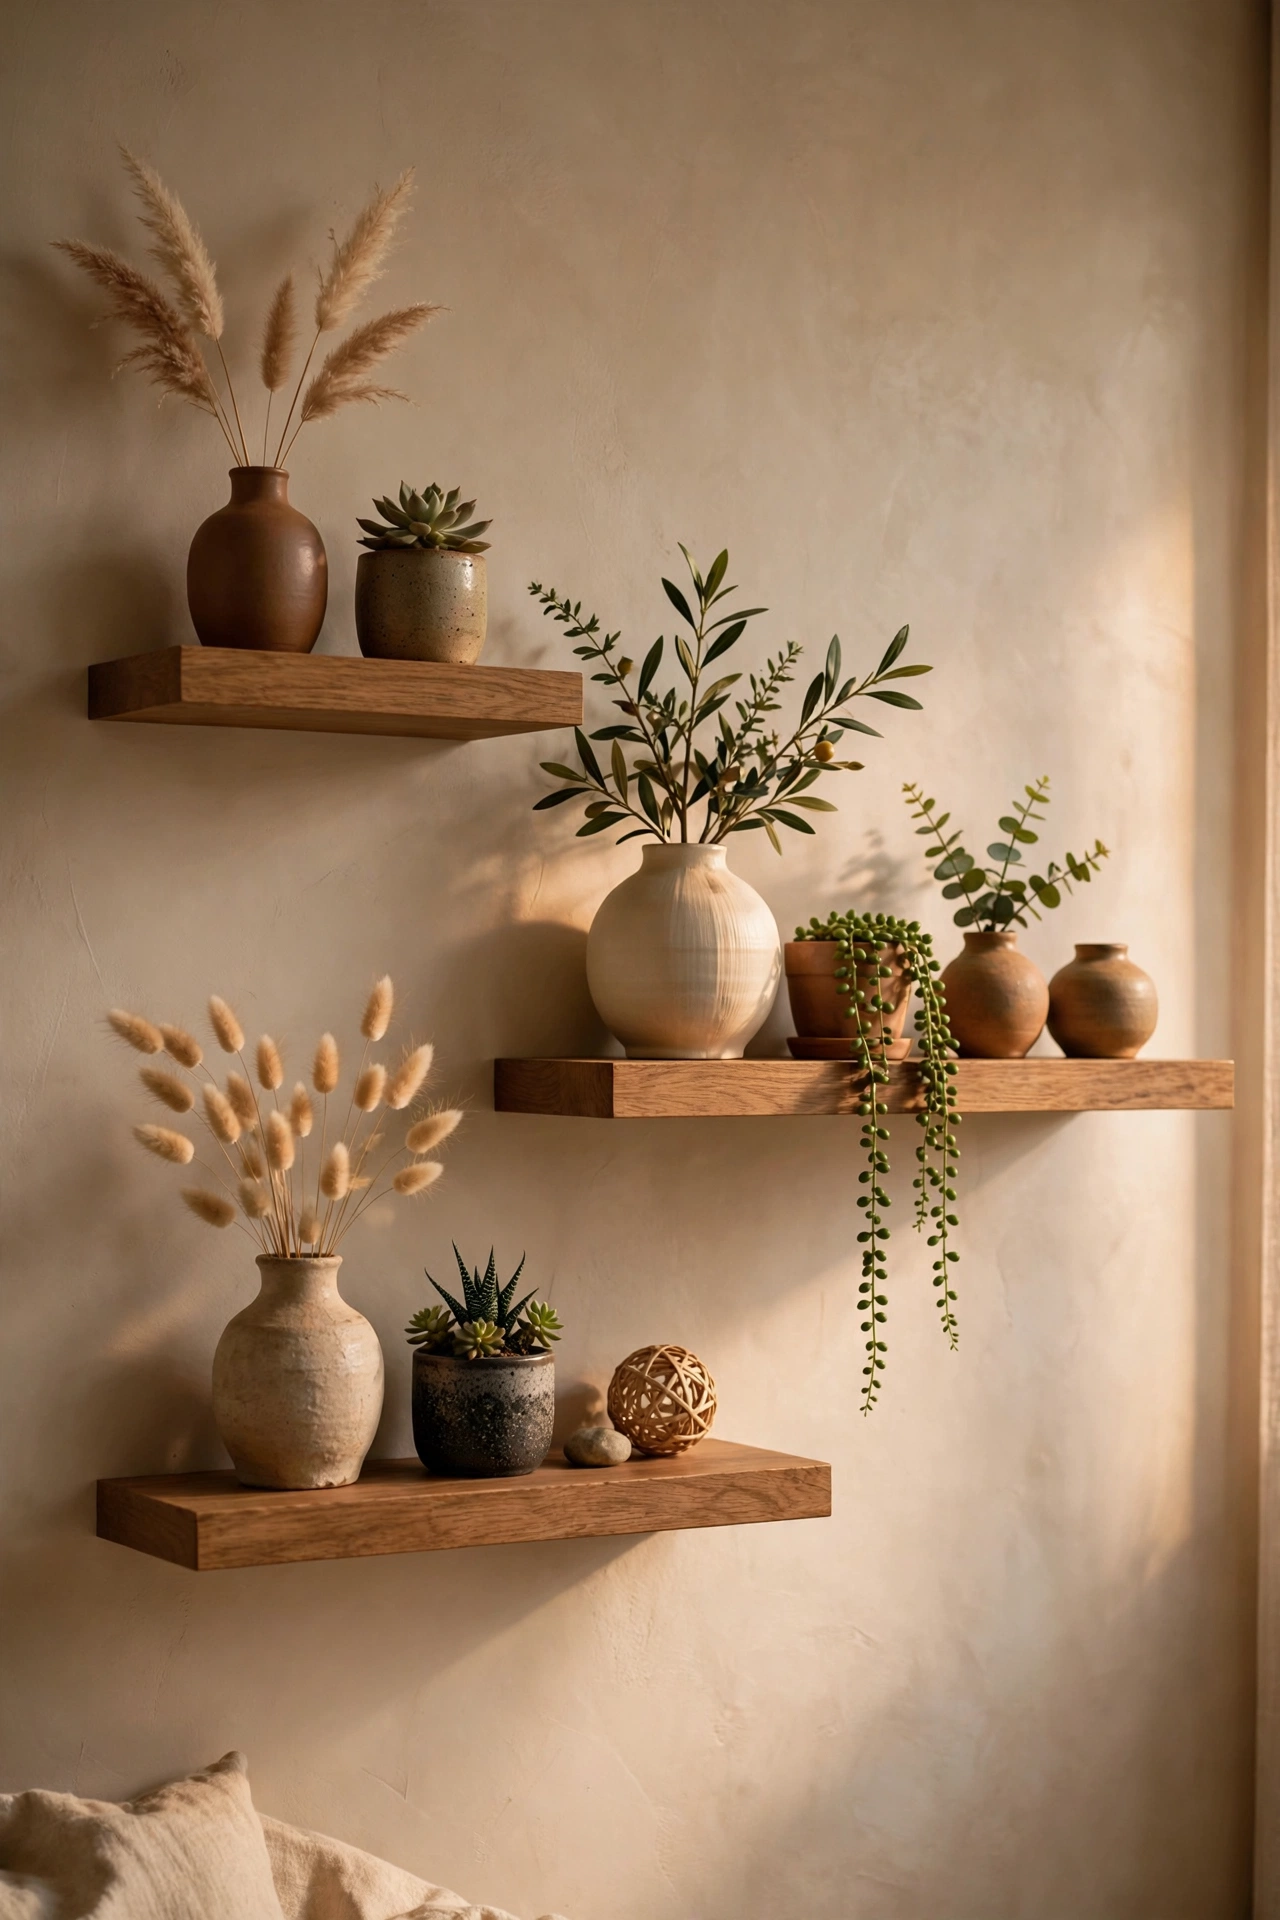
Two or three floating shelves hung at staggered heights turn an empty wall into a display zone. Mount them properly with wall plugs, style each with just two or three objects, and leave one shelf half-empty for breathing room. I tried this and the one mistake to avoid is lining them up in a perfect ladder — symmetry makes shelves look like a shop display. Stagger them and the wall feels designed, not assembled. Anchor the heaviest shelf into a stud if you can; a shelf of books pulling away from plasterboard is a repair nobody wants.
Cost: ~$9 | Time: 35 minutes
5. Mirror Cluster
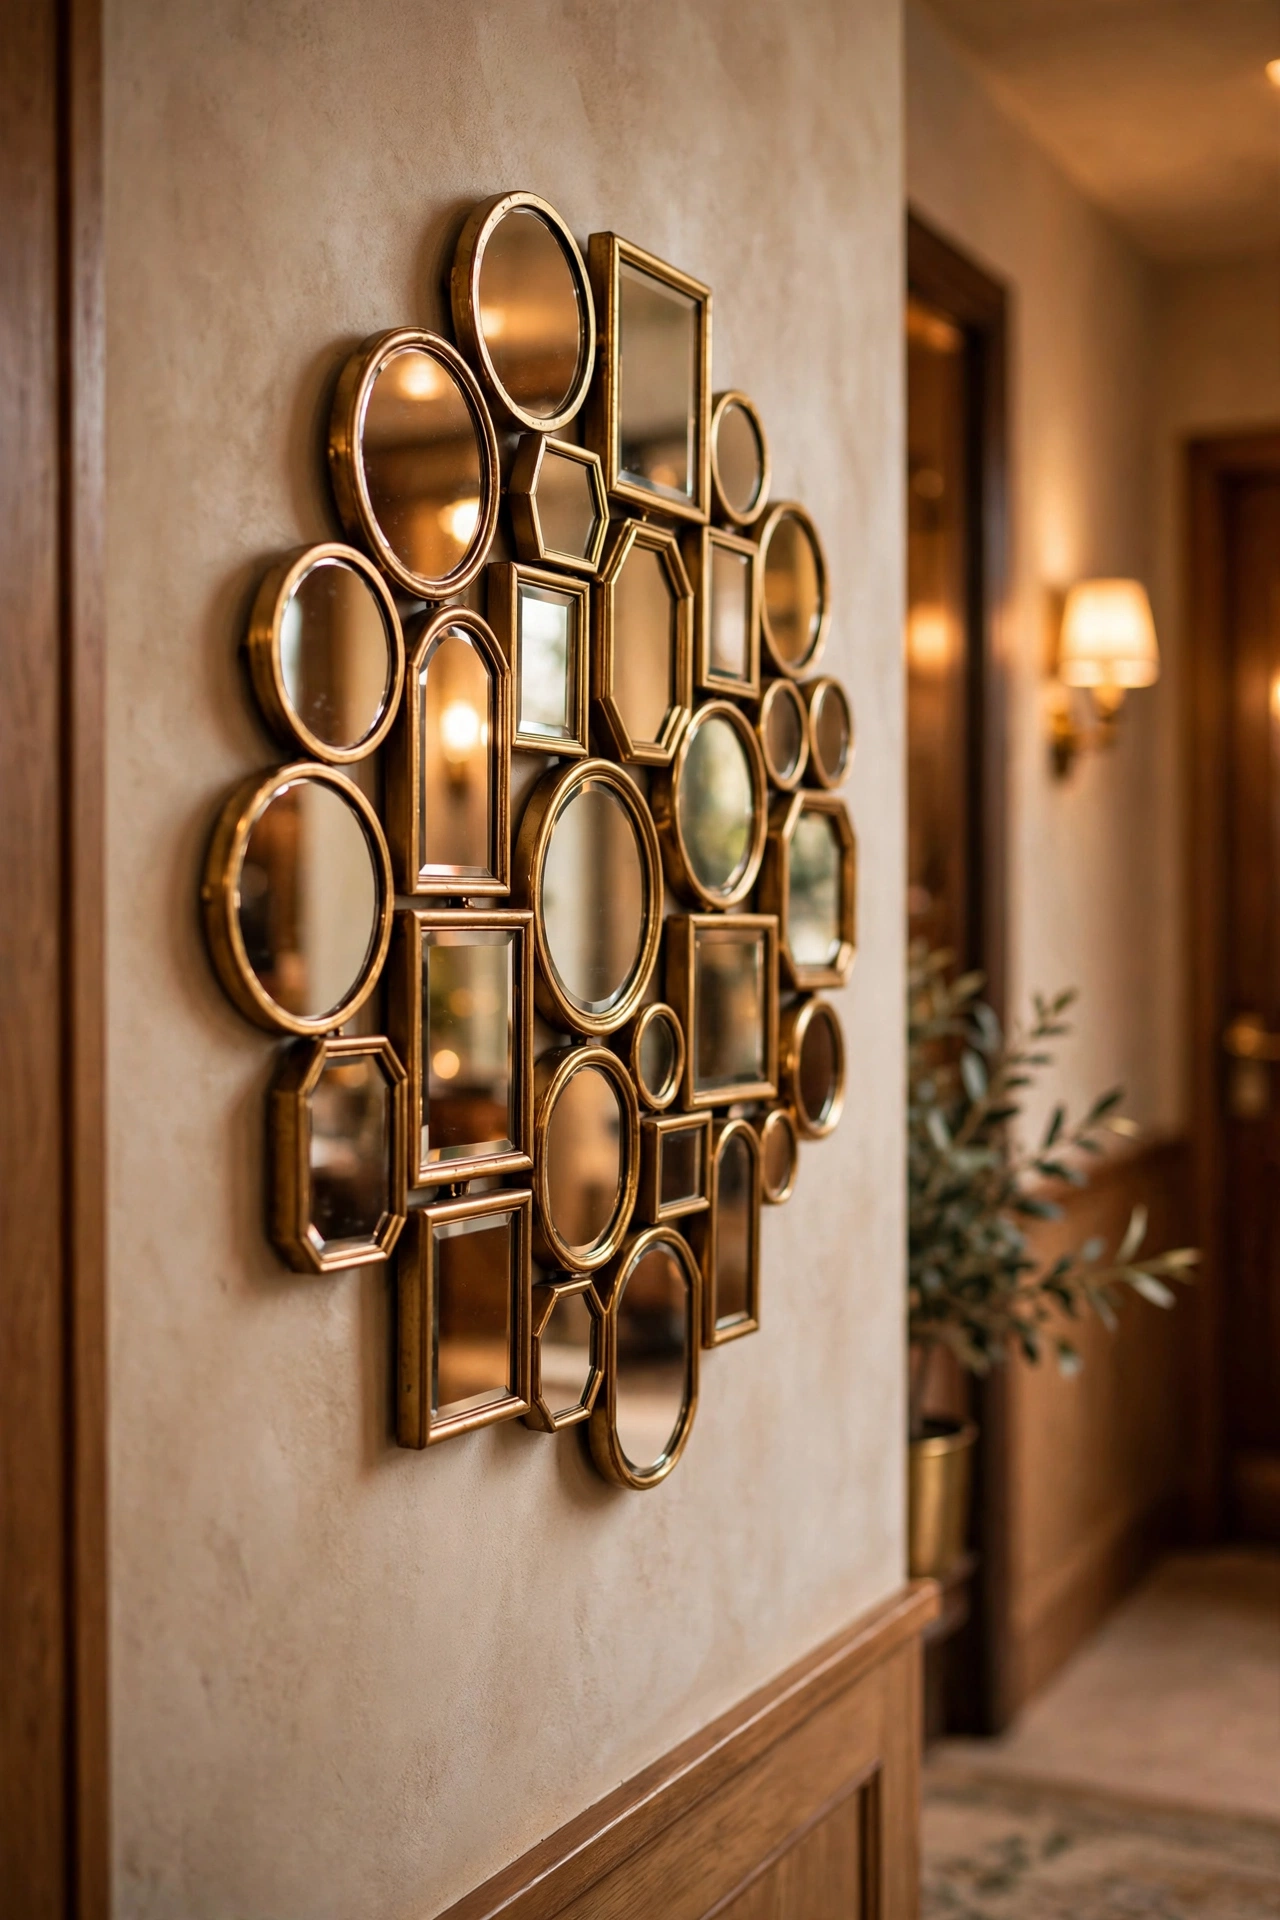
Five small mirrors in different sizes hung as a loose cluster bounce light around and look like a boutique hotel installation. Keep the frames in one finish — all gold, all black — so the cluster reads as one piece. Hang the biggest in the middle and build outward. I tried this and the one mistake to avoid is spacing them too far apart; mirrors more than a hand’s width apart look like separate lonely objects. Keep the cluster tight and cohesive. Save this one for later — you’ll thank yourself when spring rolls around and the light changes.
Cost: ~$8 | Time: 30 minutes
Cosy Textiles
Fabric is where cheap can look rich — texture fools the eye faster than almost anything else.
6. Faux Fur Throw Drape
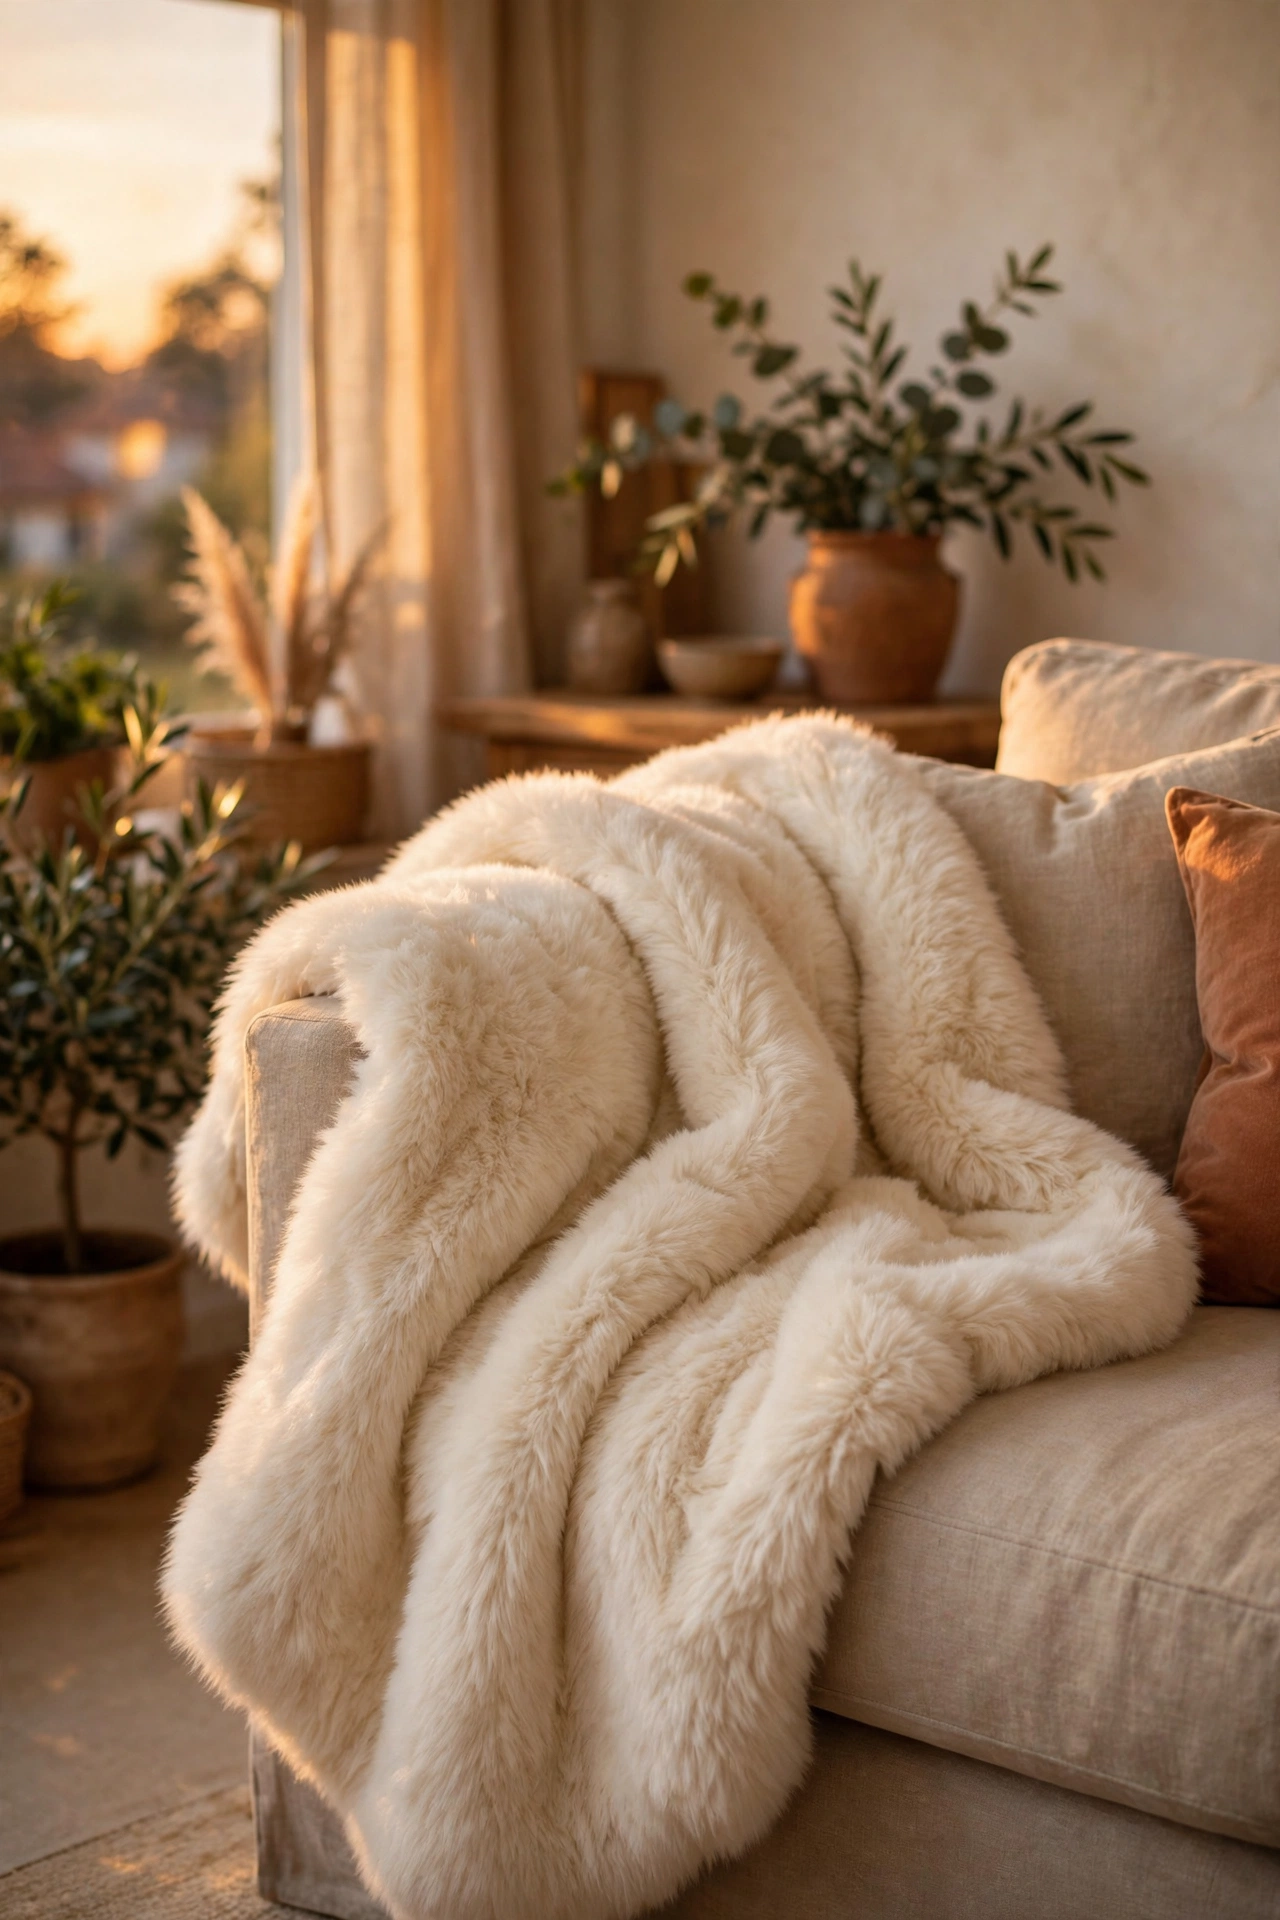
A faux fur throw folded over one sofa arm or the foot of the bed adds instant softness and a whiff of luxury. Choose cream or oatmeal — the pale tones read expensive, while bright colours can look plasticky. Drape, don’t fold with military precision; a casual cascade looks inviting. I tried this and the one mistake to avoid is washing it wrong — hot water mats the fibres into a sad flat rug. Cool wash, air dry, shake it like you mean it.
Cost: ~$7 | Time: 5 minutes
7. Mix-and-Match Cushion Covers
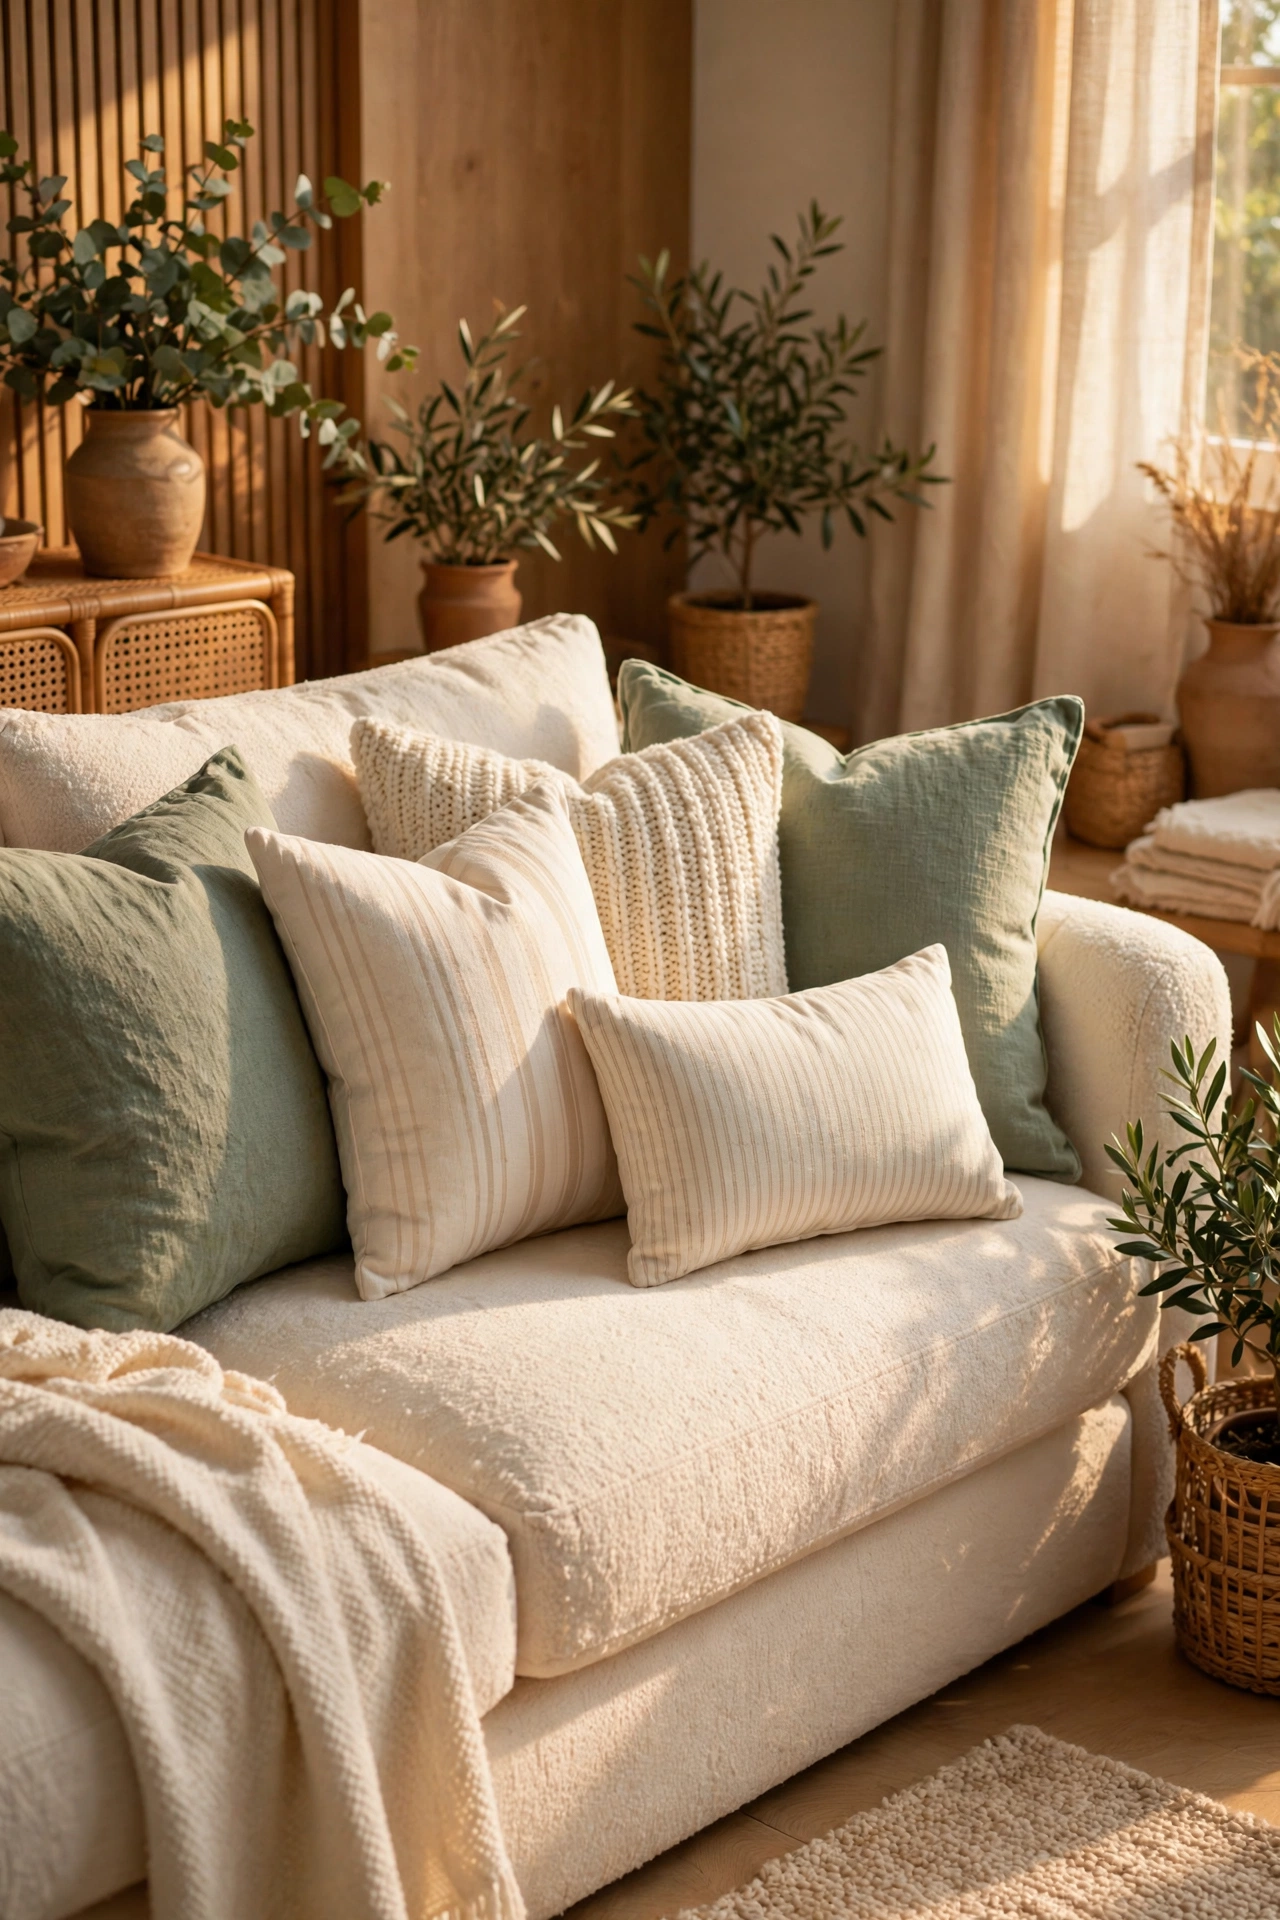
New cushion covers are the cheapest room refresh in existence. Pick three in a coordinated palette — say sage, cream and a subtle stripe — and swap them onto your existing inserts. The trick is varying the textures: one smooth, one nubby, one patterned. I tried this and the one mistake to avoid is buying covers smaller than your inserts; they look deflated and sad. Match the sizes exactly or go one inch larger on the insert for that plump designer look.
Cost: ~$6 | Time: 10 minutes
8. Table Runner Layer
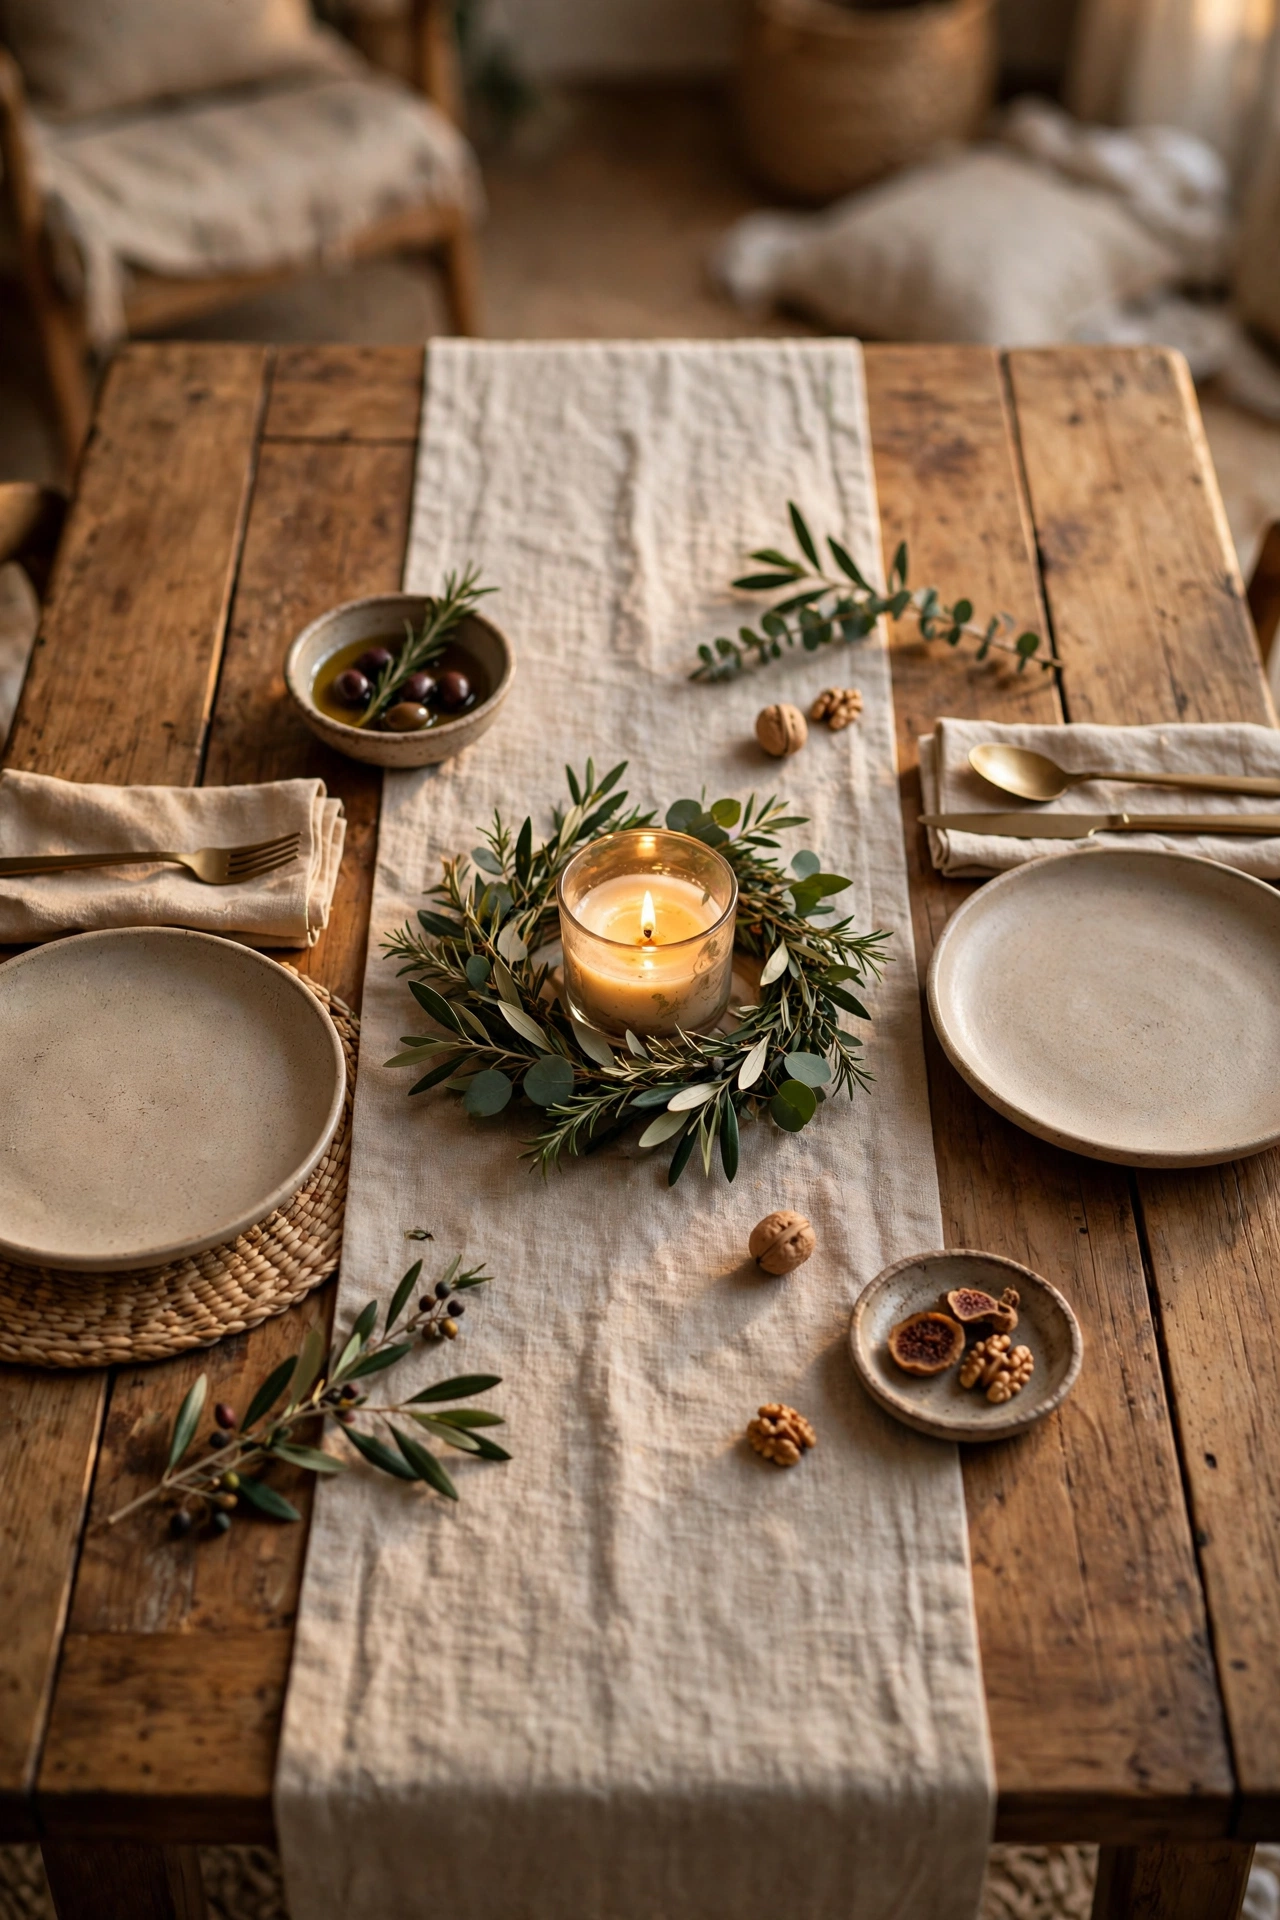
A table runner down the middle of your dining table or dresser is a stylist’s shortcut to “finished”. The burlap and linen-look ones are a dead ringer for artisan textiles. Lay it centred with equal overhang at both ends, then add one low centrepiece — not five. I tried this and the one mistake to avoid is a runner that’s too short; it looks like a place mat that got lost. It should hang at least 15cm past each end of the surface.
Cost: ~$3 | Time: 5 minutes
9. Layered Rug Look
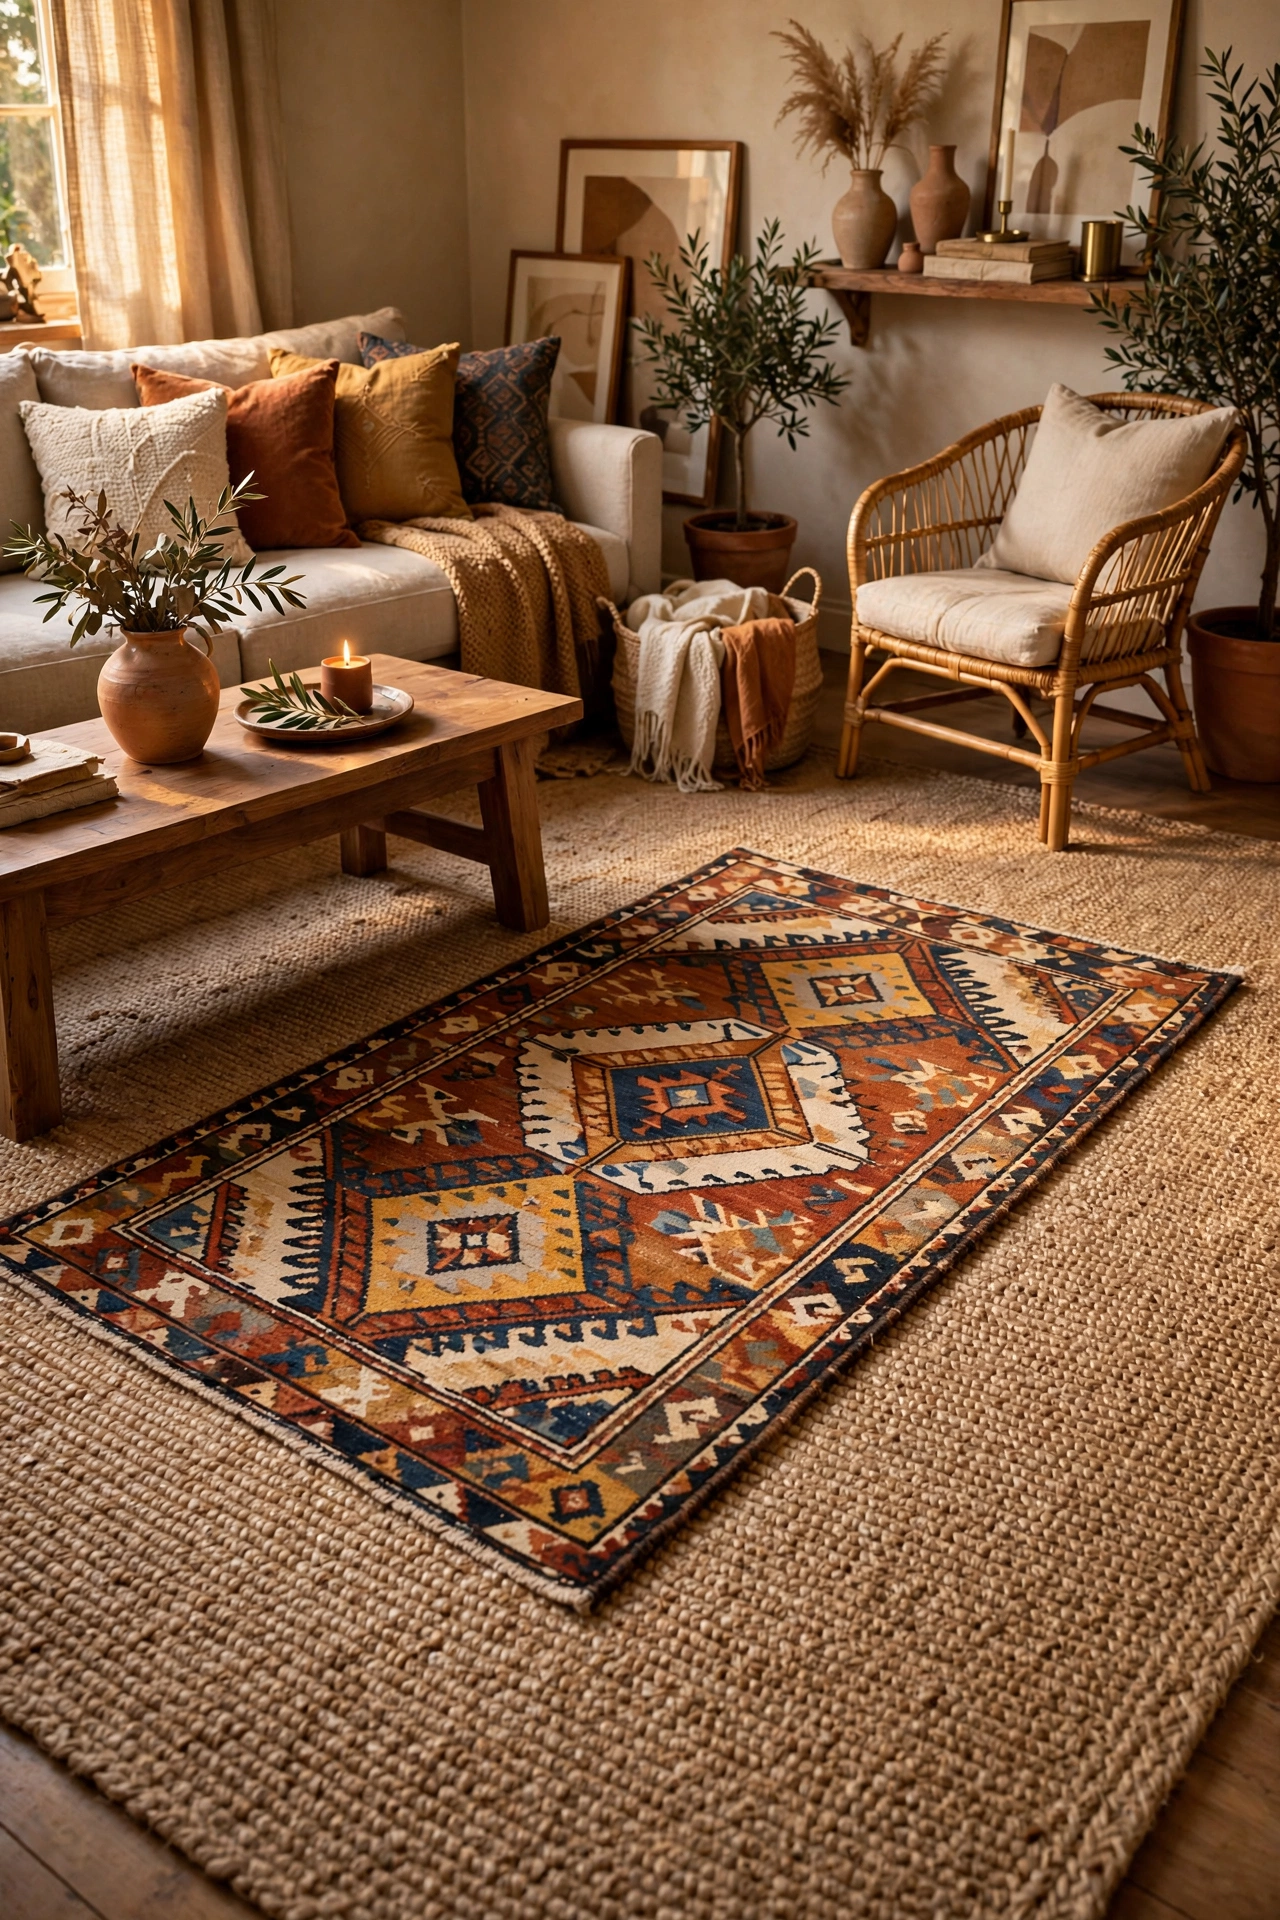
Layering a small patterned rug over a larger plain one is a designer move that costs almost nothing when both rugs are bargains. Put the big neutral rug down first, then angle the smaller patterned one on top at a slight diagonal for that collected-over-time feel. I tried this and the one mistake to avoid is two rugs of the same size — they just look like one rug with a border. The top rug should be noticeably smaller so the layering reads. Pair this with more budget ideas in (see also: 21-dollar-store-decor-ideas-that-dont-look-cheap).
Cost: ~$10 | Time: 10 minutes
Tabletop Styling
Coffee tables, consoles and sideboards are where guests’ eyes land — style them well and the whole room rises.
10. Glass Vase Trio
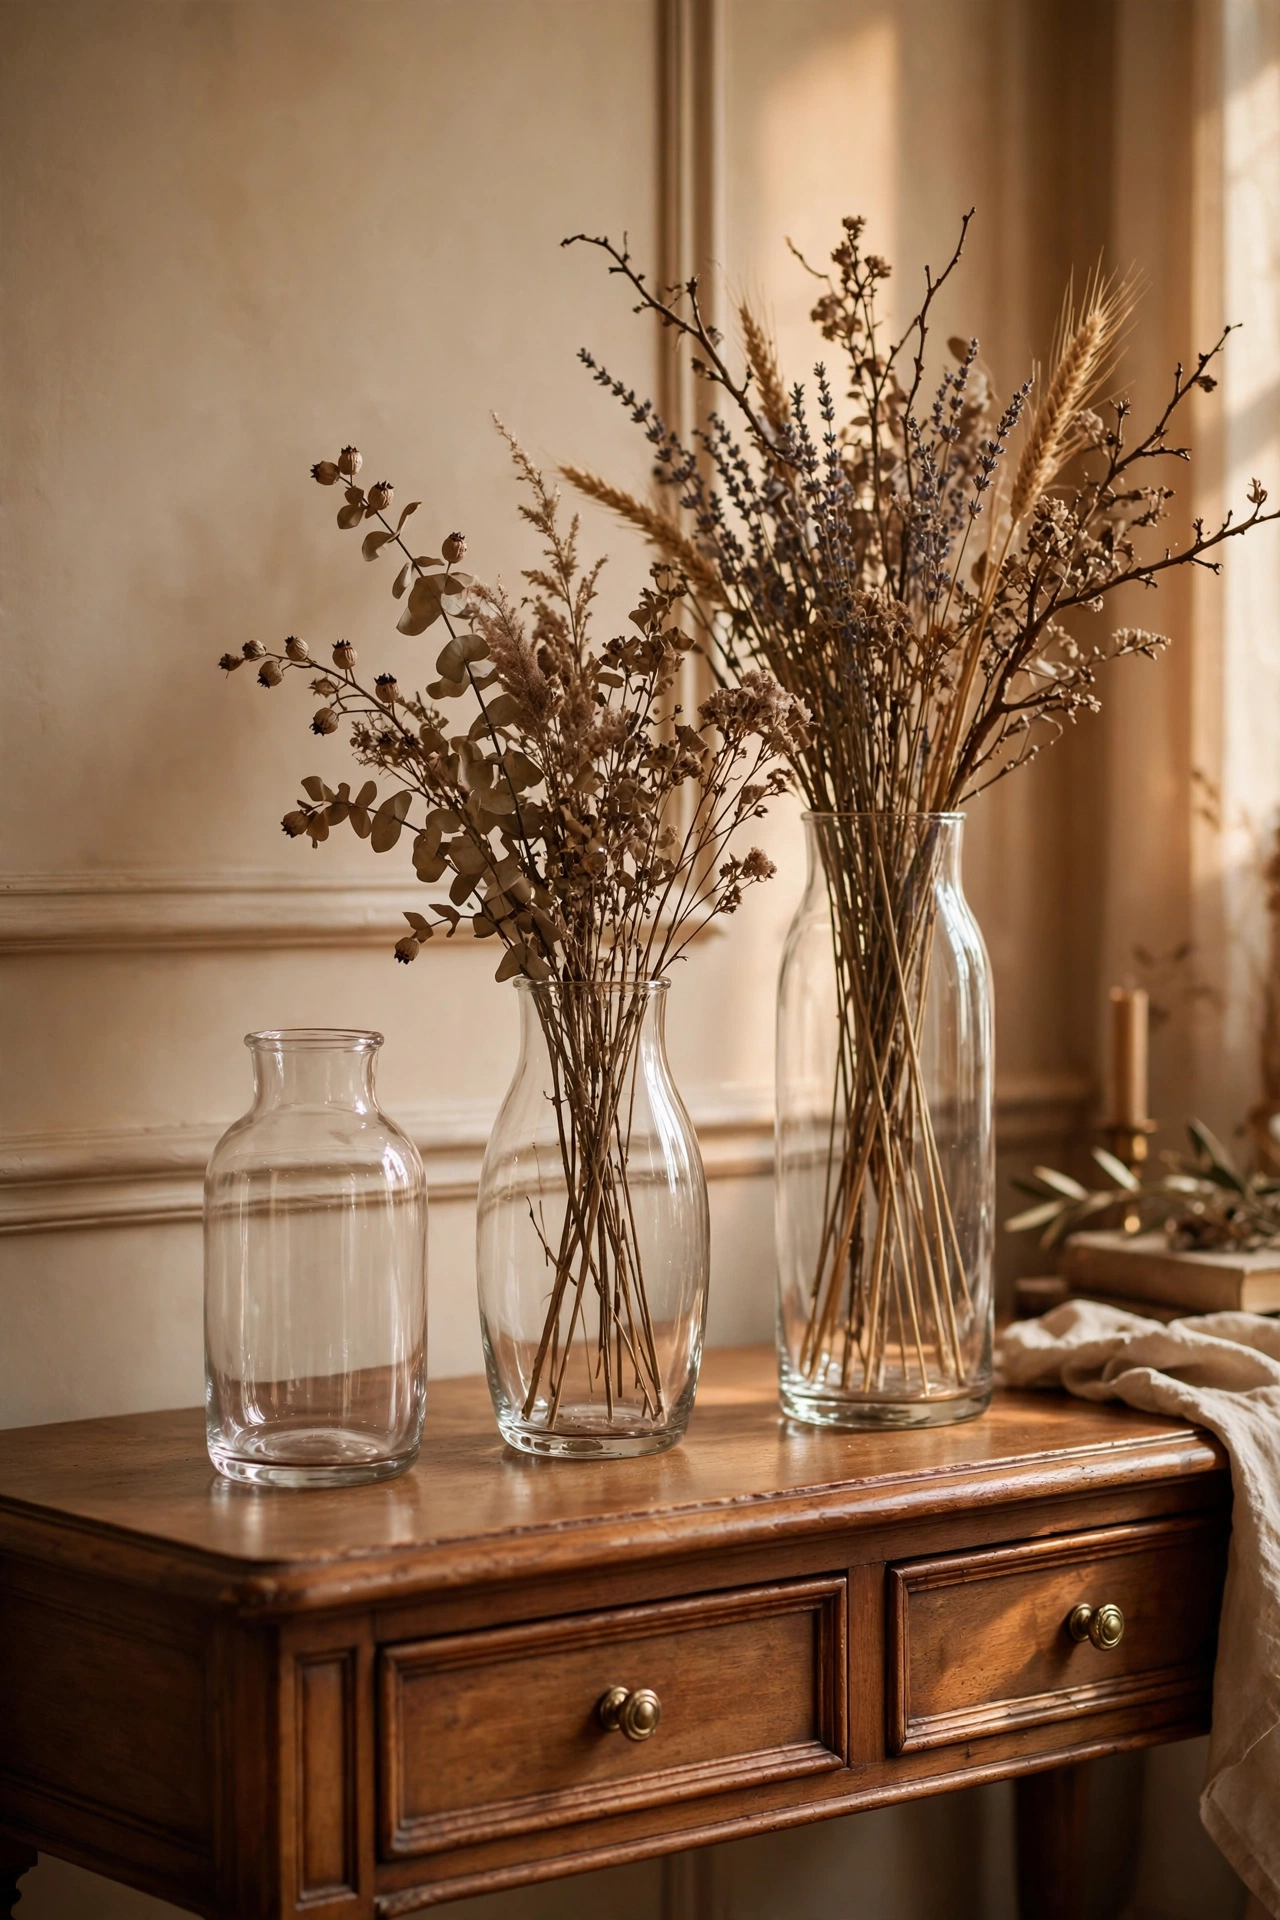
Three glass vases of different heights grouped together are a classic stylist formula. Fill one with faux stems, one with dried pampas-style grass, and leave the third empty — the empty one is the power move that says you understand restraint. Keep them within arm’s reach of each other in a tight triangle. I tried this and the one mistake to avoid is filling every vase; three full vases look like a florist’s counter, not a styled home. One empty, always.
Cost: ~$4 | Time: 10 minutes
11. Candle Cluster
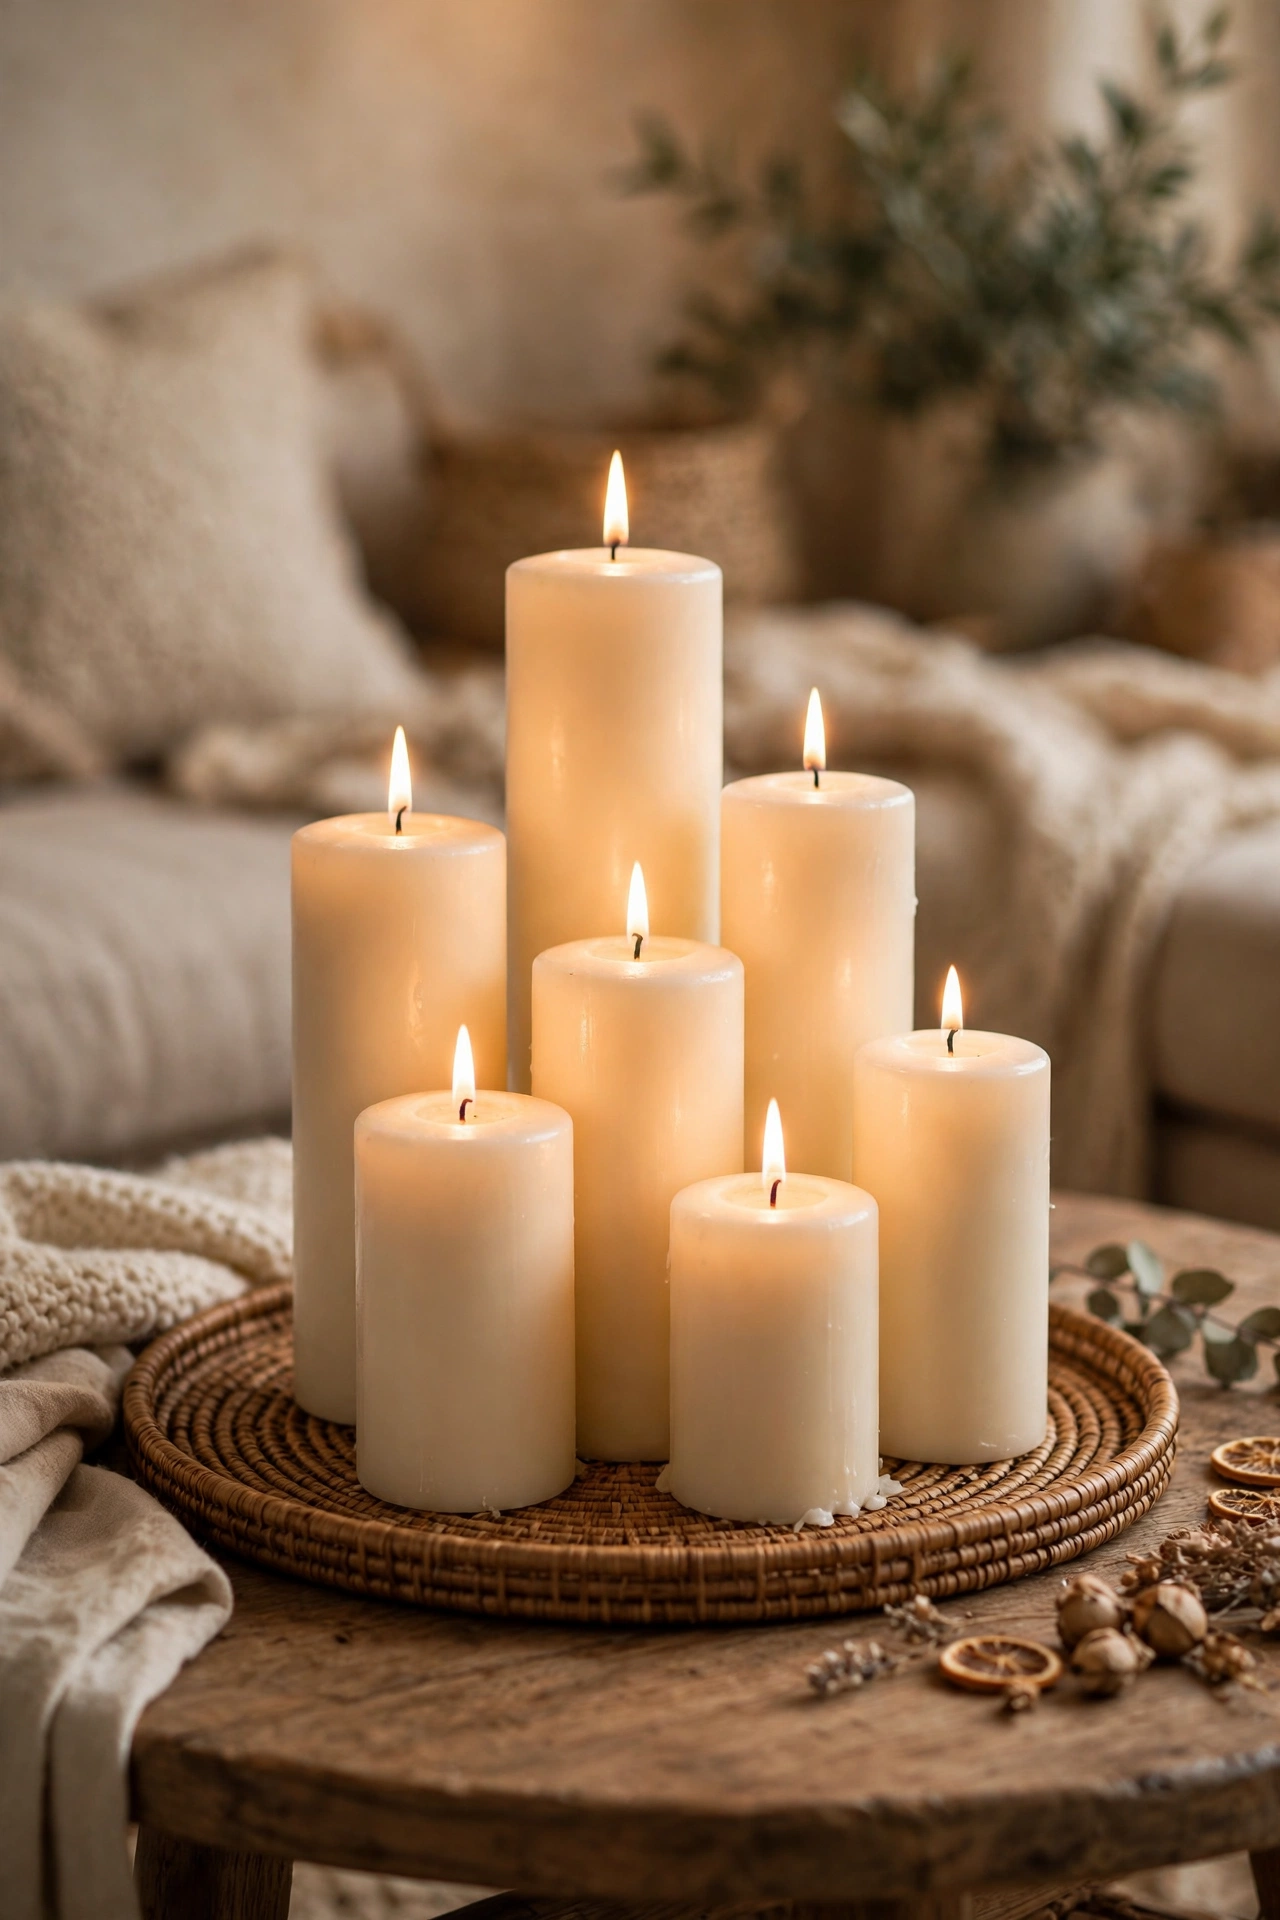
Pillar candles of staggered heights on a tray create a cosy focal point, lit or not. Group odd numbers — three or five — on a round or rectangular tray, mix ivory and one muted colour, and keep the wicks trimmed. I tried this and the one mistake to avoid is scattering candles singly around the room; one candle alone looks forgotten. Clusters are what make candles look like decor instead of utility. In summer, leave them unlit and the cluster still earns its keep as a sculptural centrepiece — candles work as decor long before they are ever lit.
Cost: ~$5 | Time: 10 minutes
12. Decorative Tray Anchor
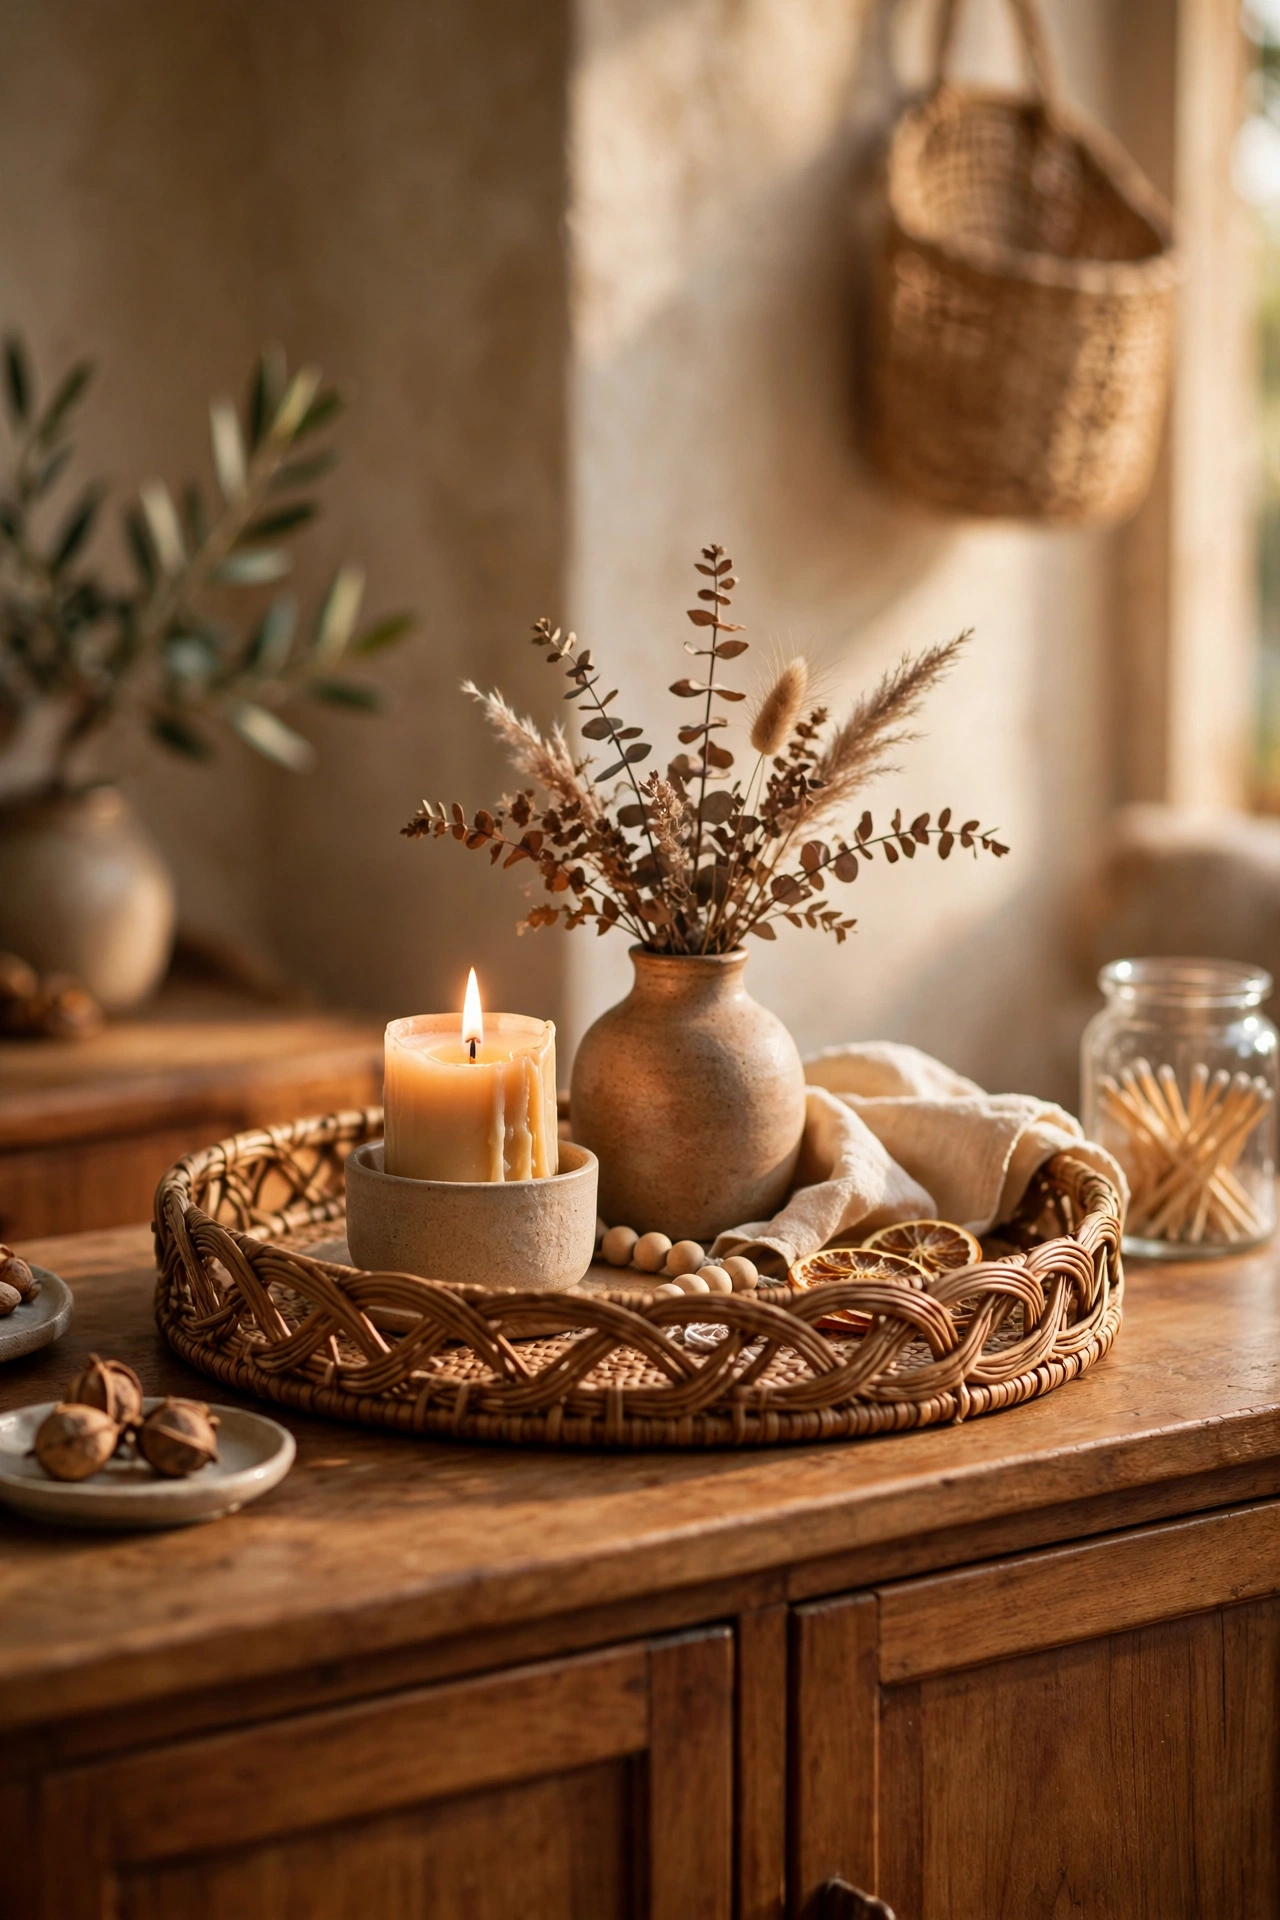
A tray under your tabletop bits turns “stuff on a table” into “a vignette”. Choose one with a bit of texture — woven, wood-grain, hammered metal — and build your cluster inside its borders. The tray edge gives the eye a frame, which is why everything inside it looks more deliberate. I tried this and the one mistake to avoid is a tray that’s too small for what you’re putting on it; items hanging over the edge look accidental. Everything should sit comfortably inside with a little margin.
Cost: ~$4 | Time: 5 minutes
13. Faux Coffee Table Books
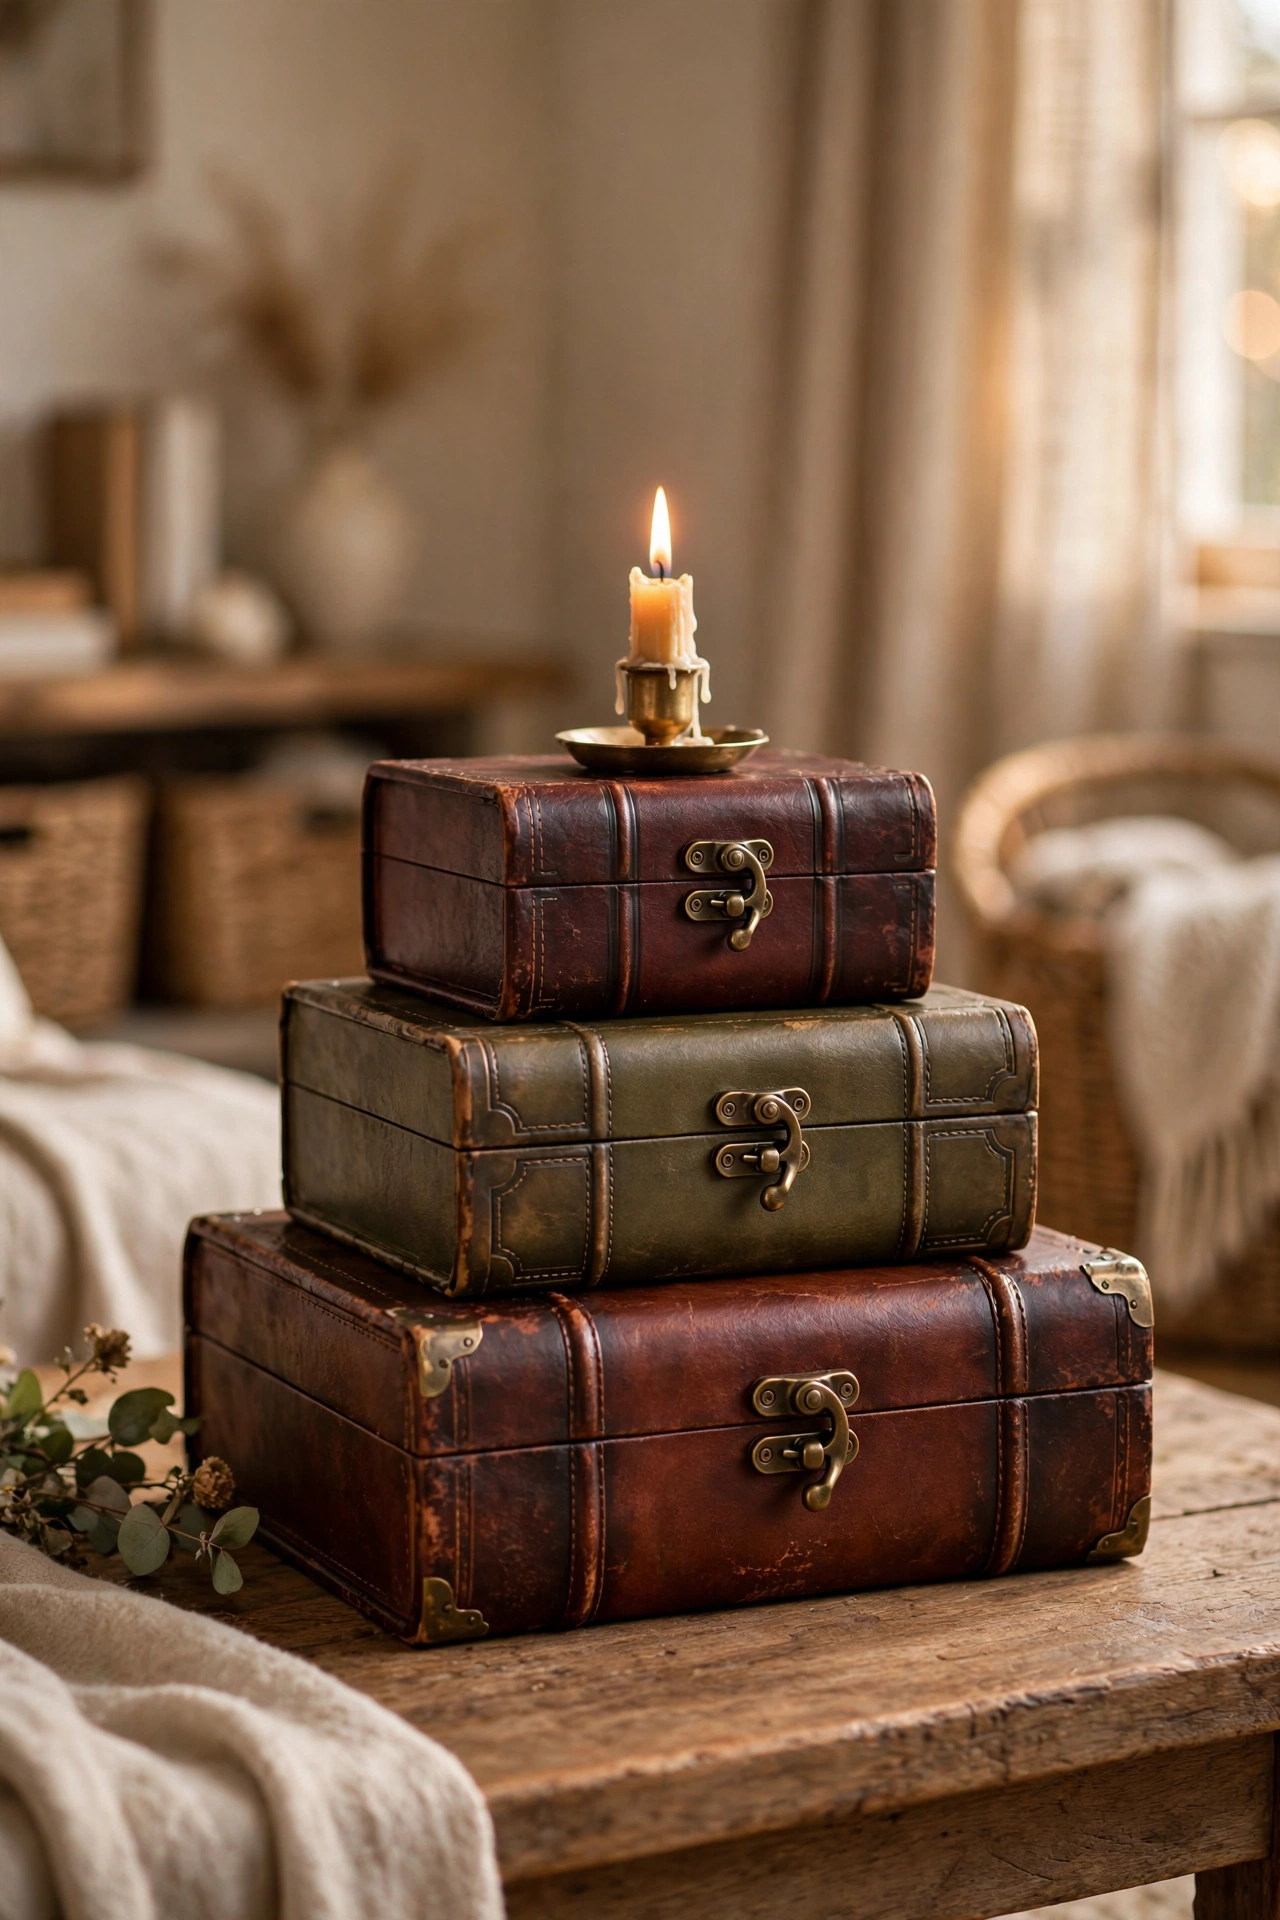
Those decorative book boxes that look like vintage tomes stack beautifully and hide remotes, coasters and other ugly necessities. Stack two or three, largest at the bottom, and top with a small object like a candle or a shell. I tried this and the one mistake to avoid is stacking more than three — past that, it stops looking like decor and starts looking like a bookshop clearance table. Two or three, then stop. Slip a silica gel packet inside each box if you store anything metal in them — it stops that faint musty smell boxes can develop.
Cost: ~$6 | Time: 5 minutes
14. Statement Faux Plant
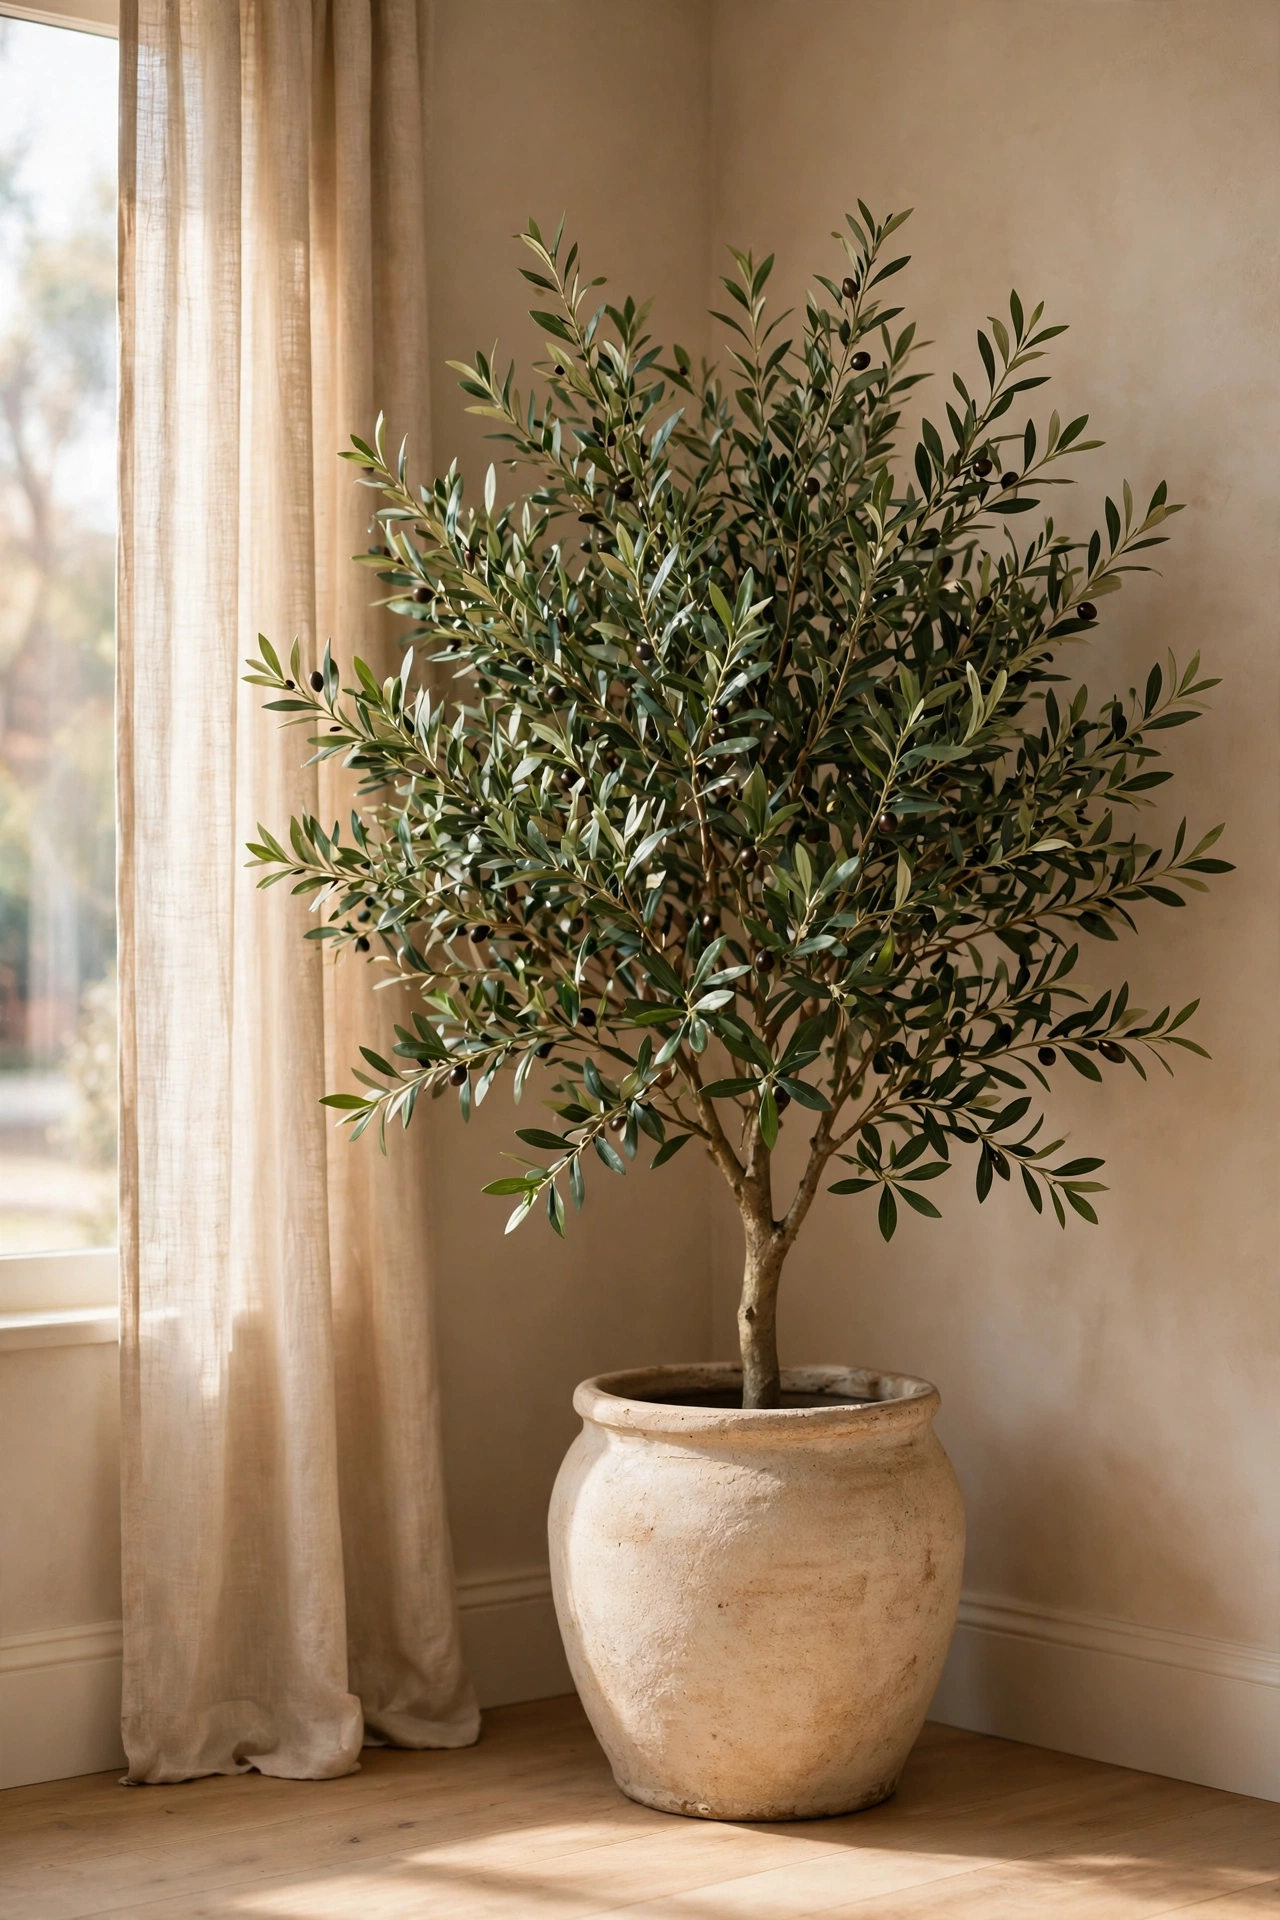
One larger faux plant — a monstera or olive tree in a decent pot — fills an empty corner the way nothing else can. Spend your effort on the pot rather than the plant; a good cache pot sells the whole thing. Fluff the leaves outward and bend a few stems for realism. I tried this and the one mistake to avoid is the visible plastic nursery pot — it undoes all your work in one glance. Always, always nest it inside a proper pot.
Cost: ~$8 | Time: 10 minutes
Light & Ambience
Lighting is the difference between a room and a mood. These three are all about glow.
15. Fairy Light Curtain
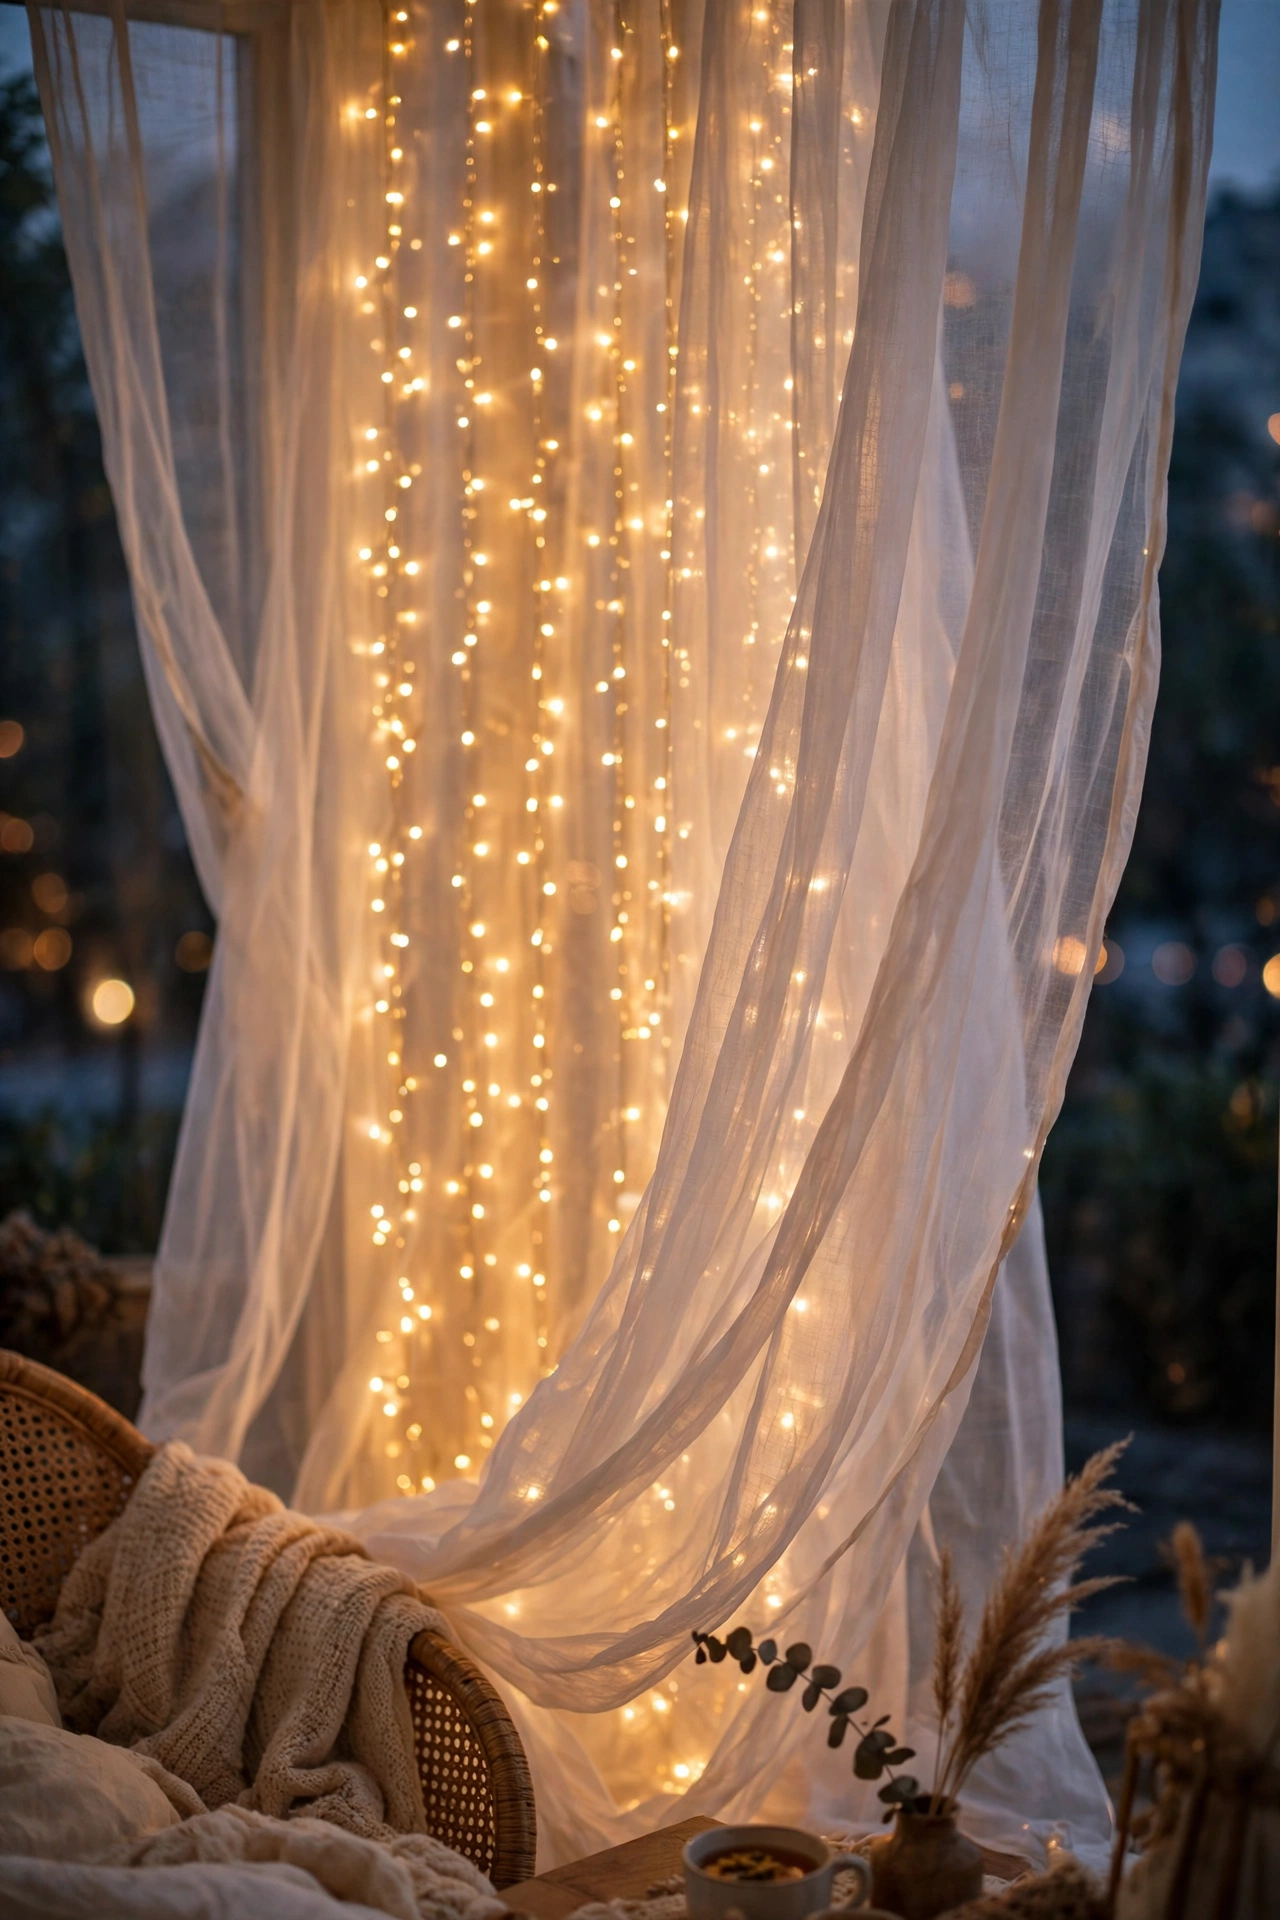
A curtain of warm fairy lights behind sheer curtains or along a headboard turns any evening into something a bit magical. Drape them in loose swags rather than tight lines — the casual fall of the lights is what looks dreamy. Put them on a timer plug so they glow at dusk without you thinking about it. I tried this and the one mistake to avoid is cool-white LEDs; they make the whole setup look like a Christmas display in July. Warm white only, no exceptions.
Cost: ~$4 | Time: 15 minutes
16. Paper Lantern Cluster
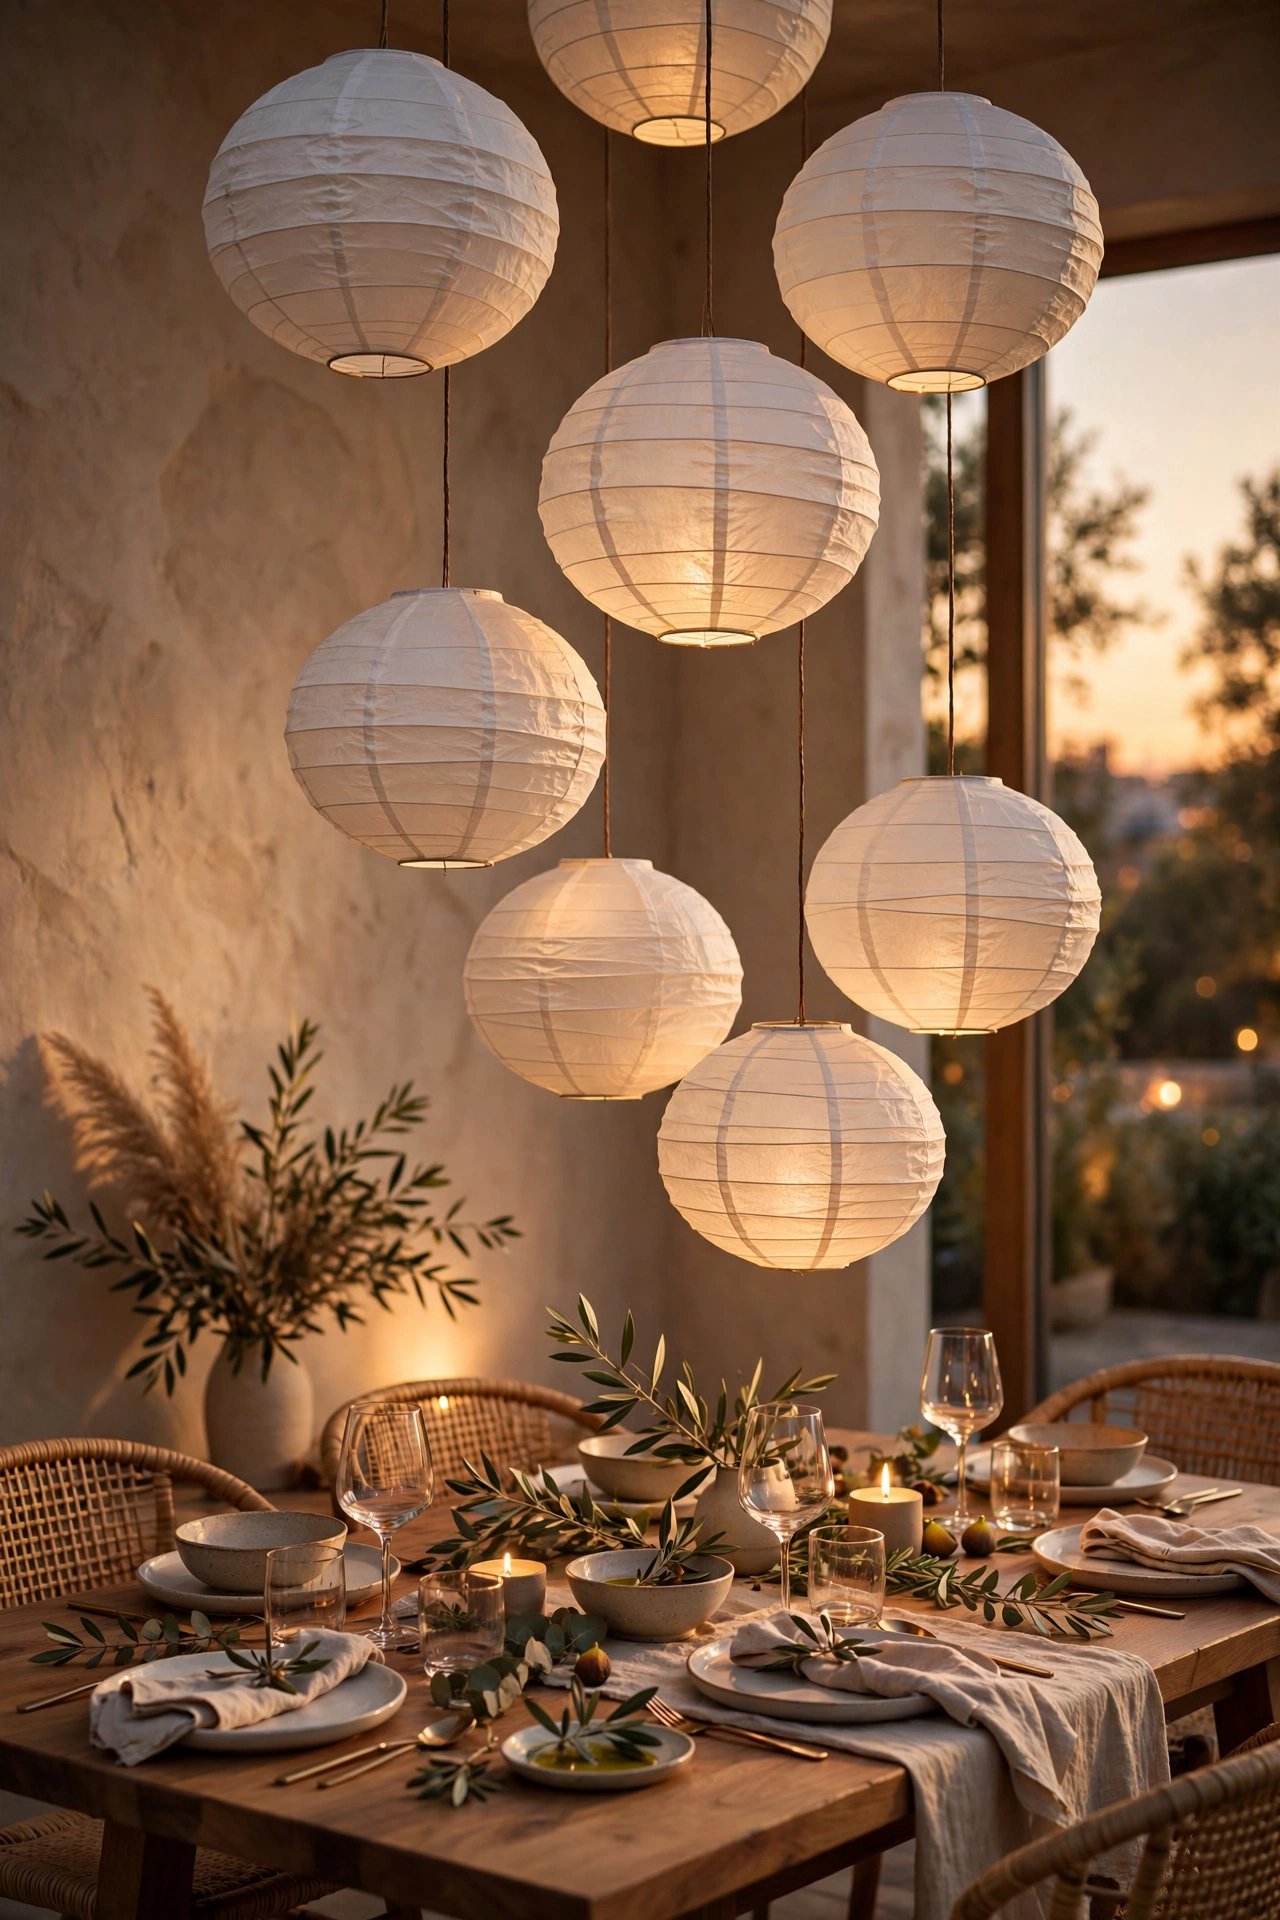
Three paper lanterns hung at different heights over a dining table or in a corner are a sculptural lighting moment for almost nothing. Hang them from removable hooks with fishing line so they float, and keep the sizes graduated. I tried this and the one mistake to avoid is hanging them all at the same height — a flat row looks like a party decoration. Stagger the drops by at least 20cm for that designed feel. Use LED fairy lights inside the lanterns rather than real tea lights — paper and naked flames are a combination to avoid entirely.
Cost: ~$5 | Time: 20 minutes
17. Lampshade Swap
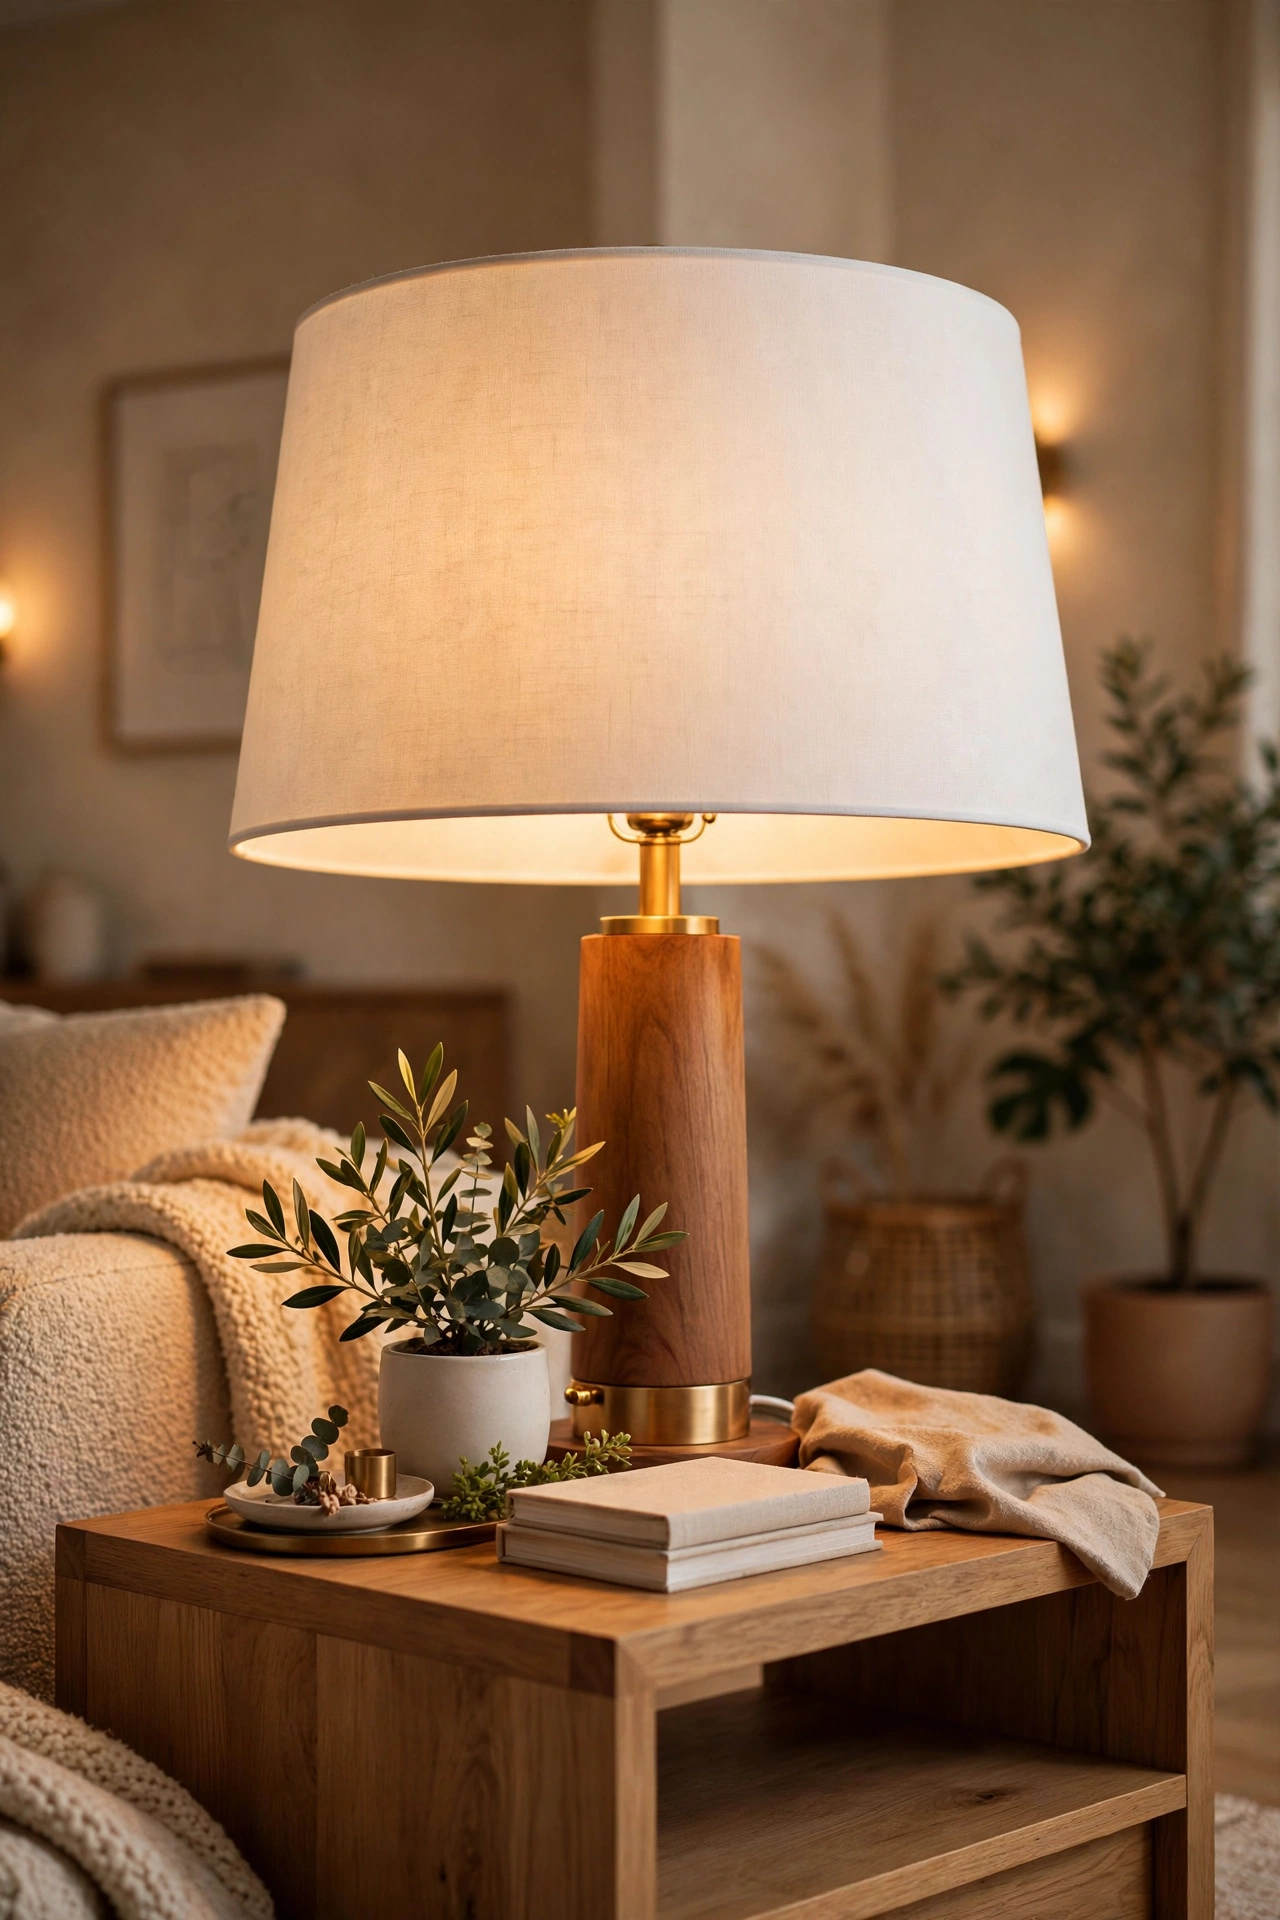
Swapping a tired lampshade for a fresh drum shade in linen or white updates a lamp instantly — the base stays, the look transforms. Check the fitting size before you buy (most are standard, but measure the spider fitter anyway), and choose a shade slightly larger than you think; bigger shades look more expensive. I tried this and the one mistake to avoid is a shade that’s too small for the base — it makes the lamp look like it’s wearing a child’s hat. When in doubt, size up. More lighting tricks live in (see also: 15-dollar-store-home-office-finds-that-look-expensive).
Cost: ~$6 | Time: 10 minutes
Small Finishing Touches
The last two are tiny, quick, and weirdly satisfying.
18. Spray-Painted Drawer Pulls
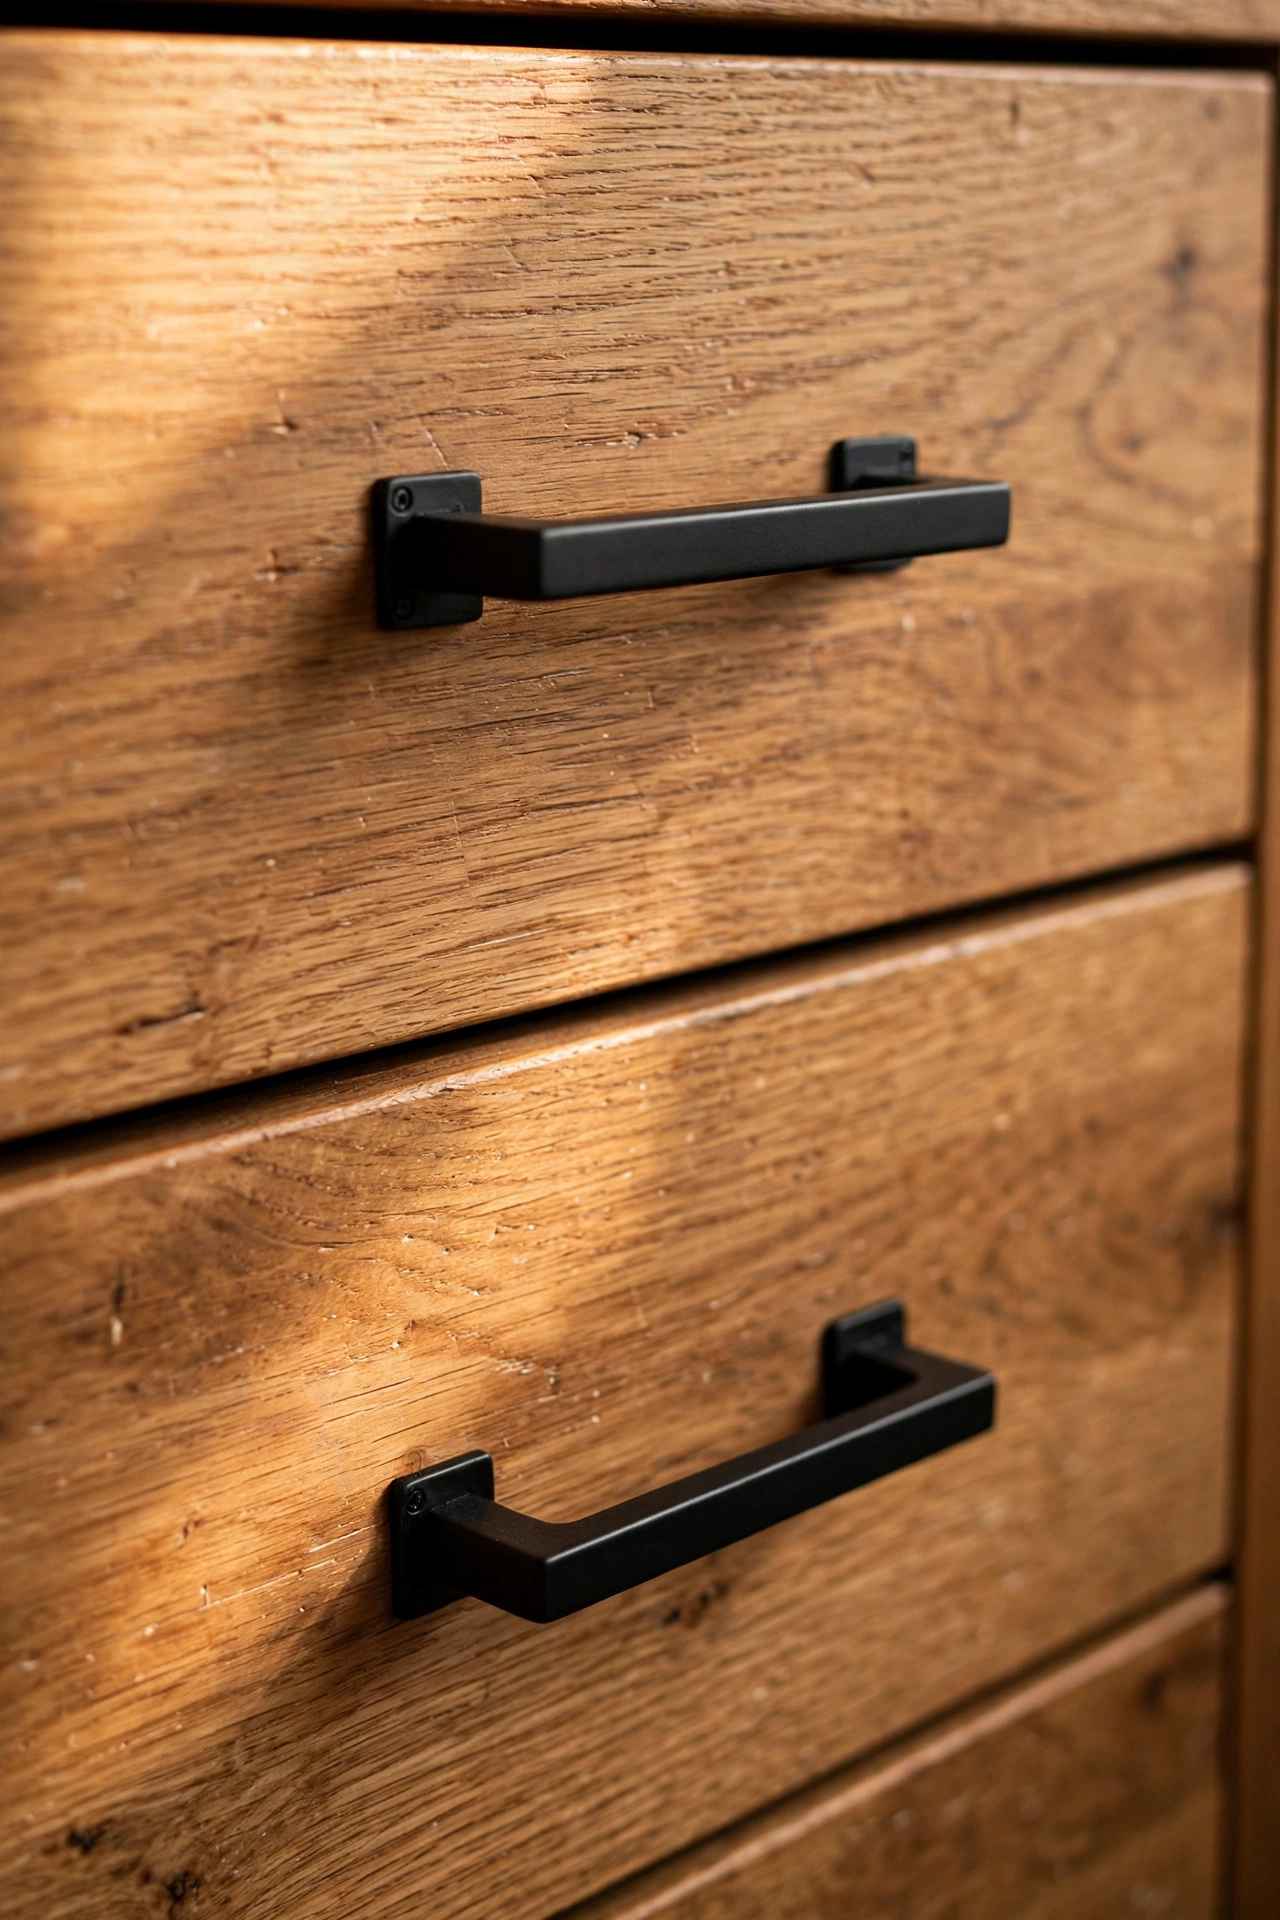
Old brass or plastic drawer pulls become matte black or brushed gold hardware with a can of spray paint. Remove the pulls, clean them with soapy water, spray light coats from 20cm away, and let each coat dry fully. Two thin coats beat one thick drippy one every time. I tried this and the one mistake to avoid is impatience — reassembling before the paint cures leaves fingerprints you’ll stare at forever. Give it a full 24 hours. If you are doing a whole dresser, number the pulls with masking tape as you remove them so each one goes back in its original spot.
Cost: ~$4 | Time: 45 minutes
19. Decorative Switch Plate Covers
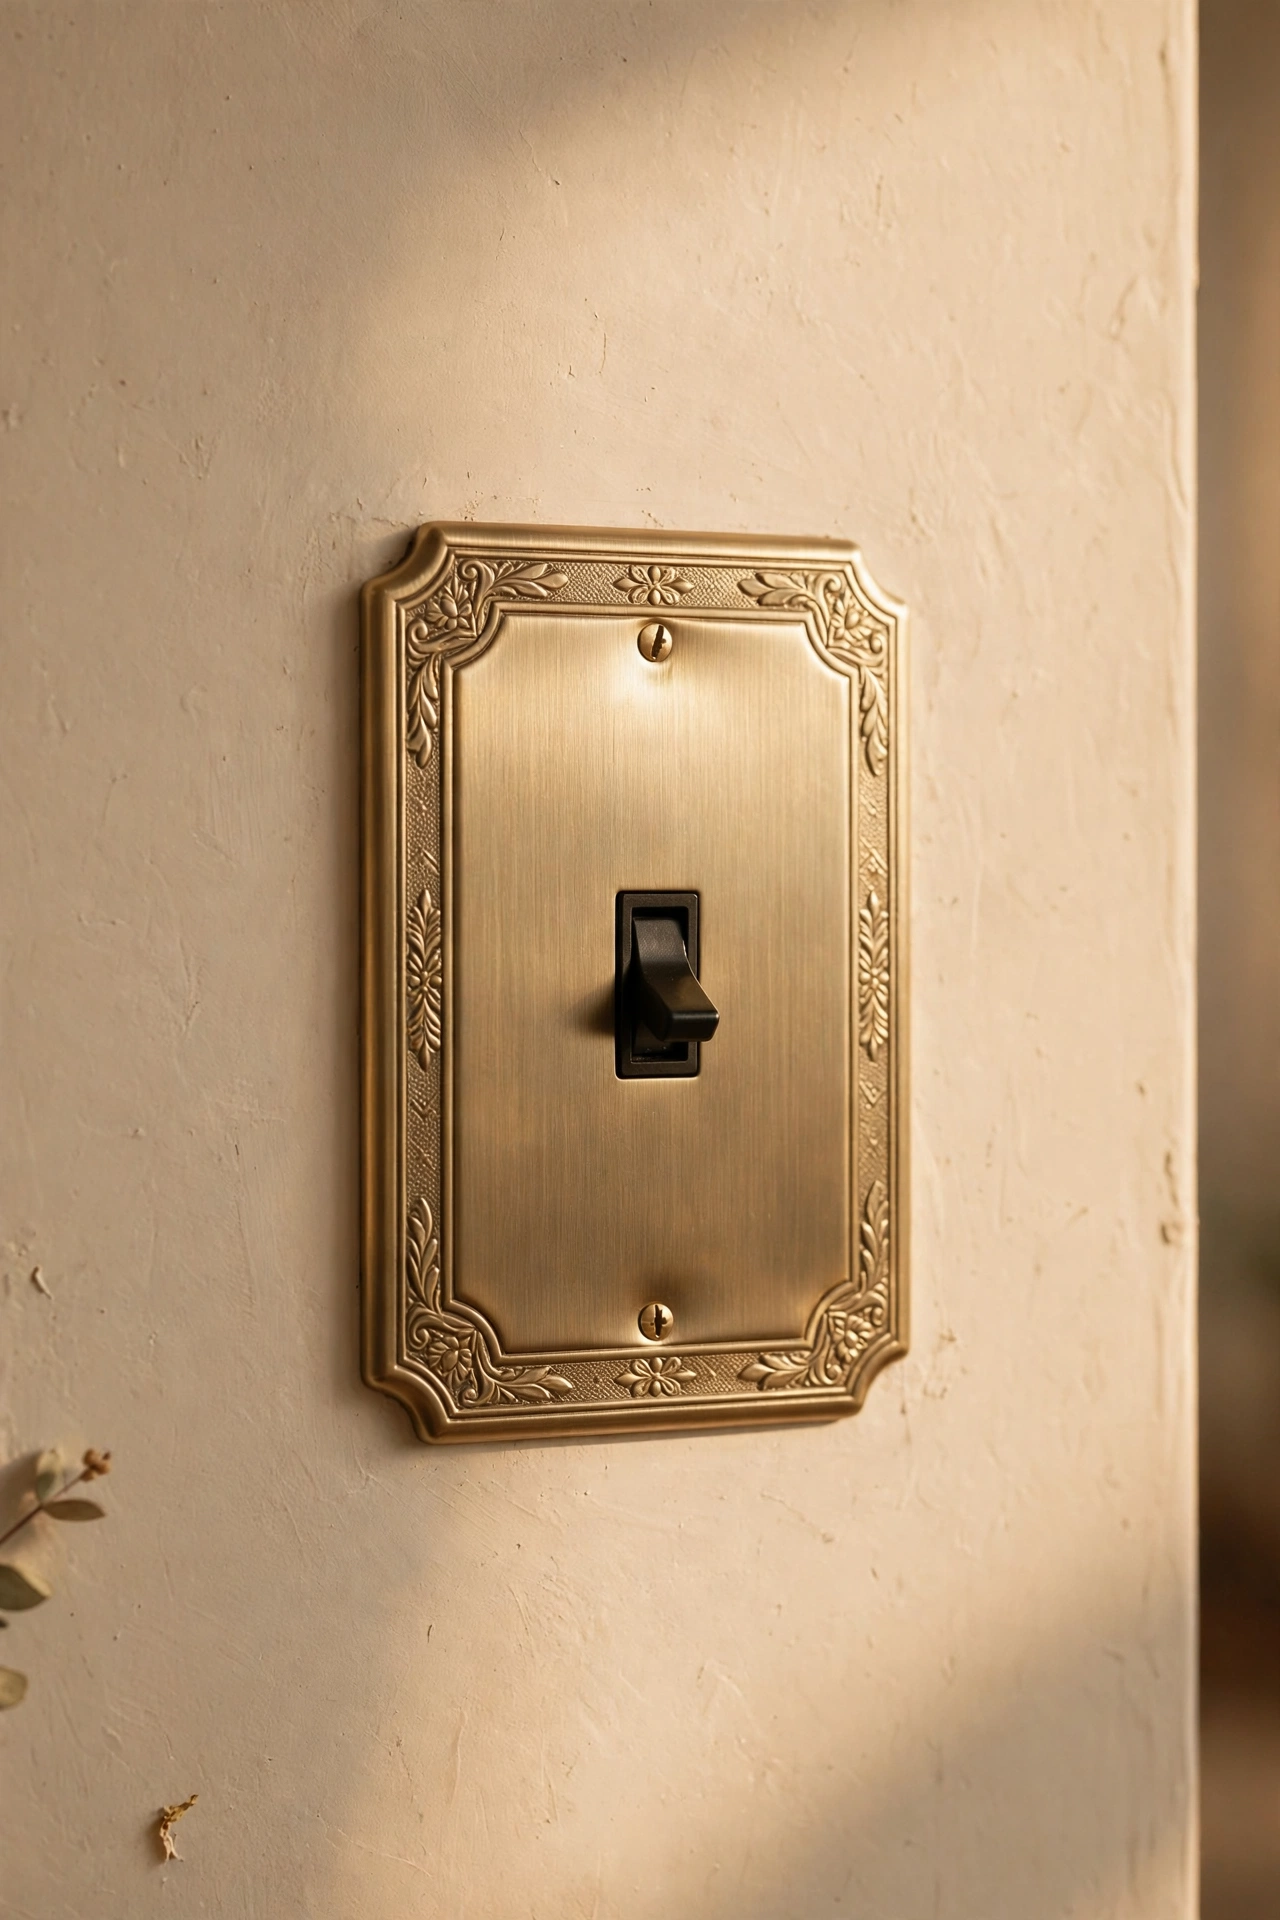
Swapping yellowed plastic switch plates for decorative metal or wood-look ones is a five-minute job with an outsized payoff — they’re at eye level in every room. Unscrew the old plate, screw on the new one, and make sure it sits flush. I tried this and the one mistake to avoid is buying the wrong configuration; count your toggles and outlets before you shop, because a plate that doesn’t fit is just a trip back to the store. Measure twice, buy once.
Cost: ~$2 | Time: 5 minutes
Nineteen ideas, and not one of them needed a big budget — just a bit of imagination and a free weekend. Pick the zone that bothers you most when you walk in the door, and start there. That’s how my whole flat got its glow-up: one five-pound corner at a time.
