23 No-Sew Throw Pillow Ideas for Beginners
I bought my first sewing machine with big plans and sold it six months later, still in the box. Threading a bobbin defeated me completely. But my sofa still needed pillows, so I learned every no-sew trick in the book. These no-sew throw pillow ideas for beginners are the ones I actually use: no machine, no needle, just fabric glue, iron-on tape, and clever folding.
Every pillow here costs under $15, and most use fabric you already own: old shirts, tea towels, scarves, and flat sheets. You need fabric glue or iron-on hem tape, sharp scissors, and a cushion insert. If you can fold a letter, you can make every pillow on this list.
1. Envelope Pillow Cover from a Flat Sheet
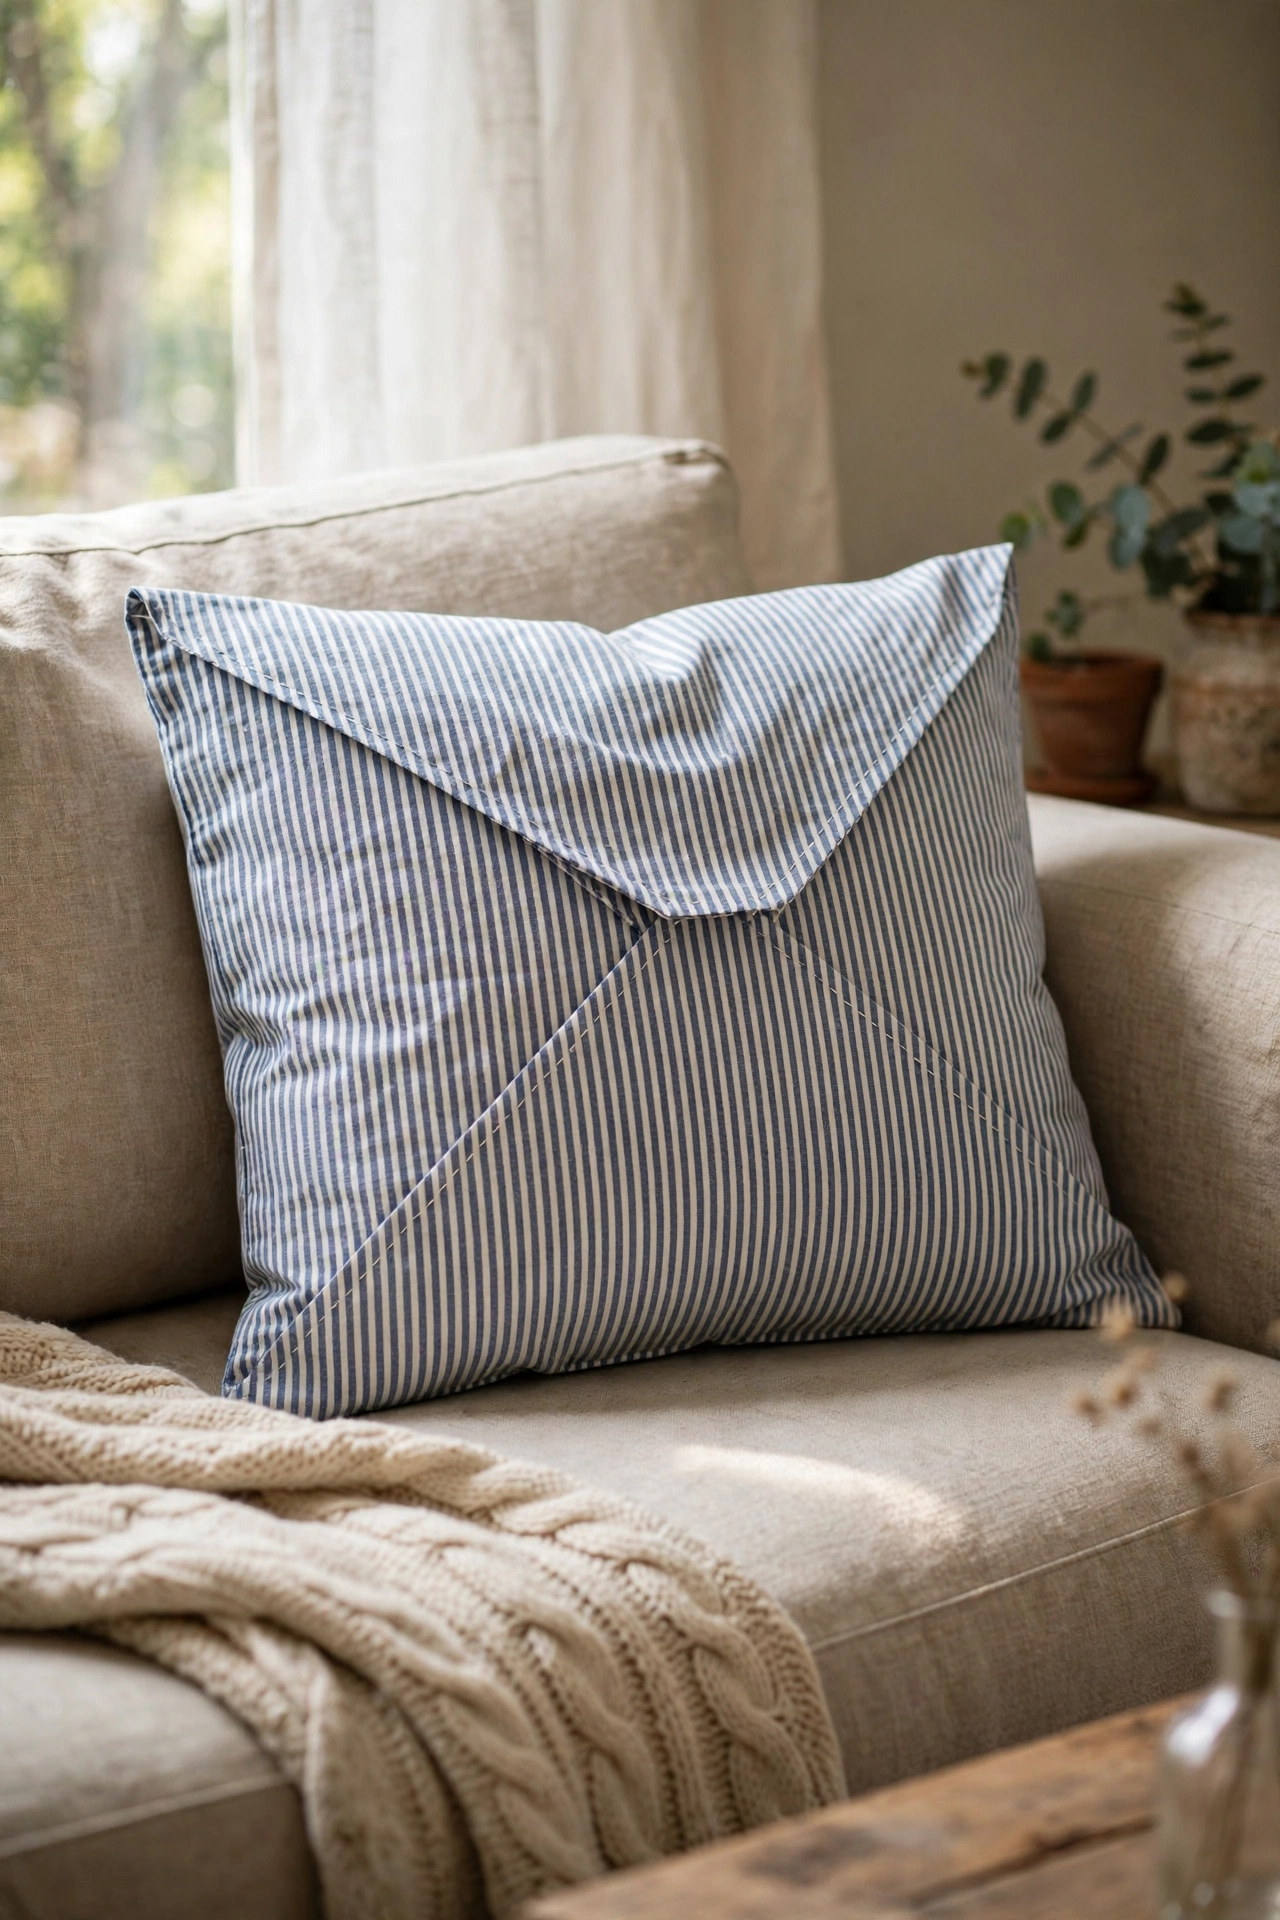
An envelope cover is just a rectangle of fabric folded over itself, and a flat sheet gives you metres of free fabric. I cut a piece twice as wide as my cushion plus 15 centimetres for overlap, folded the raw edges in with iron-on hem tape, then folded the two ends over the middle like an envelope. The overlap holds the cushion in without any fastening. Iron every fold crisp before you bond it, because creases are what make it look tailored. My first one was lumpy because I skipped the ironing. White or striped sheets work beautifully.
Cost: ~$4-7 | Time: 30 minutes
2. Heat-Bonded Hem Pillowcase Pillow
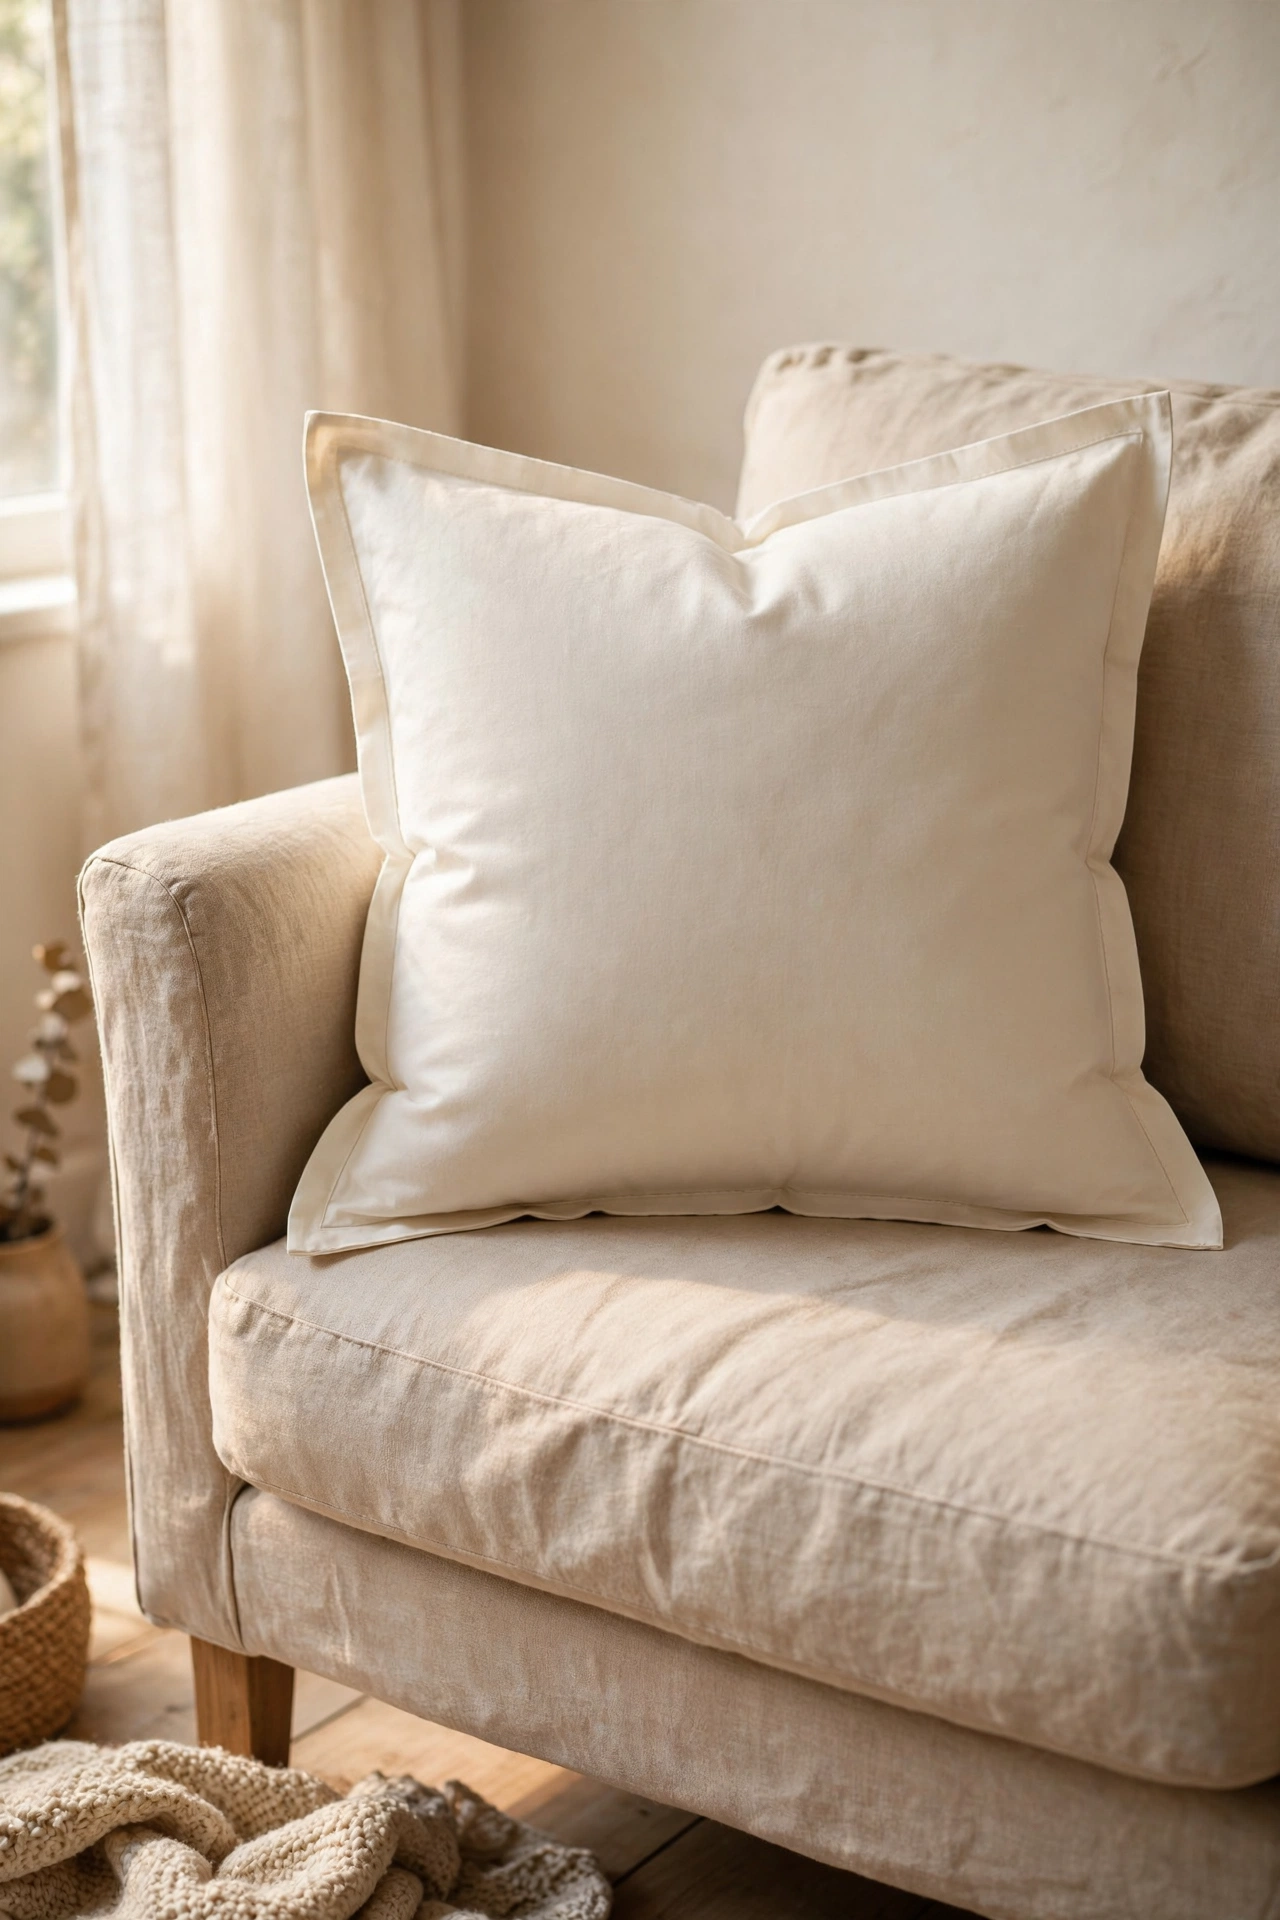
Iron-on hem tape turns any fabric rectangle into a sealed pillow cover in minutes. I cut two squares of cotton 2 centimetres larger than my insert, sandwiched hem tape between the edges on three sides, and pressed with a hot iron. Then I slid the insert in and bonded the fourth side. The bond is genuinely strong: mine have survived two years of sofa naps. Use a pressing cloth over the tape so adhesive never touches your iron. Test the heat on a scrap first, because too hot scorches and too cool will not bond.
Cost: ~$5-8 | Time: 25 minutes
3. Fabric-Glue Fringe Trim Pillow
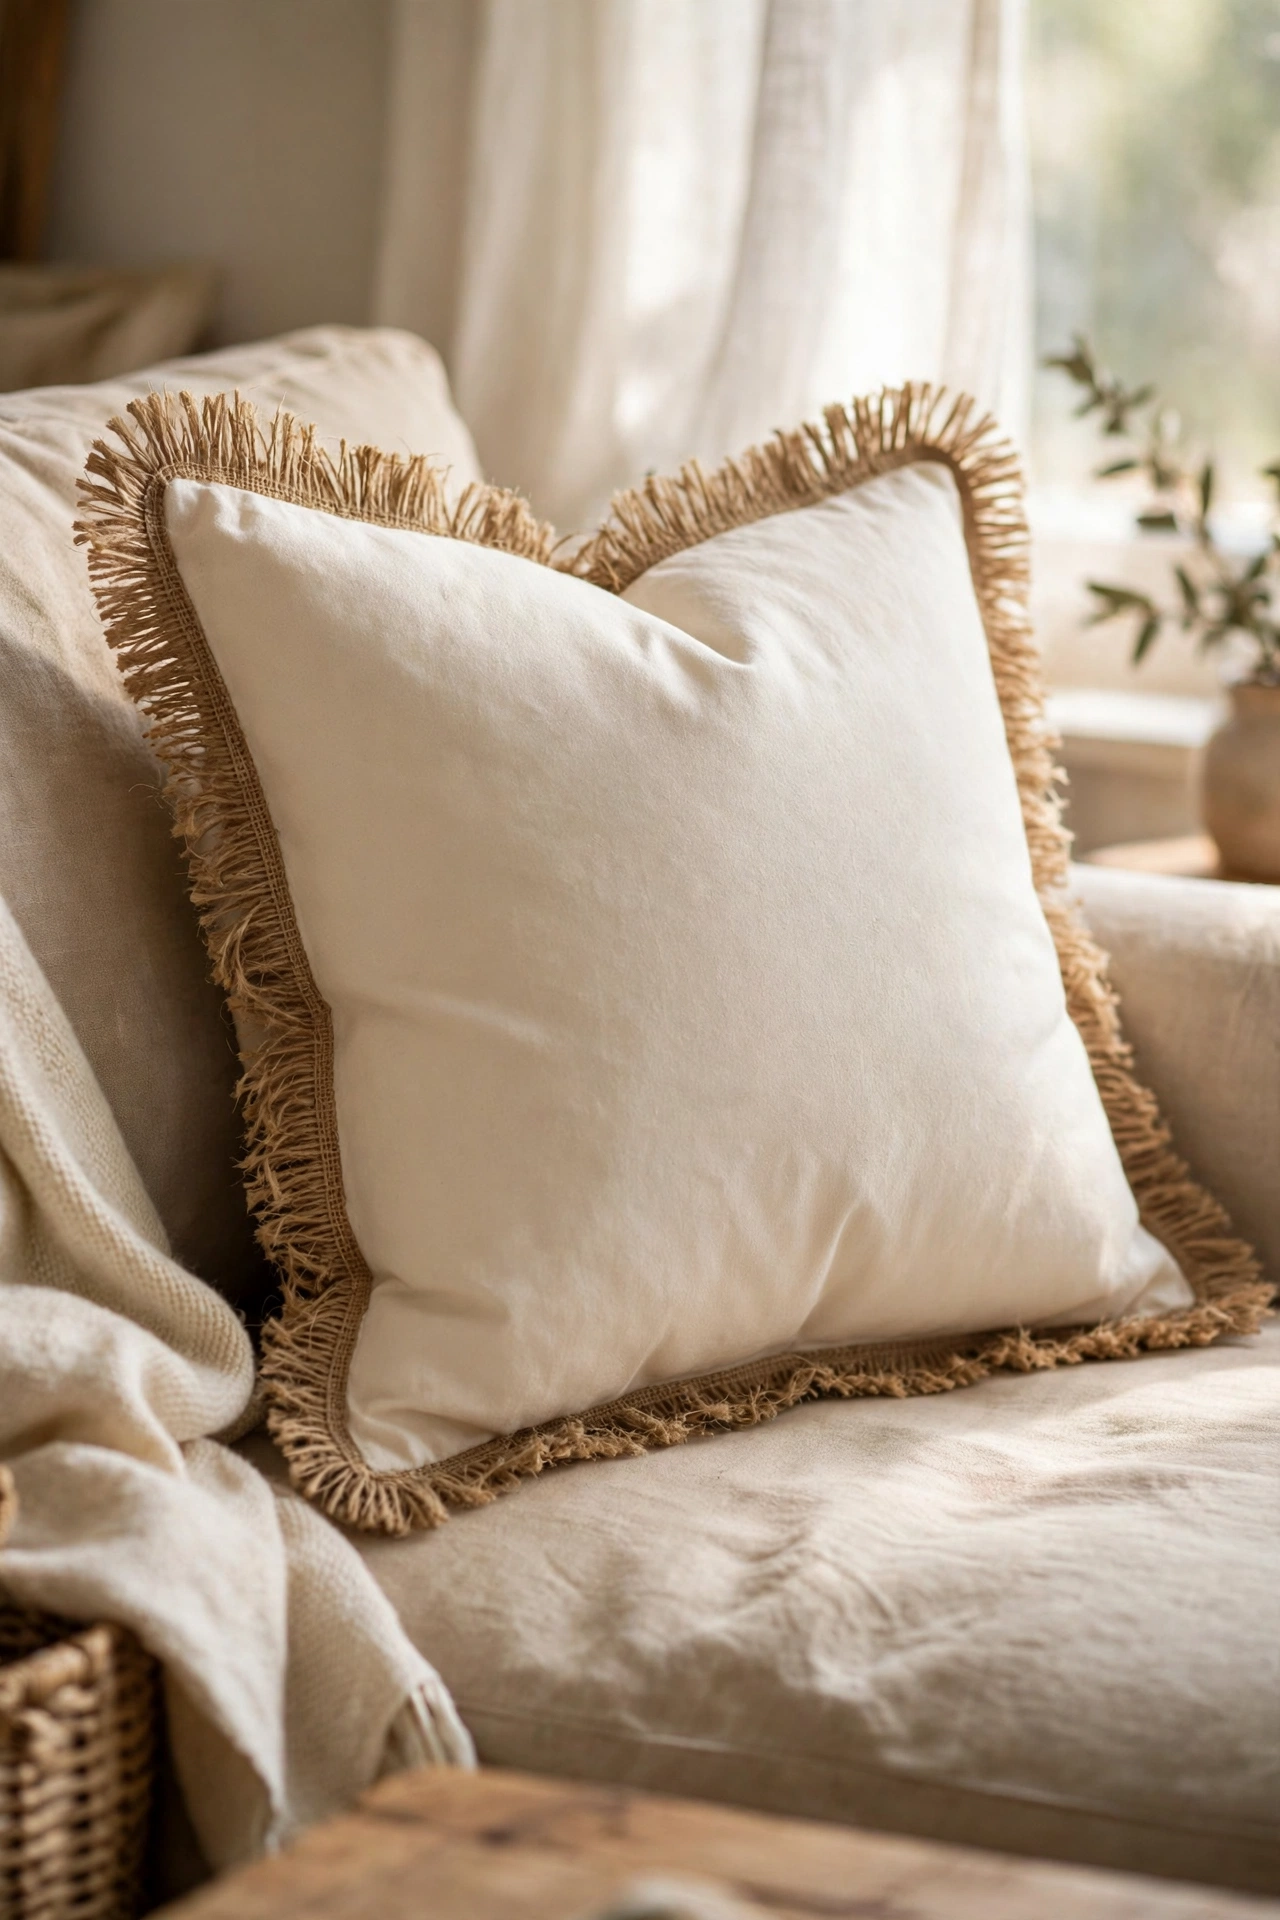
A plain cushion gets a boutique look from fringe trim glued around the edges. I ran a thin bead of fabric glue along the seam of a cream cushion cover and pressed natural jute fringe into it, holding each section for 30 seconds. Work in 15-centimetre sections so the glue does not skin over before the trim sticks. My mistake was gluing the whole perimeter at once and the last side would not adhere. Let it cure overnight before you use it. Bullion fringe in gold looks surprisingly expensive.
Cost: ~$6-10 | Time: 40 minutes
Pro tip: Fabric glue needs 24 hours to reach full strength, even when it feels dry to the touch. Make your pillows the day before you plan to style them, and do not stuff inserts in until the cure time has passed.
4. Bandana Knot Pillow
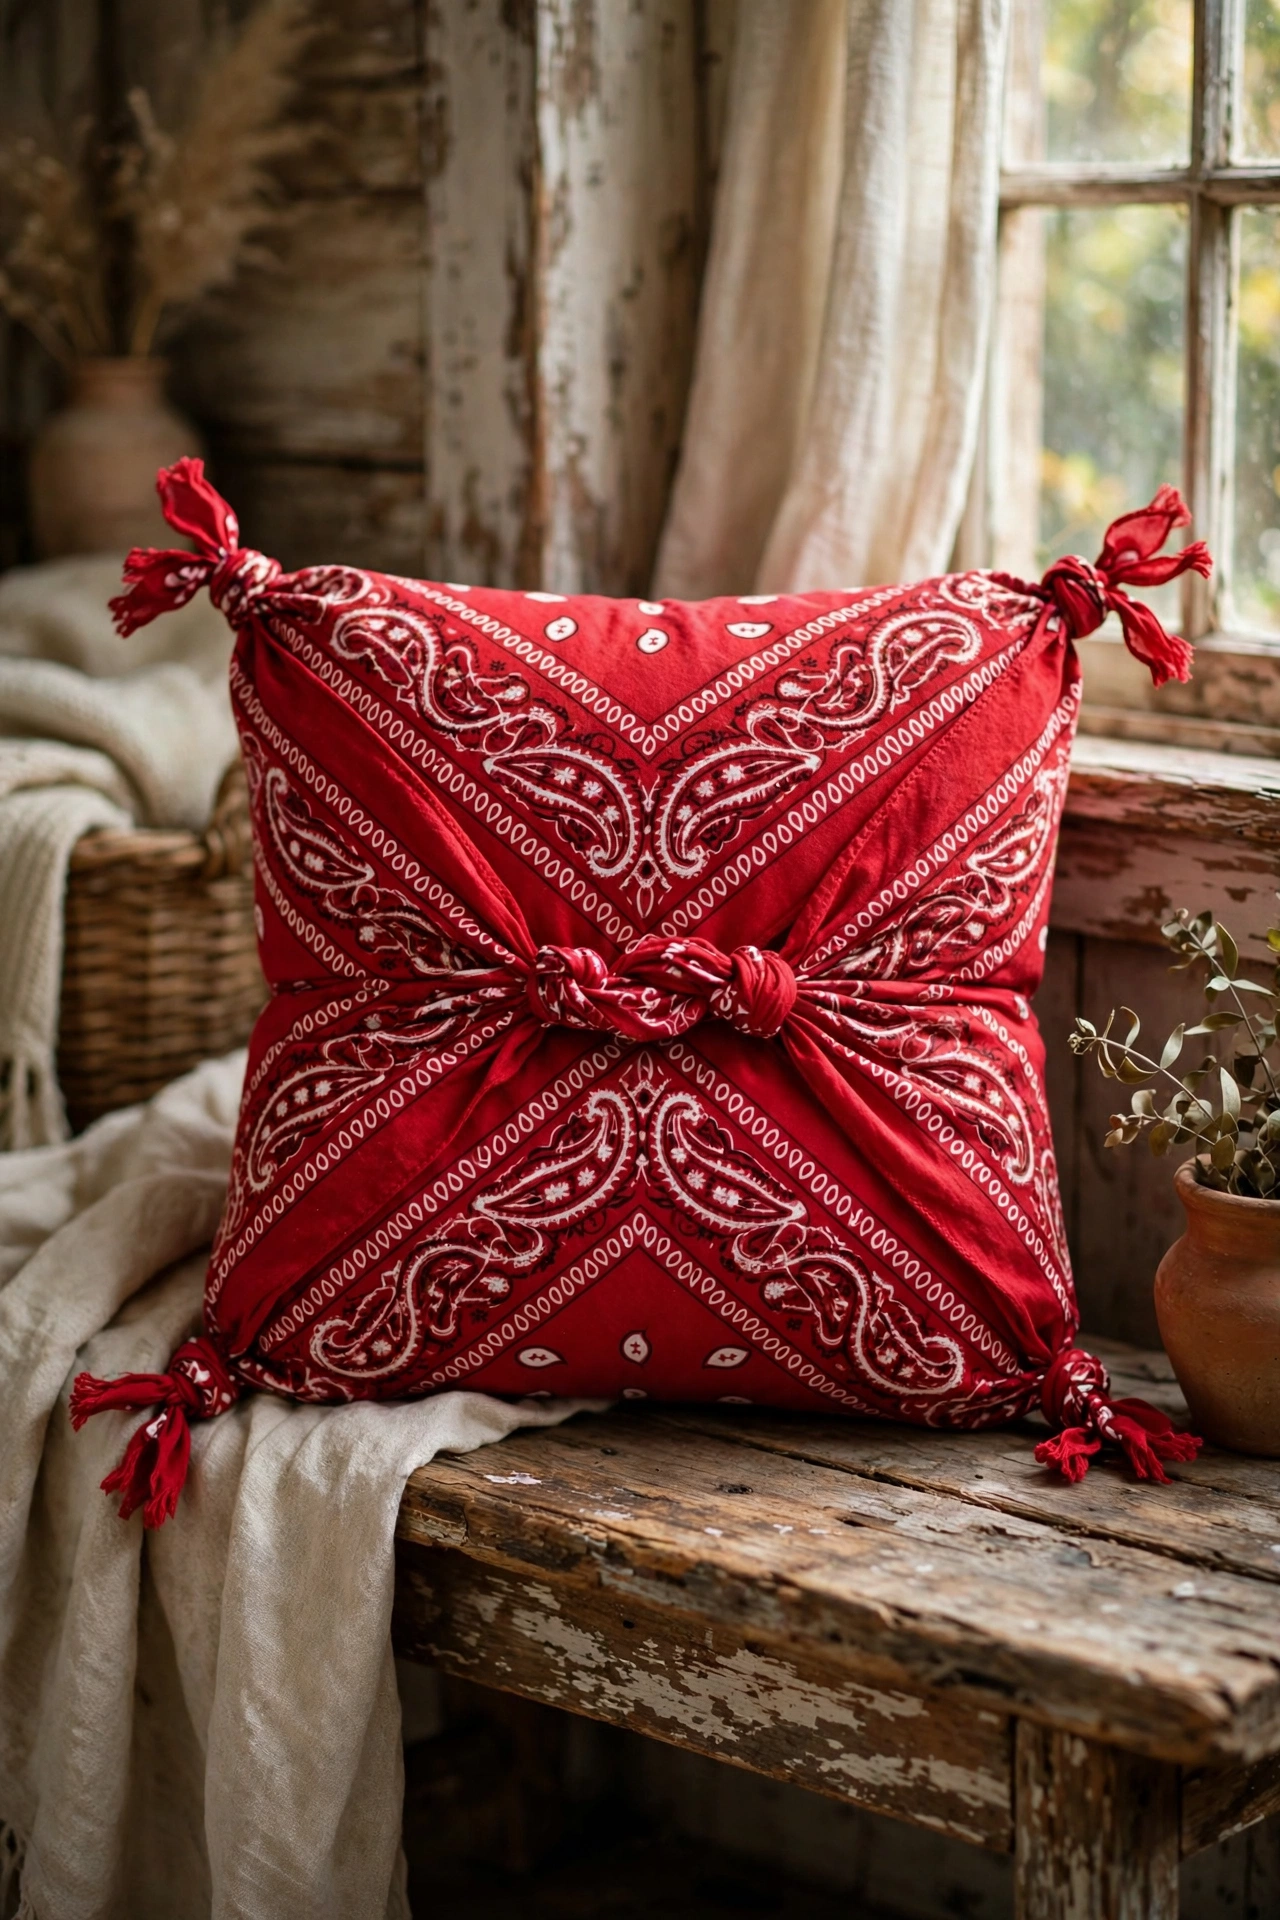
Two large bandanas knotted at the corners make a pillow cover with zero tools. I placed two 55-centimetre bandanas back to back, knotted each pair of corners tightly, and slipped a 40-centimetre insert inside. The knots become a decorative fringe edge. Pull each knot snug and even, because a loose knot unravels with use. Red paisley is the classic, but navy and mustard bandanas look more modern. This is the fastest pillow on the list and a great first project for nervous beginners.
Cost: ~$5-8 | Time: 15 minutes
5. Tea Towel Pillow Cover
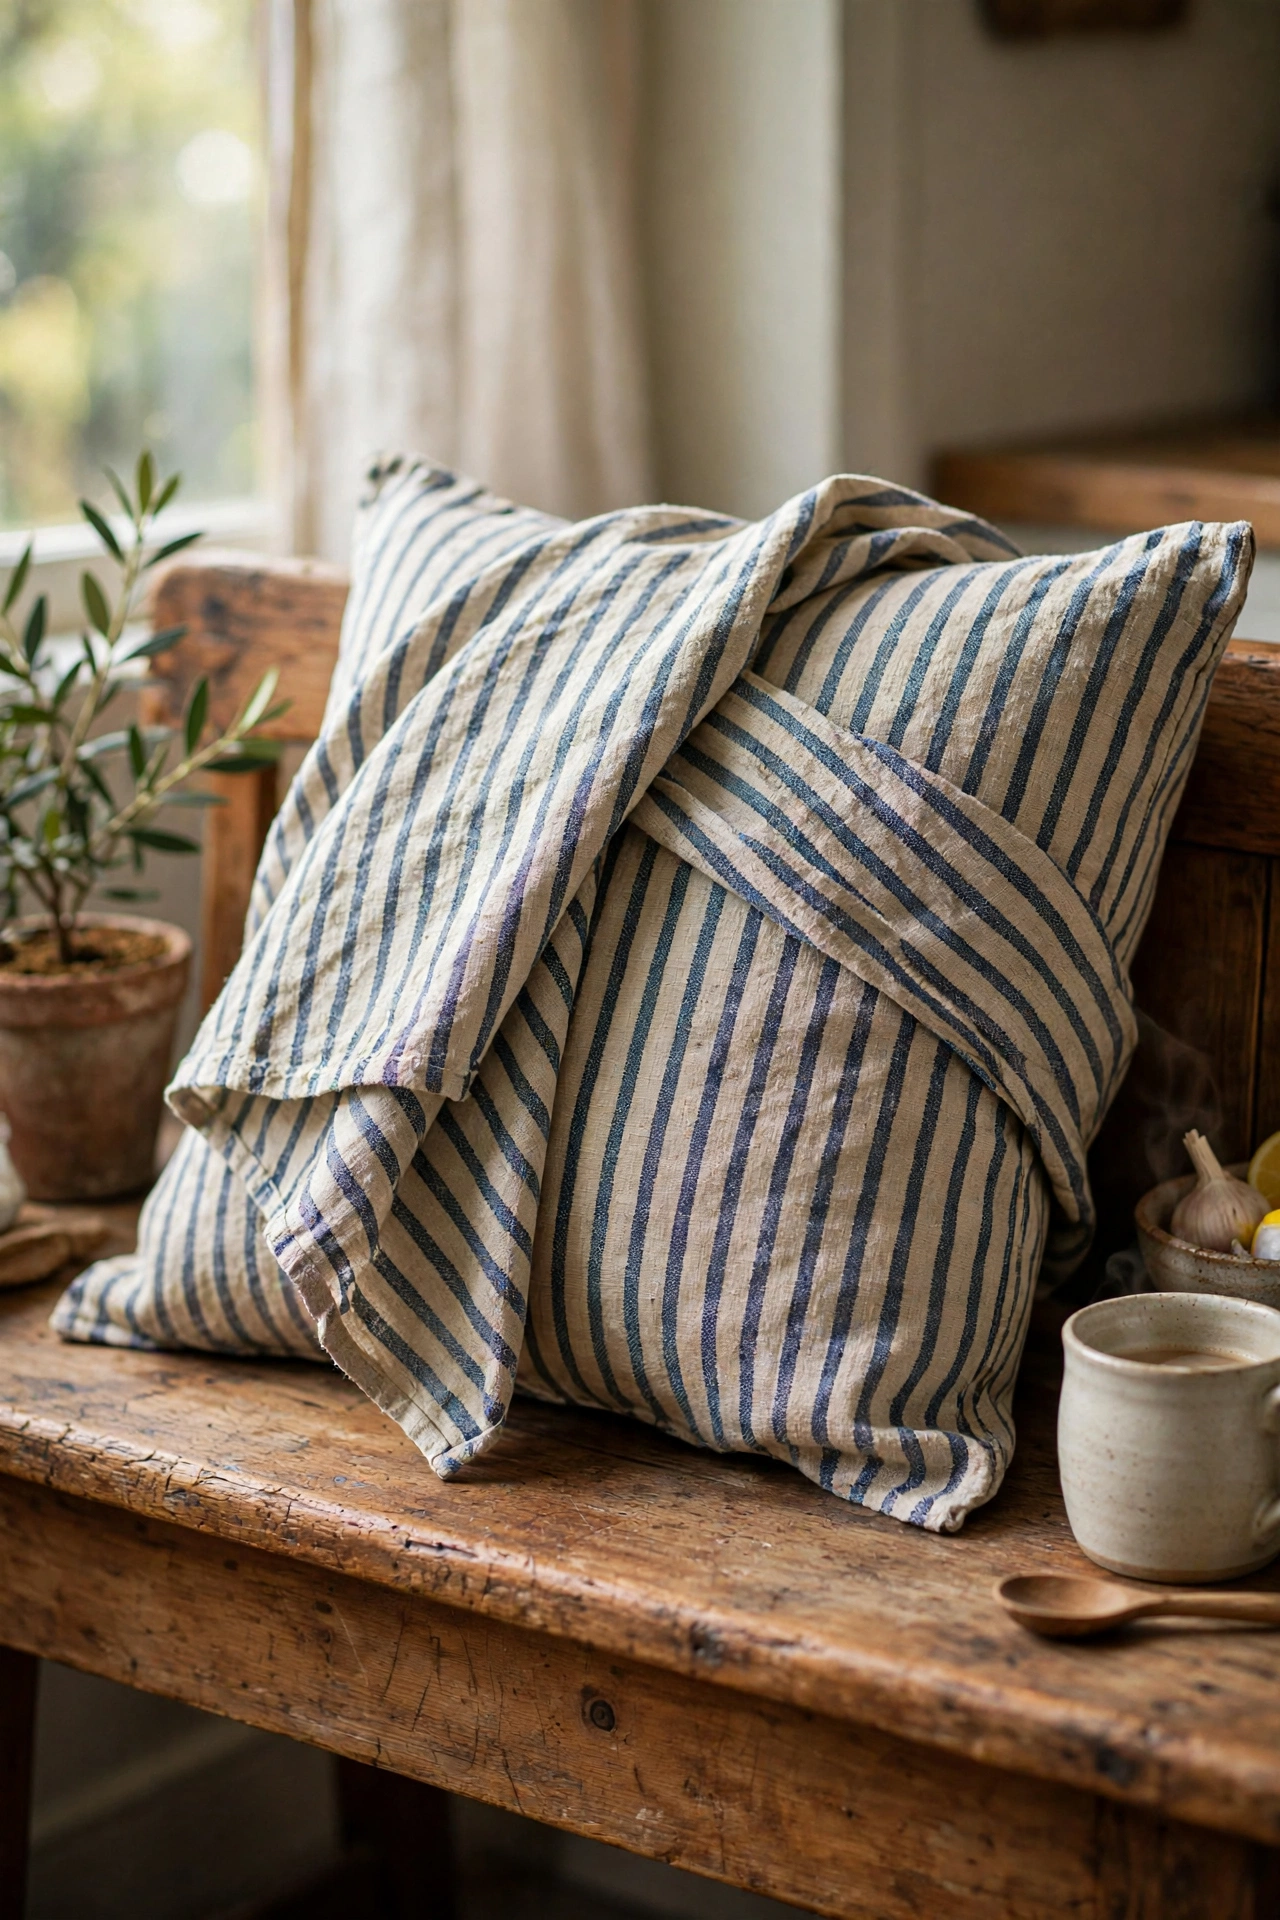
Pretty tea towels are already hemmed on all four sides, which means half the work is done. I folded a large linen tea towel around a cushion insert envelope-style and secured the overlap with iron-on tape. Striped grain-sack towels look particularly good and cost $3 each. Check the towel is at least 50 centimetres square for a standard cushion, or use two overlapping for a lumbar shape. I made a set of four for my kitchen bench in one evening. Wash the towels first so any shrinkage happens before you measure.
Cost: ~$4-8 | Time: 20 minutes
6. Stencilled Drop Cloth Pillow
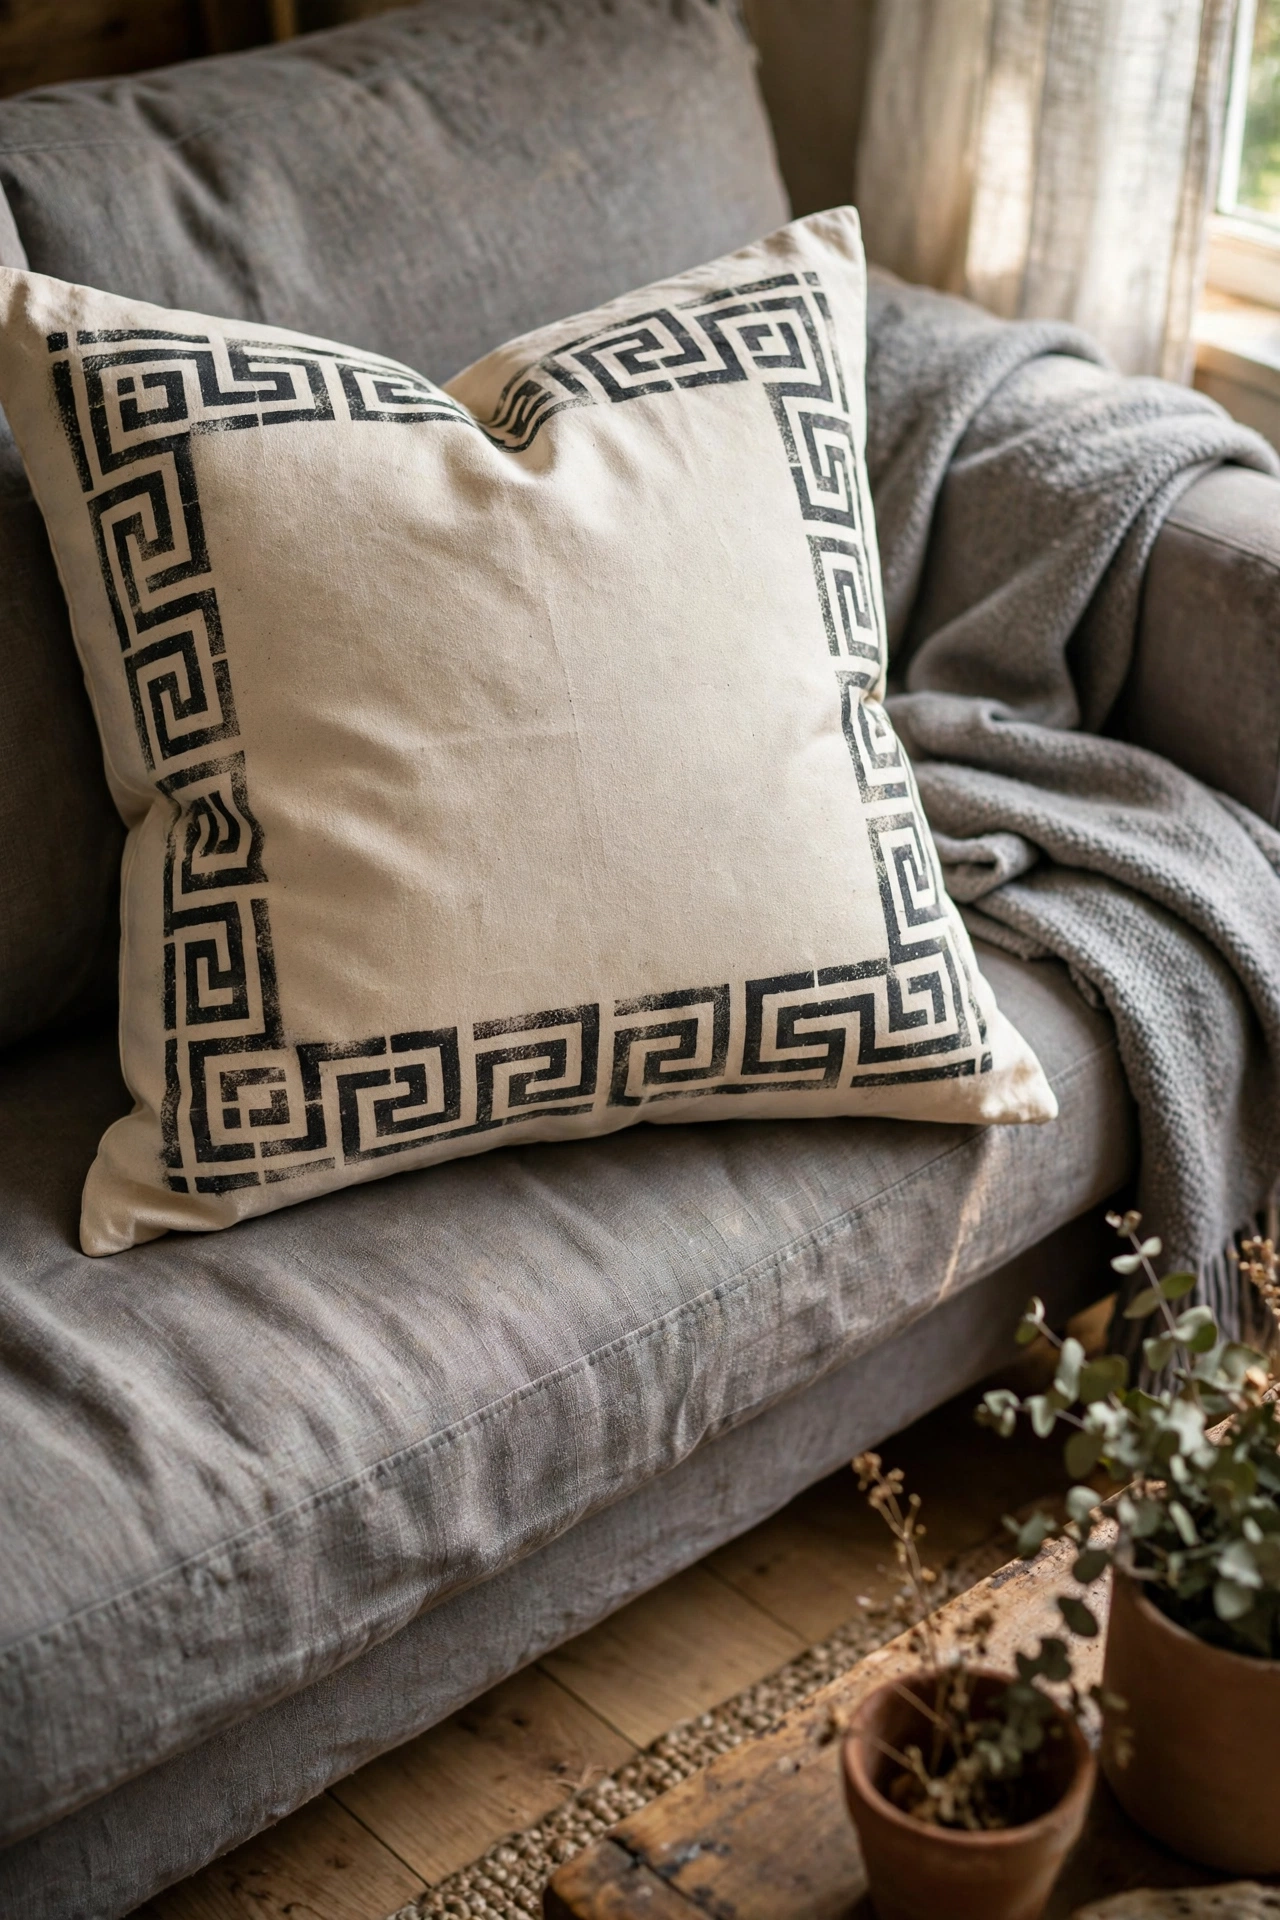
Canvas drop cloth from the hardware store is the cheapest pillow fabric you can buy, and stencilling makes it look intentional. I cut drop cloth squares, stencilled a simple Greek key border in charcoal fabric paint, and bonded the edges with hem tape. The nubby canvas texture reads as expensive Belgian linen. Tape the stencil down firmly and dab the paint, never brush, or it bleeds under the edges. My first stencil bled because I loaded the brush too heavily. One light coat is always better than one heavy one.
Cost: ~$6-9 | Time: 1 hour
Pro tip: Drop cloth must be washed and dried hot twice before you cut it. It shrinks dramatically and arrives stiff with sizing. After two washes it softens into a beautiful linen-like fabric that takes paint well.
7. Iron-On Transfer Photo Pillow
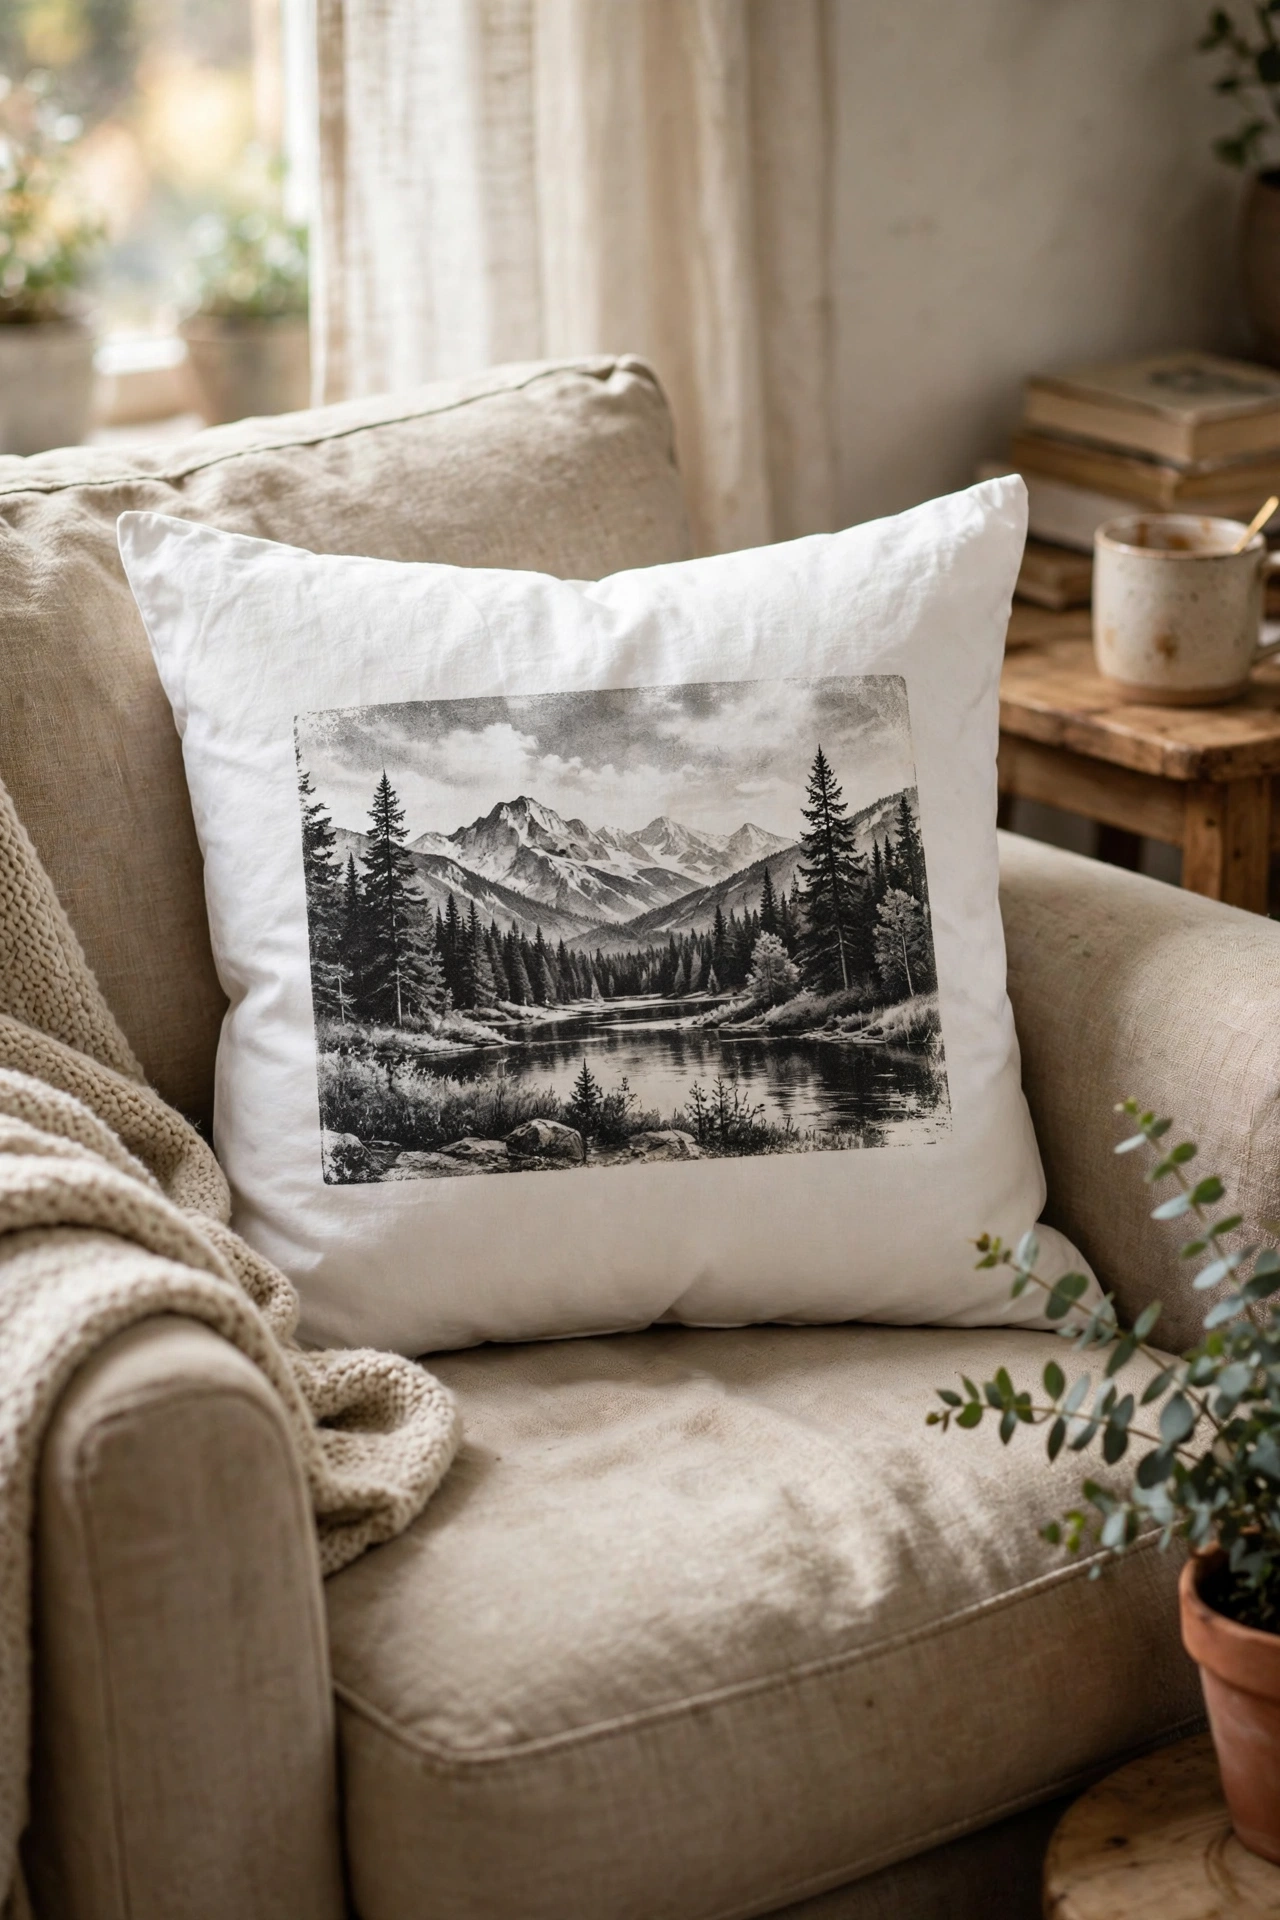
Iron-on transfer paper turns a favourite photo into a personalised pillow. I printed a black-and-white landscape photo onto transfer paper, ironed it onto a plain white cushion cover, and peeled the backing slowly while warm. Use a hard flat surface and firm pressure for the full time the packet says: under-ironing is why transfers peel. Mirror any text before printing, because the image flips. Mine has lasted three years and multiple washes on gentle. This makes a lovely gift pillow.
Cost: ~$8-12 | Time: 30 minutes
8. Tied Fleece No-Sew Pillow
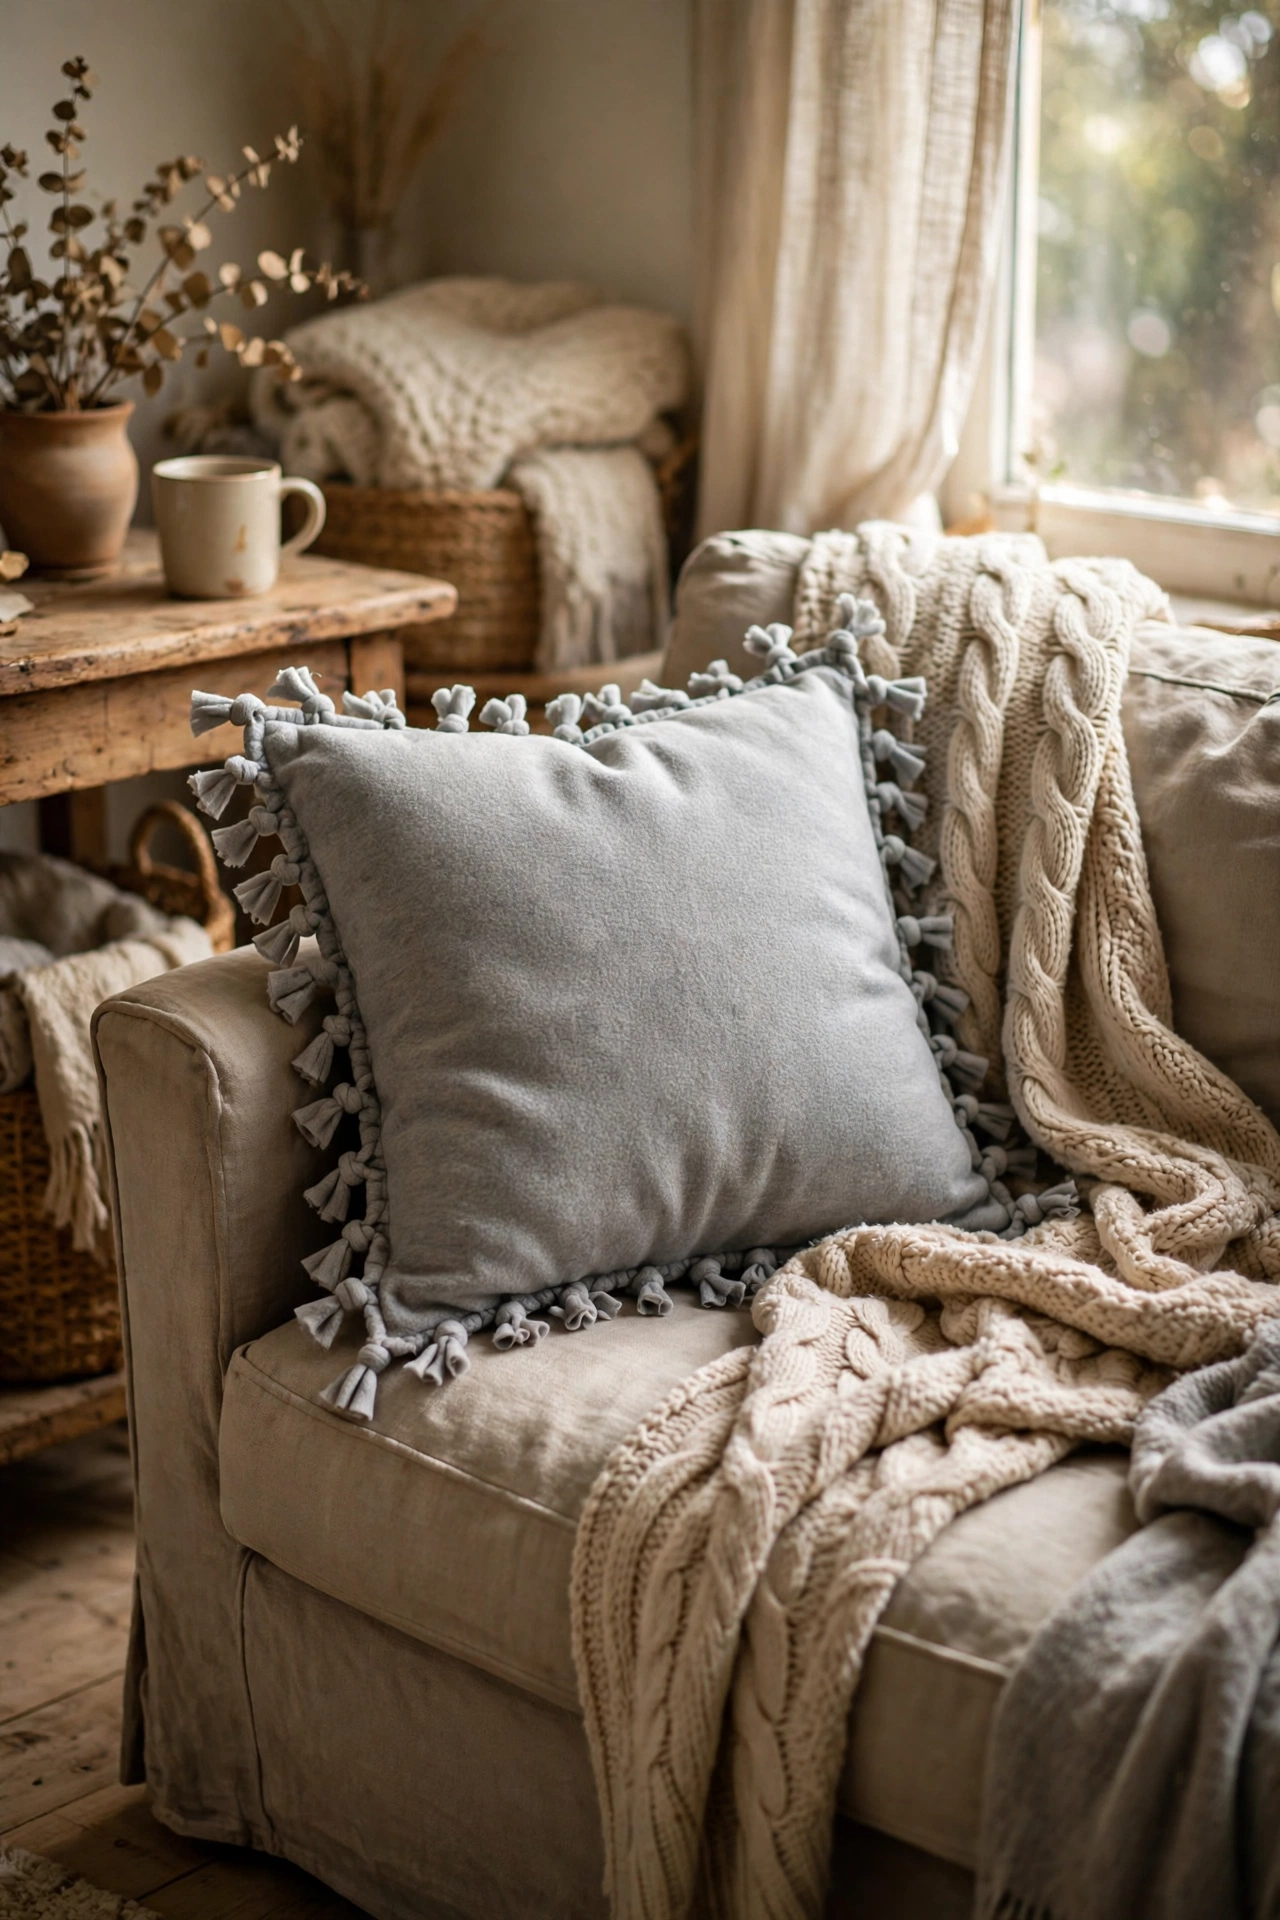
The classic tied fleece blanket technique shrinks down into a cosy pillow. I cut two 45-centimetre fleece squares, cut 8-centimetre fringe strips around all edges, tied the top and bottom layers together in knots, stuffed in fibre fill, and tied the last side closed. The knotted fringe edge is the whole design. Keep your fringe strips even, about 2 centimetres wide, for a tidy look. I made these with my niece and they survived her enthusiastic ownership. Choose anti-pill fleece so it stays soft.
Cost: ~$6-10 | Time: 45 minutes
9. Painter’s Tape Striped Pillow
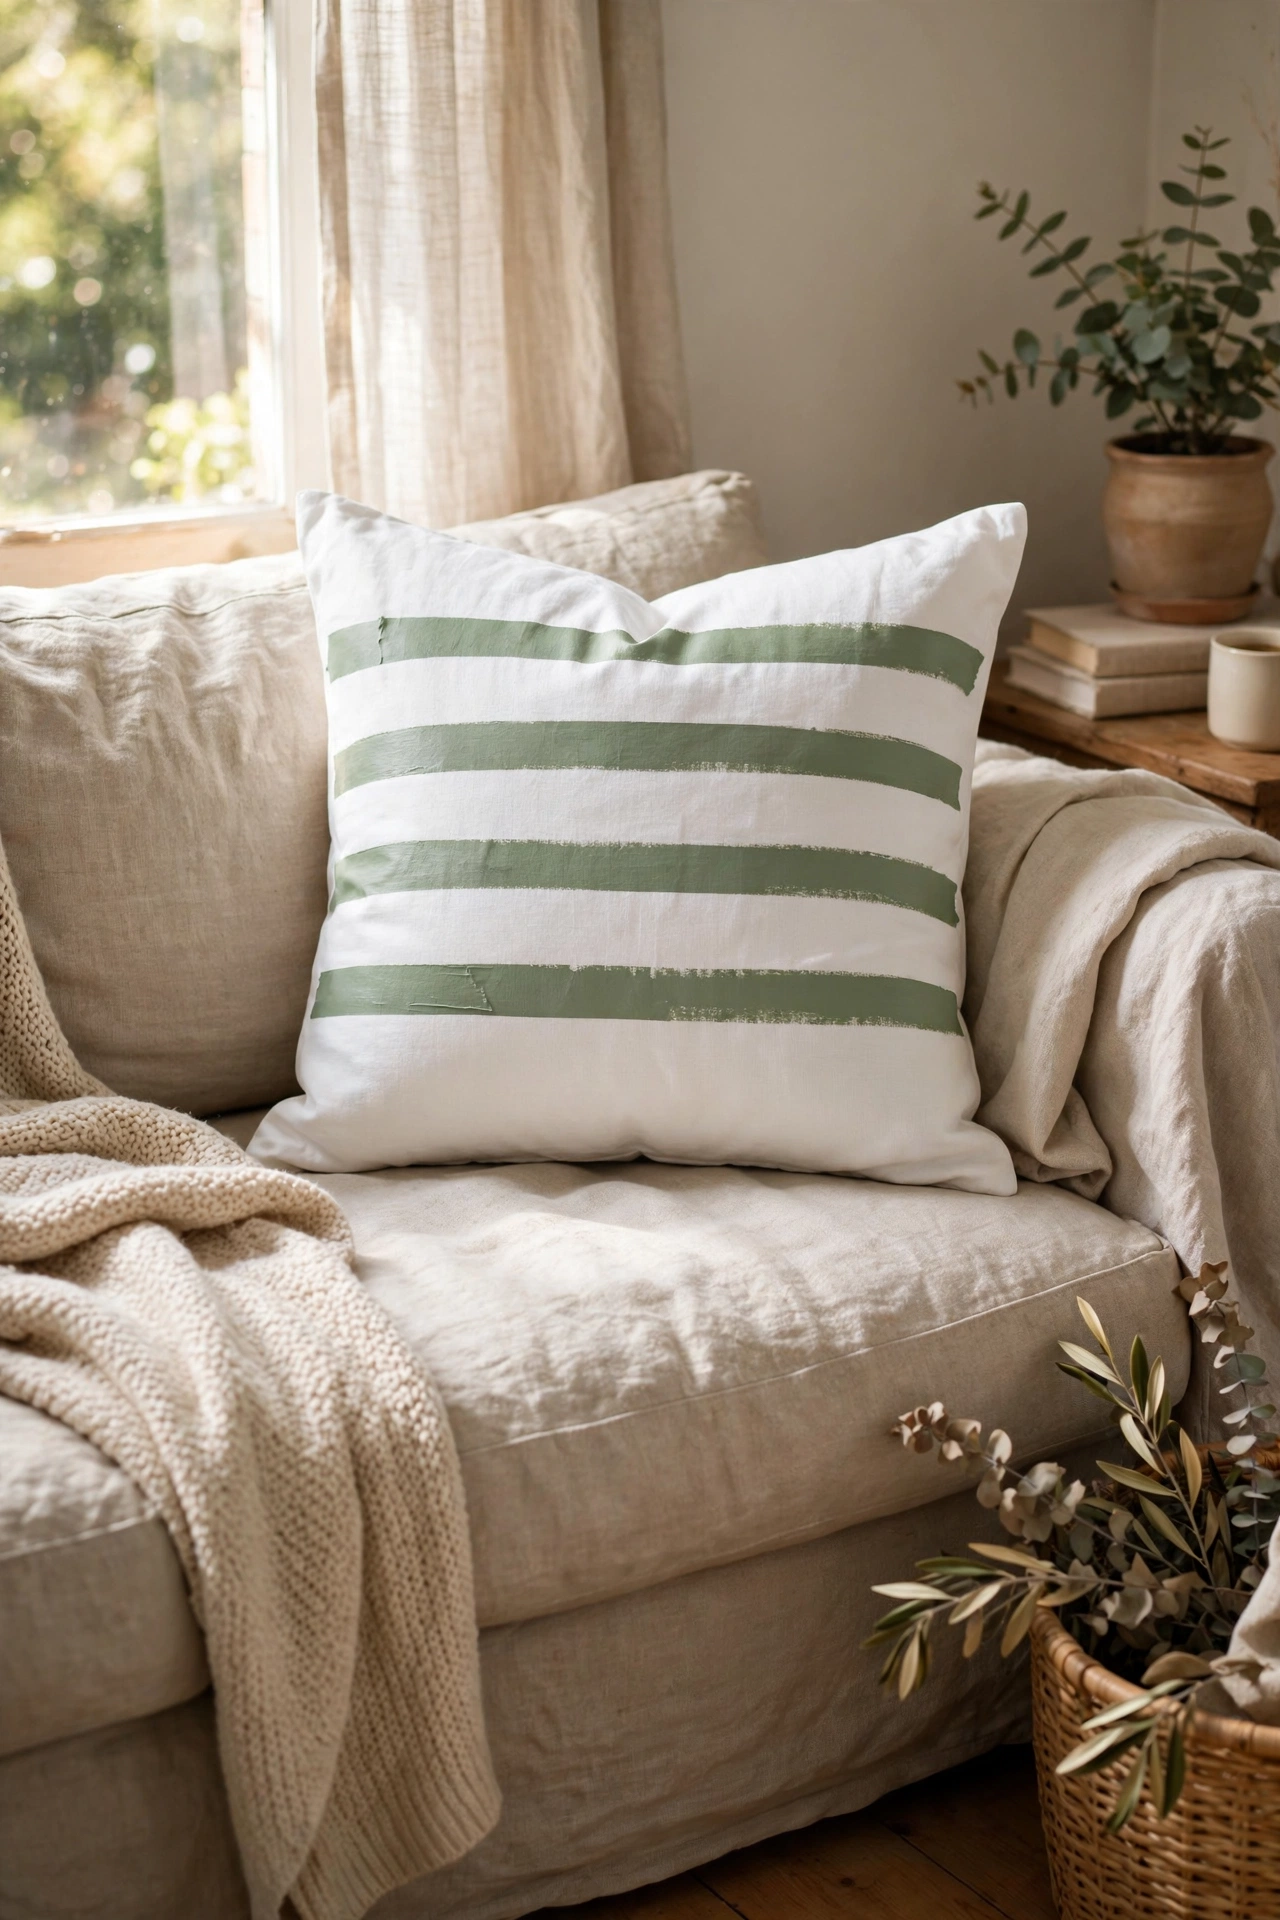
Painter’s tape masks crisp stripes on a plain cushion cover with fabric paint. I taped even stripes across a white cover, painted the exposed bands in sage green, and peeled the tape while the paint was still slightly tacky for the sharpest lines. Measure and mark your stripes with a ruler first: eyeballed stripes always drift. My stripes are 8 centimetres wide with 8-centimetre gaps, which looks tailored. Let the paint dry fully, then heat-set it with an iron through a pressing cloth so it survives washing.
Cost: ~$7-10 | Time: 1 hour
Pro tip: Always peel painter’s tape at a 45-degree angle while paint is tacky, not fully dry. Fully dry paint can lift with the tape and ruin the edge. If a line does bleed, touch it up with a small brush once dry.
10. Burlap Coffee Sack Pillow Cover
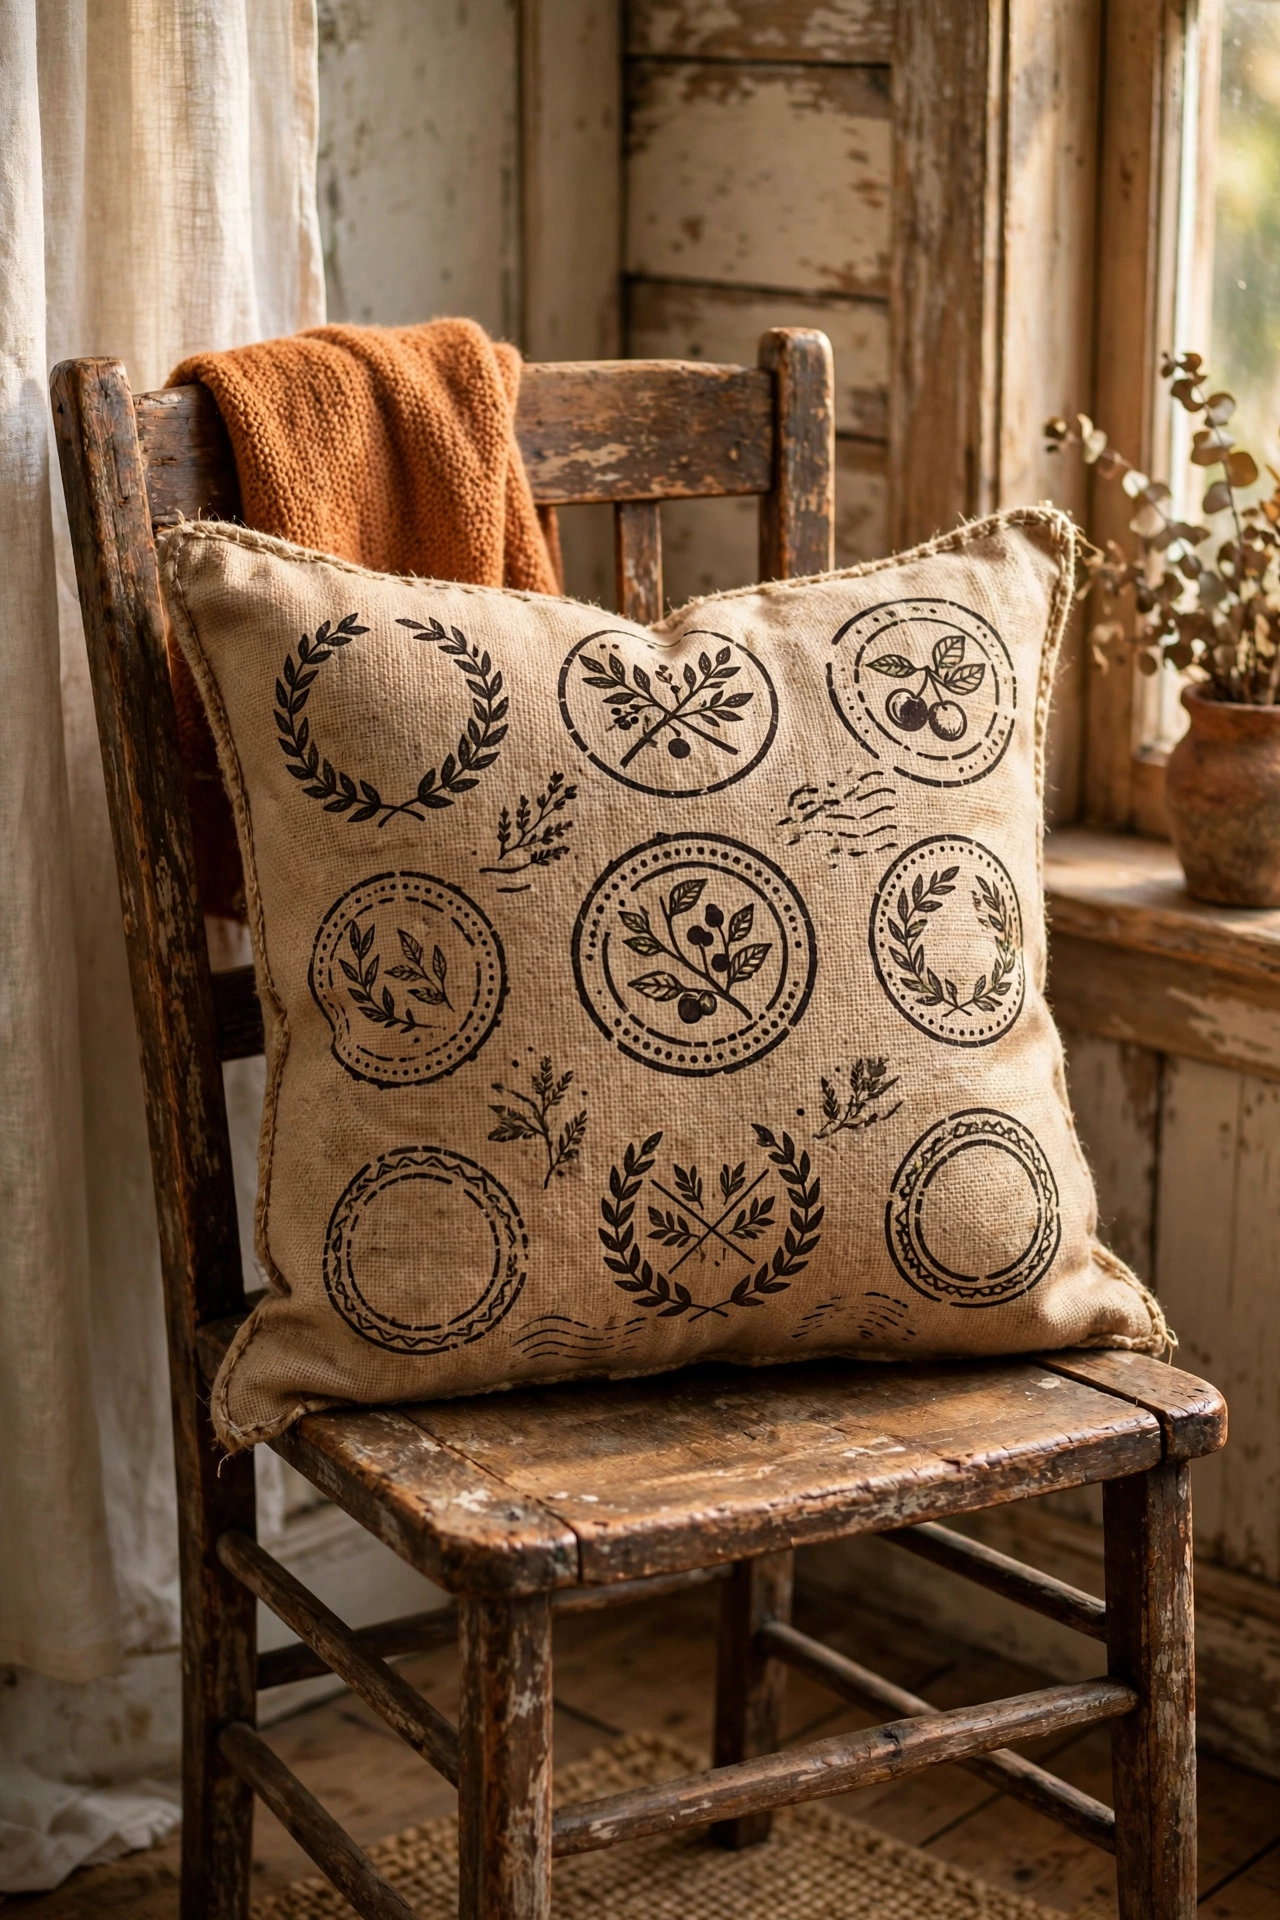
Printed coffee sacks make brilliant rustic pillow covers with the graphics already included. I cut the printed front from a burlap sack, backed it with calico for strength, and bonded the edges with fabric glue envelope-style. The stamped origin text and logos are the decoration. Line burlap with another fabric because it sheds fibres and feels scratchy against skin. I learned that after one itchy evening. Spray the finished pillow with fabric stiffener if the burlap feels too floppy. I used a size 90 denim needle on my machine to sew through the thick layers without breaking stitches.
Cost: ~$5-9 | Time: 40 minutes
11. Sweater Sleeve Lumbar Pillow
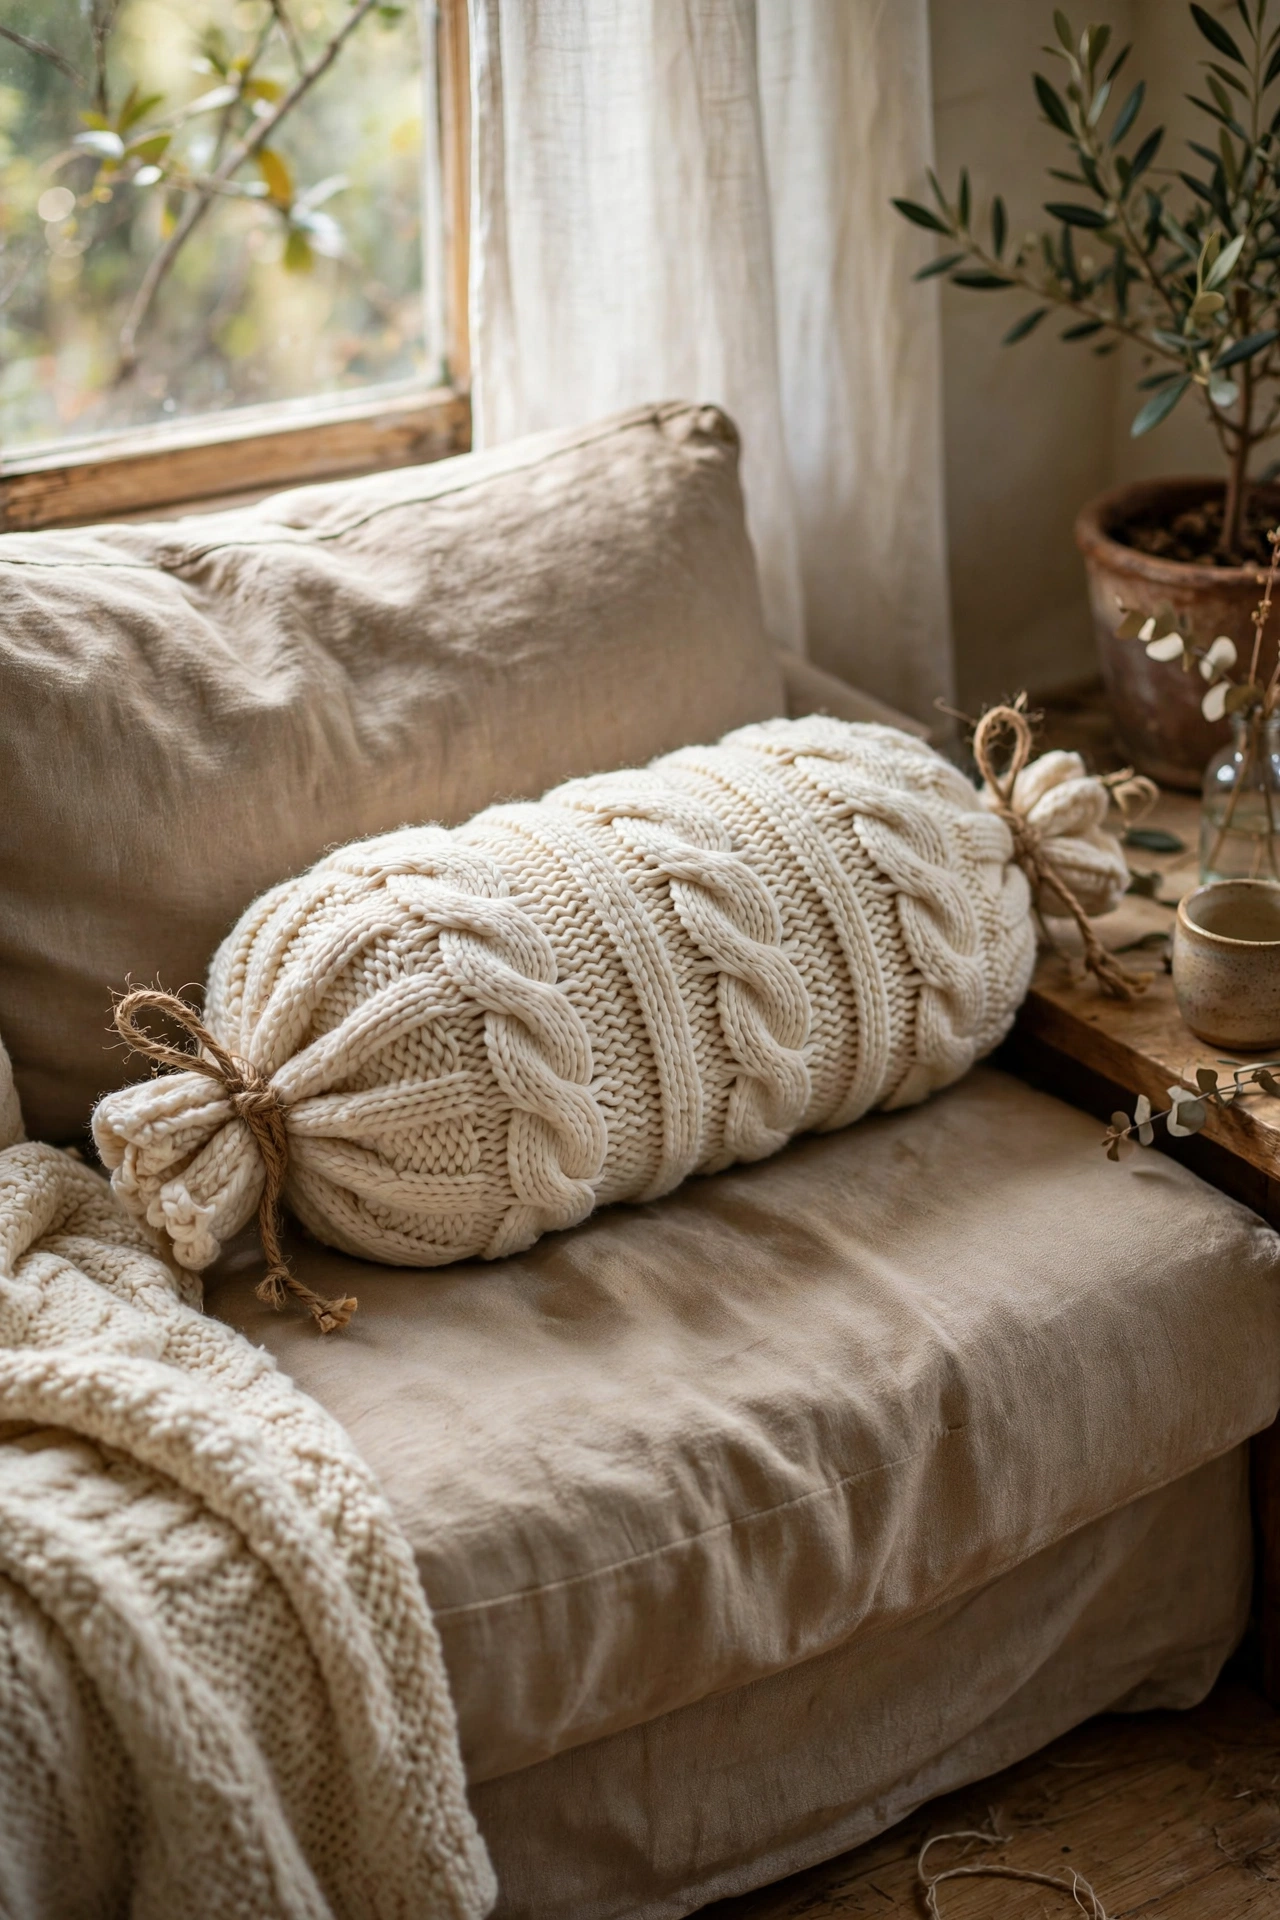
The sleeve of a chunky knit jumper is already a tube, which makes it a perfect lumbar pillow cover. I cut one sleeve from a thrifted cream jumper, slid a bolster insert inside, and cinched the ends with jute twine bows. The ribbed cuff becomes a decorative end detail. Felt the jumper slightly in a hot wash first if the knit is loose, so it hugs the insert. Cable-knit sleeves look the most expensive. This is my favourite autumn pillow and it cost me $2 at the charity shop.
Cost: ~$3-6 | Time: 15 minutes
12. Cloth Napkin Envelope Pillow
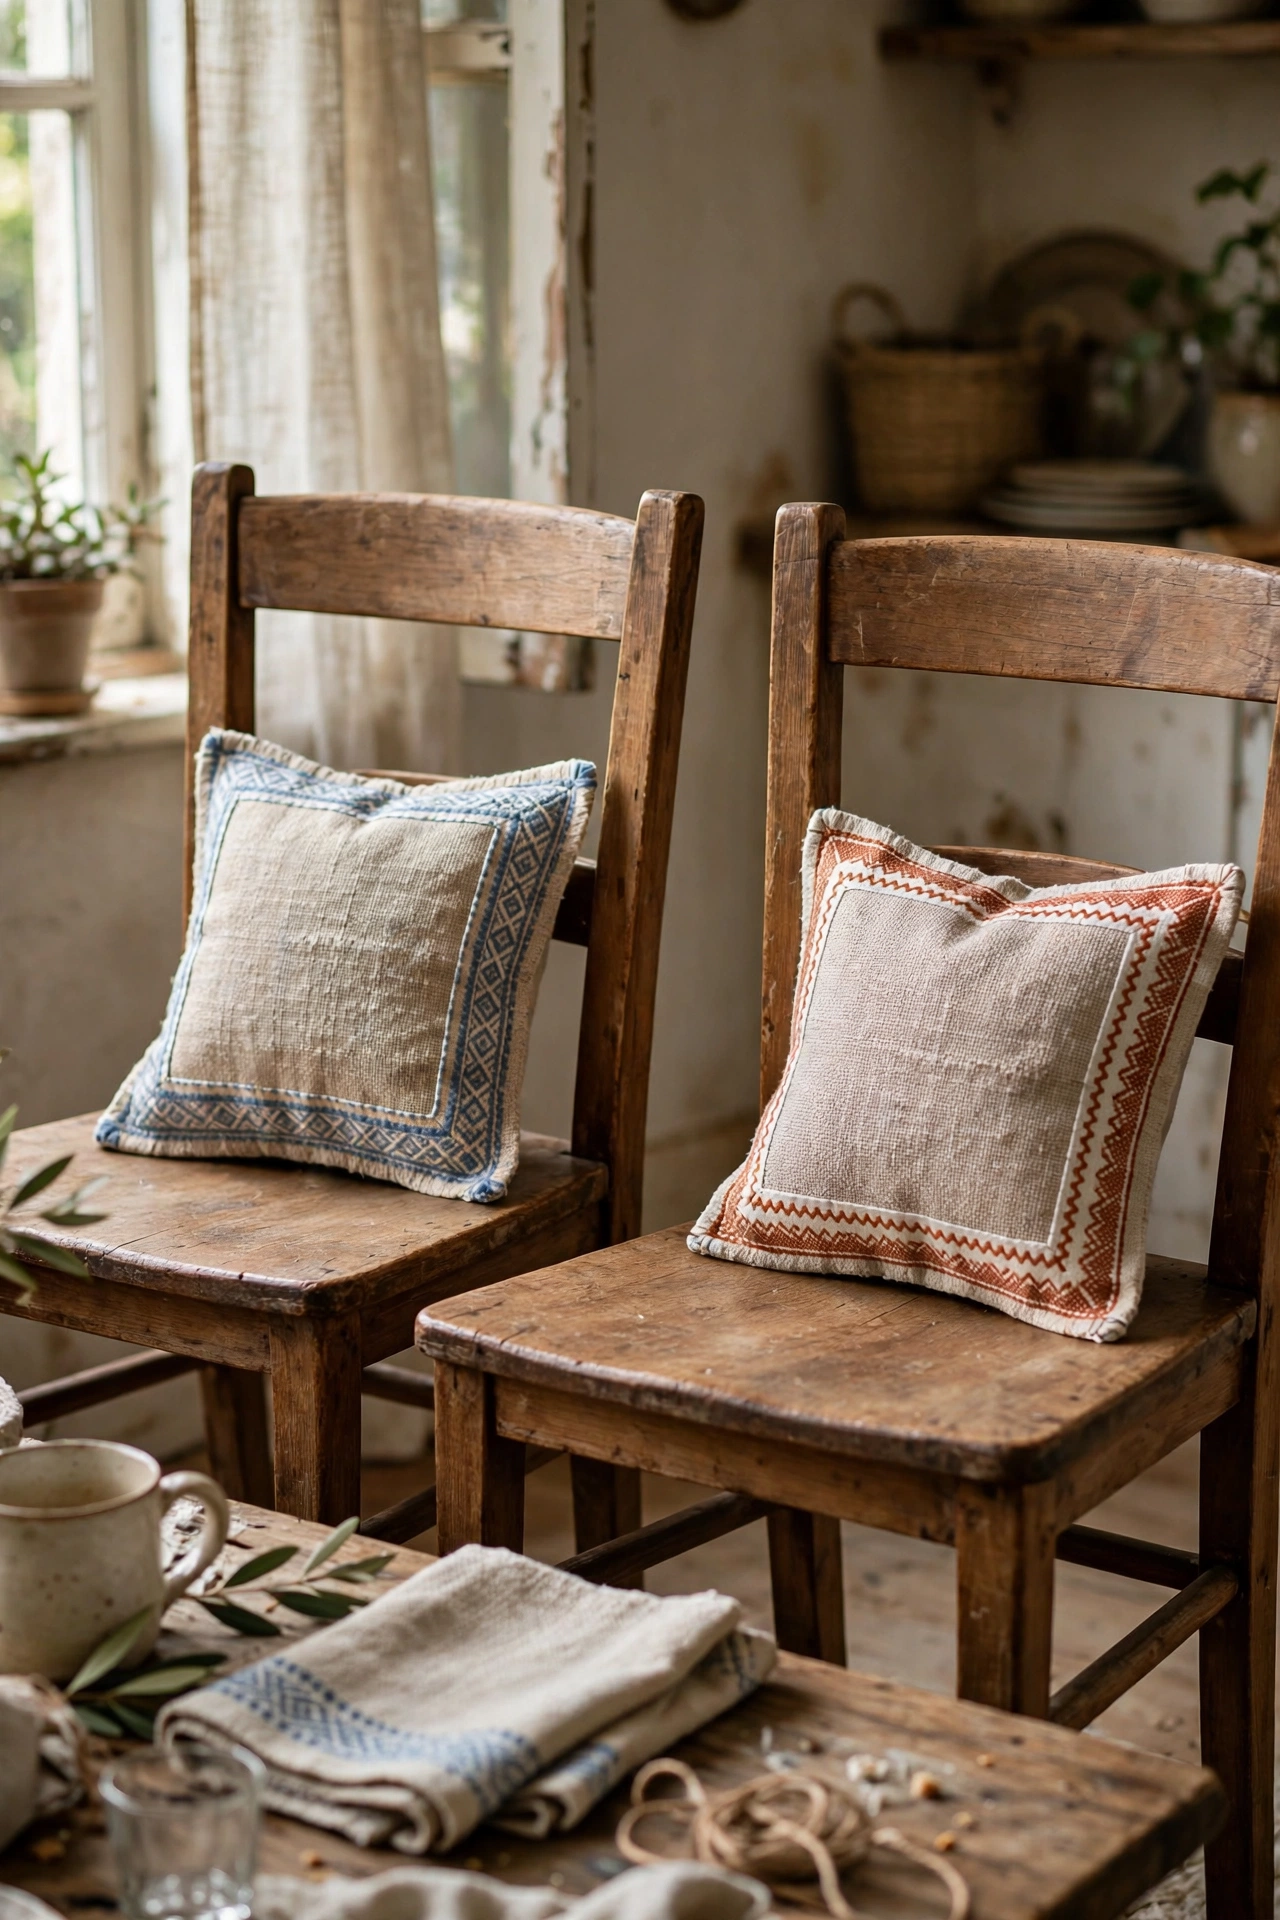
Large cloth napkins in linen or cotton make dainty envelope pillow covers. I overlapped two 50-centimetre napkins around a cushion and bonded the seams with hem tape. The existing hems mean almost no finishing. Look for napkins with a woven border or subtle pattern, which reads as intentional design. Plain white napkins look like, well, napkins, so choose ones with texture or print. I found a set of six on clearance and made matching pillows for my dining chairs. The finished covers slip on in seconds, and I wash them with my table linen so they always match.
Cost: ~$6-10 | Time: 25 minutes
Pro tip: Napkin and tea towel pillows look best in groups of matching or coordinating sets. One lone napkin pillow looks accidental, but four matching ones look like a deliberate collection.
13. Fabric Paint Dot Pillow
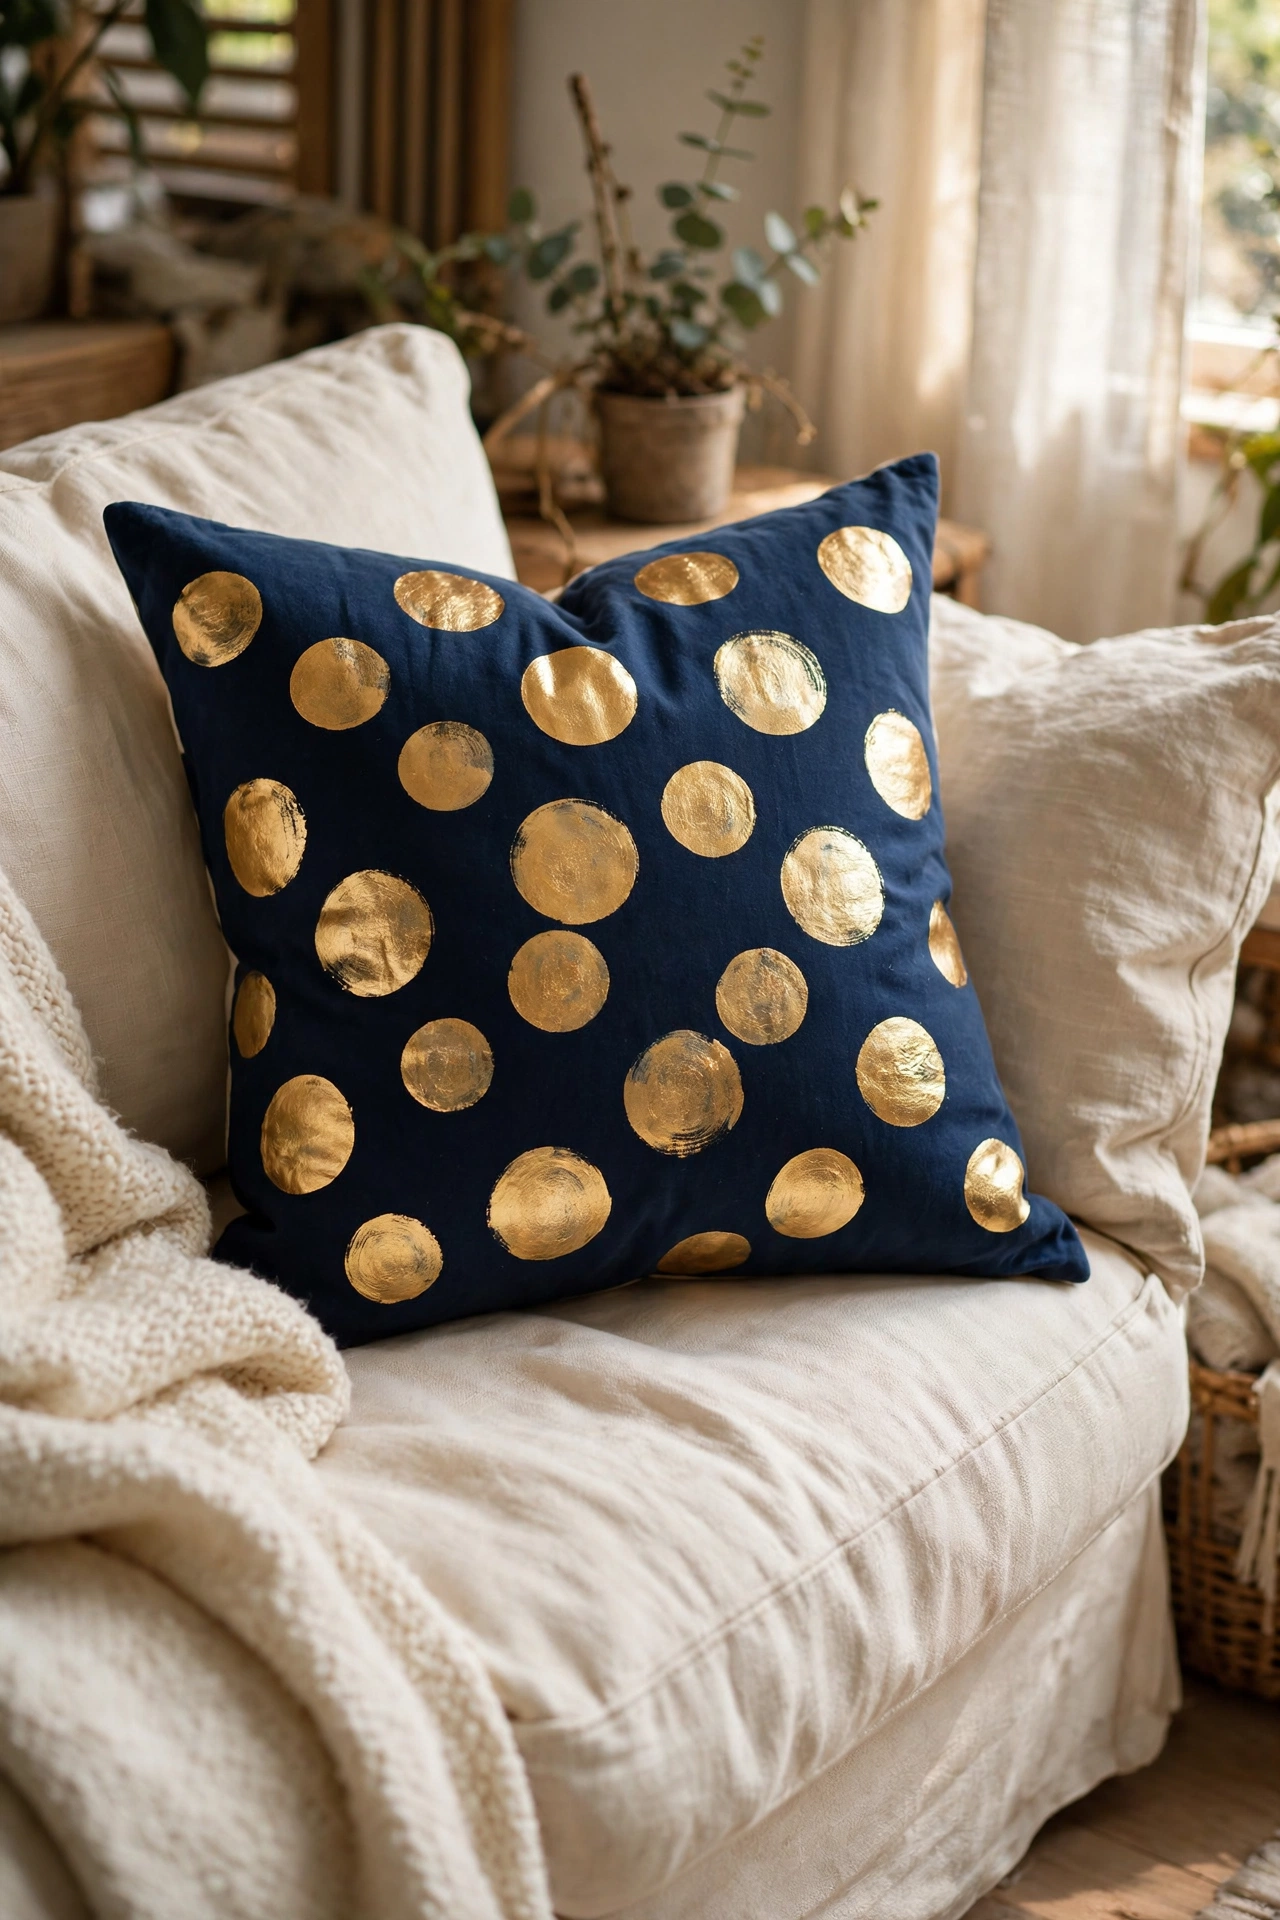
Hand-painted dots in metallic gold turn a plain cushion into something special. I used the round end of a pencil as a stamp, dipping it in gold fabric paint and pressing a scattered polka pattern across a navy cover. The irregular spacing is what makes it look hand-done rather than printed, so do not measure. Reload the paint every three dots for consistent size. My first attempt had fading dots at the end of each row, which actually looked fine. Heat-set with an iron when dry.
Cost: ~$7-10 | Time: 45 minutes
14. No-Sew T-Shirt Memory Pillow
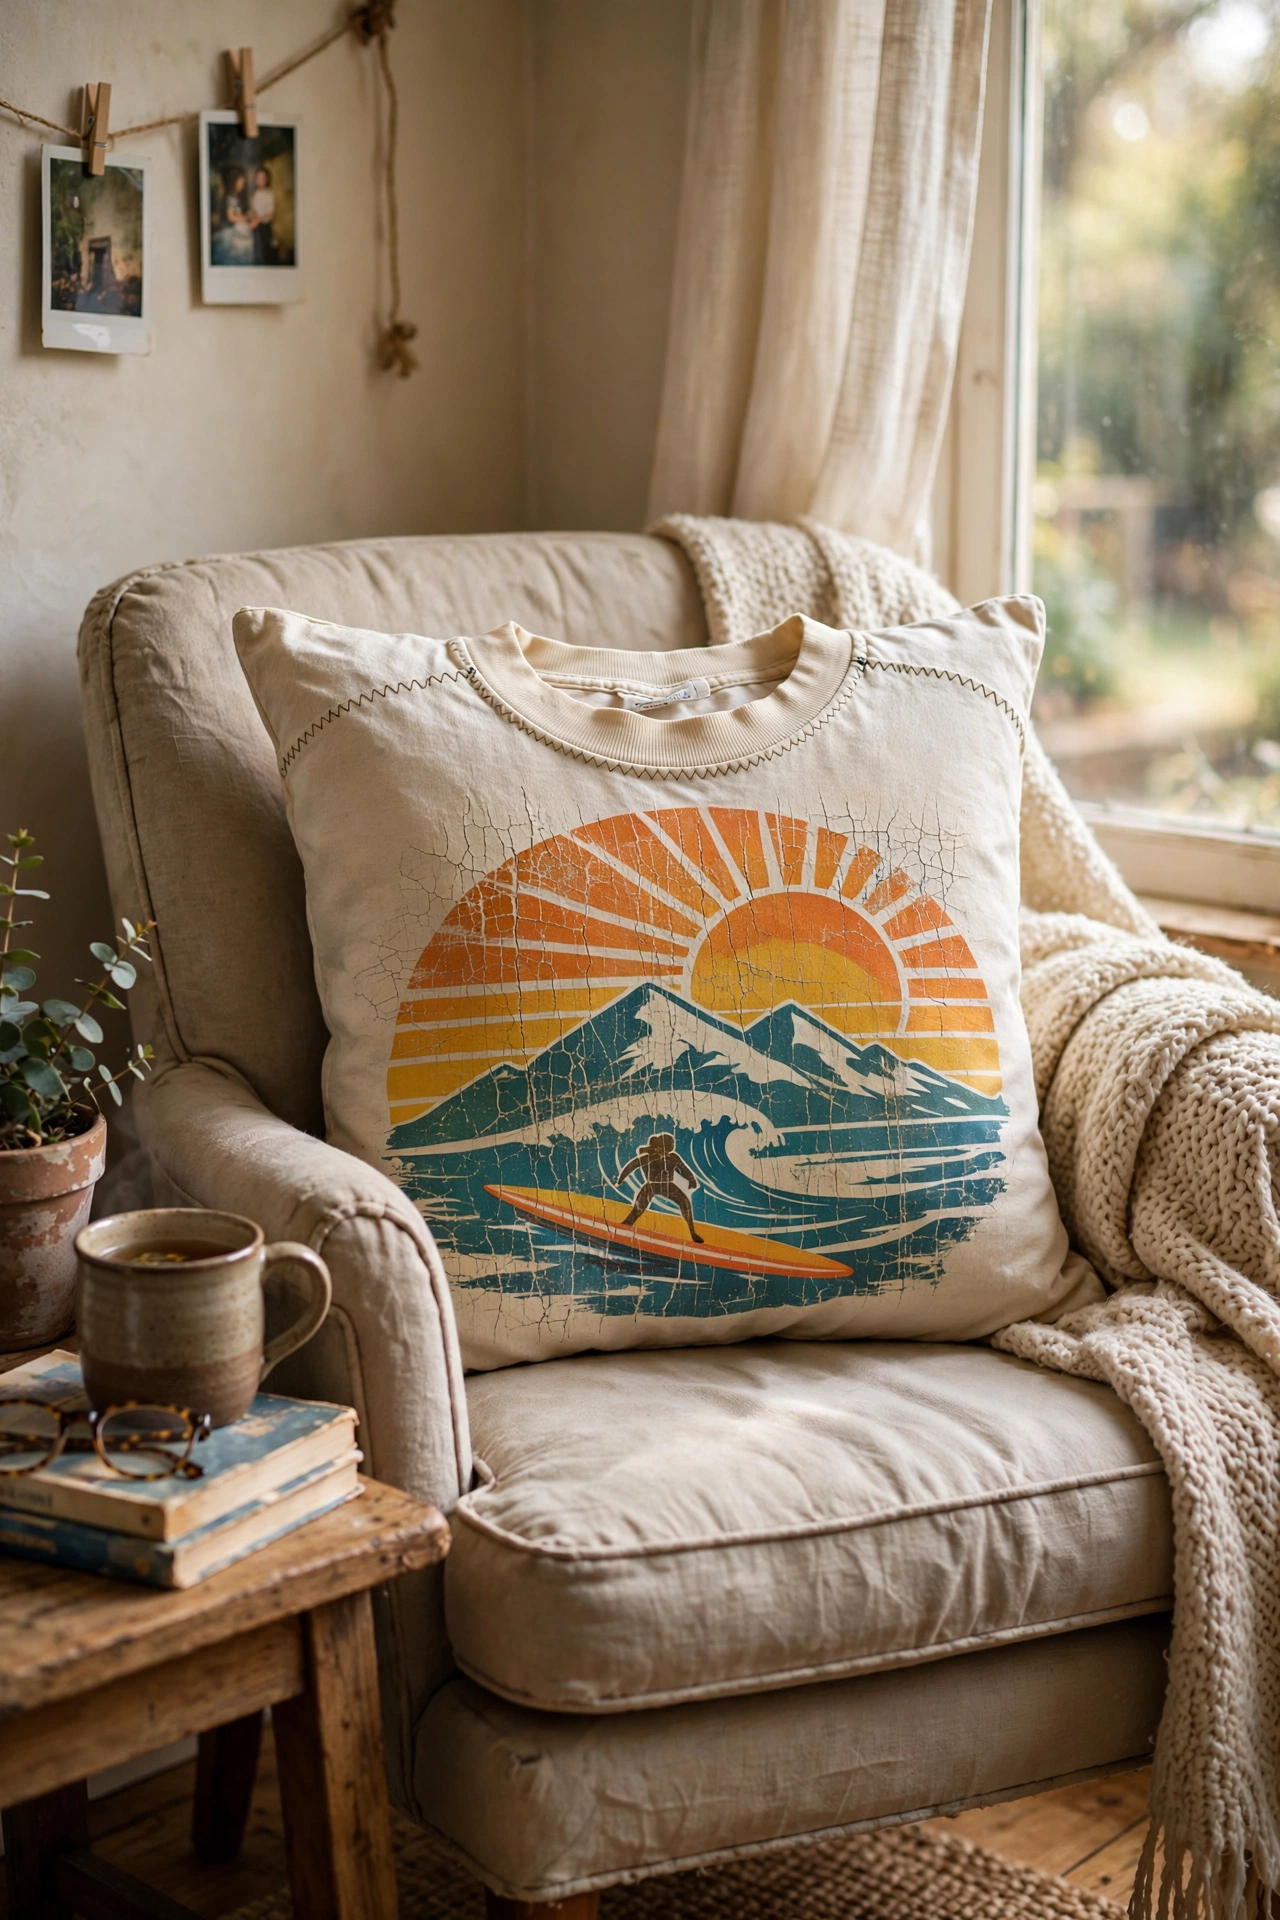
A favourite old t-shirt becomes a keepsake pillow with just glue and folding. I cut the printed front from a beloved concert tee, bonded it to a backing square with fabric glue around three edges, stuffed it, and sealed the fourth. The graphic is the whole point, so centre it carefully. Interface thin jersey with iron-on interfacing first, because stretchy fabric warps and wrinkles. I made one from my dad’s old shirt and it sits on my reading chair. A lovely way to keep textiles you cannot wear any more.
Cost: ~$4-7 | Time: 35 minutes
15. Table Runner Tube Pillow
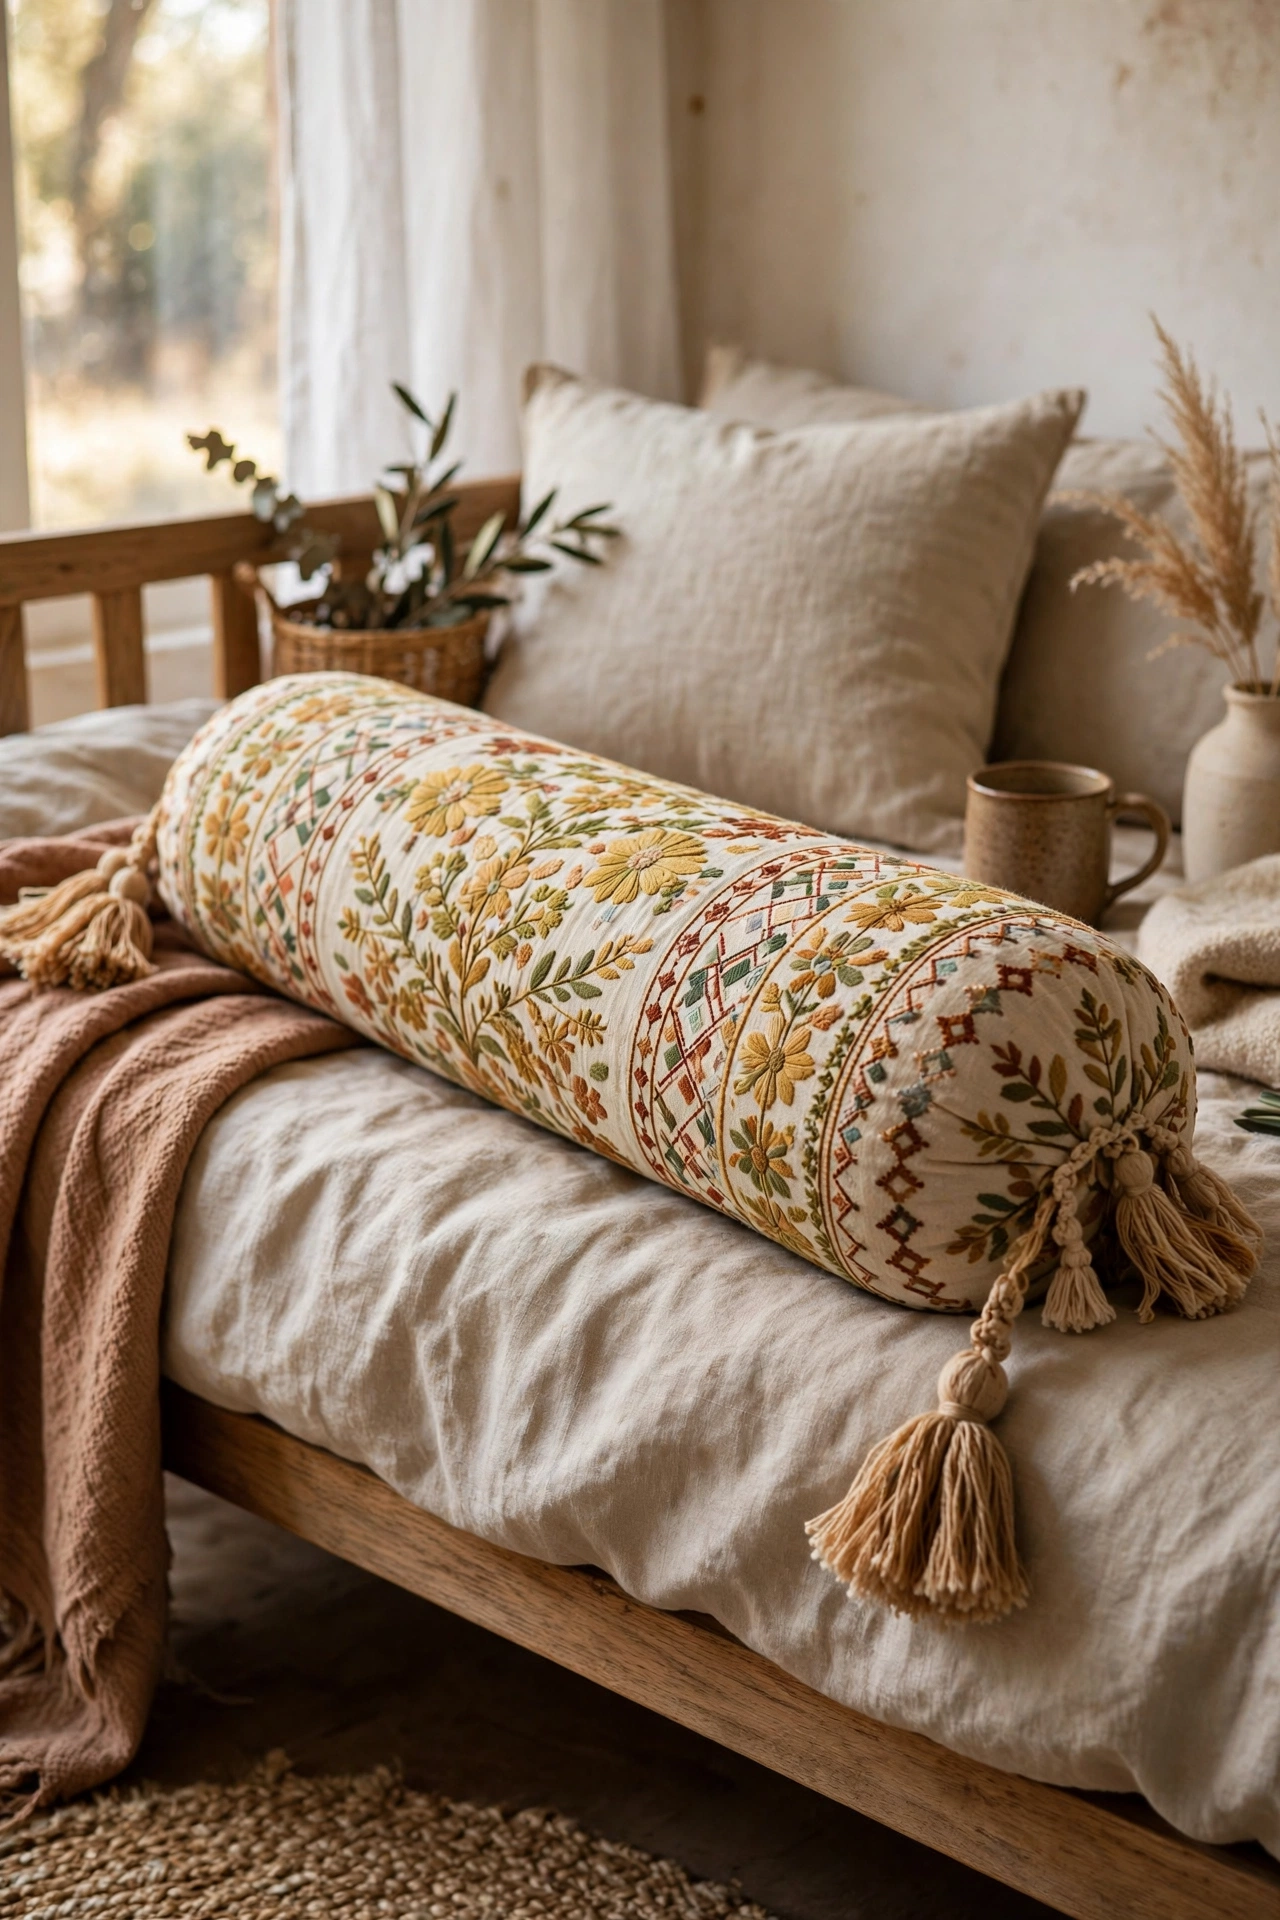
A table runner folded in half is already a long tube waiting to become a lumbar pillow. I folded a 1.8-metre runner in half lengthwise, bonded the long edge and one end with hem tape, inserted a bolster, and gathered the open end with ribbon. Embroidered runners with tasselled ends look particularly good, since the tassels become the pillow’s end detail. Choose a runner at least twice as long as your bolster insert. Mine cost $8 on clearance and looks like a designer bolster.
Cost: ~$8-12 | Time: 30 minutes
Pro tip: For lumbar and bolster pillows, buy the insert first and build the cover to fit it, not the other way round. An insert that is 5 centimetres larger than the finished cover gives that plump, professional look.
16. Ribbon-Weave Pillow Front
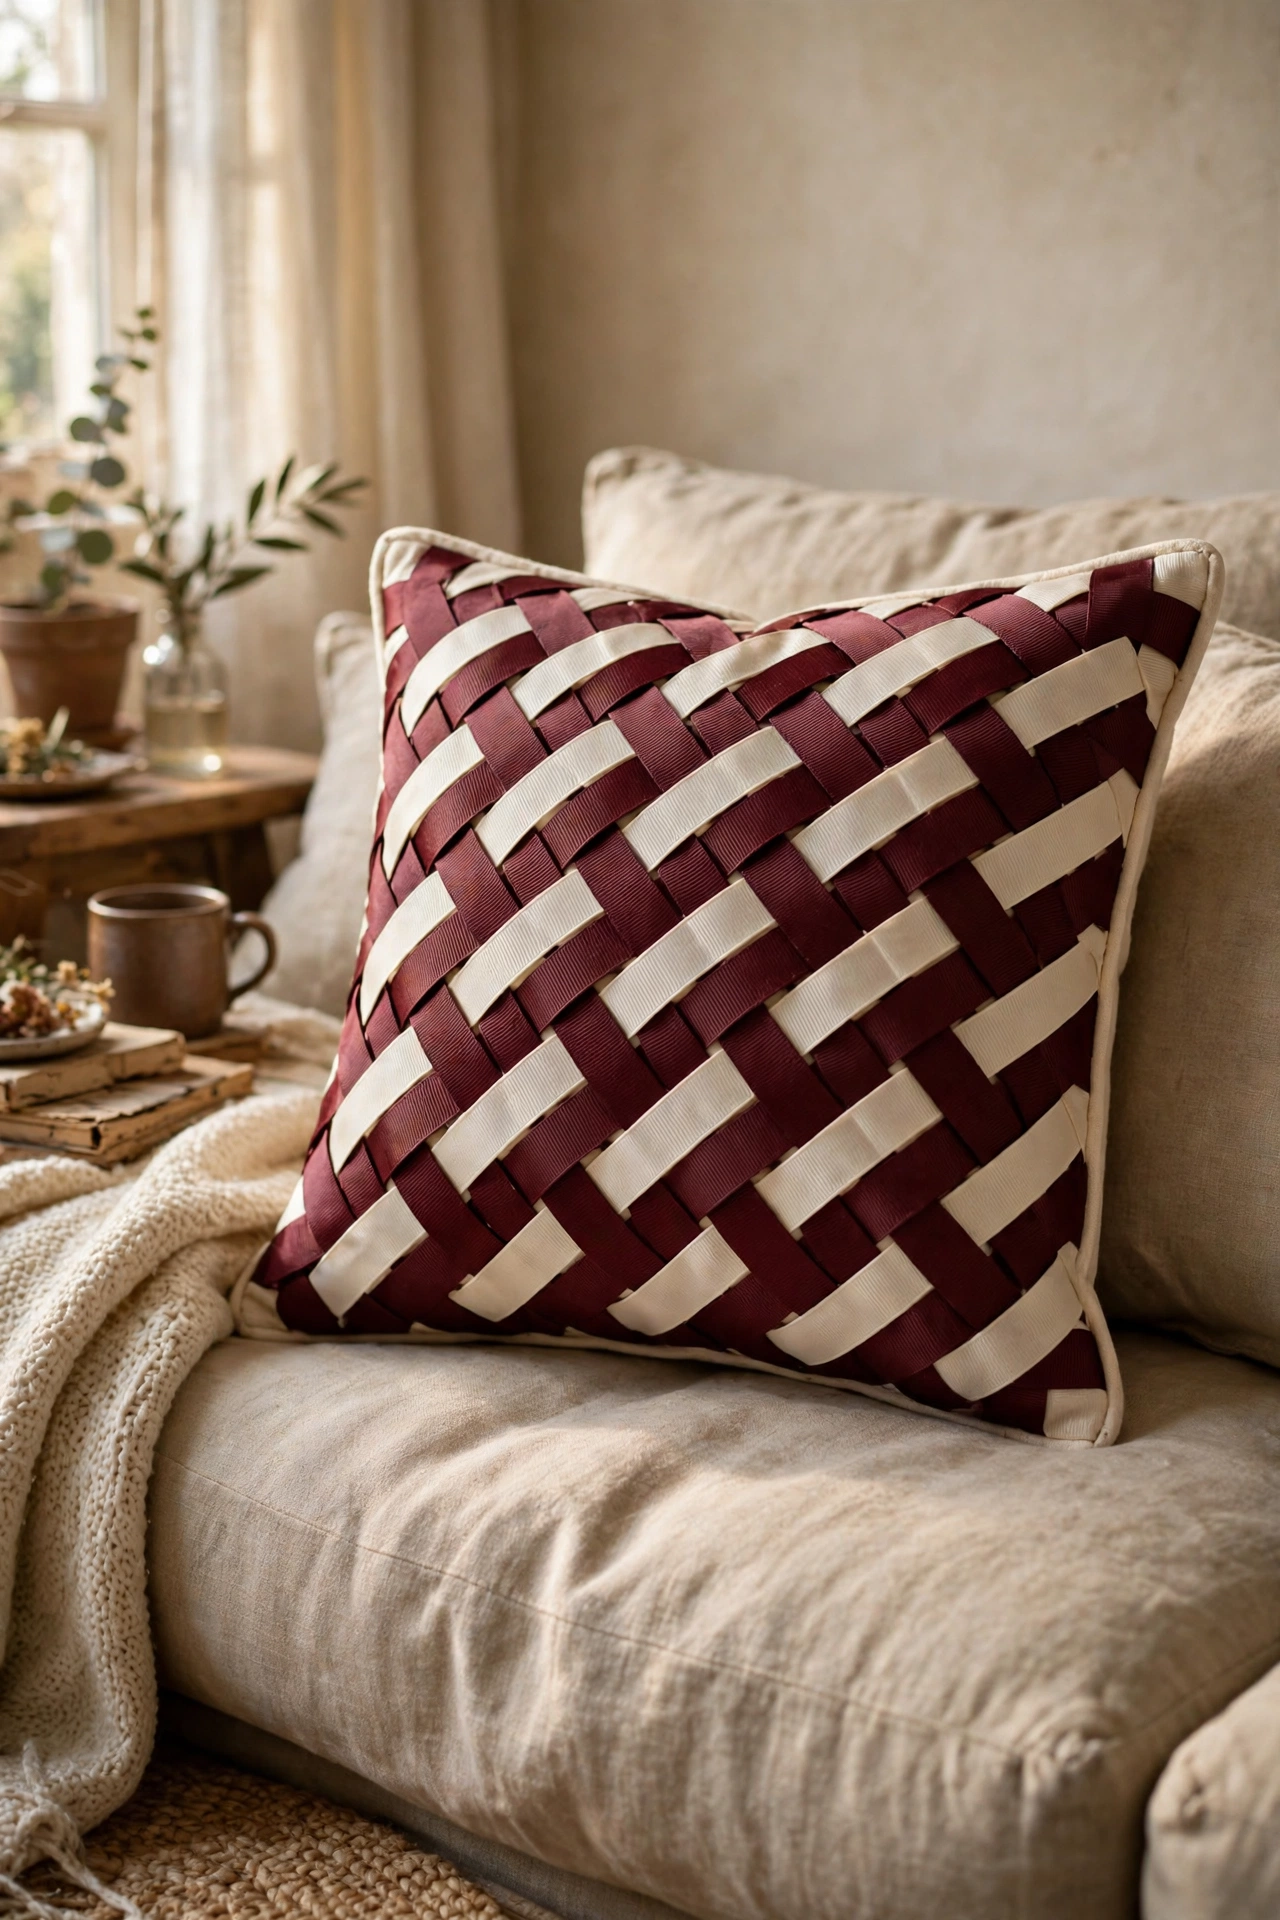
Woven grosgrain ribbon creates a textured pillow front with no sewing at all. I laid vertical ribbon strips on a fabric base, wove horizontal strips over and under, and glued the ends down around the edges before bonding the cover together. Alternate two colours for a classic basketweave. Keep the ribbons snug with no gaps, because the base fabric showing through ruins the woven illusion. This is fiddly but meditative work: I did mine during a film. Satin ribbon in jewel tones looks luxurious.
Cost: ~$8-12 | Time: 2 hours
17. Denim Jean-Leg Pillow
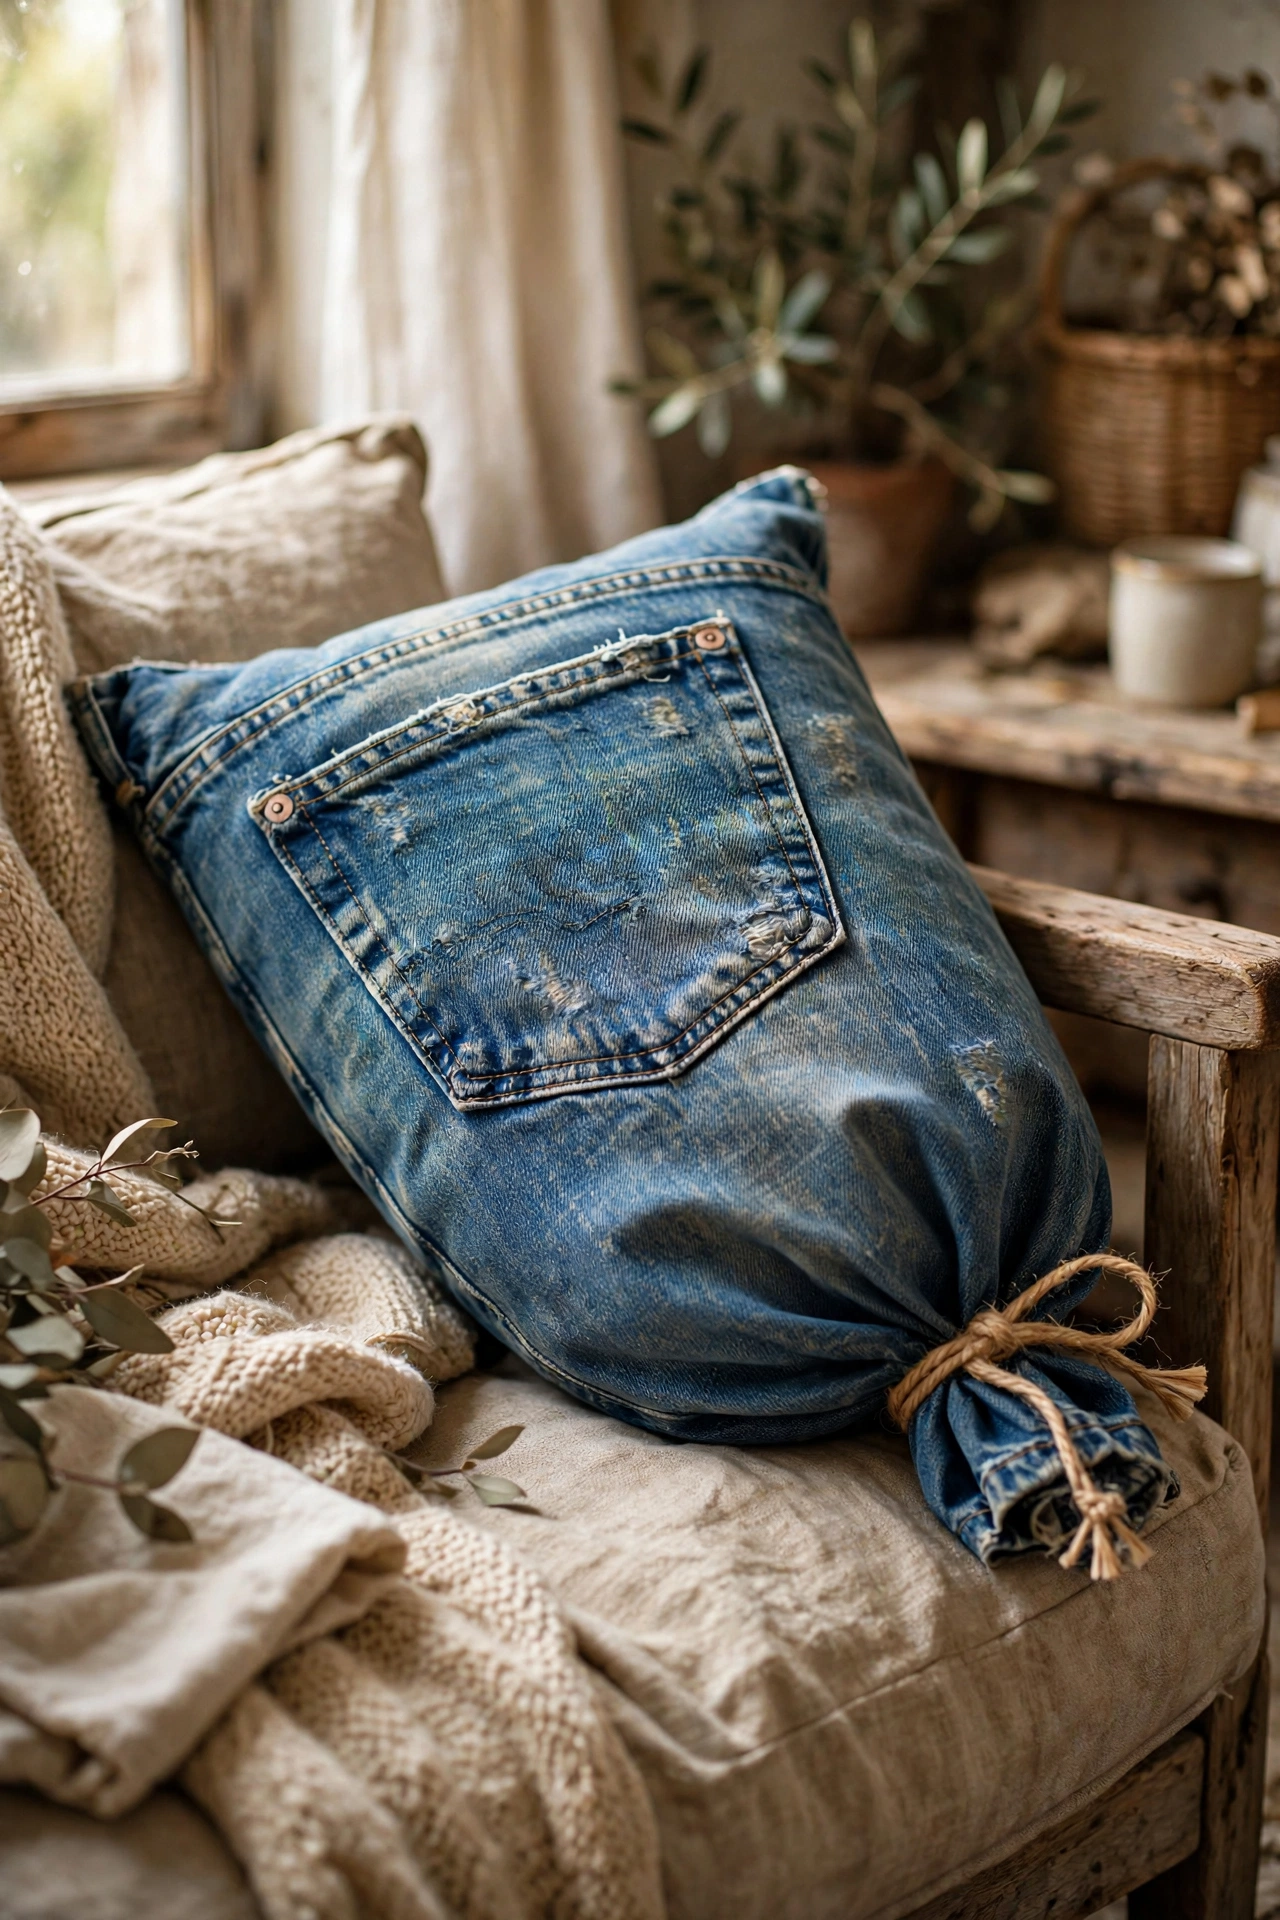
A jeans leg is a ready-made tube that makes a brilliant casual pillow. I cut one leg from worn jeans, turned it inside out, bonded one end shut with fabric glue, turned it right side out, stuffed it with fibre fill, and gathered the open end with twine. The seams, pockets, and fading are all built-in character. Use the thigh section for a plump square-ish pillow or the full leg for a bolster. I kept the back pocket on mine and it makes people smile. Wash the jeans first to soften them.
Cost: ~$3-6 | Time: 30 minutes
18. Felt Applique Glue-On Pillow
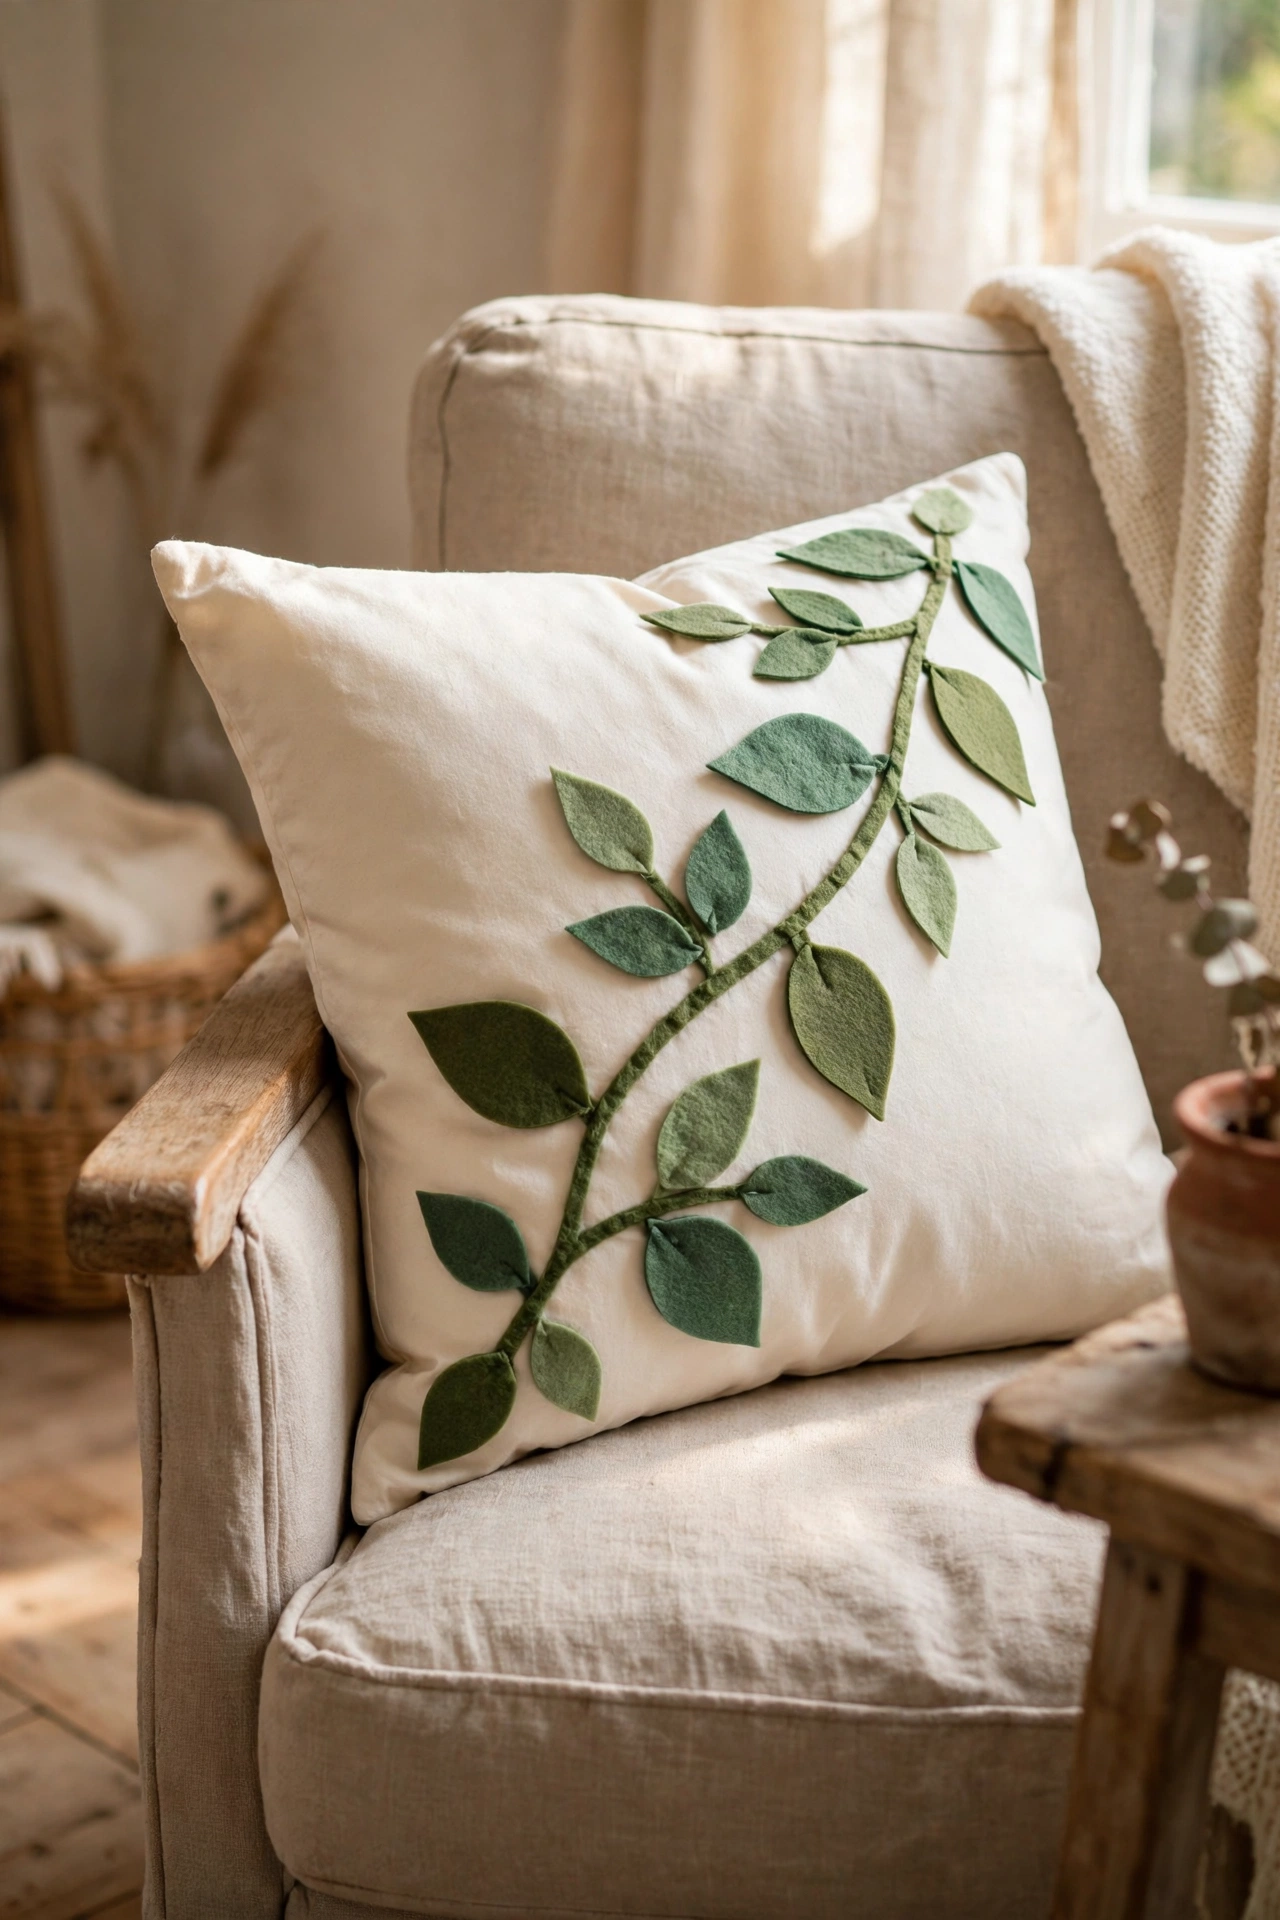
Cut felt shapes glued onto a plain cushion make charming applique designs. I cut simple leaf shapes from green felt and glued them in a trailing vine pattern across a cream cover. Felt does not fray, which is why it is perfect for no-sew applique: every edge stays crisp. Draw your design on paper first and arrange the pieces before you glue anything. My vine took ten minutes to plan and the result looks hand-embroidered from a distance. Simple shapes always beat complicated ones.
Cost: ~$6-9 | Time: 45 minutes
Pro tip: Felt applique survives gentle spot-cleaning but not machine washing, so use these pillows decoratively rather than for daily naps. Keep a lint roller handy: felt attracts fluff.
19. Pom-Pom Trim Hot-Glue Pillow
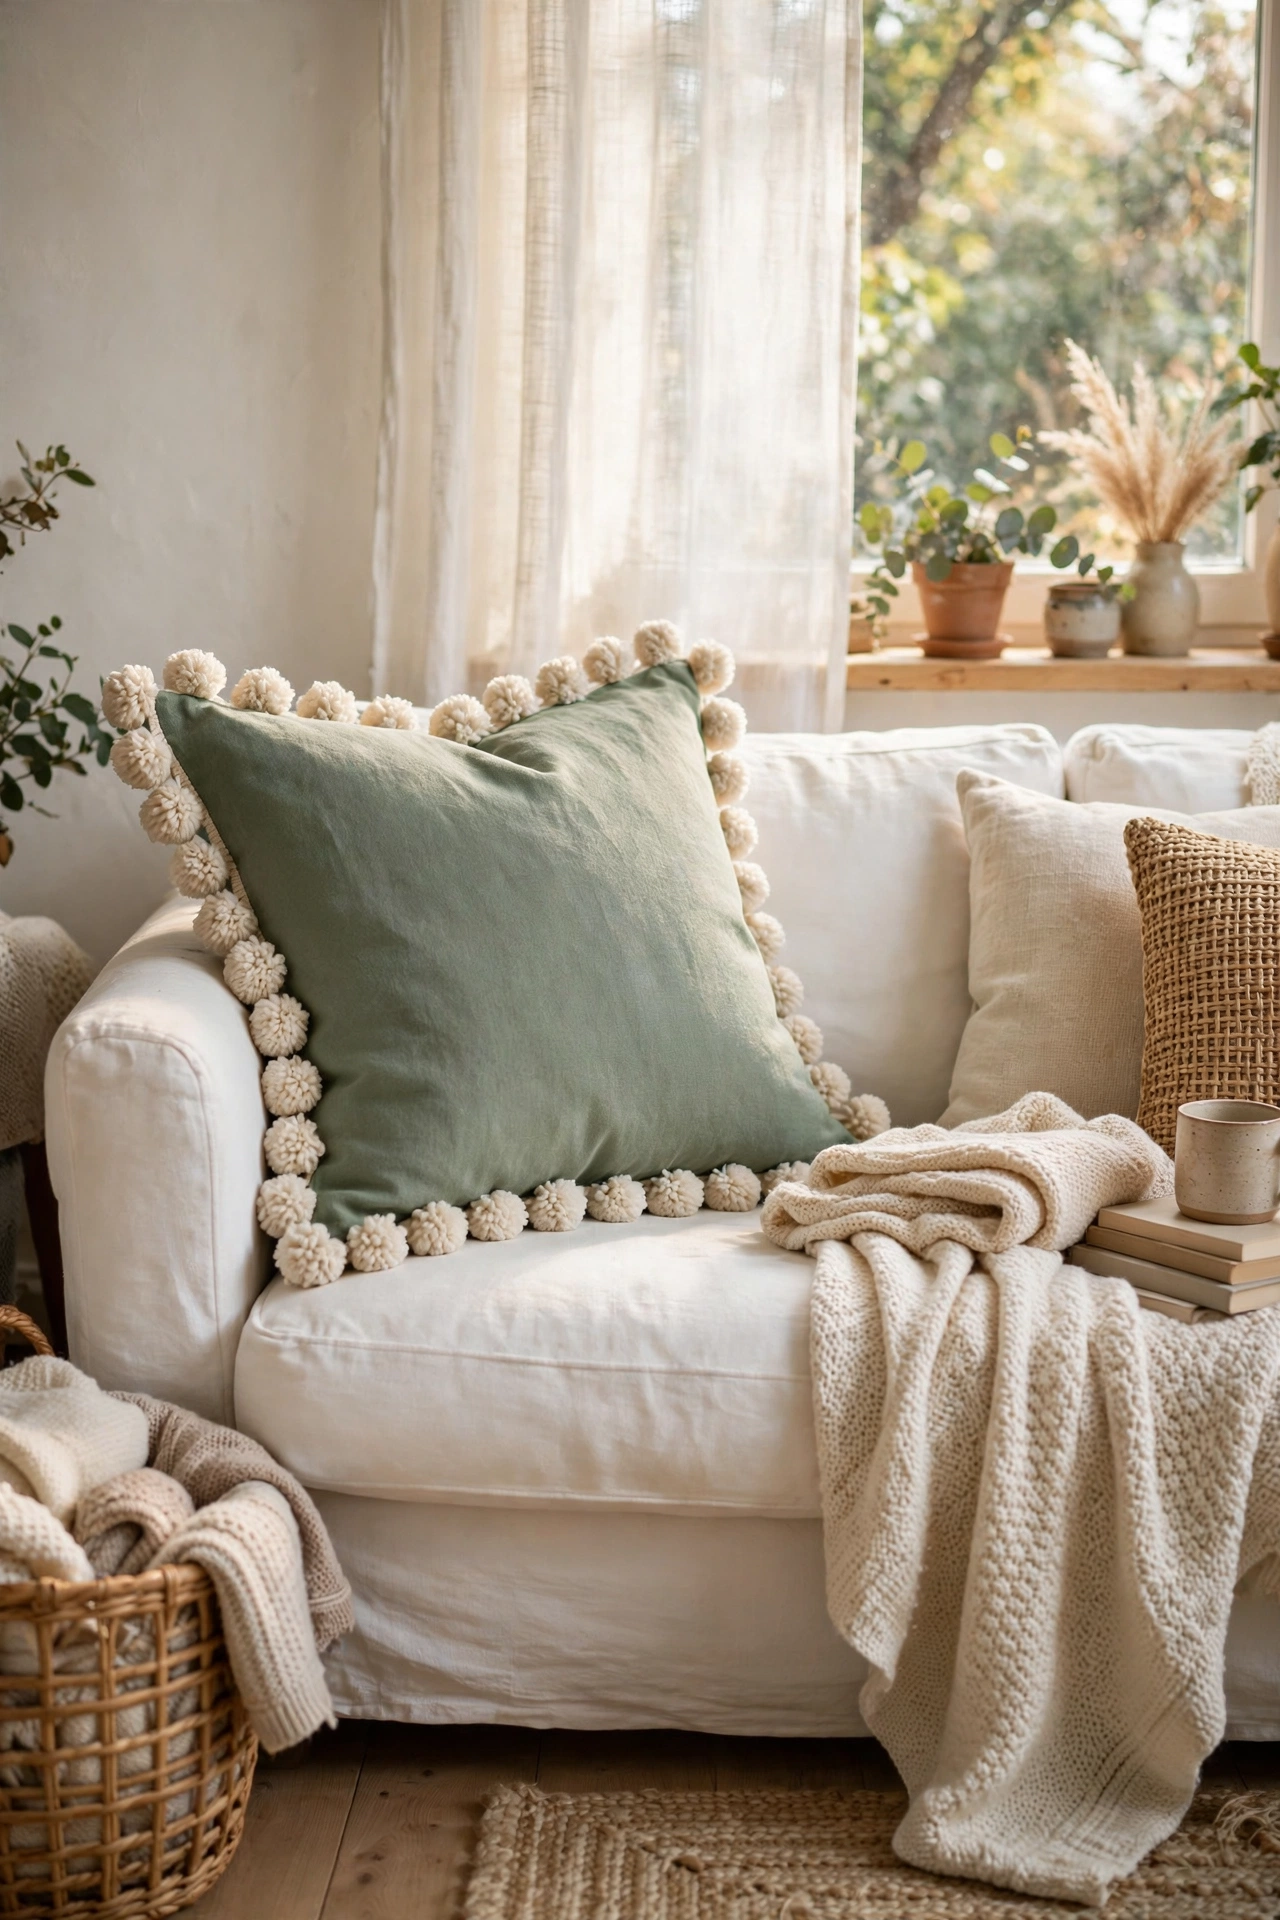
Chunky pom-pom trim glued around a cushion edge gives instant playful charm. I hot-glued jumbo cream pom-pom trim around all four sides of a sage cushion cover, working in short sections. Hot glue grabs trim faster than fabric glue, which matters for fiddly edging. Keep the glue on the trim’s backing tape, not on the pompoms themselves. My first side had glue strings everywhere until I learned to use less. Match the trim colour to the cushion for a subtle look or contrast it for fun.
Cost: ~$7-11 | Time: 35 minutes
20. Placemat Wrap Pillow
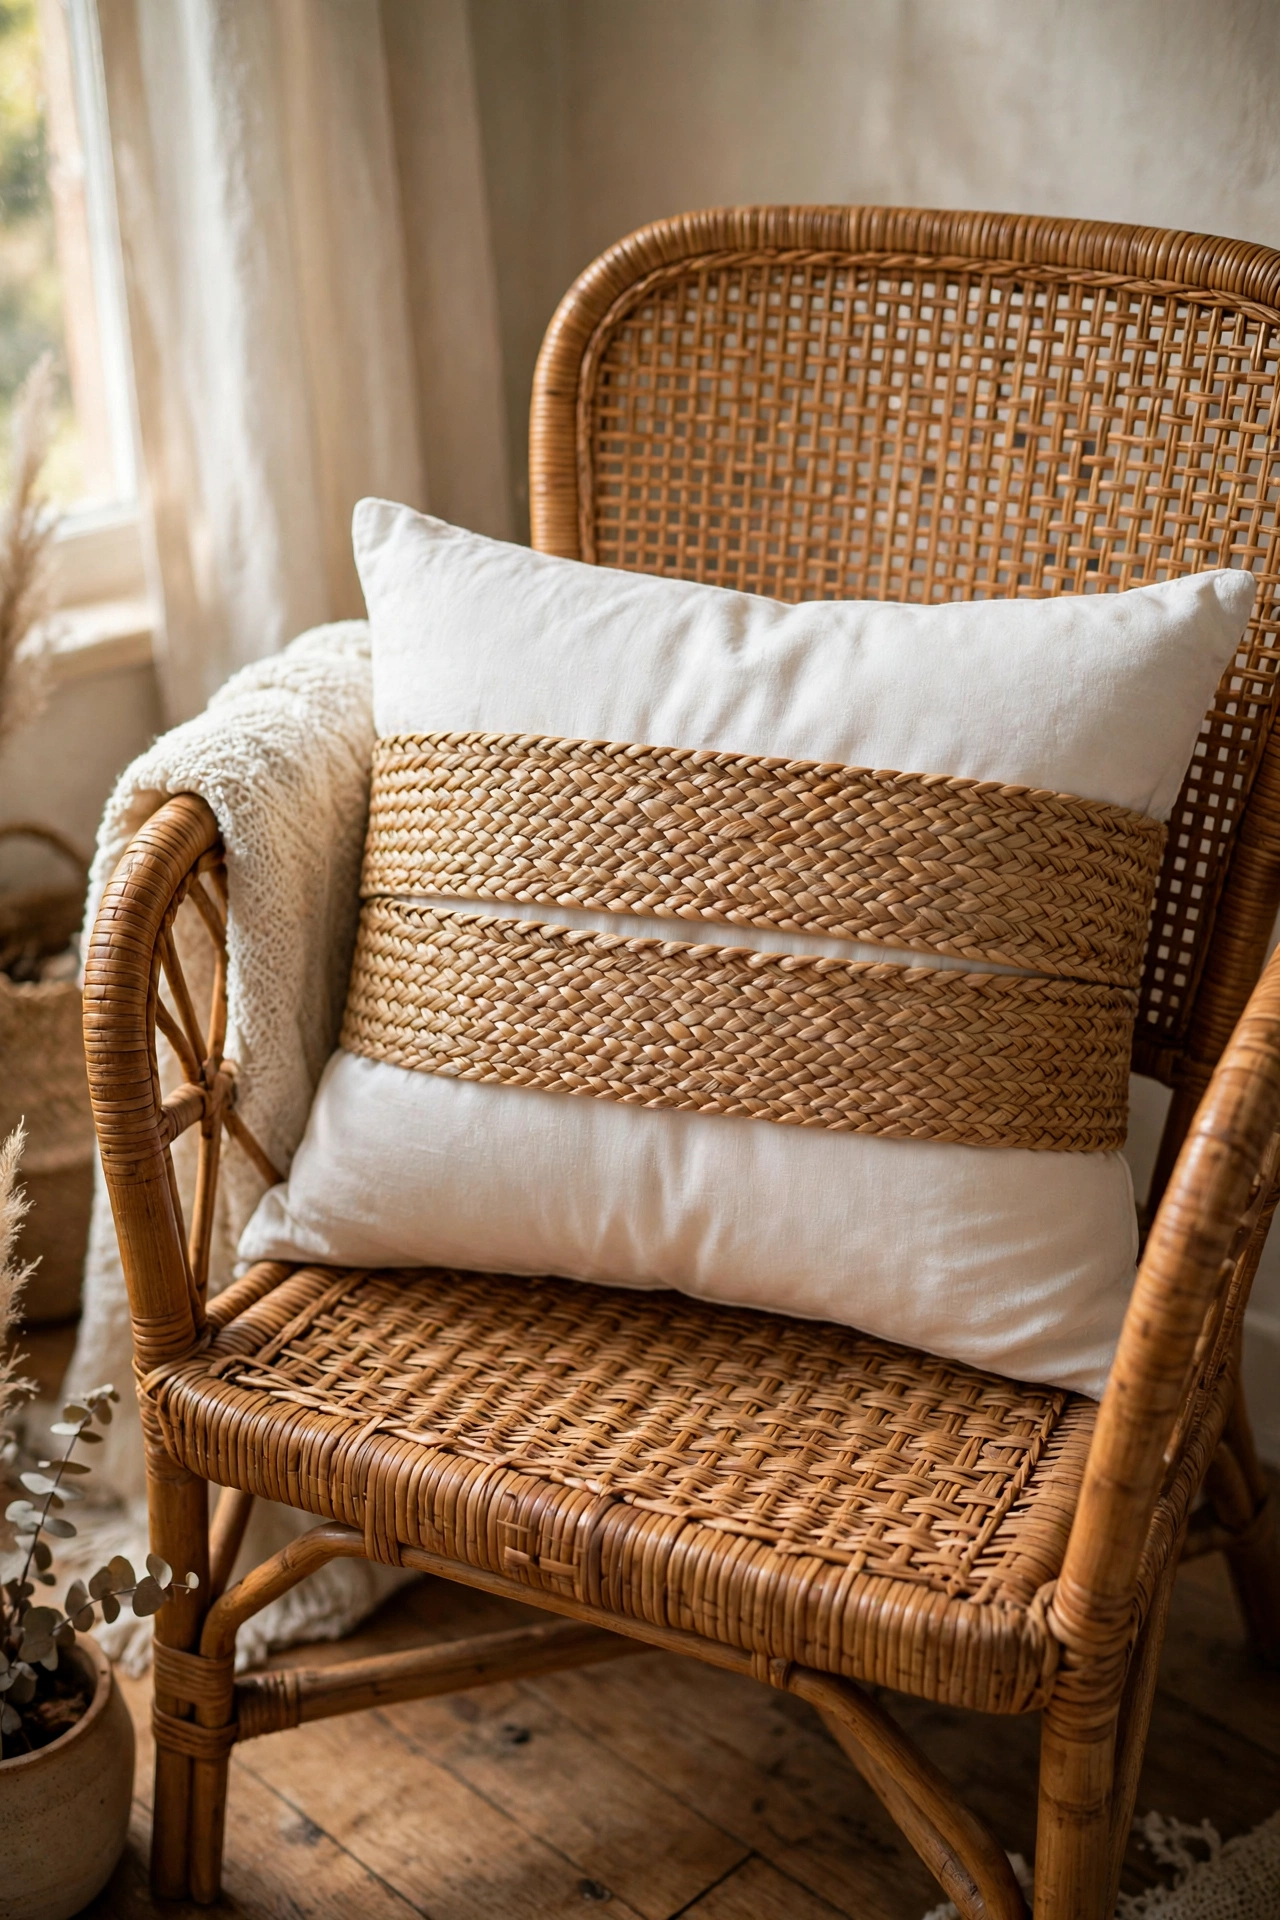
Woven placemats wrap around a cushion like a belly band for an easy layered look. I wrapped two seagrass placemats around the middle of a white lumbar pillow and secured them at the back with fabric glue. The natural texture against smooth cotton is a lovely contrast. This is a styling trick rather than a full cover, so it works over pillows you already own. I change mine seasonally: seagrass for summer, a tartan scarf wrap for winter. Zero commitment decorating.
Cost: ~$5-8 | Time: 15 minutes
21. Sharpie Doodle Pillow
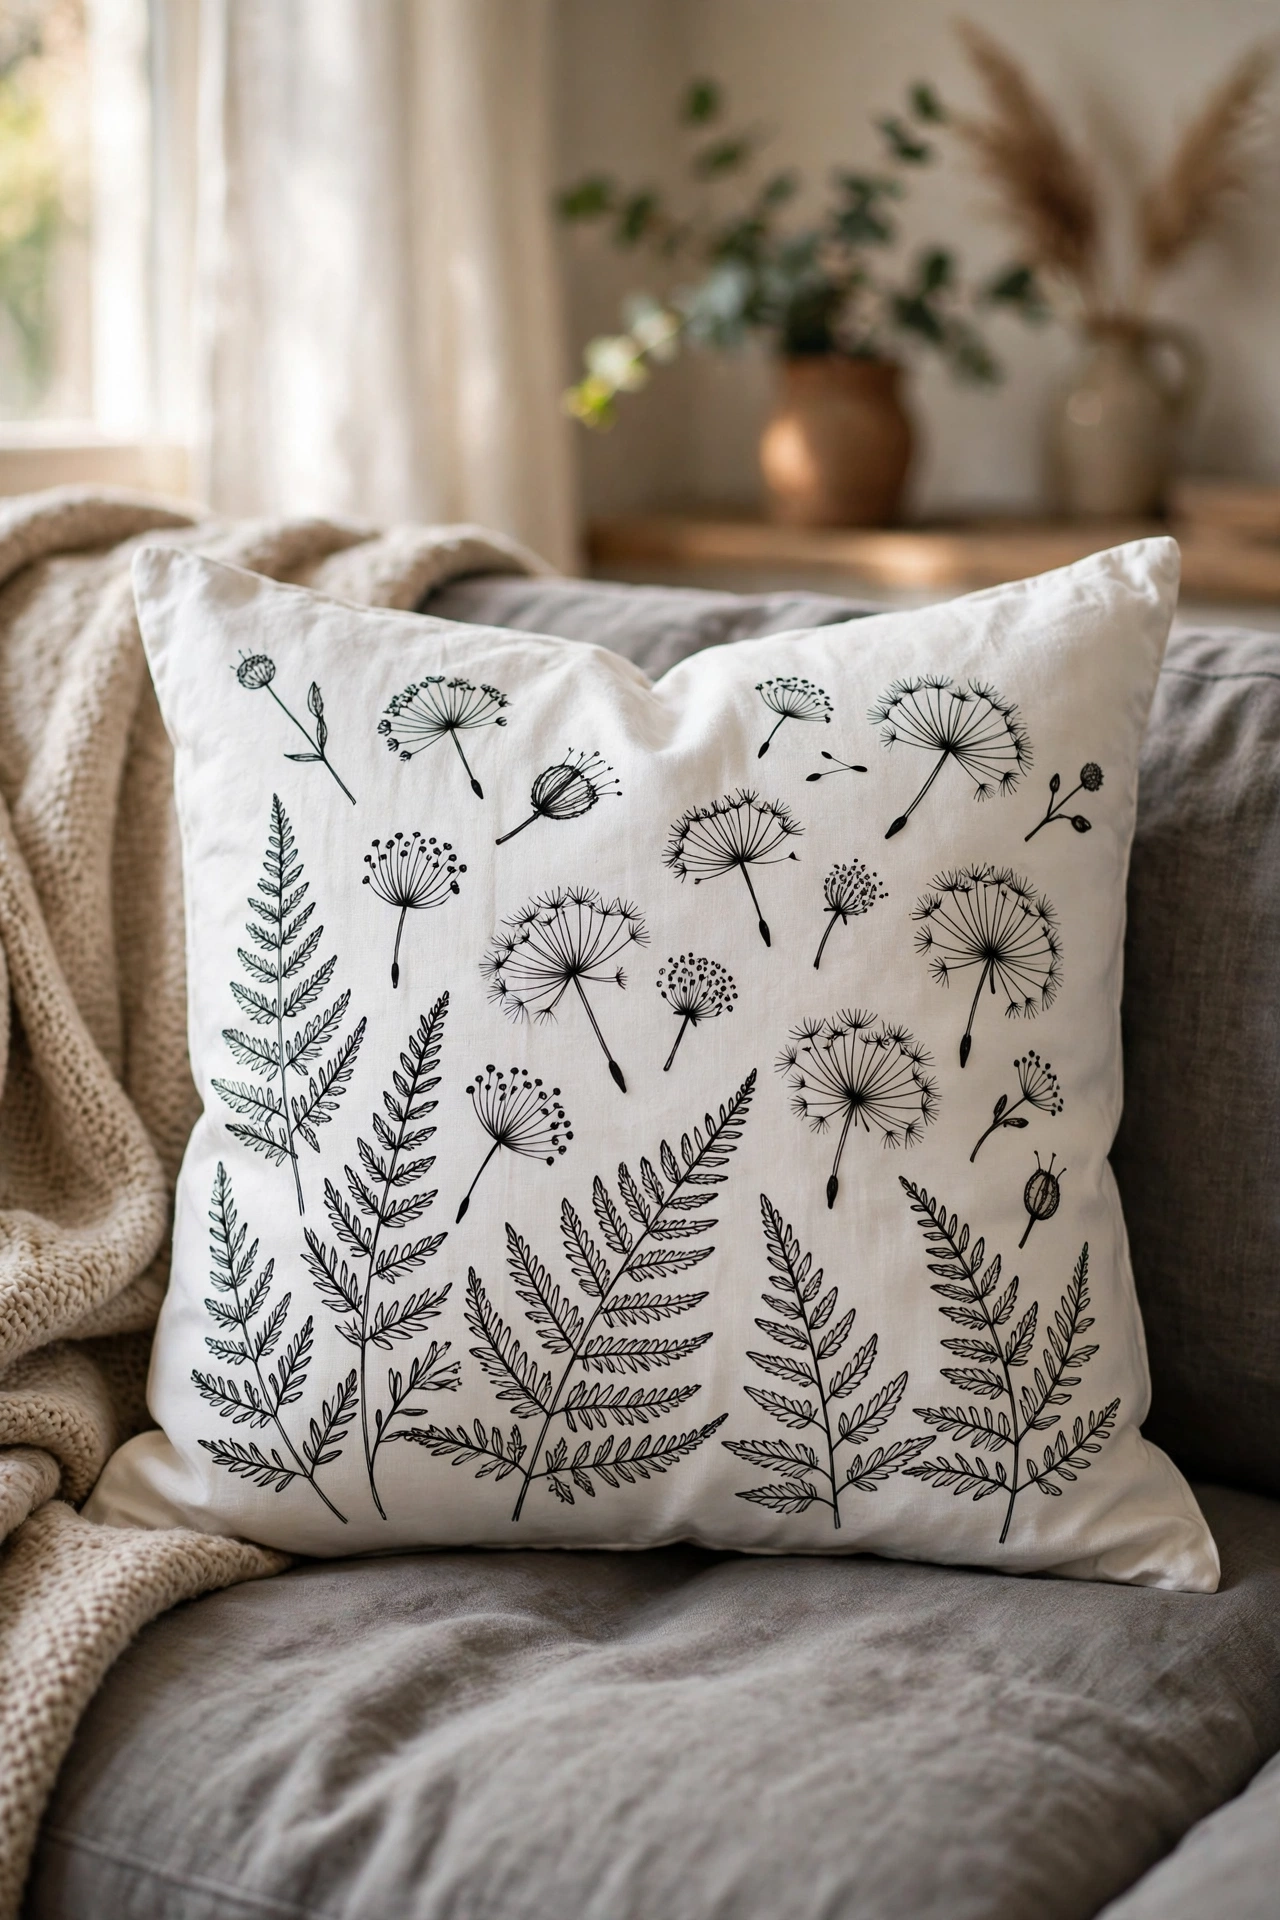
Fabric markers turn a plain white cushion into original art. I doodled a loose botanical pattern across a cotton cover with a black fabric marker, keeping the lines sketchy and free. The handmade wobble is the charm, so do not aim for perfection. Sketch lightly in pencil first if you are nervous, then trace. My pillow has ferns and seed heads and guests always assume it is a designer print. Heat-set with an iron and it survives washing. Let kids decorate their own for their bedrooms.
Cost: ~$6-9 | Time: 1 hour
Save this one for your weekend project list.
Pro tip: Use proper fabric markers, not regular Sharpies. Regular markers bleed on fabric and fade in sunlight, while fabric markers are formulated to stay crisp and colourfast through washes.
22. Plaid Scarf Wrap Pillow
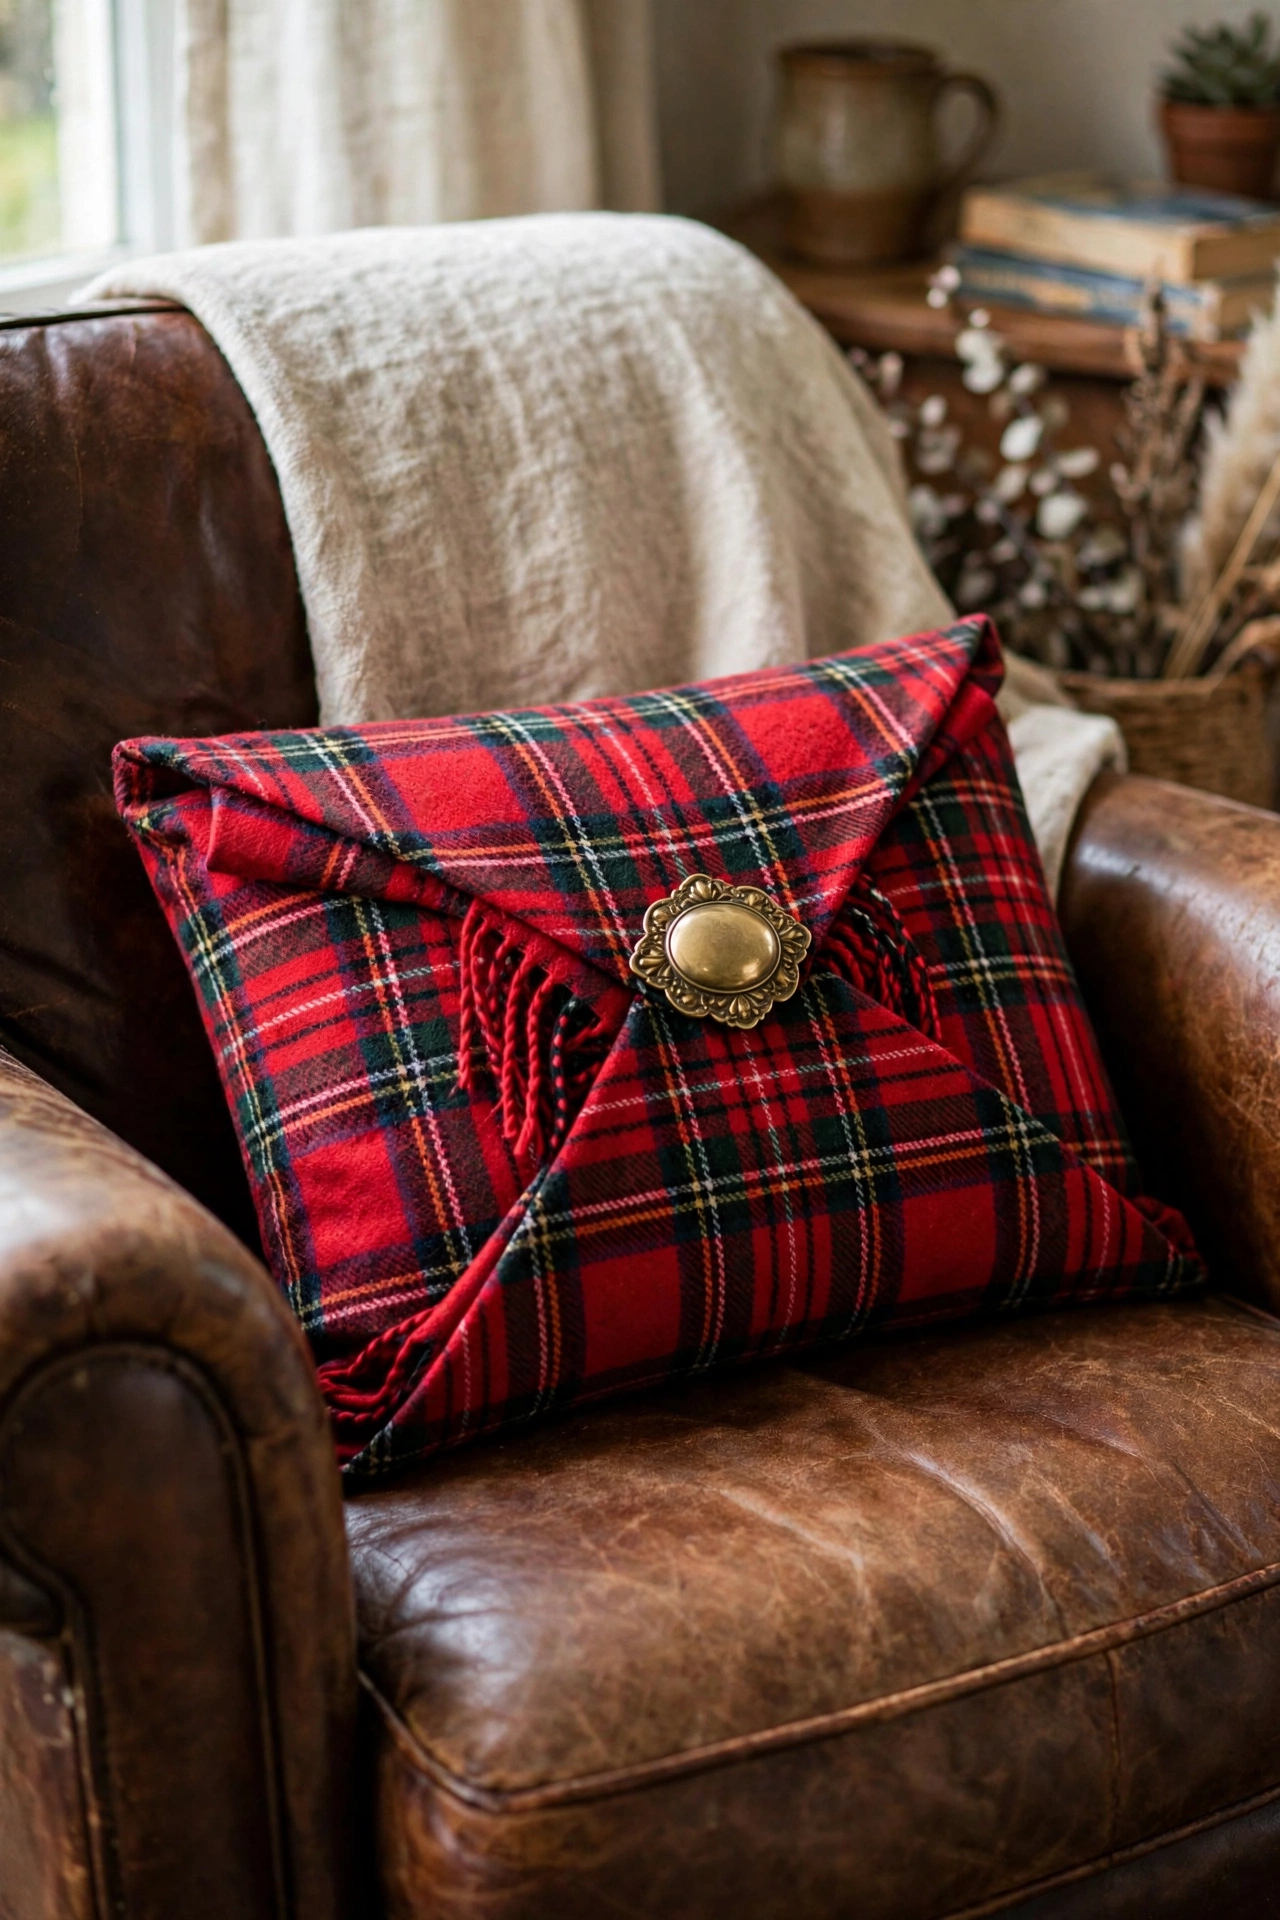
A large plaid scarf wrapped envelope-style around a cushion is instant autumn cosiness. I folded a thrifted wool-blend scarf around a 45-centimetre insert and secured the overlap with a decorative brooch instead of glue, so the scarf stays usable. The fringe ends tuck in as a design detail. This is the only pillow here you can unwrap and wear again. I switch scarves with the seasons: tartan for autumn, cream cable for winter. A brooch or kilt pin holds everything neatly.
Cost: ~$4-8 | Time: 10 minutes
23. Faux Fur No-Sew Wrap Pillow
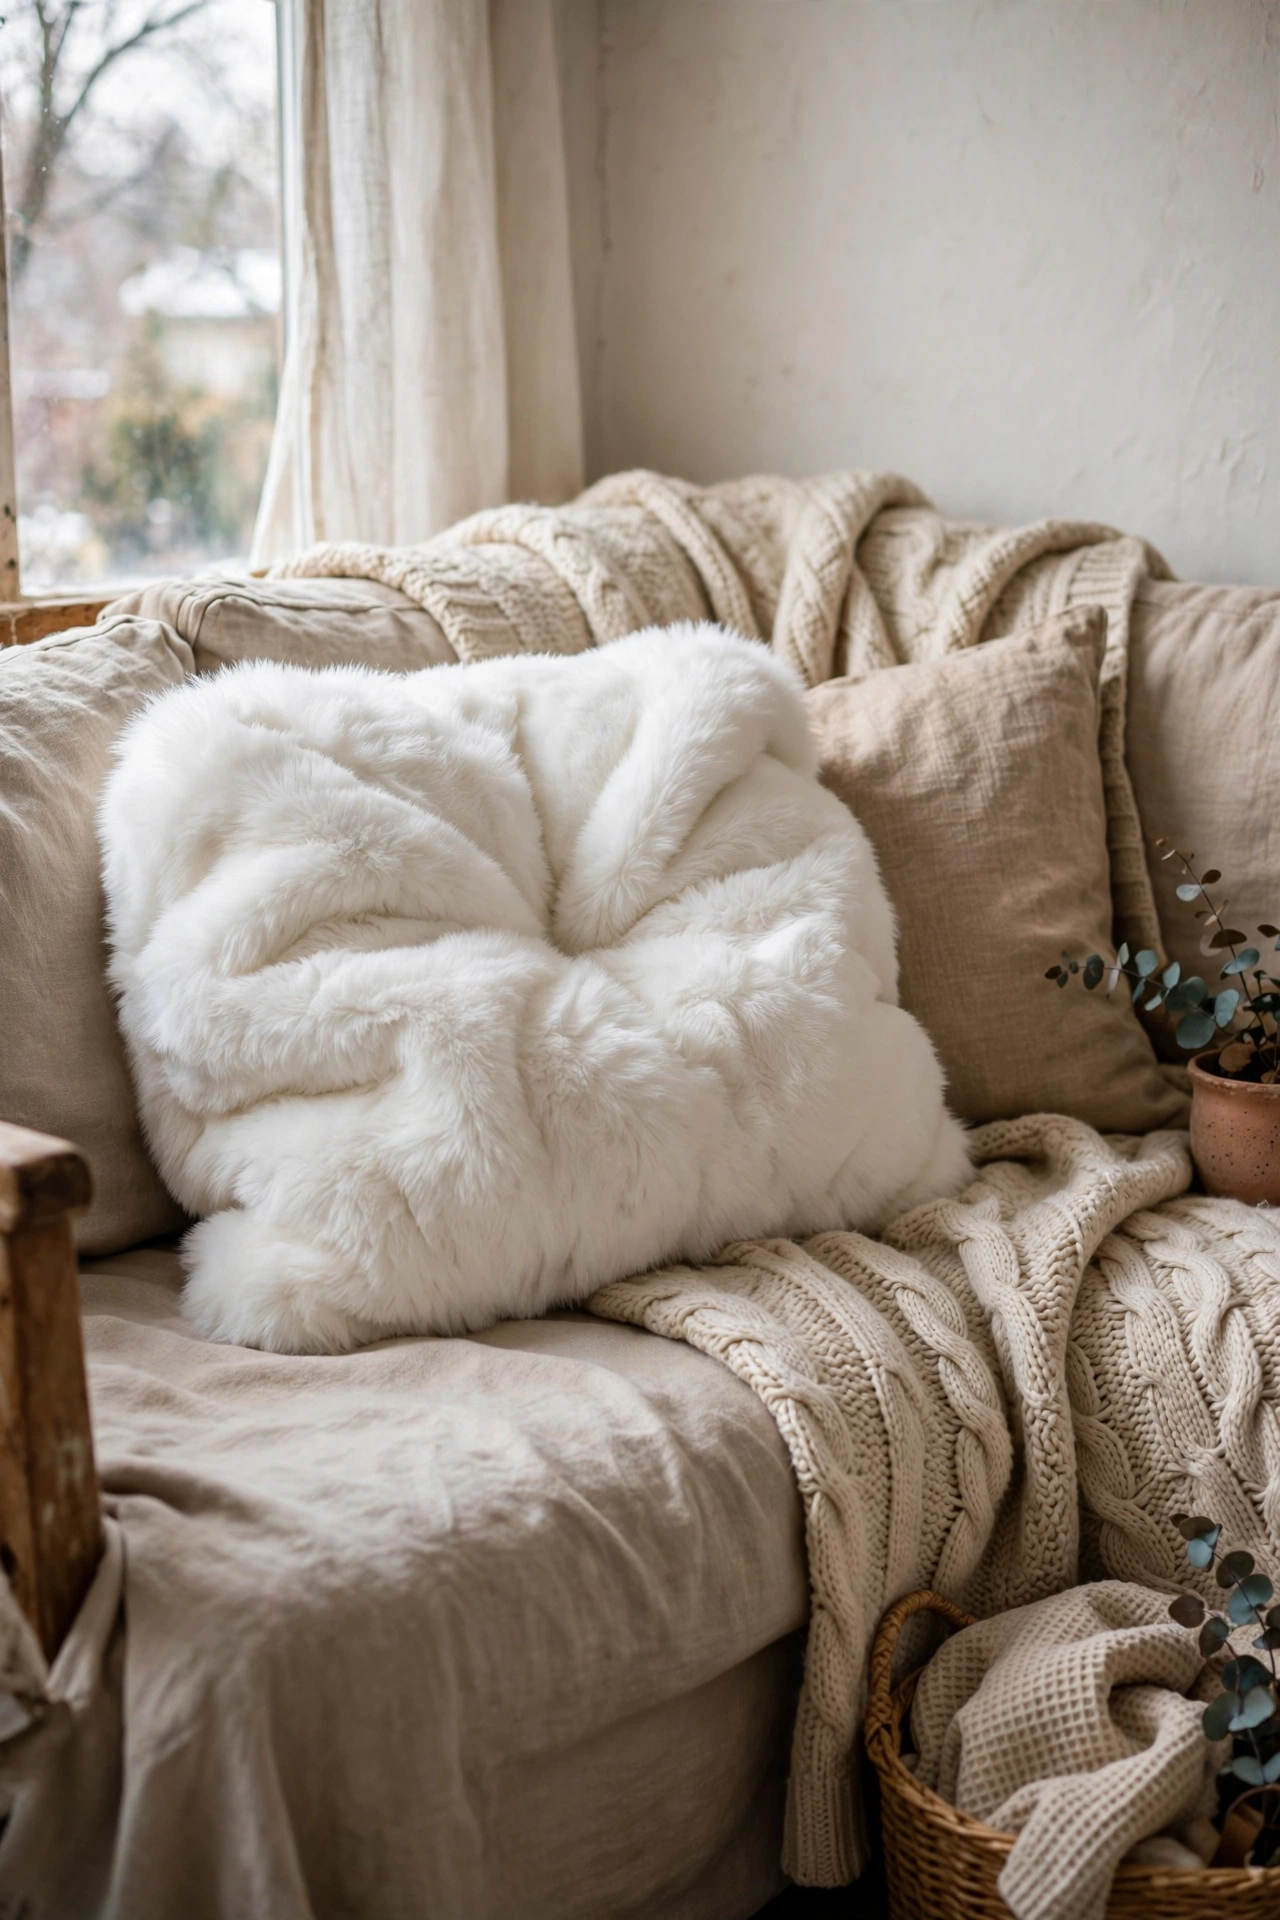
A faux fur throw wrapped around a cushion insert gives you the luxury look with no cutting at all. I wrapped a $12 faux fur throw twice around a standard insert and secured the overlap underneath with safety pins hidden in the pile. The fur hides every fastening completely. Shake the pillow outside after wrapping to fluff the pile and hide the seams. White or grey fur looks most expensive; avoid shiny cheap fur that looks plasticky. This is my winter sofa staple.
Cost: ~$12-16 | Time: 10 minutes
More easy projects: (see also: 15-cheap-throw-pillow-ideas-for-fall) (see also: 15-easy-diy-home-decor-projects-for-beginners-under-25/) (see also: 15-diy-shelf-ideas-for-beginners)
No machine, no excuses. Pick the fabric closest to hand and make your first pillow tonight.
