25 DIY Vase and Centerpiece Ideas That Look Store-Bought
The centrepiece is the first thing guests notice on a dining table and the last thing most of us think about — which is why so many tables sit bare or hold a sad candle from 2019. DIY vase and centerpiece ideas that look store-bought changed my entertaining completely. I started making my own vessels and arrangements for about $8 each, and now friends ask which shop my “new vase” came from. The answer is usually my kitchen table on a Saturday afternoon.
The store-bought illusion comes down to three things: a convincing vessel finish, fresh-looking stems (real or faux), and confident arrangement. Every idea here covers at least two of the three, costs under $20, and most take less than an hour. Work through the vessel ideas first, then the arrangement formulas, and your table will never sit bare again.
1. Limewash Ceramic Vase
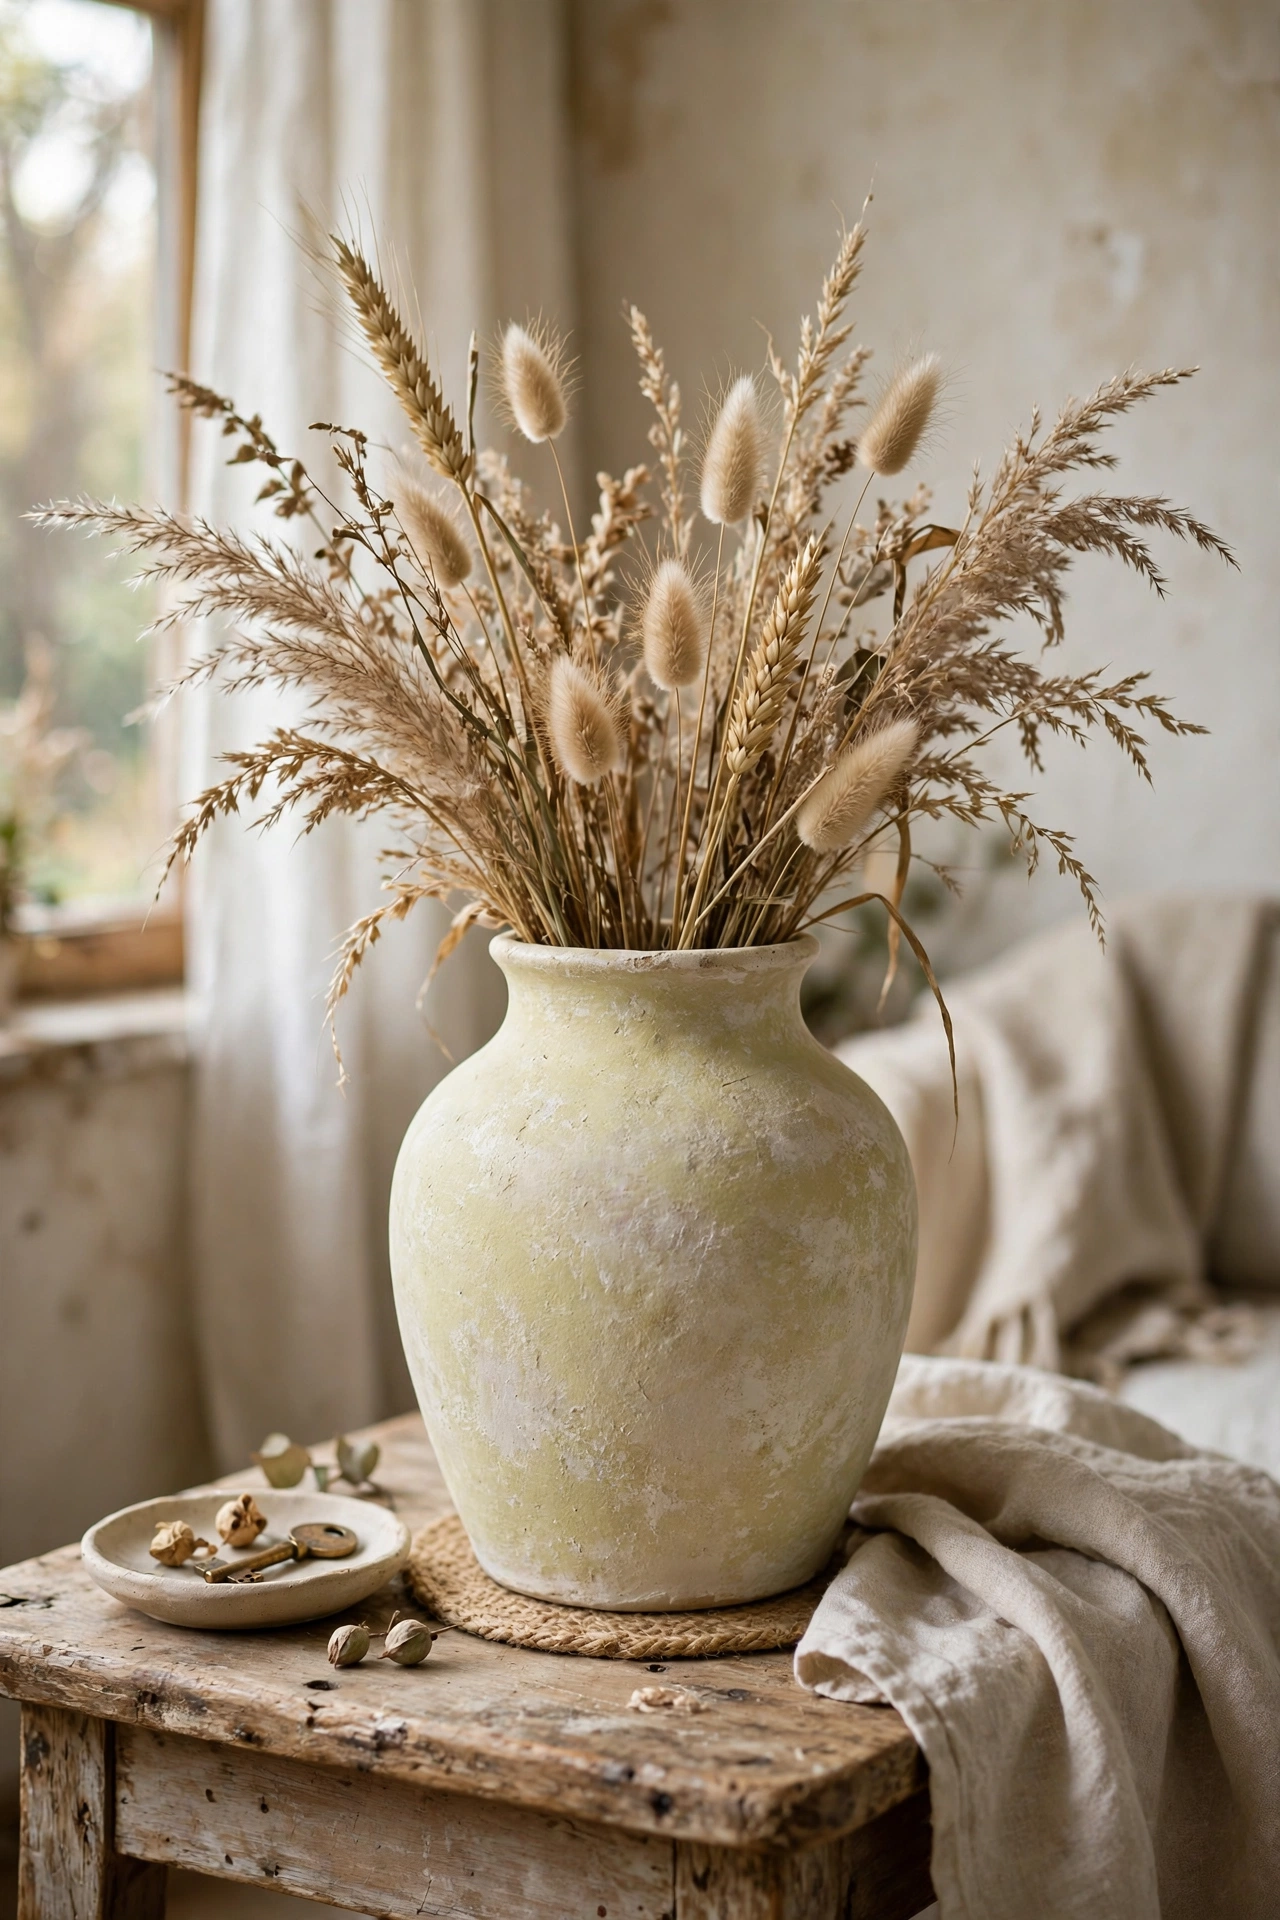
Limewash gives any plain vase the chalky handmade finish of expensive artisan ceramics. Brush watered-down white chalk paint over the vase in loose strokes, wipe some back so the base colour peeks through, and leave it matte. I limewashed a $3 charity shop vase and it now looks like the $45 handmade pieces. Do work in thin layers — thick limewash looks like plain paint. Don’t seal with gloss; the matte chalkiness is the entire effect. Fill with dried grasses for the full artisan look.
Cost: ~$4-8 | Time: 30 minutes plus drying
2. Fluted Vase from a Plain Cylinder
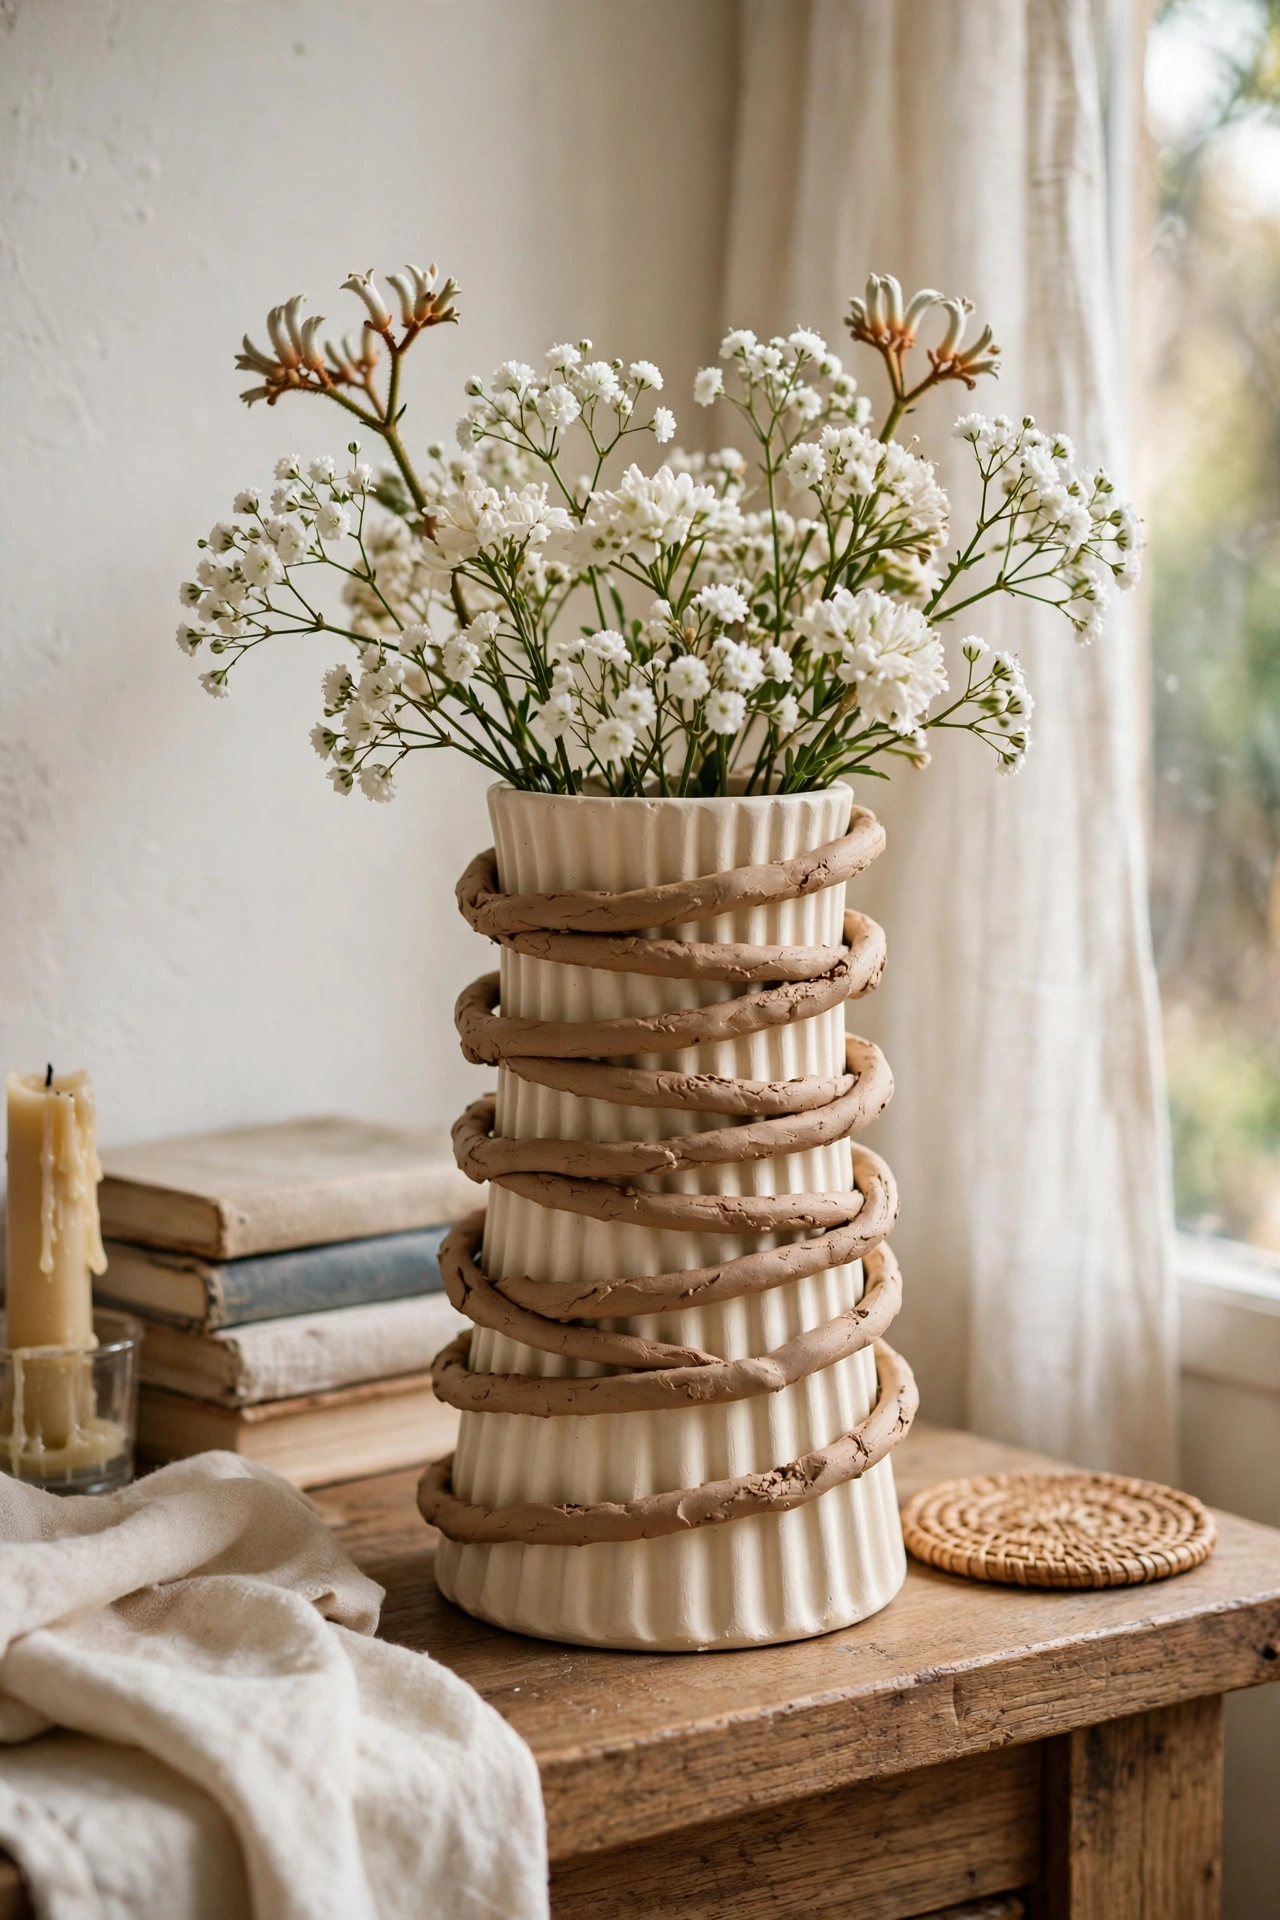
Fluted vases are the designer shape of the moment, and a plain cylinder plus air-dry clay fakes them. Roll thin clay coils and press them vertically around a glass cylinder, smoothing the joins, then paint the whole thing matte cream once dry. My fluted vase holds pride of place on my mantel. Do keep the coils evenly spaced — a ruler helps. Don’t make the coils too thick or the vase looks lumpy rather than fluted. The vertical lines catch light beautifully.
Cost: ~$6-11 | Time: 1.5 hours plus 2 days drying
3. Terracotta Vase with a Clay Wash
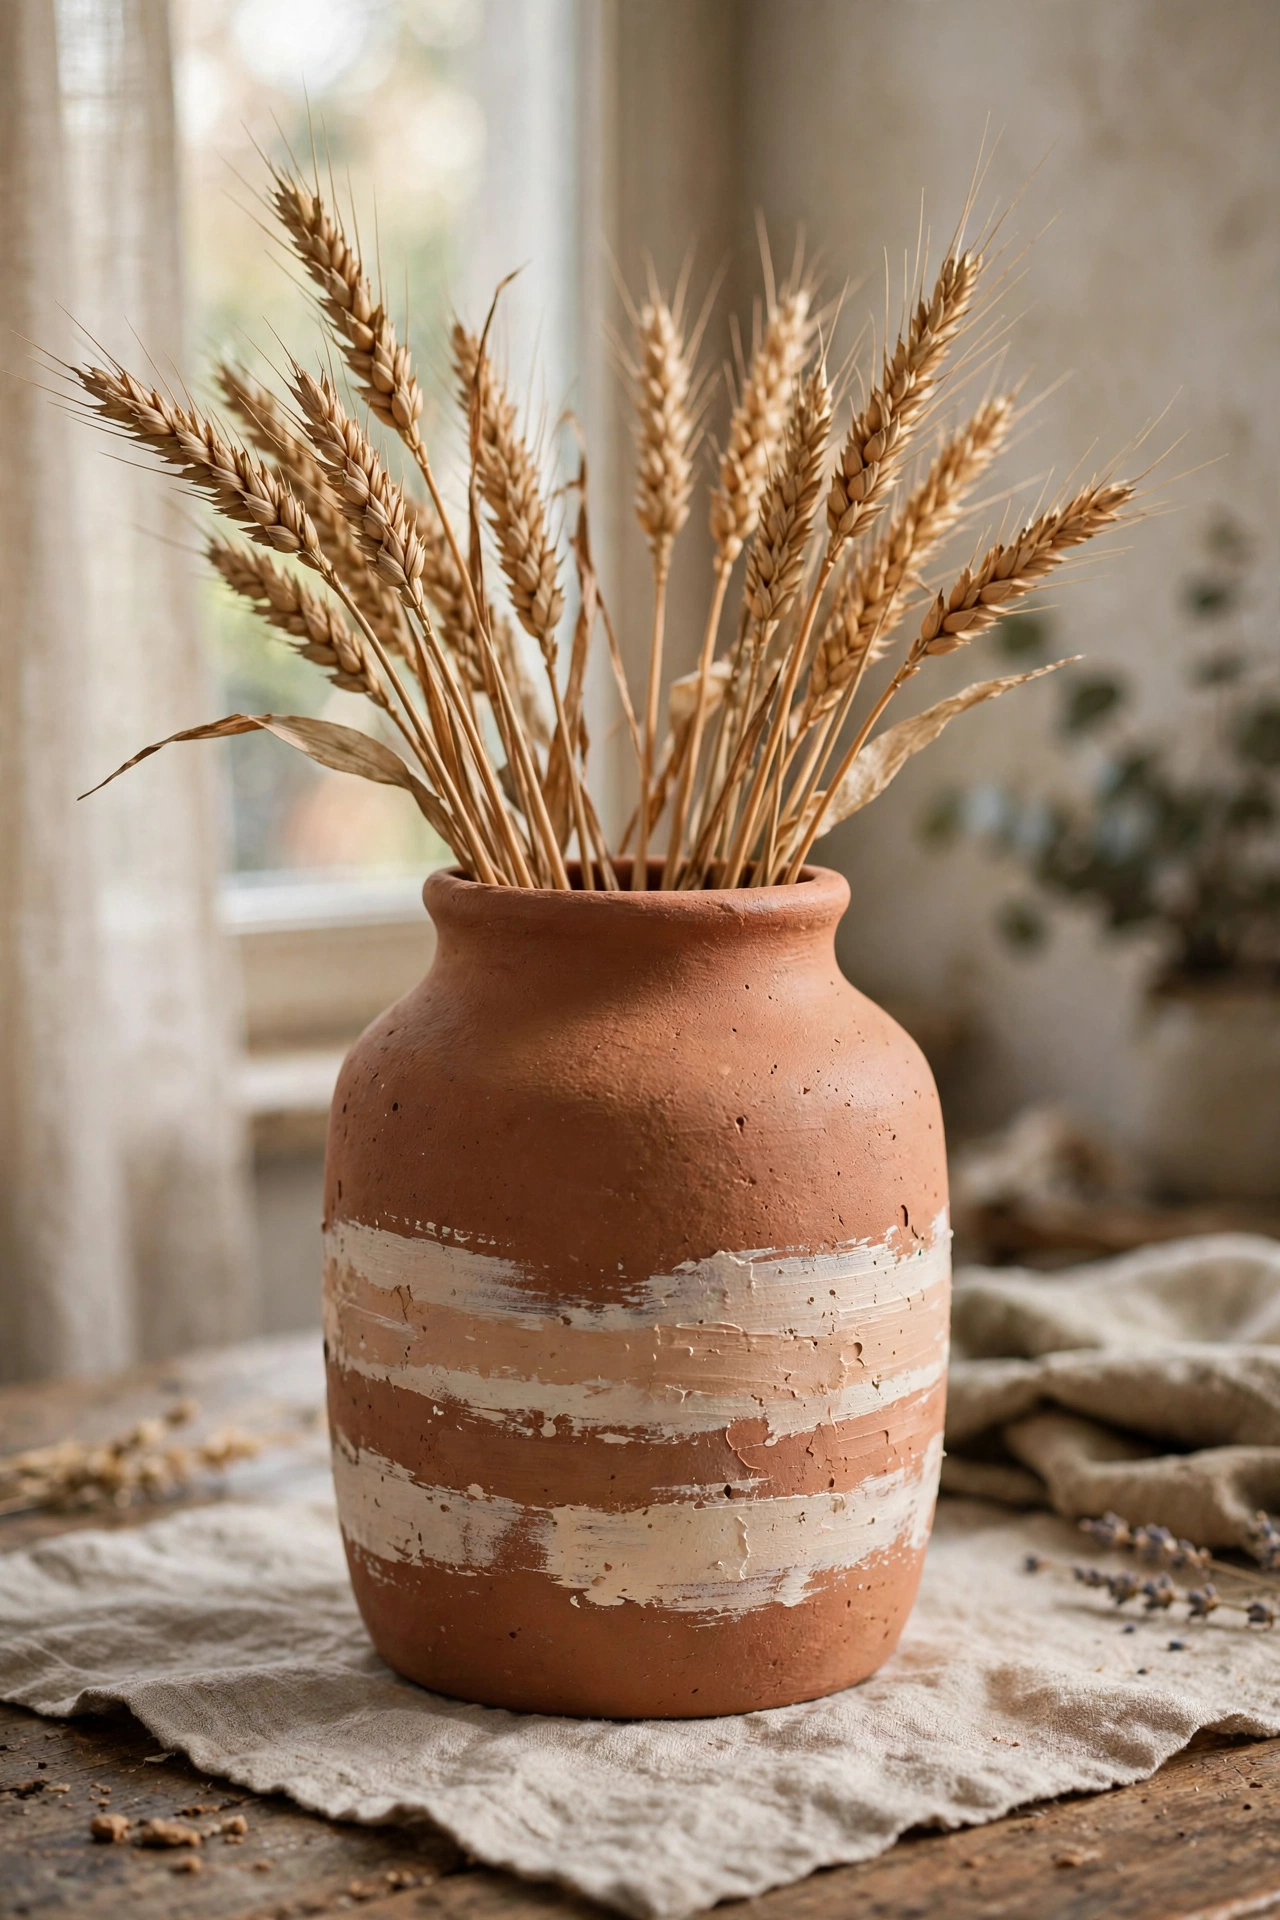
A clay wash makes any vase look like raw terracotta. Mix terracotta acrylic paint with bicarbonate of soda for texture and brush it over a glass or ceramic vase in two coats. I converted a shiny white vase into a convincing clay vessel in under an hour. Do choose vases with simple shapes — the finish suits minimal forms best. Don’t use it for water arrangements unless you seal the inside; this finish is happiest with dried stems. The earthy tone grounds any table.
Cost: ~$4-8 | Time: 40 minutes plus drying
4. Ribbed Glass Vase from Twine
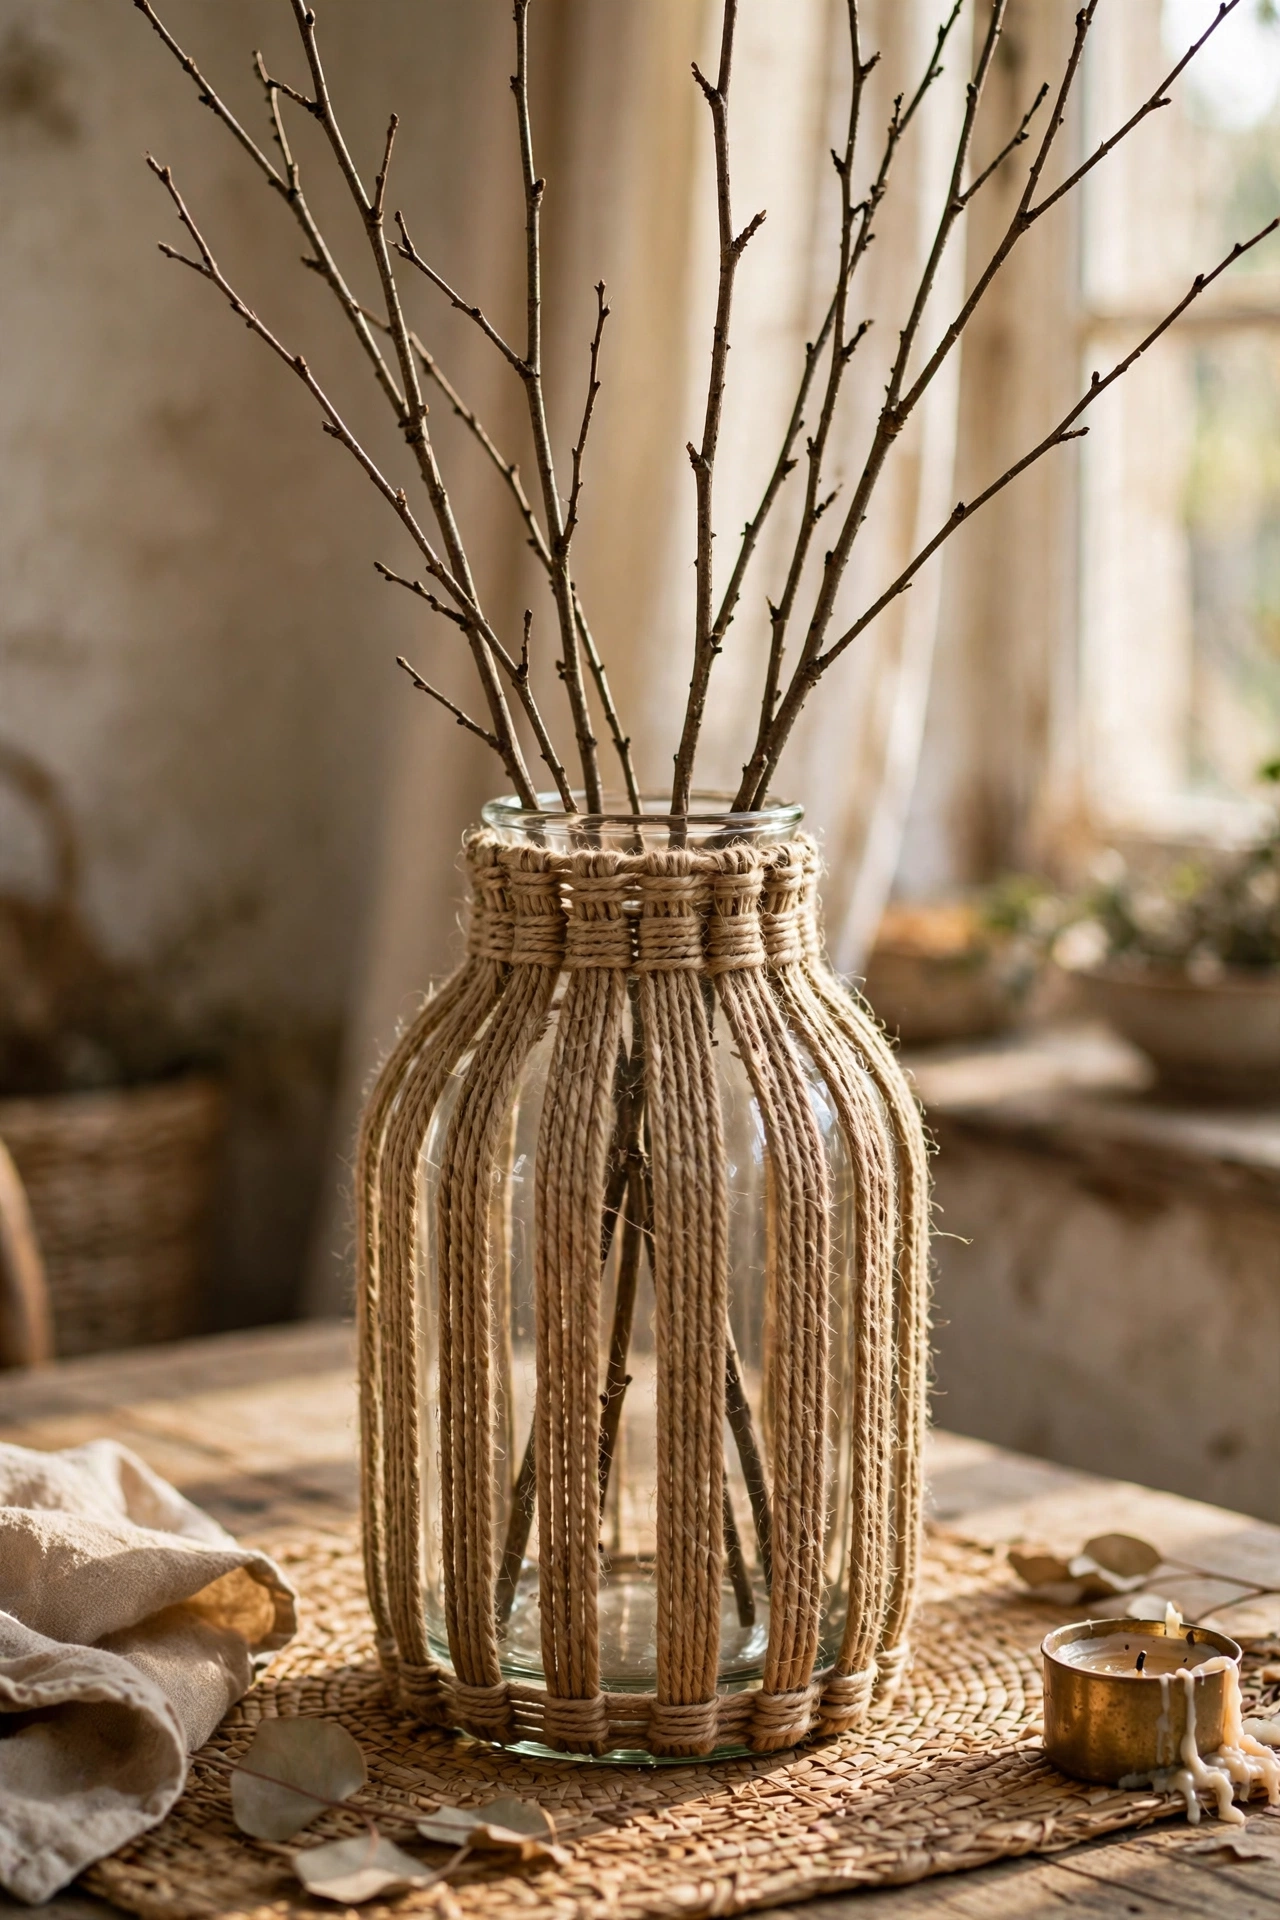
Wrapping a glass vase in vertical twine lines creates a ribbed texture that looks woven. Glue twine strands vertically around a straight-sided vase, keeping them tight and even, and trim at top and bottom. I made a pair for my console table and the texture reads as expensive rattan work. Do use natural jute twine rather than synthetic — the colour and texture are far better. Don’t wrap horizontally; vertical ribs elongate the vase and look more refined. Fill with tall branches for drama.
Cost: ~$4-7 | Time: 40 minutes
5. Speckled Vase with Spray Paint
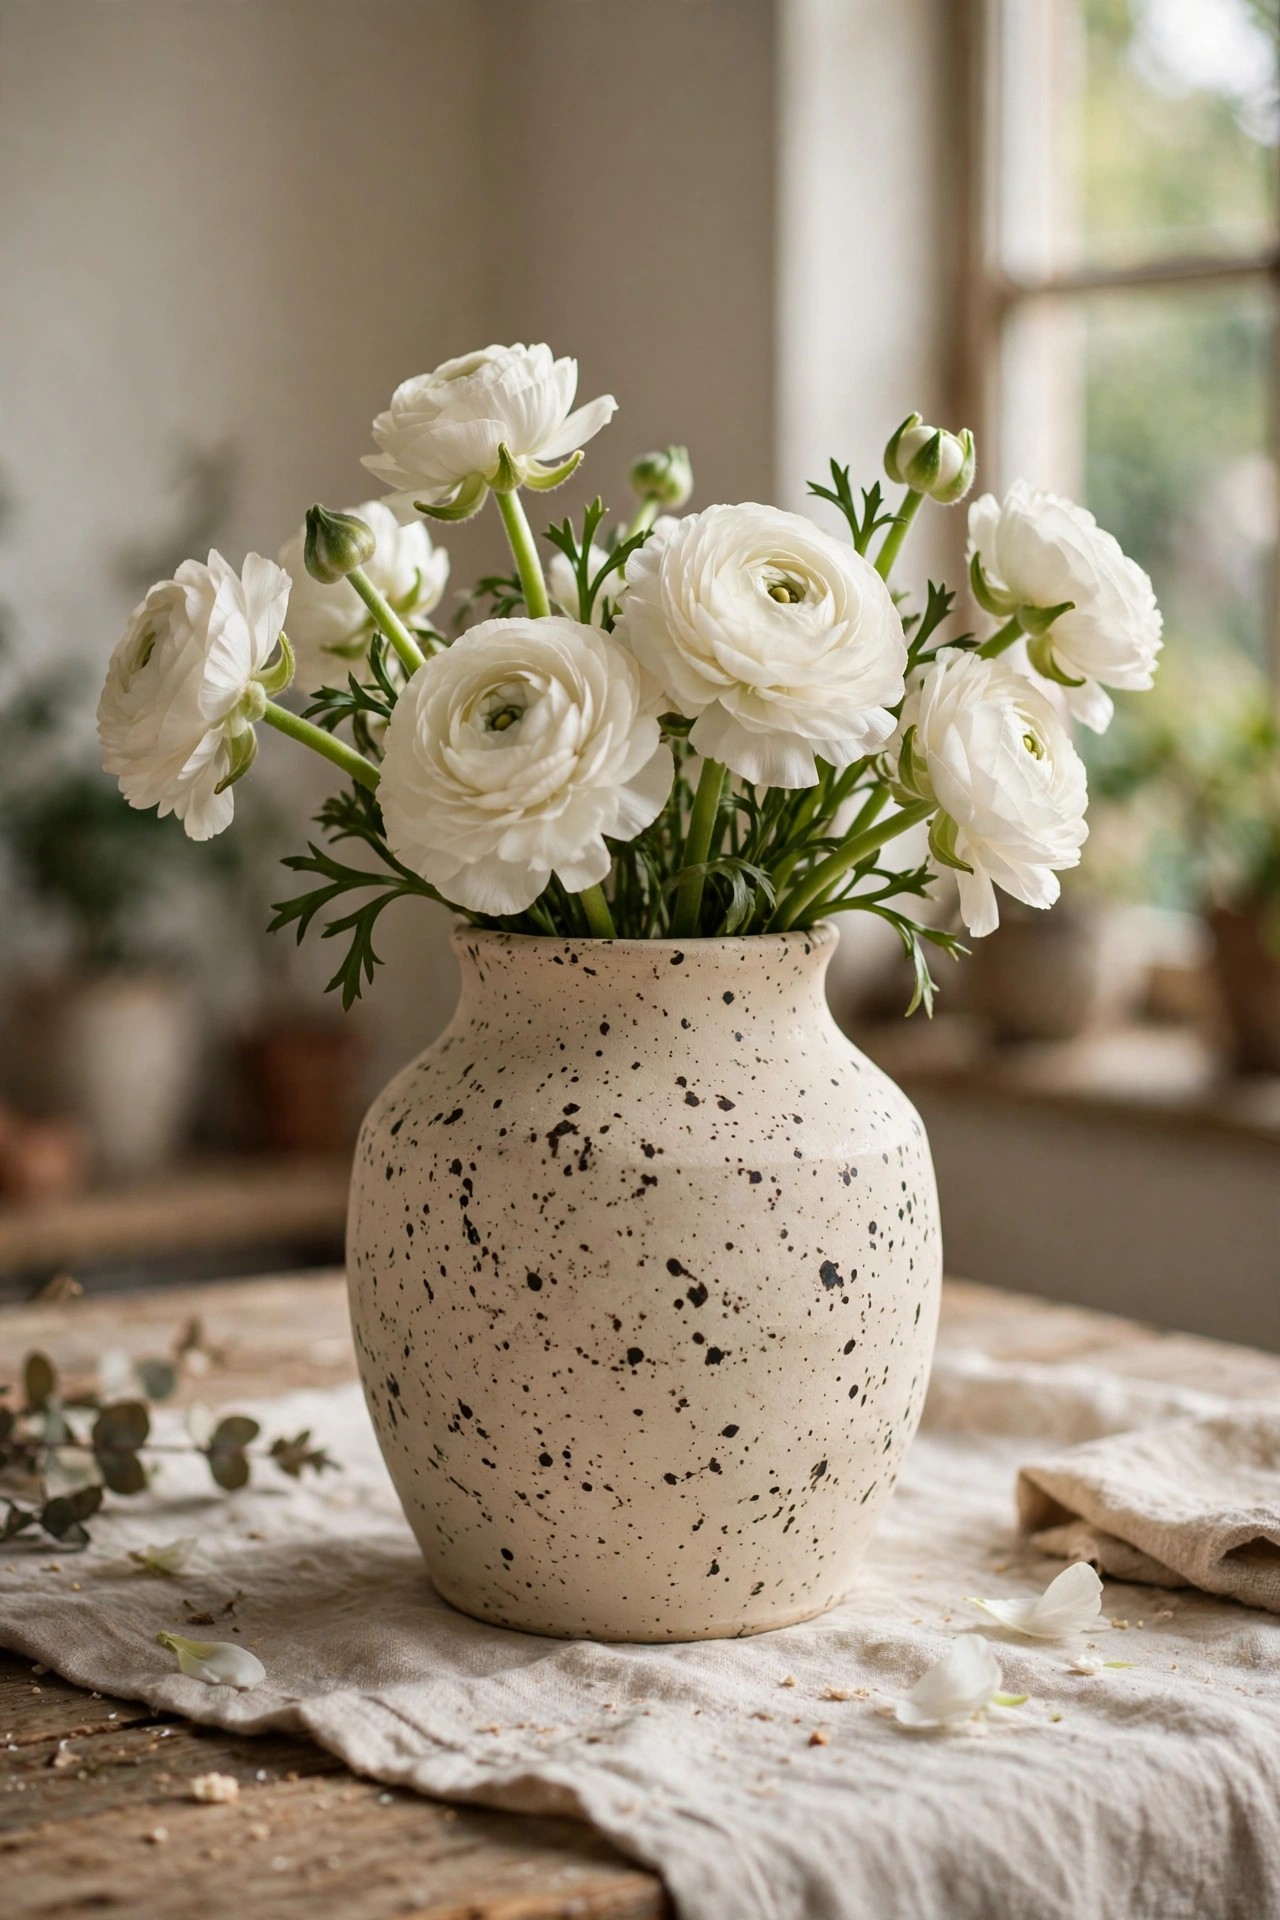
Speckled stoneware vases cost $40 in shops; a $4 vase and speckled spray paint get you there. Paint the vase matte cream, then flick dark speckles on with a toothbrush or use speckled spray paint. My speckled vase collection looks like a pottery studio shelf. Do practise flicking on newspaper first — the first attempt always overdoes it. Don’t make the speckles uniform; random clusters read handmade. Matte finish is essential; gloss ruins the stoneware illusion.
Cost: ~$5-9 | Time: 30 minutes plus drying
6. Tall Floor Vase from a Cardboard Tube
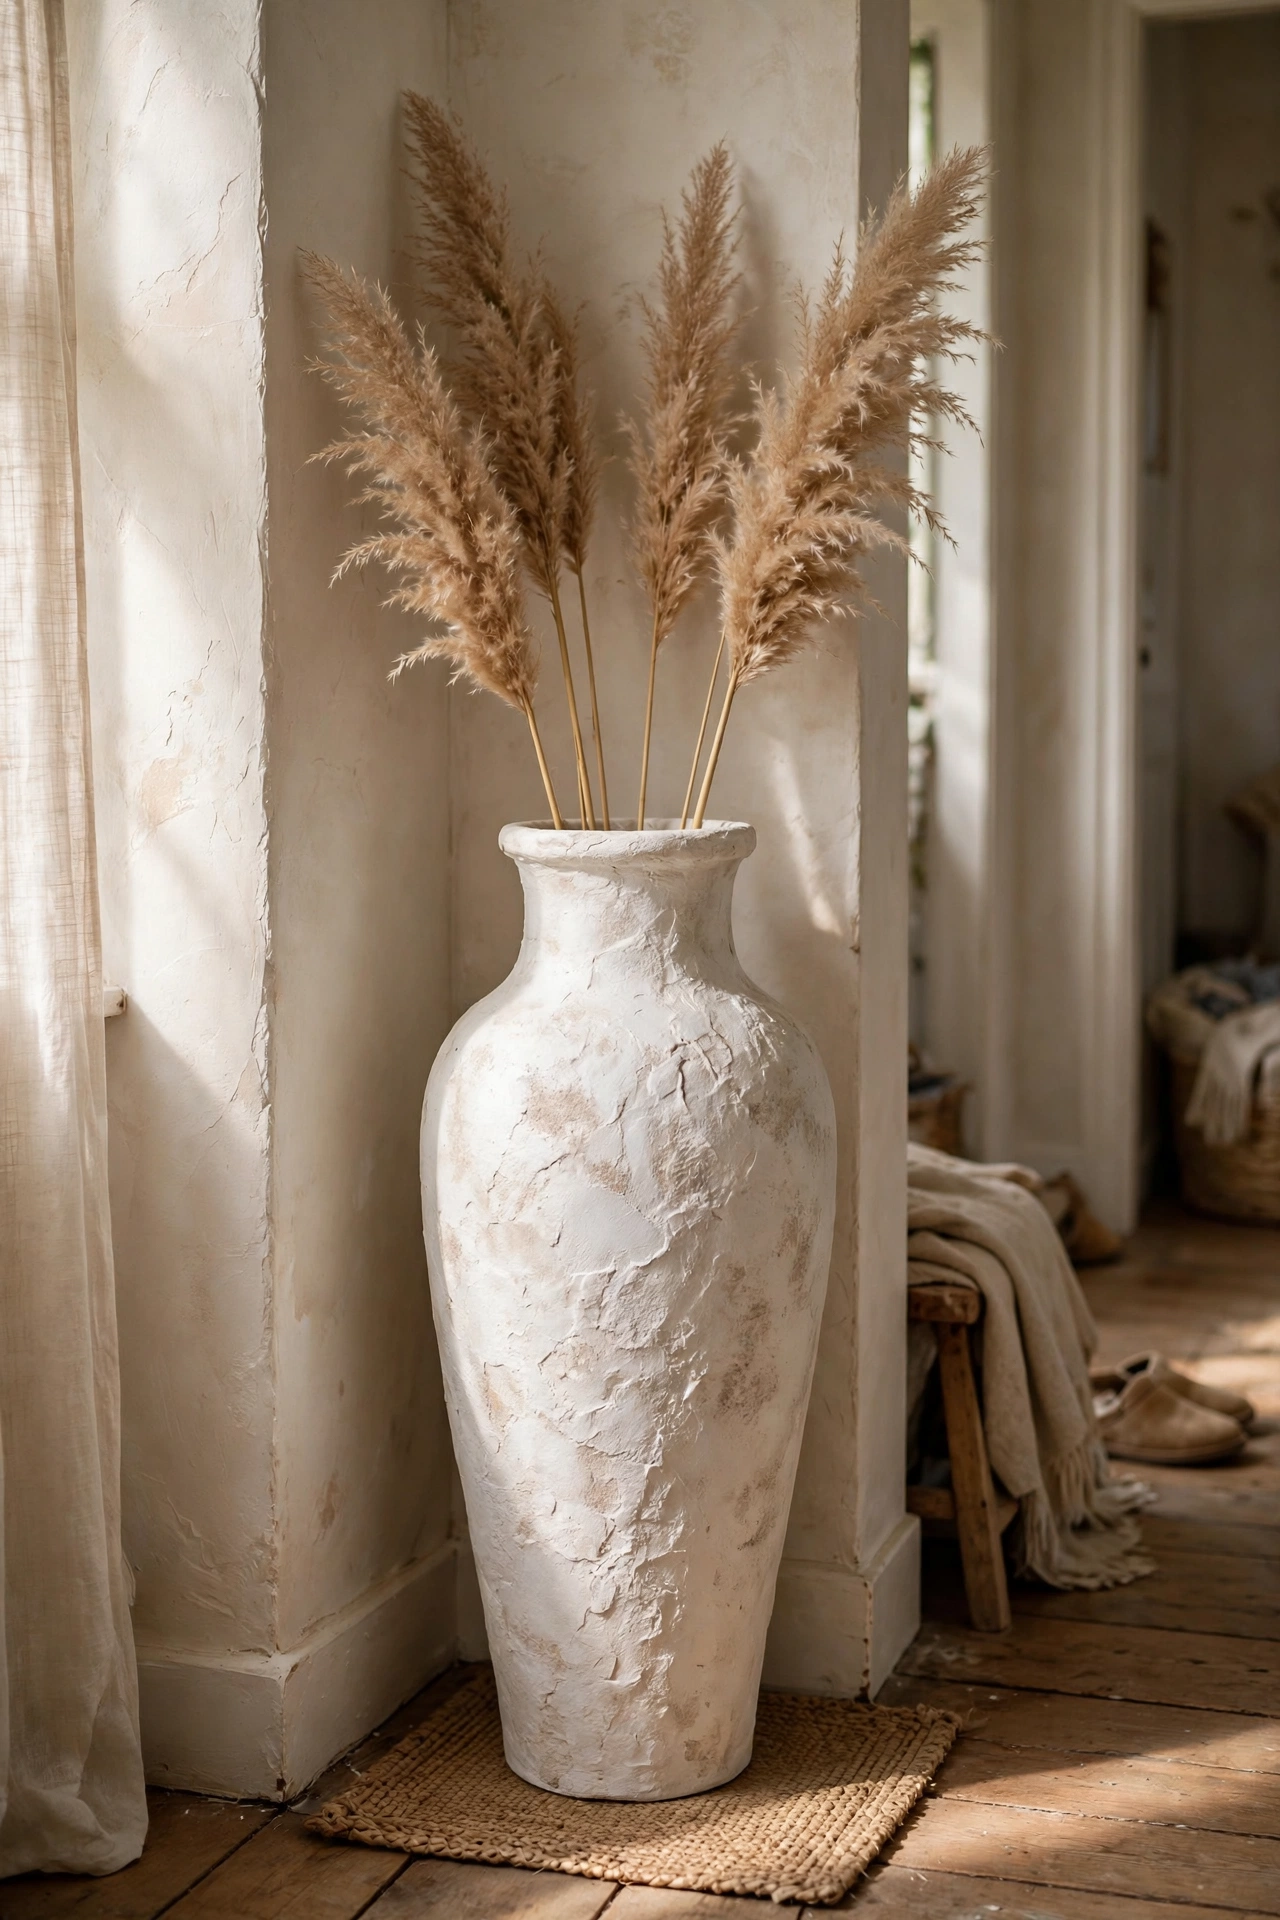
Tall floor vases sell for $80+, but a carpet-roll tube and plaster fake them. Cut a sturdy cardboard tube to height, seal it, trowel on plaster for a stone texture, and paint matte. Weight the base with a bag of sand inside so it stands steady. Mine holds tall pampas stems in my hallway corner and looks properly sculptural. Do seal the cardboard thoroughly before plastering or it softens. Don’t place it where it might get knocked — it is light despite looking heavy. Dried stems only, obviously.
Cost: ~$8-14 | Time: 2 hours plus drying
7. Gold-Rimmed Bud Vase Trio
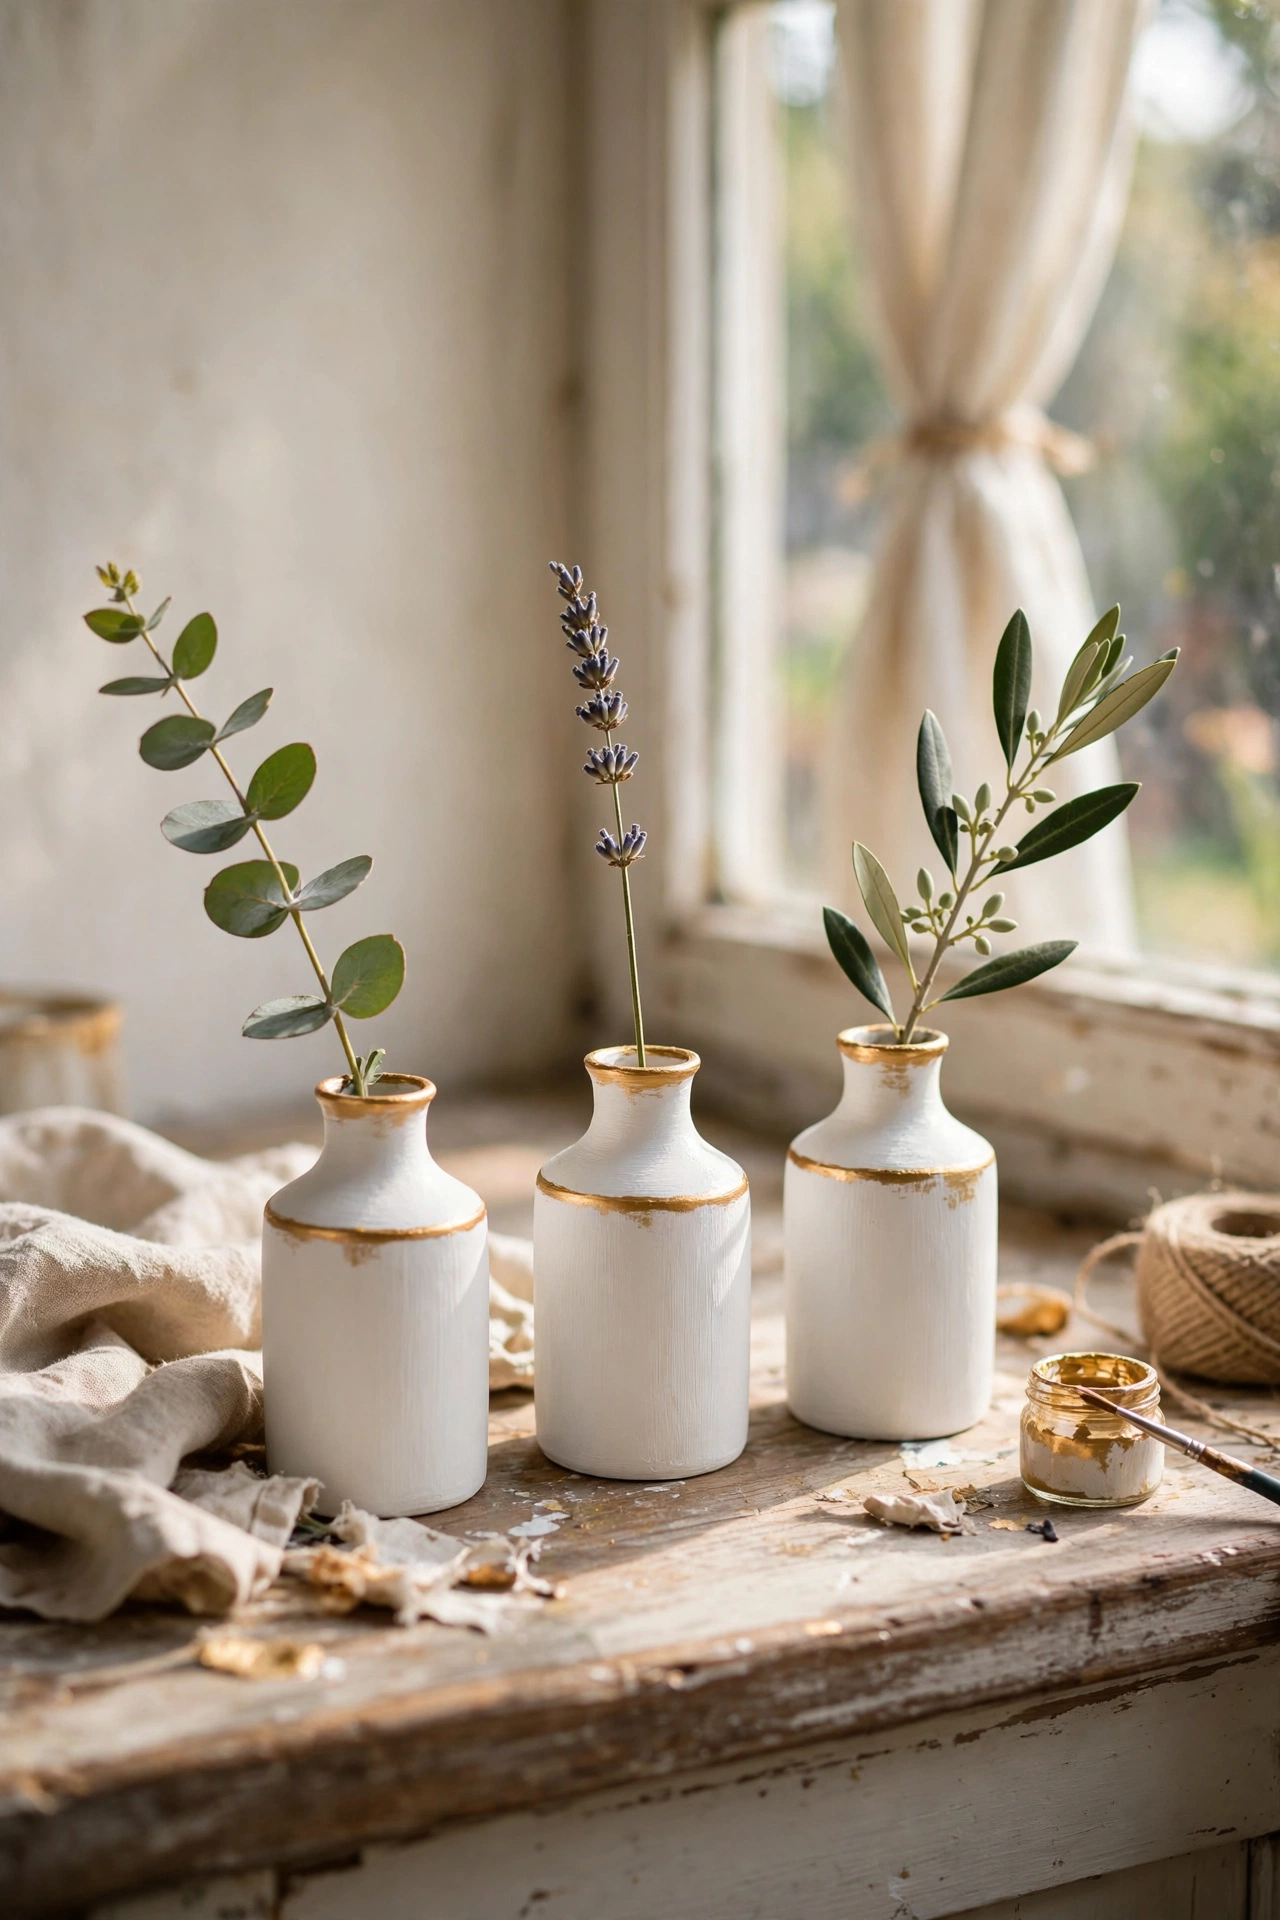
Three small bud vases with gold rims look like a designer set. Take three matching small vases — charity shops have them for $1 each — and paint a thin gold band around each rim with metallic paint. Group them with single stems. Mine sit on my windowsill with a sprig in each and they catch the light beautifully. Do use a small brush and a steady hand, or mask with tape for a crisp line. Don’t paint the whole vase gold; the thin rim is the elegant detail. Odd numbers and varying stem heights complete the look.
Cost: ~$4-8 | Time: 30 minutes plus drying
8. Concrete-Look Centerpiece Bowl
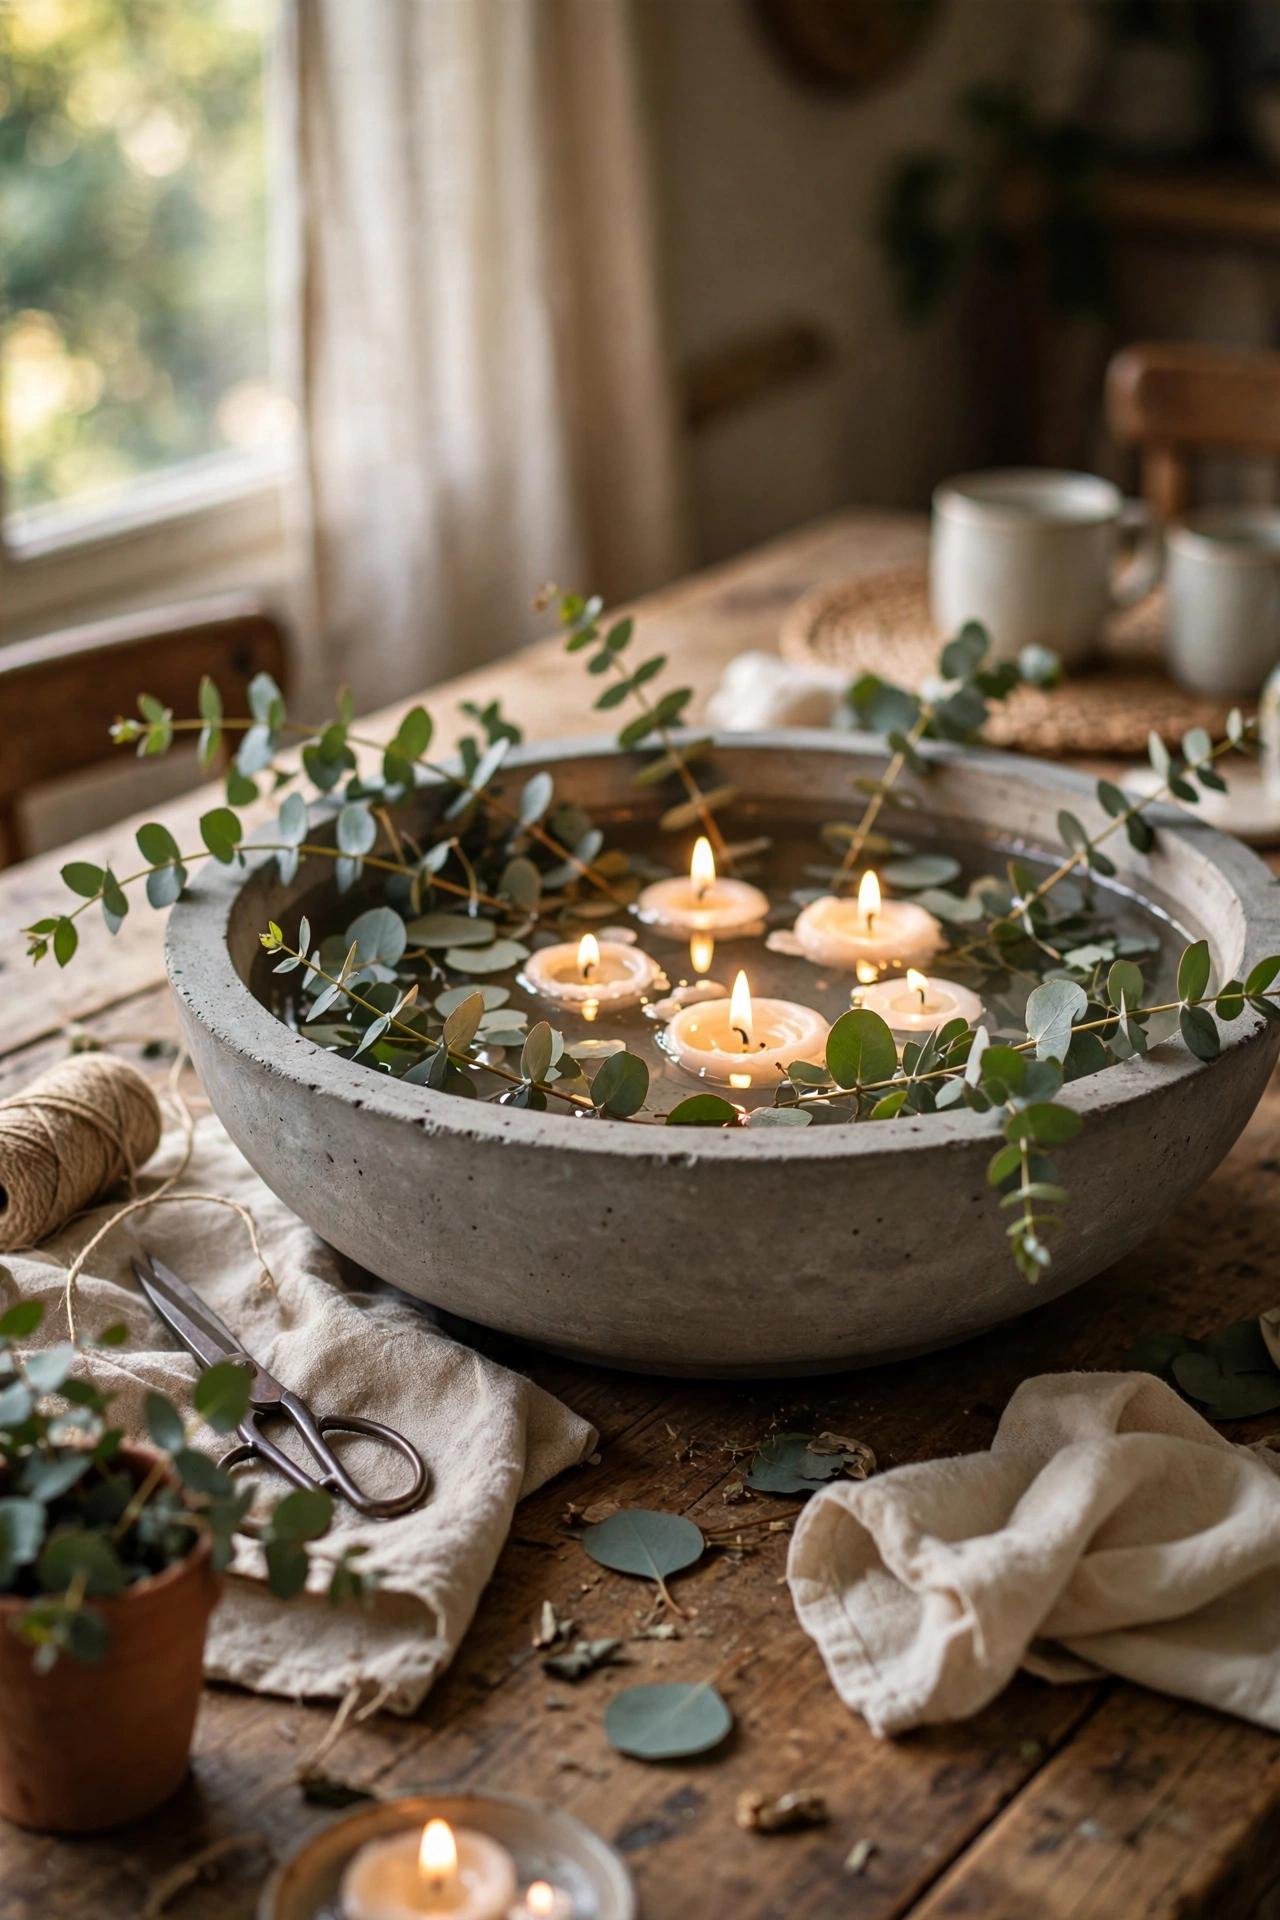
A wide concrete-look bowl makes a dramatic low centerpiece. Take a shallow plastic or glass bowl, spray with stone-texture paint, and fill with a low arrangement — floating candles, succulents, or seasonal fruit. I fill mine differently every month and it is the hardest-working piece on my table. Do keep arrangements low so conversation flows over the bowl. Don’t use real concrete for a dining bowl — the weight is impractical. The low profile is what makes it work for entertaining.
Cost: ~$6-11 | Time: 30 minutes plus drying
9. Painted Milk Bottle Vases
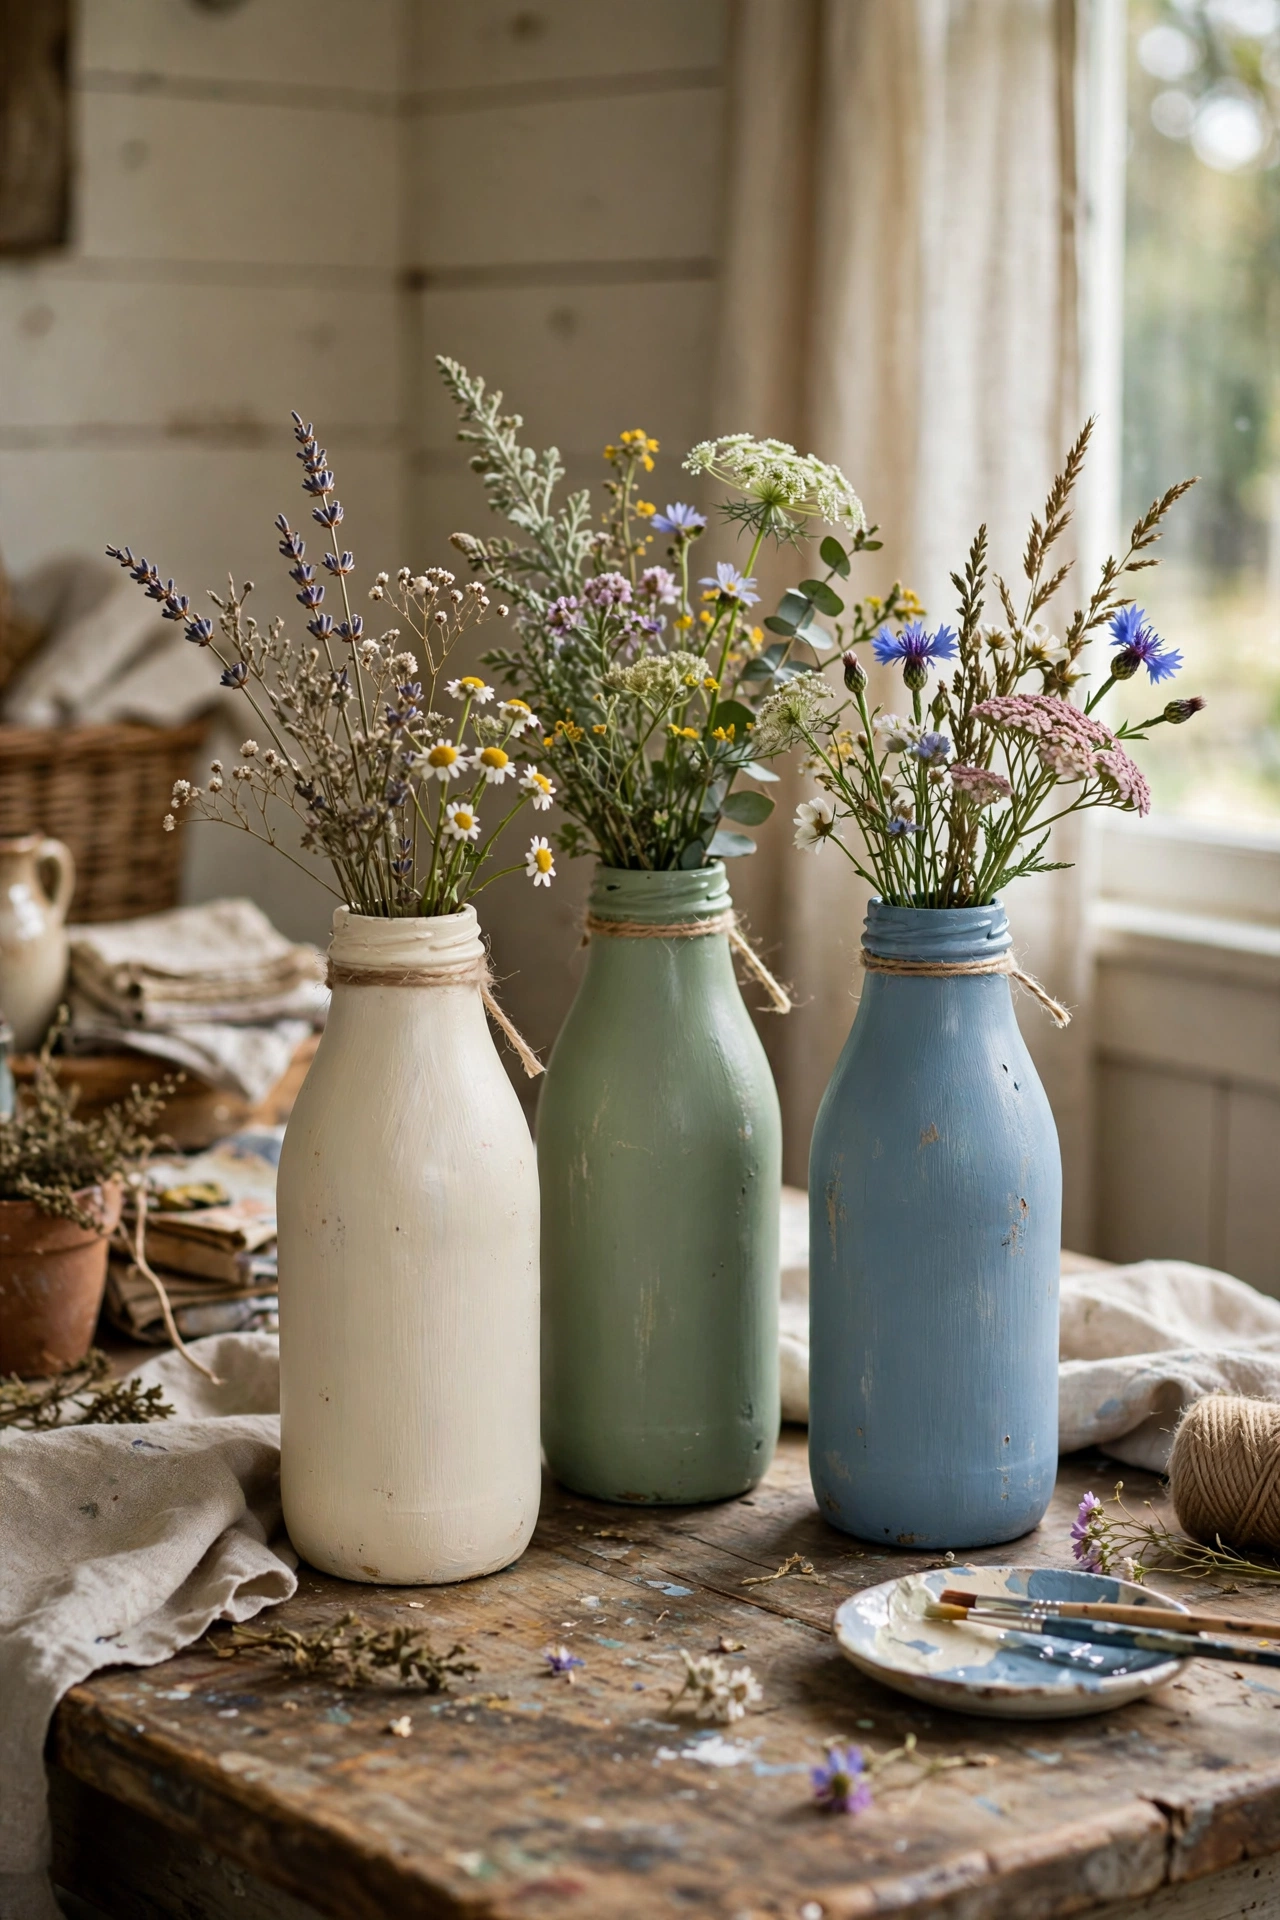
Old glass milk bottles painted in soft colours make the sweetest farmhouse centerpiece. Paint three bottles in cream, sage, and dusty blue with chalk paint, distress lightly, and group with wildflowers. I found my bottles at a flea market for $2 each and the set looks straight out of a country inn. Do leave the embossed lettering visible if your bottles have it — paint lightly over rather than filling it in. Don’t use glossy paint; the chalky matte finish is the farmhouse look. Tie twine around the necks for extra charm.
Cost: ~$7-13 | Time: 45 minutes plus drying
10. Frosted Vase with Etching Cream
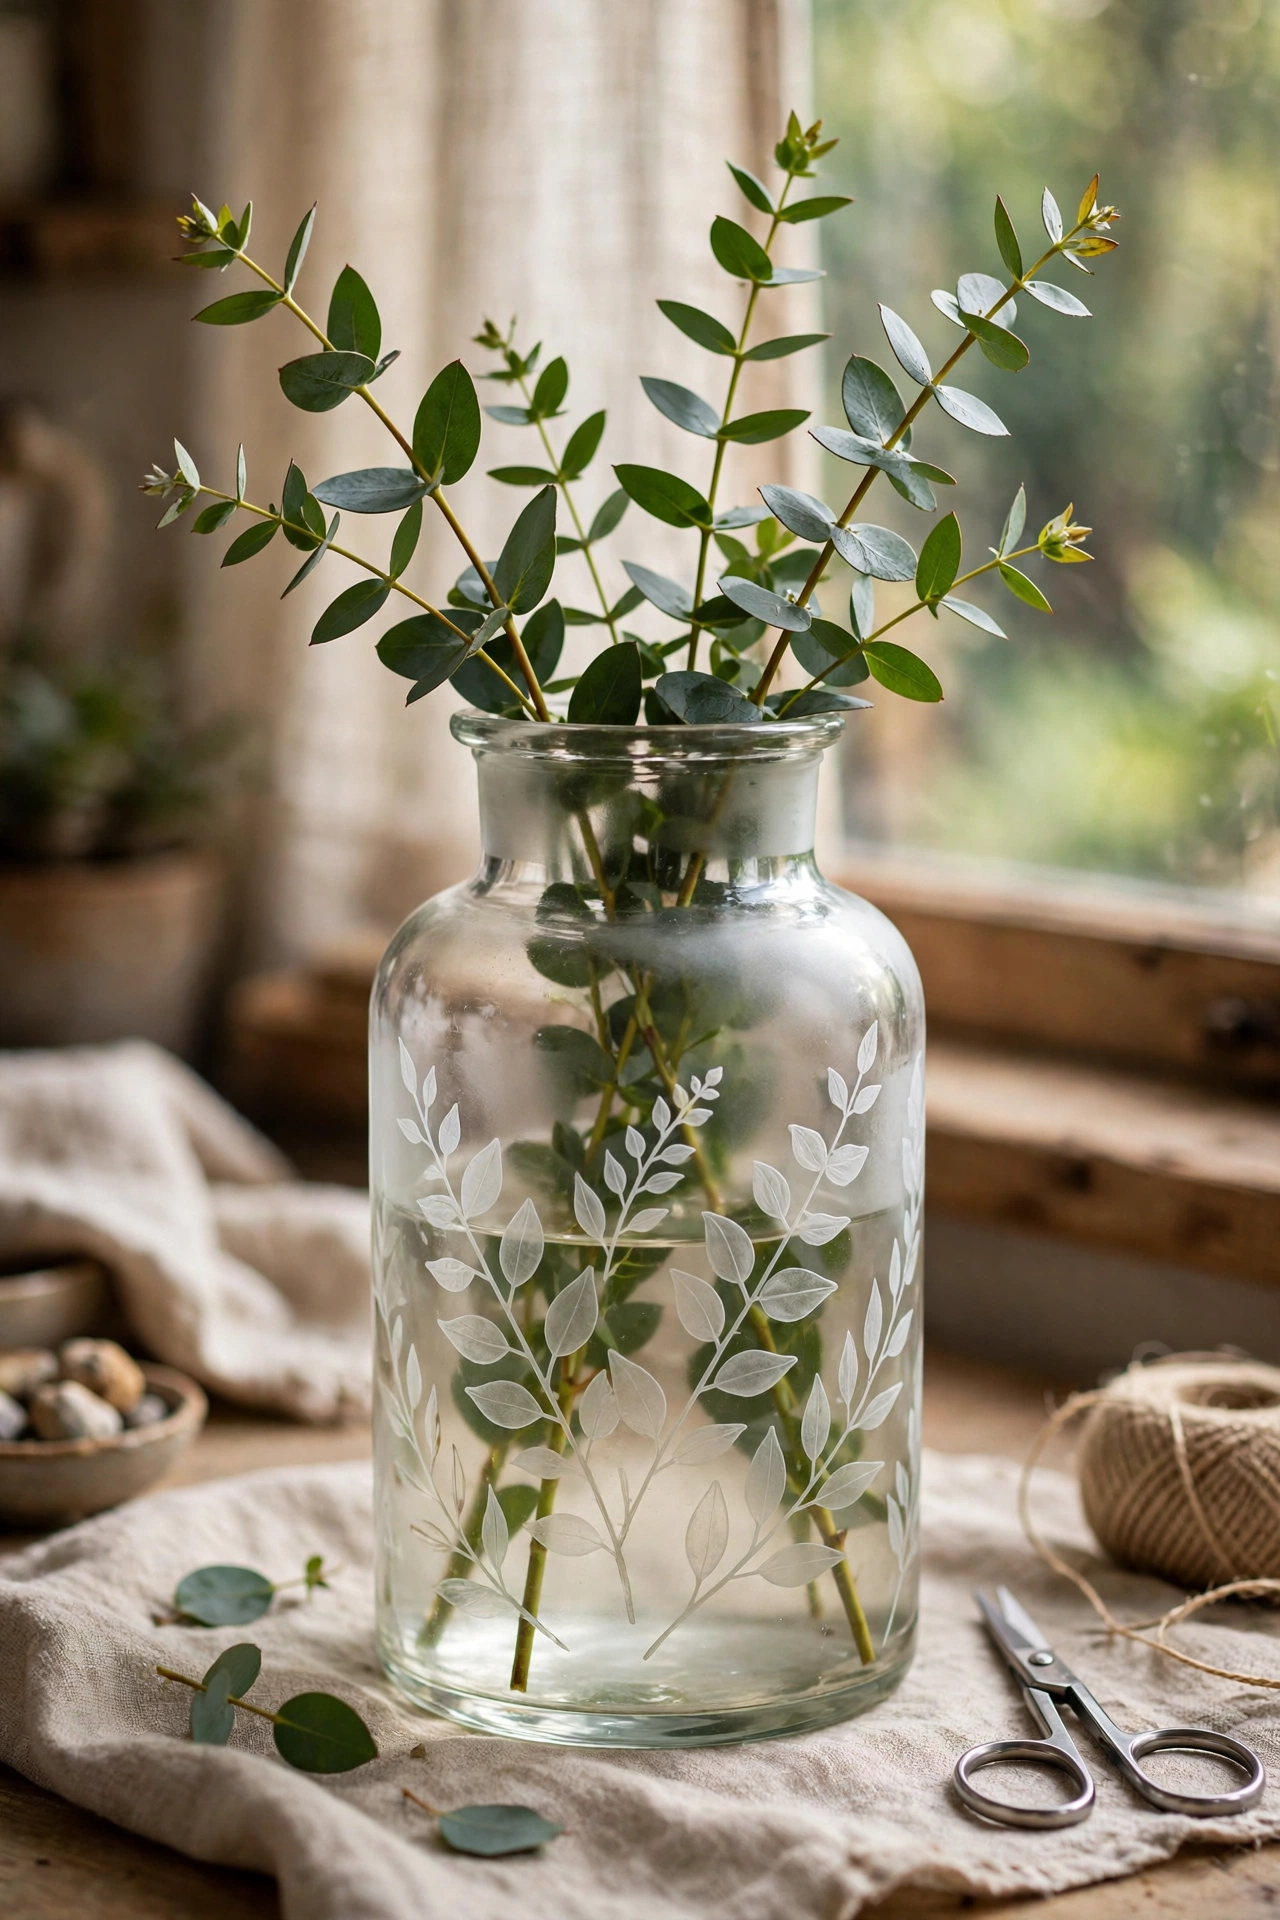
Etching cream creates permanent frosted patterns that look sandblasted. Apply a leaf or dot stencil to a clean glass vase, brush on etching cream, wait 15 minutes, and rinse. I etched eucalyptus sprigs onto a cylinder vase and it looks like apothecary glass. Do wear gloves — etching cream is caustic. Don’t leave it on longer than directed; it does not etch deeper, just unevenly. This is stunning with water and fresh stems because the frost glows.
Cost: ~$7-12 | Time: 40 minutes
11. Textured Plaster Vase
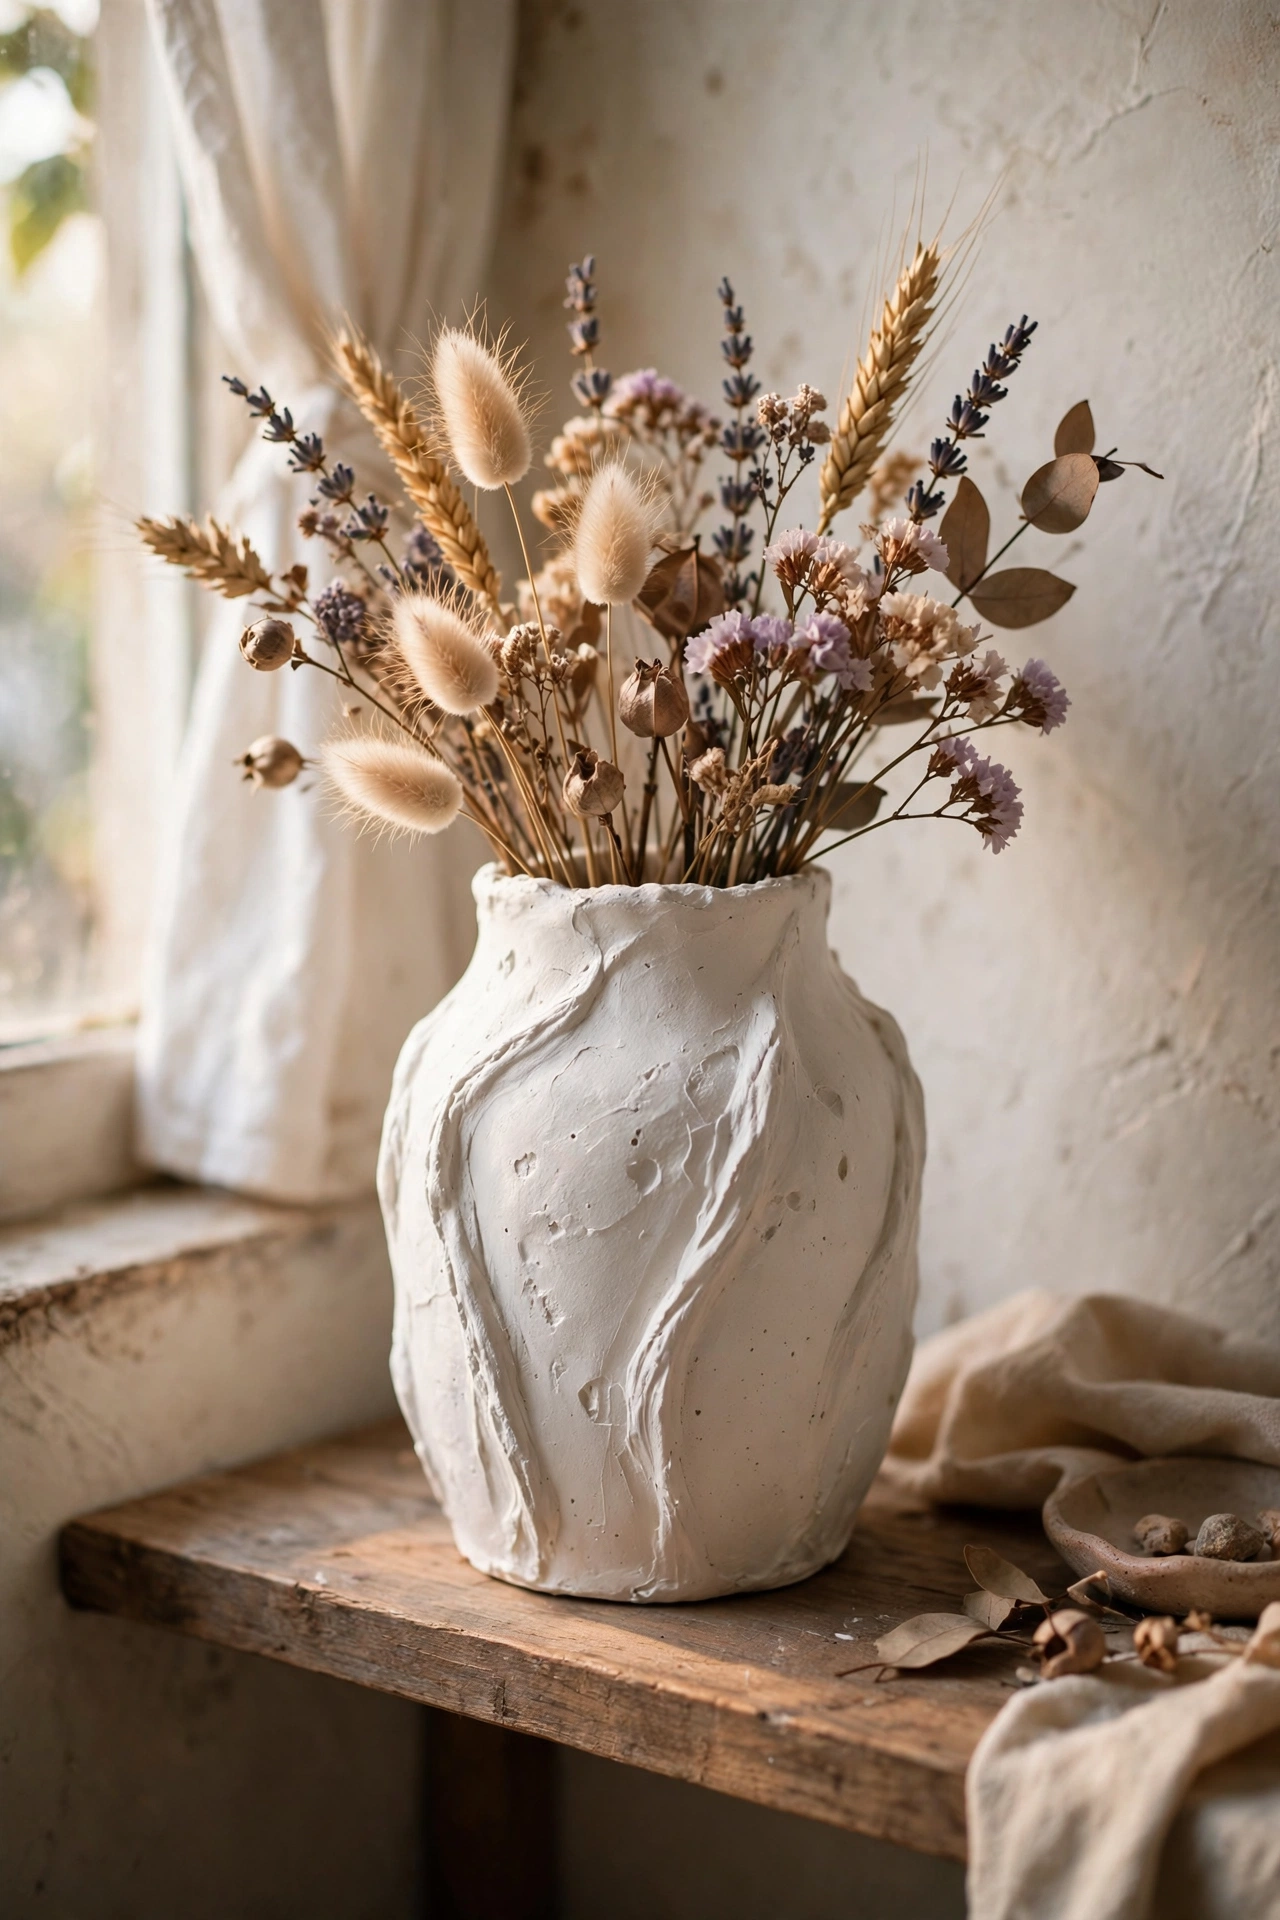
A plaster-textured vase has the handmade wabi-sabi look designers charge $60 for. Trowel a thin layer of plaster or joint compound over a plain vase, working in organic sweeps, and paint matte white or cream once dry. Mine has soft ridges that catch the light and it is my favourite vessel. Do keep the layer thin — thick plaster cracks and adds too much weight. Don’t aim for perfection; the handmade unevenness is the aesthetic. Seal with matte varnish if you will use water inside.
Cost: ~$6-10 | Time: 1 hour plus drying
12. Amber Glass Vase from Tint Spray
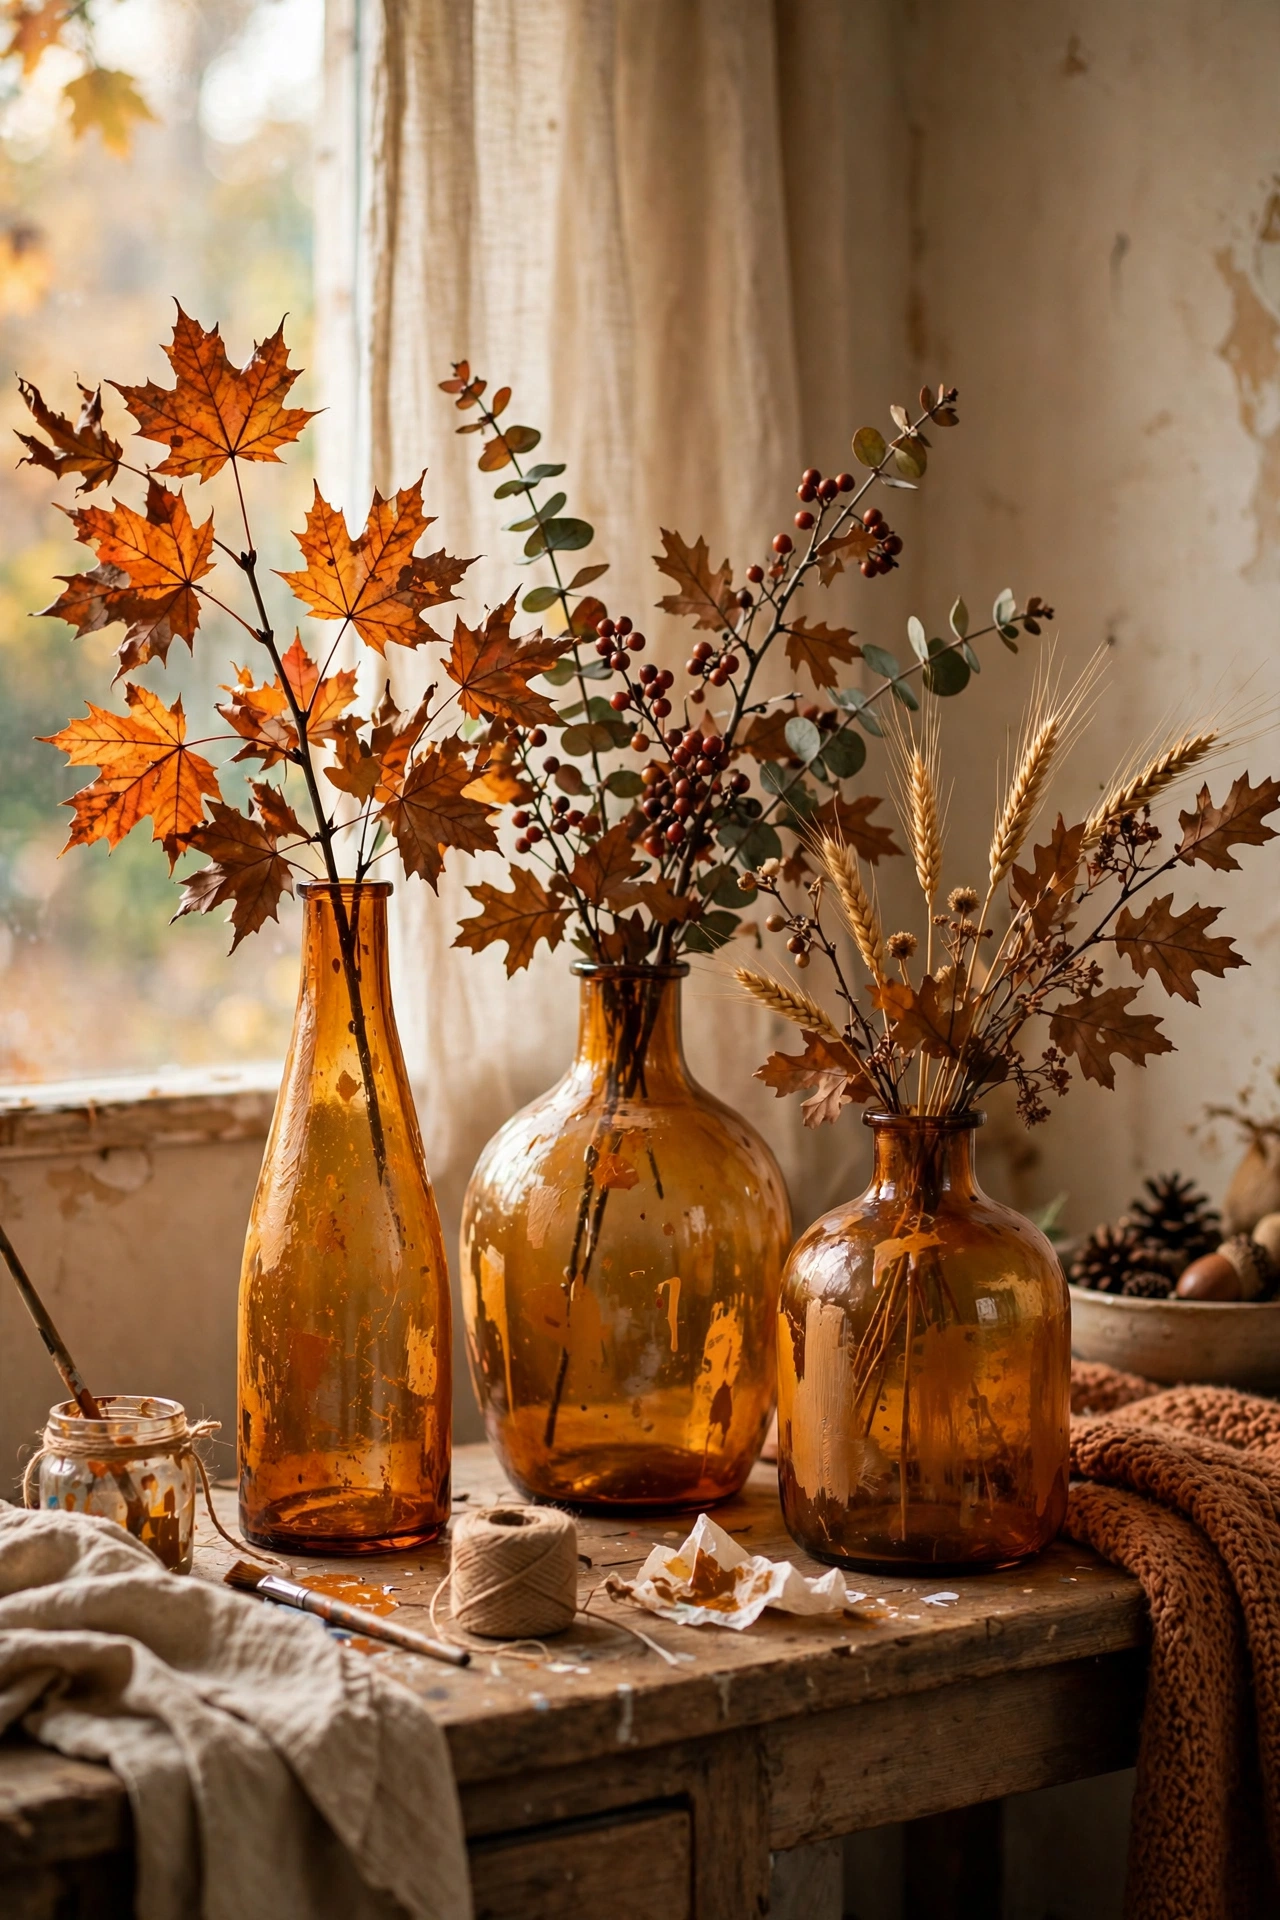
Amber glass vases glow beautifully in evening light, and tint spray fakes them. Spray a clear glass vase with amber glass-tint spray in light even coats. I tinted three different-shaped vases and grouped them — the amber unifies the mismatched shapes. Do spray in thin coats to avoid drips, which show badly on glass. Don’t touch the vase until fully cured; tint spray scratches easily in the first 24 hours. Autumn branches in amber glass are unbeatable.
Cost: ~$6-10 | Time: 25 minutes plus curing
13. Dried Flower Centerpiece in a Stoneware Vase
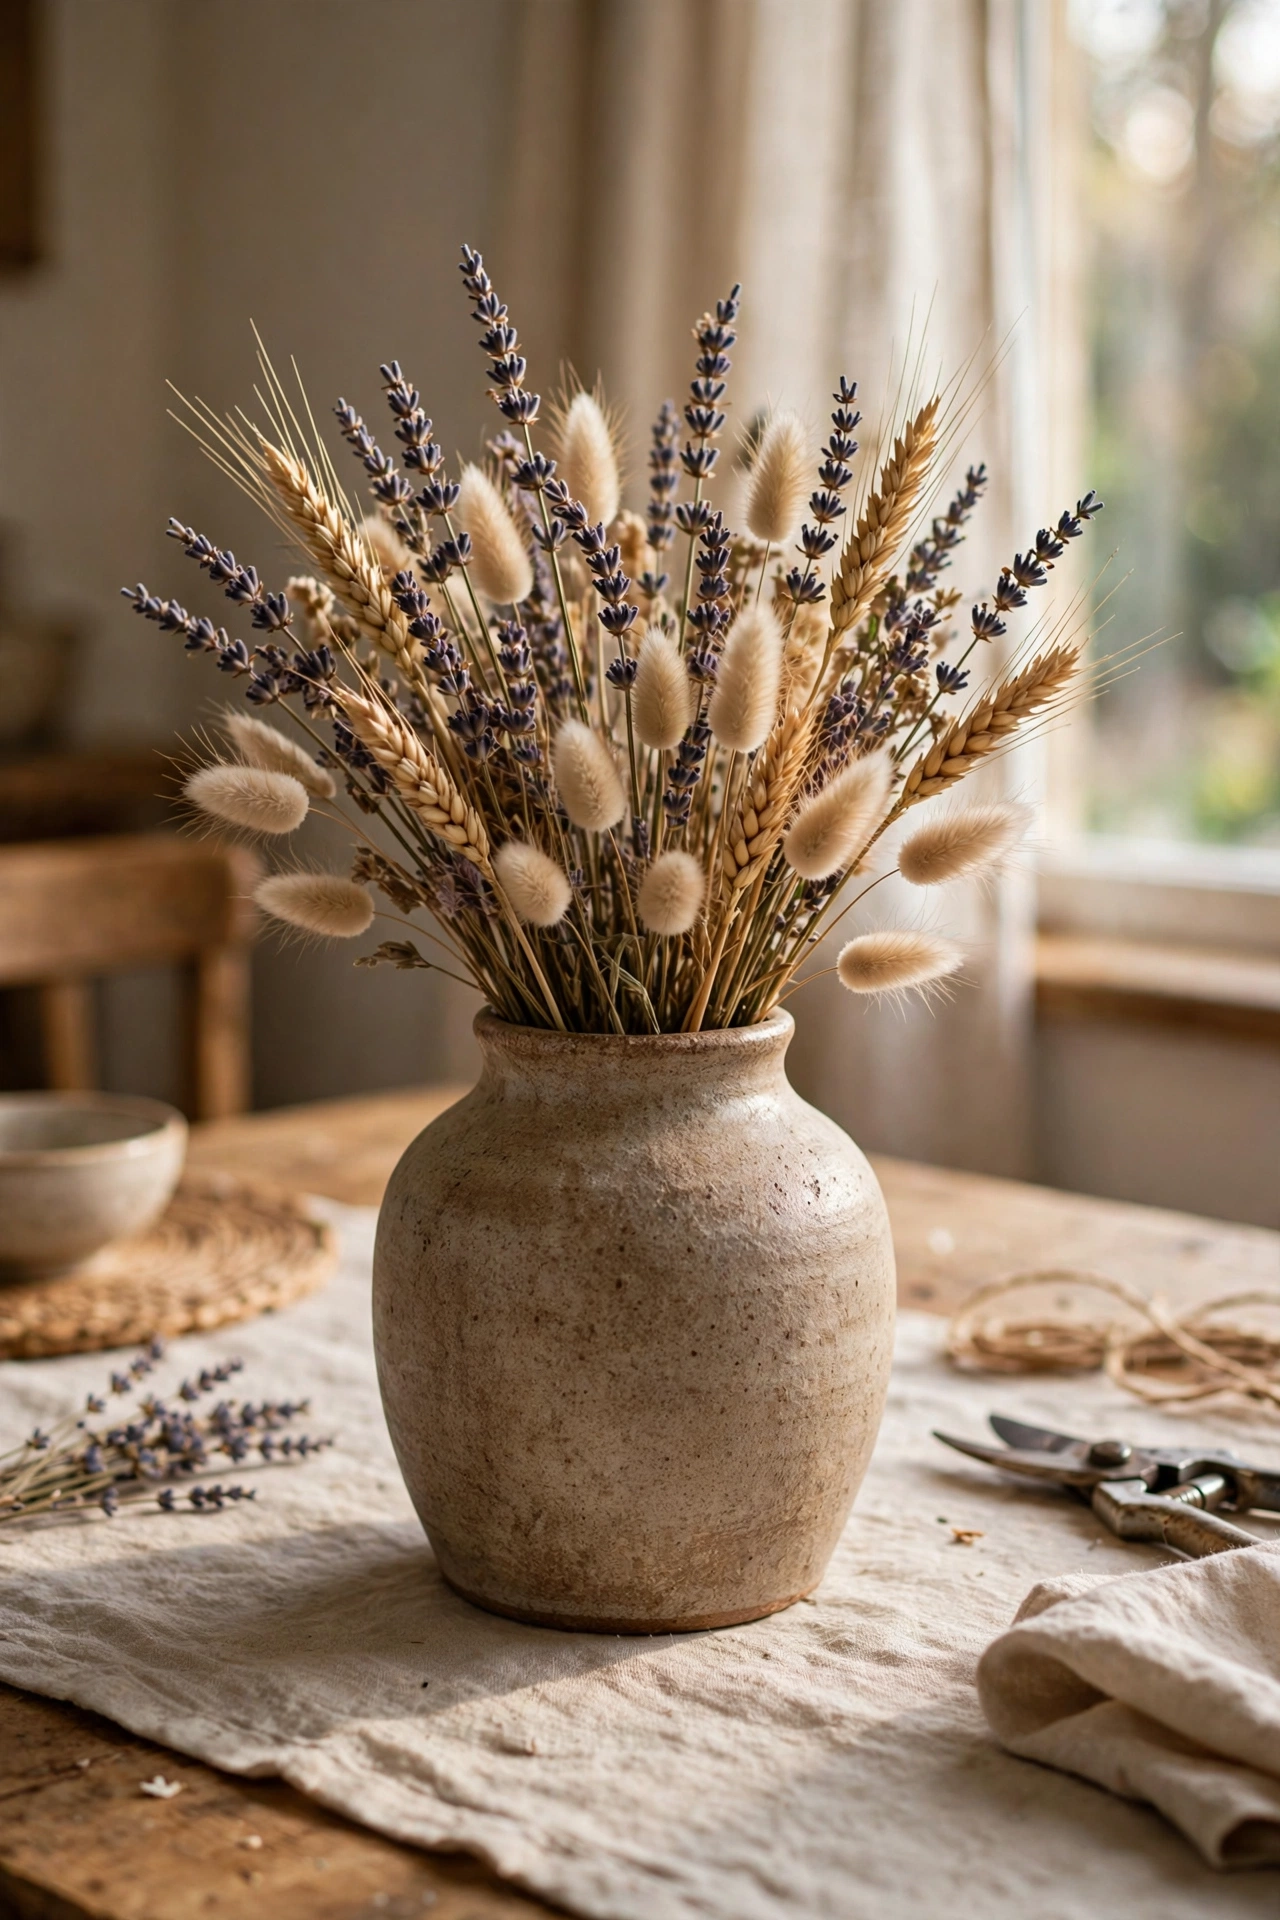
Sometimes the centerpiece is the arrangement, not the vessel. Fill a simple stoneware-look vase — see idea 5 for the finish — with dried flowers: lavender, wheat, bunny tails, and strawflower in your palette. I keep a dried arrangement on my table year-round and it never wilts, never needs water. Do cut stems to graduated heights — tallest in the centre. Don’t cram too many stems; dried flowers need air between them to look natural. This is the lowest-maintenance centerpiece that exists.
Cost: ~$10-18 | Time: 30 minutes
14. Branch Centerpiece in a Tall Vase
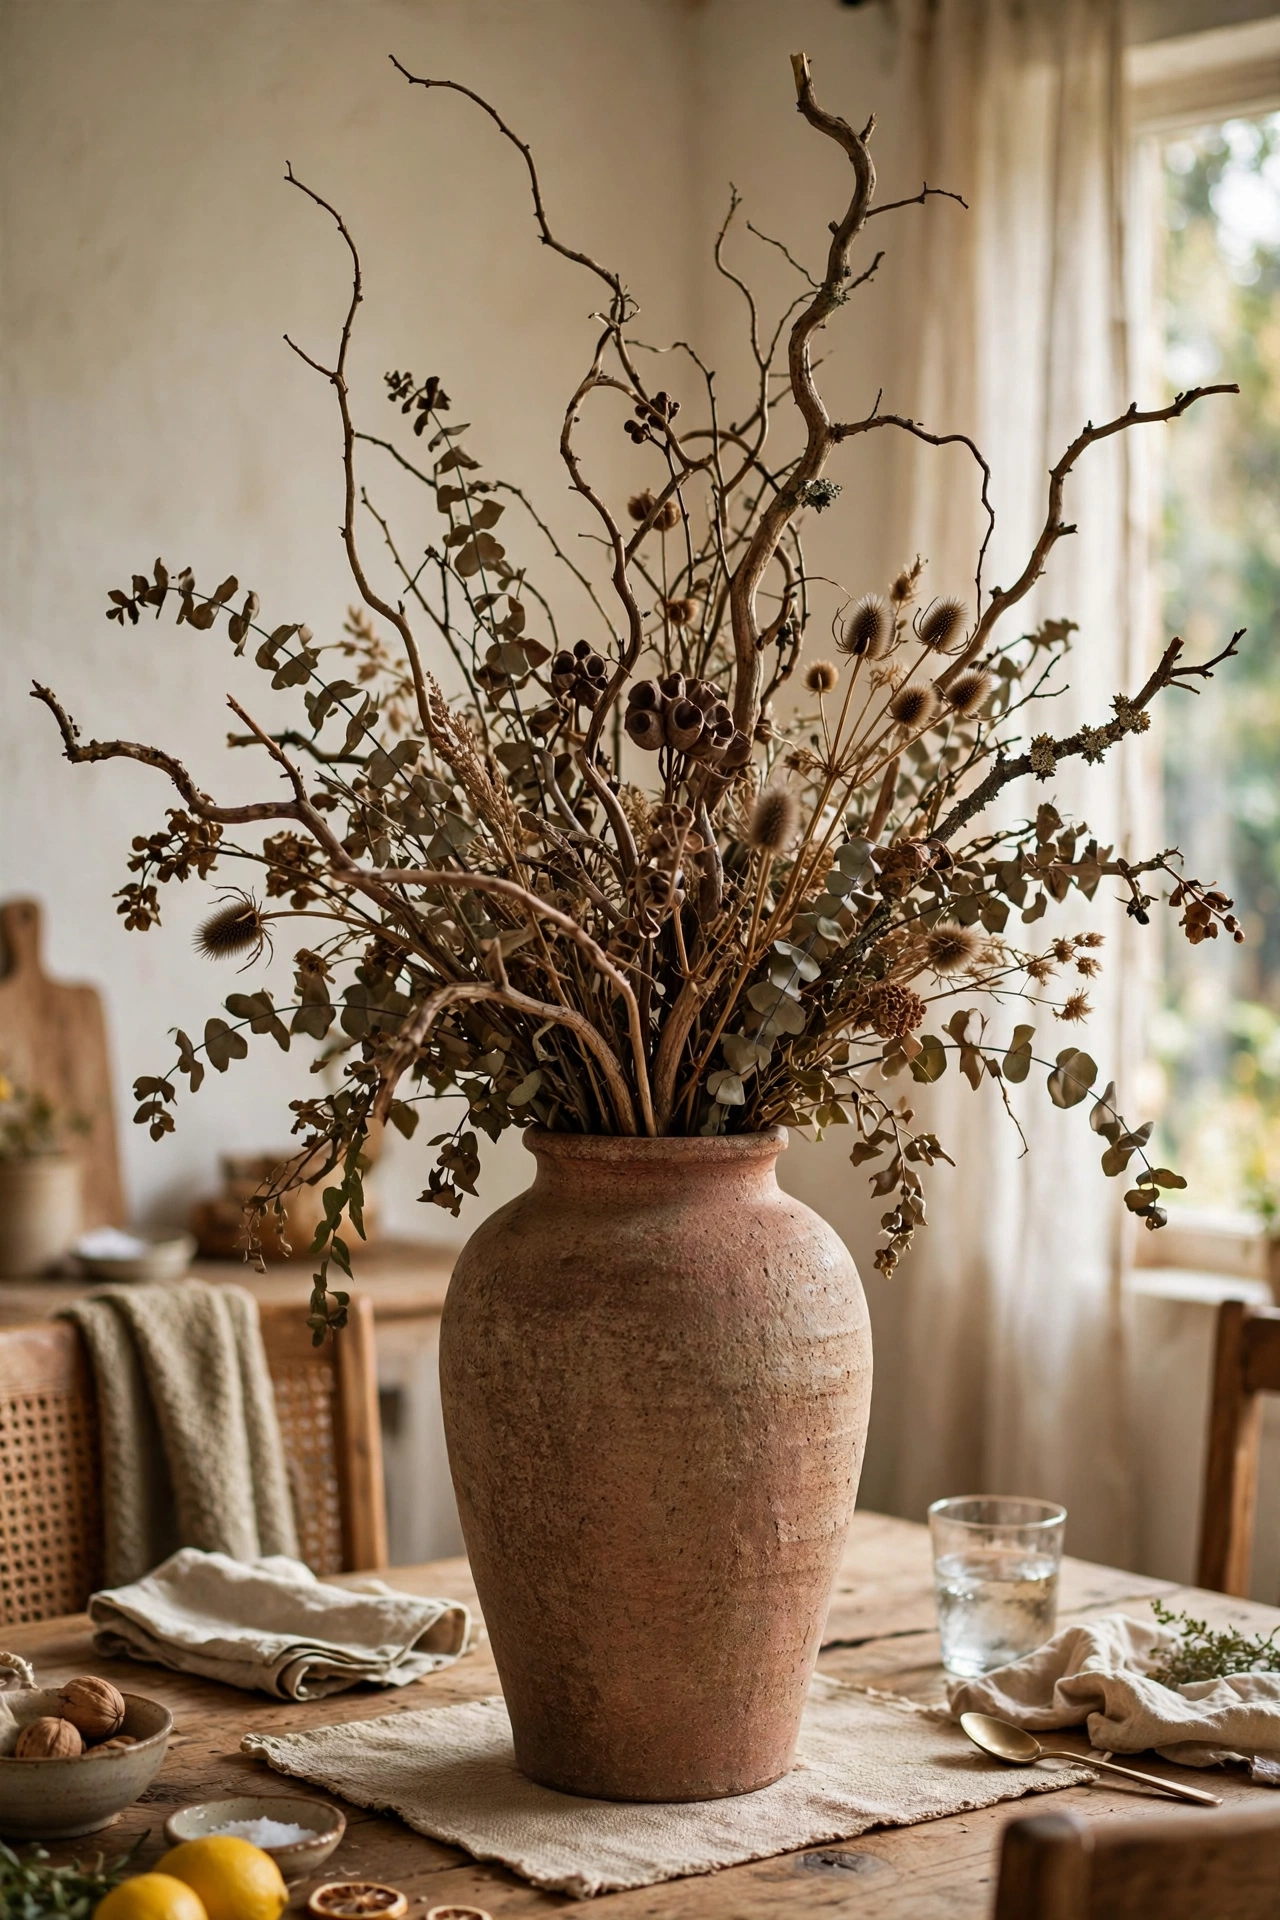
Tall branches in a statement vase are the florist’s trick for dramatic height. Forage interesting branches — contorted willow, blossom, or even bare winter branches — and arrange three to five in a tall heavy vase. I change my branches seasonally: blossom in spring, bare branches with fairy lights in winter. Do use a heavy vase; tall branches are top-heavy and tip light vessels. Don’t overcrowd — negative space between branches is what makes it sculptural. Free, dramatic, and endlessly changeable.
Cost: ~$0-10 | Time: 20 minutes
15. Candle and Greenery Tray Centerpiece
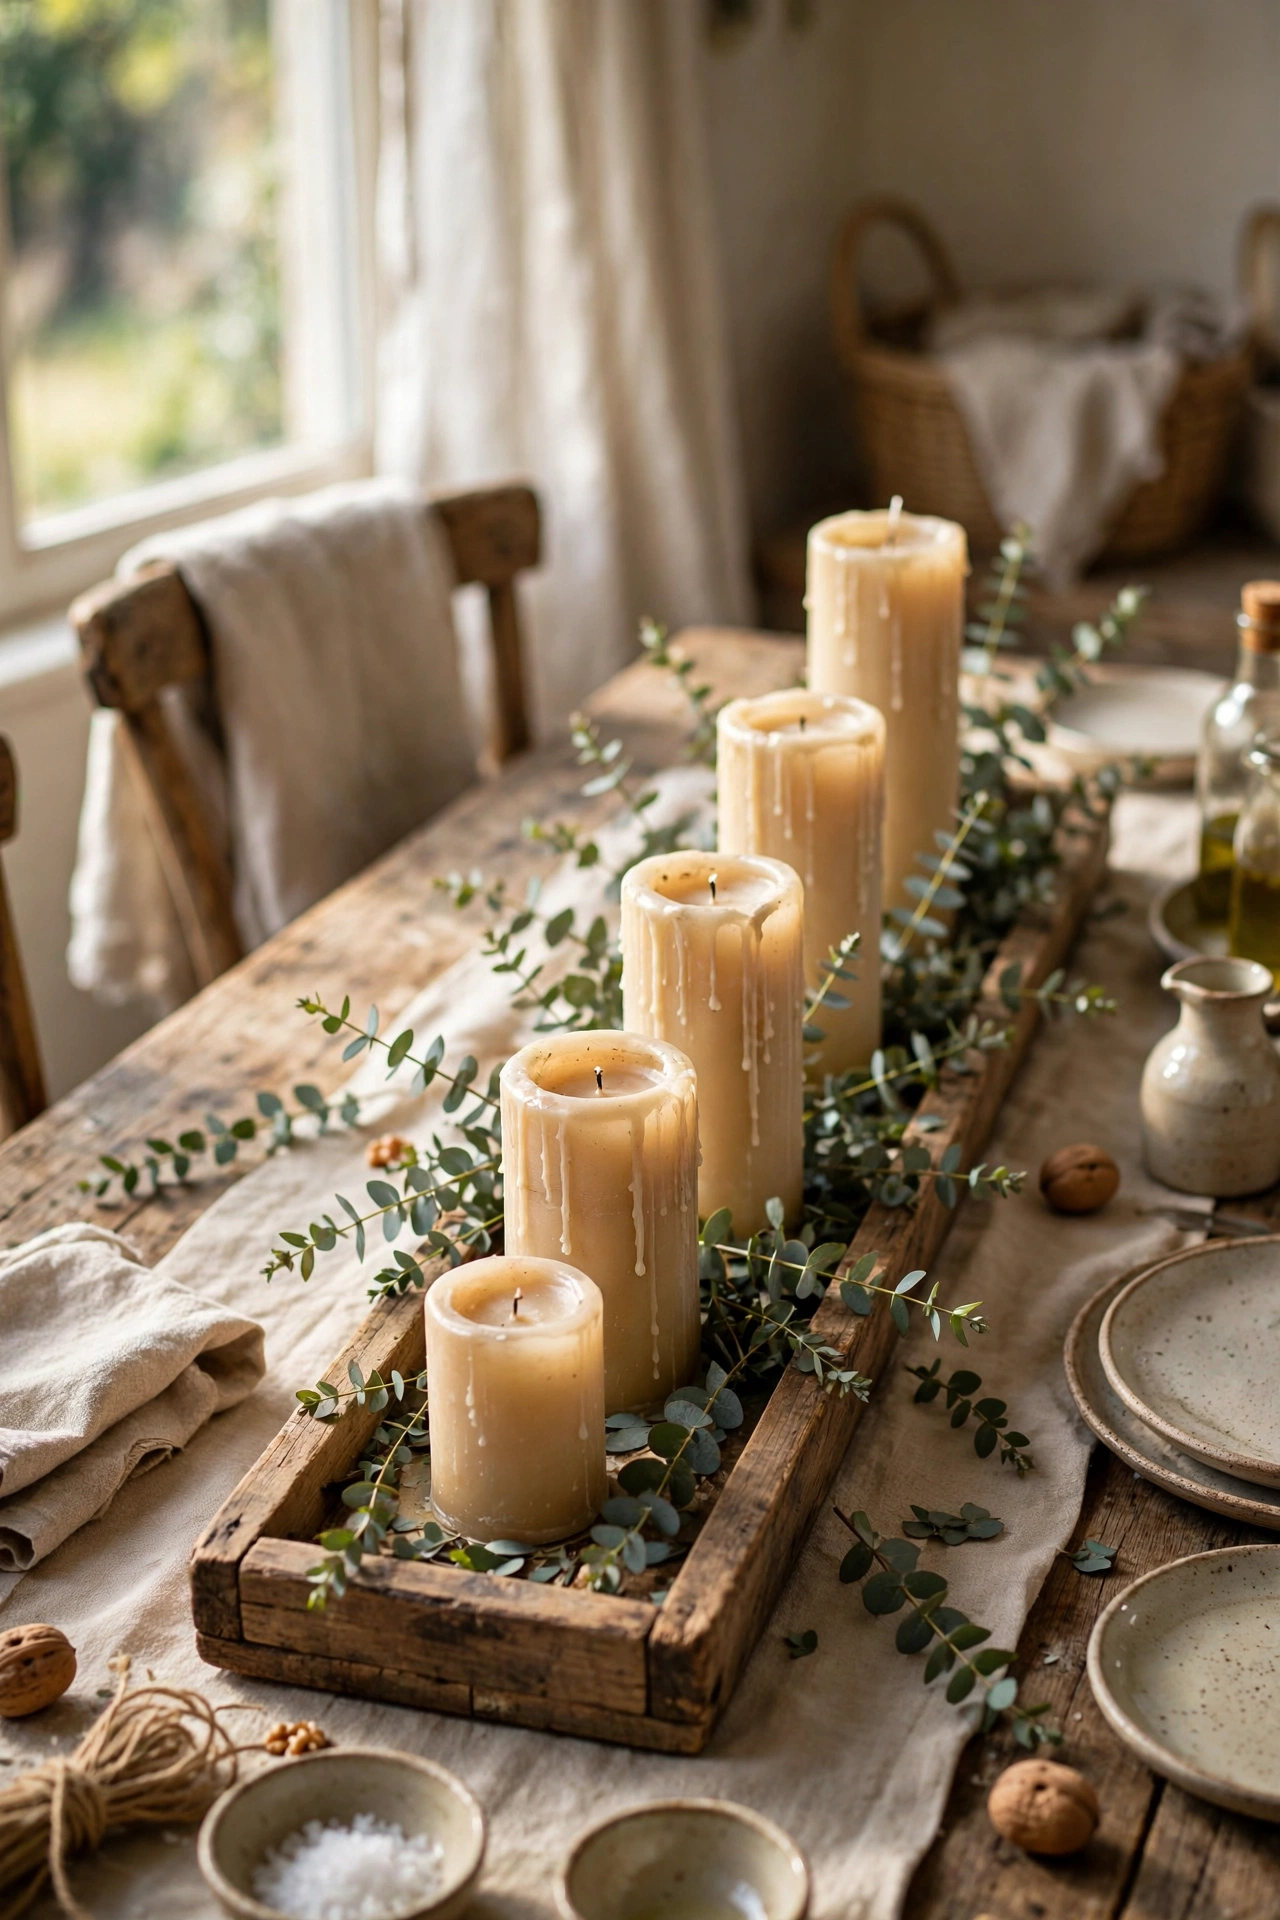
A wooden tray dressed with candles and greenery is the effortless entertaining centerpiece. Take a long tray, add three pillar candles in varying heights, tuck eucalyptus or fir sprigs around the bases, and you are done. I refresh the greenery seasonally and the tray moves from dining table to coffee table as needed. Do use flameless candles if children or pets share the table. Don’t let greenery touch real flames — keep a clear margin. The tray corrals everything so the table still feels tidy.
Cost: ~$12-20 | Time: 15 minutes
16. Dough Bowl Centerpiece with Seasonal Stems
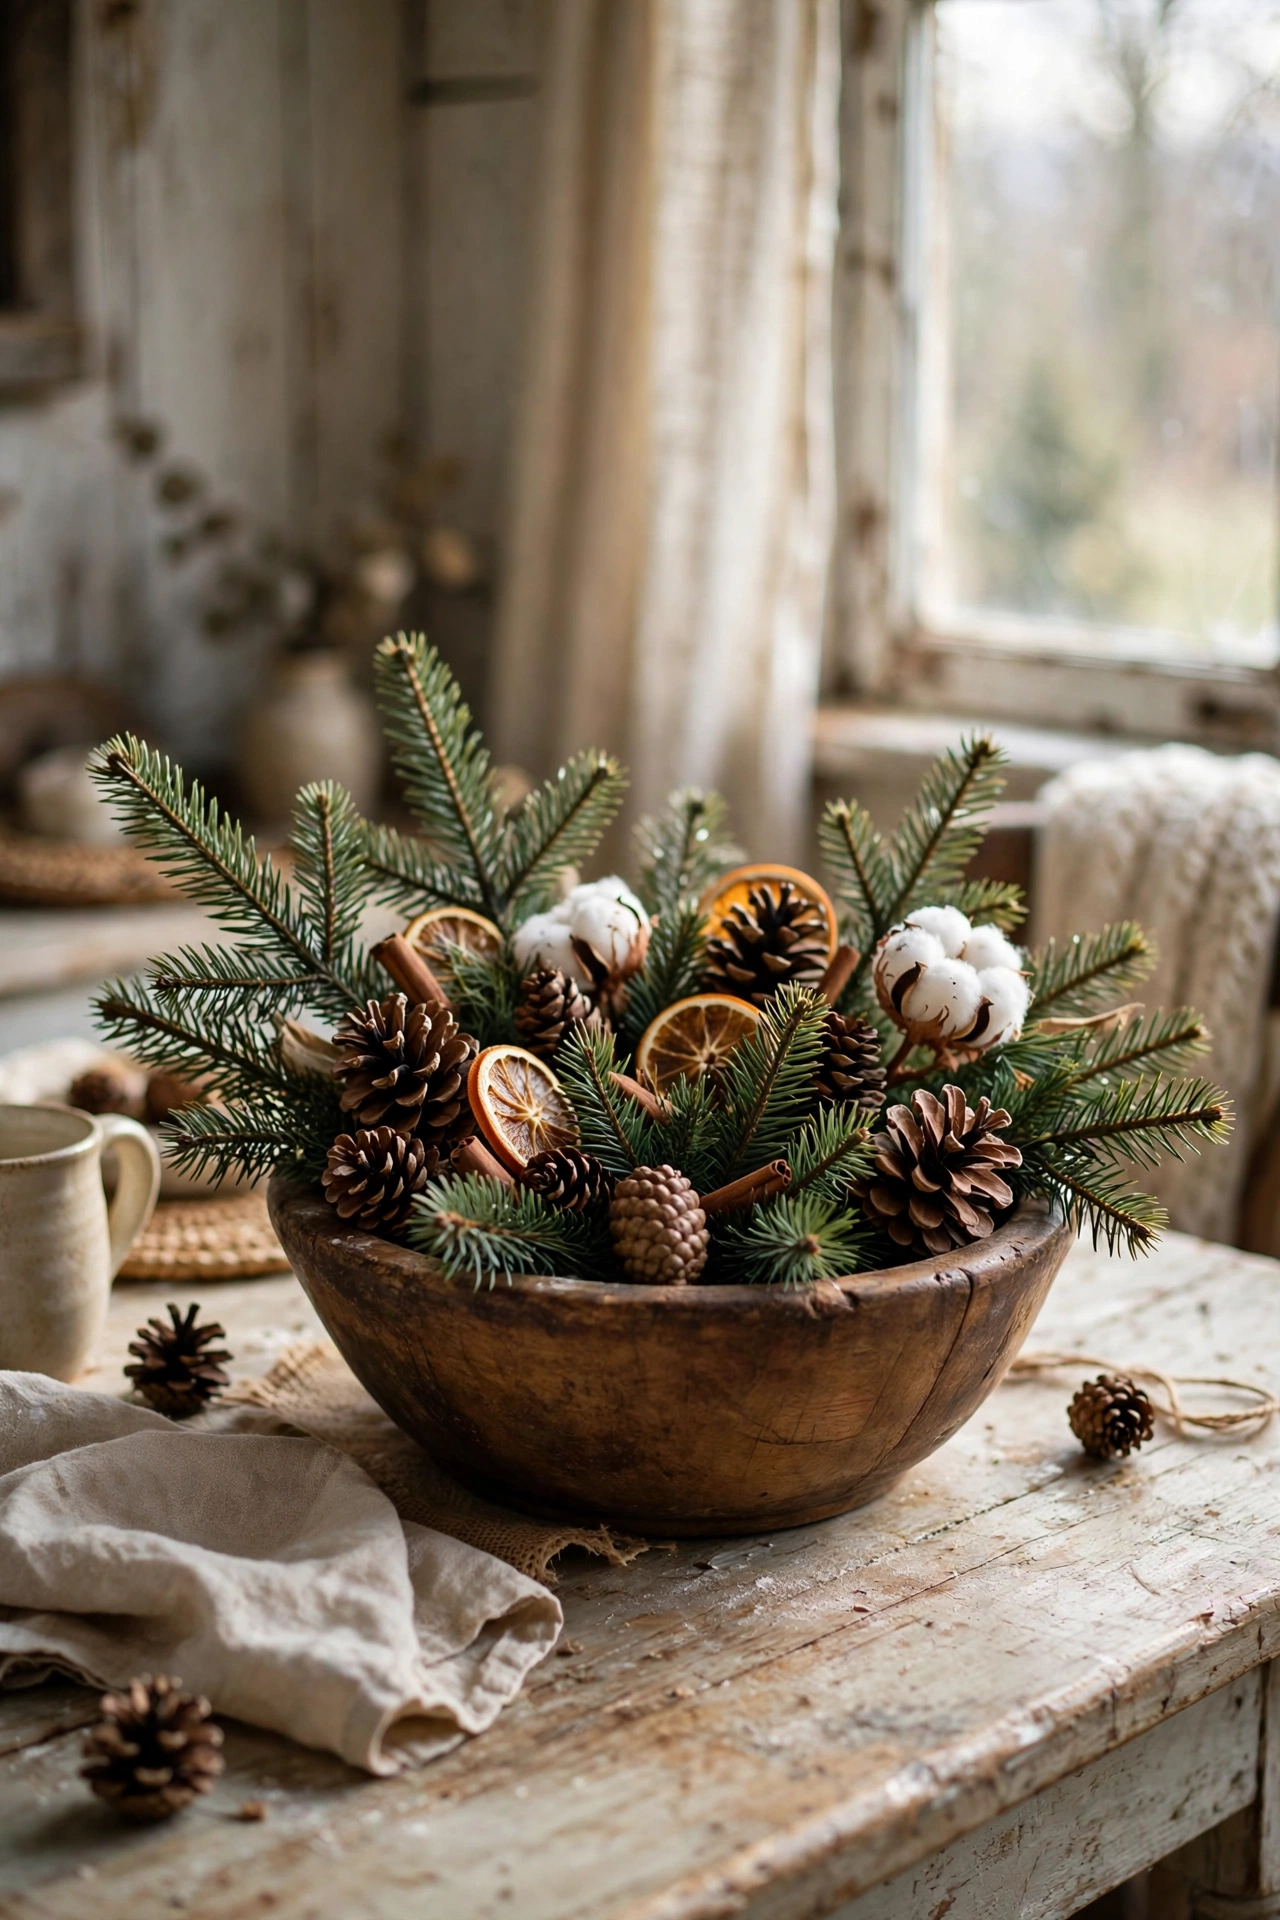
A wooden dough bowl filled seasonally is farmhouse centerpiece perfection. Buy an inexpensive dough bowl — or a long wooden trough — and fill it with whatever the season offers: pinecones and fir in winter, lemons in summer, pumpkins in autumn. Mine gets a full refresh four times a year and it is the easiest decorating I do. Do line the bowl if using anything damp. Don’t glue anything down; the loose fill is what makes seasonal swaps take five minutes. This is the centerpiece that never gets boring.
Cost: ~$15-25 | Time: 15 minutes per season
17. Tiered Vase Arrangement (The Height Rule)
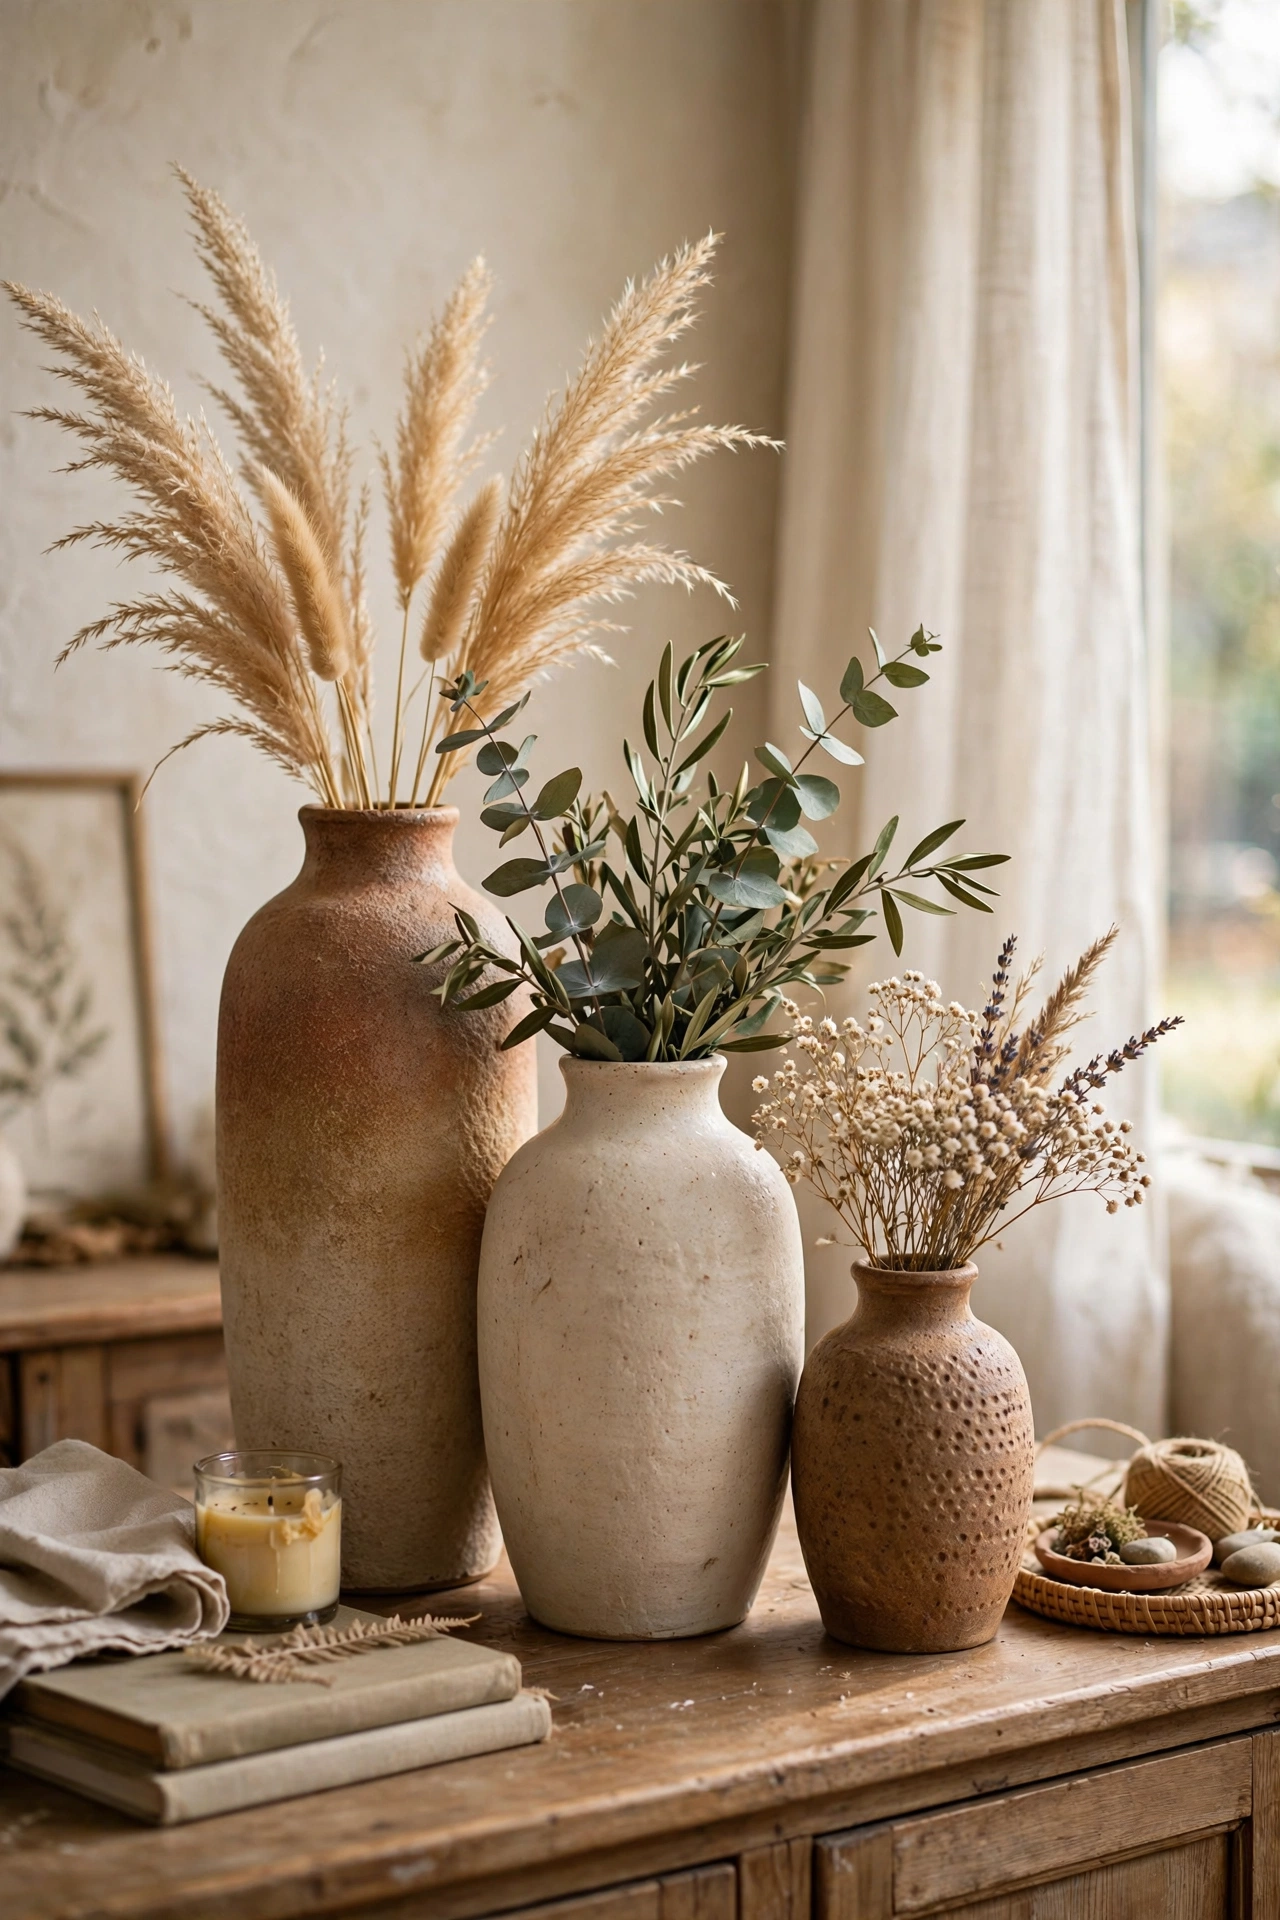
The height rule makes any vase grouping look professional: arrange three vases in descending heights, roughly in a 3-2-1 ratio. I use this formula on my sideboard with vases I already owned, and it instantly looked styled. Do keep the vases in the same colour family so the heights, not the colours, do the talking. Don’t space them evenly — cluster them with small gaps so they read as one arrangement. This works with any three vessels you own right now.
Cost: ~$0-10 | Time: 10 minutes
18. Vintage Bottle Cluster Centerpiece
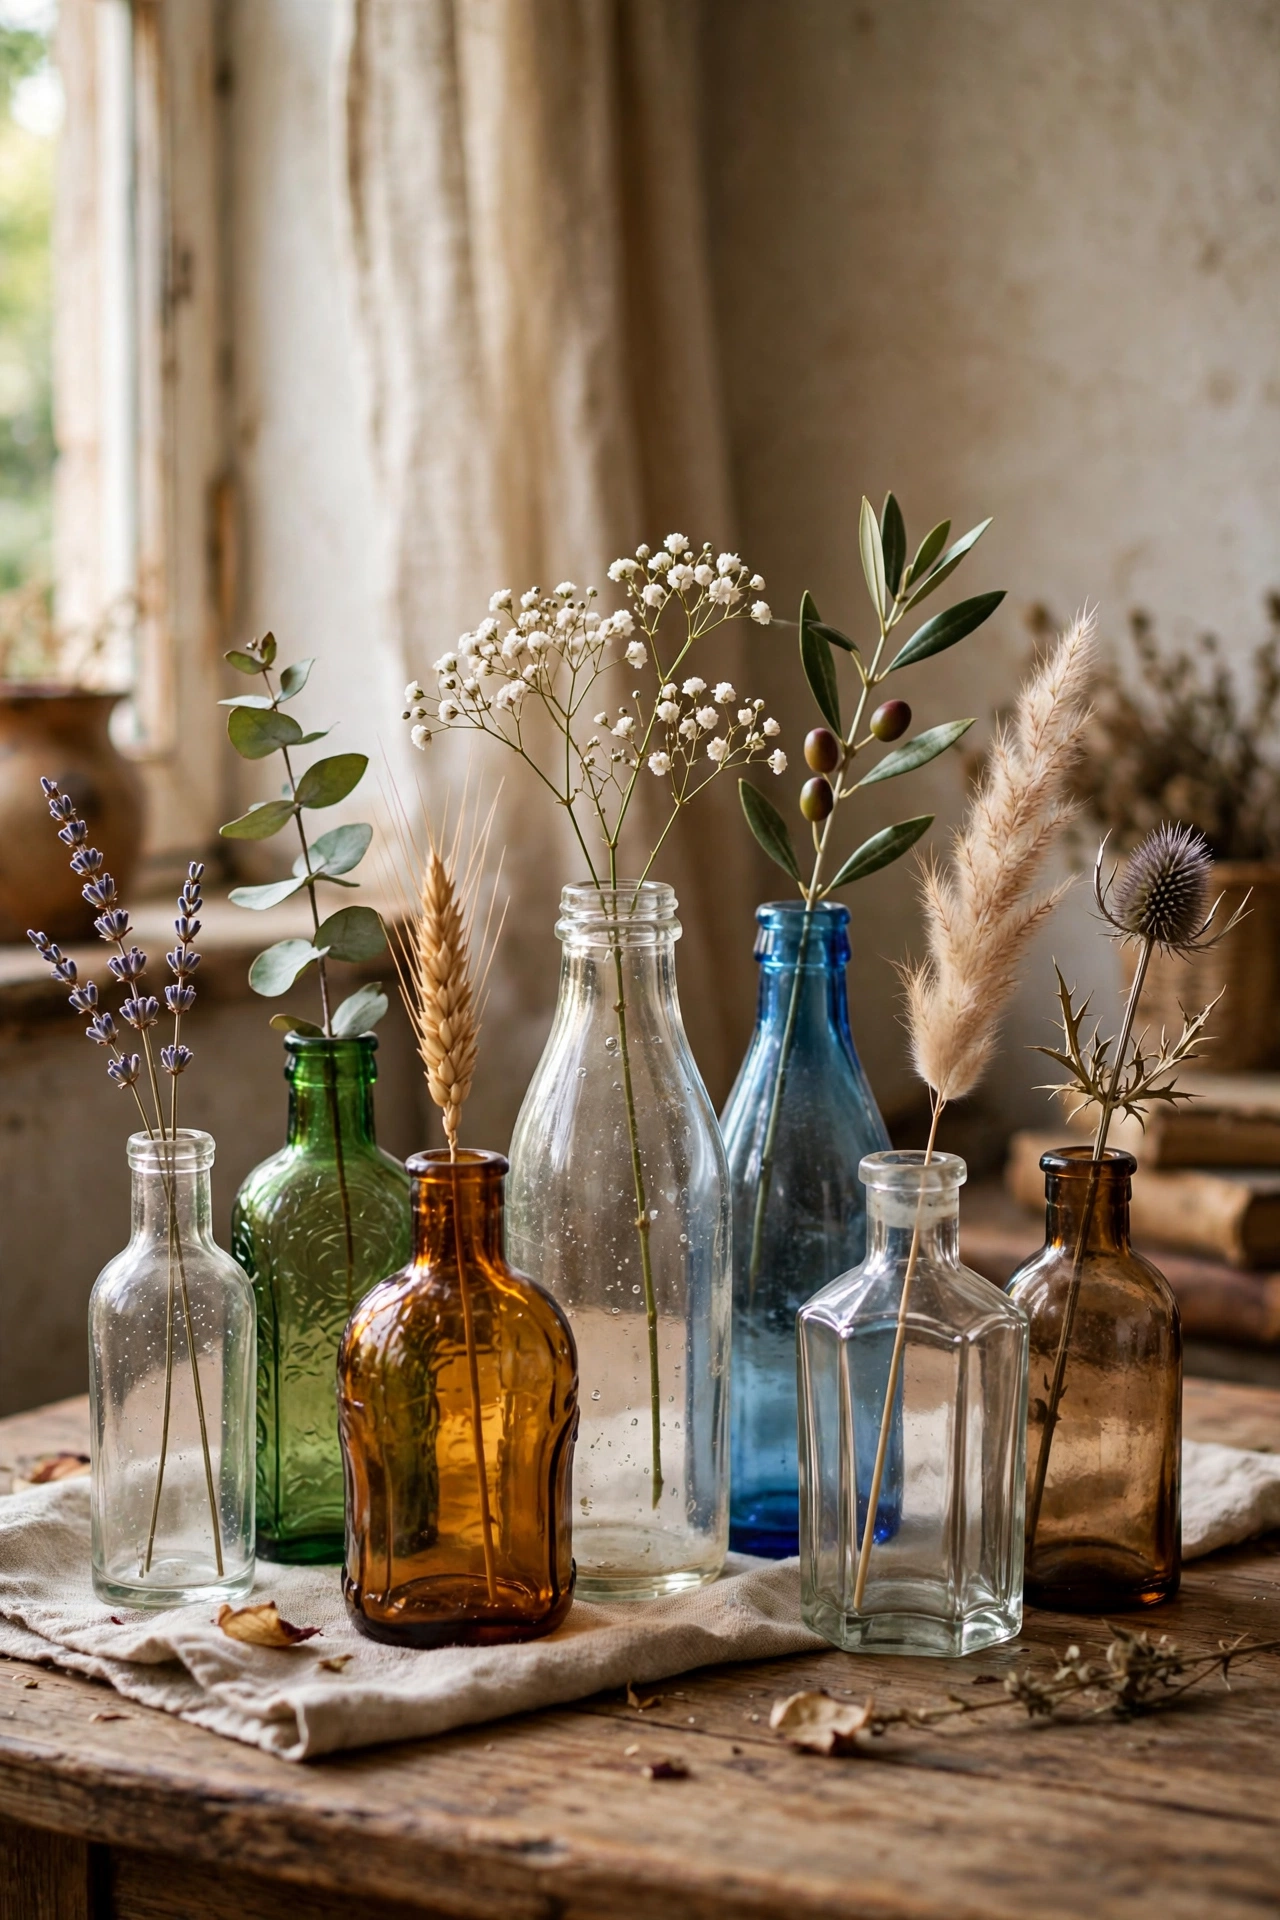
A cluster of vintage bottles with single stems is the easiest impressive centerpiece. Collect interesting glass bottles — apothecary, coloured glass, embossed — from charity shops, clean them well, and group five to seven with one stem in each. I built my cluster for $9 and it looks like a curated antique collection. Do vary the heights and colours for interest. Don’t fill every bottle; leave one or two empty for breathing room. Single stems in each keep it elegant rather than fussy.
Cost: ~$7-14 | Time: 20 minutes
19. Minimalist Single-Stem Vase
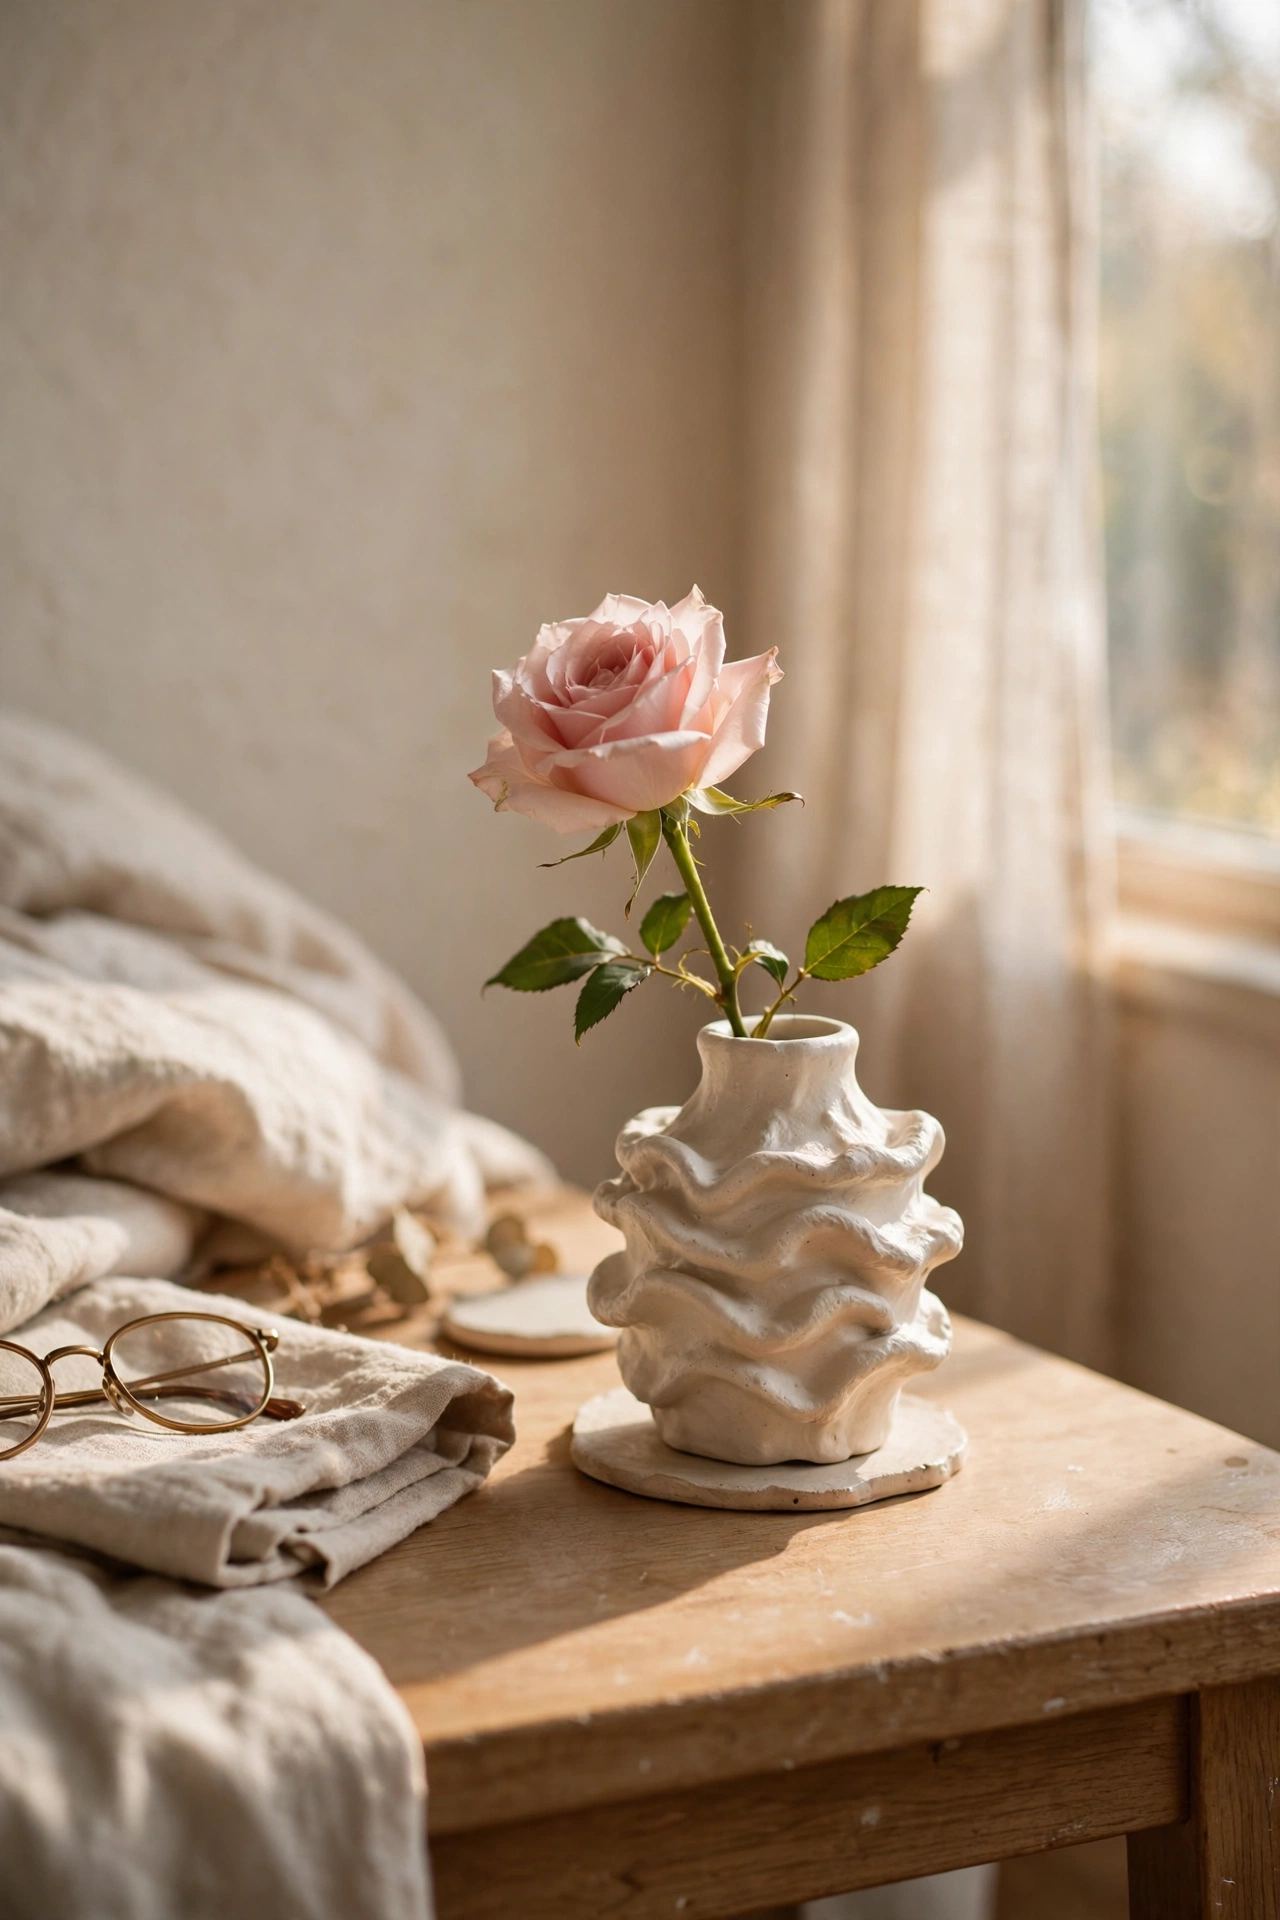
One perfect stem in a beautiful small vase beats a fussy bouquet every time. Choose a small sculptural vase and one striking stem — a single rose, an orchid, a branch of blossom — and let it stand alone. I keep a single-stem vase on my bedside table and it is the calmest corner of my room. Do cut the stem to about one and a half times the vase height. Don’t add filler; the restraint is the luxury. This is minimalism that costs almost nothing.
Cost: ~$3-8 | Time: 5 minutes
20. Woven Basket Vase for Pampas Grass
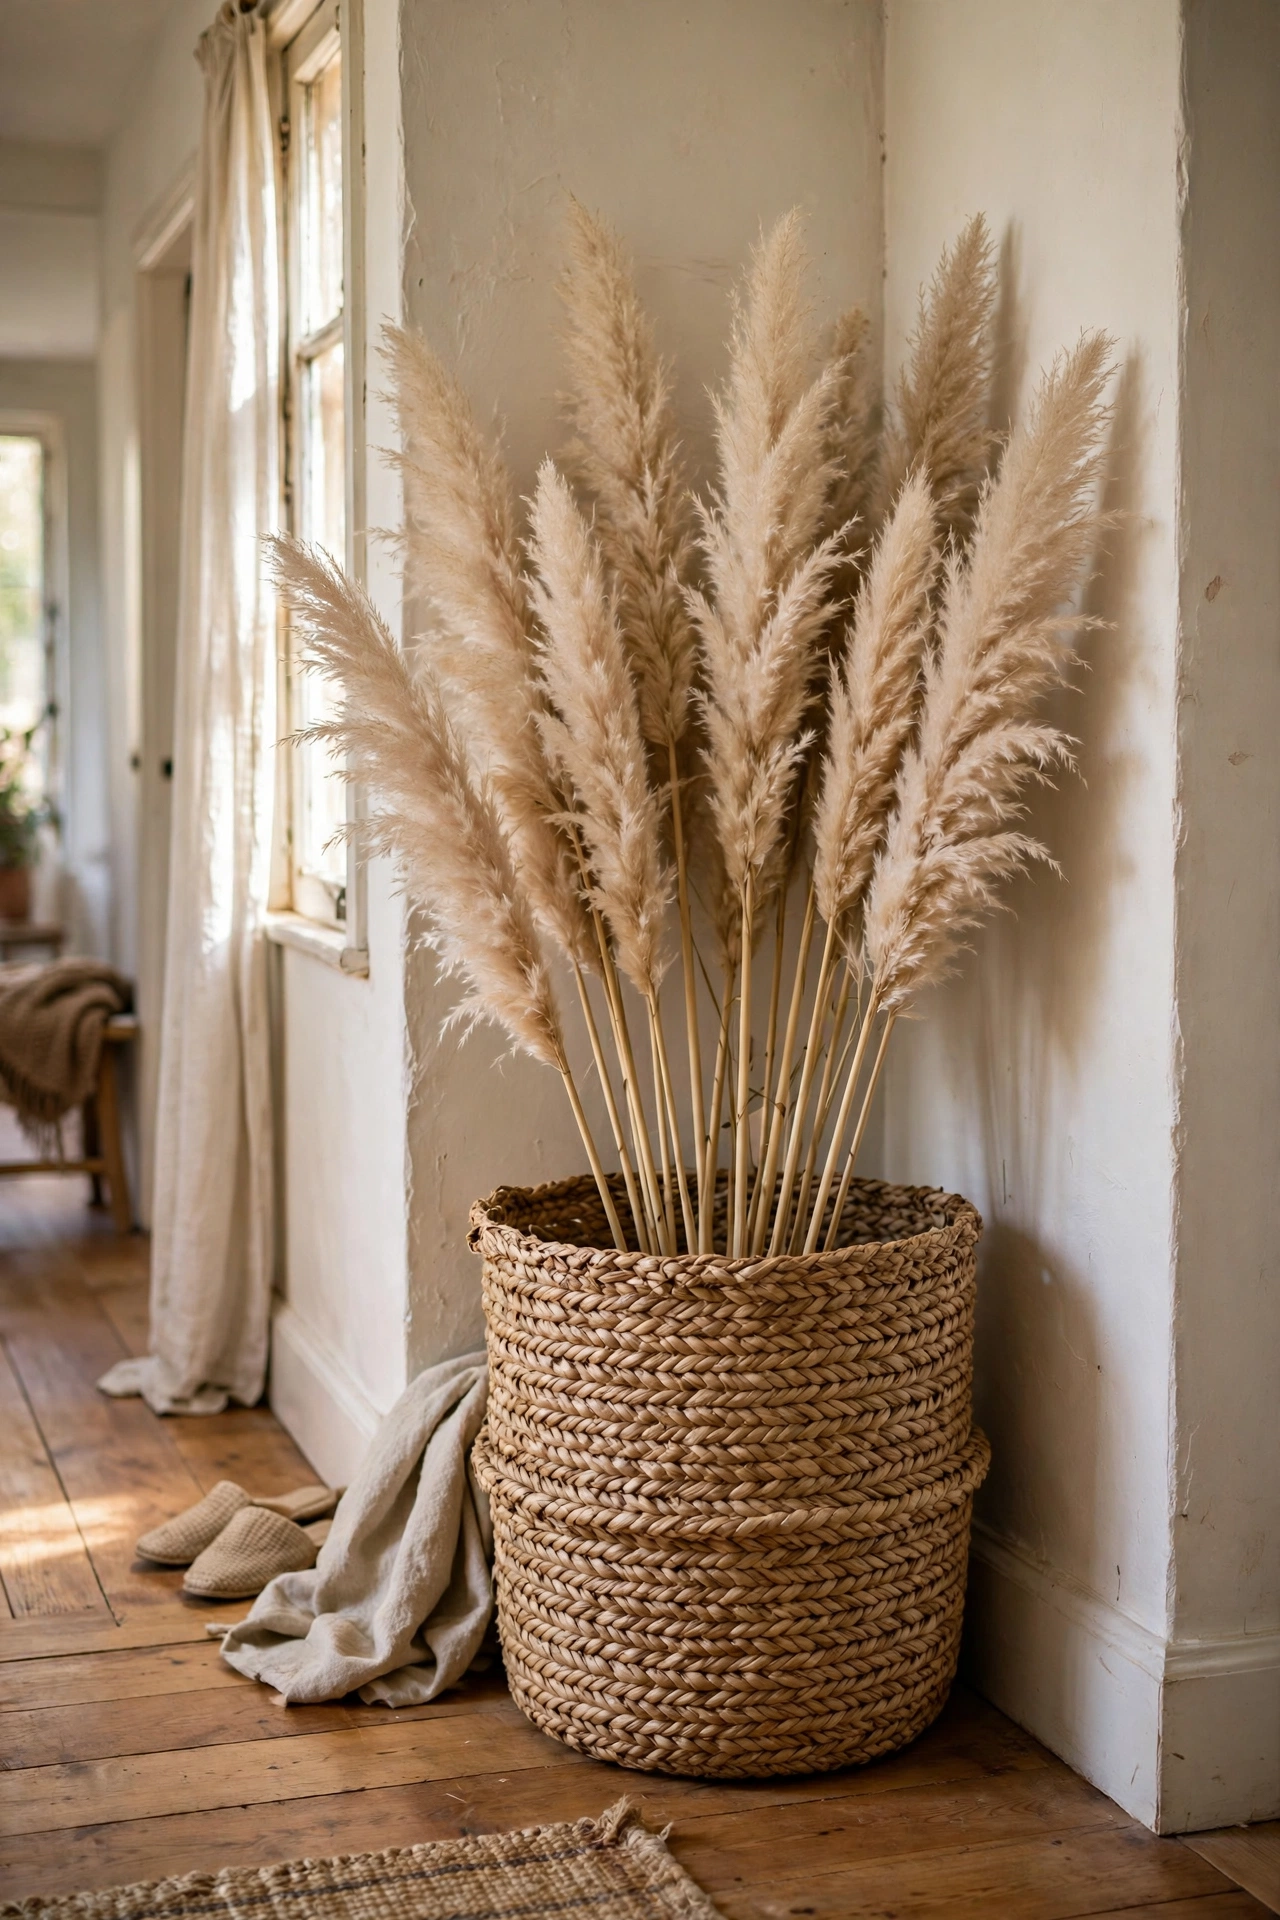
Pampas grass in a woven basket is the boho centerpiece that suits tall empty corners. Put a tall vase or weighted jar inside a large seagrass basket, add a generous bunch of pampas stems, and place where it can be admired. Mine fills an awkward hallway corner beautifully. Do shake pampas outdoors first — it sheds. Don’t place it in high-traffic spots; the plumes are delicate. The basket hides the practical vase inside and adds warmth.
Cost: ~$12-20 | Time: 15 minutes
21. Painted Gourd Vases
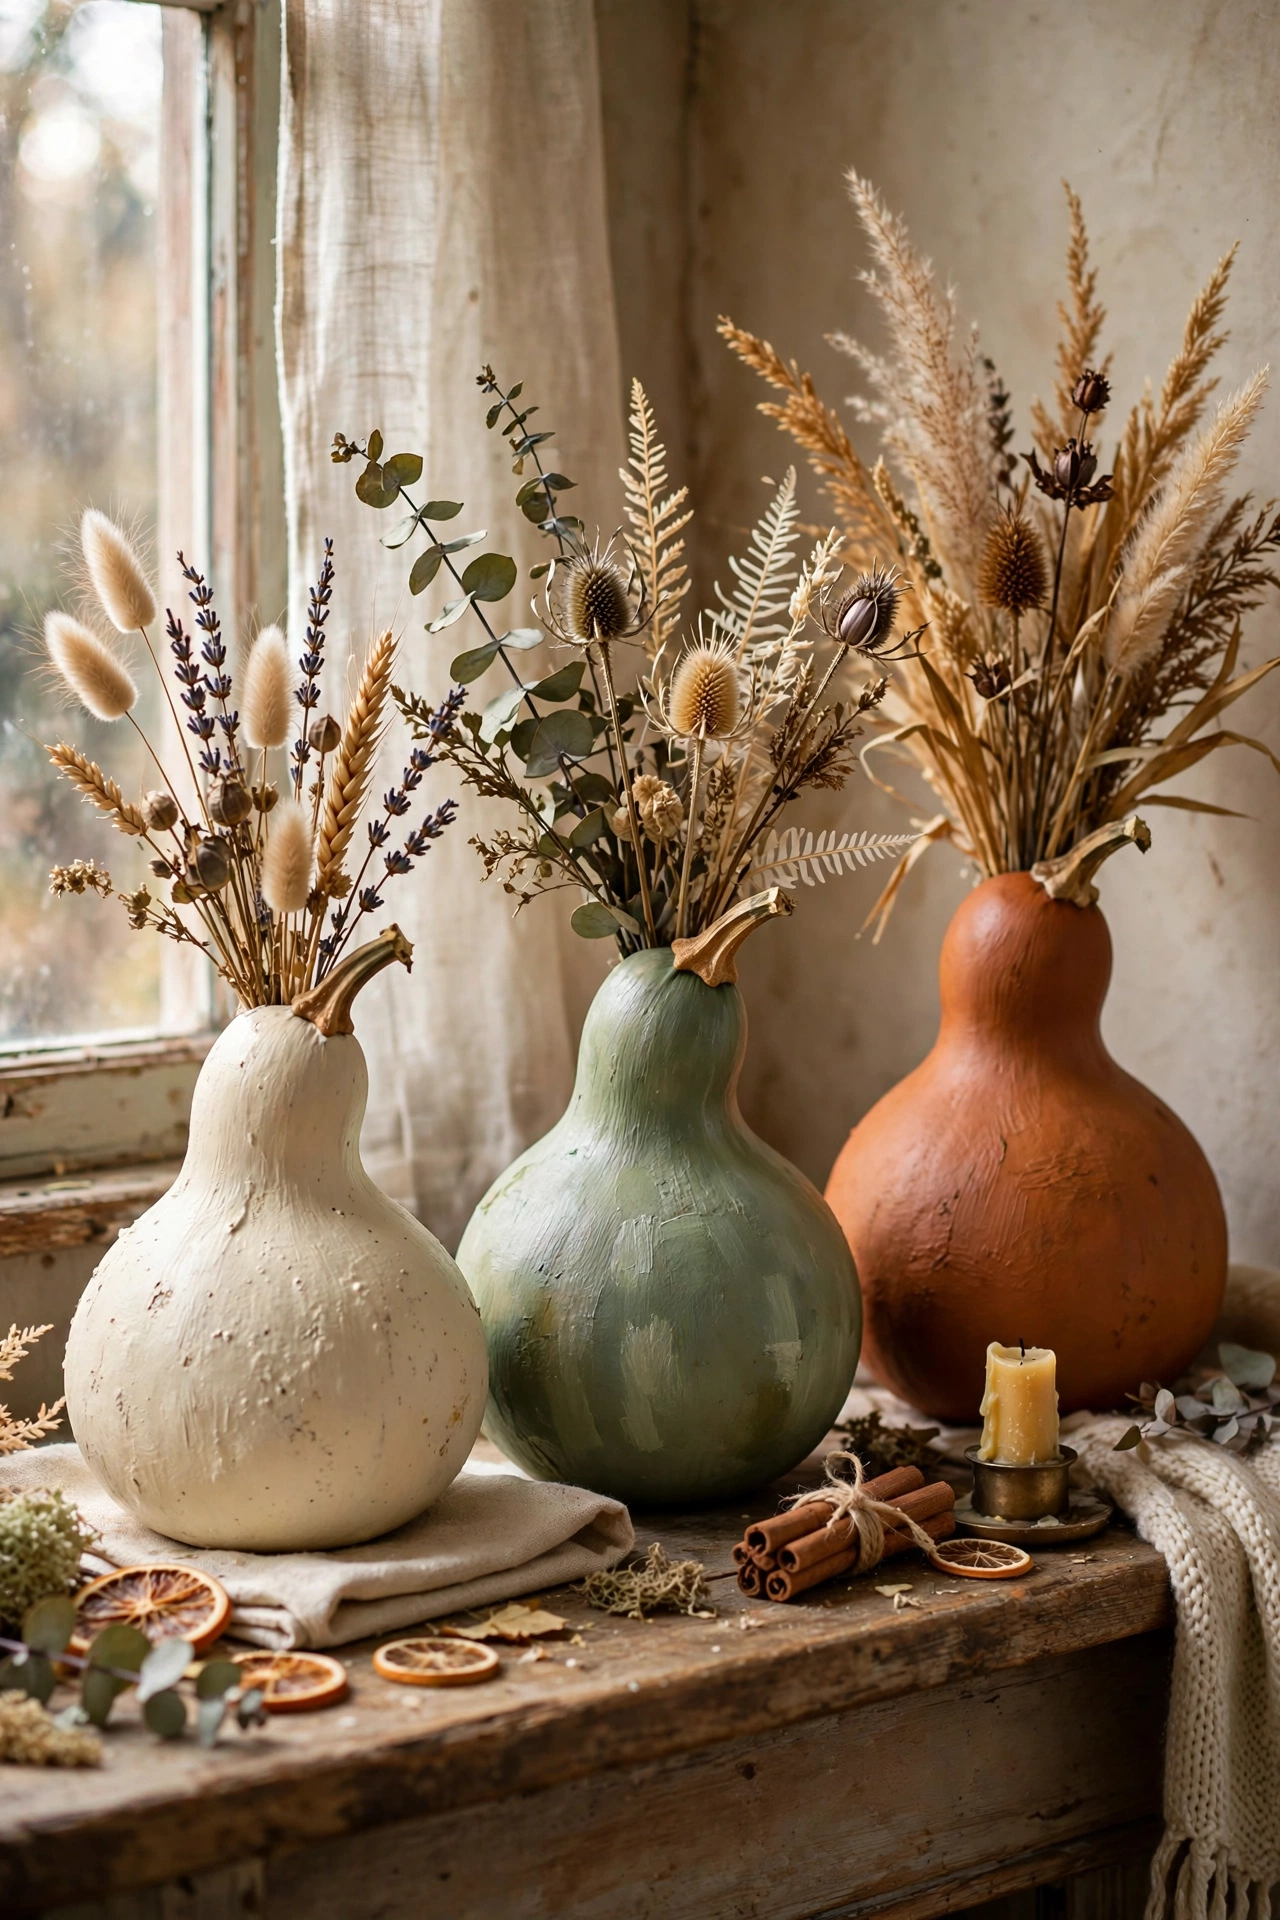
Dried gourds painted in matte colours make wonderfully odd autumn vases. Buy dried gourds at autumn markets, paint them cream, sage, or terracotta, and use the neck opening for dried stems. I paint a few every October and they are my favourite autumn styling. Do make sure gourds are fully dried and hard before painting. Don’t use them for water — dried stems only. Their organic shapes make each one unique.
Cost: ~$6-12 | Time: 45 minutes plus drying
22. Mirror Base Centerpiece
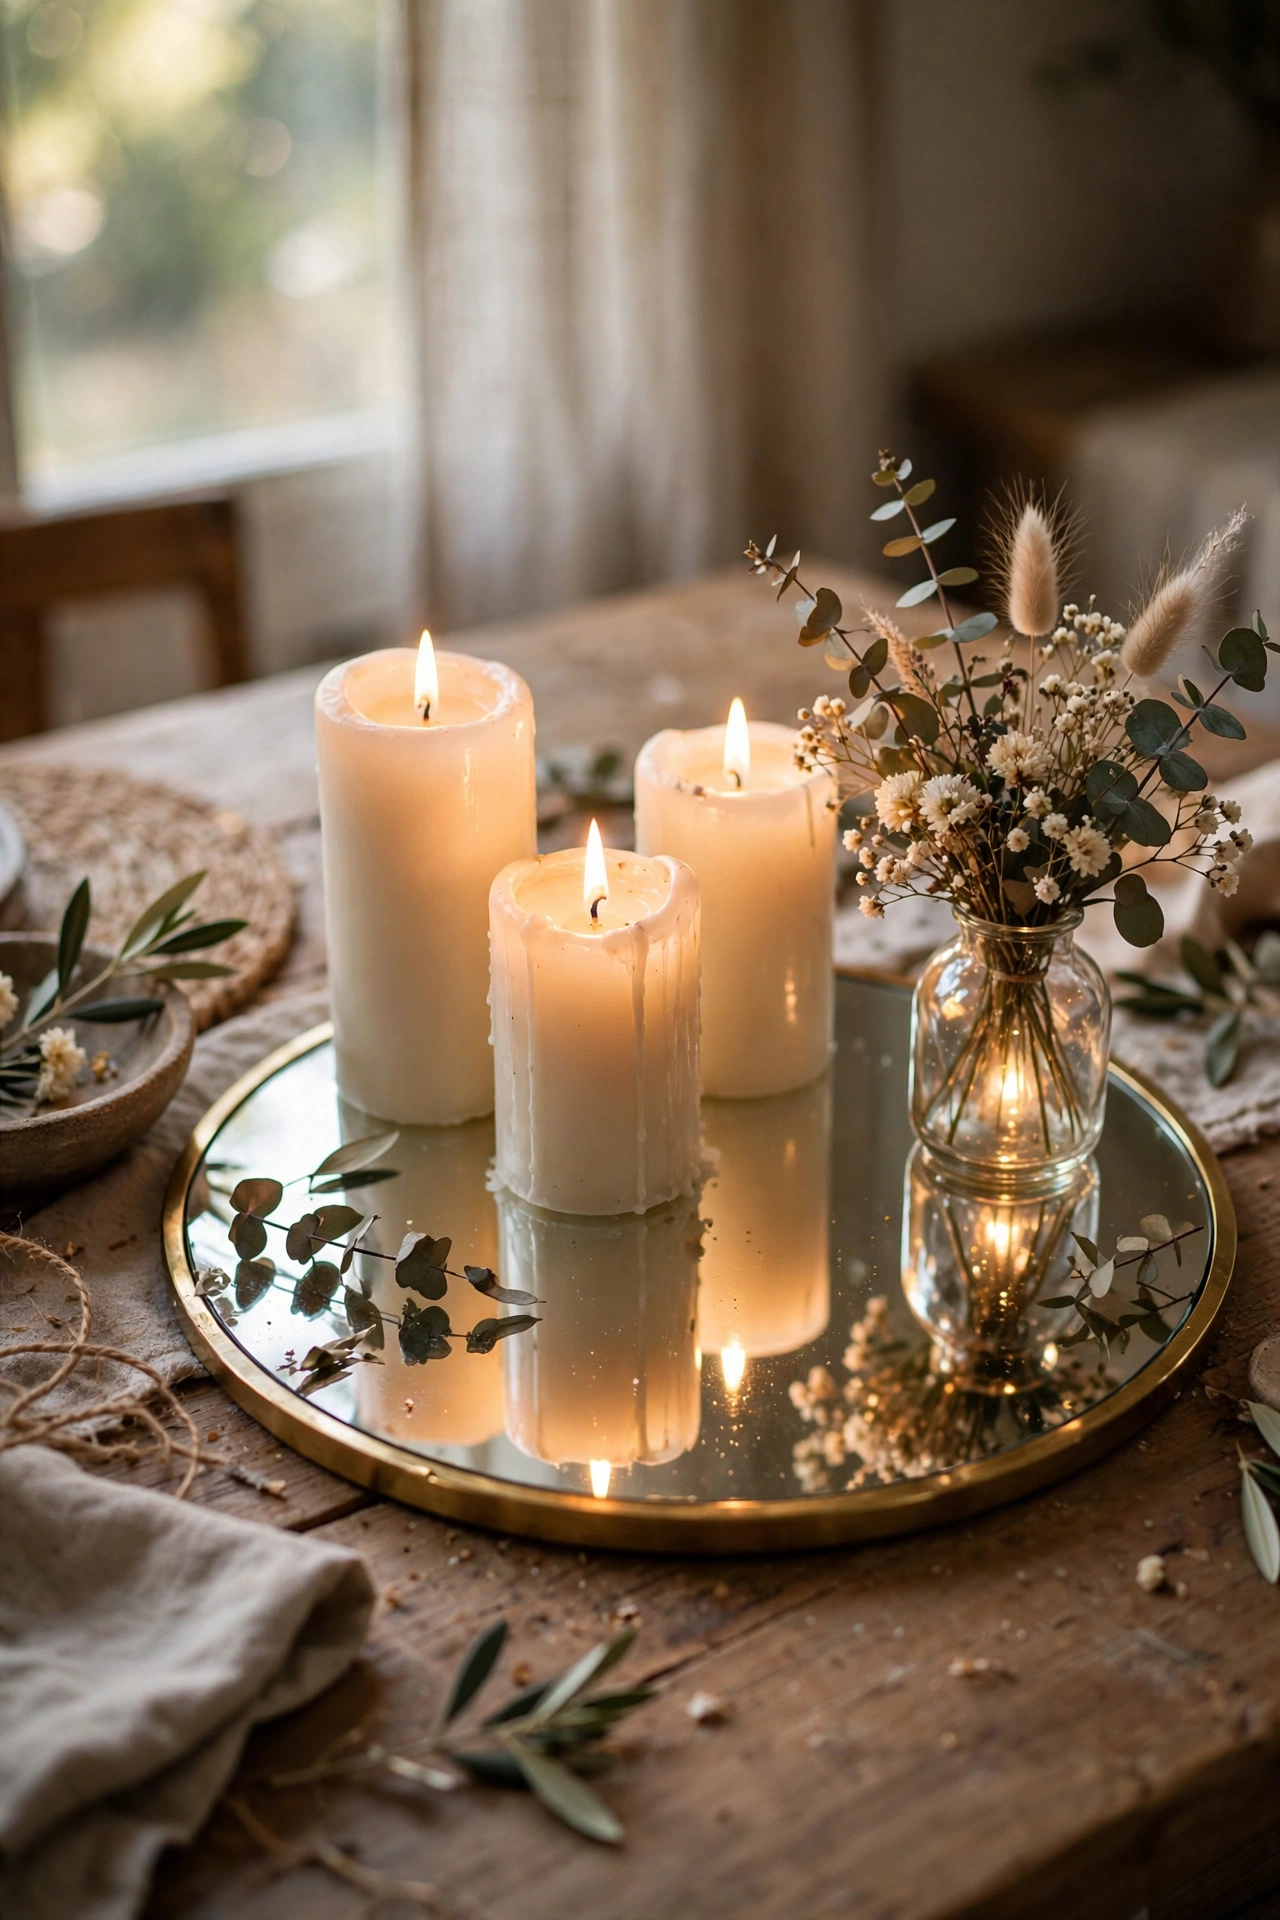
A mirror under your centerpiece doubles its impact. Lay a round or rectangular mirror — a cheap wall mirror works — on the table as a base, then build your arrangement on top: candles, a small vase, greenery. The reflection doubles the candlelight. I use a $6 round mirror as my dinner-party base and the table glows. Do use flameless candles on mirror to avoid wax damage. Don’t use a mirror larger than your arrangement’s footprint by much; a small border of mirror is elegant, a sea of it is odd.
Cost: ~$8-14 | Time: 15 minutes
23. Herb Centerpiece in Small Pots
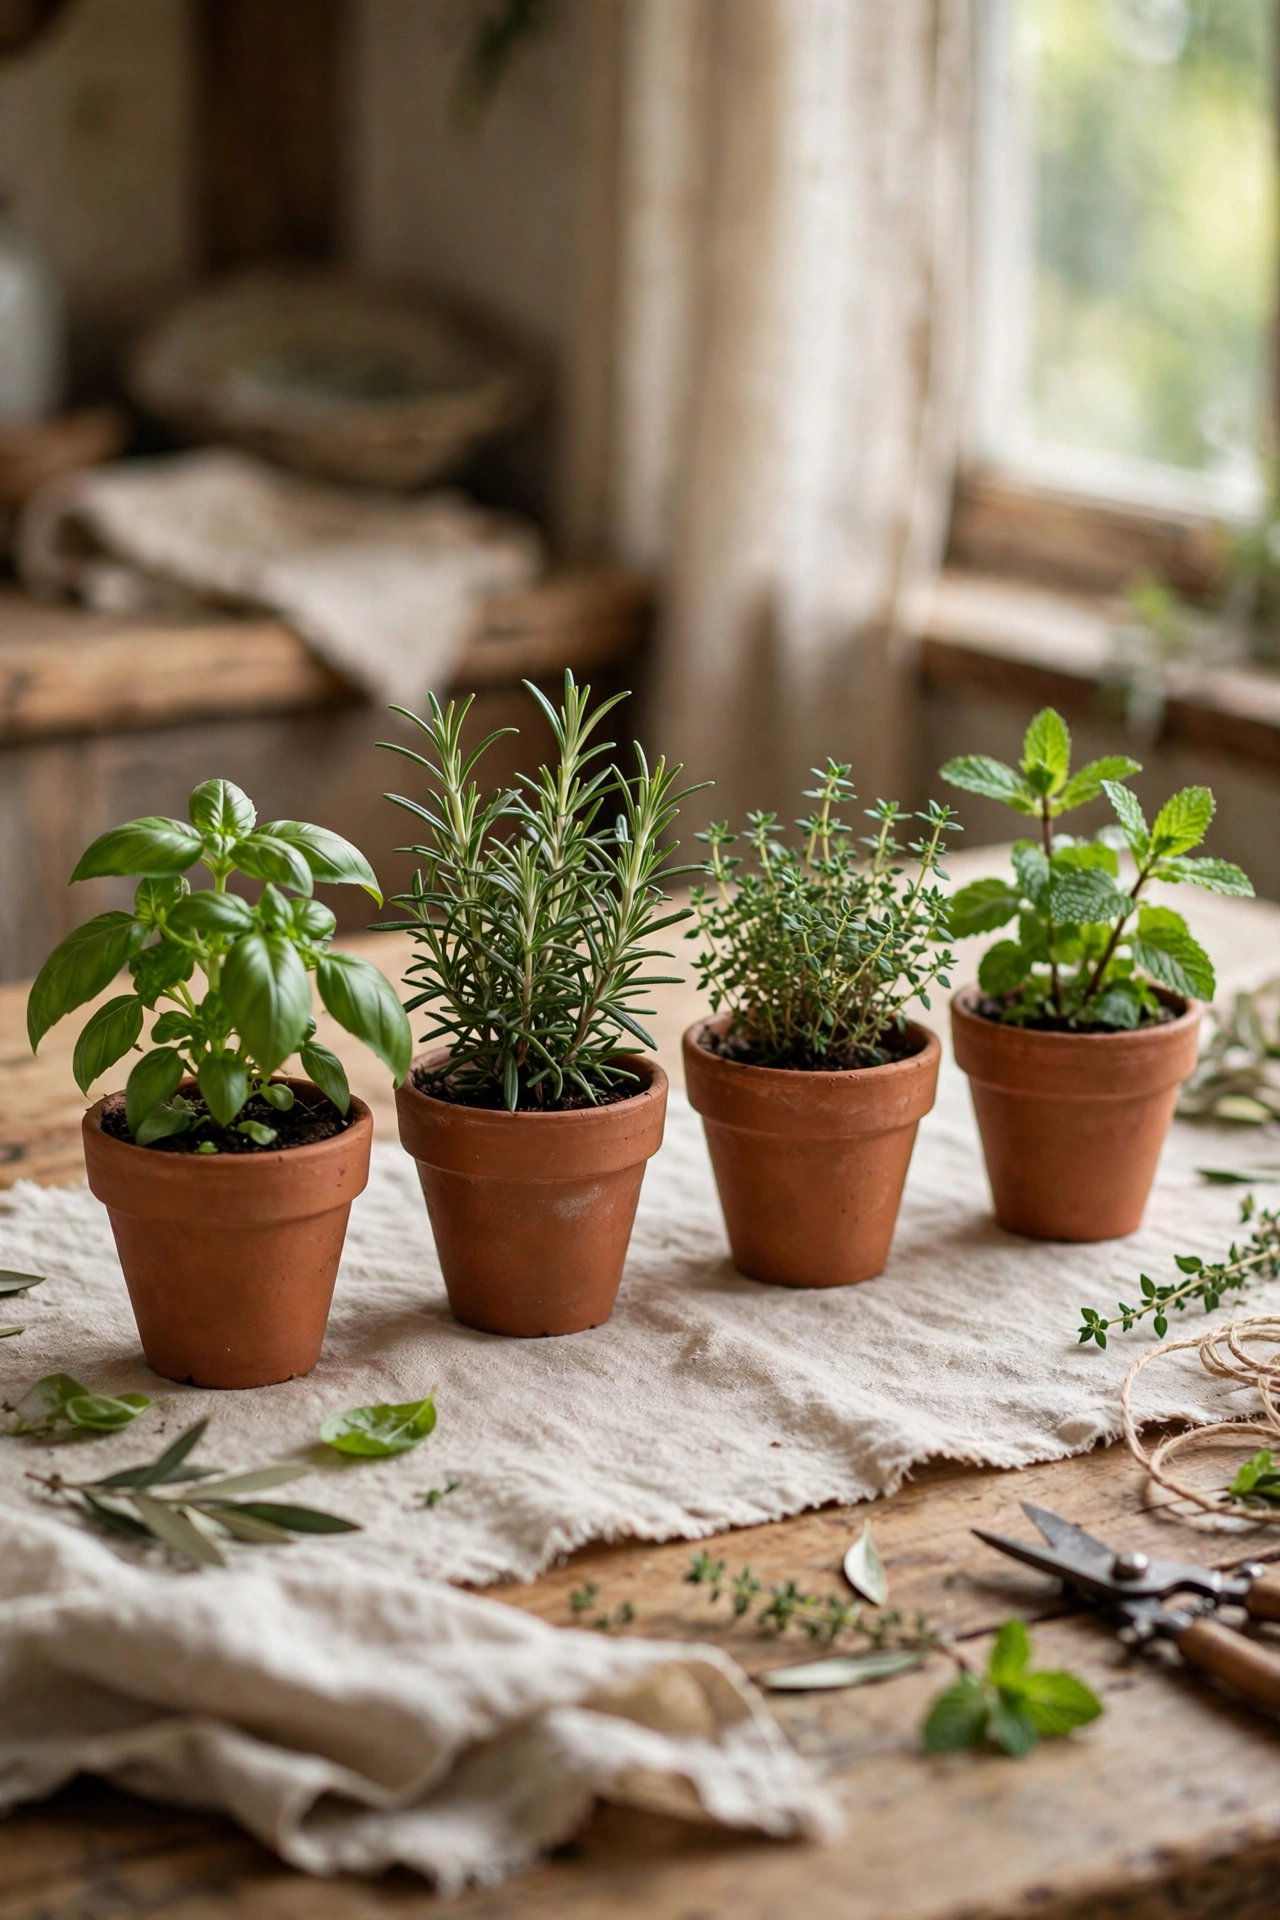
Small potted herbs down the centre of the table are a centerpiece you can eat. Line up five or six small terracotta pots of basil, rosemary, thyme, and mint on a runner. Guests can snip what they need, and the table smells wonderful. I do this for every summer dinner party and it costs less than one bunch of flowers. Do water the pots an hour before guests arrive so there is no dripping. Don’t use herbs treated with non-food-safe pesticides. This is the most practical centerpiece on the list.
Cost: ~$10-16 | Time: 15 minutes
24. Lantern and Vase Combo Centerpiece
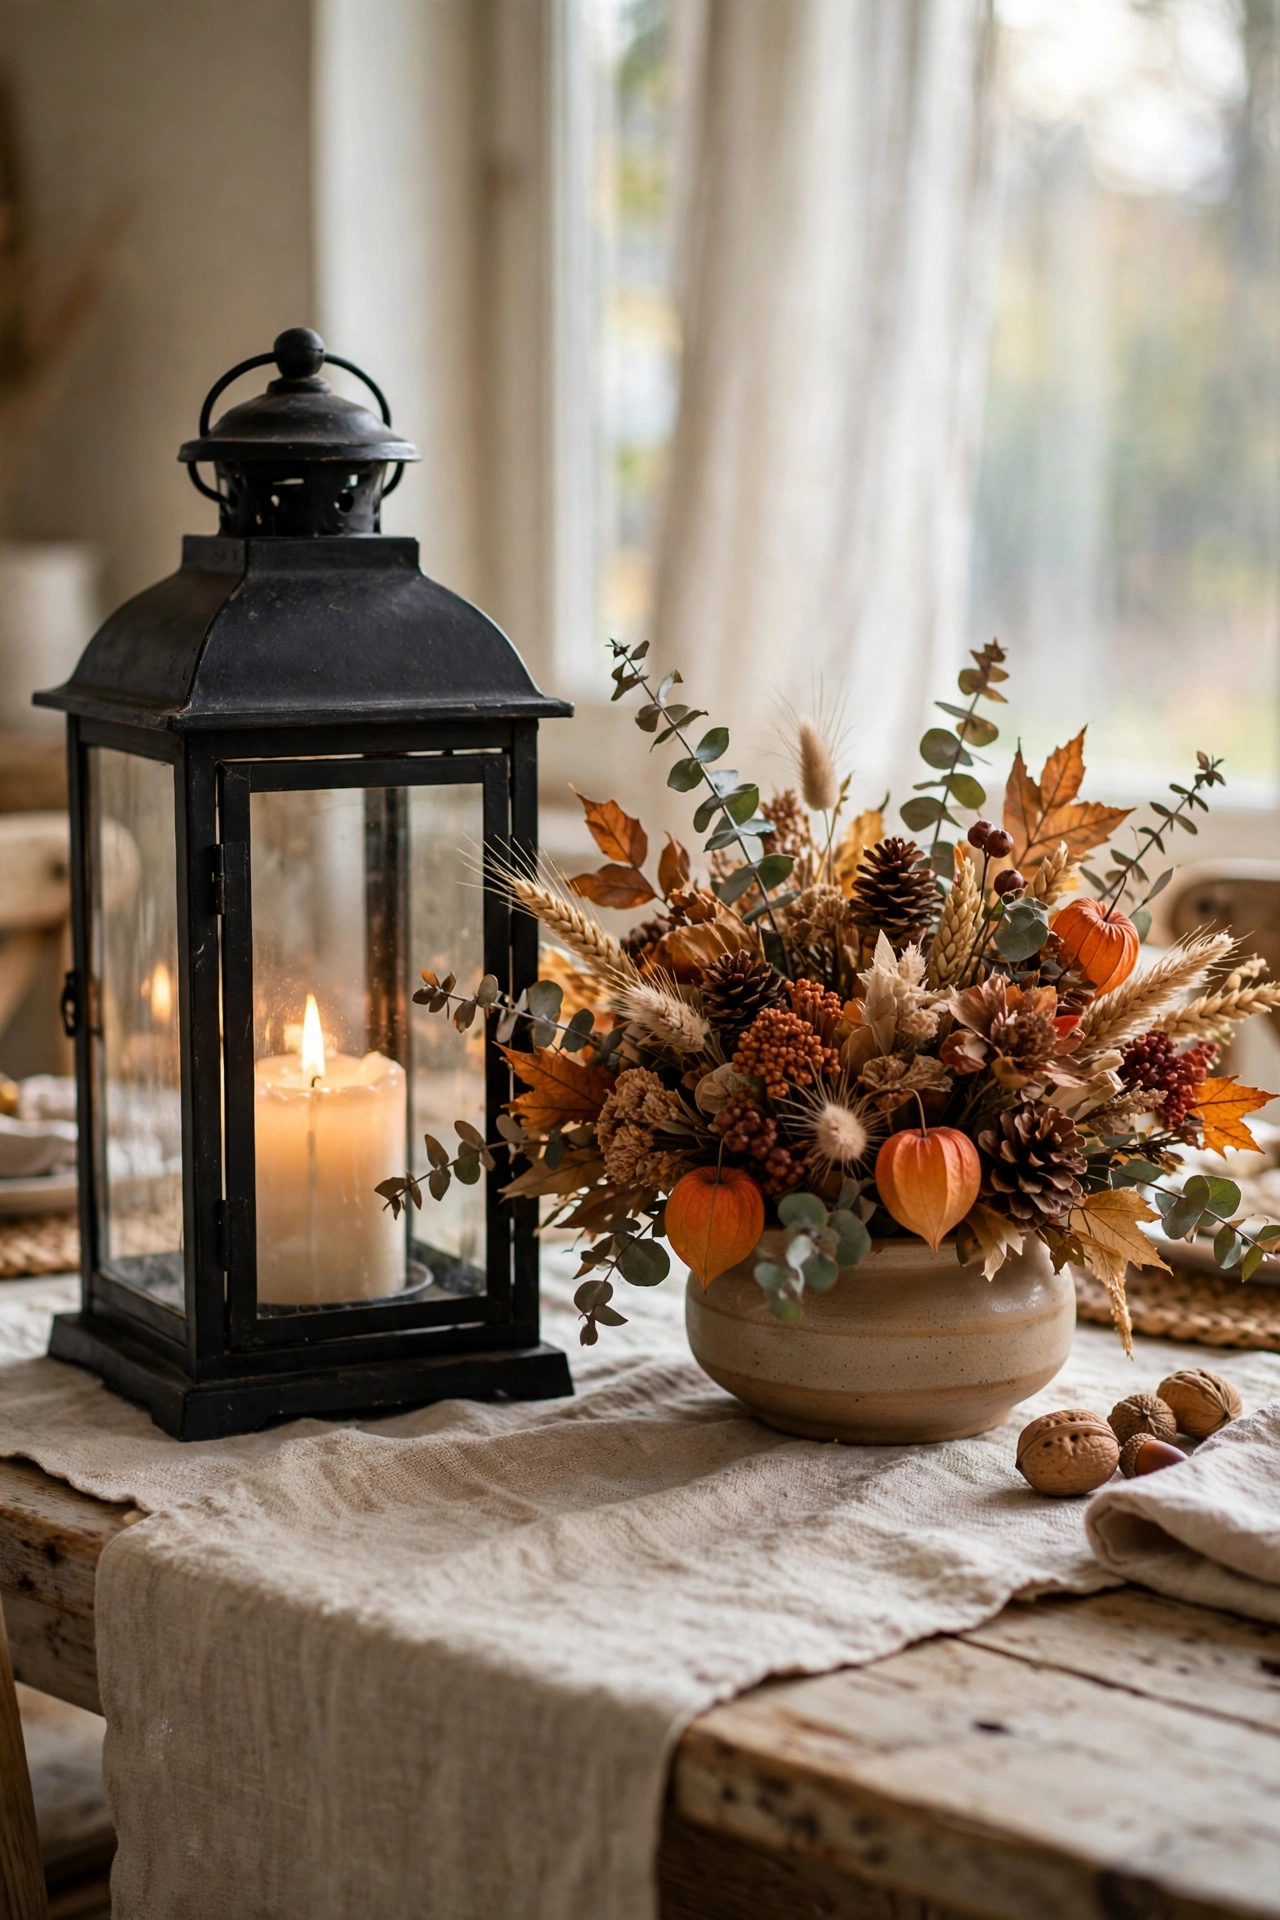
A lantern paired with a low vase balances light and life on the table. Place a large lantern with a flameless candle at one end of a runner and a low wide vase of flowers at the other, filling the middle with scattered greenery. I use this formula for autumn dinners and it photographs beautifully. Do keep the heights different — the contrast is what makes it interesting. Don’t put real candles in a lantern surrounded by dried greenery; flameless is the safe choice. The combination feels complete with just two elements.
Cost: ~$14-22 | Time: 15 minutes
25. Book-Stack Vase Riser
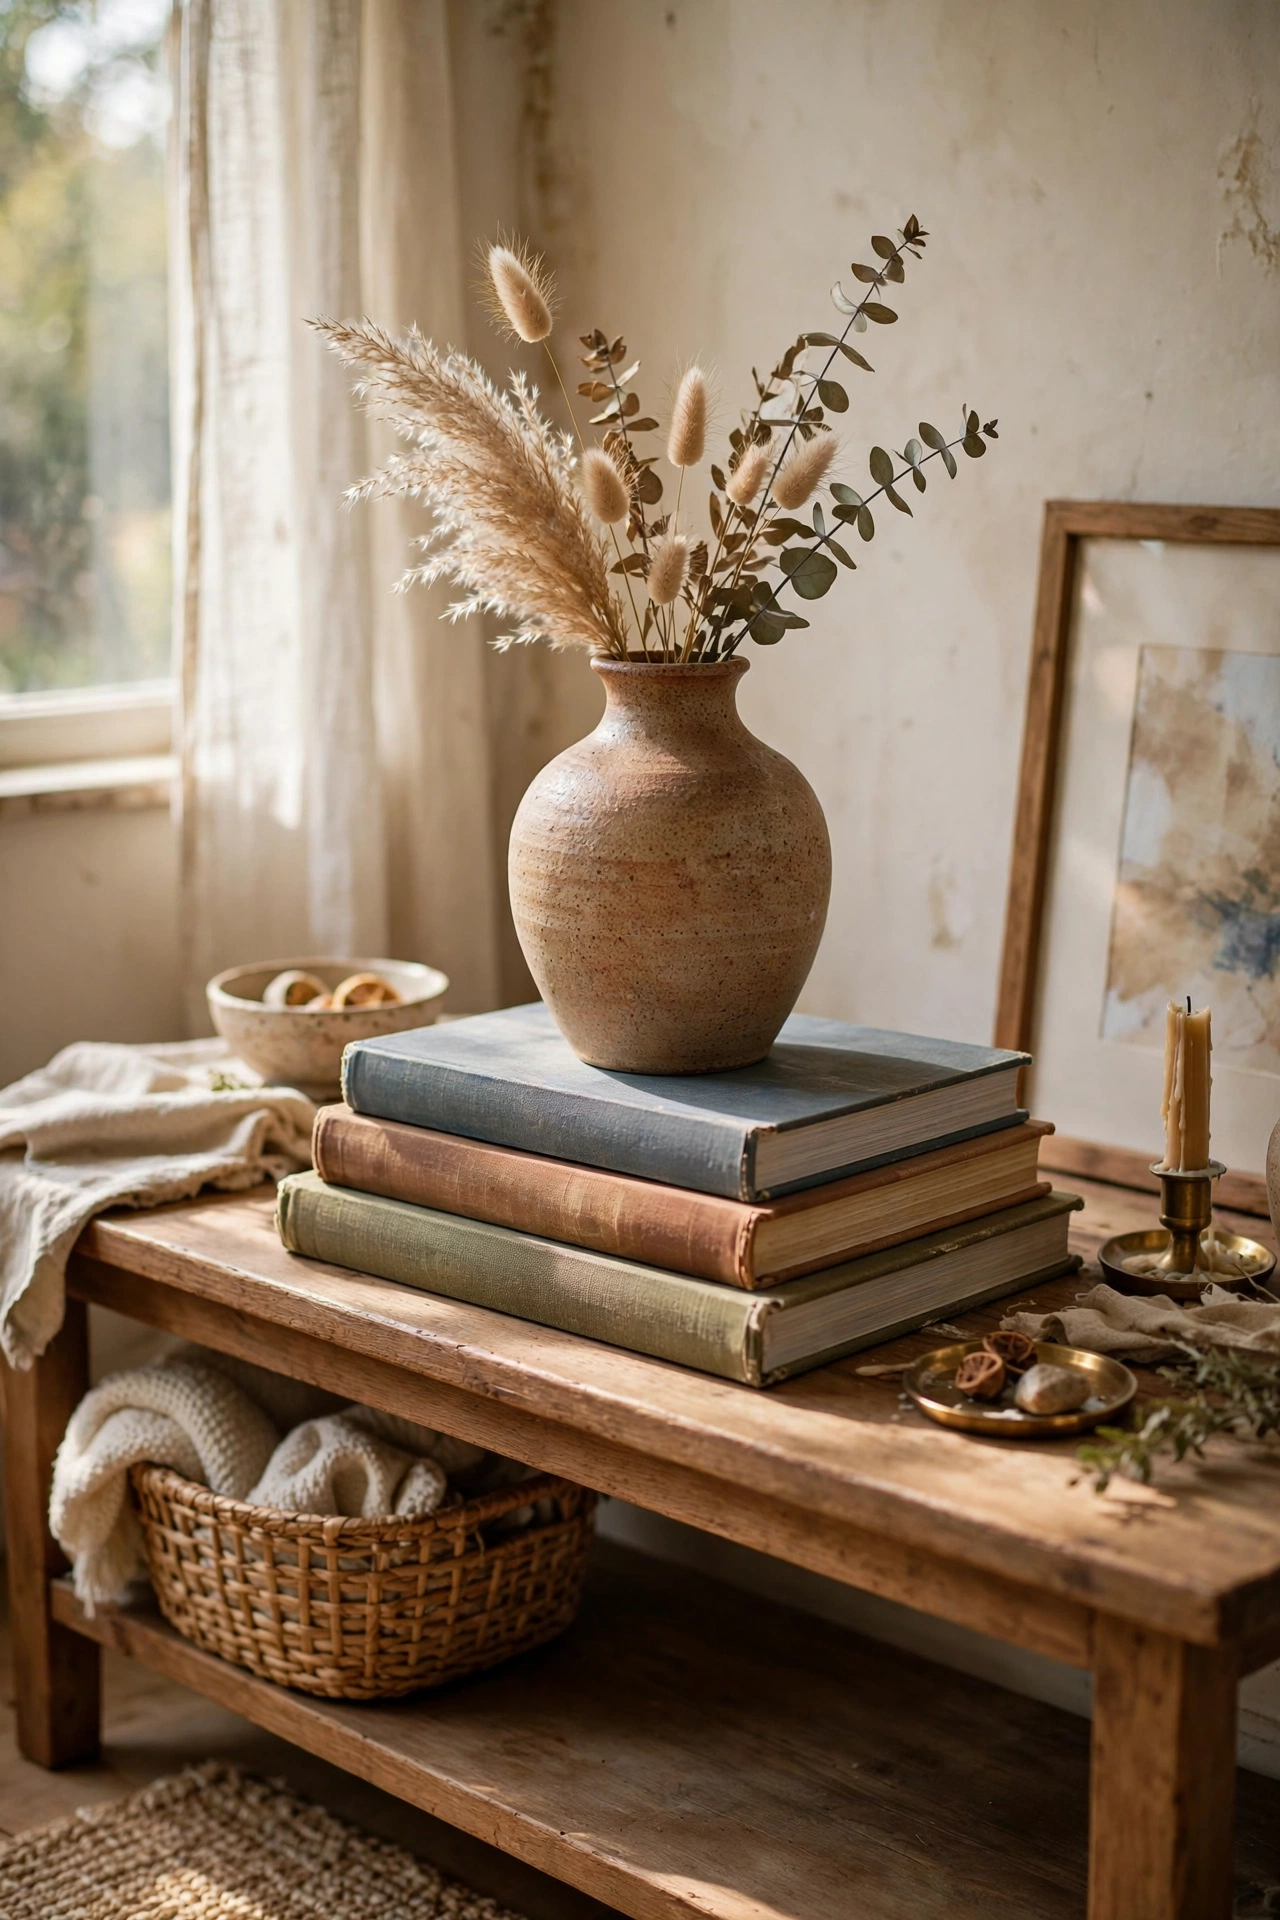
Raising a vase on a stack of books adds height and story to a centerpiece. Stack two or three beautiful hardbacks, top with your vase, and arrange stems. The books add colour and personality that a plain riser cannot. I use art books whose spines match my room. Do make sure the stack is stable before adding water and flowers. Don’t use valuable first editions — charity shop art books are perfect. This trick works on mantels and sideboards too.
Cost: ~$3-8 | Time: 10 minutes
Quick questions, answered
How do I arrange flowers like a florist?
Start with greenery to build shape, add focal flowers at three different heights, then fill gaps with smaller blooms. Cut stems at an angle, strip leaves below the waterline, and arrange in odd numbers. The florist secret is restraint: fewer stems, well placed, always beat a crowded bunch.
What is the best low-maintenance centerpiece?
Dried flowers in a nice vase. They last for years, need no water, and suit every season. Pampas grass, dried lavender, wheat, and bunny tails are the easiest starters. Keep them out of direct sun so the colours hold.
How tall should a dining table centerpiece be?
Low enough to see over — under 30cm — or tall and narrow enough to see around. The awkward middle height blocks conversation. For dinner parties, go low; for a hallway console, go as tall as you like.
Can I use painted vases with real water and flowers?
Yes, if you seal the paint properly. Use a waterproof sealer on the outside and keep water only inside. Unsealed chalk and acrylic paint will mark and peel with splashes. When in doubt, use a glass liner inside the painted vase.
📌 Table looking bare? Pin this post now so you can save this idea for your next dinner party.
Keep the table beautiful with these next: (see also: 25-diy-planter-ideas-that-look-expensive) (see also: 17-diy-planter-ideas-for-beginners) (see also: 15-easy-diy-home-decor-projects-for-beginners-under-25)
