15 Thrifted Basket Ideas on a Budget
These thrifted Basket ideas prove you do not need a big budget to make your home look put together. A $3 basket from a charity shop can hold clutter, warm up a bare corner, or become a planter with a little paint and patience. Save this idea for your next thrift run so you remember which basket shapes to grab first. Below, every project uses simple supplies, most of which you probably already own, and none of them needs fancy tools or a full weekend.
Budget at a glance: Most baskets here cost $2 to $8 at the thrift store, plus $3 to $10 in supplies.
- Under $5: catch-all, towel, and produce baskets
- $5 to $12: painted planters, toy storage, and picnic baskets
- $12 to $20: log baskets, divided craft storage, and porch baskets
Shop for sturdy weaves first, pretty color second. You can always paint a basket, but you cannot easily fix a broken base.
1. Entryway Catch-All Basket for Keys and Mail
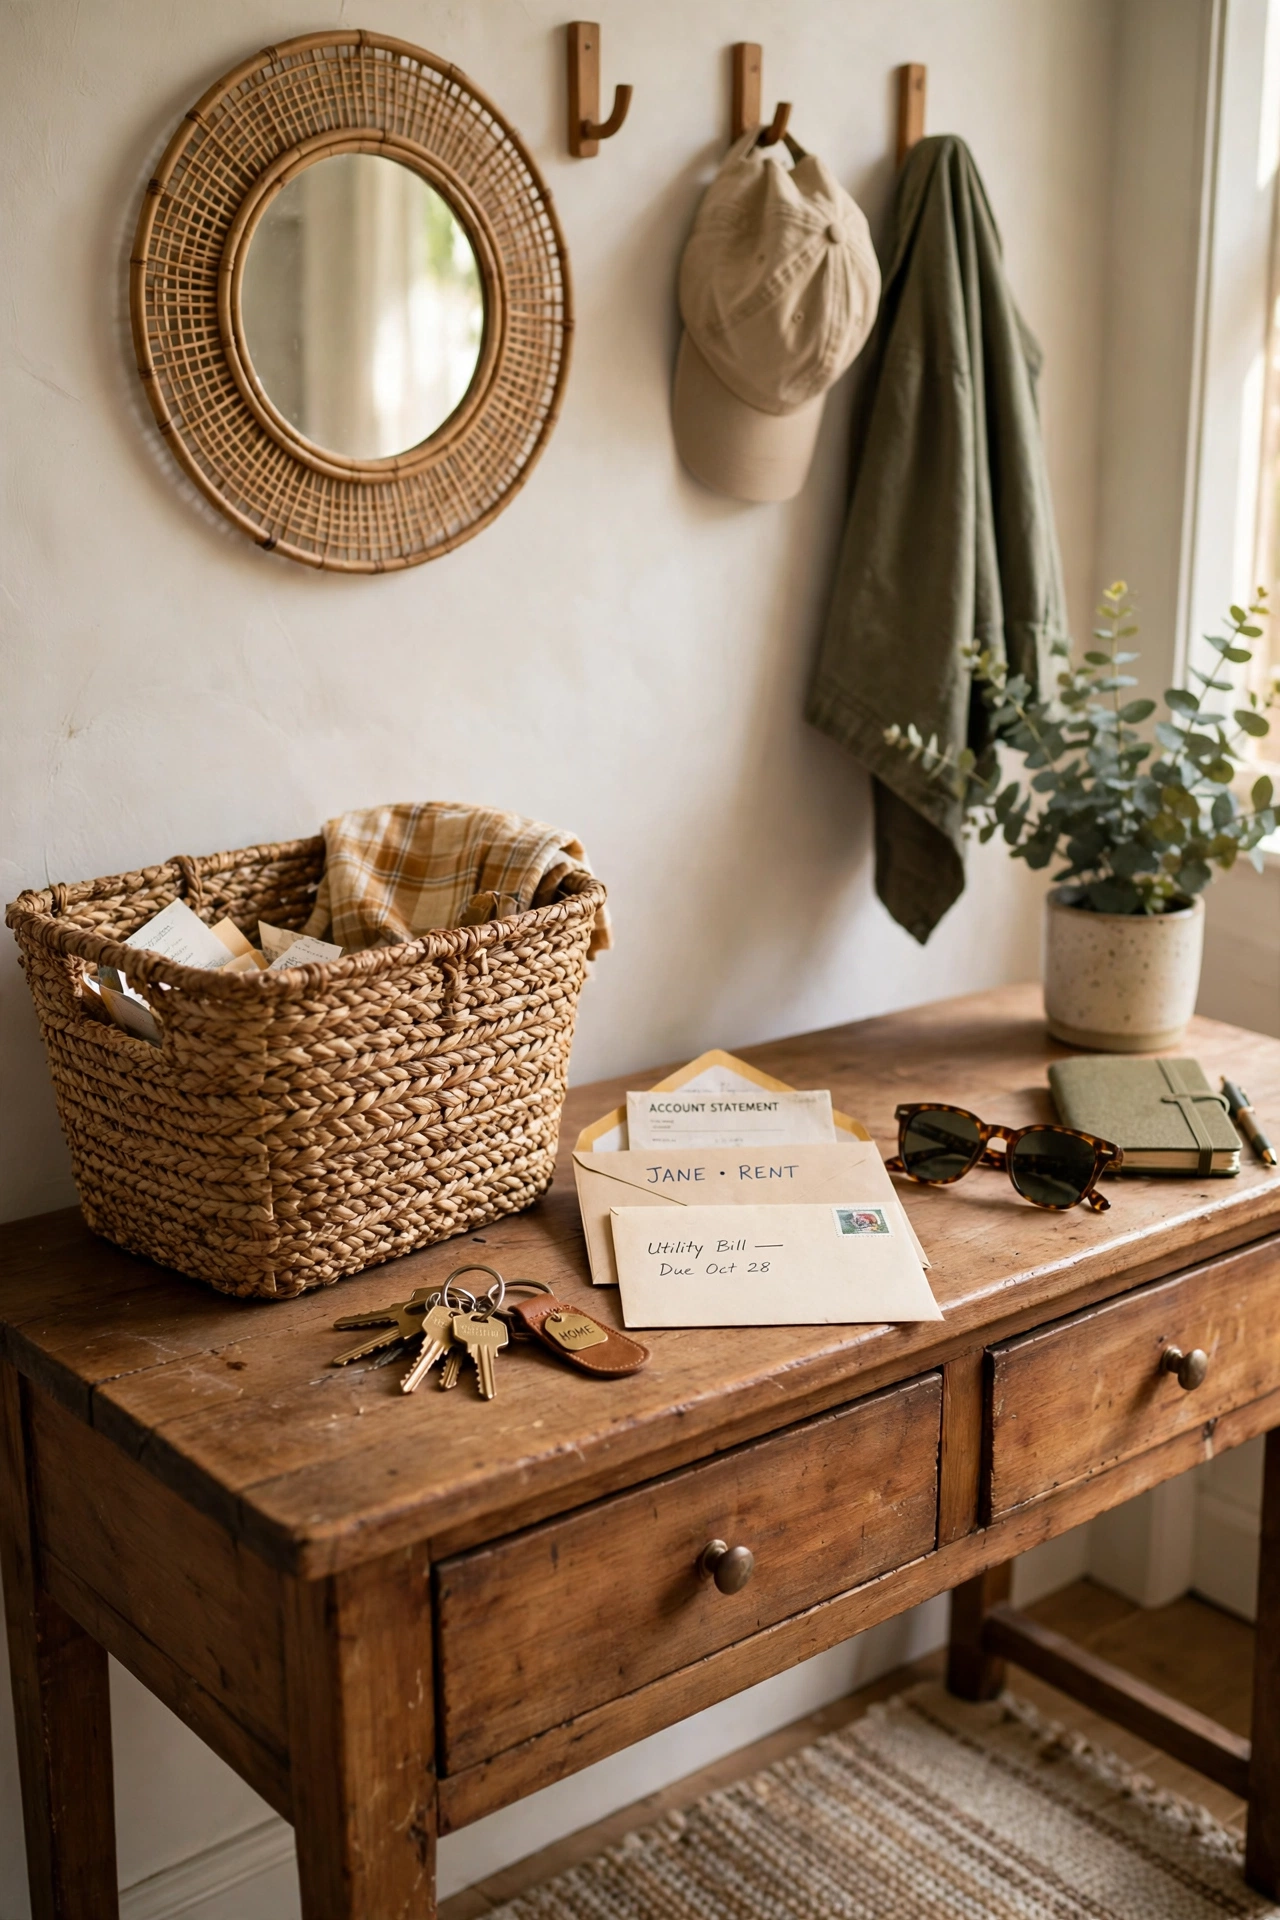
A sturdy, shallow basket by the front door stops keys, mail, and sunglasses from wandering all over the house. Look for one with a flat base so it sits steady on a console table. First, wipe it down and let it dry fully. Next, add a small fabric liner or a scrap of felt to protect the surface underneath. Then, give everyone in the house one small spot inside it, like a key hook or a tiny dish. I tried this with a $2 seagrass basket, and it ended our nightly key hunt in about a week. One mistake to avoid: do not pick a basket so deep that mail disappears at the bottom.
Cost: ~$5 | Time: 20 minutes
2. Thrifted Seagrass Basket as a Living Room Throw Holder
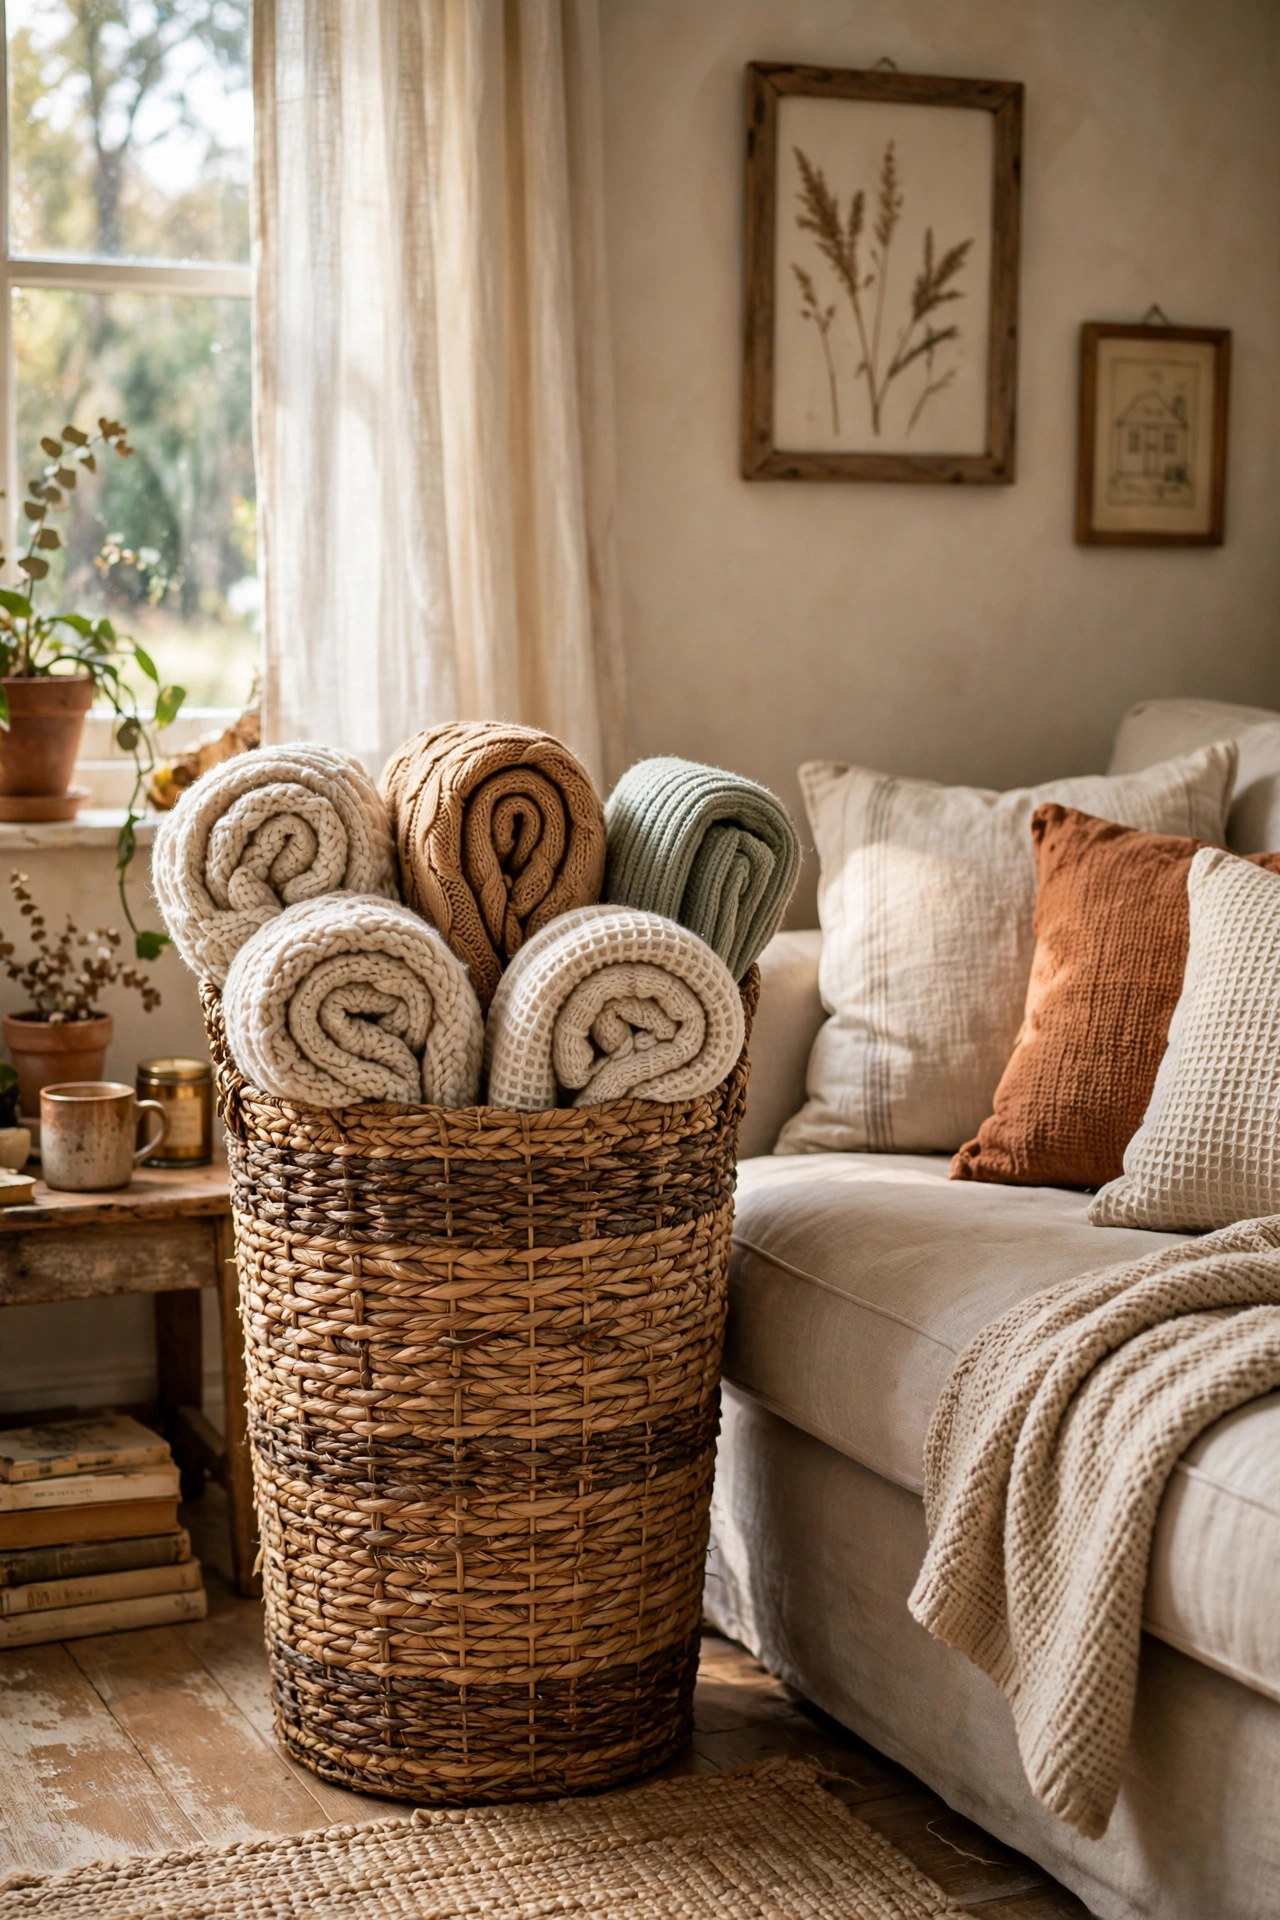
A tall seagrass basket turns a pile of throws into something that actually looks planned. Roll two or three blankets loosely and stand them upright so the colors show. First, check the basket for rough edges and trim any loose strands. Next, place it beside the sofa where you actually reach for a blanket, not across the room. Then, fold one throw over the rim for a soft, lived-in look. I tried this in our living room, and guests started using the blankets instead of ignoring them. One mistake to avoid: do not overfill it, or the throws will look stuffed and messy instead of cozy.
Cost: ~$8 | Time: 15 minutes
3. Painted Wicker Basket Planter for Trailing Plants
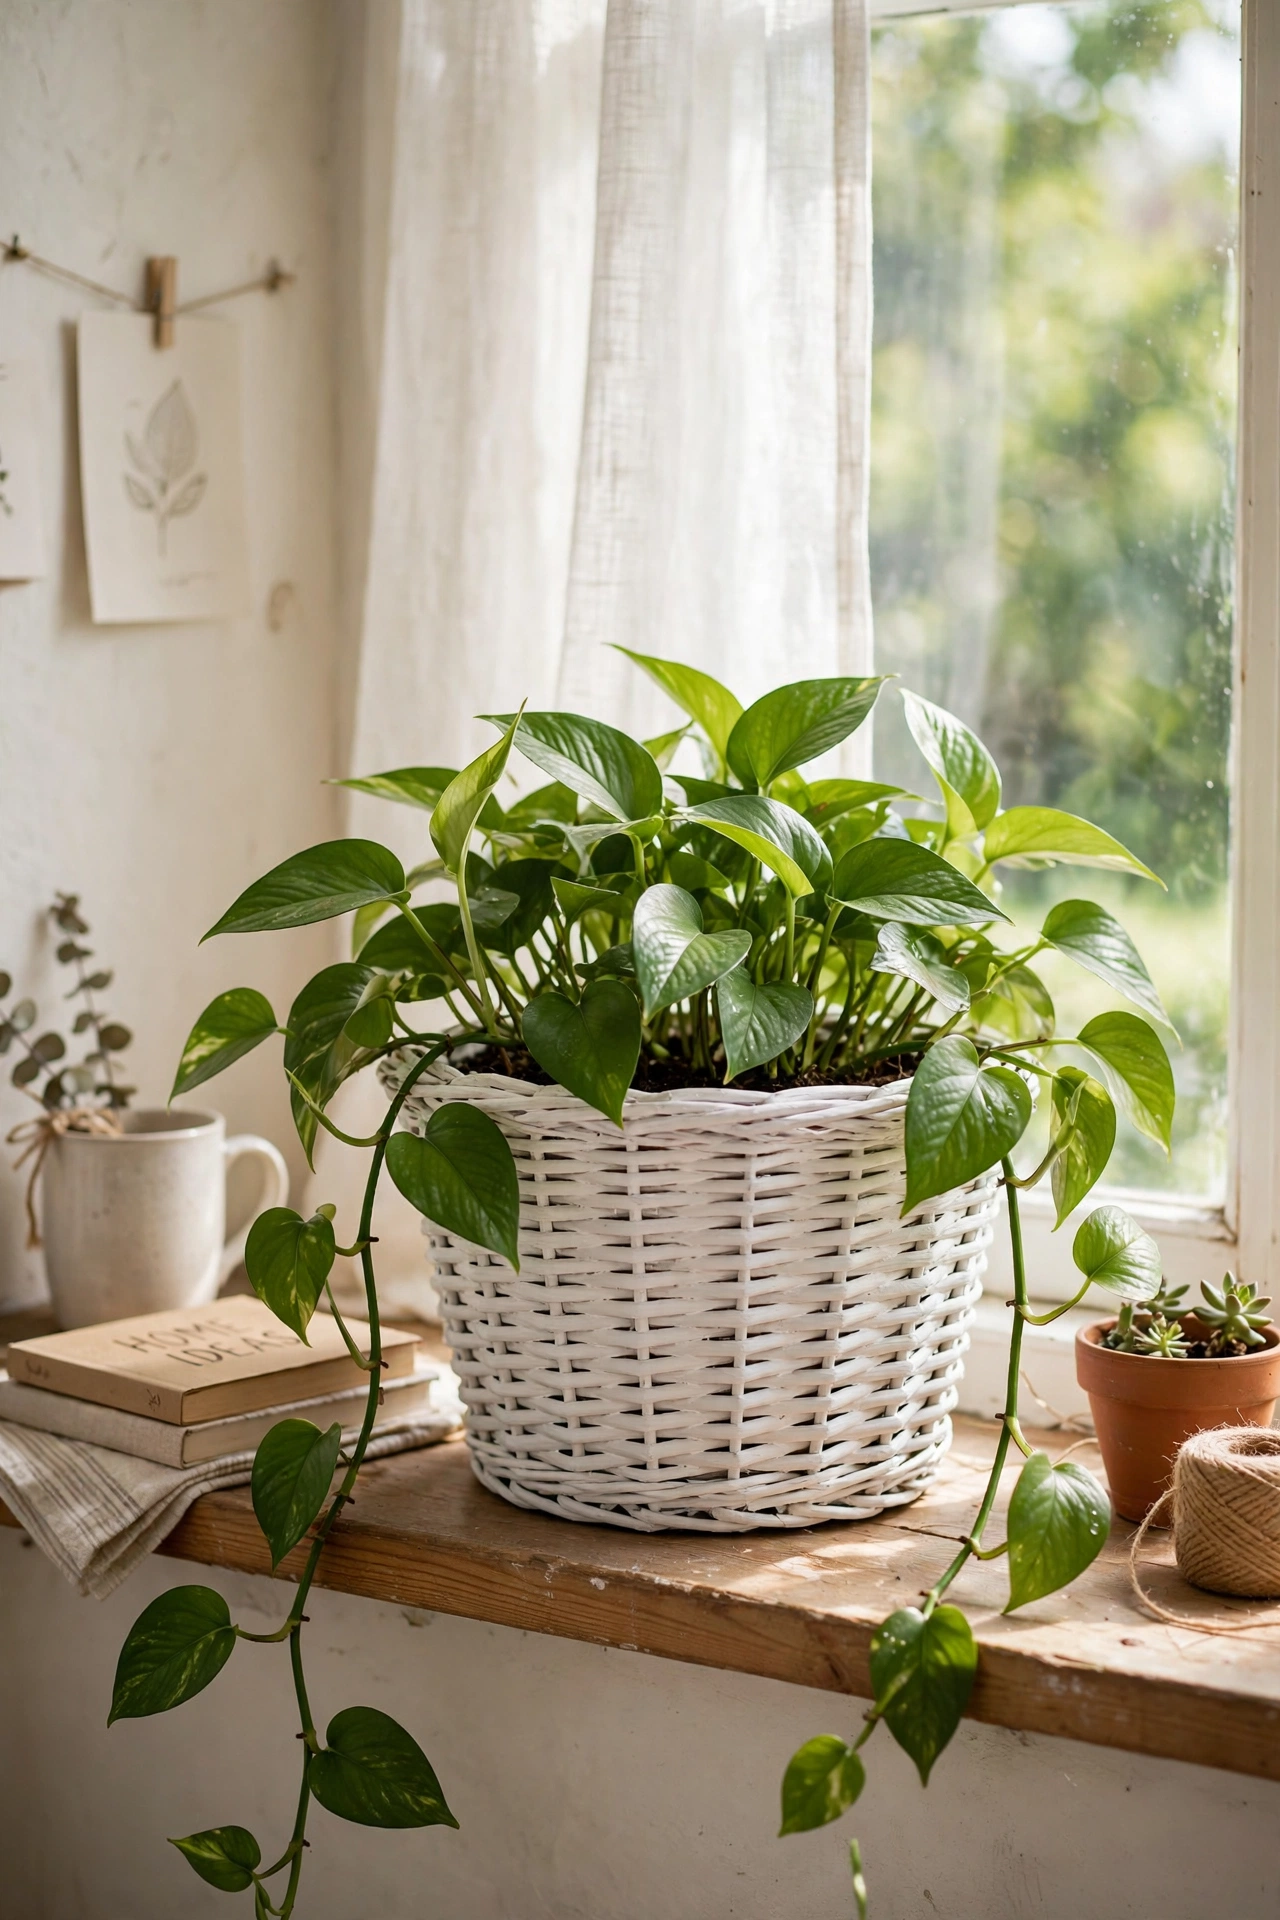
A painted wicker basket makes a trailing plant look like a shop-bought planter for a fraction of the price. Choose a basket slightly wider than your nursery pot so the plant sits snug. First, line it with a plastic bag with a few drainage holes poked in the bottom. Next, paint the outside in two light coats and let each coat dry fully. Then, drop the potted plant inside and tuck moss around the rim. I tried this with a pothos, and the white paint made the green leaves pop right away (see also: budget-indoor-plant-ideas). One mistake to avoid: never plant straight into the basket without a liner, or water will ruin it fast.
Cost: ~$10 | Time: 45 minutes
4. Bathroom Rolled Towel Basket
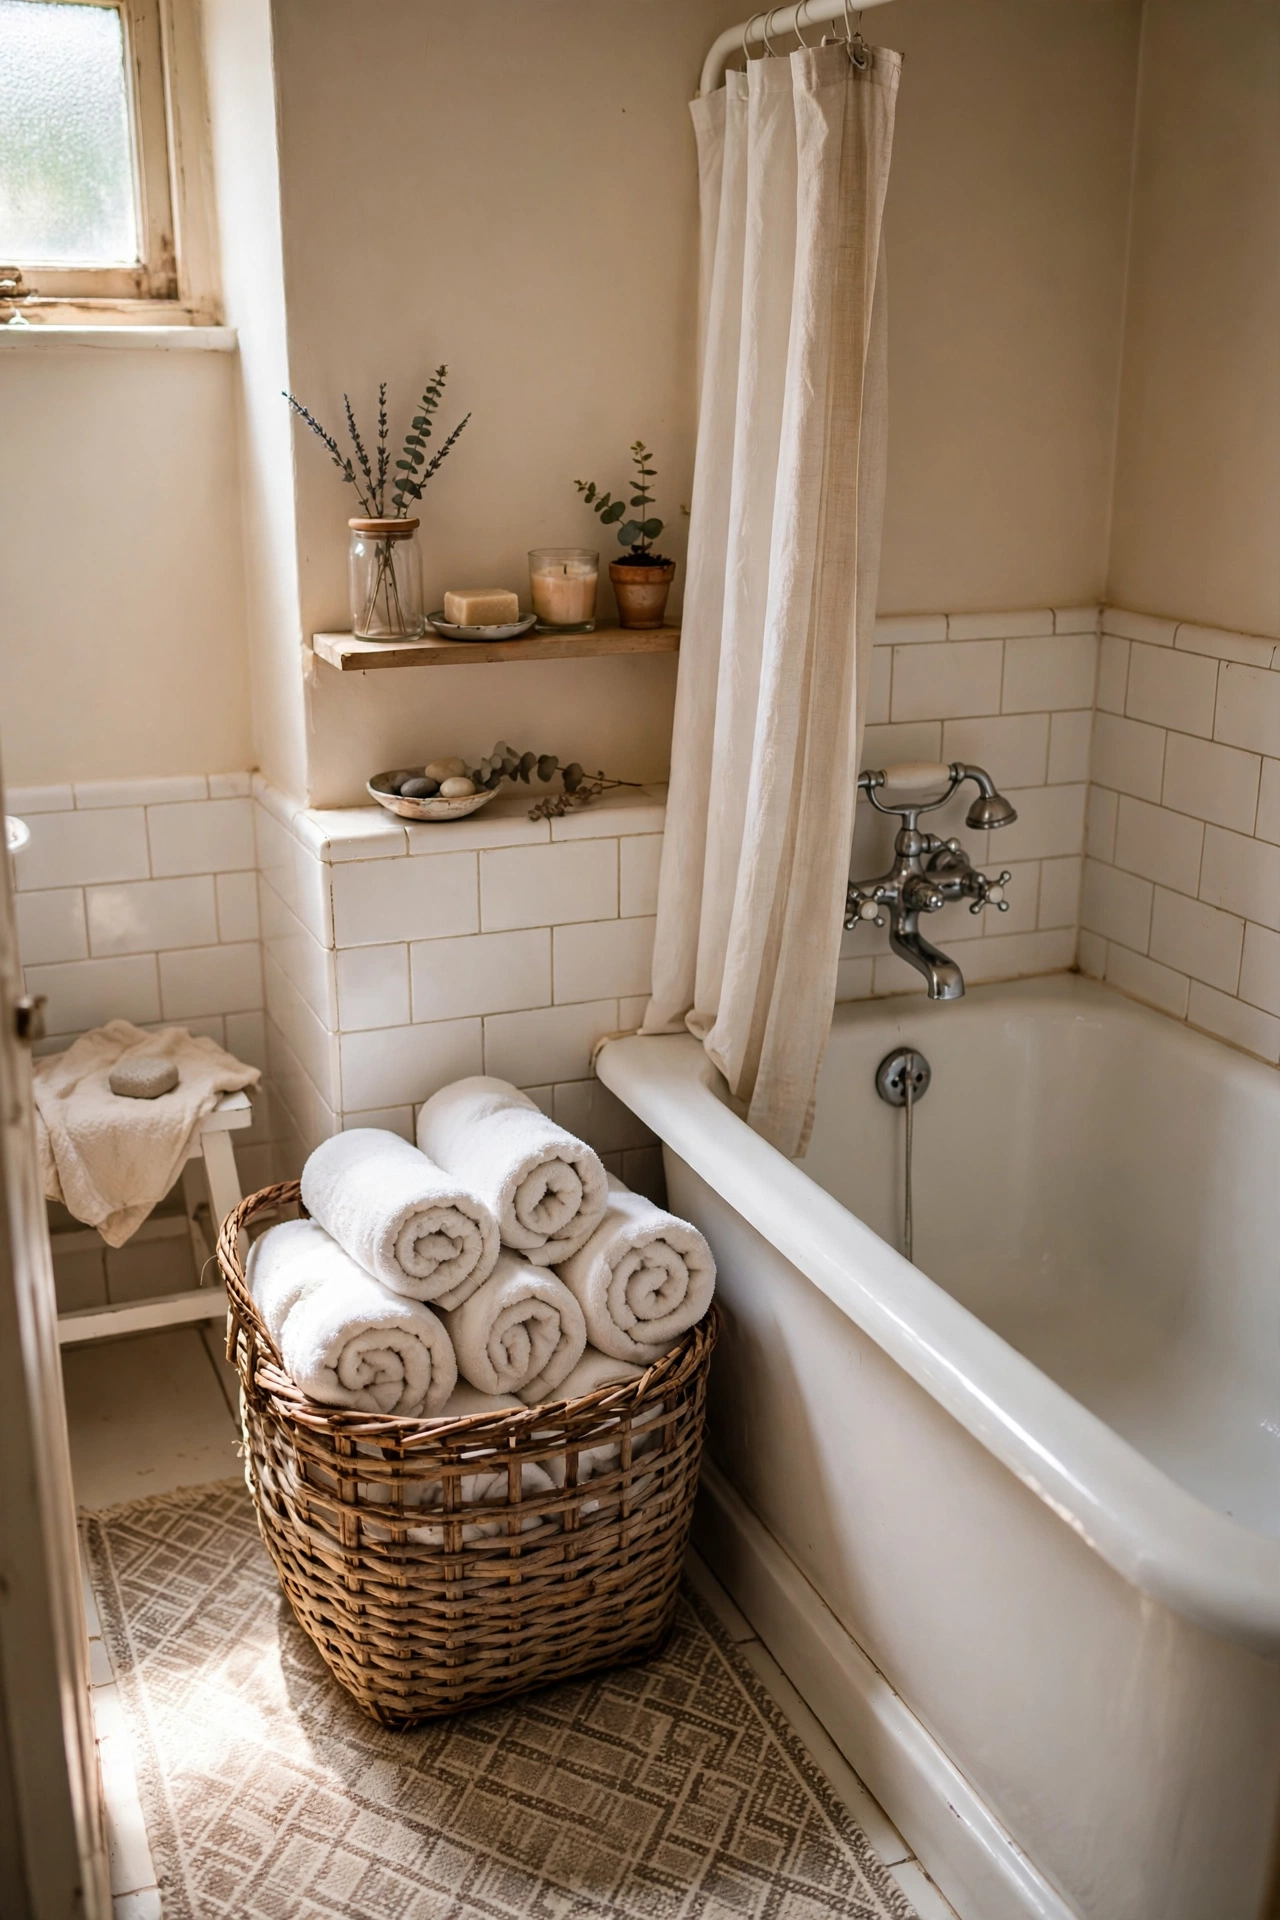
Rolled hand towels in an open basket look tidy and make a small bathroom feel a bit like a guest house. Pick a medium basket that fits on a shelf or on the floor beside the tub. First, wash and dry the basket if it smells musty from the shop. Next, roll towels tightly so they all sit at the same height. Then, place a washcloth on top and add a small bar of soap for a nice touch. I tried this in our tiny bathroom, and it freed up a whole shelf in the cabinet. One mistake to avoid: do not pack damp towels in a closed basket, or they will start to smell.
Cost: ~$6 | Time: 20 minutes
5. Kitchen Counter Produce Basket
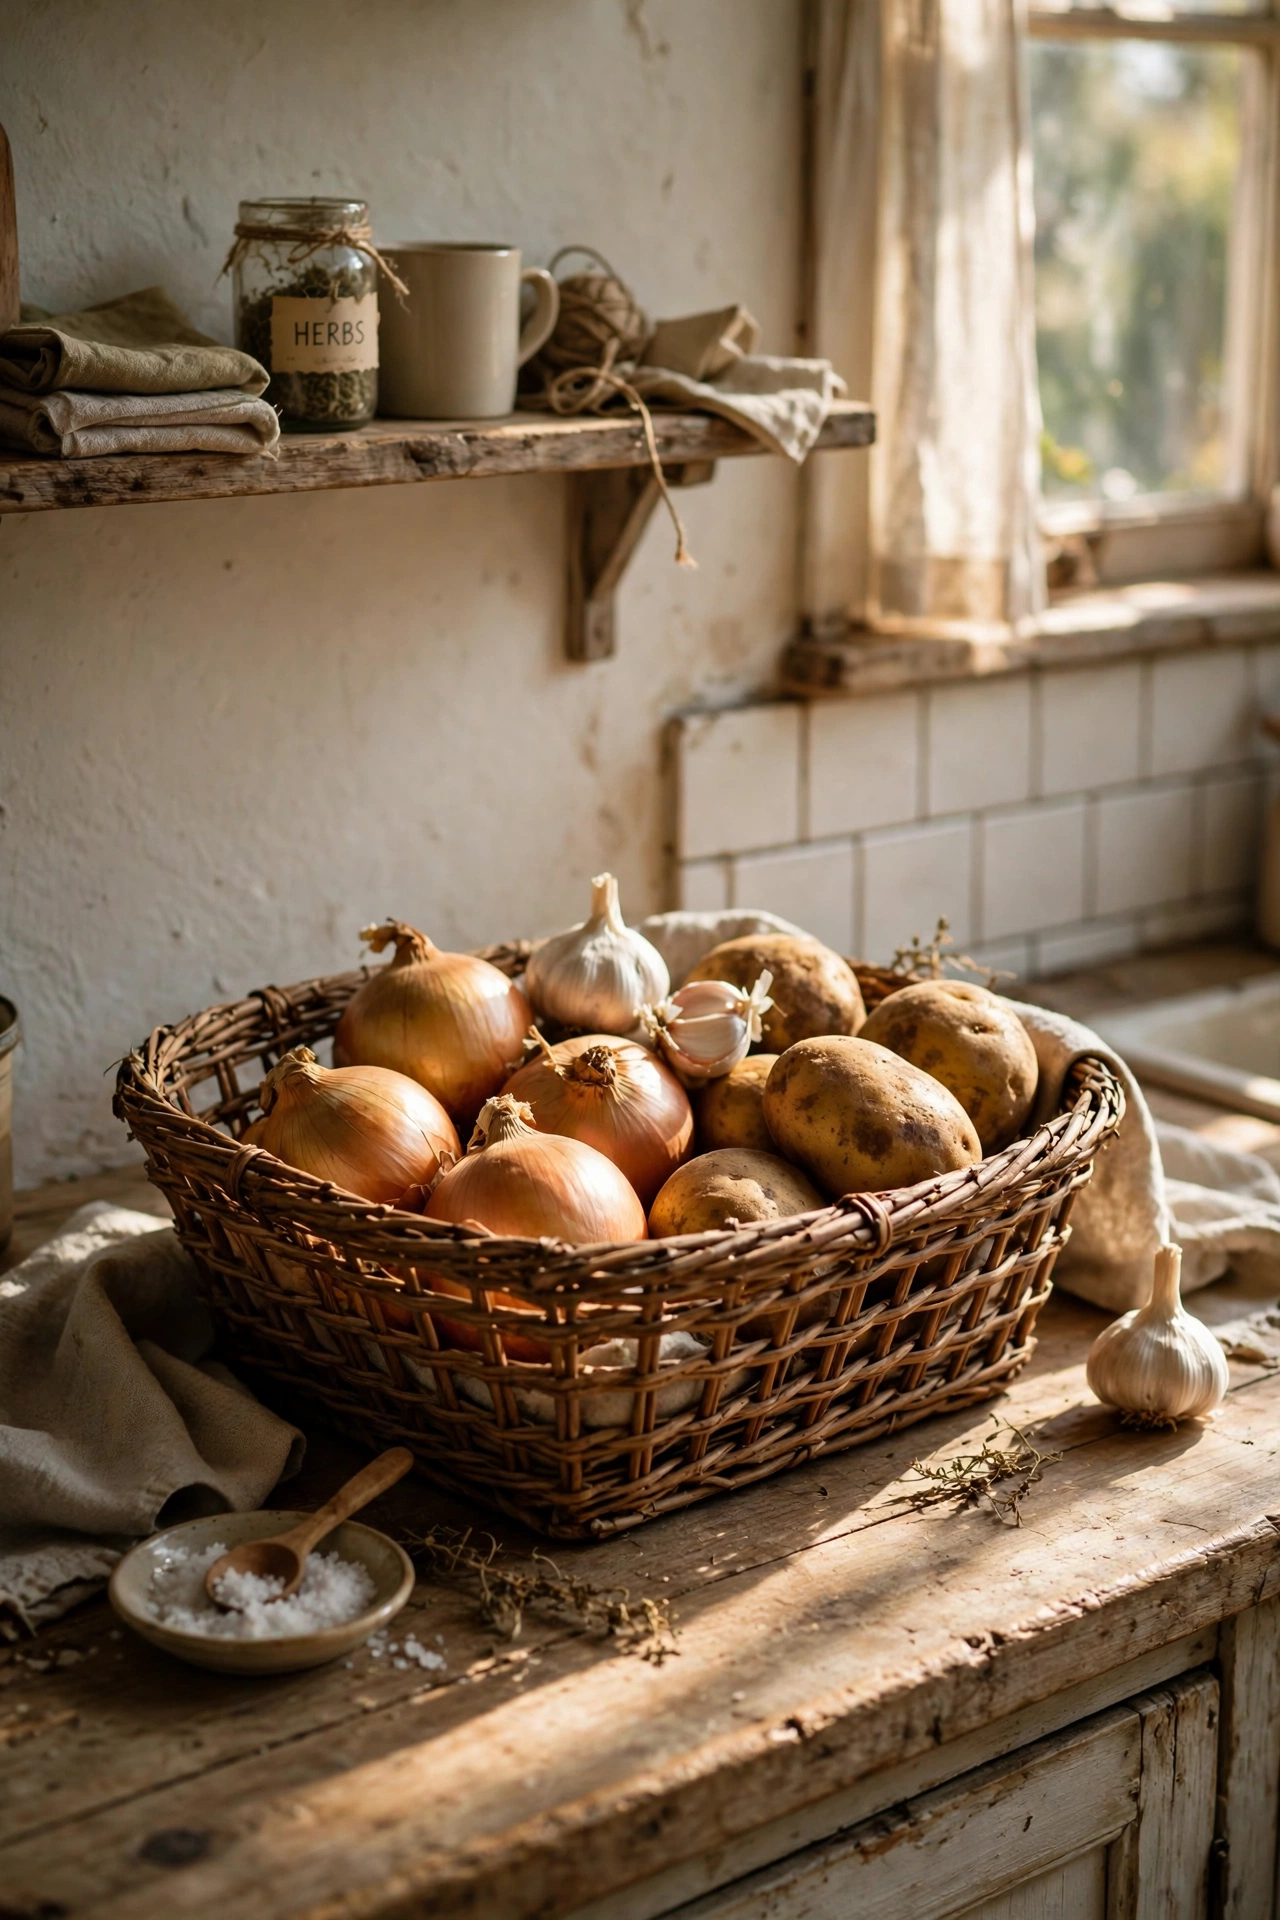
A shallow, open-weave basket keeps onions, garlic, and potatoes handy without taking over the counter. Air flow matters here, so skip baskets lined with thick fabric. First, clean the basket well and check for food-safe lining if you want one. Next, sort produce by type so nothing gets crushed underneath. Then, keep it away from the sink splash zone and wipe it out weekly. I tried this after our fruit bowl kept overflowing, and cooking got faster because I could see everything at once. One mistake to avoid: do not mix damp produce with dry goods, or the basket will stain and soften.
Cost: ~$4 | Time: 15 minutes
6. Cozy Reading Nook Book Basket
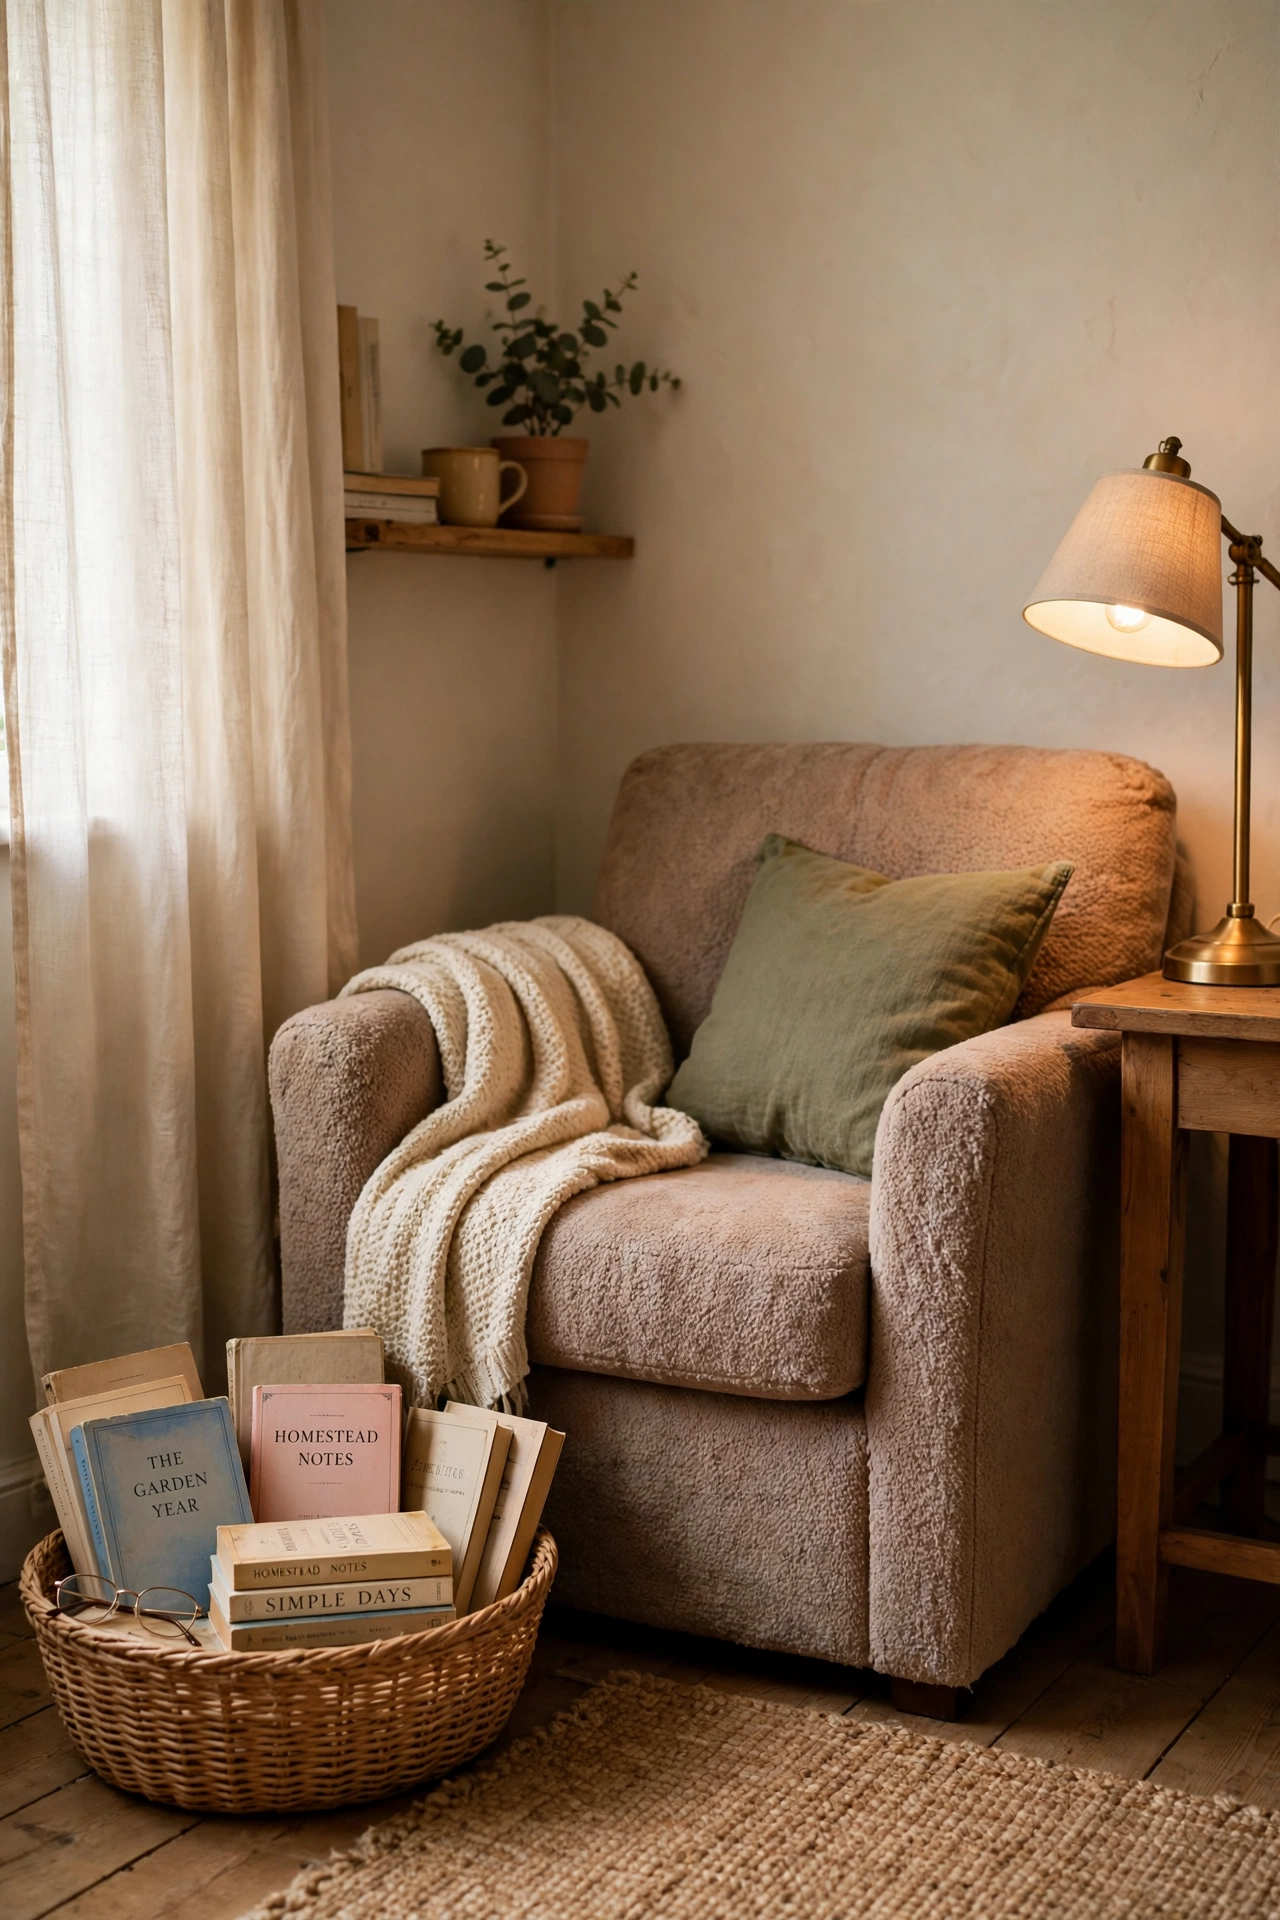
A low basket beside your reading chair holds the book you are reading, a notebook, and a pair of glasses in one spot. Pick one wide enough for paperbacks to lie flat without bending. First, clear a corner near good light and set the basket within arm’s reach. Next, add your current book, a pen, and a small candle or lip balm if you like. Then, keep only three or four books in it so it stays inviting. I tried this next to my armchair, and I stopped losing my place because the book was always waiting there. One mistake to avoid: do not turn it into a storage dump, or you will never find the book you want.
Cost: ~$7 | Time: 15 minutes
7. Kids’ Toy Tidy Basket with Handles
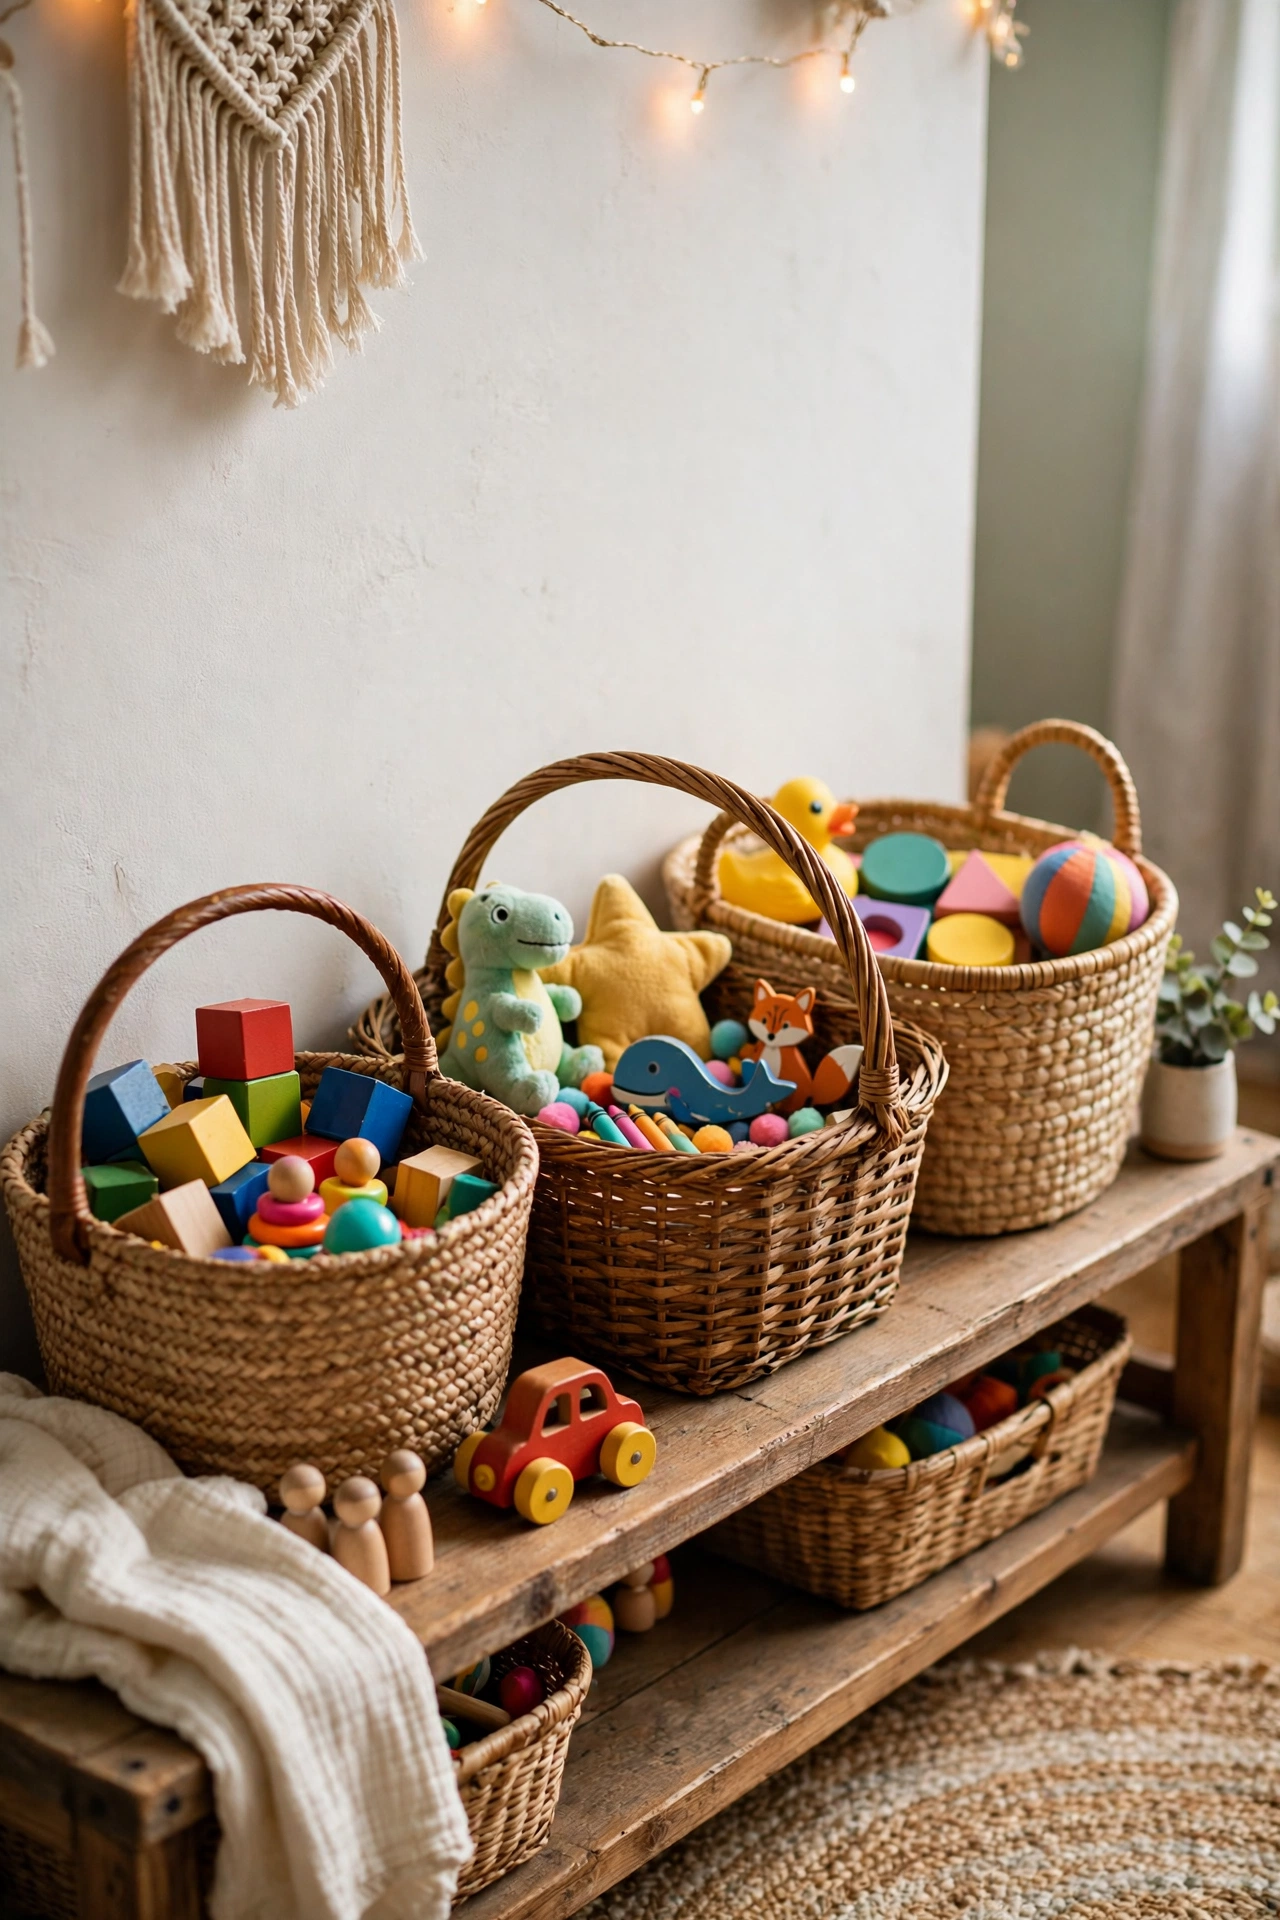
Strong handled baskets make tidy-up time faster because kids can carry a whole category of toys in one trip. Choose baskets that are light when empty and easy for small hands to grip. First, sort toys into groups like blocks, cars, and soft toys. Next, label each basket with a simple picture or word tag. Then, put the baskets on a low shelf so kids can reach them alone. I tried this in our play corner, and clean-up went from a battle to a five-minute game. One mistake to avoid: do not buy baskets with sharp wicker ends, or little fingers will catch on them.
Cost: ~$9 | Time: 30 minutes
8. Fireplace Log Basket
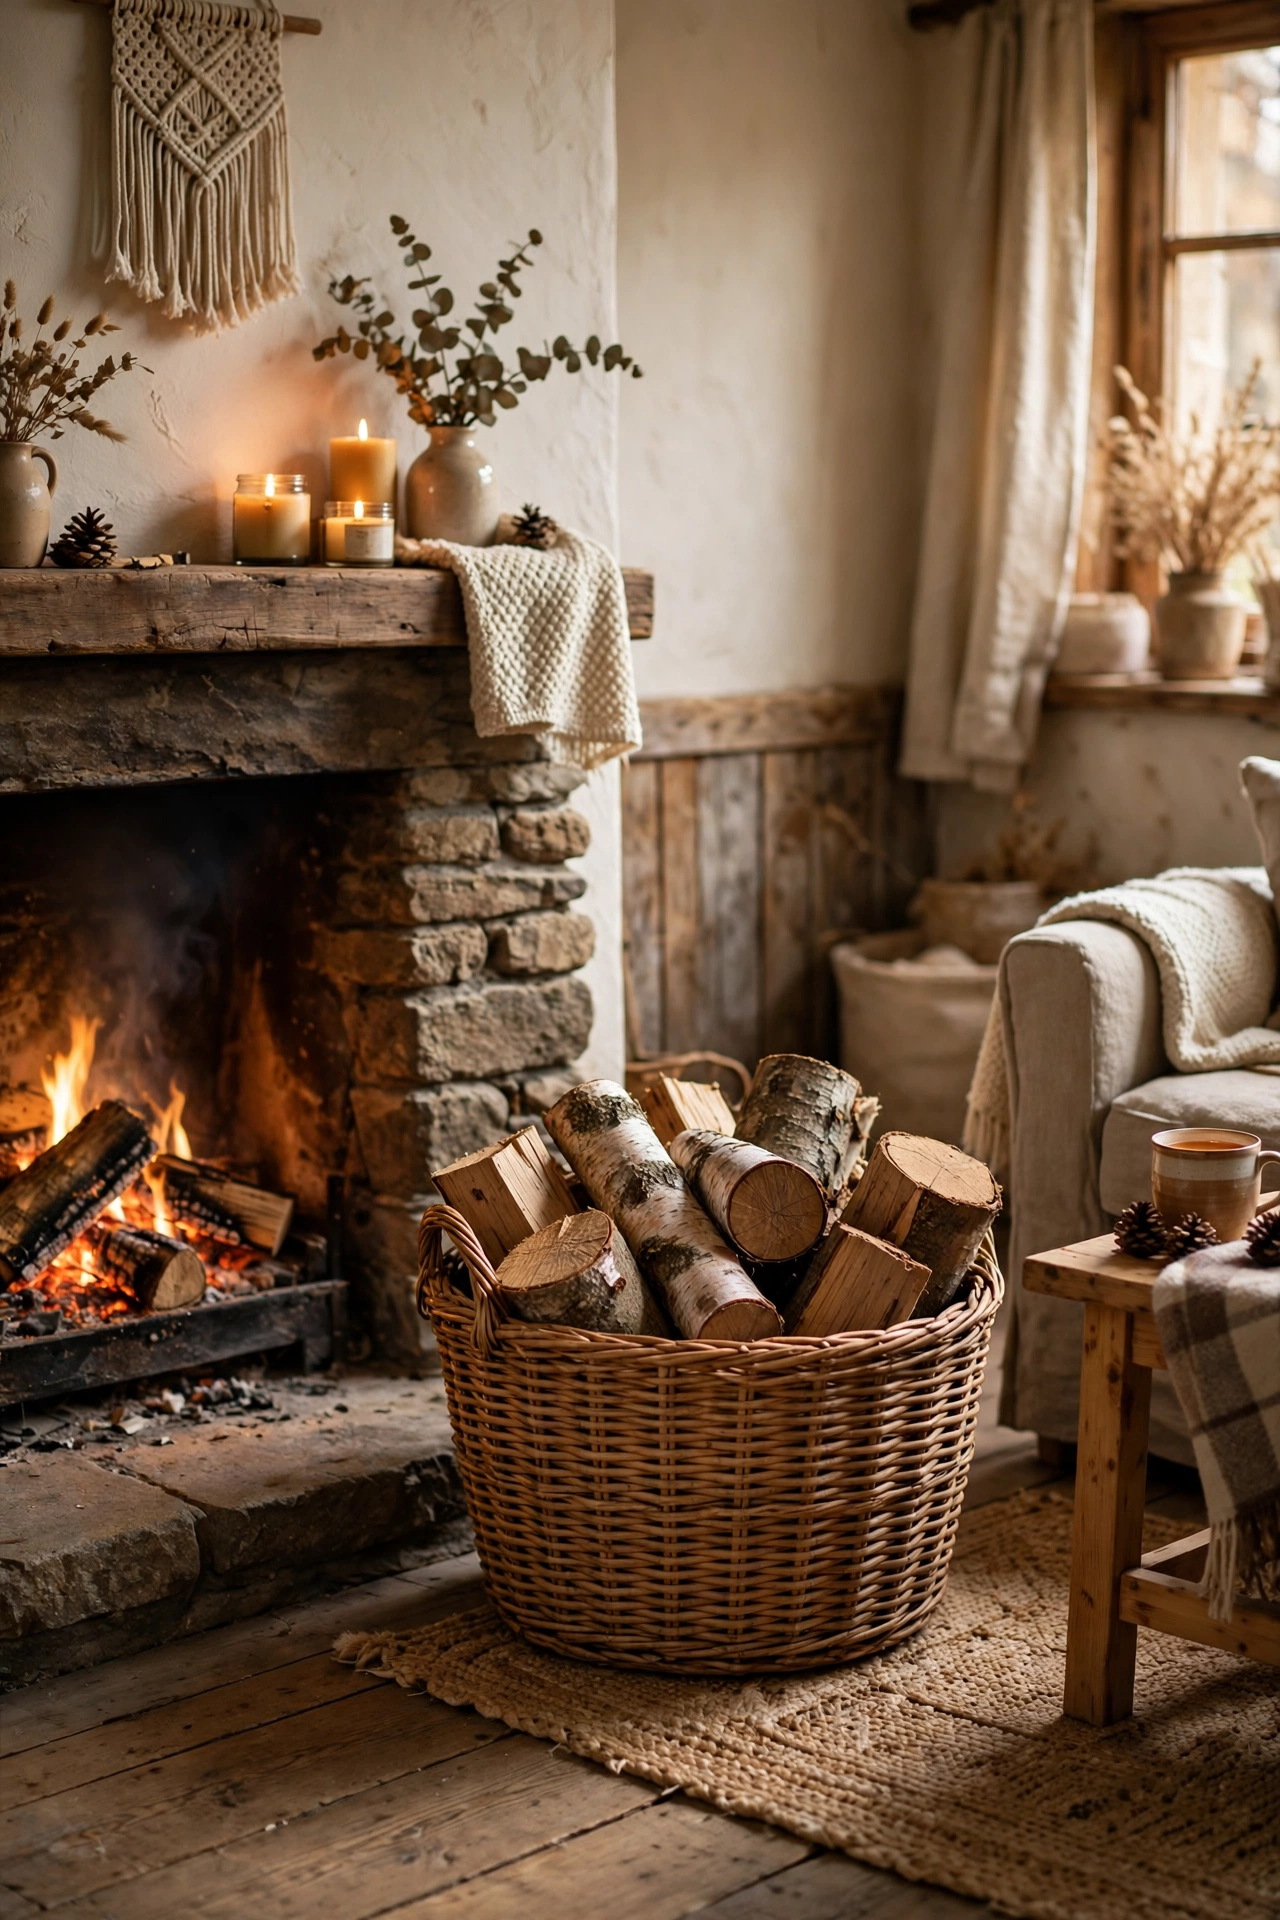
A deep, sturdy basket beside the fireplace keeps logs tidy and adds a warm, rustic touch even when the fire is out. Look for thick weaving and a reinforced base that can handle real weight. First, test the base by pressing down firmly before you buy it. Next, line the bottom with a piece of old cloth to catch bark bits. Then, stack logs upright or in neat rows, bark side out. I tried this with a $5 market-style basket, and it stopped logs from rolling onto the rug (see also: cozy-living-room-ideas-on-a-budget). One mistake to avoid: do not use a painted or varnished basket right next to an open fire.
Cost: ~$12 | Time: 20 minutes
9. Under-Bed Storage Basket for Out-of-Season Clothes
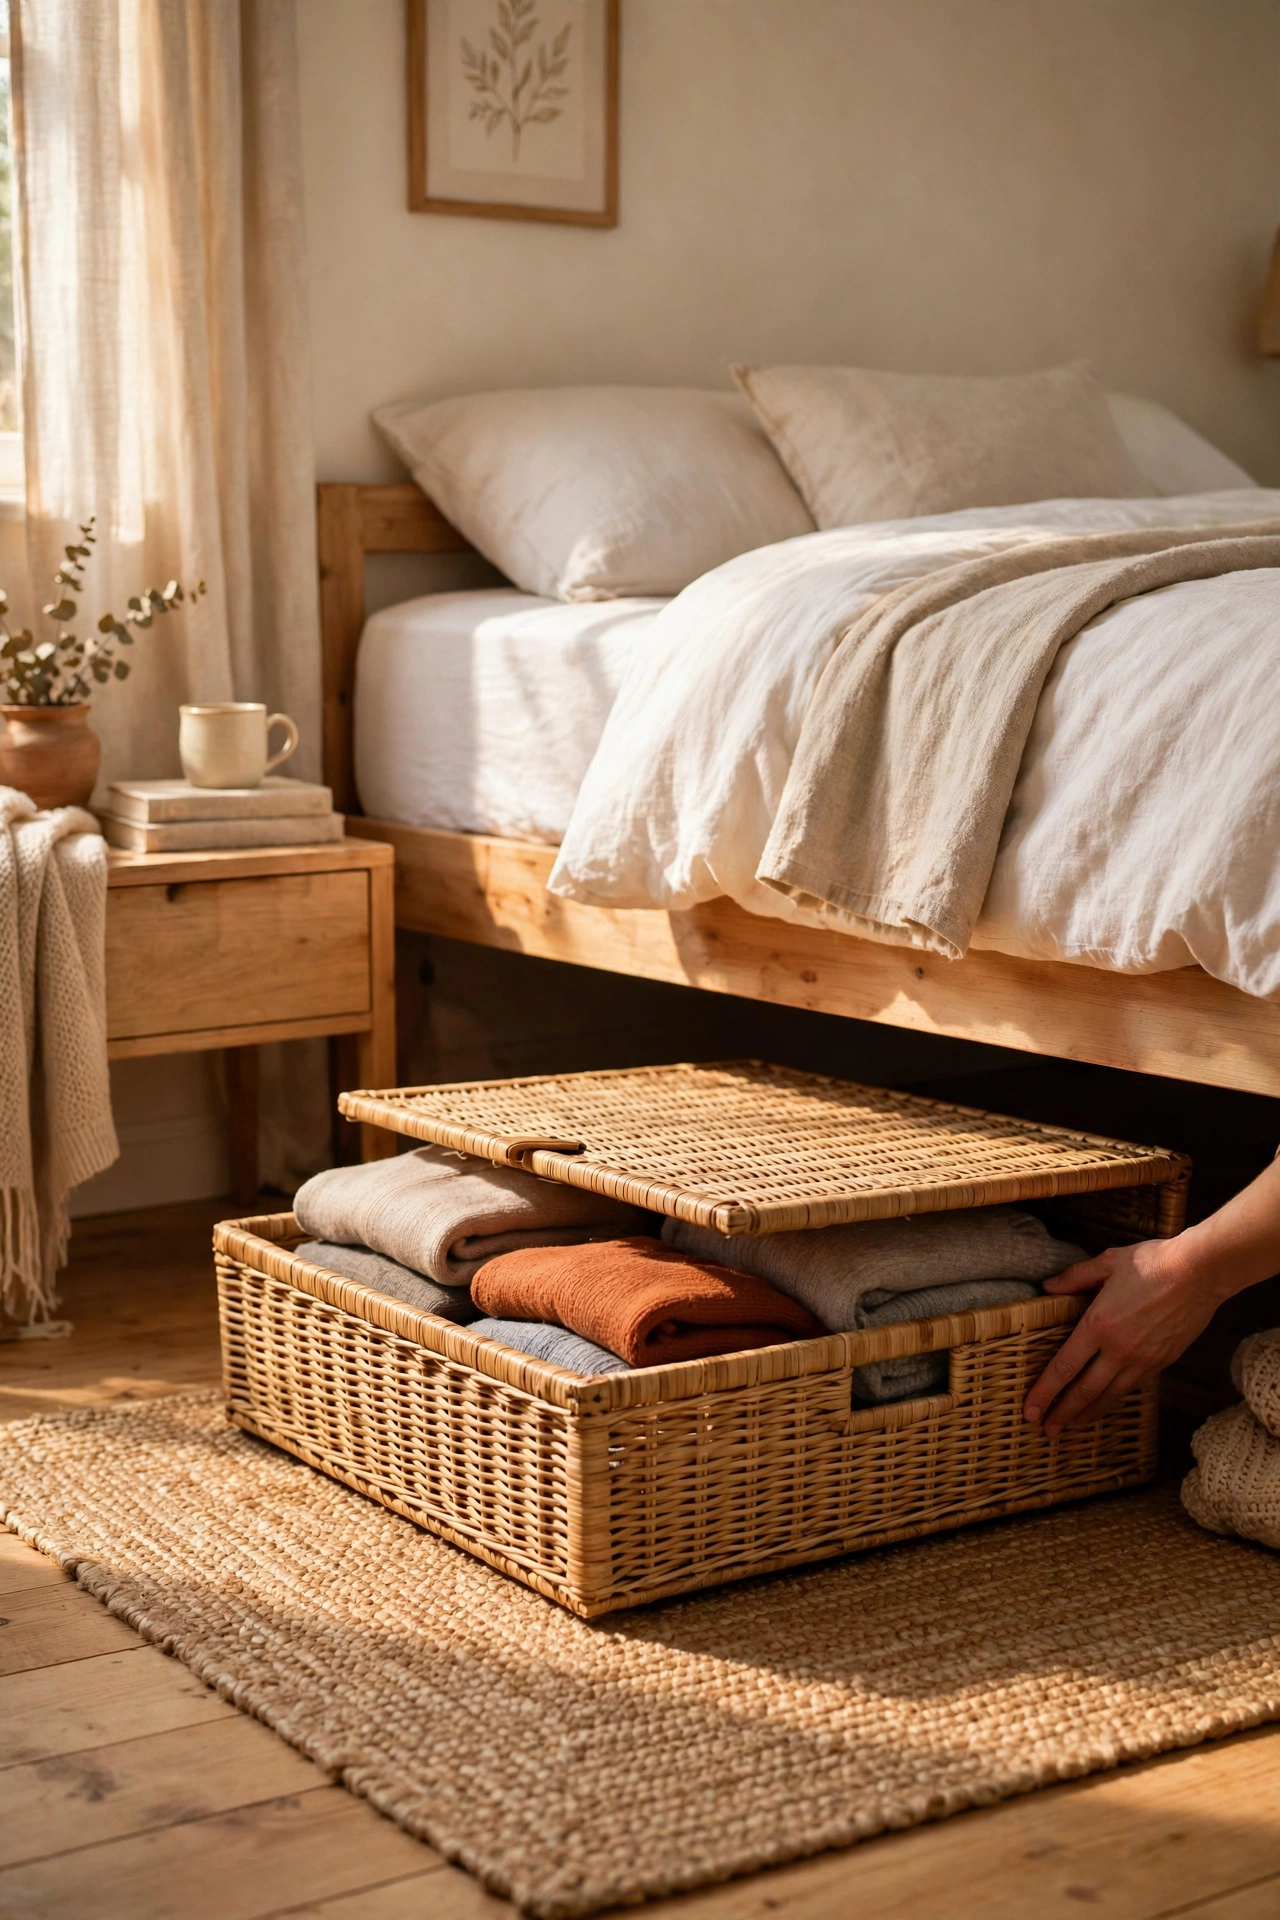
Flat, lidded baskets slide under the bed and hide out-of-season clothes without a plastic bin in sight. Measure your bed clearance first, because many pretty baskets are just too tall. First, wash and dry the clothes fully before packing them away. Next, fold them flat and add a cedar sachet or lavender pouch. Then, label the basket end so you can find it later. I tried this for winter sweaters, and it freed up two drawers for everyday clothes. One mistake to avoid: do not store clothes in a damp or musty basket, or the smell will settle into the fabric.
Cost: ~$11 | Time: 35 minutes
10. Picnic-Ready Thrifted Basket Makeover
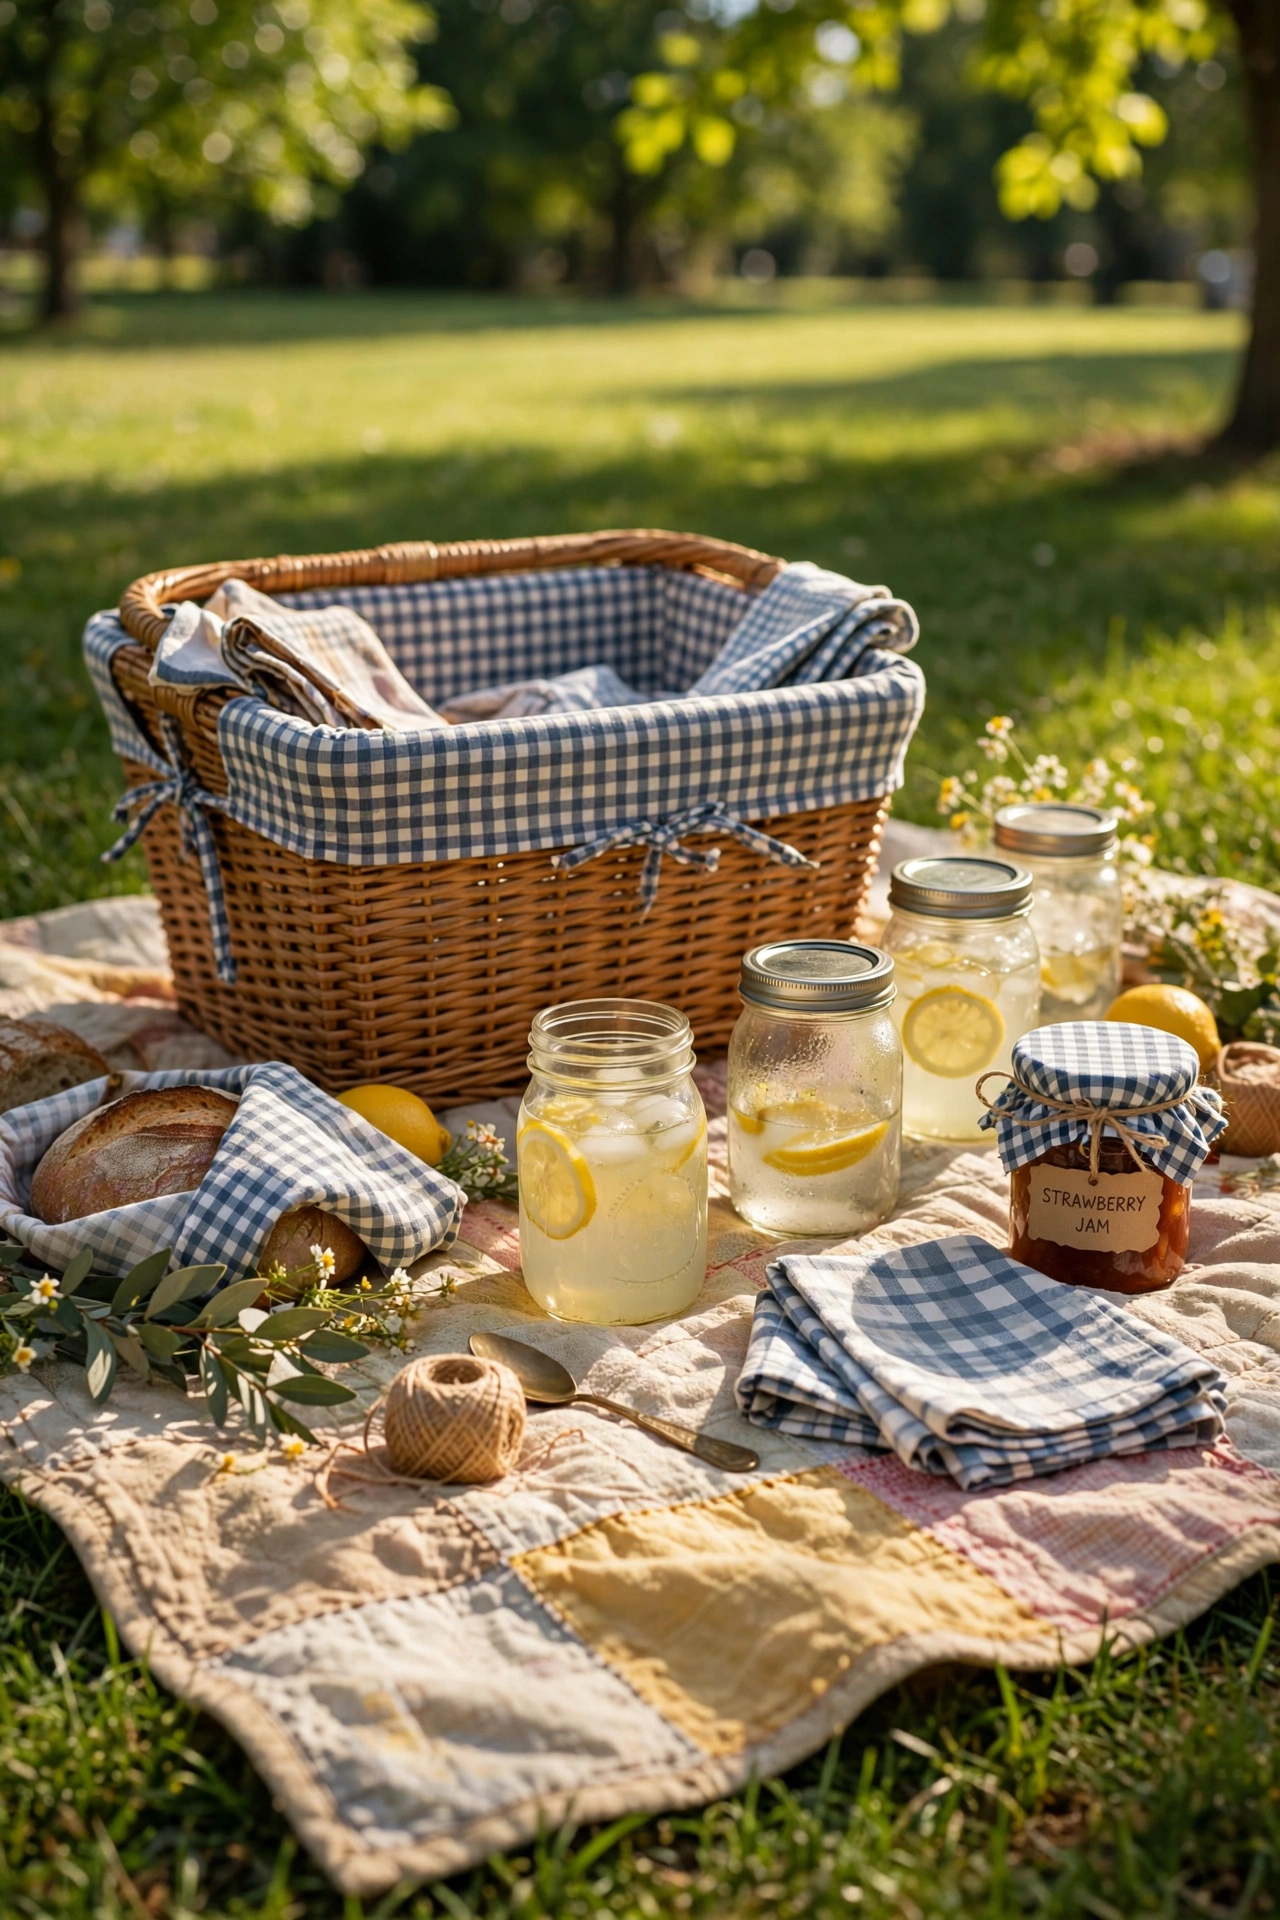
An old hamper-style basket can become a picnic basket with a good clean, a fresh liner, and a few small fixes. Look for a hinged lid and handles that still feel solid. First, scrub the inside, air it out in the sun, and tighten any loose handles. Next, sew or glue in a simple gingham liner that you can remove and wash. Then, add two small jars for cutlery and a cloth napkin set. I tried this for a park lunch, and it looked far more charming than any new bag we owned. One mistake to avoid: do not skip the airing-out step, or old storage smells will follow you to the picnic.
Cost: ~$14 | Time: 60 minutes
11. Bathroom Vanity Basket for Hair Tools
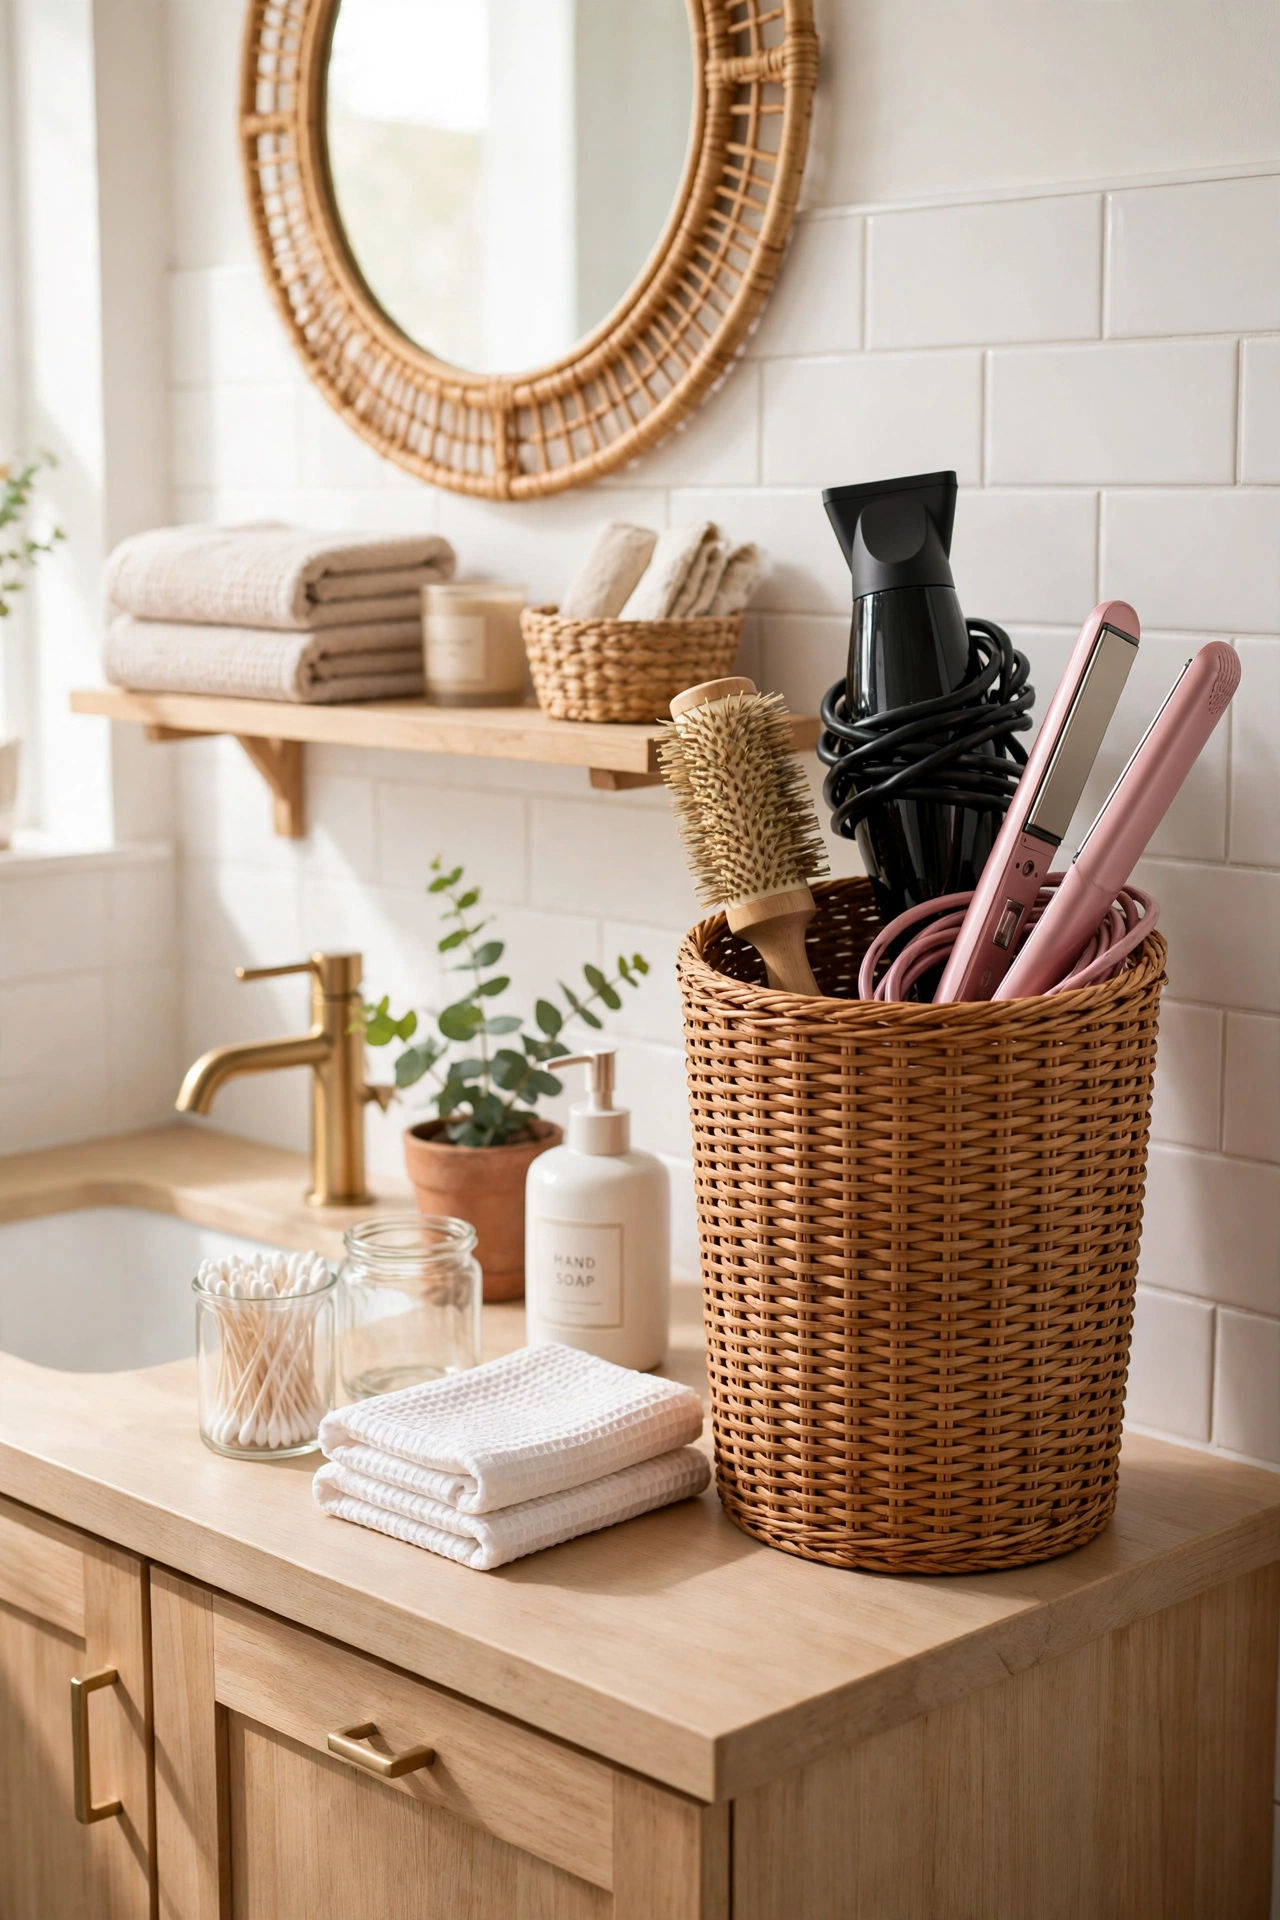
A heat-safe lined basket keeps a hair dryer, brush, and straightener together without tangled cords all over the vanity. Pick a basket tall enough to stand tools upright. First, add a heat-resistant mat or thick cotton liner inside. Next, coil cords loosely and tuck them beside the tools, not wrapped tight around them. Then, keep the basket on a shelf or in a cabinet where it can cool down safely. I tried this after my dryer kept sliding off the counter, and mornings got much calmer. One mistake to avoid: never drop a hot straightener straight into an unlined wicker basket.
Cost: ~$8 | Time: 25 minutes
12. Entryway Boot and Shoe Basket Tray
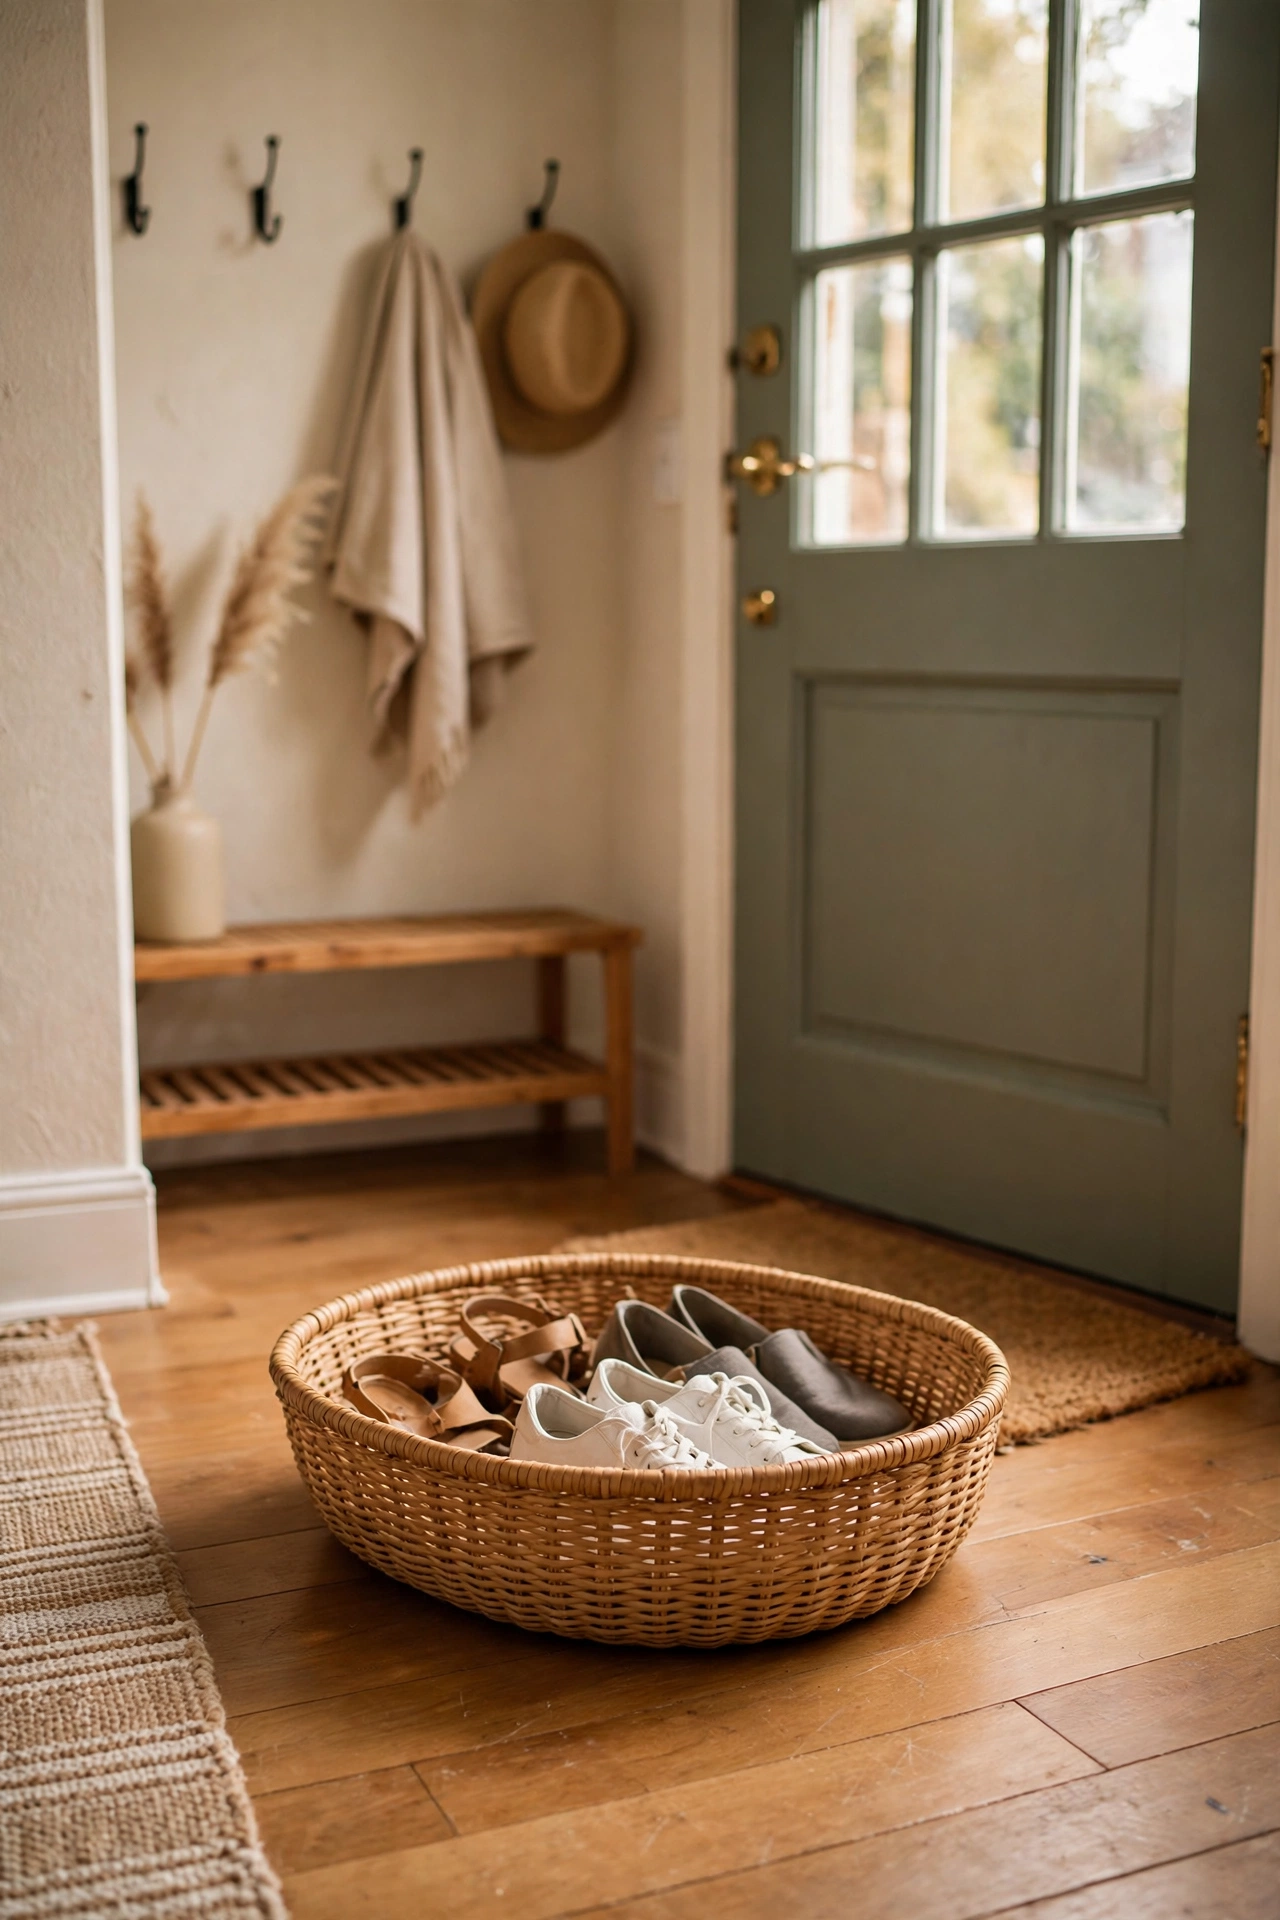
A wide, shallow basket works like a tray for shoes by the door, keeping mud and wet soles off your floors. Choose one with a firm base and low sides so shoes slide in easily. First, set a waterproof tray or old towel underneath it. Next, limit it to two pairs per person so it does not overflow. Then, shake it out weekly and wipe the base clean. I tried this in our muddy hallway, and the floor finally stayed clean through rainy weeks (see also: small-entryway-storage-ideas). One mistake to avoid: do not use a soft, floppy basket here, or it will collapse under heavy boots.
Cost: ~$10 | Time: 20 minutes
13. Craft Supply Basket with Divided Sections
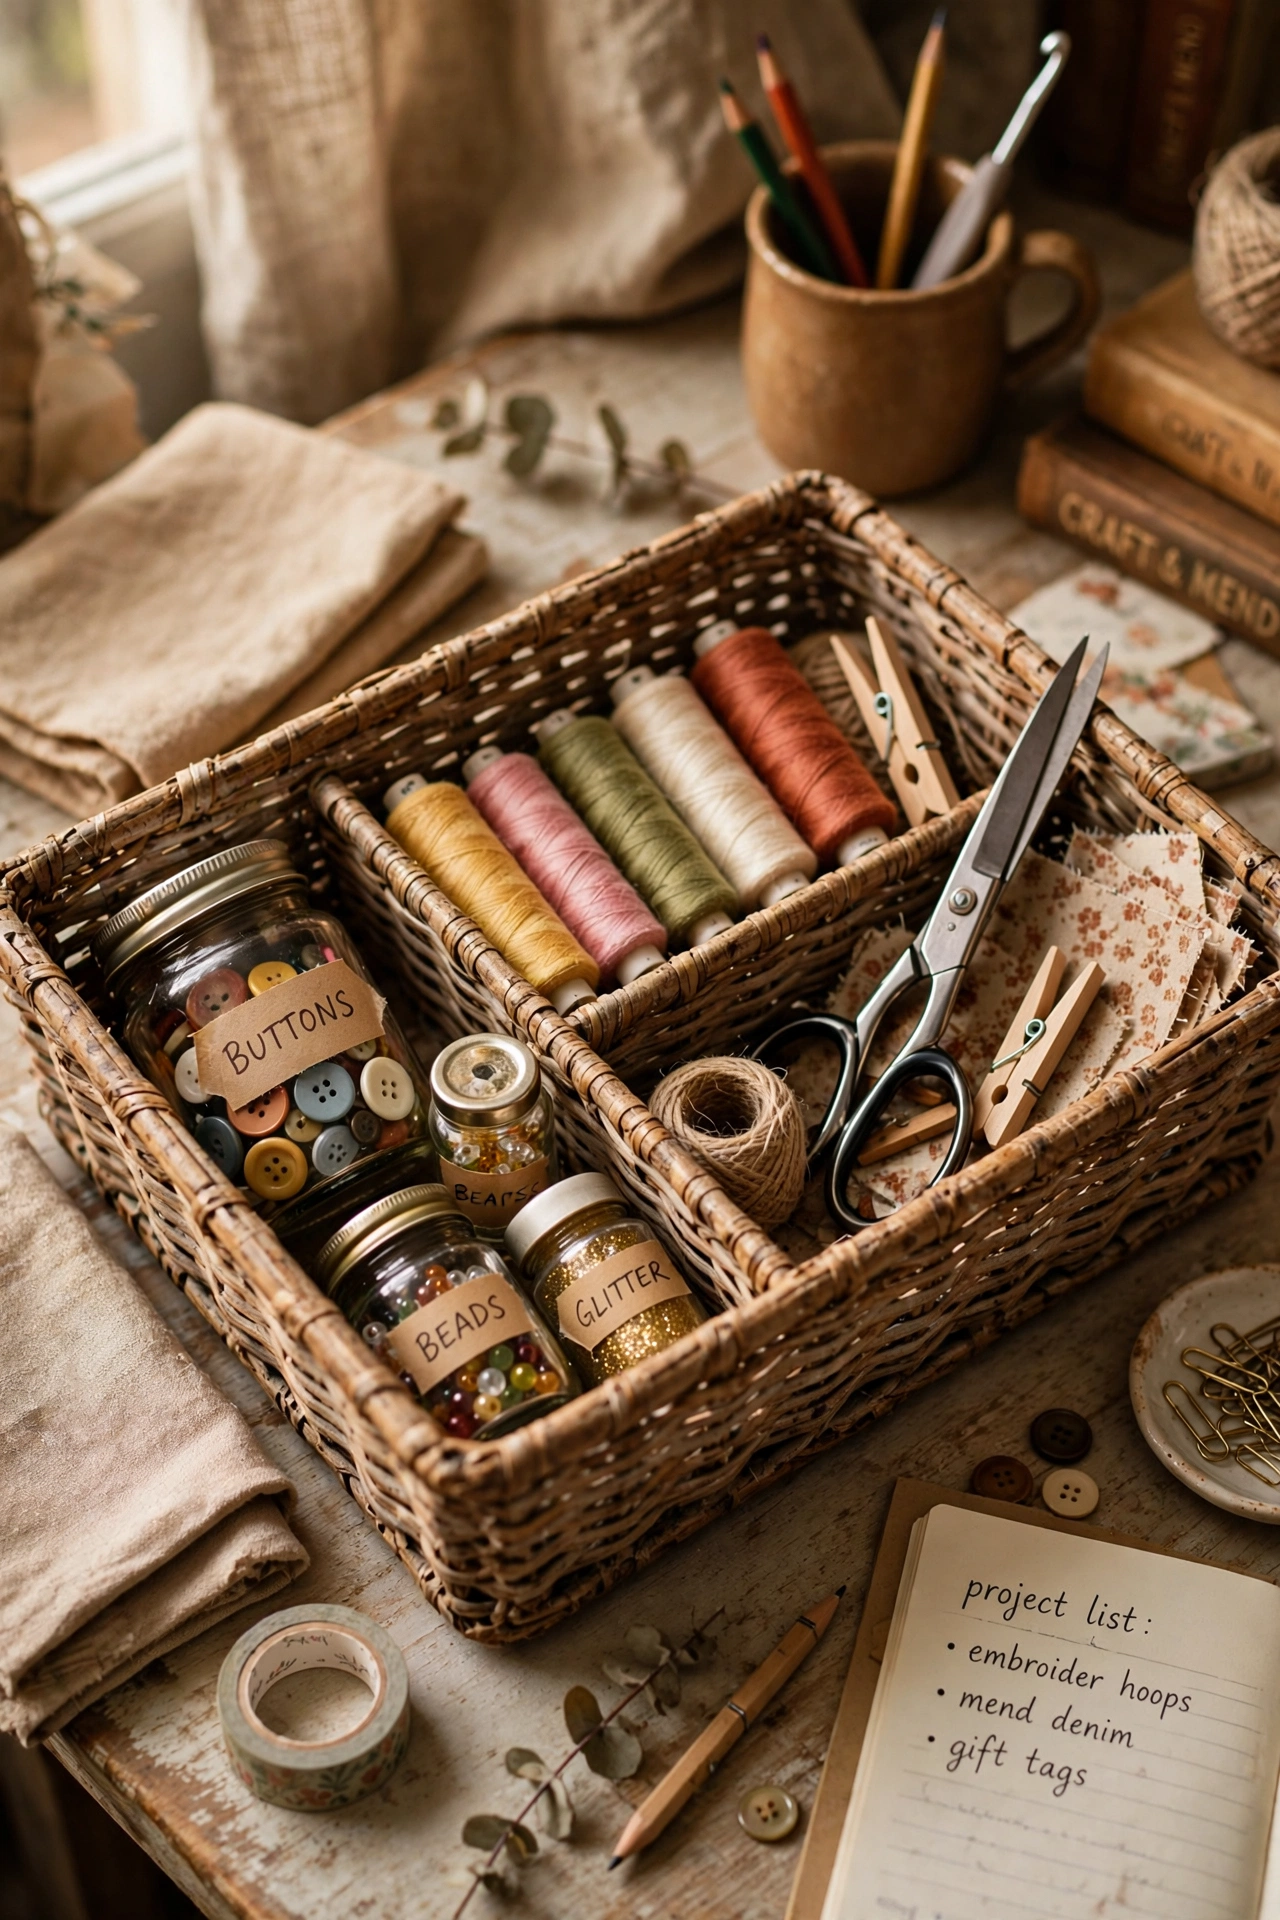
A divided basket turns scattered craft supplies into a kit you can carry to the table and put away in minutes. Small fabric pouches or jam jars inside make the sections. First, group supplies by project, like sewing, painting, or paper crafts. Next, place heavy items at the bottom and small bits in jars on top. Then, add a handle check and a label on the outside. I tried this for my sewing bits, and I finally stopped buying a second pair of scissors because I could find the first. One mistake to avoid: do not mix wet paints with fabric supplies, or one leak will ruin the whole basket.
Cost: ~$13 | Time: 40 minutes
14. Bedside Charging Station Basket
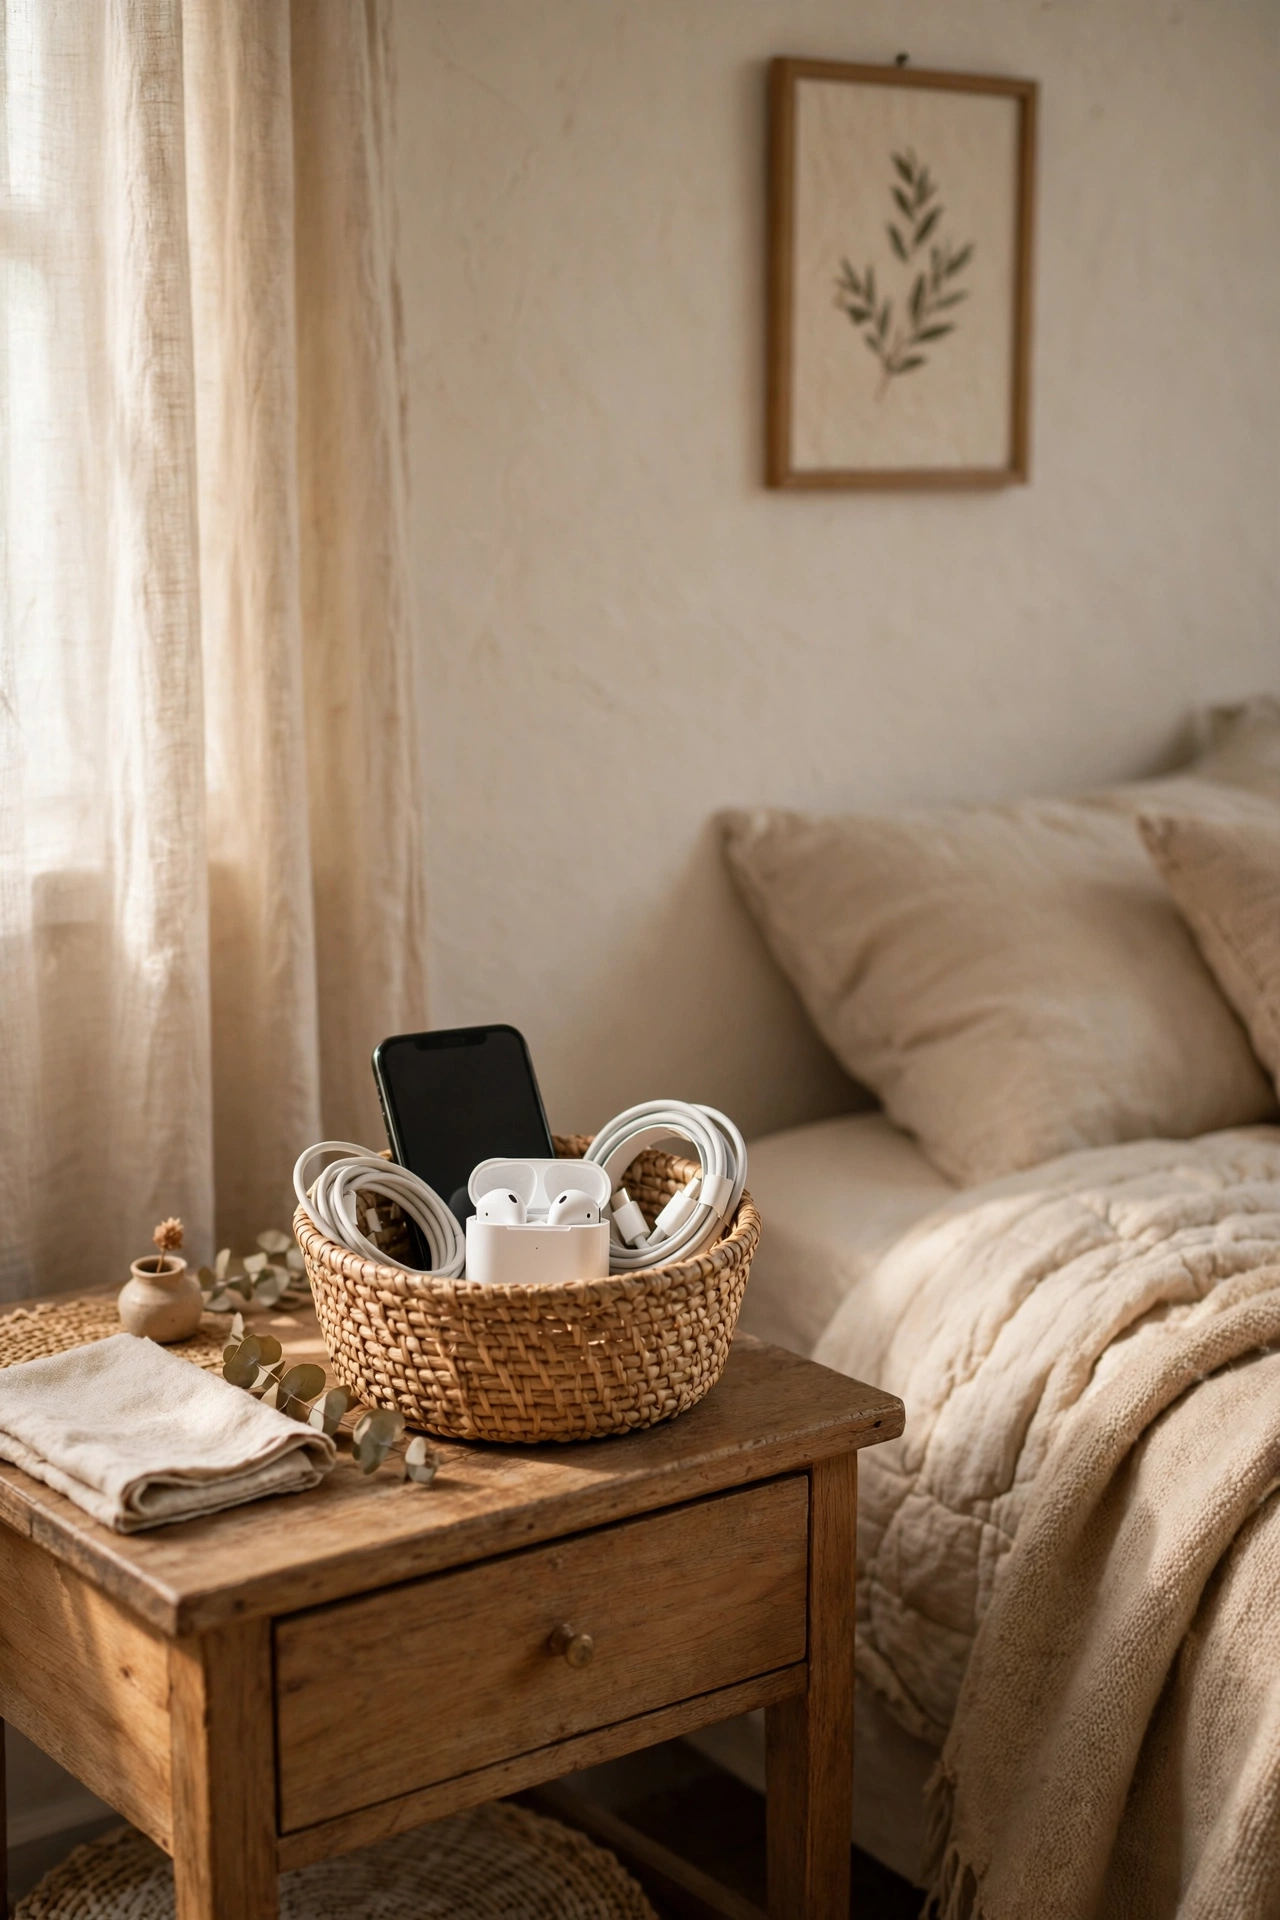
A small basket on the nightstand hides chargers and keeps your phone, earbuds, and watch in one calm spot overnight. Pick one just big enough for your devices plus a short cable. First, thread a power strip cable through the back weave or a small hole. Next, add a felt pad so phones do not scratch. Then, coil extra cable length underneath and keep only the ends you need on top. I tried this beside my bed, and it ended the tangle of cords falling behind the nightstand every night. One mistake to avoid: do not cover a charging brick with fabric while it is hot.
Cost: ~$9 | Time: 25 minutes
15. Front Porch Welcome Basket with Seasonal Greenery
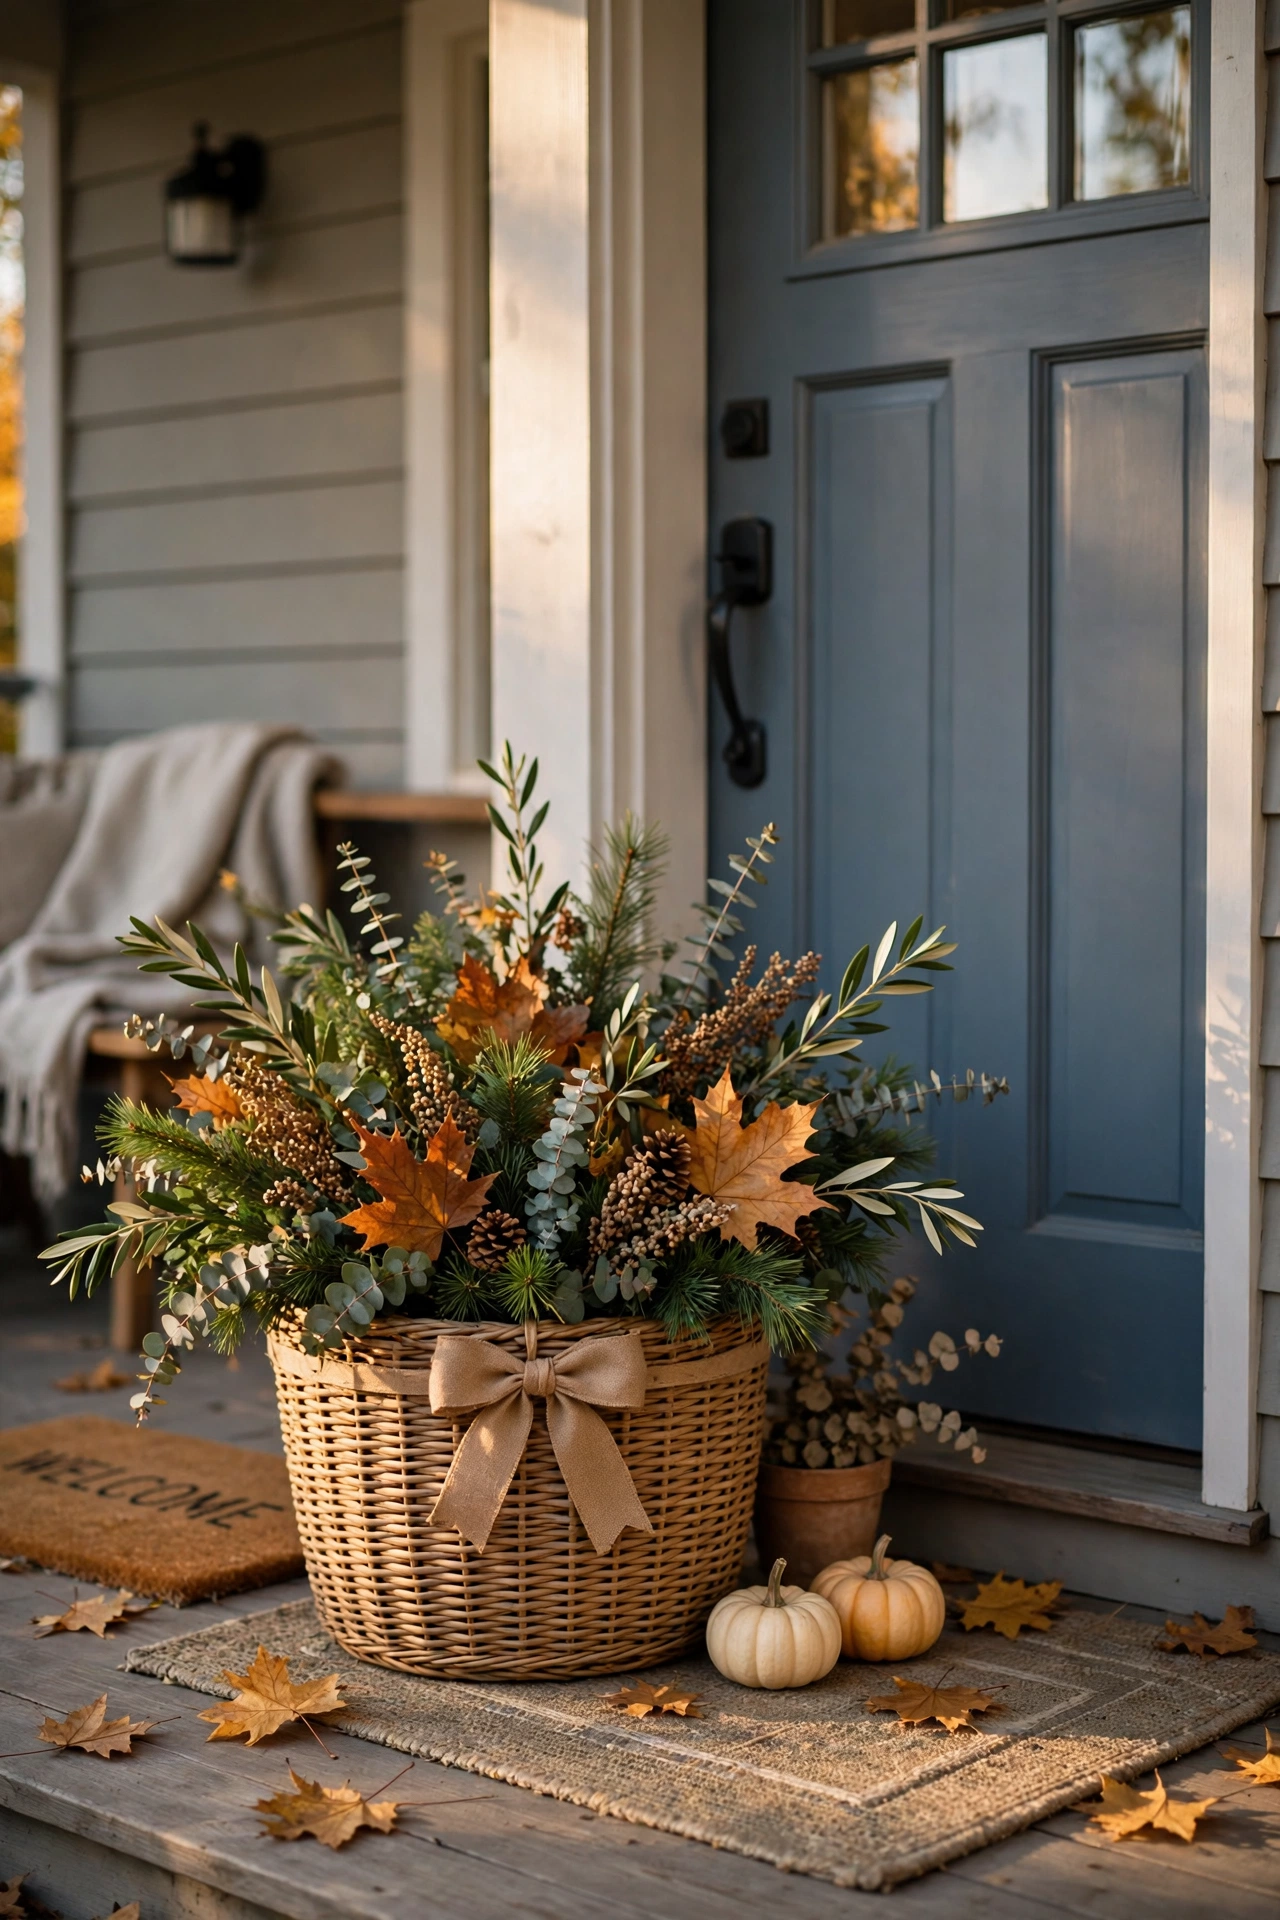
A large basket by the front door filled with seasonal greenery makes a porch feel welcoming without a full wreath project. Use faux stems in winter and fresh cuttings in spring and summer. First, weigh the basket down with a brick or heavy pot inside so wind cannot tip it. Next, arrange tall stems at the back and shorter ones at the front. Then, add a bow or a small sign for a finished look. I tried this last autumn with eucalyptus and pine, and neighbors asked where I bought it. One mistake to avoid: do not leave fresh cuttings in standing water inside a wicker basket, or the base will rot.
Cost: ~$16 | Time: 35 minutes
