23 Facebook Marketplace Furniture Flips on a Budget
I still remember the first time I tried facebook marketplace furniture flips: a scratched six-drawer dresser listed for $40, a seller who just wanted it gone before moving day, and me standing in her driveway wondering if I had made a huge mistake. It smelled faintly of old polish, one drawer stuck, and the top had a ring stain the size of a dinner plate. Three weekends later, that same dresser sat in my bedroom, painted soft cream with new brass pulls, and friends kept asking where I had bought it. That is the whole trick with Marketplace. You are not hunting for perfect furniture. You are hunting for solid bones, honest sellers, and a price low enough that a can of paint still leaves you ahead.
Before you message anyone, decide what you can actually carry home, measure your car and your doorway, and set a hard ceiling for each piece. Most of the flips below cost less than a dinner out, and none of them need fancy tools. A screwdriver, sandpaper, a decent brush, and patience will cover almost everything here. Pick one, start small, and let the first finished piece teach you the rest.
1. Chalk-Painted Farmhouse Dresser
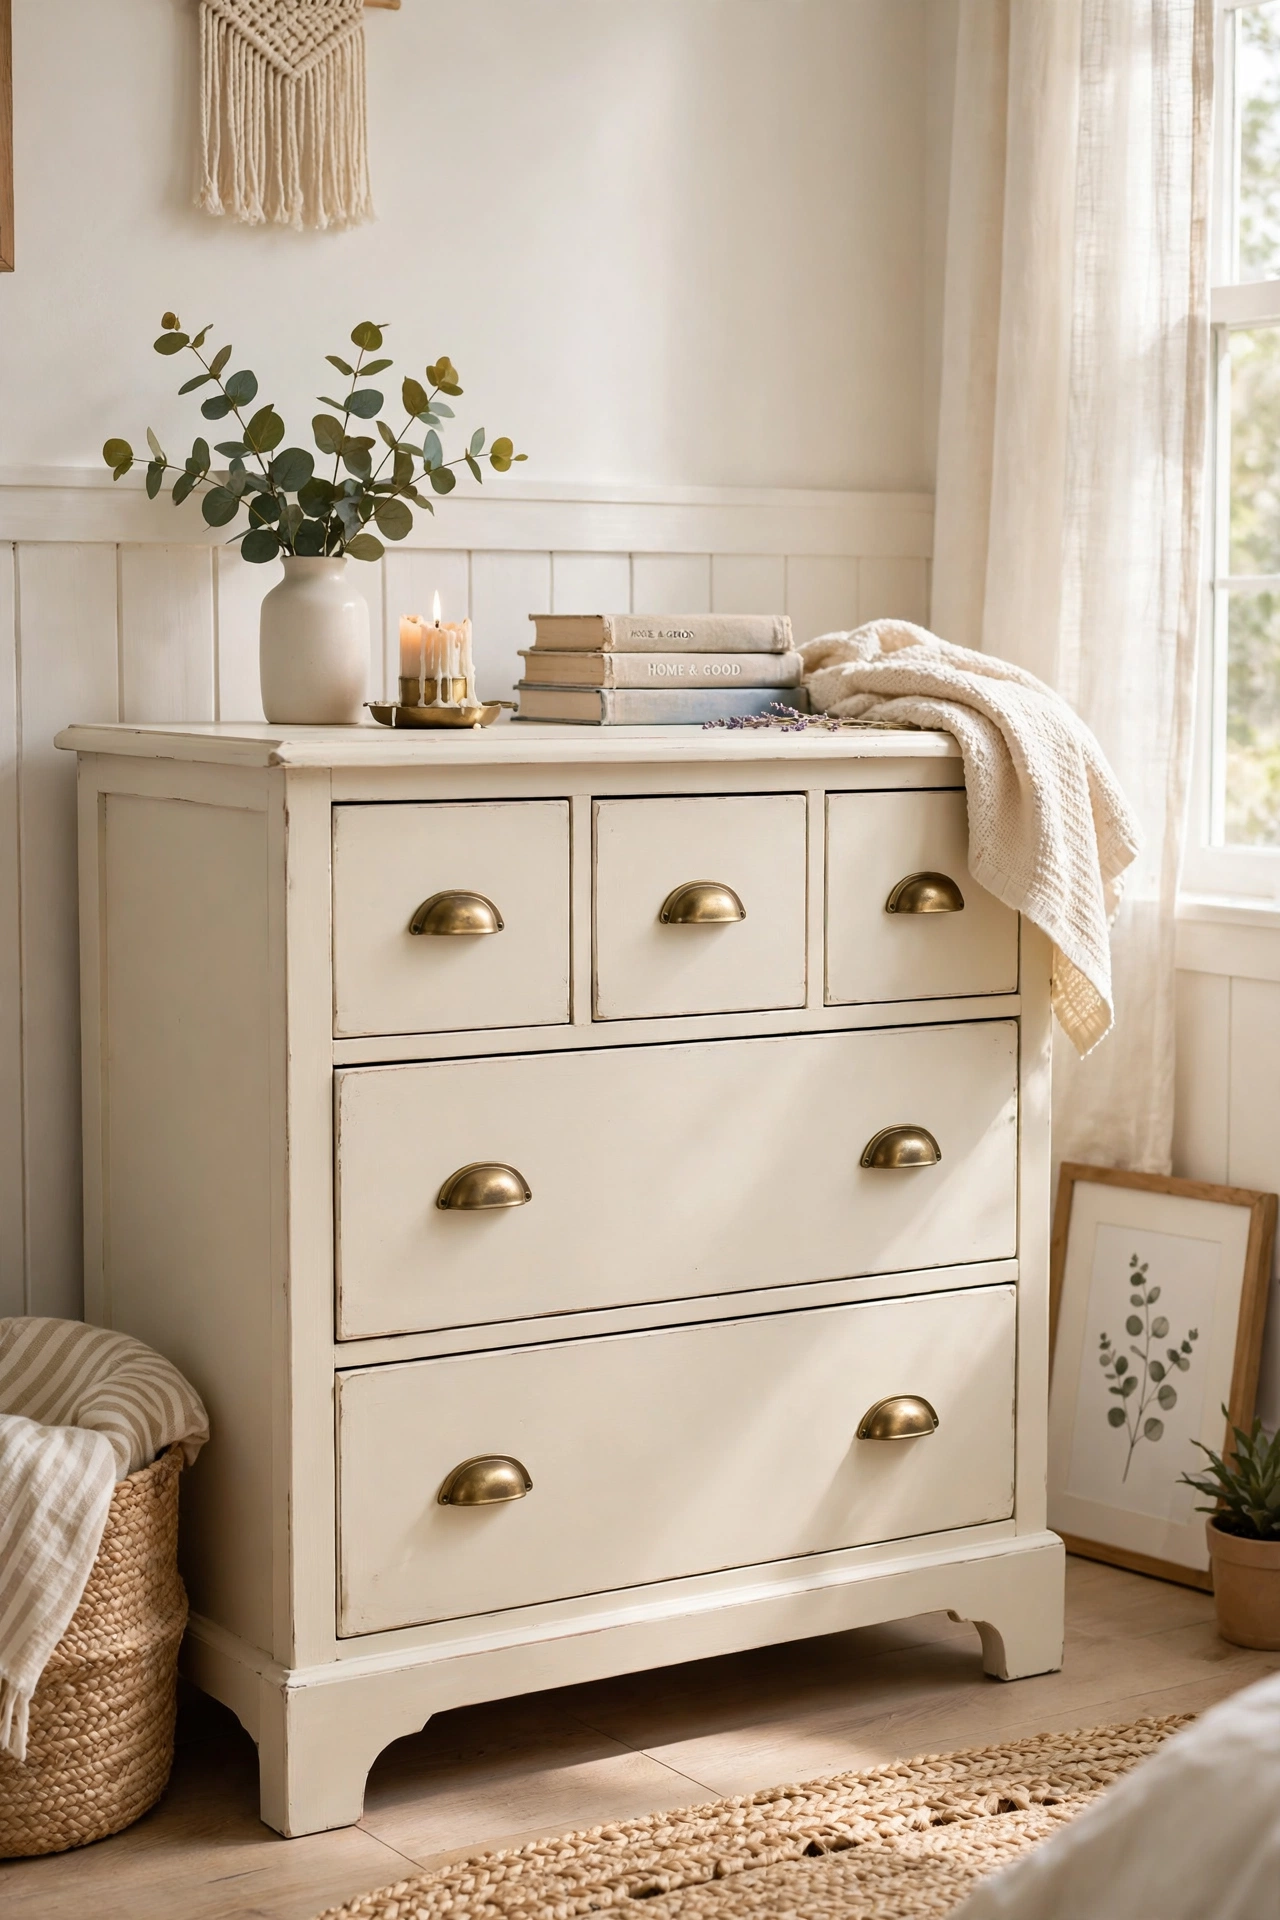
A chalk-painted dresser is the classic first flip for a reason: chalk paint sticks to almost anything, and the matte finish hides small scratches beautifully. Start by removing the drawers and hardware, then wipe everything down with a damp cloth and a little dish soap. Give it one light scuff-sand, brush on two thin coats of paint, and seal it with clear wax or a matte topcoat. I tried this on that very first $40 dresser, and my mistake was painting the drawer fronts while they were still dusty, which left gritty bumps I had to sand out and redo. Work in a dust-free corner if you can, and let each coat dry fully before the next one goes on.
Cost: ~$55 | Time: 240 minutes
2. Two-Tone Kitchen Hutch Makeover
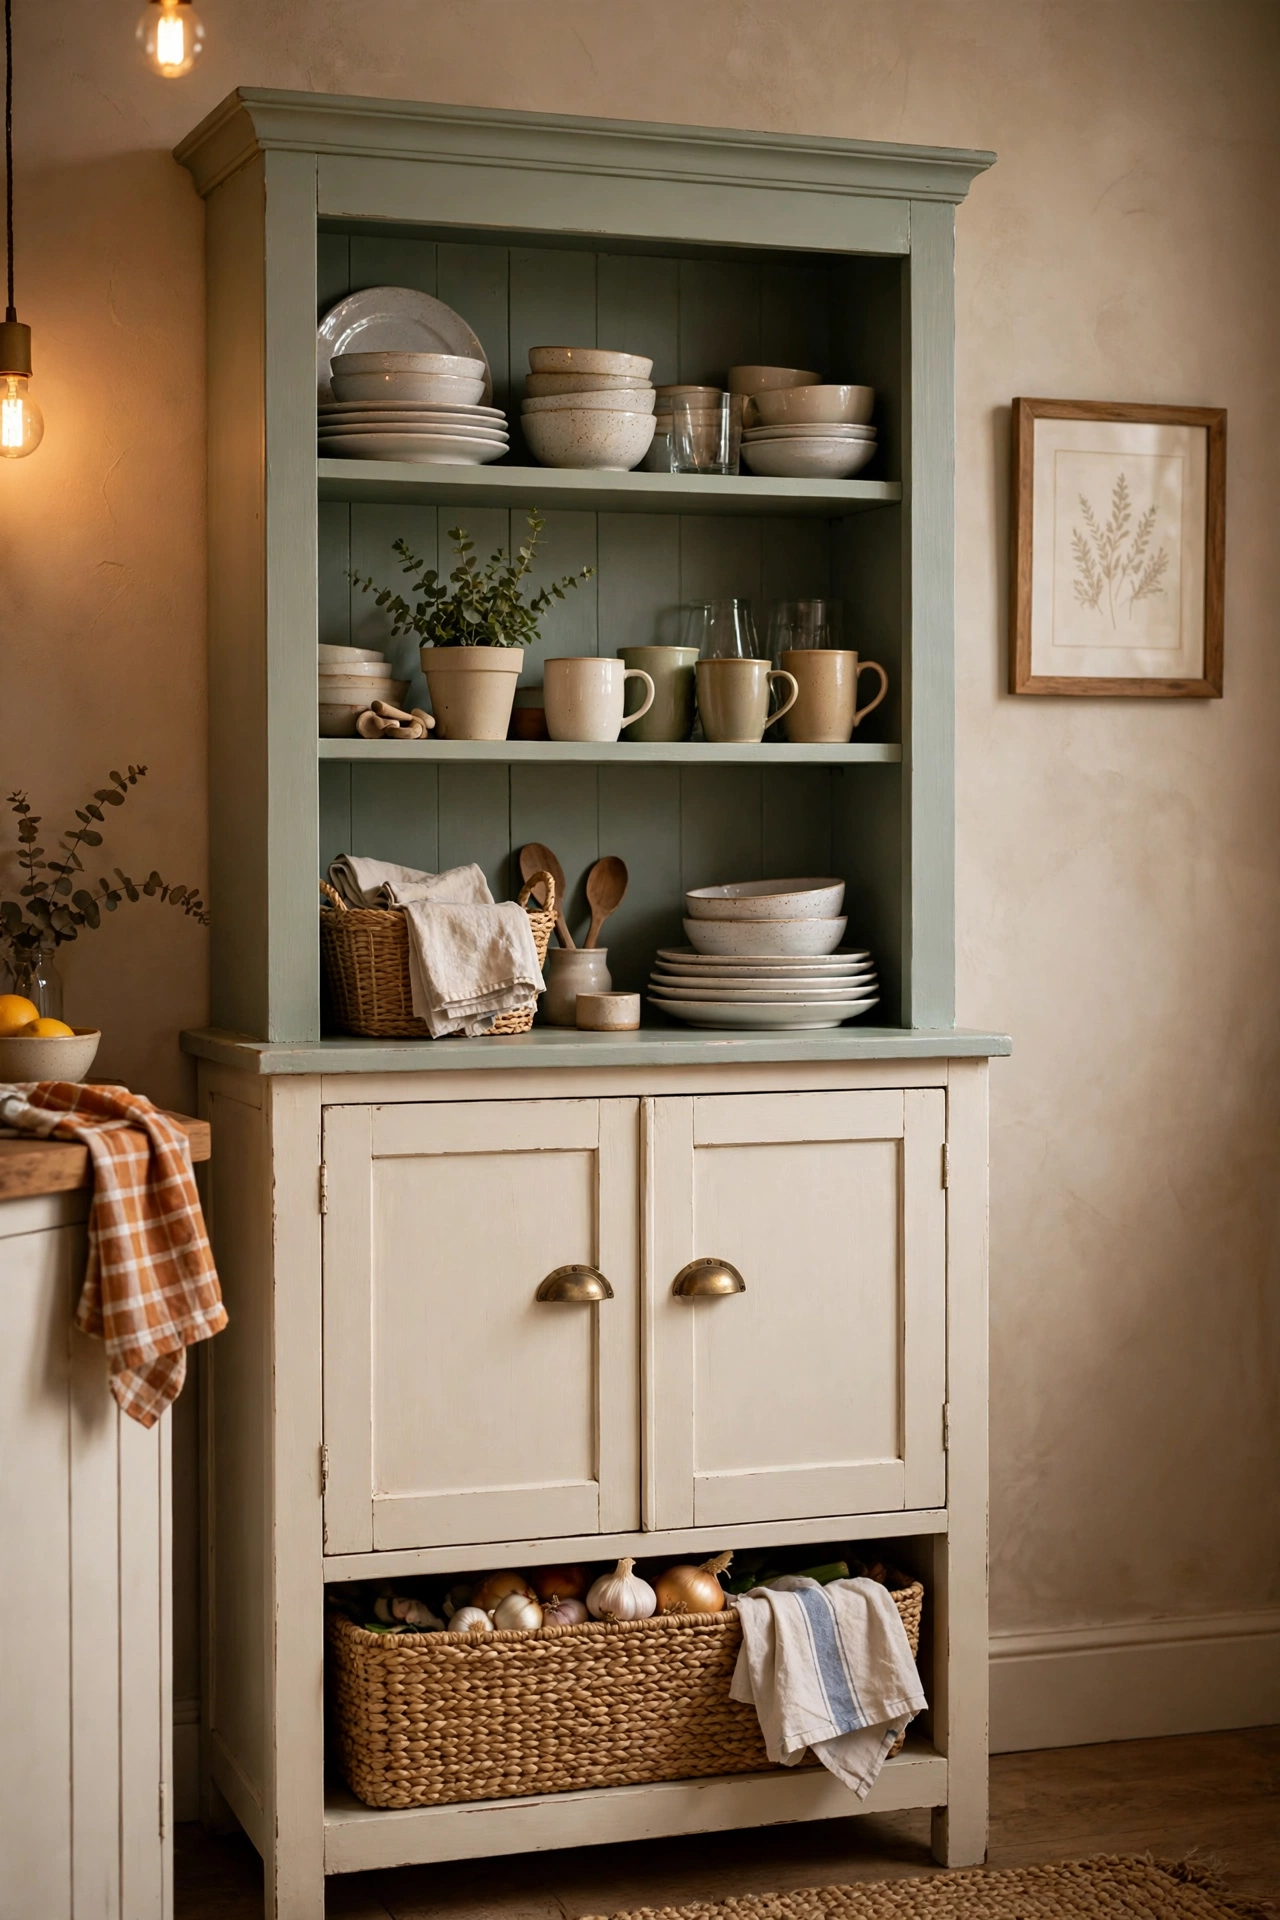
A two-tone hutch gives a kitchen instant character: paint the frame one soft colour and leave the shelves or back panel in a second shade, or strip the top back to bare wood. Clean it well first, since kitchen pieces collect grease, then sand lightly and prime any shiny spots. Paint the body in your main colour, add a contrasting back panel, and finish with new knobs. I tried this with a hutch I found for $30, and I learned the hard way to photograph the shelf positions before taking everything apart, because I spent an hour guessing which shelf went where. Label each piece with painter’s tape as you go (see also: budget-kitchen-hutch-makeover-ideas).
Cost: ~$60 | Time: 300 minutes
3. Walnut-Stained Mid-Century Sideboard
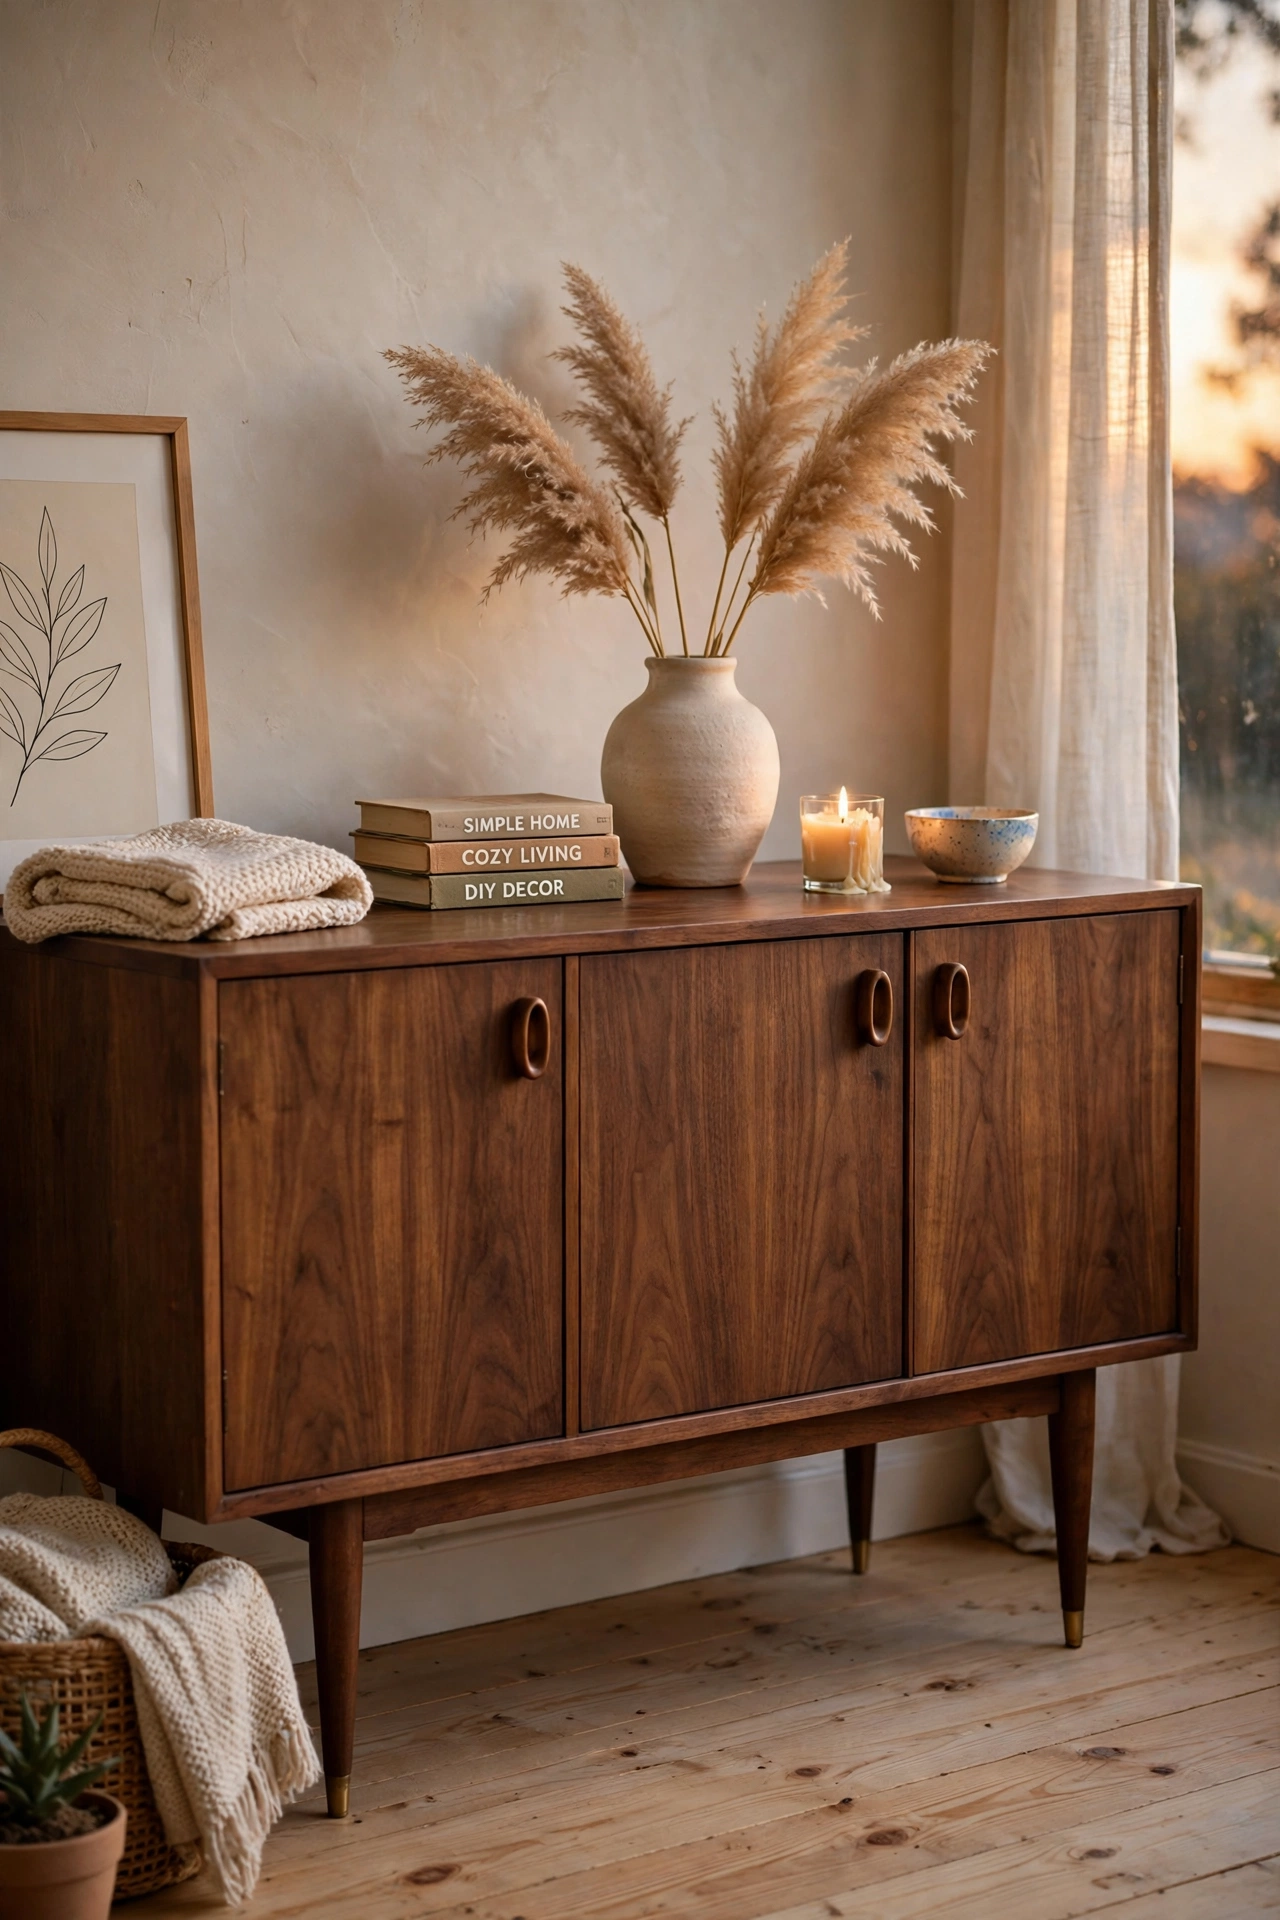
Mid-century sideboards show up on Marketplace all the time, often with water rings and tired varnish but gorgeous legs underneath. Strip the old finish with a chemical stripper or a careful sand, working with the grain, then wipe it clean and apply a walnut stain in thin, even coats. Seal with three coats of wipe-on polyurethane, sanding lightly between coats. I tried this on a long low sideboard and nearly ruined it by staining over a patch of old wax, which left a pale blotch that refused to take colour. Now I always wipe the whole piece with mineral spirits first to check for hidden wax or silicone polish.
Cost: ~$70 | Time: 360 minutes
4. Rustic Coffee Table from a Beat-Up Oak Table
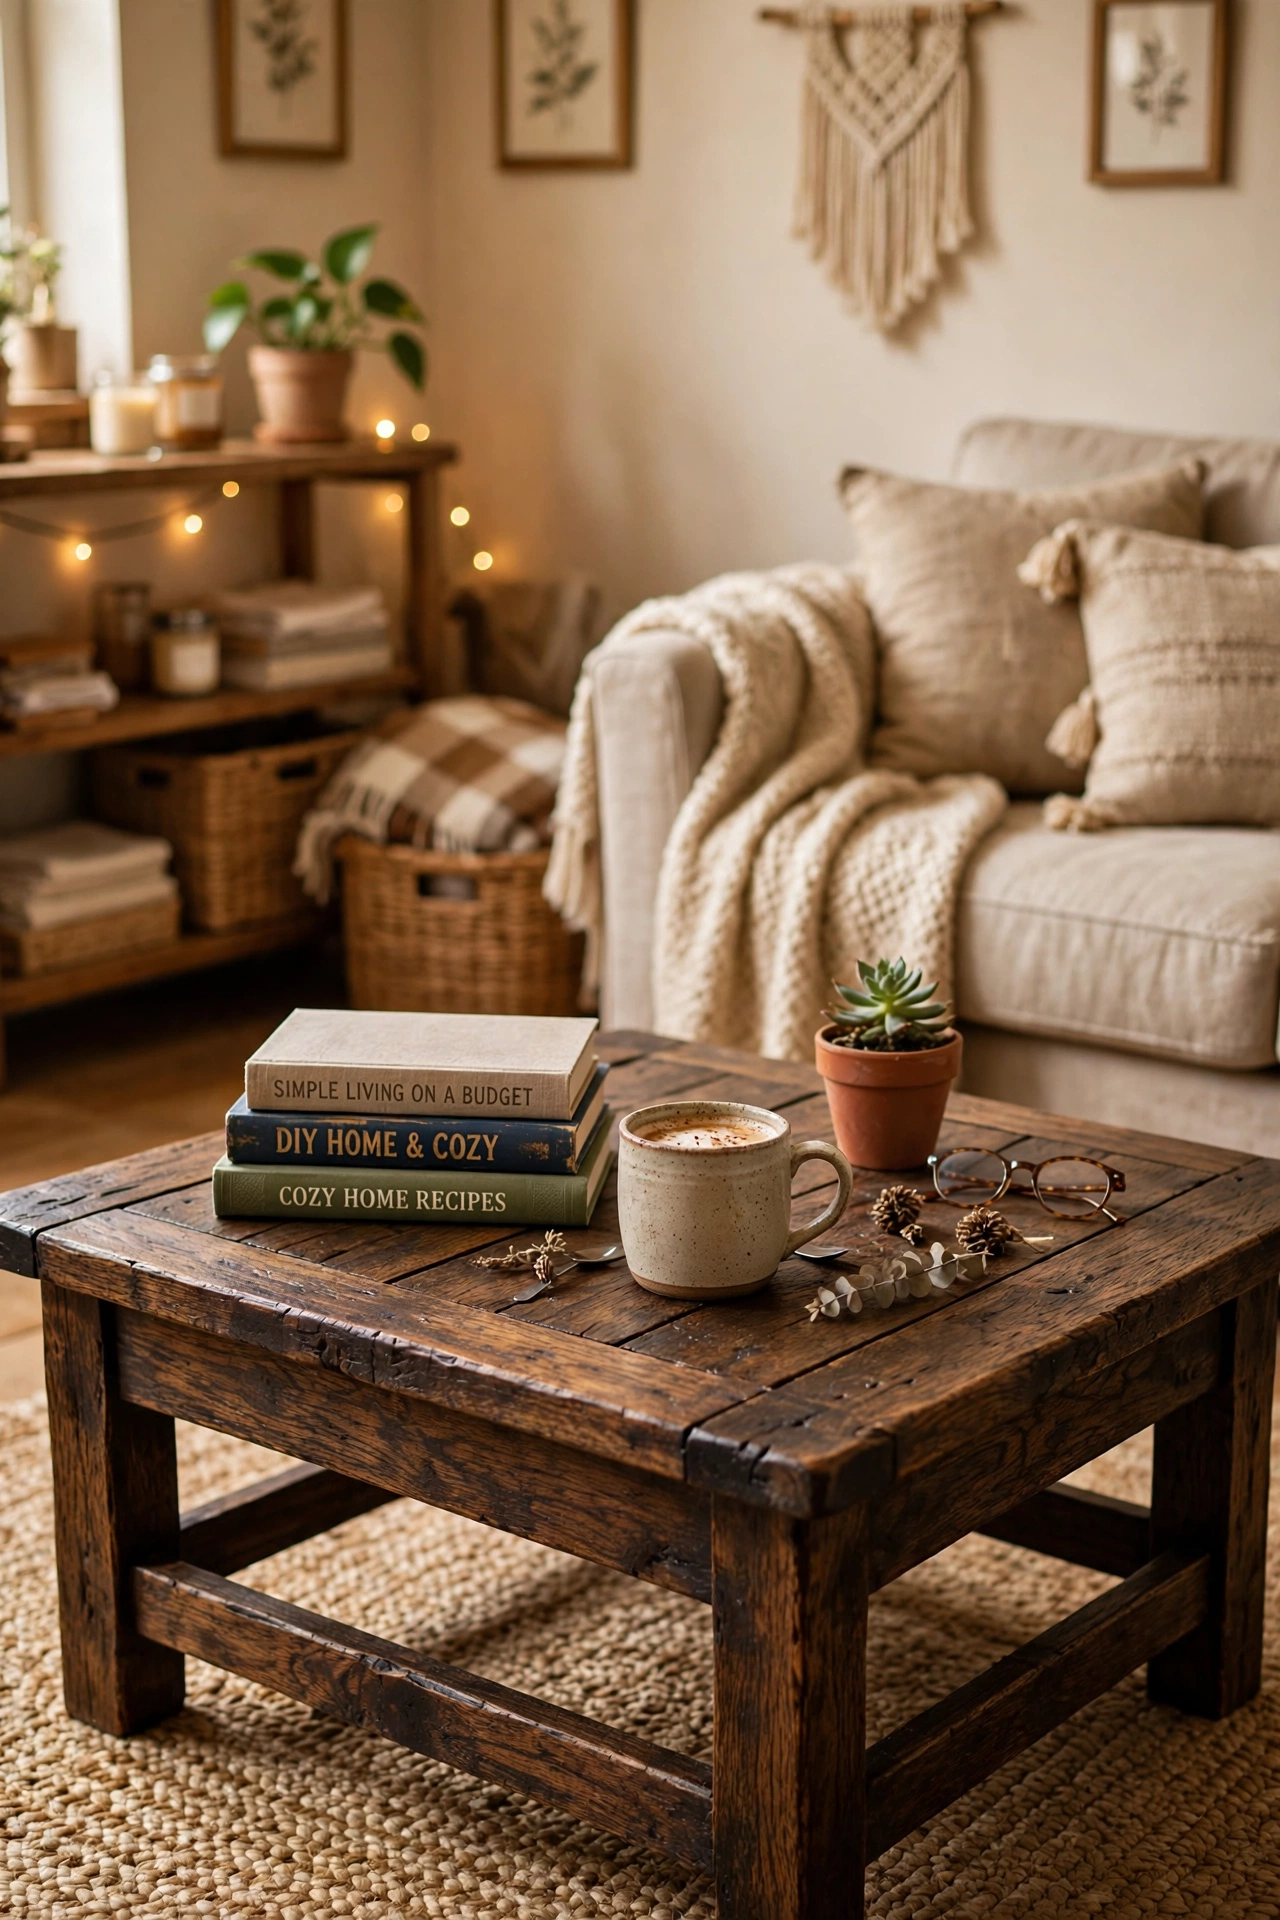
A heavy oak coffee table with dents and scratches is a perfect rustic flip, because the wear becomes part of the look instead of something to hide. Sand the top just enough to smooth splinters, then rub in a dark wood stain and a coat of beeswax for a warm, lived-in sheen. Leave the legs chunky, tighten any wobbles with wood glue and a clamp, and add felt pads underneath. I tried this on a table I dragged home for $20, and my mistake was sanding too aggressively in one spot, which left a pale patch that stood out until I blended it with a second stain coat. Sand evenly, and step back often to check your work.
Cost: ~$35 | Time: 180 minutes
5. French Provincial Nightstand Pair
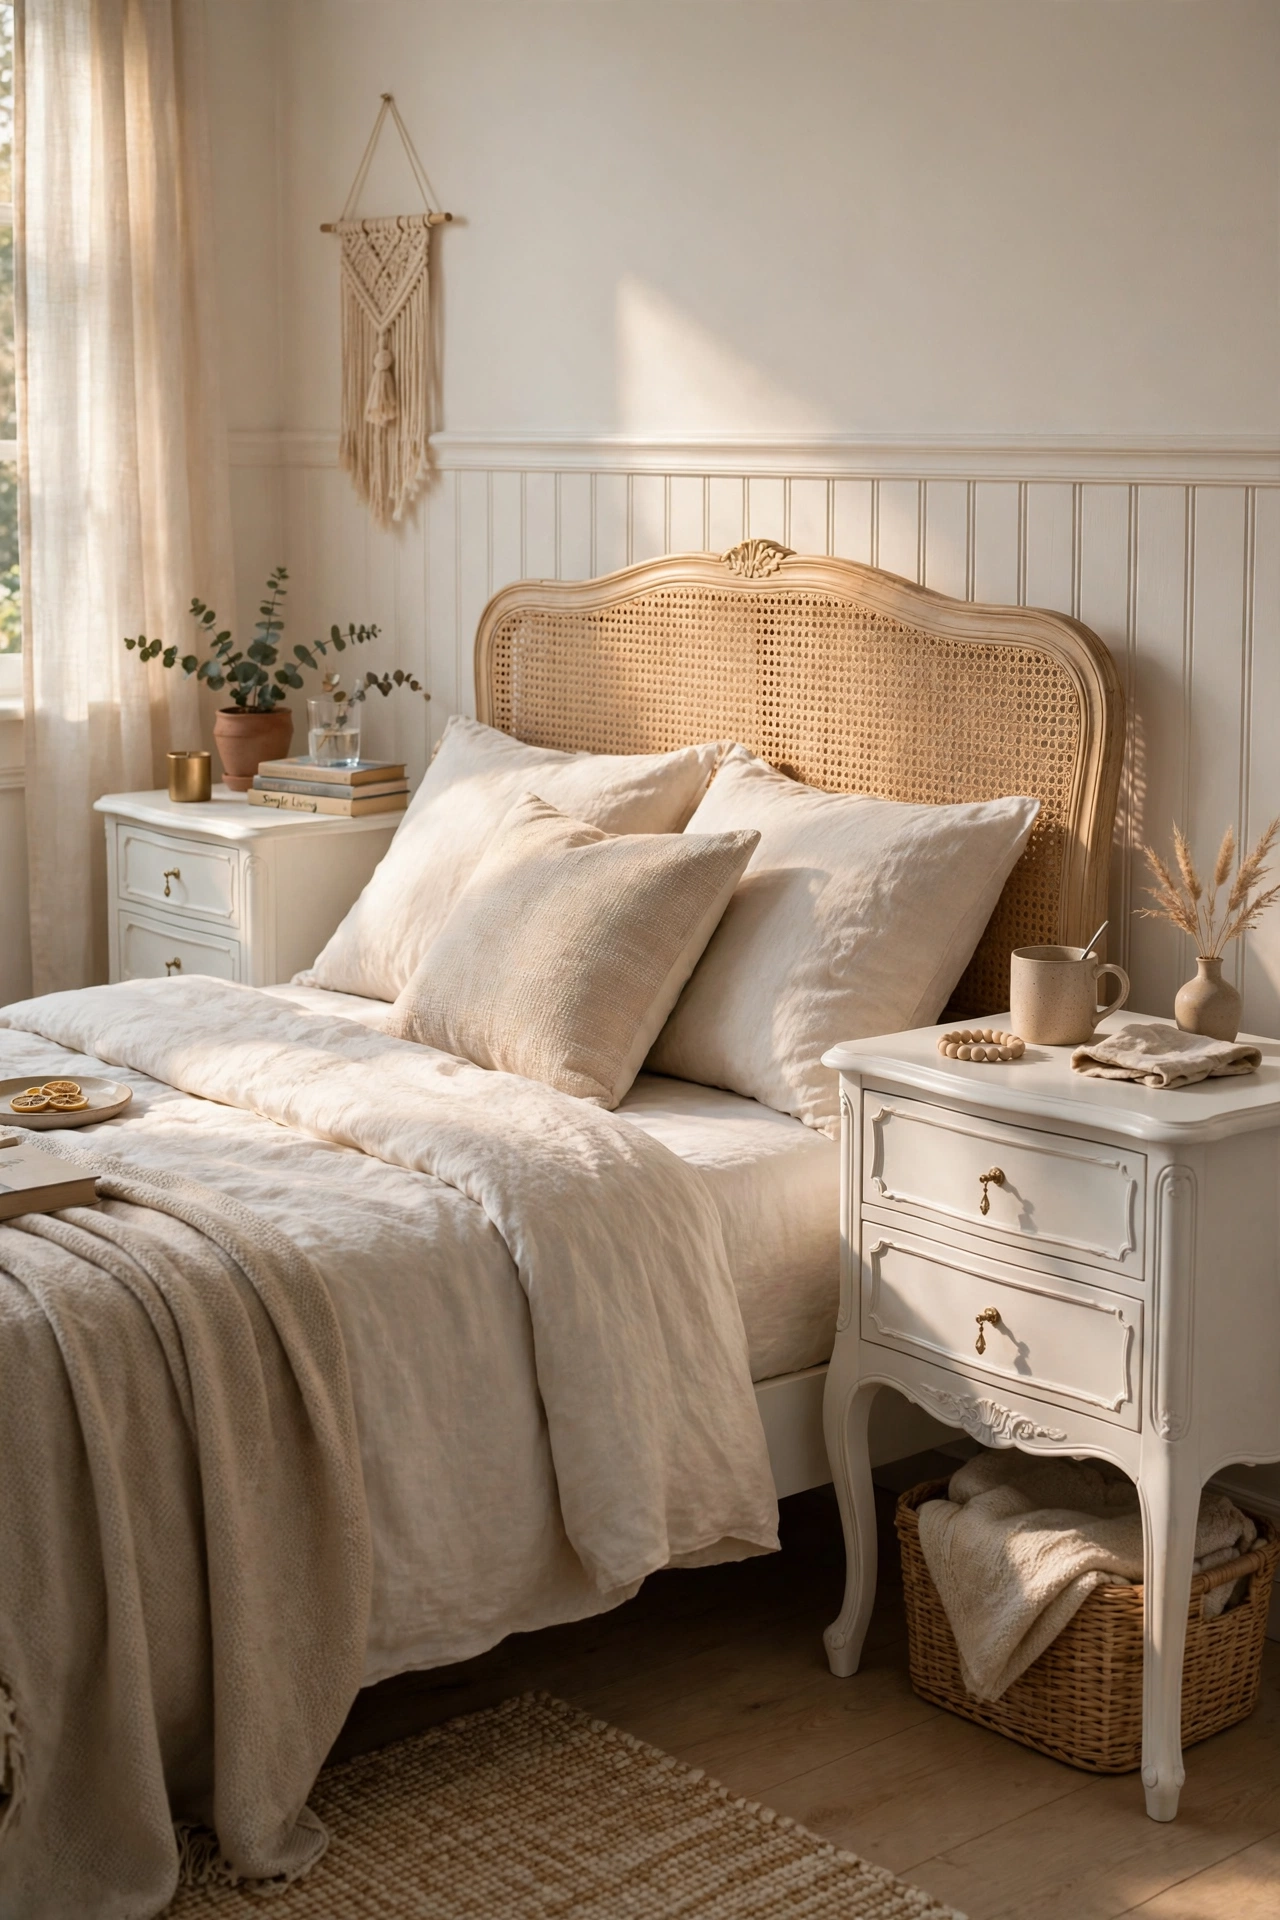
Matching nightstands are gold on Marketplace, and French Provincial pairs with their curved legs and pretty drawer fronts paint up beautifully. Wash them, fill any chips with wood filler, and sand smooth once dry. Two coats of soft white or pale grey paint, a light distressing on the edges with fine sandpaper, and delicate new pulls will make them look store-bought. I tried this pair for my guest room, and I skipped the primer on the first one, which meant the old dark stain bled through in yellow patches. One coat of stain-blocking primer first saves a whole repaint, so never skip it on dark wood.
Cost: ~$65 | Time: 280 minutes
6. Bold Navy Bookshelf with Brass Hardware
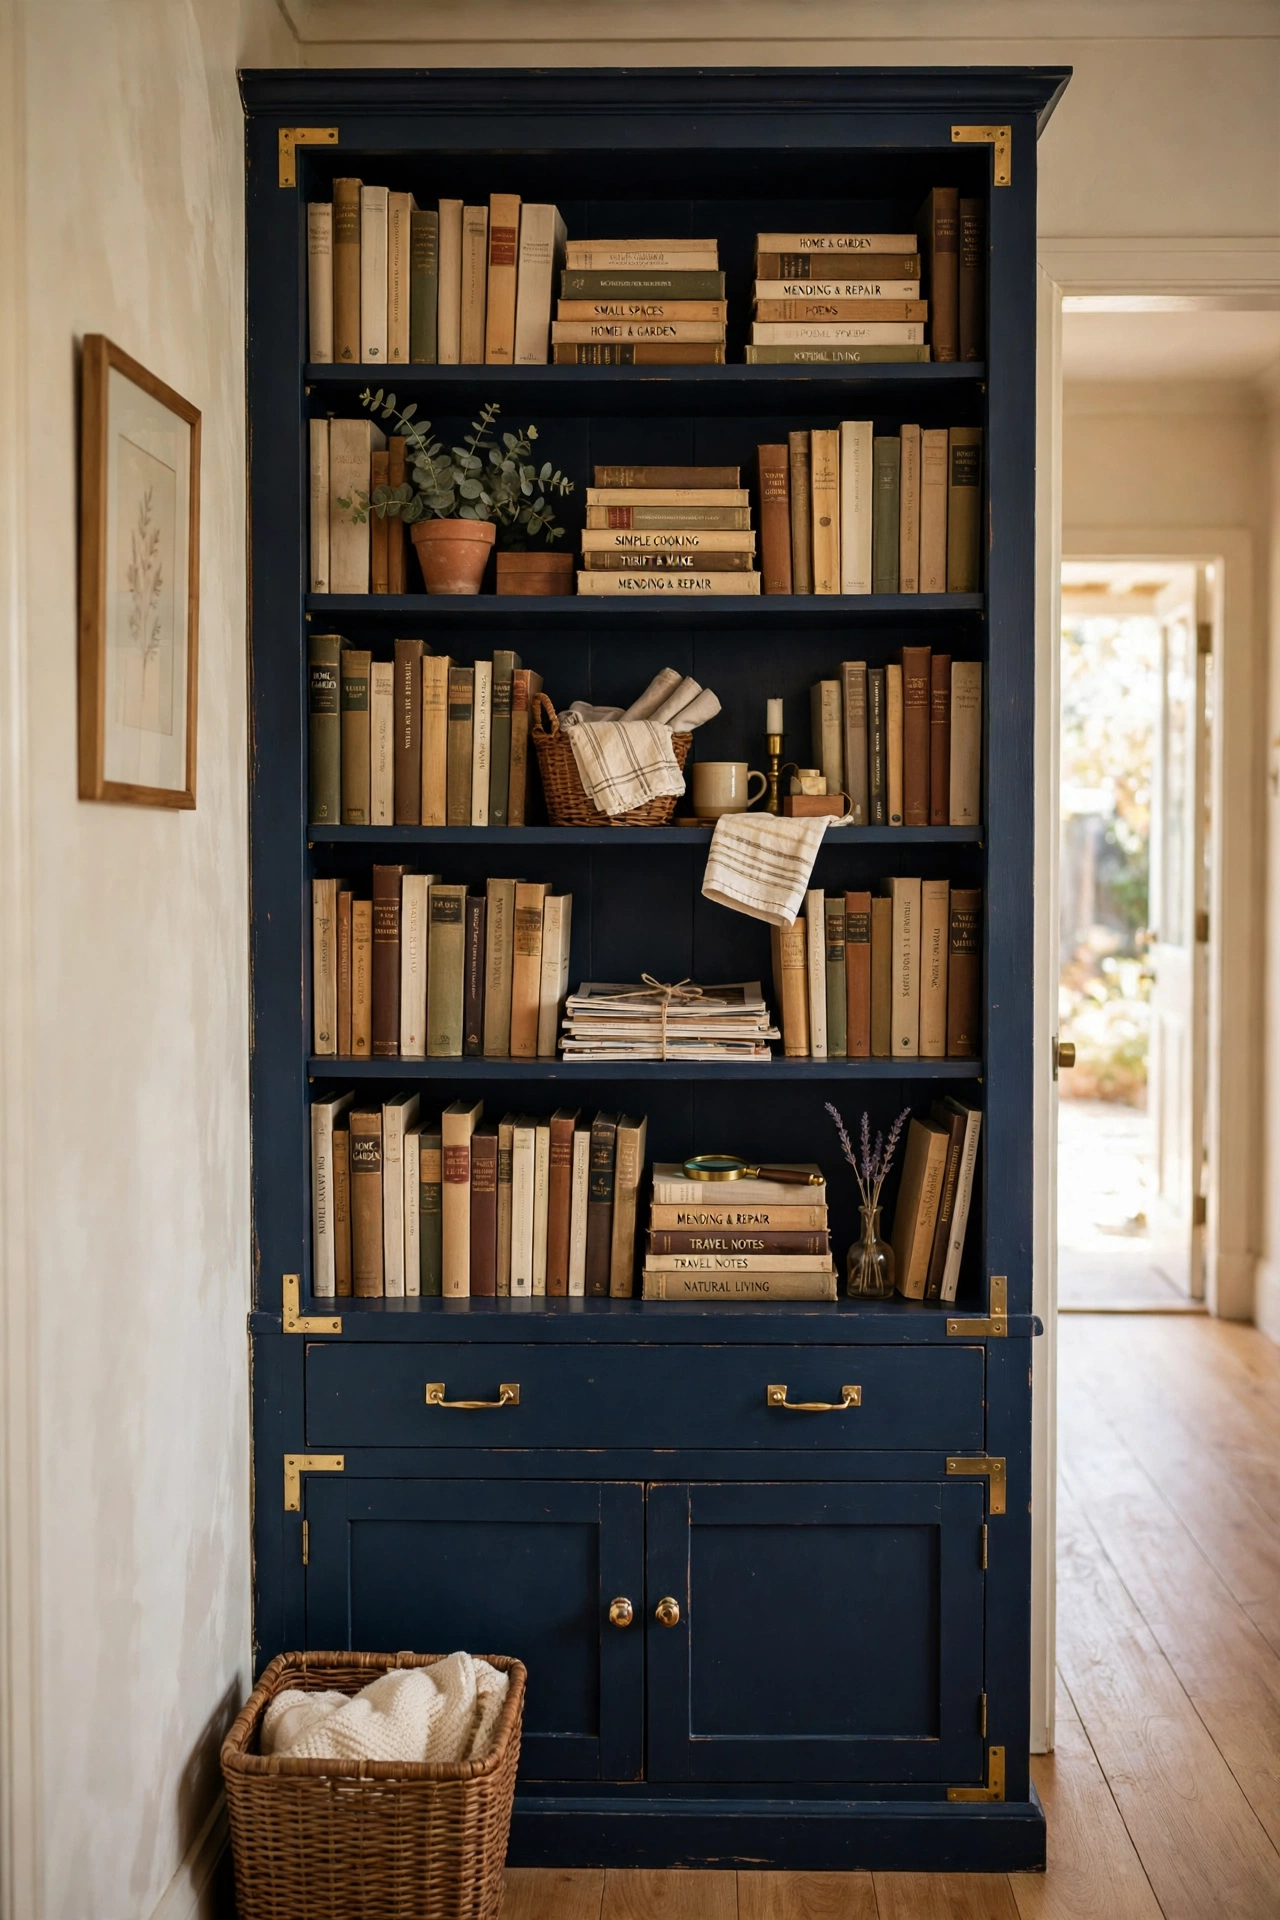
A plain pine bookshelf becomes a statement piece in deep navy with brass knobs or cup pulls. Remove the back panel if it is flimsy cardboard and replace it with thin plywood for a sturdier, better-looking finish. Sand, prime, and paint two coats, then line the back in a lighter colour or peel-and-stick wallpaper for contrast. I tried this in my hallway, and my mistake was loading the shelves before the paint had fully cured, which left faint marks from book spines on the still-soft finish. Give painted shelves at least two full days to harden before you stack anything heavy on them.
Cost: ~$50 | Time: 240 minutes
7. Leather-Strapped Wooden Bench
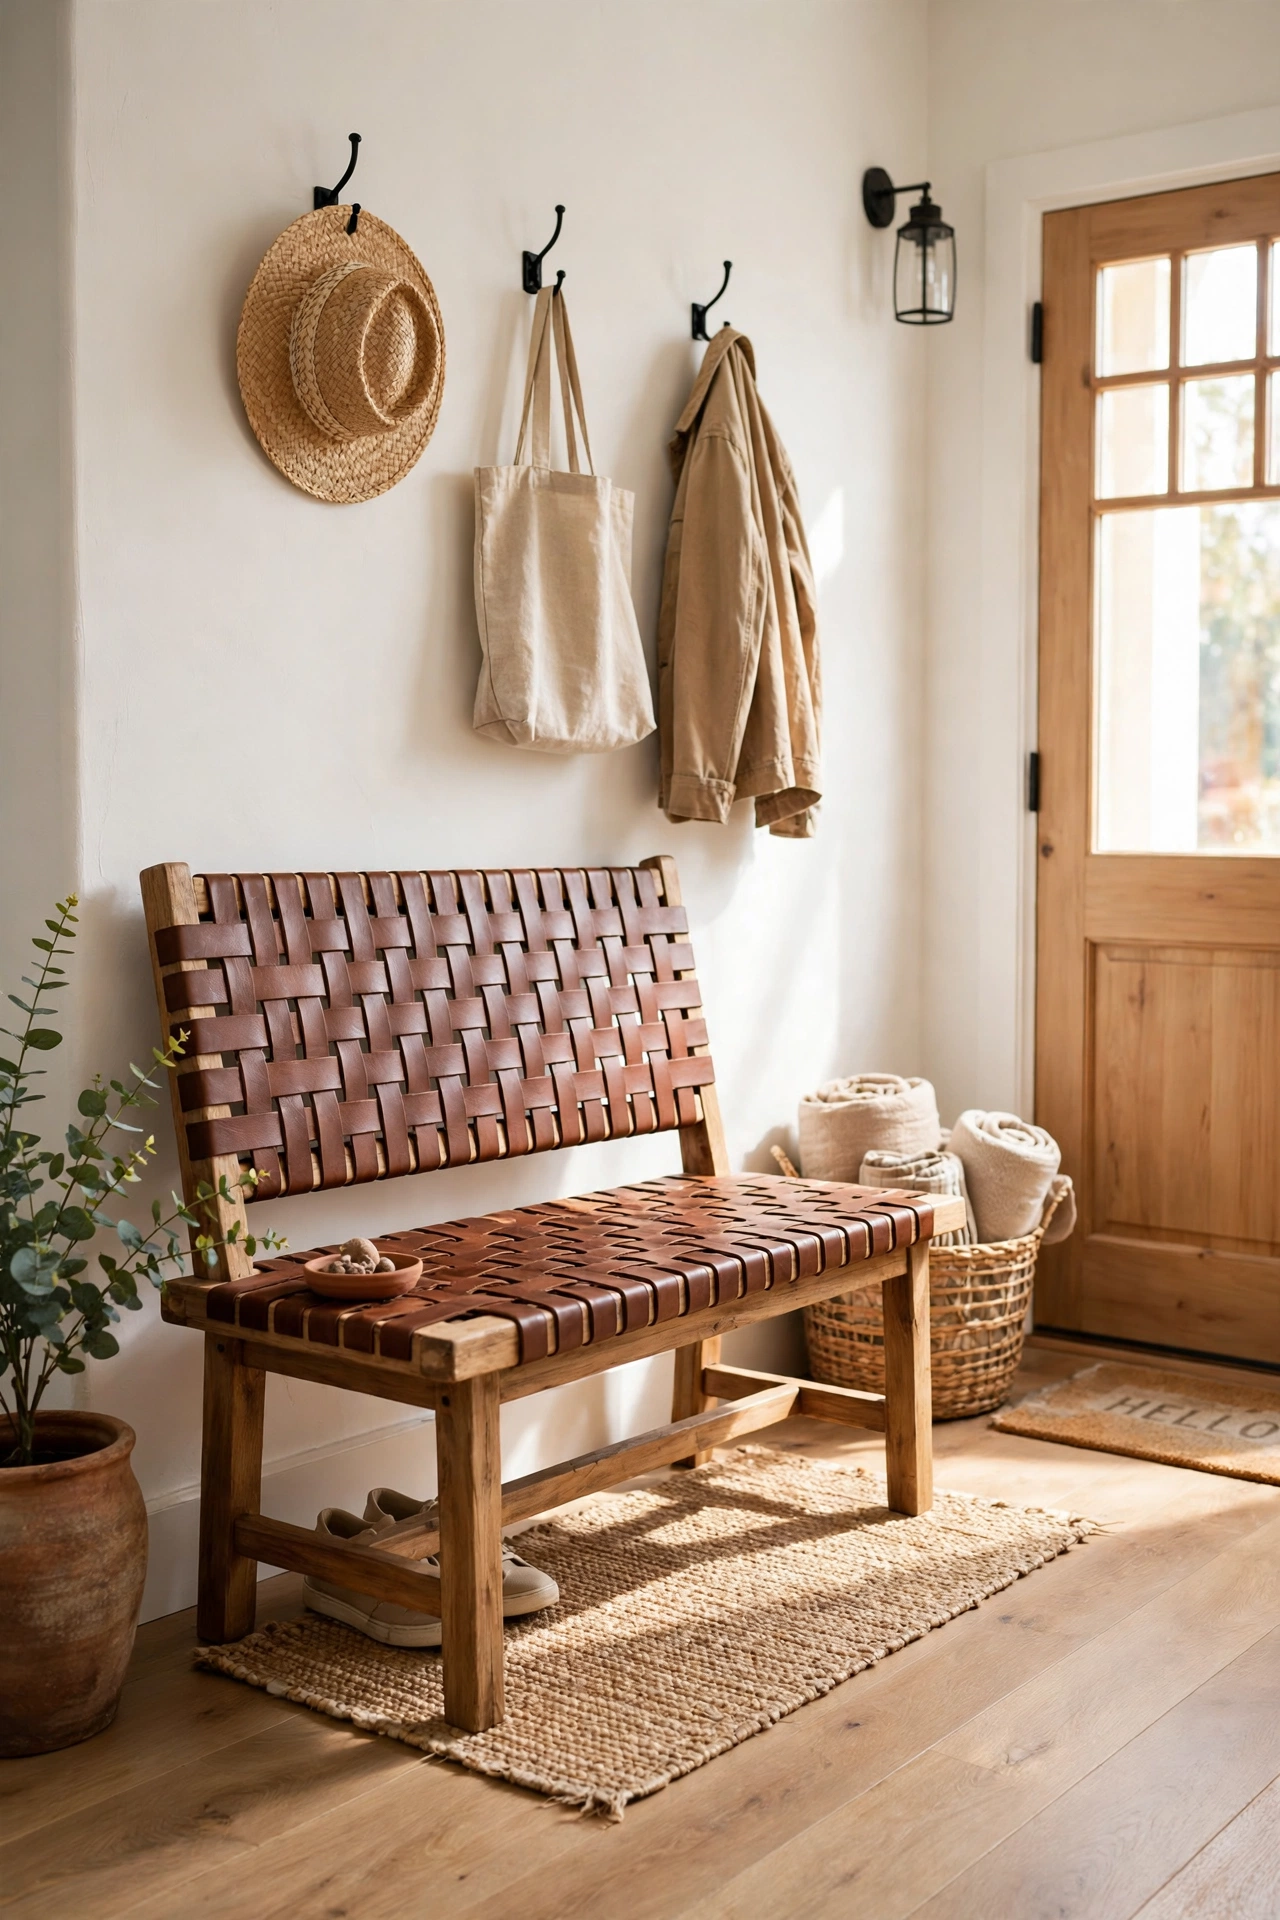
An old wooden bench, the kind people list for almost nothing, turns into a lovely entryway seat with leather straps wrapped around the seat slats. Sand the frame, stain or paint it, then cut leather straps or belts from a thrift store to size and staple them underneath the seat frame in a woven pattern. Keep the straps taut and evenly spaced, and finish the ends neatly so they do not fray. I tried this with belts I bought for a dollar each, and my first attempt sagged because I spaced the straps too far apart. Closer spacing and a staple every few centimetres made the second version firm enough to sit on every day.
Cost: ~$40 | Time: 200 minutes
8. Sage Green Bathroom Vanity from a Dresser
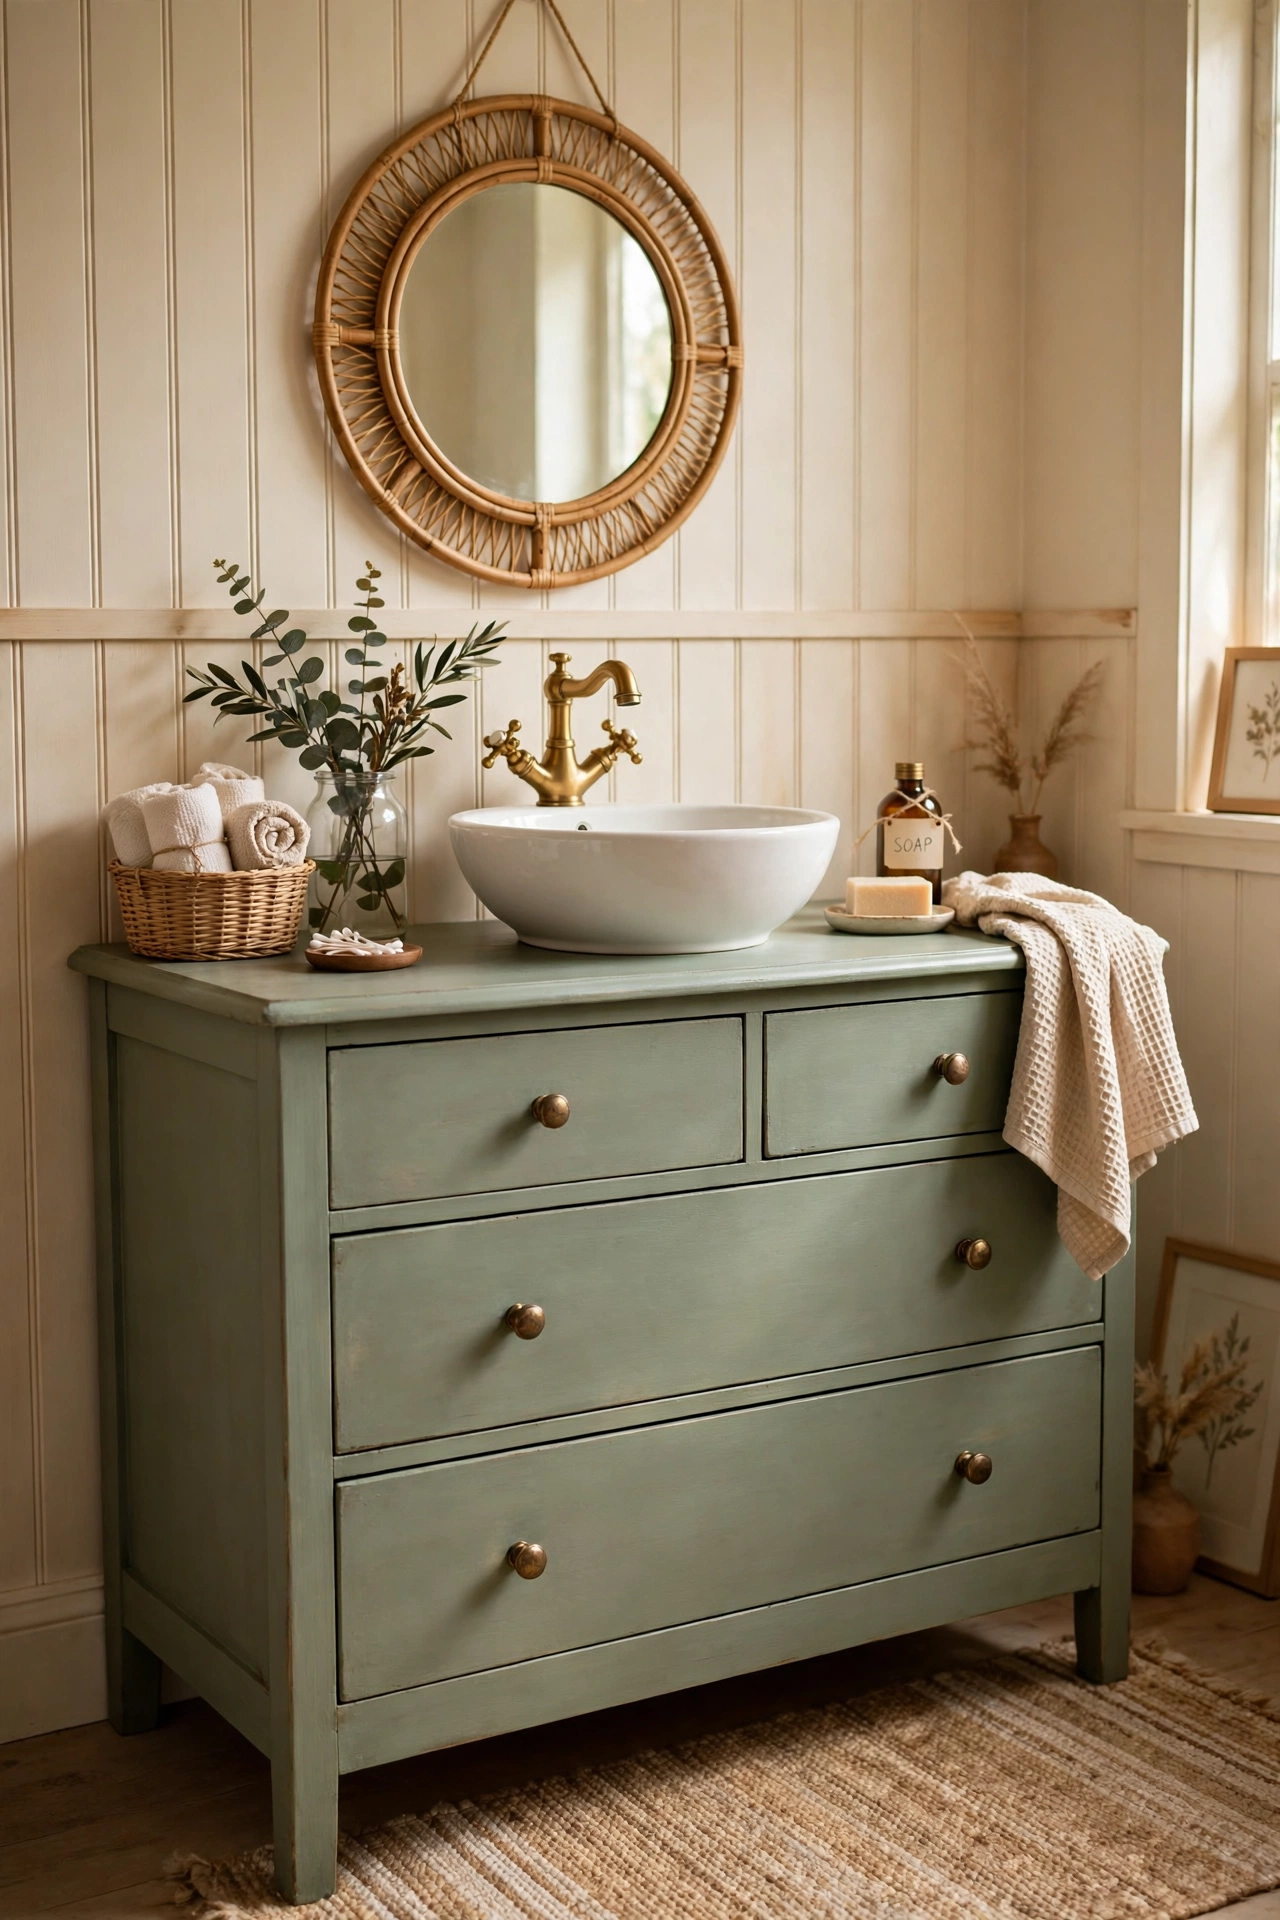
Turning a small dresser into a bathroom vanity is one of the most satisfying flips, and sage green suits it perfectly. Choose a dresser that fits your plumbing, cut the top drawer down or remove it to make room for pipes, and seal every surface with a waterproof topcoat, especially around the sink cutout. Add a vessel sink on top and simple brass taps. I tried this in our guest bathroom, and my mistake was using a regular paint topcoat instead of a waterproof sealer, so the first splash marks showed within a week. Three coats of marine-grade varnish on the top now keep it looking fresh (see also: diy-bathroom-vanity-from-dresser).
Cost: ~$95 | Time: 420 minutes
9. Rattan-Front TV Console
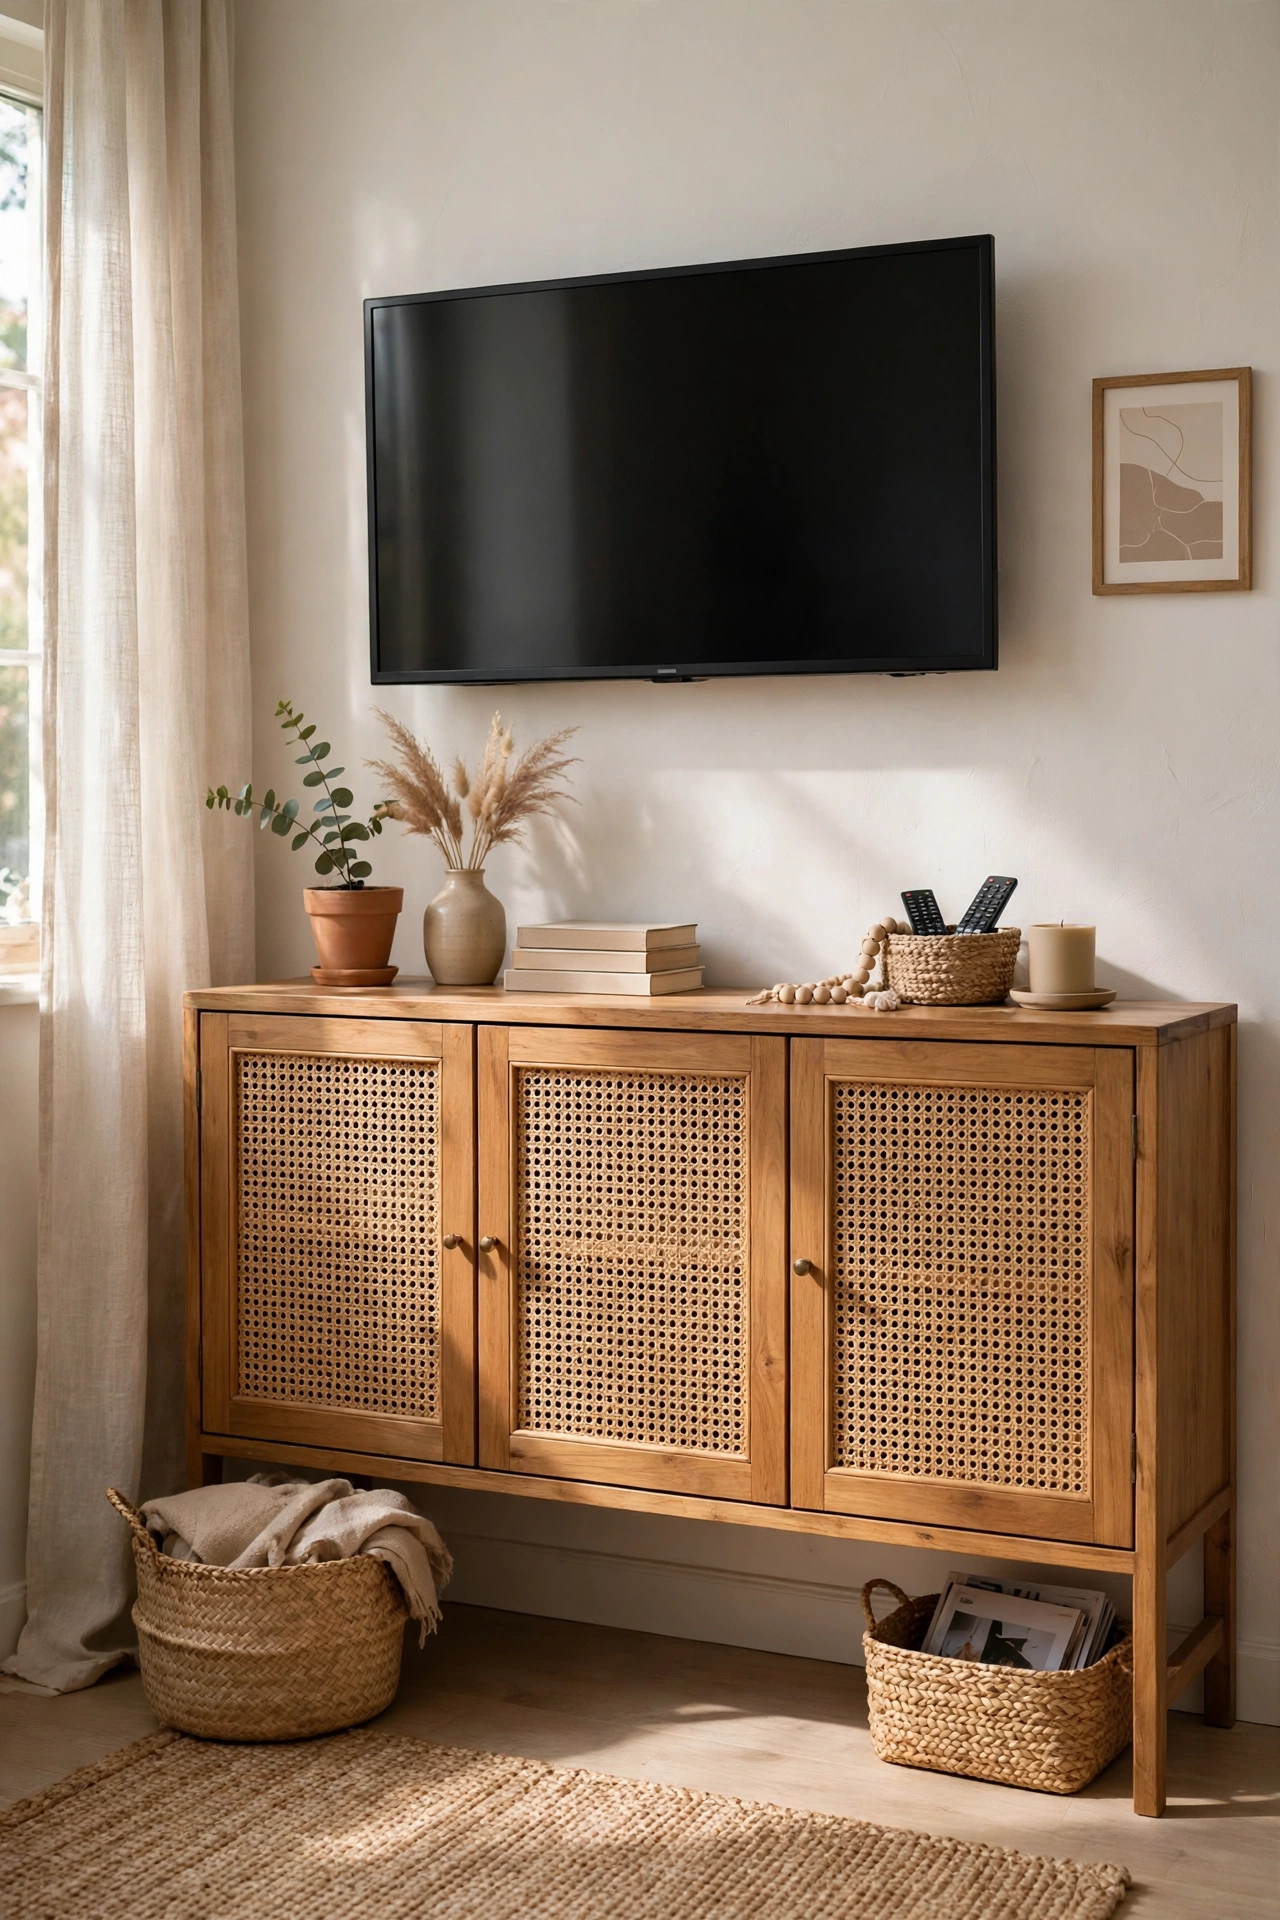
Swapping solid cabinet doors for rattan cane webbing instantly makes a dated TV console look current and airy. Remove the centre panels of the doors with a jigsaw or router, cut the cane webbing to size, soak it briefly so it stretches tight, and staple it into place from the back. Trim the edges with thin wood beading for a clean finish. I tried this on a heavy oak console, and my mistake was stapling the cane while it was fully dry, which left it slack and baggy in the middle. A short soak makes it shrink drum-tight as it dries, which is exactly the look you want.
Cost: ~$75 | Time: 320 minutes
10. Black Matte Dining Table Refresh
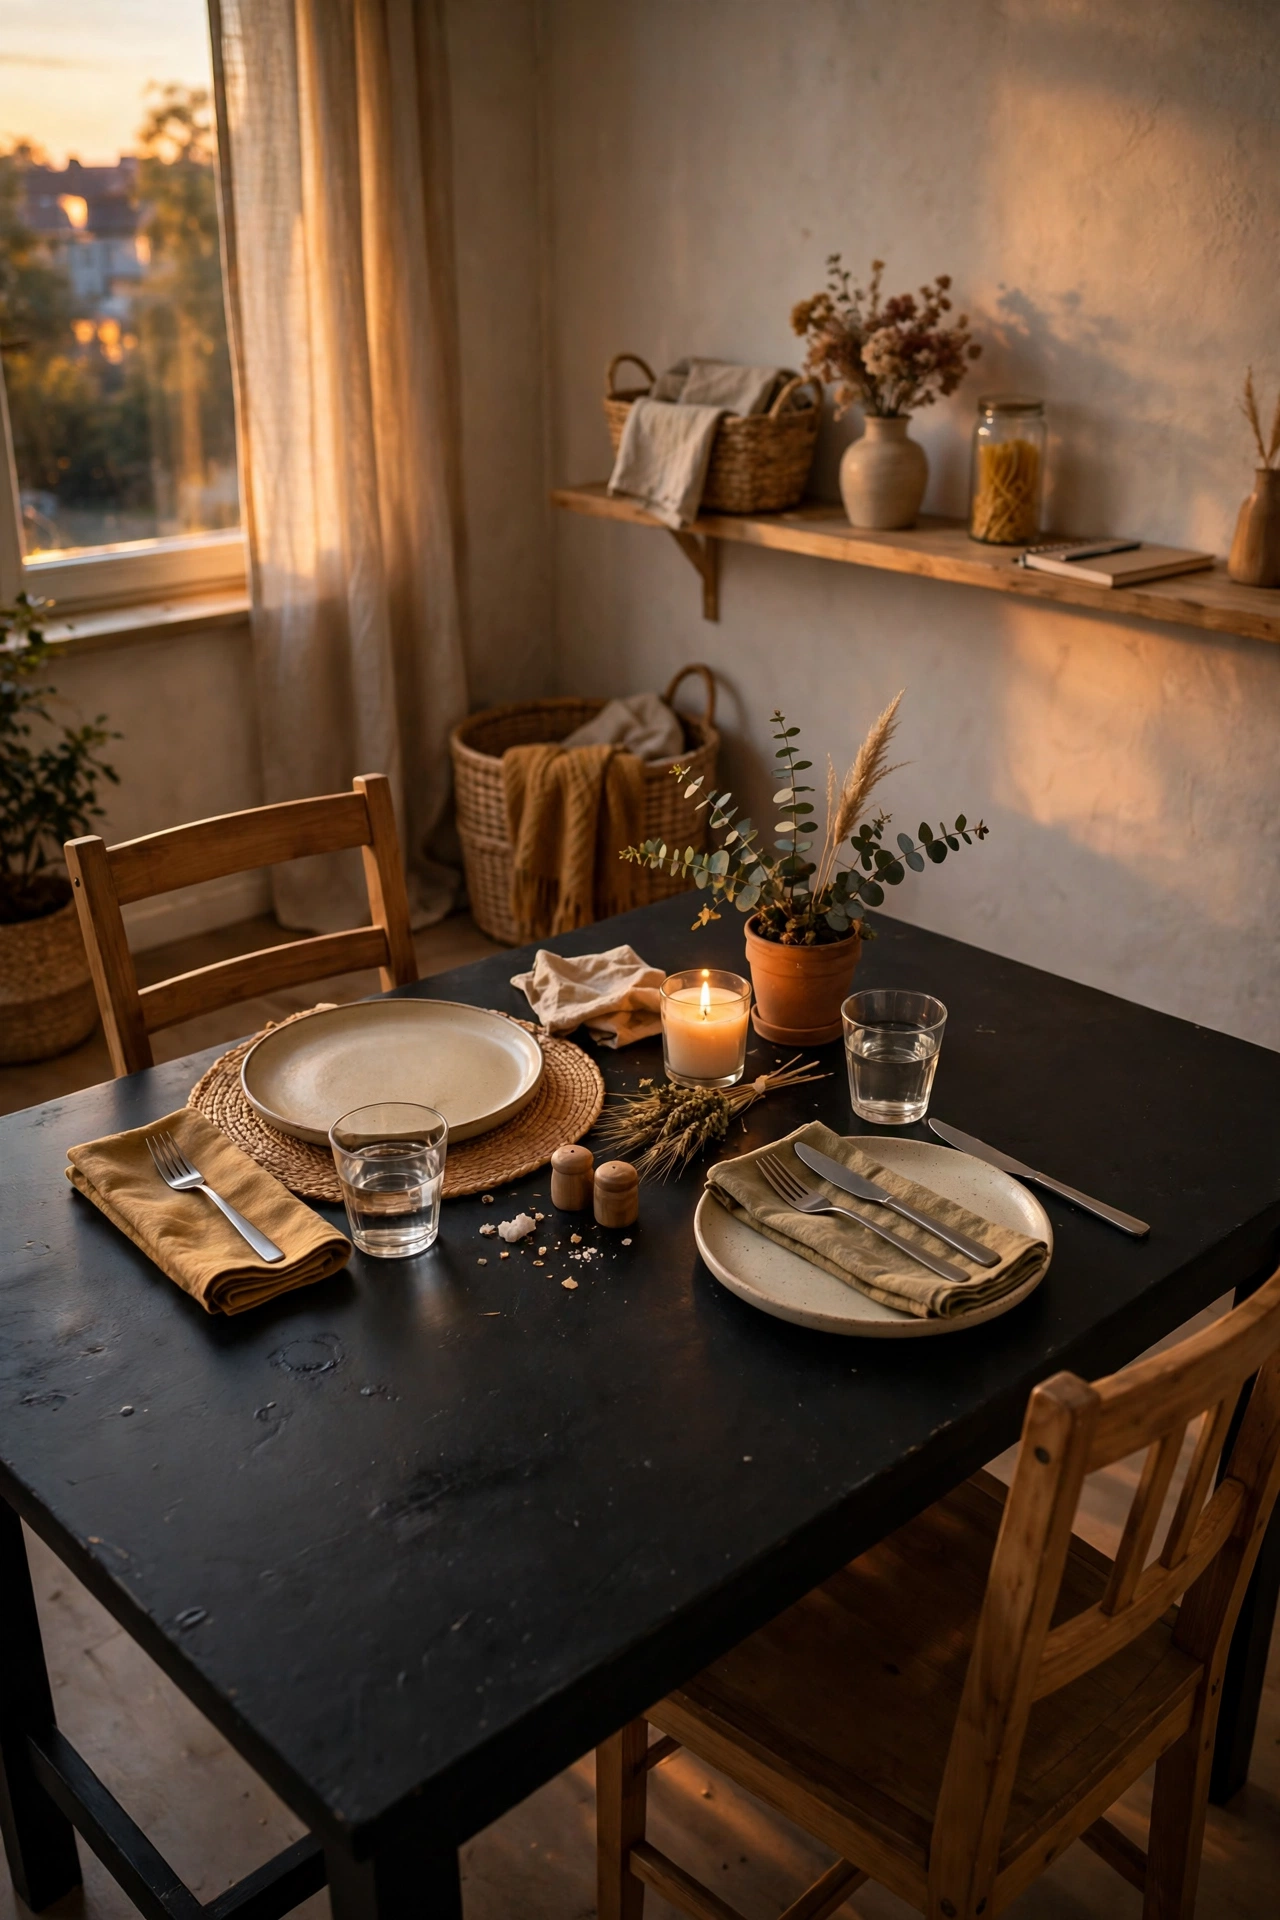
A scratched dining table with good legs and a solid top is an easy win in matte black. Sand the top smooth, fill dents with filler, and prime before painting so the colour stays even. Use a furniture paint rated for table tops, apply two or three thin coats, and protect it with a hard-wearing matte topcoat. I tried this on a table that had hosted years of family dinners, and I learned not to rush the topcoat, because one thick coat trapped bubbles that I had to sand back and redo. Thin coats, a good brush, and patience give you a finish that stands up to plates, mugs, and homework.
Cost: ~$60 | Time: 300 minutes
11. Vintage Desk Turned Vanity Table
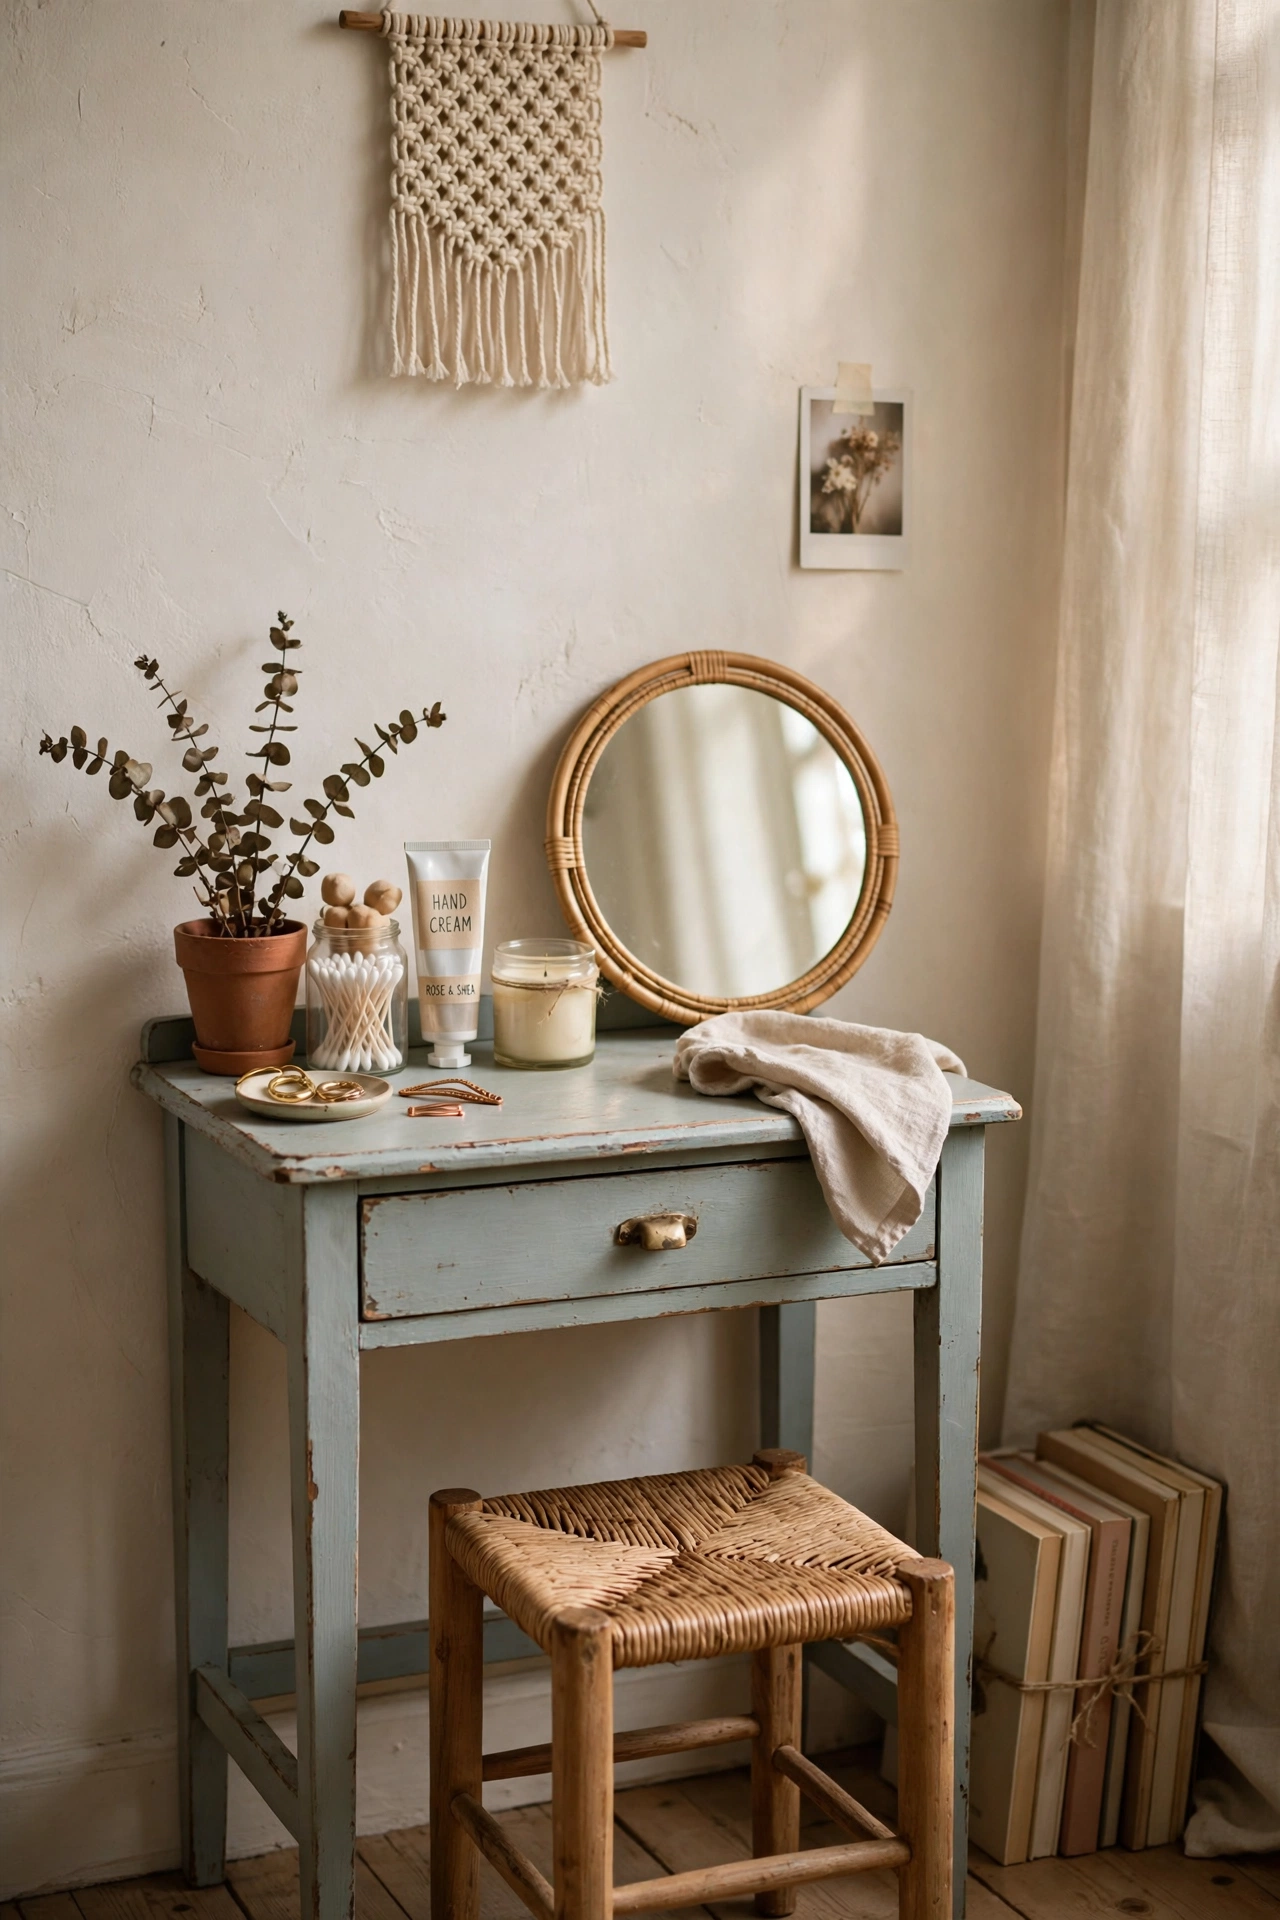
A small writing desk with a drawer and pretty legs makes a lovely vanity table with almost no work. Paint it a soft colour, add a round mirror above it, and swap the drawer knob for something sparkly. A small stool tucked underneath finishes the setup, and the drawer holds brushes and hair tools out of sight. I tried this for my daughter’s room using a $25 desk, and my mistake was choosing a stool that was too tall, so she kept bumping her knees. Measure the desk height and pick a seat about 45 centimetres high, then test it before you paint anything.
Cost: ~$45 | Time: 180 minutes
12. Wicker Chair Set in Cream Paint
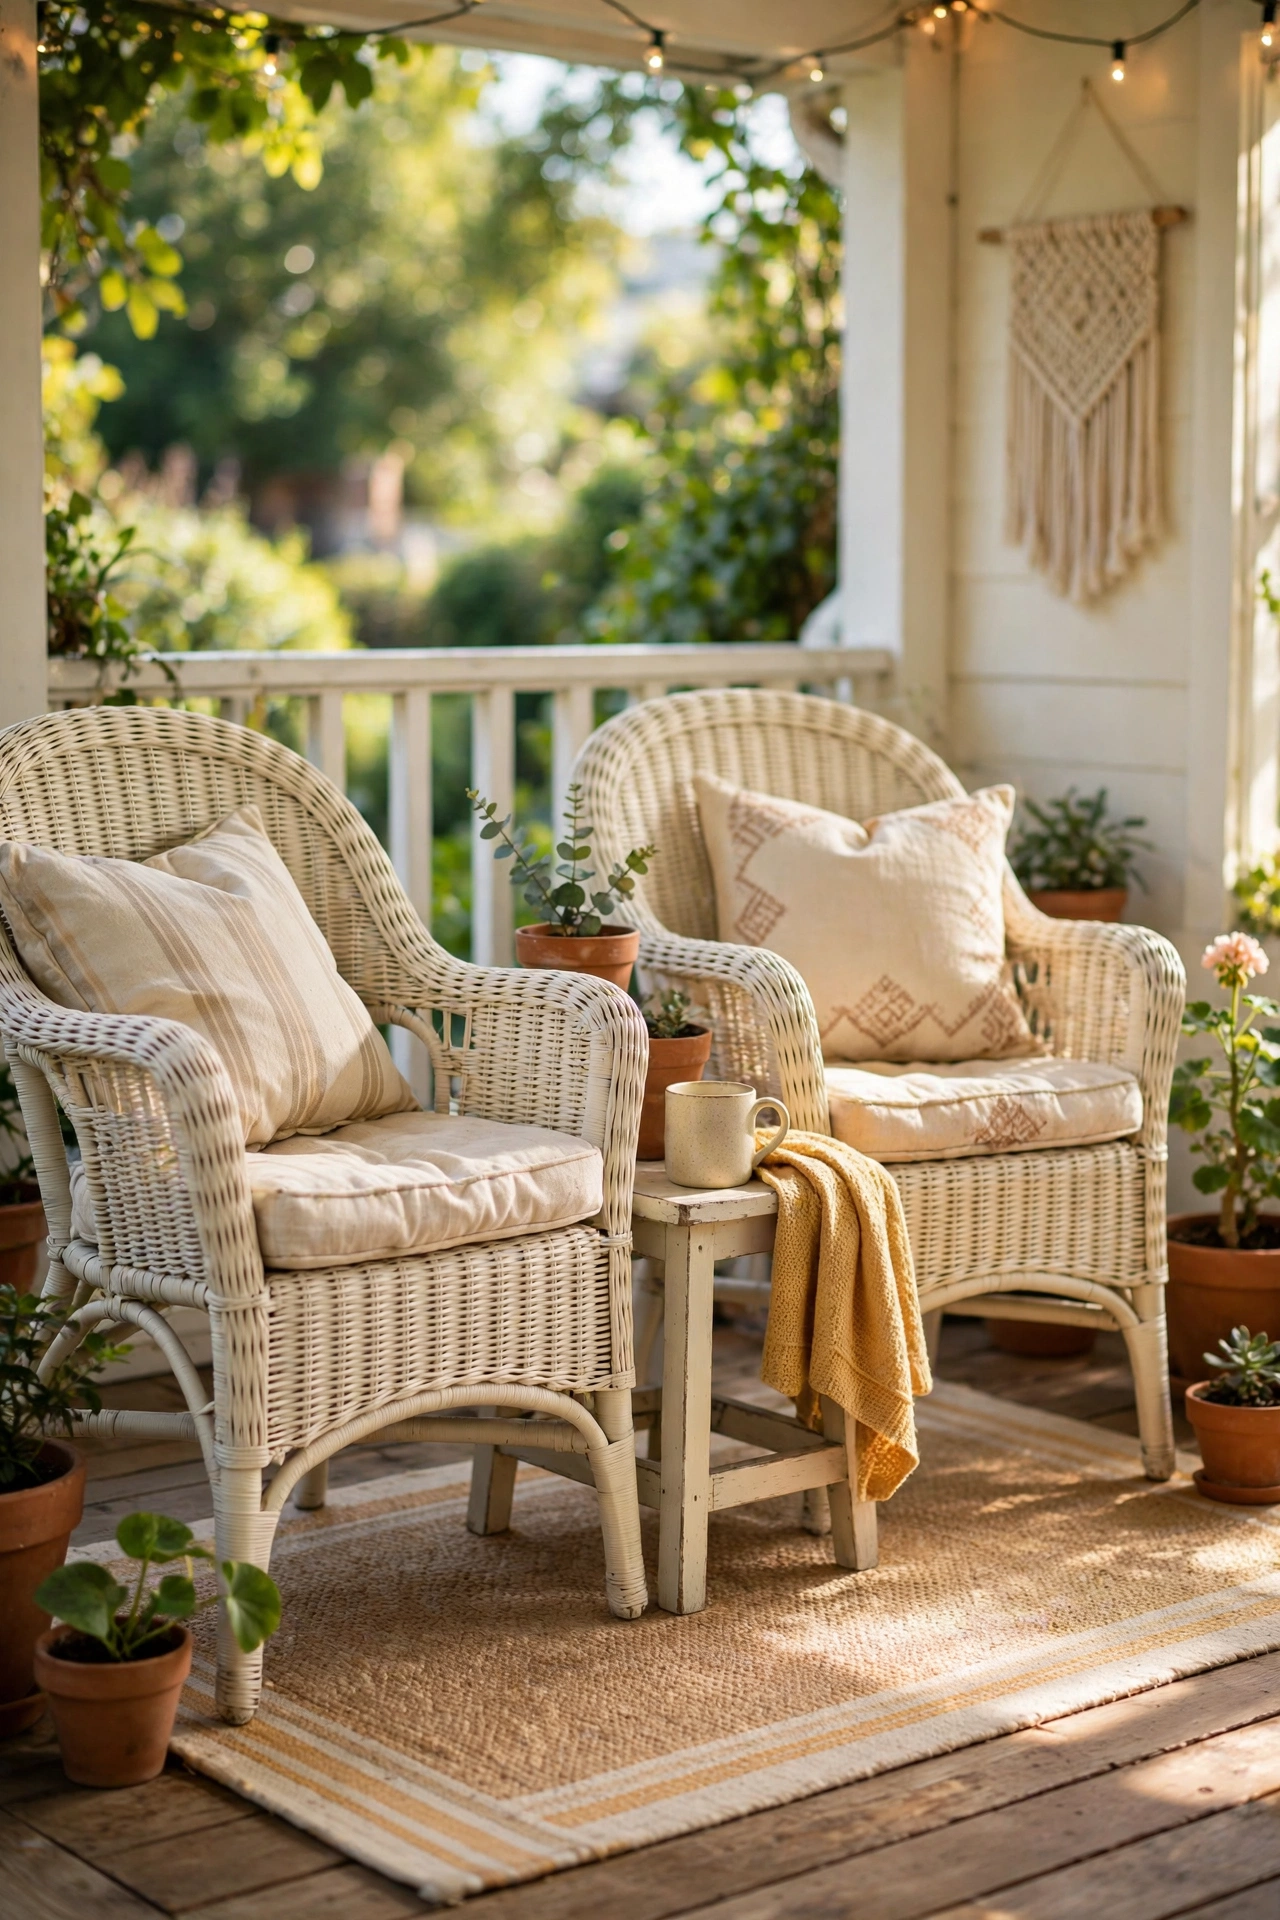
Wicker chairs look tired when the finish flakes, but a fresh coat of cream spray paint makes them look brand new. Clean them with a stiff brush and soapy water first, let them dry fully, then spray in light, overlapping passes from every angle so you reach into the weave. Two or three thin coats beat one heavy coat every time. I tried this on a set of four porch chairs, and my mistake was spraying on a breezy day, which left a dusty, rough texture on half the chairs. Pick a calm day, work in the shade, and turn each chair as you go for even coverage.
Cost: ~$48 | Time: 220 minutes
13. Fluted Wooden Side Table
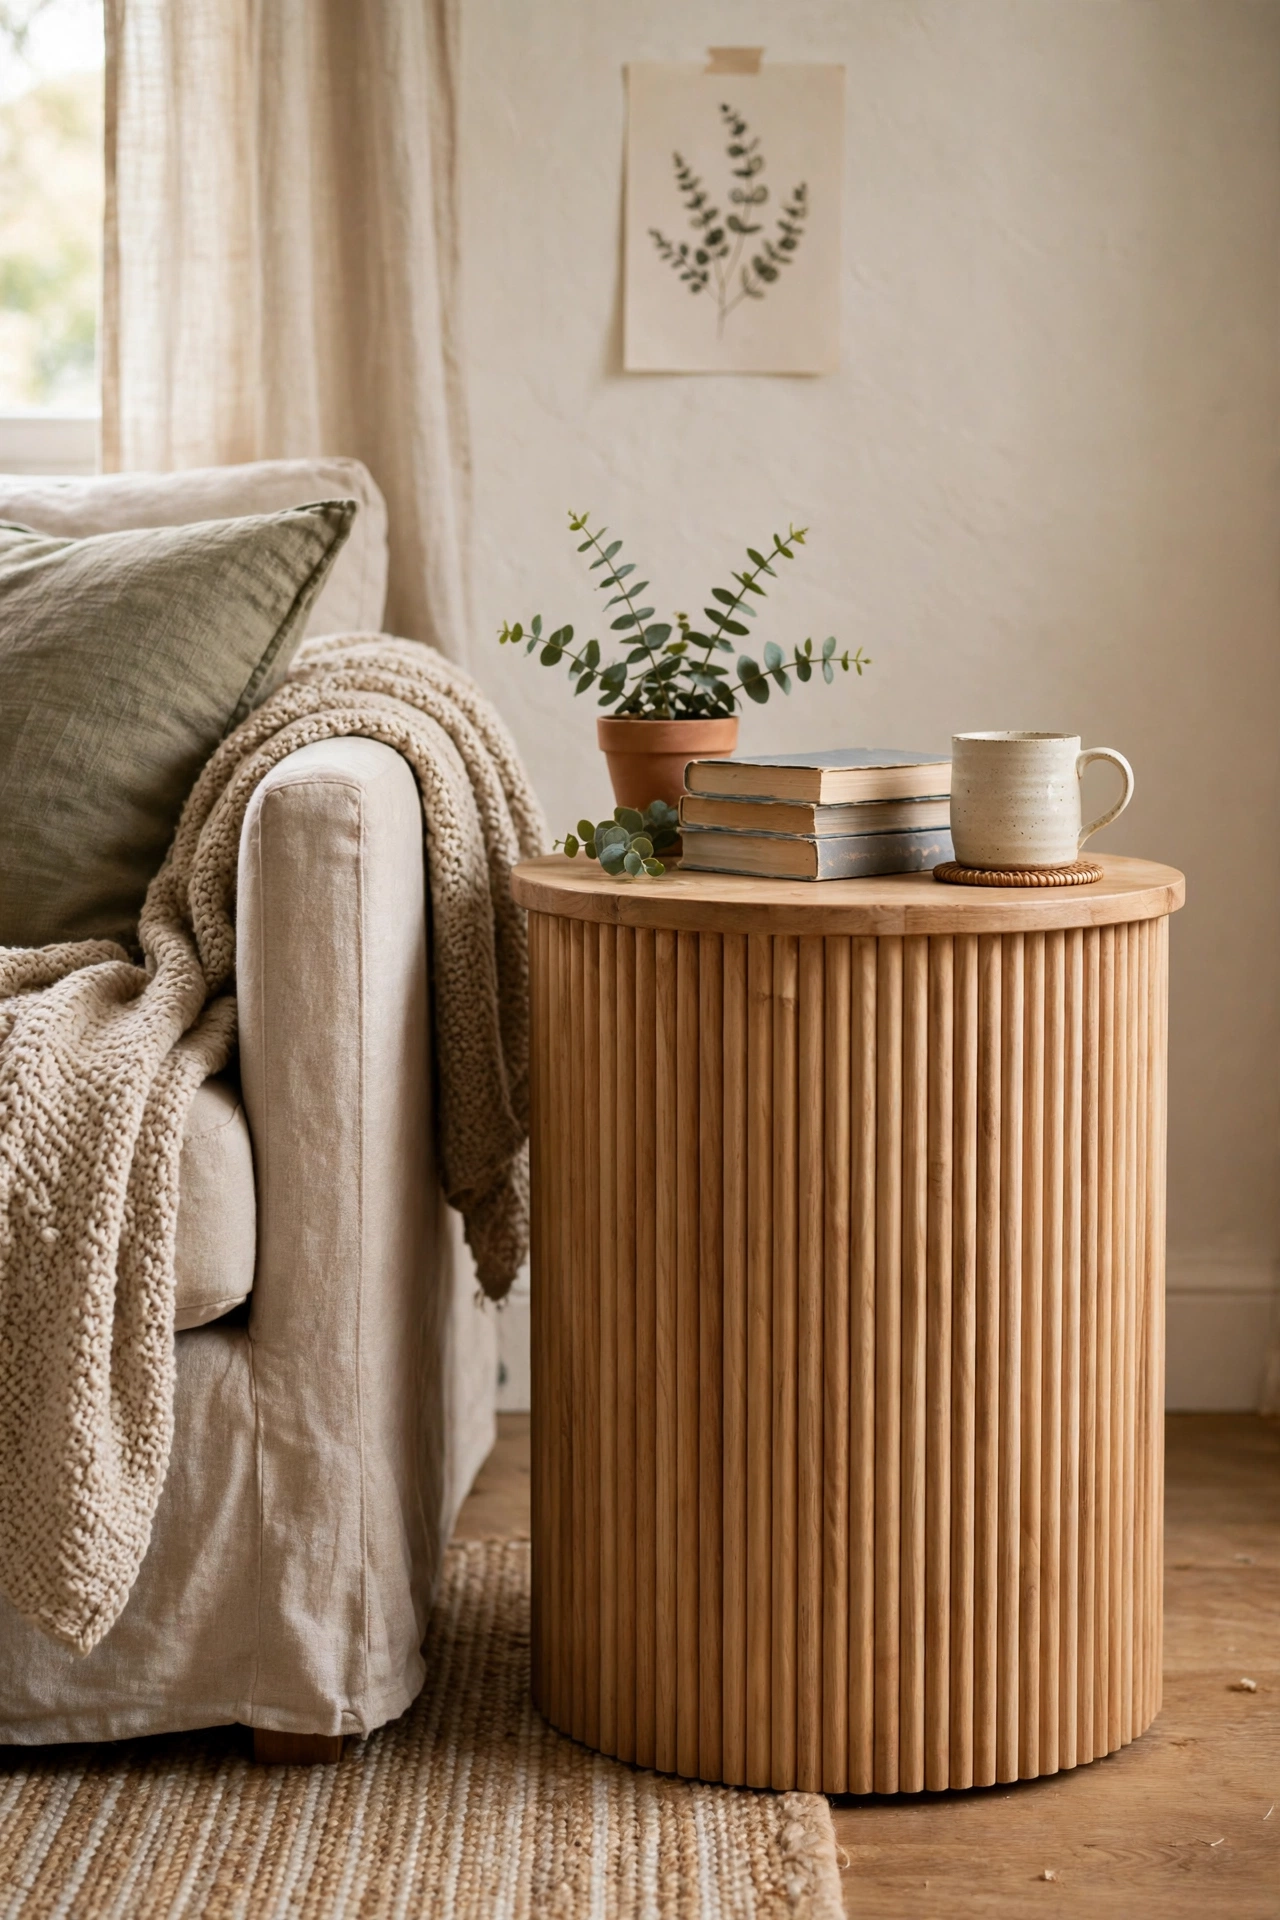
Fluting, those vertical grooves you see on expensive side tables, is surprisingly easy to fake with half-round wooden dowels glued around a plain drum table. Buy a cheap round side table, cut dowels to height, and glue them vertically around the sides, close together, holding each one with painter’s tape until the glue sets. Sand lightly, prime, and paint in one colour so the texture reads clearly. I tried this on a $15 table, and my mistake was using too much glue, which squeezed out between the dowels and showed through the paint. A thin bead of glue and a damp cloth for drips keeps the finish clean (see also: fluted-side-table-diy-budget).
Cost: ~$38 | Time: 240 minutes
14. Whitewashed Farmhouse Bed Frame
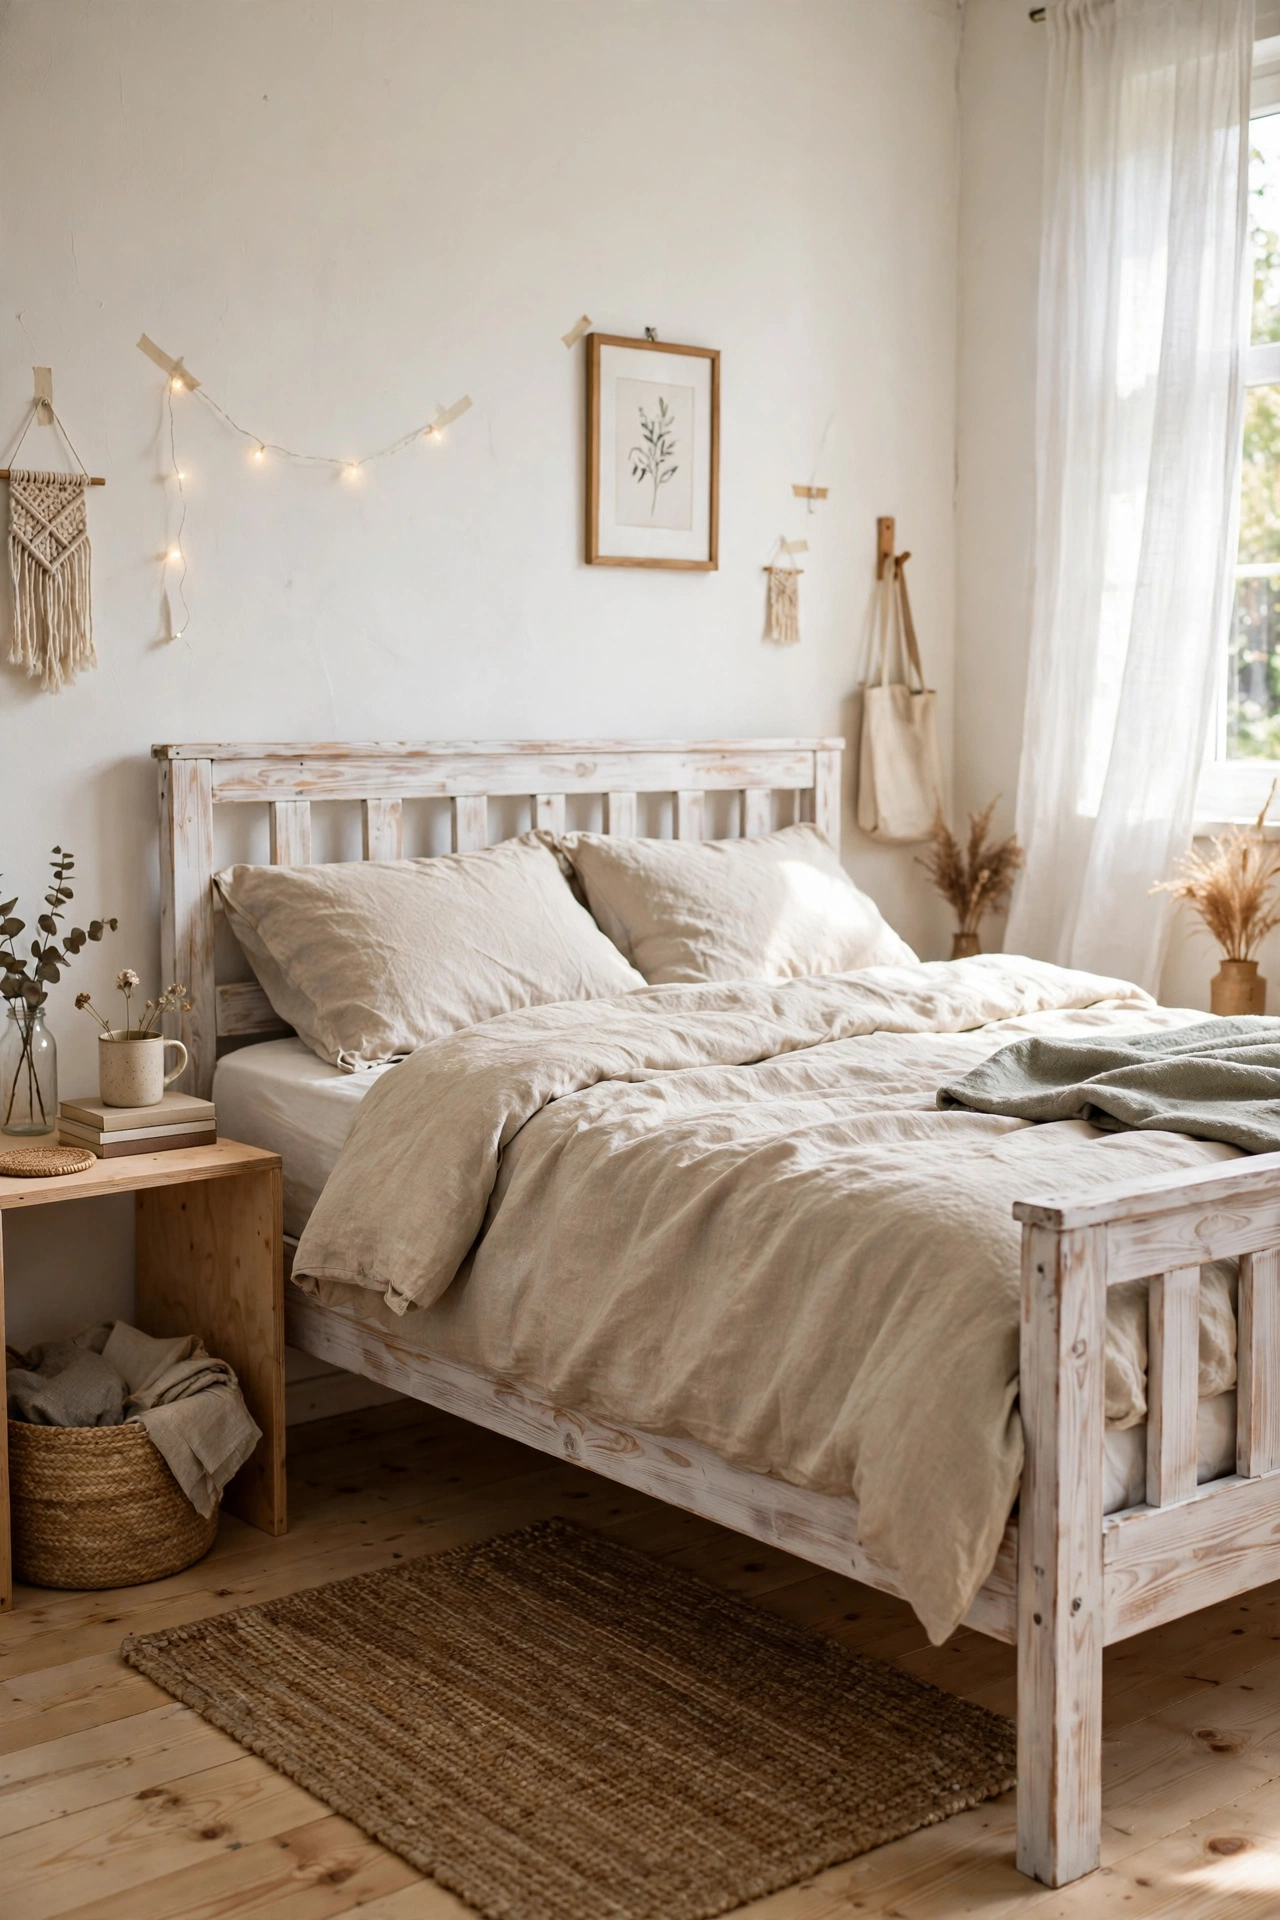
A chunky wooden bed frame in a dated orange stain becomes a soft farmhouse piece with a simple whitewash. Mix white paint with water, about half and half, brush it on in the direction of the grain, and wipe back the excess with a rag so the wood shows through. Repeat for a whiter finish, then seal with clear wax. I tried this on a queen frame I found for $50, and my mistake was whitewashing over a glossy varnish without sanding first, which meant the wash wiped straight off. A quick scuff-sand gives the wash something to grip, and it is worth the extra twenty minutes.
Cost: ~$52 | Time: 280 minutes
15. Terracotta-Painted Plant Stand Cabinet
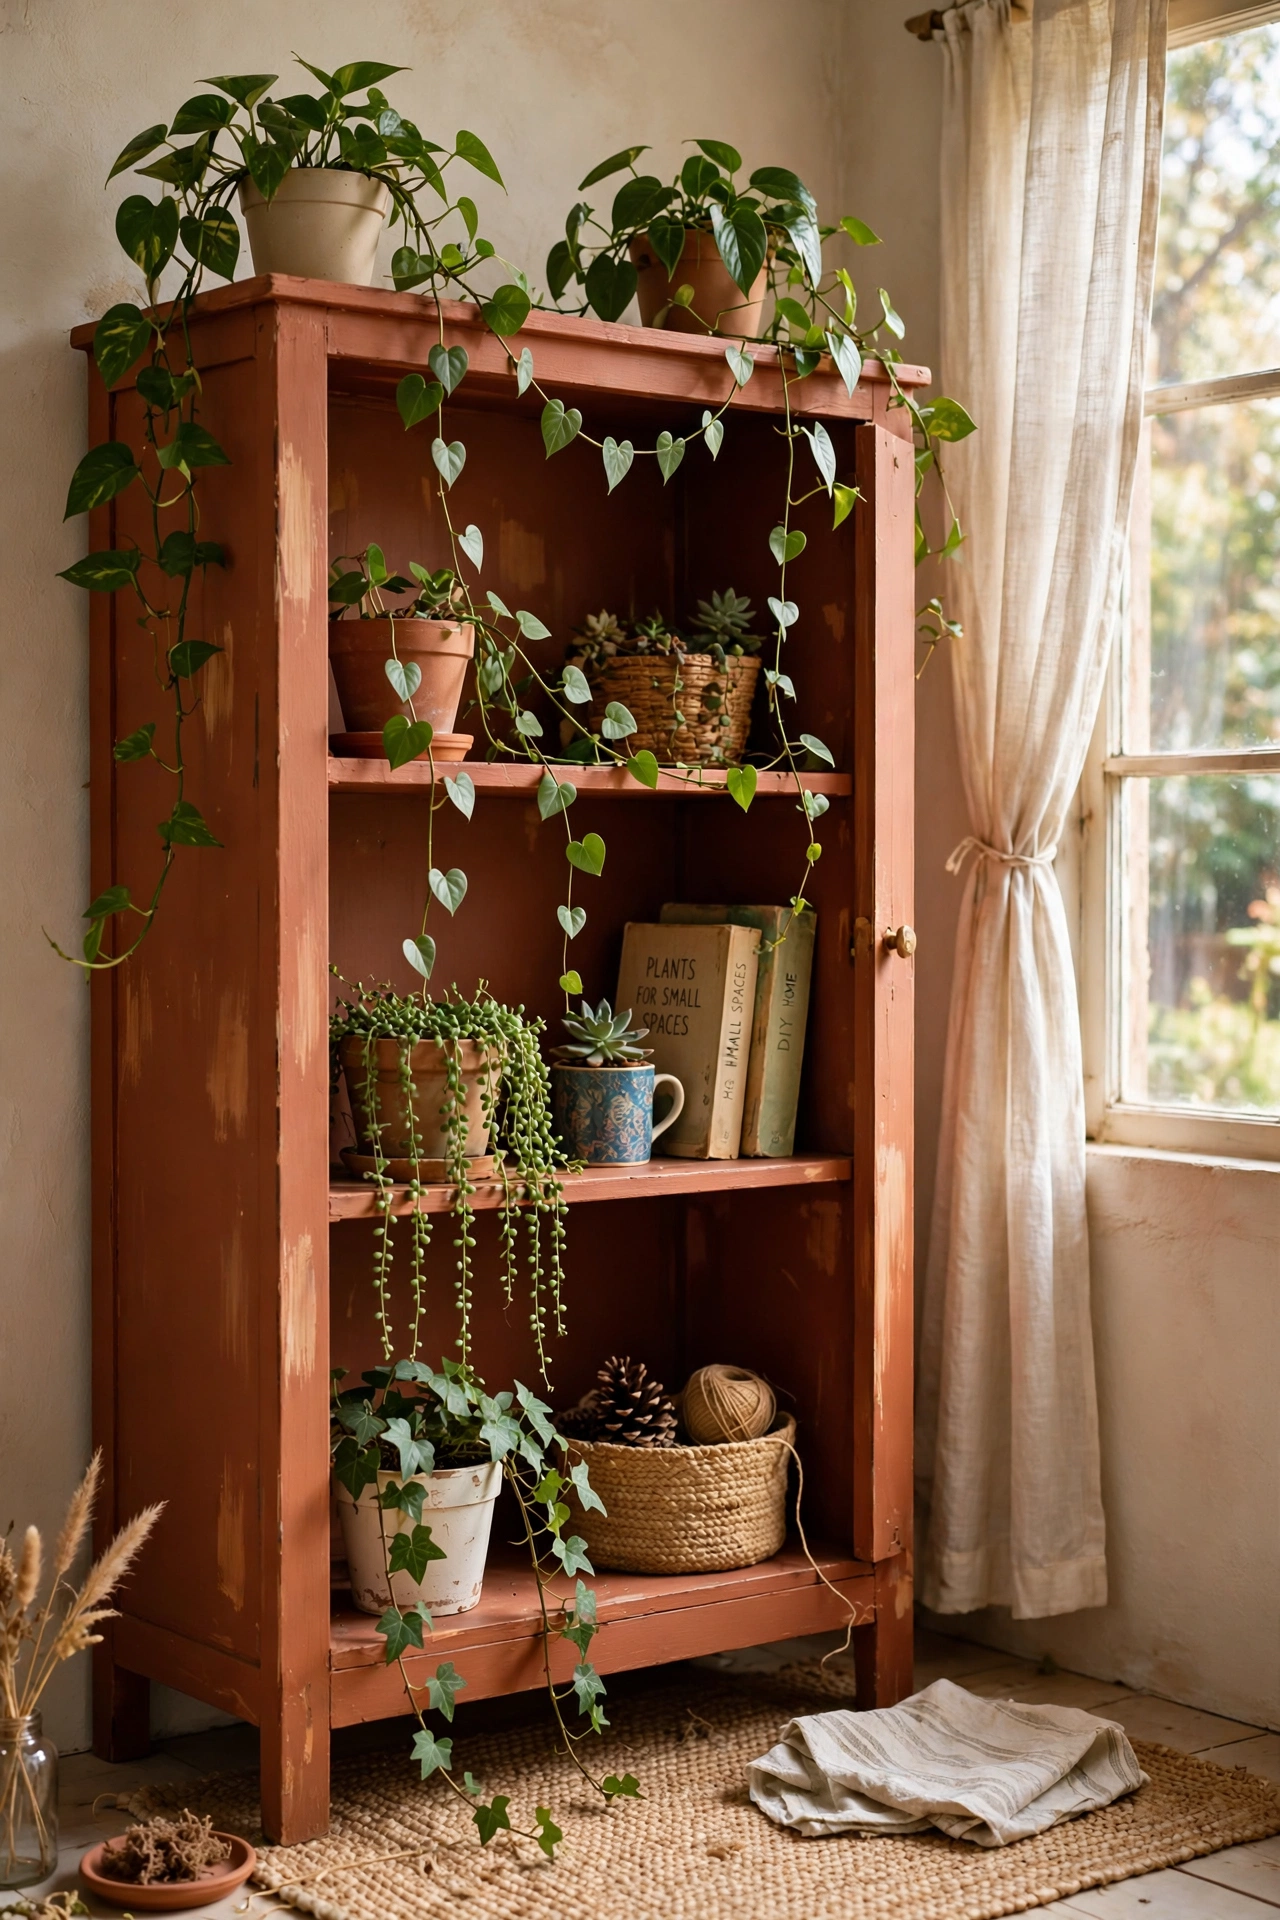
A small cabinet or plant stand in warm terracotta looks lovely holding trailing plants, and the colour hides dust far better than white. Sand lightly, prime, and paint two coats, then seal the top surface well since watering cans drip. Add small casters if you want to move it for sunlight, and line the inside shelves with cork to protect them from damp pots. I tried this with a cabinet that had a broken door hinge, and I almost threw it away before realising a $3 hinge from the hardware store fixed it completely. Always check the cheap fix first before you assume a piece is broken.
Cost: ~$42 | Time: 200 minutes
16. Retro Dresser with New Wooden Knobs
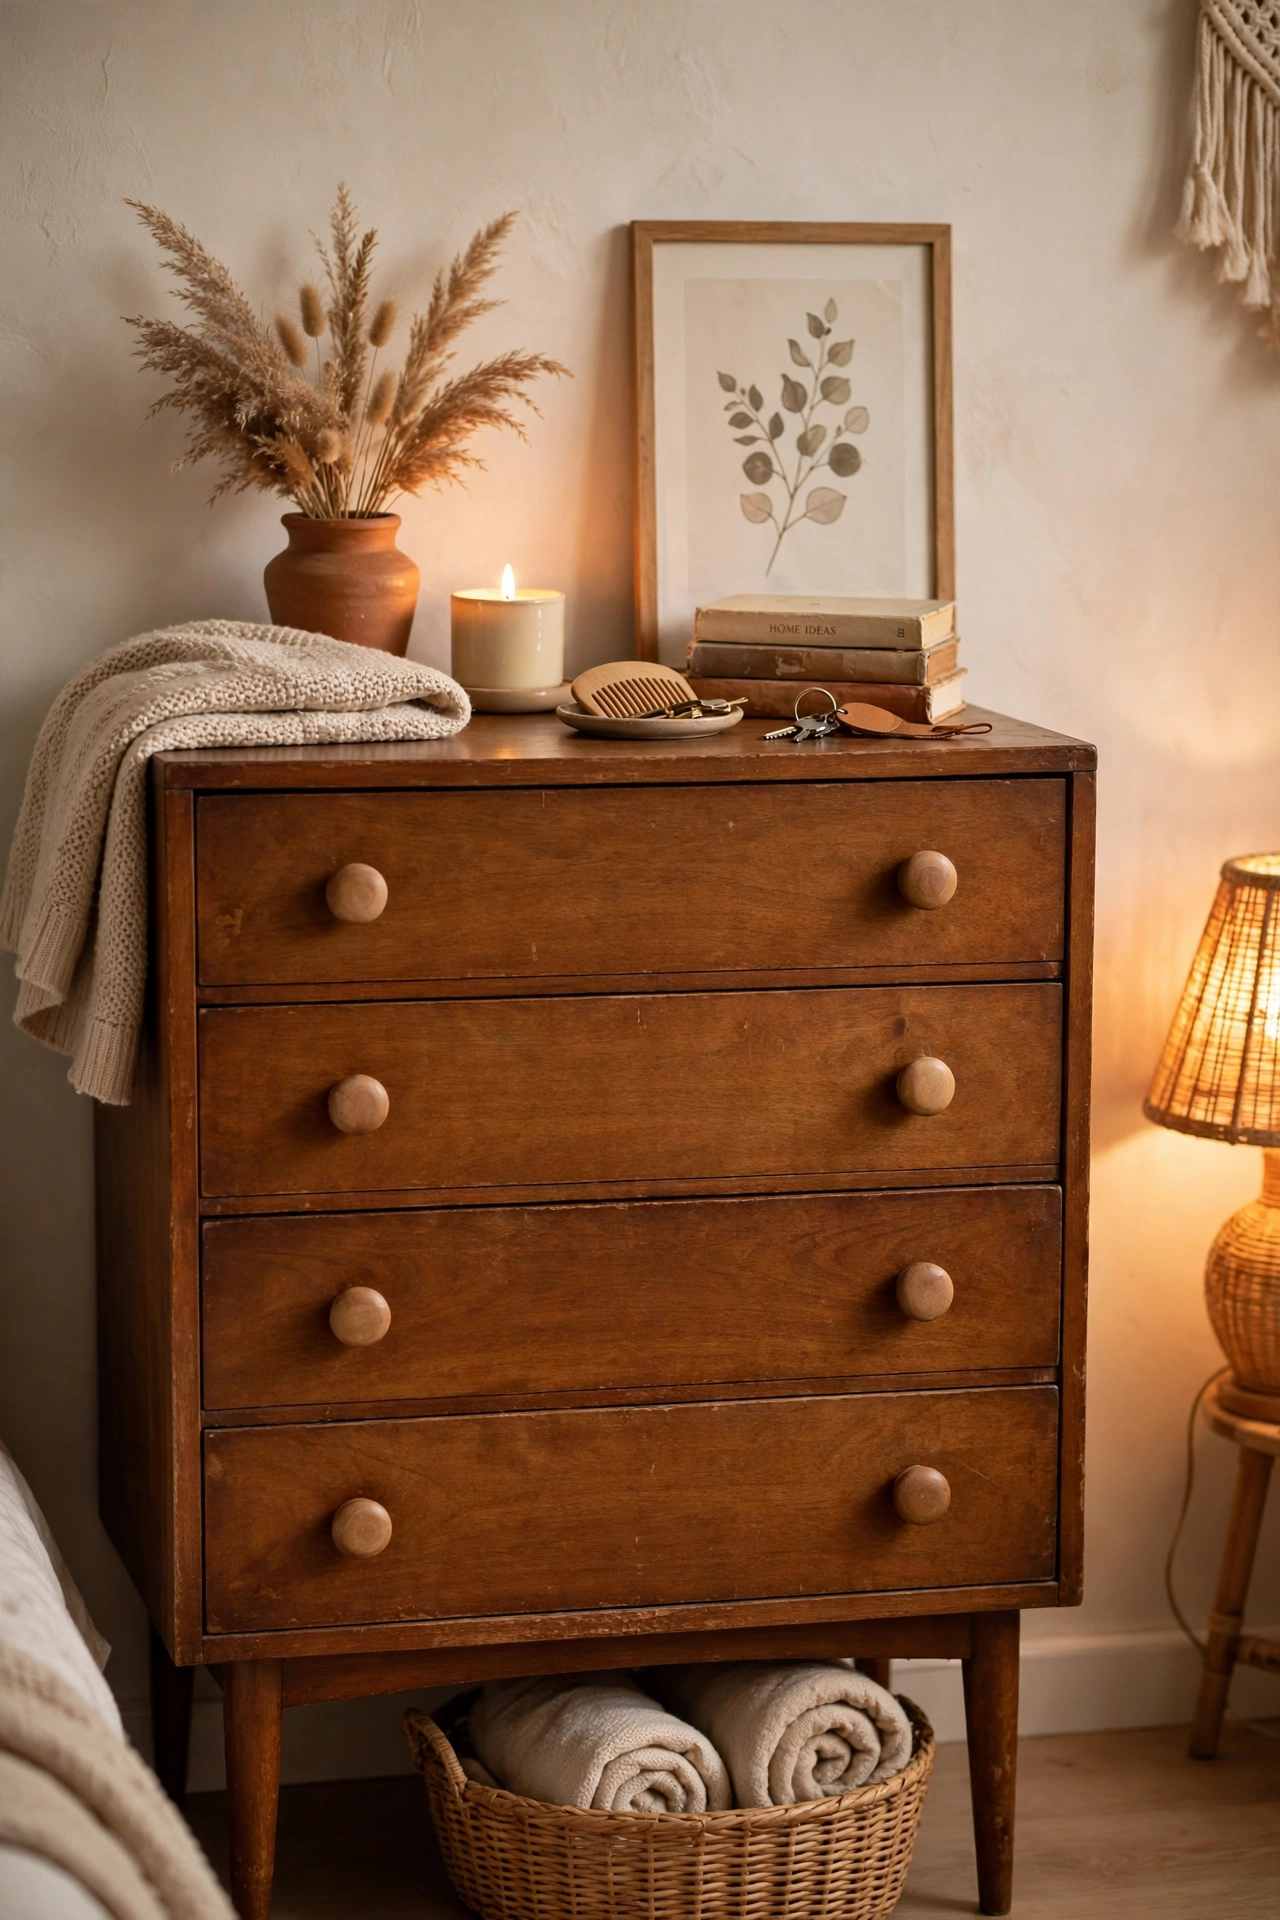
Sometimes the simplest flip is the best one: a retro dresser that only needs cleaning, a light polish, and new wooden knobs. Remove the old hardware, clean the drawer fronts with a wood cleaner, and touch up scratches with a matching stain pen. Choose chunky round wooden knobs in a warm tone, and fit them with the screws supplied. I tried this on a dresser I nearly passed over because the knobs were mismatched and ugly, and it taught me to look past hardware every time. Knobs are the cheapest change you can make, and they set the whole style of the piece in under an hour.
Cost: ~$30 | Time: 90 minutes
17. Entryway Console from a Narrow Table
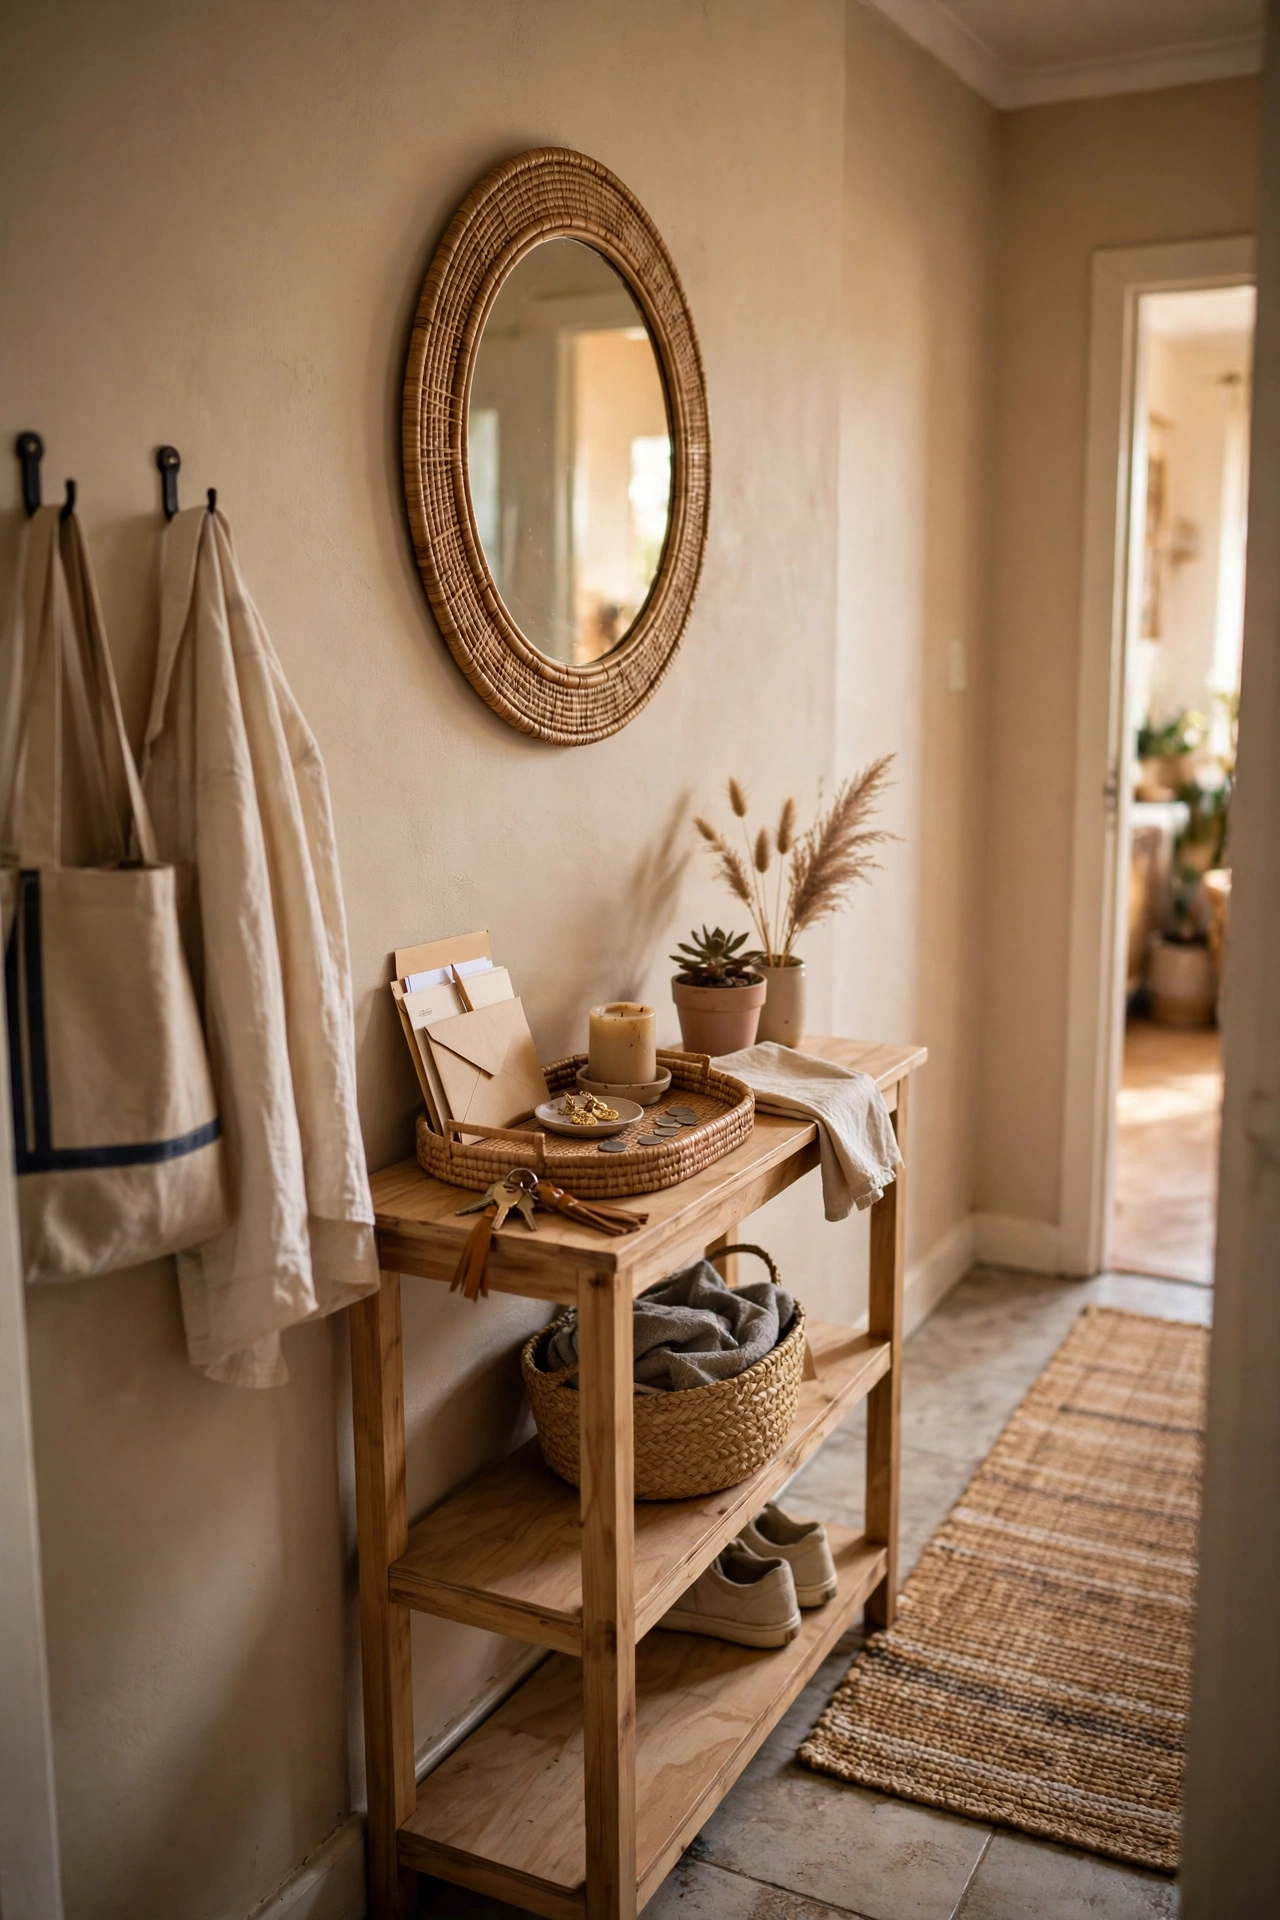
A narrow hall table or sofa table makes a perfect entryway console for keys, mail, and a small lamp. Paint or stain it to match your hallway, add a lower shelf if it does not have one, and screw in small hooks underneath for keys. A tray on top keeps the clutter contained, and a mirror above it makes a small hall feel bigger. I tried this with a $20 table that wobbled badly, and my mistake was painting it before fixing the wobble, which meant I had to touch up every joint afterwards. Tighten, glue, and level the piece first, then make it pretty.
Cost: ~$36 | Time: 160 minutes
18. Moody Green Armoire Wardrobe
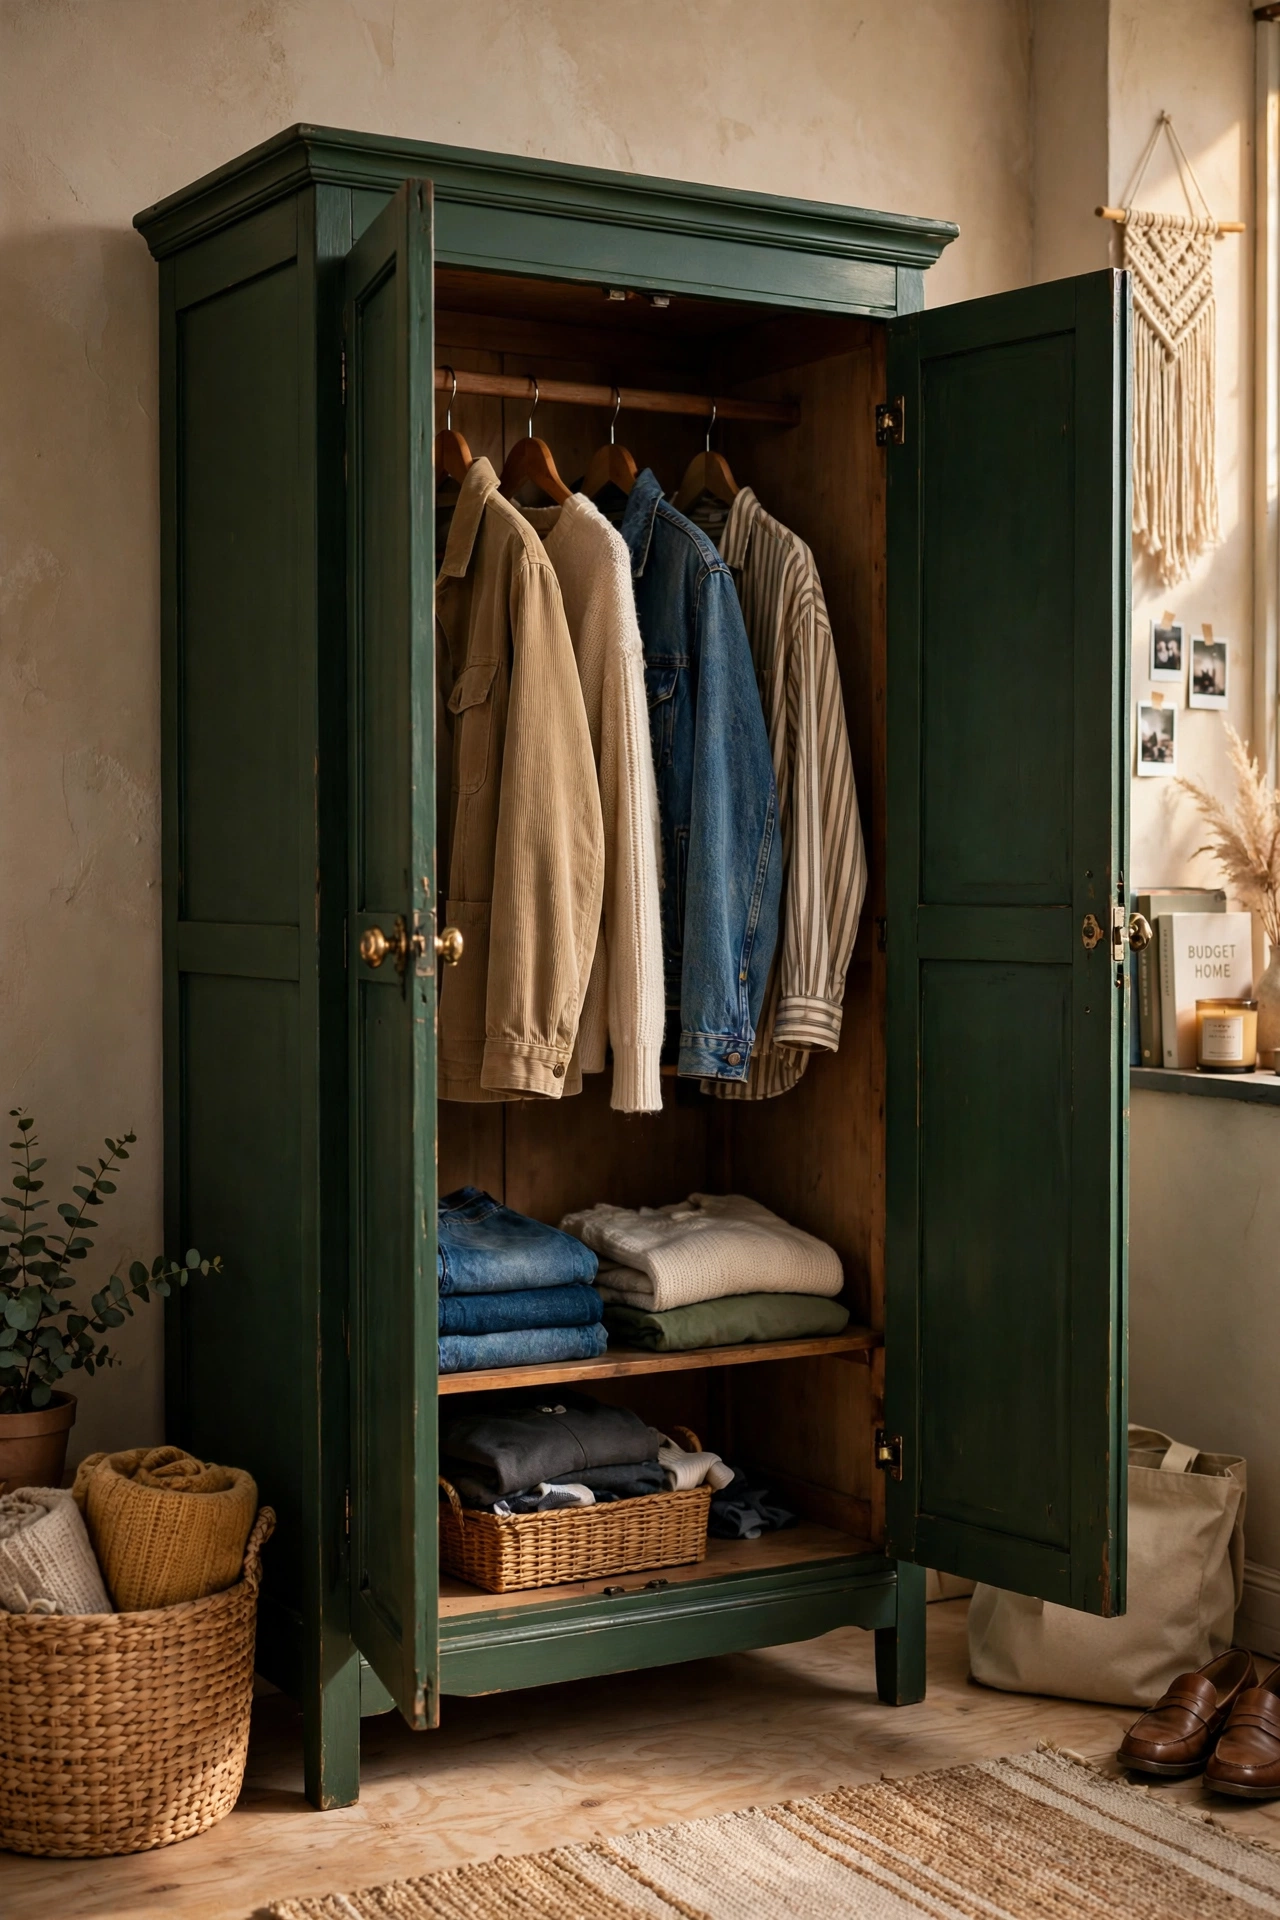
Big armoires are hard to sell, which means they are cheap on Marketplace, and a deep moody green turns one into a gorgeous wardrobe. Remove the doors and drawers, clean inside and out, and paint two coats with a roller for the flat panels and a brush for the details. Add a hanging rail inside, some hooks on the doors, and a small battery light. I tried this in our spare room, and my mistake was forgetting to measure the armoire against the stairwell, so delivery day turned into a very tight squeeze. Measure every doorway and turn on the route in before you pay, not after.
Cost: ~$80 | Time: 380 minutes
19. Boho Beadboard Cabinet
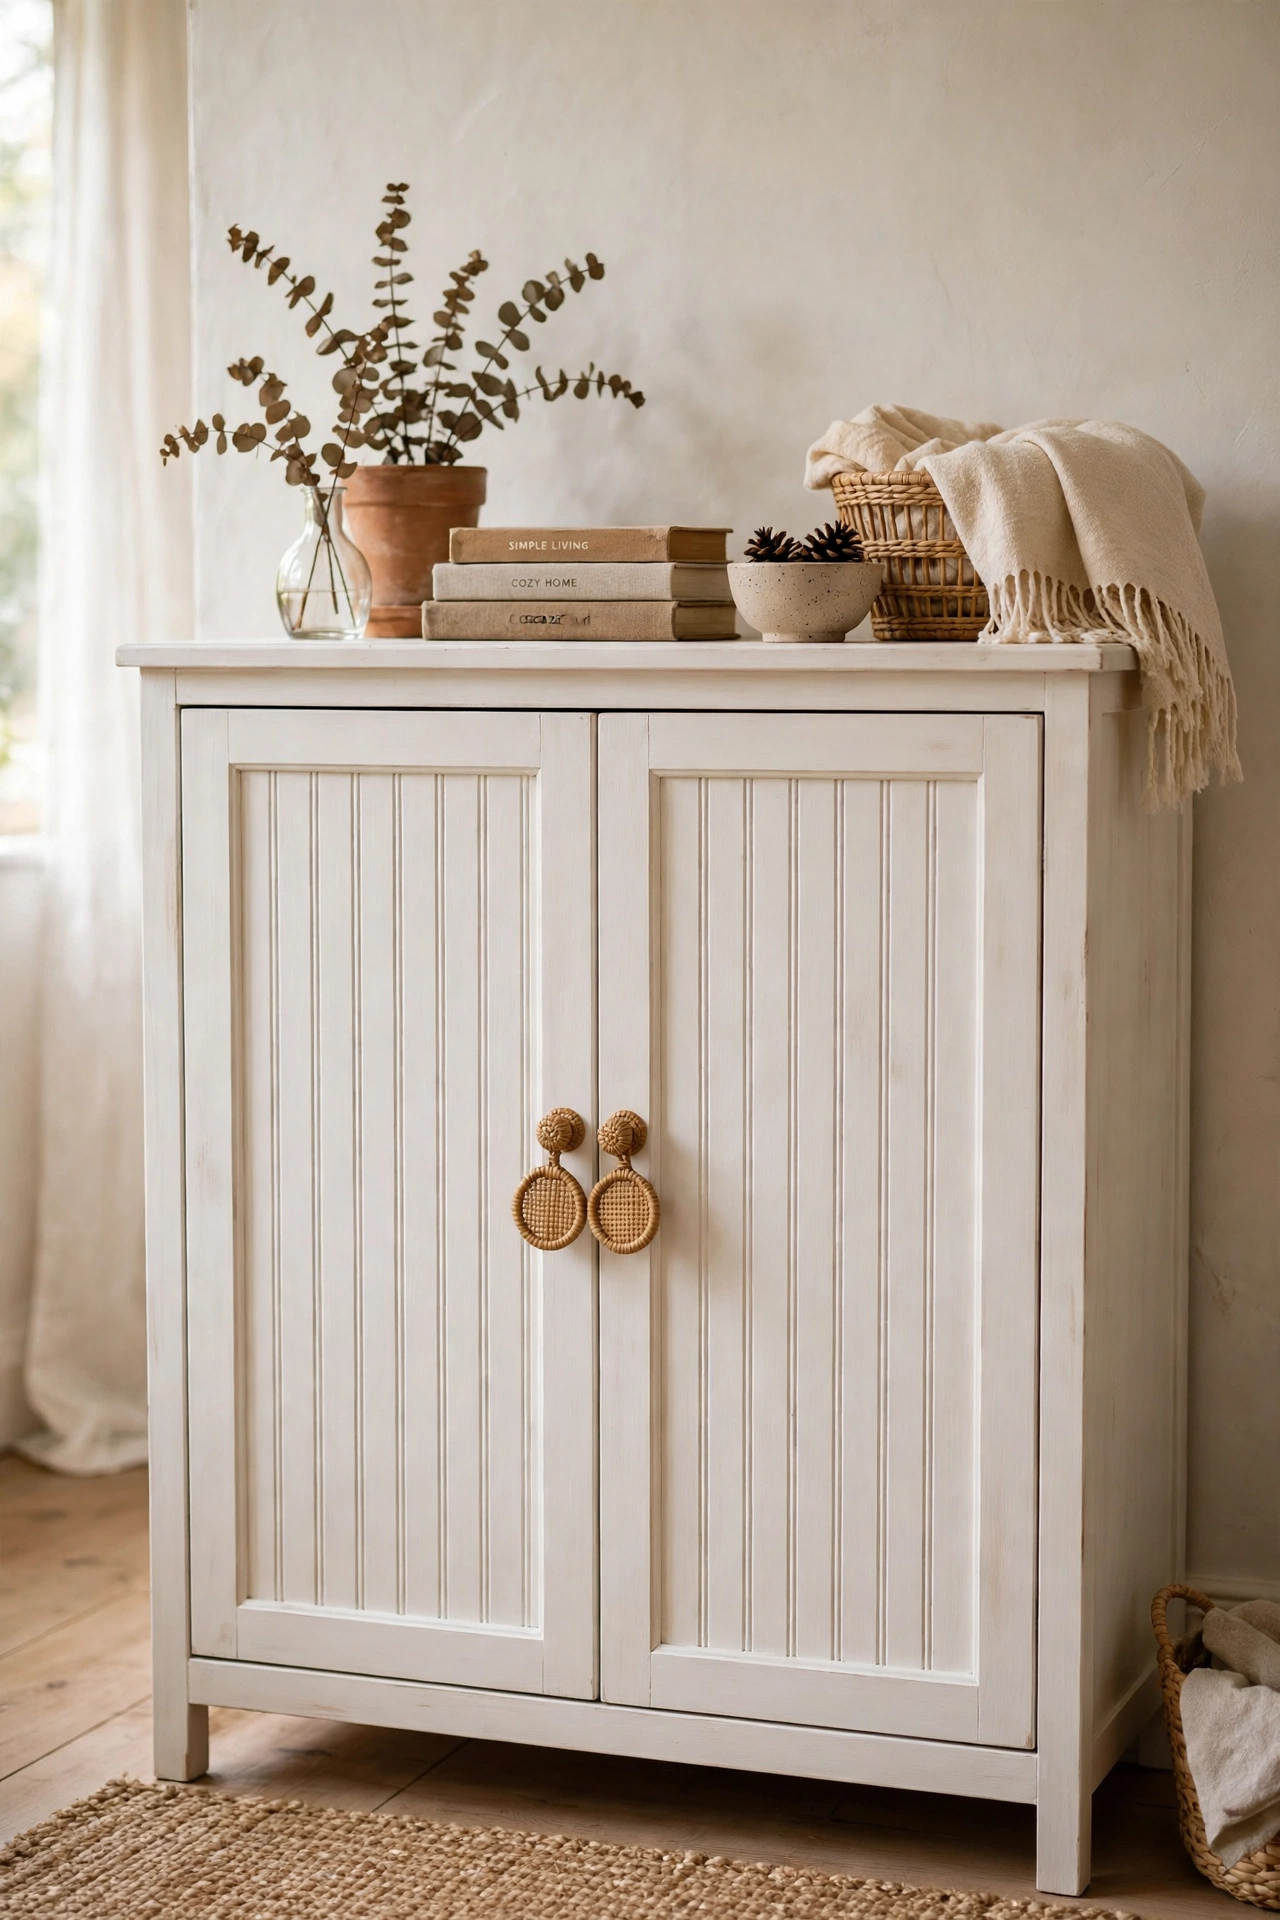
Plain flat-front cabinets get a whole new personality with beadboard panels glued to the doors. Cut beadboard to fit each door front, glue and pin it in place, fill the nail holes, and paint the whole cabinet in a warm white or soft clay colour. Swap the hardware for wooden or rattan pulls to finish the boho look. I tried this on a boring storage cabinet, and my mistake was skipping the filler on the pin holes, which showed up as tiny dark dots once painted. A five-minute fill and sand makes the difference between a homemade look and a finished one.
Cost: ~$58 | Time: 260 minutes
20. Light Wood Scandi Dresser
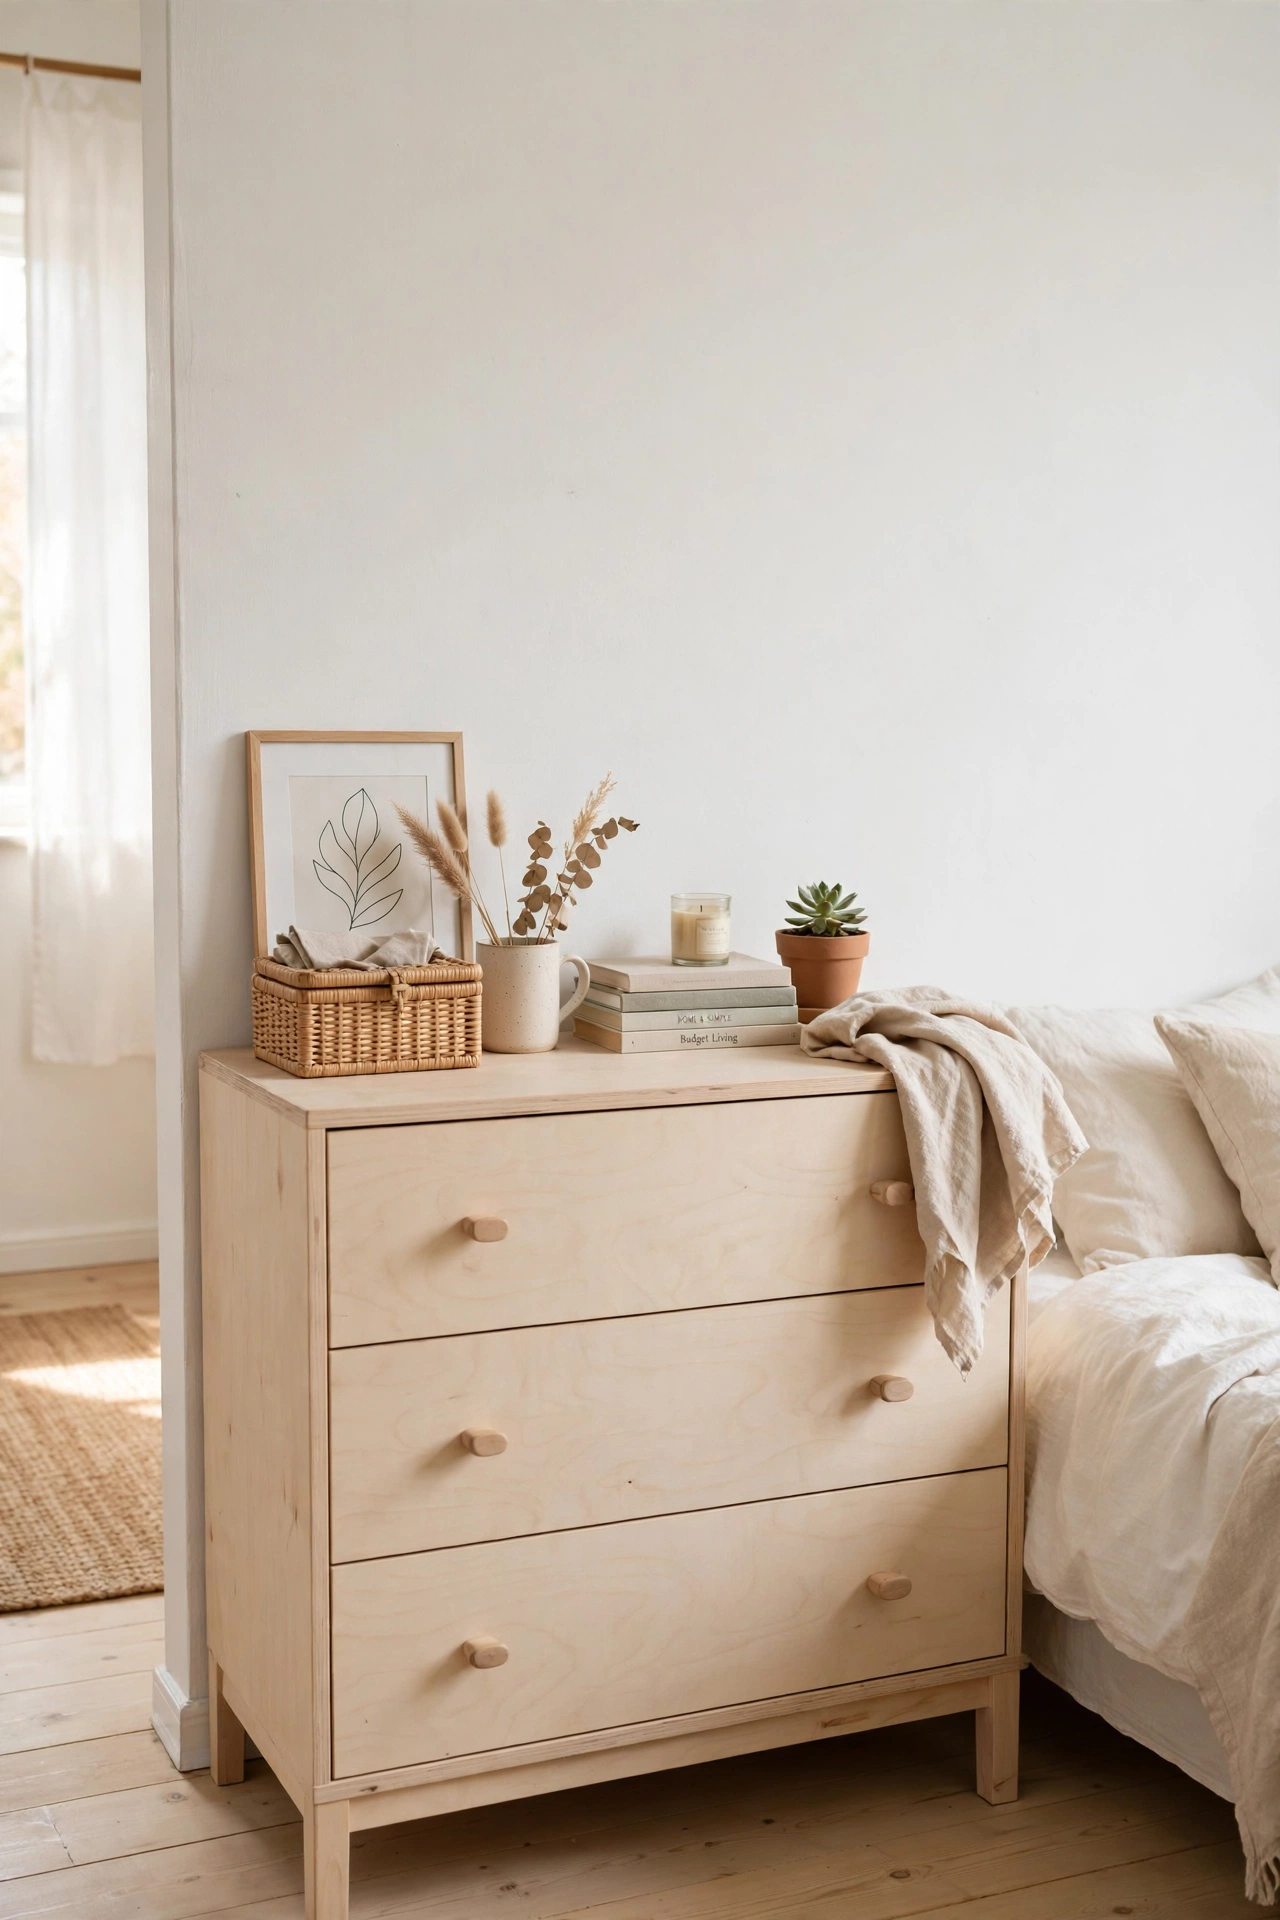
For a light Scandinavian look, strip a dark dresser back to pale wood and seal it with a clear matte finish. This flip takes more sanding than painting, so use an orbital sander on the flat surfaces and hand-sand the edges. Wipe the dust off with a tack cloth, then apply two coats of clear matte polyurethane to keep the pale colour from yellowing. I tried this on a solid pine dresser, and my mistake was sanding through the thin veneer on one drawer front by pressing too hard in one spot. Keep the sander moving, use a light touch, and check often on veneered pieces.
Cost: ~$62 | Time: 340 minutes
21. Antique Dresser with a Mirror Top
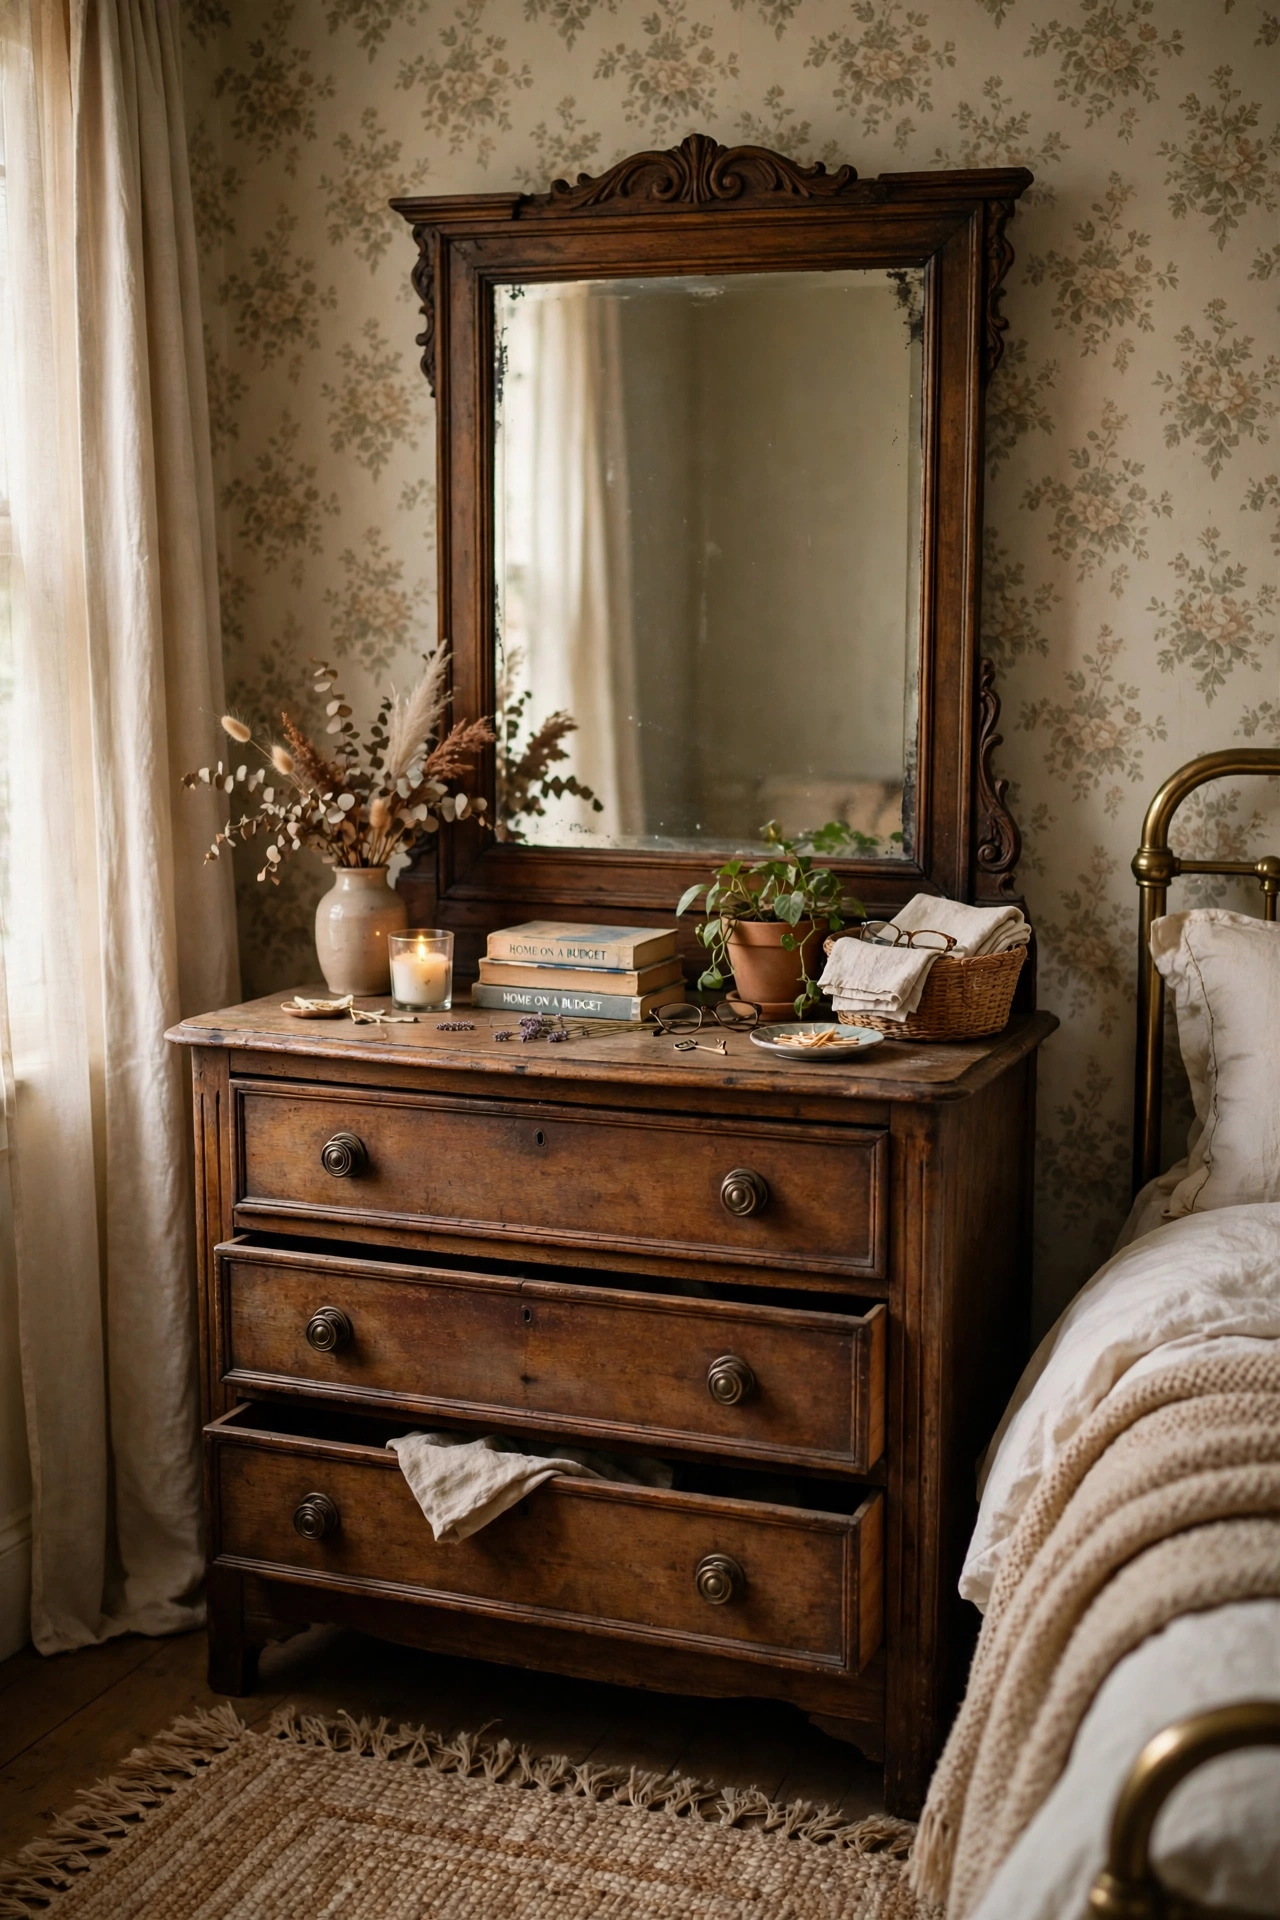
An antique dresser with a damaged top can be saved by fitting a mirror panel or a new wood top instead of replacing the whole piece. Clean and polish the body, touch up the finish, and have a mirror cut to sit flush in a shallow frame on top, or glue a new pine top and stain it to match. Either option hides scratches and gives the dresser a second life. I tried this with a dresser whose top was covered in heat rings, and my mistake was ordering the mirror before measuring twice, so it arrived a centimetre too wide. Measure the opening three times, write the numbers down, and only then order.
Cost: ~$70 | Time: 300 minutes
22. Checkerboard Painted Chest of Drawers
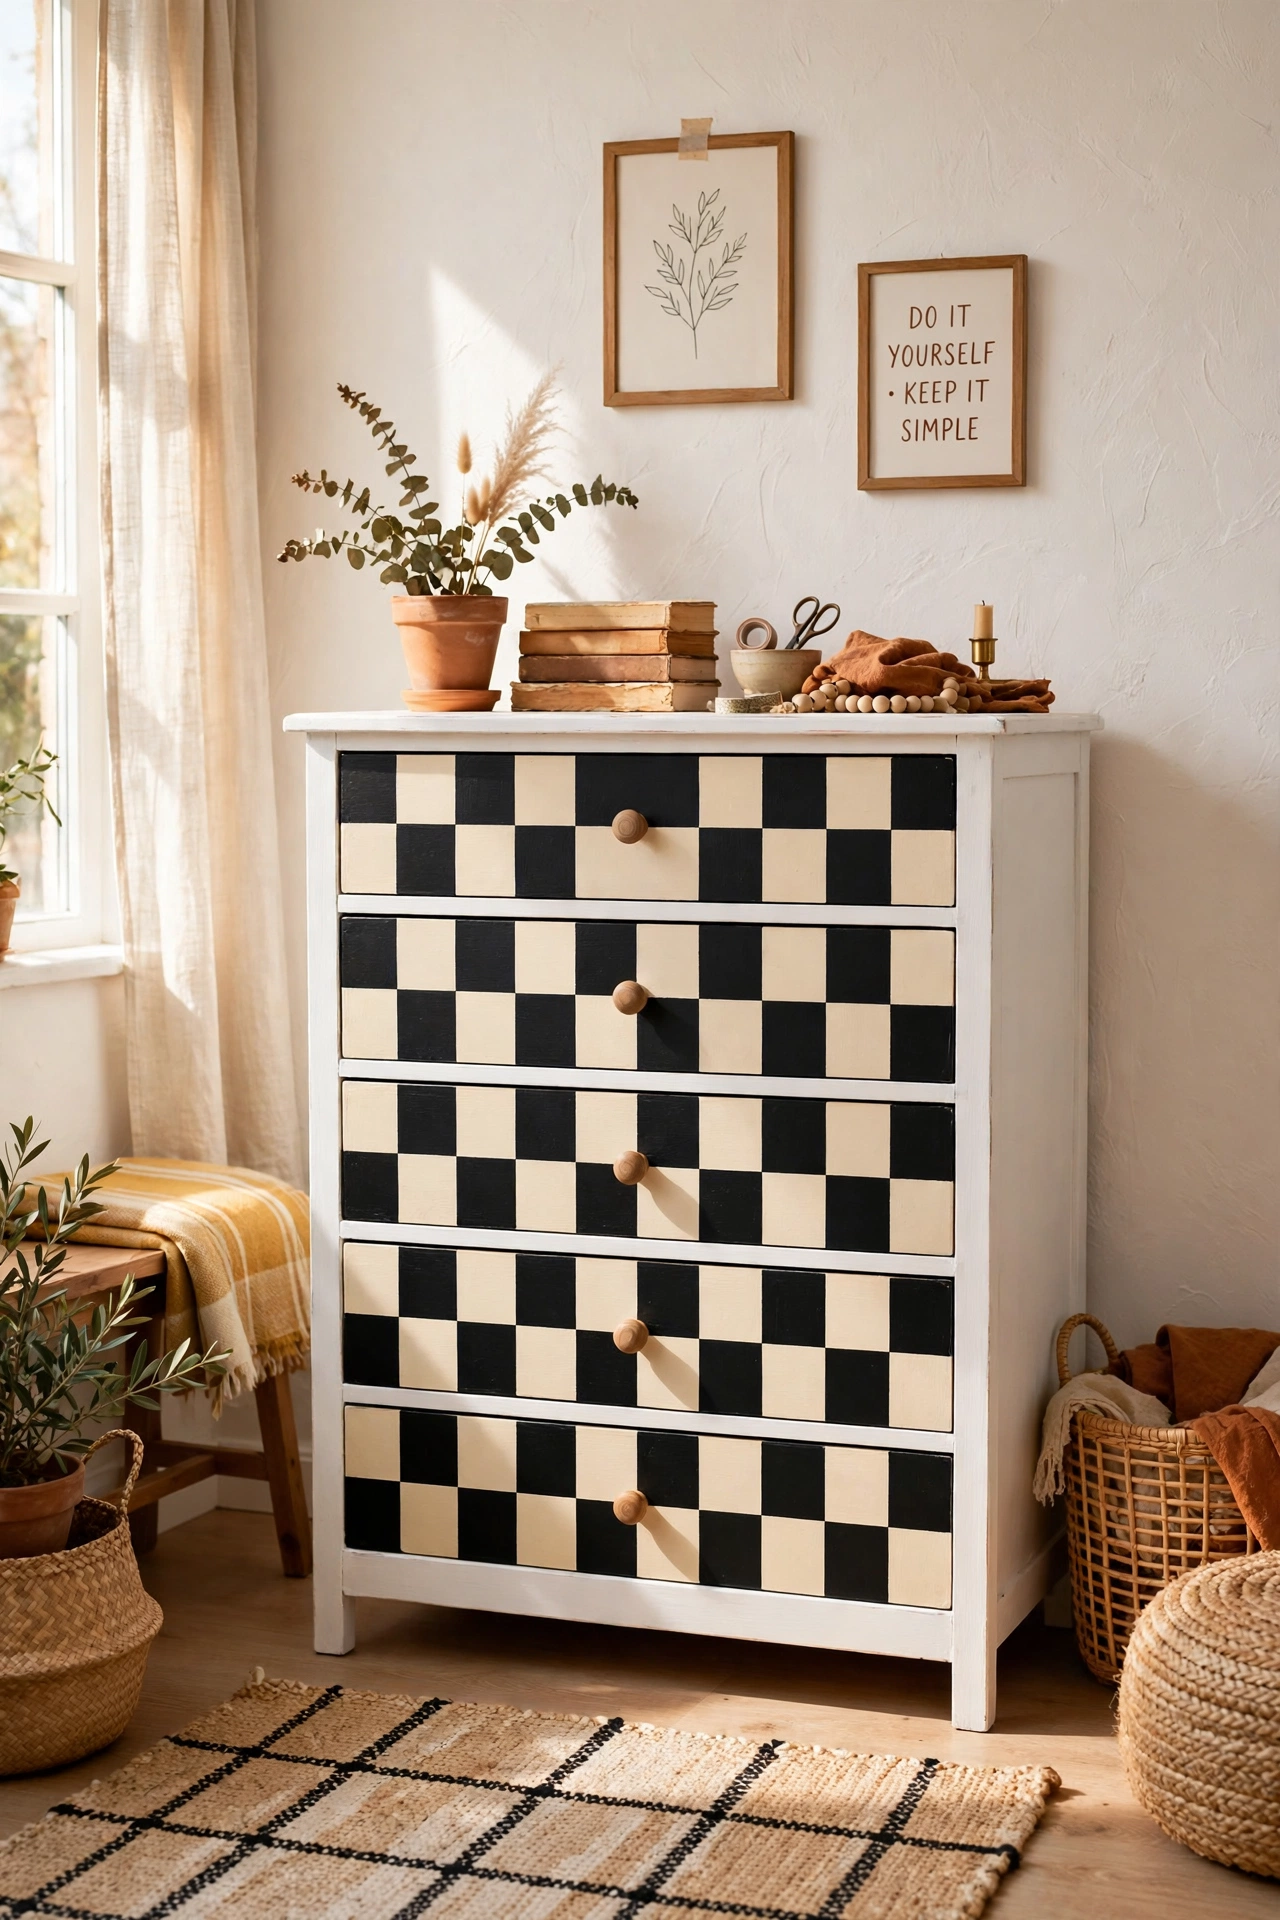
A checkerboard pattern on drawer fronts looks bold and graphic, and it is easier than it looks with painter’s tape. Paint the whole chest in your lighter colour first and let it dry fully. Mark a grid on the drawer fronts with a pencil and ruler, tape off alternating squares, and paint the darker colour over them. Peel the tape while the paint is still slightly tacky for crisp lines. I tried this on a small chest, and my mistake was taping over paint that had not dried overnight, which pulled patches off with the tape. Wait a full day between colours, even when you are impatient to see it done.
Cost: ~$54 | Time: 300 minutes
23. Kids’ Toy Storage Bench from a Coffee Table
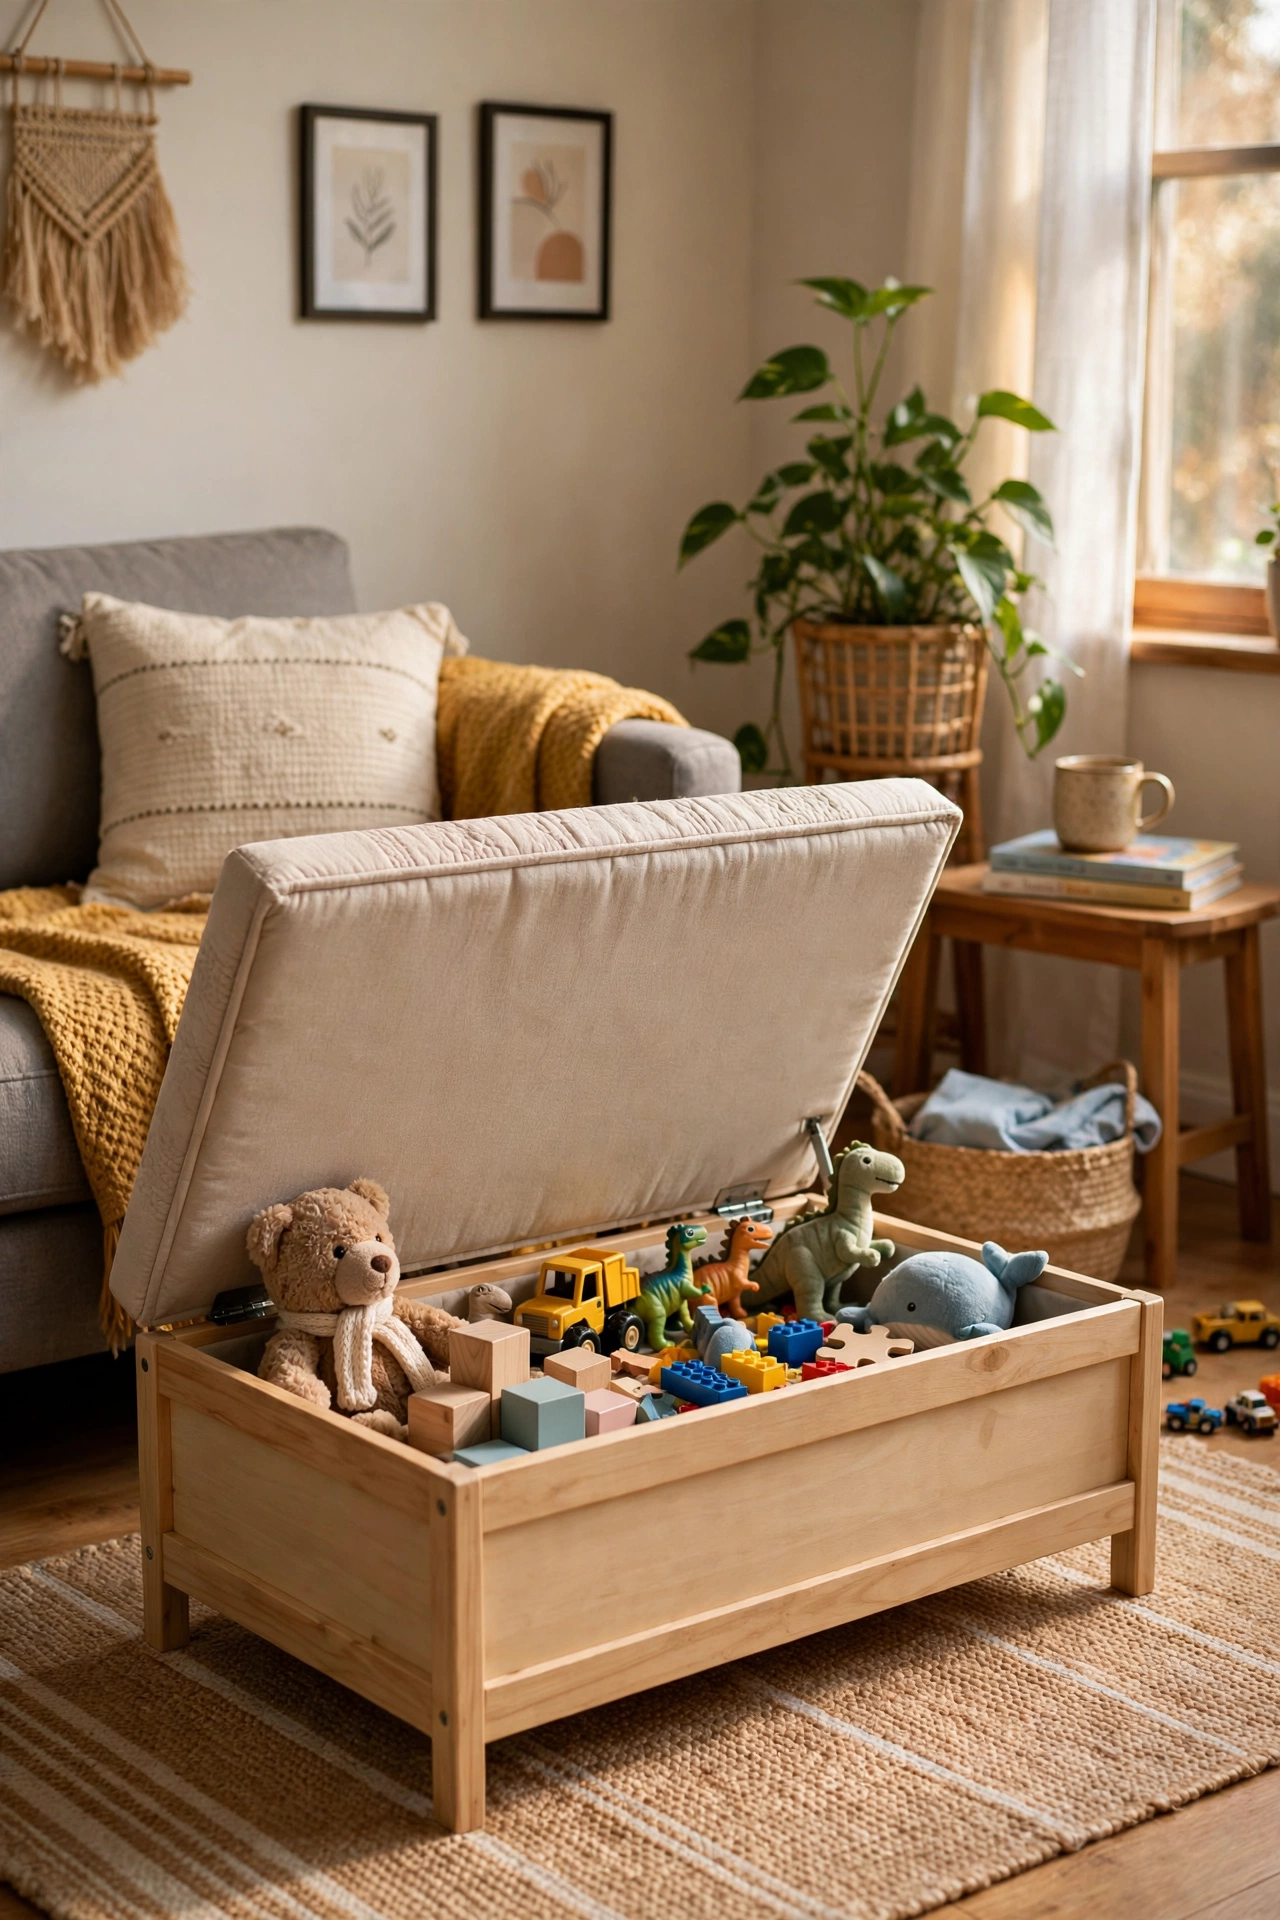
A sturdy low coffee table becomes a toy storage bench with a hinged top and a cushion. Cut the top free, add hinges on one side, and fit a shallow box underneath for toys, using the table legs as the frame. Add a simple foam cushion covered in wipe-clean fabric on top, and round off any sharp corners with sandpaper. I tried this for our living room, and my mistake was using hinges that were too small, so the lid sagged after a week of small hands opening it. Use sturdy hinges rated for the lid’s weight, and add a soft-close stay so little fingers stay safe.
Cost: ~$48 | Time: 260 minutes
Save this idea for your next Marketplace scroll, and start with the piece that feels easiest, not the one that looks most impressive.
